
Pumpkin Butter and Chocolate Babka
This pumpkin butter chocolate babka combines soft, buttery yeast dough with spiced pumpkin butter and rich chocolate, twisted into a beautiful loaf perfect for fall baking, weekend brunch, or holiday gatherings.
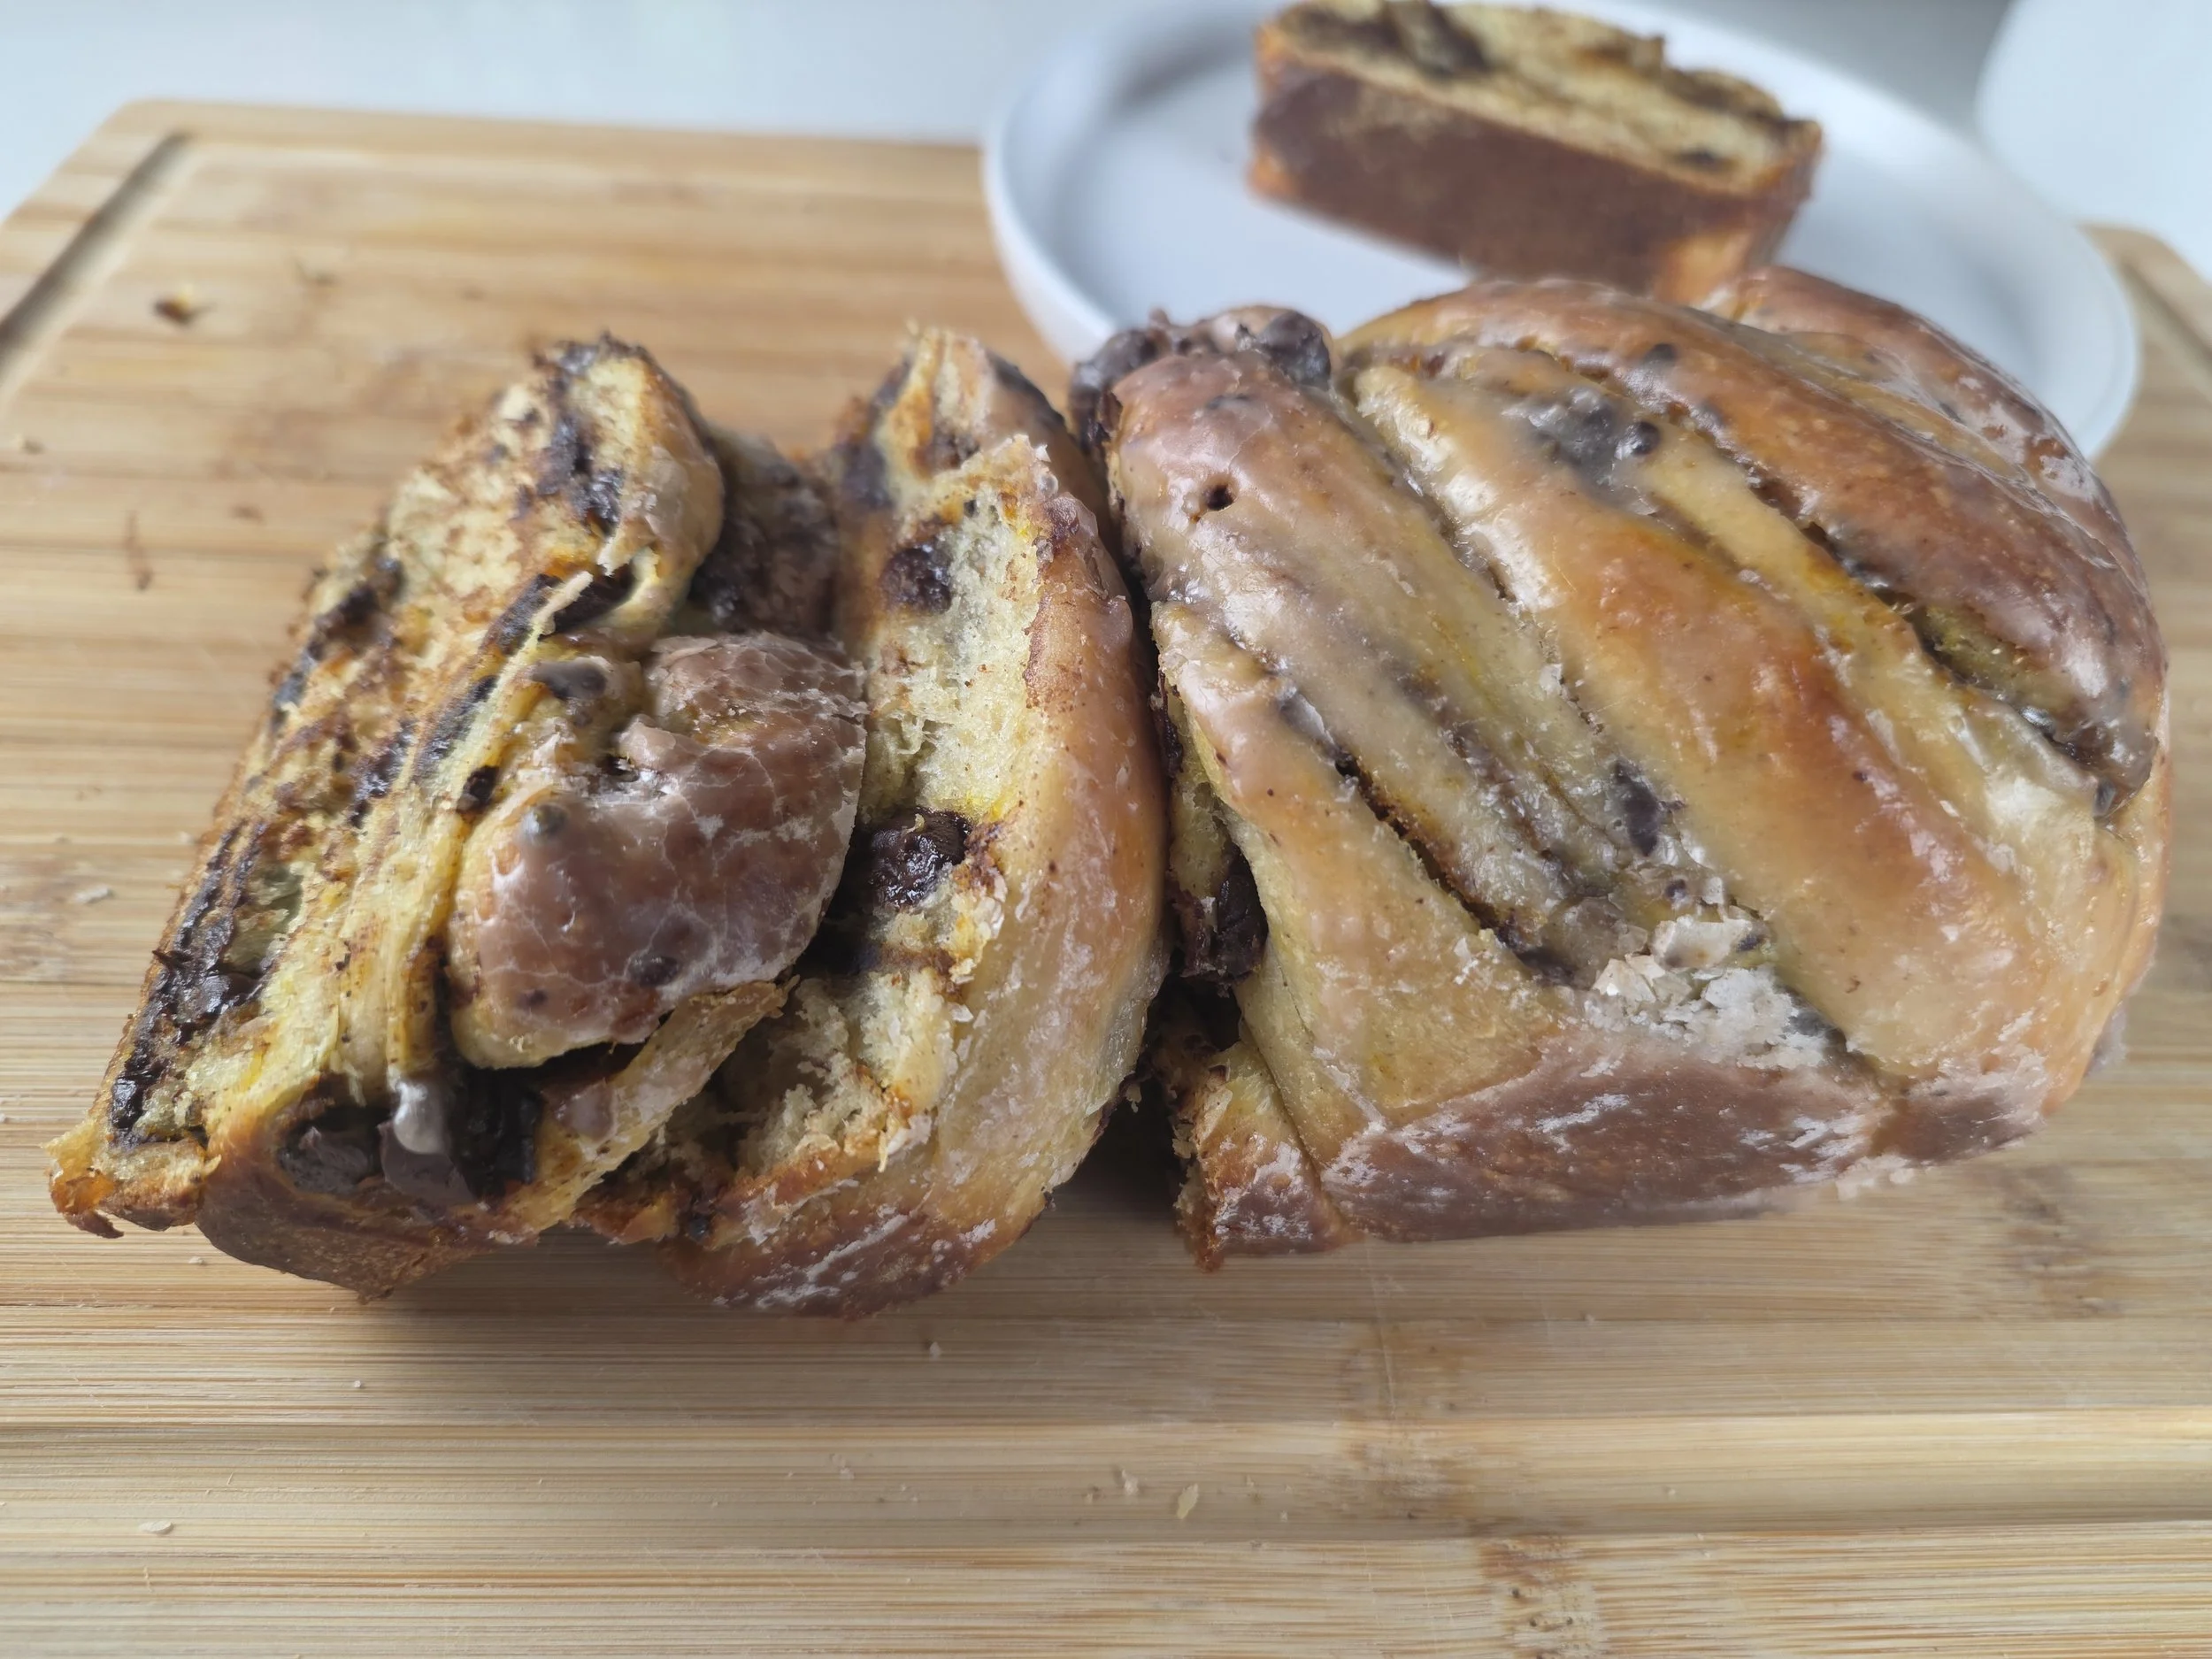
There is something special about pulling a beautifully twisted loaf of homemade babka out of the oven. With its golden crust, delicate layers and ribbons of filling running through the dough, babka looks like the kind of bake reserved for a professional bakery. But while it takes a little patience, making babka at home is more approachable than it might seem—and once you learn the basic technique, you can adapt it with all kinds of flavors. This Pumpkin Butter Chocolate Babka brings together two favorites for fall: warmly spiced pumpkin butter and rich chocolate. The pumpkin butter adds a concentrated pumpkin flavor with notes of cinnamon, ginger and nutmeg, while chocolate brings just the right amount of richness. All of it is wrapped in a soft, buttery yeast dough and shaped into a twisted loaf that looks impressive when sliced.
Unlike a quick bread, babka starts with an enriched yeast dough made with milk, eggs, sugar and butter. That means it needs time to rise, but the process is also what gives the bread its tender texture. After the dough is rolled out, the filling is spread over the surface, chocolate is added, and the dough is rolled, cut lengthwise and twisted together to create those signature swirls. If you've never made babka before, think of this as an intermediate baking project rather than an impossibly difficult one. The technique might look intimidating at first, but the individual steps are manageable. Your first loaf is a chance to learn how the dough feels, how tightly to roll it and how to shape the twist. Once you've made babka once or twice, the method becomes much more familiar—and you can start experimenting with your own fillings.
This pumpkin and chocolate version is lovely for a fall weekend baking project, a holiday breakfast or brunch, an edible gift, or a sweet addition to a dessert spread. You can bake it in a loaf pan for a taller, more structured shape, or shape it as a free-form twist on a lined baking sheet. The loaf-pan method is especially helpful for beginners because the pan supports the dough as it rises and bakes. And the flavor combinations don't have to stop here. For the holidays, try chocolate and pistachio, cinnamon sugar, or another thick fruit or nut-based filling. Once you understand the basic babka technique, there are plenty of ways to make it your own.
The most important things to remember are to give the dough enough time to rise, use a relatively thin layer of filling, and allow the loaf to bake all the way through before slicing. Babka is a project worth slowing down for: the twist makes it beautiful, but the combination of soft bread, spiced pumpkin and chocolate is what makes every slice worth it.

Pumpkin Butter Chocolate Babka
A buttery homemade yeast bread twisted with spiced pumpkin butter and chocolate. This fall-inspired babka makes a beautiful centerpiece for brunch, dessert or holiday baking.
Ingredients
- 1 (15-ounce) can plain pumpkin purée
- ⅓ cup packed light brown sugar
- 2 tablespoons granulated sugar
- 1 teaspoon ground cinnamon
- ¼ teaspoon ground ginger
- ⅛ teaspoon ground nutmeg
- Pinch of salt
- 1 teaspoon vanilla extract
- Water, only if needed to prevent sticking during cooking
- 2 cups (240 g) all-purpose flour, spooned and leveled
- 1¼ teaspoons instant yeast
- ¼ cup granulated sugar
- ½ teaspoon salt
- ½ teaspoon ground cinnamon
- ⅛ teaspoon ground nutmeg
- 1 large egg, room temperature
- 1 large egg yolk, room temperature
- ½ cup whole milk, lukewarm
- 5 tablespoons unsalted butter, softened
- 1 teaspoon vanilla extract
- About ½ cup cooled pumpkin butter, spread in a thin layer
- ⅓–½ cup chopped chocolate or chocolate chips (approximately 55–85 g, depending on the chocolate and how generously you fill it)
- 2 tablespoons granulated sugar
- 2 tablespoons water
- 3–4 green cardamom pods, lightly crushed
Instructions
- ### 1. Make the pumpkin butter
- Add the pumpkin purée, brown sugar, granulated sugar, cinnamon, ginger, nutmeg and salt to a saucepan. Cook uncovered over low heat, stirring frequently, until thickened and spreadable. If the mixture begins sticking before it has thickened, add a small splash of water as needed. Stir in the vanilla at the end. Cool completely before using in the dough.
- ### 2. Make the dough
- Combine the flour, instant yeast, sugar, salt, cinnamon and nutmeg in the bowl of a stand mixer. Add the egg, egg yolk, lukewarm milk and vanilla. Mix with the dough hook until a rough dough forms.
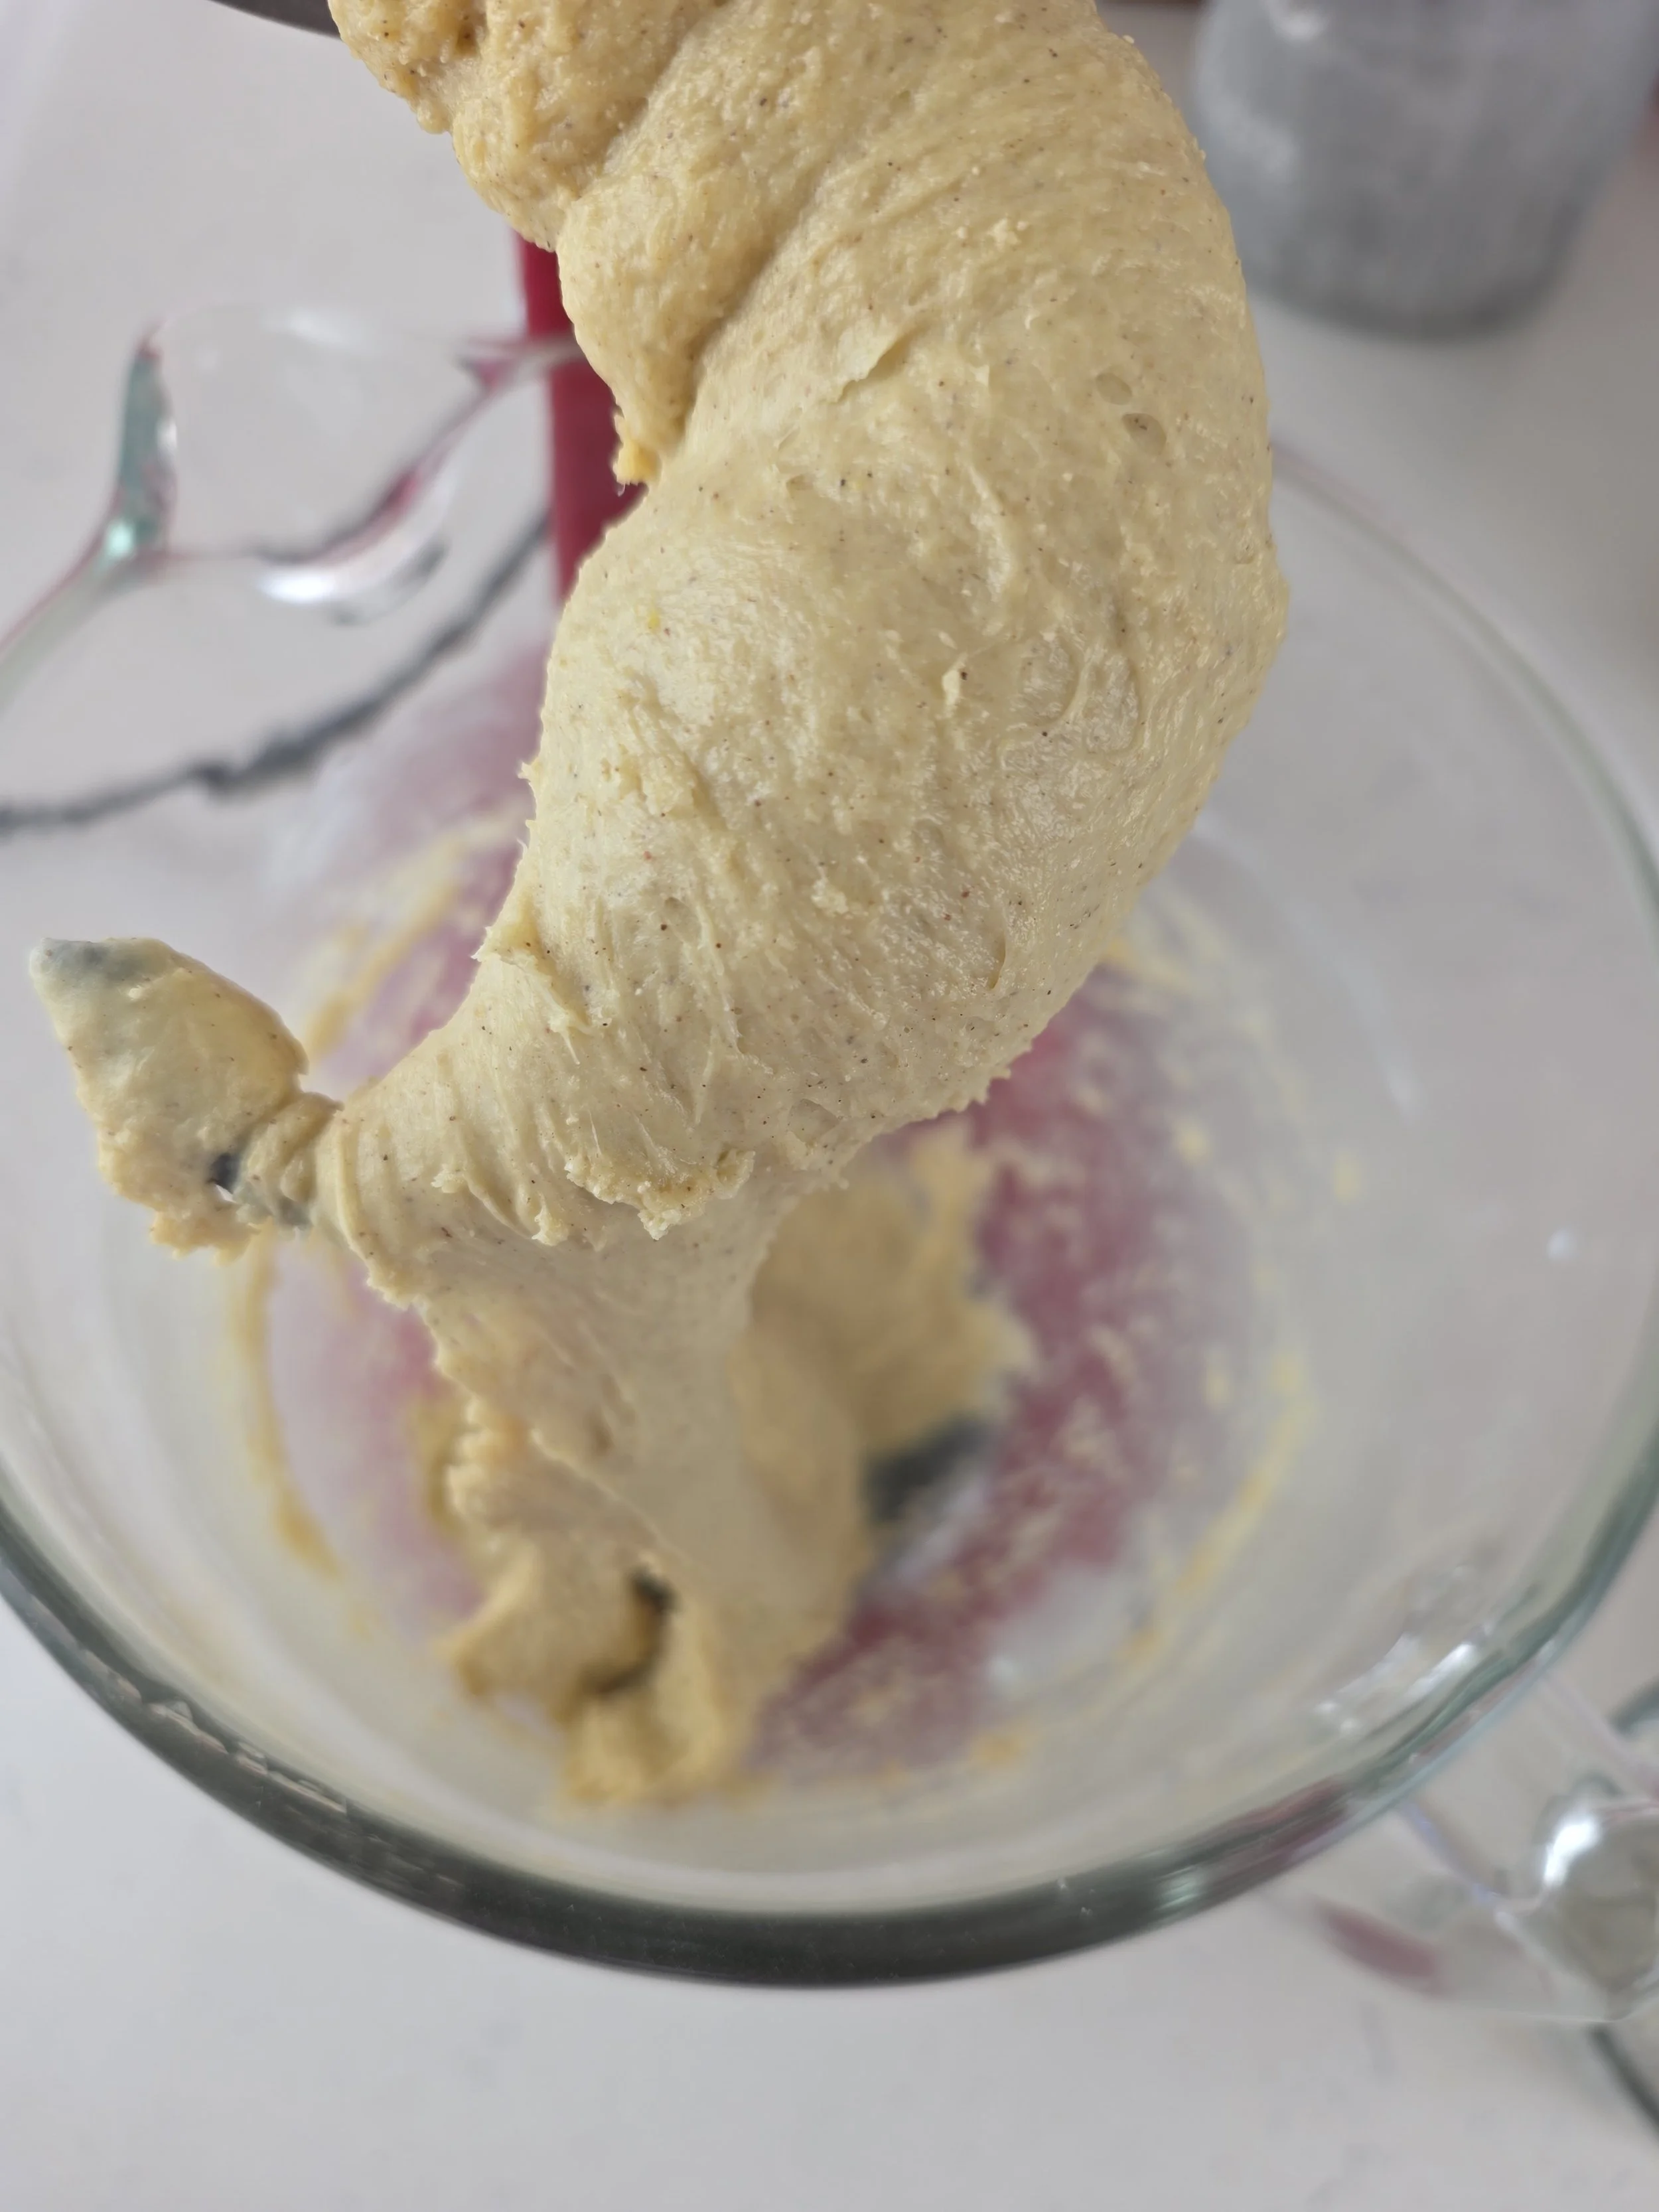
- Add the softened butter gradually, mixing until incorporated. Knead until the dough is smooth, stretchy and elastic. It should feel soft and slightly tacky, not wet like batter. Avoid adding extra flour too quickly; a soft enriched dough is normal.
- ### 3. Let the dough rise
- Transfer the dough to a lightly greased bowl, cover and leave in a comfortably warm, draft-free place until visibly expanded and approximately doubled in size. This may take longer in a cool kitchen. Use the dough's appearance and expansion, rather than the clock alone, to judge the rise.
- The environment should be gently warm, not hot. Avoid putting the bowl somewhere that heats the dough excessively; excessive heat can damage yeast and soften the butter.
- ### 4. Fill and shape the babka
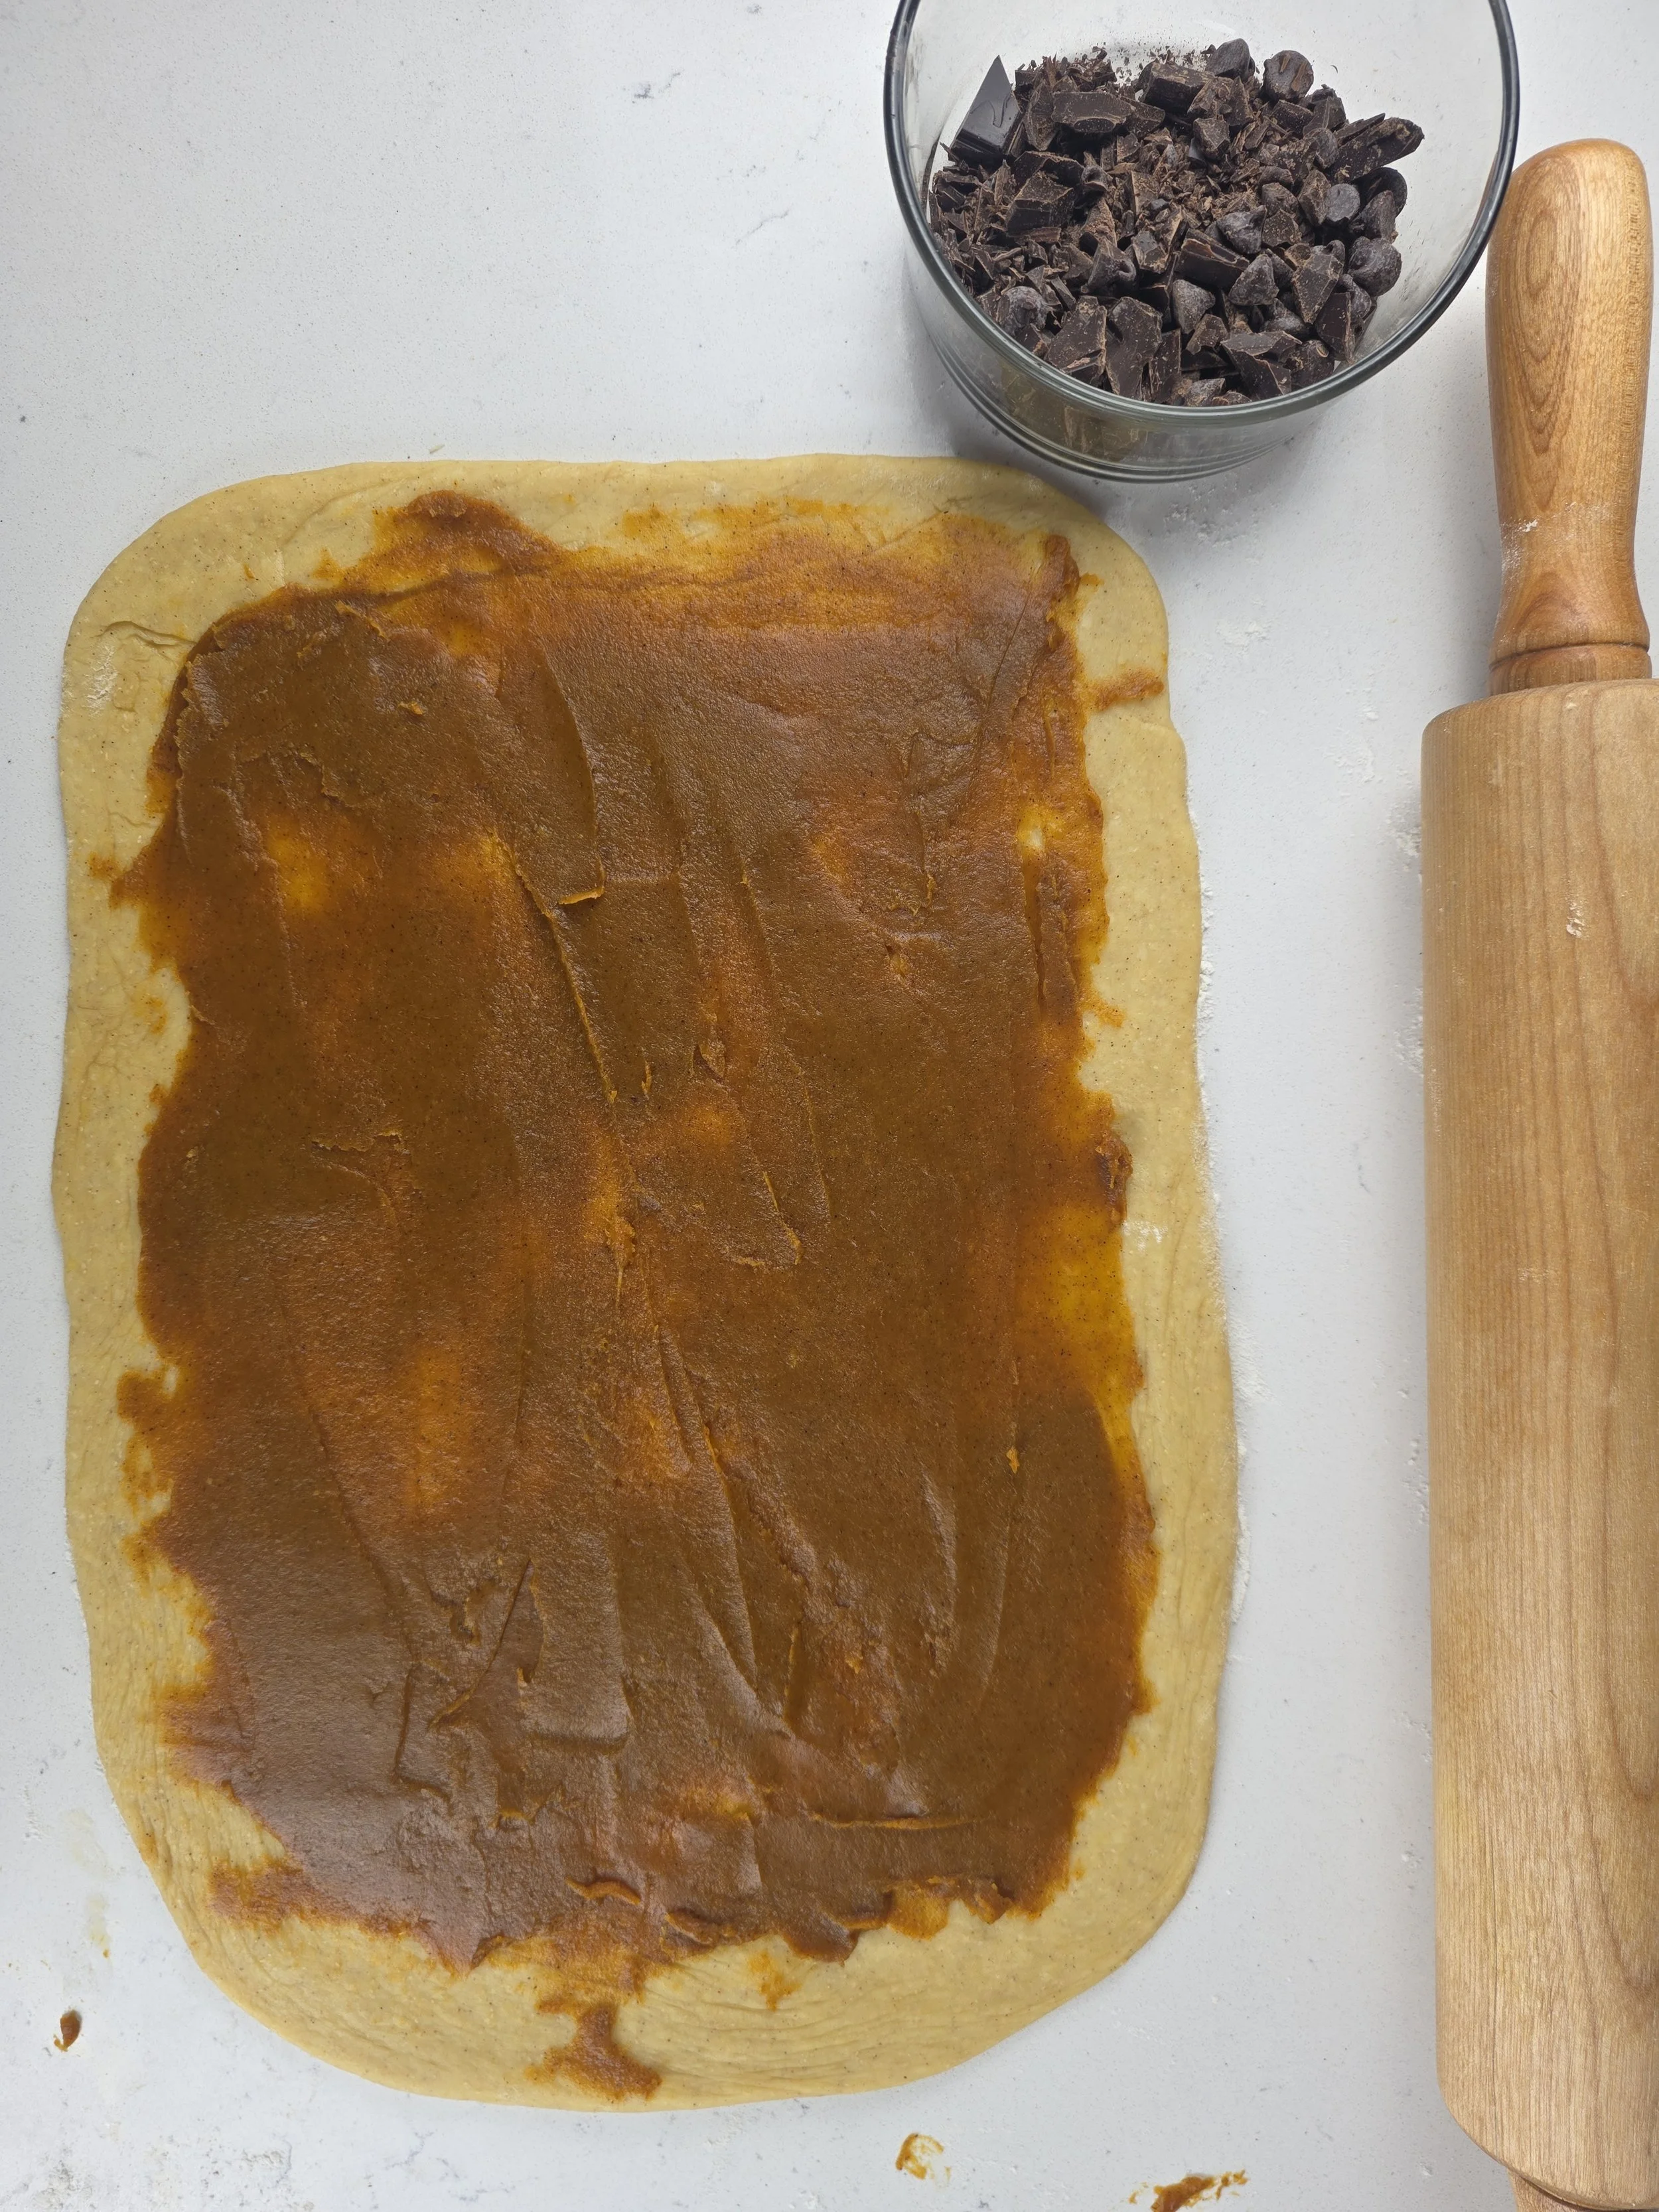
- Lightly flour the work surface and roll the dough into a rectangle approximately 10 × 14 inches. Spread a thin, even layer of completely cooled pumpkin butter over the dough, leaving a small border around the edges. Scatter the chocolate evenly over the filling.
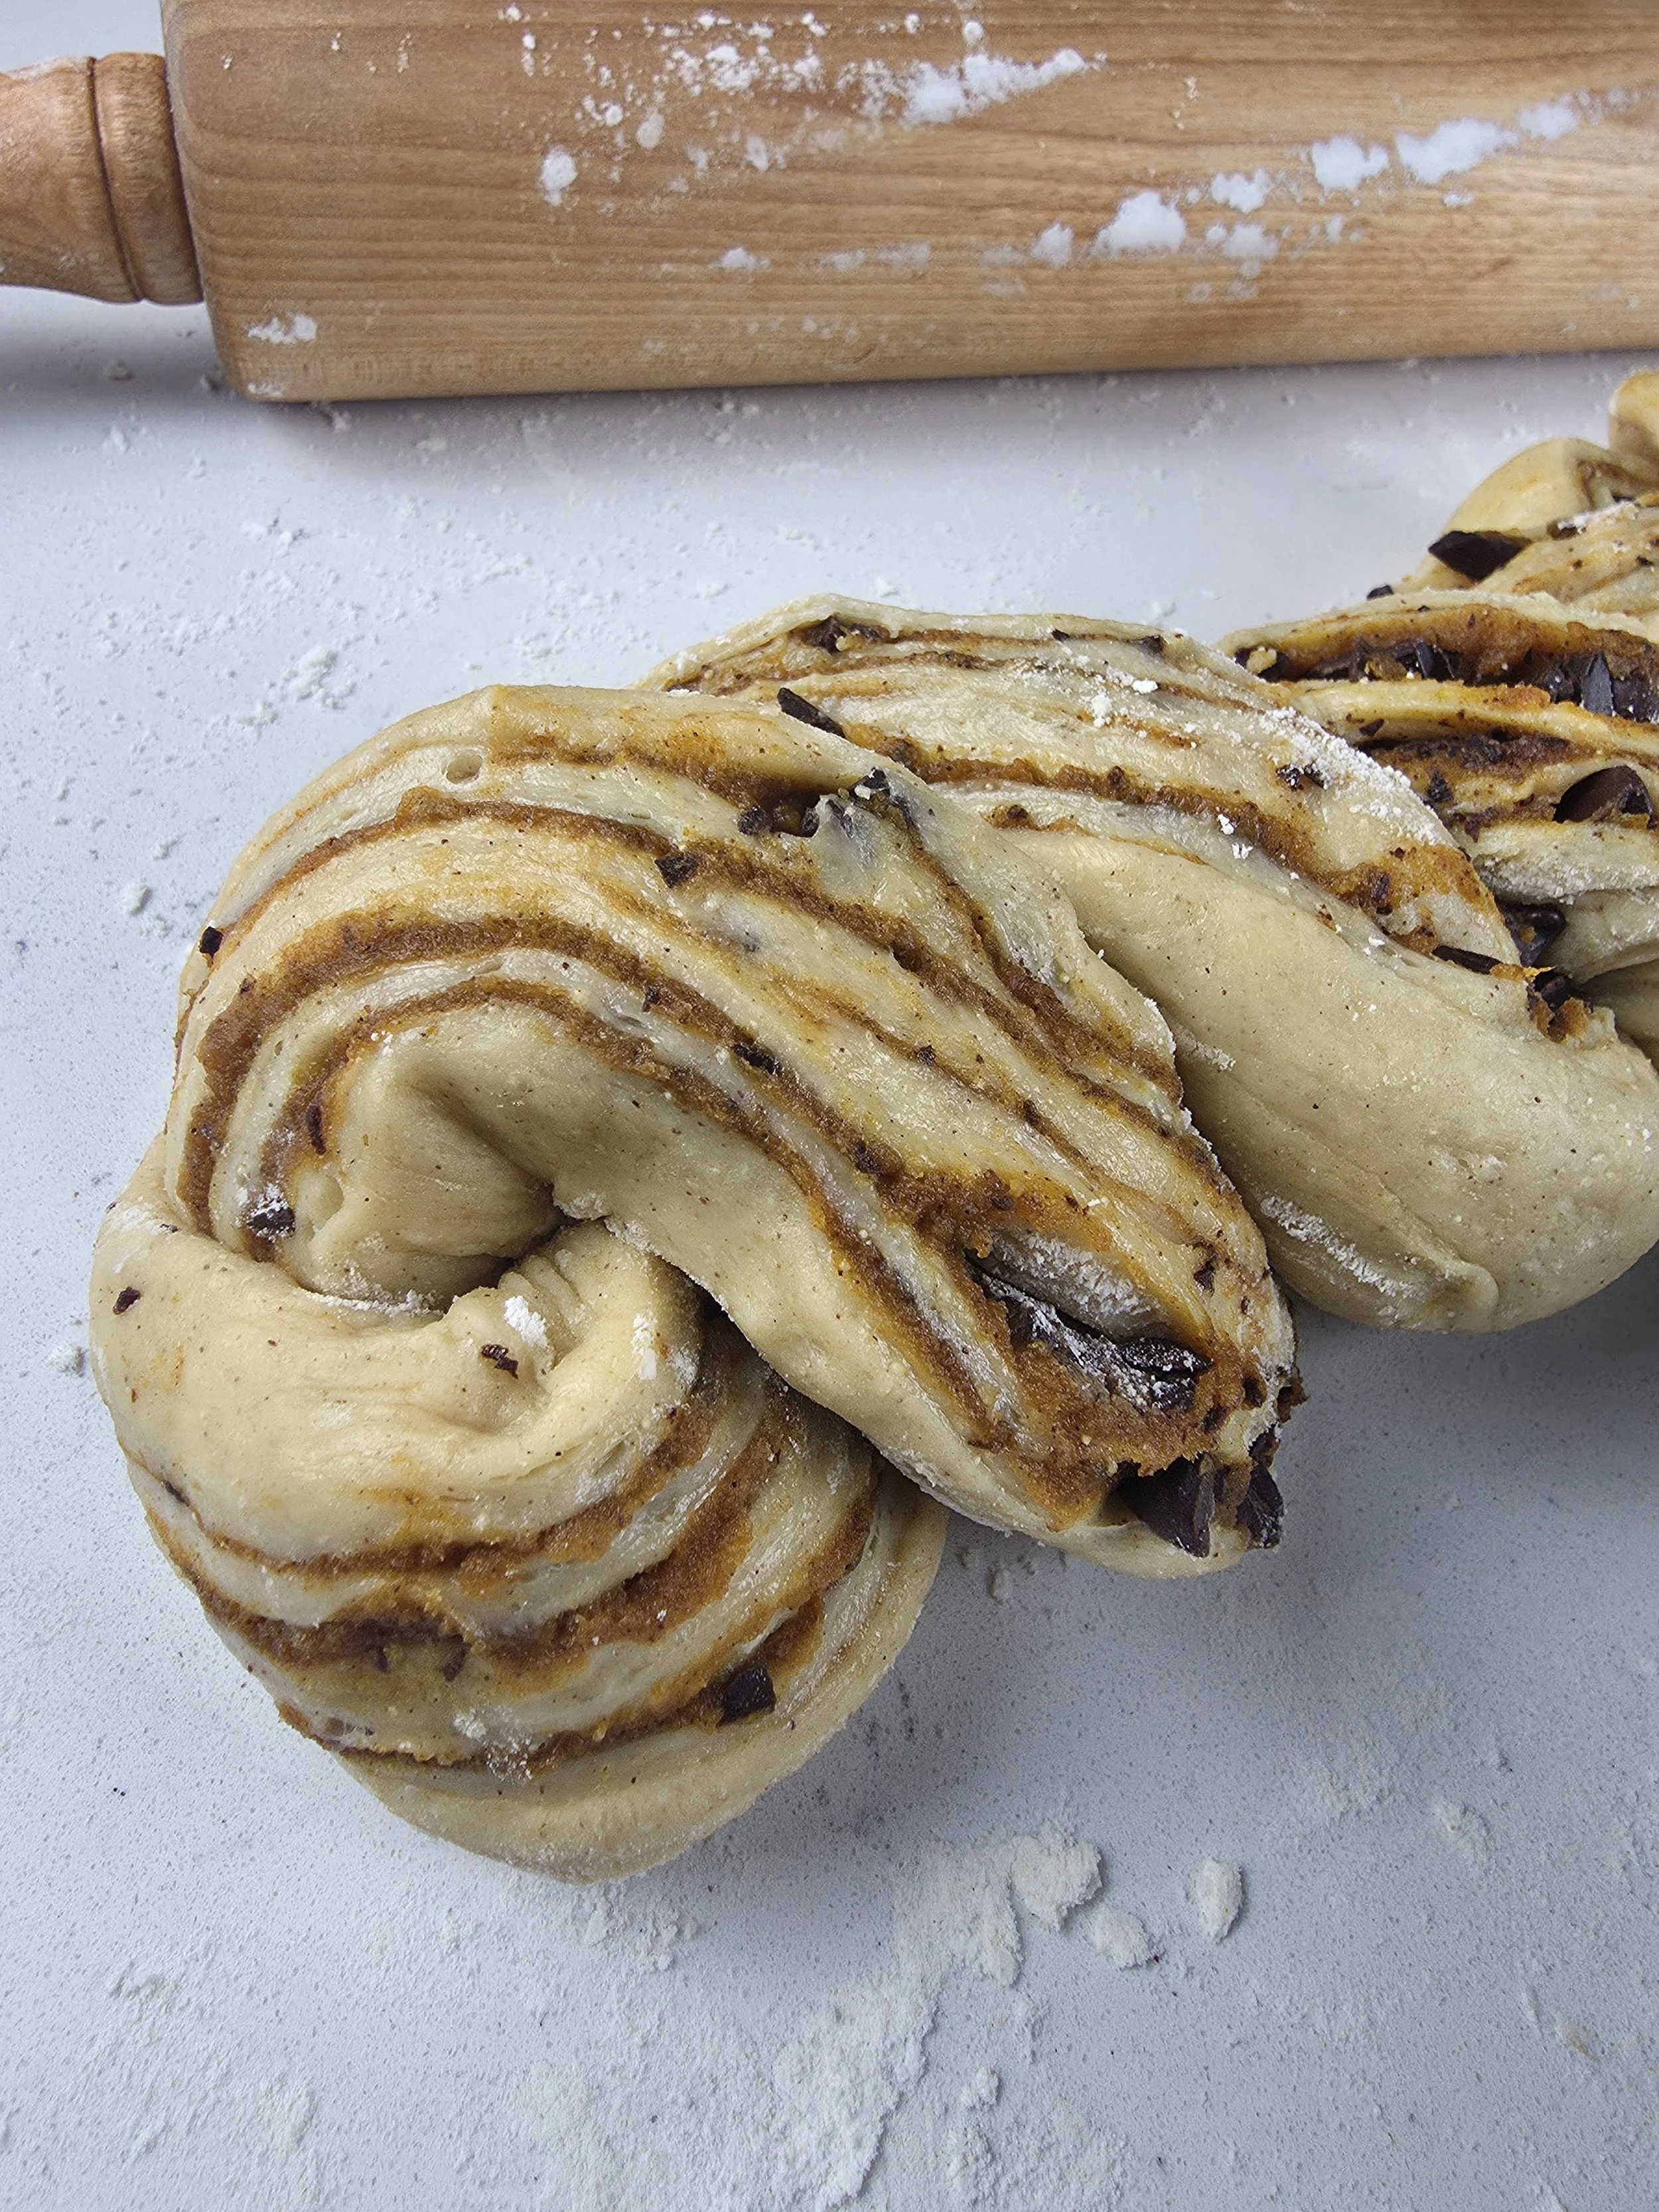
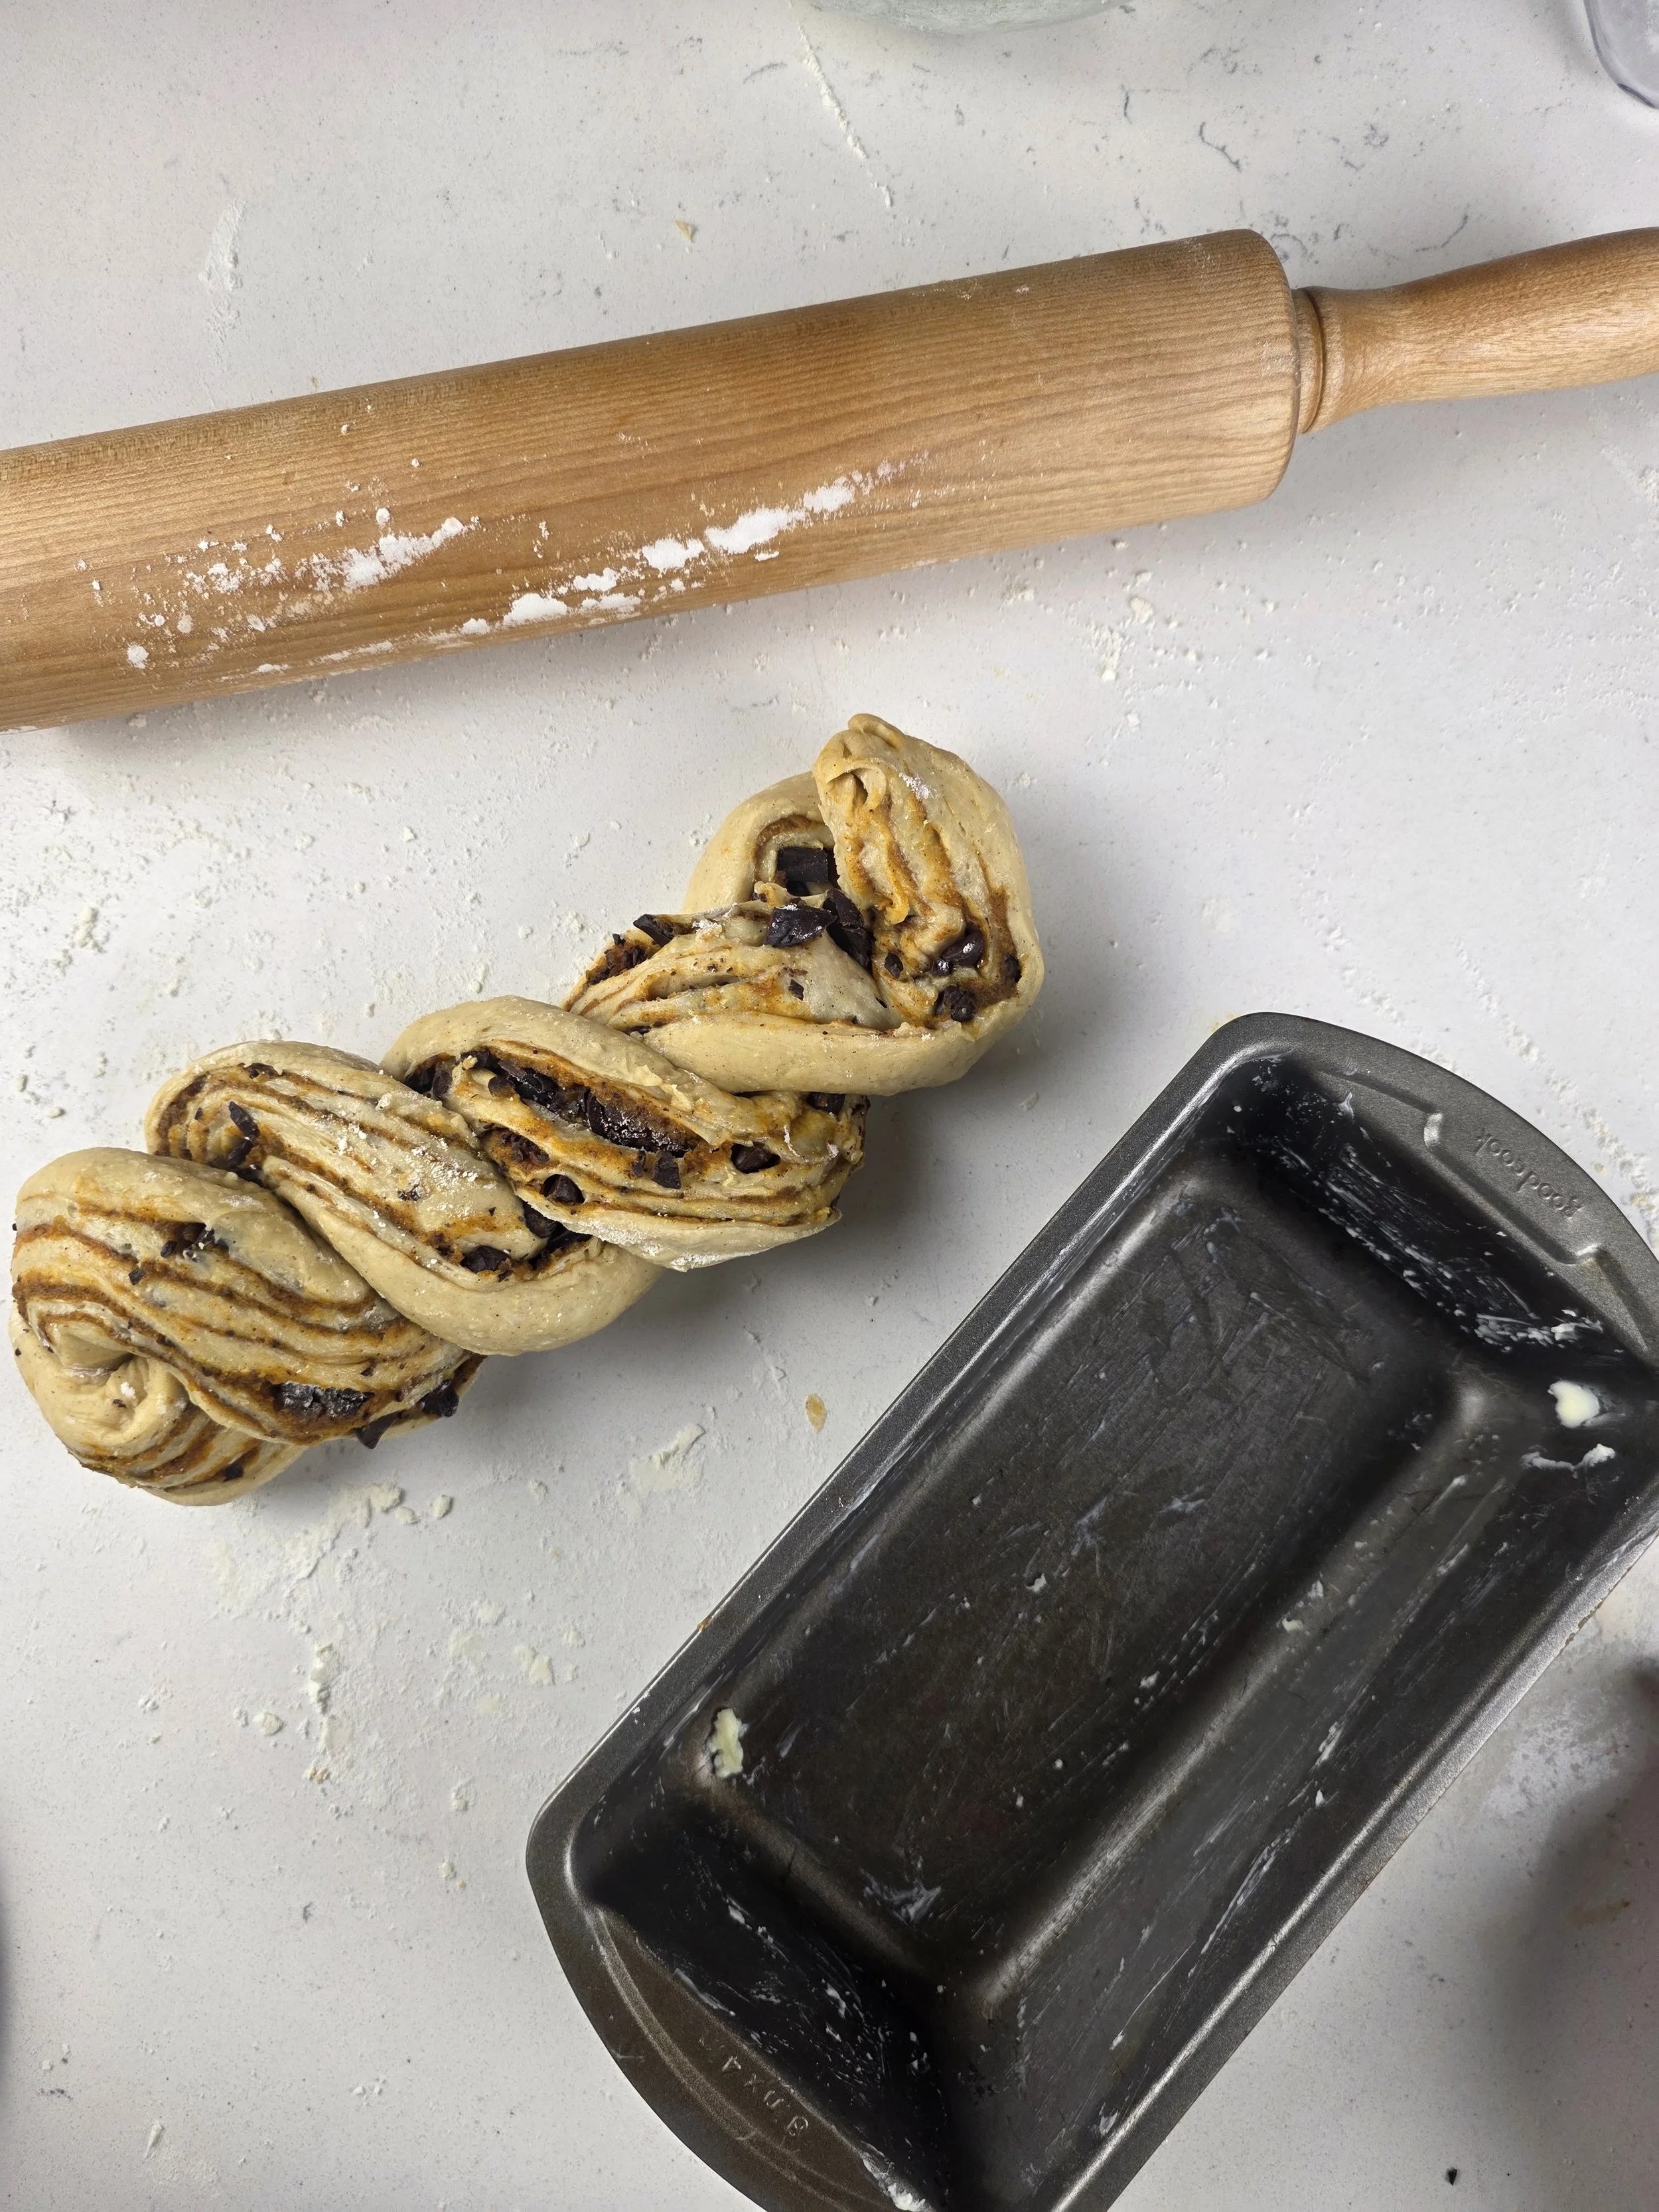
- Roll the dough tightly from one long edge into a log. Pinch the seam closed. With a sharp knife, cut the log lengthwise into two long strands, exposing the layers. Place the cut sides facing upward and twist the strands around one another, keeping the exposed layers facing up as much as possible. Tuck the ends underneath.
- Transfer to a greased or parchment-lined 9 × 5-inch loaf pan. Do not overfill the pan.
- ### 5. Proof the shaped loaf
- Cover loosely and let the shaped loaf rise in a comfortably warm place until noticeably puffy. The strands should look expanded and relaxed, rather than dense and rigid. Depending on room temperature and yeast activity, this may take 45–90 minutes or longer. Do not rely on a fixed time if the loaf has not visibly expanded.
- ### 6. Bake — timing requires verification
- Preheat the oven to 350°F (175°C). Place the loaf on the center rack.
- The expected bake may be around 45–60 minutes, but this range has not been confirmed for this exact recipe. Start checking the loaf after about 35–40 minutes. If the top is already deeply golden while the middle still needs time, tent it loosely with aluminum foil and continue baking.
- Do not remove the loaf just because the crust is browned or a skewer comes out clean near a pocket of chocolate. Check the bread itself in more than one central spot, avoiding obvious chocolate or pumpkin filling. An instant-read thermometer can help when placed in the bread dough rather than the filling; a reading around 190–200°F (88–93°C) is a useful indicator for enriched bread, but it must be combined with other doneness cues.
- Look for a well-set loaf that feels baked rather than soft and compressed in the center. If the center still looks wet, pasty or dough-like, continue baking with the top tented as needed. Let the loaf cool before cutting so the crumb has time to set.
- ### 7. Make the cardamom syrup
- While the babka bakes, combine the sugar, water and crushed cardamom pods in a small saucepan. Bring to a gentle simmer for 1–2 minutes, then remove from the heat and let steep for 5–10 minutes. Strain out the pods.
- ### 8. Finish and cool
- Brush the syrup over the loaf while it is still hot. Let the babka cool in the pan briefly, then transfer it to a wire rack to cool completely before slicing. The filling can remain soft while warm, so allow the loaf to set before judging the final texture.
Notes
- Temperature: Cool the pumpkin butter completely before spreading it over the dough. A warm filling can soften the butter in the dough and make shaping more difficult.
- Filling: Use a thin, even layer of filling. Too much pumpkin butter can make the center damp and the strands slippery. Distribute the chocolate evenly.
- Proofing: Allow enough time for both rises. Rising times vary with room temperature. Look for visible expansion and a puffy dough rather than relying on the clock alone.
- Baking: Watch the loaf as it bakes. If the top browns before the center is baked, loosely tent it with foil and continue baking. Check the bread itself in multiple spots, avoiding pockets of chocolate or pumpkin filling. A thermometer reading alone may be misleading if it lands in the filling.
- Cooling: Cutting while the babka is hot can make the crumb appear gummy. Cooling will not, however, fix genuinely underbaked dough.
- Storage:
- Room temperature: Once completely cool, wrap tightly and store for up to 2 days.
- Refrigerator: Store tightly wrapped for a few additional days if needed, although refrigeration may make the bread firmer and drier.
- Freezer: Wrap the cooled loaf or individual slices well and freeze for up to 2 months for best quality. Thaw before serving and warm gently if desired.
- Leftover pumpkin butter: Refrigerate promptly in a clean, covered container and use within 3 to 4 days, or freeze for longer storage. Homemade pumpkin butter is not shelf-stable and should not be stored at room temperature in a sealed jar.
Nutrition Facts
Calories
300Fat (grams)
12 gCarbs (grams)
42 gSugar (grams)
19 gProtein (grams)
5 gSodium (milligrams)
160 mg
Harissa Hot Honey, Fig & Rosemary Focaccia
A golden, olive-oil-rich focaccia topped with fresh figs, rosemary, salt and a drizzle of homemade harissa hot honey. This version brings together Italian bread-making with North African heat and sweet, jammy figs.
If you've only ever had focaccia with olives, tomatoes or garlic, this one is a fun change. It keeps the classic Italian base, with a chewy, olive-oil-rich crumb, and tops it with fresh figs, rosemary and flaky salt, then finishes everything with a harissa hot honey that brings sweetness, heat and a little tang to every bite.
Figs have been around for a very long time. People have grown them across the Mediterranean and Middle East for thousands of years, and they show up throughout the Bible, including that line in 1 Kings about people living "under their own vine and fig tree." I liked the idea of putting a fruit with that much history on a loaf like this. In the oven, the figs become soft and almost jammy, with caramelized edges. Next to the salty olive oil and rosemary, they're sweet enough to notice, but the bread still eats like bread, not dessert.
The hot honey is my favorite part. Harissa is a North African chile paste with a deep, savory heat, and I warm it gently with honey, then add a squeeze of lemon and a pinch of salt. Poured over the warm focaccia, it settles into the dimples and around the figs. The leftover hot honey is also great on roasted vegetables, chicken, cheese, biscuits, pizza, pretty much anything that could use some sweet heat.
I learned a lot making this, mostly from all the bakers who've already shared what they know about folds, overnight fermentation and what properly proofed dough should look like. Two things stuck with me. First, be patient with the final proof. My kitchen was too cool and the dough just sat there. Once I moved the pan somewhere warm and draft-free, it turned bubbly and puffy, and the difference was obvious. That's why the instructions give you visual cues instead of relying on a set proofing time. Second, stop fiddling. One stretch-and-fold, two gentle coil folds 30 minutes apart, then into the fridge overnight.
This is a more moderately hydrated focaccia, which gives it a soft but chewy crumb with plenty of structure. The edges bake up crisp and golden, while the bottom becomes rich with olive oil. It's just as good eaten on its own, served alongside a meal or sliced for a sandwich.. The edges bake up crisp and golden, while the bottom becomes rich with olive oil. It's just as good eaten on its own, served alongside a meal or sliced for a sandwich. It's the kind of bread I'd happily put on the table at a dinner party, but it's also sturdy and versatile enough to become an everyday favorite.
If you're new to making focaccia, don't overthink it. Pay attention to the dough, give it enough time to proof, and let the visual cues guide you. Once you understand what the dough is supposed to look and feel like, the process becomes much less intimidating.
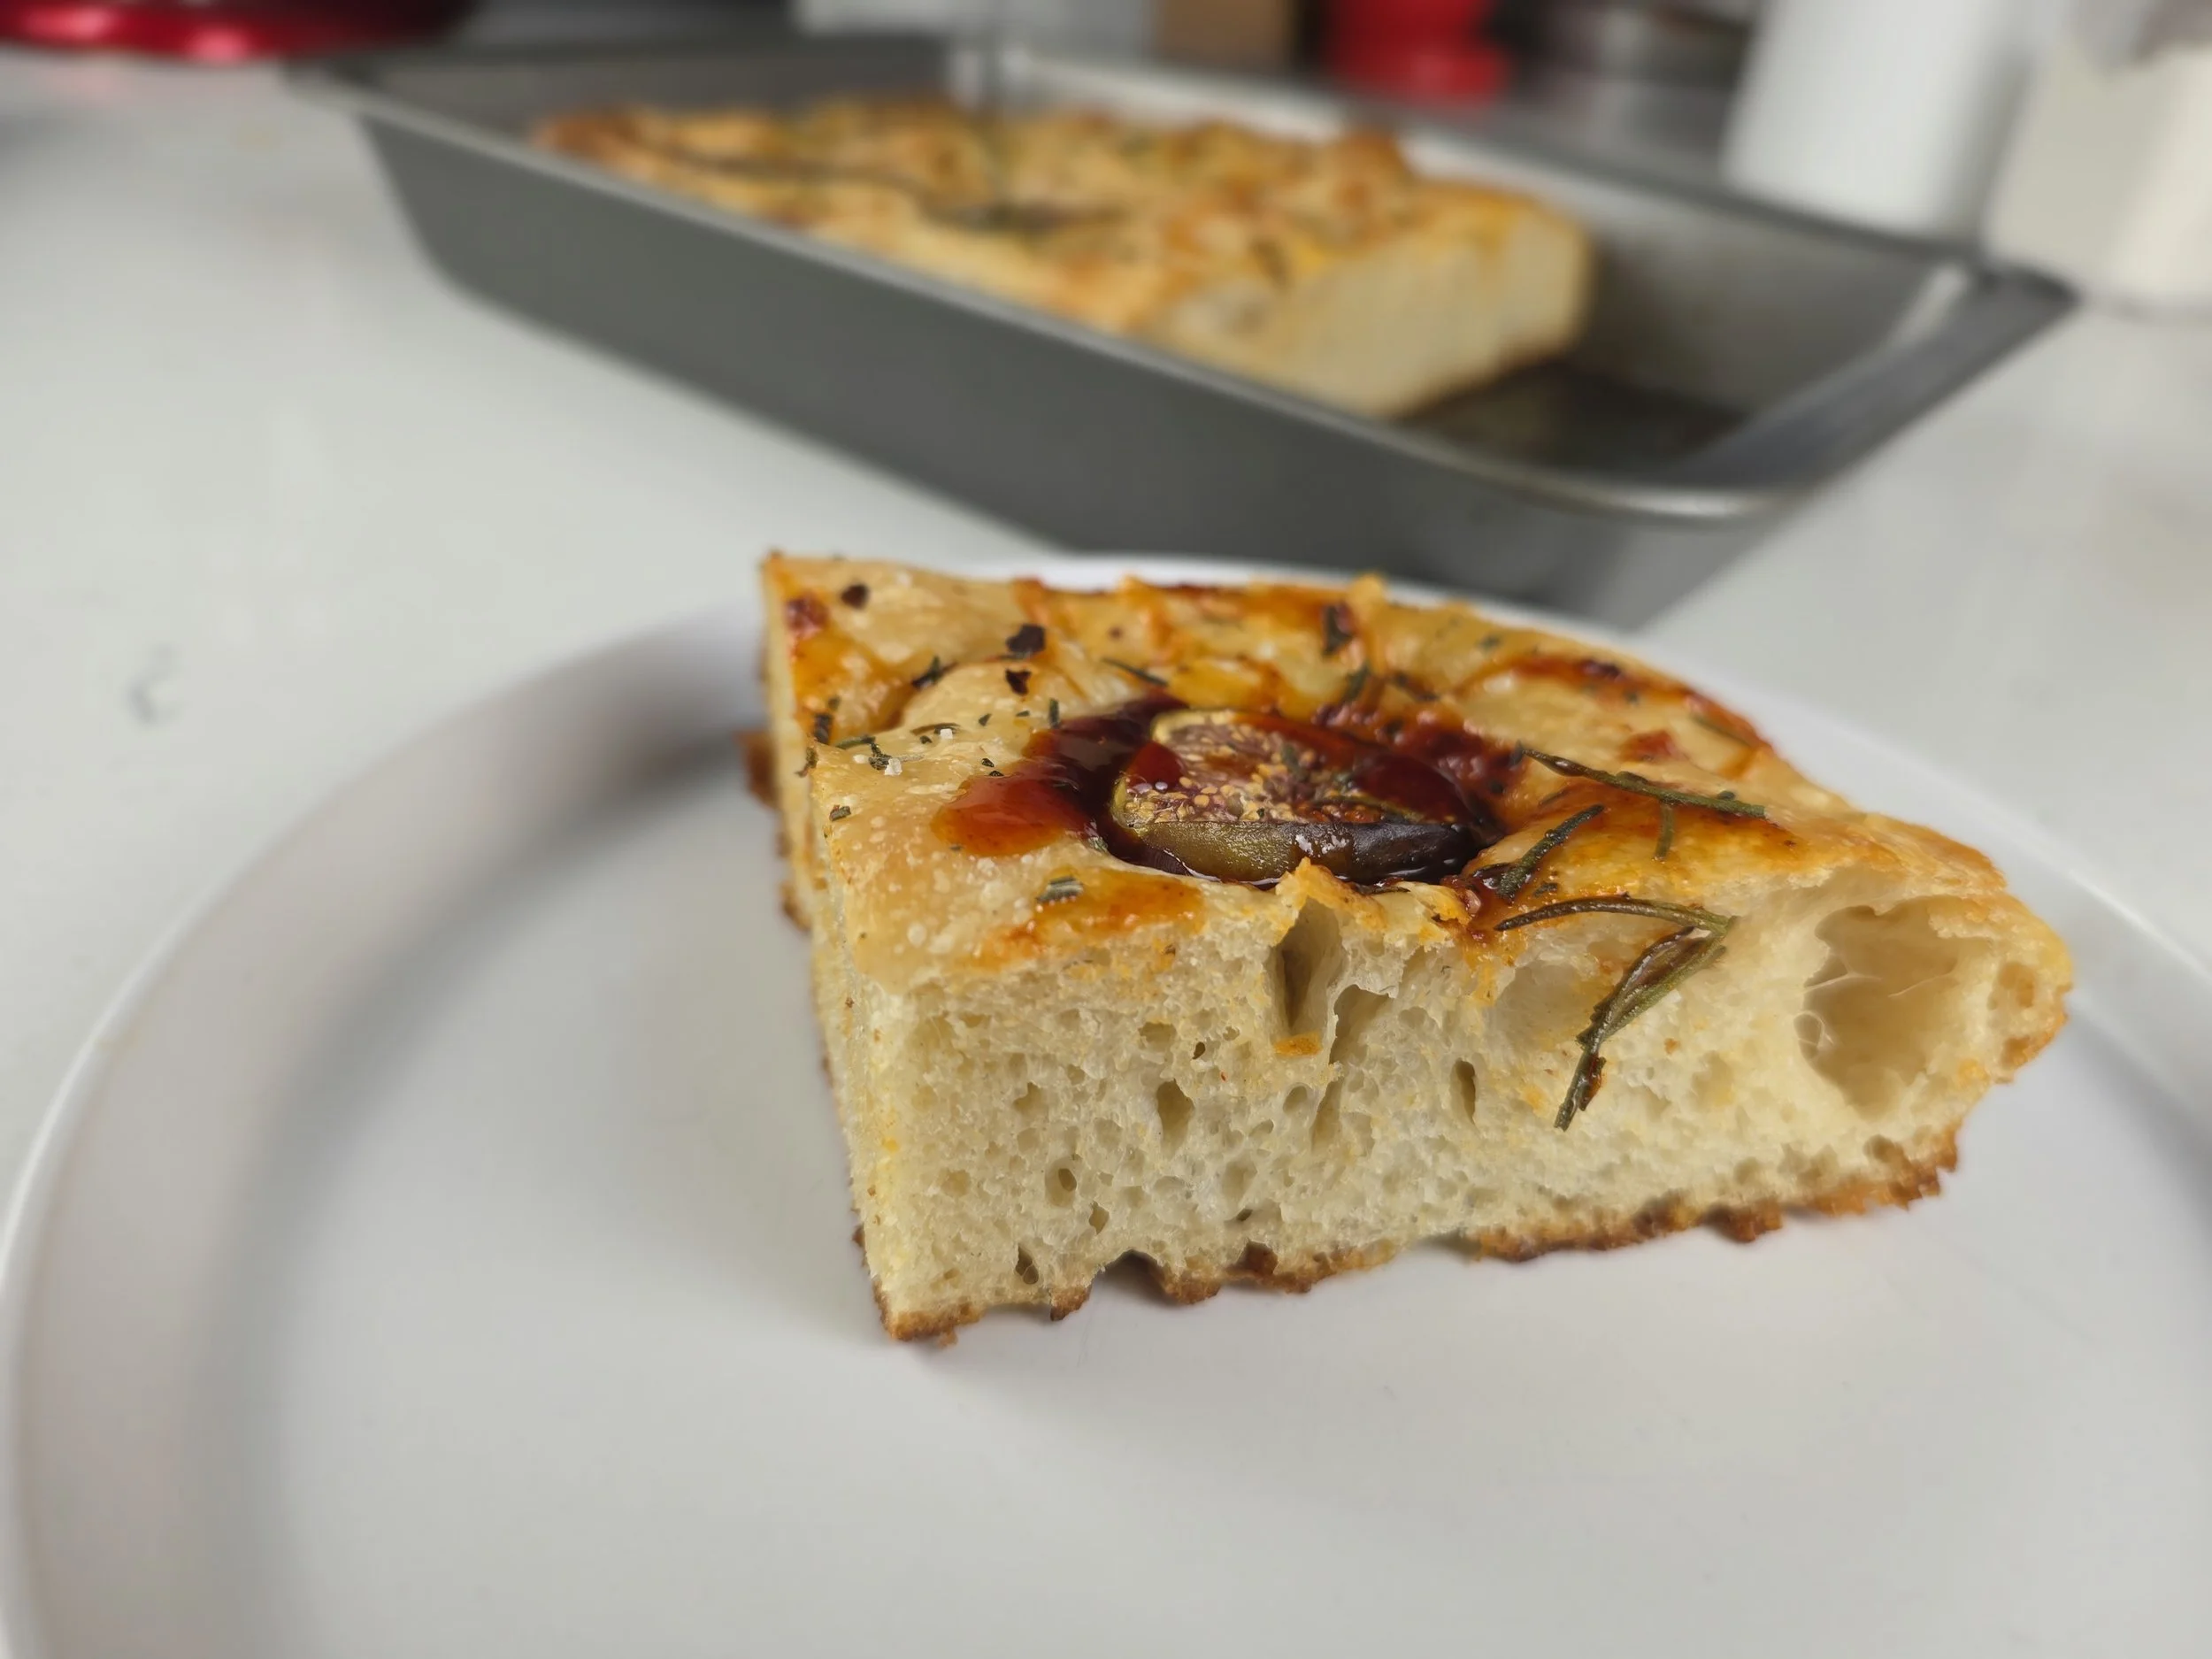
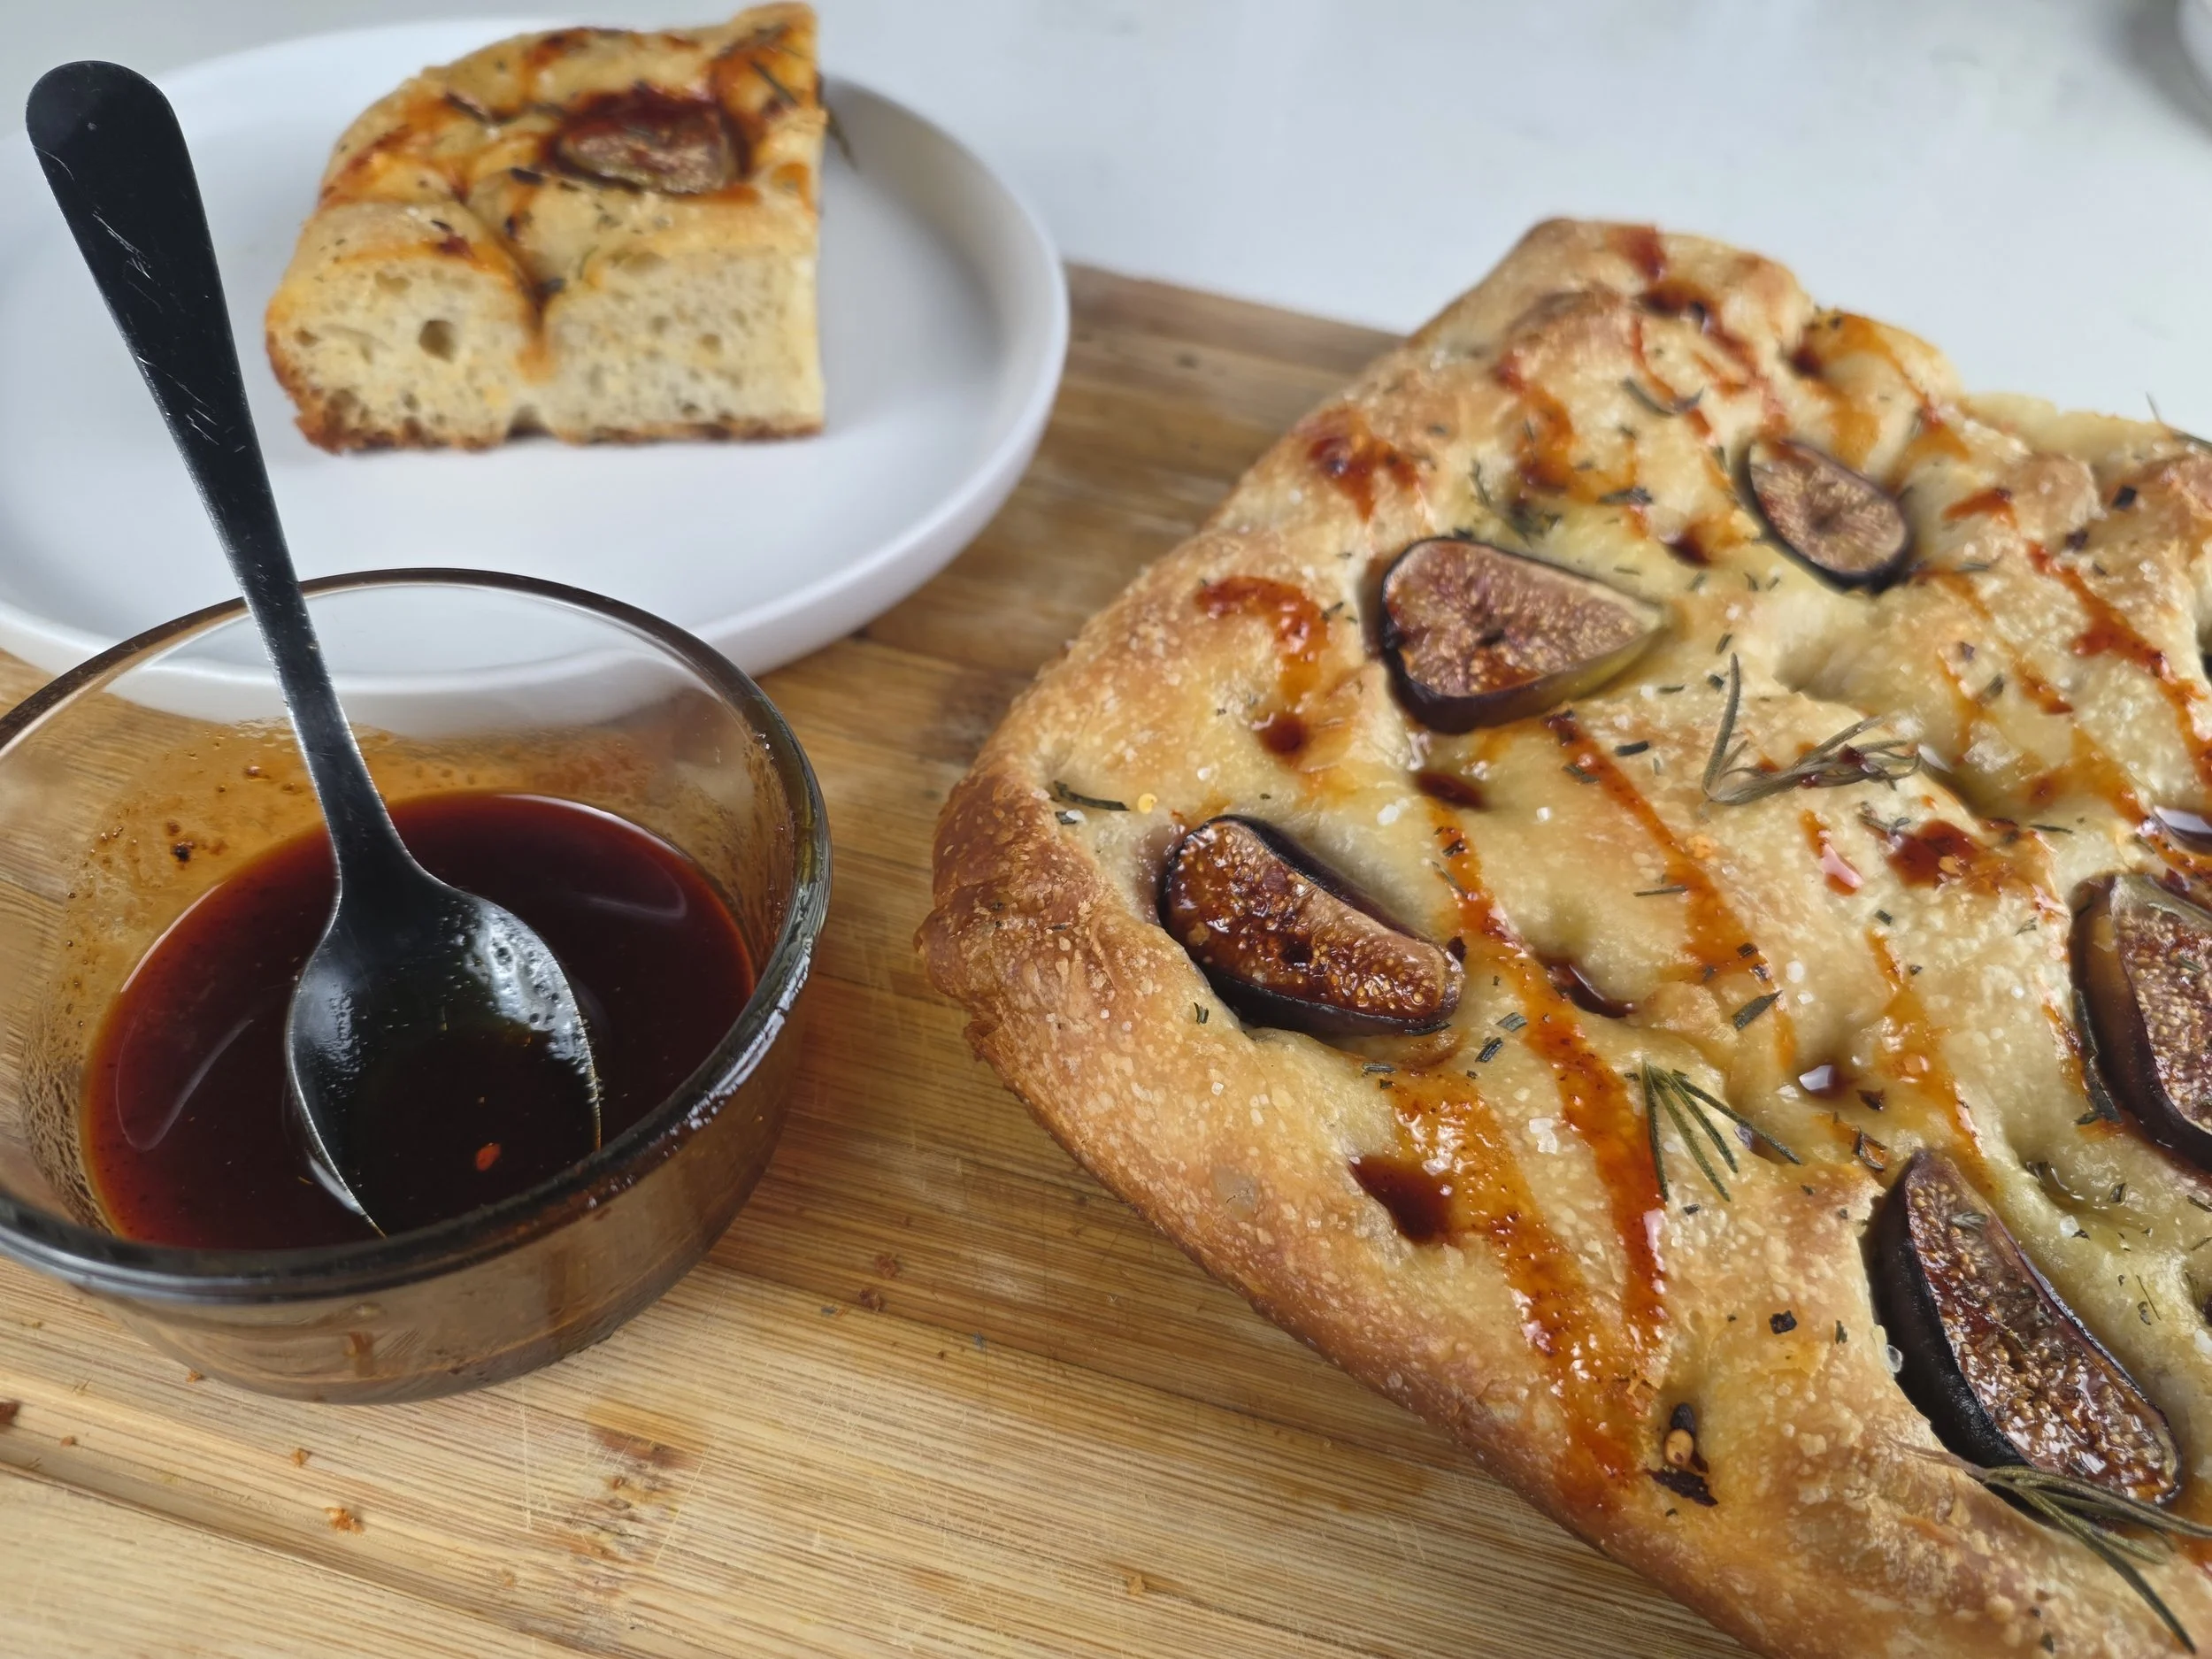

Harissa Hot Honey Fig & Rosemary Focaccia
Sweet, savory, spicy, and full of contrast, this homemade focaccia is topped with fresh figs, rosemary, flaky salt, and a drizzle of harissa hot honey. The soft but chewy bread and crisp, olive-oil-rich edges make the perfect base for jammy figs and North African-inspired chile heat.
Ingredients
- 3⅓ cups bread flour
- 1⅓ cups warm water, plus up to 3 tablespoons additional warm water as needed
- 1 teaspoon instant yeast
- 1½ teaspoons salt
- 1 tablespoon olive oil, plus approximately 2 tablespoons for the pan
- 4–6 fresh figs, halved, skin on
- 1–2 tablespoons fresh rosemary, roughly chopped
- 2 tablespoons olive oil
- Coarse or flaky salt, to taste
- ¼ teaspoon red pepper flakes, optional
- ¼ cup honey
- 1 tablespoon harissa paste
- ½ teaspoon fresh lemon juice
- Pinch of salt
Instructions
- In a large bowl, mix together 3⅓ cups bread flour, 1 teaspoon instant yeast, and 1½ teaspoons salt.
- Add 1⅓ cups warm water and 1 tablespoon olive oil and mix until a soft, cohesive, slightly sticky dough forms. The dough should not feel stiff or dry. If it does, add additional warm water 1 tablespoon at a time, mixing between additions, up to 3 additional tablespoons. For my batch, I needed all 3 tablespoons of additional water. Once the dough is soft, cohesive, and slightly sticky, cover the bowl and let it rest for 30 minutes.
- With slightly wet hands, perform a stretch-and-fold by grabbing one side of the dough, gently stretching it upward, and folding it over itself. Rotate the bowl and repeat on all four sides. Cover and let the dough rest for another 30 minutes.
- Wet your hands and perform the first coil fold by sliding both hands underneath the center of the dough and gently lifting it, allowing the ends to tuck underneath. Rotate the bowl about 90 degrees and repeat for approximately 4 gentle lifts. Cover and let the dough rest for 30 minutes.
- Repeat the same gentle coil-fold process for the second and final coil fold. Do not continue folding or manipulating the dough beyond this point. Cover the bowl tightly with foil or plastic wrap and refrigerate overnight for 8–18 hours.
- The next day, generously coat a 9×13-inch baking pan with approximately 2 tablespoons olive oil. Remove the dough from the refrigerator and transfer it directly into the prepared pan. Let it rest for 15 minutes.
- Gently stretch the dough toward the edges and corners of the pan without forcing it. If the dough resists or springs back, let it rest for another 10–15 minutes, then gently stretch it again.
- Cover the pan and place it in a warm, draft-free environment around 75–80°F (23.9–26.7°C). A turned-off oven with the light on works well. Start checking the dough at approximately 1½ hours. The dough is ready when it is visibly puffy, airy, bubbly, noticeably expanded, and gently jiggly. The exact timing will depend on the temperature of your kitchen and dough, so use the appearance of the dough as your guide rather than relying strictly on the clock. Do not rush this step, the dough needs enough time to properly proof, which helps create a softer, lighter crumb.
- While the dough finishes proofing, make the harissa hot honey. Combine ¼ cup honey and 1 tablespoon harissa paste in a small saucepan and warm gently over low heat, stirring until combined. Do not boil, you can also use the microwave. Remove from the heat and stir in ½ teaspoon lemon juice and a tiny pinch of salt. Set aside.
- Once the dough has finished proofing, carefully remove the pan from the oven and set it aside. Preheat the oven to 425°F. While the oven preheats, remove the cover from the proofed dough and drizzle 2 tablespoons olive oil evenly over the surface. Lightly oil your fingertips and press them firmly into the dough to create deep focaccia dimples without punching all the way through.
- Arrange the halved fresh figs, cut-side up, across the surface. Scatter the chopped rosemary over the top, adding a few small intact rosemary sprigs for presentation if desired. Sprinkle with coarse or flaky salt and approximately ¼ teaspoon red pepper flakes, if using. Do not add another drizzle of olive oil after this; the 2 tablespoons of topping oil are the total amount used on the surface before baking.
- Bake at 425°F for 20–25 minutes, beginning to check around the 20-minute mark. The focaccia is ready when the surface is golden, the edges are crisp and browned, and the bottom is well browned. If it needs additional color, continue baking for a few more minutes rather than significantly extending the bake time.
- Remove the focaccia from the oven and allow it to cool for 10 minutes. If it is still extremely hot after 10 minutes, give it a little longer before adding the honey. Drizzle the harissa hot honey over the warm focaccia in thin ribbons, then let it continue cooling for 15 minutes before cutting.
- Transfer the focaccia to a cutting board if it releases easily from the pan. Cut into rectangles or squares; a 9×13-inch pan can be cut into 9 large pieces or 12 medium pieces. If the focaccia sticks to the pan, run a thin metal spatula around the edges and underneath the individual pieces rather than trying to force the entire slab out at once. Serve warm or at room temperature.
Notes
- The dough should be soft, sticky, and hydrated, not stiff. If it feels dry after adding the initial water, add the additional warm water 1 tablespoon at a time, up to 3 tablespoons.
- The final proof is important. Proof the dough in a warm, draft-free environment around 75–80°F (24–27°C) and judge readiness by the dough’s appearance rather than the clock. It should look puffy, airy, bubbly, expanded, and gently jiggly. If using a turned-off oven with the light on for proofing, remove the focaccia from the oven before preheating.
- The figs are best placed cut-side up so they soften and caramelize as they bake.
- The harissa hot honey can be adjusted to taste. Add more or less harissa depending on how much heat you want.
- For the best texture, serve the focaccia the day it is baked. For longer storage, freeze individual pieces once completely cooled.
- If the focaccia sticks to the pan, run a thin metal spatula around the edges and underneath individual pieces rather than trying to lift the entire loaf at once.
About the crumb: This recipe uses a more moderate hydration, which gives the focaccia a soft but chewy crumb with plenty of structure. The edges bake up crisp and golden, while the bottom becomes rich with olive oil. It is delicious served on its own, alongside a meal, or sliced for a sandwich.
Nutrition Facts
Calories
220Fat (grams)
8 gCarbs (grams)
34 gFiber (grams)
2 gSugar (grams)
8 gProtein (grams)
5 gSodium (milligrams)
310 mg
Buttermilk Rusks with Biscoff
If you didn’t grow up in Southern Africa, you might be wondering what on earth a rusk is. If you did, this probably feels like home already.
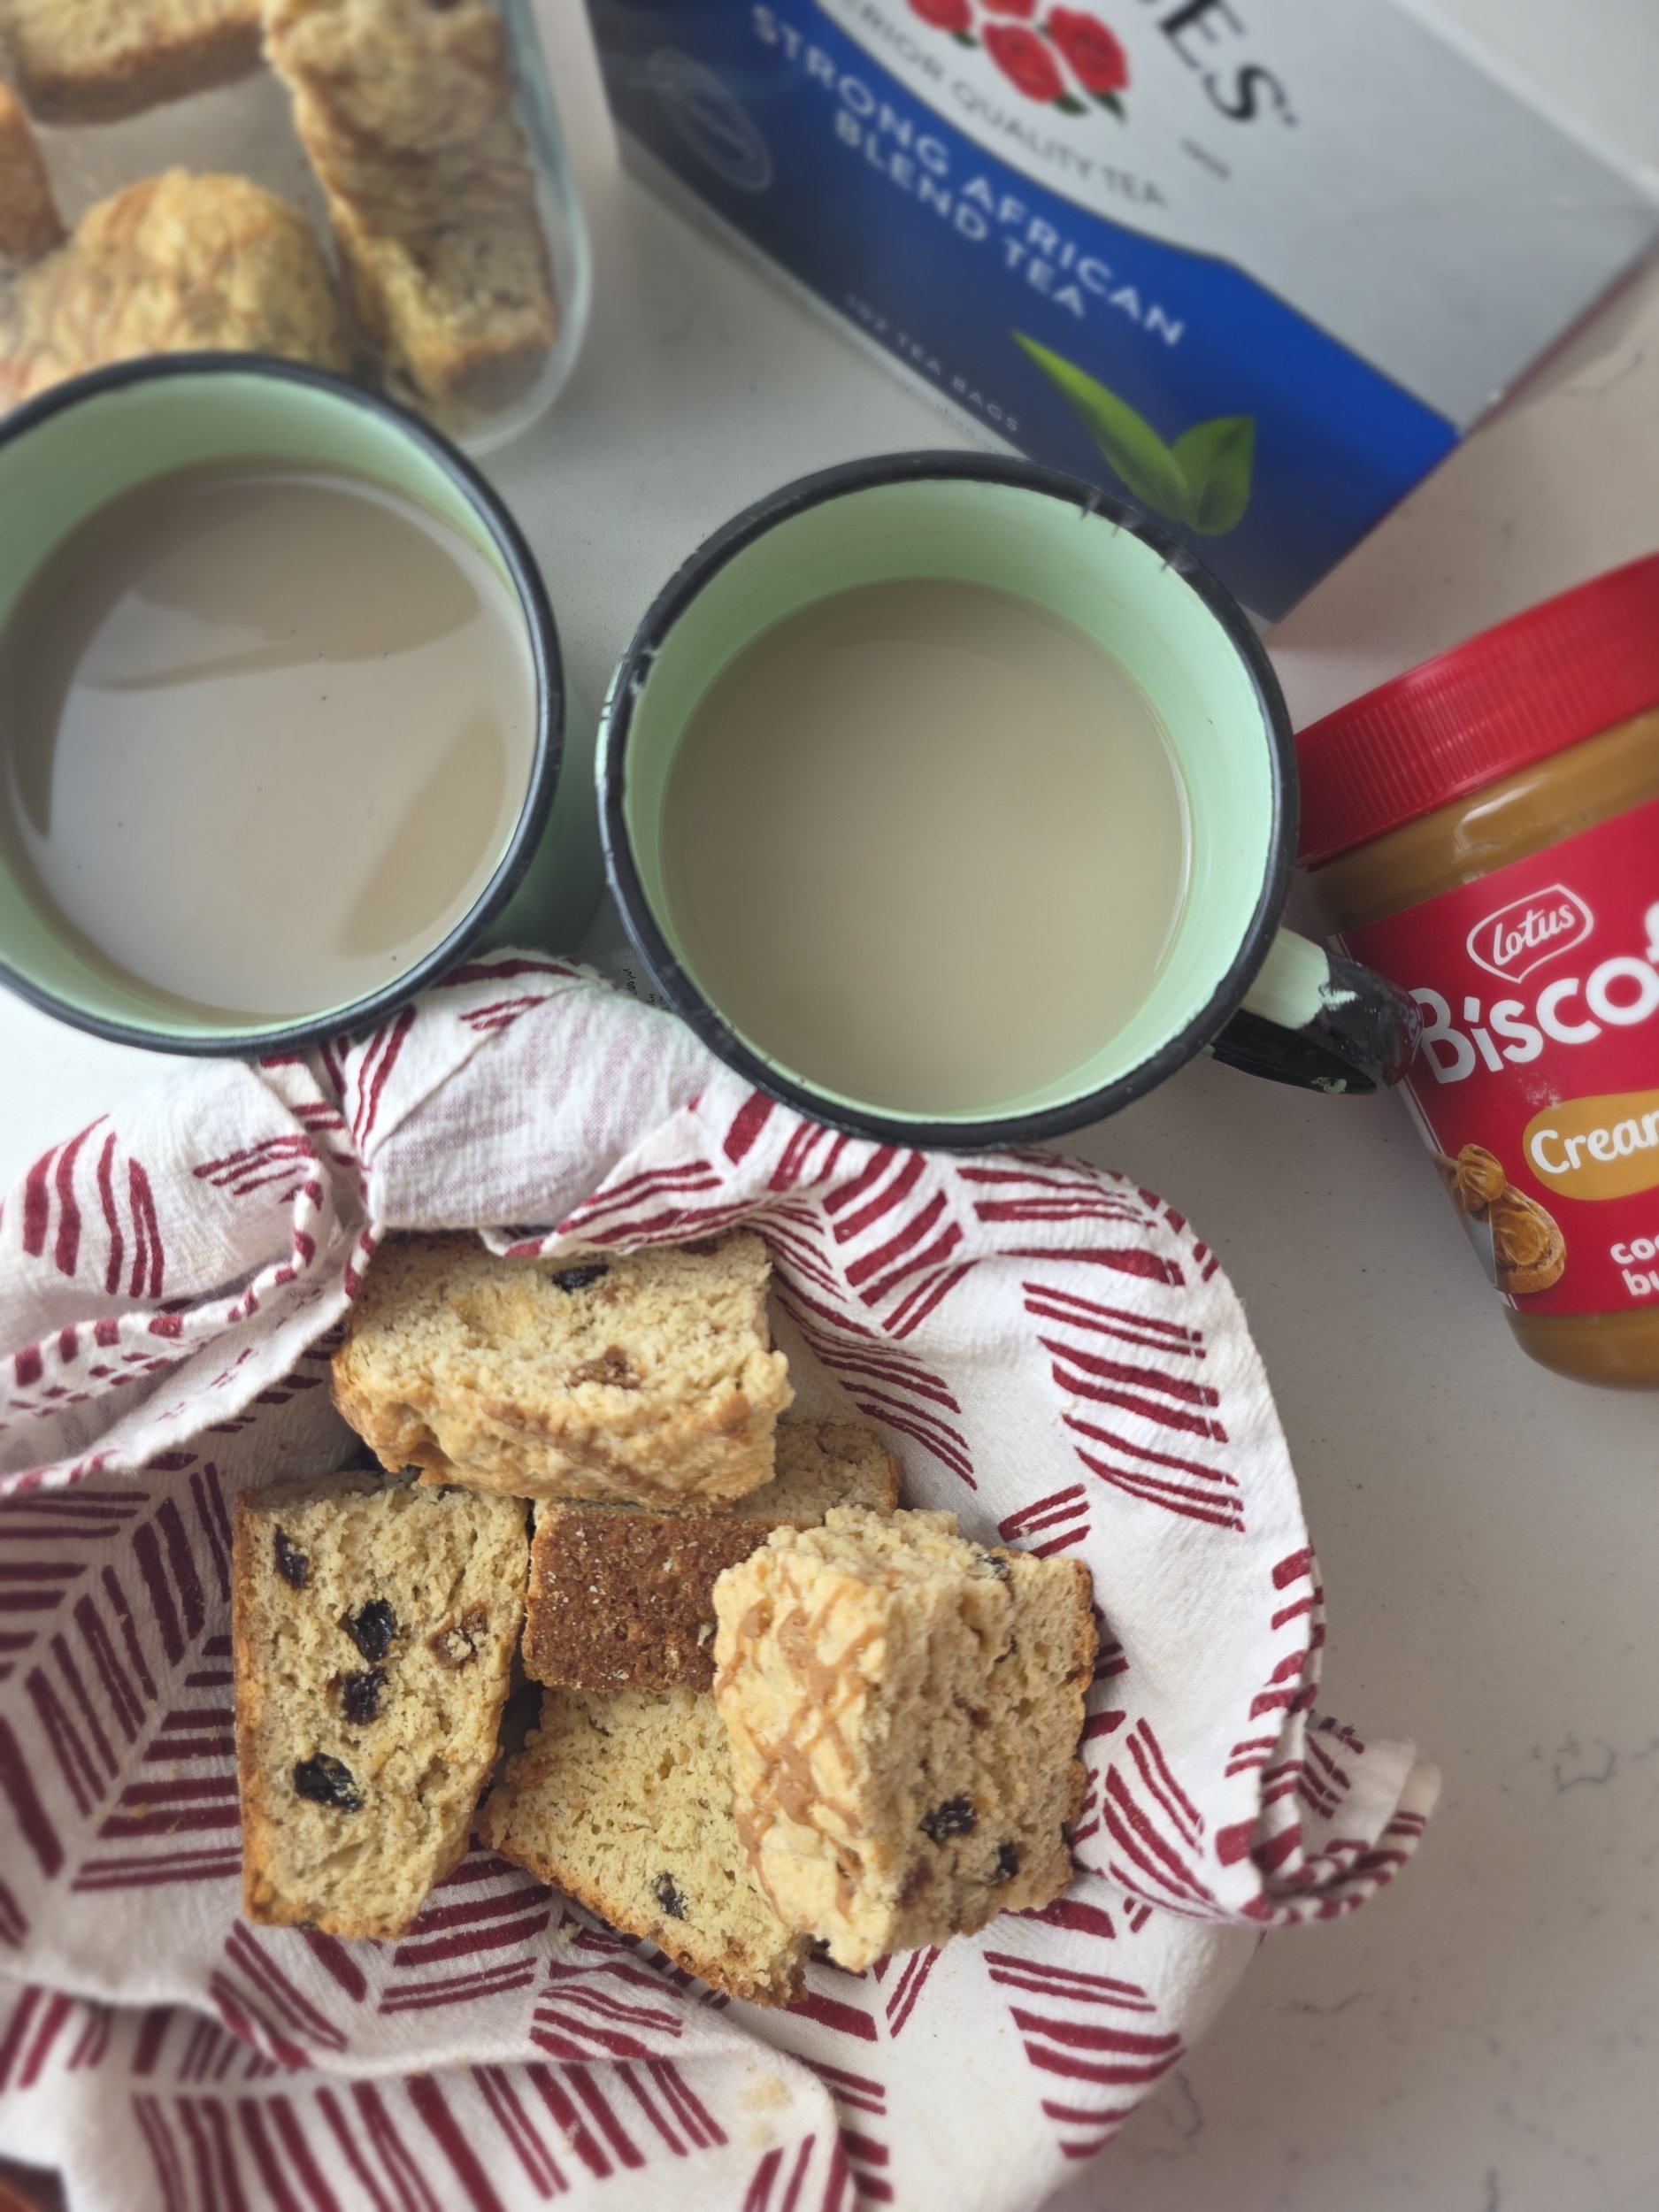
Rusks are a beloved South African baked good, and somewhere between a biscuit and bread, twice-baked until golden and crunchy. Traditionally made as buttermilk rusks, they’re designed for one very important purpose: dunking. Into hot tea or strong coffee sweetened with condensed milk. And yes, they absolutely must survive the dunk.
Across South Africa and Zimbabwe, rusks are more than just a snack. They’re part of early mornings before school, long road trips, and quiet moments in the outdoors as the sun rises. They’re passed around at lodges before a sunrise game drive, packed for camping trips, and served with enamel mugs of tea that steam in the cool bush air. If you’ve ever been on safari at dawn, you’ll know the ritual of hot drink in hand, a crunchy rusk, and that first golden light over the landscape.
A traditional buttermilk rusks recipe creates a rich, slightly tangy dough that’s baked, sliced, and baked again until perfectly dry and crisp. The result is a sturdy, comforting bake that softens just enough when dunked. This version keeps the classic South African buttermilk rusk base but adds a modern twist with Biscoff. That caramelised, spiced flavour melts into the dough and takes this humble favourite somewhere deliciously new, without losing what makes rusks so iconic in the first place.
Whether you’re here because you grew up with rusks, you’re searching for an easy buttermilk rusks recipe, or you’re simply curious about this Southern African classic, you’re in the right place.
For a festive twist, try my Cranberry Orange Rusks, they use the same buttermilk base but with tart cranberries and zesty orange peel for a holiday flavor.
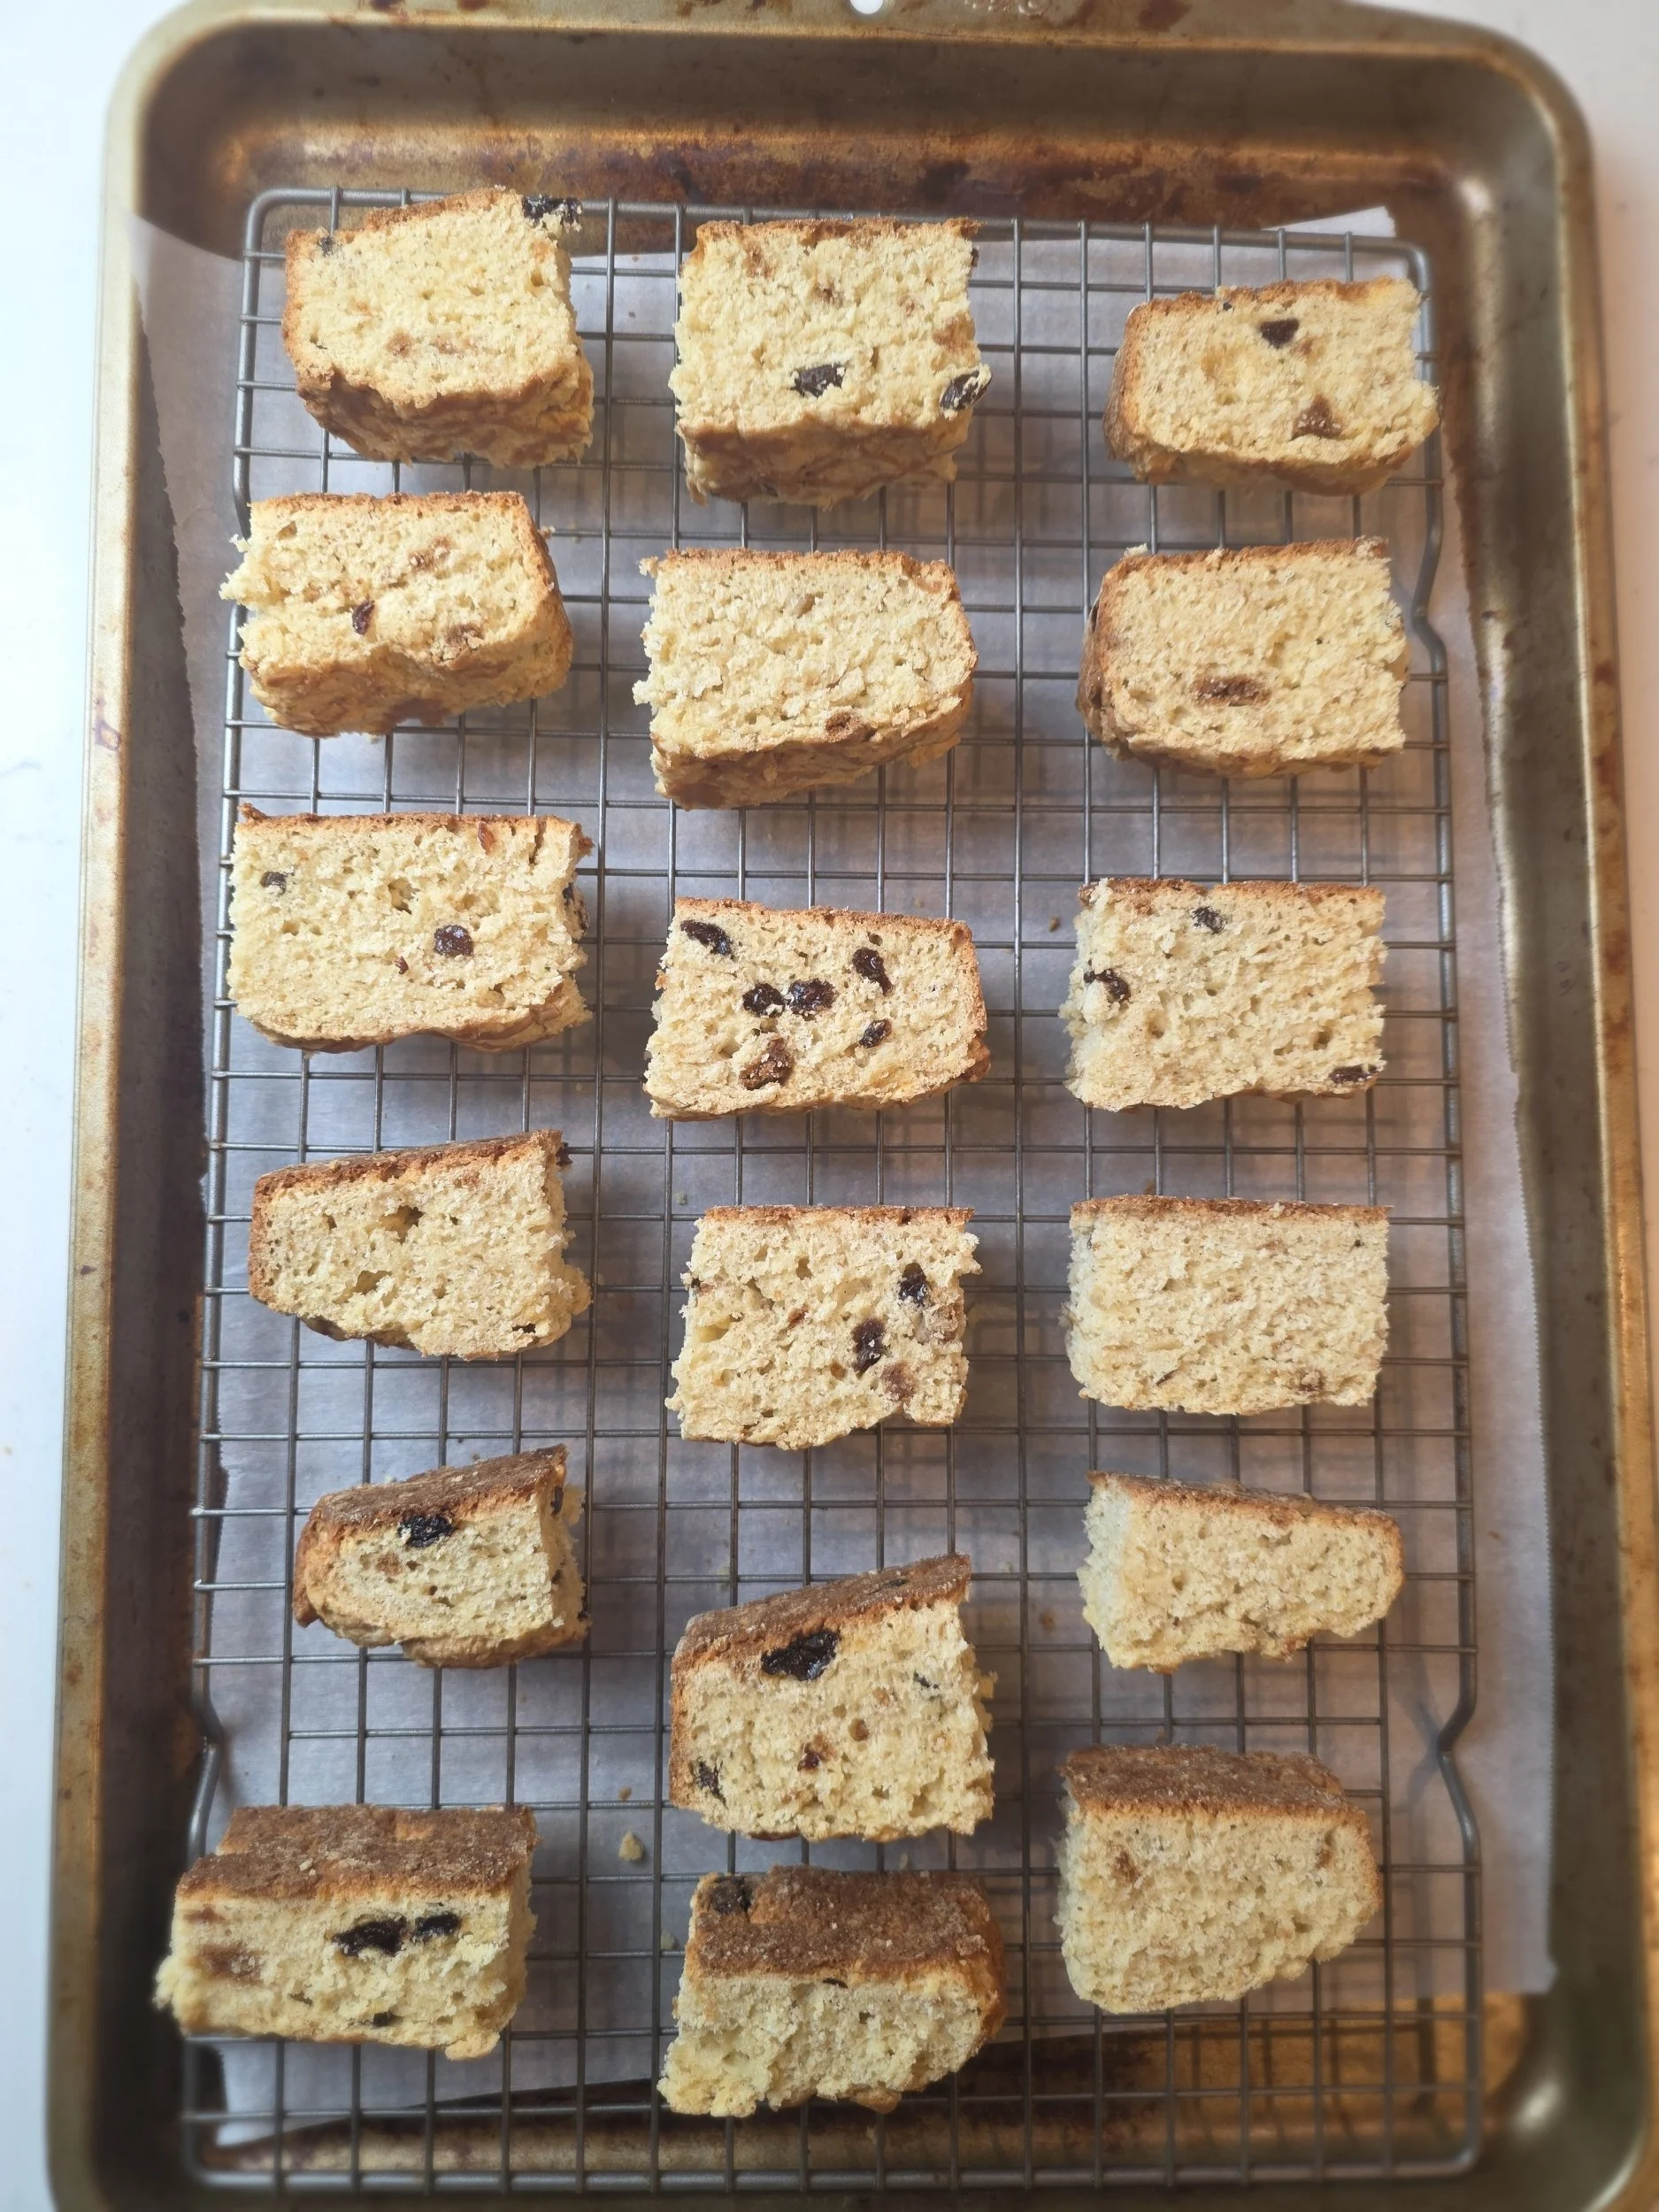

Buttermilk Rusks with Biscoff
These traditional buttermilk rusks are twice-baked until golden and crunchy, then infused with a rich Biscoff twist. Perfect for dunking into hot tea or strong coffee, this easy homemade rusk recipe delivers the sturdy texture and comforting flavour that make rusks a Southern African favourite.
Ingredients
- 2 cups all-purpose flour
- 2 tsp baking powder
- ½ cup light brown sugar
- ¼ tsp salt
- ½ tsp cinnamon (optional)
- ¼ cup Biscoff biscuits, crushed (small chunks, not fine crumbs)
- ¼ cup raisins
- ¾ cup buttermilk
- 1 large egg
- ¼ cup melted butter
- 2 tbsp Biscoff spread, warmed slightly for drizzling
Instructions
- Preheat the oven to 375°F (191°C).
- Grease and lightly flour a shallow baking dish.
- In a large bowl, whisk together the flour, baking powder, brown sugar, salt, and cinnamon.
- Fold in the crushed Biscoff biscuits and raisins.
- In a separate bowl, whisk together the egg, buttermilk, and melted butter.
- Pour the wet ingredients into the dry ingredients and mix until just combined. Do not overmix. The dough will be thick and slightly sticky!
- Press the dough evenly into the prepared baking dish. Smooth the top with a spatula or rolling pin.
- Lightly drizzle the warmed Biscoff spread over the surface. Aim for an even drizzle rather than a thick layer.
- Bake for 30–35 minutes, or until golden and firm in the centre.
- Allow to cool in the pan for about 20 minutes, then transfer to a wire rack and cool completely to room temperature.
- Cut into thick bars or fingers using a sharp serrated knife.
- Reduce the oven temperature to 200°F (93°C). Place the sliced rusks on a wire rack set over a baking tray to allow air circulation.
- Bake for 1½ to 2 hours, flipping halfway through, until fully dry and crisp inside.
- For slightly softer rusks: dry closer to 1½ hours. For firmer, more traditional dunking rusks: dry up to 2 hours.
- For extra even drying, switch off the oven and leave the rusks inside with the door slightly ajar for 20–30 minutes.
- Cool completely before storing in an airtight container.
Nutrition Facts
Calories
180Fat (grams)
7 gCarbs (grams)
25 gFiber (grams)
1 gSugar (grams)
10 gProtein (grams)
4 gI am not a certified nutritionist and any nutritional information on dontmissmyplate.com should only be used as a general guideline.
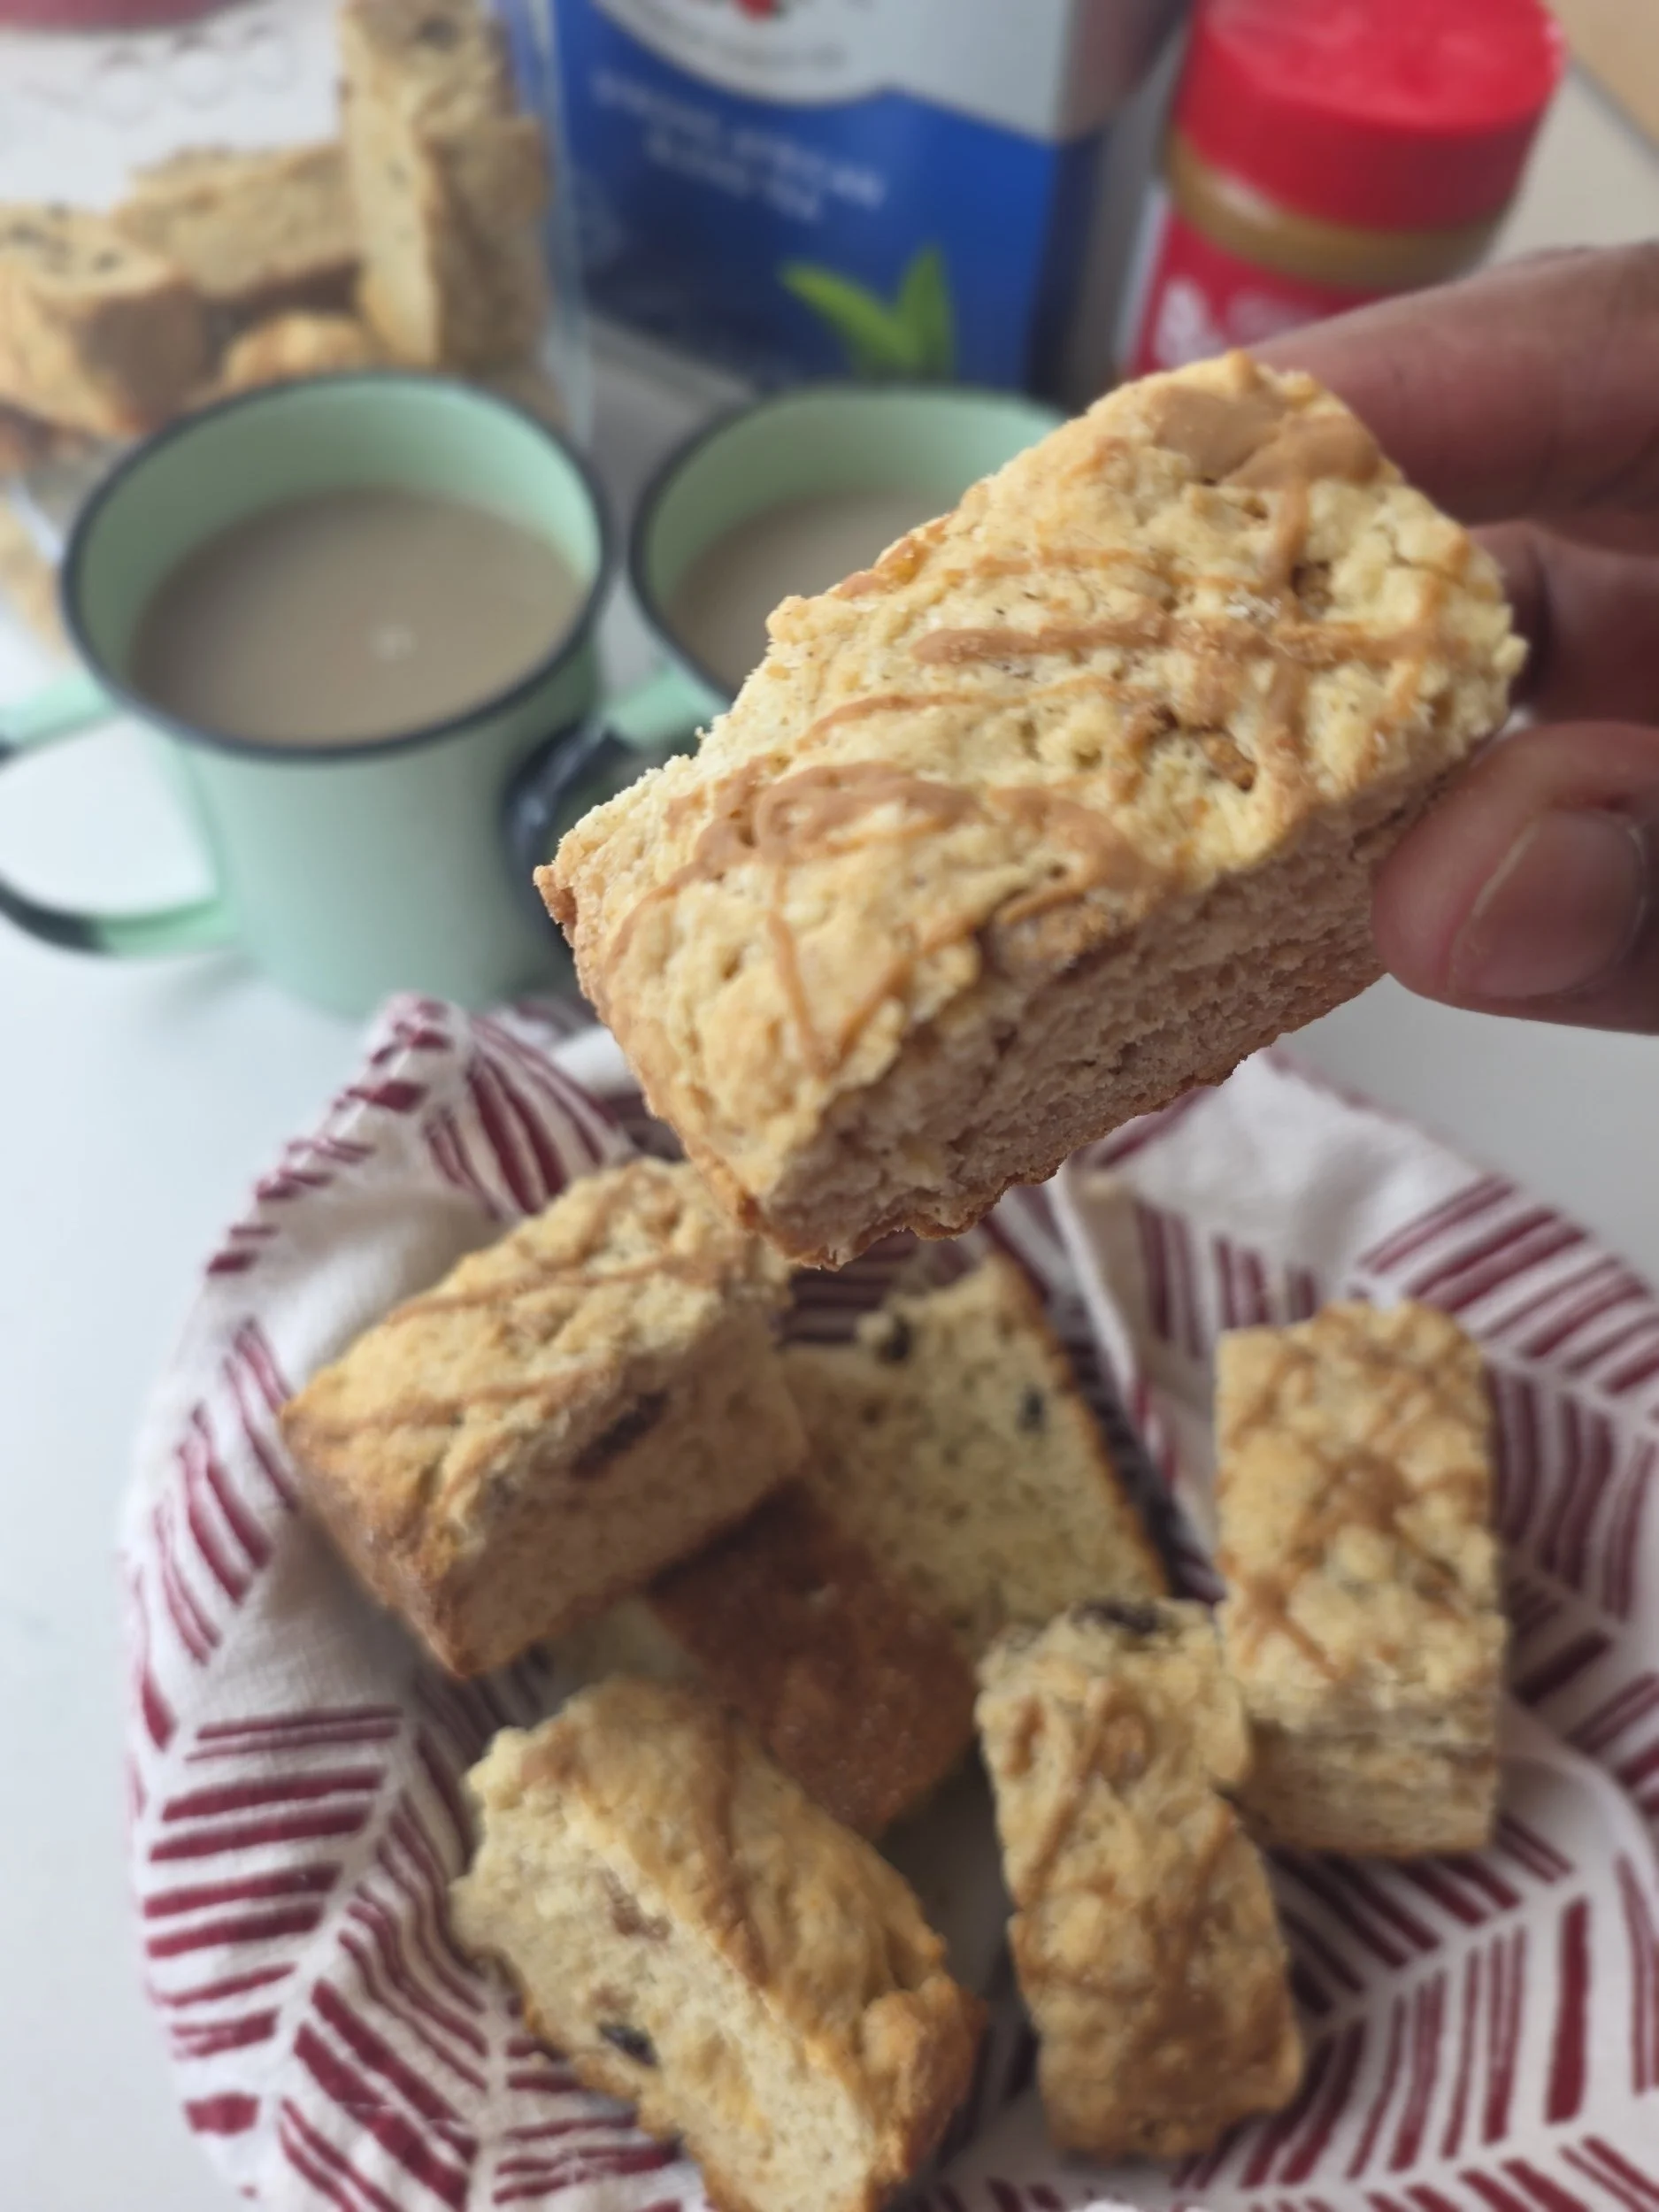

Easy Raisin Soda Bread with Caraway Seeds
Nothing says St. Patrick’s Day like the smell of fresh-baked soda bread wafting from your oven. This quick, comforting bread, studded with sweet raisins and fragrant caraway seeds, is surprisingly easy to make and brings a cozy, celebratory touch to your table.
Caraway seeds lend a subtle, nutty aroma that pairs beautifully with the sweetness of the raisins, giving the bread a lightly spiced, flavorful profile reminiscent of many Irish kitchens, without being tied to a strict “traditional” recipe.
Unlike yeast breads, soda bread rises quickly thanks to the magic of baking soda and buttermilk, letting you go from mixing the dough to slicing a golden loaf in under an hour. Its tender crumb, gentle sweetness, and distinctive hint of caraway make it ideal for breakfast, brunch, or a simple snack with butter or jam.
Whether you’re celebrating St. Patrick’s Day, hosting a casual brunch, or just craving a slice of homemade bread, this recipe is approachable for bakers of any level and delivers that fresh-from-the-oven satisfaction every time. Top it with avocado mash, a smear of butter, or enjoy it on its own—either way, it’s a comforting taste of Ireland, reimagined for your kitchen.
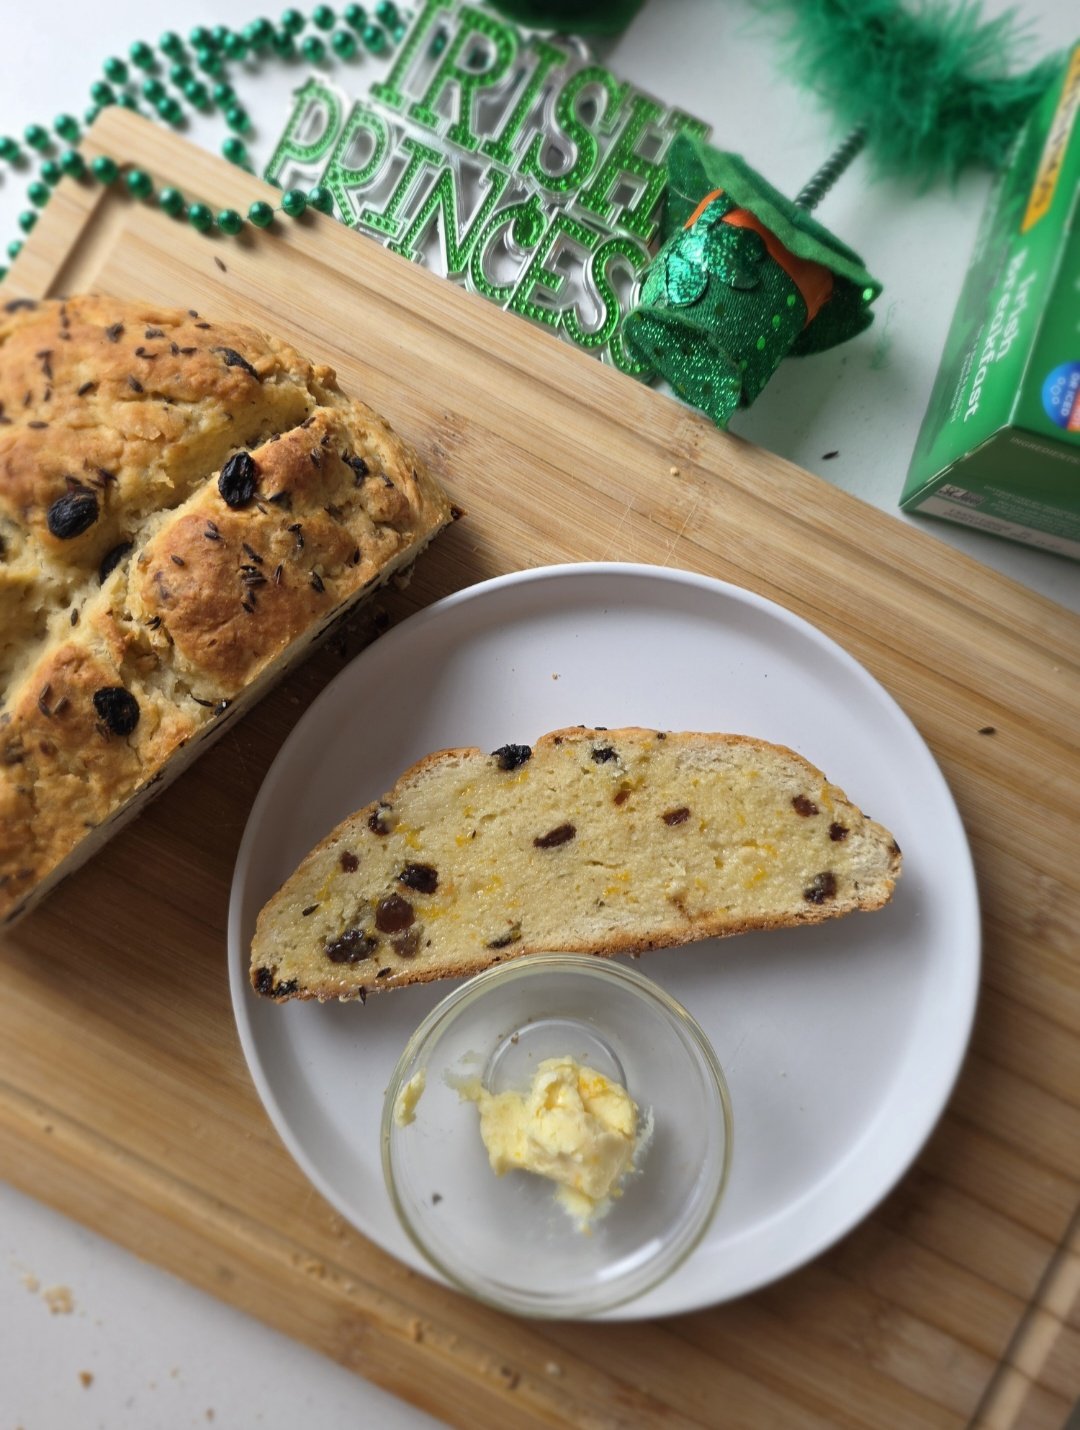
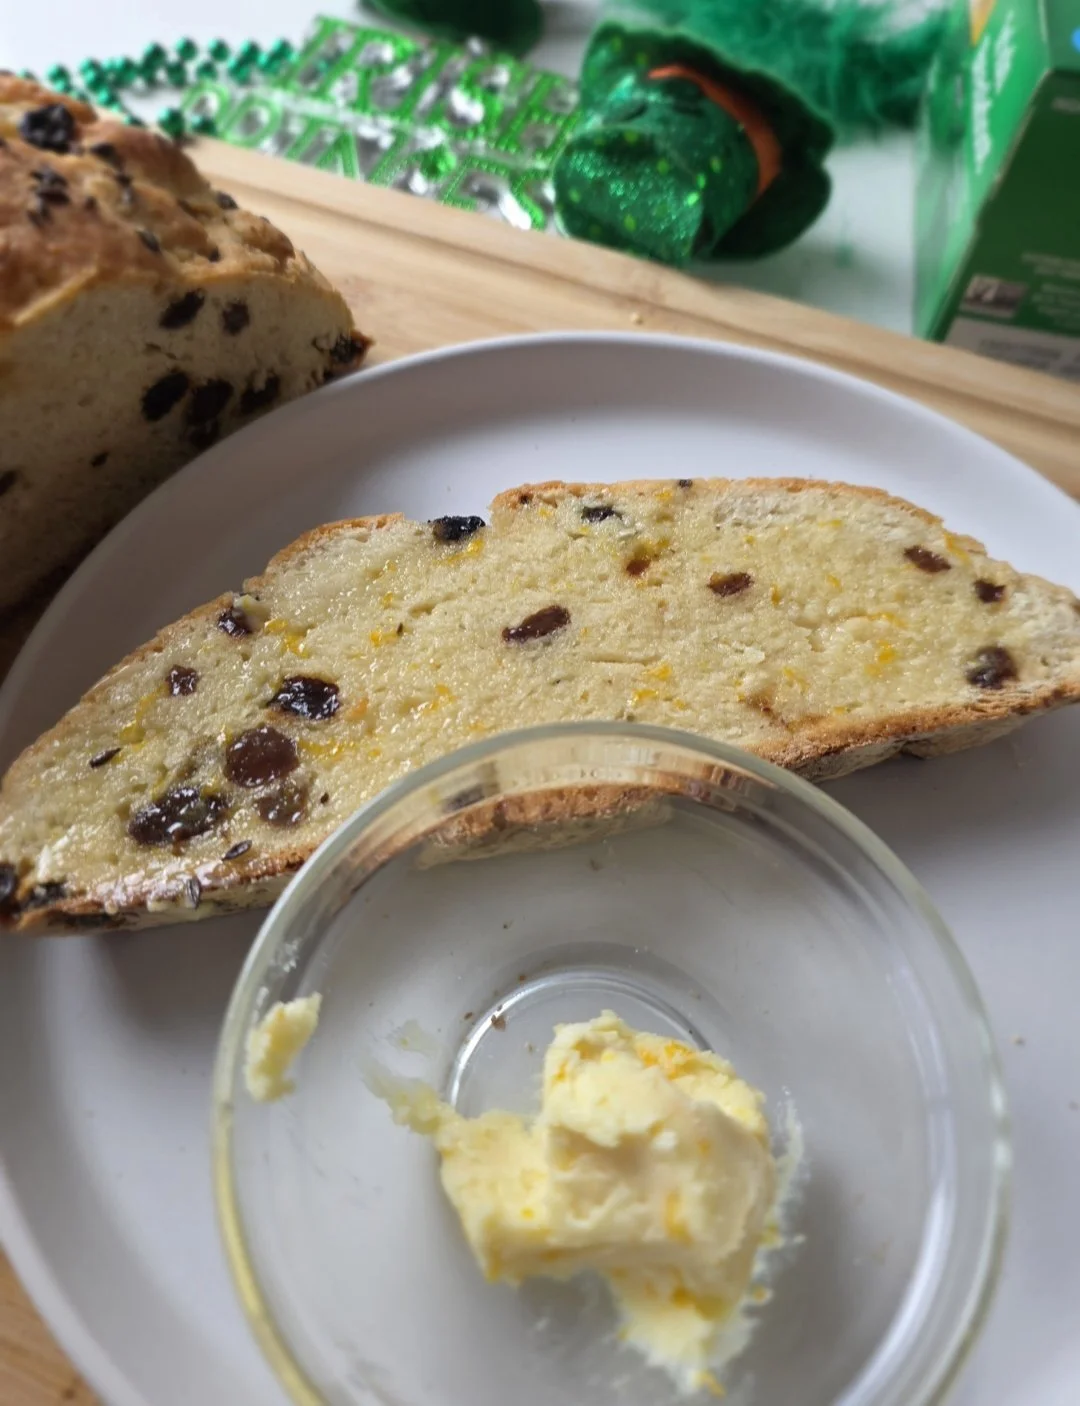

Soda Bread with Raisins and Caraway Seeds
Tender, slightly sweet soda bread with toasted caraway seeds and plump raisins. Quick and easy to make with simple ingredients, perfect for breakfast, brunch, or a cozy snack.
Ingredients
- 1 cup cake flour
- 2.5 cups bread flour
- 1 tsp baking soda
- 1 tsp salt
- 1 tbsp sugar
- 1.5 tsp toasted caraway seeds (plus 1/2 tsp for topping)
- 3/4 cup raisins
- 1¾ cups buttermilk (plus 1–2 tbsp extra if needed)
- 1 tbsp melted butter
- 1 tbsp butter for brushing (optional)
Instructions
- Preheat the oven to 400°F (200°C). Place a greased and lightly floured cast-iron skillet or baking sheet in the oven to preheat.
- In a large bowl, whisk together the cake flour, bread flour, baking soda, salt, and sugar. Stir in 1 teaspoon of the toasted caraway seeds and the raisins.
- Add the buttermilk then the melted butter to the dry ingredients.
- Gently fold the flour into the liquid until the dough just comes together, don't overmix! It should be soft, slightly sticky, and shaggy.
- If the dough seems too dry, add extra buttermilk 1 tablespoon at a time, just until combined.
- Turn the dough onto a lightly floured surface and shape it into a round about 1½–2 inches thick.
- Score and top. Cut a deep X across the top. Lightly brush with buttermilk and sprinkle the remaining caraway seeds over the surface.
- Bake for 45 minutes, or until the crust is golden and firm and the bottom sounds hollow when tapped. Begin checking around the 35–40 minute mark.
- Remove from the oven and brush the top with melted butter for extra flavor and shine.
- Let cool for 10–15 minutes before slicing.
Nutrition Facts
Calories
260Fat (grams)
3 gCarbs (grams)
52 gFiber (grams)
2 gSugar (grams)
12 gProtein (grams)
8 gI am not a certified nutritionist and any nutritional information on dontmissmyplate.com should only be used as a general guideline.
Serving Suggestion: Avocado-Topped Soda Bread
For a fresh, modern twist, try topping a warm slice of your soda bread with creamy mashed avocado. Simply mash half a ripe Hass avocado with a squeeze of lemon juice, season with salt, pepper, and a hint of chili-garlic spice, and spread over lightly buttered and toasted bread. Finish with a drizzle of safflower oil and a handful of crisp pea shoots for texture and a pop of green. This simple topping turns your cozy loaf into a satisfying breakfast, brunch, or snack, combining the hearty flavor of soda bread with bright, creamy avocado and a touch of spice.


Pumpkin Harvest Loaf with Walnuts and Chocolate
Fall is finally here in the U.S. The air has taken a crisp turn, apple orchards are buzzing, Oktoberfests are in full swing, and pumpkin season is at its peak. Baking has also picked up, especially anything with pumpkin, from pies to breads. It is the perfect time to bring cozy flavors into your kitchen.
In Zimbabwe, pumpkin is a staple ingredient, though it is often simply boiled or added to stews. We rarely explore its potential in baked goods. This loaf is a way to celebrate the pumpkin harvest and show just how versatile this humble vegetable can be. It turns naturally sweet and tender, creating a loaf that is comforting, fragrant, and perfect for fall.
This pumpkin loaf is lightly sweet, moist, and spiced. Walnuts and dark chocolate add texture and richness, while a sprinkle of pumpkin seeds on top gives a rustic, festive finish. You can enjoy it plain and warm, with butter and honey, or with a light drizzle of icing to control the sweetness. It is flexible, allowing you to adjust the flavors to your preference.
A good loaf of bread is essential in any home baker’s repertoire. This pumpkin harvest loaf is easy to make and works beautifully with fresh or canned pumpkin. It is a wonderful way to add warmth, seasonal flavor, and a little bit of indulgence to your fall baking lineup.

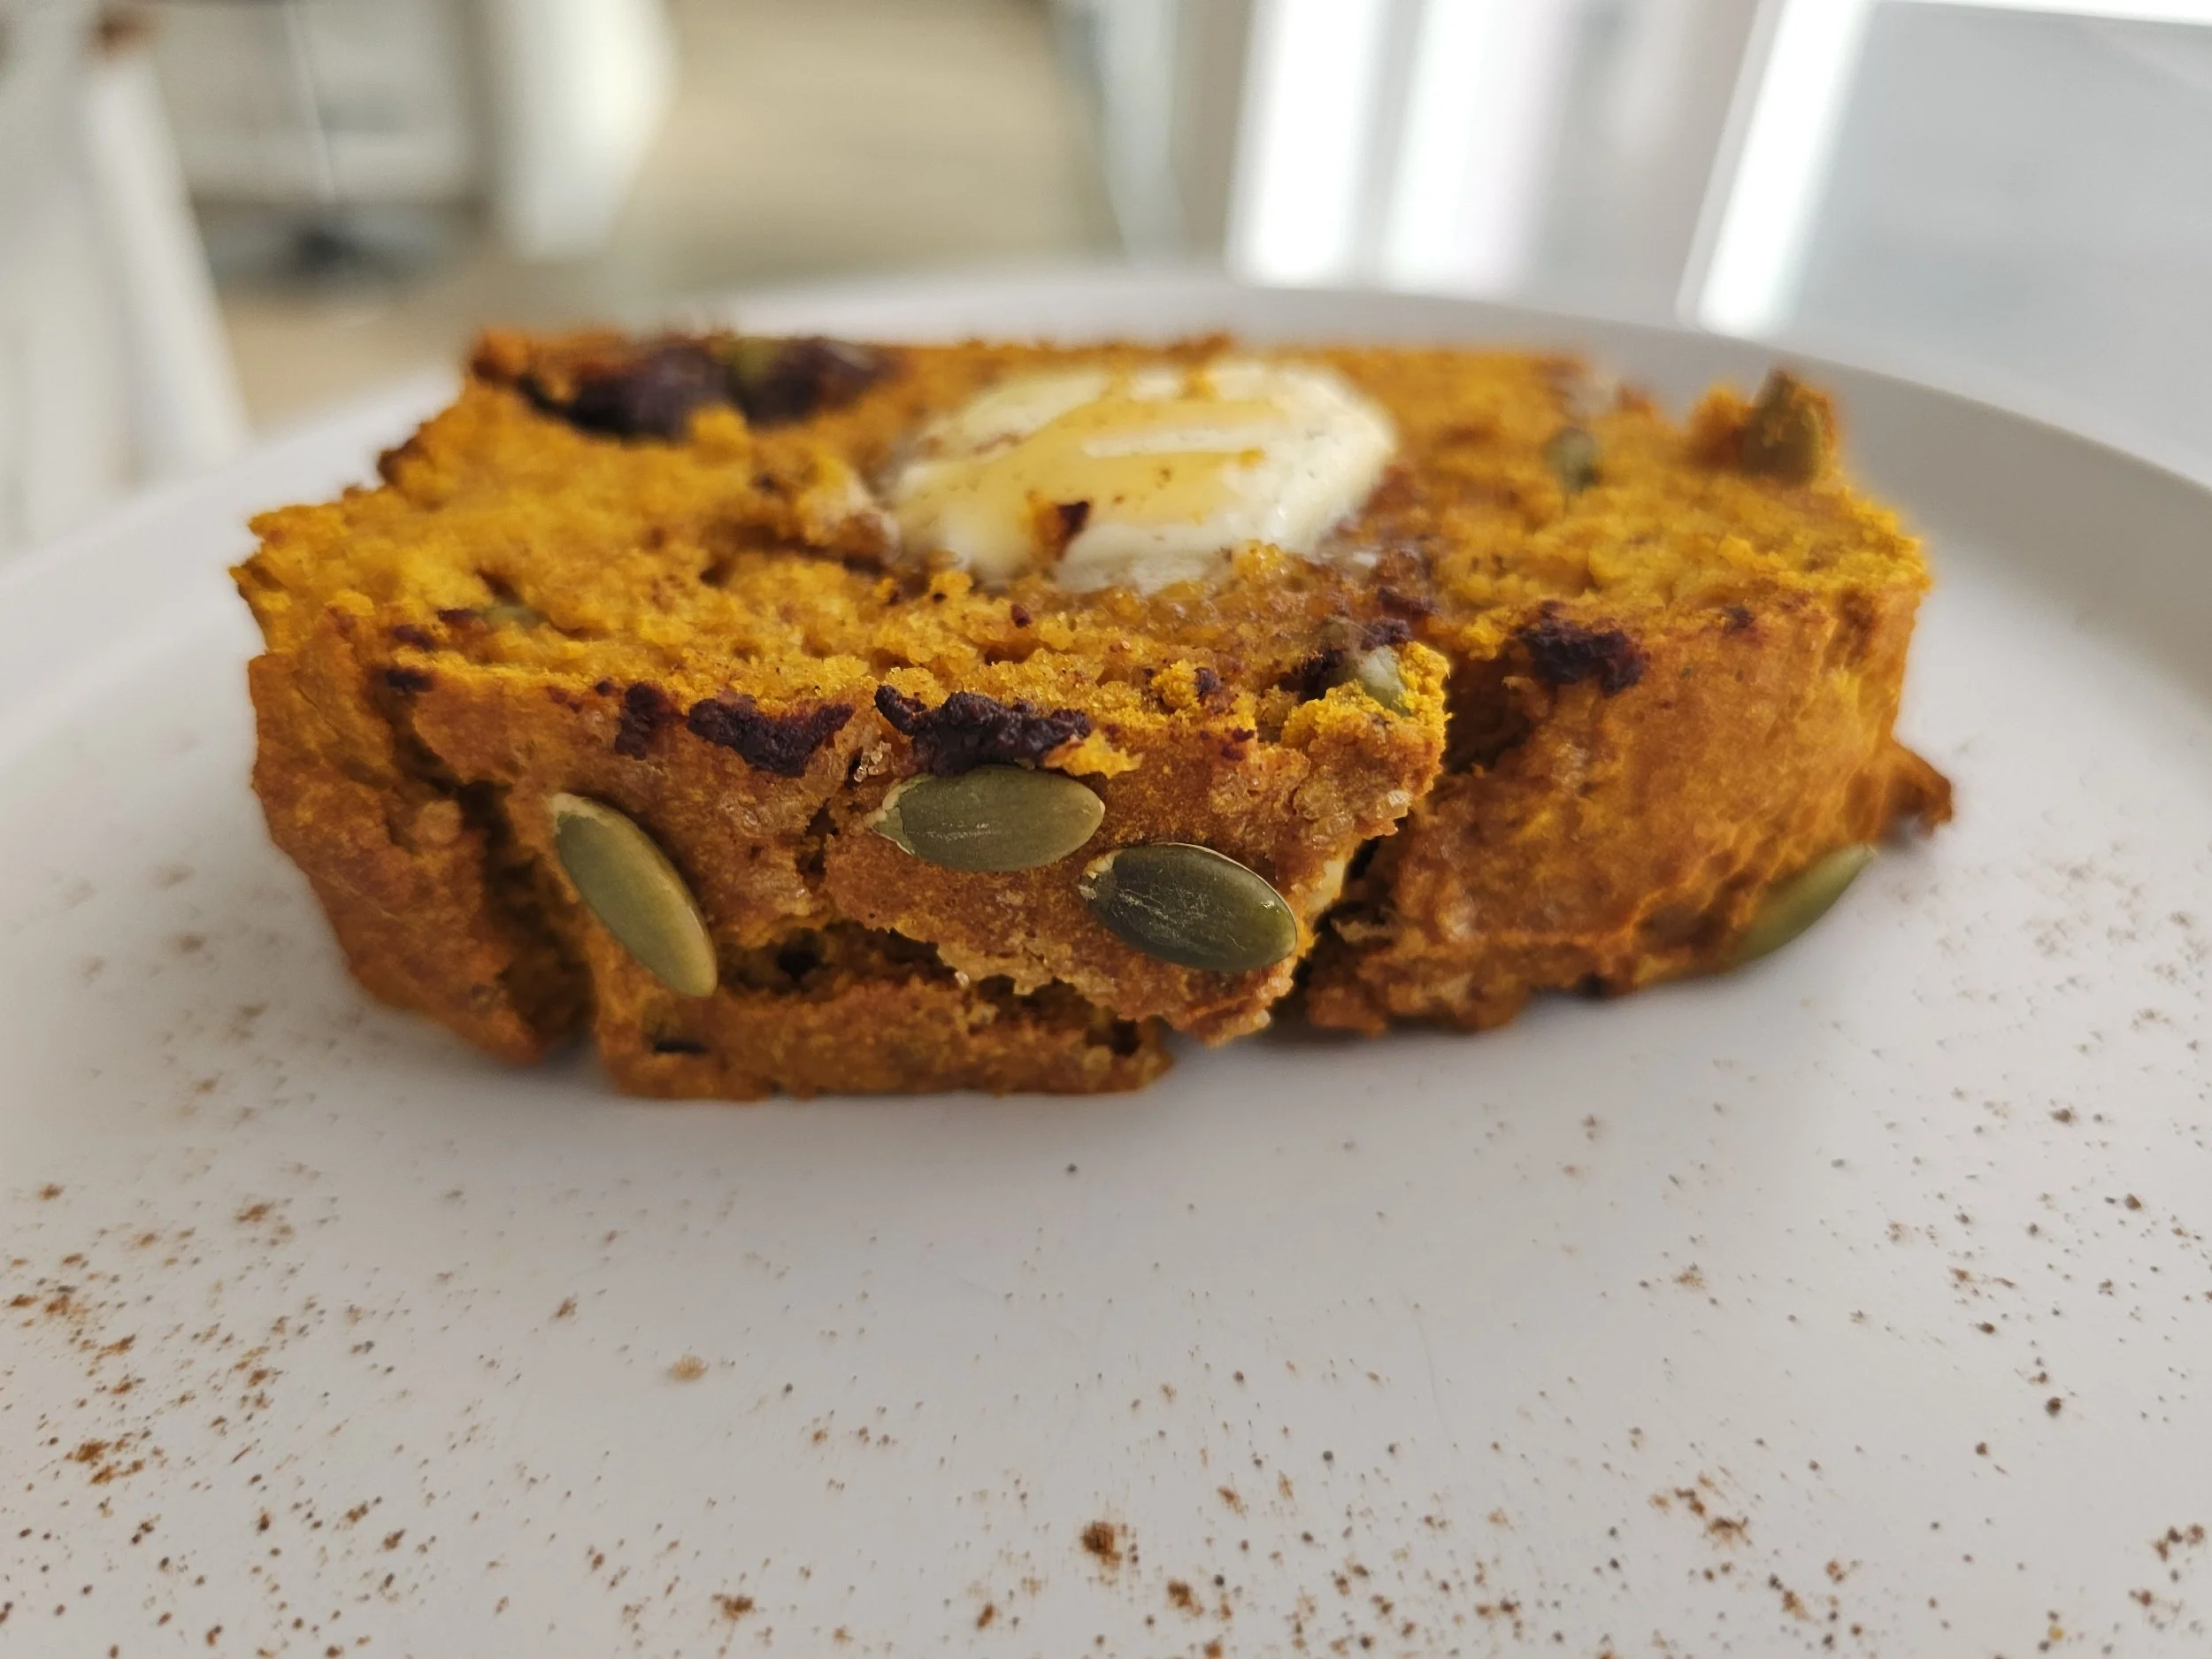

Pumpkin Harvest Loaf with Walnuts and Chocolate
A moist and lightly spiced pumpkin loaf perfect for fall. Packed with walnuts, dark chocolate, and topped with pumpkin seeds and turbinado sugar, this bread is perfect for breakfast, tea time, or a cozy snack.
Ingredients
- 1 and ½ cups pumpkin puree
- 2 large eggs
- ¼ cup honey or maple syrup (use sugar if you prefer it sweeter)
- 2 tablespoons melted butter
- 1 to 2 tablespoons milk (start with one; add more if the batter feels too thick)
- ¼ cup sour cream
- 1 teaspoon vanilla extract
- ½ teaspoon lemon juice
- 1 and ½ cups white whole wheat flour or all-purpose flour
- 1 and ½ teaspoons baking powder
- ½ teaspoon baking soda
- 1 teaspoon ground cinnamon
- ½ teaspoon ground ginger
- ¼ teaspoon ground cloves
- ¼ teaspoon ground nutmeg
- ½ teaspoon sugar
- ¼ teaspoon salt
- ¼ cup chopped walnuts
- ¼ cup pumpkin seeds (plus extra for topping)
- ¼ cup dark chocolate, roughly chopped
- Turbinado sugar, for garnish
Instructions
- Preheat the oven to 350 degrees Fahrenheit (175 degrees Celsius). Line a loaf pan with parchment paper or lightly grease it.
- In a large bowl, whisk together pumpkin puree, eggs, honey, melted butter, sour cream, vanilla extract, and lemon juice until smooth. Do not add milk yet.
- In another bowl, whisk together flour, baking powder, baking soda, cinnamon, ground ginger, ground cloves, nutmeg, sugar, and salt.
- Add the dry ingredients to the wet mixture and stir until just combined. If the batter is too thick, stir in one to two tablespoons of milk to reach a smooth, slightly thick consistency. Do not overmix.
- Gently fold in chopped walnuts and roughly chopped dark chocolate.
- Pour the batter into the prepared loaf pan. Sprinkle pumpkin seeds and a little turbinado sugar on top for crunch and sparkle.
- Place in the oven and bake for 50 to 55 minutes, or until a toothpick inserted in the center comes out clean.
- Let the loaf cool slightly before slicing. Serve warm with butter, honey, or your favorite spiced glaze.
Notes
Tips and Serving Ideas
- For extra moisture, replace the sour cream with plain yogurt.
- Add a teaspoon of pumpkin spice blend instead of individual spices for convenience.
- If you prefer more sweetness, drizzle a simple icing made from powdered sugar and milk once the loaf cools.
- Toast a slice and spread with butter for an easy fall breakfast.
Nutrition Facts
Calories
225Fat (grams)
11 gCarbs (grams)
28 gFiber (grams)
2 gSugar (grams)
13 gProtein (grams)
5 gI am not a certified nutritionist and any nutritional information on dontmissmyplate.com should only be used as a general guideline.

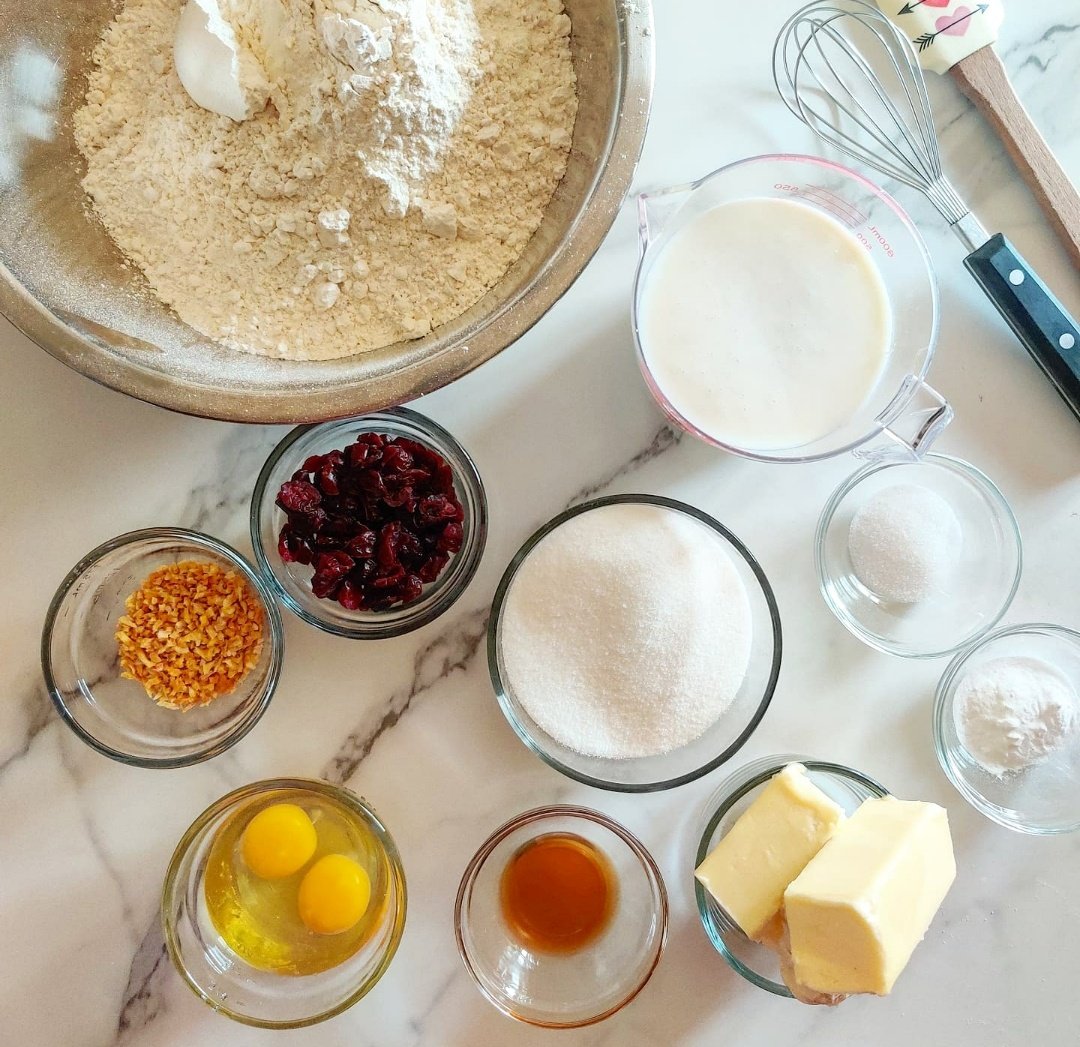
Cranberry Orange Rusks
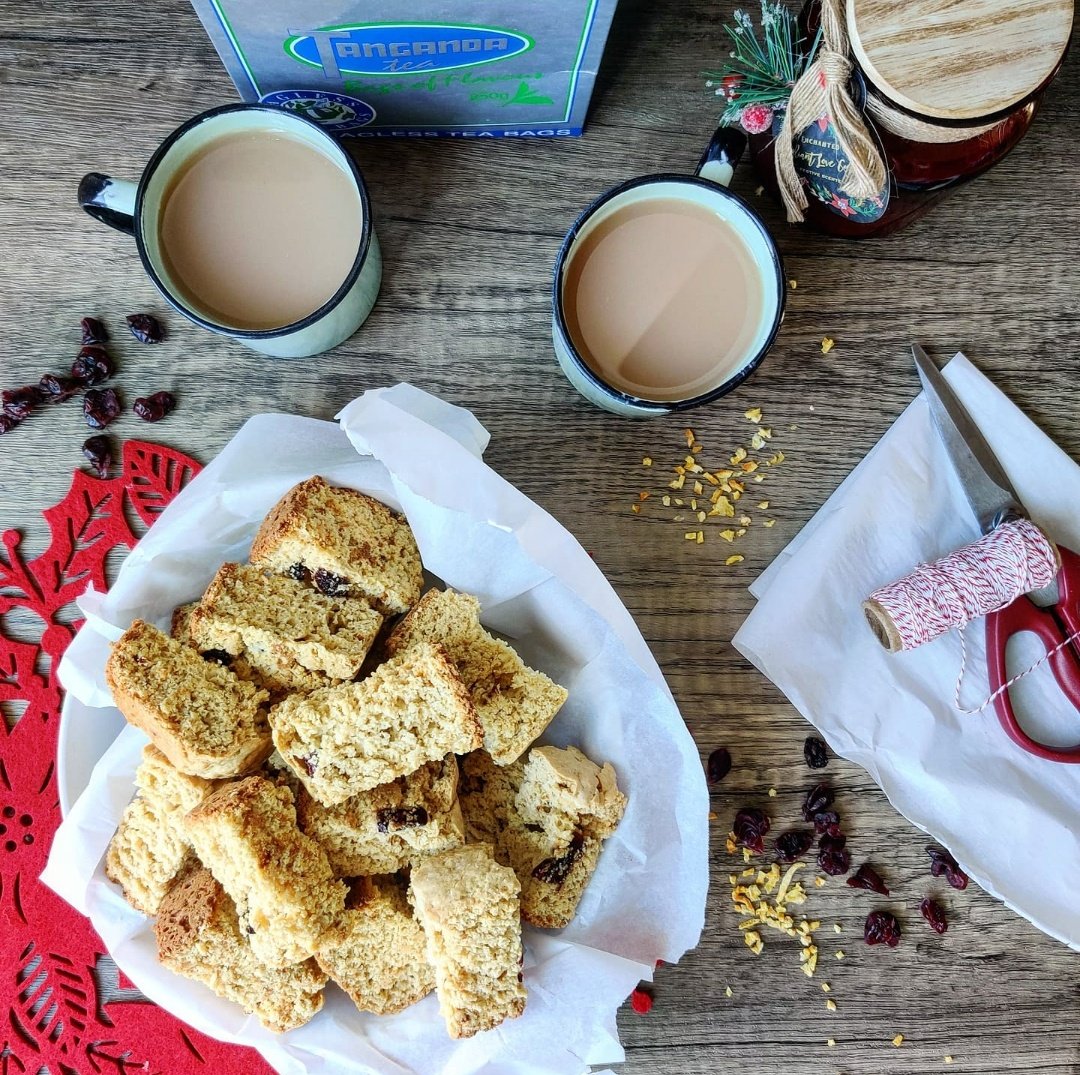
Rusks are a beloved snack across Southern Africa, traditionally baked twice to create that signature crunchy, semi-sweet texture. While they have deep roots in history, today rusks are just as much about simple, comforting enjoyment as they are about tradition.
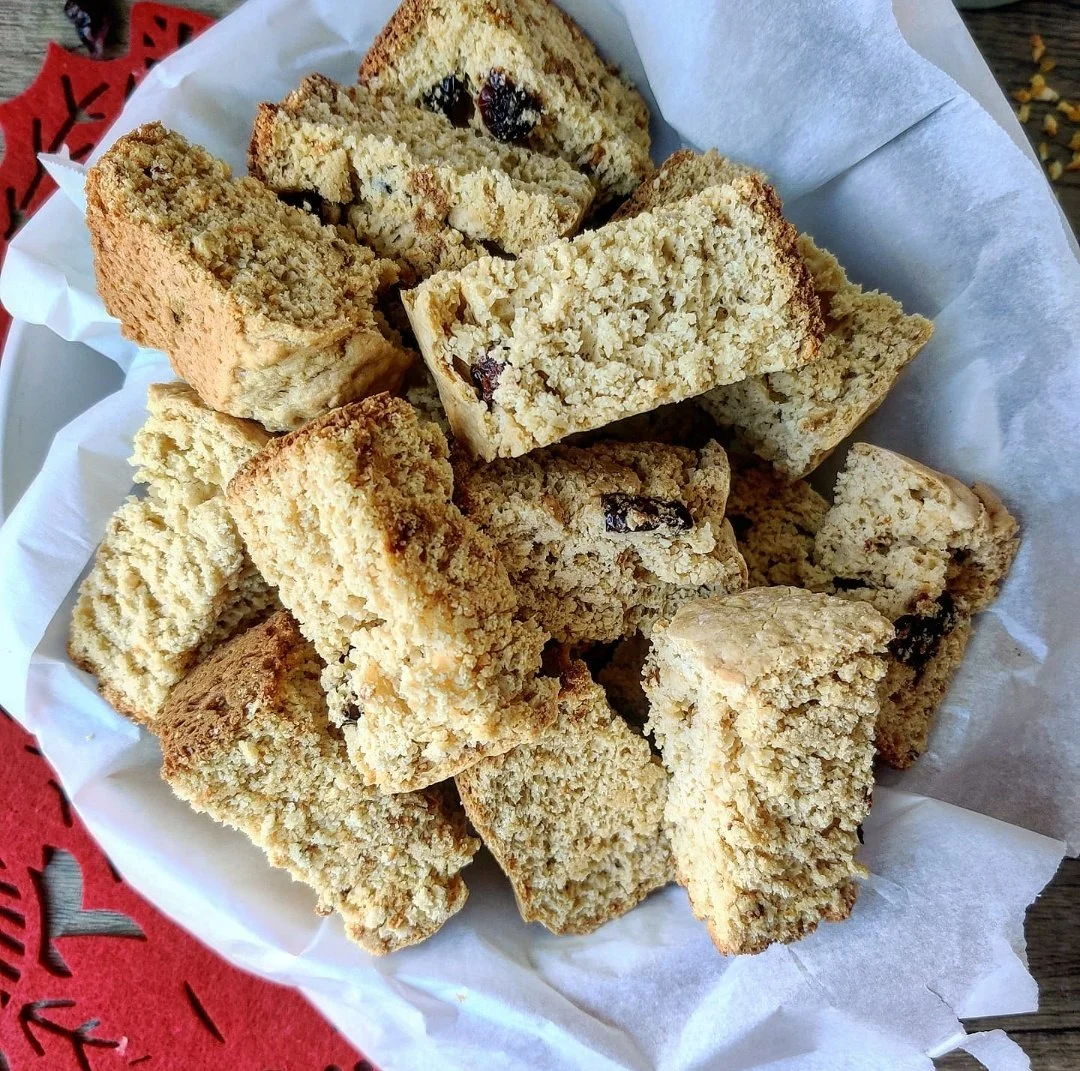
In this recipe, I’ve added tart cranberries and fragrant orange peel to give them a festive, modern twist. The cranberries add bursts of sweet-tart flavor, while the orange brings a bright, citrusy note that pairs beautifully. Crisp on the outside, slightly chewy inside, these rusks are perfect for dunking into a morning coffee, afternoon tea, or just enjoying as a cozy snack at any time of day.
Easy to make at home, this recipe lets you enjoy a fresh, homemade version of a Southern African classic — no store-bought rusks required.
Cranberry Orange Rusks
Ingredients
- 8 cups self-raising flour
- 1 stick + 2 tablespoons butter
- 1 cup granulated sugar
- 1/2 cup coconut sugar
- 2 tablespoons vanilla extract
- 1/2 teaspoon almond extract
- 3/4 cup dried cranberries
- 3 tablespoons orange peel
- 2 cups buttermilk
- 2 teaspoons salt
- 2 teaspoons baking soda
Instructions
- In a large bowl whisk the flour, baking soda and salt well. Follow this with the cranberries and orange peel.
- Melt the butter in a small pot then add the sugar and whisk until the sugar has dissolved, remove from heat. Don't boil! You aren't trying to make caramel.
- Beat the egg, vanilla and almond into the buttermilk. Add both sets of liquid to the flour bowl and mix with a nonstick spatula until well combined.
- Transfer the mix to a greased baking dish and use the spatula to flatten in preparation for baking.
- Bake at 350F for 45 minutes. The cake rusk should have risen and a toothpick should come out clean from the center once it is done. Remove from the oven to cool.
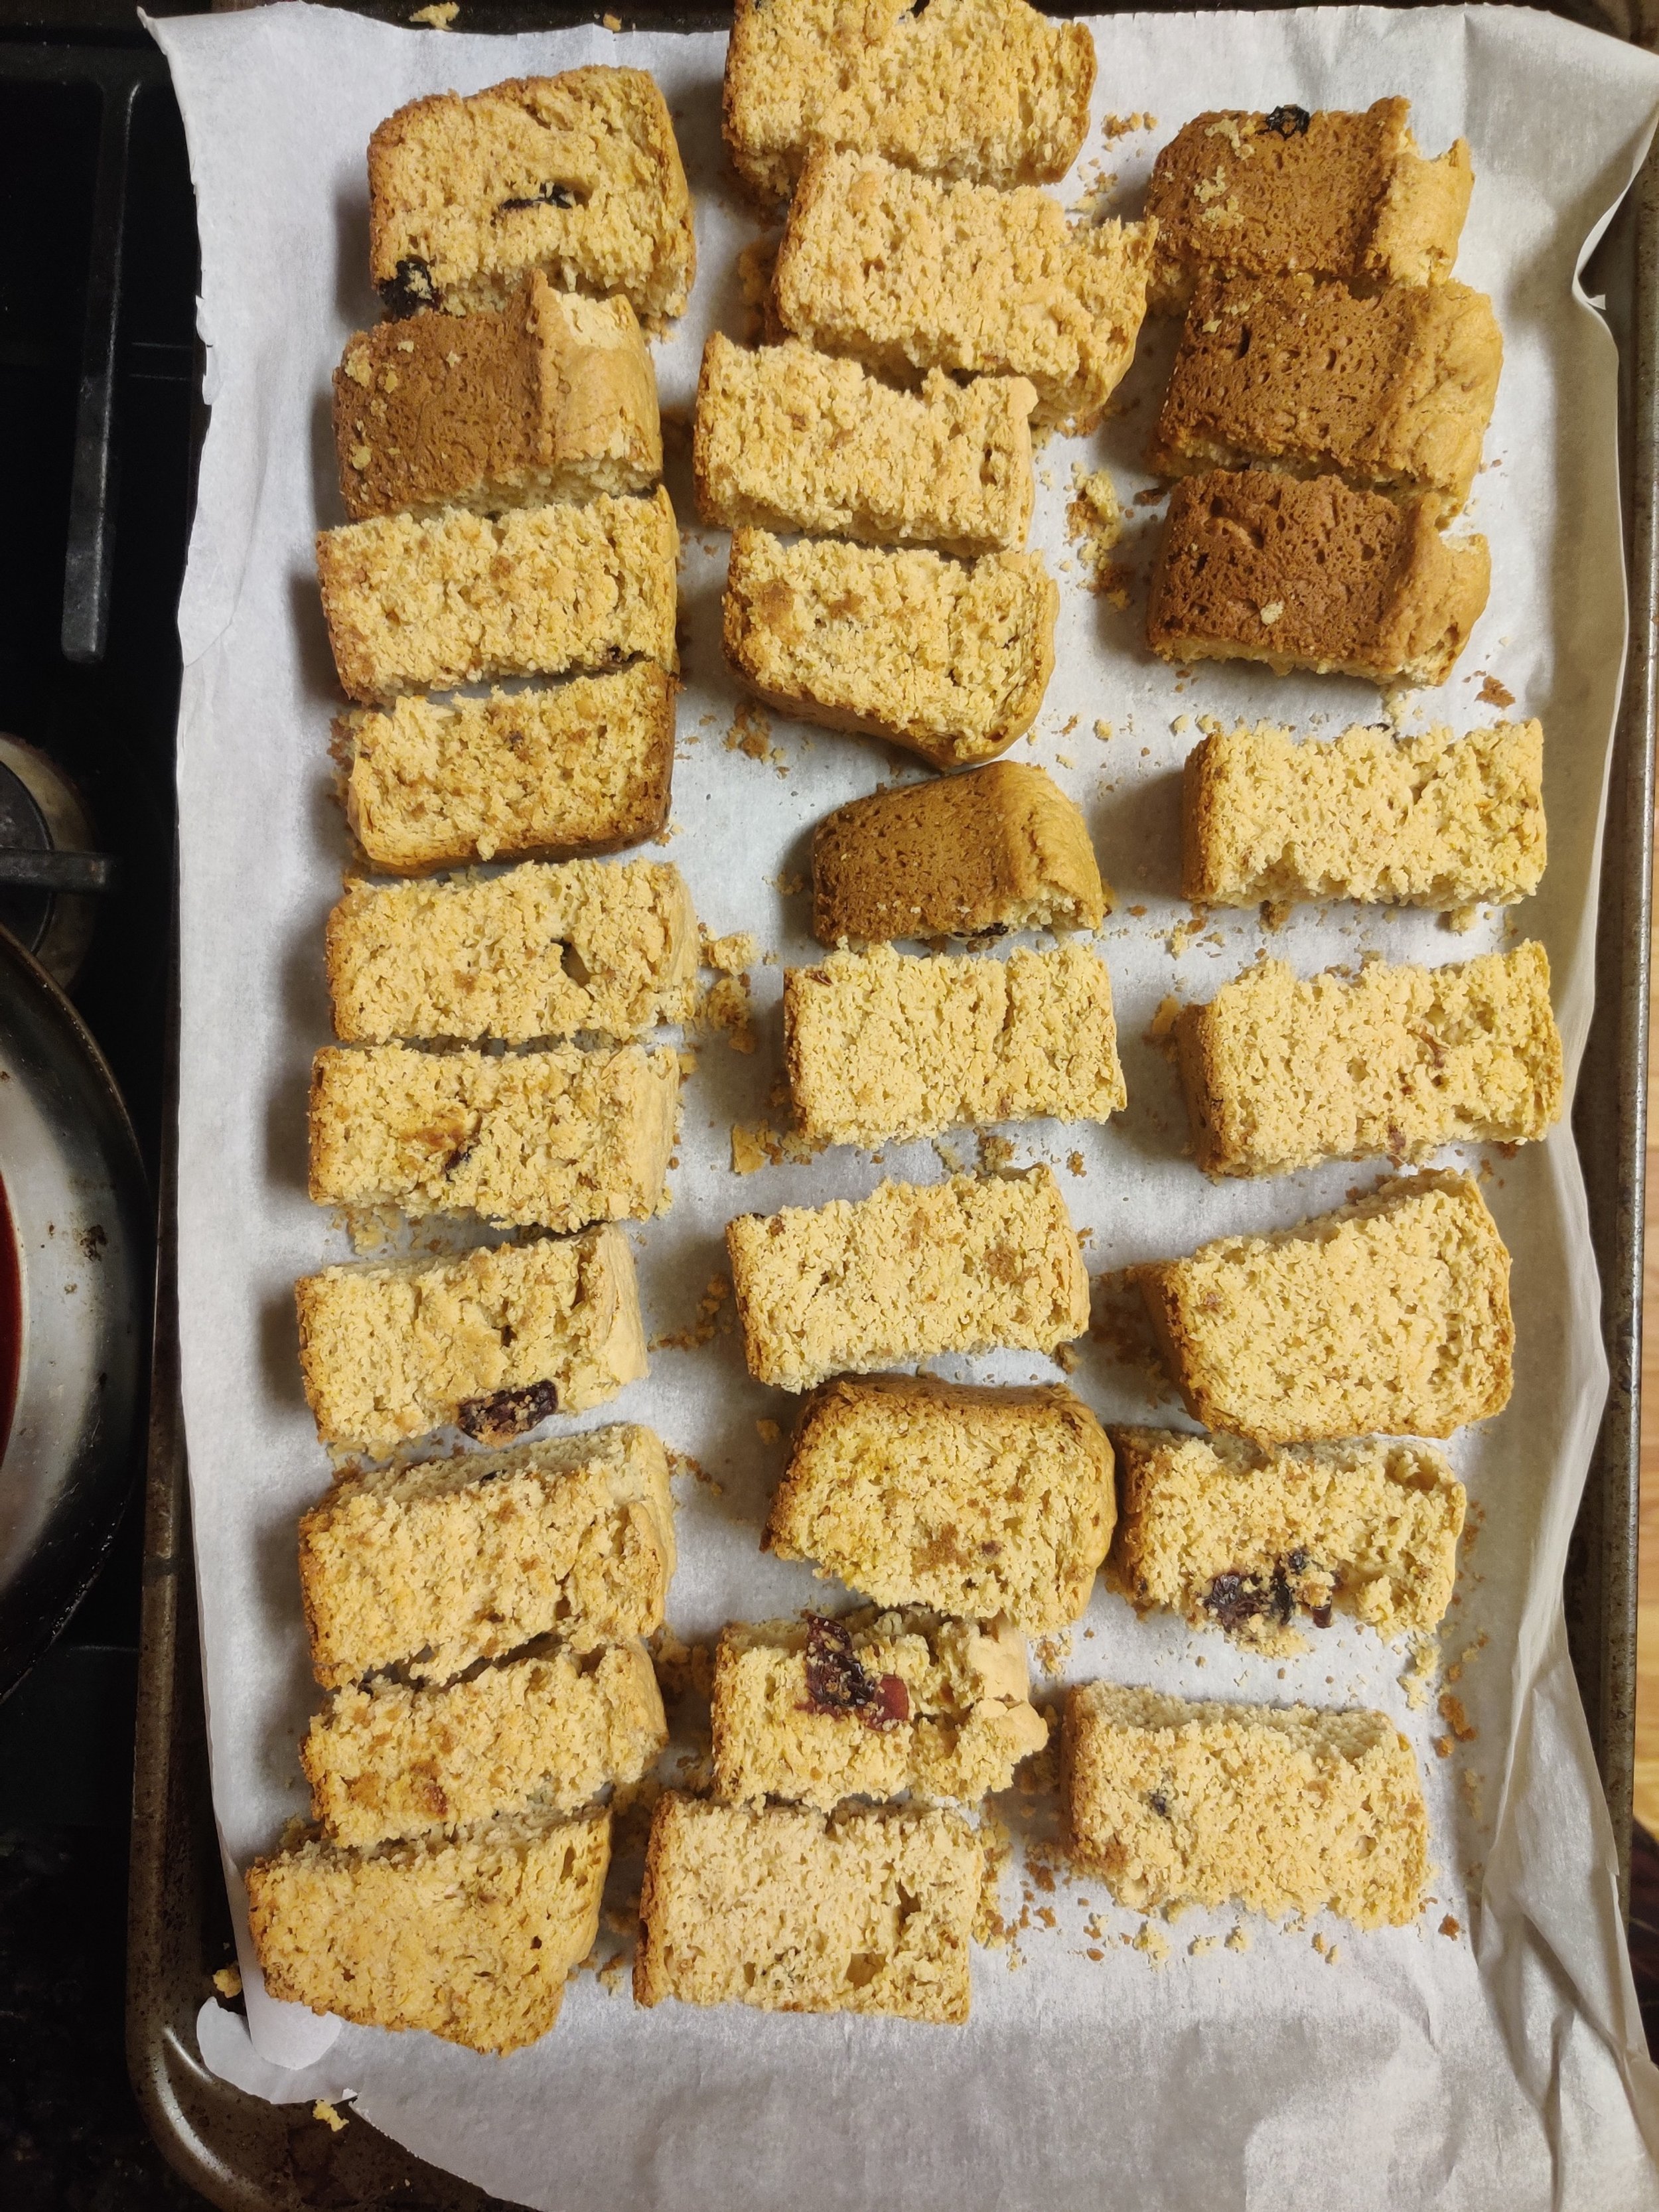
- Once cooled, slice into 2.5cm L x 1.5cm W pieces. Depending on how thick you cut them, you’ll get about 50 rusks.
- Lay them on parchment-lined baking trays evenly spaced, and return to the oven but reduce the heat to 200F/93C. Dry them out or another 2 1/2 hours and check every 30 minutes until a cookie/biscuit texture.
- Keep in airtight containers for up to 3 months.
Nutrition Facts
Calories
122Fat (grams)
2.6Carbs (grams)
22Sugar (grams)
6.6Protein (grams)
2.4I am not a certified nutritionist and any nutritional information on dontmissmyplate.com should only be used as a general guideline.

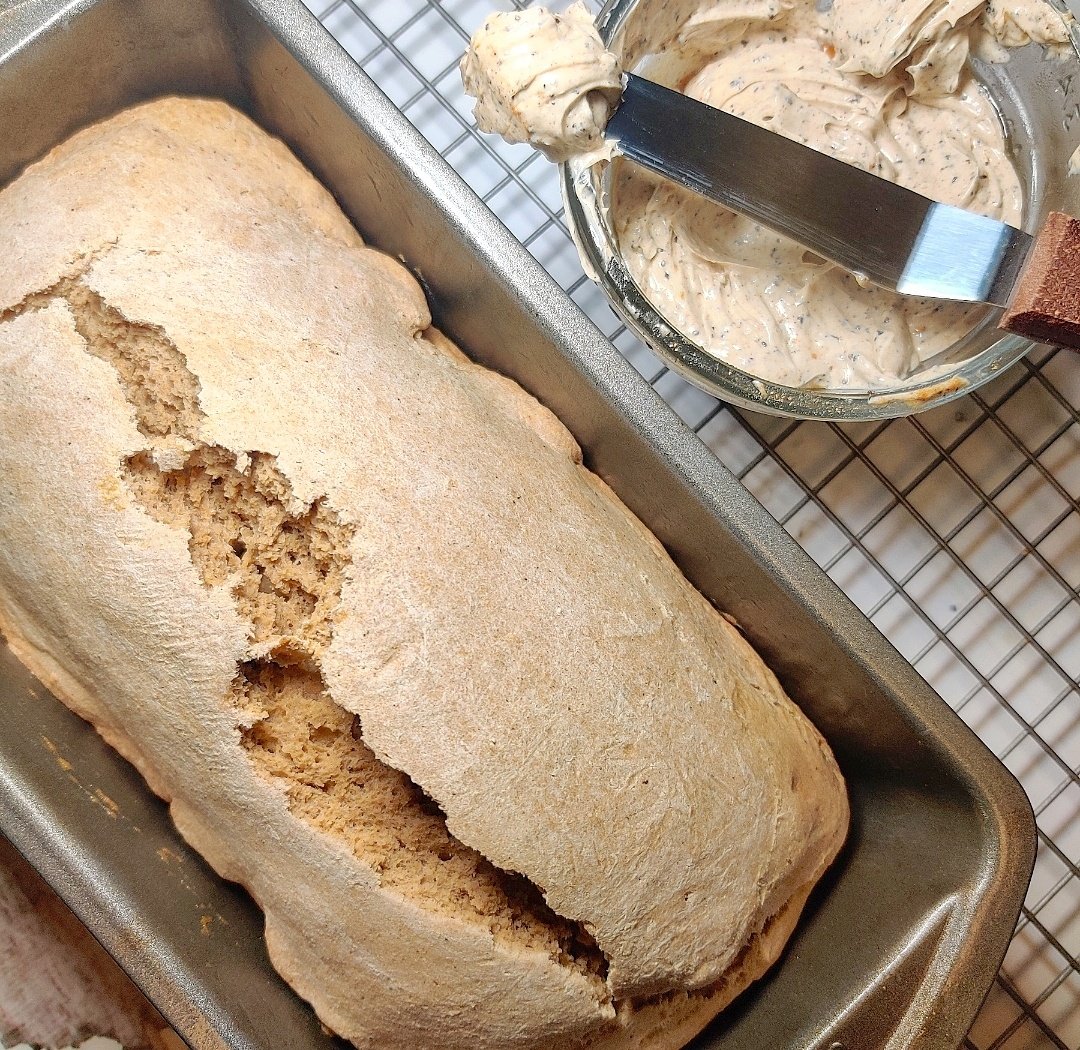
Veldt Bread with Masala Chai Tea Butter
There is nothing like warm, freshly made homemade bread!
Luckily, almost every culture and cuisine has a version of one of the oldest foods we know.
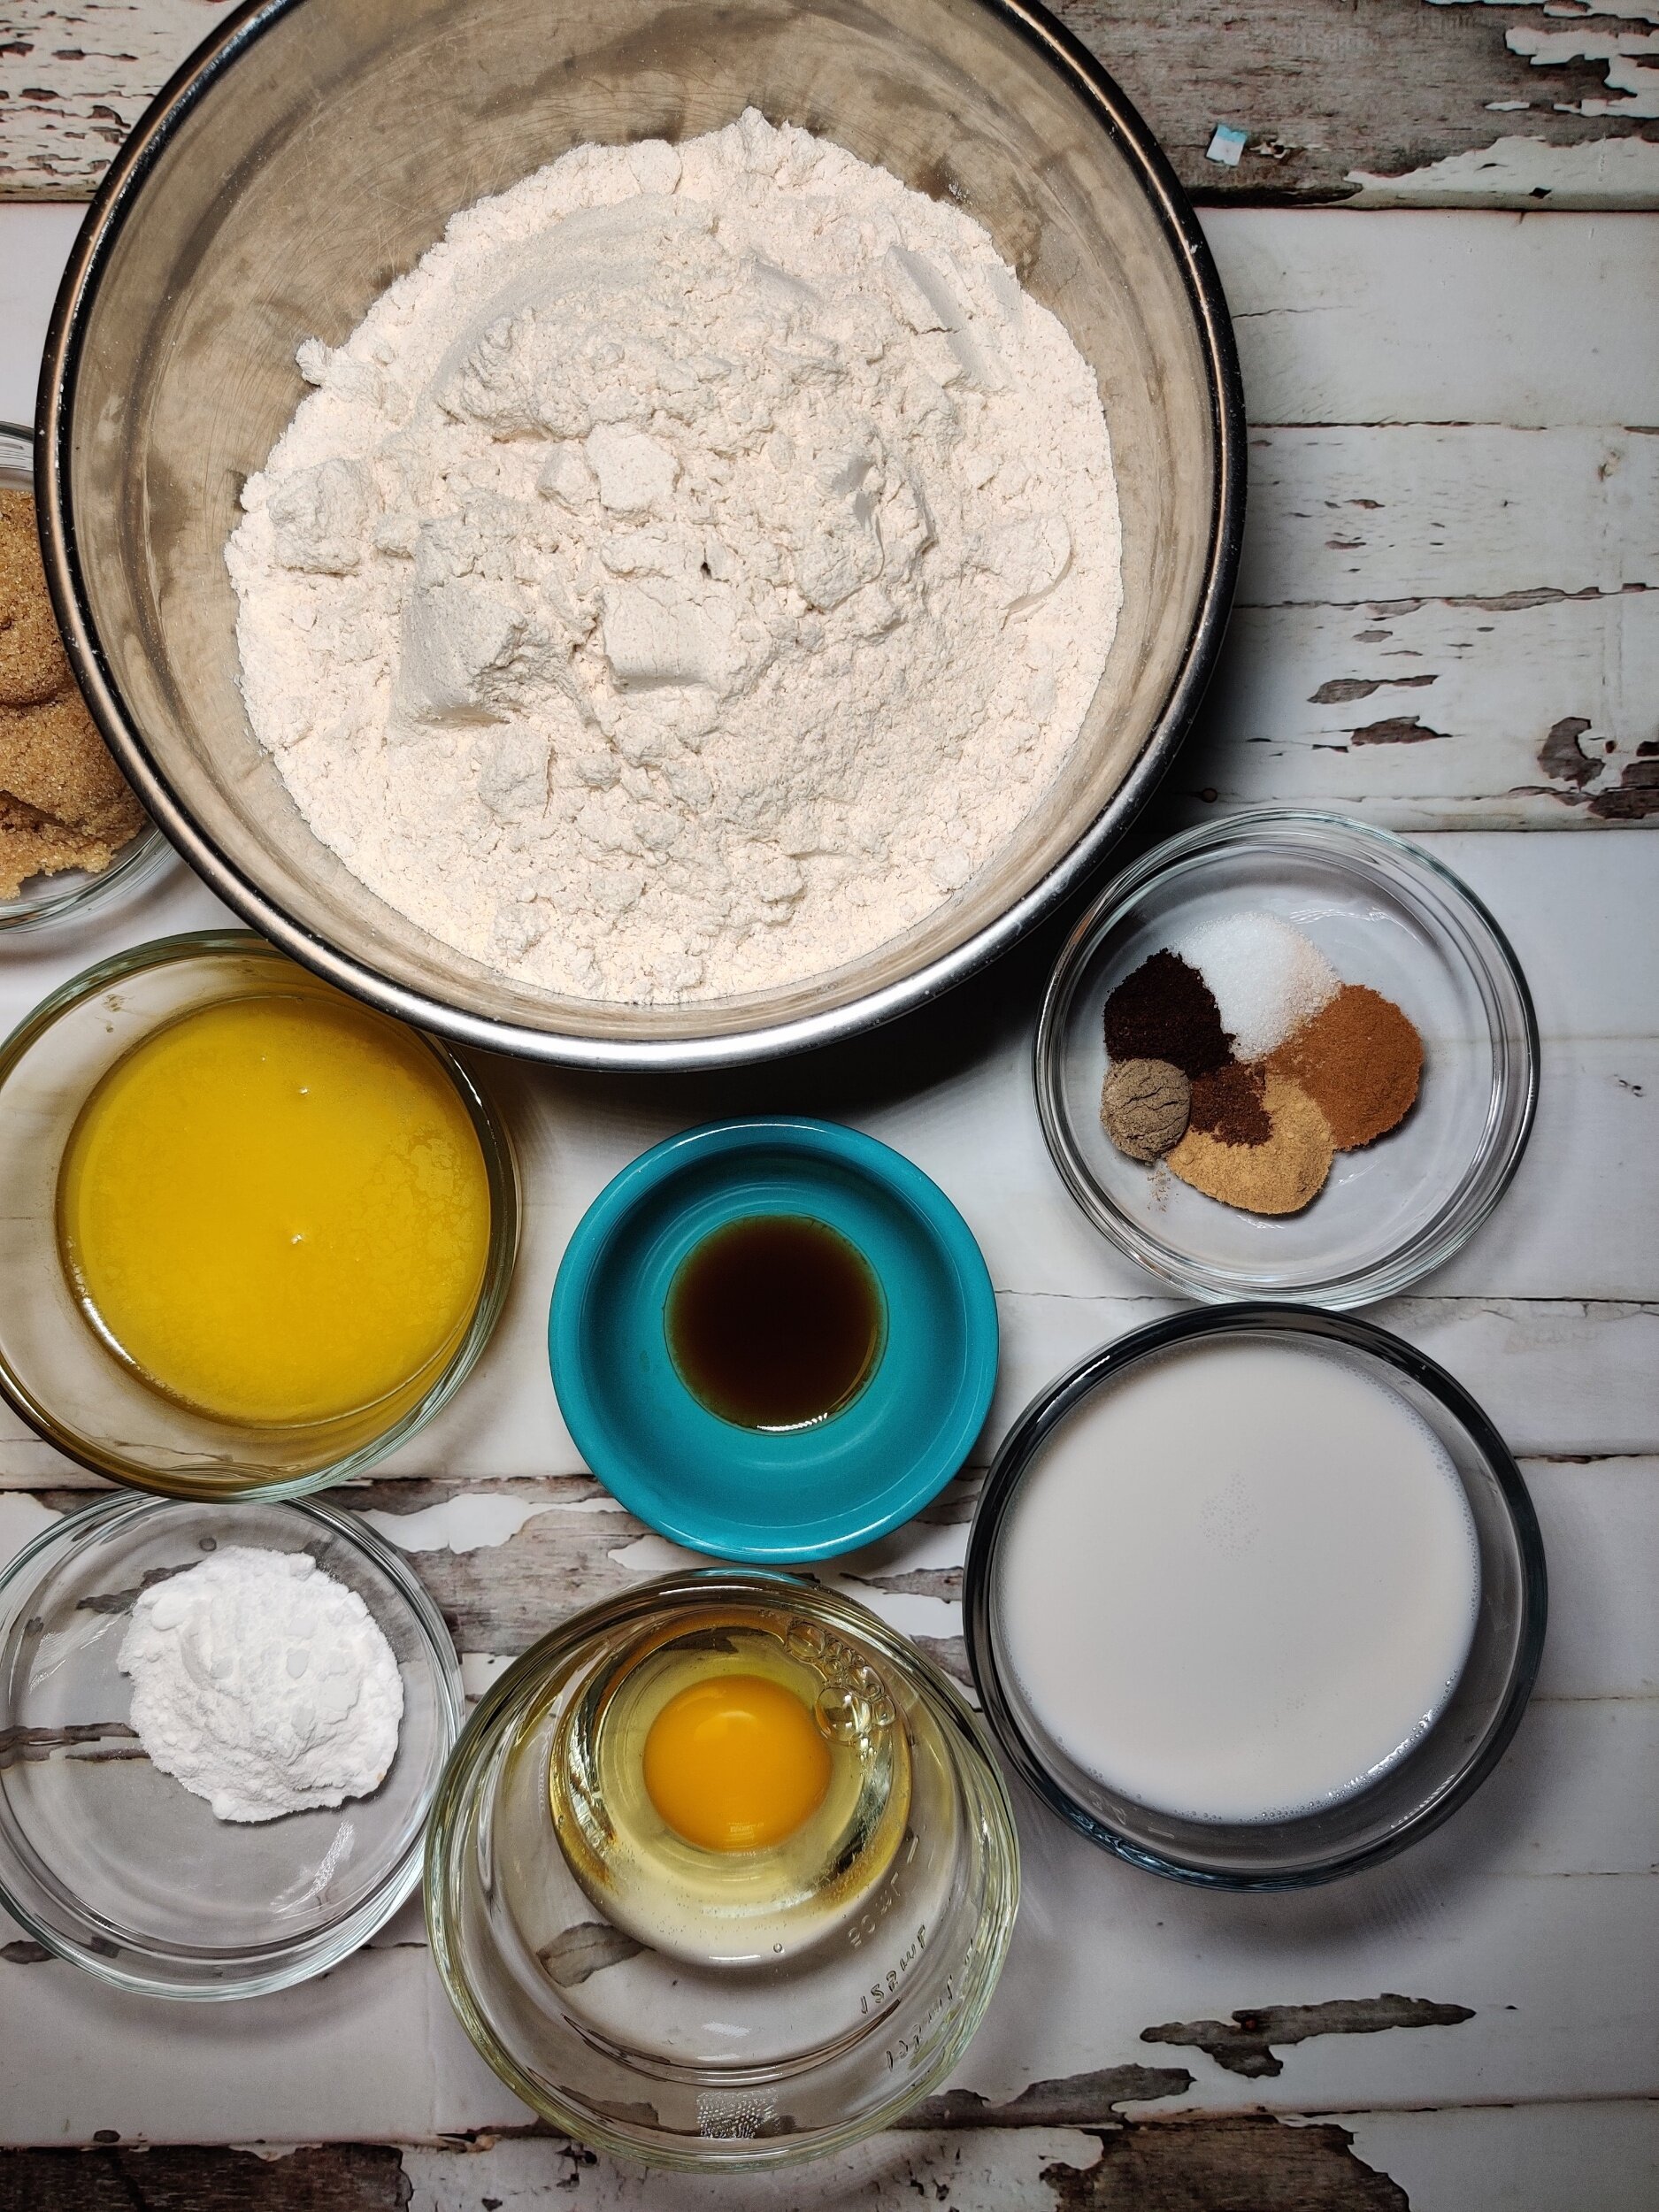
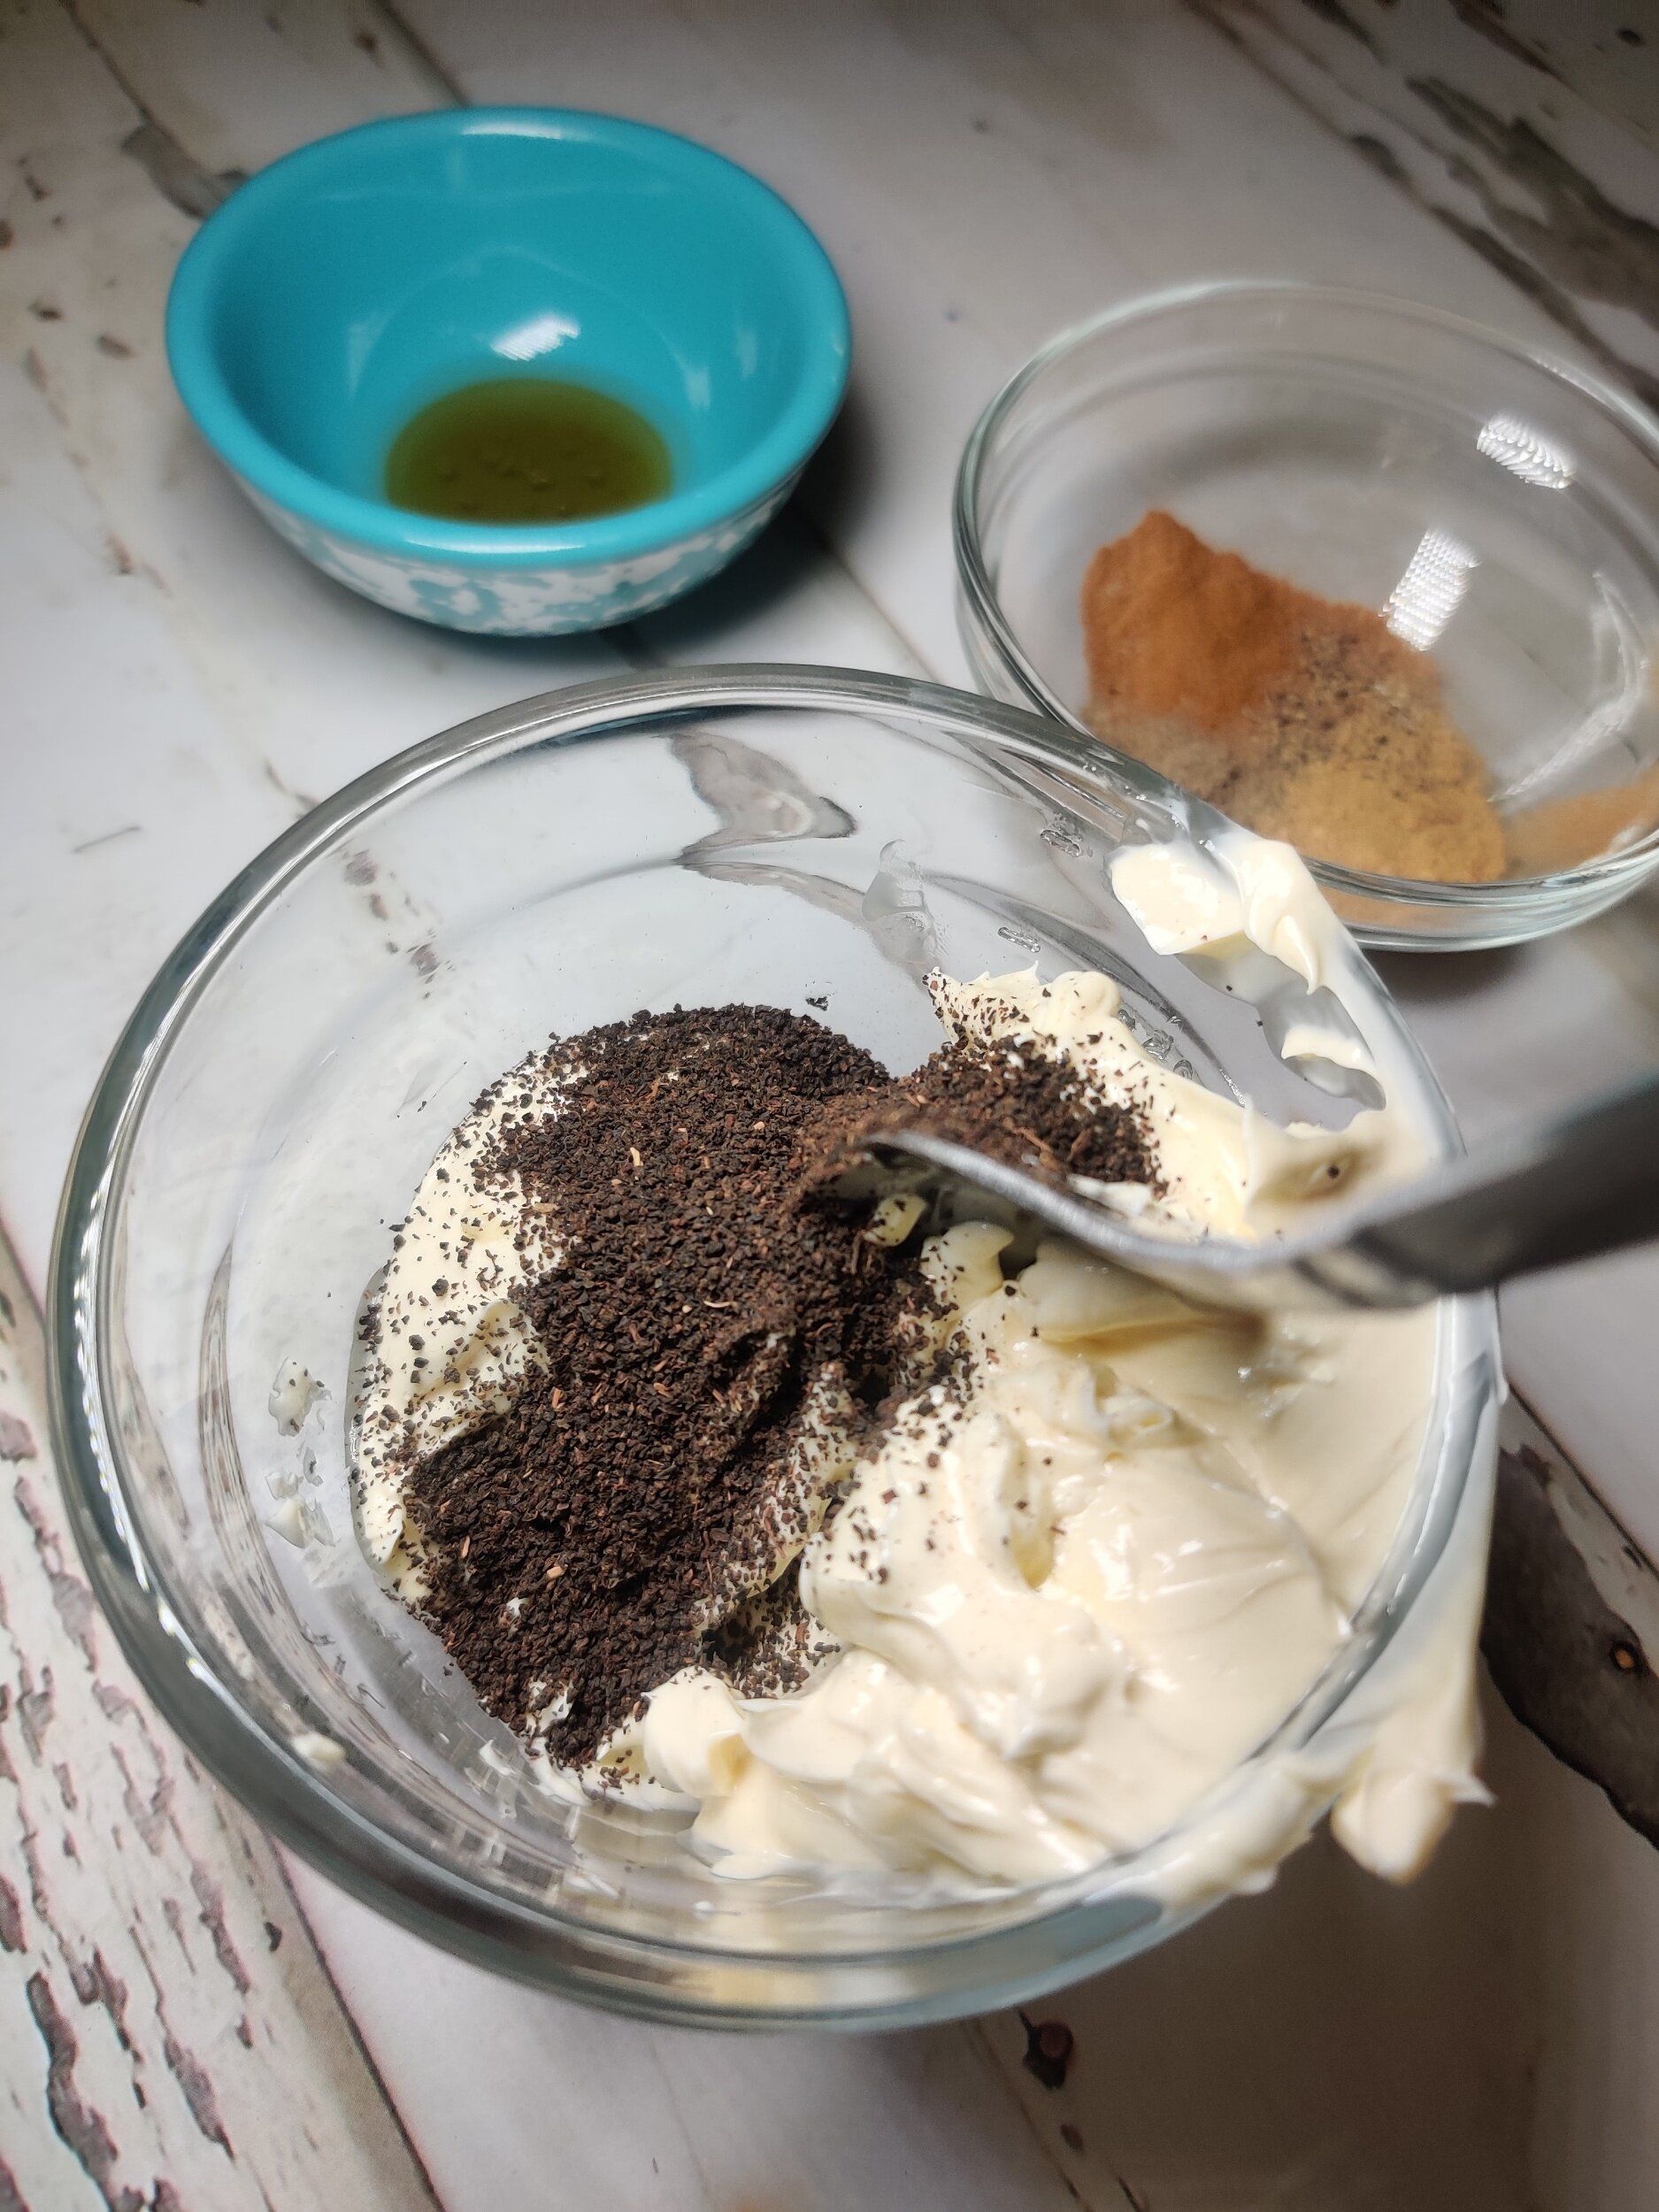
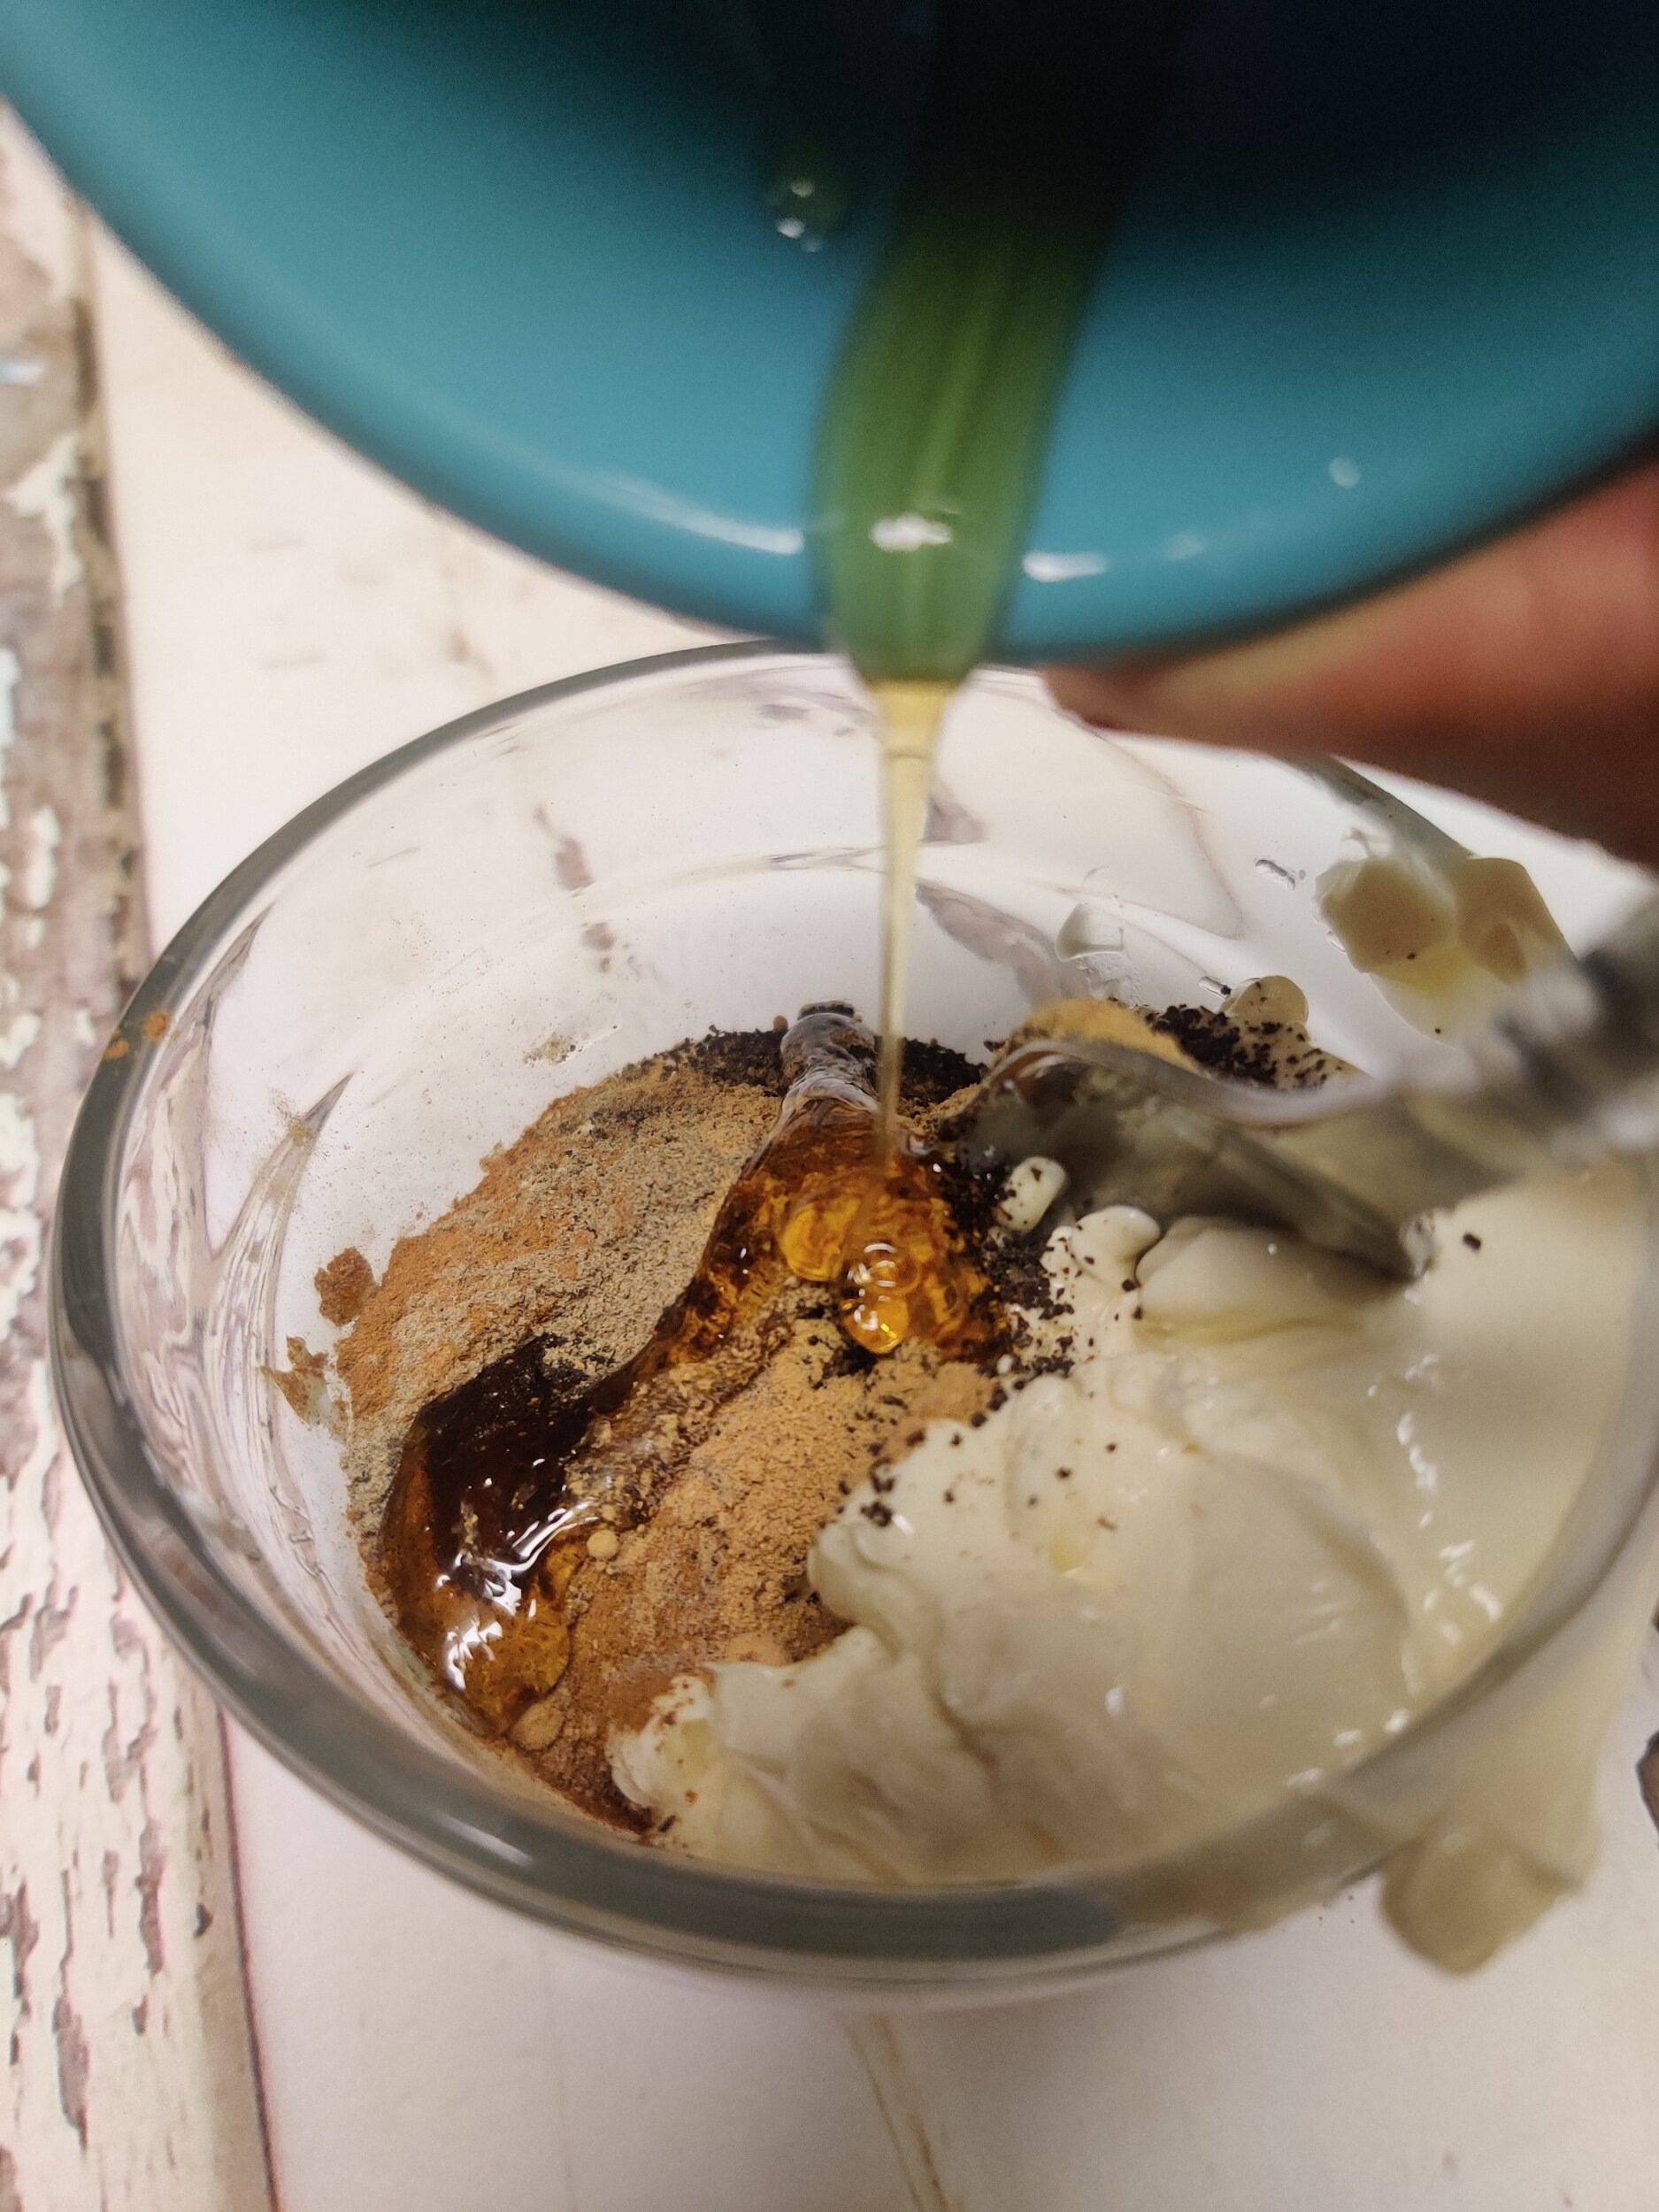
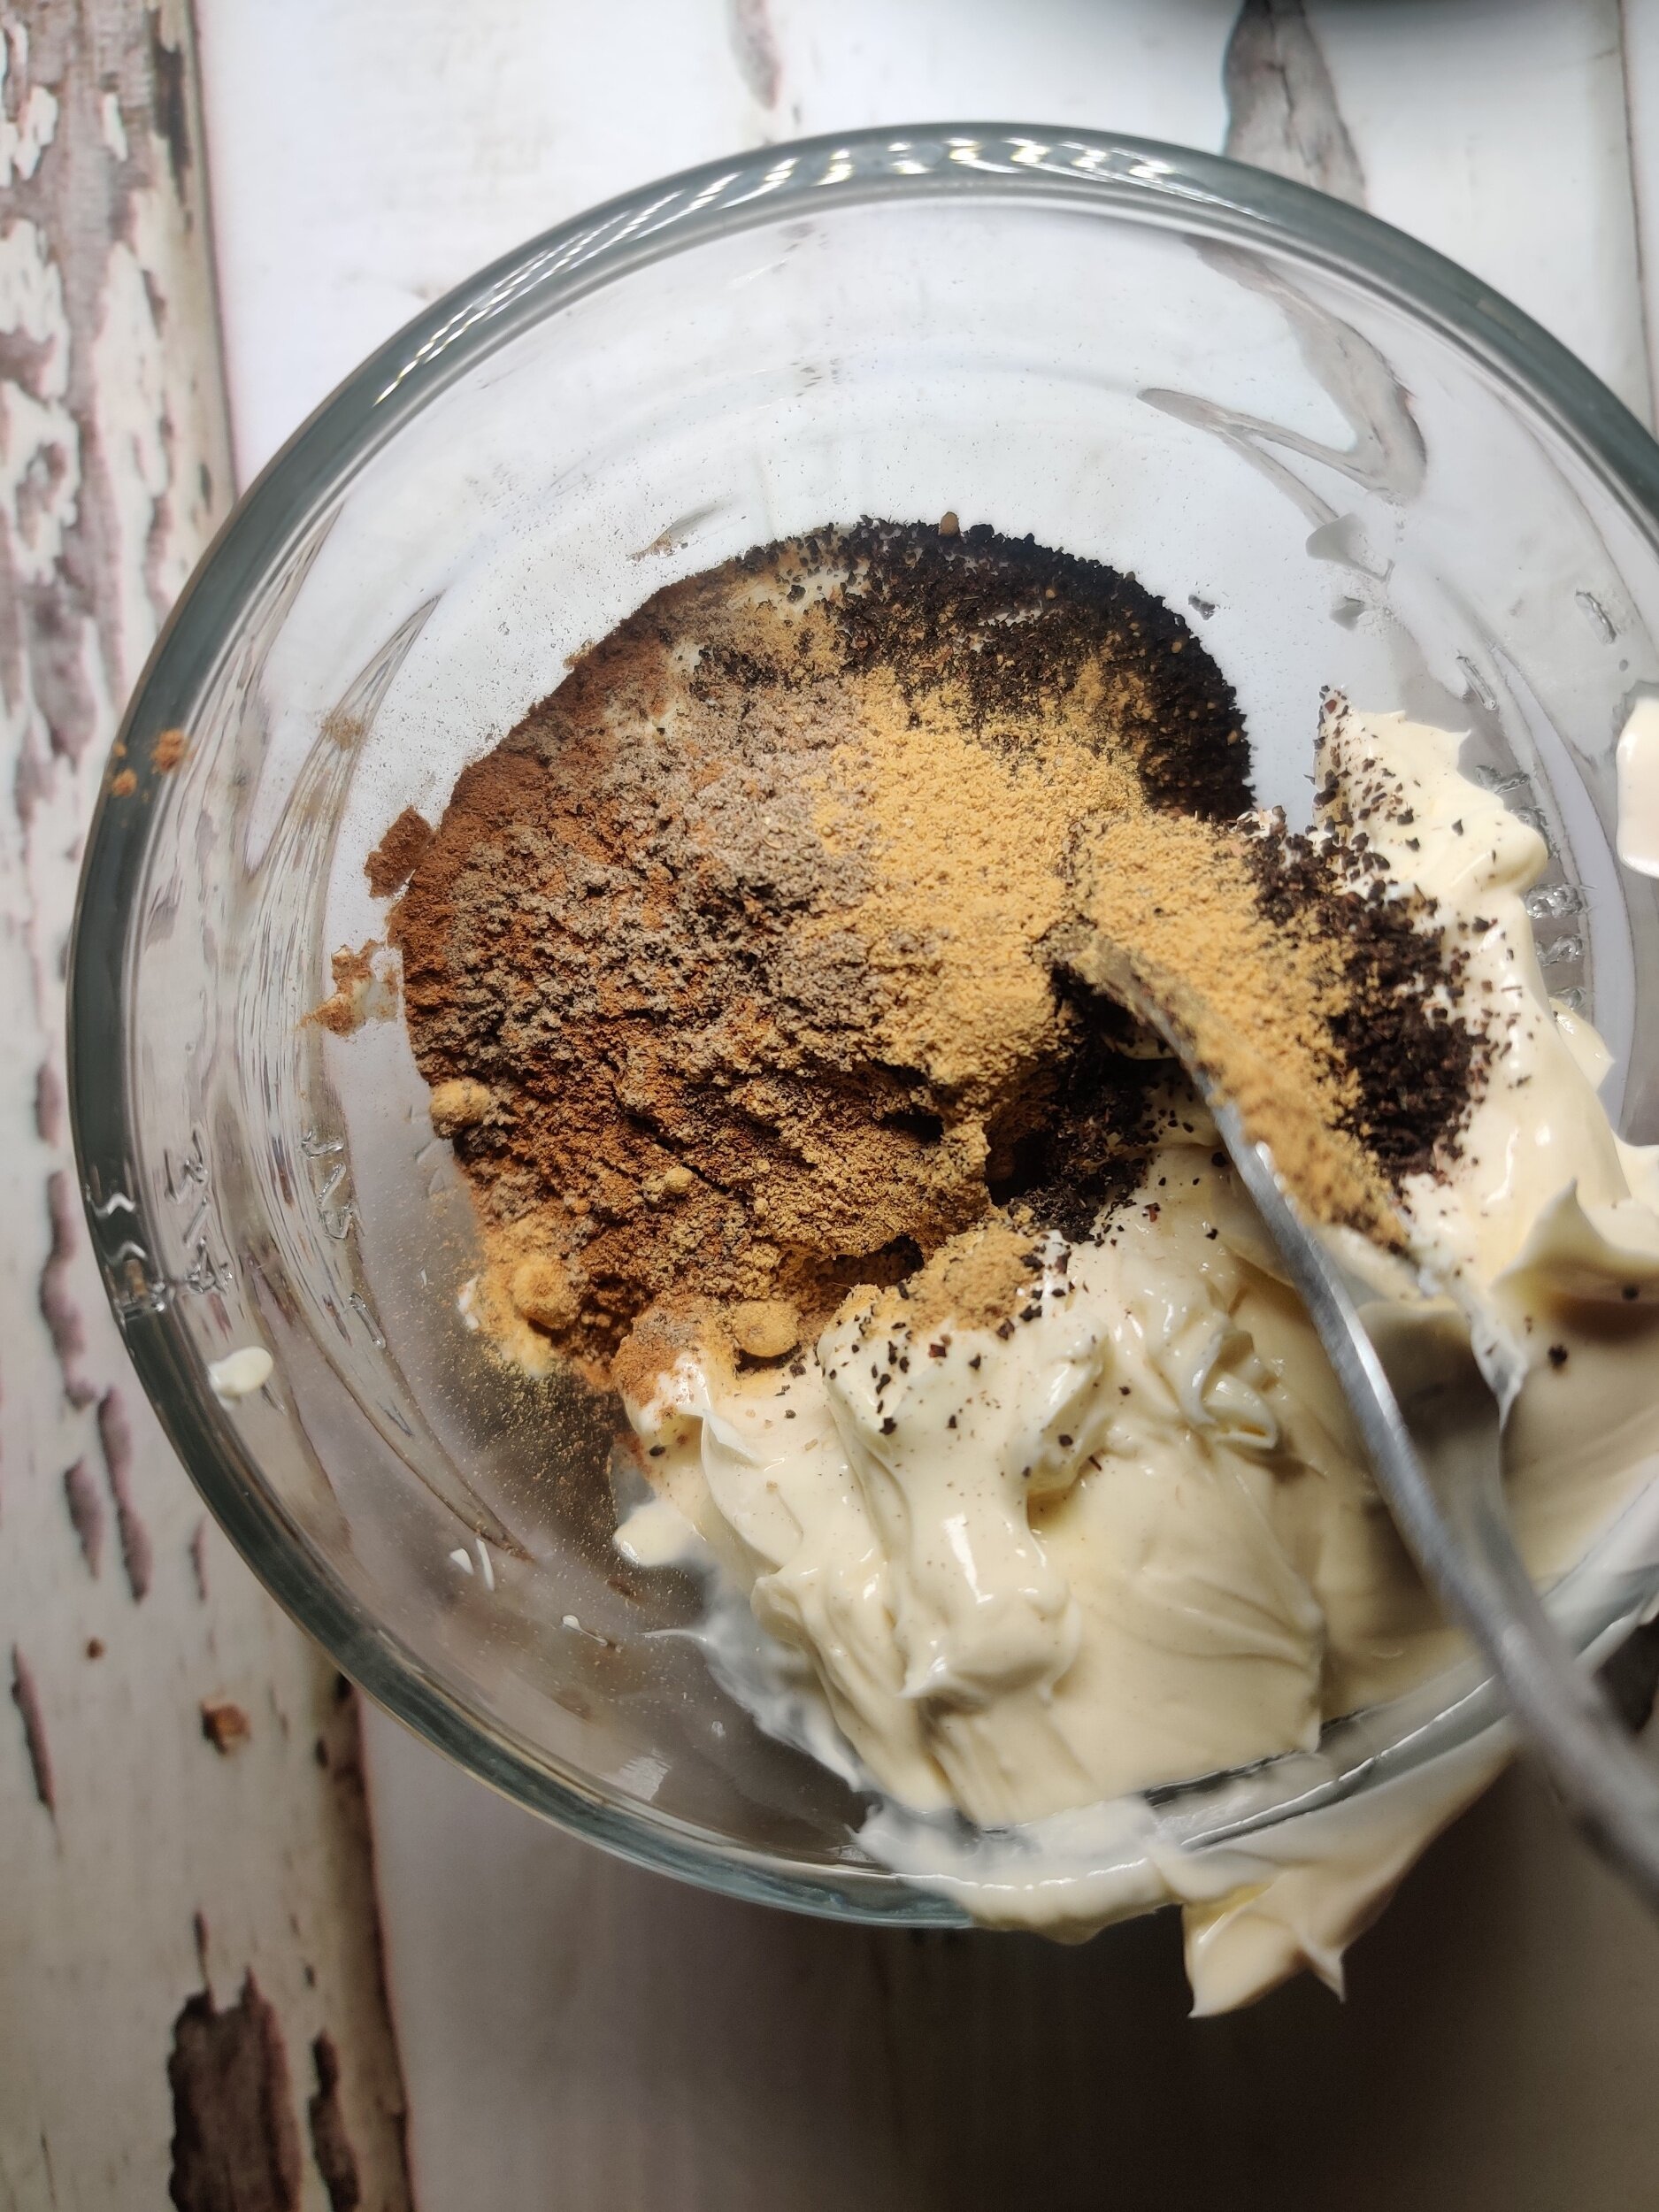
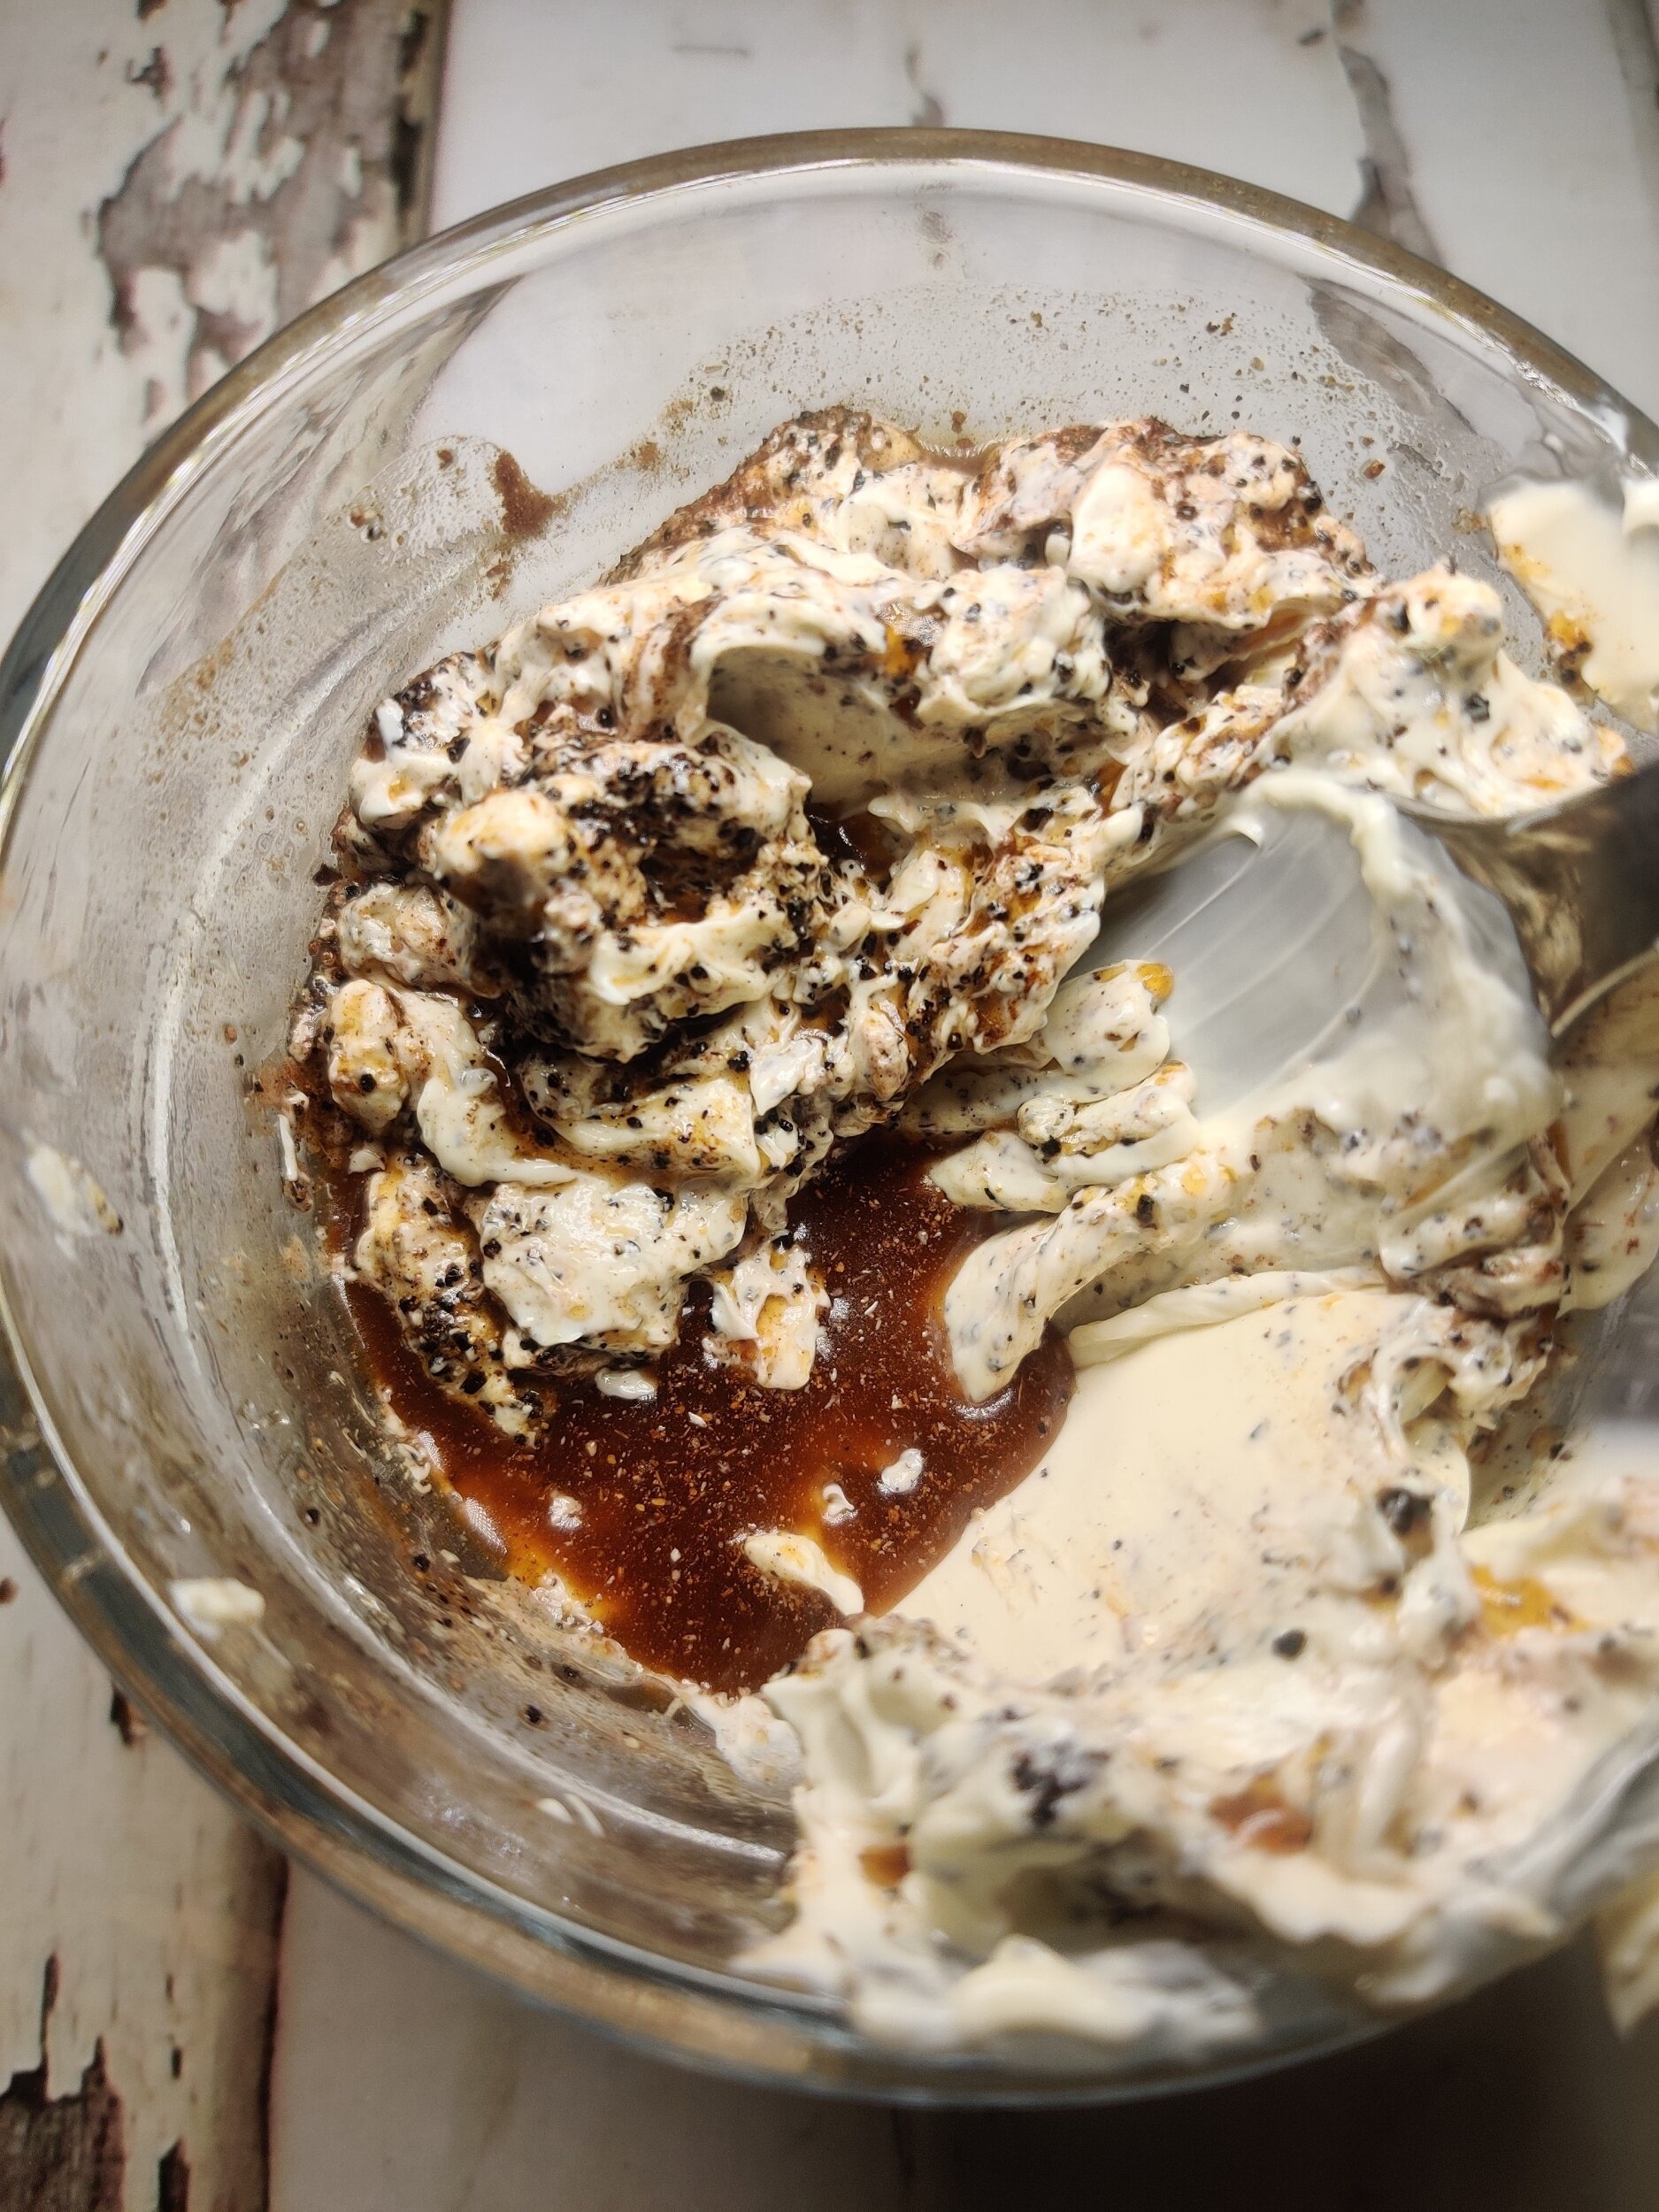
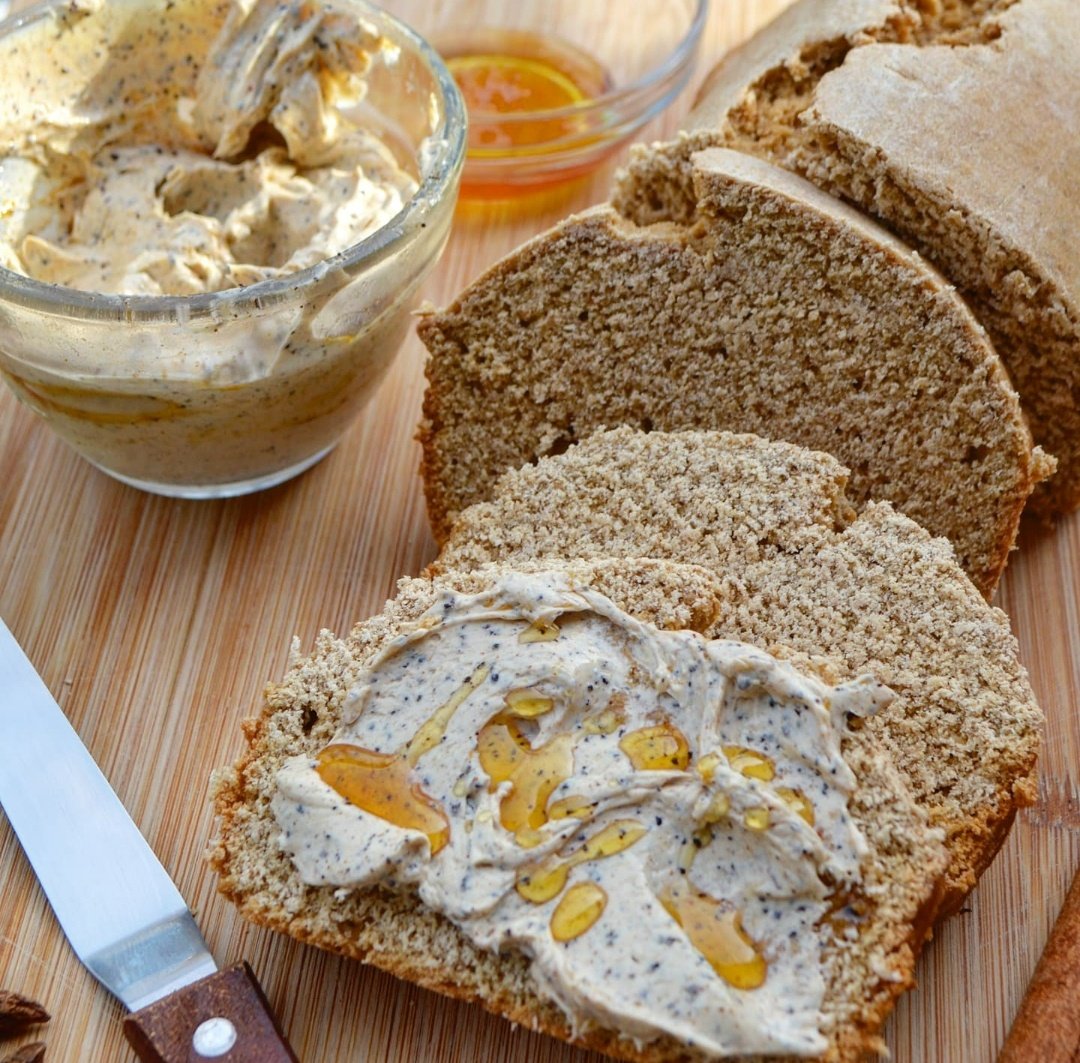
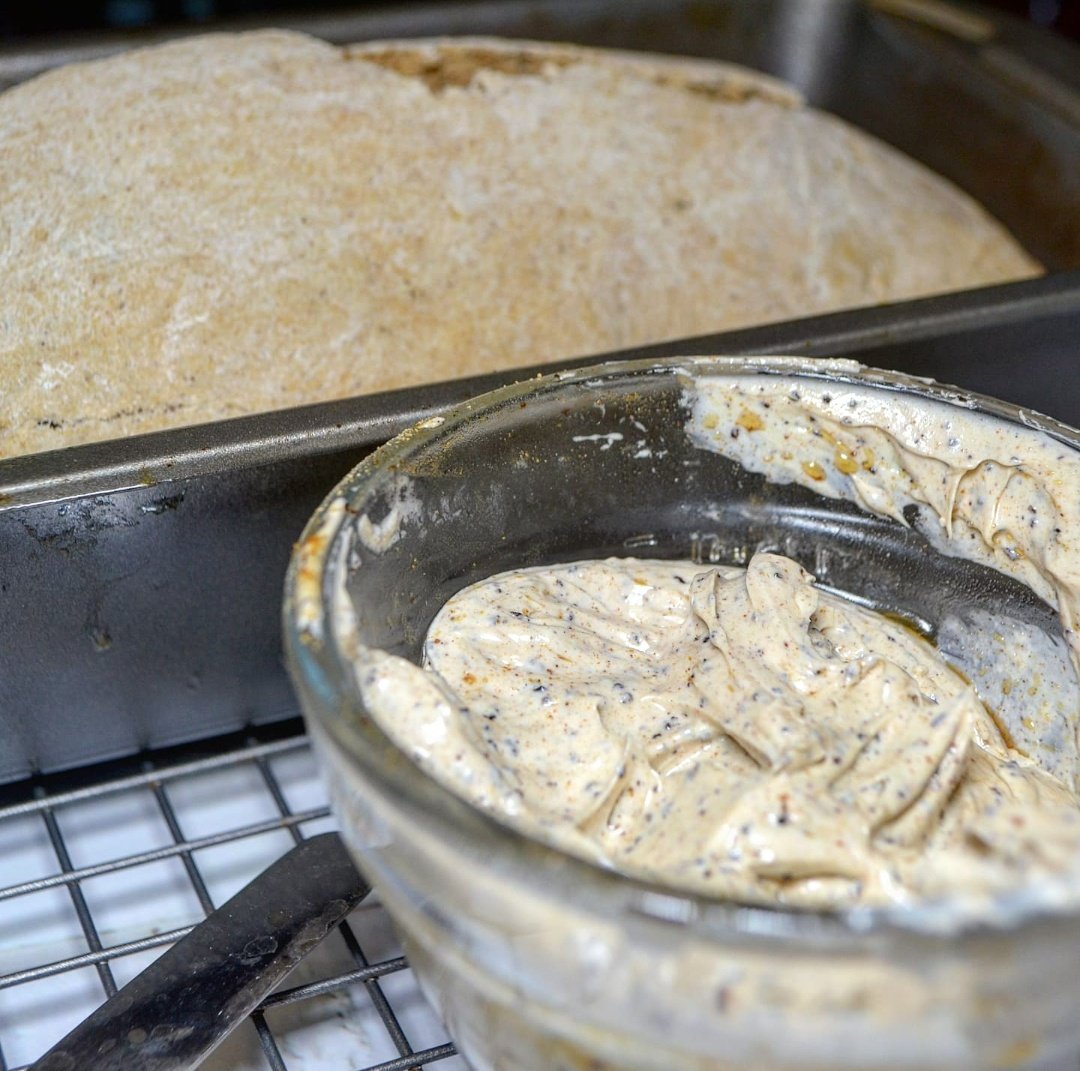
Since the dough is typically spiced, I made sure to use ingredients found in masala chai tea to give the bread some character with an Indian flavour profile. Also, instead of serving with regular butter, it made sense to spice that too, to complement and enhance the bread. Initially, I was going to make a chai buttercream drizzle, but butter really helps moisten the bread and gives it that buttery goodness!
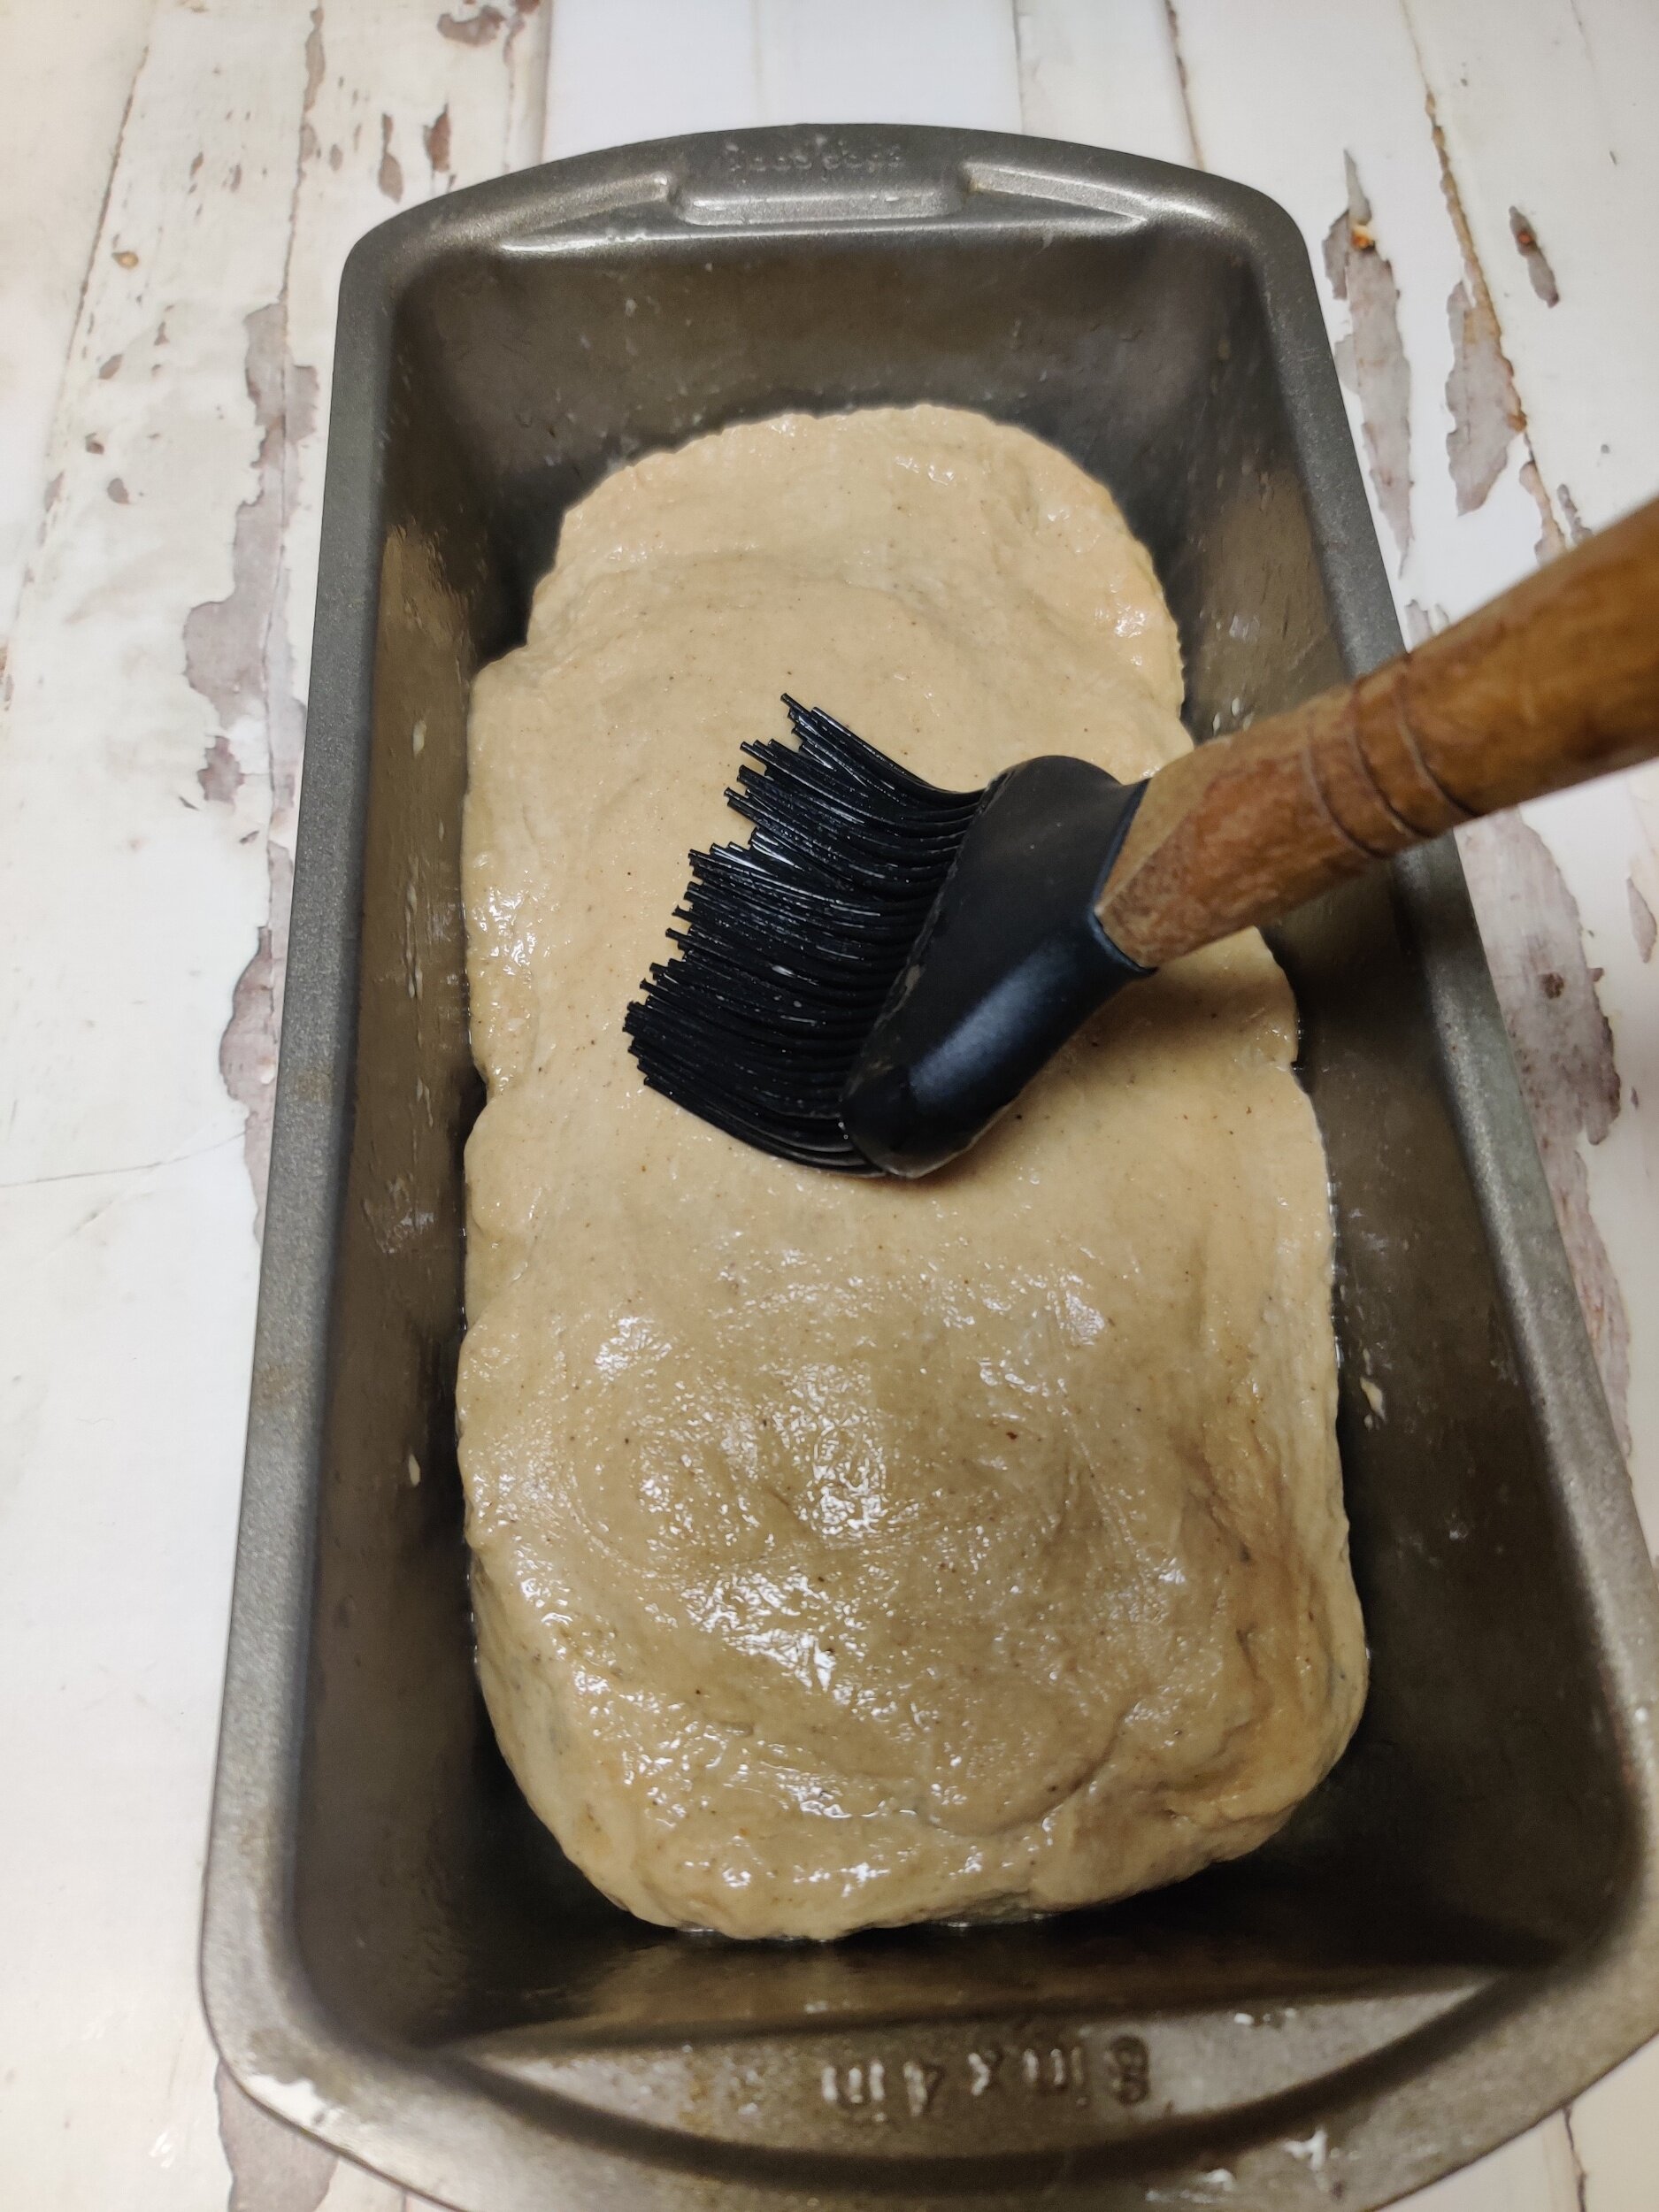
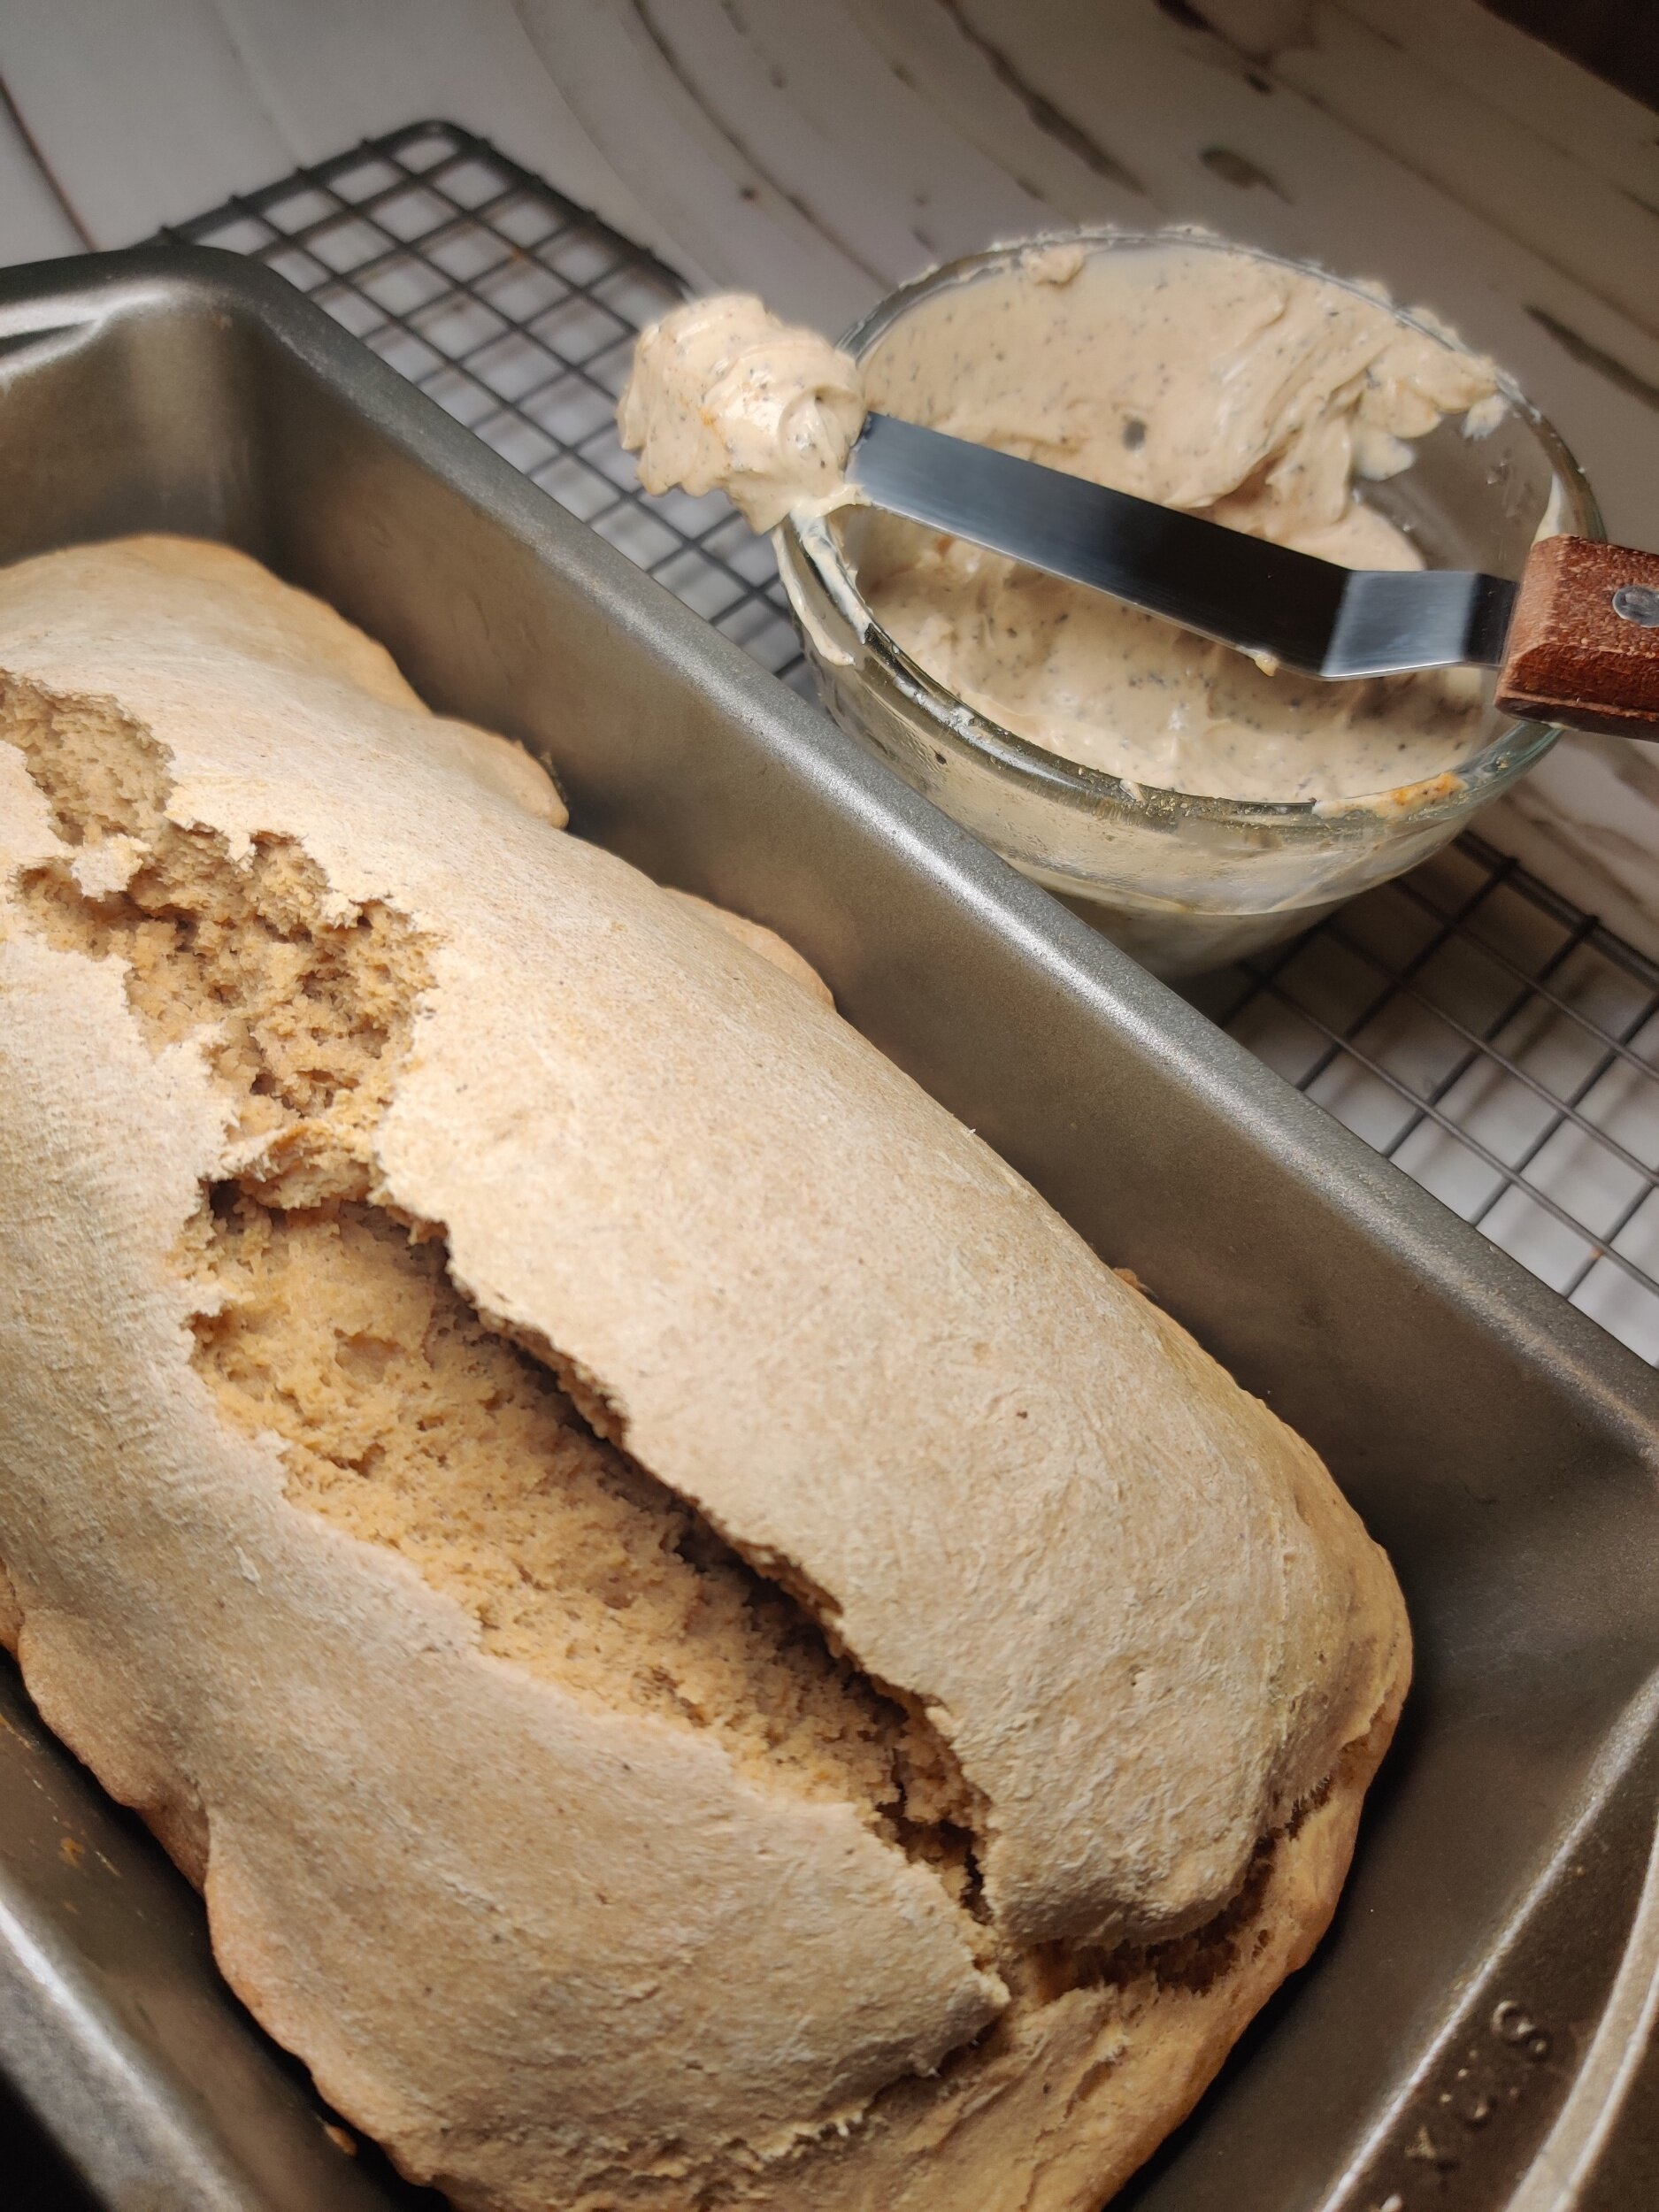
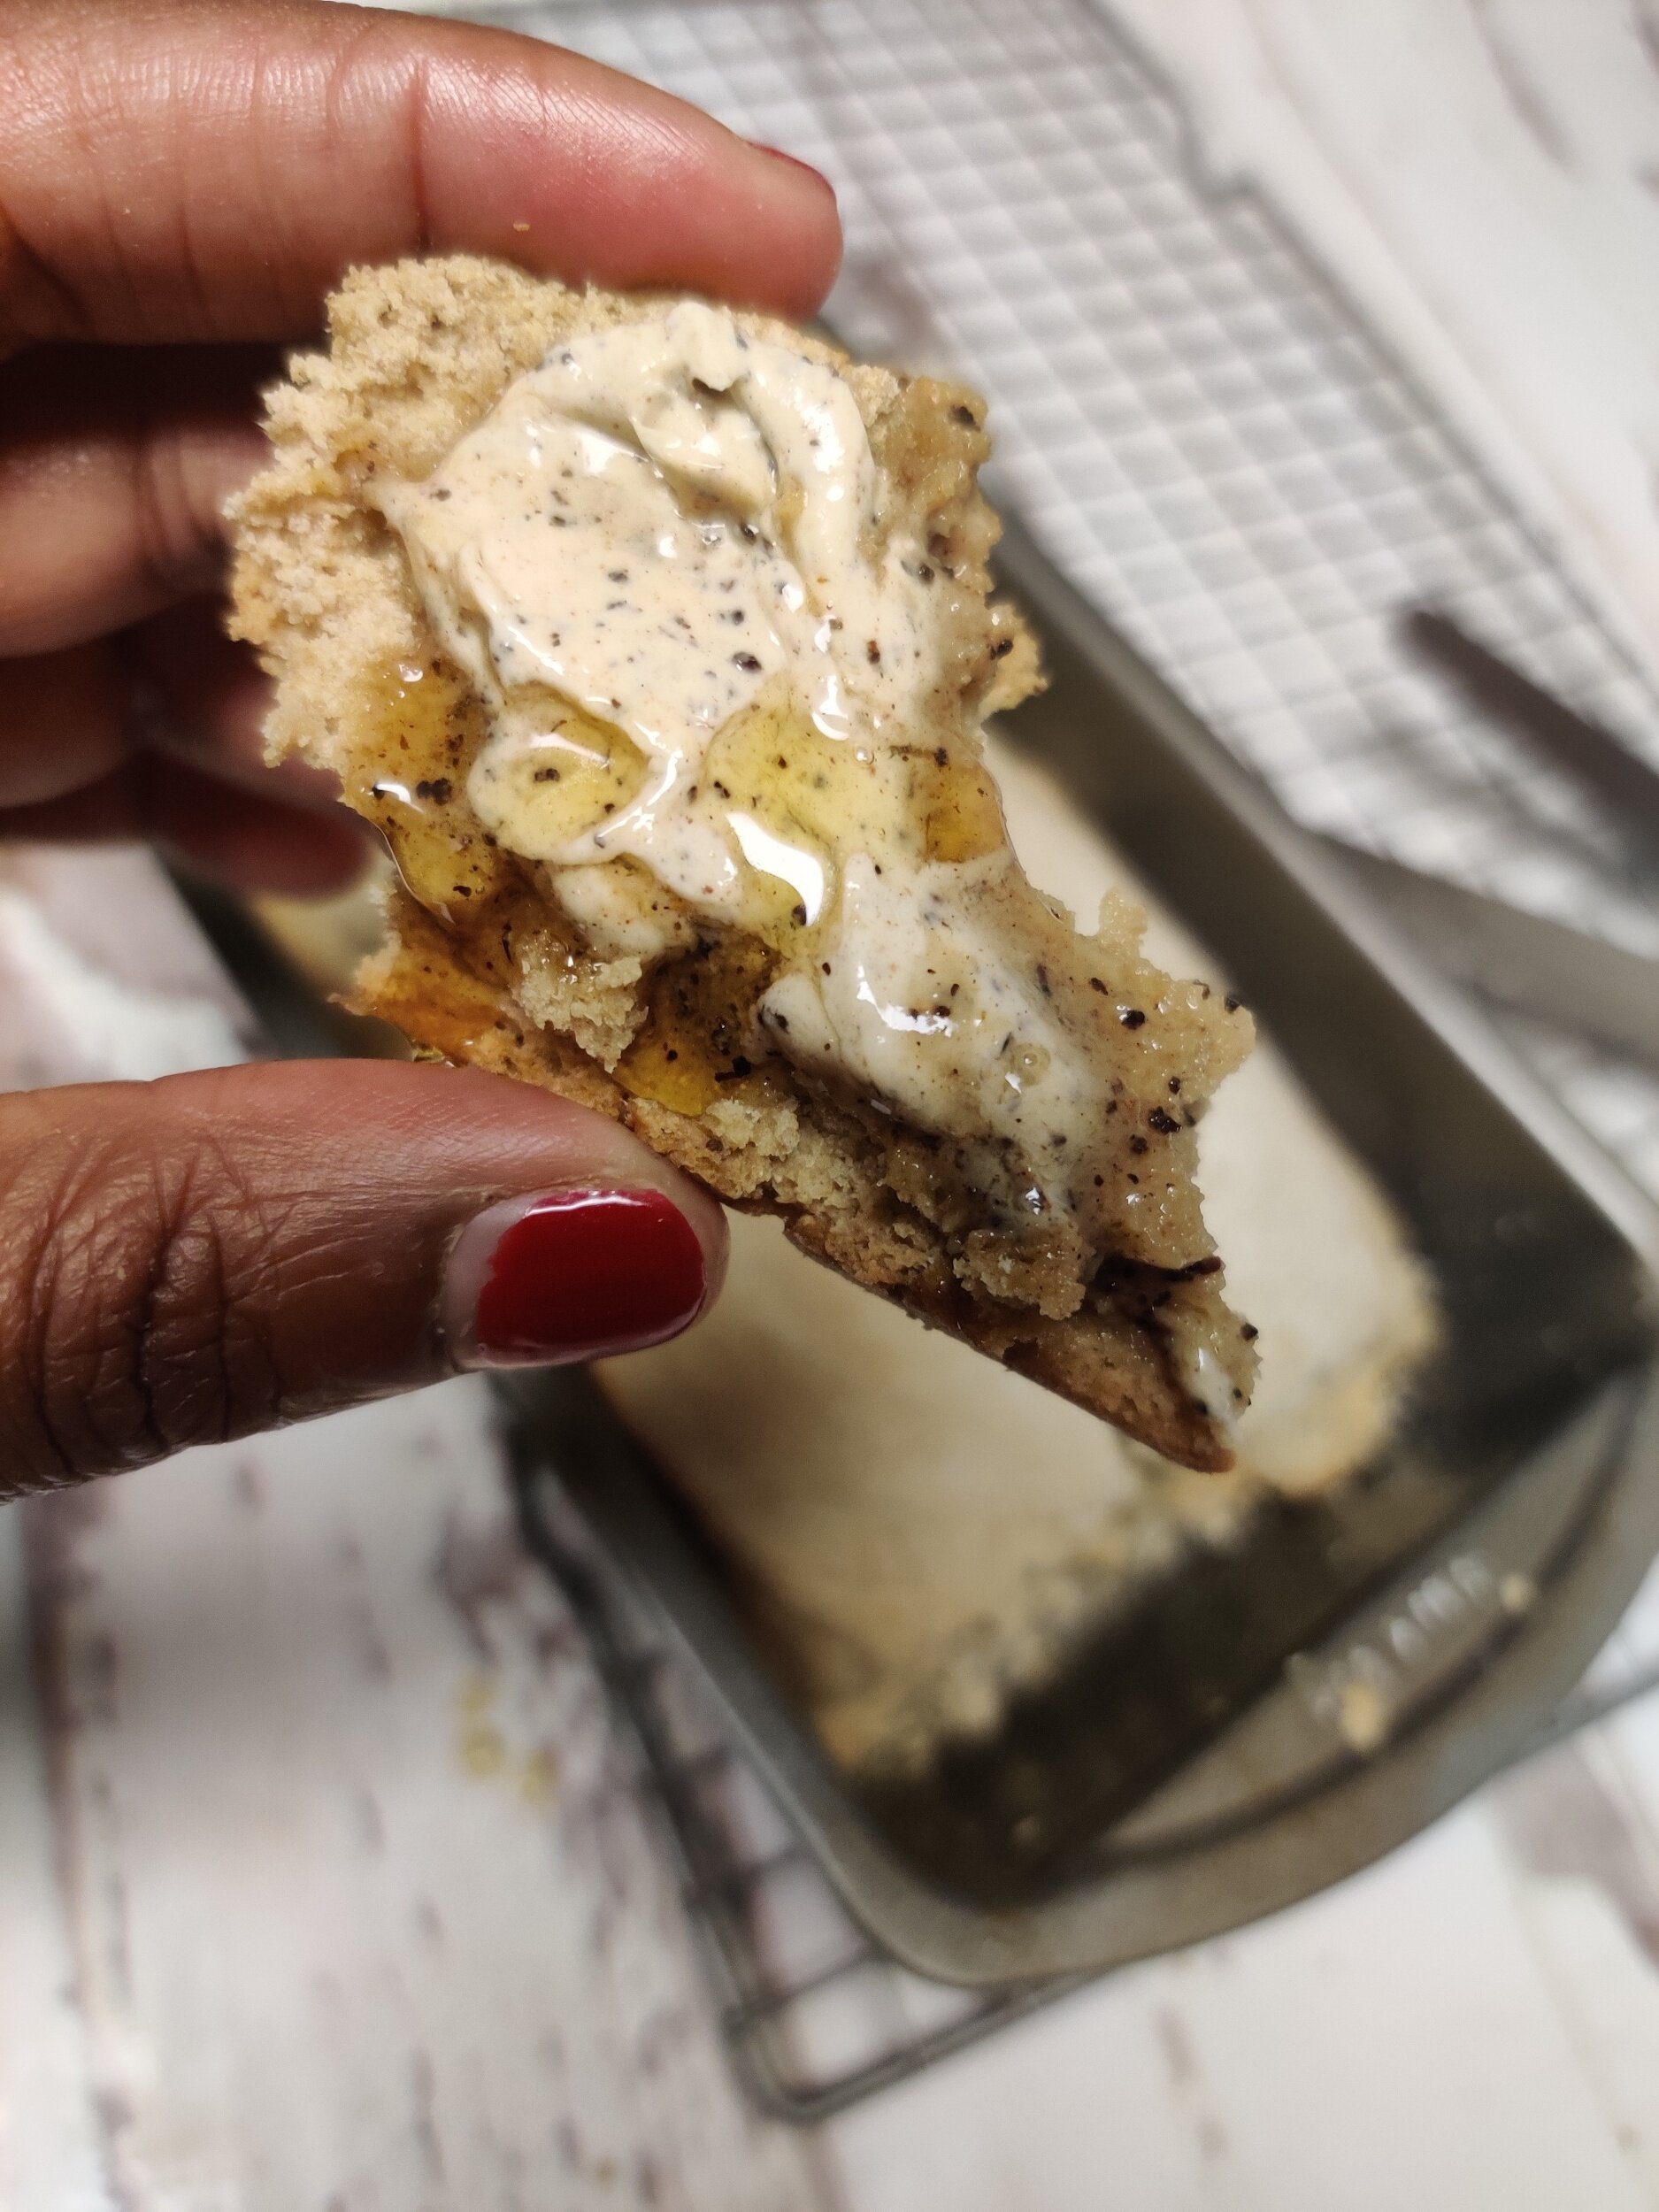
Tip: Best consumed within 3-5 days. Heat for 20 seconds or toast and add butter.
This recipe was adapted from Paul DeLancey.
Veldt Bread with Masala Chai Tea Butter
Ingredients
- 3 1/2 cups whole wheat flour
- 3 tablespoons light brown sugar
- 1 tablespoon baking powder
- 1/4 teaspoon ground nutmeg
- 1/2 teaspoon ground cinnamon
- 1/4 teaspoon ground cloves
- 1/4 teaspoon ground ginger
- 1/4 teaspoon ground cardamom
- 1 tablespoon vanilla extract
- 1/2 teaspoon salt
- 4 tablespoons butter
- 1 egg
- 2/3 cups vanilla almond milk
- 8 tablespoons butter
- 1 teaspoon maple syrup or honey
- 2-3 black tea bags (I used English breakfast)
- 3/4 cups water
- 1/2 teaspoon cinnamon
- 1/2 teaspoon nutmeg
- 1/2 teaspoon ground cardamom
- 1/2 teaspoon ground ginger
- 1 star anise
- Pinch of salt
- 1/4 teaspoon black pepper
Instructions
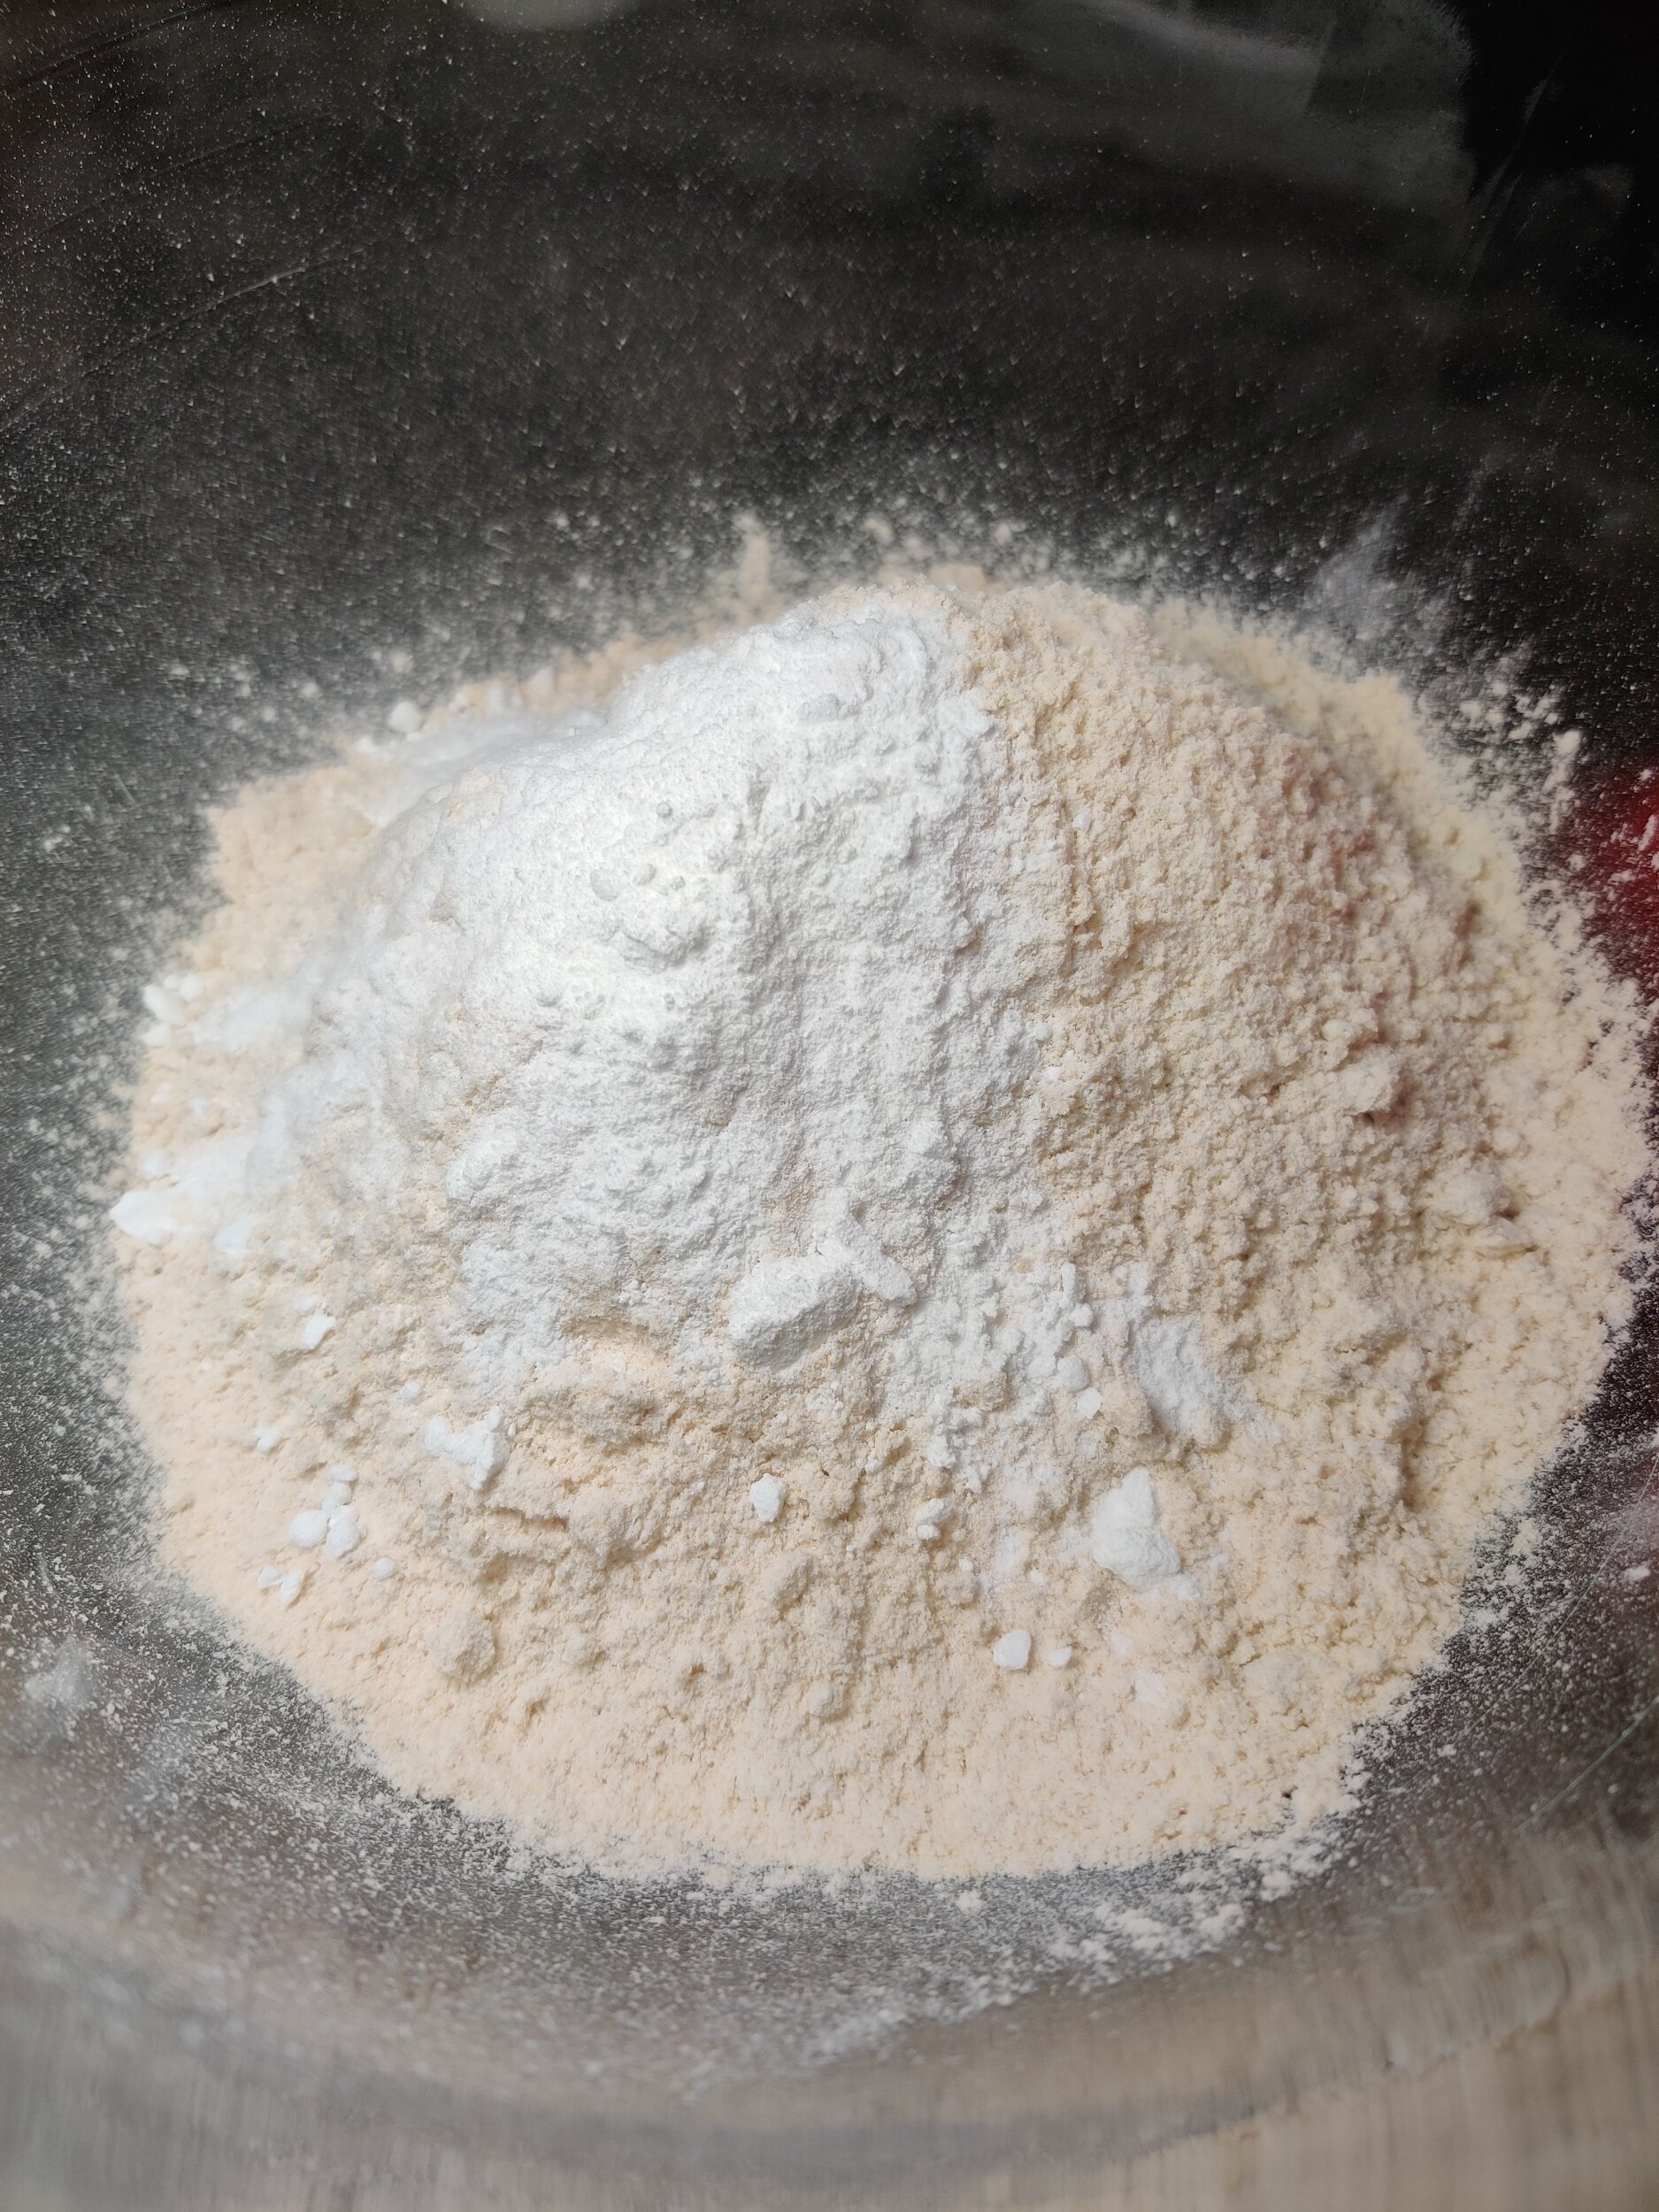
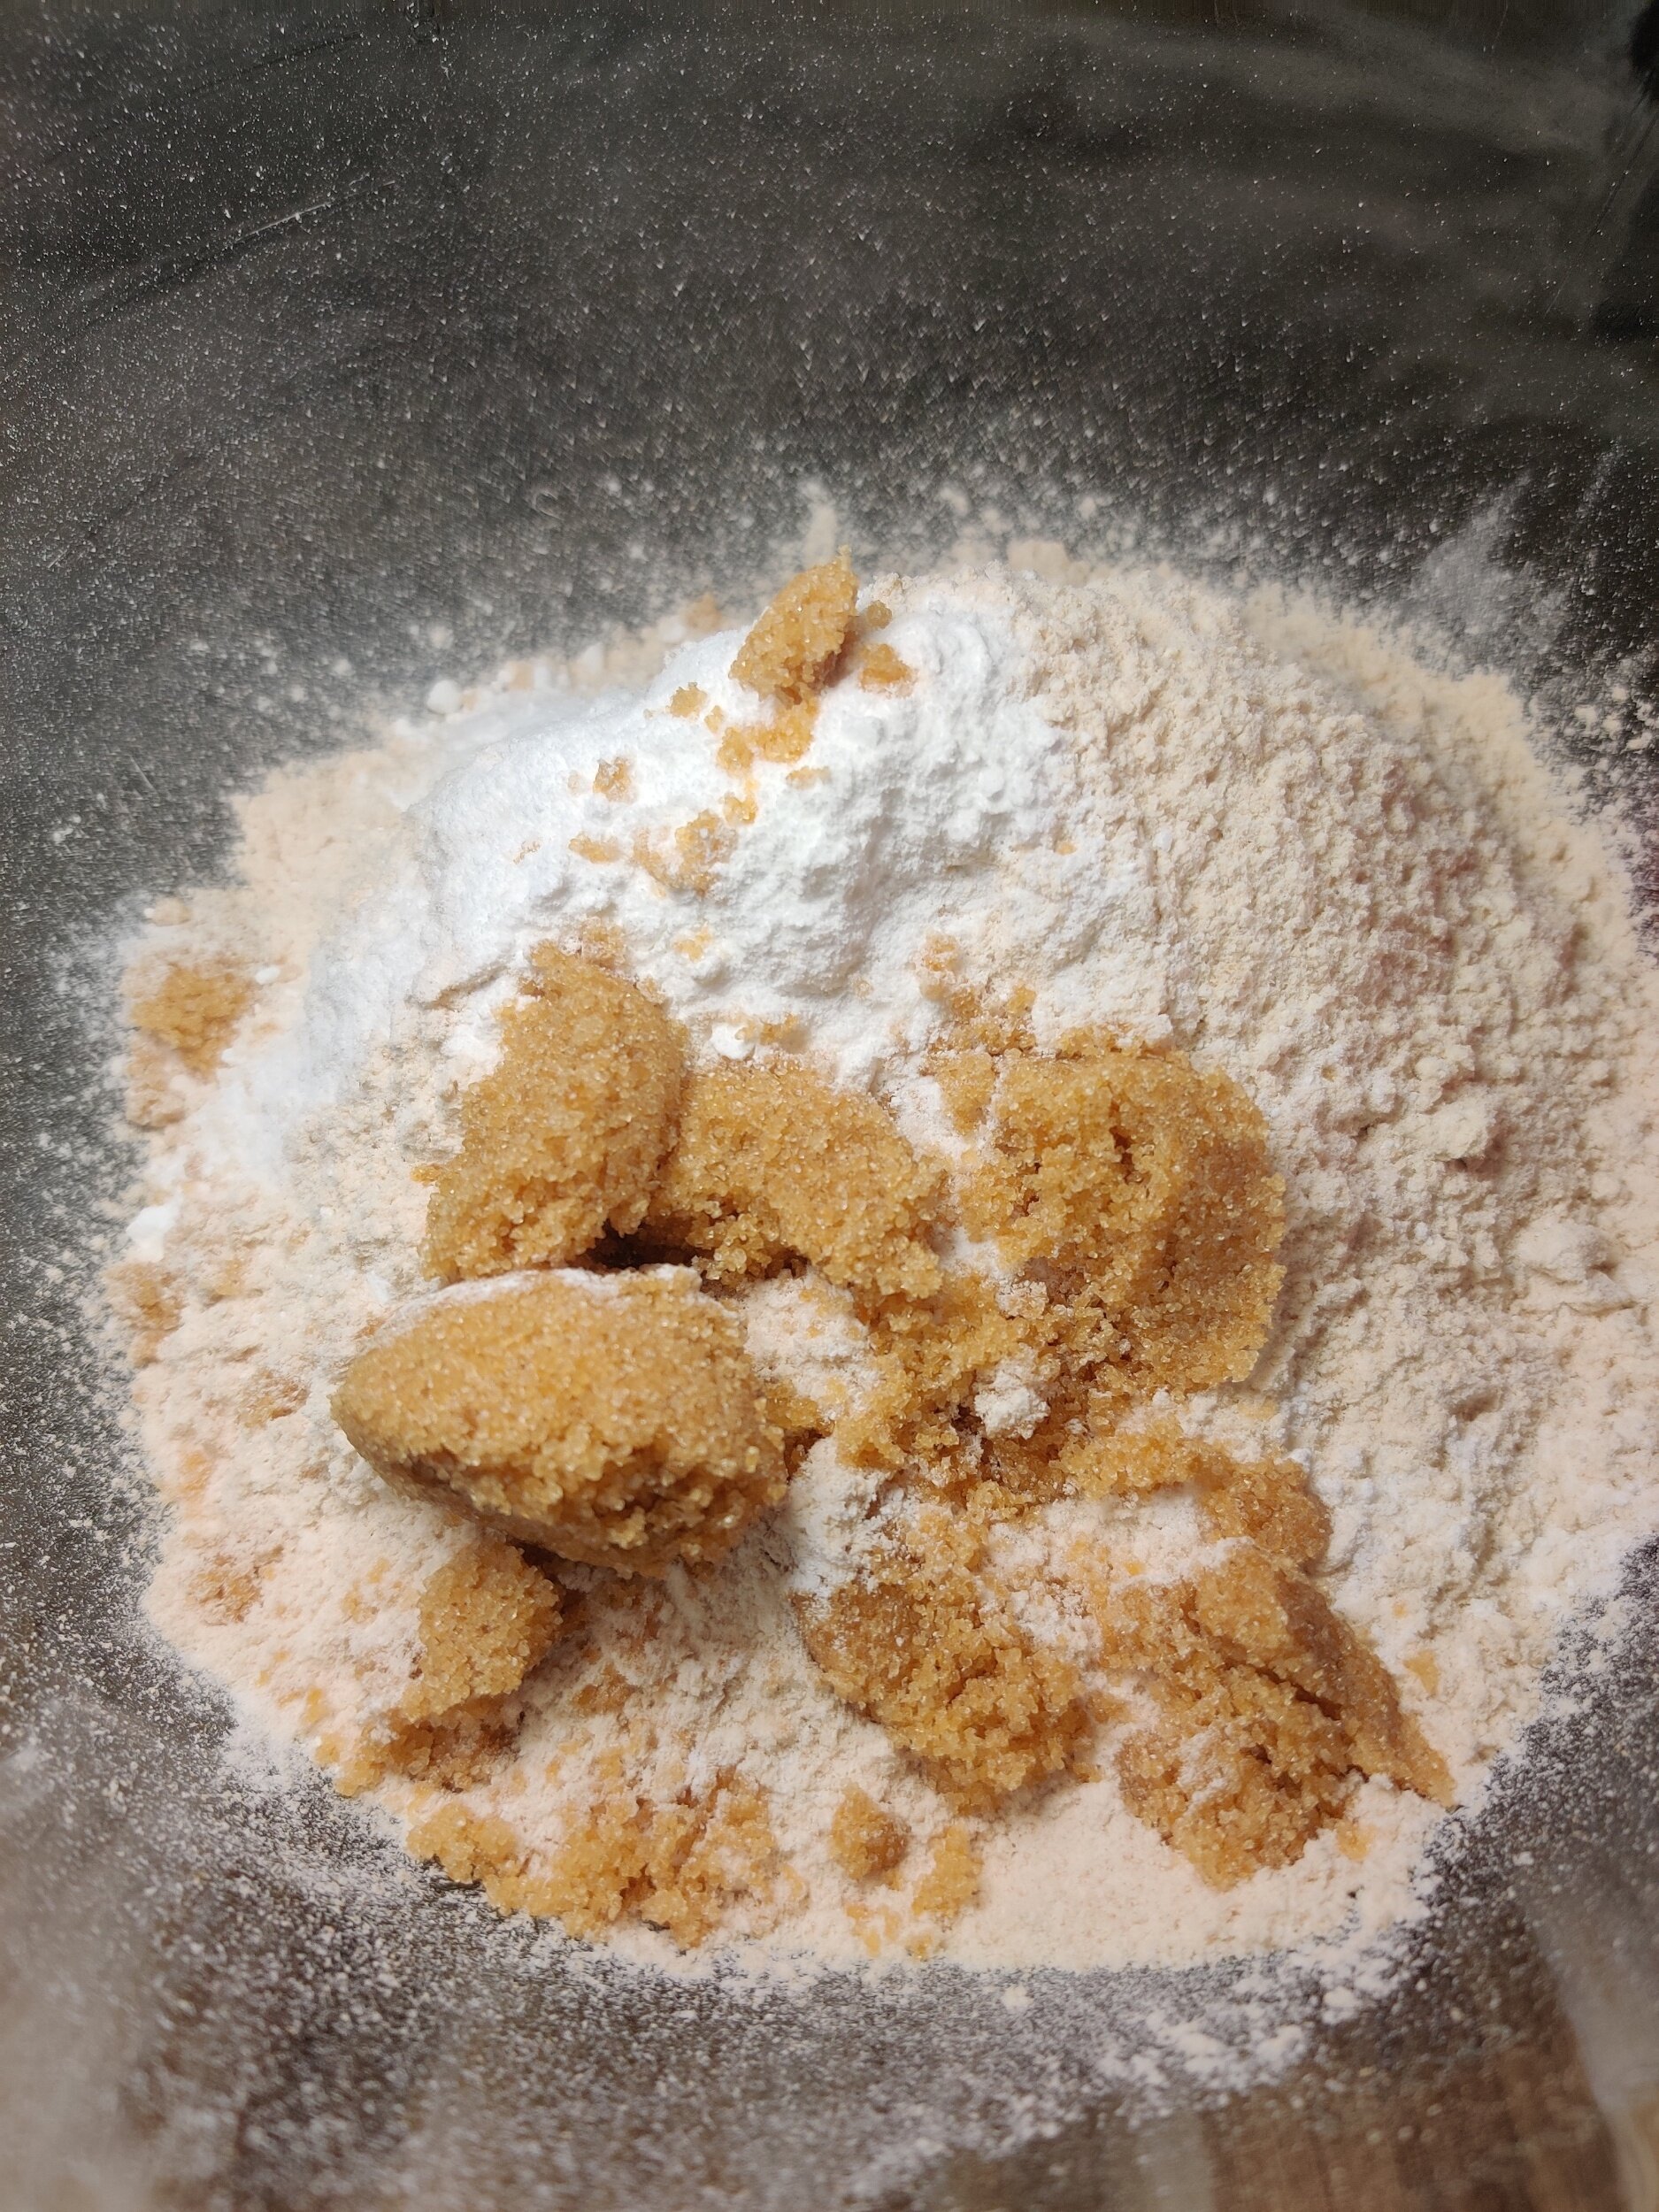
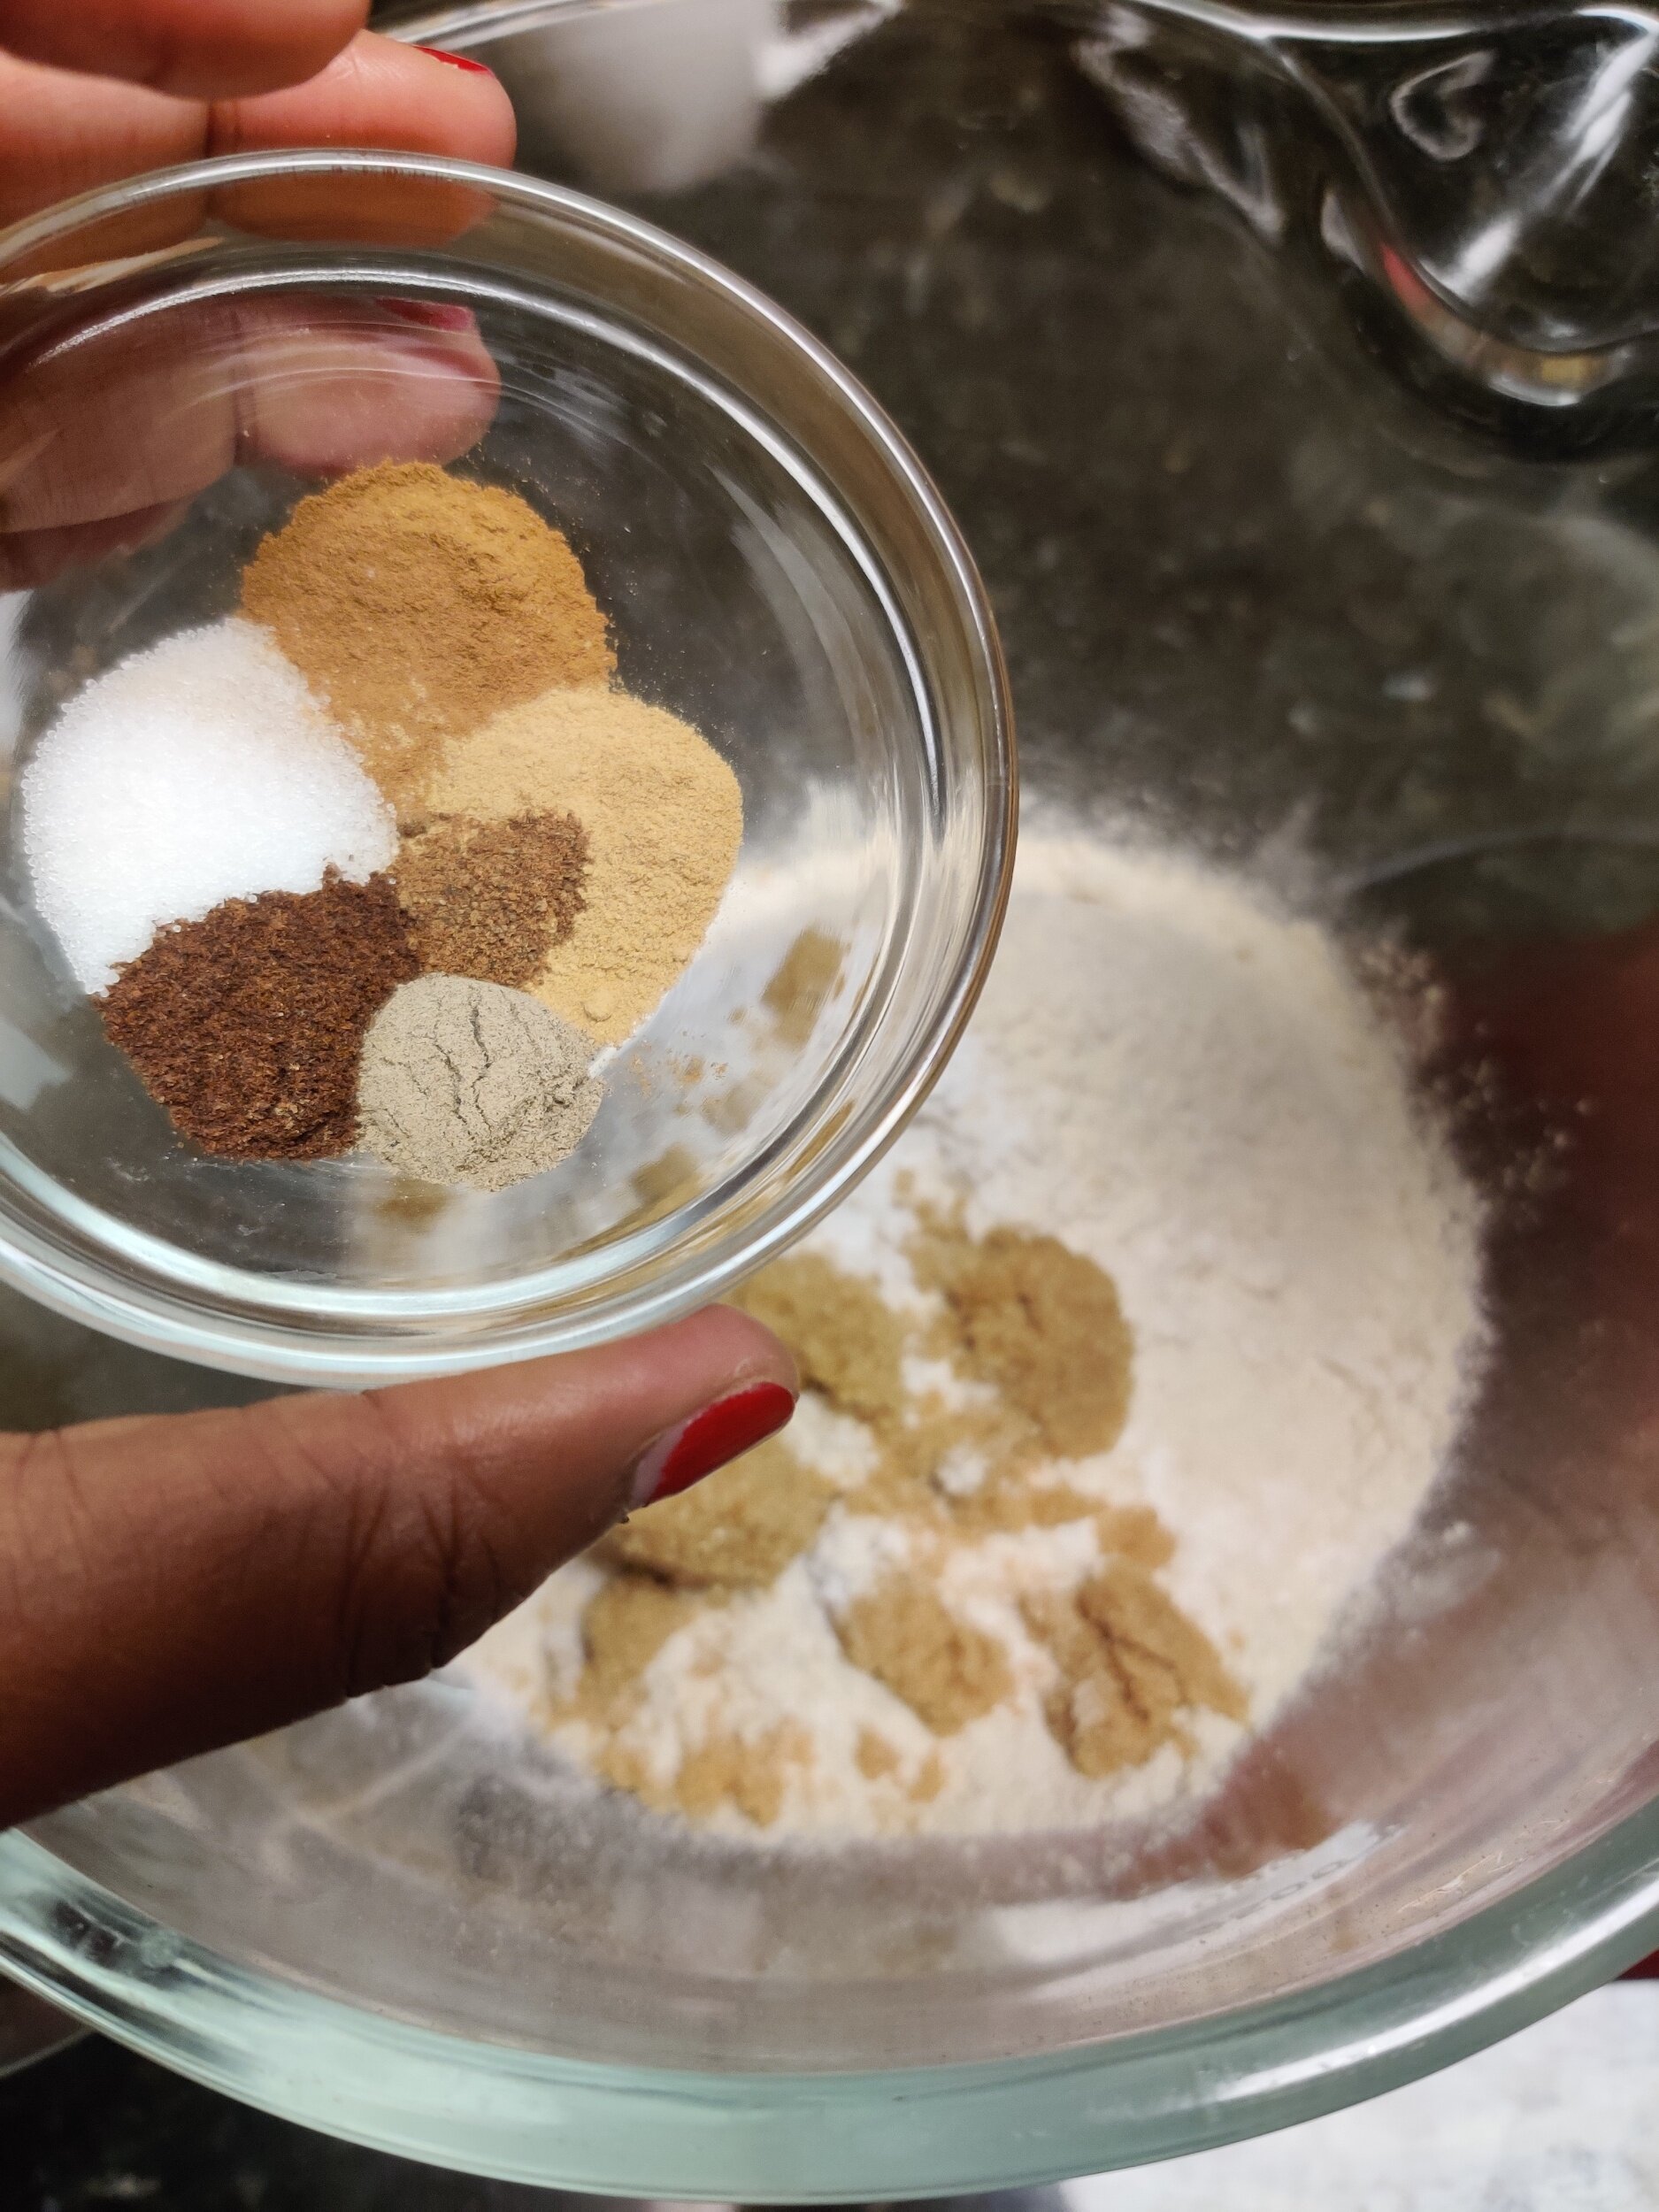
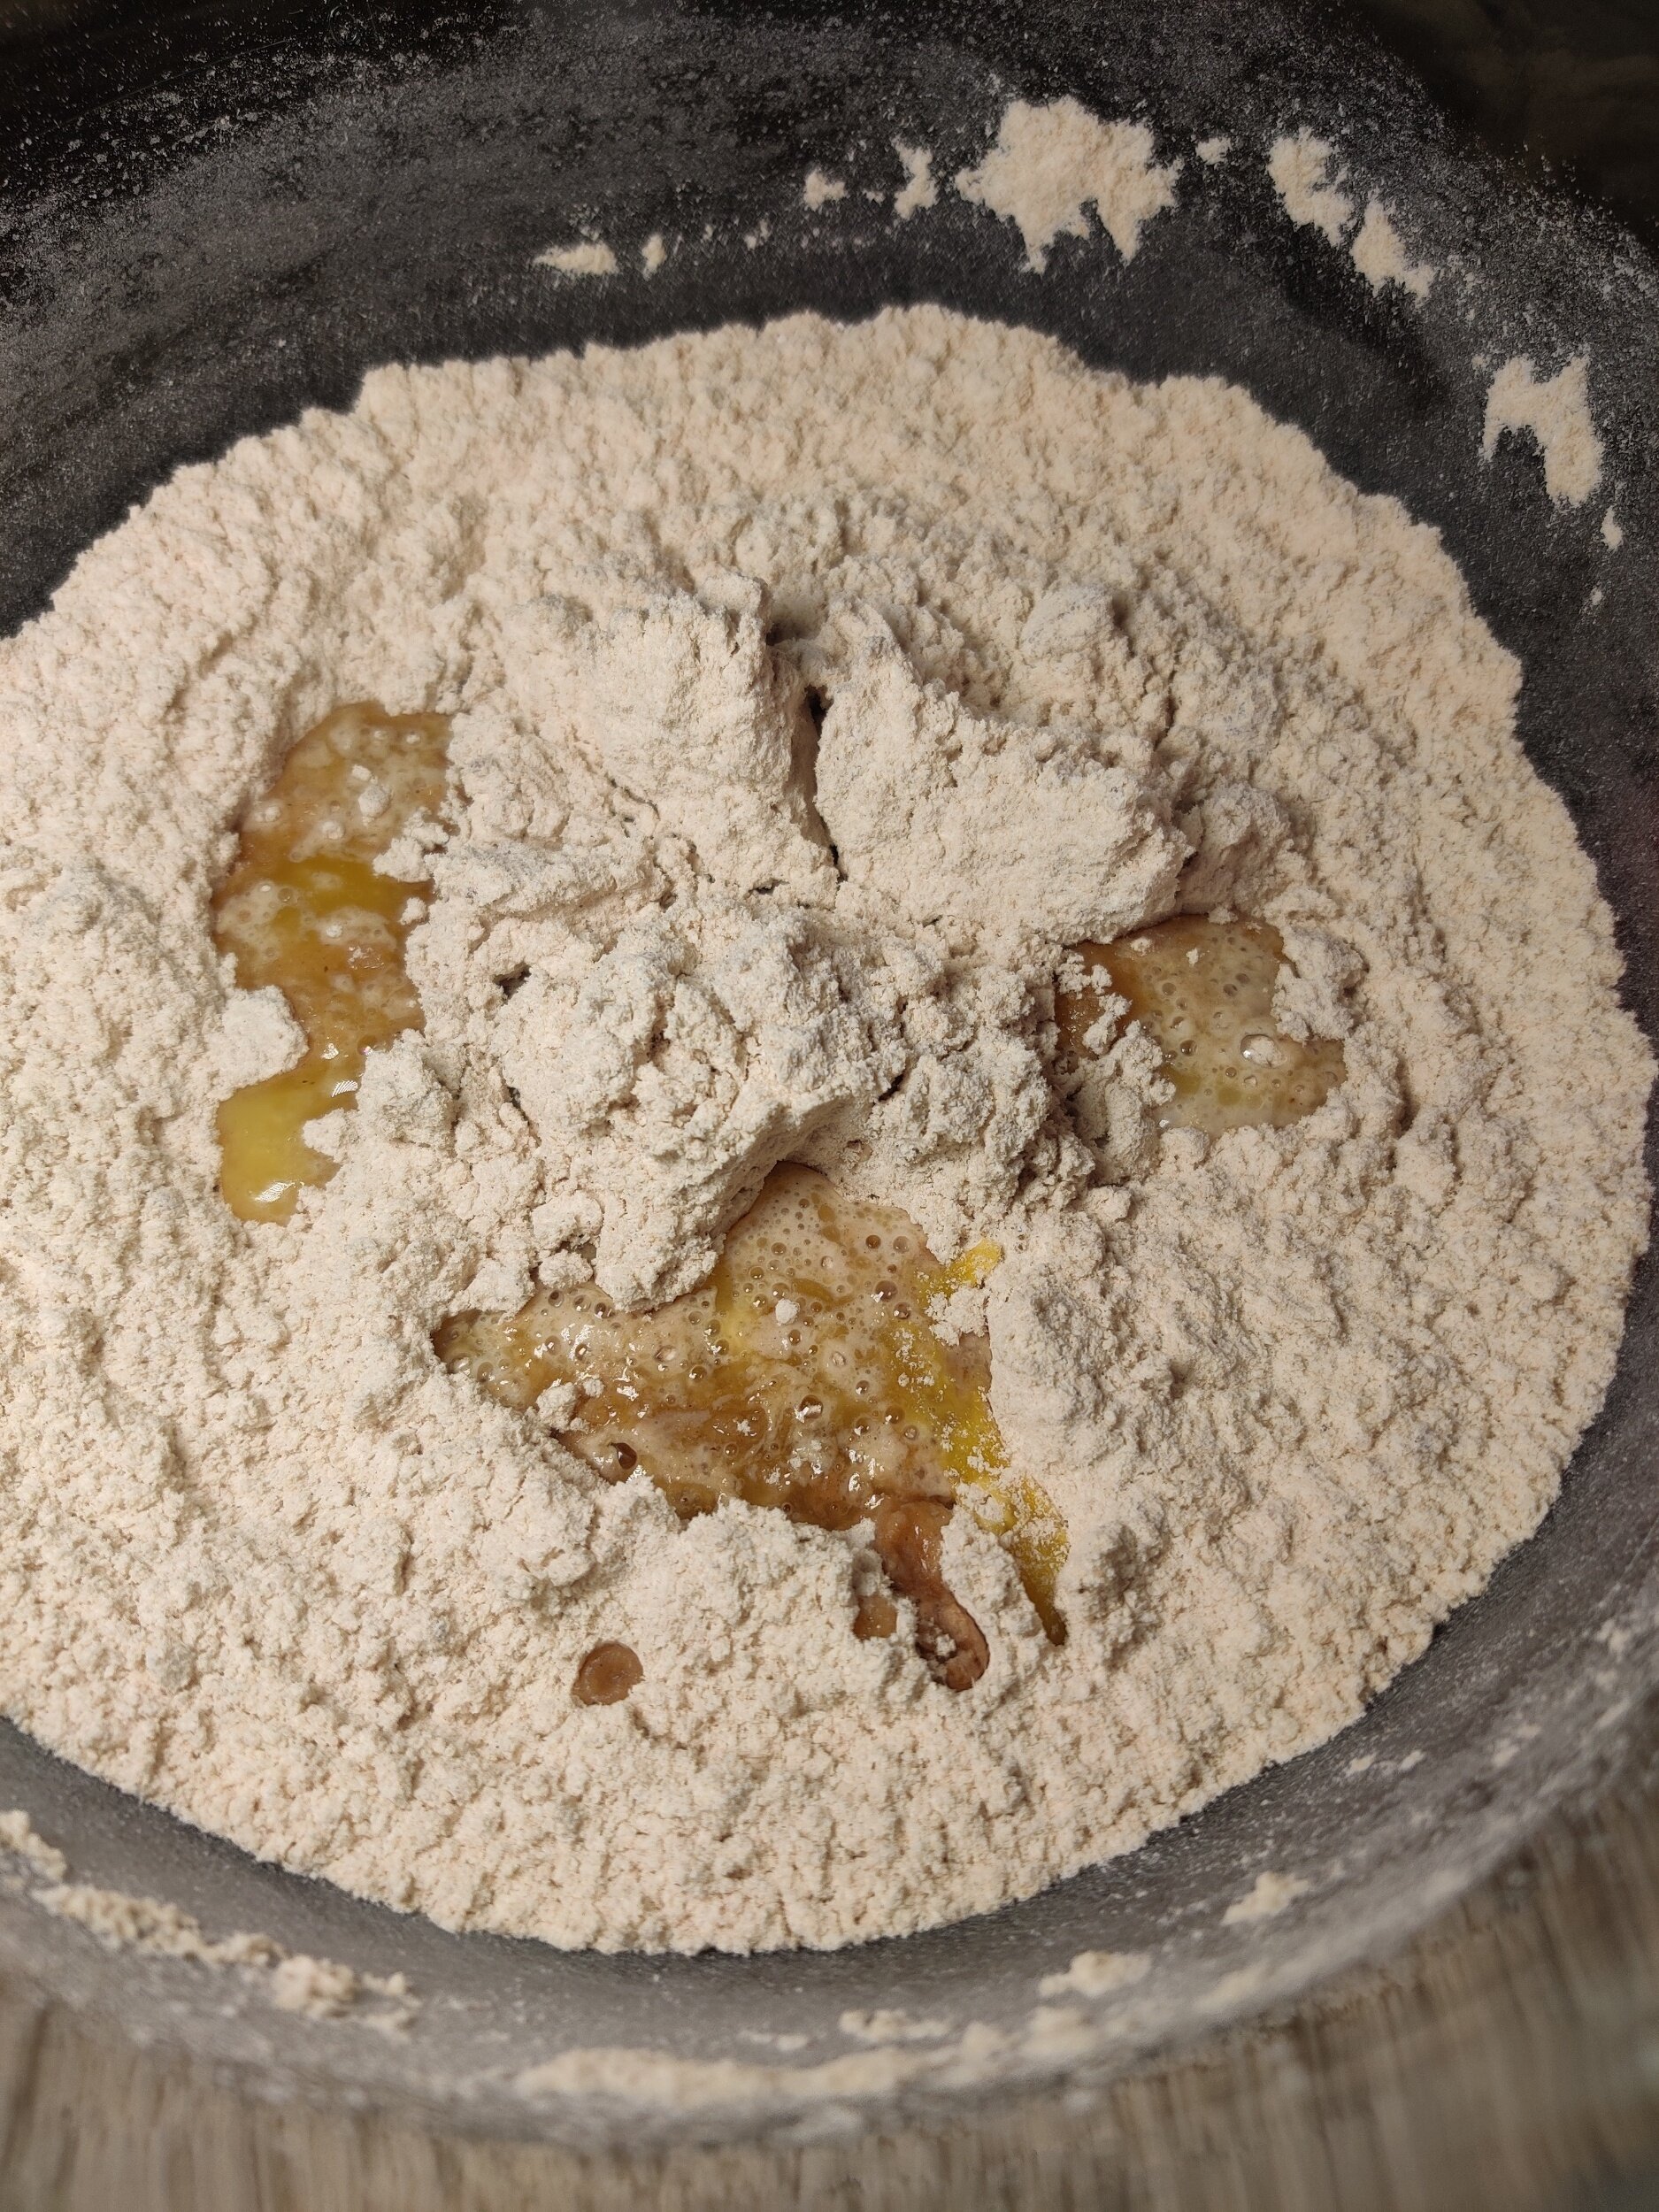
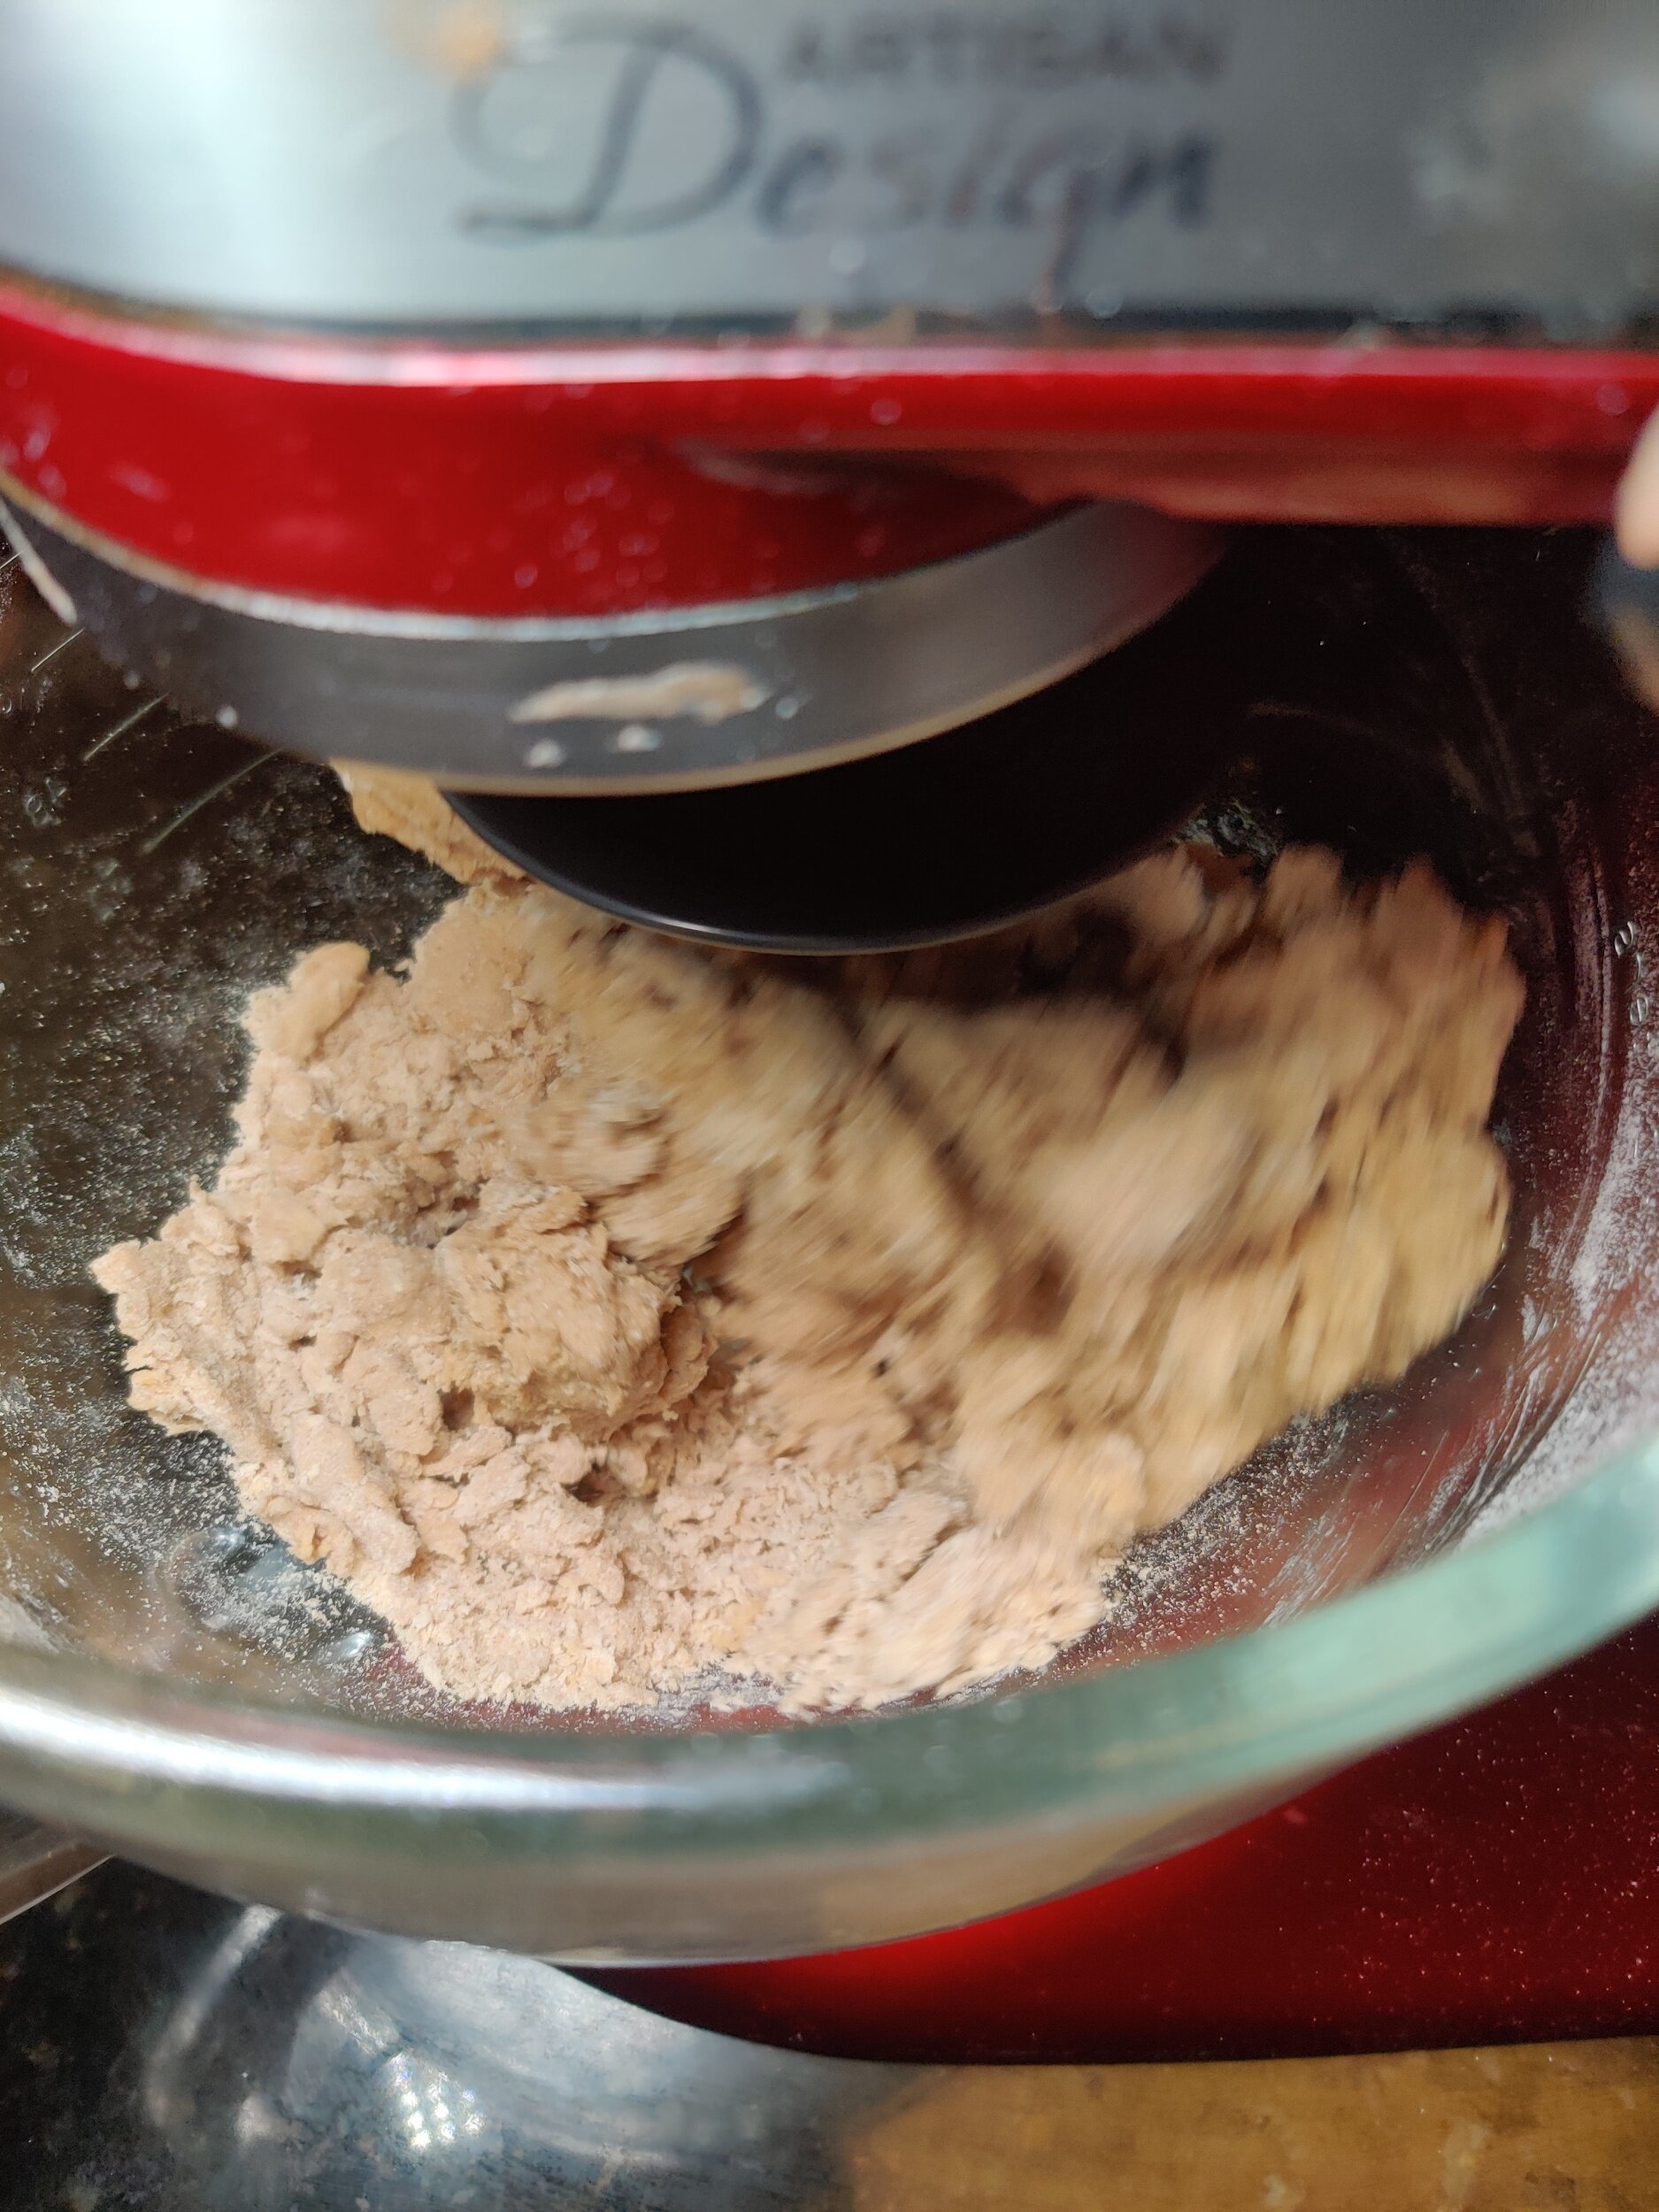
- In a large bowl whisk the flour, baking powder, sugar, and spices. Add the 4 tablespoons butter, milk, vanilla, and egg. In a mixing bowl with a kneading attachment, beat at a low speed for 5 minutes. If you do this by hand, mix to combine then turnover onto a surface and knead until smooth.
- Grease a loaf pan with butter and transfer the dough (you can also line with parchment paper). Smoothen with hands or a spatula and bake at 350F for 40-45 minutes and until a tooth pick comes out clean from the center. Your loaf will be pale white and dense.
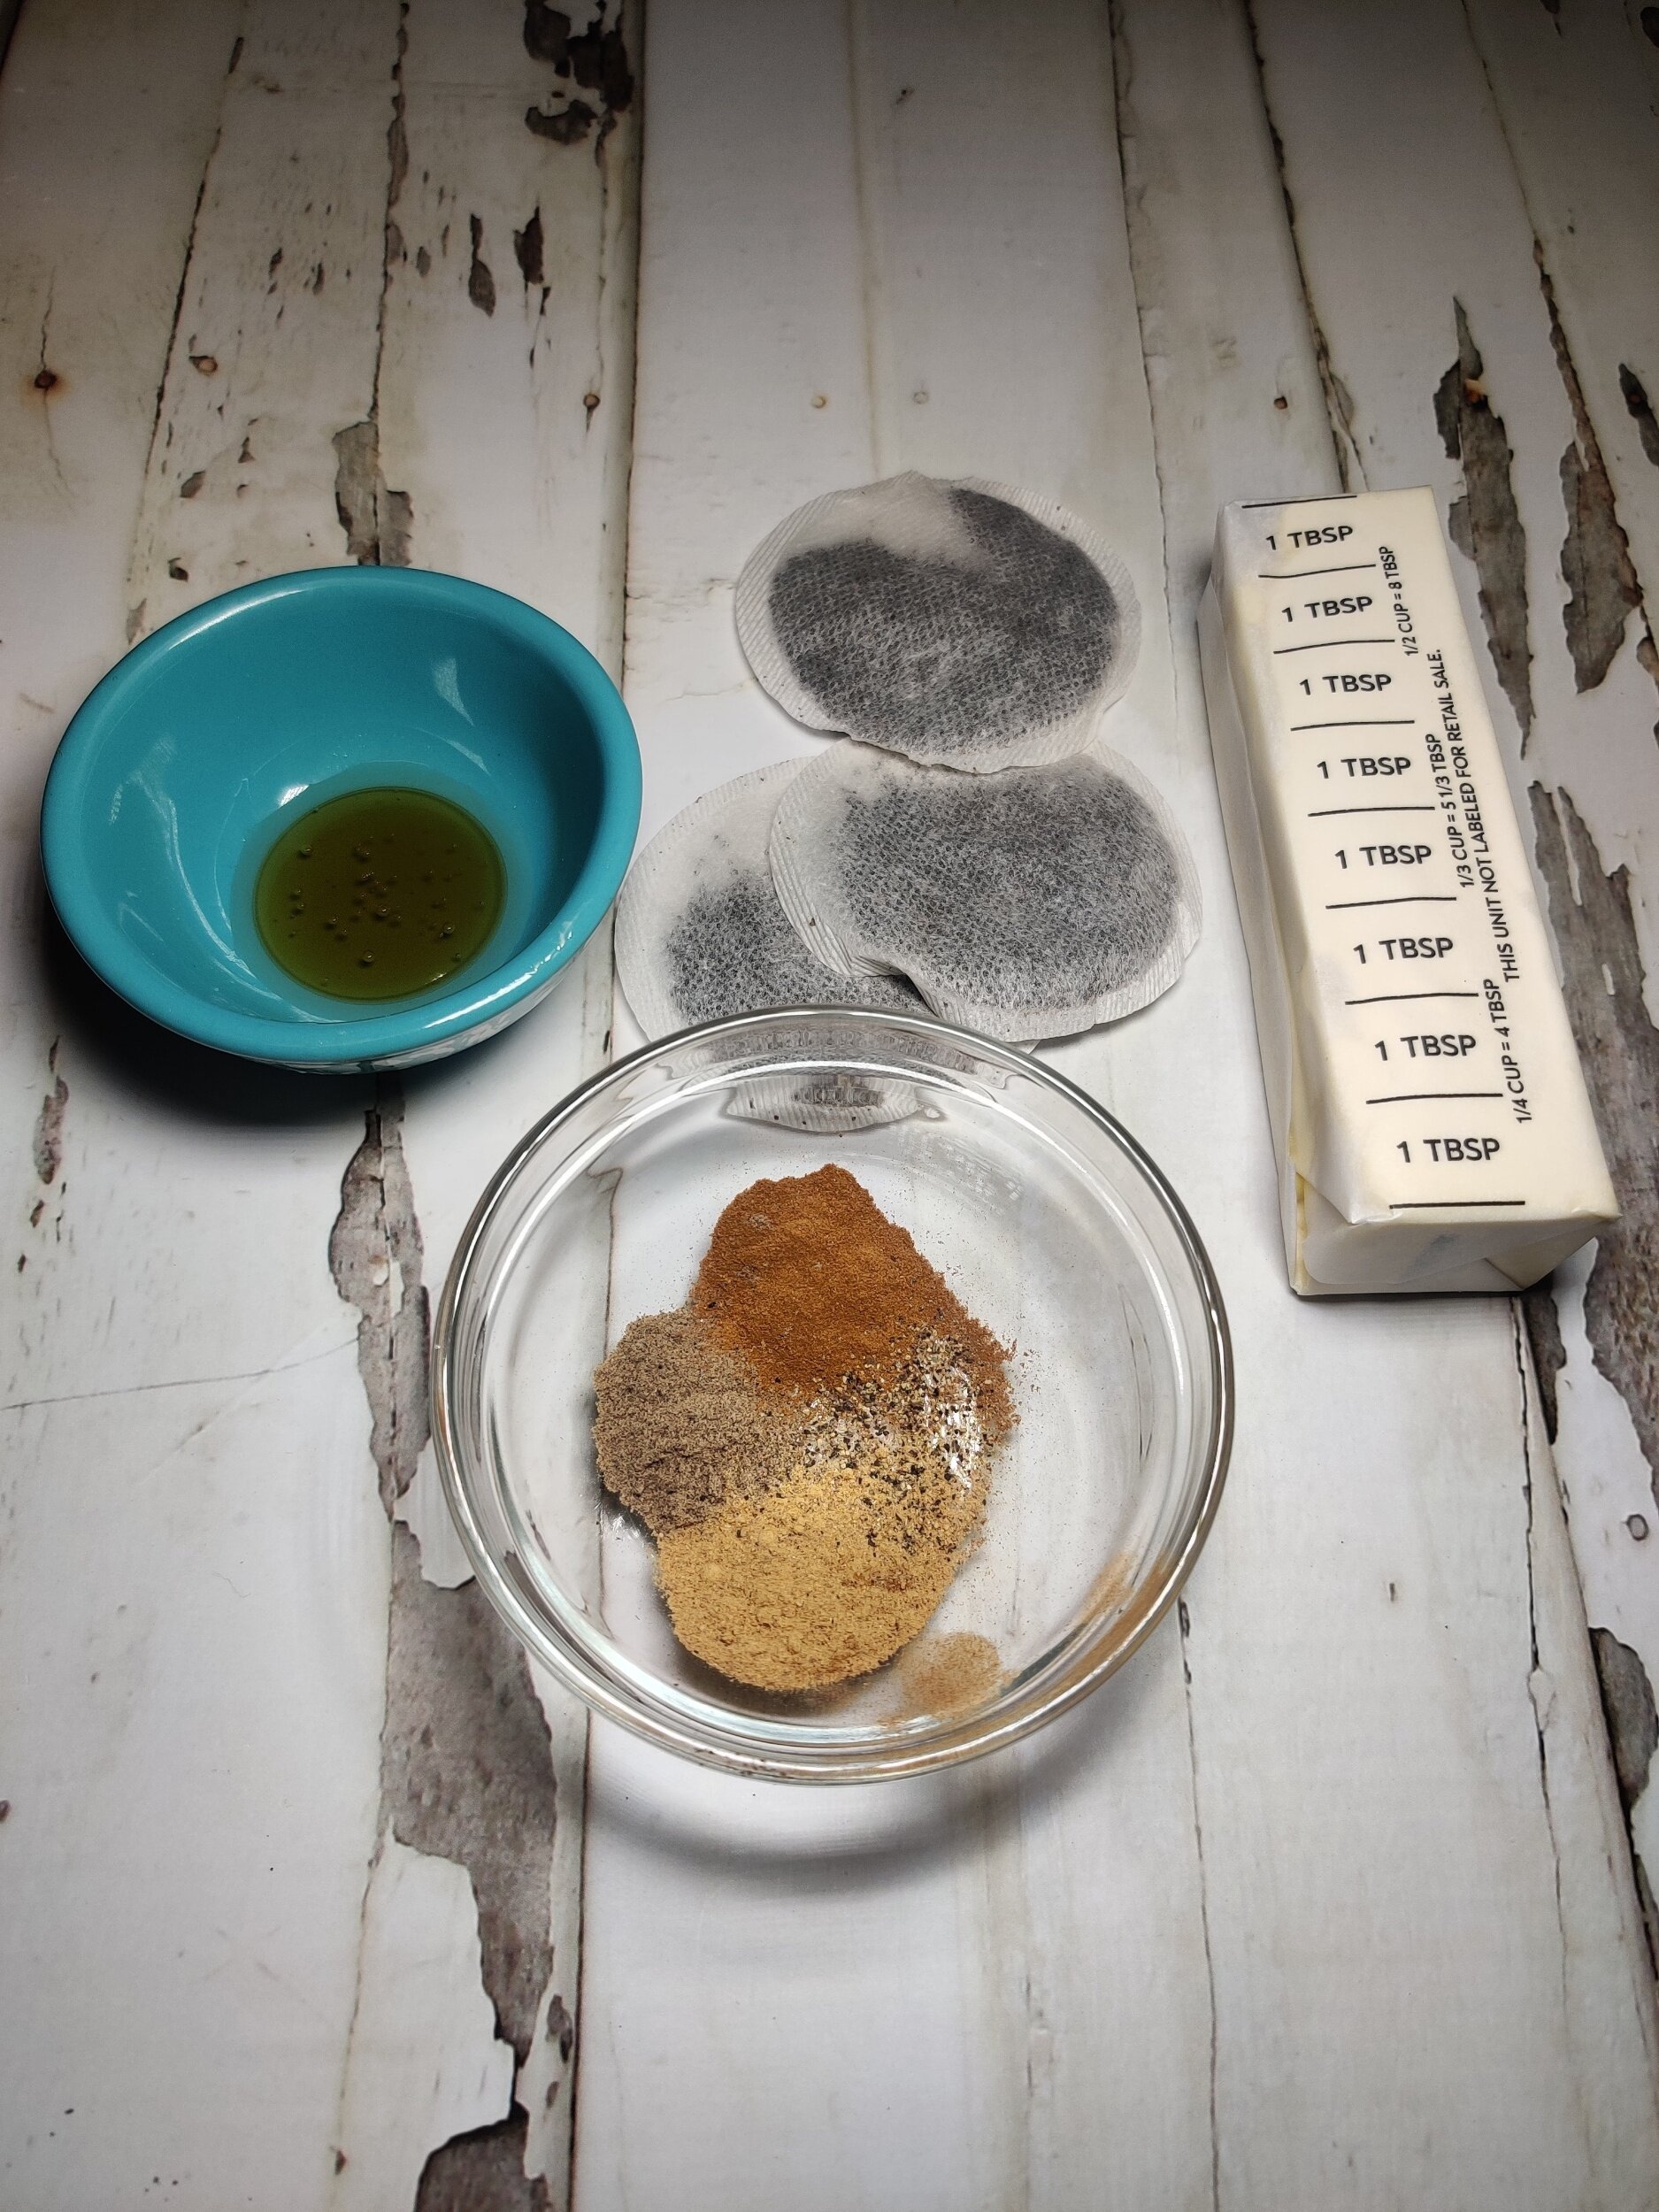
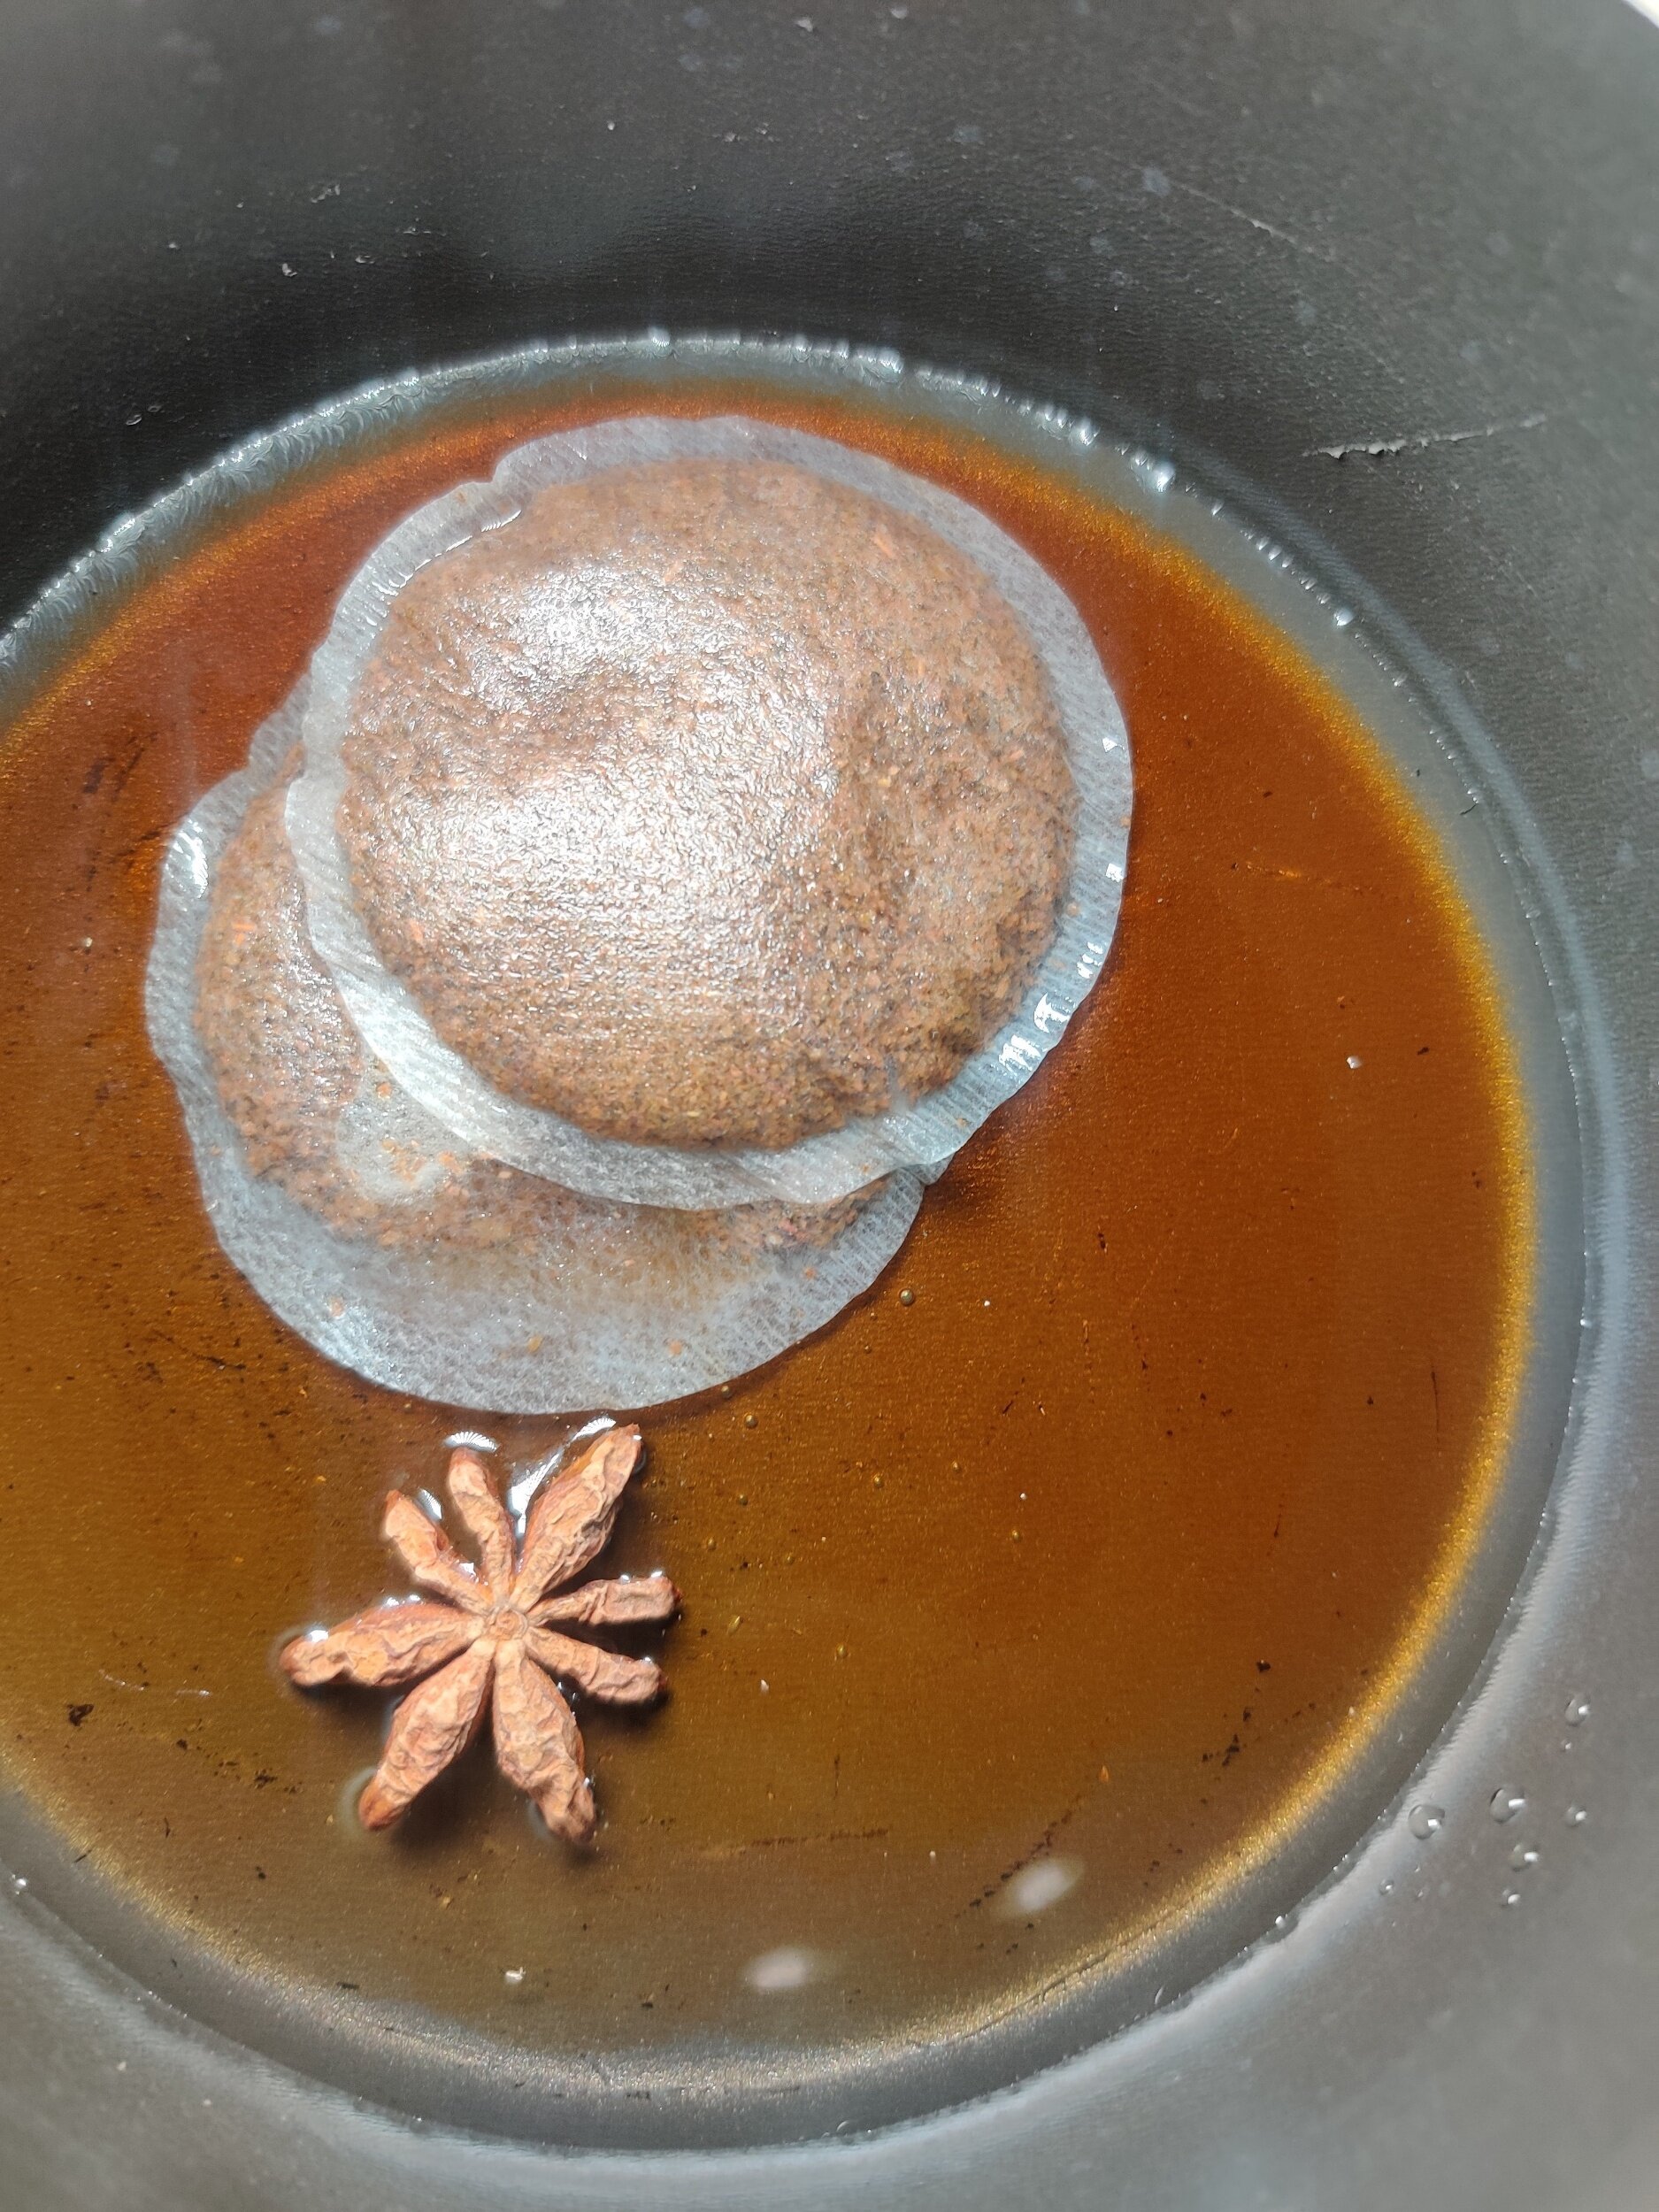
- While the bread bakes, make your chai butter. Boil the water and add 2 tea bags with star anise. Remove from heat and steep for 10 minutes covered.
- Using a fork or small whisk mix the butter with 1 tea bag’s contents and the spices, then add 1.5 teaspoons brewed tea. Refrigerate until ready to use.
- Allow the bread to cook for 10 minutes before removing from the pan. Serve HOT (it just tastes so much better this way!) with butter and extra maple syrup/honey.


Banana Papaya Bread with Pecan Streusel
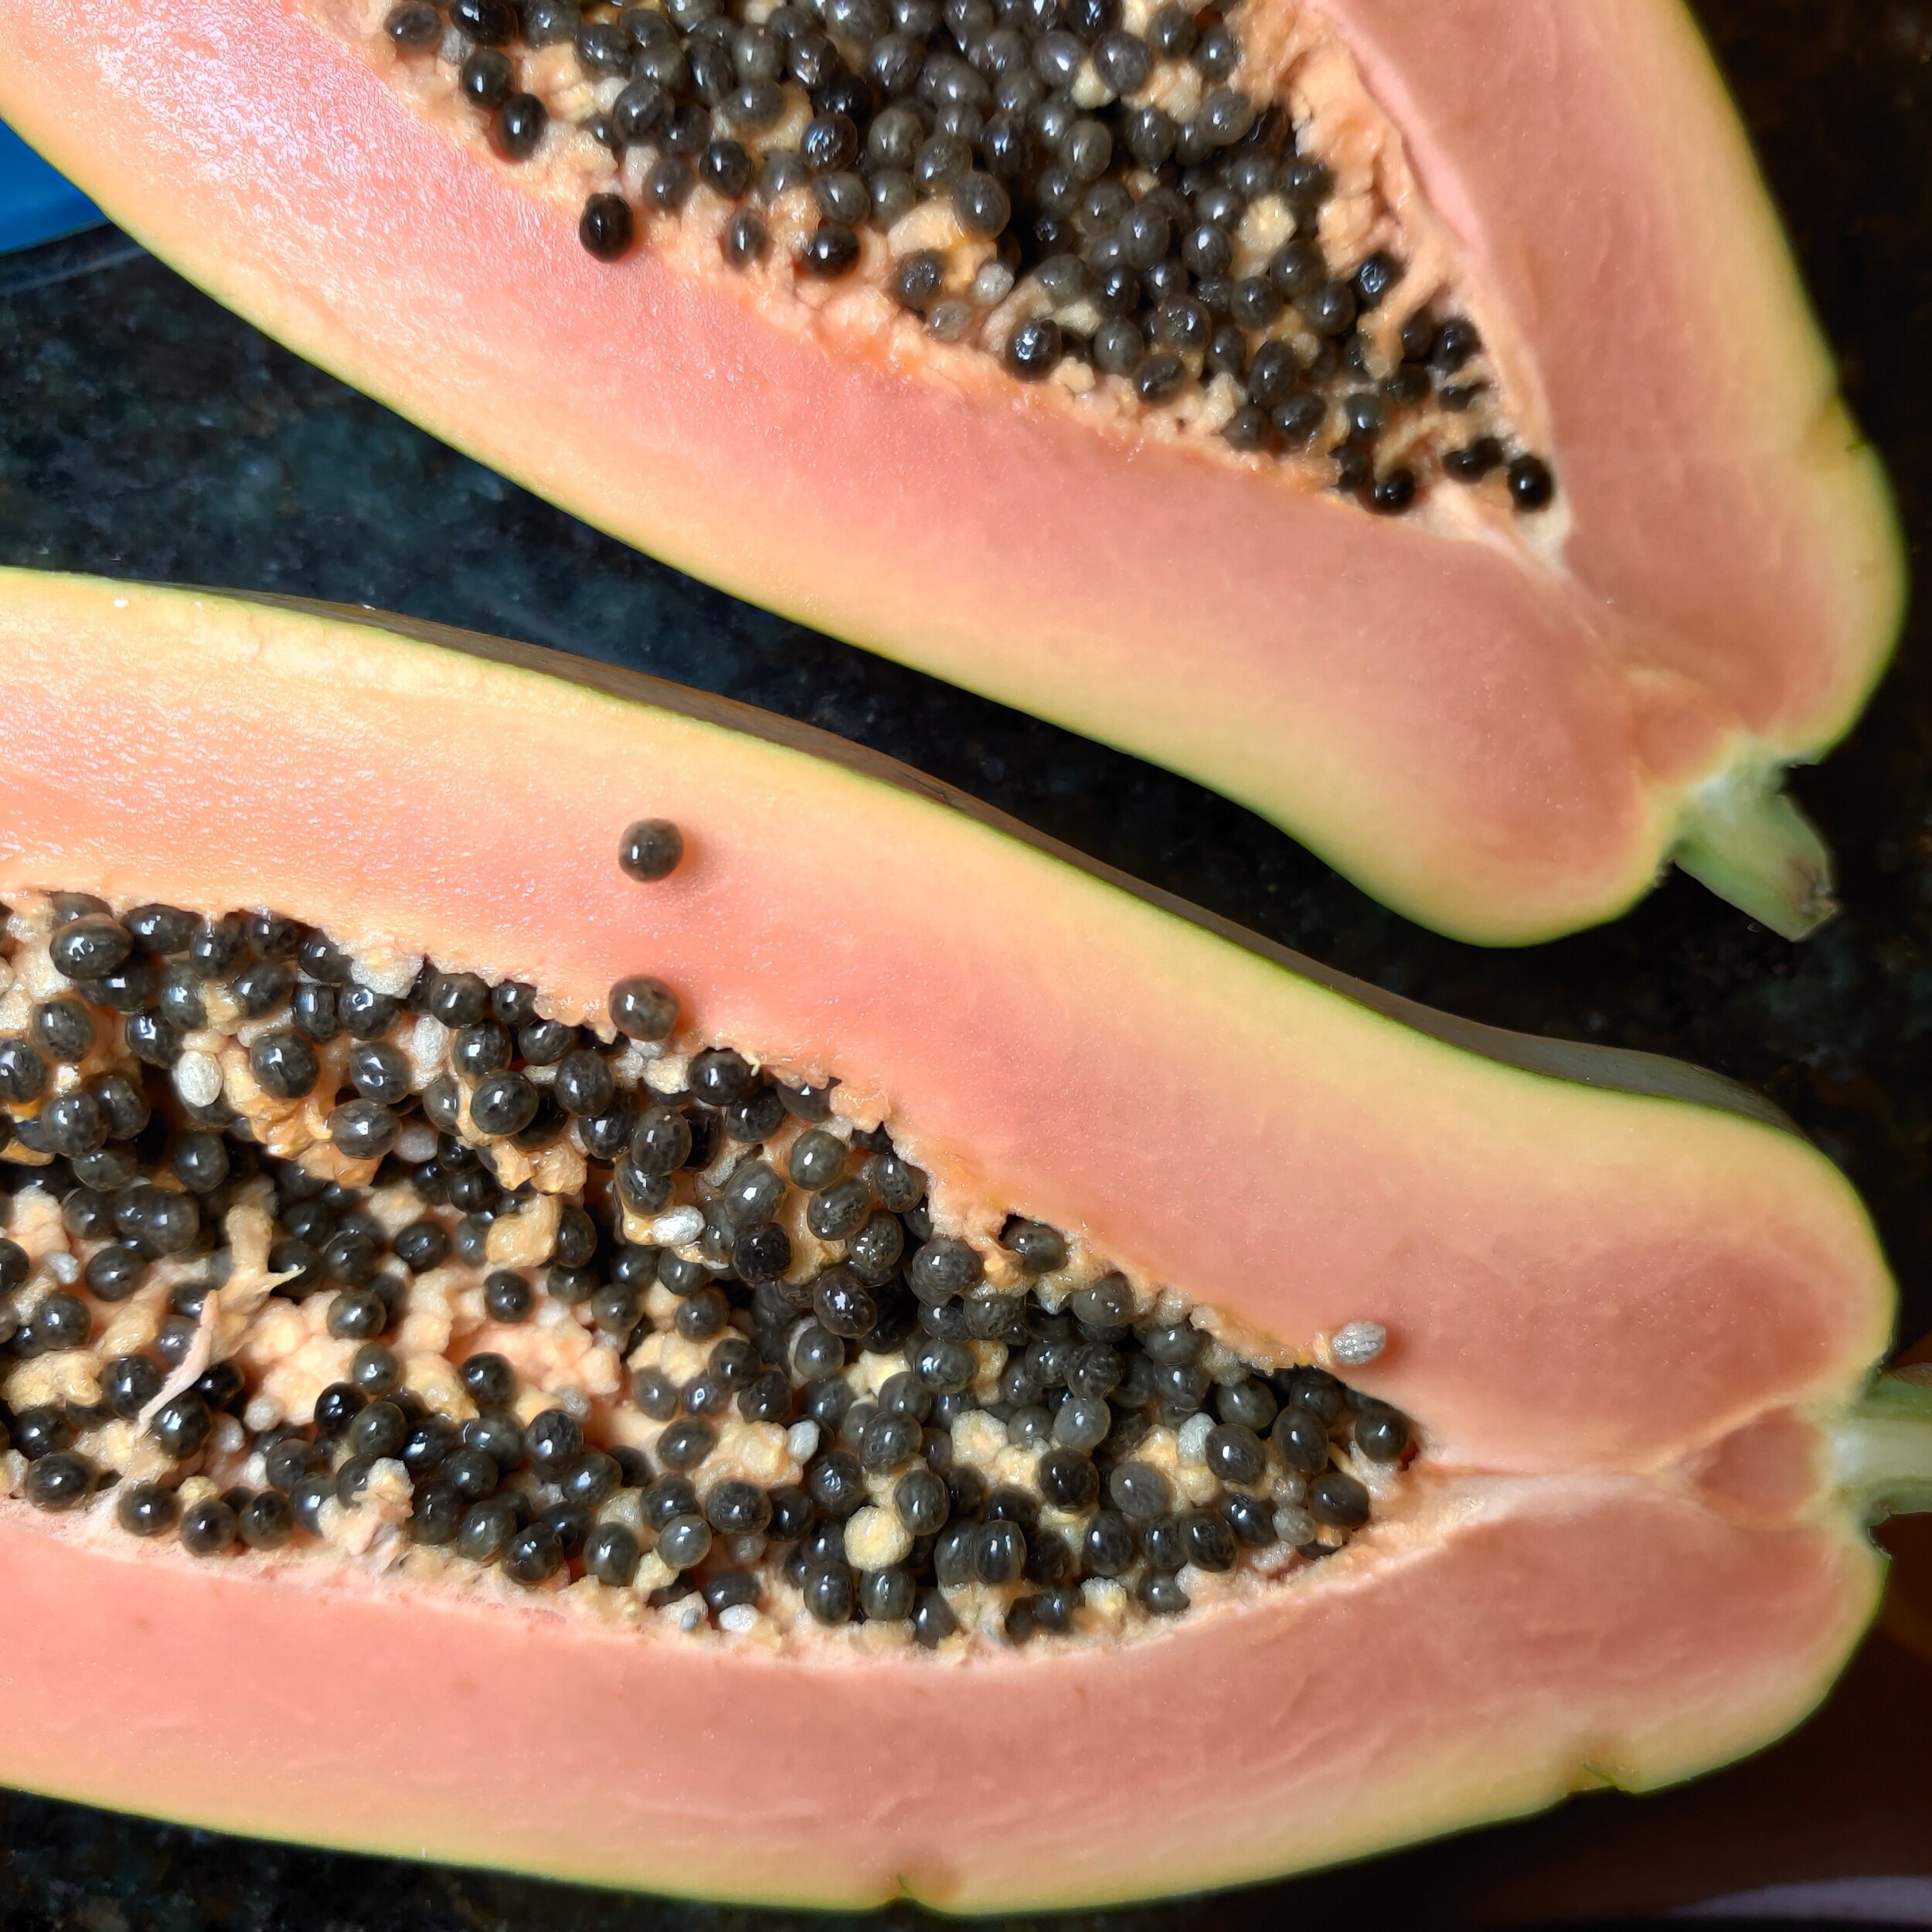
How I love pawpaw's, or papayas — honestly not sure what the more common name is! I'm not quite sure how the tropical fruit made its way to Zimbabwe, but it's a beloved fruit over there. I think at one point; my family has a tree in the garden. I love papaya because it's highly refreshing and inherently sweet but in a subtle way. The water content is also pretty high, so that's good for you. Pawpaws (yes, I will use them interchangeably!) are a lot more versatile than I think people give it credit for; hence why I decided to pair them with banana and am so glad I did!
Banana bread is popular throughout the year. It became one of the most baked and searched for recipes during the quarantine, and with spring coming along this side of the hemisphere, there's no end in sight, and it's making a resurgence.
I decided to combine the classic banana bread, something I've always loved, with pawpaw -- one of my favourite fruits.
It's delicious great with a cup of tea or coffee, or you put a scoop of ice cream over it too or eat it as it is, maybe with a little bit of butter or whipped cream whatever your preference is, it's excellent.
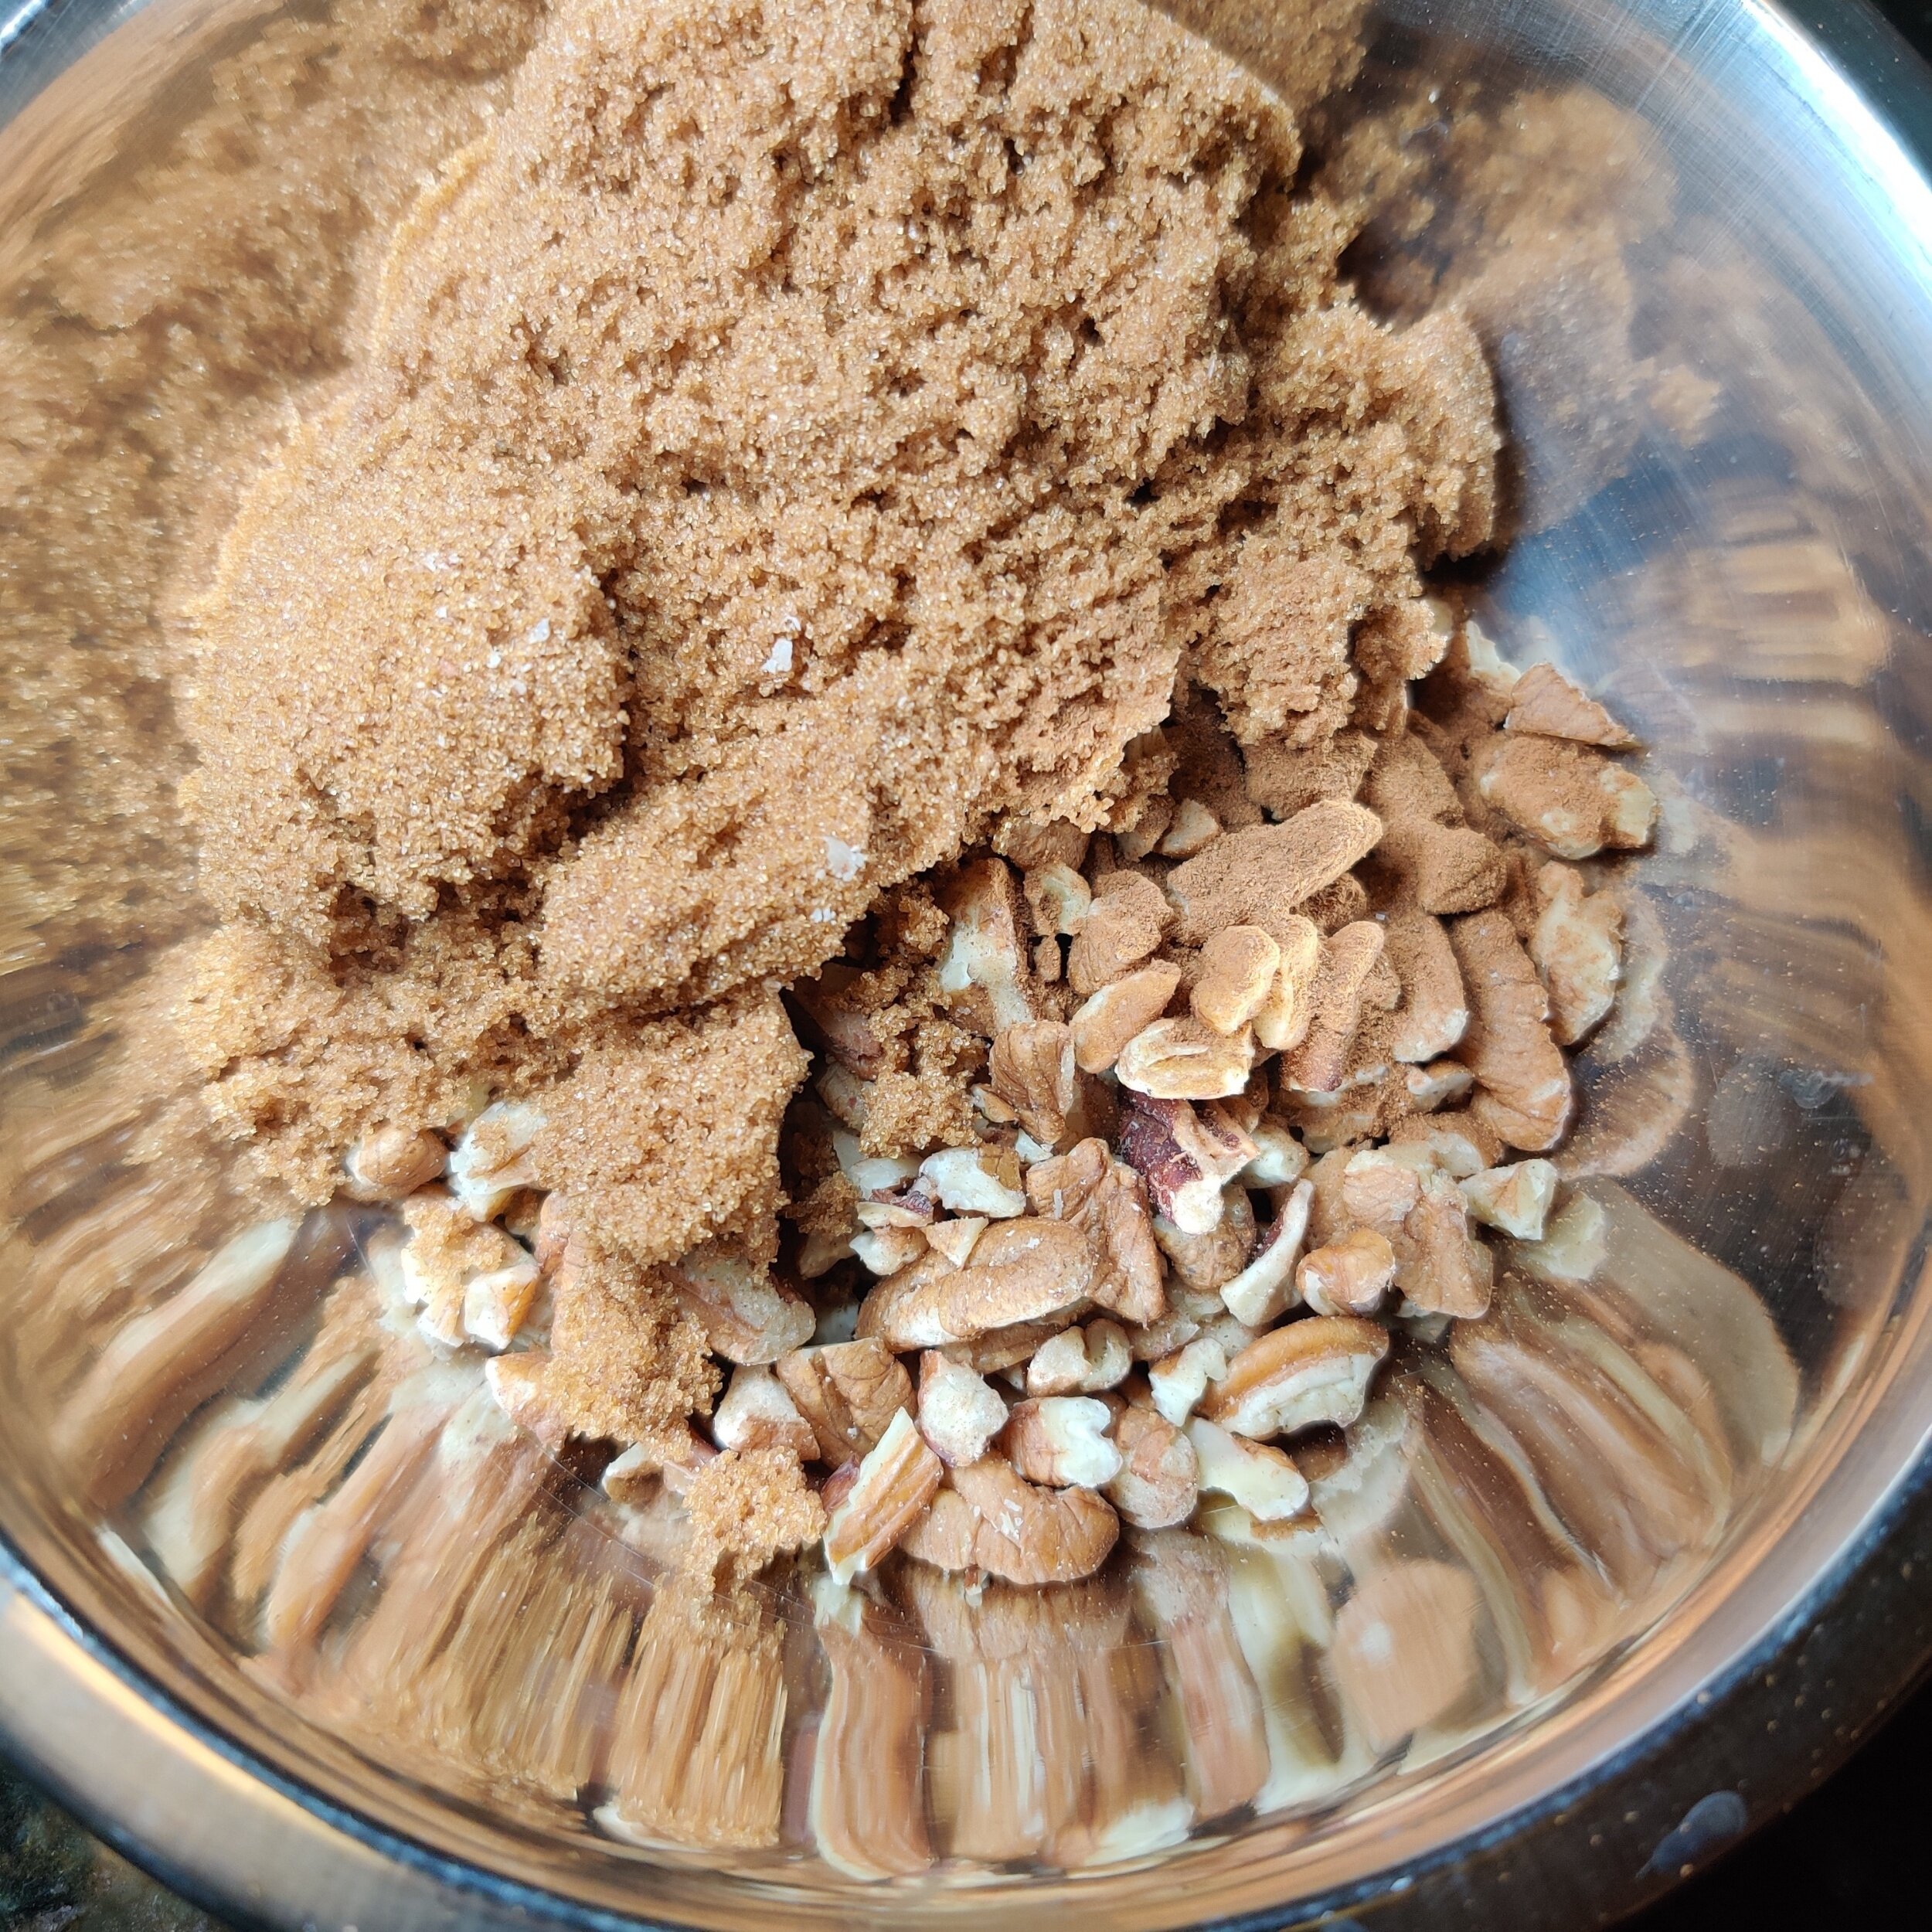
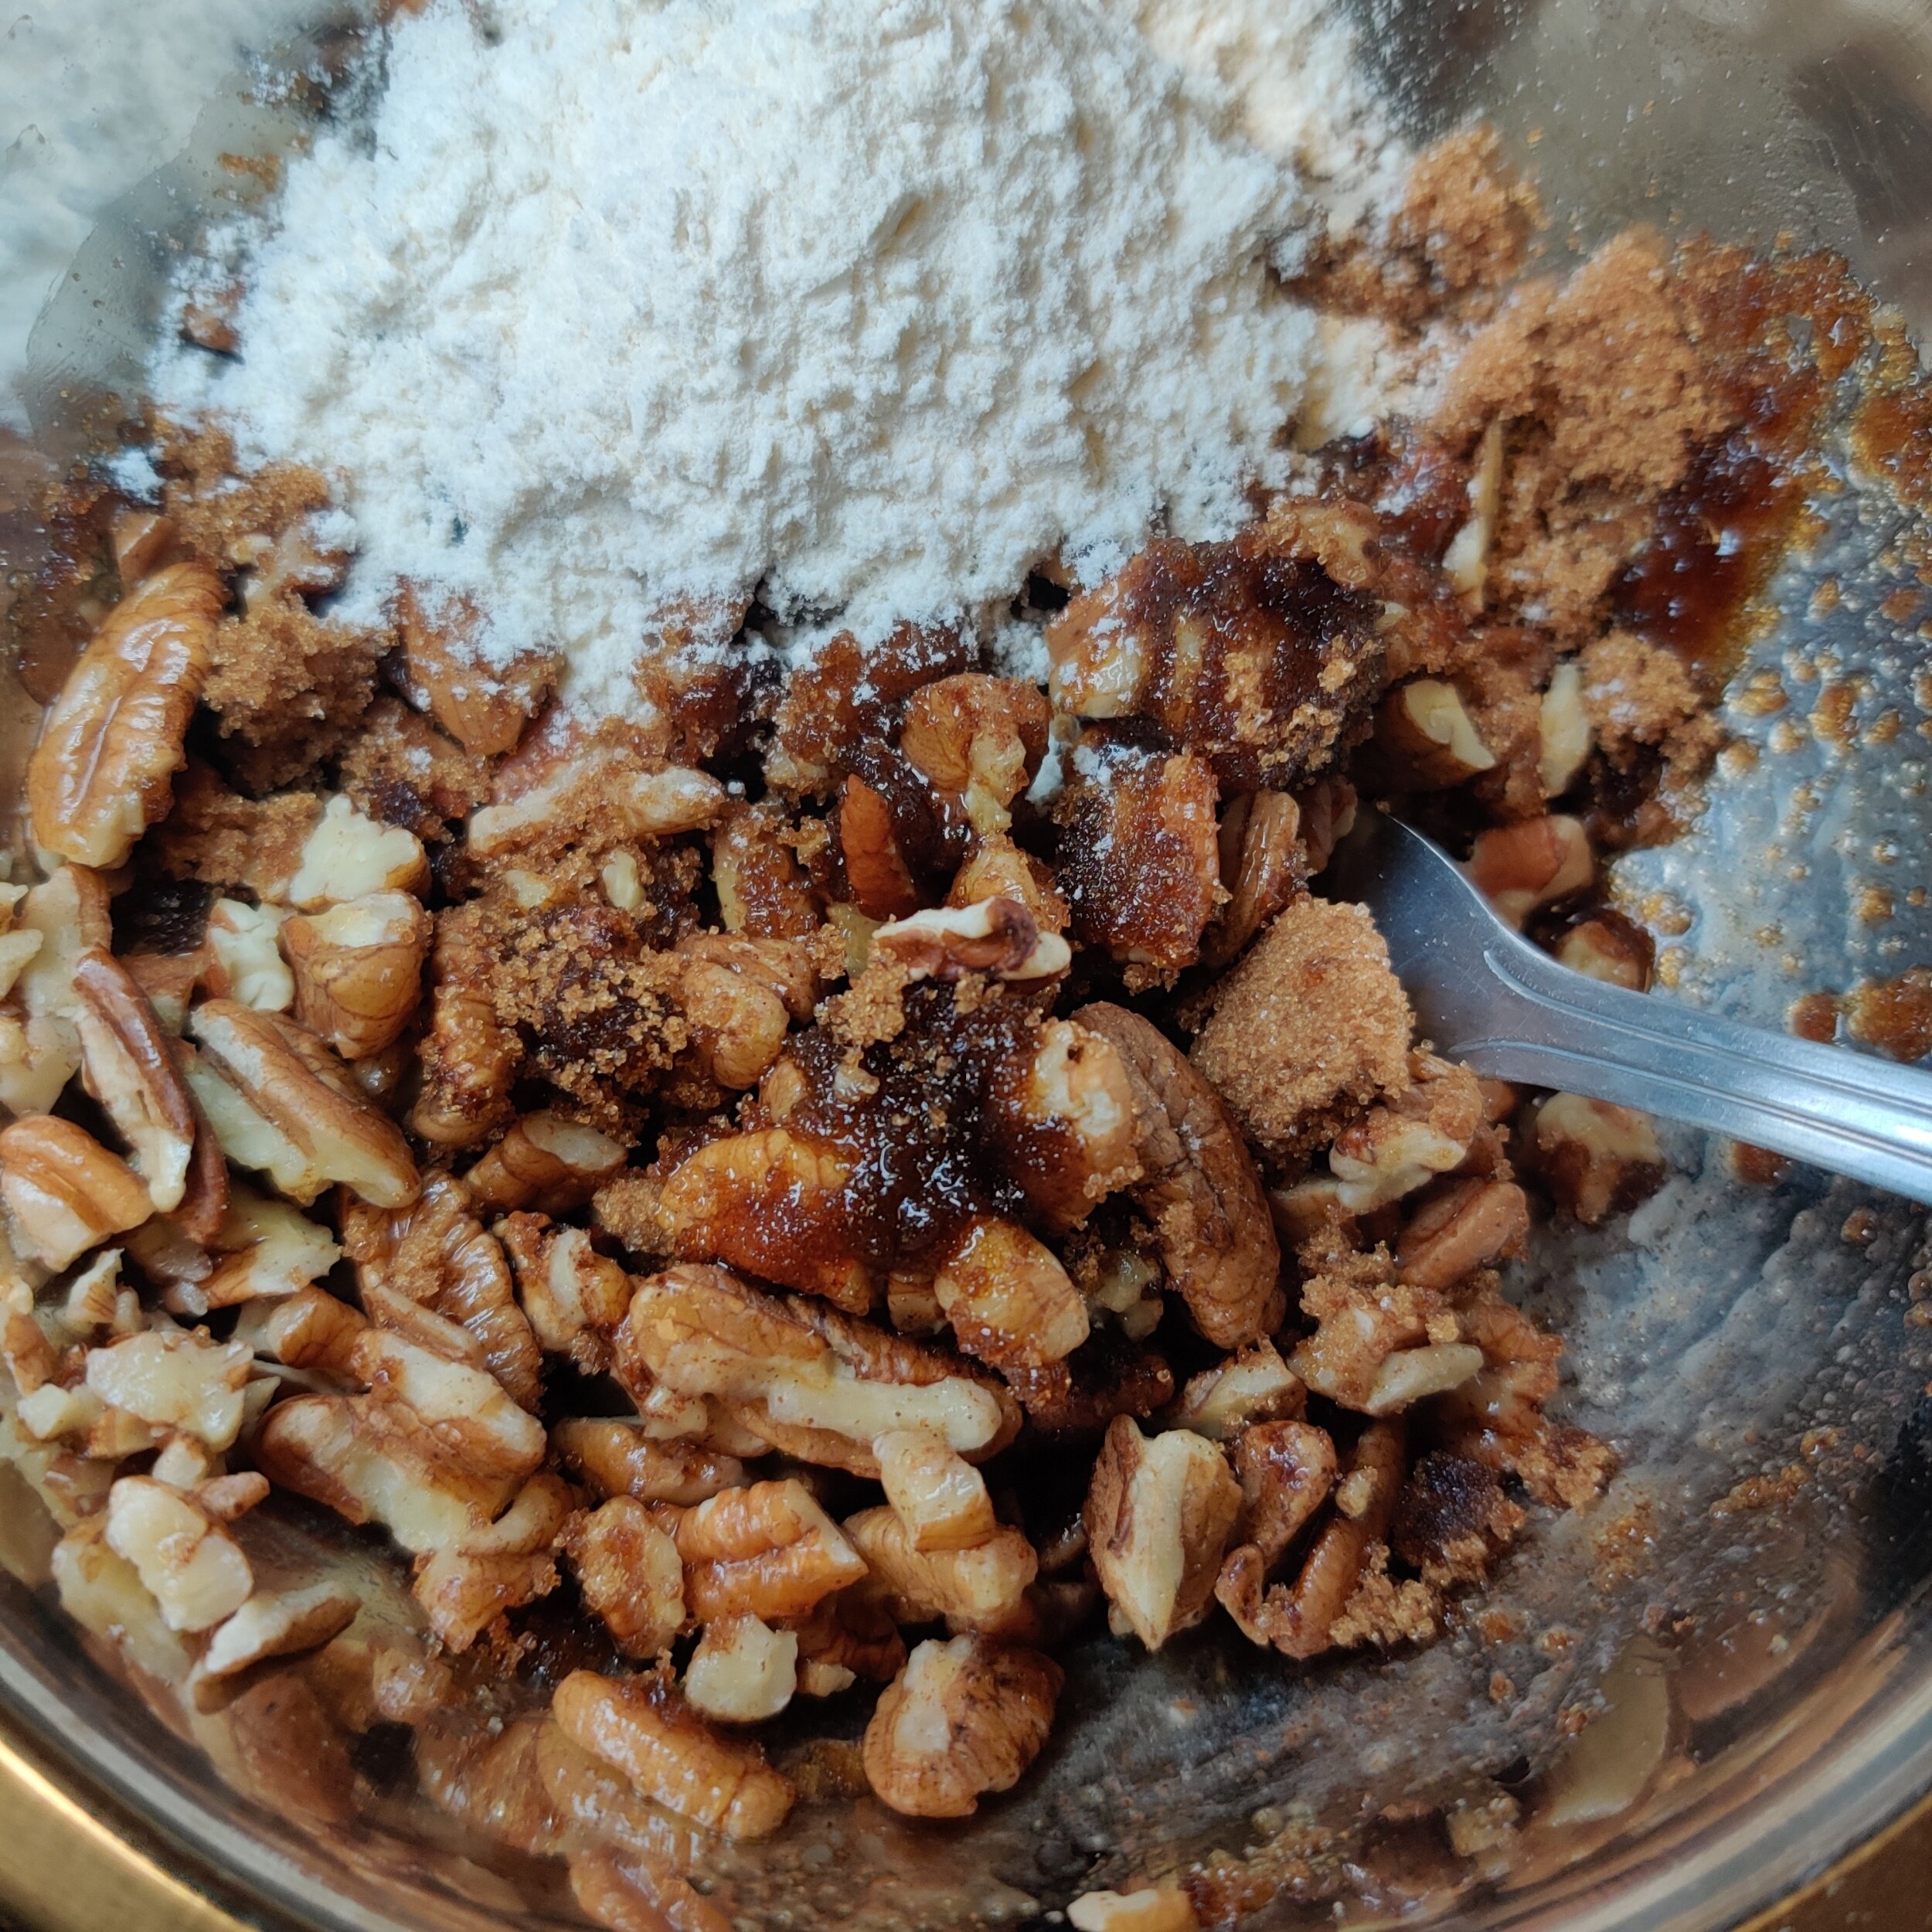
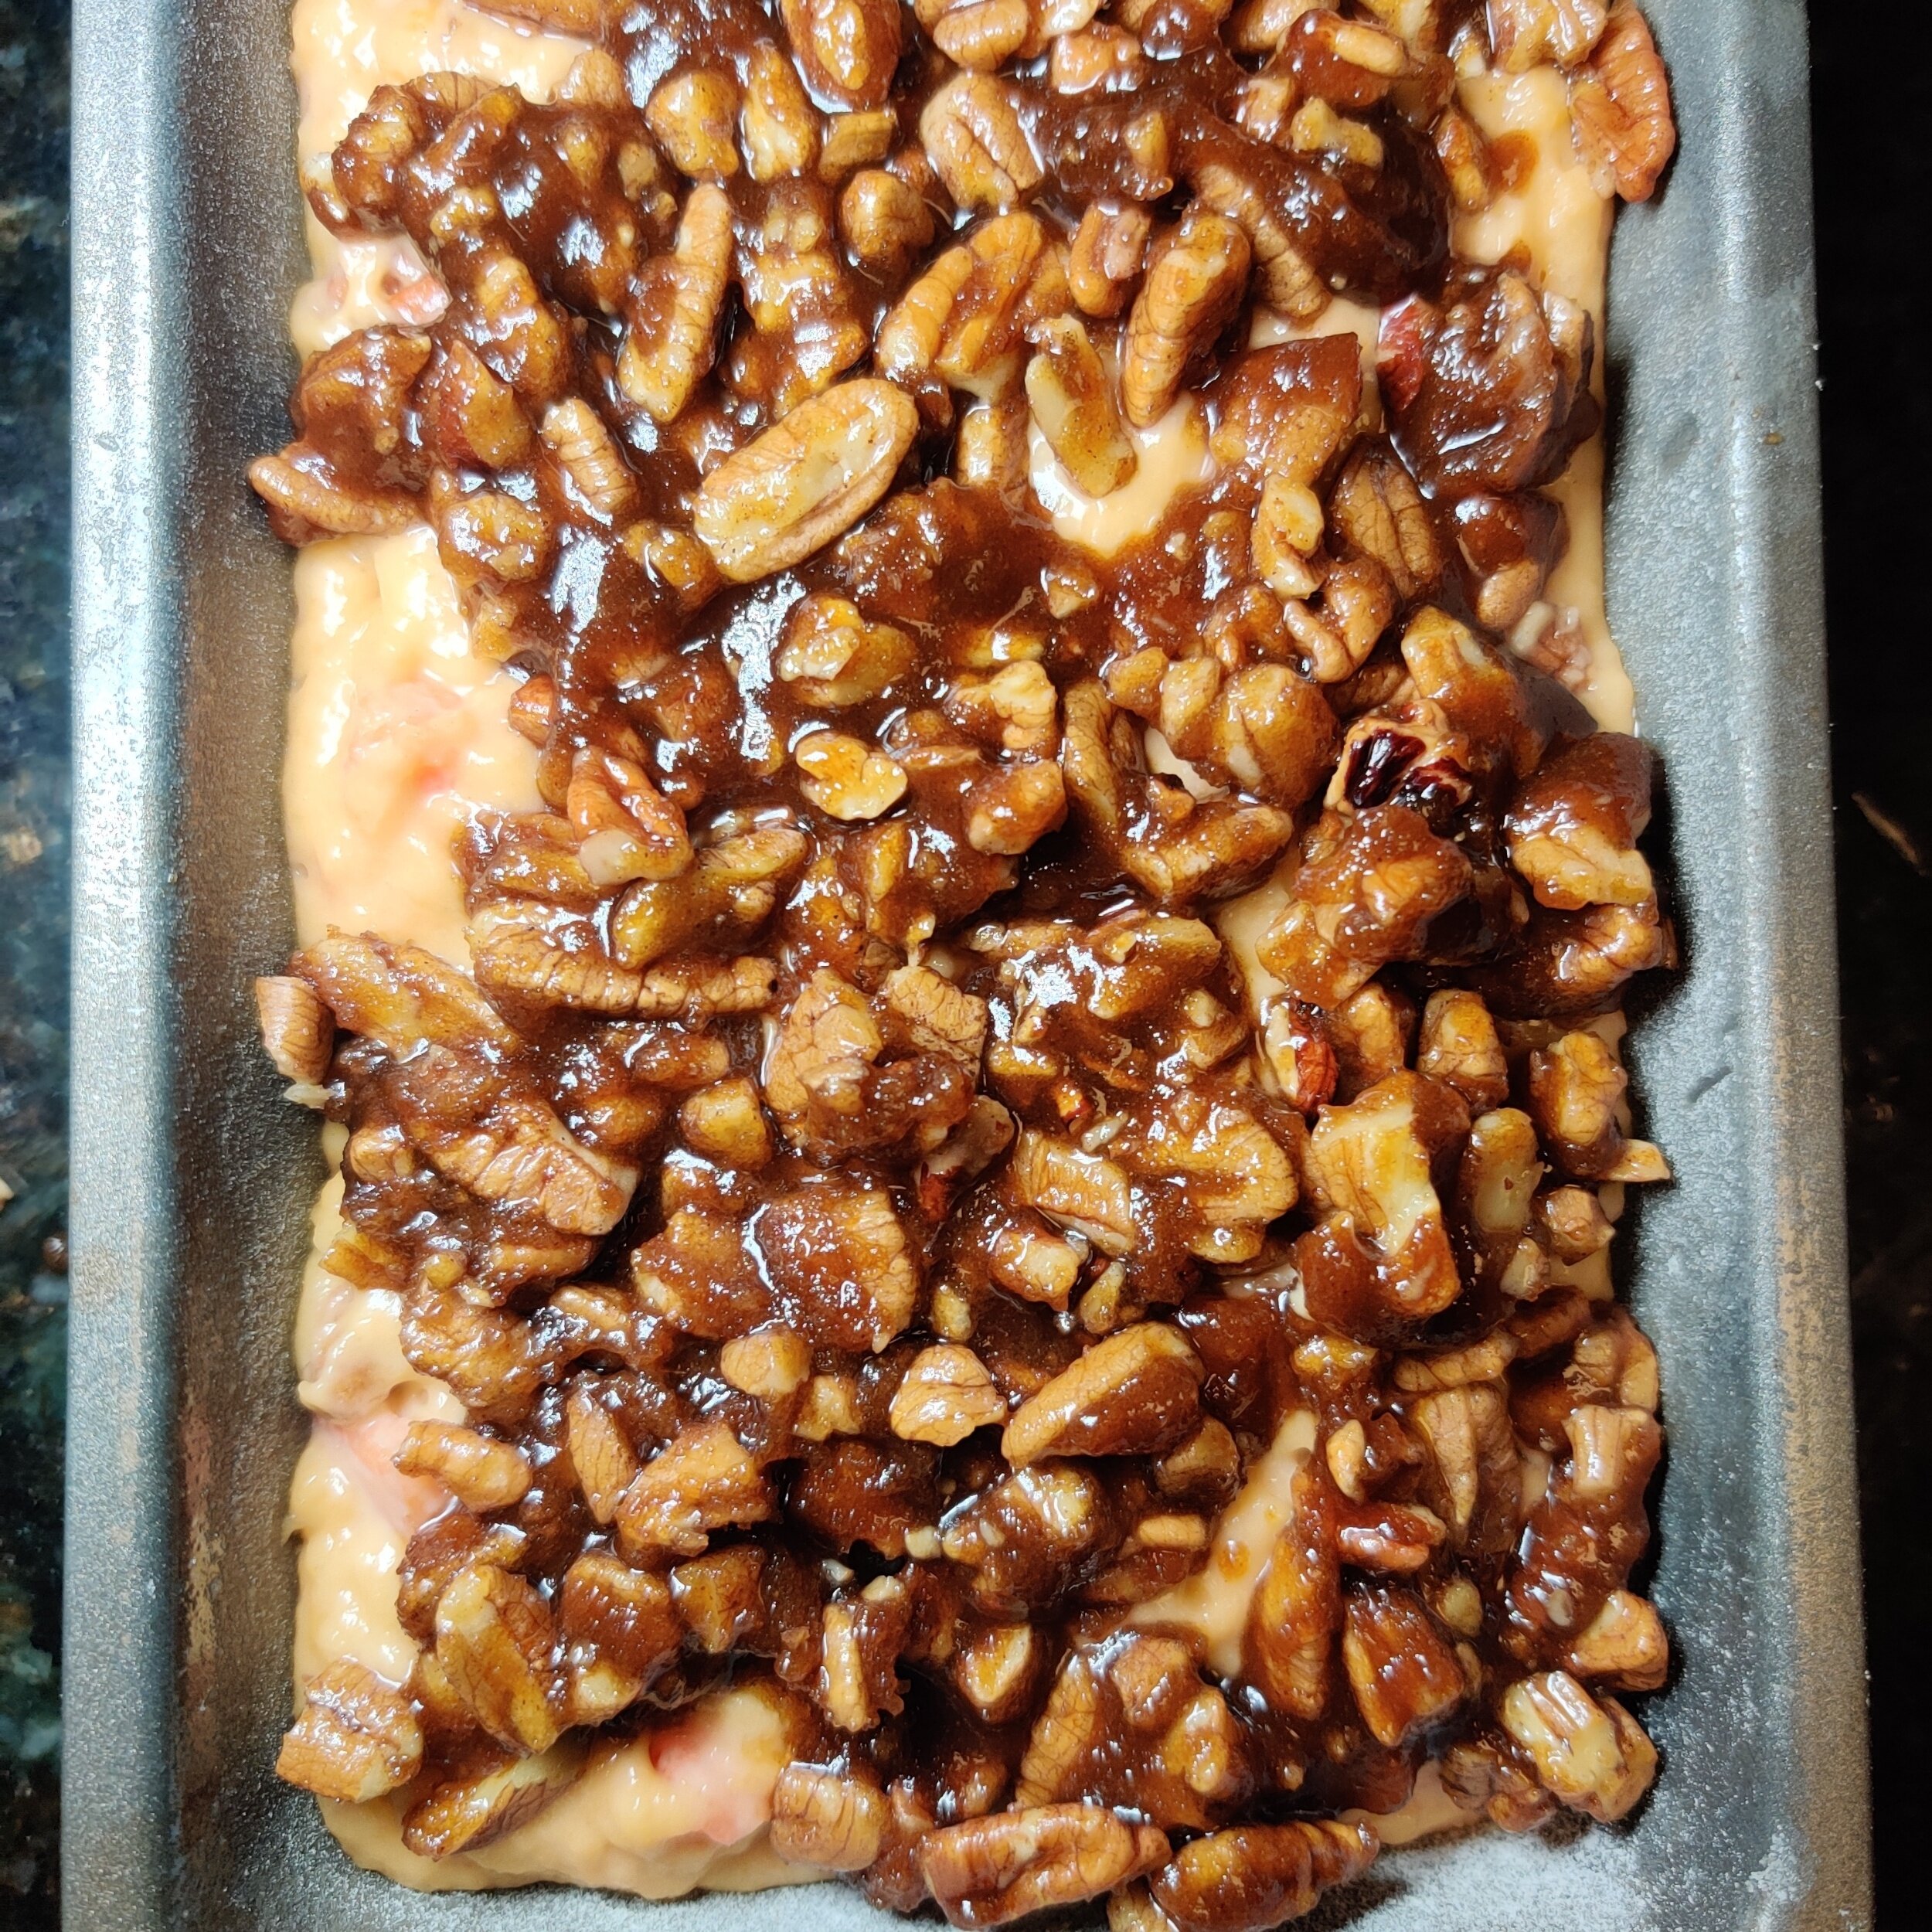
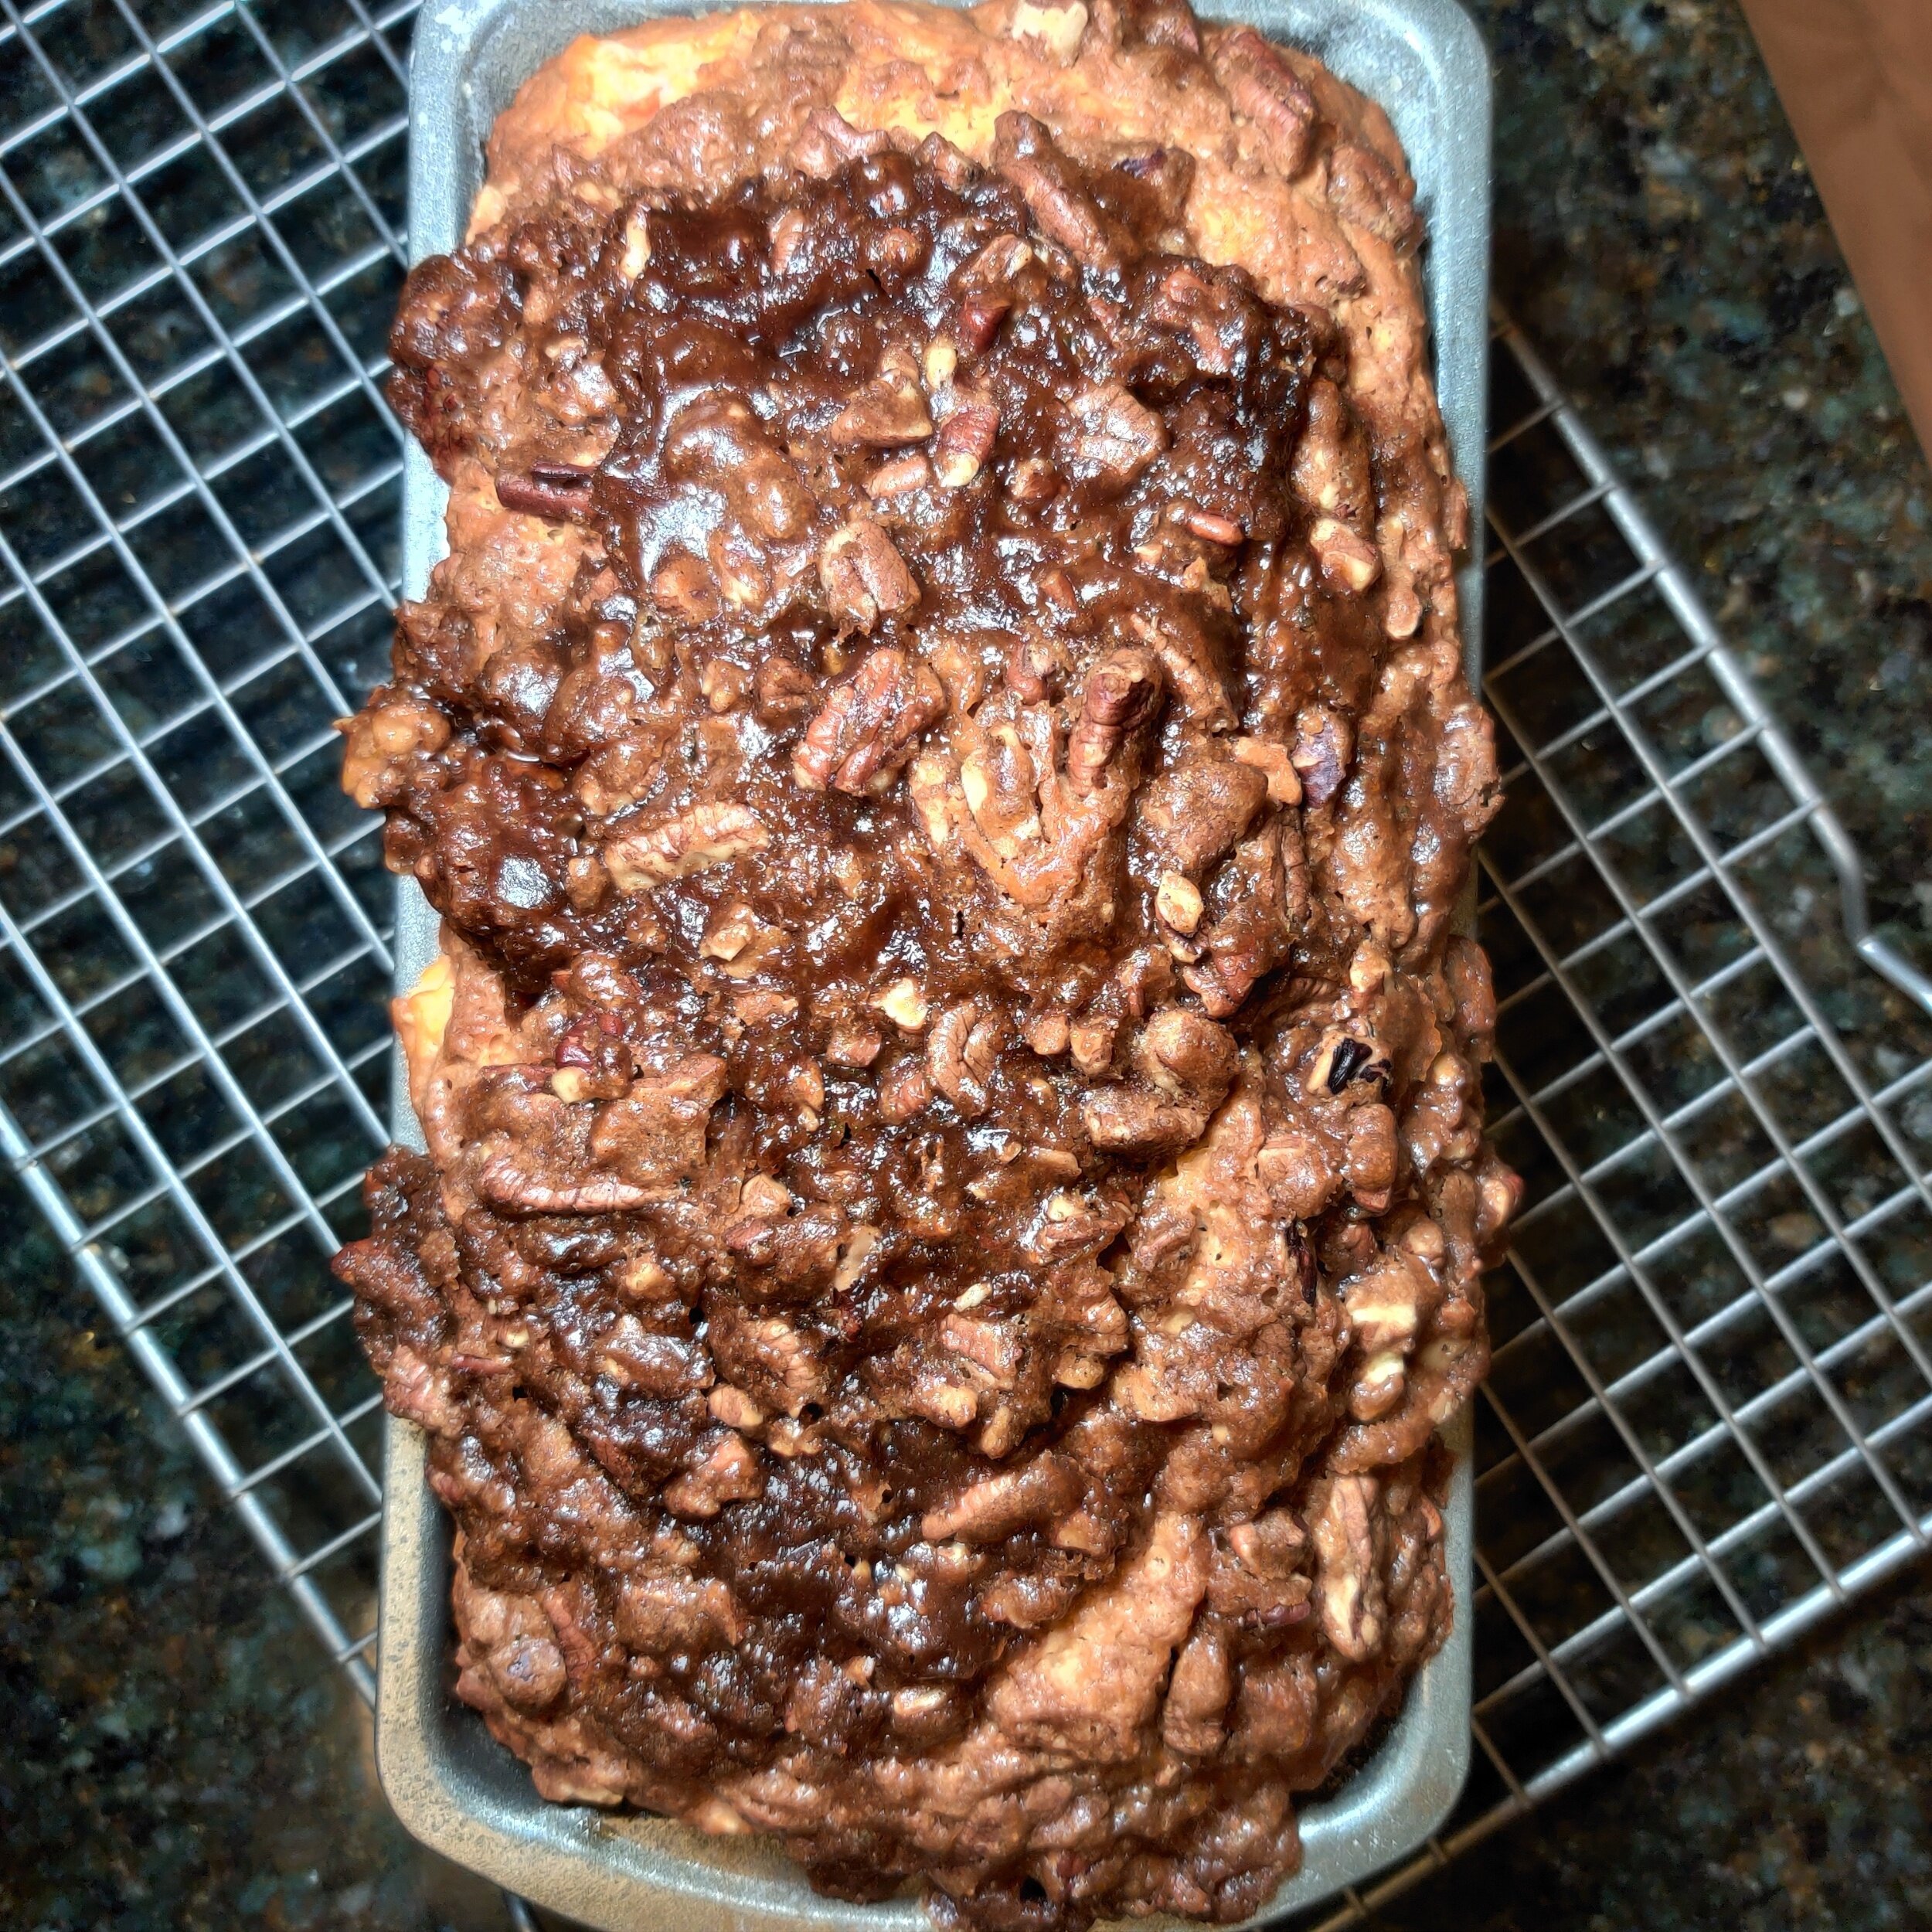
I think the cherry on top for this recipe is the pecan streusel. The buttery, caramelized taste of the pecans mixed with dark brown sugar is to die for, and in some ways, similar to coffee cake. Regardless of what you eat it with, you will enjoy it!
Ingredients
1/2 large papaya mashed + 1/2 cup chopped (1 whole fruit should suffice)
1 1/4 sticks butter (10 tablespoons), melted
2 cups self-raising flour
2 eggs
1 teaspoon vanilla extract
1 large banana, mashed
1/2 cup pecans, toasted and roughly chopped
1 teaspoon baking powder
1/2 cup light brown sugar
Streusel:
3/4 cup pecans, roughly chopped
1 tablespoon all-purpose flour
1/4 cup dark brown sugar
1 tablespoon cinnamon
2 tablespoons butter
Instructions
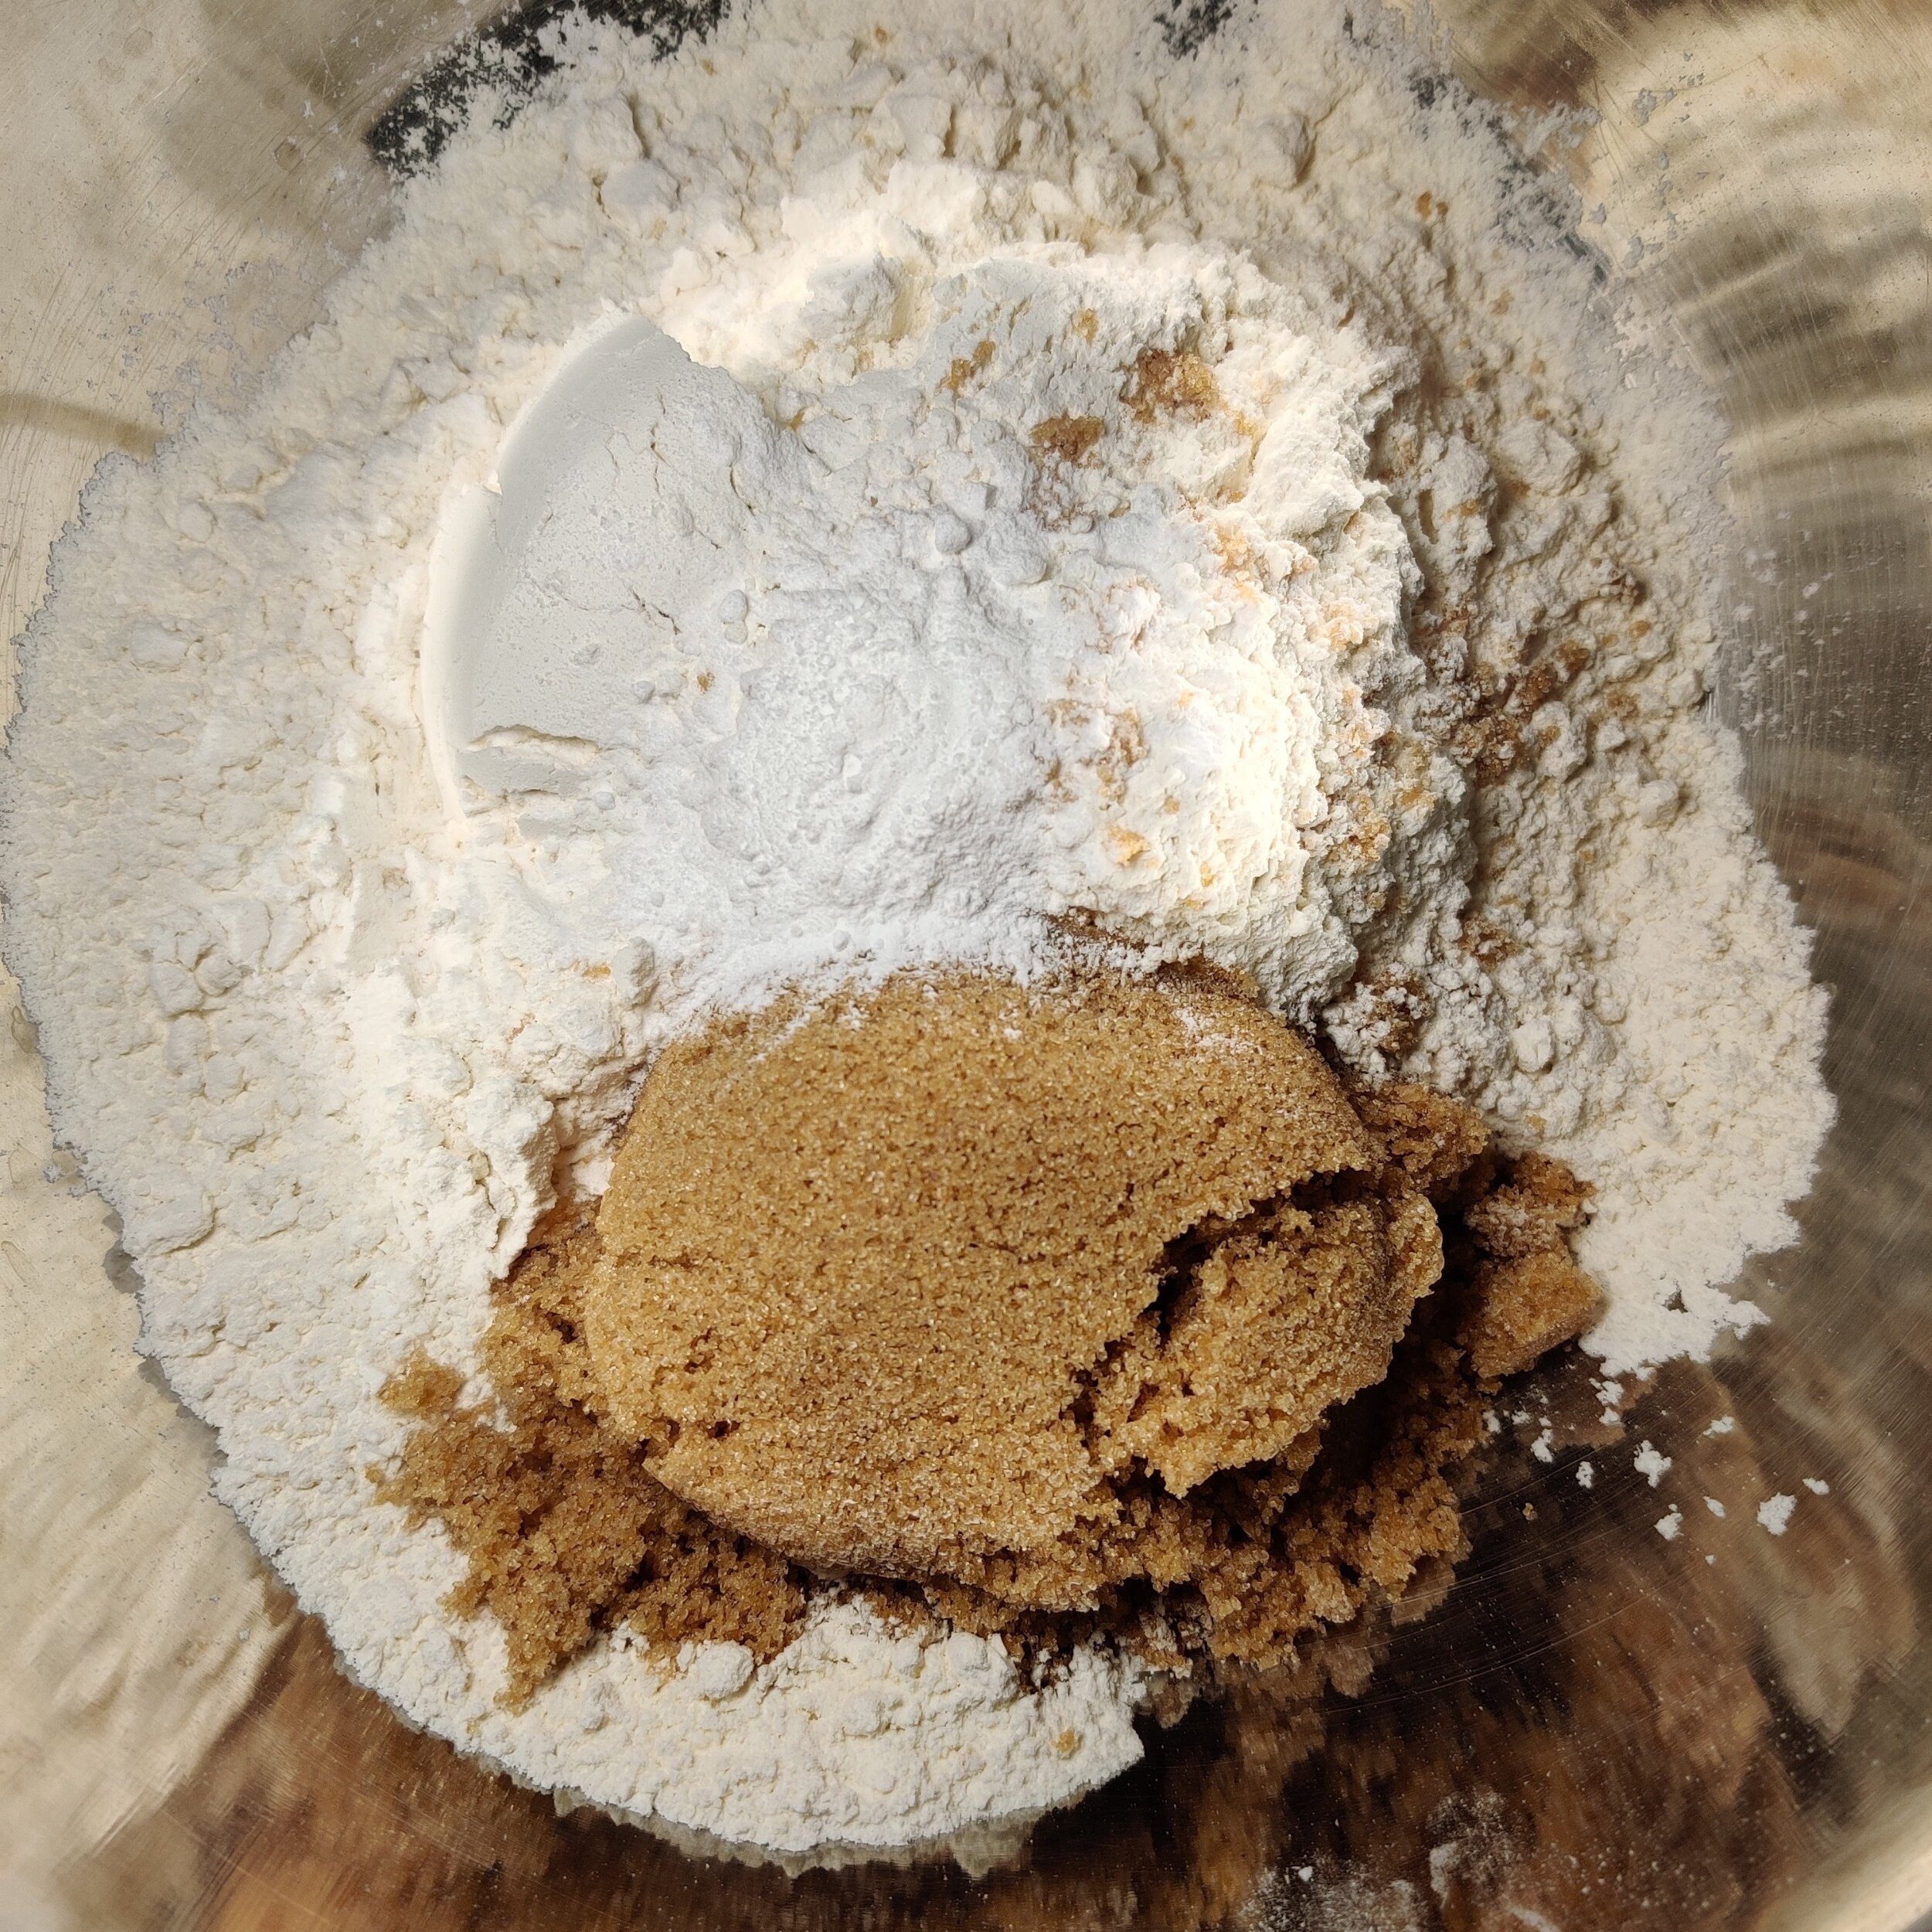
In a large bowl, whisk the flour, baking powder and light brown sugar, set aside.
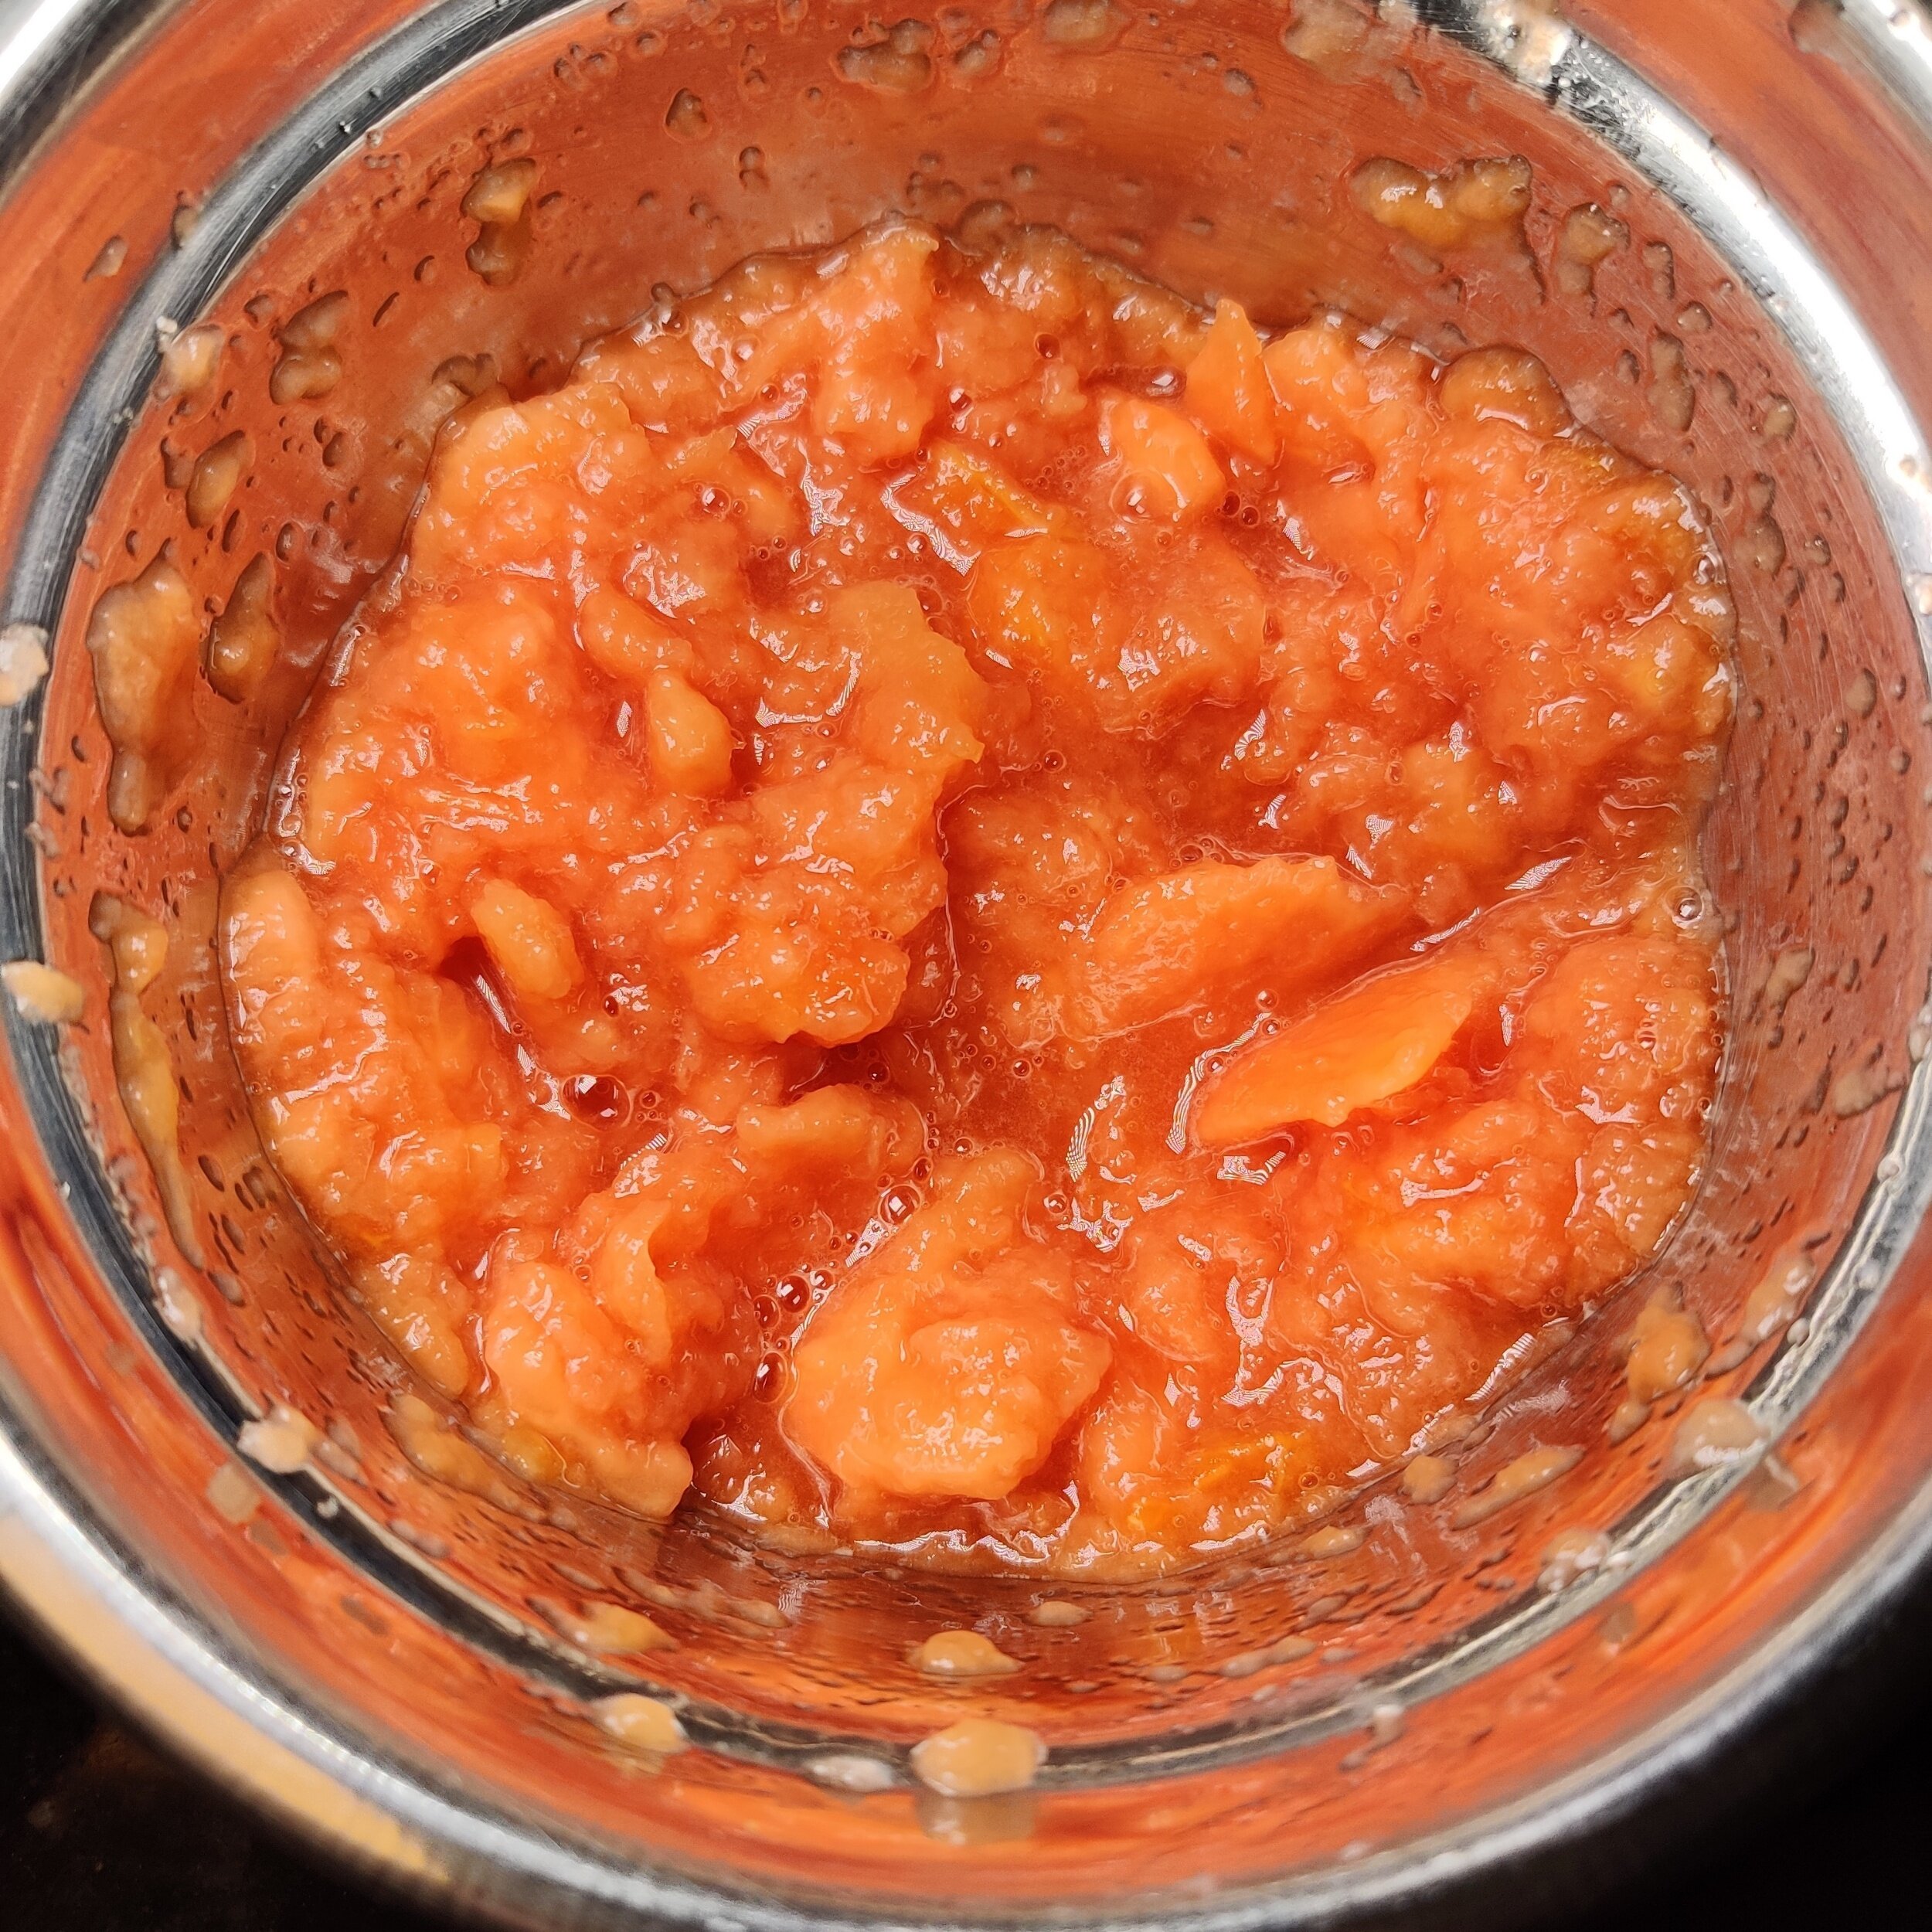
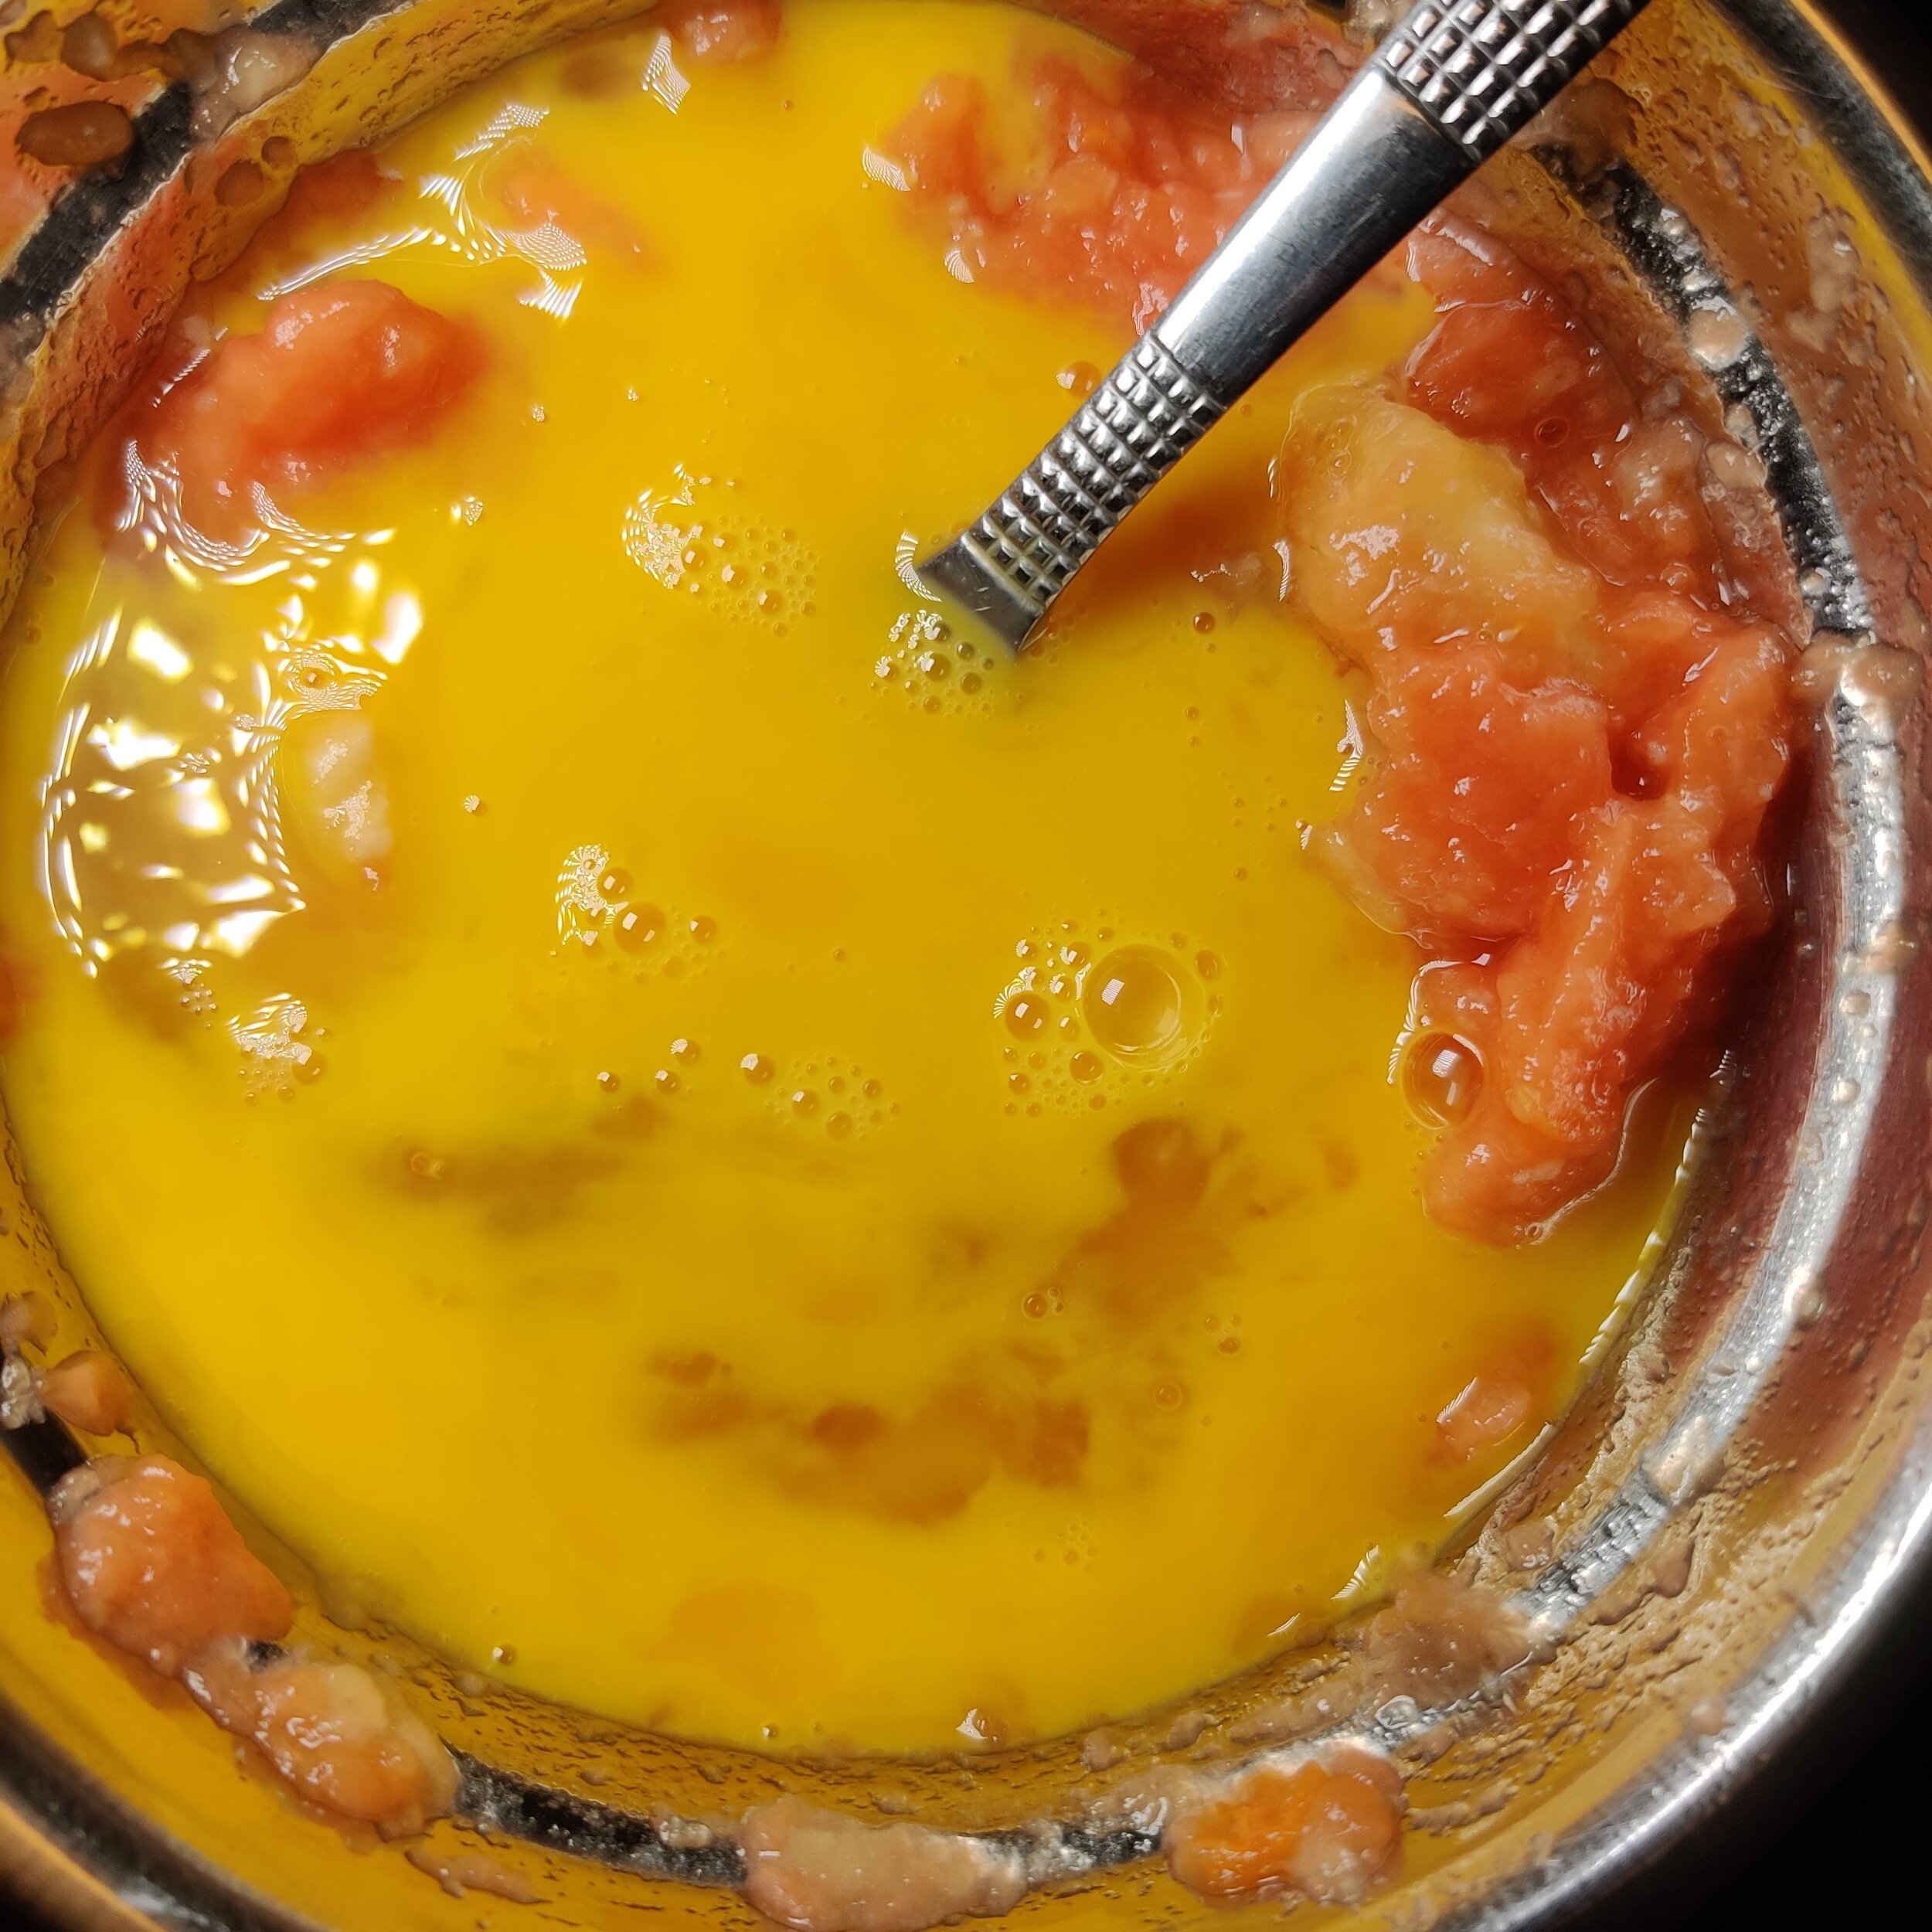
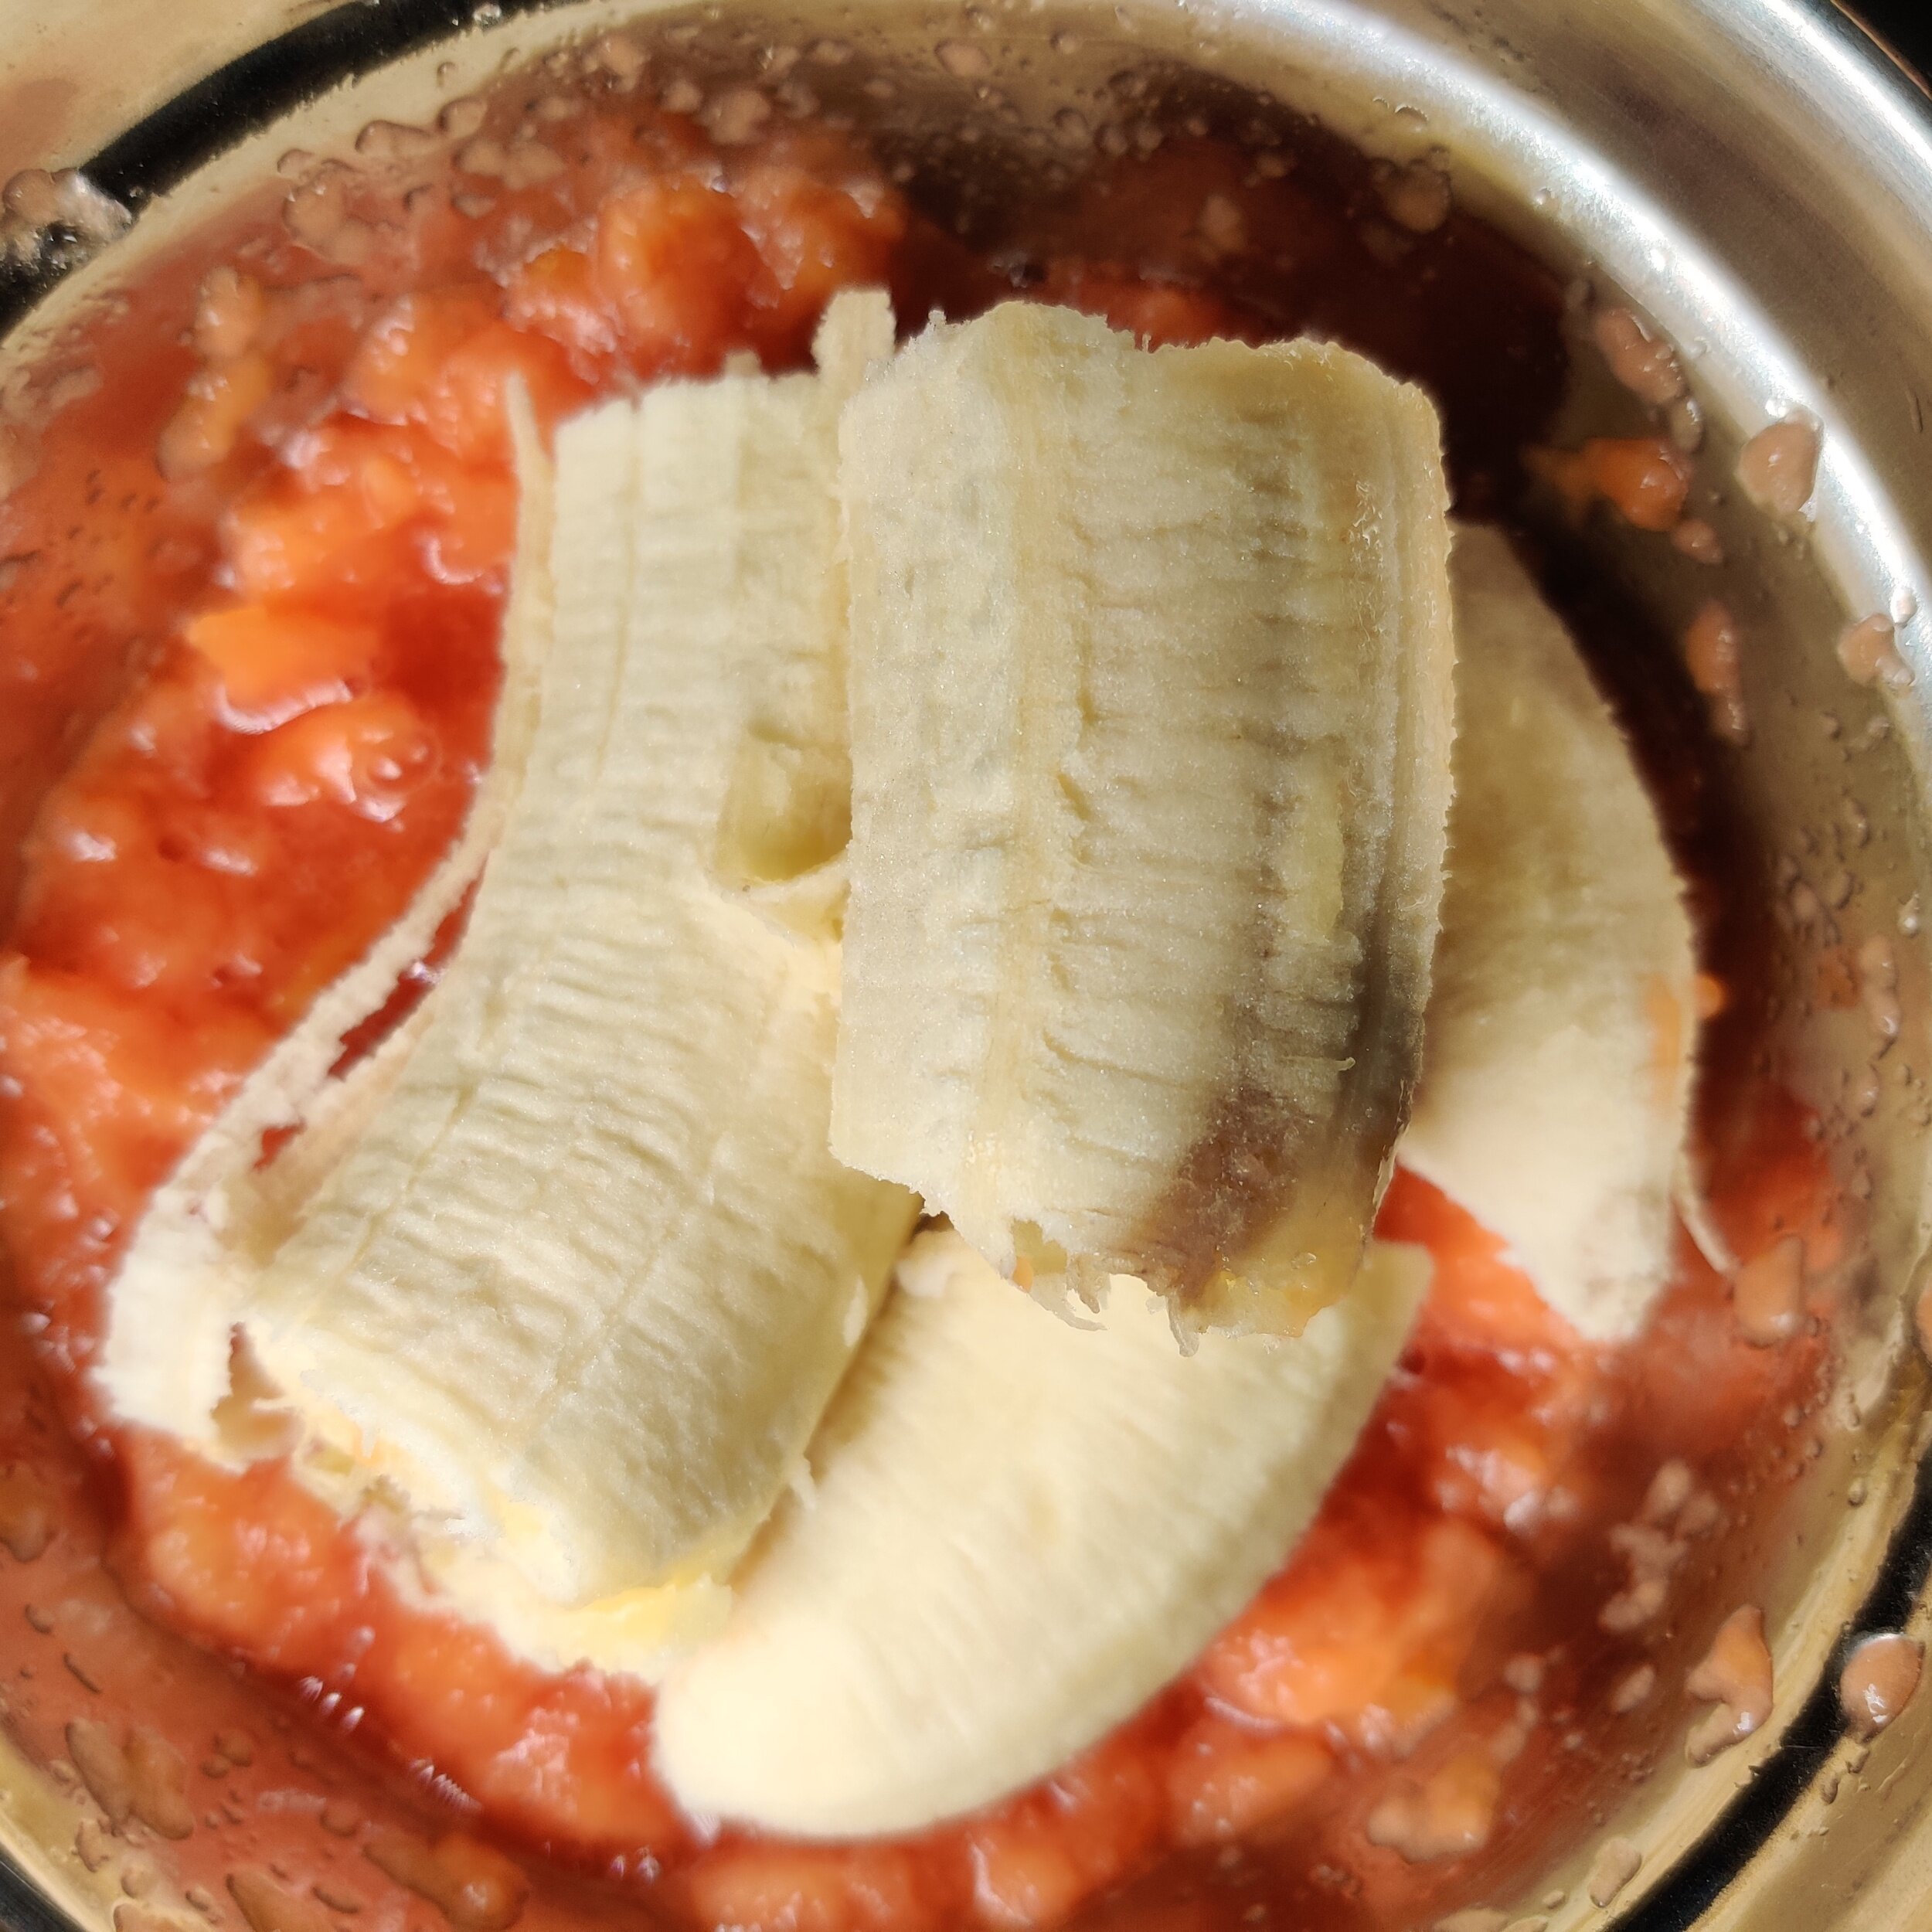
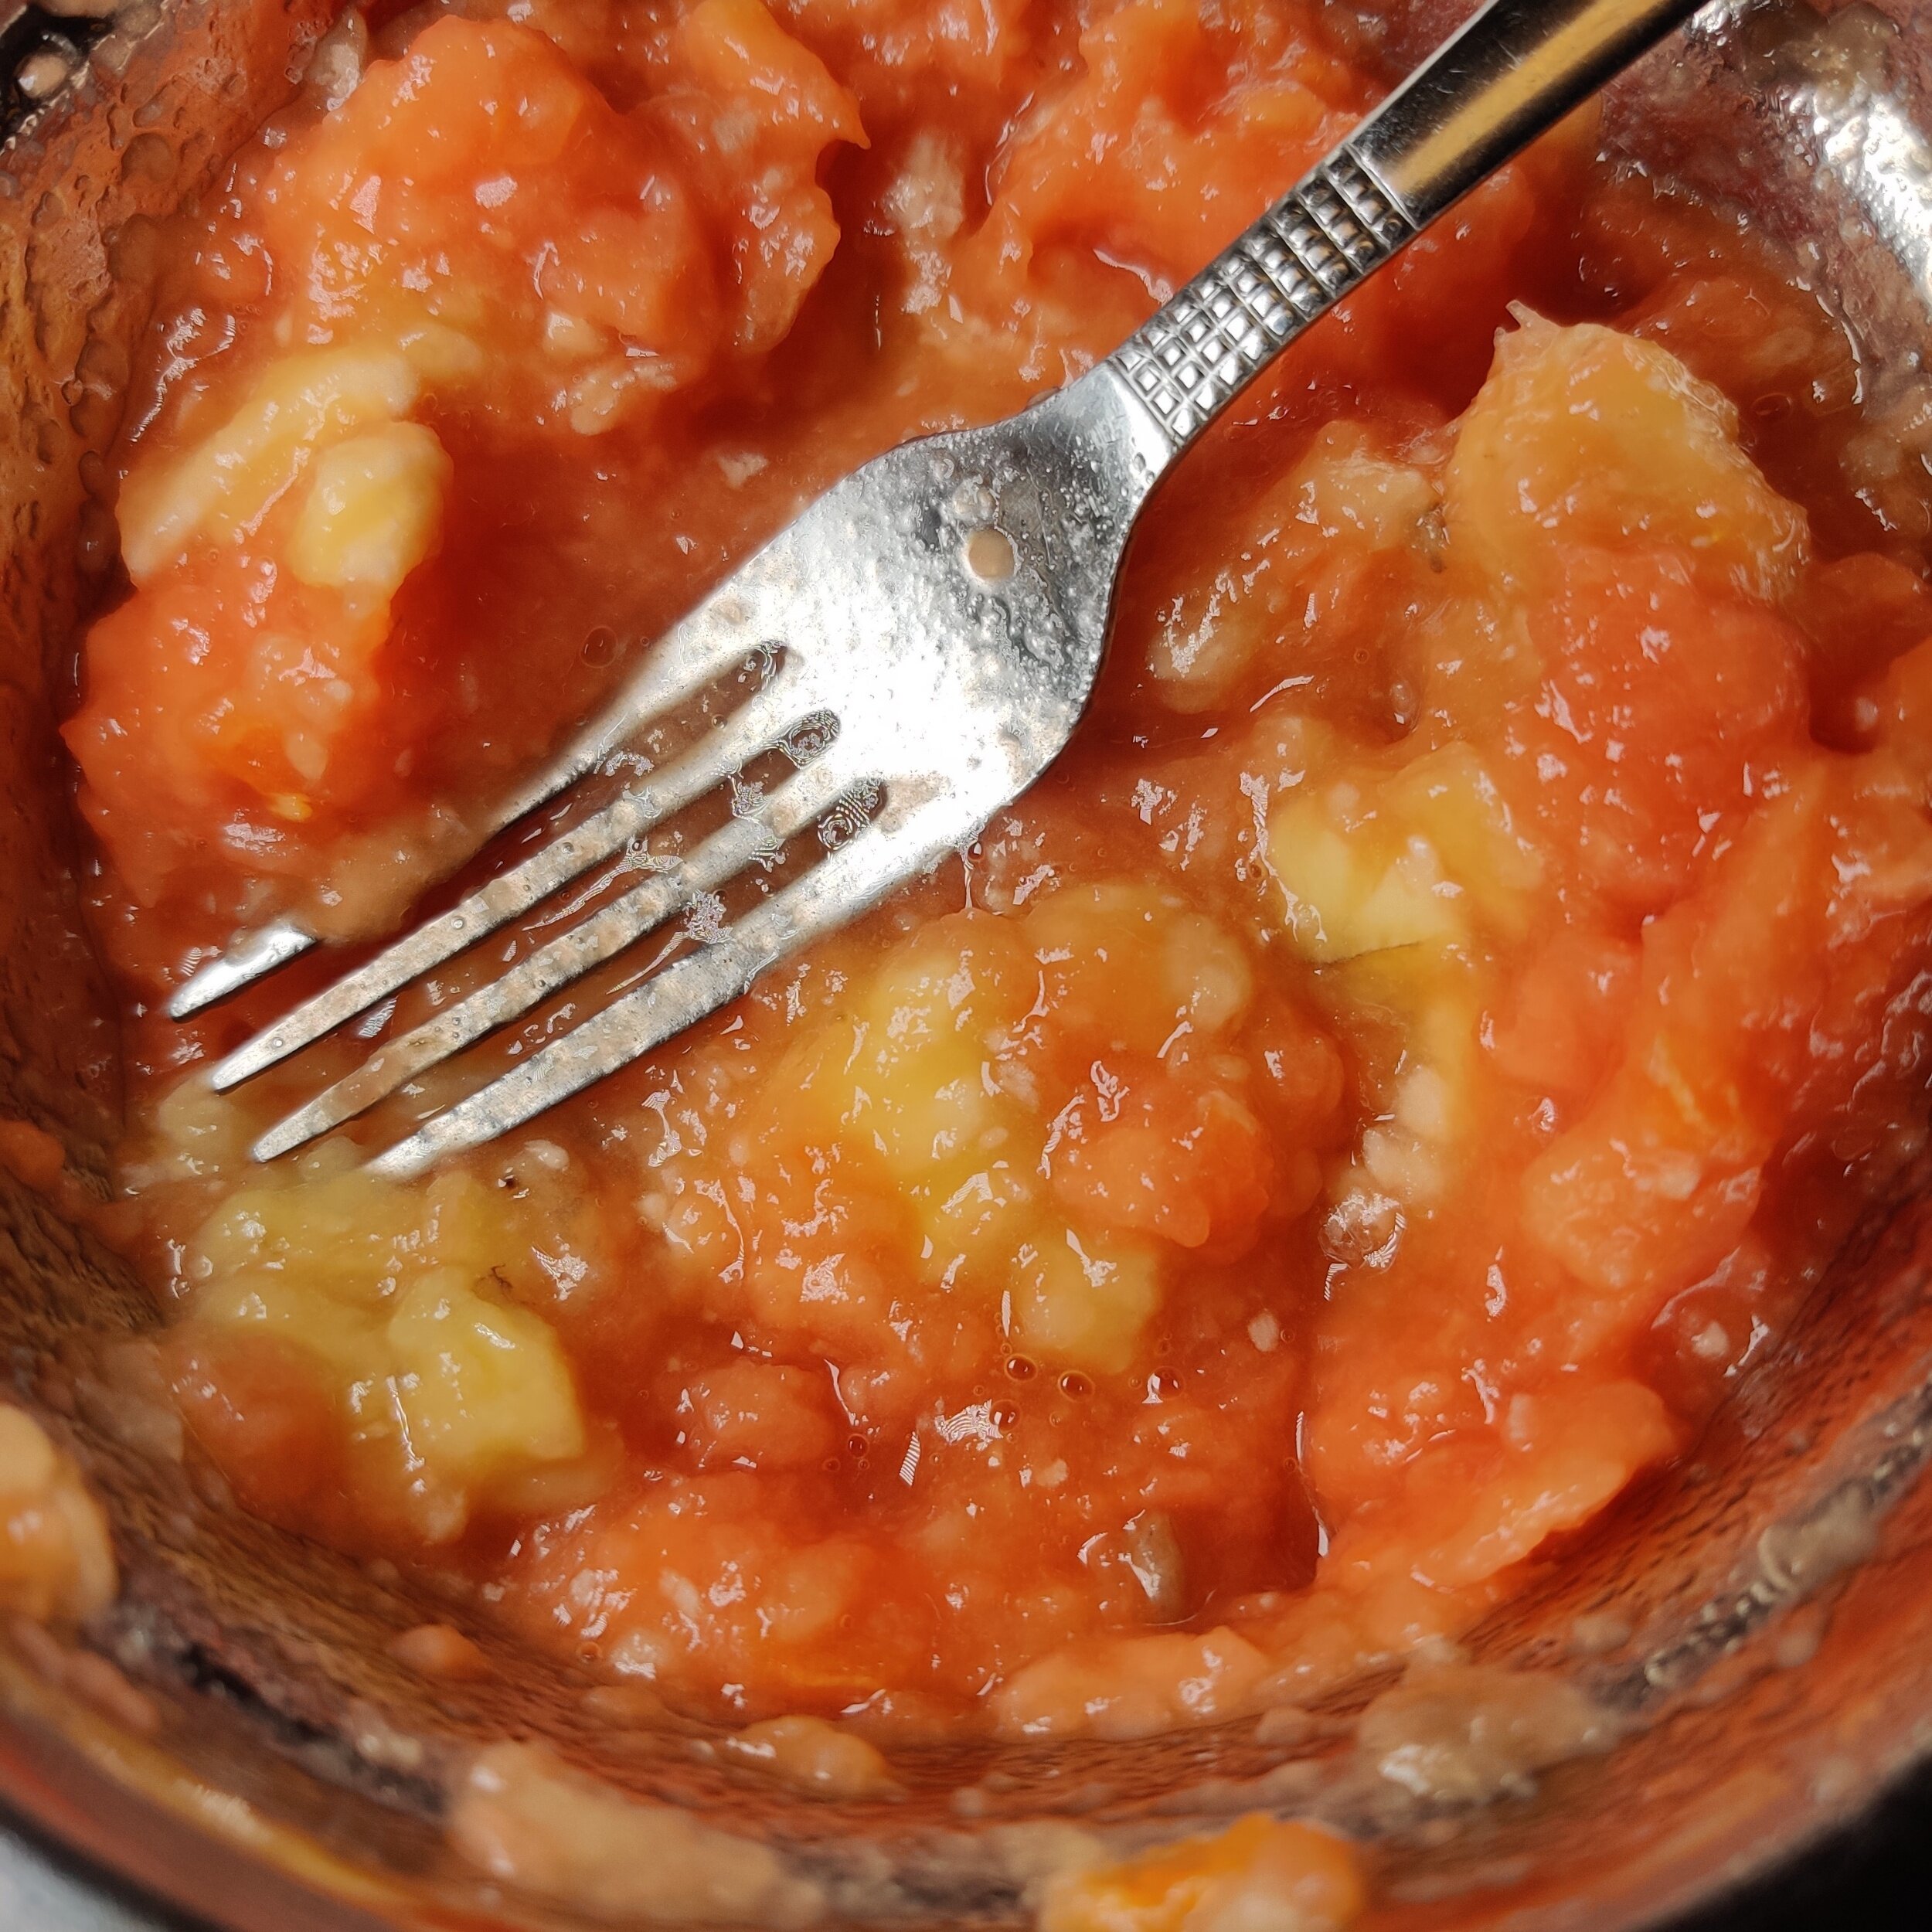
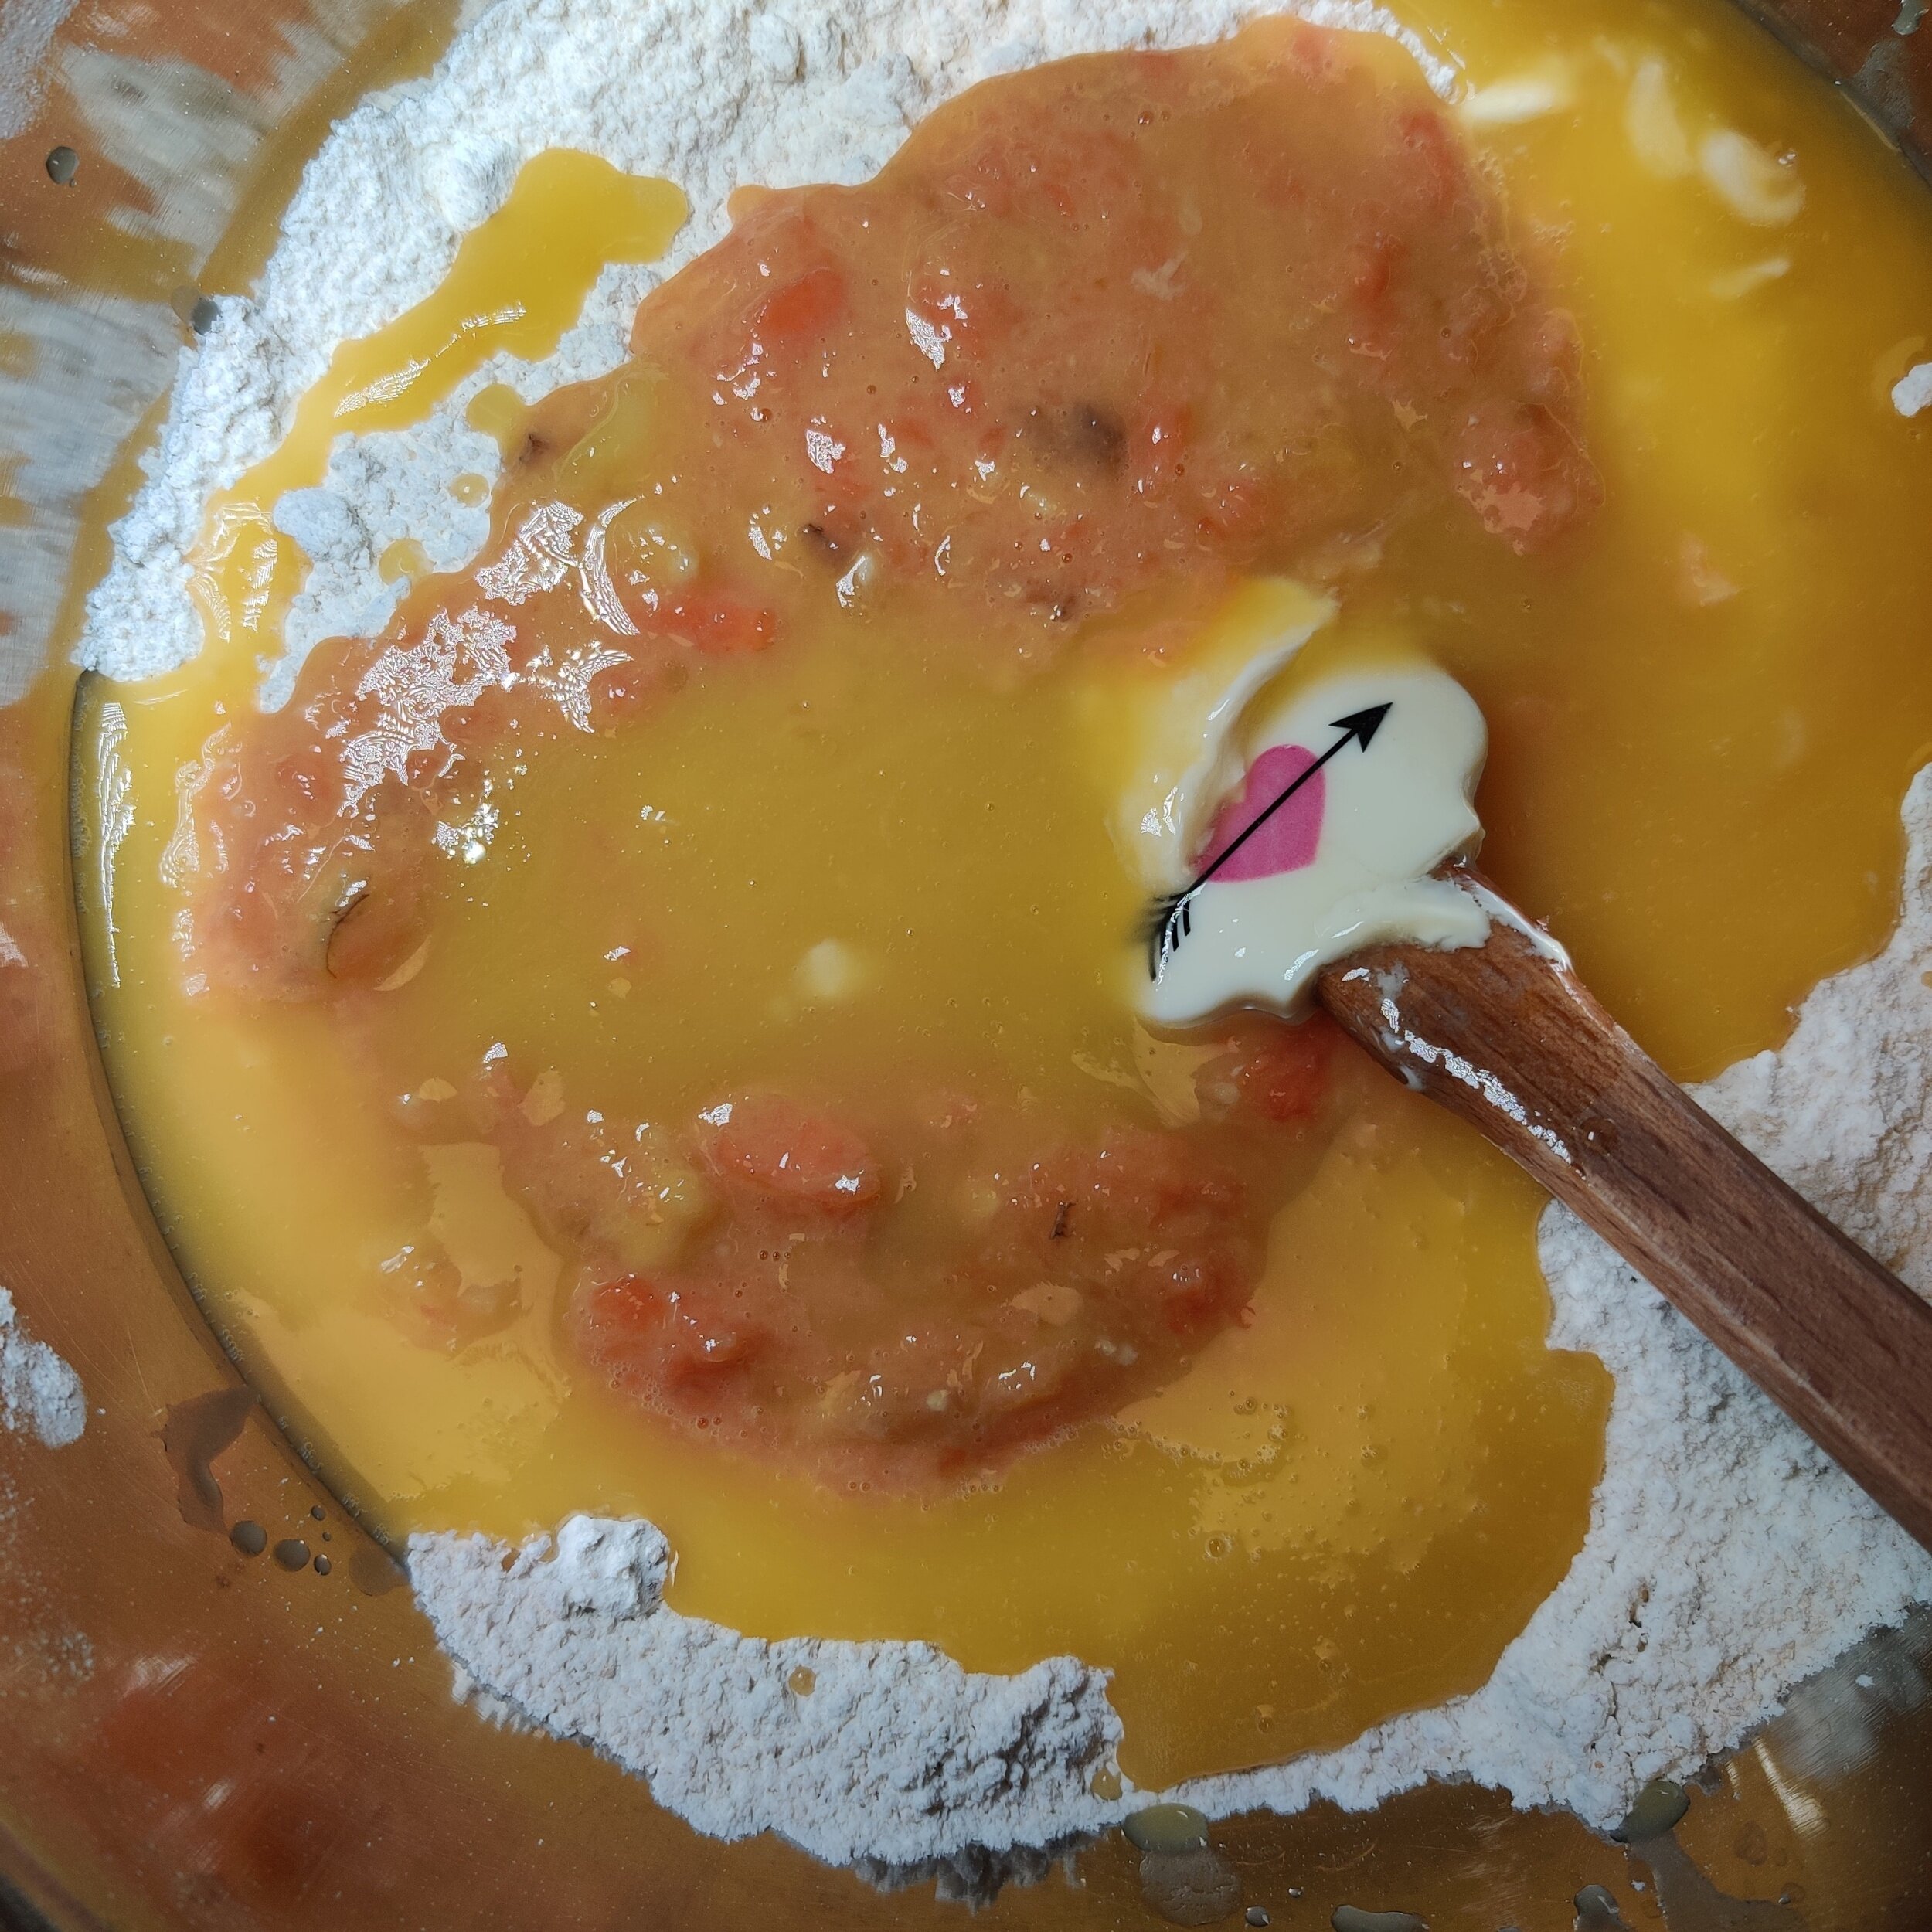
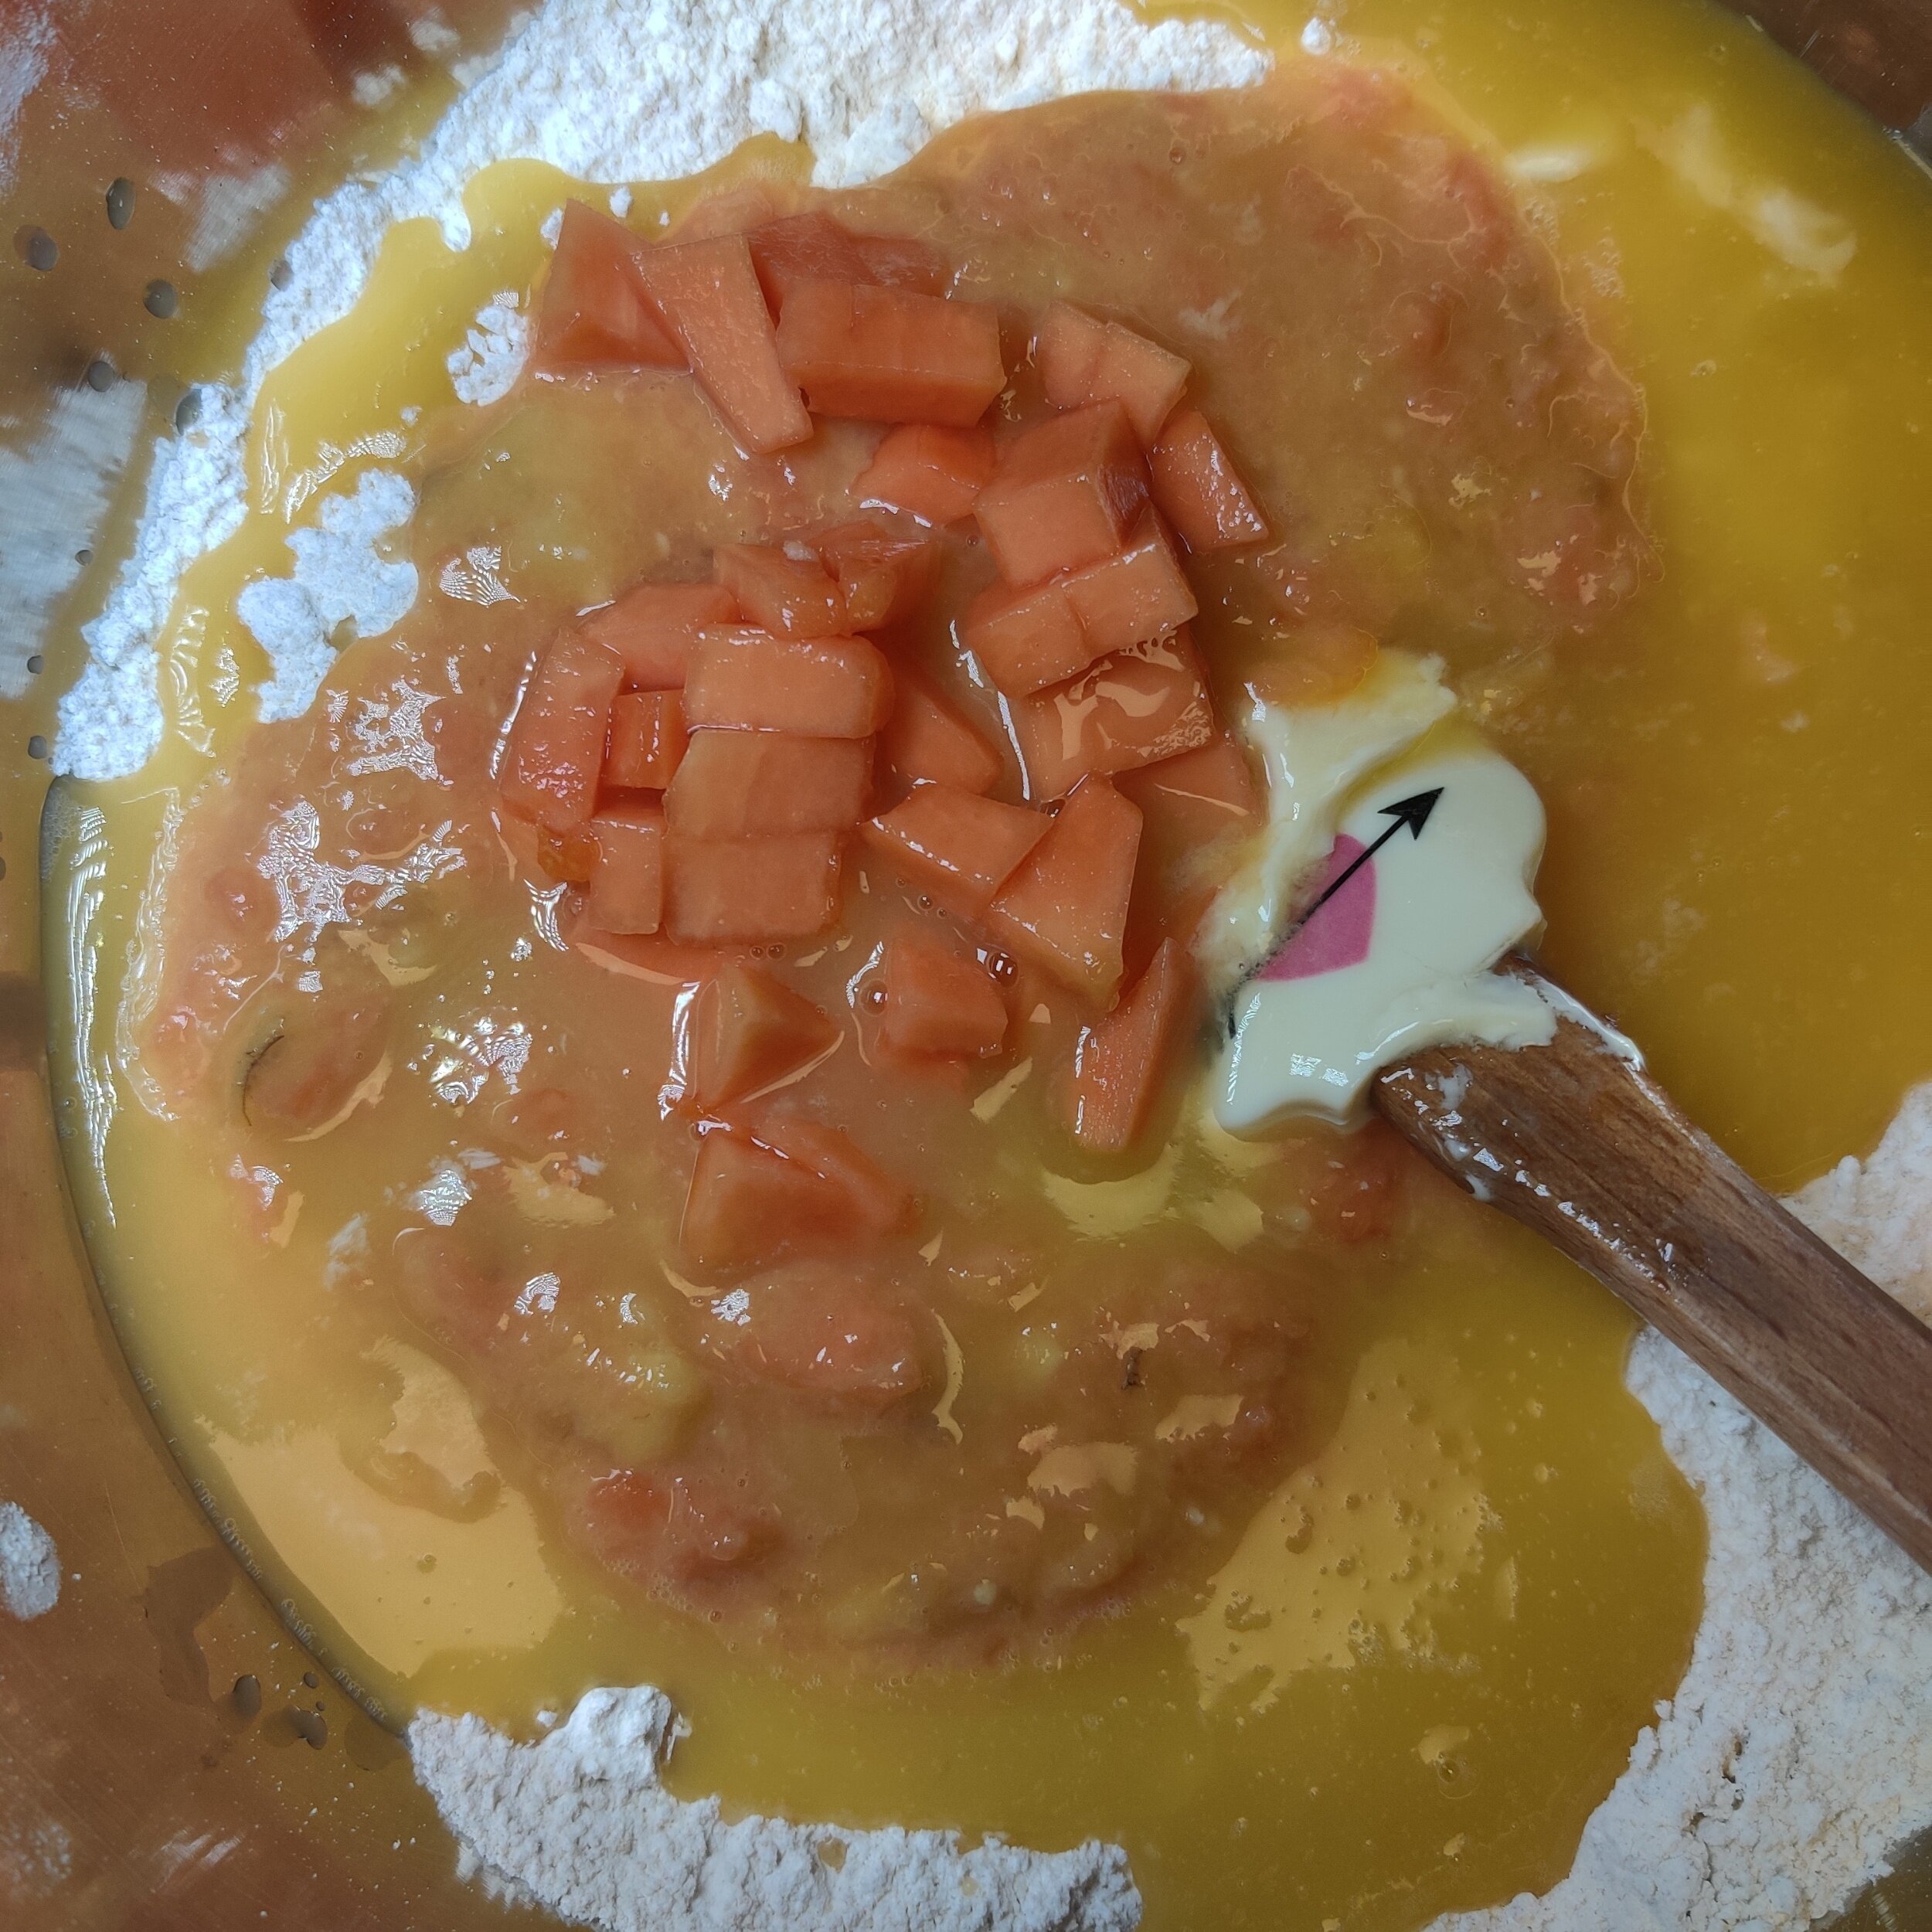
In a small bowl, mash and mix the half portion of the pawpaw, the banana, the vanilla, and the beaten eggs.
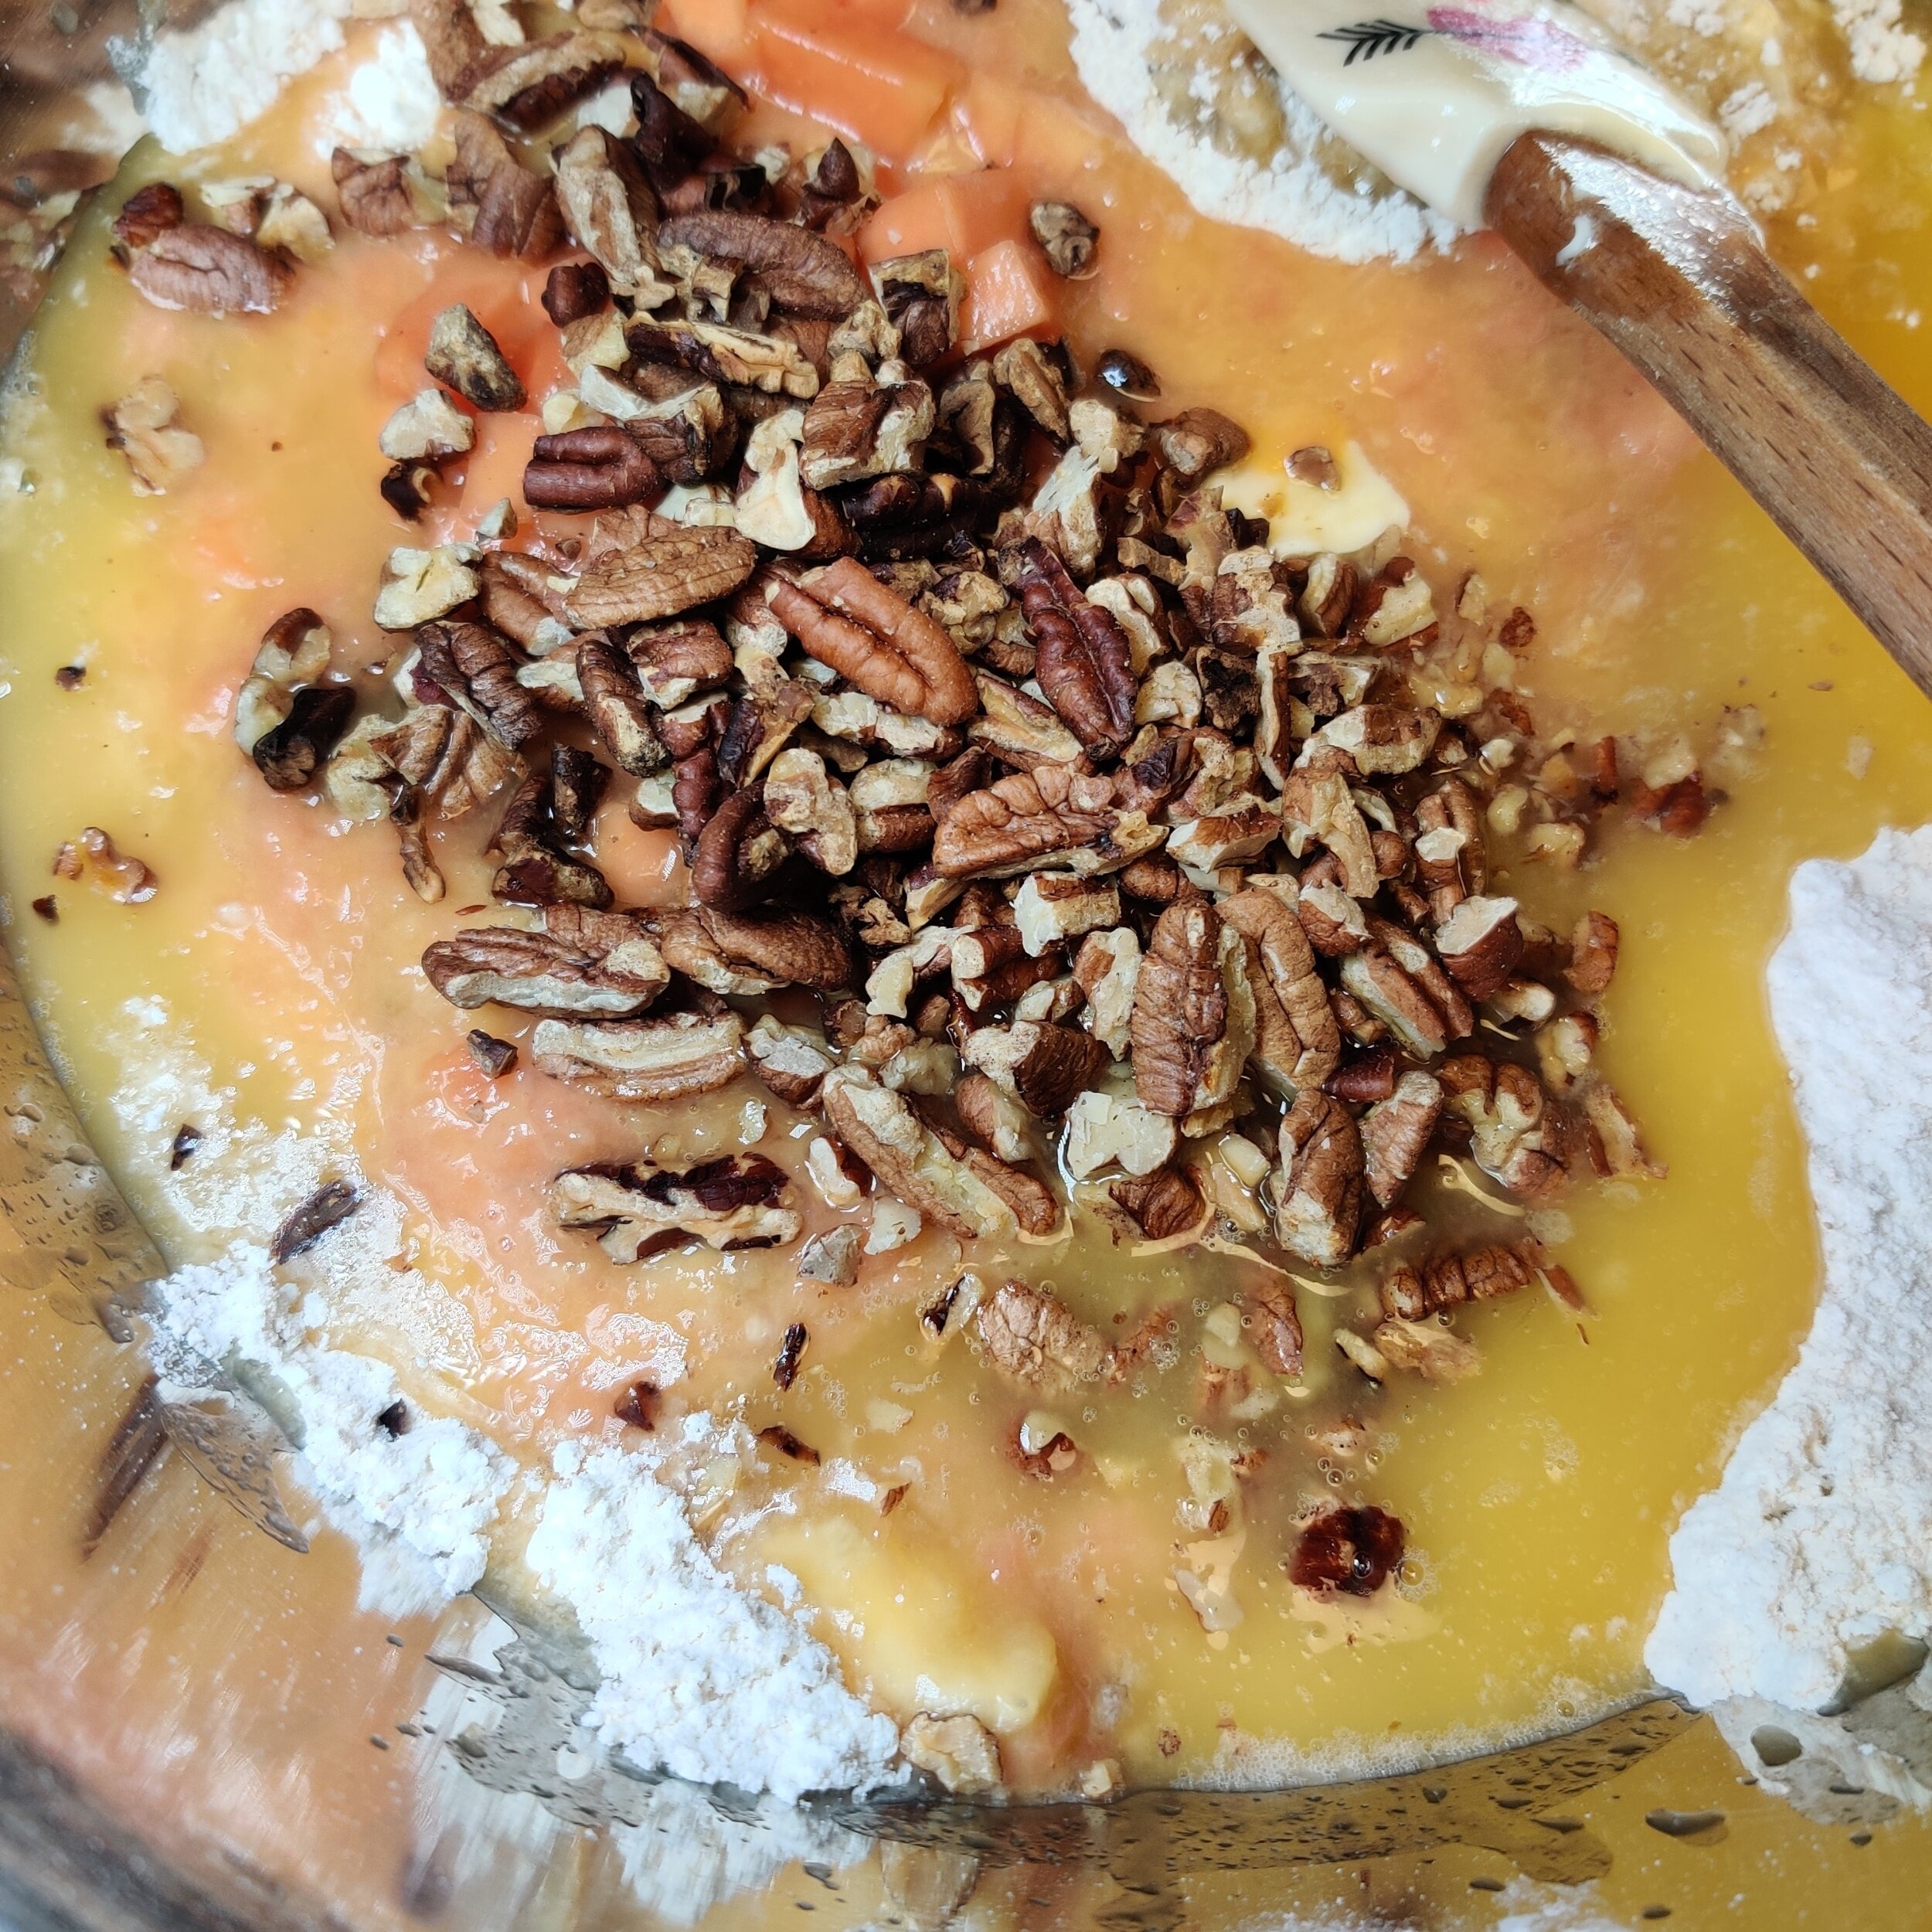
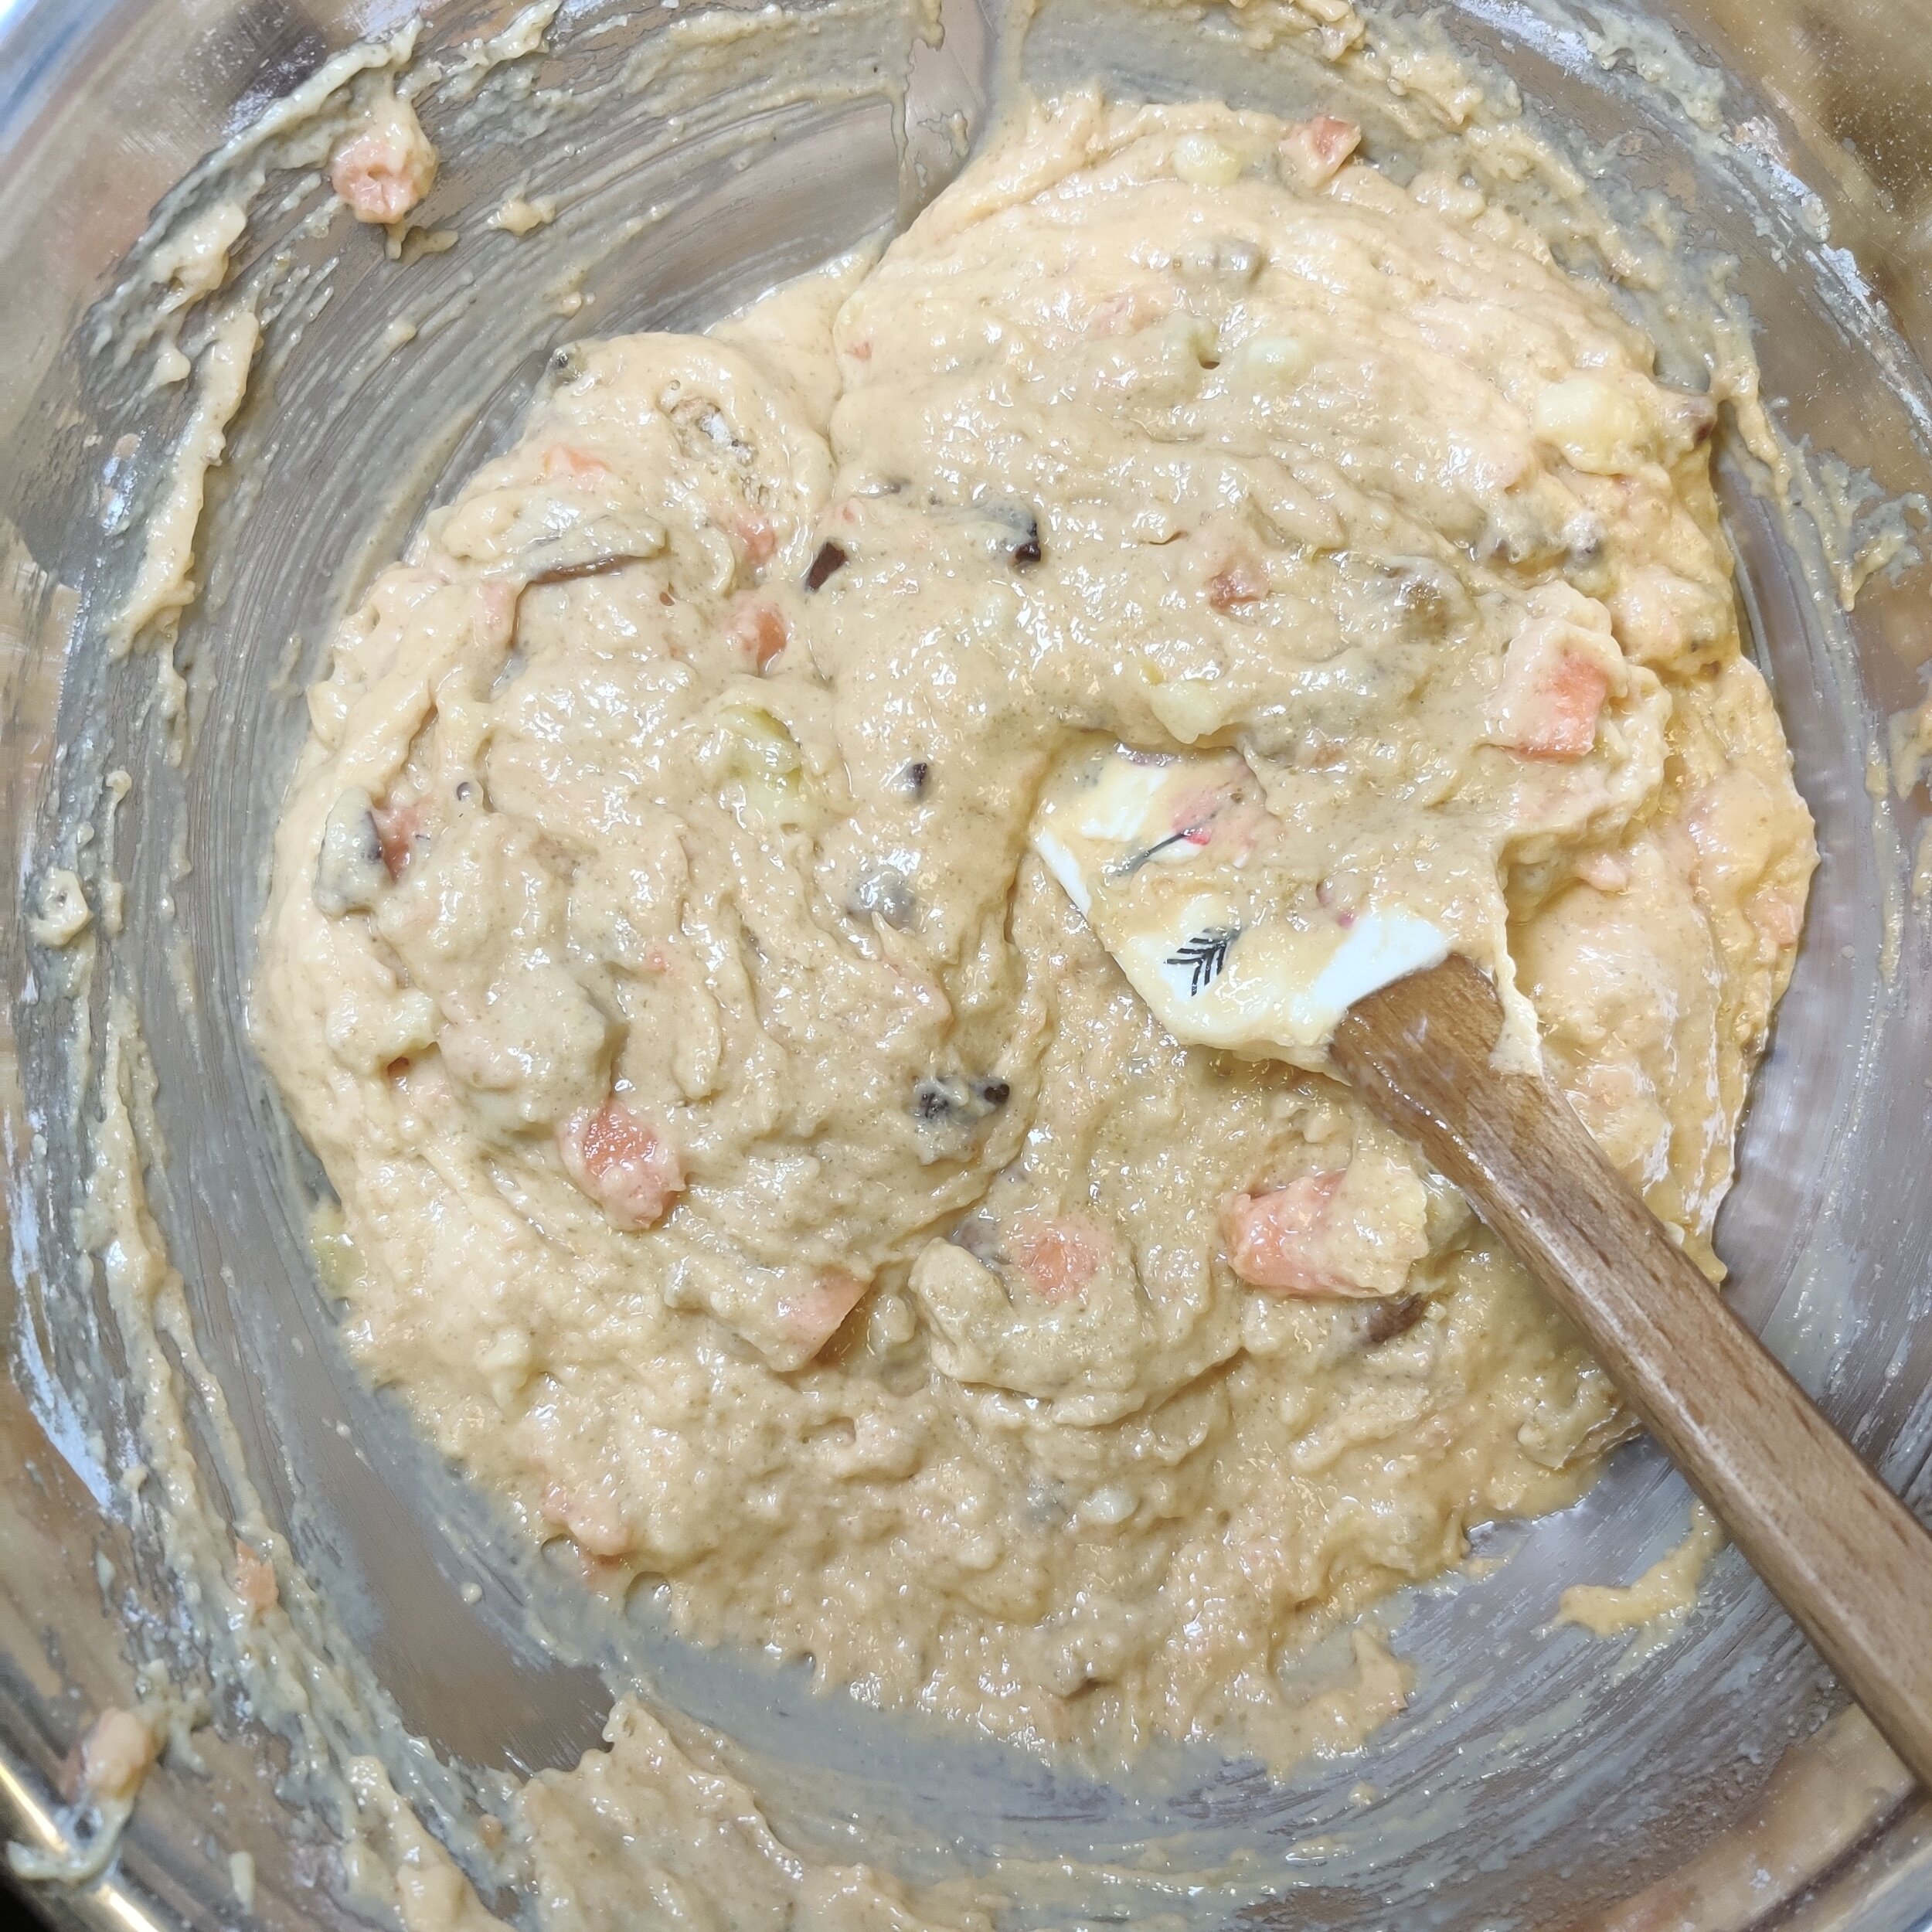
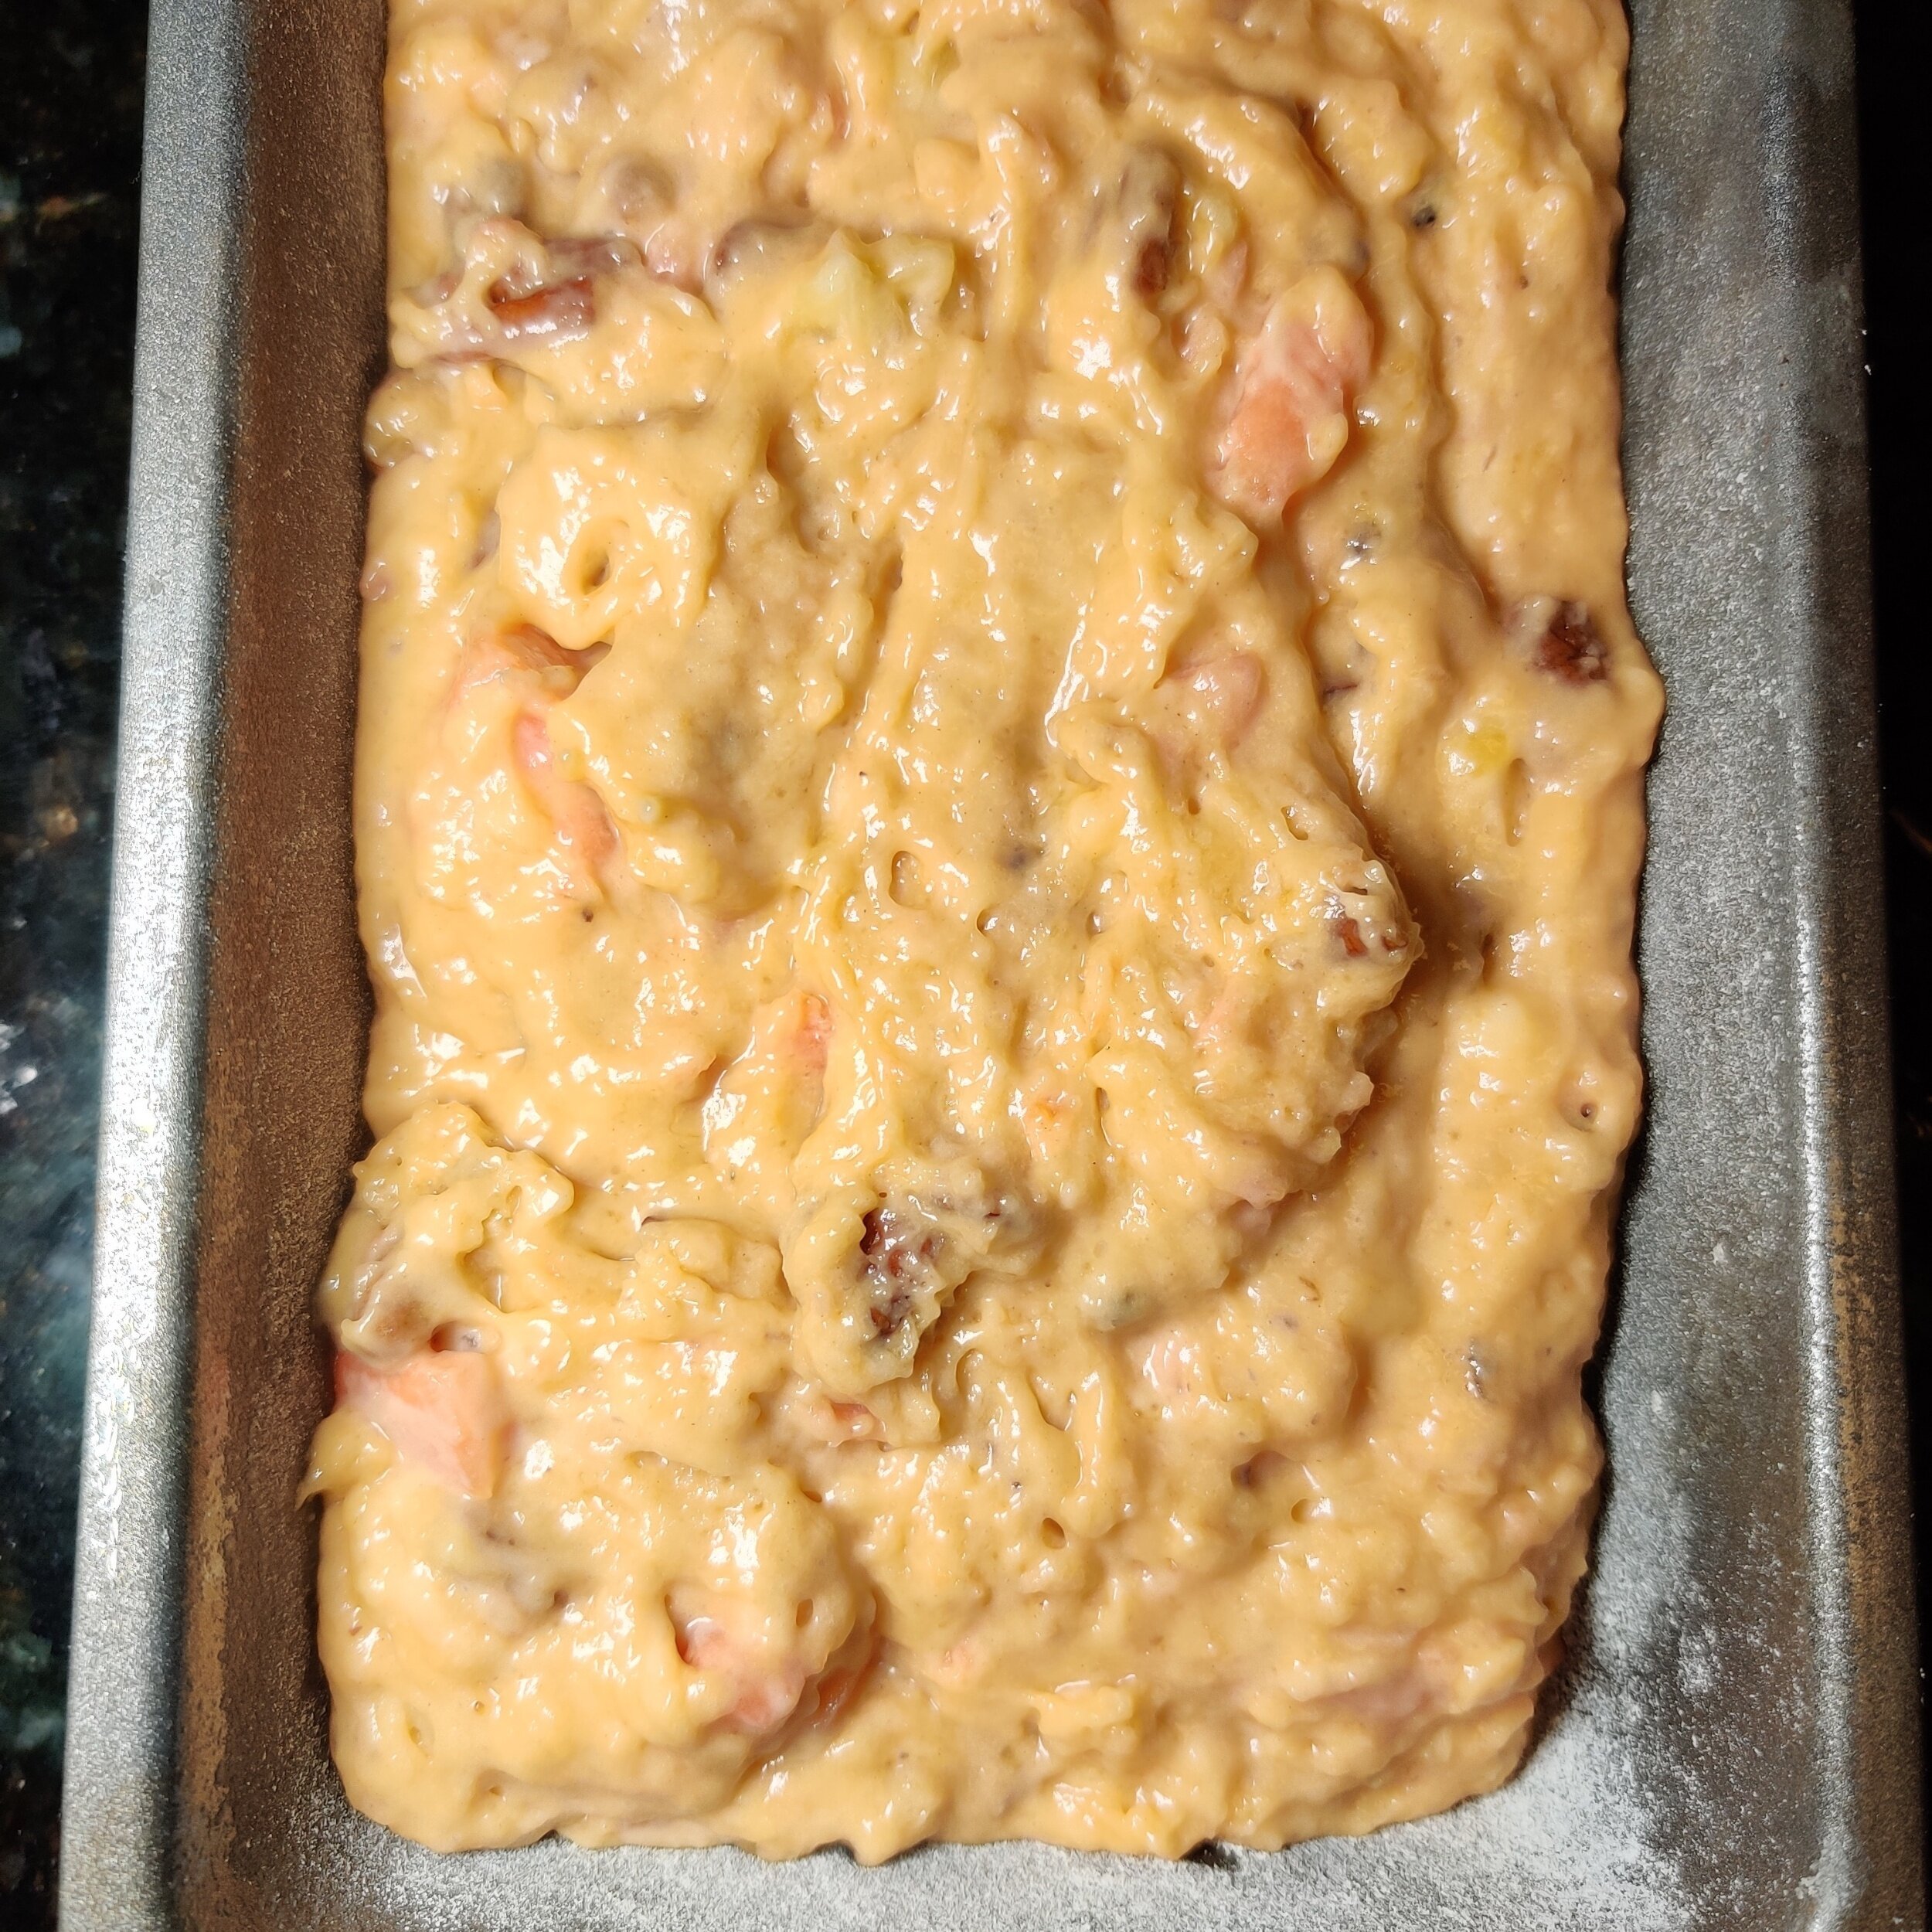
Toast and chop the pecans if they are not ready-to-go, mix them into the flour bowl with the chopped papaya, butter (10 tablespoons), and egg mixture. Combine well with a spatula.
While your batter rests for a few minutes, prepare your streusel. Mix the second batch of pecans with dark brown sugar, cinnamon, flour, and two tablespoons of butter.
Spray a loaf tin (9 inches by 4 inches - if you have the 8-inch tin, there will be leftover batter—you don’t want to fill it to be brim as the bread is going to rise and expand).
Spoon and spread your streusel on top of the batter. Try to distribute this evenly, then place the loaf pan on a baking tray (this will catch any spillage that may occur).
Bake for 60 minutes at 400F, checking periodically after at least 30 minutes have passed.
Remove from the oven and set aside to cool. Serve warm with tea or coffee, and enjoy! Consume in 3-4 days or freeze airtight or wrapped in clear film for up to a month.


Raspberry Loaf with White Chocolate and Marscapone
It's not a secret that raspberries and white chocolate go together. If you're looking for a solid sweet loaf (not literally but as in guaranteed deliciousness) this is it!
You've got the acidity and tartness from the berries and the sweet, creaminess from the white chocolate and mascarpone cheese.
This loaf cake is also not overly rich. Some people find pound cakes to be overwhelming, but this doesn't have as much sugar as you might think to taste. You can also omit the icing, and it will still be right proper.
The loaf is on the filling side, so you'll want to save up space in your belly for when you eat it and freeze the rest. I recommend consuming within 3 days for the freshest taste!
Ingredients
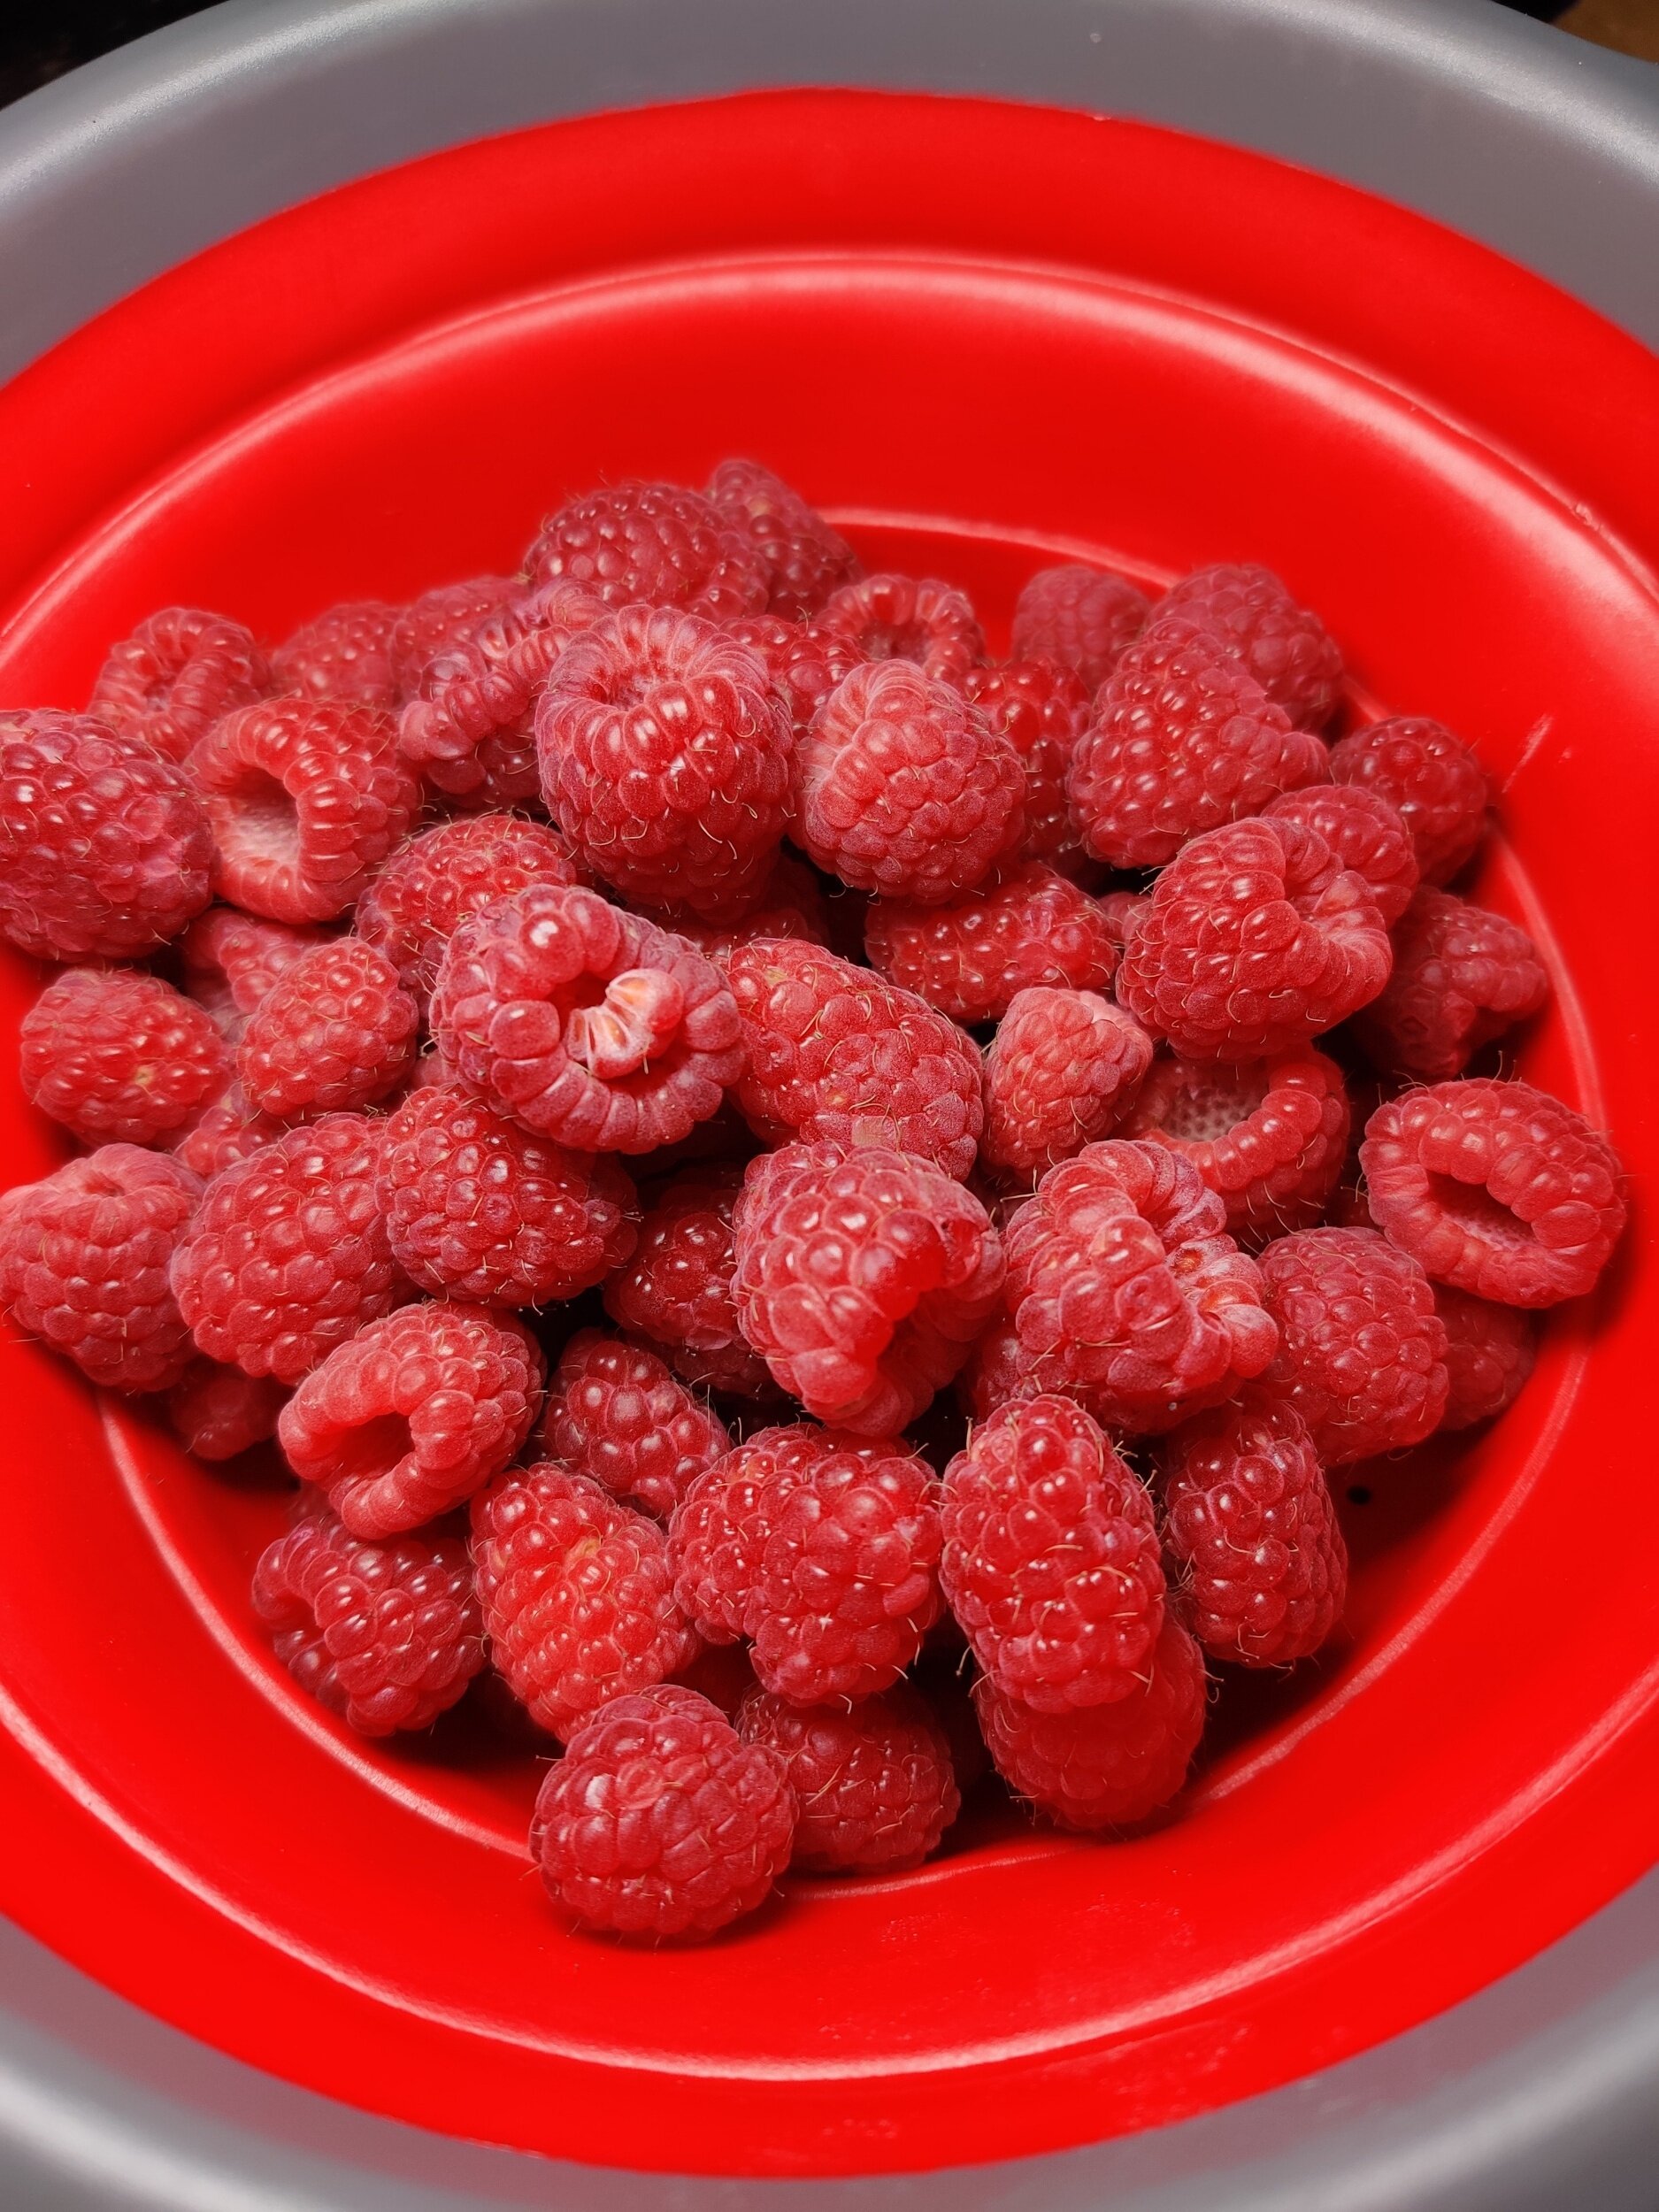
1 cup raspberries + extra to garnish
1/2 cup white chocolate chips
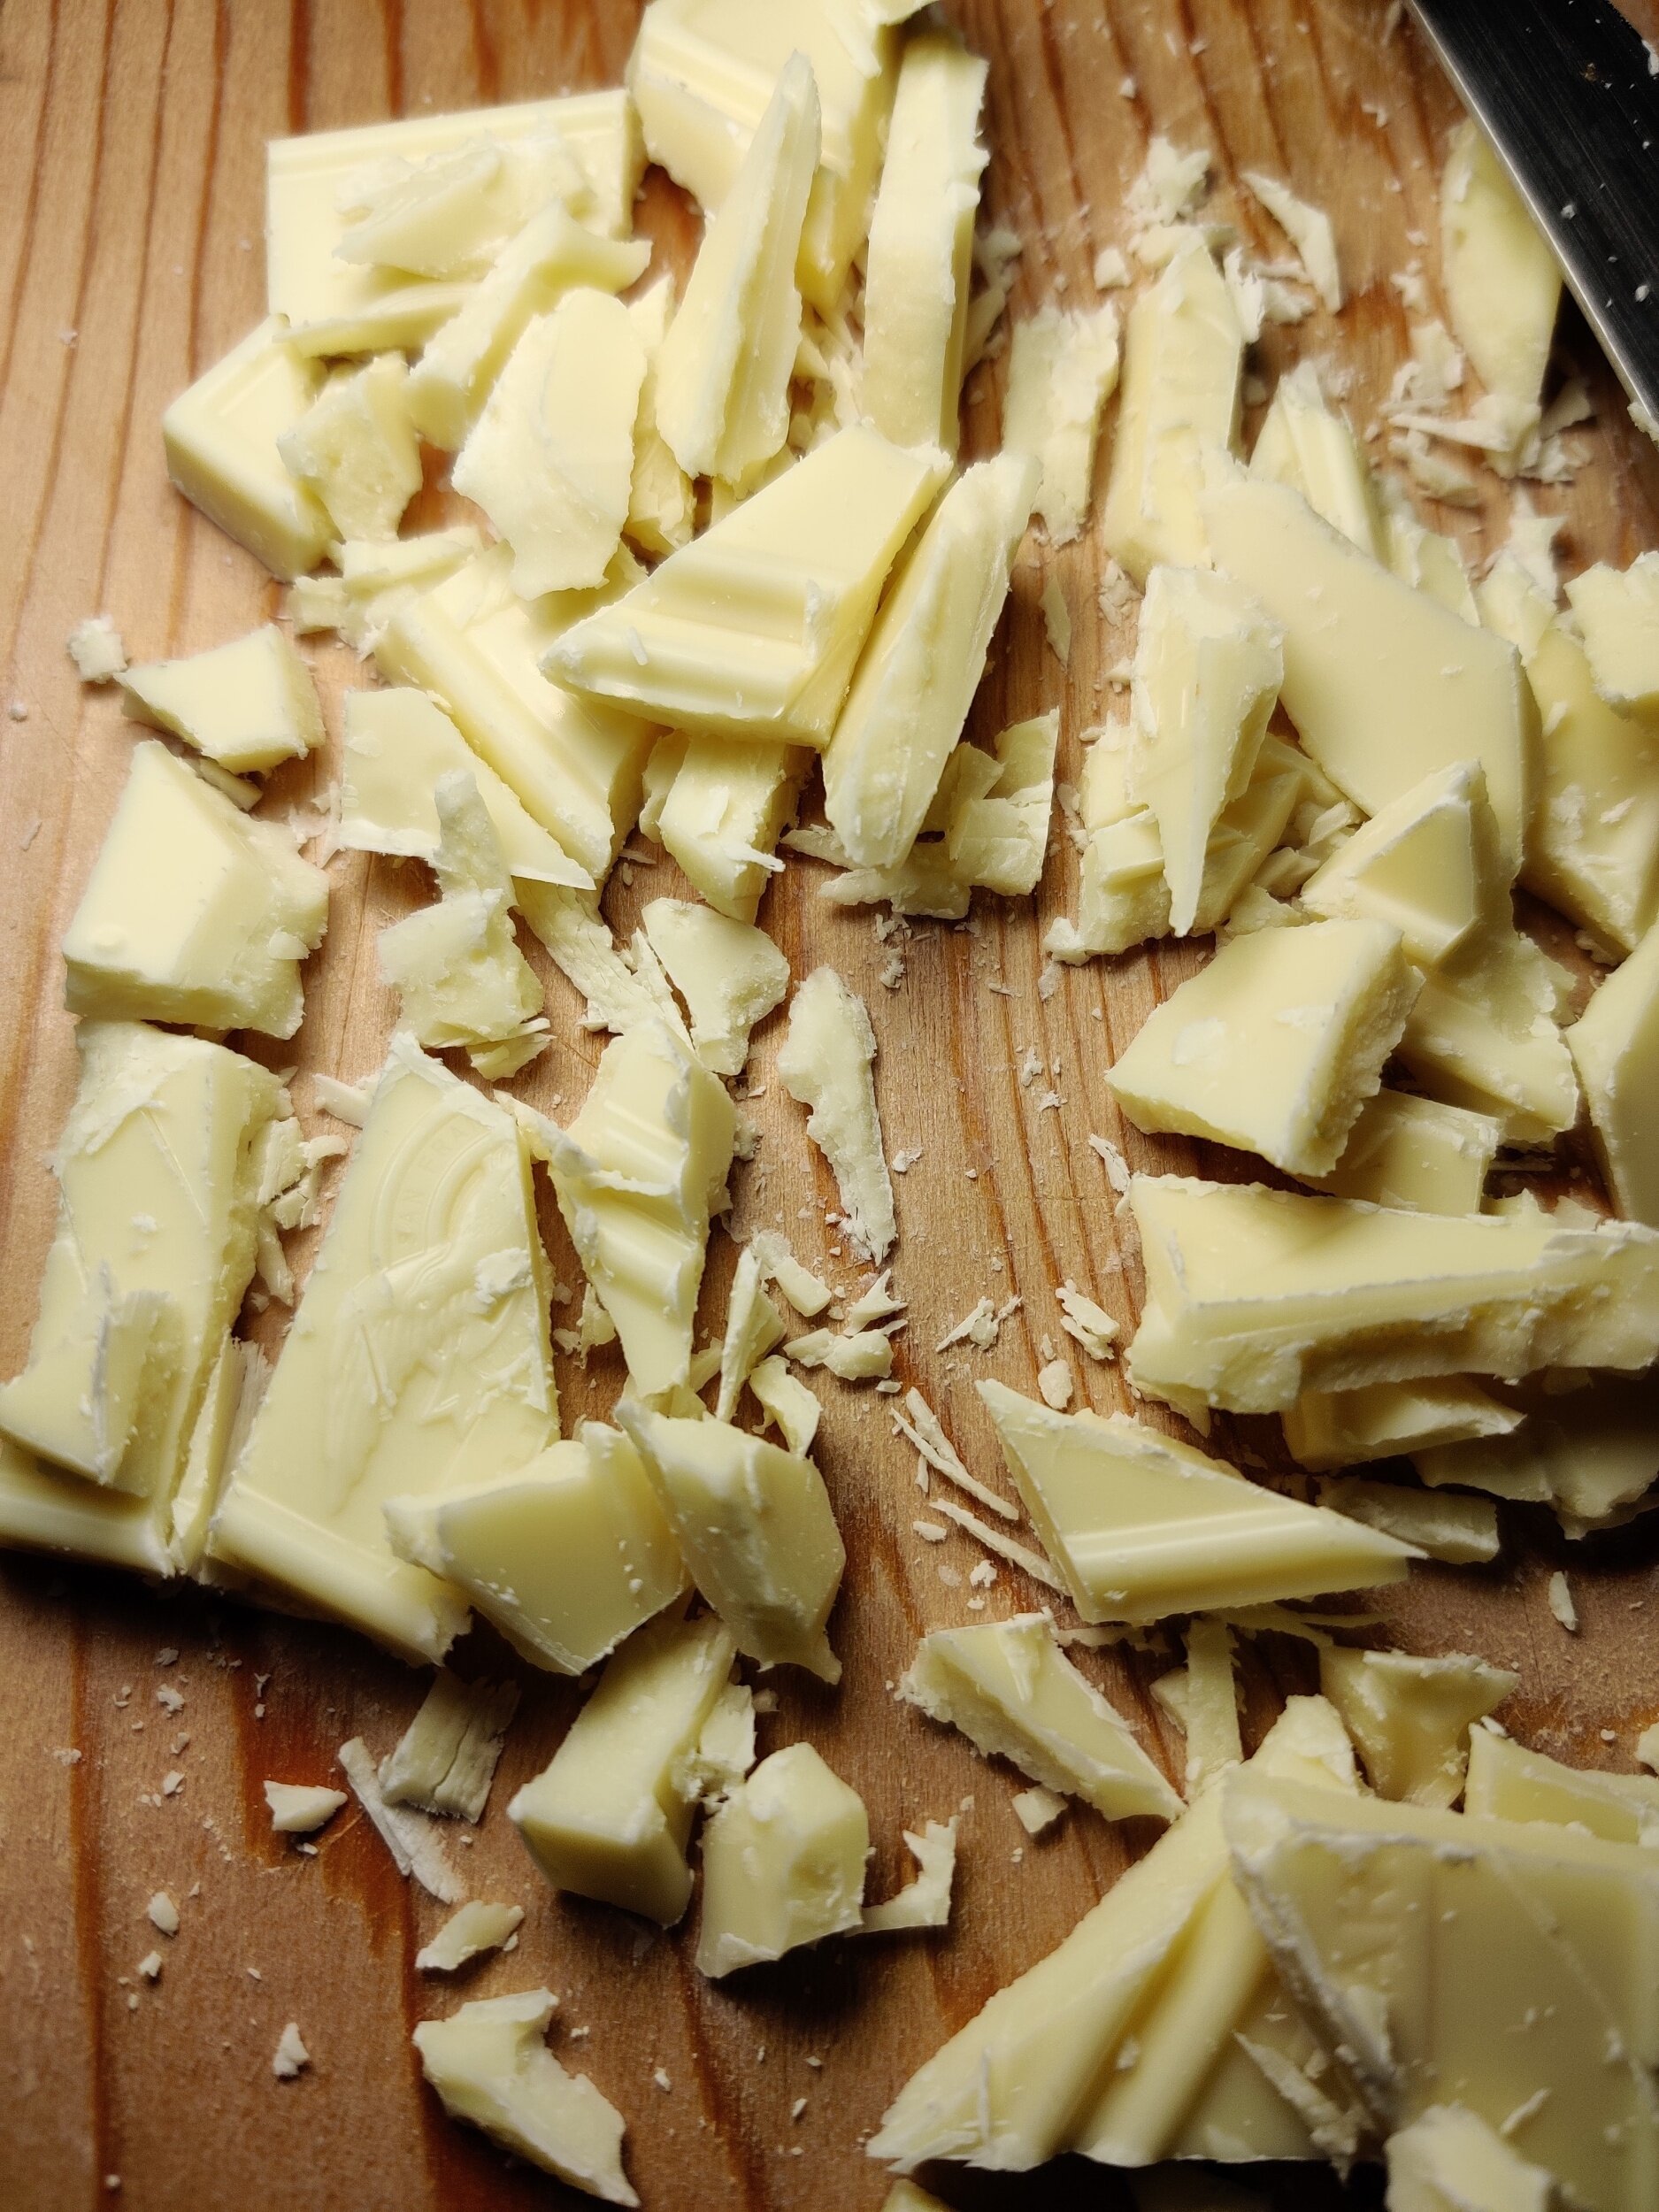
1/4 cup white chocolate, chopped
1/3 cup vegetable oil
1 teaspoon vanilla
2 eggs
1 1/2 cup pastry flour
1/2 teaspoon lemon juice
1/2 teaspoon almond extract
1/2 teaspoon salt
1 teaspoon baking powder
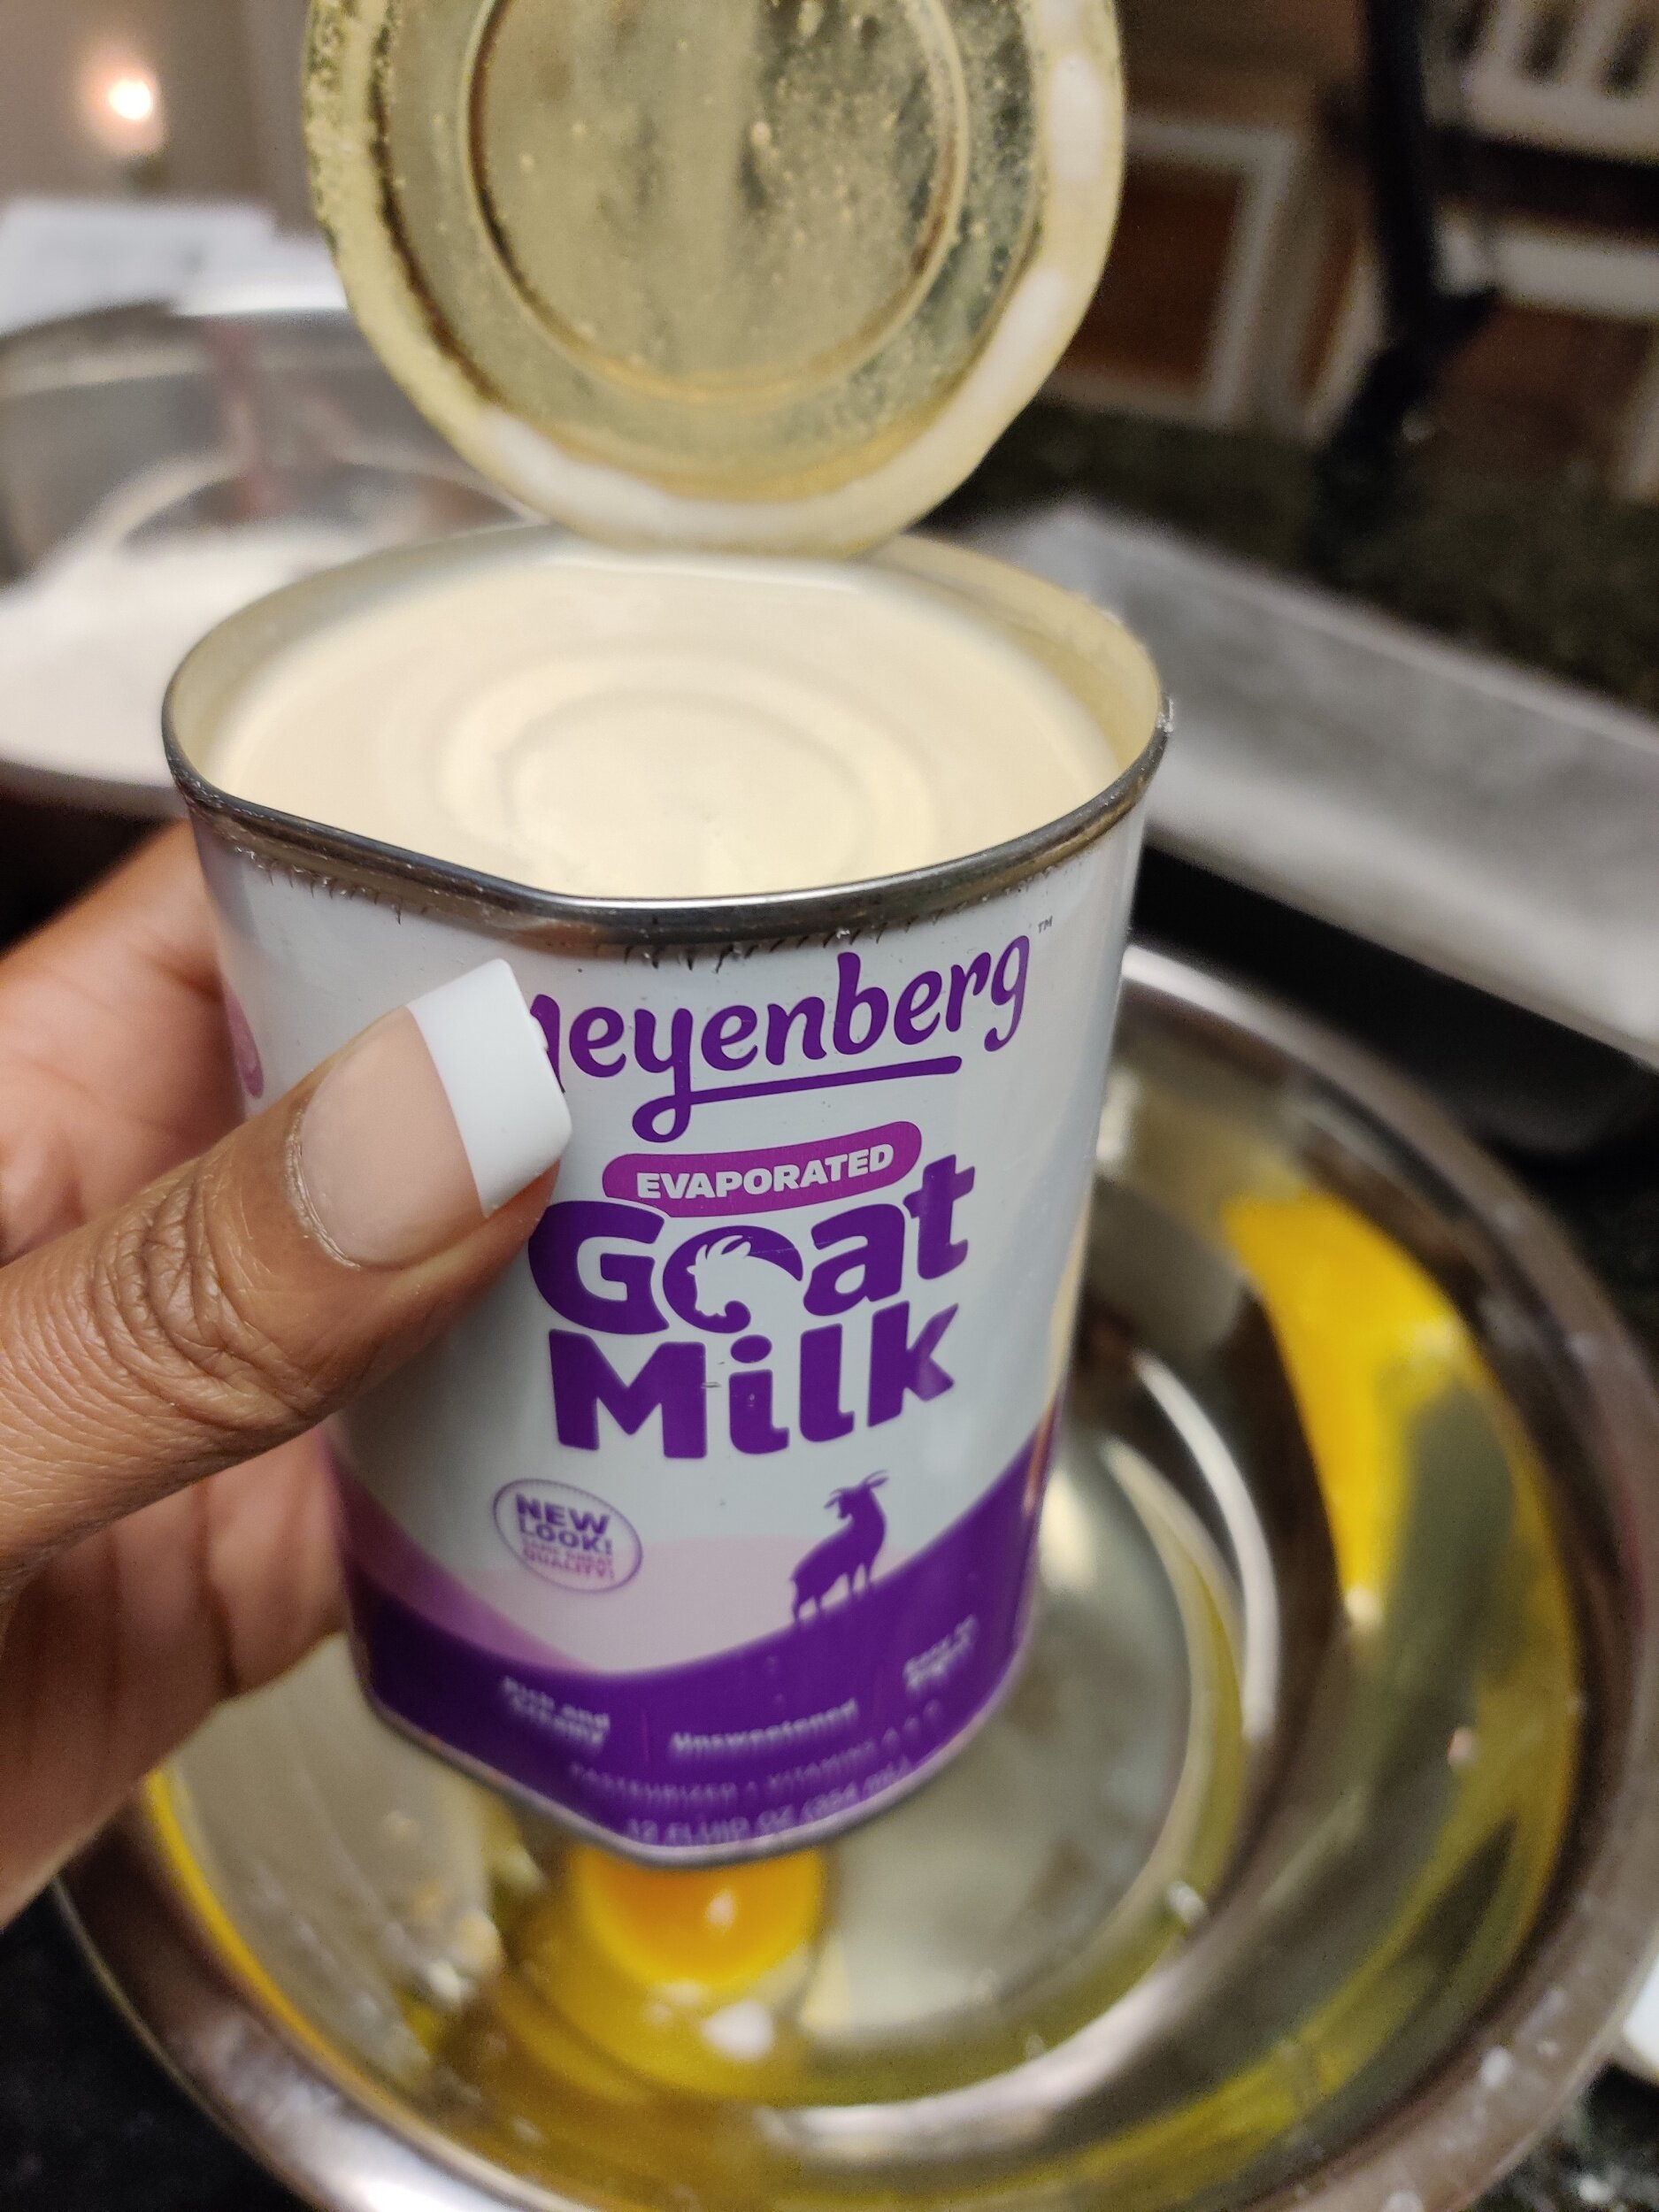
1/4 cup goat milk
1 cup white sugar
1/4 cup mascarpone cheese, room temperature (don't leave our for more than 4 hours)
Instructions
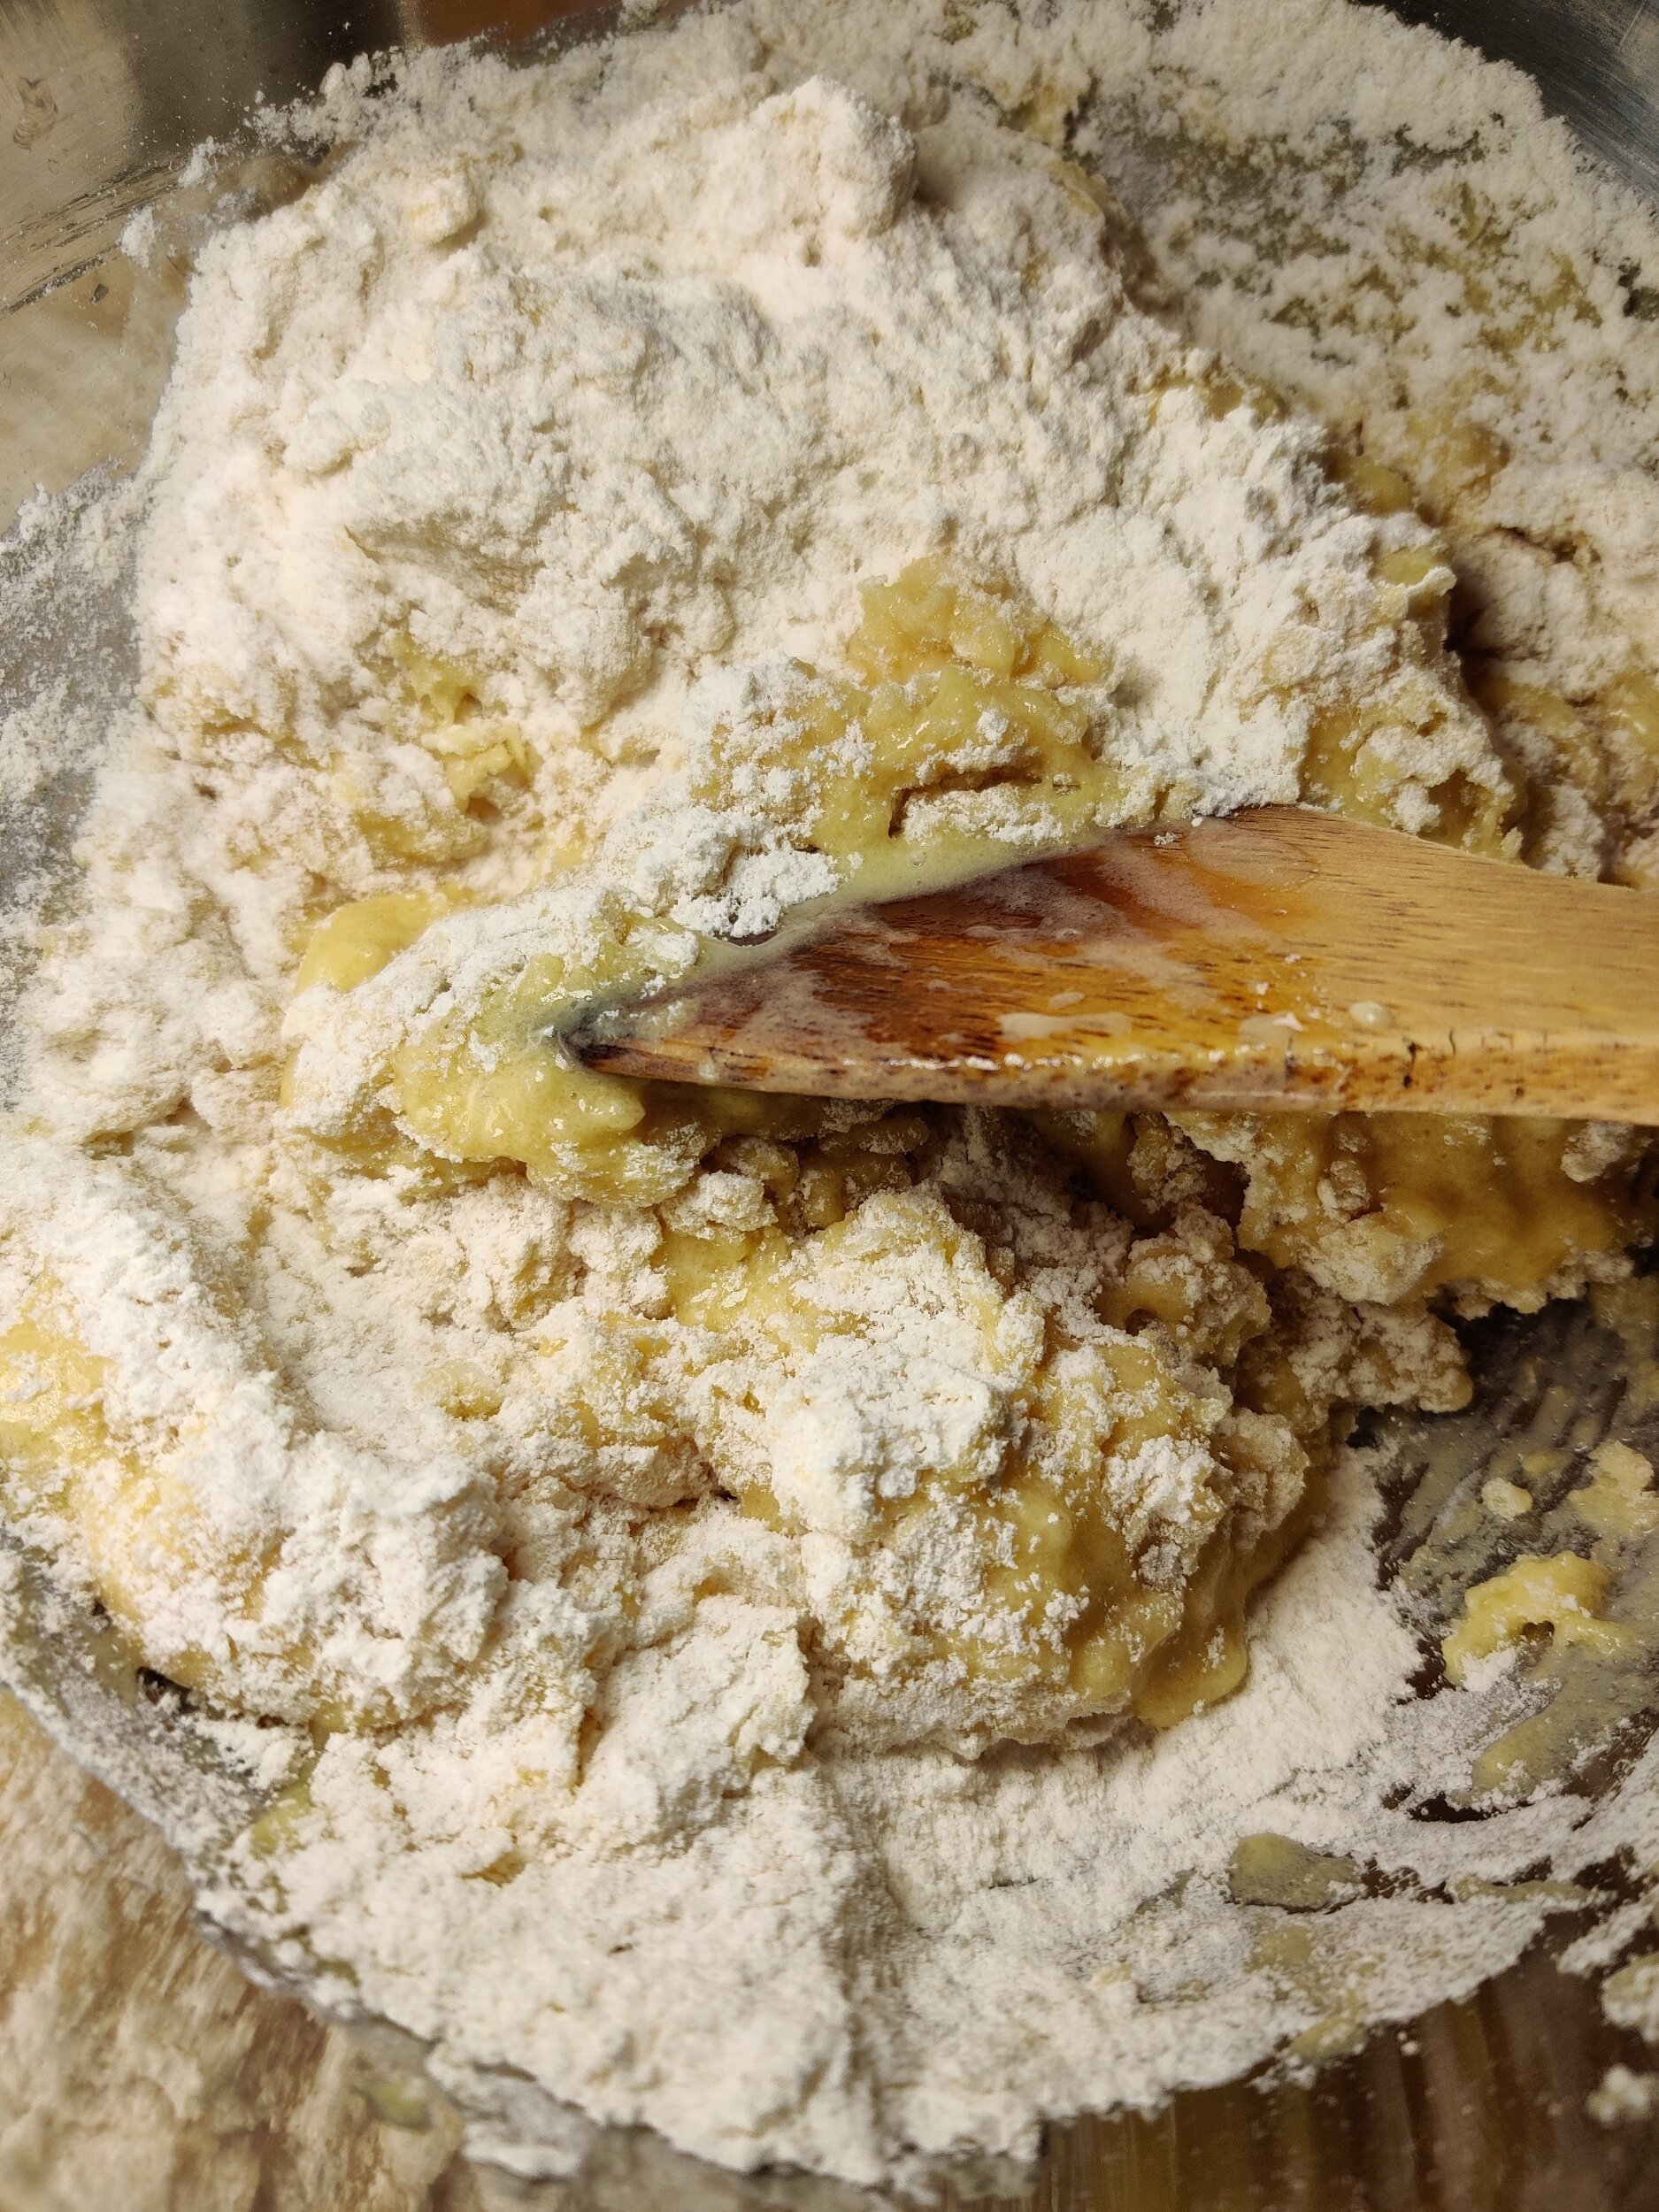
In a large bowl, whisk the flour, salt, baking powder, and sugar.
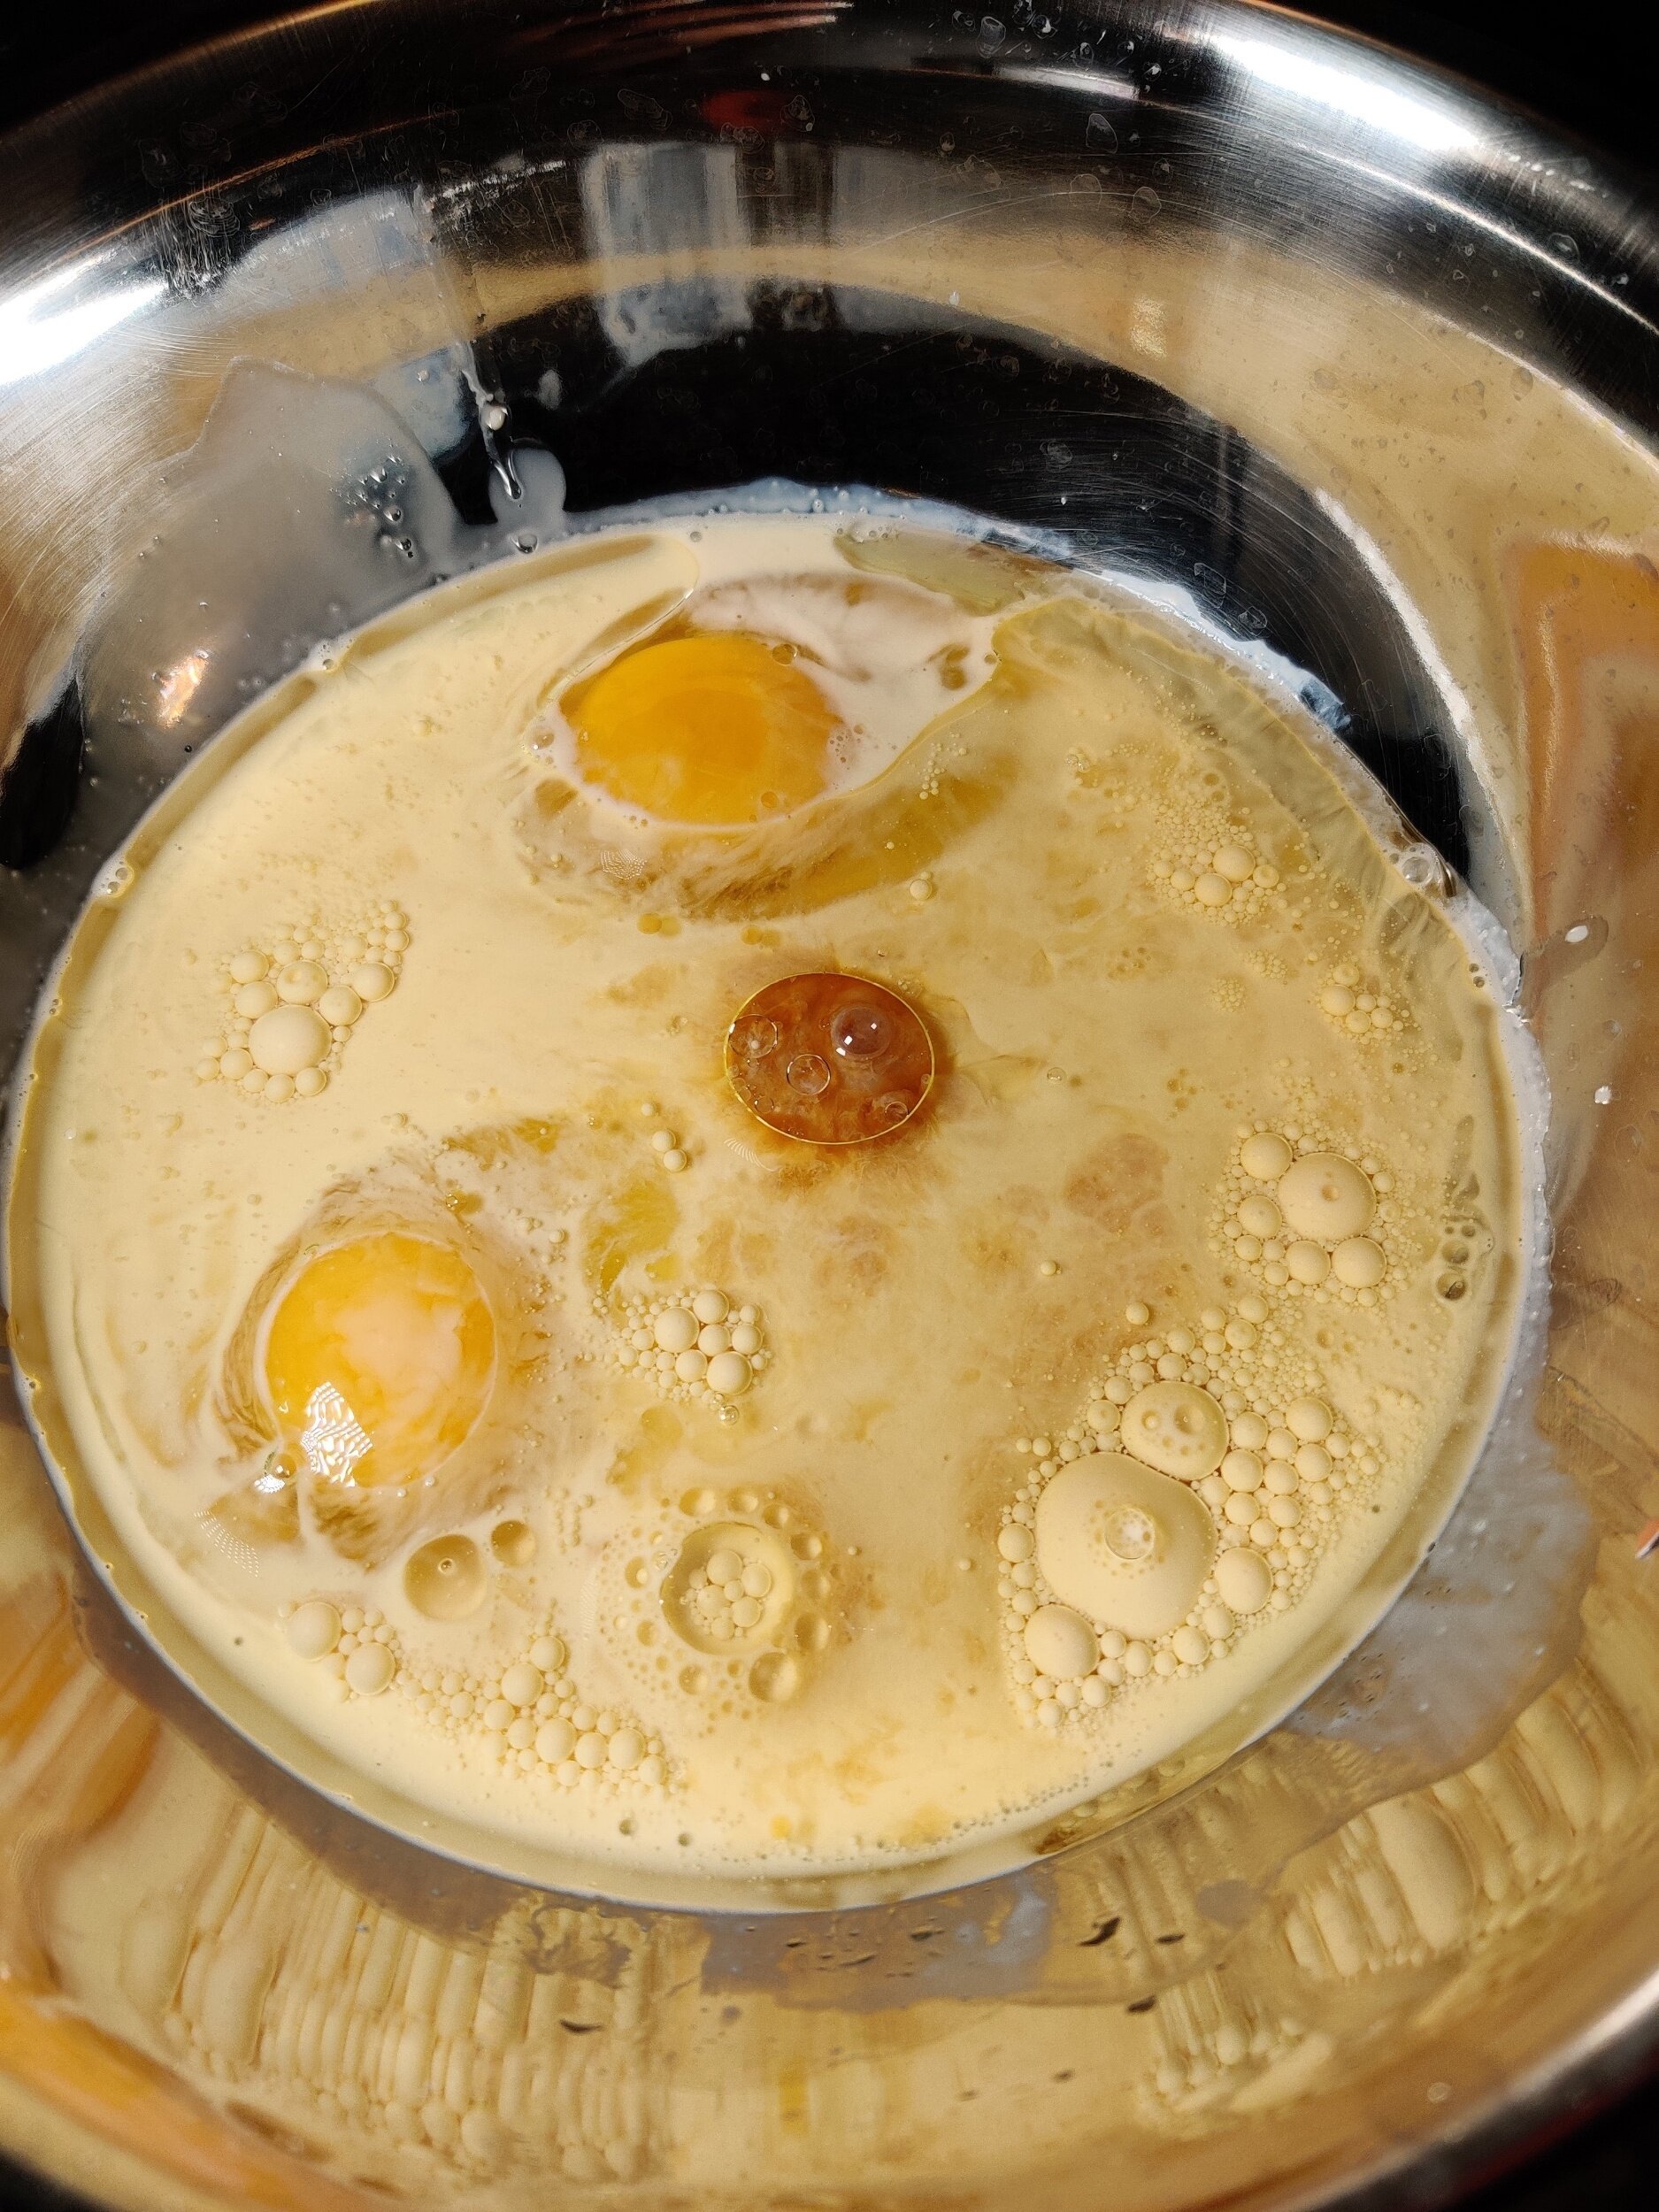
In a medium bowl, whisk the eggs, vanilla, almond, lemon, milk, and oil.
Make a well in the dry mix and fold in the wet ingredients until
just combined - don't over mix!
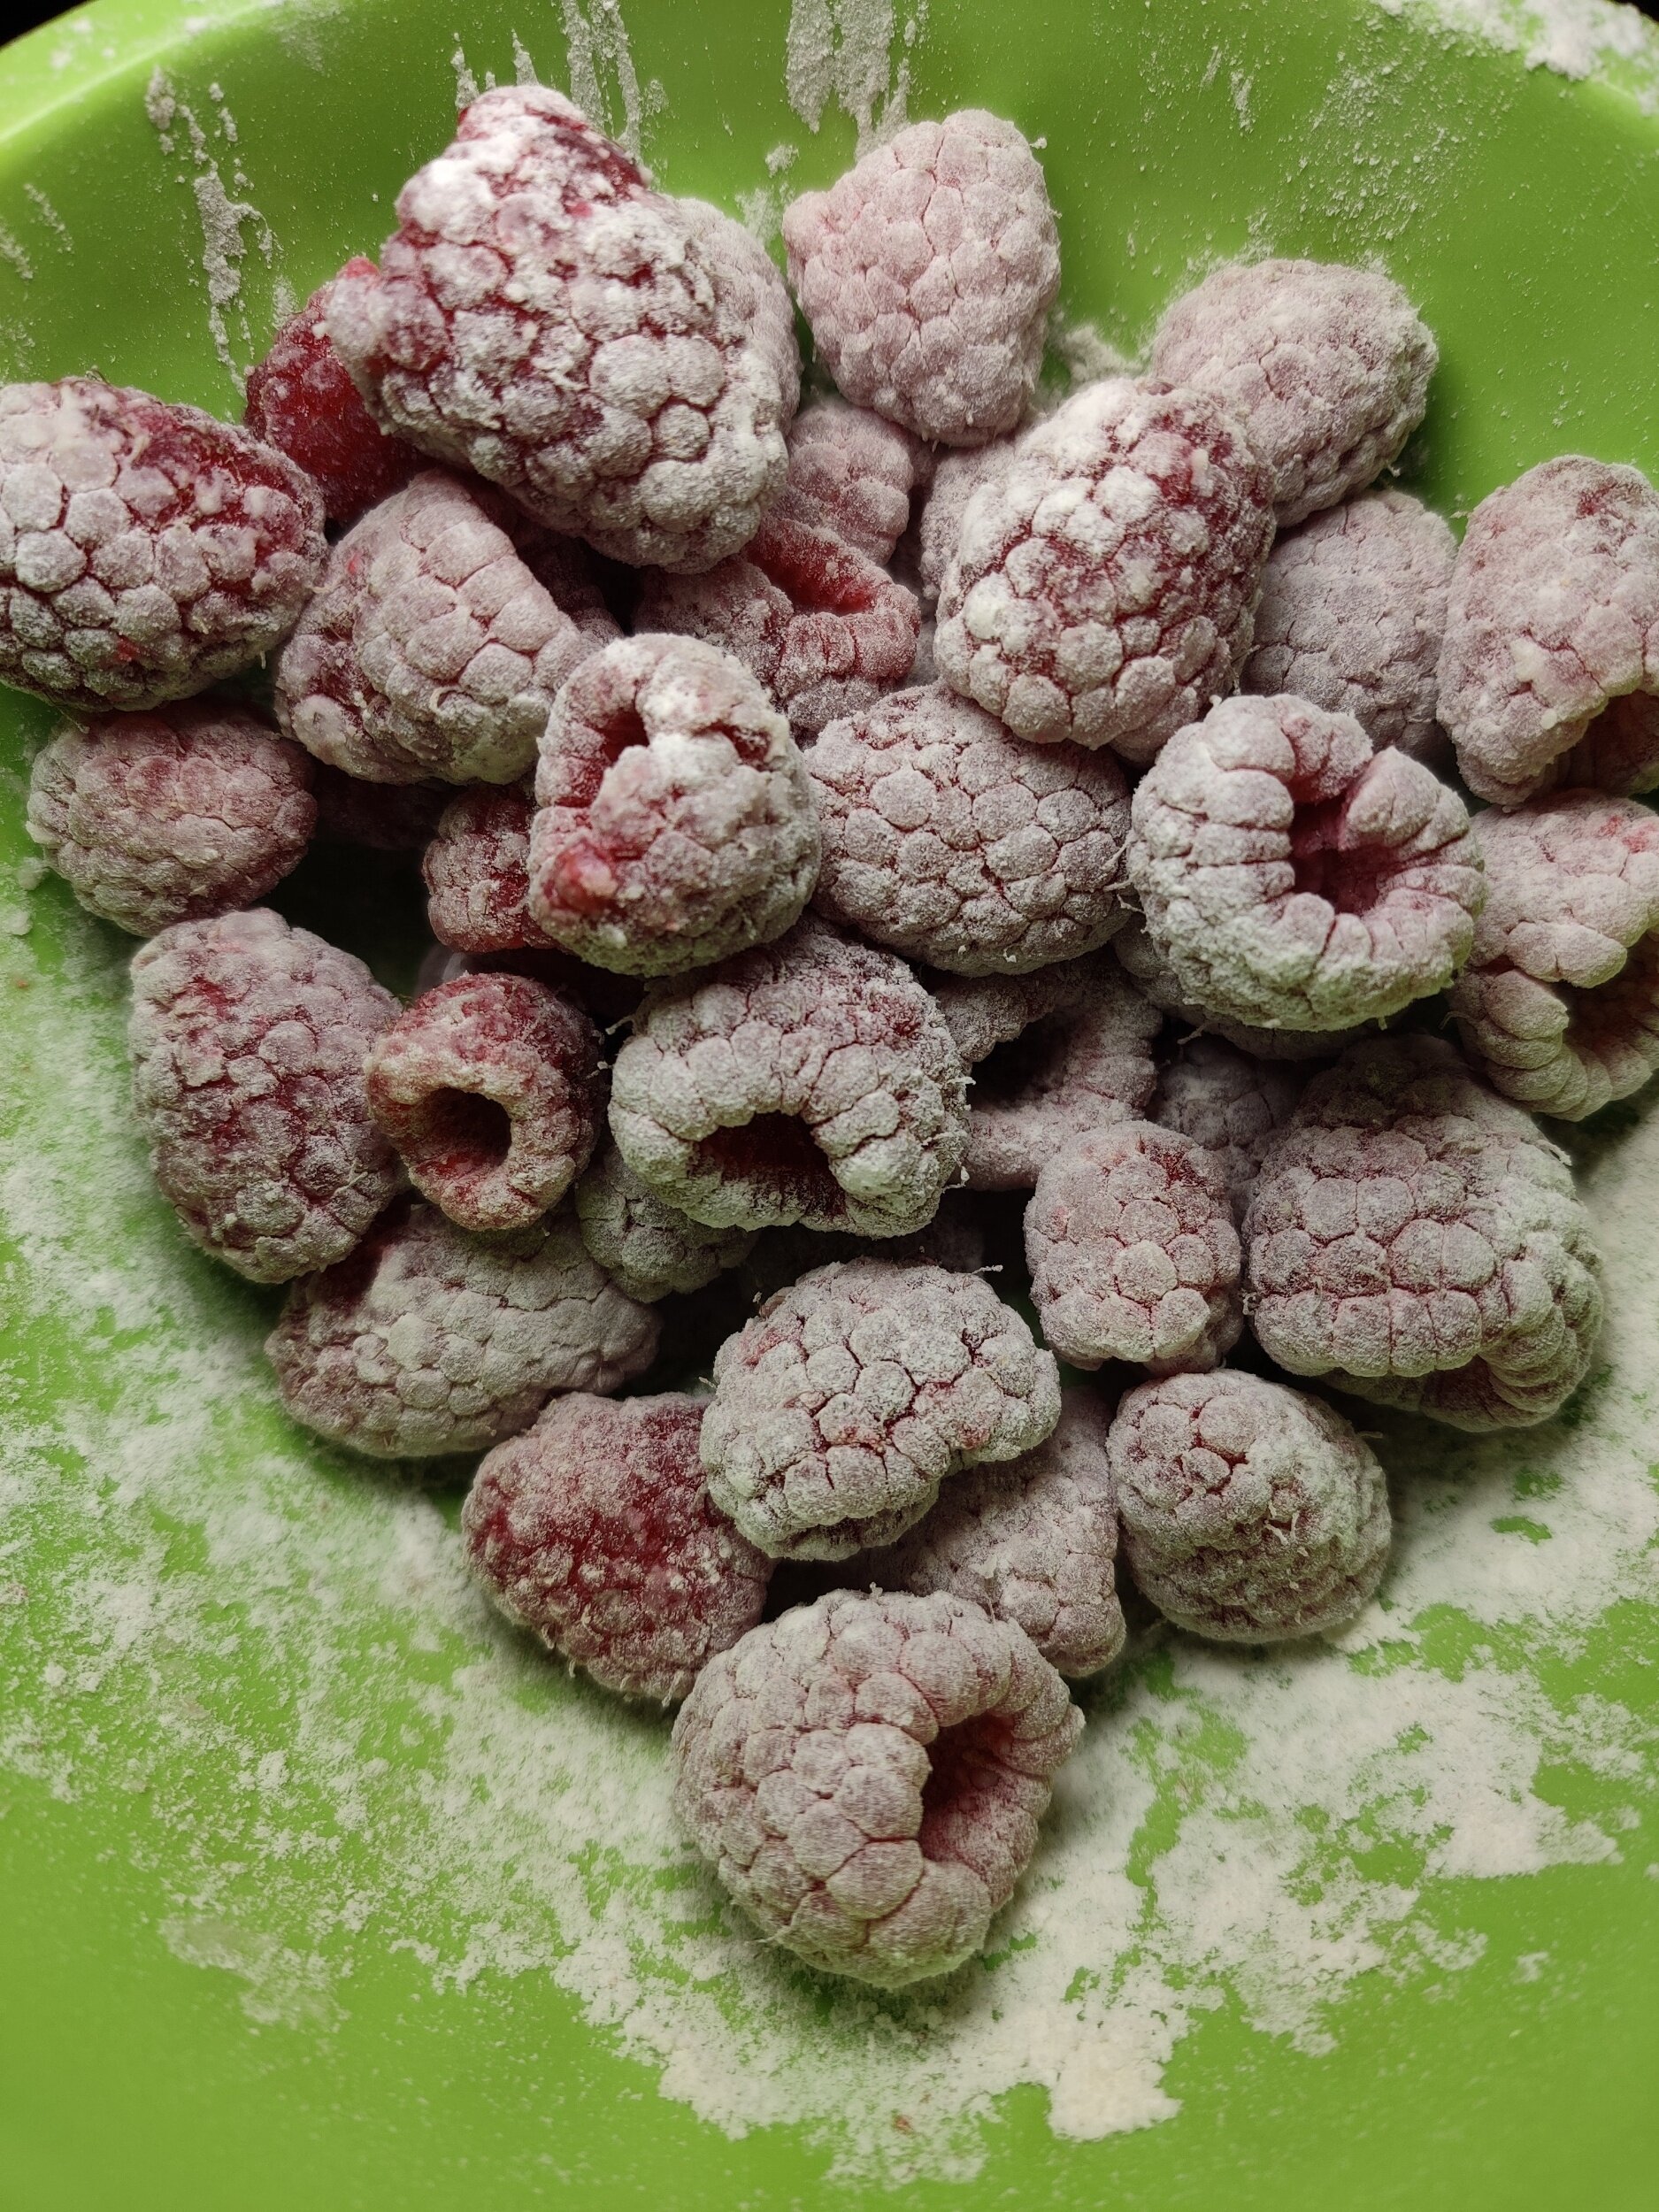
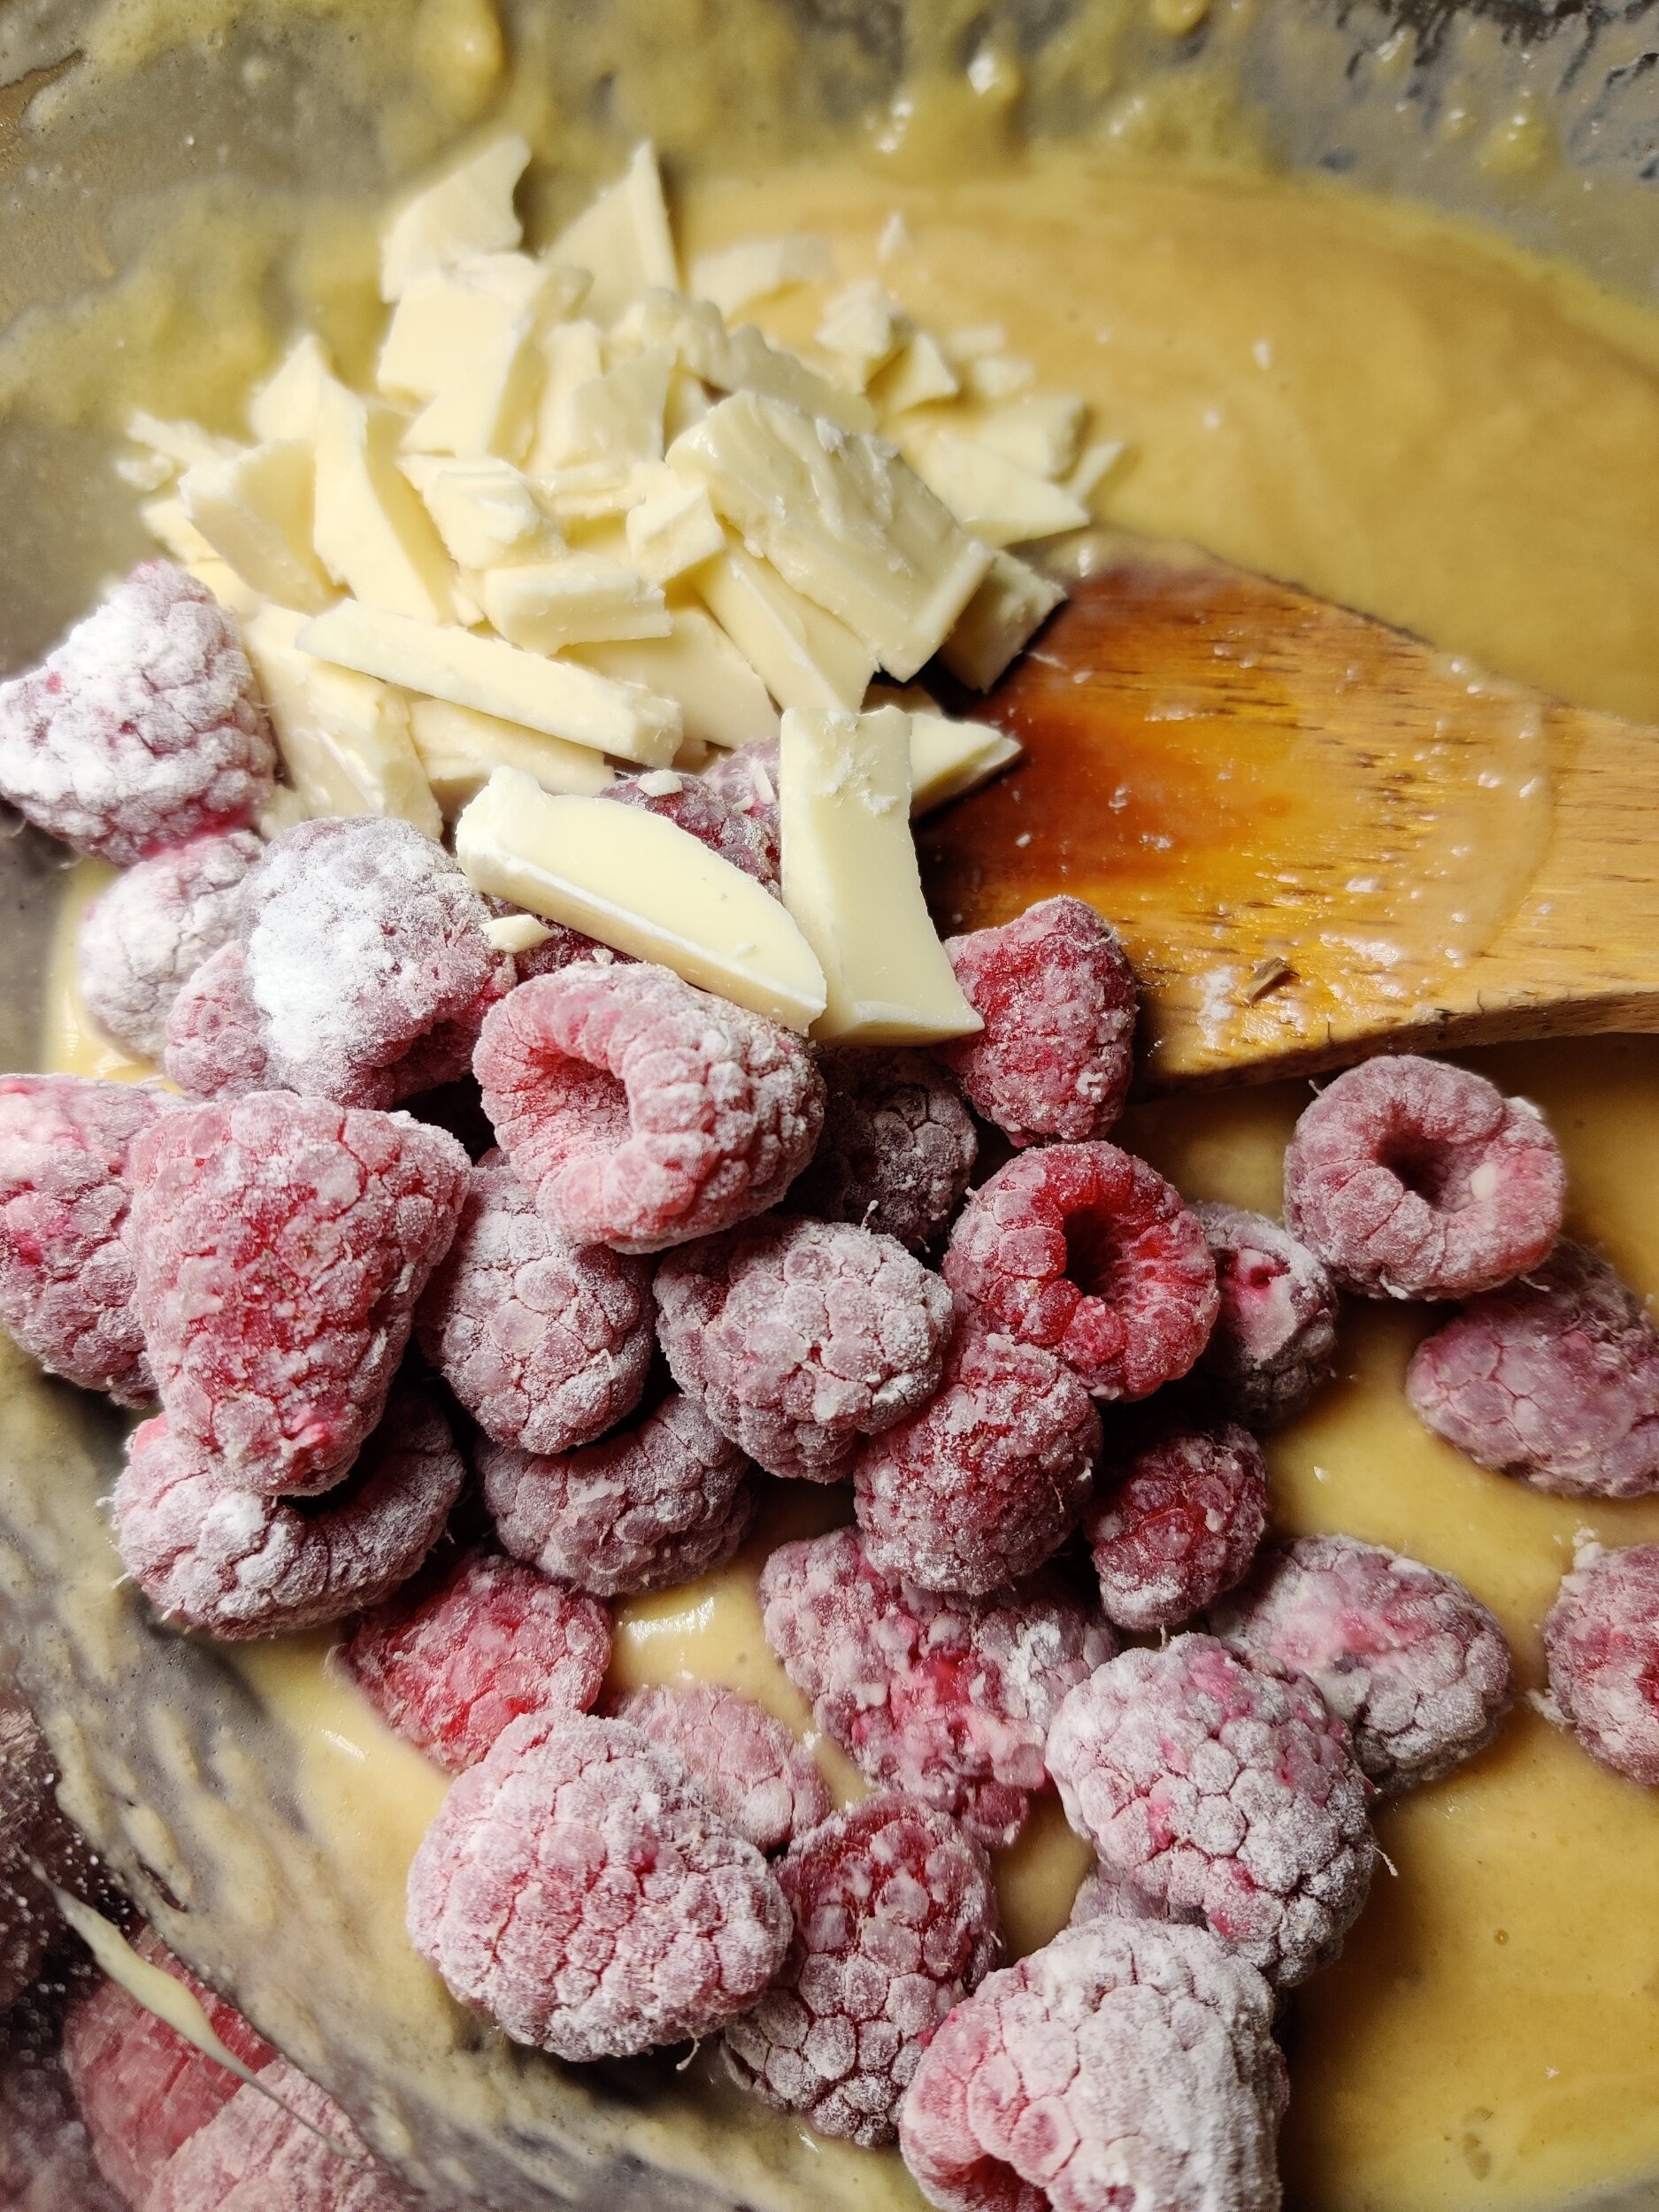
Toss the raspberries in a bit of flour - this will help prevent them from totally sinking or disintegrating in the batter. Gently fold in them with the chopped white chocolate shards into the batter.
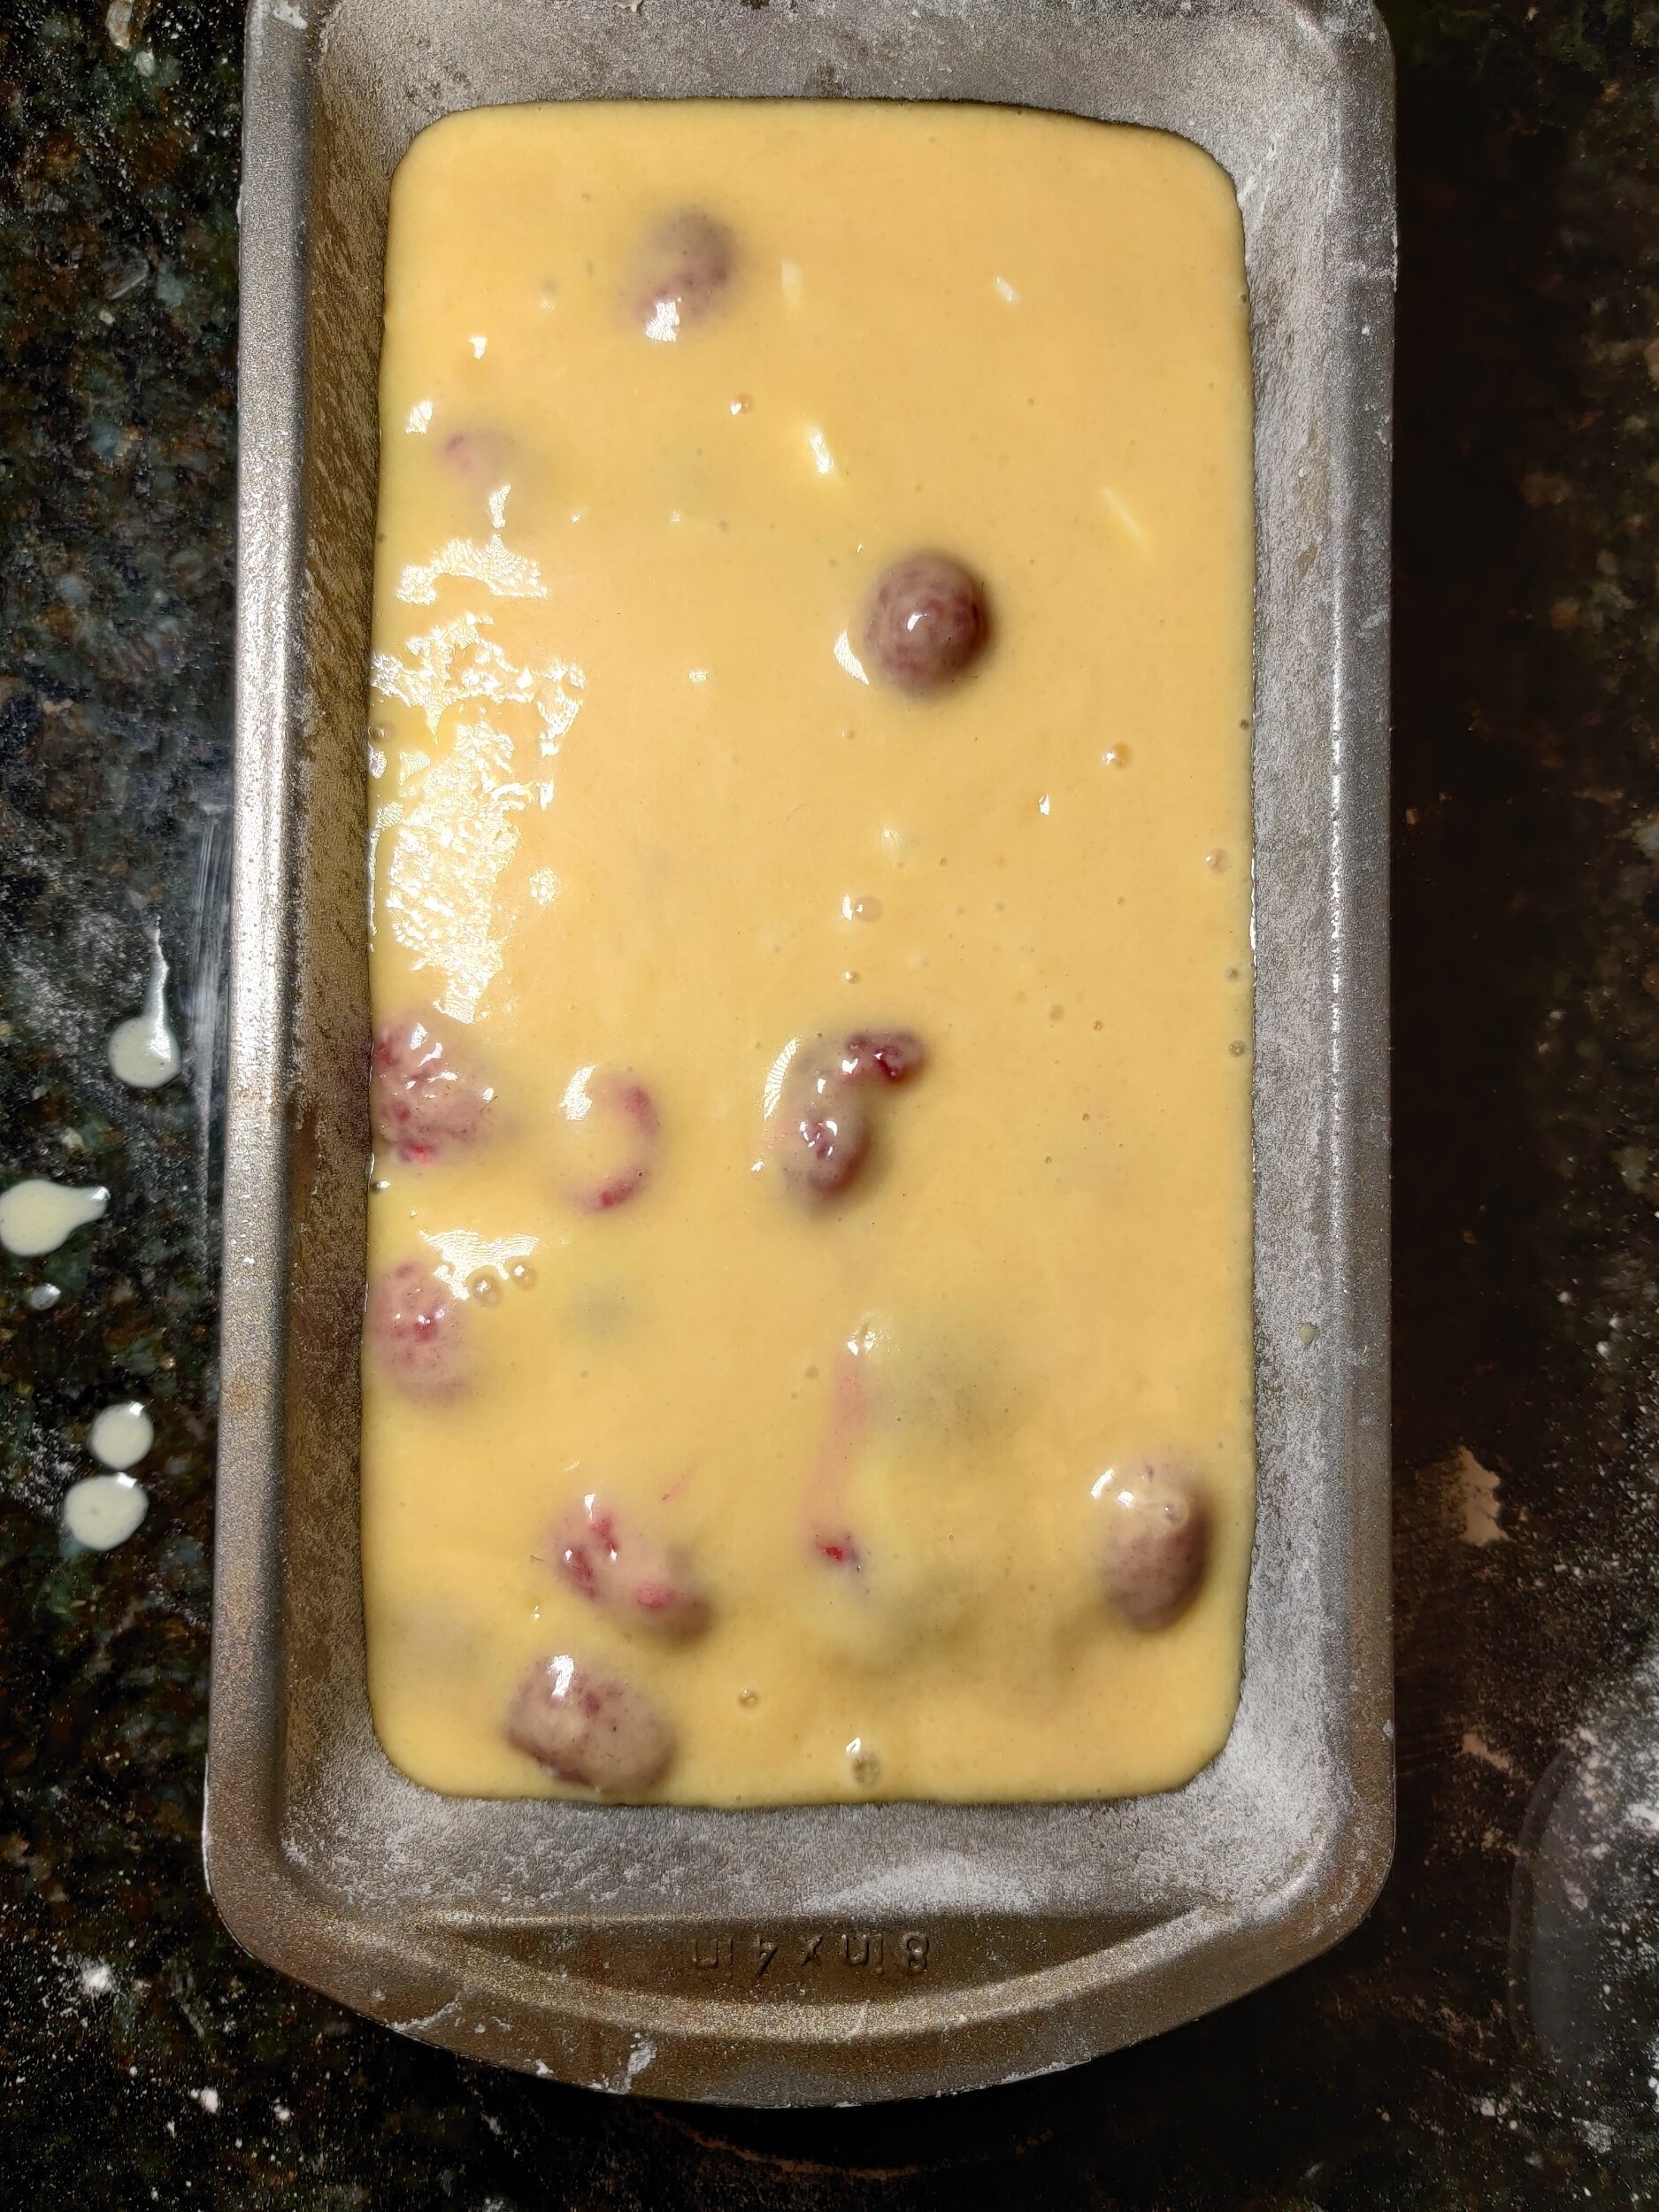
Pour the batter into an 8-inch by 5-inch loaf pan and bake at 350F for 1 hour. Set aside to cool. Loosen the cake loaf from the pan, then continue to cool on a wire rack.
In a separate bowl, melt the chocolate chips for 30 seconds in the microwave. Stir in the mascarpone. If it seems a little thick, microwave the mixture for 10-20 seconds (10 seconds at a time, keep checking) and stir to the desired consistency.
Spread over the cake loaf and garnish with white chocolate shards, raspberries, and icing sugar. Enjoy with tea or coffee!

Apple Butter Babka
Babka is one of those recipes that feels steeped in history and comfort. Originating in Eastern European Jewish communities, it was traditionally made as a sweet, enriched bread filled with chocolate, cinnamon, or fruit preserves, then braided and baked to golden perfection. Over time, babka has become a global favorite, loved for its rich layers, beautiful swirls, and irresistible aroma as it bakes. It’s the kind of recipe that invites you to slow down, get a little messy, and truly enjoy the process.
The first time I tried to make babka at home, it was a bit of a disaster—as is often the case with first-time bread makers! The dough wasn’t baked through, and the braiding process completely tripped me up. That’s the tricky part about babka: you’re working with soft, buttery dough logs filled with something sticky and delicious, then slicing and twisting them into a presentable shape. It’s a little chaotic, but also deeply satisfying once you get the hang of it. And honestly, it doesn’t need to be perfect. I prefer a more free-form approach, often shaping mine on a baking sheet instead of a loaf pan. It gives me room to play, and I never stress about creating a flawless wreath—though I do encourage you to try if you’re up for the challenge!
This version takes a seasonal twist with an apple butter filling instead of the traditional chocolate or cinnamon. I came up with it one autumn after apple picking, surrounded by more apples than I could possibly eat. Apple butter is one of my favorite ways to transform excess apples—it’s smooth, spiced, and naturally sweet, cooked down until caramelized and deeply flavorful. (You can find my homemade apple butter recipe separately on the site.) Swirled through tender, buttery babka dough, it creates a fragrant loaf that tastes like fall in every bite.
Whether you’re a seasoned baker or just starting out, this Apple Butter Babka is a wonderful project for a cool day. It’s cozy, aromatic, and endlessly rewarding—the kind of bake that makes your whole home smell like cinnamon and comfort.




Apple Butter Babka
I discovered this sweet braided bread when I moved to New York City in 2010. It was one of my favourite treats after one of those tough college days. There are loaves in Trader Joe's where I regularly shopped as well, but the best in the city, in my opinion, was from Moishe's, a Jewish bakery not too far from St Mark's Place. I was obsessed.
Ingredients
- 1/4 cup light brown sugar
- 1 teaspoon apple cider vinegar
- 1 teaspoon lemon juice
- 1 cup orange or apple juice
- 4 apples (I used a mix of tart and sweet)
- Pinch of salt
- 1/2 teaspoon cinnamon
- 1/4 teaspoon nutmeg
- 1/4 teaspoon cloves
- 2/3 cups water
- 2 egg yolks + 1 egg, beaten (halve this mixture)
- 1/2 cup milk, warmed (I used almond milk)
- 1 1/8 teaspoons active yeast
- 2 cups flour
- 1/2 teaspoon salt
- 5 tablespoons butter, softened
- 1/4 teaspoon almond extract
- 1/2 teaspoon vanilla
- 2 tablespoons maple syrup
- 2 tablespoons white sugar
- Egg wash
- Cinnamon sugar, chopped pecans, and turbinado sugar to garnish
- 2 tablespoons white sugar
- 2 tablespoons light brown sugar
- 2 tablespoons freshly squeezed orange or grapefruit juice or zest
- 1 tablespoon light corn syrup (optional)
- 1/4 cup water
Instructions
- Peel, decore, and dice the apples, place them in a large nonstick pot. Add the juice and spices then bring to a boil.
- Add the water and close with a lid, reduce to simmer for about 2 hours and stir regularly to make sure the apples don't burn!
- Add more water if your apples need more time, you want them to soften to the point that they mash easily.
- Remove from heat and cool completely or rest overnight.
- Transfer the apples to a blender or food processor and pulse until a thick apple sauce-like texture forms.
- Store for up to 3 weeks in an airtight container!
- In a small bowl, mix the yeast into the warm milk and set aside for 5 minutes.
- In a large bowl, add the egg mix, sugar, maple syrup, almond extract, vanilla, and yeast mix, then whisk. Add the flour in two parts, and mix until incorporated.
- Add the butter gradually, and bring the dough together. Cover with a towel for 30 minutes.
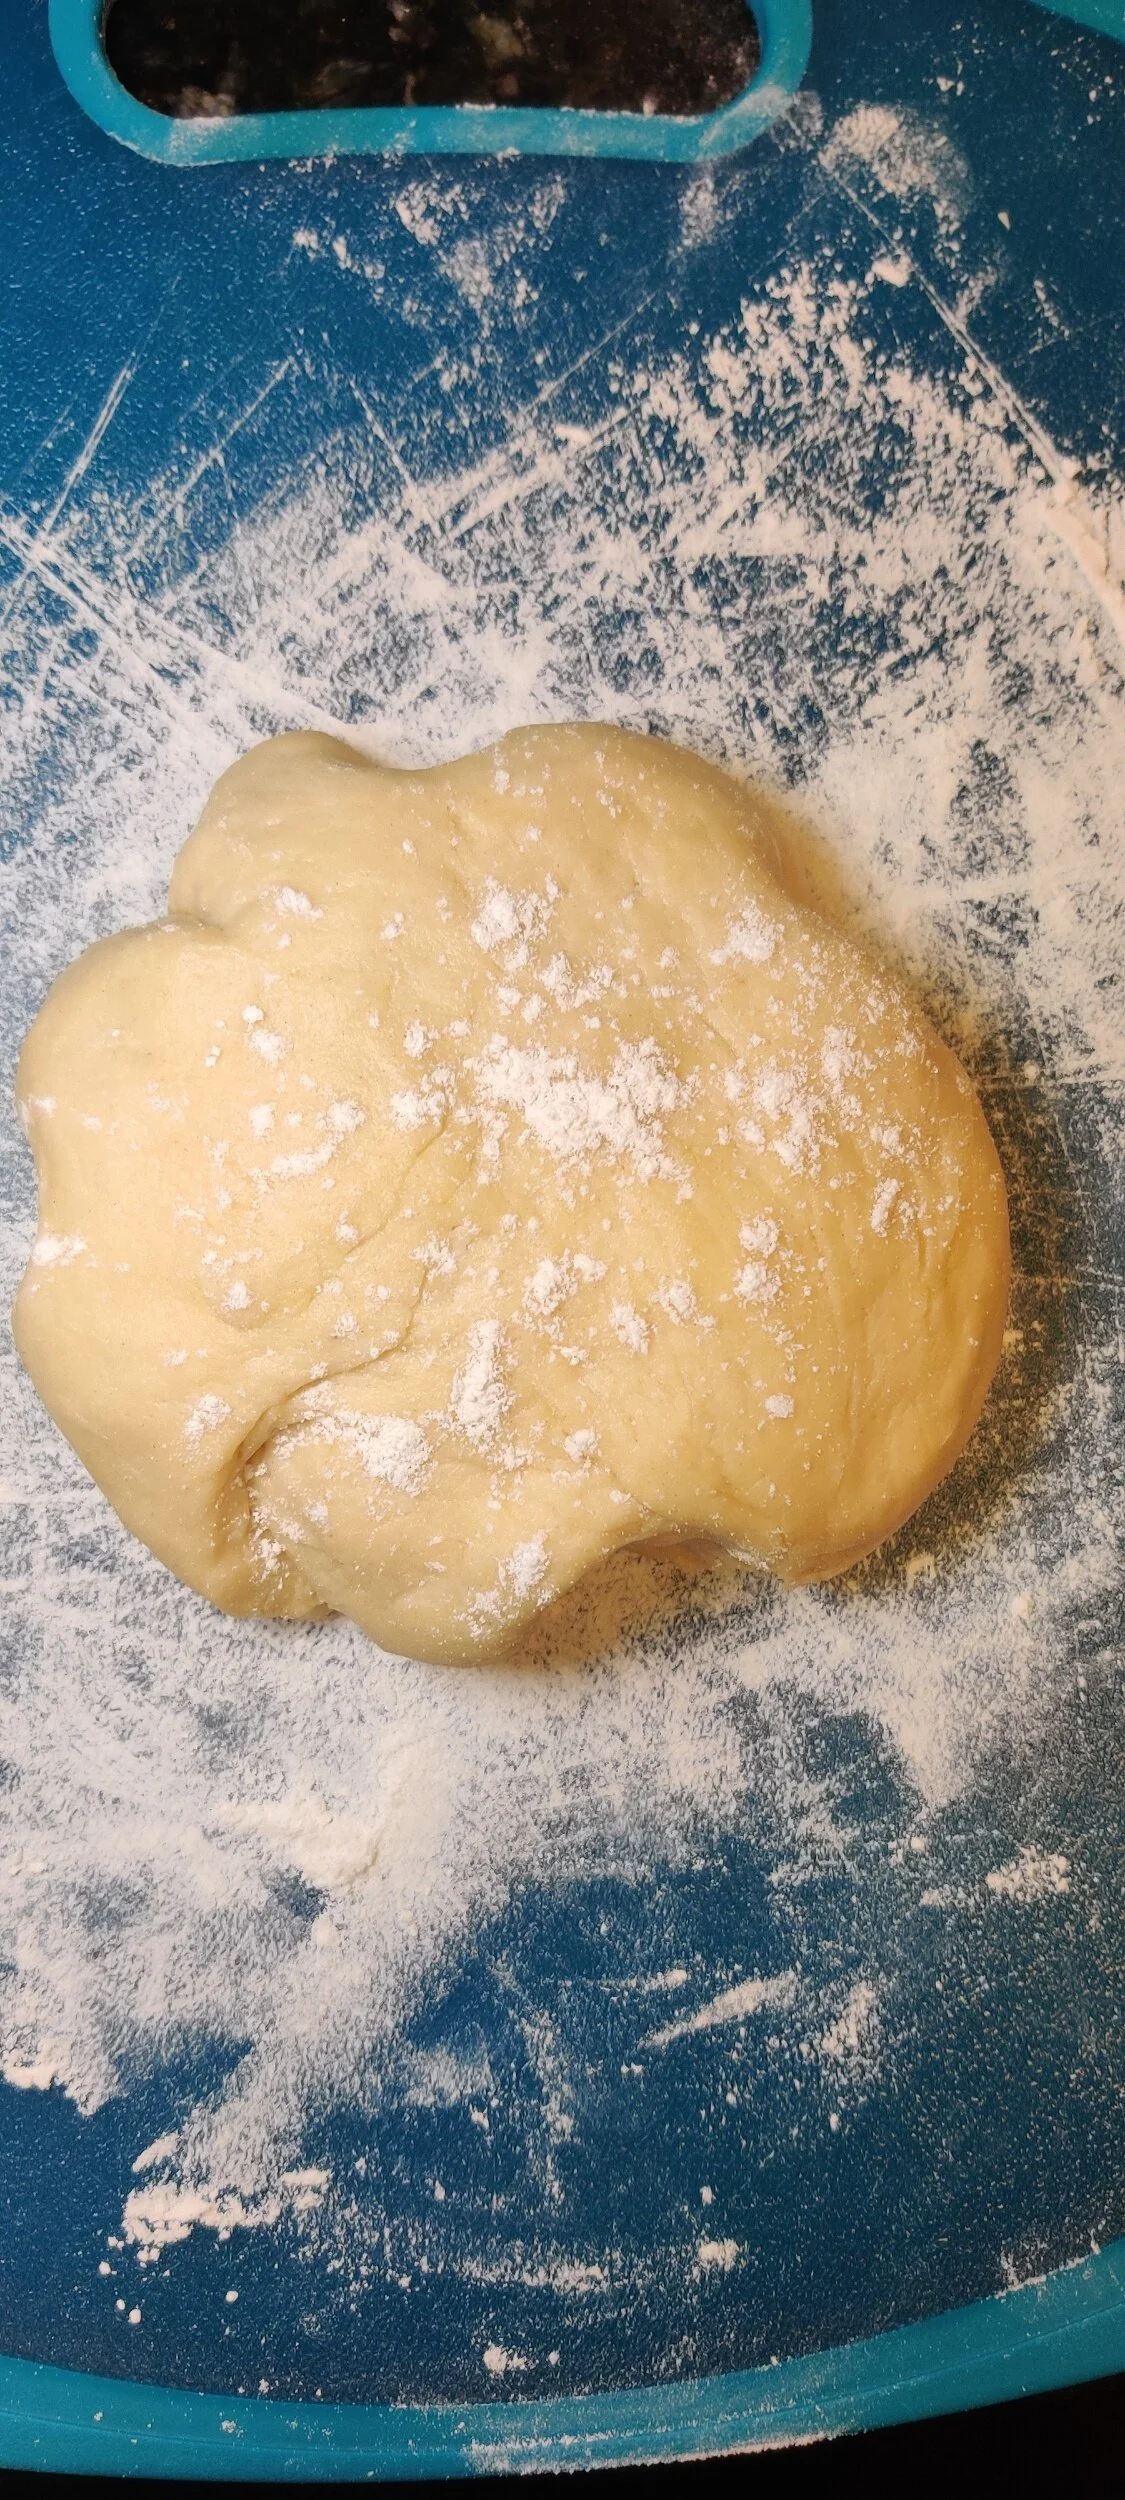
- On a floured surface, knead the dough until smooth, then halve into two equal pieces. Place both in bowls and clover with cling wrap, set aside for 2 hours at room temperature. Your dough will increase in size.
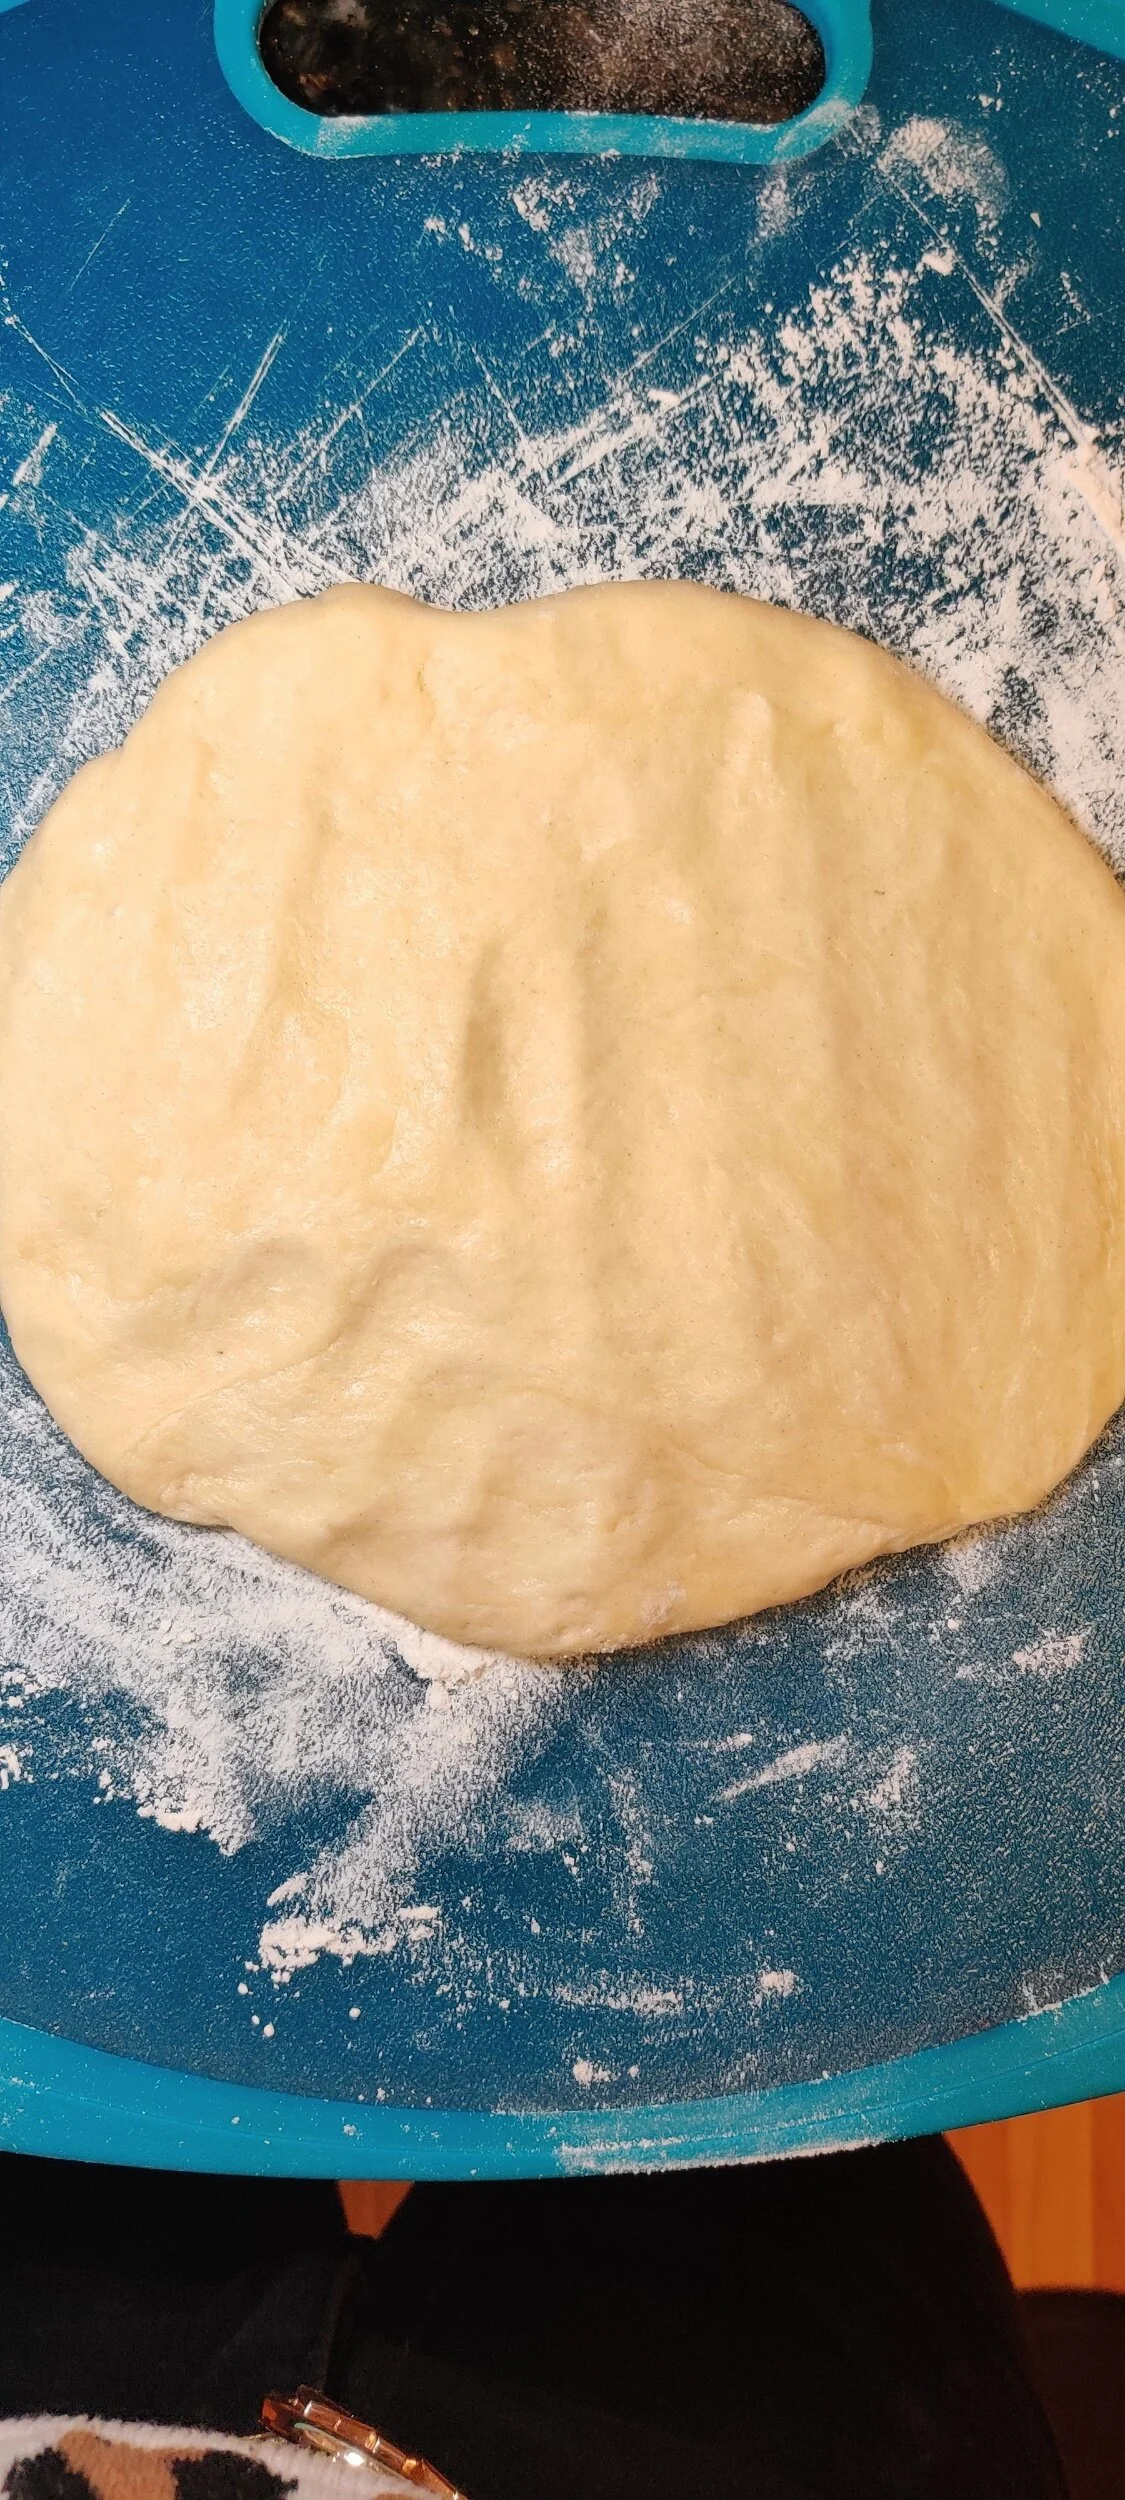
- Move onto a floured surface and roll out the dough into a rectangle shape, not too thin!
- Spread the apple butter evenly across the rectangle, leaving about an inch around the border, then carefully roll lengthwise into a log (seam face down). Repeat for the second piece of dough.
- Carefully slice each log vertically (seam face down). Braid the four pieces into your desired shape, and tuck in the ends underneath. Carefully transfer to a baking sheet - I used two spatulas!
- Cover with a towel and rest for 30 minutes.
- Brush the babka with egg wash and garnish with cinnamon sugar, pecans, and turbinado sugar.
- Bake at 375F for 35-40 minutes or until golden brown and cooked through, keep a close eye.
- While the babka is baking, make the simple syrup. Bring the water and sugar to a boil, then add the citrus and corn syrup. Simmer for another minute on low heat, then remove from stovetop.
- Brush hot babka with the syrup then set aside to cool. Enjoy!
Nutrition Facts
Calories
356Fat (grams)
84.78 gCarbs (grams)
464.38 gProtein (grams)
50.2 gI am not a certified nutritionist and any nutritional information on dontmissmyplate.com should only be used as a general guideline.


Quick Cornbread
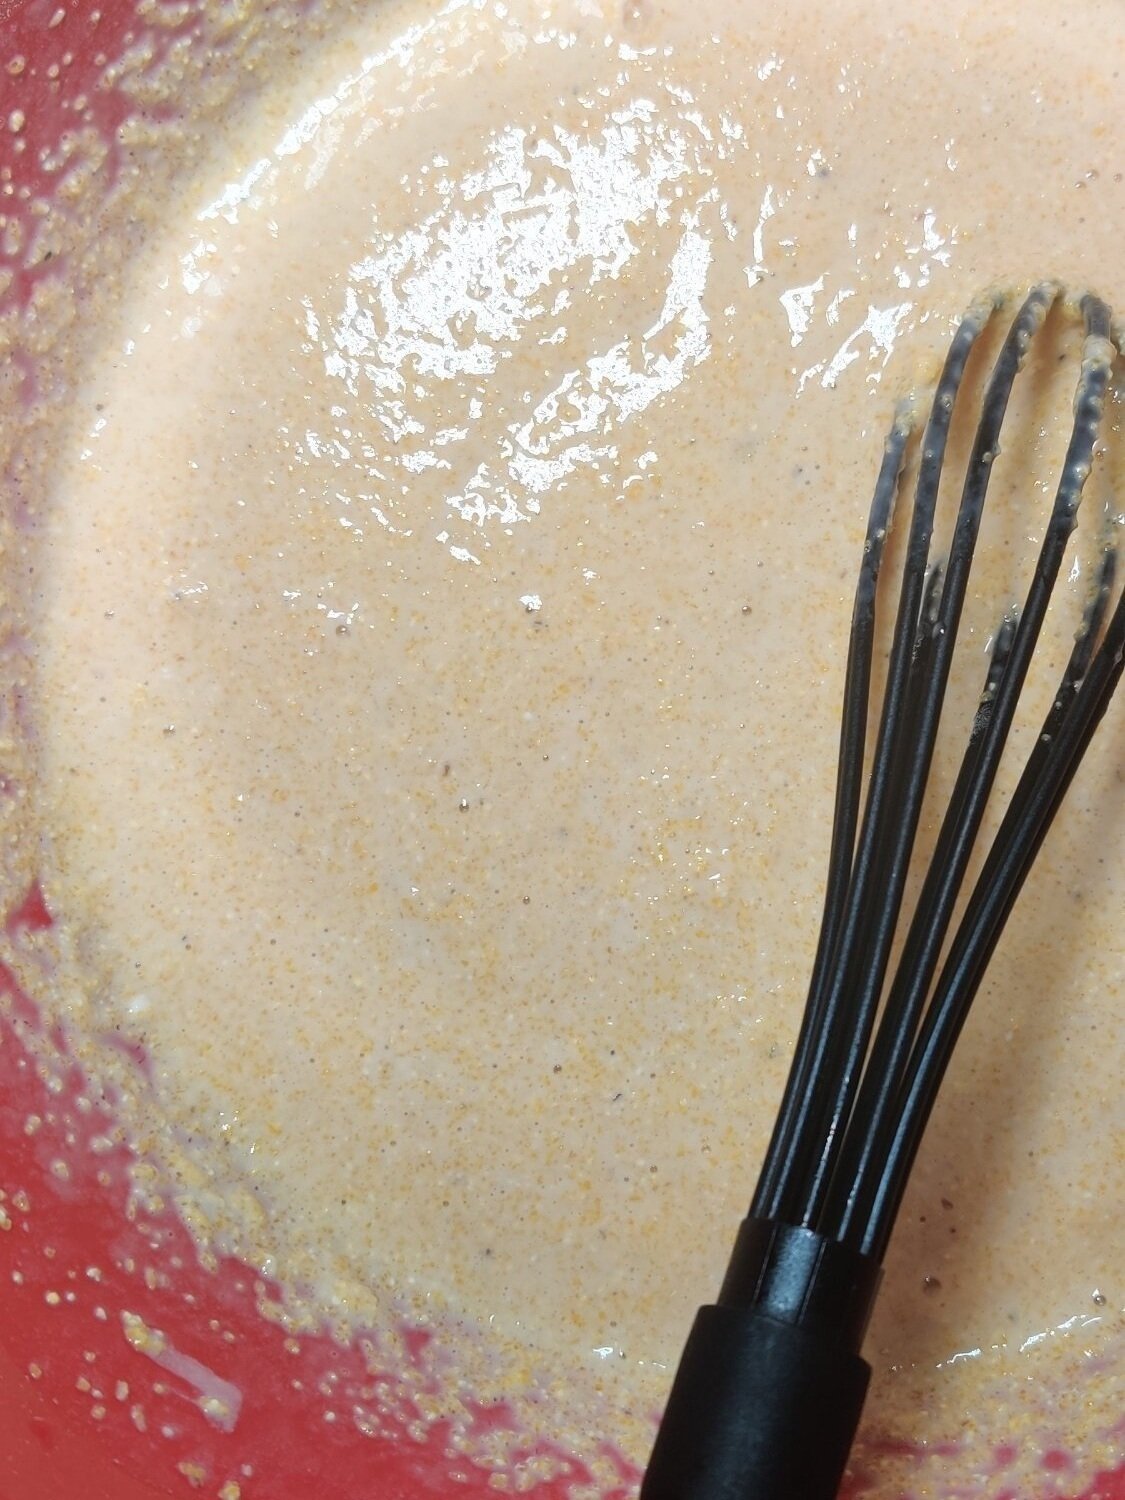
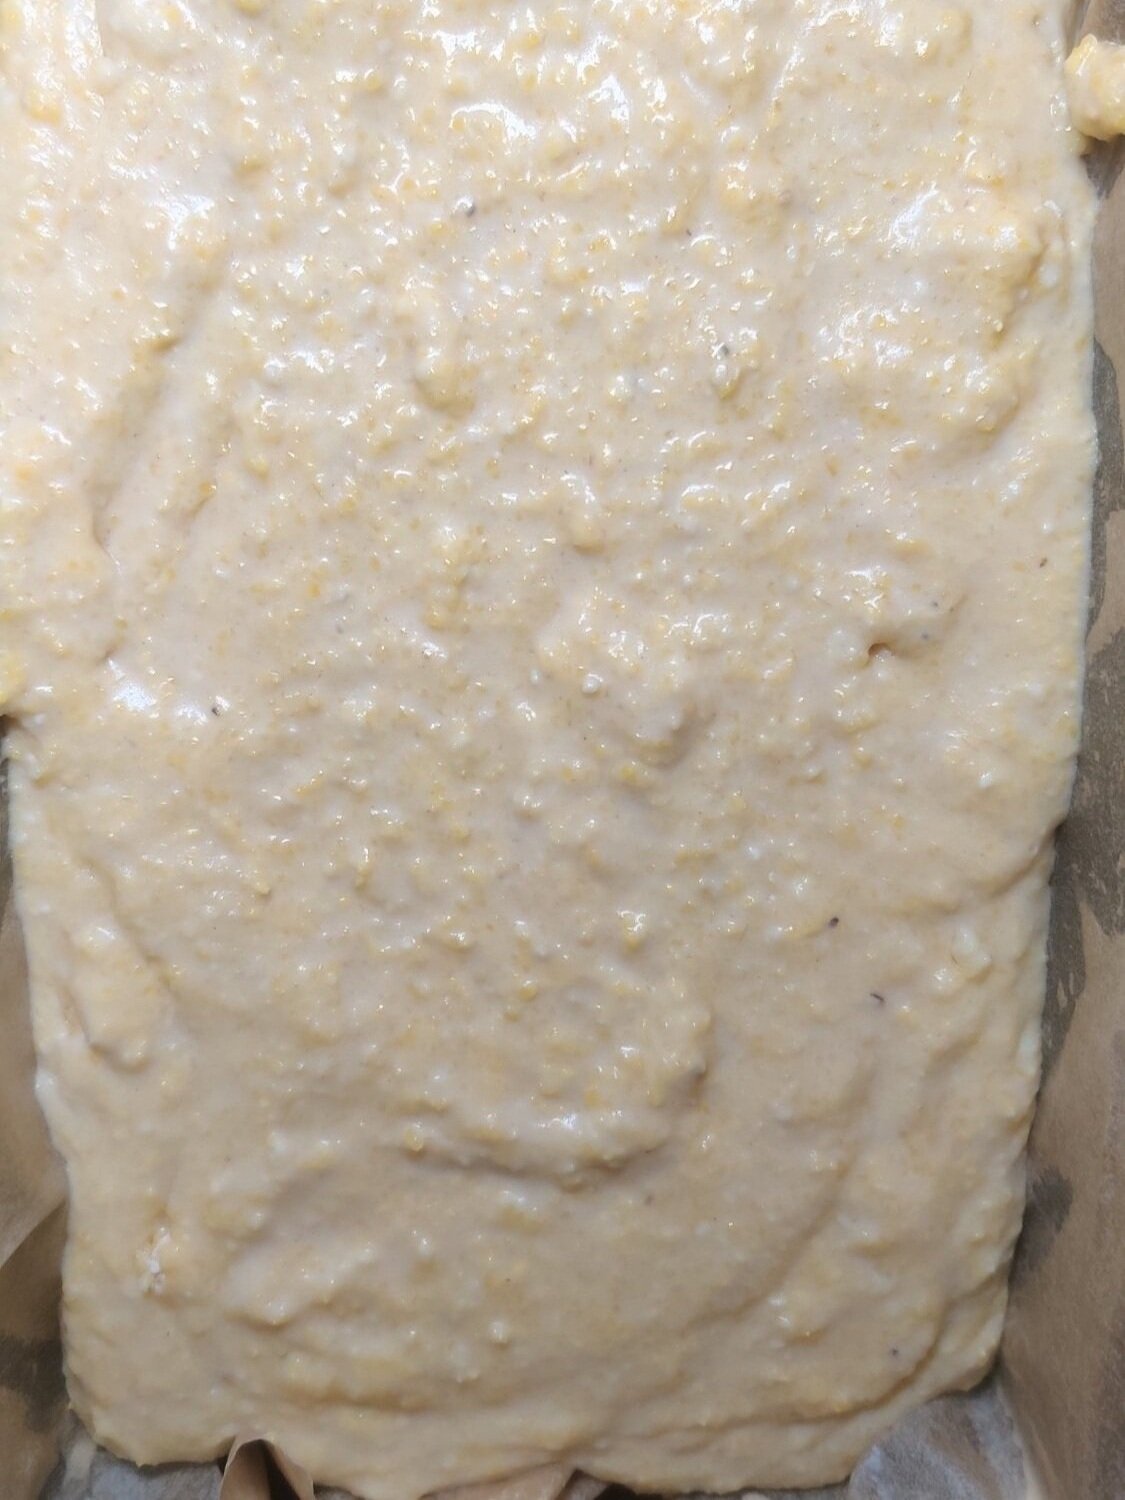
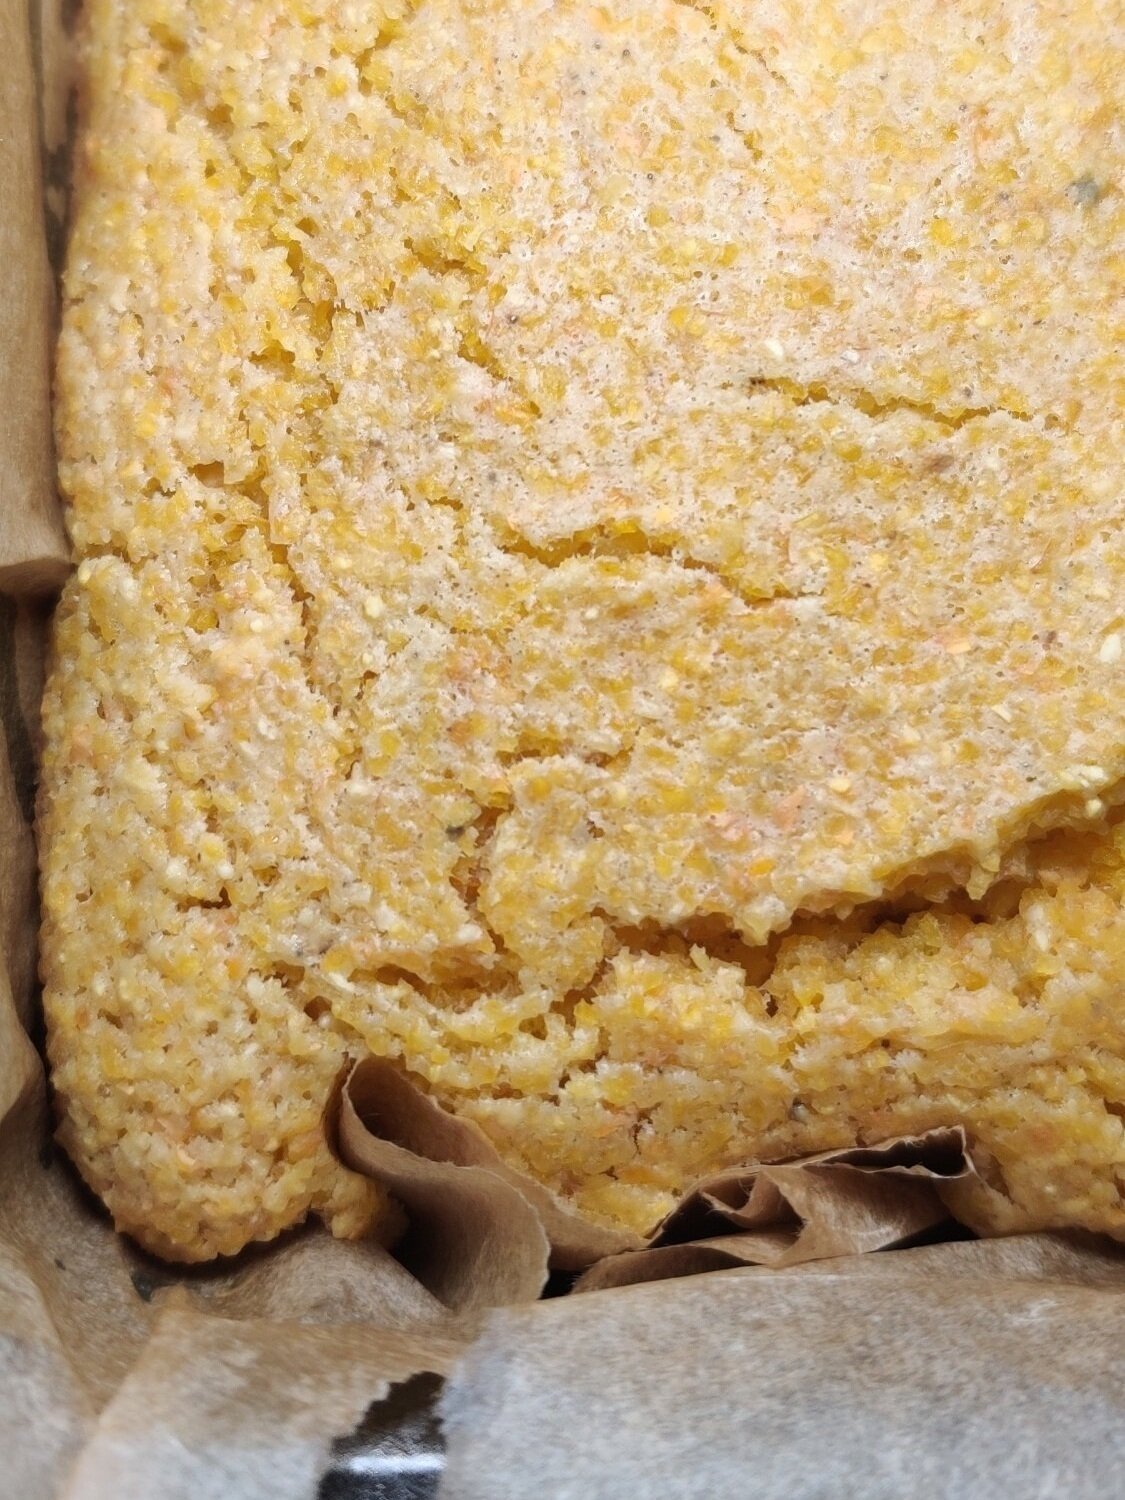
This is a basic and quick recipe you can whip up if you need a side for your weeknight stew or soup. You can adjust things slightly to suit your preferences and still get good results.
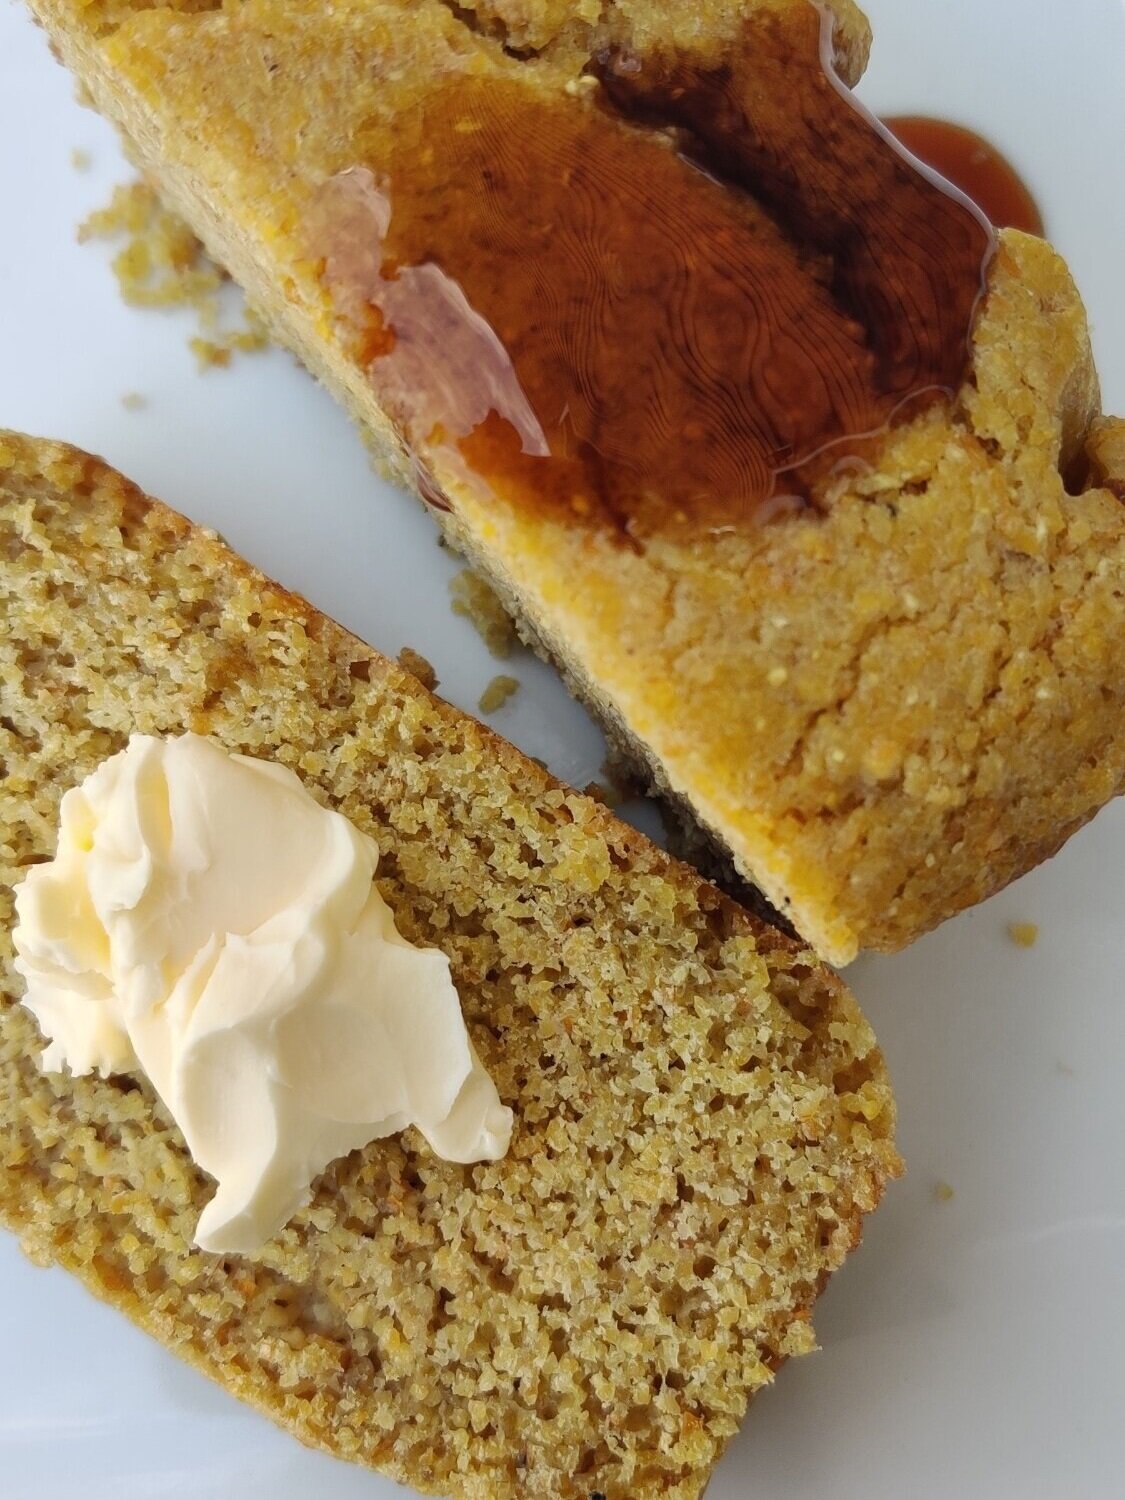
Quick Cornbread
Ingredients
- 1 cup all-purpose flour
- 1 1/2 teaspoons baking powder
- 1 1/2 cups buttermilk
- 1/3 cup butter, melted
- 1 1/2 cups cornmeal, coarsely ground
- 1/2 cup corn kernels (optional)
- 1 teaspoon salt
- 1 egg
- 2 tablespoons sugar
- 1/2 teaspoon baking soda
- 1 teaspoon vanilla extract
Instructions
- In a large bowl, whisk the flour, baking powder, cornmeal, salt, sugar, and baking soda together until evenly mixed.
- In a separate bowl, beat the egg with the milk and vanilla, add to the dry ingredients. Mix until the batter is smooth.
- Add the butter and corn kernels or creamed corn, mix until well incorporated.
- Bake at 400F for 30 minutes or until a toothpick comes out clean in the center - you may need an extra 5-10 minutes. Set aside to cool before slicing.
- Serve warm with butter and honey.
Nutrition Facts
Calories
205Fat (grams)
7.8 gCarbs (grams)
29.7 gSugar (grams)
4.6 gProtein (grams)
4.9 gI am not a certified nutritionist and any nutritional information on dontmissmyplate.com should only be used as a general guideline.