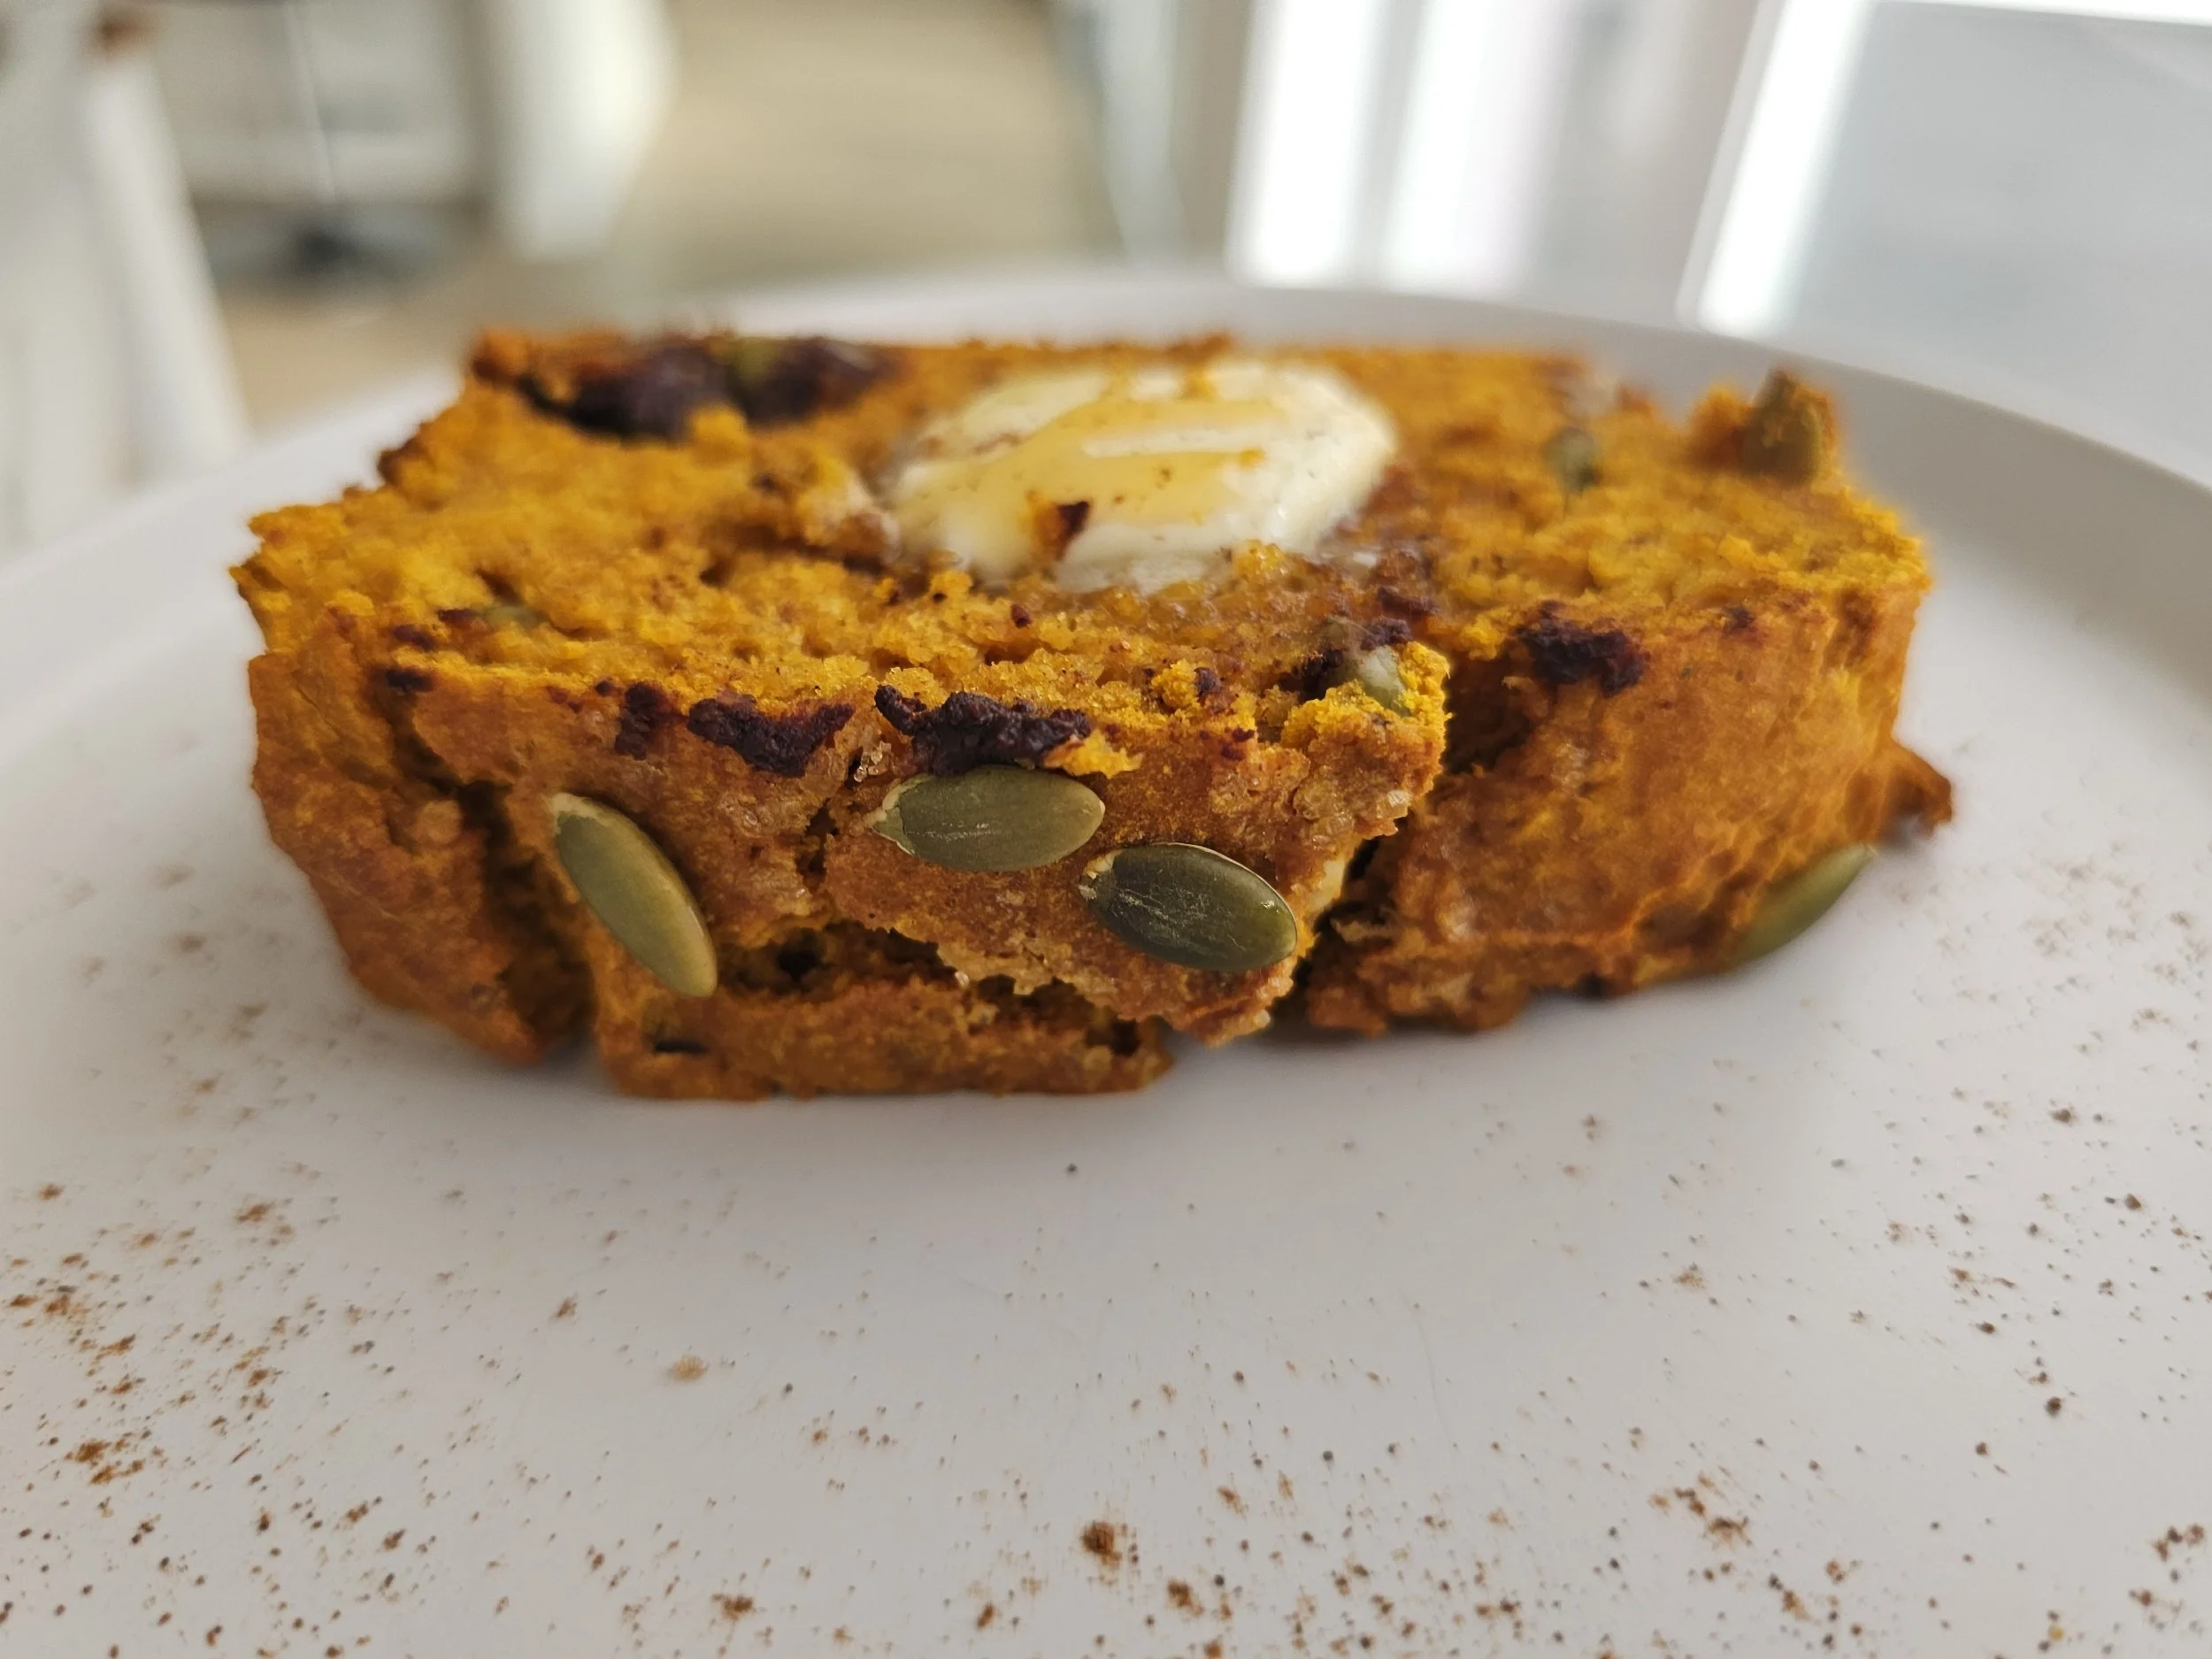
Pumpkin Harvest Loaf with Walnuts and Chocolate
Fall is finally here in the U.S. The air has taken a crisp turn, apple orchards are buzzing, Oktoberfests are in full swing, and pumpkin season is at its peak. Baking has also picked up, especially anything with pumpkin, from pies to breads. It is the perfect time to bring cozy flavors into your kitchen.
In Zimbabwe, pumpkin is a staple ingredient, though it is often simply boiled or added to stews. We rarely explore its potential in baked goods. This loaf is a way to celebrate the pumpkin harvest and show just how versatile this humble vegetable can be. It turns naturally sweet and tender, creating a loaf that is comforting, fragrant, and perfect for fall.
This pumpkin loaf is lightly sweet, moist, and spiced. Walnuts and dark chocolate add texture and richness, while a sprinkle of pumpkin seeds on top gives a rustic, festive finish. You can enjoy it plain and warm, with butter and honey, or with a light drizzle of icing to control the sweetness. It is flexible, allowing you to adjust the flavors to your preference.
A good loaf of bread is essential in any home baker’s repertoire. This pumpkin harvest loaf is easy to make and works beautifully with fresh or canned pumpkin. It is a wonderful way to add warmth, seasonal flavor, and a little bit of indulgence to your fall baking lineup.


Pumpkin Harvest Loaf with Walnuts and Chocolate
A moist and lightly spiced pumpkin loaf perfect for fall. Packed with walnuts, dark chocolate, and topped with pumpkin seeds and turbinado sugar, this bread is perfect for breakfast, tea time, or a cozy snack.
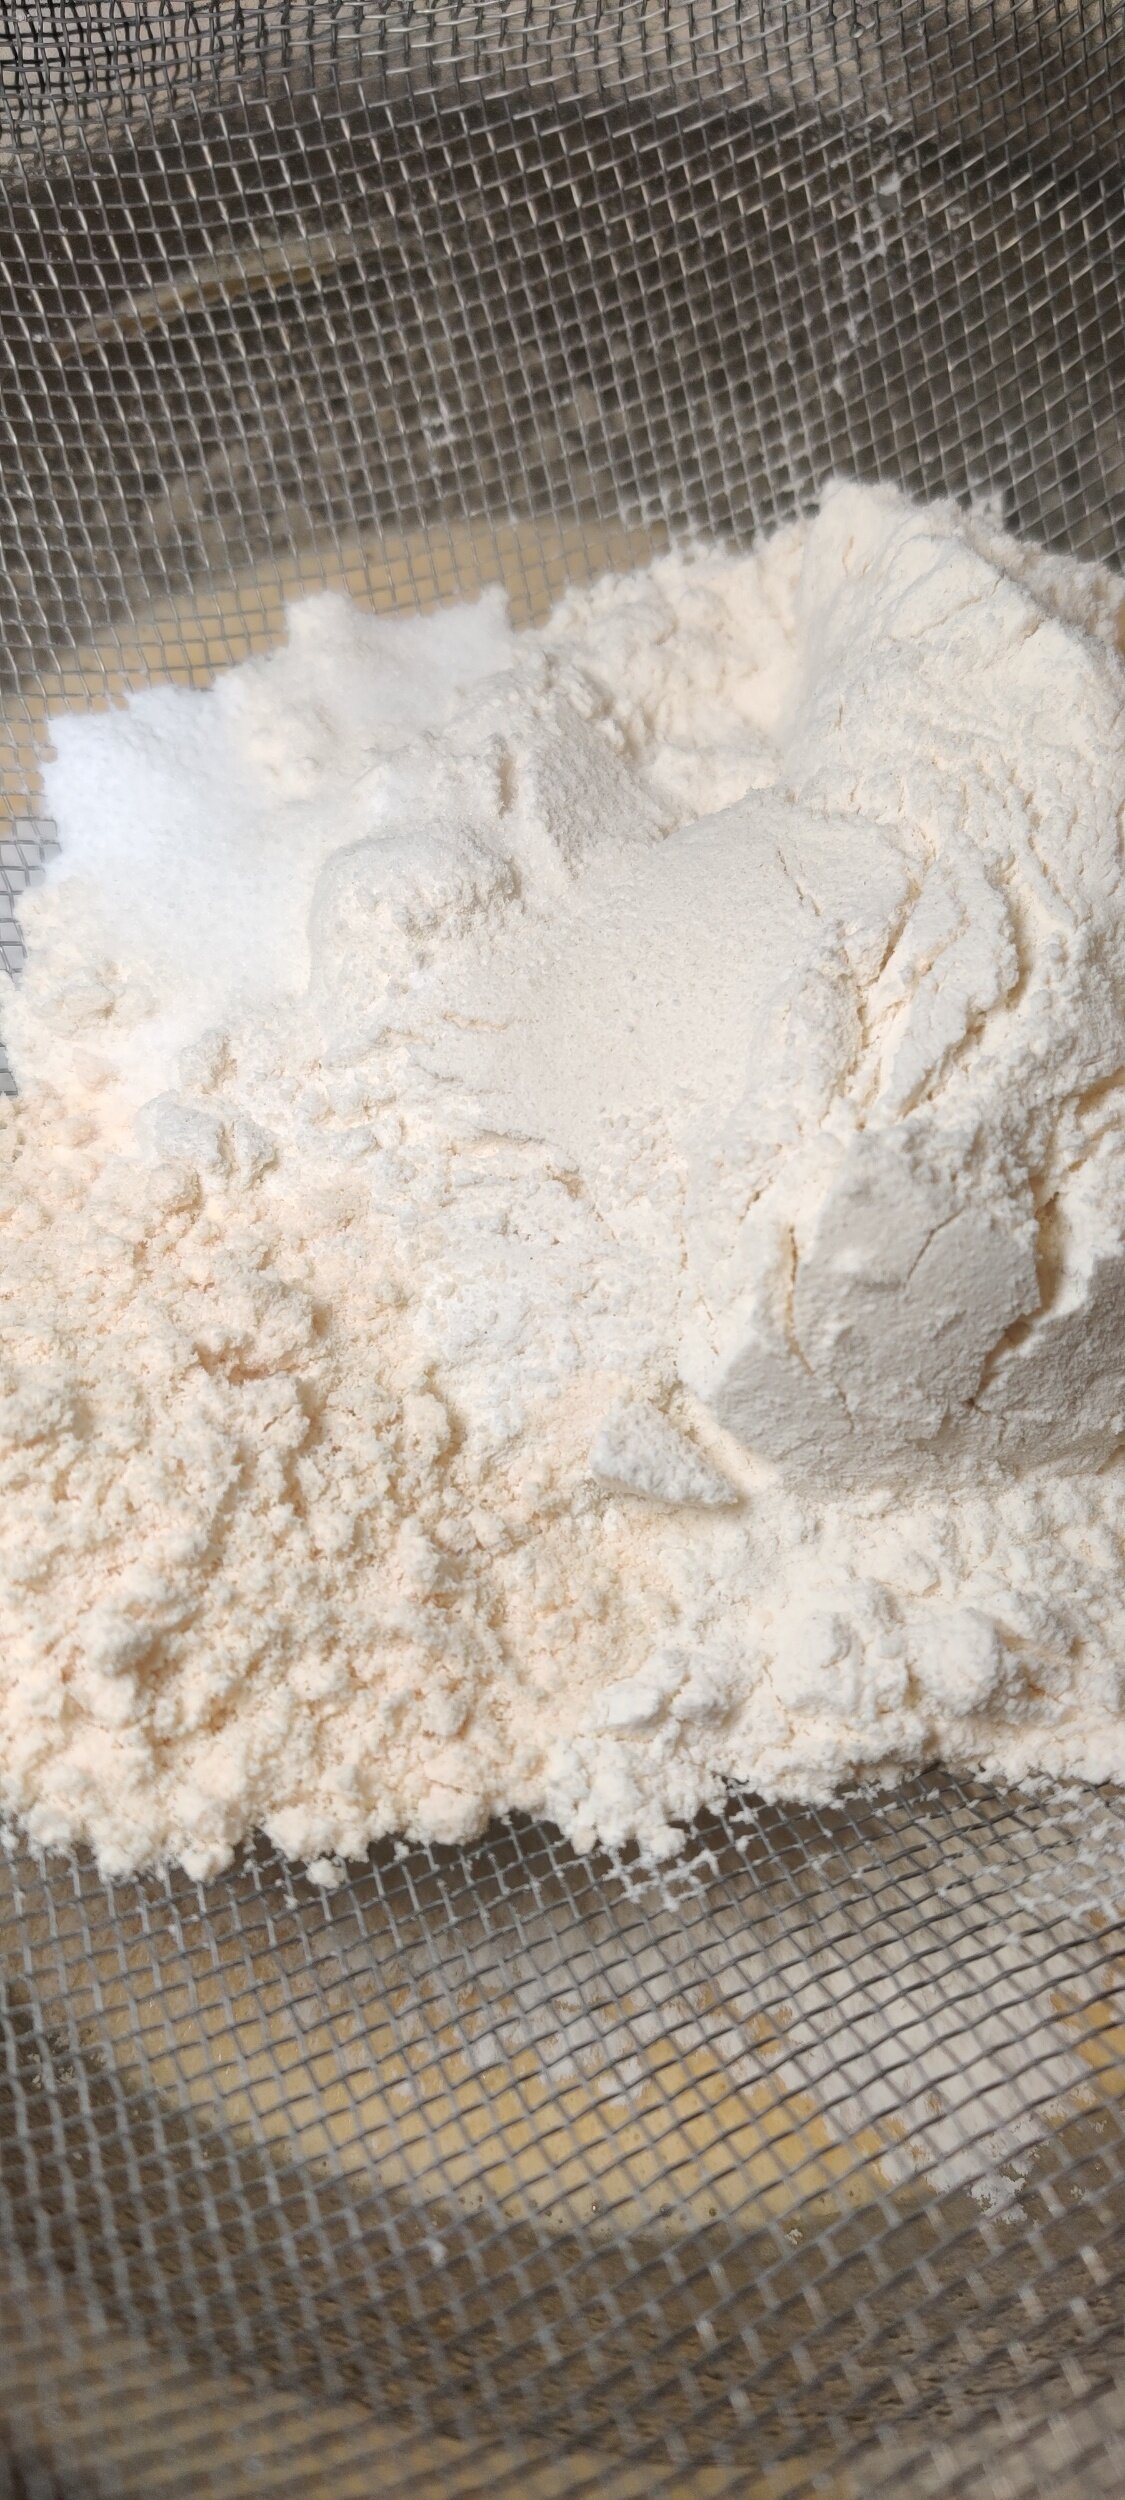
Ingredients
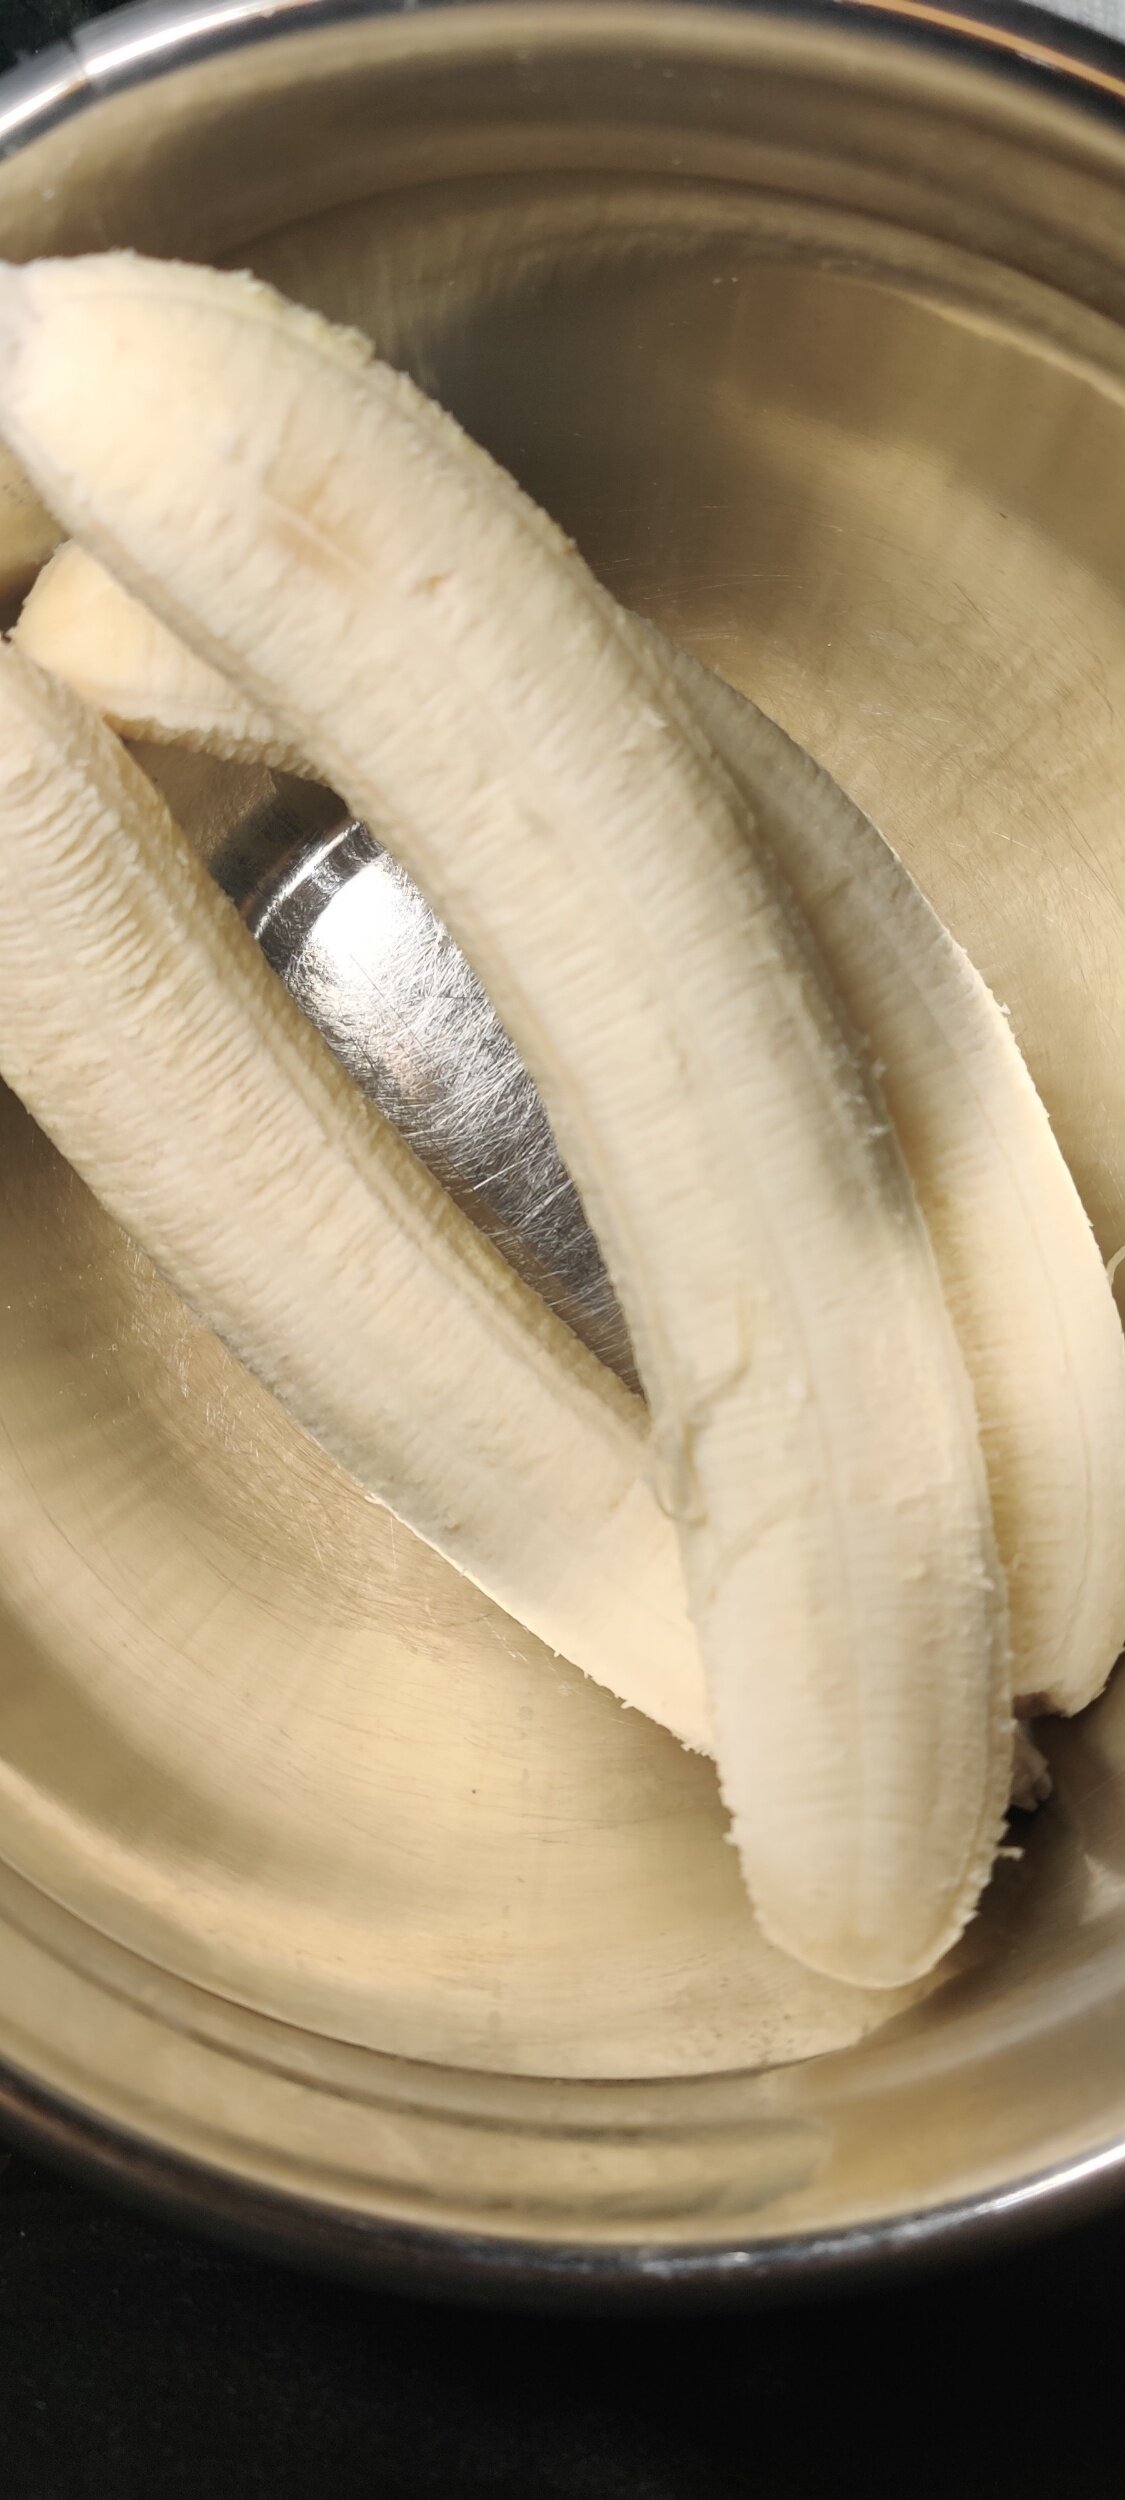
- 1 and ½ cups pumpkin puree
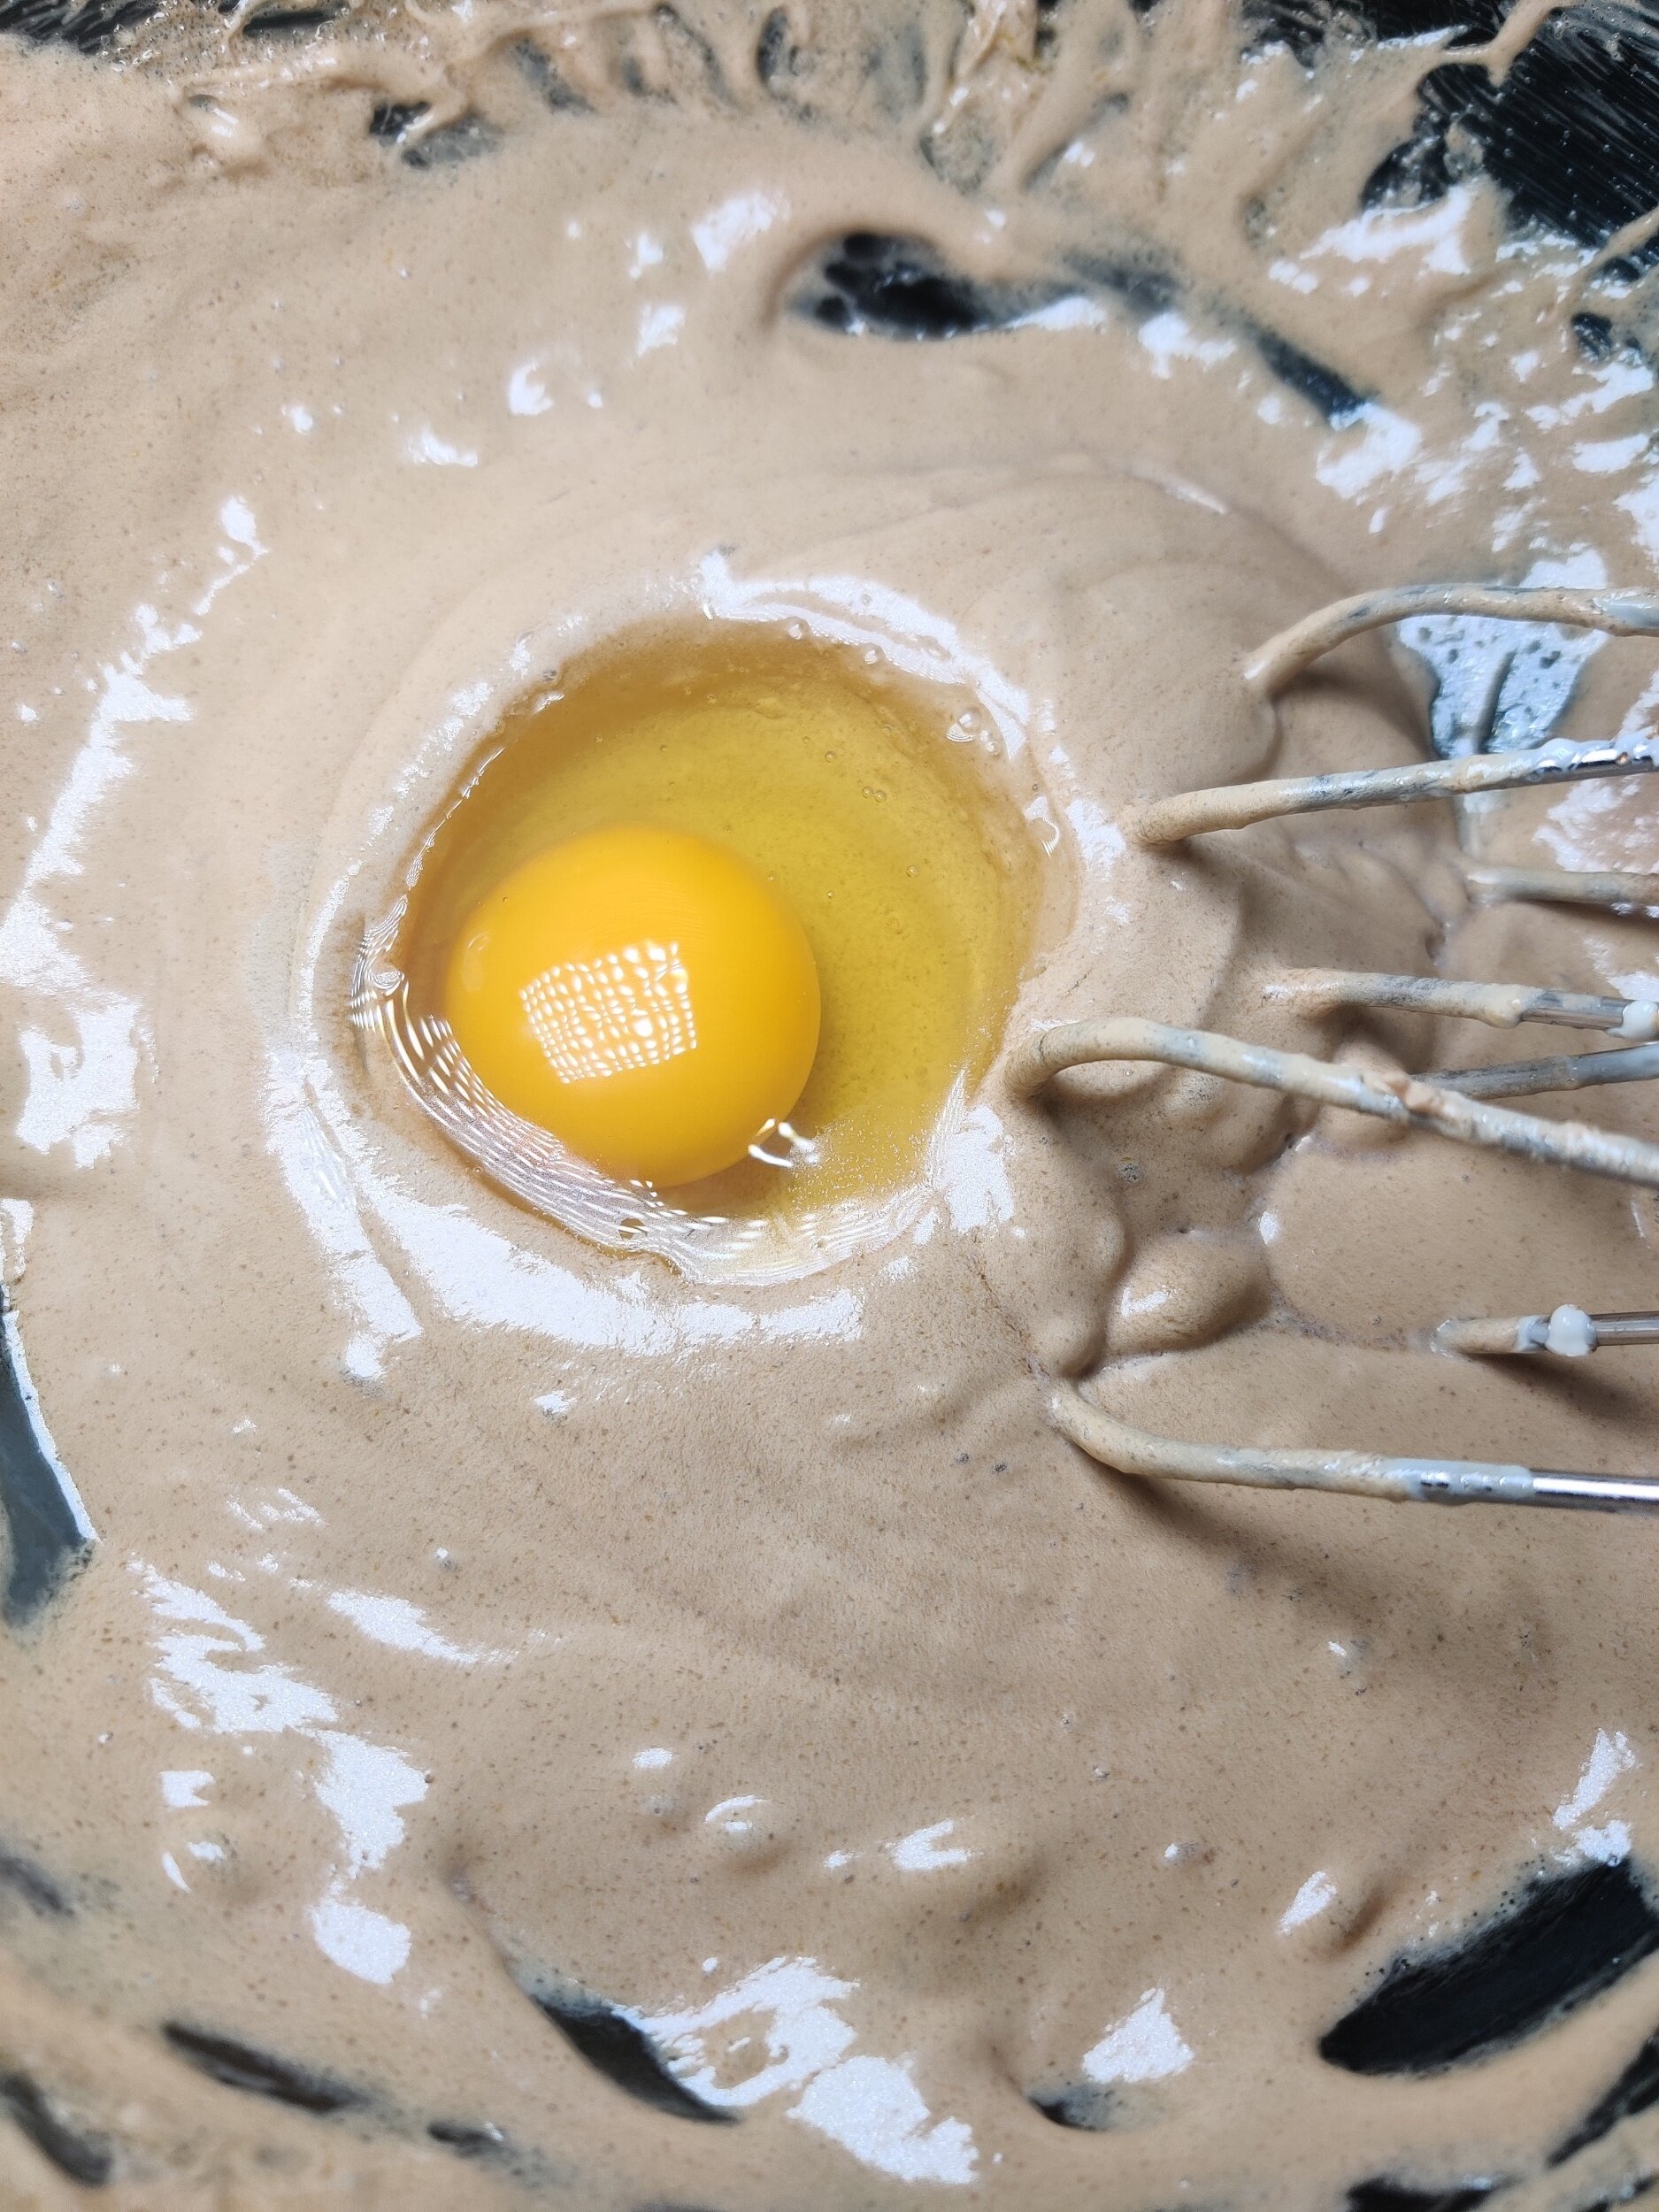
- 2 large eggs
- ¼ cup honey or maple syrup (use sugar if you prefer it sweeter)
- 2 tablespoons melted butter
- 1 to 2 tablespoons milk (start with one; add more if the batter feels too thick)
- ¼ cup sour cream
- 1 teaspoon vanilla extract
- ½ teaspoon lemon juice
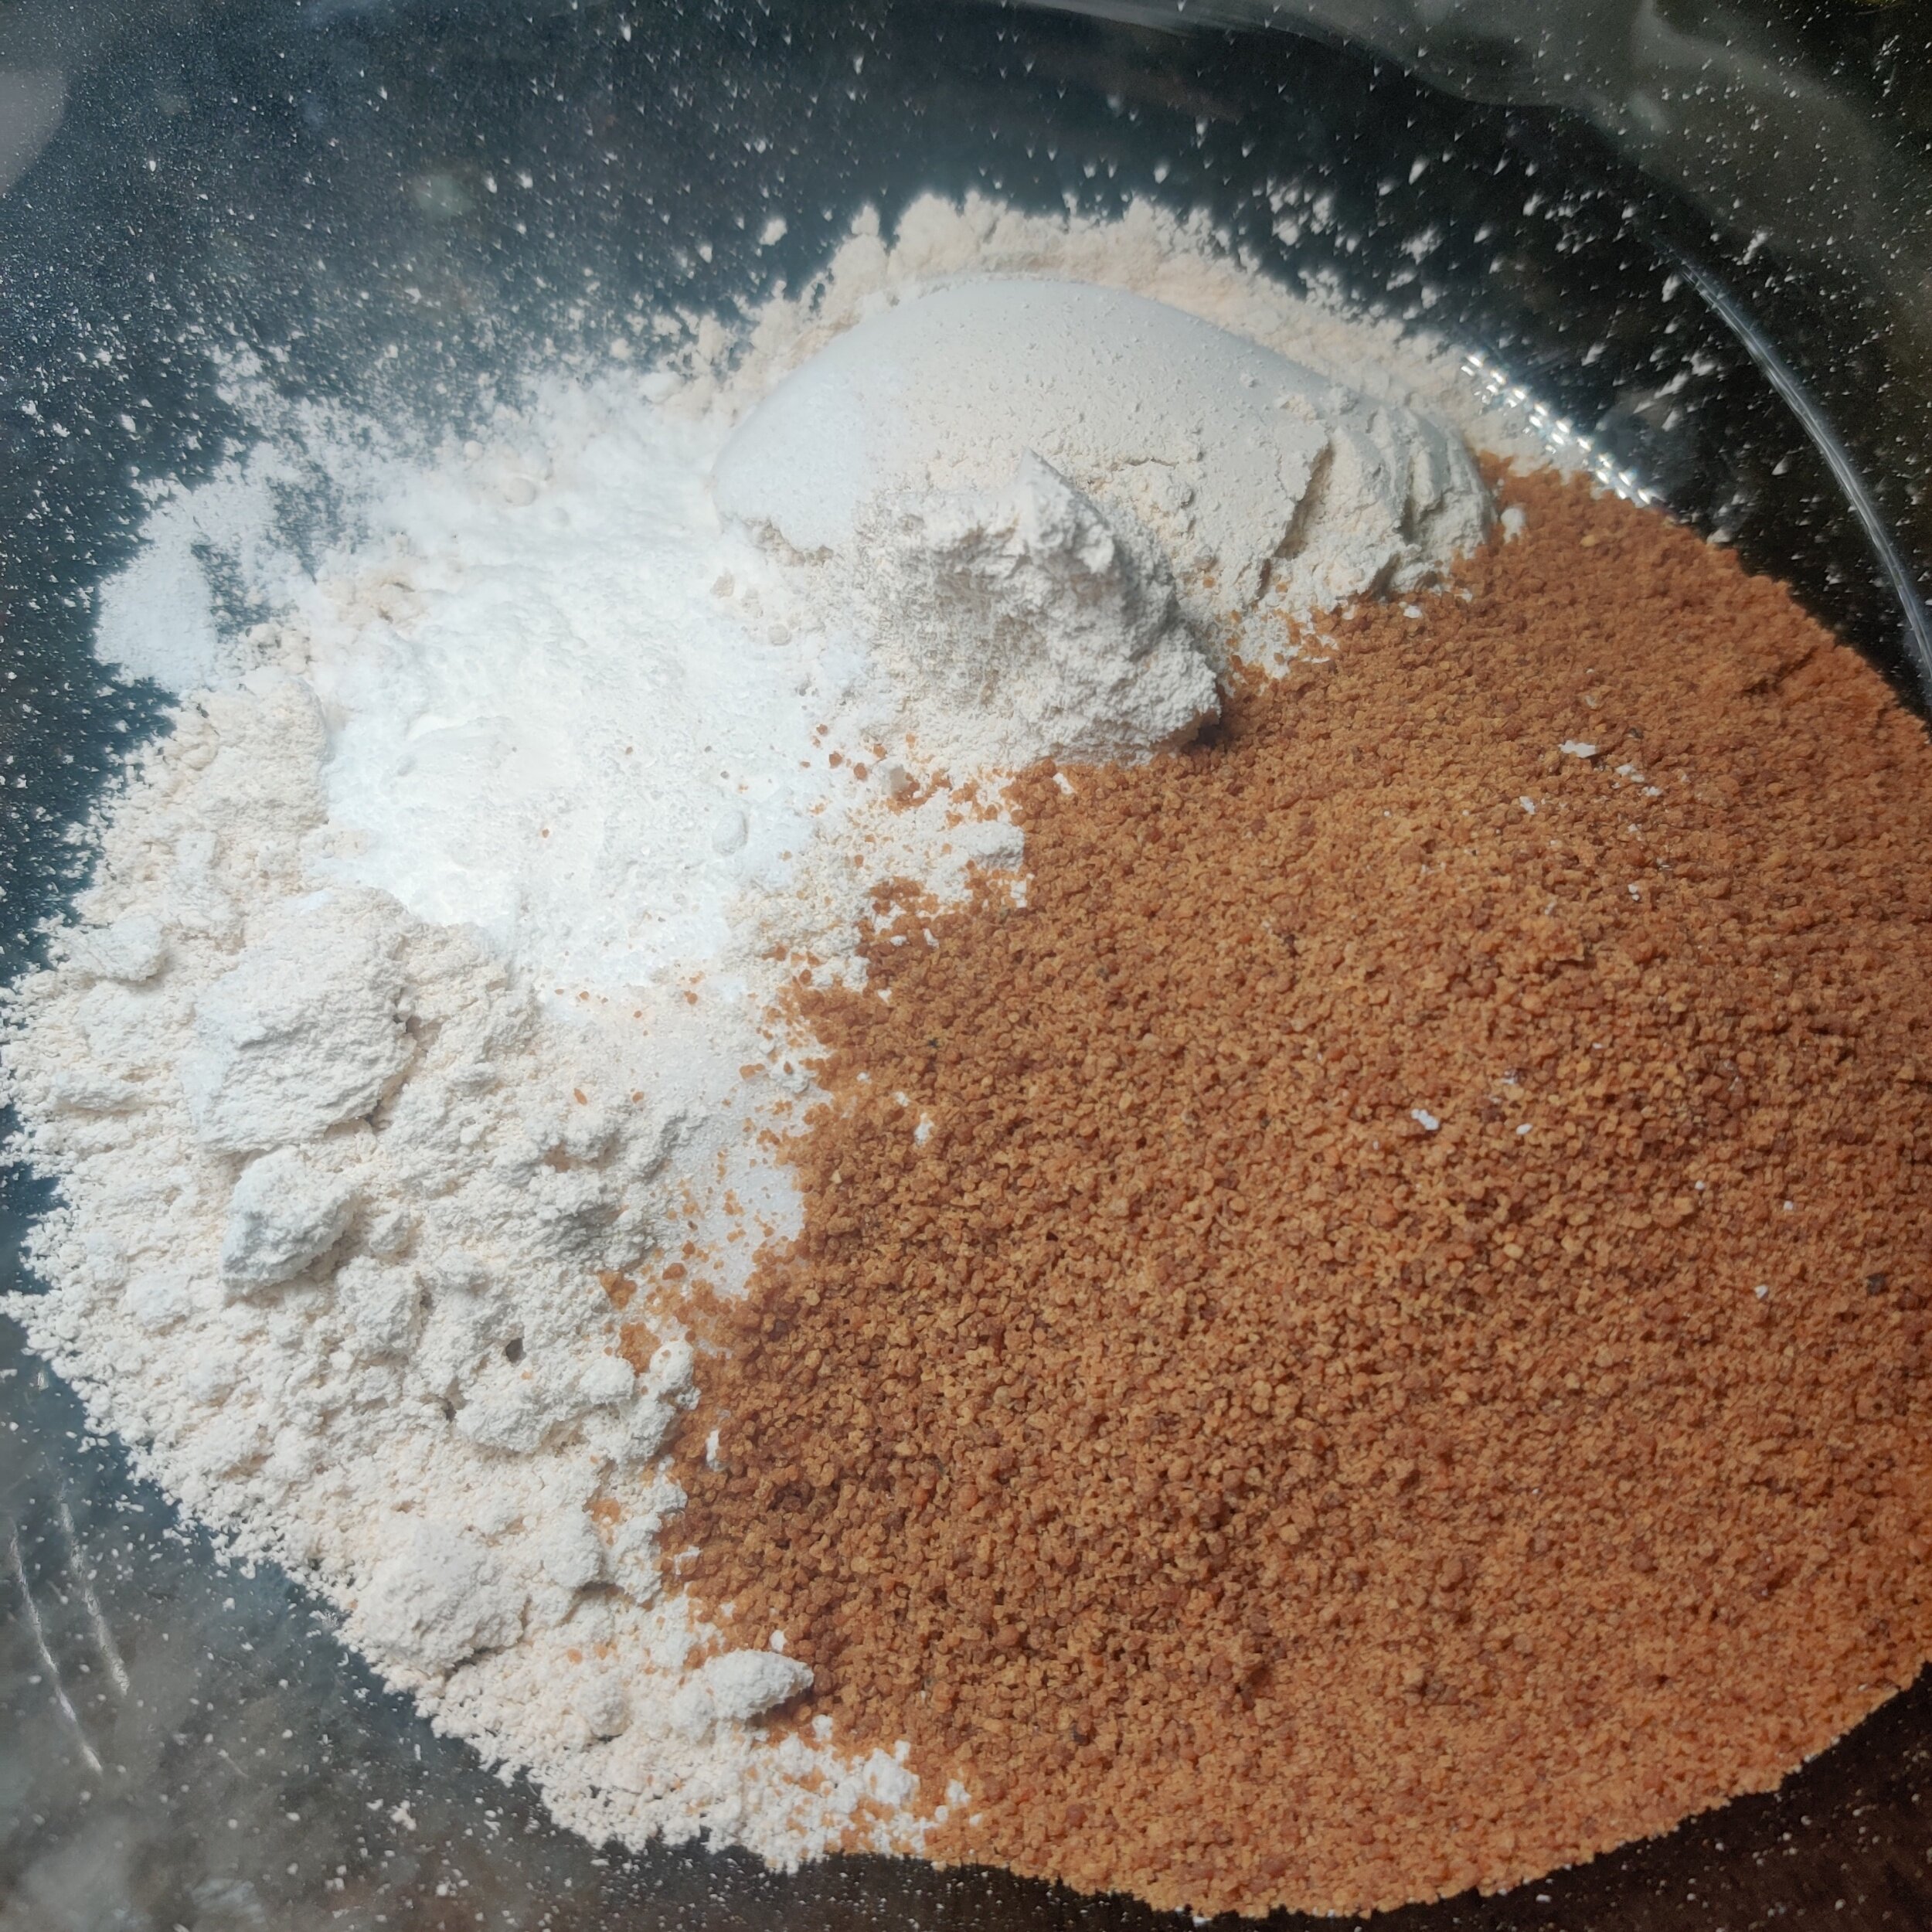
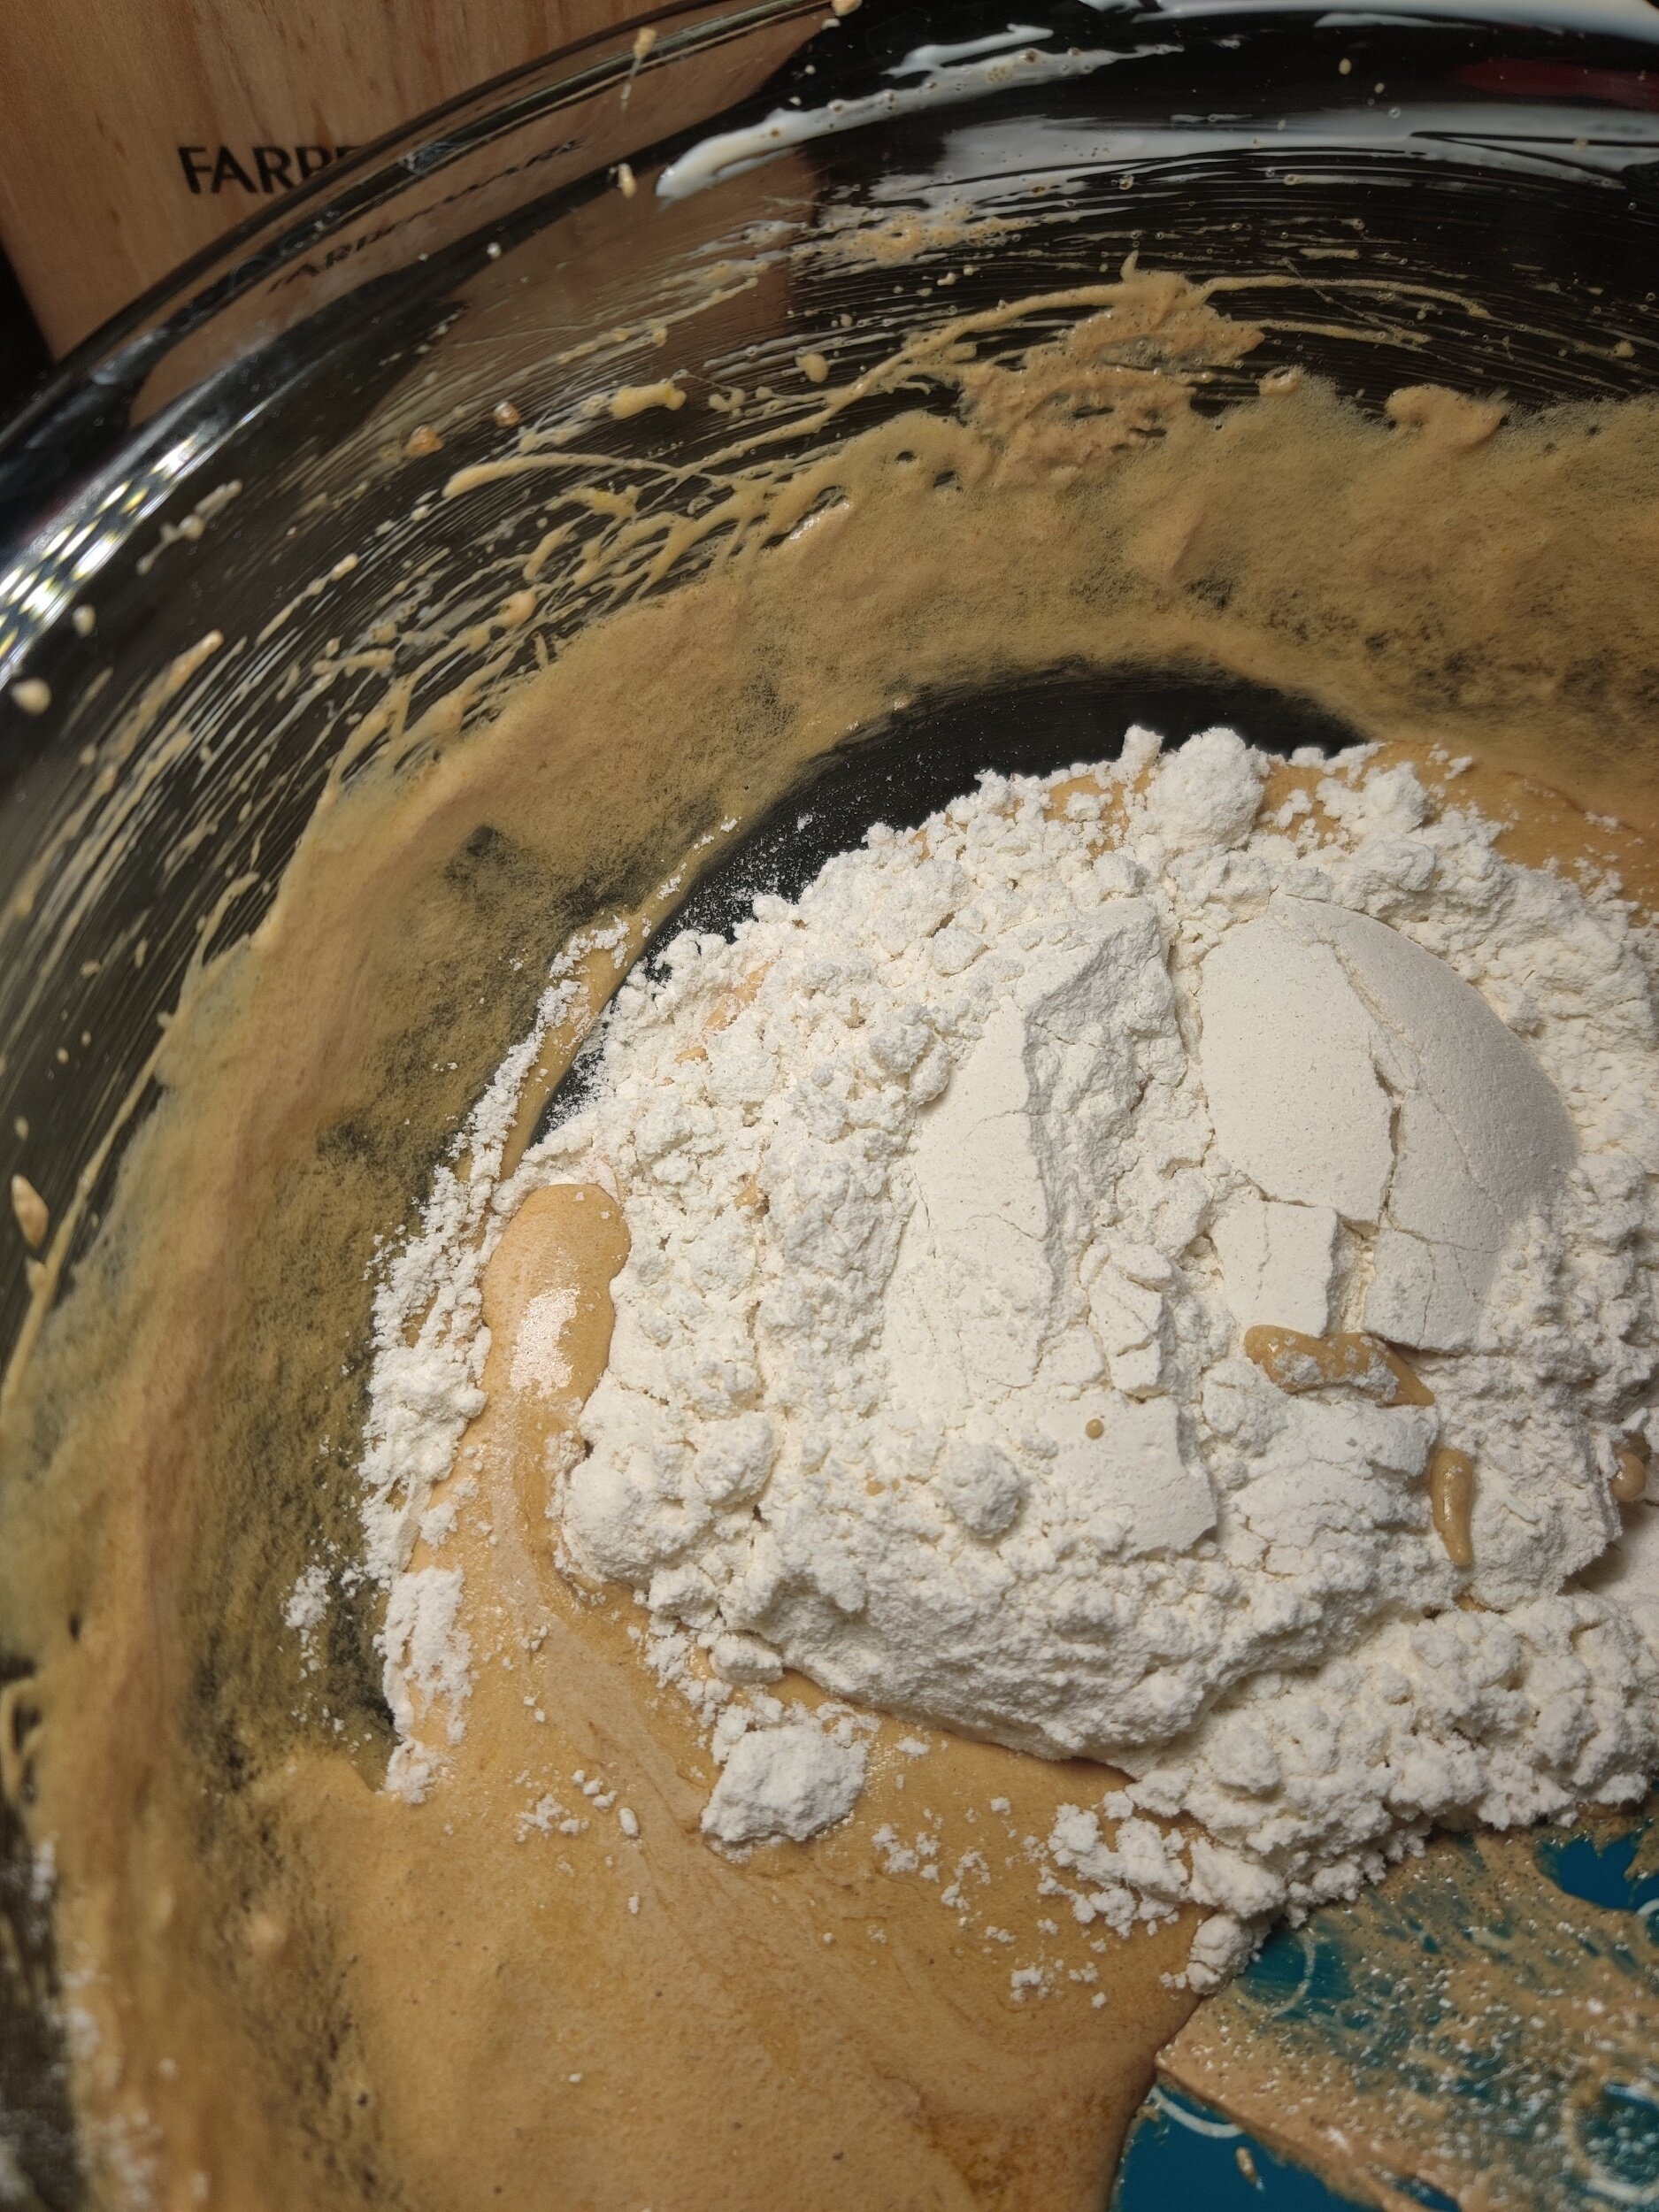
- 1 and ½ cups white whole wheat flour or all-purpose flour
- 1 and ½ teaspoons baking powder
- ½ teaspoon baking soda
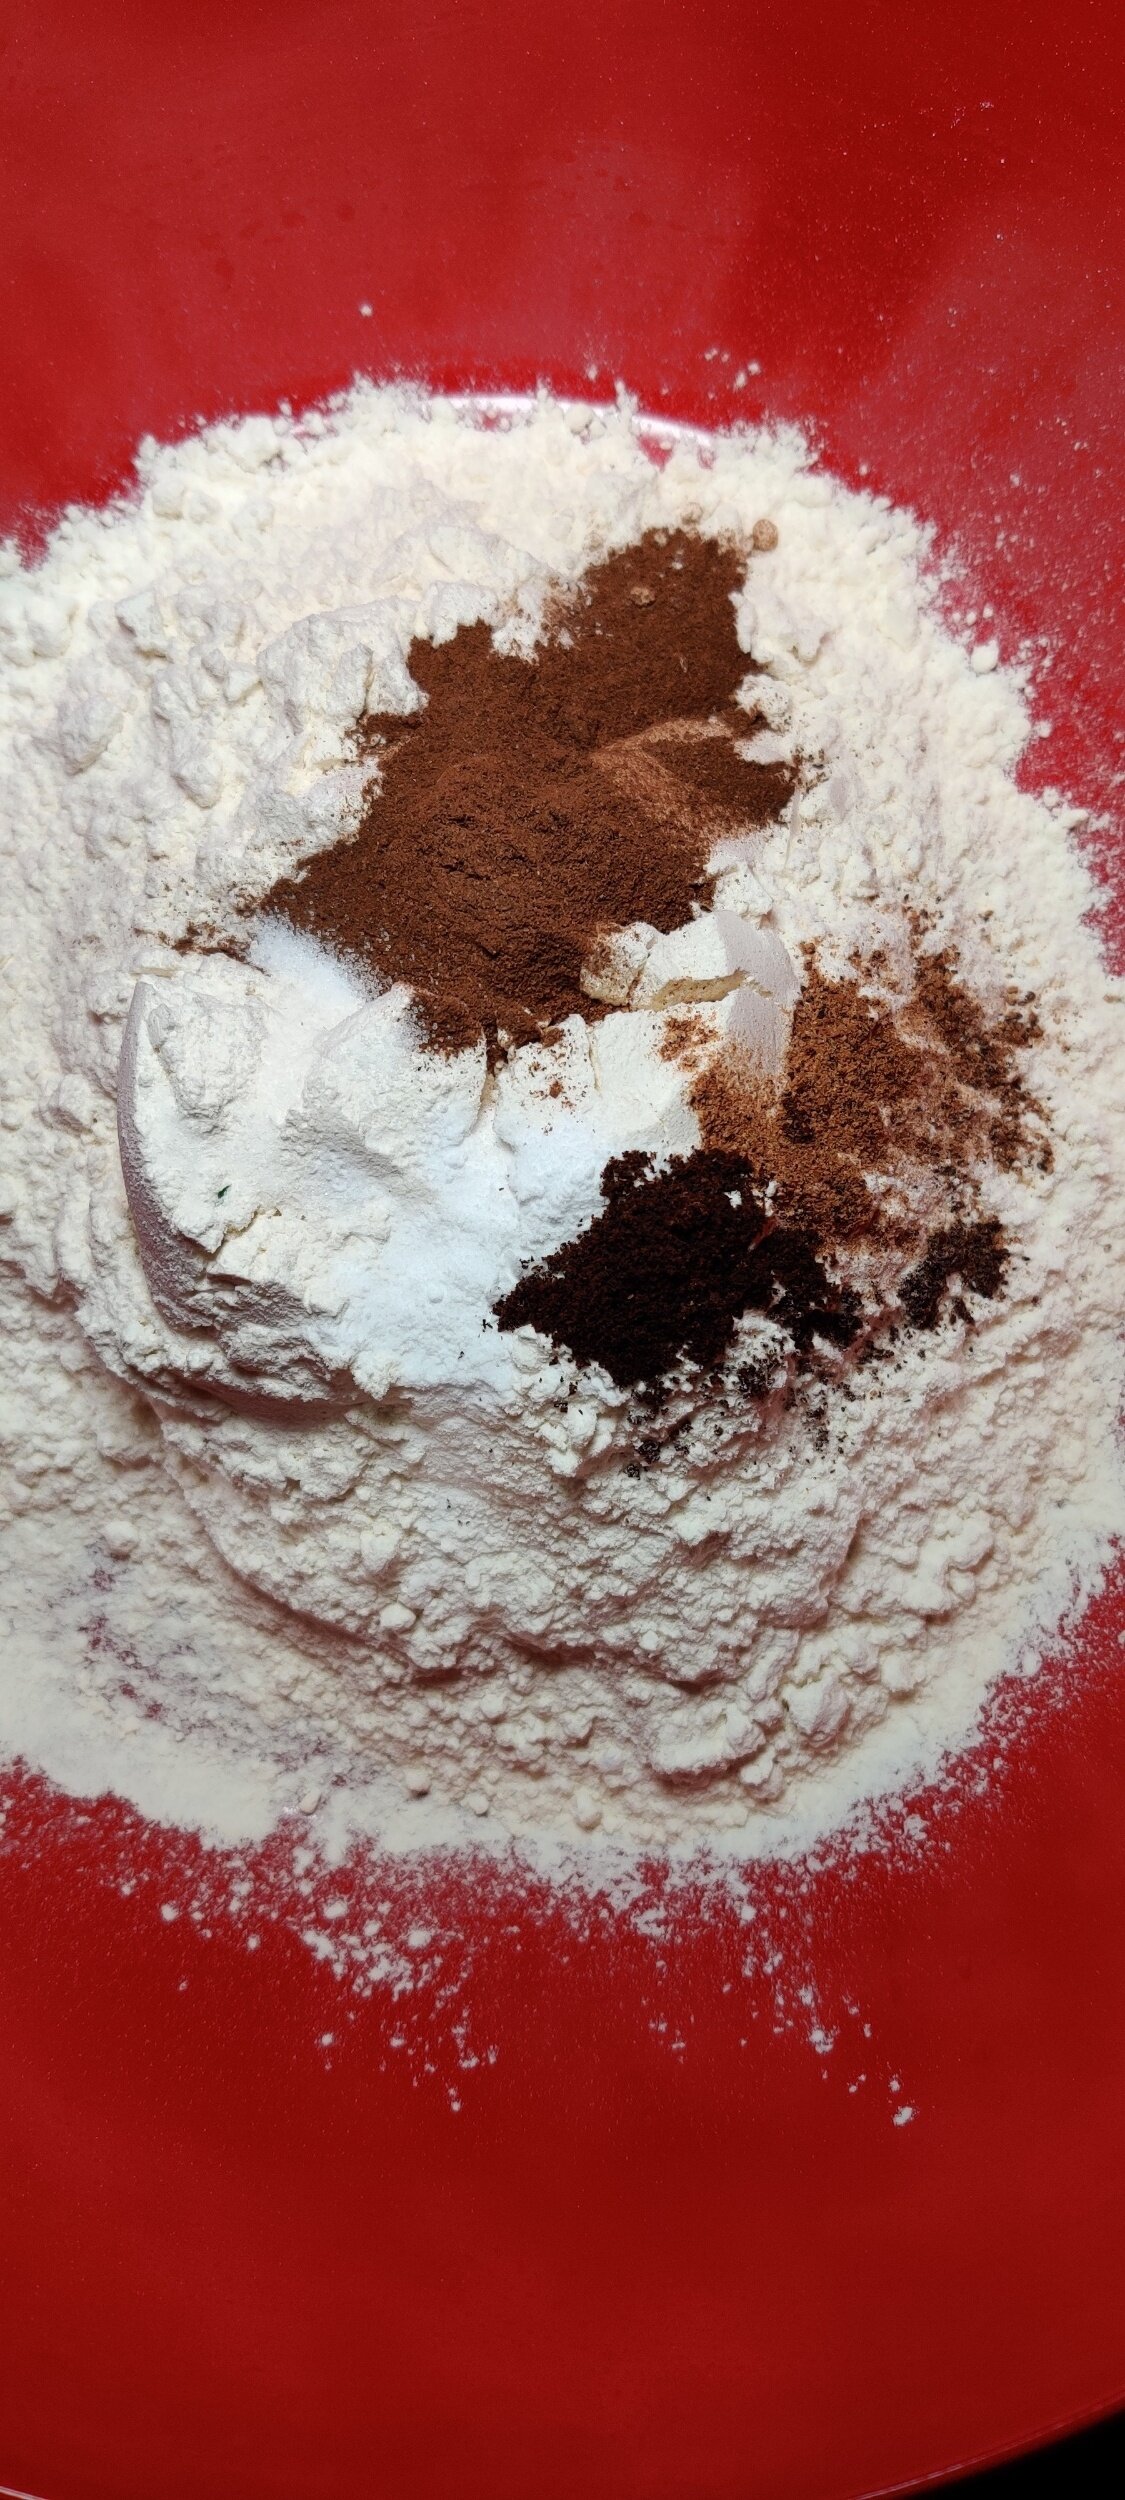
- 1 teaspoon ground cinnamon
- ½ teaspoon ground ginger
- ¼ teaspoon ground cloves
- ¼ teaspoon ground nutmeg
- ½ teaspoon sugar
- ¼ teaspoon salt
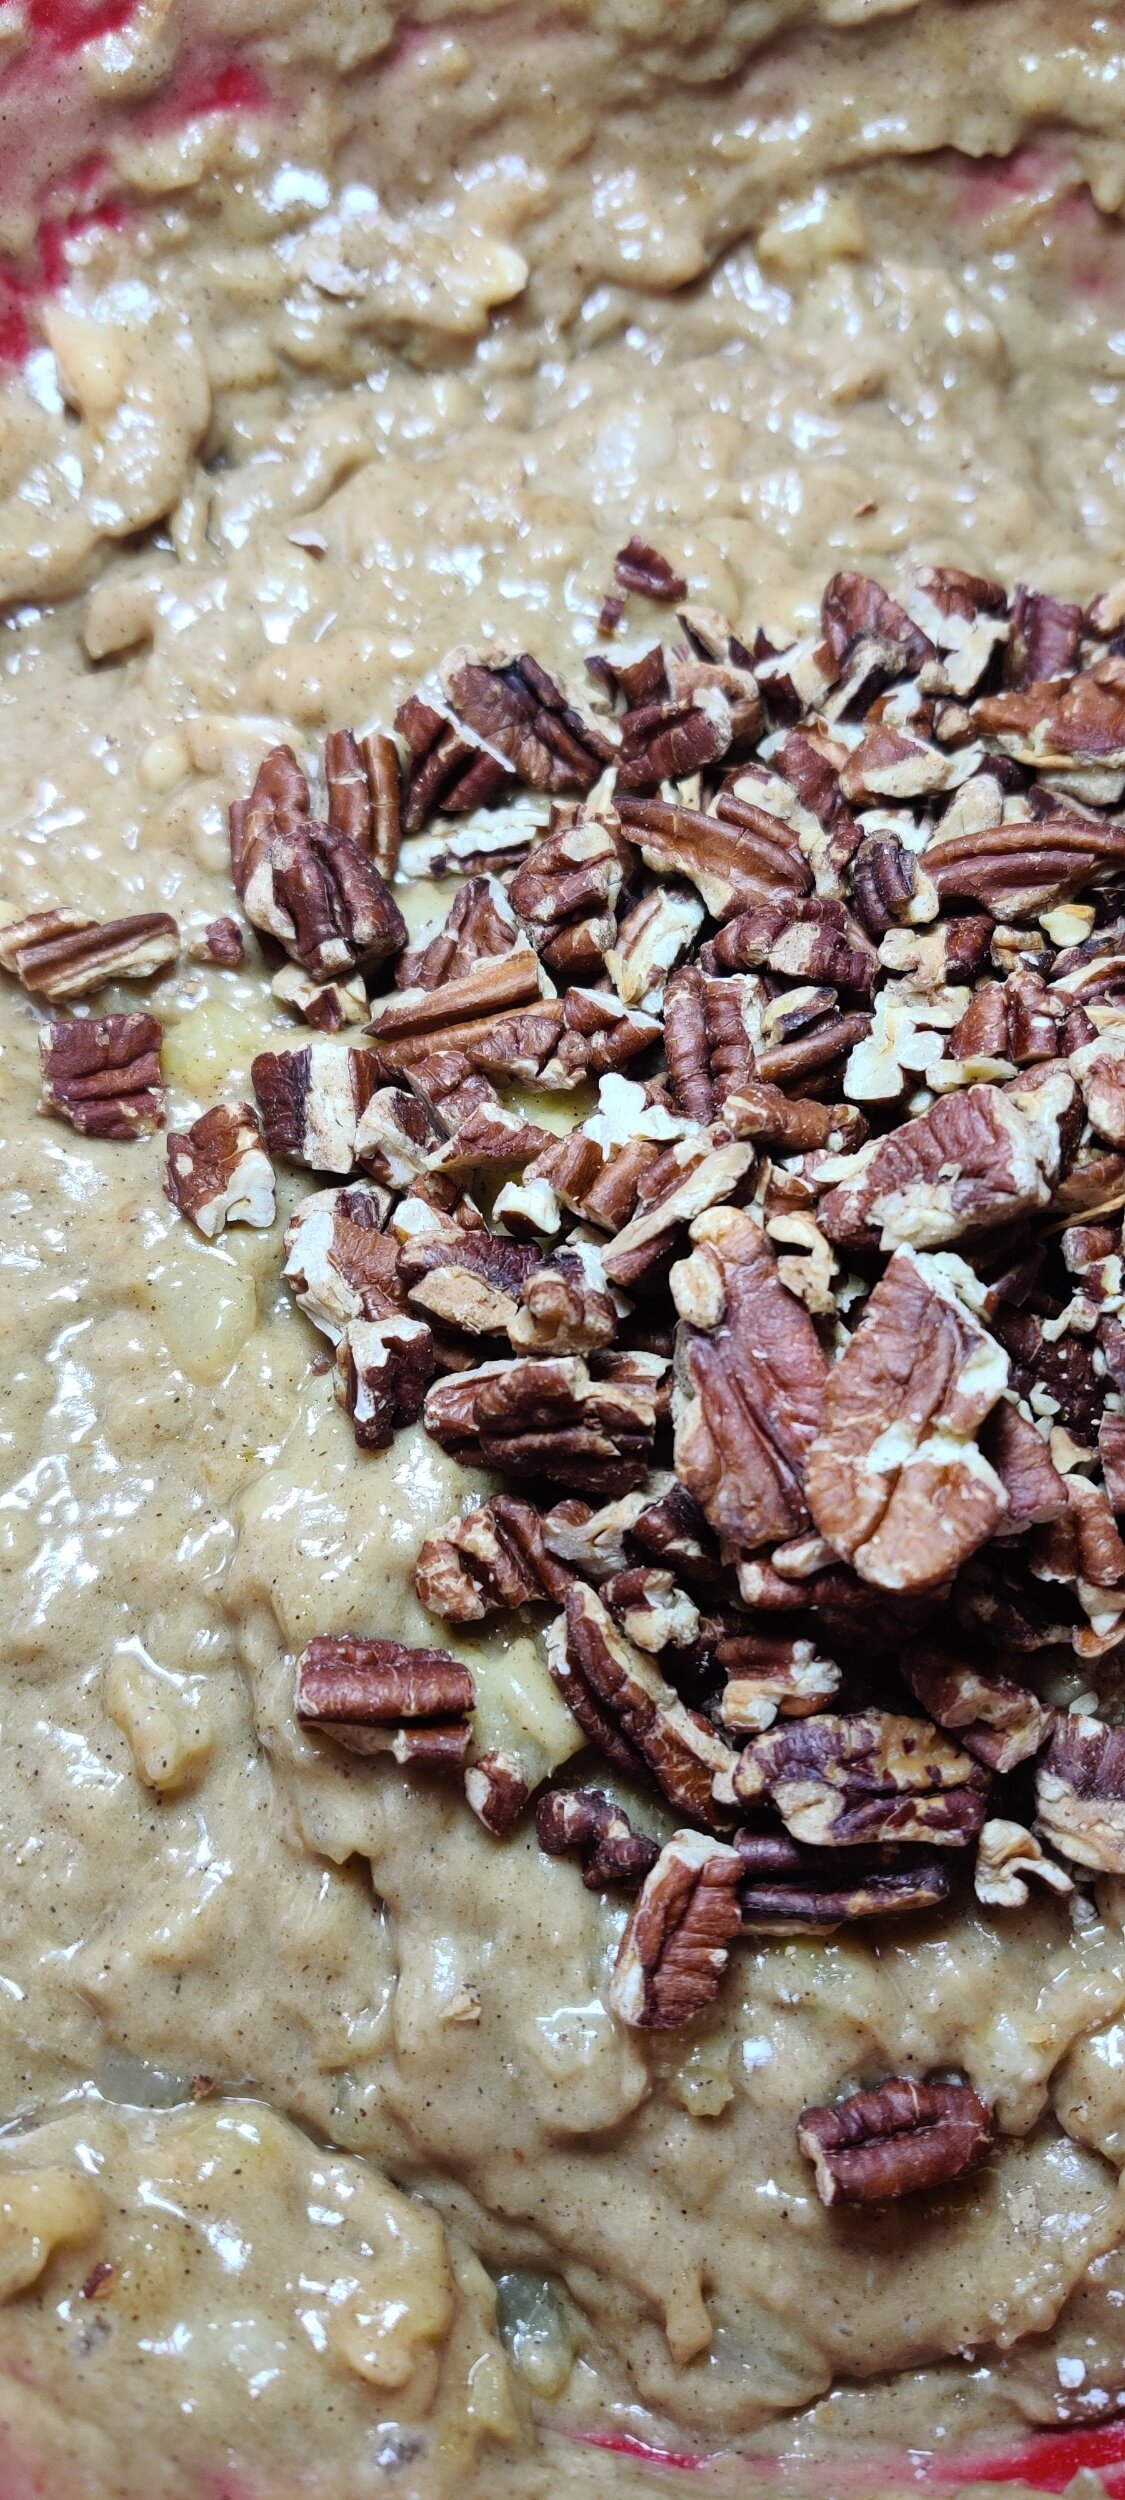
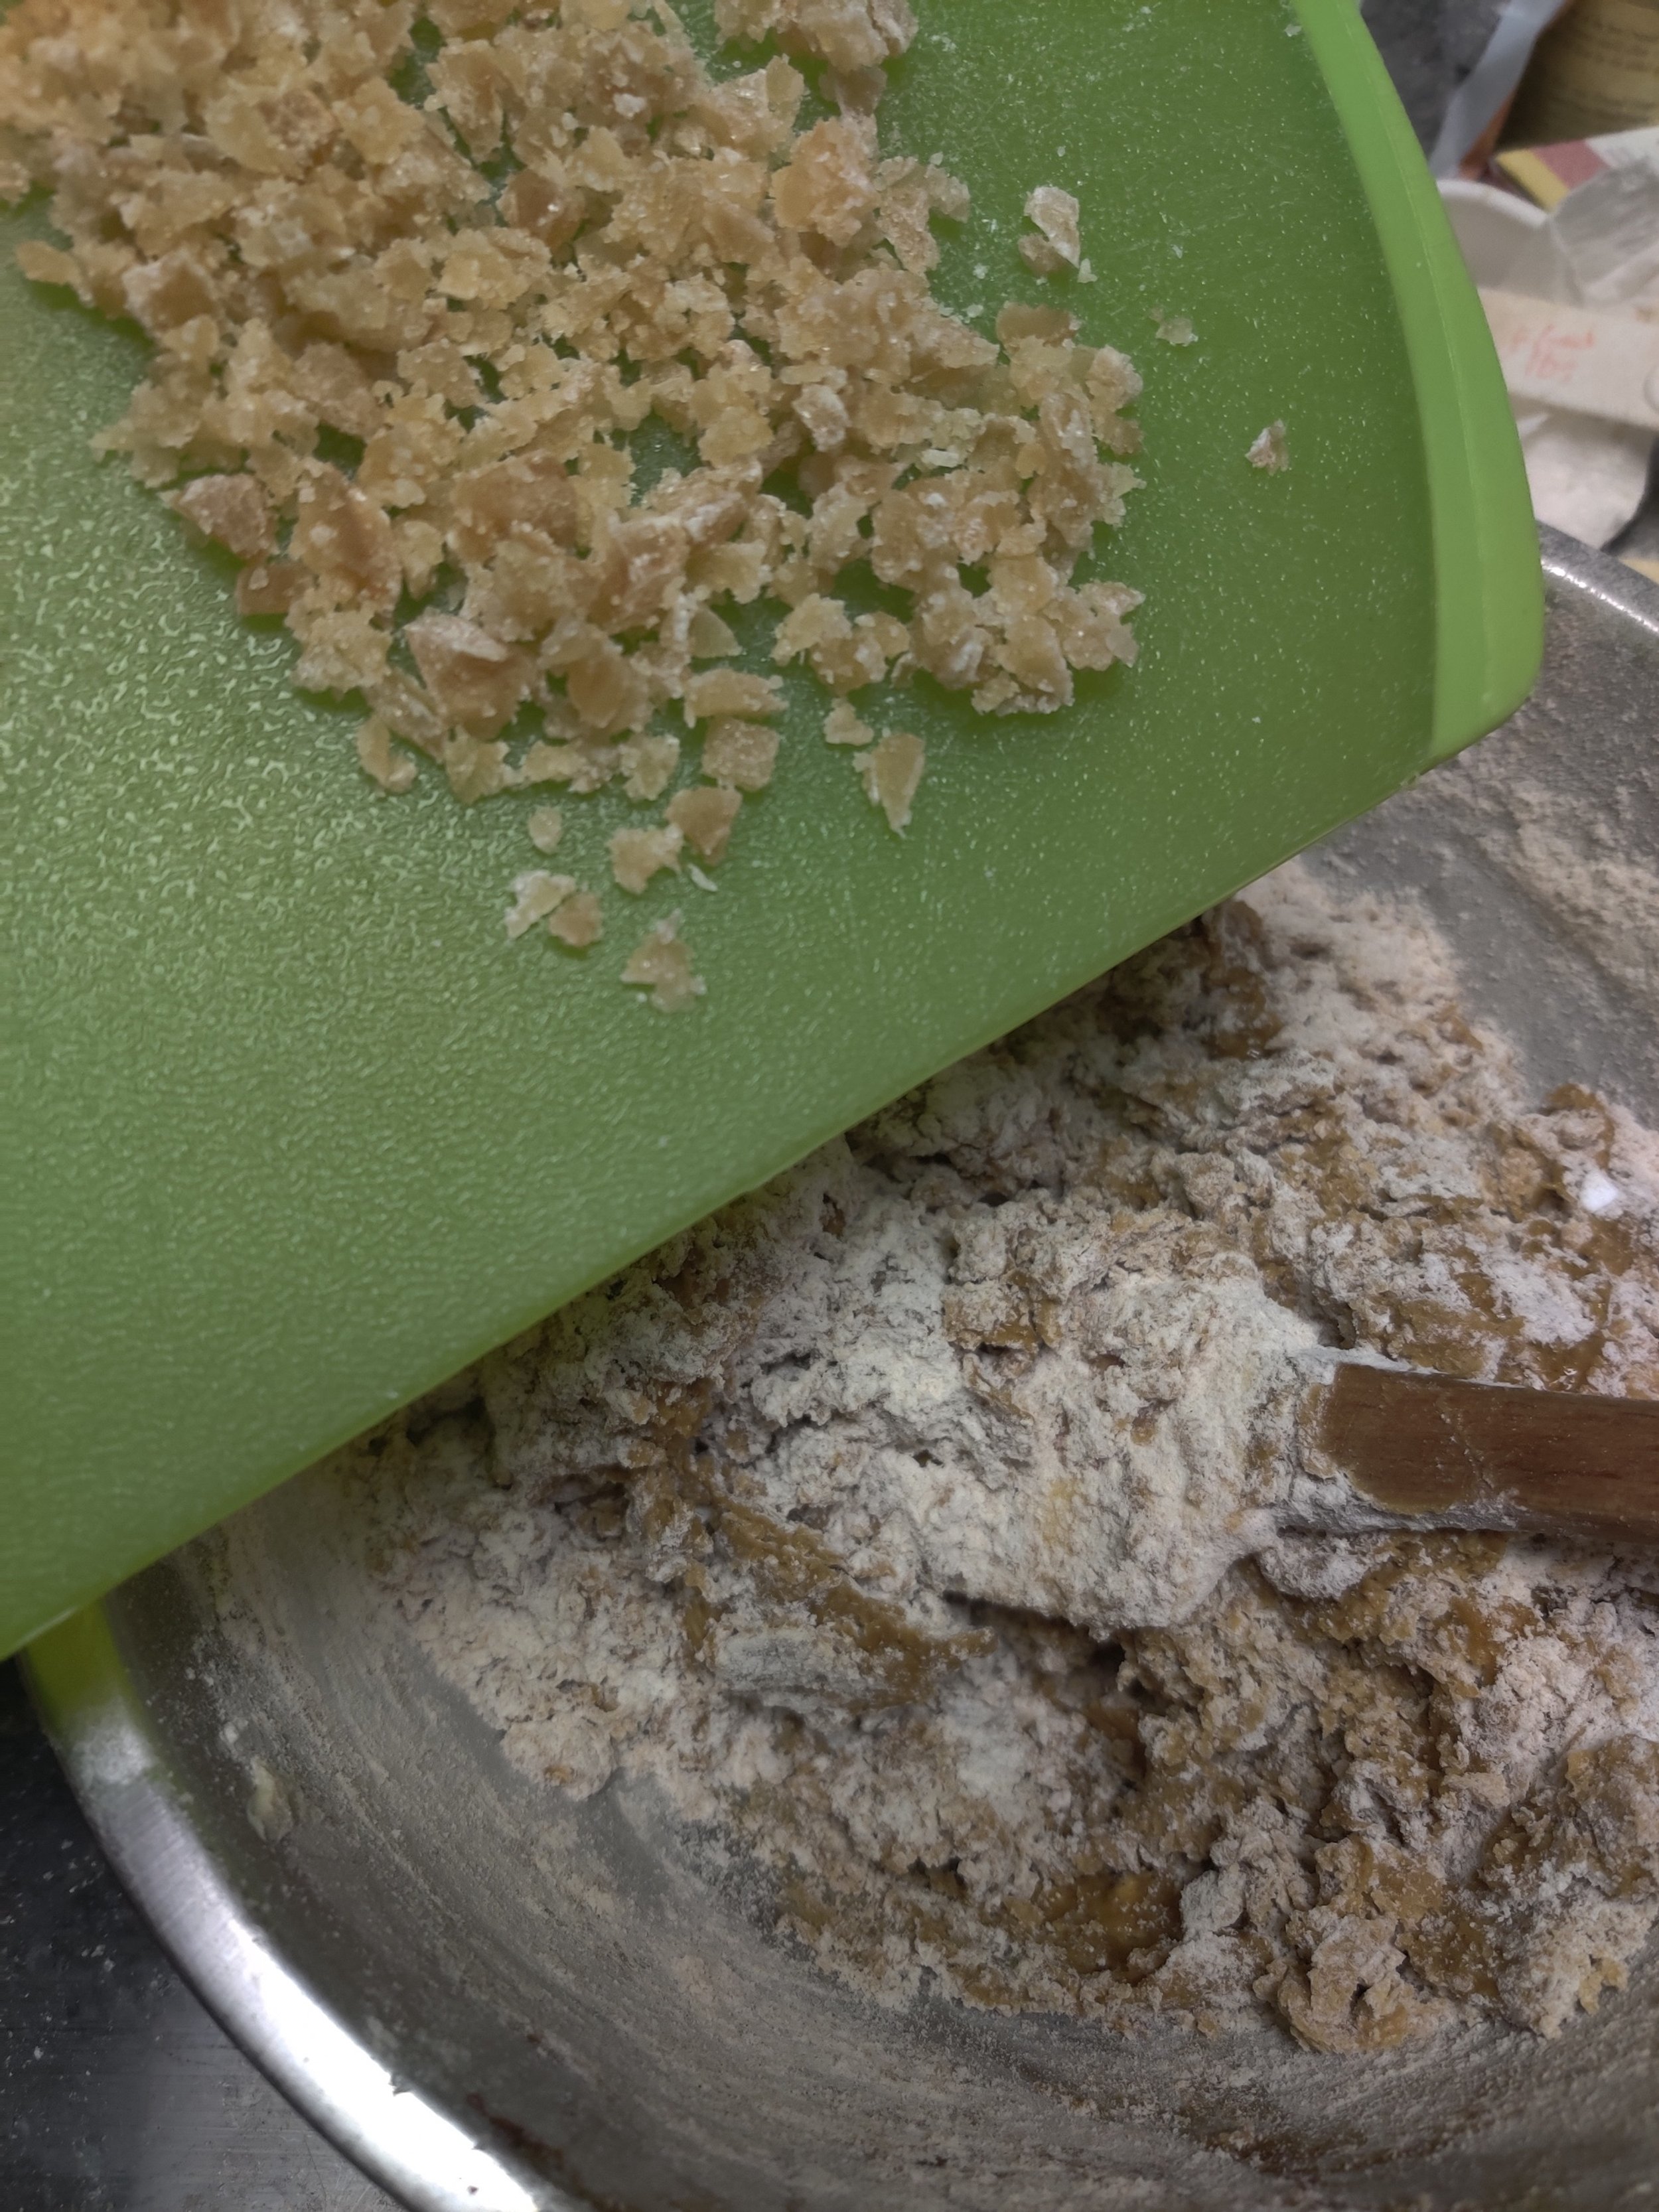
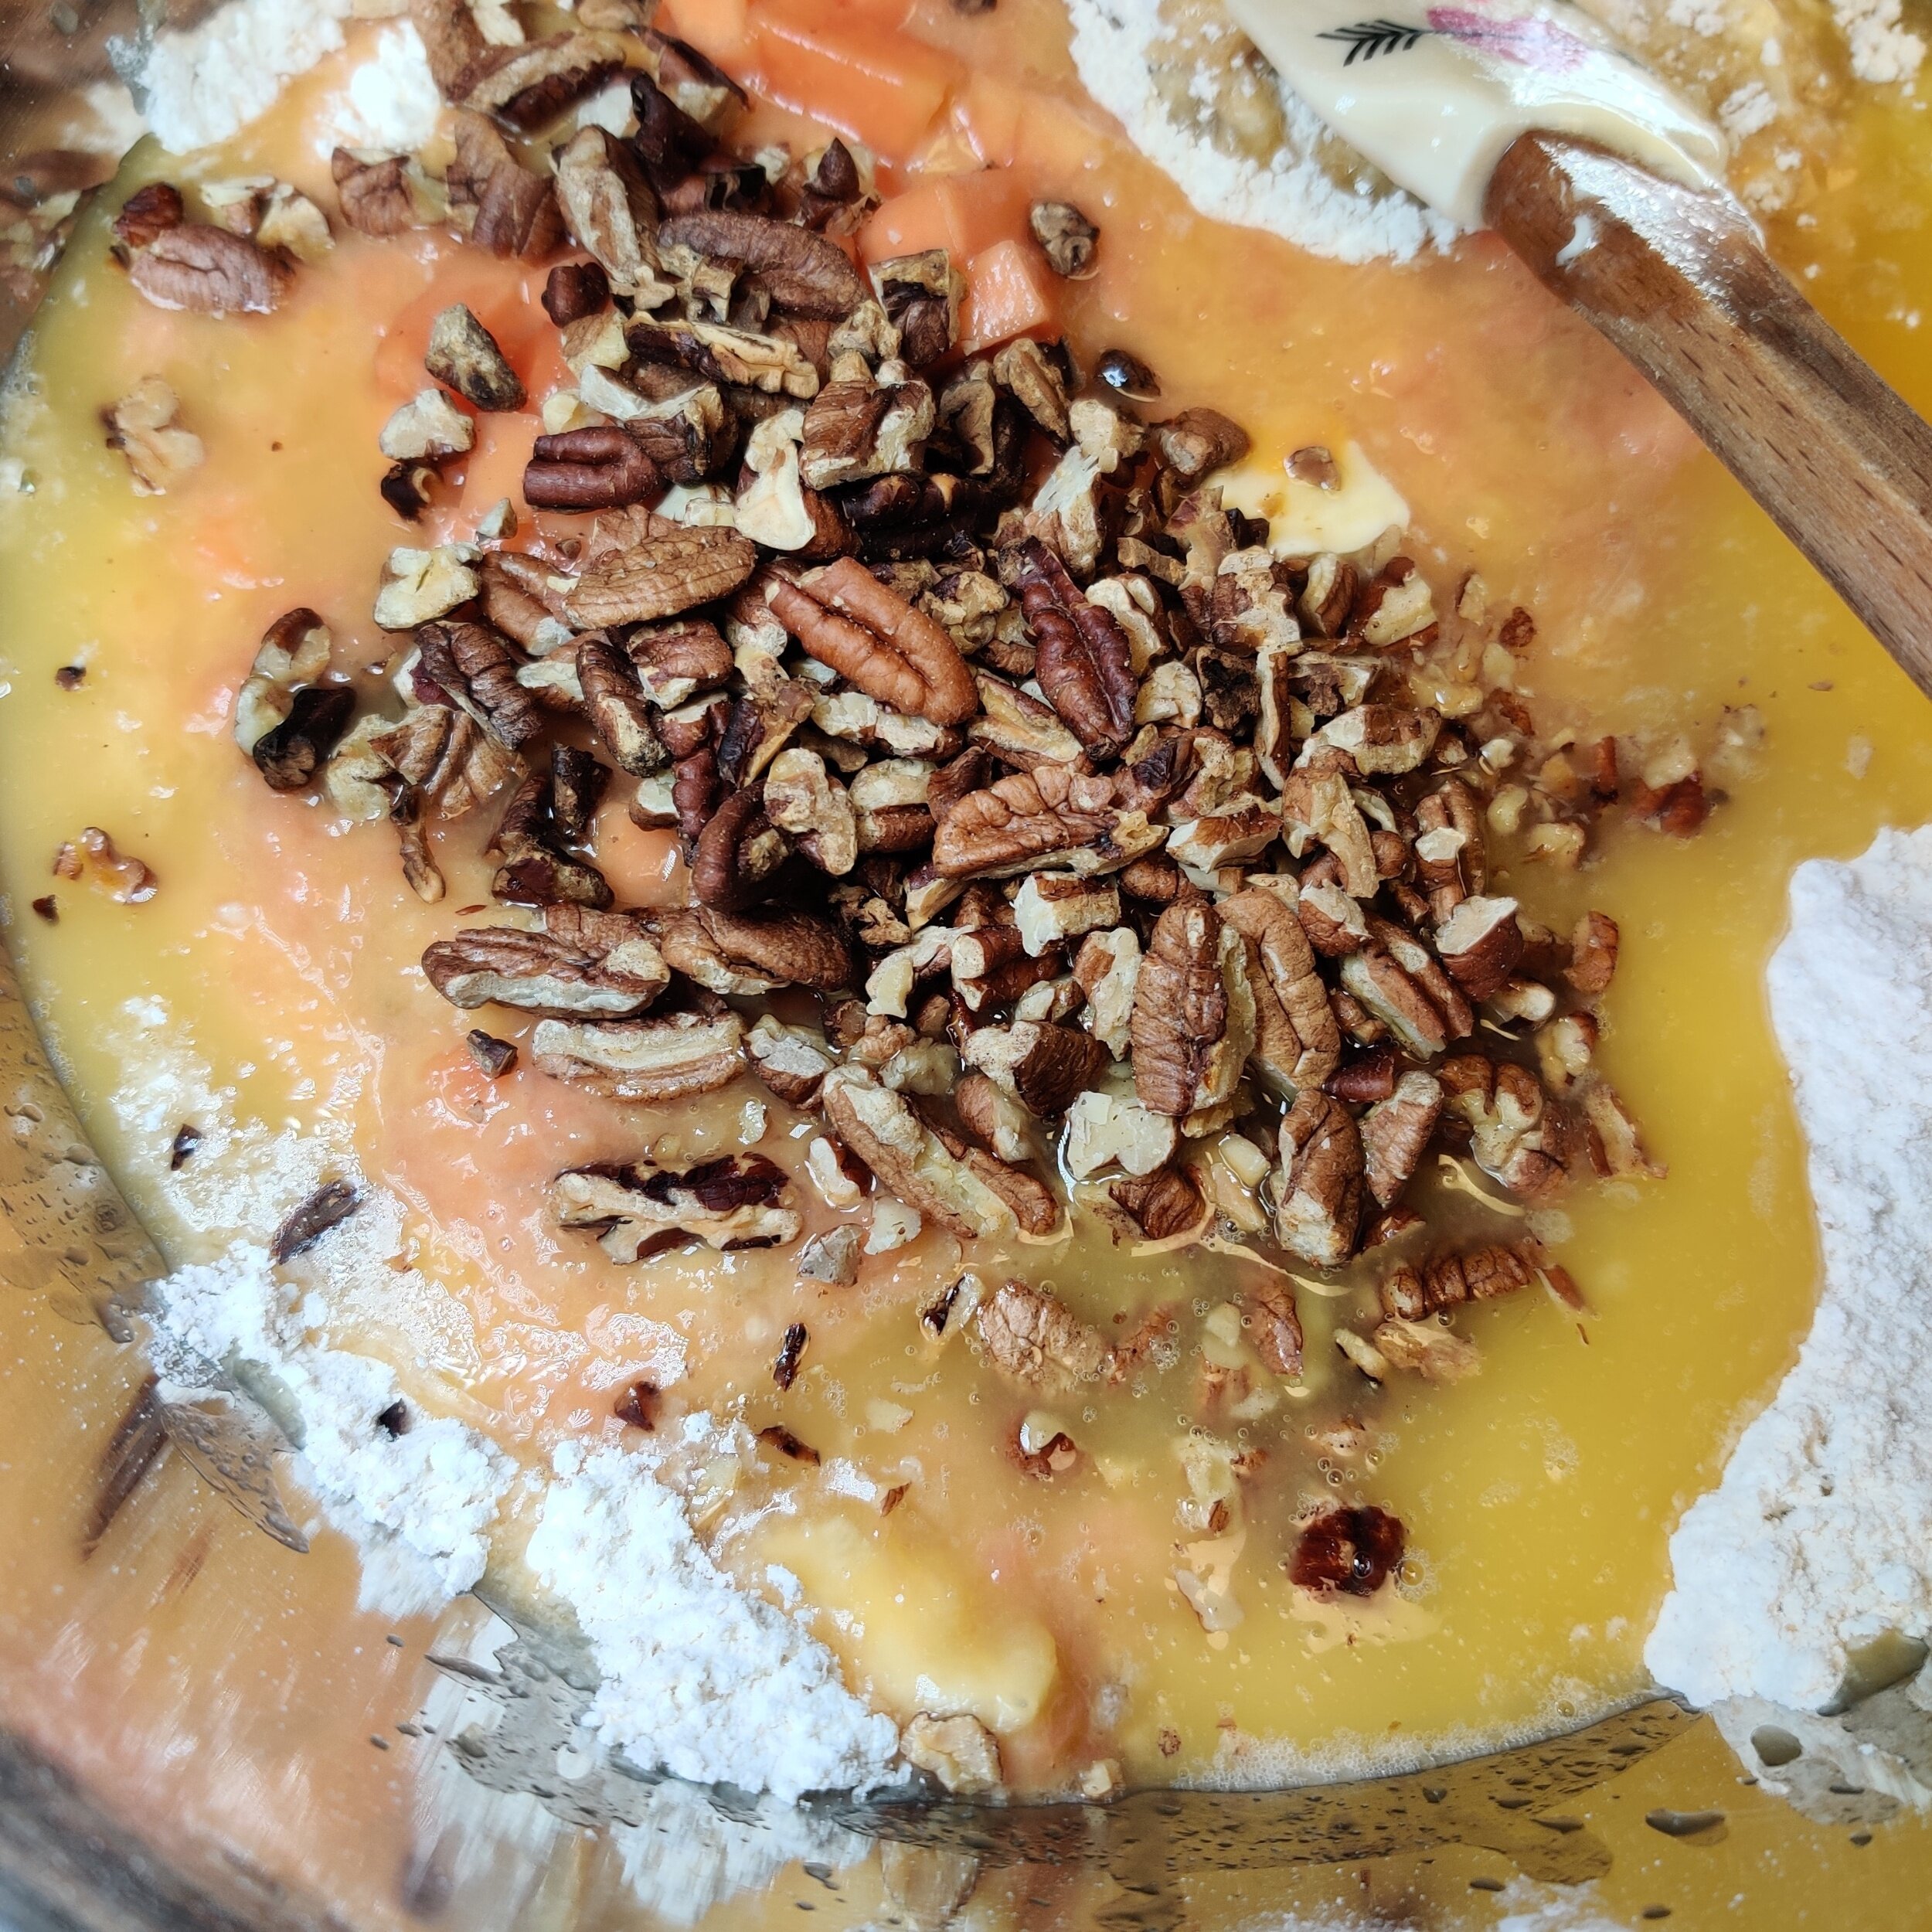
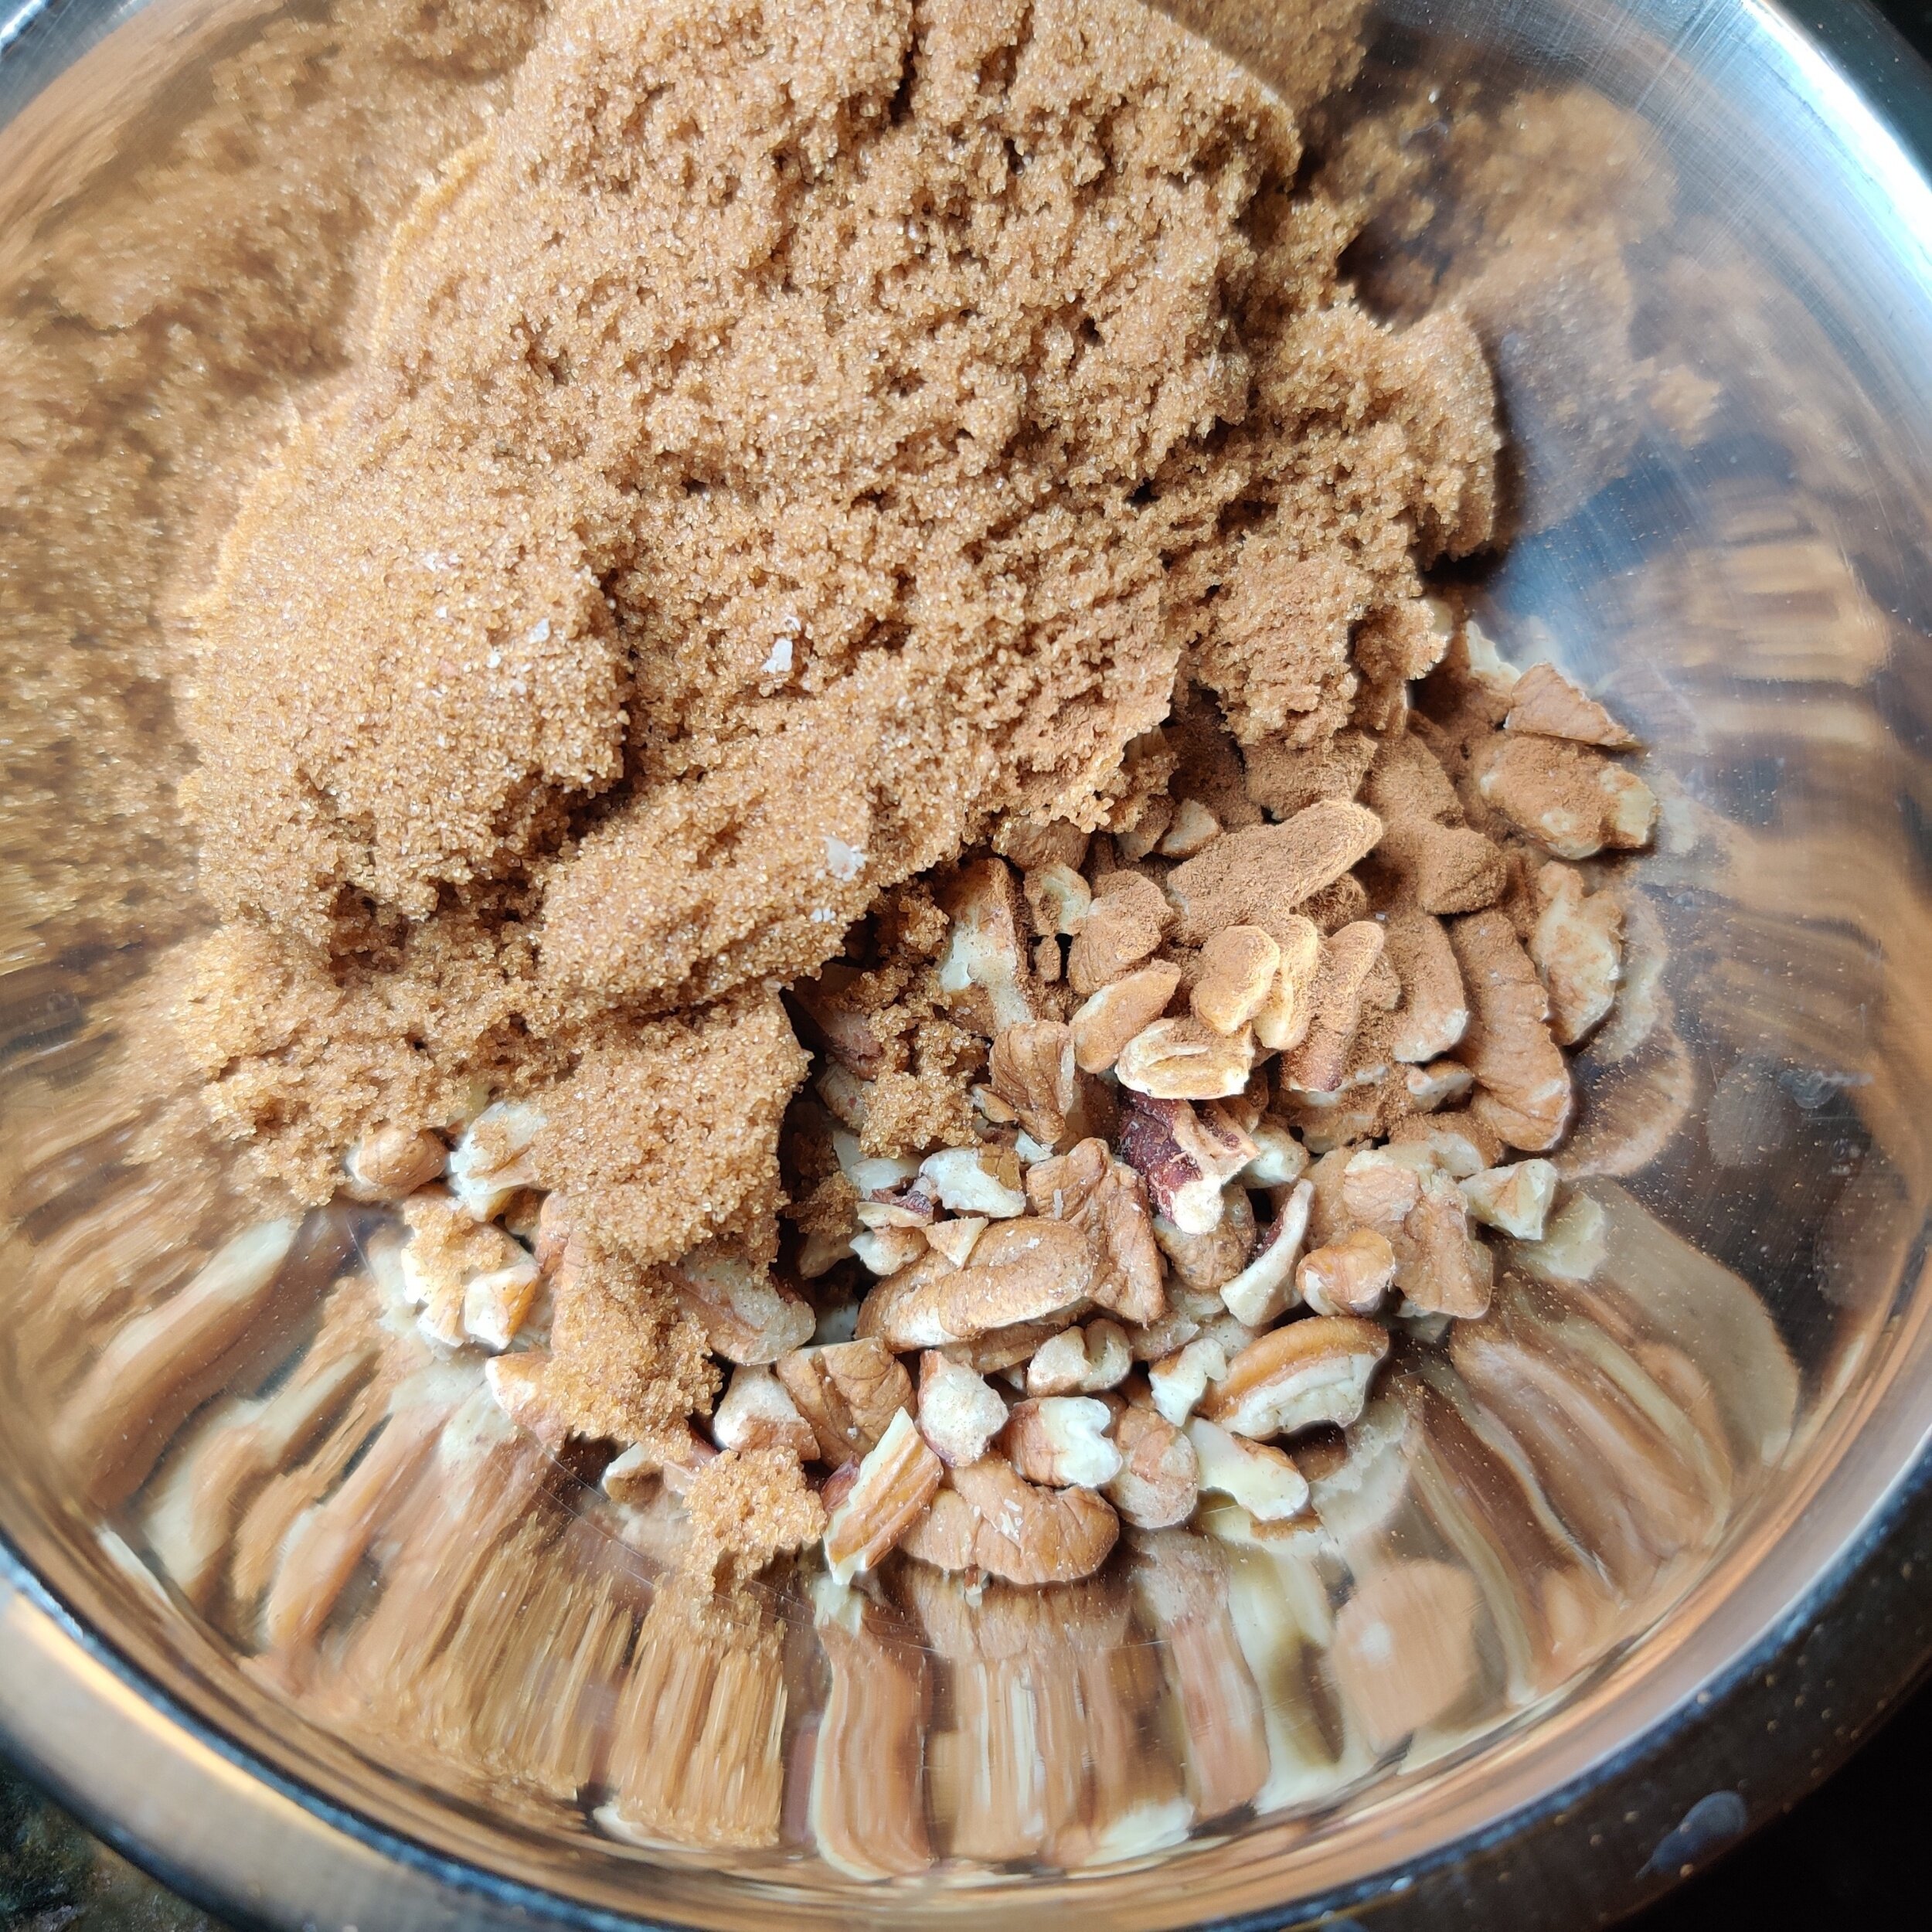
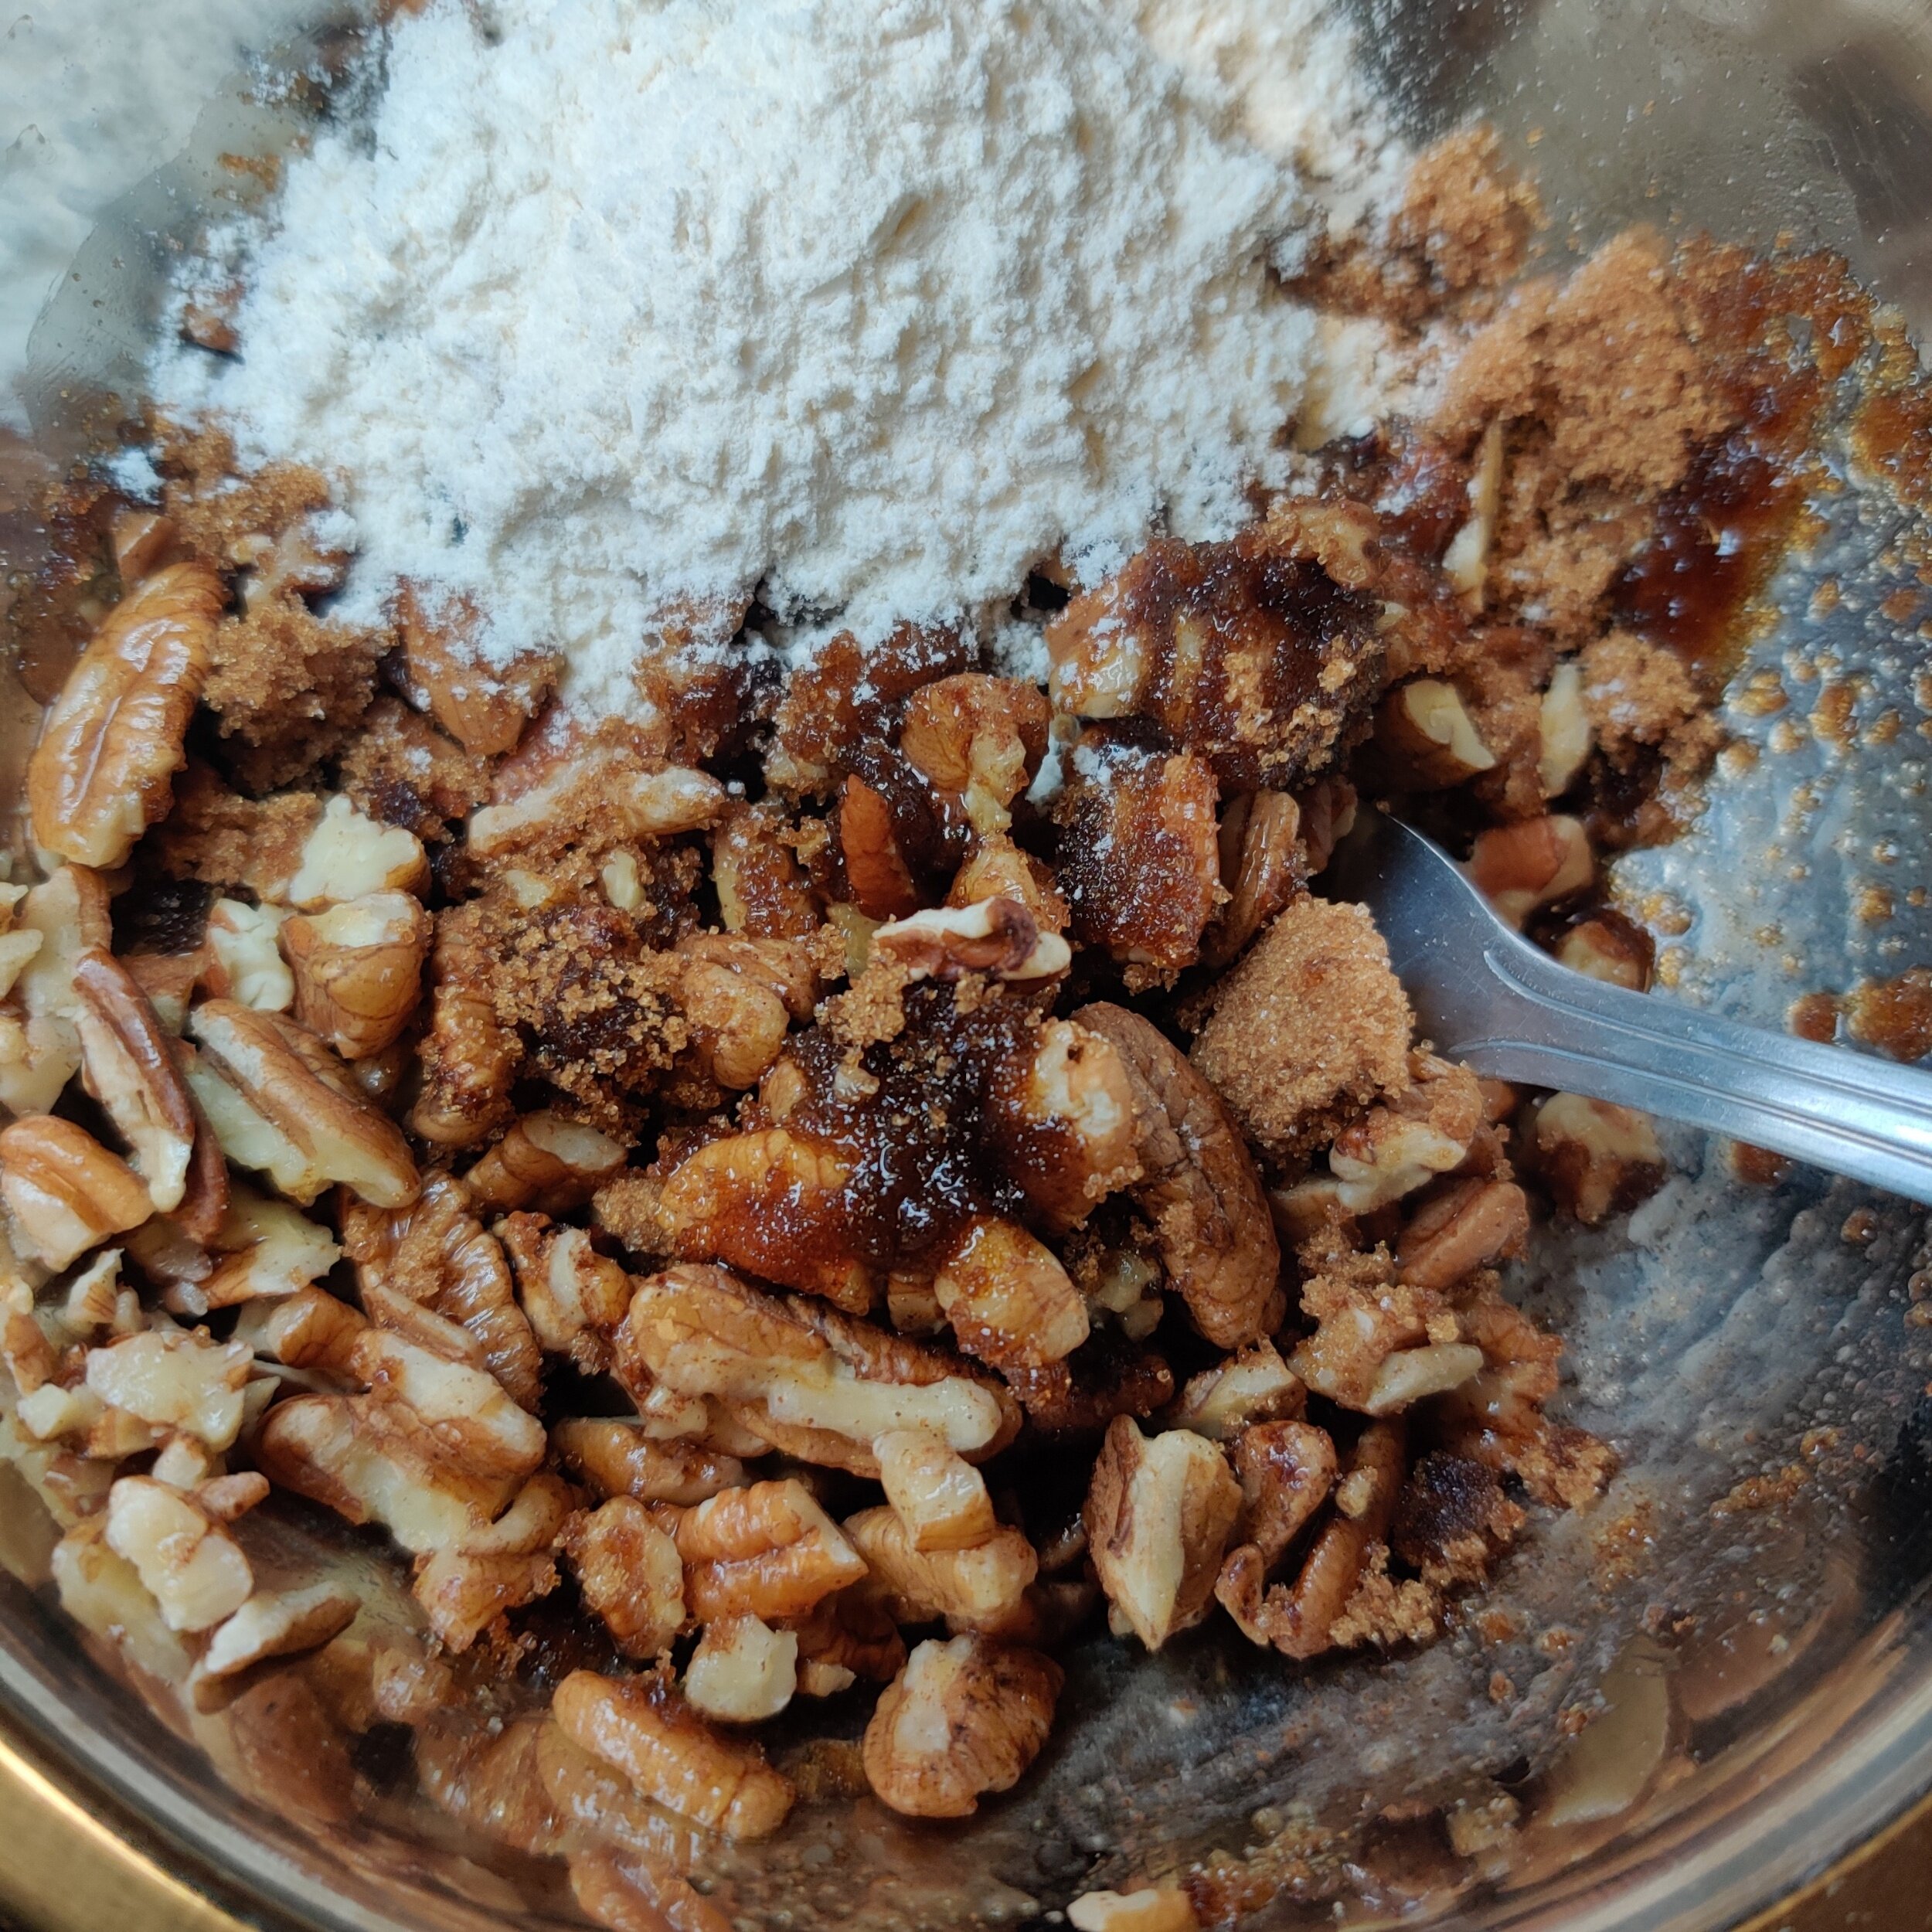
- ¼ cup chopped walnuts
- ¼ cup pumpkin seeds (plus extra for topping)
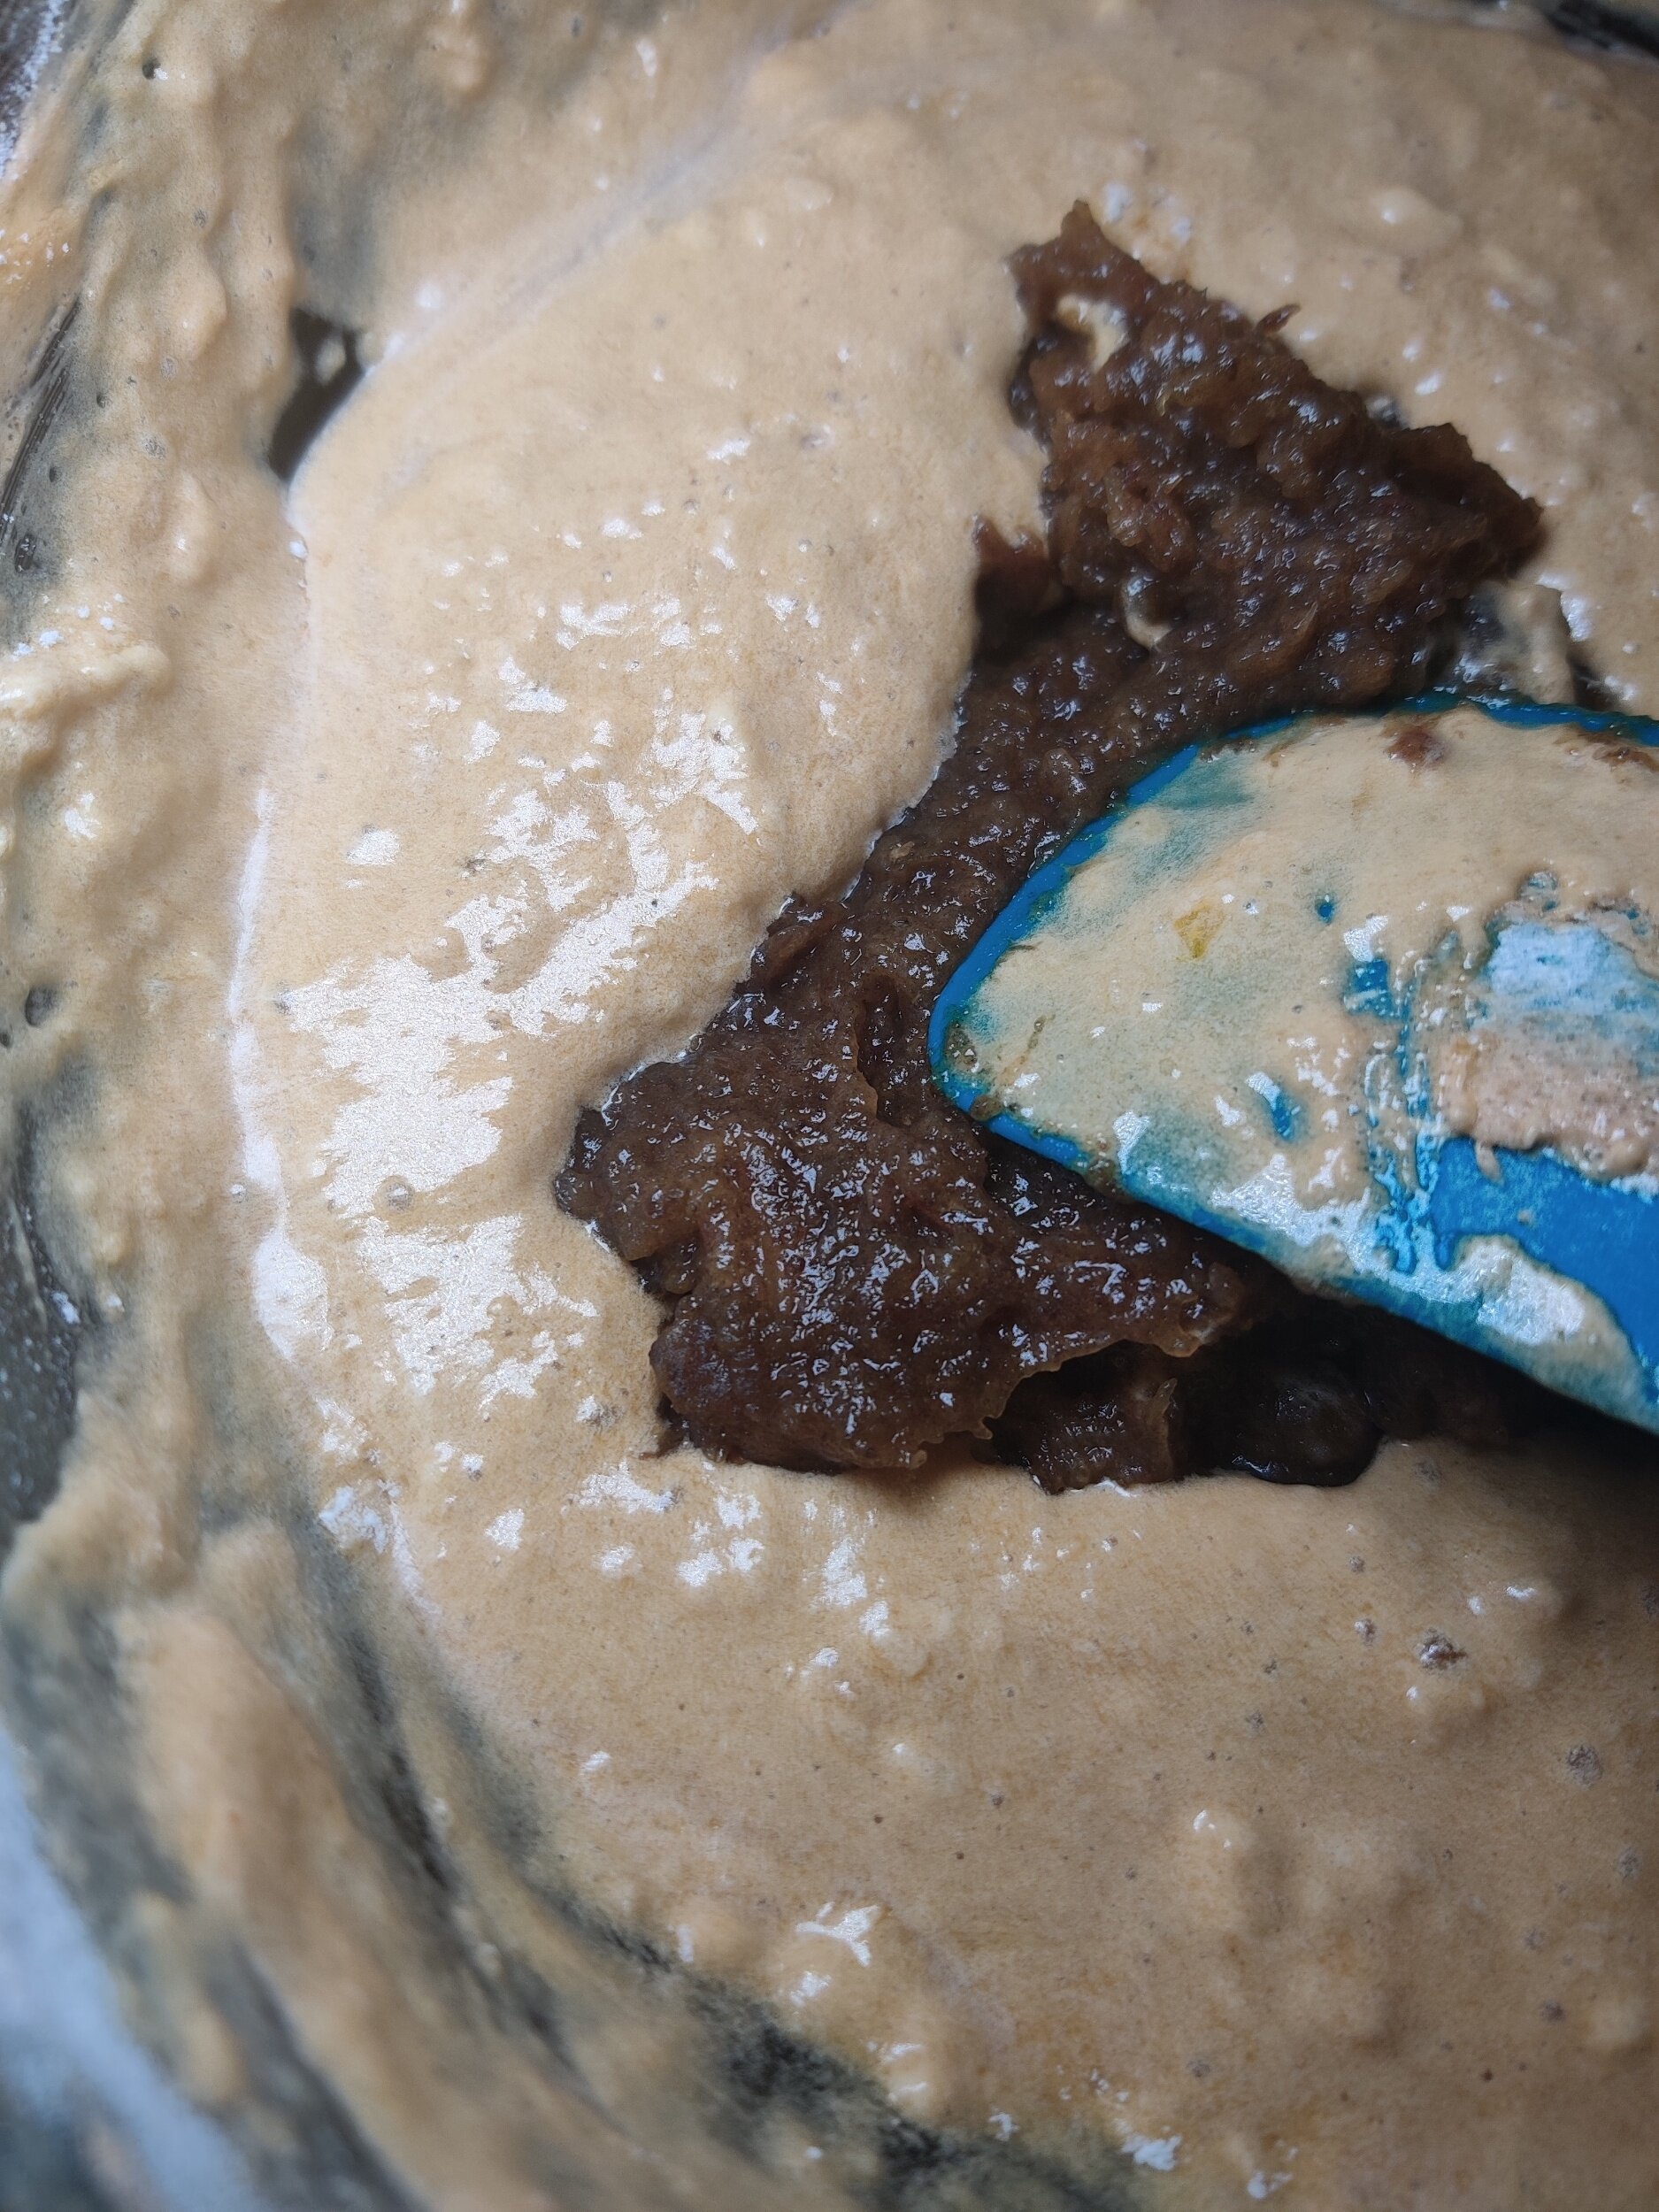
- ¼ cup dark chocolate, roughly chopped
- Turbinado sugar, for garnish
Instructions
- Preheat the oven to 350 degrees Fahrenheit (175 degrees Celsius). Line a loaf pan with parchment paper or lightly grease it.
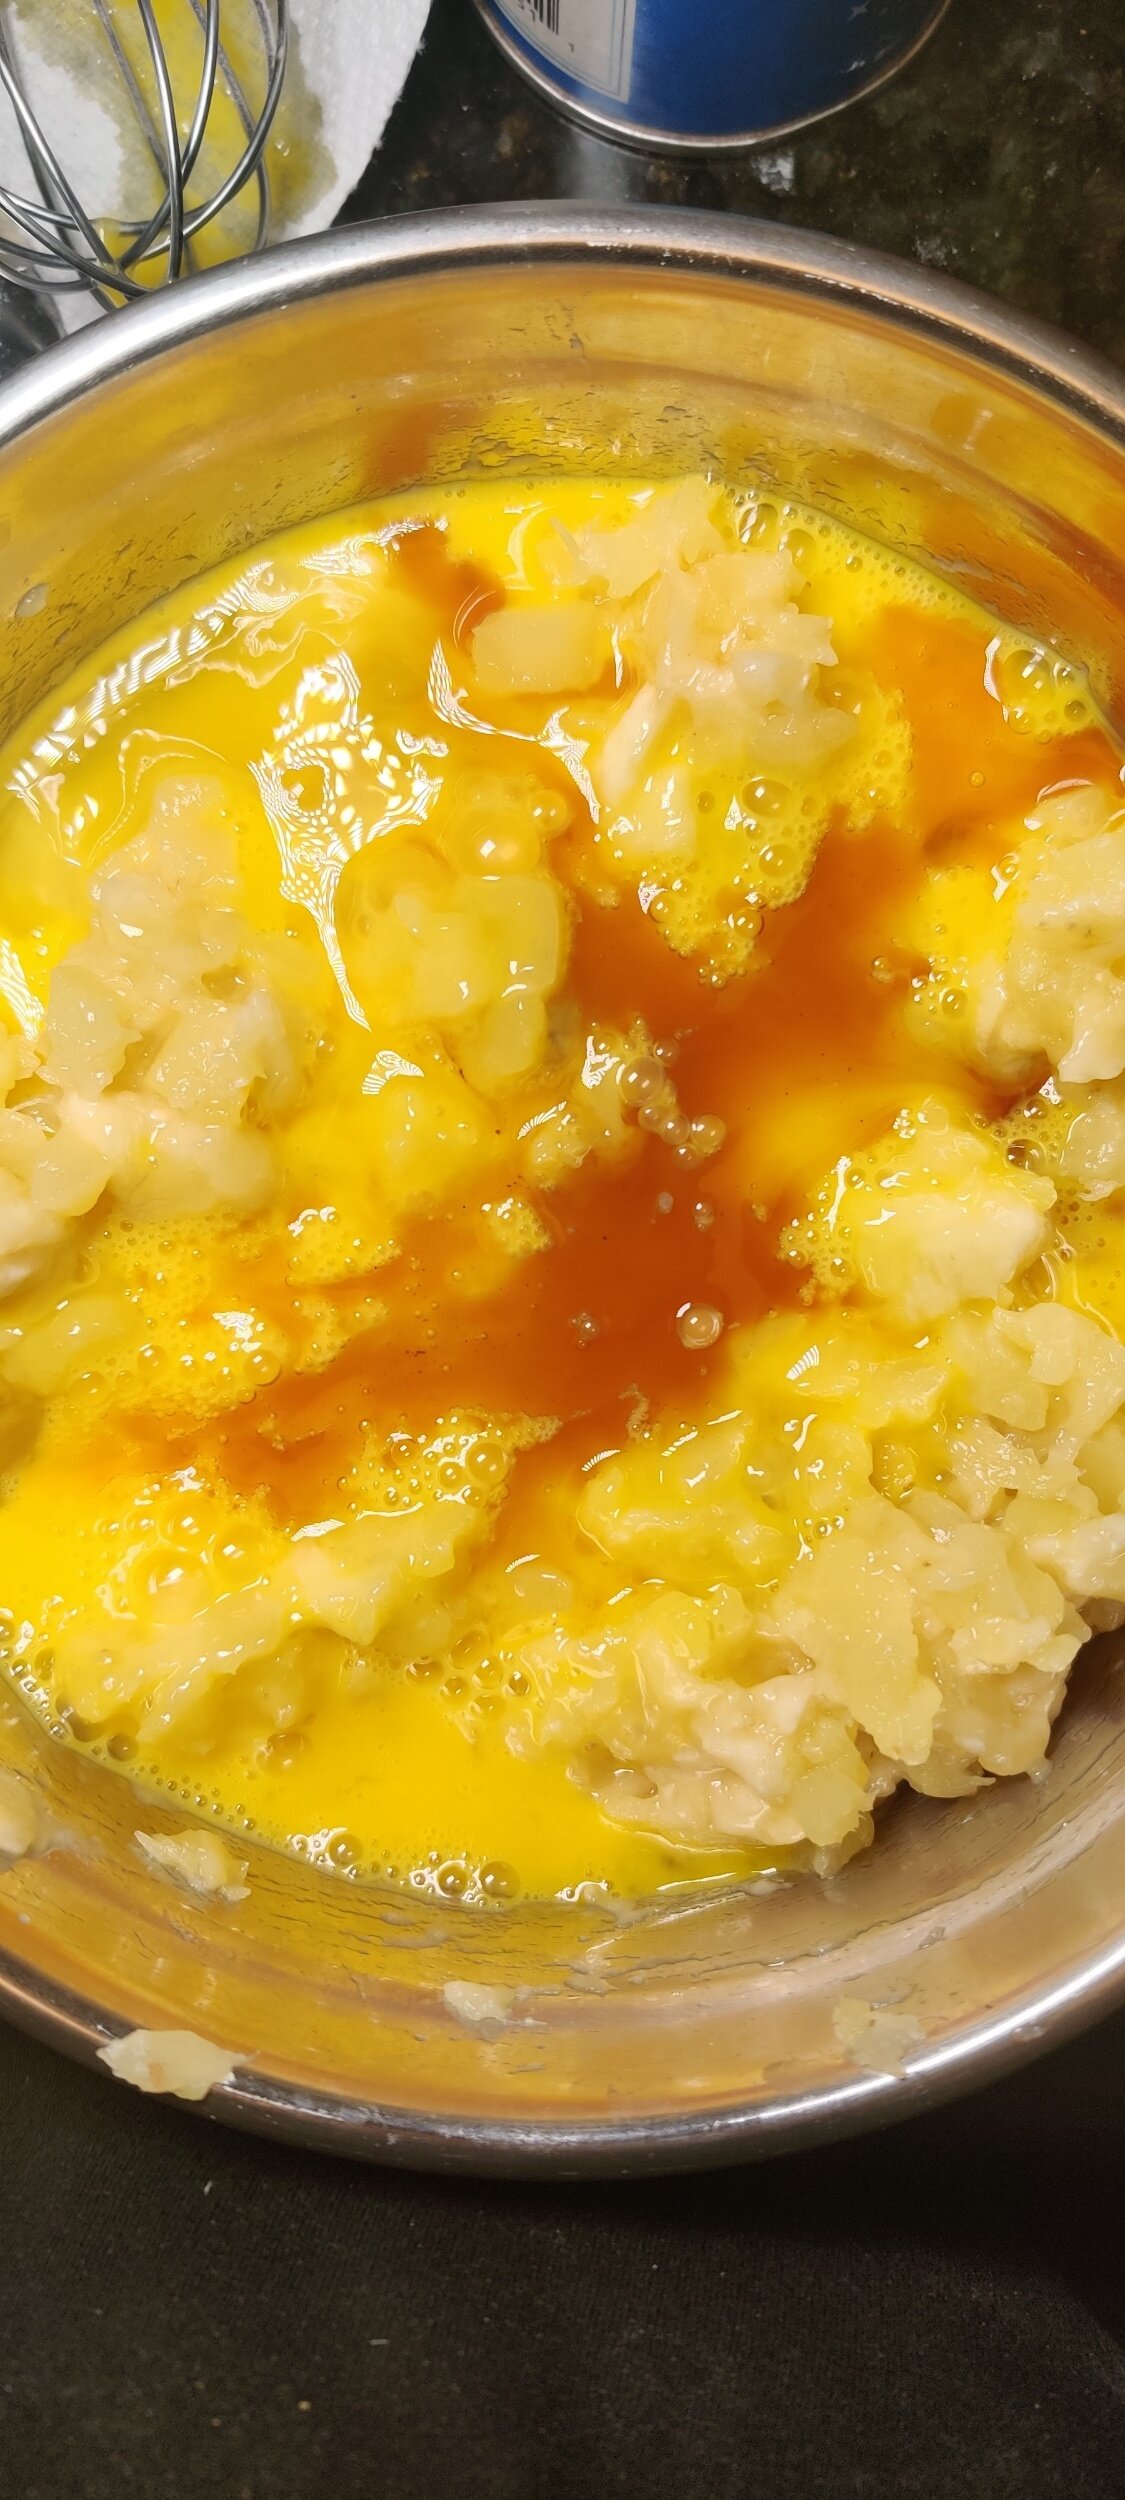
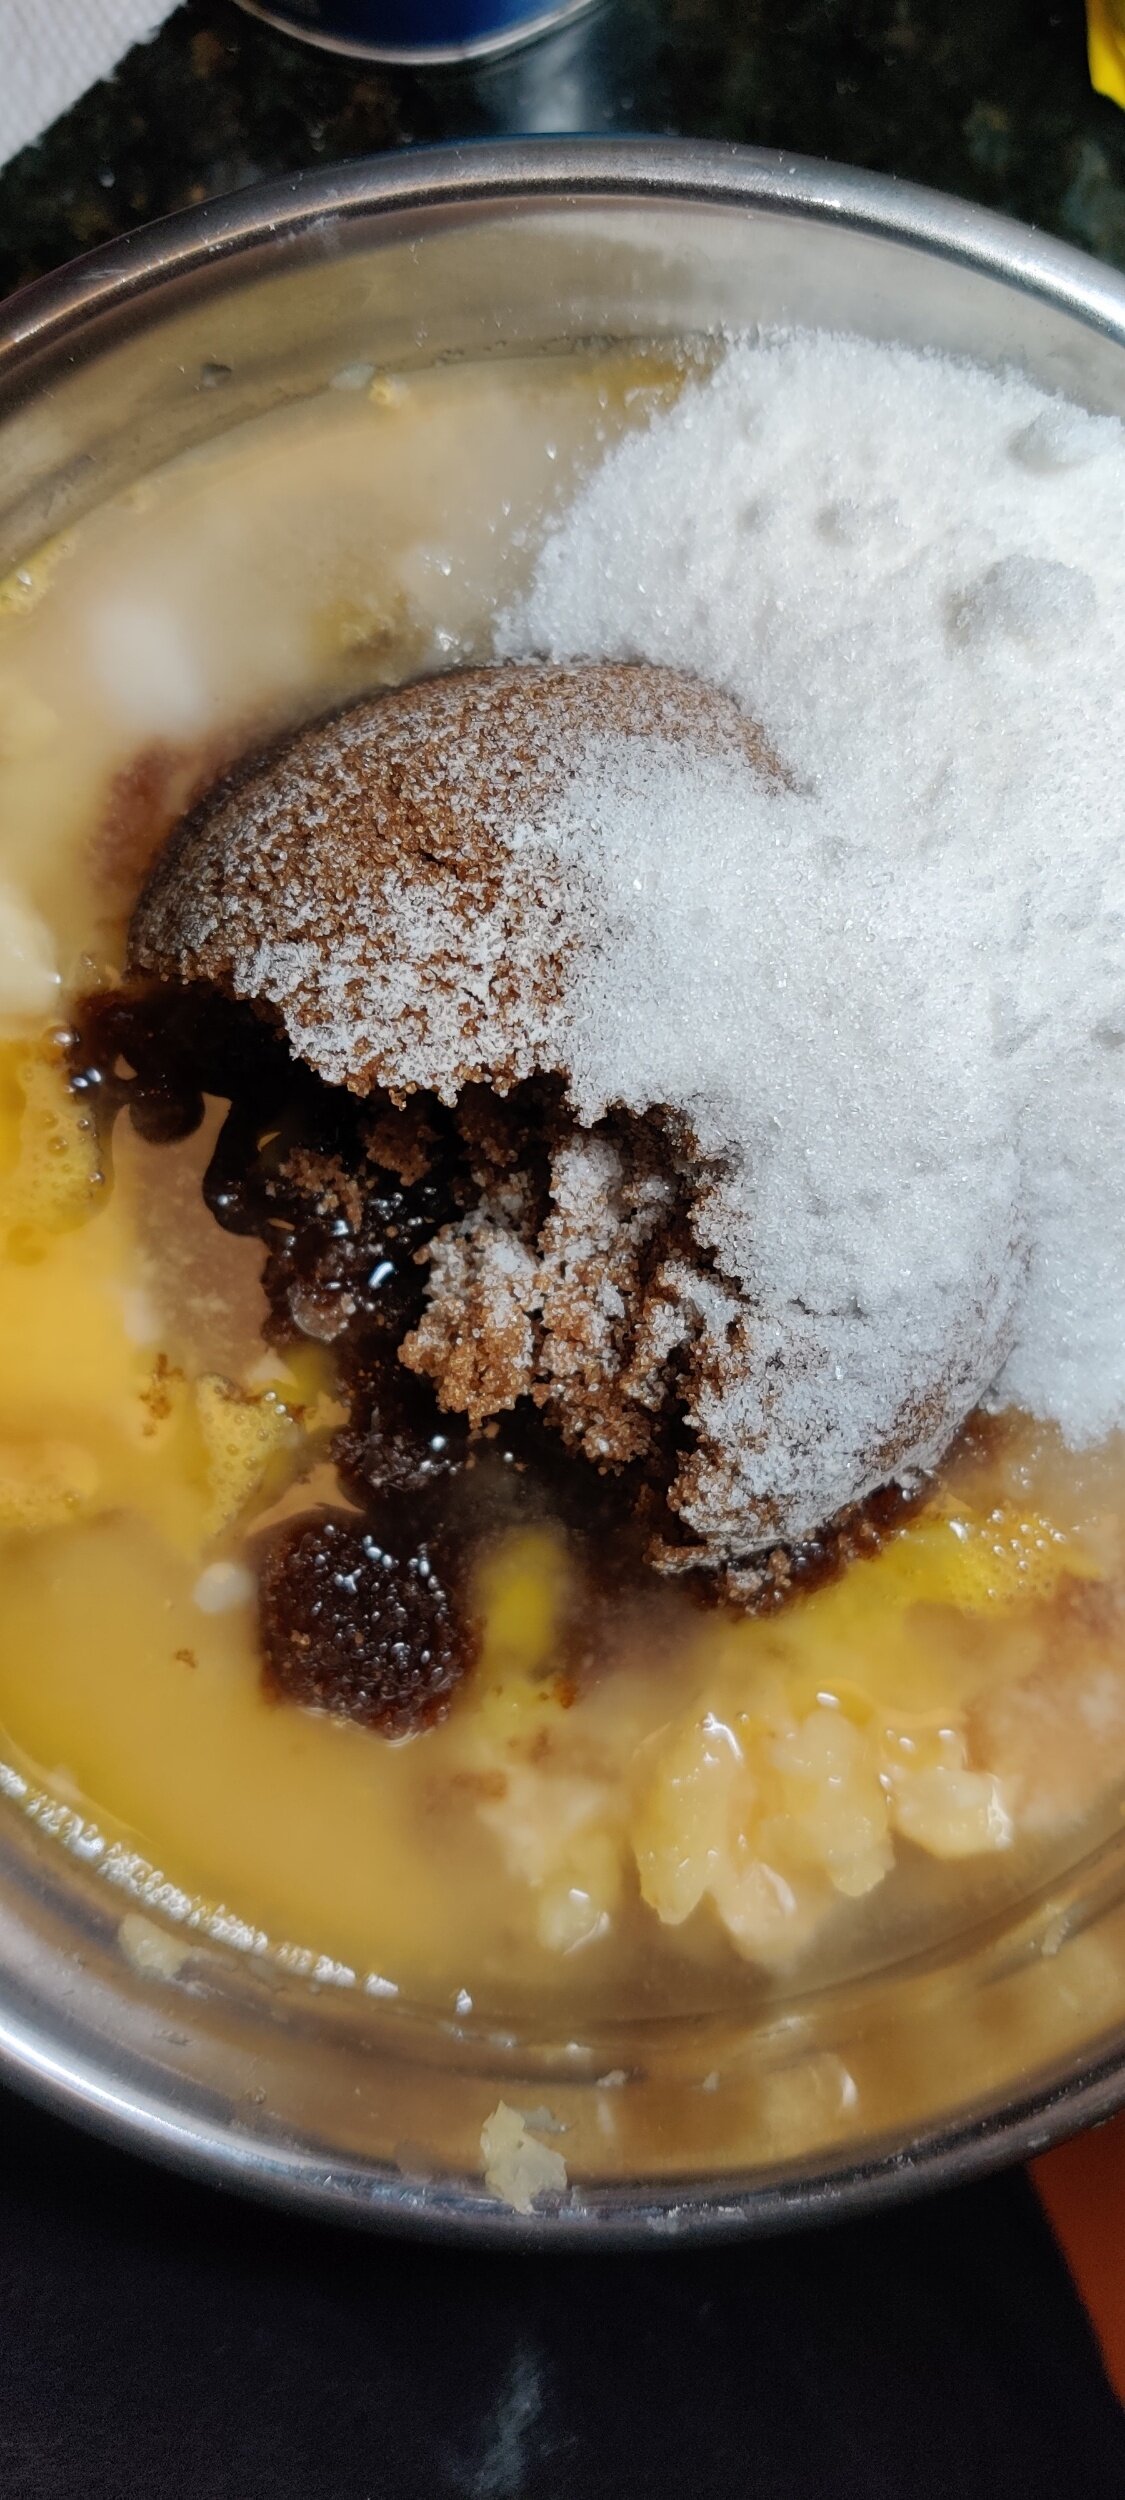
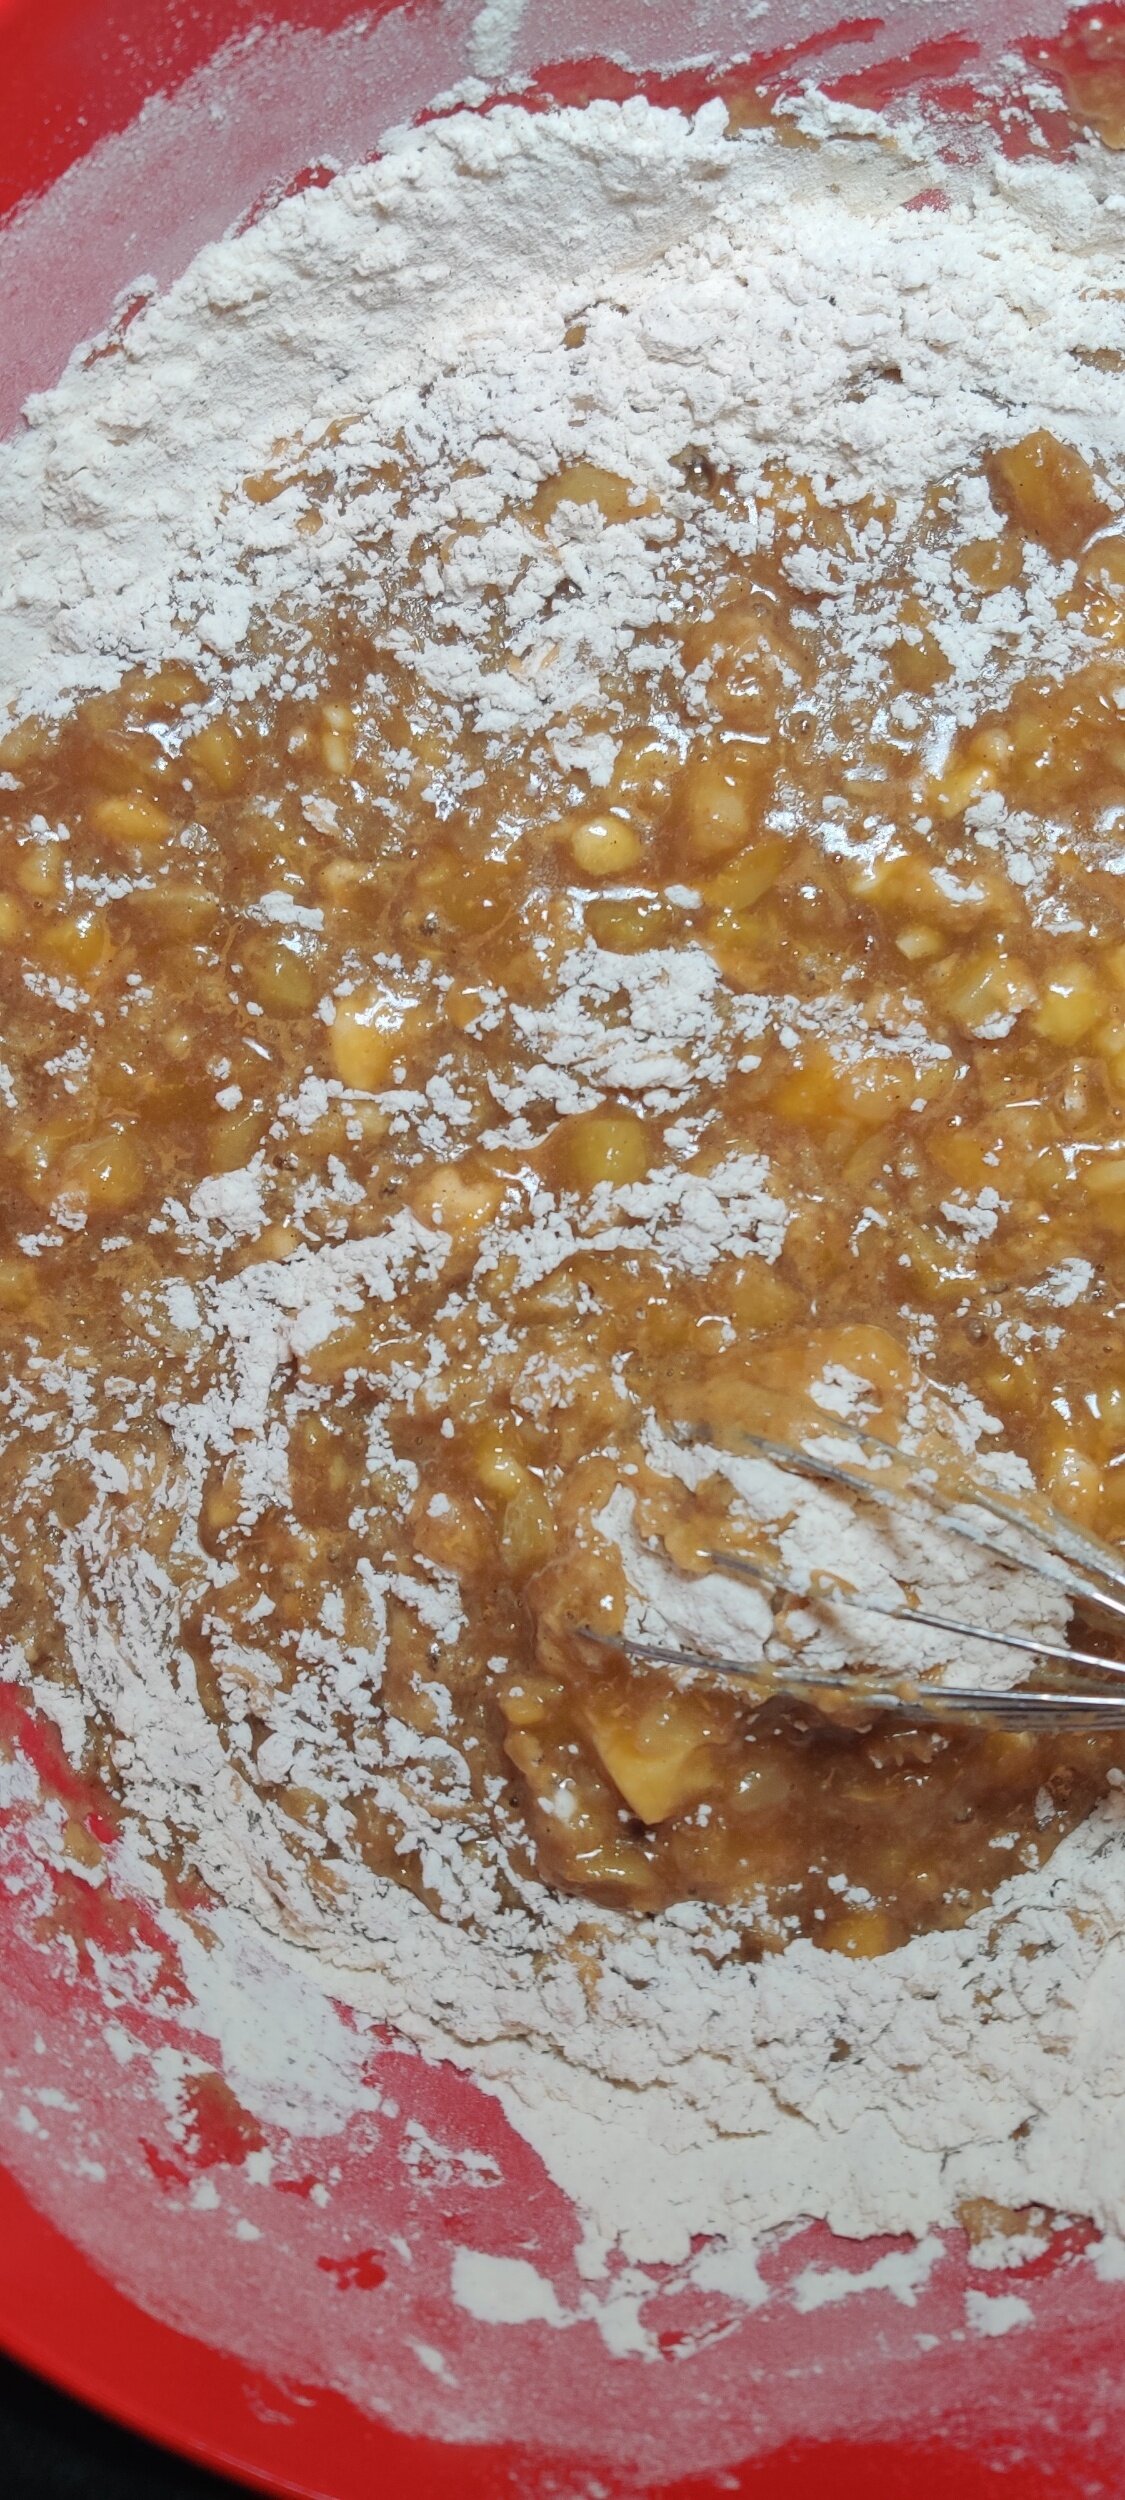
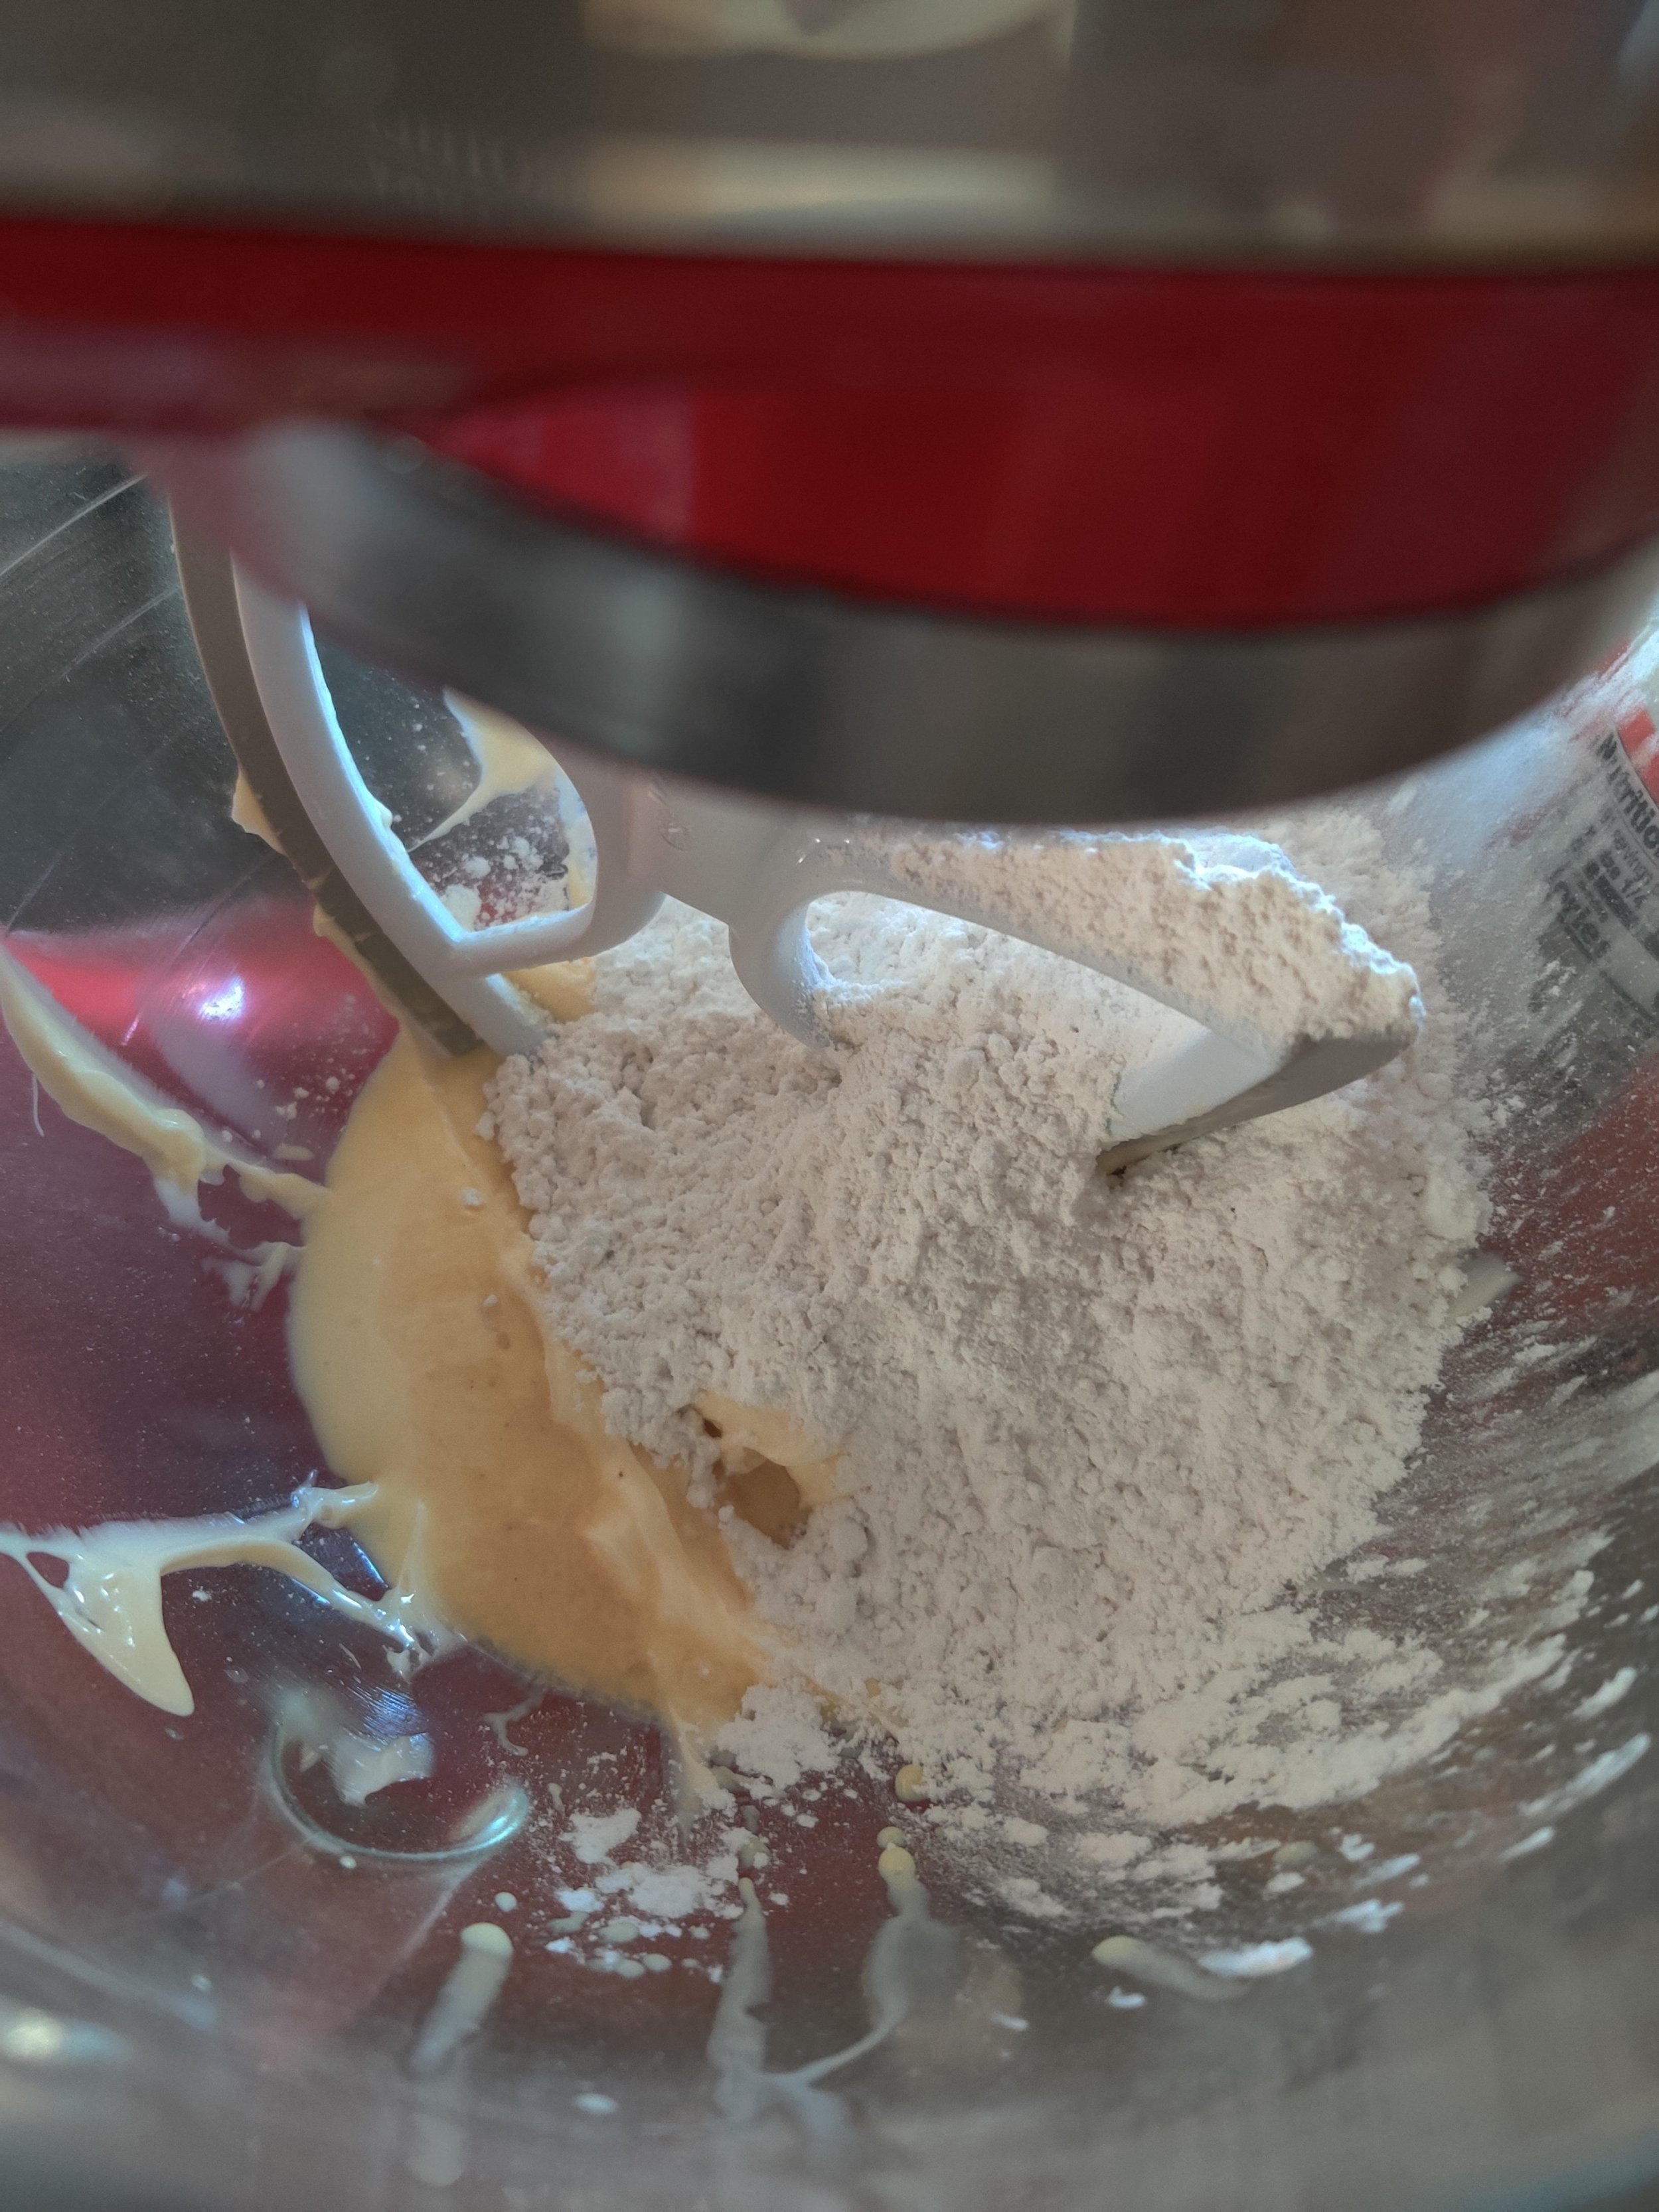
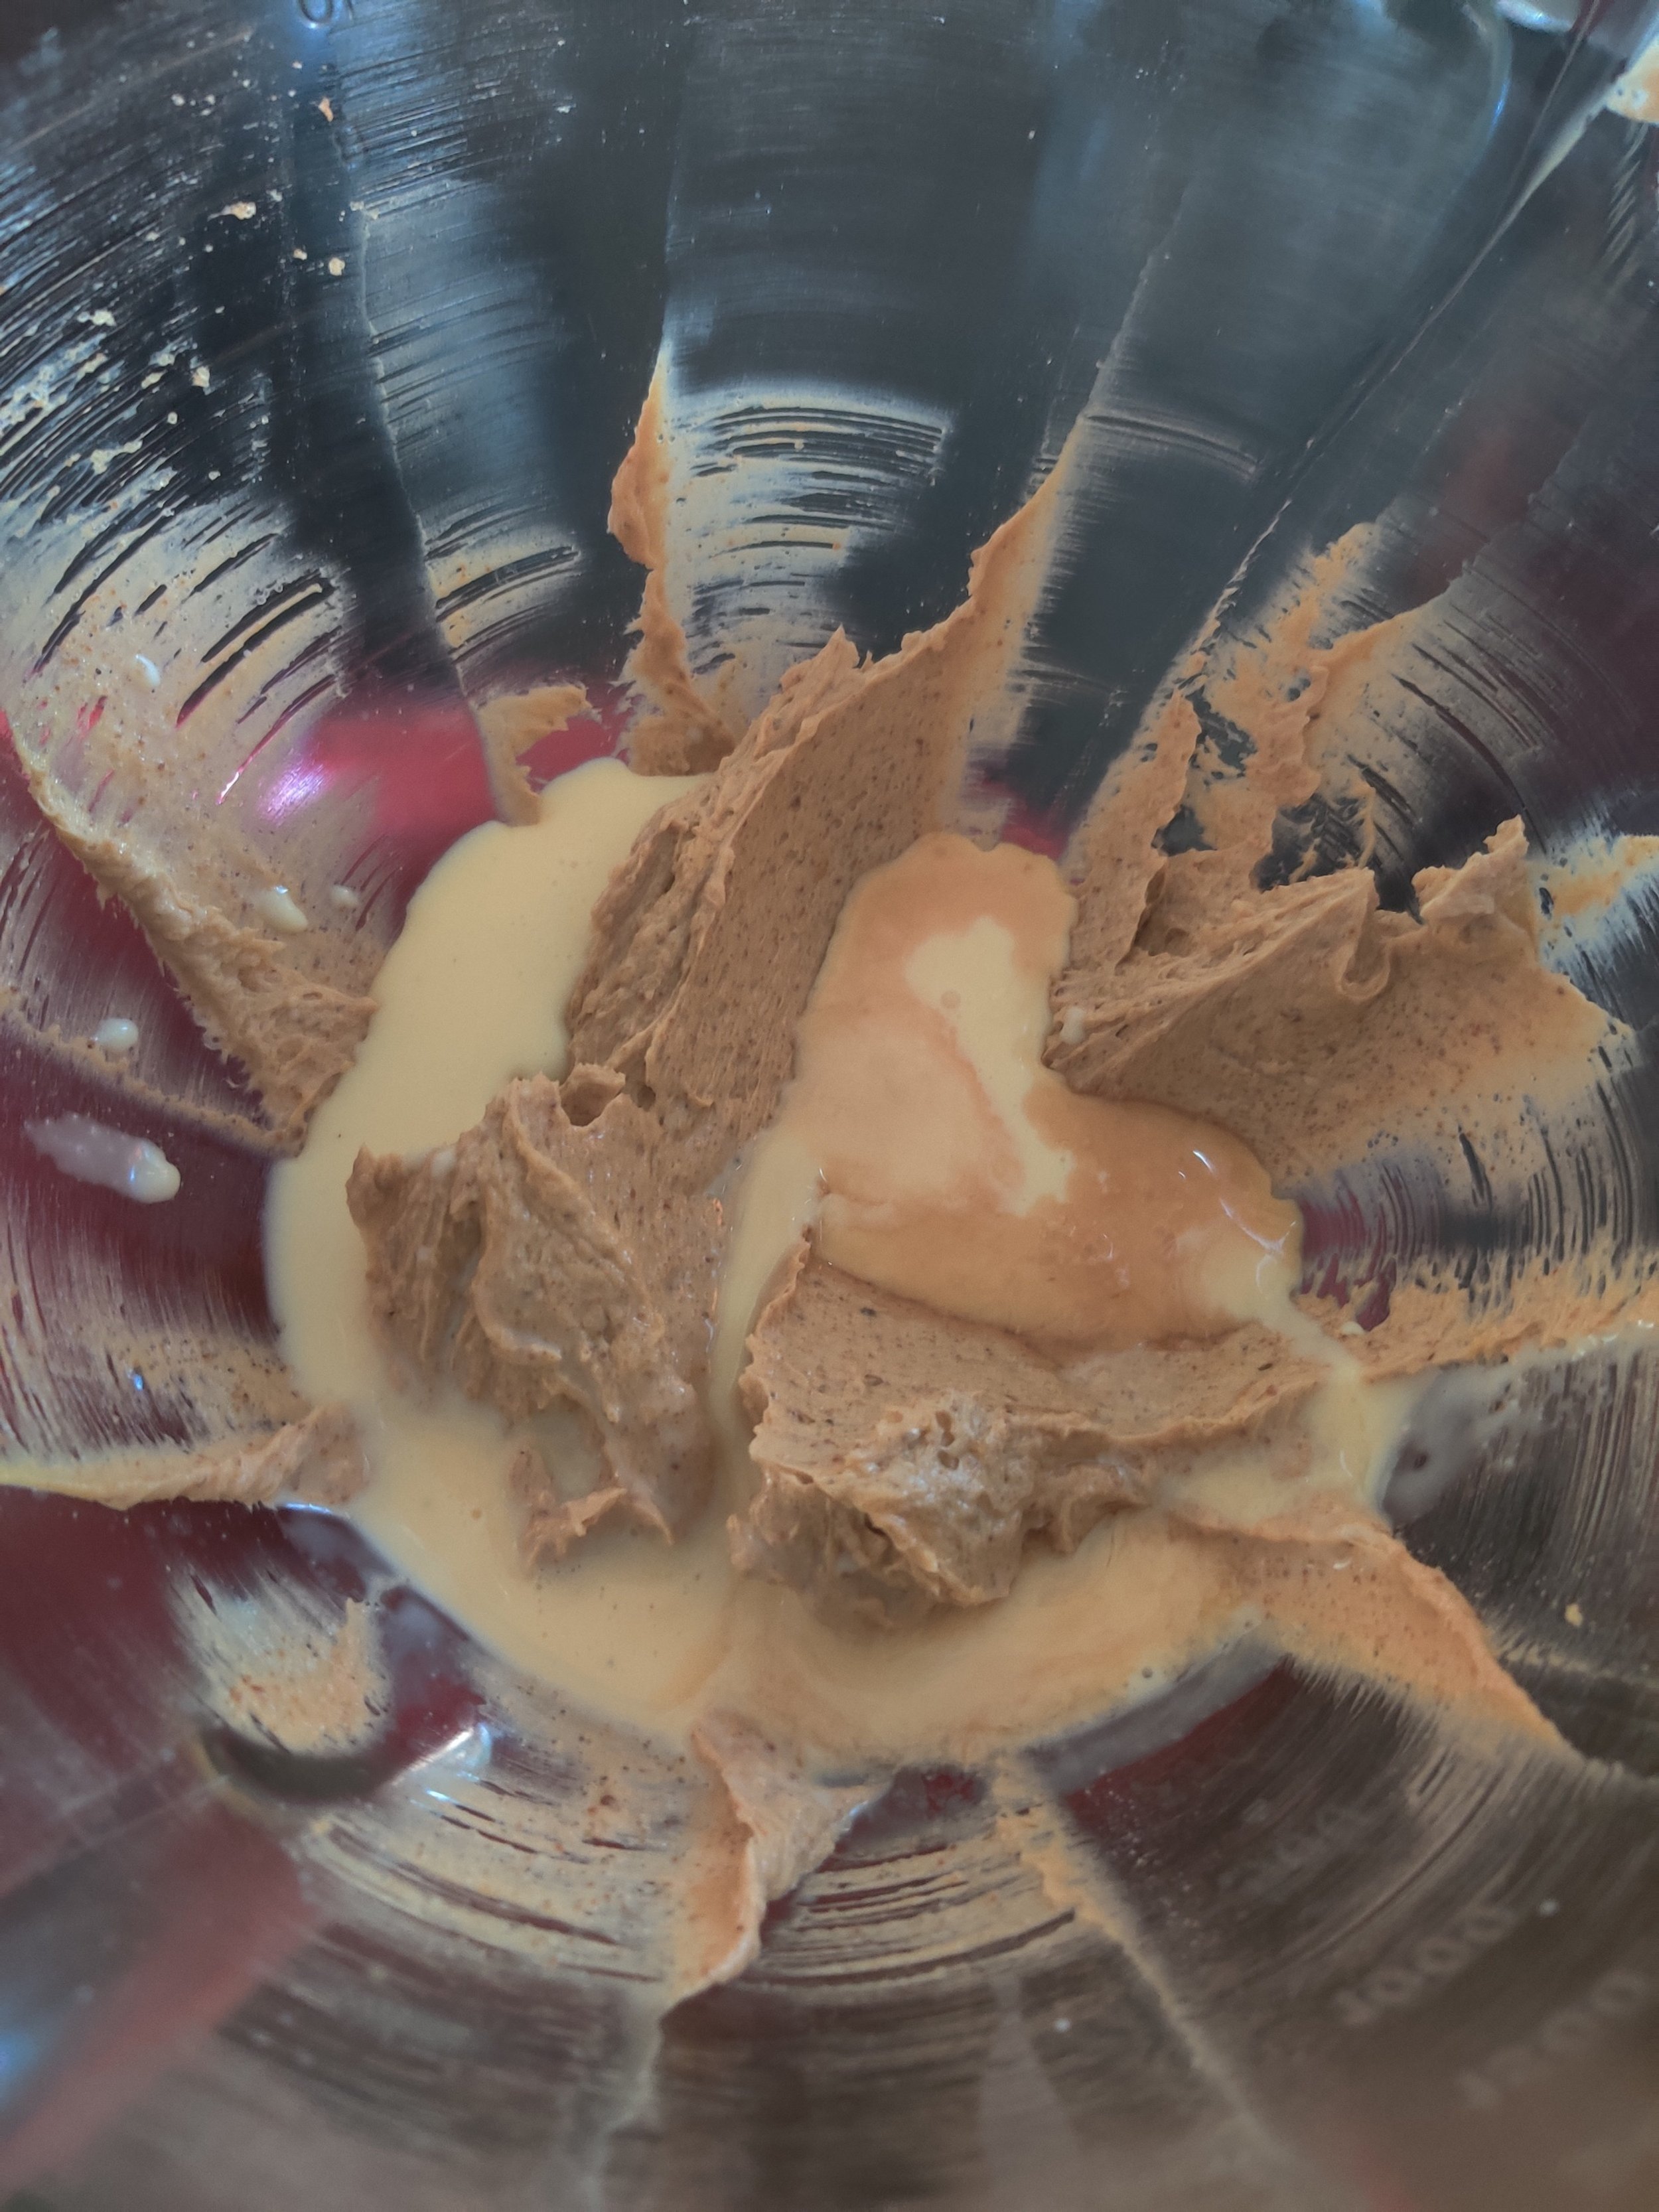
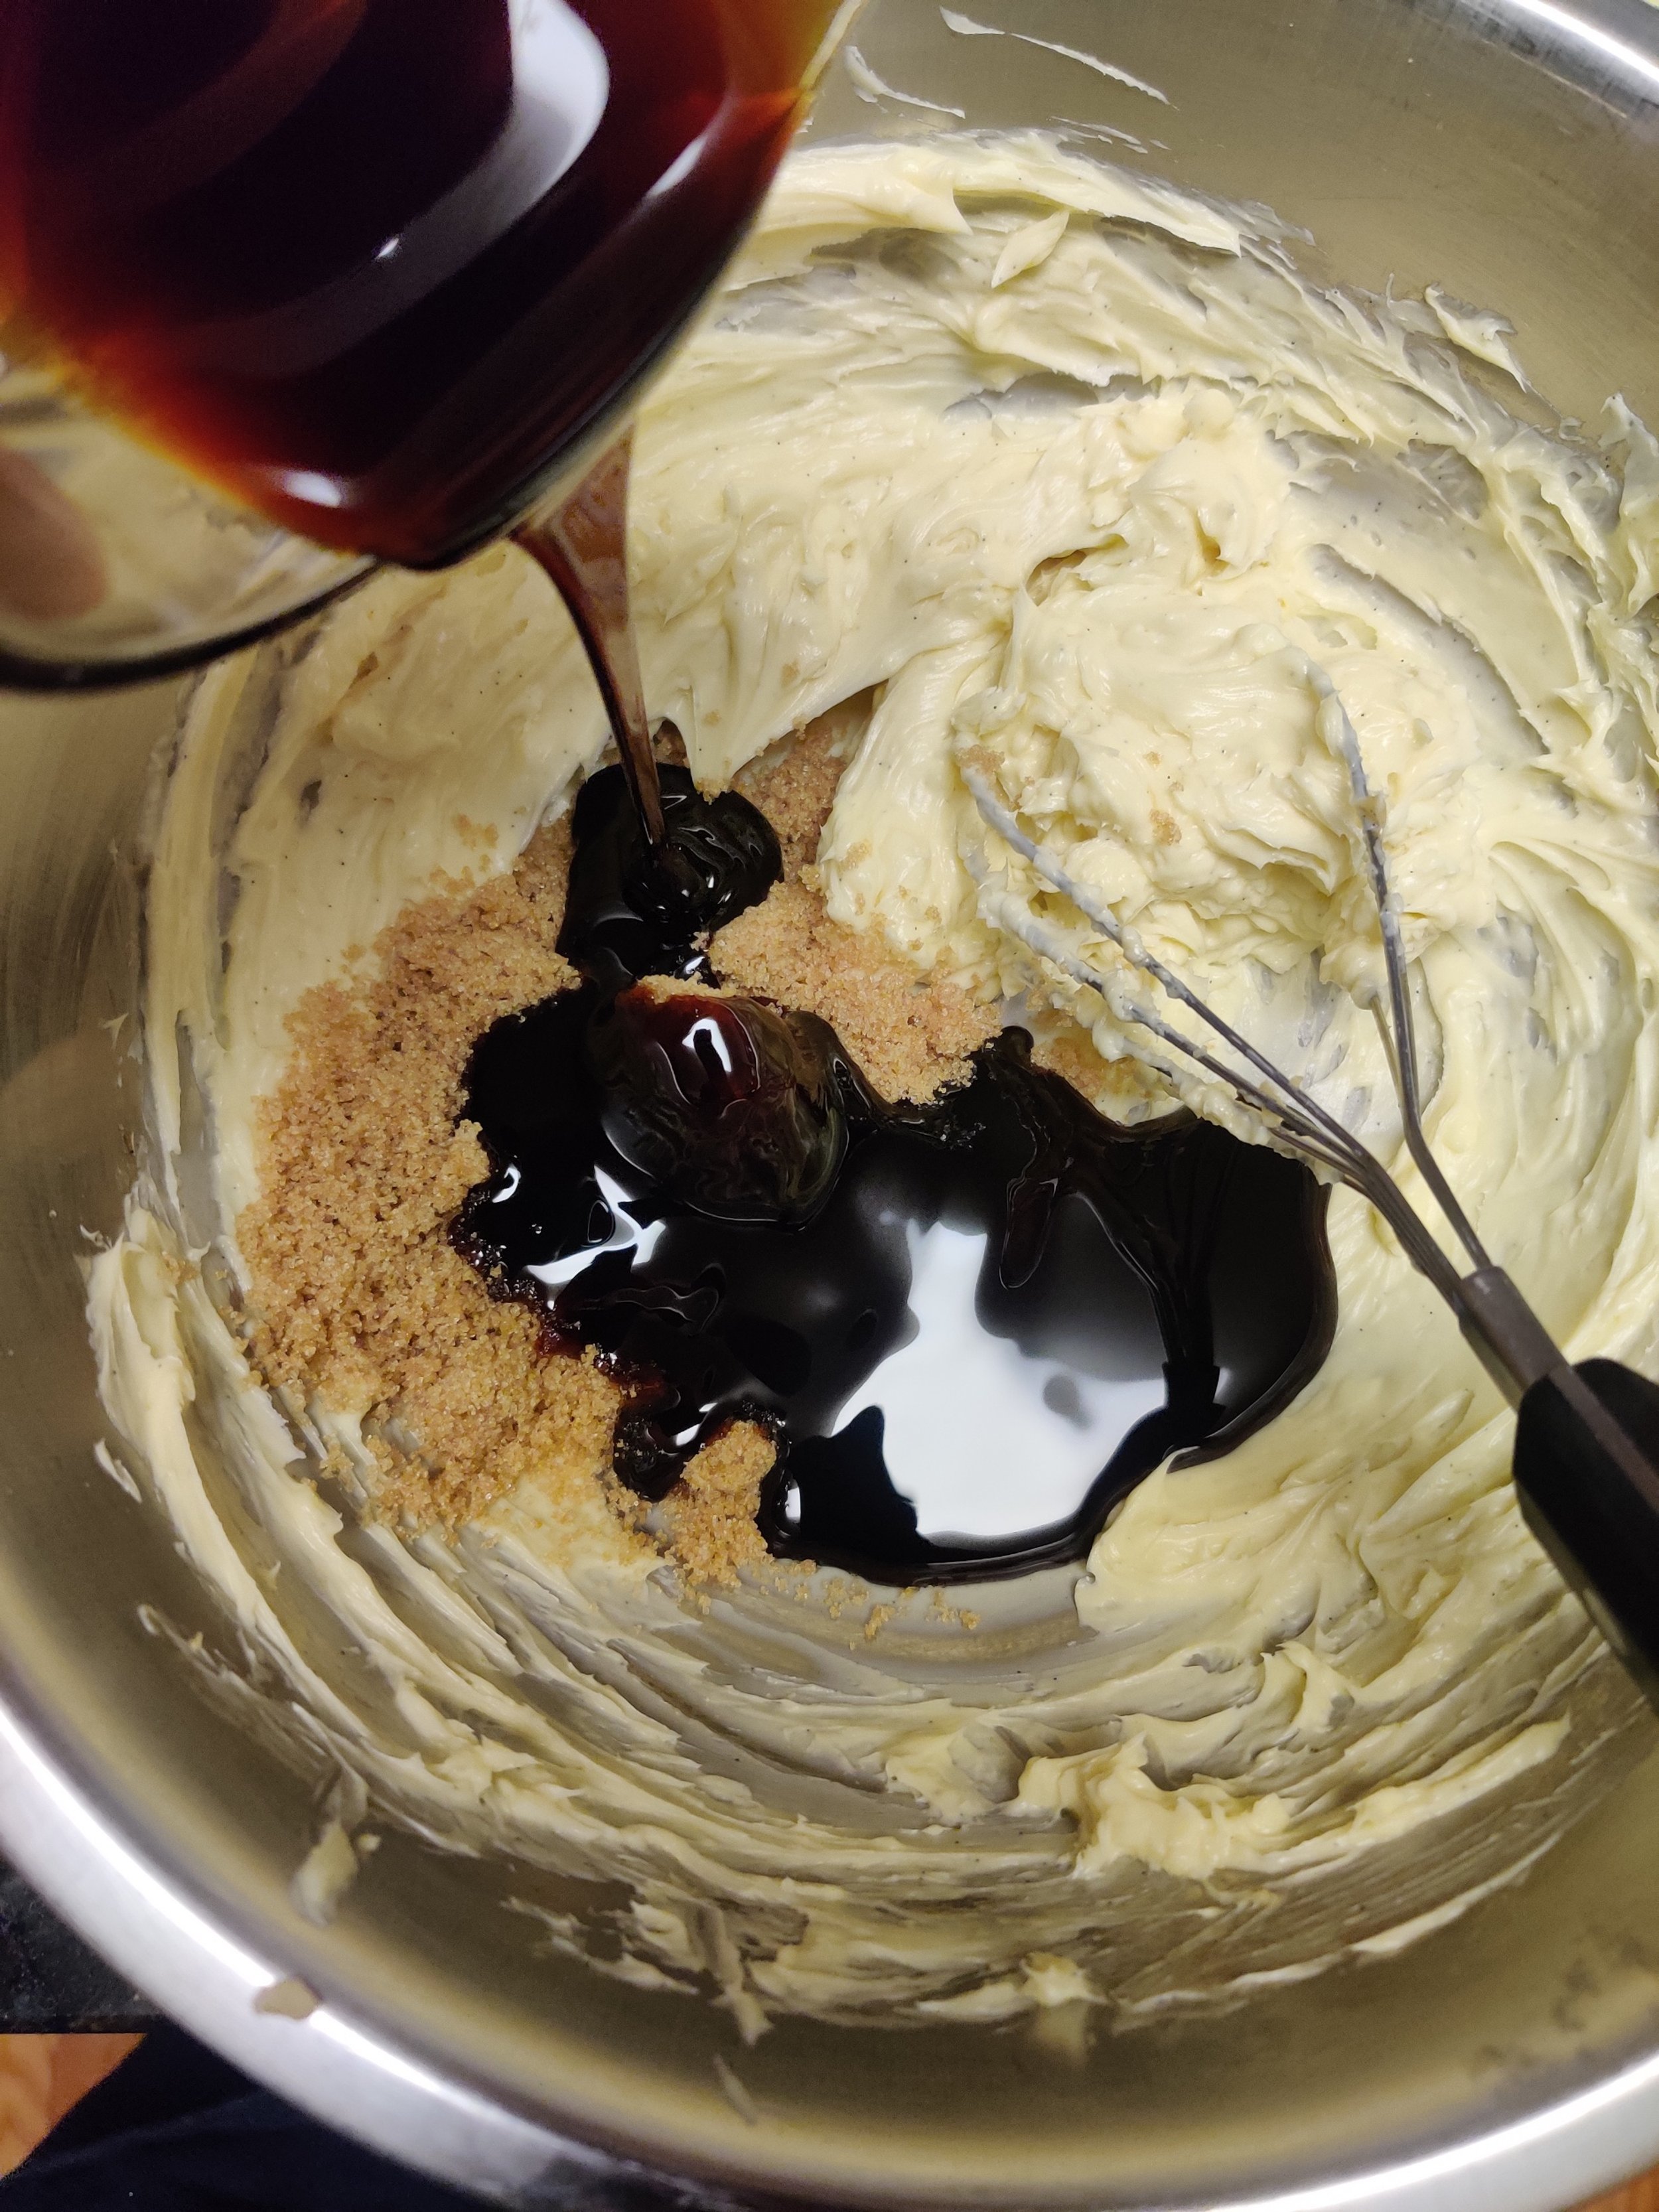
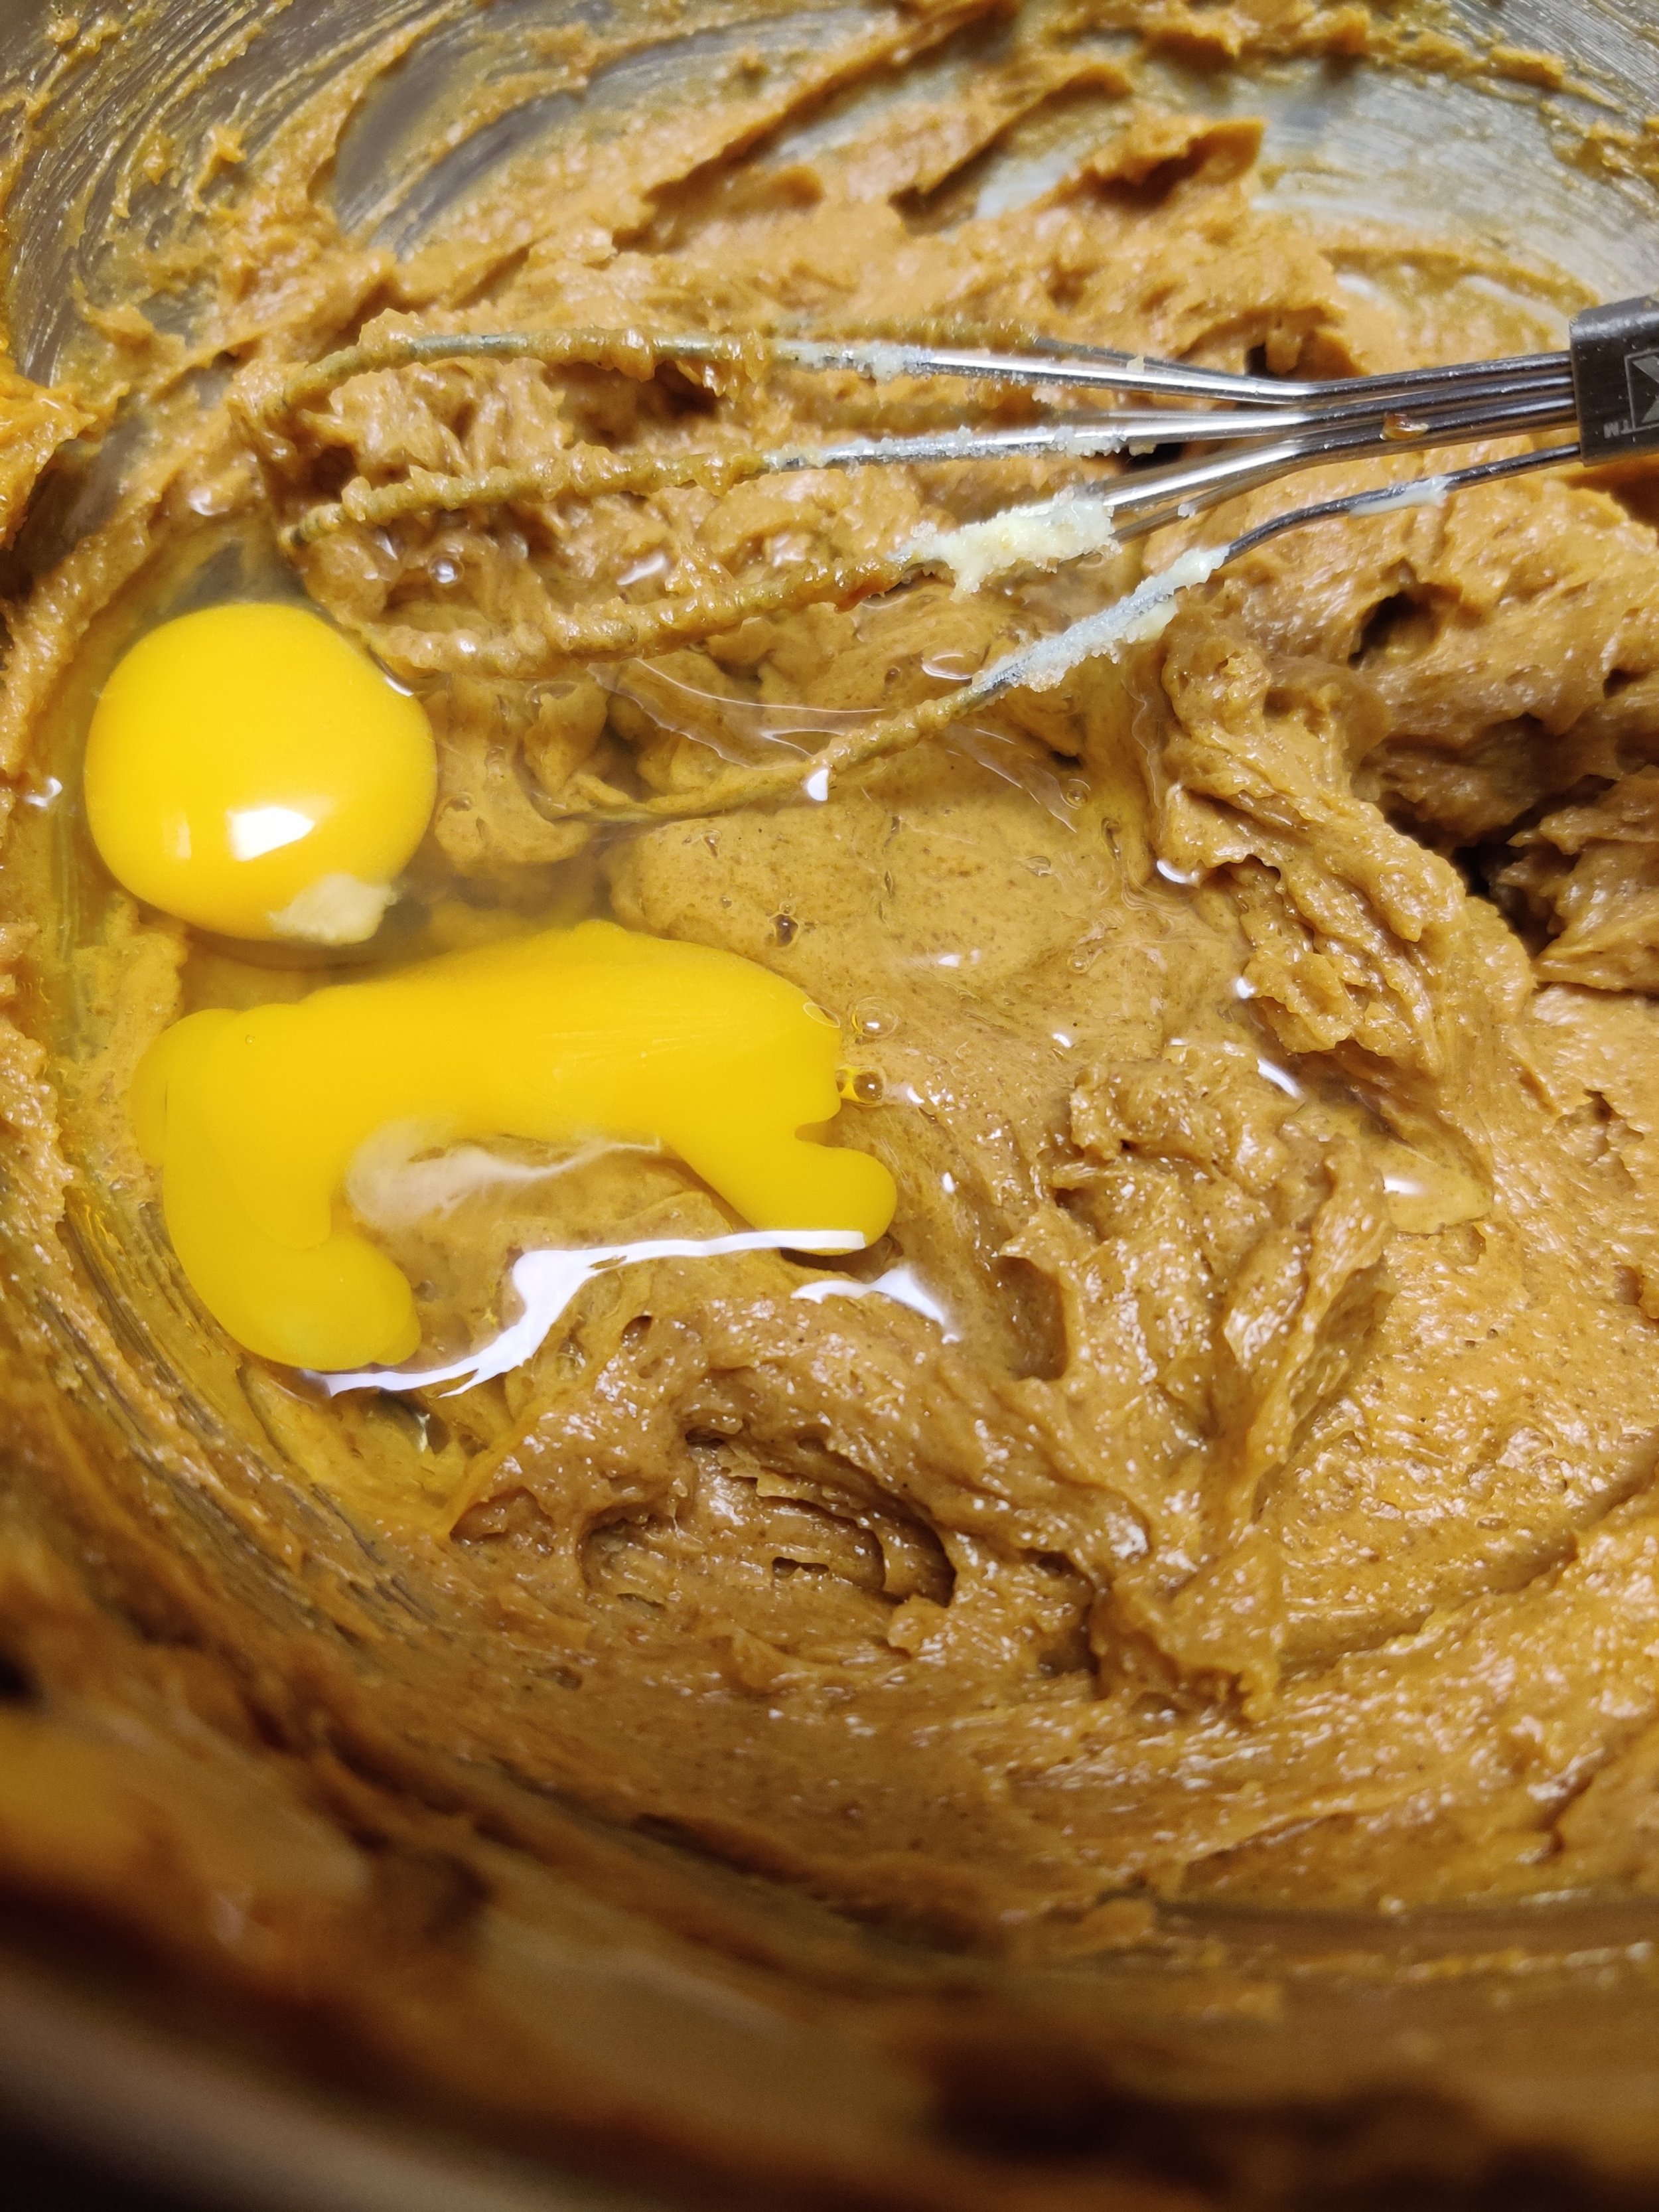
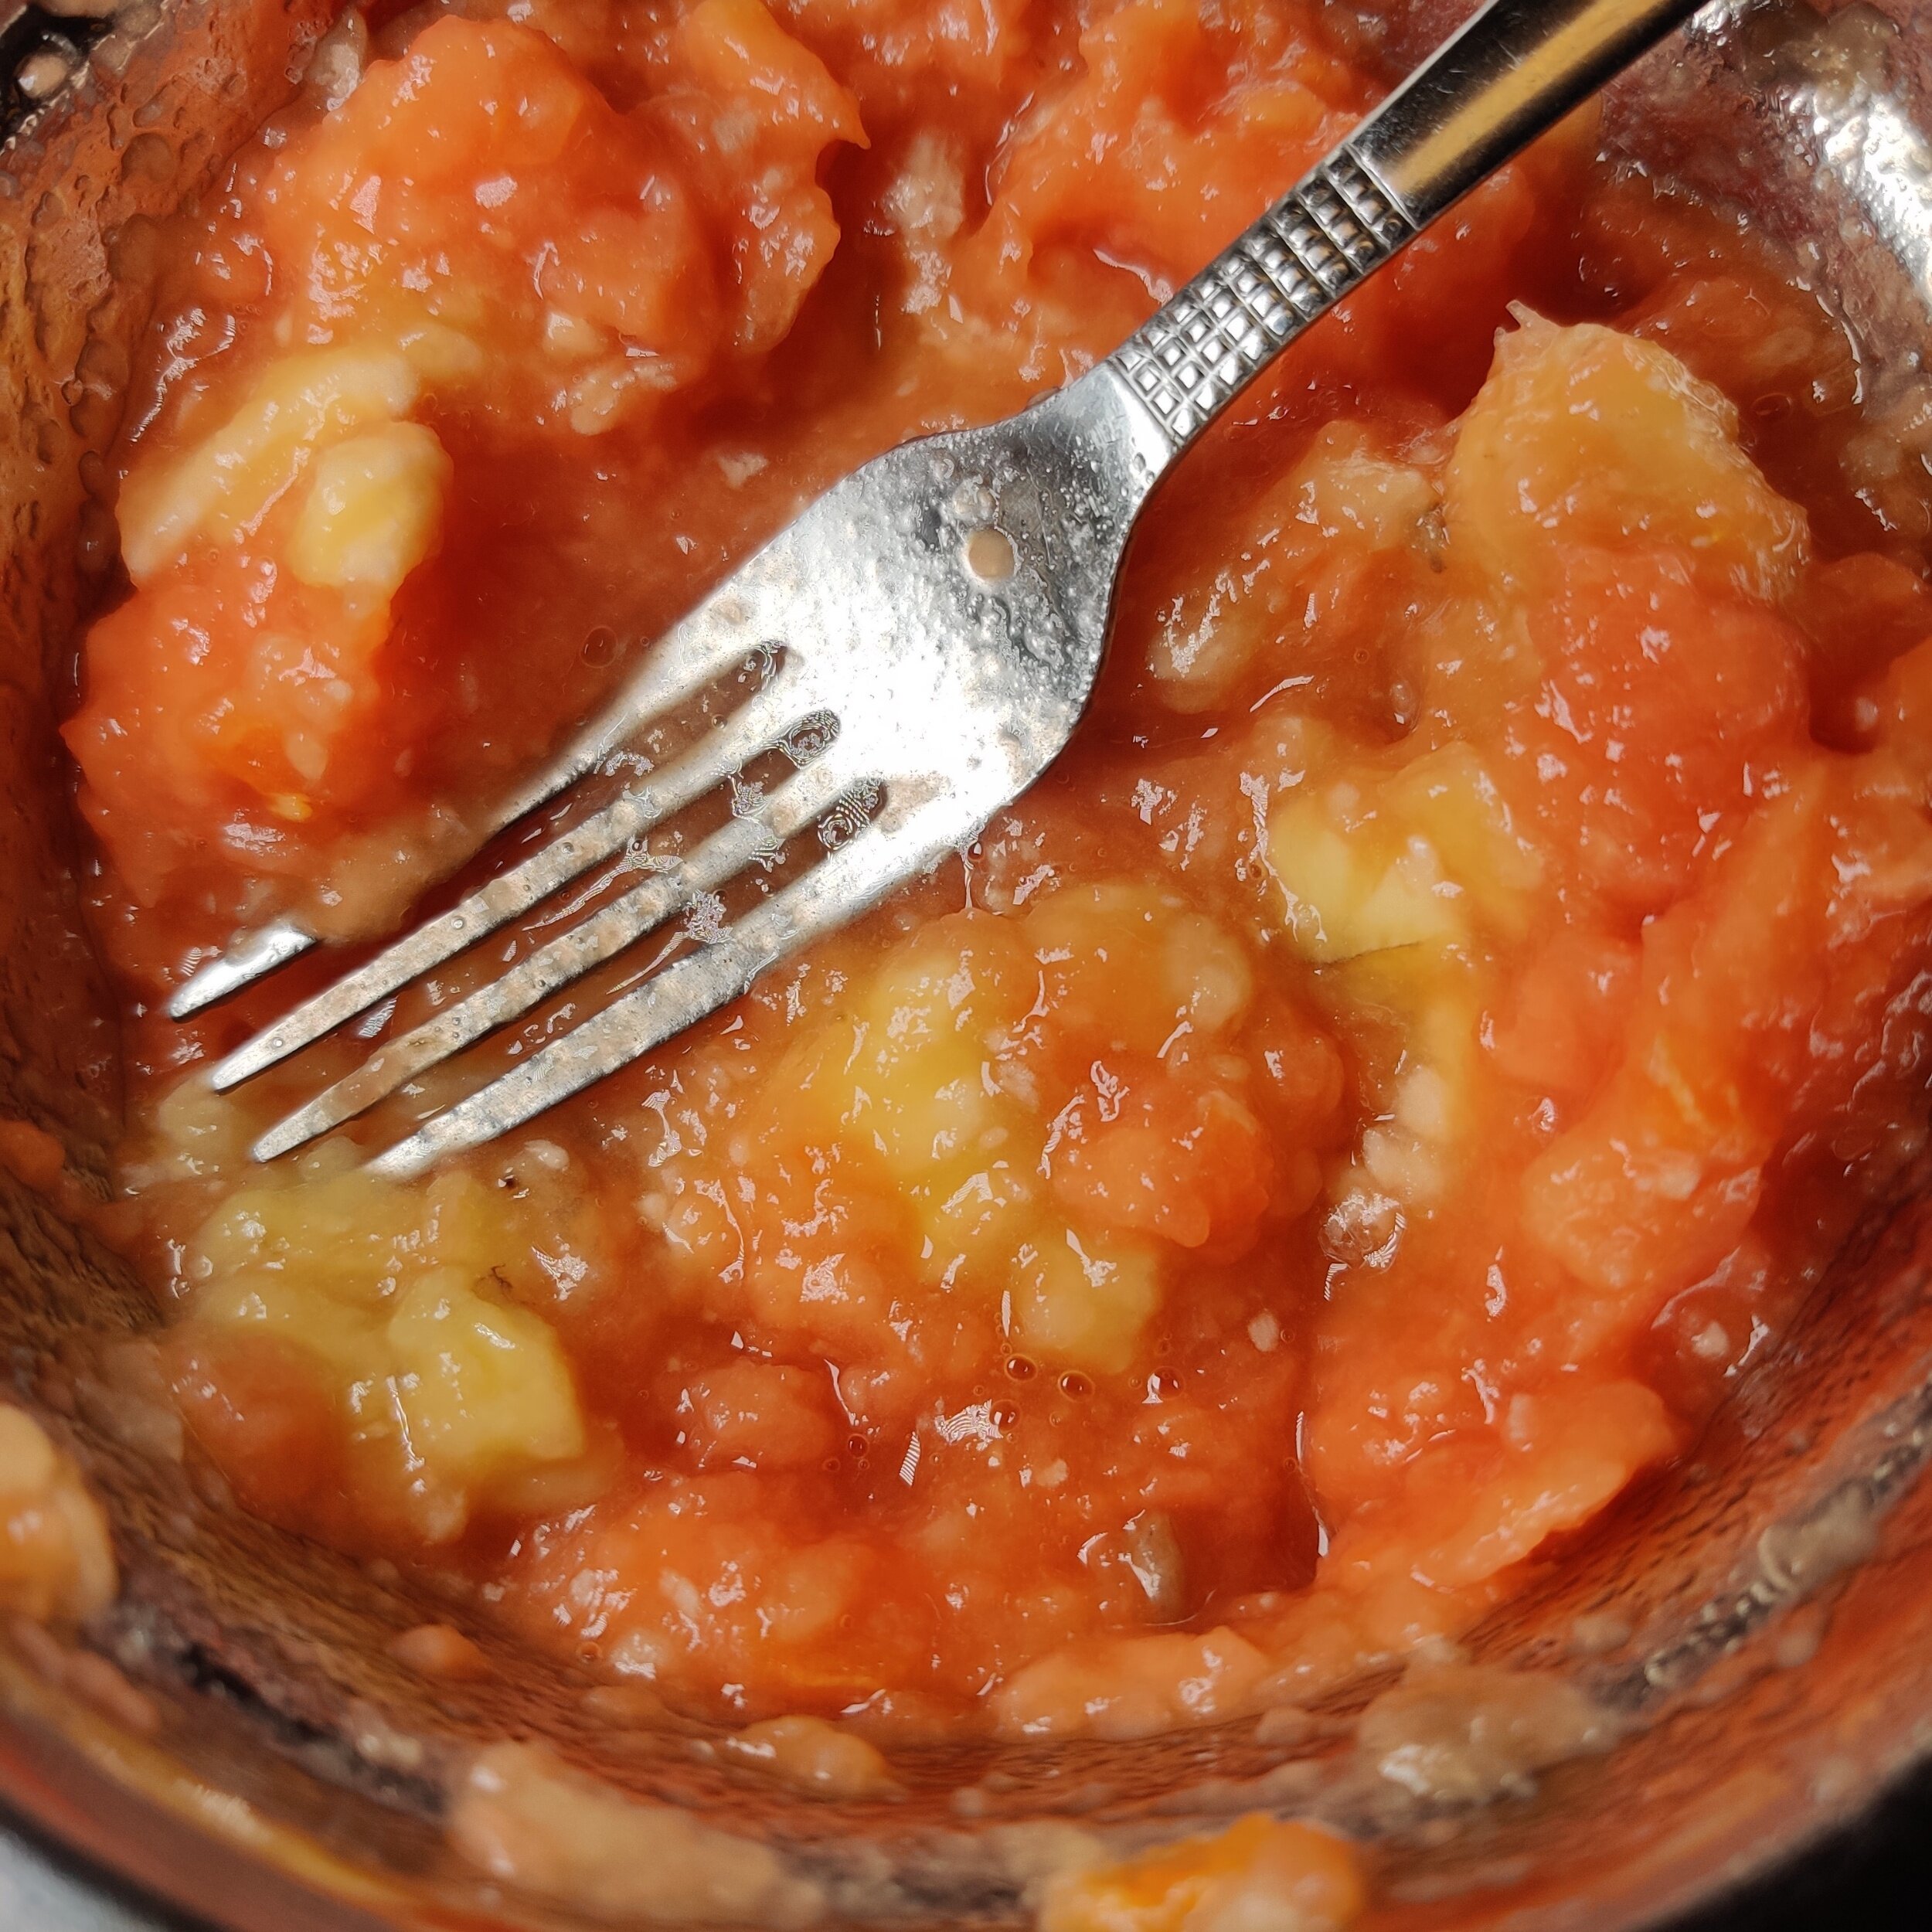
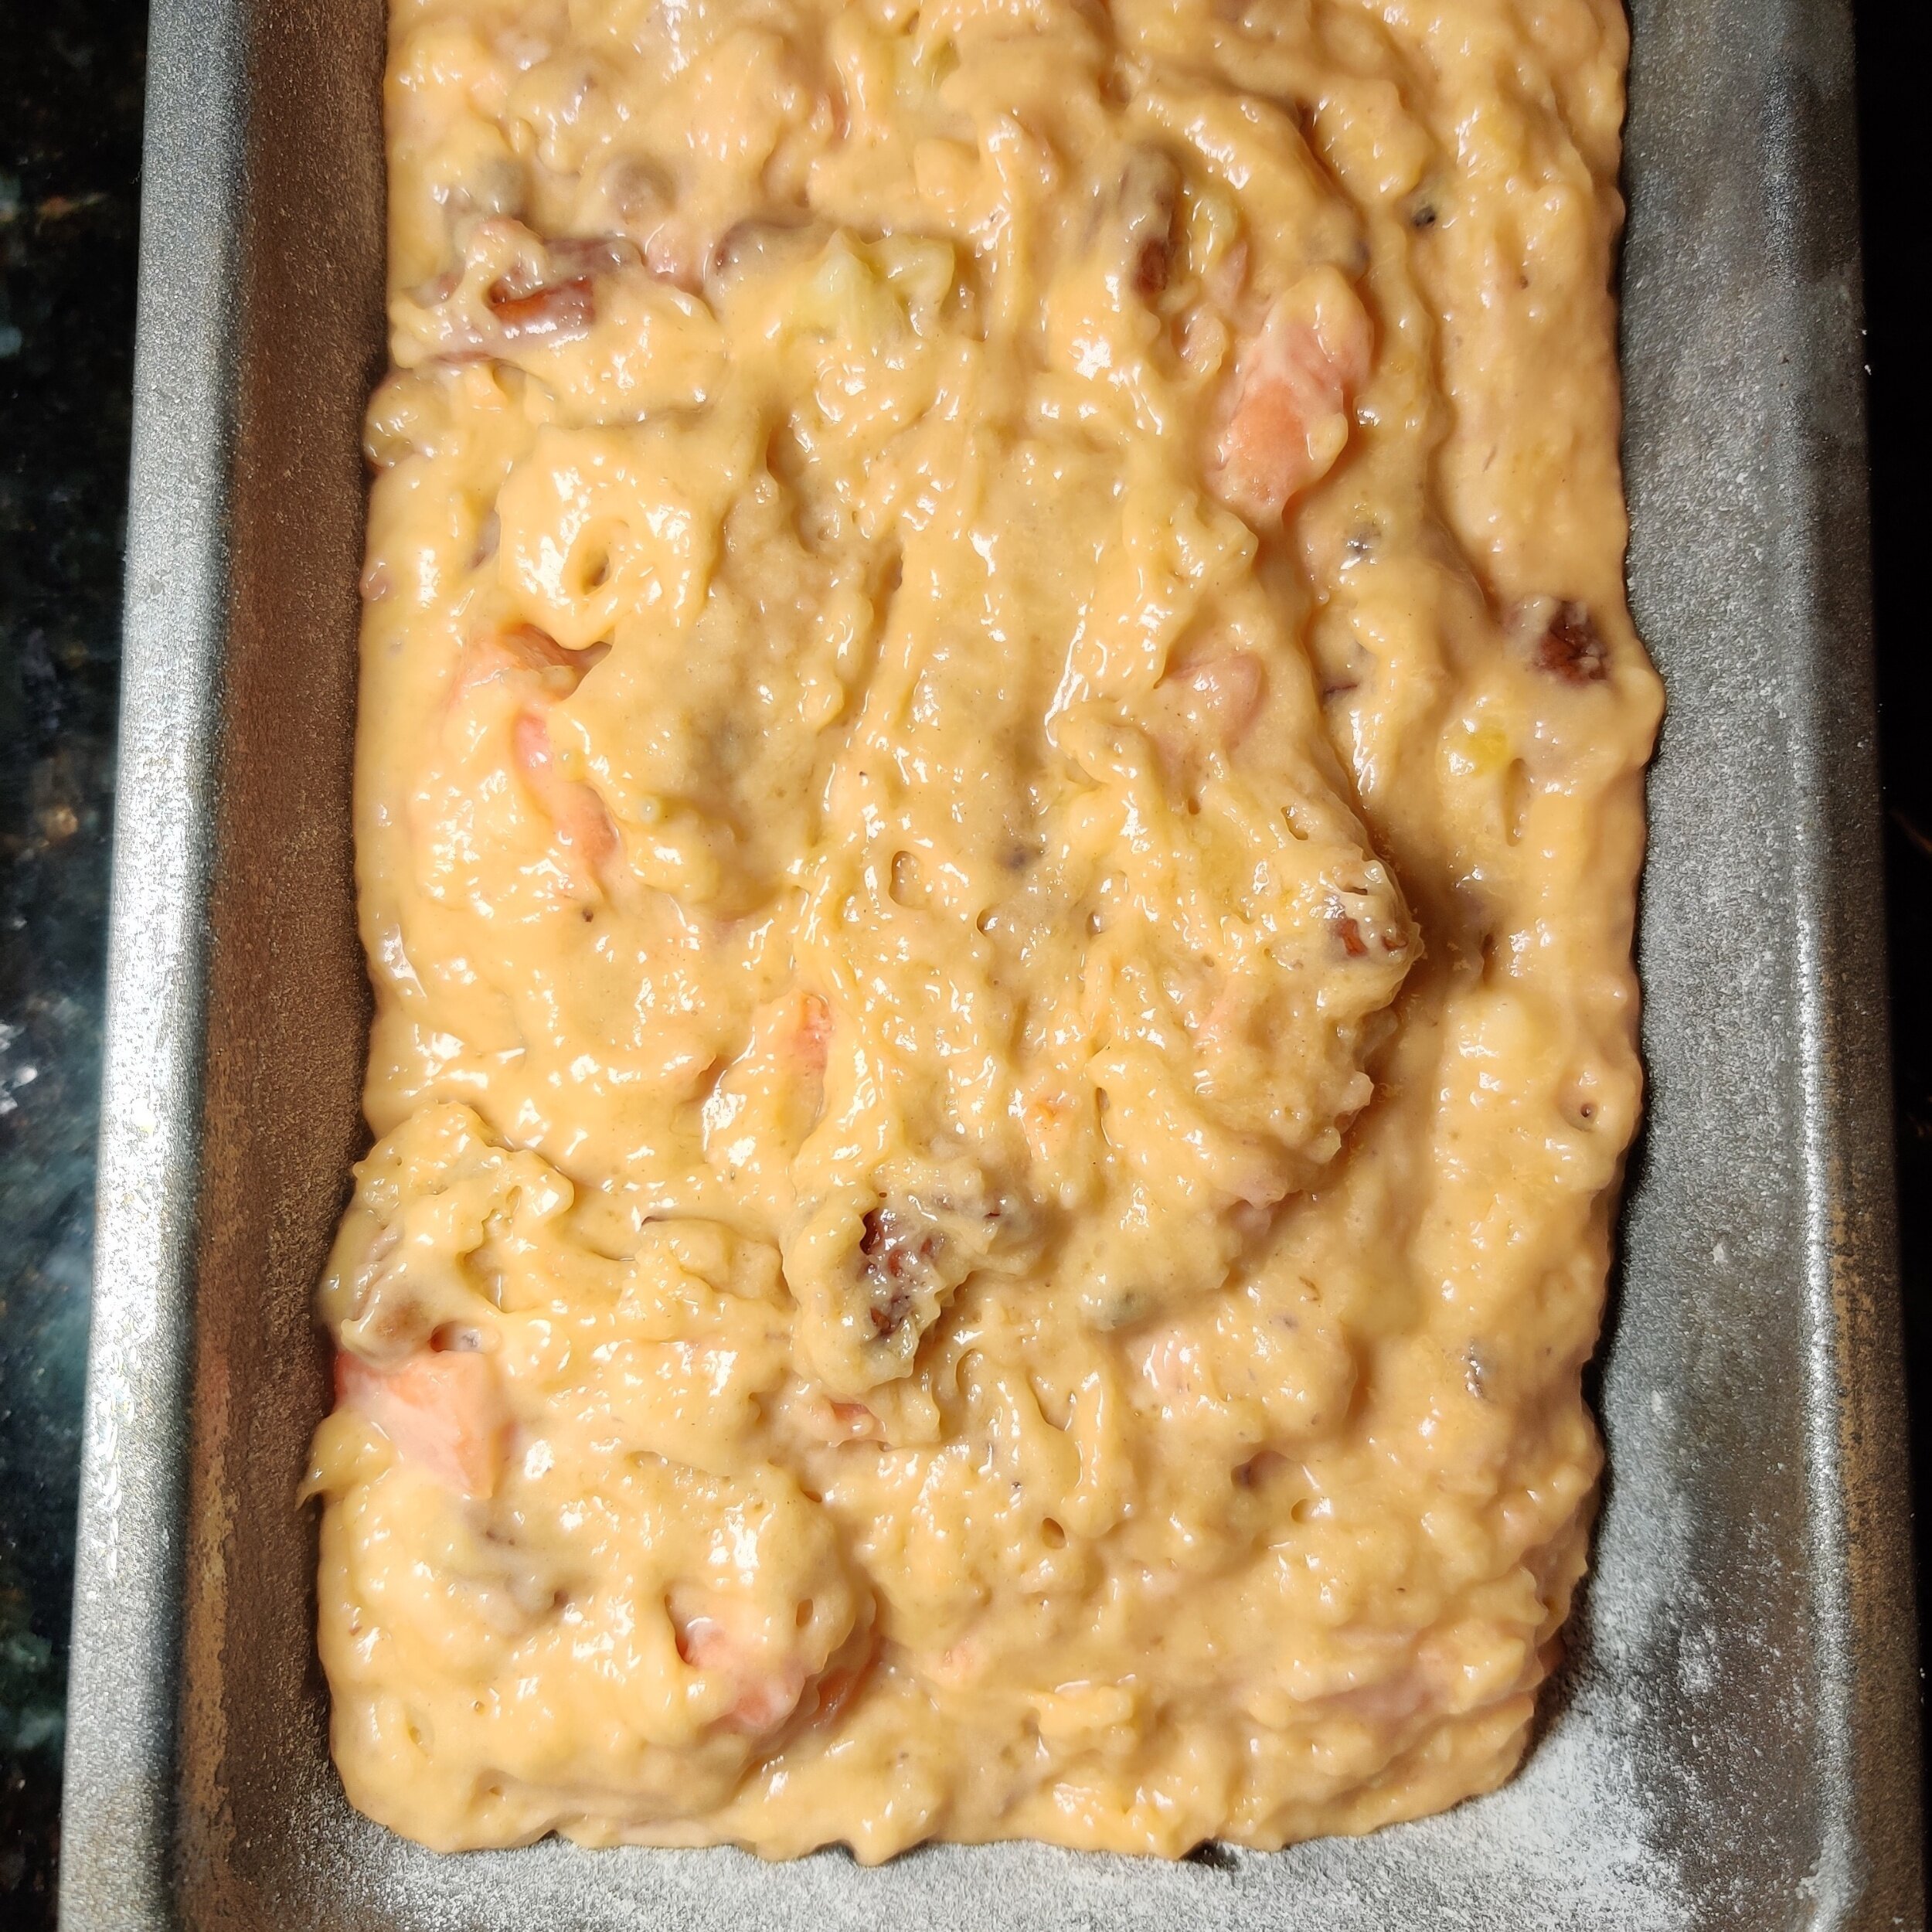
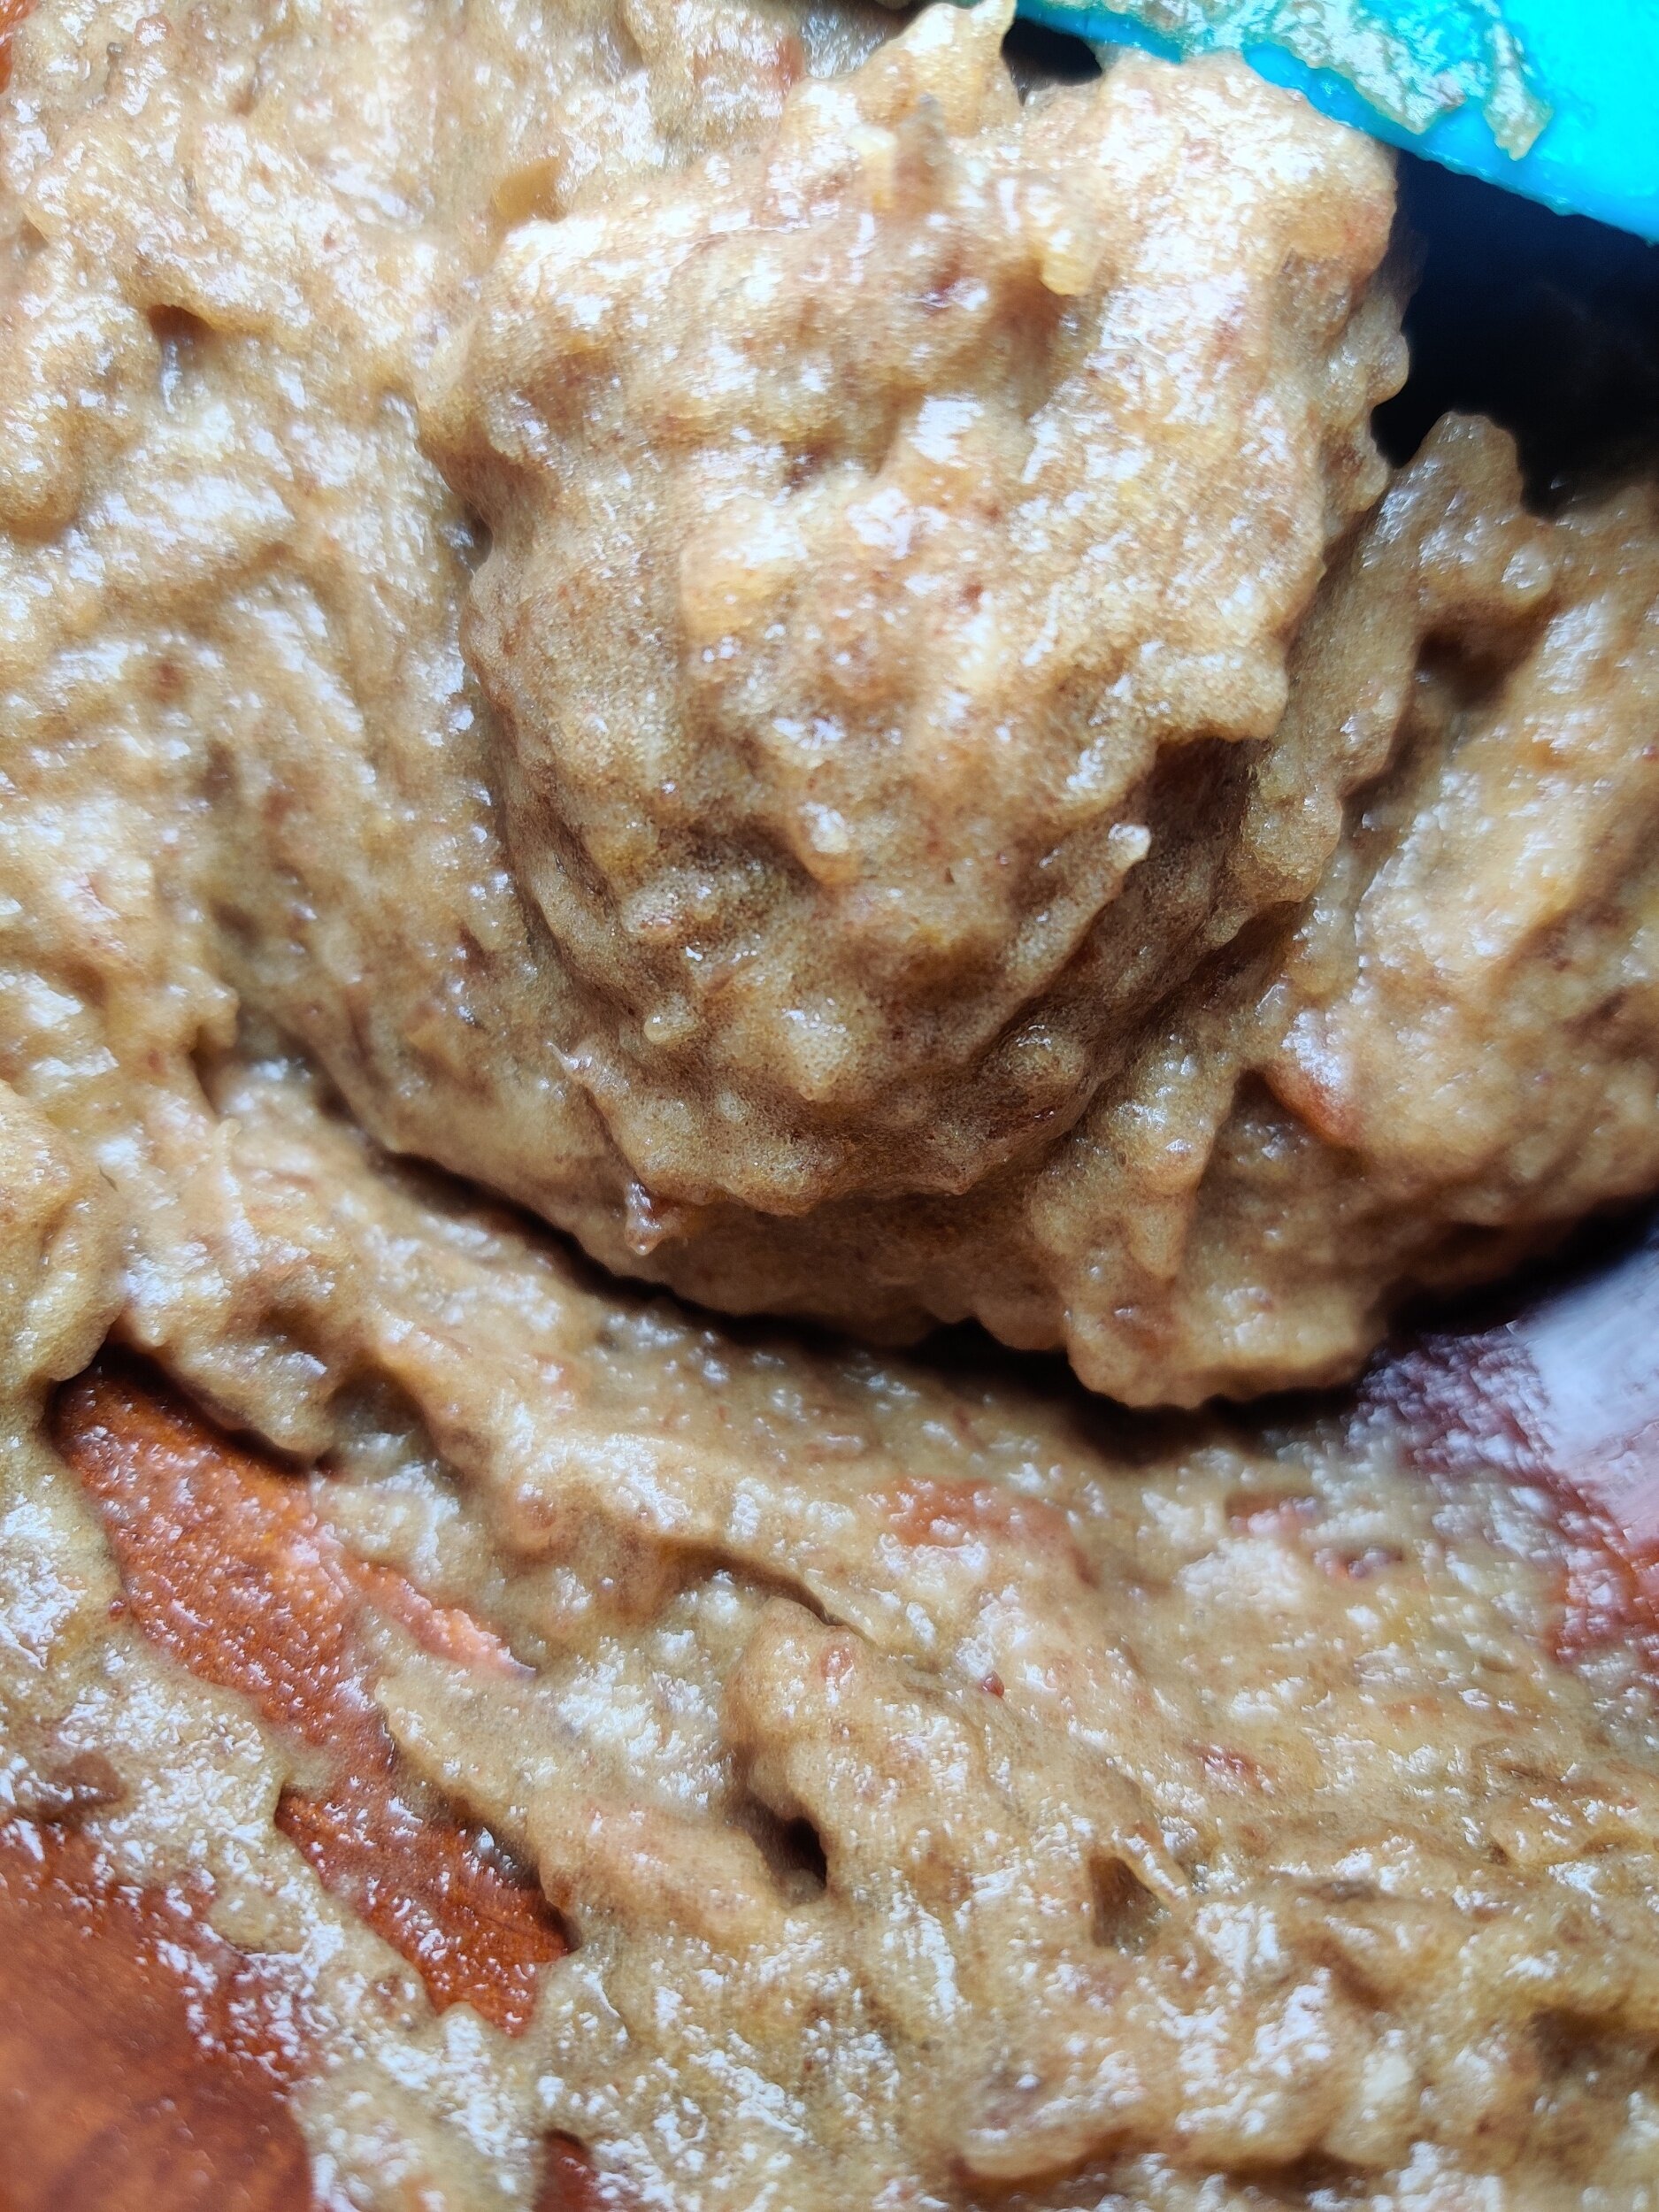
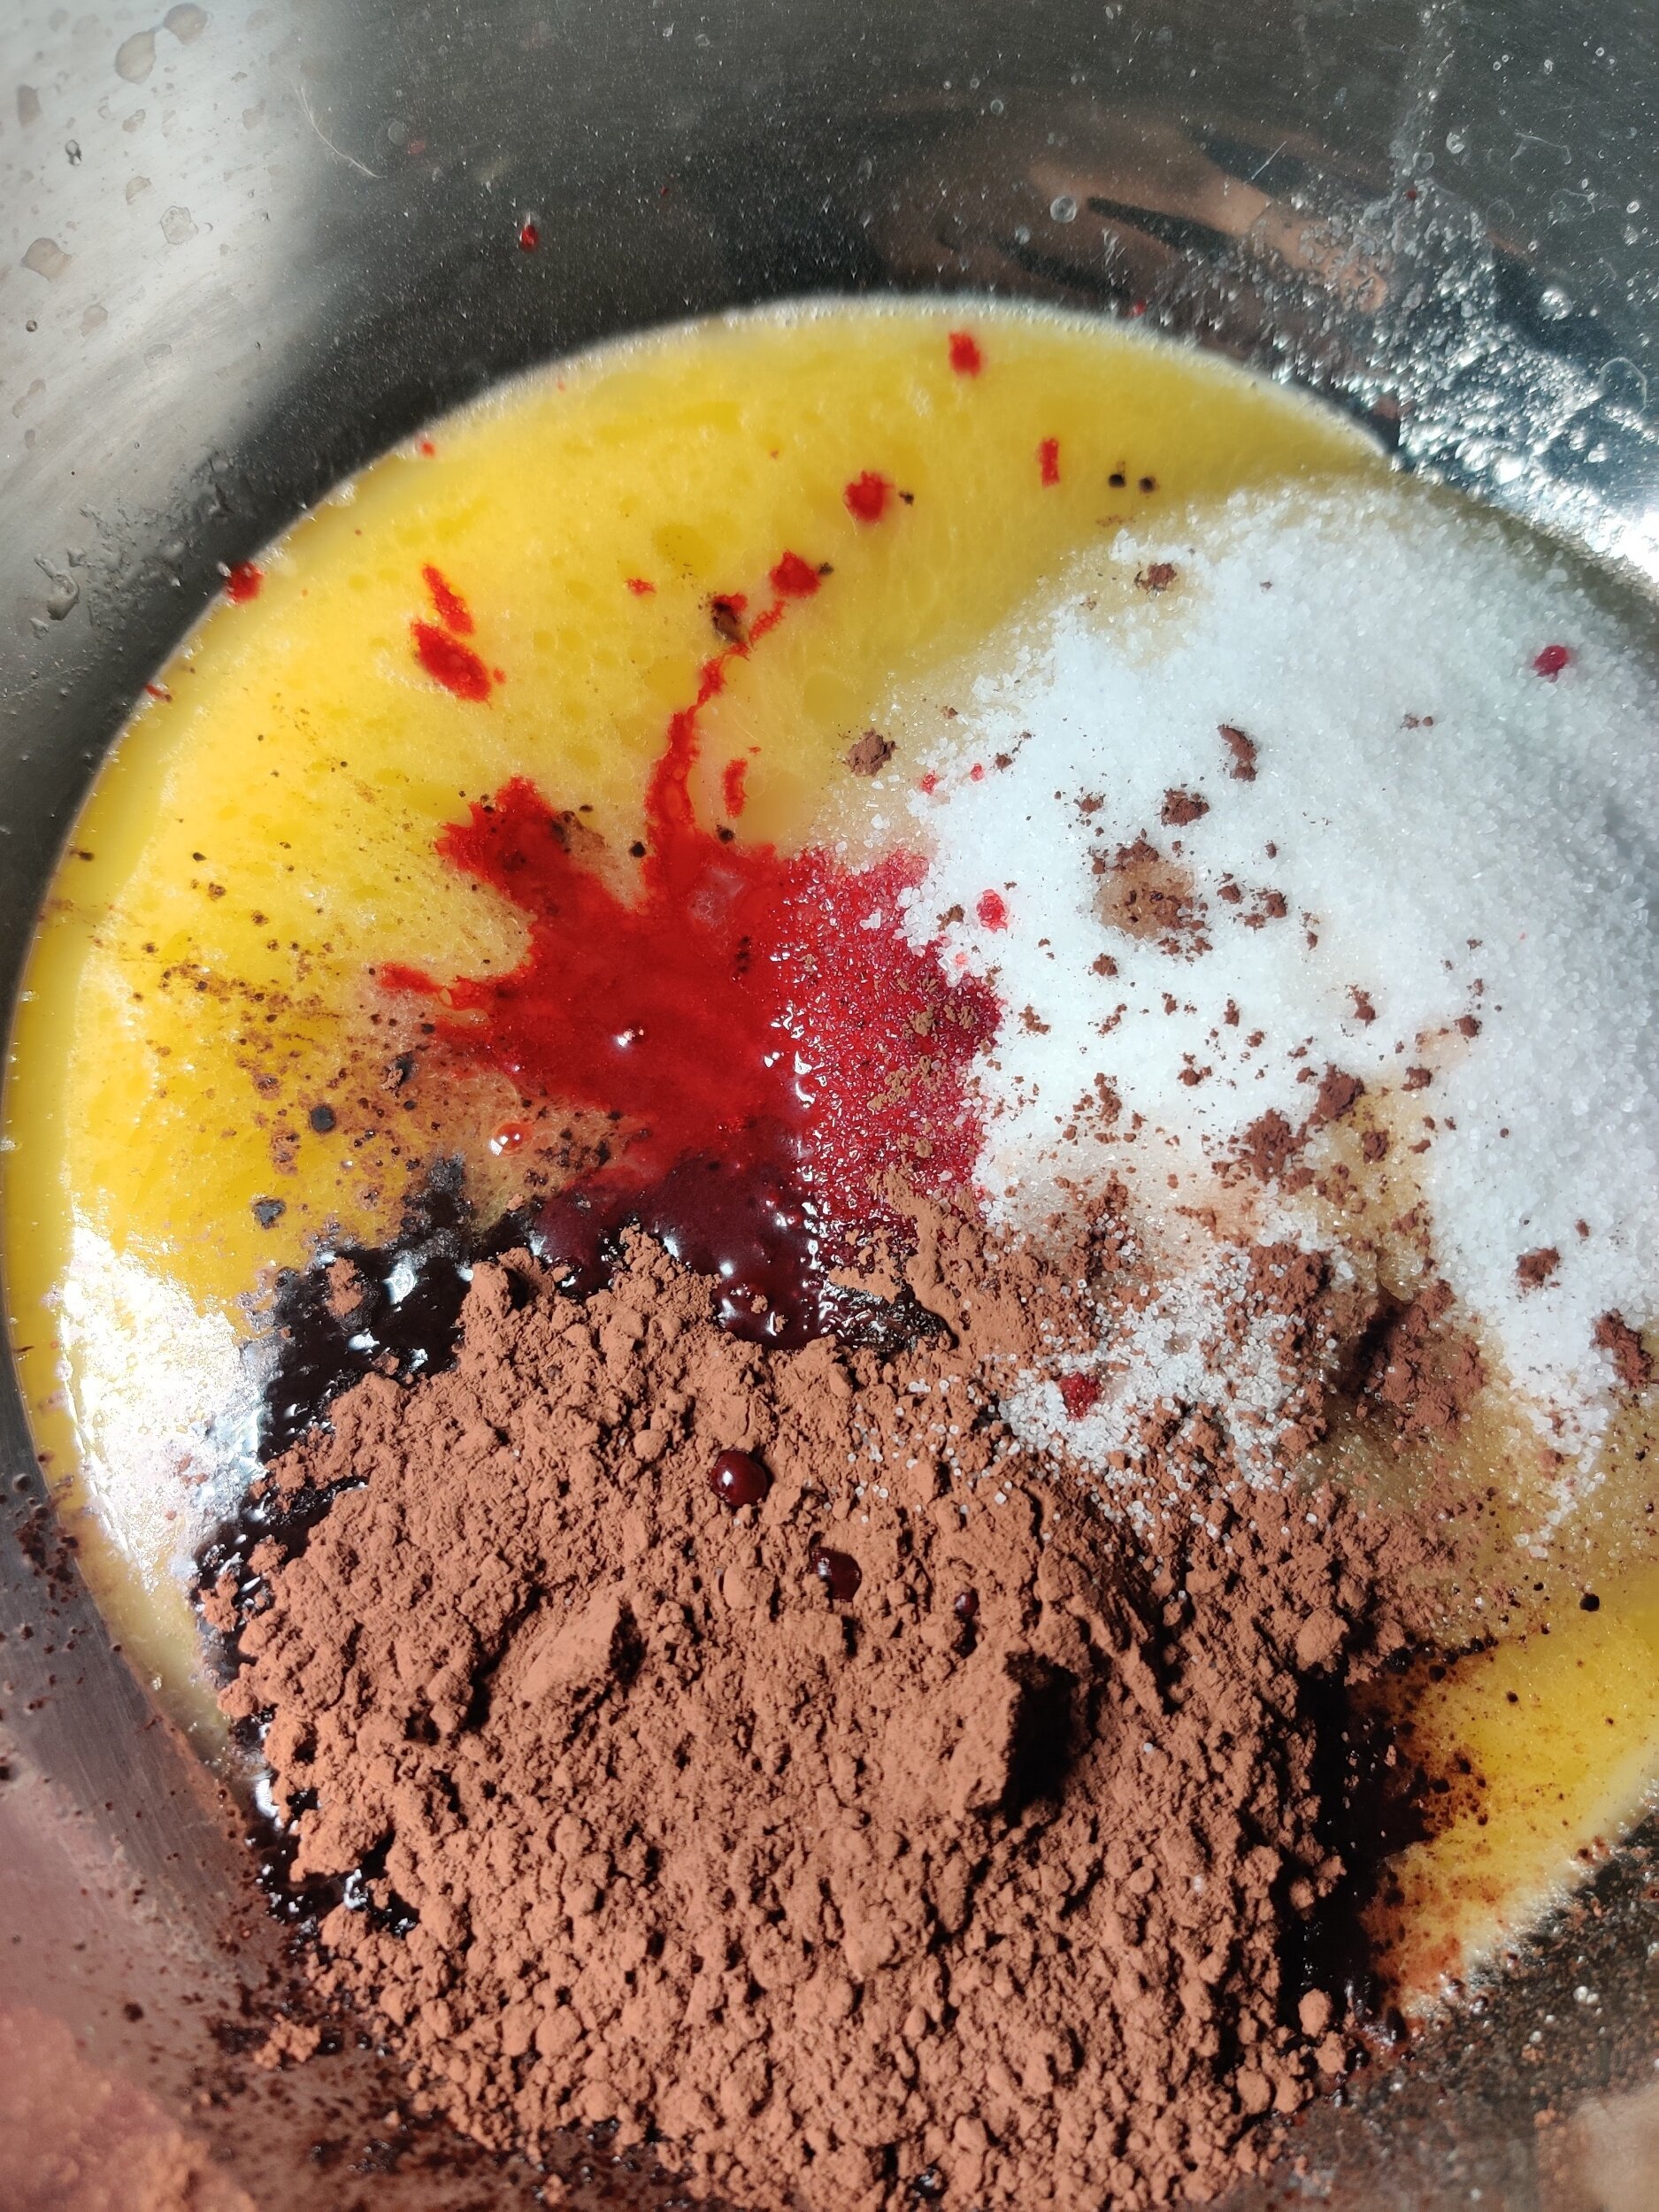
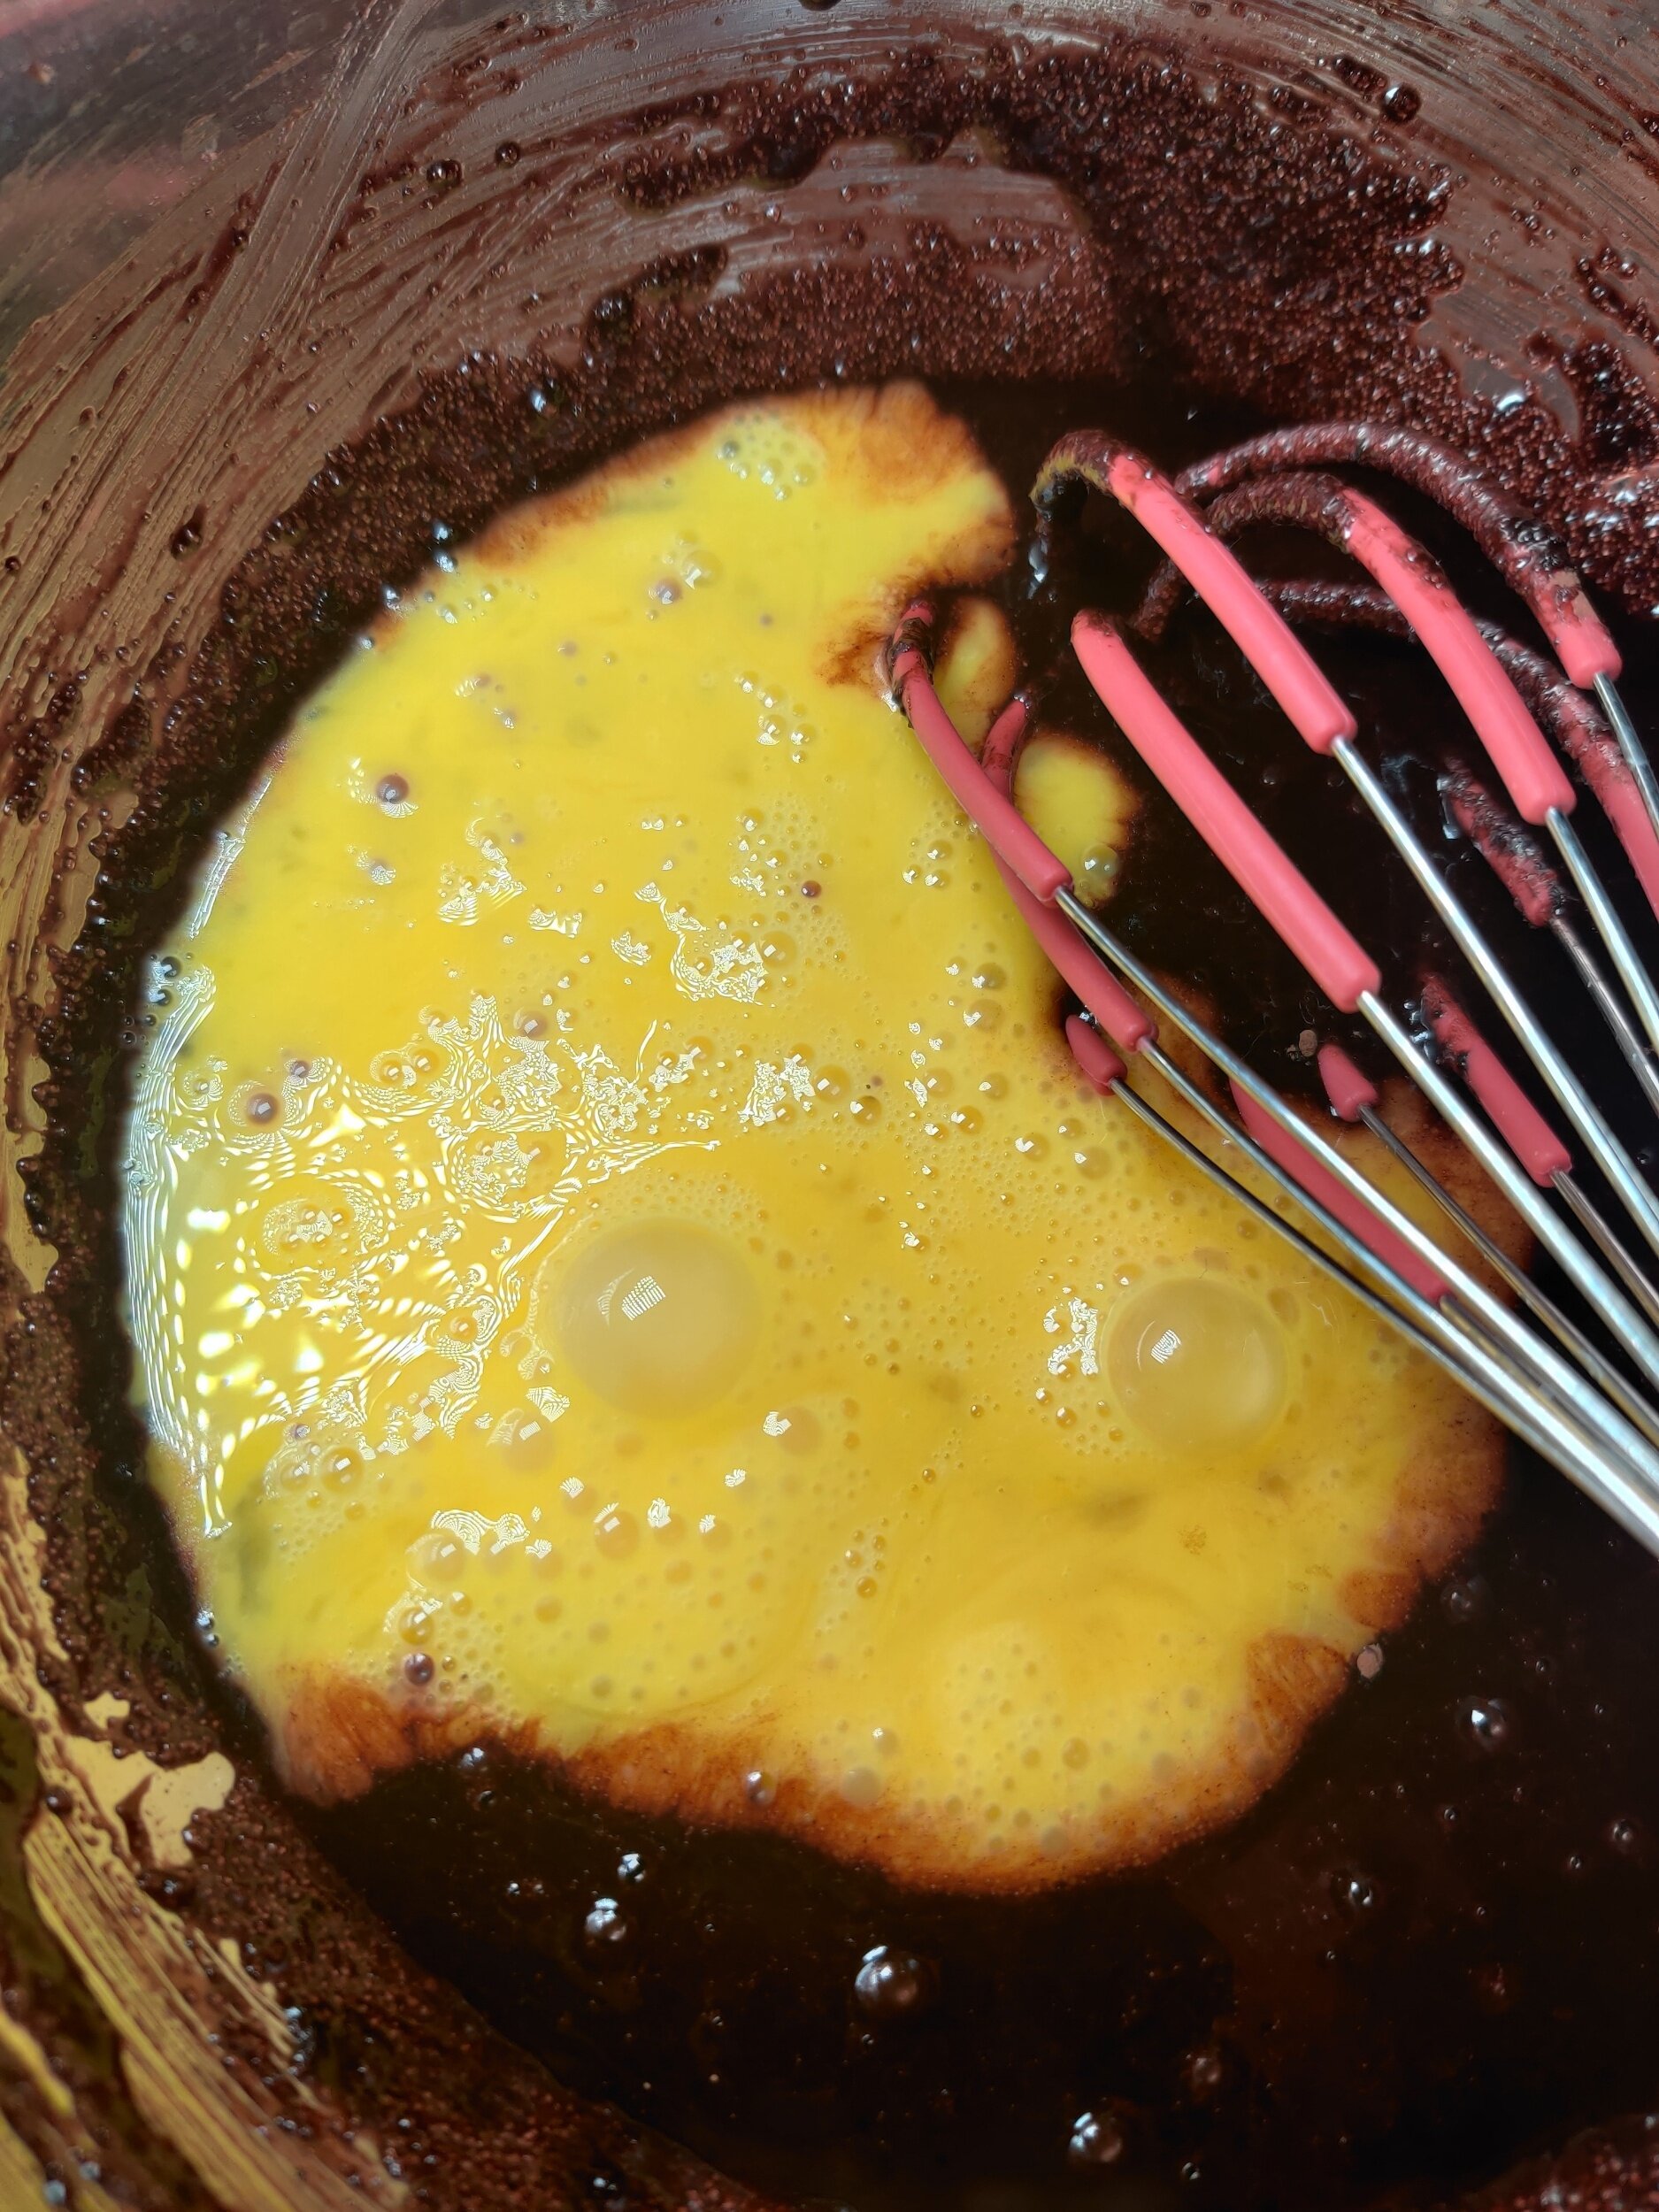
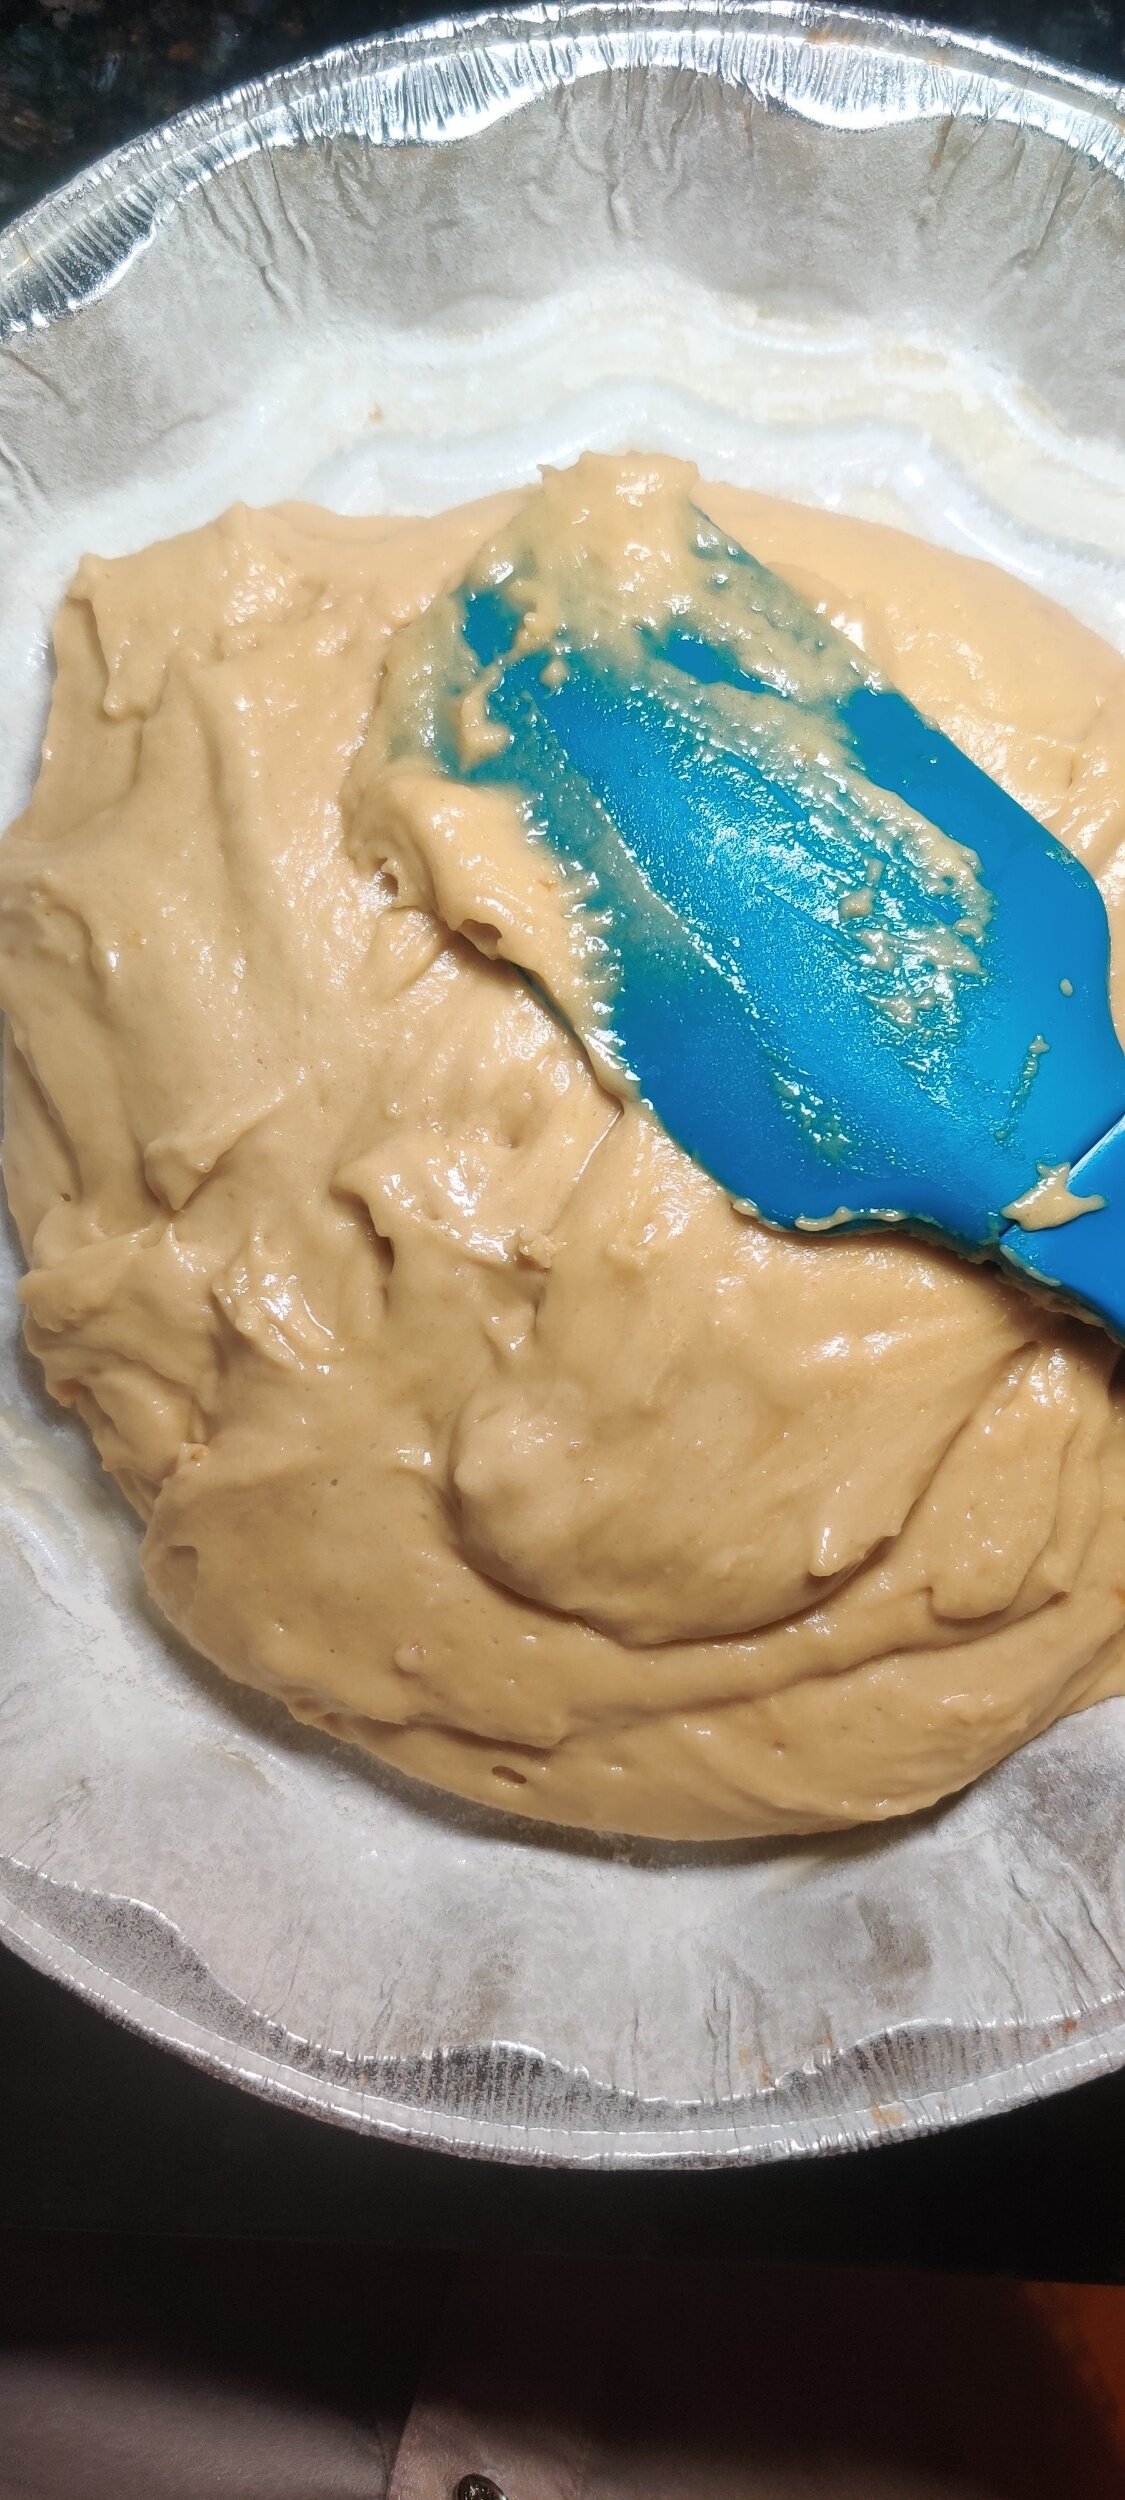
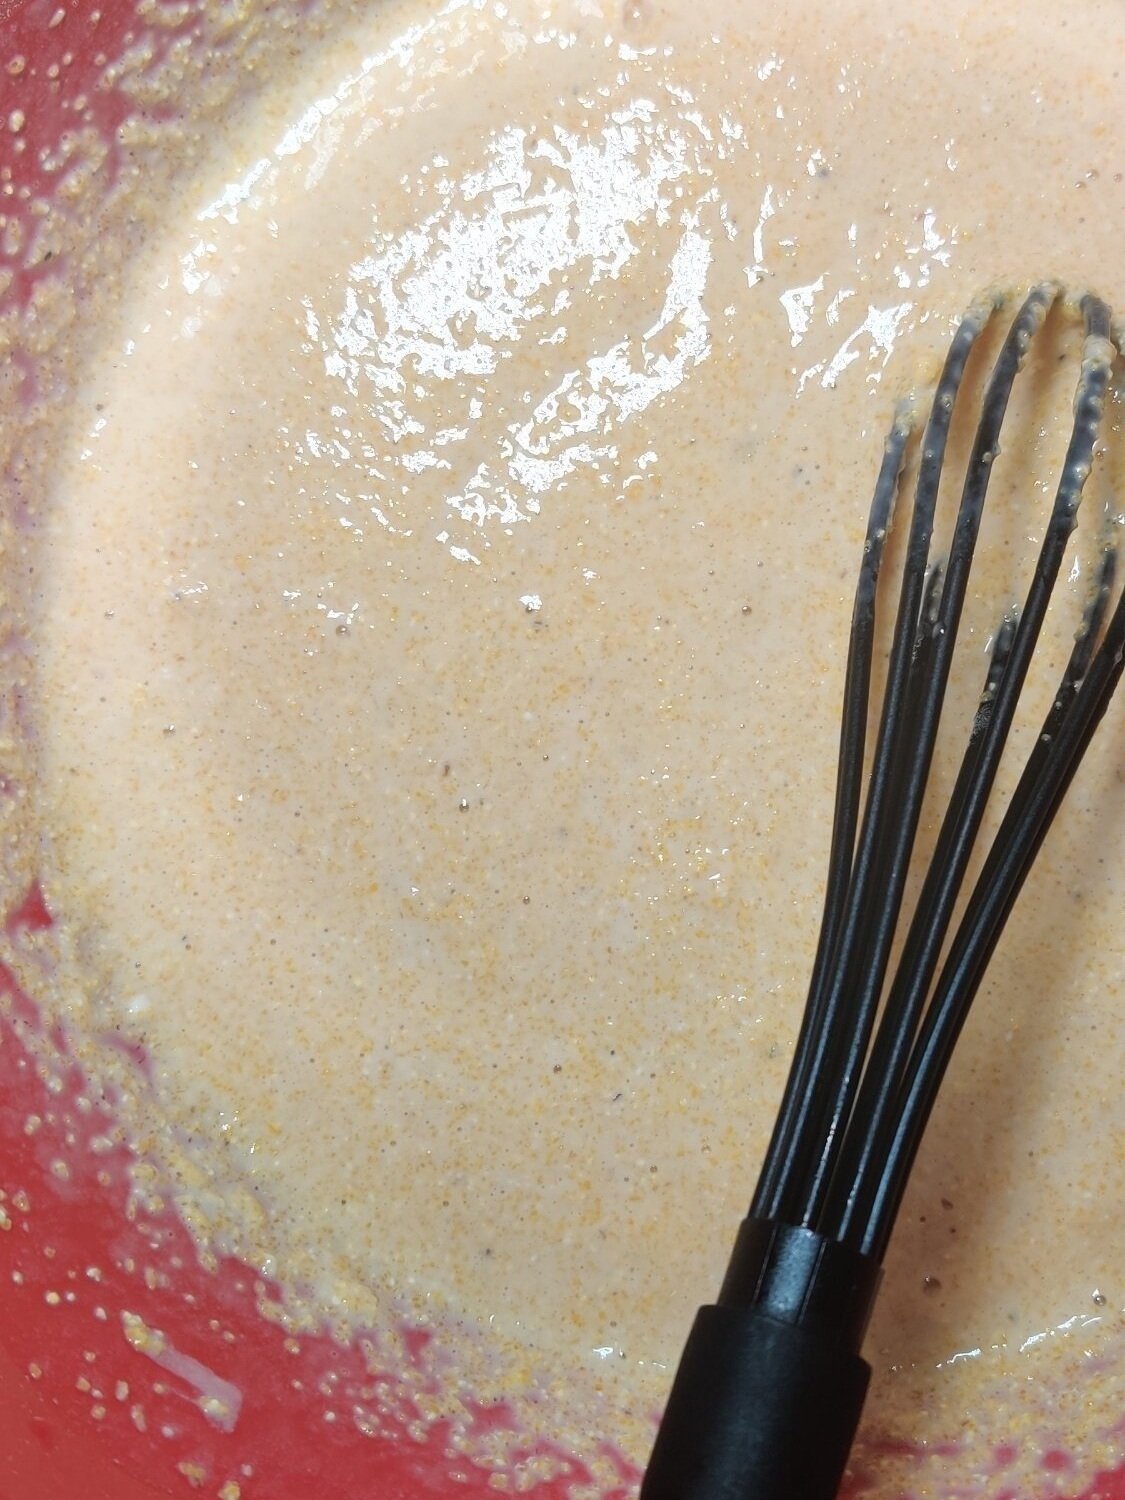
- In a large bowl, whisk together pumpkin puree, eggs, honey, melted butter, sour cream, vanilla extract, and lemon juice until smooth. Do not add milk yet.
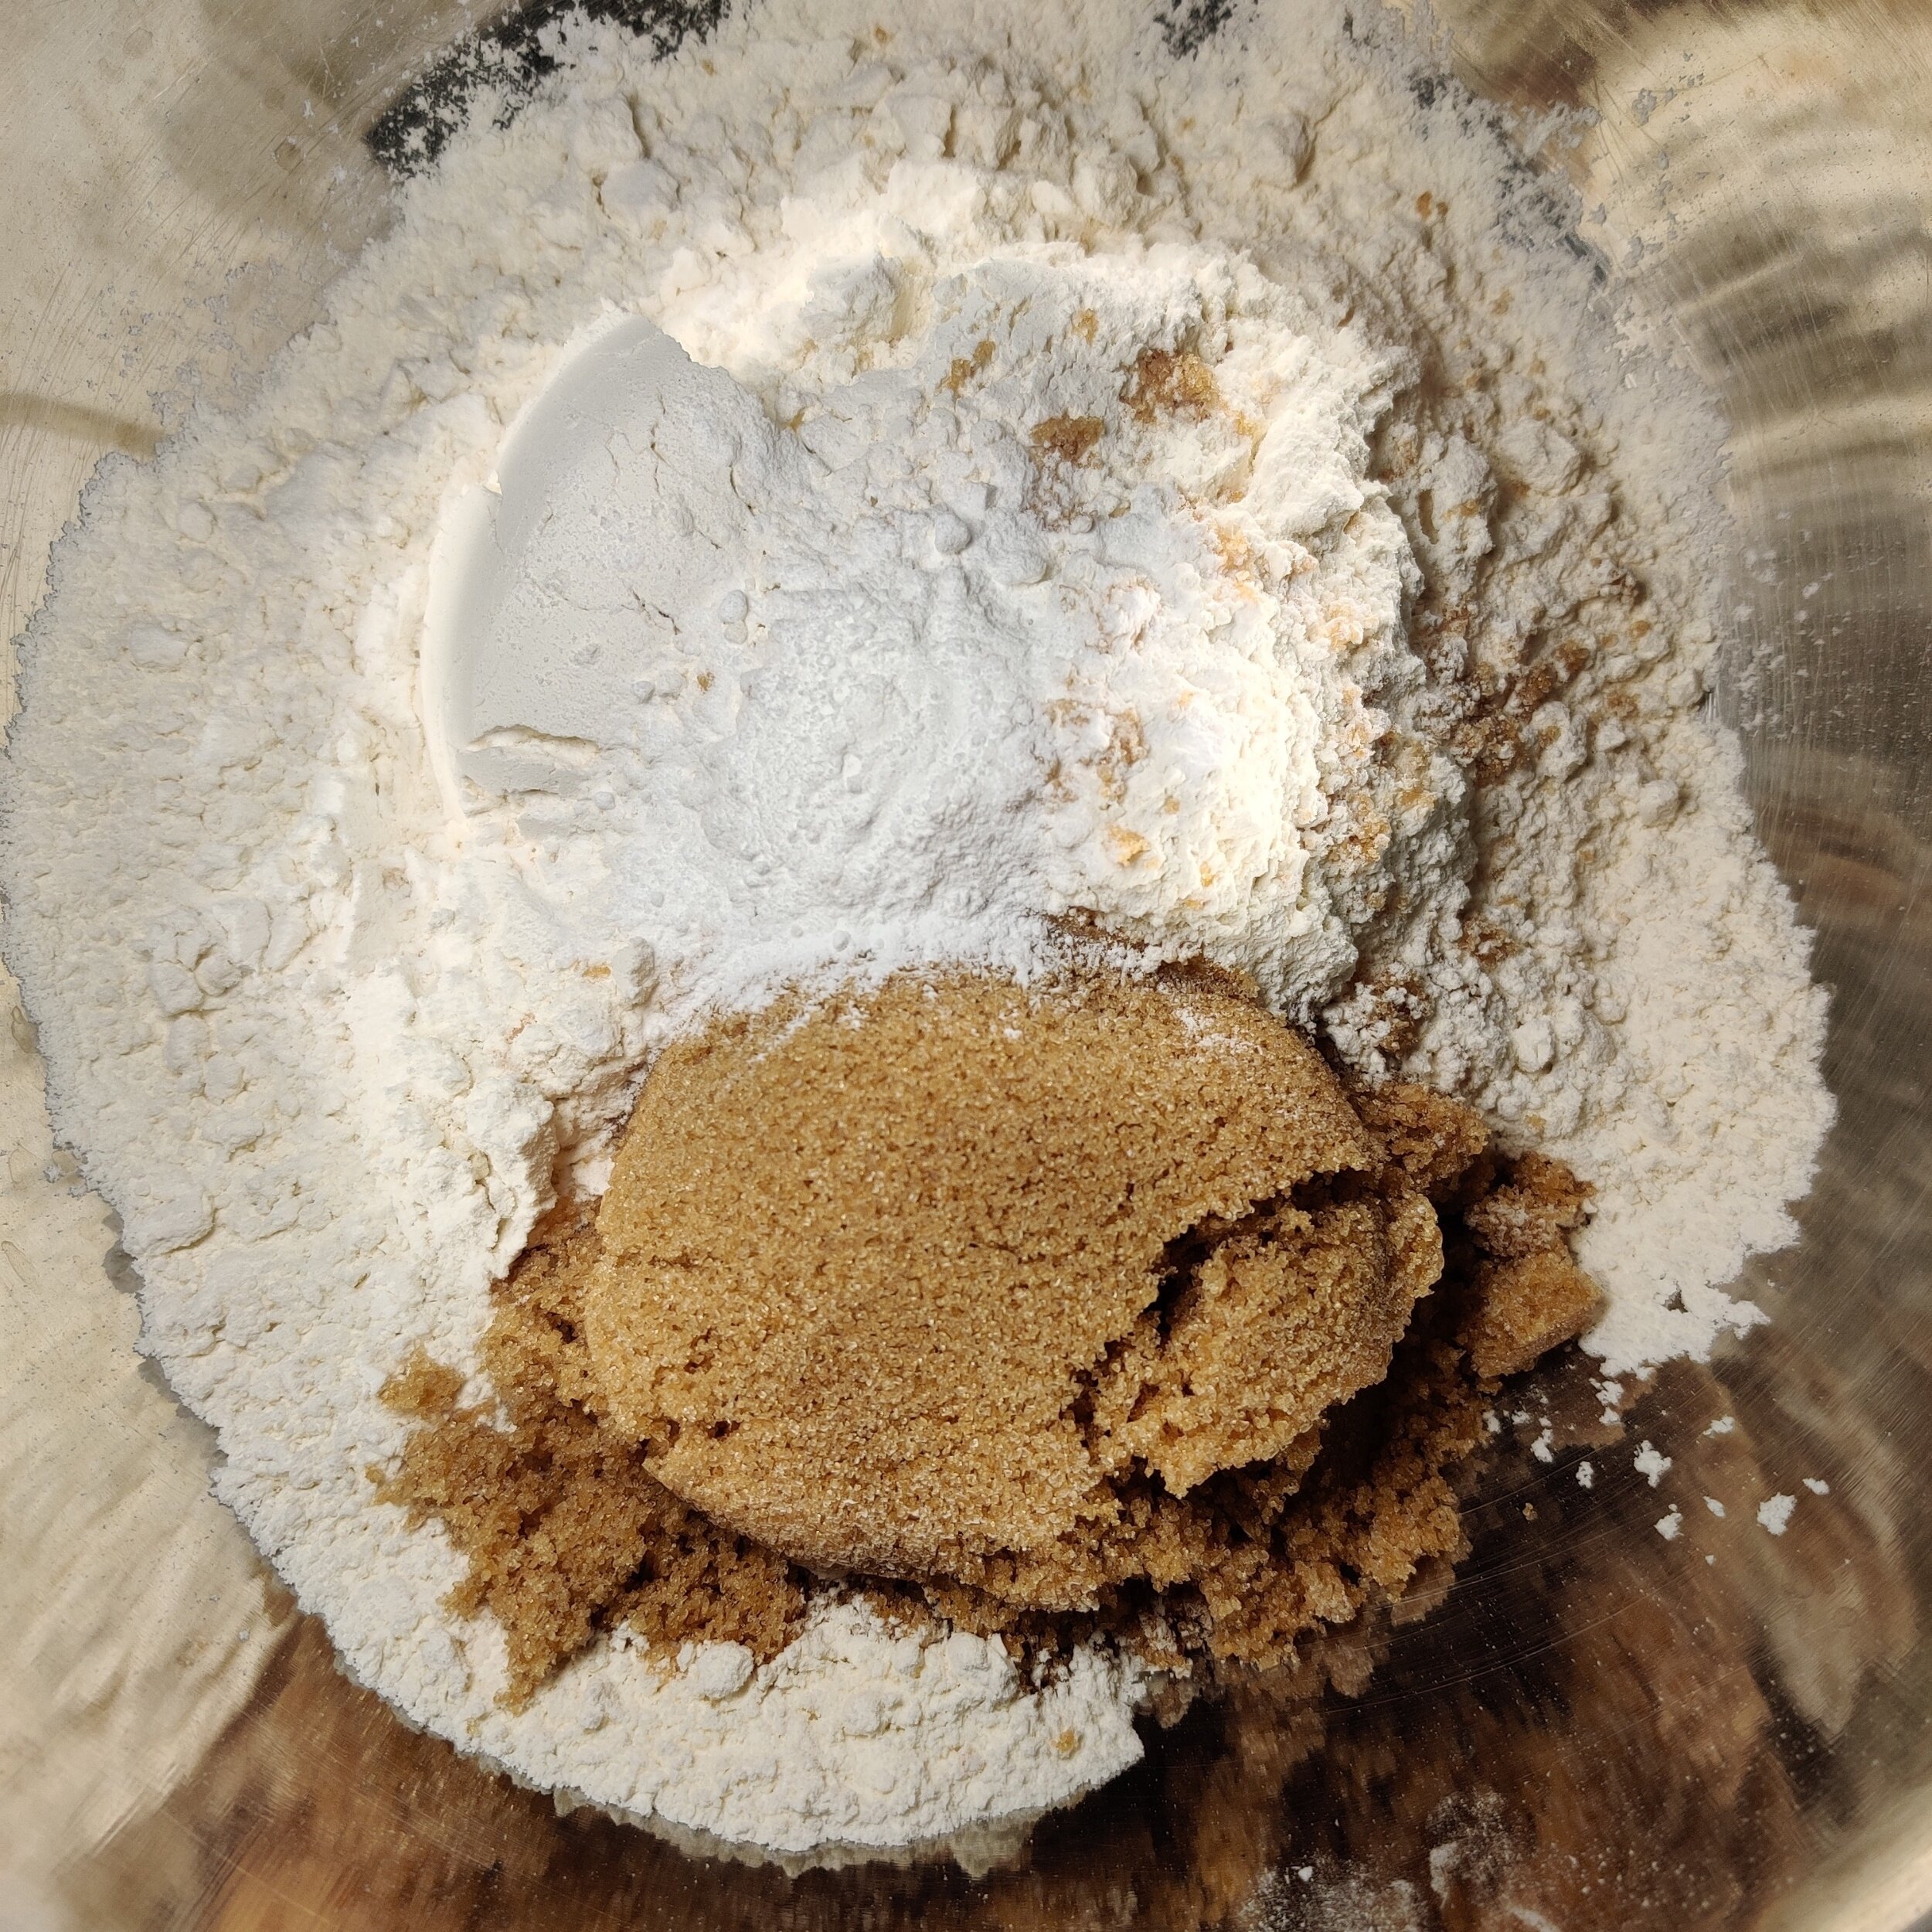
- In another bowl, whisk together flour, baking powder, baking soda, cinnamon, ground ginger, ground cloves, nutmeg, sugar, and salt.
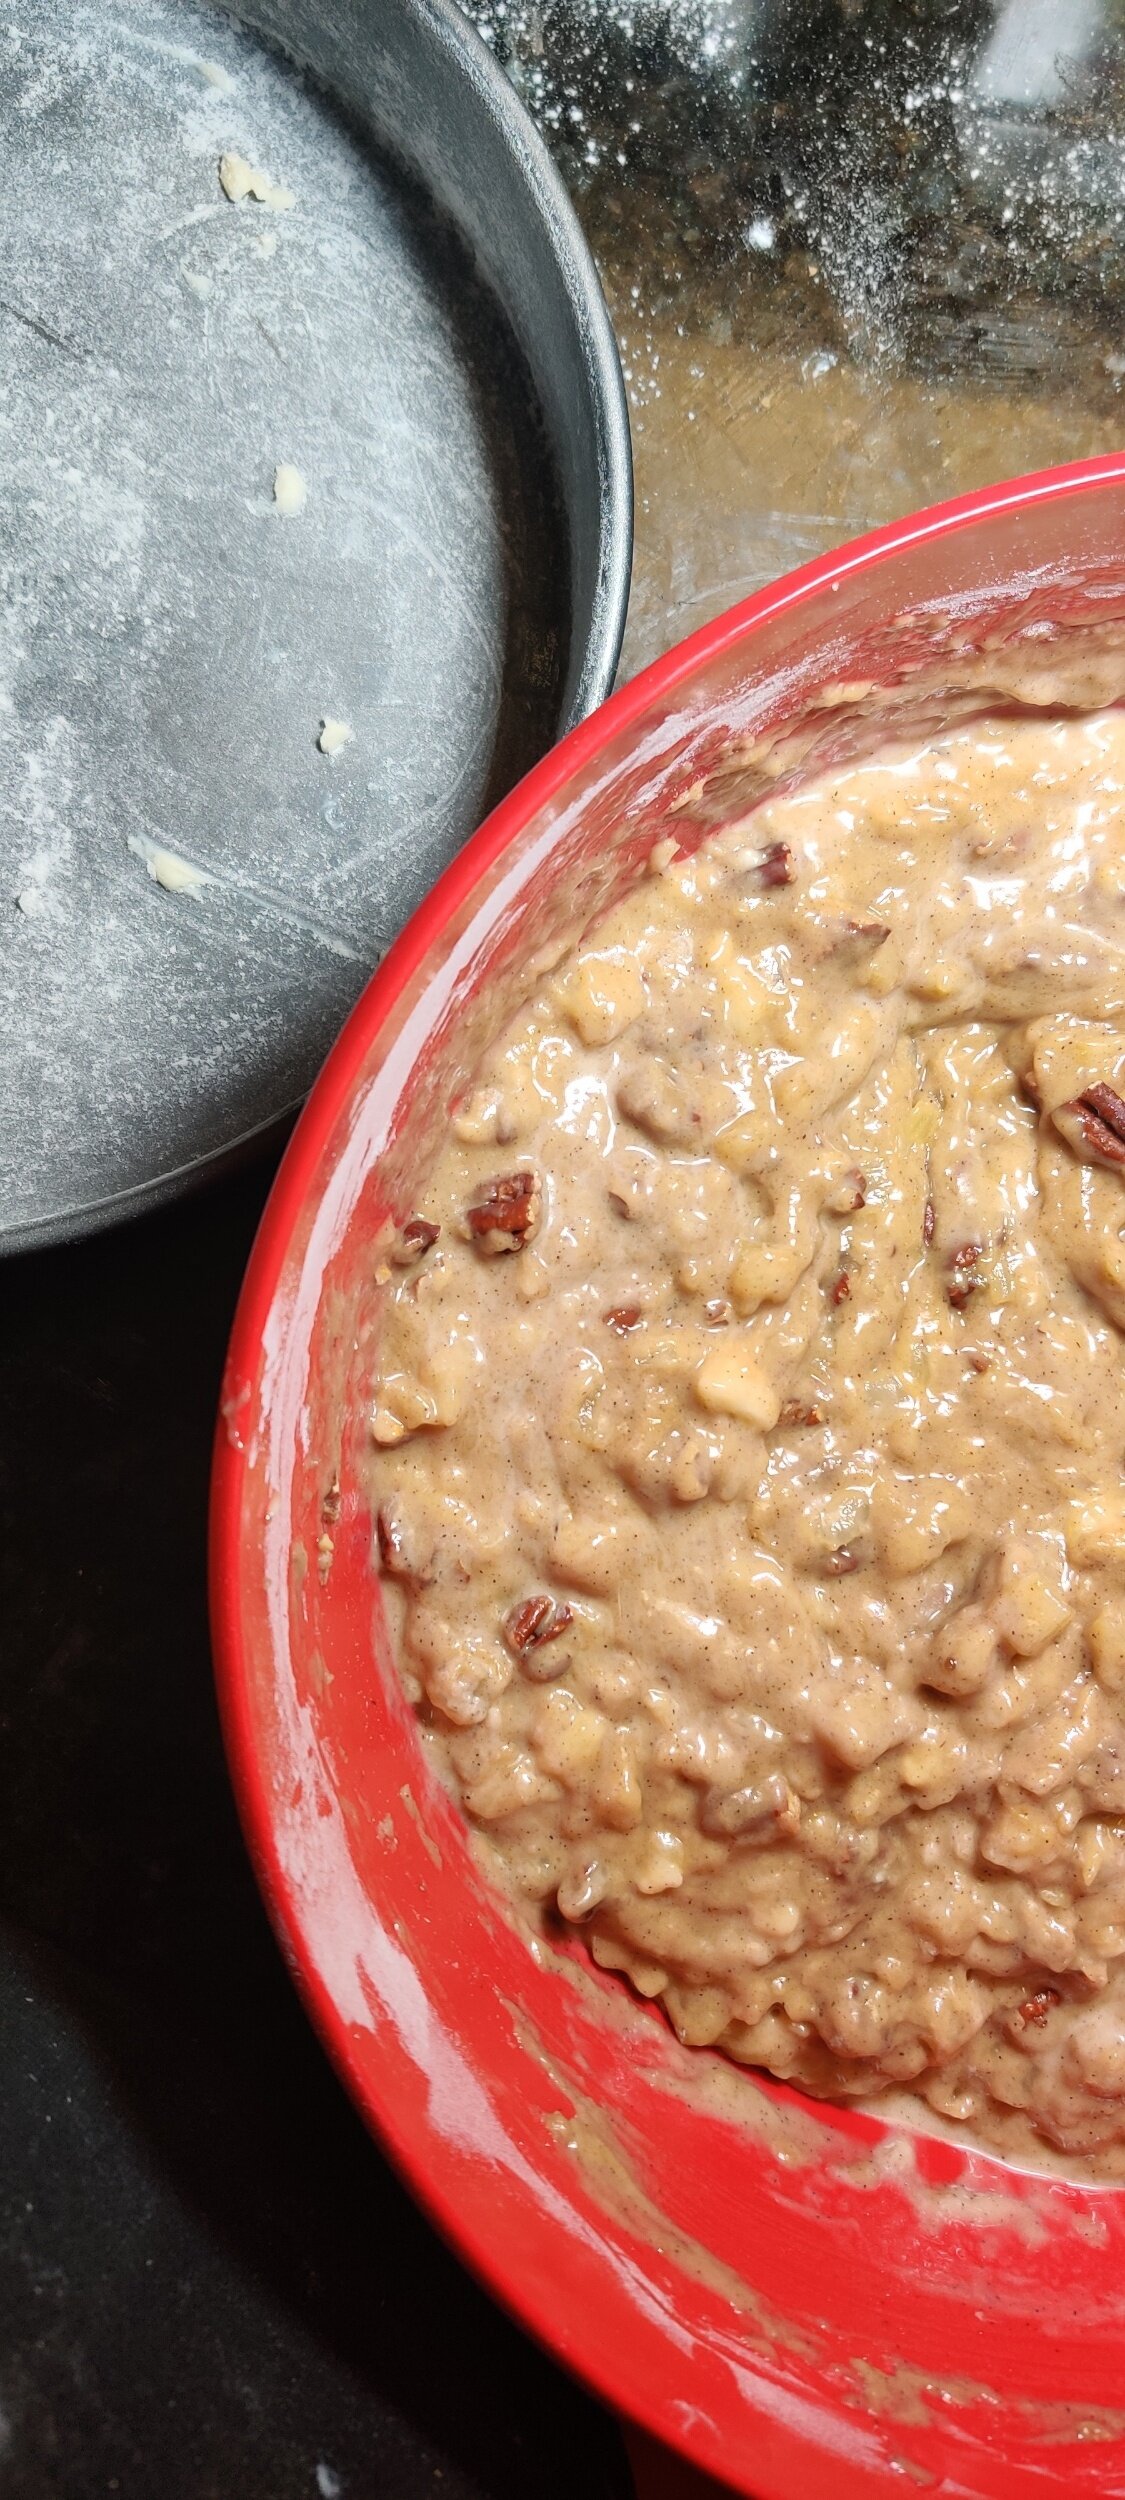
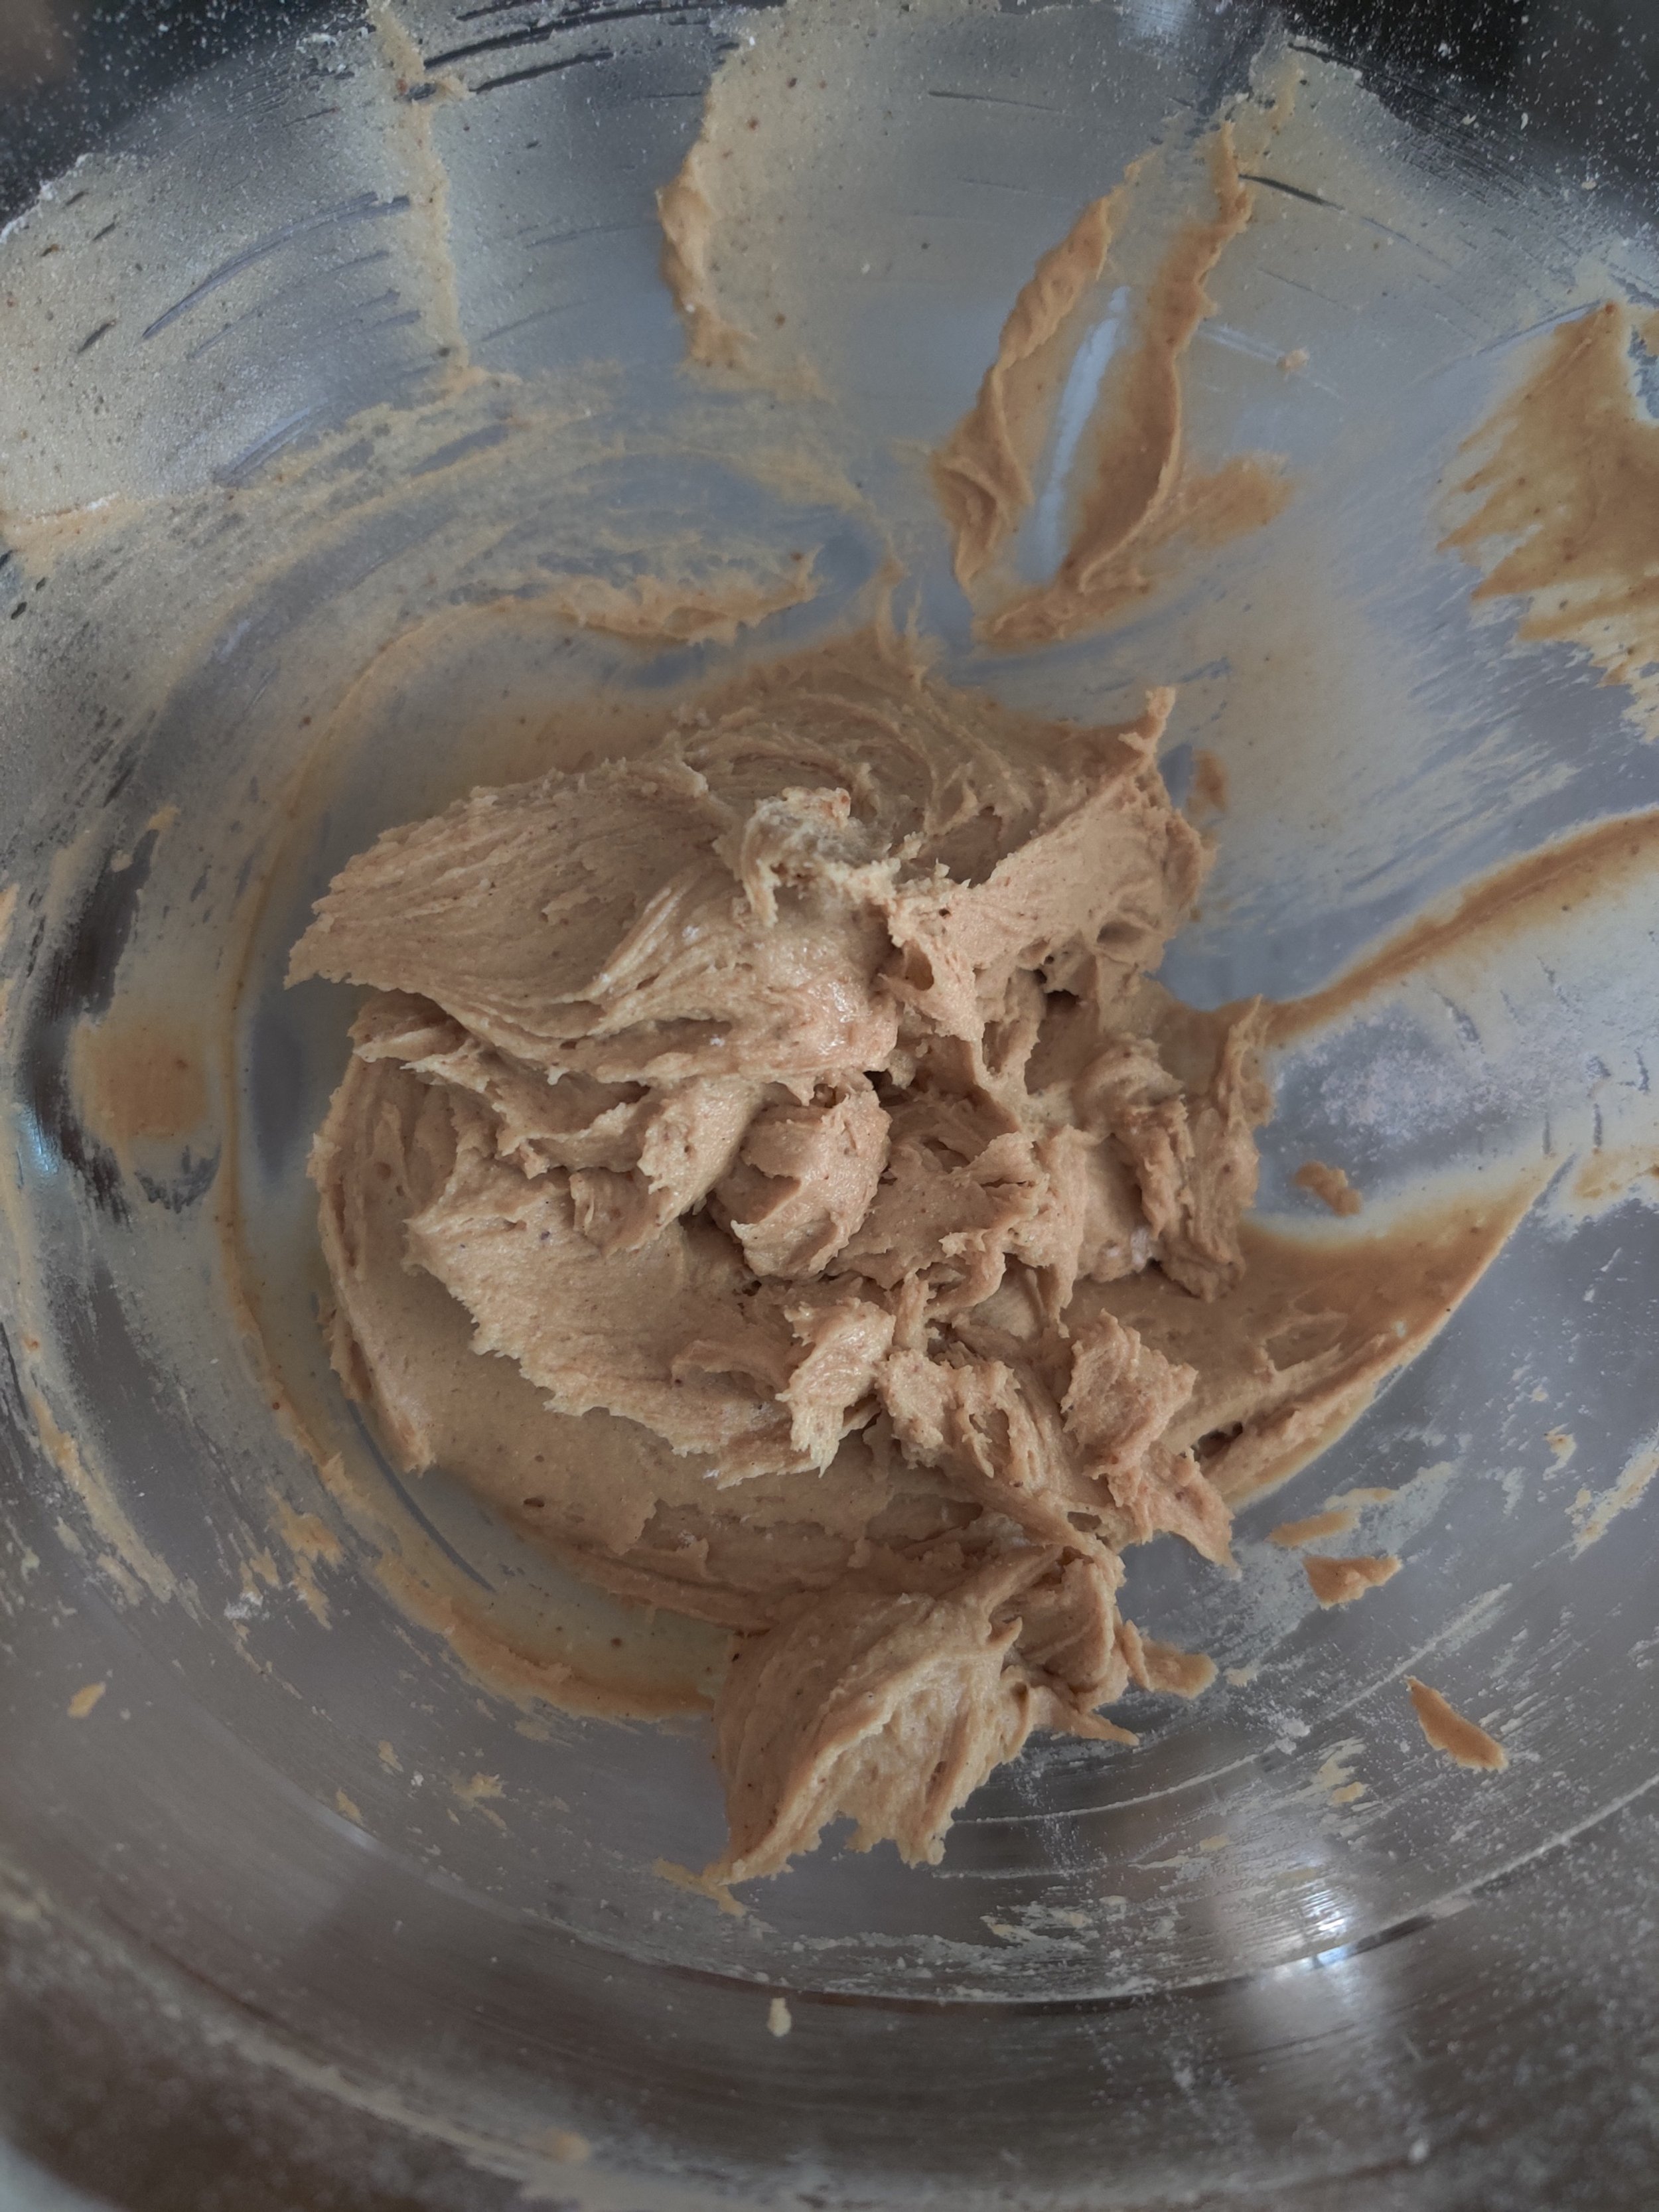
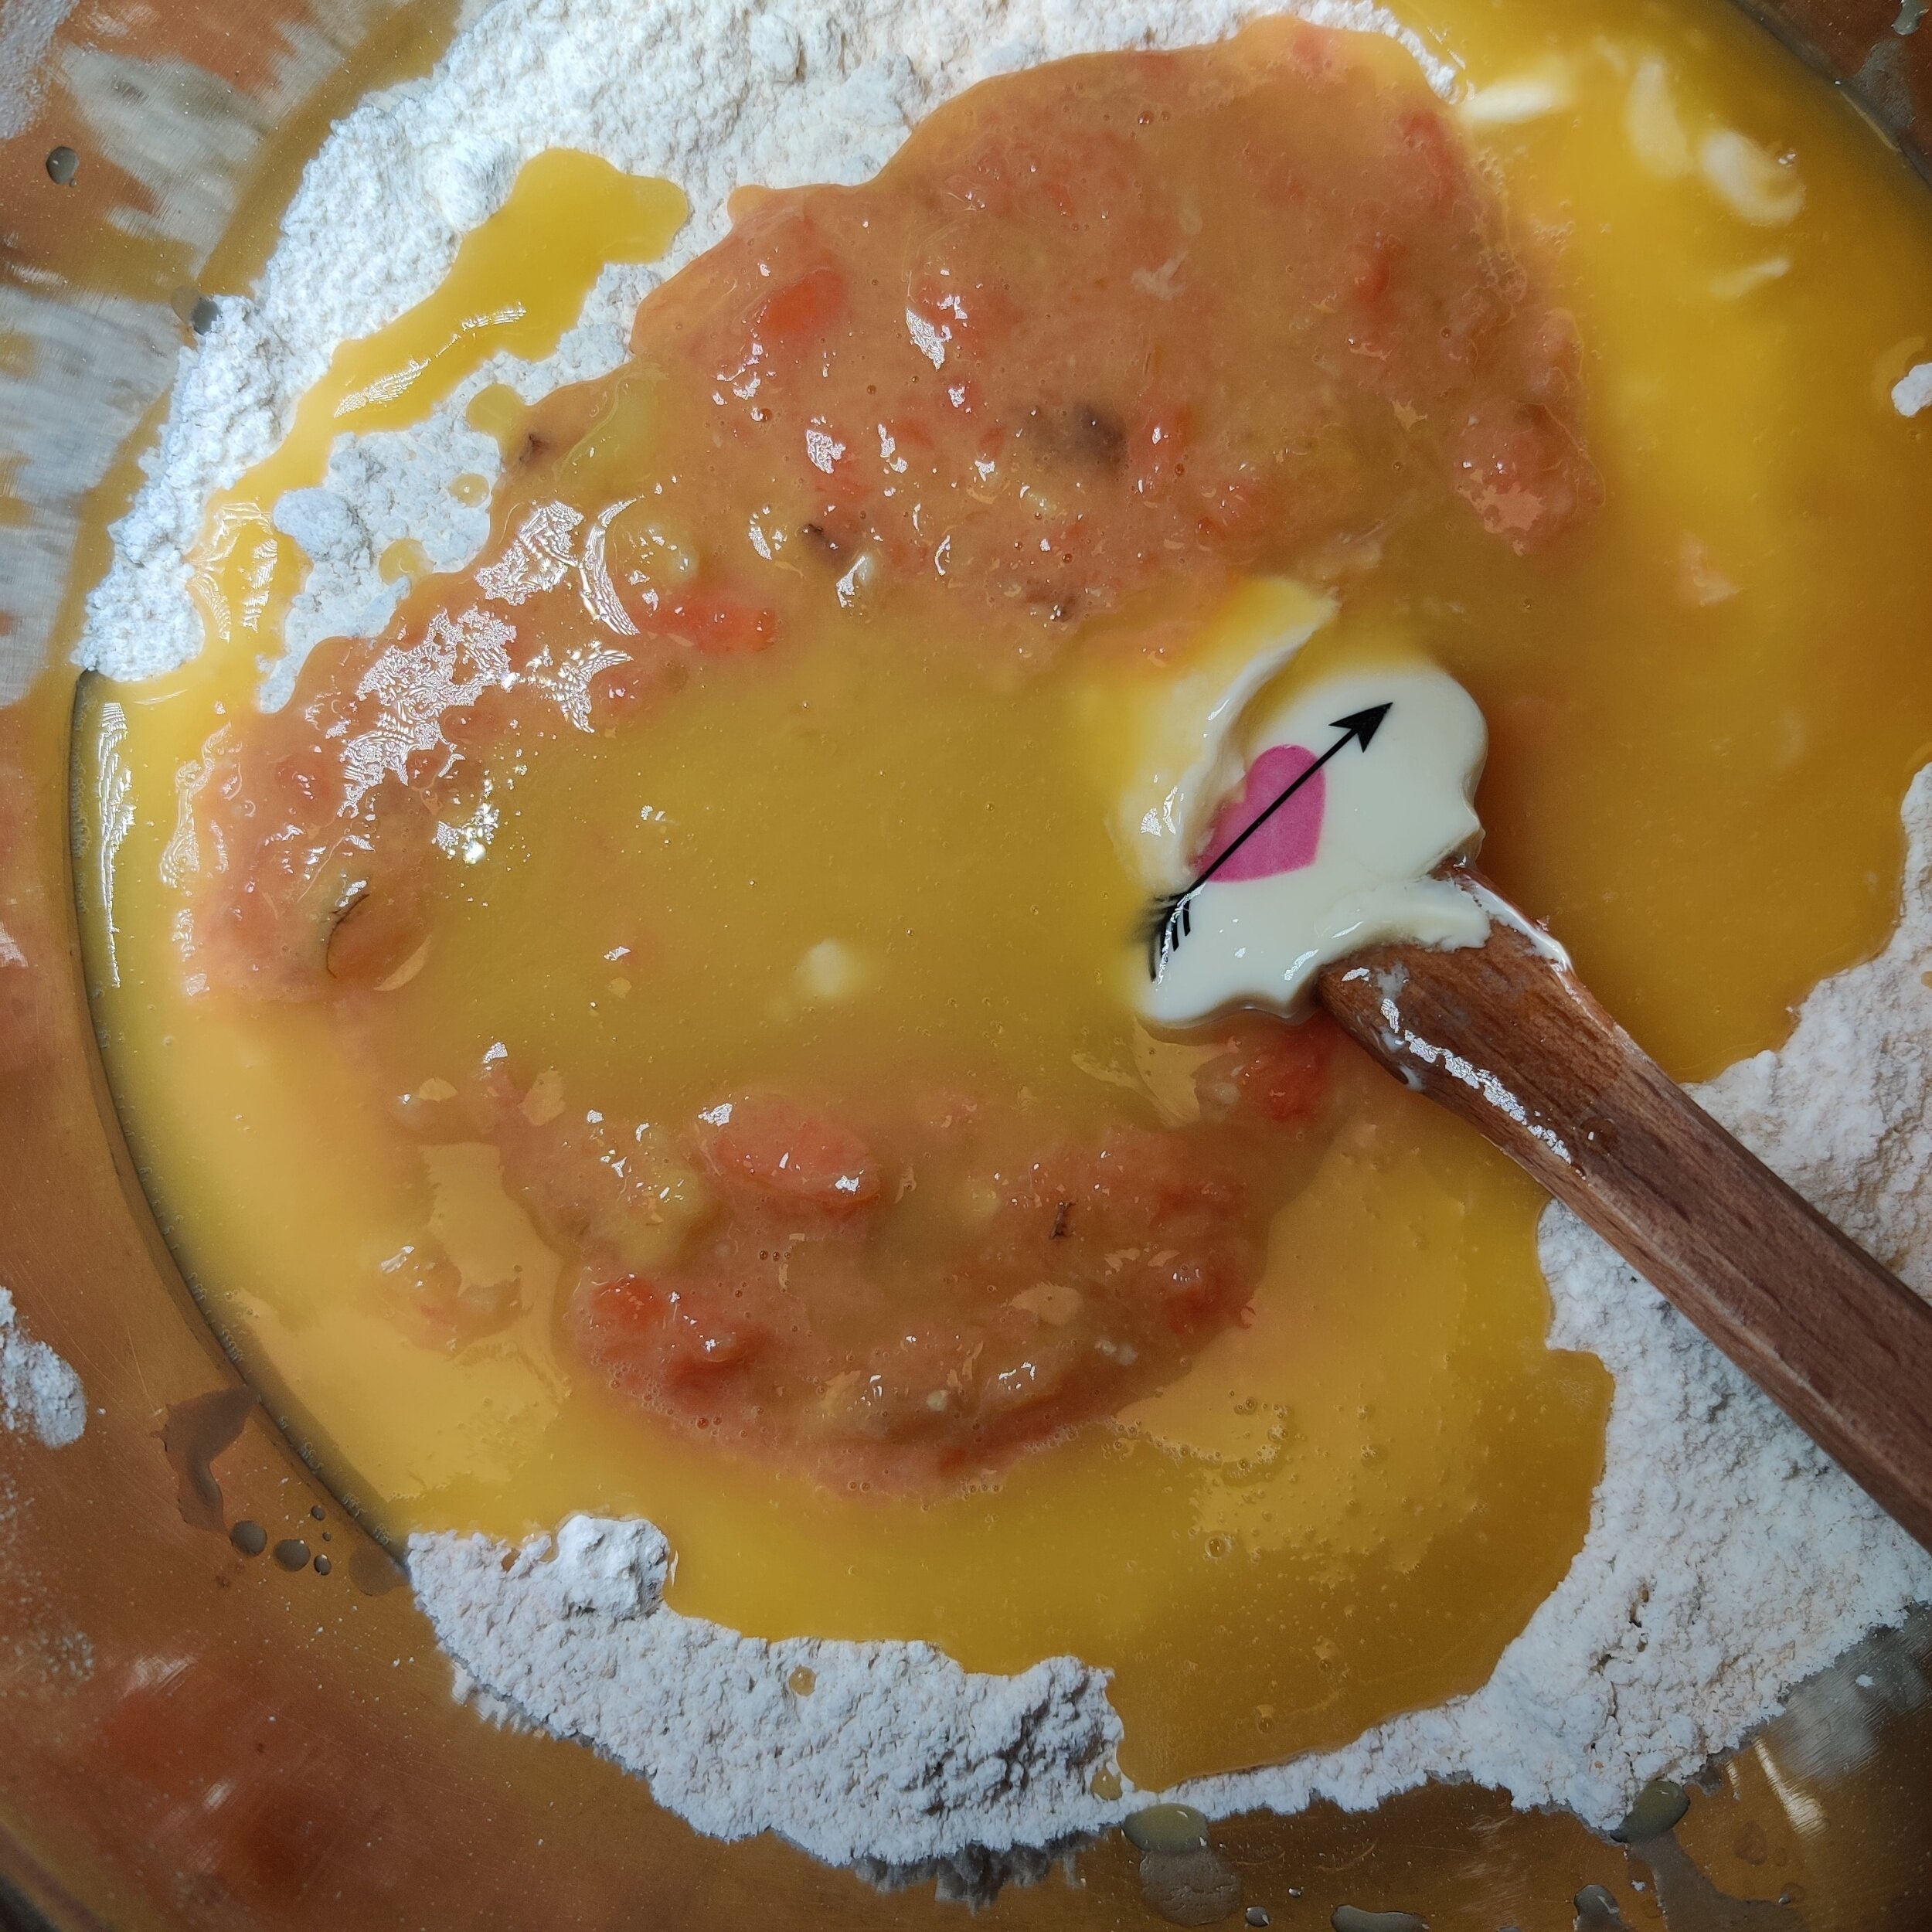
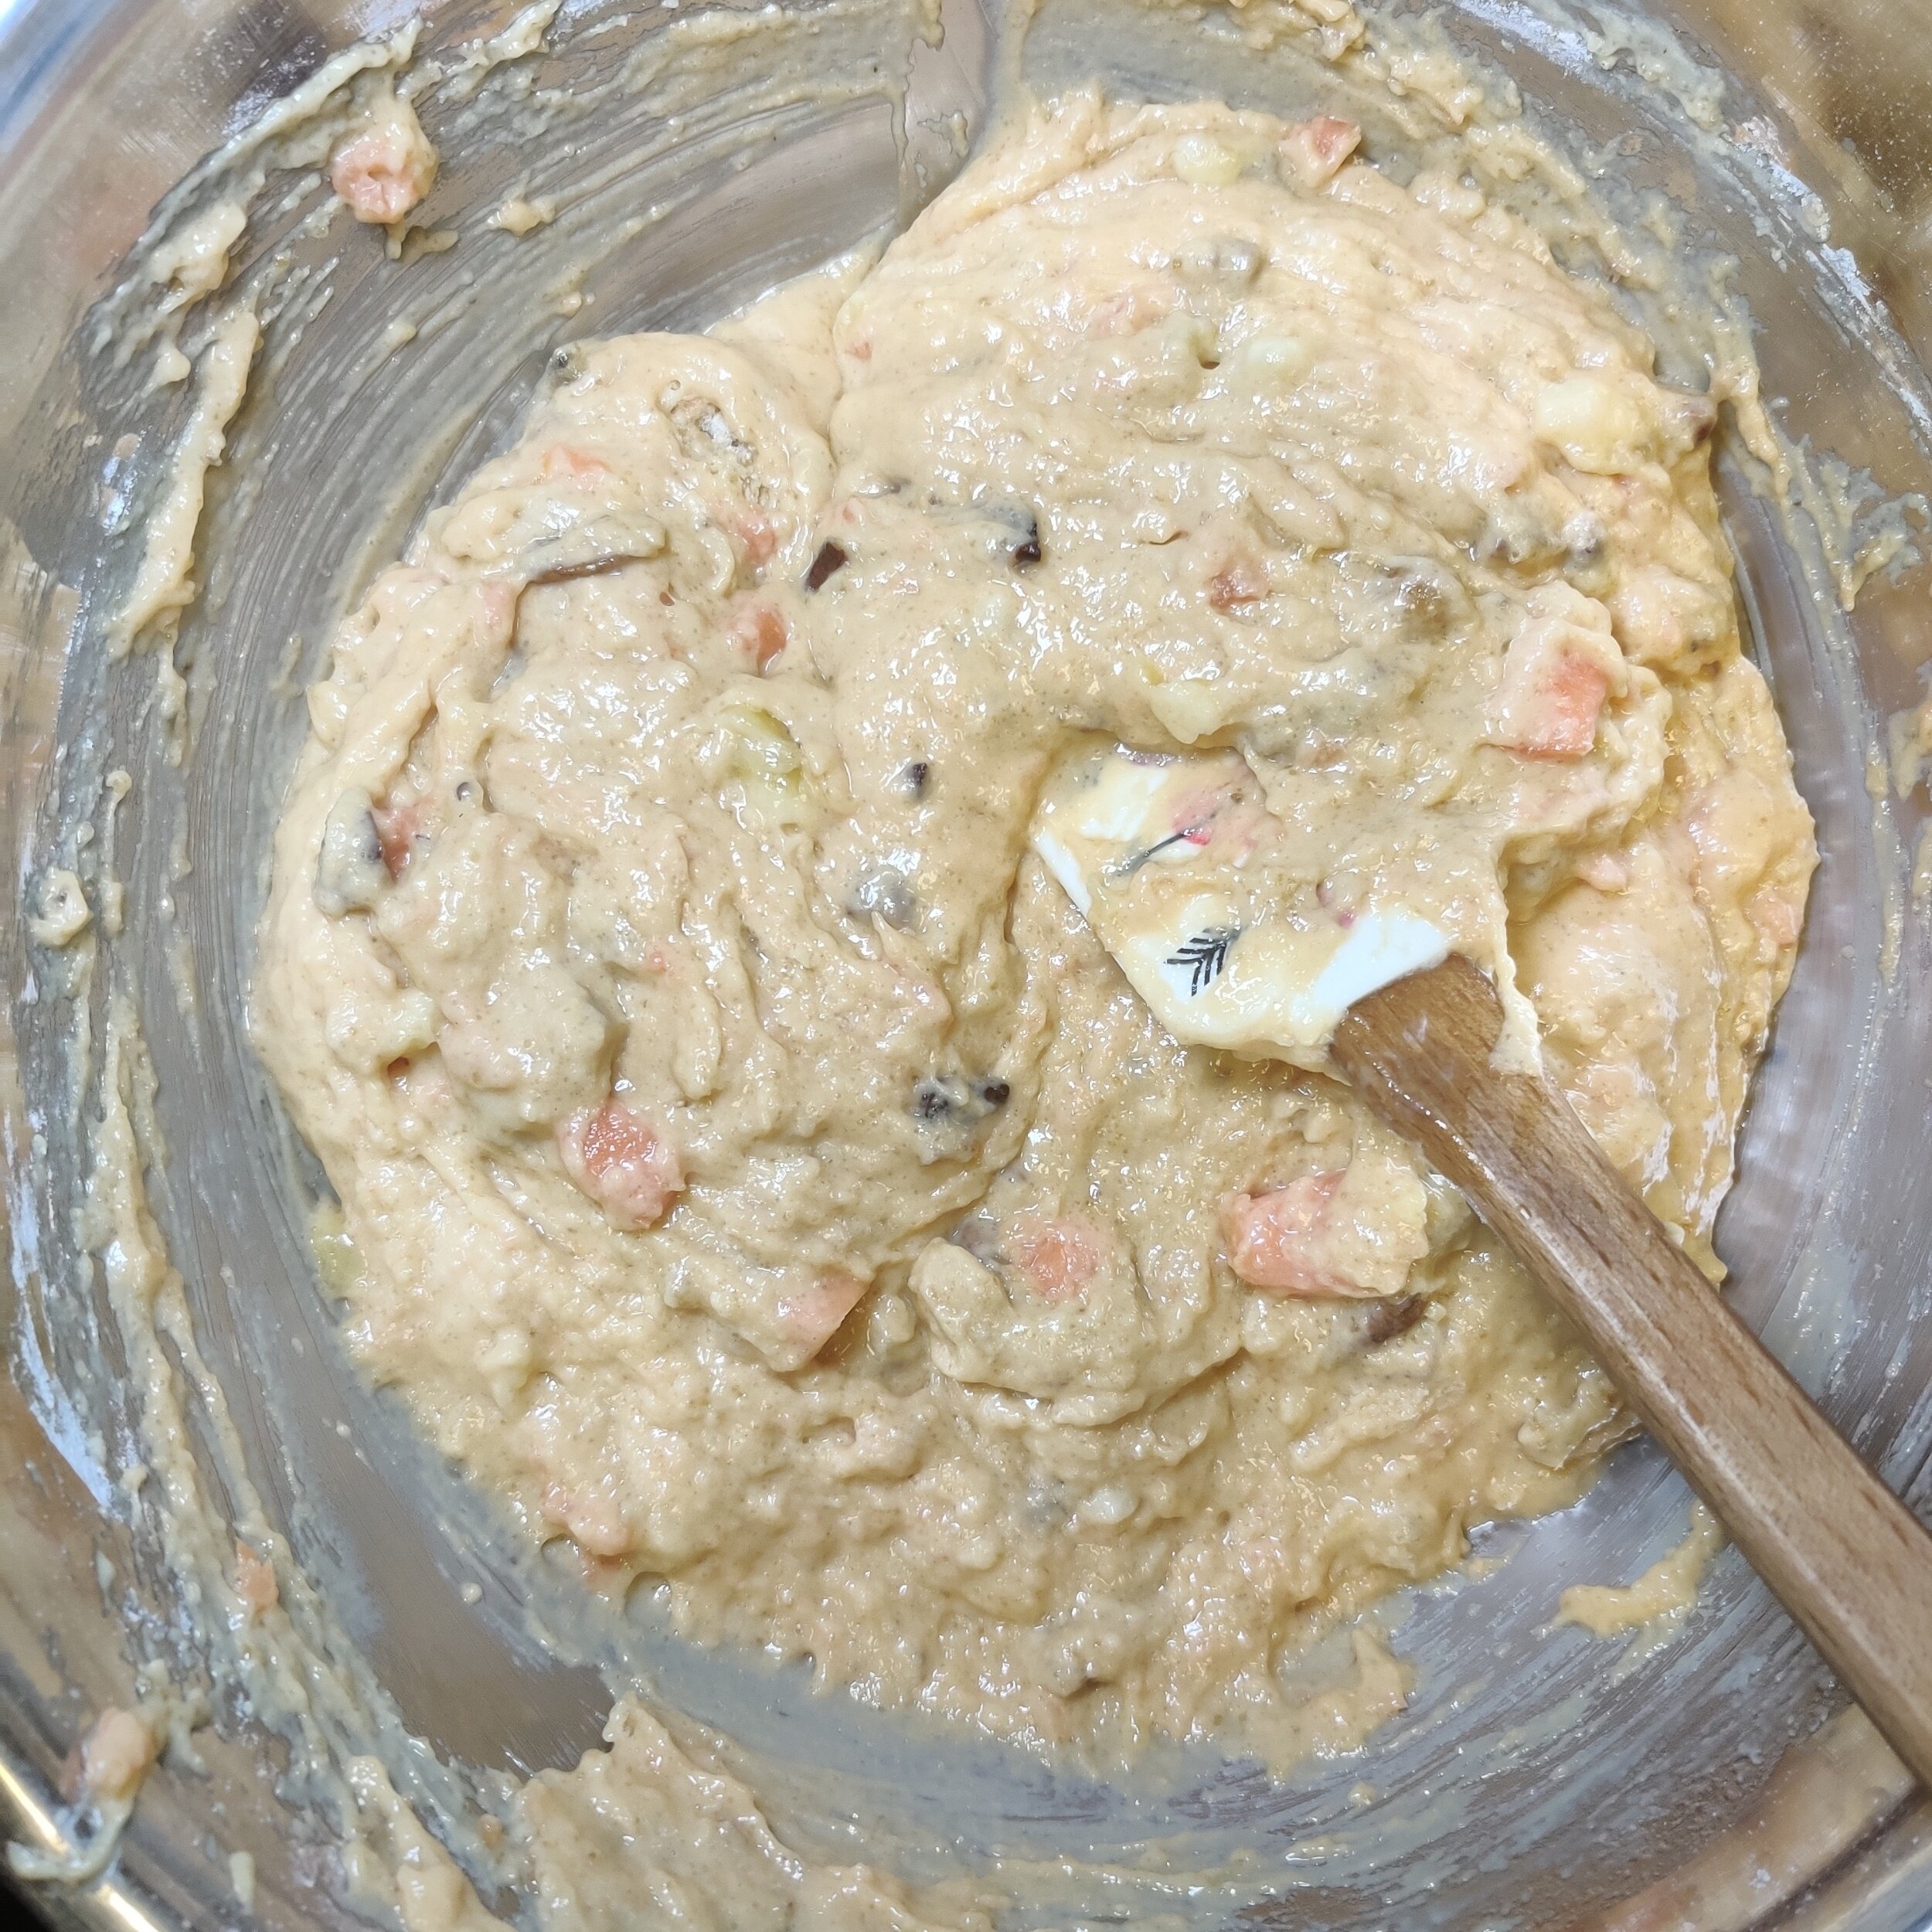
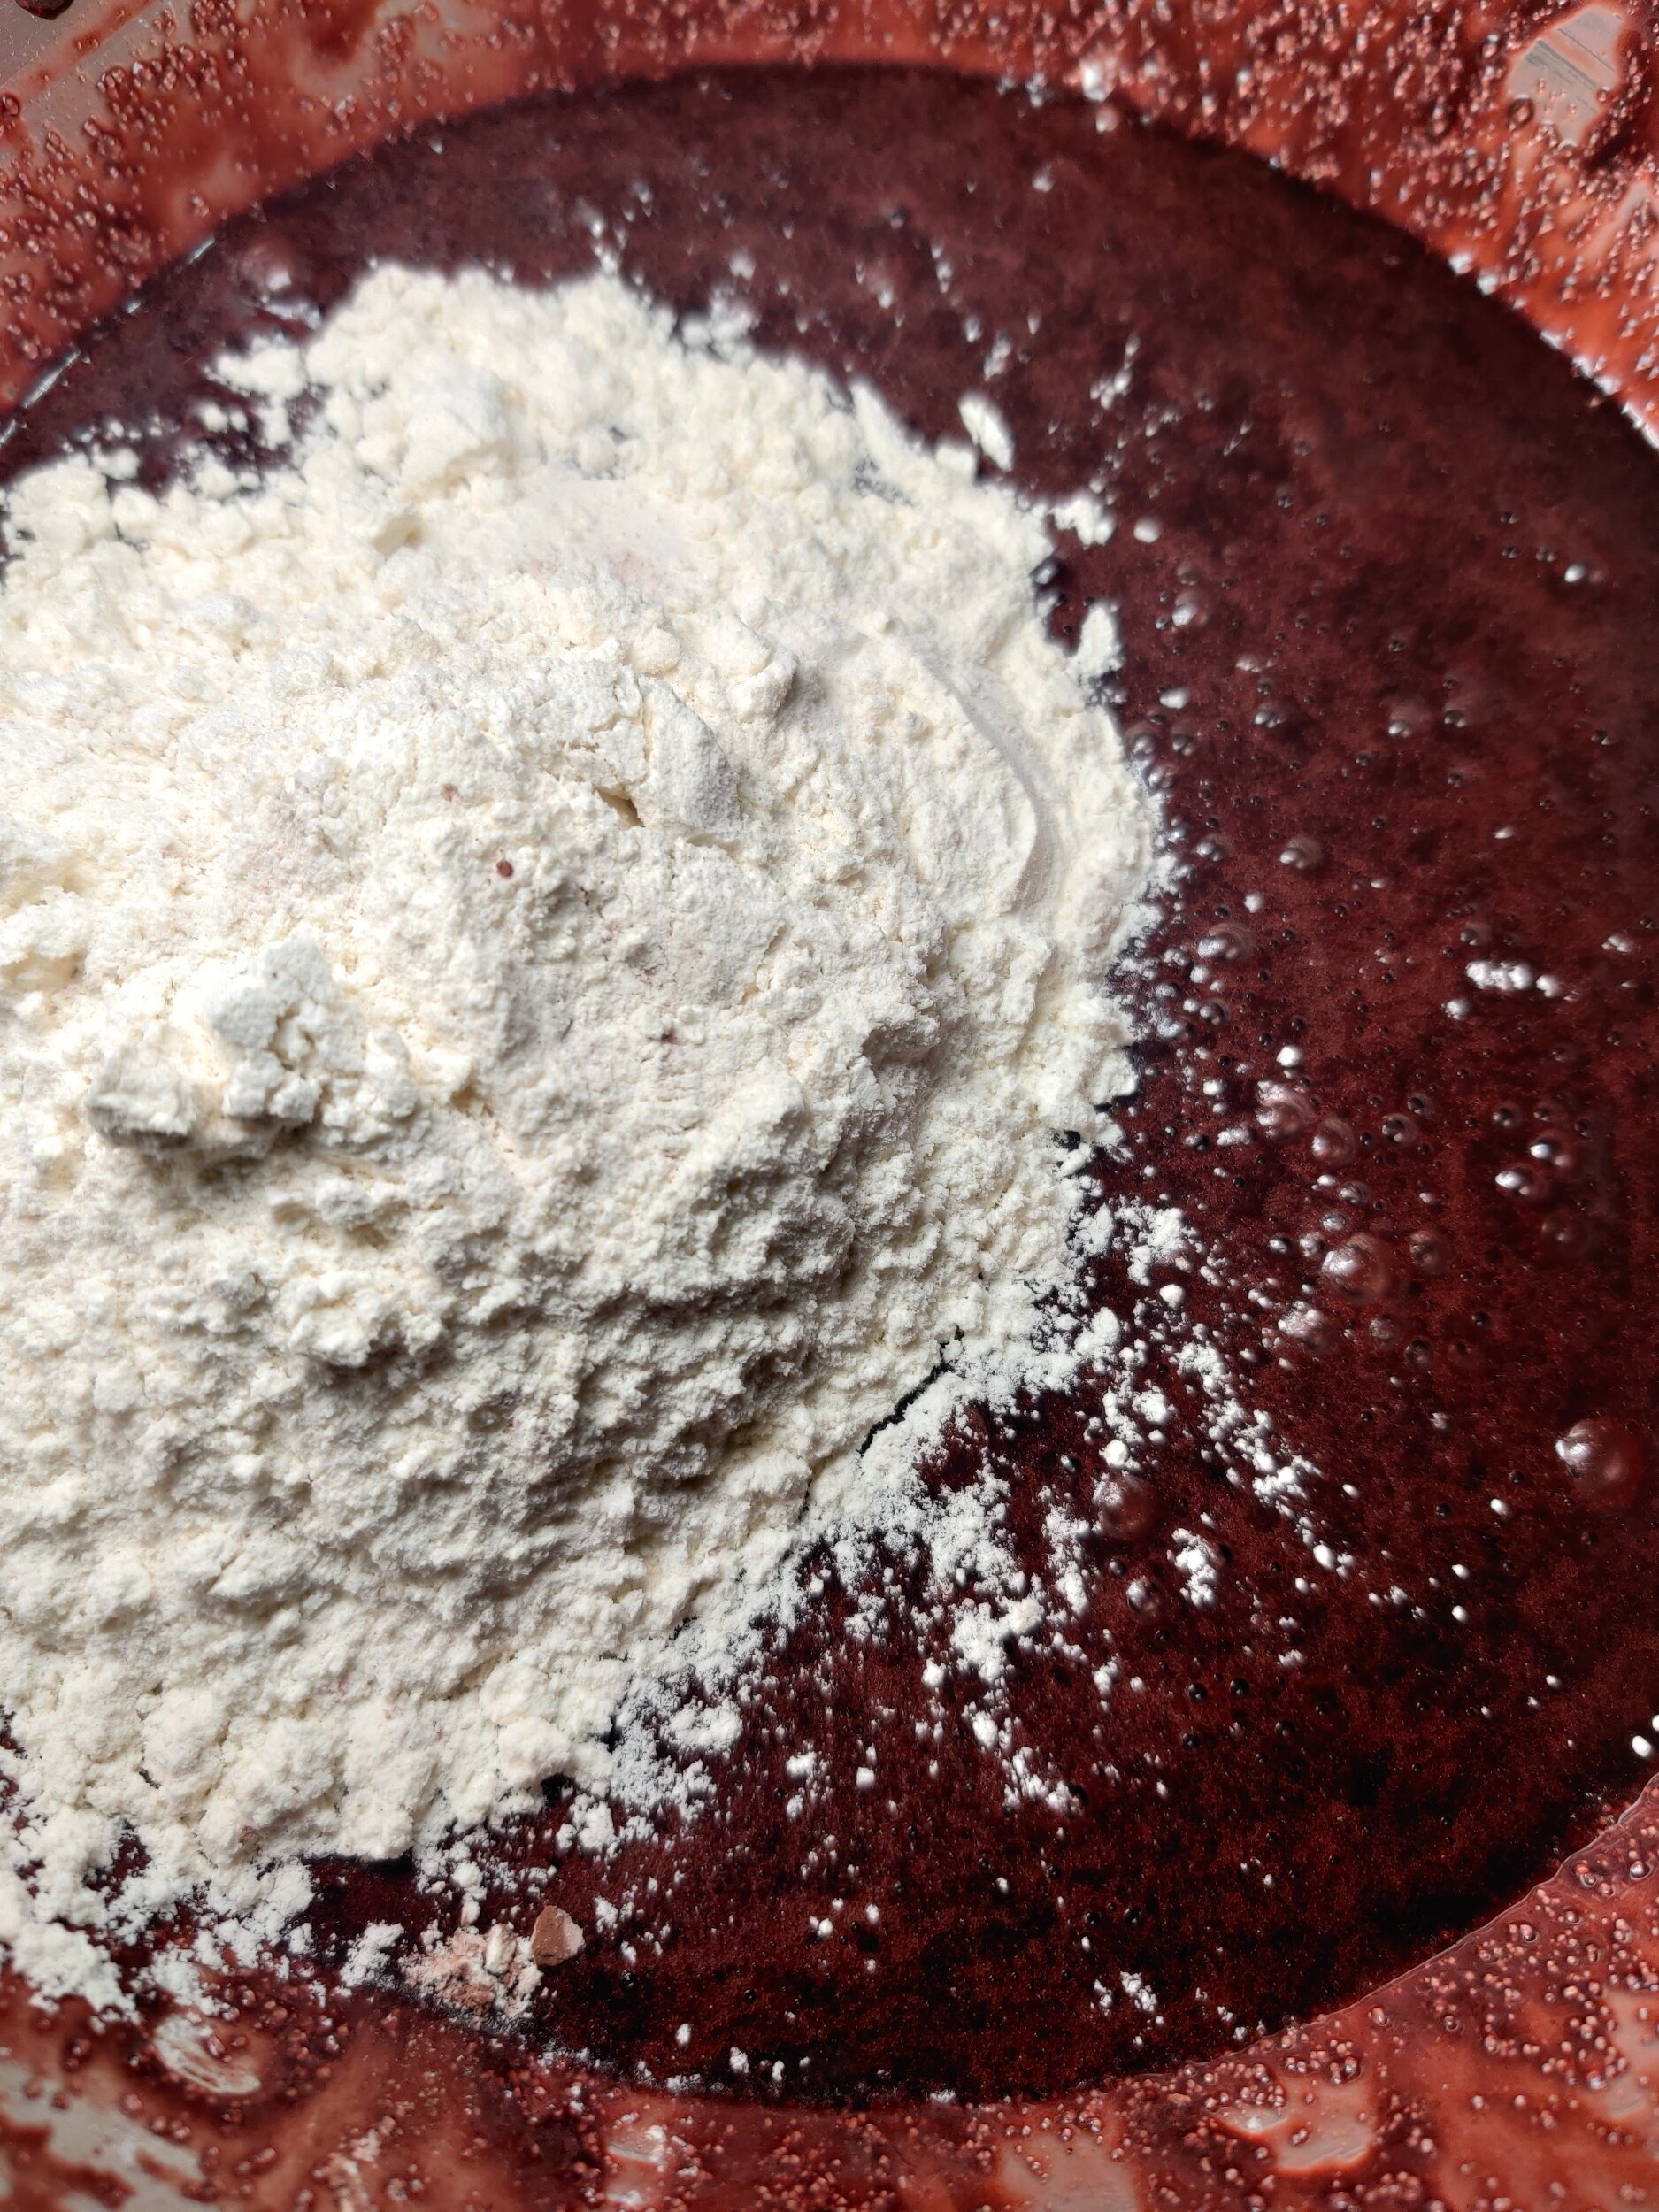
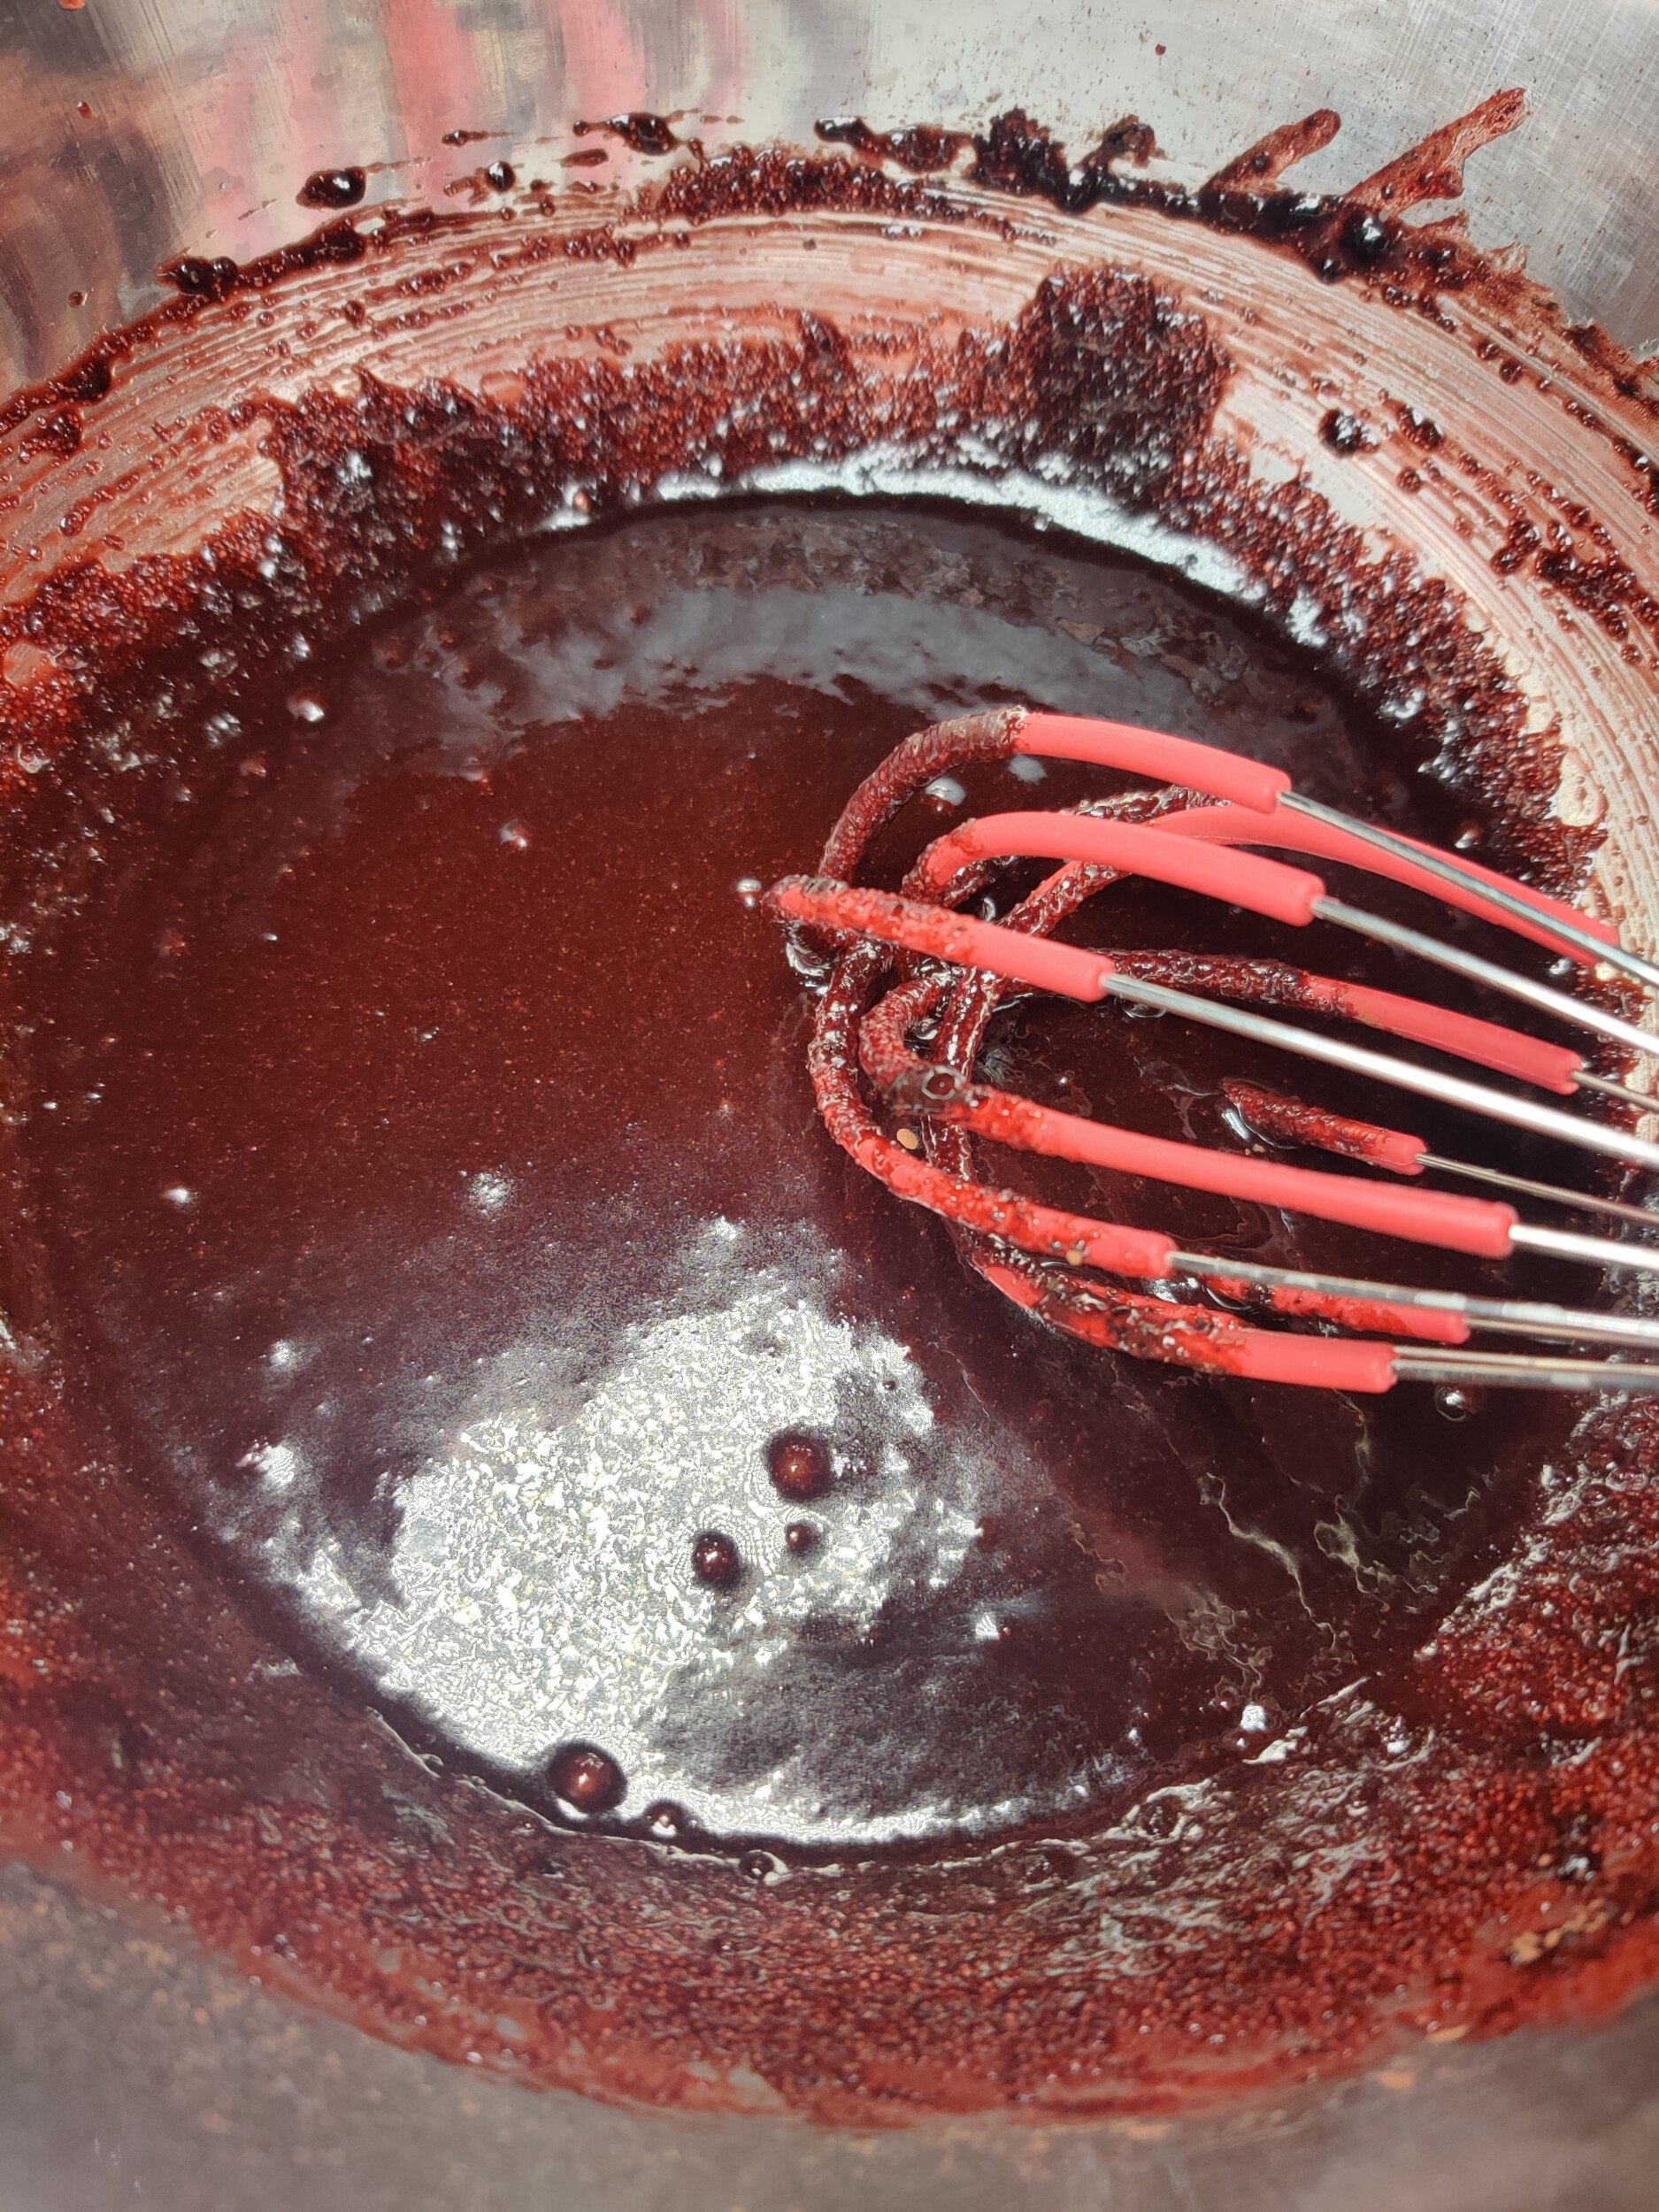
- Add the dry ingredients to the wet mixture and stir until just combined. If the batter is too thick, stir in one to two tablespoons of milk to reach a smooth, slightly thick consistency. Do not overmix.
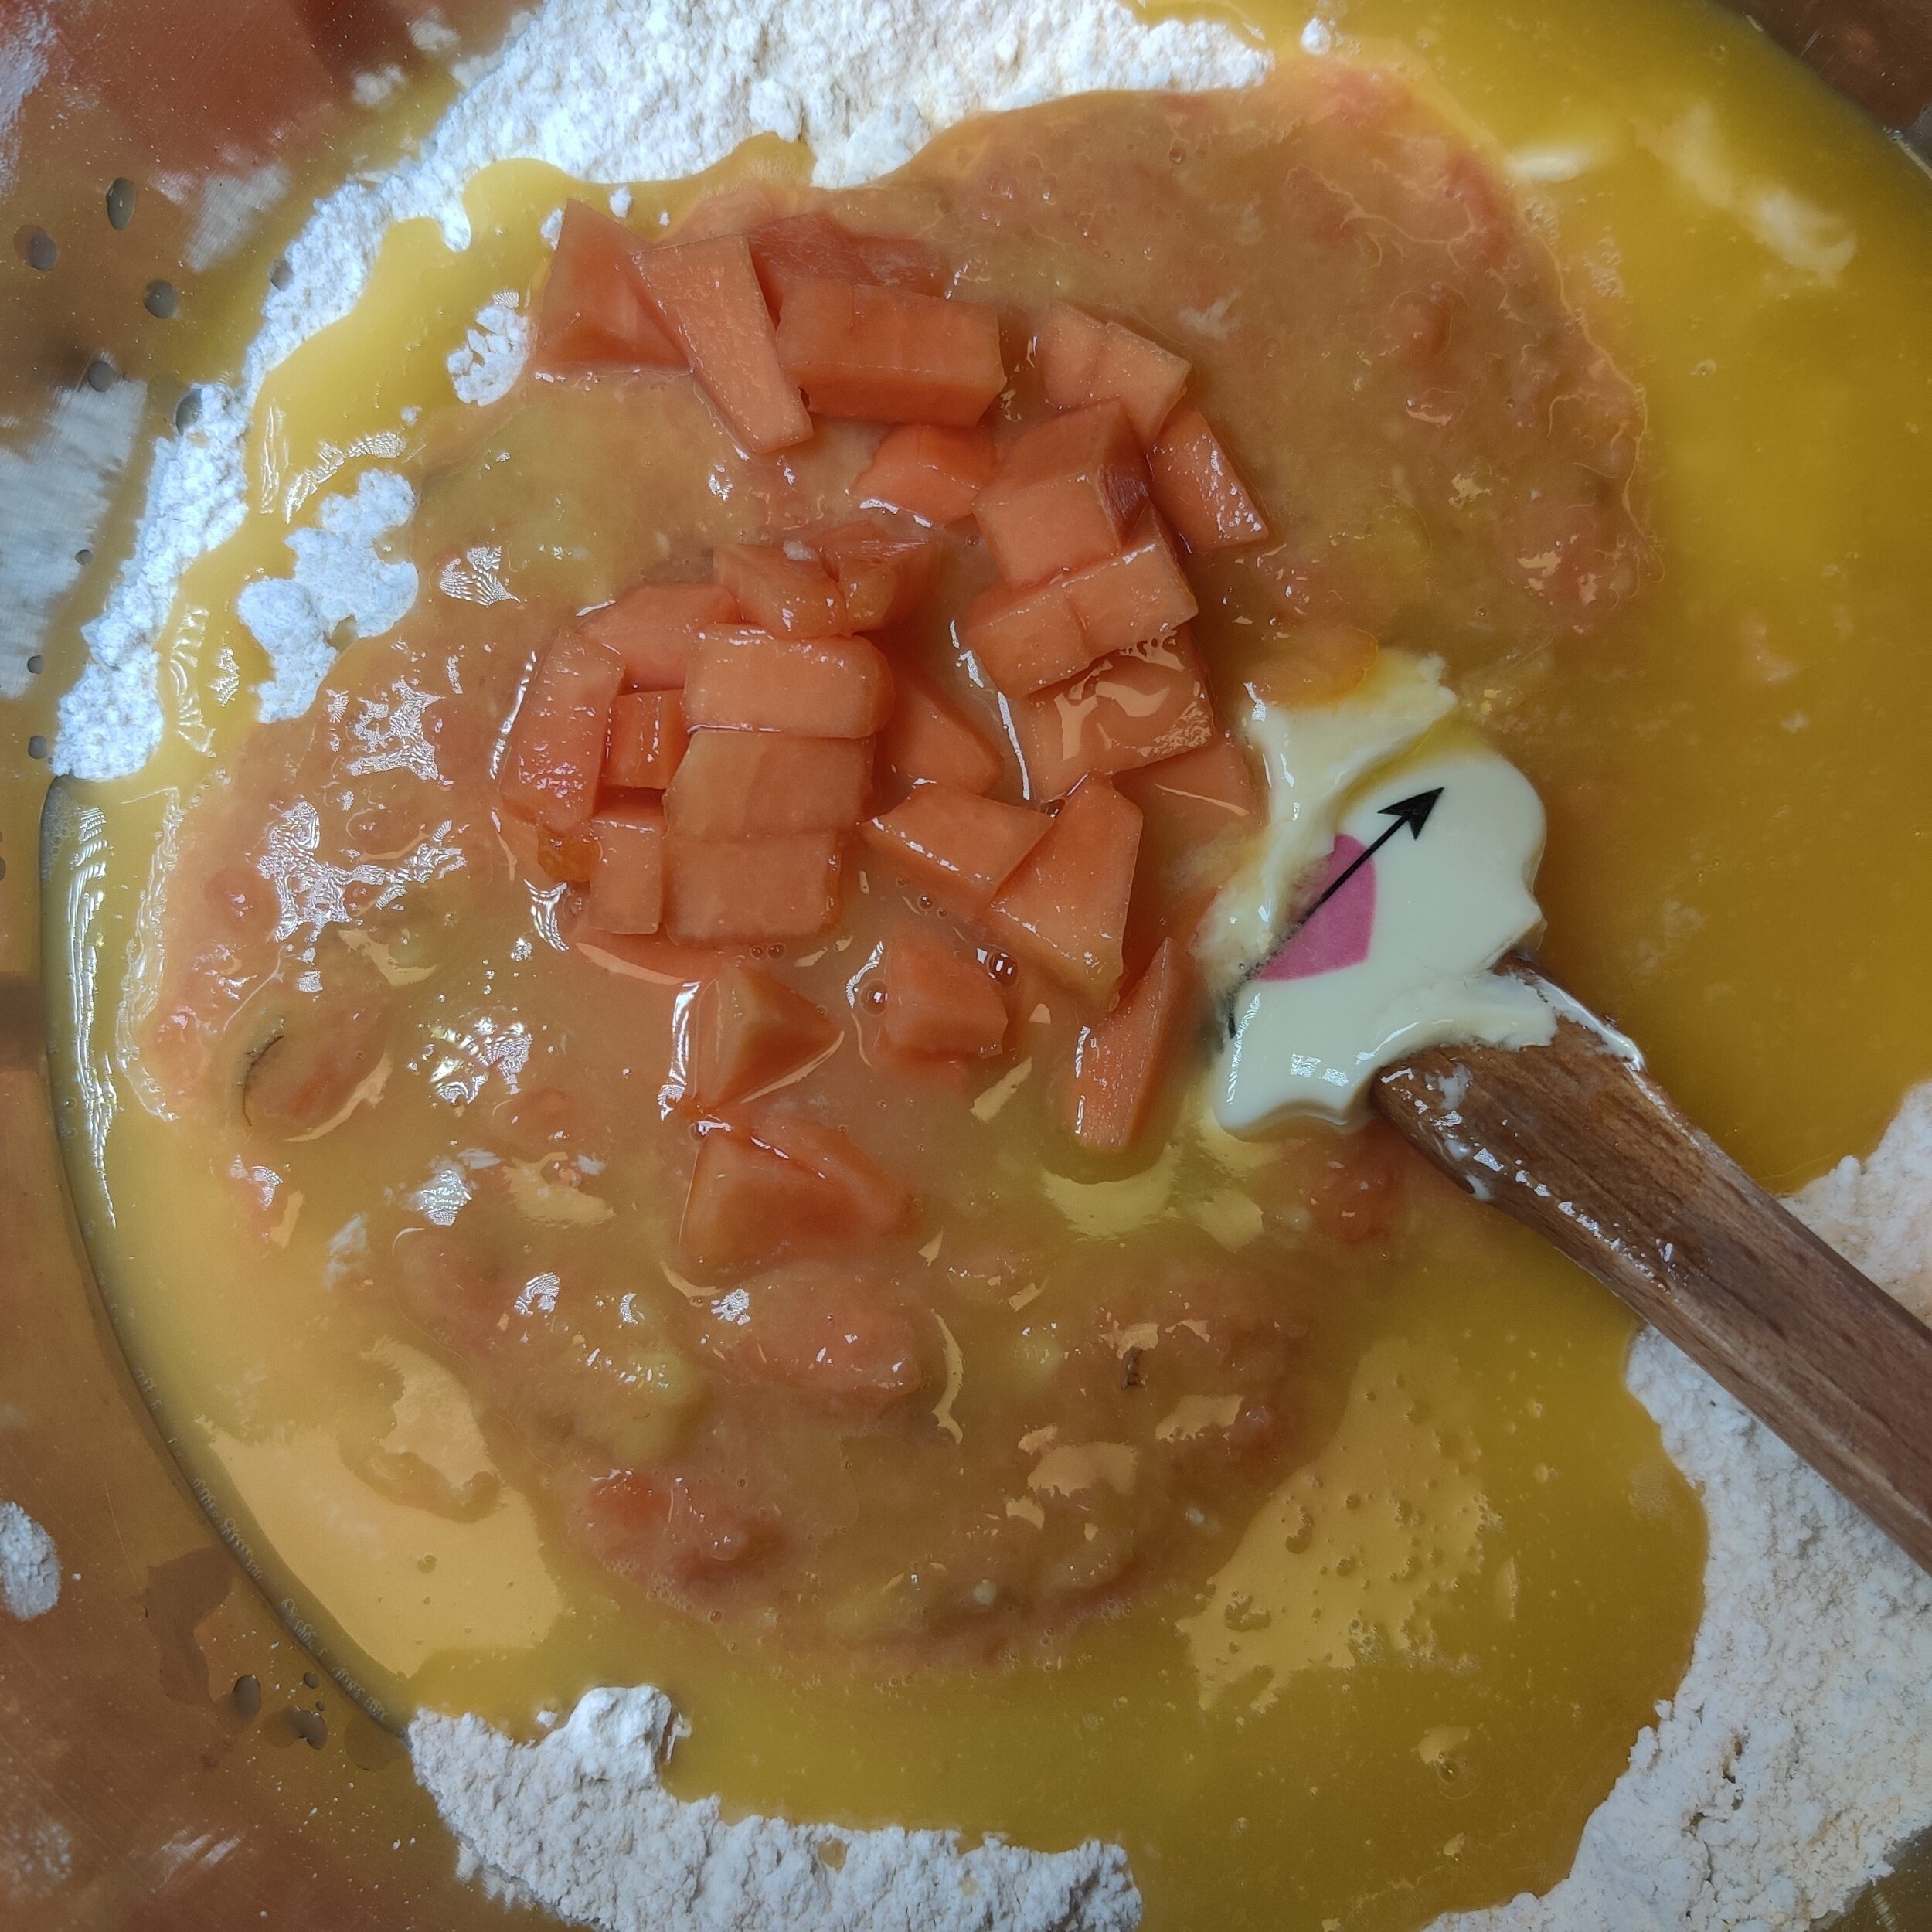
- Gently fold in chopped walnuts and roughly chopped dark chocolate.
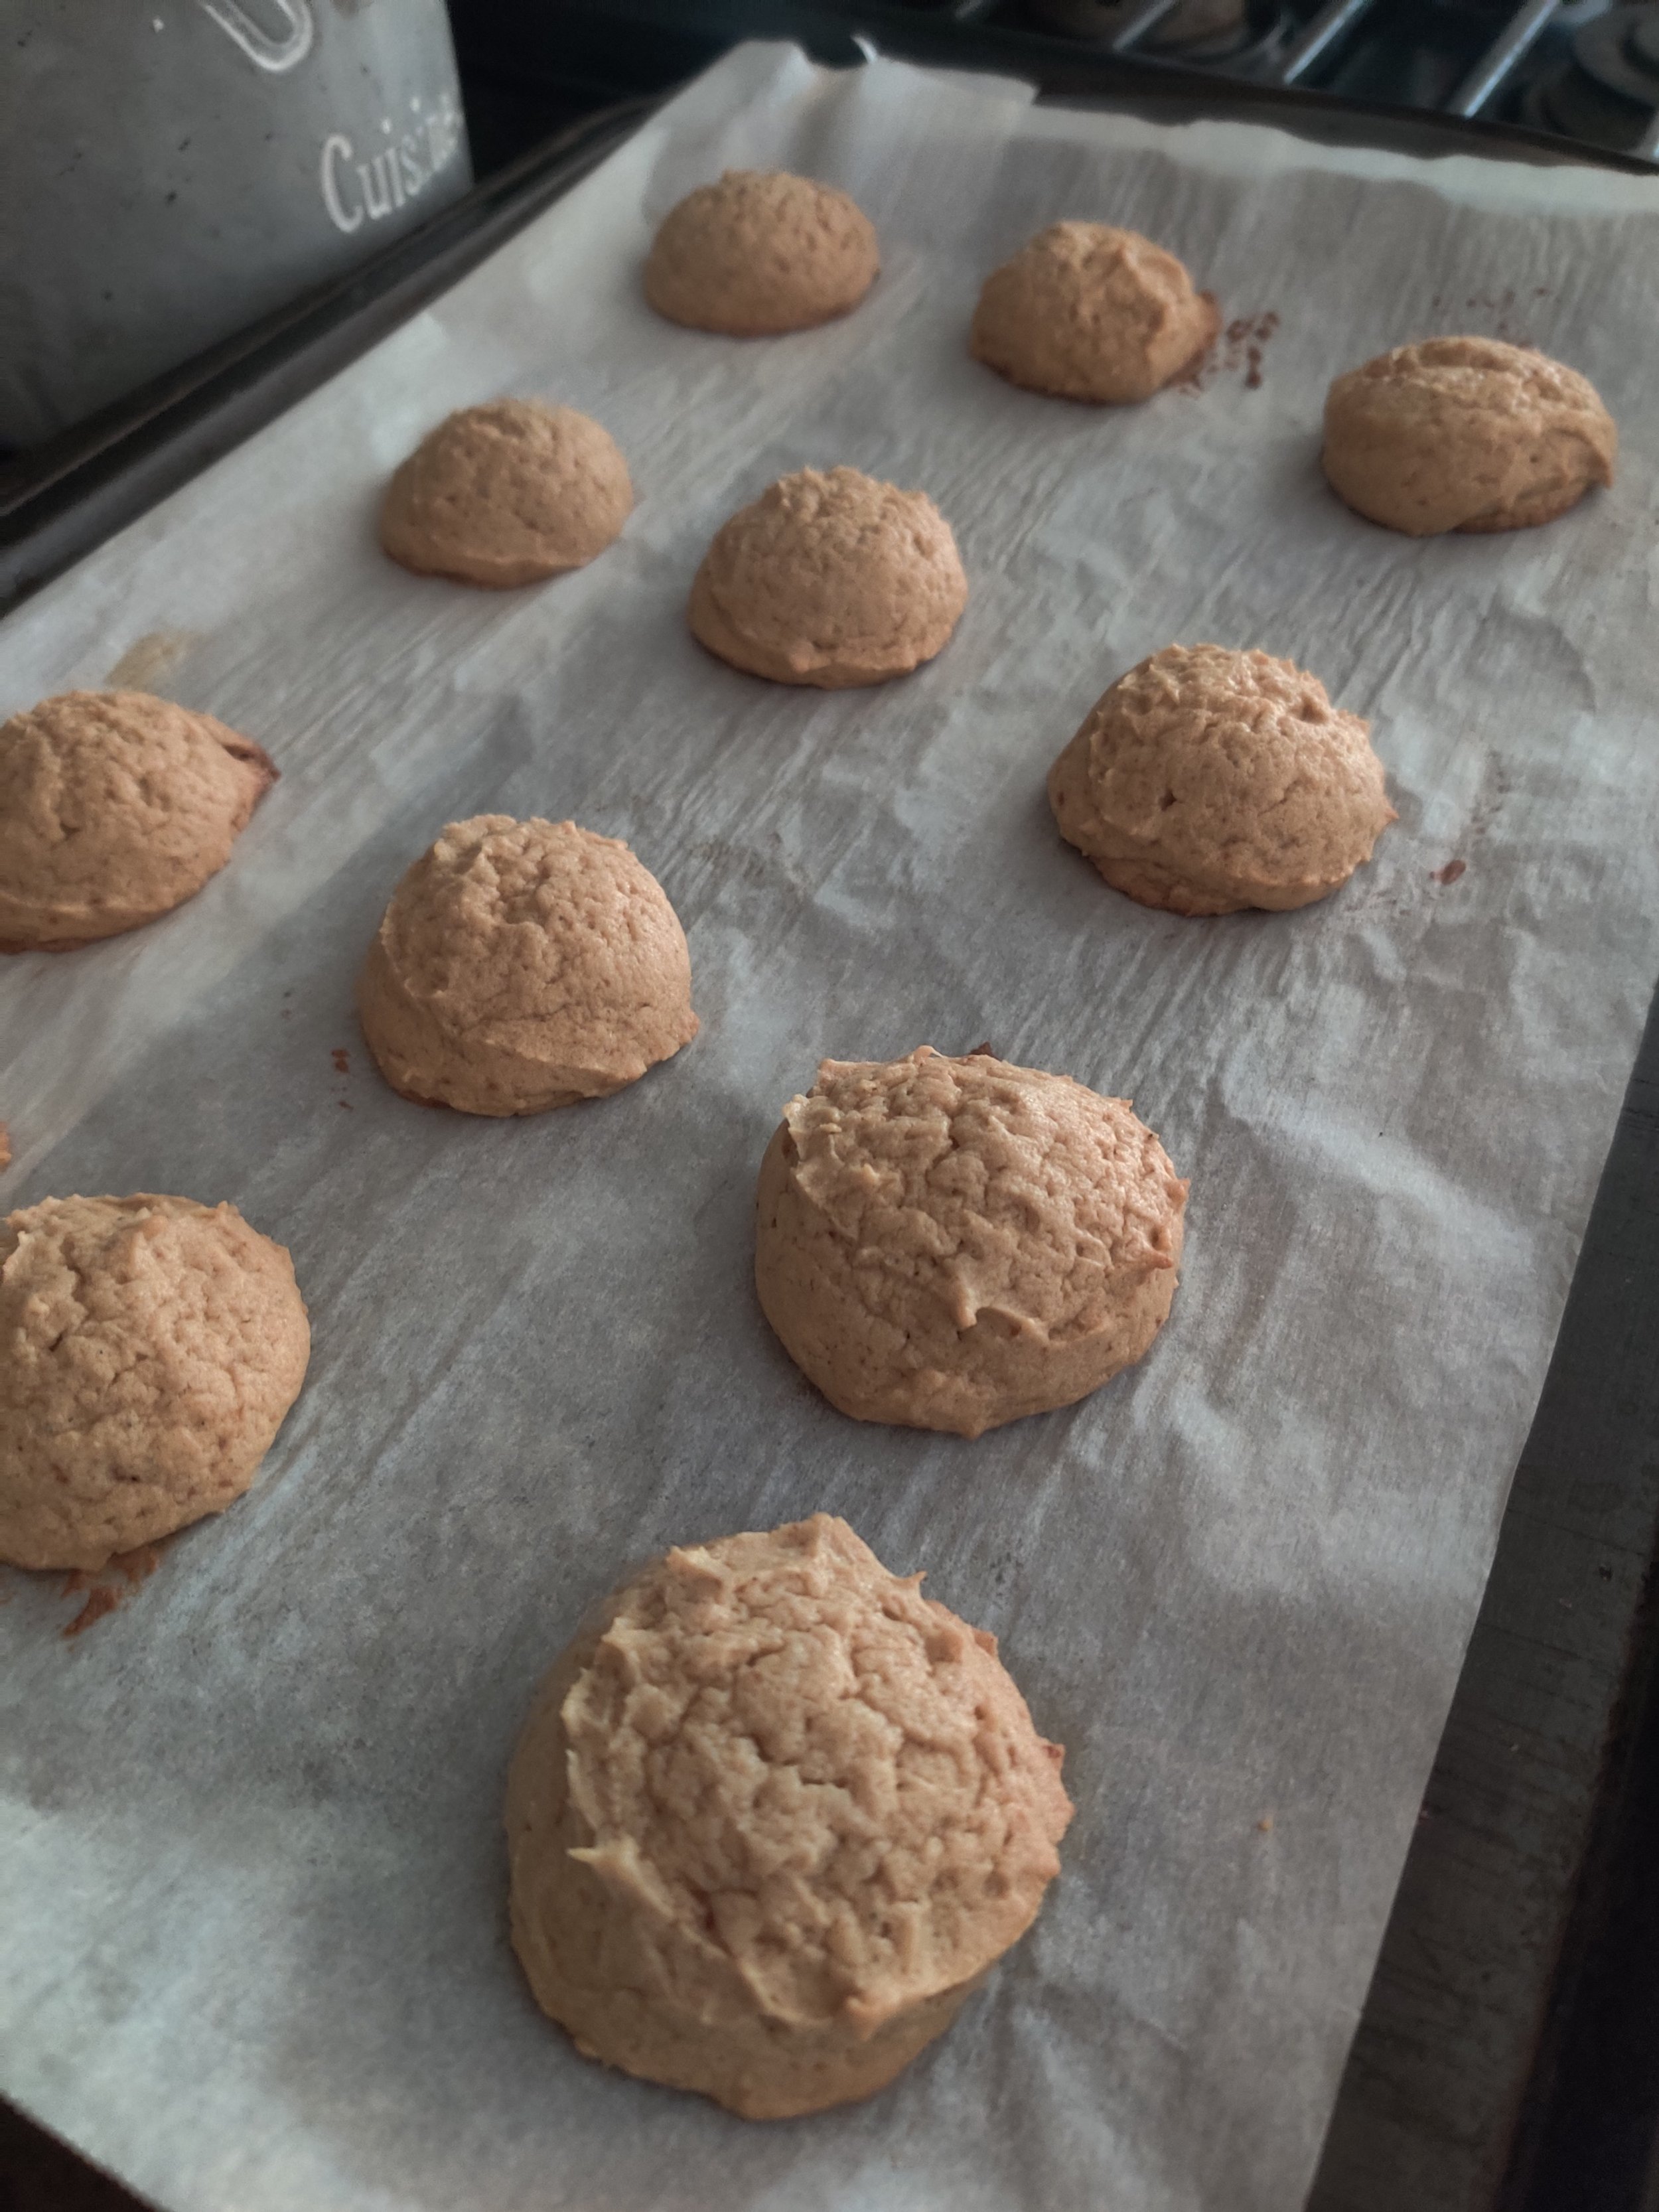
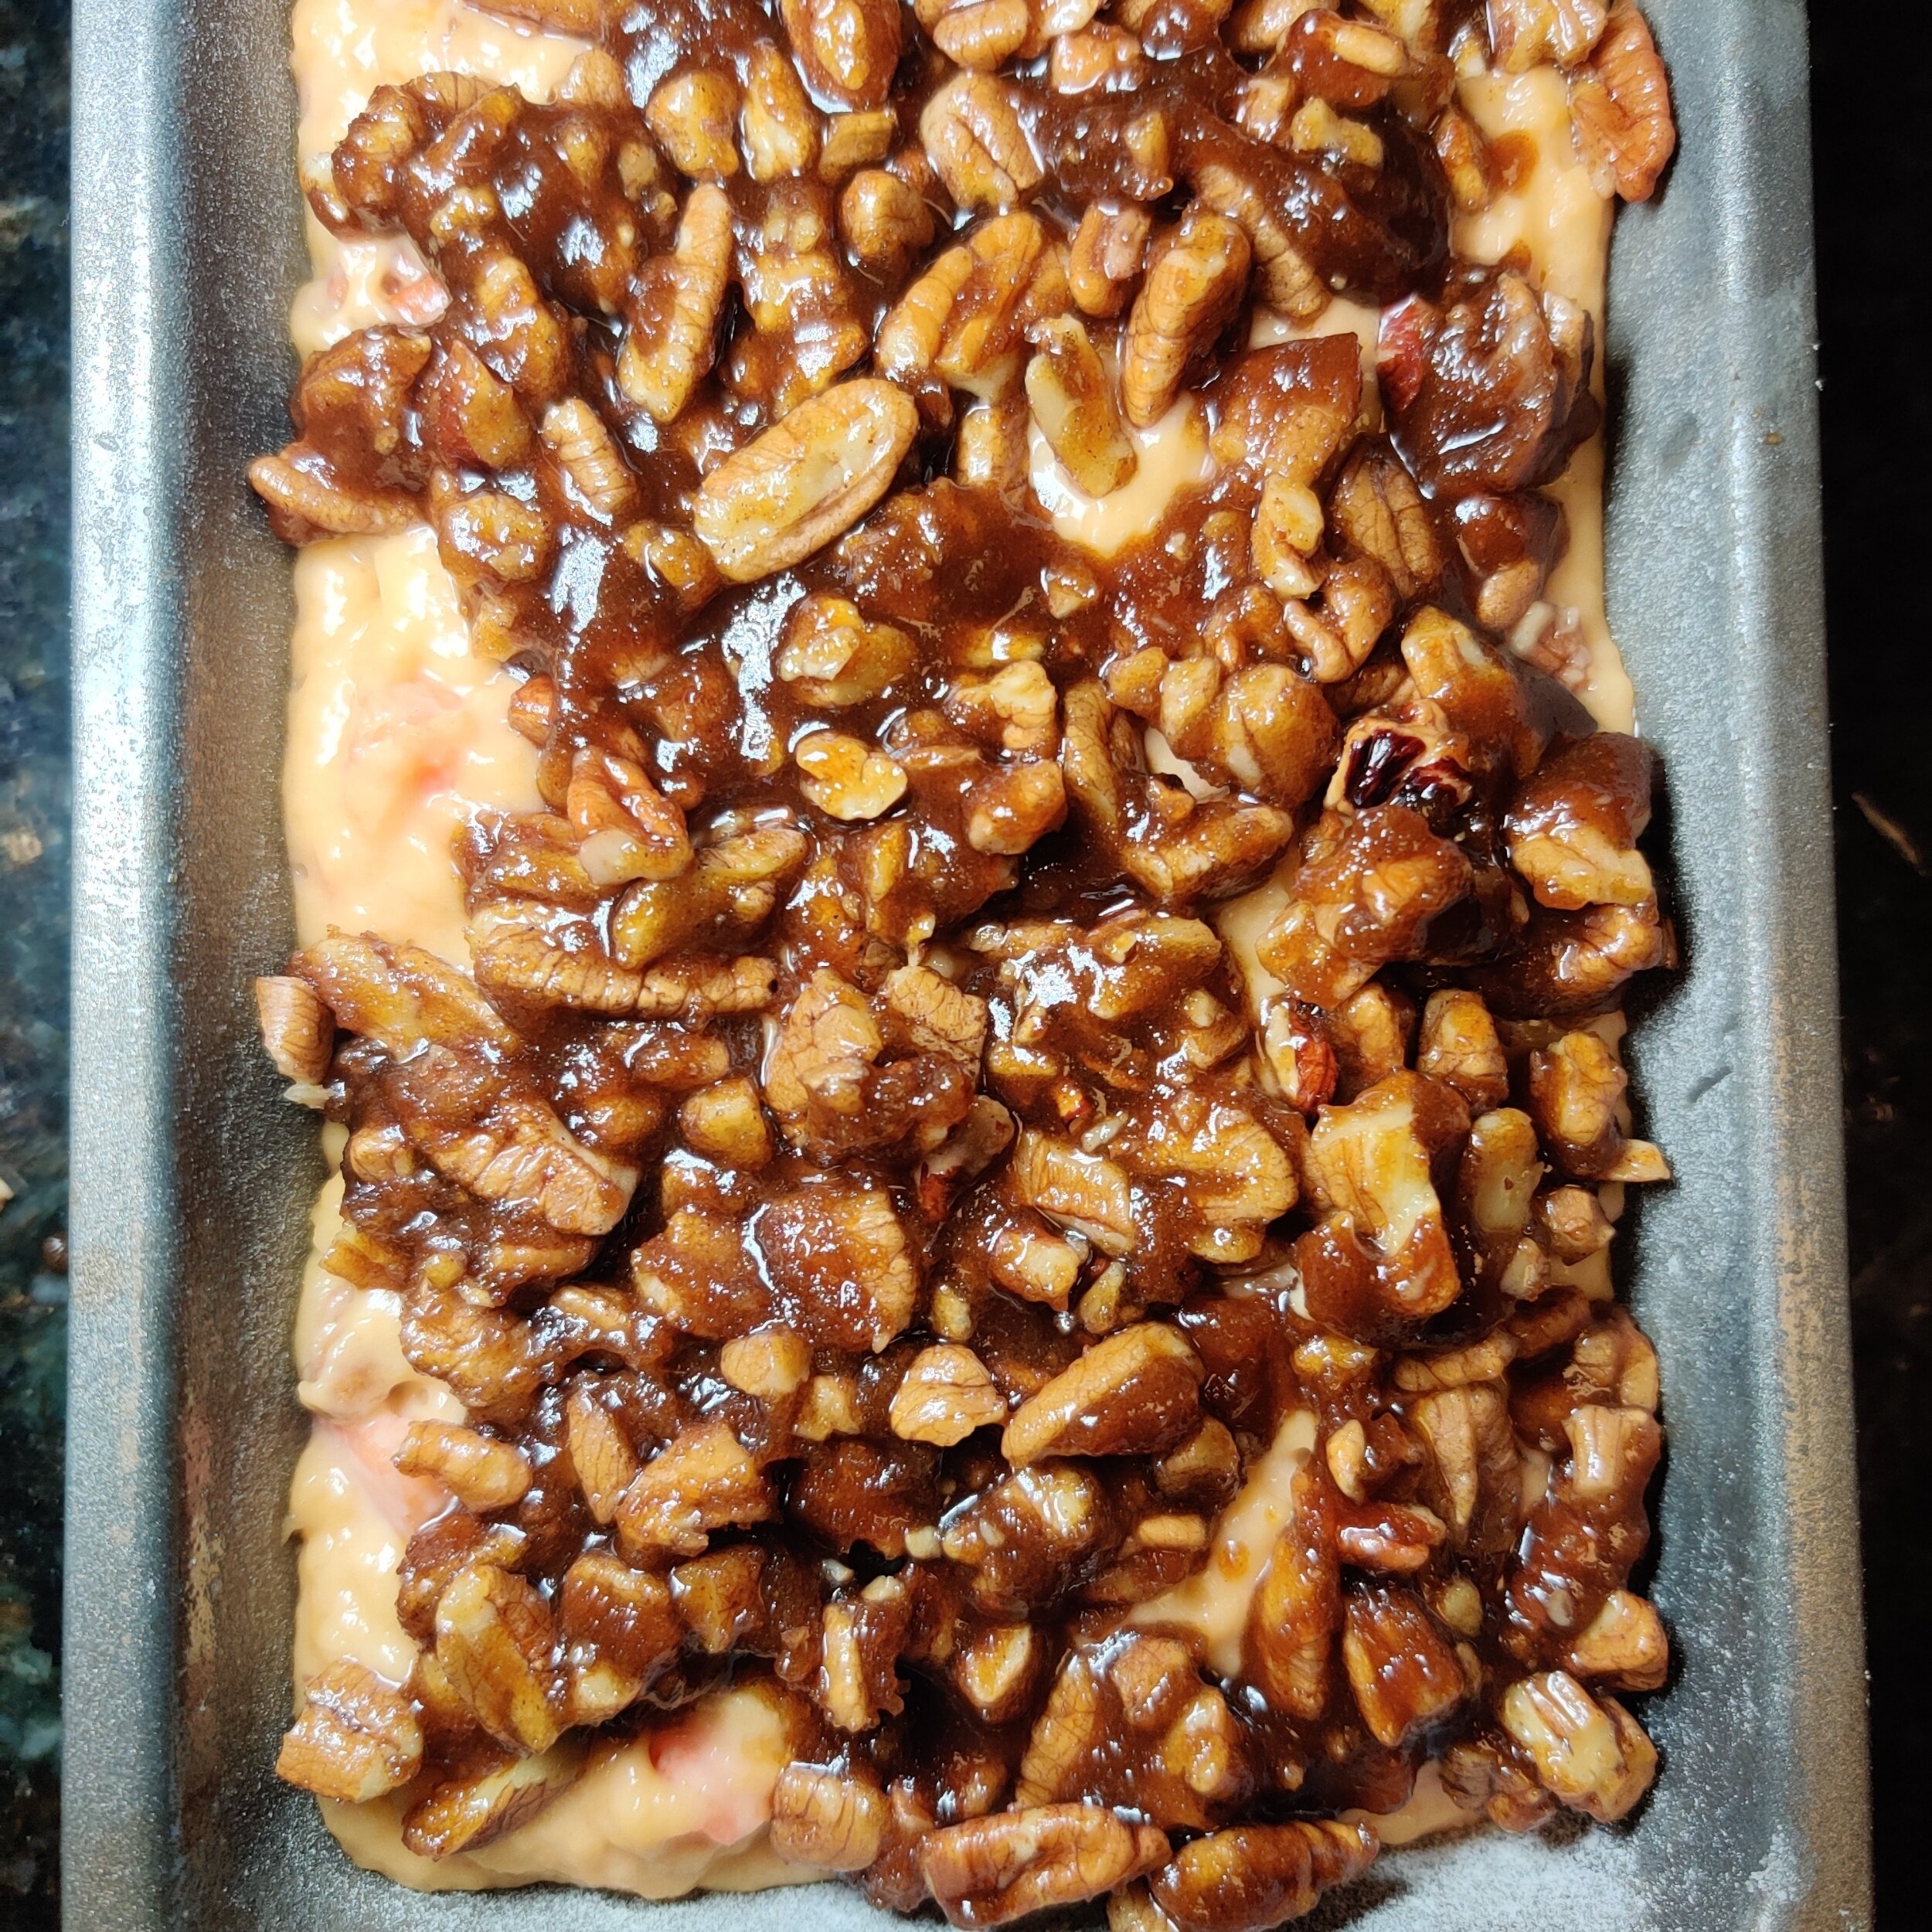
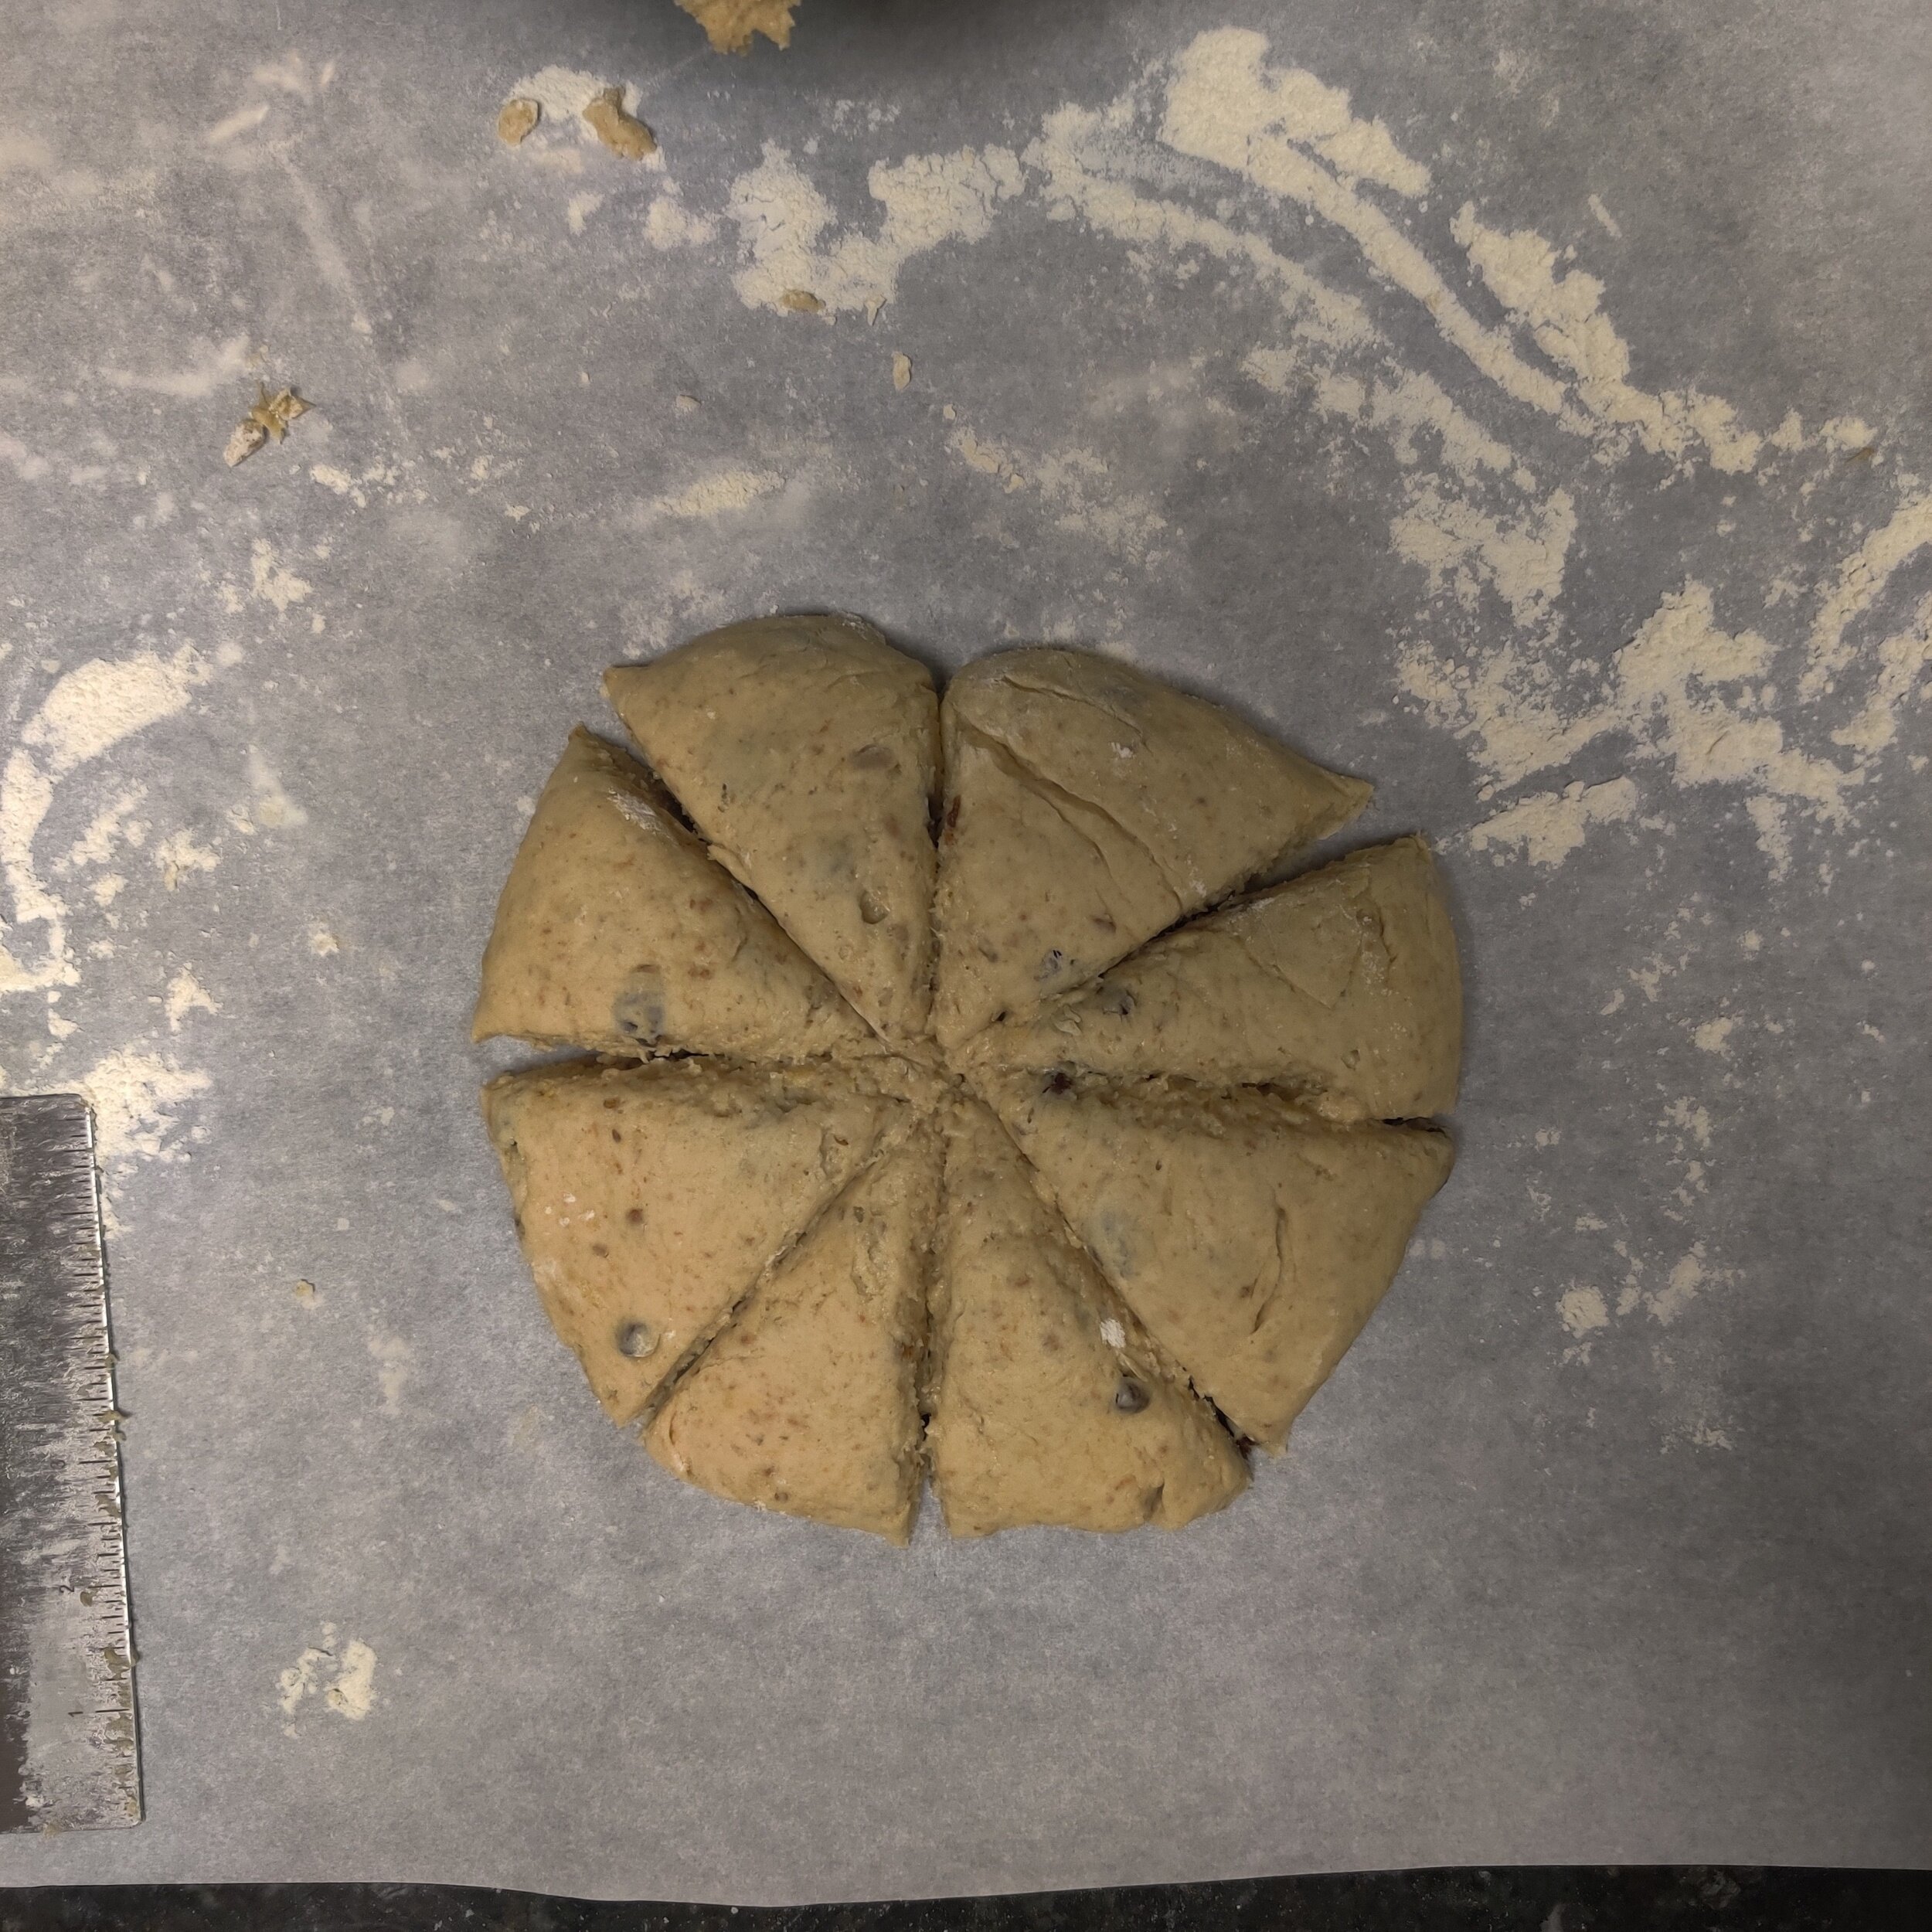
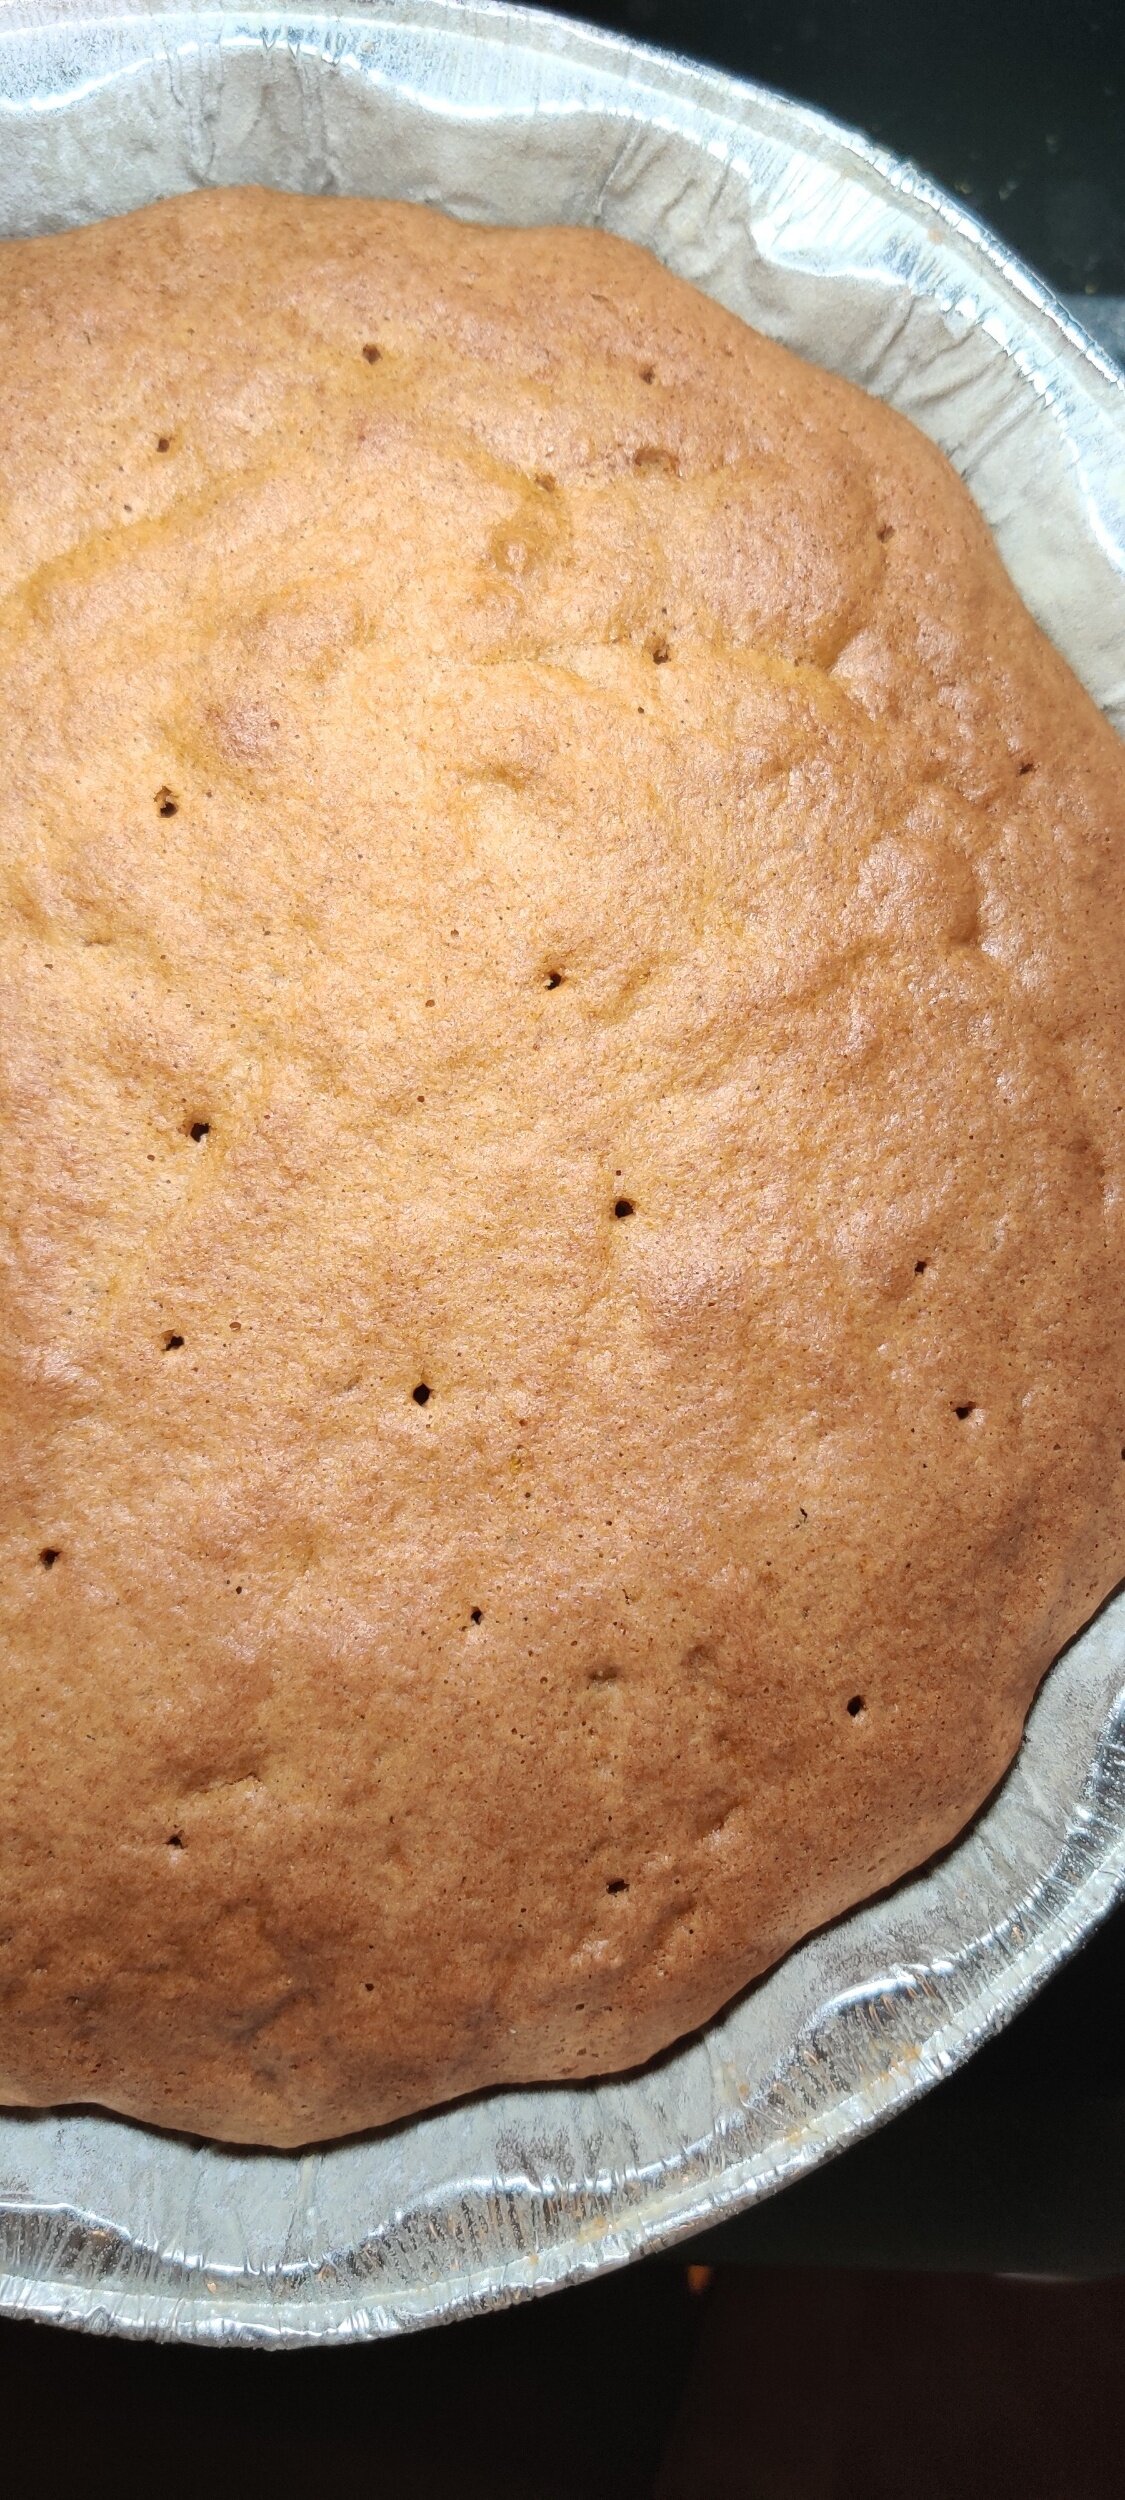
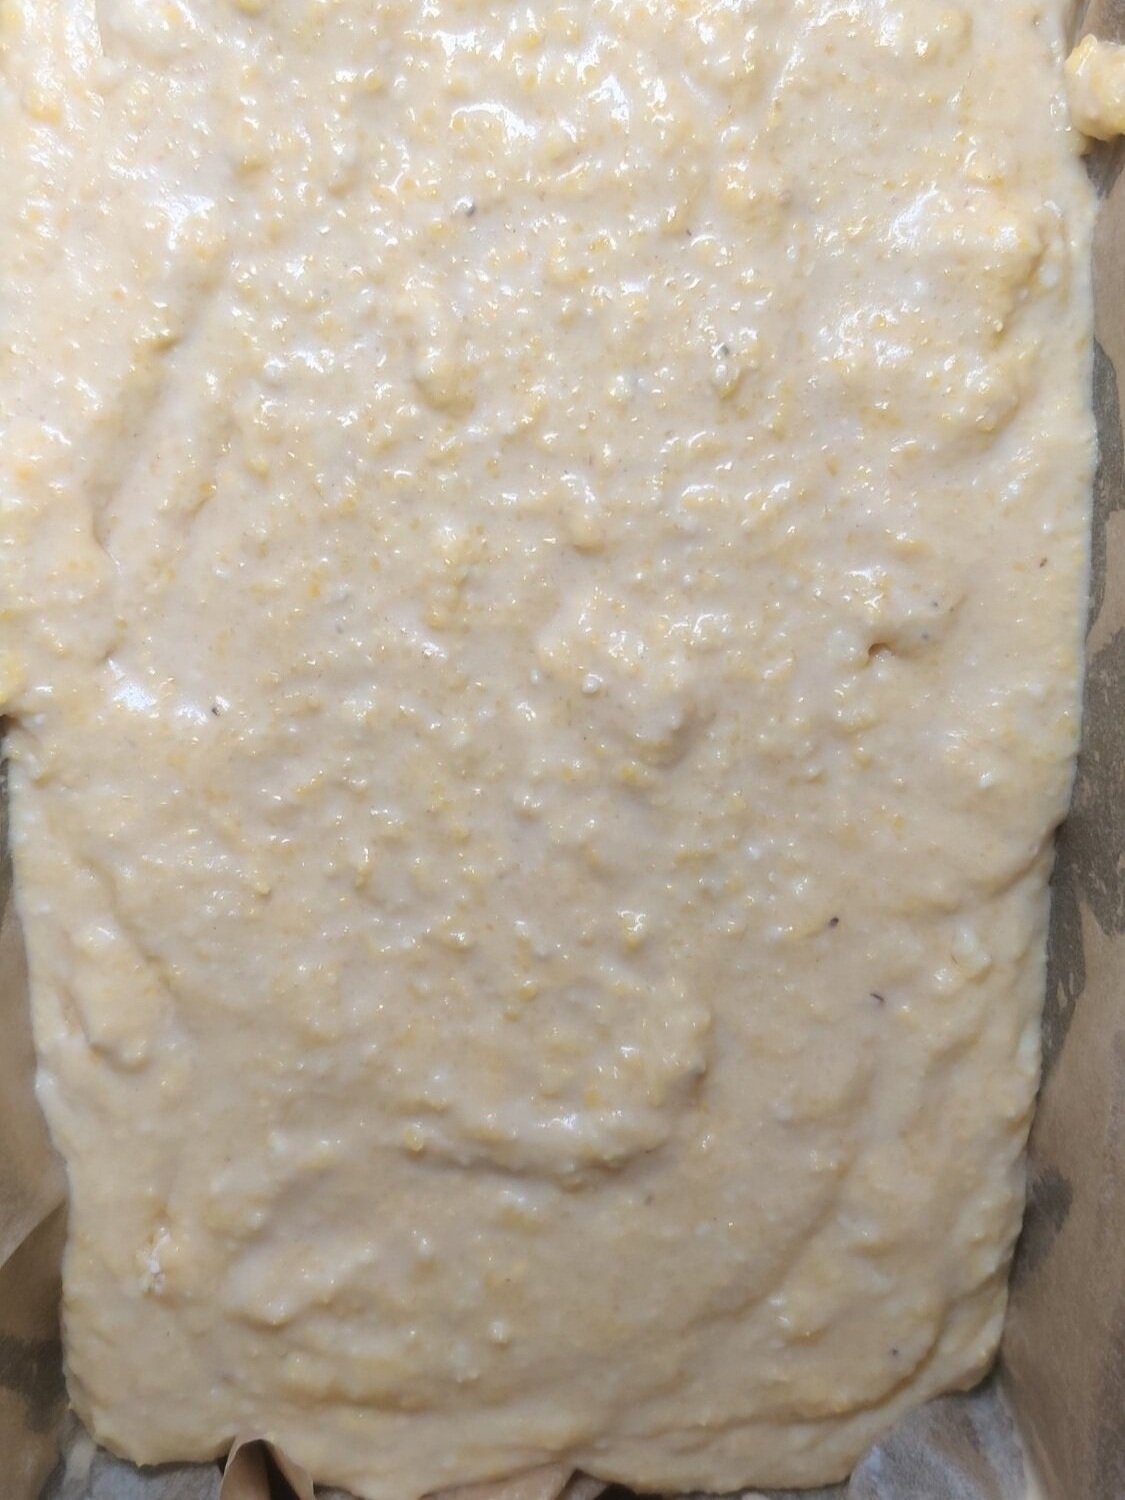
- Pour the batter into the prepared loaf pan. Sprinkle pumpkin seeds and a little turbinado sugar on top for crunch and sparkle.
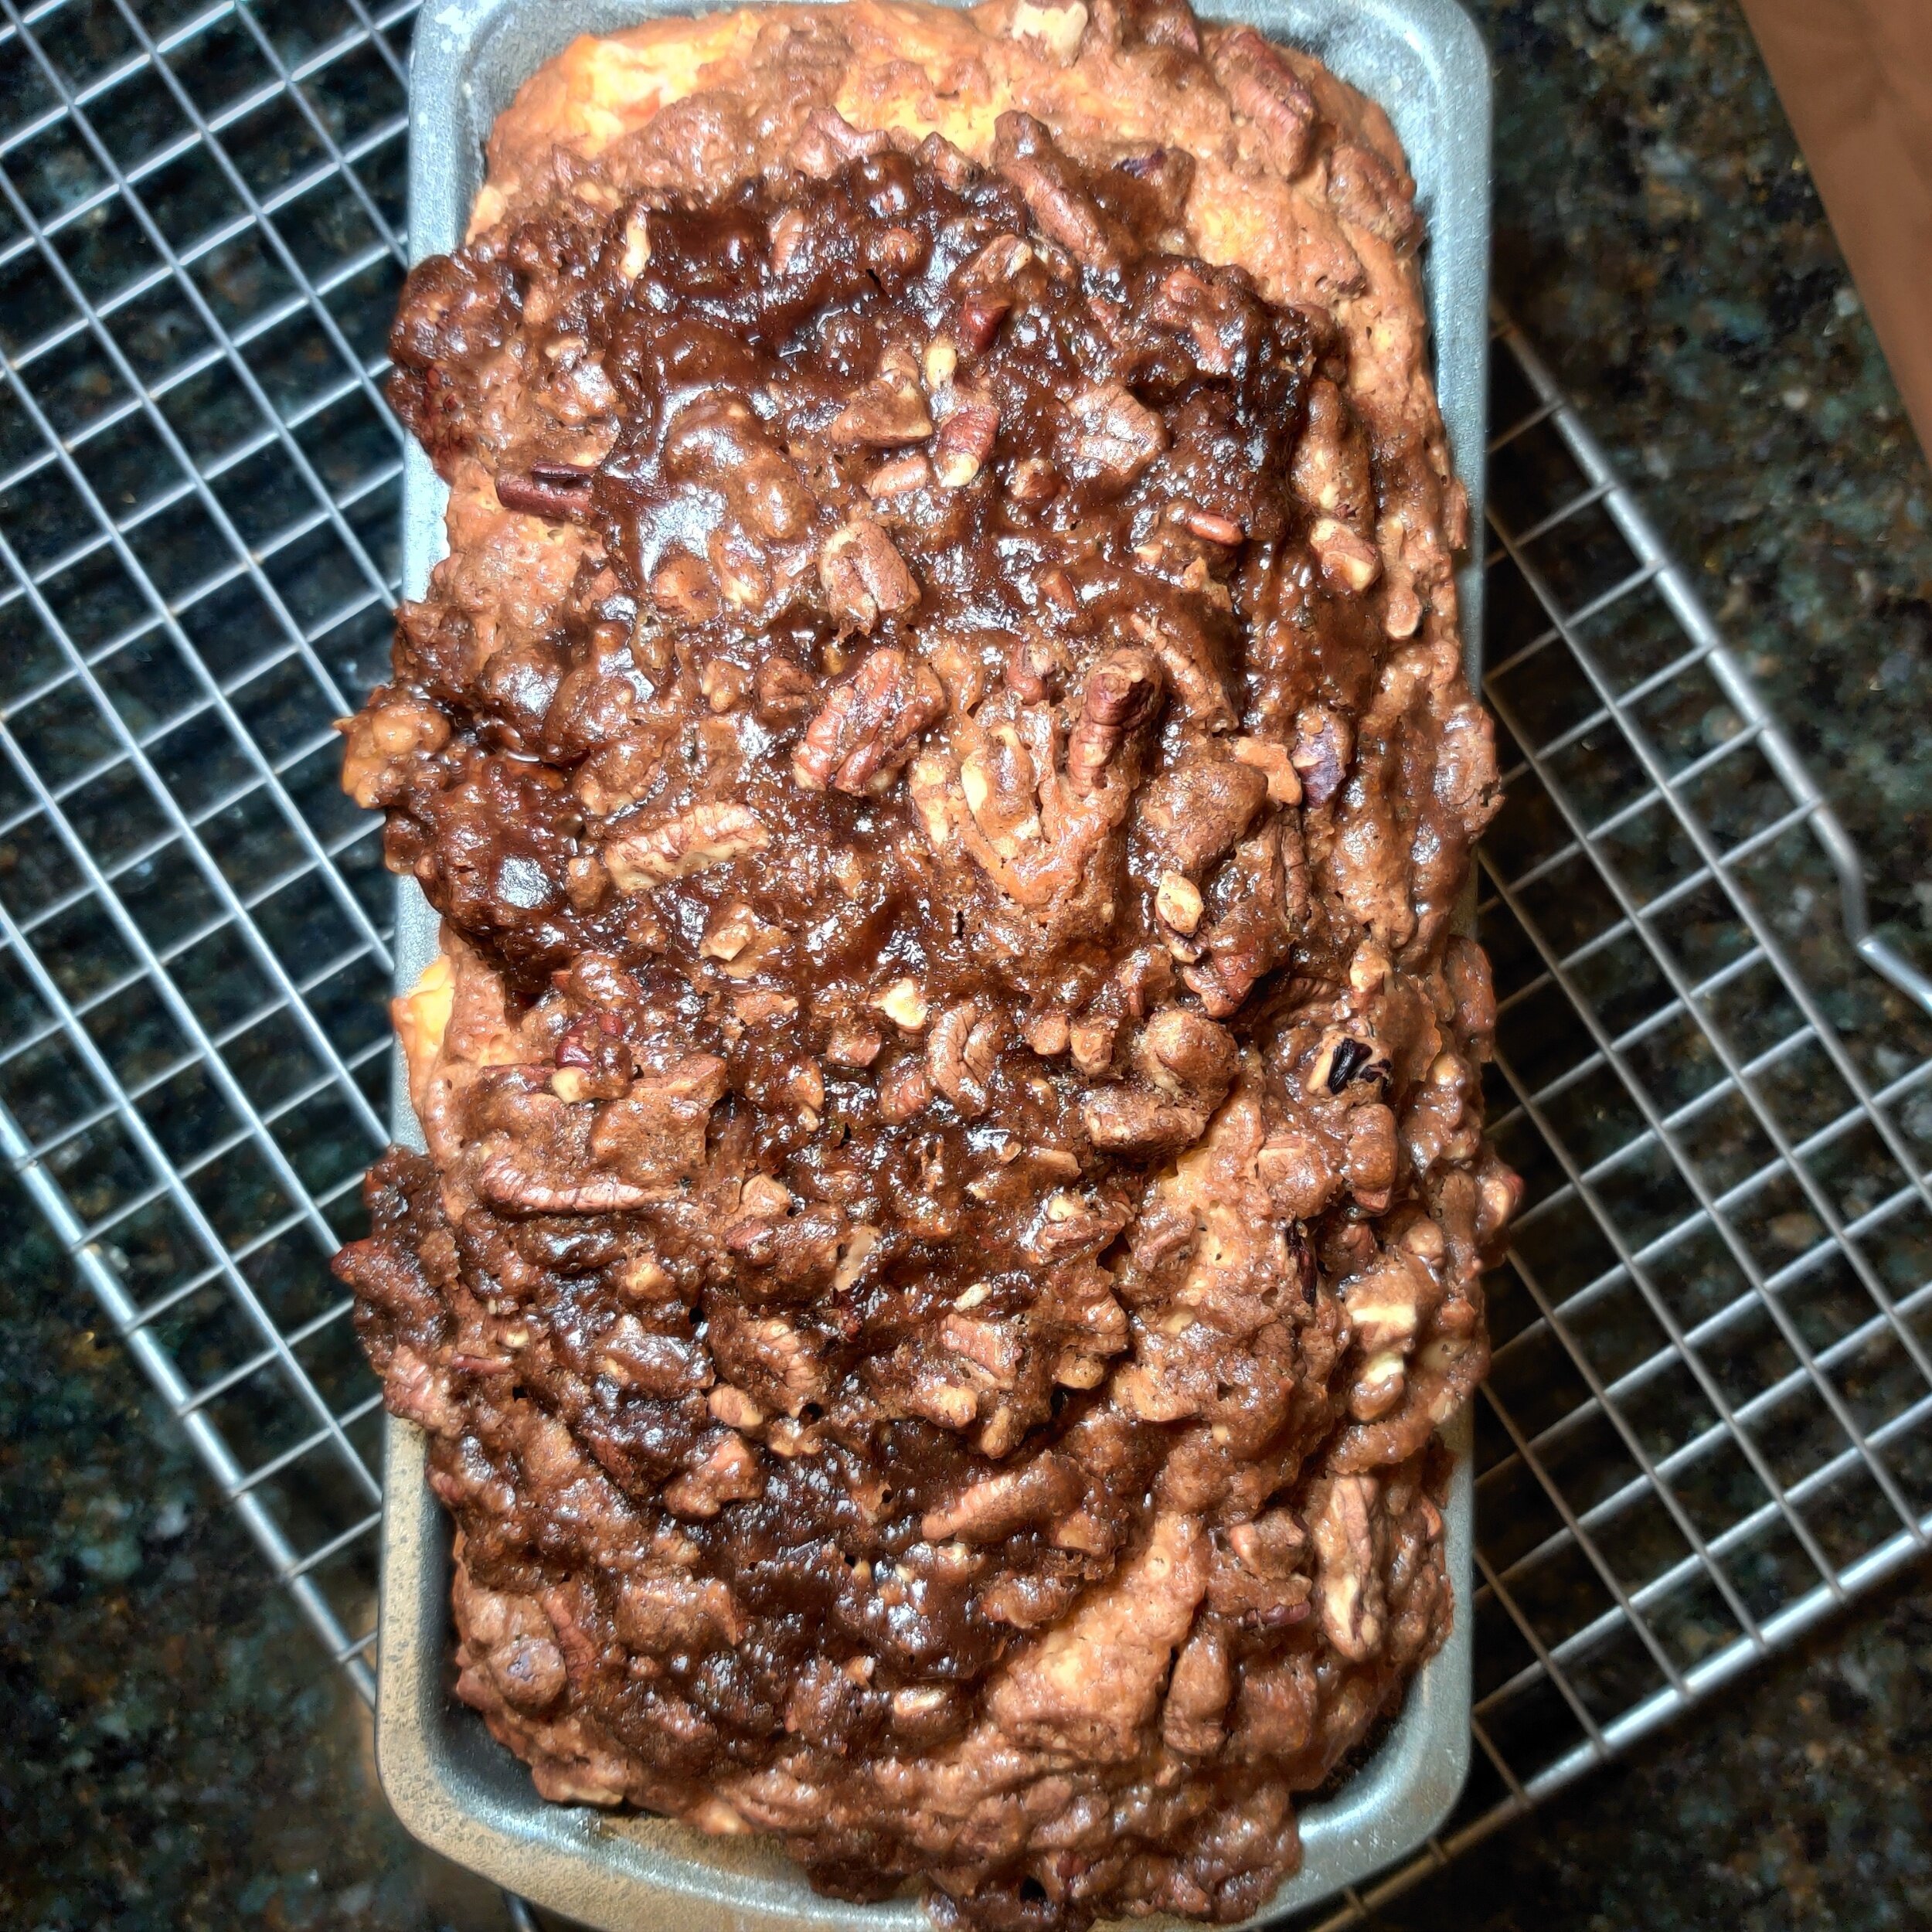
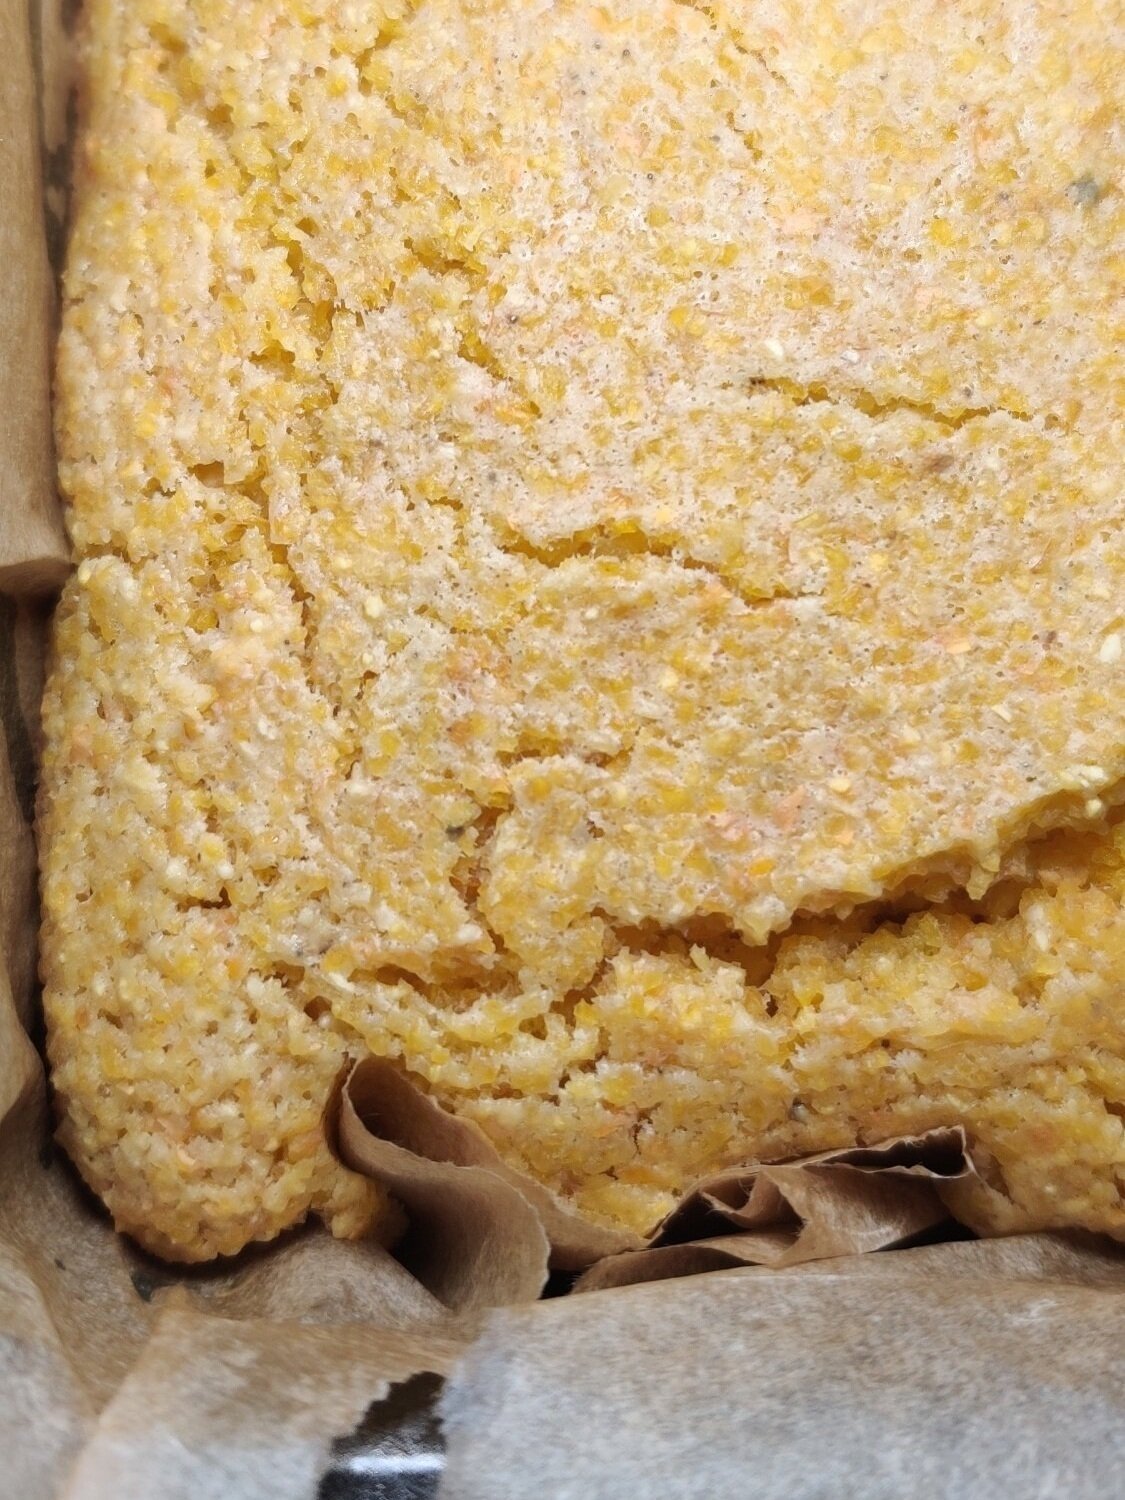
- Place in the oven and bake for 50 to 55 minutes, or until a toothpick inserted in the center comes out clean.
- Let the loaf cool slightly before slicing. Serve warm with butter, honey, or your favorite spiced glaze.
Notes
Tips and Serving Ideas
- For extra moisture, replace the sour cream with plain yogurt.
- Add a teaspoon of pumpkin spice blend instead of individual spices for convenience.
- If you prefer more sweetness, drizzle a simple icing made from powdered sugar and milk once the loaf cools.
- Toast a slice and spread with butter for an easy fall breakfast.
Nutrition Facts
Calories
225Fat (grams)
11 gCarbs (grams)
28 gFiber (grams)
2 gSugar (grams)
13 gProtein (grams)
5 gI am not a certified nutritionist and any nutritional information on dontmissmyplate.com should only be used as a general guideline.

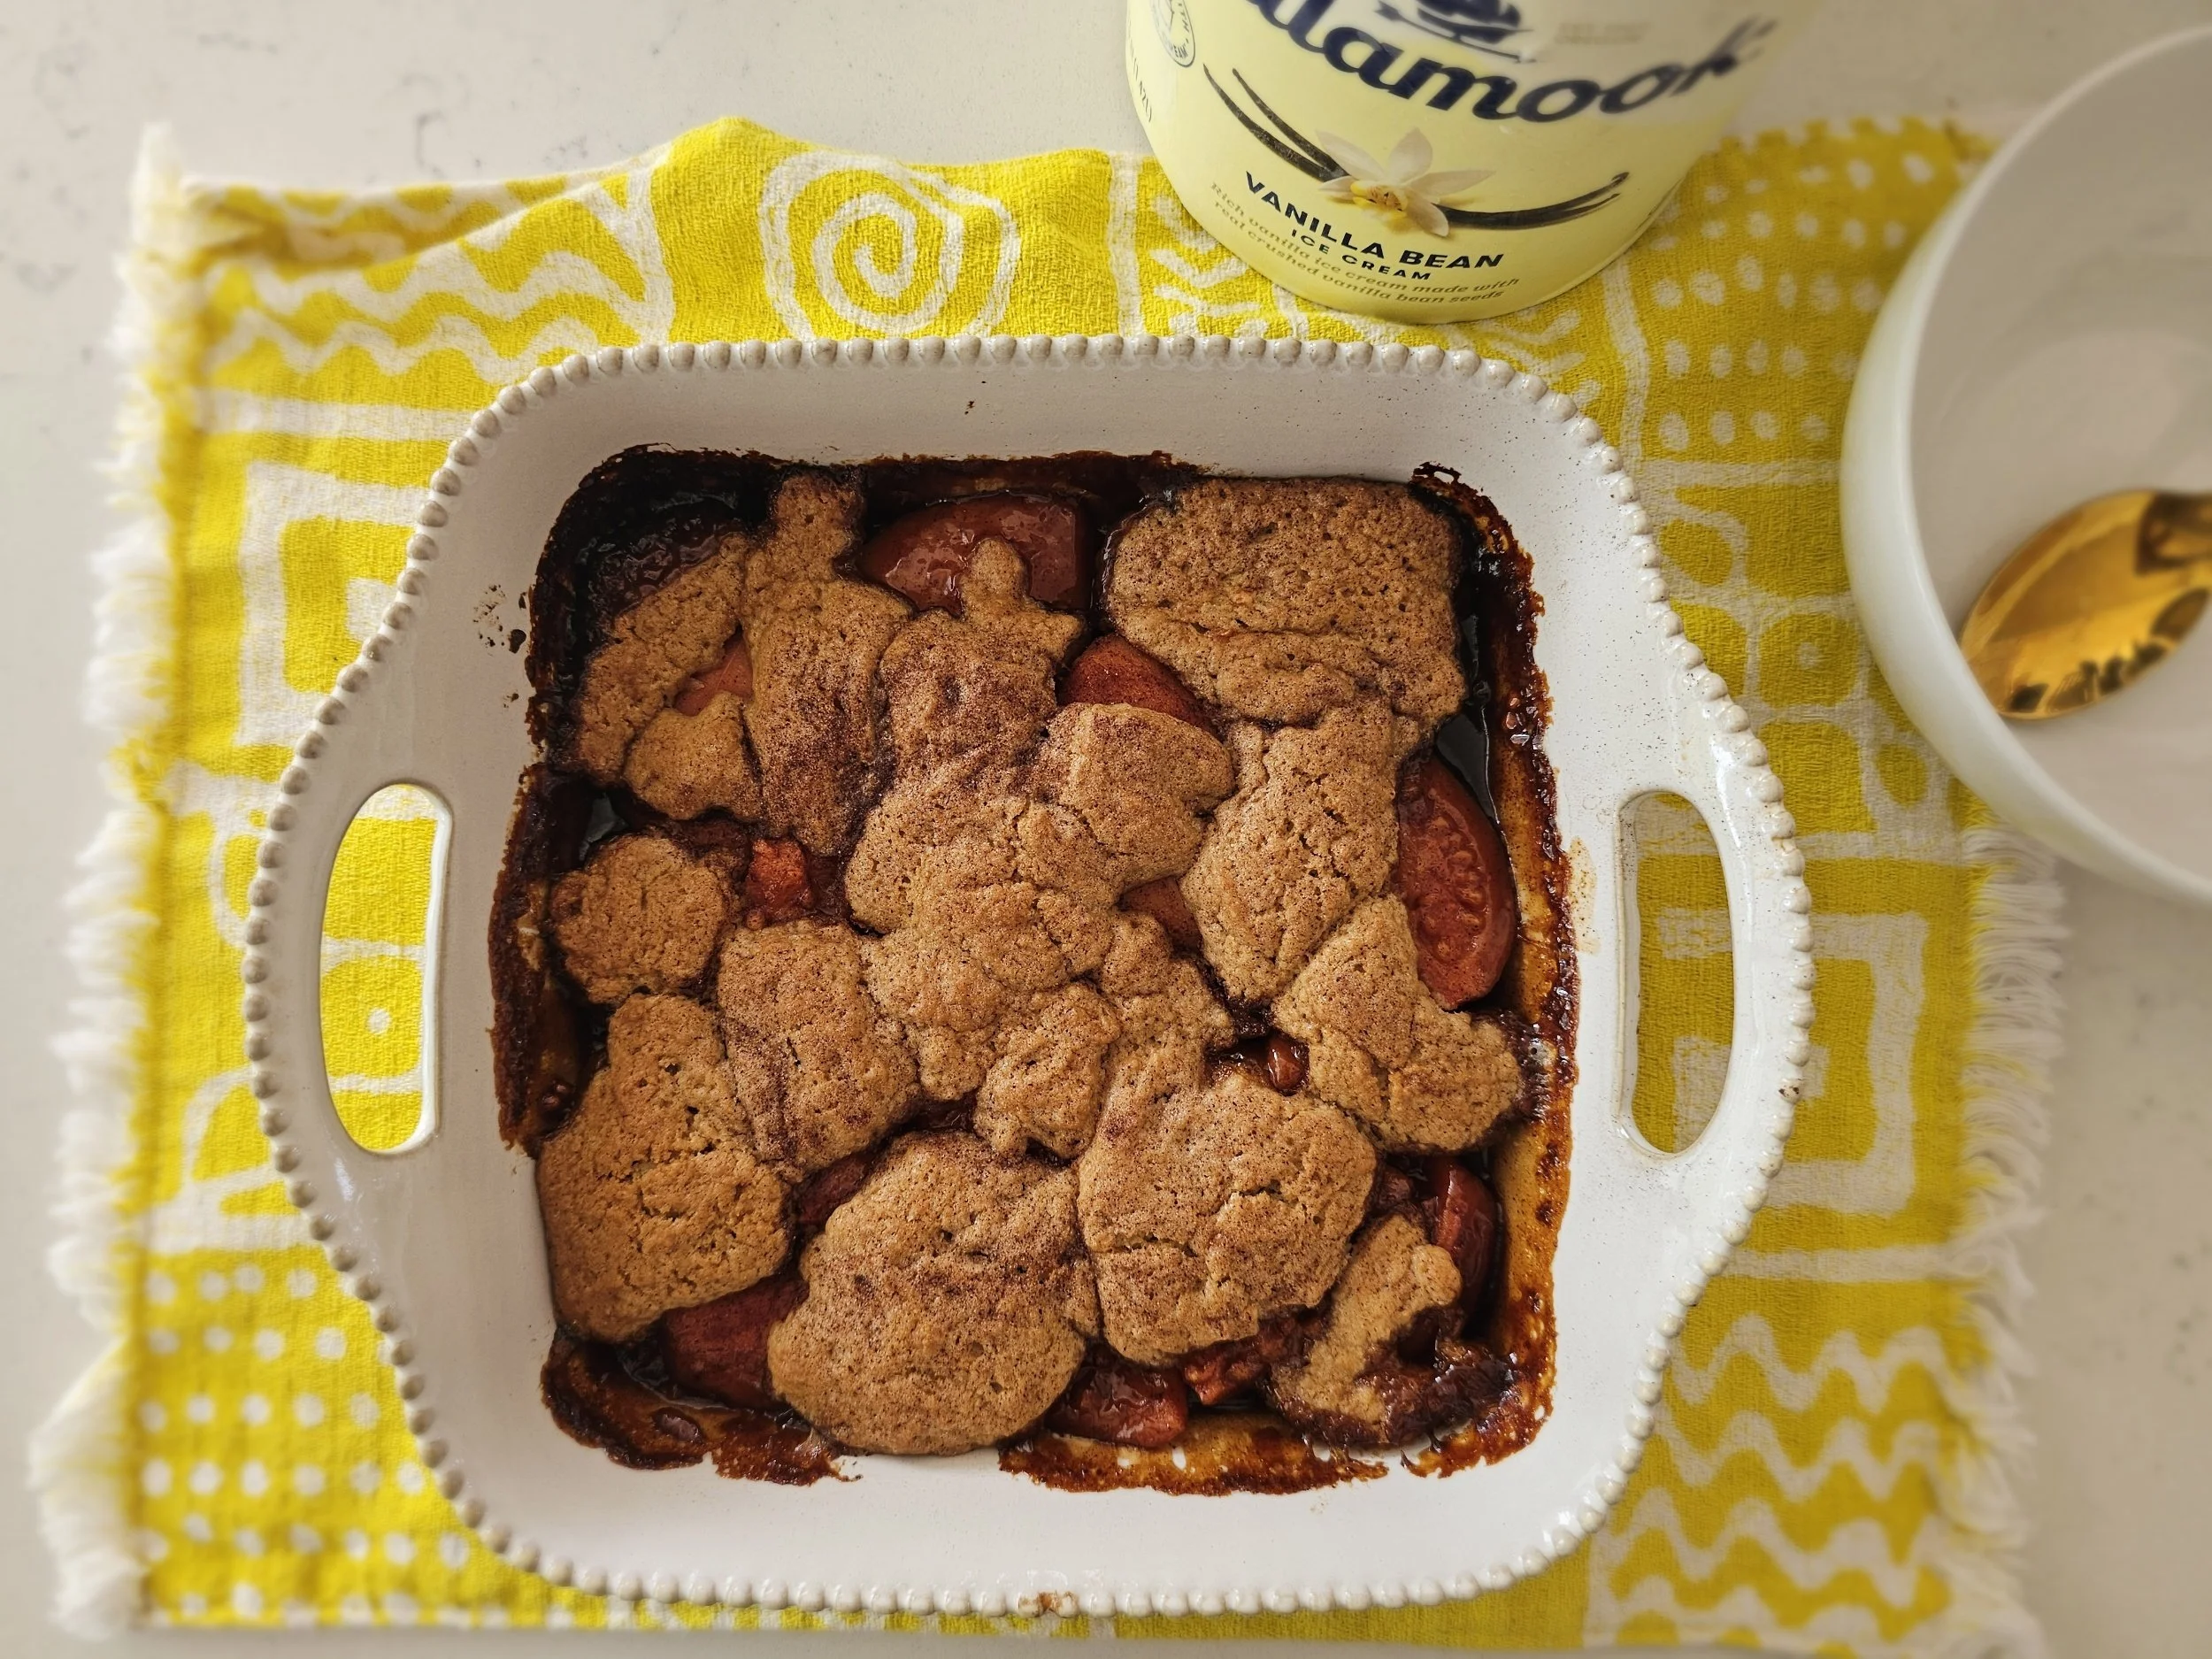
One-Can Guava Cobbler
This is a tropical twist on the Southern summer classic—made easy with just one can of guava.
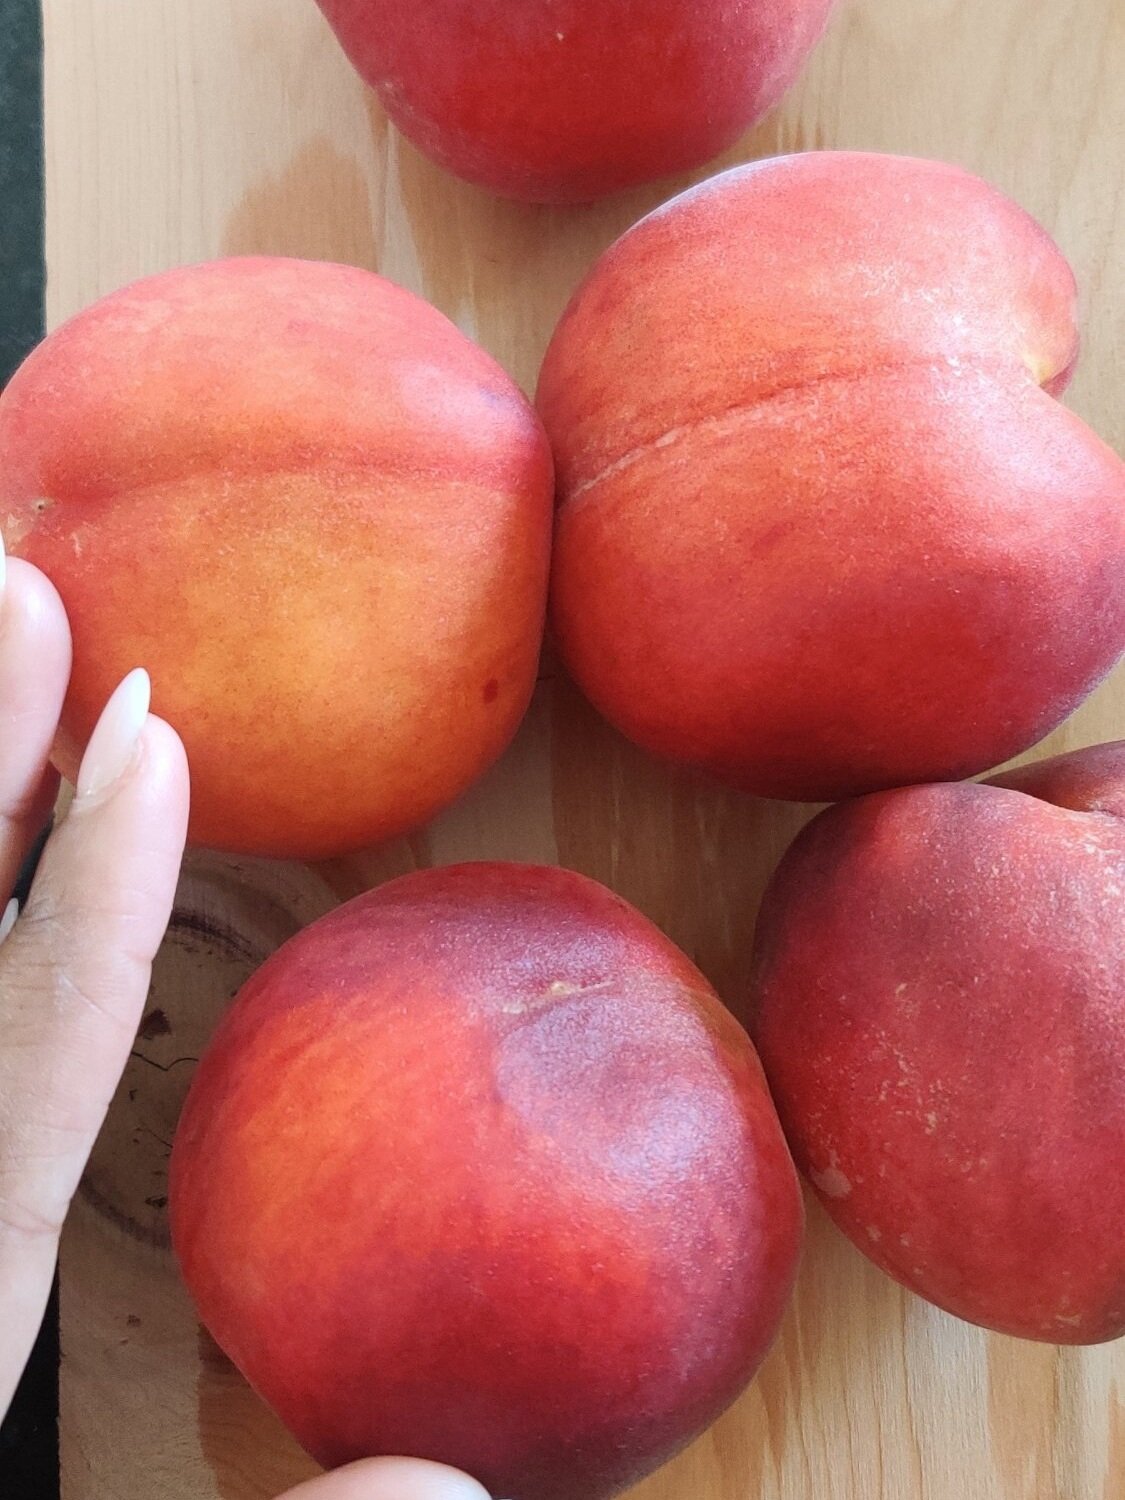
Who doesn’t love a warm, comforting bowl of peach cobbler during the summer? It’s golden, gooey, sweet, and just a bit tangy, topped with cold vanilla ice cream melting into the crispy edges? Bliss. But what if we could give that Southern classic a tropical upgrade That’s where guava comes in.
I grew up with a guava tree in my backyard in Zimbabwe, and despite being surrounded by its sweet, fragrant fruit, I never thought to use it in desserts, not even jam. Where I’m from, guava was more of a snack or juice ingredient than anything else. But after moving to the U.S., I realized that guava doesn’t get nearly enough love, especially outside of Caribbean or Latin cuisine. This cobbler changes that. We’re taking the soul of a traditional cobbler and infusing it with tropical flavor using just one can of guava (though feel free to double or triple the recipe if you're feeding a crowd). It's sweet, buttery, warmly spiced, and perfect served hot with a generous scoop of vanilla ice cream.
Trust me: if you like peach cobbler, you’re going to love this.
This recipe serves two generous portions, or just one if you're having a me time moment. No judgment. Dig in.

Tips and Variations
Want more topping? Just double the batter recipe for a thicker, cakier crust.
Like it tangier? Add more lemon juice or a pinch of lime zest to the guava filling.
You can substitute fresh guava (peeled, seeded, and sliced) if you have access to it, just add more sugar and liquid.
This is for guava of course but you can experiment with berries, apples and cherries (or go traditional with peaches, and some fruit you’ll want to cook down first with the filling).


One-Can Guava Cobbler
Give your classic Southern peach cobbler a tropical twist with this easy guava cobbler recipe, made with just on3 can of guava! Sweet, buttery, and warmly spiced, it’s the perfect summer dessert served hot with vanilla ice cream. A unique fusion of Caribbean flavor and Southern comfort that’s simple, nostalgic, and unforgettable.
Ingredients
- 1 tablespoon butter, melted (for greasing the pan)
- 1 can guava in syrup (I used Koo's, 410g)
- 1/4 cup brown sugar
- 1 tablespoon white sugar
- 1 teaspoon cornstarch
- 1 teaspoon vanilla extract
- 1/2 teaspoon lemon juice
- 1/8 teaspoon salt
- 3/4 teaspoon ground cinnamon
- 1/4 teaspoon ground ginger
- 1/8 teaspoon ground nutmeg
- 1/2 cup all-purpose flour
- 1/8 cup white sugar
- 1/8 cup brown sugar
- 1/2 teaspoon baking powder
- 1/2 teaspoon ground cinnamon
- 1/4 teaspoon salt
- 3 tablespoons cold butter, cut into small pieces
- 1/8 cup boiling milk or water (milk adds richness)
- 1 1/2 teaspoons cinnamon sugar, for sprinkling
Instructions
- Preheat your oven to 400°F (200°C).
- In an 8x8 inch baking dish (or similar size), add 1 tablespoon of melted butter and swirl to coat the bottom and sides. This adds flavor and keeps things from sticking.
- Drain the guava, saving a tablespoon or two of syrup if you'd like to drizzle over the finished cobbler.
- In a bowl, combine the drained guavas with 1/4 cup brown sugar, 1 tablespoon white sugar, 1 teaspoon cornstarch, 1 teaspoon vanilla extract, 1/2 teaspoon lemon juice, 1/8 teaspoon salt, 3/4 teaspoon cinnamon, 1/4 teaspoon ginger, and 1/8 teaspoon nutmeg.
- Gently stir to coat, being careful not to mash the guava, they’re more delicate than peaches.
- Carefully spoon this mixture into the prepared baking dish.
- In a mixing bowl, combine 1/2 cup flour, 1/8 cup white sugar, 1/8 cup brown sugar, 1/2 teaspoon baking powder, 1/2 teaspoon cinnamon and 1/4 teaspoon salt.
- Add 3 tablespoons of cold butter, and use a pastry cutter or your fingertips to work it into the dry mixture until it resembles coarse crumbs.
- Stir in the boiling milk or water just until a dough forms. Do not overmix, or the topping will be tough.
- Drop spoonfuls of the dough over the guava filling, then use your fingers or the back of a spoon to gently spread it out. It doesn’t need to be perfect or fully covered, rustic is beautiful.
- Sprinkle the top evenly with cinnamon sugar.
- Bake for 30-35 minutes, or until the top is golden brown and the filling is bubbling.
- Let cool for a few minutes (if you can wait), then serve warm with a scoop of vanilla ice cream or even coconut whipped cream for an extra tropical vibe.
I am not a certified nutritionist and any nutritional information on dontmissmyplate.com should only be used as a general guideline.

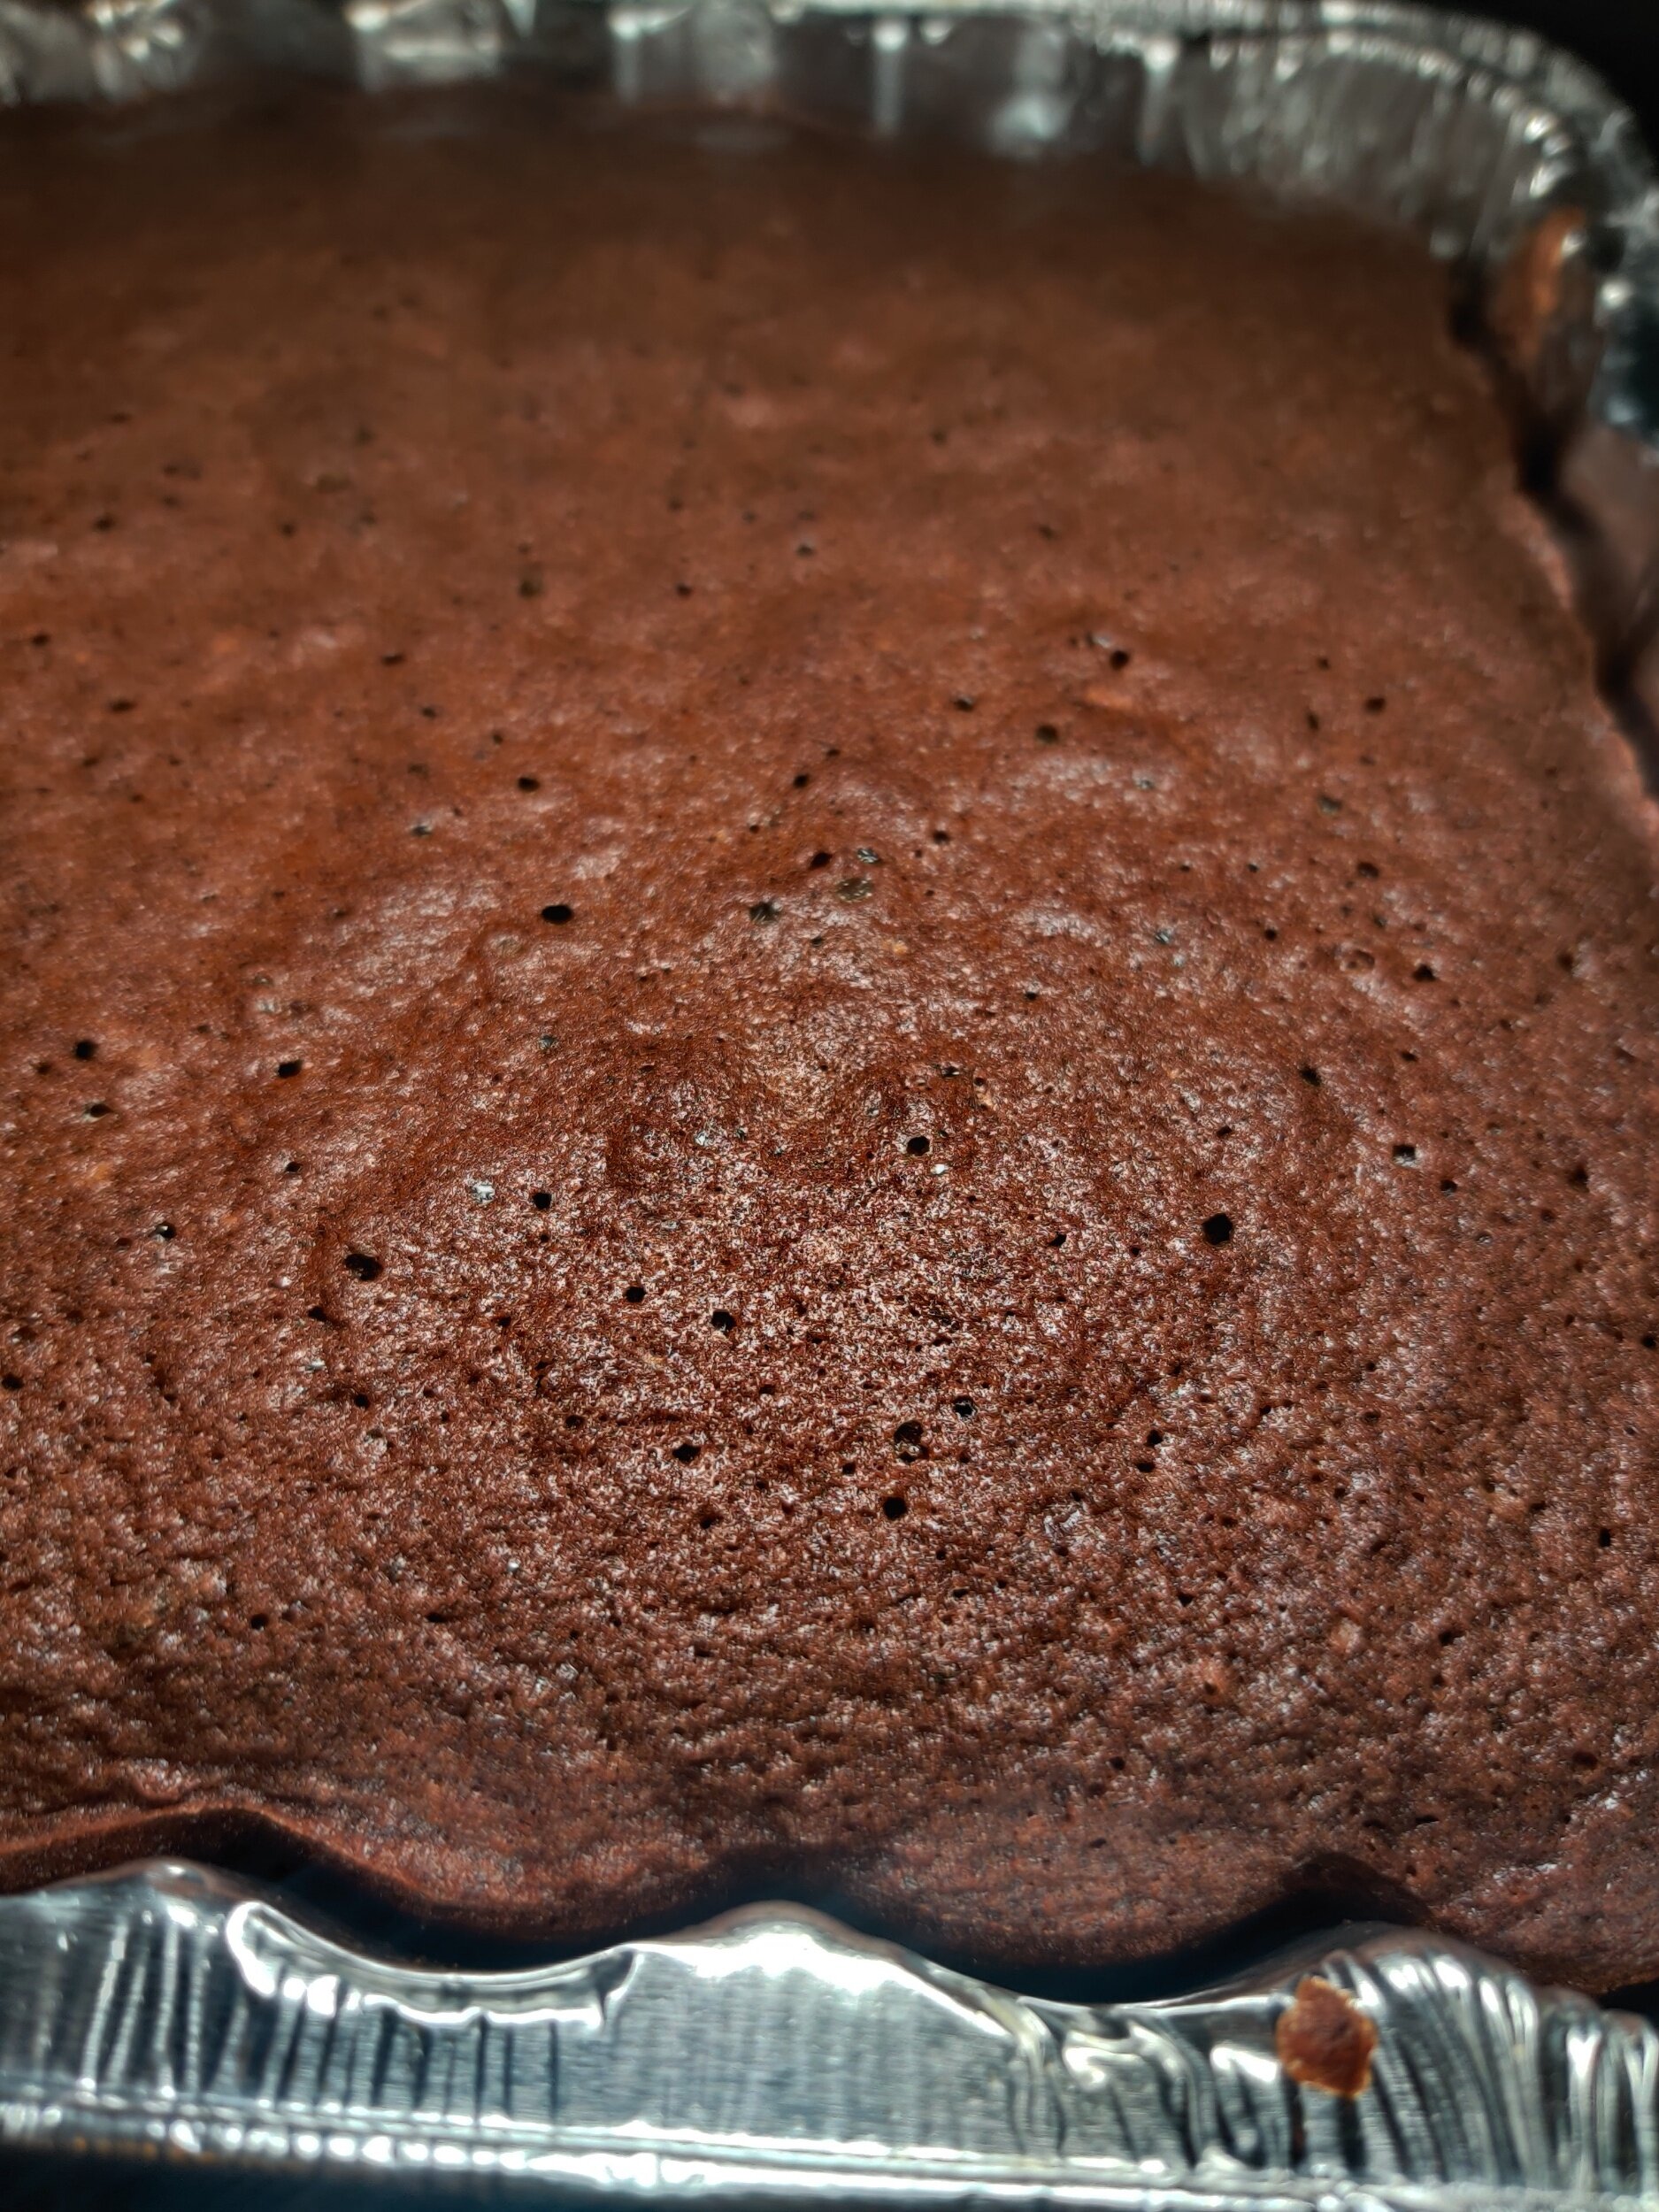
Chef Deepak’s Speke Resort Inspired Chocolate Brownie Pudding with Coconut Cream Ganache
A Sweet Memory from Speke Resort: Deepak’s Chocolate Pudding Reimagined
A rich, gooey brownie pudding soaked in silky coconut cream ganache and topped with toasted almonds and coconut. This dessert is built in two layers: a deep soak of ganache before chilling, and a warm drizzle just before serving — perfect for impressing guests one portion at a time.
You can read more about my first (and hopefully not last!) trip to Uganda, but long story short: one of the highlights of my time at Speke Resort, where I stayed for a conference, was a surprising and unforgettable dessert served during our farewell party by the poolside.
The night my team hosted a closing dinner, there was a gorgeous buffet of grains, salads, grilled vegetables, proteins fresh off the fire — and of course, a dessert station.
One of my colleagues returned to our table raving about a chocolate dessert he’d just tried. “It’s incredible,” he said, “but I’m not quite sure what it is.” Curious, I walked over to the dessert table, read the label, and saw it was simply titled “Chocolate Pudding.”
I served myself a scoop alongside some fresh fruit (no need for ice cream — Uganda’s fruit is impeccable), and took a bite. What I tasted was unforgettable: rich, warm, gooey, chocolatey, and deep in flavor — like a fudgy brownie swimming in silky chocolate ganache. It wasn’t overly sweet, and there were hints of brown sugar, caramel and nuttiness that made it absolutely irresistible. Most of us went back for seconds.
A day or two later, during our final luncheon, I mentioned the pudding to the resort staff — and to my surprise, the chef himself, Chef Deepak, came out to meet our group. He generously shared how he developed the dessert, which was originally inspired by classic pudding recipes but made with thoughtful East African twists.
Since food writing is one of my passions, I made sure to jot down his notes — and even snapped a photo with him to remember the moment.
My Adaptation
Back home in the U.S. weeks later, I recreated the pudding in my own kitchen. To make it my own — and to accentuate the almond flavors and add another tropical element, coconut — which I coconut at multiple levels and is common in castle parts of neighboring Kenya and Zanzibar:
Toasted coconut on top
Coconut sugar in the batter
A lush coconut cream-based ganache poured over the cooled brownie pudding
I also added almond extract to the batter to enhance the almond flour, and toasted slivered almonds for the topping to bring extra texture and depth.
What I ended up with is a layered, rich, satisfying dessert with fudgy depth, nutty warmth, and creamy tropical sweetness. I like to think of it as a tribute to that night in Uganda — and to the kindness, generosity, and talent of Chef Deepak.
This pudding is not overly sweet, and great with some tropical fruit such as papaya, berries, pineapple, pears, and passion fruit.
General Tips:
Make sure you use the highest quality ingredients possible! It will make all the difference.
To enhance the flavour, warm up your single serving for about 30 seconds.

`


Chocolate Brownie Pudding with Coconut Cream Ganache
A rich, gooey brownie pudding soaked in silky coconut cream ganache and topped with toasted almonds and coconut. This dessert is built in two layers: a deep soak of ganache before chilling, and a warm drizzle just before serving — perfect for impressing guests one portion at a time.
Ingredients
- 500g unsalted butter (about 4.5 sticks), melted
- 2⅓ cups coconut sugar (or granulated sugar)
- 5 large eggs
- 2 cups almond flour
- 2½ cups all-purpose flour
- ½ cup unsweetened cocoa powder
- 1 teaspoon baking powder
- 1 teaspoon vanilla extract
- ½ teaspoon almond extract
- 2 cups coconut cream
- 2 cups chocolate melting wafers
- 2 tablespoon maple syrup or honey (optional)
- 1 teaspoon vanilla extract
- 2 cans (13.5 oz each) coconut cream
- 20 oz chocolate melting wafers
- 2 tablespoons maple syrup or honey (optional)
- 1 teaspoon vanilla extract
- ½ cup chopped almonds, toasted
- ½ cup shredded coconut, toasted
Instructions
- Preheat oven to 325°F (165°C). Grease and line a 9×13 inch baking dish.
- In a large bowl, beat the eggs and sugar until light and fluffy.
- Stir in melted butter, vanilla, and almond extract.
- In a separate bowl, whisk together almond flour, all-purpose flour, cocoa powder, and baking powder.
- Fold dry ingredients into wet until just combined.
- Pour into the baking dish and bake for 25 minutes. If browning too quickly, tent with foil and bake another 15–20 minutes.
- Let cool 20–30 minutes.
- Make the soaking ganache (Part 1). Heat 2 cups coconut cream until hot (not boiling). Pour over 2 cups chocolate wafers. Add vanilla and honey if using. Sit for 2–3 minutes, then stir until smooth, then cool.
- Break the pudding into large chunks to expose the soft interior.
- Chill the dish for at least 1 hour, or even overnight.
- Toast chopped almonds and shredded coconut in a dry pan or oven at 325°F (165°C) for 5–7 minutes until golden and fragrant. Set aside to cool then place in air-tight containers until ready to use.
- Take similar steps as before. Heat the cans of coconut cream until hot (not boiling) and pour over the chocolate wafers, and let the ganache sit 2–3 minutes, then stir until smooth. Add the vanilla and honey.
- Make the drizzling ganache (Part 2). About 10 minutes before serving, heat 1 can of coconut cream until hot (not boiling).Pour it over 10 oz chocolate wafers, and let it sit 2–3 minutes, then stir until smooth. Add vanilla and honey. Warm the rest when ready to use and repeat for each serving.
- In four smaller serving dishes, add ¼ of the broken brownie pudding to each.
- Pour ½ batch of soaking ganache over each portion (keep in the fridge otherwise). The texture should resemble wet, rich soil after heavy rain.
- Drizzle with fresh ganache and top with toasted almonds and toasted coconut. Serve each dish slightly warmed or at room temperature.
I am not a certified nutritionist and any nutritional information on dontmissmyplate.com should only be used as a general guideline.


Holiday "Christmas Crack" Toffee with Pretzels and Coconut
One of my favorite sweets is English toffee! Hard or soft, this candy (made of butter and caramelized sugar) is a treat many people find irresistible, hence the surging demand around the holidays when people are gathering and looking to satisfy their sweet tooth. Toffee also makes a great gift and is ideal for late-night snacking!
Traditional English toffee doesn't typically come with nuts, though the American version is often topped with crushed almonds.
The fun thing about toffee for the holidays? You can pretty much add whatever toppings you want. In this case, I add some pretzels for extra crunch and saltiness and make up for the saltine crackers many people use for the bottom layer. The coconut adds another dimension of sweetness, but much more subtle than the sugar, of course! Although almonds tend to be the most popular nuts, as I mentioned, I'm a huge fan of toasted pecans and walnuts all the same.
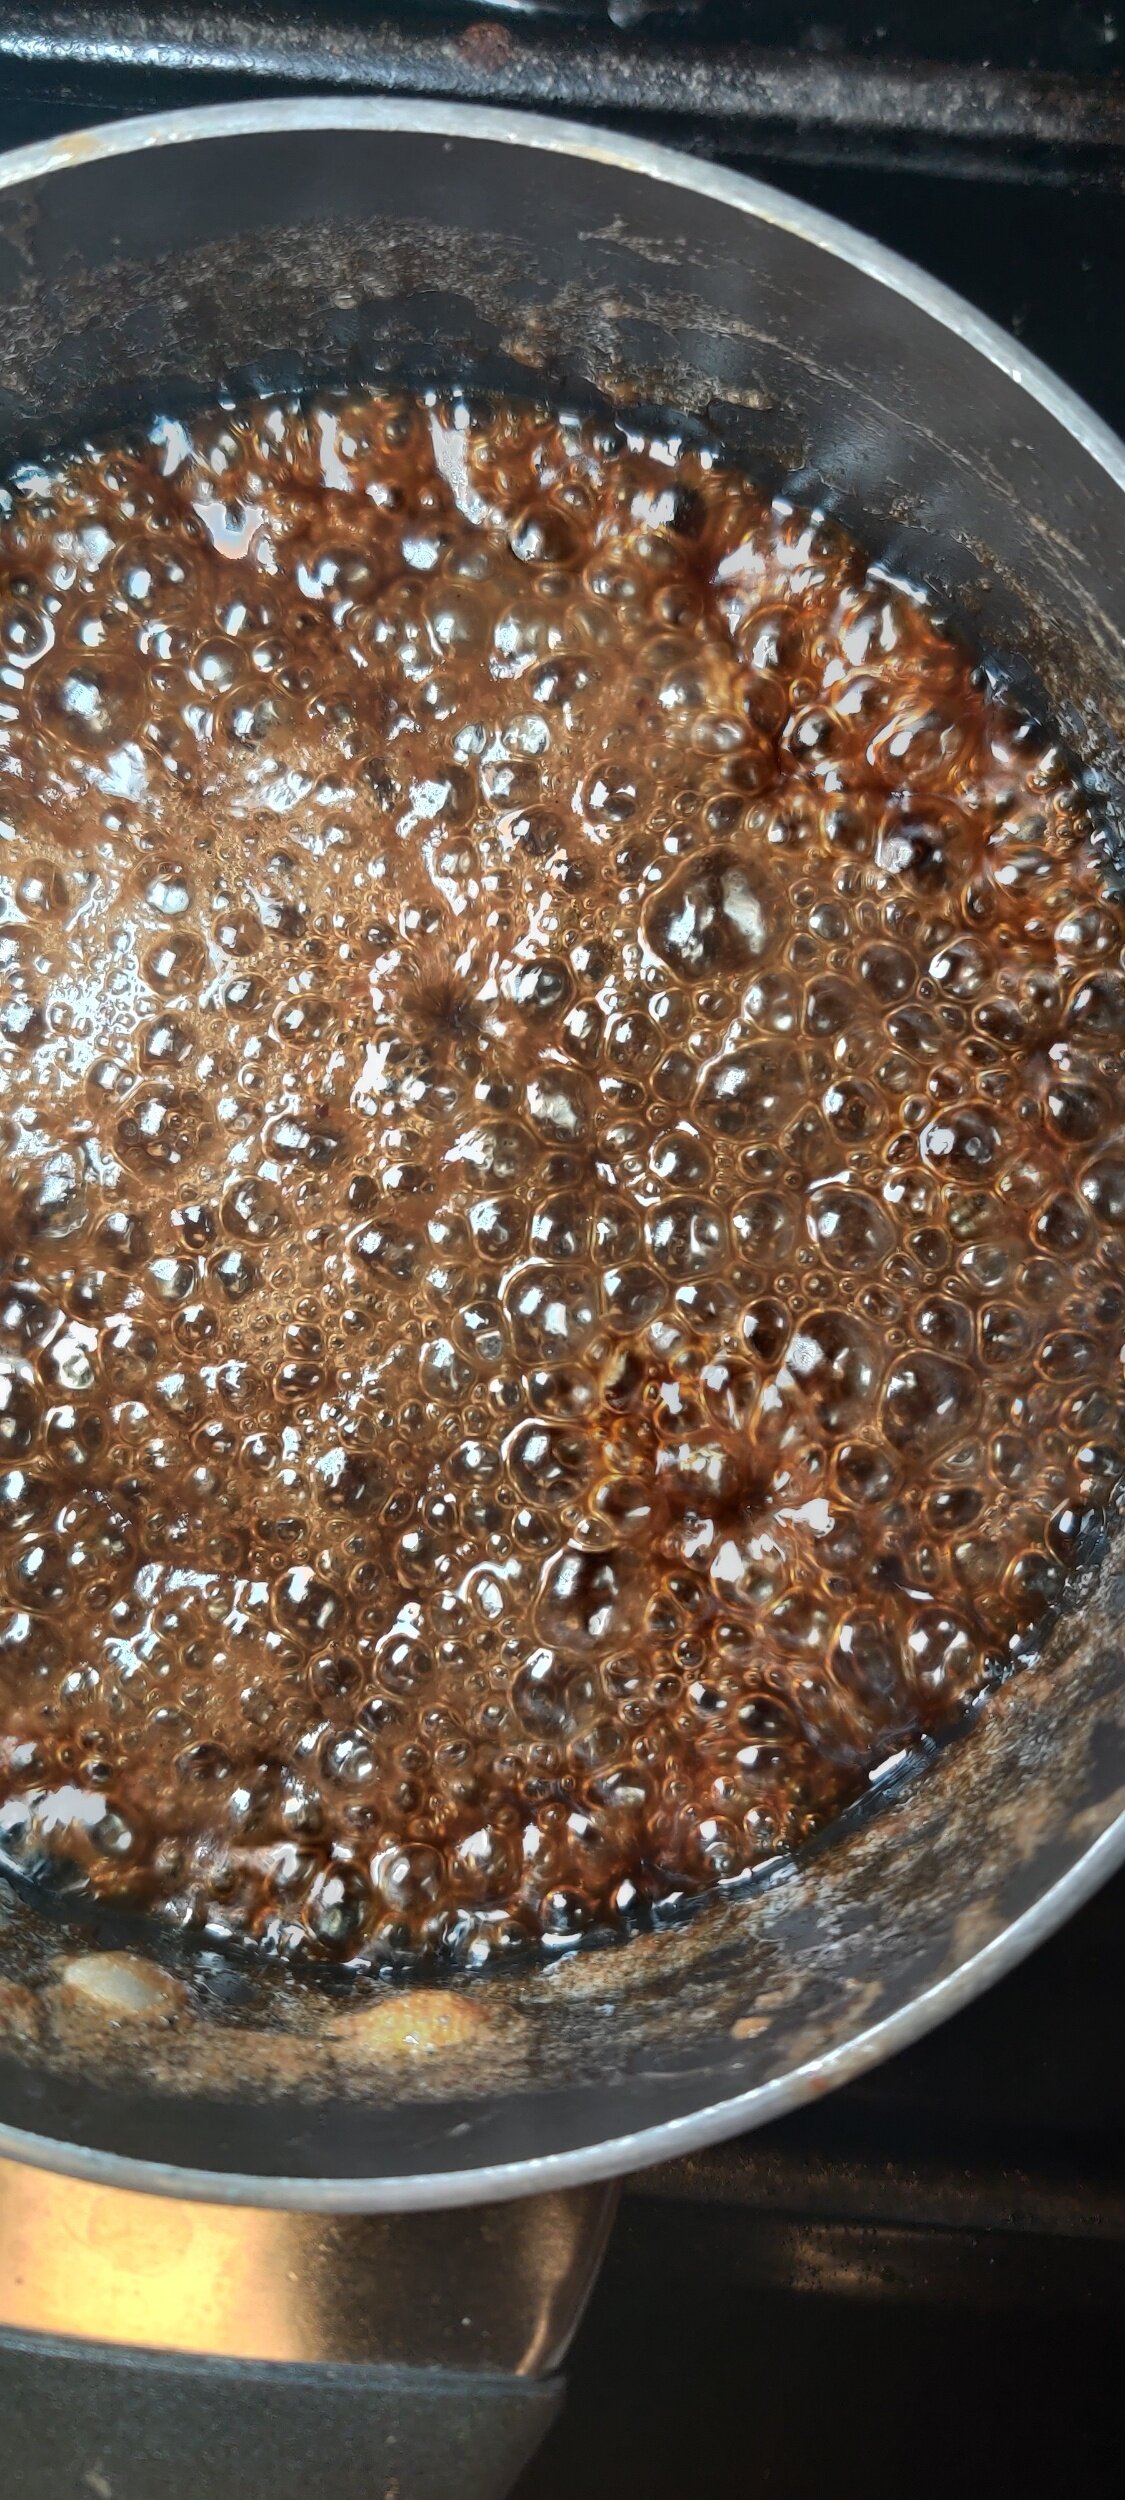
What's the most important part about making toffee? If you want that perfect crunch, not chewy, but a light, brittle crunch that still melts in your mouth (too solid, and your teeth might shatter!), you'll need to heat the butter and sugar mix to 285-300F before pouring it onto a solid, nonstick surface before chilling.

Holiday "Christmas Crack" Toffee with Pretzels and Coconut
Ingredients
- 2 cups butter
- 2 cups granulated sugar
- 1/4 teaspoon salt
- 1/4 cup unsalted chopped pecans
- 1/4 cup unsalted chopped walnuts
- 1/4 cup desiccated coconut
- 1 teaspoon sea salt (optional)
- 1/2 cup thin pretzels
Instructions
- Roughly chop the pecans and walnuts, place them on a baking sheet in an oven at 400F and toast for 12-15 minutes until crispy; remove from the oven.
- In a medium-sized pot, melt the butter and stir in the sugar occasionally to dissolve it. Bring to a gentle boil on medium-low heat (depending on your stove) until it turns amber in colour and the temperature reaches 285F.
- Remove from heat and pour onto a foil-lined baking tray. Allow the toffee to set for about 1 minute, then sprinkle with chocolate chips evenly. Spread with a spatula and allow the chocolate to melt.
- Sprinkle the nuts, coconut, sea salt, and crushed pretzels, and gently press the toppings into the toffee with the spatula. Move to the fridge and chill until hardened. Enjoy!
Nutrition Facts
Calories
298Fat (grams)
22.5 gCarbs (grams)
25.6 gSugar (grams)
20.4 gProtein (grams)
1.4 gI am not a certified nutritionist and any nutritional information on dontmissmyplate.com should only be used as a general guideline.


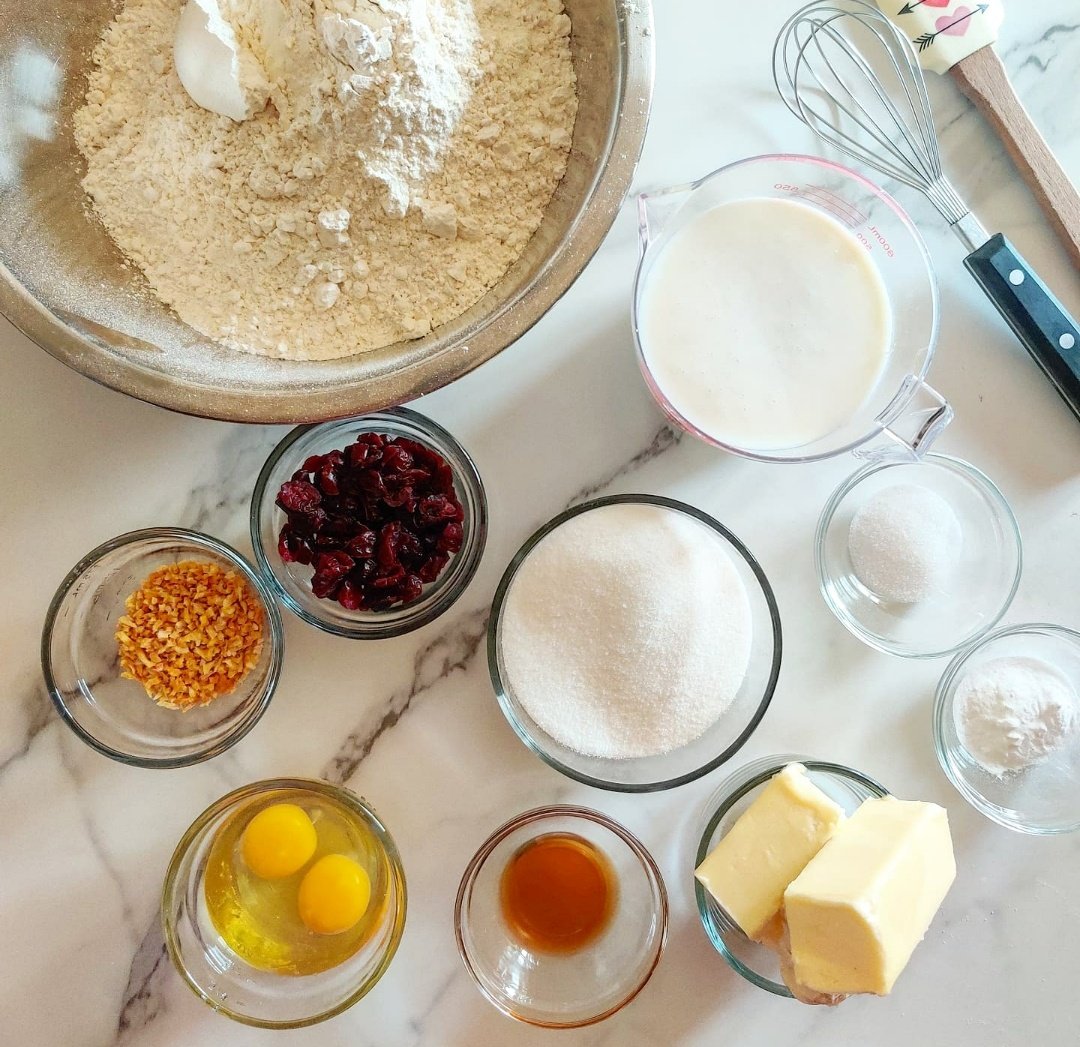
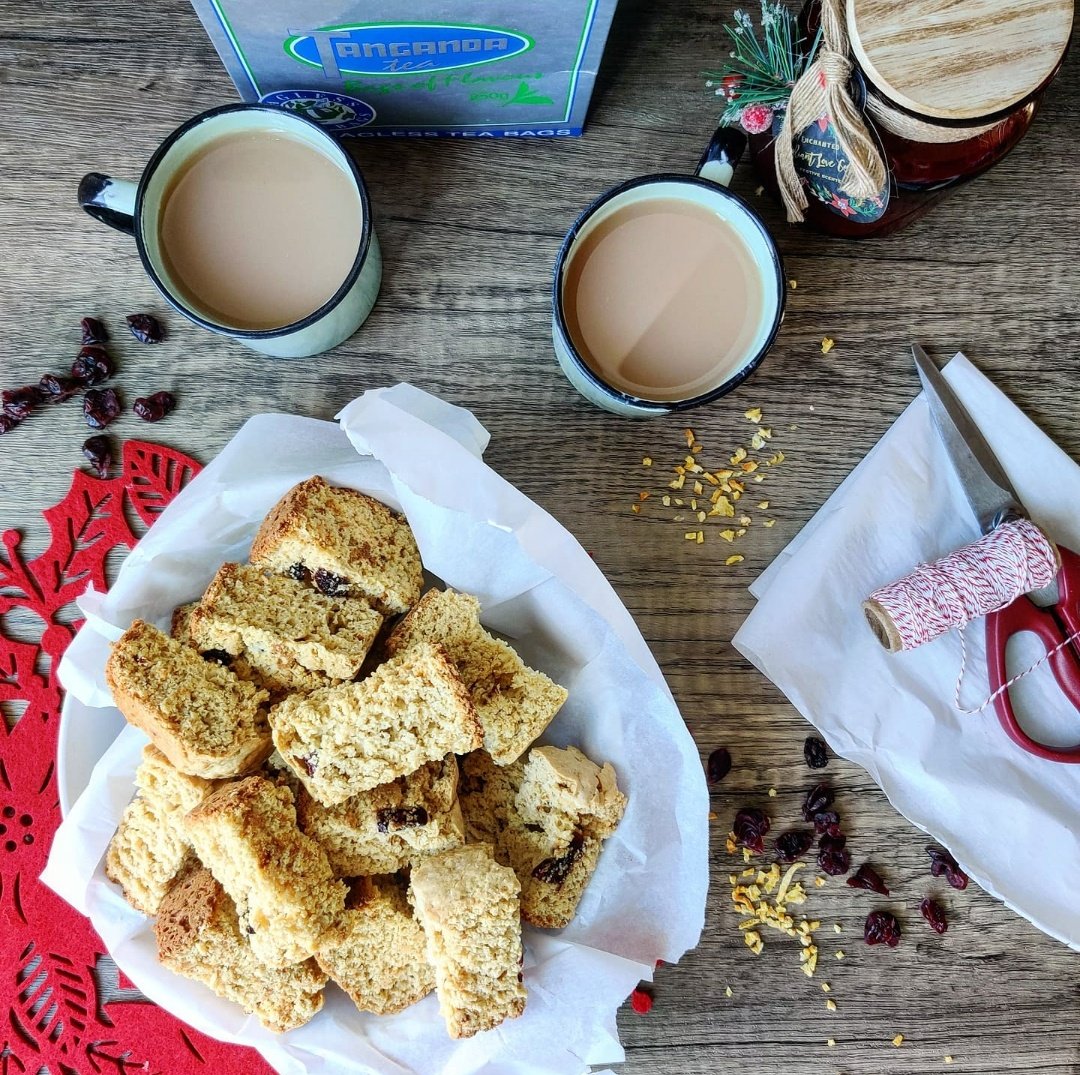
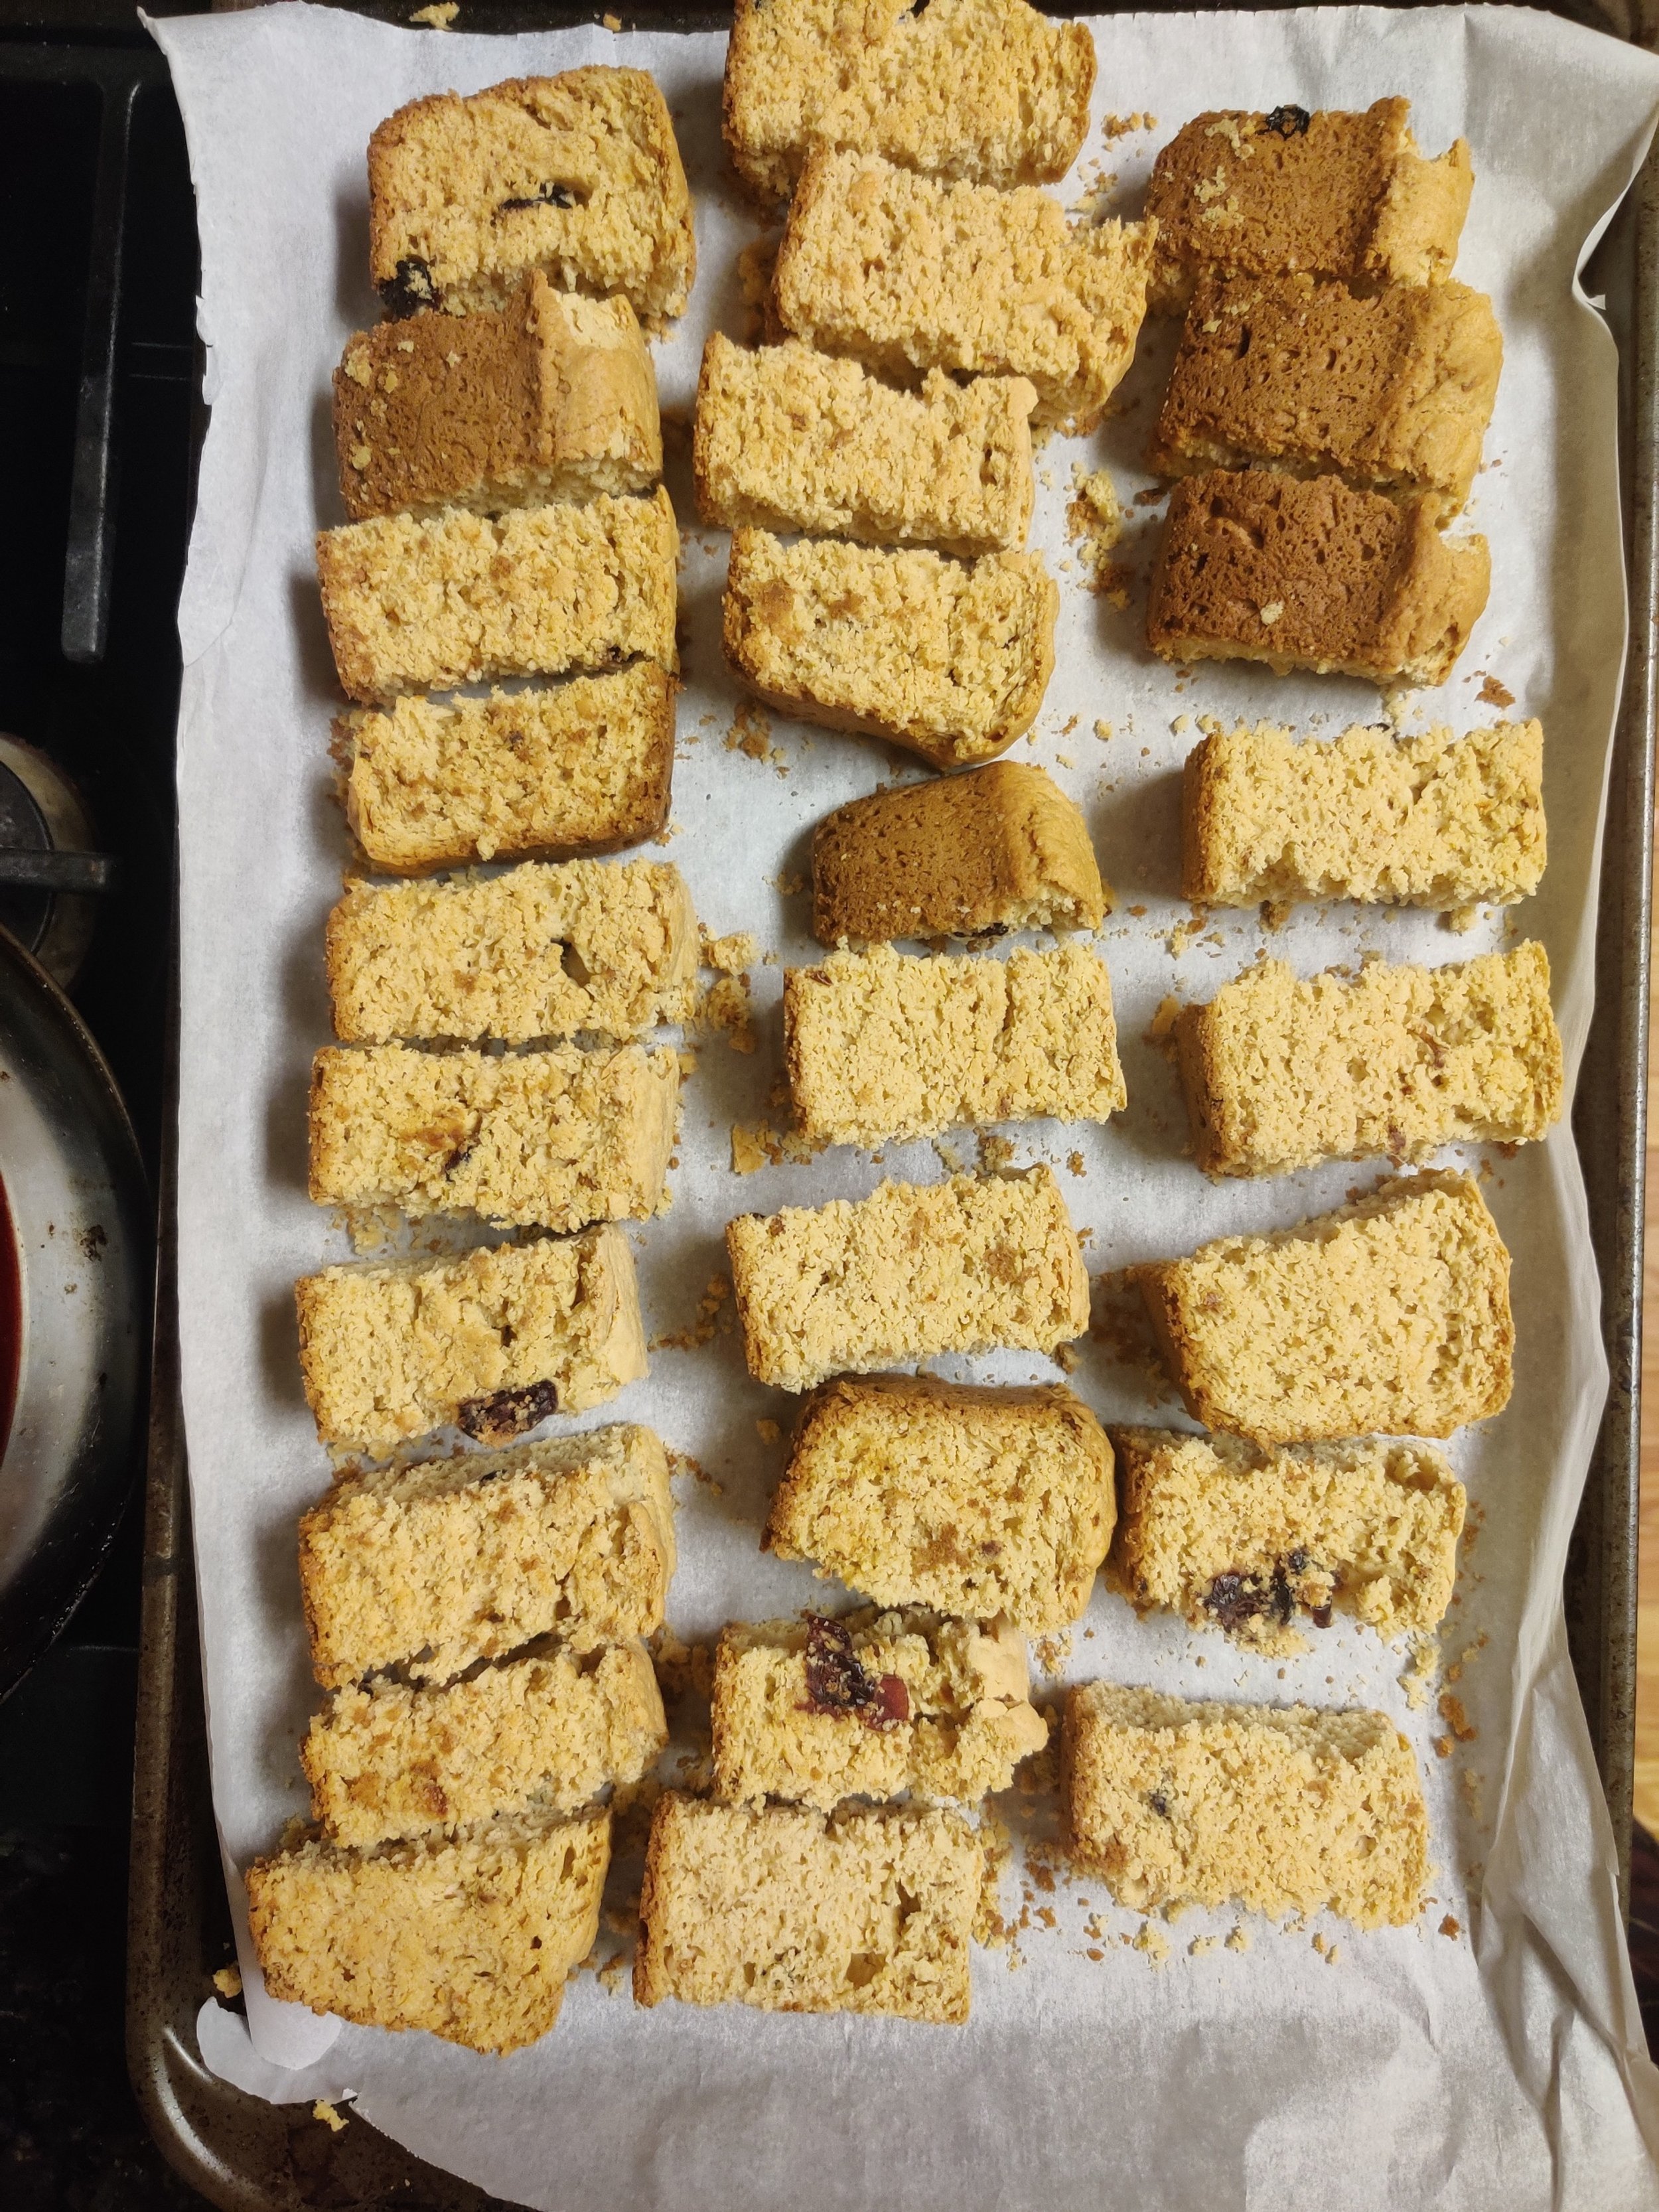
Cranberry Orange Rusks
Rusks are a beloved snack across Southern Africa, traditionally baked twice to create that signature crunchy, semi-sweet texture. While they have deep roots in history, today rusks are just as much about simple, comforting enjoyment as they are about tradition.
In this recipe, I’ve added tart cranberries and fragrant orange peel to give them a festive, modern twist. The cranberries add bursts of sweet-tart flavor, while the orange brings a bright, citrusy note that pairs beautifully. Crisp on the outside, slightly chewy inside, these rusks are perfect for dunking into a morning coffee, afternoon tea, or just enjoying as a cozy snack at any time of day.
Easy to make at home, this recipe lets you enjoy a fresh, homemade version of a Southern African classic — no store-bought rusks required.

Cranberry Orange Rusks
Ingredients
- 8 cups self-raising flour
- 1 stick + 2 tablespoons butter
- 1 cup granulated sugar
- 1/2 cup coconut sugar
- 2 tablespoons vanilla extract
- 1/2 teaspoon almond extract
- 3/4 cup dried cranberries
- 3 tablespoons orange peel
- 2 cups buttermilk
- 2 teaspoons salt
- 2 teaspoons baking soda
Instructions
- In a large bowl whisk the flour, baking soda and salt well. Follow this with the cranberries and orange peel.
- Melt the butter in a small pot then add the sugar and whisk until the sugar has dissolved, remove from heat. Don't boil! You aren't trying to make caramel.
- Beat the egg, vanilla and almond into the buttermilk. Add both sets of liquid to the flour bowl and mix with a nonstick spatula until well combined.
- Transfer the mix to a greased baking dish and use the spatula to flatten in preparation for baking.
- Bake at 350F for 45 minutes. The cake rusk should have risen and a toothpick should come out clean from the center once it is done. Remove from the oven to cool.
- Once cooled, slice into 2.5cm L x 1.5cm W pieces. Depending on how thick you cut them, you’ll get about 50 rusks.
- Lay them on parchment-lined baking trays evenly spaced, and return to the oven but reduce the heat to 200F/93C. Dry them out or another 2 1/2 hours and check every 30 minutes until a cookie/biscuit texture.
- Keep in airtight containers for up to 3 months.
Nutrition Facts
Calories
122Fat (grams)
2.6Carbs (grams)
22Sugar (grams)
6.6Protein (grams)
2.4I am not a certified nutritionist and any nutritional information on dontmissmyplate.com should only be used as a general guideline.

Roasted Sweet Potato and Almond Butter Pie
I’ve made a number of pies for the holidays, but this one is for the books, and can be cooked on any occasion, not just Thanksgiving!
Sweet potato or pumpkin pie
The sweet potato lends itself naturally to desserts and sweet treats, and in some instances, I prefer it over pumpkin. Both vegetables are high on the list as pantry essentials in most Zimbabwean households but for savoury dishes. They are often boiled and served with peanut butter, greens, or other starch.
I find this limiting; sorry, not sorry! You can do a lot with sweet potatoes.
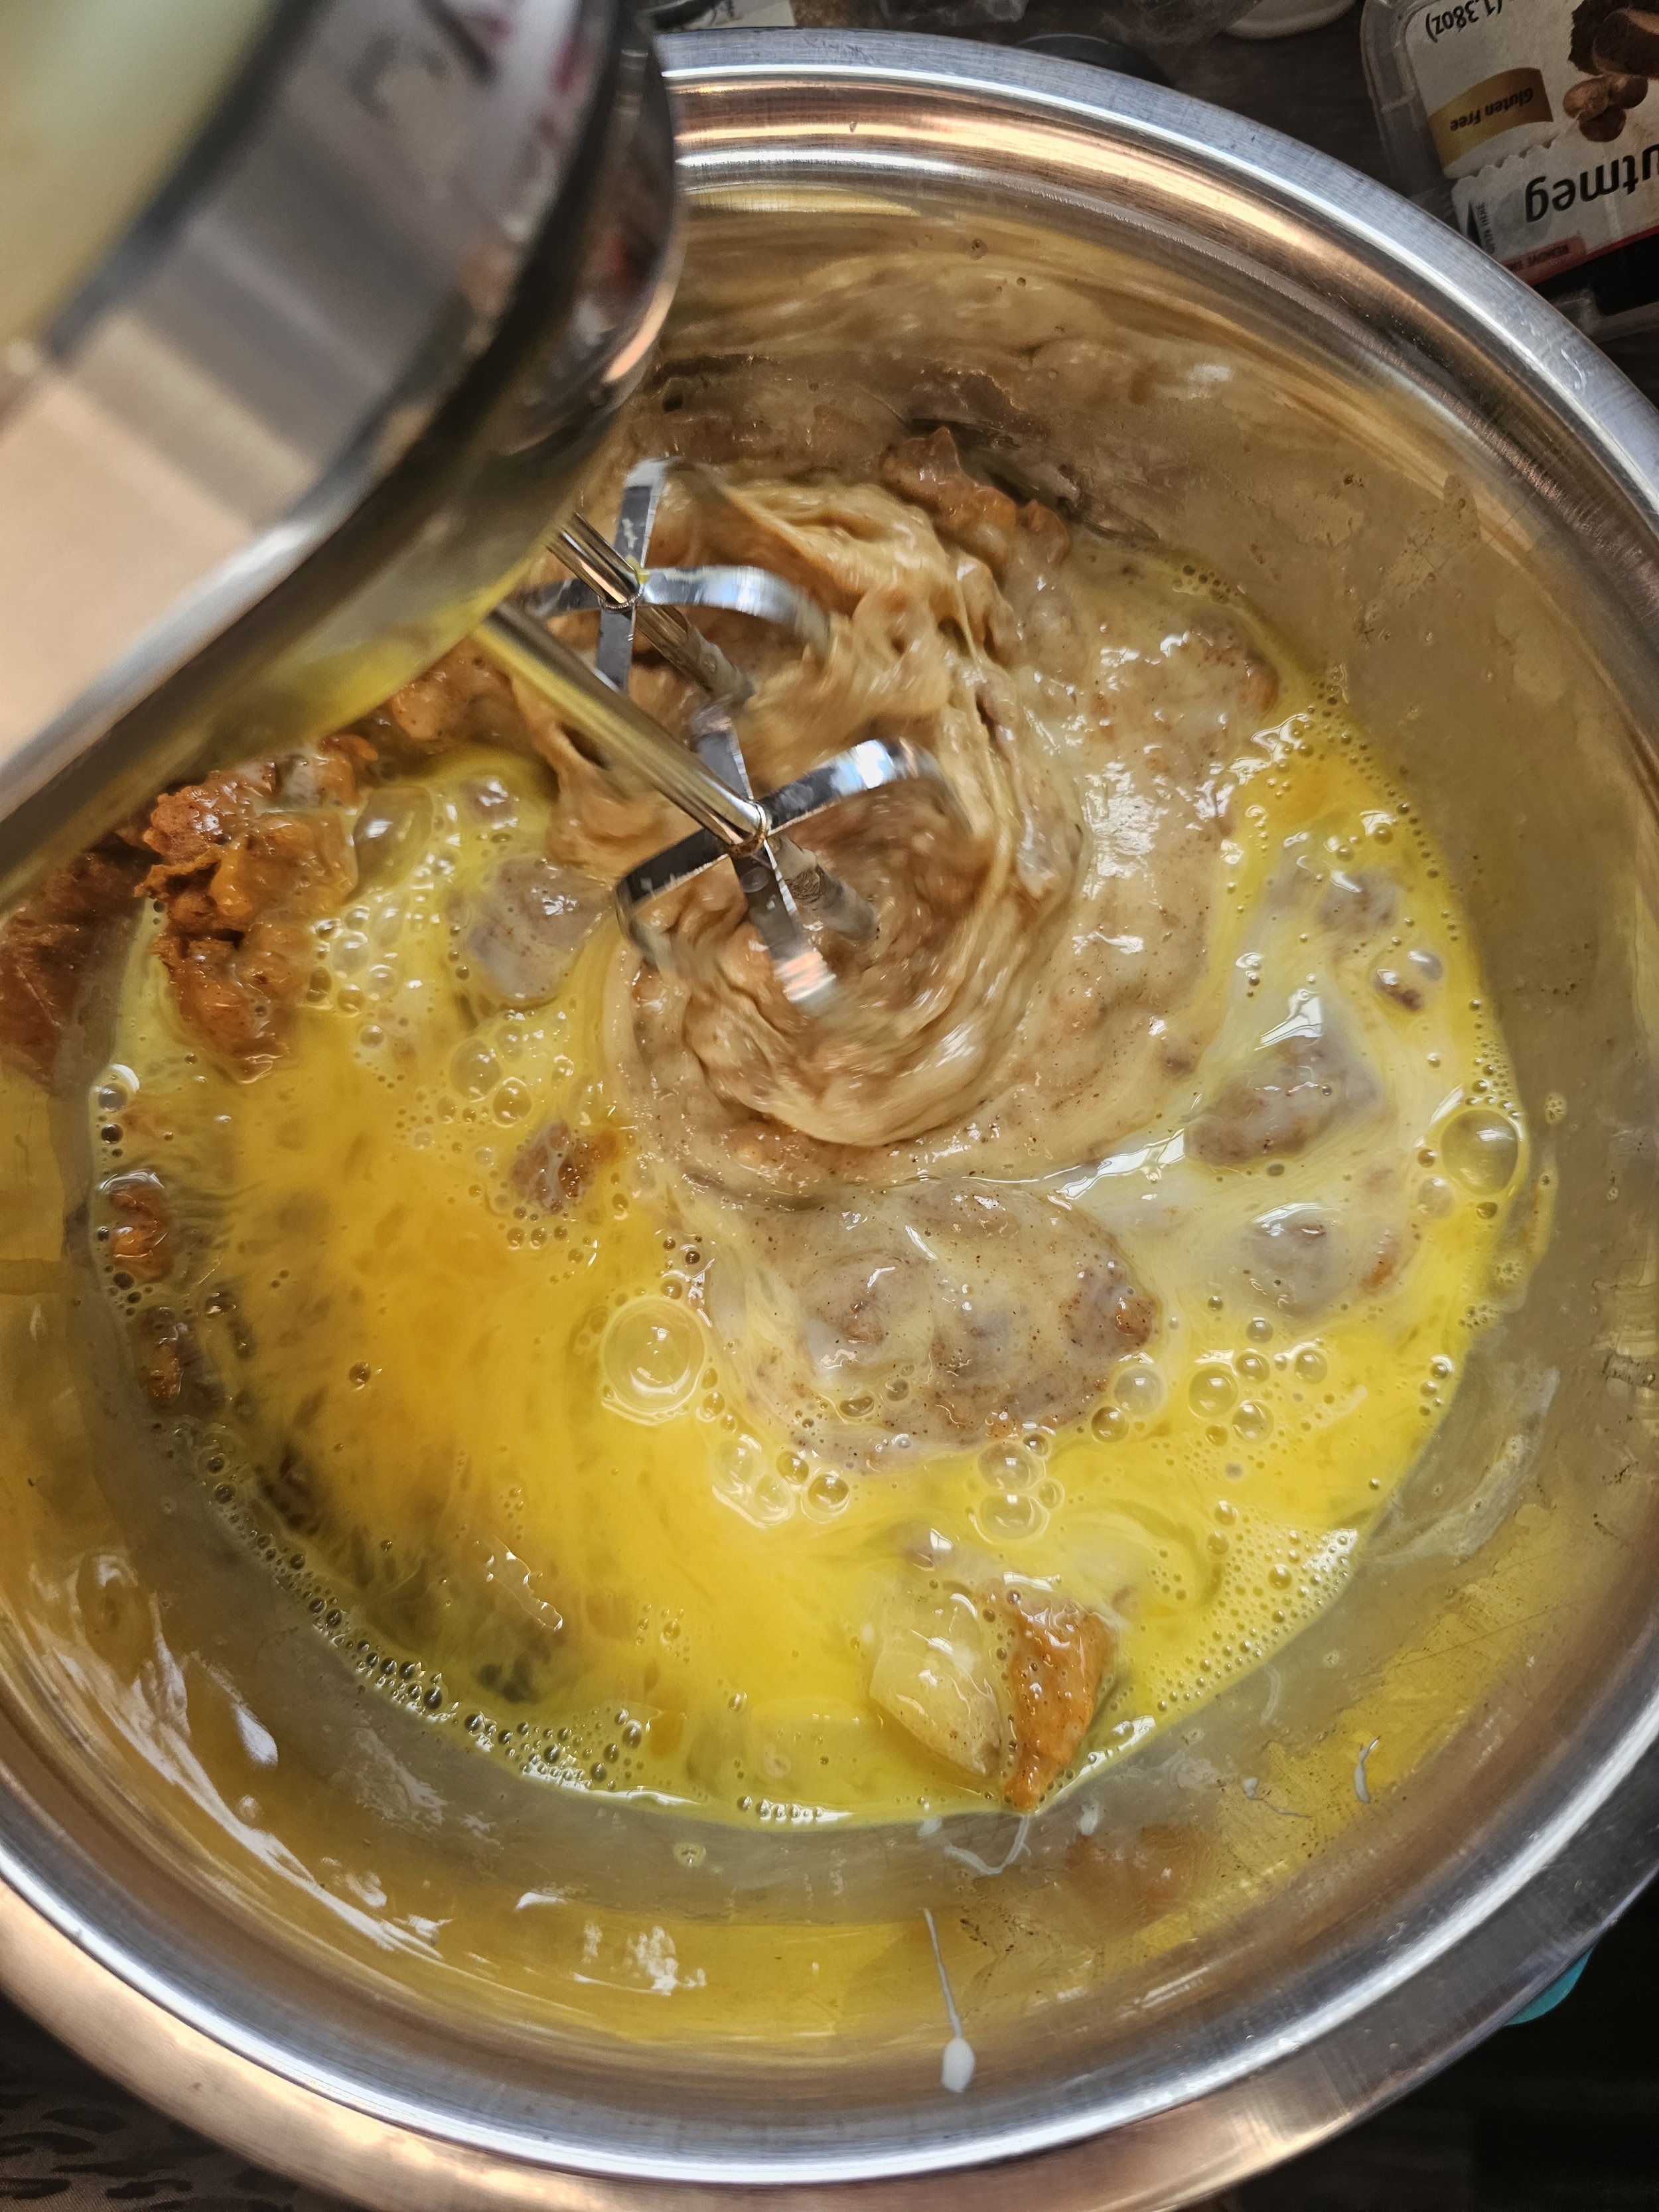
In connection with the point about peanut butter, I took another direction here. If you're like me, you grew up on peanuts or "groundnuts" but can eat almonds daily. Let's be honest: a dollop of almond butter has the same impact as peanut butter atop a hot bowl of steel-cut oats. However, peanut butter is higher in saturated fats and should be eaten in moderation despite nut butter typically falling into the healthier fat category. In any case, I wanted to lean into mixing peanut butter with pumpkin (classic in Zimbabwean cuisine and in other African kitchens) and marry the almond butter with the sweet potato. The filling is made not just for any crust but one that would fortify the warm spices (cinnamon, nutmeg, ginger, cloves, etc.) - gingersnap biscuits. I'll also note that my gogo, aka paternal grandmother, always had ginger biscuits at tea time during my childhood. I have difficulty letting go, but I promise this memory has yielded excellent results.
Unlike other sweet potato pies, this one is a little denser, like pumpkin pie, but not heavy. Also, it is not too sweet, and all you need is a tablespoon or two of whipped cream to enjoy.


Roasted Sweet Potato and Almond Butter Pie
Ingredients
- 1 lb. sweet potatoes
- 1 3/4 teaspoons pumpkin pie spice
- 2 tablespoons olive oil
- 1 1/2 - 2 cups roasted sweet potato puree (as above)
- 14 oz/1 can condensed milk
- 4 tablespoons almond butter
- 5 tablespoons milk
- 5 tablespoons maple syrup
- 1 teaspoon cinnamon
- 1/4 teaspoon salt
- 1 teaspoon vanilla extract
- 1/2 teaspoon maple extract
- 1/8 teaspoon ground cloves
- 1/4 teaspoon ground nutmeg
- 2 eggs, beaten
- 1 teaspoon ground ginger
- 2 tablespoons butter
- 12-14 oz (2 cups + 2 tablespoons) gingersnap cookies, crushed
- 1 tablespoon pumpkin spice
- 8 tablespoons butter, melted
Instructions
- Blind bake the crust for 5 minutes at 350F, remove to cool.
- For the sweet potatoes, toss in the olive oil, season with the pumpkin spice and roast at 375F for 35-40 minutes.
- Whisk the ingredients and pour into the cooled crust, bake for 50 minutes at 350F. A toothpick should come out clean after pricking once done.
- Serve room temperature or cold with whipped cream.
Nutrition Facts
Calories
826Fat (grams)
39.4 gSat. Fat (grams)
13.4 gCarbs (grams)
111 gSugar (grams)
63.5 gProtein (grams)
12.6 gI am not a certified nutritionist and any nutritional information on dontmissmyplate.com should only be used as a general guideline.


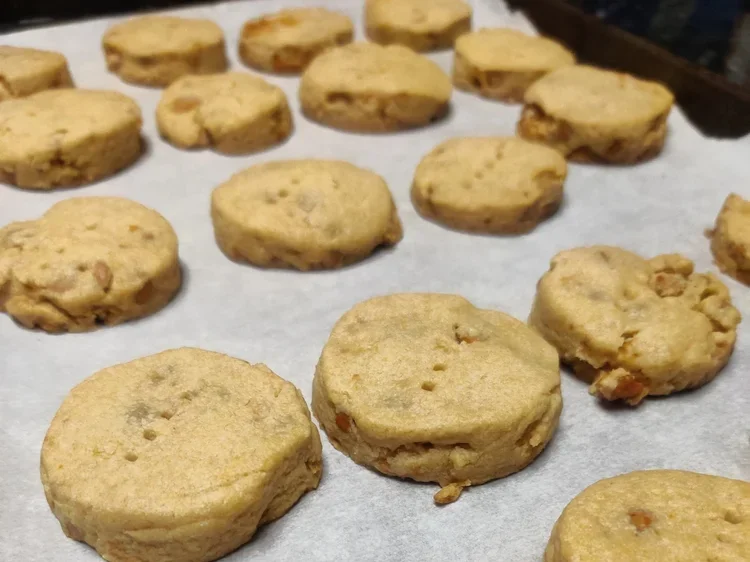
Cinnamon and Pear Shortbread Biscuits – Buttery, Soft and Crispy
Shortbread cookies are the ultimate testament to the beauty of simplicity. With just butter, sugar, and flour, these cookies deliver a tender, crumbly texture that melts in your mouth. I grew up eating these biscuits in Zimbabwe, a former British colony, where they were a staple at holiday tables, family tea times, and special occasions. Brands like Eat Sum More from South Africa were often on our shelves, and they hold a special place in my childhood memories.
While traditional shortbread is simple—one part sugar, two parts butter, three to four parts flour—I love to give it subtle seasonal twists. In this version, I’ve added diced dried pears and cinnamon chips, perfect for winter baking. Even though shortbread isn’t as popular in the U.S. outside of the holidays, it’s divine any time, whether for afternoon tea or just a sweet treat with your coffee.
That said, if you prefer classic, unadorned shortbread, you can skip the pears and cinnamon and still enjoy the melt-in-your-mouth texture and buttery richness that make shortbread timeless. This blog walks you through both approaches, so you can enjoy the cookies exactly the way you like them.
Tips for Perfect Shortbread Cookies
Even a simple cookie like shortbread has a few secrets to make it melt-in-your-mouth. Whether you’re making the classic version or the pear and cinnamon cookies inspired by winter flavors, these tips will help:
For Classic Shortbread
Use high-quality unsalted butter—it was the key in the biscuits I grew up eating.
Stick to the traditional trio: flour, sugar, butter. Subtle vanilla or citrus zest is fine.
Measure carefully; too much flour can make cookies dense.
Don’t overmix; just bring the dough together.
Chill for at least 30 minutes.
Prick with a fork before baking.
Bake low and slow: 300–325°F (150–165°C).
Cool completely and store in an airtight container.
For Pear and Cinnamon Shortbread
Gently fold in diced dried pears and cinnamon chips at the end so the dough stays tender.
You may need slightly more liquid if using whole wheat flour.
Chill, roll evenly, and follow the other tips above—the fruit will make the cookies softer, but just as buttery.
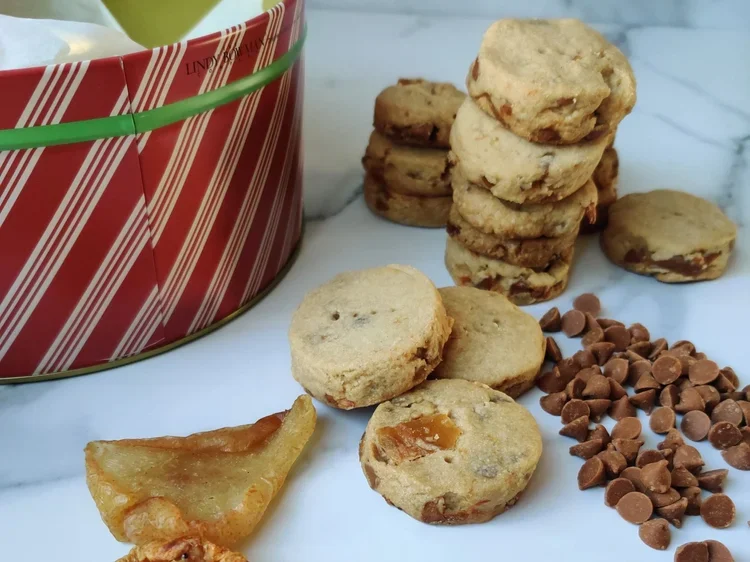

Cinnamon and Pear Shortbread Biscuits
These shortbread cookies are buttery, crisp, and melt in your mouth. Make them classic with just sugar, butter, and flour, or add pears and cinnamon for a festive touch.
Ingredients
- 3 cups all-purpose flour (or white whole wheat) + extra for dusting
- 1/2 cup + 2 tbsp granulated sugar
- 1/2 tsp salt
- 1 cup unsalted butter, softened
- 1 tsp vanilla extract
- 2–3 tbsp water (or heavy cream if using whole wheat)
- 2/3 cup finely diced dried pears
- 2/3 cup cinnamon chips or toffee bits
Instructions
- In a stand mixer with paddle attachment, beat softened butter and sugar on medium until fluffy and light.
- Gradually add flour and salt at low speed until a crumbly dough forms.
- For the pear + cinnamon version, fold in diced pears and cinnamon chips with a spatula.
- Add vanilla, then slowly add water (or cream if needed) just until the dough comes together. It should stick slightly but not be wet.
- Transfer dough to a floured surface, flatten to ~½ inch thickness. Cut into shapes or rounds.
- Place on parchment-lined trays and prick with a fork. Chill for at least 30 min.
- Bake at 350°F (175°C) for 30 min, or until just lightly golden at edges. Cool completely before serving.
Notes
- Classic Shortbread: Skip pears and cinnamon. The flavor comes purely from butter and sugar.
- Flour Tip: White whole wheat may require extra liquid (cream) for dough cohesion.
- Storage: Airtight container at room temp for up to 2 weeks. Flavor improves after a day.
- Variations: Chocolate chips, nuts, or subtle zest work well too.
Nutrition Facts
Calories
125Fat (grams)
7 gCarbs (grams)
15 gSugar (grams)
7 gProtein (grams)
1 gI am not a certified nutritionist and any nutritional information on dontmissmyplate.com should only be used as a general guideline.

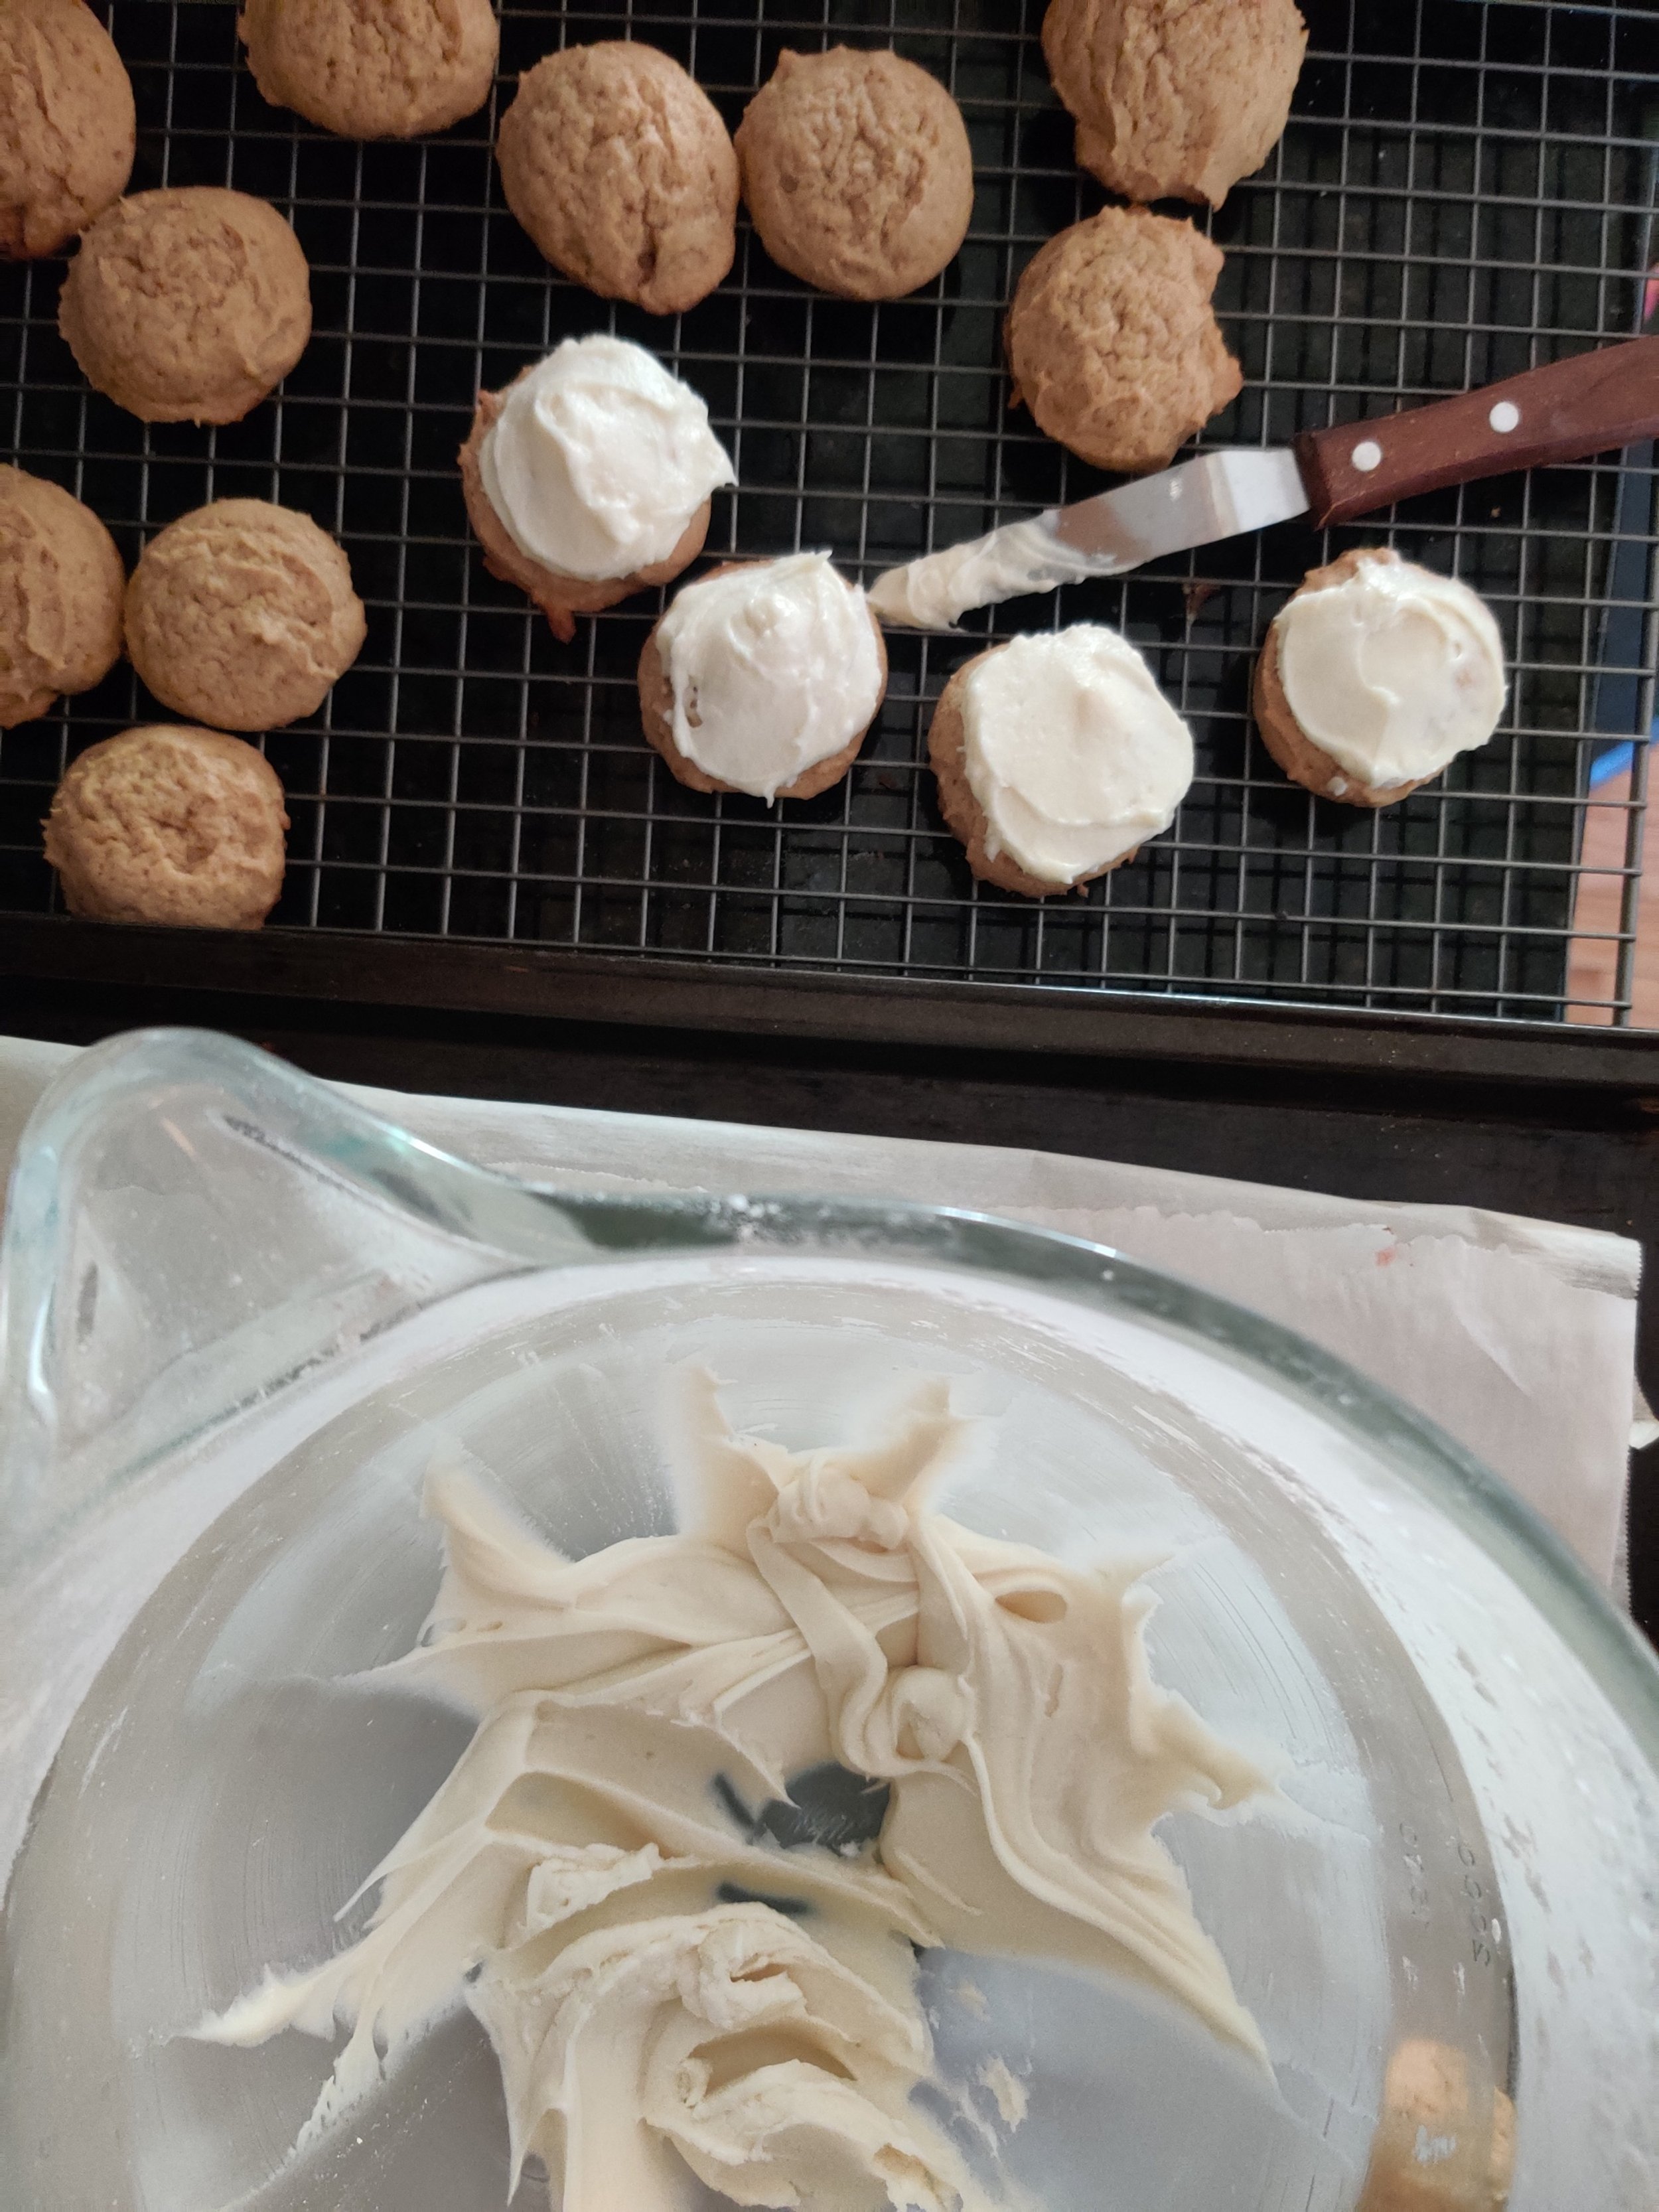
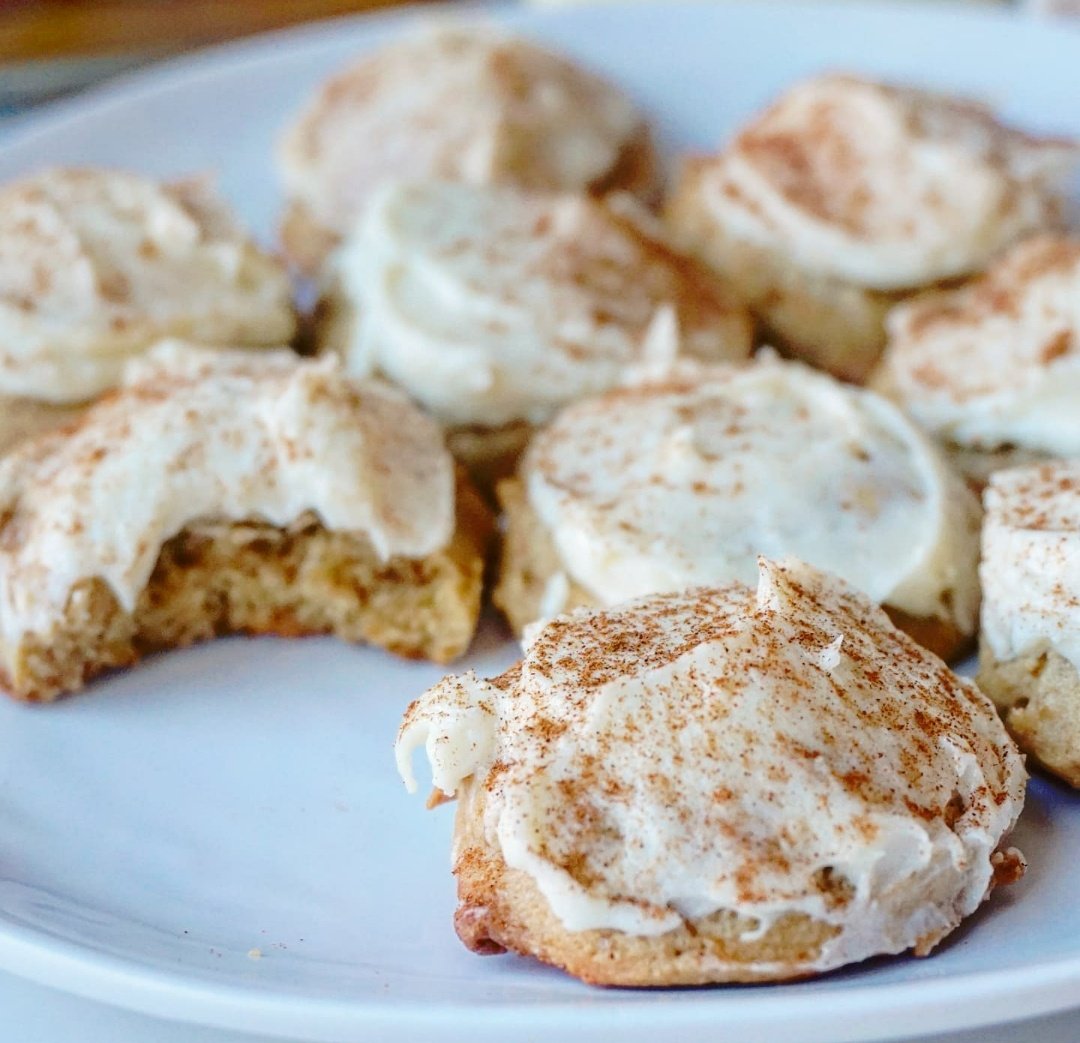
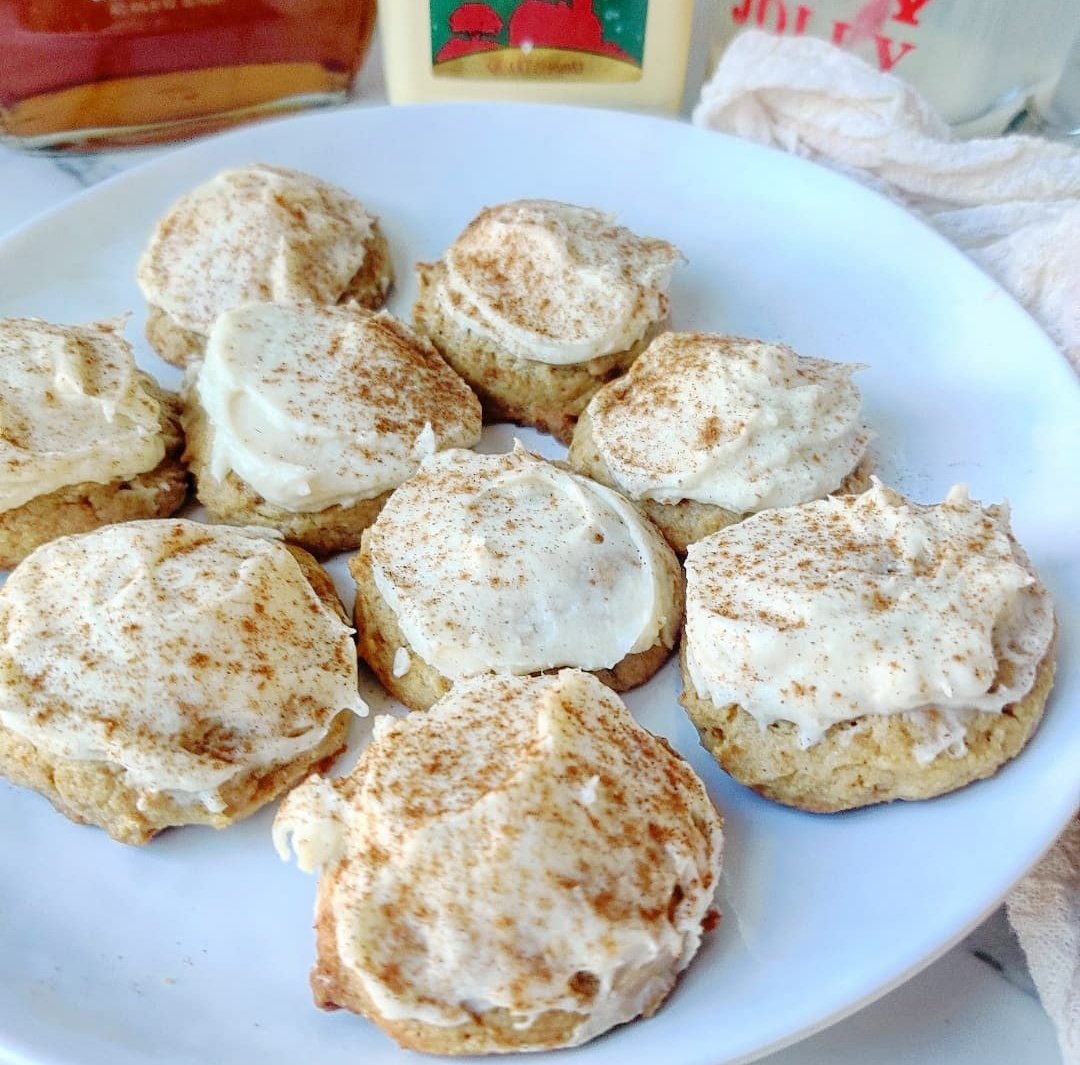

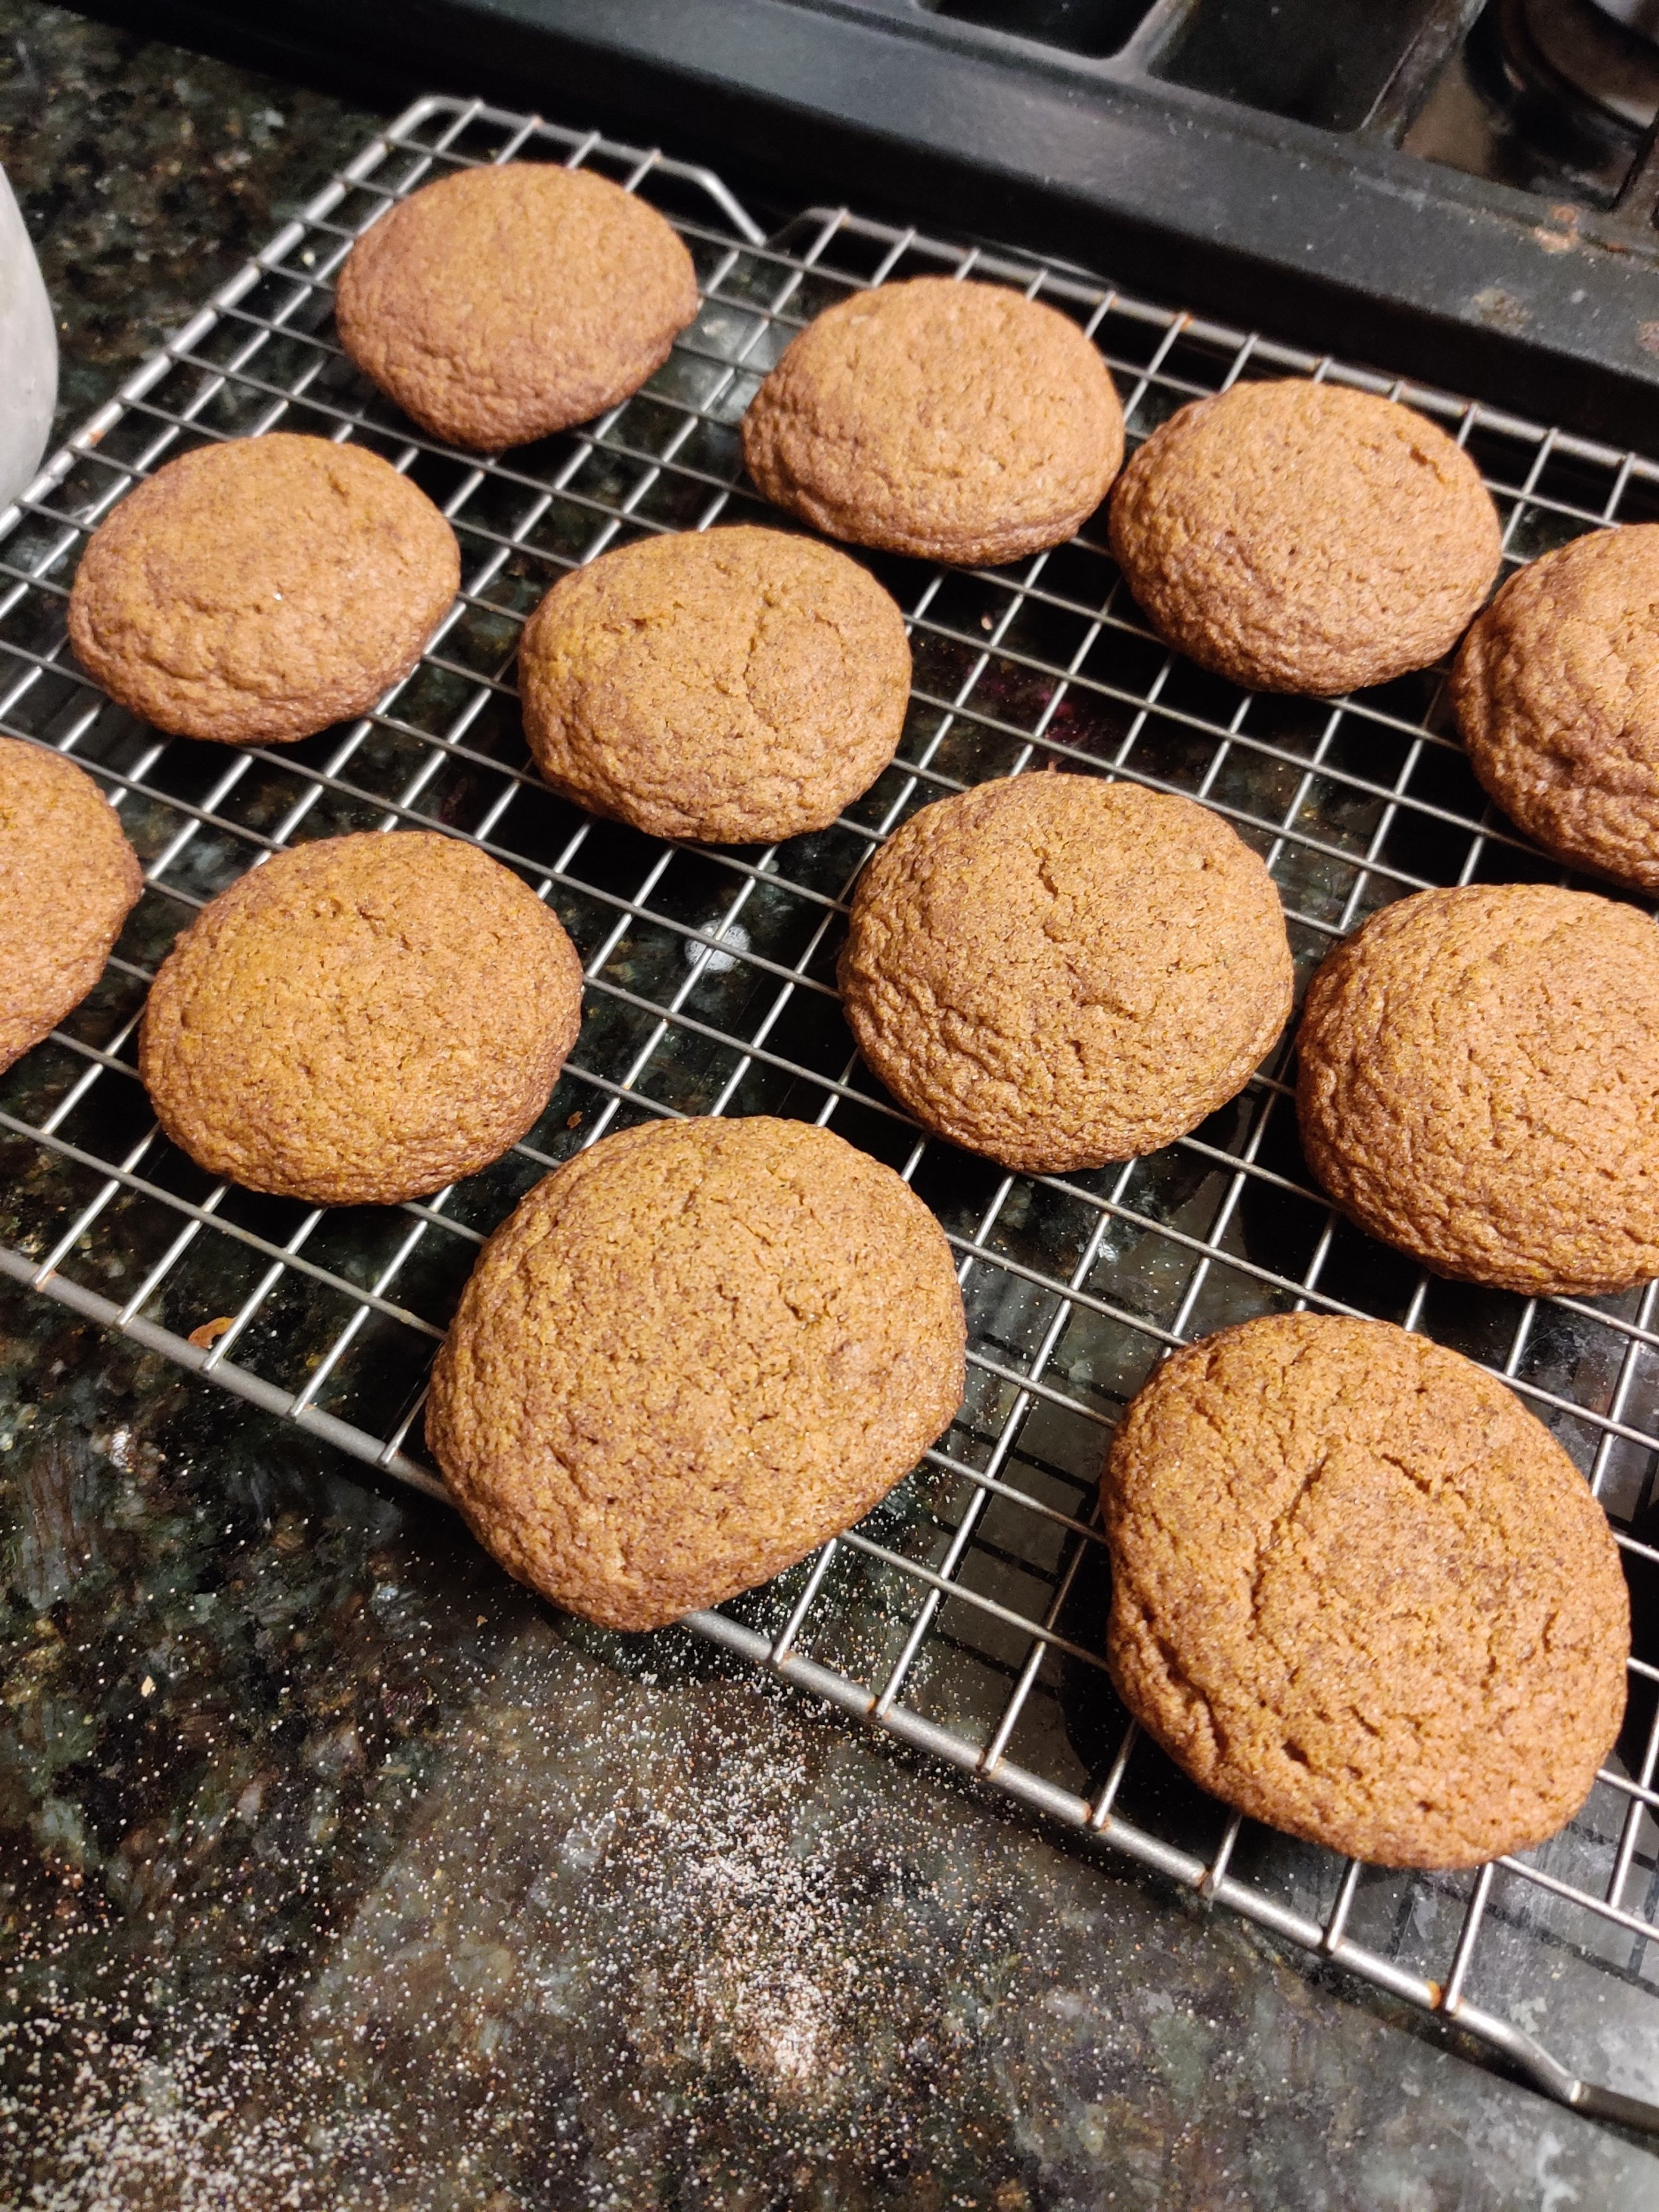
Ginger Biscuit Snickerdoodles
Ginger biscuits hold such a clear, dear memory in my mind. My grandmother always kept a tin of biscuits at her home, and when my siblings and I visited as children, we knew to expect a nibble. The collection included some crunchy ginger biscuits (or gingerbread biscuits, gingersnap, ginger nut, whatever you prefer!
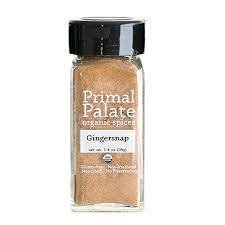
Molasses, brown sugar and a combination of nutmeg, cinnamon, and cloves make these cookies unique. I also added in some crystallized ginger to intensify the flavour. Thanks to Primal Palate Gingersnap Spice (a holiday baking necessity), there won't be any confusion about what you're eating!
What about the snickerdoodle part of this recipe? Well, these New England treats are simple but a fan favourite, and I'm one of them! A soft (or crisp) cookie rolled in cinnamon sugar; this combination is seamless.
If you are looker for a recipe for Gingerbread Man Biscuits, look no more! Click here.


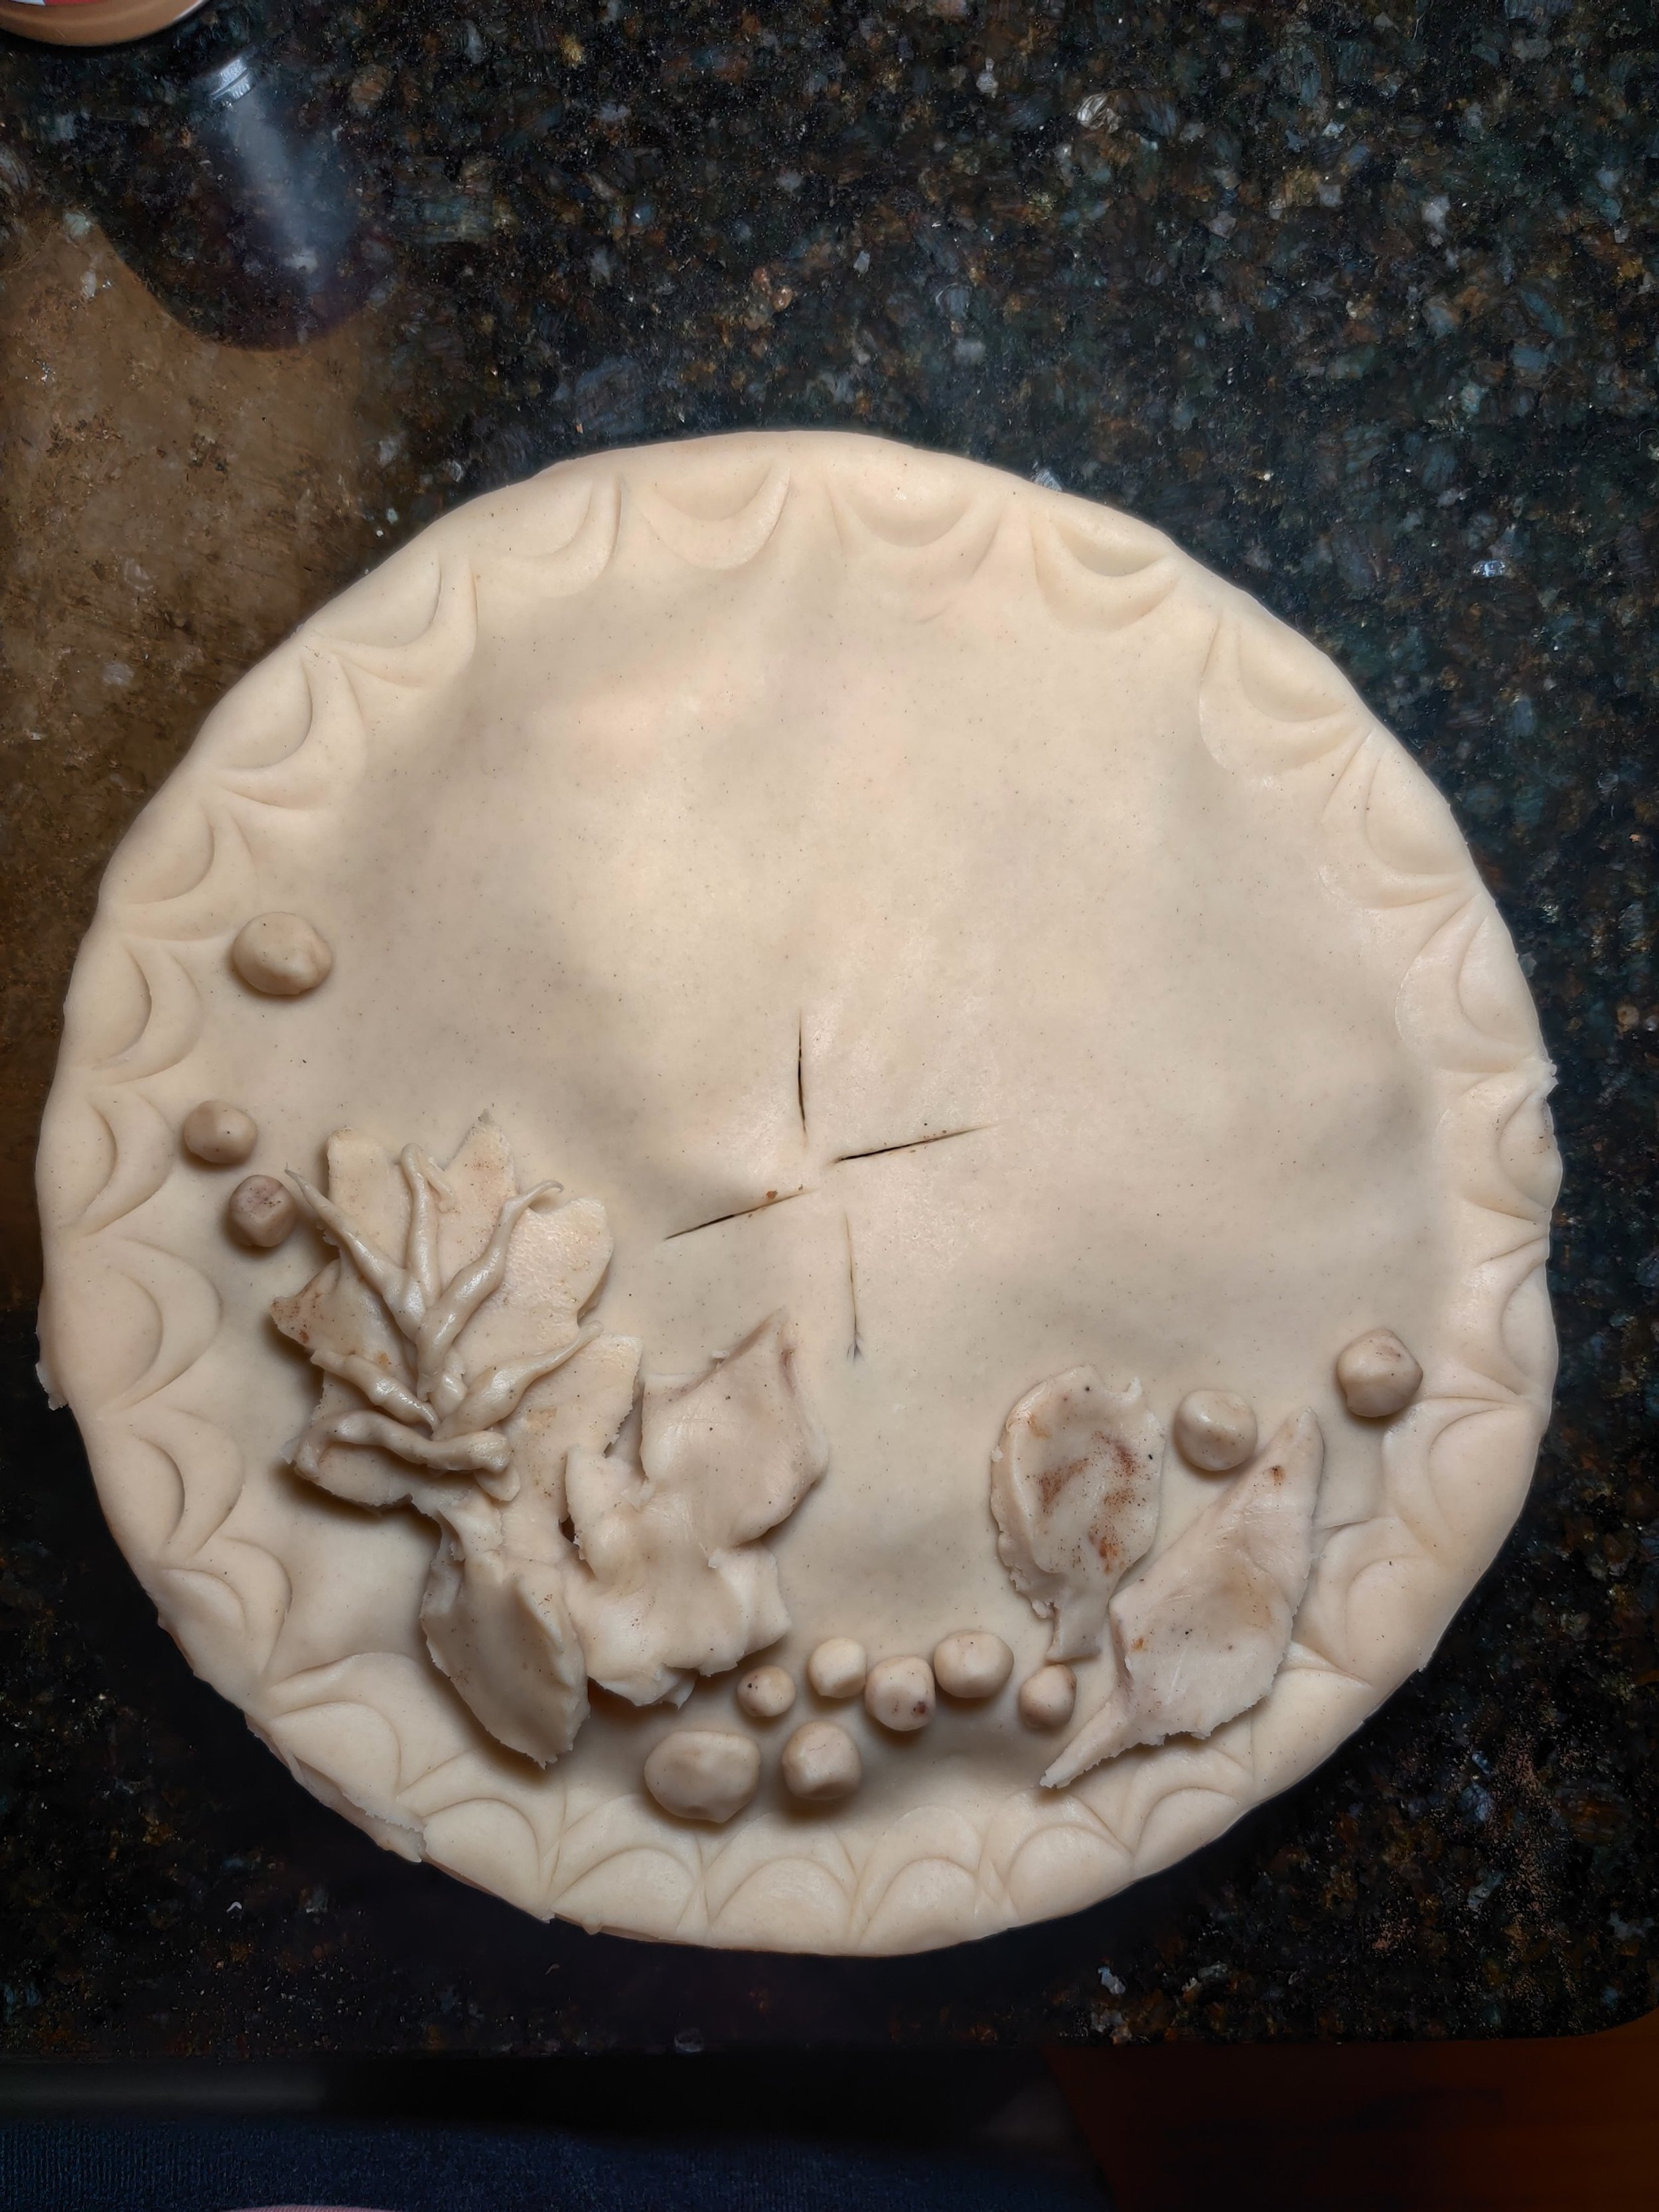
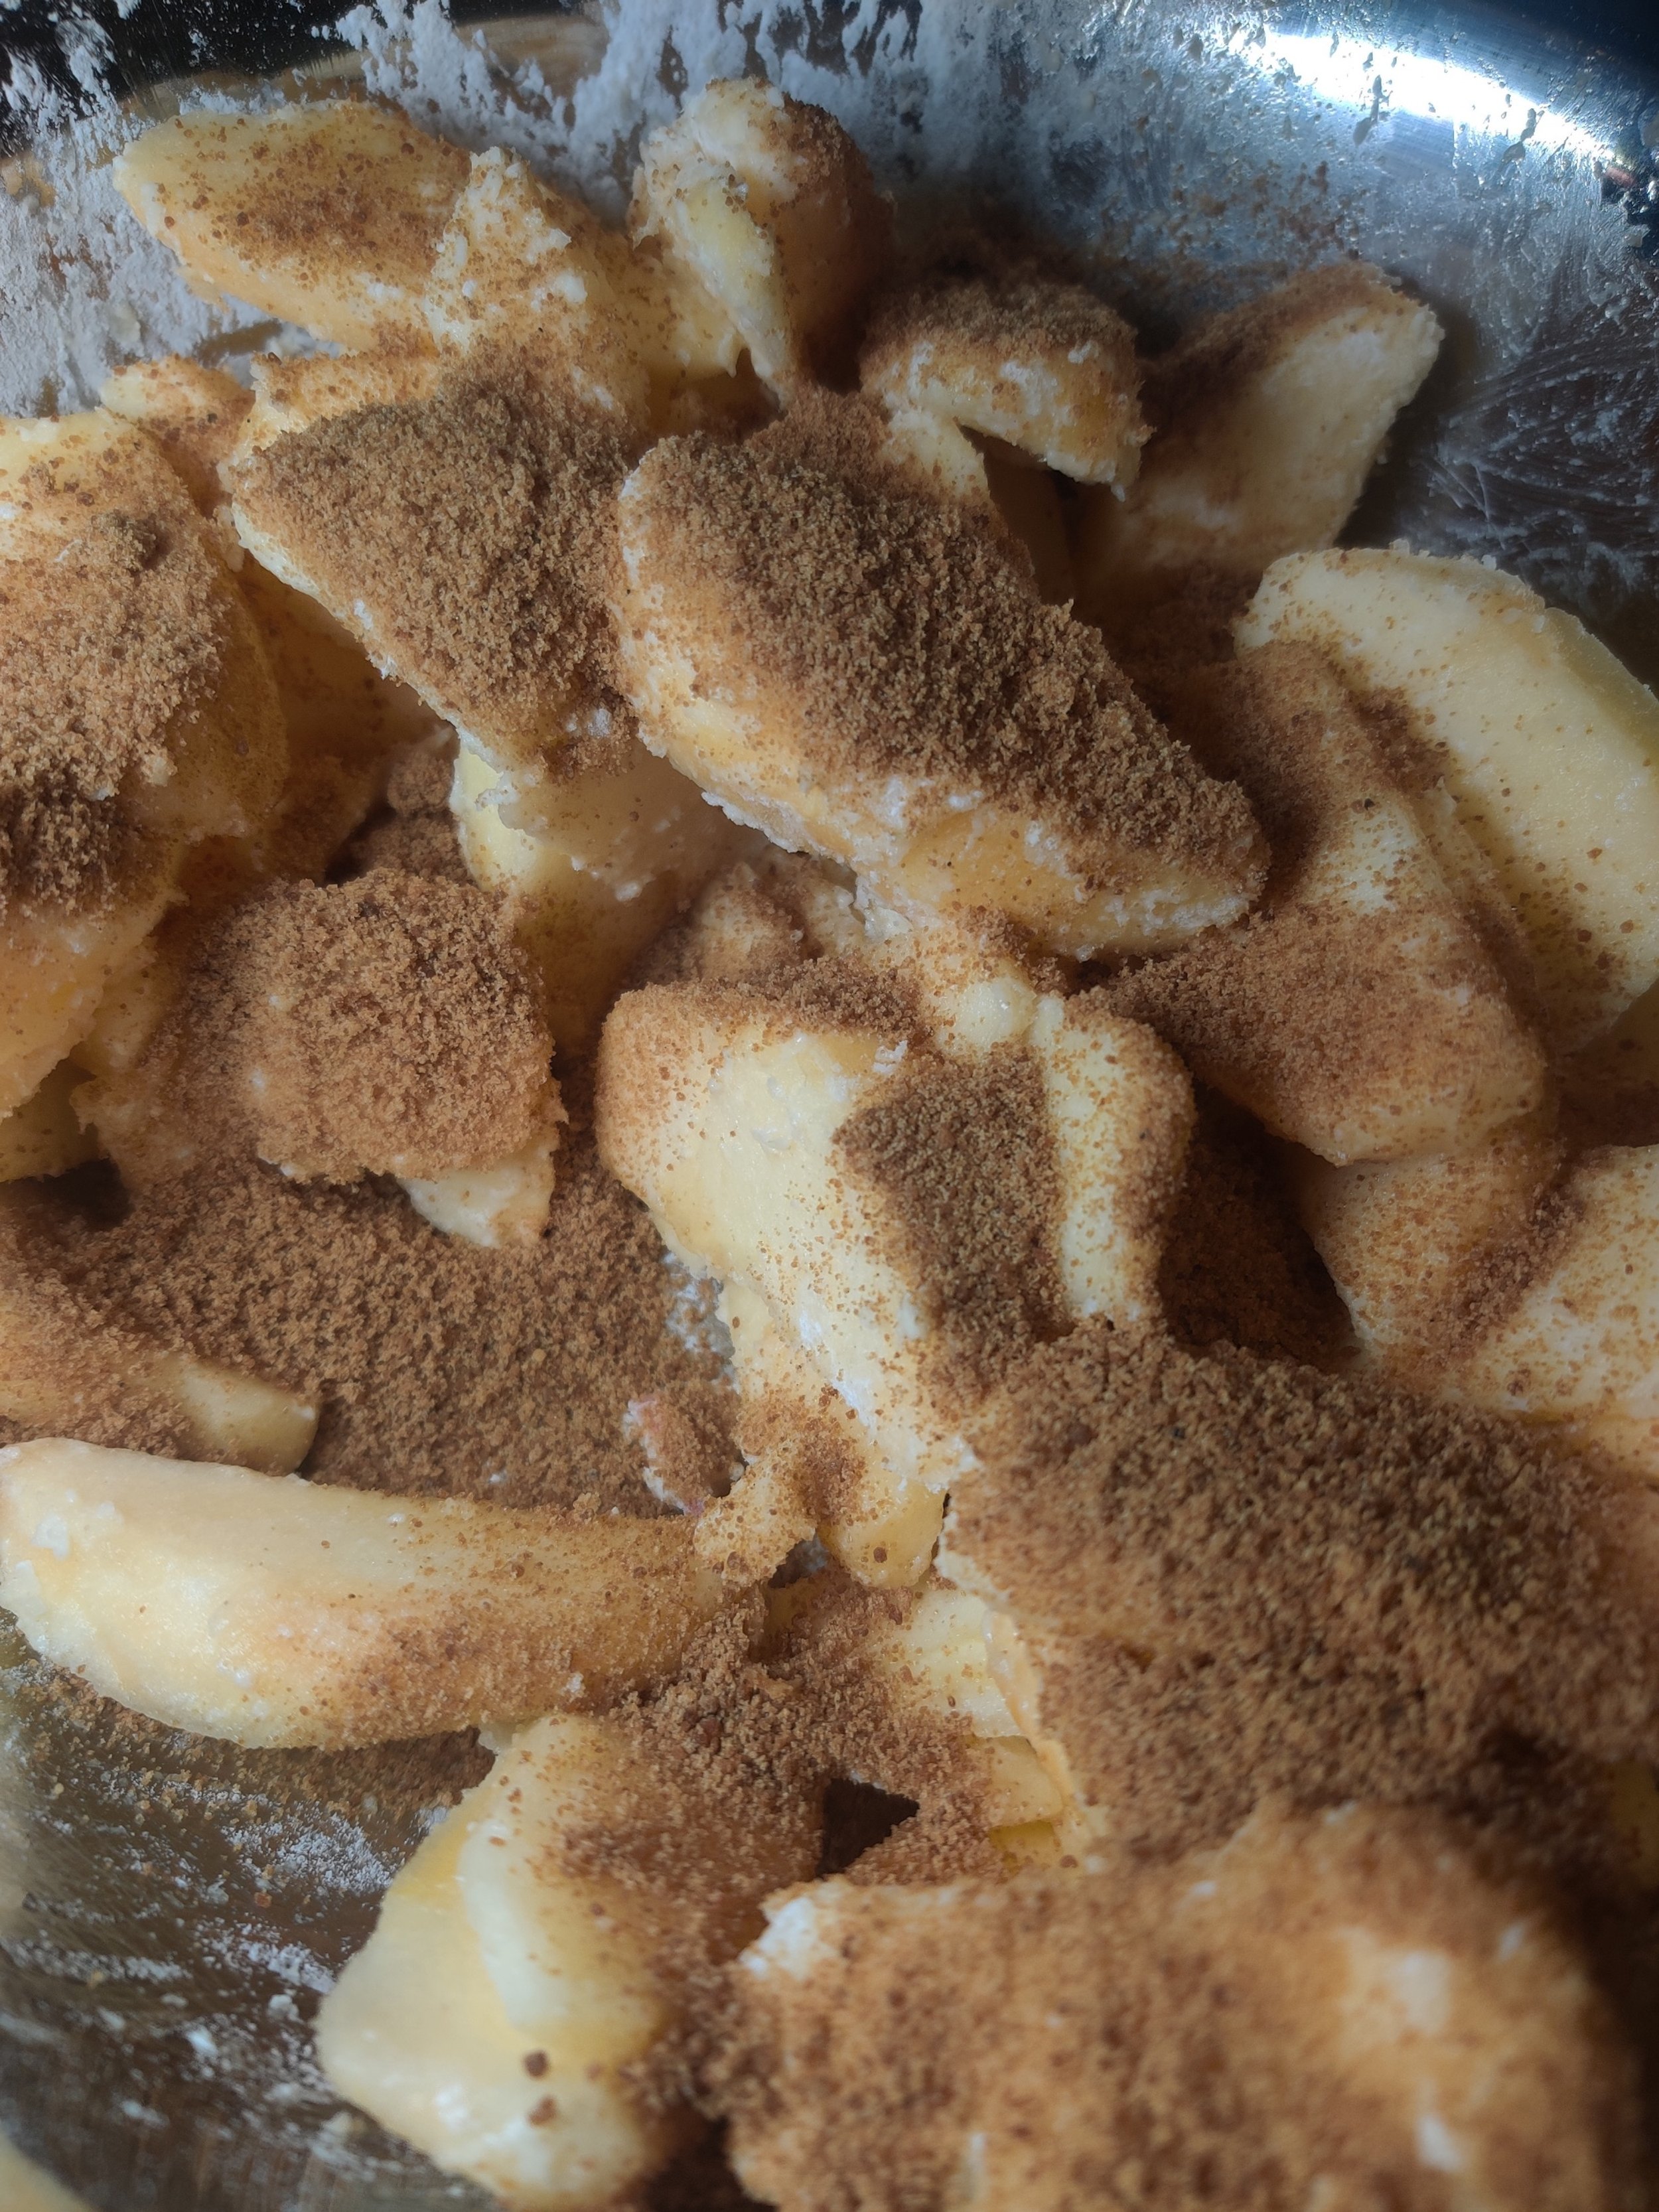
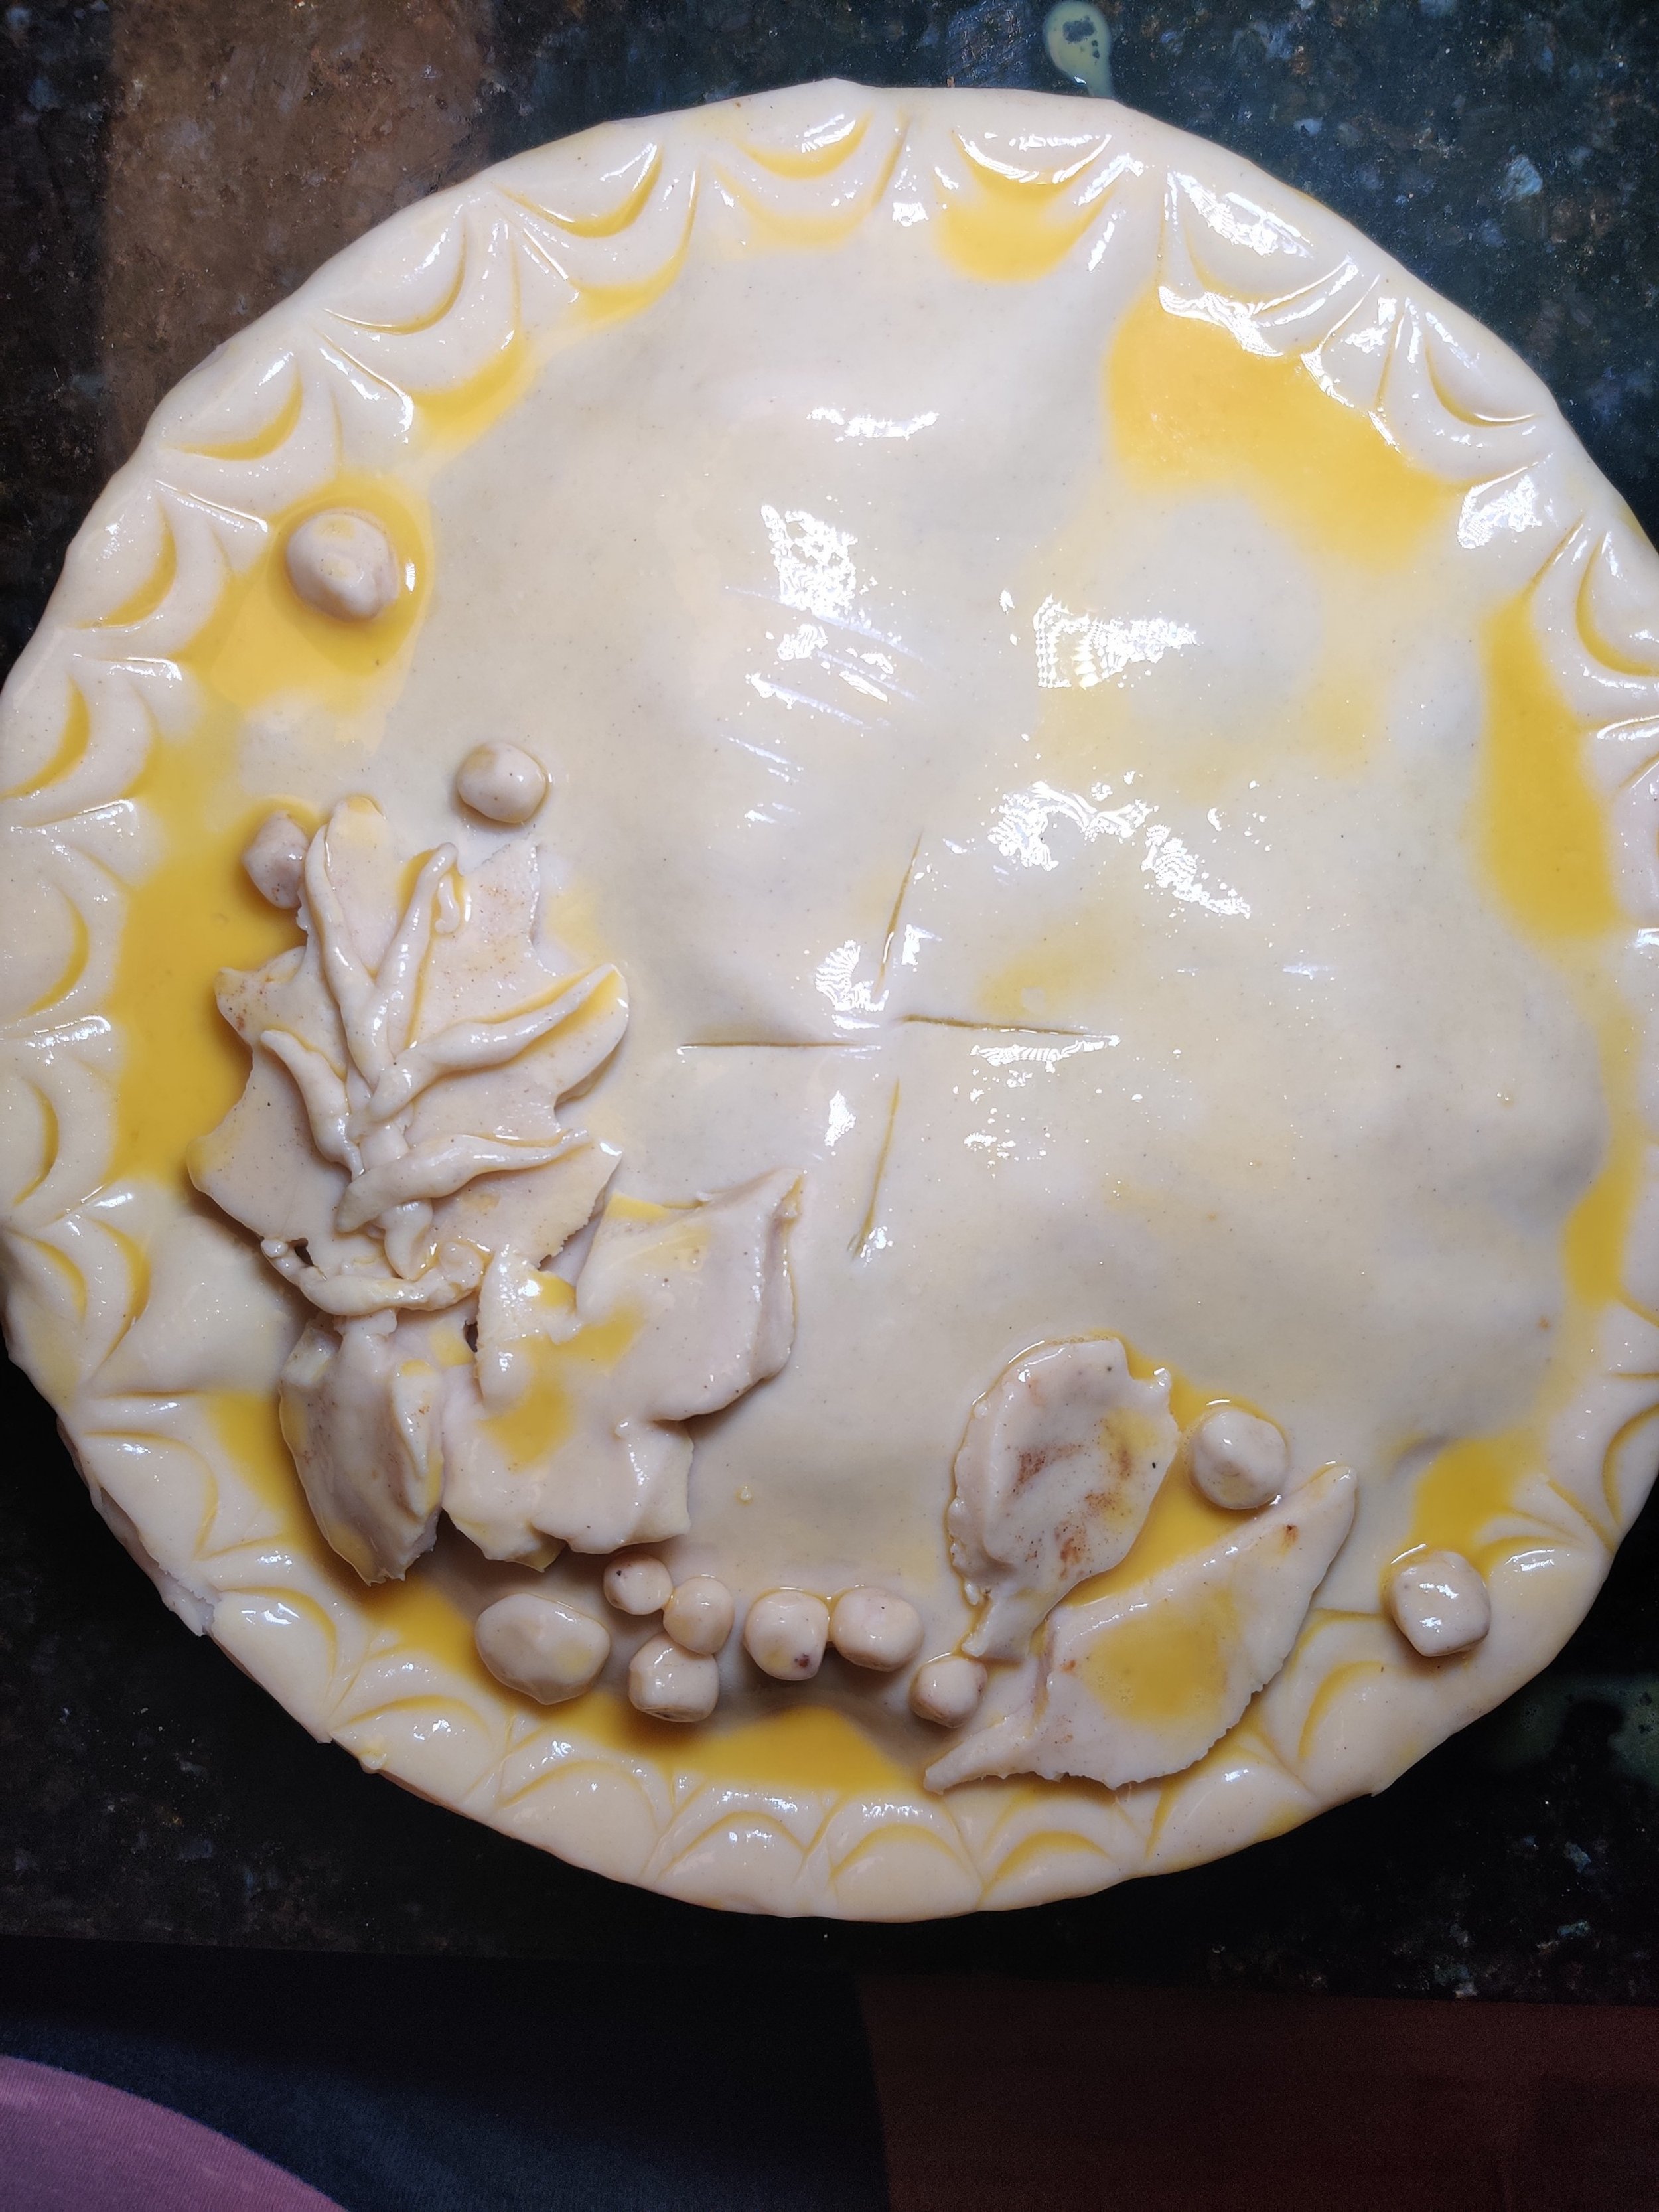
Biscoff Apple Pie
Apple pie is honestly hard to resist. But so is biscoff! If you’re a fan of both, check out this Biscoff and Toffee Apple Bread Pudding recipe here.
Biscoff isn't too sweet, spiced with warm, fall flavours. Topping an apple pie, the thick layer of smooth warm melted cookie adds great texture and lends the undertones of caramel, brown sugar, cinnamon, nutmeg, and cloves.
Ingredients
5 apples, diced
6 biscoff cookies, crushed (save 1 + 1 tablespoon for garnish)
1/2 cup coconut sugar
2-3 tablespoons lemon juice
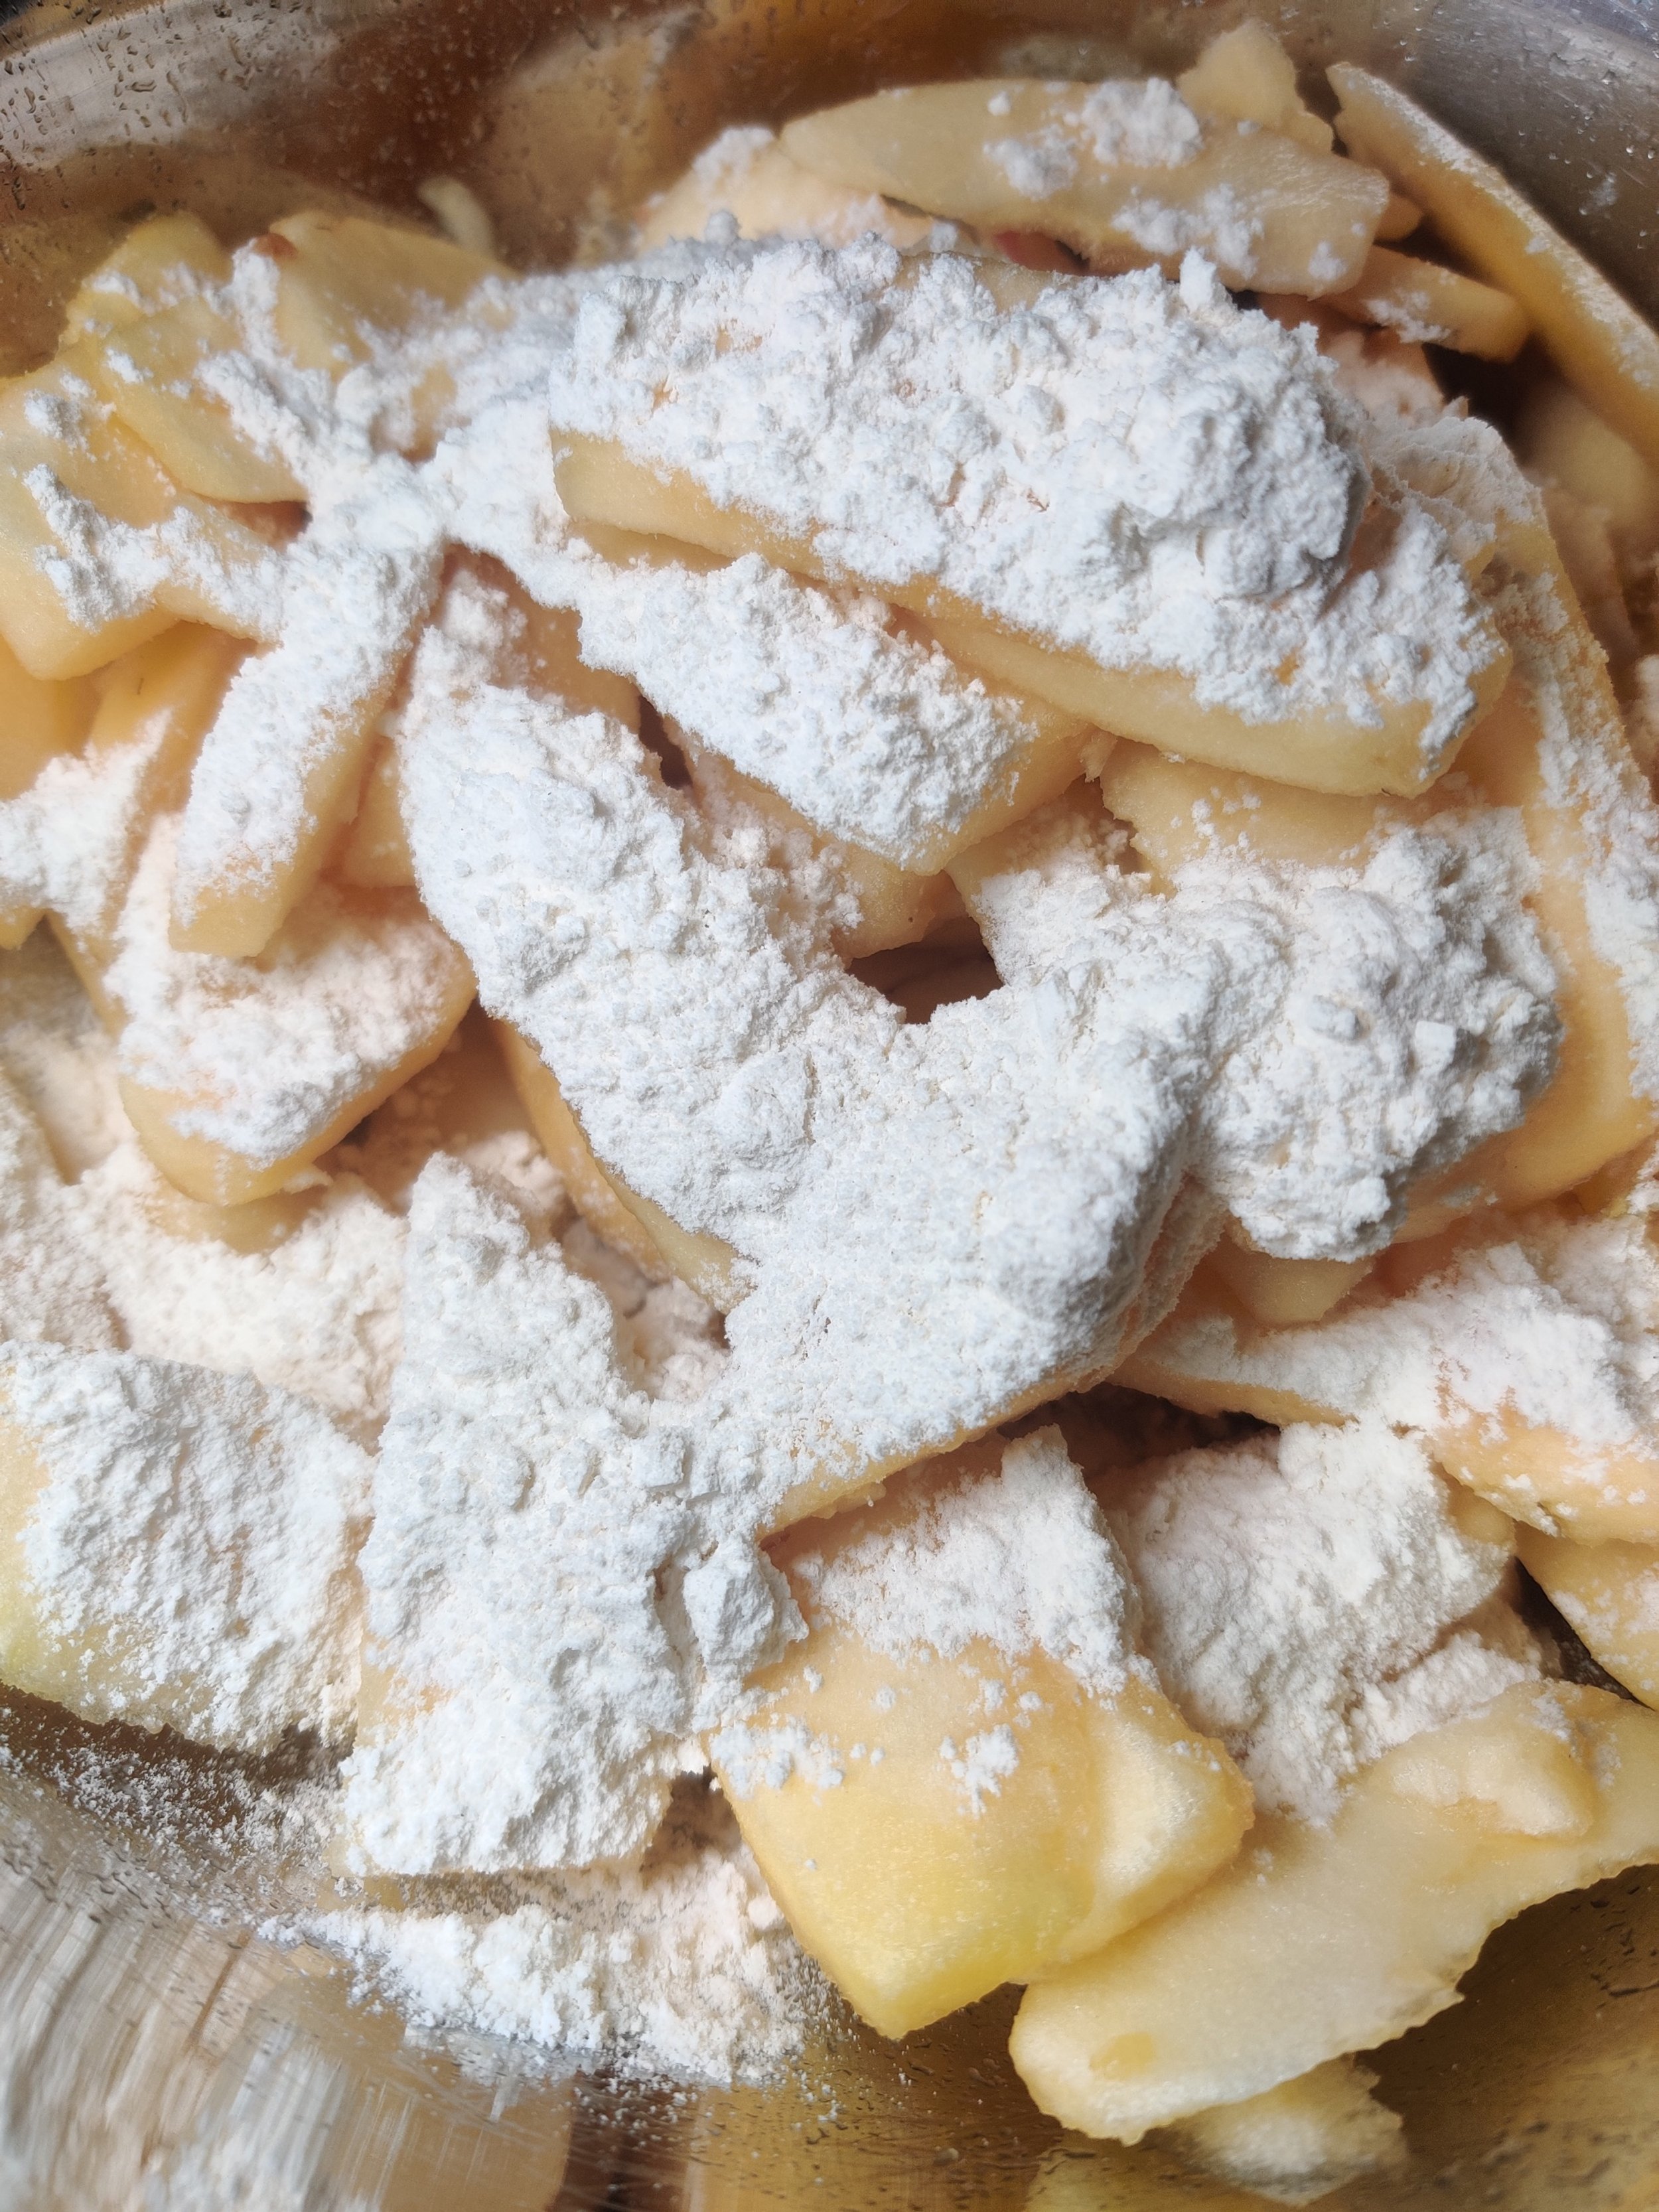
1/4 cup flour
1/3 cup biscoff
1 teaspoon cinnamon
1/2 cup heavy cream
1/4 teaspoon cloves
1/2 teaspoon nutmeg
2 pie dough crusts, thawed
1 egg (egg wash)
1 tablespoon vanilla extract
Sea salt (optional)
Vanilla ice cream

Instructions
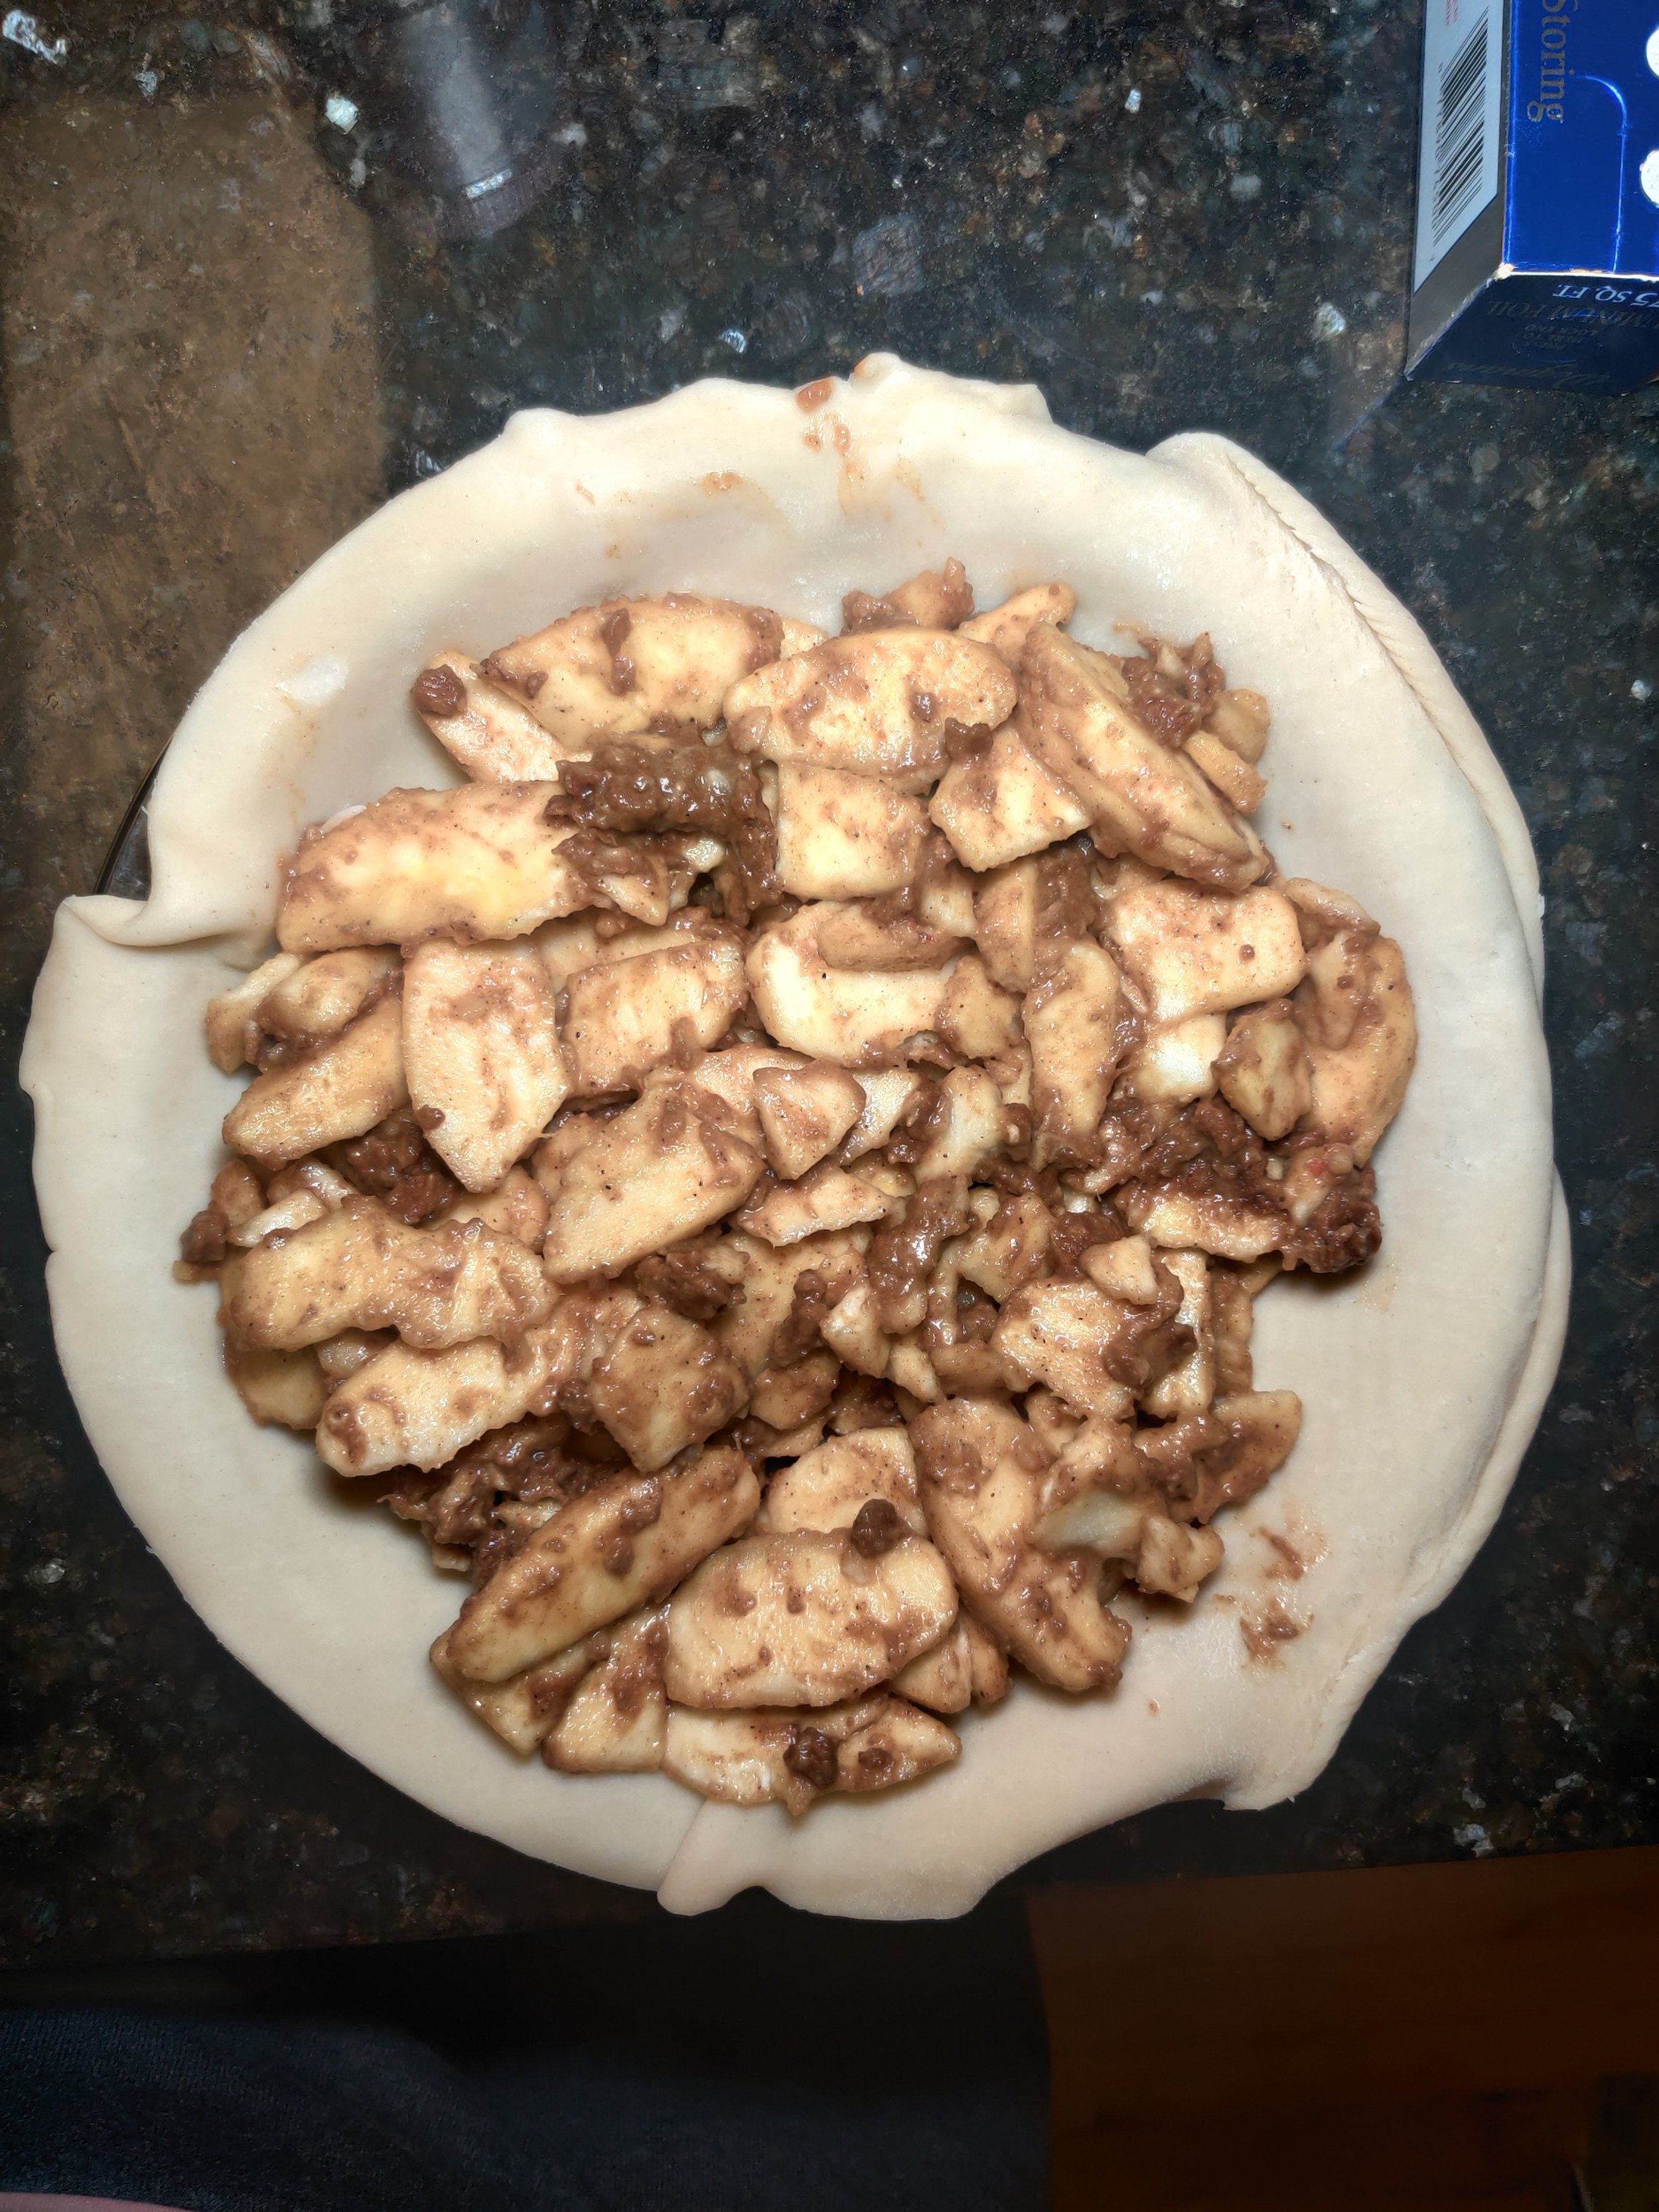
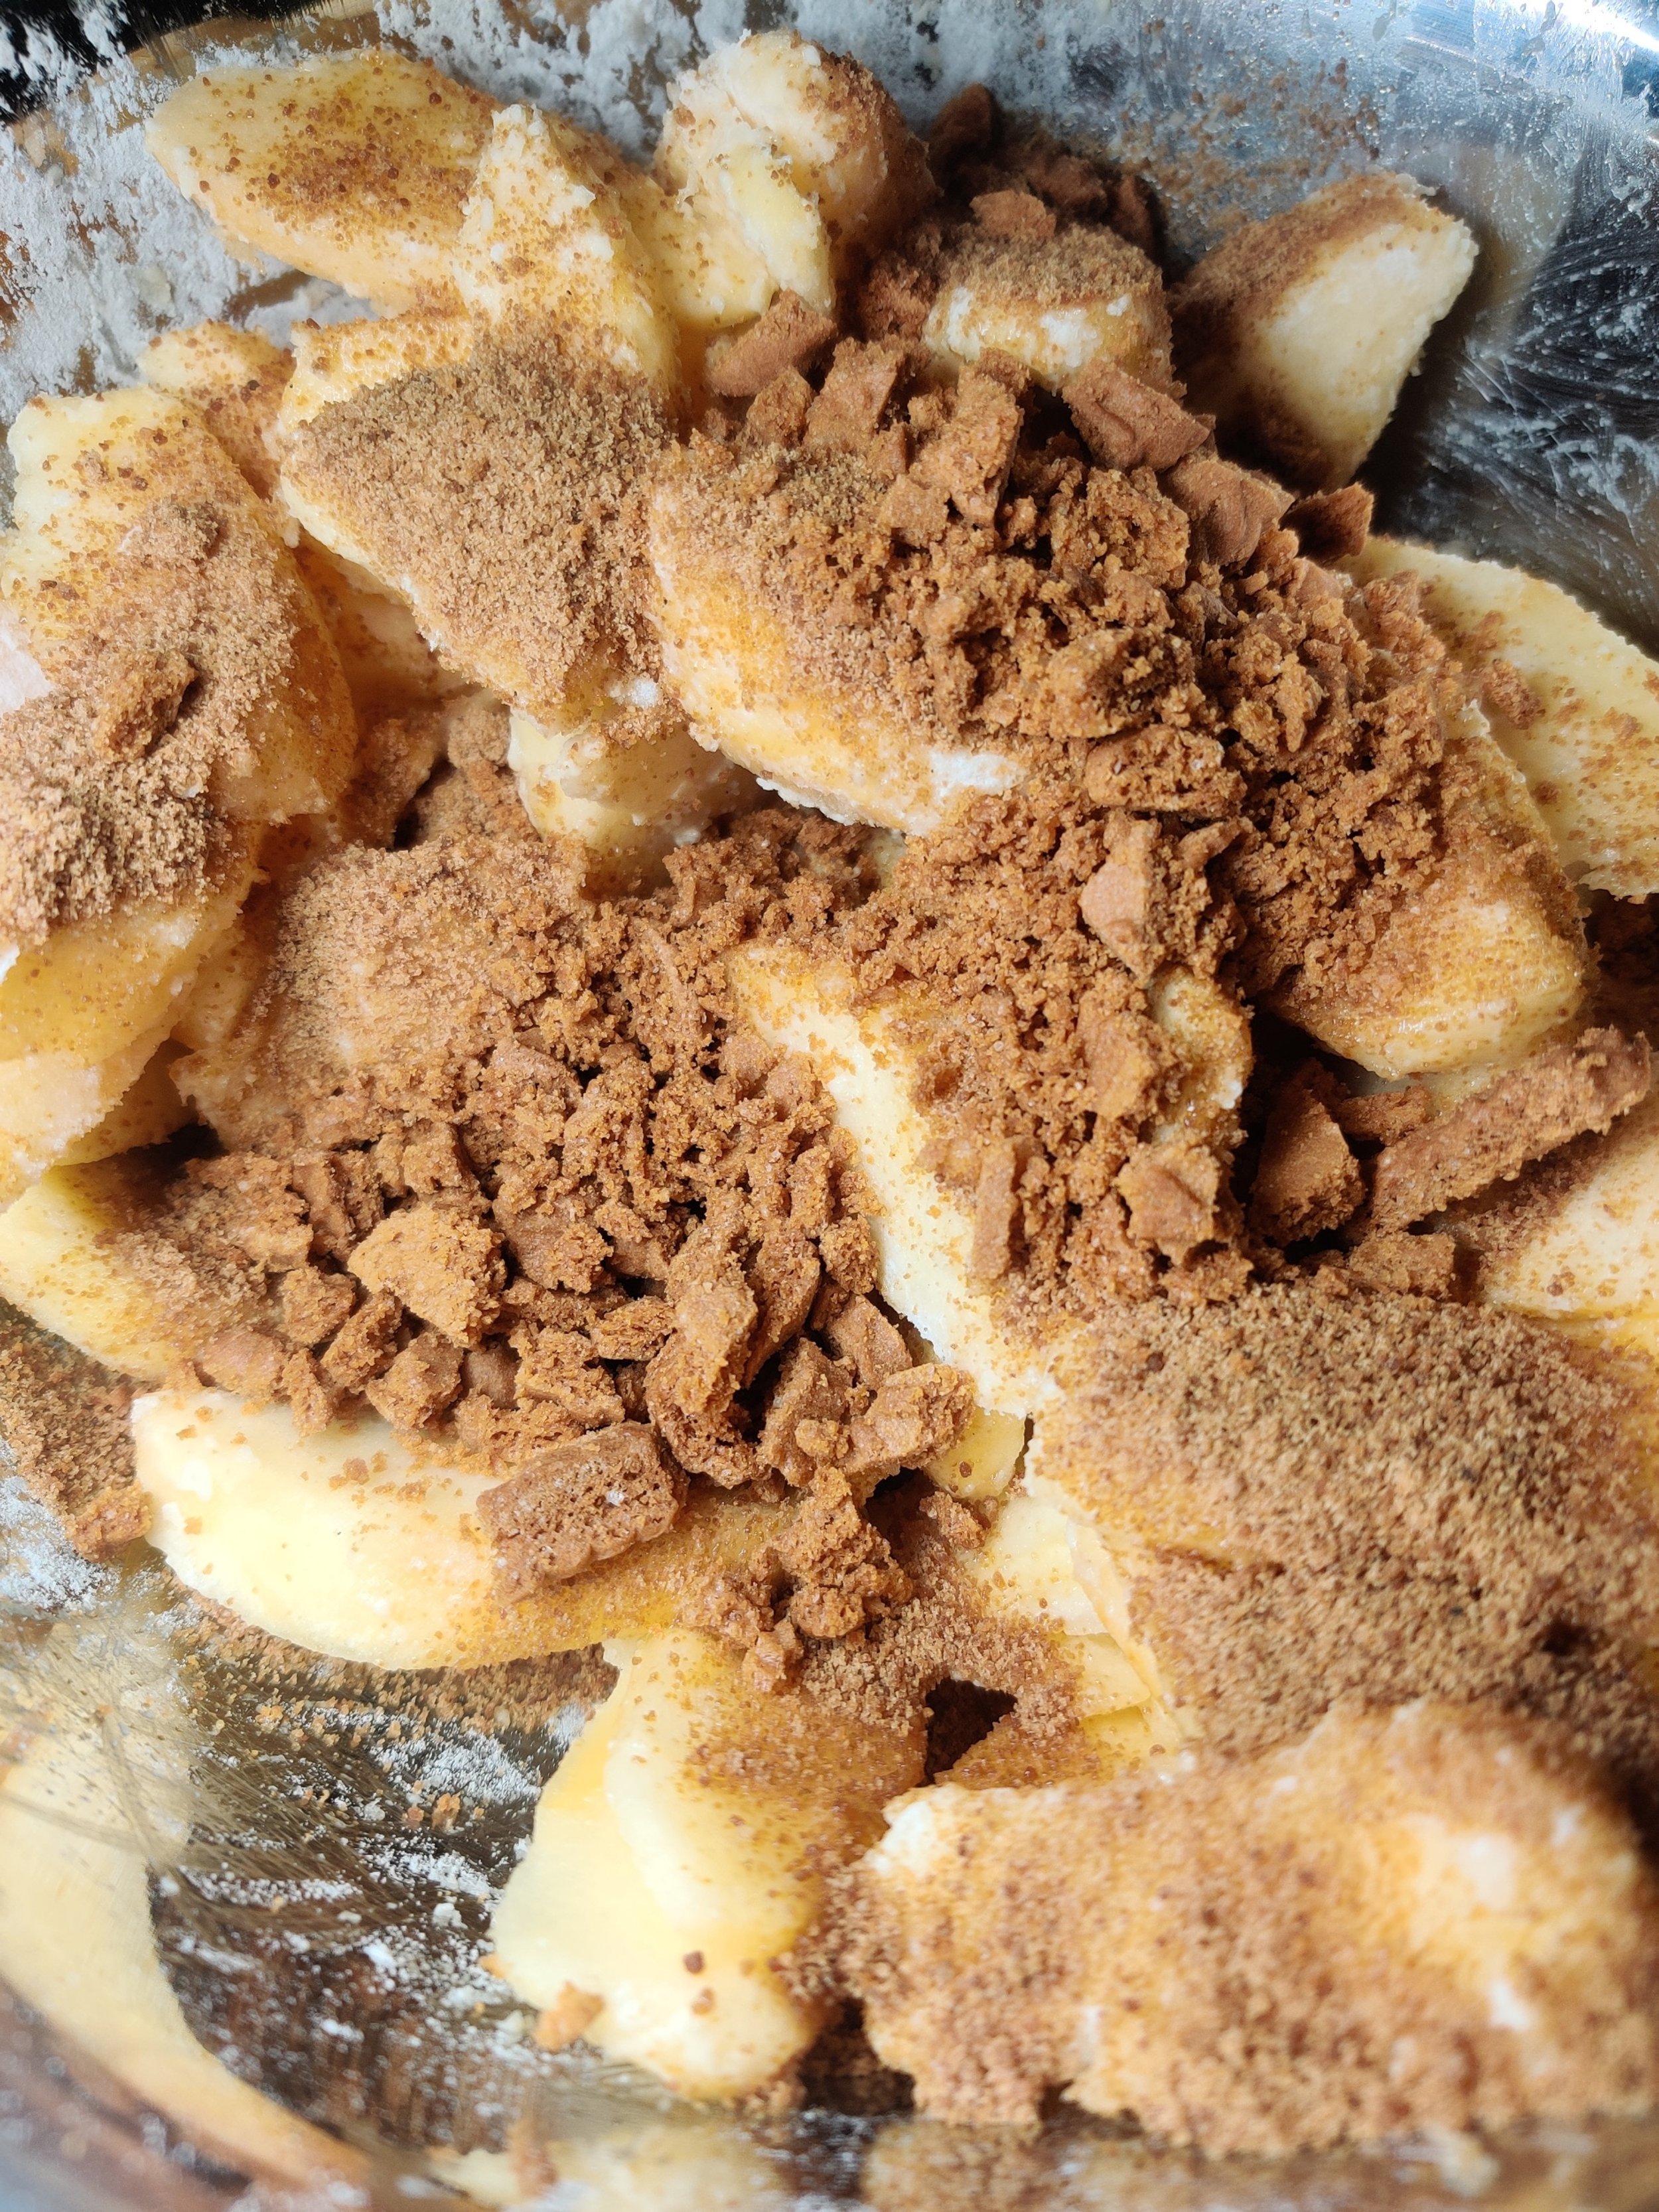
Peel, quarter and thinly slice the apples, then add to a large bowl. Coat with the lemon juice and toss.
Add the flour, crushed biscoff cookies, and spices; evenly coat, stirring with a spoon.
Unroll one pie crust into a pie tin and press down slightly to ensure there aren't any pockets of air on the sides. Pour the apples over.
Roll over the second pie crust on top then use scissors to cut away excess dough. Use a spoon or fork to press and seal the edges, and then make four incisions in the center of the pie. Brush with egg wash then bake for 30 minutes at 350F.
Remove from oven and cool for 2 minutes while melting biscoff in the microwave for about 35 seconds or until melted. Pour over the hot pie.
Sprinkle the crushed biscoff cookies, sea salt, and serve warm with vanilla ice cream.


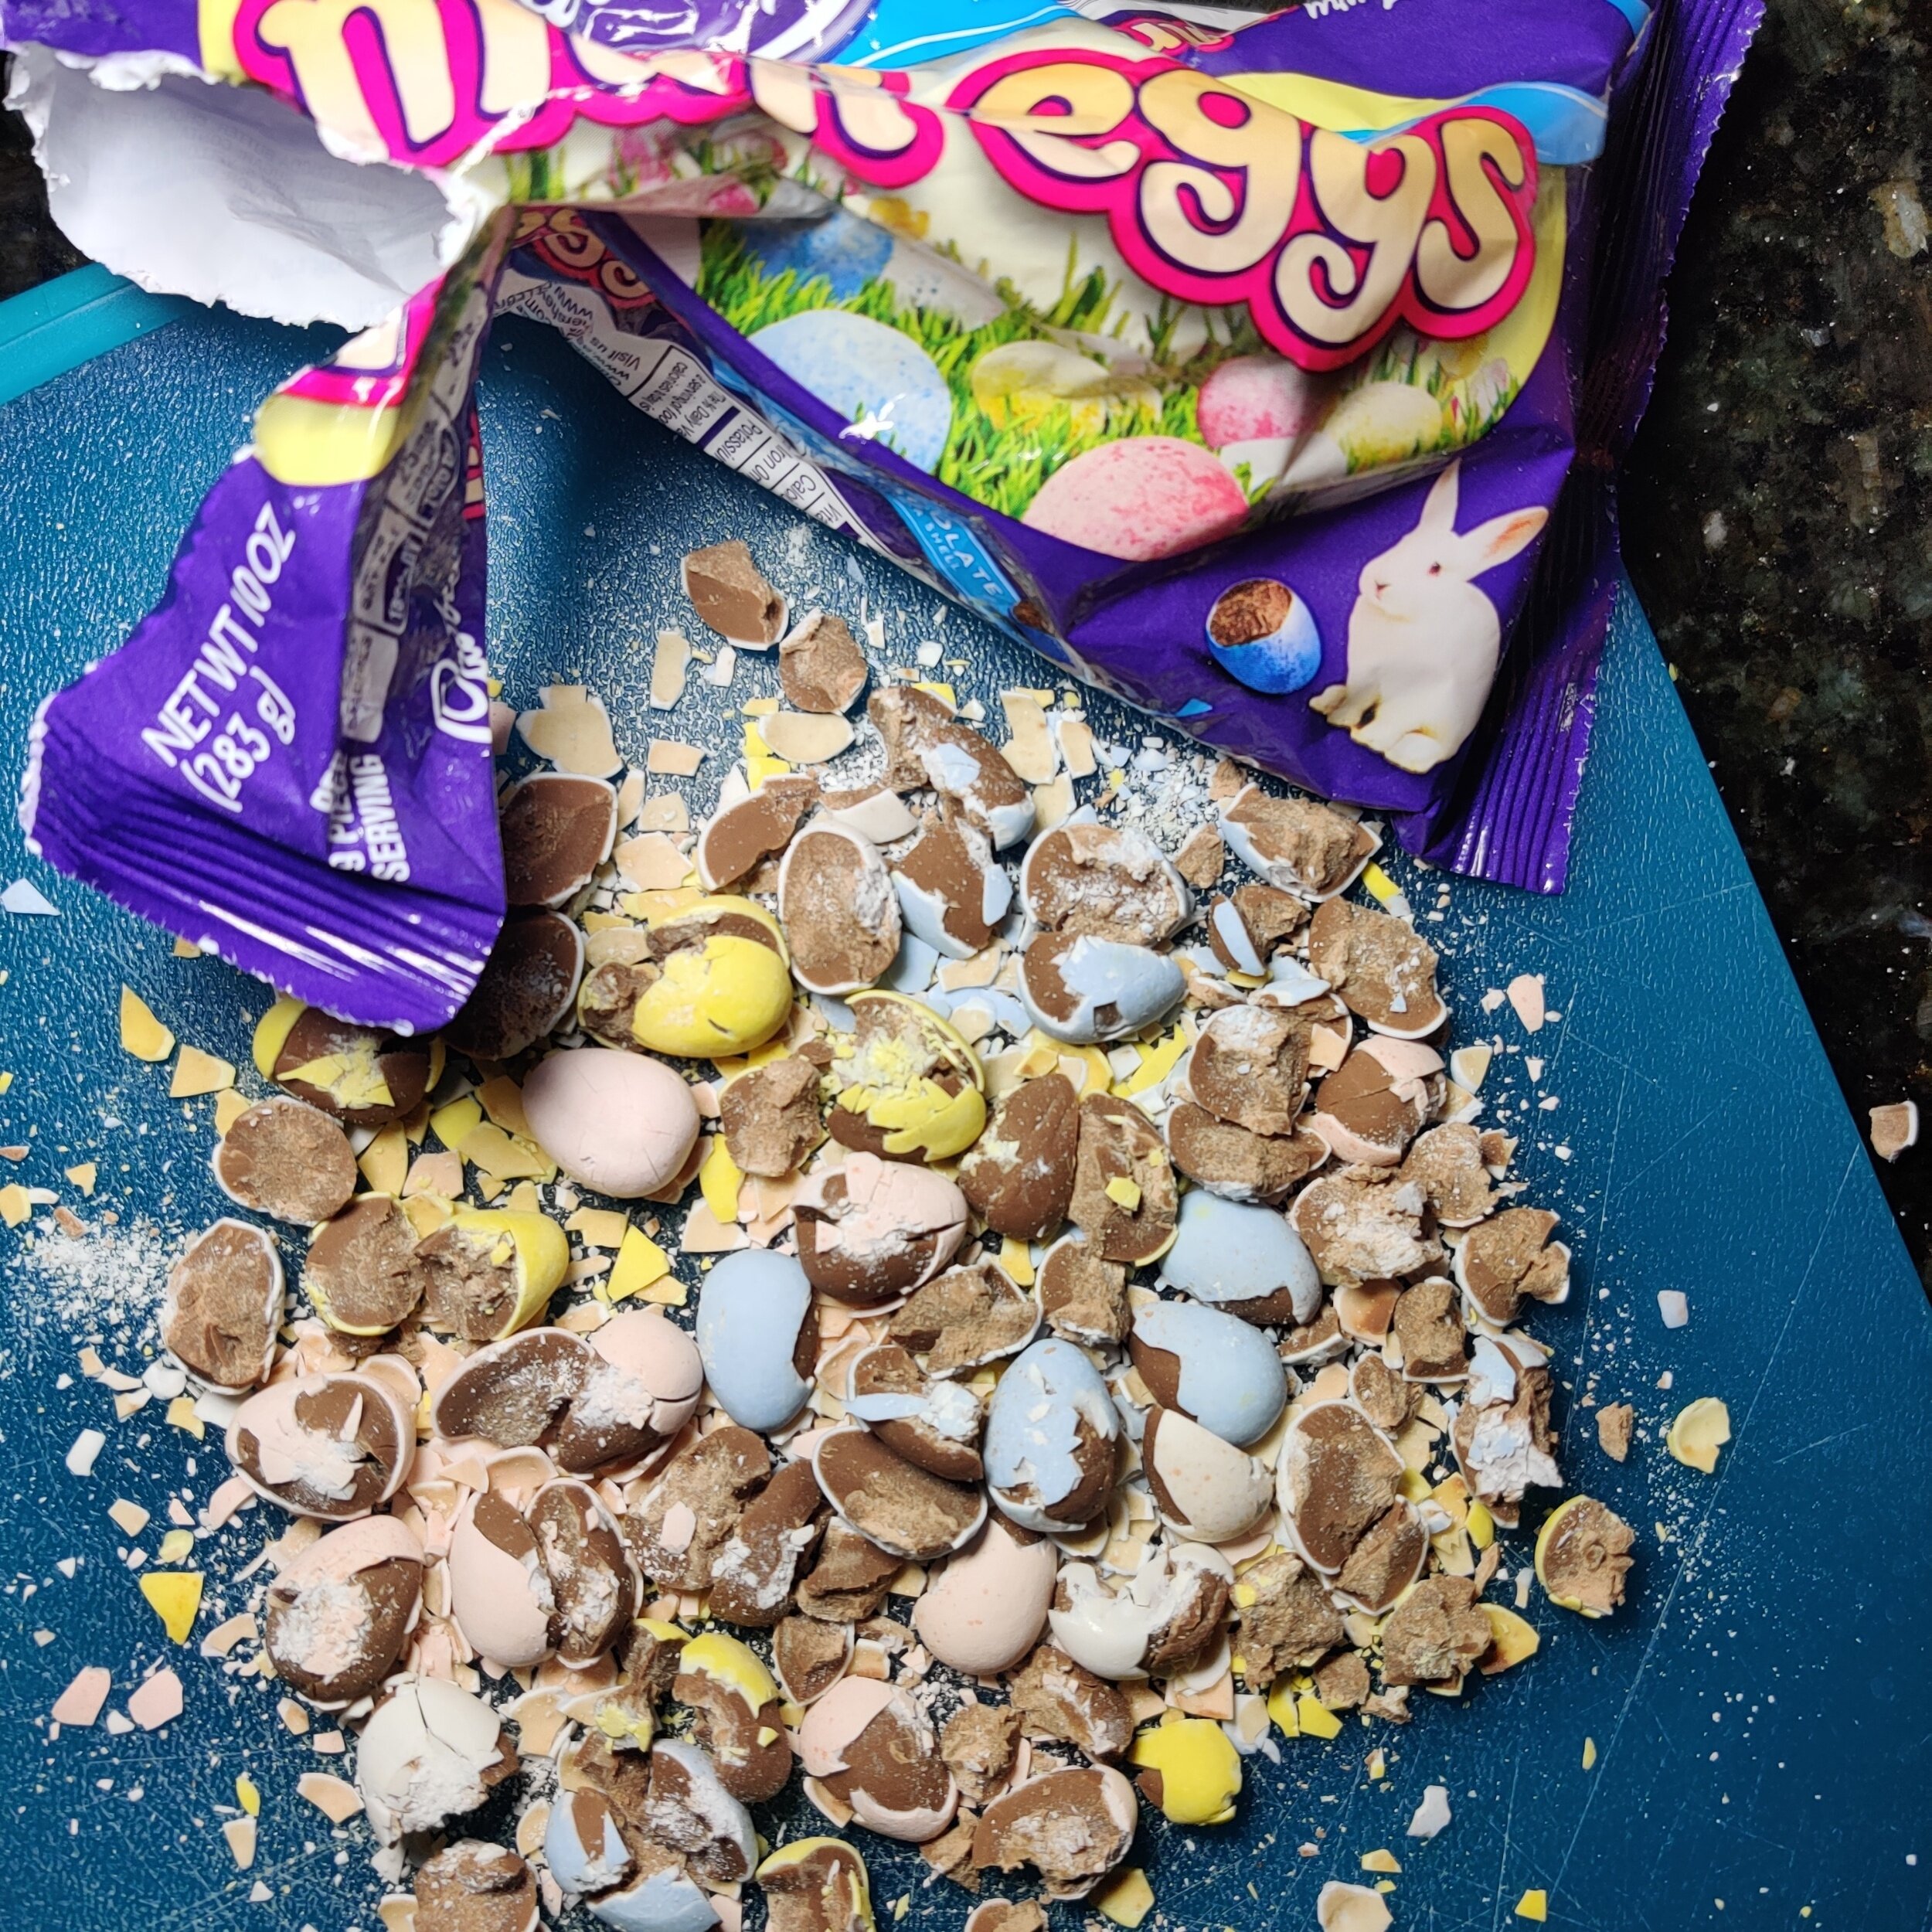
Mini Easter Egg Scones
This recipe is part of a six course brunch.
Scones are a must for the brunch table, I think. You can enjoy these semi-sweet baked goods with milk, tea, or coffee. The great thing is after brunch; you can continue to enjoy them--and even freeze--as a quick morning snack in the following weeks.
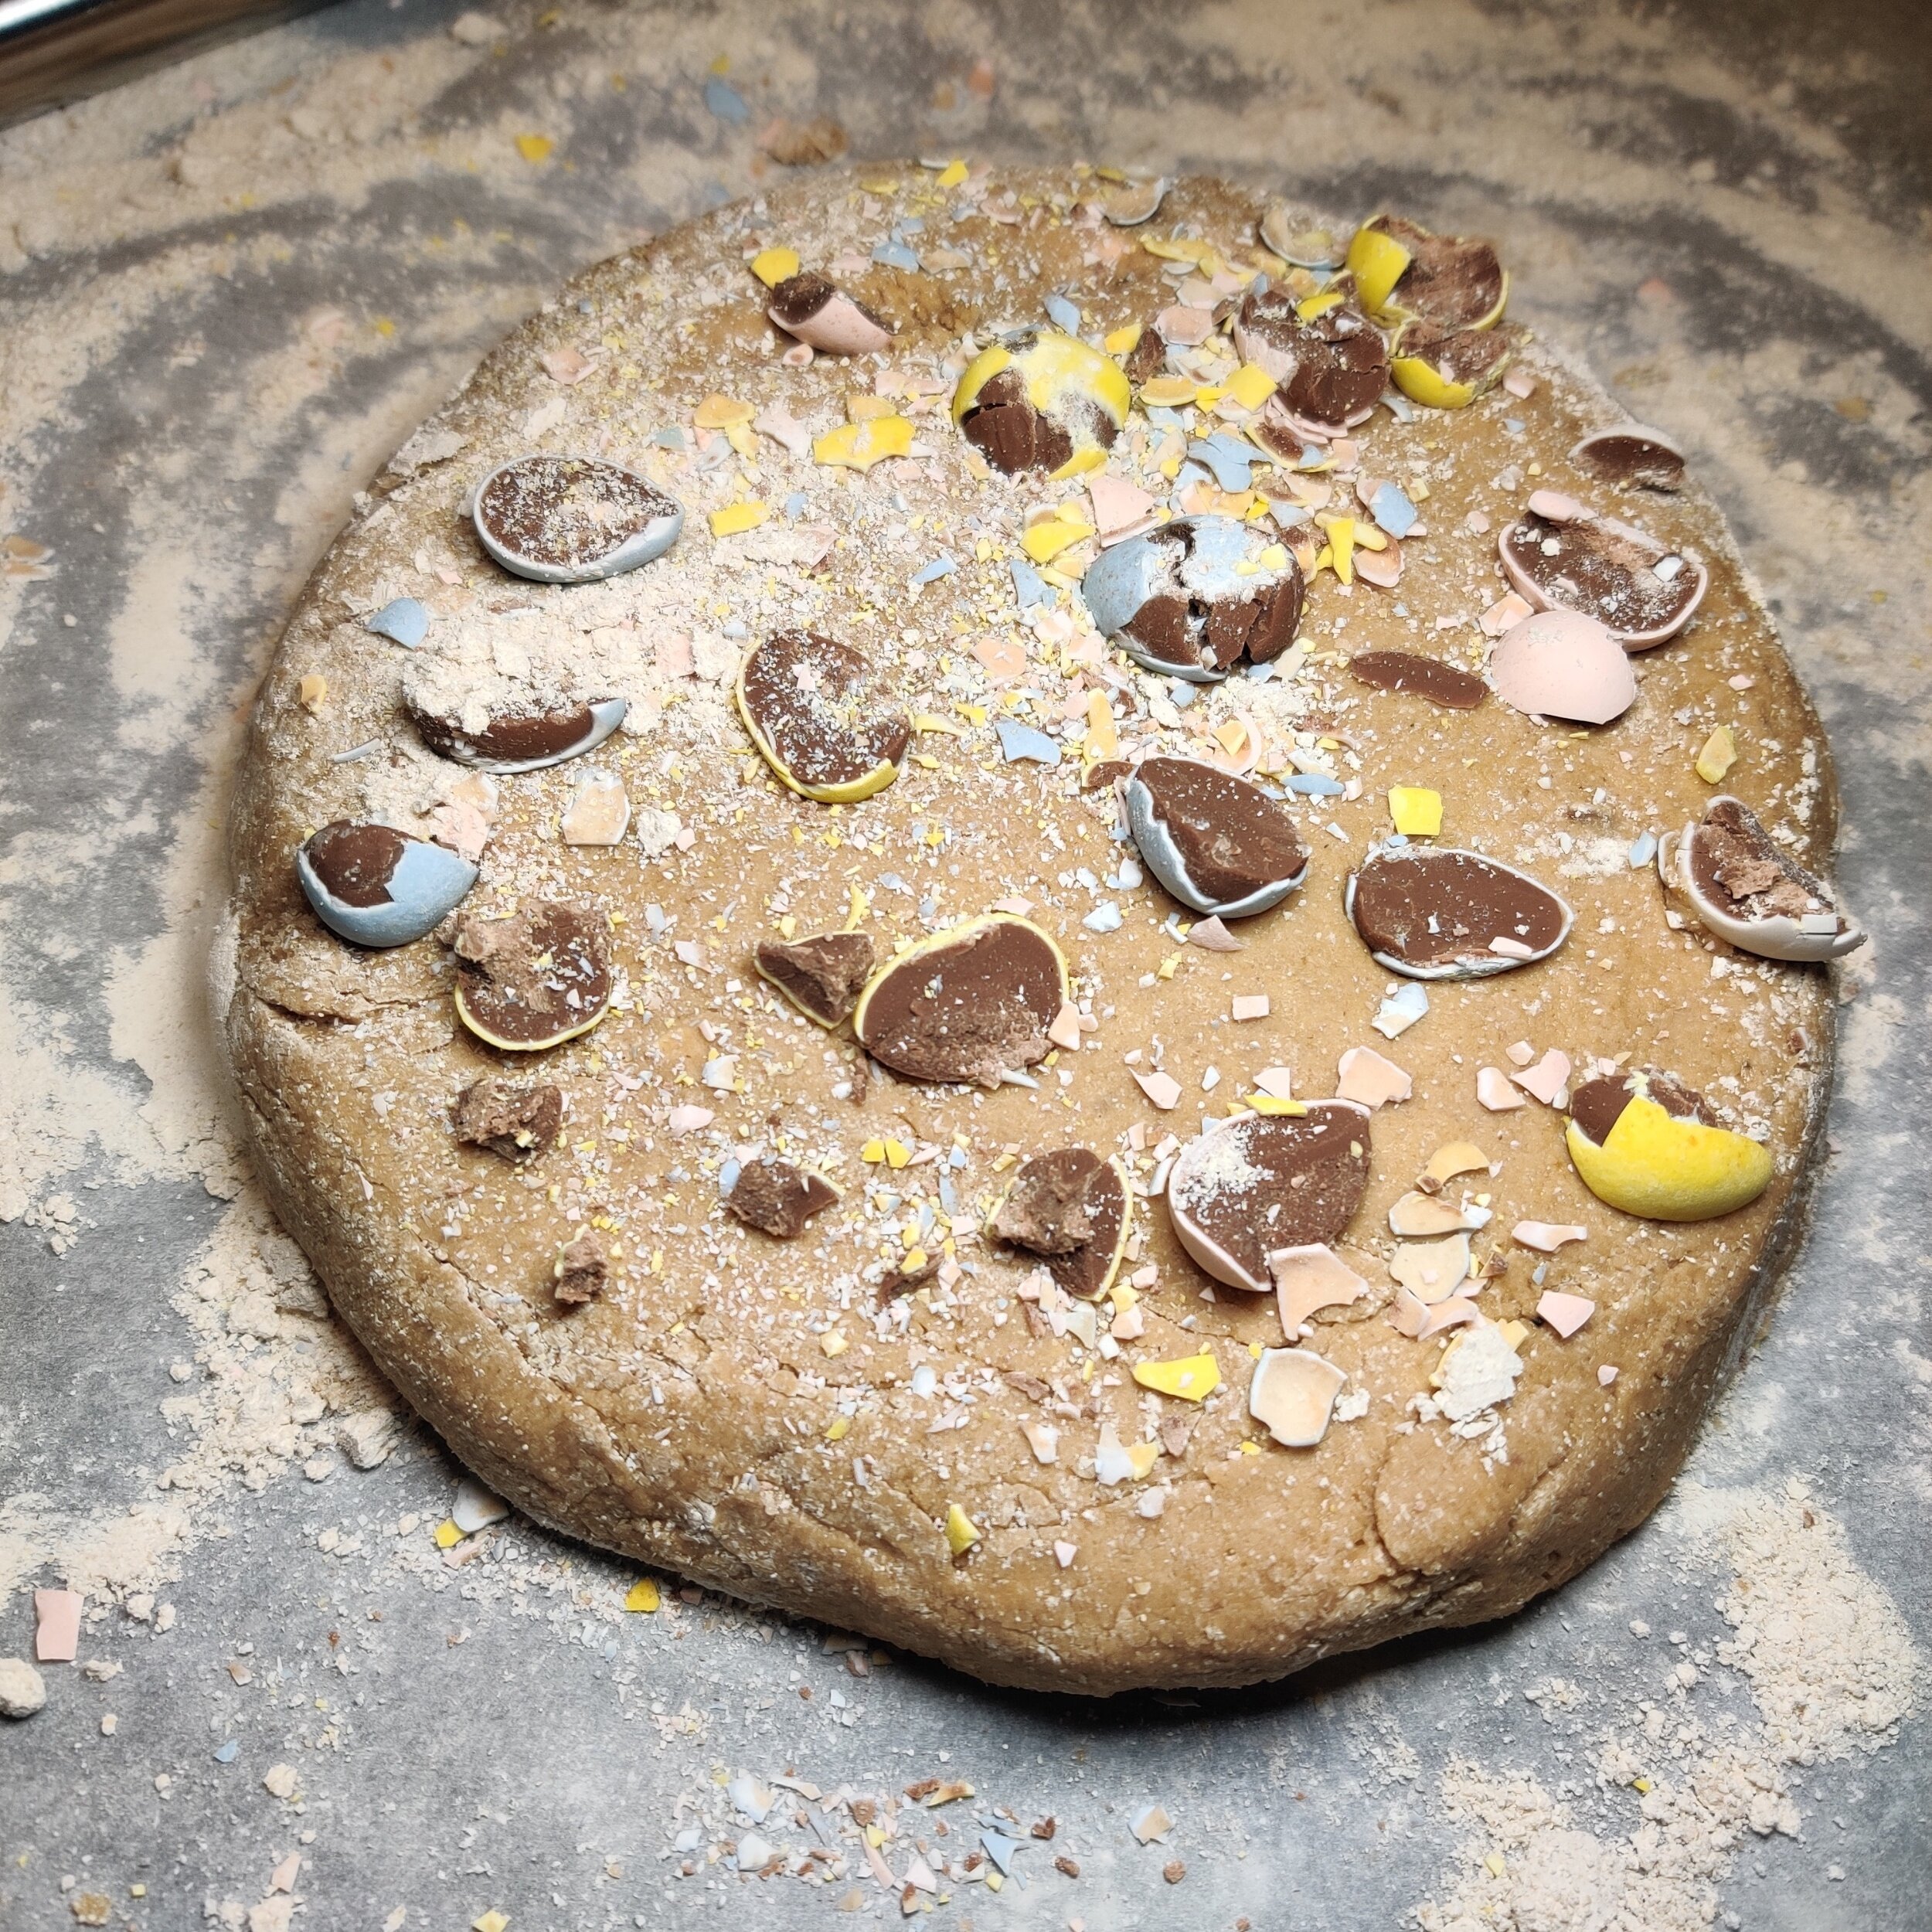
To add some texture and make them festive, I use some Cadbury Mini Easter eggs, probably the only candy I enjoy this time of the year. If you have children, they too will likely enjoy the bits of chocolate encased with the coloured hard shell in between the warm, crumbly scone, smothered in jam or cream.
If you need a visual step-by-step, check out my video on how to make Pecan and Biscoff Scones.
Here's what you need.
Ingredients
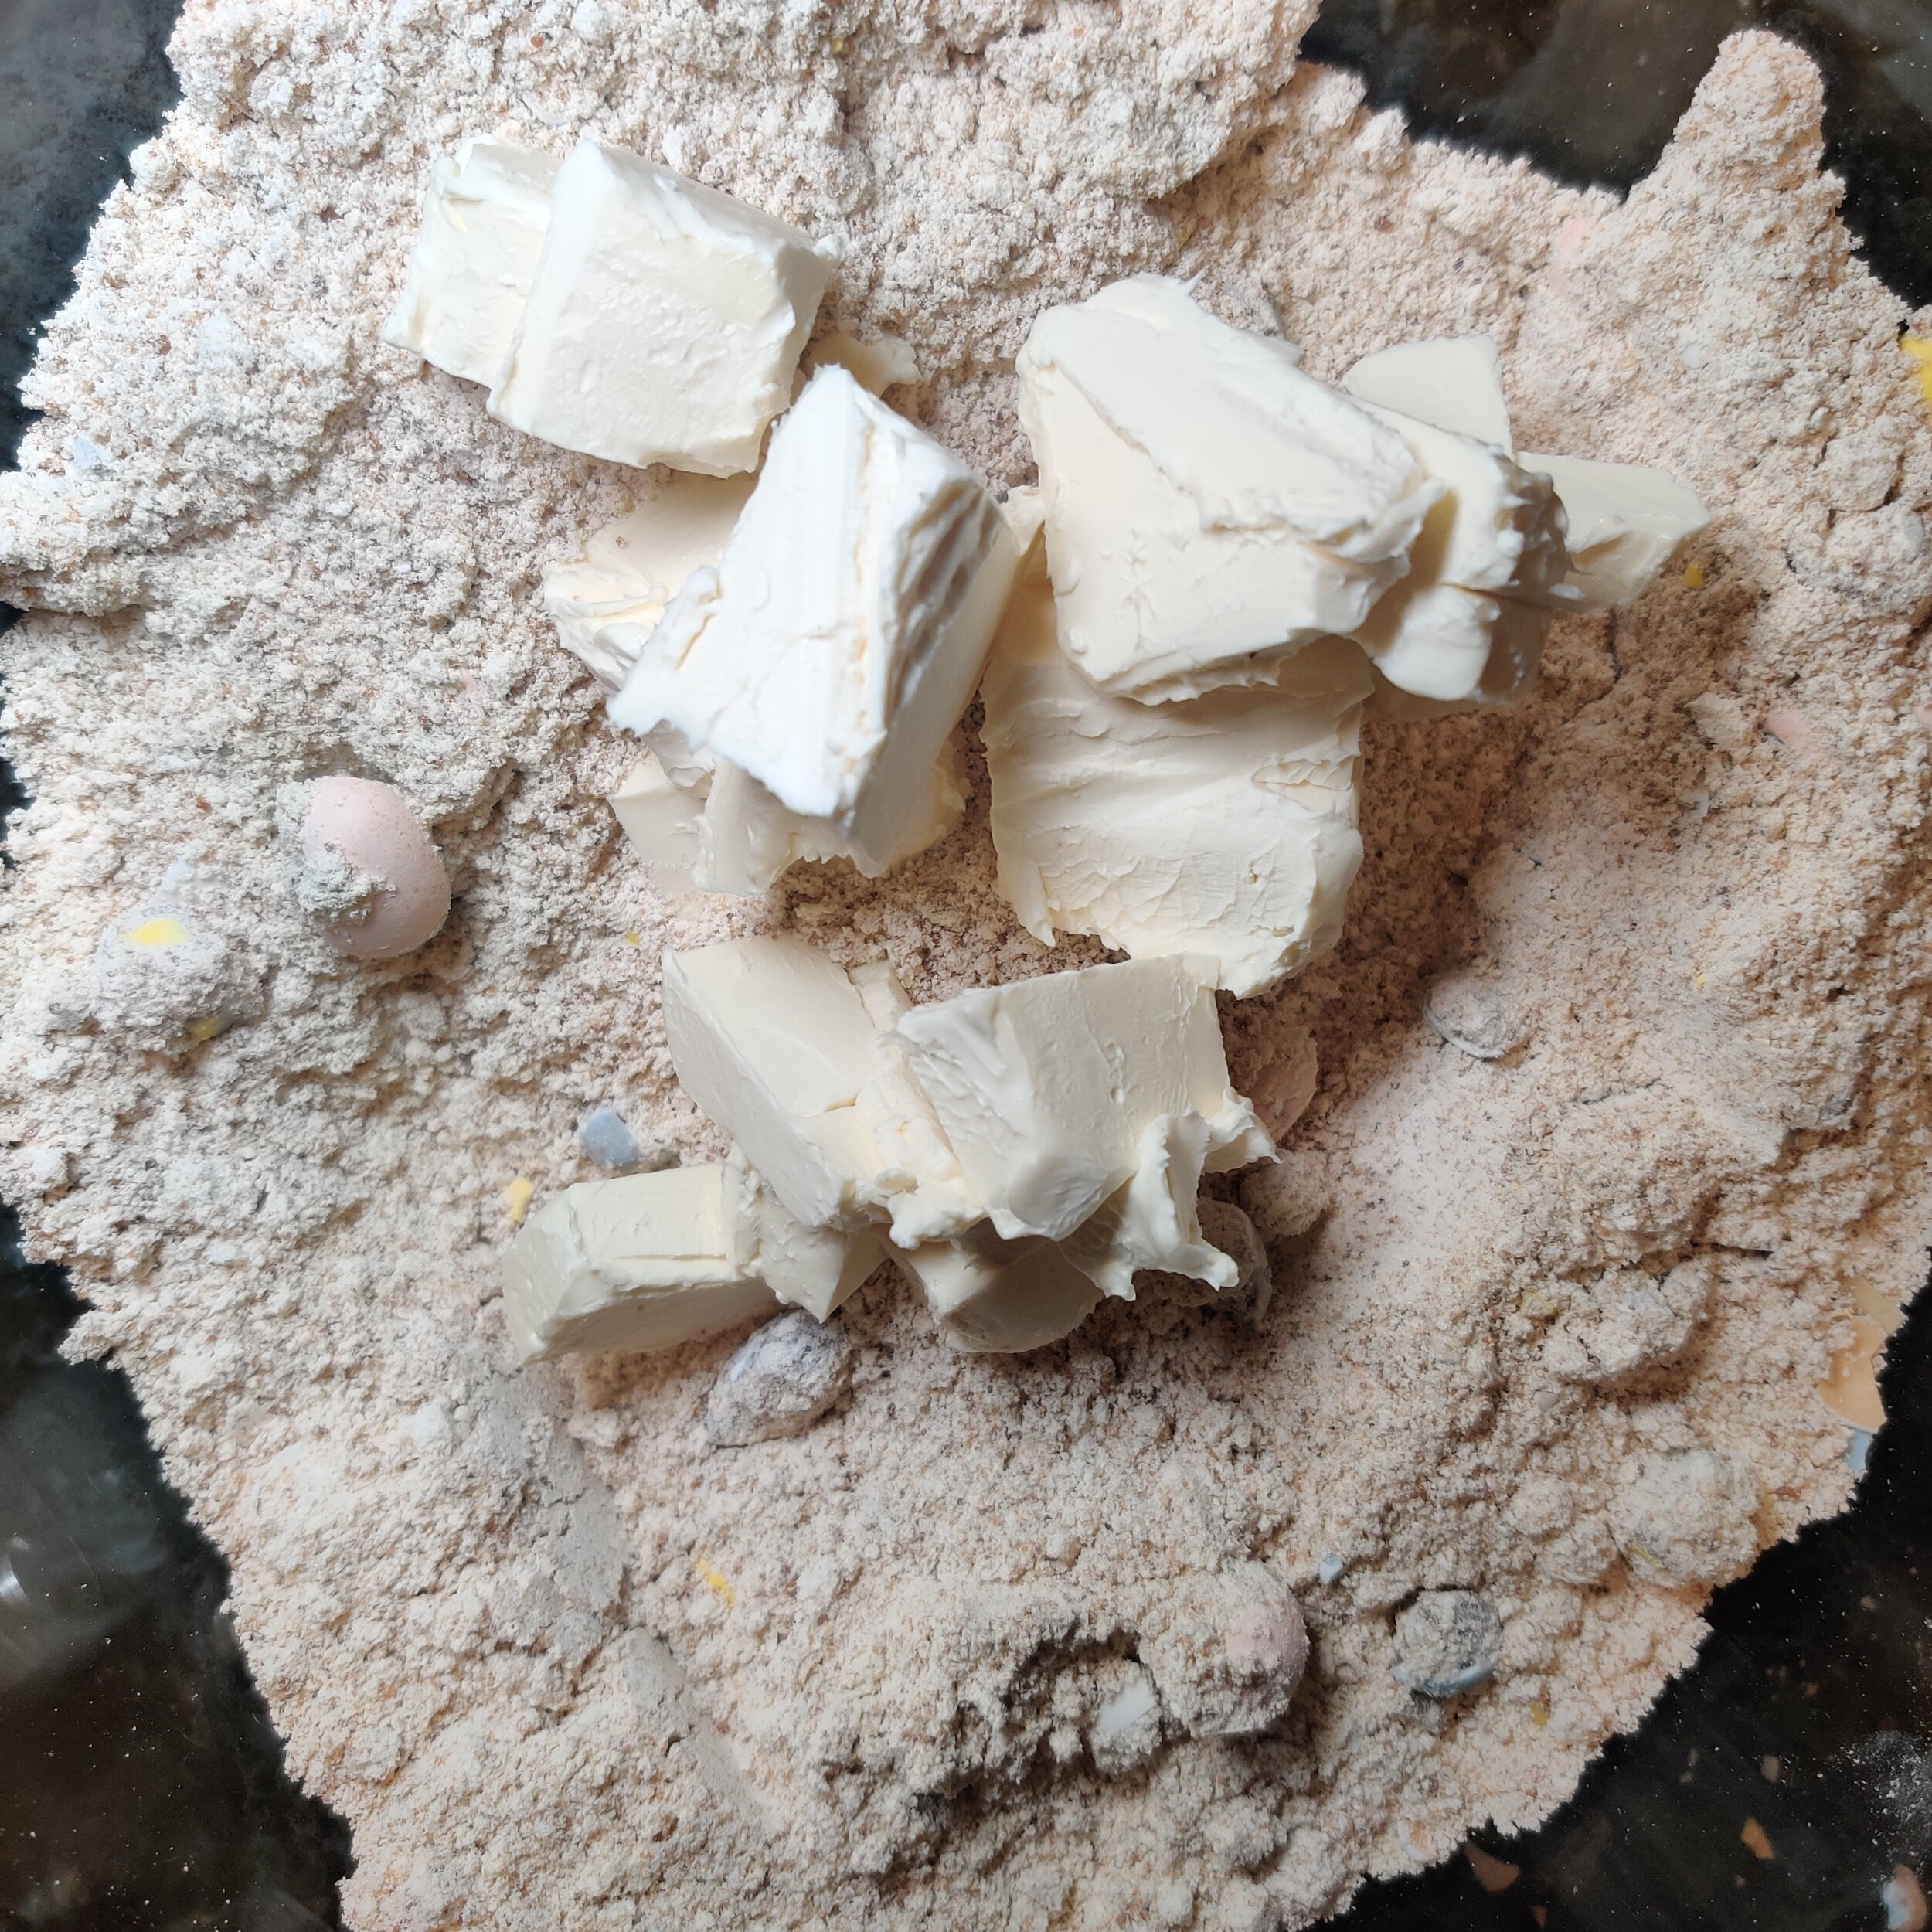
2 1/4 cups all-purpose or pastry flour + a little extra for dusting (you can use oat flour, but that can change the texture of the scones a little bit)
1/2 cup cold butter, cubed (I used plant-based)
1/2 teaspoon salt
1 tablespoon baking powder
1/2 cup coconut sugar
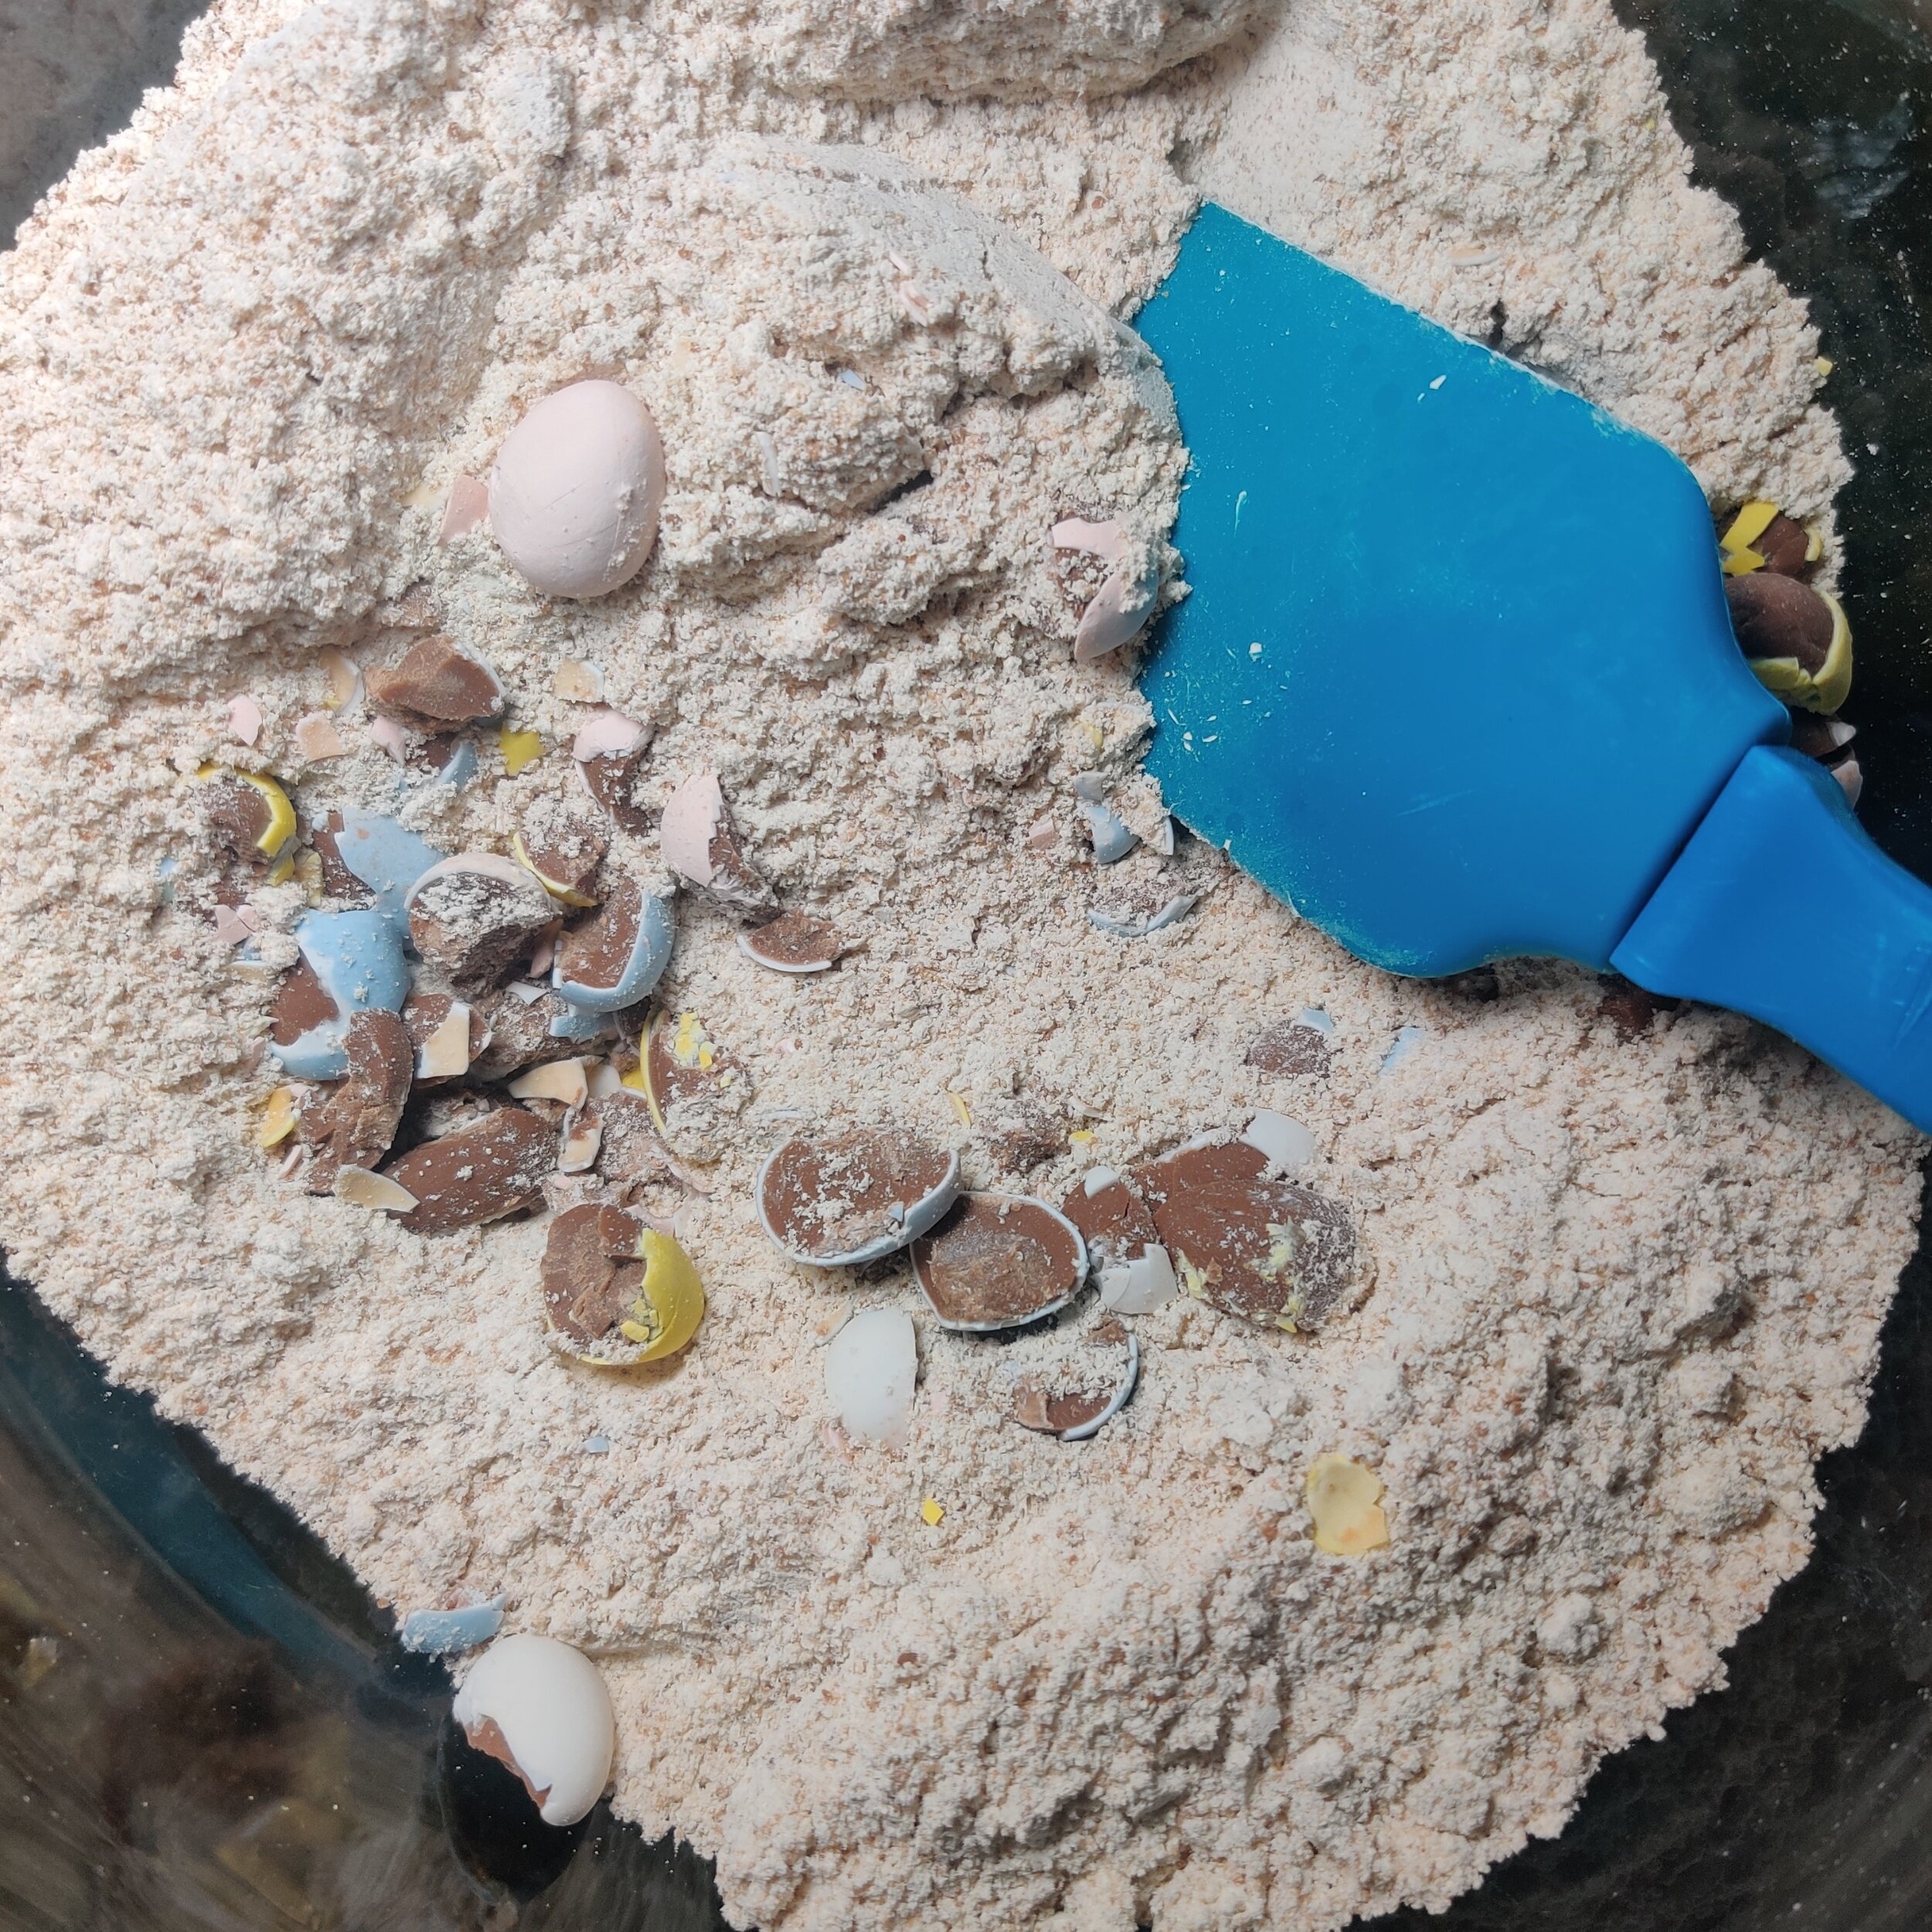
1 cup Cadbury mini eggs, crushed
1/2 cup coconut or almond milk + 1 teaspoon lemon juice (or buttermilk)
1 teaspoon vanilla extract
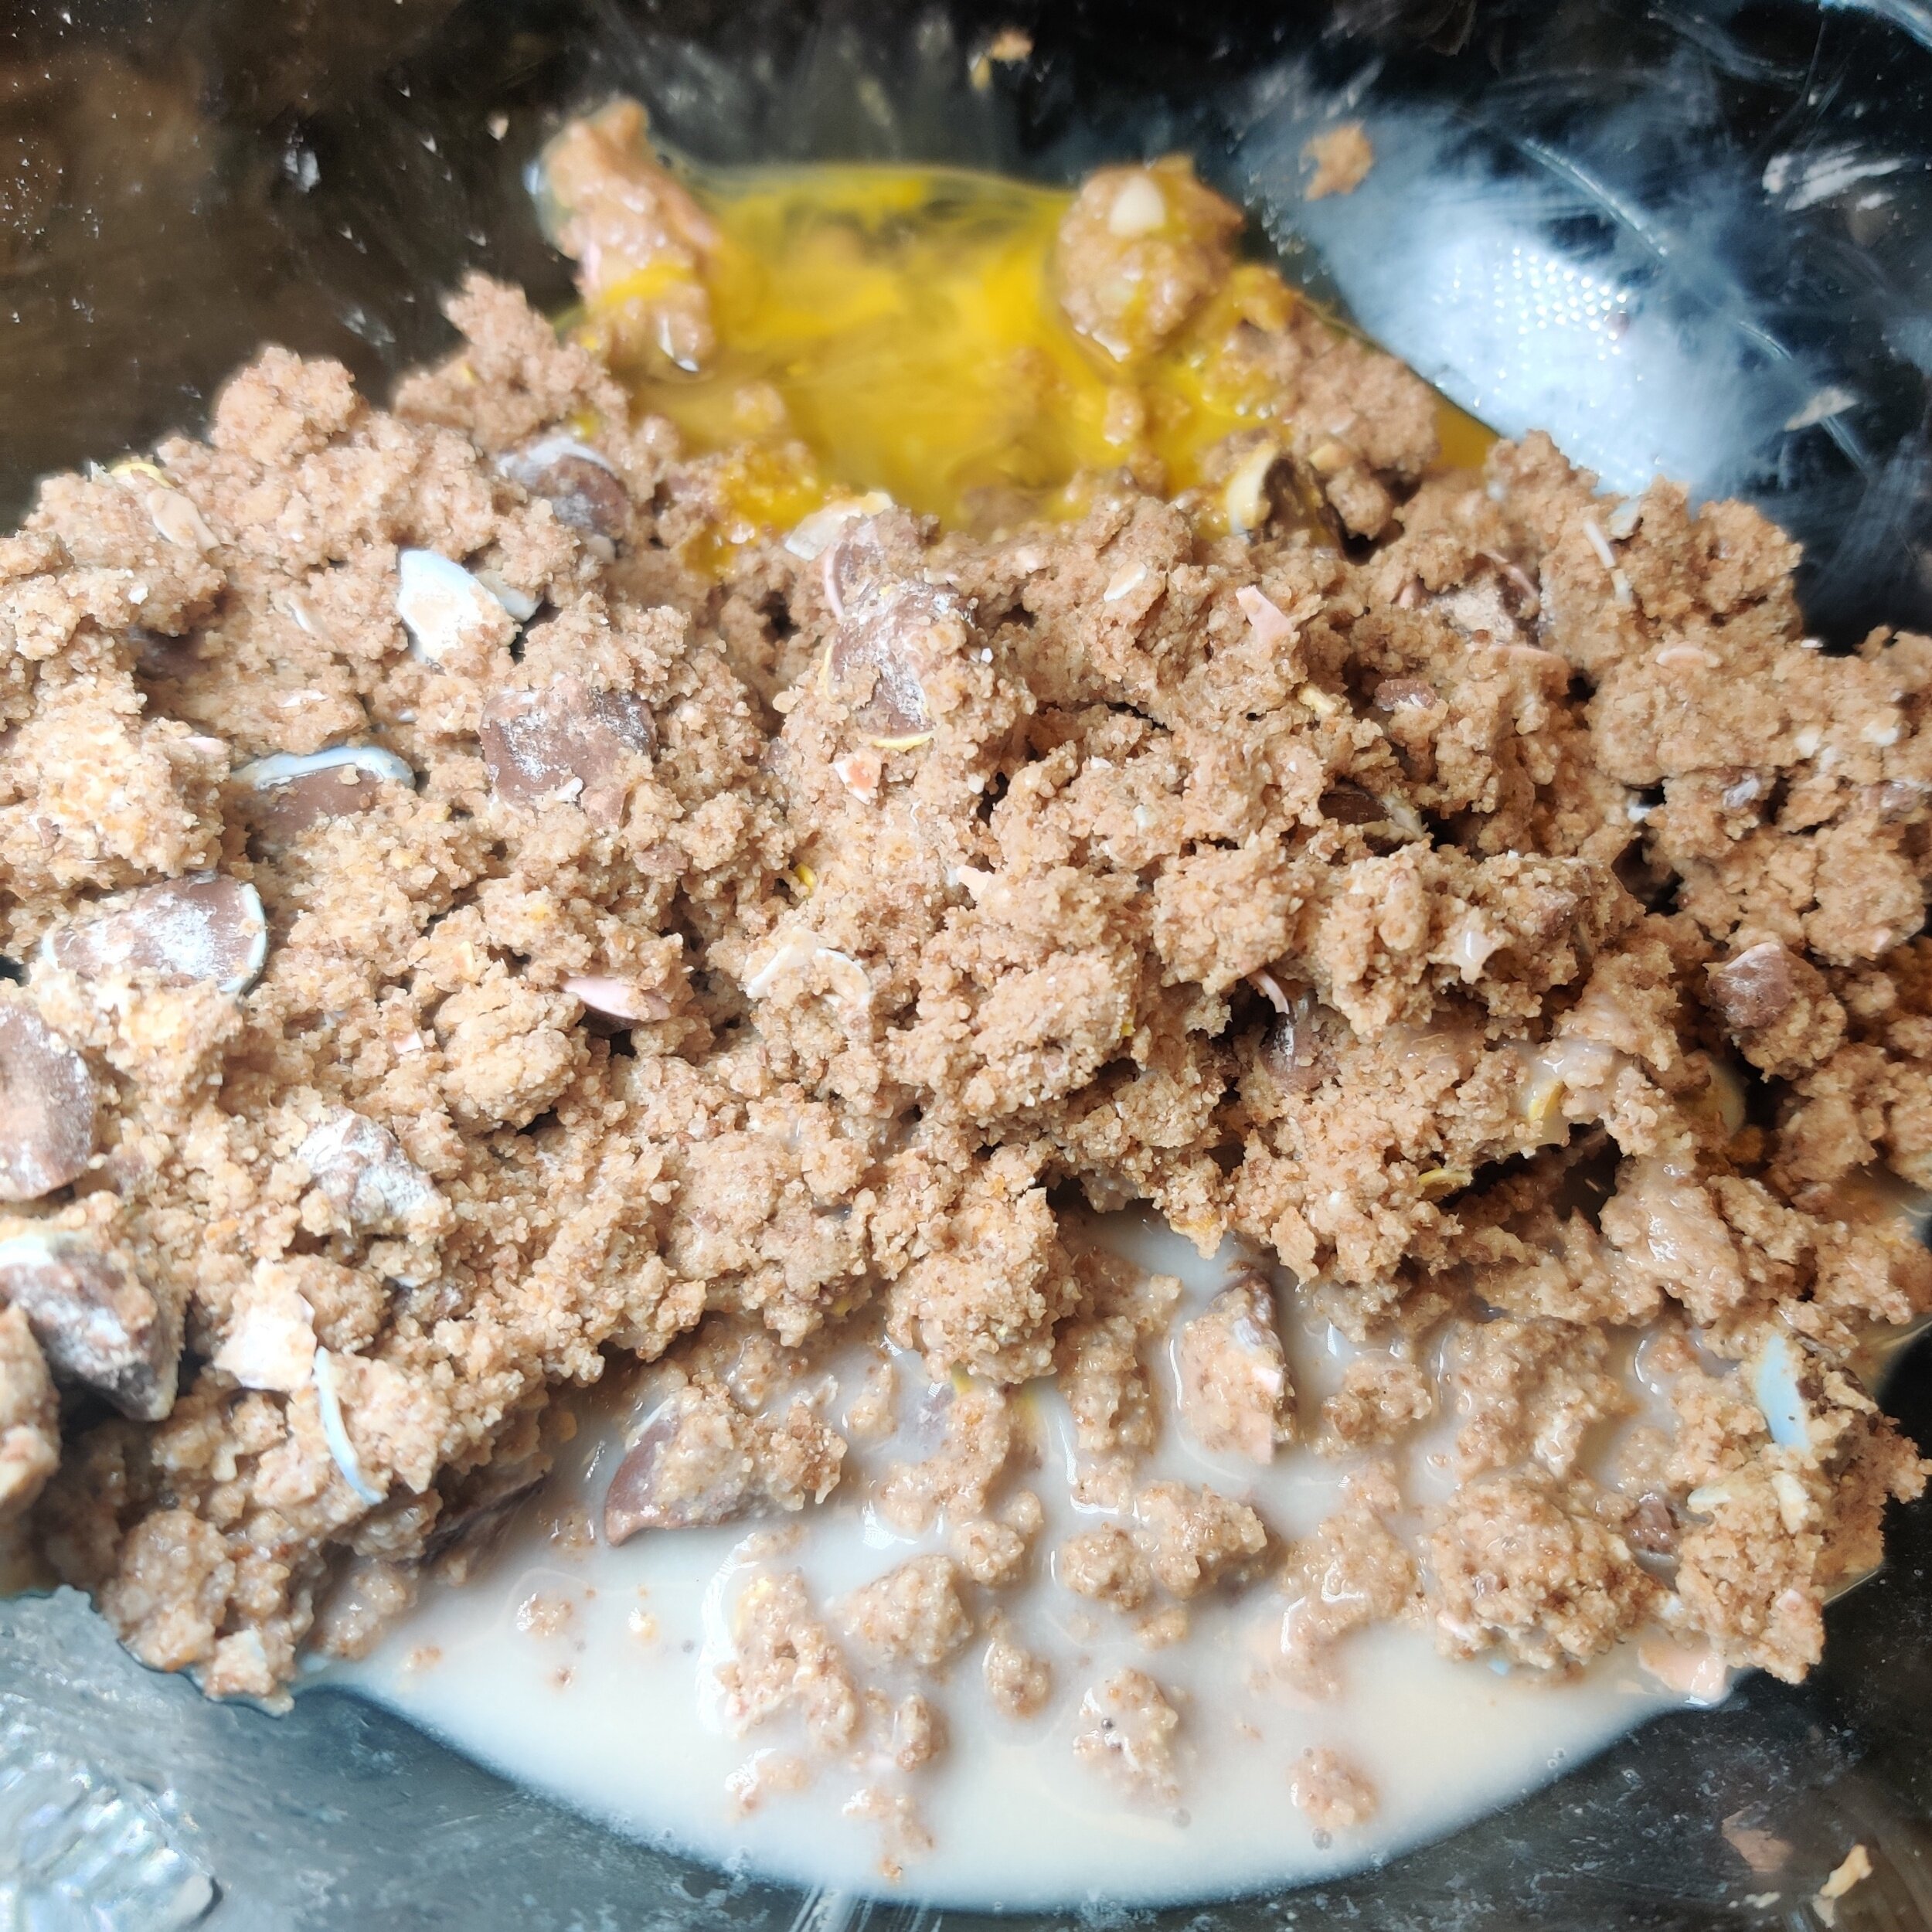
1 egg, beaten
Instructions
Add the lemon juice to the coconut or almond milk and set it aside to curdle--no need if you're already using buttermilk, that means your milk is already curdled.
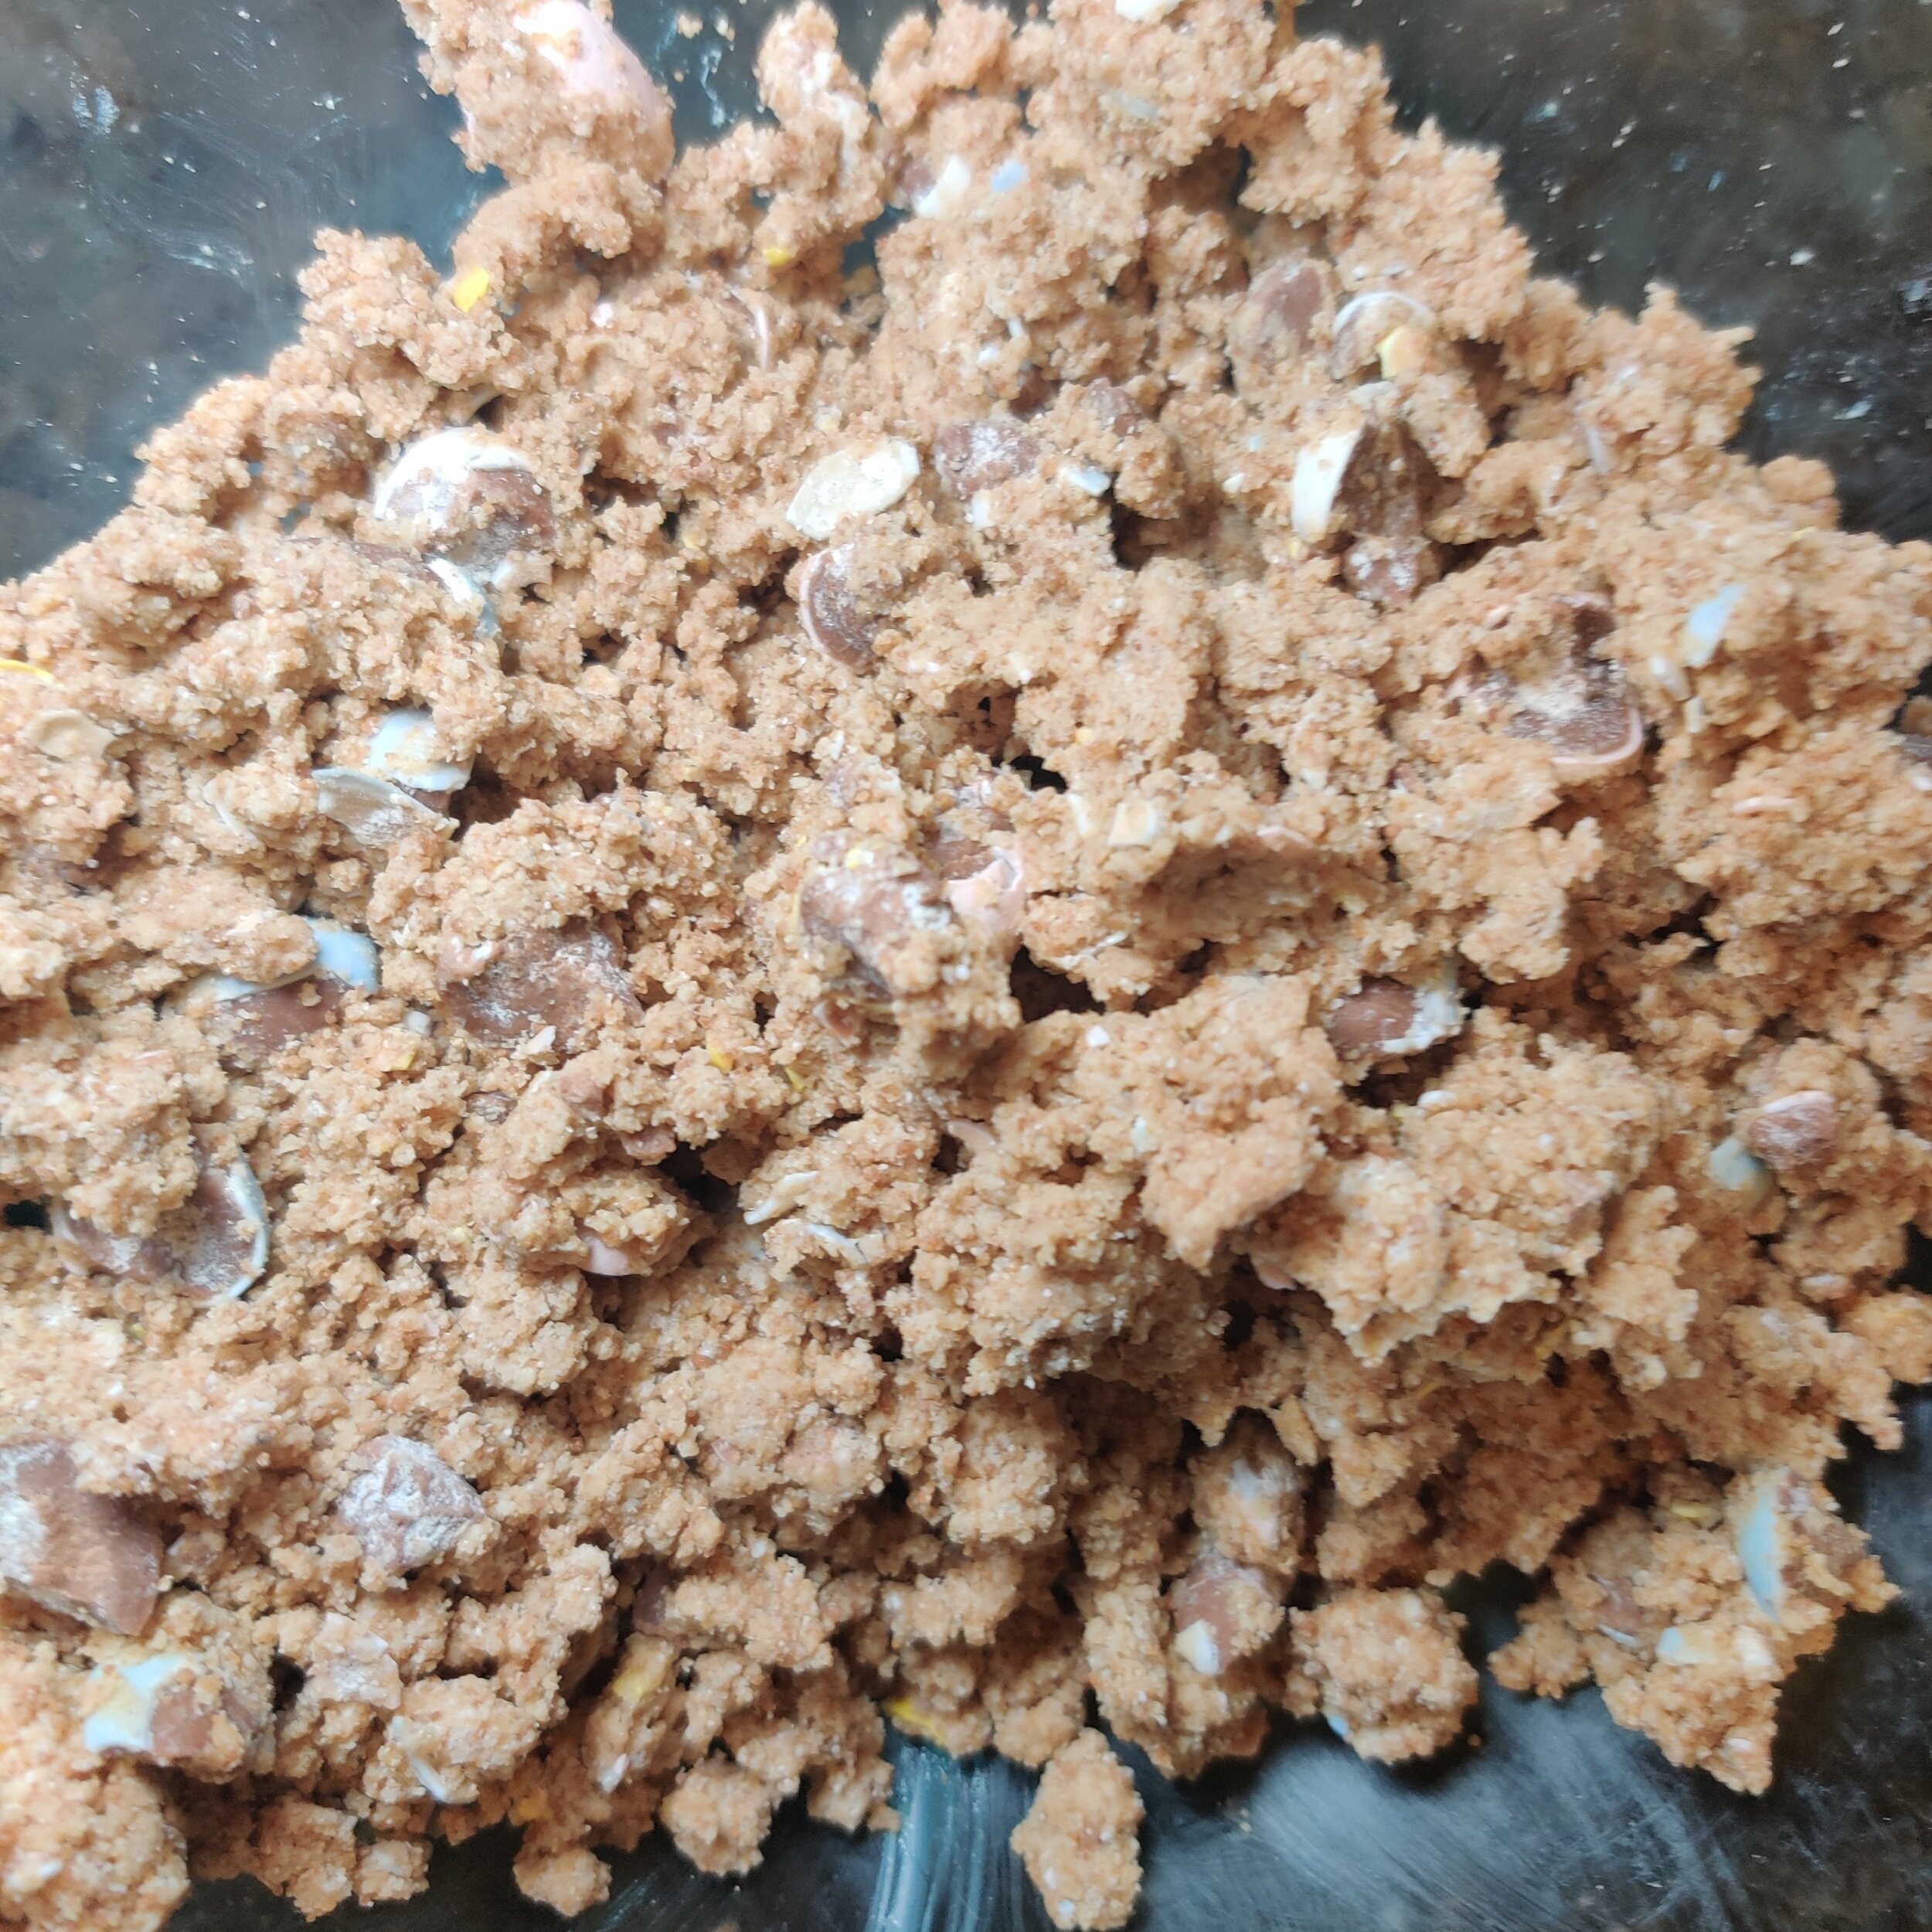
In a large bowl, whisk the flour, baking powder, salt, and crushed mini eggs until evenly mixed. Add the cold butter (the colder, the better!), and use a pastry knife or two sharp knives to chop the butter into the flour mix. Use your fingers until it resembles bread crumbs, but don't overmix.
Add egg, mix evenly into the dry batter, then add the milk and mix into a soft dough.
Transfer to a floured surface and knead for about 2-3 minutes, shaping into a round dome (if you find the dough too soft and sticky, use the kneading process to add a bit more but not too much to avoid overly dry scones).
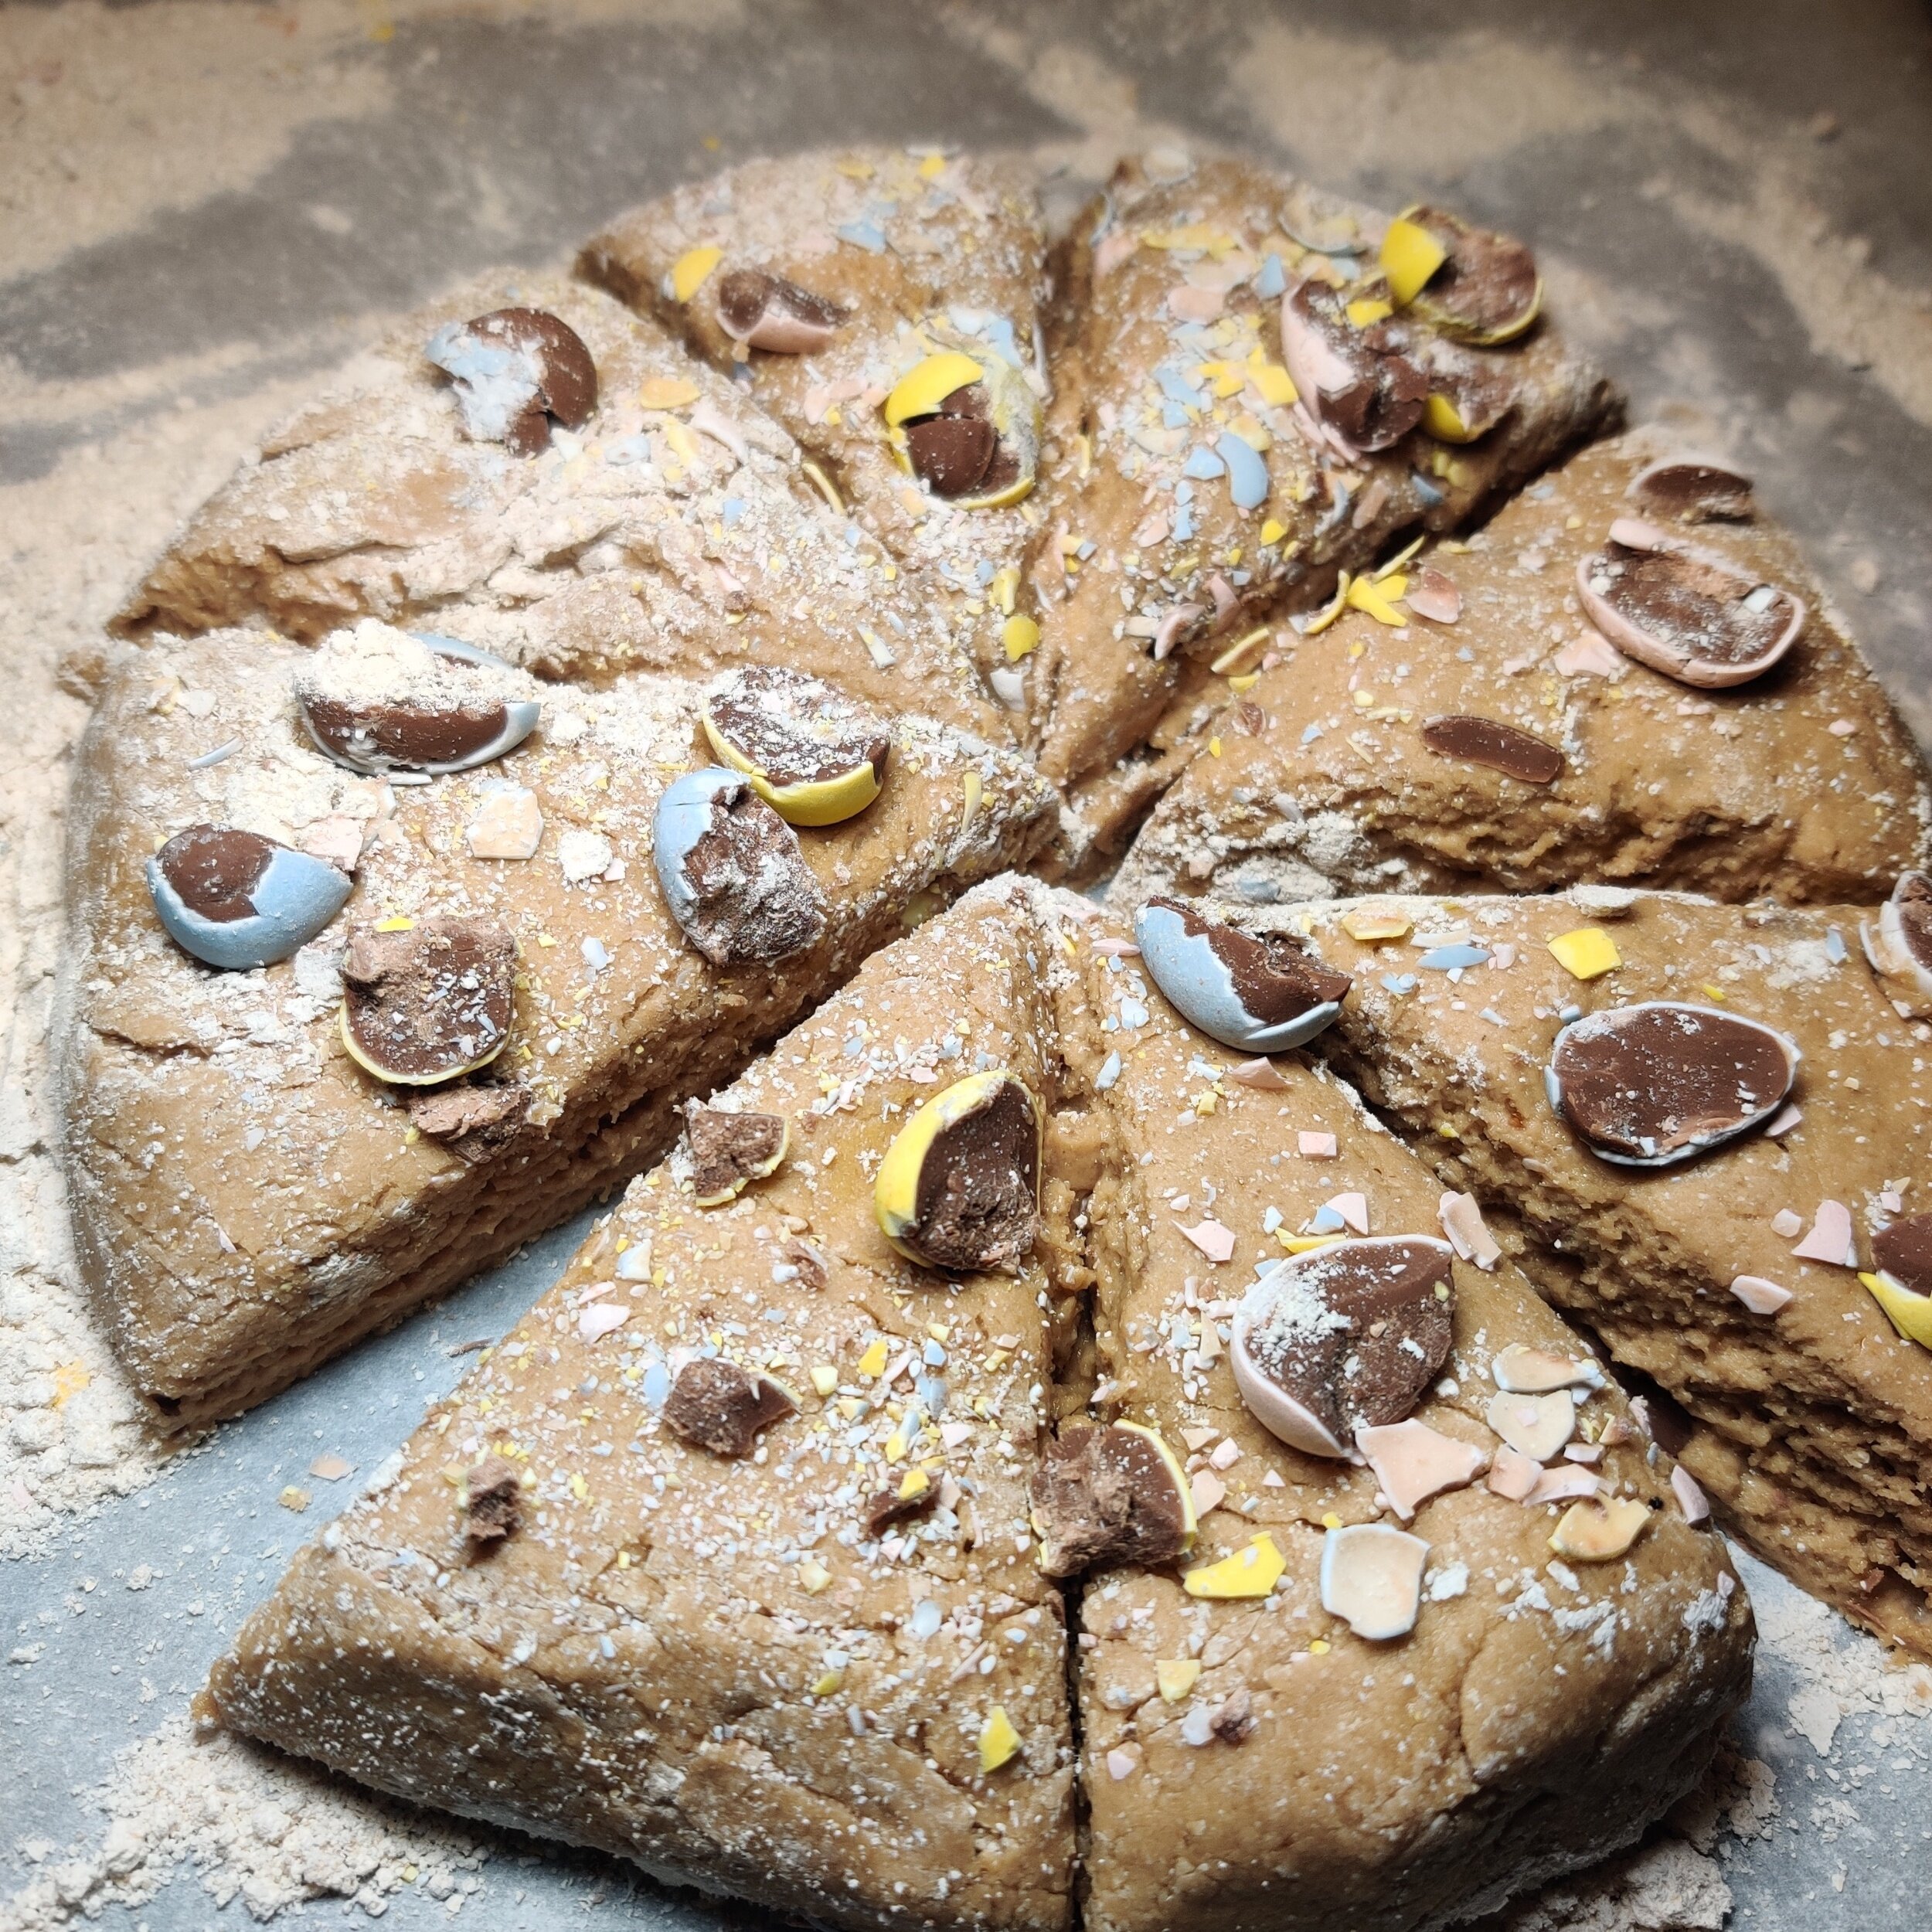
Use a kitchen scraper to slice the dough into eight pieces. Try to make them roughly the same size. Press some extra bits of the crushed mini eggs for the top of the scones.
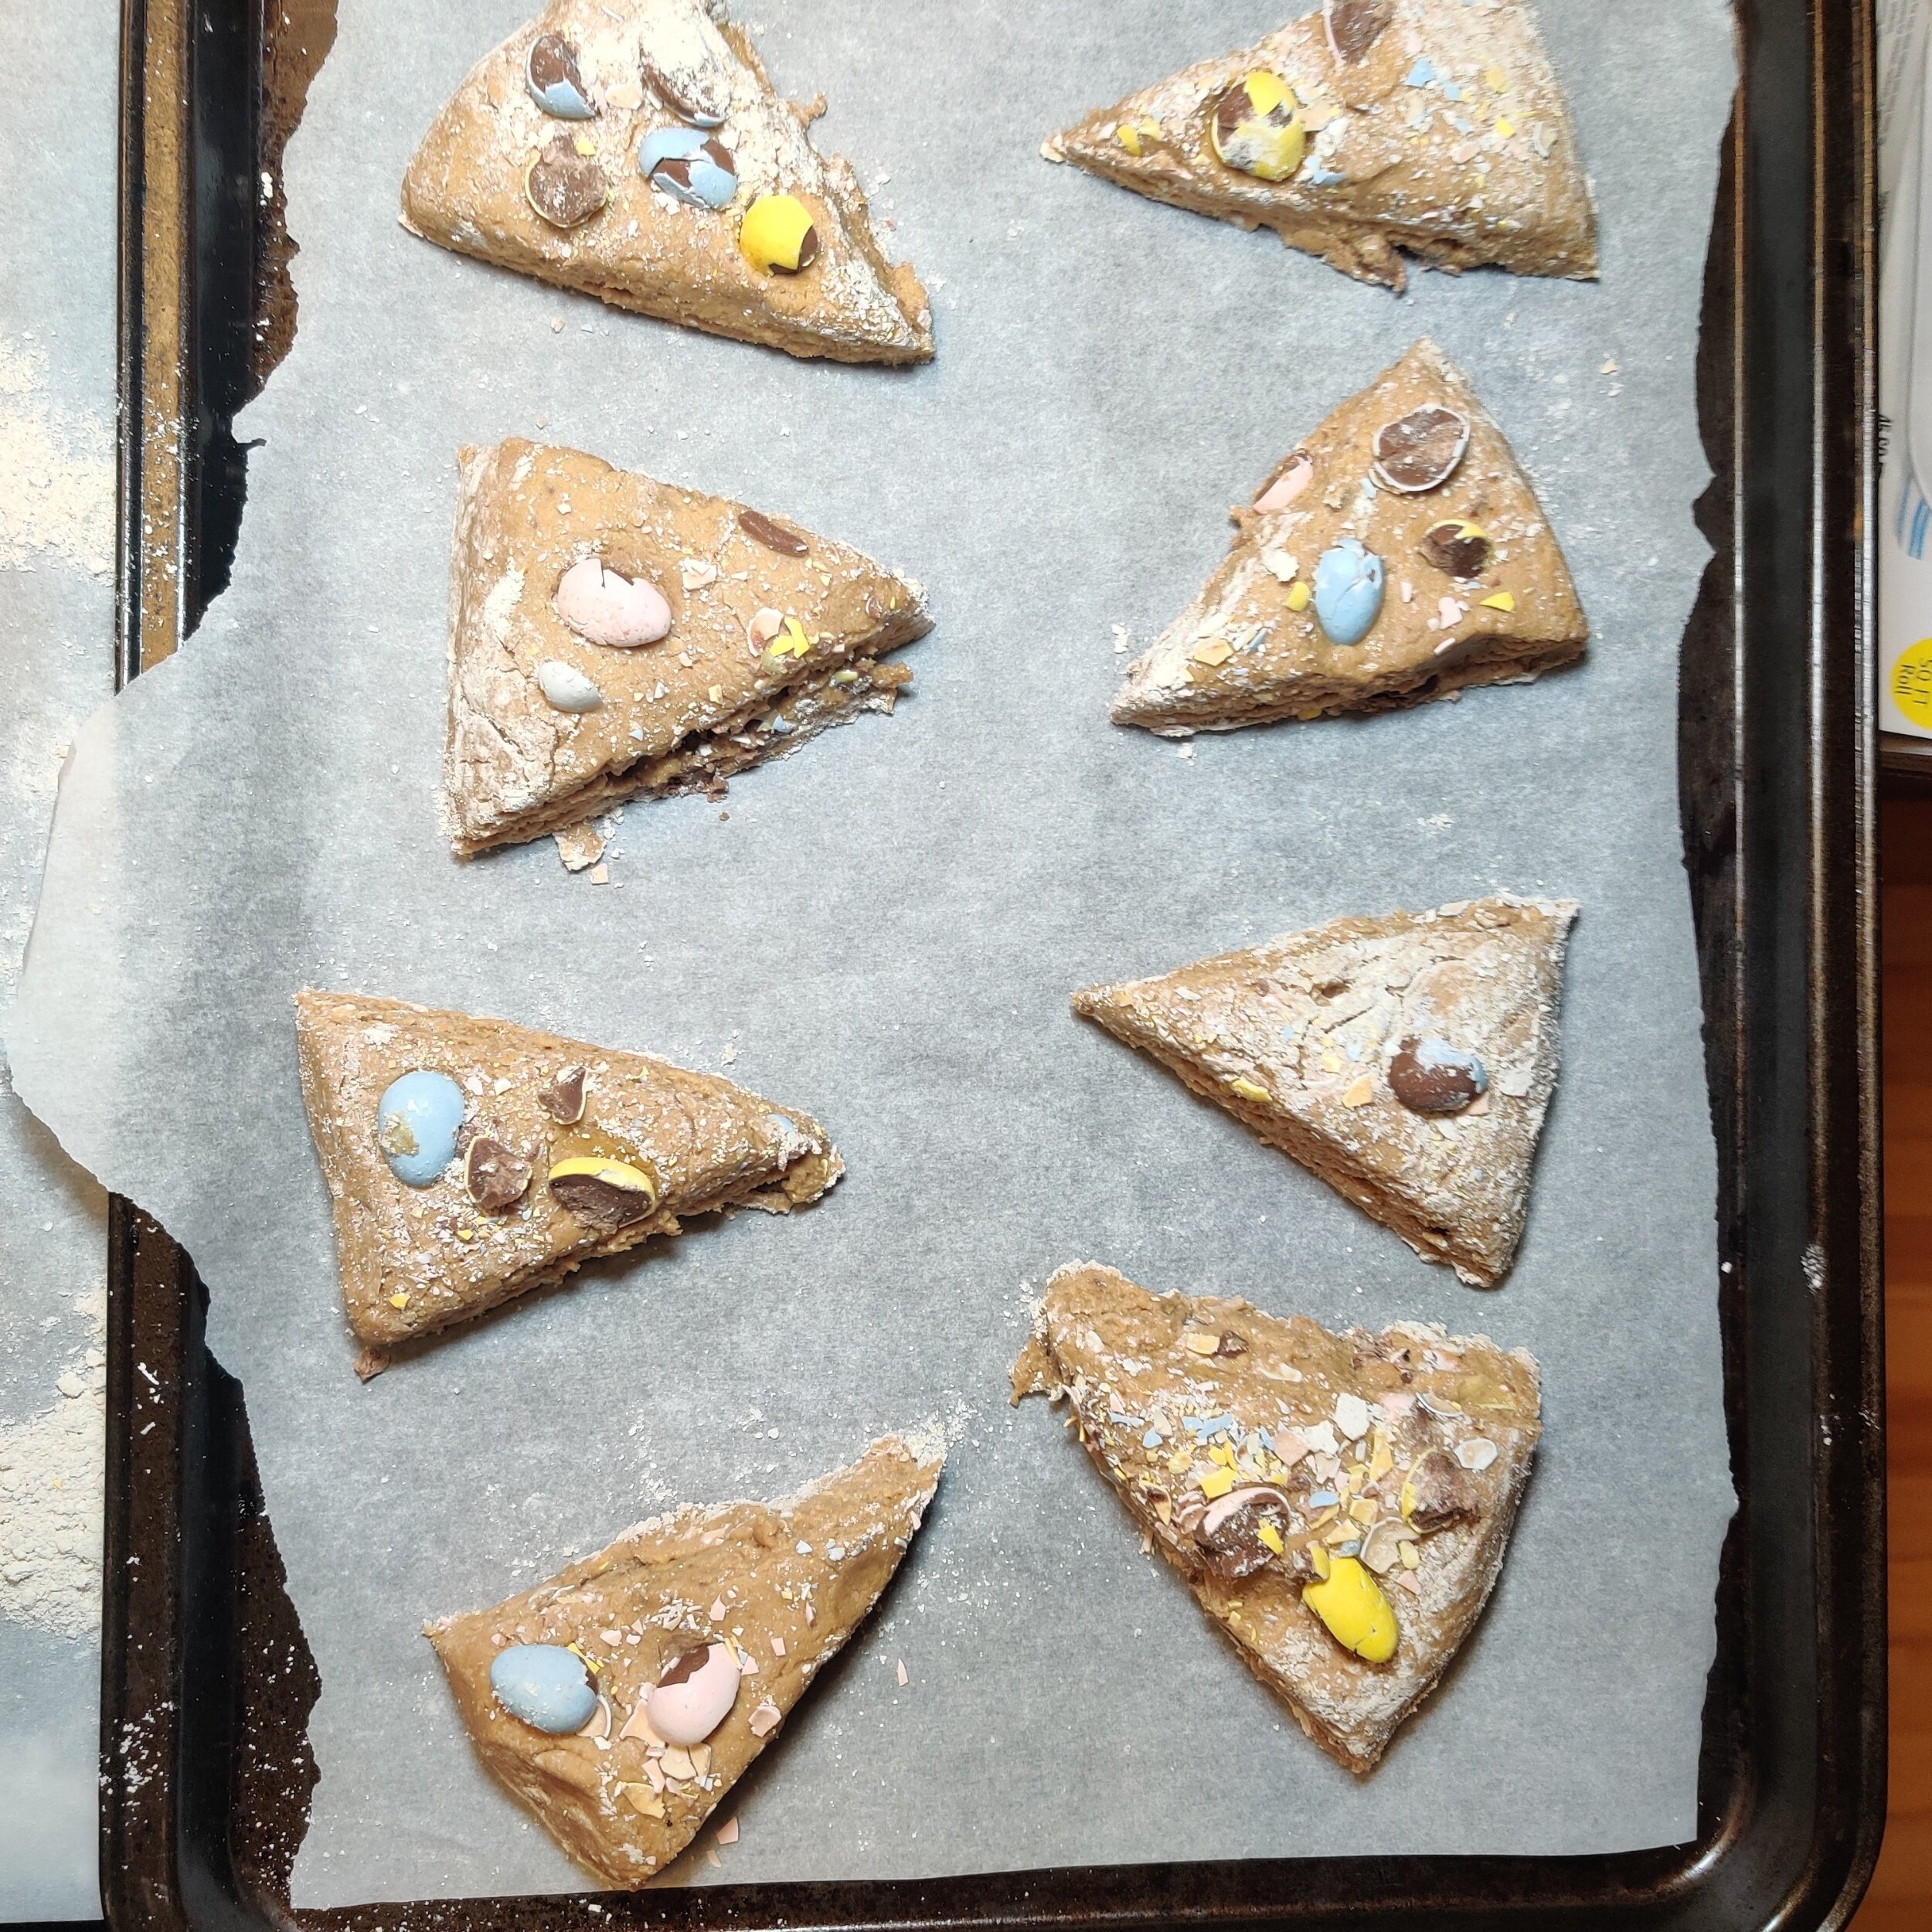
Bake at 350F for 22-25 minutes, remove from the oven and cool. You can serve them, but they are meant to go with jam and clotted cream.


Banana Papaya Bread with Pecan Streusel
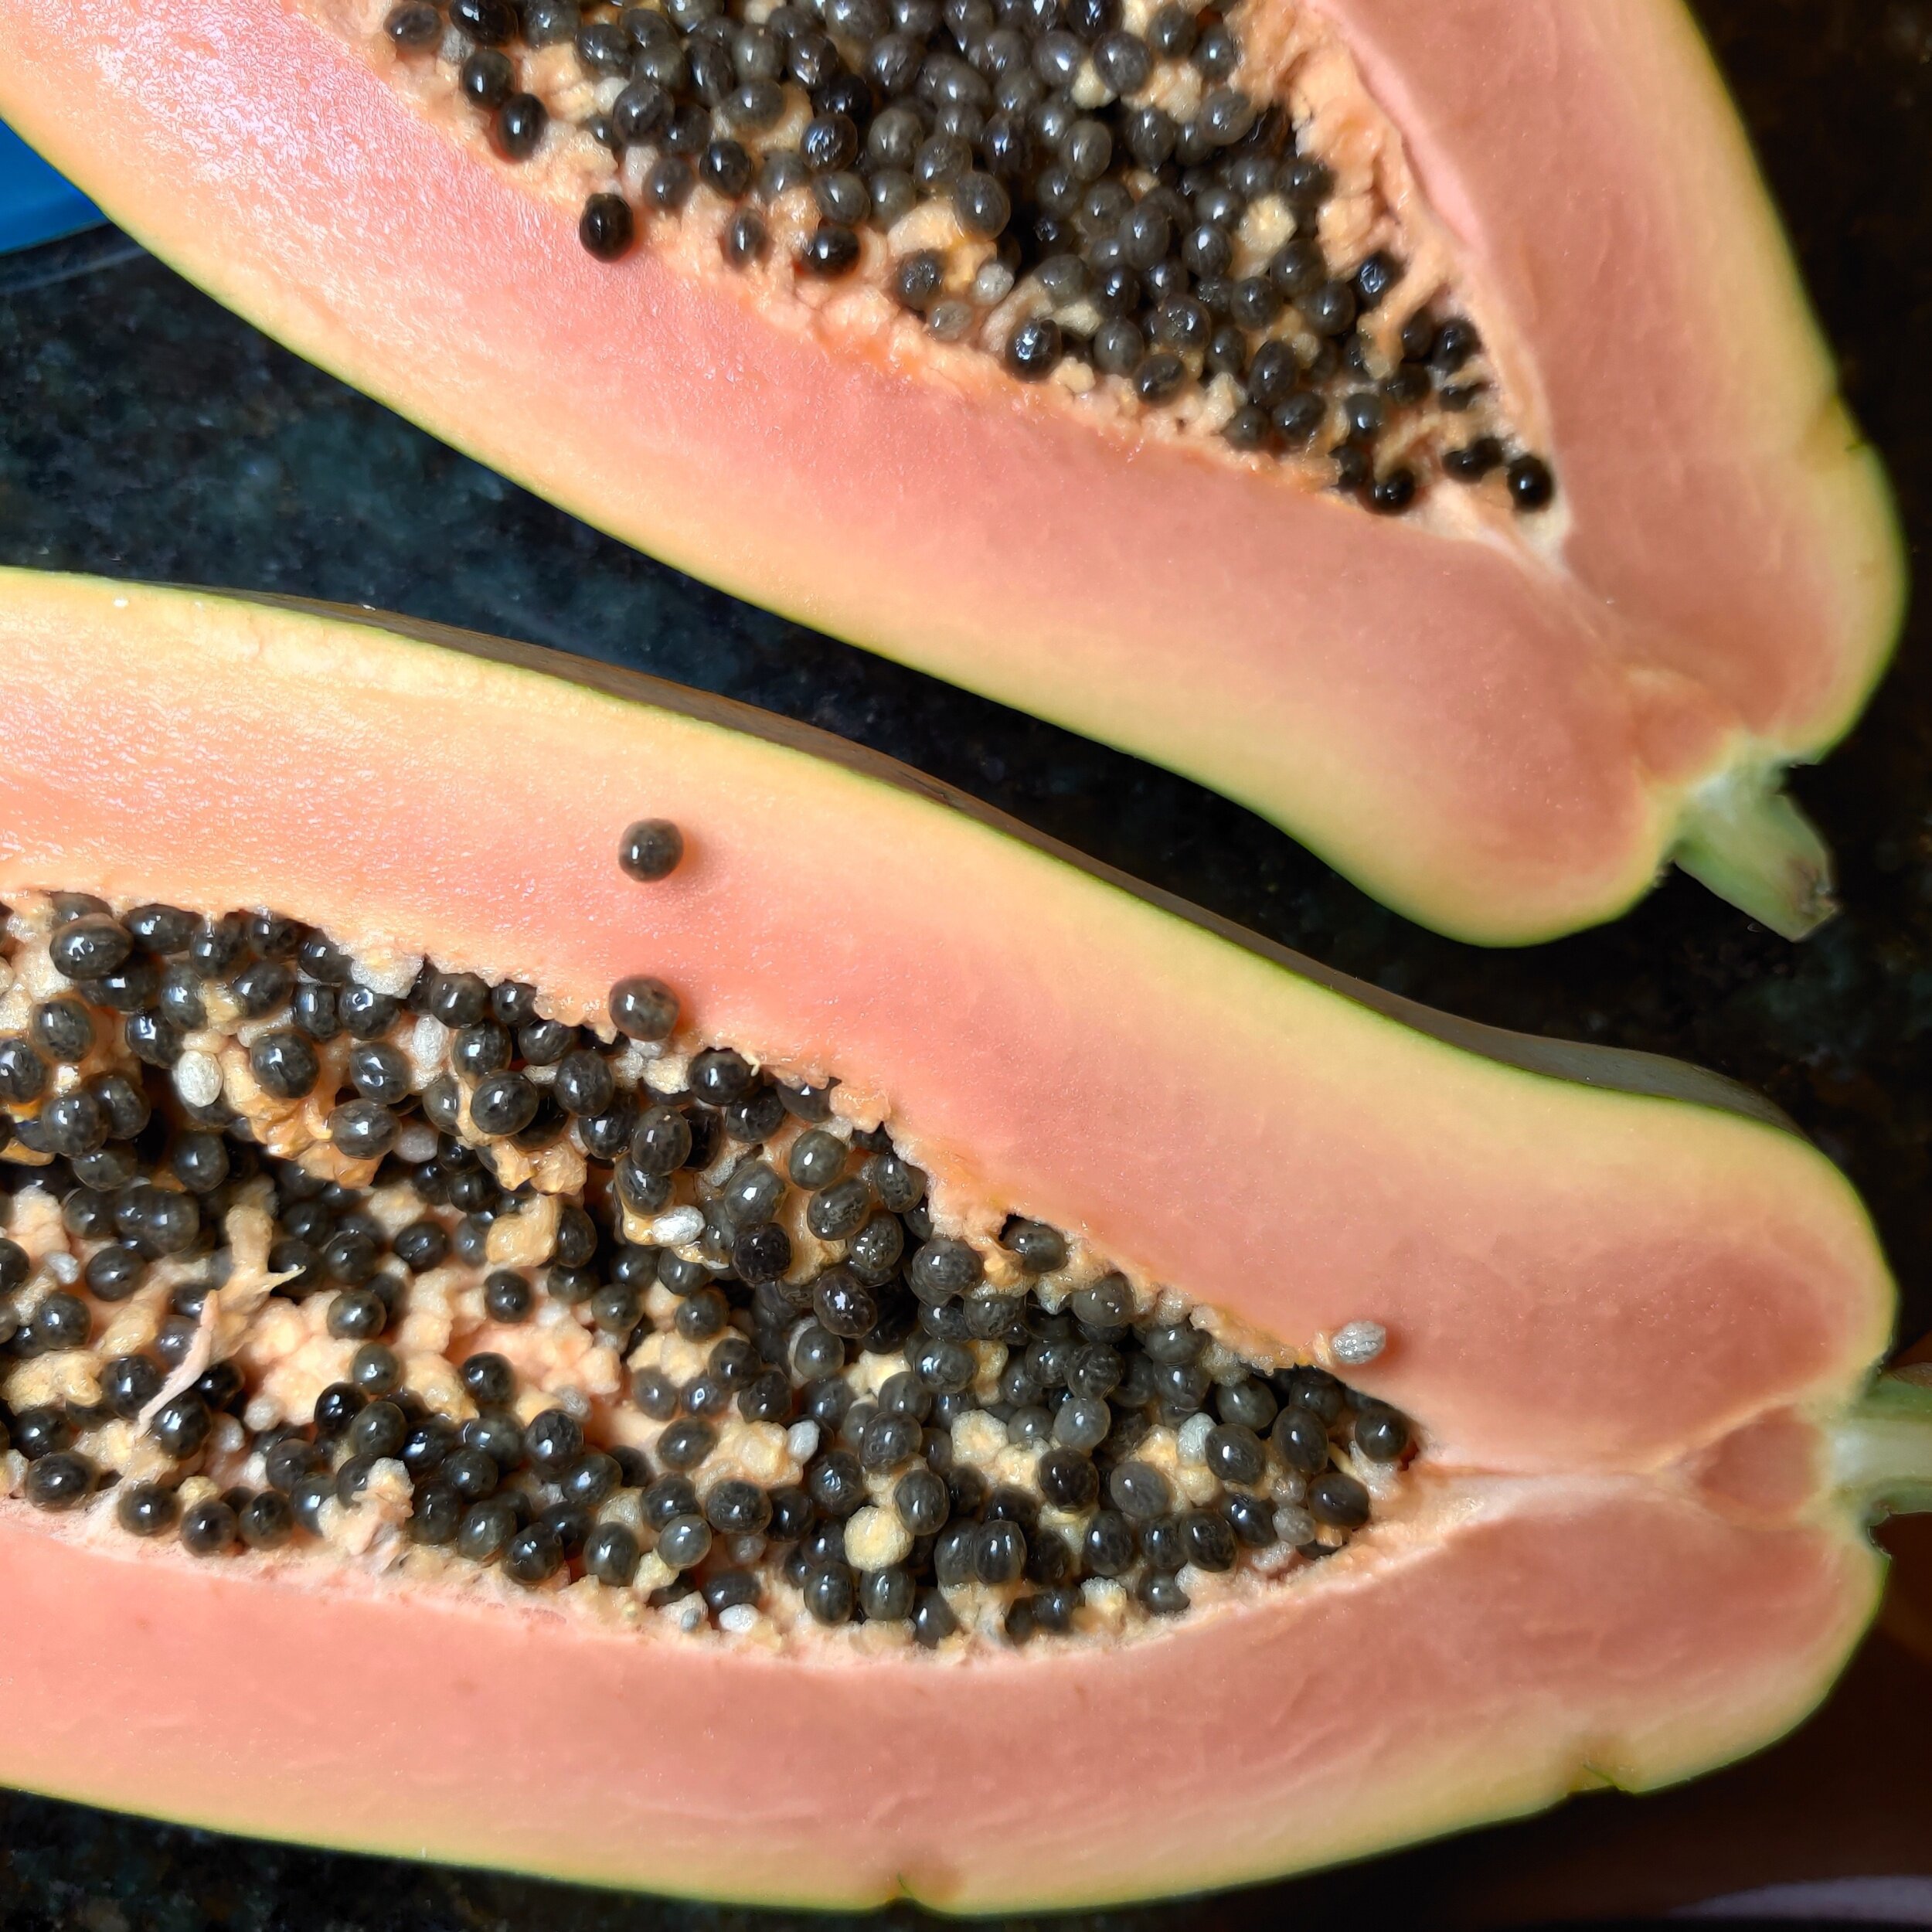
How I love pawpaw's, or papayas — honestly not sure what the more common name is! I'm not quite sure how the tropical fruit made its way to Zimbabwe, but it's a beloved fruit over there. I think at one point; my family has a tree in the garden. I love papaya because it's highly refreshing and inherently sweet but in a subtle way. The water content is also pretty high, so that's good for you. Pawpaws (yes, I will use them interchangeably!) are a lot more versatile than I think people give it credit for; hence why I decided to pair them with banana and am so glad I did!
Banana bread is popular throughout the year. It became one of the most baked and searched for recipes during the quarantine, and with spring coming along this side of the hemisphere, there's no end in sight, and it's making a resurgence.
I decided to combine the classic banana bread, something I've always loved, with pawpaw -- one of my favourite fruits.
It's delicious great with a cup of tea or coffee, or you put a scoop of ice cream over it too or eat it as it is, maybe with a little bit of butter or whipped cream whatever your preference is, it's excellent.
I think the cherry on top for this recipe is the pecan streusel. The buttery, caramelized taste of the pecans mixed with dark brown sugar is to die for, and in some ways, similar to coffee cake. Regardless of what you eat it with, you will enjoy it!
Ingredients
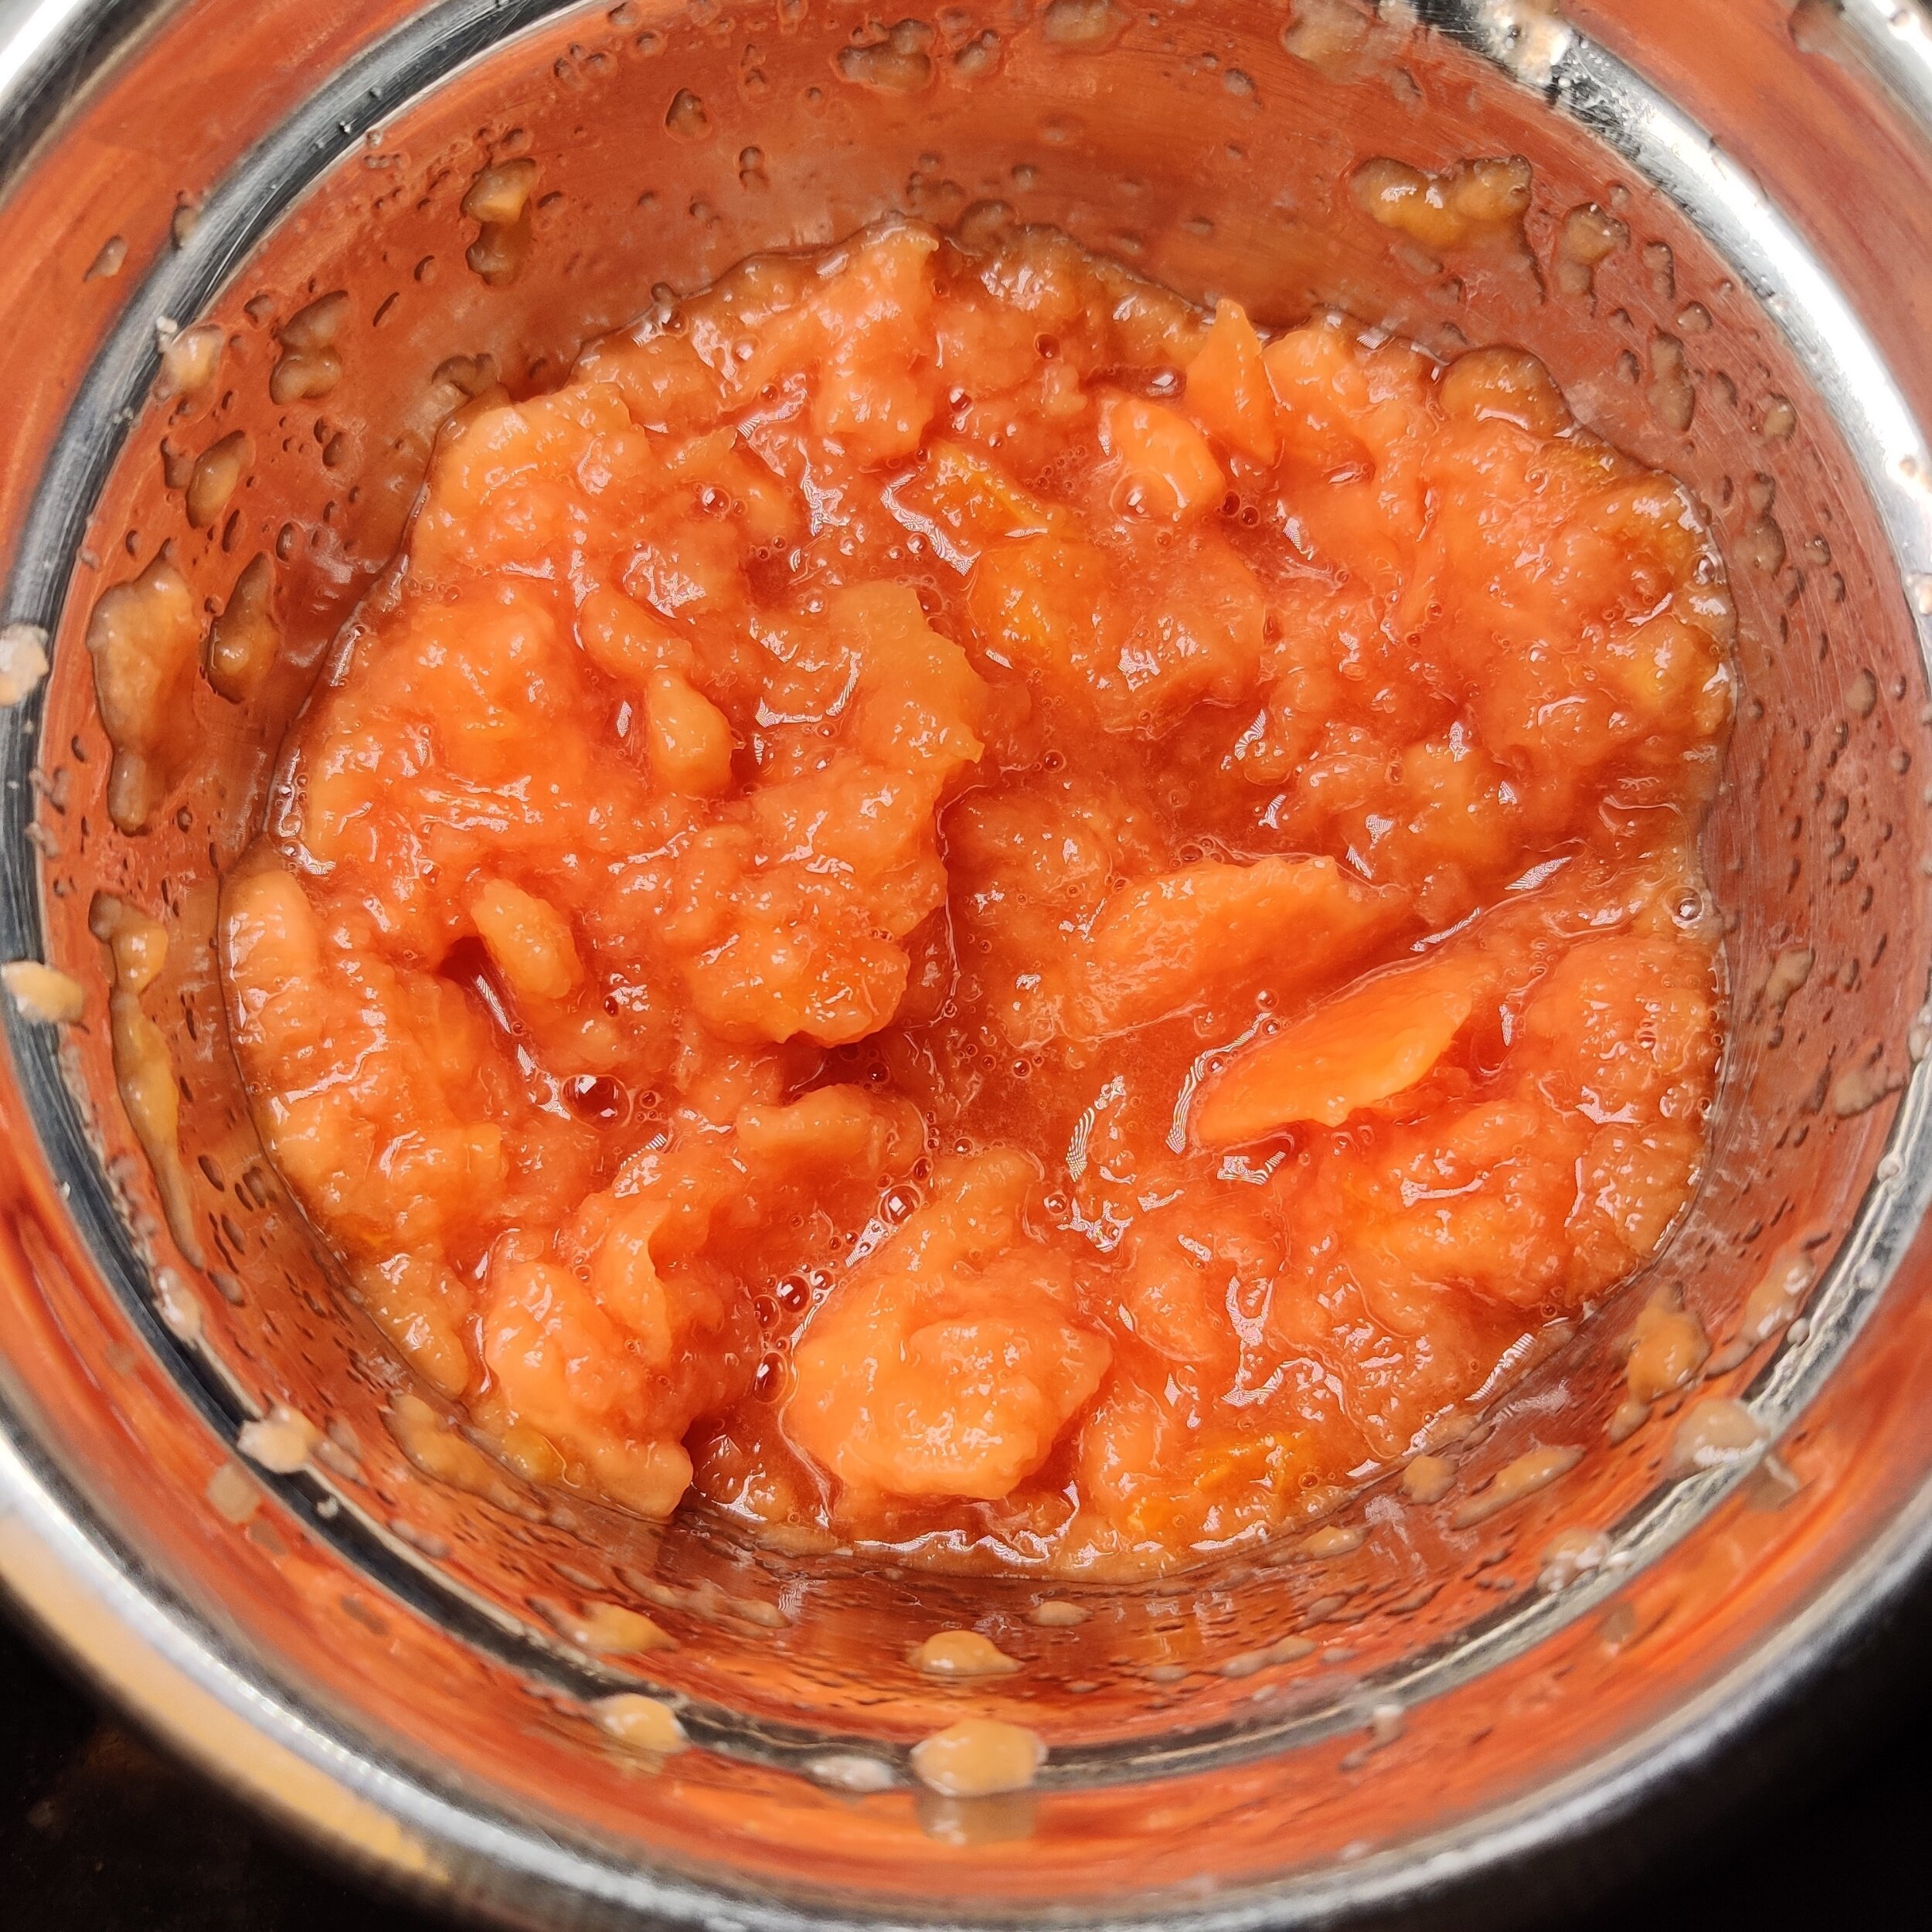
1/2 large papaya mashed + 1/2 cup chopped (1 whole fruit should suffice)
1 1/4 sticks butter (10 tablespoons), melted
2 cups self-raising flour
2 eggs
1 teaspoon vanilla extract
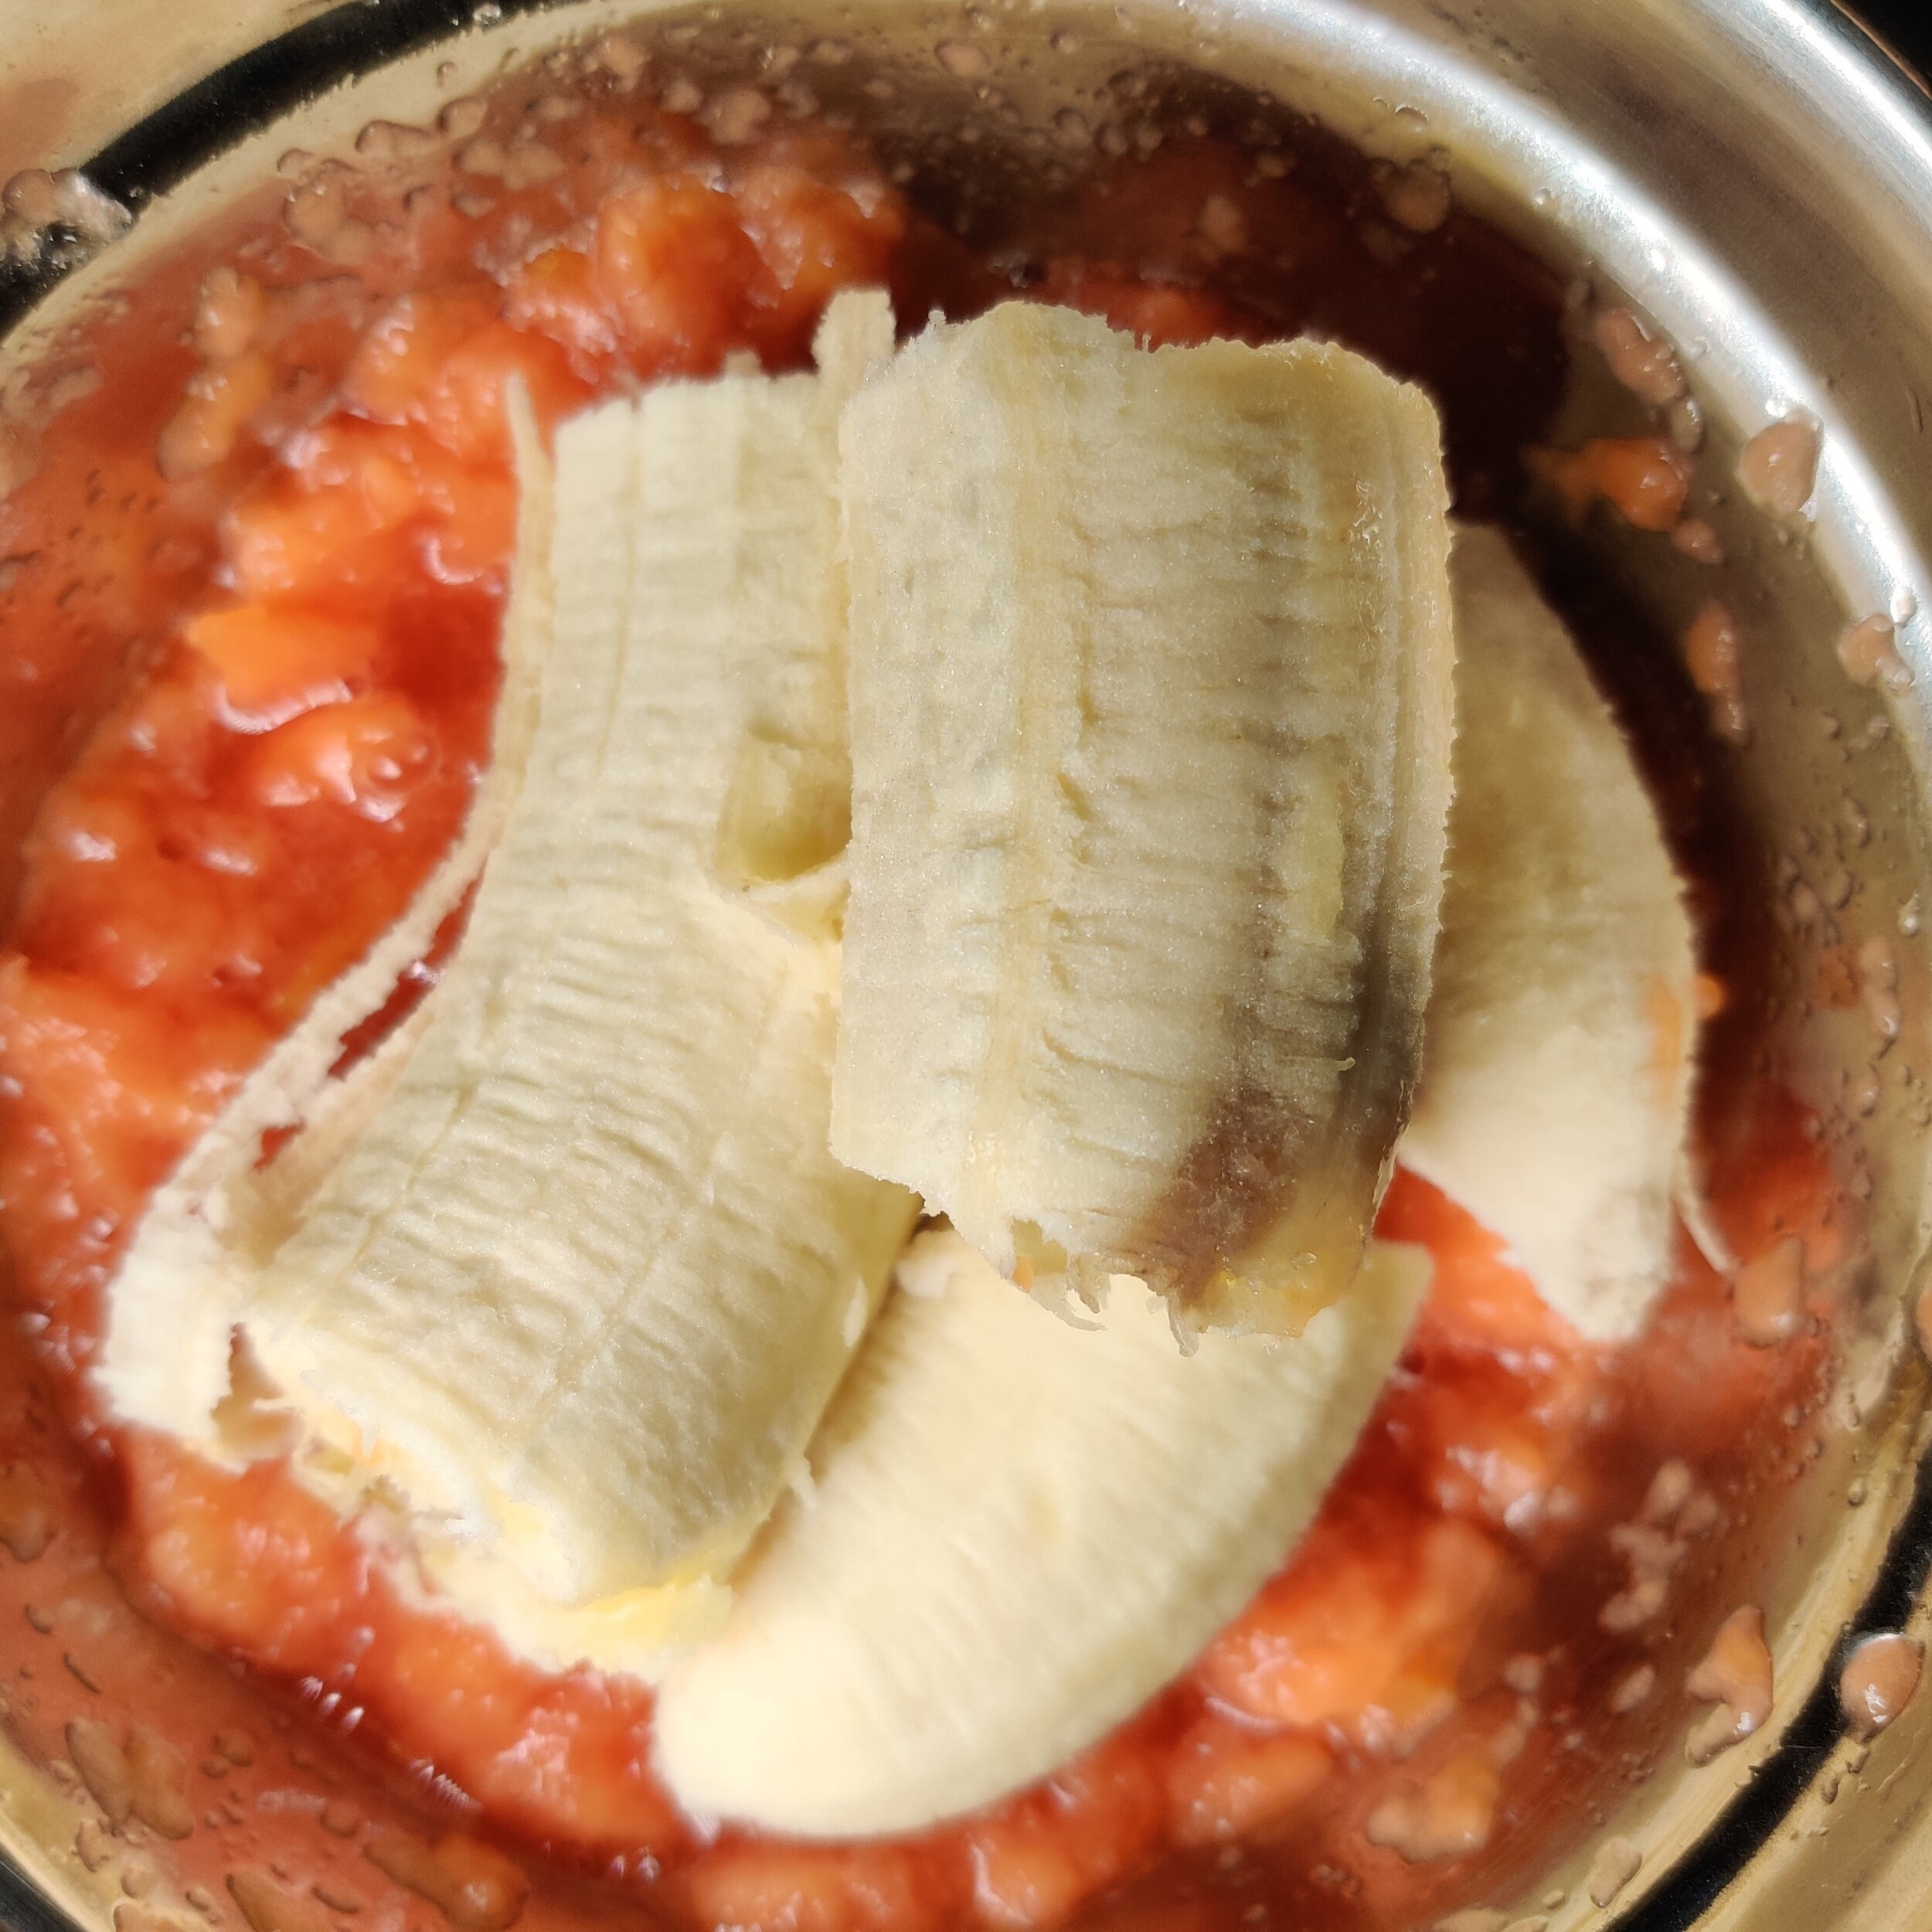
1 large banana, mashed
1/2 cup pecans, toasted and roughly chopped
1 teaspoon baking powder
1/2 cup light brown sugar
Streusel:
3/4 cup pecans, roughly chopped
1 tablespoon all-purpose flour
1/4 cup dark brown sugar
1 tablespoon cinnamon
2 tablespoons butter
Instructions
In a large bowl, whisk the flour, baking powder and light brown sugar, set aside.
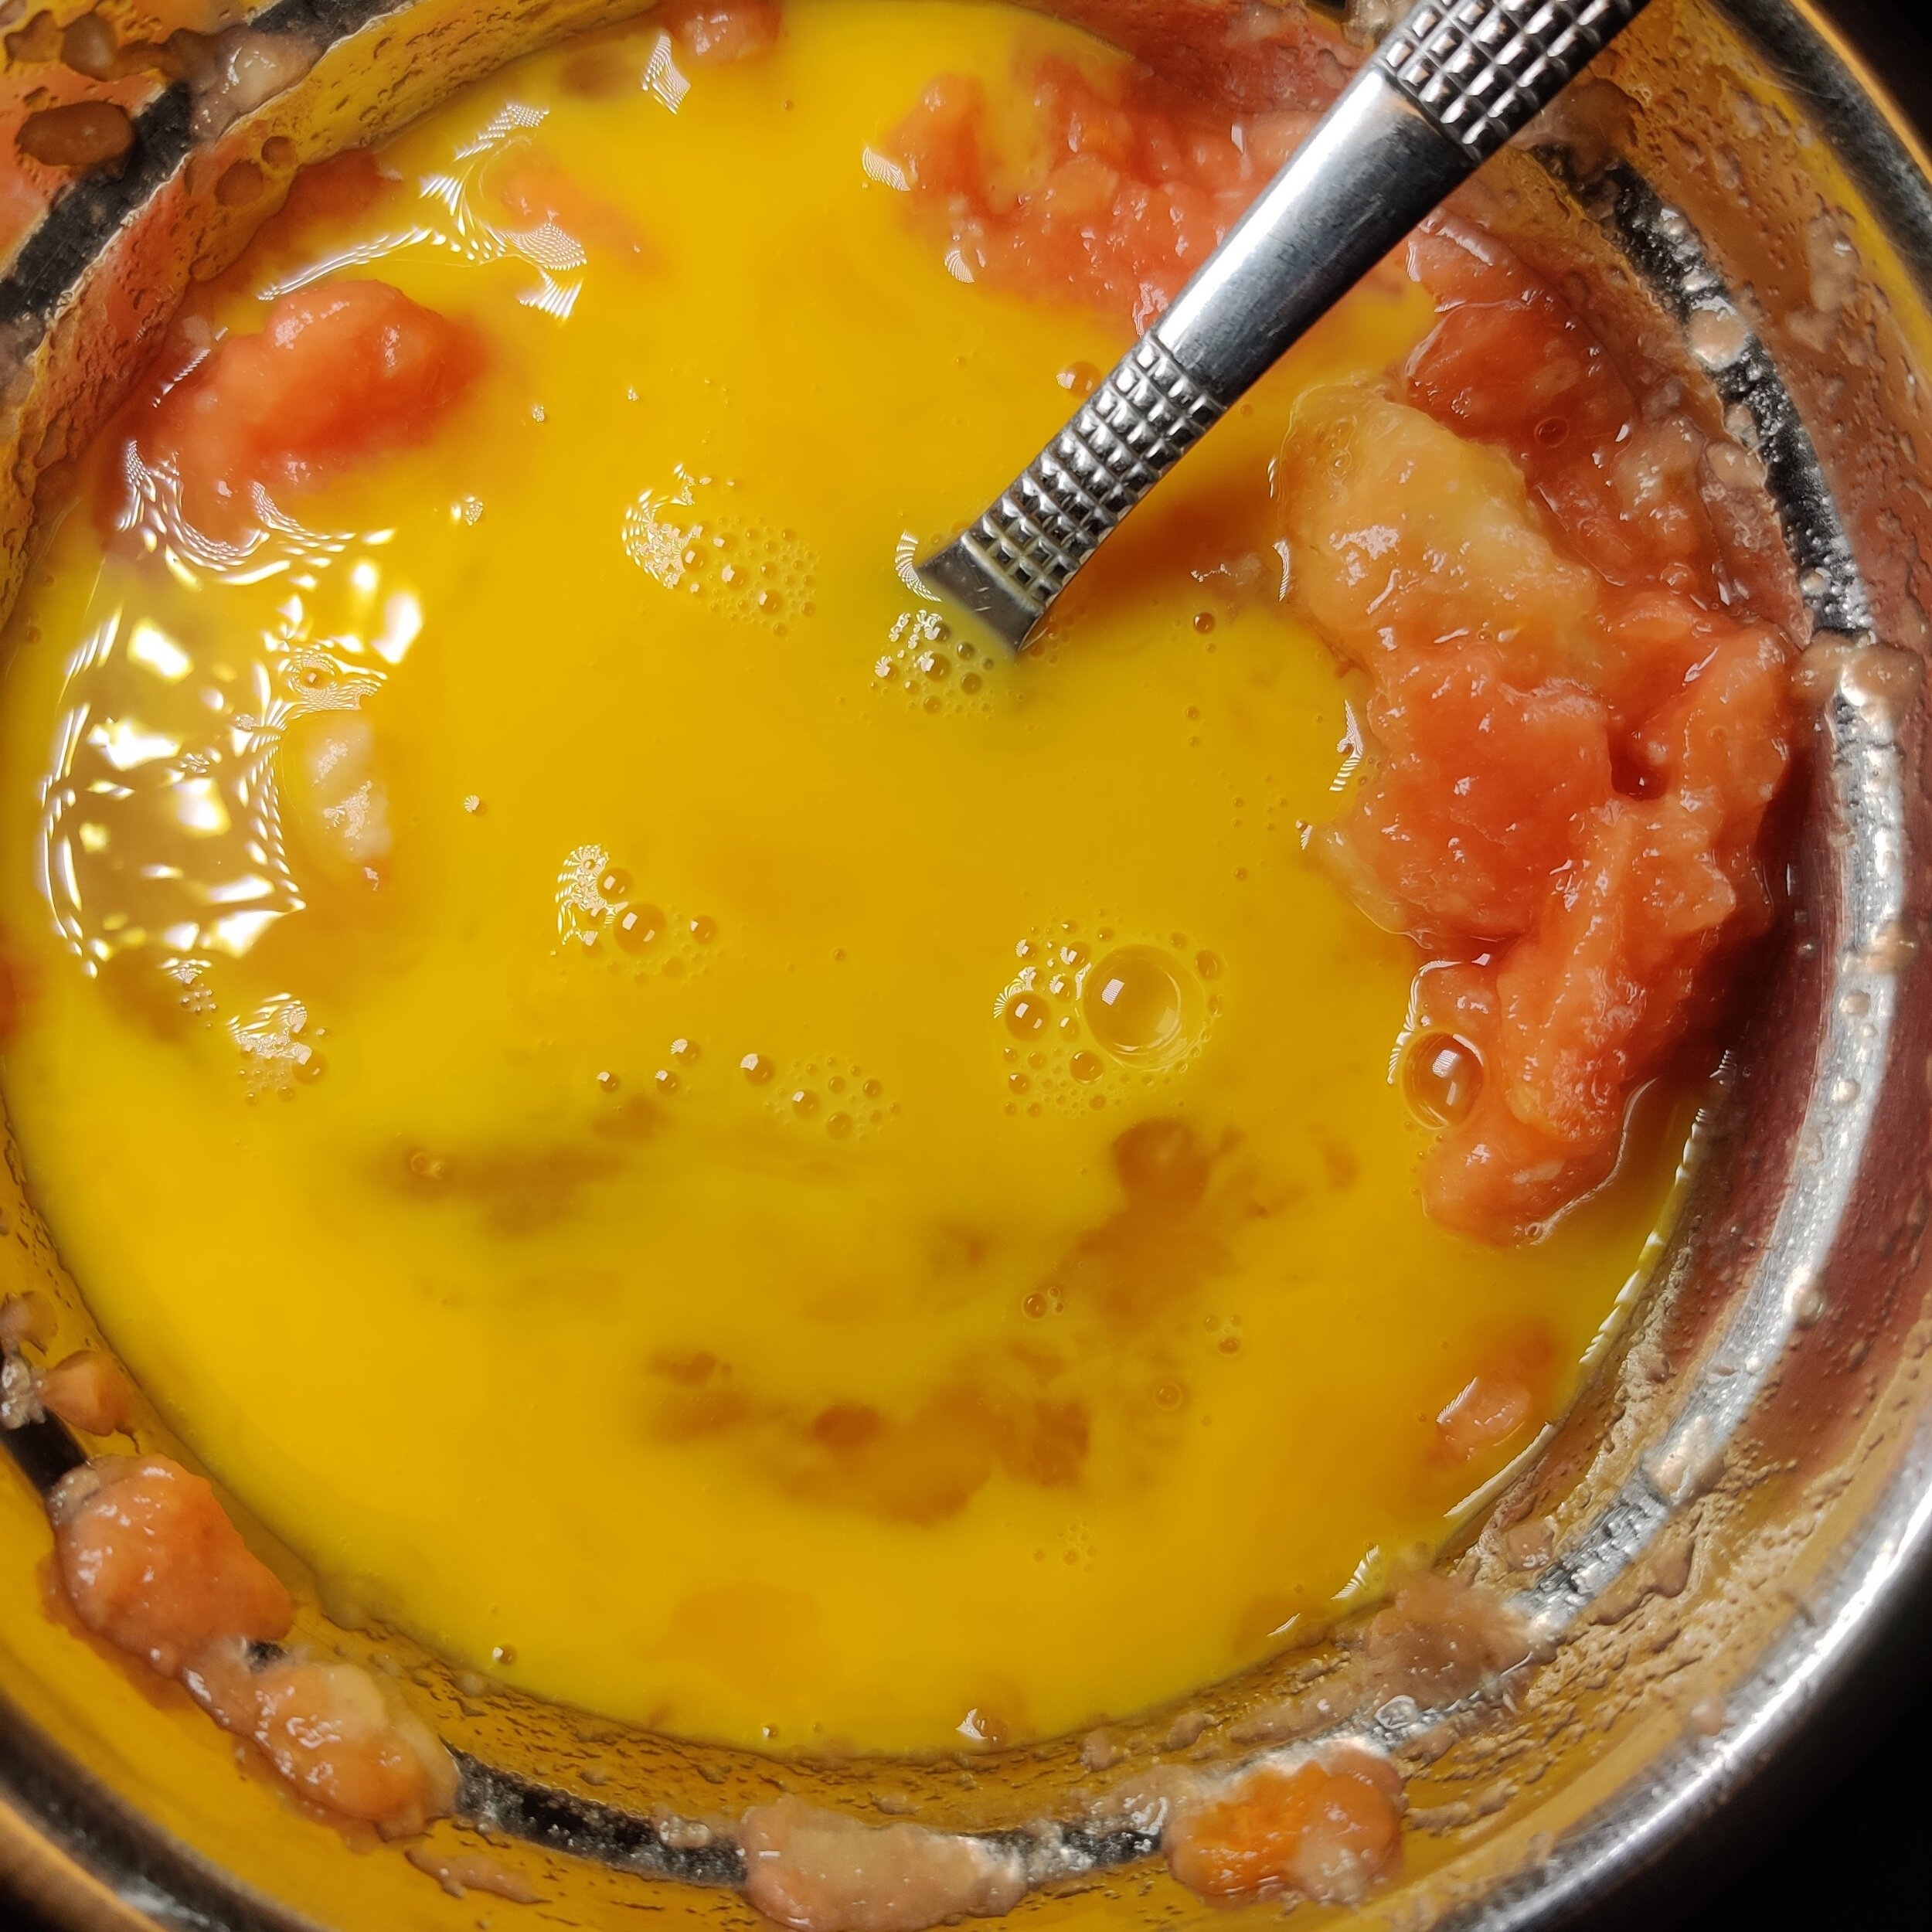
In a small bowl, mash and mix the half portion of the pawpaw, the banana, the vanilla, and the beaten eggs.
Toast and chop the pecans if they are not ready-to-go, mix them into the flour bowl with the chopped papaya, butter (10 tablespoons), and egg mixture. Combine well with a spatula.
While your batter rests for a few minutes, prepare your streusel. Mix the second batch of pecans with dark brown sugar, cinnamon, flour, and two tablespoons of butter.
Spray a loaf tin (9 inches by 4 inches - if you have the 8-inch tin, there will be leftover batter—you don’t want to fill it to be brim as the bread is going to rise and expand).
Spoon and spread your streusel on top of the batter. Try to distribute this evenly, then place the loaf pan on a baking tray (this will catch any spillage that may occur).
Bake for 60 minutes at 400F, checking periodically after at least 30 minutes have passed.
Remove from the oven and set aside to cool. Serve warm with tea or coffee, and enjoy! Consume in 3-4 days or freeze airtight or wrapped in clear film for up to a month.


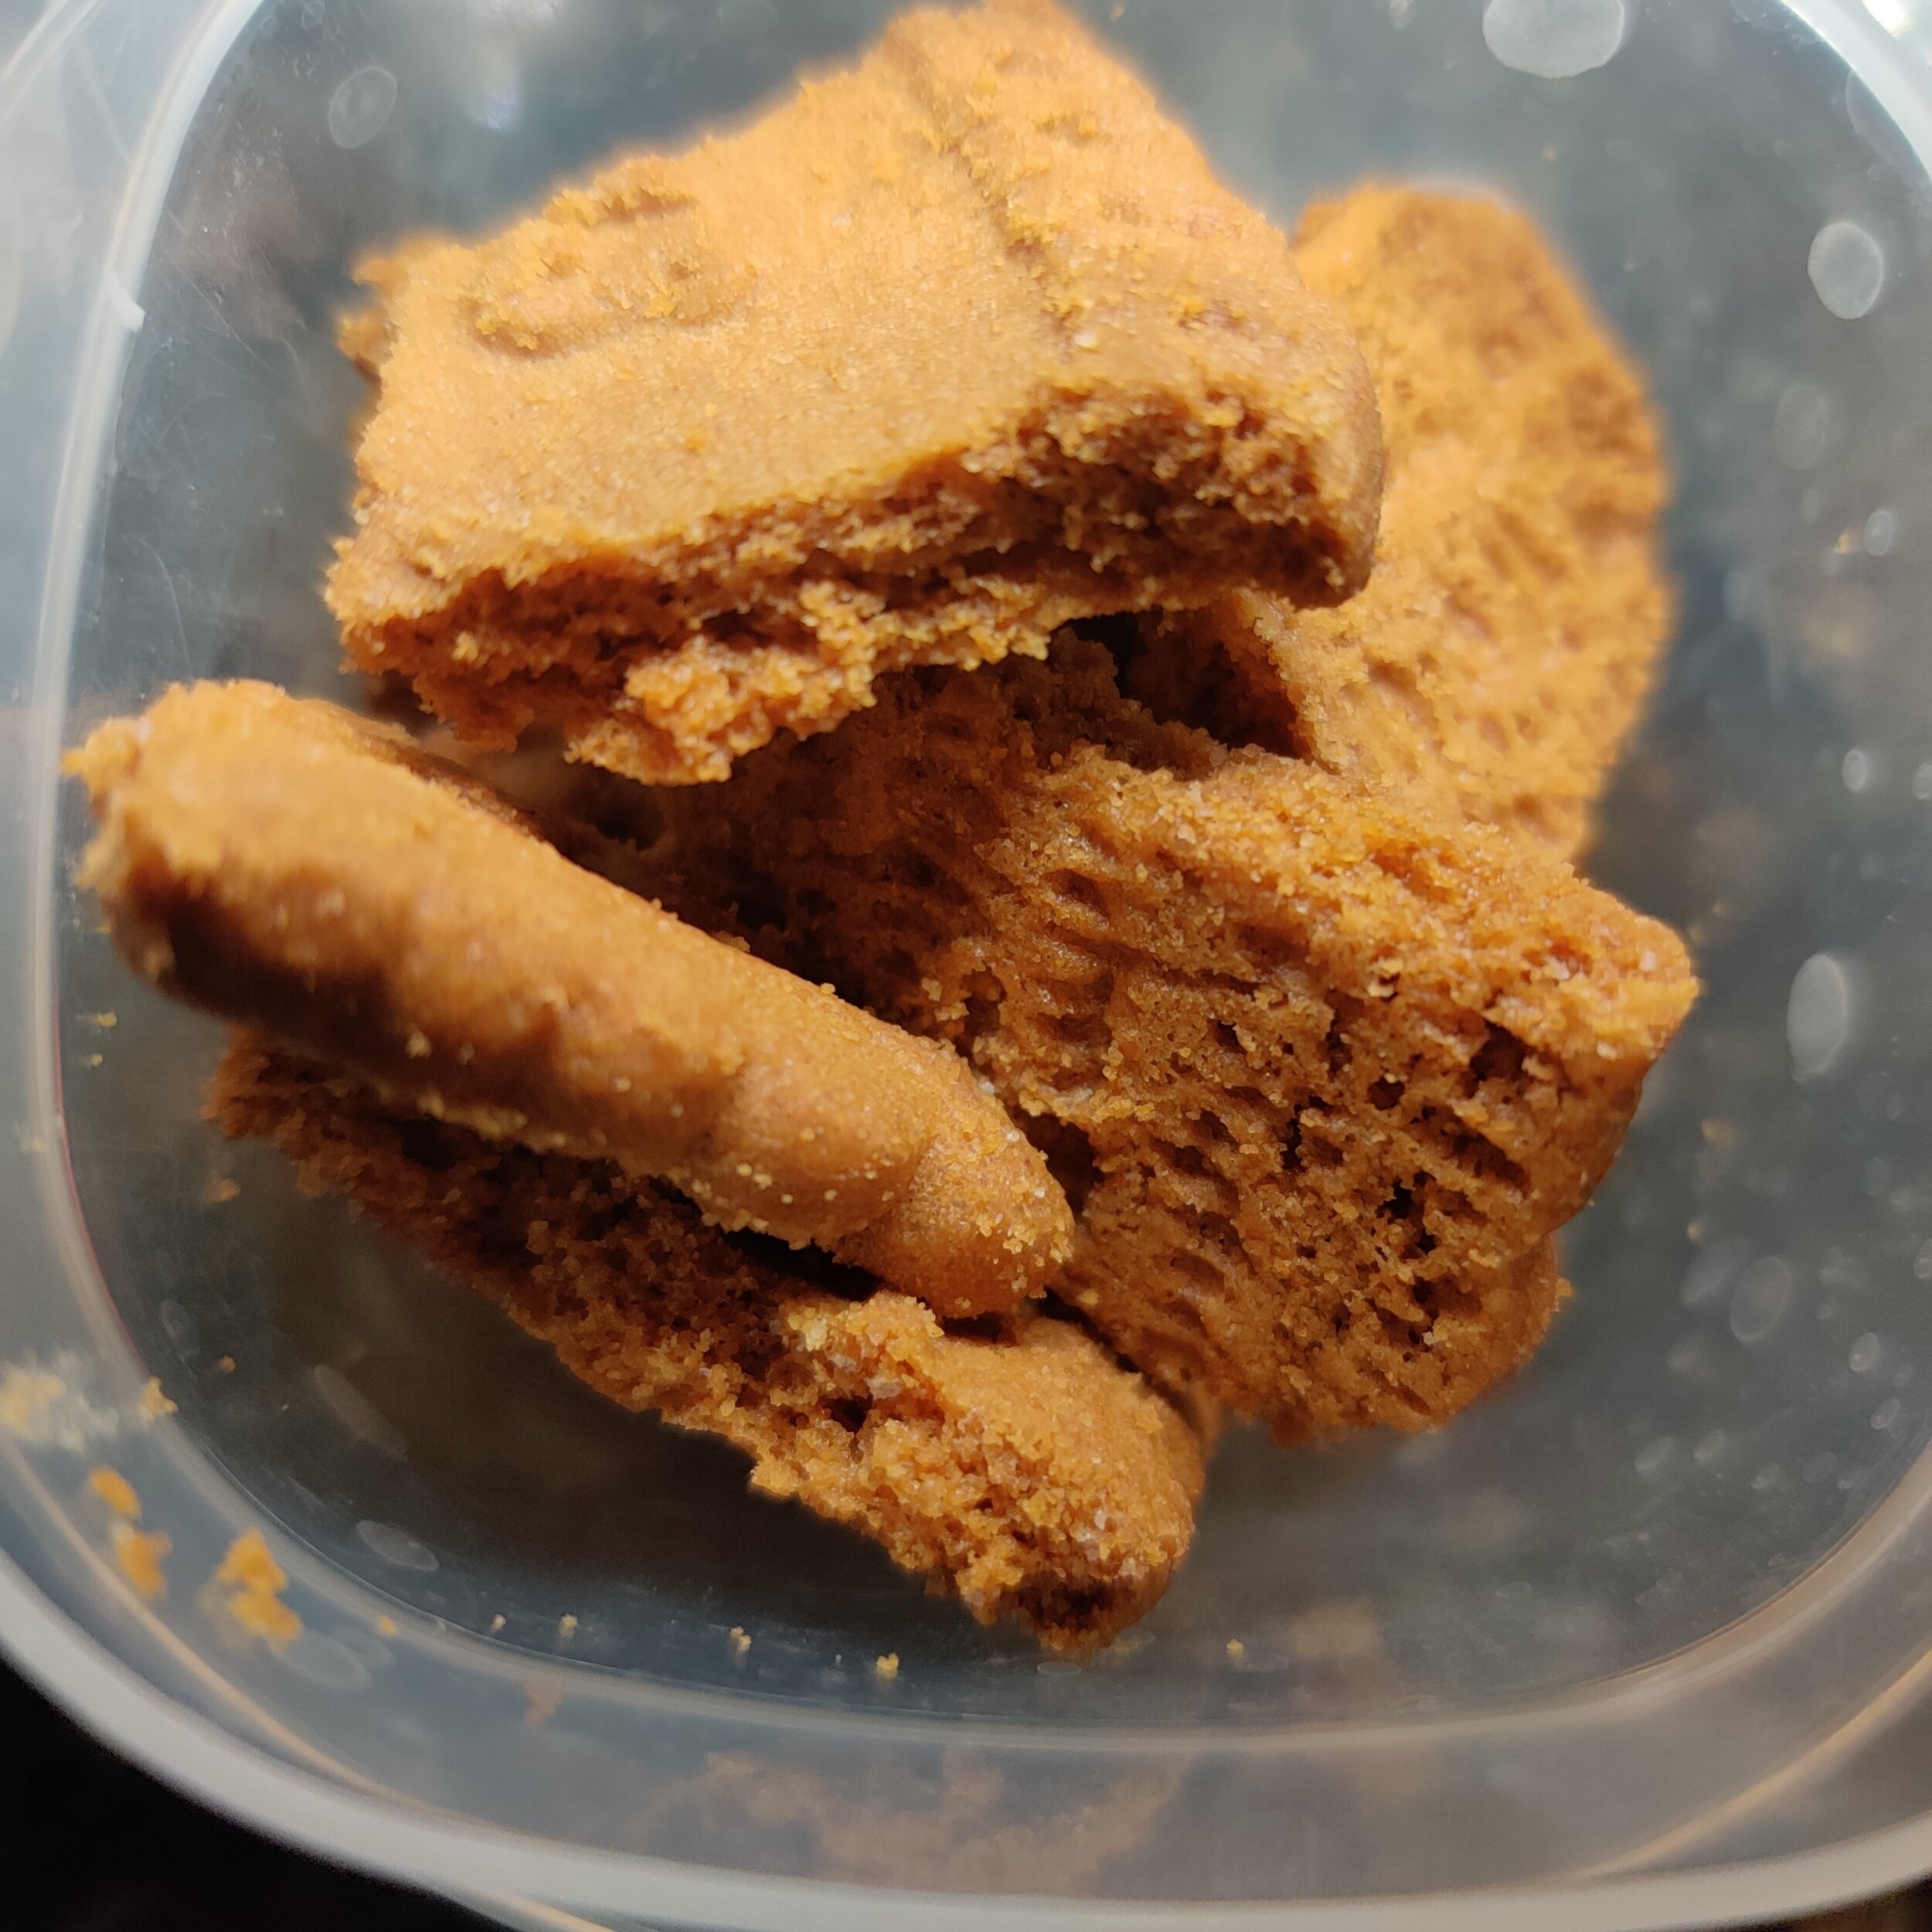
Glazed Pecan and Biscoff Scones
Scones. Who doesn't love them? Not sure if I should thank the Irish or the British, but at this point, they belong to everyone, and I'm here for it.
These baked goods were a mainstay for me growing up -- the traditional plain ones with raisins, finished with an egg wash and circular (unlike the triangles Americans typically serve up). There's nothing like the smell of freshly baked scones served with hot milk tea, clotted cream and jam when called for. I also can't imagine the 'perfect brunch' without them either.
I combined two flavours that pair well for texture and taste for this recipe - pecans and Biscoff, aka cookie butter (well, in this case, the cookies themselves too)! Pecans have a subtle, buttery taste which makes them a seamless addition to most baked goods, but you can also make them sing. As for the biscuits, the spicy undertones of cloves, cinnamon and nutmeg, and notes of caramel, are always a treat. Note: when pulsing these ingredients, make them as coarse (or fine) as you like.
Scones are not as difficult to make as people might believe, ideal not just for brunch but also for a light breakfast or afternoon break.
Watch the video below for a step-by-step to see just how simple it is to make them, and you'll regularly have fresh scones in your home!

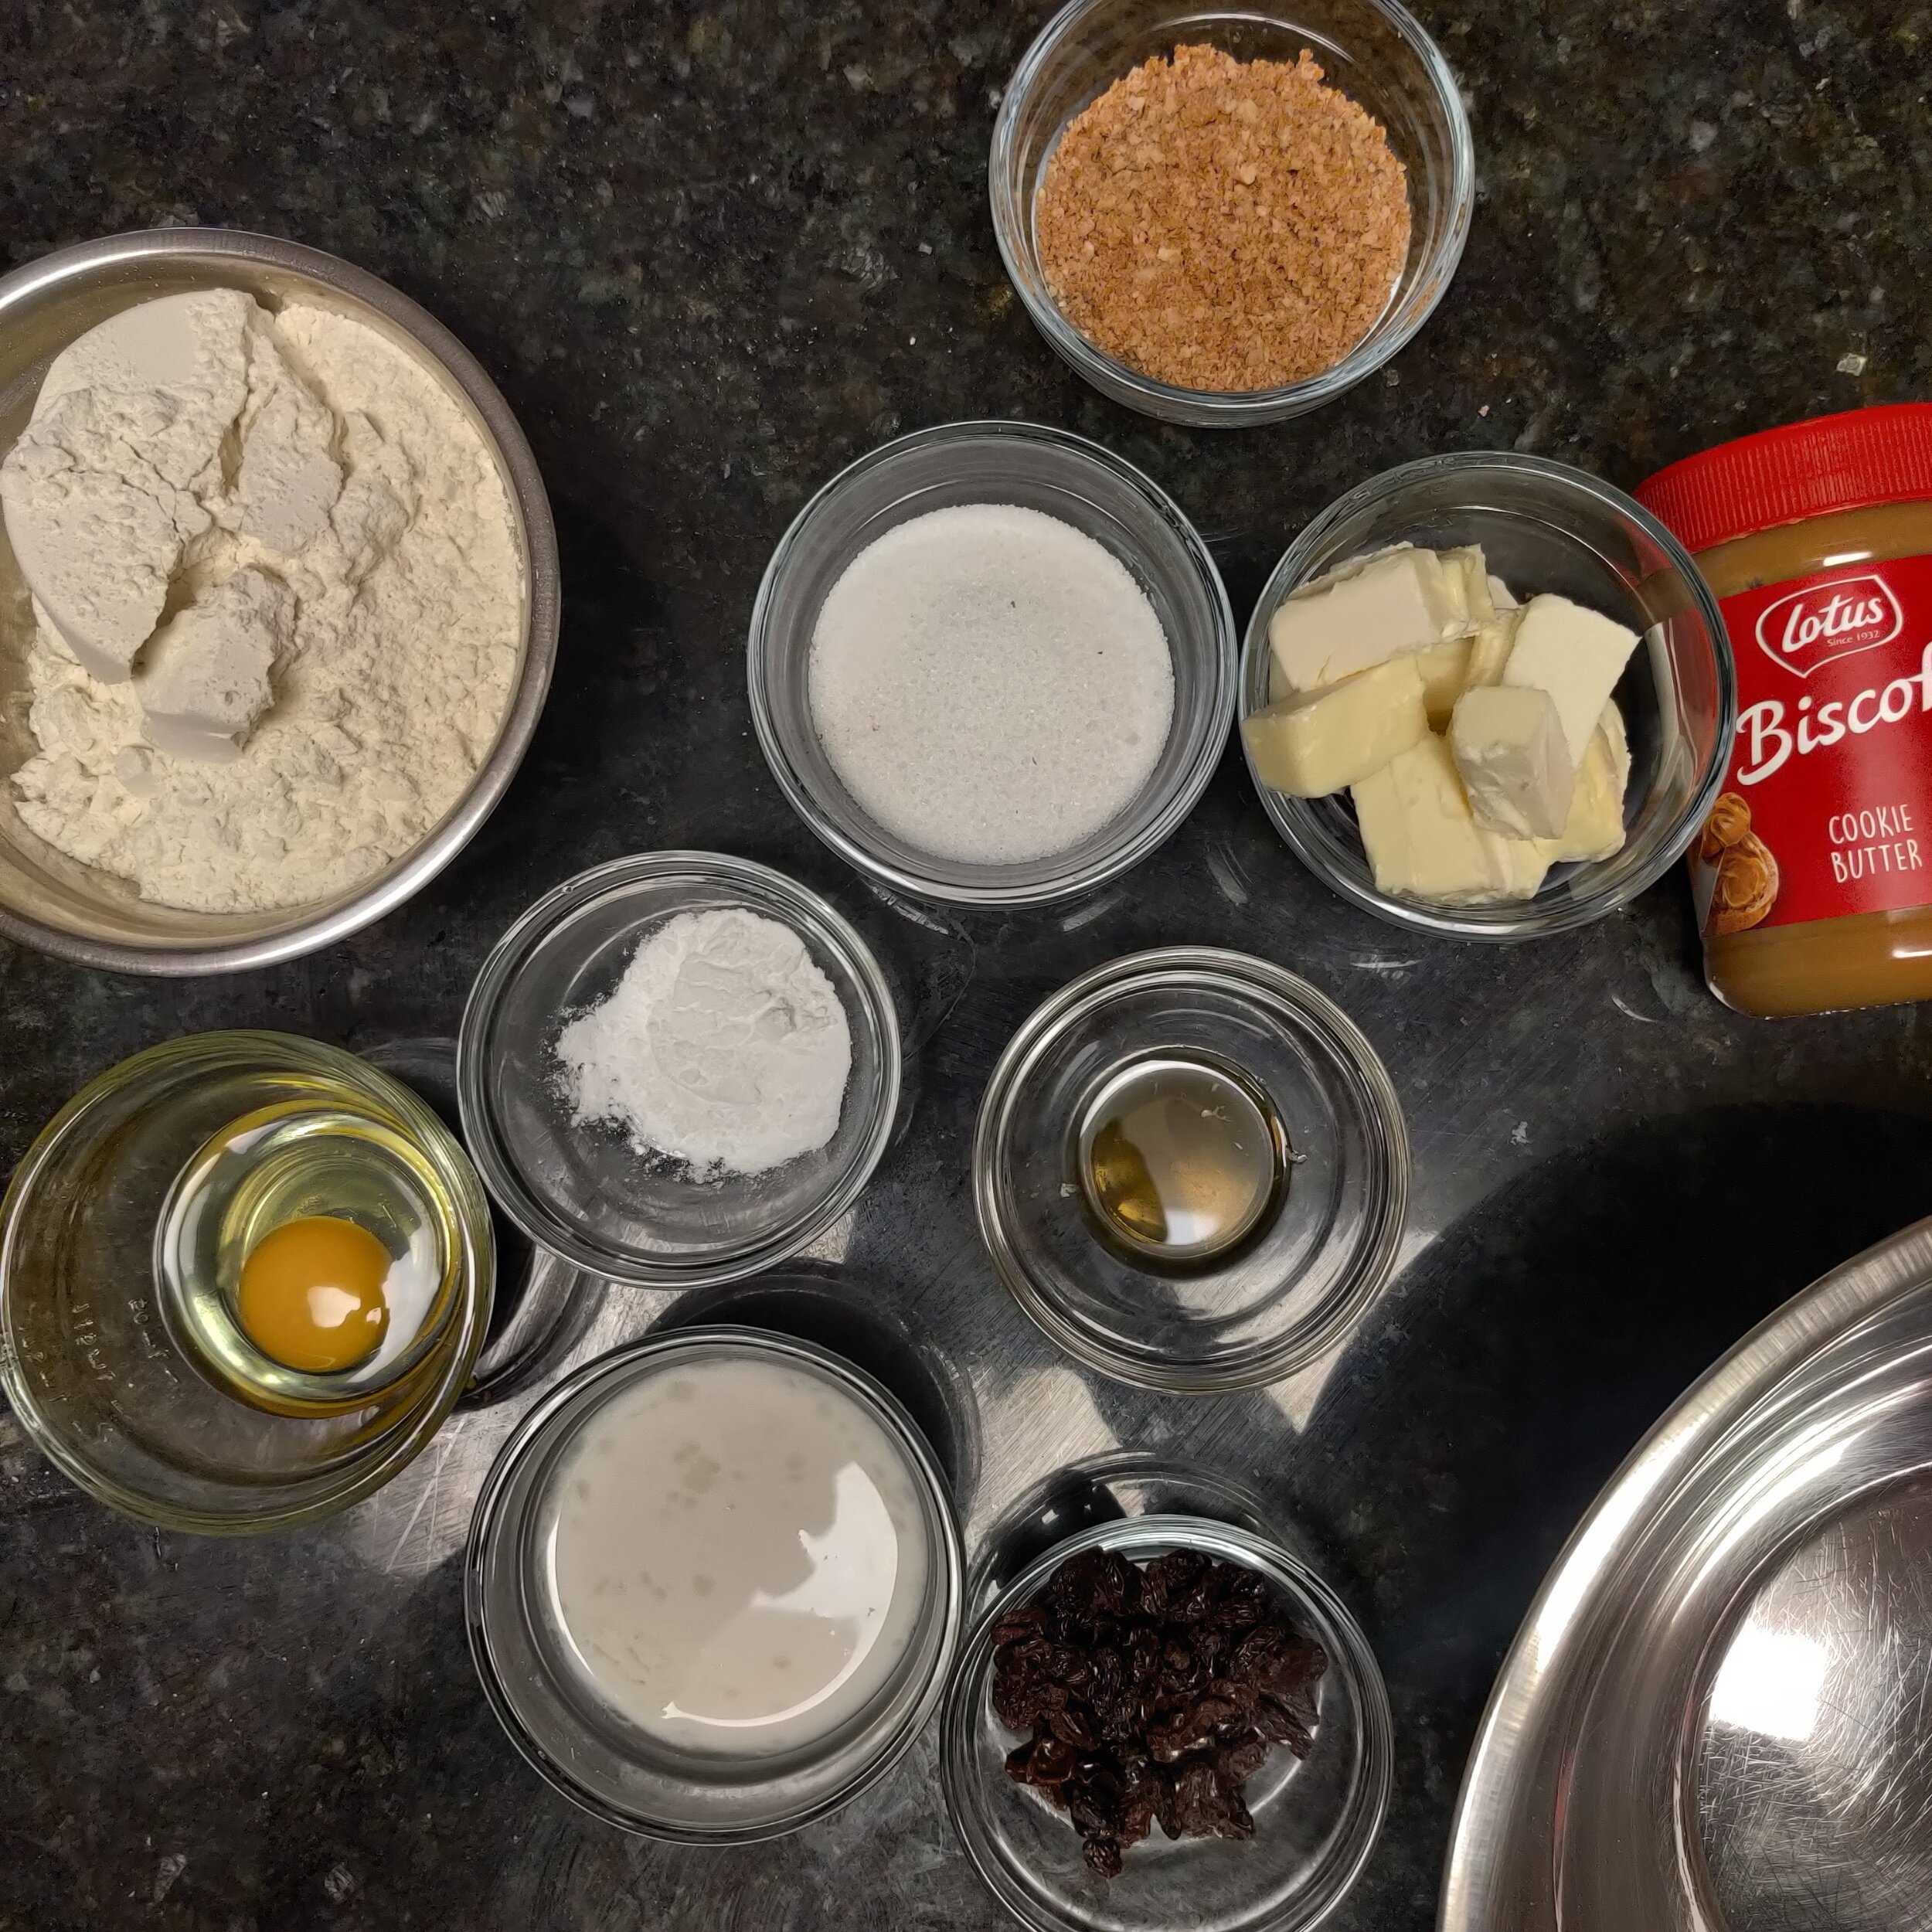
Ingredients
2 1/4 cups all-purpose flour + a little extra for dusting
1/2 cup granulated sugar
1/2 cup cold butter, cubed (I used plant-based) or coconut oil
1/2 cup almond milk + 1 teaspoon lemon juice (or buttermilk)
1 teaspoon vanilla extract
1/2 teaspoon salt
1 tablespoon baking powder
10 Biscoff biscuits
1/4 cup Biscoff cookie butter (for the glaze)
1/4 cup raisins
Handful of pecans
1 egg
Instructions
If you are not using regular buttermilk, add the lemon juice to the almond milk and set it aside to curdle.
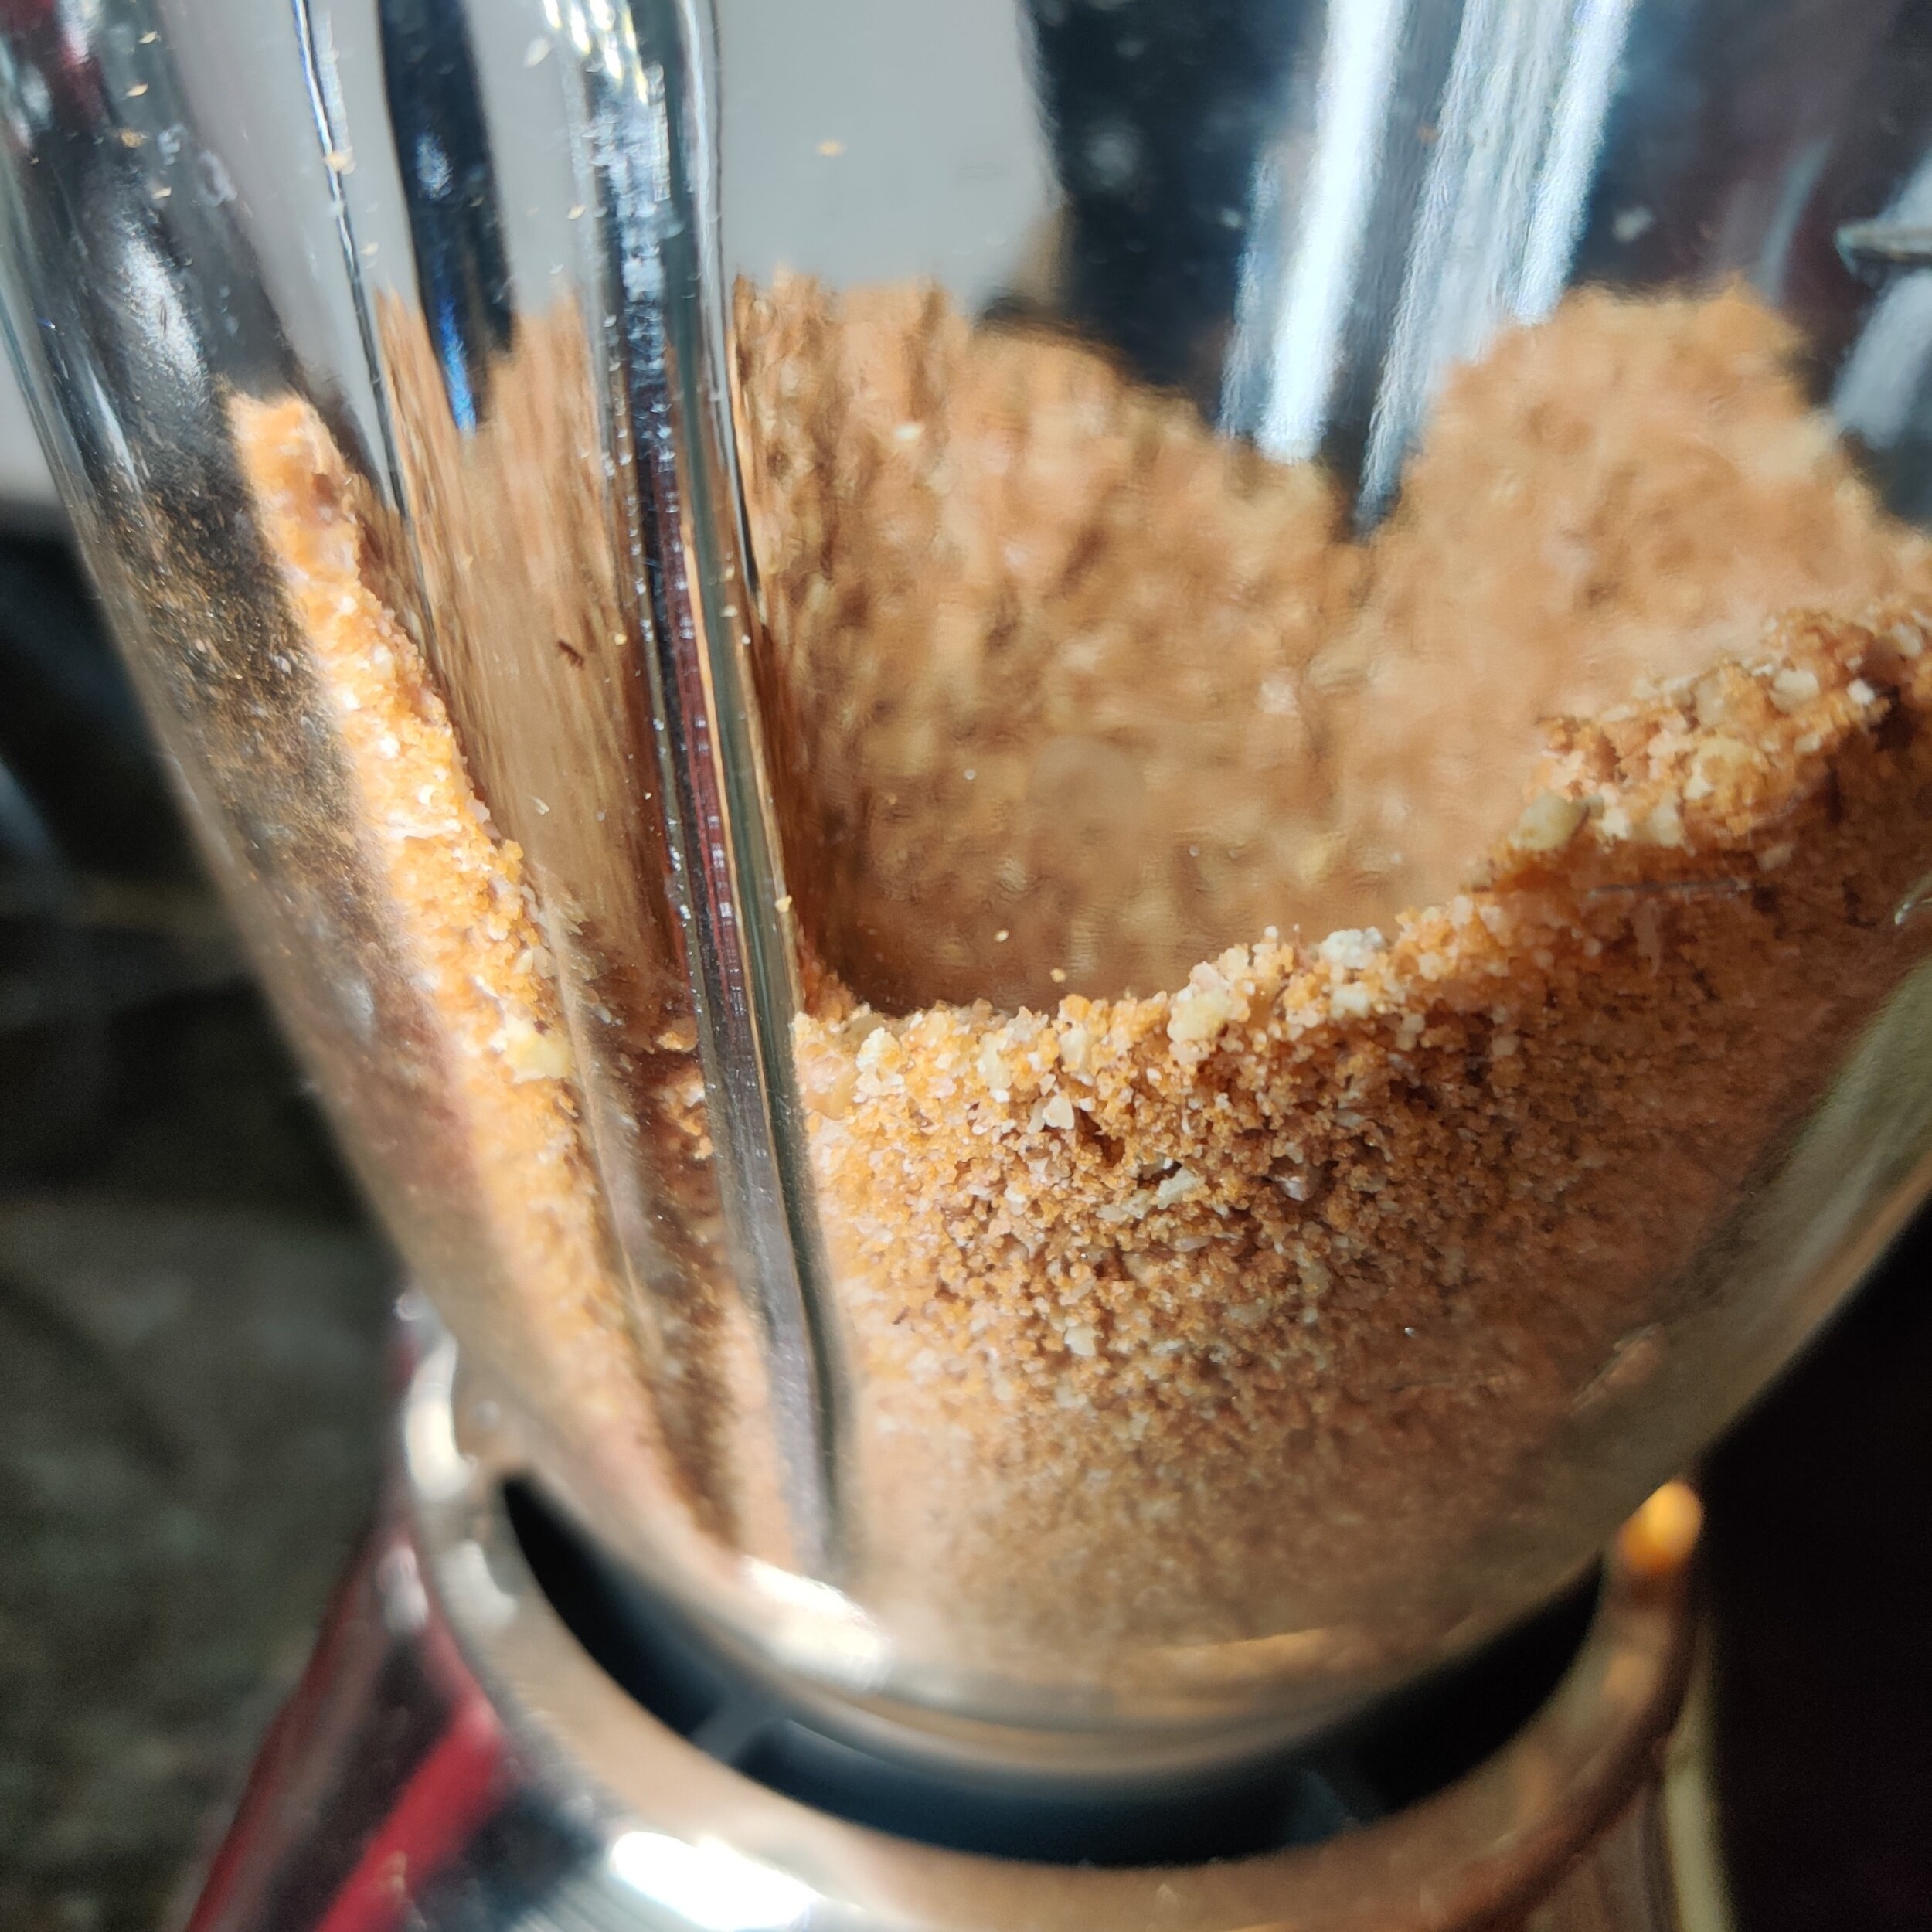
Next, add the pecan nuts and cookies to a food processor or blender, and pulse to your desired consistency.
In a large bowl, whisk the flour, baking powder, salt, and blitzed pecans and Biscoff cookies until evenly mixed.
Add the cold butter, and use a pastry knife or two sharp knives to chop the butter into the flour mix. Finish off with your fingers until it resembles bread crumbs.
Add the raisins and the egg, mix evenly into the dry batter.
Follow this with buttermilk, and mix with a spatula into soft dough forms.
Transfer to a floured surface and knead for about 2-3 minutes, shaping into a round dome. (If you find the dough too soft and sticky, use the kneading process to add a bit more but not too much to avoid dry and rough scones).
Using a kitchen scraper or sharp knife, slice the dough into eight pieces. Try to make them as even as possible. You may need to dust it with flour to prevent it from sticking.
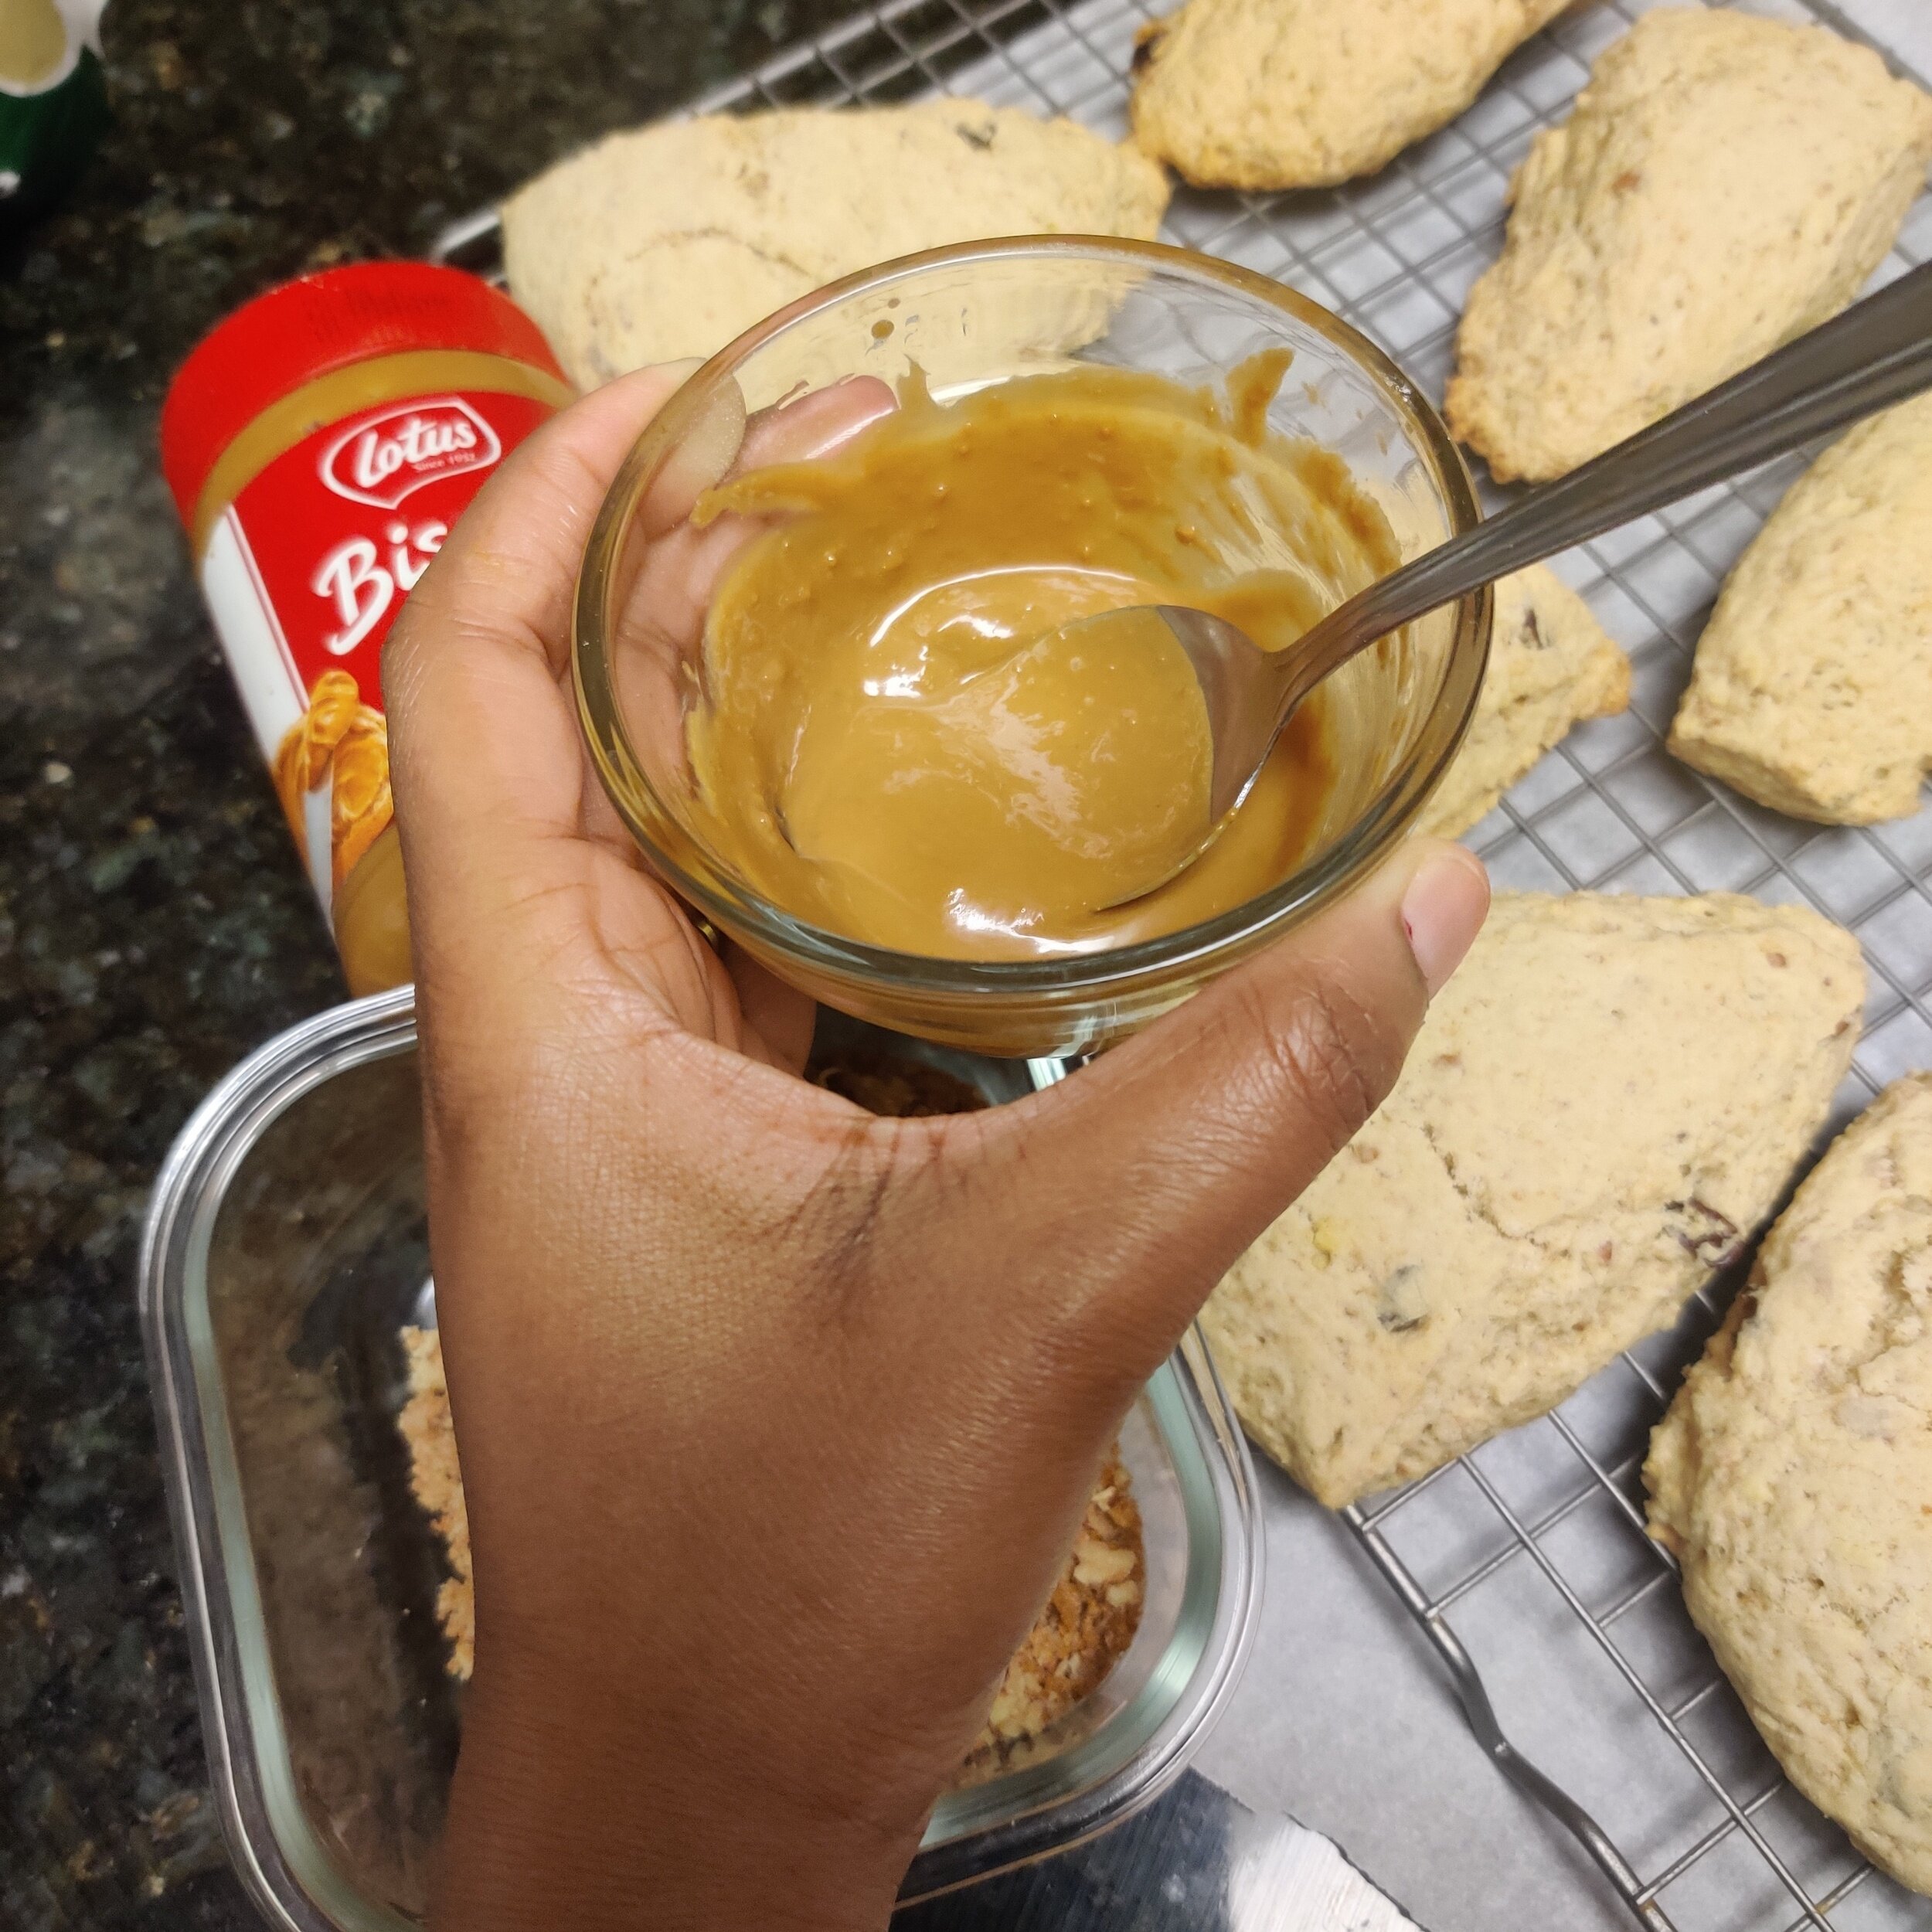
Bake at 350F for 22 minutes, then remove from oven and set aside to cool.
Melt the cookie butter in a microwave-proof container for about 30 seconds, then use a spoon to glaze the scones.
Serve with tea and clotted cream!


Sticky Toffee Date Pudding
This recipe is part of a two-part 3-course meal menu. Start with this Creamy Tomato Beet Soup., followed by an Eggplant Lasagna with Mushroom Ragu, served with a Kale and Brussels Sprouts Salad.
I've made a pudding similar to this, which has become a South African quintessential dessert - Malva Pudding with Rum Sauce. Sticky toffee date pudding is the English or Australian version, a cake made from flour, eggs, sugar, butter and well, of course, dates!
What makes this dessert is the moist texture of the cake and the sauces you serve it with since it acts like a sponge. The "sticky" in sticky date pudding gets its name from the creamy brown sugar-based toffee sauce that goes on top.
Sticky toffee pudding is also often served with custard, ice cream, or whipped cream. In this case, like my previous dessert, I used my signature Amarula Custard.
Ingredients
Cake:
1 1/4 cups all-purpose flour
1 1/4 cups dark brown sugar
6 tablespoons butter
3 eggs
2 teaspoons baking powder
3/4 cup or 6-7 ounces dates, pitted (I used Medjool)
1 teaspoon vanilla extract
1 teaspoon baking soda
Toffee sauce:
6 tablespoons dark brown sugar
1/2 cup butter
1/2 cup + 2 tablespoons light brown sugar
1/4 teaspoon salt
1/2 teaspoon vanilla
15-ounce (400ml) can coconut whipping cream
1/2 cup milk (I used plant-based for this)
Instructions
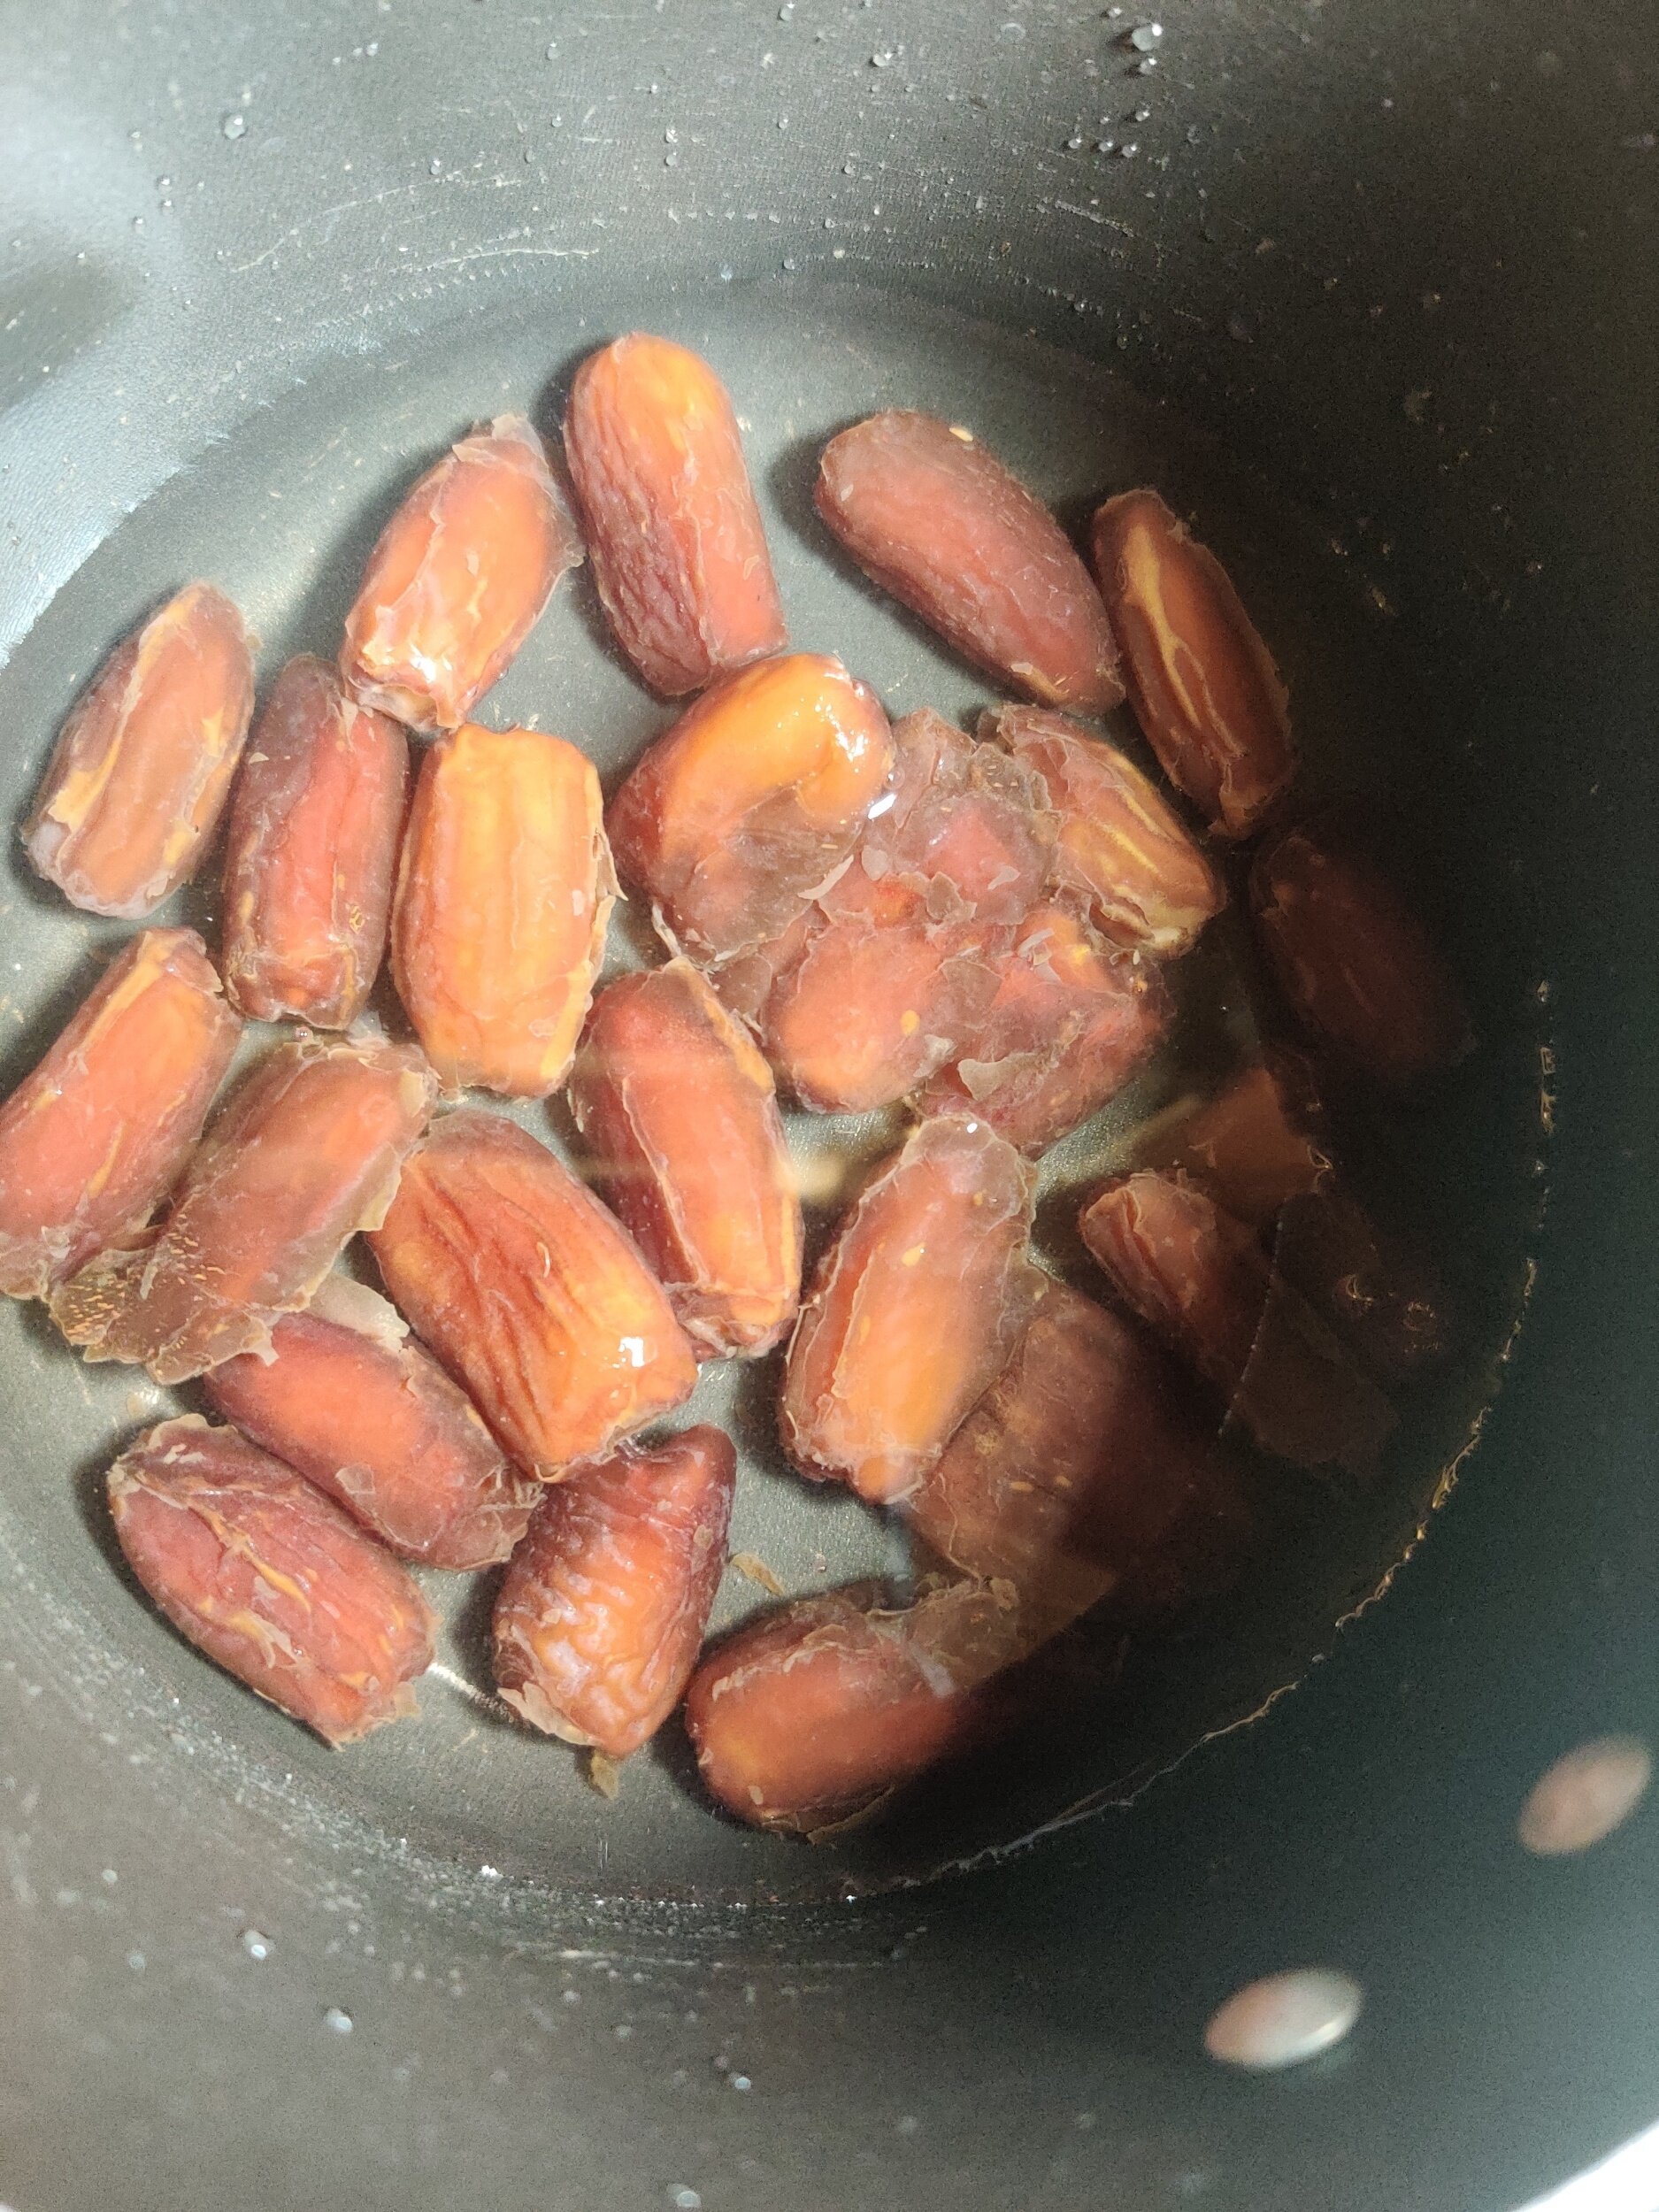
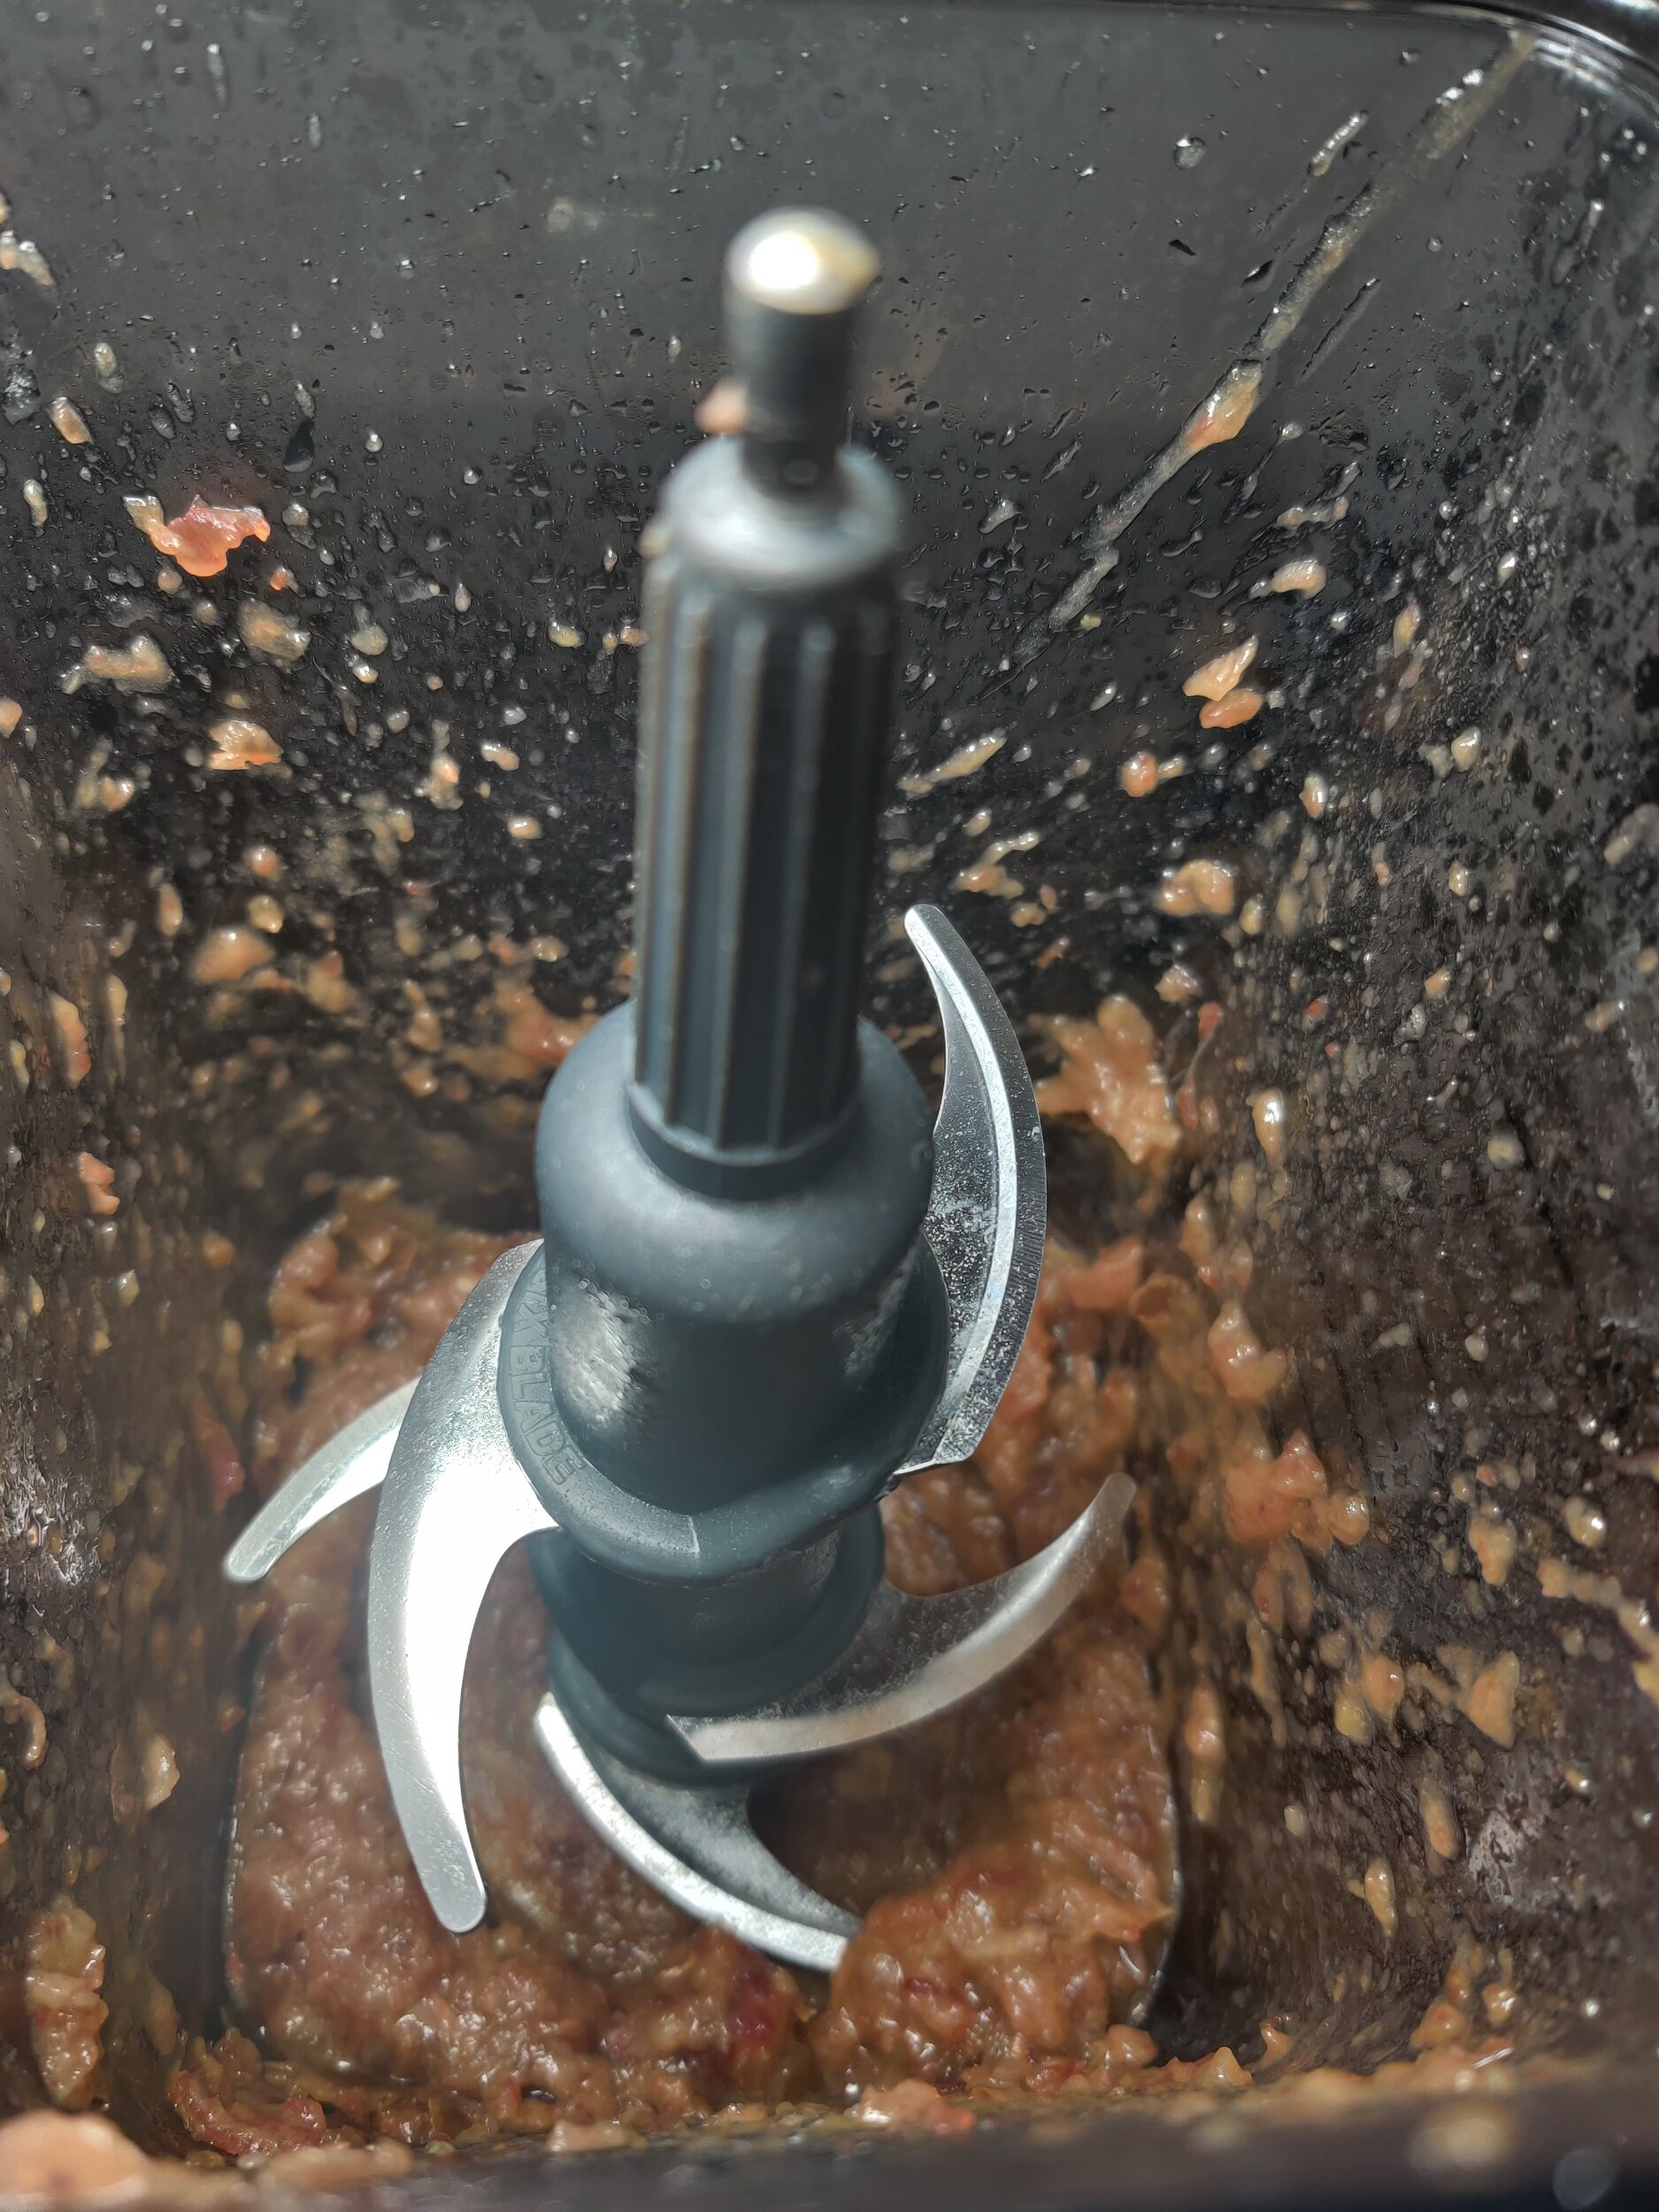
In a small saucepan, submerge and simmer the dates for about 5 minutes or until they begin to break down. Cool, strain, and pulse into a paste in a blender or food processor. Mix with the baking soda and set aside.
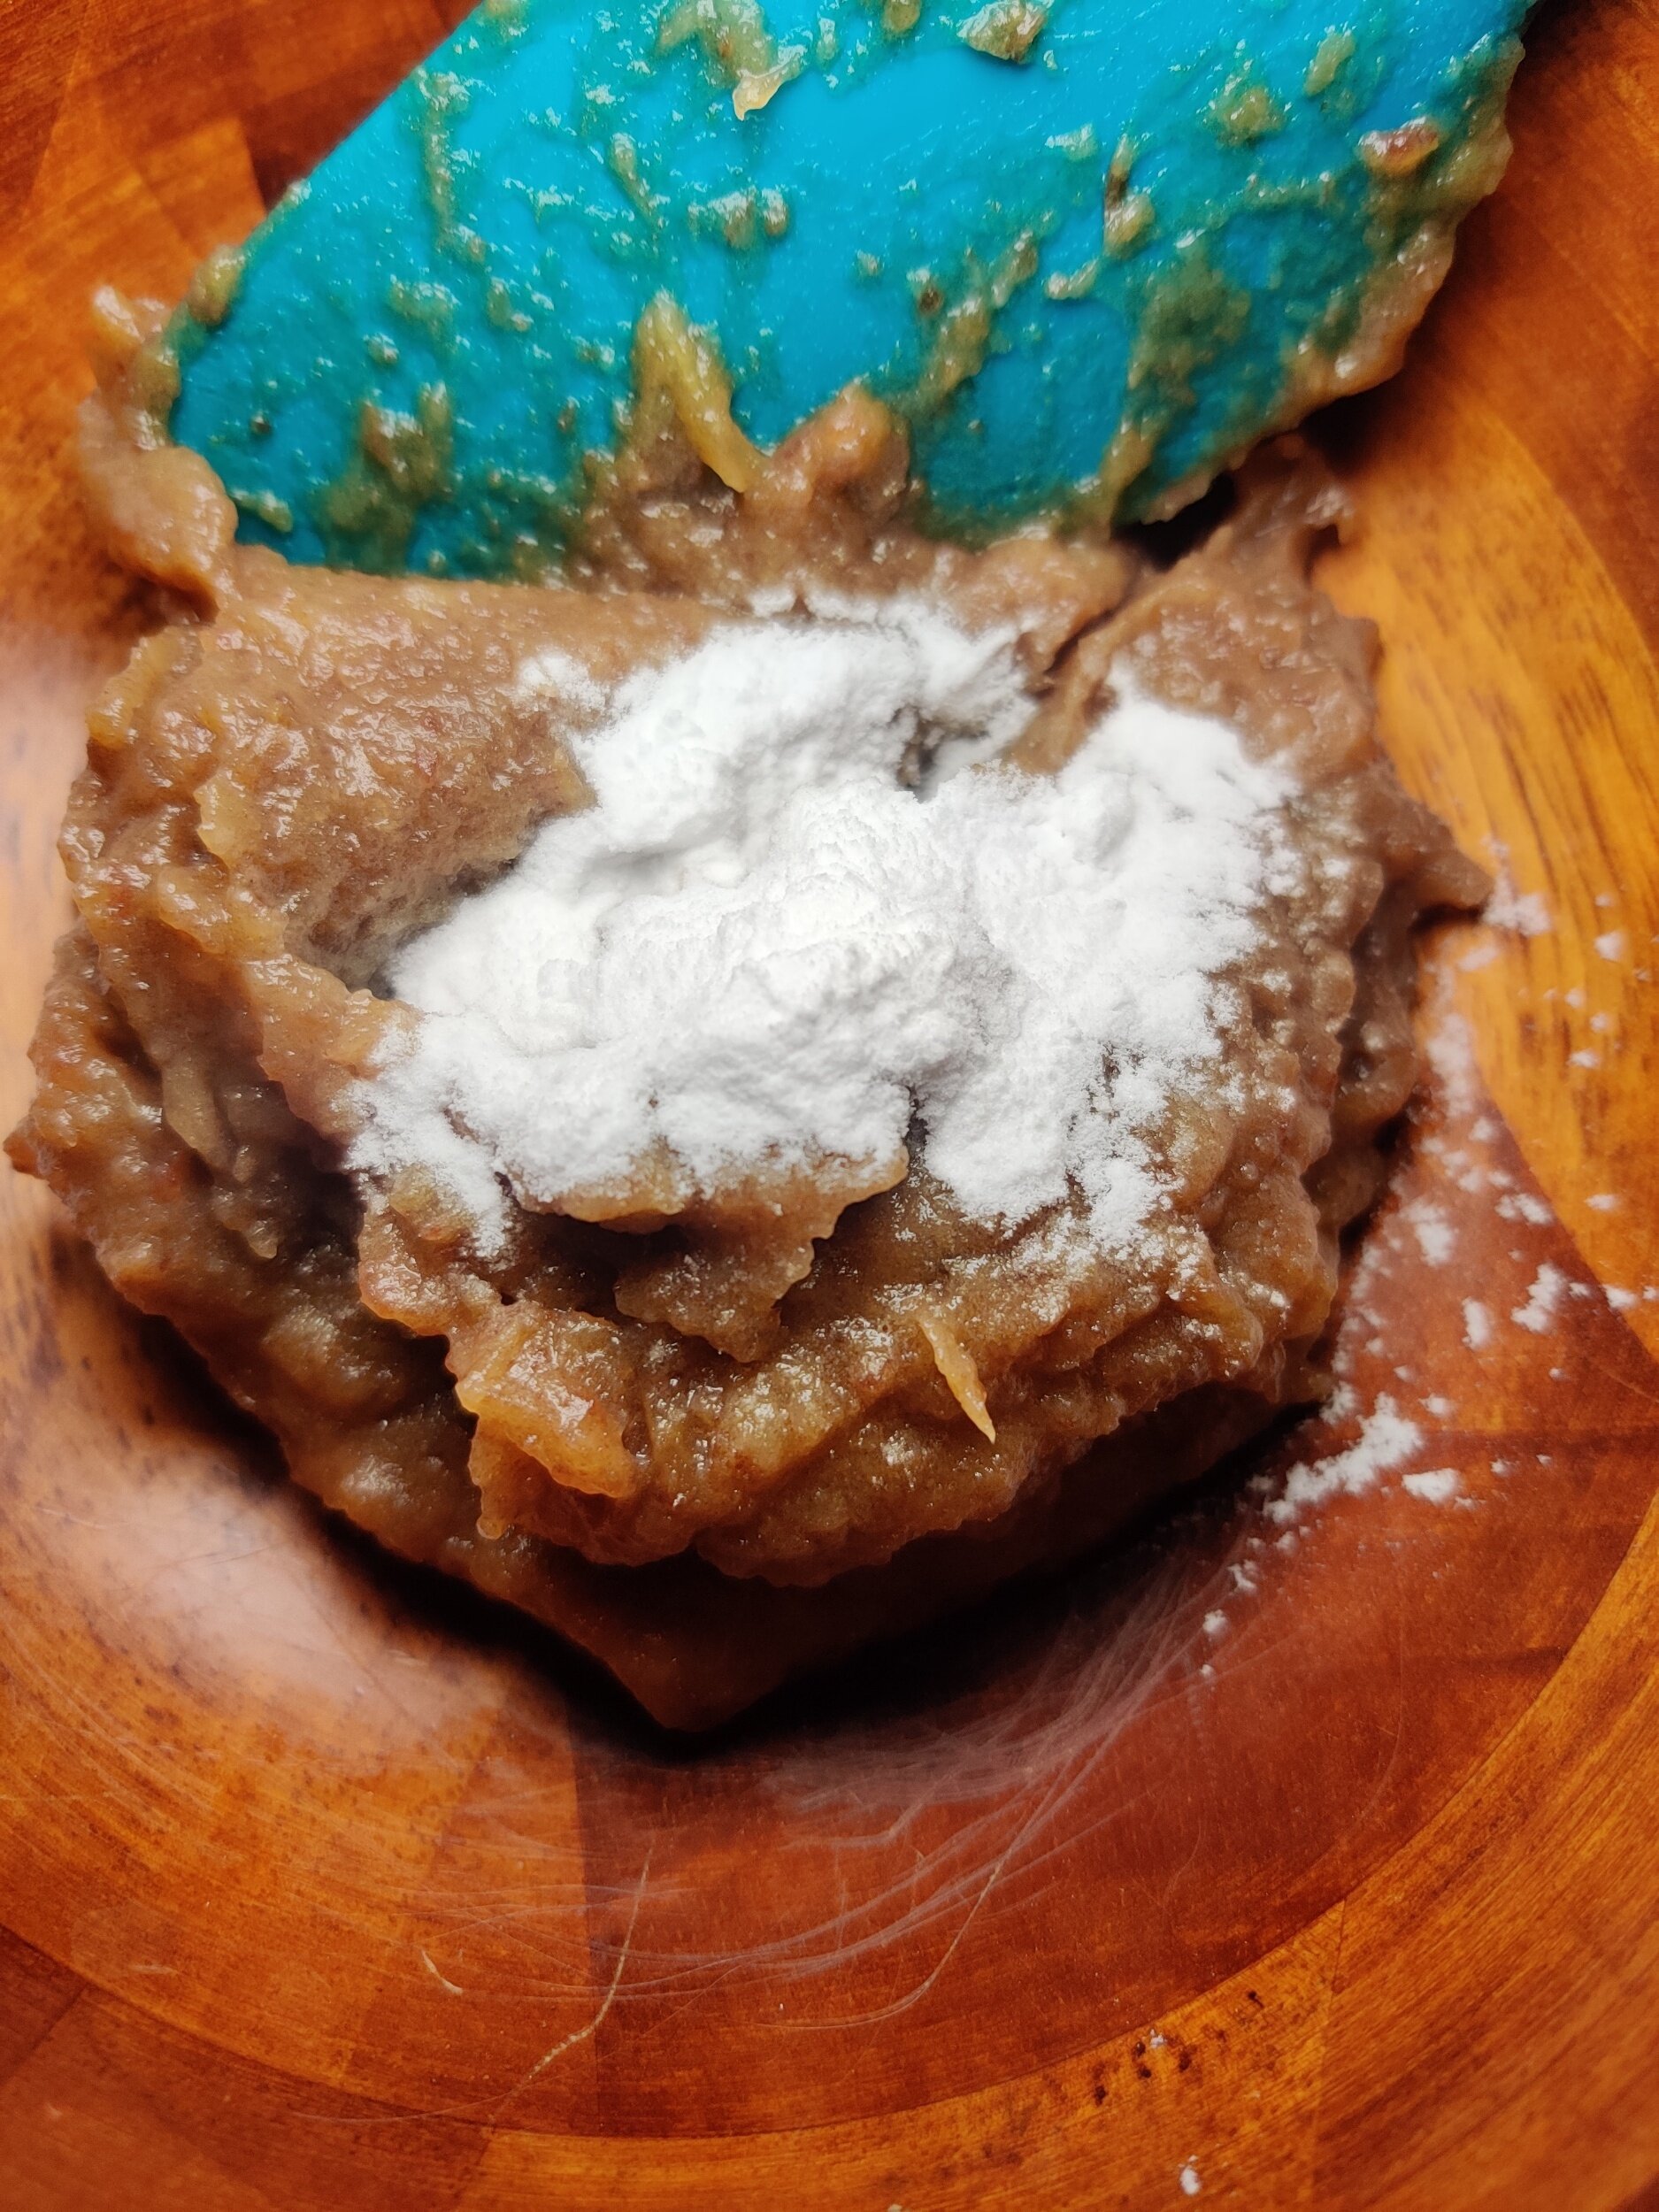
Cream the dark brown sugar and butter with an electric mixer on high speed until fluffy and creamy in a large bowl. Beat in the eggs one at a time, then gently fold in the flour, baking powder, and the date mix - you’ll notice it would have lightened and up a bit and become airy in texture.
Pour the batter into a greased and/or parchment-lined cake tin (I used one 8 inches by 8 inches) and bake at 350F for about 50-60 minutes (depending on your oven). The centre must come out clean with a toothpick or skewer to check the doneness.
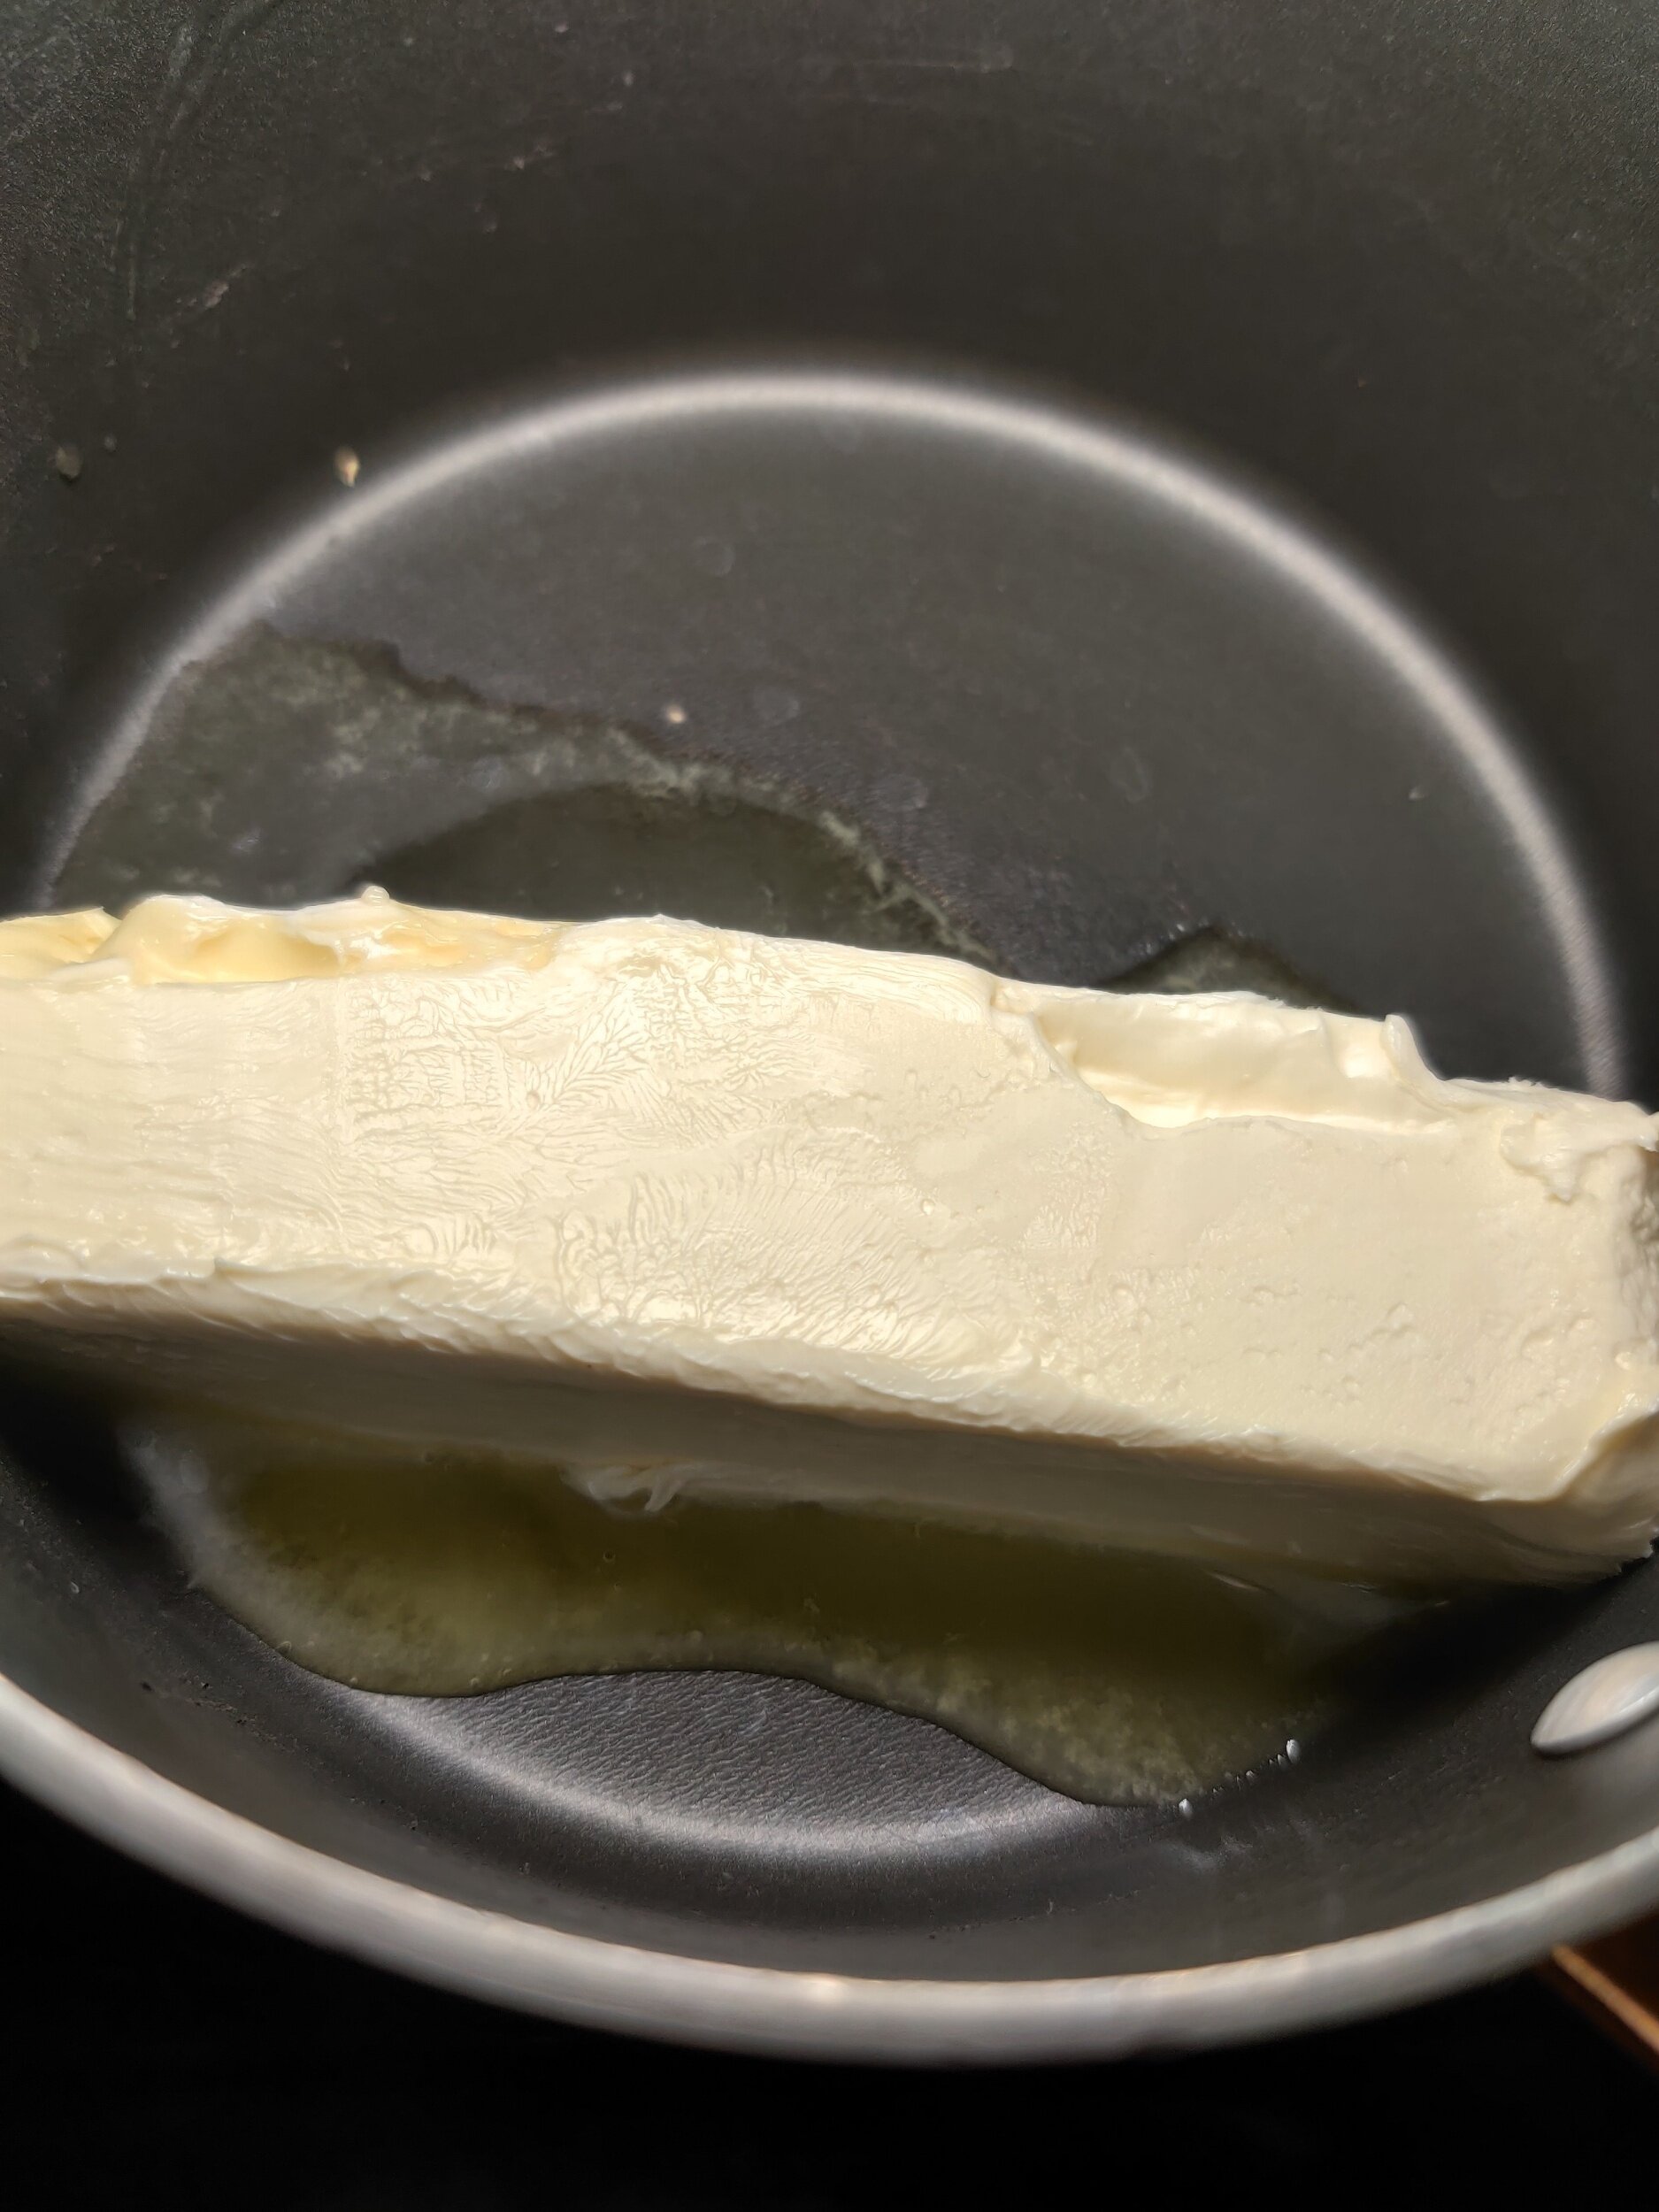
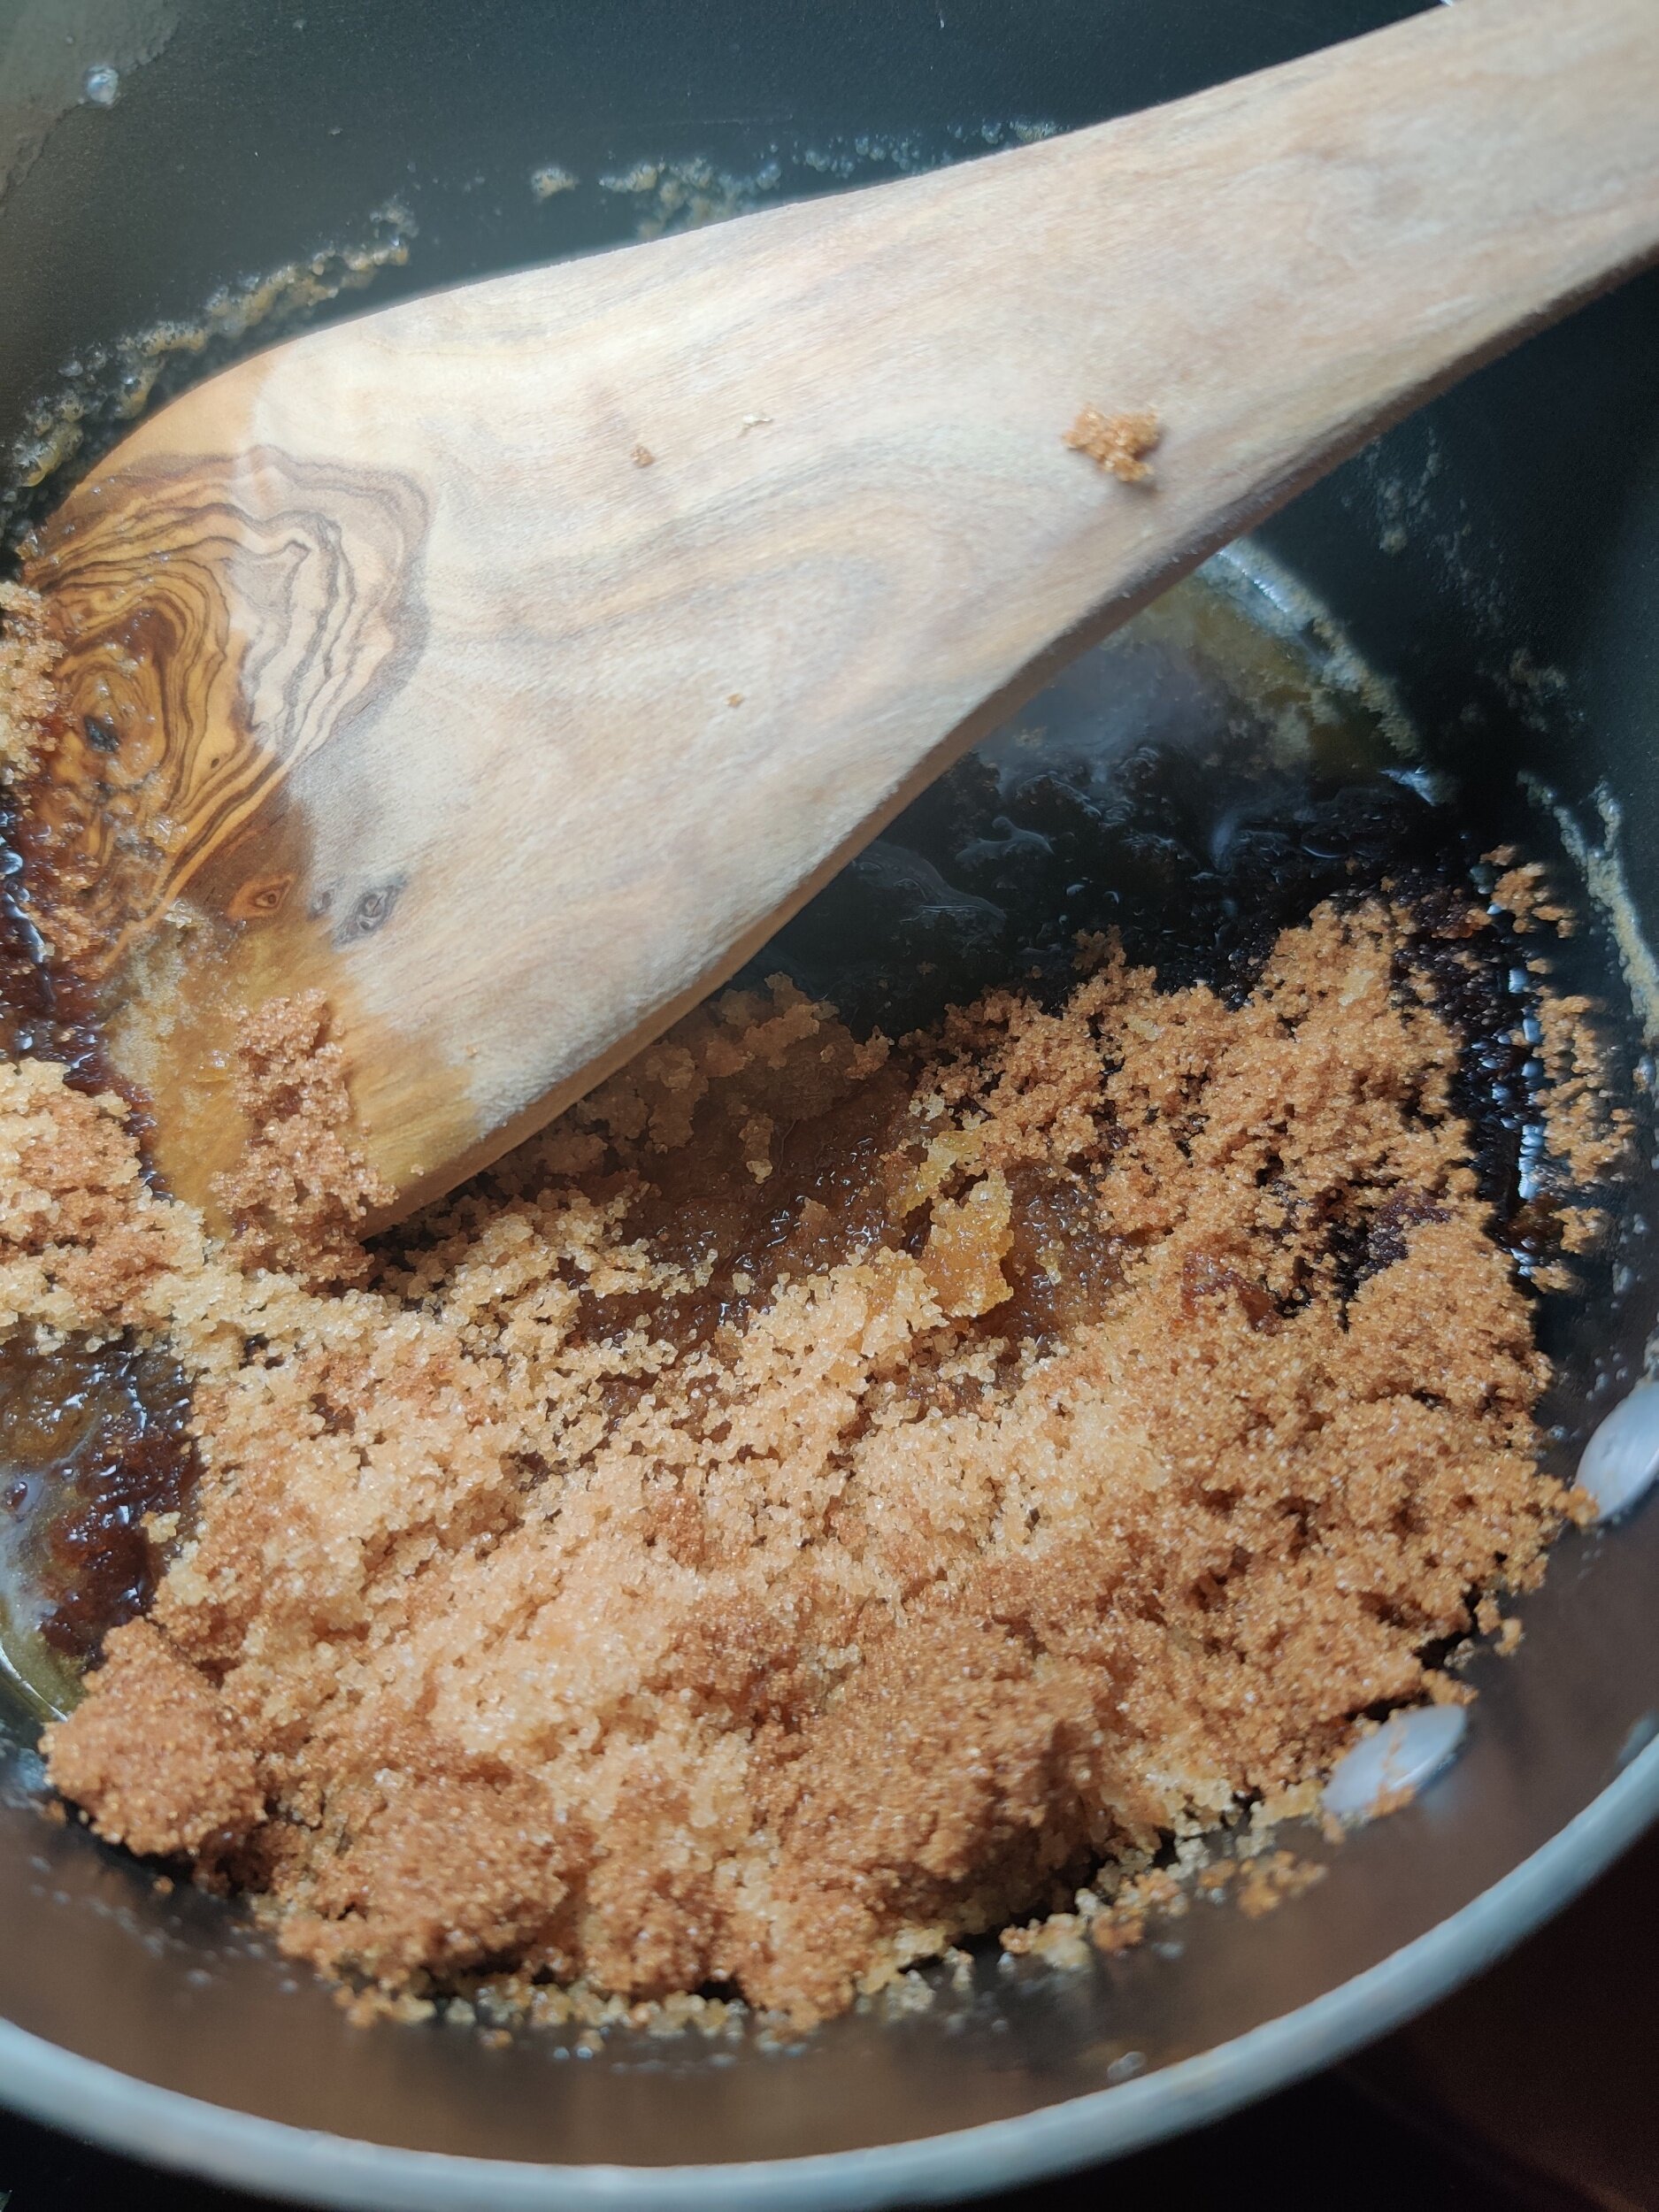
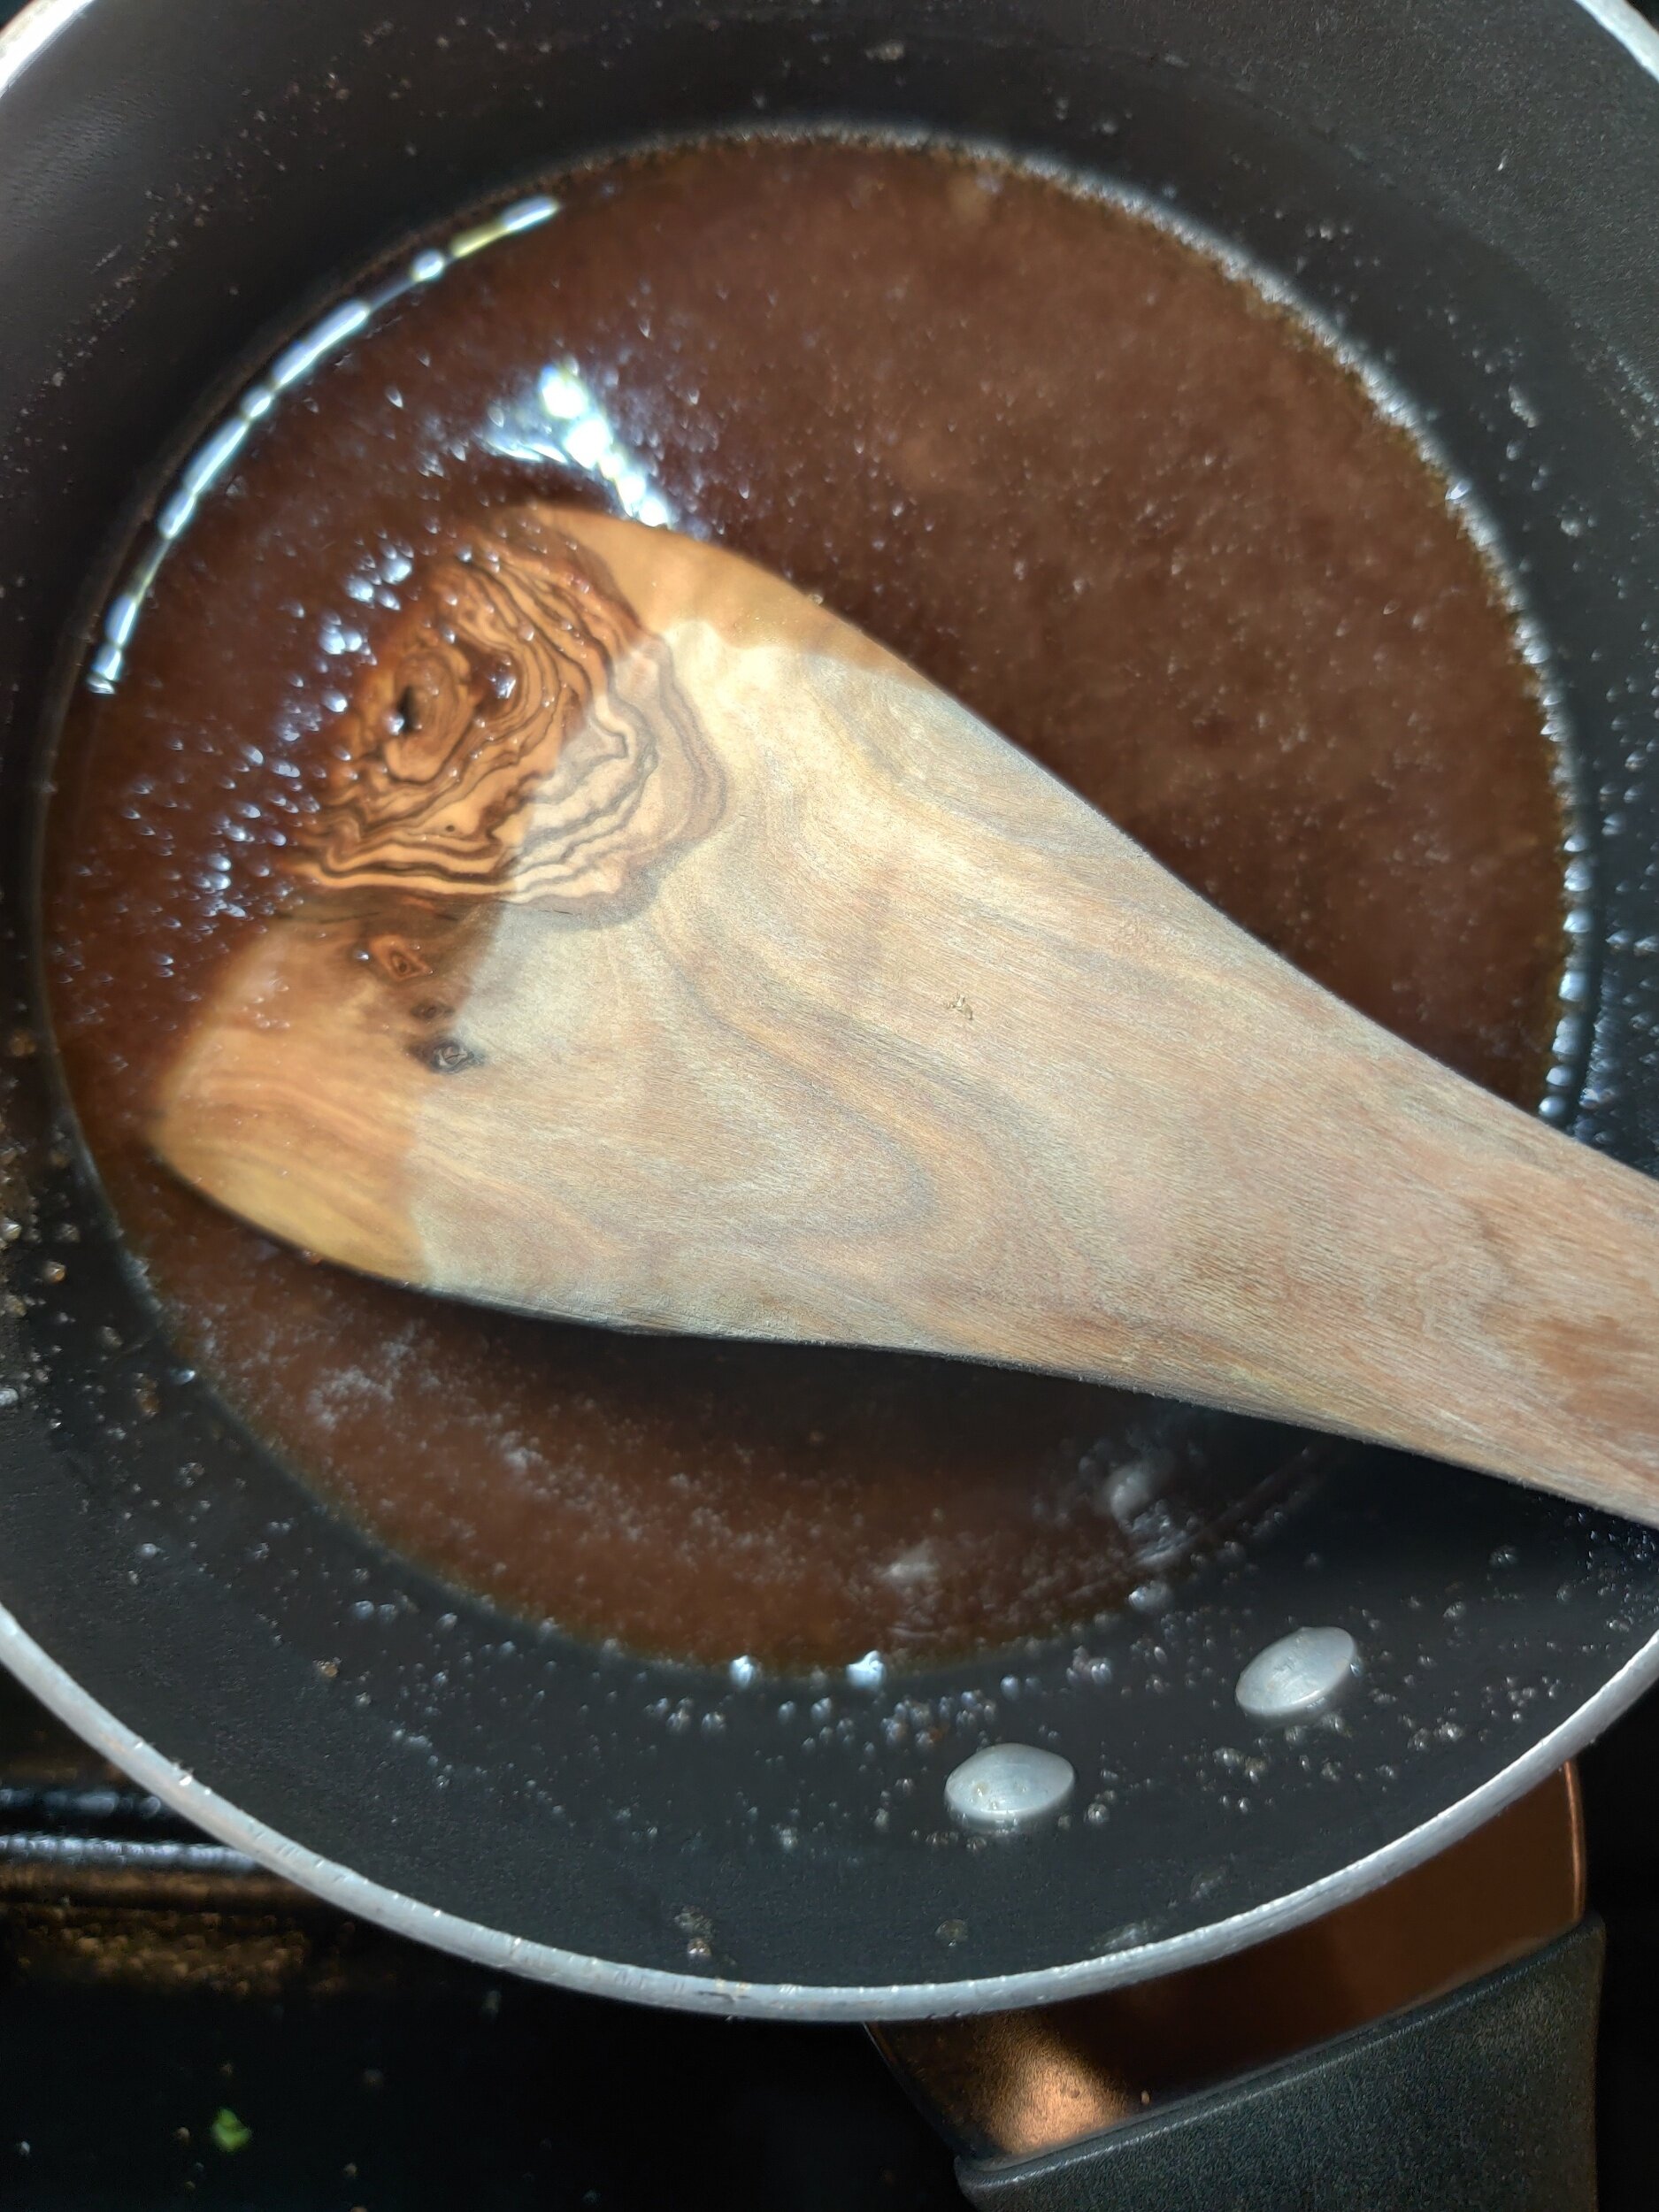
While this is baking, make your toffee sauce. Melt the butter in a saucepan. Add the two sugars and mix until dissolved. Stir in the cream and milk, then simmer for about 3-4 minutes. Remove from heat, and stir in the vanilla, set aside.
If you plan to serve this with custard, at this time, you can make my Amarula Custard.
Once your cake is done, set aside to cool before serving. Cut into squares, then assemble!
For each serving, spoon a bit of the custard in a bowl. Place your date cake on top, then drizzle the toffee sauce on top. Serve hot!
Store each item separately in airtight containers, consume in 3-4 days.
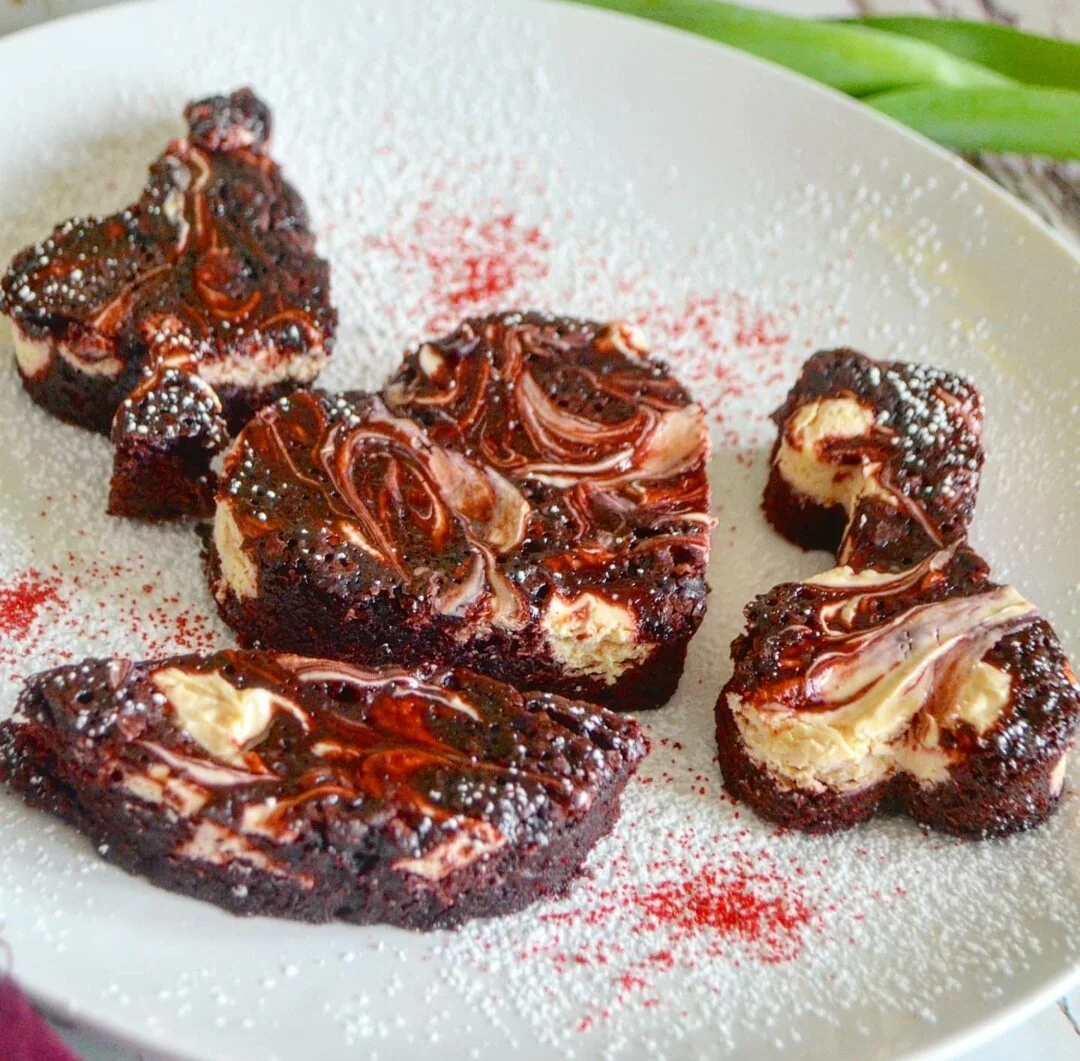
Red Velvet Cream Cheese Swirl Brownies
This recipe is part of a two-part 3-course meal menu. Start with this Avocado and Strawberry Salad, followed by a Roasted Veggie Sheet Pan with Pan Seared Salmon.
Are you a brownie fan? Do you like red velvet? Enjoy the occasional spread of cream cheese? Pairing red velvet and cream cheese is one of the dream teams in the realm of desserts and sweet things.
I have done this numerous times with pumpkin bread, and often favour brownie's' with creamy swirls when I see them in coffees shops. For a social occasion or to treat yourself, you can do it at home!
All you have to do it make your batter and the cream cheese mix - which will add some texture and another flavour element - to your red velvet, chocolate, pumpkin, or whatever goodness you are baking. The cream cheese will also make the brownies moist, which is great for those of us who like our brownies a little sturdy but not dry!
Since these were for a special occasion i.e. Valentine’s’ Day, I used cookie cutter shapes, but you can just cut them into squares once cooled!
Ingredients
3/4 cup all-purpose flour
1/4 cup unsweetened cocoa powder
1/2 teaspoon almond extract
1 1/2 teaspoons vanilla extract
1 cup white granulated sugar
2 eggs
1/2 cup butter
Pinch of salt
Powdered sugar (optional)
Cream cheese mixture:
1 (8-ounce) packet Greek yogurt cream cheese
1 egg yolk
Splash of lemon juice
1/4 cup white granulated sugar
2-3 drops red food coloring
1/4 teaspoon almond extract
1/2 teaspoon vanilla extract
Instructions
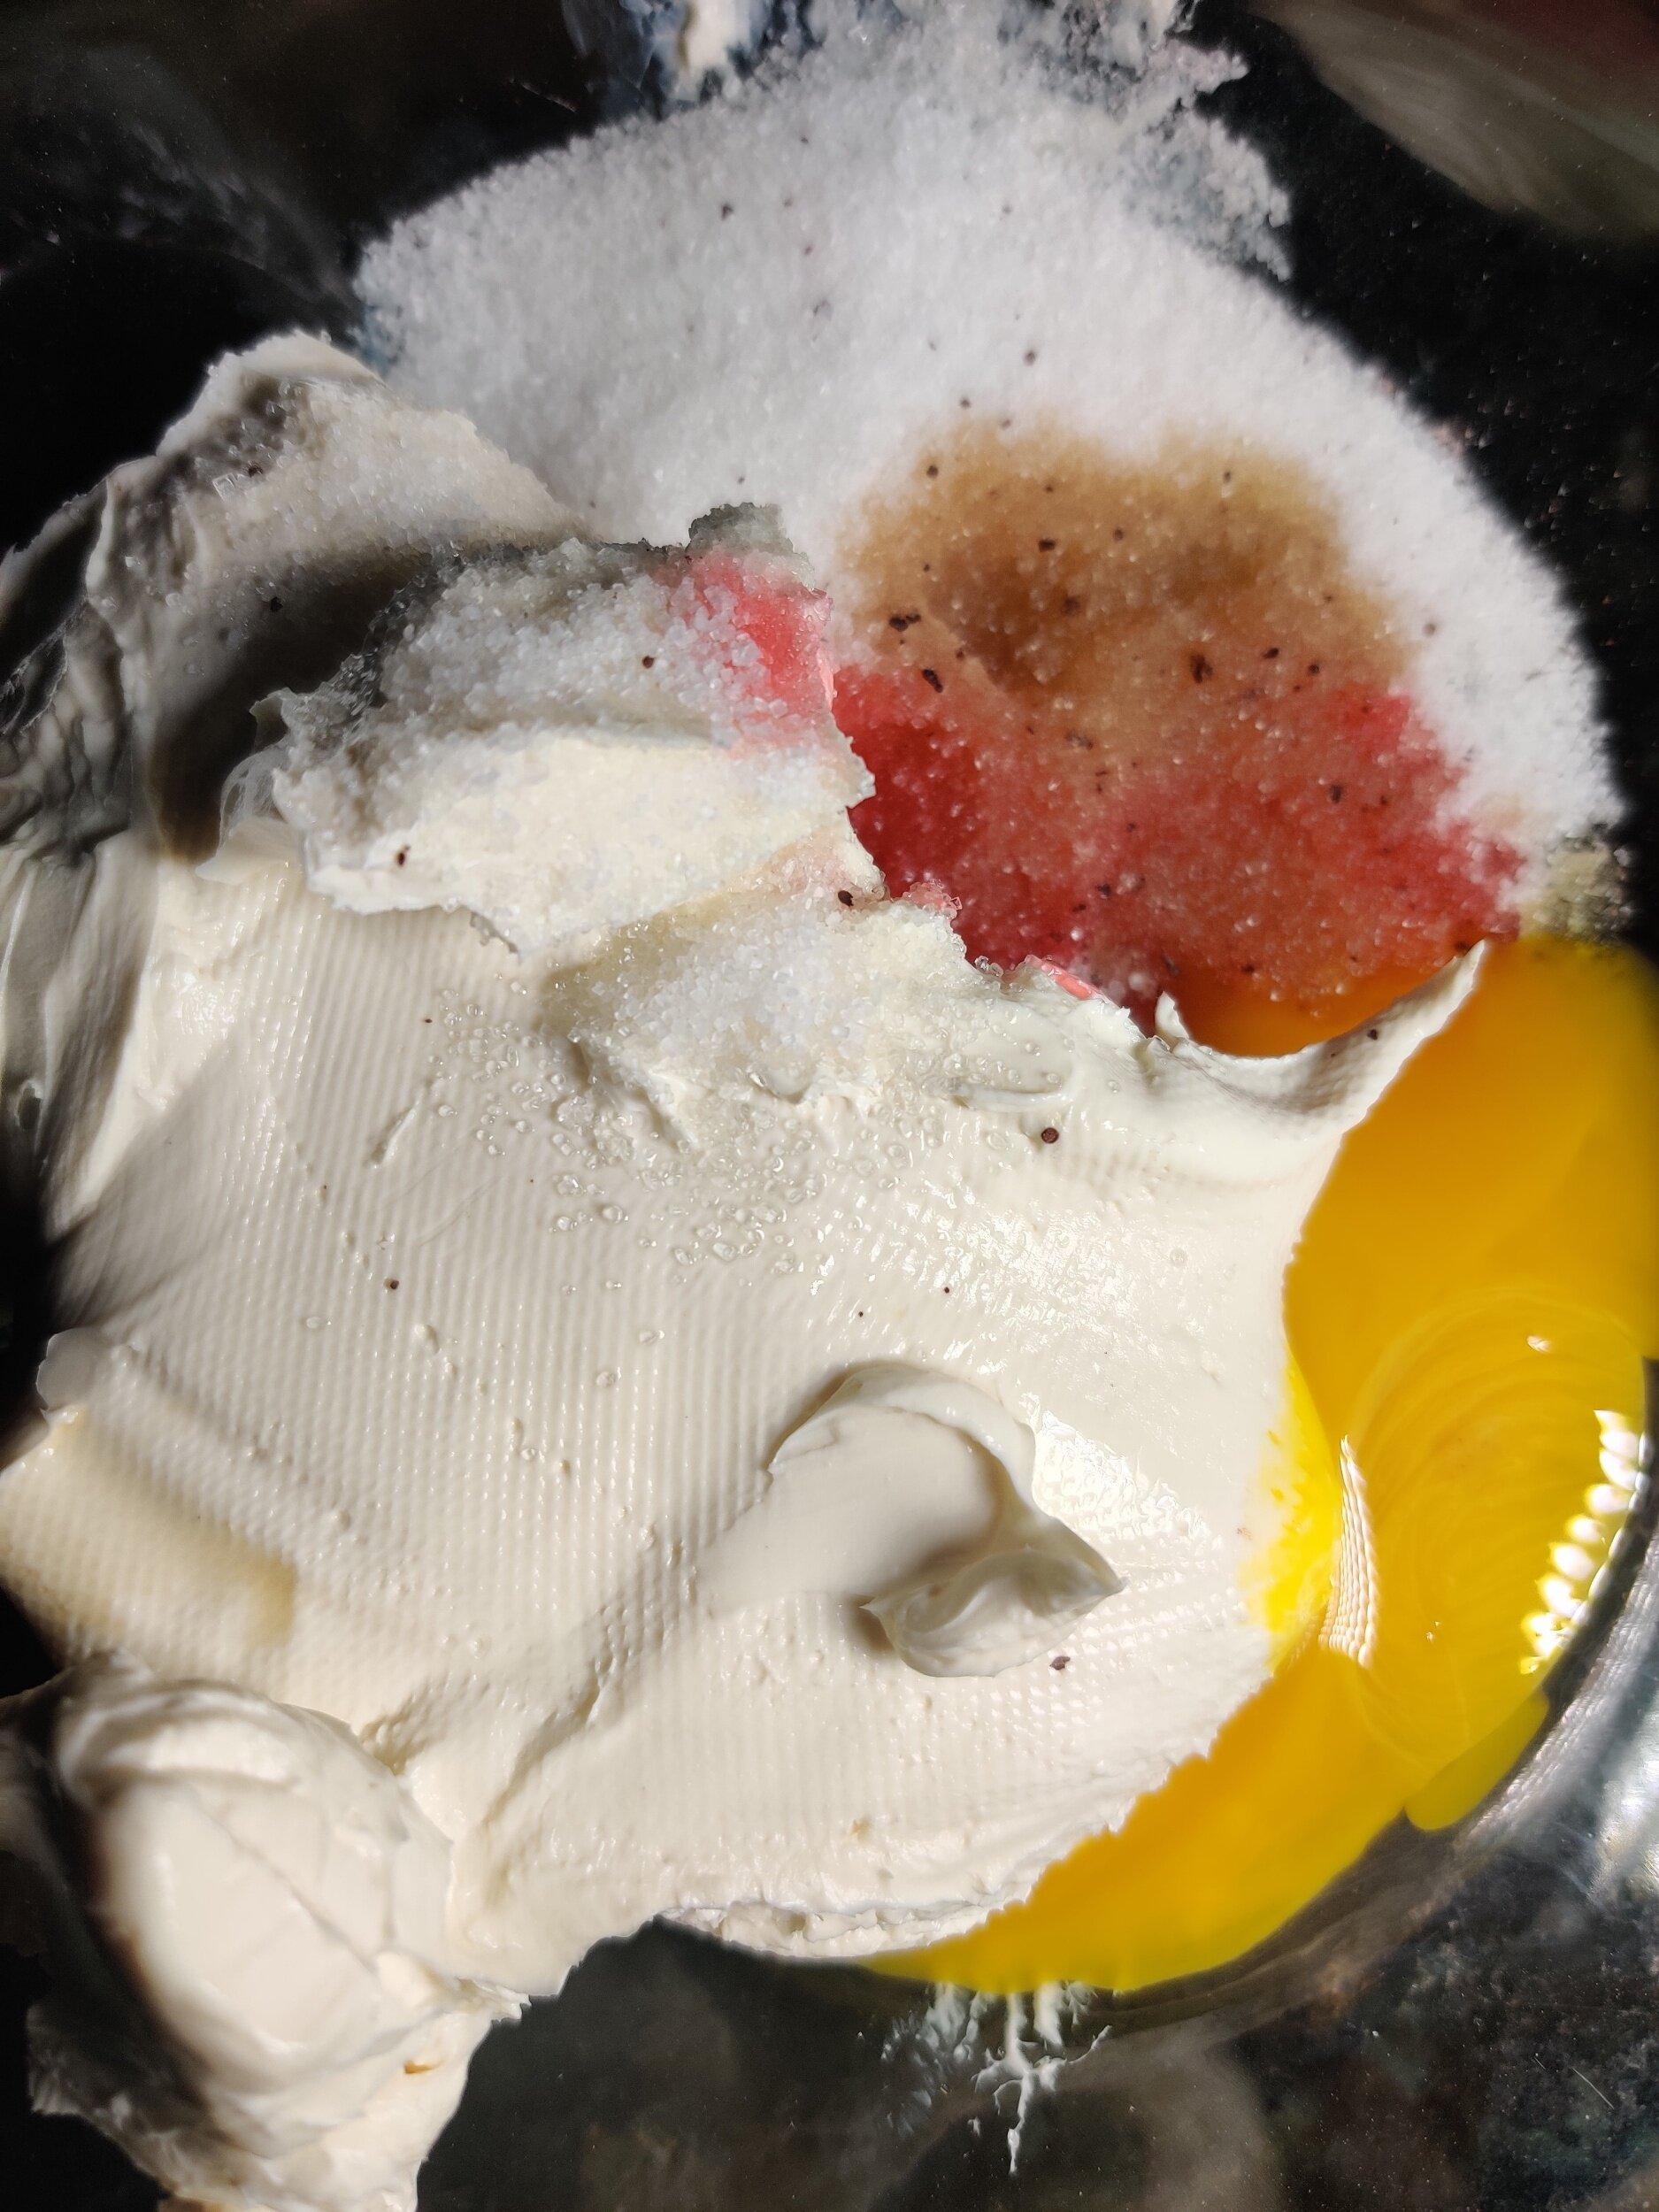
In a small microwavable bowl, melt the butter - about half a minutes should do. You can also do it quickly over high heat in a saucepan. Transfer to a large bowl, then add the salt, baking powder, sugar, salt, cocoa powder, vanilla and almond extract, and red colouring. Mix until combined but don't over mix.
In another small bowl beat the eggs, whisk them into the main batter, and then gently fold into the flour until fully incorporated - you don't want lumps of dry flour!
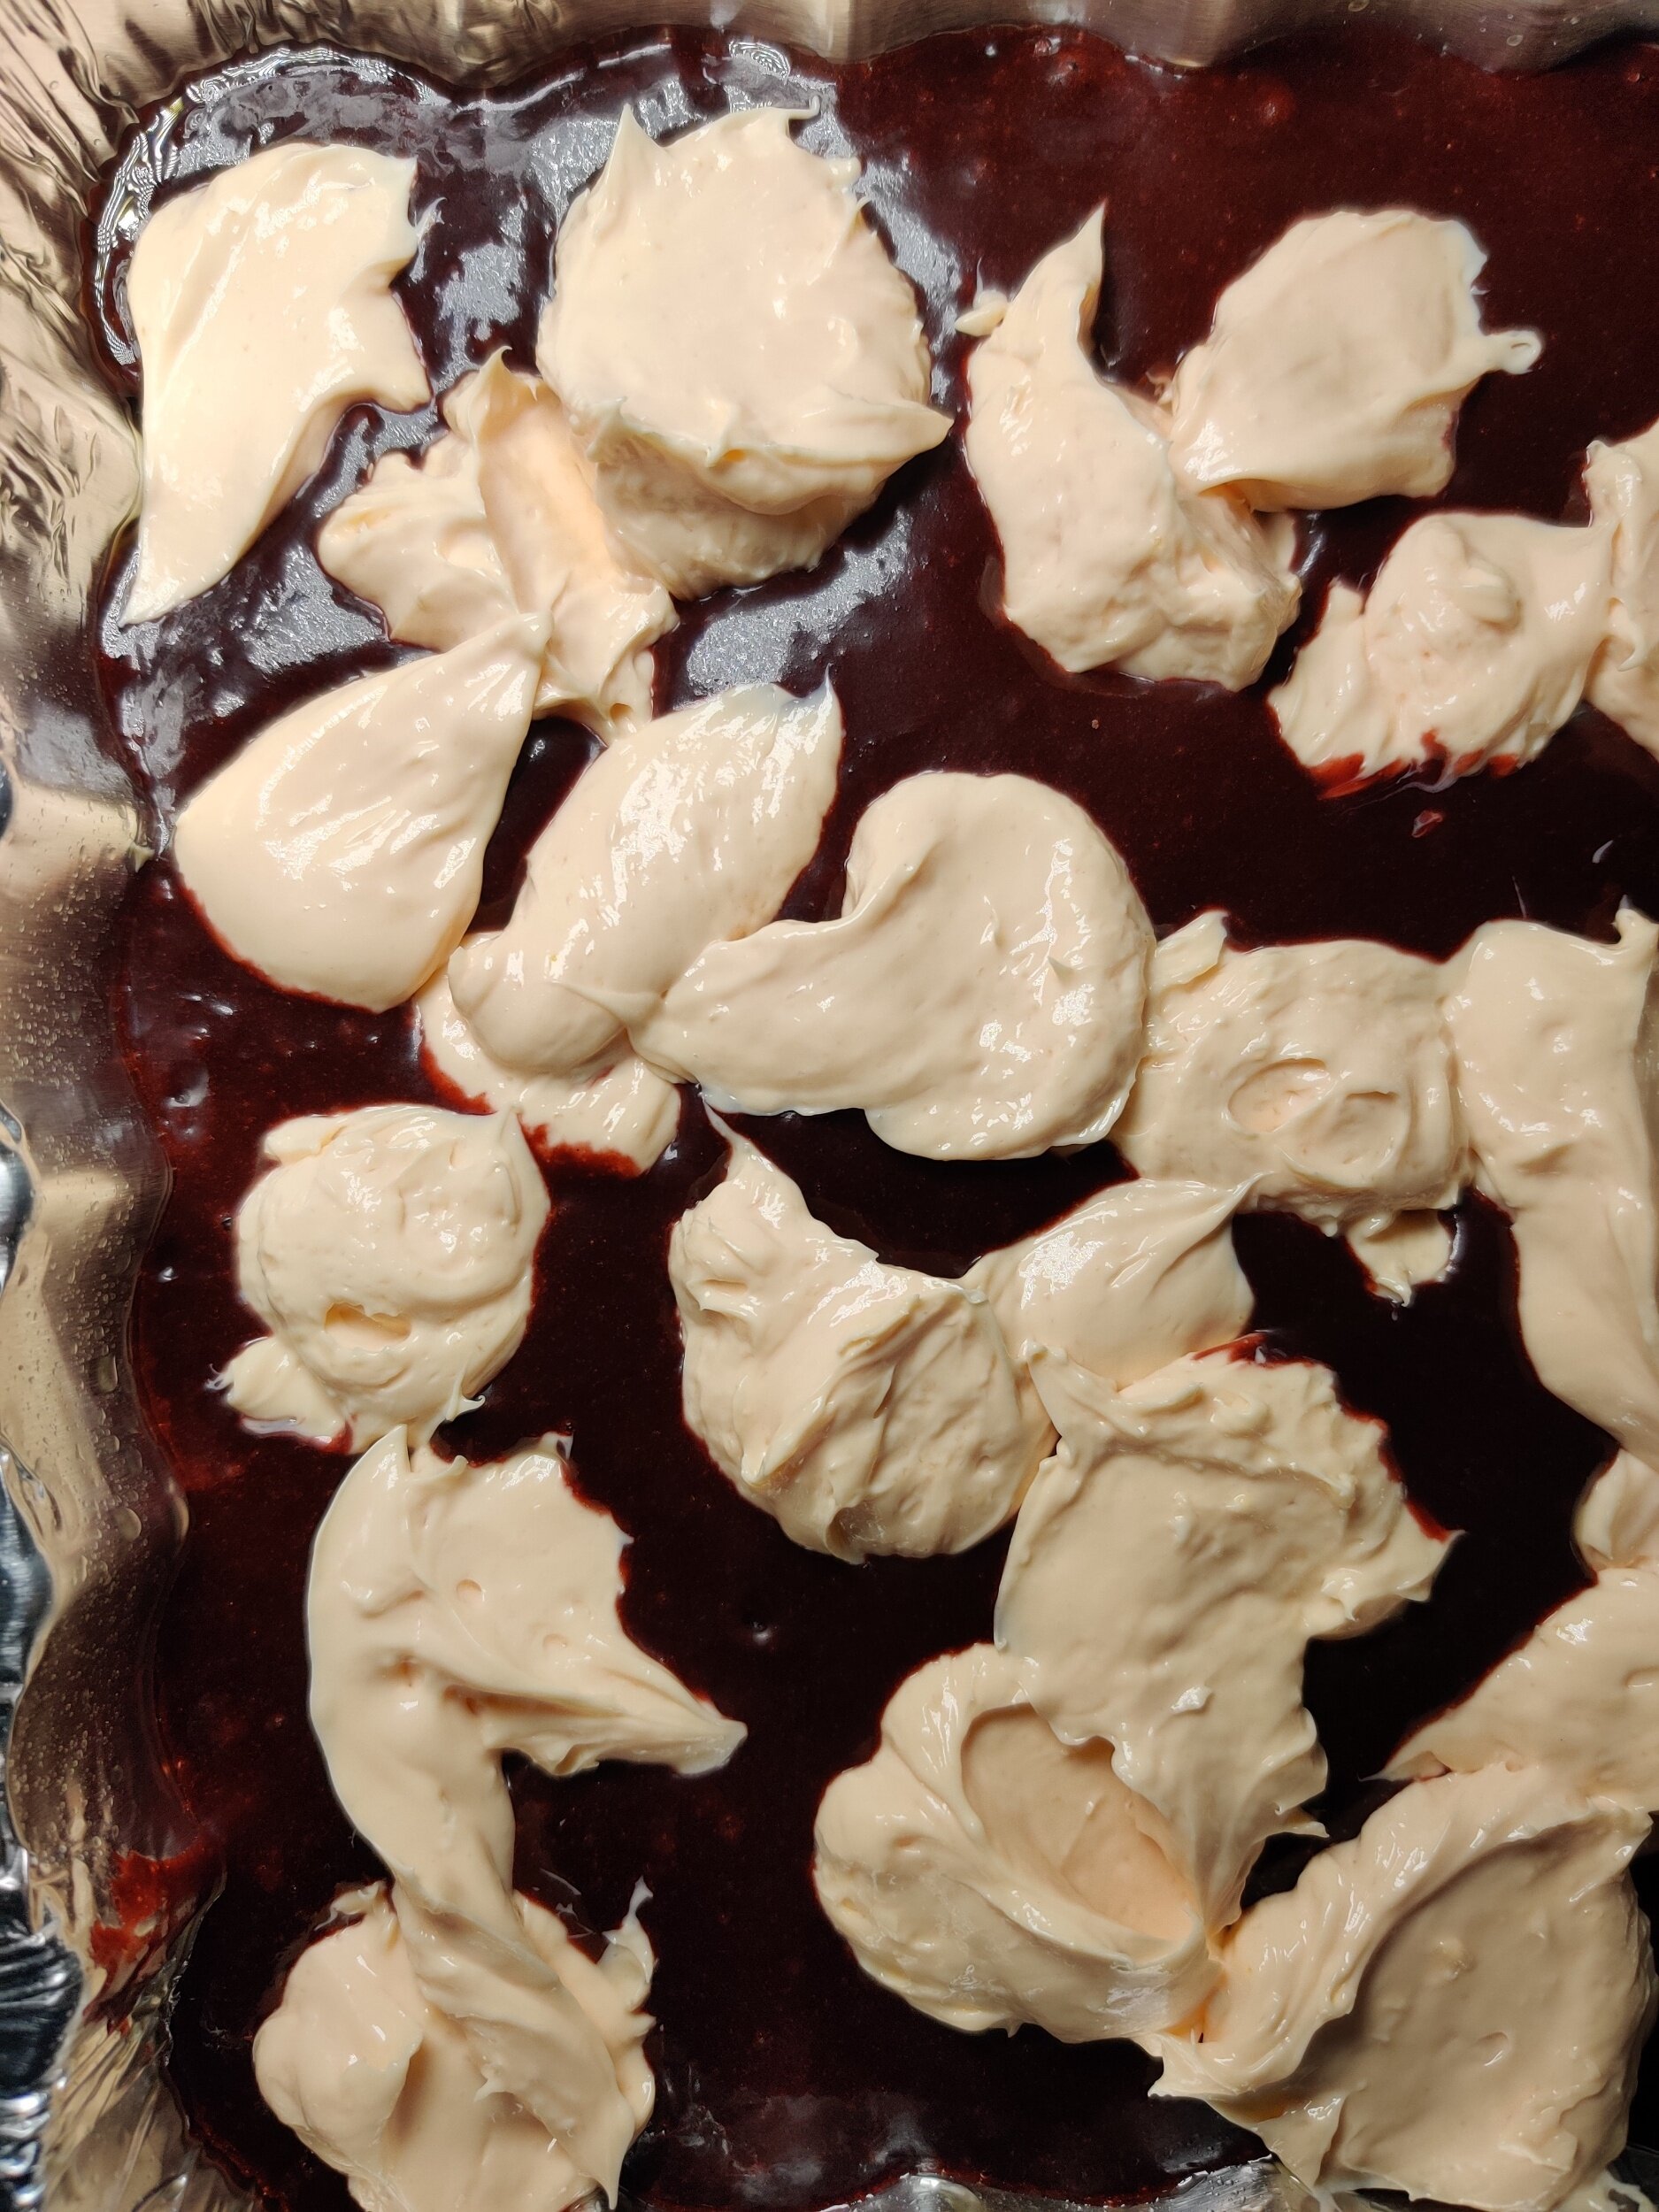
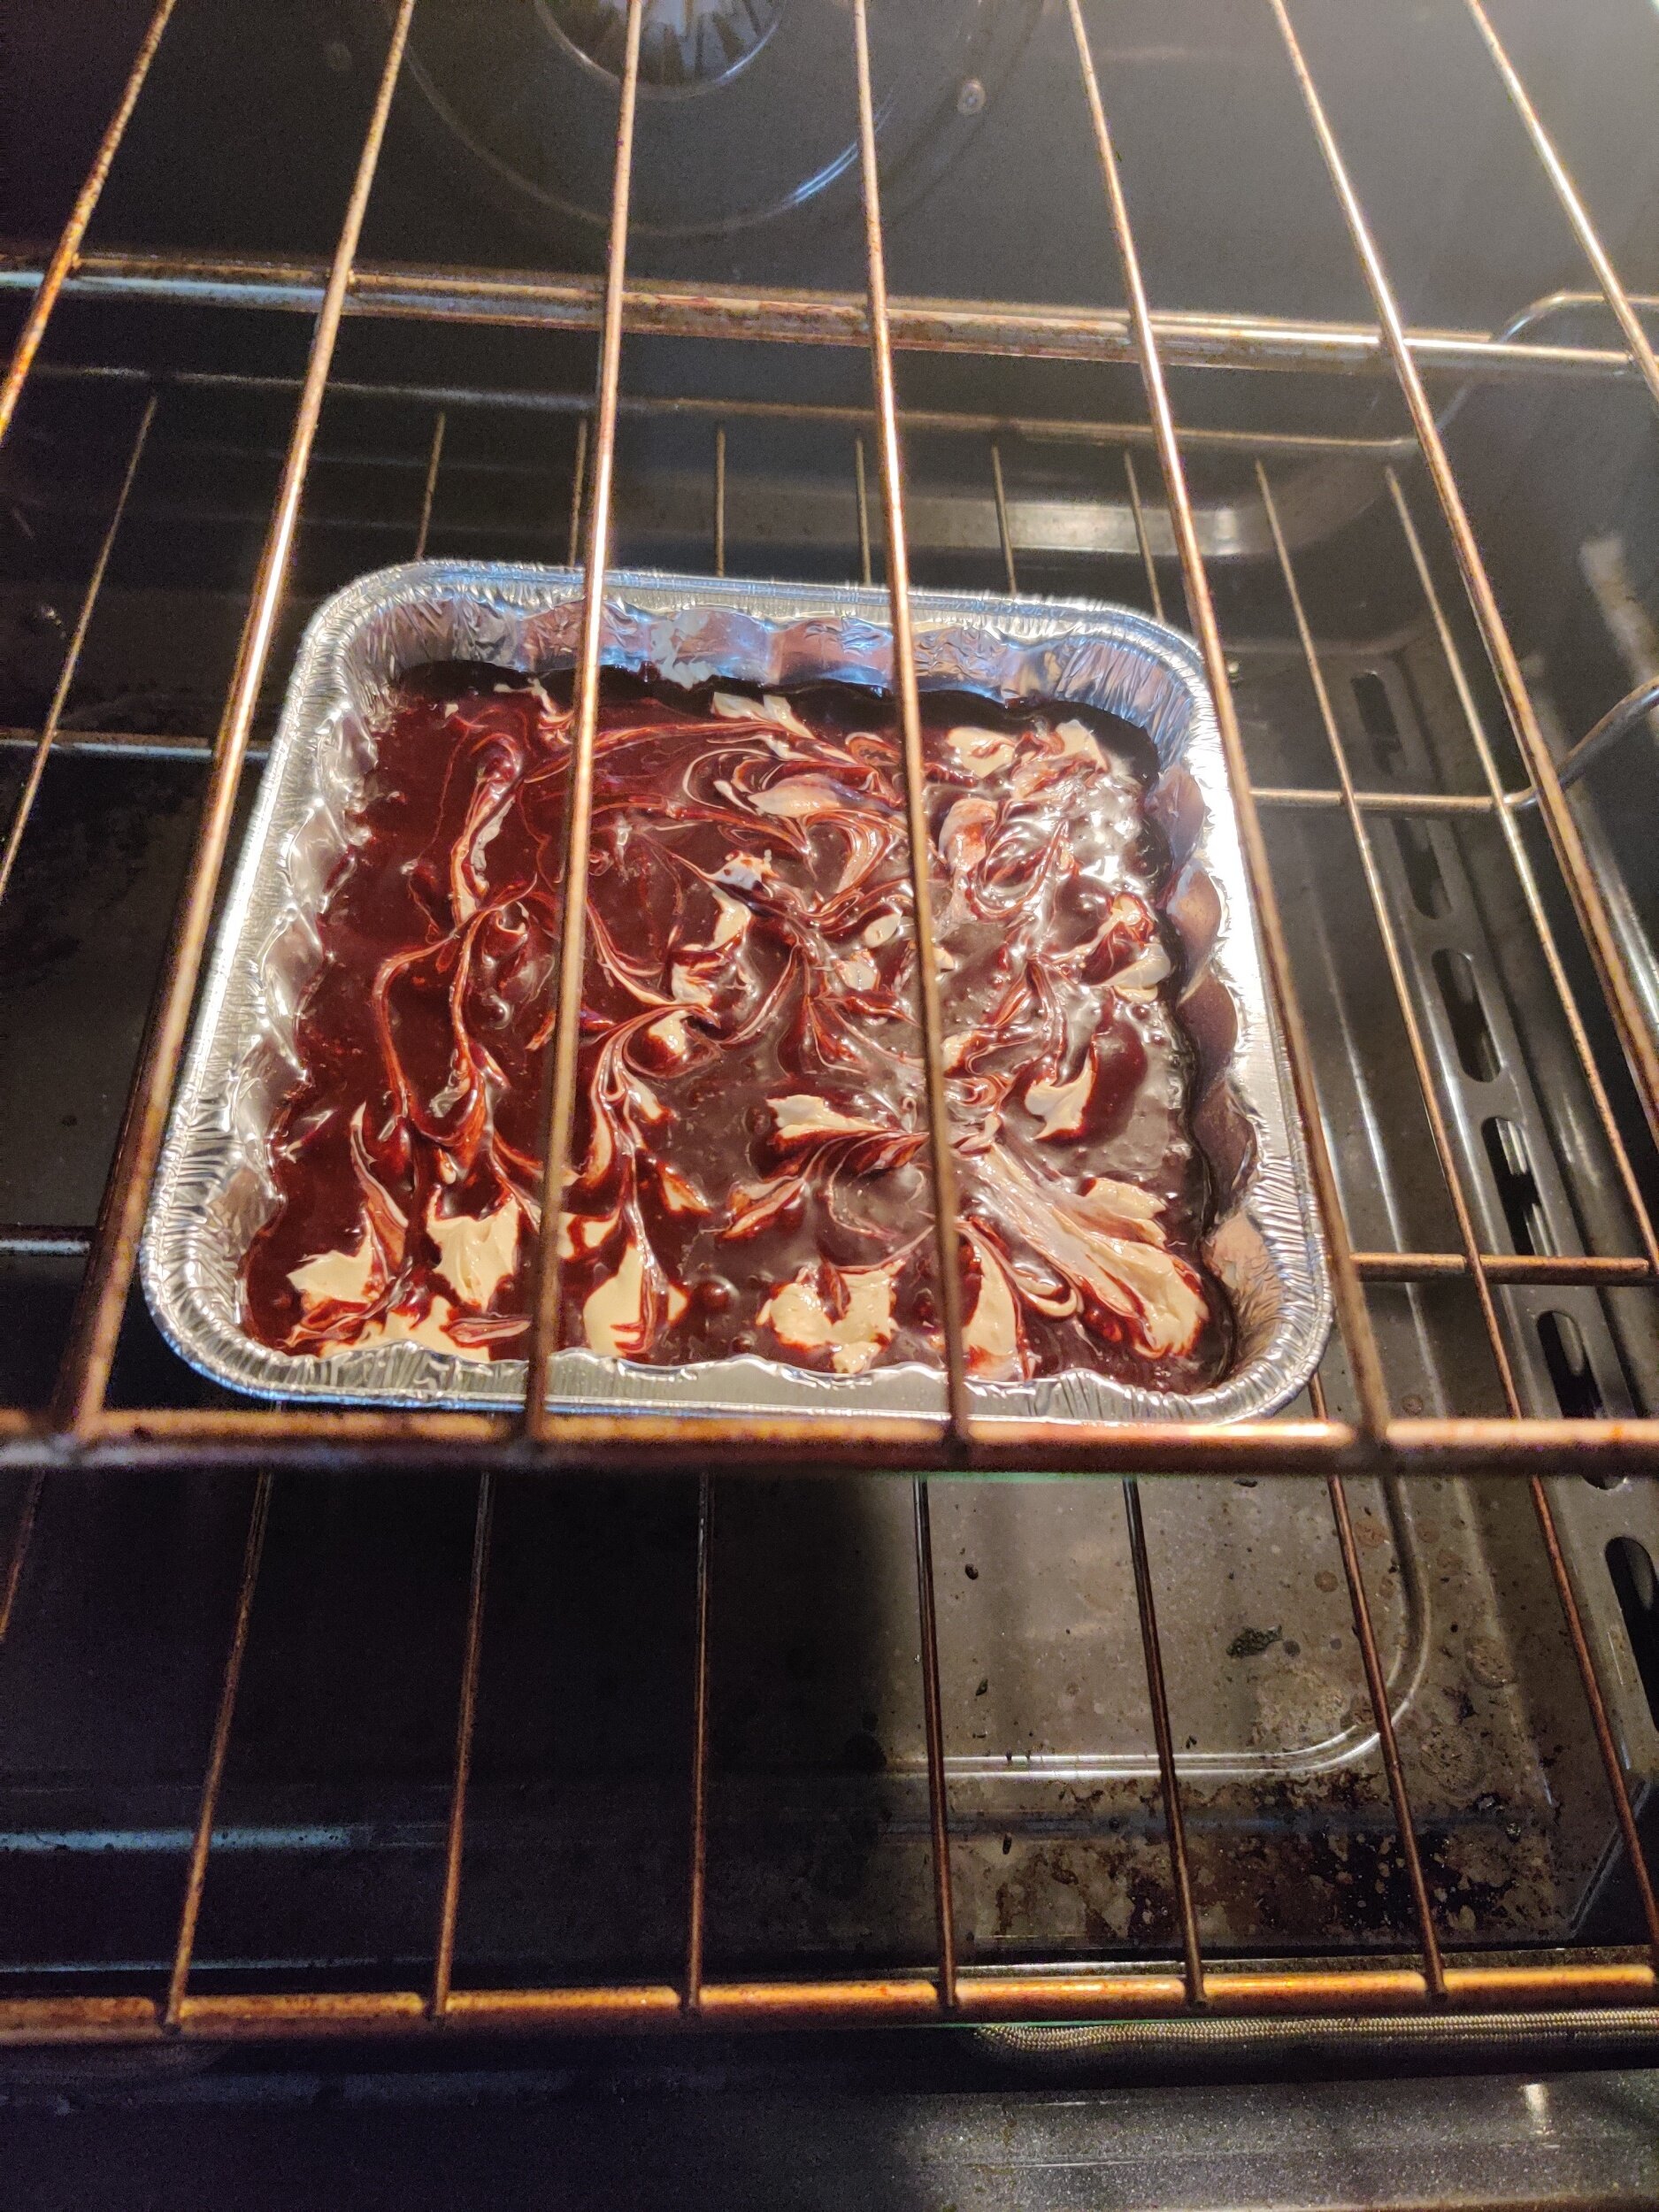
Pour your brownie mix into a parchment-lined, lightly oil sprayed baking pan (I used one 8 inches by 8 inches). Use a spatula to even out your batter. You can set aside 2-4 tablespoons to drizzle on top of the cream cheese, depending on how much of it you want visible once baked.
Now make your cream cheese mix. In a medium-sized bowl add the cream cheese, egg yolk, vanilla, a few drops of colouring, lemon, almond extract, and sugar. Beat with an electric mixer until smooth.
Spoon dollops of the cream mixture on top all over the top, then add your remaining brownie batter. Use a fork or knife and move it along the batter and cream cheese layers to create the swirl effect in an 'S' motion.
Bake at 400F for about 35 minutes, and make sure the centre comes out clean with a toothpick to check the doneness.
Set aside to cool before cutting, then sprinkle with a little powdered sugar and enjoy!
Store in the fridge in an airtight container and consume in 3-5 days!


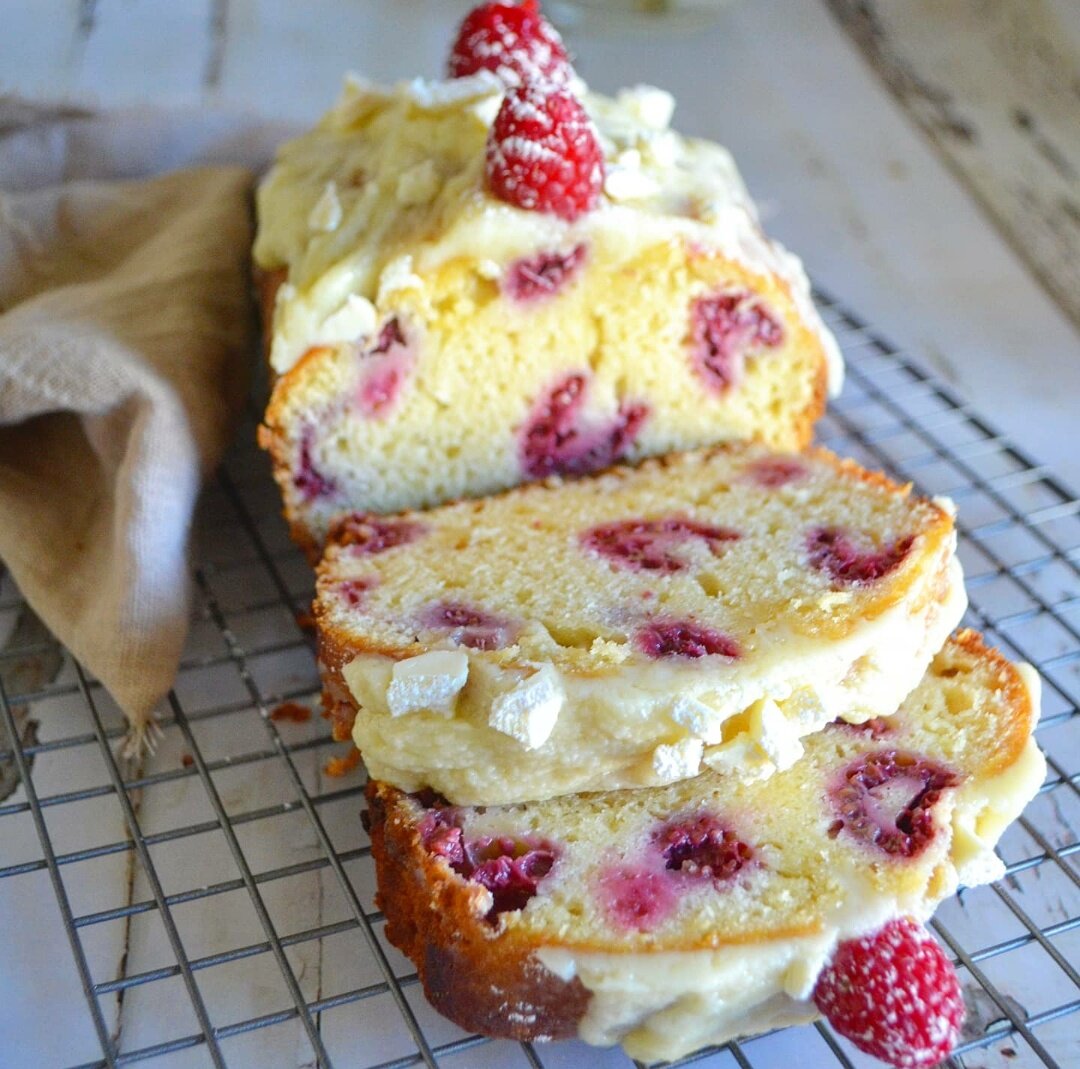
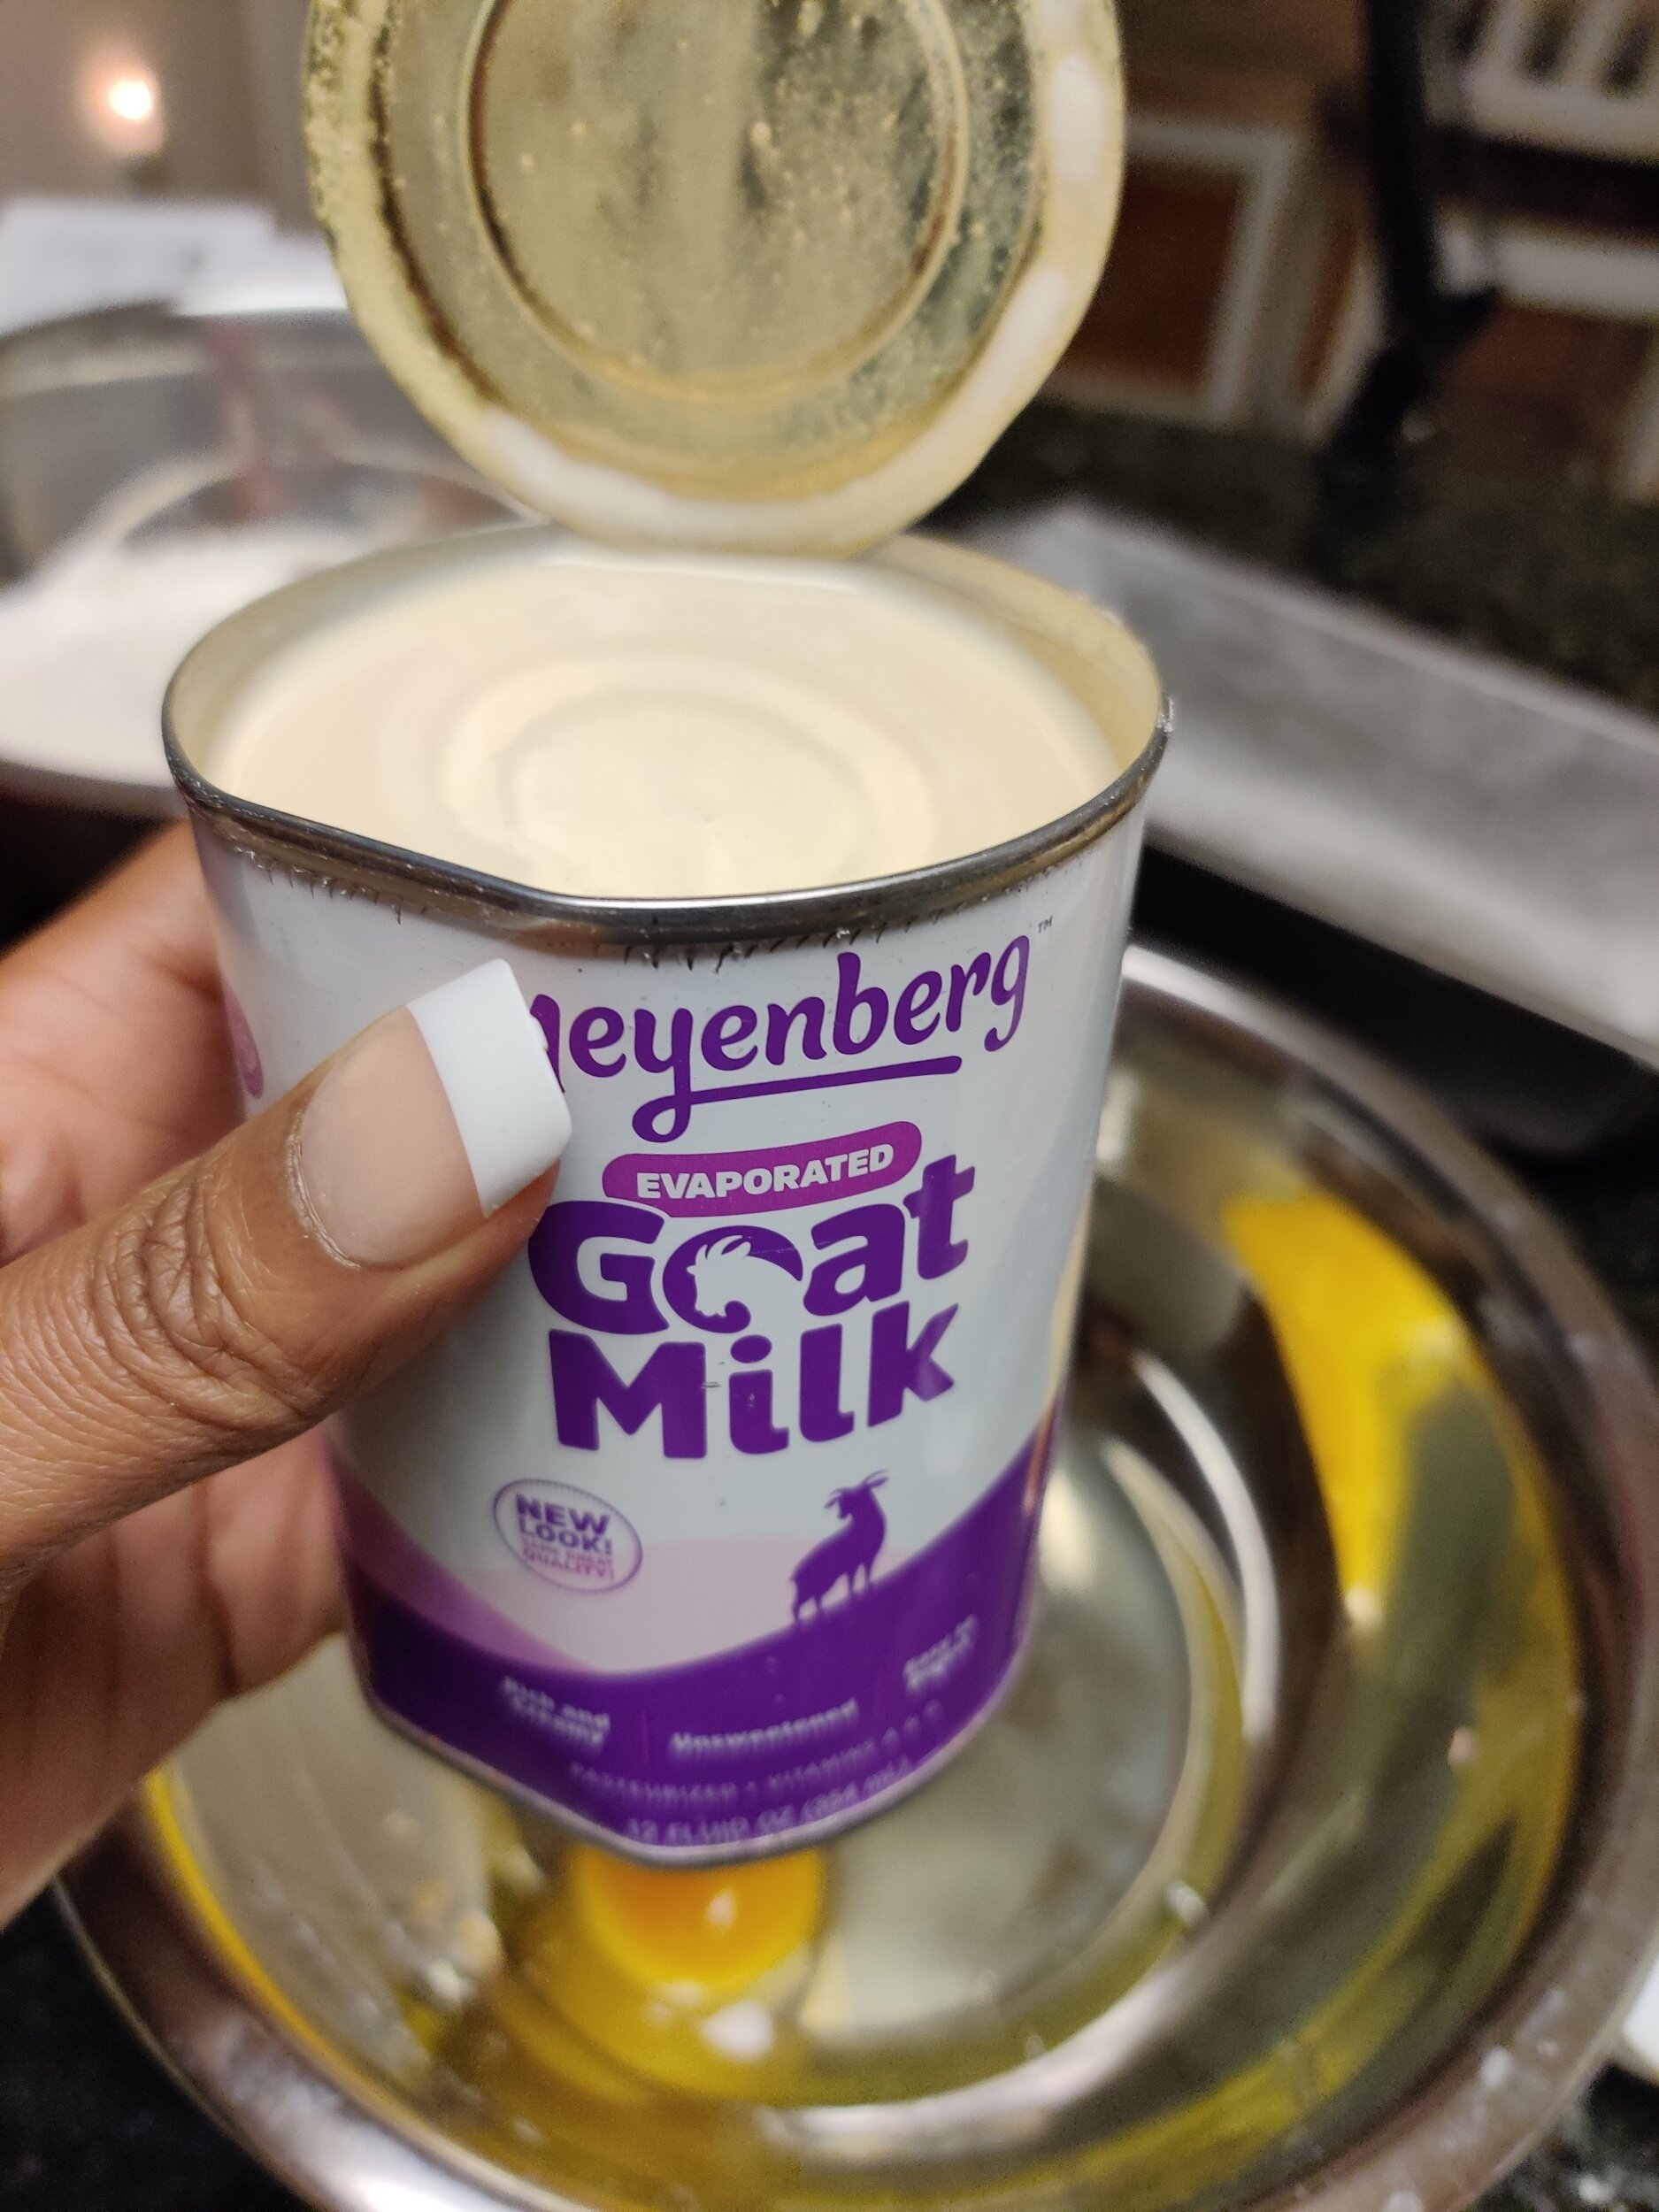
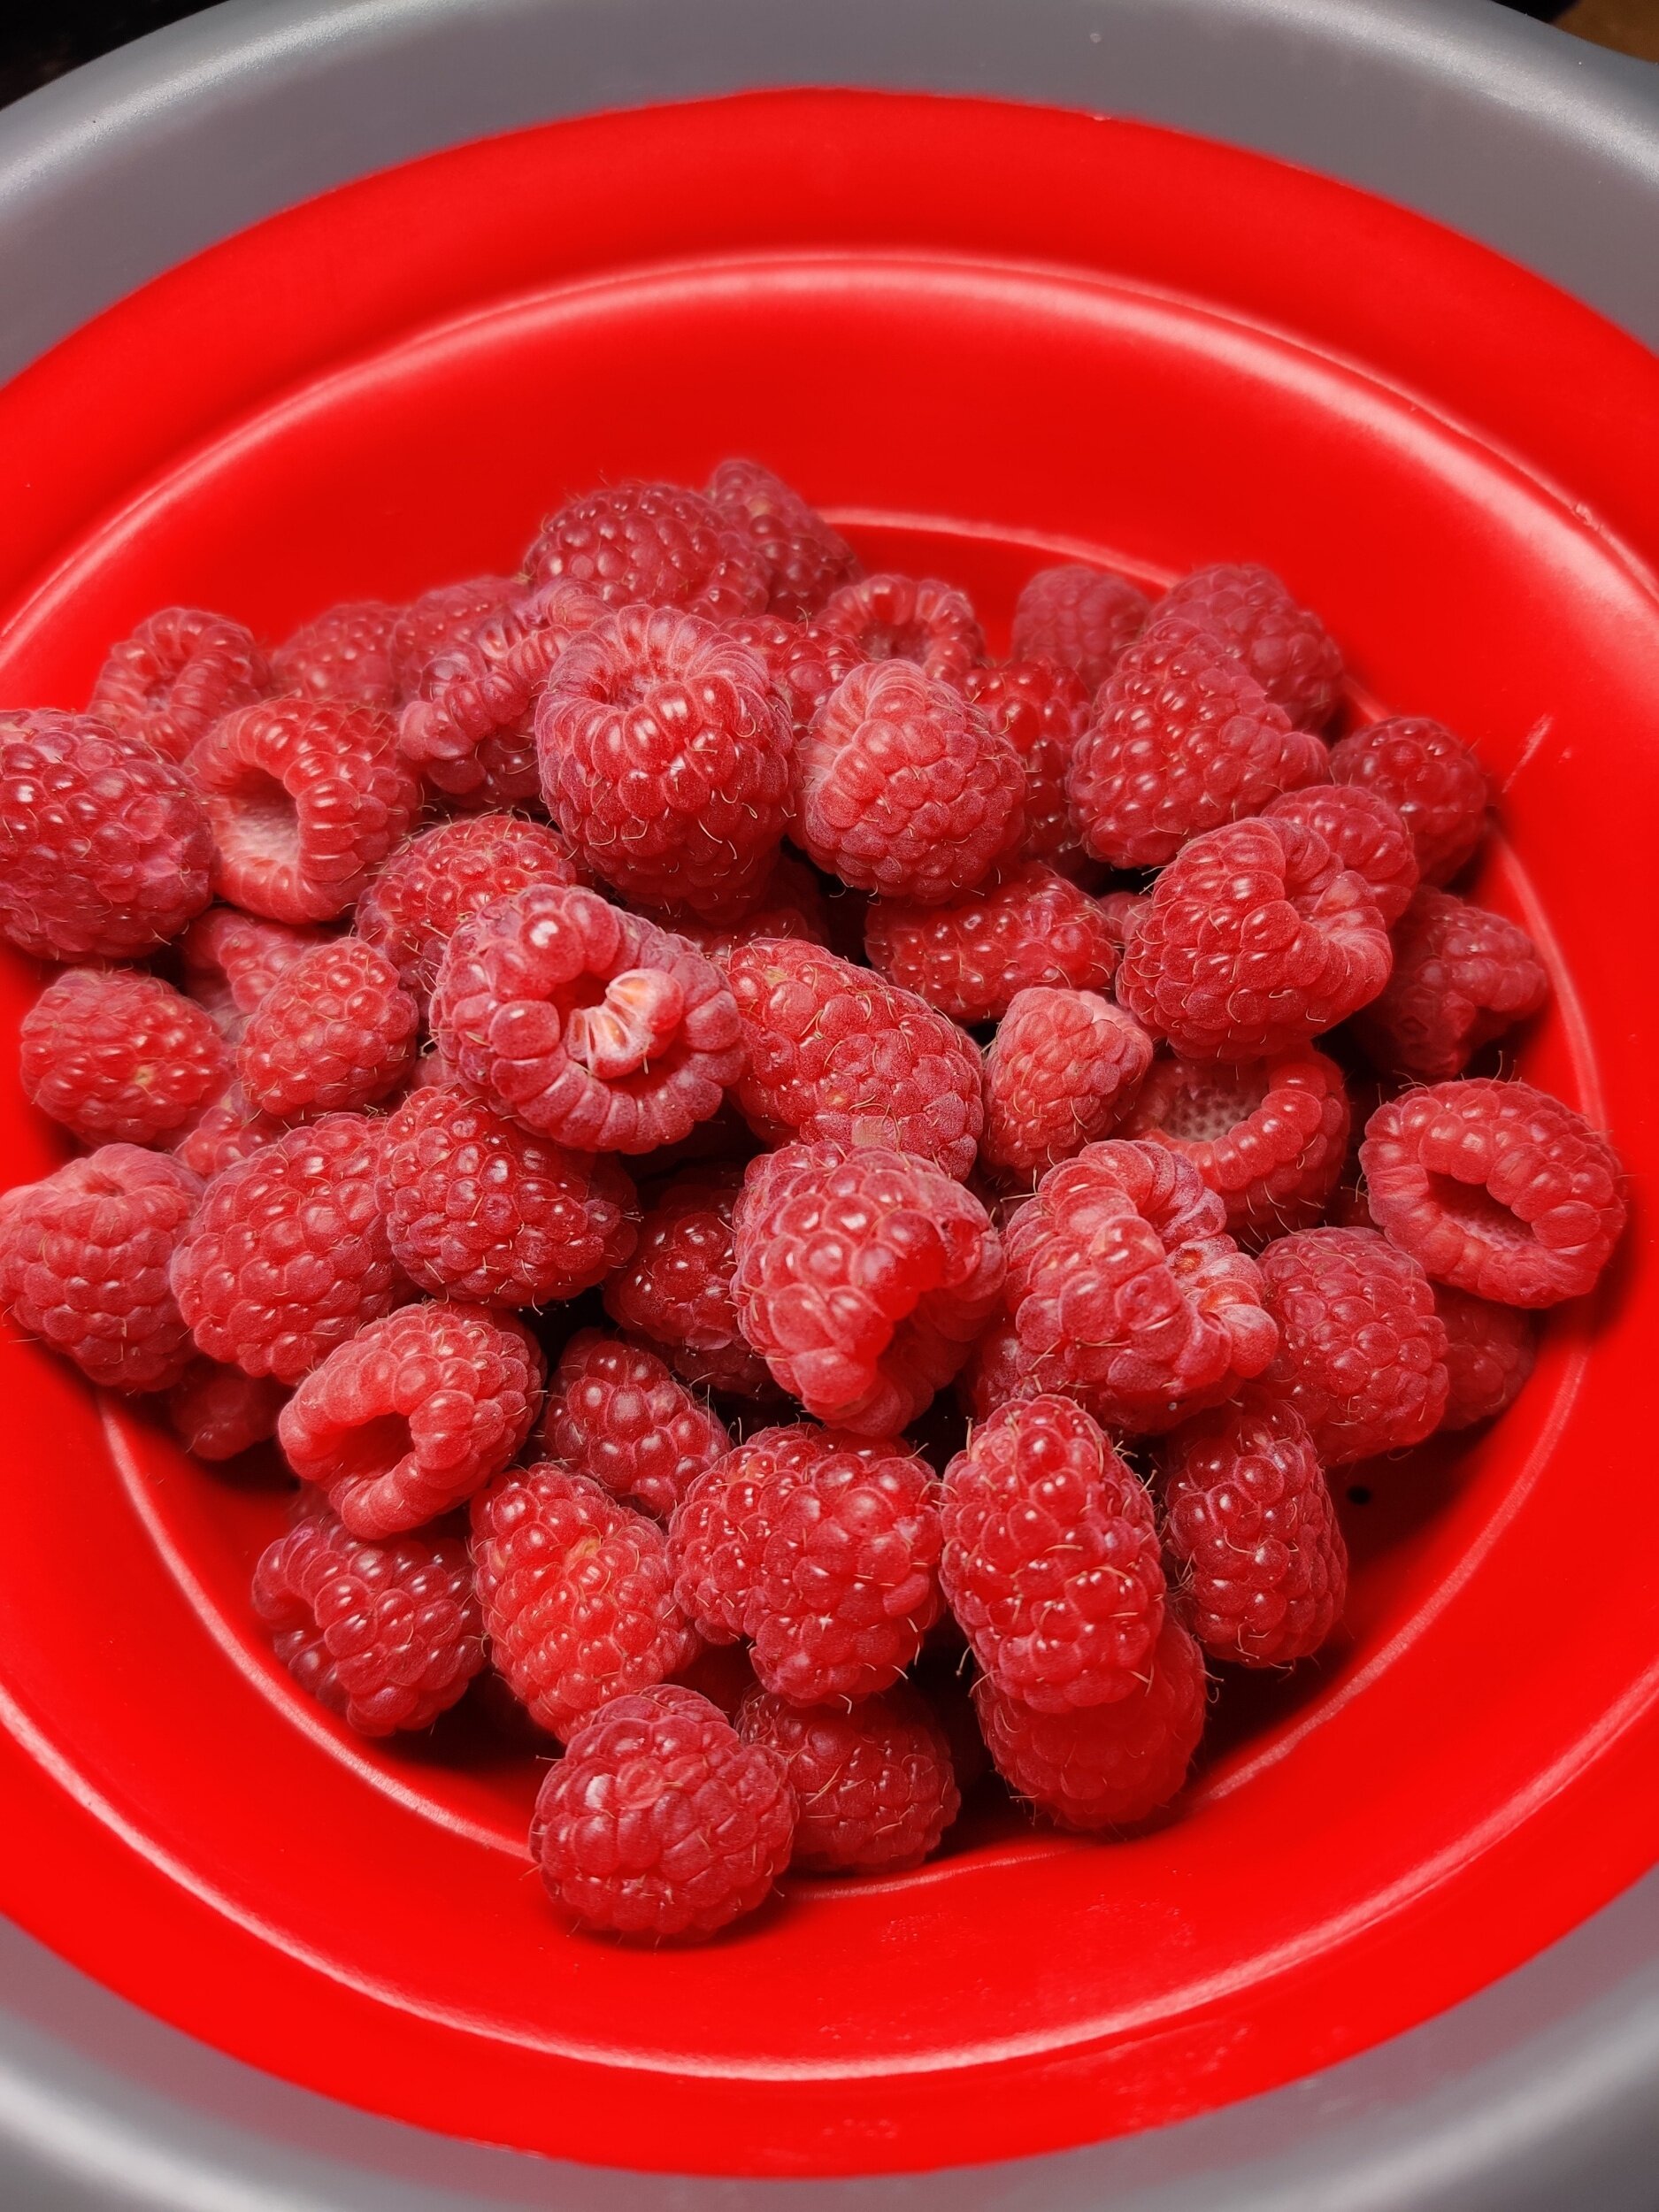
Raspberry Loaf with White Chocolate and Marscapone
It's not a secret that raspberries and white chocolate go together. If you're looking for a solid sweet loaf (not literally but as in guaranteed deliciousness) this is it!
You've got the acidity and tartness from the berries and the sweet, creaminess from the white chocolate and mascarpone cheese.
This loaf cake is also not overly rich. Some people find pound cakes to be overwhelming, but this doesn't have as much sugar as you might think to taste. You can also omit the icing, and it will still be right proper.
The loaf is on the filling side, so you'll want to save up space in your belly for when you eat it and freeze the rest. I recommend consuming within 3 days for the freshest taste!
Ingredients
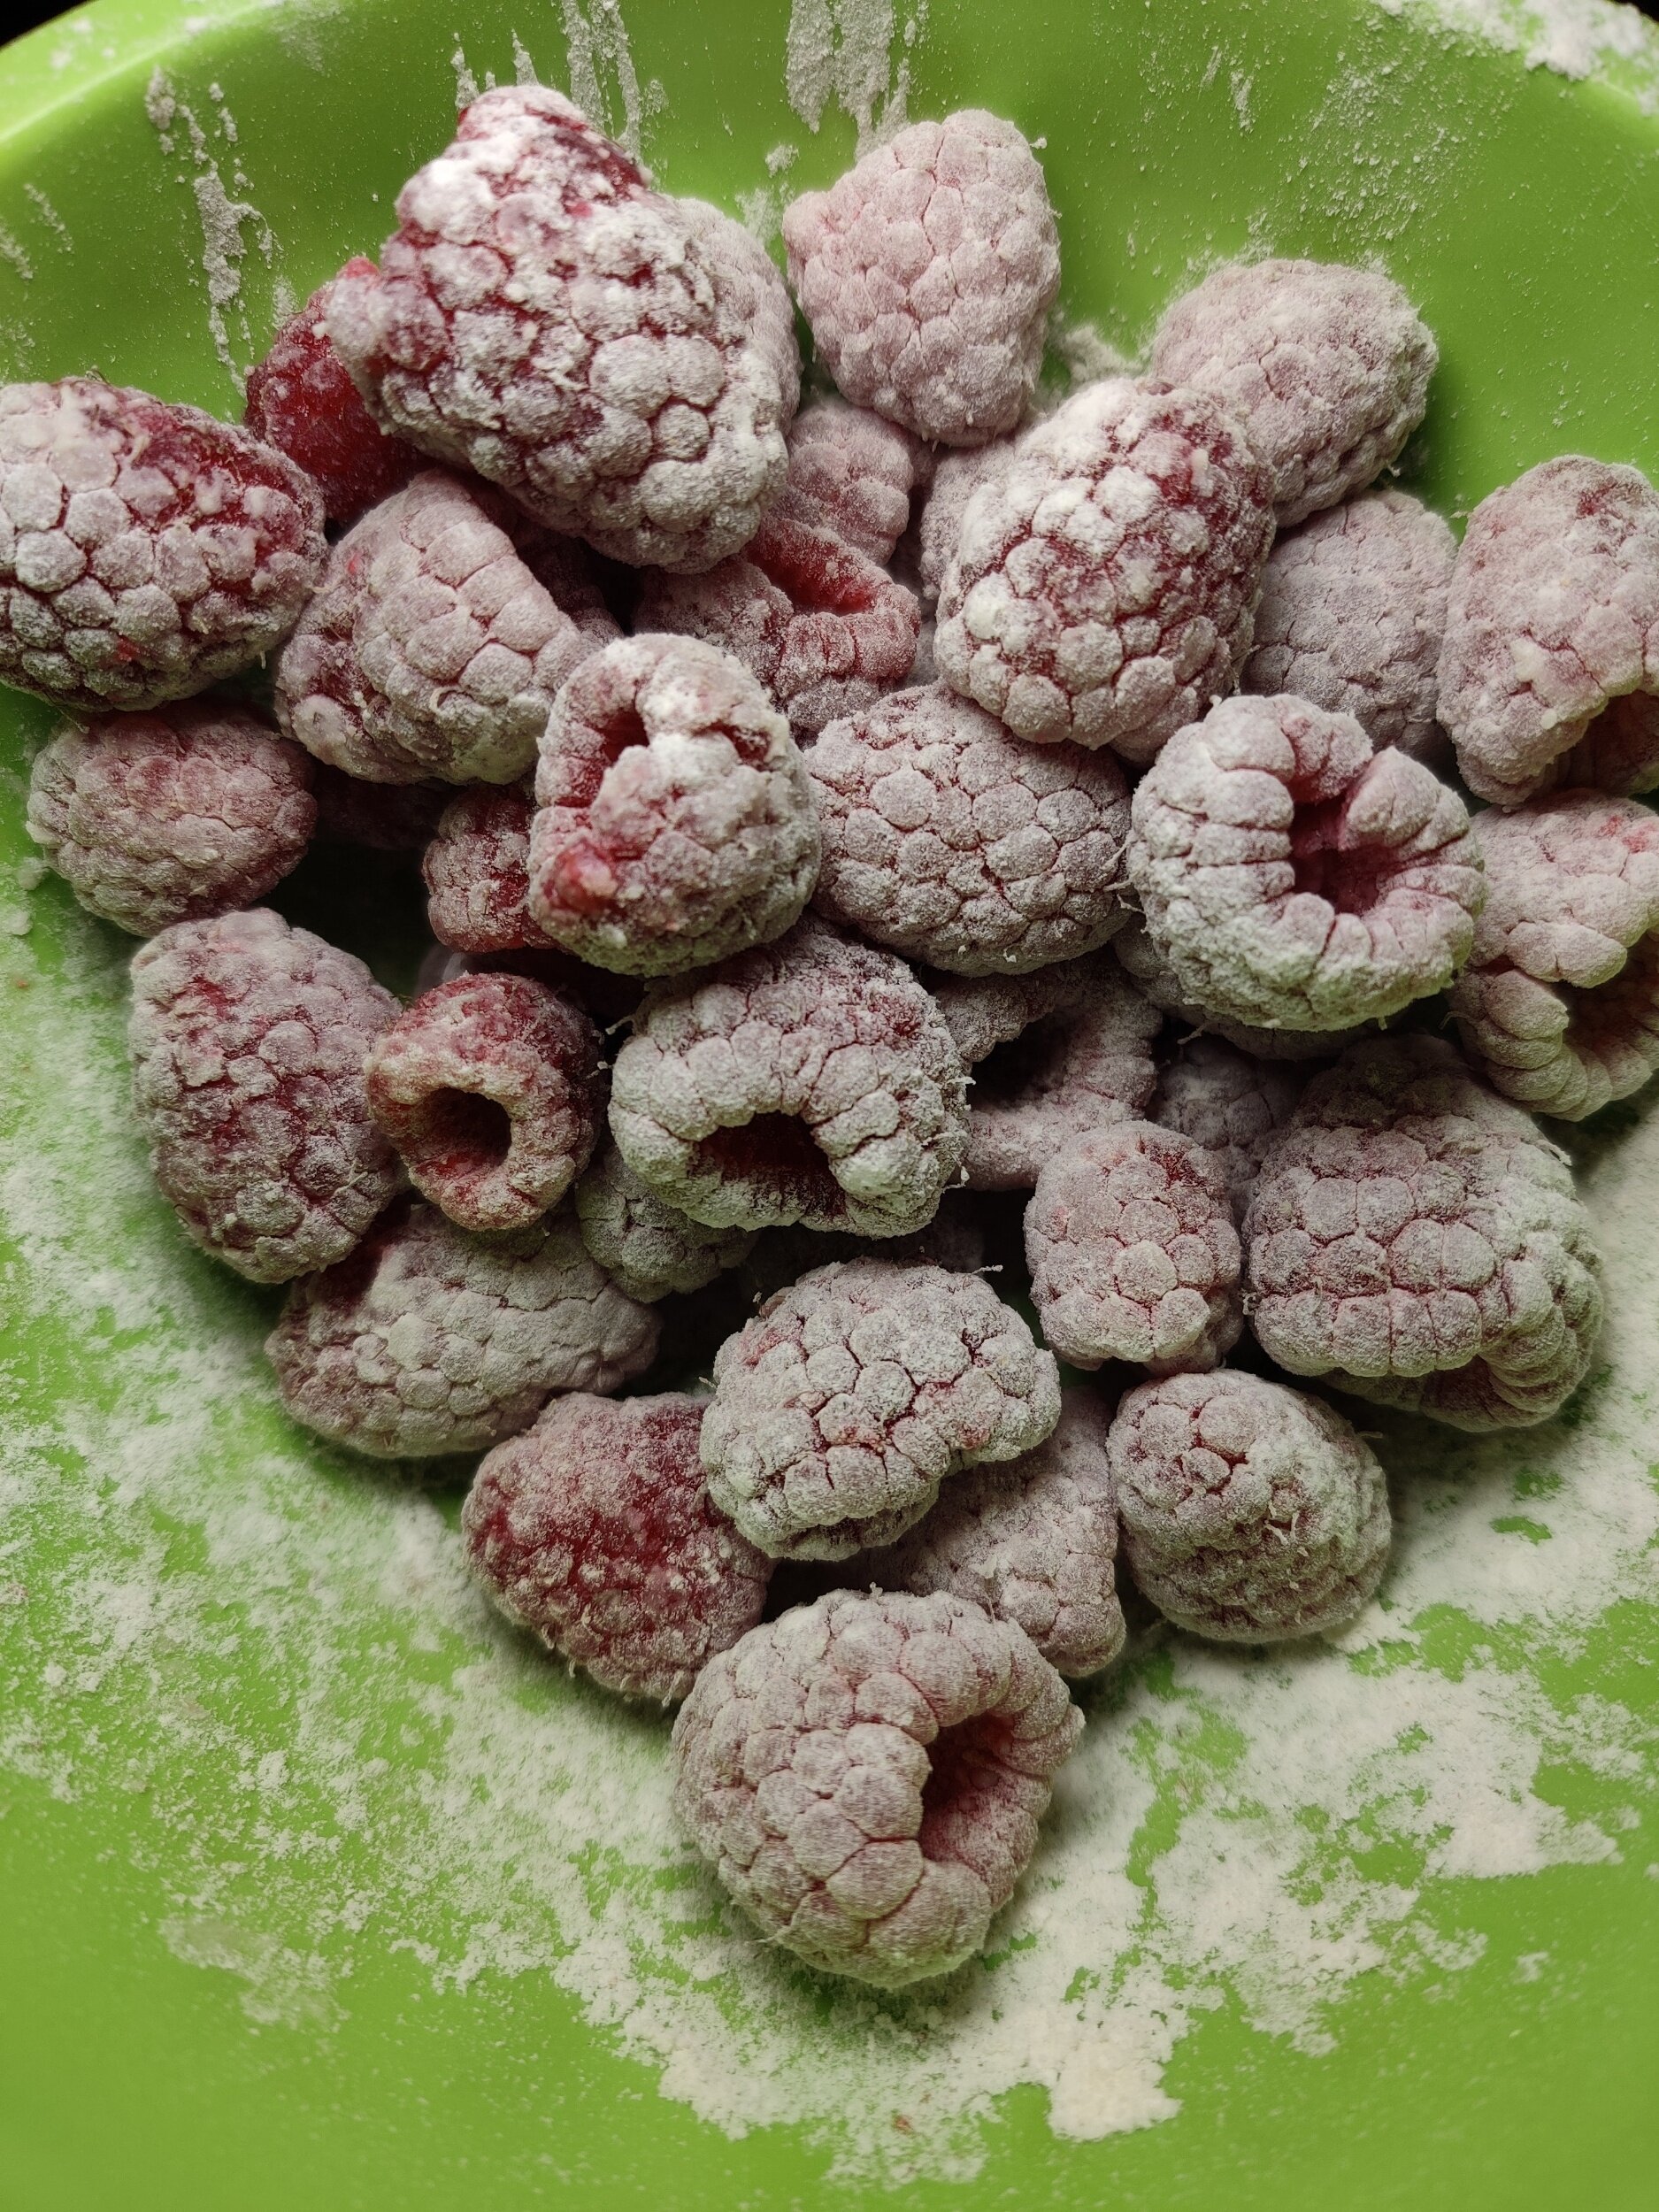
1 cup raspberries + extra to garnish
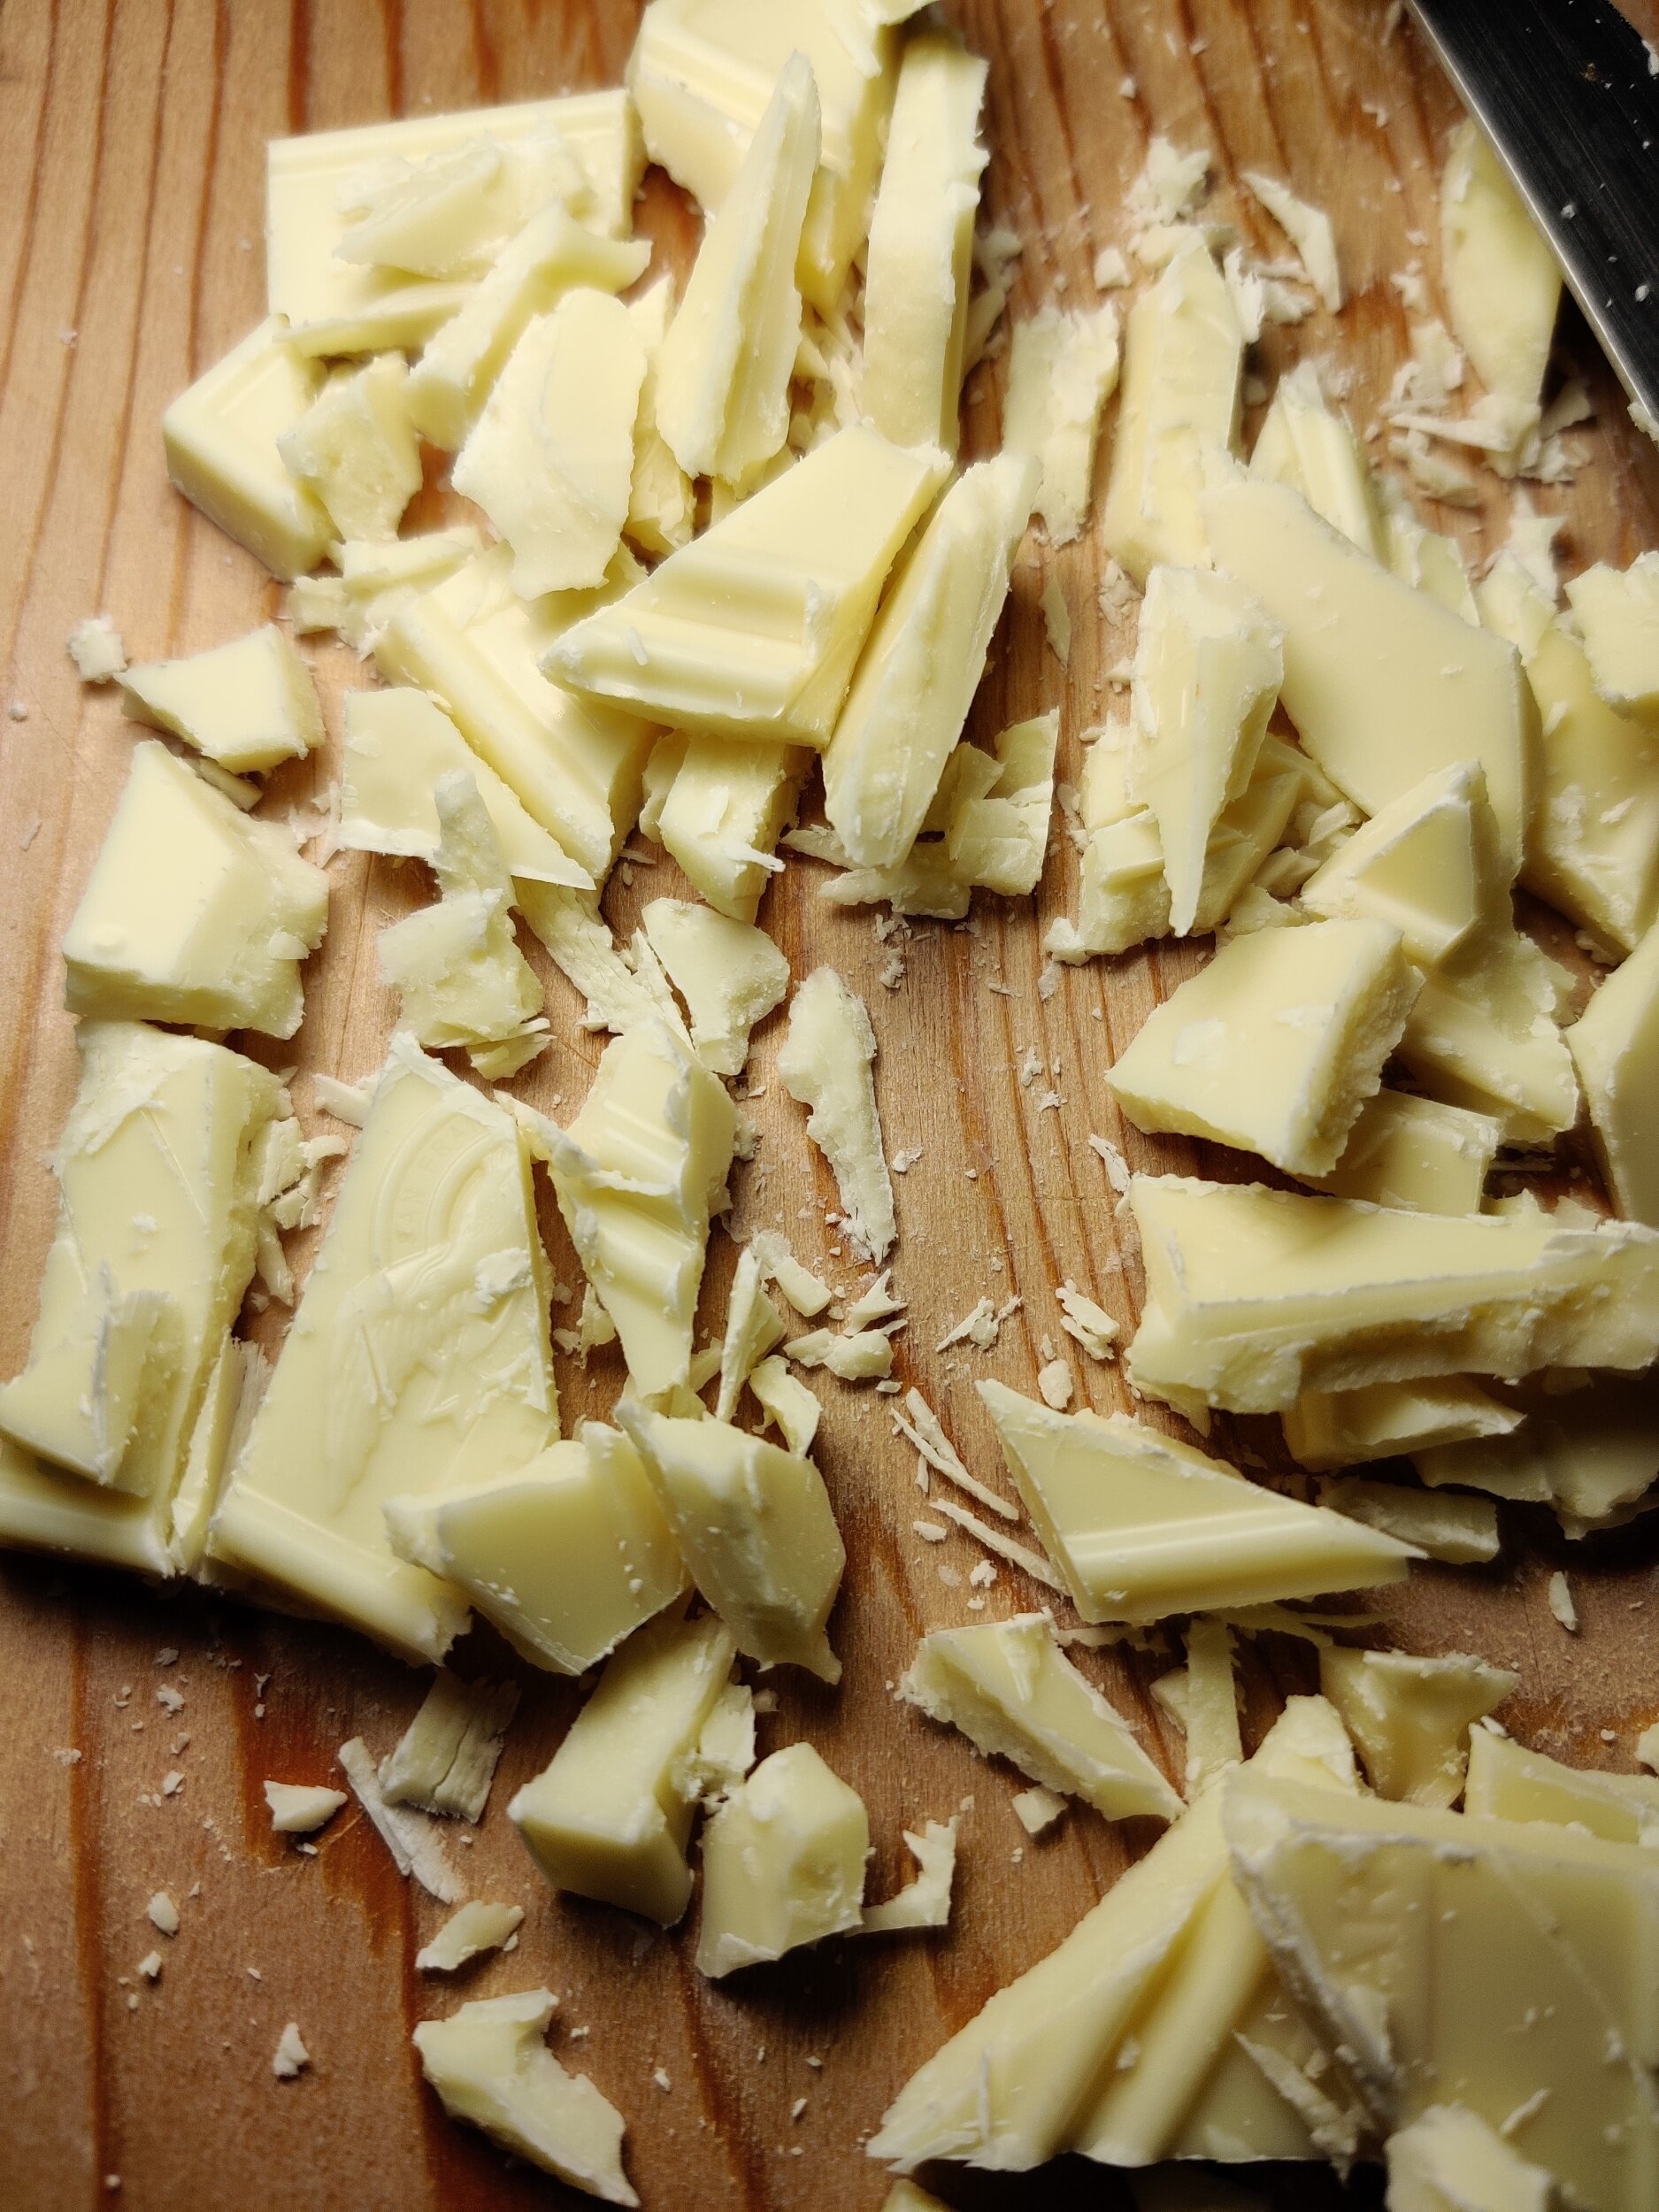
1/2 cup white chocolate chips
1/4 cup white chocolate, chopped
1/3 cup vegetable oil
1 teaspoon vanilla
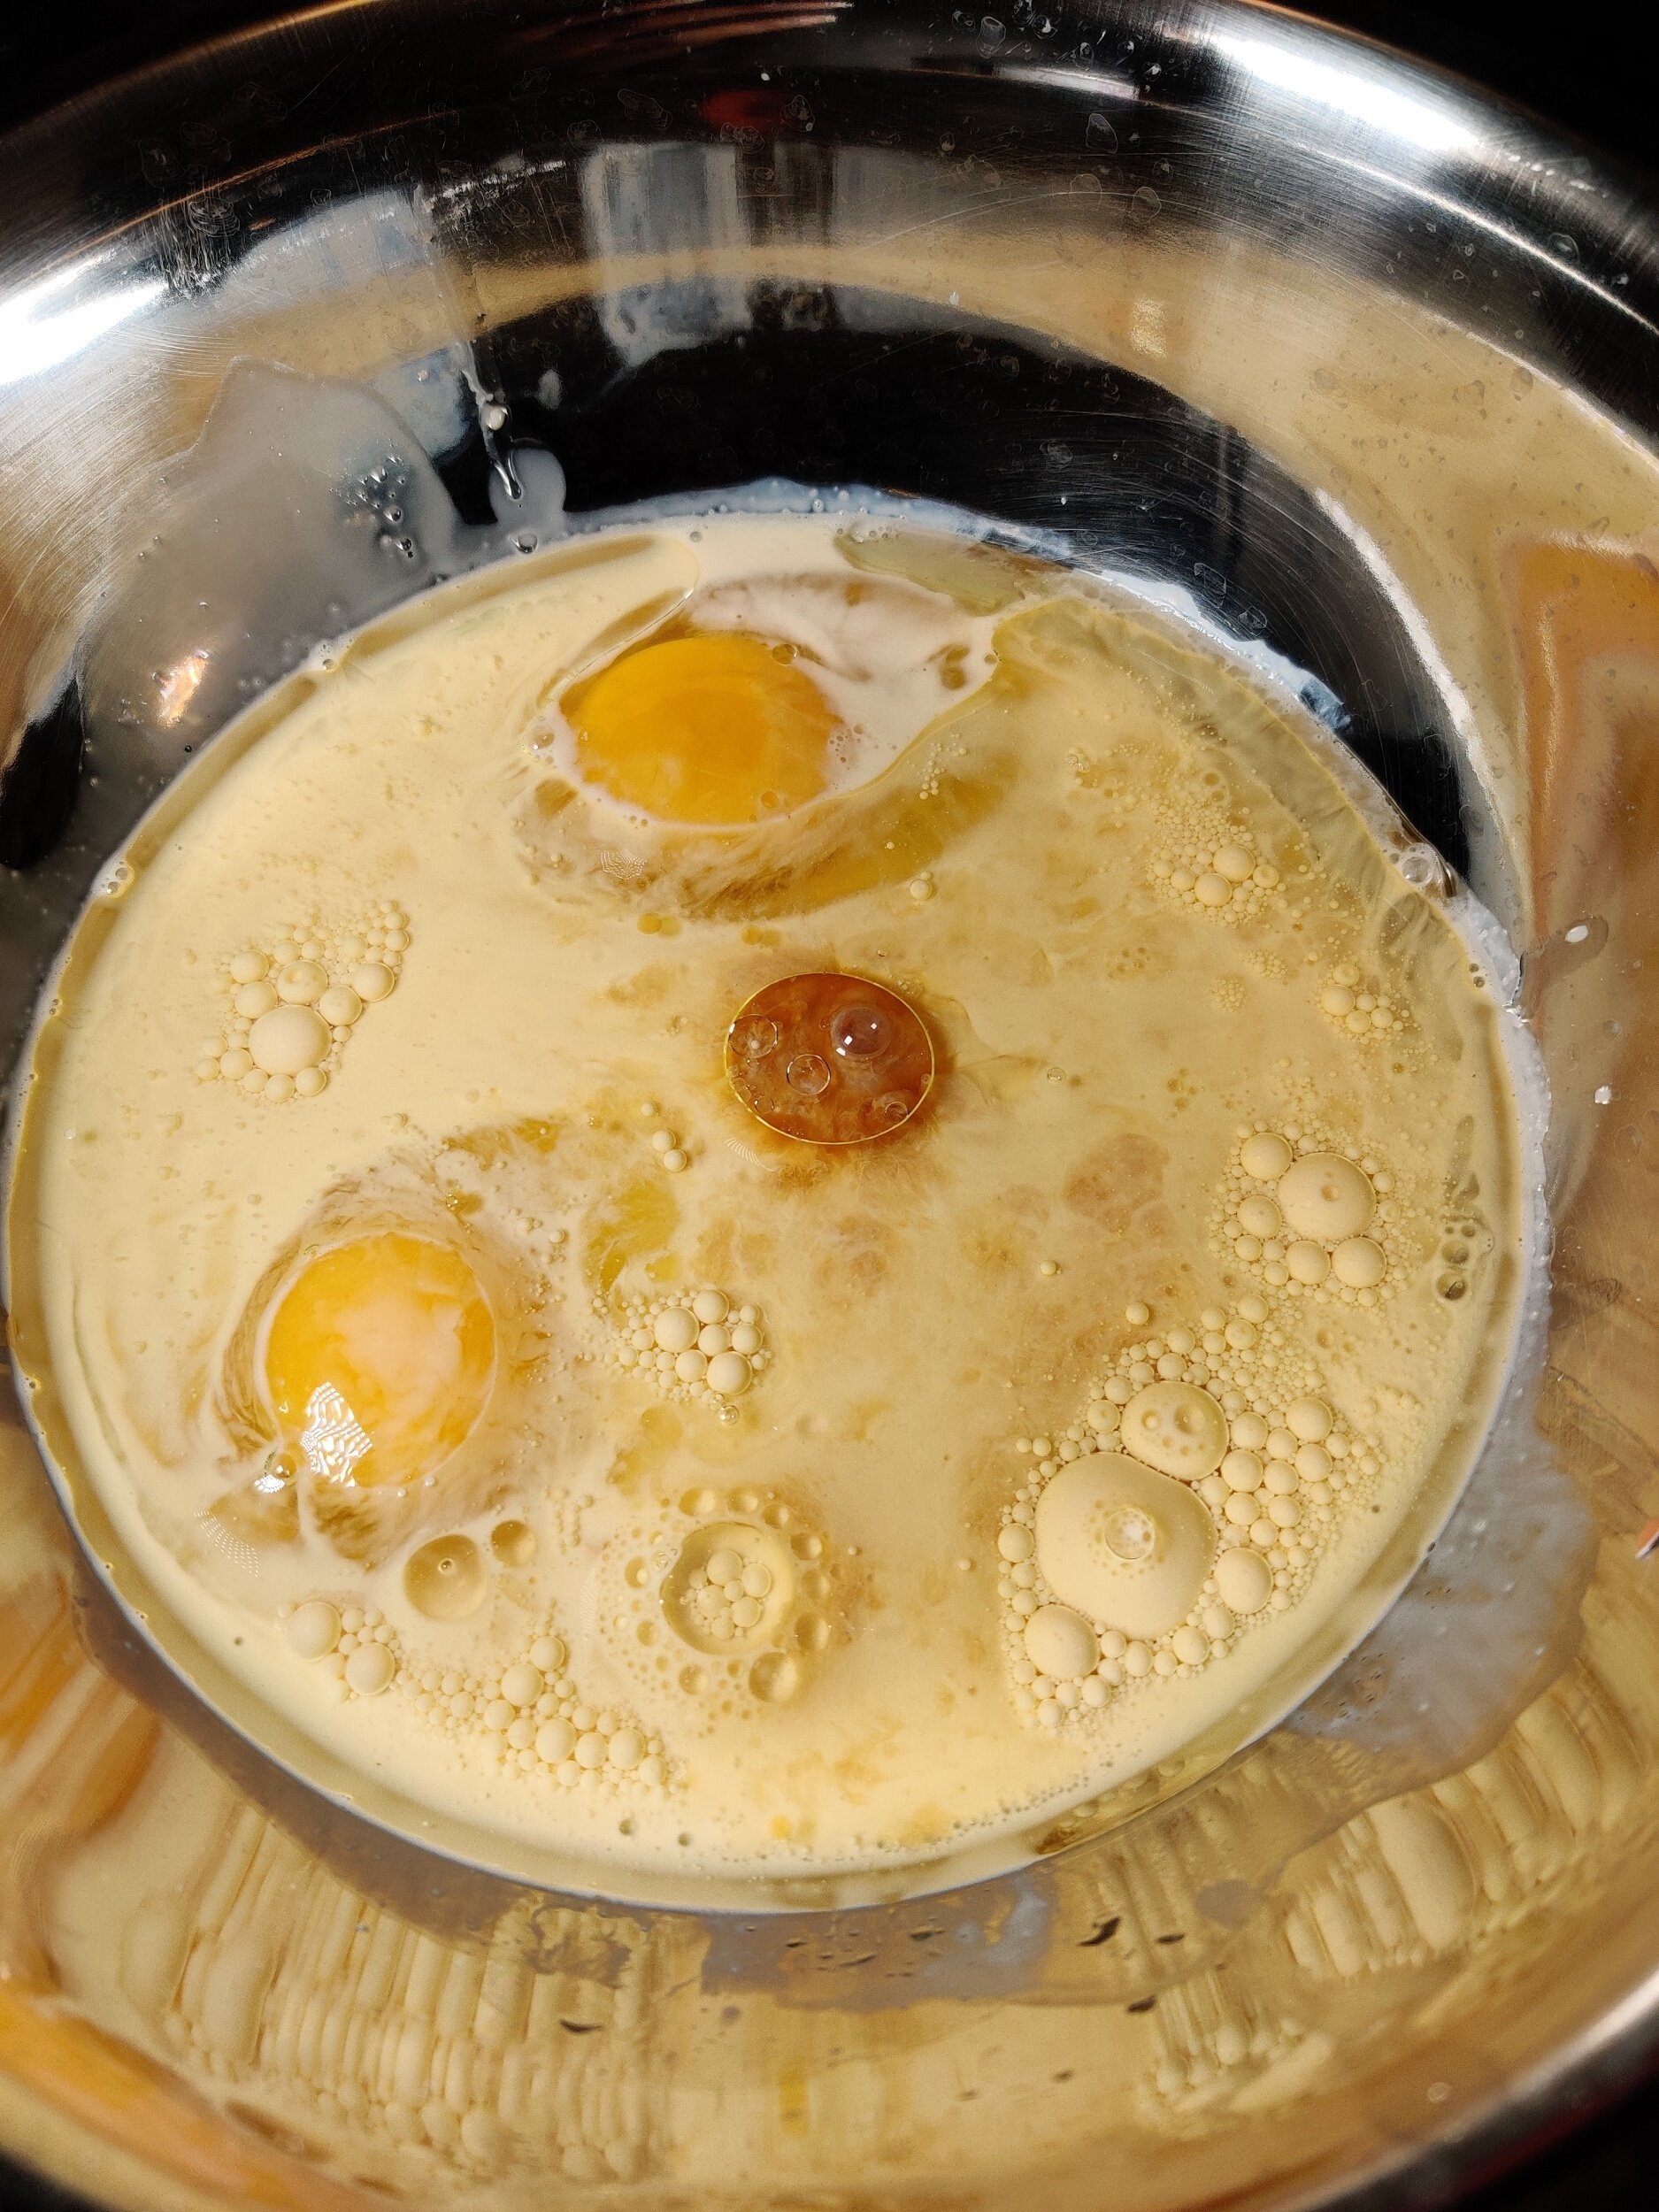
2 eggs
1 1/2 cup pastry flour
1/2 teaspoon lemon juice
1/2 teaspoon almond extract
1/2 teaspoon salt
1 teaspoon baking powder
1/4 cup goat milk
1 cup white sugar
1/4 cup mascarpone cheese, room temperature (don't leave our for more than 4 hours)

Instructions
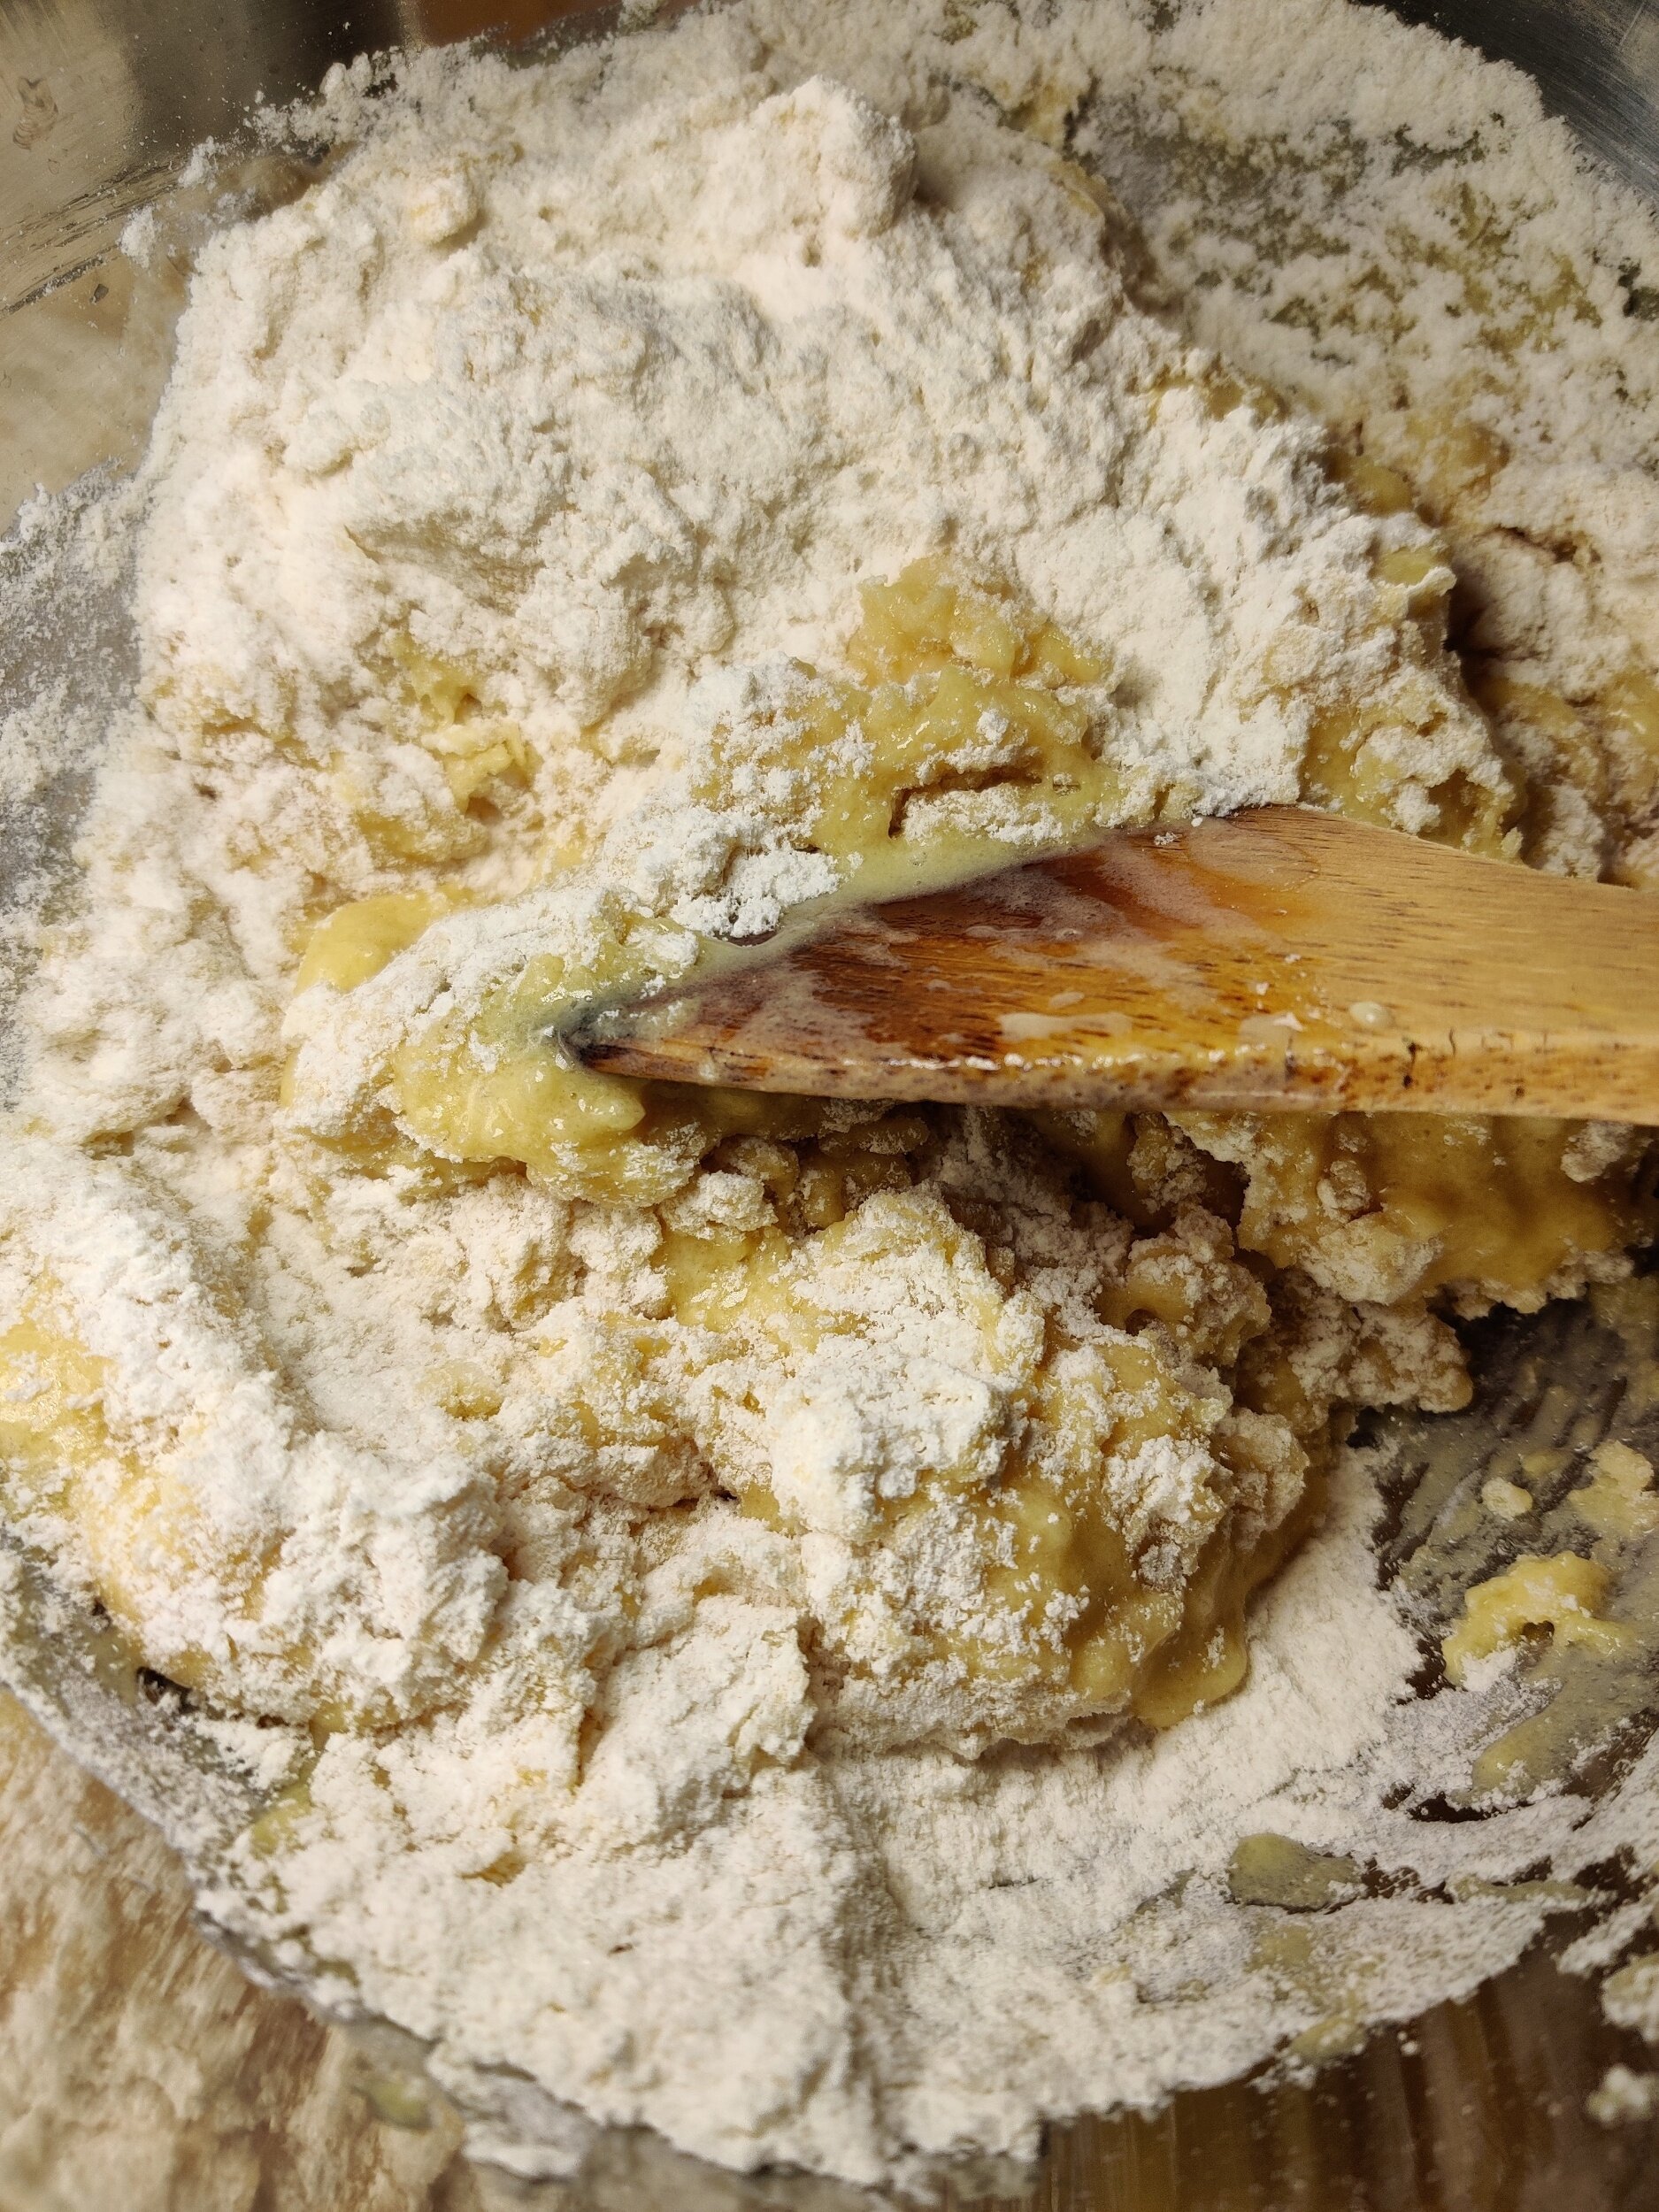
In a large bowl, whisk the flour, salt, baking powder, and sugar.
In a medium bowl, whisk the eggs, vanilla, almond, lemon, milk, and oil.
Make a well in the dry mix and fold in the wet ingredients until
just combined - don't over mix!
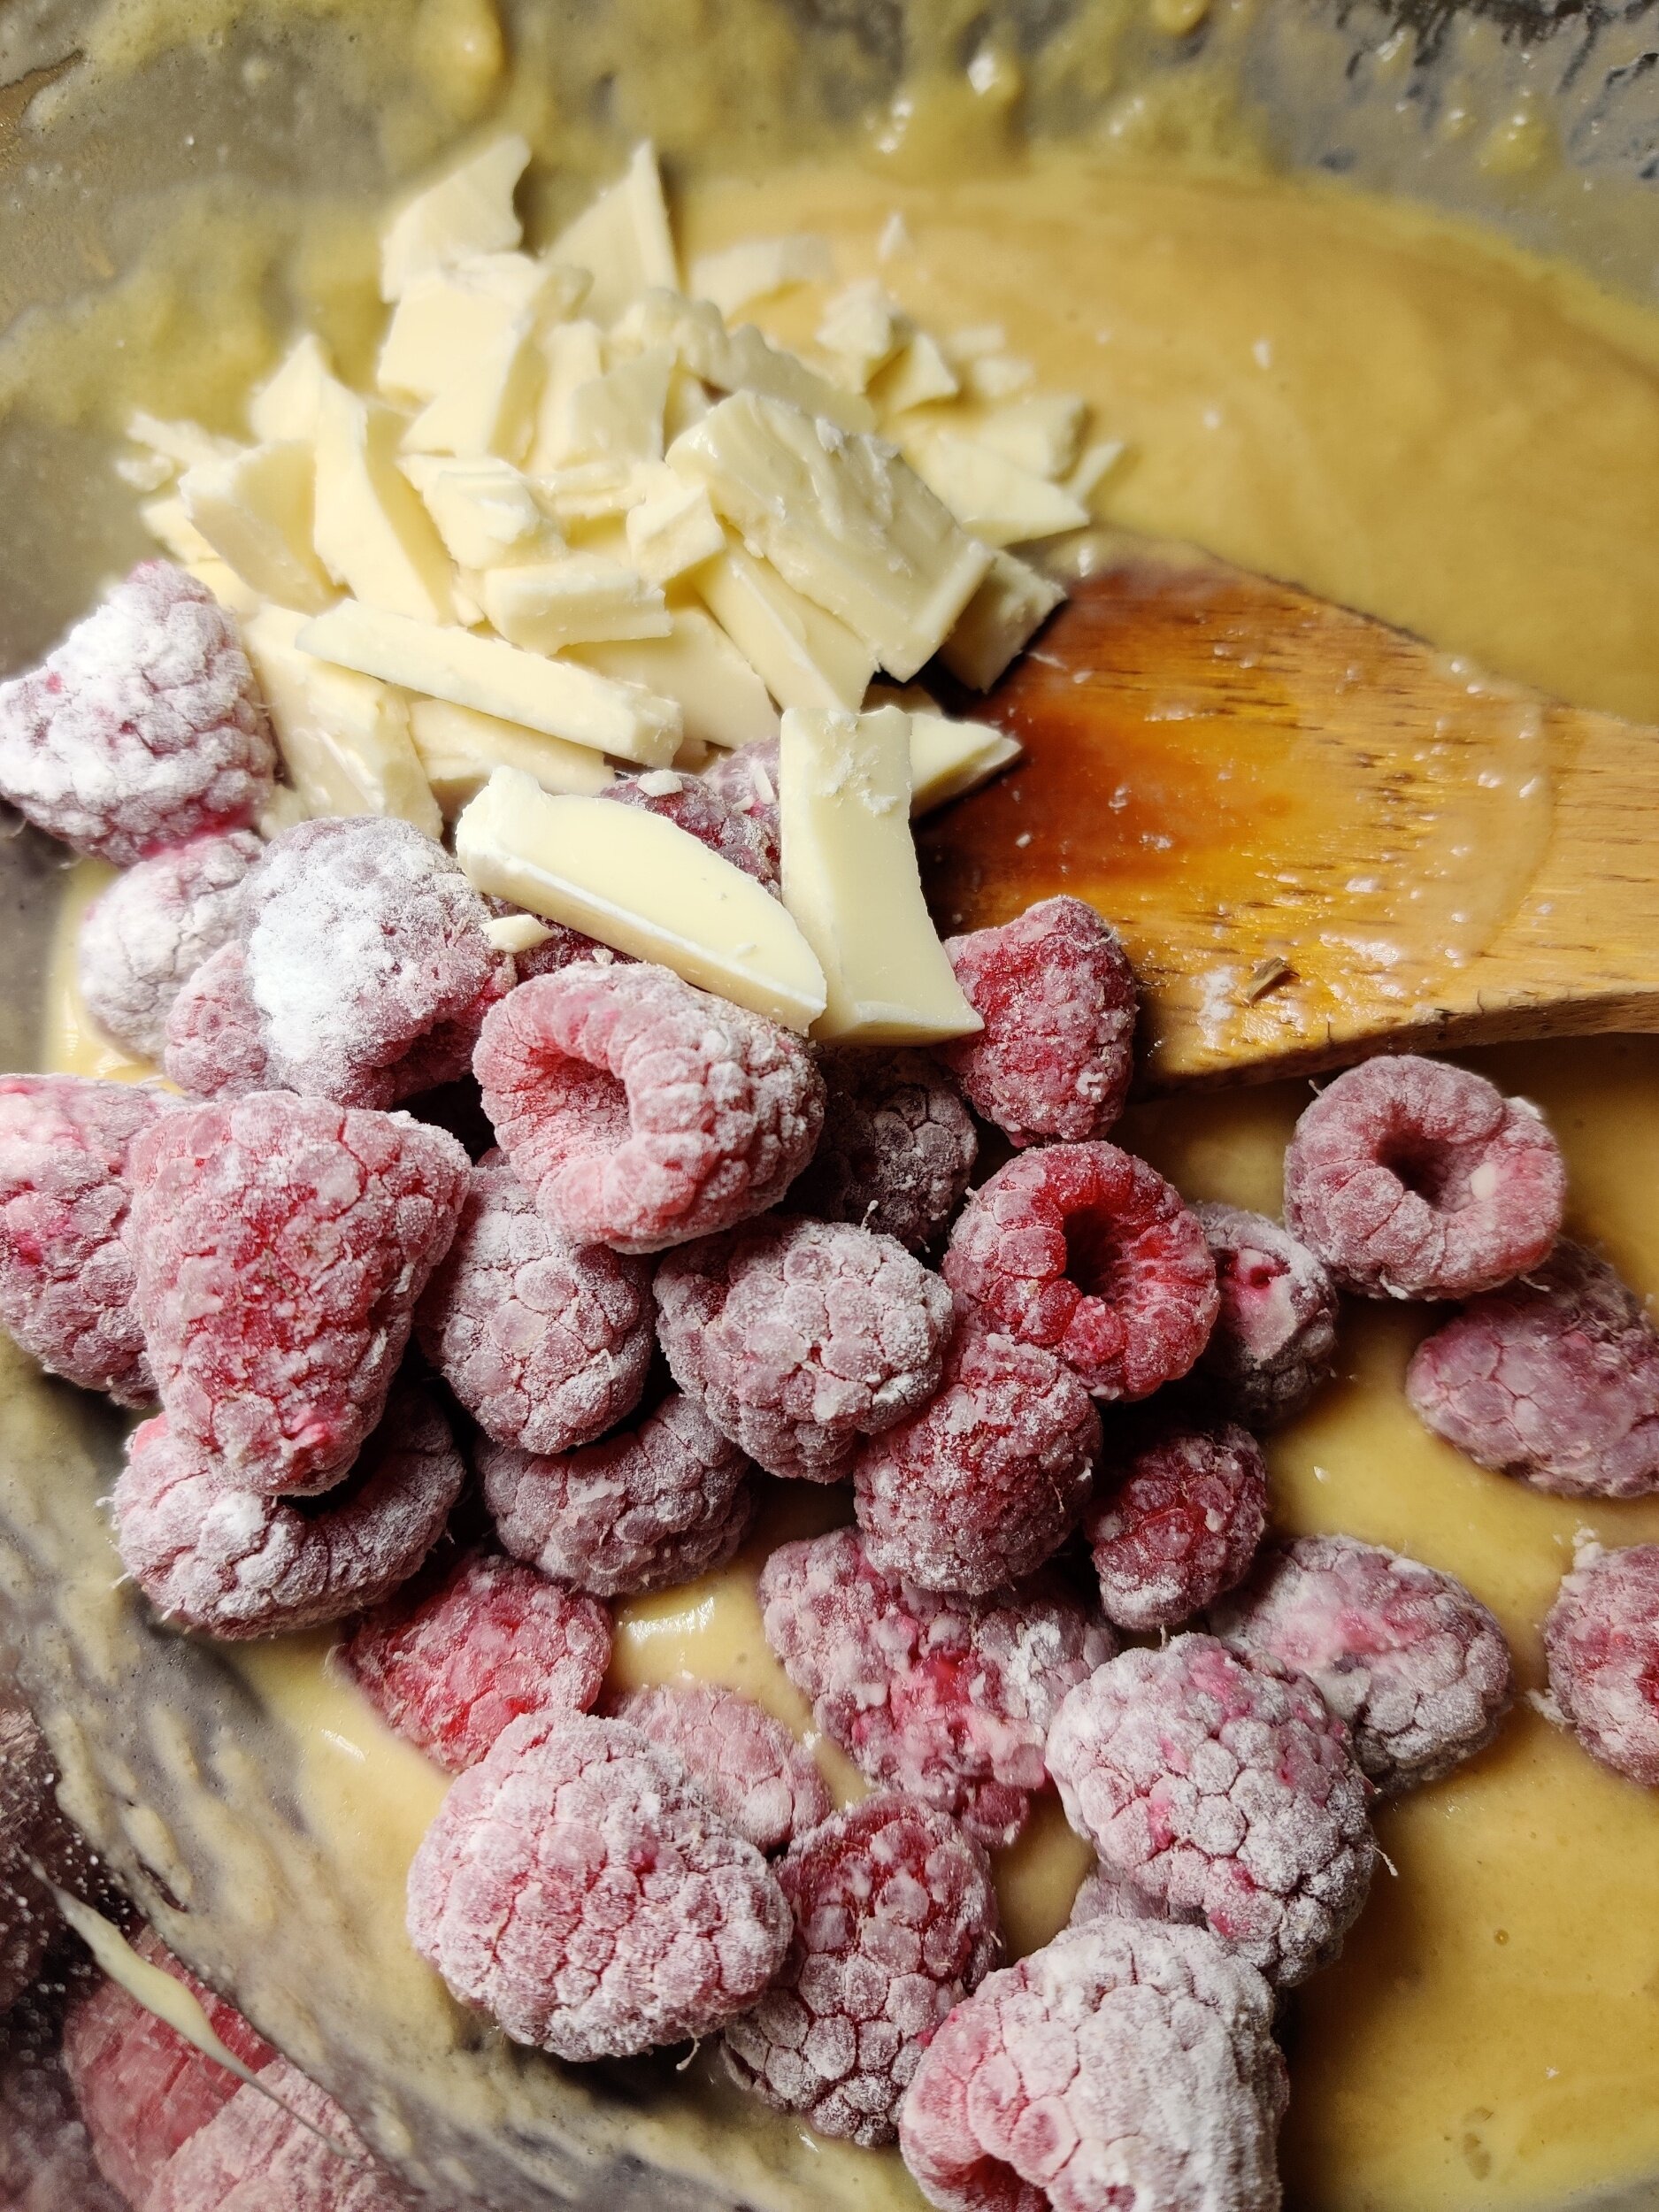
Toss the raspberries in a bit of flour - this will help prevent them from totally sinking or disintegrating in the batter. Gently fold in them with the chopped white chocolate shards into the batter.
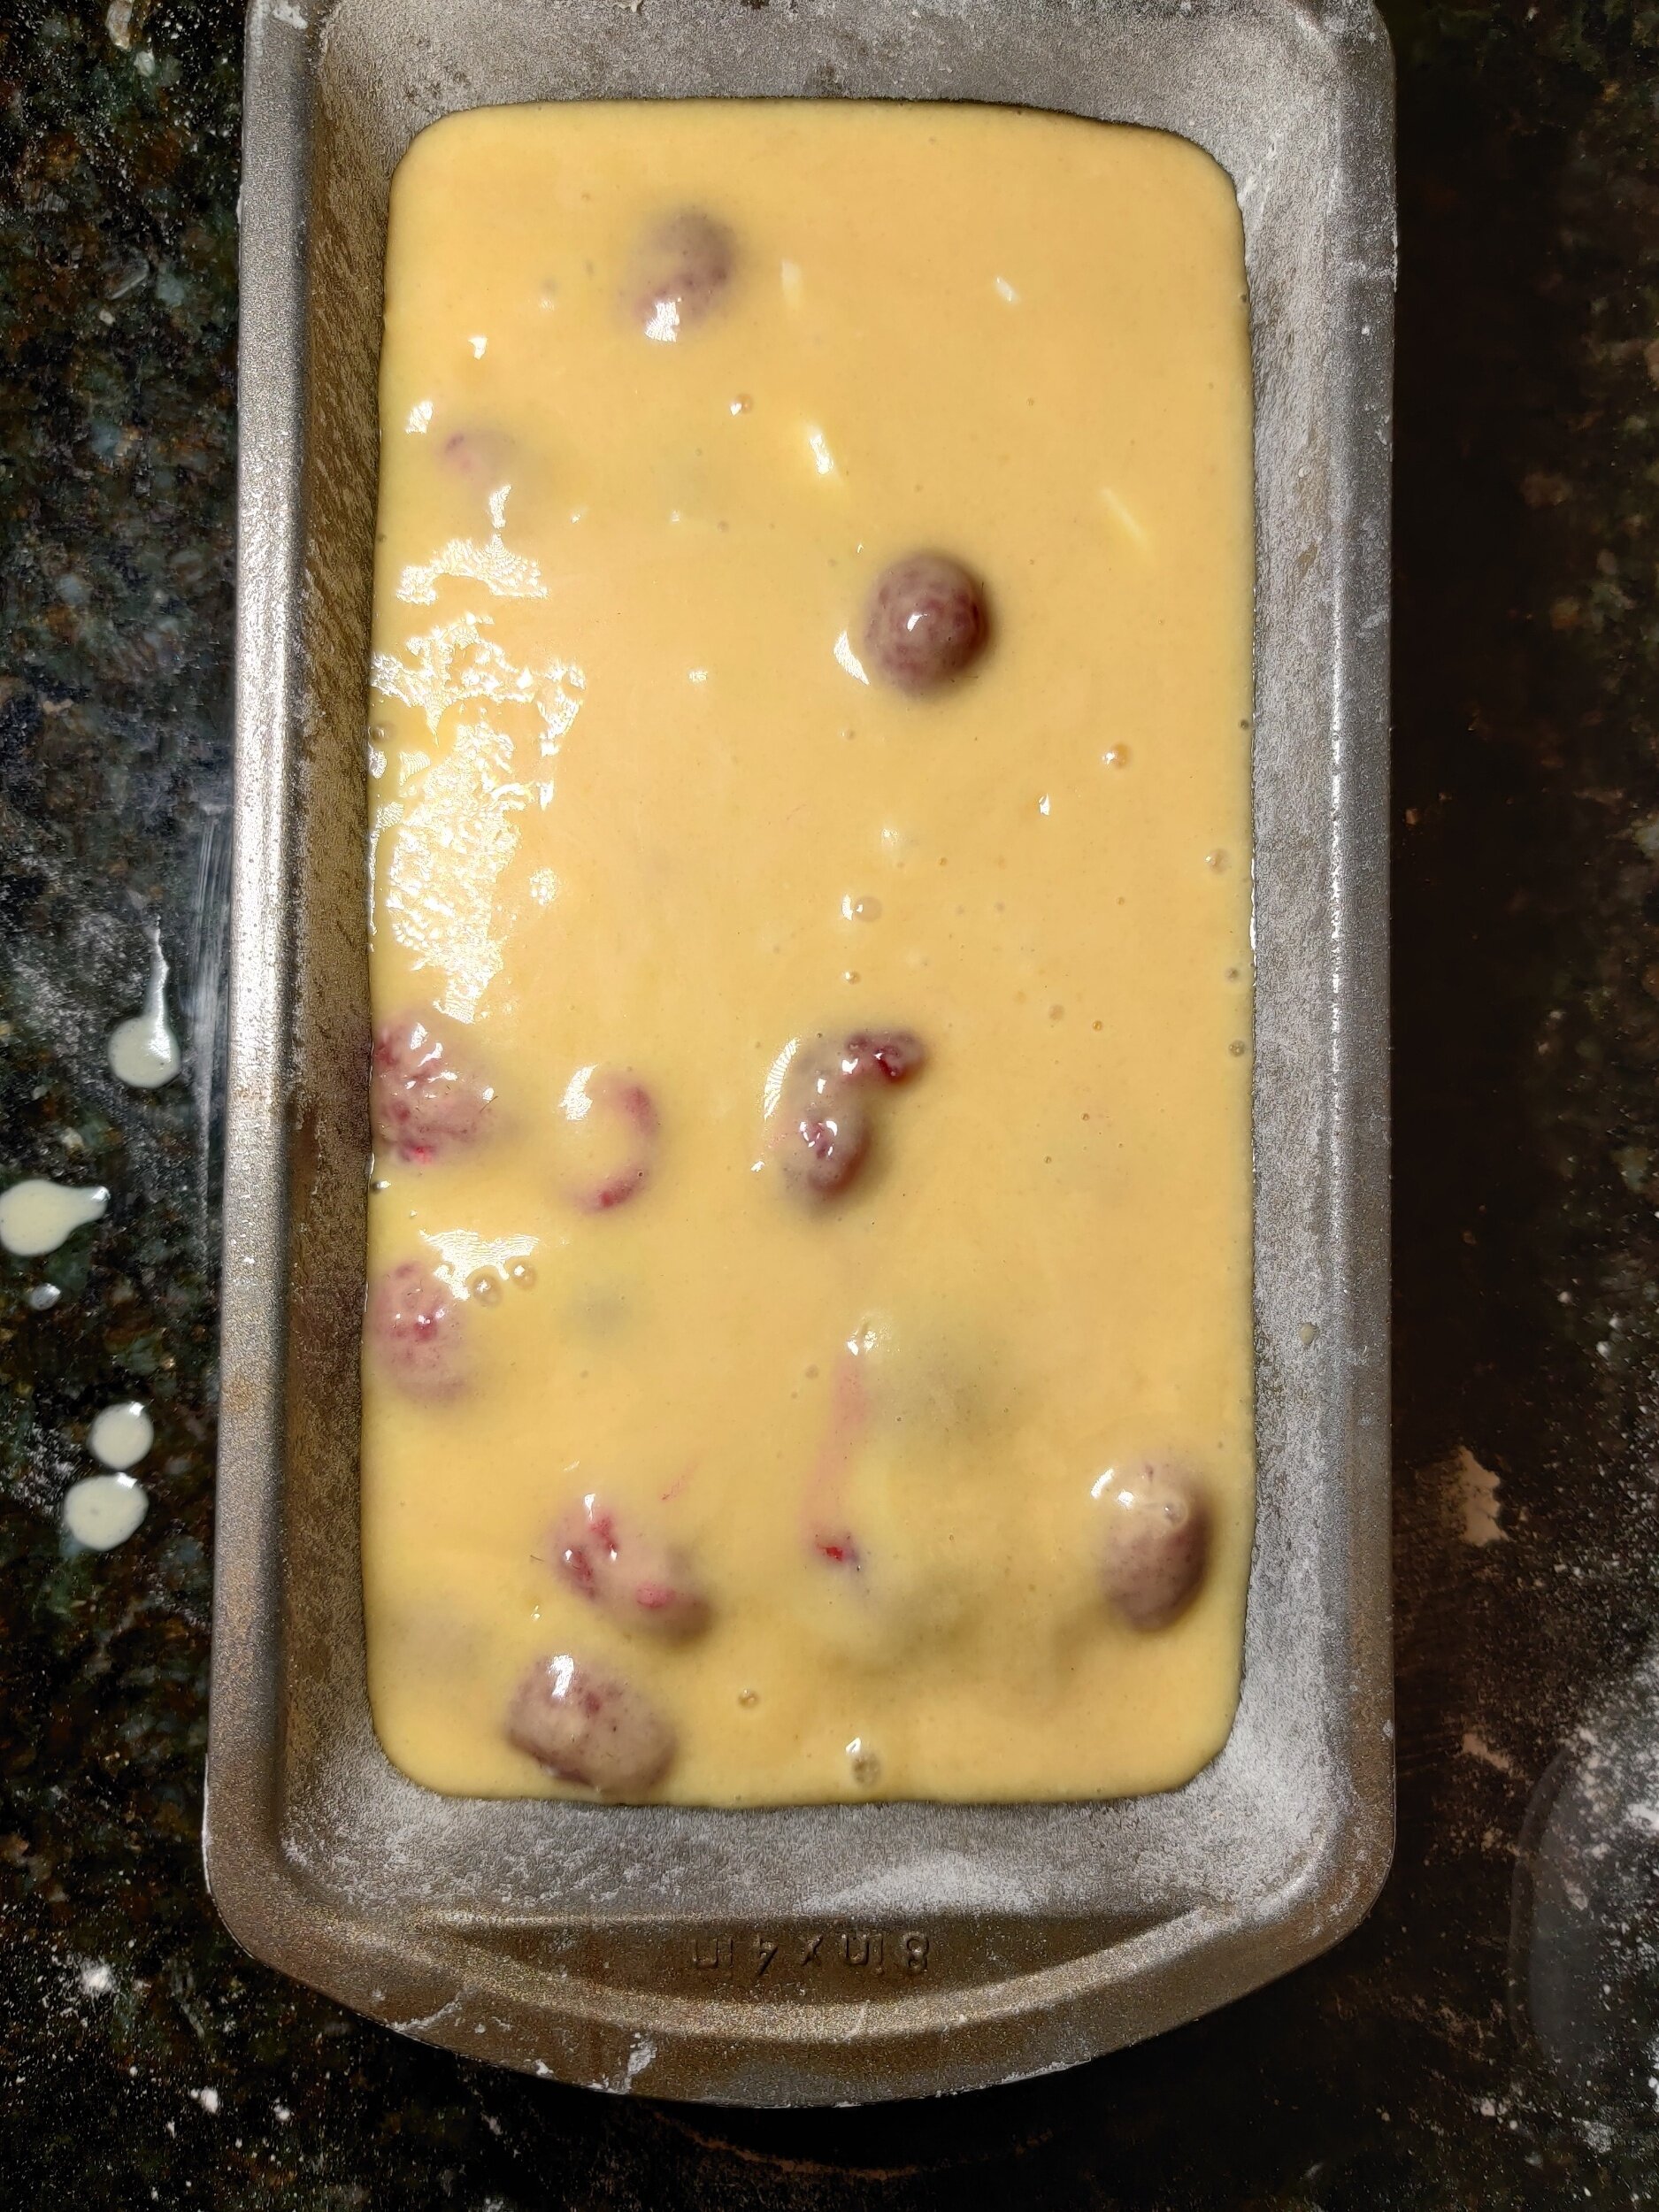
Pour the batter into an 8-inch by 5-inch loaf pan and bake at 350F for 1 hour. Set aside to cool. Loosen the cake loaf from the pan, then continue to cool on a wire rack.
In a separate bowl, melt the chocolate chips for 30 seconds in the microwave. Stir in the mascarpone. If it seems a little thick, microwave the mixture for 10-20 seconds (10 seconds at a time, keep checking) and stir to the desired consistency.
Spread over the cake loaf and garnish with white chocolate shards, raspberries, and icing sugar. Enjoy with tea or coffee!

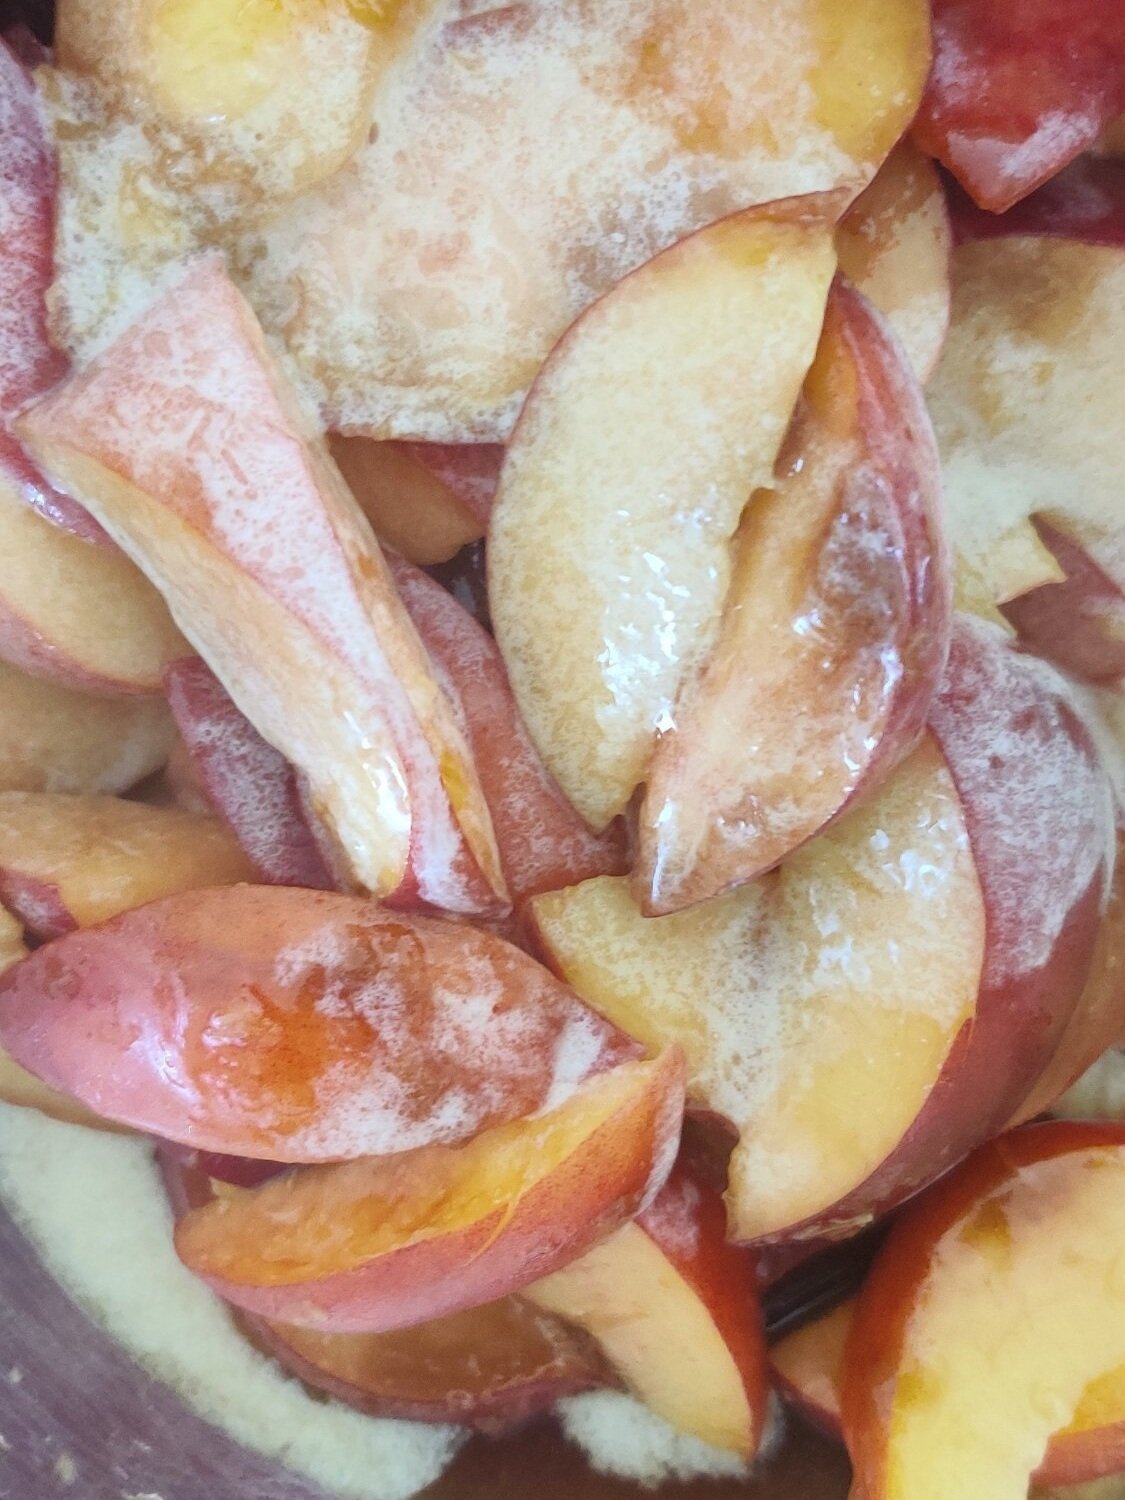
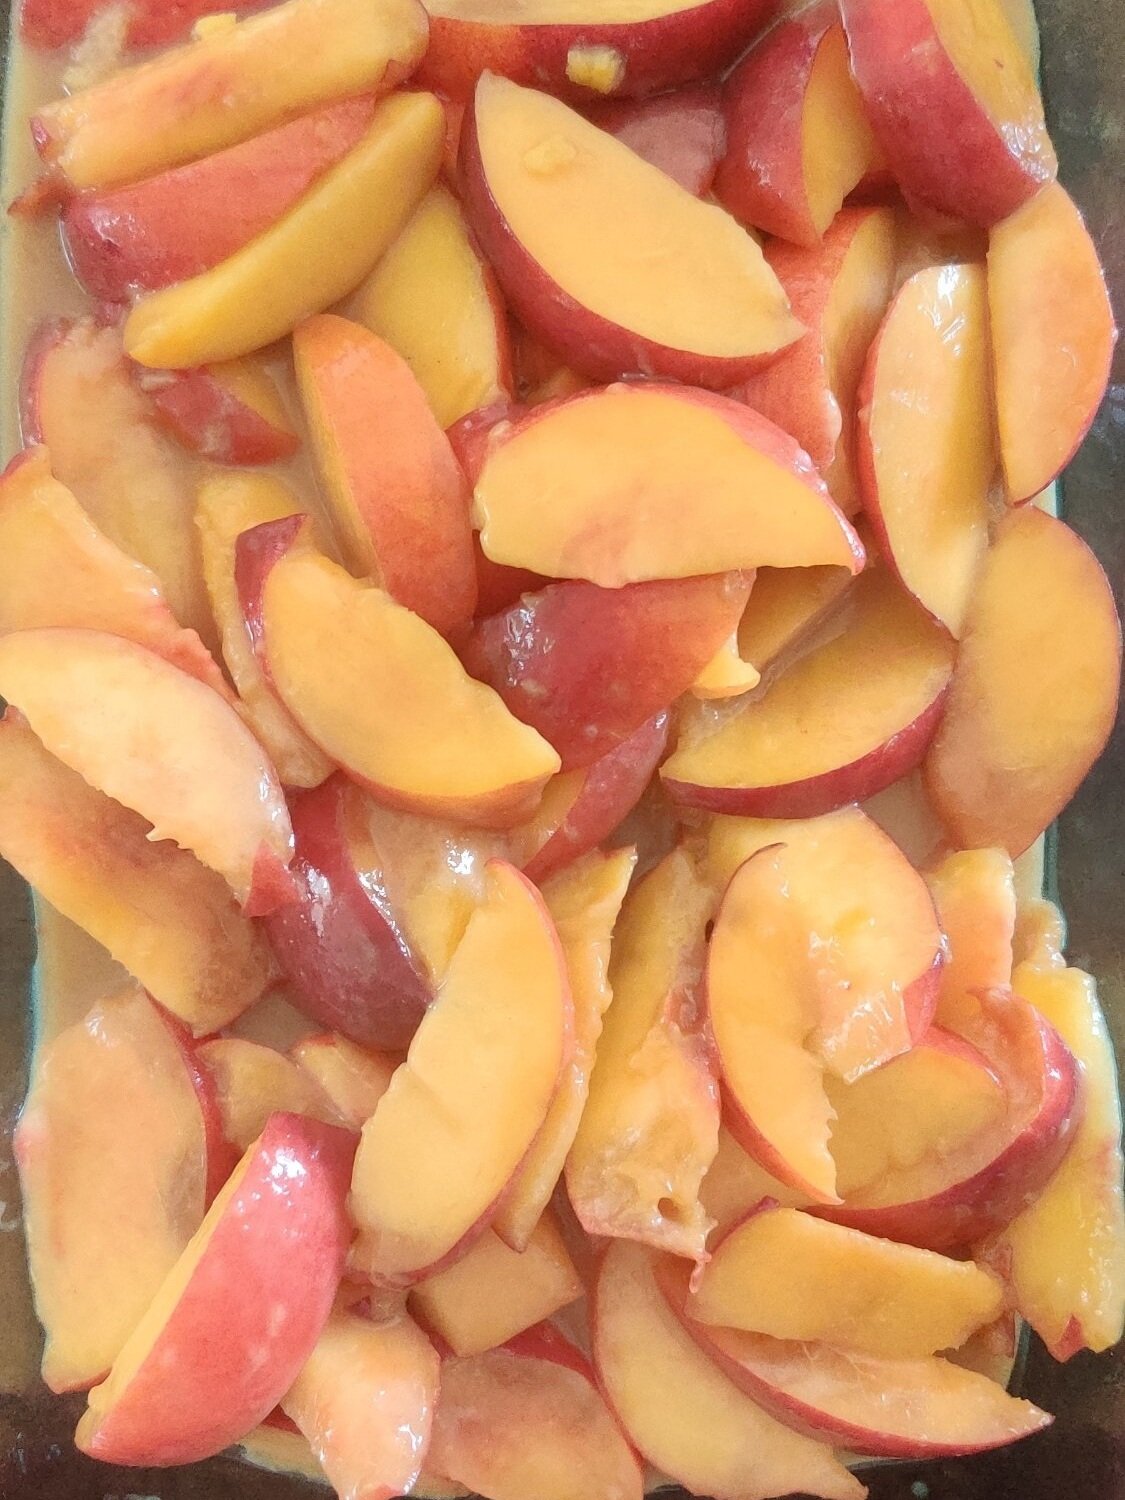
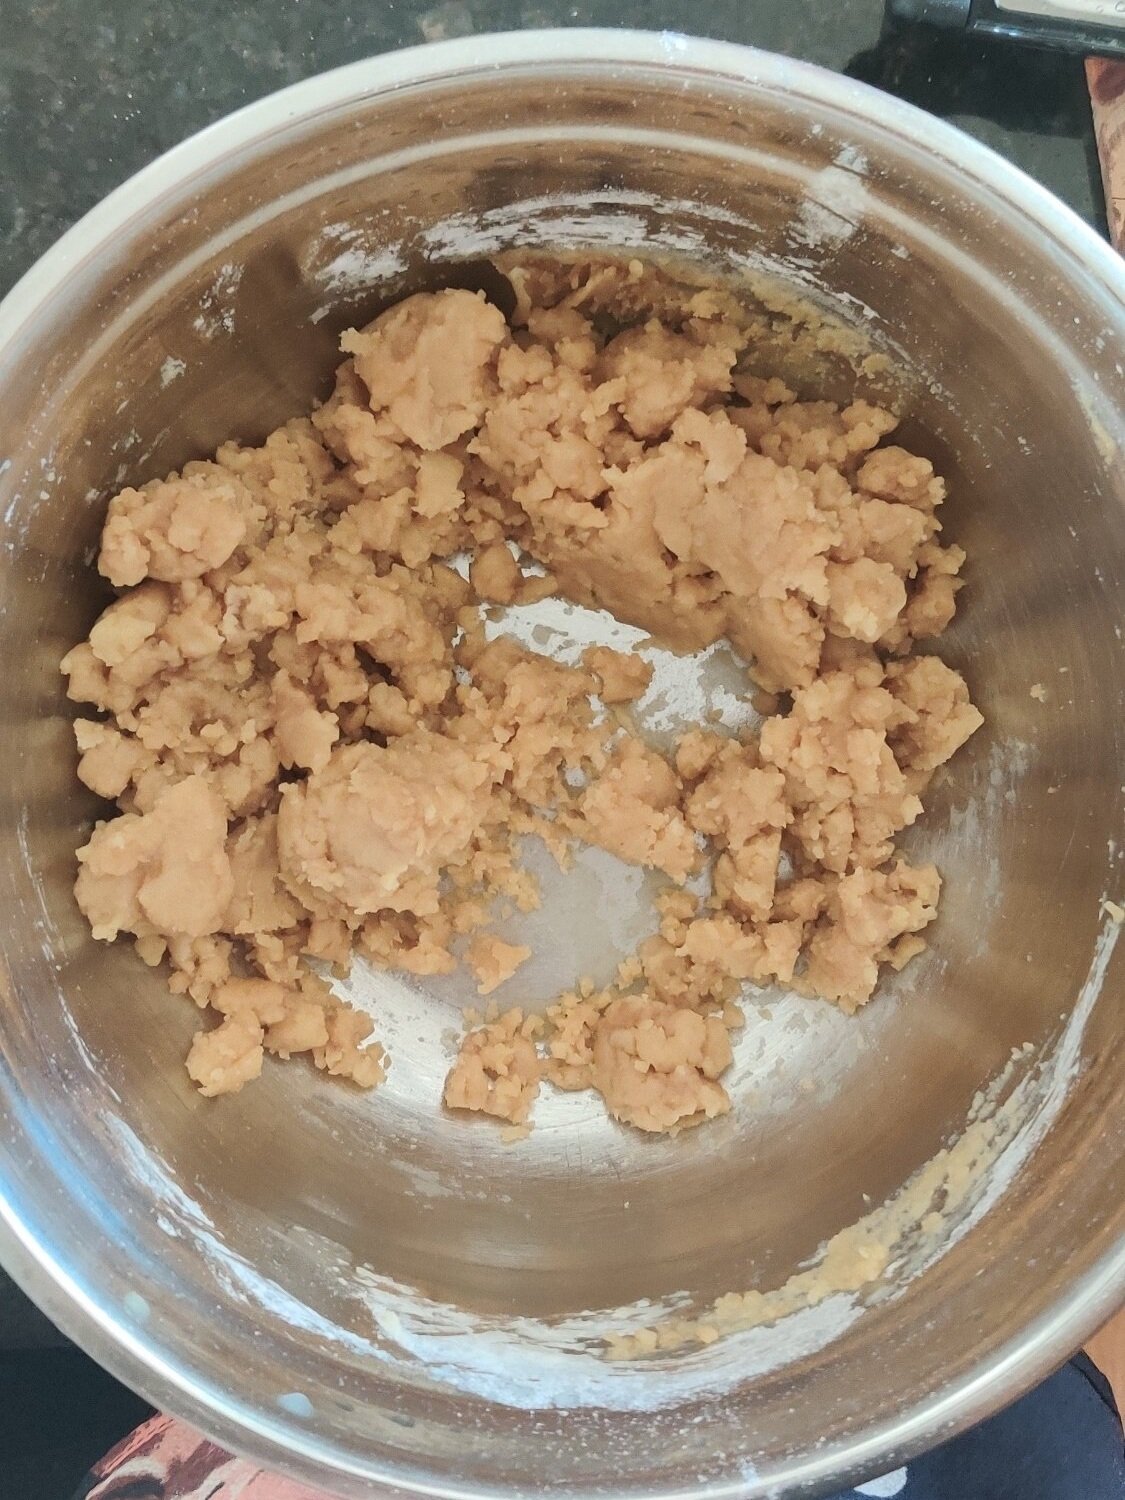
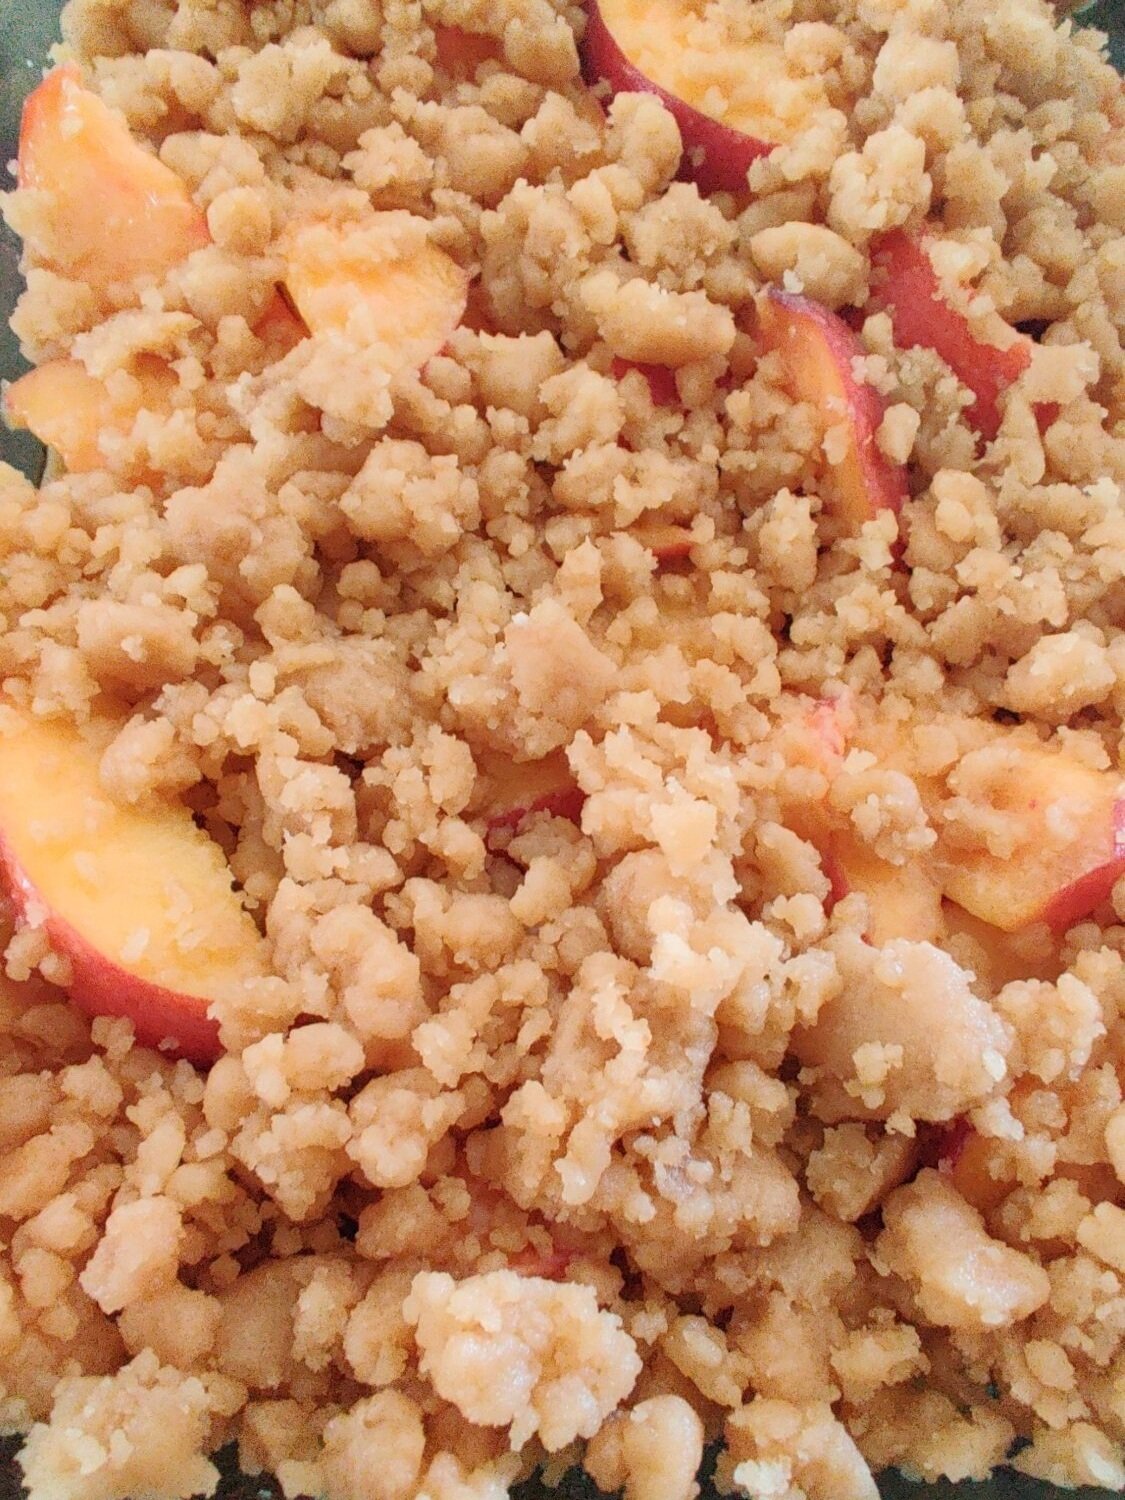
Easy Bourbon Peach Crumble
I love crumble, but I don't eat them enough. When I do, it usually has apple, but peaches are for the win too! During the summer, peach crumbles offer a subtle tartness, sweetness and crunch many of us appreciate in a light dessert. Served warm with ice cream or whipped cream, the spiced, caramelized peaches paired with a crunchy, buttery crumble melt together to make a sinfully good combination.
Add in some bourbon to enhance everything, and you have a fail-safe people pleaser!
As most people know, this dessert a variation of or considered interchangeable peach cobbler. I say crumble because of the way I prepared the pastry, crumbling the cookie-like dough versus having thicker, large pieces on top. Essentially it is the same as the classic out of the American South. Depends on how serious you take all the nuances!
You can convert this into another simple, delicious dessert. Check out my no-churn Bourbon Peach Crumble Ice Cream which you will love, here.

Malva Pudding with Coconut Rum Sauce
Malva pudding has already been featured on this blog but in the form of a cake. This time around, my remix is inspired by the rum cake, popular across the Caribbean from where it originates, baked for the holiday season especially.
I swapped out regular cream in the complimentary sauce with coconut cream, add some coconut flour to the batter, and add rum to the cake batter as well as the sauce.
It's absolutely delightful! You can serve it with ice cream, custard, or just use the rum sauce in this case!
If you don’t have rum, rum extract will do.


Quick Cornbread
This is a basic and quick recipe you can whip up if you need a side for your weeknight stew or soup. You can adjust things slightly to suit your preferences and still get good results.

Quick Cornbread
Ingredients
- 1 cup all-purpose flour
- 1 1/2 teaspoons baking powder
- 1 1/2 cups buttermilk
- 1/3 cup butter, melted
- 1 1/2 cups cornmeal, coarsely ground
- 1/2 cup corn kernels (optional)
- 1 teaspoon salt
- 1 egg
- 2 tablespoons sugar
- 1/2 teaspoon baking soda
- 1 teaspoon vanilla extract
Instructions
- In a large bowl, whisk the flour, baking powder, cornmeal, salt, sugar, and baking soda together until evenly mixed.
- In a separate bowl, beat the egg with the milk and vanilla, add to the dry ingredients. Mix until the batter is smooth.
- Add the butter and corn kernels or creamed corn, mix until well incorporated.
- Bake at 400F for 30 minutes or until a toothpick comes out clean in the center - you may need an extra 5-10 minutes. Set aside to cool before slicing.
- Serve warm with butter and honey.
Nutrition Facts
Calories
205Fat (grams)
7.8 gCarbs (grams)
29.7 gSugar (grams)
4.6 gProtein (grams)
4.9 gI am not a certified nutritionist and any nutritional information on dontmissmyplate.com should only be used as a general guideline.
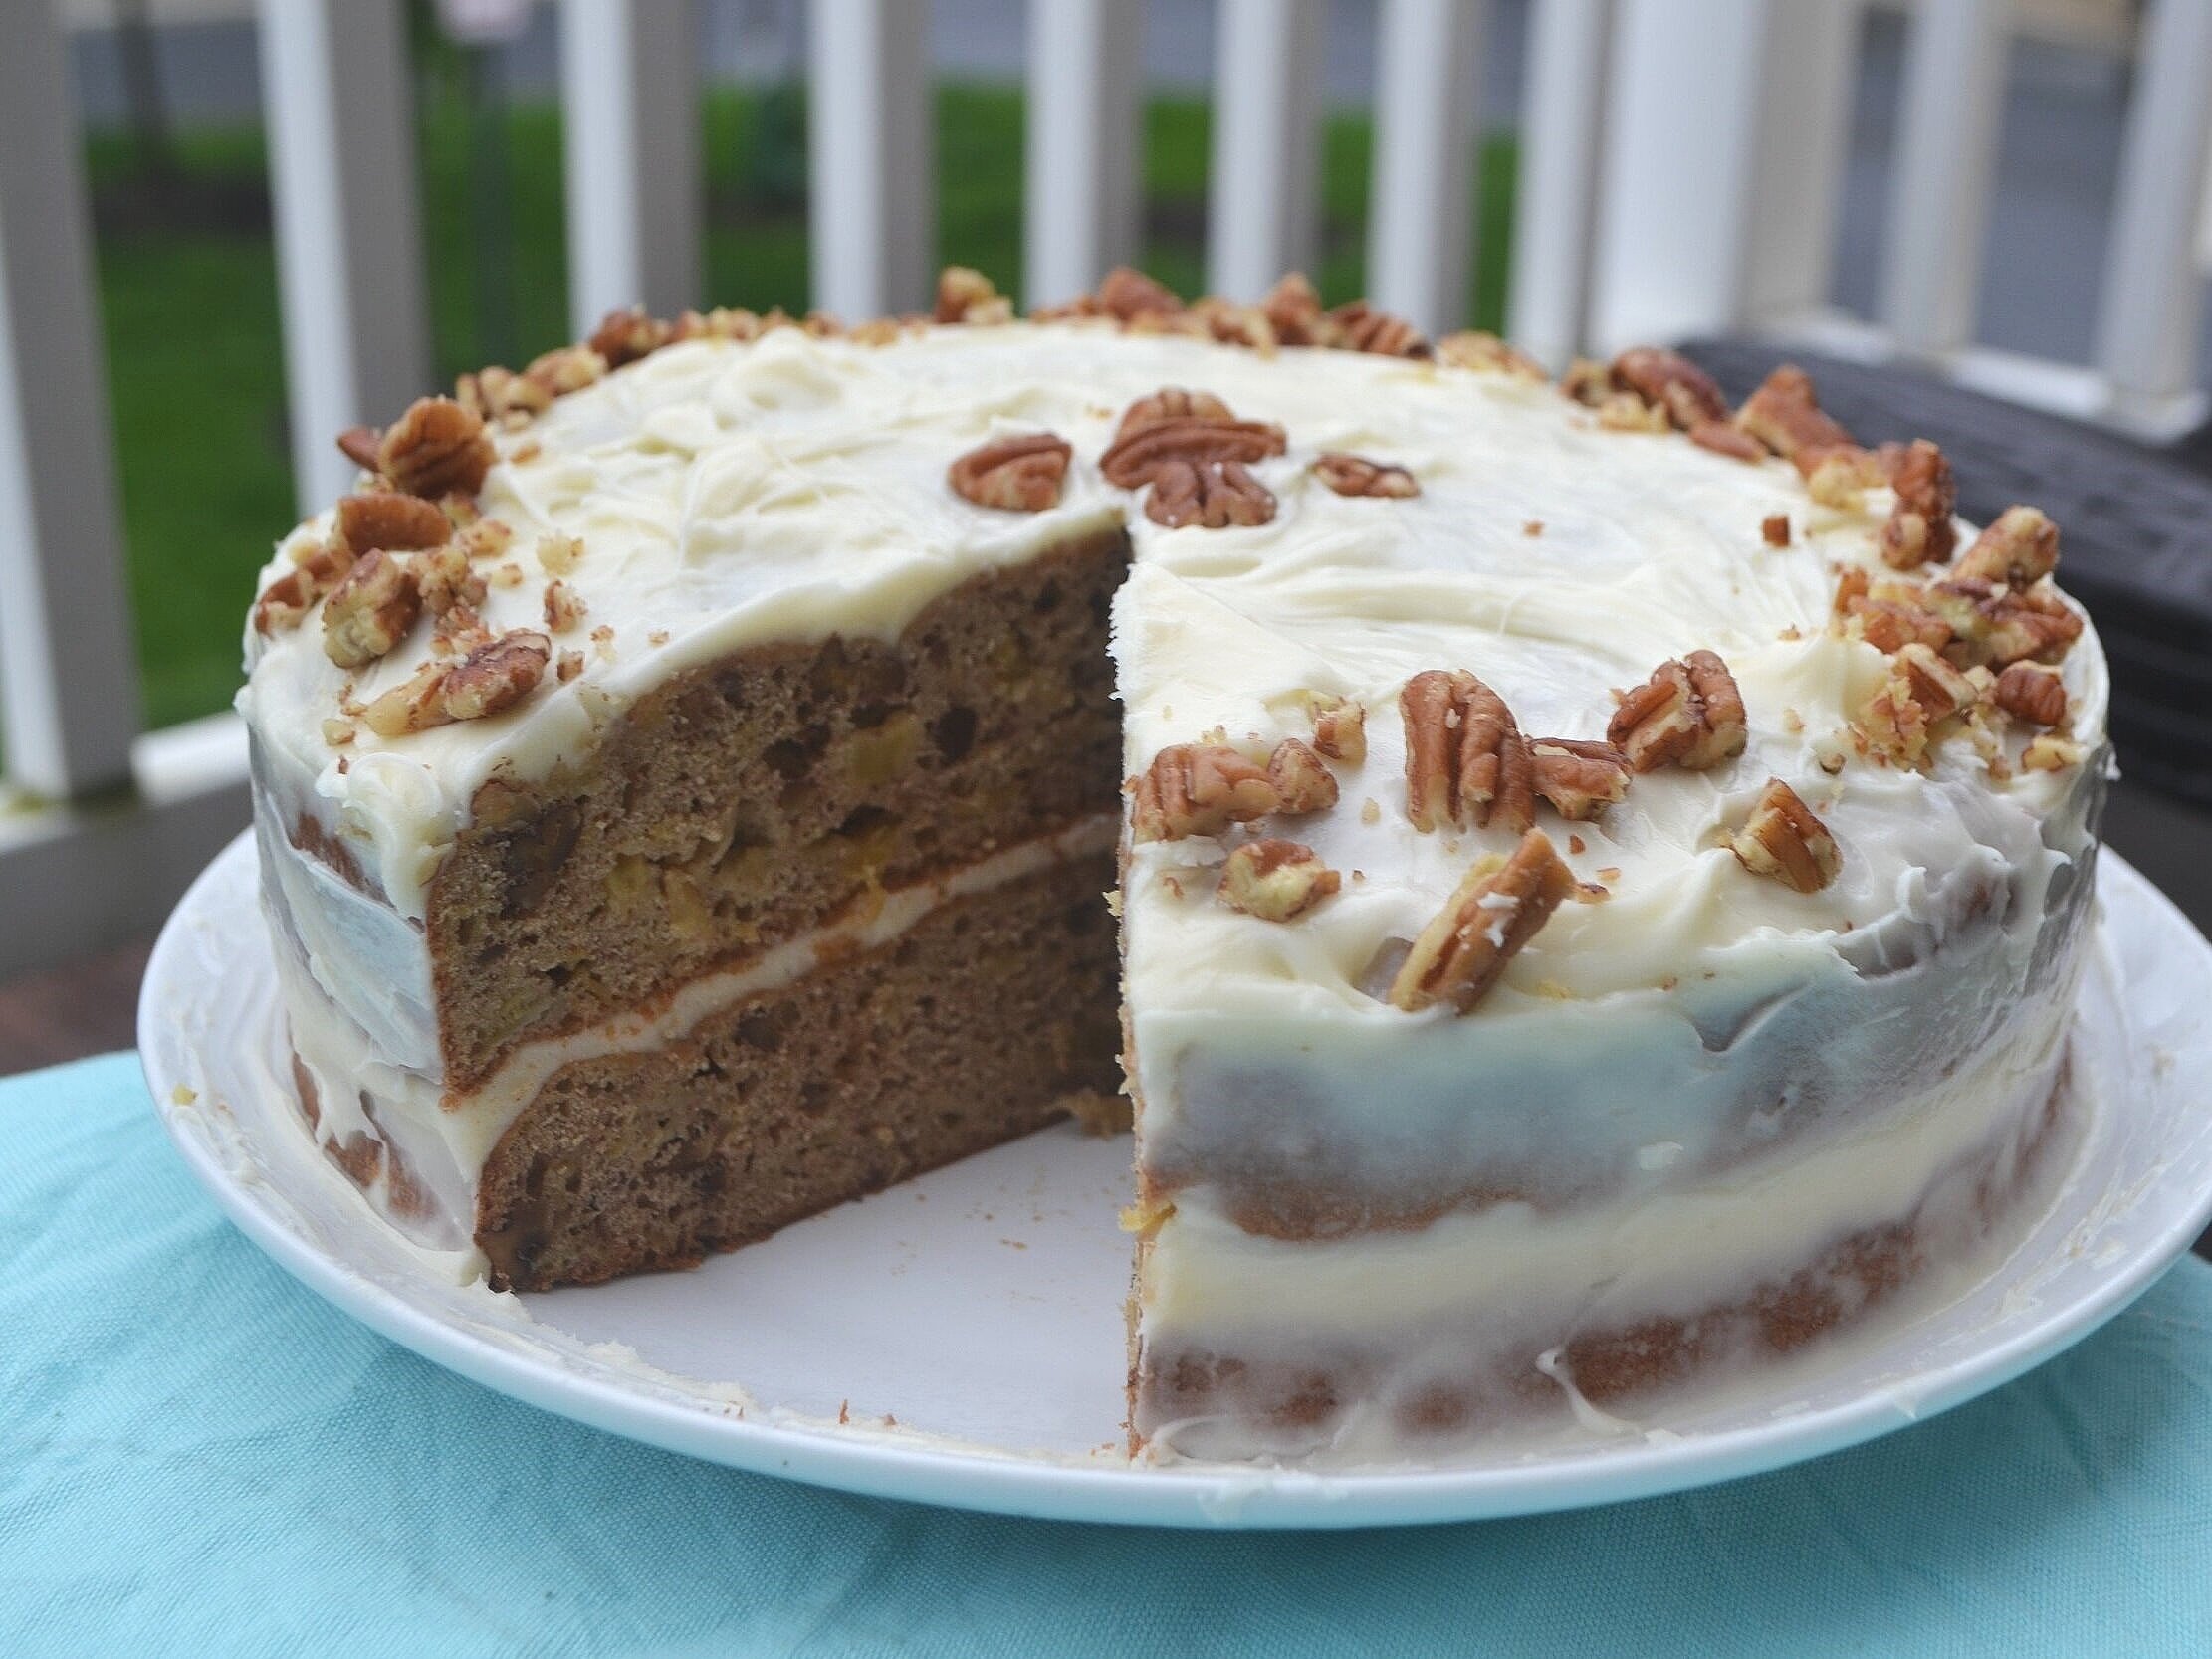
Hummingbird Cake
The cake was initially used to promote tourism to the Caribbean. I love food that has a story, but what drew me to exploring the recipe was its likeness to my go-to carrot cake recipe. Also, who doesn’t love pineapples and bananas? It’s a delicious, moist cake that pairs wonderfully with coffee or tea! Plus, it's easy to make.