
Red Velvet Sheet Cake Recipe
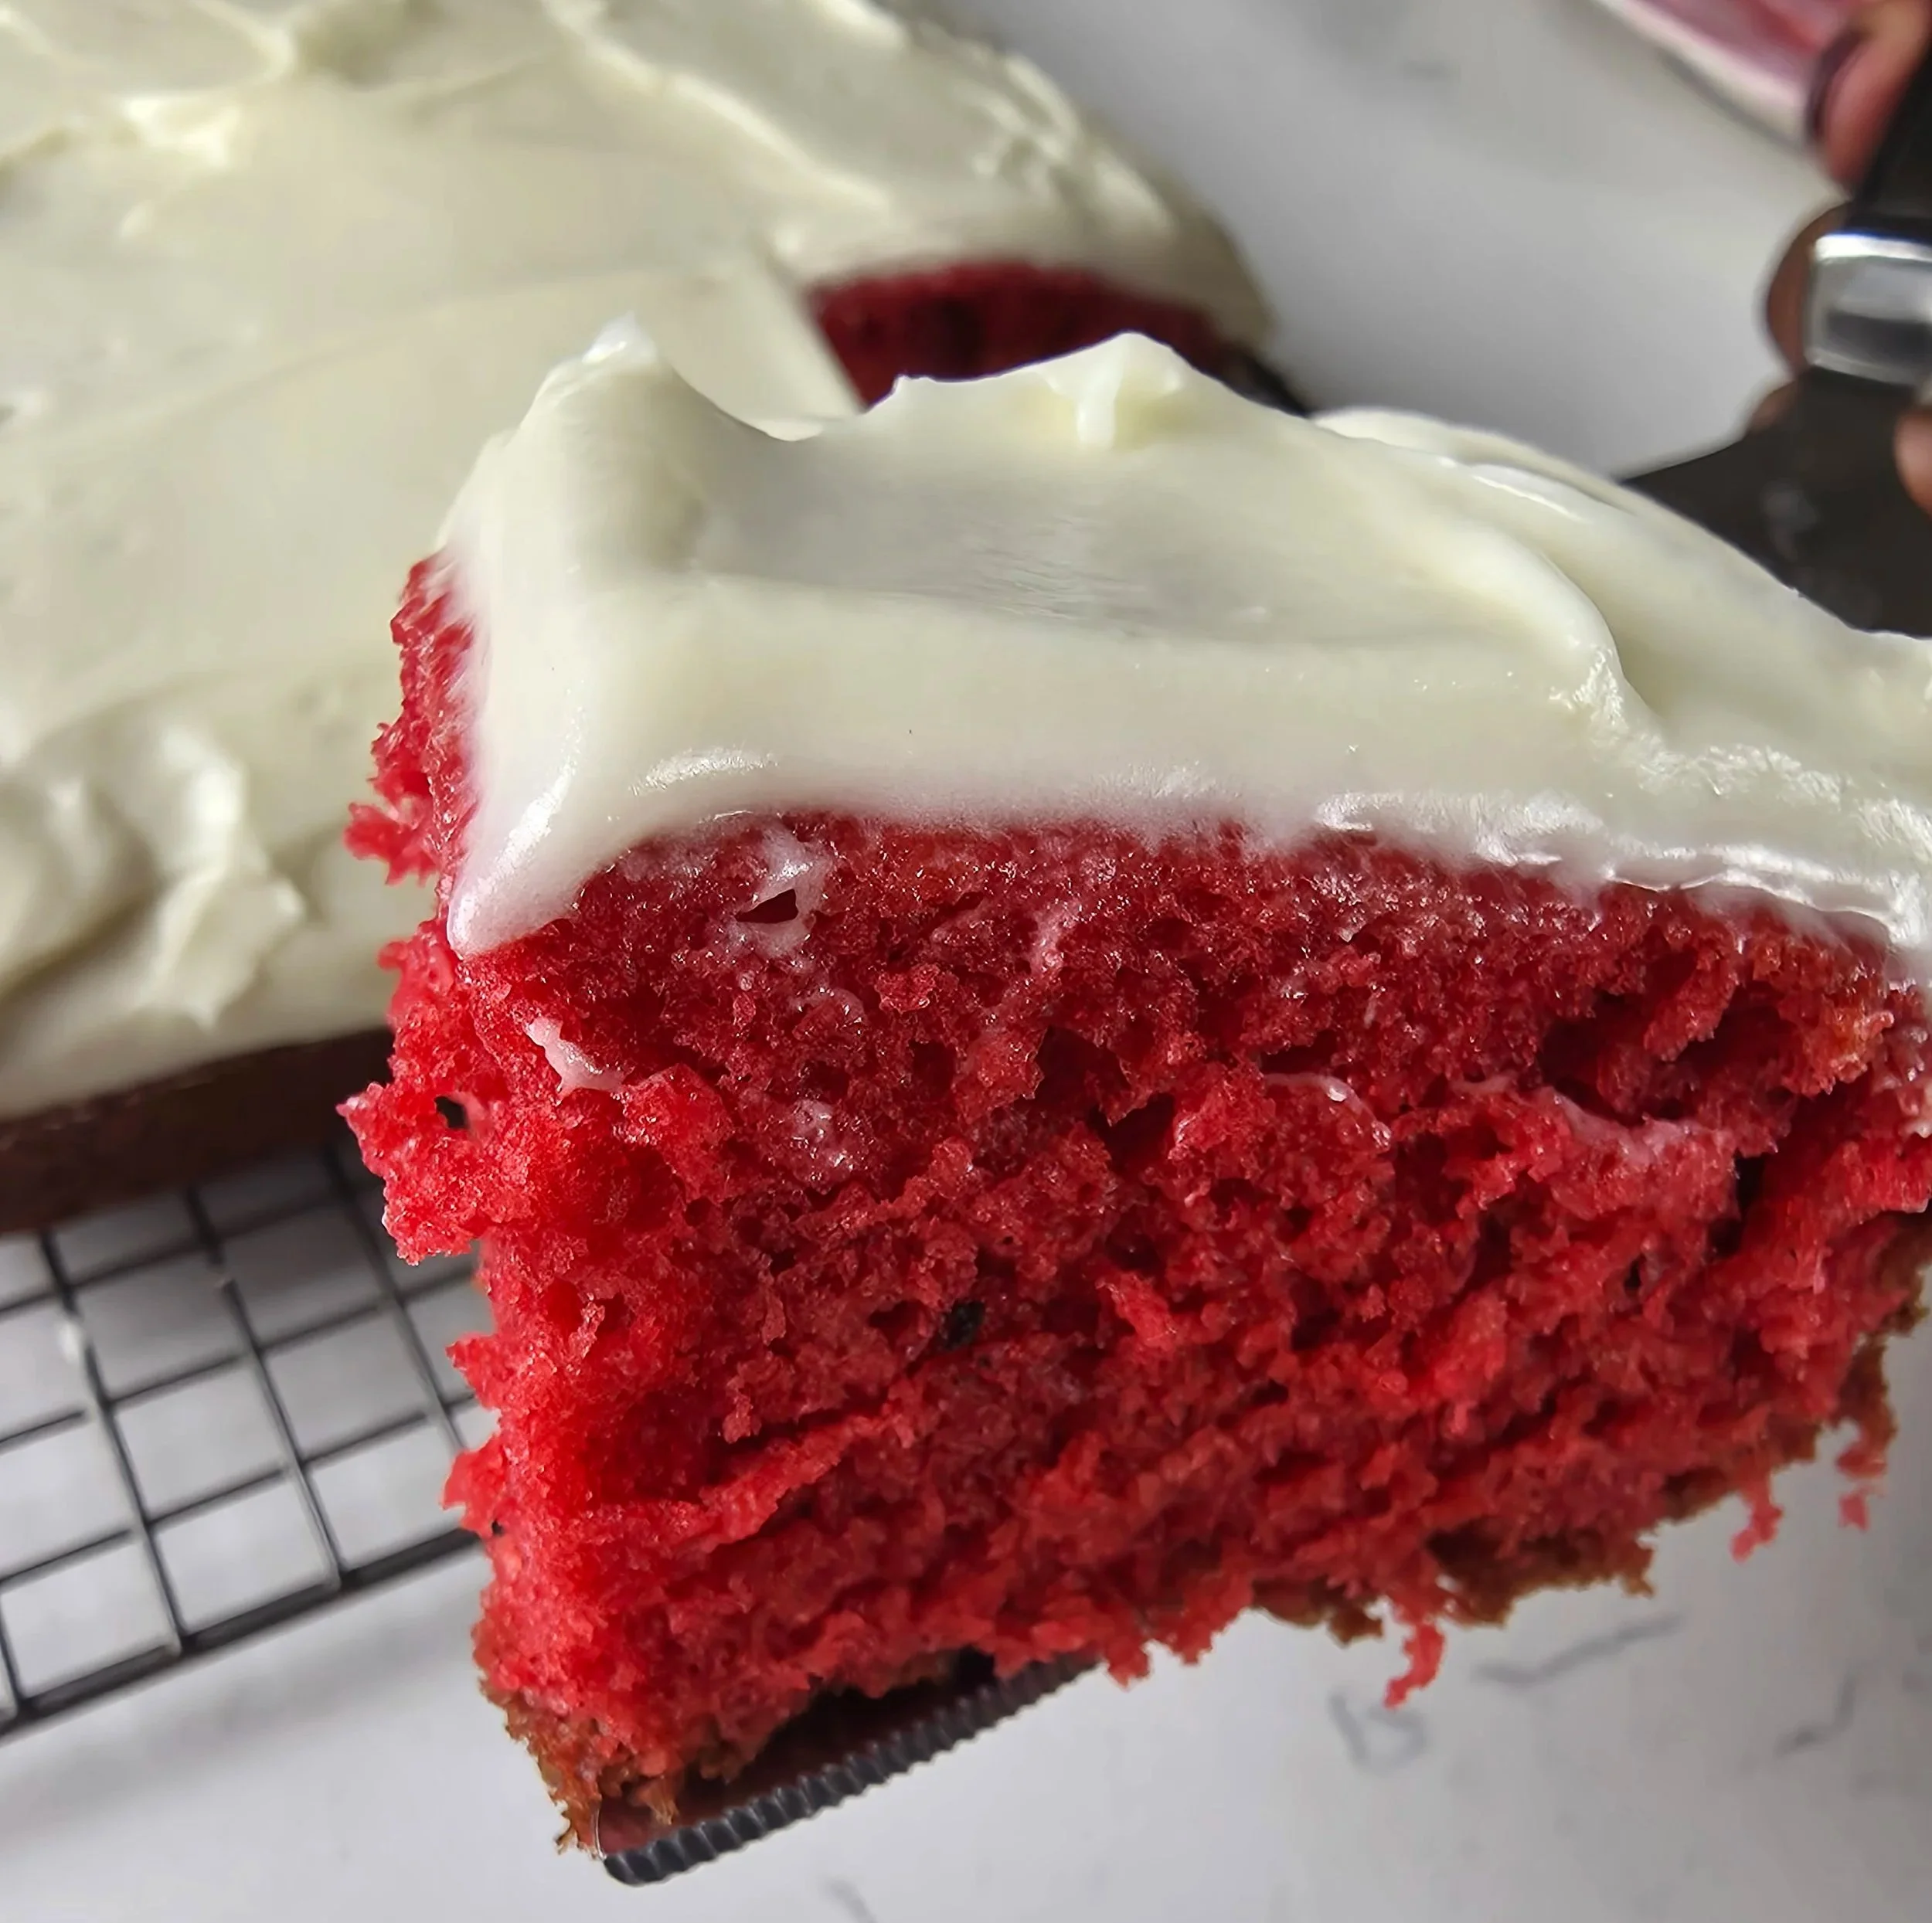
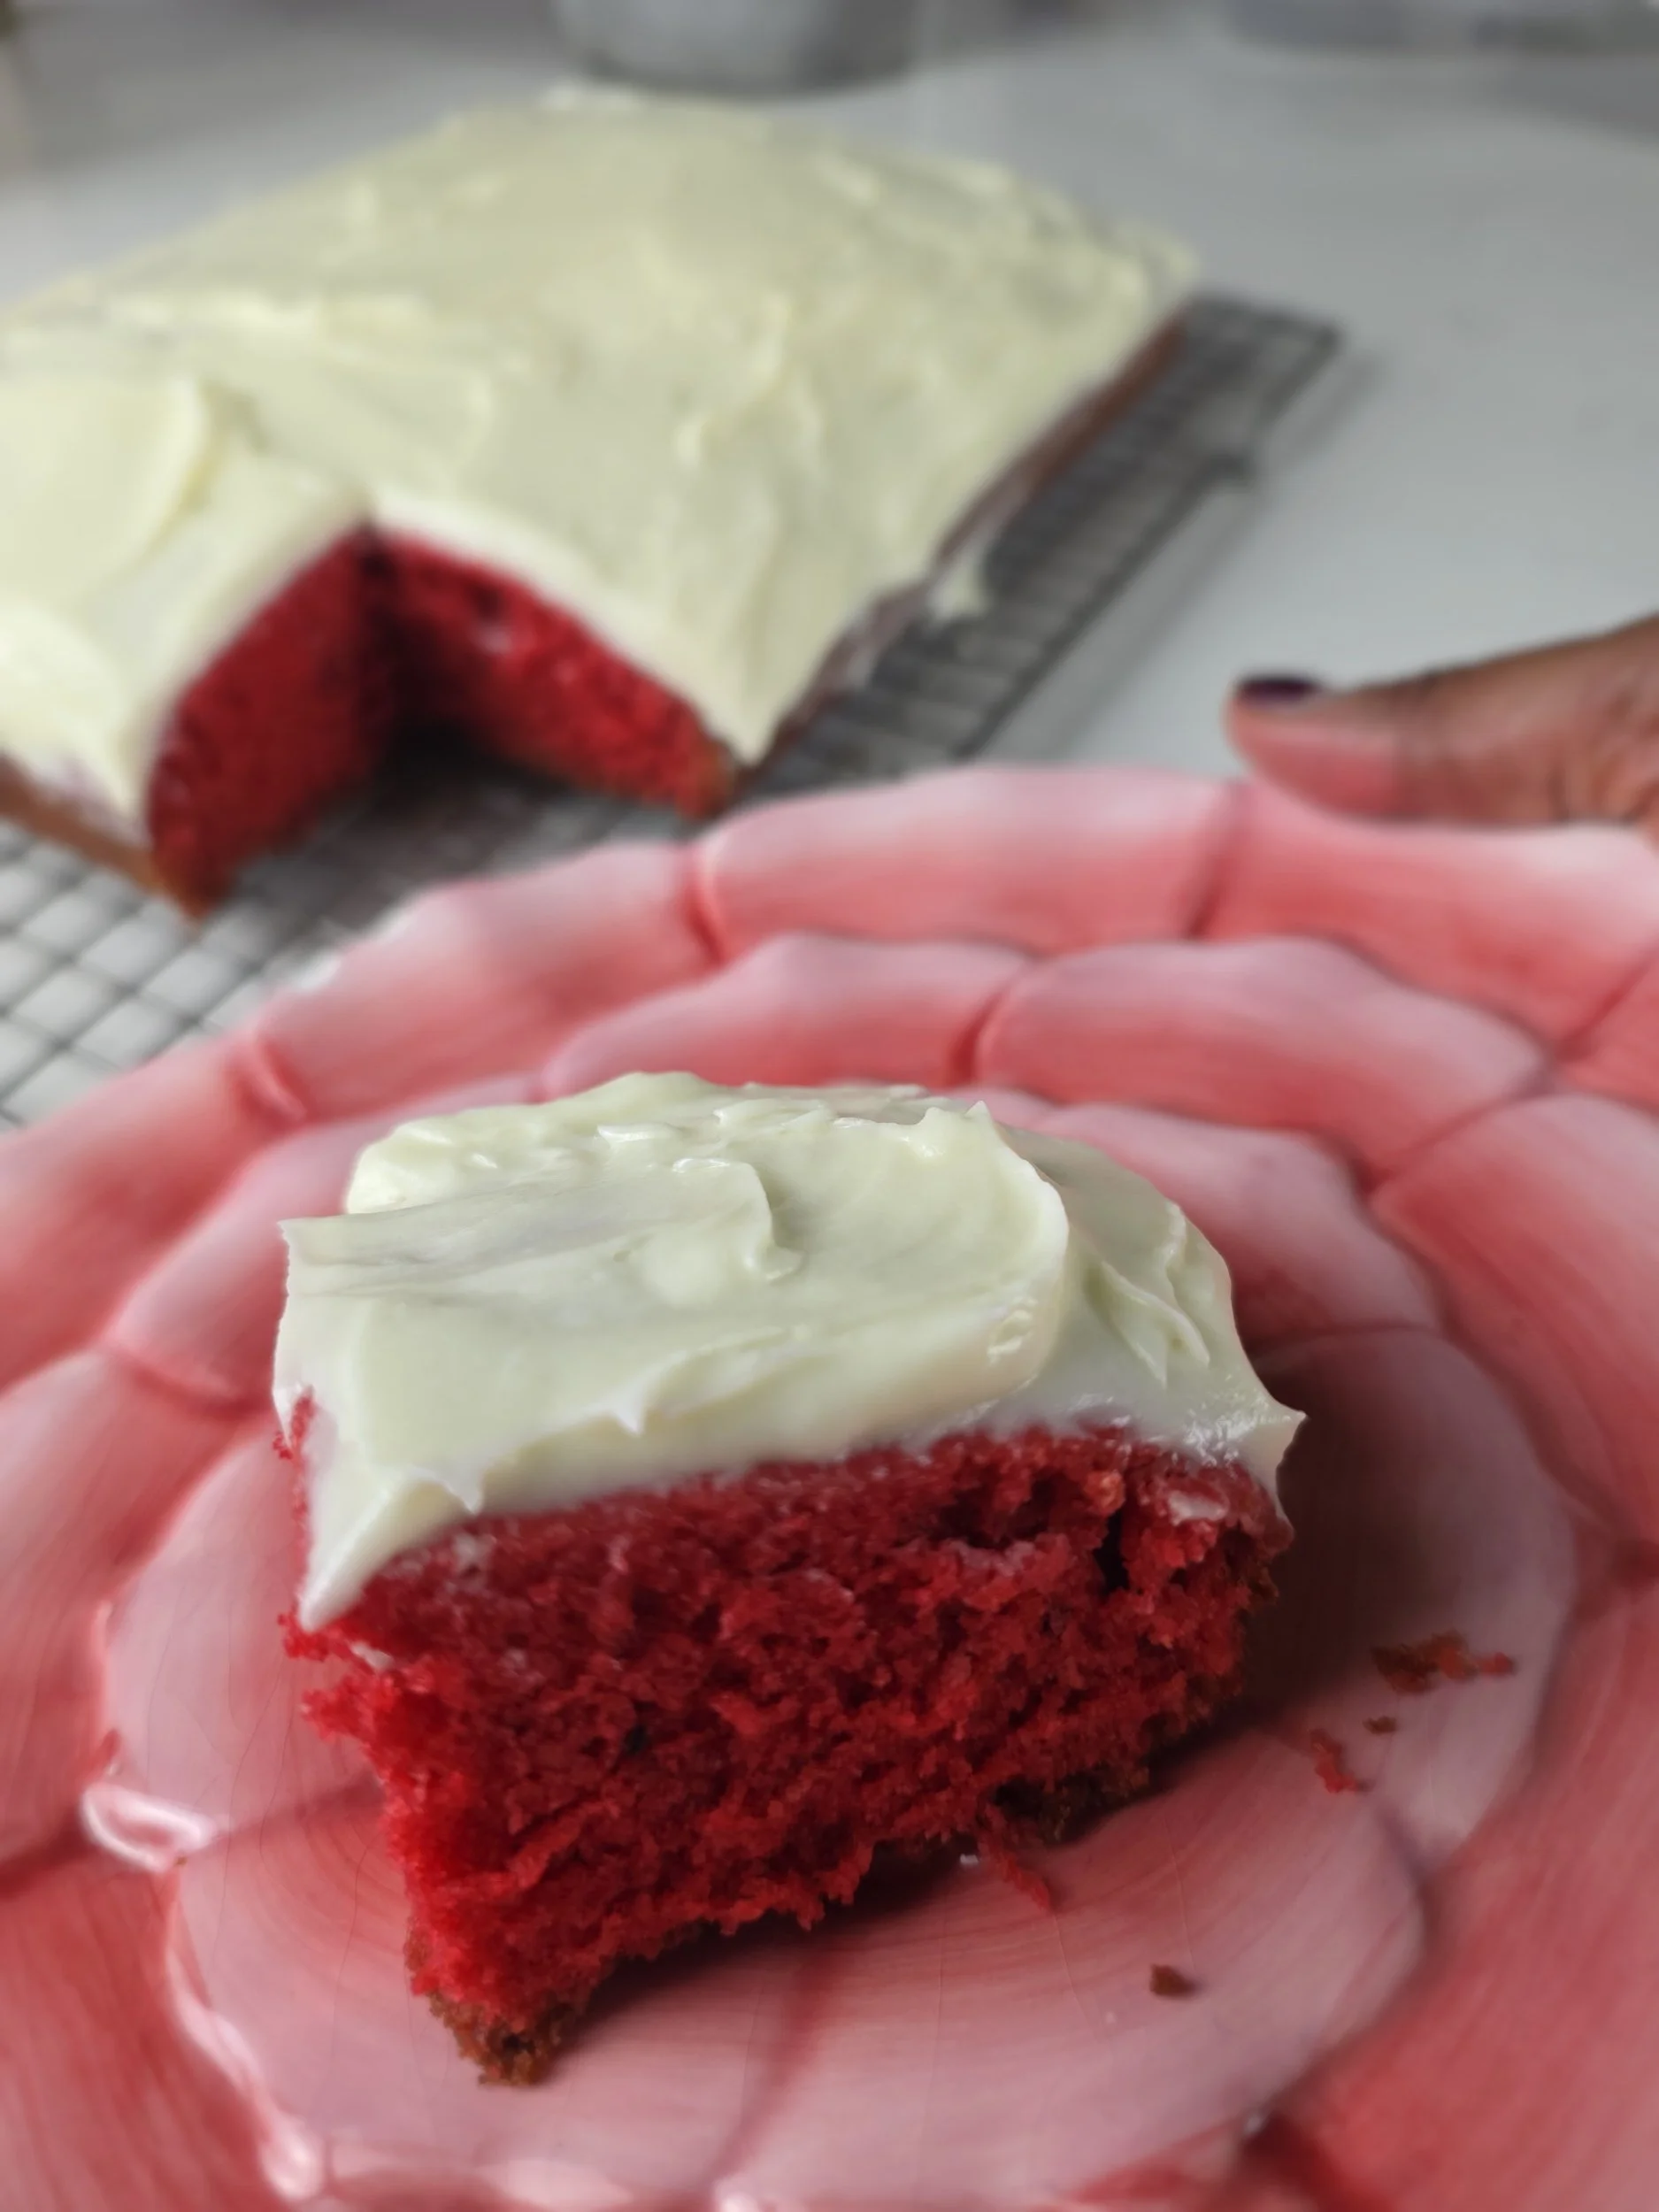
Red velvet cake has always sat in a strange but beautiful space in baking, somewhere between chocolate cake, vanilla cake, and something entirely its own. It is not defined just by its colour but by its texture: soft, velvety, slightly tangy, and incredibly moist. That signature crumb comes from a quiet chemical balance between cocoa, acidity, and fat. Buttermilk and a small amount of vinegar work together with baking soda to create lift, tenderness, and a fine, delicate crumb. For this version, I baked it as a 9x13 sheet cake designed for ease, sharing, and celebration.
This cake leans into a brighter red aesthetic, chosen intentionally for a more festive visual moment. Traditionally, red velvet ranges from a deep reddish-brown with more cocoa and less colouring to a vivid red depending on how much food colouring is used. Here, I leaned into the brighter version for impact and presentation.
If you prefer a more natural tone, you can reduce the food colouring and allow the cocoa and acidity to create a deeper, muted red-brown hue. Some bakers also use beetroot as a natural alternative.
At its core, red velvet is not about perfection, it is about balance. A soft crumb, a gentle cocoa note, and that unmistakable cream cheese frosting that brings everything together. Because honestly, red velvet without cream cheese frosting just does not feel complete.
Why This Cake Works
What makes red velvet so iconic is not intensity, it is chemistry-driven contrast.
The reaction between vinegar and baking soda produces carbon dioxide. This helps the cake rise while keeping the crumb light, soft, and tender instead of dense.
Oil is used instead of butter because it stays liquid at room temperature. This keeps the cake moist for days, even after refrigeration.
Cocoa is used in a small amount on purpose. It adds depth and warmth without turning the cake into a full chocolate cake, allowing the tang and vanilla notes to stand out.
Cream cheese frosting is more than decoration. Its tanginess cuts through the sweetness and richness of the cake, reinforcing the balance that defines red velvet.
Together, these elements are not just flavour choices, they are controlled chemistry working in harmony to create one of the most recognizable celebration cakes.
")
Red Velvet Sheet Cake (9x13)
This red velvet sheet cake is soft, moist, and perfectly tangy with a fine, velvety crumb. Baked in a 9x13 pan for easy serving, it uses simple pantry ingredients like buttermilk, cocoa, and oil to create its signature texture. Finished with a rich cream cheese frosting, this cake is ideal for celebrations, gatherings, or anytime you want a classic dessert with a tender, bakery-style finish.
Ingredients
- 2½ cups cake flour
- 1½ cups granulated sugar
- 1 tsp baking soda
- 1 tsp salt
- 1 tsp cocoa powder*
- 1½ cups peanut oil (or neutral oil)
- 2 large eggs
- 1 cup buttermilk (or 1milk + 1 tbsp white vinegar (rested 5–10 min)
- *2 tbsp red food colouring (use less for a more muted colour and increase cocoa powder slightly if needed)
- 1 tsp vanilla extract
- 1 tsp white vinegar
- 8oz (225g) cream cheese (softened)
- 115g unsalted butter (softened)
- 4 cups powdered sugar
- 1 tsp vanilla extract
- Pinch of salt
Instructions
- Preheat oven to 175°C (350°F). Grease and line a 9x13 pan.
- If you don't have buttermilk, mix milk and vinegar and let it sit until slightly curdled.
- Whisk dry ingredients together in one bowl.
- In another bowl, mix oil, eggs, vanilla, colouring, and buttermilk mixture.
- Combine wet and dry ingredients until just mixed, but do not overwork.
- Add the vinegar and fold gently.
- Pour into pan and bake 35–40 minutes or until a toothpick comes out clean.
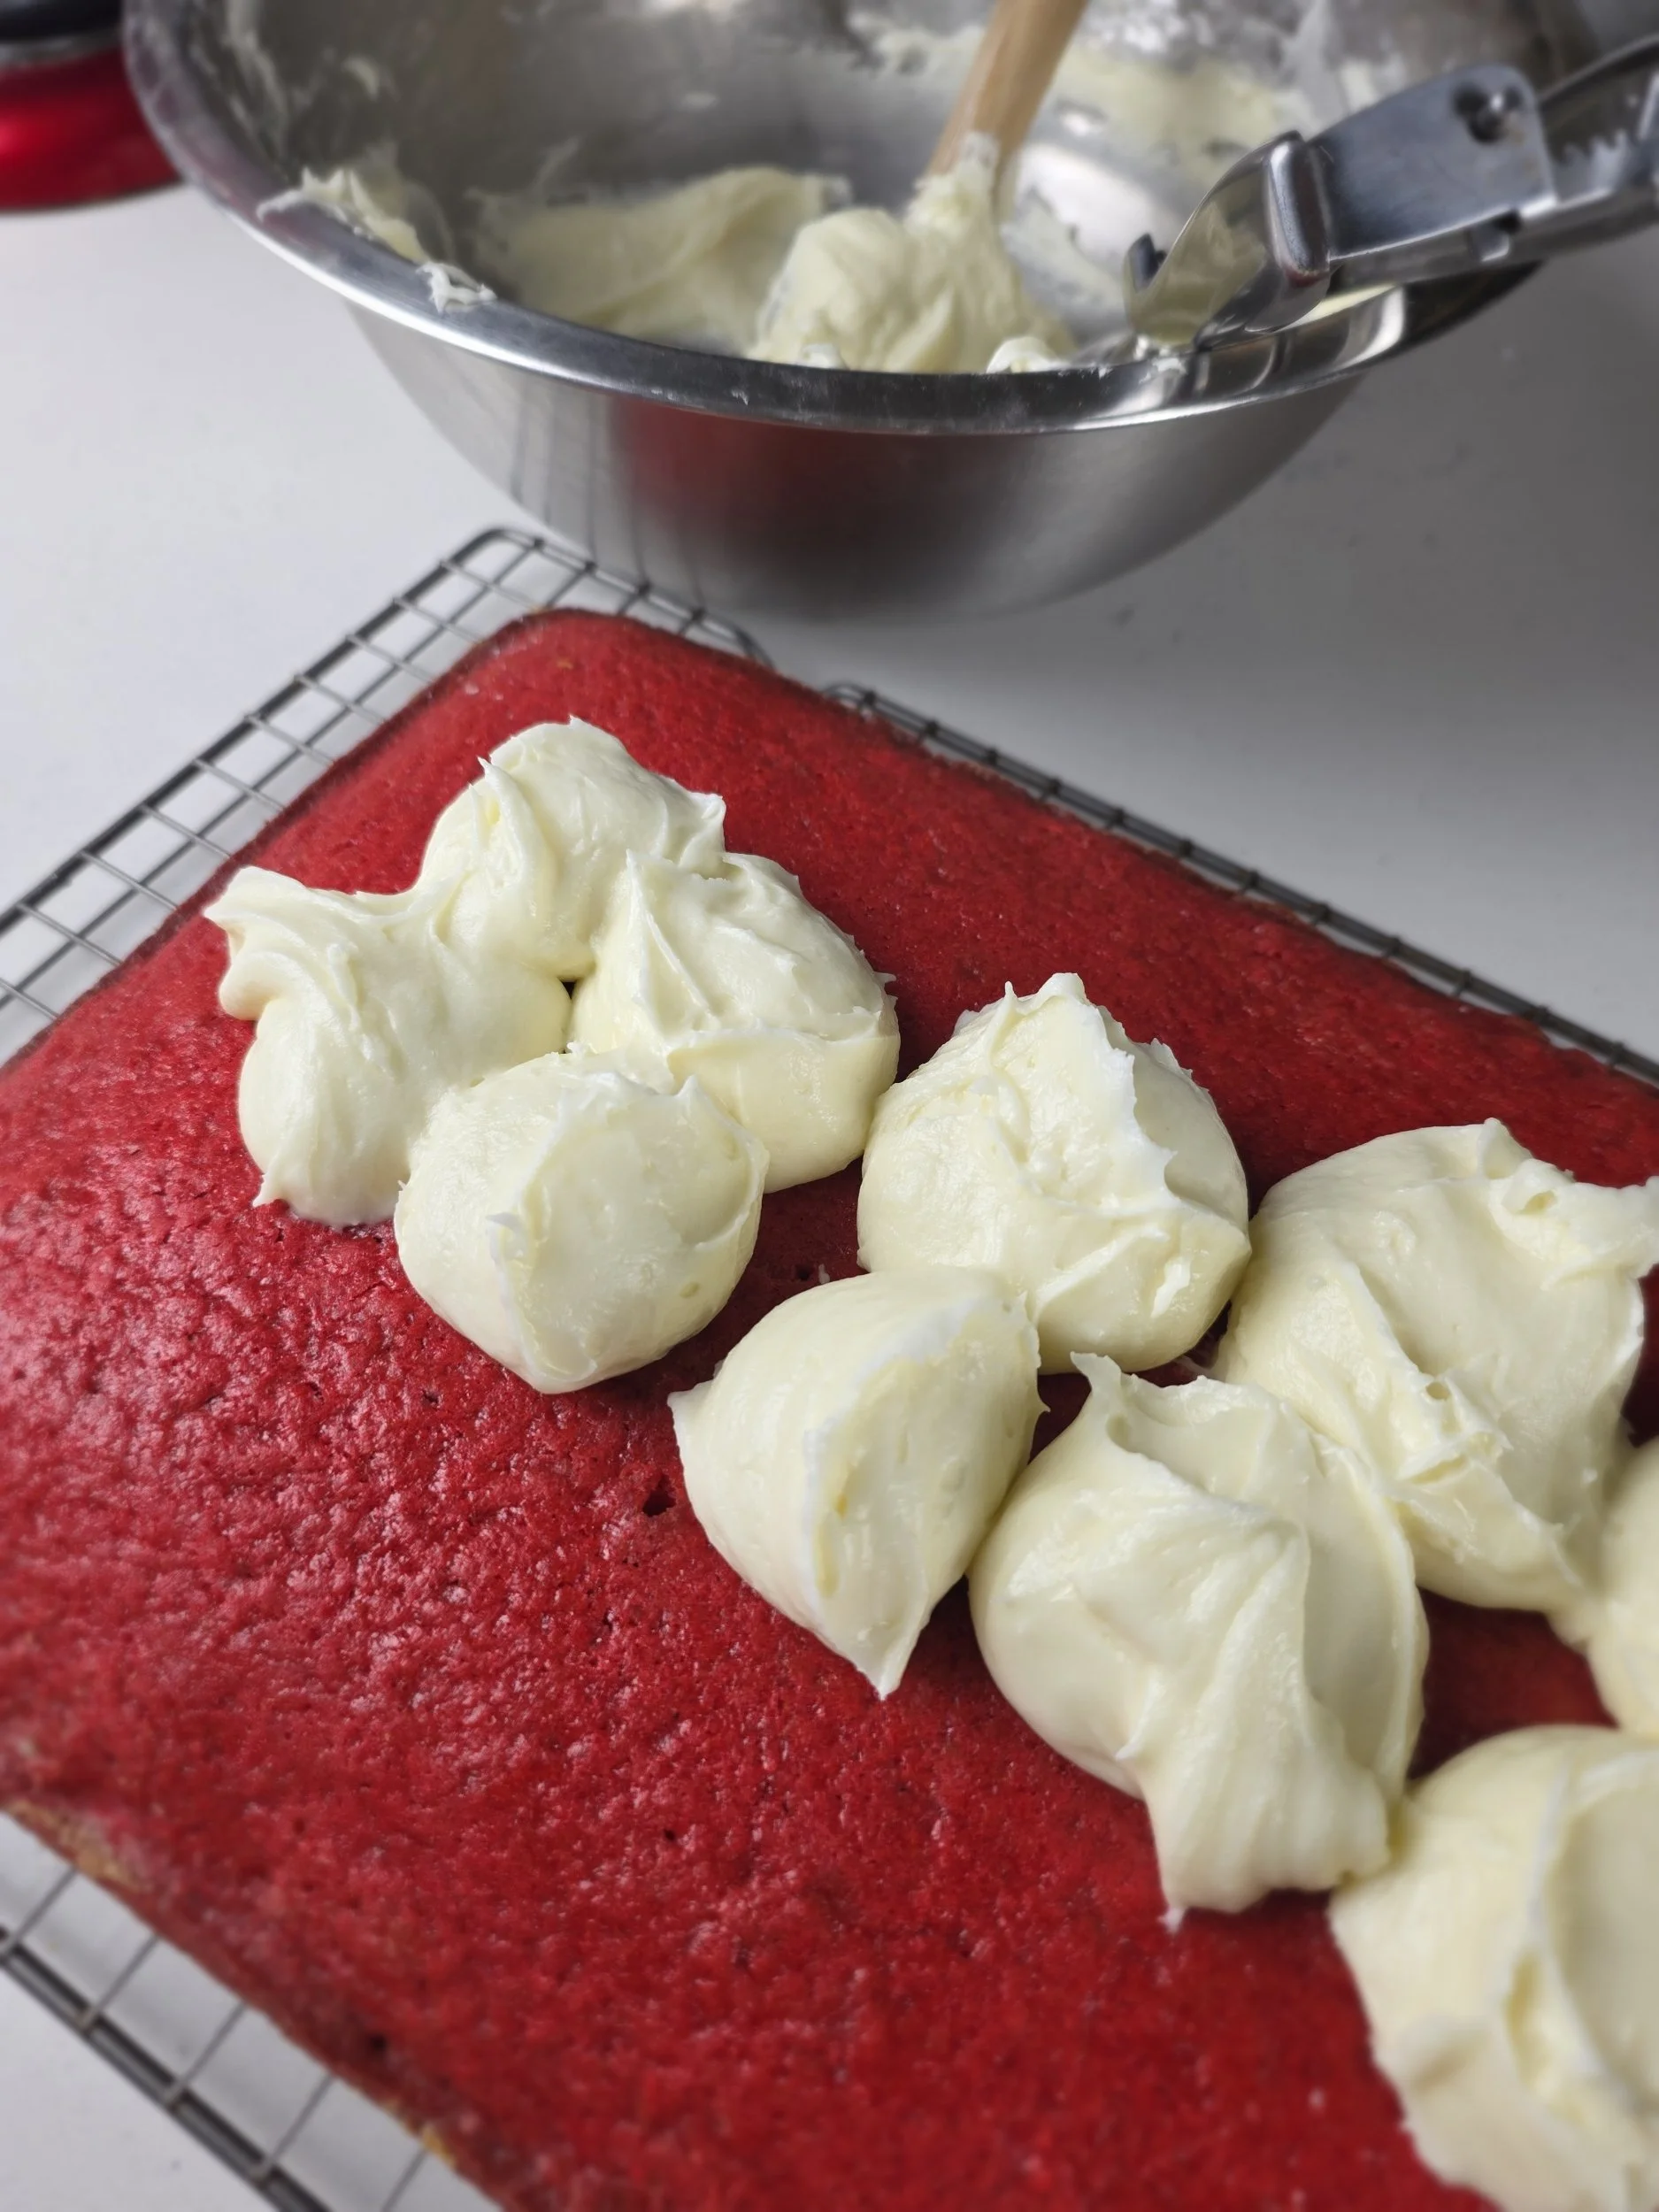
- Cool completely before frosting.
- Beat frosting ingredients until fluffy and spread over cooled cake.
Nutrition Facts
Calories
420Fat (grams)
22 gCarbs (grams)
52 gSugar (grams)
38 gProtein (grams)
4 gI am not a certified nutritionist and any nutritional information on dontmissmyplate.com should only be used as a general guideline.

Holiday "Christmas Crack" Toffee with Pretzels and Coconut
One of my favorite sweets is English toffee! Hard or soft, this candy (made of butter and caramelized sugar) is a treat many people find irresistible, hence the surging demand around the holidays when people are gathering and looking to satisfy their sweet tooth. Toffee also makes a great gift and is ideal for late-night snacking!
Traditional English toffee doesn't typically come with nuts, though the American version is often topped with crushed almonds.
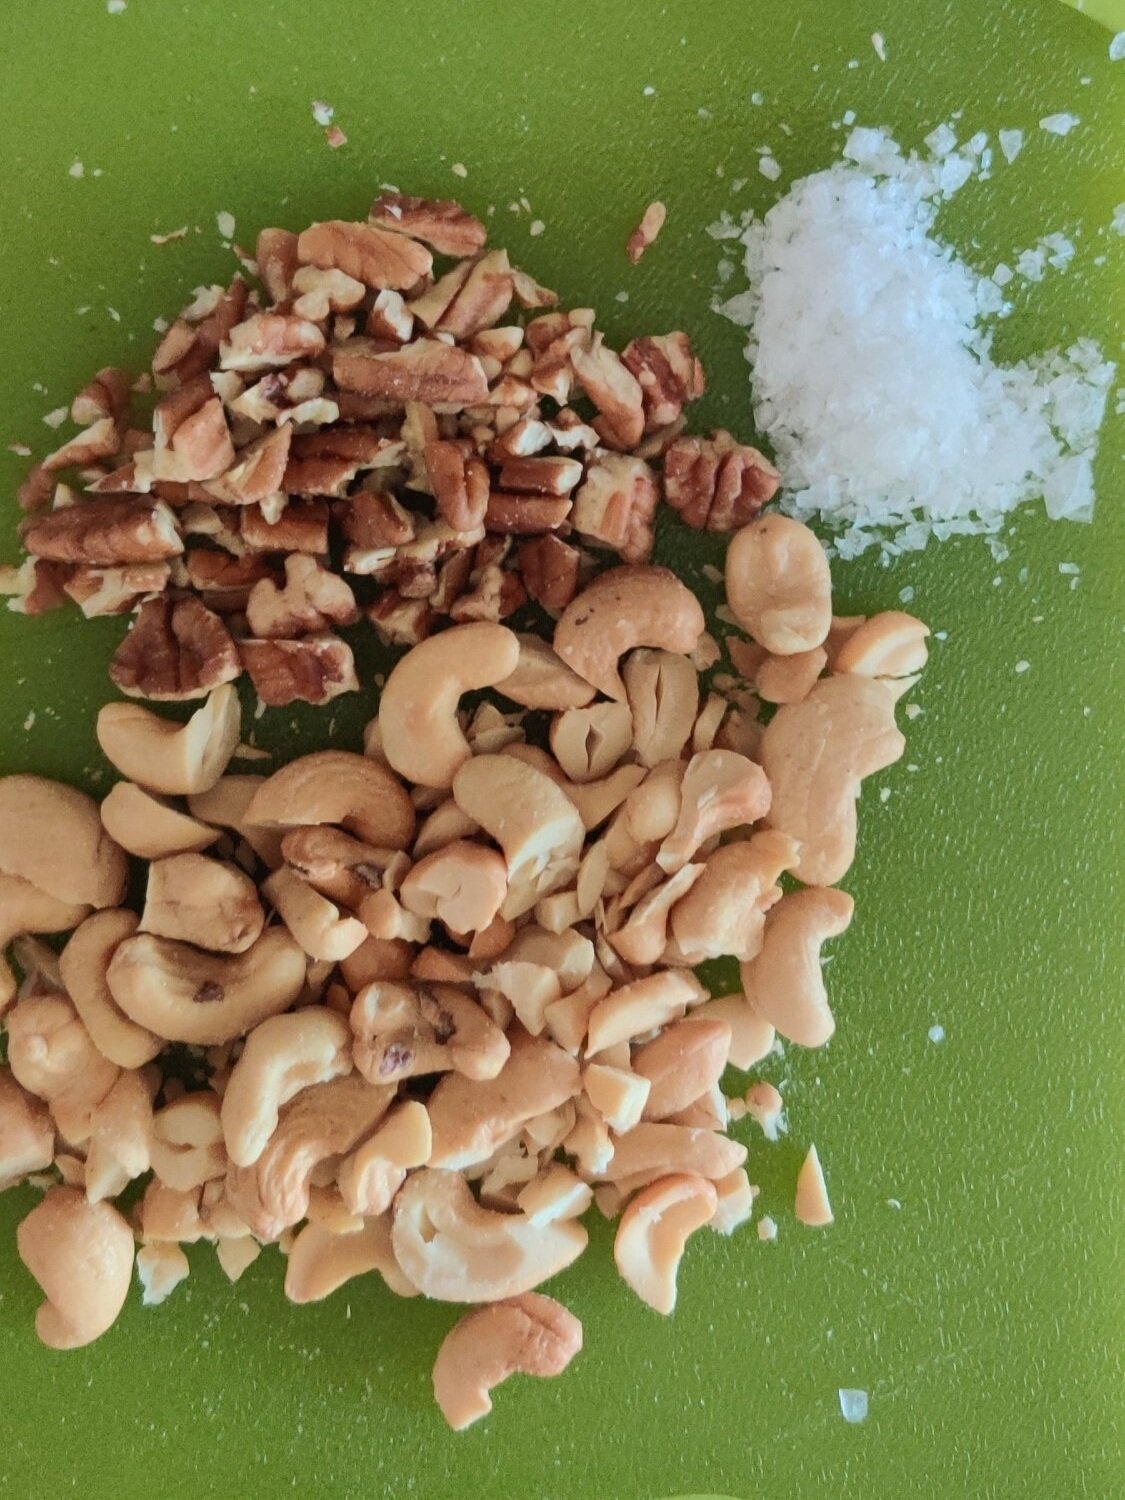
The fun thing about toffee for the holidays? You can pretty much add whatever toppings you want. In this case, I add some pretzels for extra crunch and saltiness and make up for the saltine crackers many people use for the bottom layer. The coconut adds another dimension of sweetness, but much more subtle than the sugar, of course! Although almonds tend to be the most popular nuts, as I mentioned, I'm a huge fan of toasted pecans and walnuts all the same.
What's the most important part about making toffee? If you want that perfect crunch, not chewy, but a light, brittle crunch that still melts in your mouth (too solid, and your teeth might shatter!), you'll need to heat the butter and sugar mix to 285-300F before pouring it onto a solid, nonstick surface before chilling.

Holiday "Christmas Crack" Toffee with Pretzels and Coconut
Ingredients
- 2 cups butter
- 2 cups granulated sugar
- 1/4 teaspoon salt
- 1/4 cup unsalted chopped pecans
- 1/4 cup unsalted chopped walnuts
- 1/4 cup desiccated coconut
- 1 teaspoon sea salt (optional)
- 1/2 cup thin pretzels
Instructions
- Roughly chop the pecans and walnuts, place them on a baking sheet in an oven at 400F and toast for 12-15 minutes until crispy; remove from the oven.
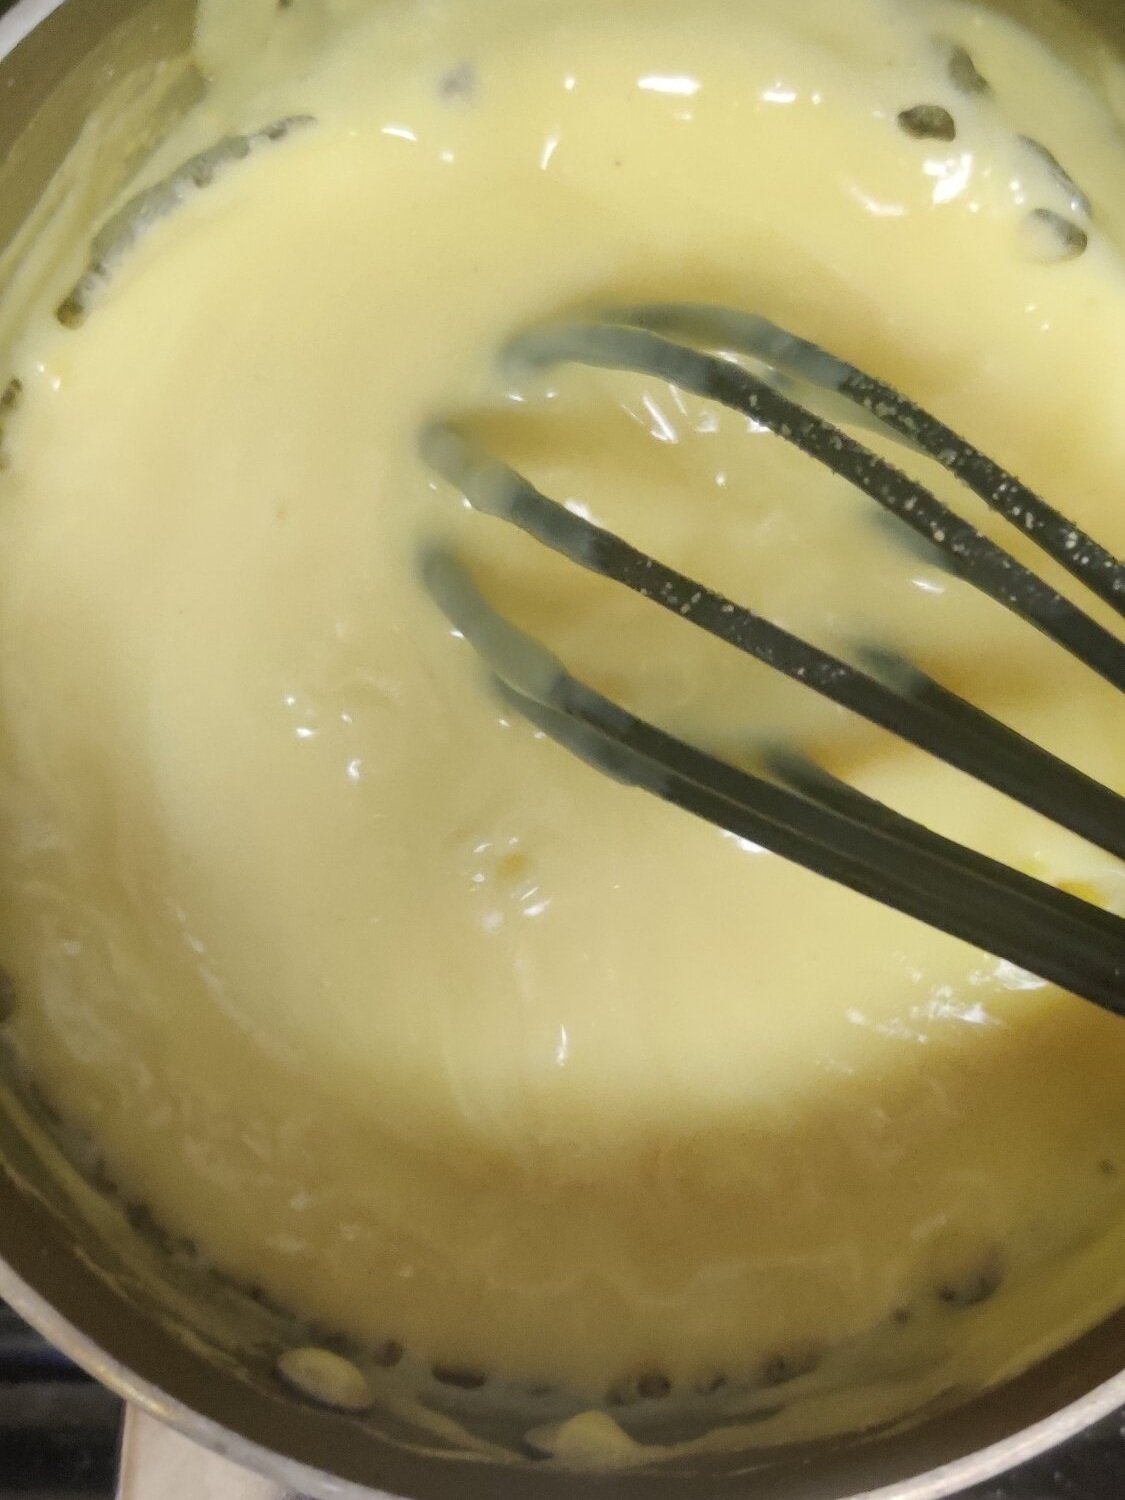
- In a medium-sized pot, melt the butter and stir in the sugar occasionally to dissolve it. Bring to a gentle boil on medium-low heat (depending on your stove) until it turns amber in colour and the temperature reaches 285F.
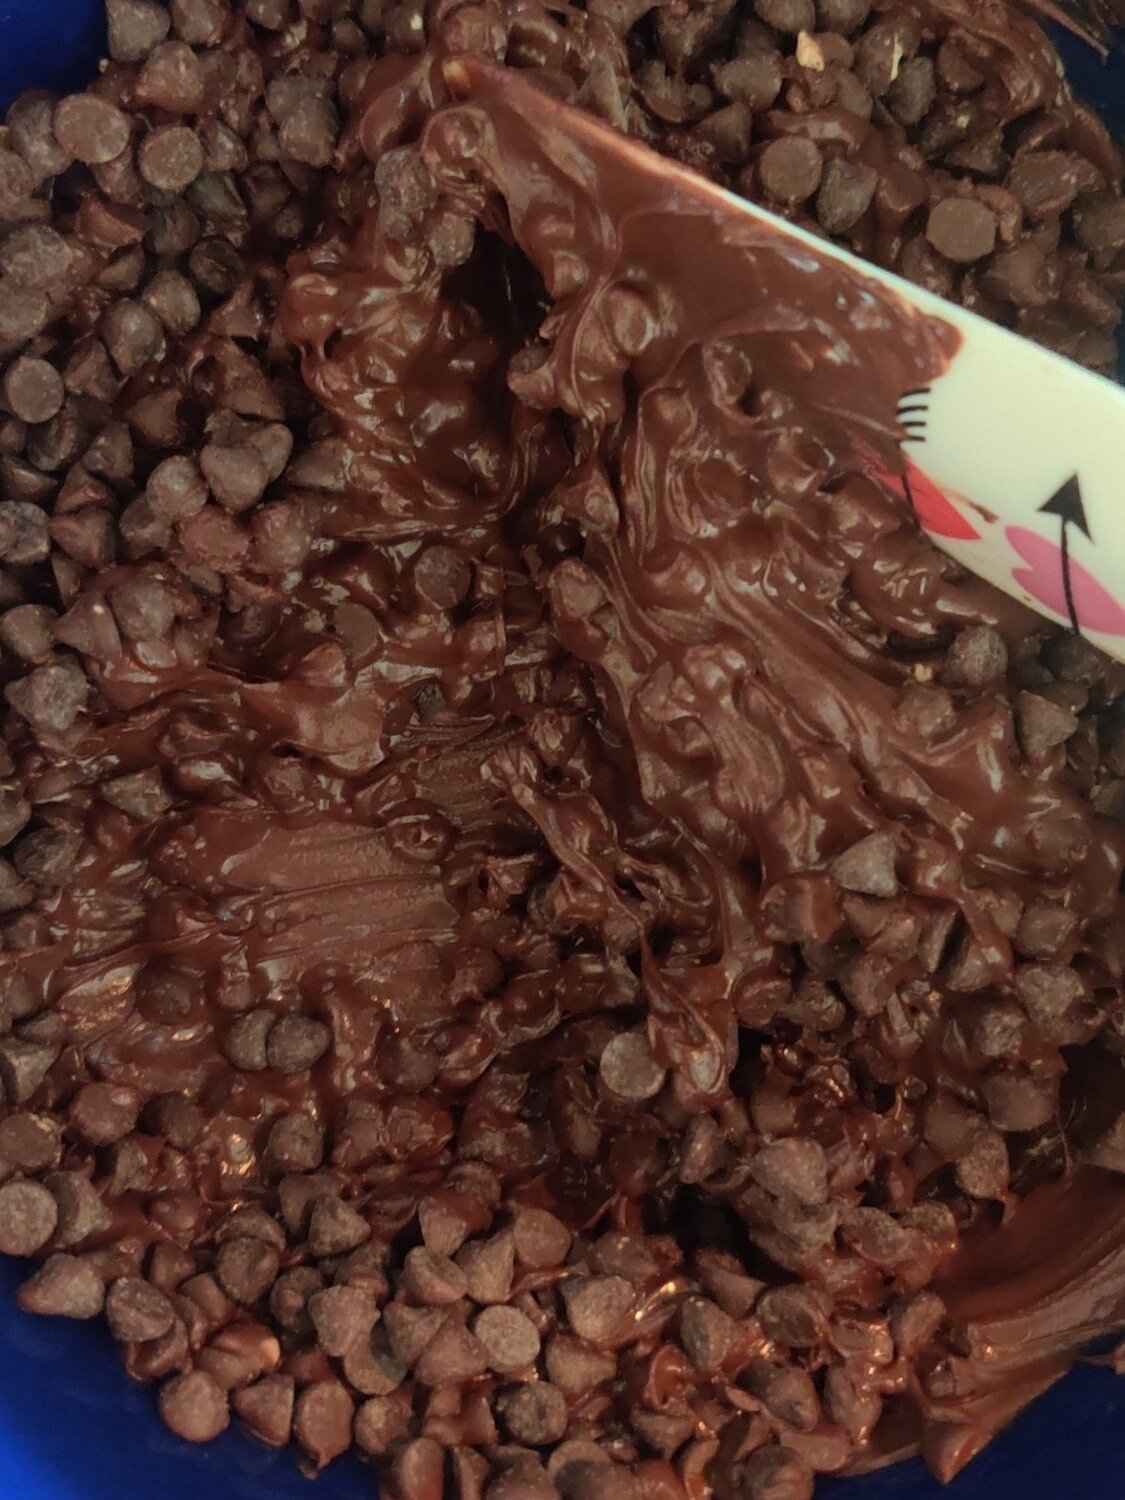
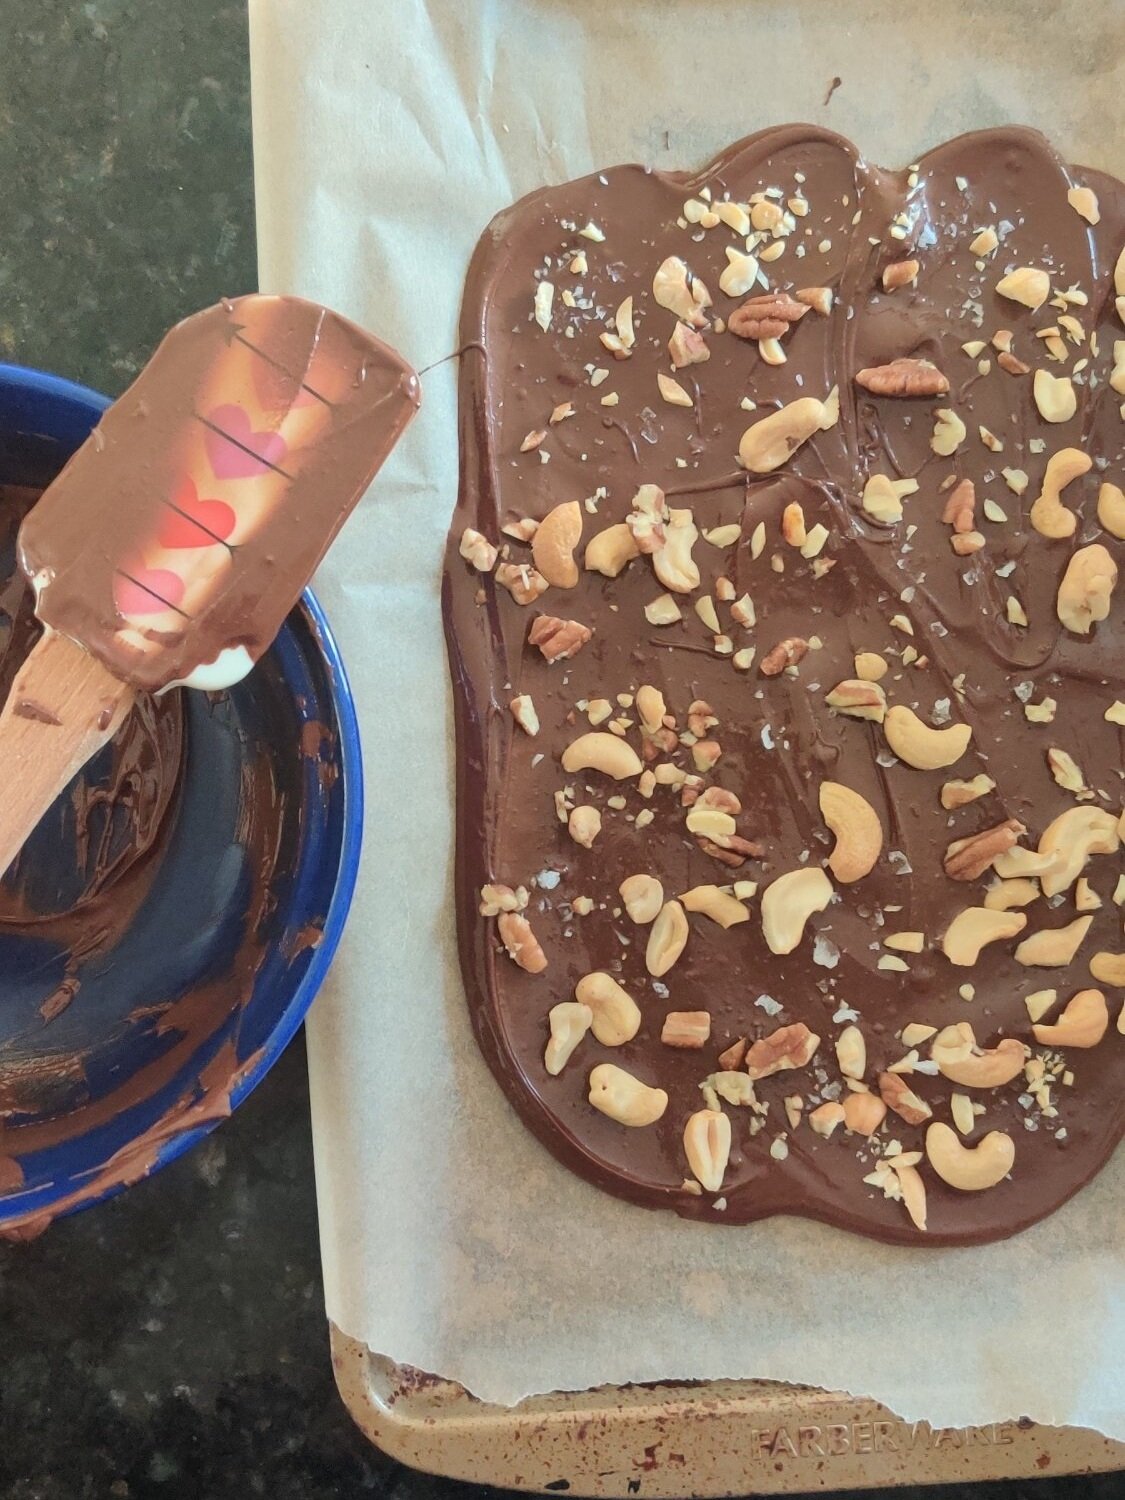
- Remove from heat and pour onto a foil-lined baking tray. Allow the toffee to set for about 1 minute, then sprinkle with chocolate chips evenly. Spread with a spatula and allow the chocolate to melt.
- Sprinkle the nuts, coconut, sea salt, and crushed pretzels, and gently press the toppings into the toffee with the spatula. Move to the fridge and chill until hardened. Enjoy!
Nutrition Facts
Calories
298Fat (grams)
22.5 gCarbs (grams)
25.6 gSugar (grams)
20.4 gProtein (grams)
1.4 gI am not a certified nutritionist and any nutritional information on dontmissmyplate.com should only be used as a general guideline.


Vanilla Bundt Cake with Cream Cheese Icing
This recipe is all you need for a birthday! A simple vanilla cake with some funfetti sprinkles.
Inspired by the German Gugelhupf, bundt cakes are one of my favorite tea-time treats.
What is the difference between yellow and white cake?
To be clear, this is a yellow vanilla cake. The egg yolks determine the distinction between the two. This difference shows in the colour, texture, and fat content - a white cake has less fat with the removal of yolks and tends to be spongier from the whipped egg whites. However, both are delicious but can serve different purposes. Think angel cake versus, well, this!
How to make a cake moist?
I am not a professional baker, but the answer to this is simple: add more moisture! You will be grateful to add an extra wet ingredient or two to the mix. There are a few you can incorporate into the batter, including:
YoghurtCream cheeseSour creamRicotta
Those are some of my go-to ingredients, but oil, eggs, milk, and heavy cream also aid you.
You also want to be mindful if you use alternative flours. Protein content can affect how dry the flour is, so you want to ensure the moisture you add matches up accordingly. Cake flour, for instance, is drier and crumblier as it has less protein. For this recipe, stick to the all-purpose if possible. Otherwise, look up what it will mean if you use wheat flour, for example, for the other ingredients!
What is the best frosting for cakes?
That is up to you. I am not a huge fan of buttercream icing, one of the most popular homemade cakes. I can eat it, but I prefer cream cheese frosting - its tangier cousin - or whipped cream, depending on the final product. I find the cream cheese removes the metallic taste in icing sugar, which can throw off your entire cake even if the batter is good. In this case, I recommend being a little heavy-handed with any extracts or zests you use to accent the icing, such as lemon and vanilla. Along with a bit of heavy cream, this will mask the icing sugar taste and give your icing some personality!

Vanilla Bundt Cake with Cream Cheese Icing
Ingredients
- 3 cups all-purpose flour, sifted
- 2 teaspoons baking powder
- 1/2 teaspoon salt
- 2 cups granulated sugar
- 5 eggs
- 1 tablespoon vanilla extract
- 1 teaspoon lemon juice or 1/2 teaspoon lemon zest/extract
- 1 1/4 cups low fat vanilla yoghurt, room temperature
- 1 cup butter, room temperature
- 1/2 cup heavy cream
- 1/3 cups vegetable oil
- 8 ounces cream cheese, room temperature
- 1/2 cup butter, room temperature
- Pinch of salt
- 1 tablespoon vanilla extract
- 1 teaspoon lemon juice or 1/2 teaspoon lemon zest/extract
- 3 1/2 cups icing sugar
- Funfetti sprinkles
Instructions
- In a medium bowl, whisk the dry ingredients for the cake except for the sugar, and set aside.
- Whisk the yoghurt and butter in a large bowl with a hand or stand mixer until smooth.
- Whisk in the vanilla and lemon.
- On medium-low speed, beat the sugar incrementally until slightly fluffy.
- On medium speed, add the eggs one at a time, beating until integrated. Use a spatula to get anything on the sides into the bowl.
- Whisk in the oil and milk until well incorporated.
- Whisk in the flour gradually on low speed until the wet and dry ingredients are just combined. Don't overmix; this could result in a dense cake!
- Spray a bundt cake tin, and pour in the batter—Smoothen with a spatula. Bake at 325F/163C until the cake is golden. Use a wooden stick or fork to ensure the thickest part of the cake is dry.
- Remove from the stove and cool on a rack for 30 minutes. Remove the cake from the tin and complete the cooking process for another hour before icing.
- Mix the cream cheese and butter in a separate bowl using an electric mixer. Add the icing sugar in three parts gradually, and then mix in the vanilla.
- Add the milk, and whisk until the icing continues to smoothen.
- Add the salt and lemon and adjust to your liking.
- When ready to frost the cake, move to a piping or plastic bag using the end and design you prefer.
- Decorate with sprinkles, and enjoy! Store in the fridge for up to five days.
Nutrition Facts
Calories
657Fat (grams)
34.3Carbs (grams)
83.1Sugar (grams)
61.3Protein (grams)
7.4I am not a certified nutritionist and any nutritional information on dontmissmyplate.com should only be used as a general guideline.


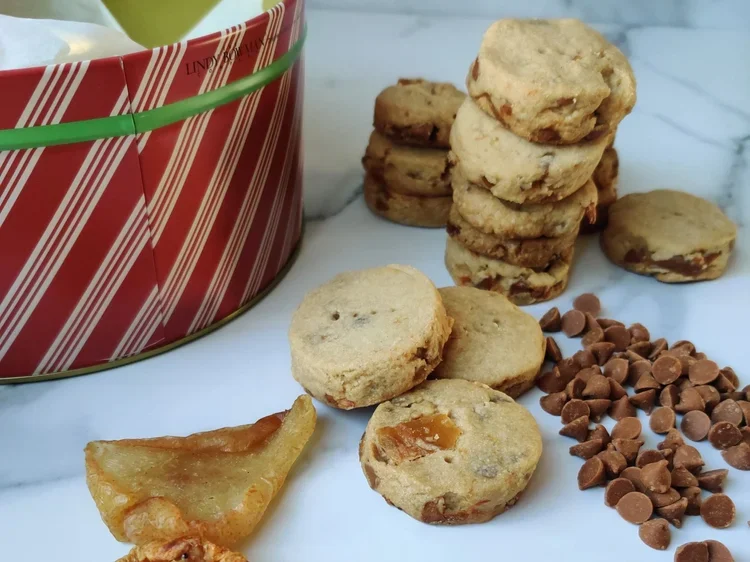
Cinnamon and Pear Shortbread Biscuits – Buttery, Soft and Crispy
Shortbread cookies are the ultimate testament to the beauty of simplicity. With just butter, sugar, and flour, these cookies deliver a tender, crumbly texture that melts in your mouth. I grew up eating these biscuits in Zimbabwe, a former British colony, where they were a staple at holiday tables, family tea times, and special occasions. Brands like Eat Sum More from South Africa were often on our shelves, and they hold a special place in my childhood memories.
While traditional shortbread is simple—one part sugar, two parts butter, three to four parts flour—I love to give it subtle seasonal twists. In this version, I’ve added diced dried pears and cinnamon chips, perfect for winter baking. Even though shortbread isn’t as popular in the U.S. outside of the holidays, it’s divine any time, whether for afternoon tea or just a sweet treat with your coffee.
That said, if you prefer classic, unadorned shortbread, you can skip the pears and cinnamon and still enjoy the melt-in-your-mouth texture and buttery richness that make shortbread timeless. This blog walks you through both approaches, so you can enjoy the cookies exactly the way you like them.
Tips for Perfect Shortbread Cookies
Even a simple cookie like shortbread has a few secrets to make it melt-in-your-mouth. Whether you’re making the classic version or the pear and cinnamon cookies inspired by winter flavors, these tips will help:
For Classic Shortbread
Use high-quality unsalted butter—it was the key in the biscuits I grew up eating.
Stick to the traditional trio: flour, sugar, butter. Subtle vanilla or citrus zest is fine.
Measure carefully; too much flour can make cookies dense.
Don’t overmix; just bring the dough together.
Chill for at least 30 minutes.
Prick with a fork before baking.
Bake low and slow: 300–325°F (150–165°C).
Cool completely and store in an airtight container.
For Pear and Cinnamon Shortbread
Gently fold in diced dried pears and cinnamon chips at the end so the dough stays tender.
You may need slightly more liquid if using whole wheat flour.
Chill, roll evenly, and follow the other tips above—the fruit will make the cookies softer, but just as buttery.

Cinnamon and Pear Shortbread Biscuits
These shortbread cookies are buttery, crisp, and melt in your mouth. Make them classic with just sugar, butter, and flour, or add pears and cinnamon for a festive touch.
Ingredients
- 3 cups all-purpose flour (or white whole wheat) + extra for dusting
- 1/2 cup + 2 tbsp granulated sugar
- 1/2 tsp salt
- 1 cup unsalted butter, softened
- 1 tsp vanilla extract
- 2–3 tbsp water (or heavy cream if using whole wheat)
- 2/3 cup finely diced dried pears
- 2/3 cup cinnamon chips or toffee bits
Instructions
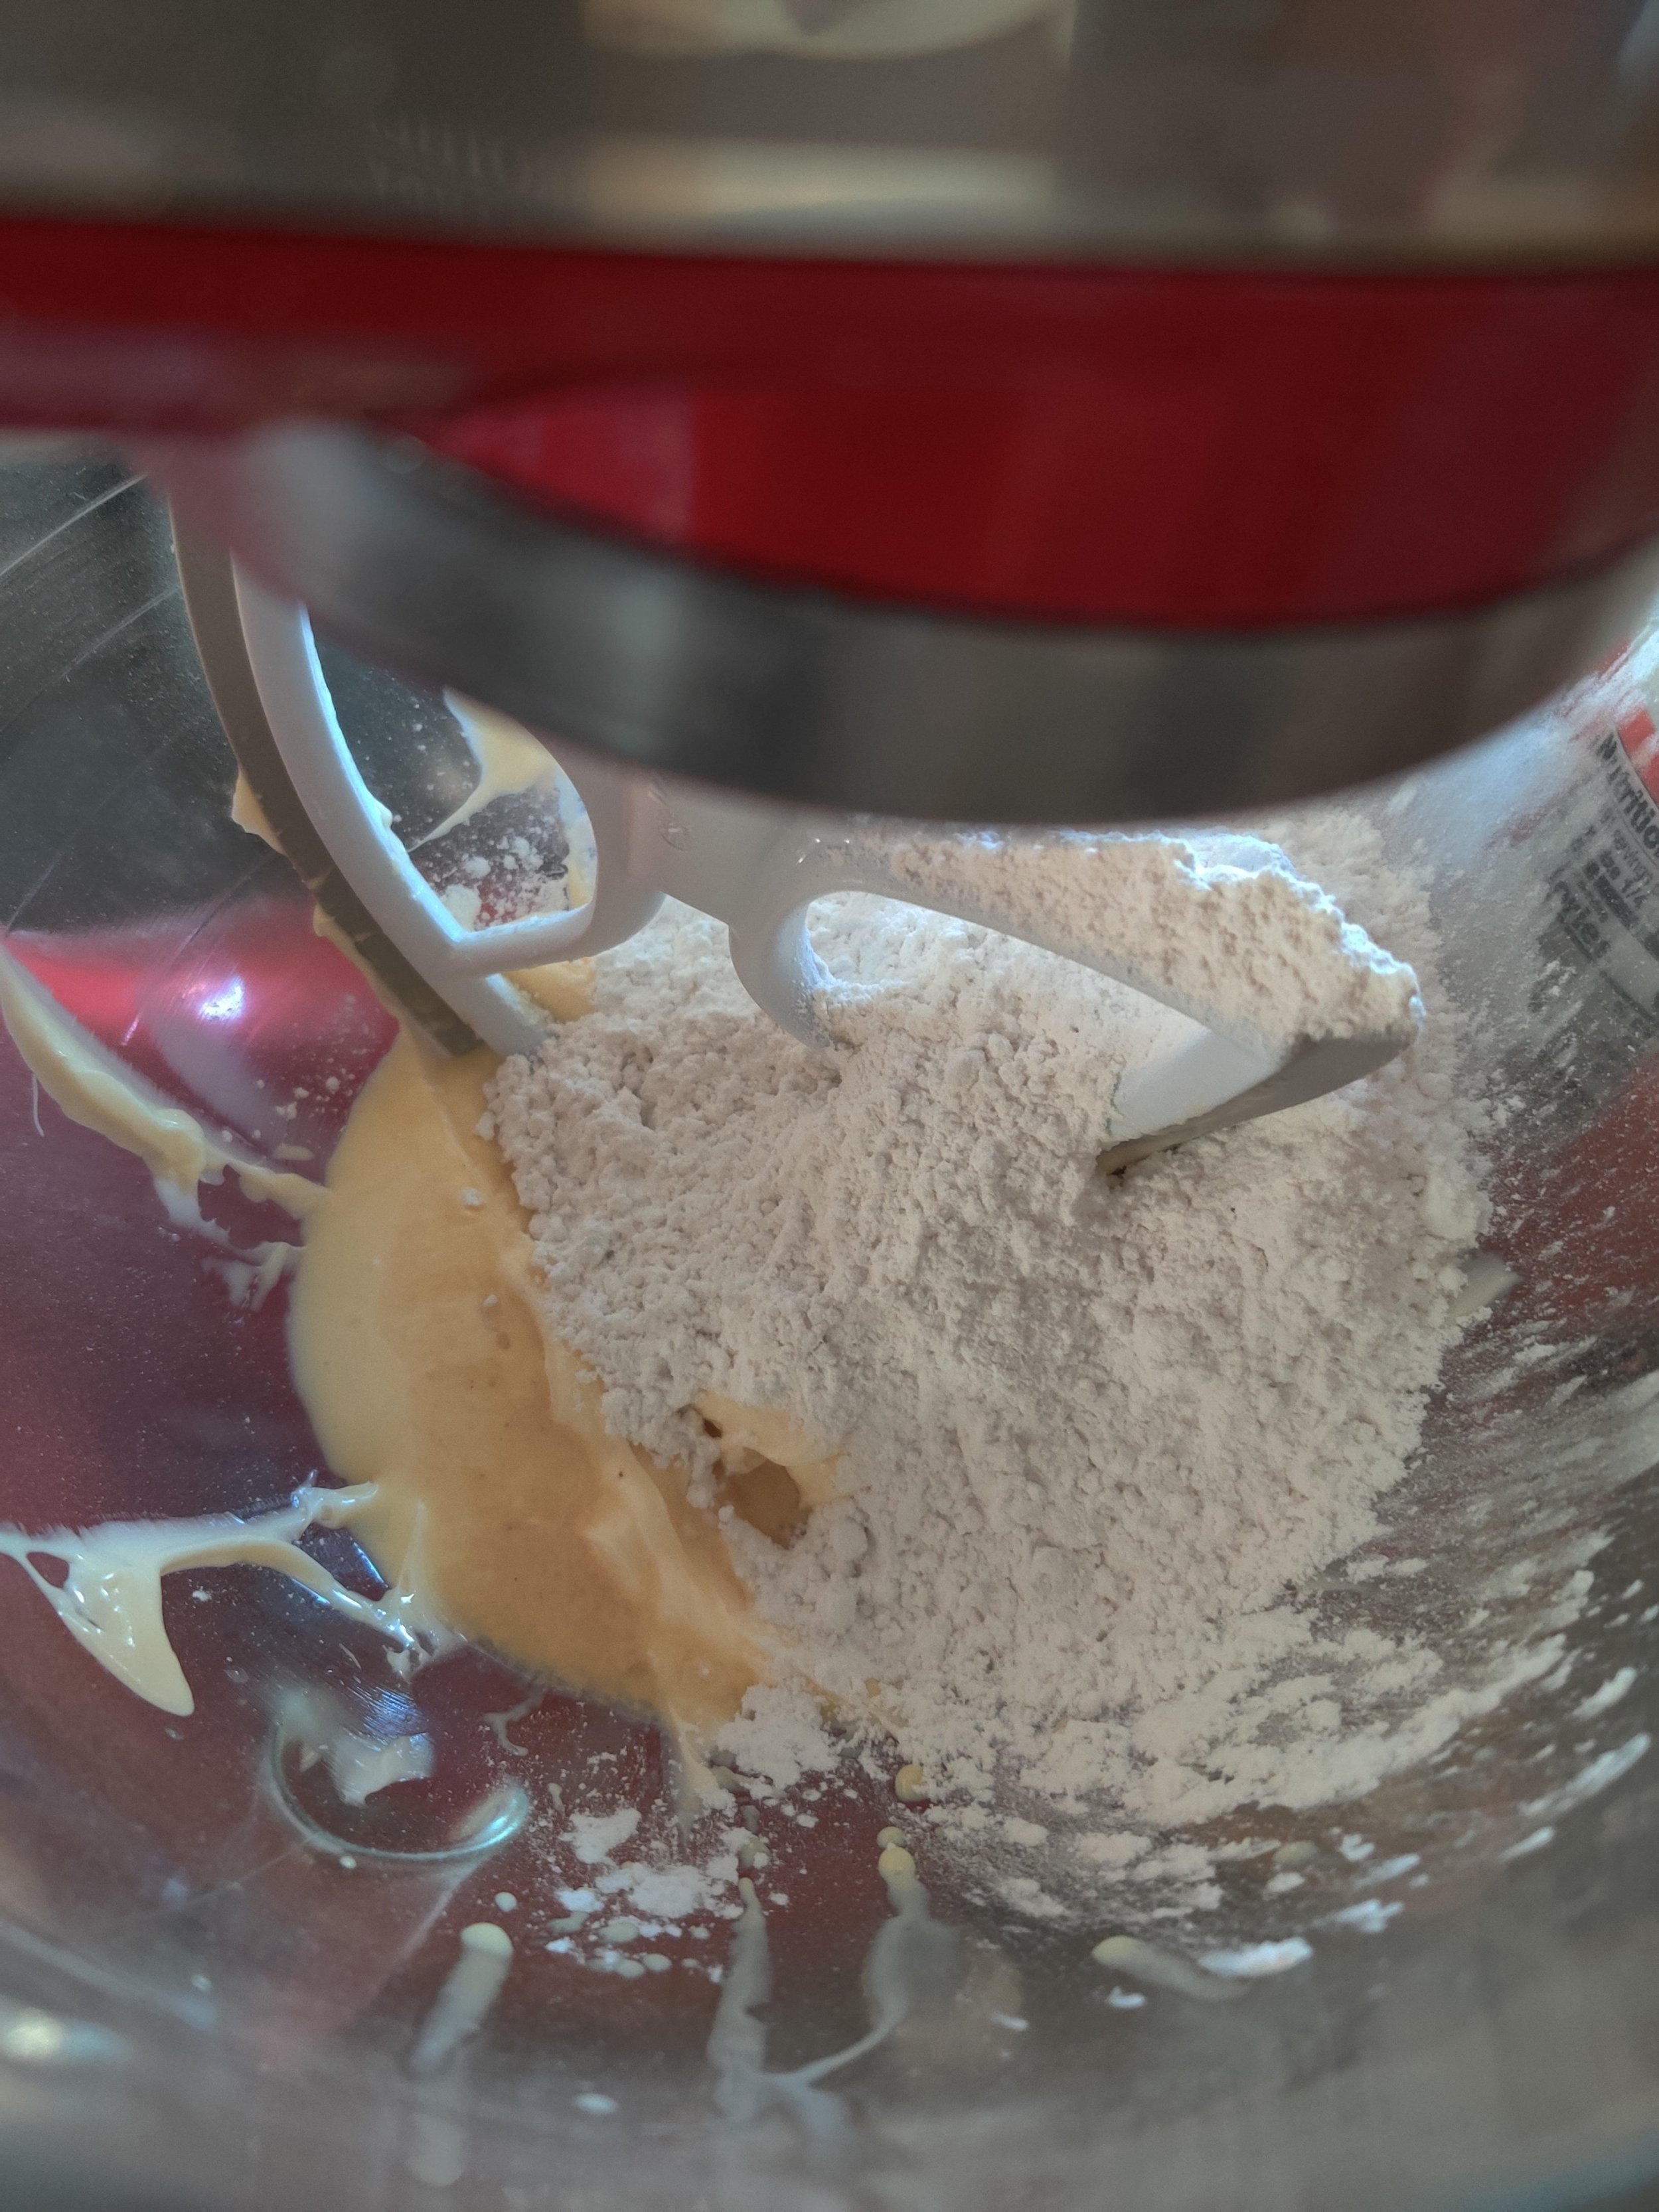
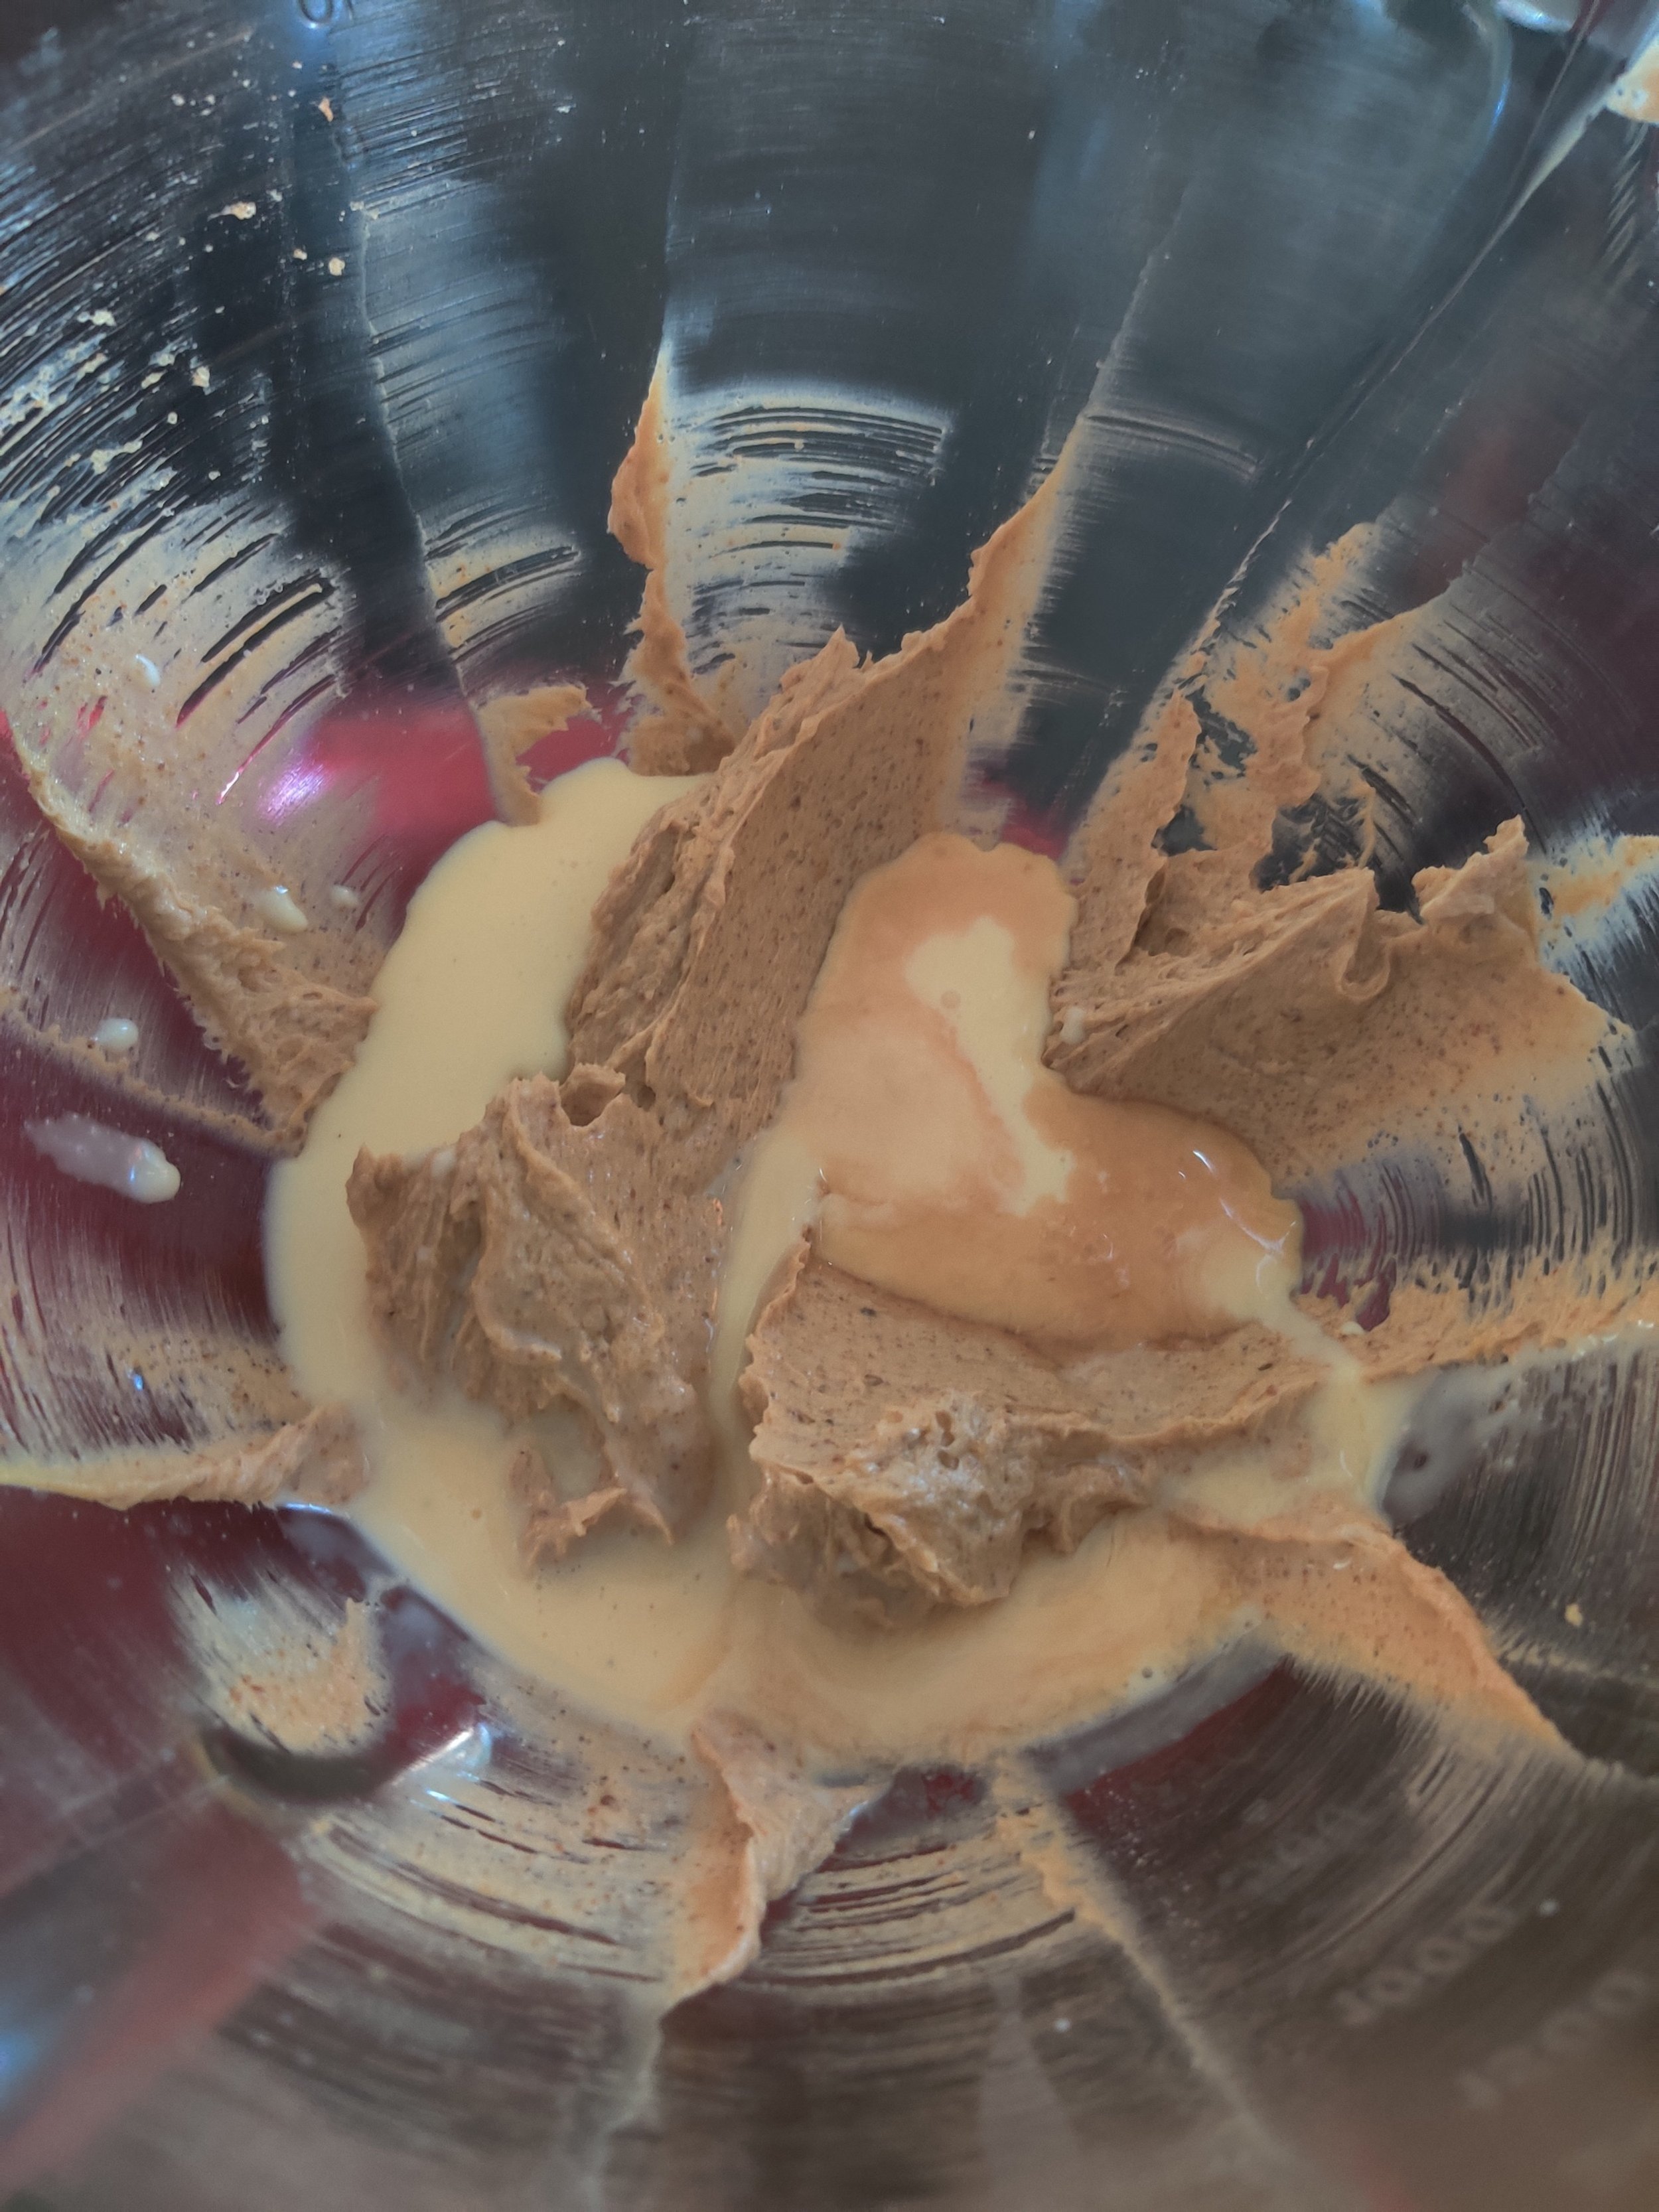
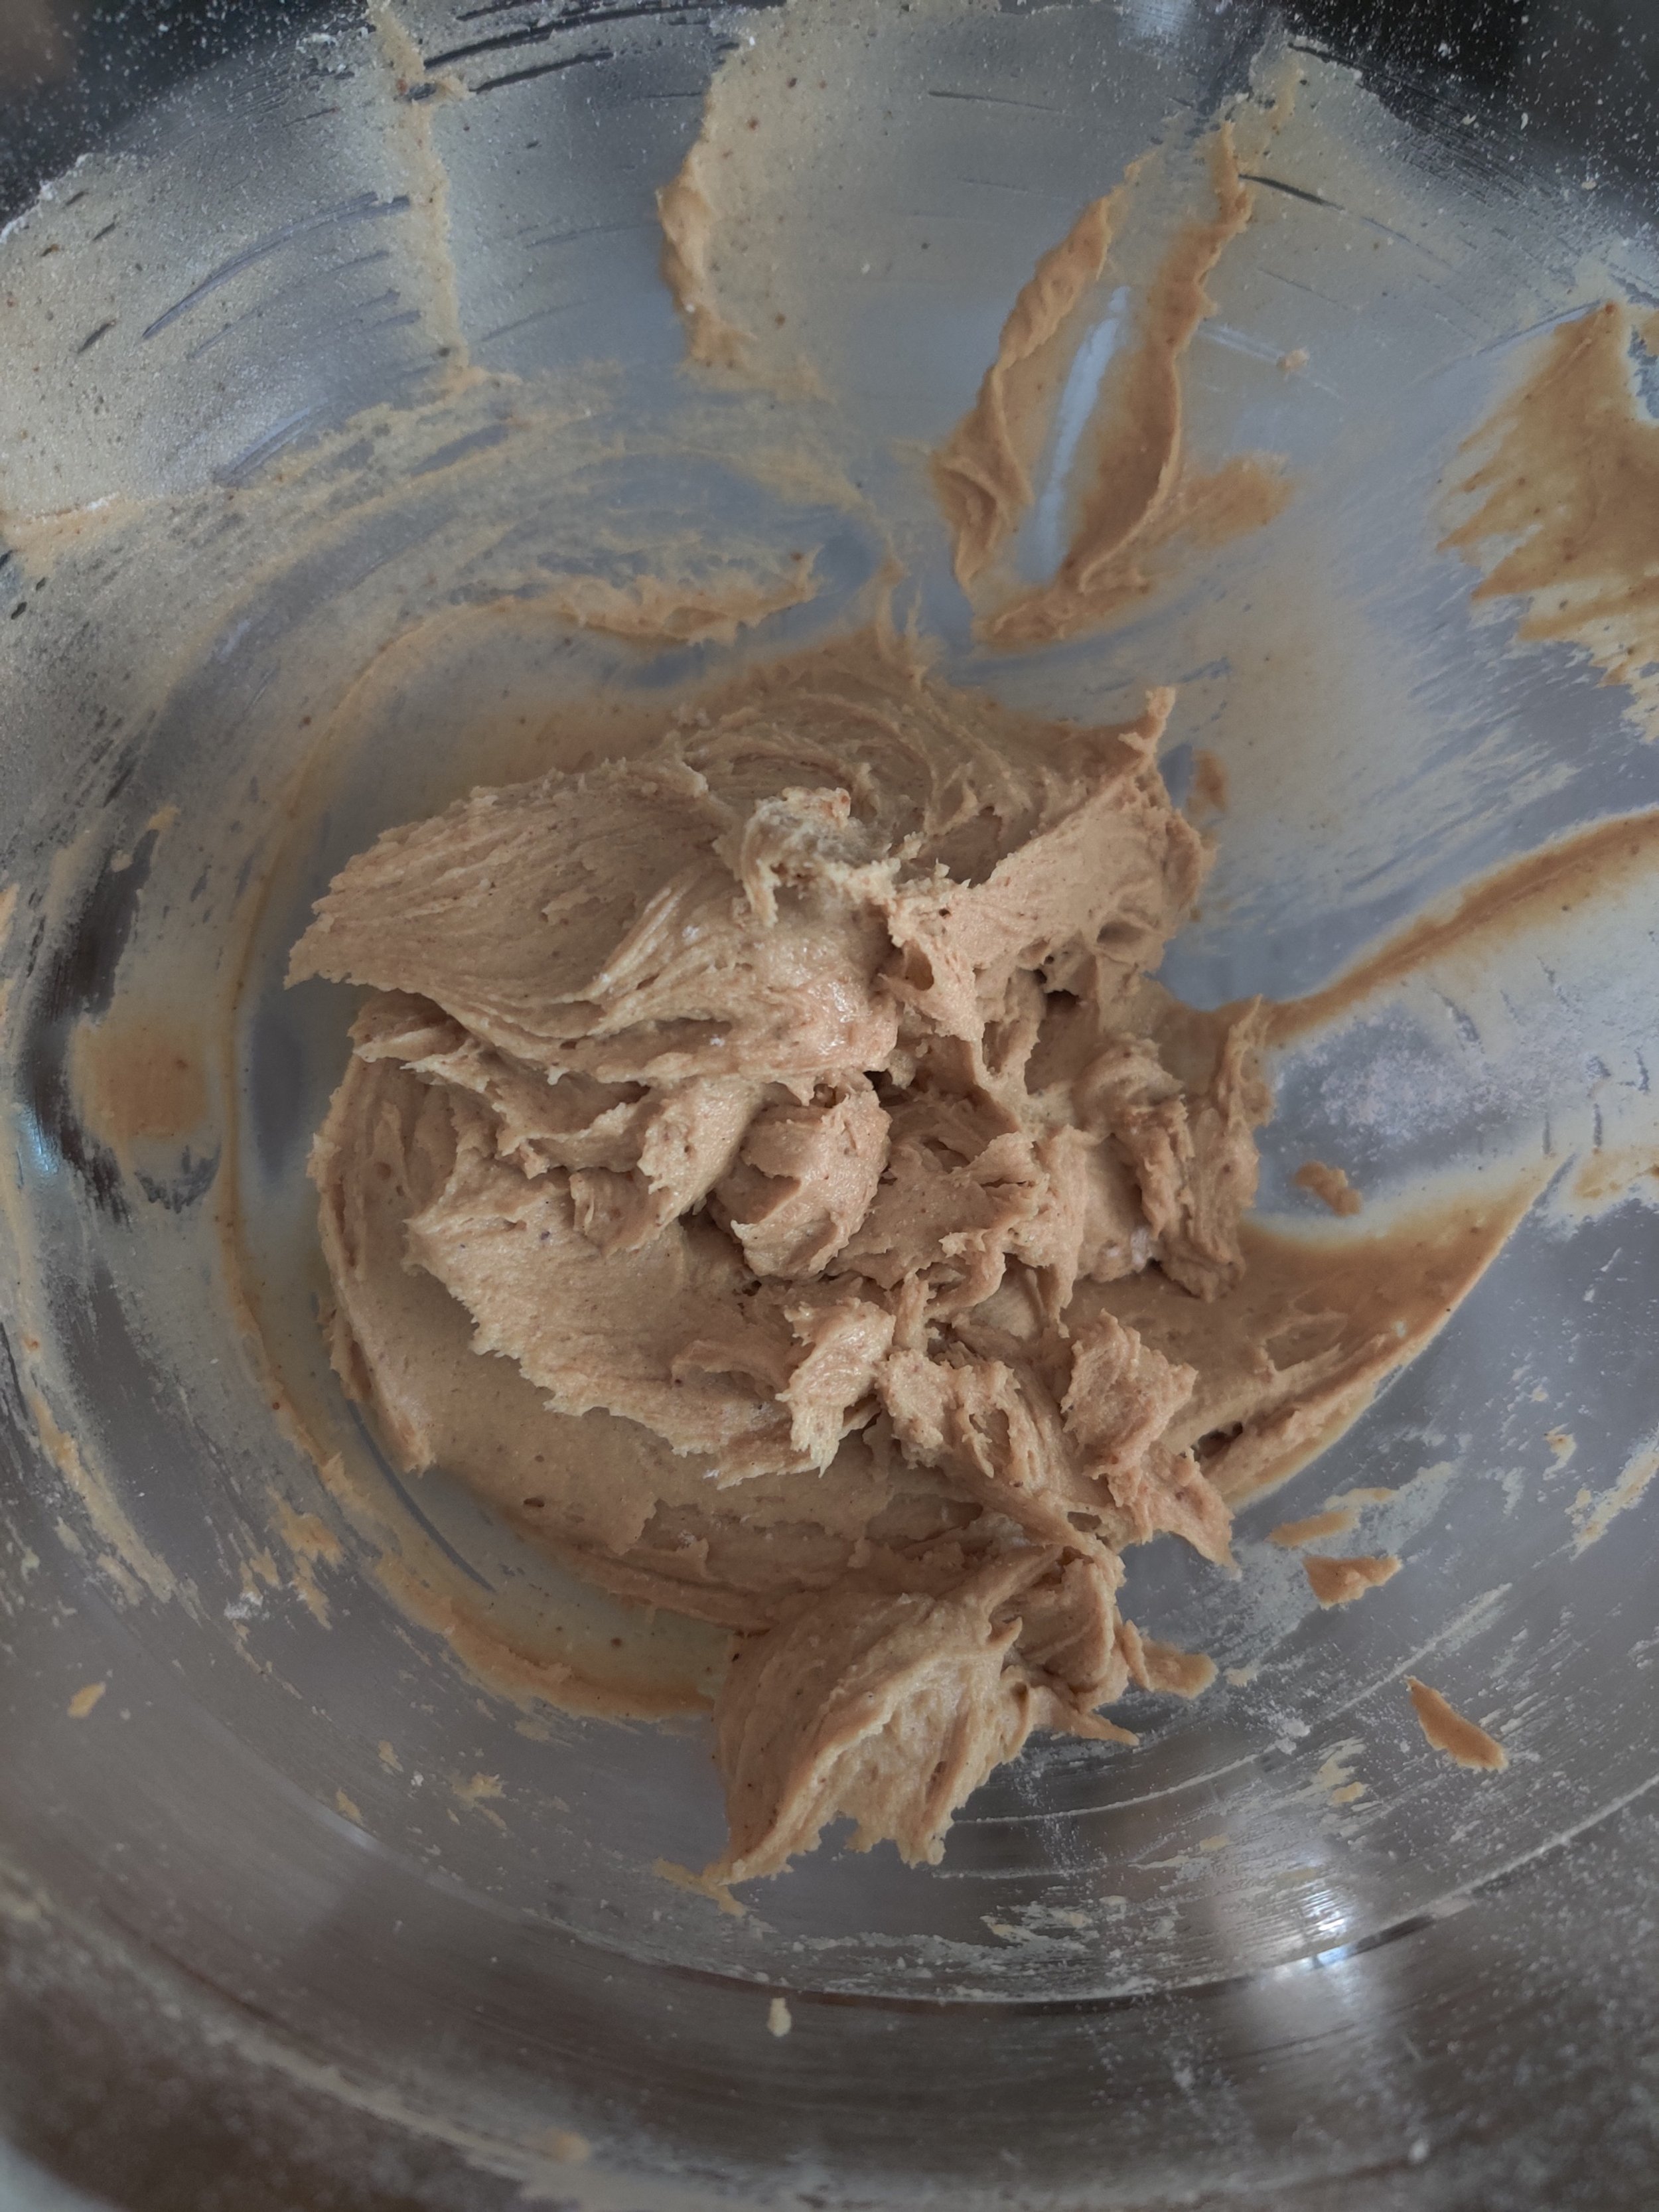
- In a stand mixer with paddle attachment, beat softened butter and sugar on medium until fluffy and light.
- Gradually add flour and salt at low speed until a crumbly dough forms.
- For the pear + cinnamon version, fold in diced pears and cinnamon chips with a spatula.
- Add vanilla, then slowly add water (or cream if needed) just until the dough comes together. It should stick slightly but not be wet.
- Transfer dough to a floured surface, flatten to ~½ inch thickness. Cut into shapes or rounds.
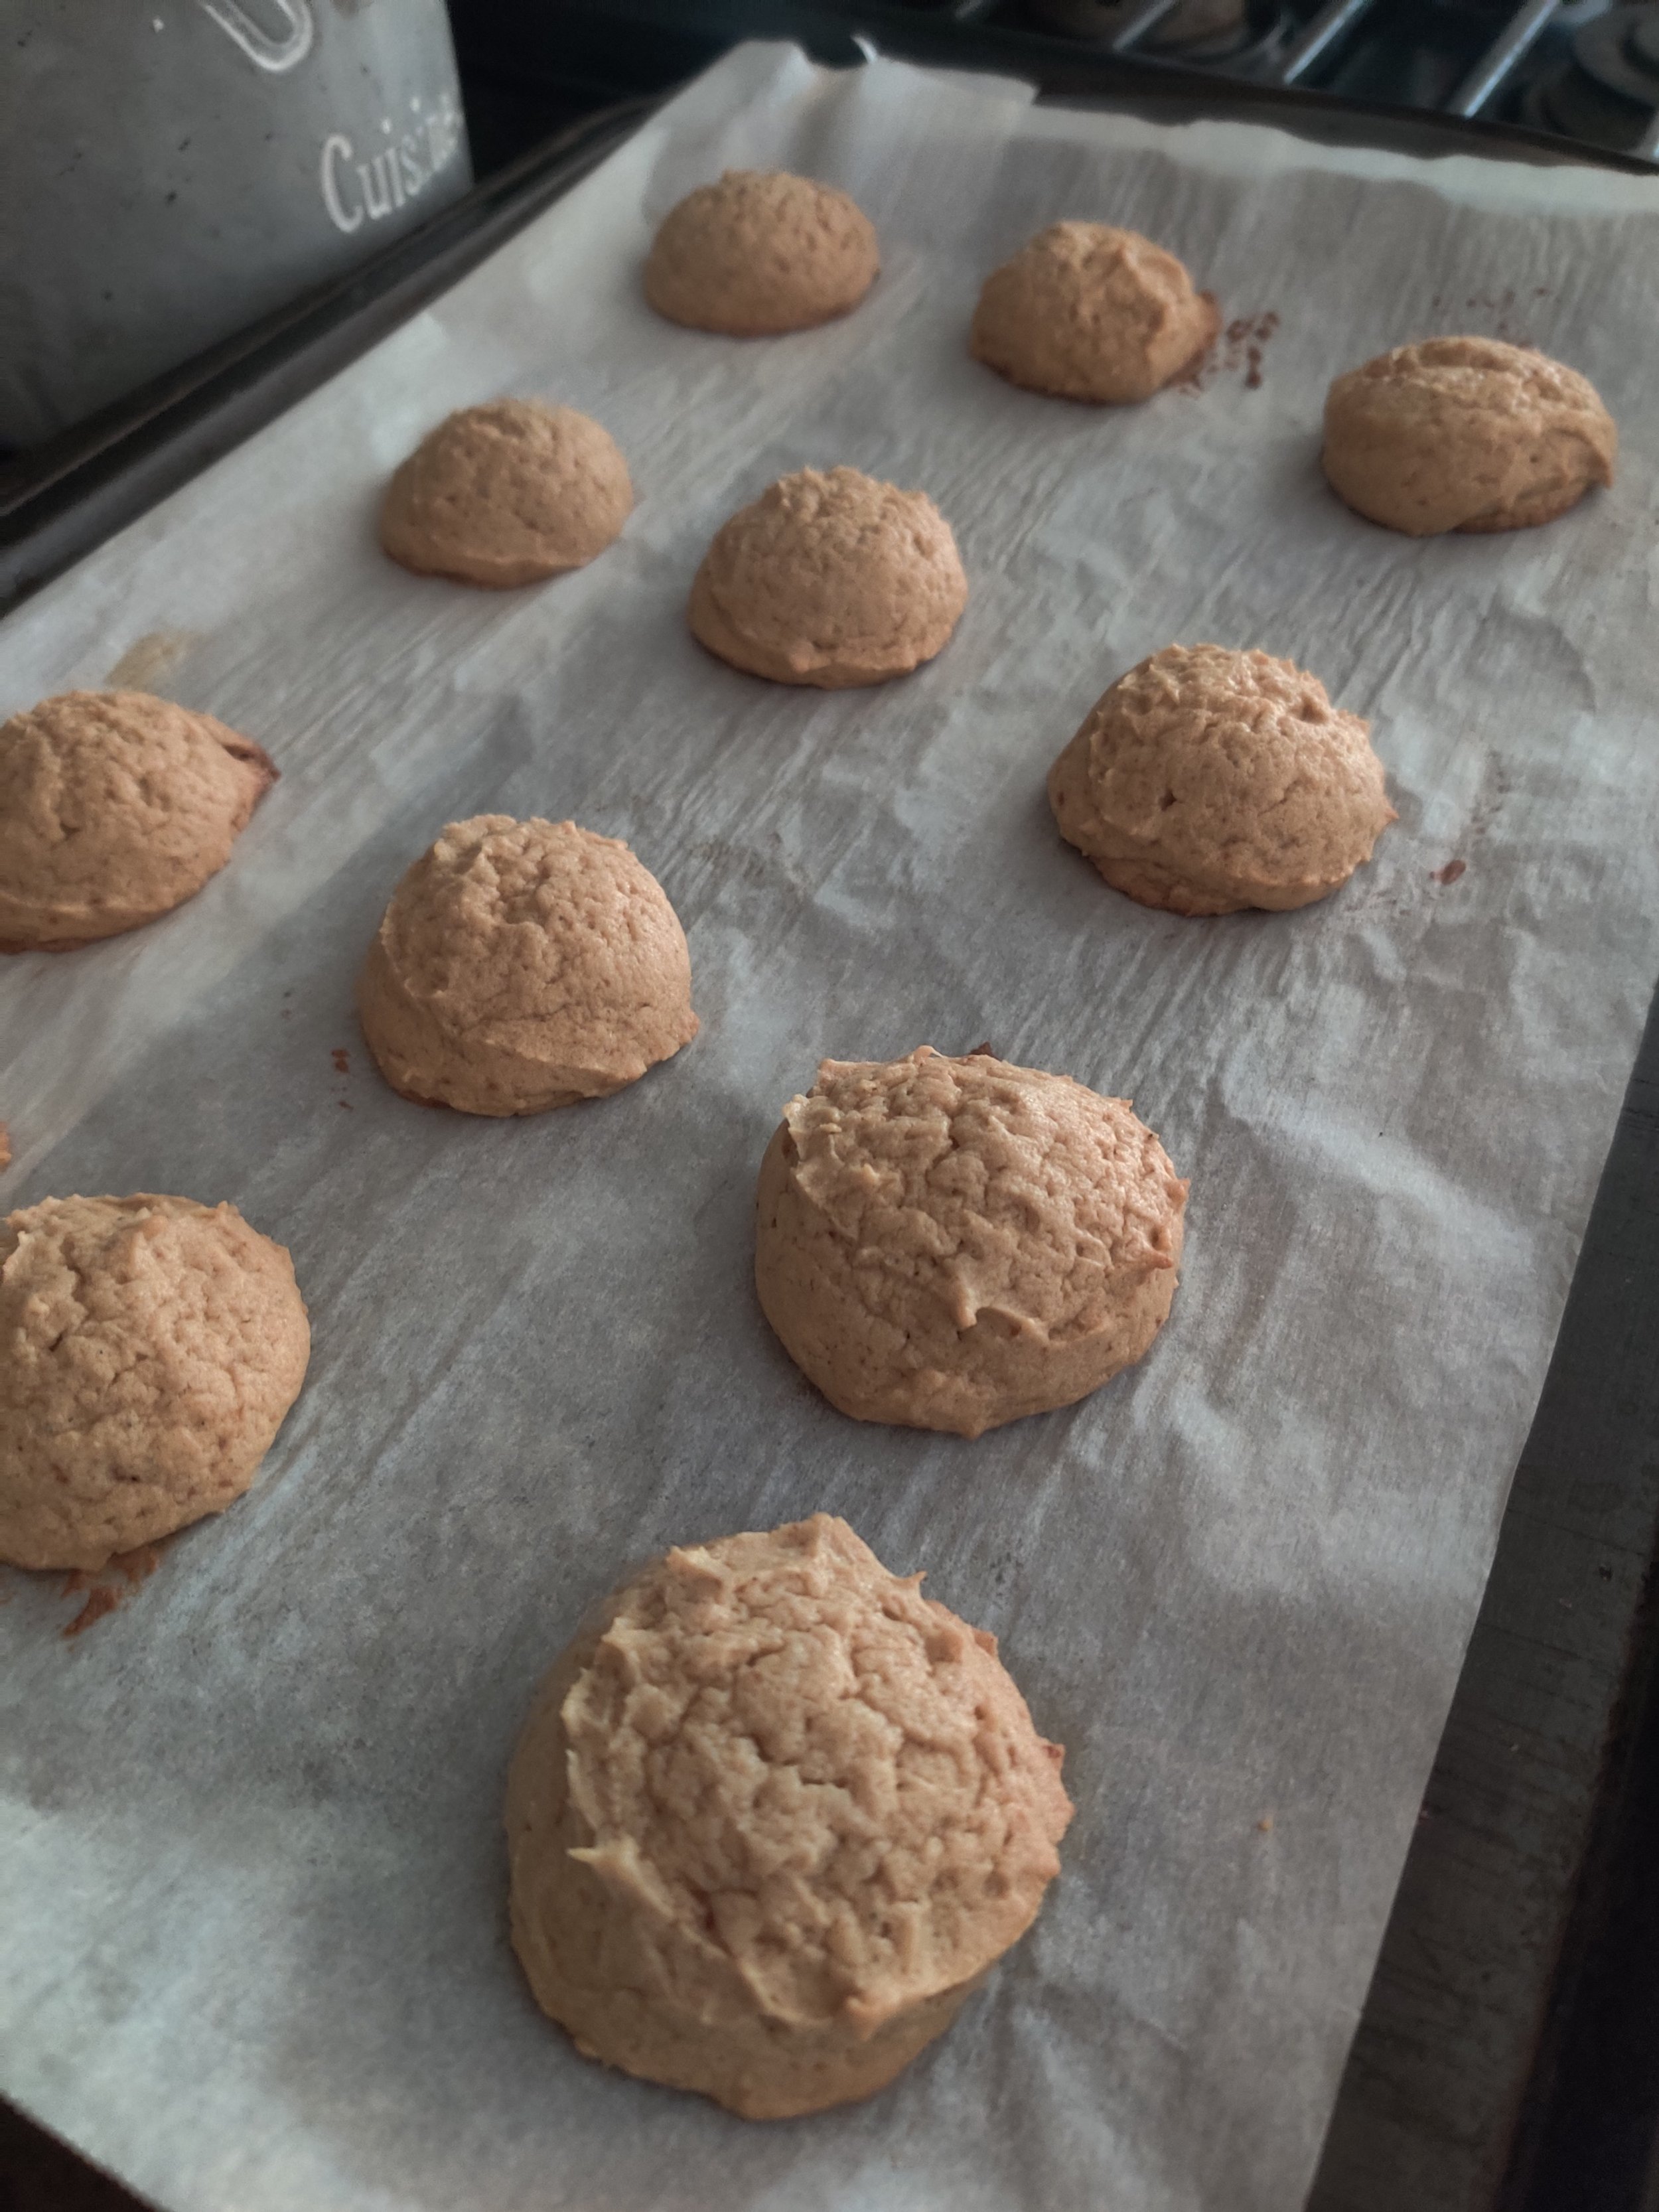
- Place on parchment-lined trays and prick with a fork. Chill for at least 30 min.
- Bake at 350°F (175°C) for 30 min, or until just lightly golden at edges. Cool completely before serving.
Notes
- Classic Shortbread: Skip pears and cinnamon. The flavor comes purely from butter and sugar.
- Flour Tip: White whole wheat may require extra liquid (cream) for dough cohesion.
- Storage: Airtight container at room temp for up to 2 weeks. Flavor improves after a day.
- Variations: Chocolate chips, nuts, or subtle zest work well too.
Nutrition Facts
Calories
125Fat (grams)
7 gCarbs (grams)
15 gSugar (grams)
7 gProtein (grams)
1 gI am not a certified nutritionist and any nutritional information on dontmissmyplate.com should only be used as a general guideline.


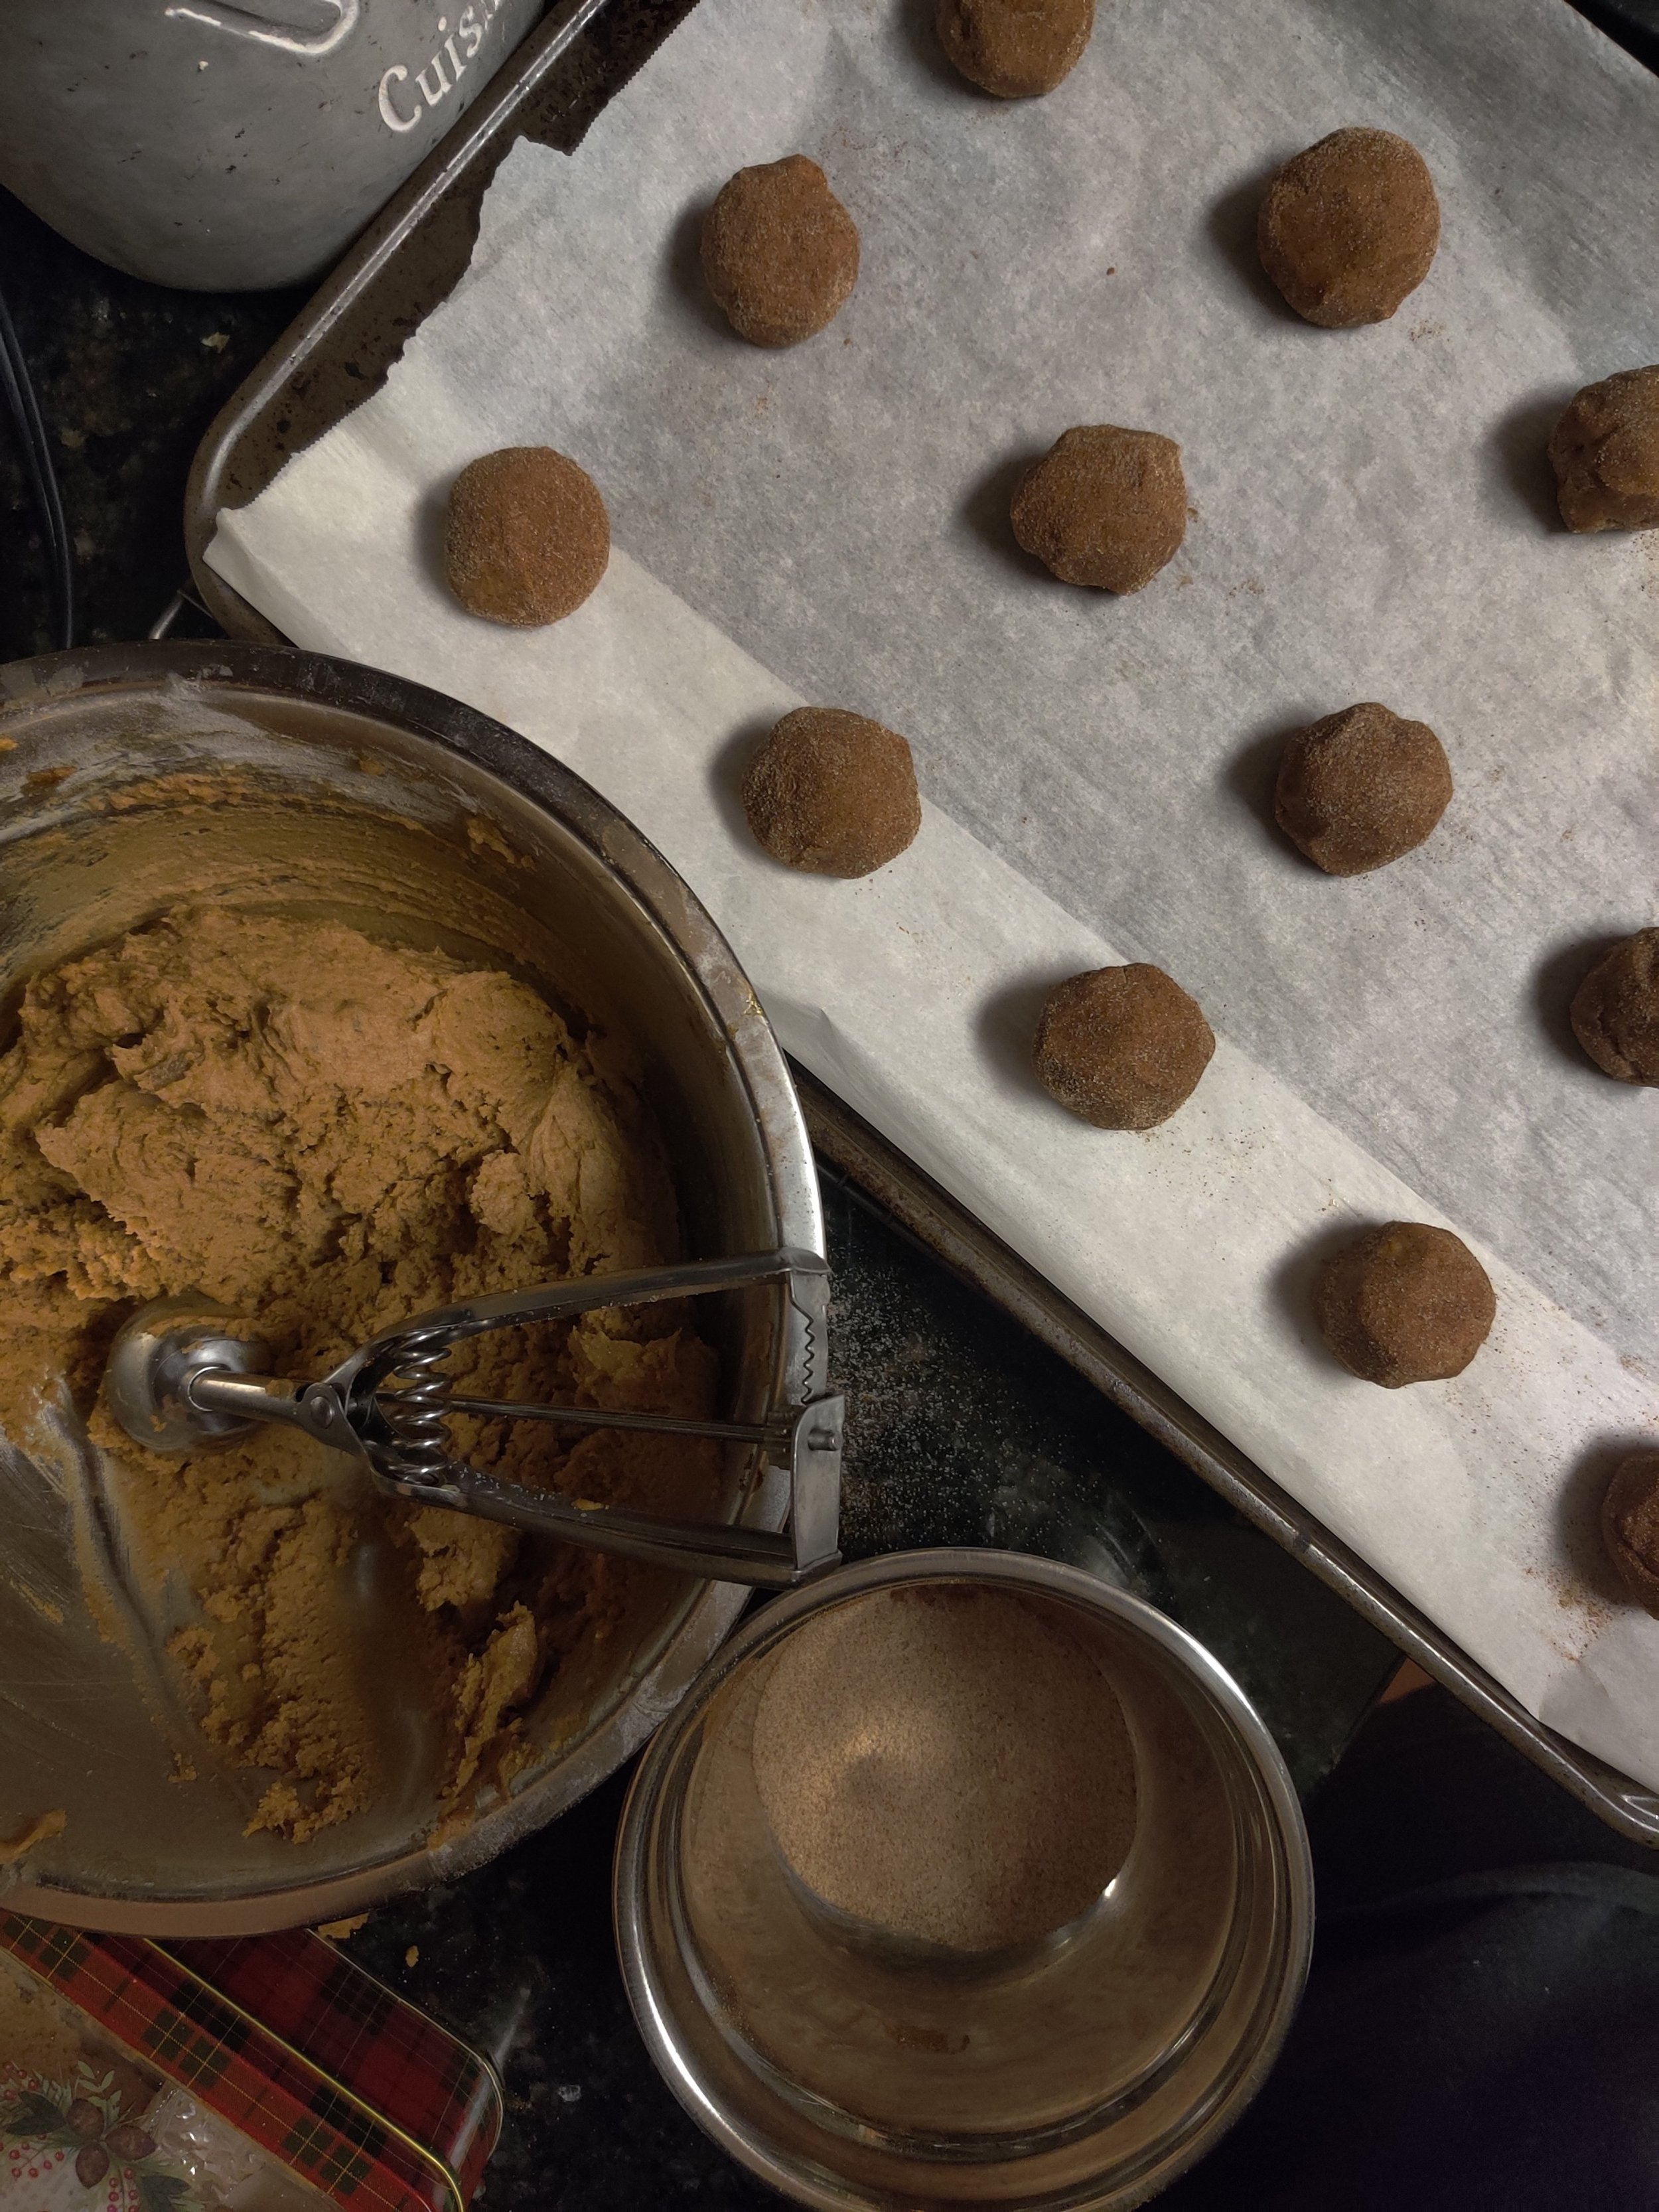
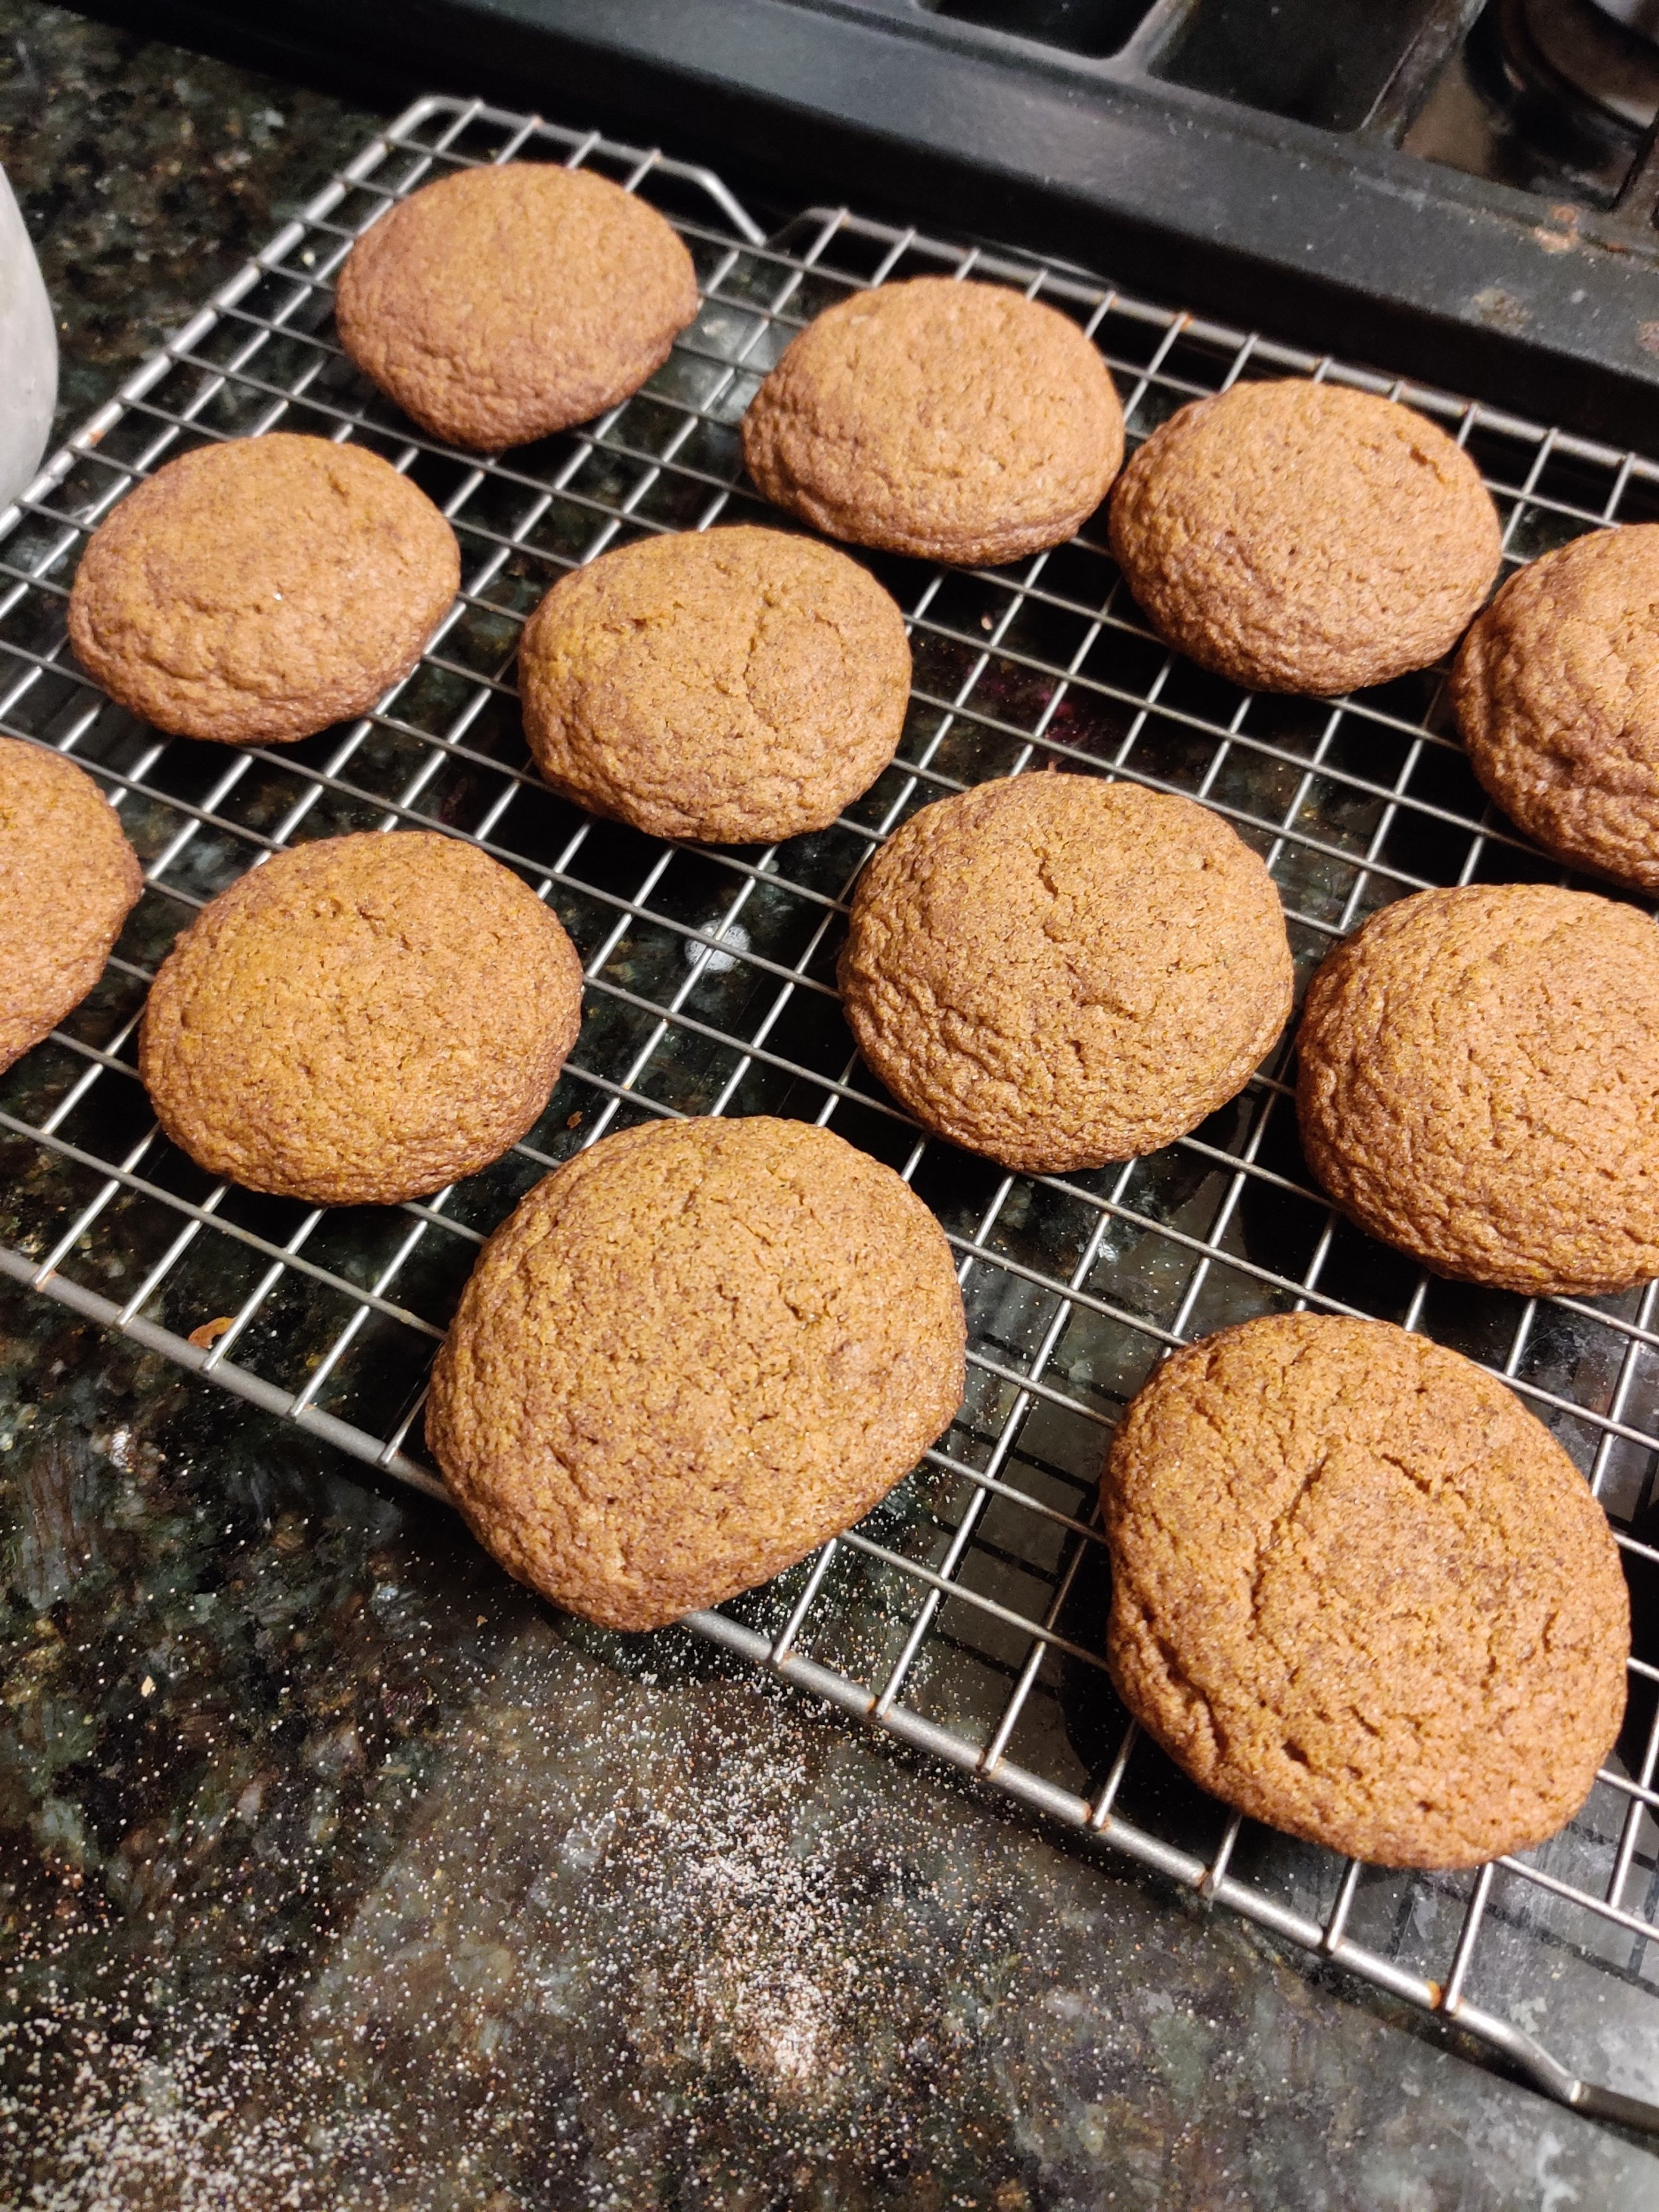
Ginger Biscuit Snickerdoodles
Ginger biscuits hold such a clear, dear memory in my mind. My grandmother always kept a tin of biscuits at her home, and when my siblings and I visited as children, we knew to expect a nibble. The collection included some crunchy ginger biscuits (or gingerbread biscuits, gingersnap, ginger nut, whatever you prefer!
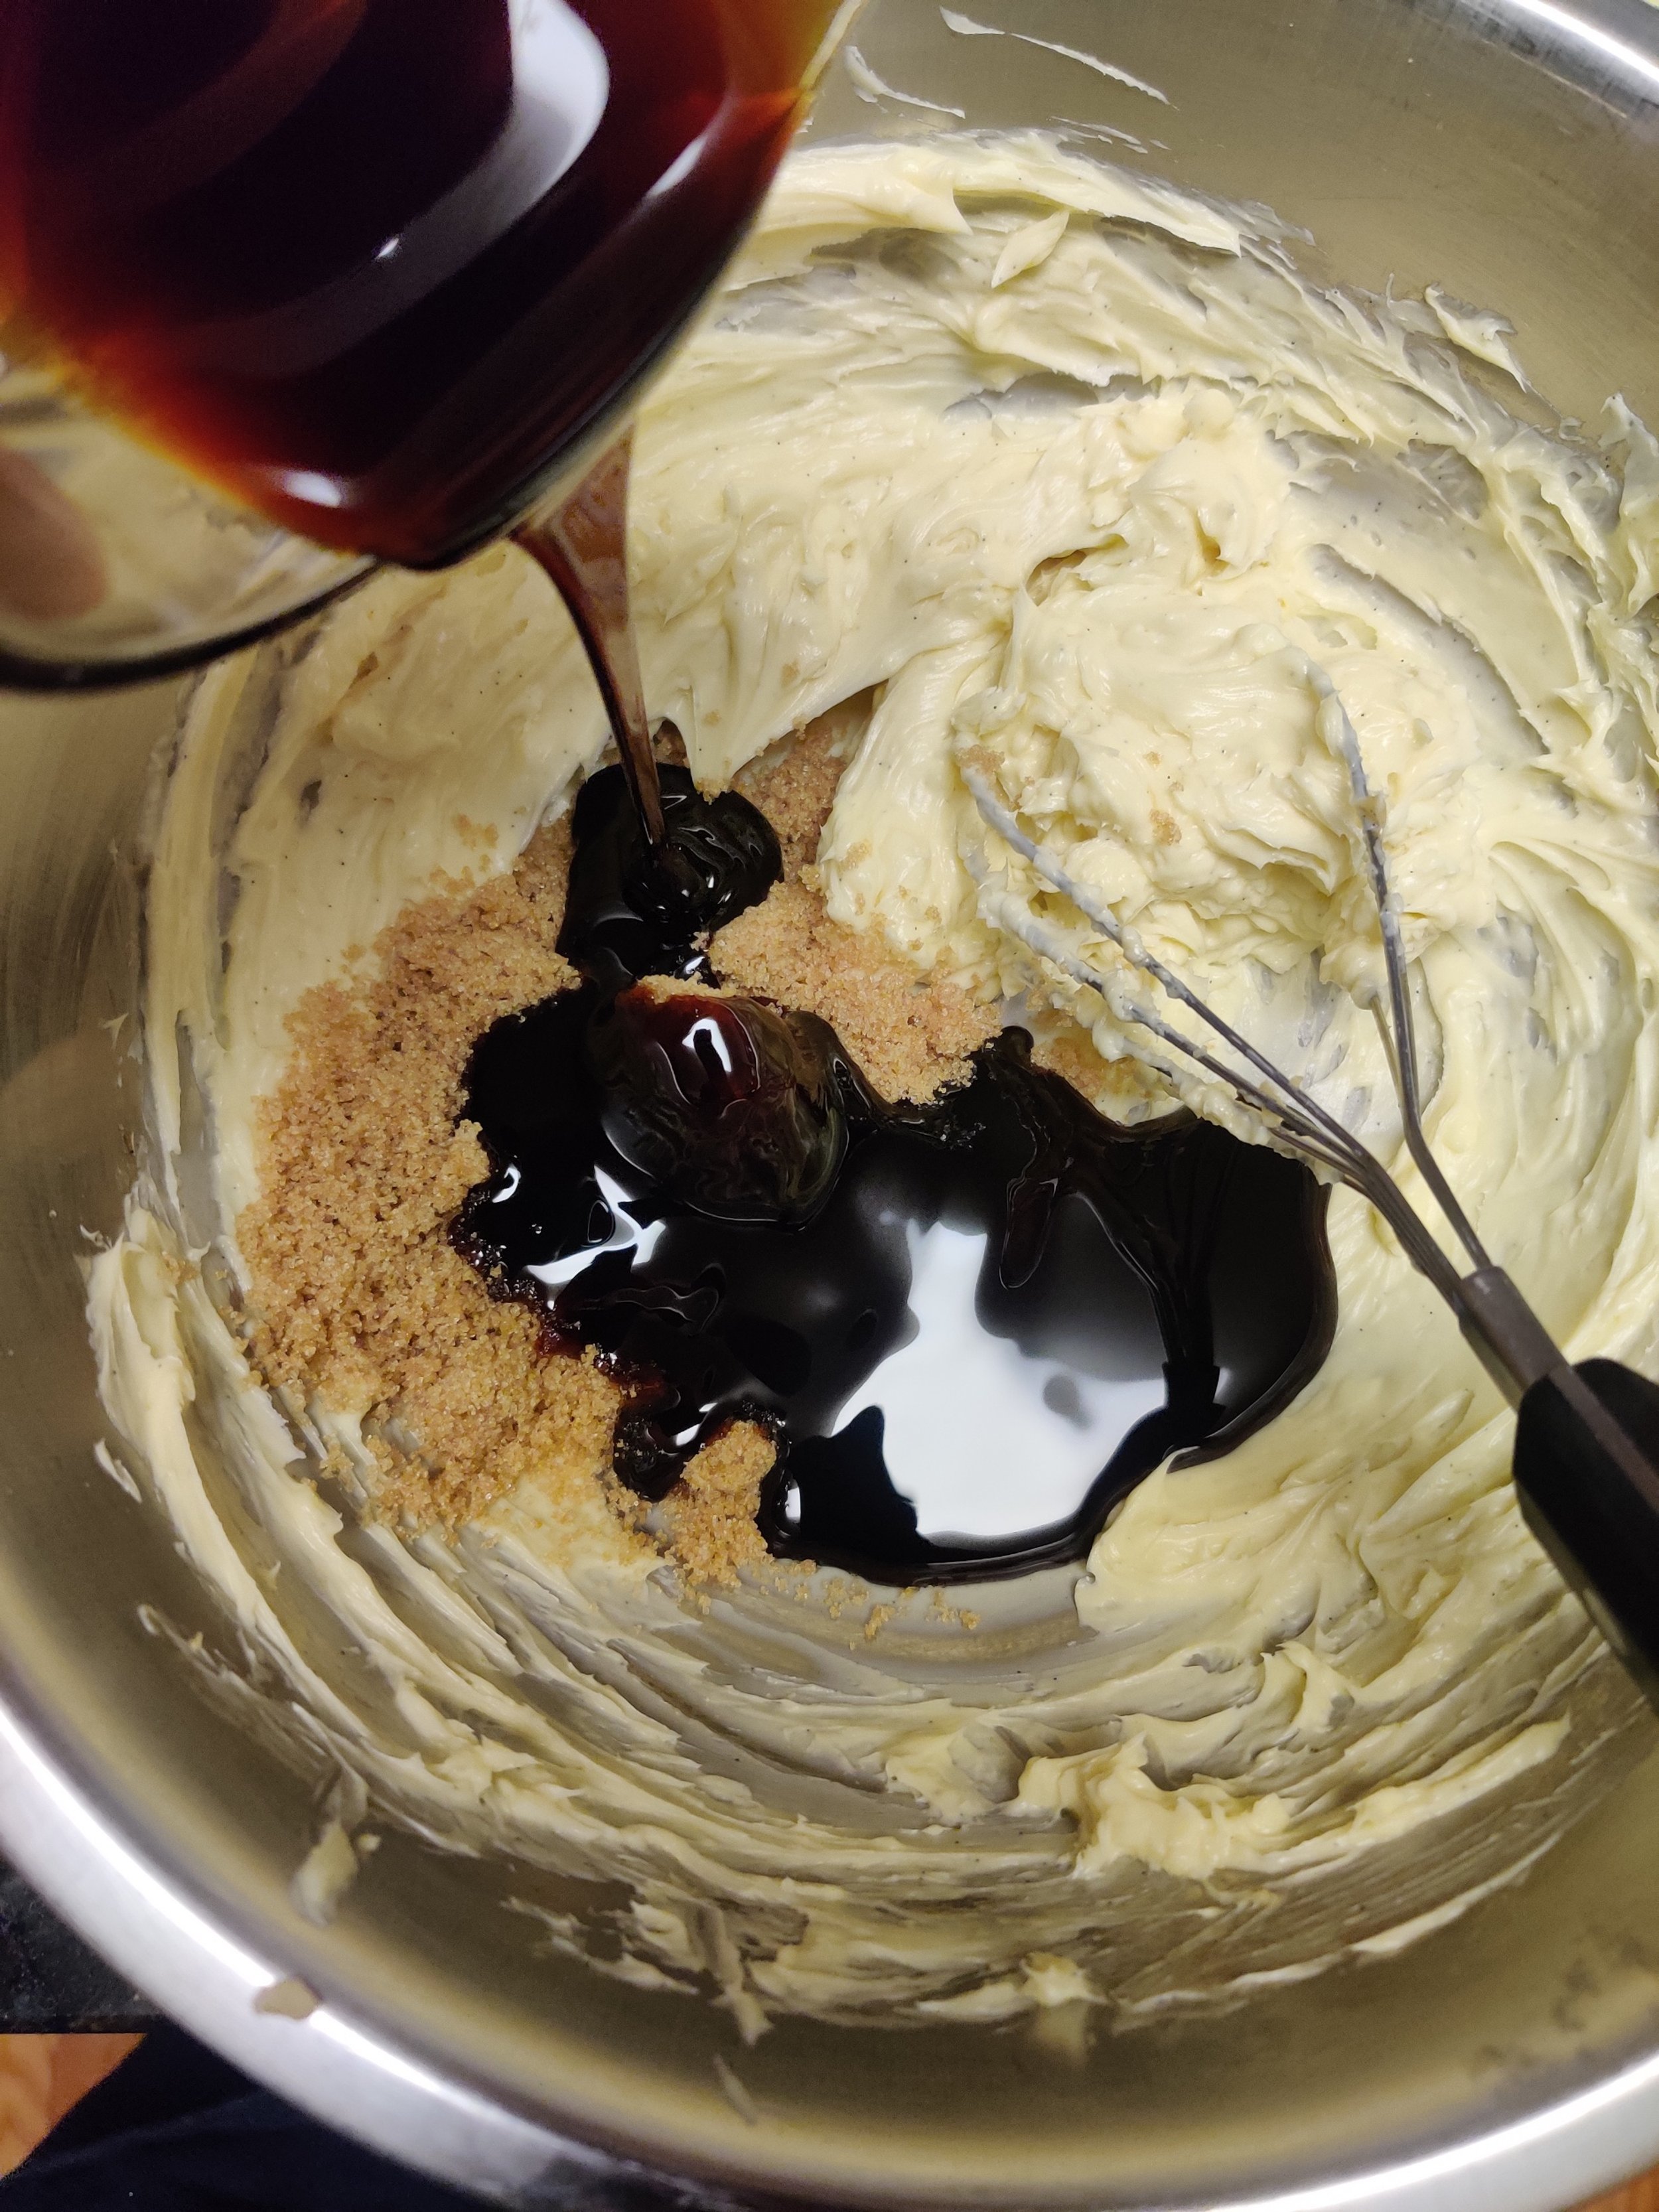
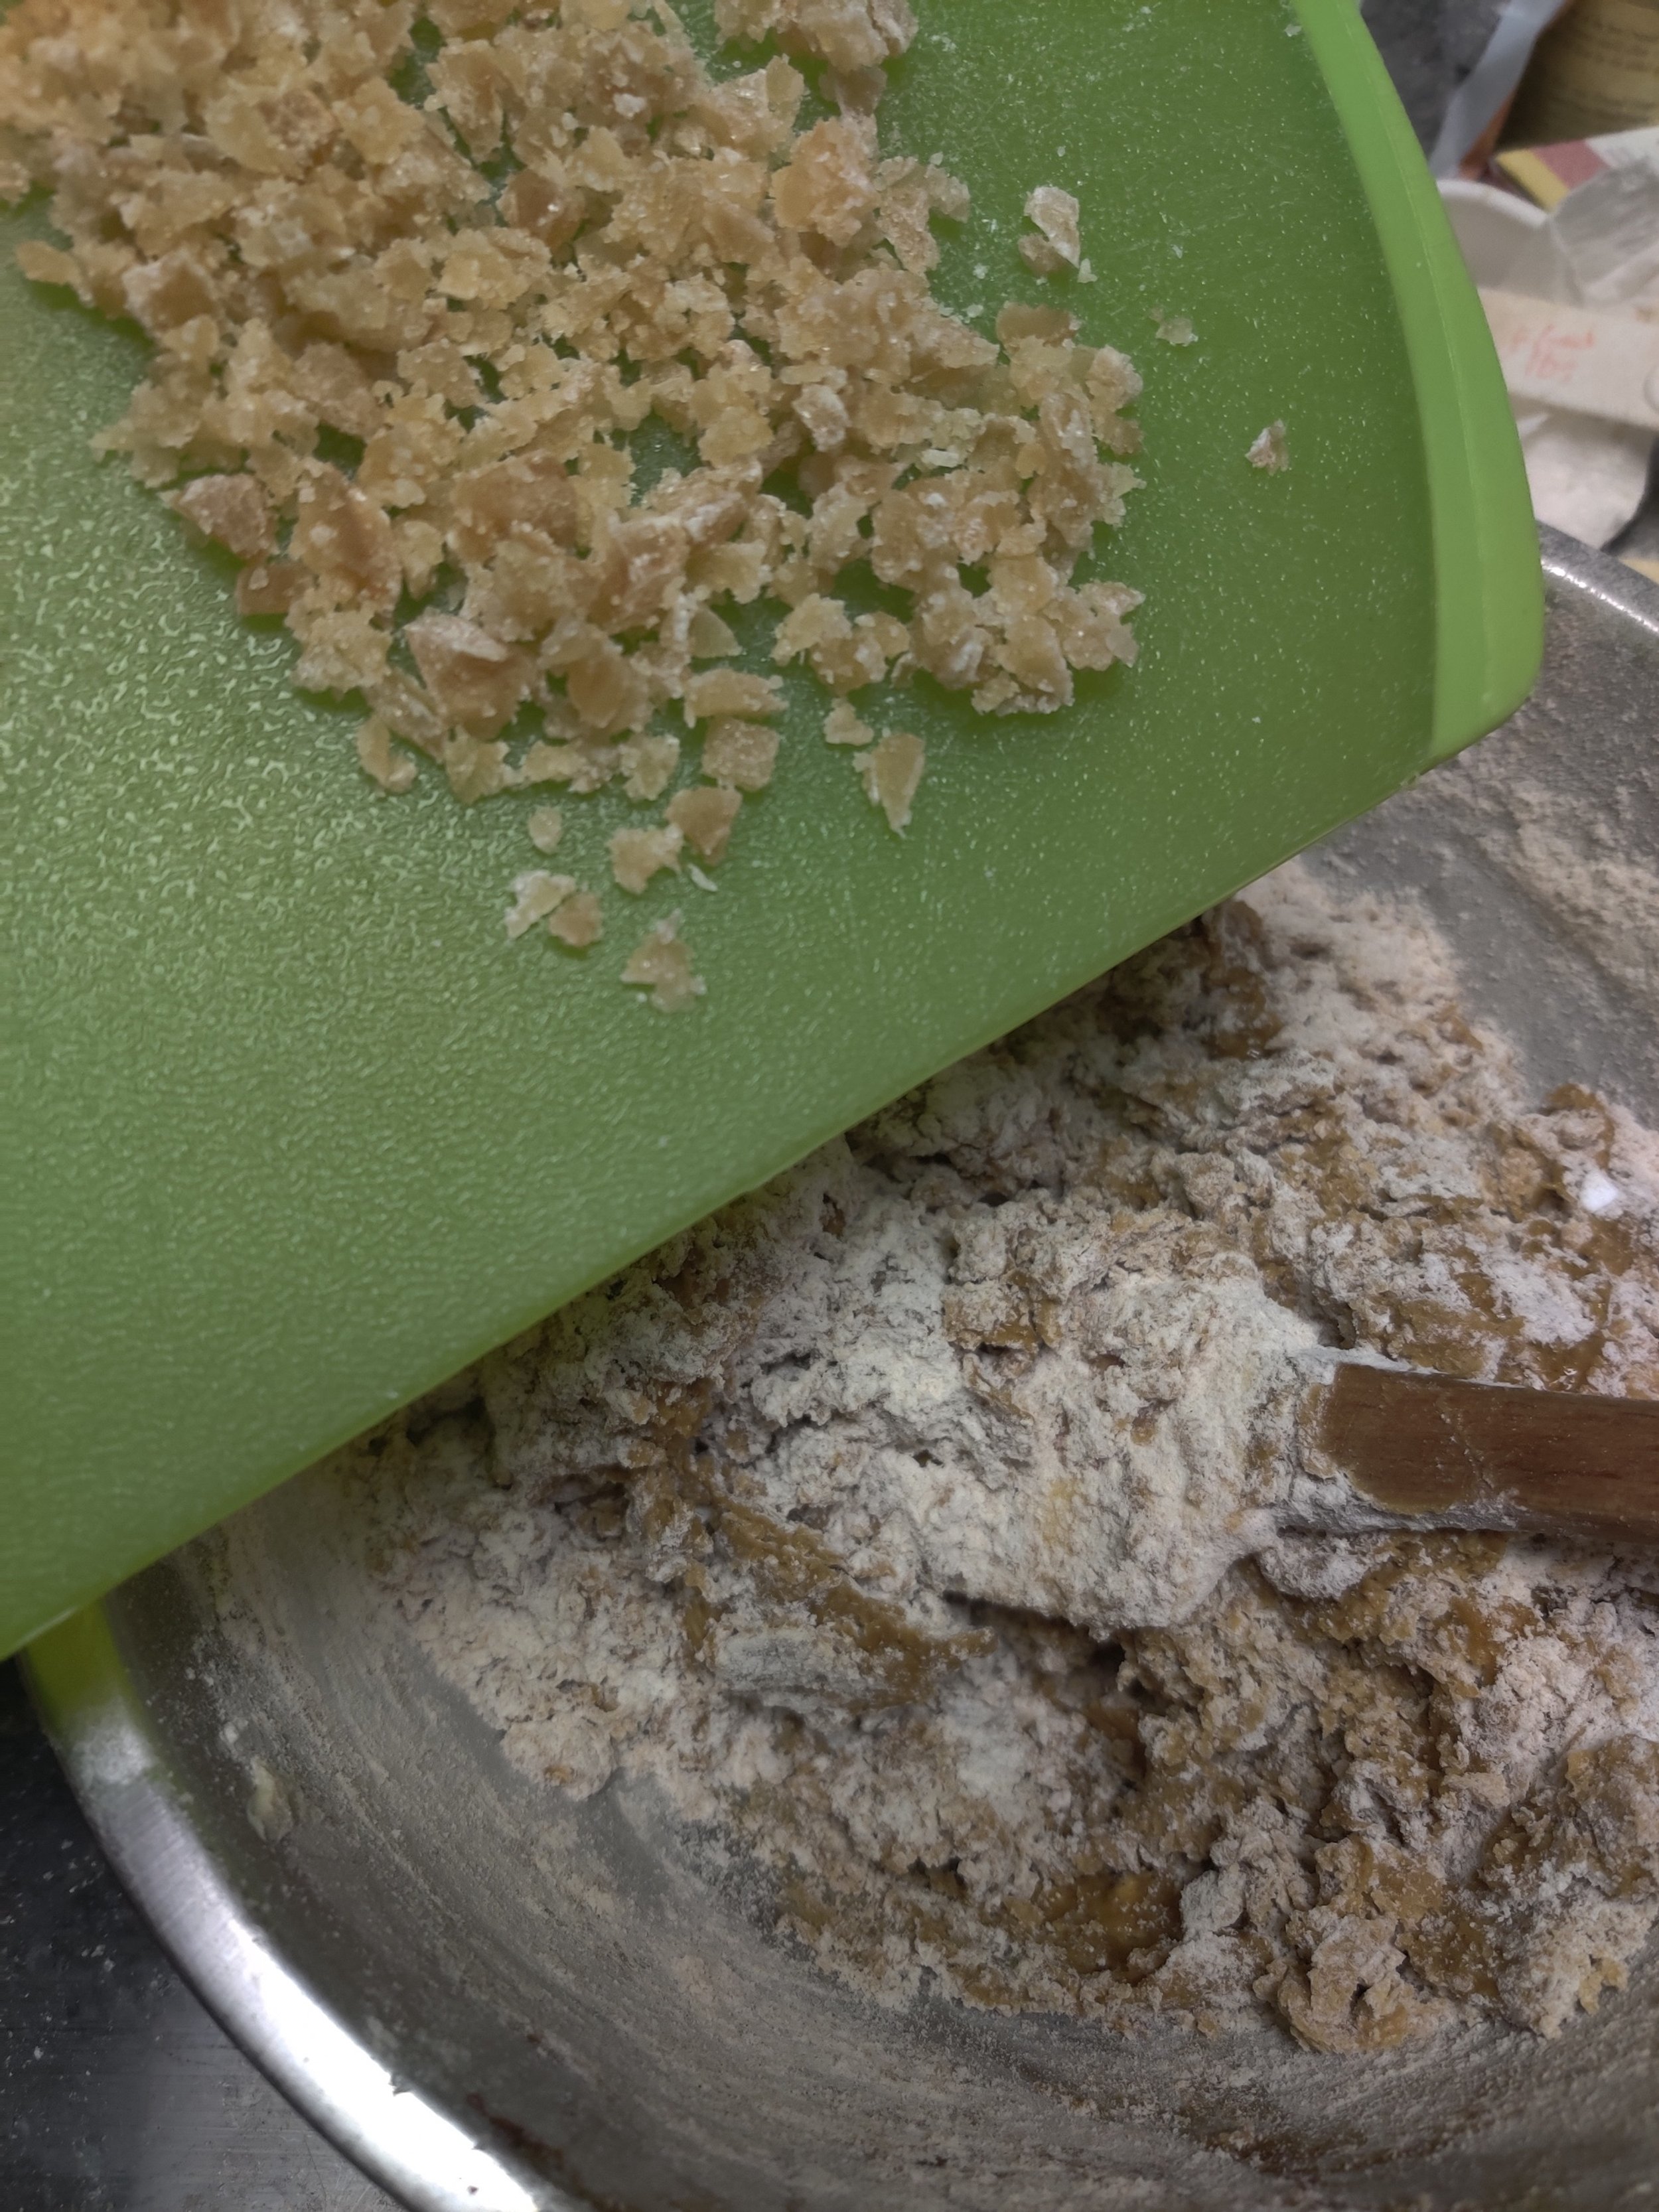
Molasses, brown sugar and a combination of nutmeg, cinnamon, and cloves make these cookies unique. I also added in some crystallized ginger to intensify the flavour. Thanks to Primal Palate Gingersnap Spice (a holiday baking necessity), there won't be any confusion about what you're eating!
What about the snickerdoodle part of this recipe? Well, these New England treats are simple but a fan favourite, and I'm one of them! A soft (or crisp) cookie rolled in cinnamon sugar; this combination is seamless.
If you are looker for a recipe for Gingerbread Man Biscuits, look no more! Click here.


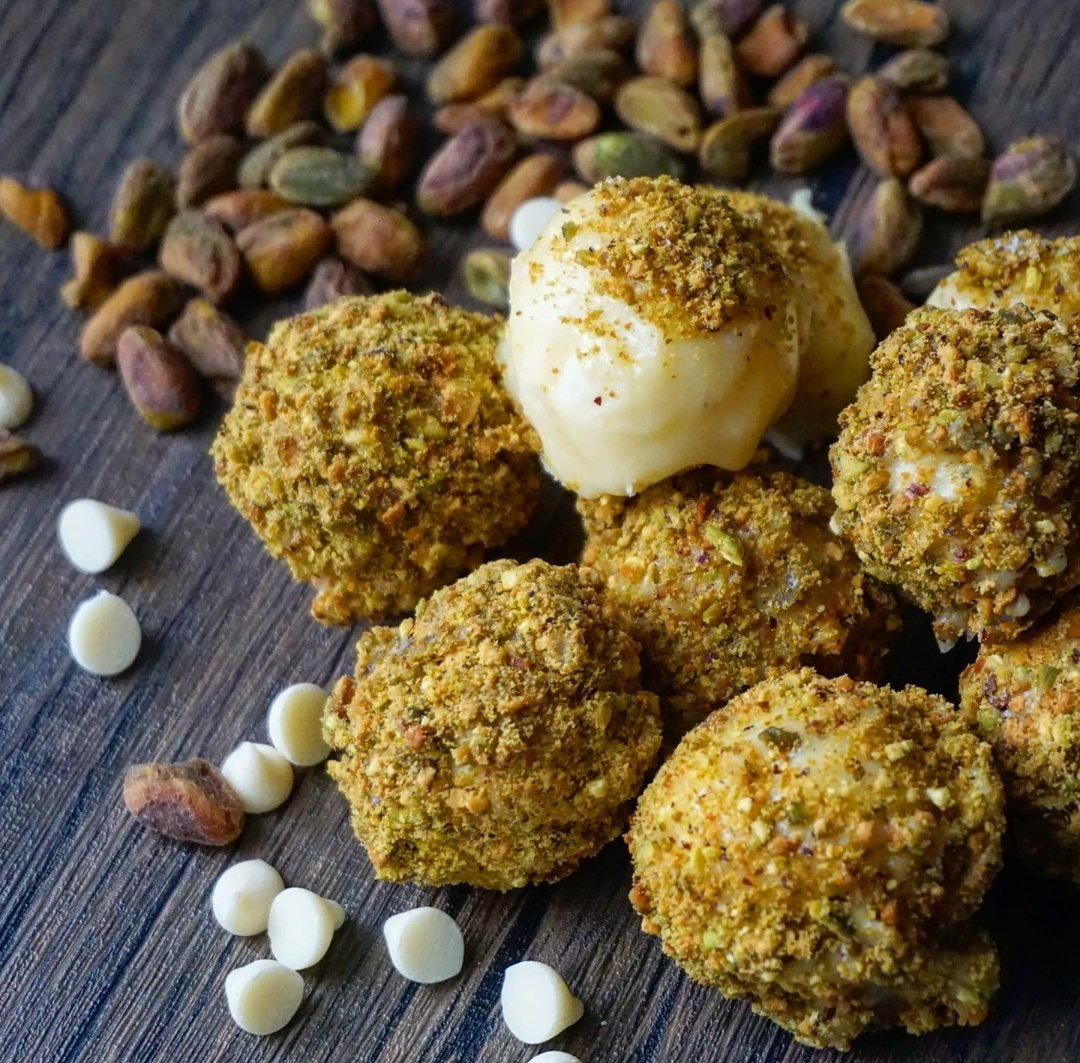
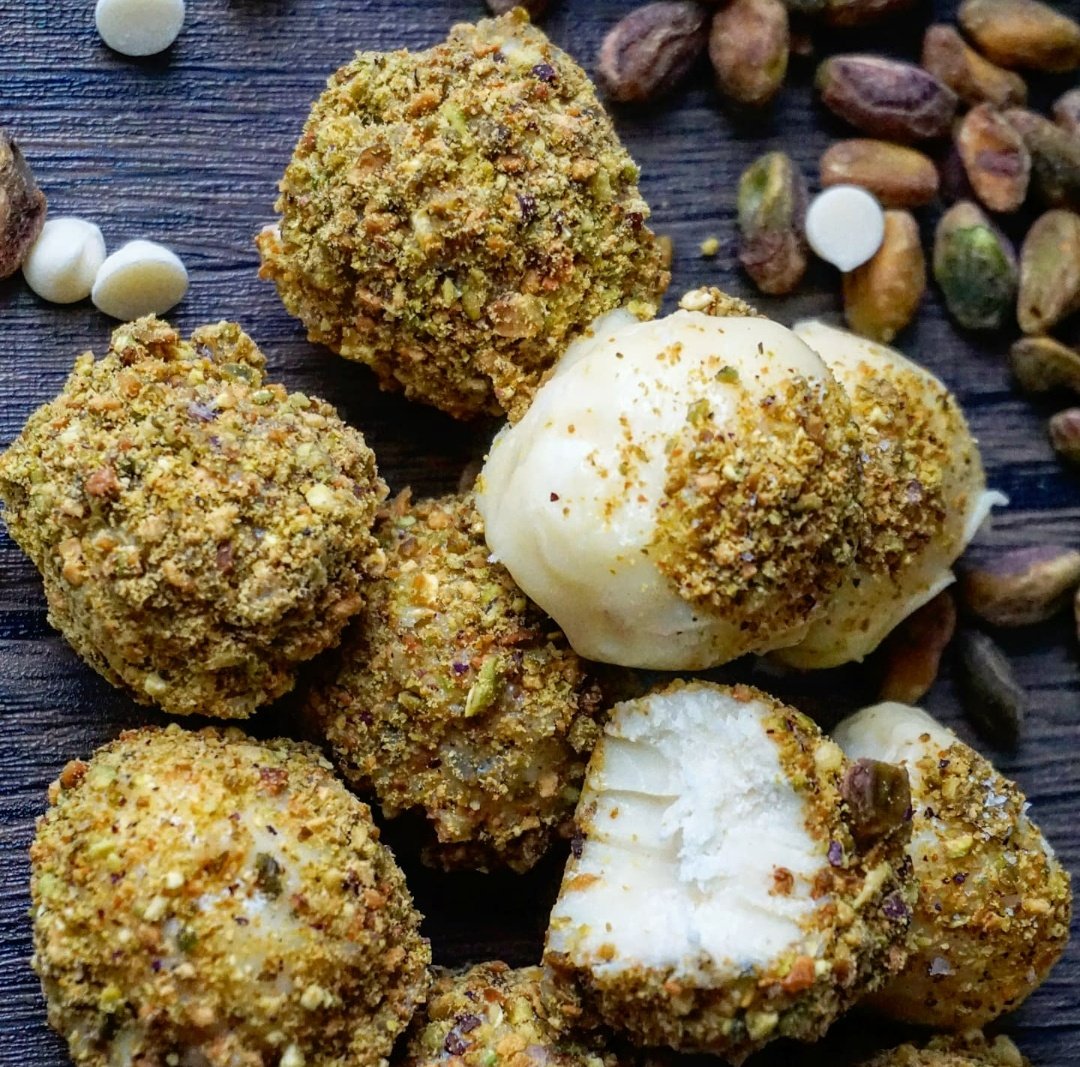
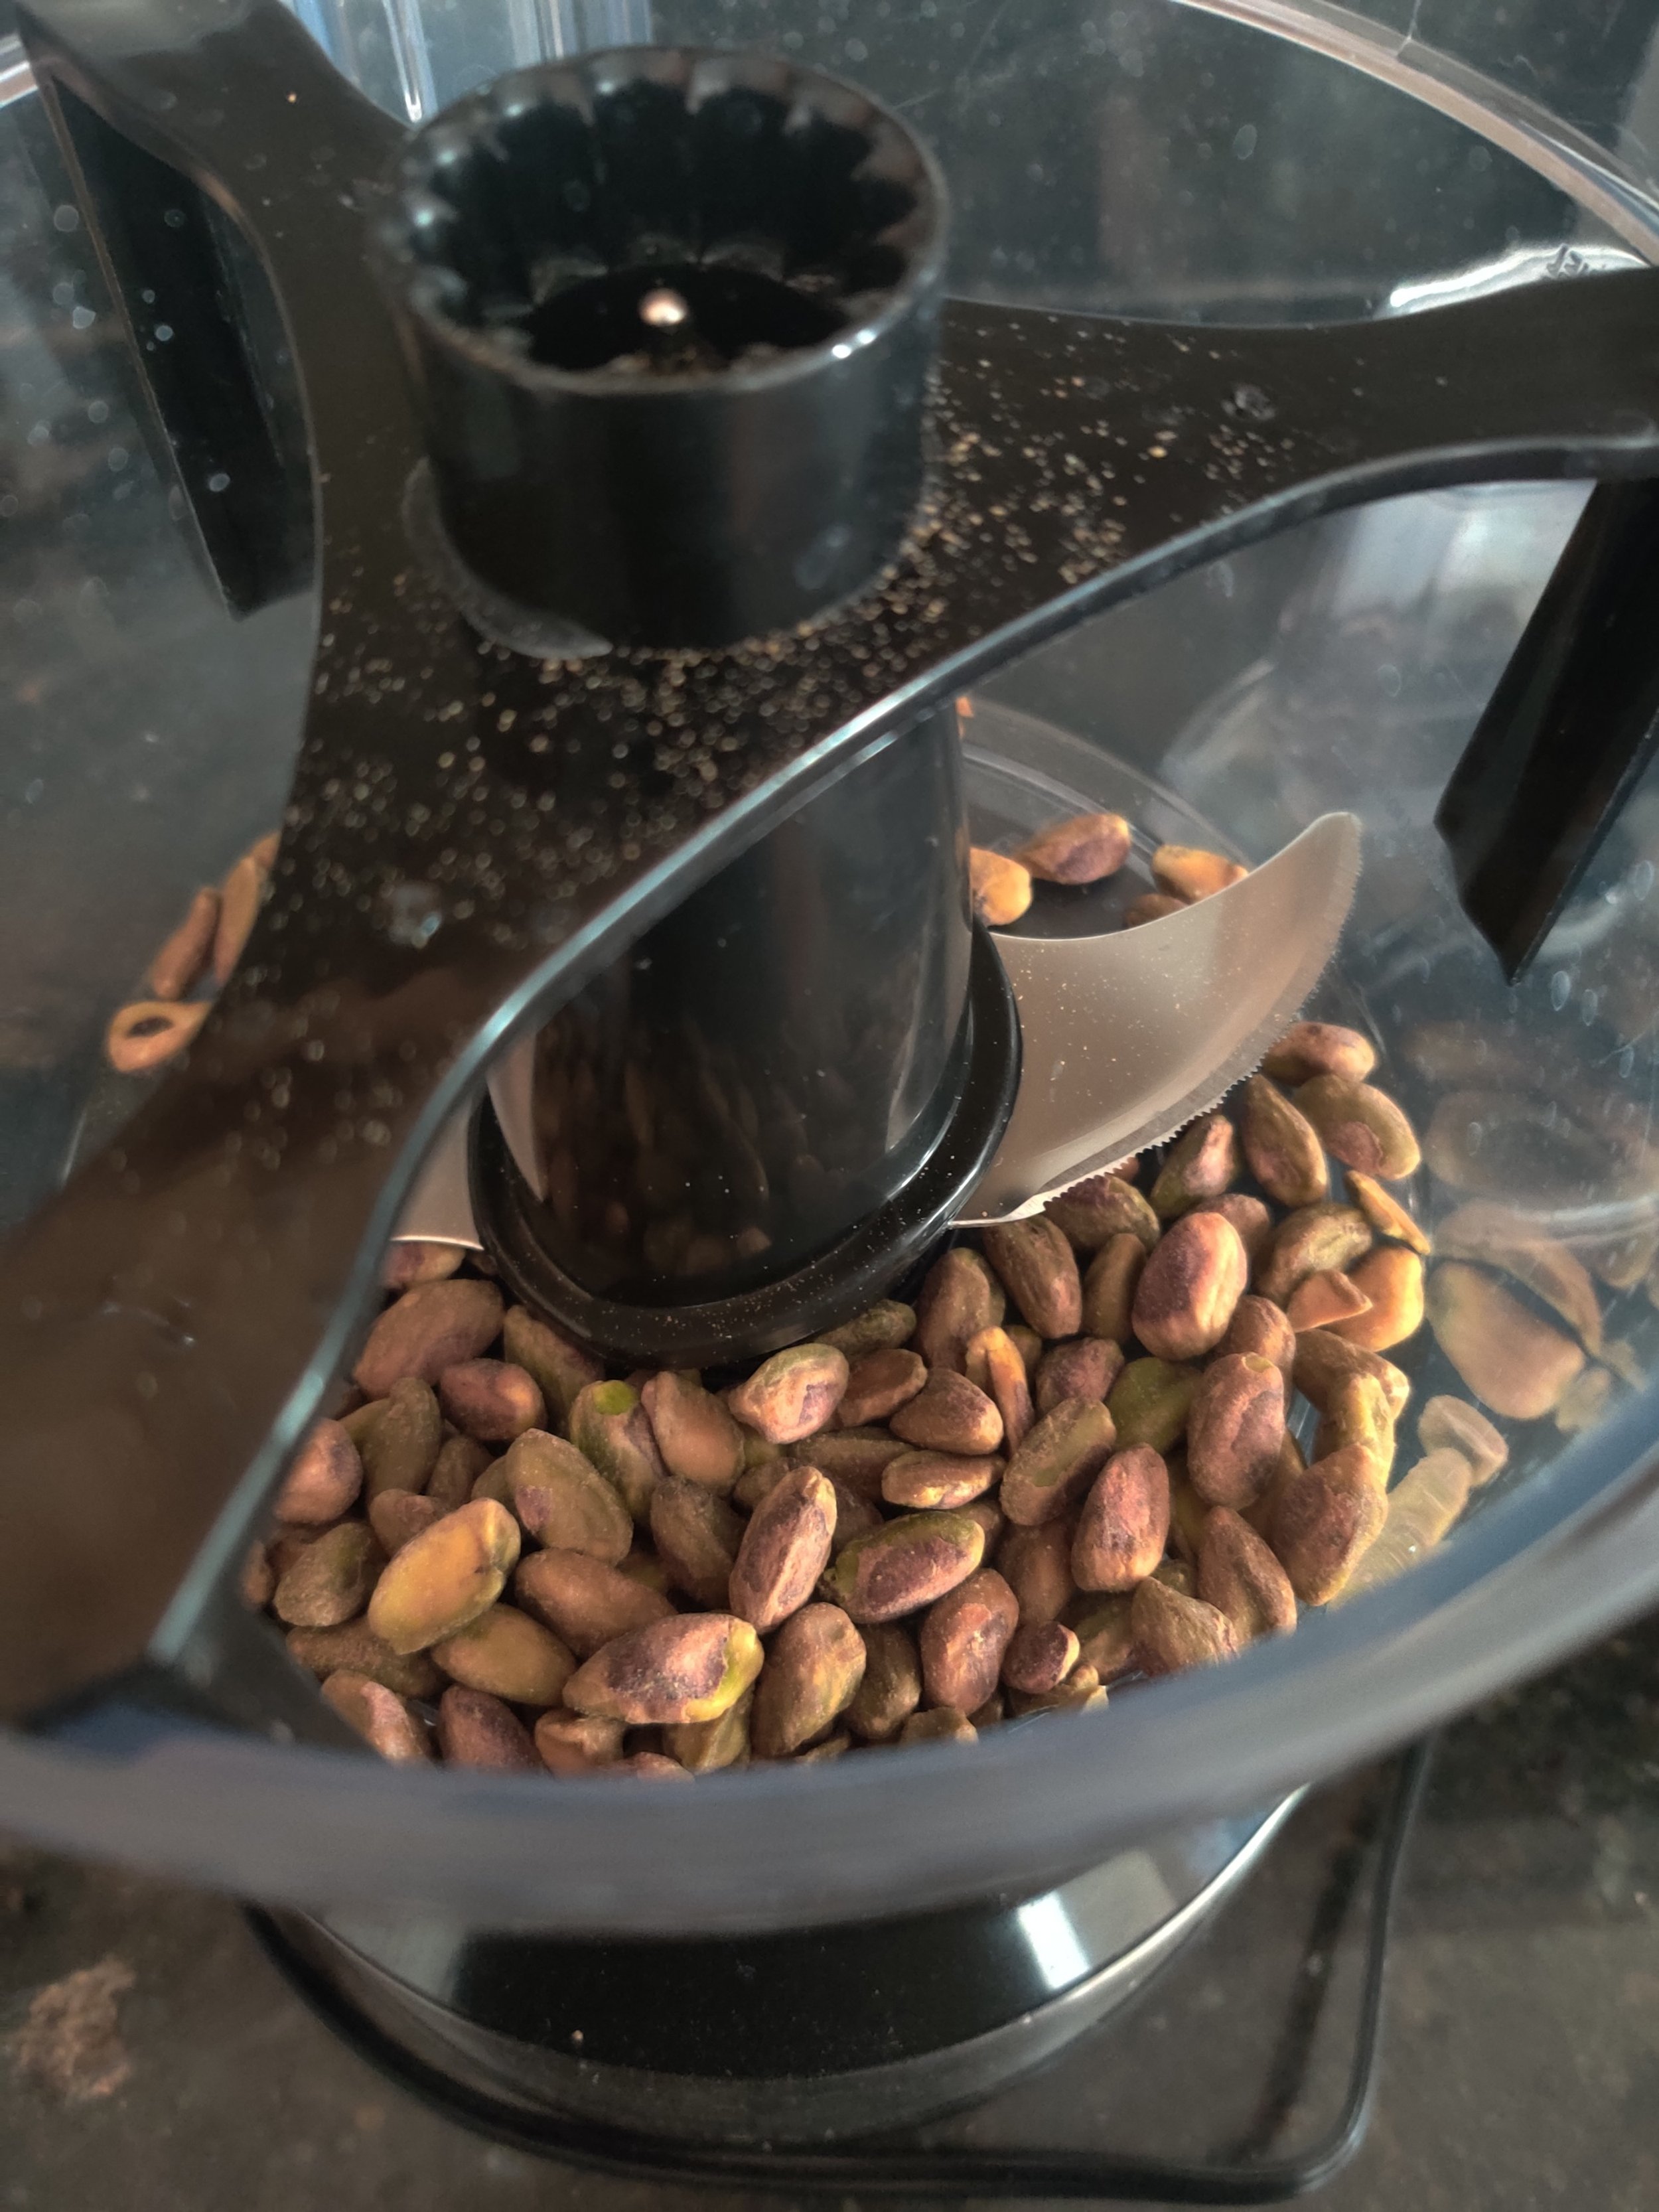
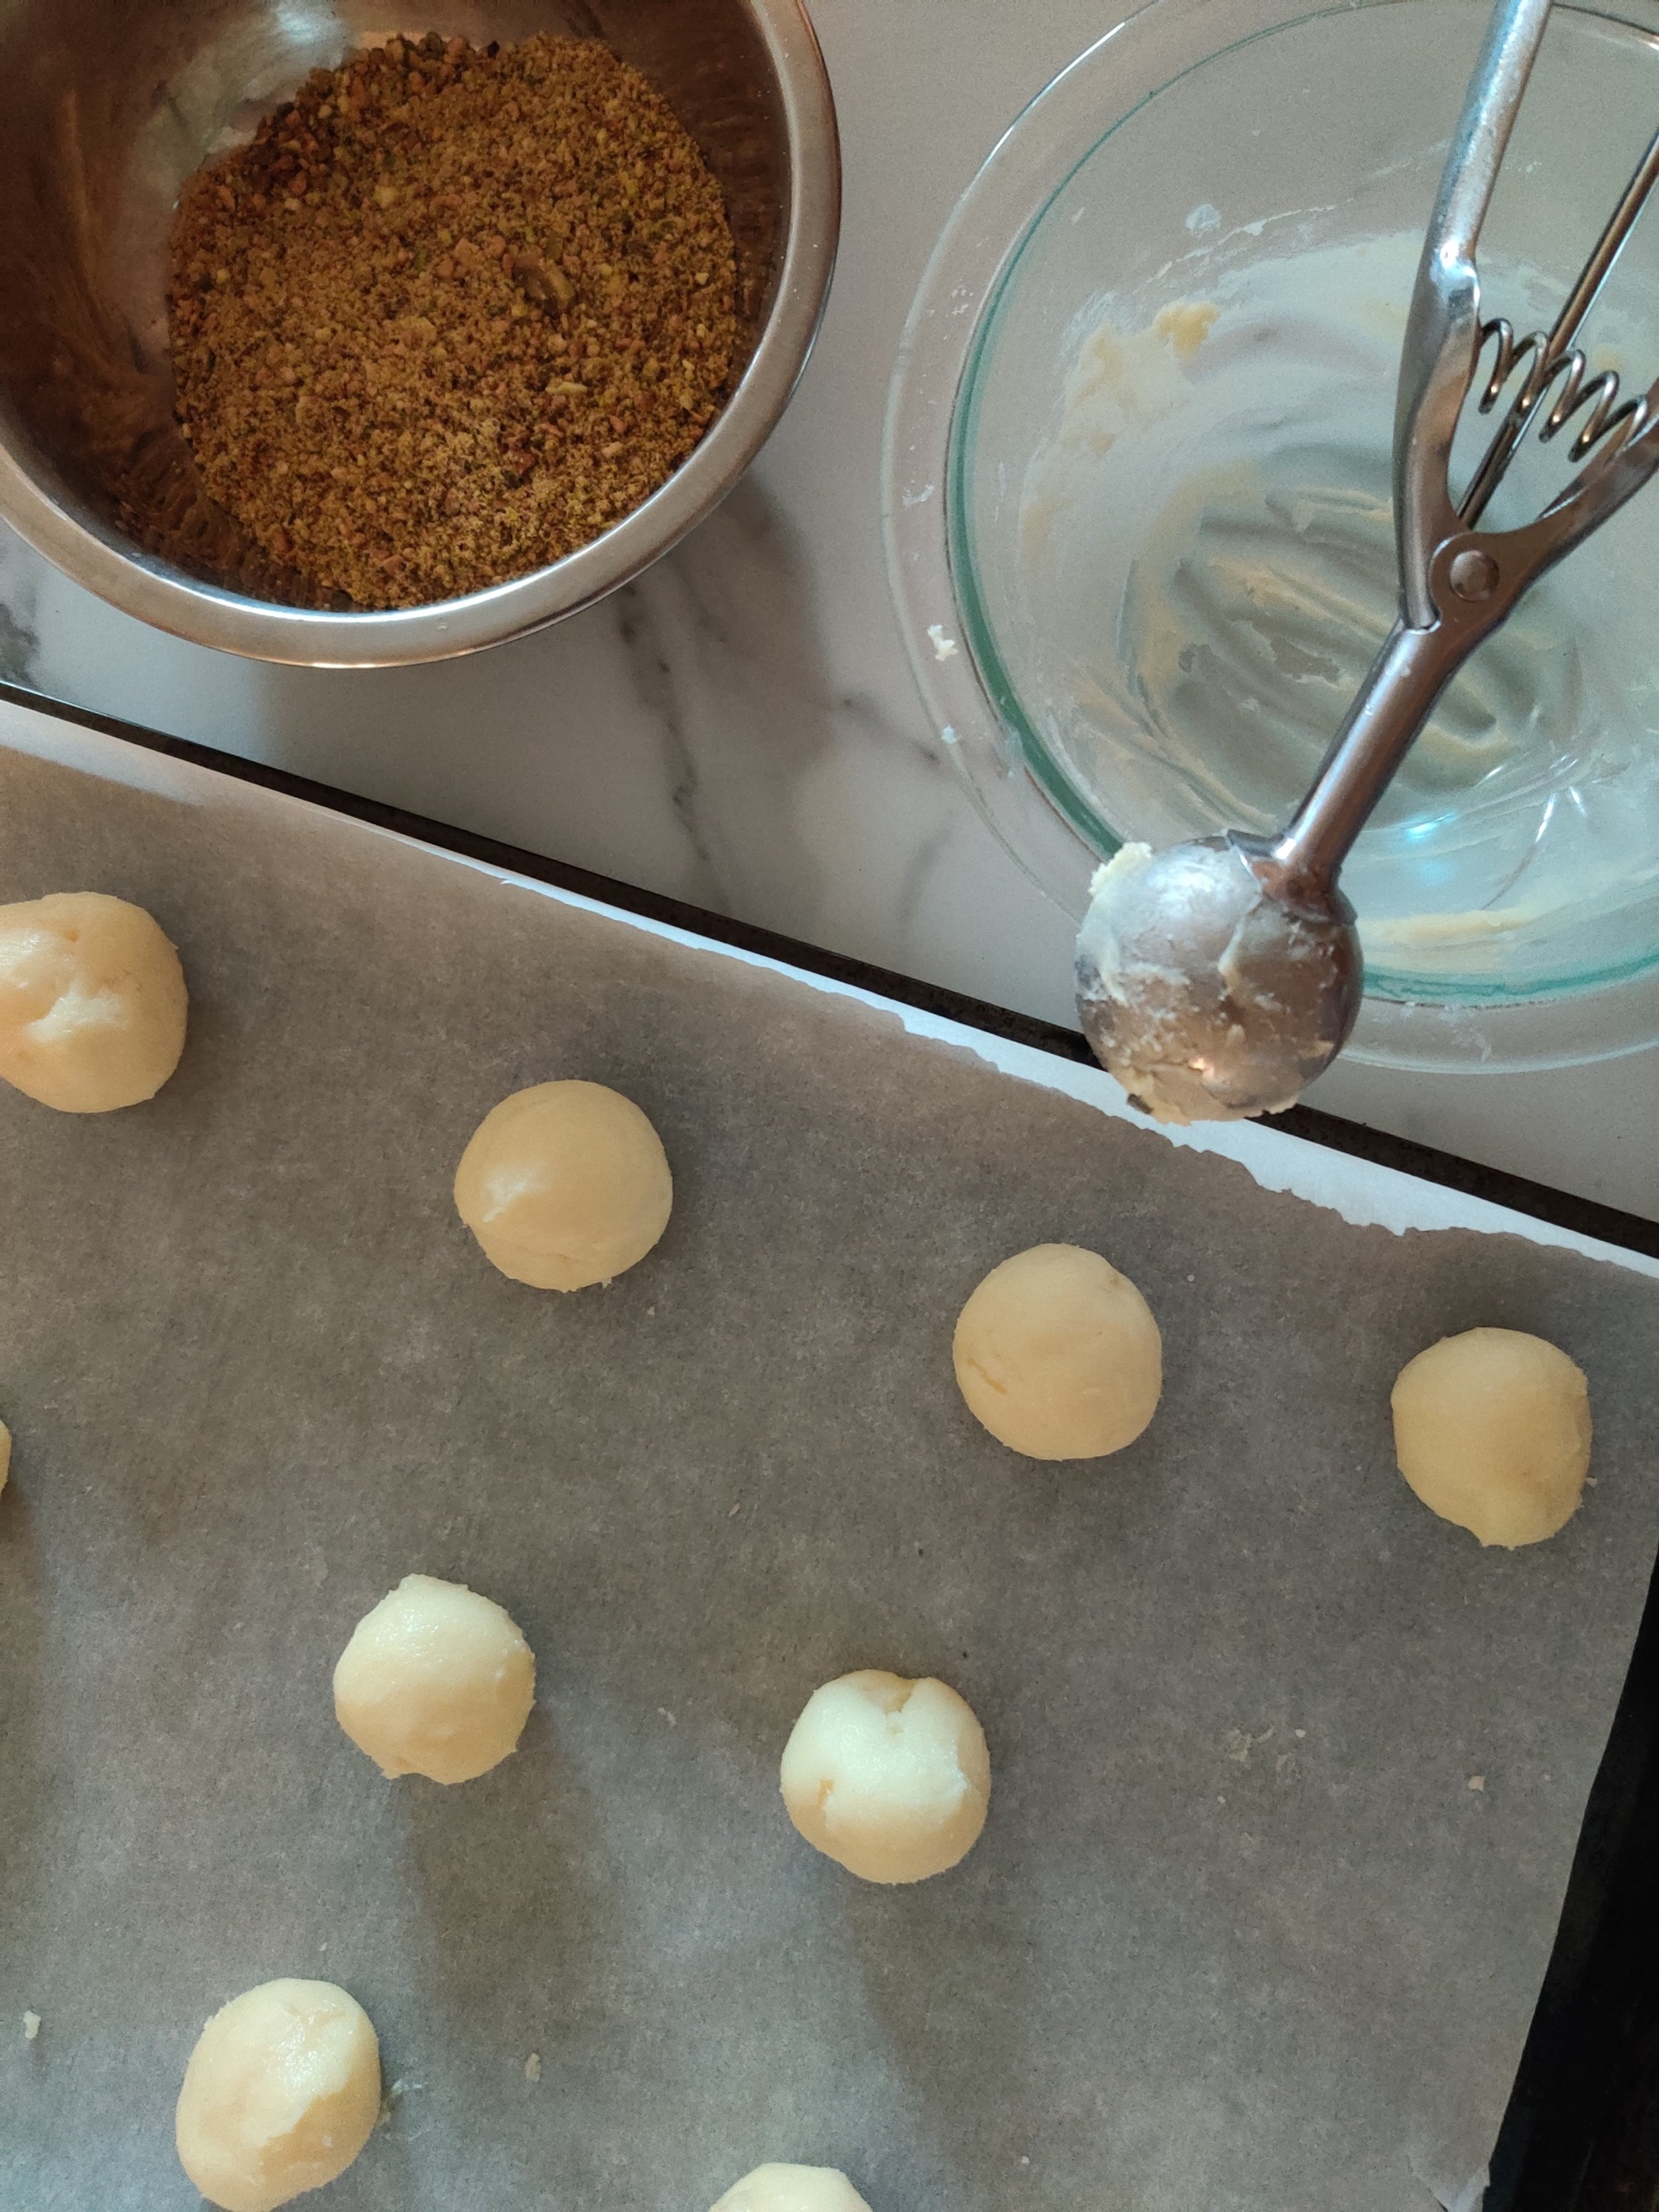
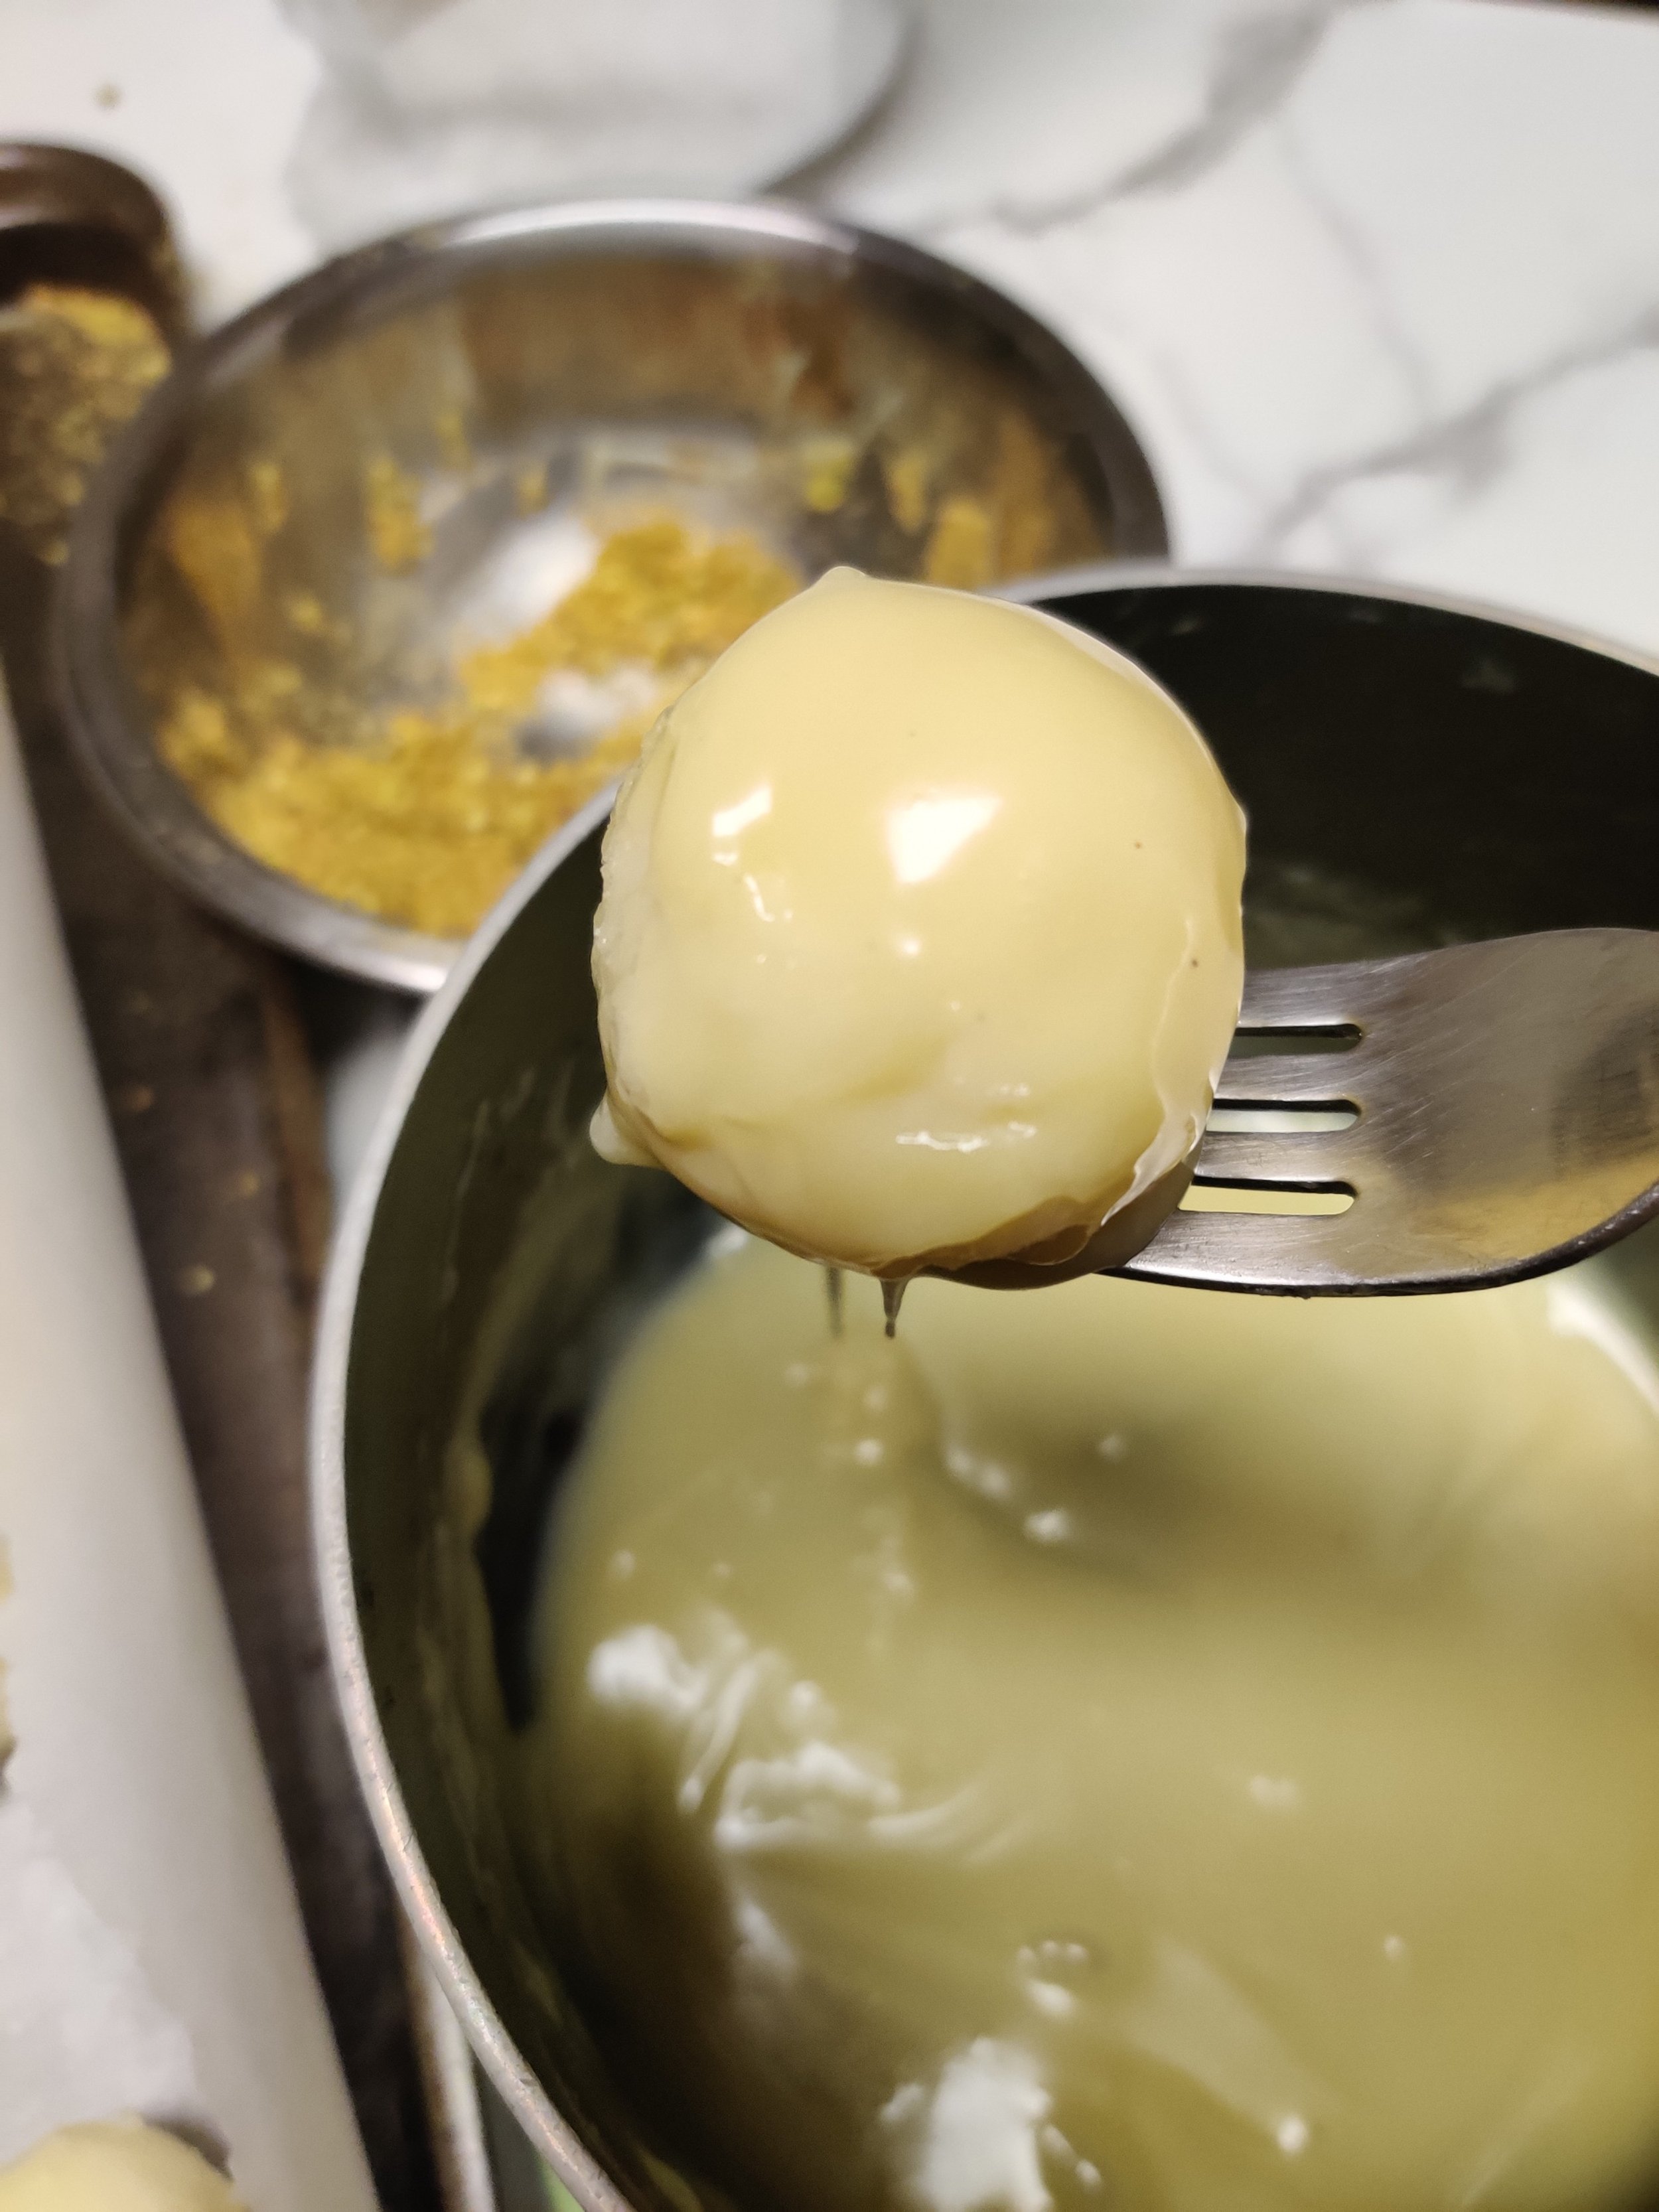
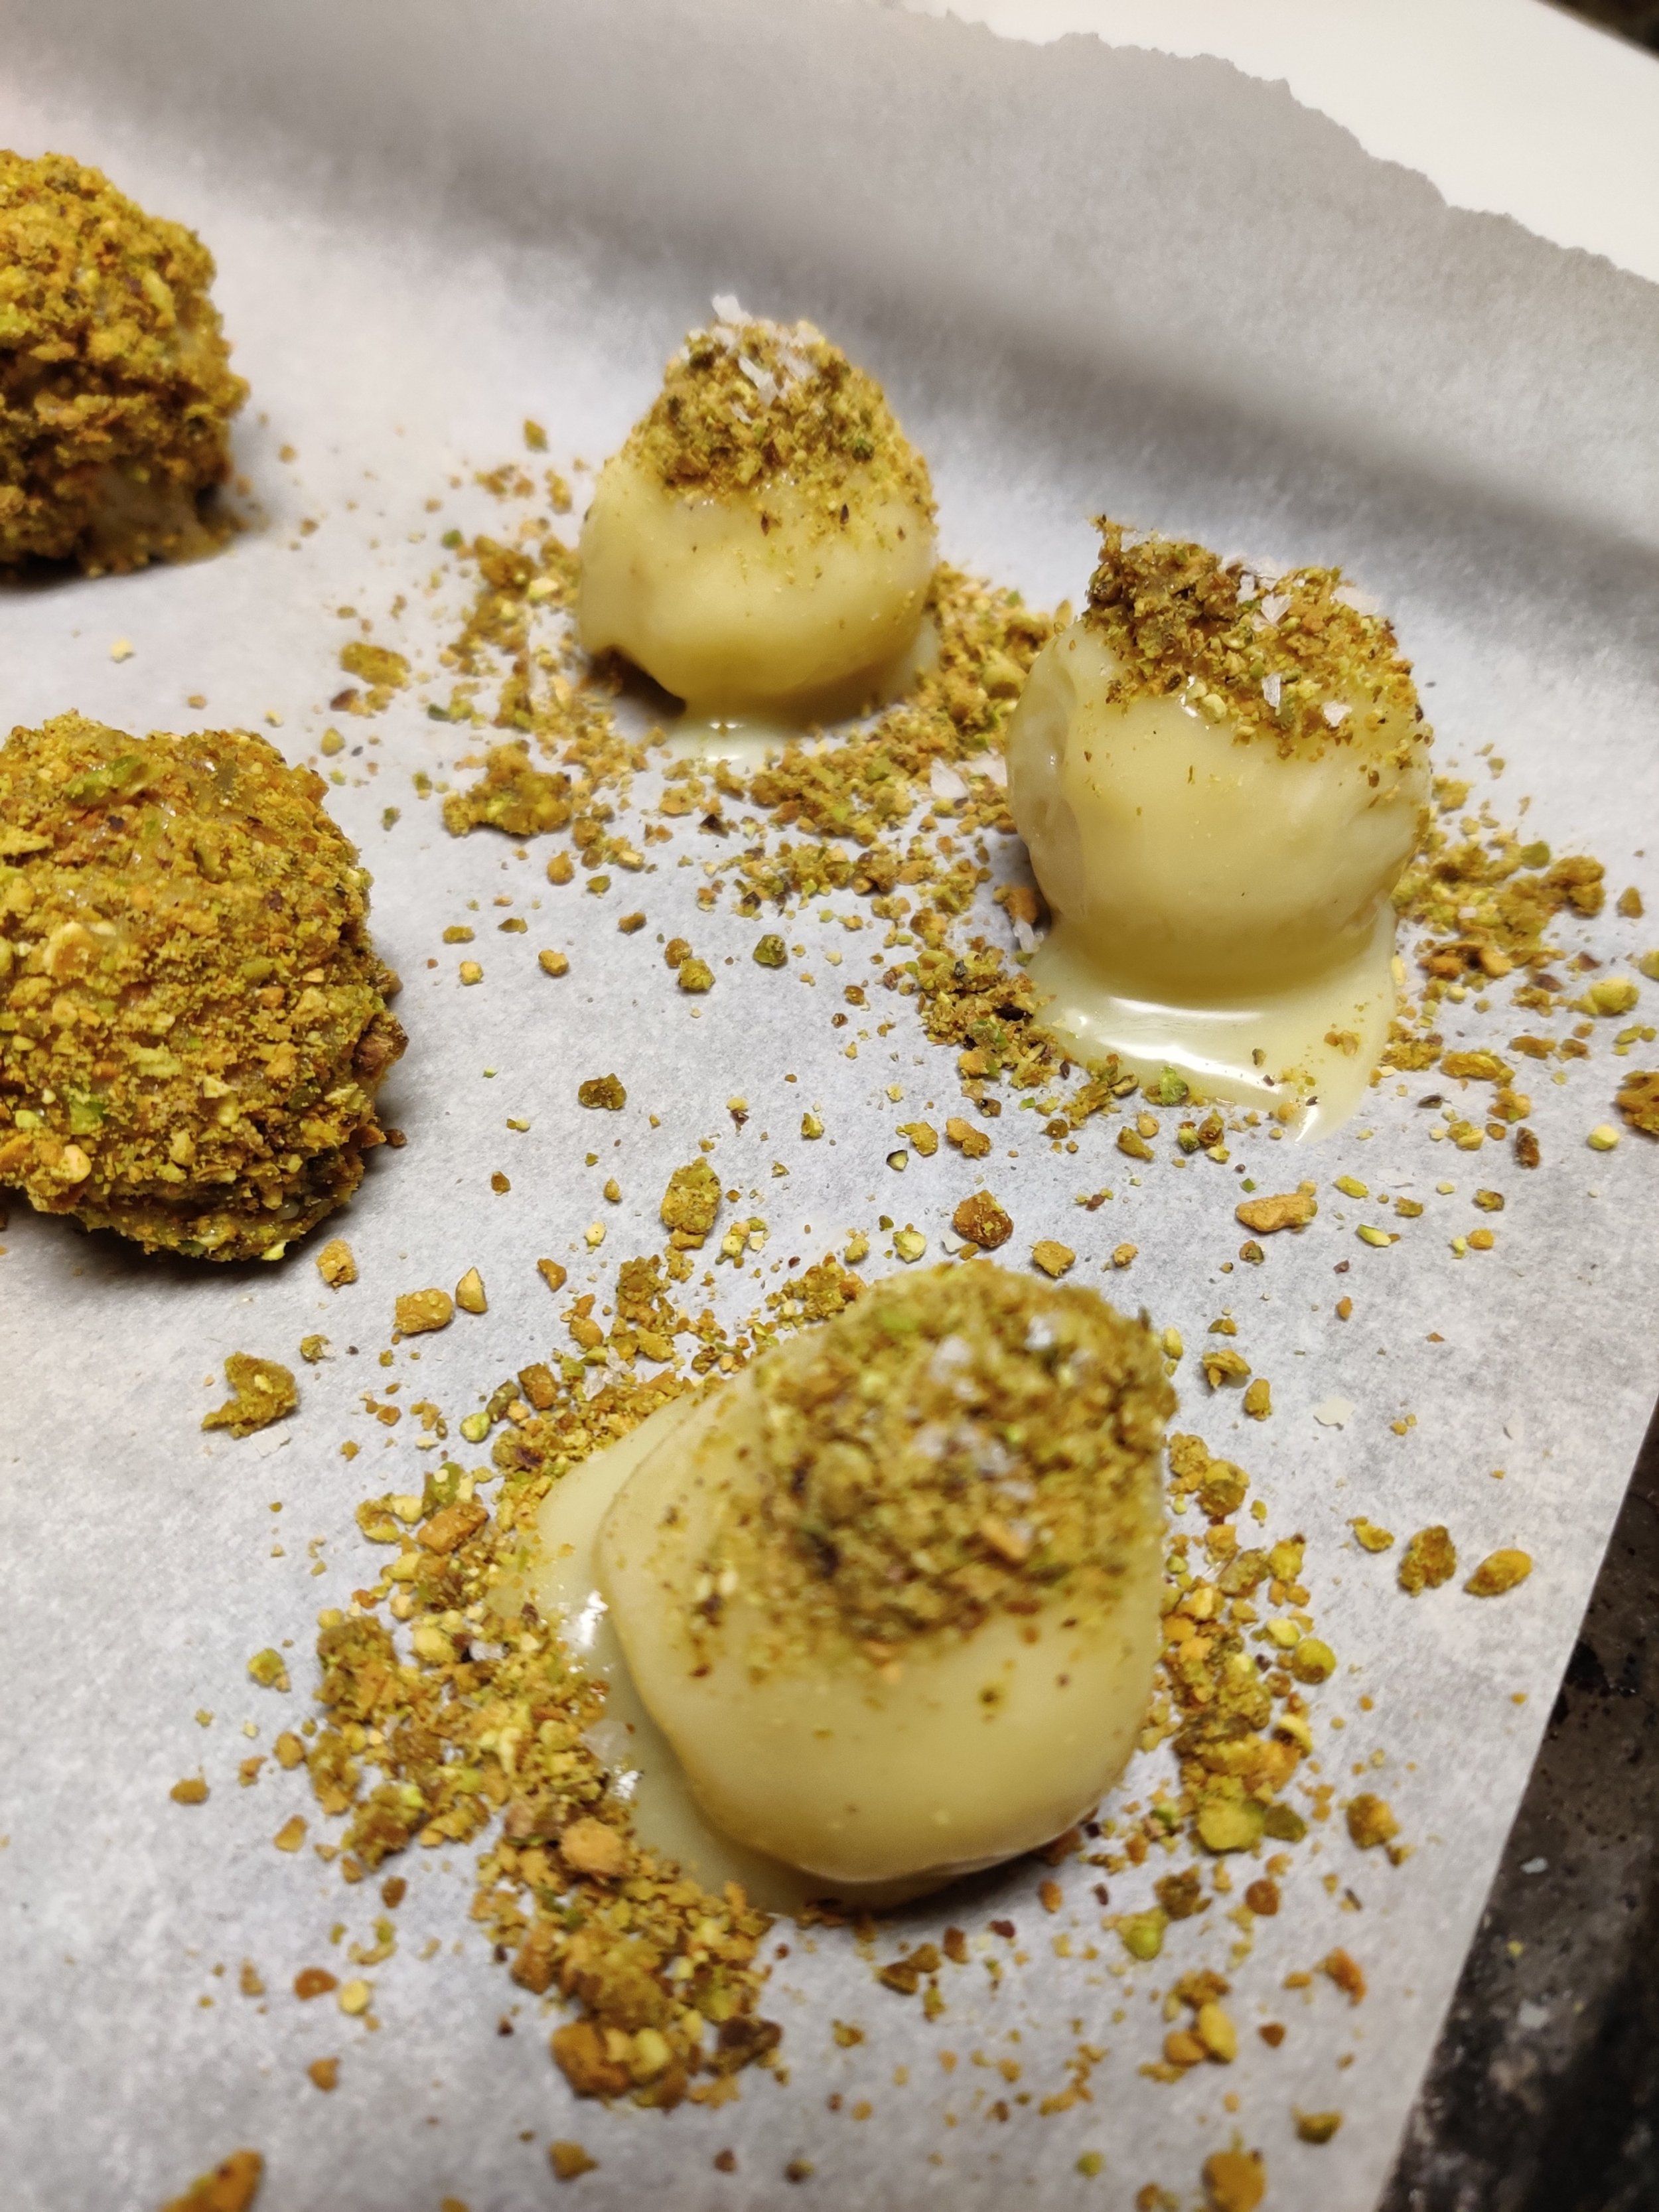
White Chocolate, Rum and Pistachio Truffles
Not sure about you, but I don't make chocolate truffles enough. Yes, they are loaded with sugar, but everything should be consumed in moderation anyway! Truffles are customizable and effortlessly sophisticated. They can serve as a crowd-pleaser, ideal sweet treat or gift, and best of all, a must for the holidays.
Customizable means, well, anything! Although the direction you select typically falls into a category, French vs Spanish truffles, for example.
Along with English toffee, chocolate chip cookies, Linzer cookies, sugar cookies, gingerbread biscuits, peanut butter blossoms, rusks, and Romany creams, you can make the perfect holiday platter, and the truffles can be the cherry on top!

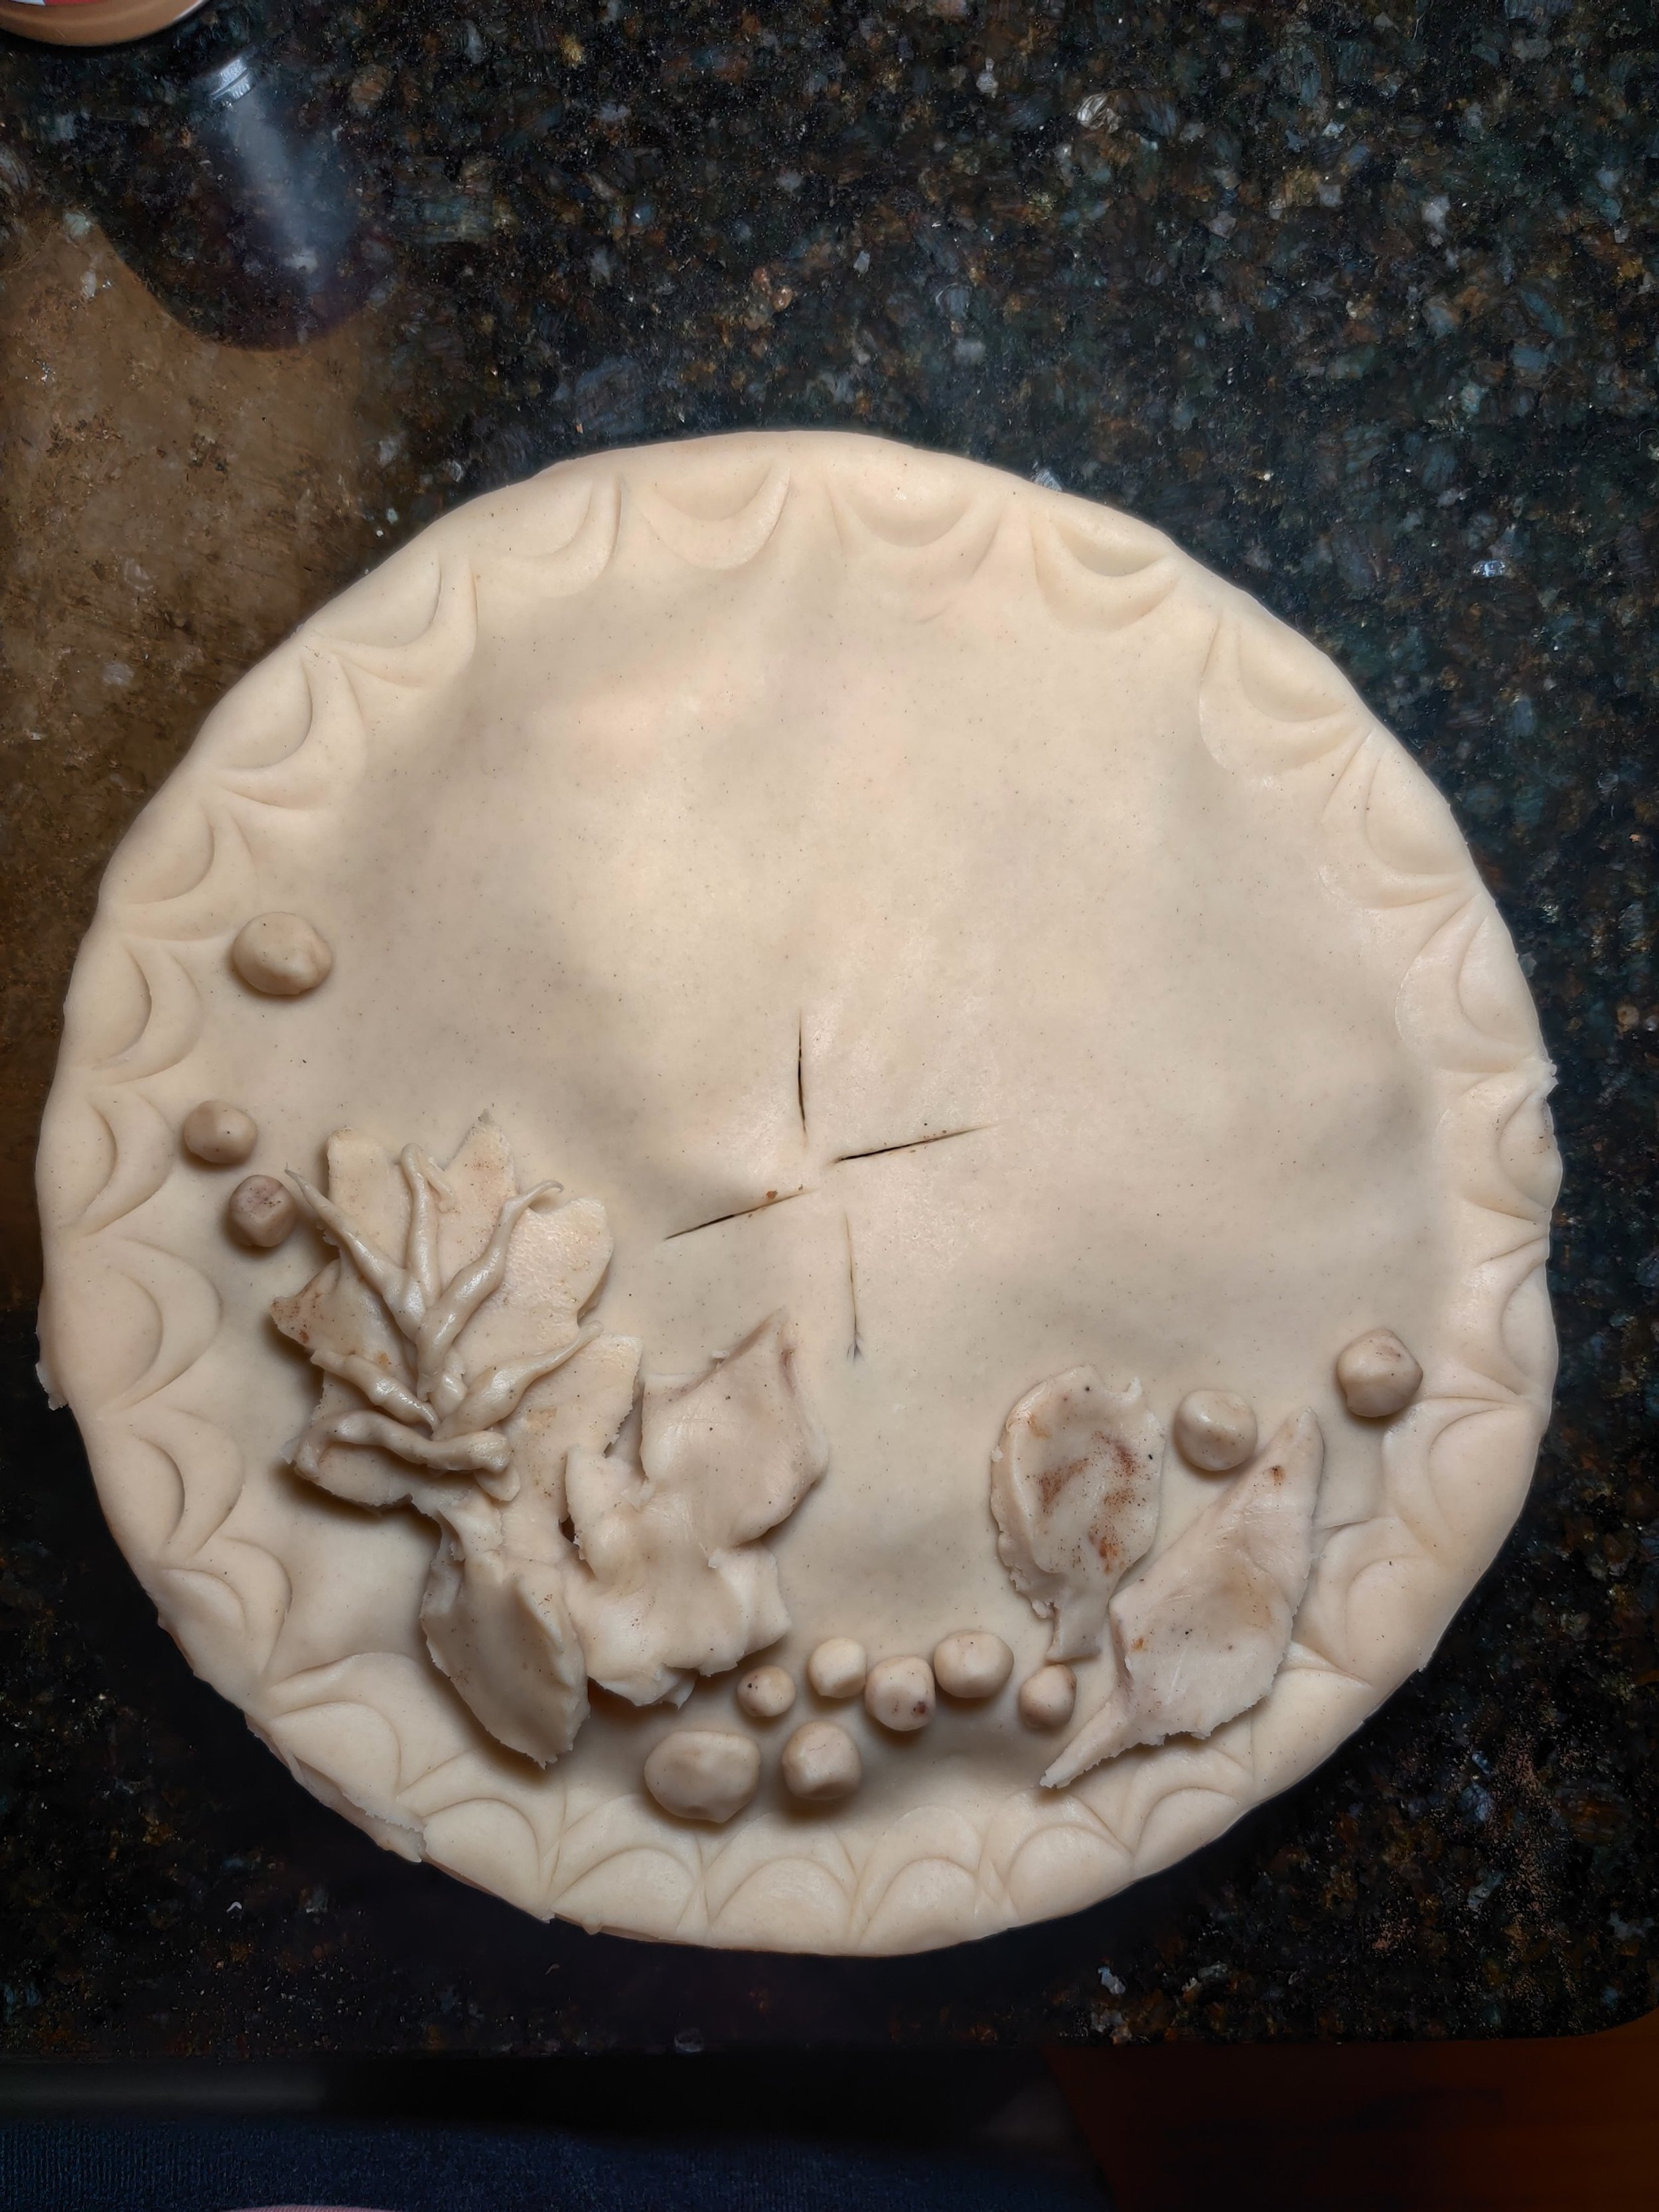
Biscoff Apple Pie
Apple pie is honestly hard to resist. But so is biscoff! If you’re a fan of both, check out this Biscoff and Toffee Apple Bread Pudding recipe here.
Biscoff isn't too sweet, spiced with warm, fall flavours. Topping an apple pie, the thick layer of smooth warm melted cookie adds great texture and lends the undertones of caramel, brown sugar, cinnamon, nutmeg, and cloves.
Ingredients
5 apples, diced
6 biscoff cookies, crushed (save 1 + 1 tablespoon for garnish)
1/2 cup coconut sugar
2-3 tablespoons lemon juice
1/4 cup flour
1/3 cup biscoff
1 teaspoon cinnamon
1/2 cup heavy cream
1/4 teaspoon cloves
1/2 teaspoon nutmeg
2 pie dough crusts, thawed
1 egg (egg wash)
1 tablespoon vanilla extract
Sea salt (optional)
Vanilla ice cream

Instructions
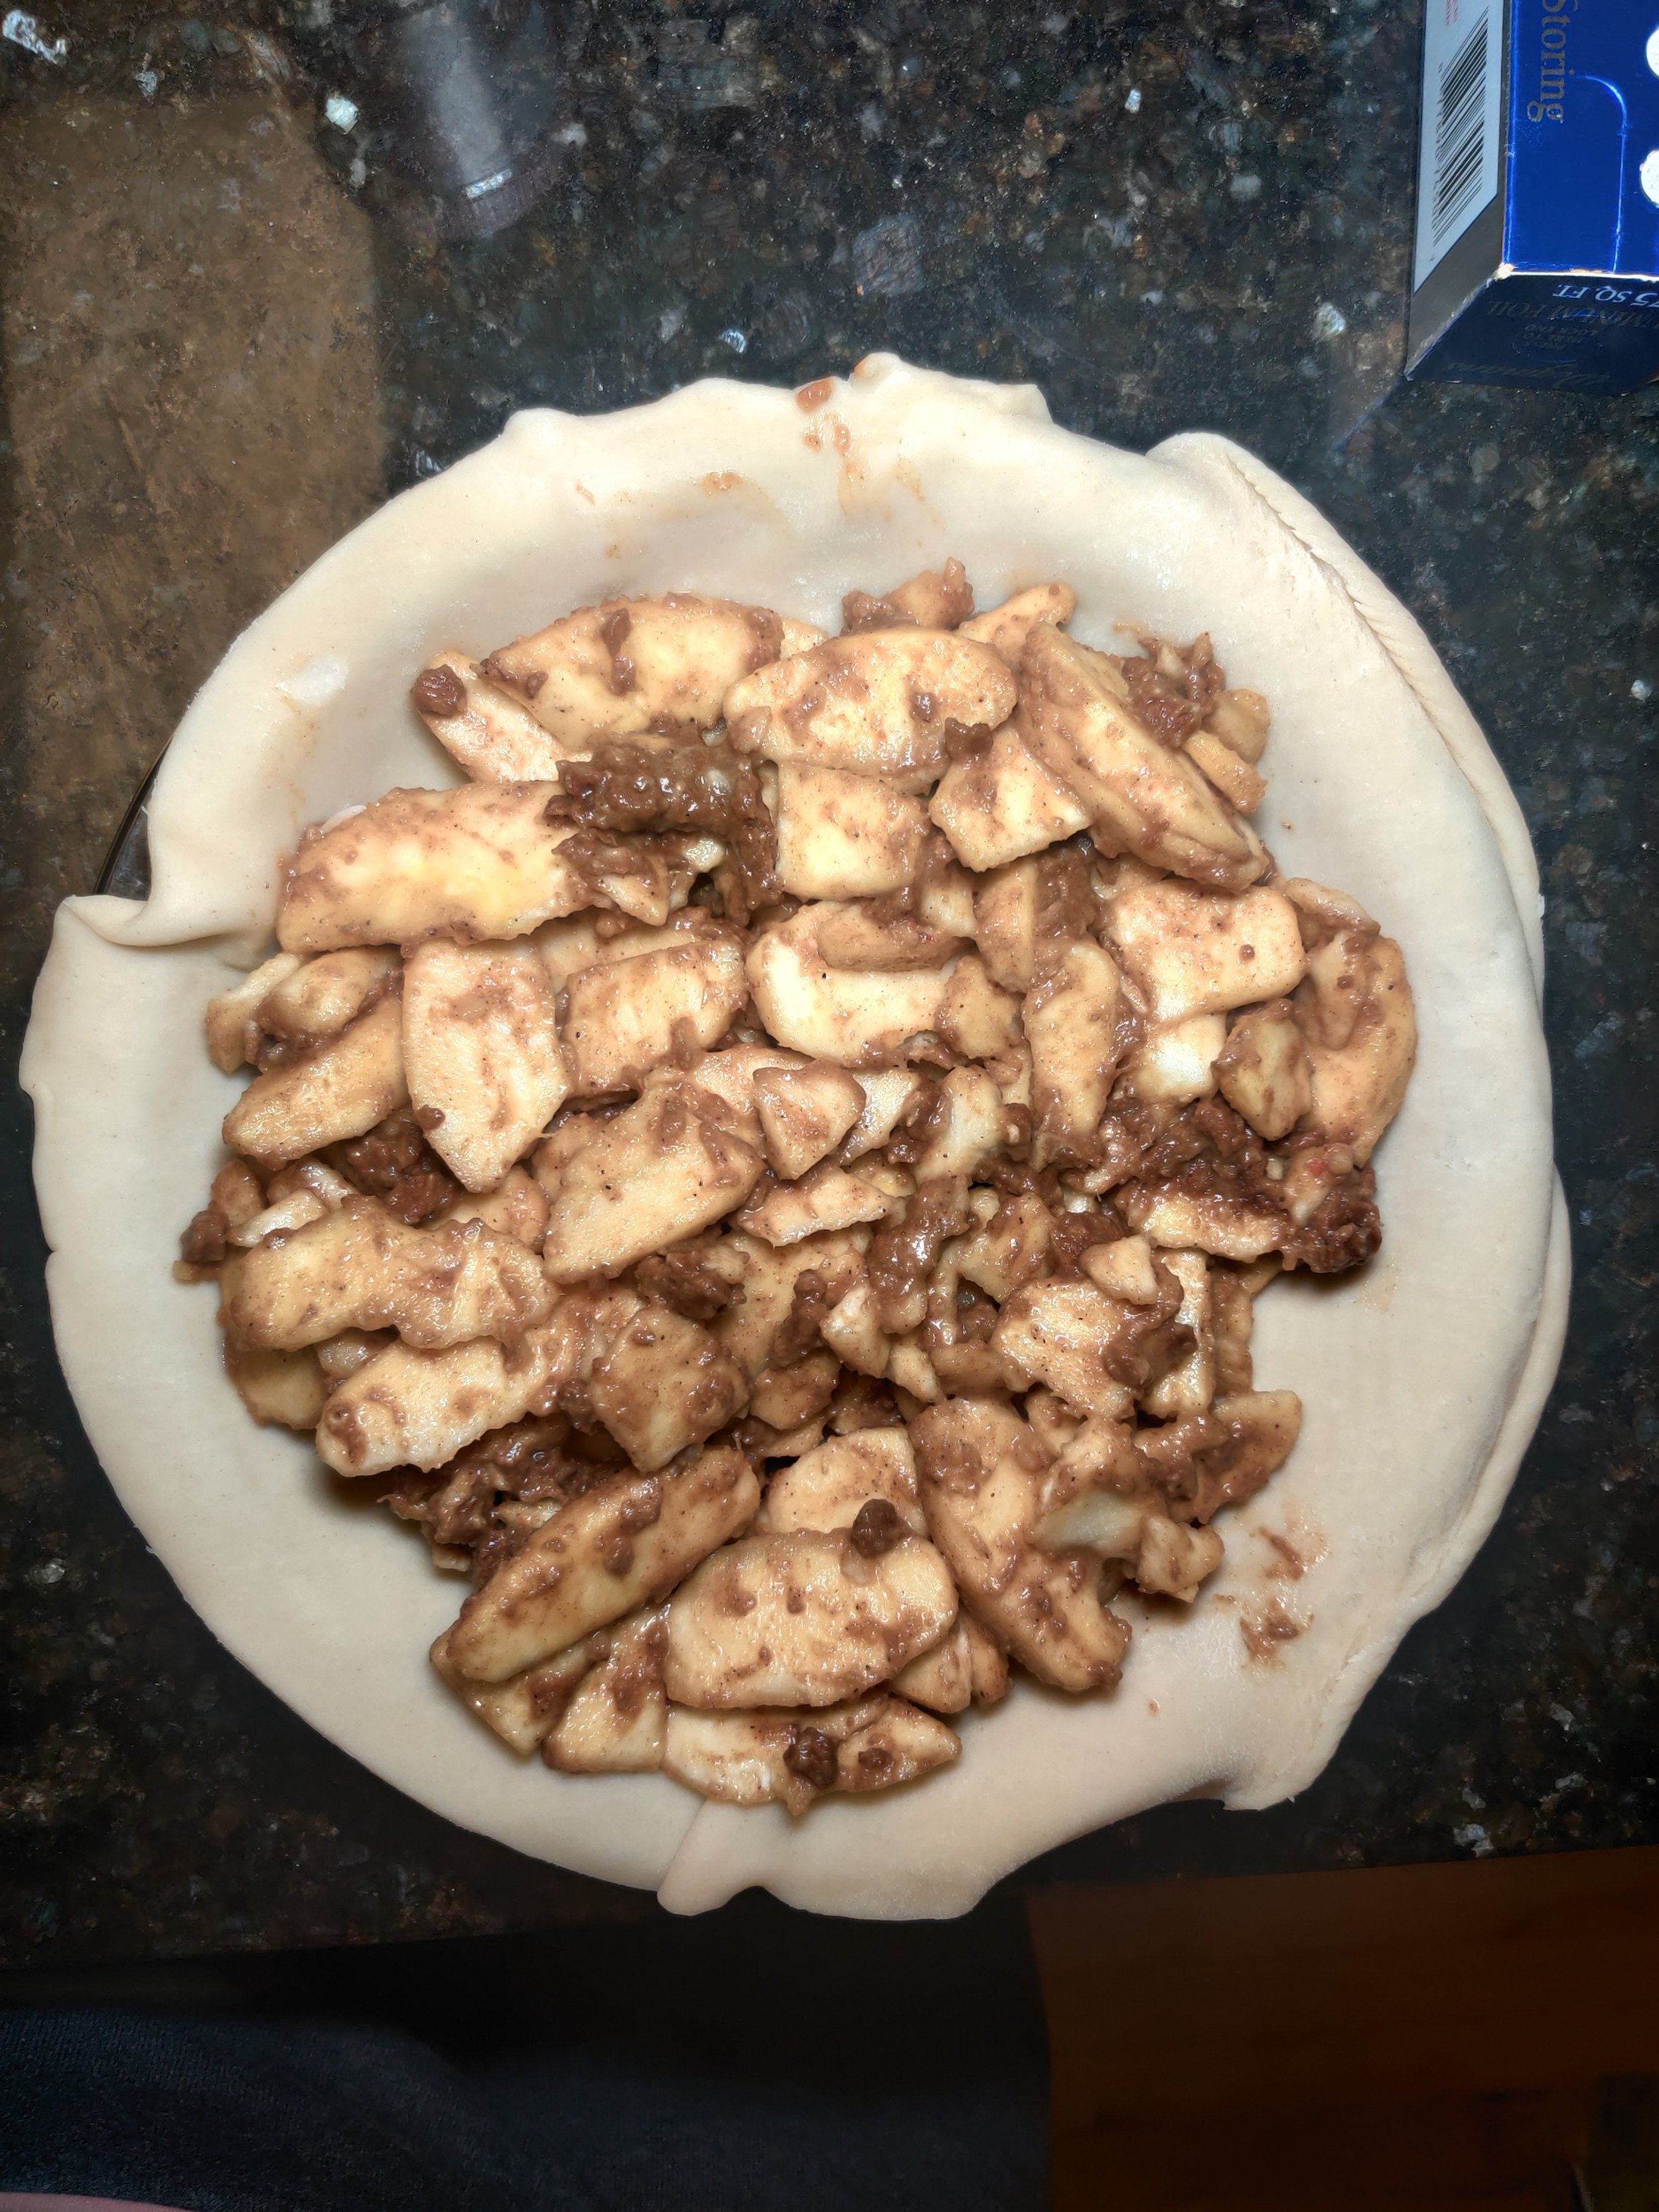
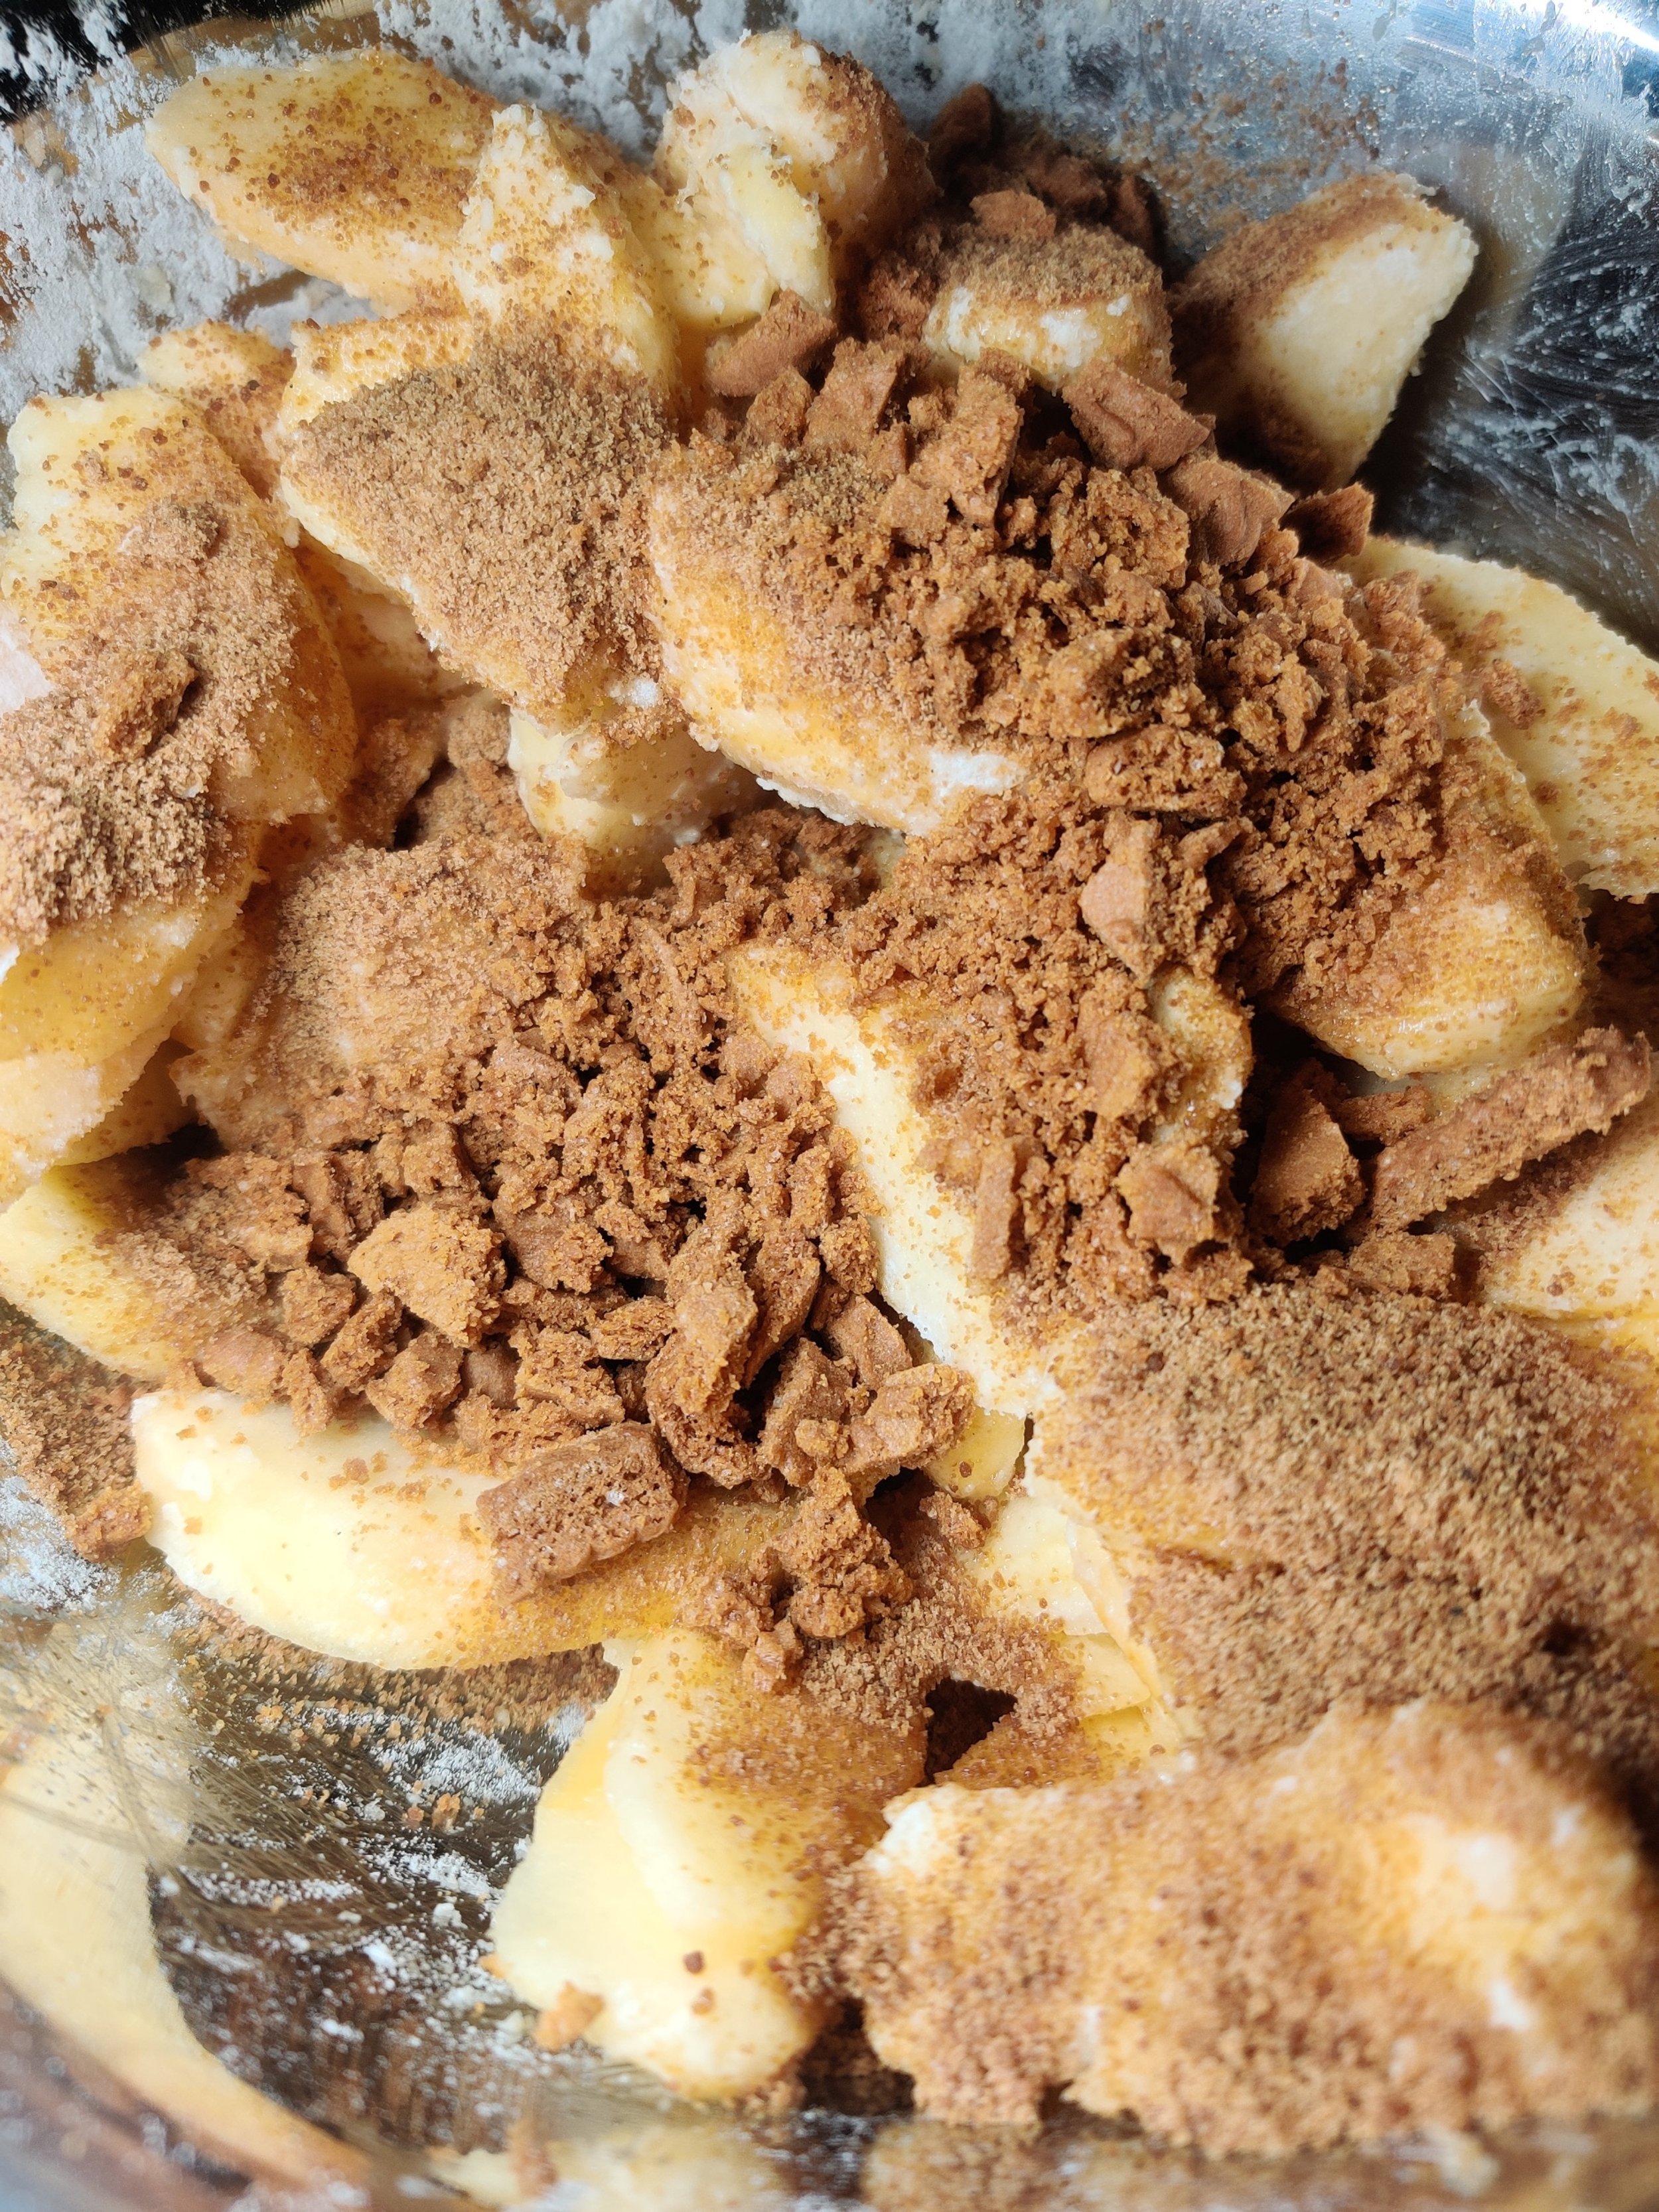
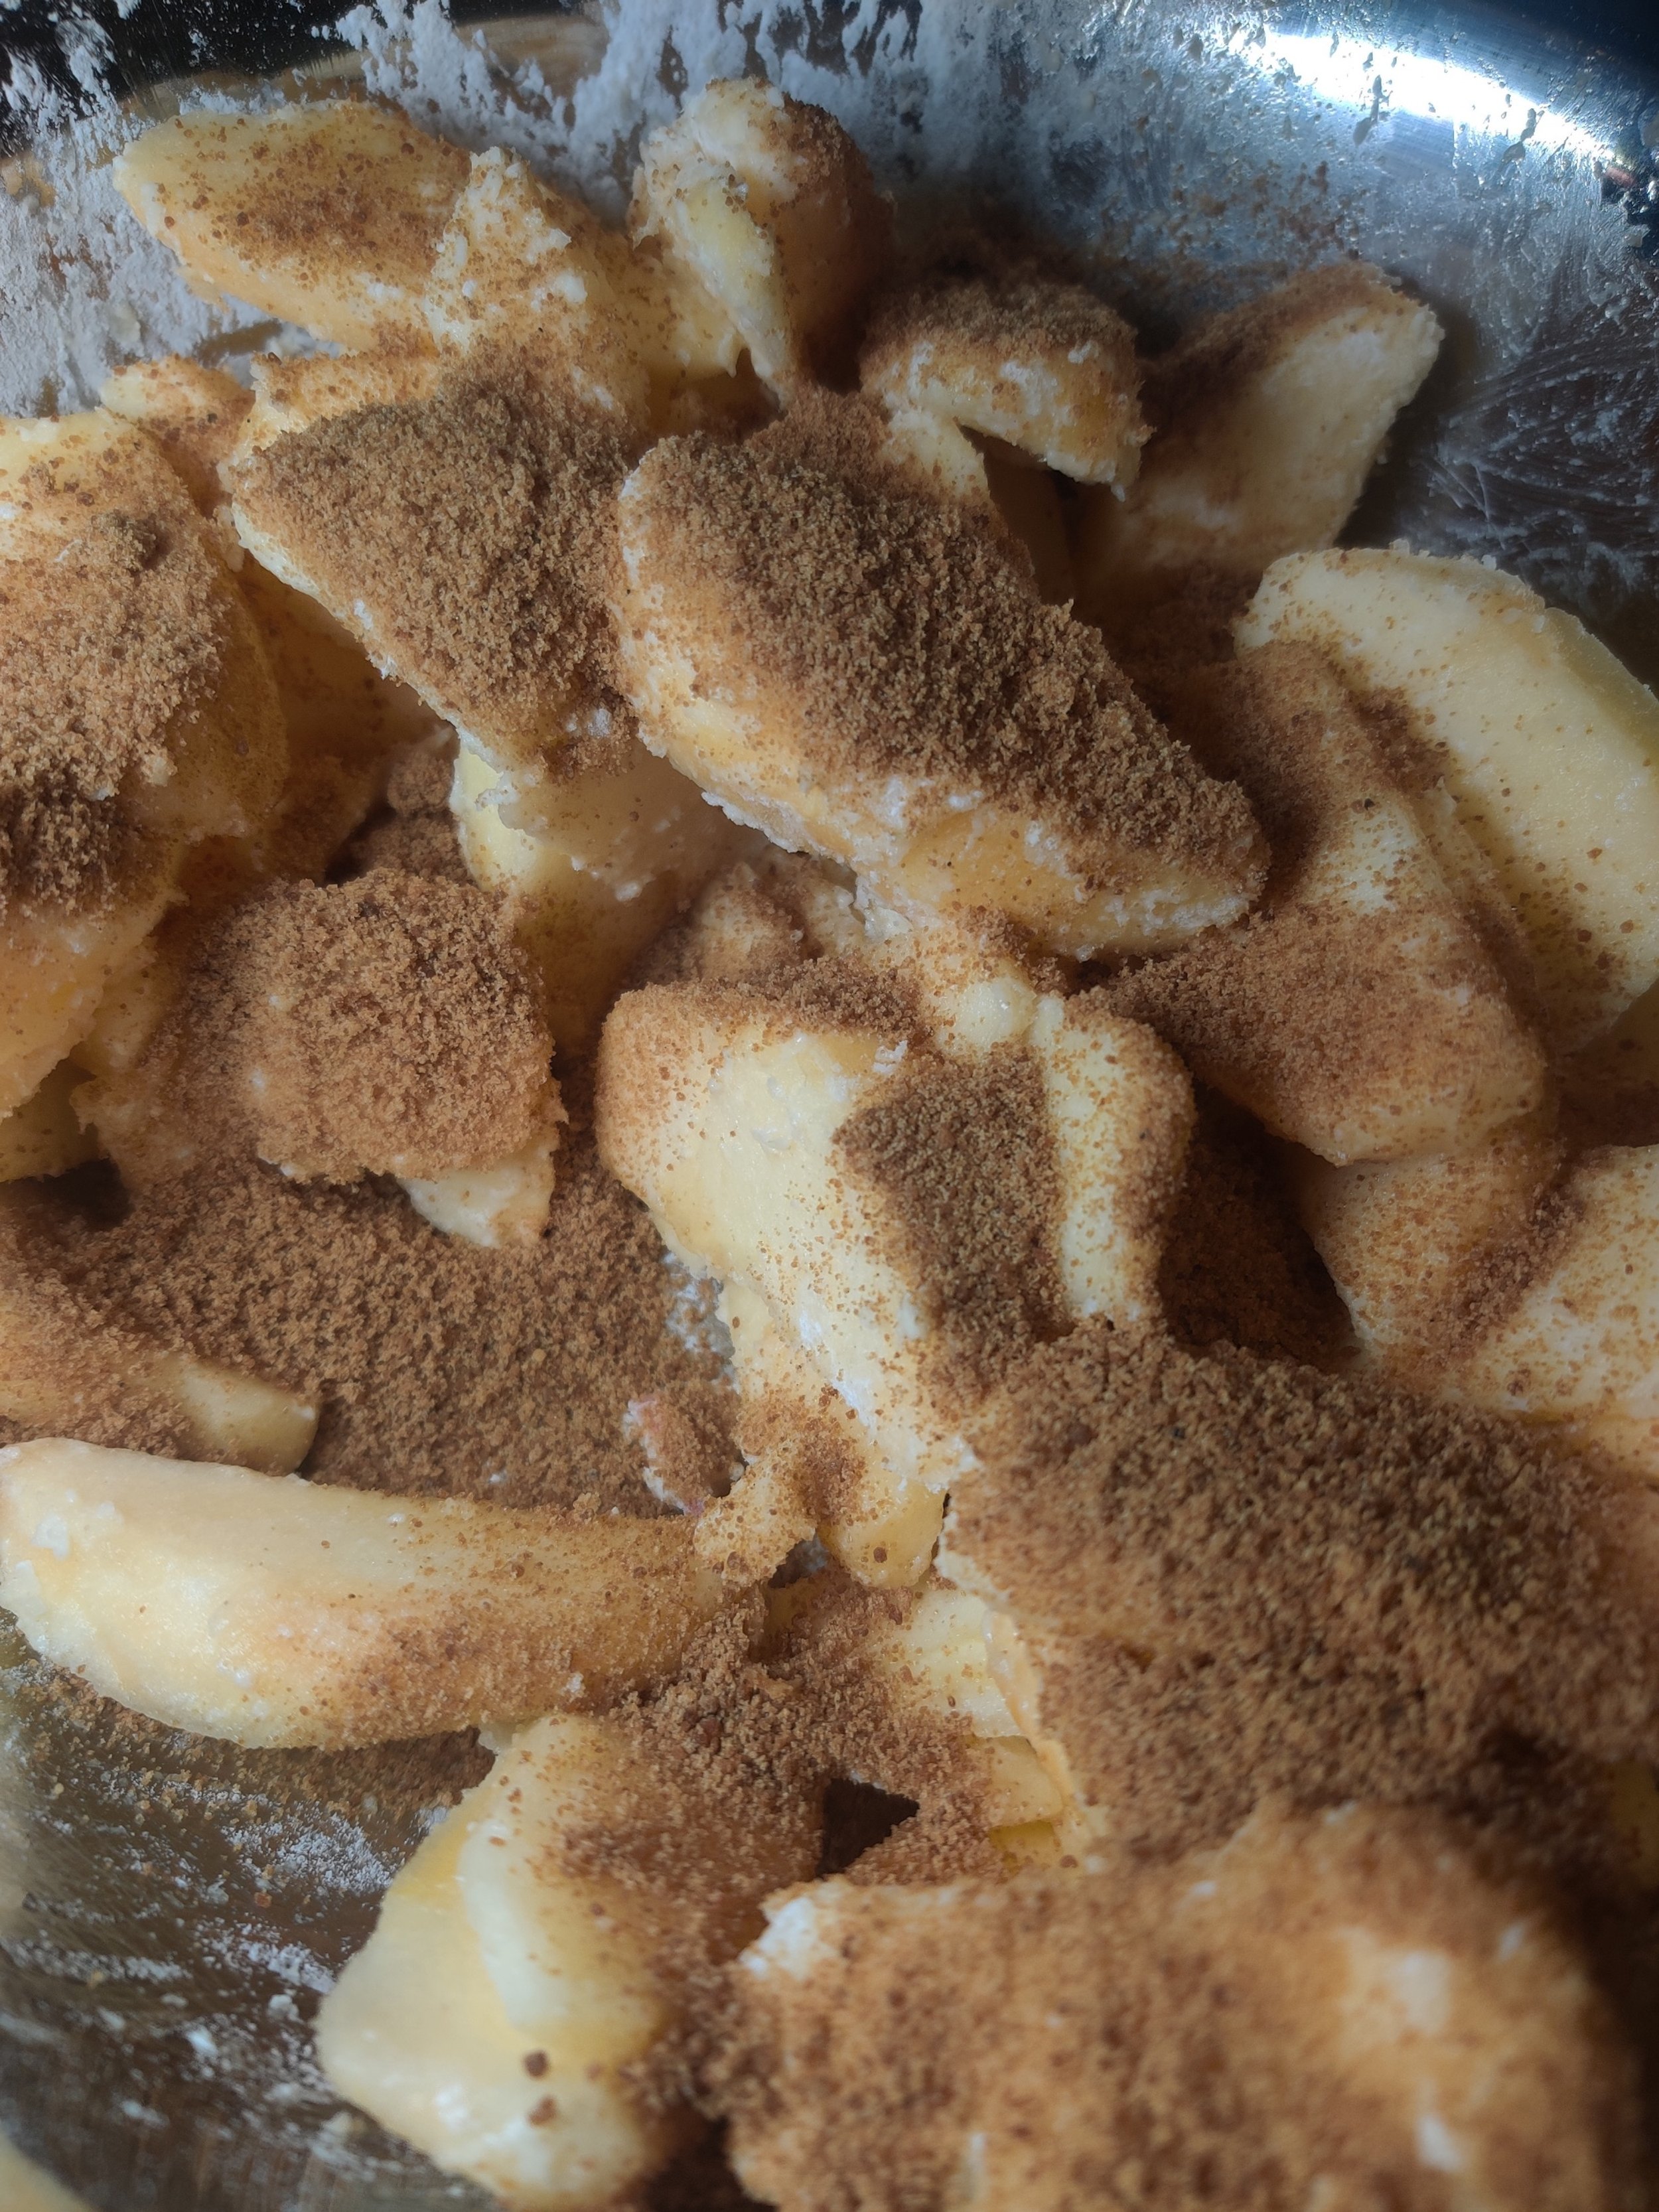
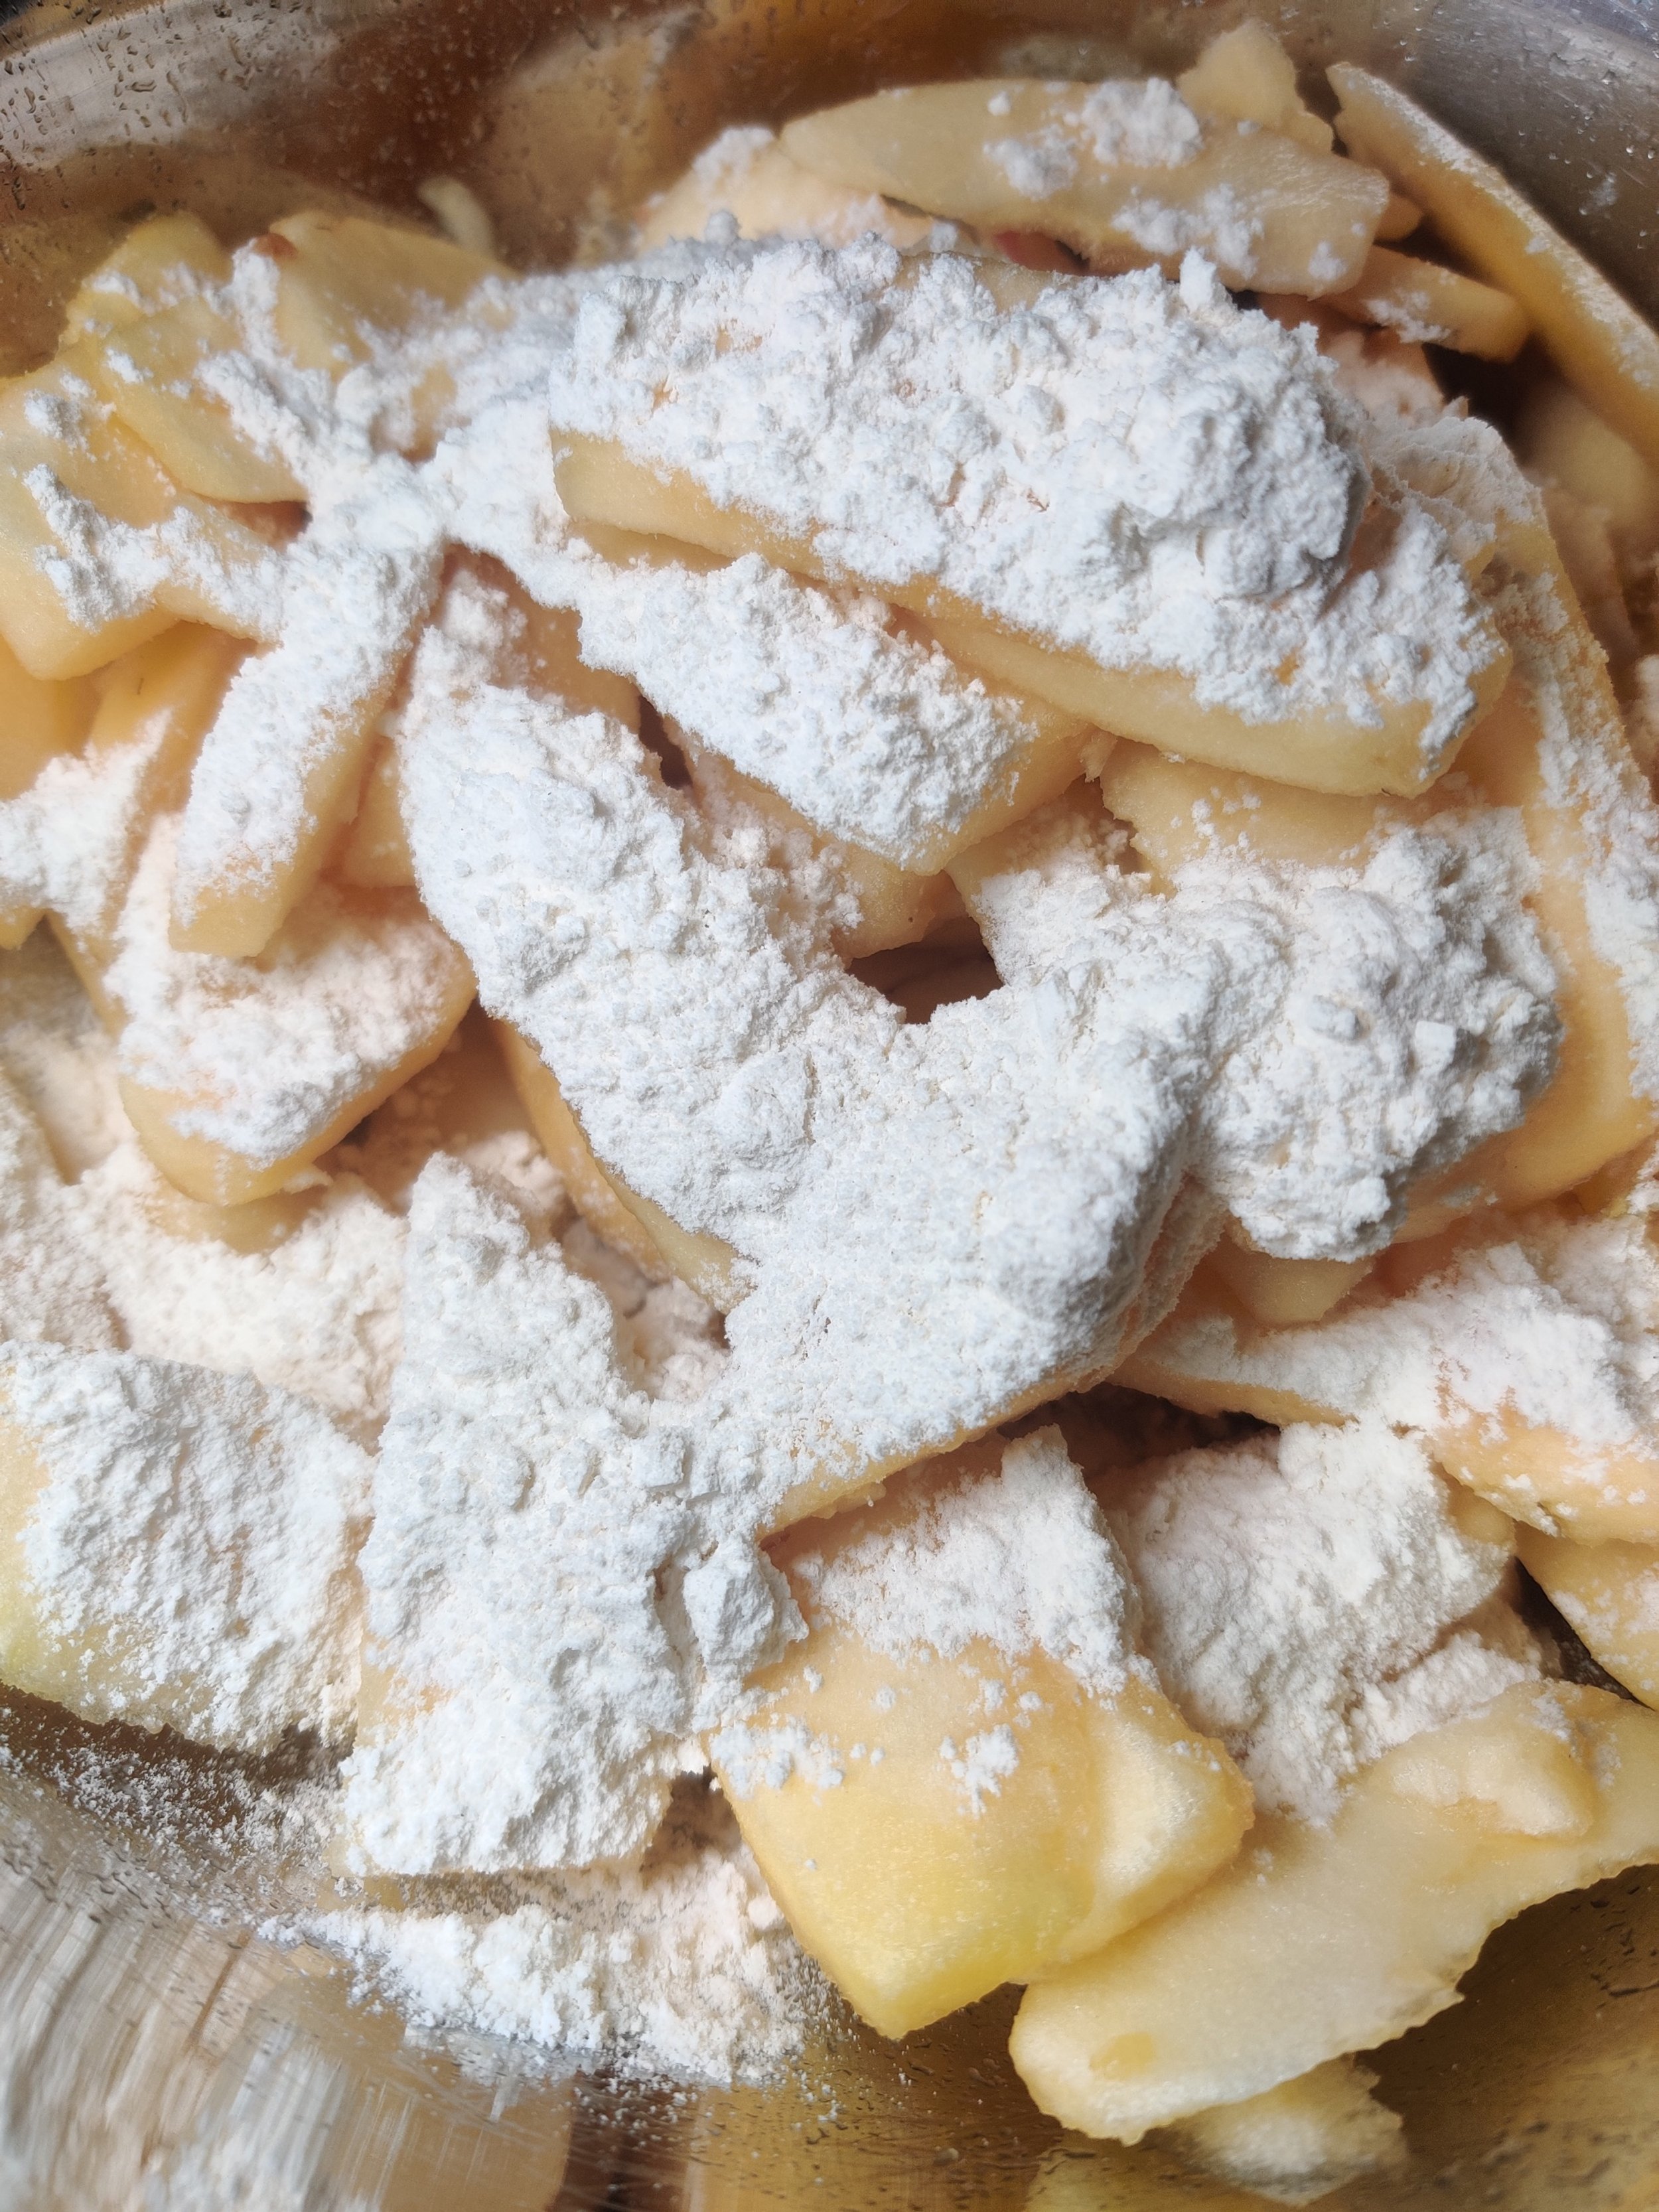
Peel, quarter and thinly slice the apples, then add to a large bowl. Coat with the lemon juice and toss.
Add the flour, crushed biscoff cookies, and spices; evenly coat, stirring with a spoon.
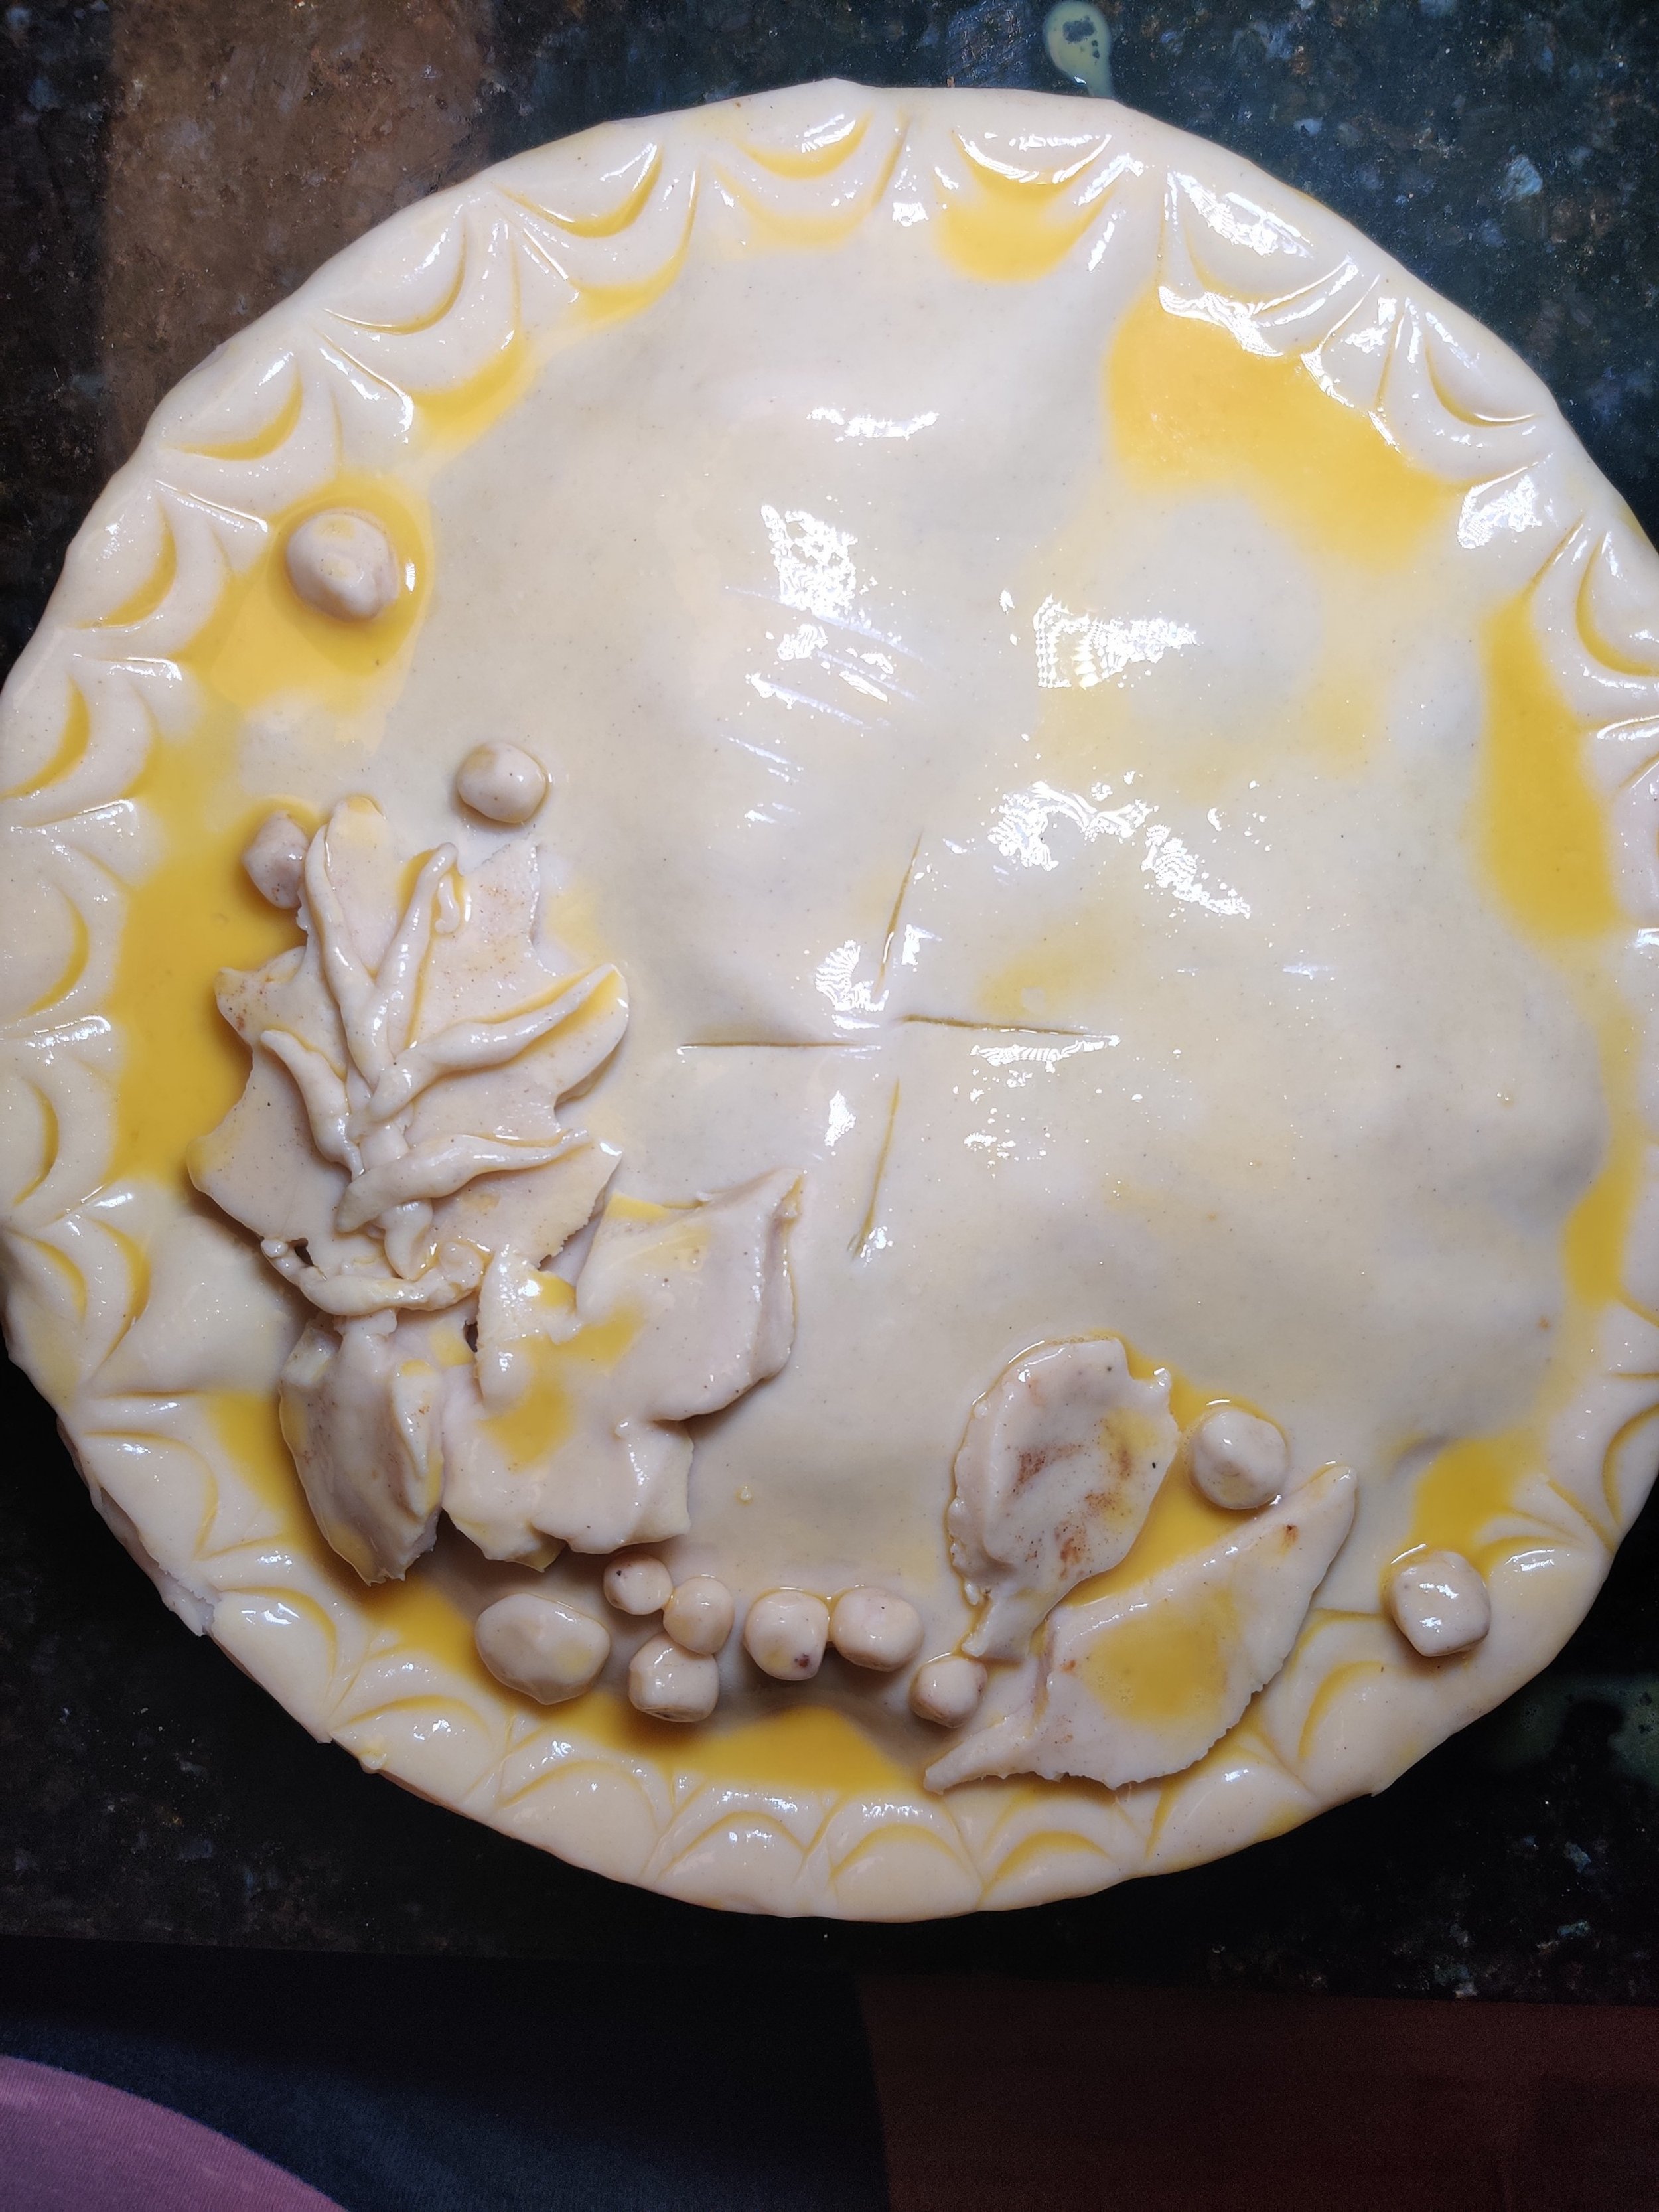
Unroll one pie crust into a pie tin and press down slightly to ensure there aren't any pockets of air on the sides. Pour the apples over.
Roll over the second pie crust on top then use scissors to cut away excess dough. Use a spoon or fork to press and seal the edges, and then make four incisions in the center of the pie. Brush with egg wash then bake for 30 minutes at 350F.
Remove from oven and cool for 2 minutes while melting biscoff in the microwave for about 35 seconds or until melted. Pour over the hot pie.
Sprinkle the crushed biscoff cookies, sea salt, and serve warm with vanilla ice cream.


Peach, Strawberry, and Rhubarb Crostata
Summer is the season of fresh, bountiful produce and finding creative ways to celebrate and enjoy the warm weather. I suggest using the crostata or galette as a vehicle to make use of your fruits and vegetables. This can help reduce waste, make room in the fridge, and whip together a quick meal if you have the pastry ready to go. You can apply this to both sweet and savoury - check out some galette recipes on the website, including Tomato, Thyme and Cheese, Pumpkin, Caramelized Onion, Blackberry, Mint and Ricotta, Cheesy Mushroom Galette with Ricotta and Gruyere, and Asparagus, Snap Pea, and Blue Cheese Galette.
In case you were wondering, “crostata” is essentially the Italian version of a (French) galette, not much of a difference, if any!
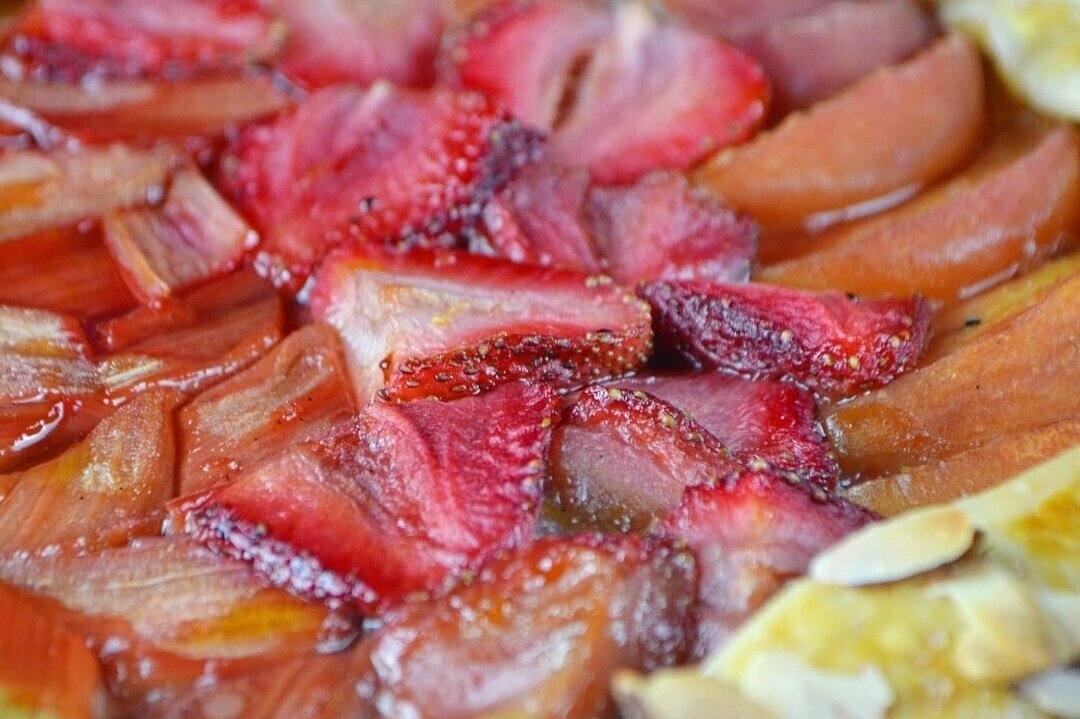
I decided to use three in-season fruits/vegetables. Namely, strawberries, peaches and rhubarb! They are a great balance of tartness and sweetness. The lemon, passion fruit, cinnamon, and other spices in the poaching liquid for this recipe will infuse complementary flavours into your filling. You can adjust the sugar depending on your sweetness tolerance; as well as the layering of the filling - you may want to add a few extra pieces on top of each other. This is the number one reasons why I love crostatas, these free form, open face pies are super customizable.

Ingredients
1 large peach, sliced into segments
1 large rhubarb stalk, cut lengthwise then into diagonal diamond-like shapes
1/3 cup strawberries, sliced in half, tops removed
4 cups passionfruit cocktail or fruit nectar (enough to cover the
2 lemon slices
3-4 tablespoons mirin
1 teaspoon lemon zest
1/2 teaspoon almond extract
1 teaspoon vanilla paste or extract
2 cinnamon sticks
2 anise stars
1 teaspoon balsamic vinegar
1/3 cup coconut sugar
1/3 cup cane sugar
2 tablespoons fresh ginger
1 tablespoon sliced almonds
1 pie crust of your making/choice
Egg wash (1 egg + cream)
Turbinado sugar
Ice cream

Instructions
Start by simmering the poaching liquid in a pot deep enough to submerge the fruits/vegetables. Add the passion fruit cocktail, ginger, lemon slices, zest, vanilla extract, almond extract, balsamic, cinnamon and anise on low heat.
Add the sugars and mirin. Once the sugar dissolves, add the fruits and heat for about five minutes. Don't overcook! Remove from the pot, eat and strain — keep the liquid. You can cook it down with butter and make a drizzling sauce.
Arrange the rhubarb, peaches and strawberries in the center of the pie crust, leaving the outside rim of at least 1-2 inches. Fold them over, then brush with egg wash. Sprinkle some almonds and sugar, then bake at 400F for or until the crust is golden brown.
Serve warm with ice cream and eat immediately.


Grilled Apricots with Honey and Walnuts
When it comes to summertime fruits, we often think of them as something to toss into a salad or arrange on a cheese board. But in my opinion, they deserve the spotlight — especially when dessert rolls around.
Sure, strawberry pies and peach cobblers have their place (don’t miss my no-churn peach crumble ice cream recipe), but grilling fruit takes things to another level, especially when paired with ice cream.
That’s exactly what I did with this simple and spectacular summer recipe, featuring the often-overlooked apricot.
Why Apricots?
Apricots are bold little things. Their tangy-sweet flavor can hold its own next to a peach any day. I’ve had a soft spot for them ever since I was a kid, thanks to the apricot tree in our backyard. And if you love apricot jam, this warm, caramelized version is going to be your new favorite. How do they taste? I always say something between a plum and a peach.
There’s something about the way apricots caramelize on the grill that feels a little luxurious, almost like you’re getting away with something fancy without trying too hard. The edges char just enough to give contrast, the centers turn syrupy, and every bite feels like a reward for keeping it simple. It’s the kind of dessert that feels both nostalgic and new.
This dessert is everything you want in summer: juicy, warm fruit, cold creamy ice cream, the crunch of nuts, and a drizzle of golden honey. It's elegant enough for guests, but simple enough for a weeknight treat. Apricots, take your well-earned bow.
I hope you enjoy the recipe! I made it by chance because I wanted to take a break from peaches, and now you can enjoy it too.

Grilled Apricots with Honey and Walnuts
This simple grilled apricot recipe brings bold summer flavor to your dessert plate. Juicy apricots are caramelized on the grill, then topped with toasted walnuts, a drizzle of raw honey, and a scoop of your favorite ice cream (crème brûlée is divine!). Ready in under 15 minutes, it's the perfect quick dessert for summer nights — especially with a hint of fresh mint on top.
Ingredients
- 6 ripe apricots, halved and pitted
- 1 tablespoon olive oil
- 1 teaspoon cinnamon
- ½ teaspoon ground ginger
- 1 teaspoon brown sugar
- Pinch of sea salt
- 3 tablespoons raw honey
- Handful of toasted walnuts
- 6 scoops crème brûlée ice cream (or vanilla)
- Optional: fresh mint for garnish
Instructions
- Preheat and generously grease a grill pan with cooking spray. Heat over medium.
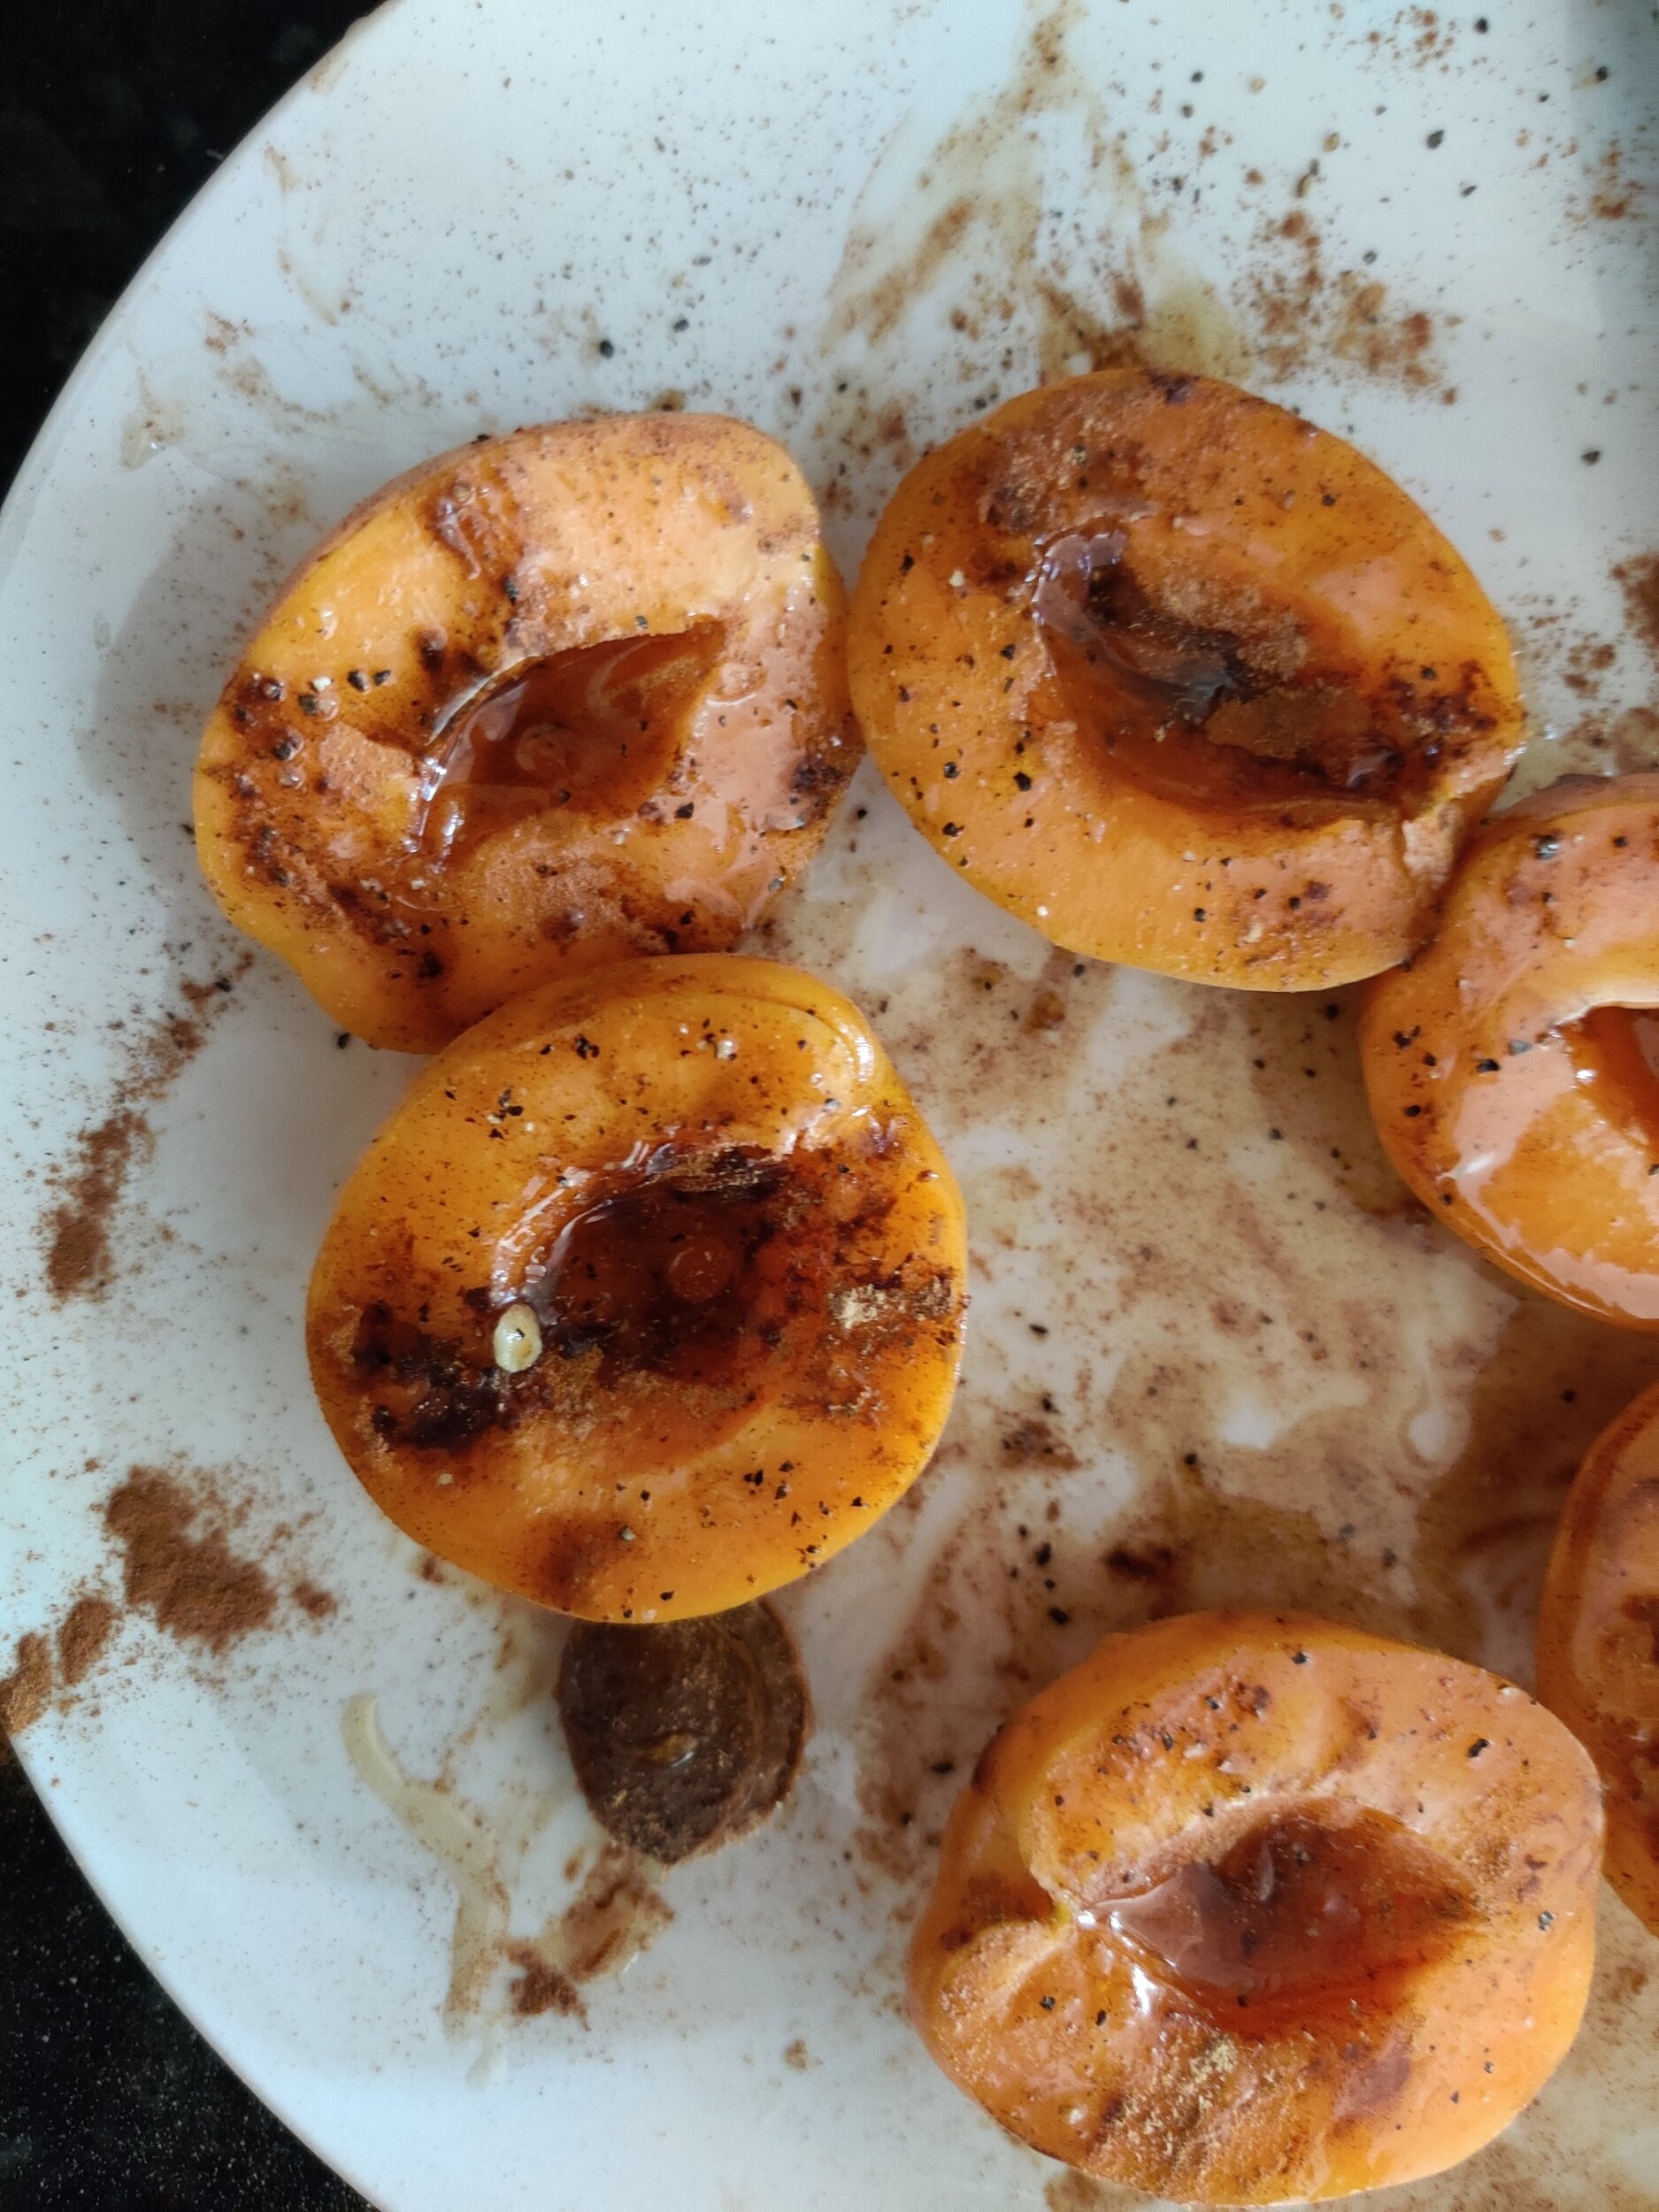
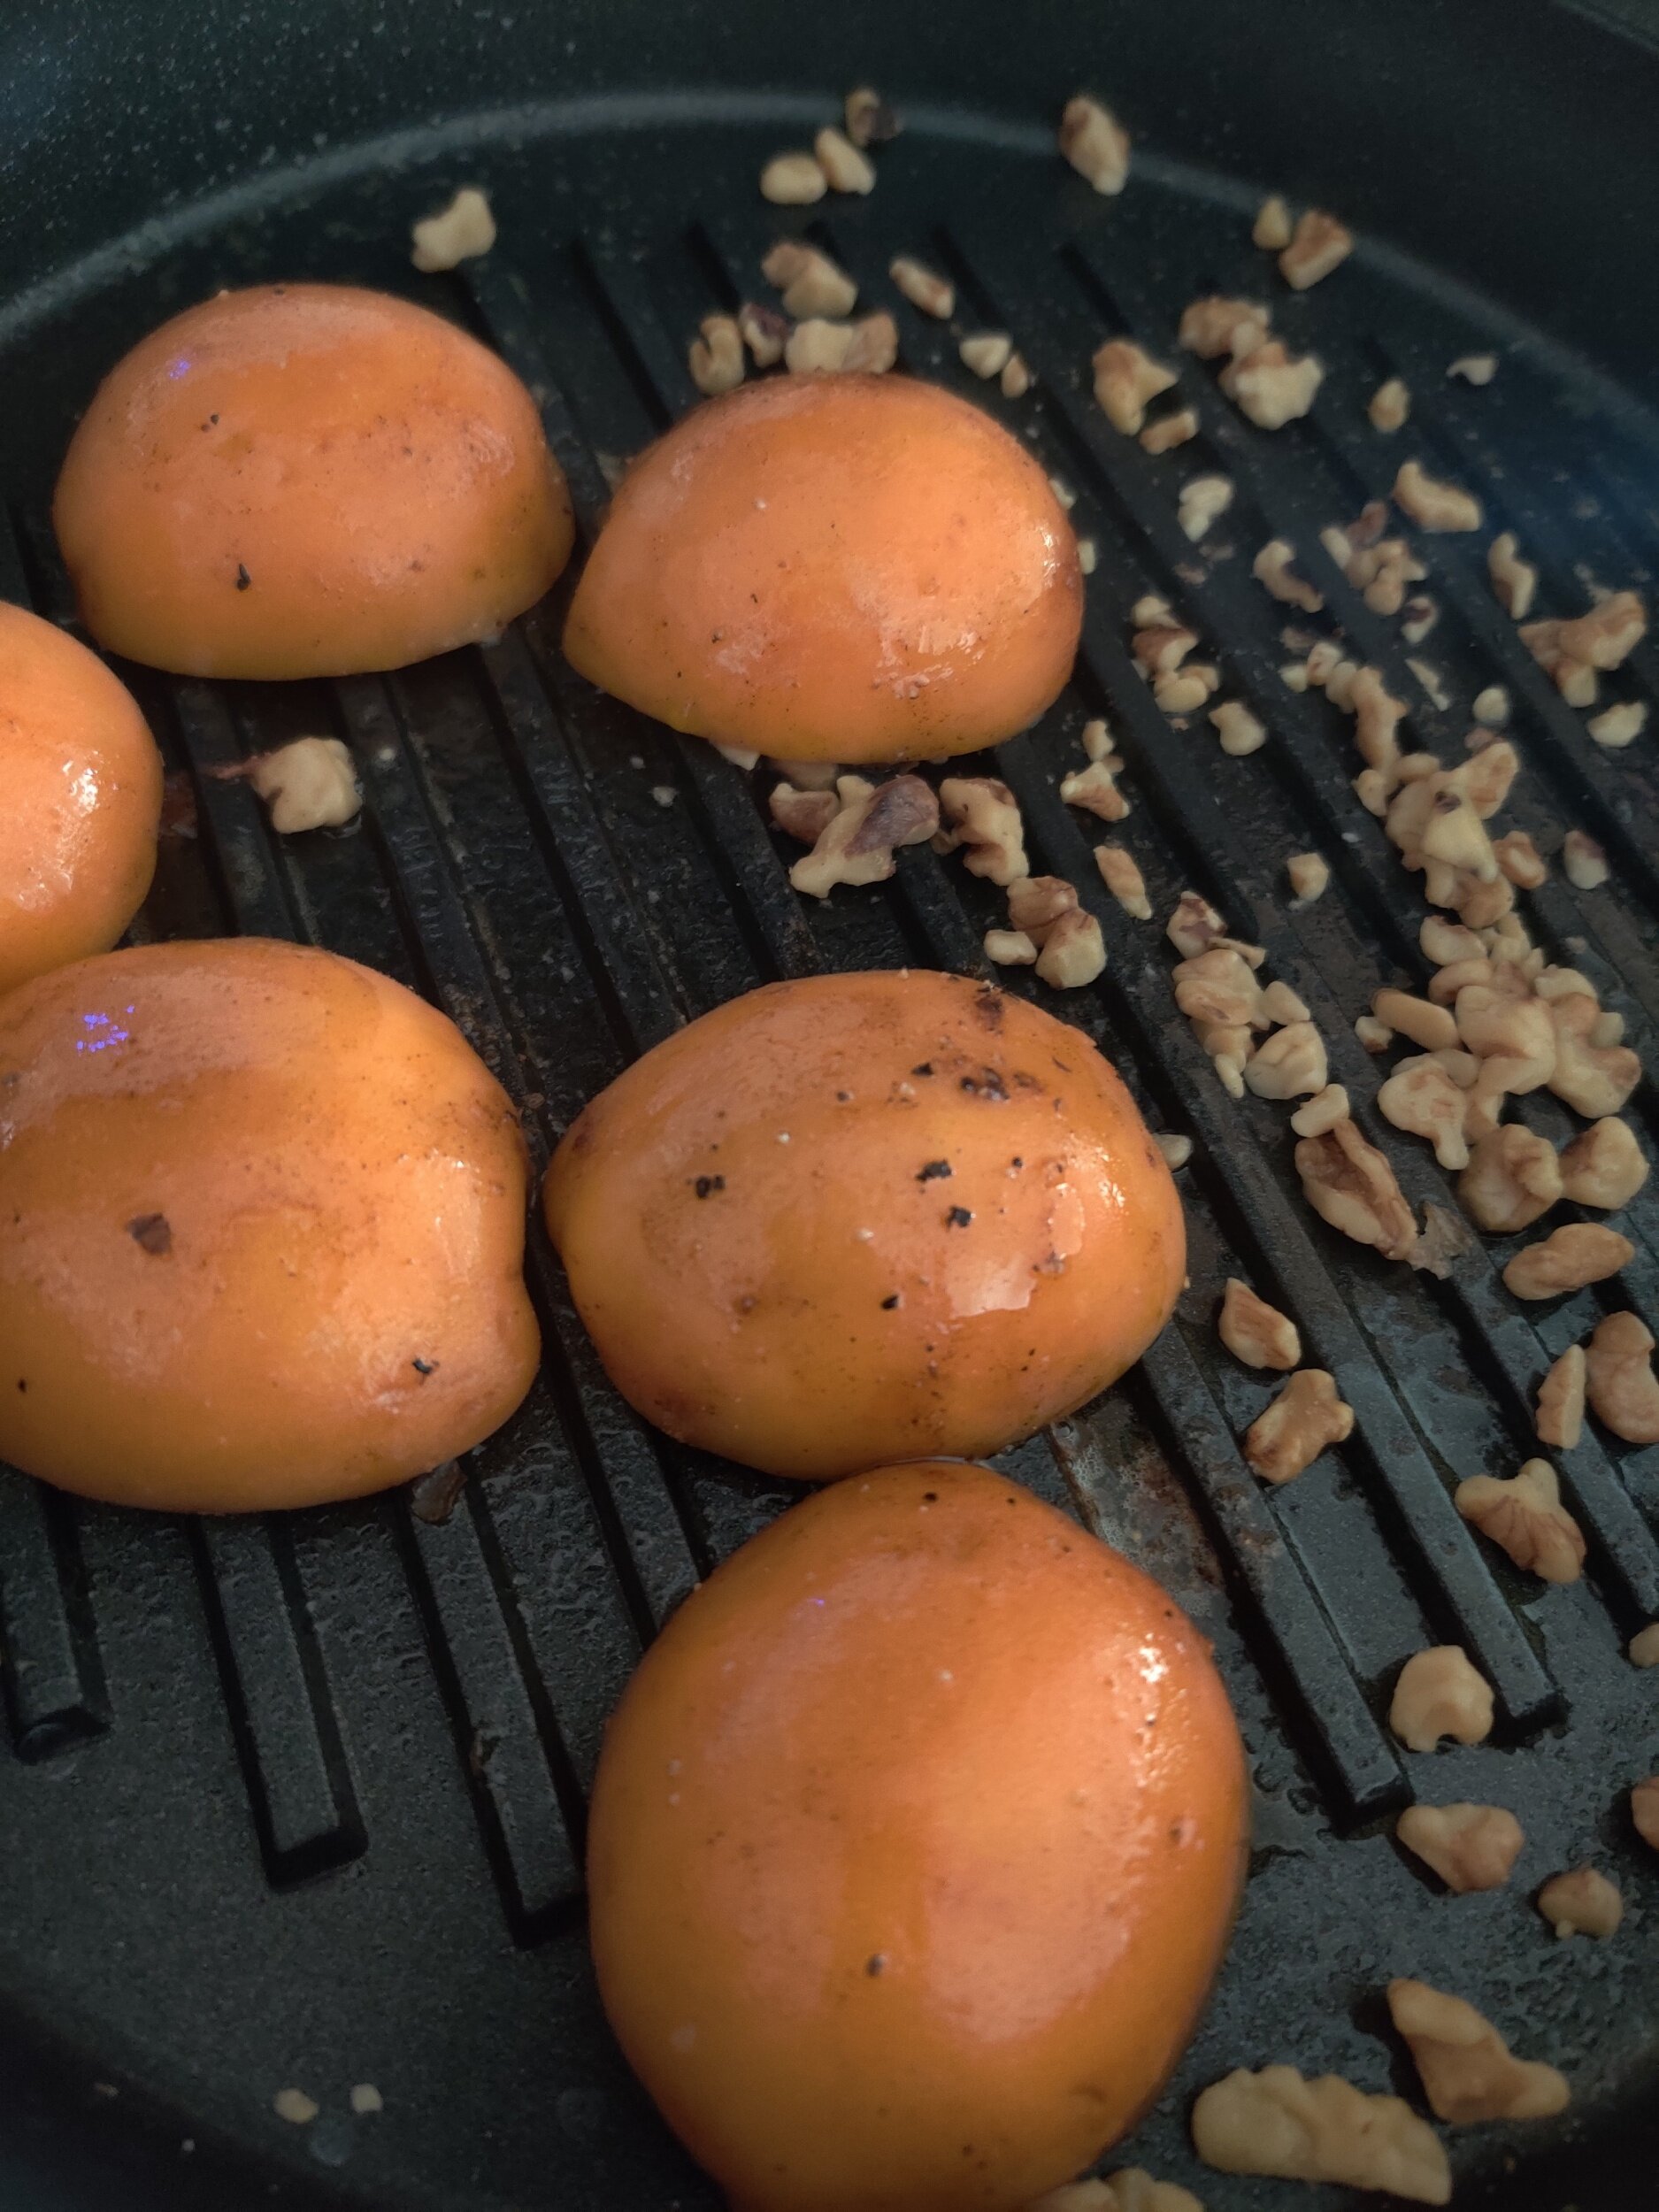
- Slice the apricots and remove the pits. Toss them in a bowl with the olive oil, making sure each side of each apricot is well coated. Add the brown sugar, cinnamon, ginger, salt, and about half of the honey. Mix gently to coat.
- Place the apricots cut-side down on the hot grill pan. Grill for 5–7 minutes, until grill marks appear and the fruit begins to soften. Check occasionally to prevent burning.
- On the other side of the grill pan, add the walnuts. Toast them for 4–5 minutes, stirring occasionally, then remove and set aside. (You can also broil them in the oven if you prefer.)
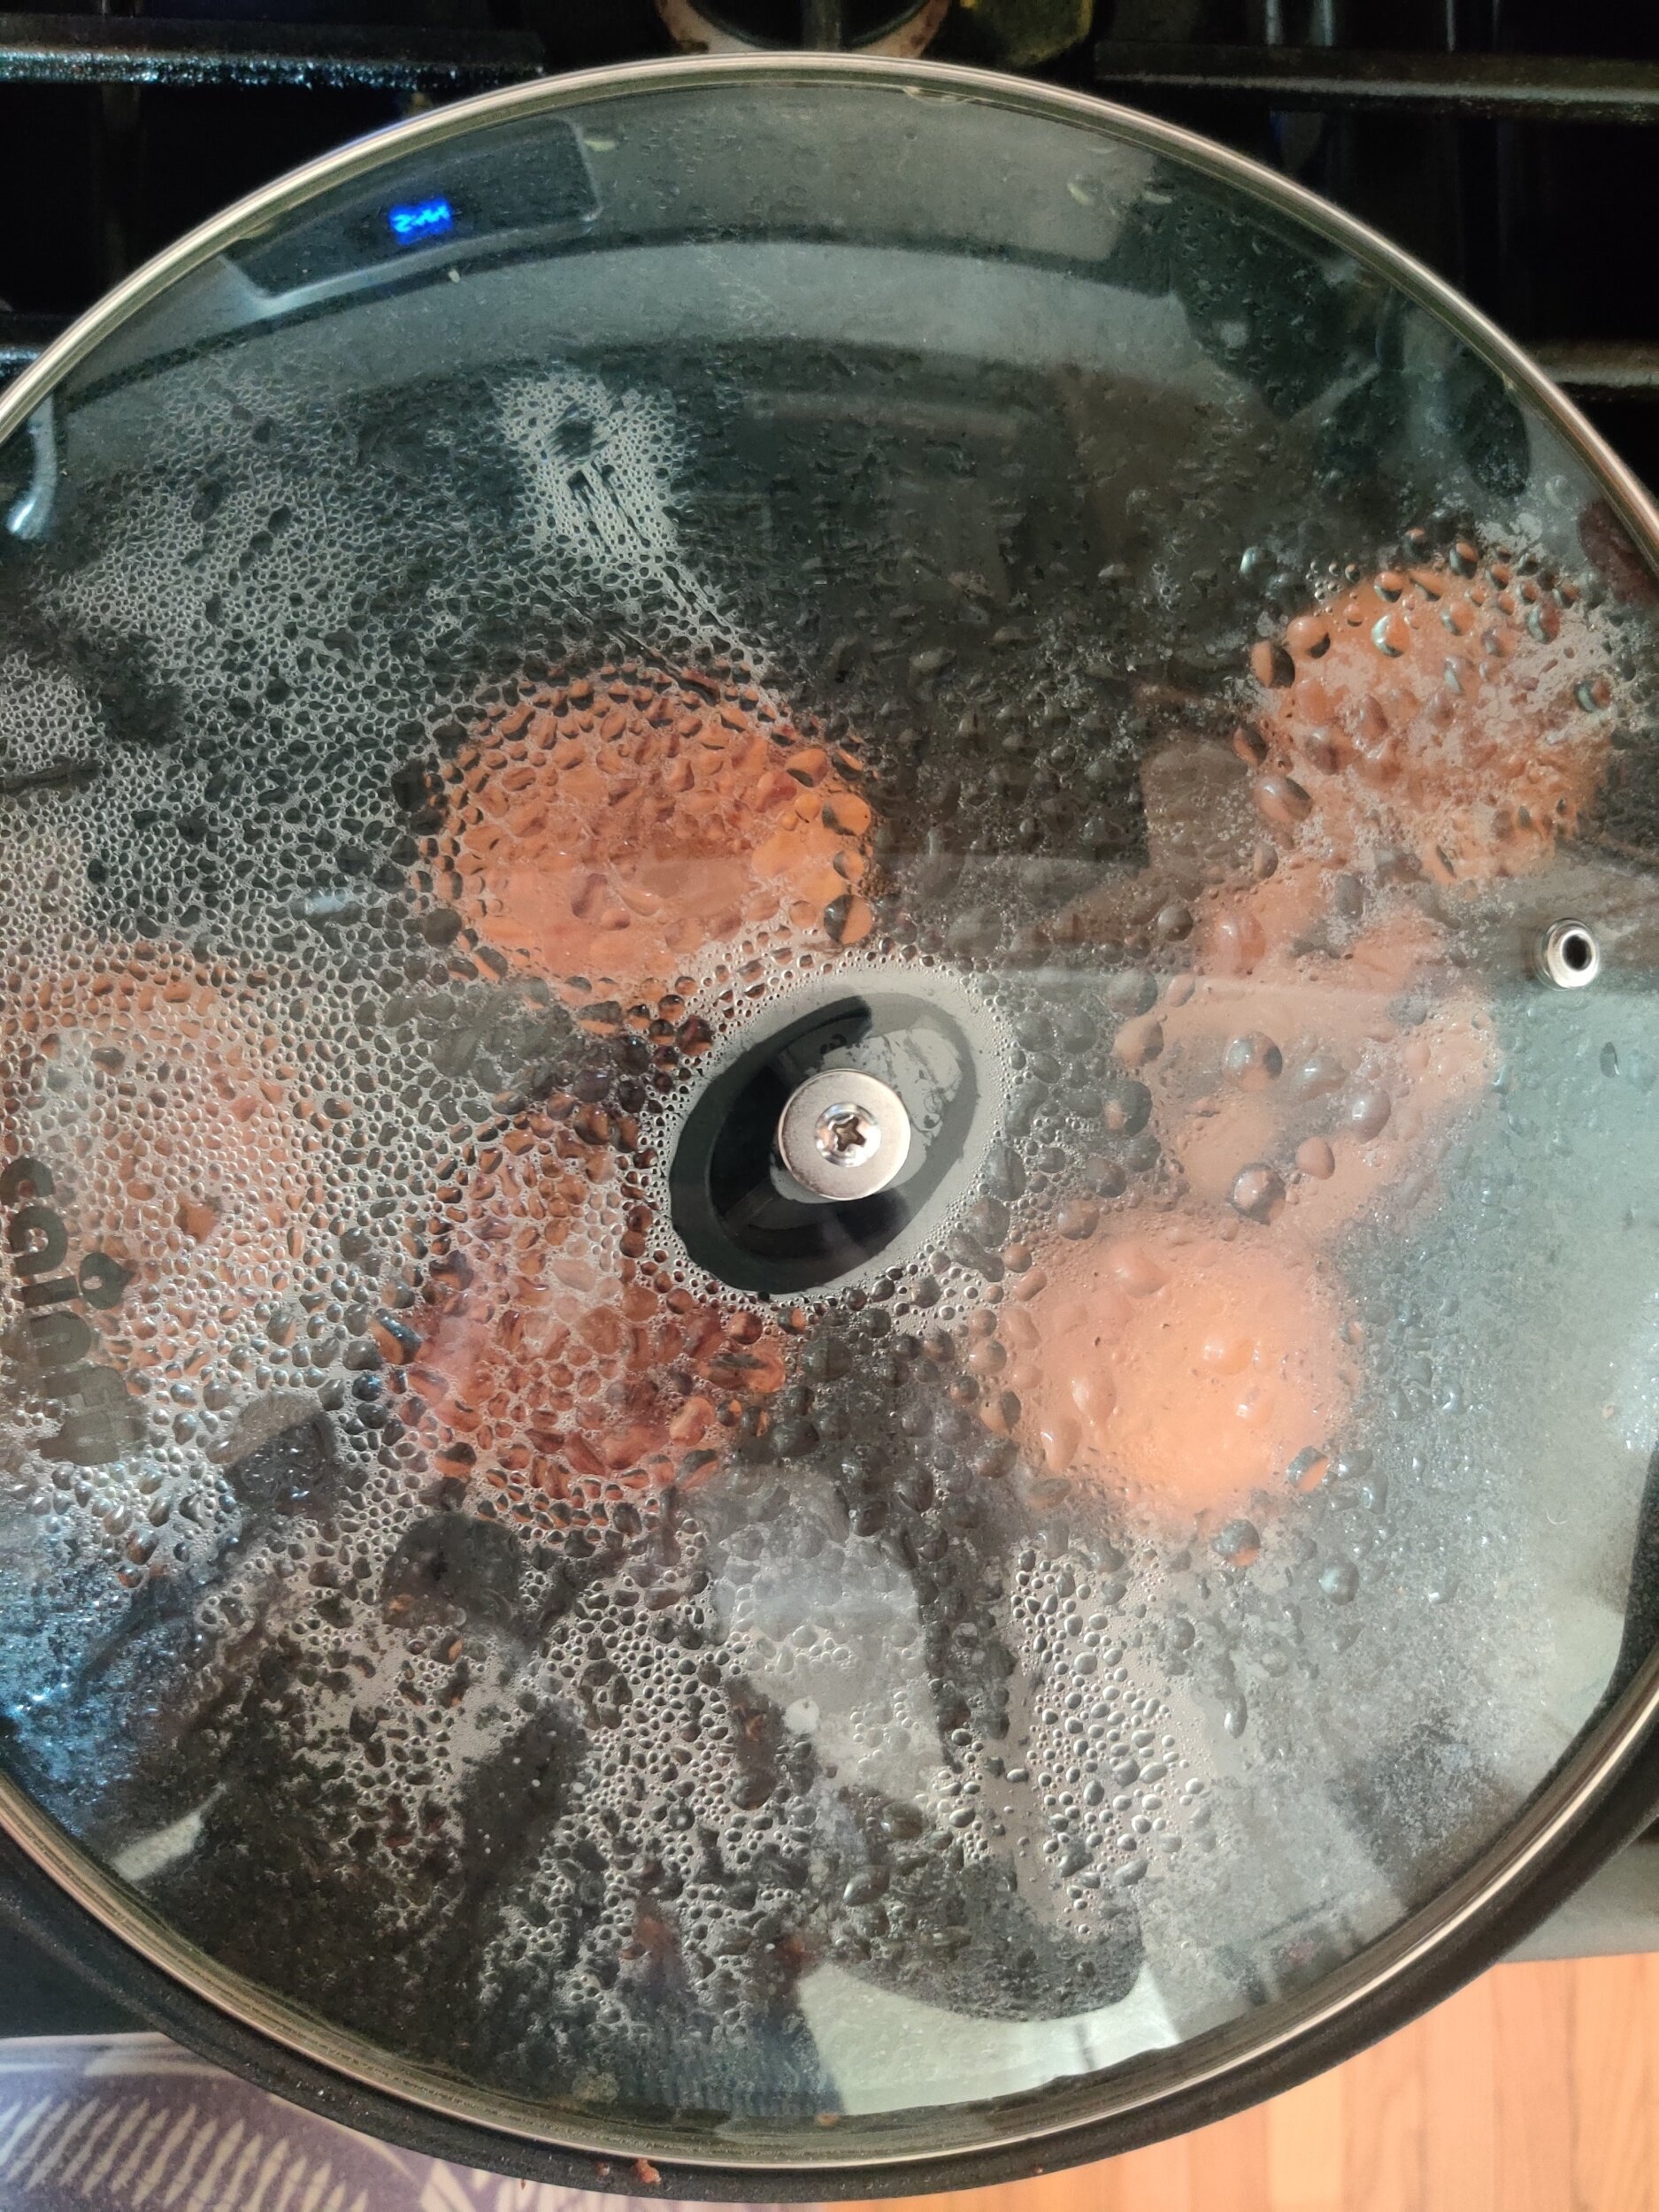
- Flip the apricots and grill the skin side for another few minutes. Reduce the heat to low, then close the lid of the grill pan and let them steam for about 5 minutes. This helps the apricots cook through without falling apart. Keep an eye on them—they should be tender but still hold their shape.
- Serve the apricots warm, topped with 2–3 scoops of ice cream. Drizzle with the remaining honey and sprinkle with the toasted walnuts. Add fresh mint leaves for a bright, refreshing finish, if desired.
I am not a certified nutritionist and any nutritional information on dontmissmyplate.com should only be used as a general guideline.

Red Velvet Cream Cheese Swirl Brownies
This recipe is part of a two-part 3-course meal menu. Start with this Avocado and Strawberry Salad, followed by a Roasted Veggie Sheet Pan with Pan Seared Salmon.
Are you a brownie fan? Do you like red velvet? Enjoy the occasional spread of cream cheese? Pairing red velvet and cream cheese is one of the dream teams in the realm of desserts and sweet things.
I have done this numerous times with pumpkin bread, and often favour brownie's' with creamy swirls when I see them in coffees shops. For a social occasion or to treat yourself, you can do it at home!
All you have to do it make your batter and the cream cheese mix - which will add some texture and another flavour element - to your red velvet, chocolate, pumpkin, or whatever goodness you are baking. The cream cheese will also make the brownies moist, which is great for those of us who like our brownies a little sturdy but not dry!
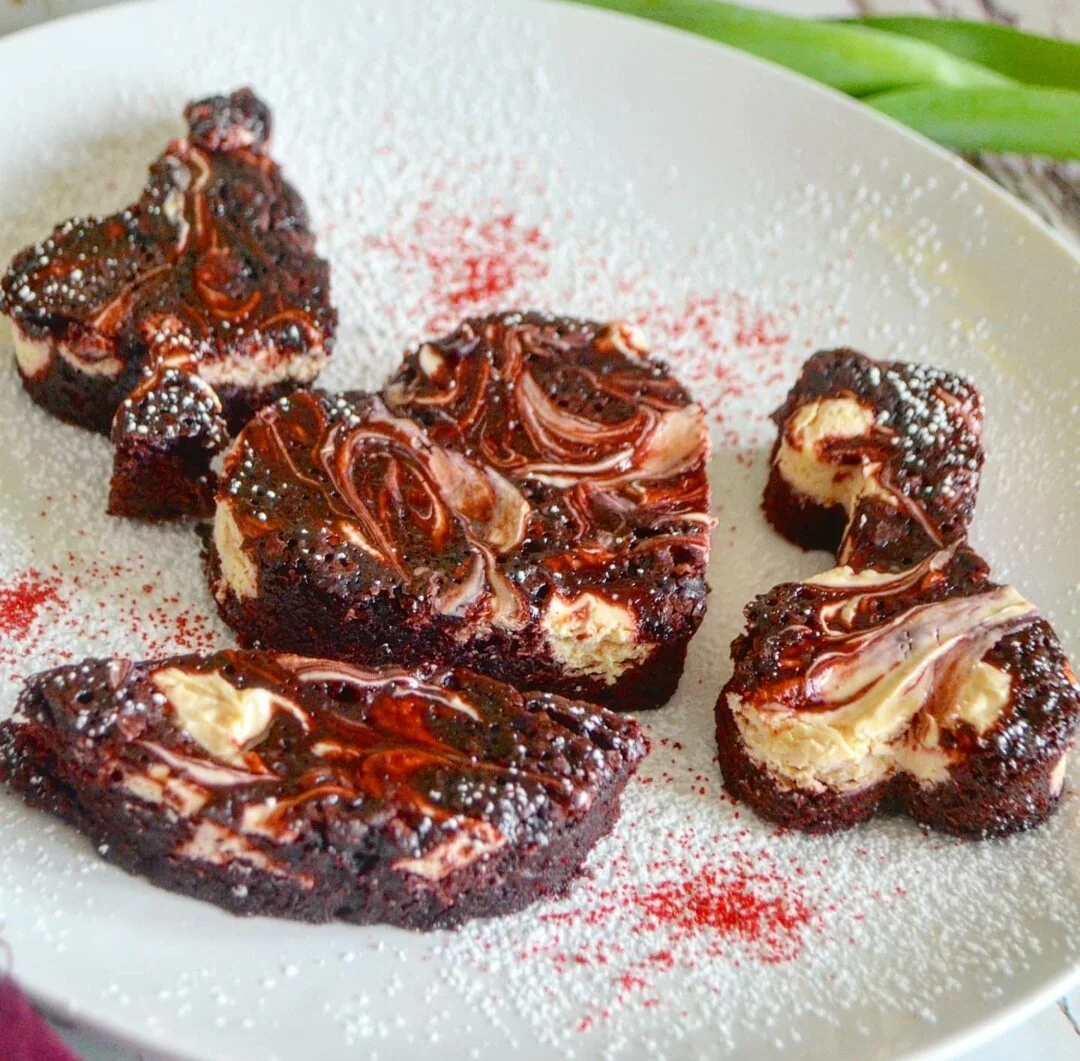
Since these were for a special occasion i.e. Valentine’s’ Day, I used cookie cutter shapes, but you can just cut them into squares once cooled!
Ingredients
3/4 cup all-purpose flour
1/4 cup unsweetened cocoa powder
1/2 teaspoon almond extract
1 1/2 teaspoons vanilla extract
1 cup white granulated sugar
2 eggs
1/2 cup butter
Pinch of salt
Powdered sugar (optional)
Cream cheese mixture:
1 (8-ounce) packet Greek yogurt cream cheese
1 egg yolk
Splash of lemon juice
1/4 cup white granulated sugar
2-3 drops red food coloring
1/4 teaspoon almond extract
1/2 teaspoon vanilla extract
Instructions
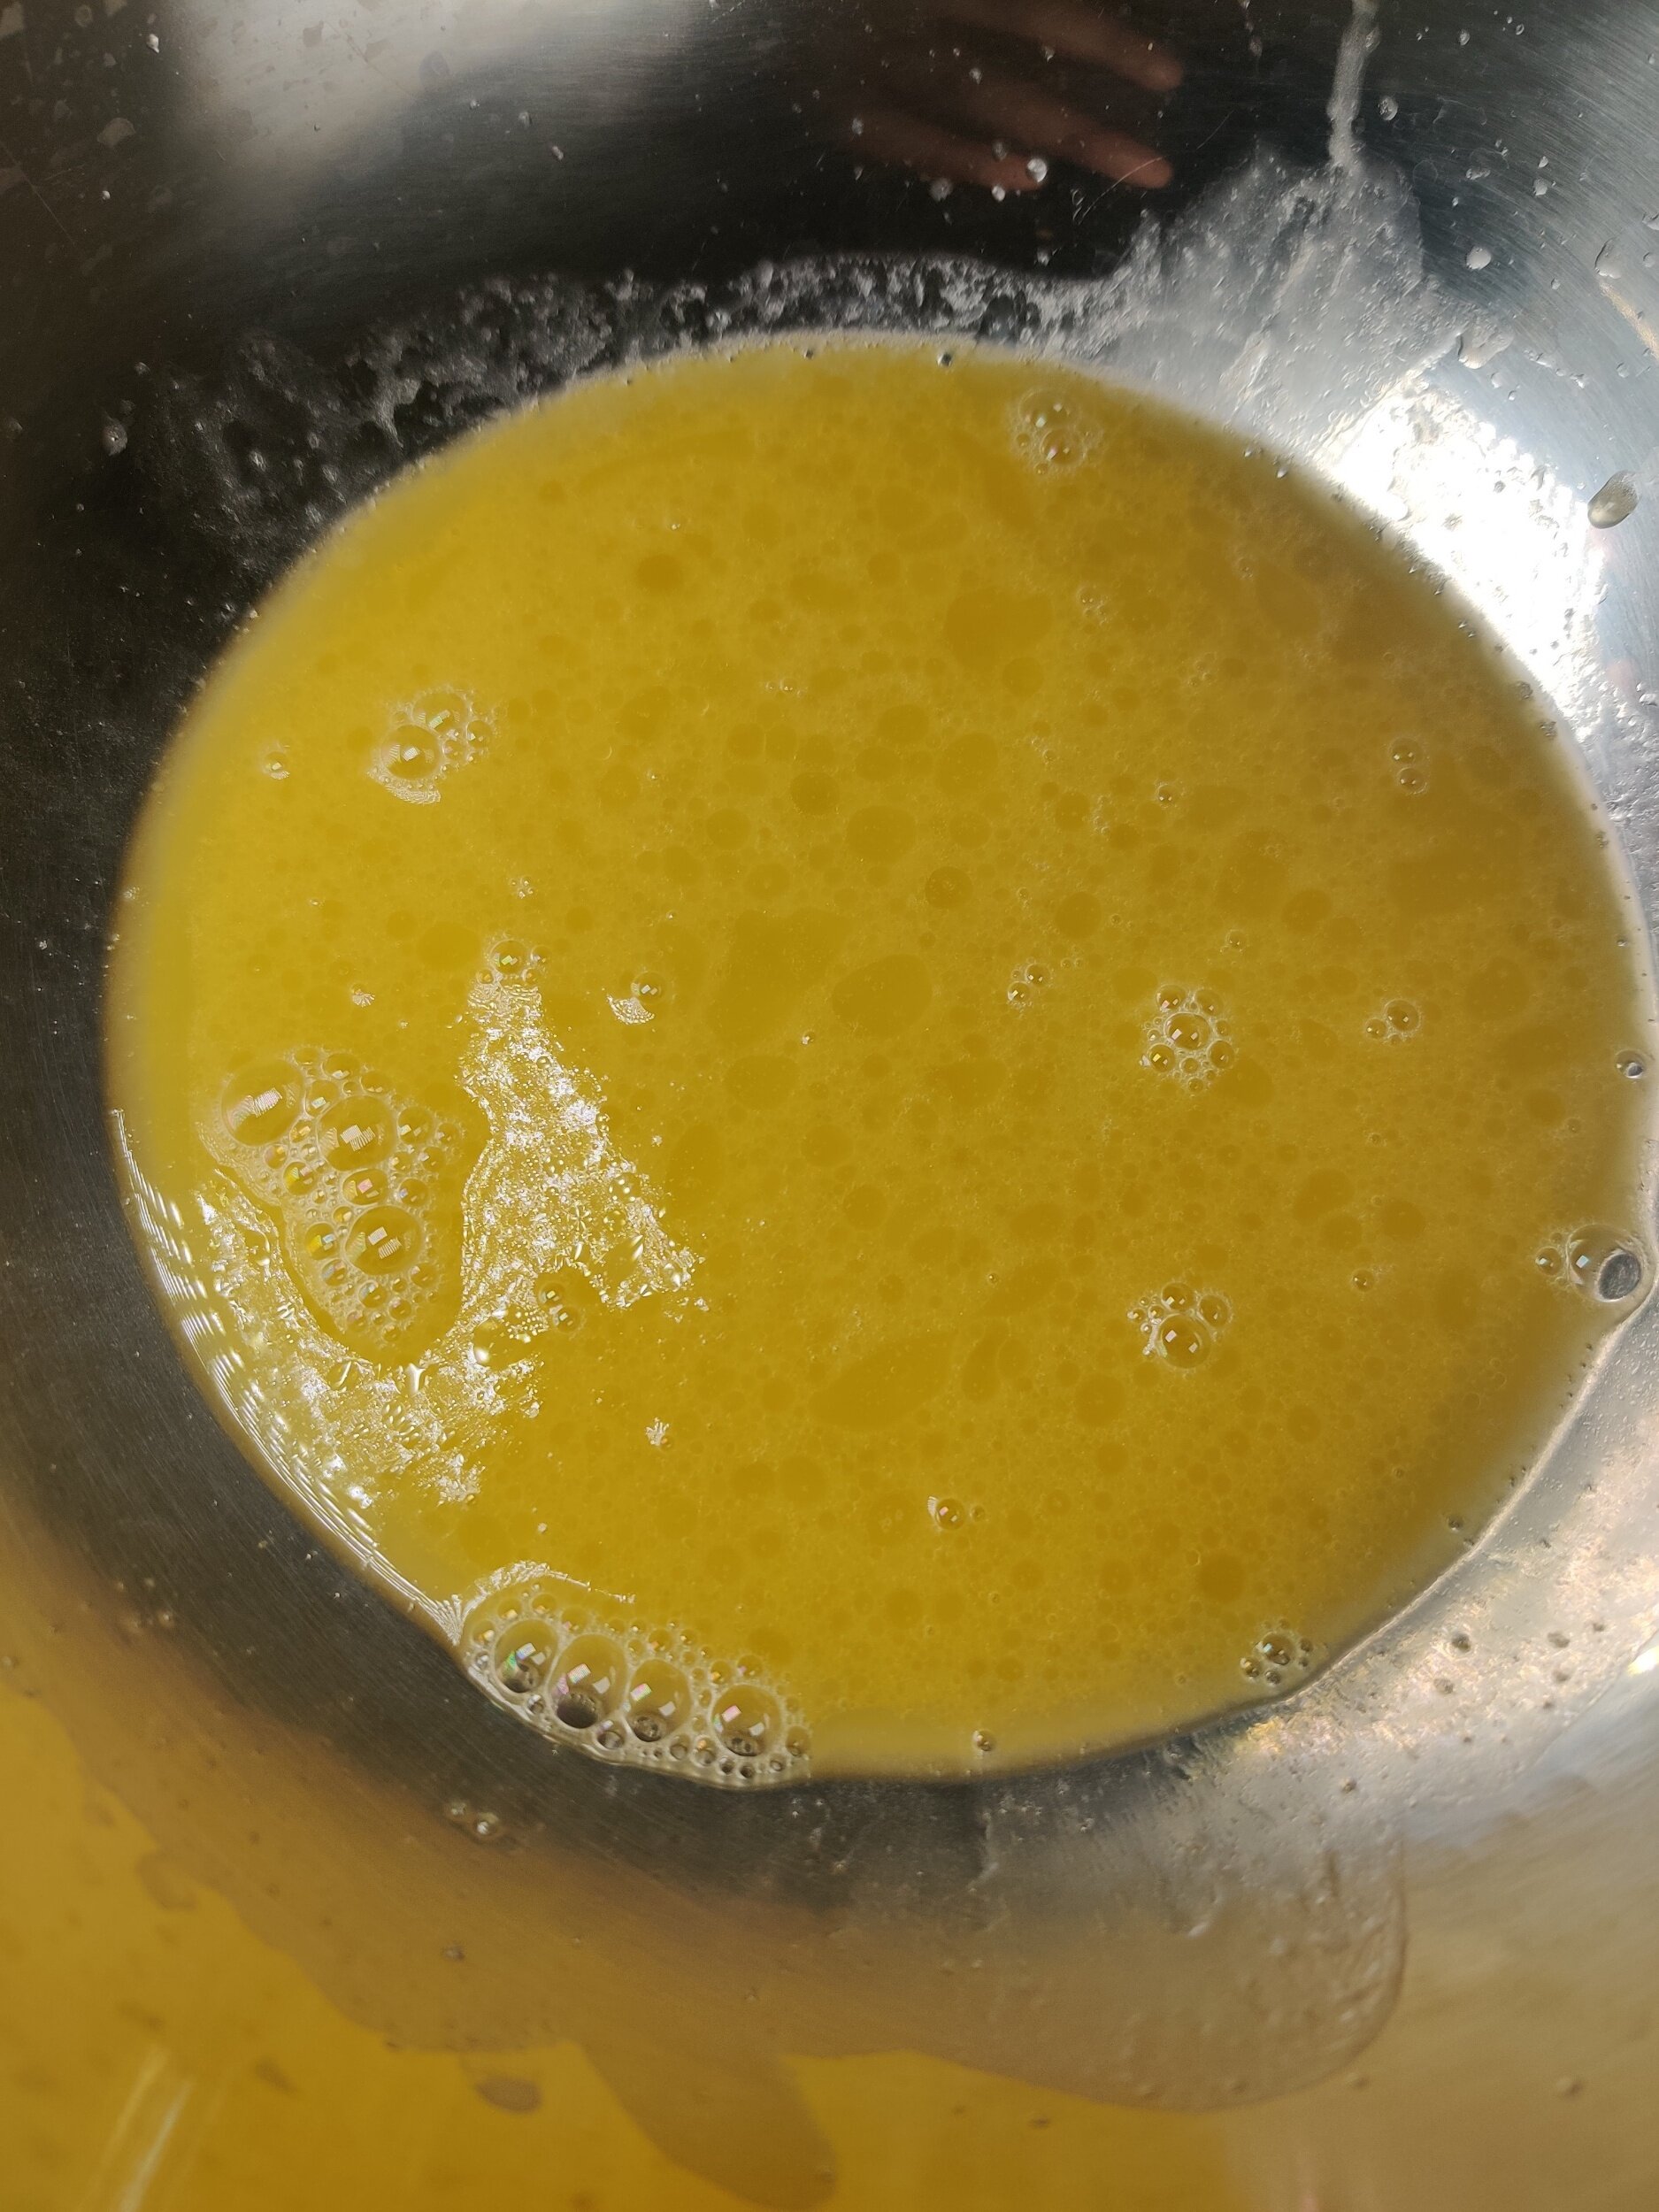
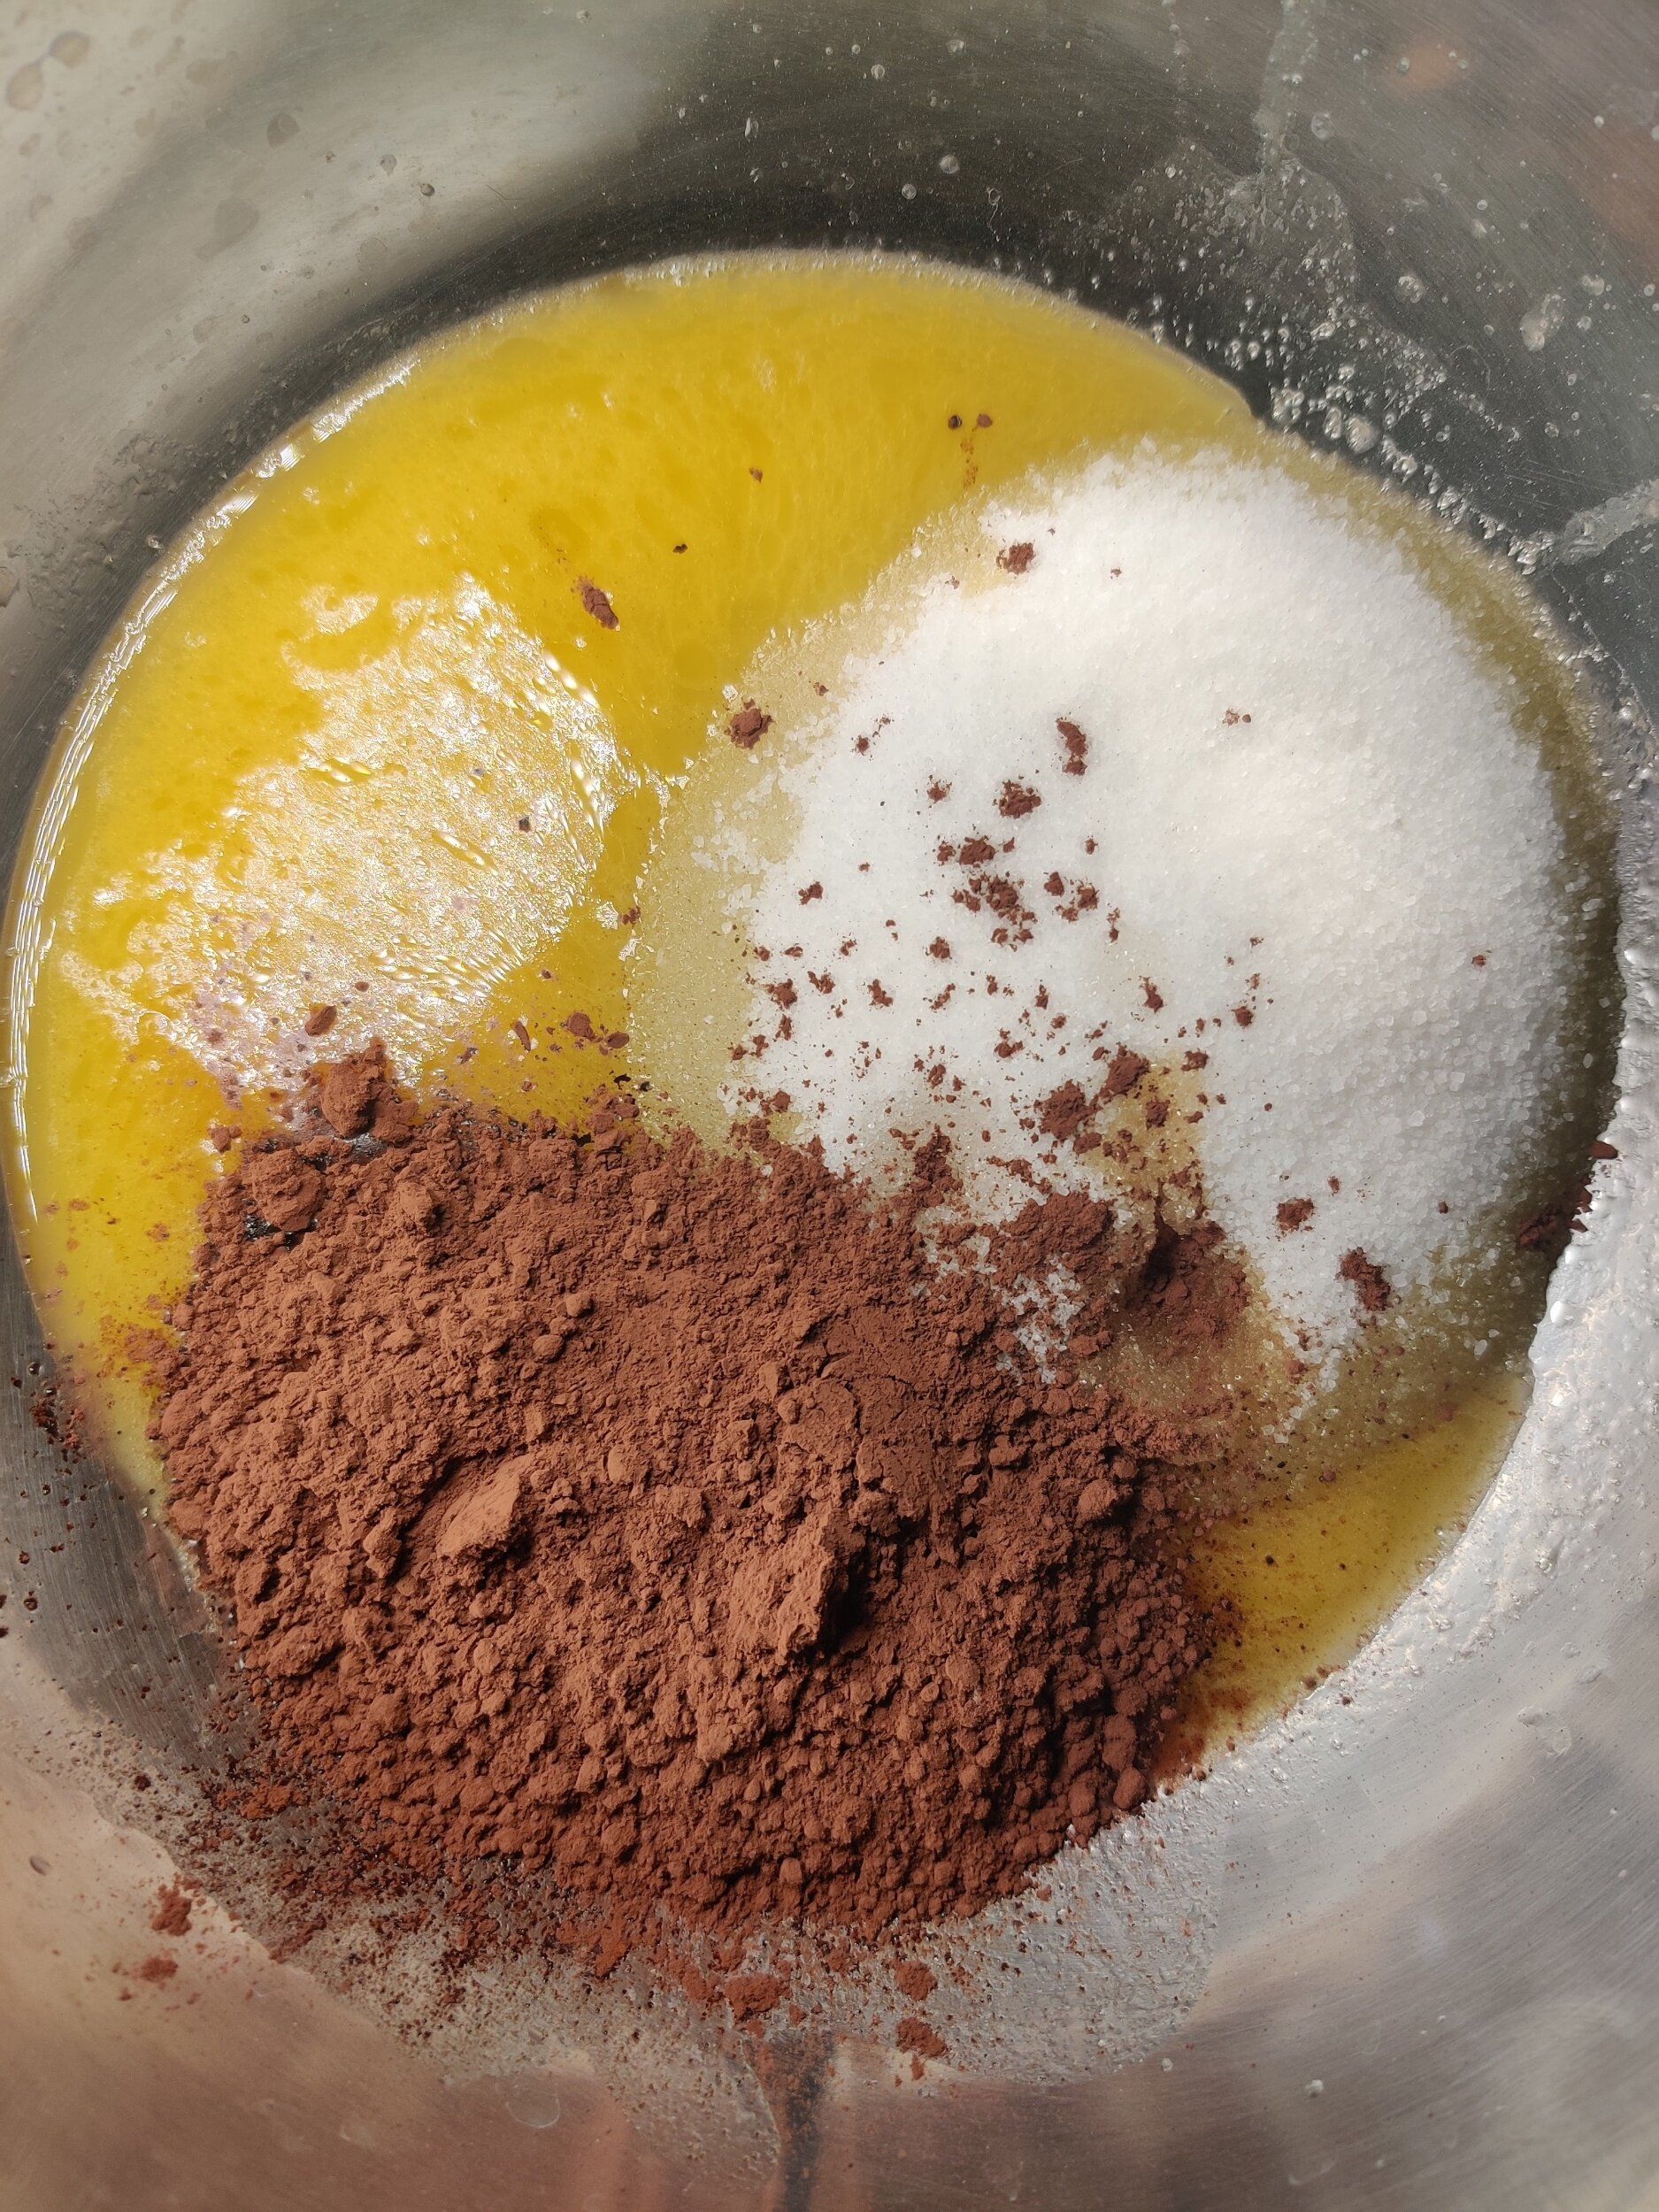
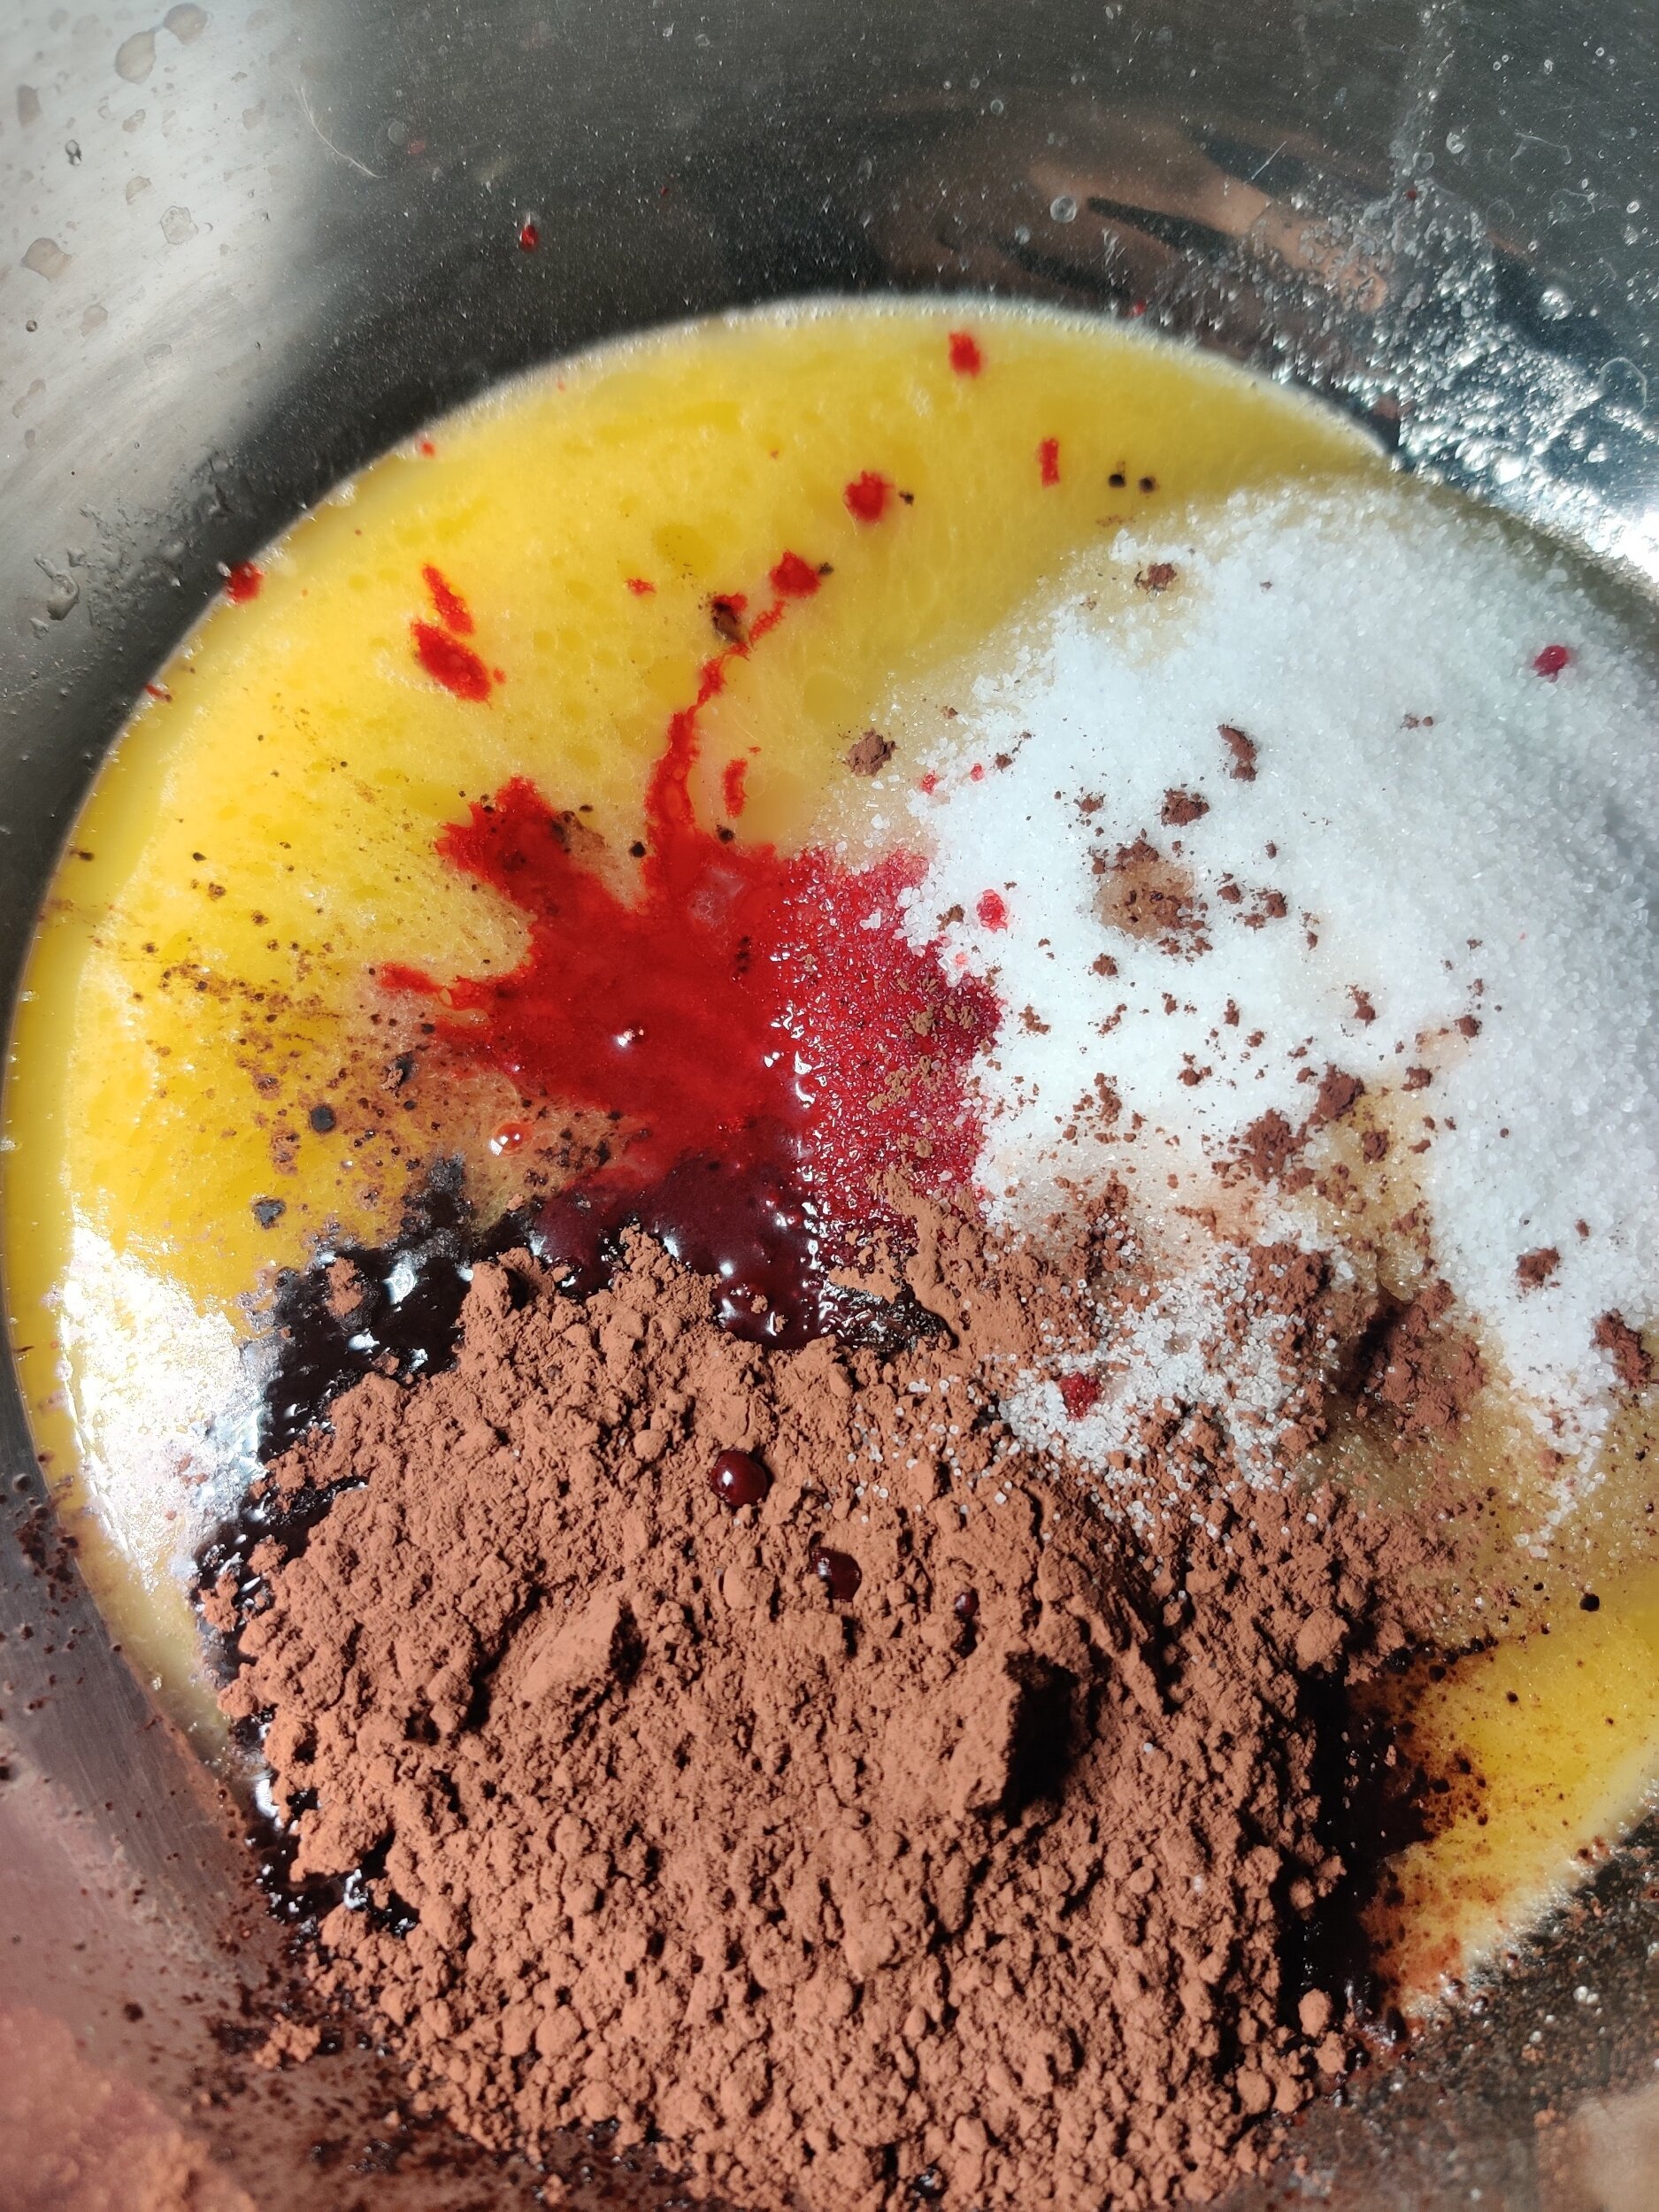
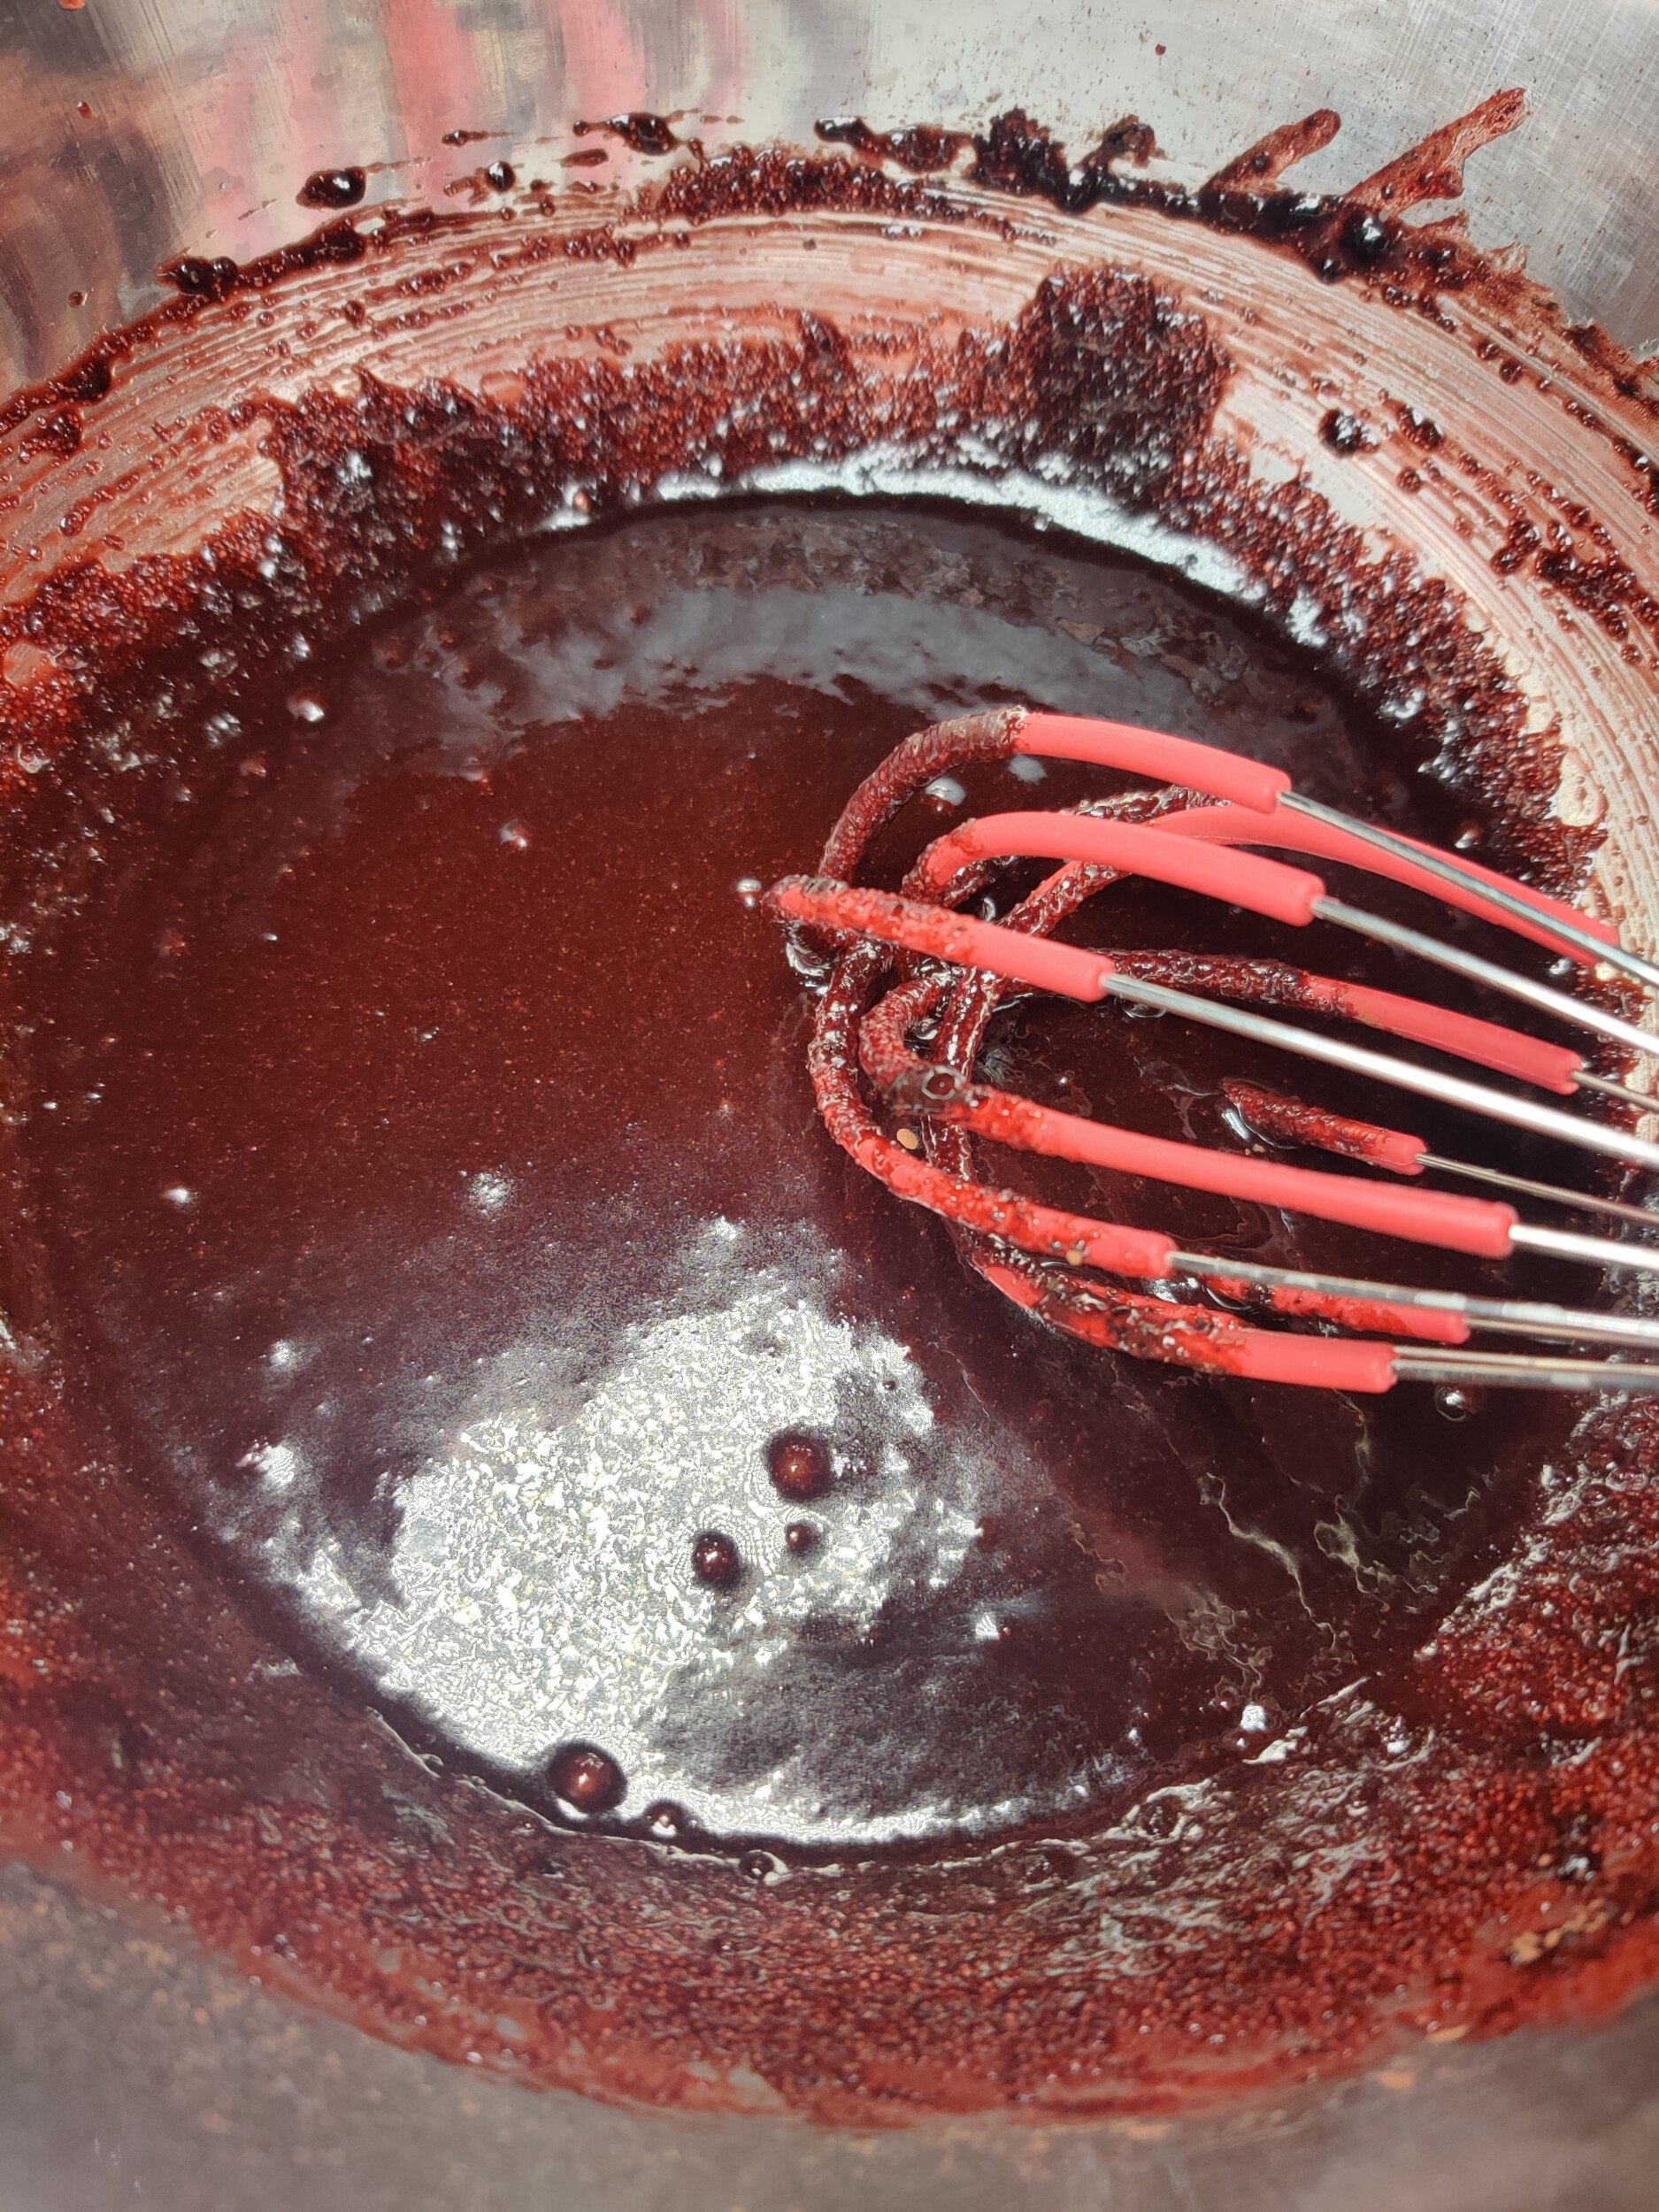
In a small microwavable bowl, melt the butter - about half a minutes should do. You can also do it quickly over high heat in a saucepan. Transfer to a large bowl, then add the salt, baking powder, sugar, salt, cocoa powder, vanilla and almond extract, and red colouring. Mix until combined but don't over mix.
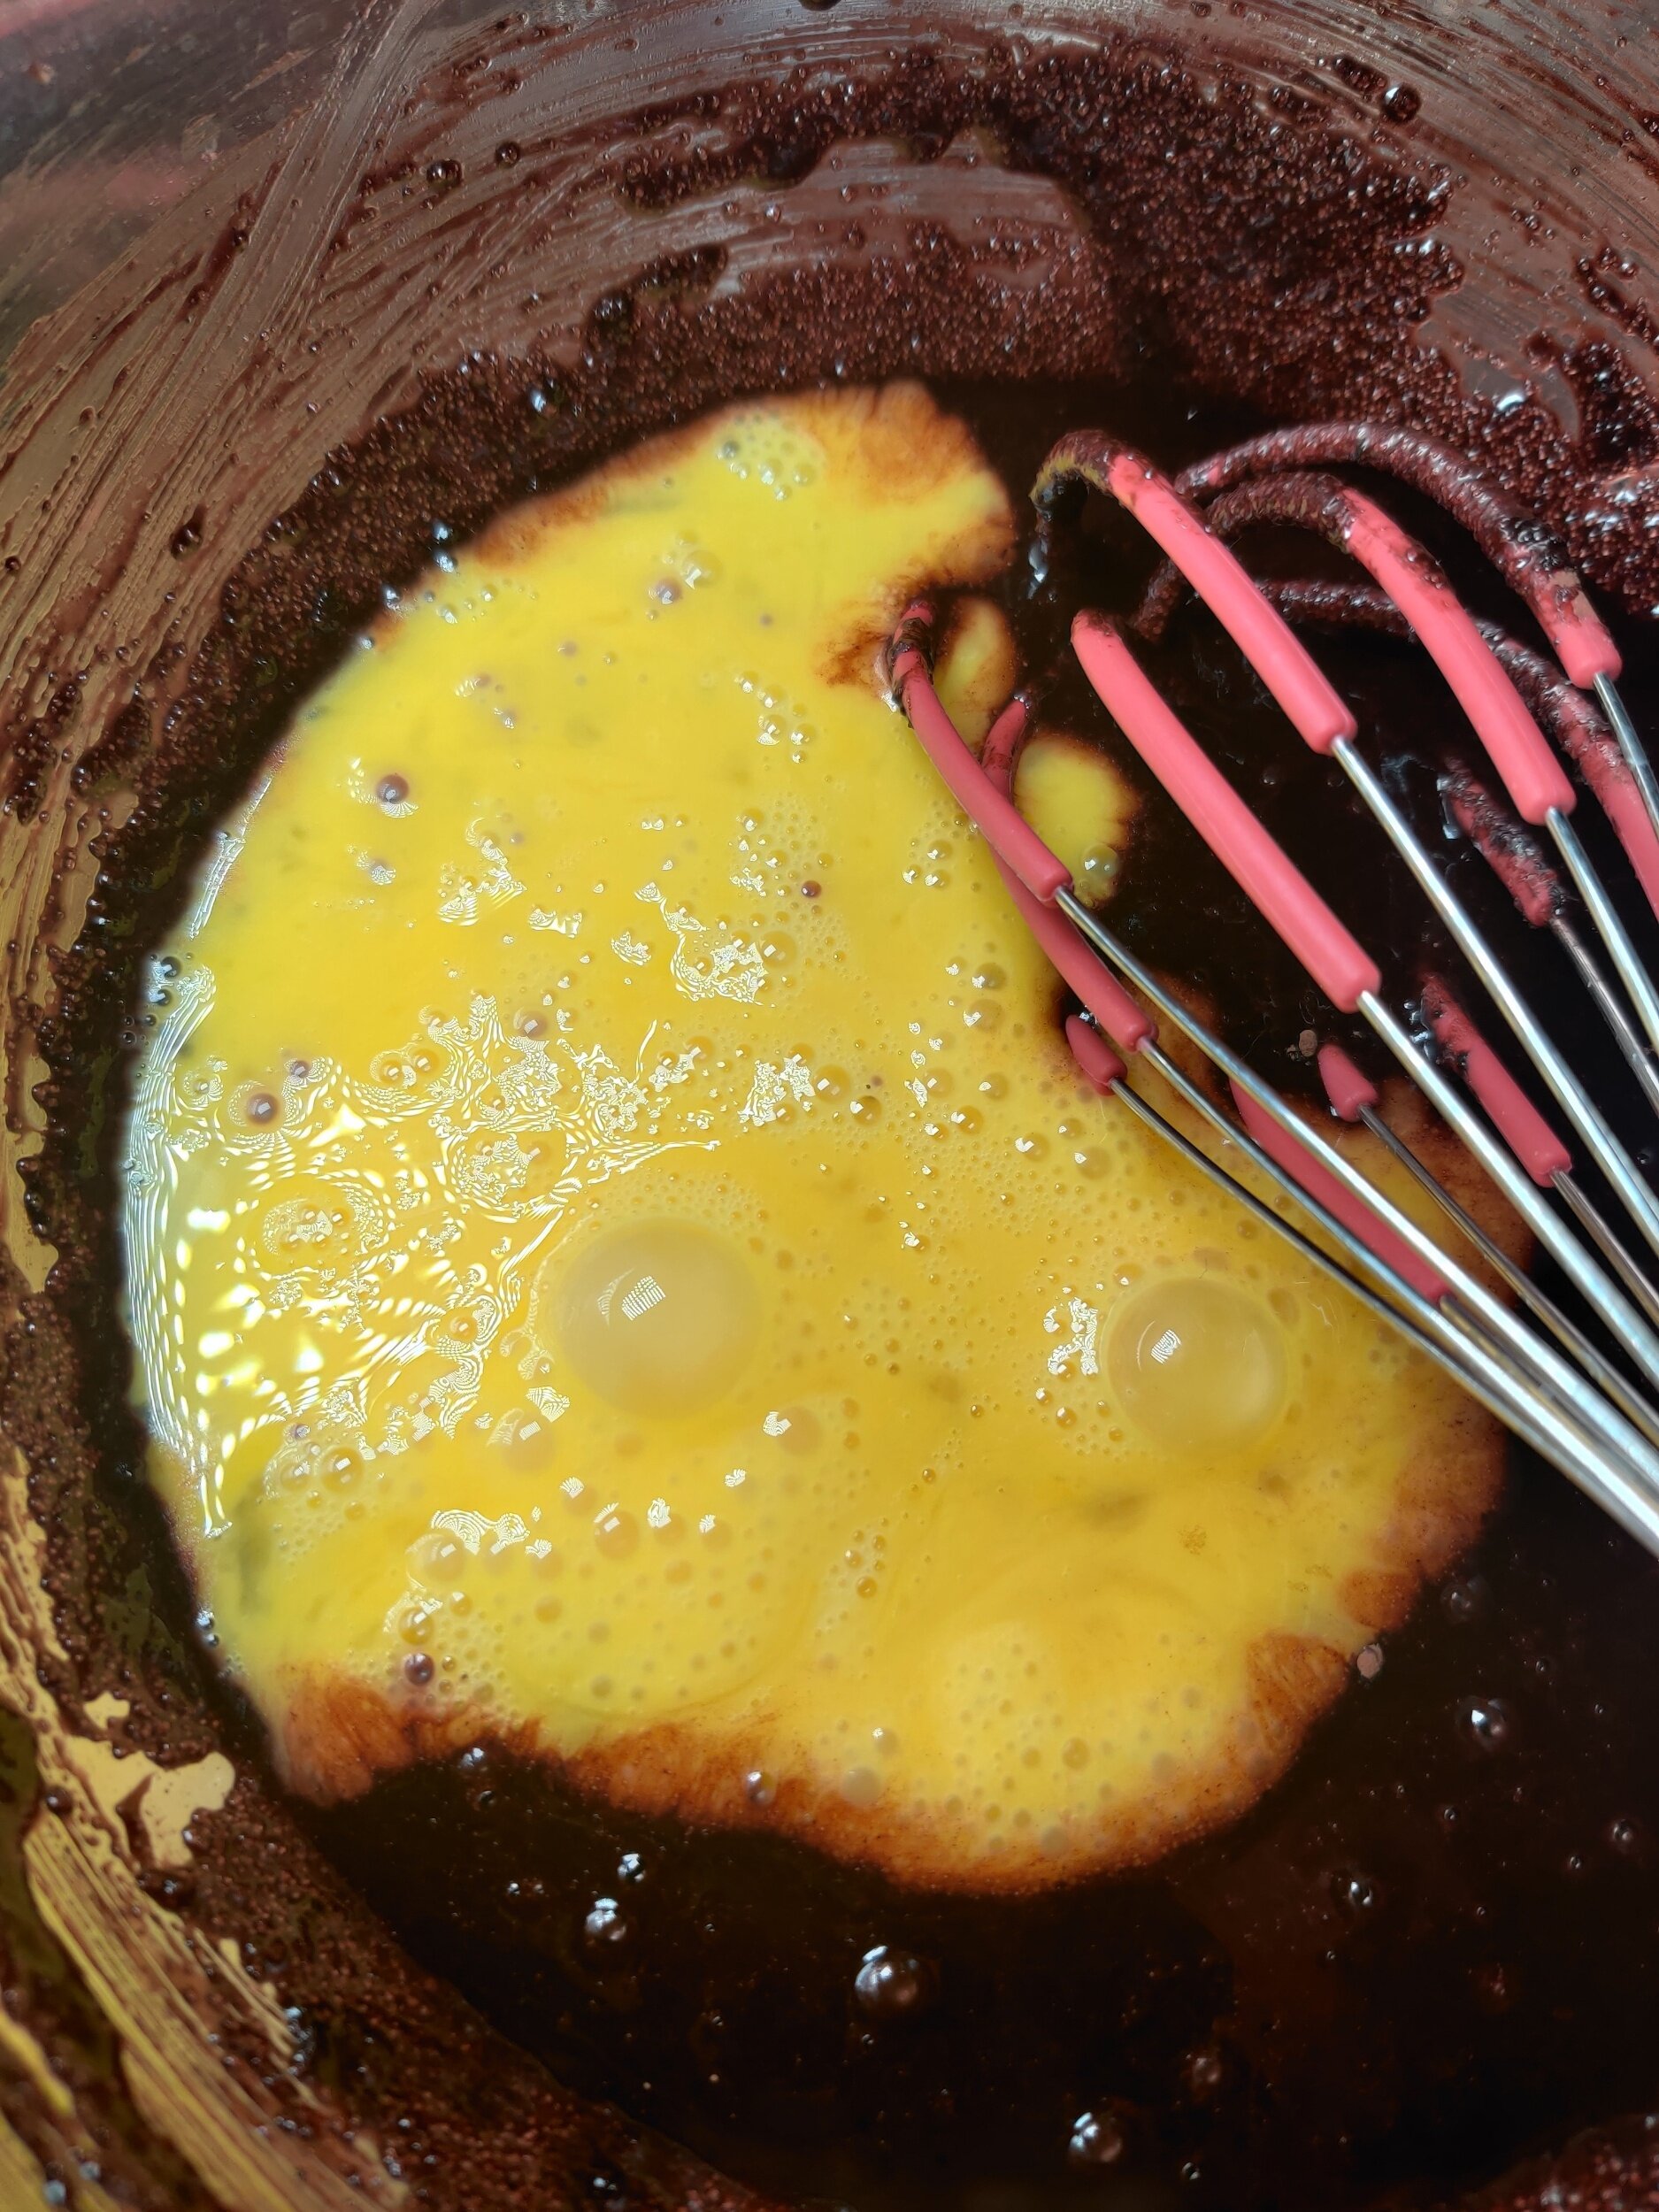
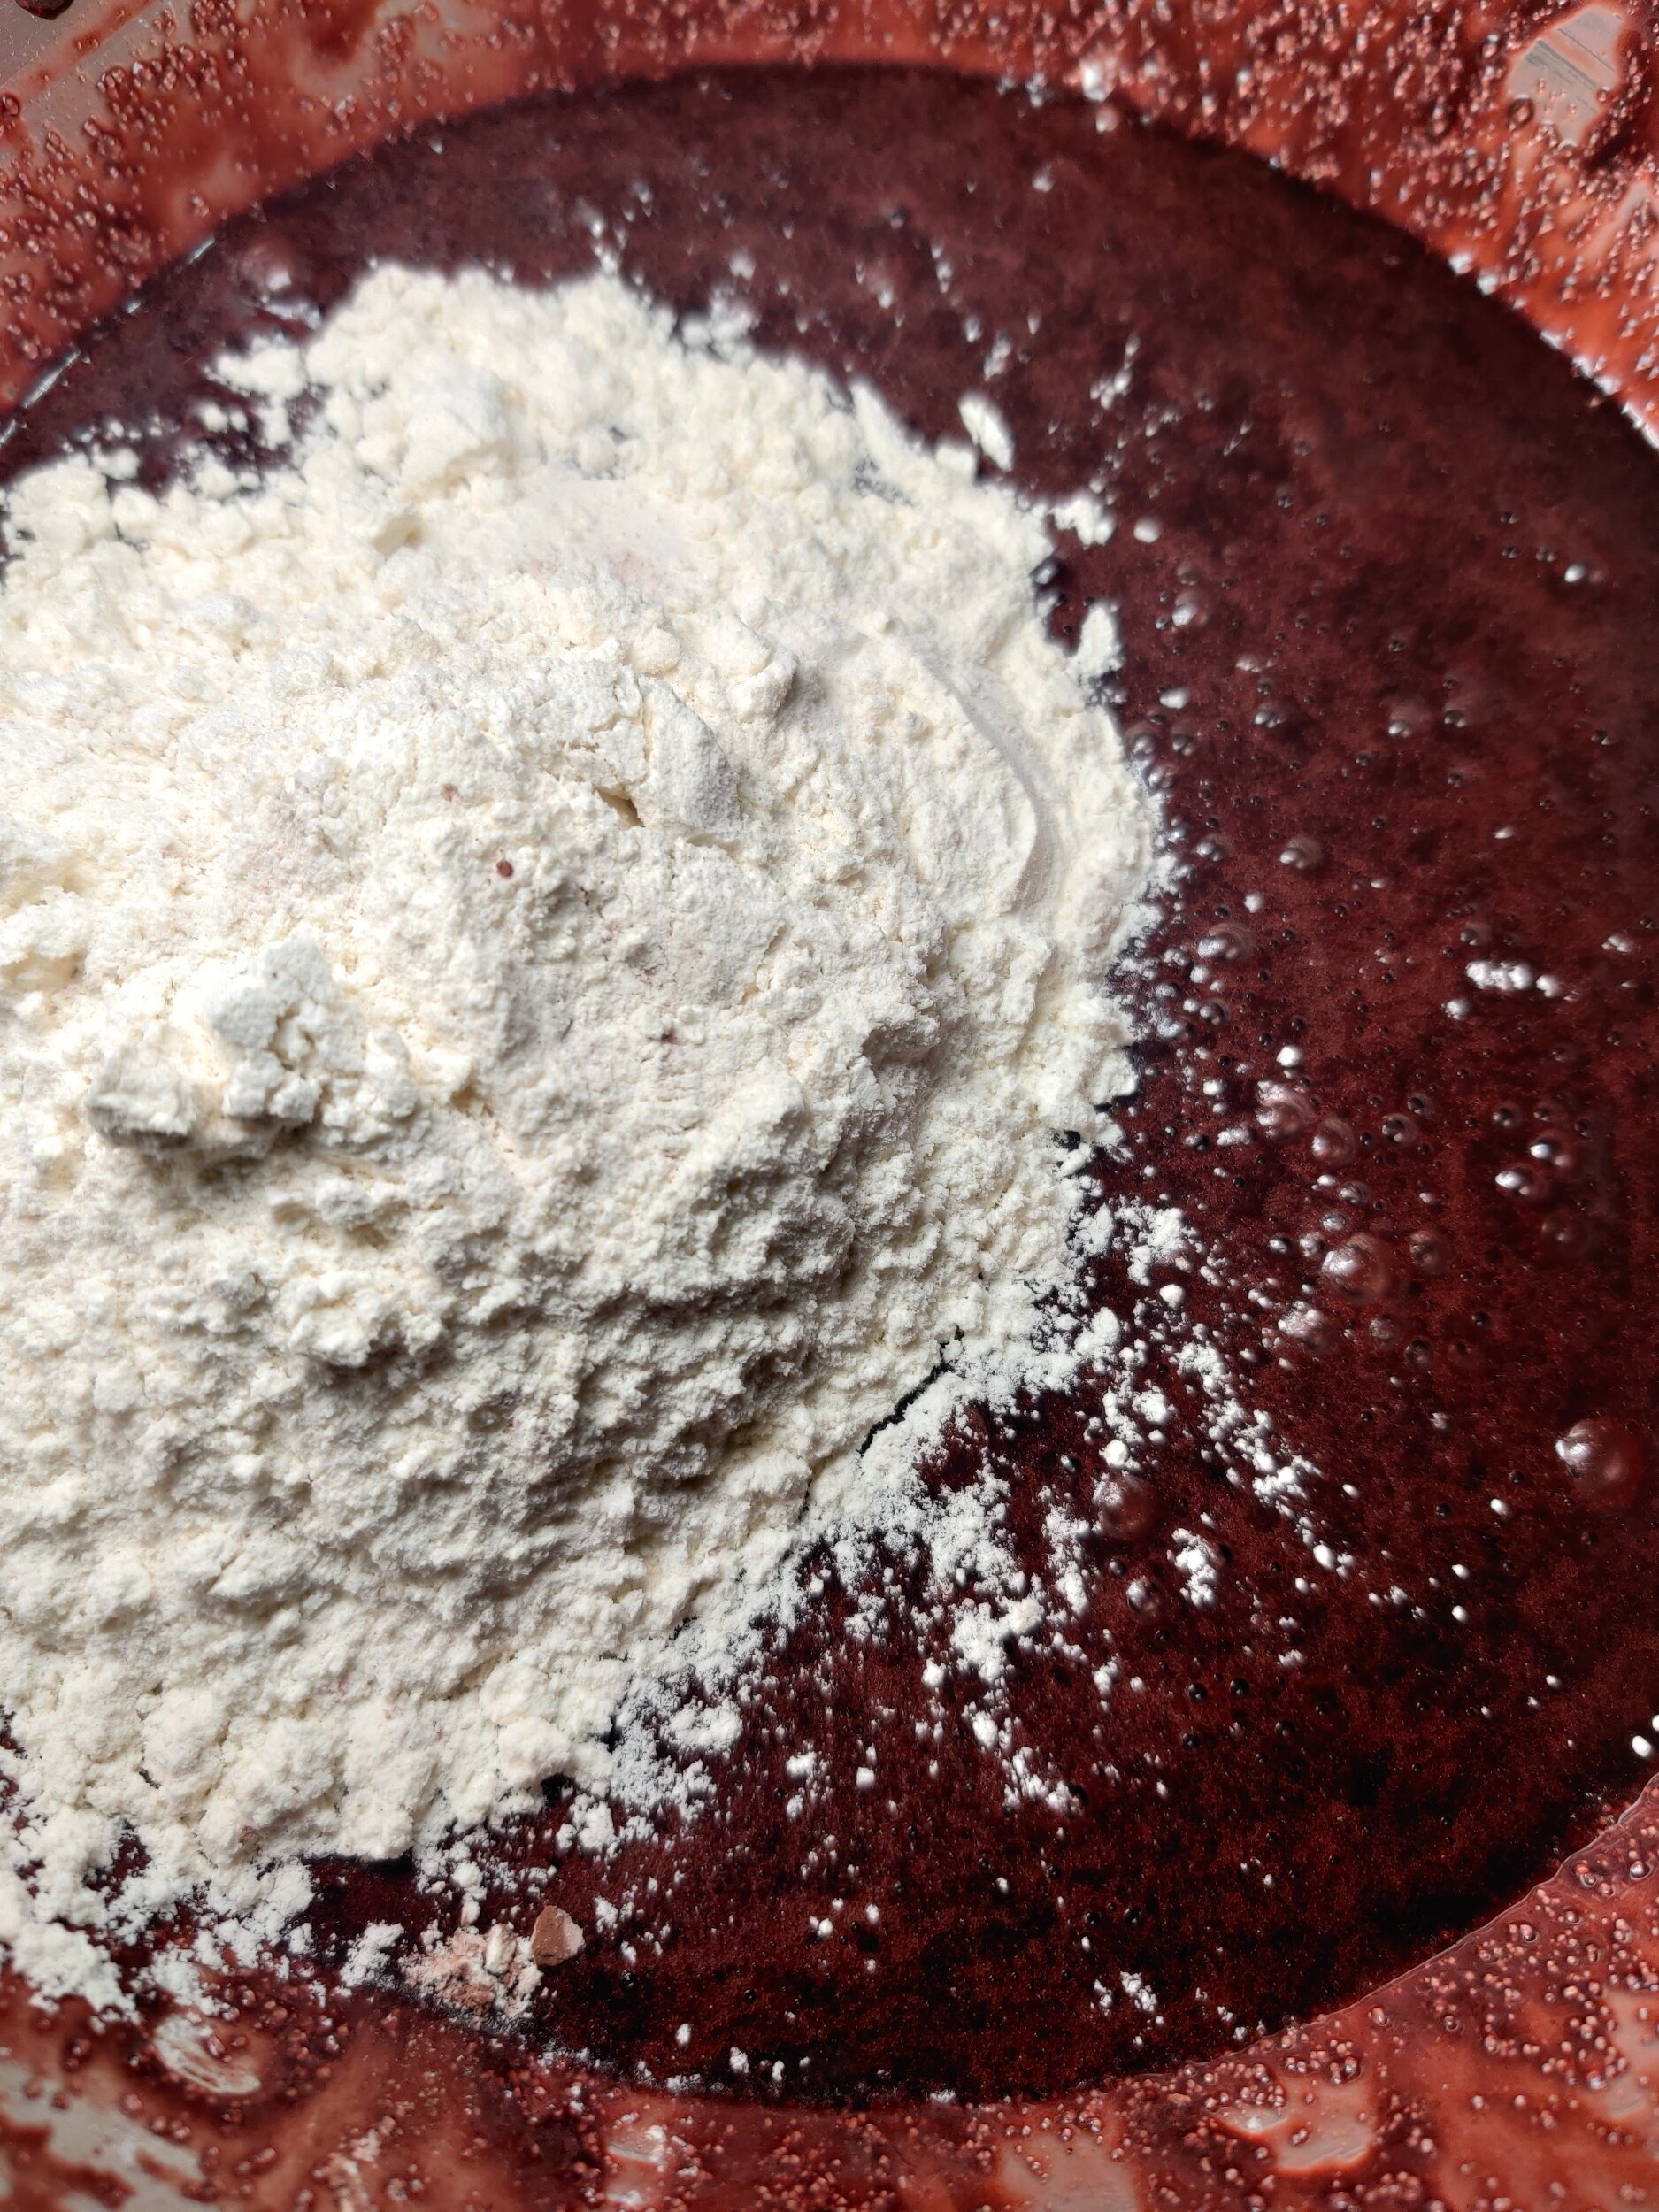
In another small bowl beat the eggs, whisk them into the main batter, and then gently fold into the flour until fully incorporated - you don't want lumps of dry flour!
Pour your brownie mix into a parchment-lined, lightly oil sprayed baking pan (I used one 8 inches by 8 inches). Use a spatula to even out your batter. You can set aside 2-4 tablespoons to drizzle on top of the cream cheese, depending on how much of it you want visible once baked.
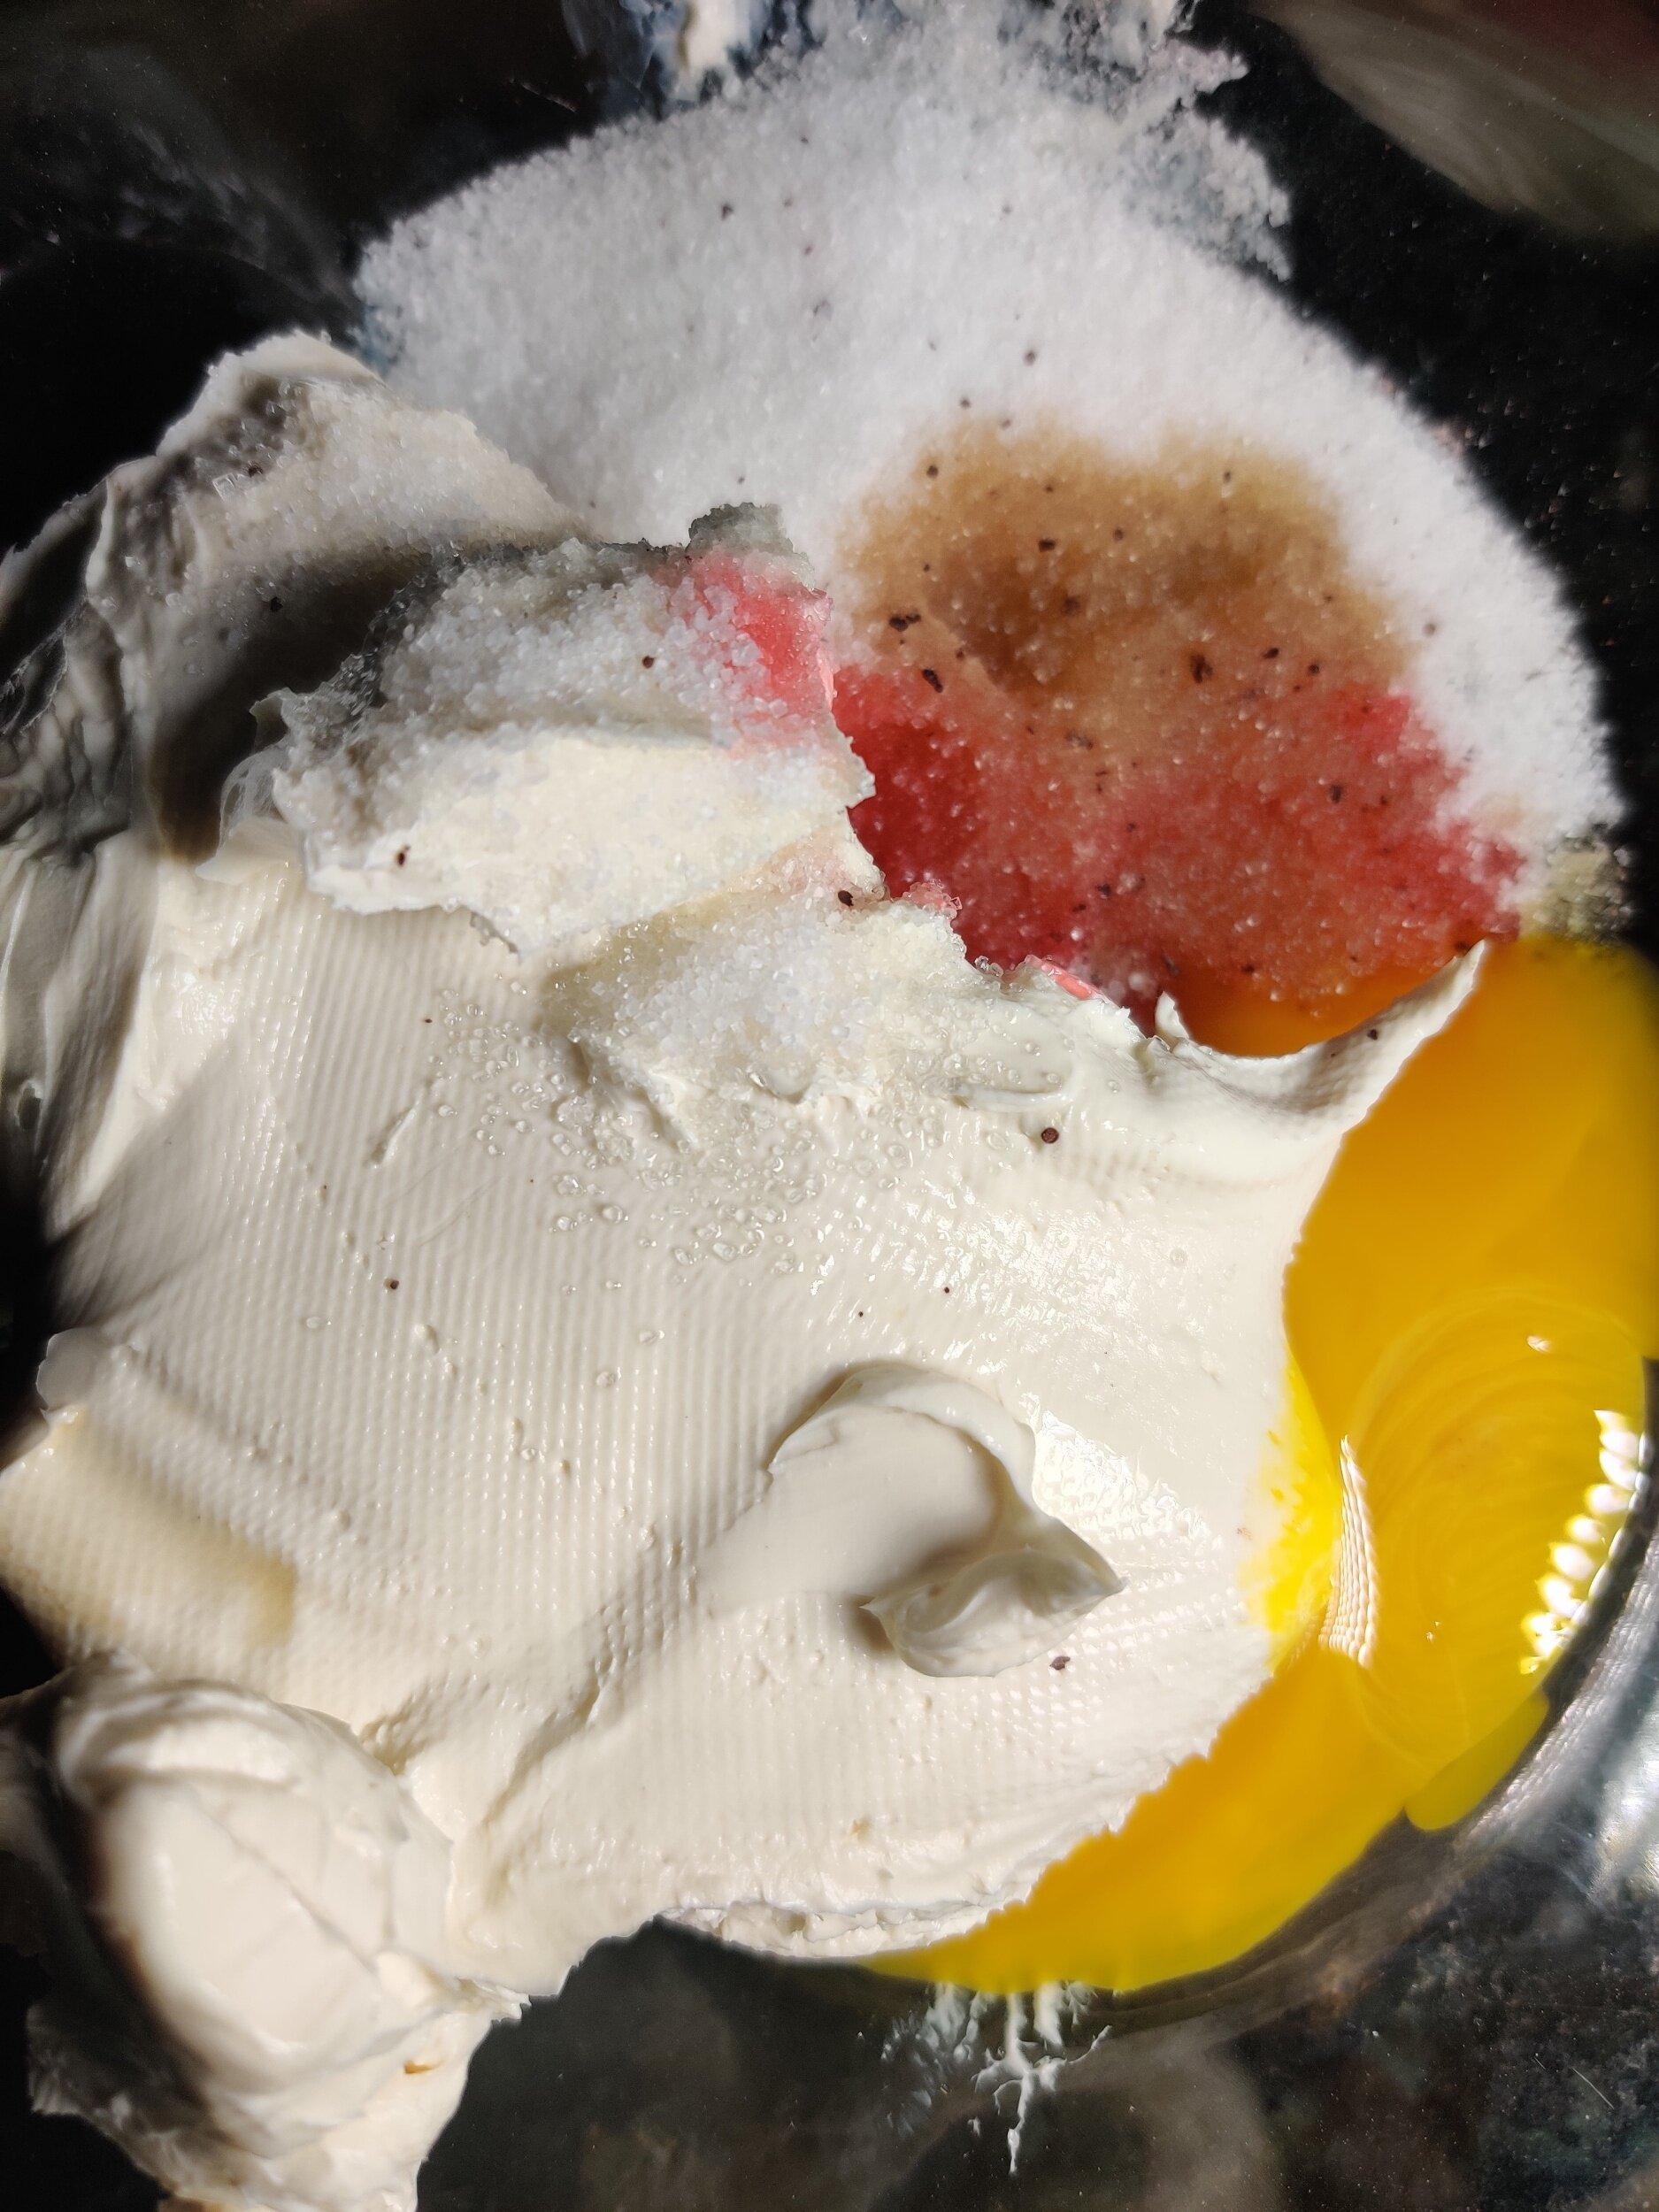
Now make your cream cheese mix. In a medium-sized bowl add the cream cheese, egg yolk, vanilla, a few drops of colouring, lemon, almond extract, and sugar. Beat with an electric mixer until smooth.
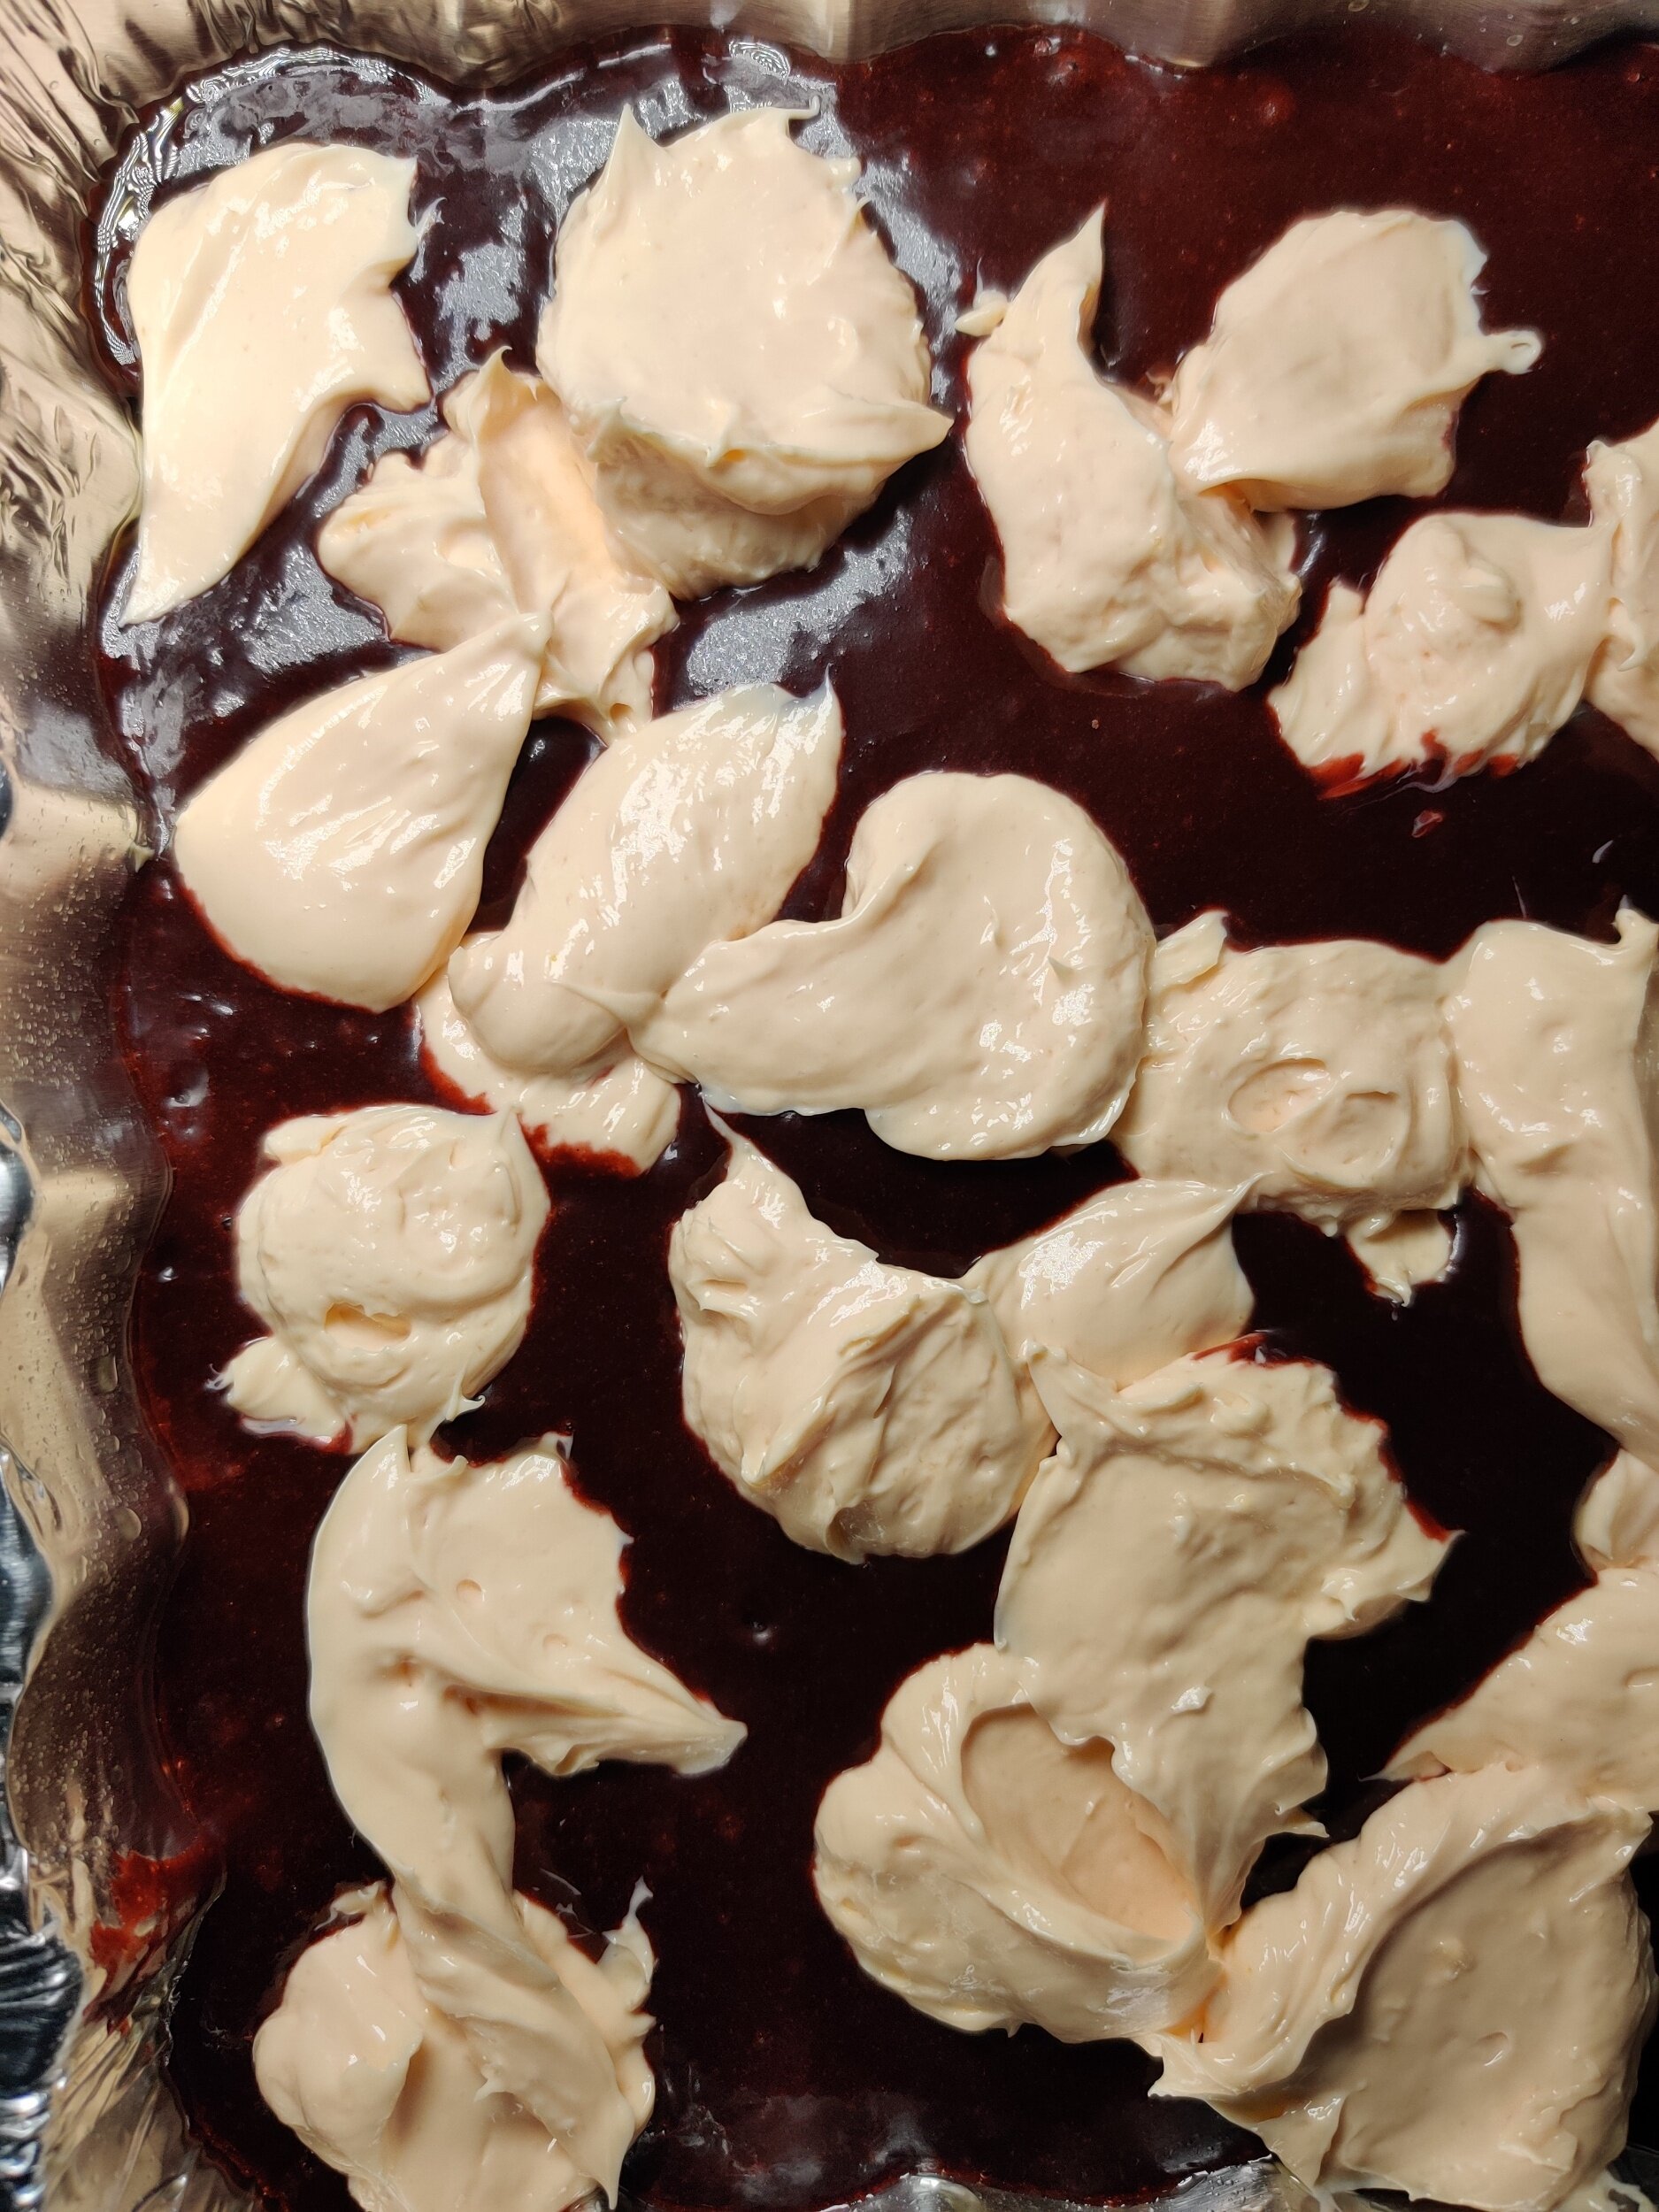
Spoon dollops of the cream mixture on top all over the top, then add your remaining brownie batter. Use a fork or knife and move it along the batter and cream cheese layers to create the swirl effect in an 'S' motion.
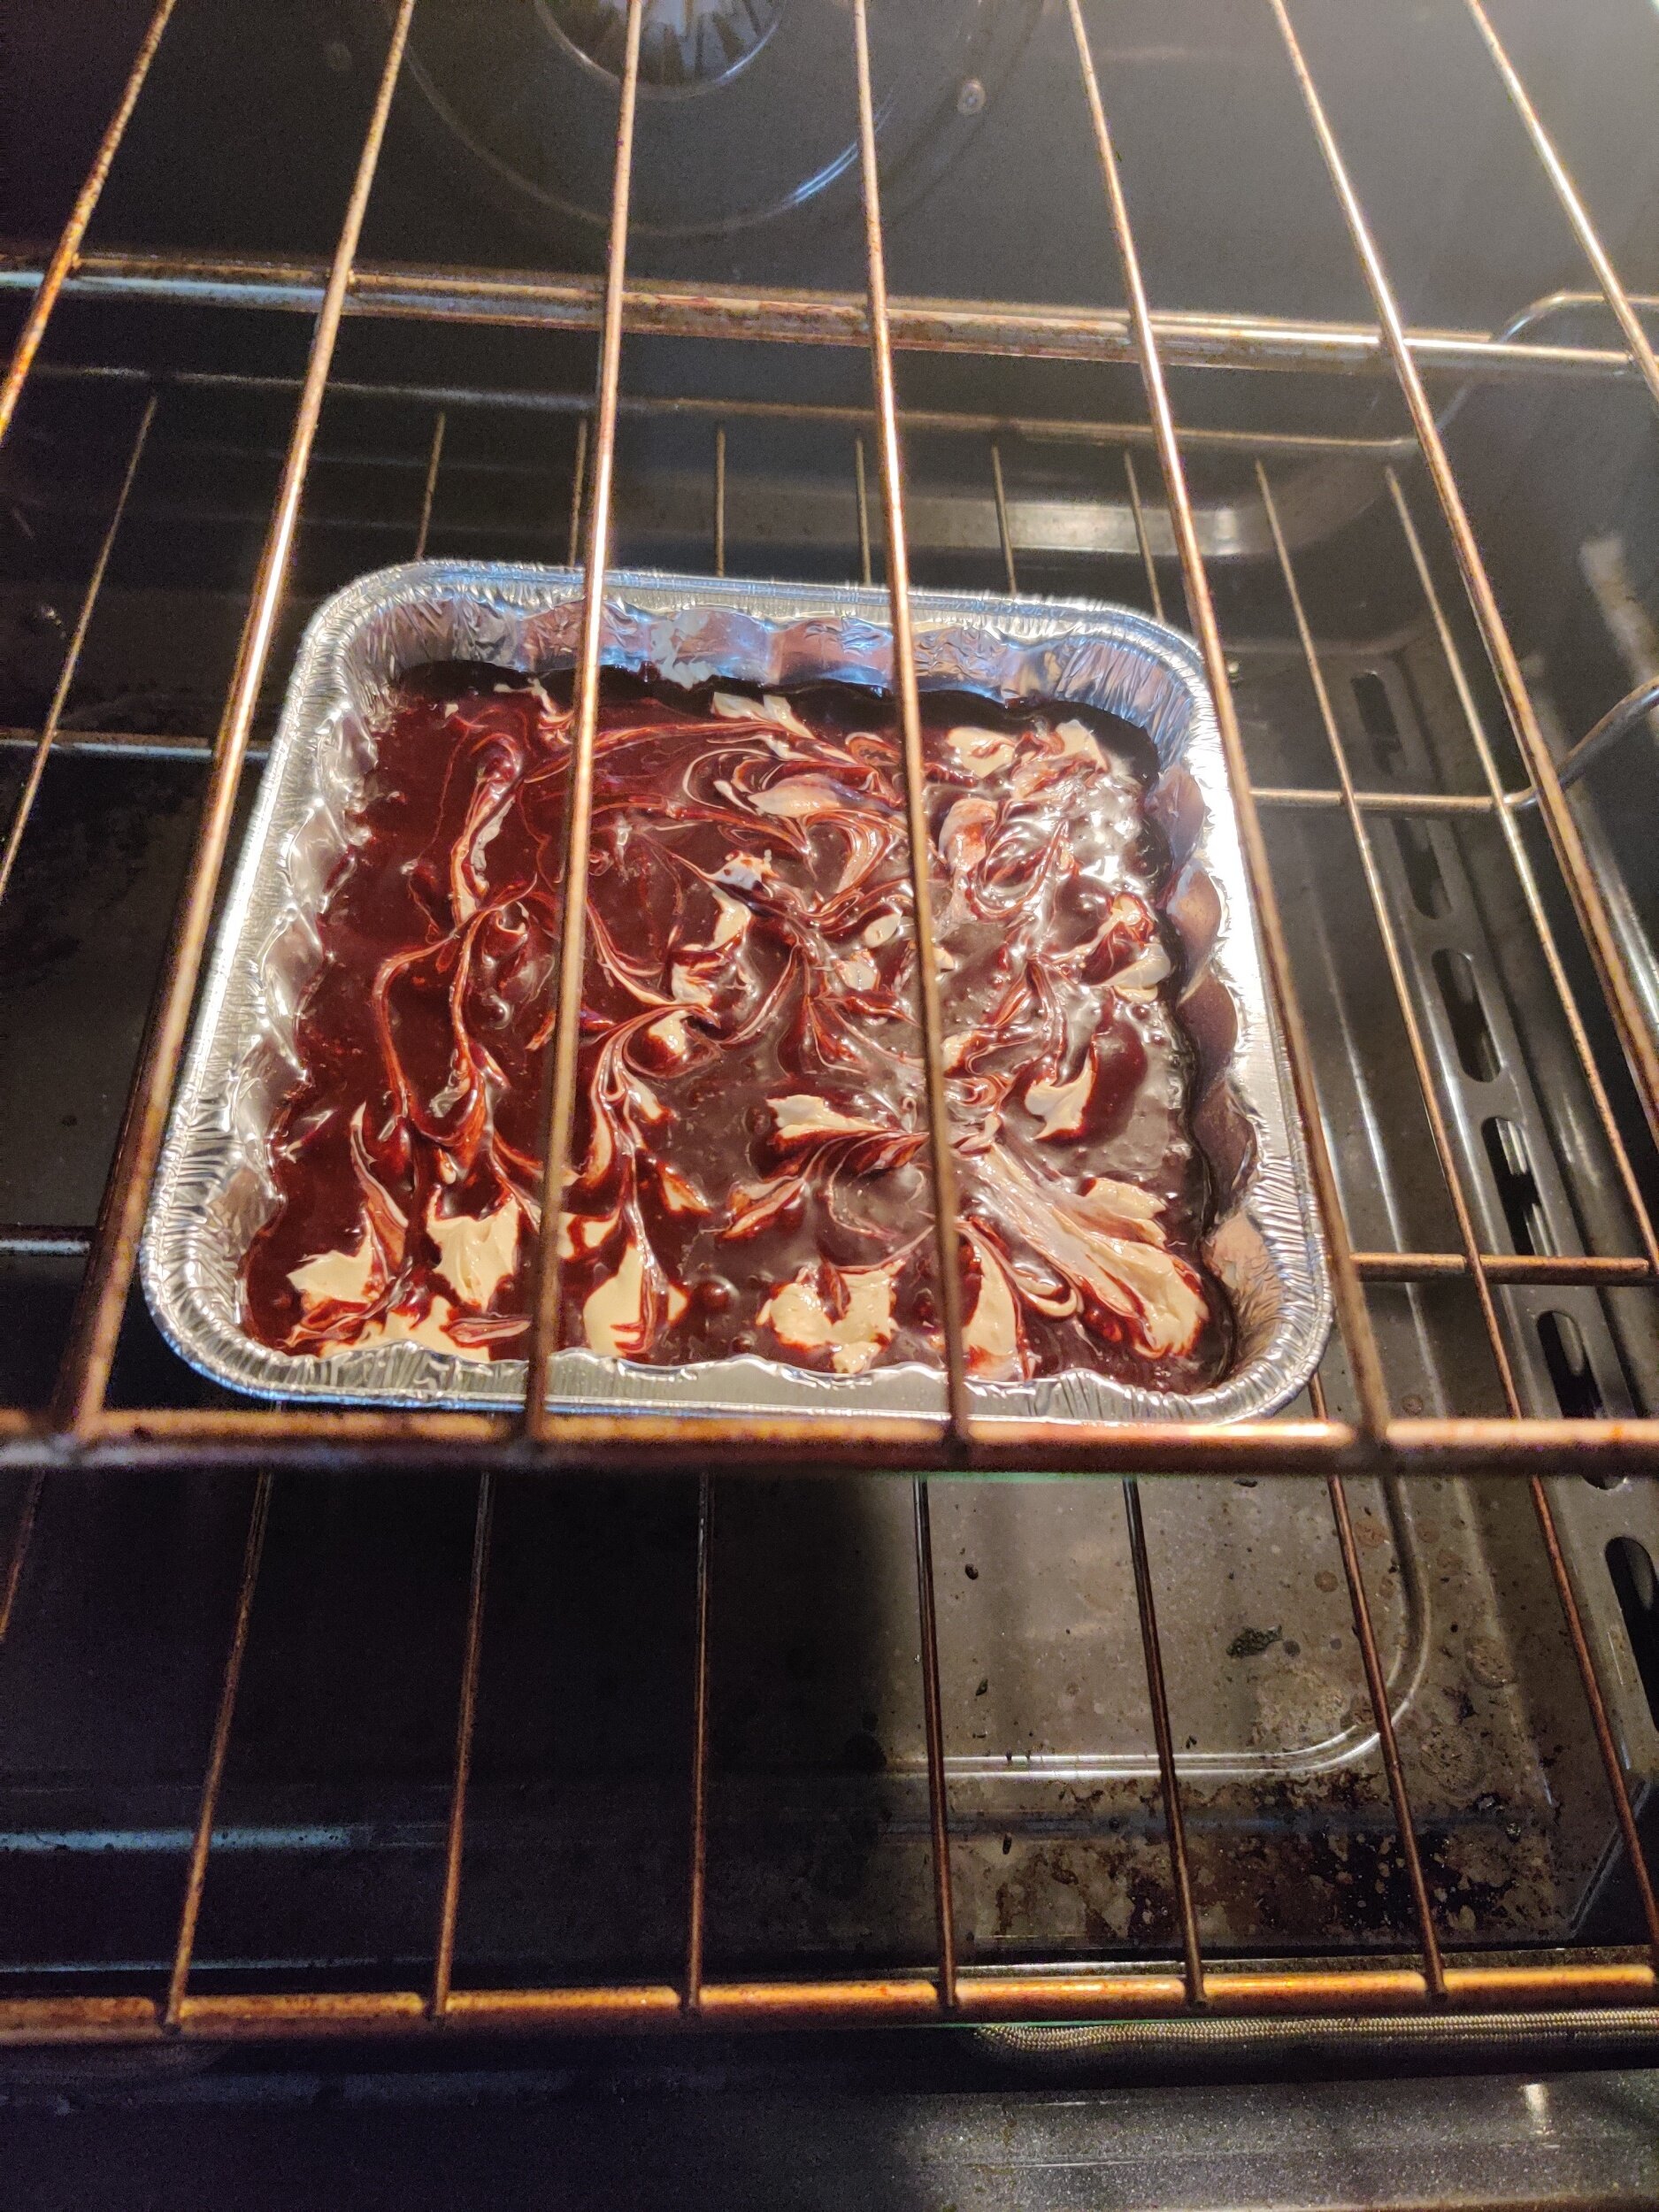
Bake at 400F for about 35 minutes, and make sure the centre comes out clean with a toothpick to check the doneness.
Set aside to cool before cutting, then sprinkle with a little powdered sugar and enjoy!
Store in the fridge in an airtight container and consume in 3-5 days!


Chocolate Coconut Cookies (Homemade Romany Cream Biscuits)
Introduction to “Romany Creams”: A Timeless Treat
If there's one biscuit that holds a special place in the hearts of Southern Africans, it's the iconic Romany Cream. Known for their rich chocolate flavor, perfectly crispy texture, and creamy center, these decadent treats have been a staple in households for generations. Whether paired with a hot cup of coffee, as a mid-afternoon snack, or shared during celebrations, Romany Creams are as versatile as they are delicious.
This recipe was inspired by Romany Creams (one of my favourite biscuits/cookies of all time). Make this batch first if you've never tried them, then taste the originals and let me know what you think!
My understanding is that Romany Creams were originally developed from Gipsy Creams (a reference to a recipe of custard cream biscuits from the nomadic people of Romany/other parts of Europe). Introduced in the UK, sales fell flat, but the recipe was revitalised in South Africa, where the biscuits are still produced today. I won't go too deep into the history here, but look it up when you get the chance.
I recommend making Romany Creams throughout the year, but with a few sprinkles, everyone will want you over in the holiday season.
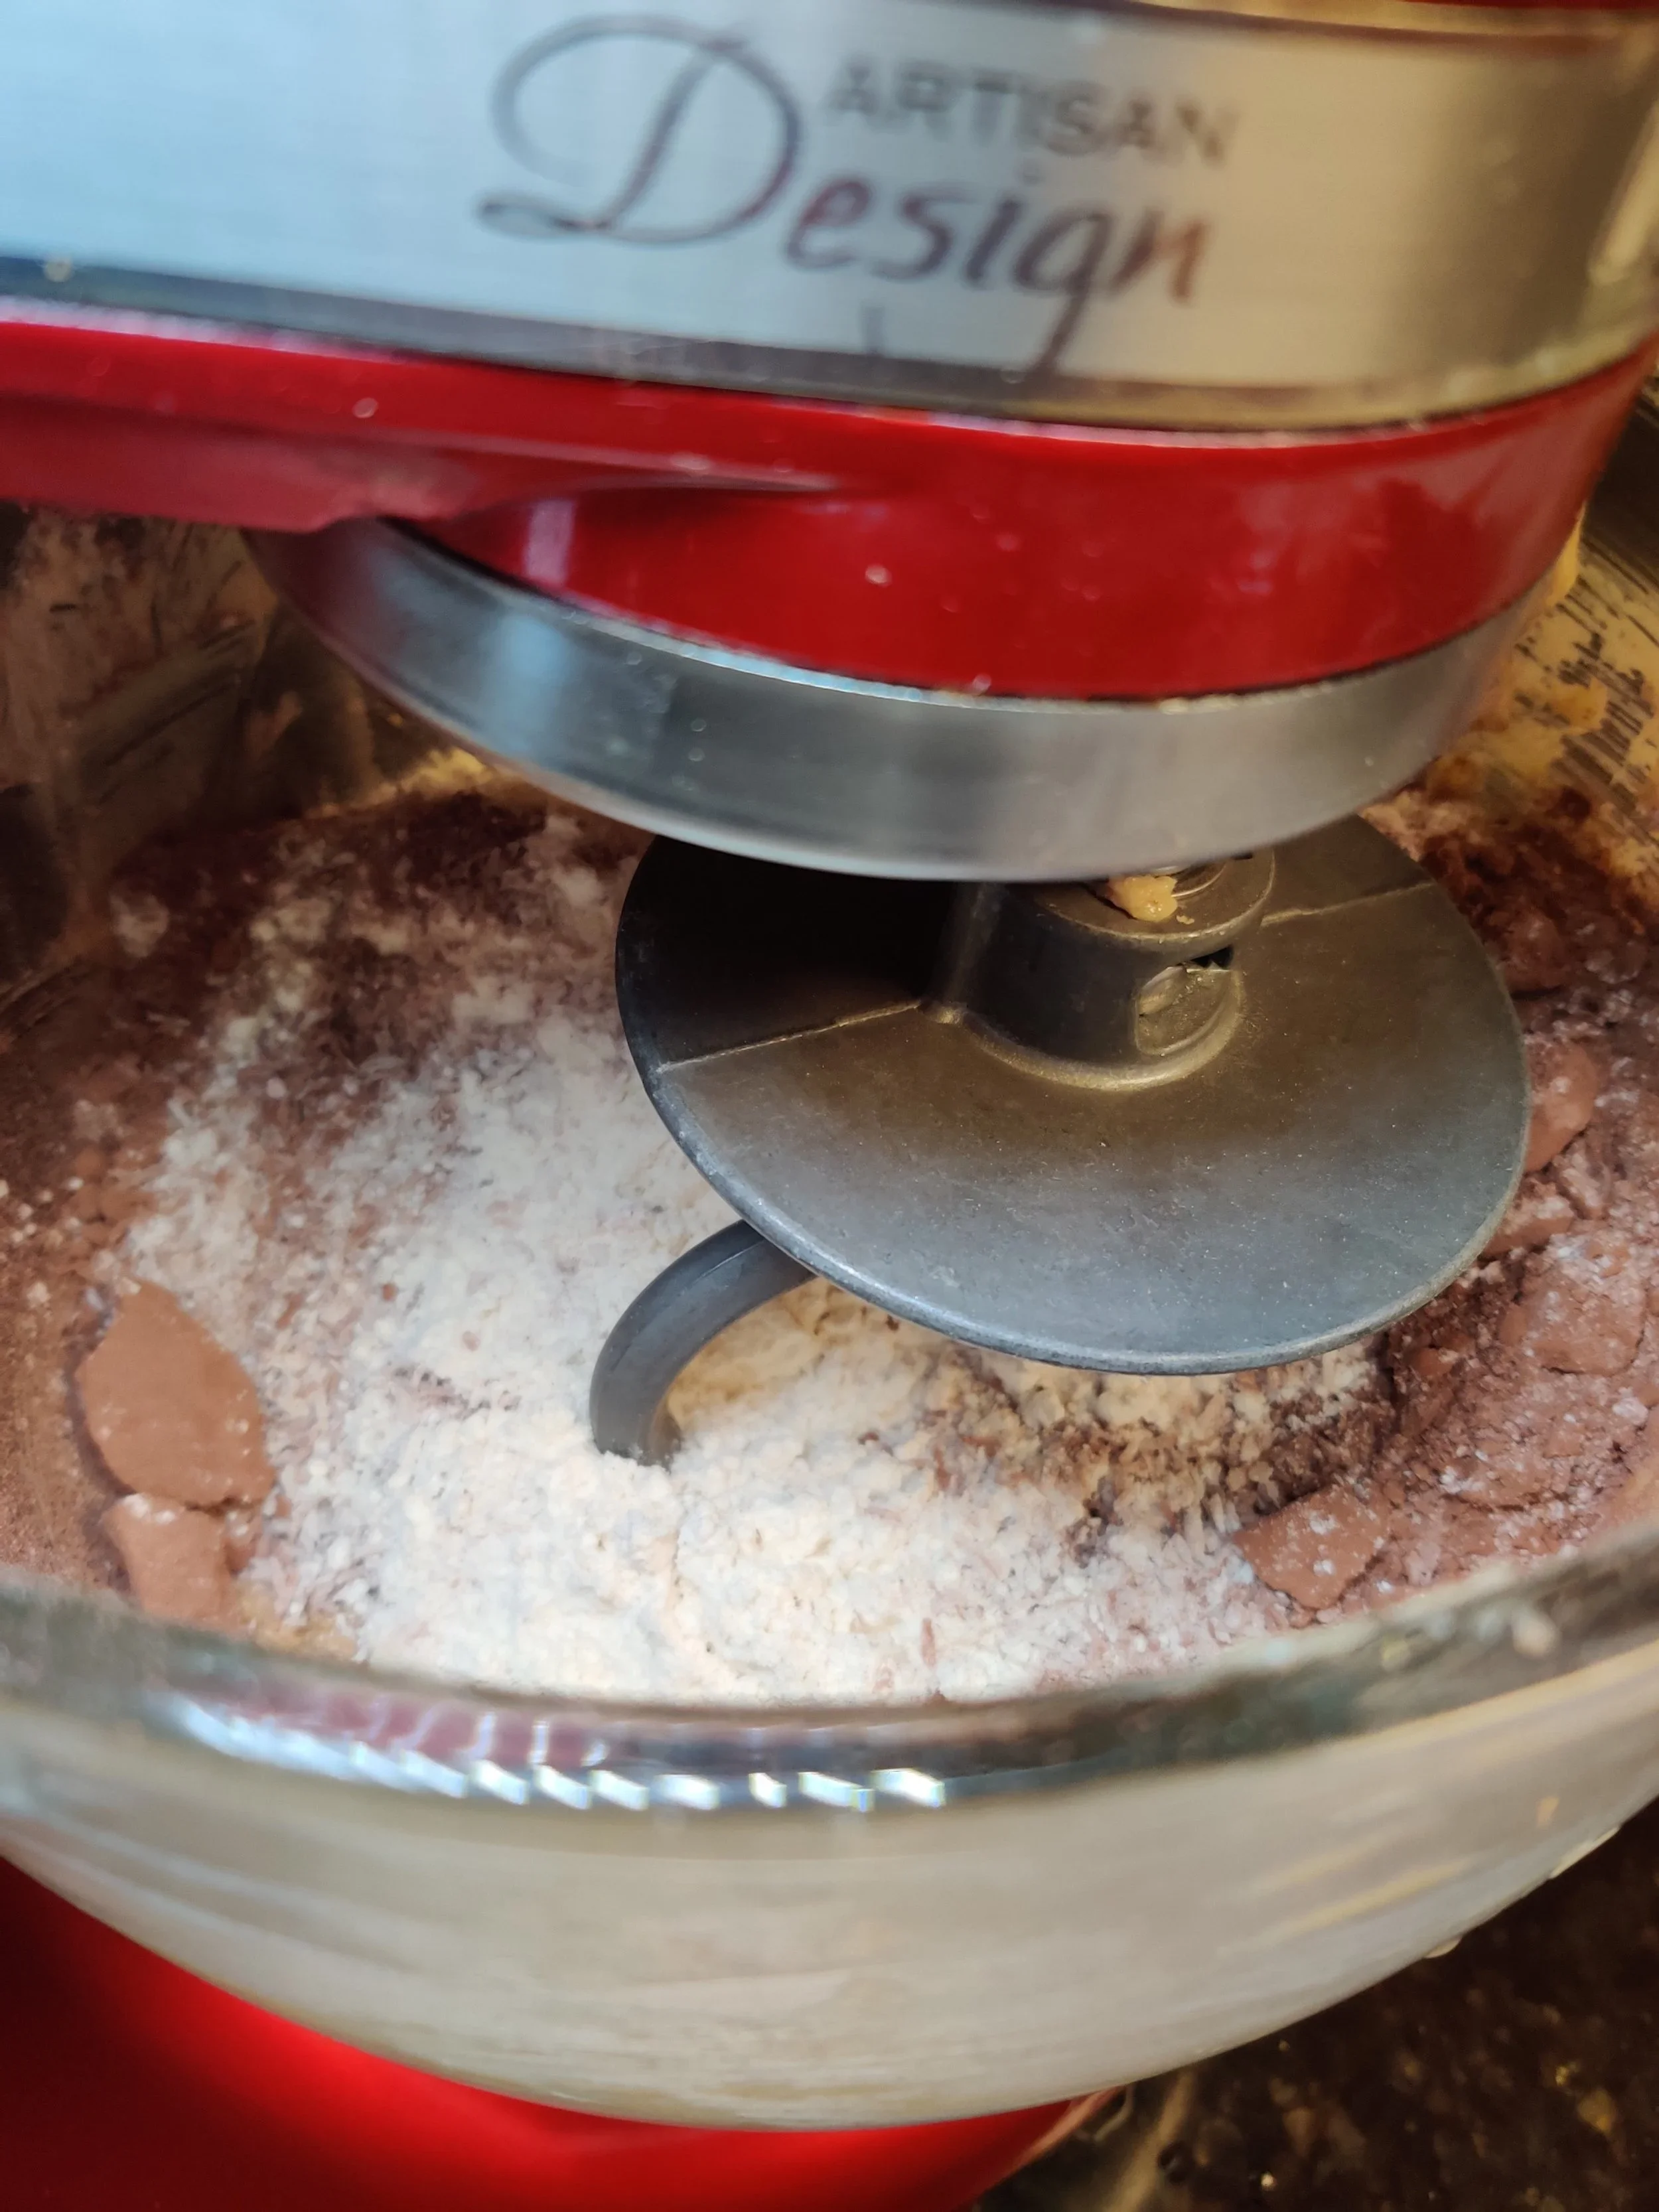
A note on preparing the dough: using a stand mixer will save you some time, and the dough hook makes the kneading easier, giving you a more consistent result. However, you can use your hands throughout the process.
Here are some helpful tips for making perfect Romany Creams at home:
1. Choose Quality Ingredients
Use high-quality cocoa powder and chocolate for the best flavor. The richness of the biscuit depends on the quality of these key ingredients.
2. Cream Butter and Sugar Thoroughly
Creaming the butter and sugar until light and fluffy ensures the biscuits have the perfect texture—crisp yet tender.
3. Sift Your Dry Ingredients
Sifting the dry ingredients (like flour, cocoa powder, and baking powder) helps avoid lumps and ensures an even distribution for a smooth dough.
4. Don’t Overwork the Dough
Mix the ingredients until just combined. Overworking the dough can make the biscuits tough instead of light and crisp.
5. Shape Consistently
Roll the dough into evenly sized balls or logs to ensure the biscuits bake uniformly. If you’re pressing them with a fork, try to make the grooves consistent for an even texture.
6. Chill Before Baking
Letting the shaped dough rest in the fridge for 15–20 minutes before baking helps the biscuits hold their shape better in the oven.
7. Bake with Care
Keep an eye on the baking time. The biscuits should be firm but not overly browned to retain their chocolaty flavor.
8. Choose the Right Filling
Traditional Romany Creams are filled with chocolate ganache or melted chocolate. Ensure the filling has cooled slightly before sandwiching the biscuits to avoid making them soggy.
9. Allow Cooling Before Filling
Always let the biscuits cool completely before adding the filling to prevent the chocolate from melting unevenly.
10. Store Properly
Once assembled, store your Romany Creams in an airtight container to keep them fresh and crispy. They can last up to a week (if you can resist eating them sooner!).
With these tips in mind, you'll be well on your way to creating Romany Creams that rival store-bought versions—if not better! I try to abide by some of these tips for the most part.
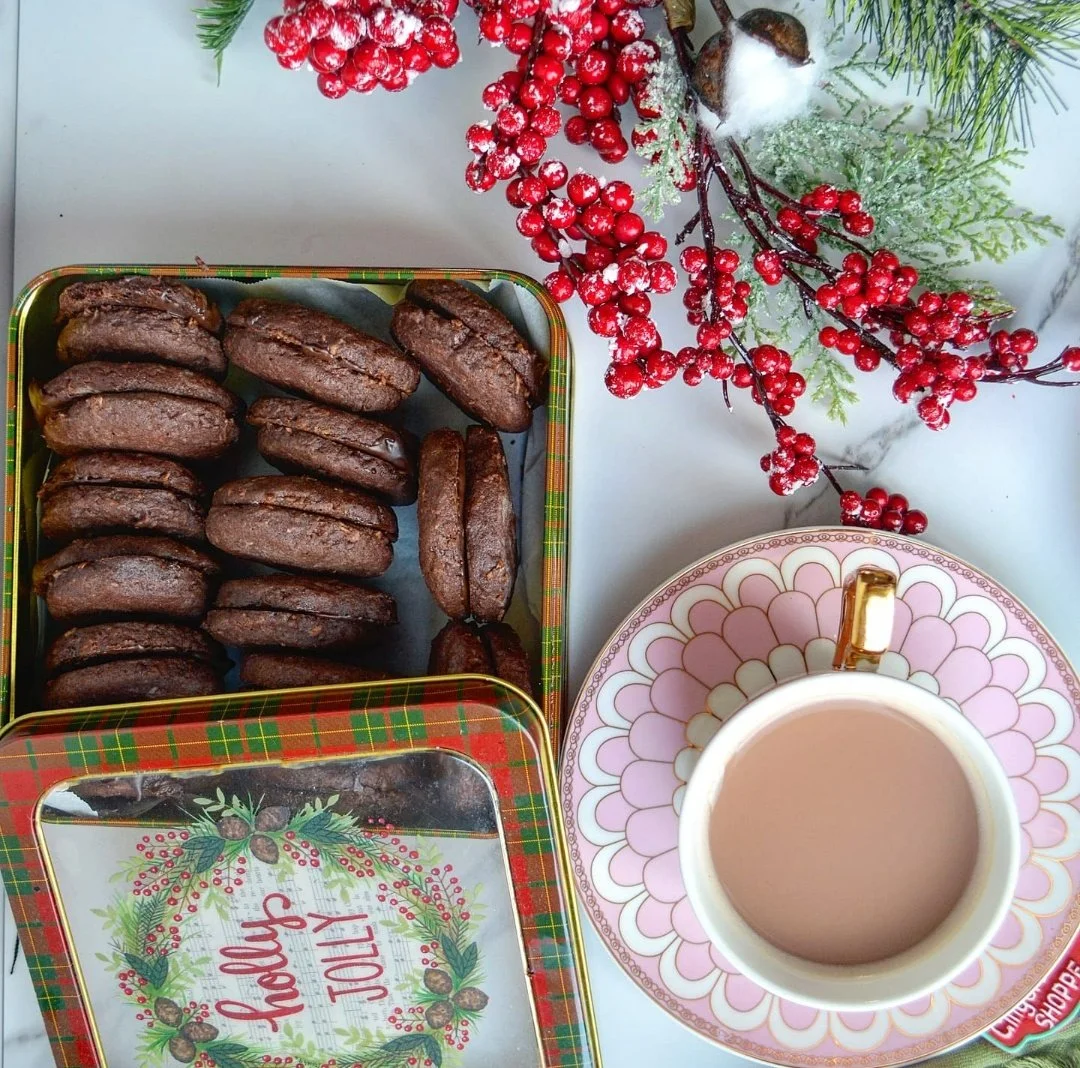

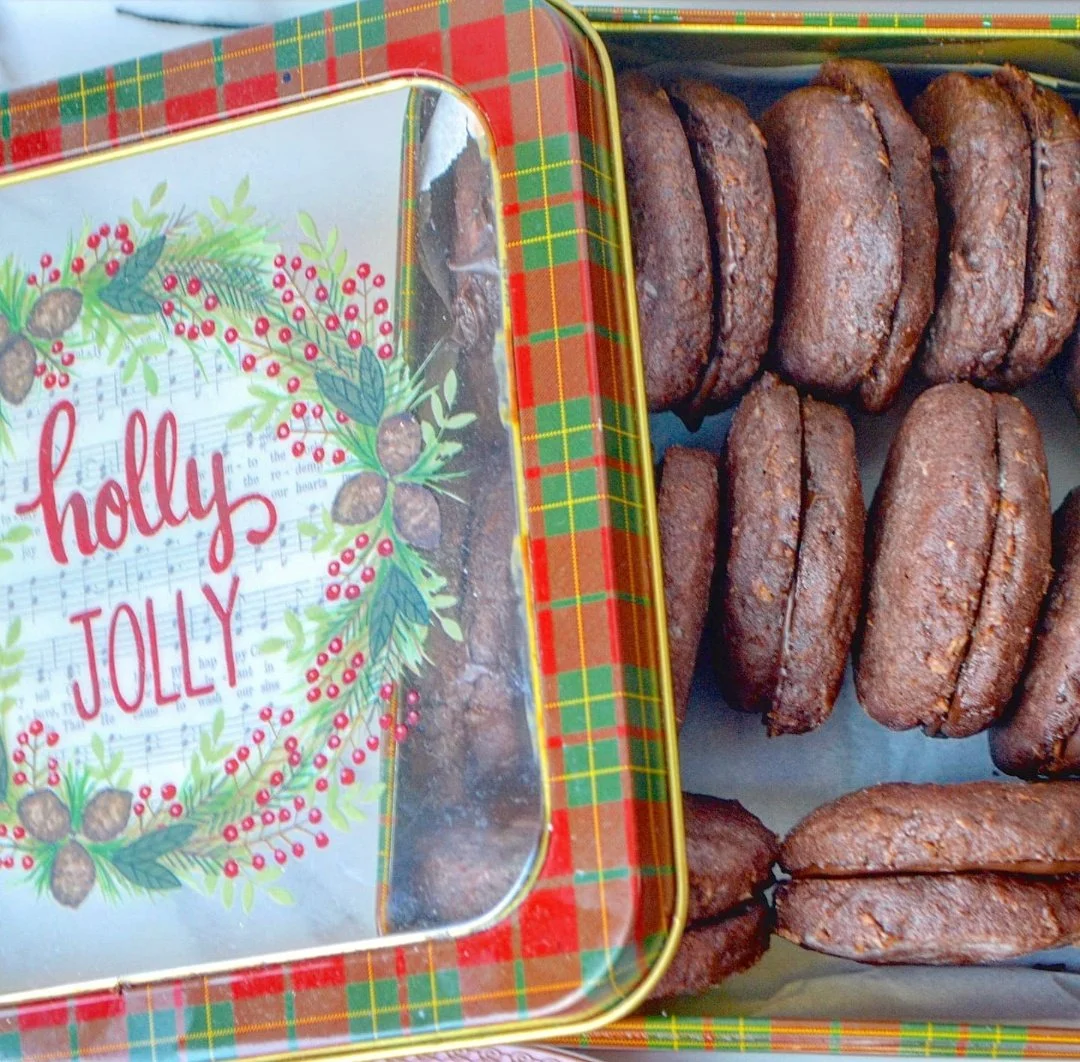

Holiday Homemade Romany Creams
This is a homemade version of the chocolate Romany Creams, sandwich cookies with melted chocolate in between and coconut (sometimes oats) incorporated into the dough. The addition makes them extra crunchy and hard to put down.
Ingredients
- 1/2 cup coconut sugar
- 1/2 cup granulated sugar
- 2 sticks butter
- 1 teaspoons vanilla extract
- 1 egg
- 3 tablespoons coconut oil, melted and cooled
- 2 1/2 cups all-purpose flour (optional: substitute 1/2 cup with coarsely ground rolled oats)
- 3/4 cup Dutch process or unsweetened natural cocoa powder
- 1 teaspoon baking powder
- 1 teaspoon salt
- 1 1/2 cups desiccated coconut
- 200g chocolate (milk and dark Cadbury or semi-sweet baking)
- Holiday sprinkles (optional)
Instructions
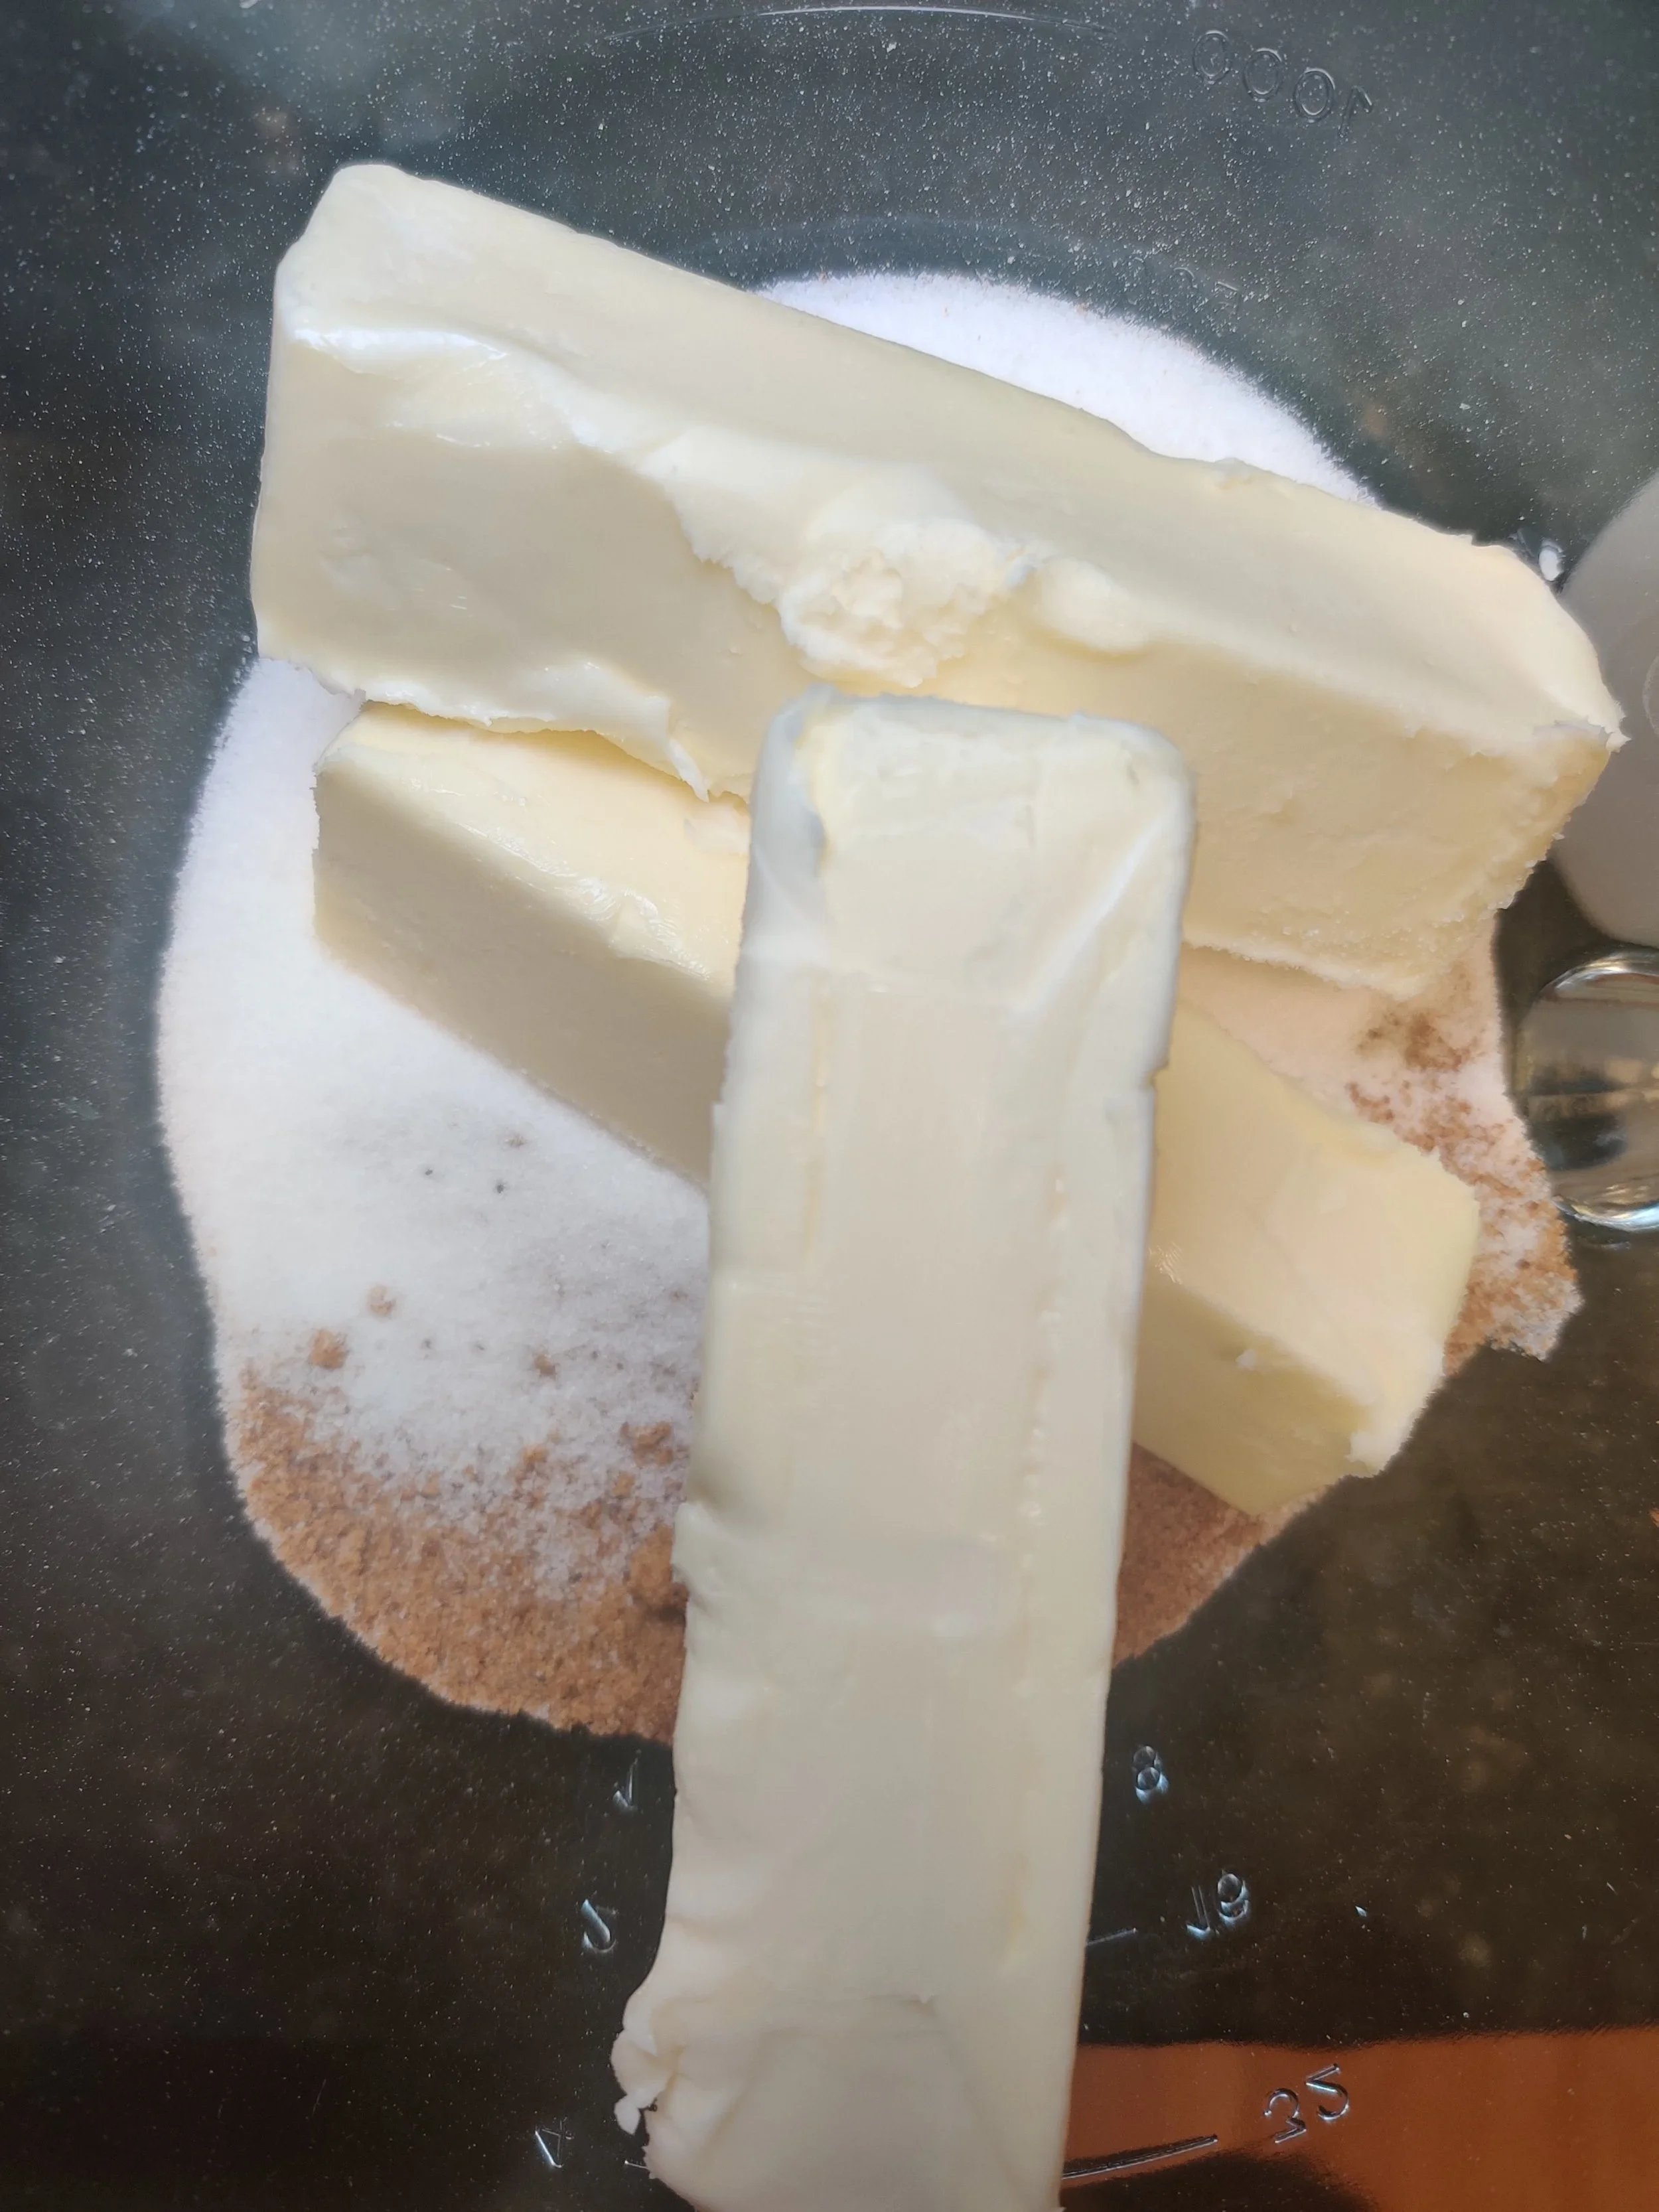
- Beat the sugars and butter until a creamy texture develops in a stand mixer. Add in the egg, oil and vanilla, and combine until smooth.
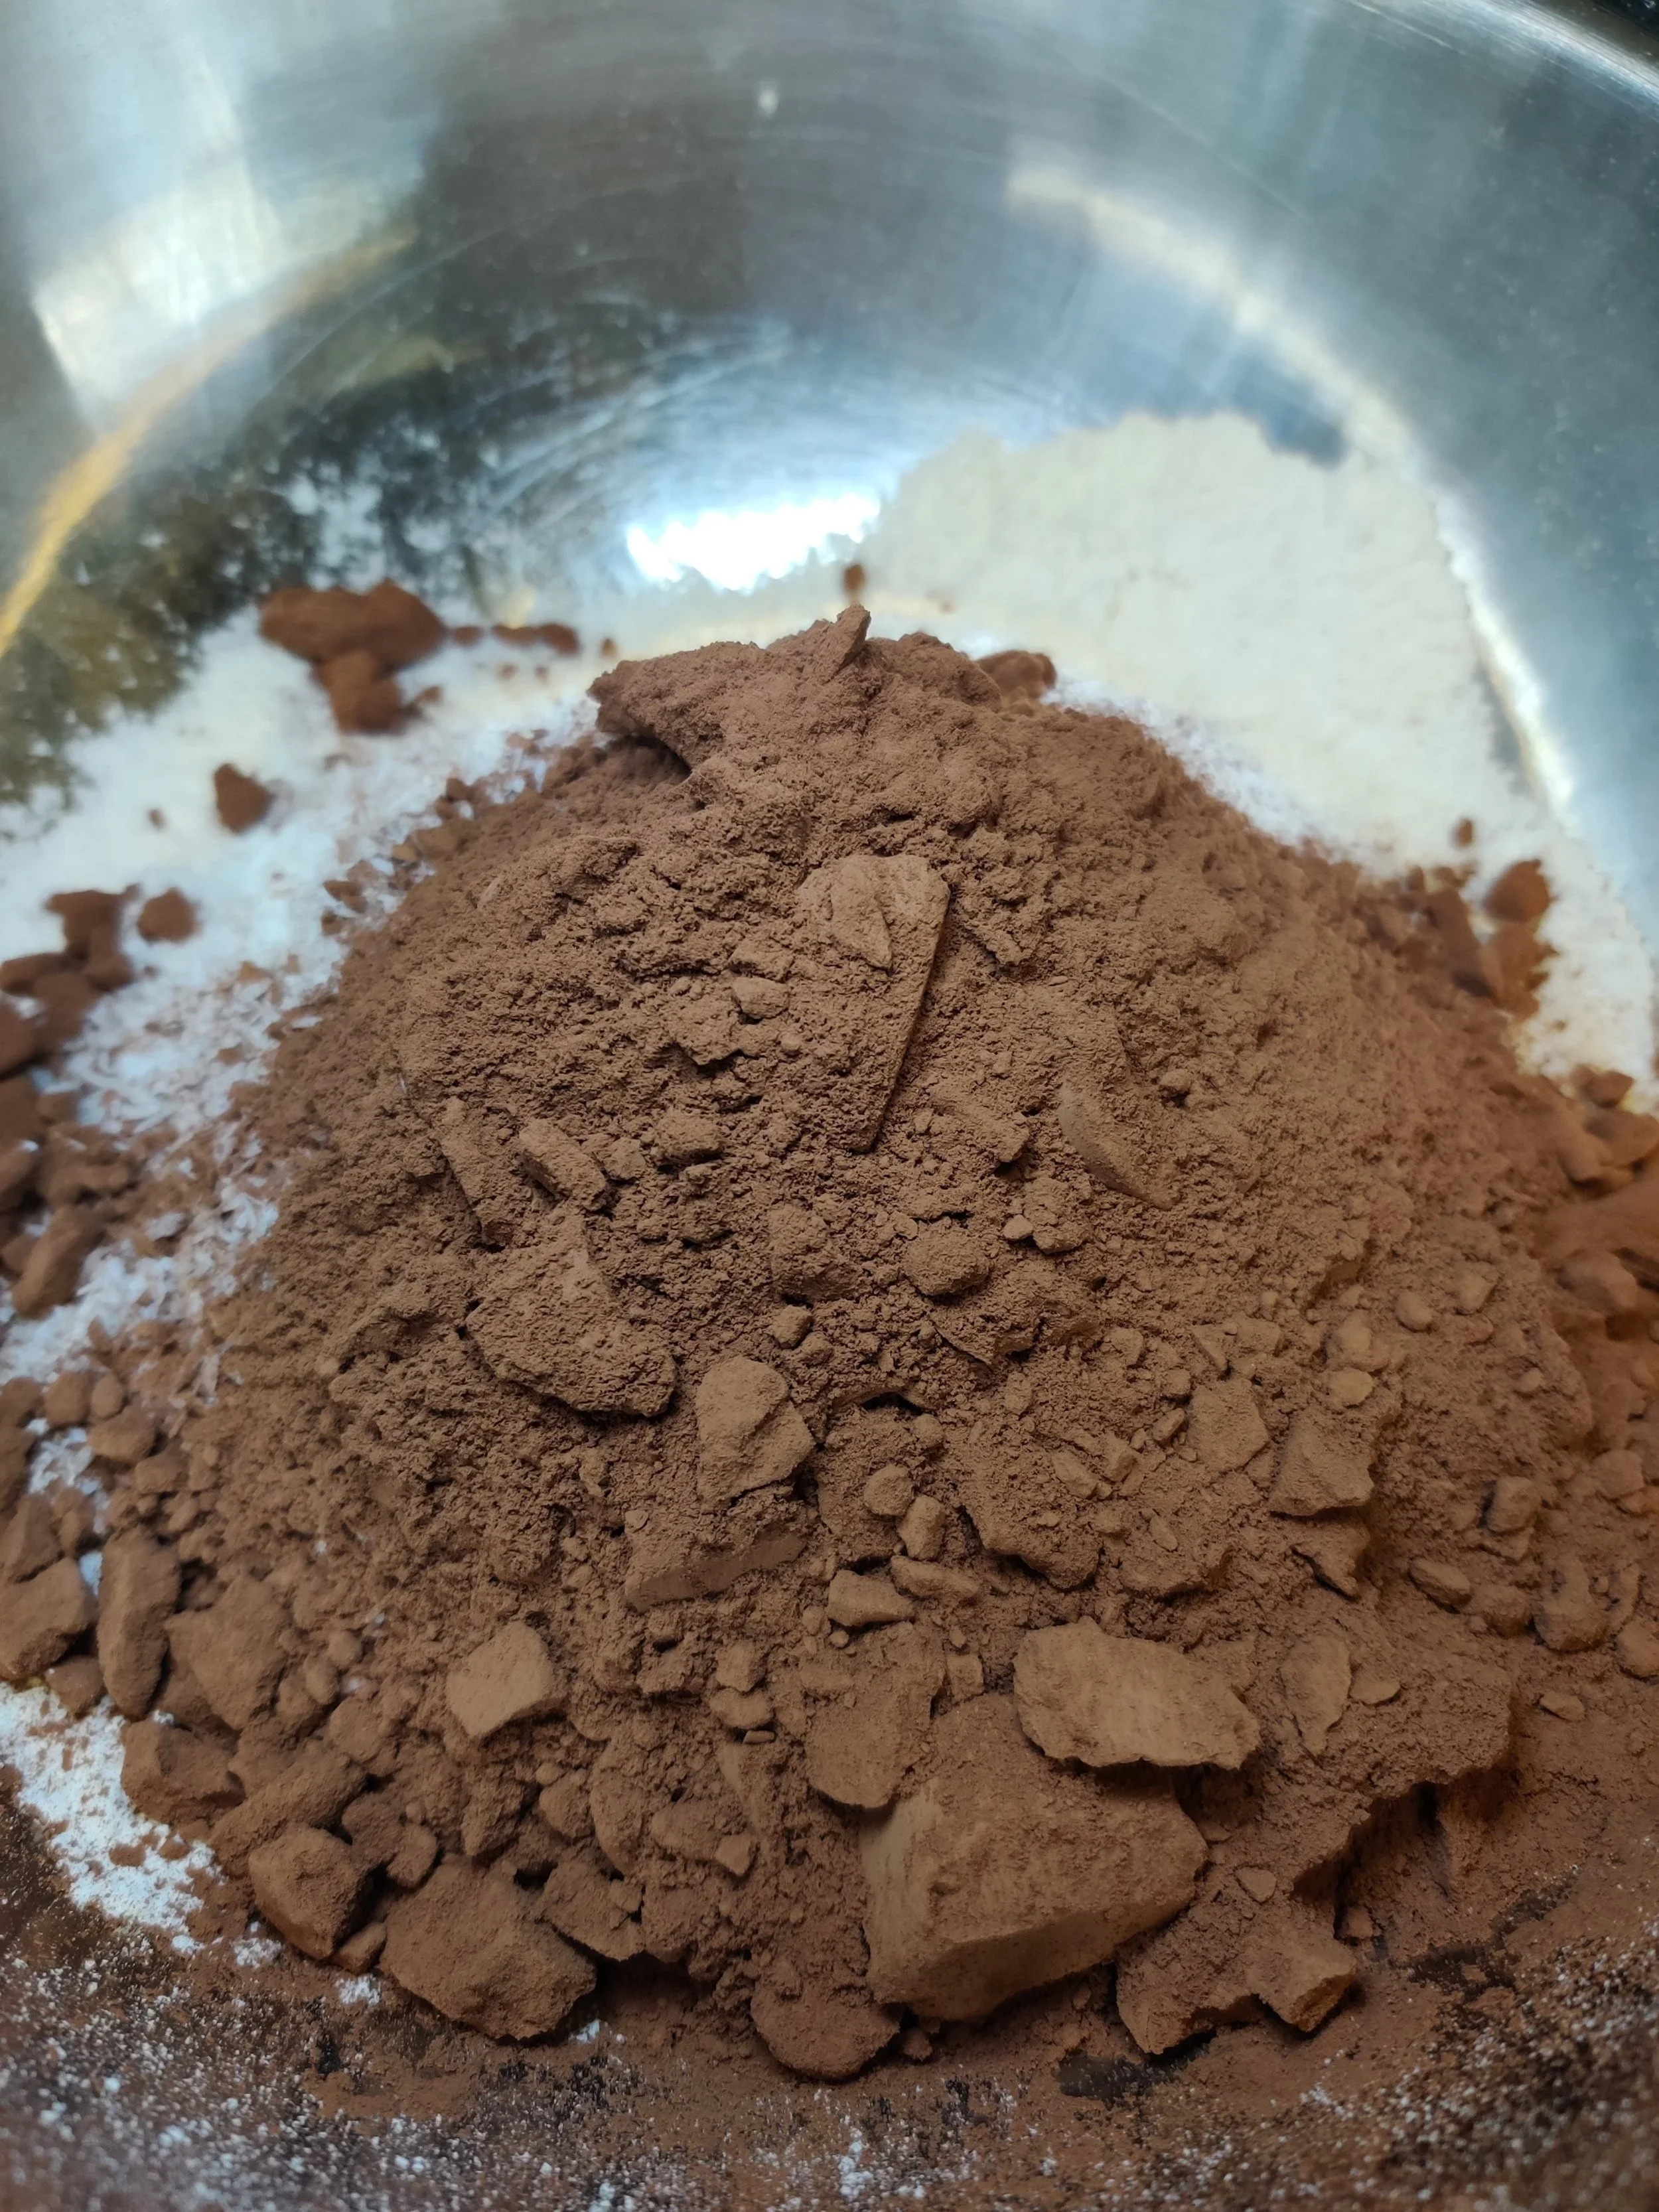
- Mix the other dry ingredients in a separate bowl, then add to the stand mixer bowl. Change the attachment to a kneading hook and mix quickly until a soft dough forms.
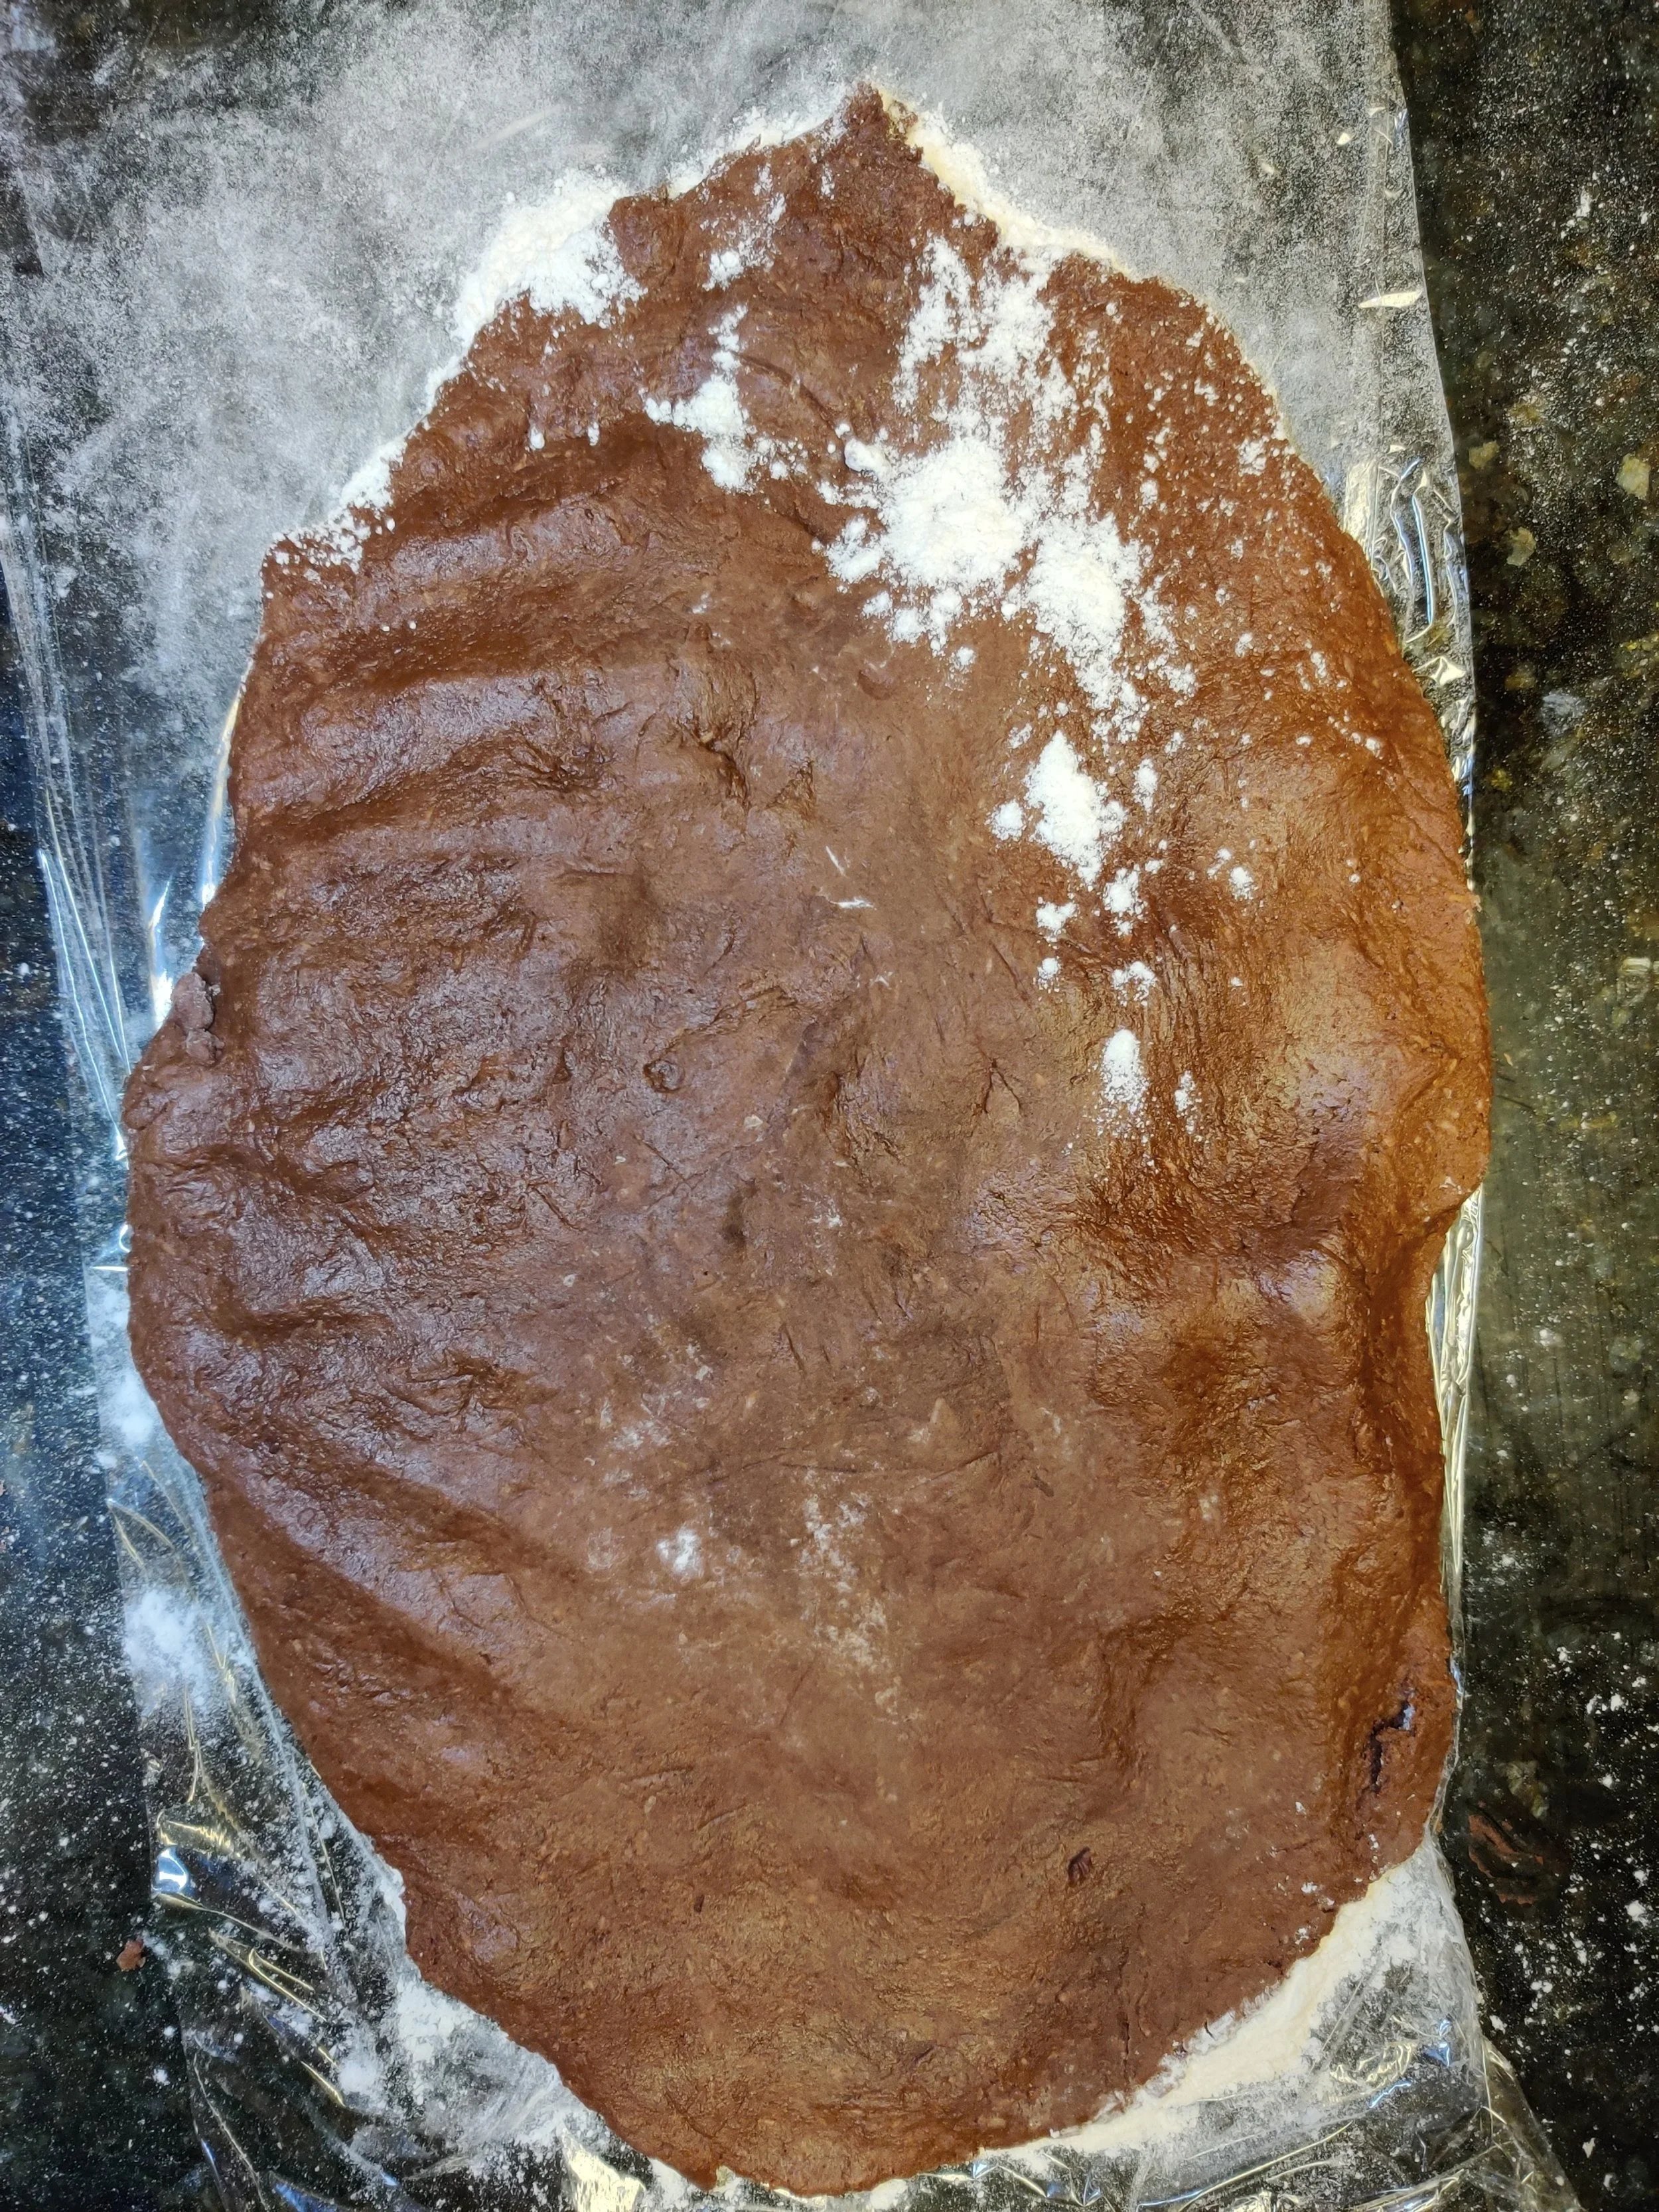
- Transfer the dough to a large floured piece of cling film. Cover with another piece, then roll out the dough to about an inch in thickness.
- Use a cookie cutter of the desired size and transfer the dough pieces to parchment-lined baking sheets - you'll probably have to do it in batches. If you are short on time, you can cover the dough with cling wrap and bake the next day.
- Optional: Use a fork to make cross lines and create a texture on the top biscuit. You can also add seasonal sprinkles on the top side of each cookie before baking.
- Chill the biscuits in the fridge covered for at least 10 minutes and bake for 10-11 minutes at 350F, watch for burning. Set aside to cool.
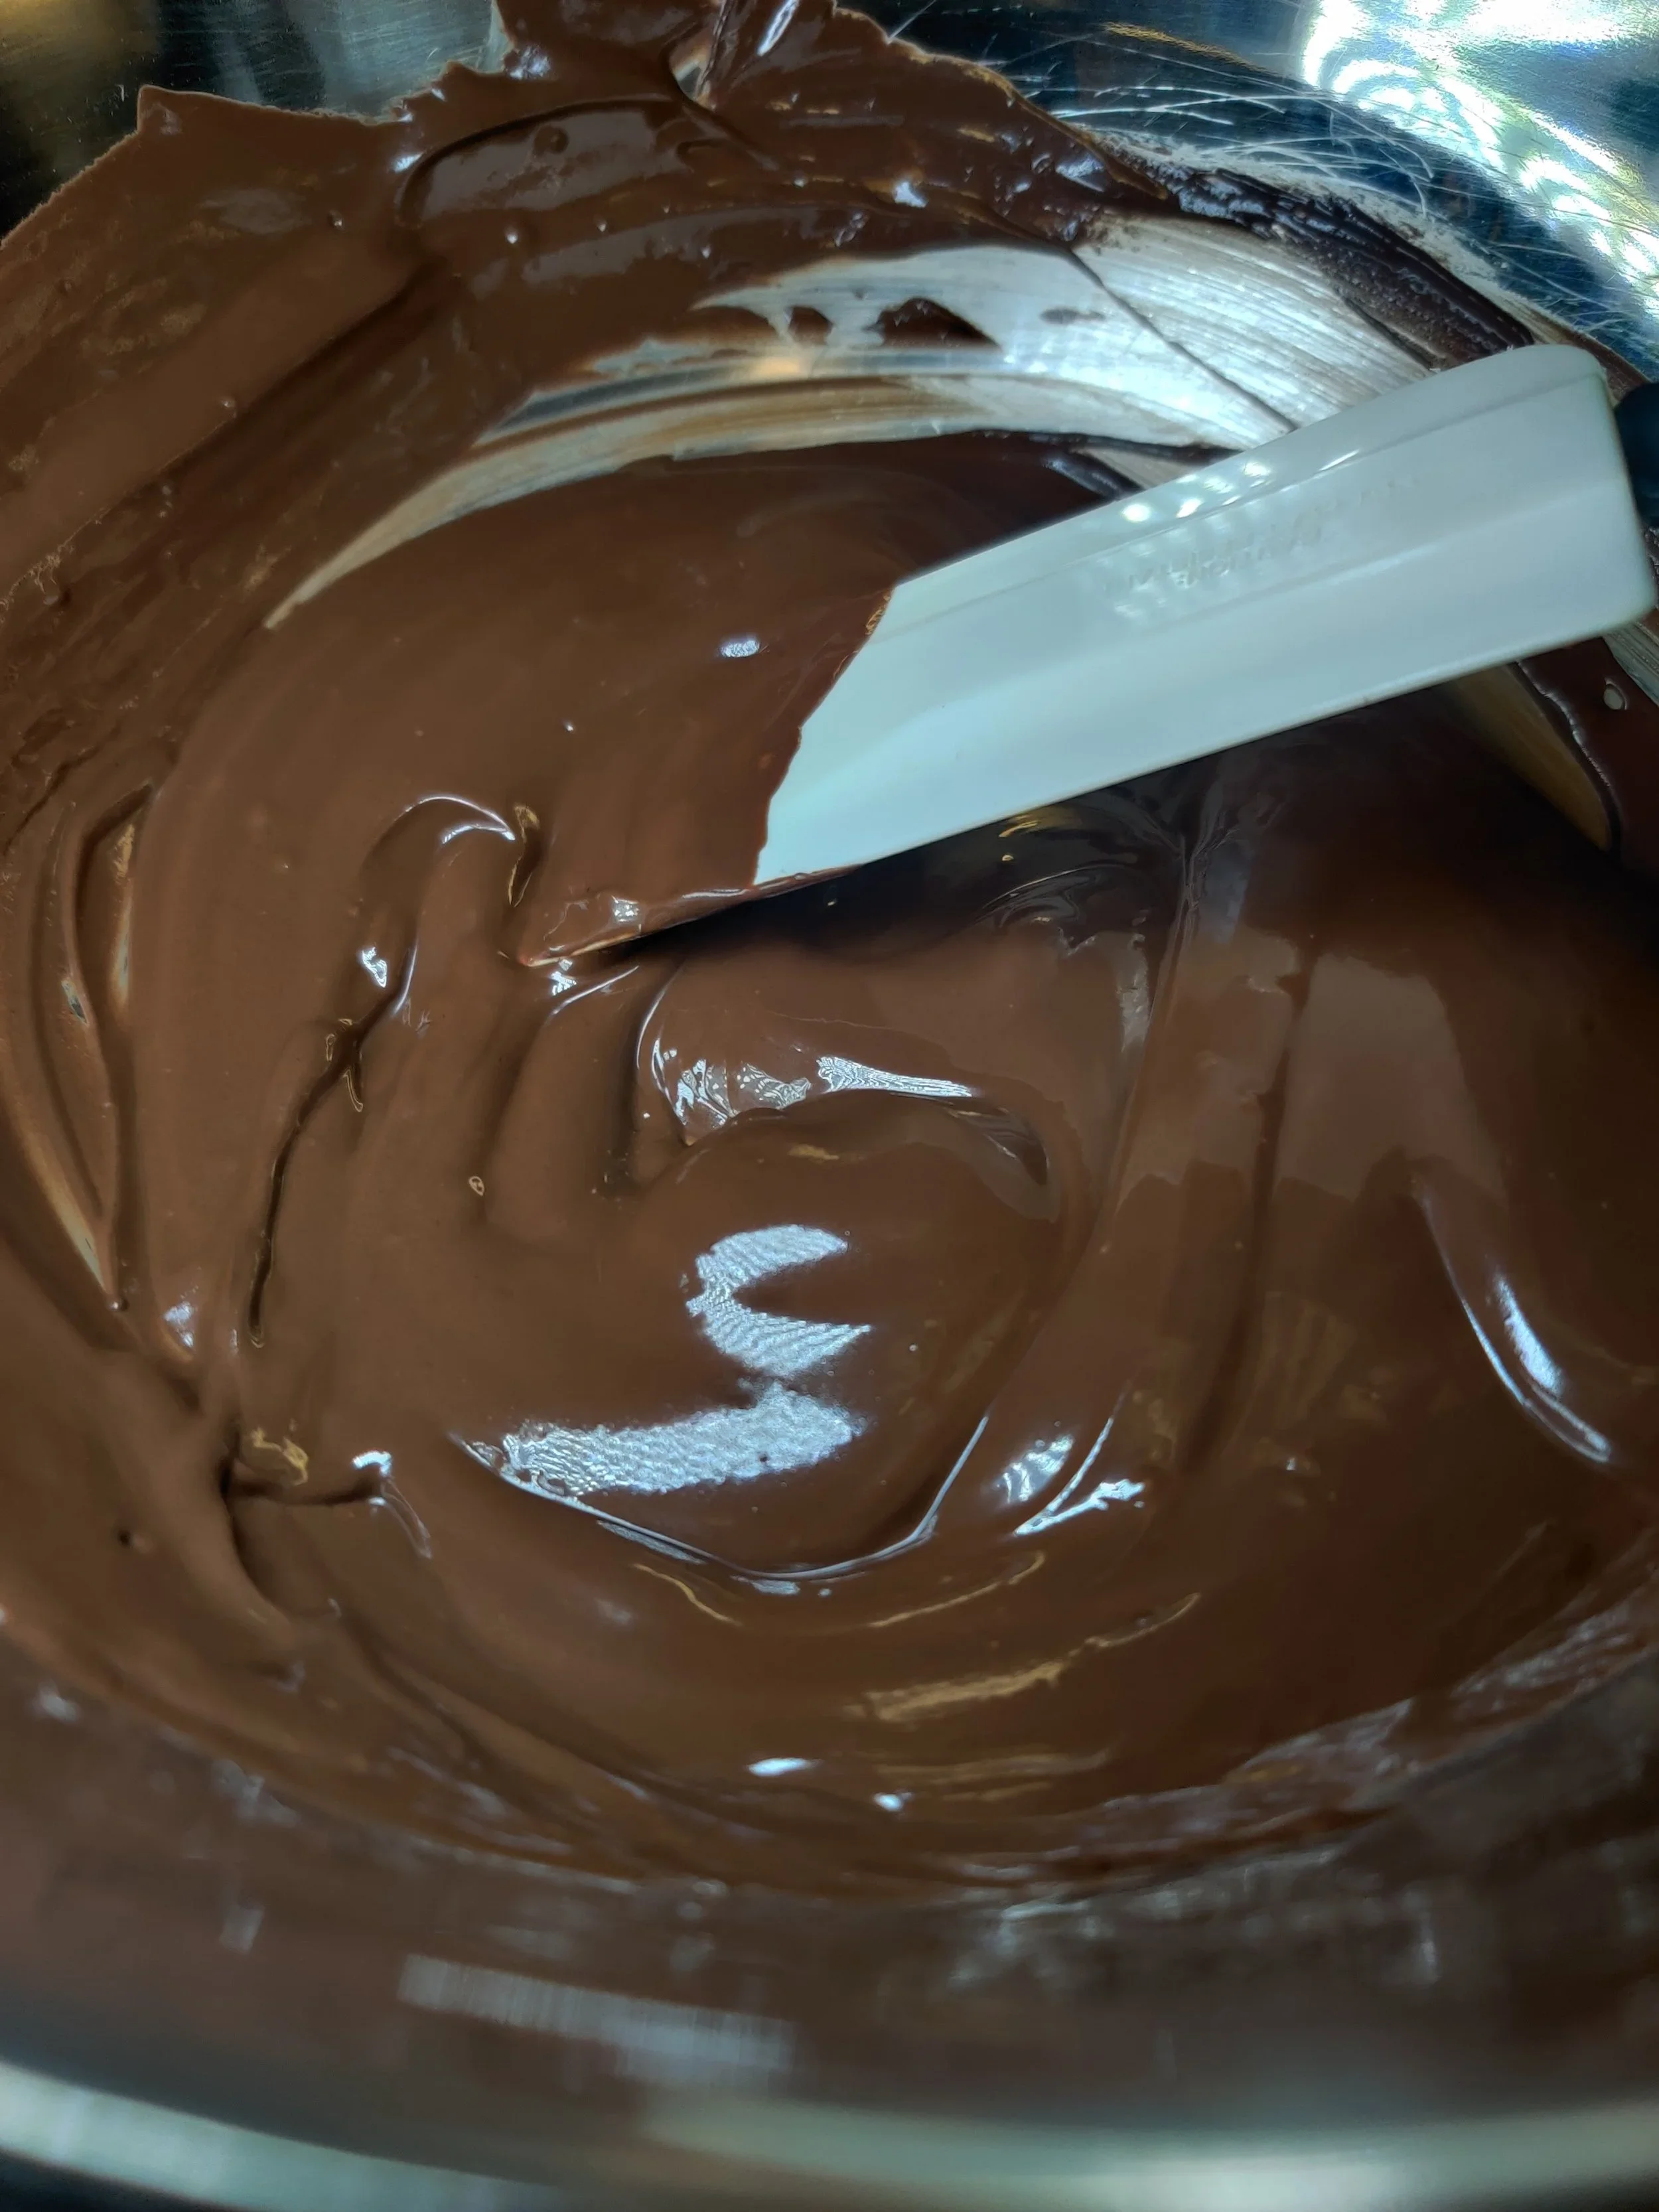
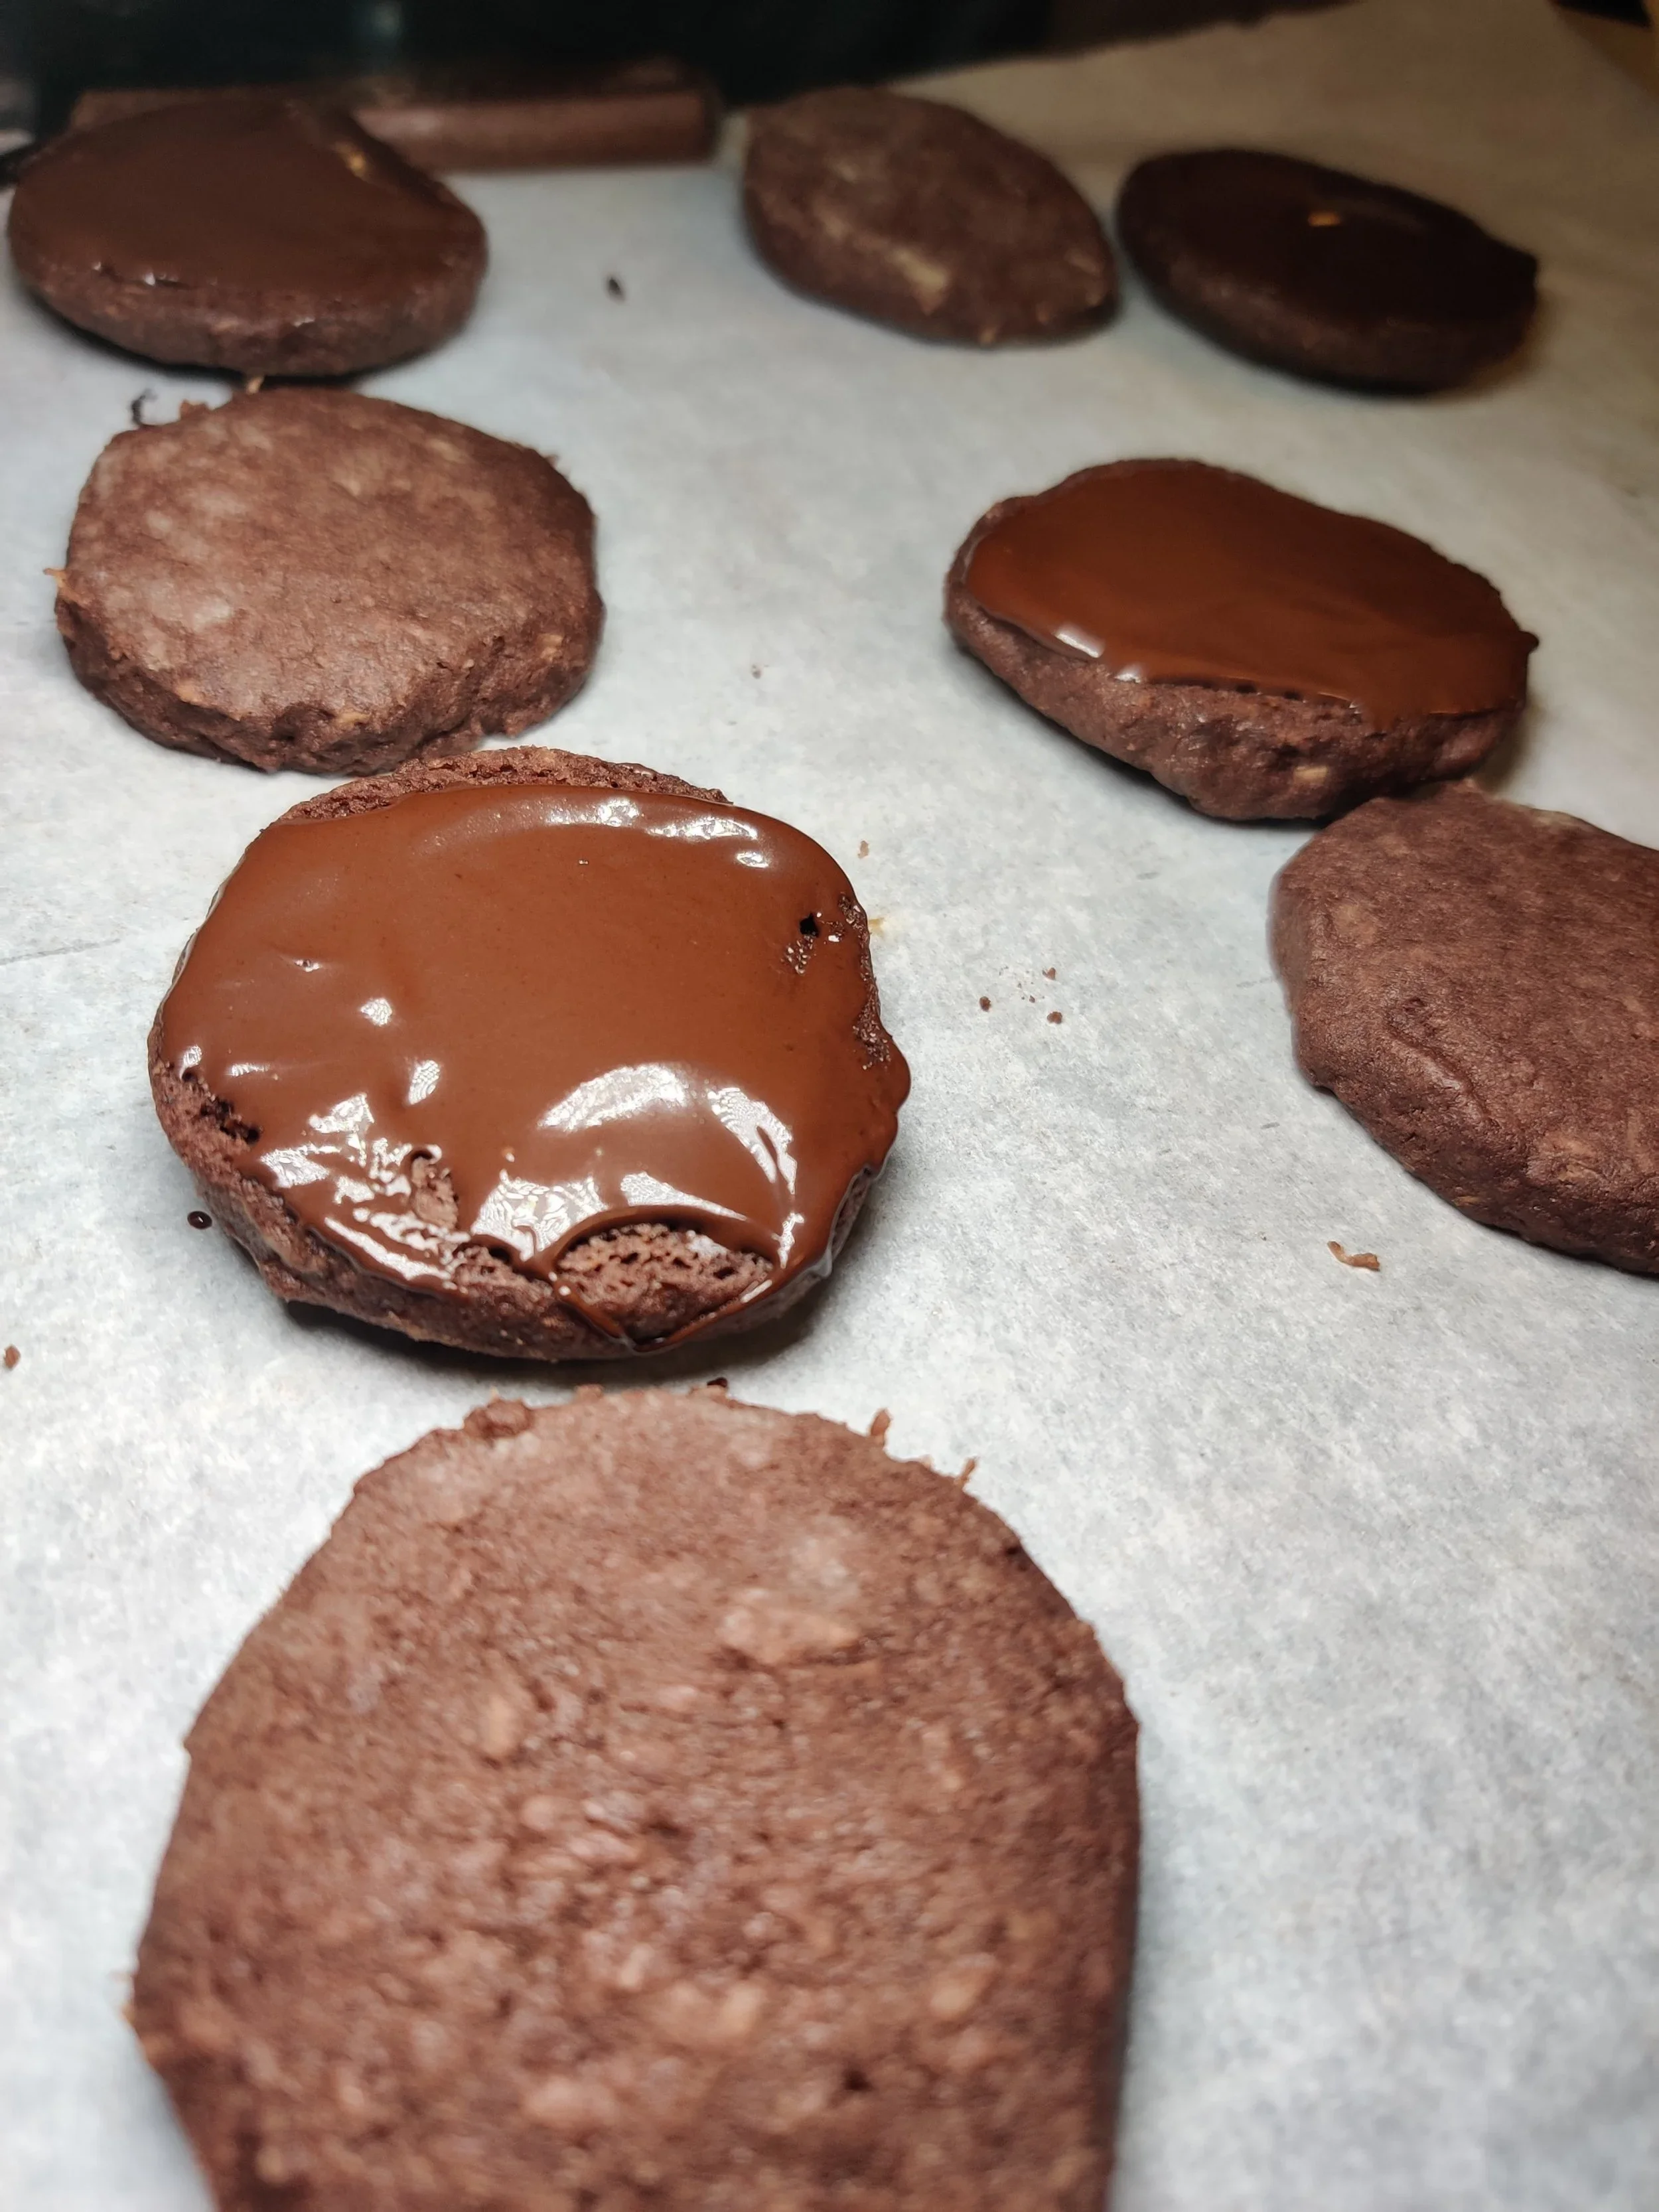
- While the first few batches bake, boil some water on medium-low and place a heat-resistant bowl on top. Add the chocolate to the bowl and heat until melted, stirring until smooth.
- Once everything has cooled, place a dollop of the melted chocolate inside one side of each biscuit, then close. And allow cooling further on a rack. Place in an airtight container and enjoy over five days for optimum taste.
Notes
You can also freeze the dough or cookie cut outs to bake in the future.
Nutrition Facts
Calories
118Fat (grams)
8.7 gCarbs (grams)
10 gSugar (grams)
4.3 gProtein (grams)
1 gI am not a certified nutritionist and any nutritional information on dontmissmyplate.com should only be used as a general guideline.

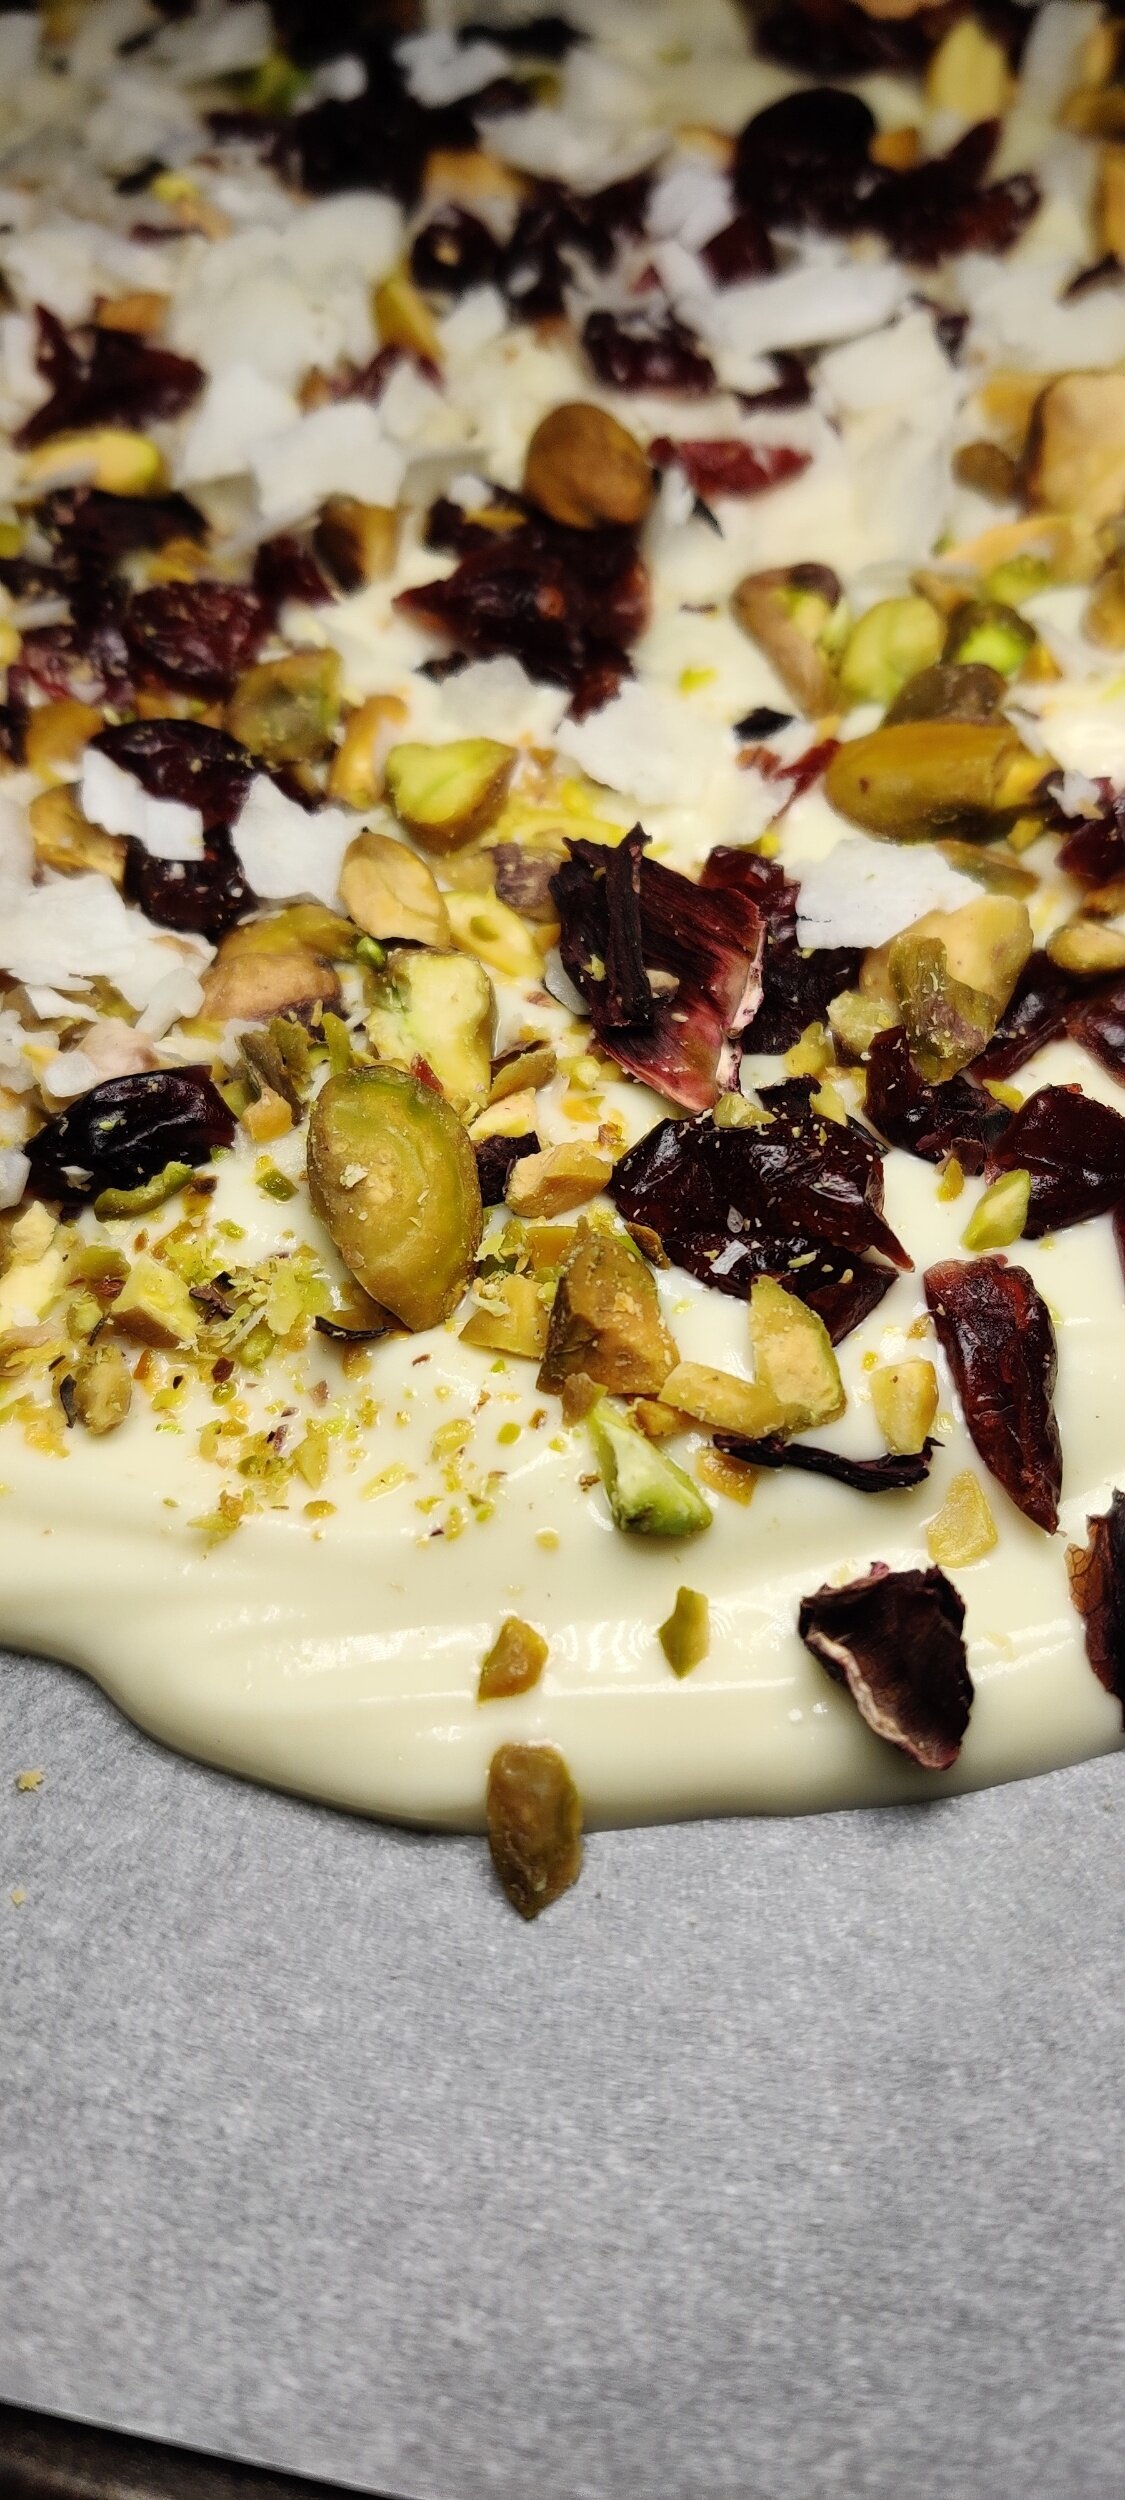
White Chocolate, Dried Cranberry and Roasted Pistachio Bark
Chocolate bark is often associated with hampers and gift-giving, so what's a better time to whip up a batch than the holidays?
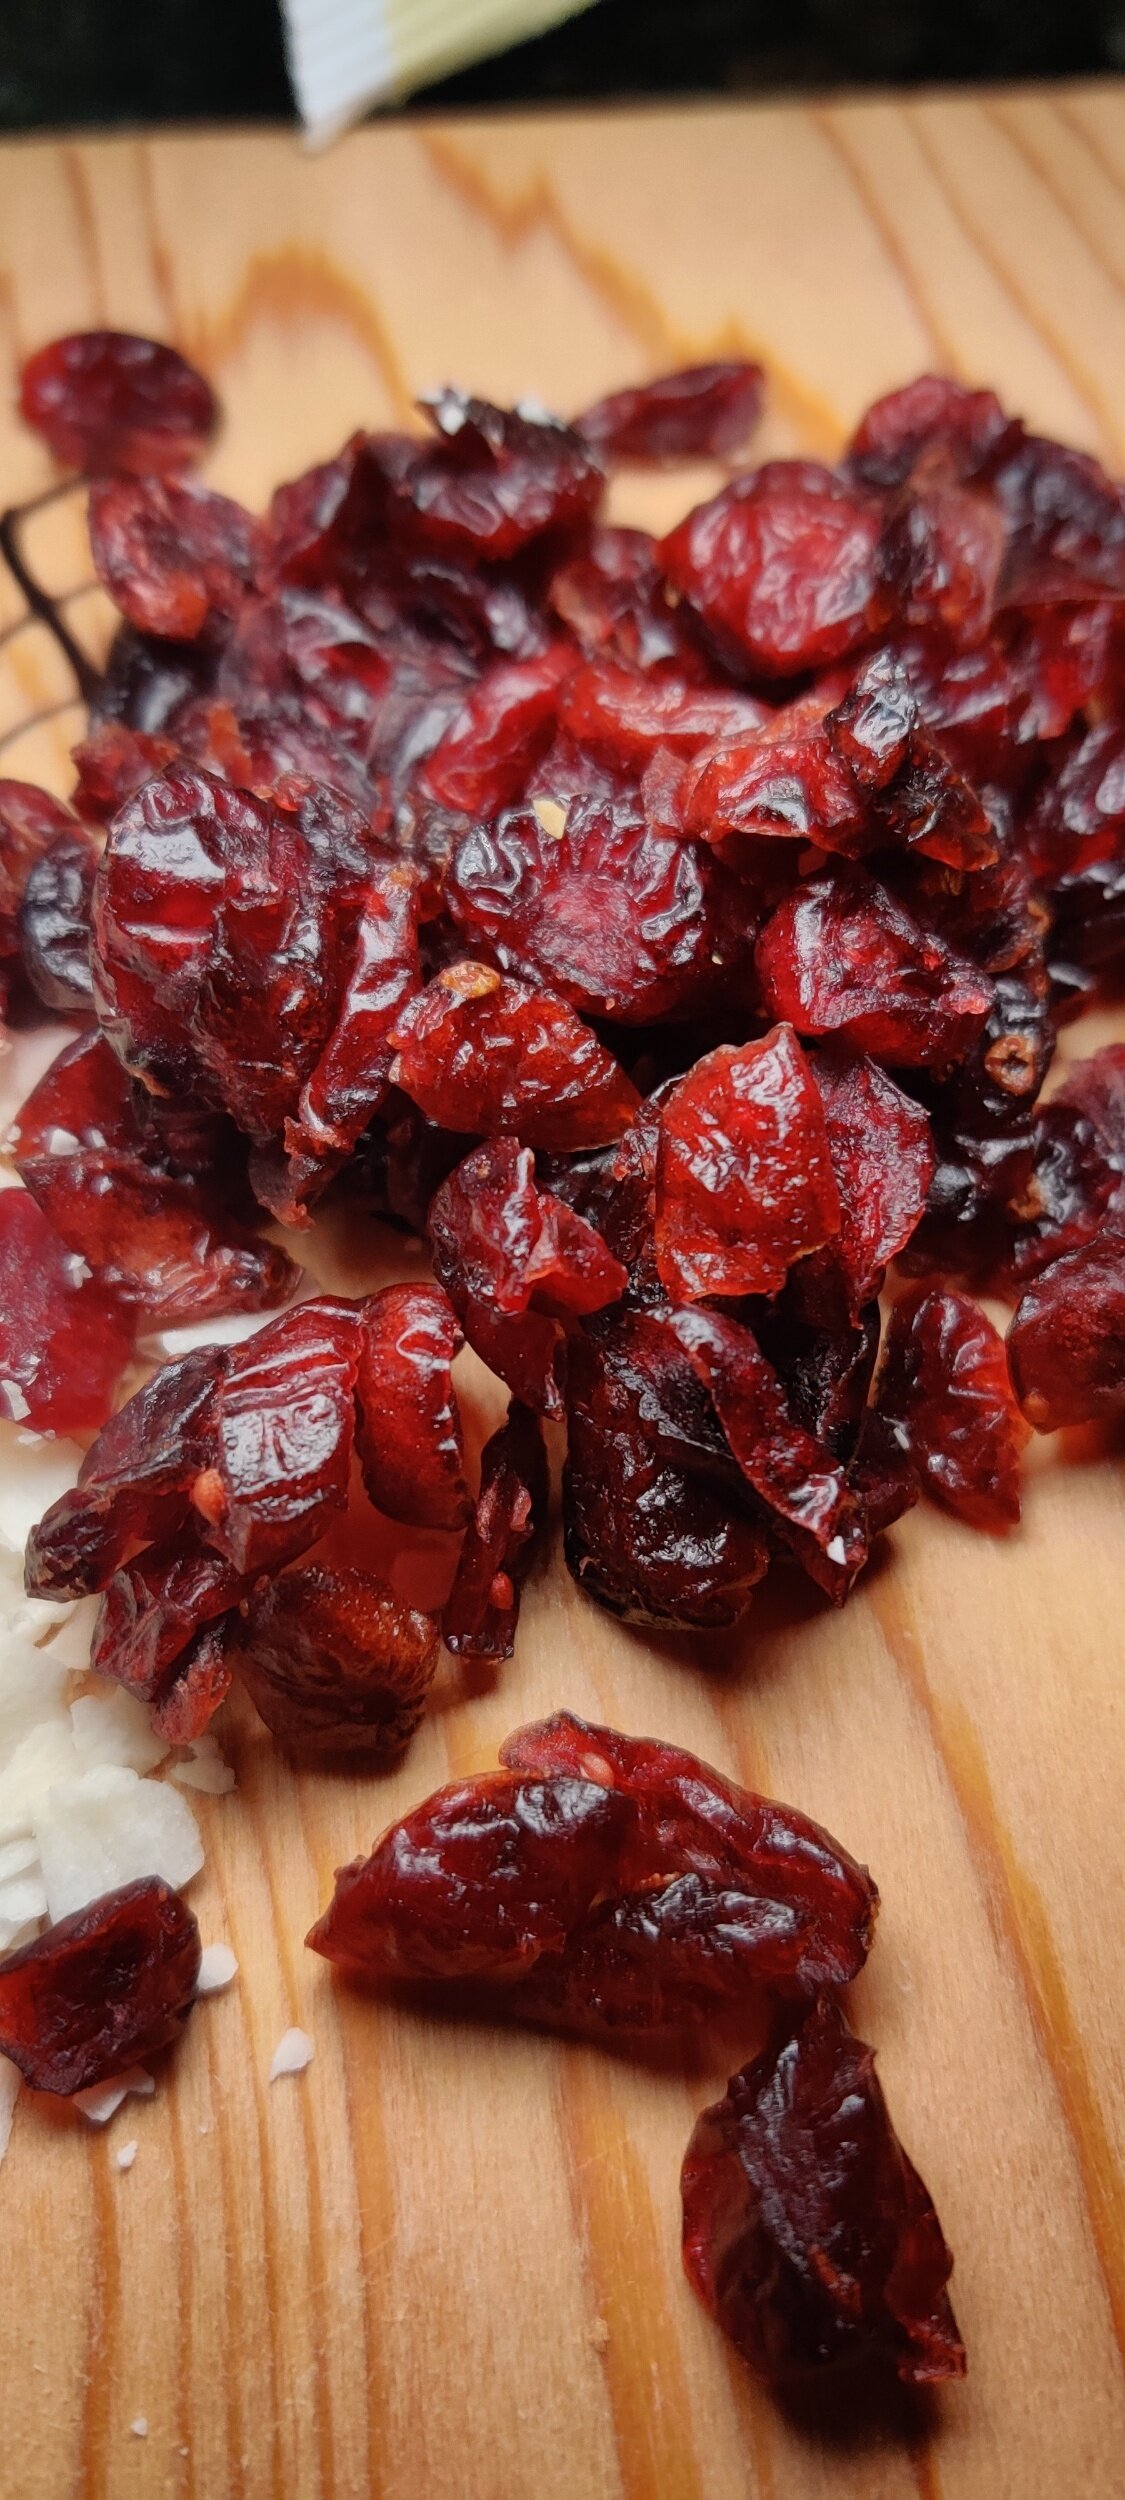
I recently made two recipes this season with fresh cranberries here and here, but let's not forget dried cranberries which you can do a lot with as well! They pair well with the same ingredients used in savoury dishes when used for sweet or baked goods, like pistachios!
Share this recipe as a gift, or put it together for those who want a sweet bite but not necessarily a slice of pie after indulging in an array of comfort food entrees!
What about the day after dining festivities? Many people set up their Christmas trees around this time after family meals. Play some Christmas music, sip on some hot chocolate and marshmallows, and nibble on some of this bark. That's what I did!
Since this isn't hardened sugar, it's easier on the teeth. The kids will love it, the colour and texture of the toppings give it a festive feel, and you can customize to your liking! I combined some ingredients that compliment the white chocolate and the cranberries, but it's up to you.
If you are looking for a milk or dark chocolate bark recipe, check out my masala tea bark, which I was inspired to make after a trip to Zanzibar!
Ingredients
5 drops almond extract
1 teaspoon coconut oil
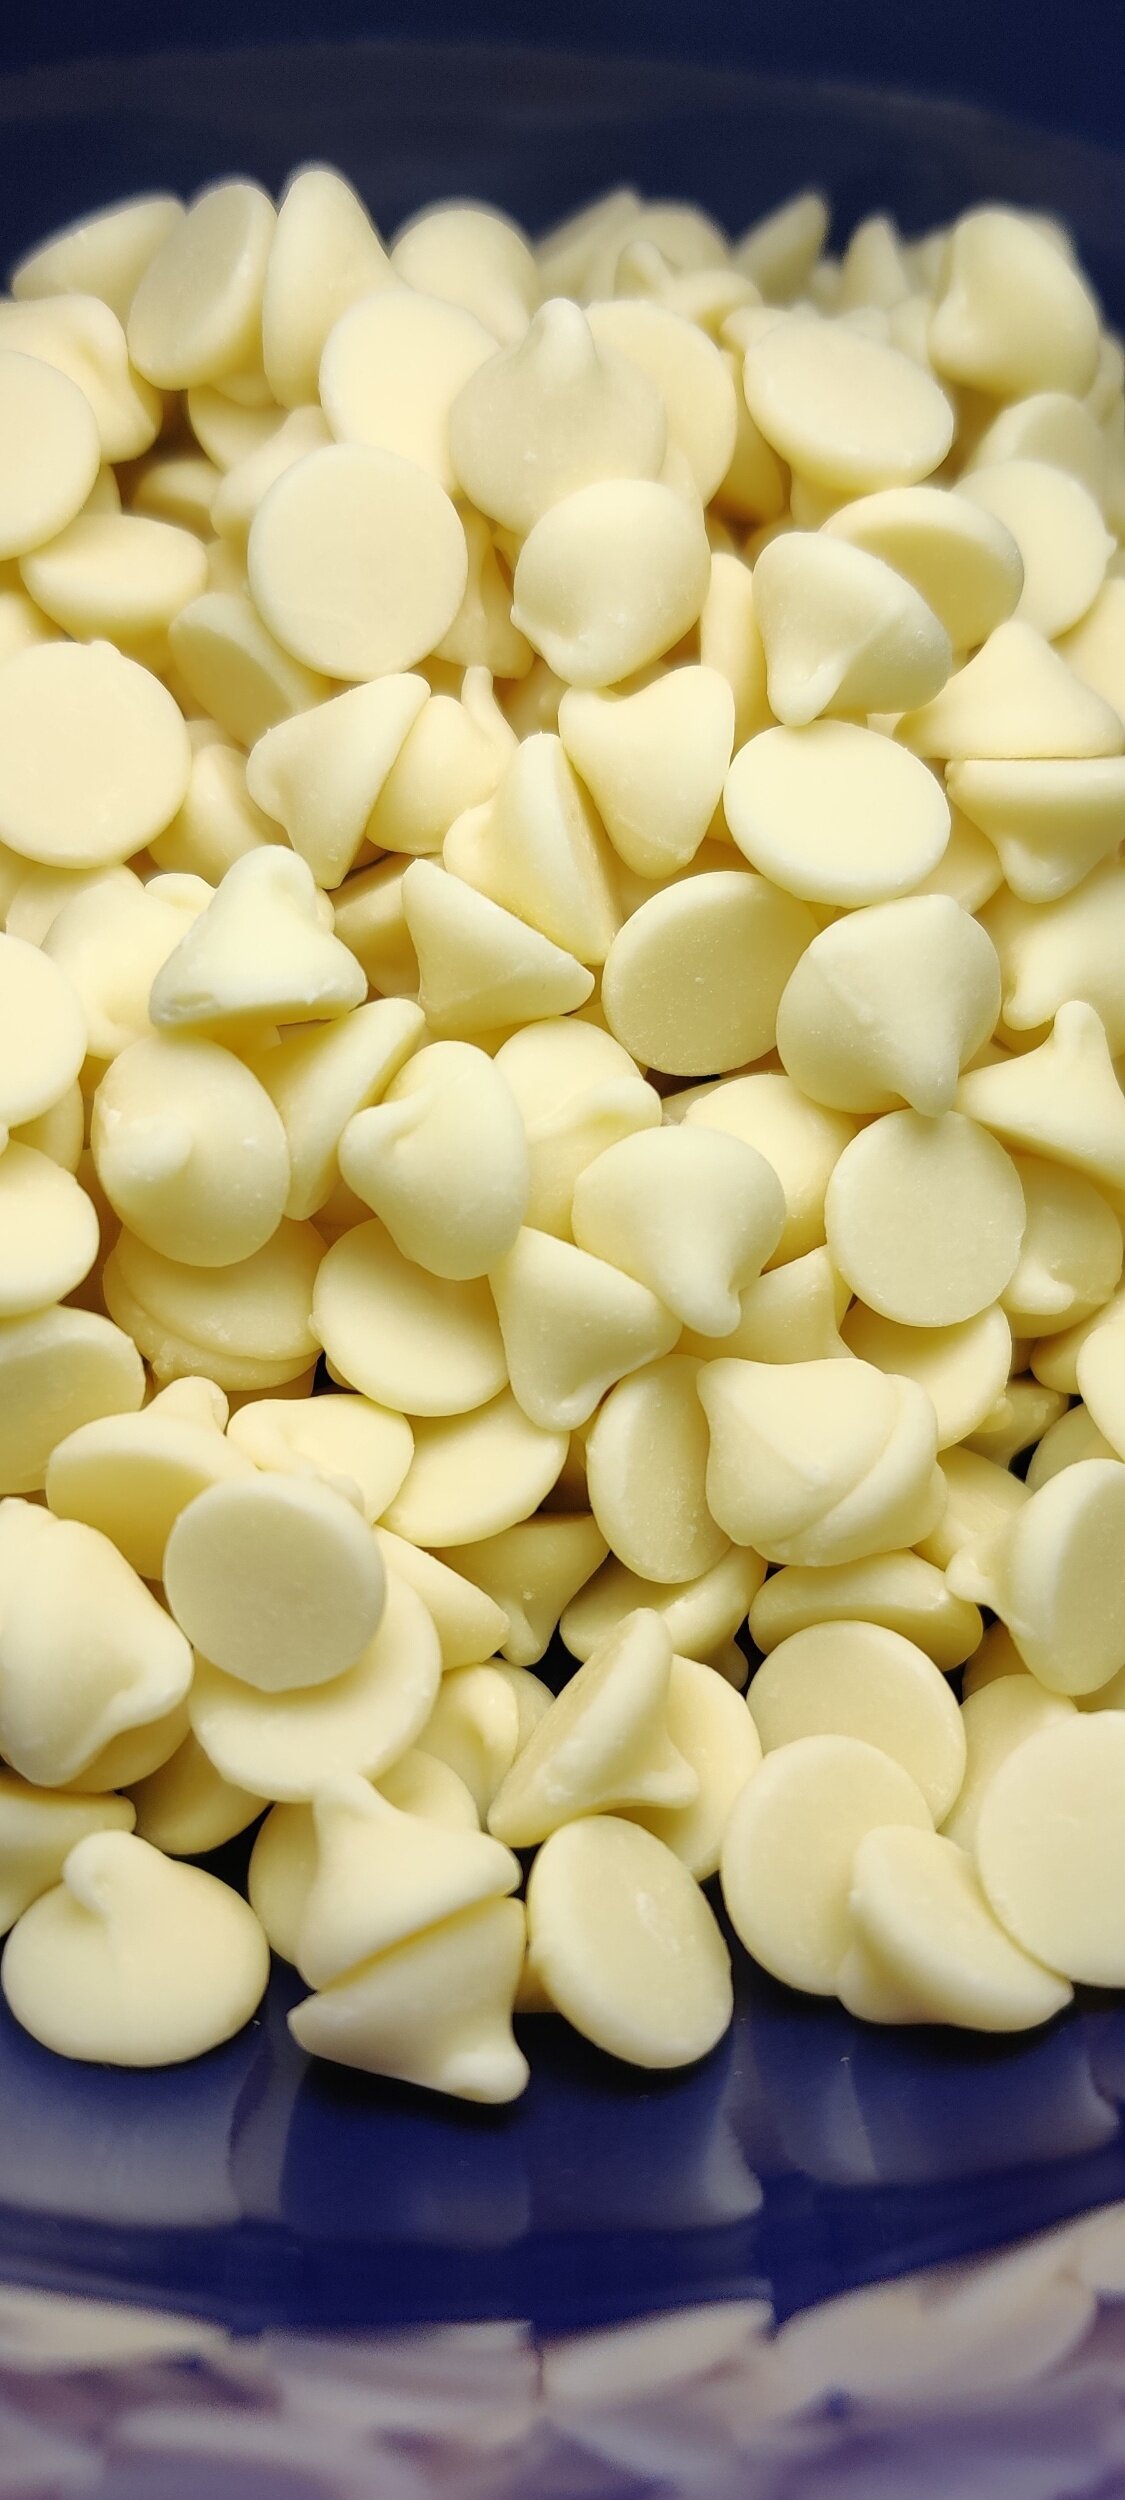
2 cups white chocolate chips
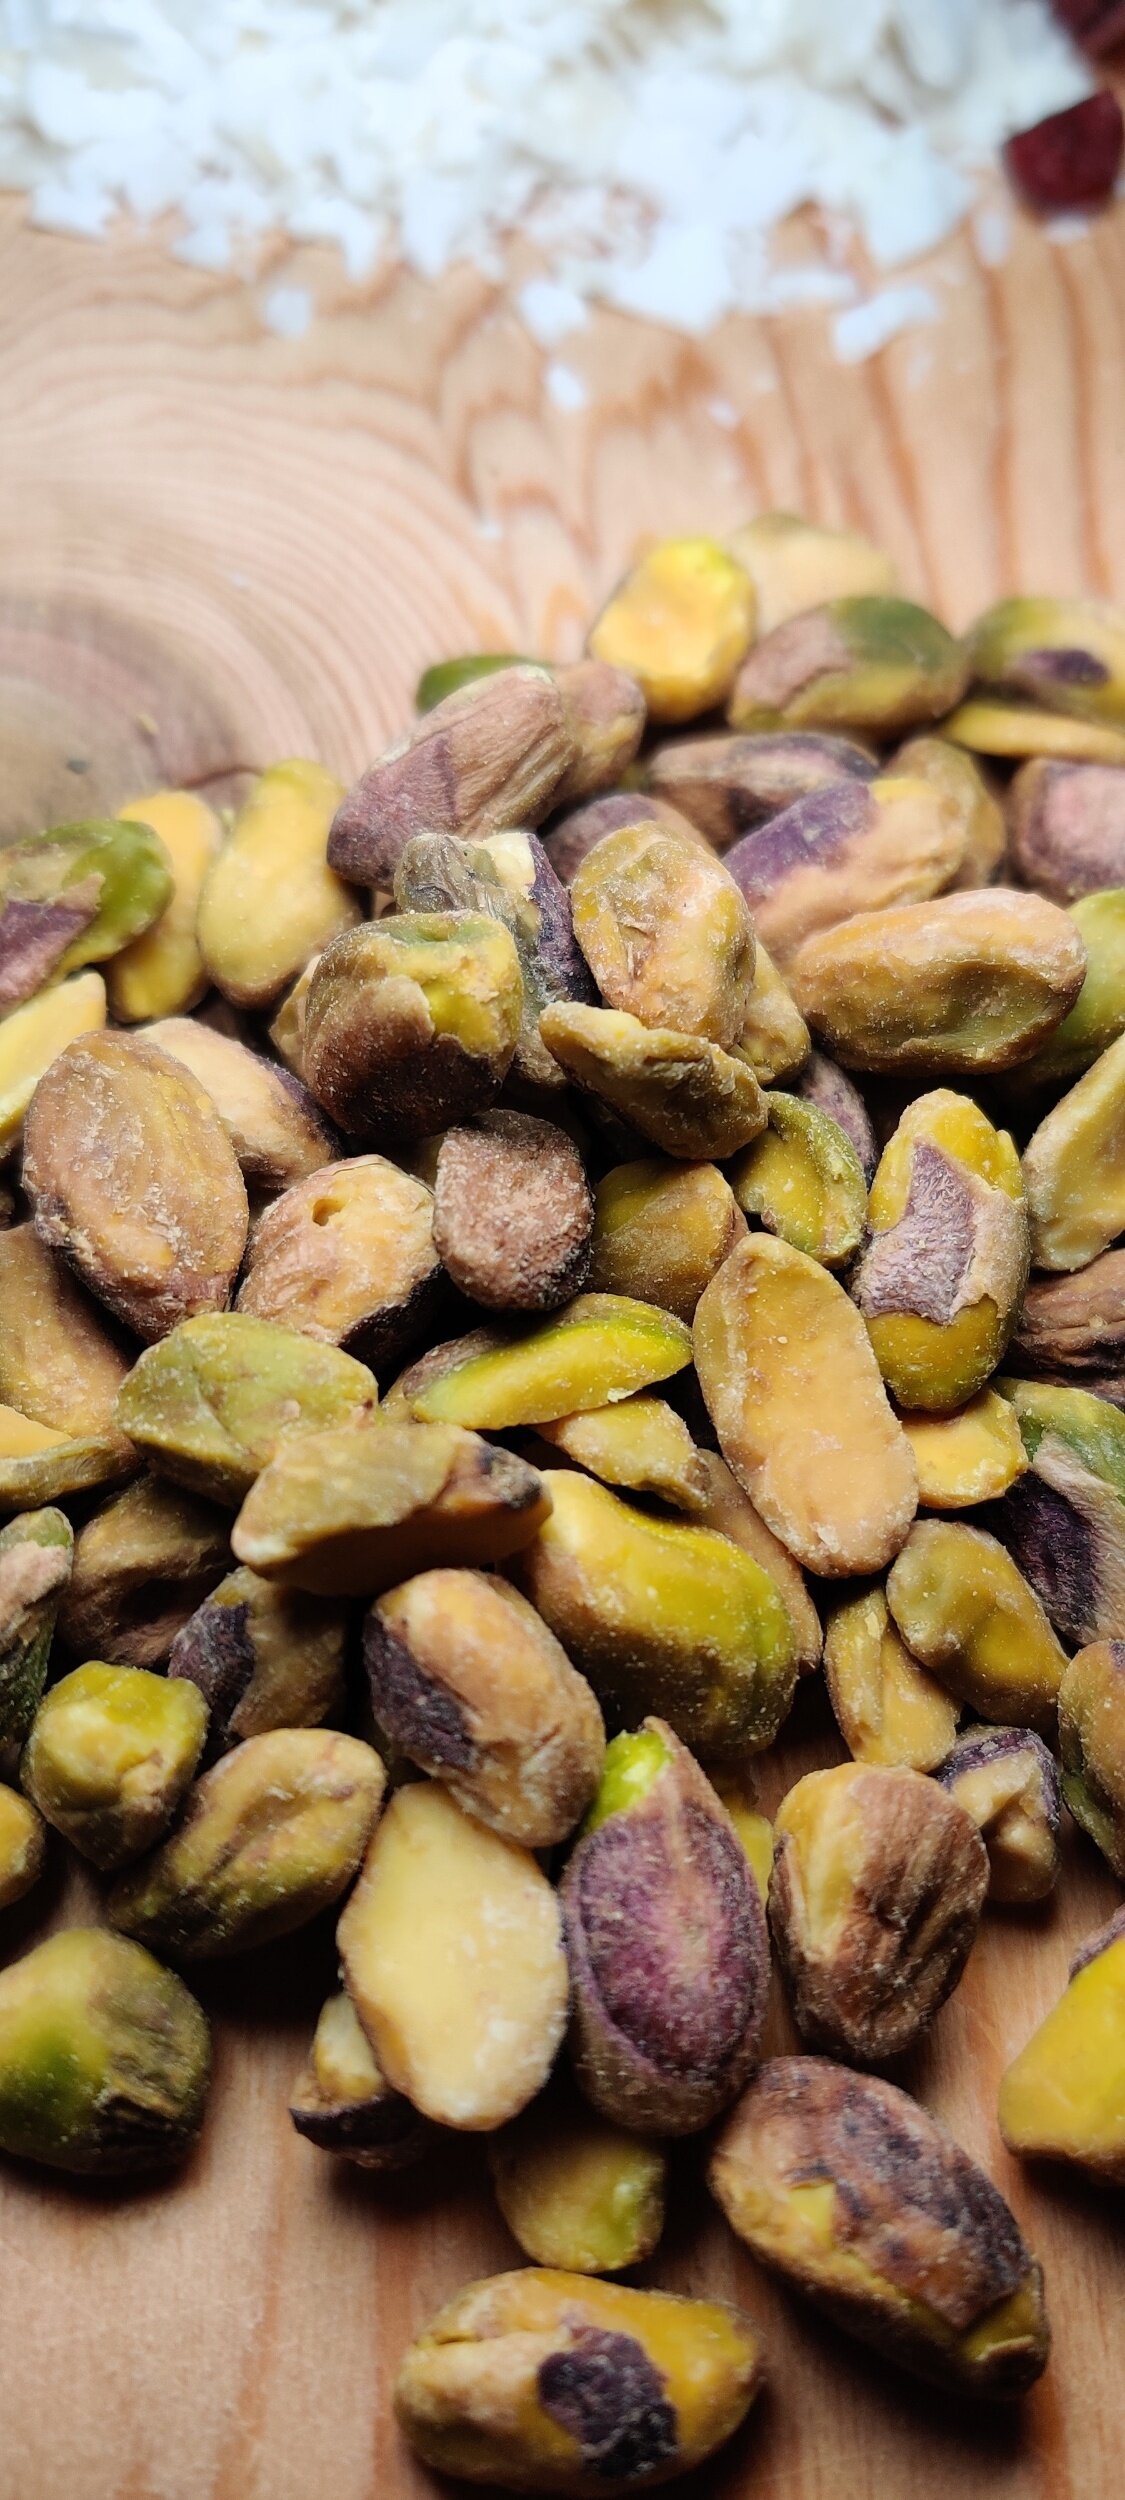
1/3 cup pistachios
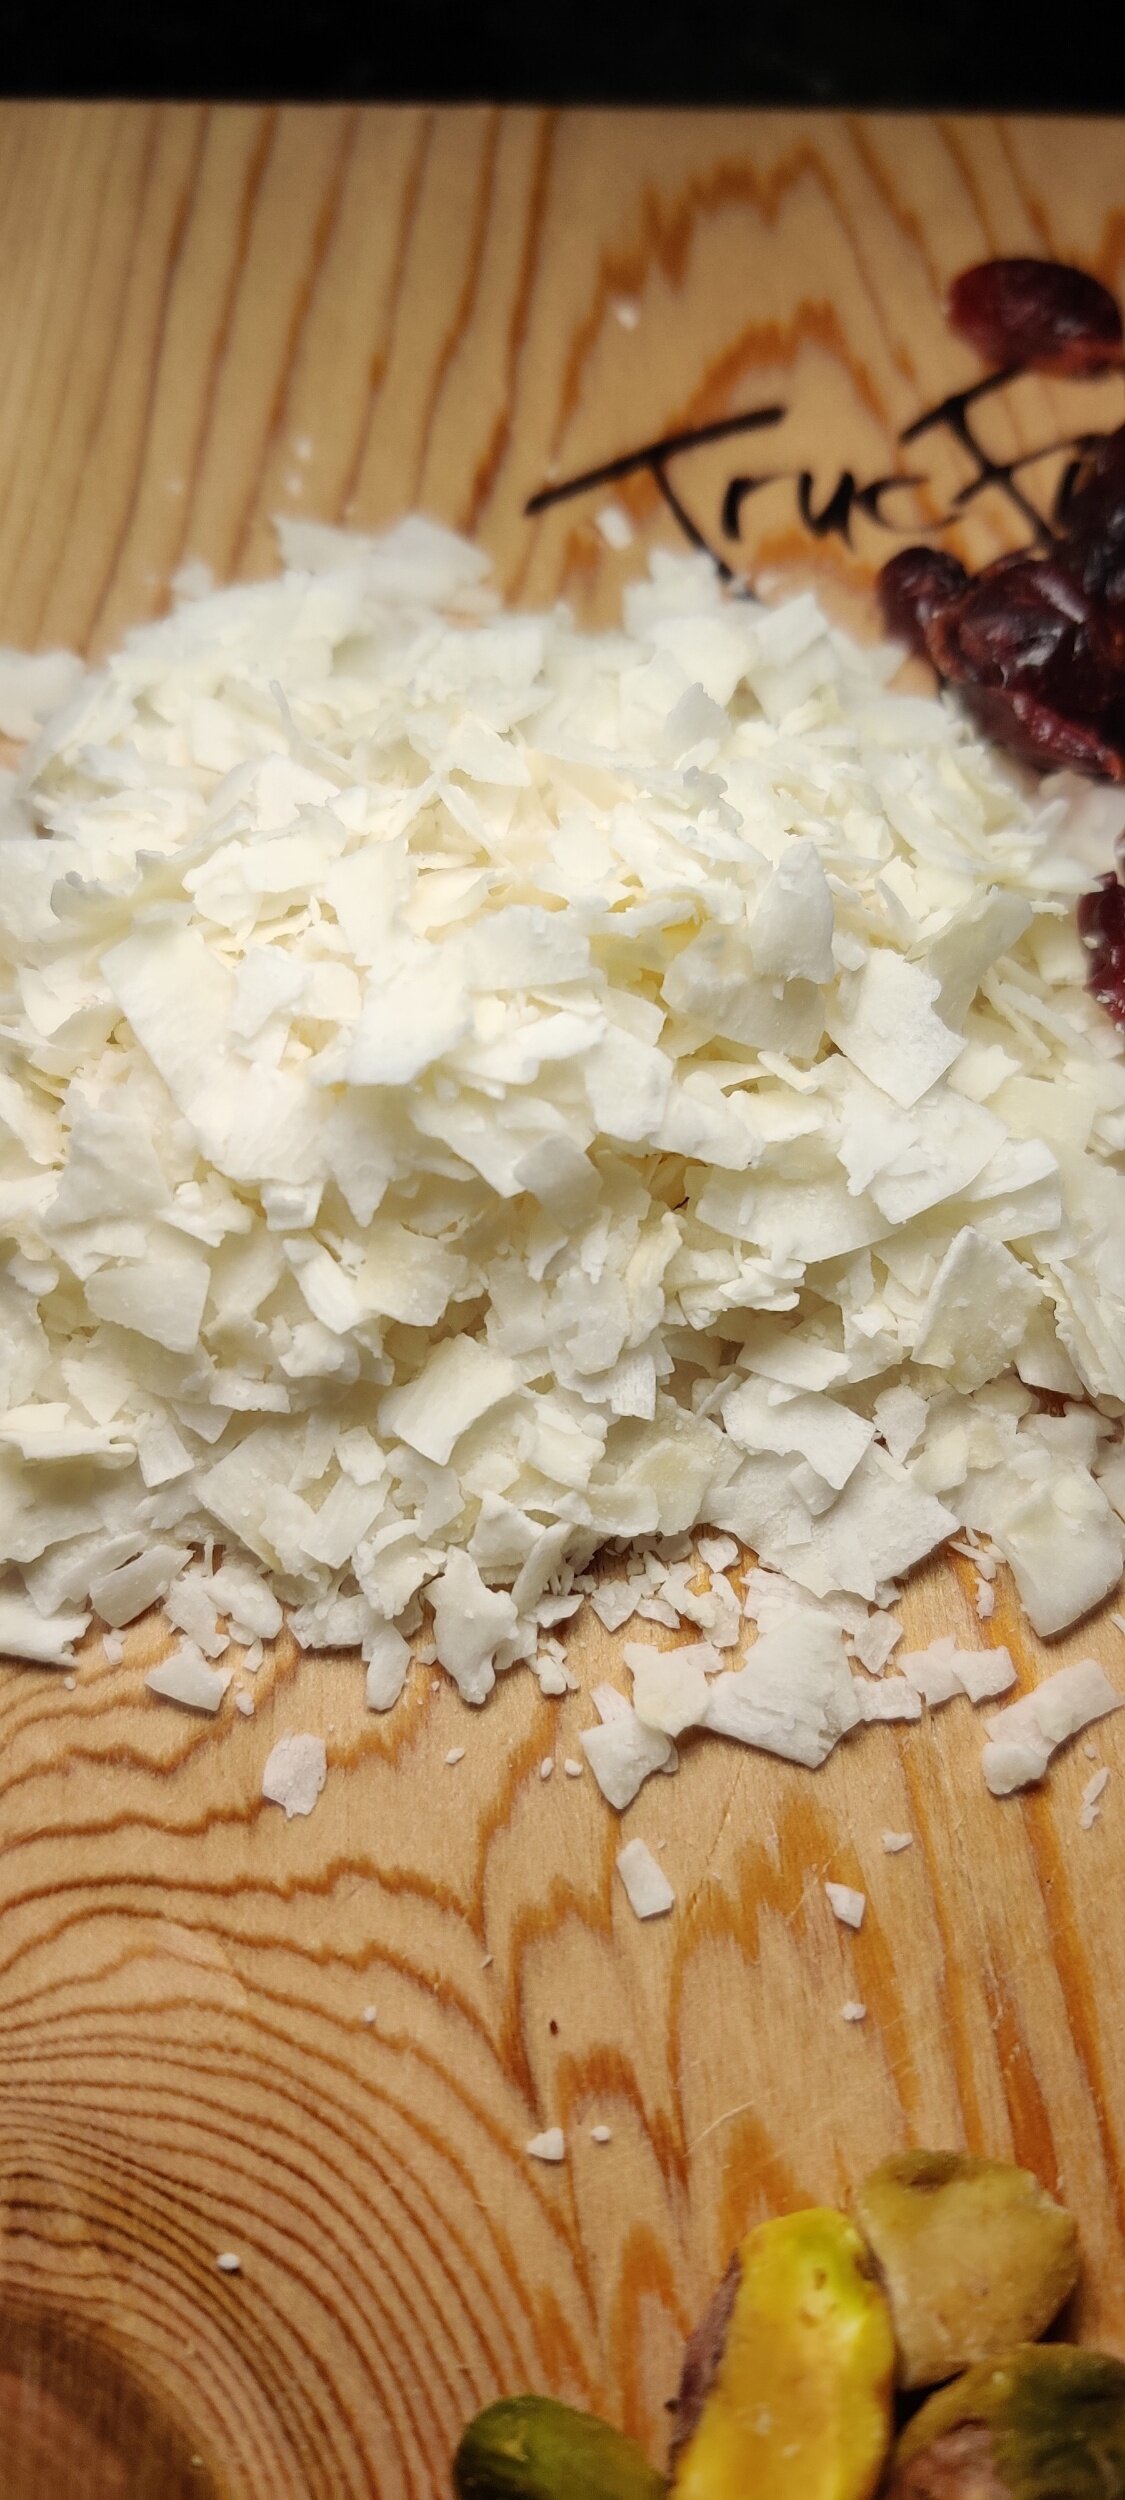
1/3 cup shredded coconut
1/3 dried cranberries
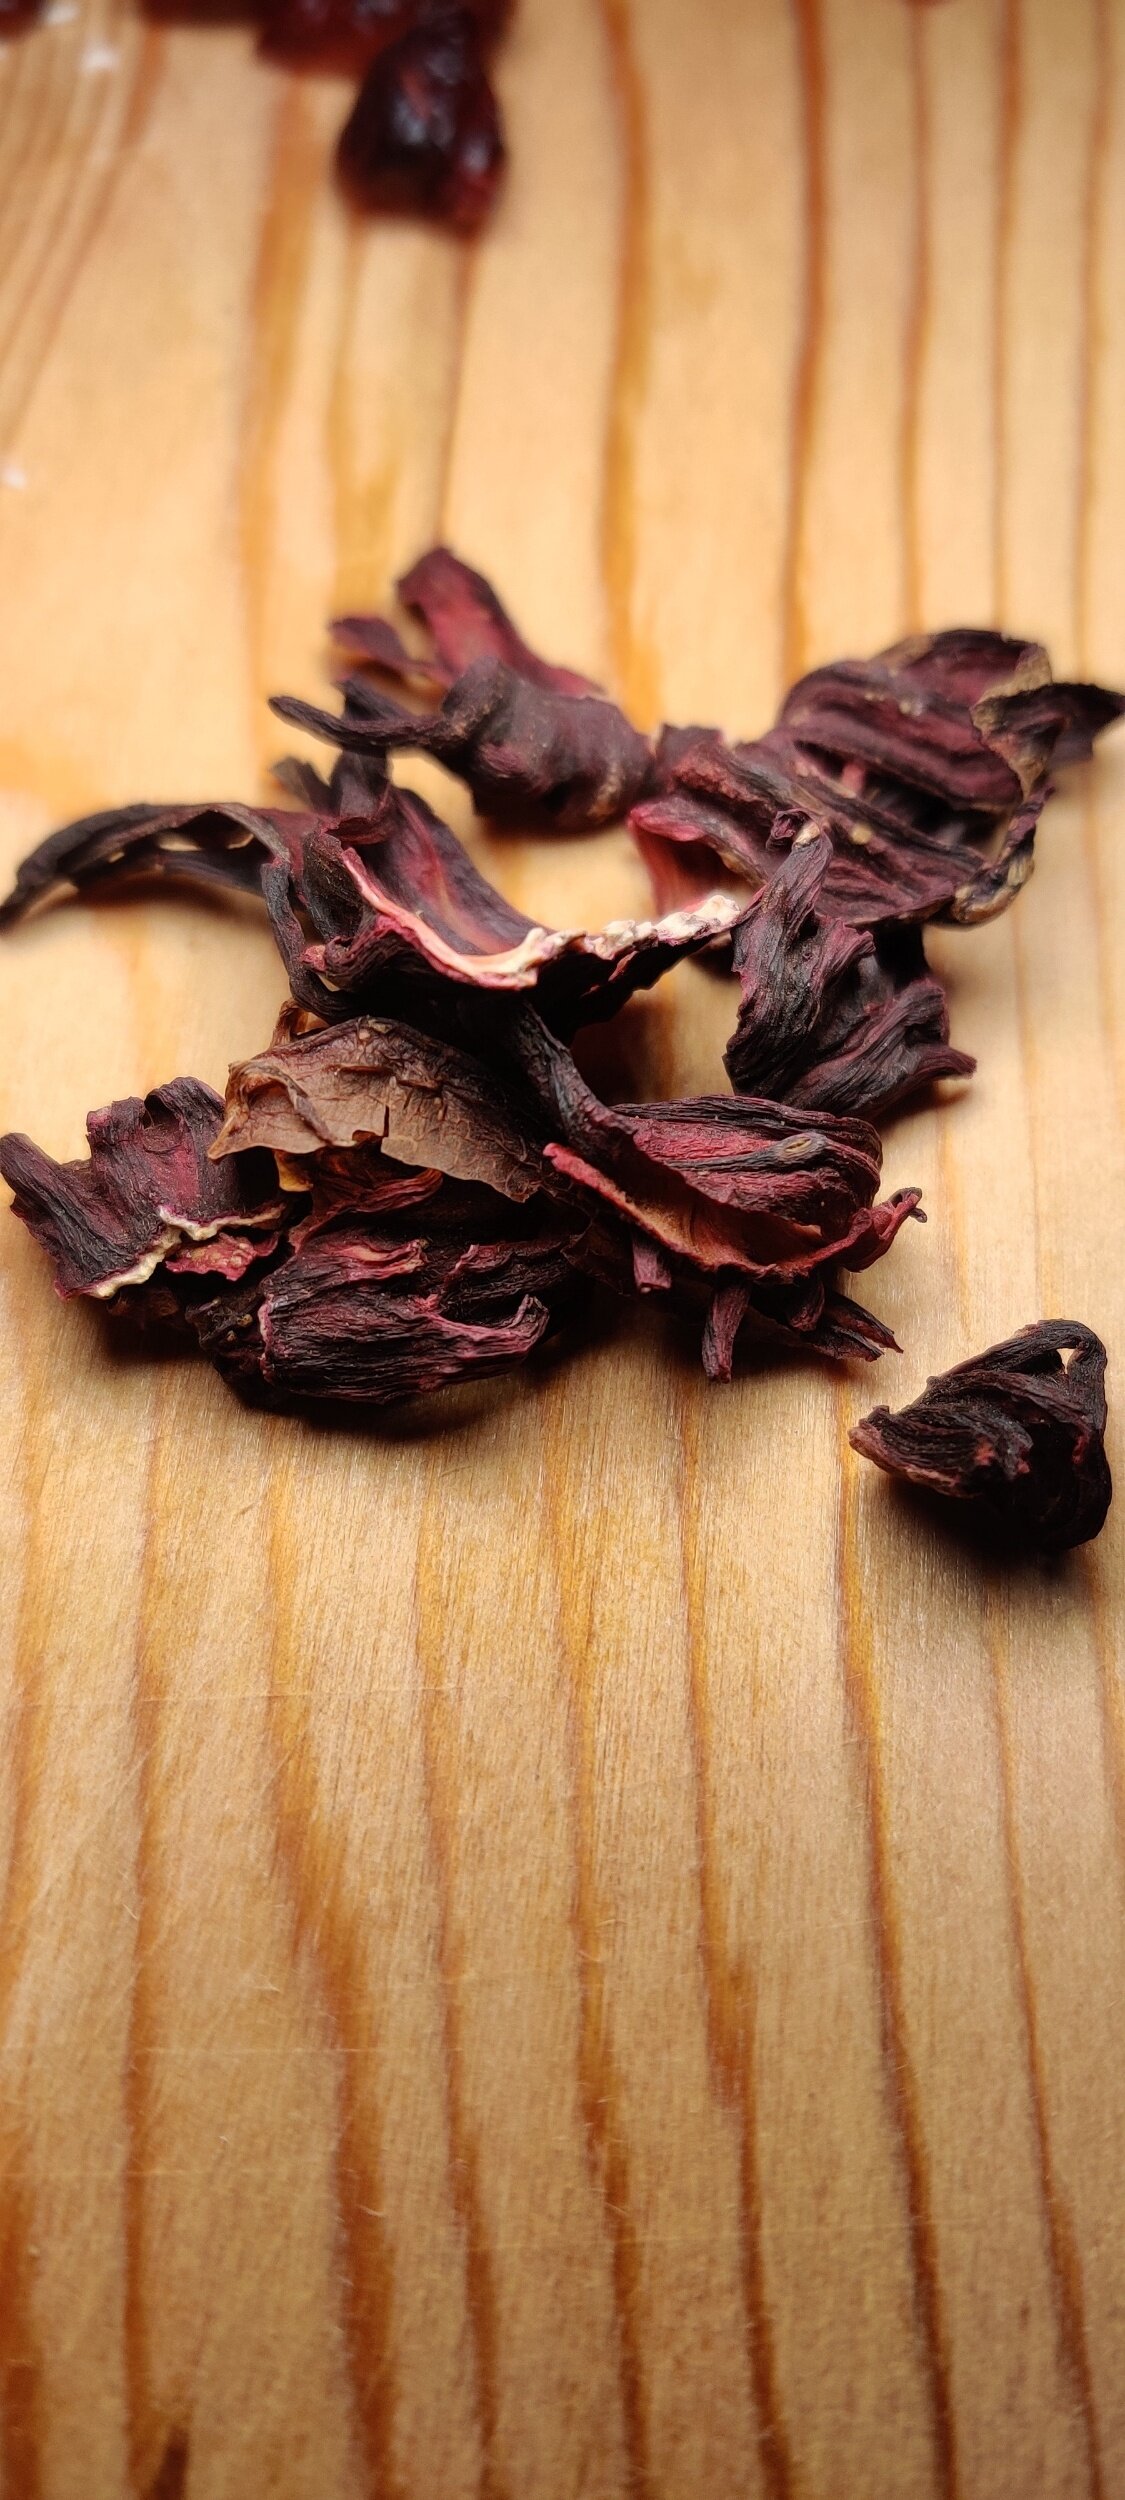
1 tablespoon dried roselle
Instructions
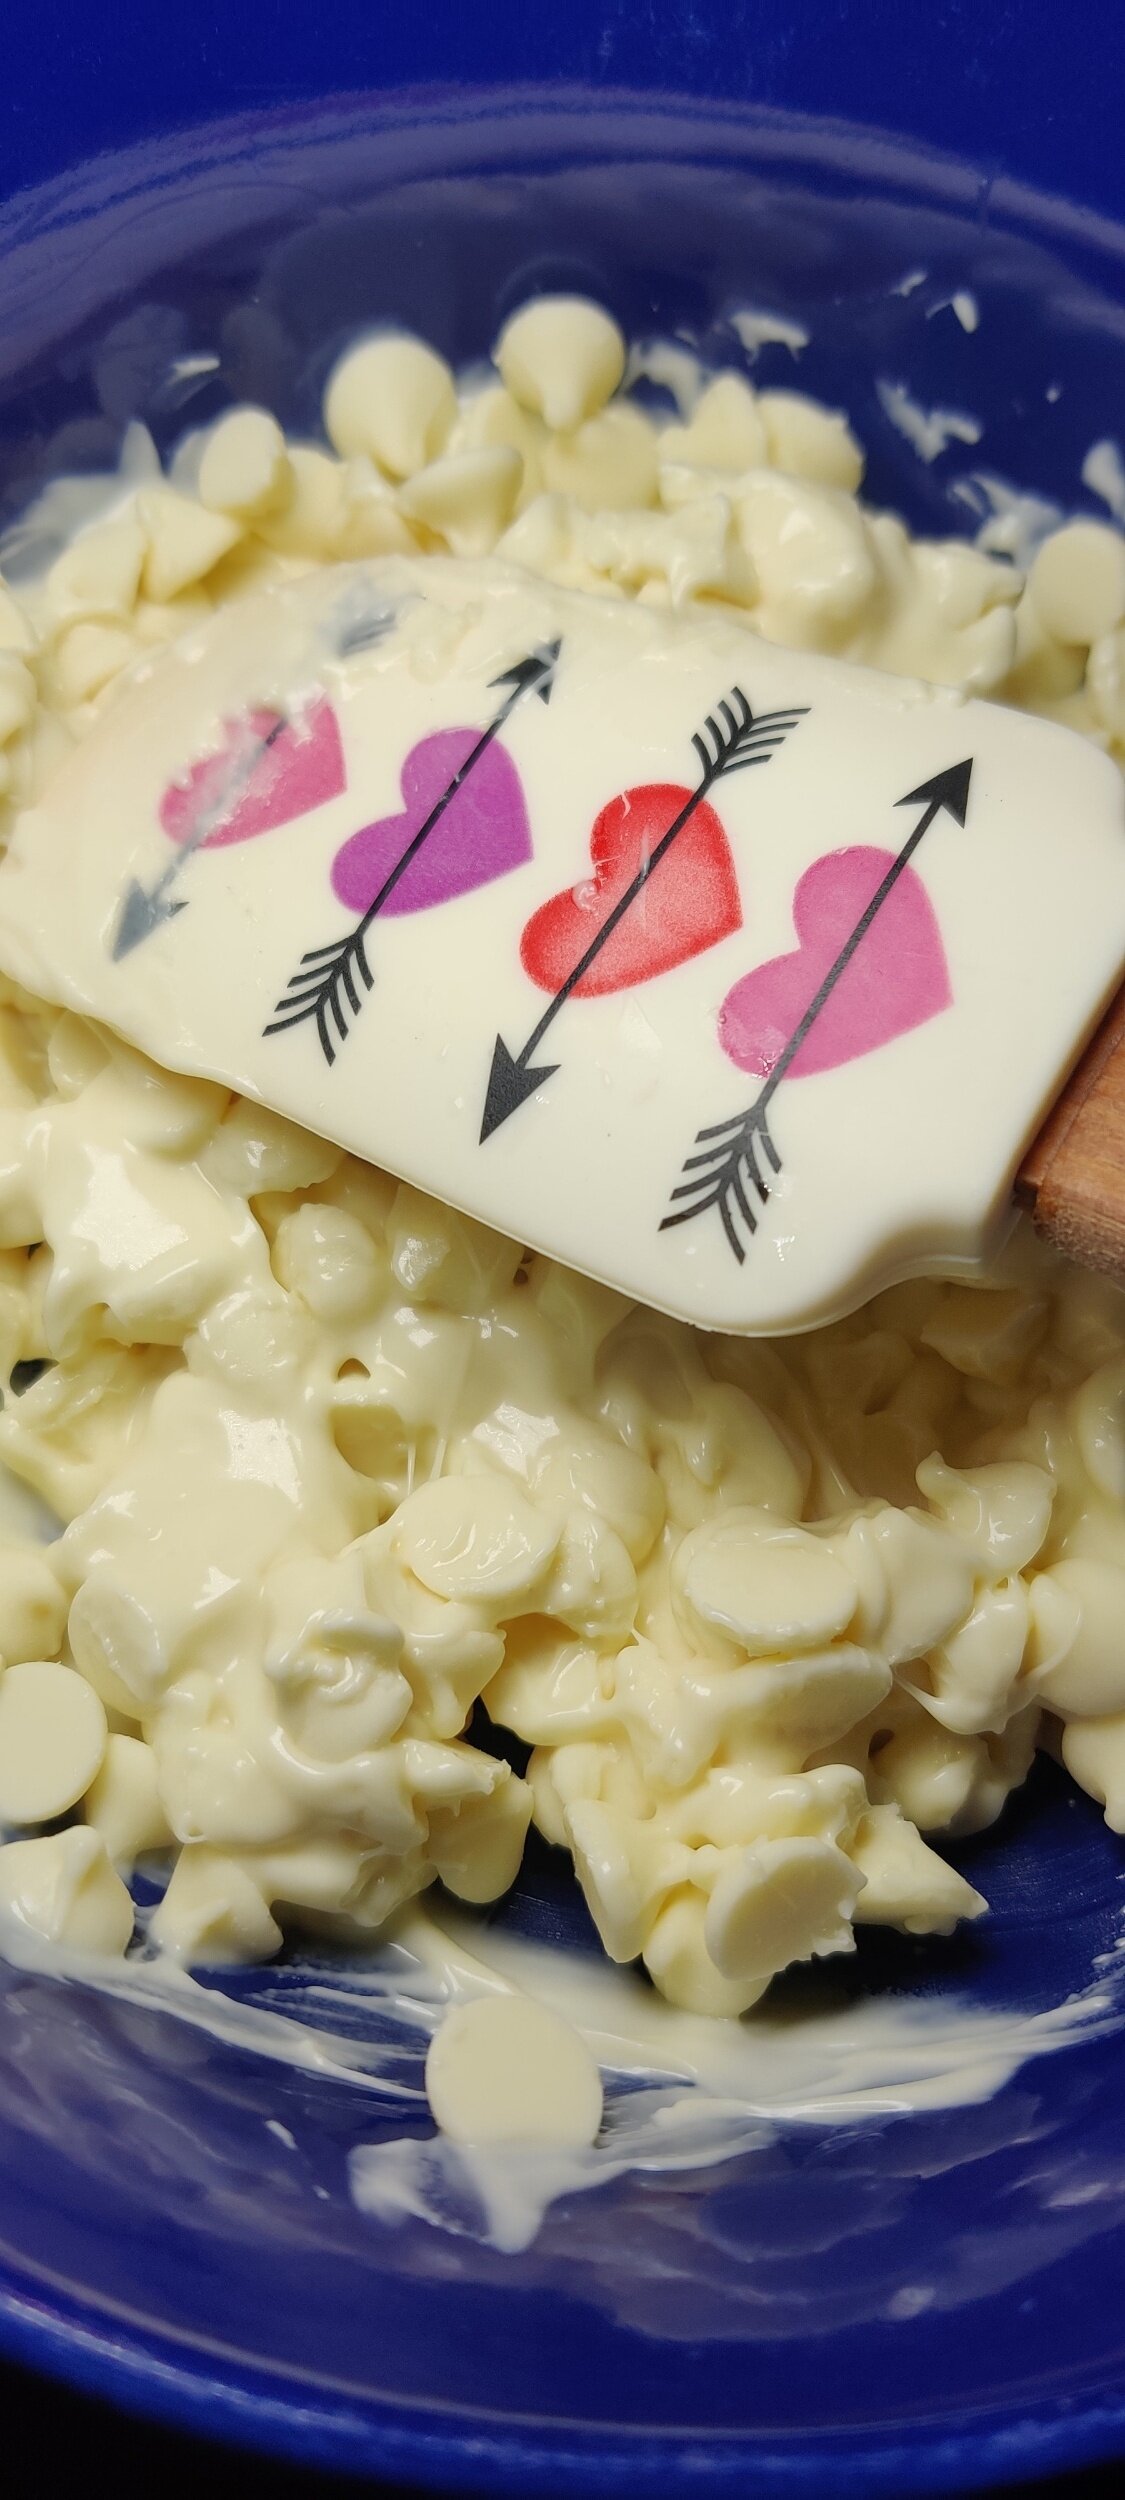
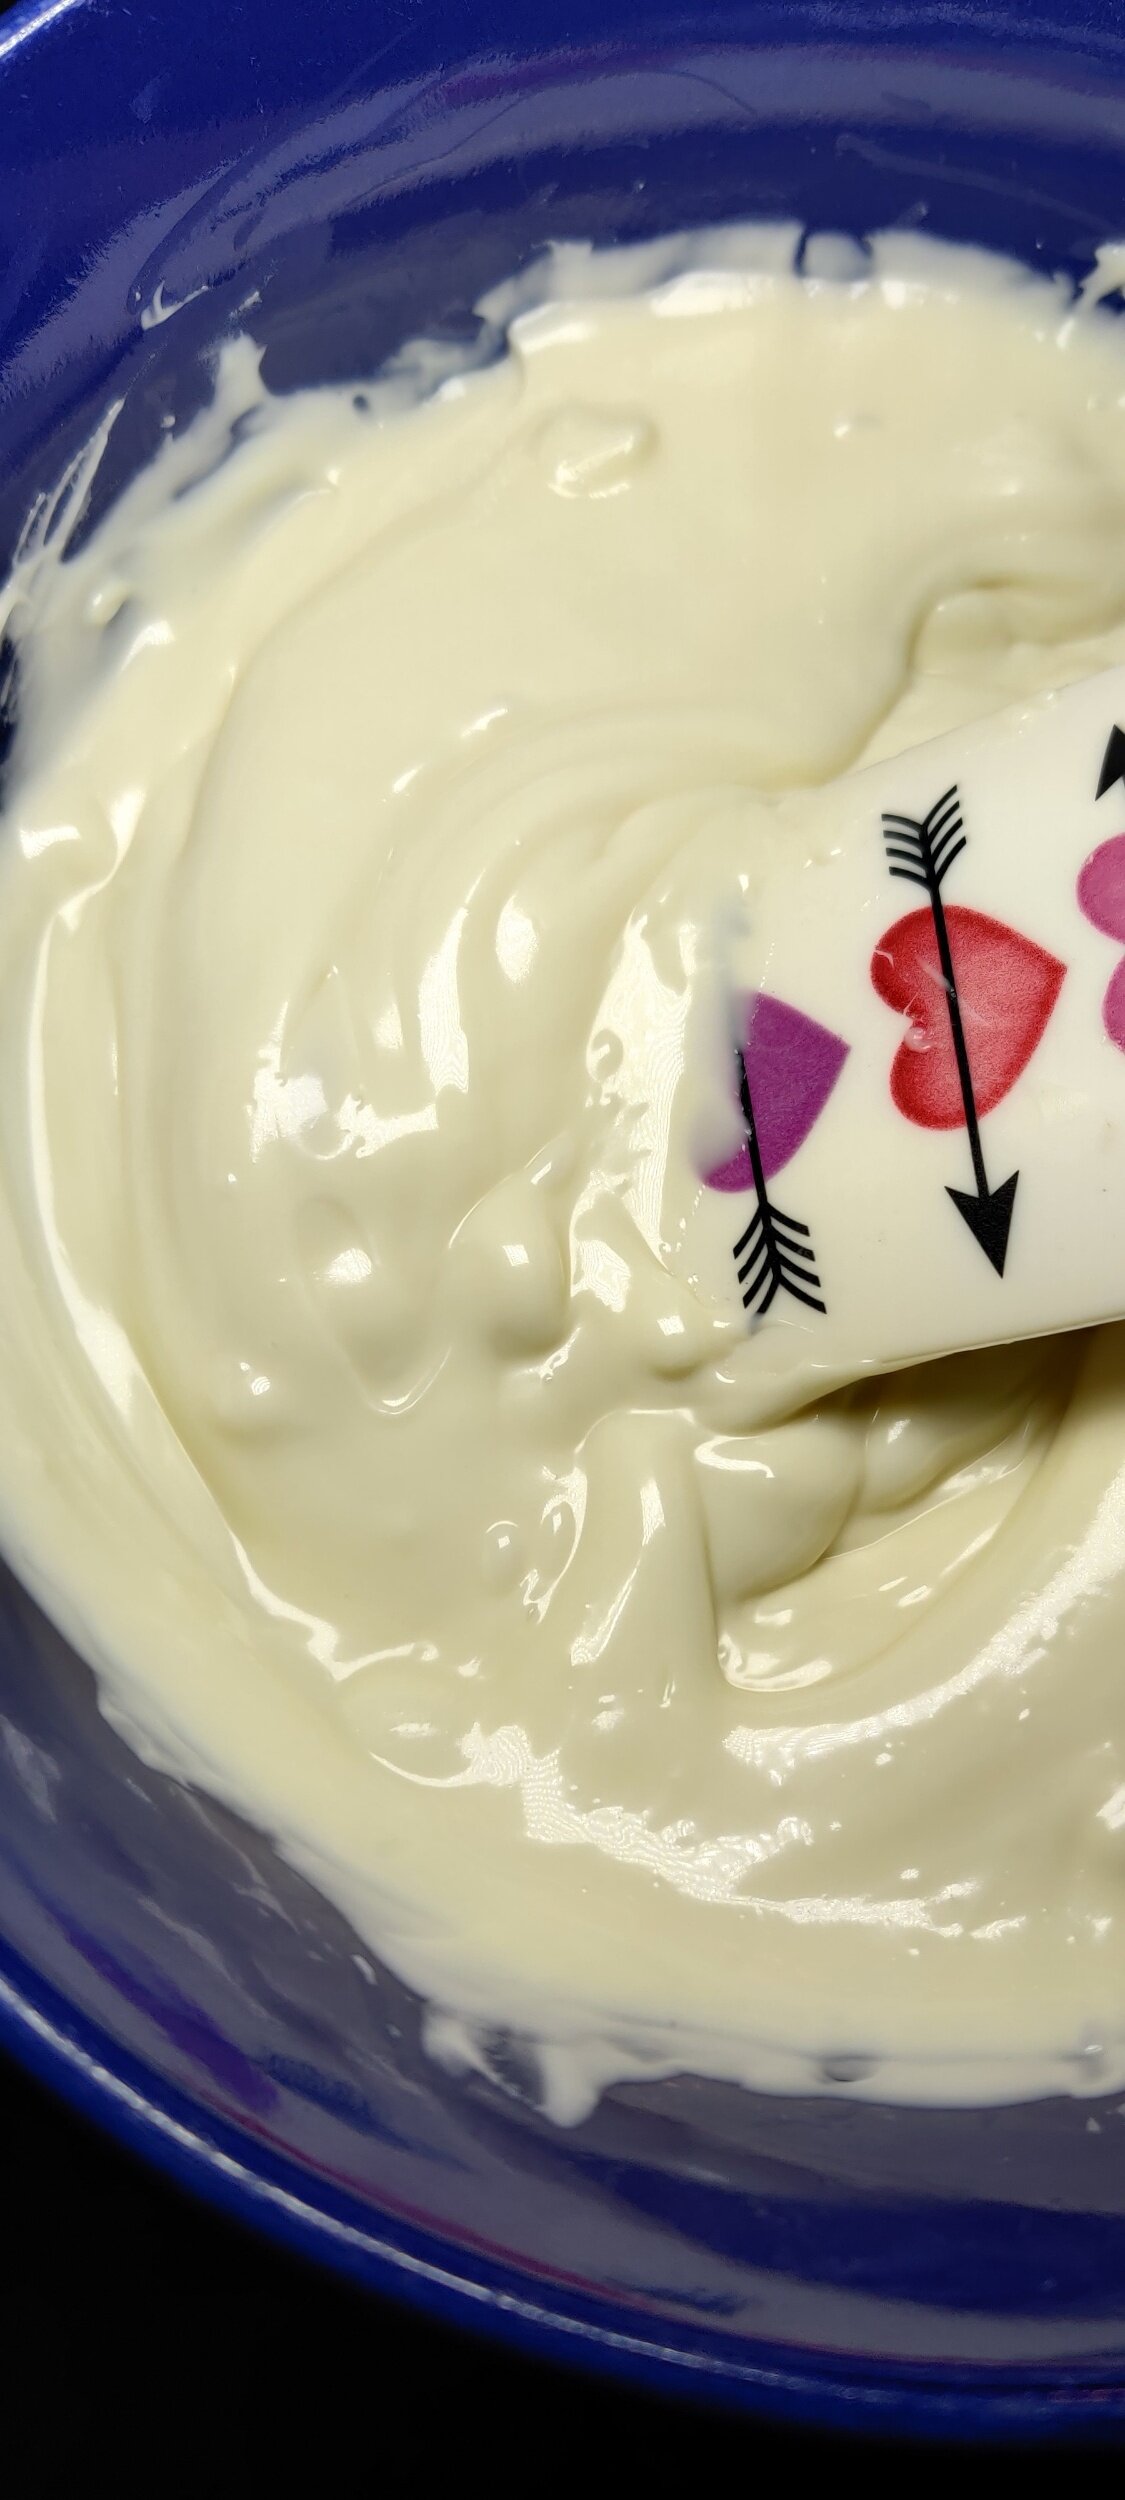
Melt the chocolate chips in the microwave for 2 minutes, stirring every 30 seconds. When you have 30 seconds left, stir in the coconut oil. Once all the chocolate has melted, stir in the almond extract. Make sure all the large lumps are gone.
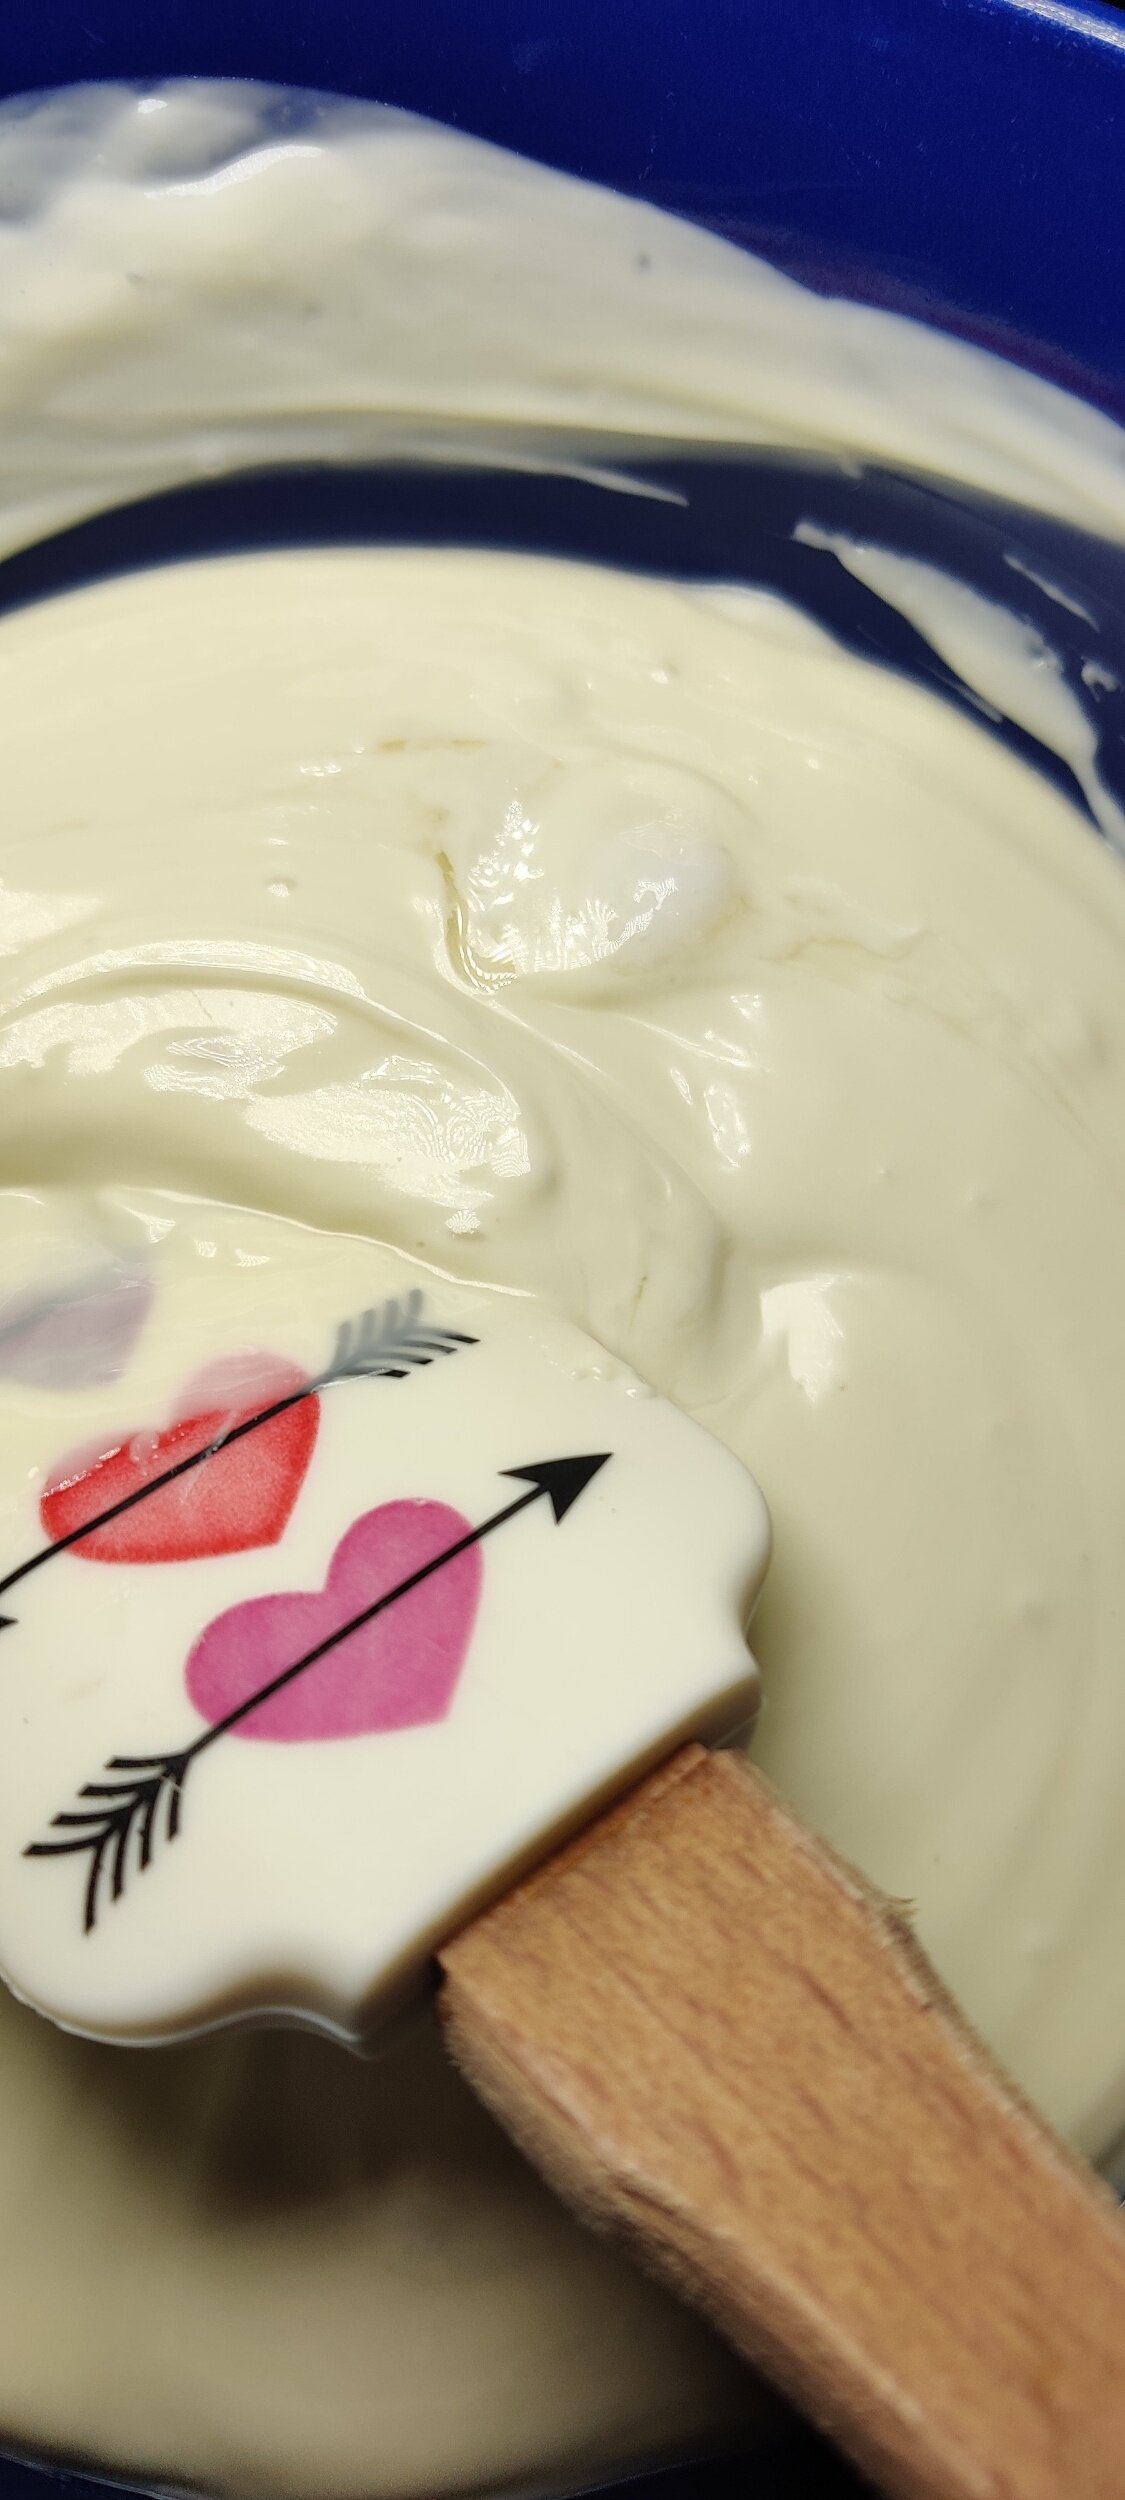
Quickly spread the melted chocolate evenly (to your desired thickness) over a prepared baking tray lined with parchment paper.
Sprinkle the pistachios, cranberries, coconut, and roselle petals on top.
Chill in the freezer for 1 hour, then break apart with a knife into squares or shards. Wrap up in parchment paper and a zip lock bag and refrigerate.

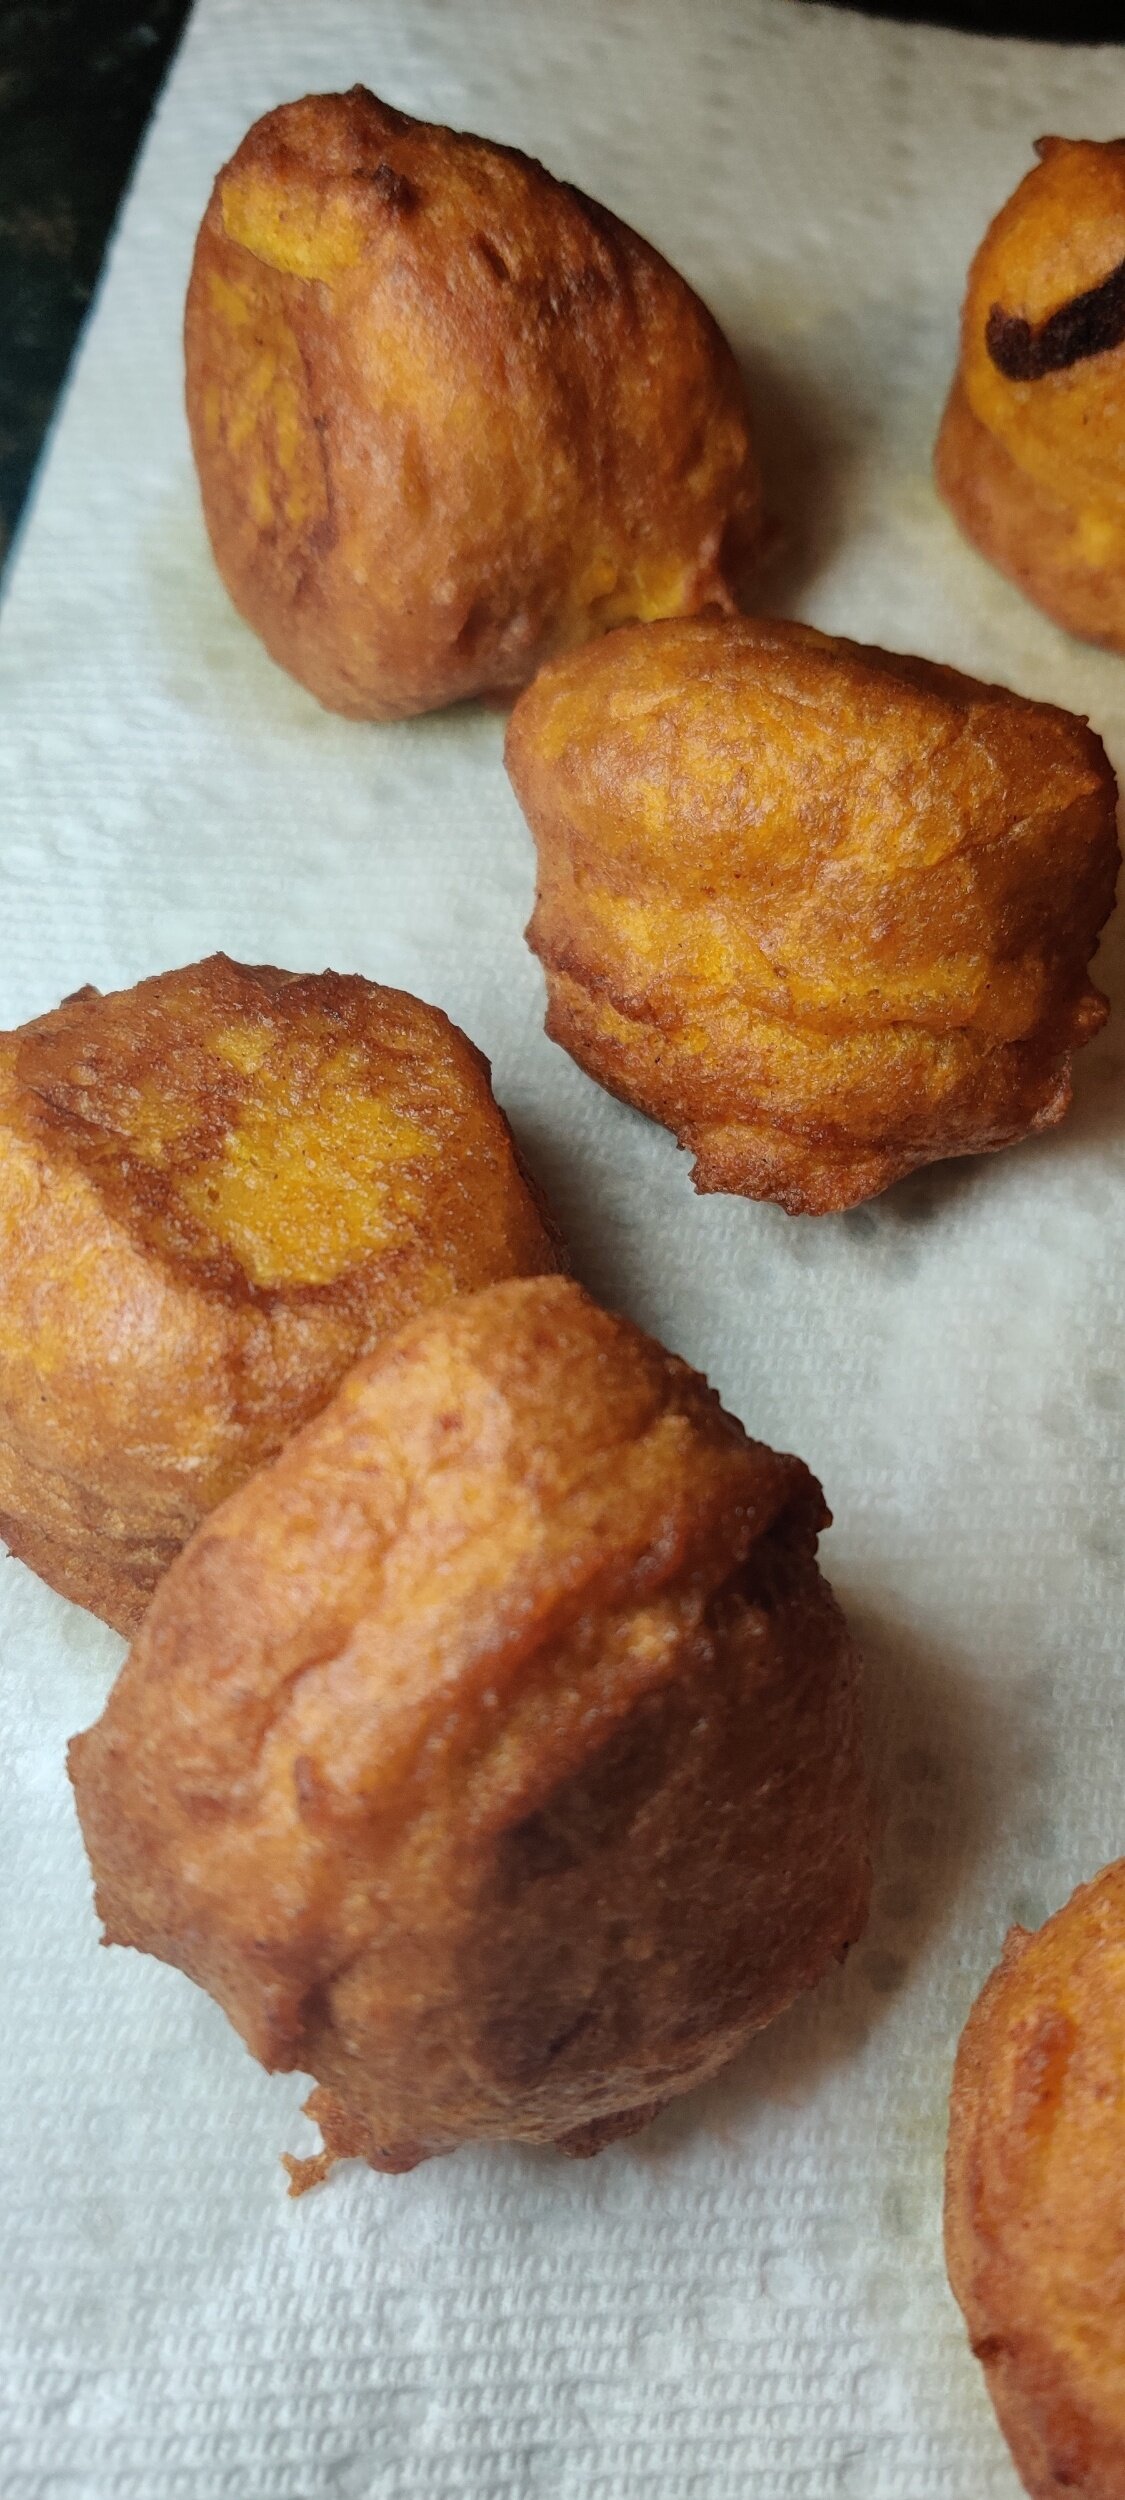
Pampoenkoekies with Spicy Peanut Caramel (Pumpkin Fritters)
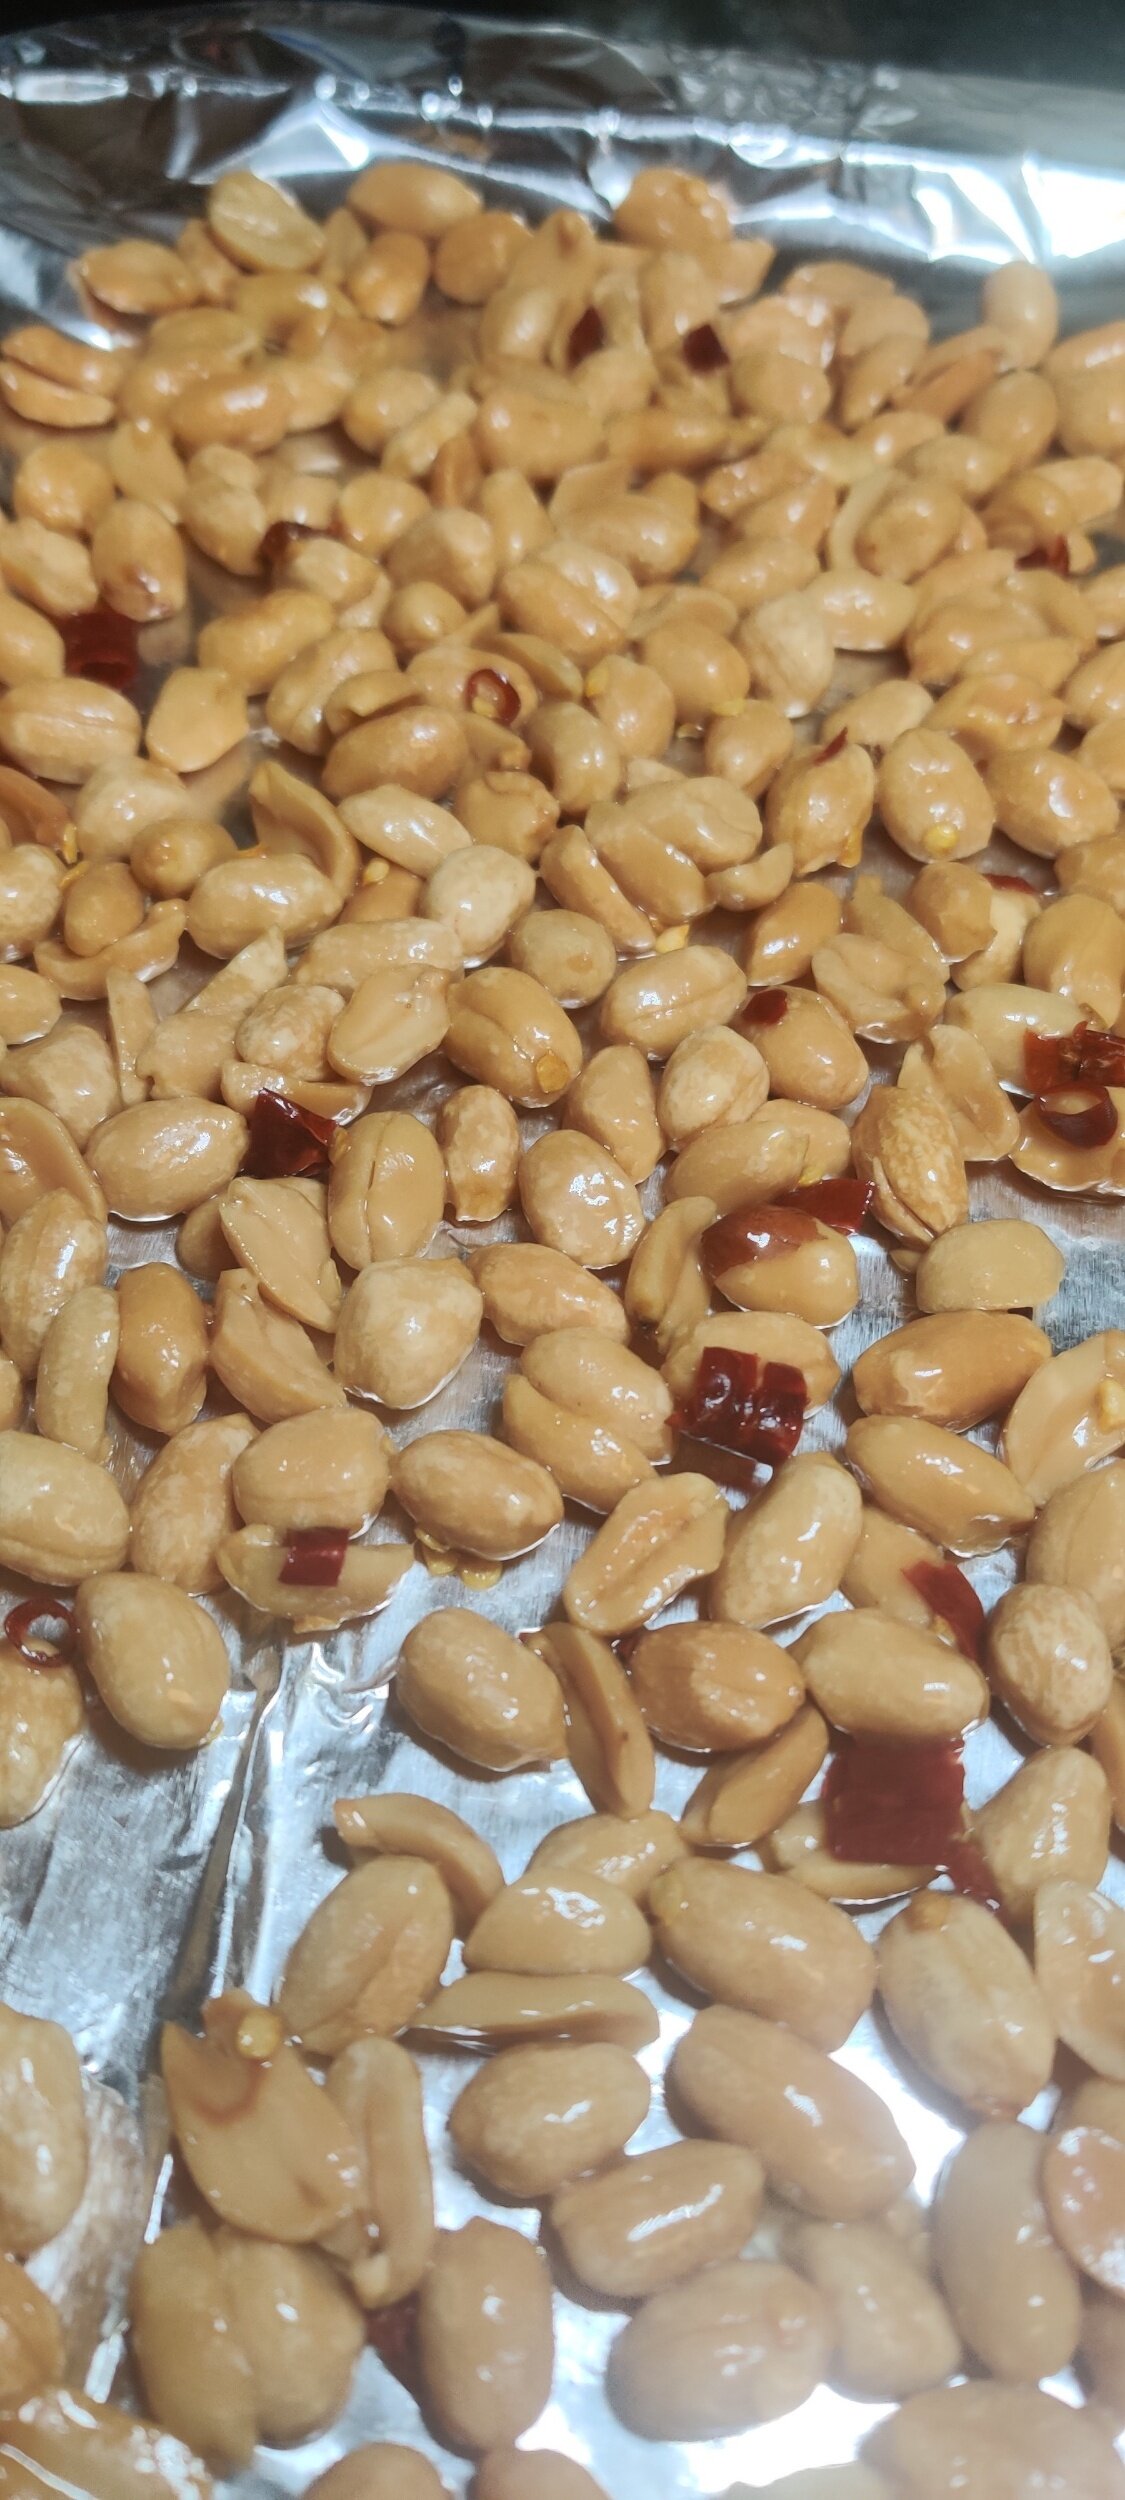
I paired them with a spicy peanut butter caramel. Combining peanut butter and pumpkin (leaves) is very popular North of the border in my homeland Zimbabwe, so it made sense. We also like to make peanut butter stews mixed with other proteins like chicken or other vegetables like kale, often adding fresh chilies making for a rich balance of sweet and savoury.
Grew up eating the occasional fatcooks or voetkoeks - another version of the same mixed with maizemeal. Whether it's mandazi or hushpuppies, who doesn’t like fried dough?
")
Pampoenkoekies with Spicy Peanut Caramel (Pumpkin Fritters)
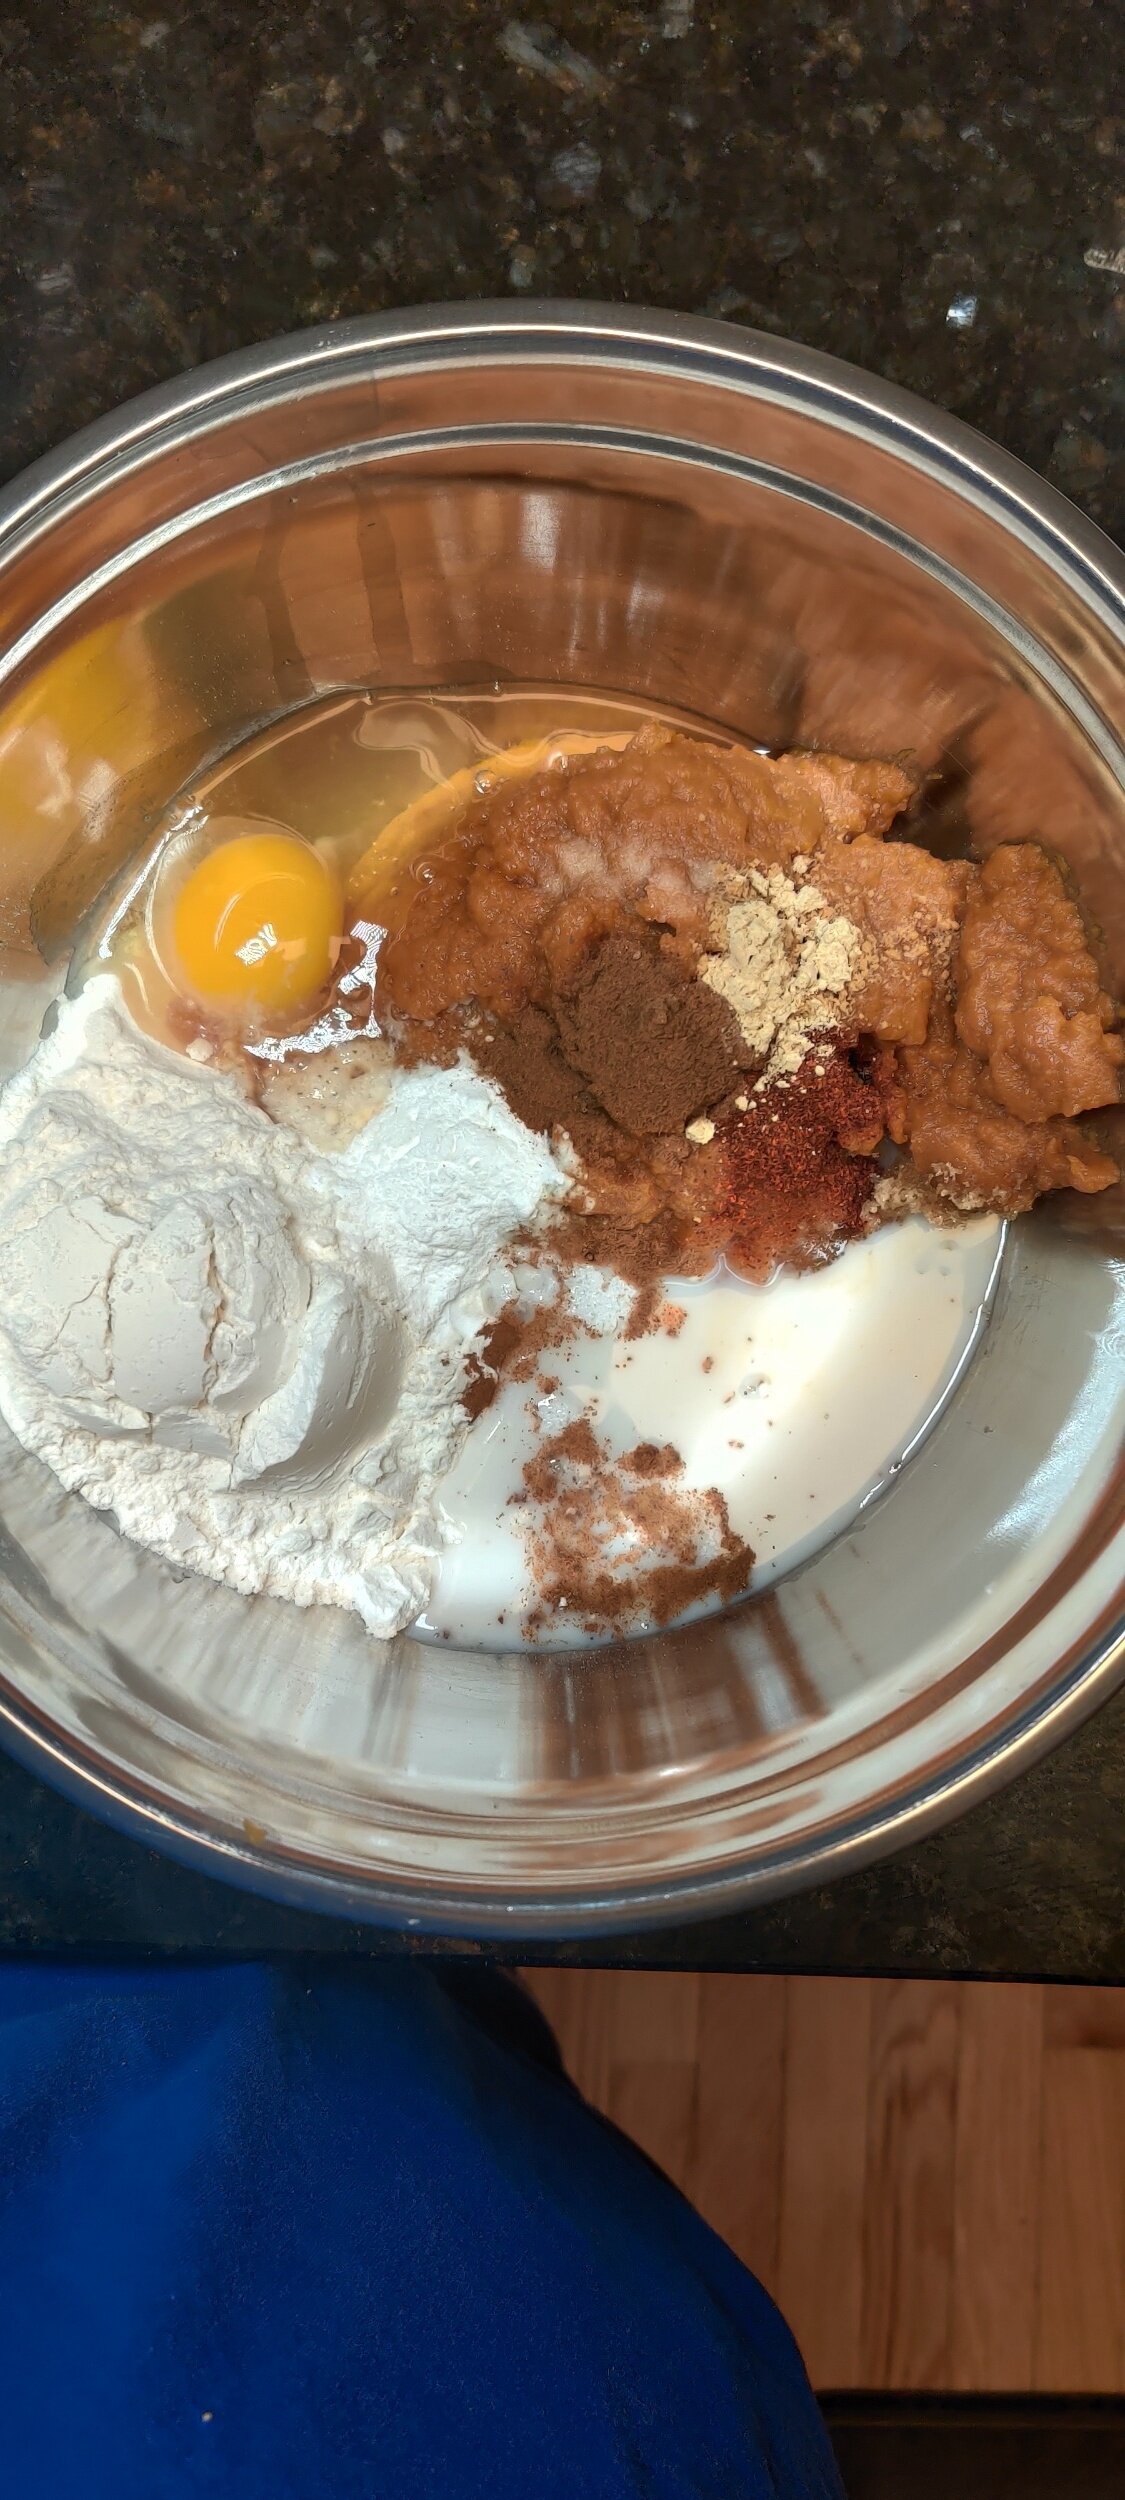
Ingredients
- 1 cup pumpkin puree
- 4 cups peanut oil for deep frying
- 1 teaspoon cayenne
- 1 egg
- 1 cup all-purpose flour
- 2 teaspoons baking powder
- 2 tablespoon light brown sugar
- 1 teaspoon vanilla
- 1/2 teaspoon almond extract
- 1/4 cup light cream
- 1 teaspoon pumpkin spice
- 1/2 teaspoon cinnamon
- 1/2 teaspoon ginger
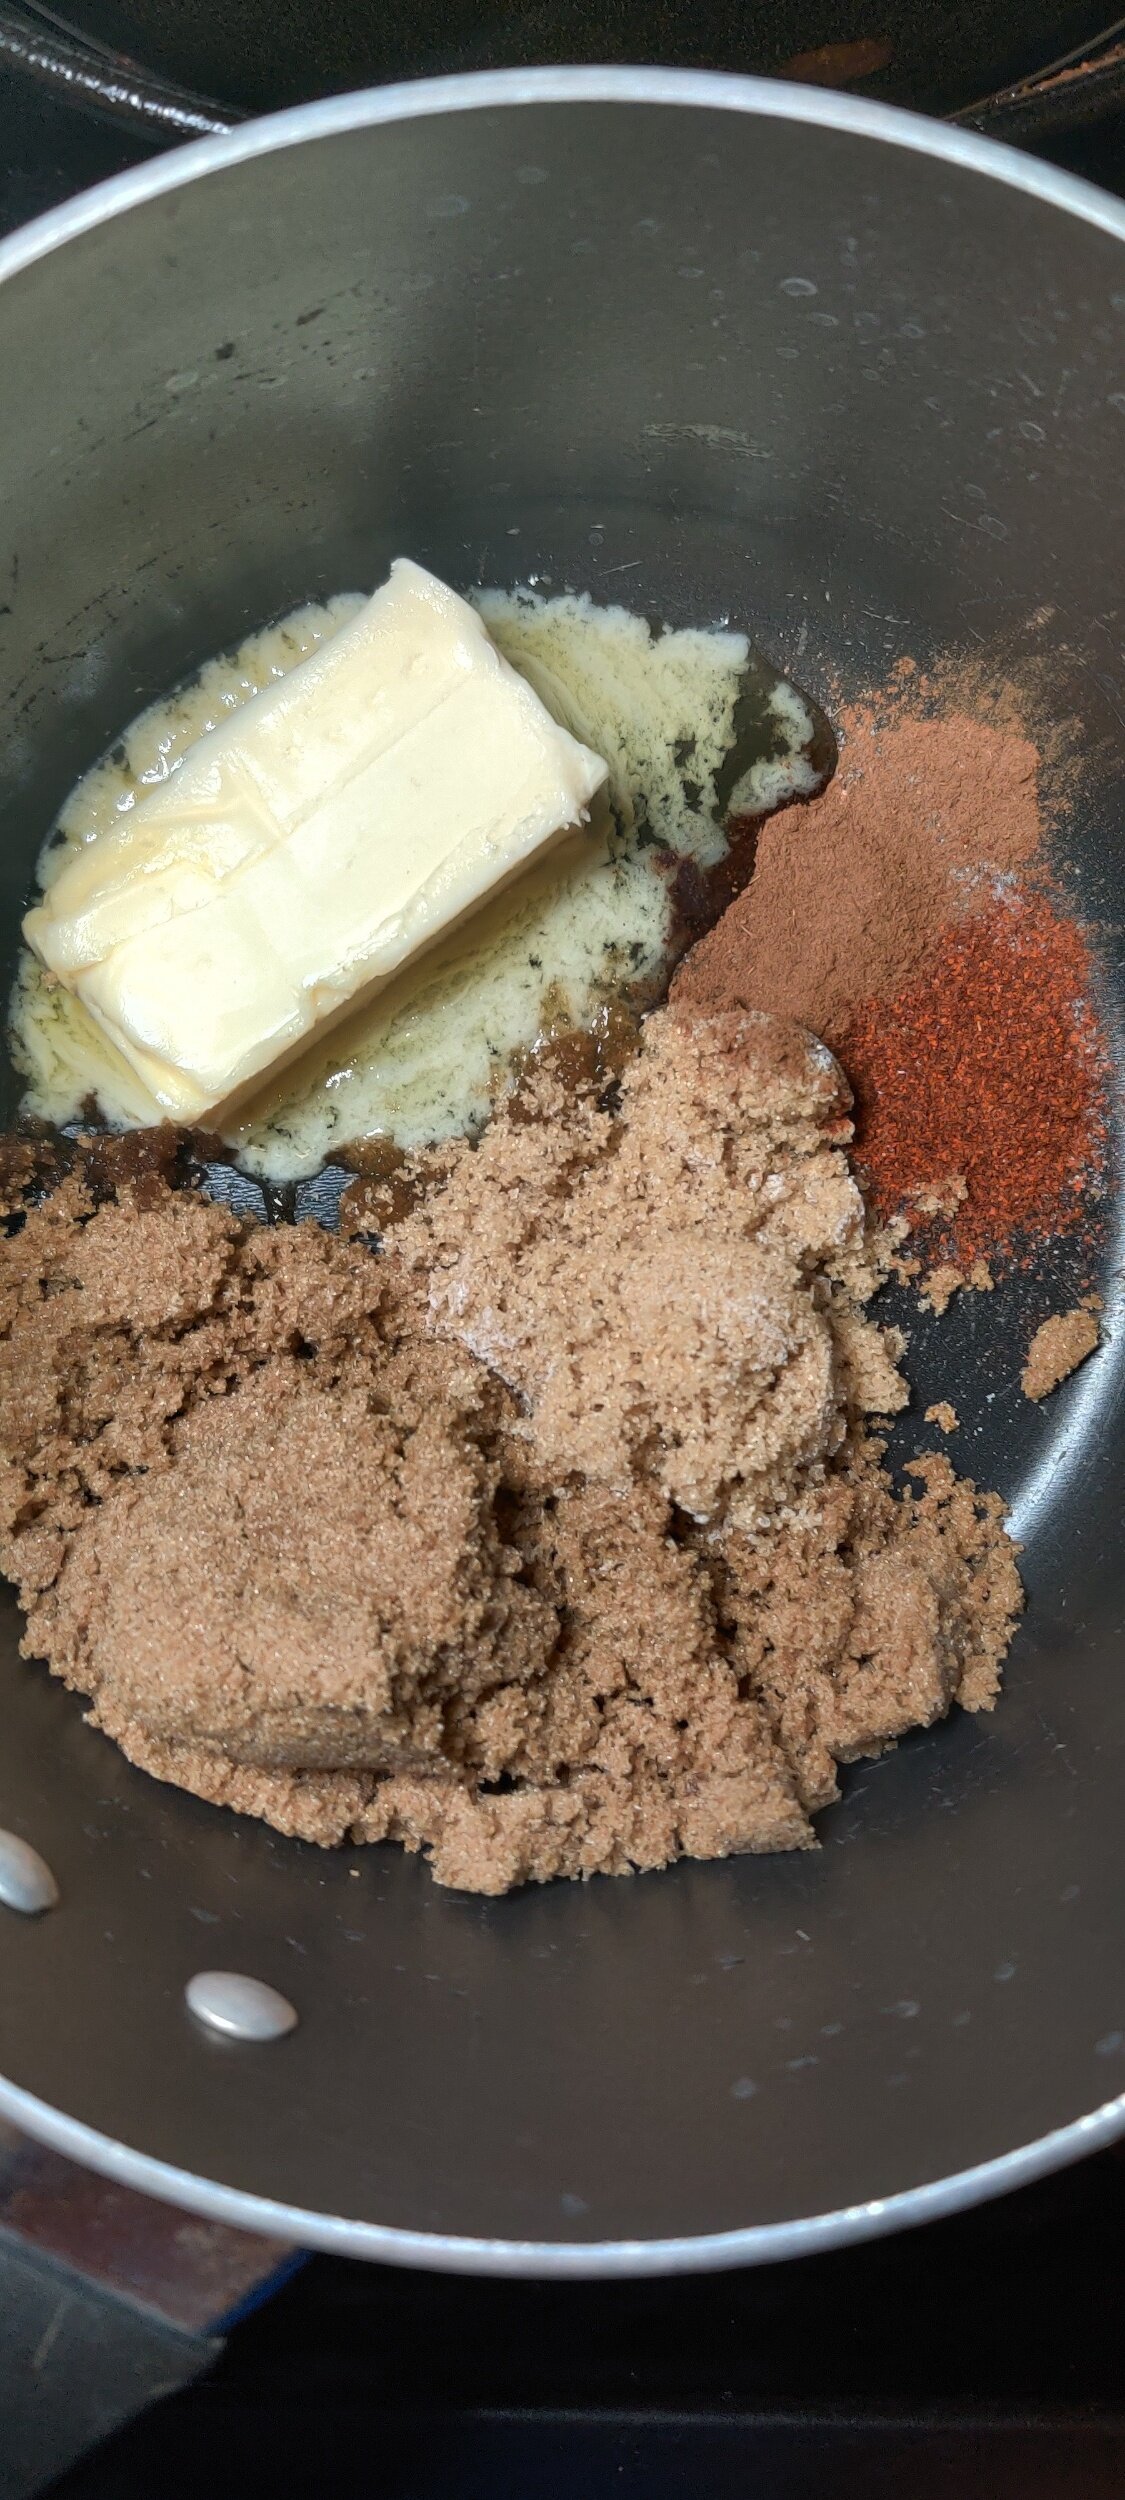
- 1/4 cup butter (half a stick)
- 1 cup dark brown sugar
- 2 tablespoons light brown sugar
- 1/2 cup cream
- 1 teaspoon cayenne
- 1/2 teaspoon pumpkin spice
- Pinch of salt
- 1/3 cup peanut butter
Instructions
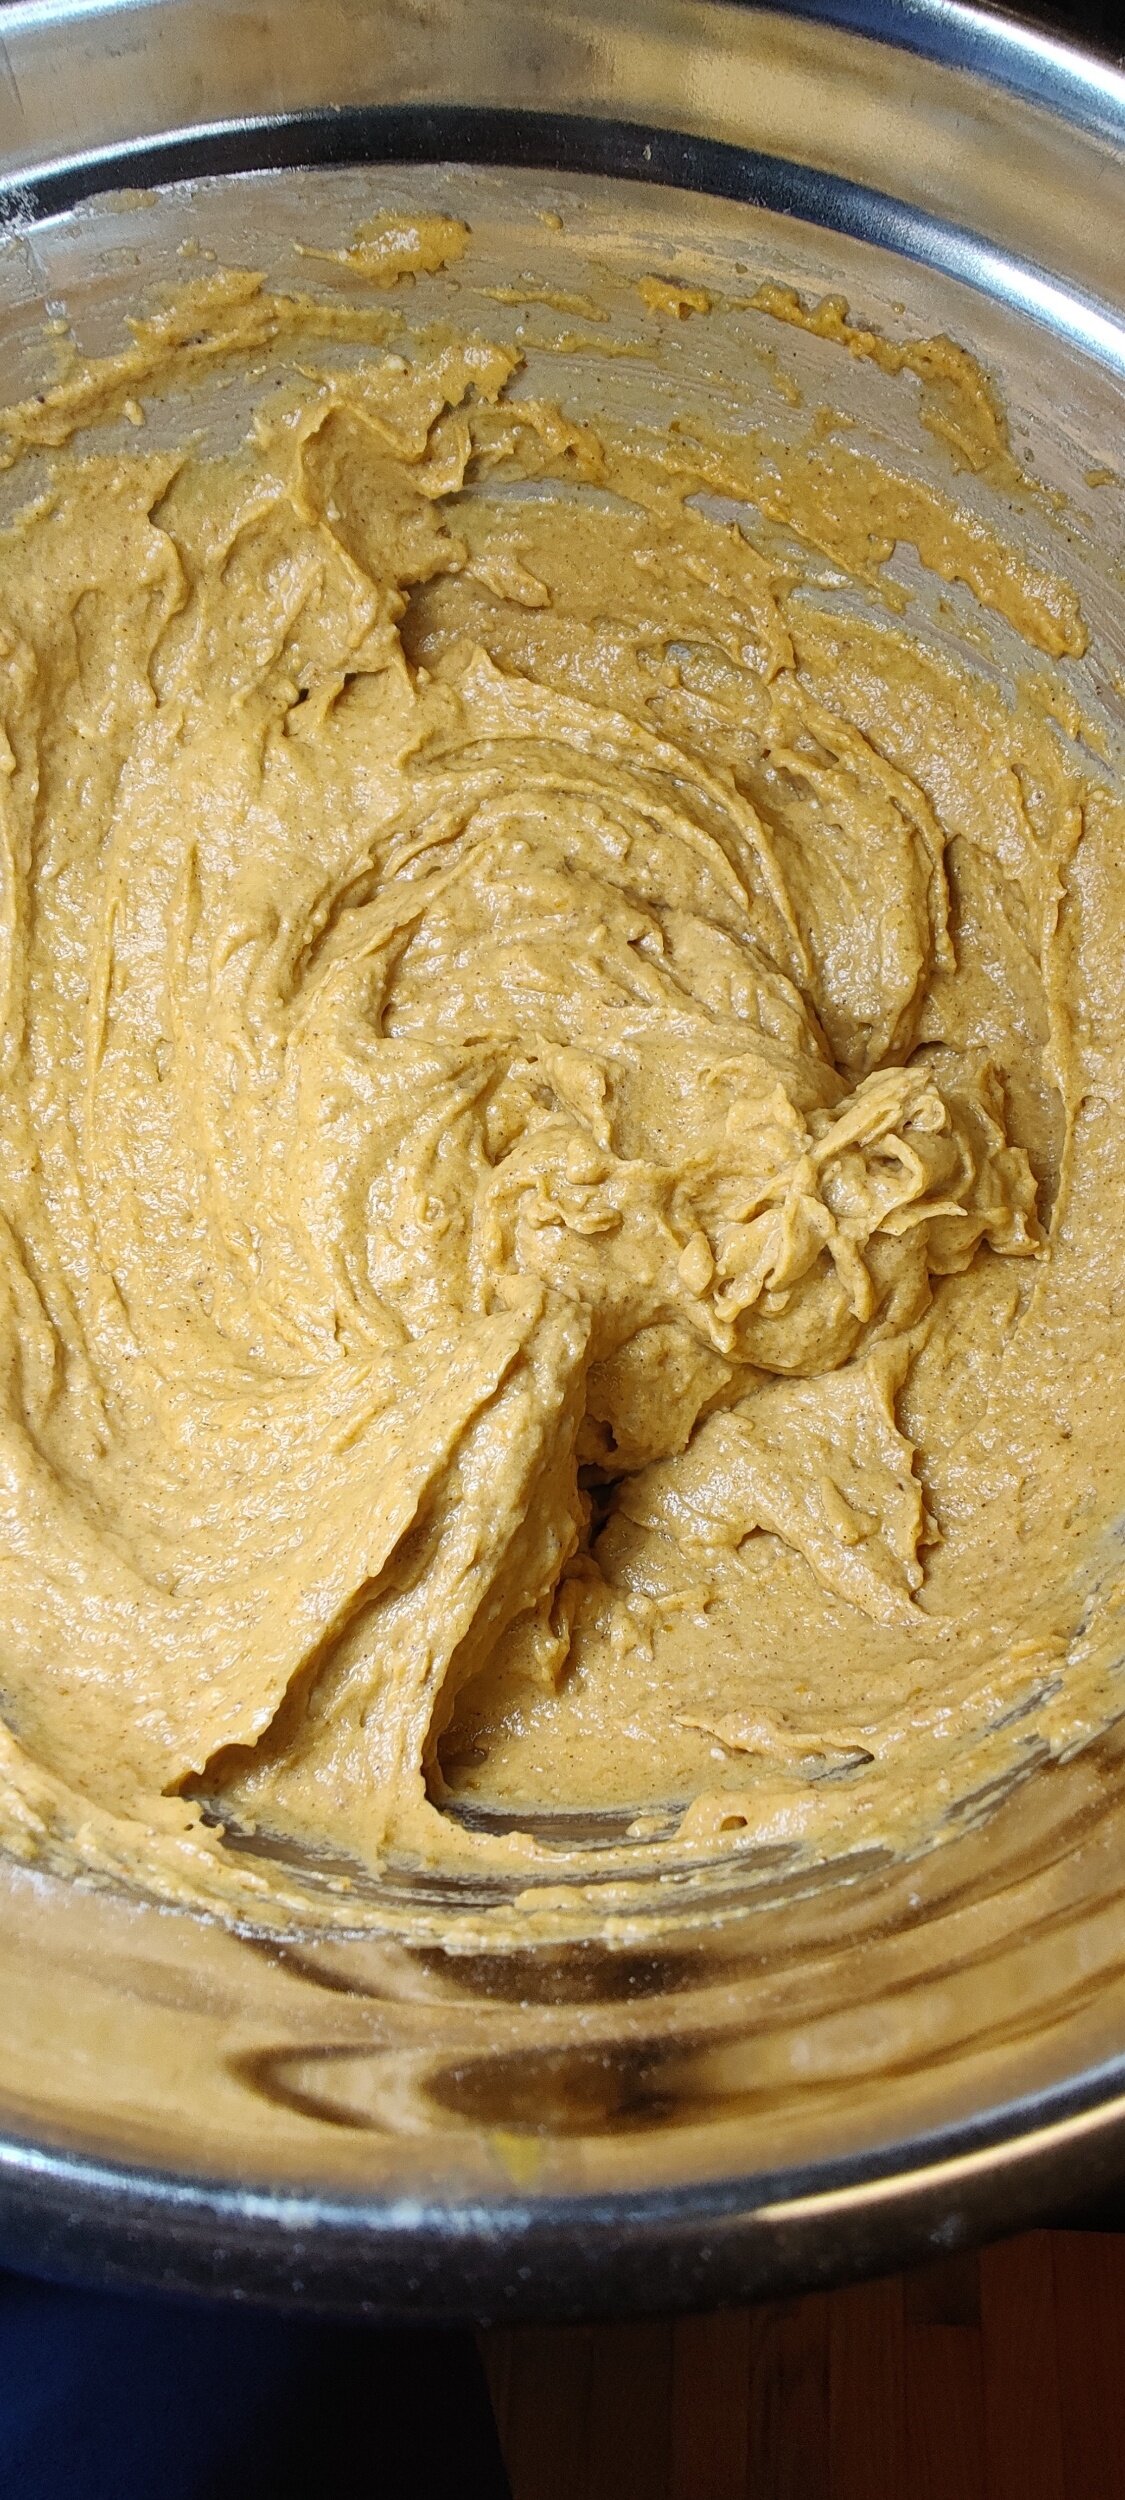
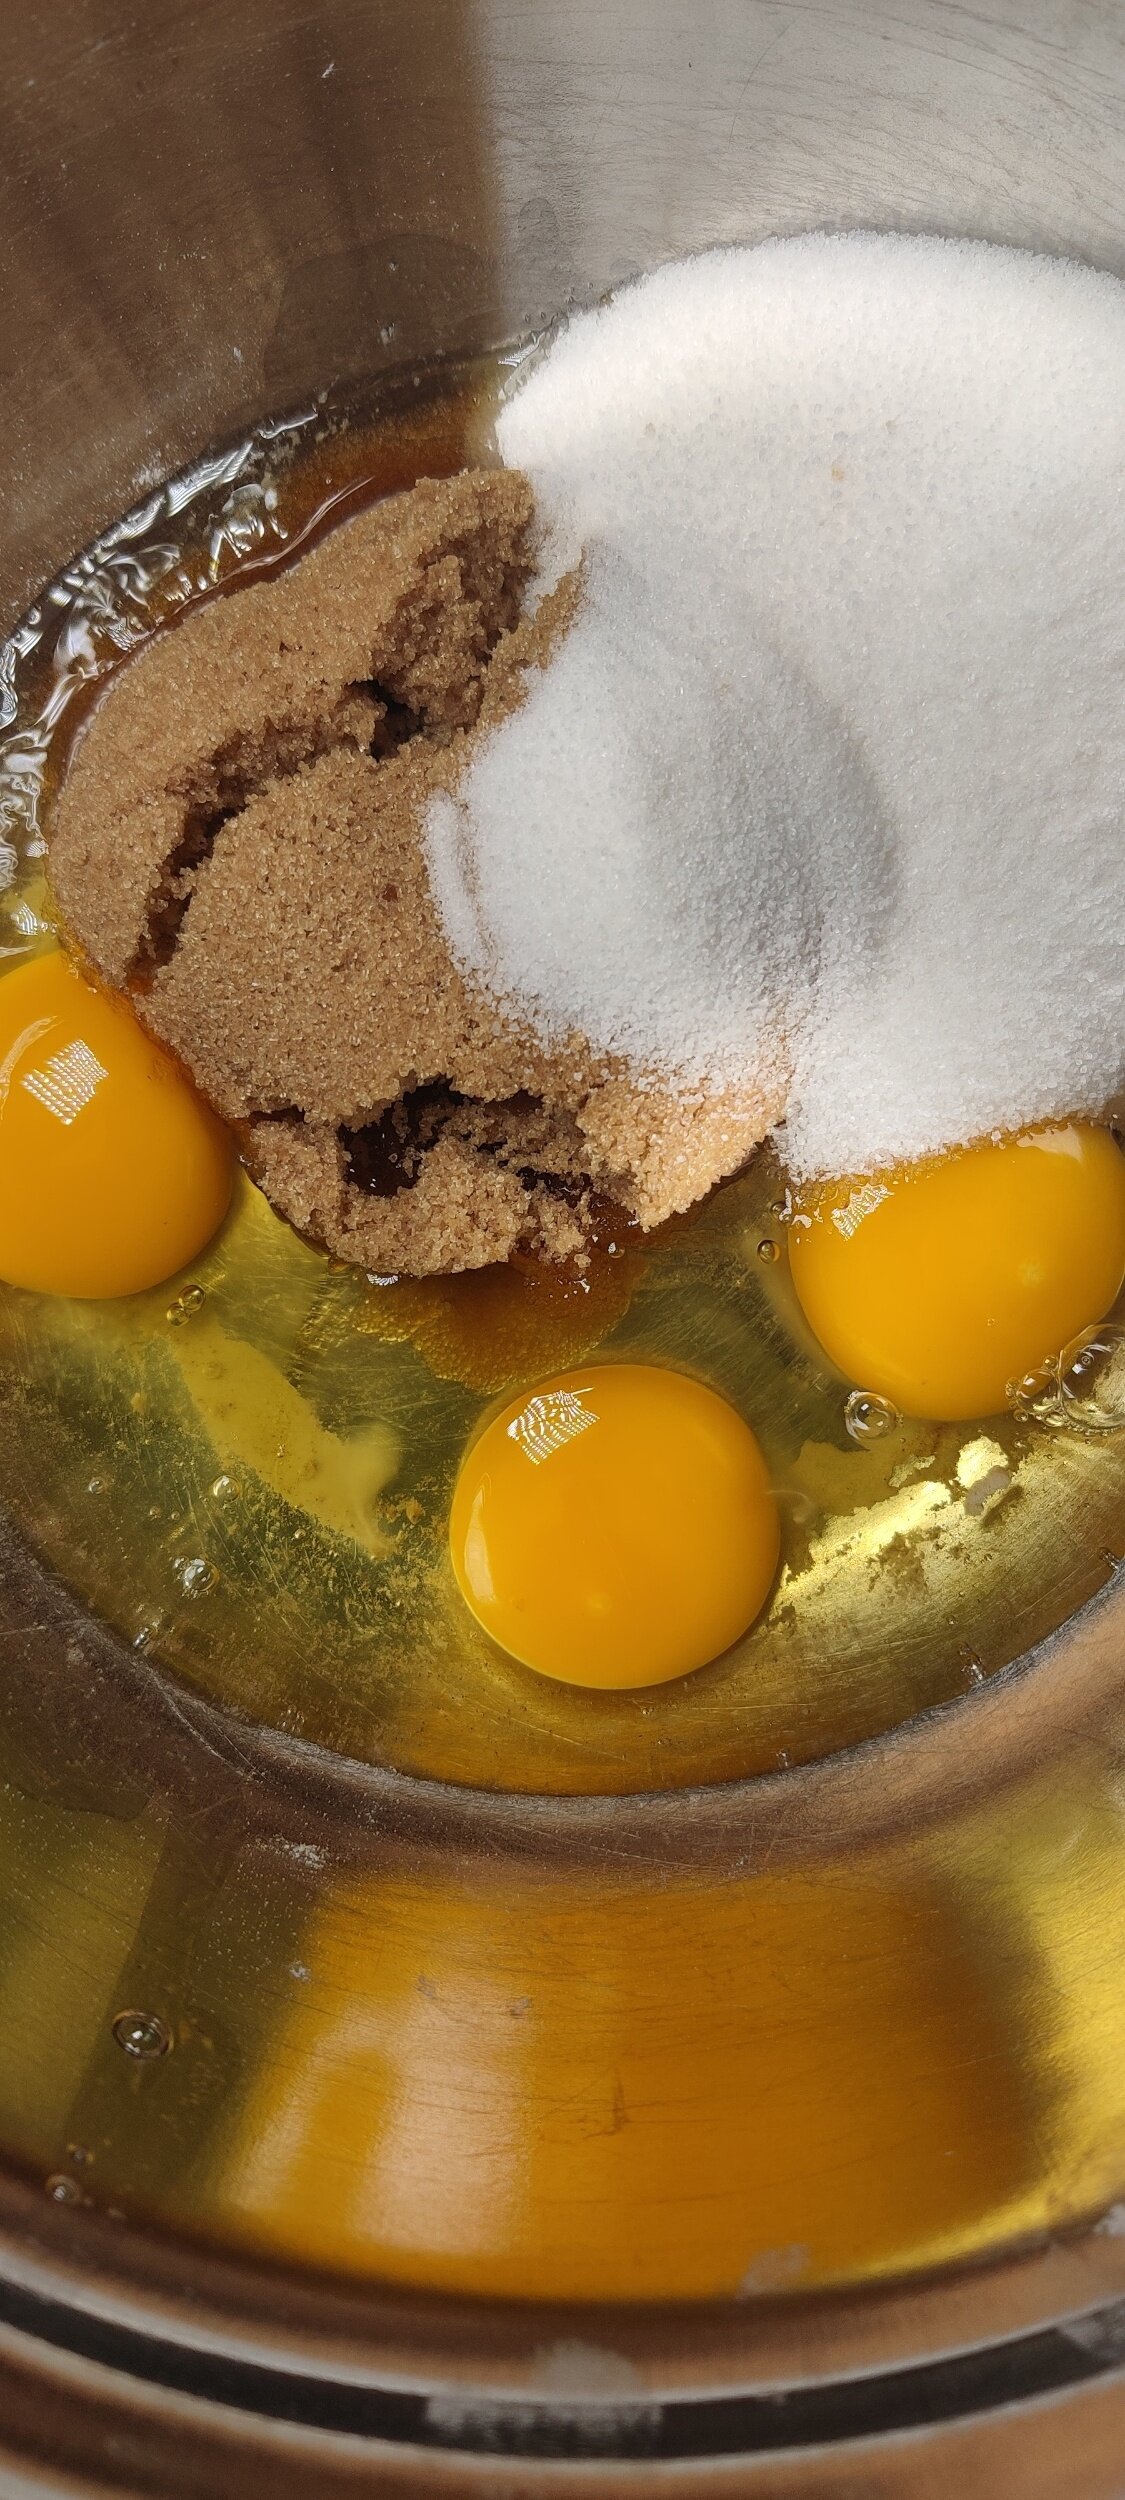
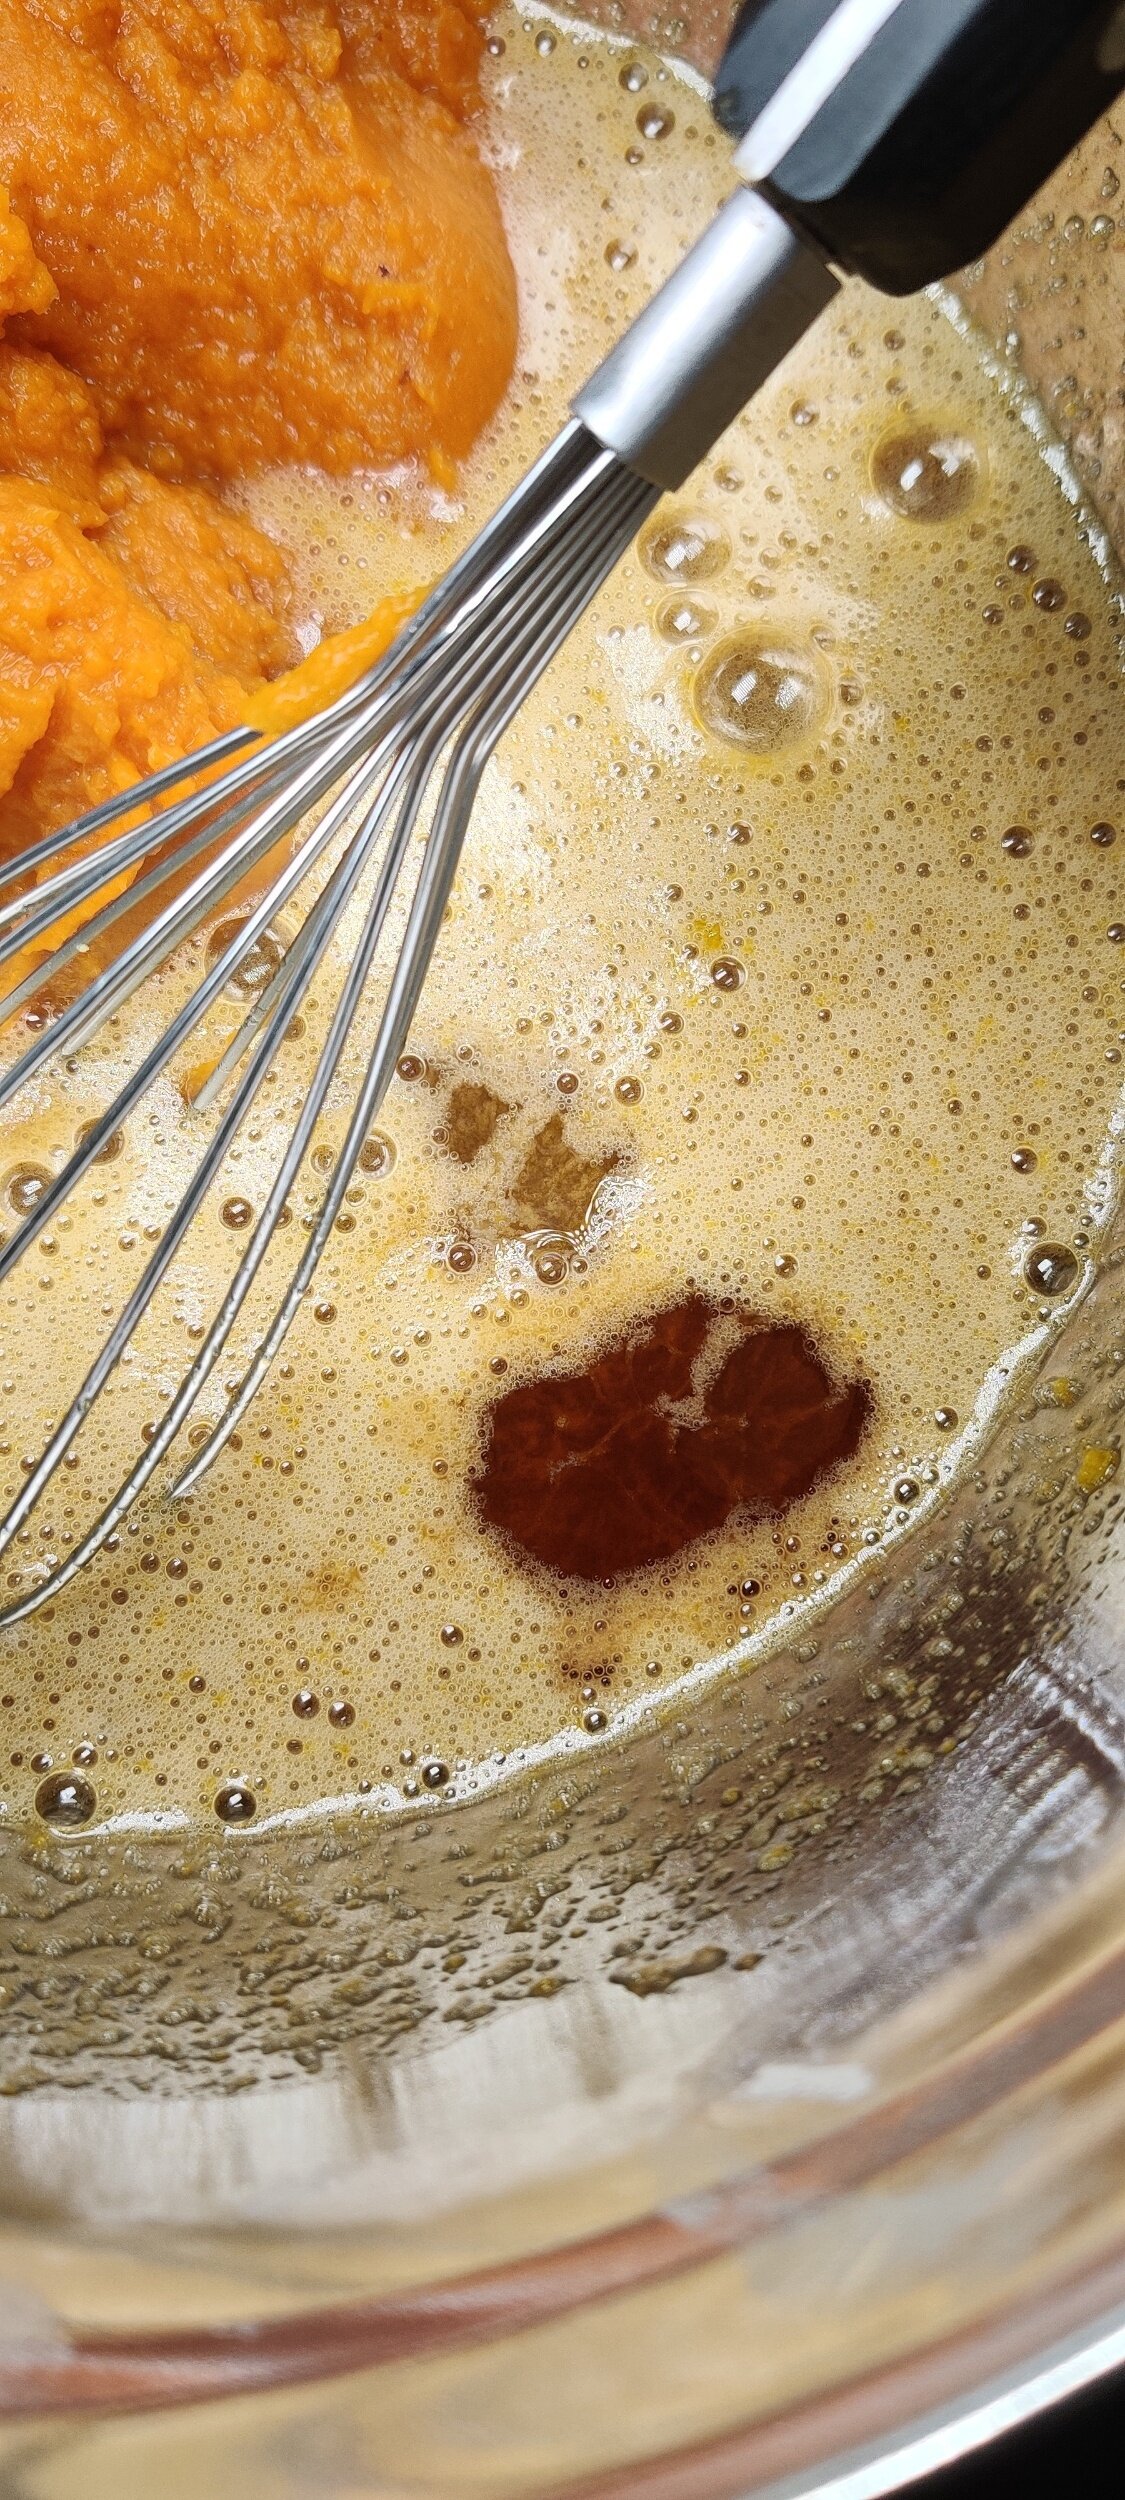
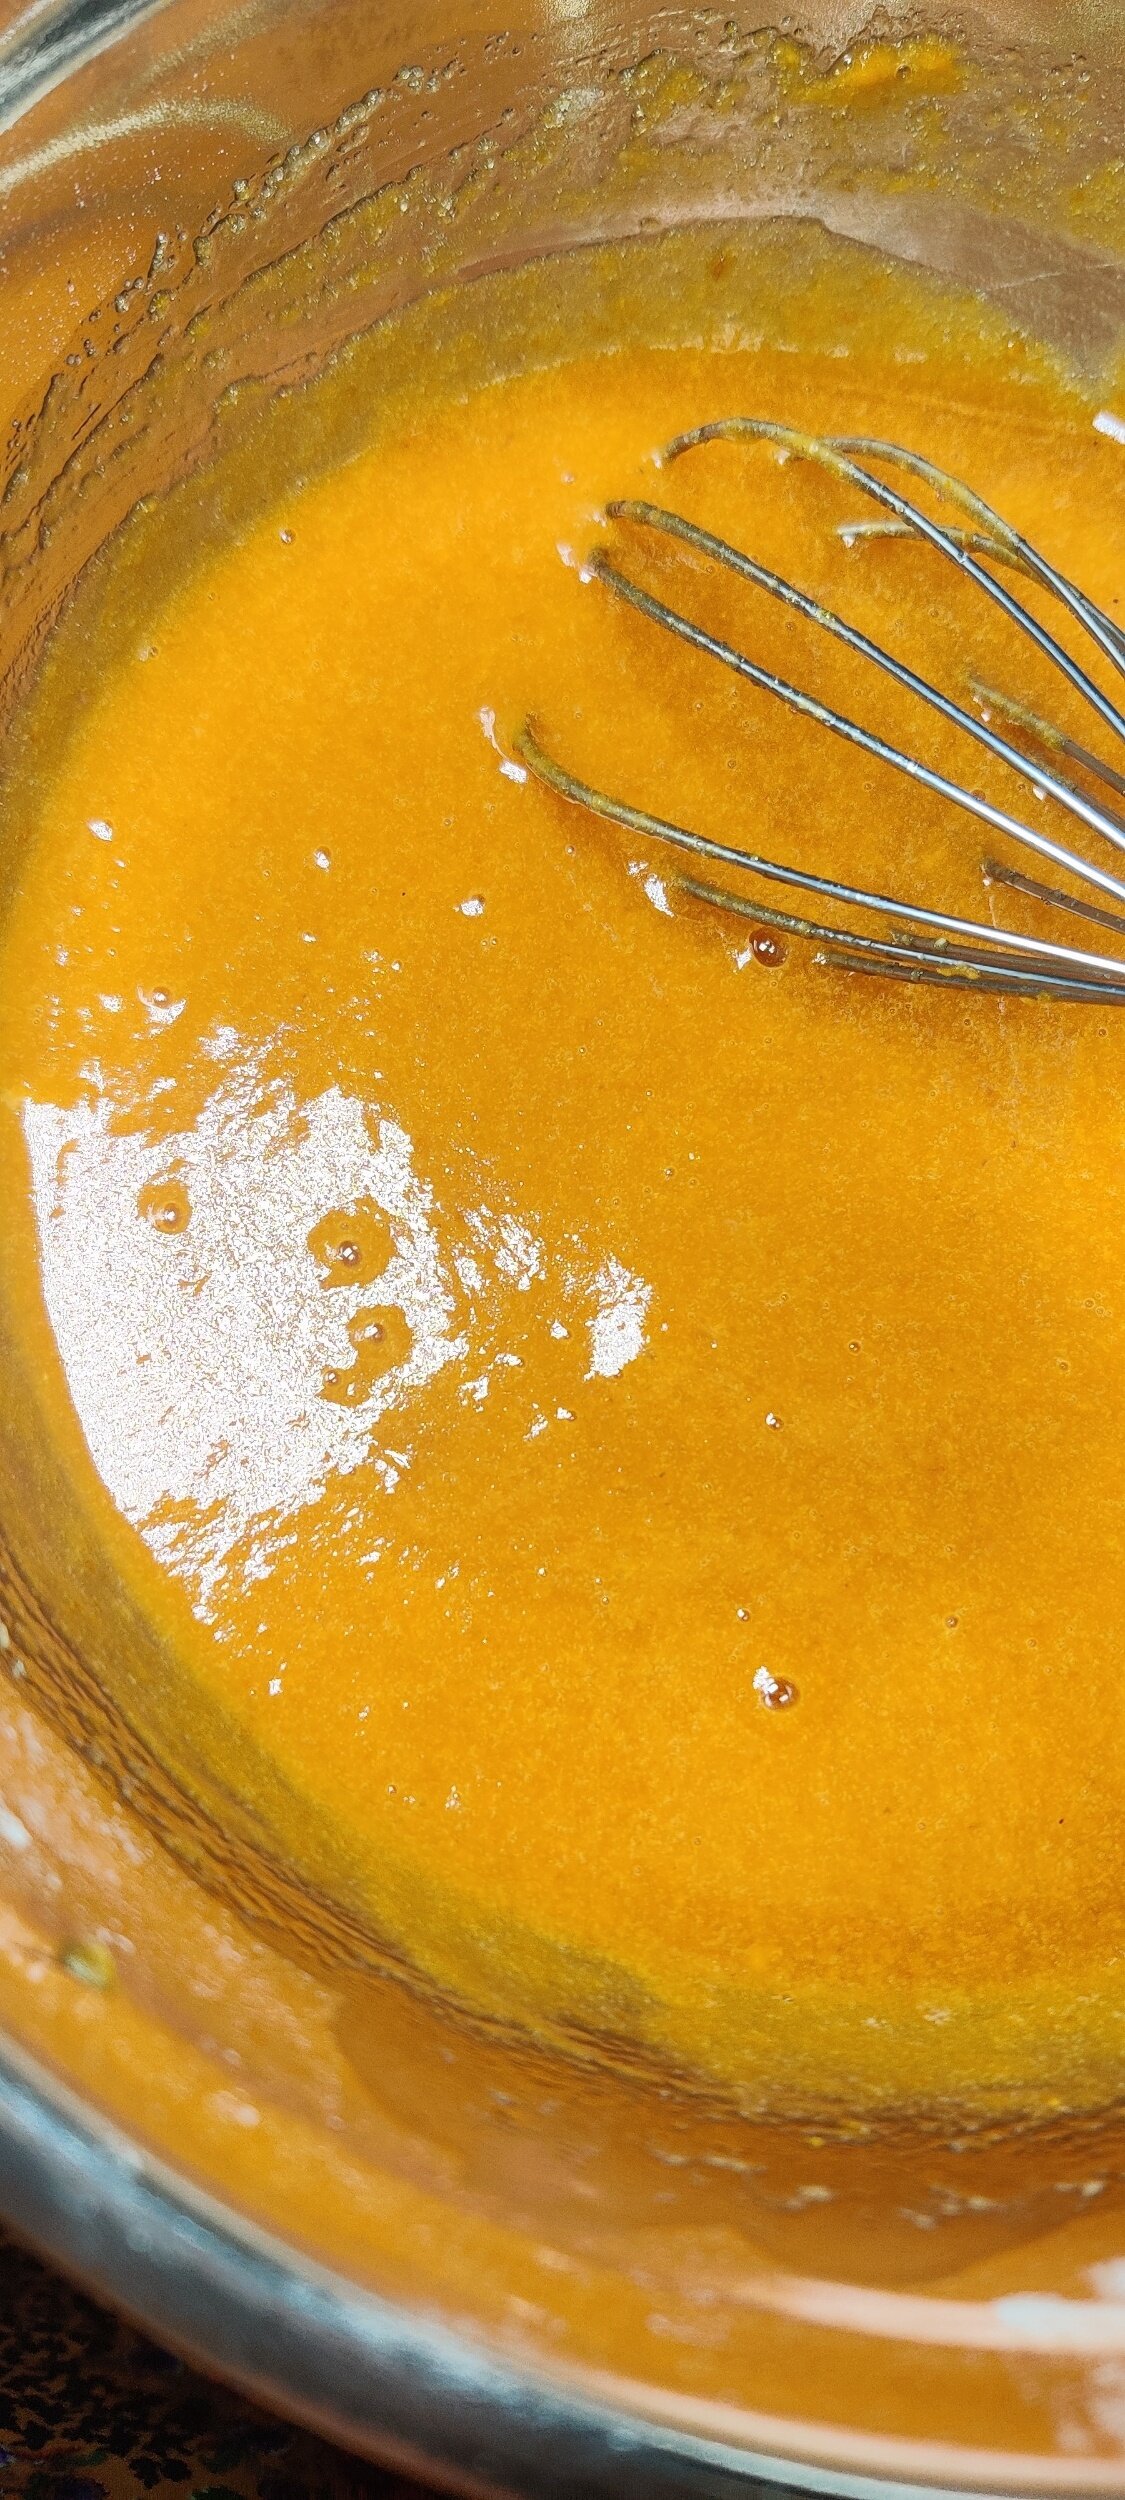
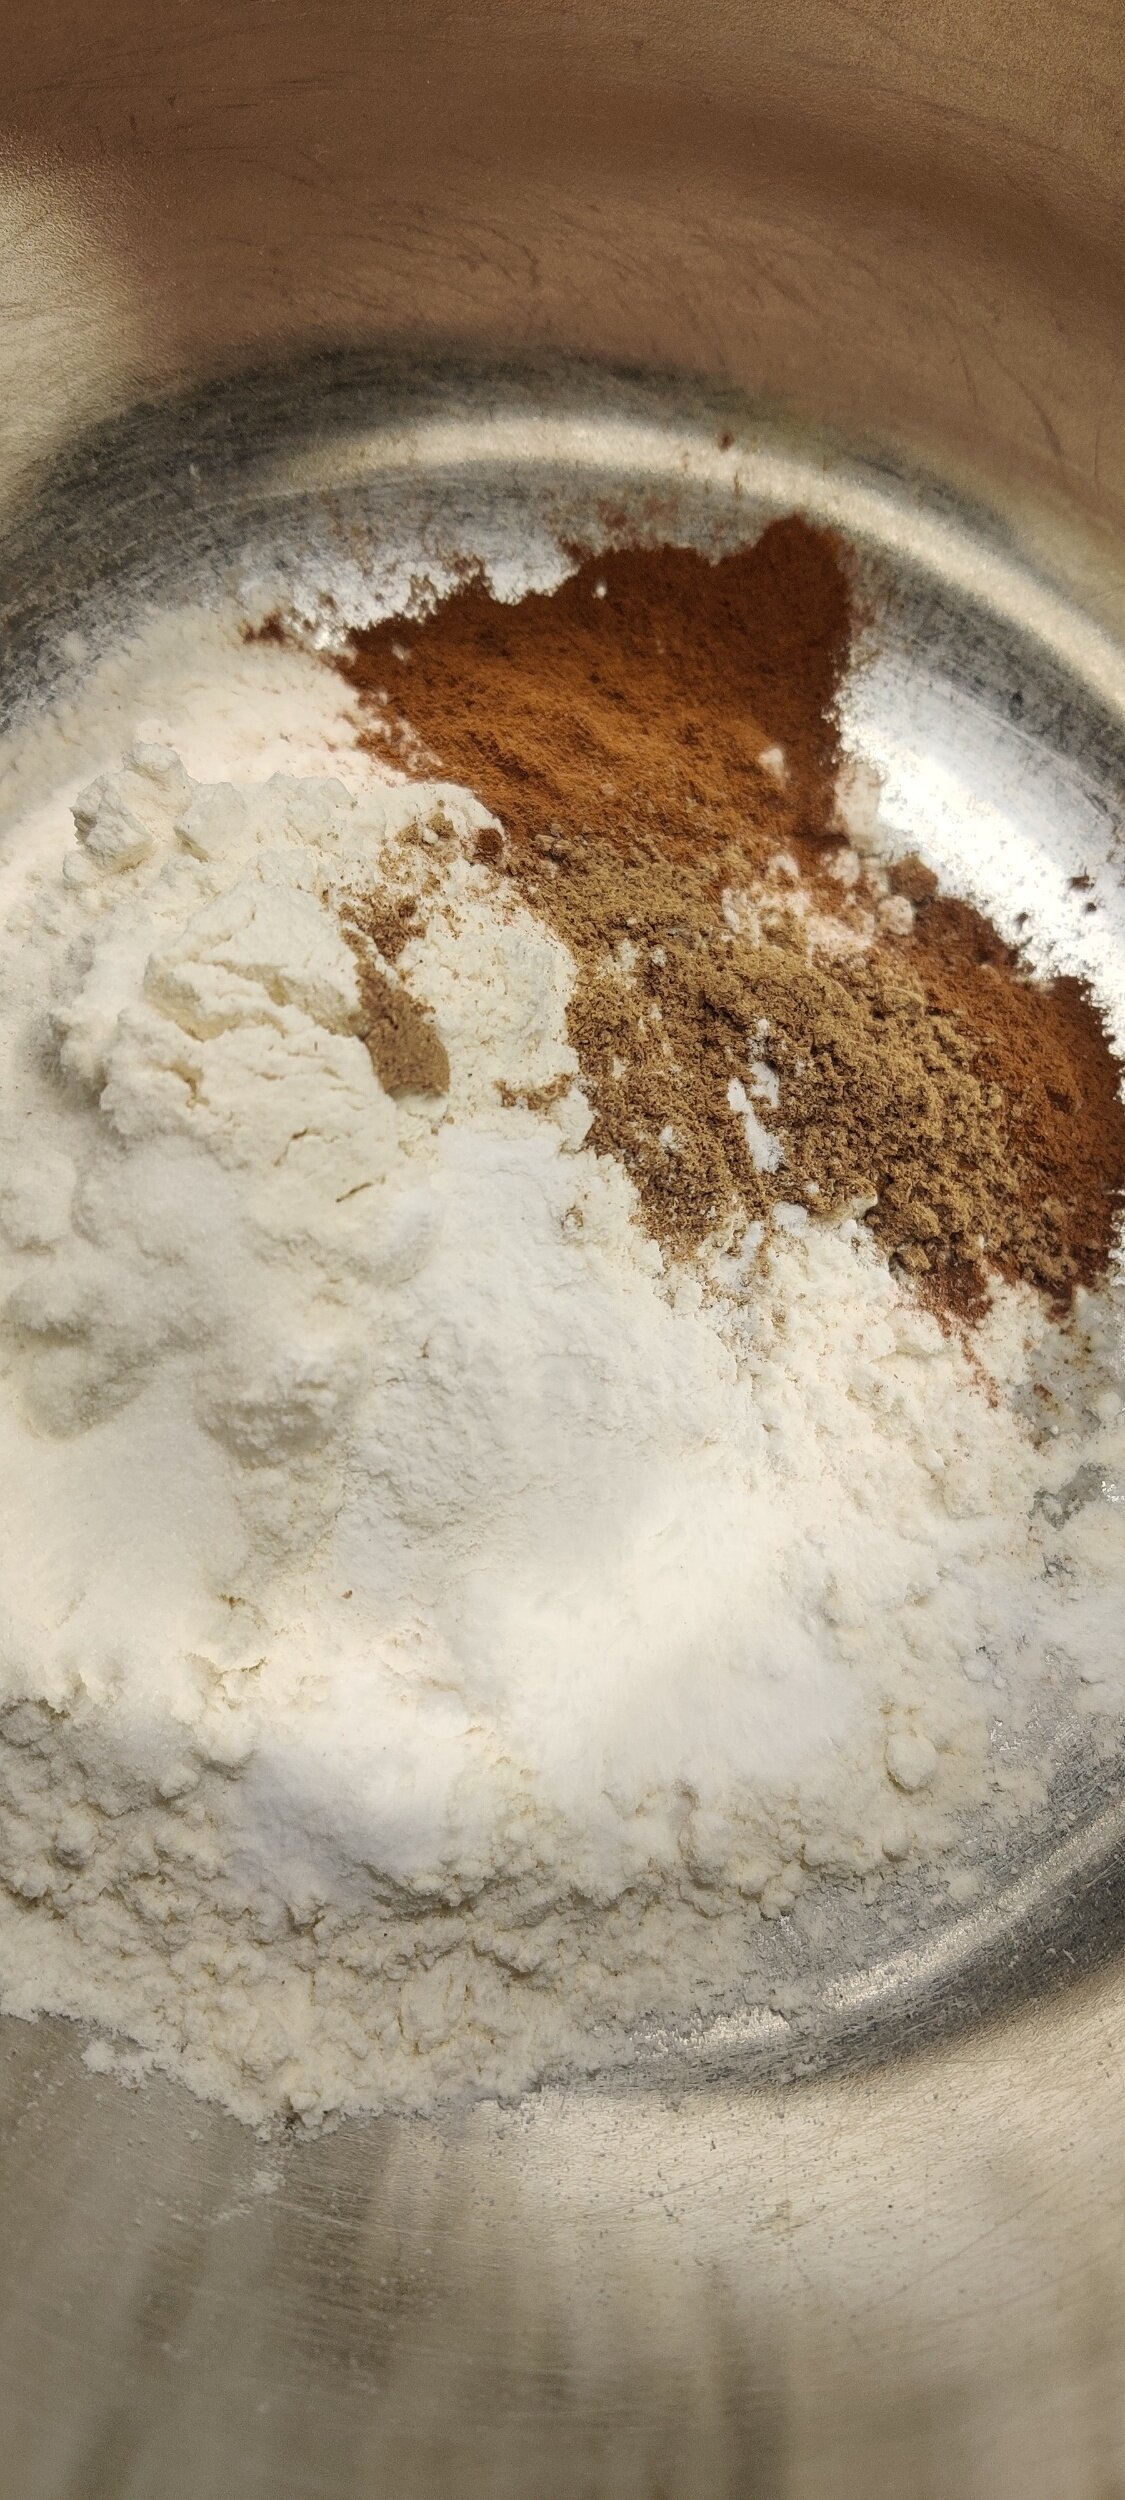
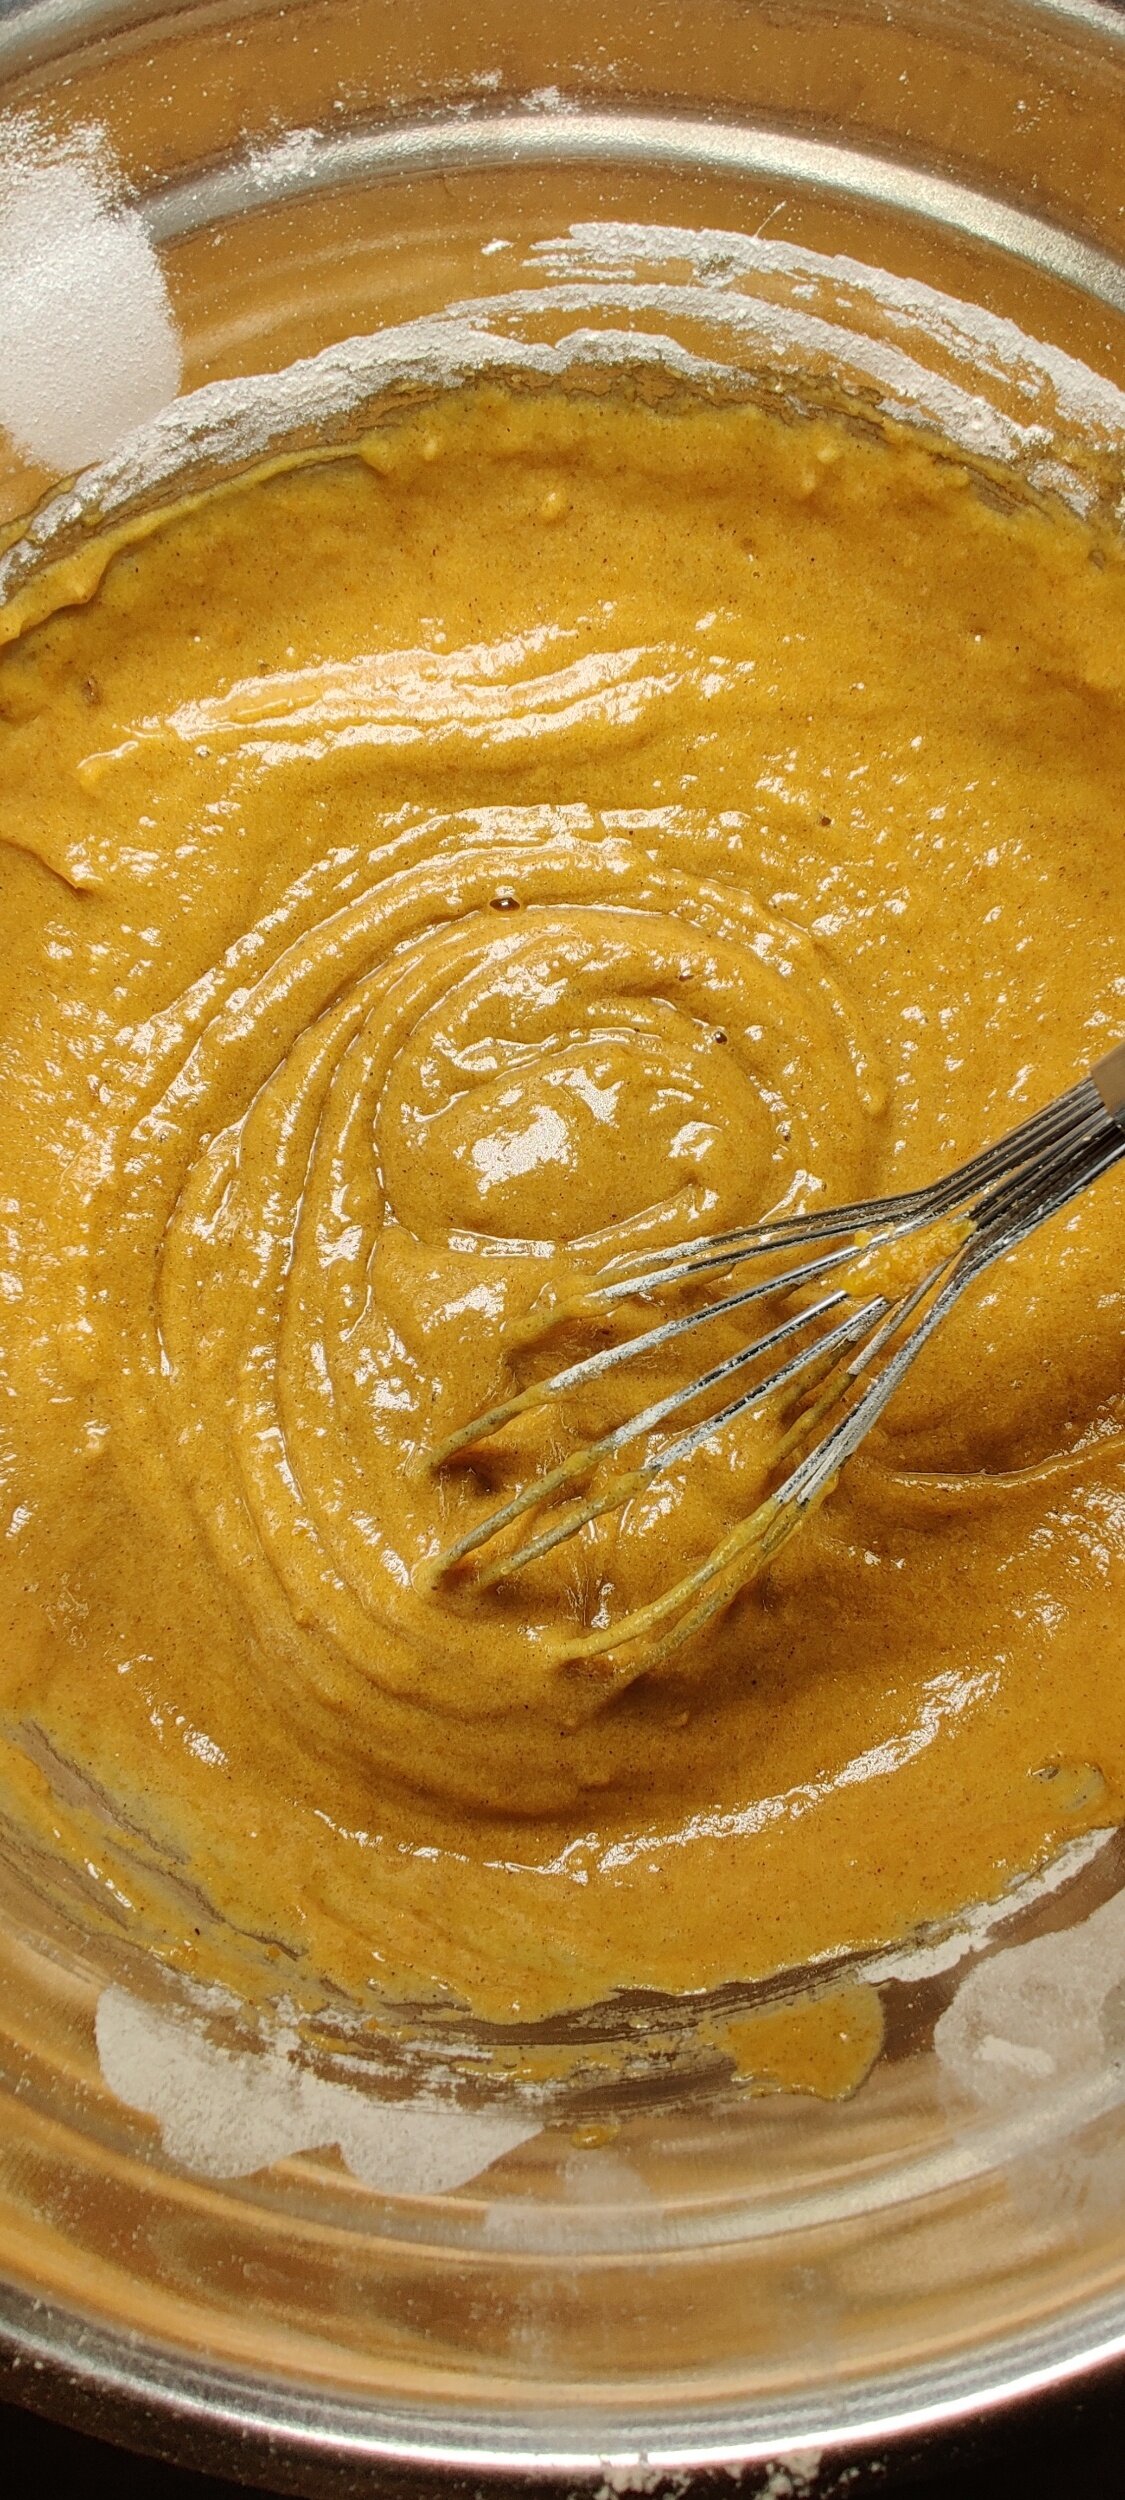
- In a large bowl, mix all the ingredients together with a whisk until well incorporated.
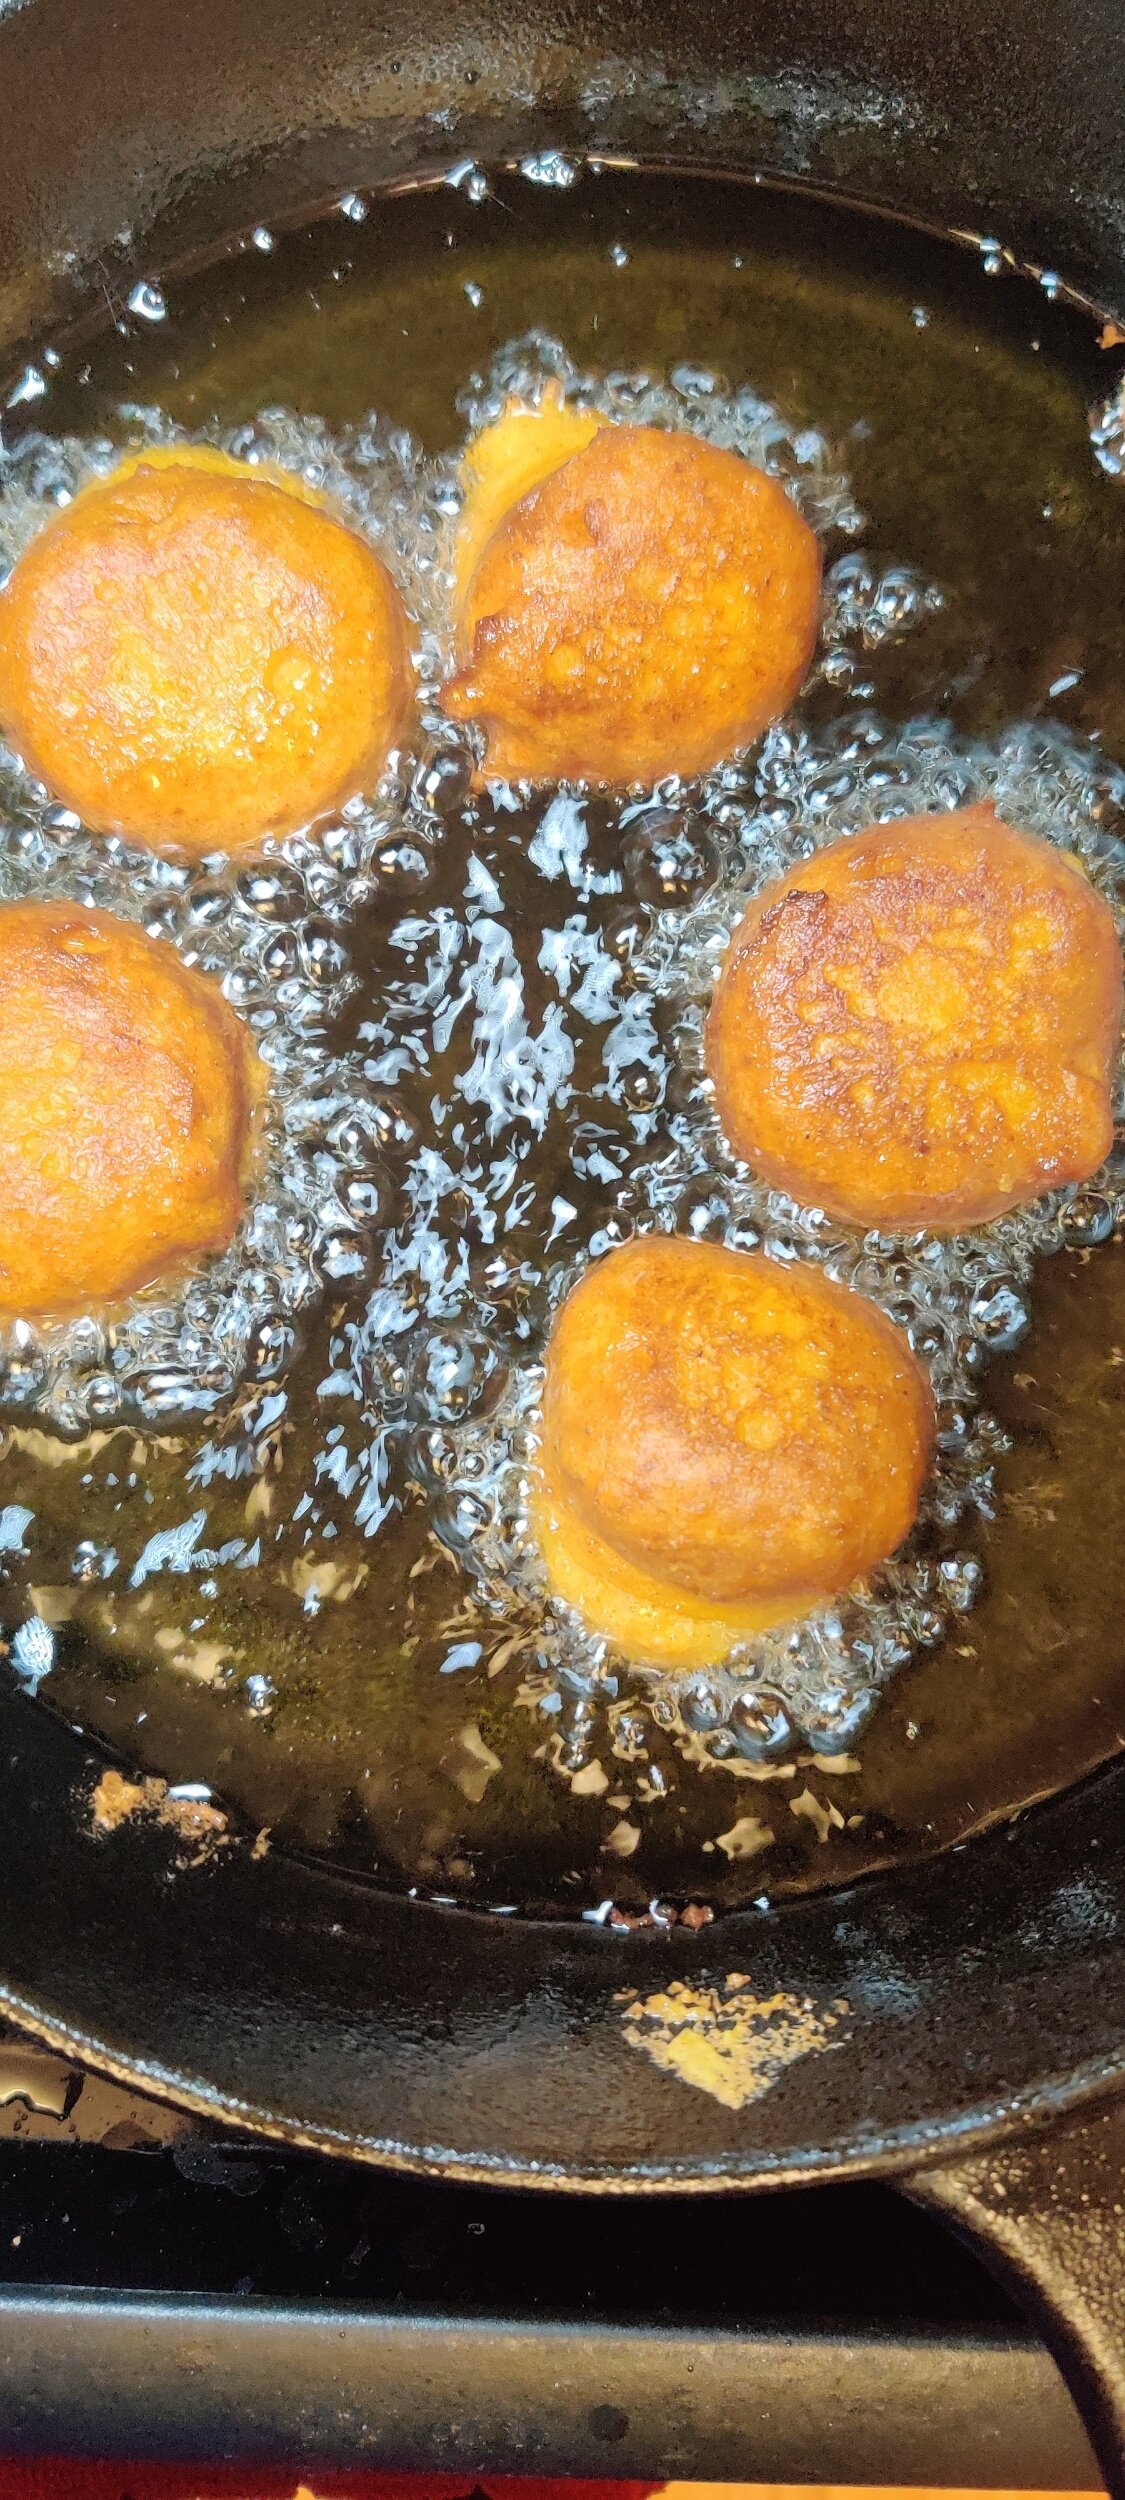
- Heat the peanut oil on medium heat - you'll know it's ready if a drop of water sizzles. Use a cookie dough scoop to get the batter and fry in batches. The fritters are done when they float to the top and are golden brown. Move to paper towels to absorb the excess oil.
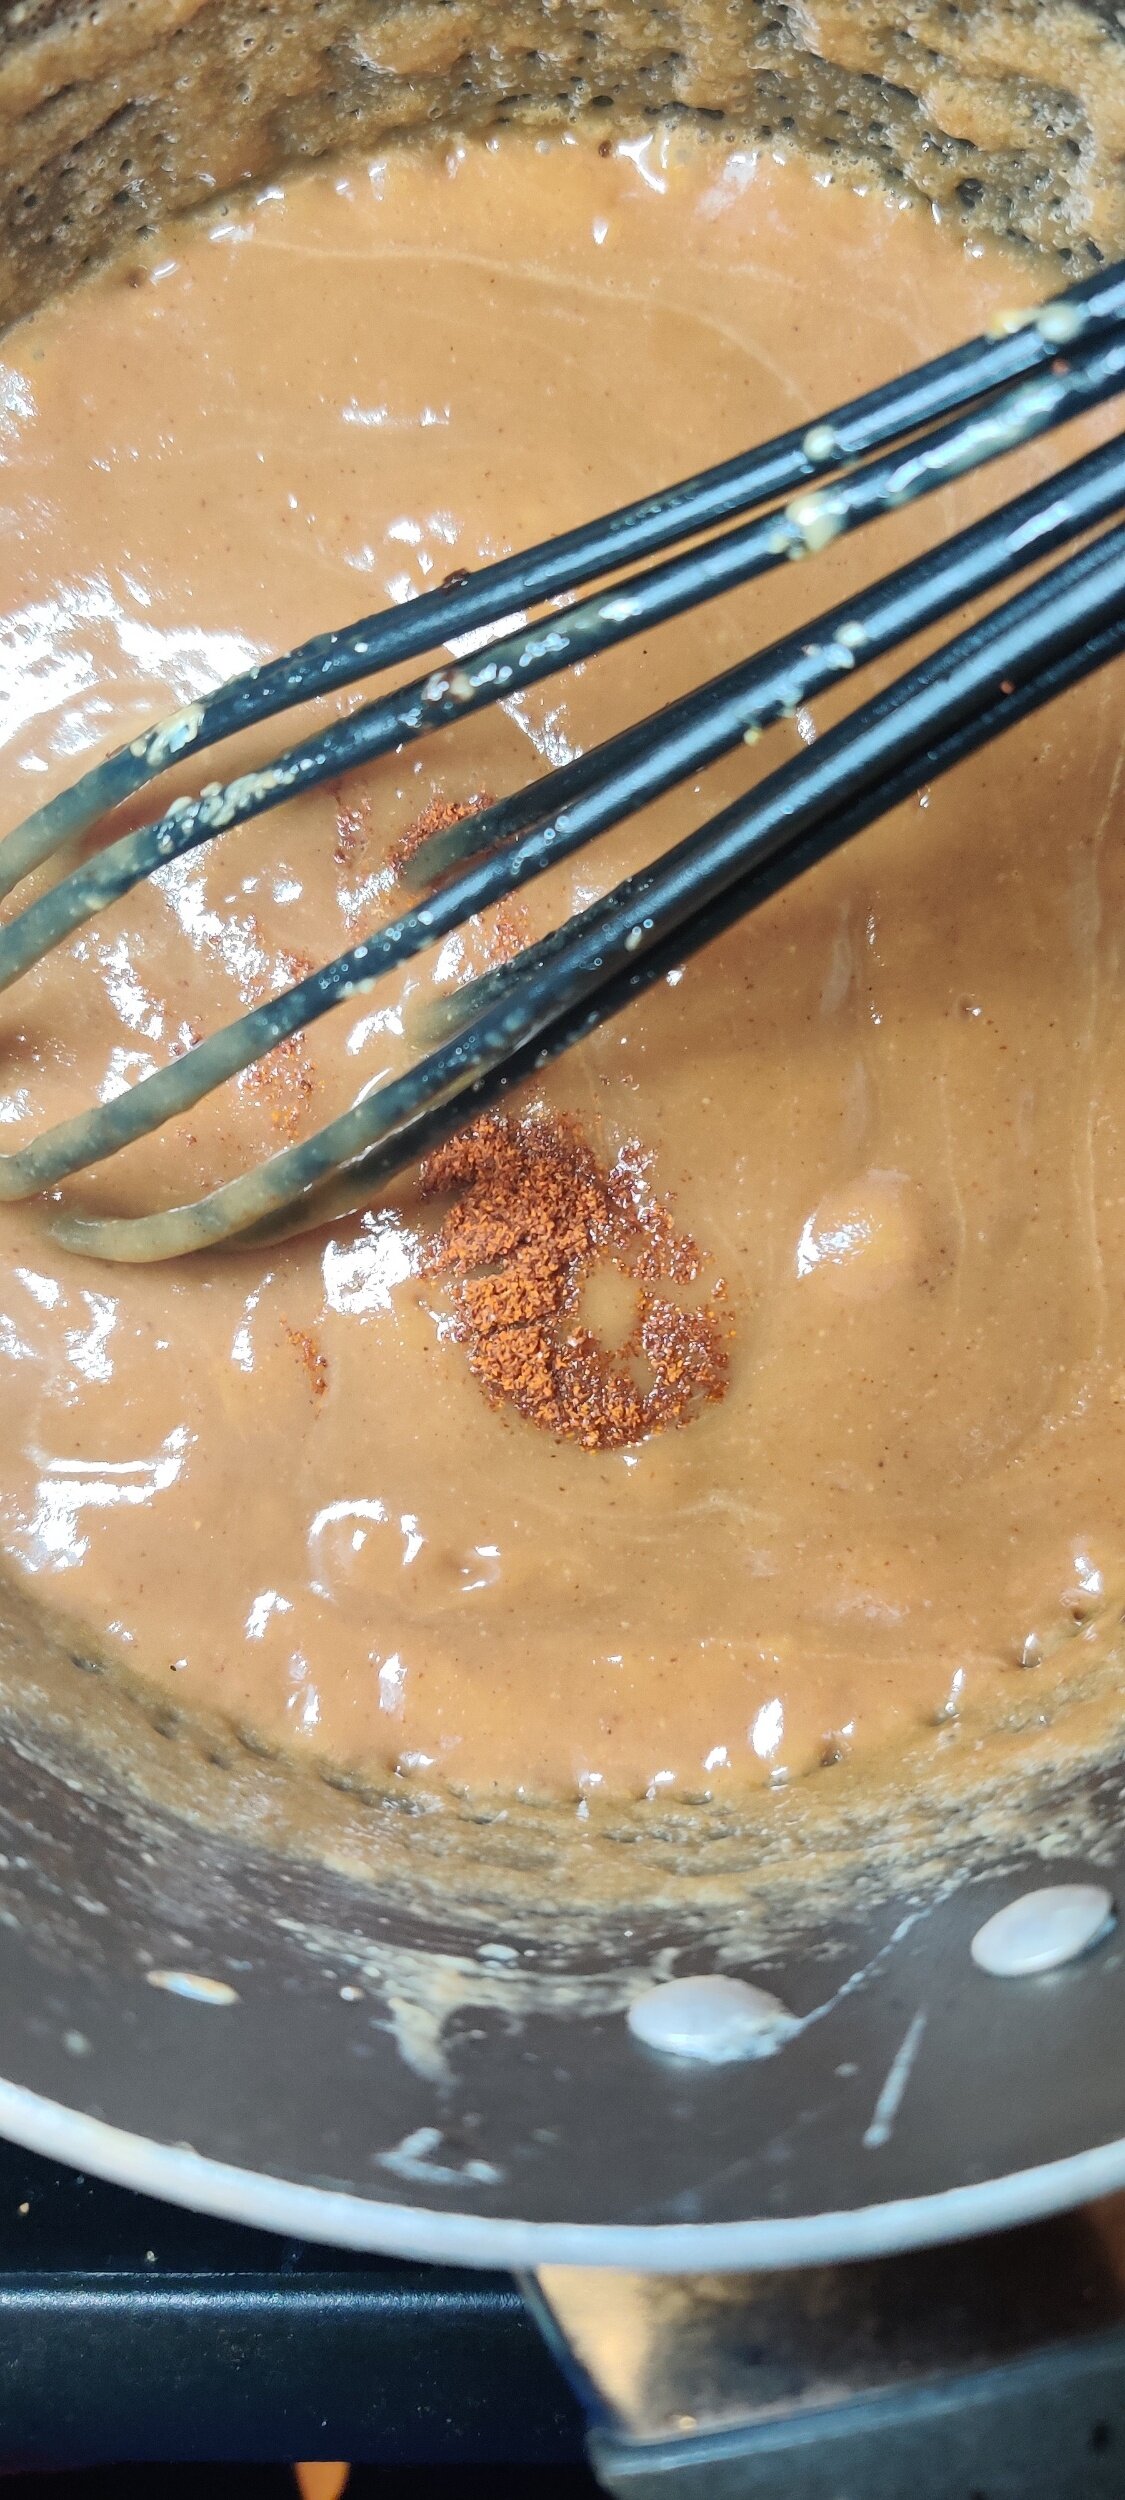
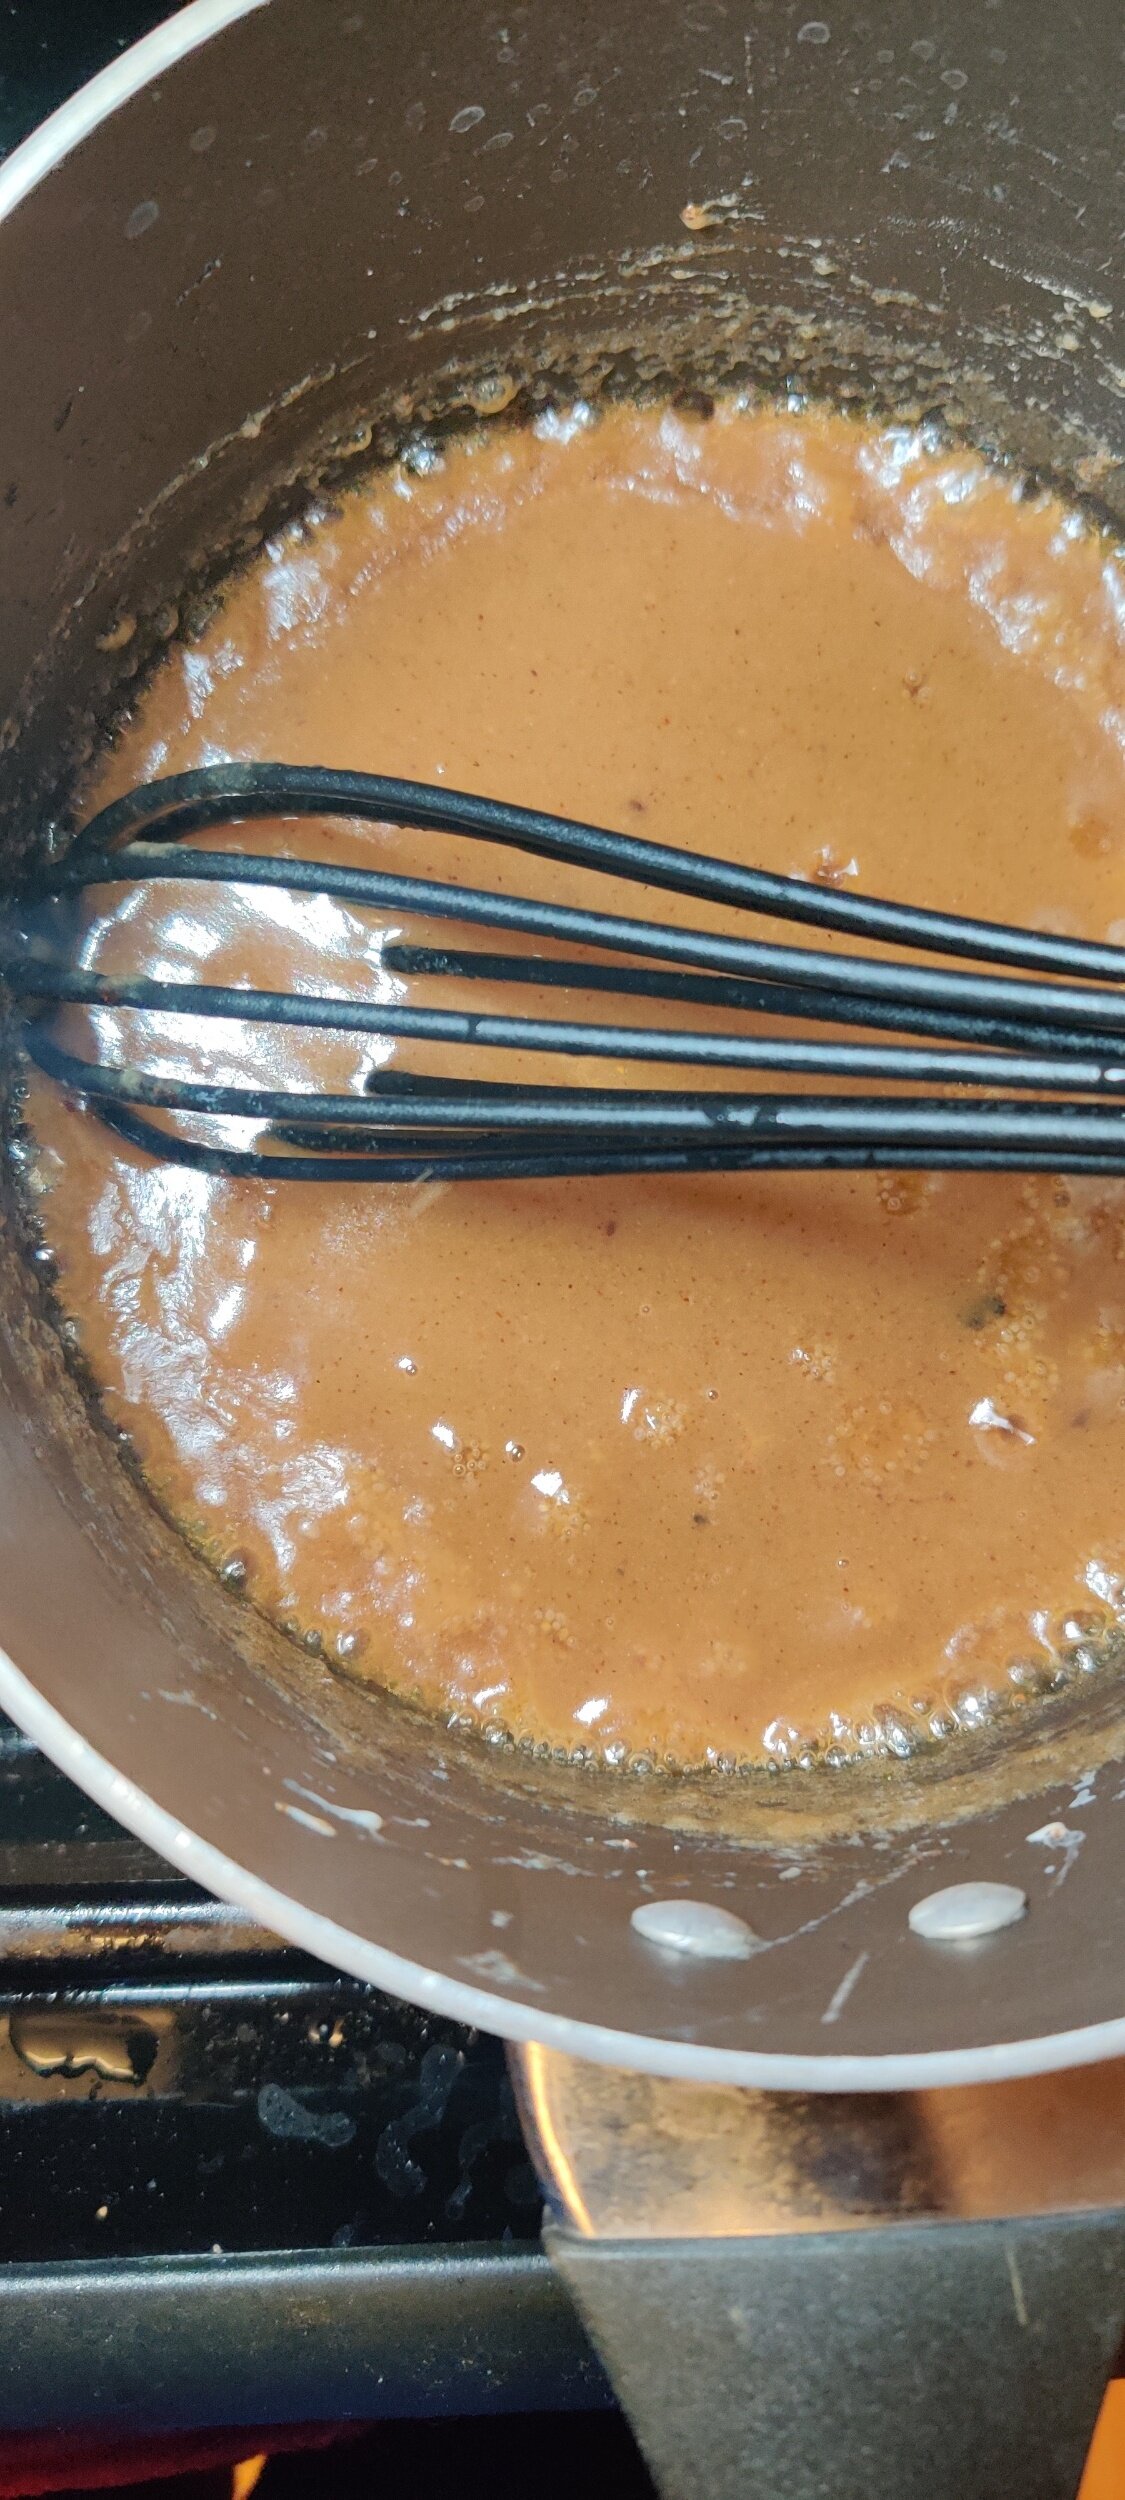
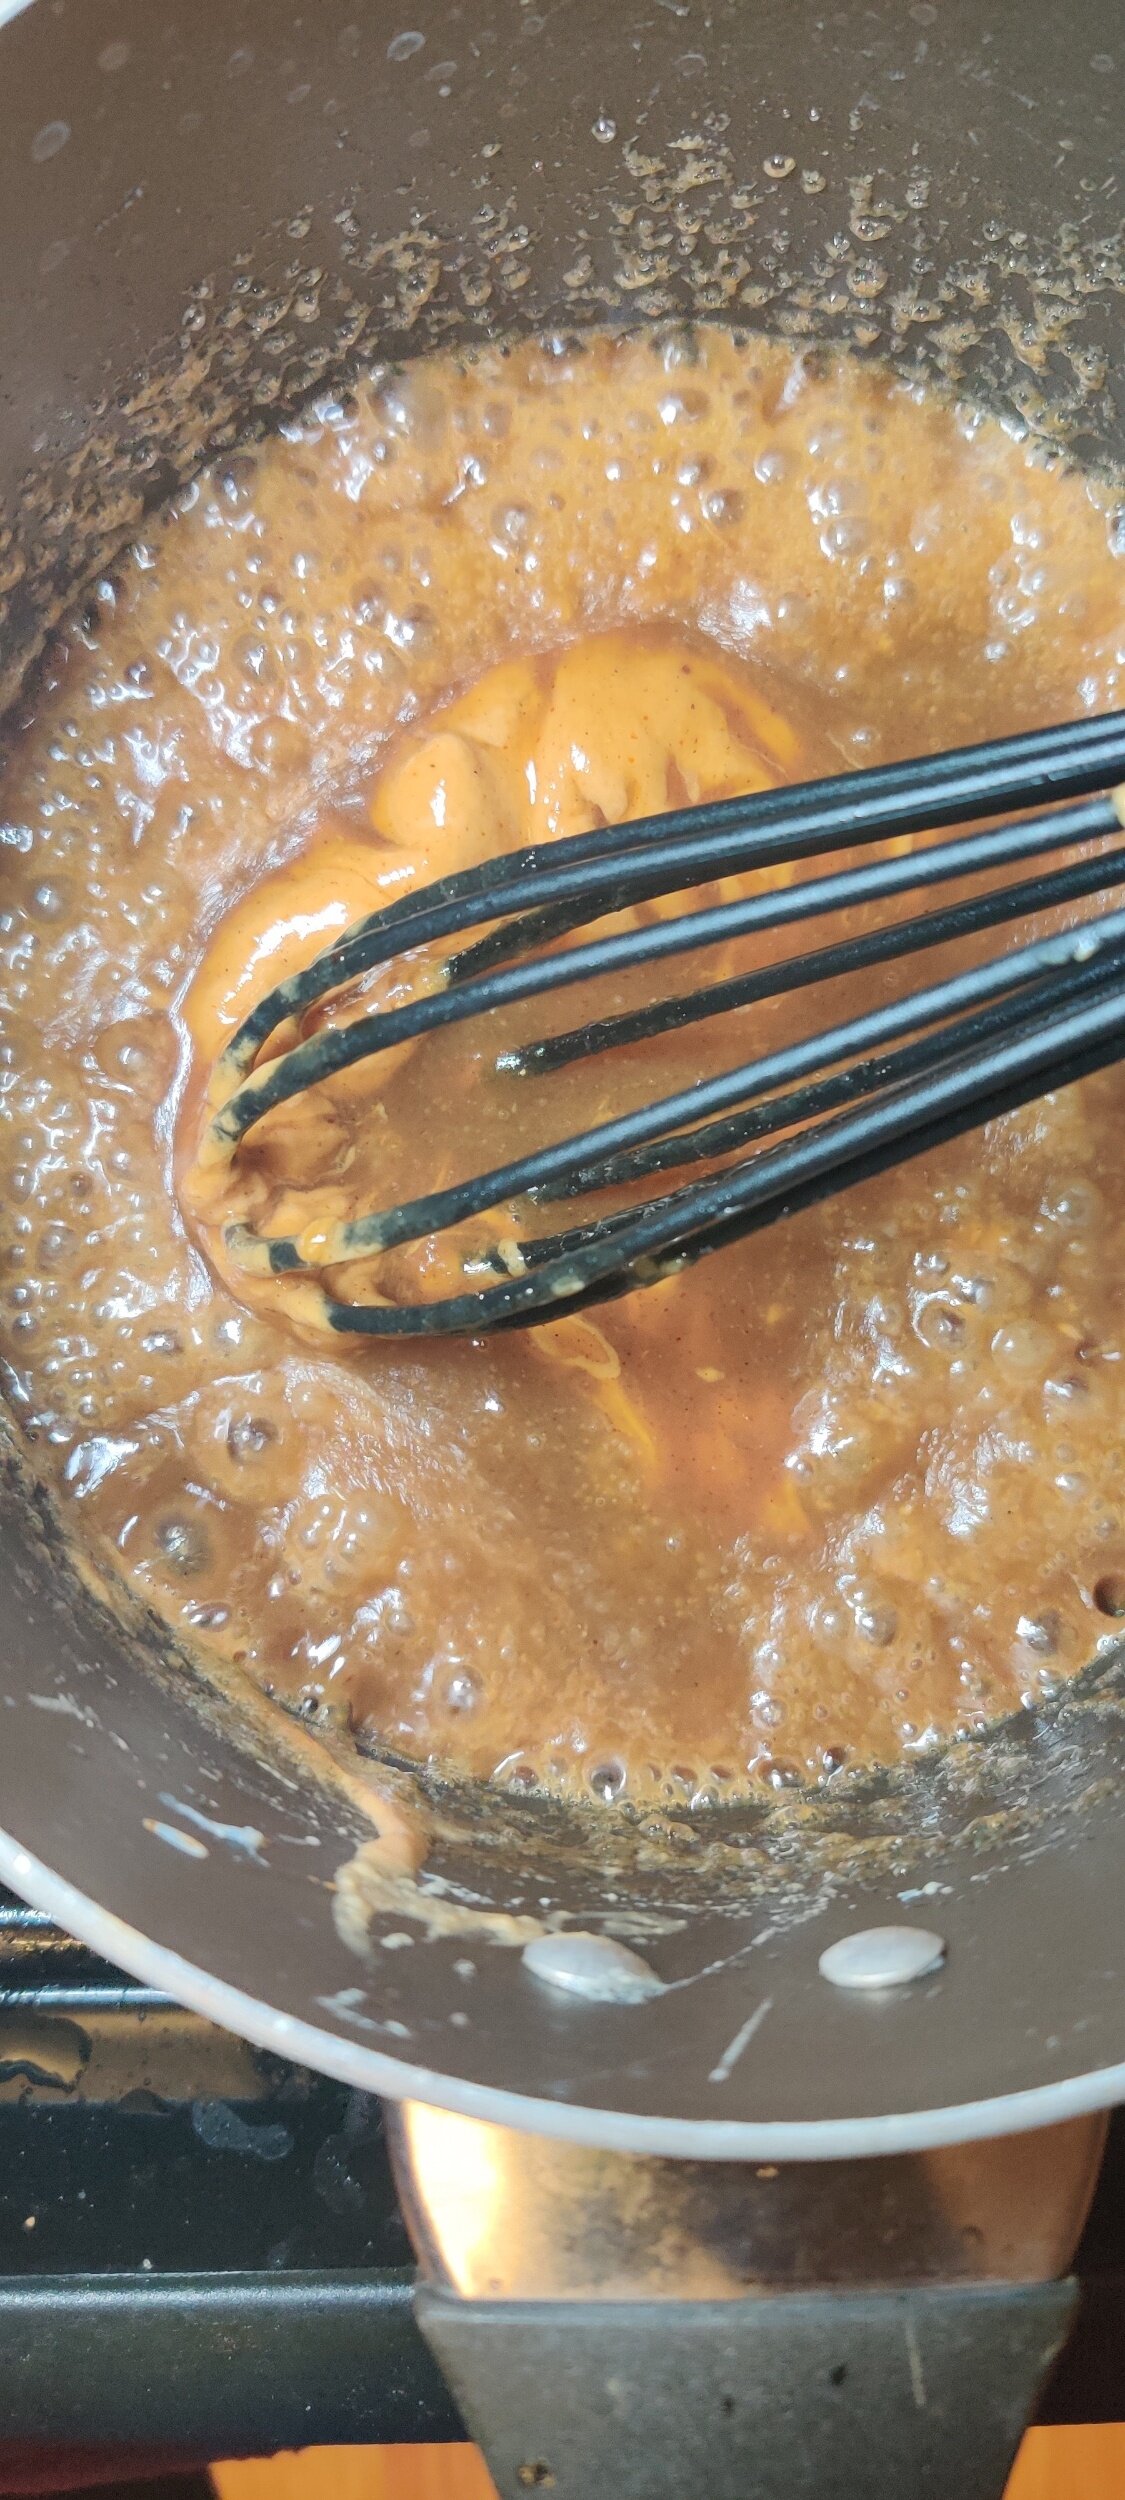
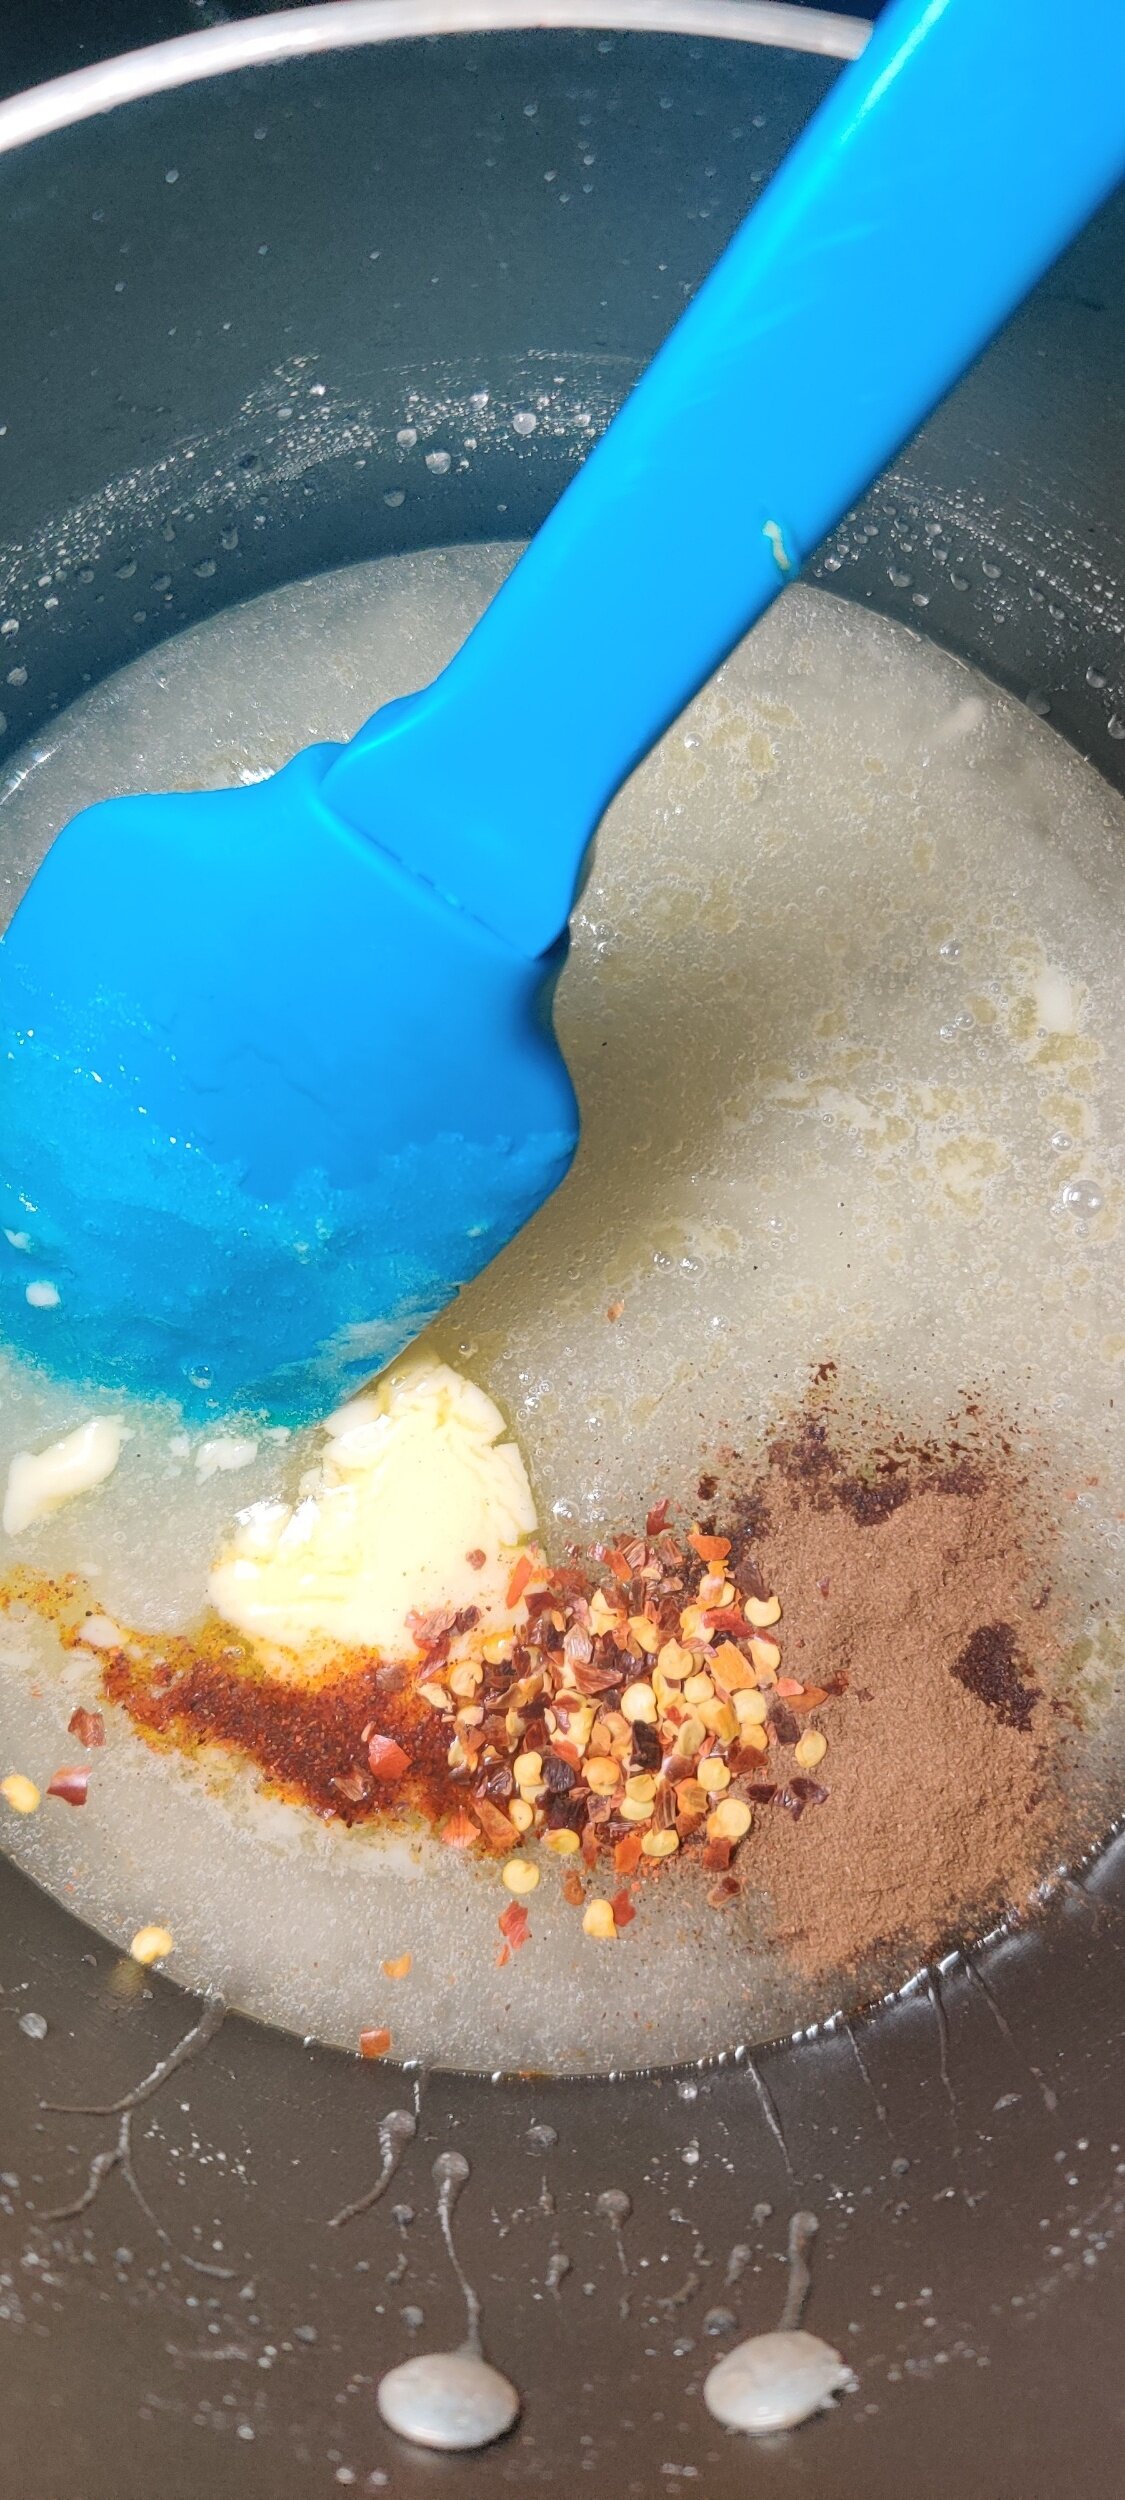
- In a small saucepan for the caramel, heat all the ingredients except the peanut butter on low, whisking consistently for about 3-4 minutes. Add the peanut butter and whisk for another 3 minutes until smooth. Careful not to burn yourself!
- Serve the fritters hot with icing sugar and the spicy peanut caramel.
Nutrition Facts
Calories
181Fat (grams)
7.5Carbs (grams)
26.6Protein (grams)
3
Pumpkin and Gingersnap Swiss Roll
The swiss roll. This was one of my late father’s favourite cakes, and I don’t blame him! Although, he had a preference for the traditional flavour with jam in the middle, occasionally chocolate. I thought I would go seasonal and use pumpkin flavour with a gingersnap cream cheese filling, it turned out to be delicious. Gingersnap was one of my grandmother's favourite biscuits and she had them ready for us as children when we would visit. This is just the kind of sweet treat you'll want at the table for dessert, and it's very fitting for autumn.
It may seem intimidating, but you can make it work for you! The most important thing is to be careful when you handle the cake. You don’t want it to crack or break to the point that it is unsalvageable.
Ingredients
Cake:
3 eggs
1/2 cup brown sugar
1/2 cup white sugar
2/3 cups pumpkin puree
1 teaspoon vanilla
1/4 teaspoon almond extract
3/4 cups flour
1/2 teaspoon baking soda
1/2 teaspoon baking powder
1 teaspoon cinnamon
1 tablespoon pumpkin spice
1 teaspoon gingersnap spice (I used Primal Palate’s Gingersnap)
1/4 teaspoon ginger
1 teaspoon salt
Filling:
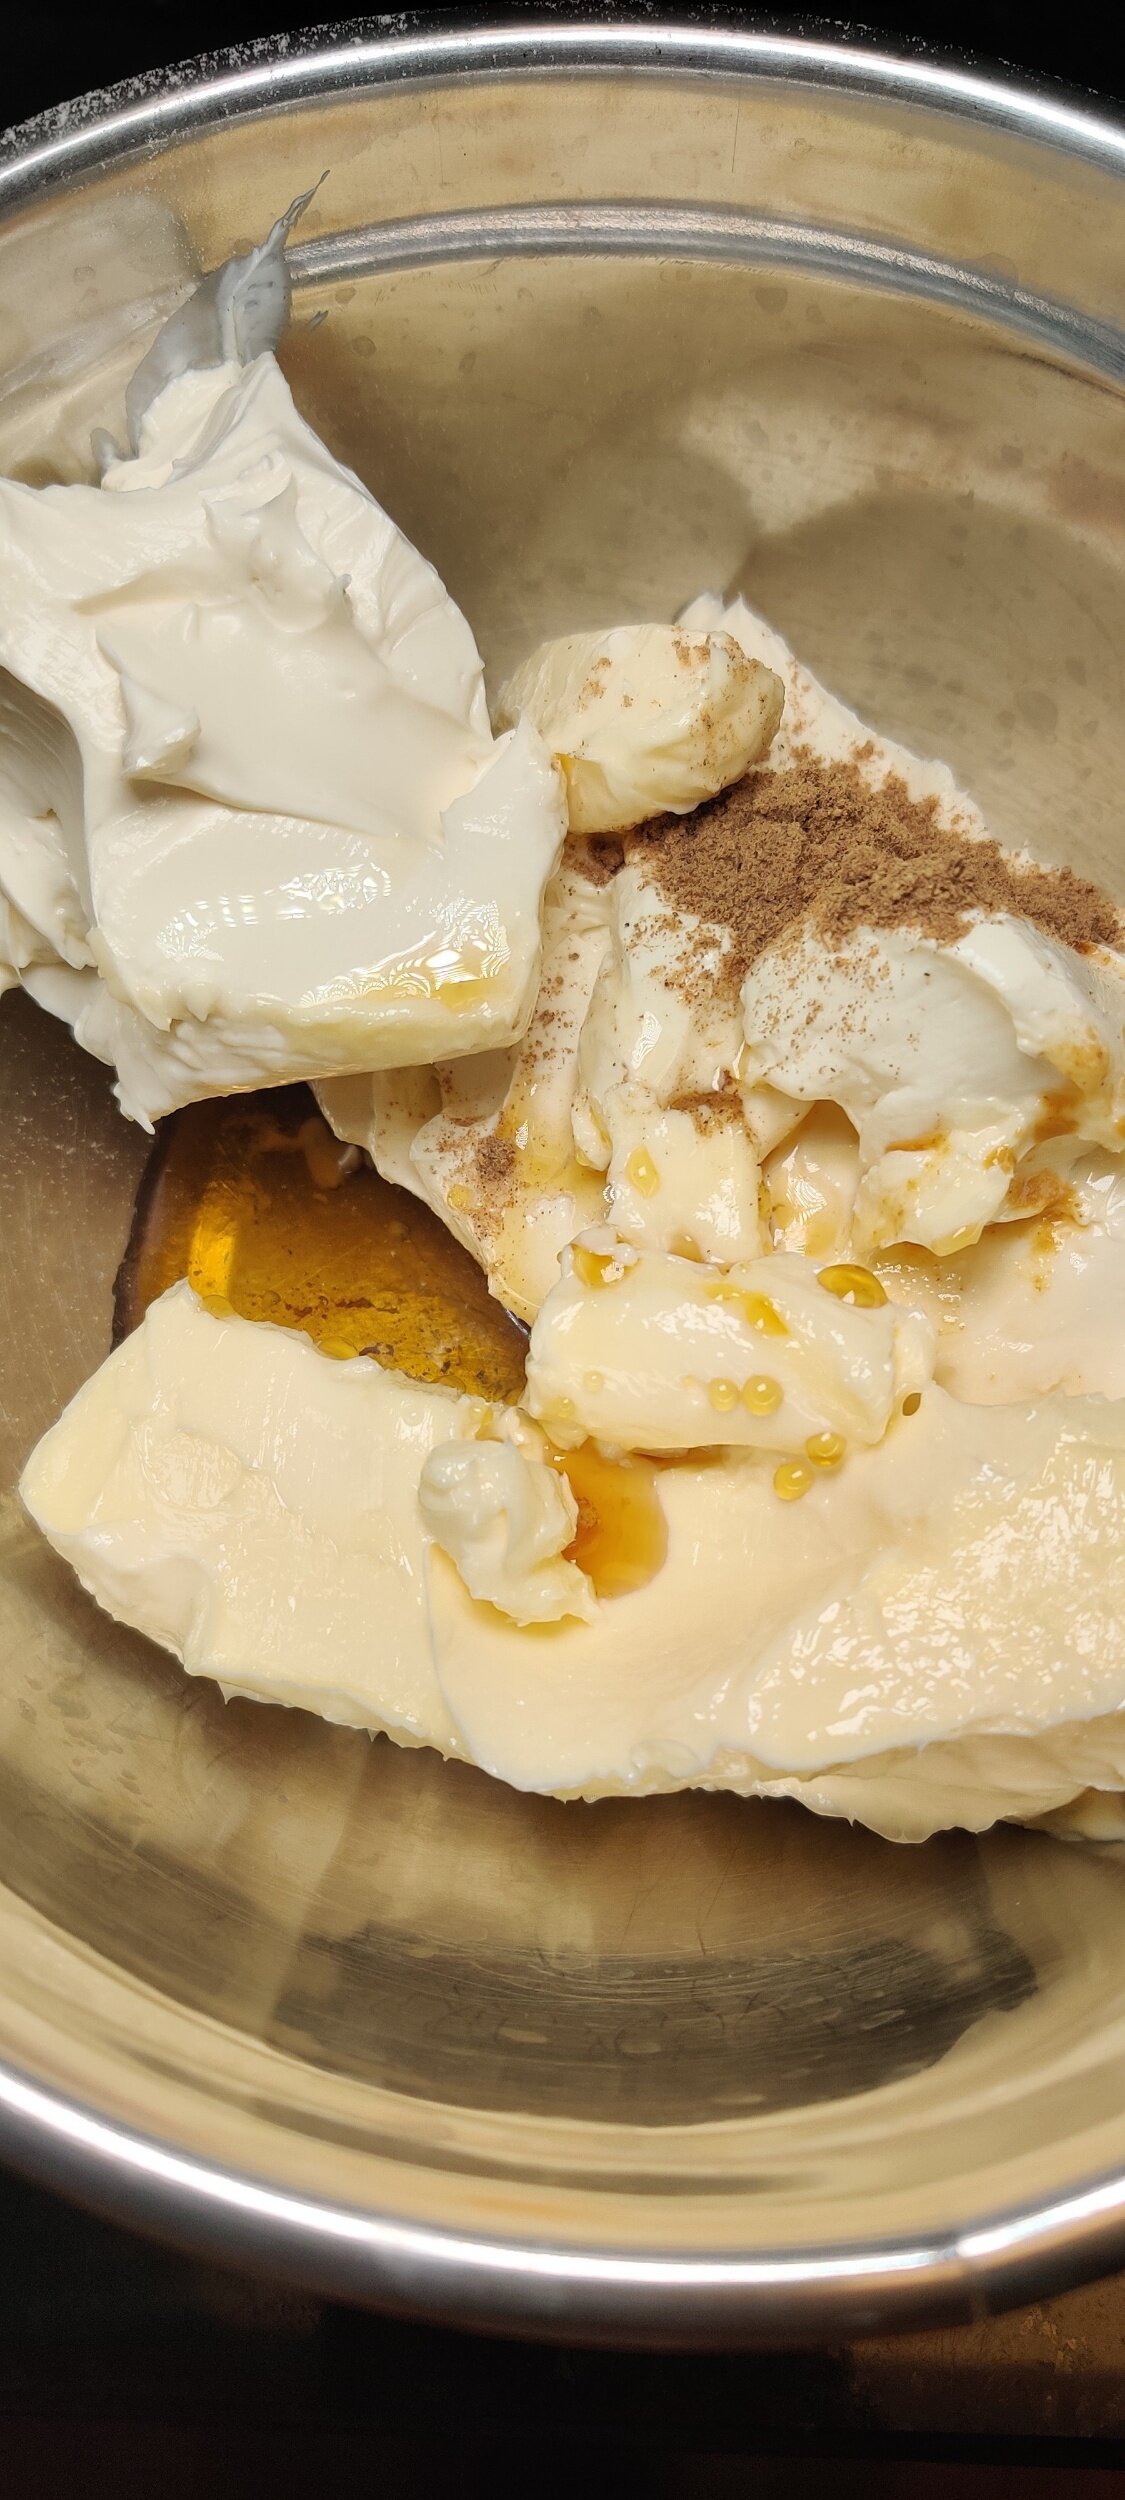
8-ounces Greek yogurt and cream cheese, room temperature
1 teaspoon pumpkin spice
1/2 teaspoon cinnamon
1/2 teaspoon salt
8 tablespoon butter, room temperature
4 tablespoons maple syrup
1 1/2 cups icing sugar + extra
1 teaspoon gingersnap spice + extra
Instructions
Beat the eggs, sugar, vanilla, almond extract, and pumpkin.
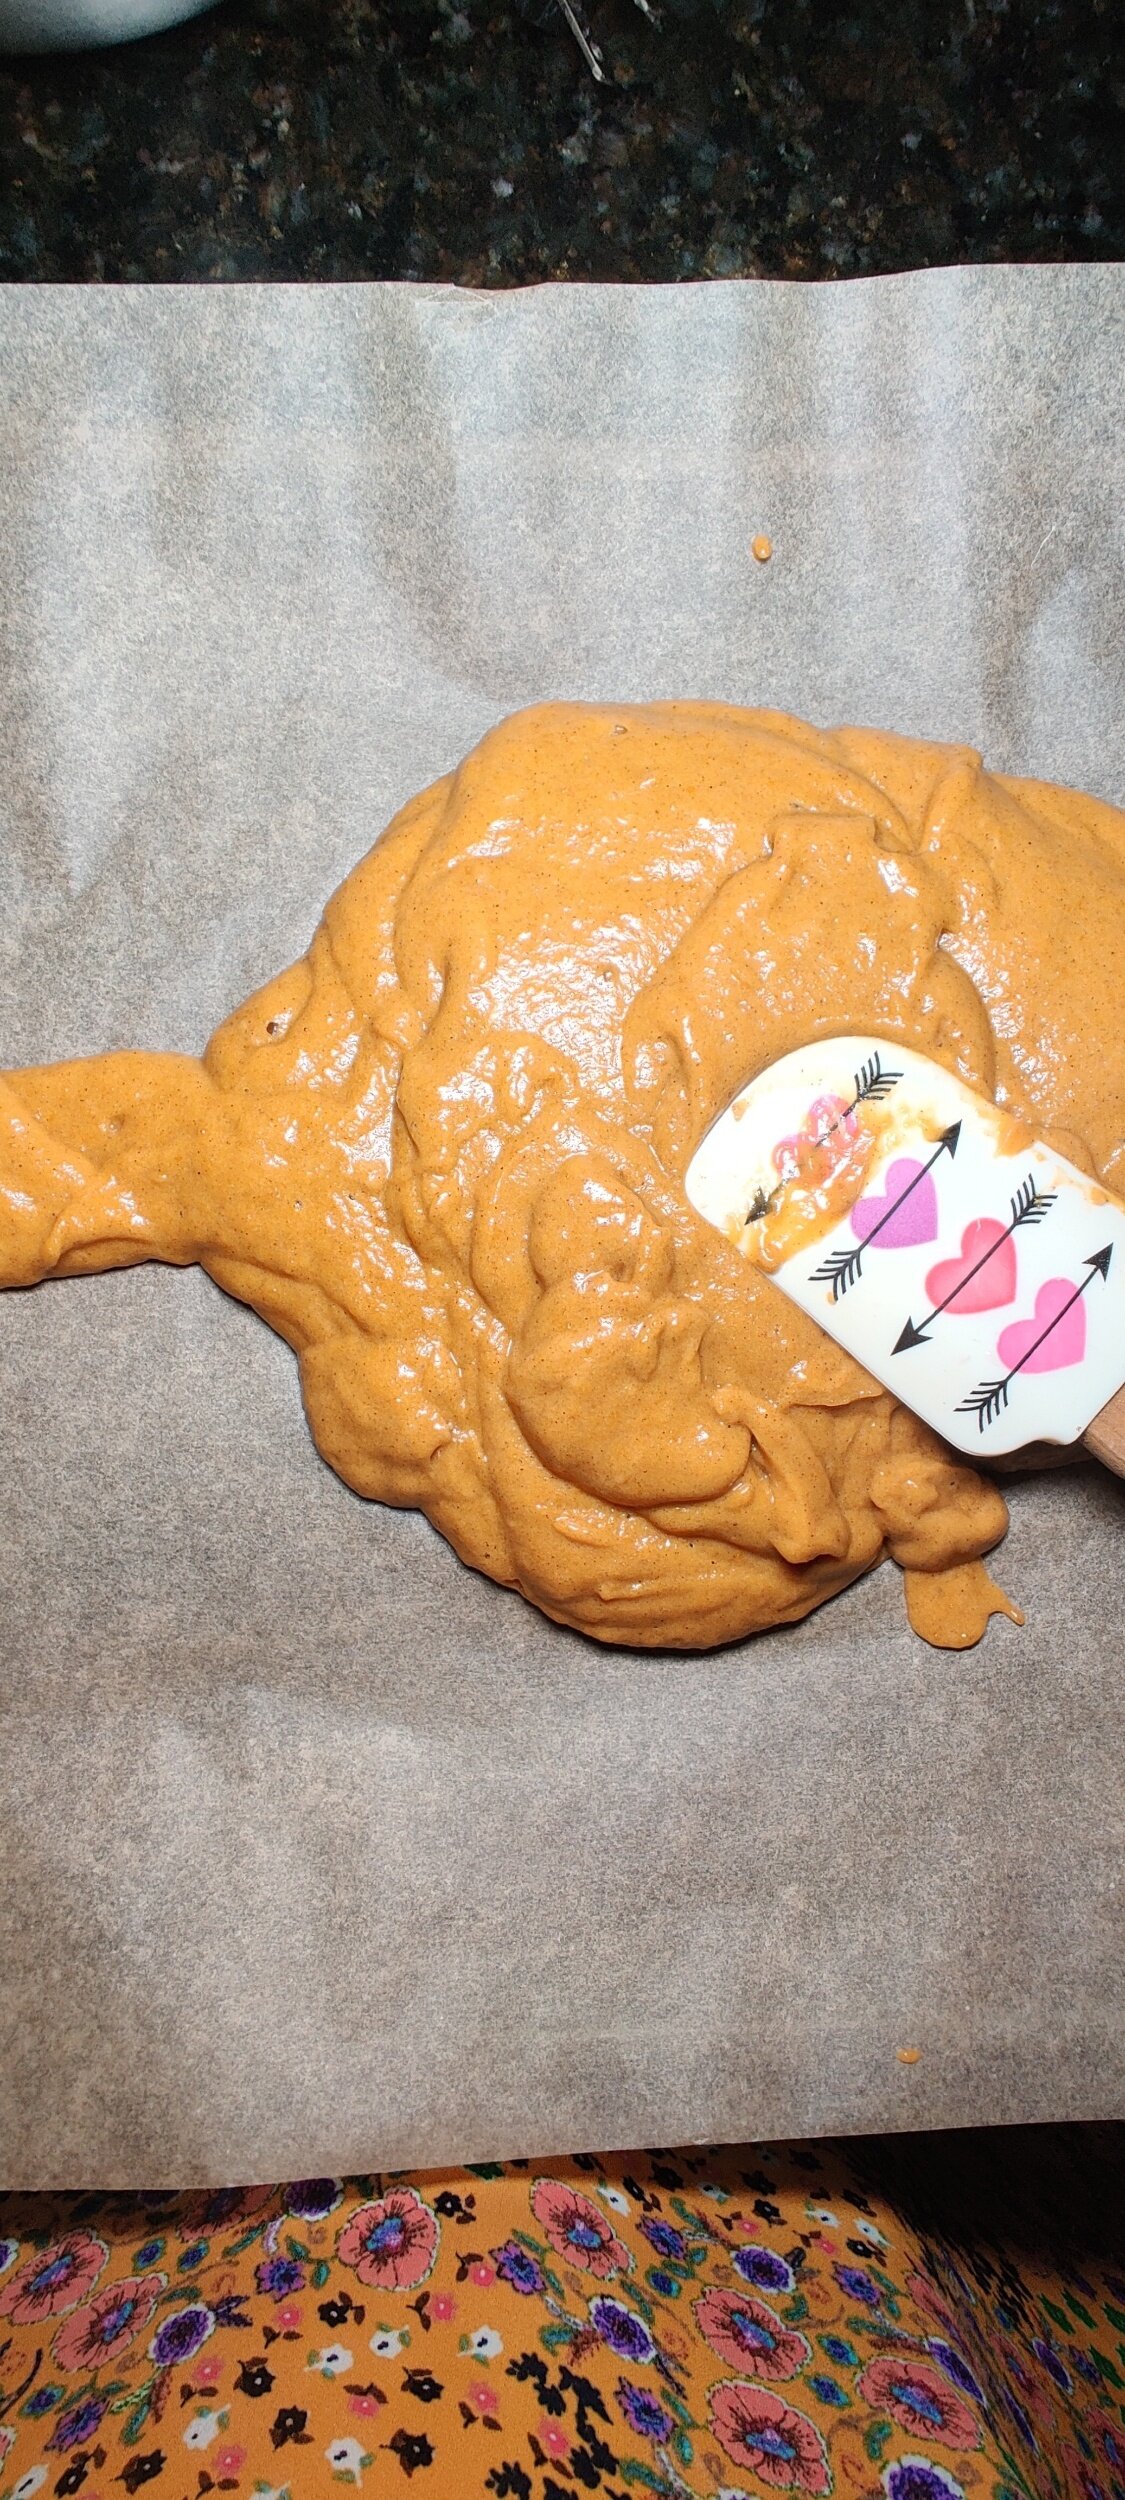
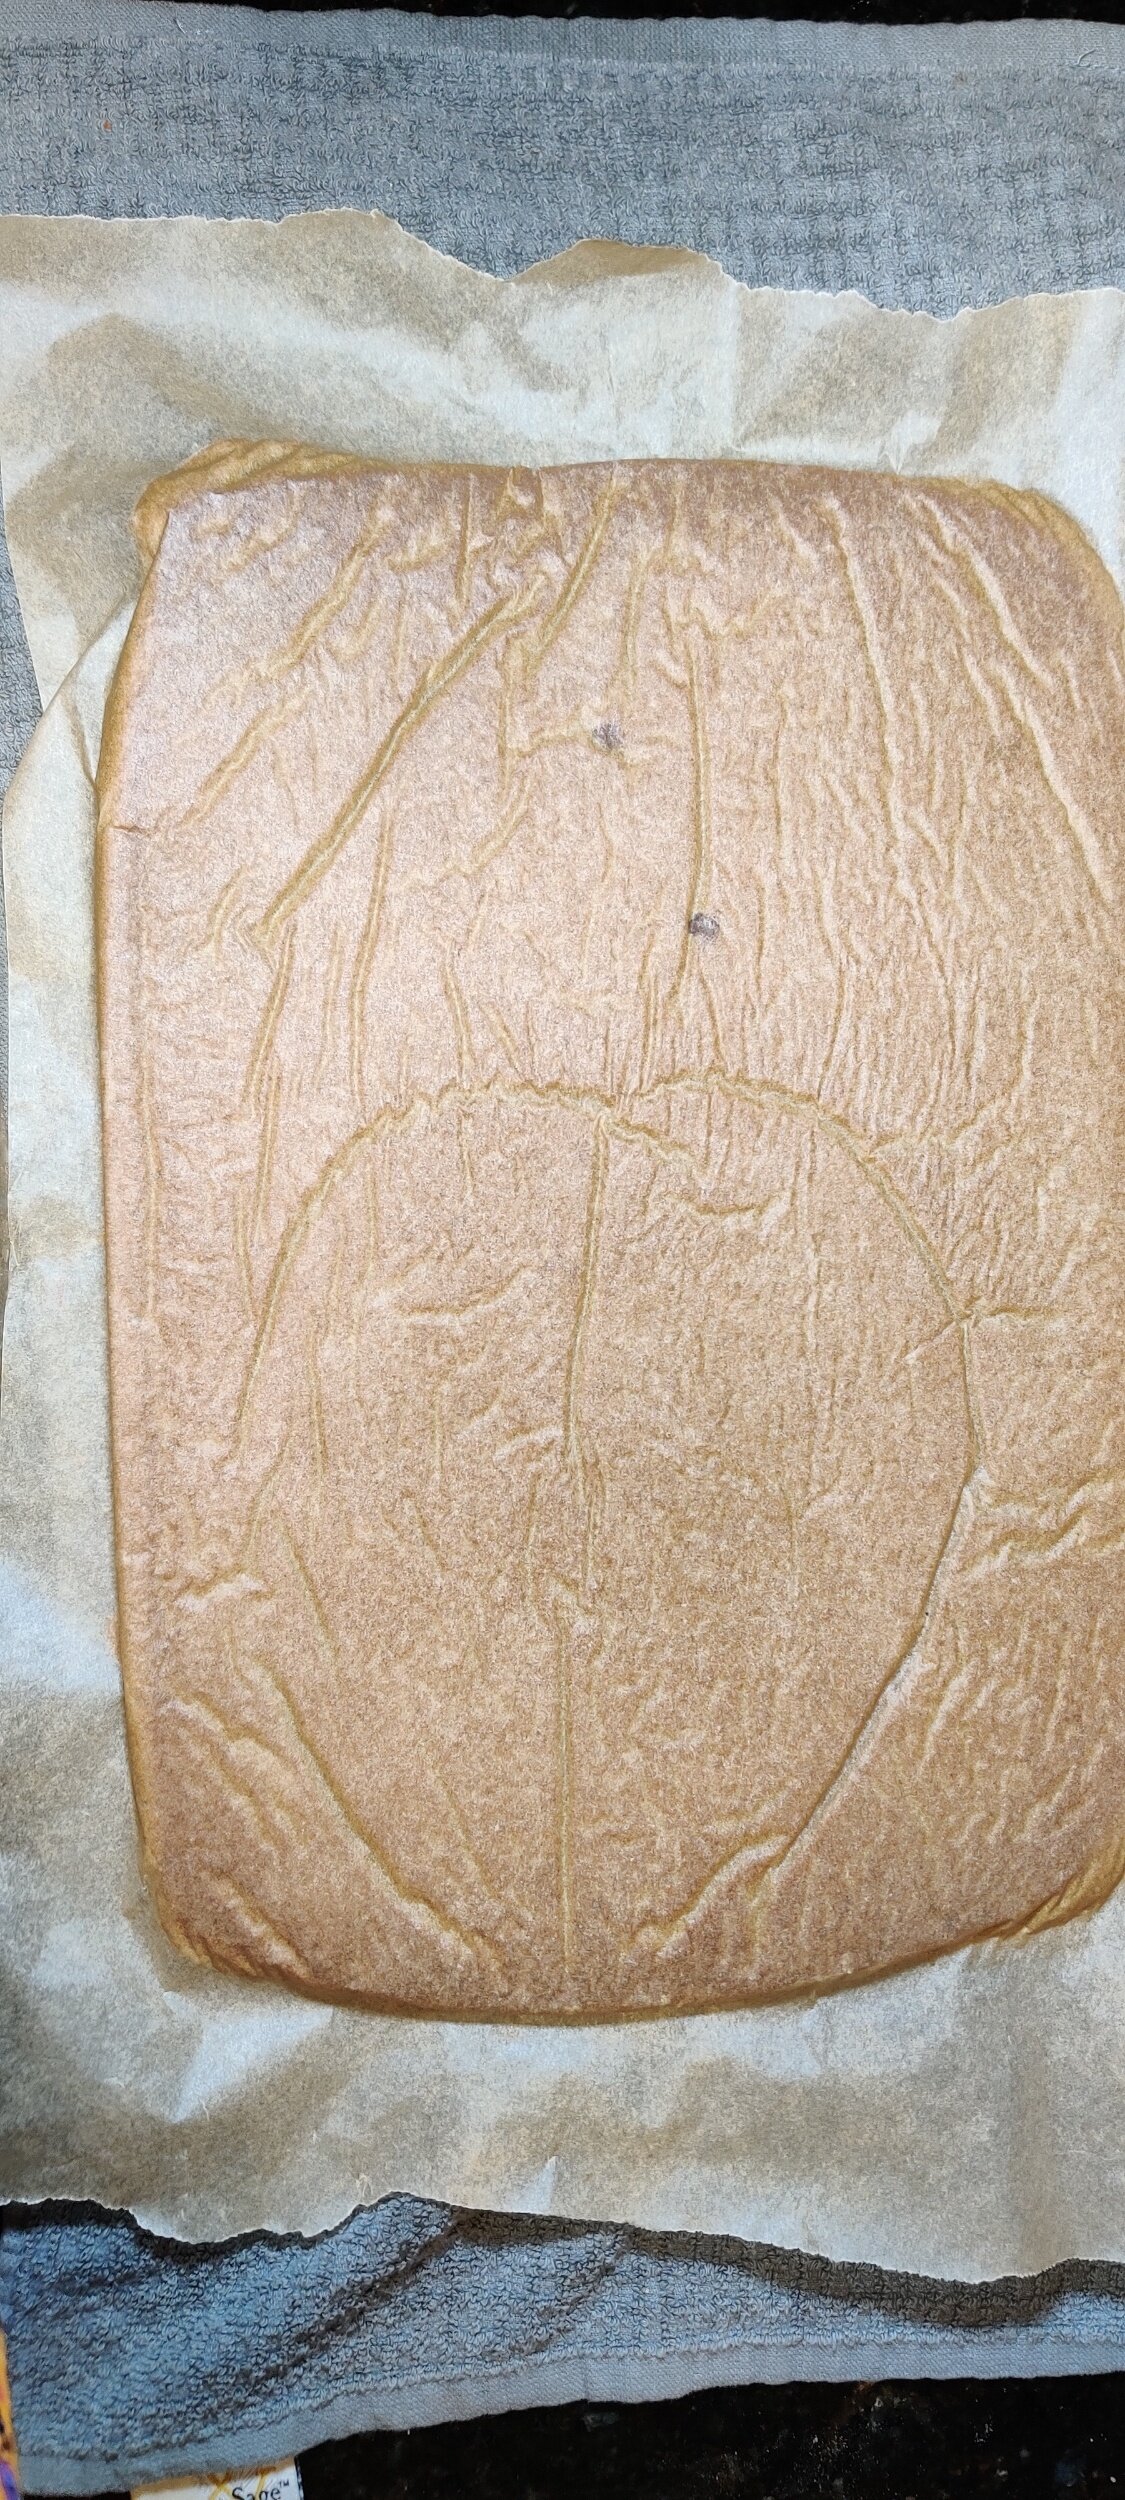
In a separate bowl, whisk the flour, salt, baking soda, baking powder, ginger, cinnamon, pumpkin spice, and gingersnap. Mix the spiced flour into the pumpkin mixture. Pour the batter into a baking tray lined with parchment paper (I used a 13 by 20 tray) and spread evenly with a spatula - it doesn’t have to fill the entire pan.
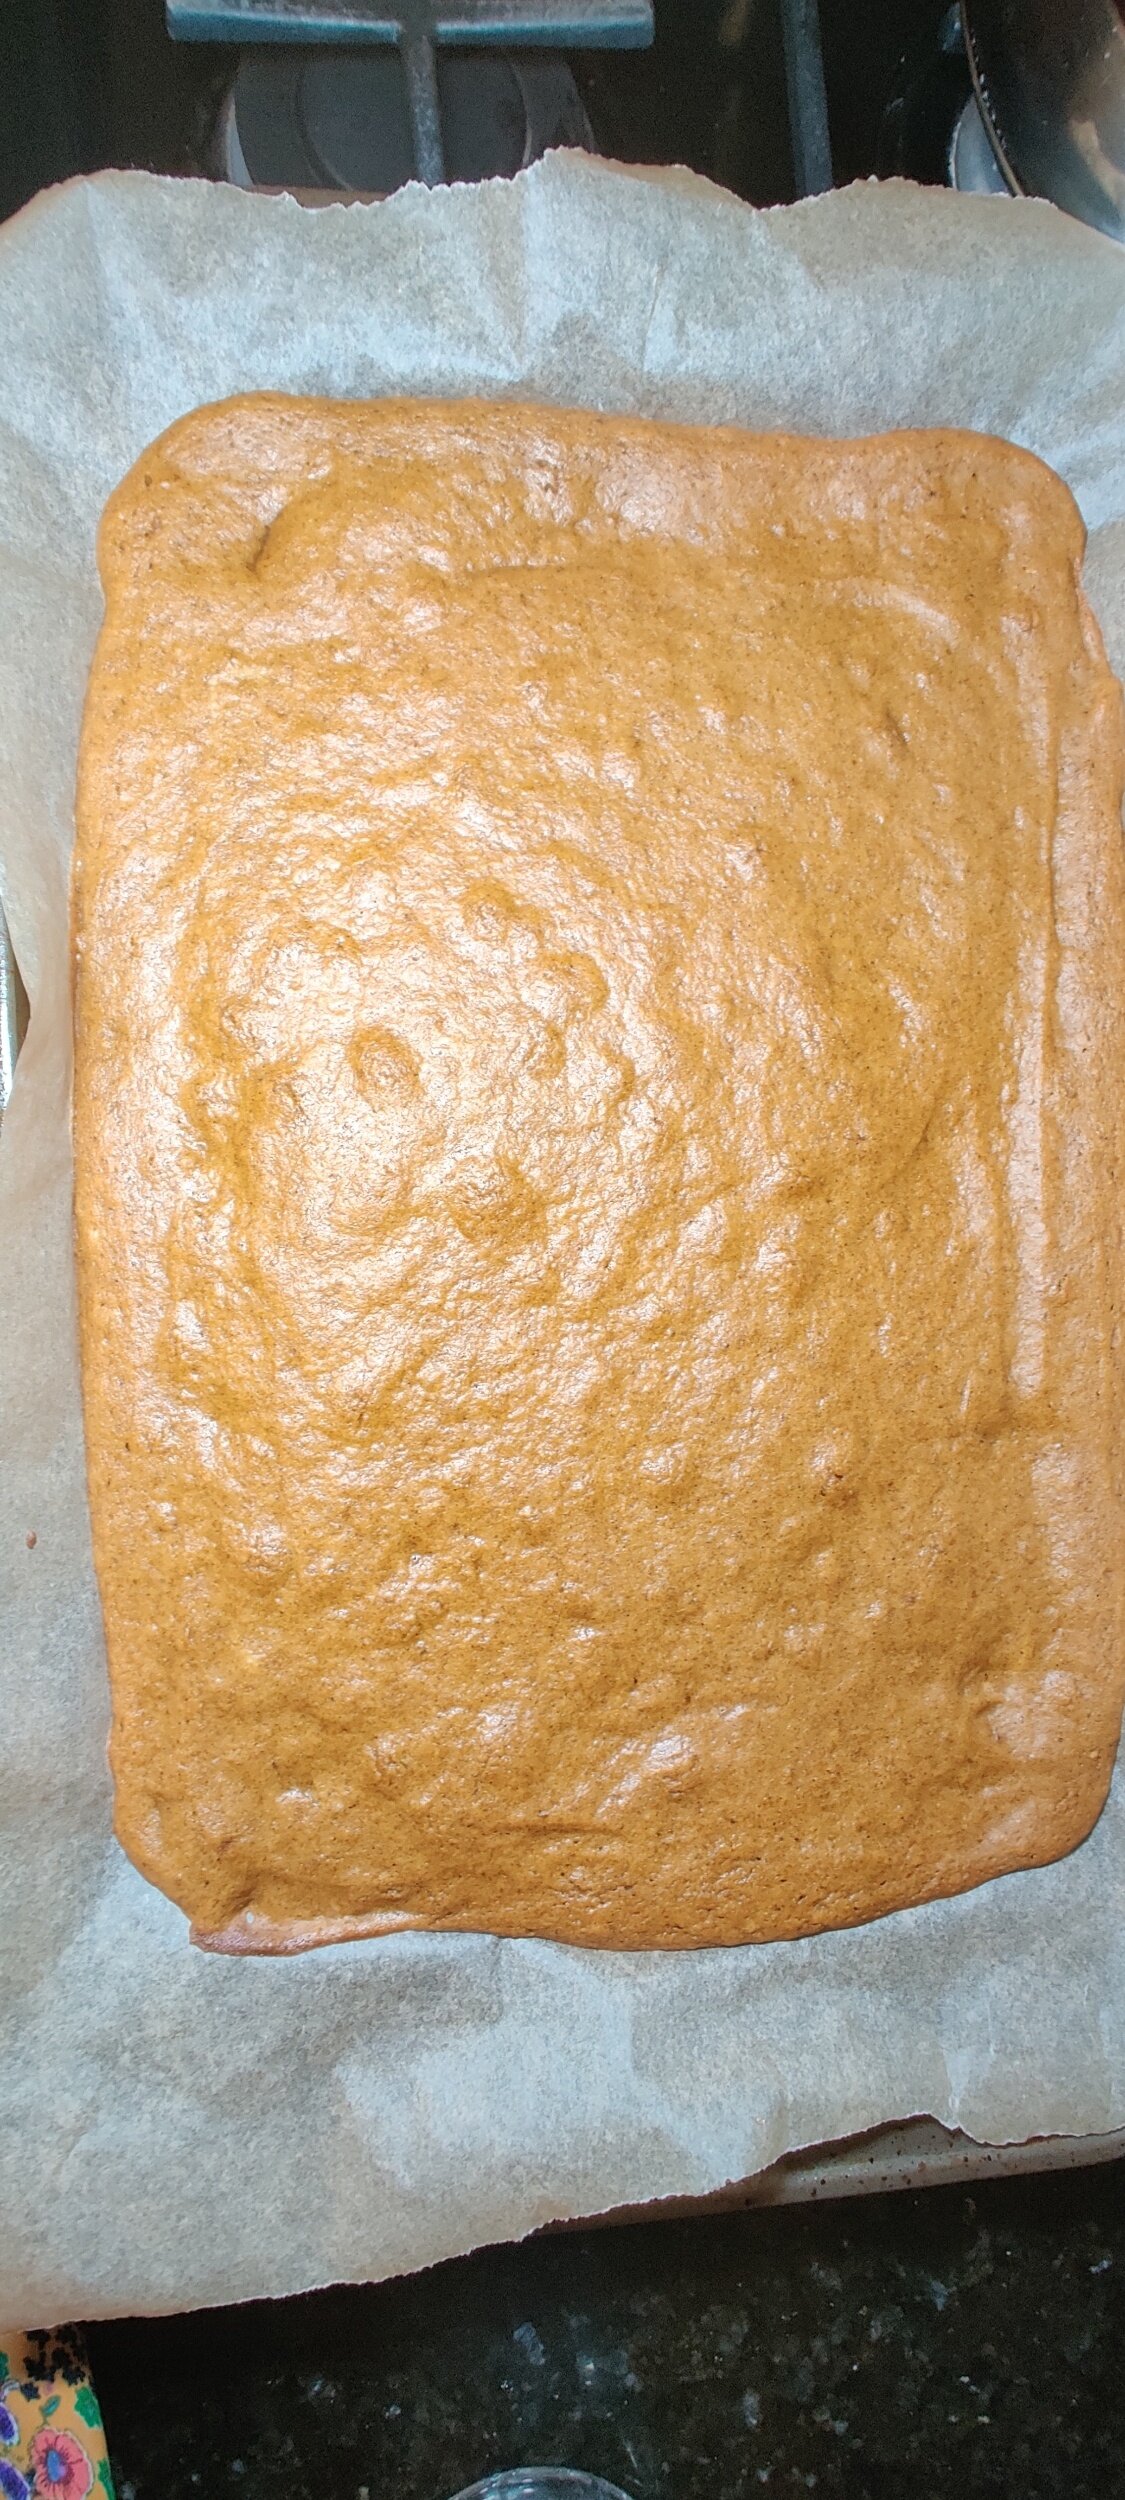
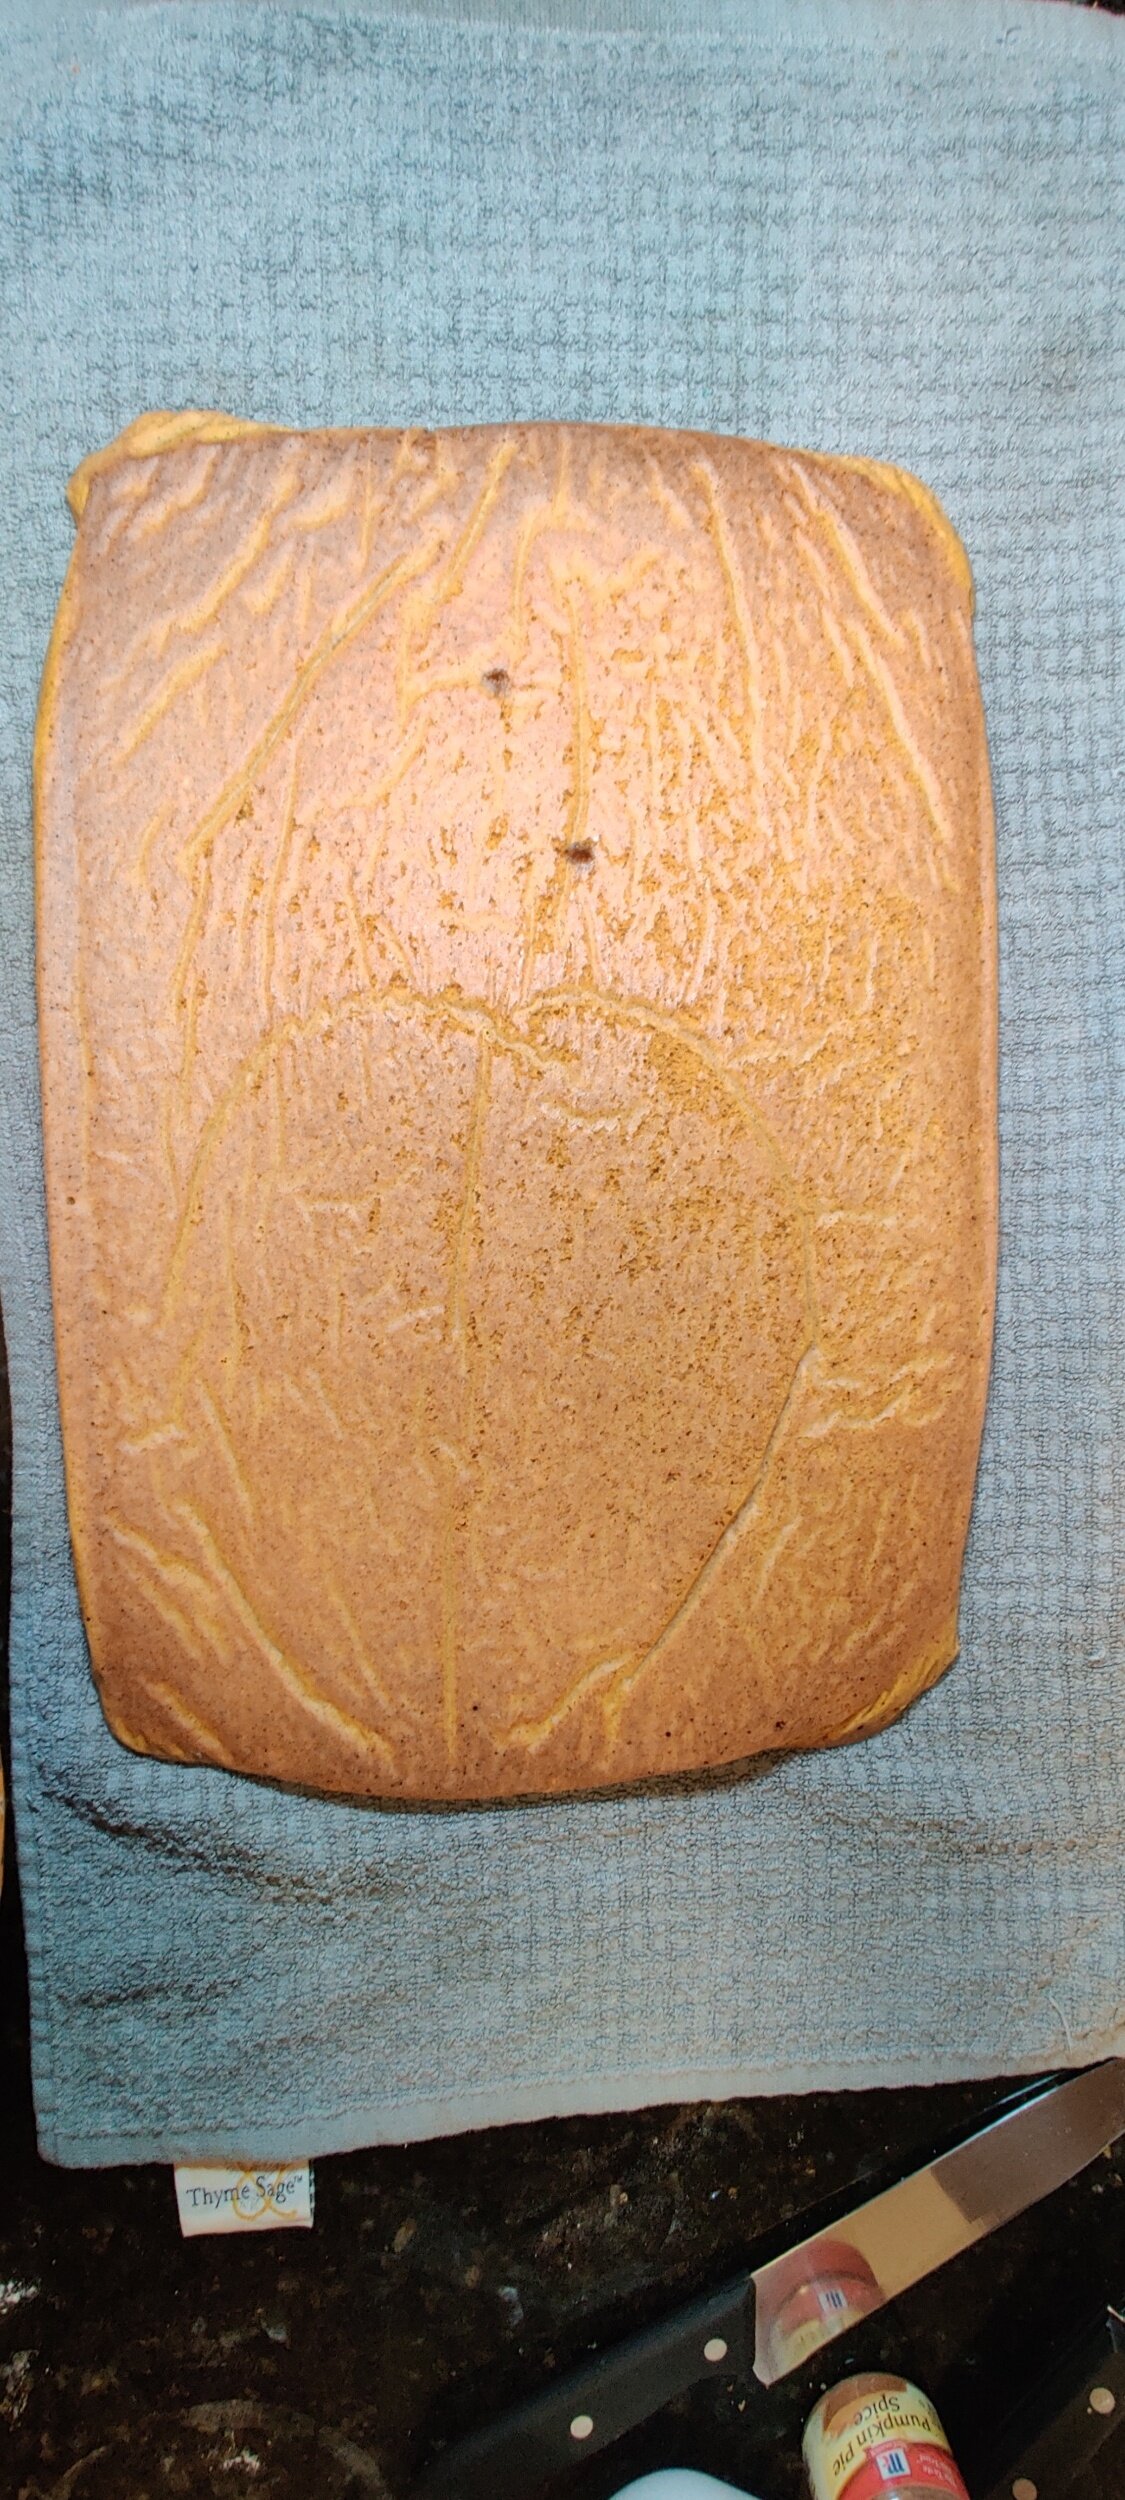
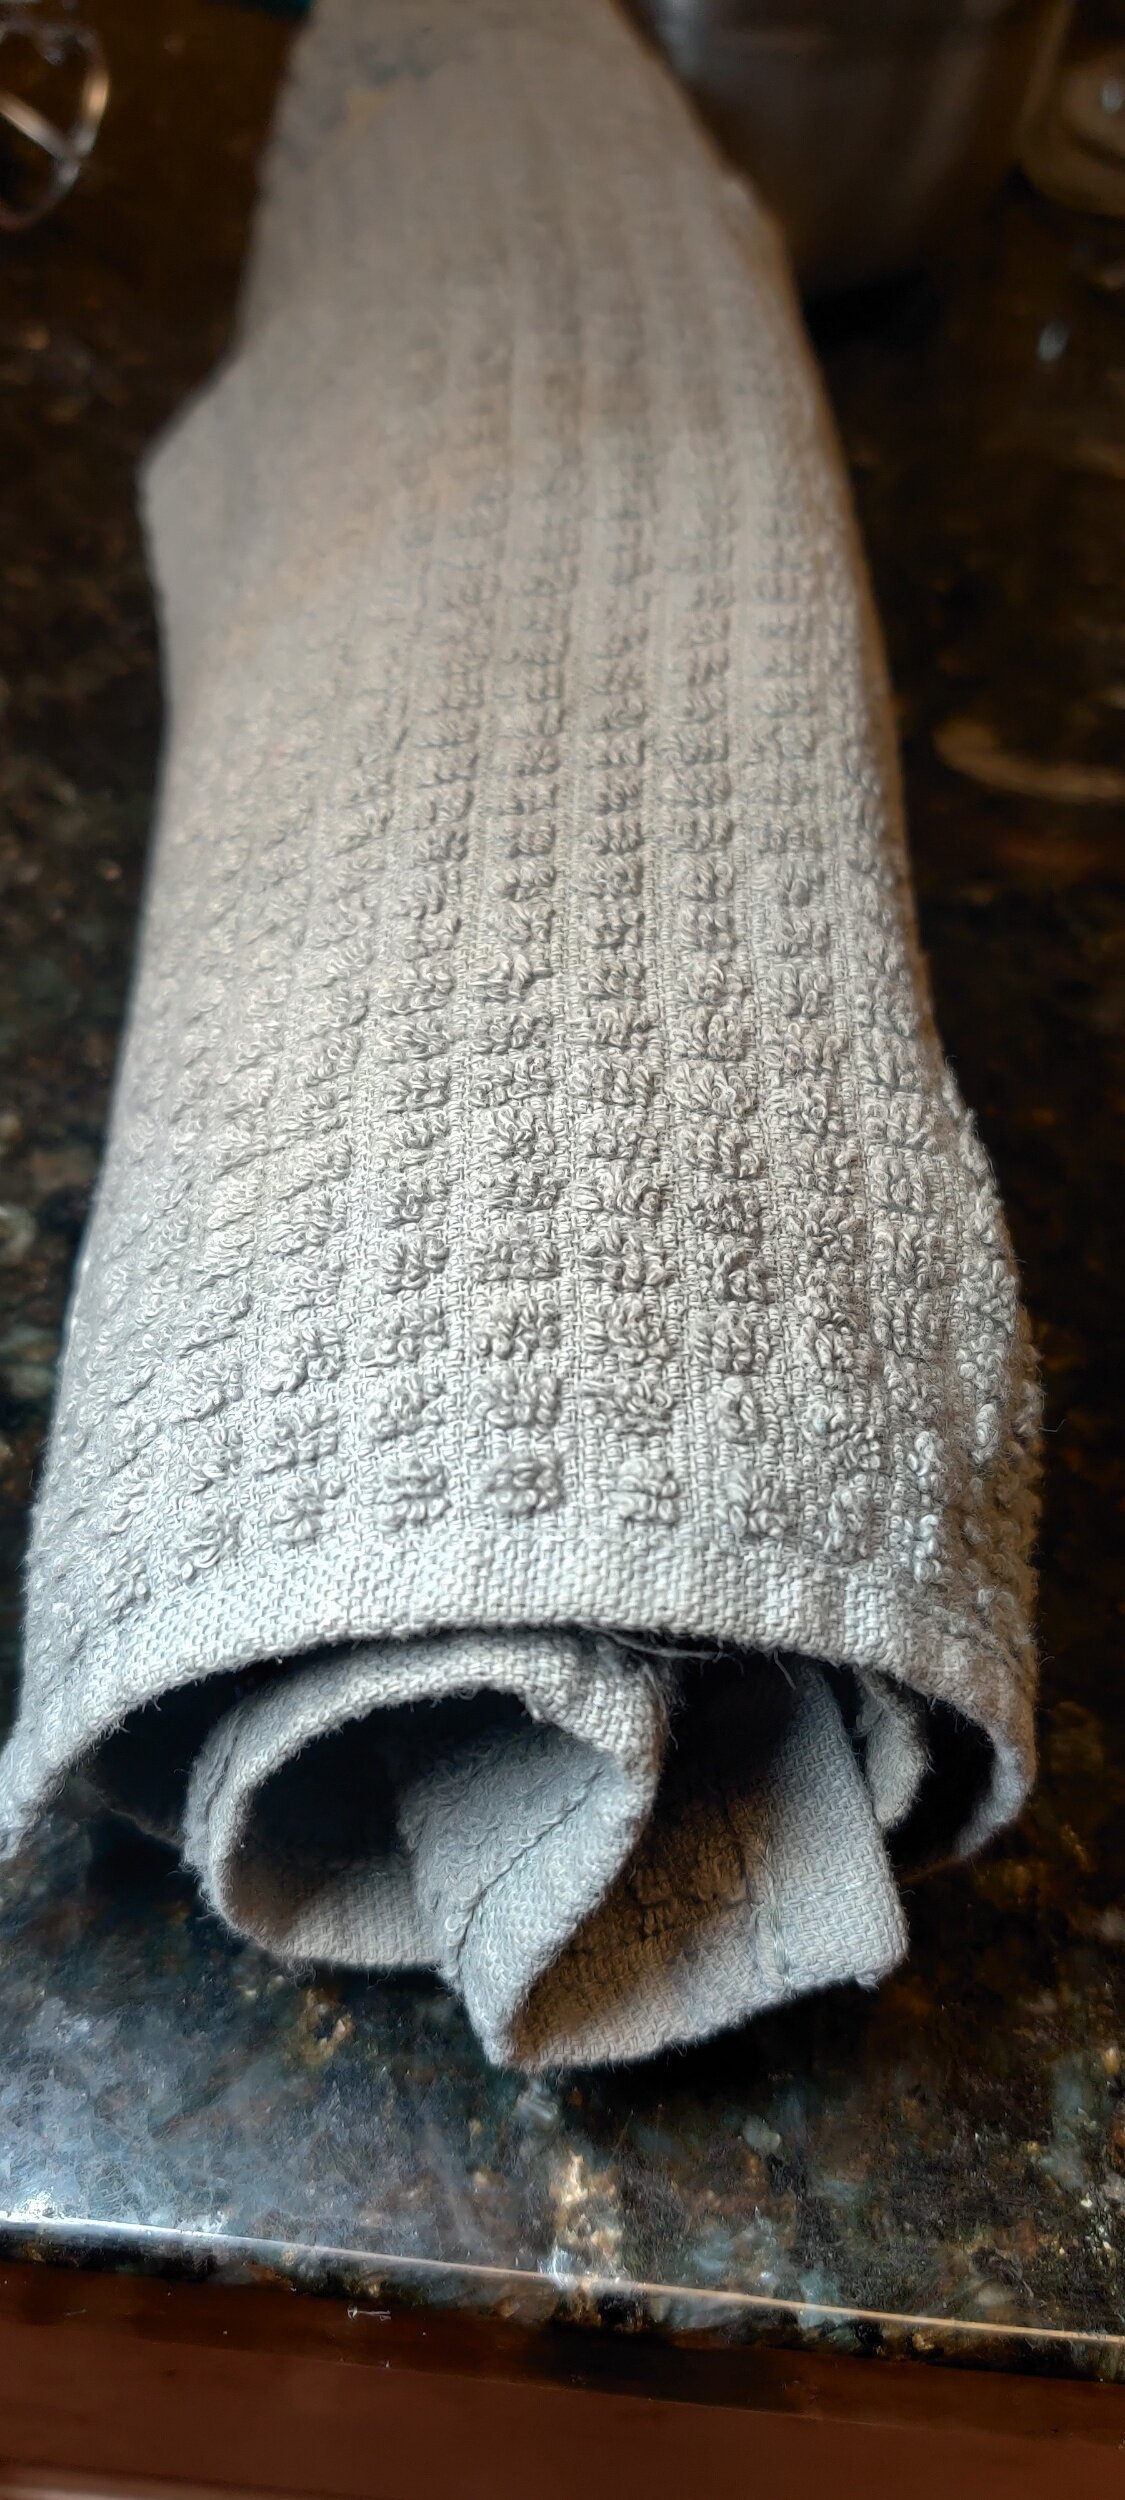
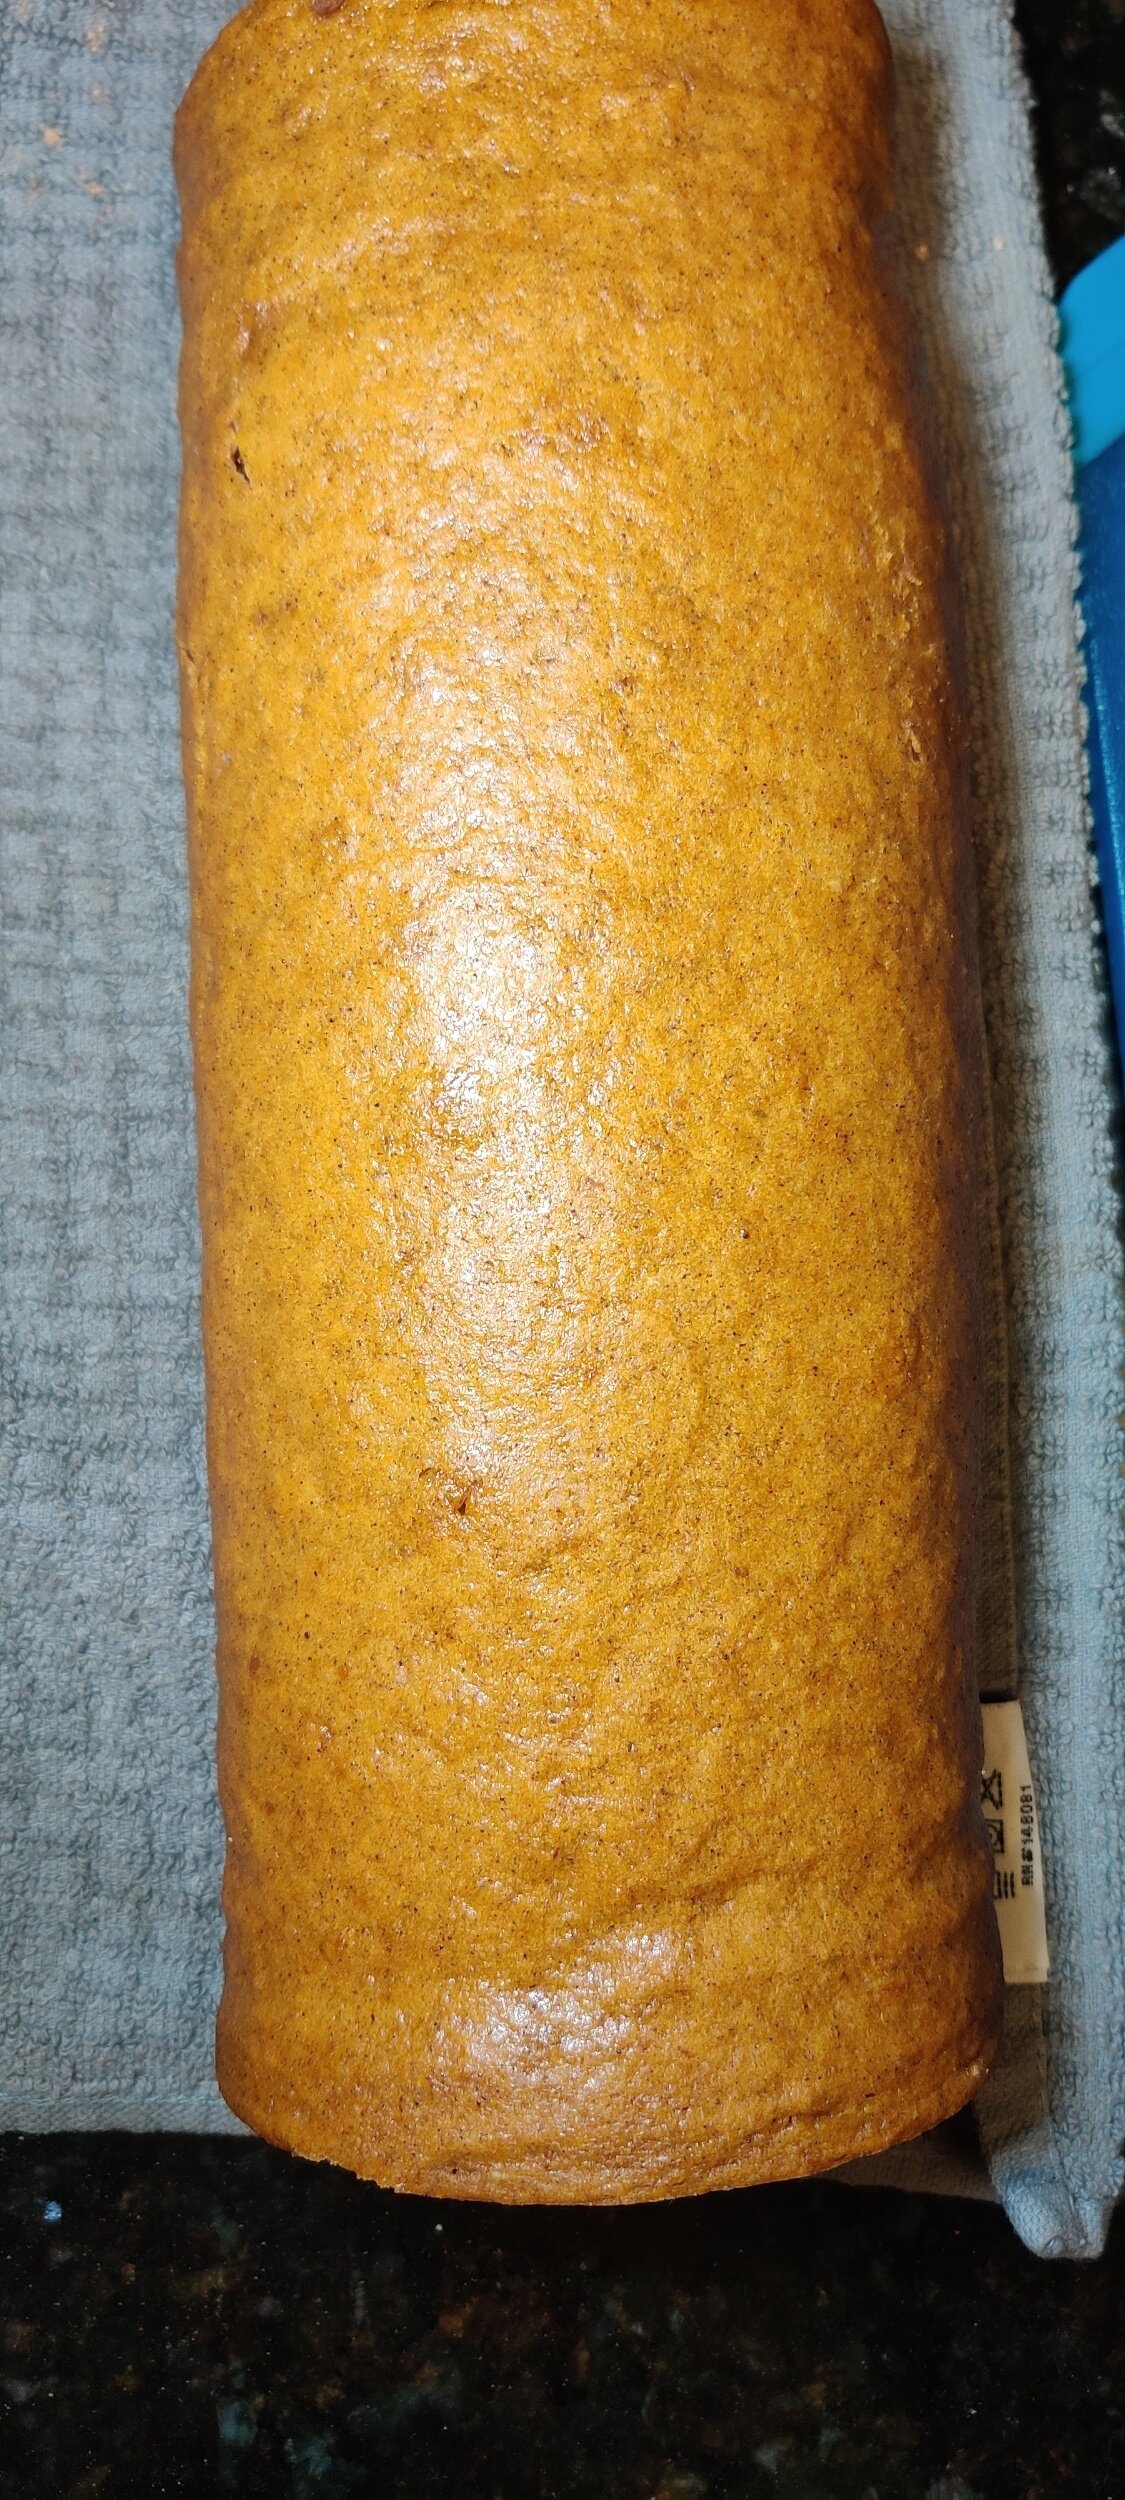
Bake at 375F for 12 minutes. Remove the cake from the oven and allow to cool slightly. Holding the tray and the one side of the cake, place carefully on a dish towel and a cutting board to flip over. Remove the parchment paper from the back carefully, then roll the cake in the towel and set the log aside.
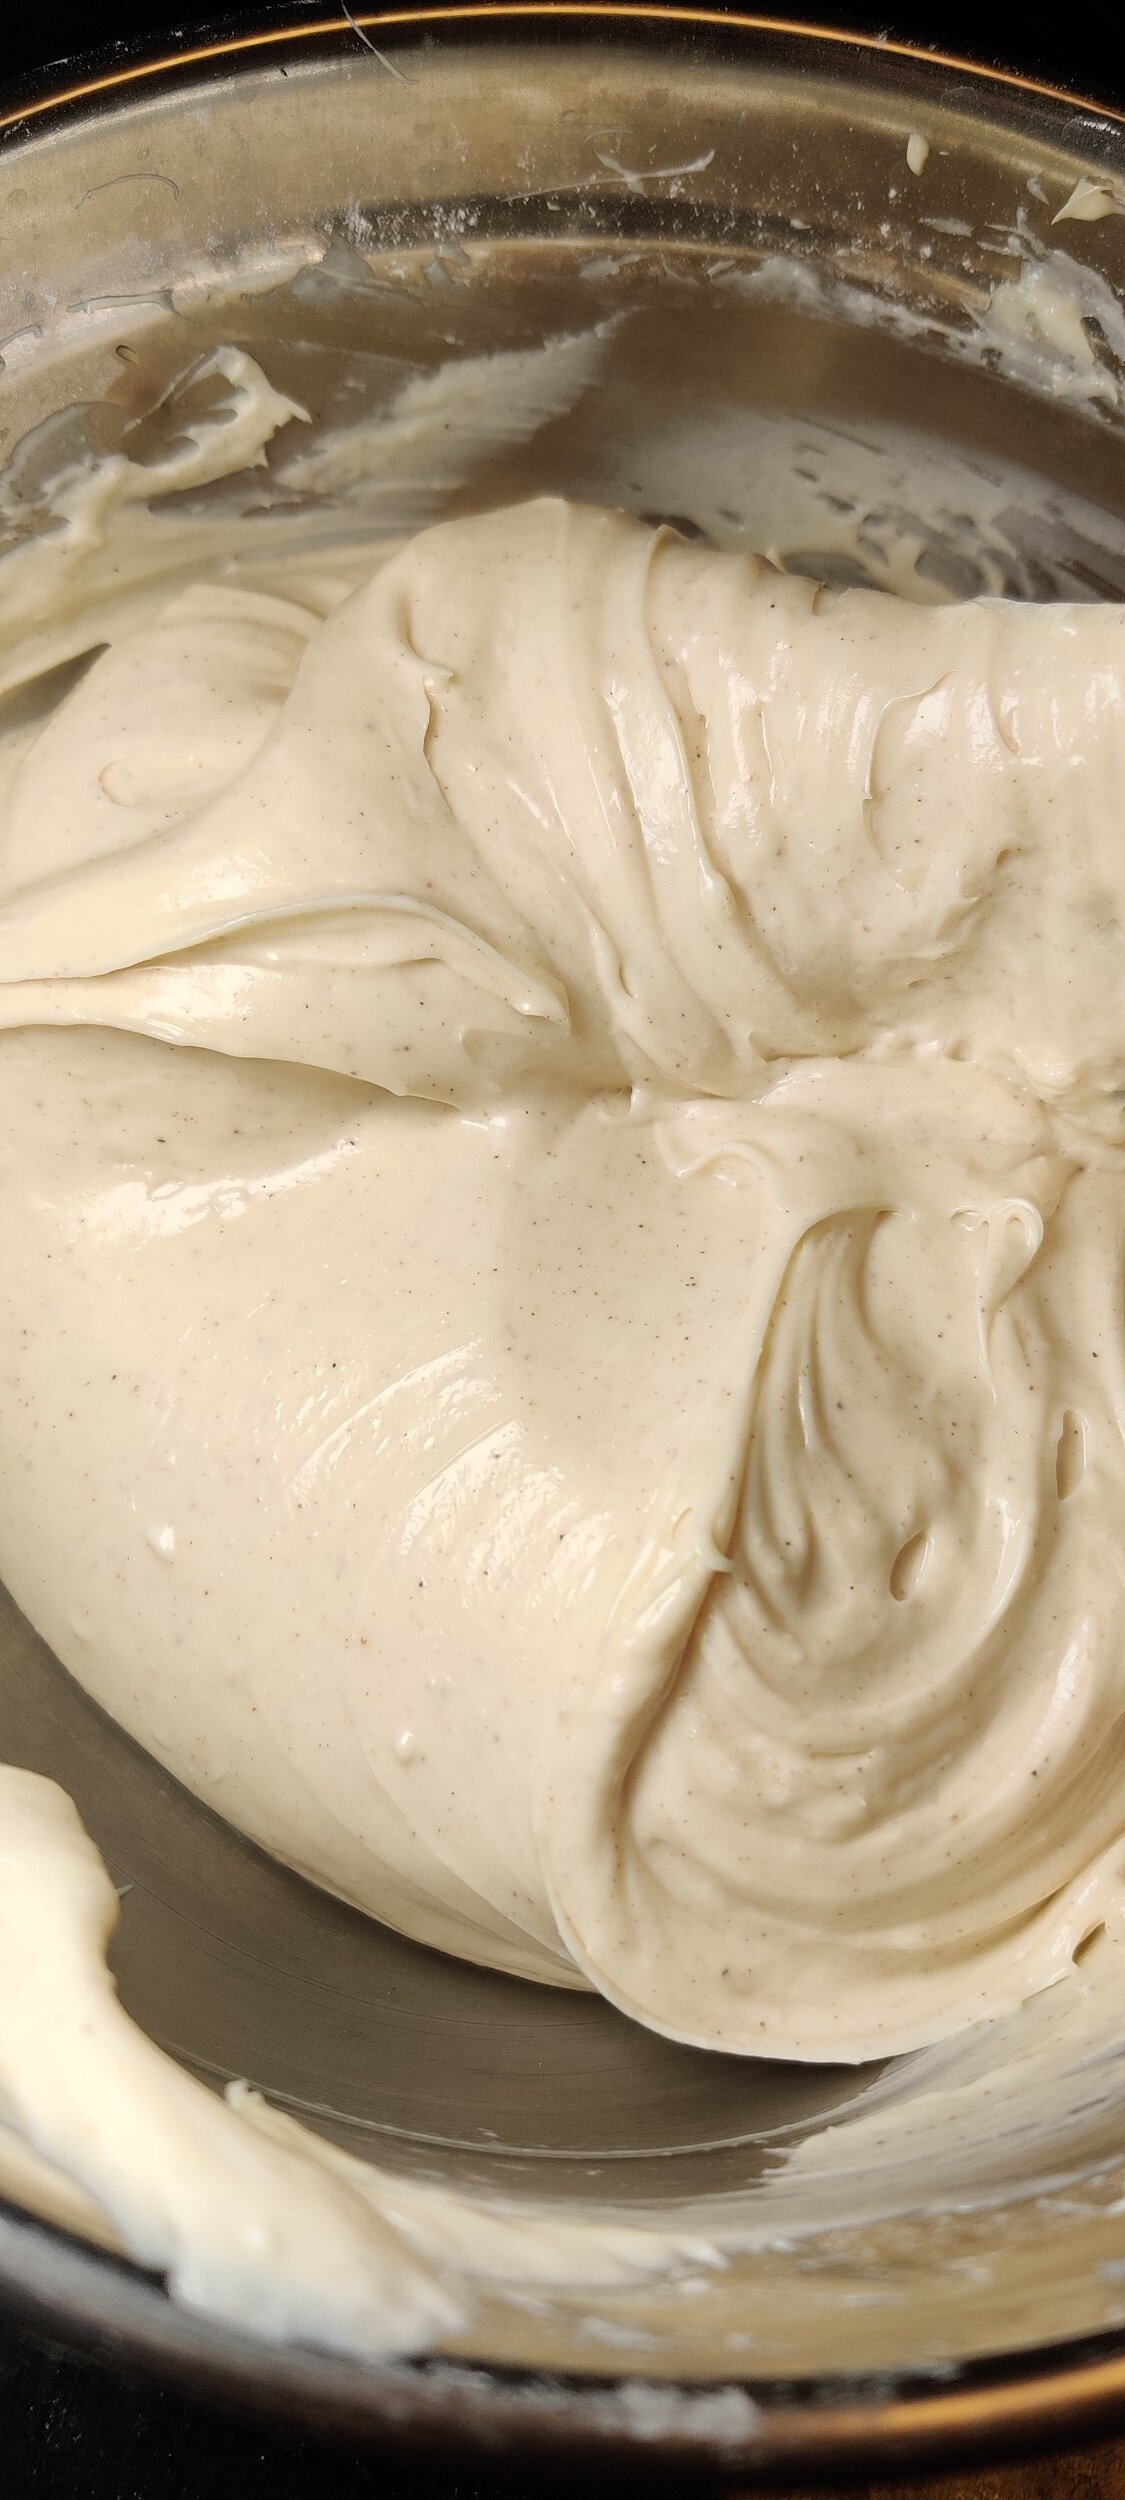
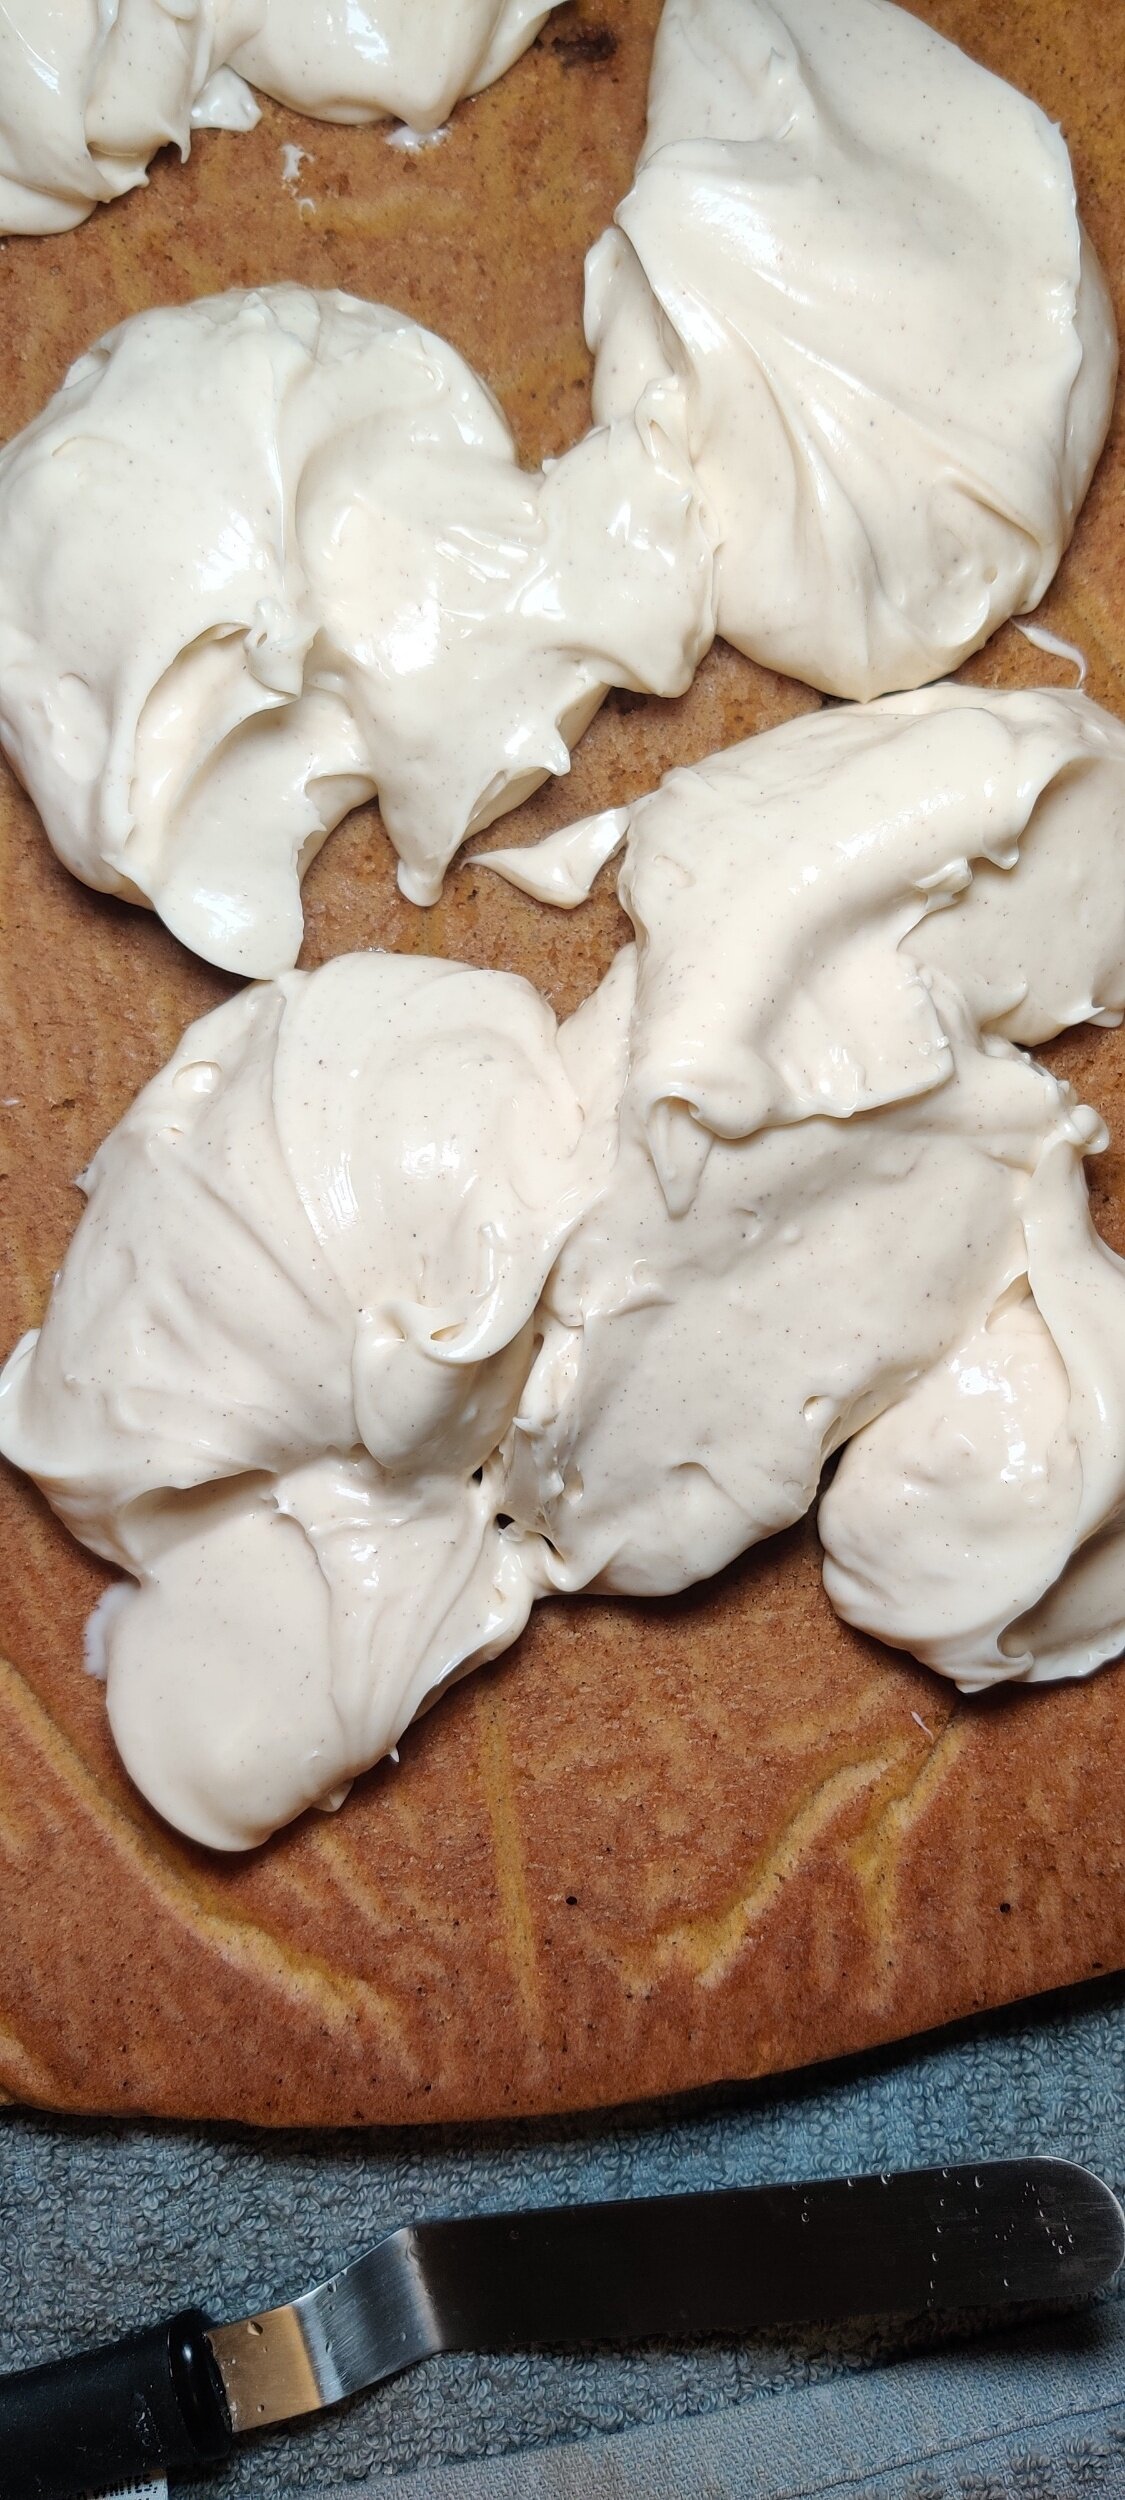
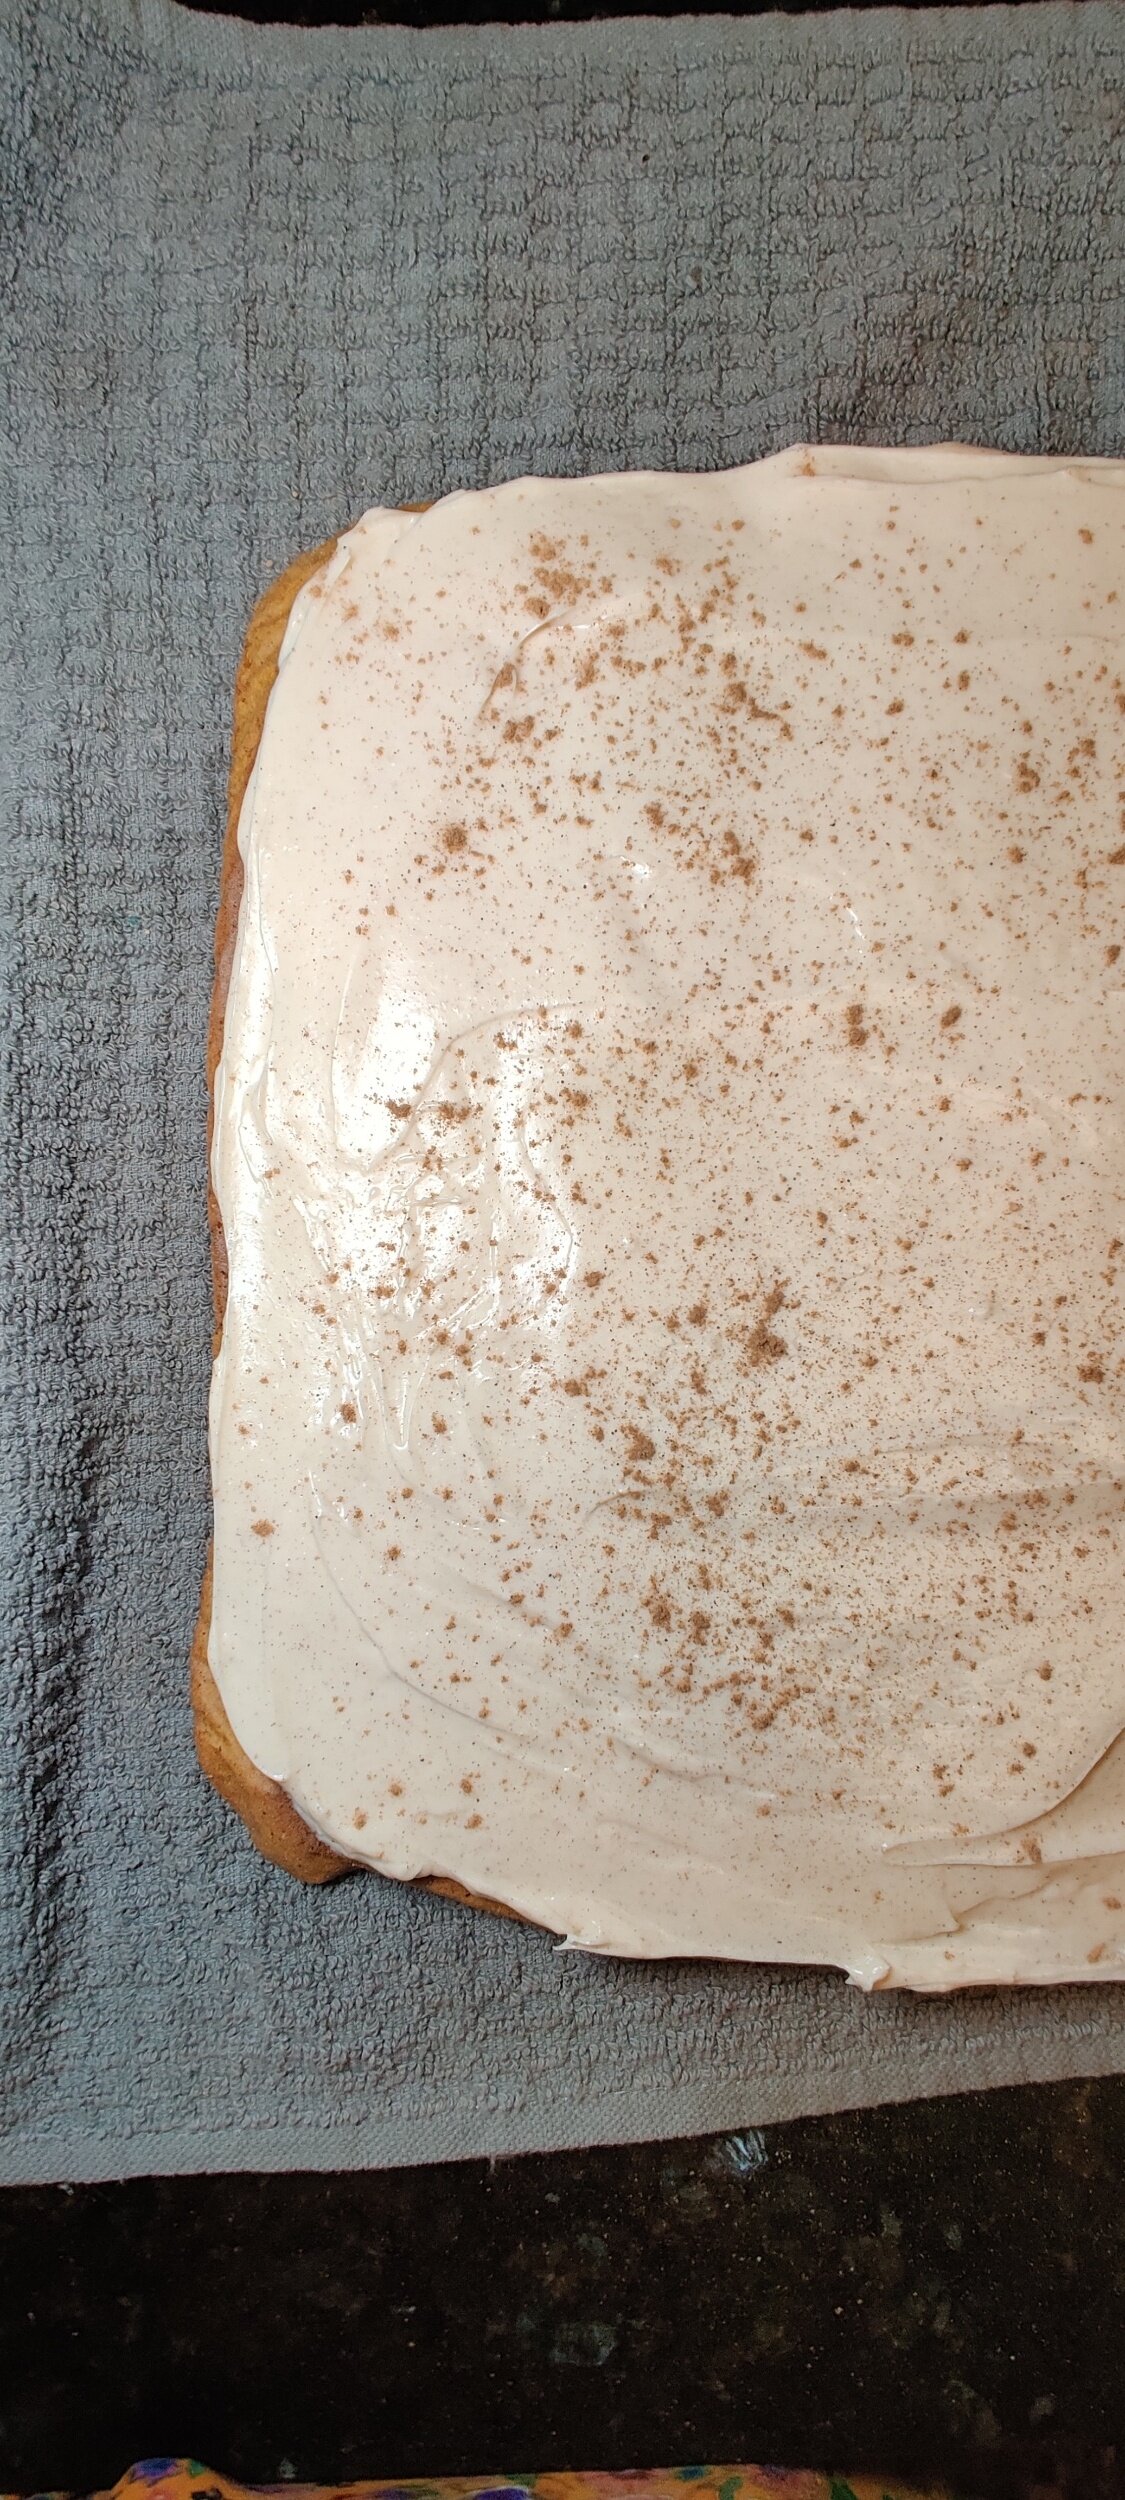
In a separate bowl, whisk the cream cheese, butter, vanilla, salt, pumpkin spice, ginger, gingersnap, icing sugar, and cinnamon until well incorporated. Unroll the cake, then use a spatula to spread the cream filling evenly to your desired thickness. Sprinkle with the extra gingersnap.
Now for the tricky part! Using the towel, roll the cake back into a log as tightly as you can without breaking it then refrigerate overnight or for at least 3-4 hours.
Sprinkle with extra icing sugar, slice and serve.

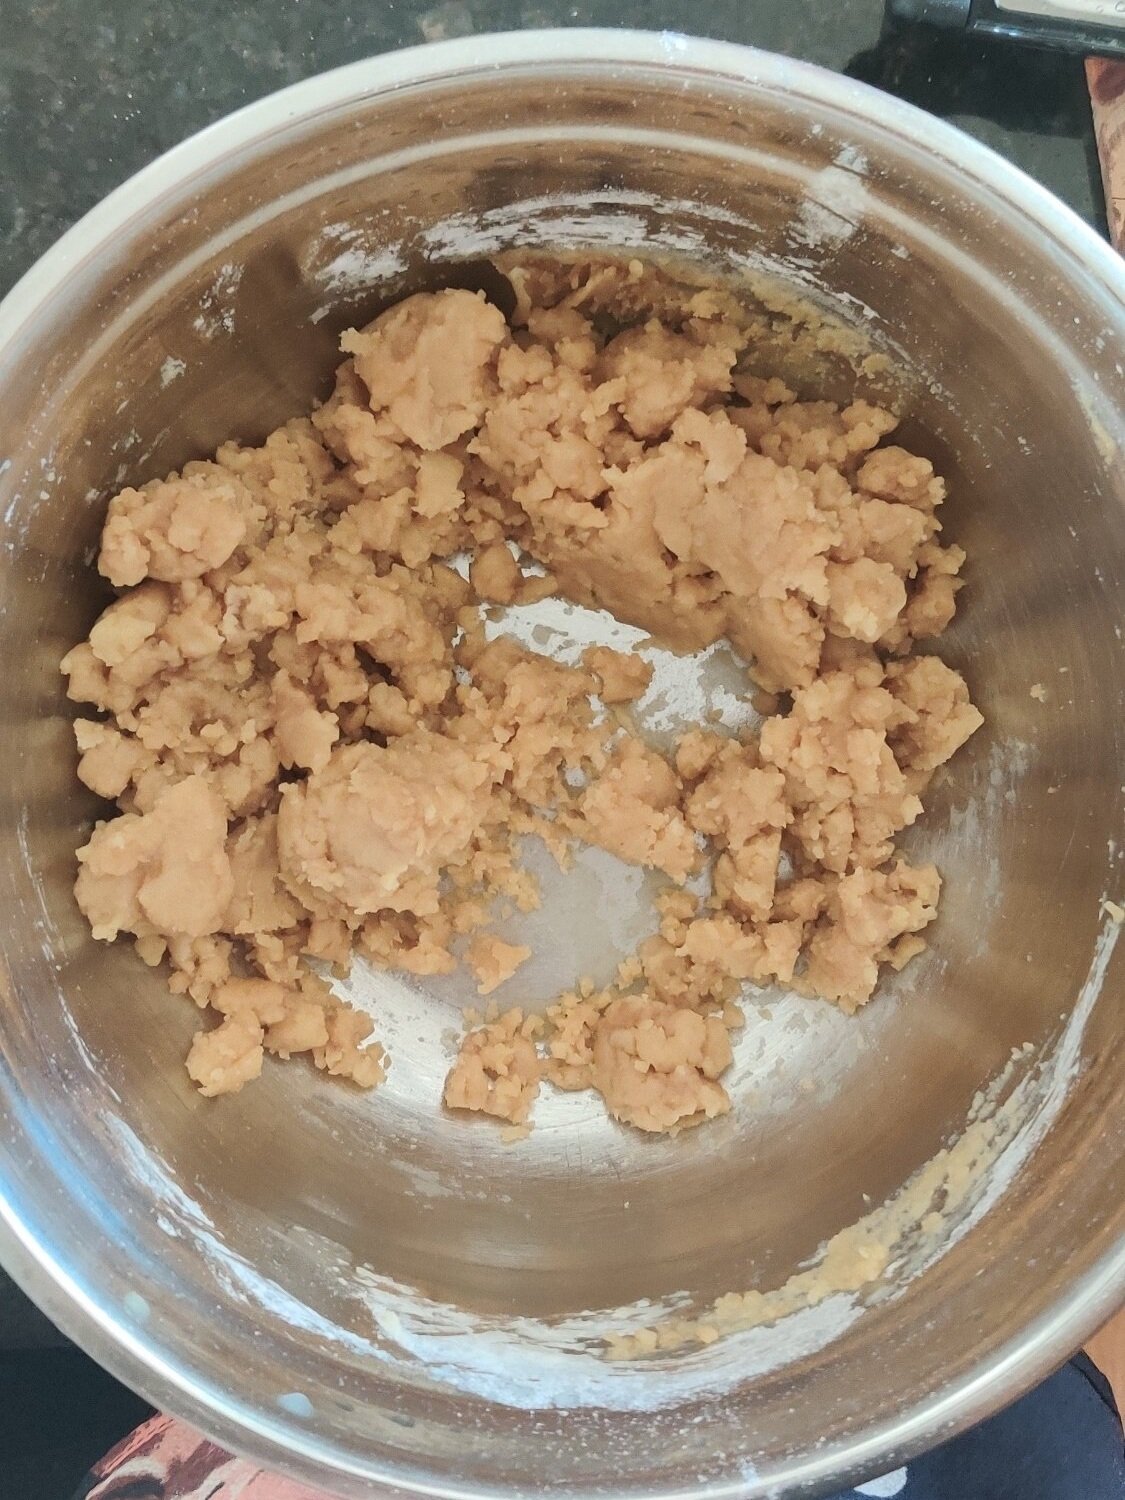
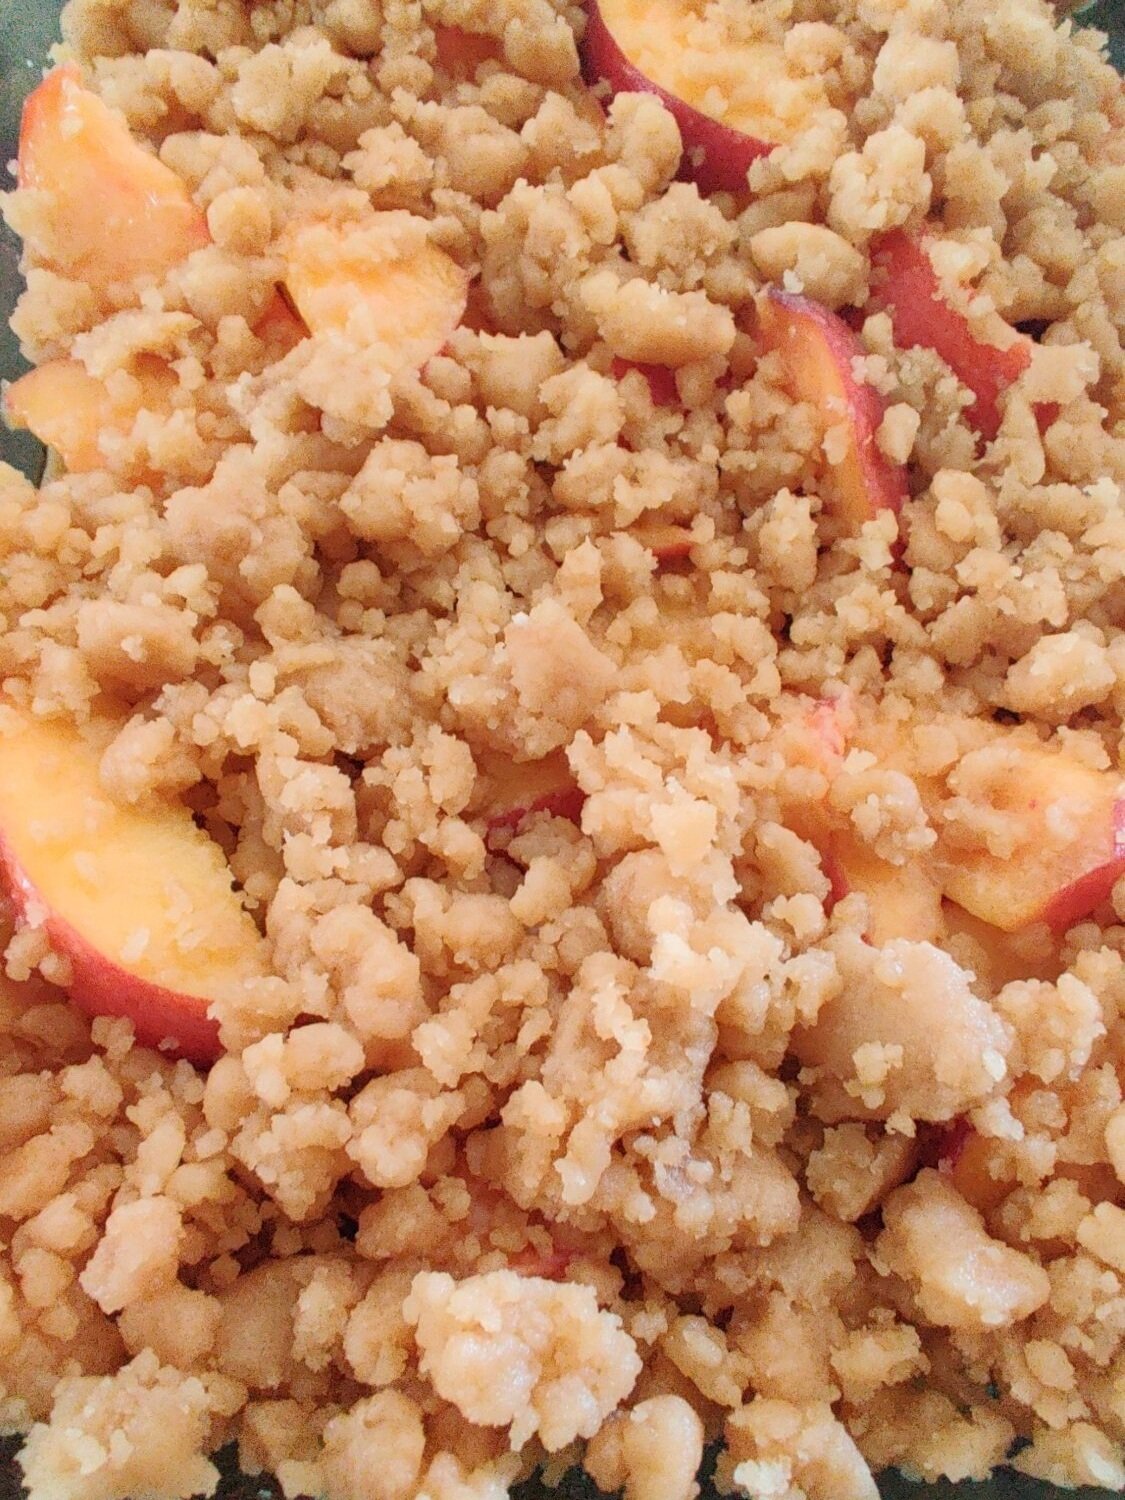
Easy Bourbon Peach Crumble
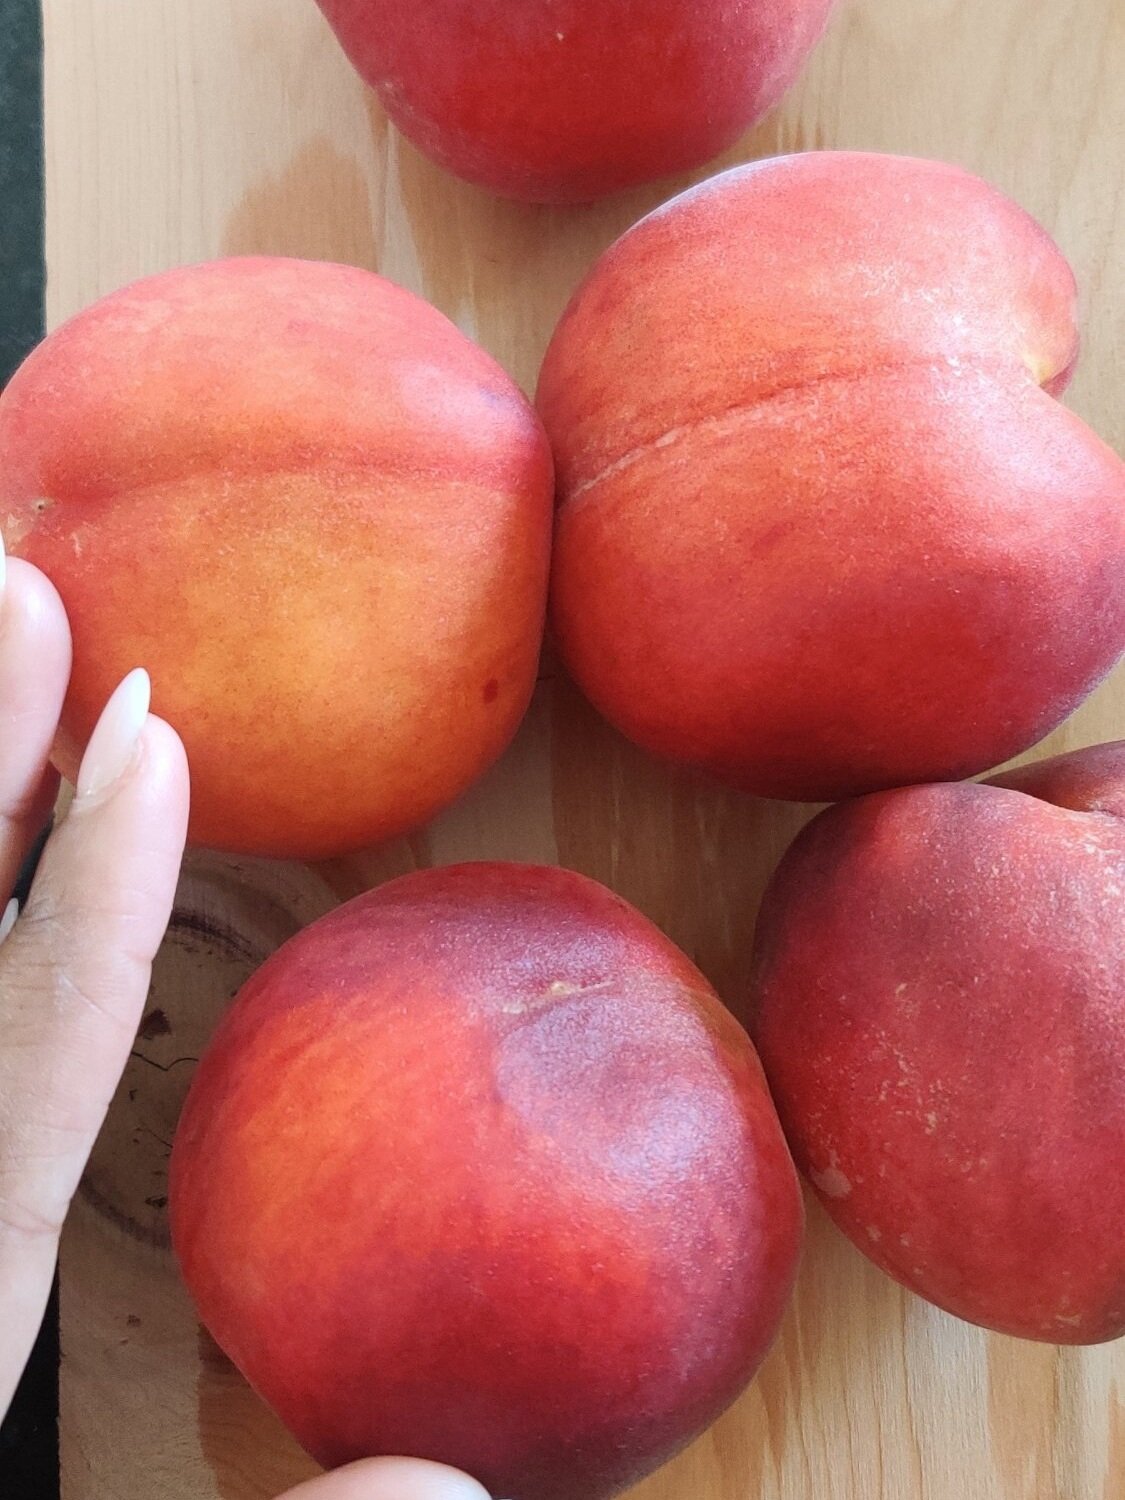
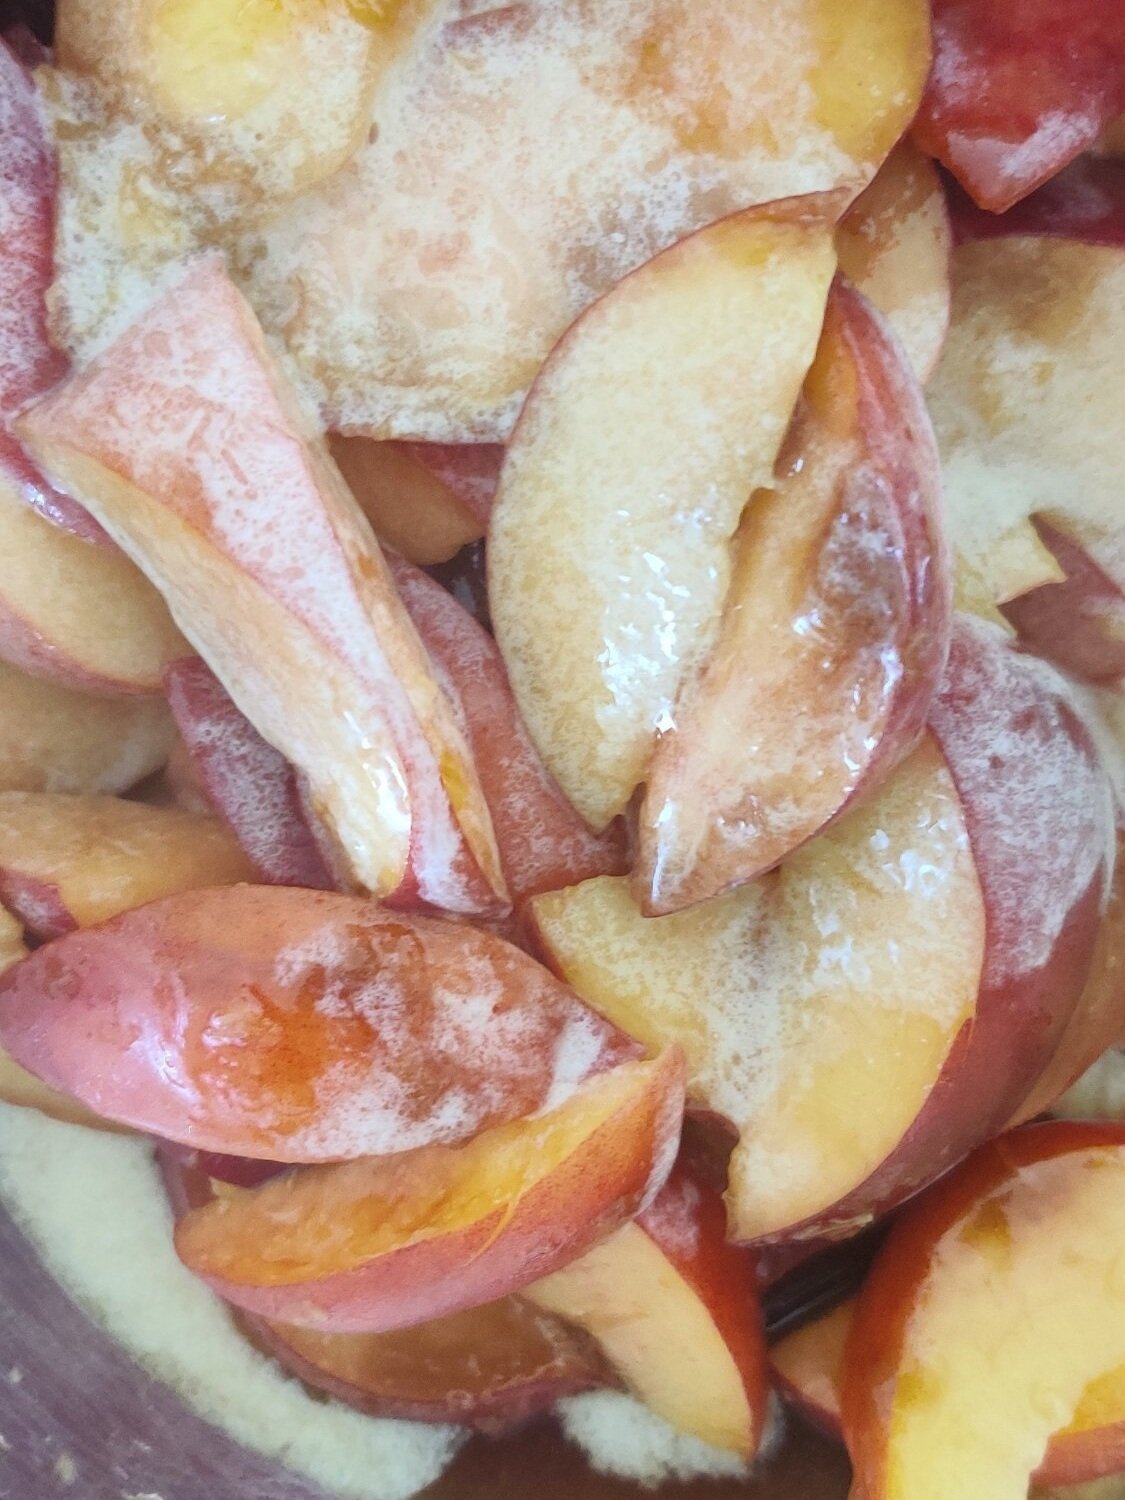
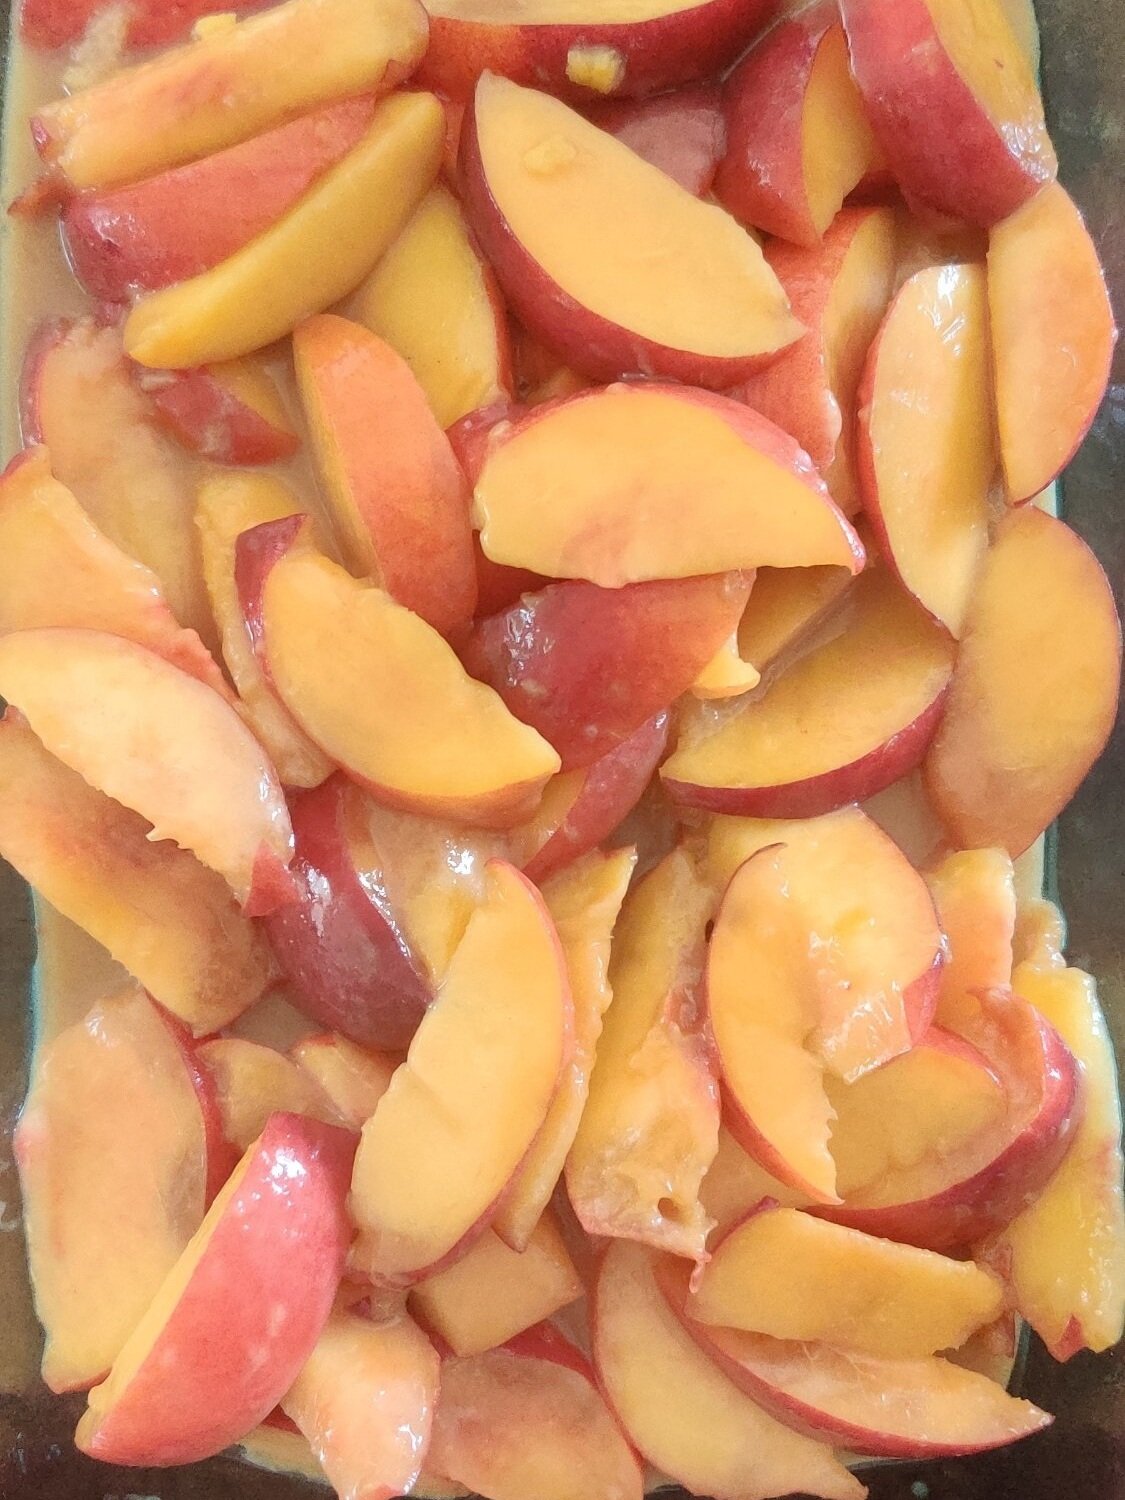
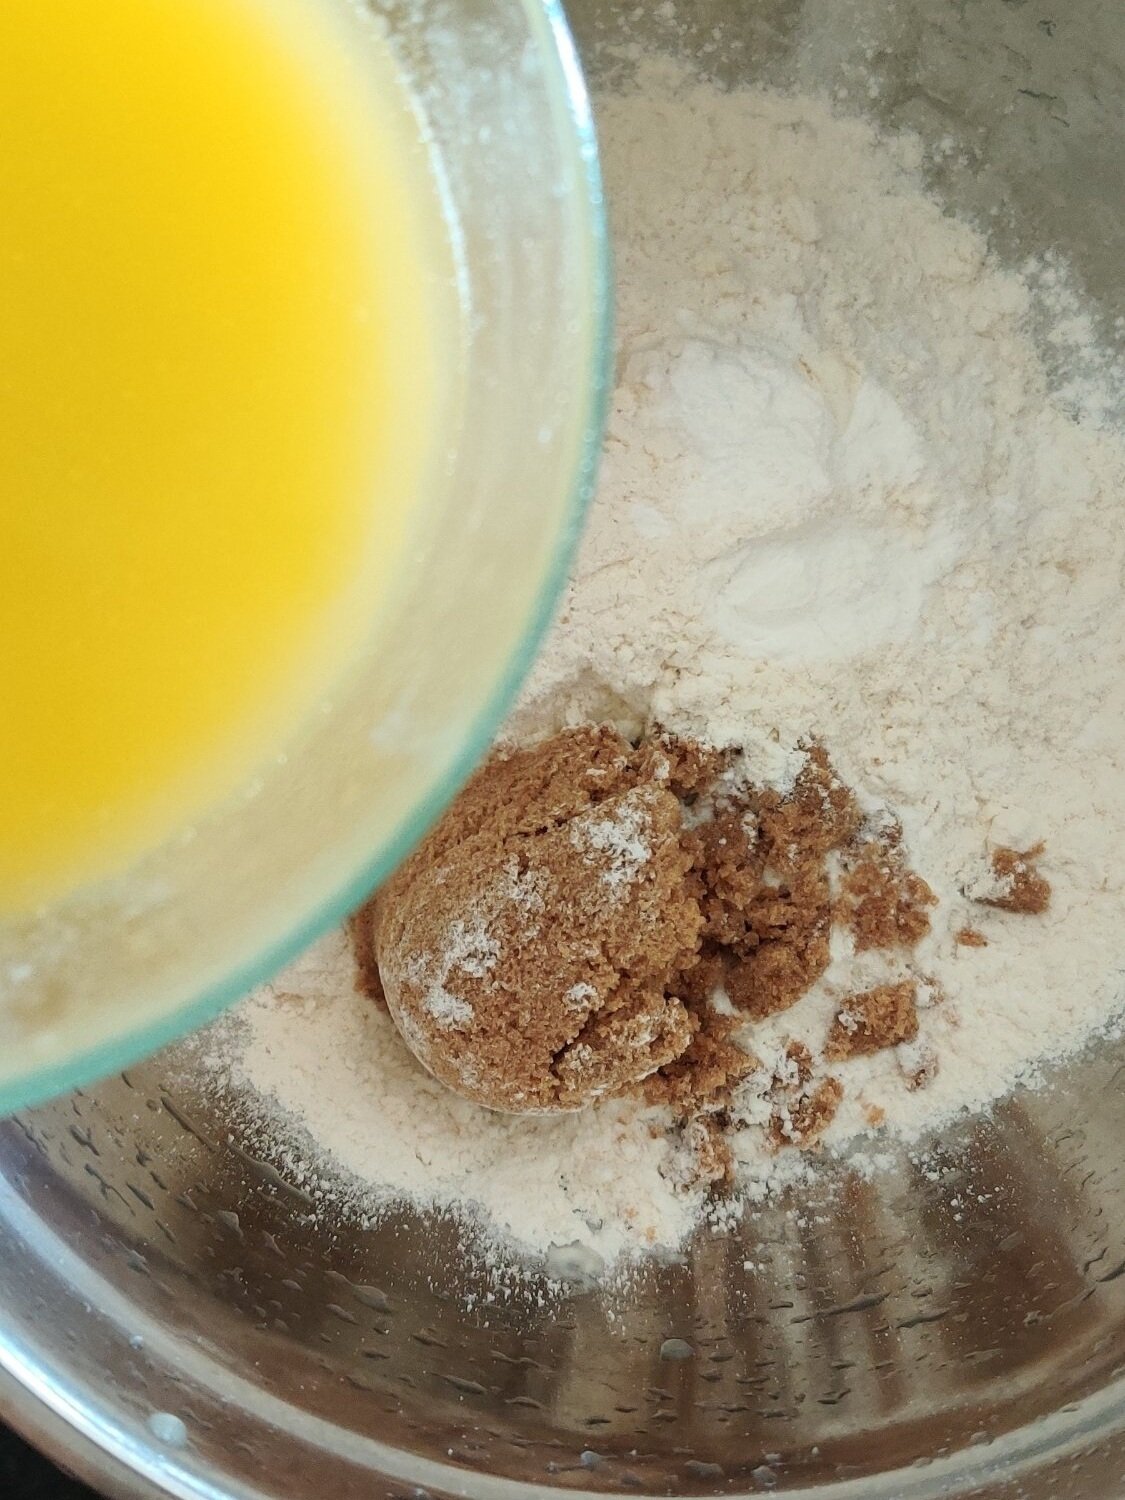
I love crumble, but I don't eat them enough. When I do, it usually has apple, but peaches are for the win too! During the summer, peach crumbles offer a subtle tartness, sweetness and crunch many of us appreciate in a light dessert. Served warm with ice cream or whipped cream, the spiced, caramelized peaches paired with a crunchy, buttery crumble melt together to make a sinfully good combination.
Add in some bourbon to enhance everything, and you have a fail-safe people pleaser!
As most people know, this dessert a variation of or considered interchangeable peach cobbler. I say crumble because of the way I prepared the pastry, crumbling the cookie-like dough versus having thicker, large pieces on top. Essentially it is the same as the classic out of the American South. Depends on how serious you take all the nuances!
You can convert this into another simple, delicious dessert. Check out my no-churn Bourbon Peach Crumble Ice Cream which you will love, here.

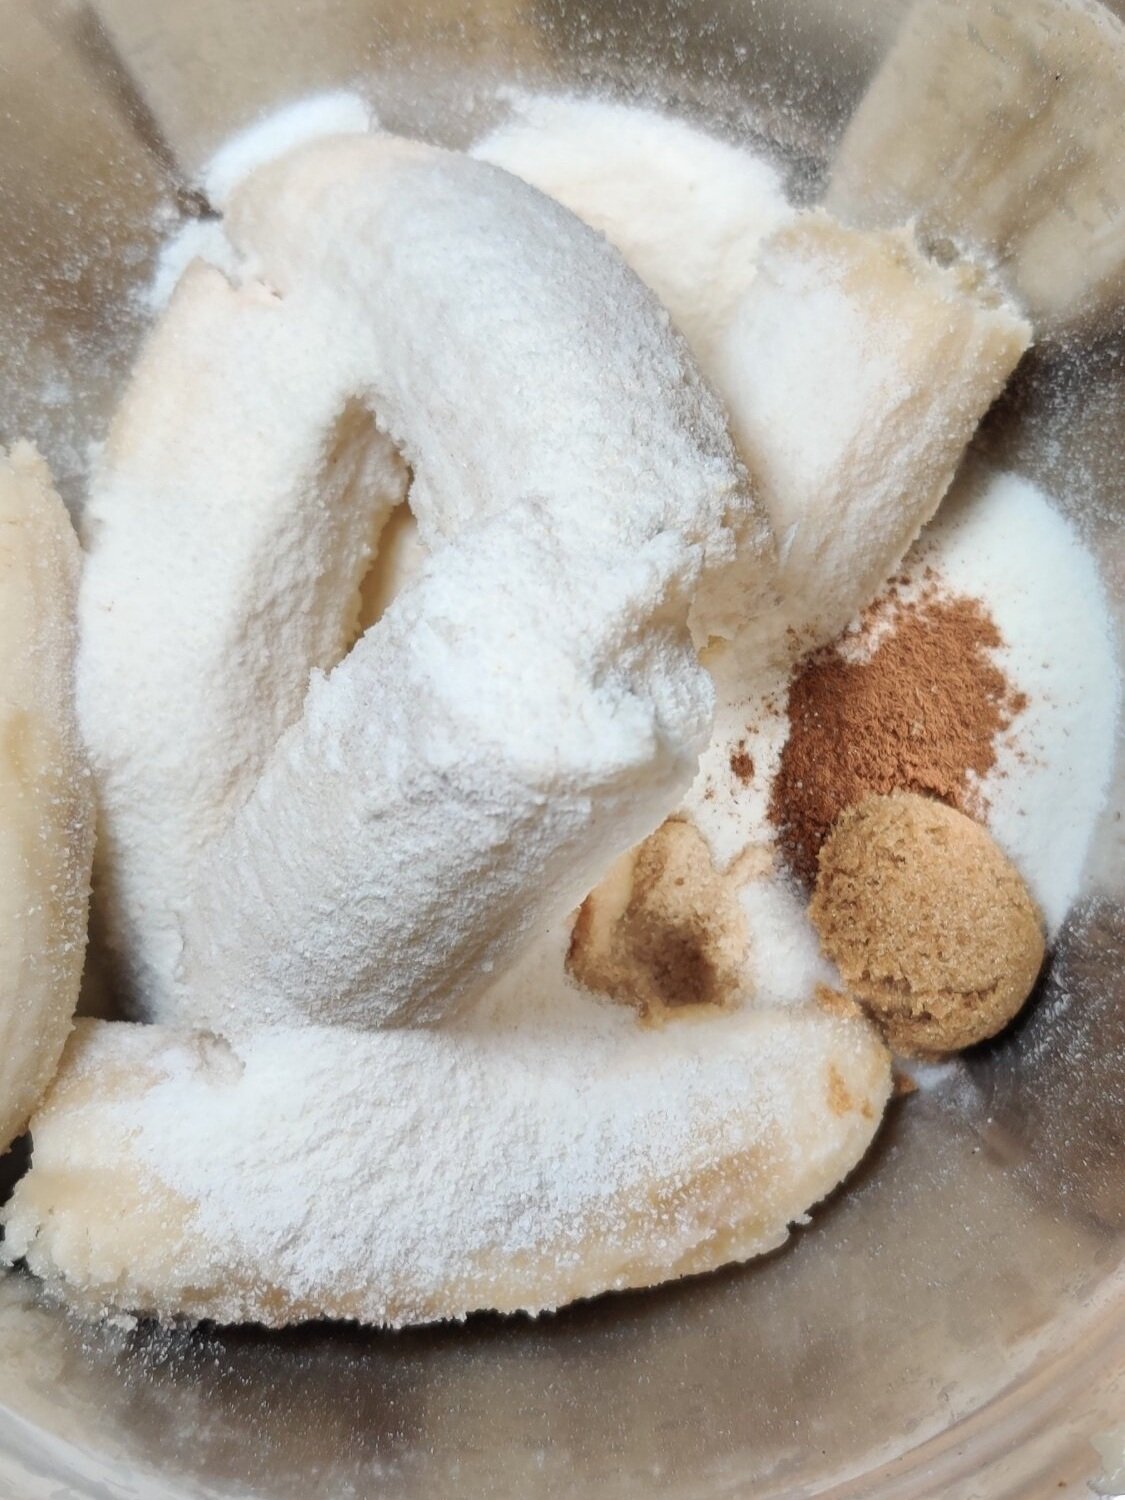
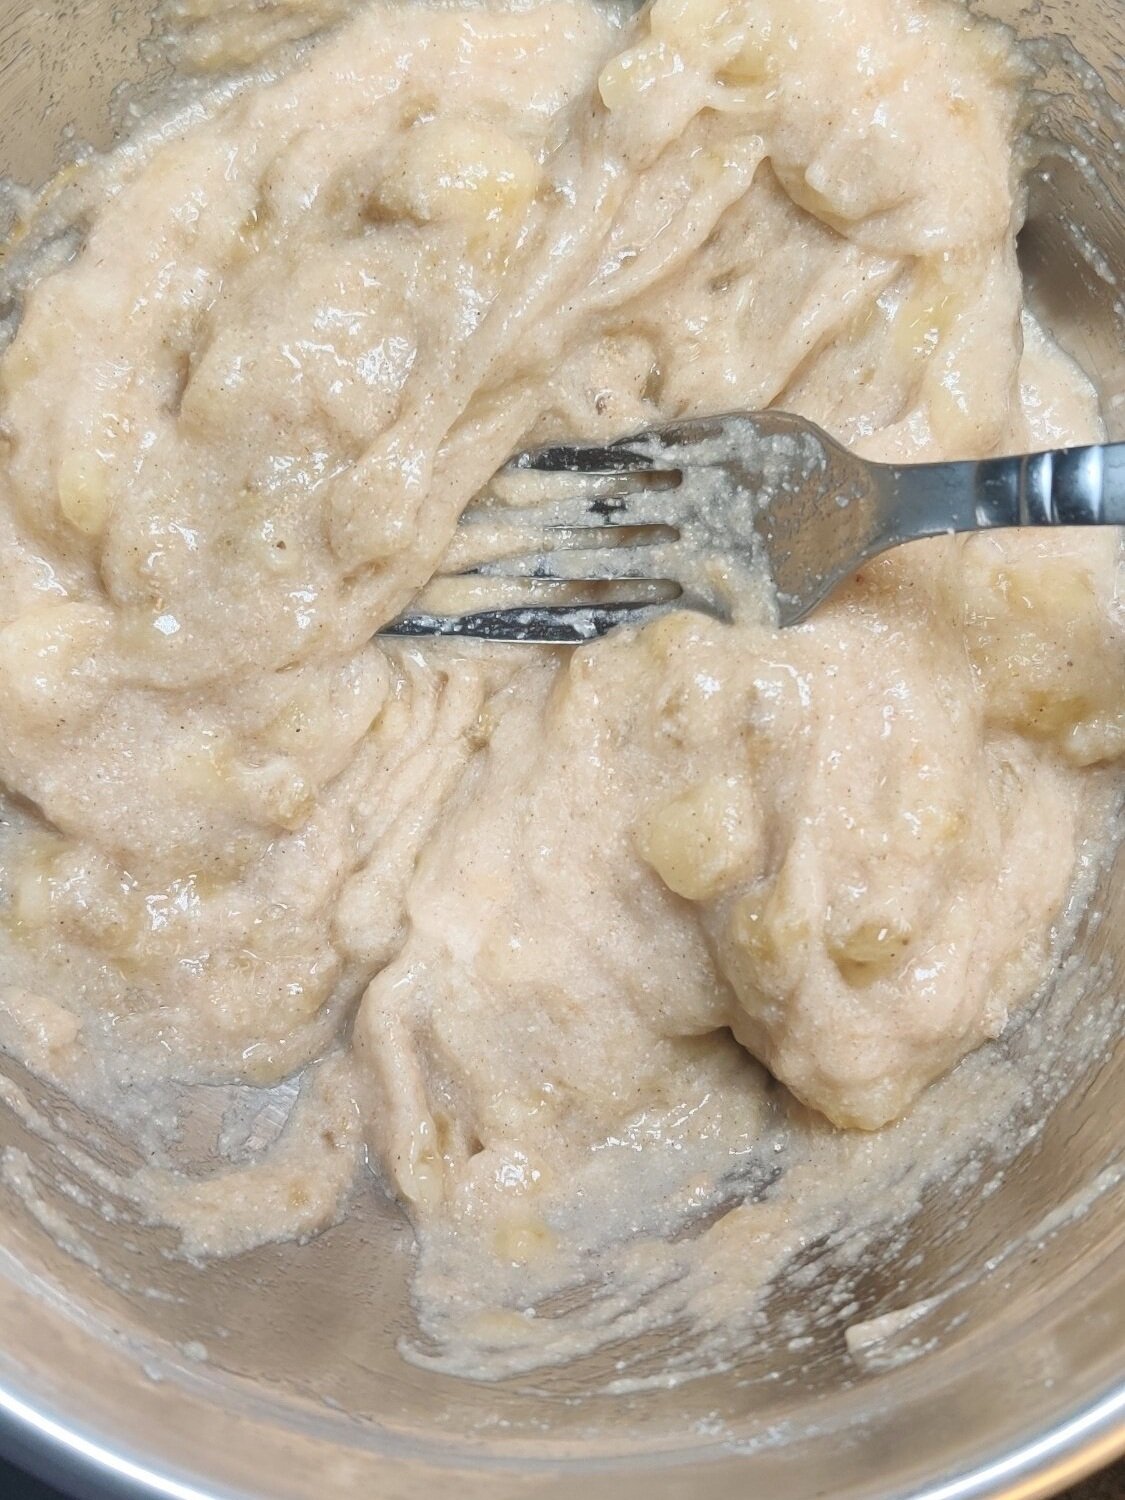
Cinnamon Sugar Banana Fritters
My memory of banana fritters is from when dessert was rolled out, typically on Friday afternoon, if I was staying late at junior school. You had the option to ladle them with warm custard or smother them with jam.
Banana fritters are eaten across the African continent and the Caribbean with a variation in ingredients, as well as other cultures. Given that bananas make the top 5 most eaten fruits in the world, like dough, it is no wonder everyone found a way to fry them up!
If you have kids, consider serving these fritters up with ice cream!


Masala Chai Cashew Bark
This recipe was inspired by my 2018 trip to Zanzibar. Two of the many things I found thrilling were the relatively cheap cashew nuts and the plethora of spices infused in almost everything. It is after all referred to as the spice island for a reason!
I also had some of the best most authentic tasting chai I've ever had. The tea was rich, deep in flavour, and delicious, I couldn't get enough.
Let's make some masala chai chocolate bark tea lovers!


Creamy Coconut Milk Tart (Melktart)
Milk tart, or melktert, is one of my all-time favorite desserts. It brings back so many memories of my mom in the kitchen, making silky custard, pudding, jelly, and cakes while I watched and learned. As a child, custard (packaged!) in particular was one of the first desserts I ever started making on my own, so it was no surprise that milk tart quickly became a comfort food I could never pass up. The buttery crust, creamy filling, and cinnamon (sometimes stronger, sometimes lighter) are simple but so satisfying.
For these versions, I’ve added a twist by using coconut milk in the filling (and toasted coconut flakes in the crust in the first version) for a subtle, unique flavor that enhances the sweet, nutty, tropical notes of the milk tart. I also made the custard slightly richer and creamier than the traditional version, so slices may be a touch softer than the classic, but the indulgent texture is intentional and totally worth it. In the second option, I swapped the traditional pastry for my favorite oatmeal crust to give it extra texture, thickness, and heartiness. Whether you’re a lifelong custard lover or just discovering this South African-inspired classic, it’s worth every bite.


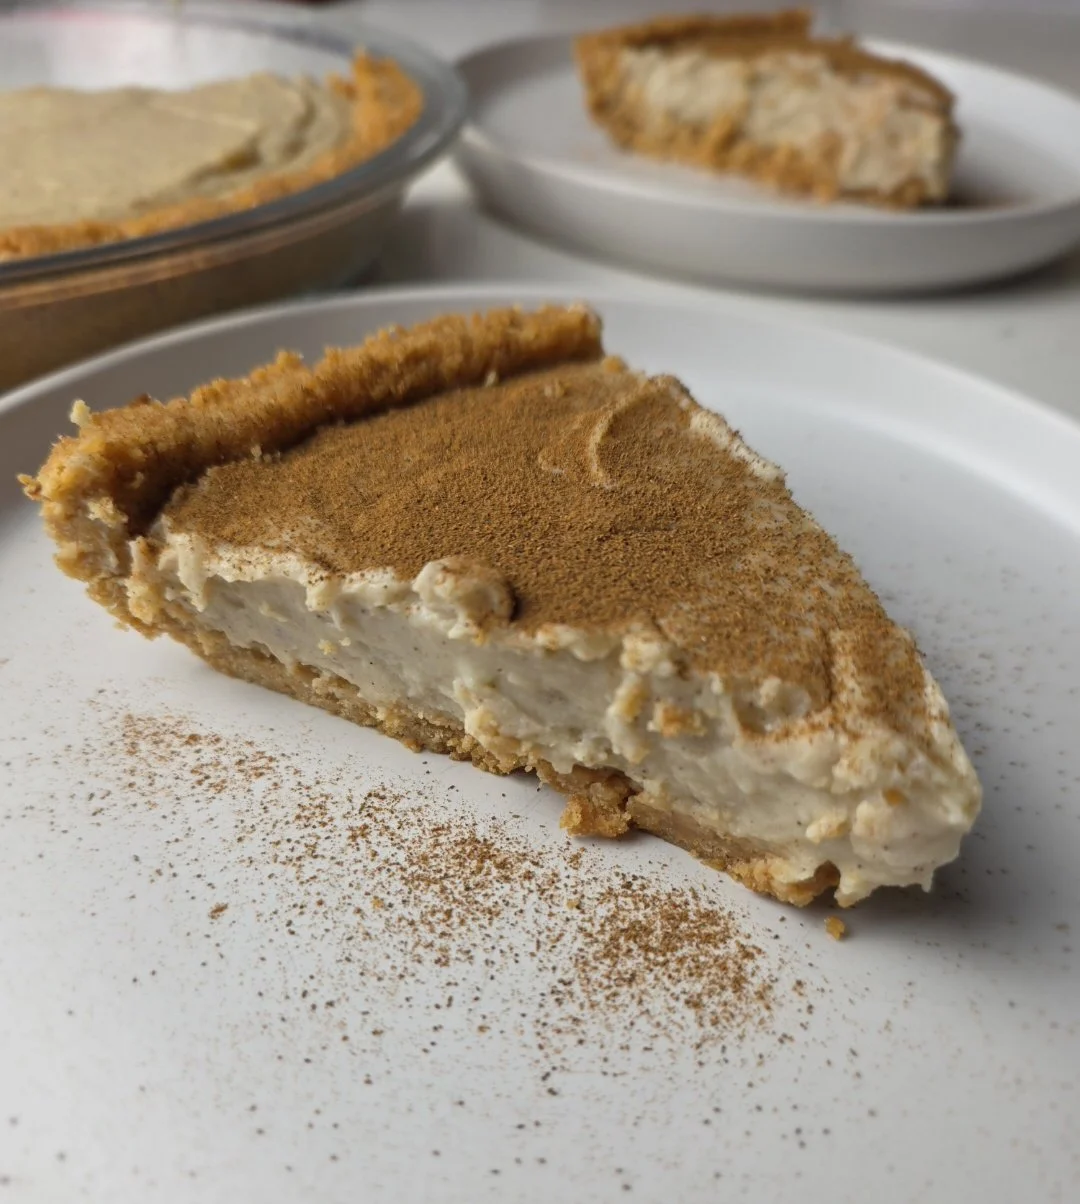
Creamy Coconut Milk Tart
Classic South African milk tart (melktert) with a creamy coconut custard and an optional oatmeal crust for added texture. Sweet, comforting, and custard-forward—perfect for dessert lovers. This version is slightly richer and creamier than traditional milk tart, which may make slices less “perfectly set” than older recipes, but it delivers extra indulgence and flavor.
Ingredients
- 1 ½ cups coconut tennis biscuits (18–20 biscuits)
- 3 tbsp toasted coconut flakes
- 1 tbsp granulated sugar
- Pinch of salt
- ½ cup butter, melted (add more 1 tbsp at a time if needed)
- 1 ¼ cups whole milk
- ¾ cup coconut milk
- ½ cup condensed milk
- 2 tbsp granulated sugar
- 3 tbsp cornstarch
- 2 eggs
- 1 tbsp butter
- 1 tsp vanilla extract
- ¾ tsp cinnamon
- Pinch of nutmeg
- Pinch of cardamom
- 1¾ cups rolled or quick-cook oats
- 2½ sticks cold butter, cubed
- ²⁄₃ cup flour
- ²⁄₃ cup brown sugar
- 1 tsp salt
- 1 tsp cinnamon
Instructions
- Preheat oven to 325°F (160°C).
- Set aside the toasted coconut flakes.
- Pulse the biscuits in a food processor until they resemble coarse sand. Alternatively, crush them in a ziplock bag with a rolling pin.
- Add the toasted coconut and give the mixture a few more pulses (or a good mix) to integrate everything.
- Transfer the crushed biscuits to a bowl and mix in the sugar, salt, and melted butter until the mixture resembles damp sand and holds together when pinched. Add more butter 1 tbsp at a time if needed. It should not be too wet or too dry.
- Press the mixture evenly into a pie dish, using a cup to press the base and your fingers to shape the sides.
- Chill in the fridge for 10–15 minutes, then bake for 10–12 minutes. Cool while preparing the filling.
- In a small saucepan, heat the whole milk and coconut milk over low heat until steaming. Do not boil. Remove from the heat.
- In a separate bowl, whisk together the eggs, condensed milk, sugar, and cornstarch until smooth.
- Slowly whisk the warm milk mixture into the egg mixture a little at a time to temper it. Tempering means gradually warming the eggs so they don’t scramble when exposed to heat.
- Return the combined mixture to the saucepan and cook over low heat, stirring constantly for 5–8 minutes, or until it thickens and coats the back of a spoon.
- Remove from the heat and stir in the butter, vanilla, cinnamon, nutmeg, and cardamom.
- Pour the filling into the baked crust and bake for 15 minutes.
- Cool at room temperature for 1 hour, then chill overnight (or at least 2–4 hours if you are short on time).
- Preheat oven to 350°F (175°C).
- In a large bowl, combine oats, flour, brown sugar, salt, and cinnamon. Cut in the cold butter with a pastry cutter until the mixture resembles large breadcrumbs. (Optional: pulse the dry ingredients with butter a few times in a food processor, but keep some texture—don’t over-process into a fine powder.)
- Press the mixture evenly into a greased 9-inch pie tin using the bottom of a measuring cup to compact the base and the sides.
- Bake for 15–20 minutes, until the crust is lightly browned and slightly crispy.
- Optional: To prevent shrinking or puffing, weigh down the crust with dried beans or pie weights on a piece of parchment paper while baking. If the crust does puff or shrink slightly, press it back into place gently while still warm.
- Let the crust cool completely before adding the filling.
Notes
For the oatmeal crust:
- Make sure butter is cold, this helps create that tender, crumbly texture.
- Pressing the crust evenly and firmly is key; uneven thickness can cause it to bake inconsistently.
- Using rolled oats gives a chewier, more textured crust, while quick-cook oats yield a slightly softer crust.
For 'classic' milk tart:
- Custard consistency: Make sure to whisk the cornstarch and eggs thoroughly before combining with warm milk to avoid lumps. The custard should coat the back of a spoon when fully cooked.
- Baking the tart: Keep an eye on the tart while baking—the filling should set but remain slightly wobbly in the center; it will firm as it cools.
- Crust options: You can use a traditional shortcrust pastry or swap in an oatmeal crust for extra texture and heartiness.
- Coconut twist: Using coconut milk adds a subtle tropical flavor, but you can substitute with regular milk if preferred.
- Serving: For neat slices, use a warm knife. Dust with cinnamon just before serving for a beautiful presentation.
- Storage: Store in the fridge, covered, for up to 3 days. Best served chilled or at room temperature.
Nutrition Facts
Calories
320Fat (grams)
18 gCarbs (grams)
36 gSugar (grams)
20 gProtein (grams)
6 gI am not a certified nutritionist and any nutritional information on dontmissmyplate.com should only be used as a general guideline.