
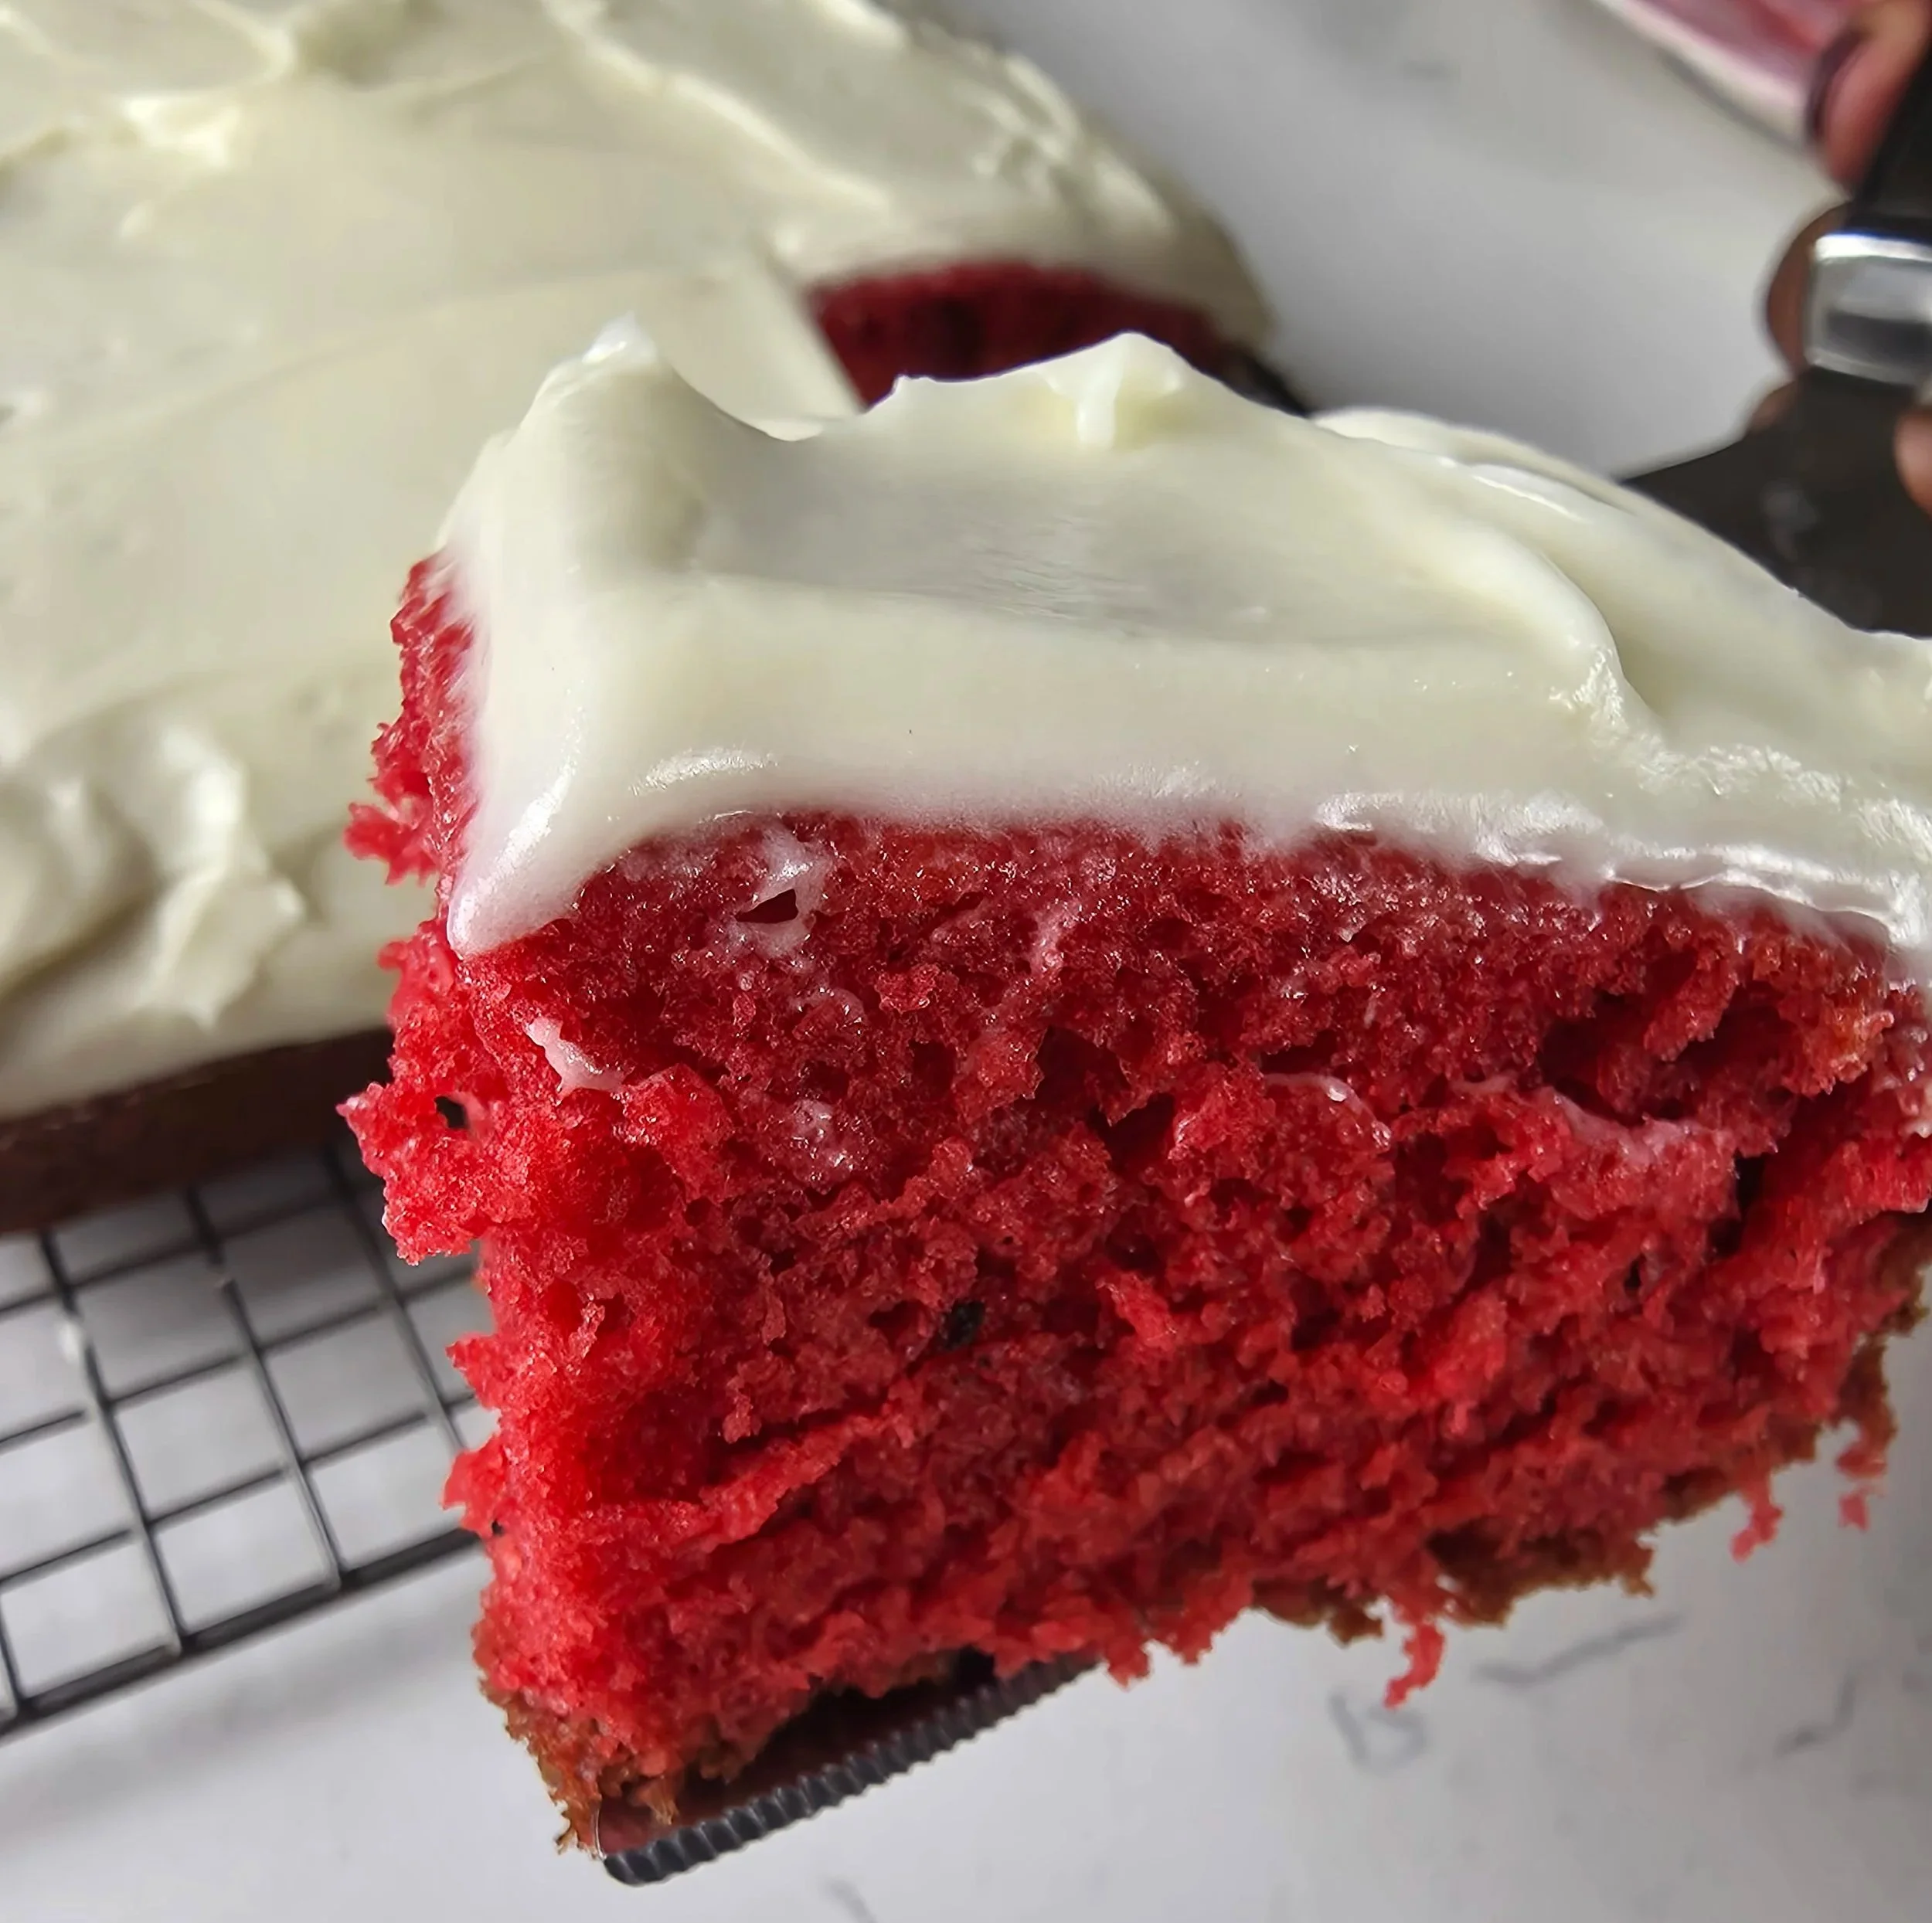
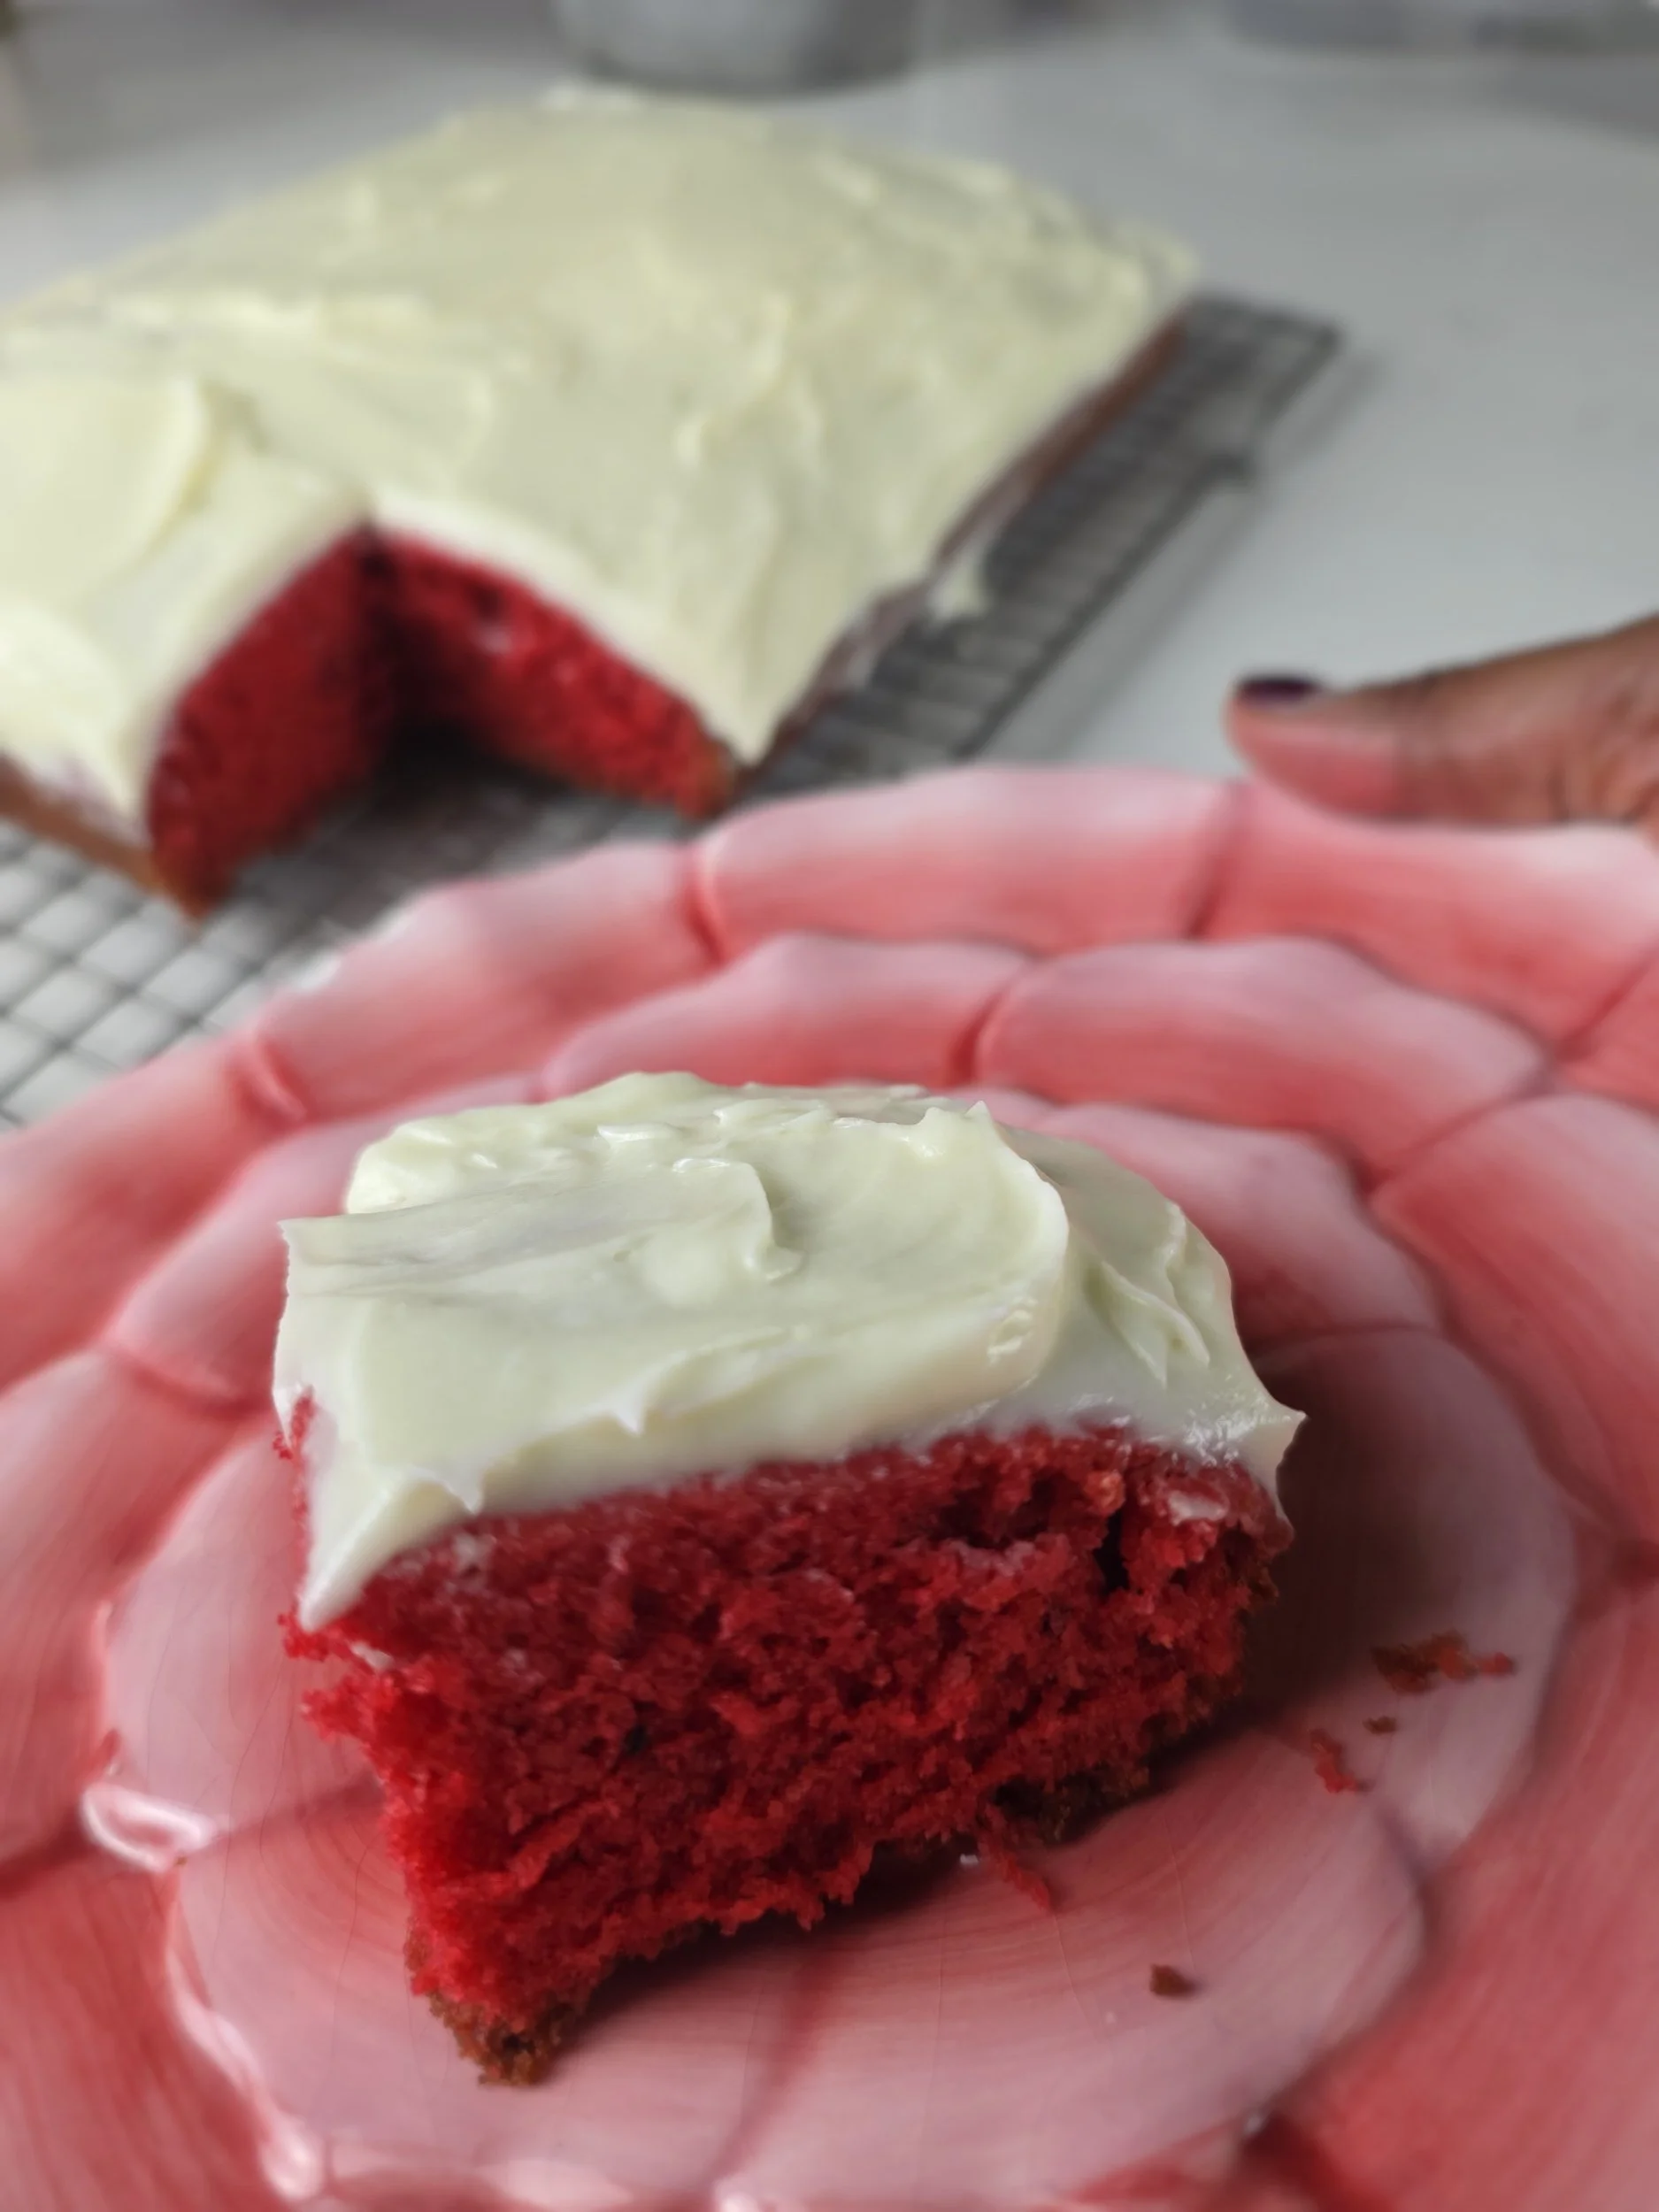
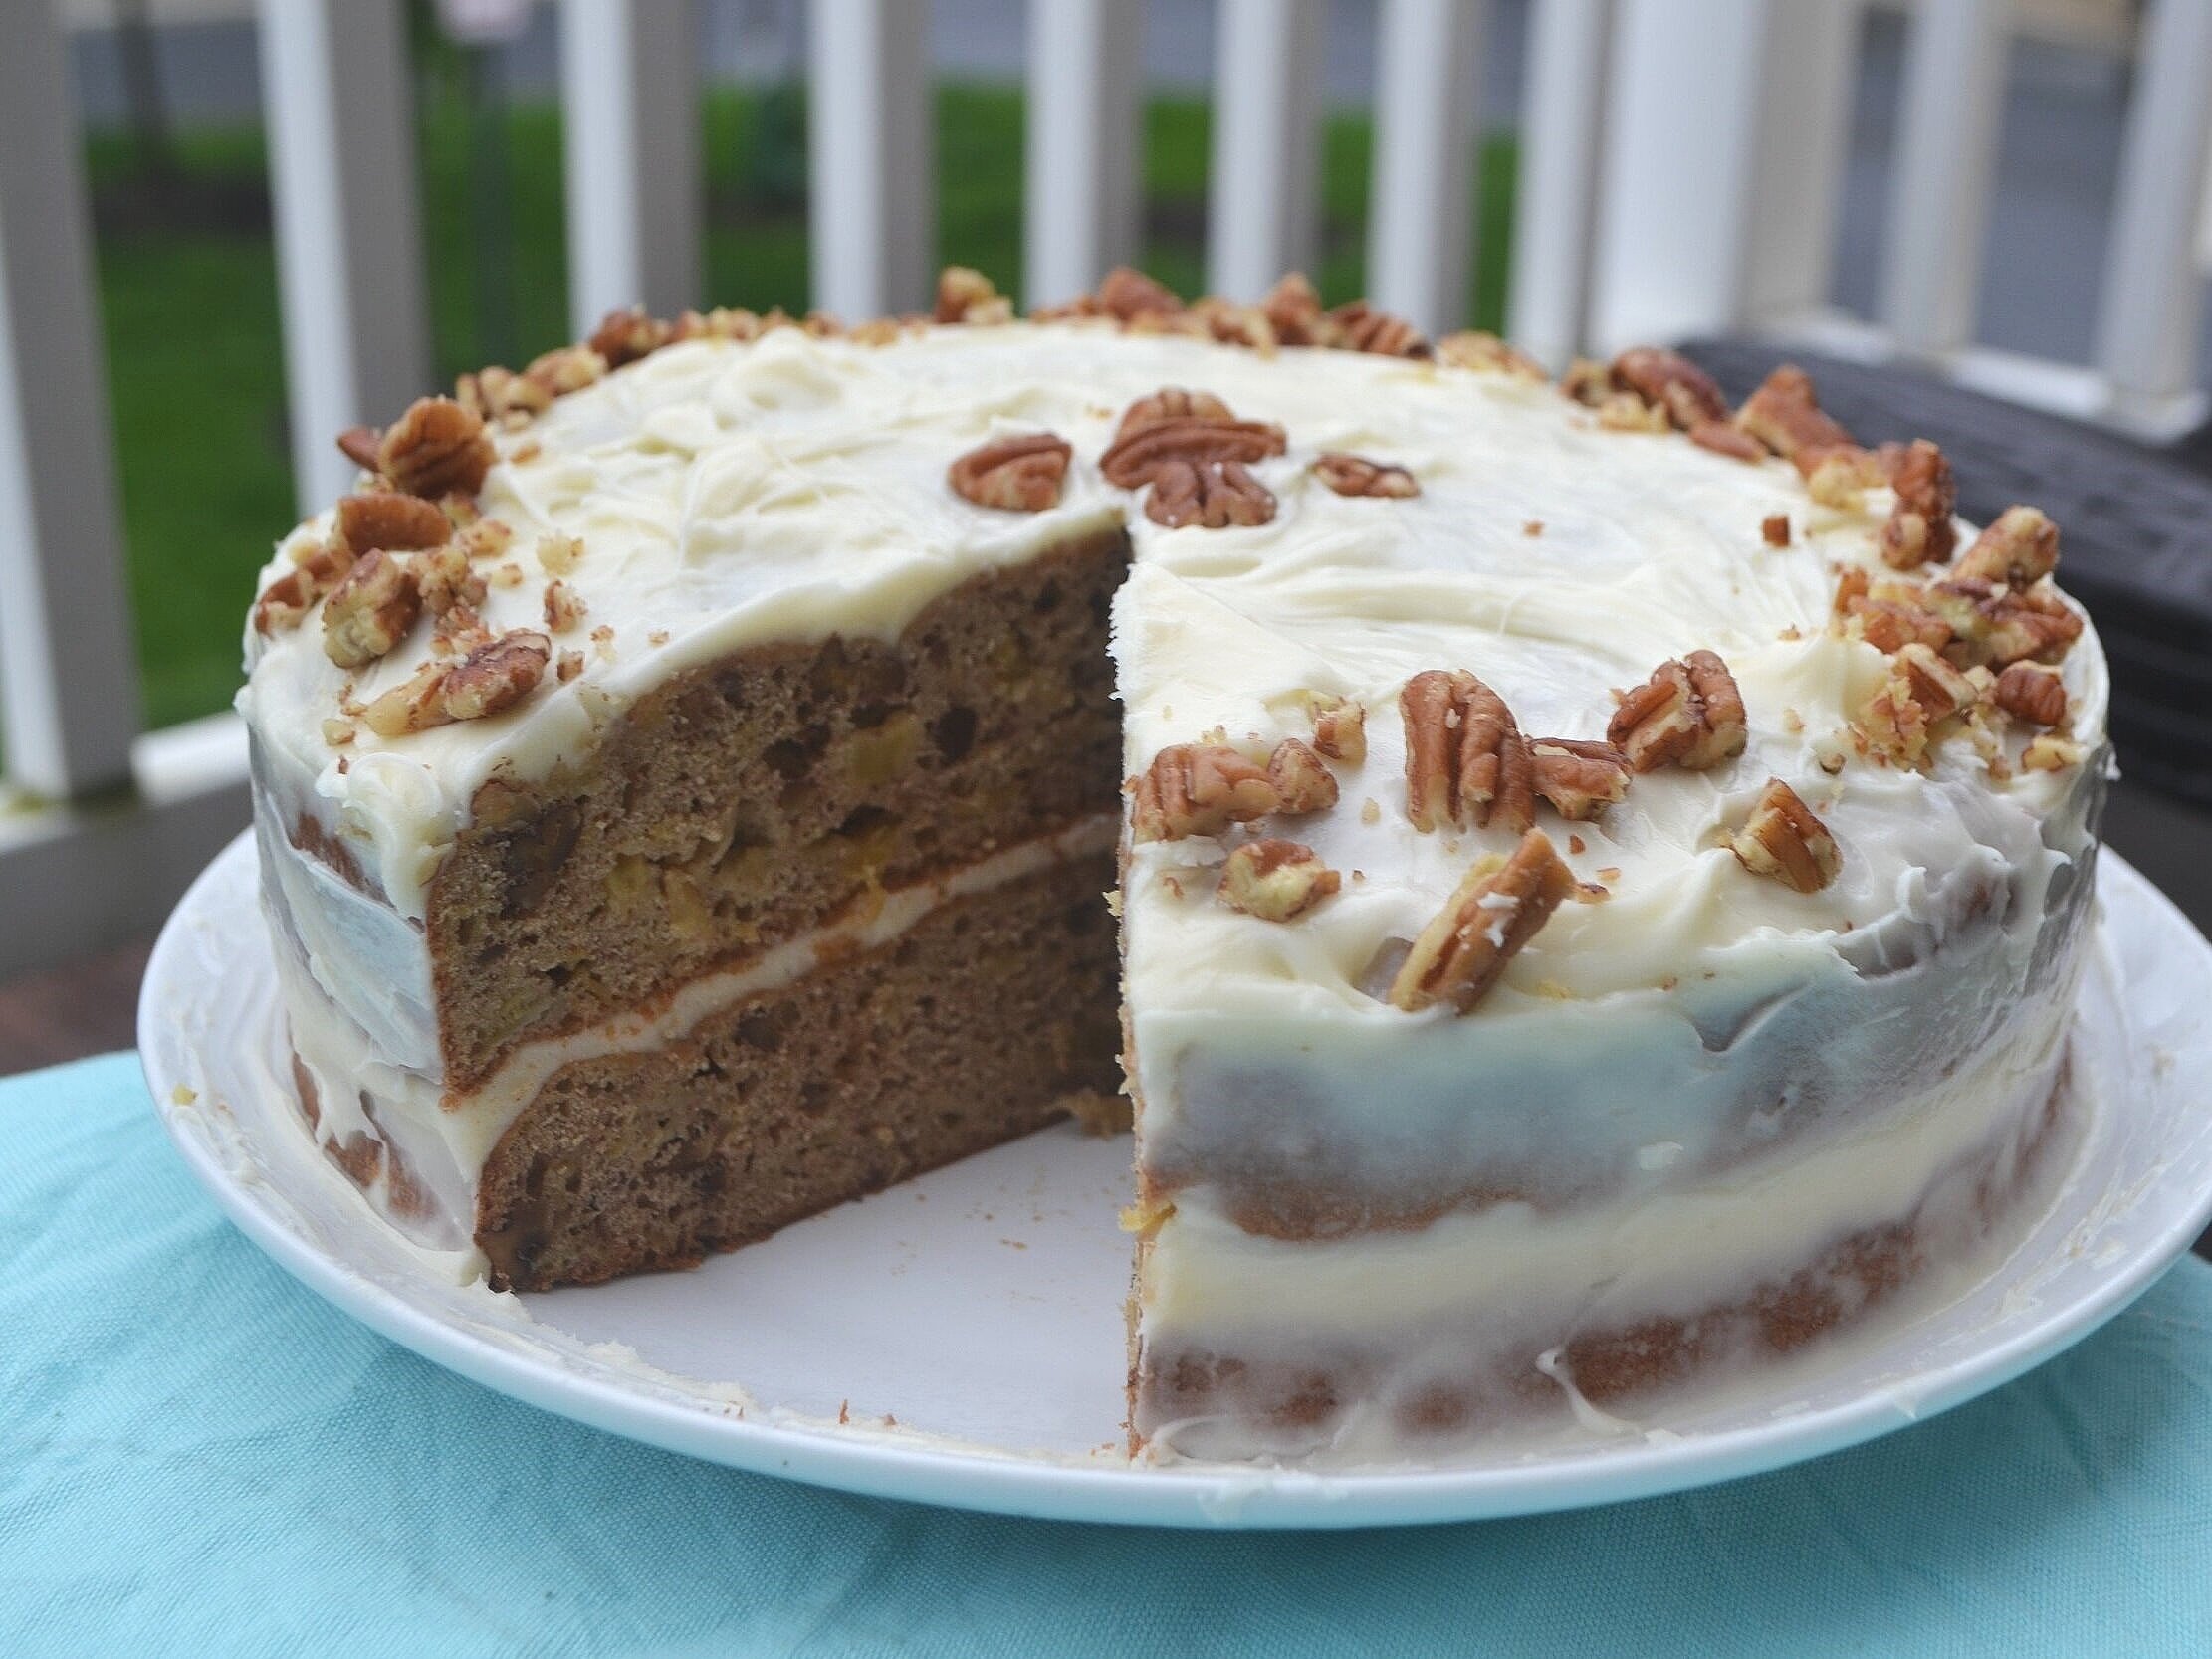
Red Velvet Sheet Cake Recipe
Red velvet cake has always sat in a strange but beautiful space in baking, somewhere between chocolate cake, vanilla cake, and something entirely its own. It is not defined just by its colour but by its texture: soft, velvety, slightly tangy, and incredibly moist. That signature crumb comes from a quiet chemical balance between cocoa, acidity, and fat. Buttermilk and a small amount of vinegar work together with baking soda to create lift, tenderness, and a fine, delicate crumb. For this version, I baked it as a 9x13 sheet cake designed for ease, sharing, and celebration.
This cake leans into a brighter red aesthetic, chosen intentionally for a more festive visual moment. Traditionally, red velvet ranges from a deep reddish-brown with more cocoa and less colouring to a vivid red depending on how much food colouring is used. Here, I leaned into the brighter version for impact and presentation.
If you prefer a more natural tone, you can reduce the food colouring and allow the cocoa and acidity to create a deeper, muted red-brown hue. Some bakers also use beetroot as a natural alternative.
At its core, red velvet is not about perfection, it is about balance. A soft crumb, a gentle cocoa note, and that unmistakable cream cheese frosting that brings everything together. Because honestly, red velvet without cream cheese frosting just does not feel complete.
Why This Cake Works
What makes red velvet so iconic is not intensity, it is chemistry-driven contrast.
The reaction between vinegar and baking soda produces carbon dioxide. This helps the cake rise while keeping the crumb light, soft, and tender instead of dense.
Oil is used instead of butter because it stays liquid at room temperature. This keeps the cake moist for days, even after refrigeration.
Cocoa is used in a small amount on purpose. It adds depth and warmth without turning the cake into a full chocolate cake, allowing the tang and vanilla notes to stand out.
Cream cheese frosting is more than decoration. Its tanginess cuts through the sweetness and richness of the cake, reinforcing the balance that defines red velvet.
Together, these elements are not just flavour choices, they are controlled chemistry working in harmony to create one of the most recognizable celebration cakes.
")
Red Velvet Sheet Cake (9x13)
This red velvet sheet cake is soft, moist, and perfectly tangy with a fine, velvety crumb. Baked in a 9x13 pan for easy serving, it uses simple pantry ingredients like buttermilk, cocoa, and oil to create its signature texture. Finished with a rich cream cheese frosting, this cake is ideal for celebrations, gatherings, or anytime you want a classic dessert with a tender, bakery-style finish.
Ingredients
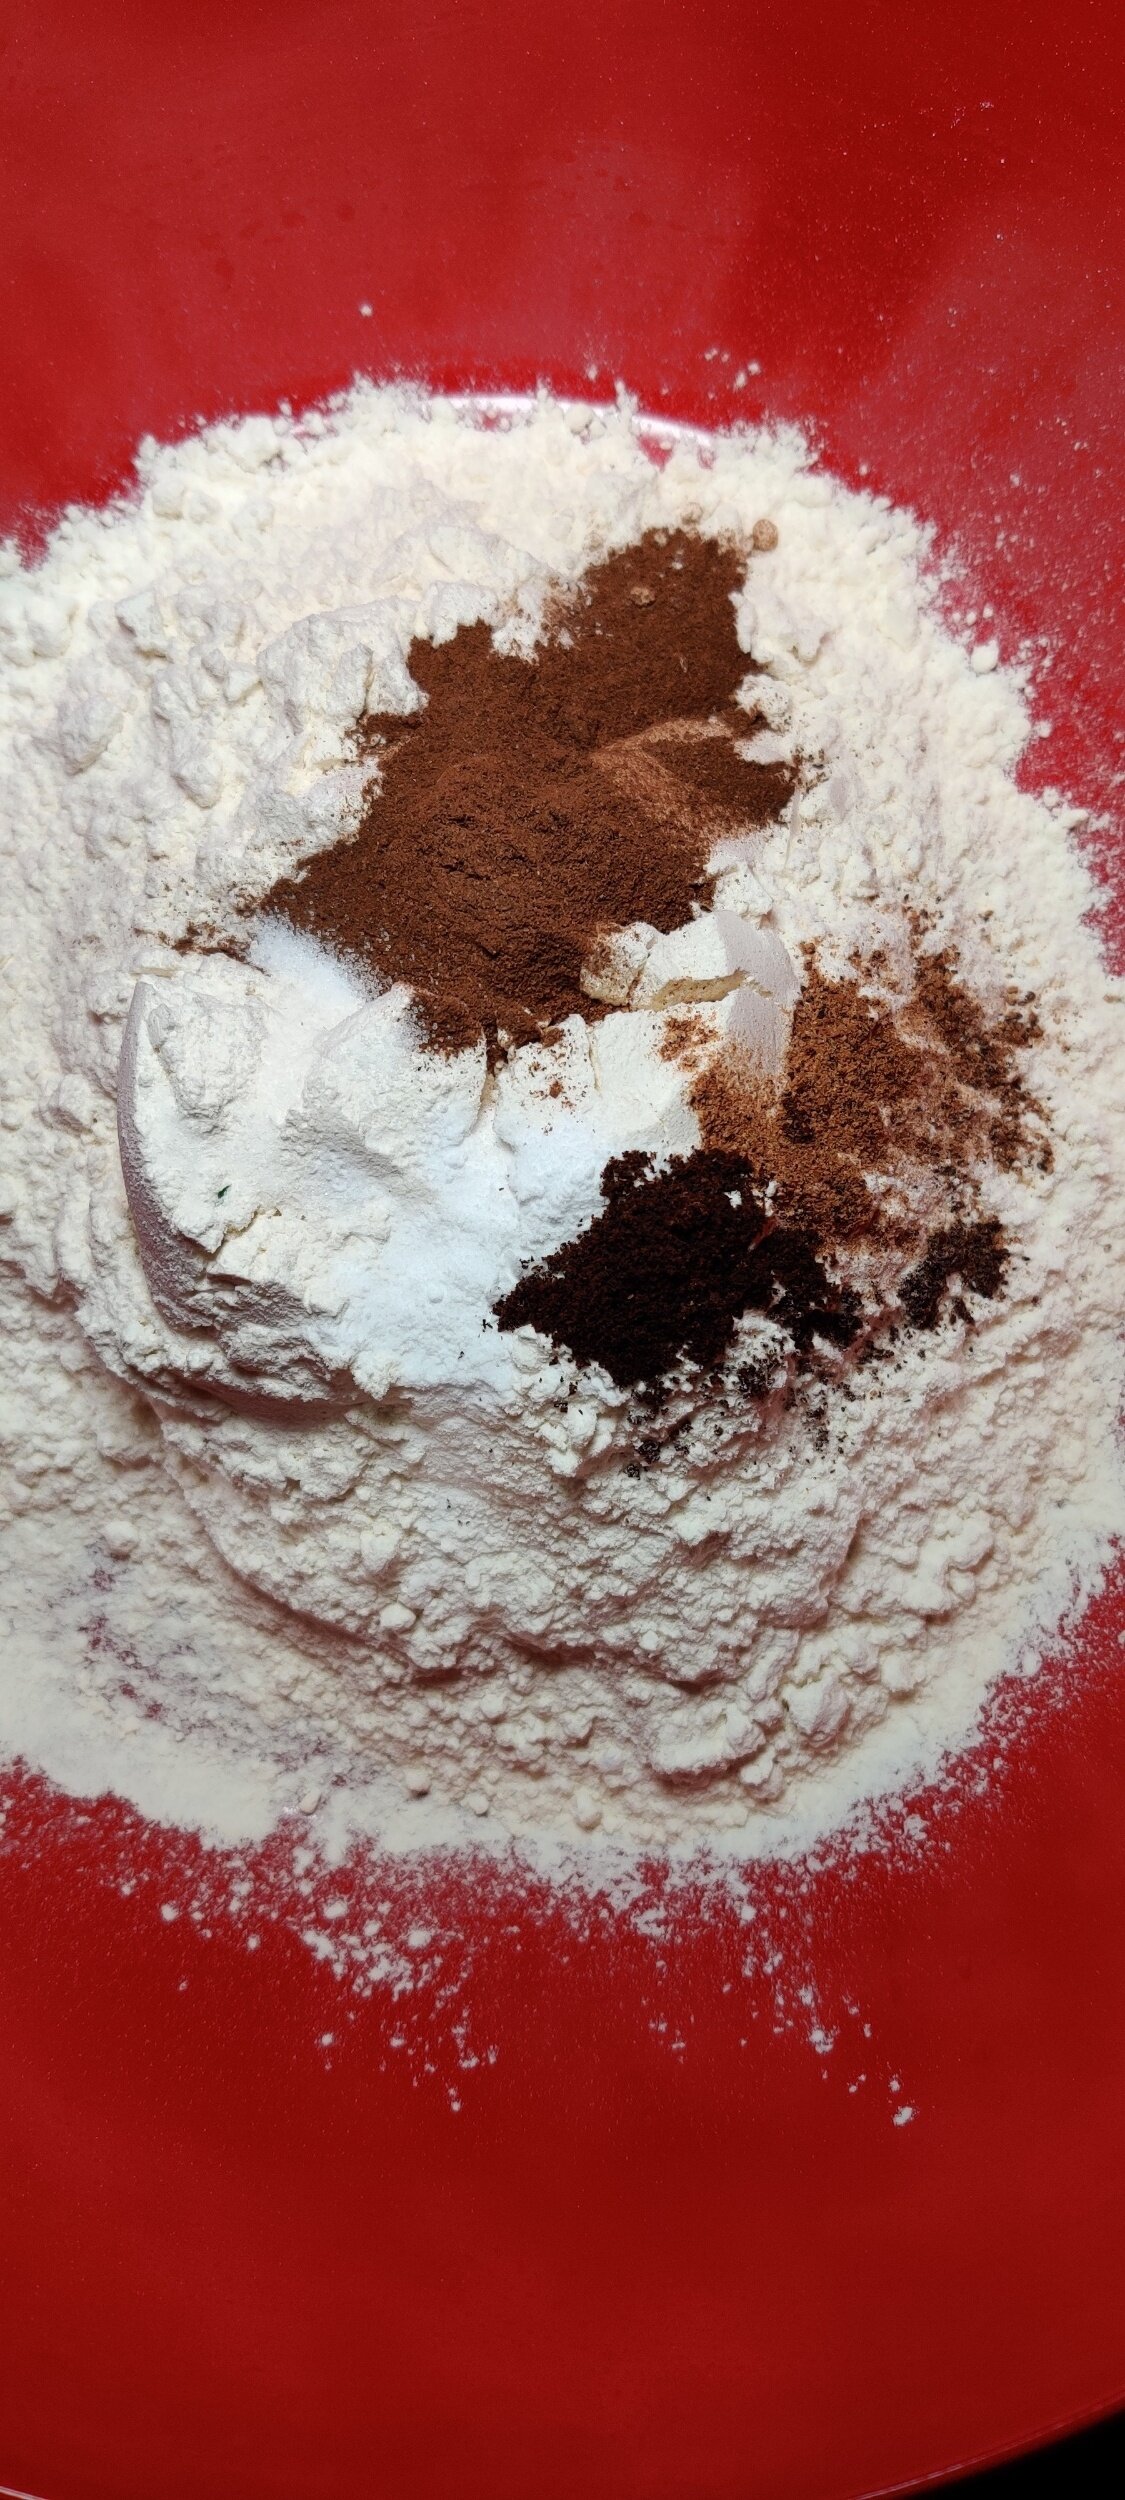
- 2½ cups cake flour
- 1½ cups granulated sugar
- 1 tsp baking soda
- 1 tsp salt
- 1 tsp cocoa powder*
- 1½ cups peanut oil (or neutral oil)
- 2 large eggs
- 1 cup buttermilk (or 1milk + 1 tbsp white vinegar (rested 5–10 min)
- *2 tbsp red food colouring (use less for a more muted colour and increase cocoa powder slightly if needed)
- 1 tsp vanilla extract
- 1 tsp white vinegar
- 8oz (225g) cream cheese (softened)
- 115g unsalted butter (softened)
- 4 cups powdered sugar
- 1 tsp vanilla extract
- Pinch of salt
Instructions
- Preheat oven to 175°C (350°F). Grease and line a 9x13 pan.
- If you don't have buttermilk, mix milk and vinegar and let it sit until slightly curdled.
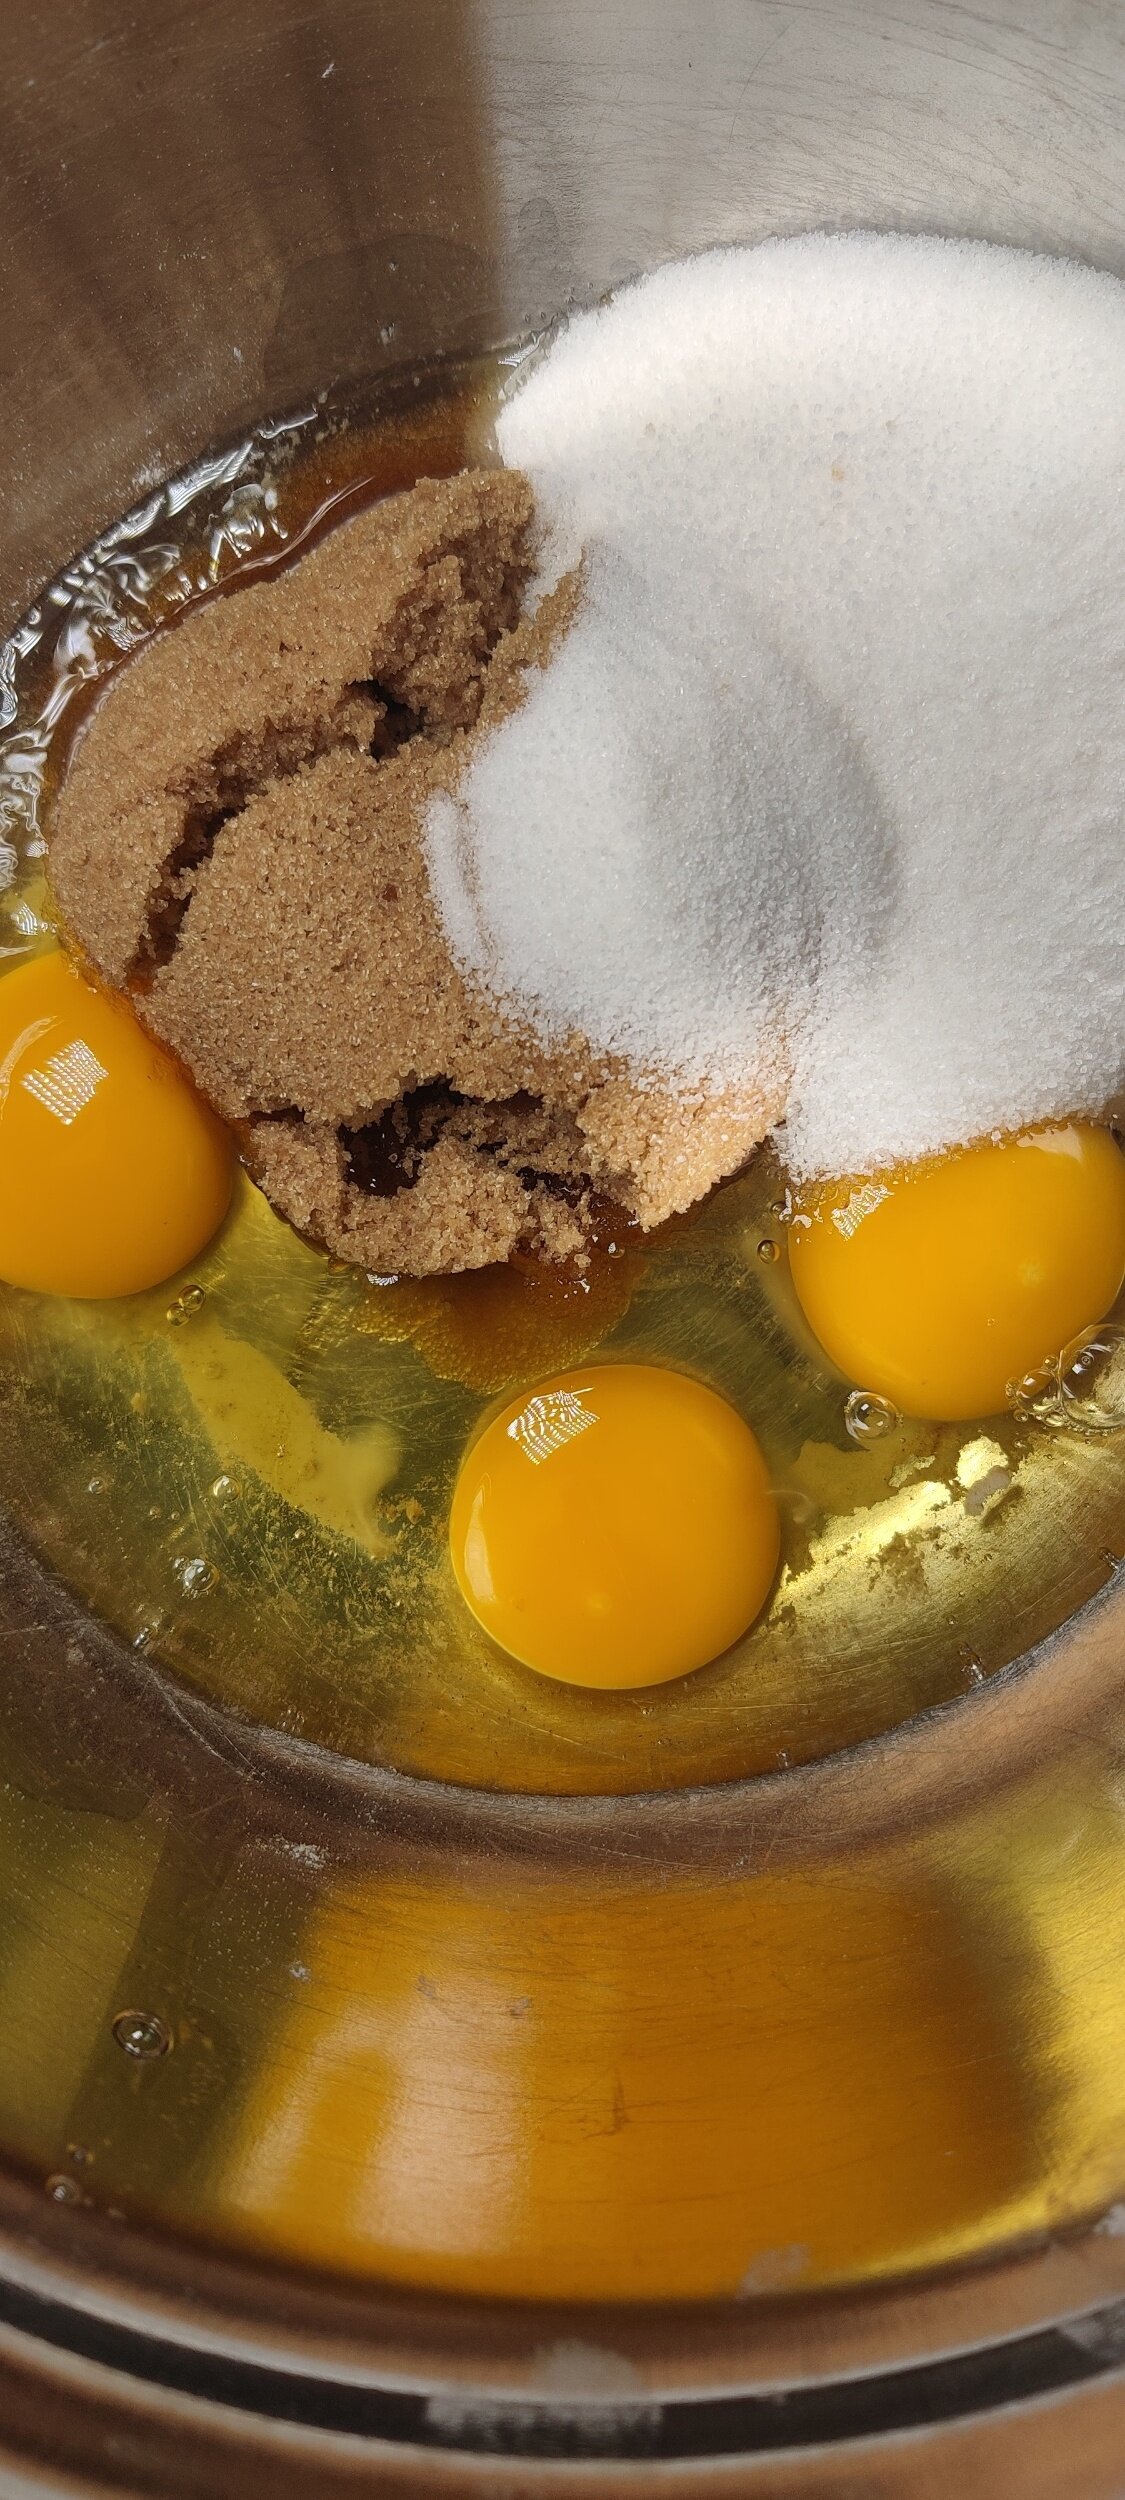
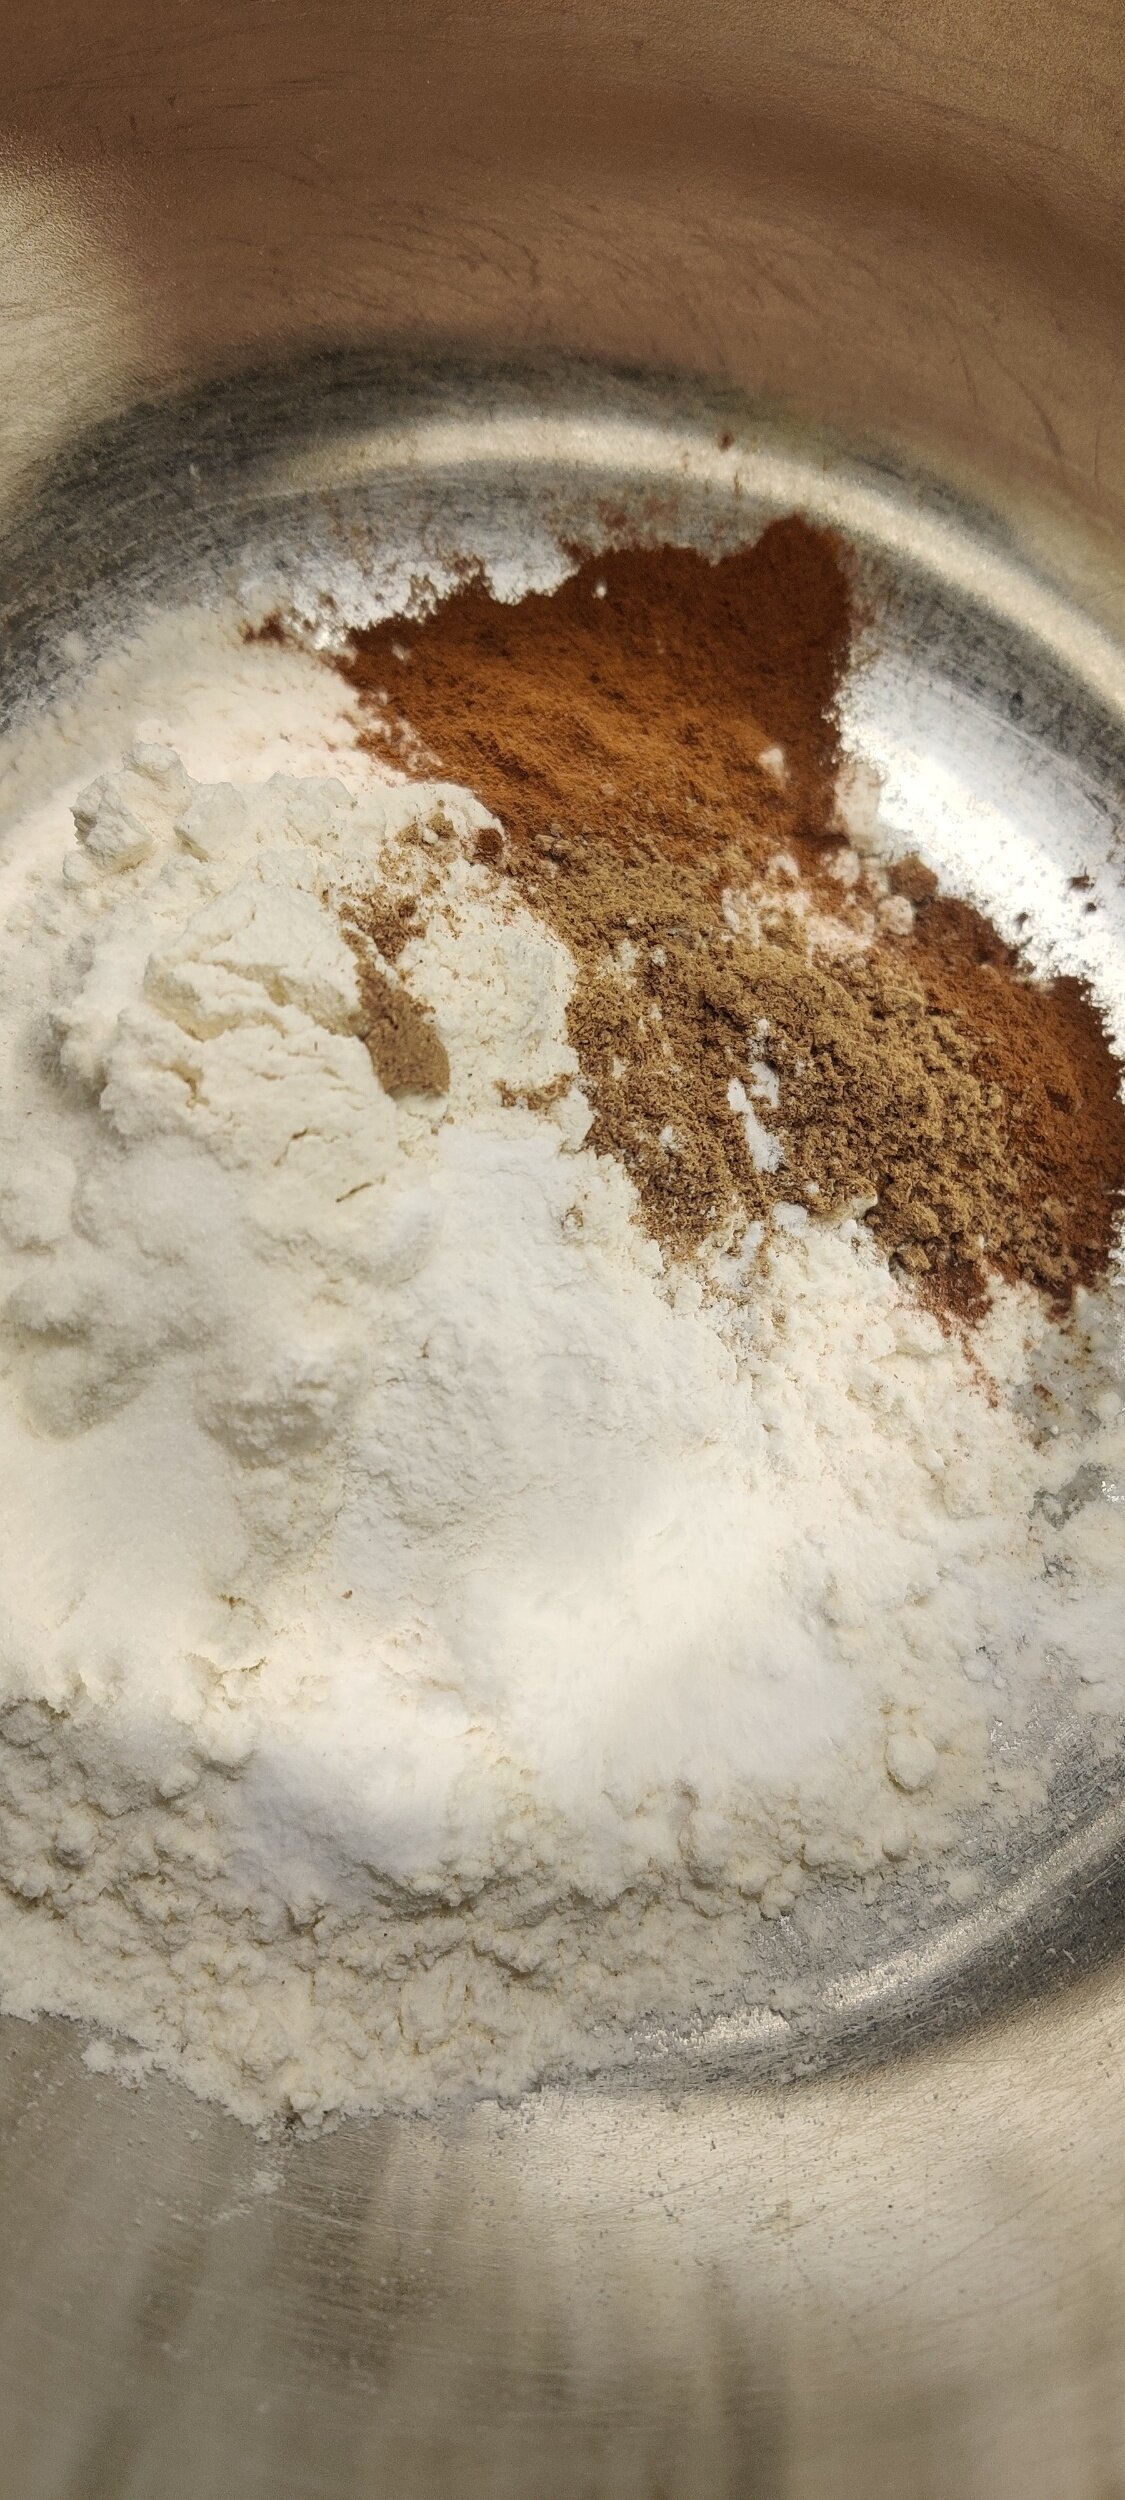
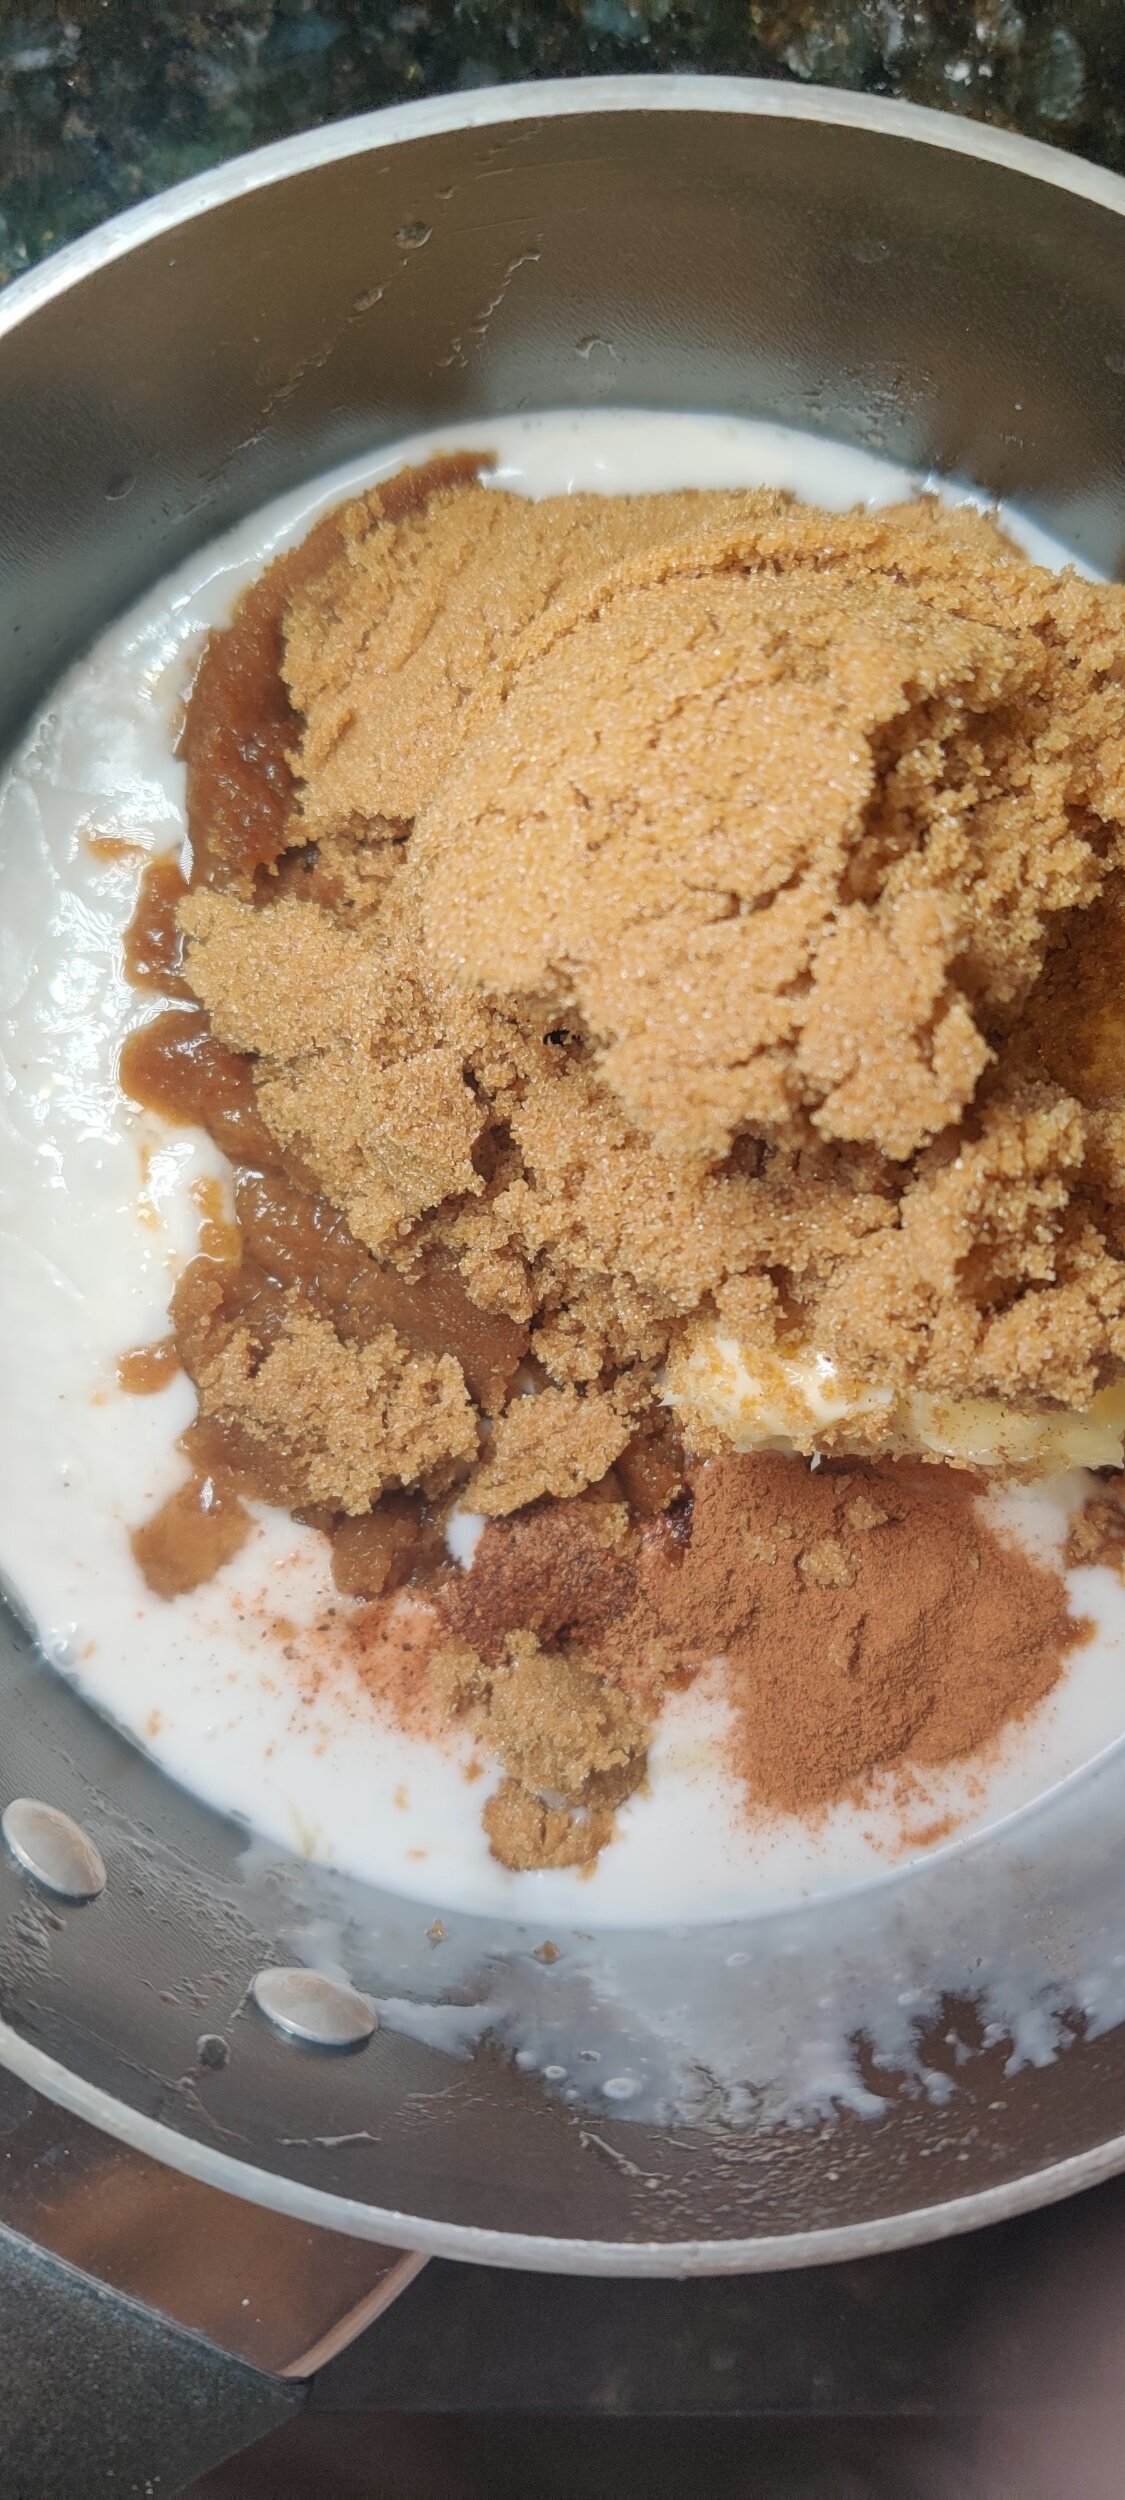
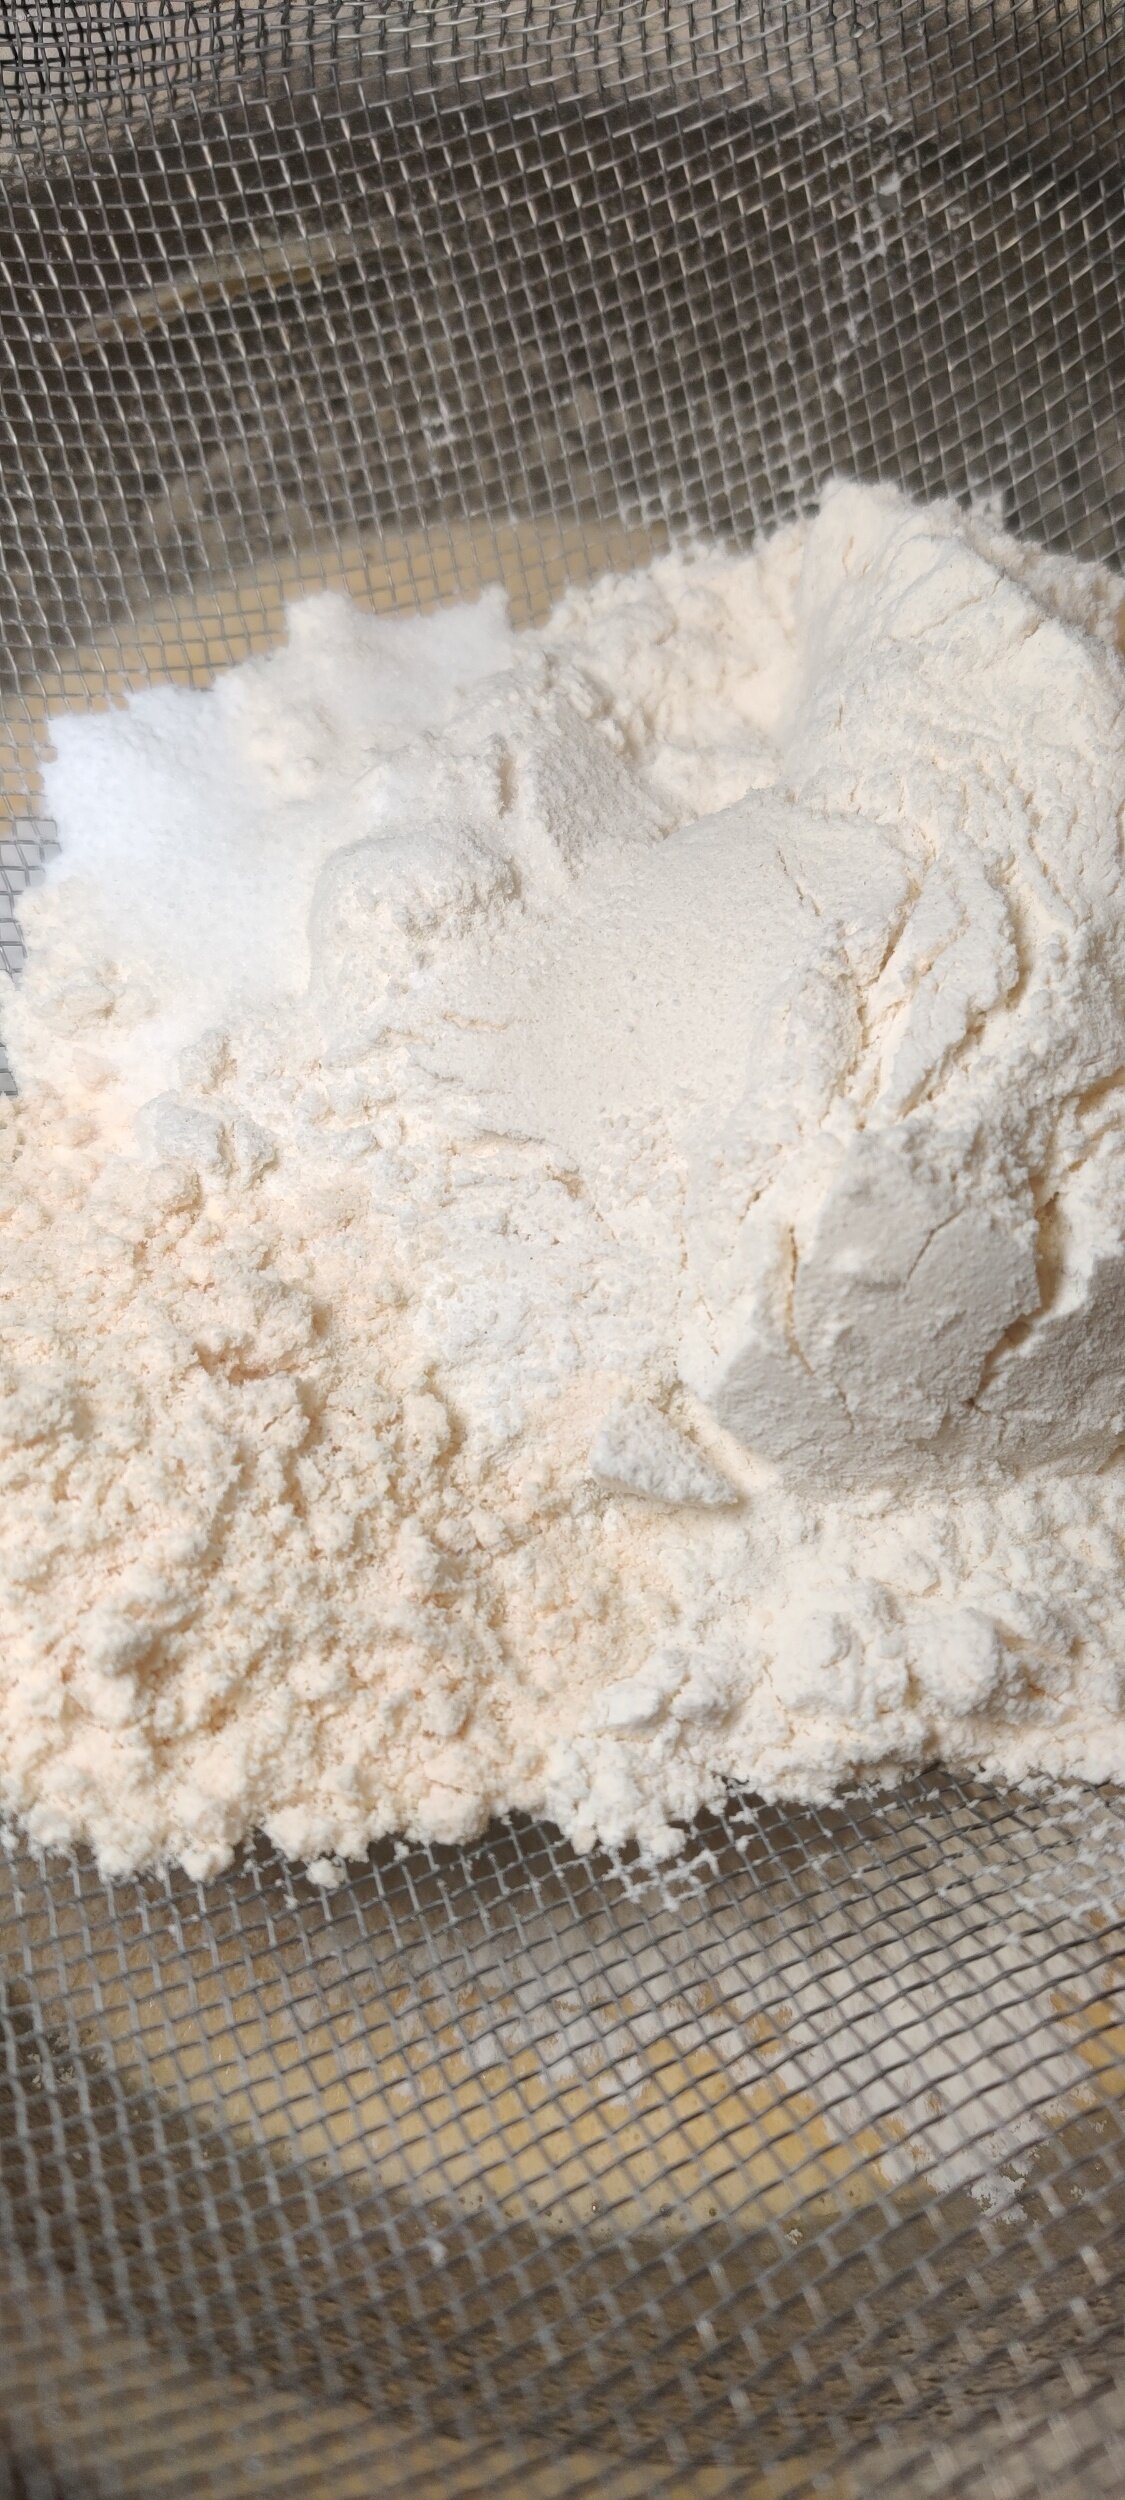
- Whisk dry ingredients together in one bowl.
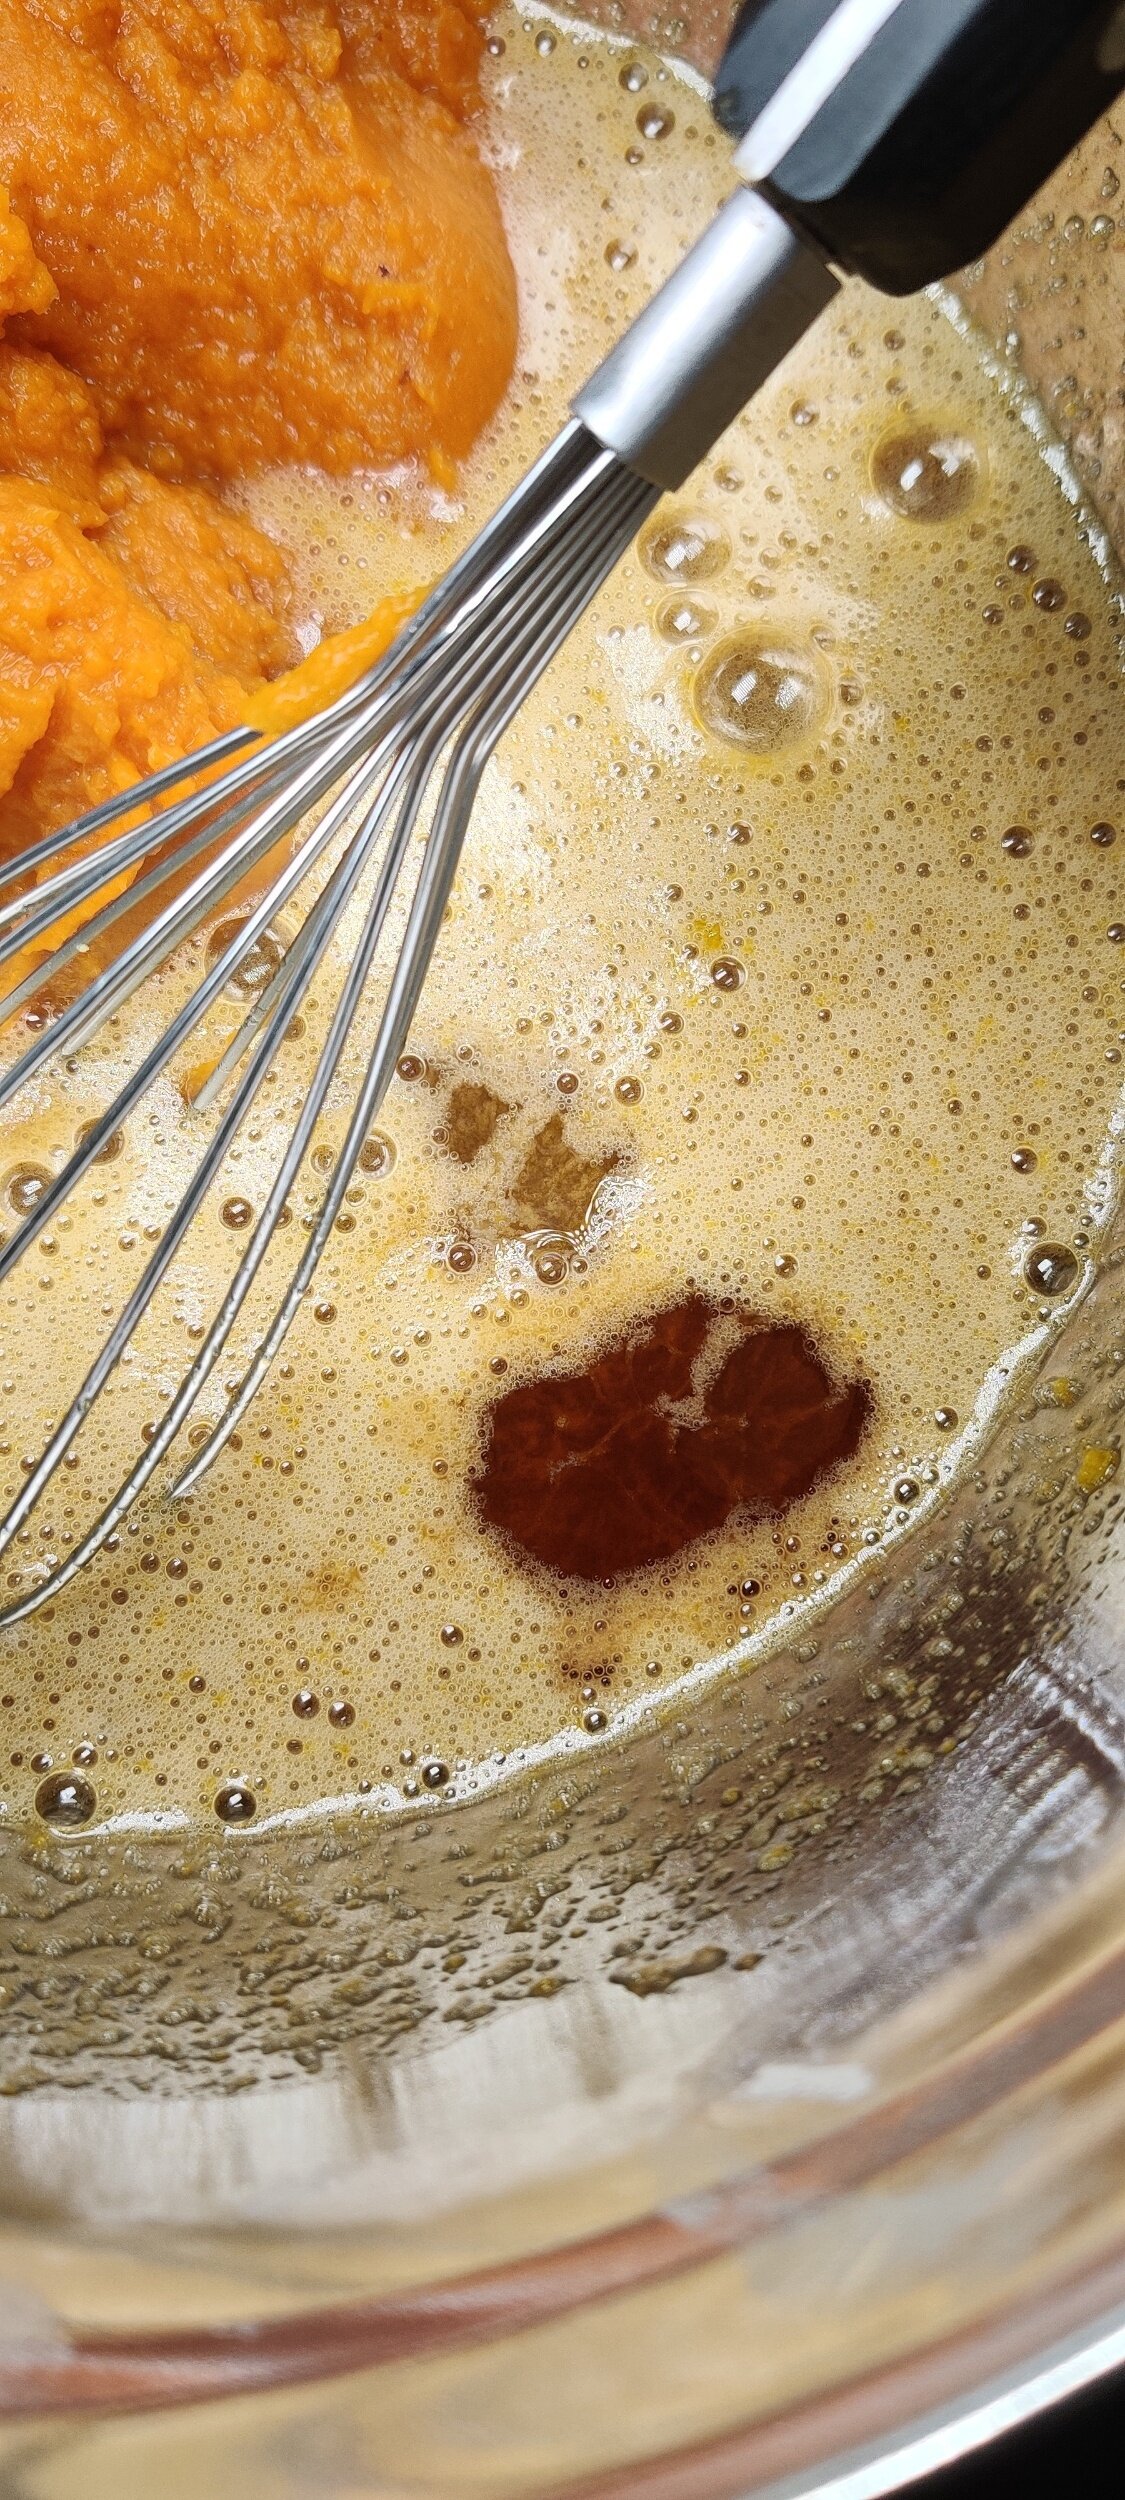
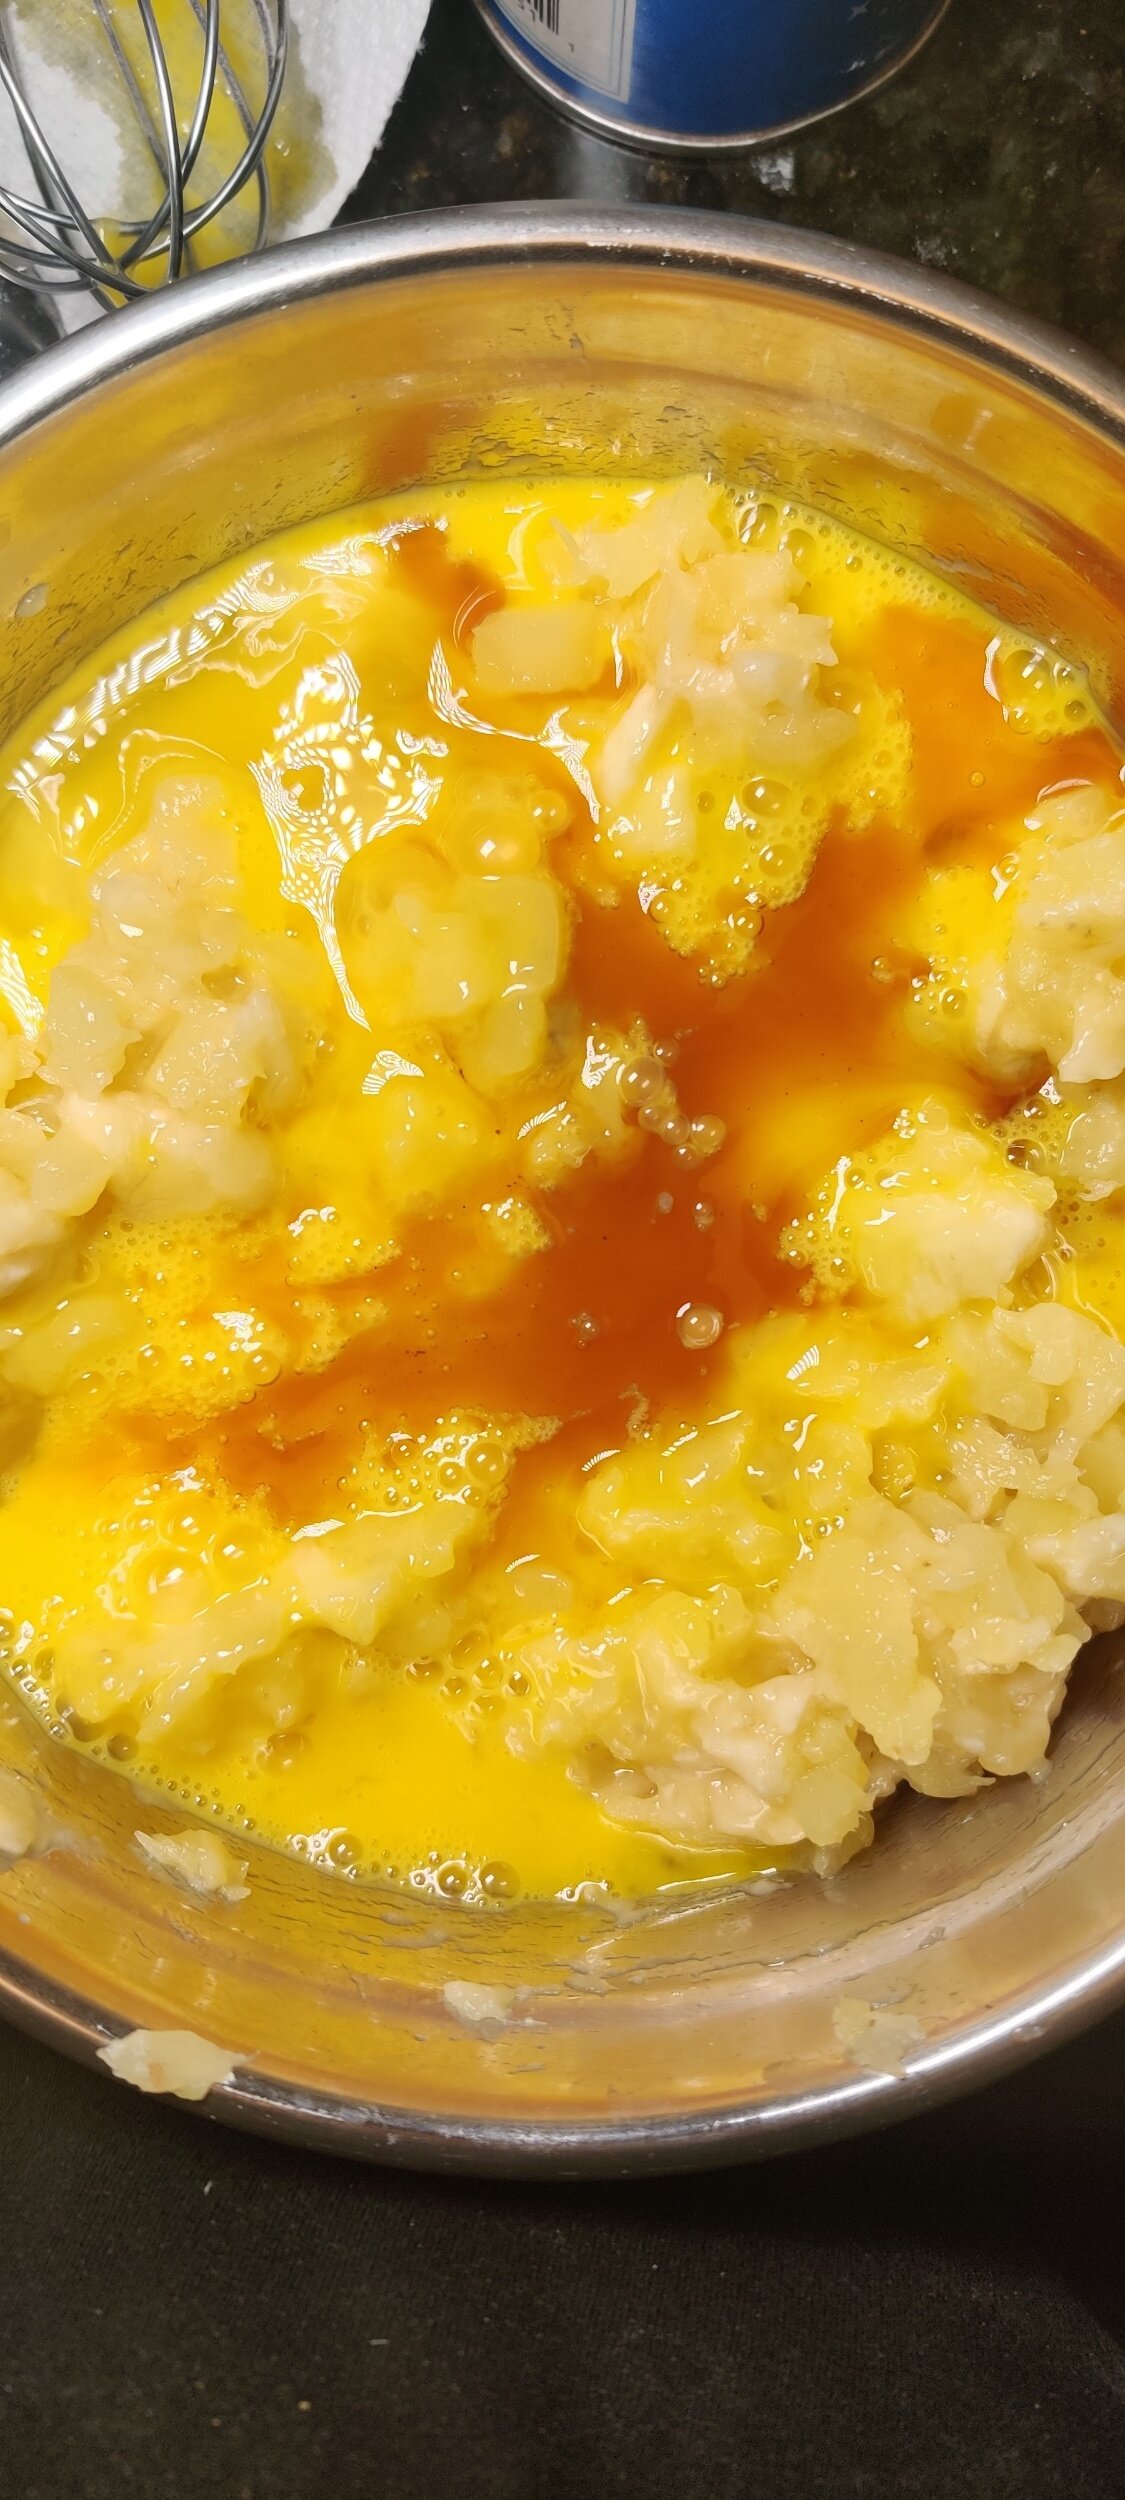
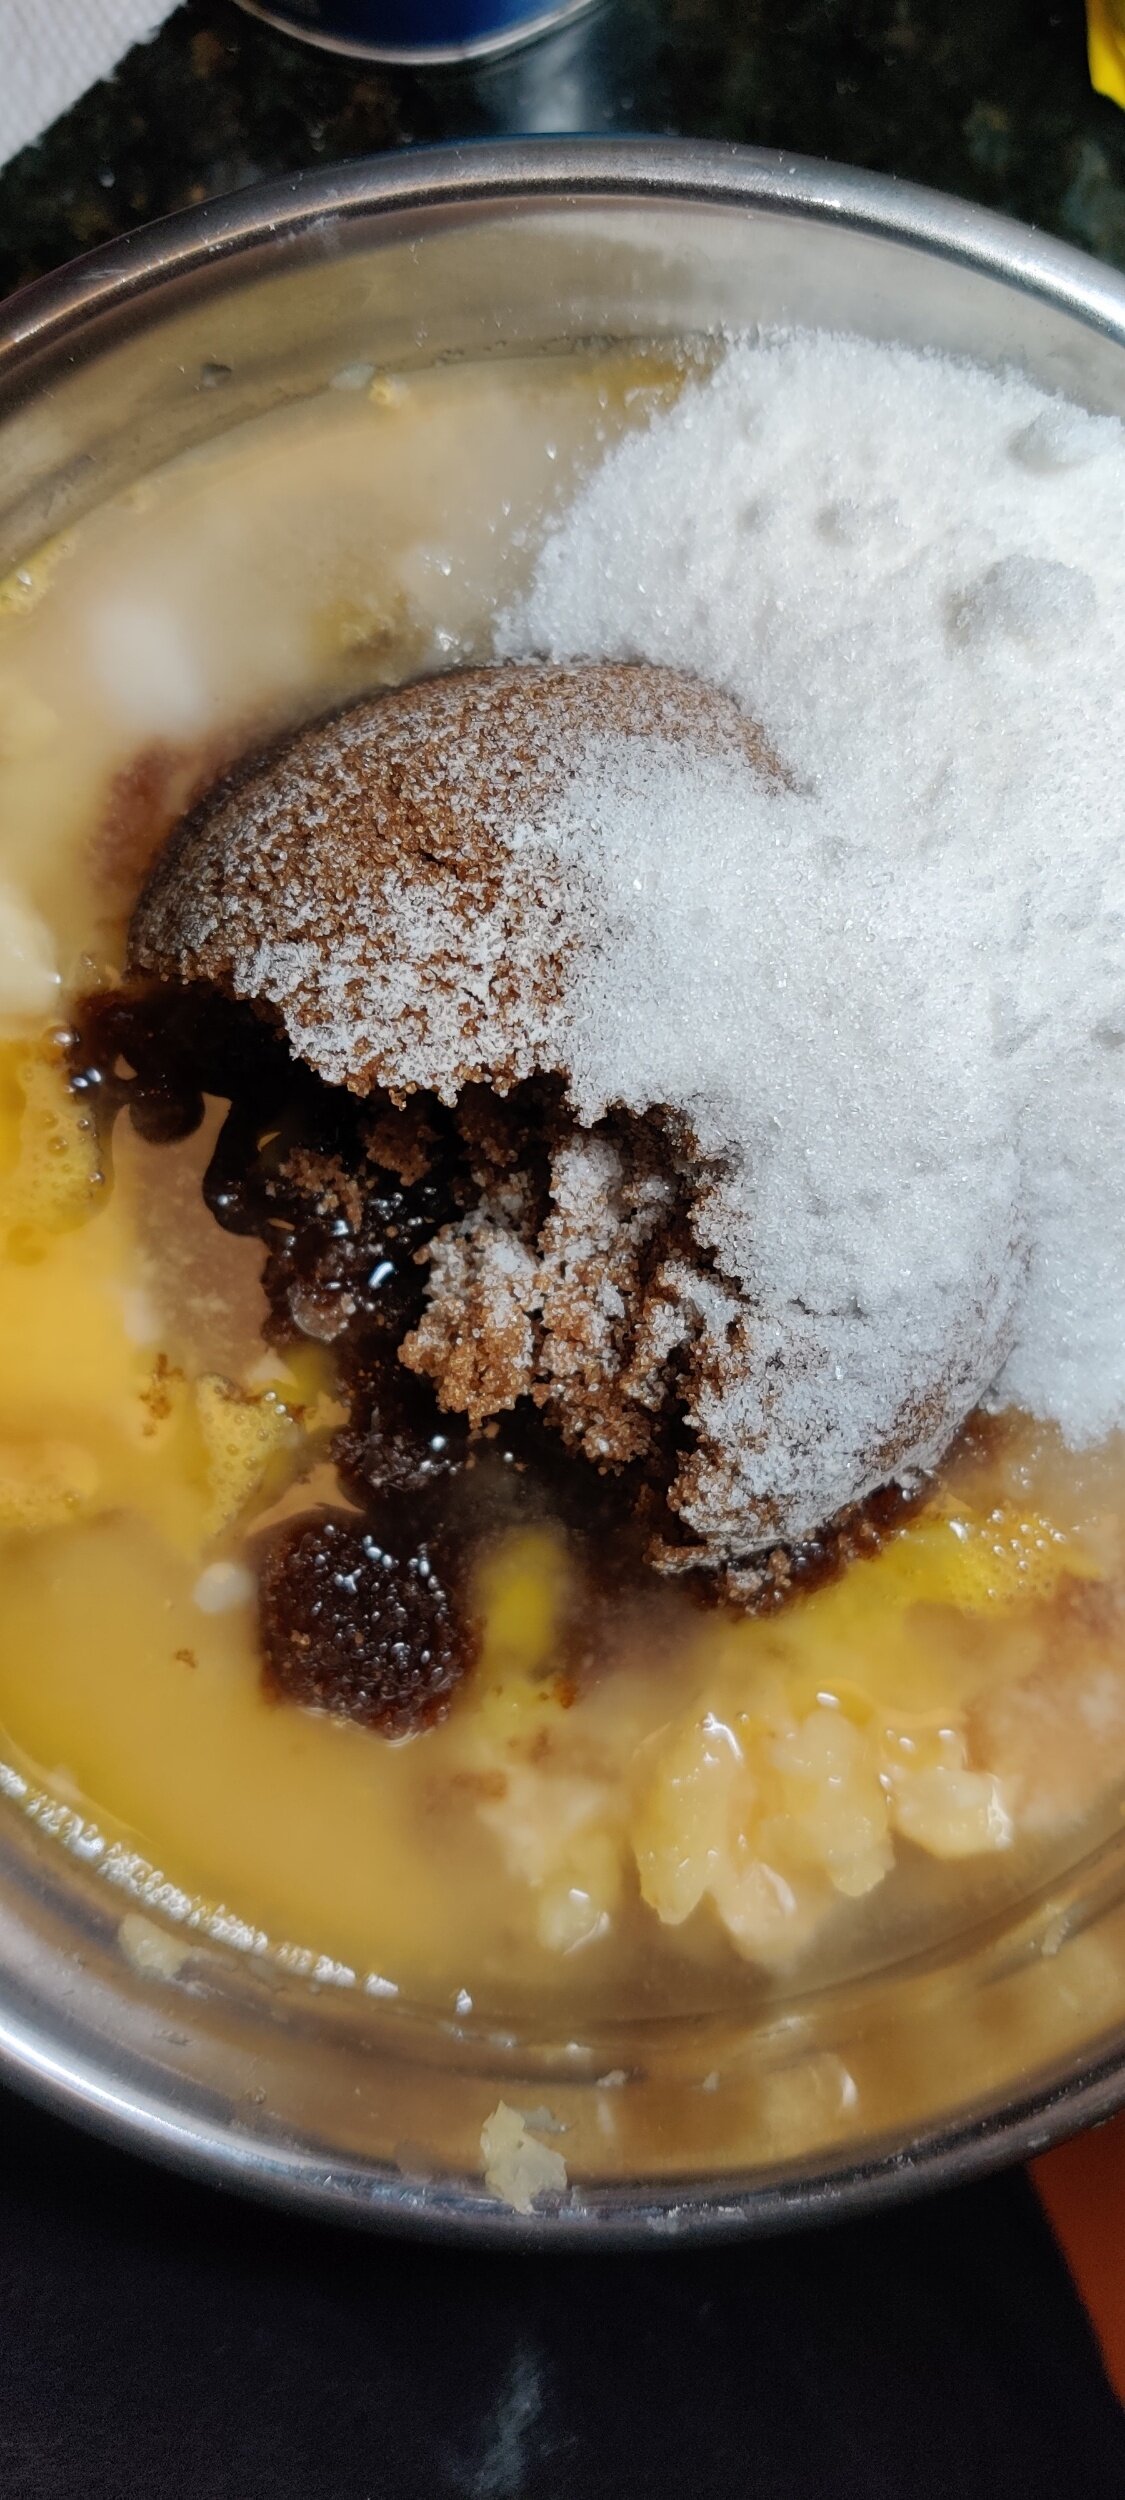
- In another bowl, mix oil, eggs, vanilla, colouring, and buttermilk mixture.
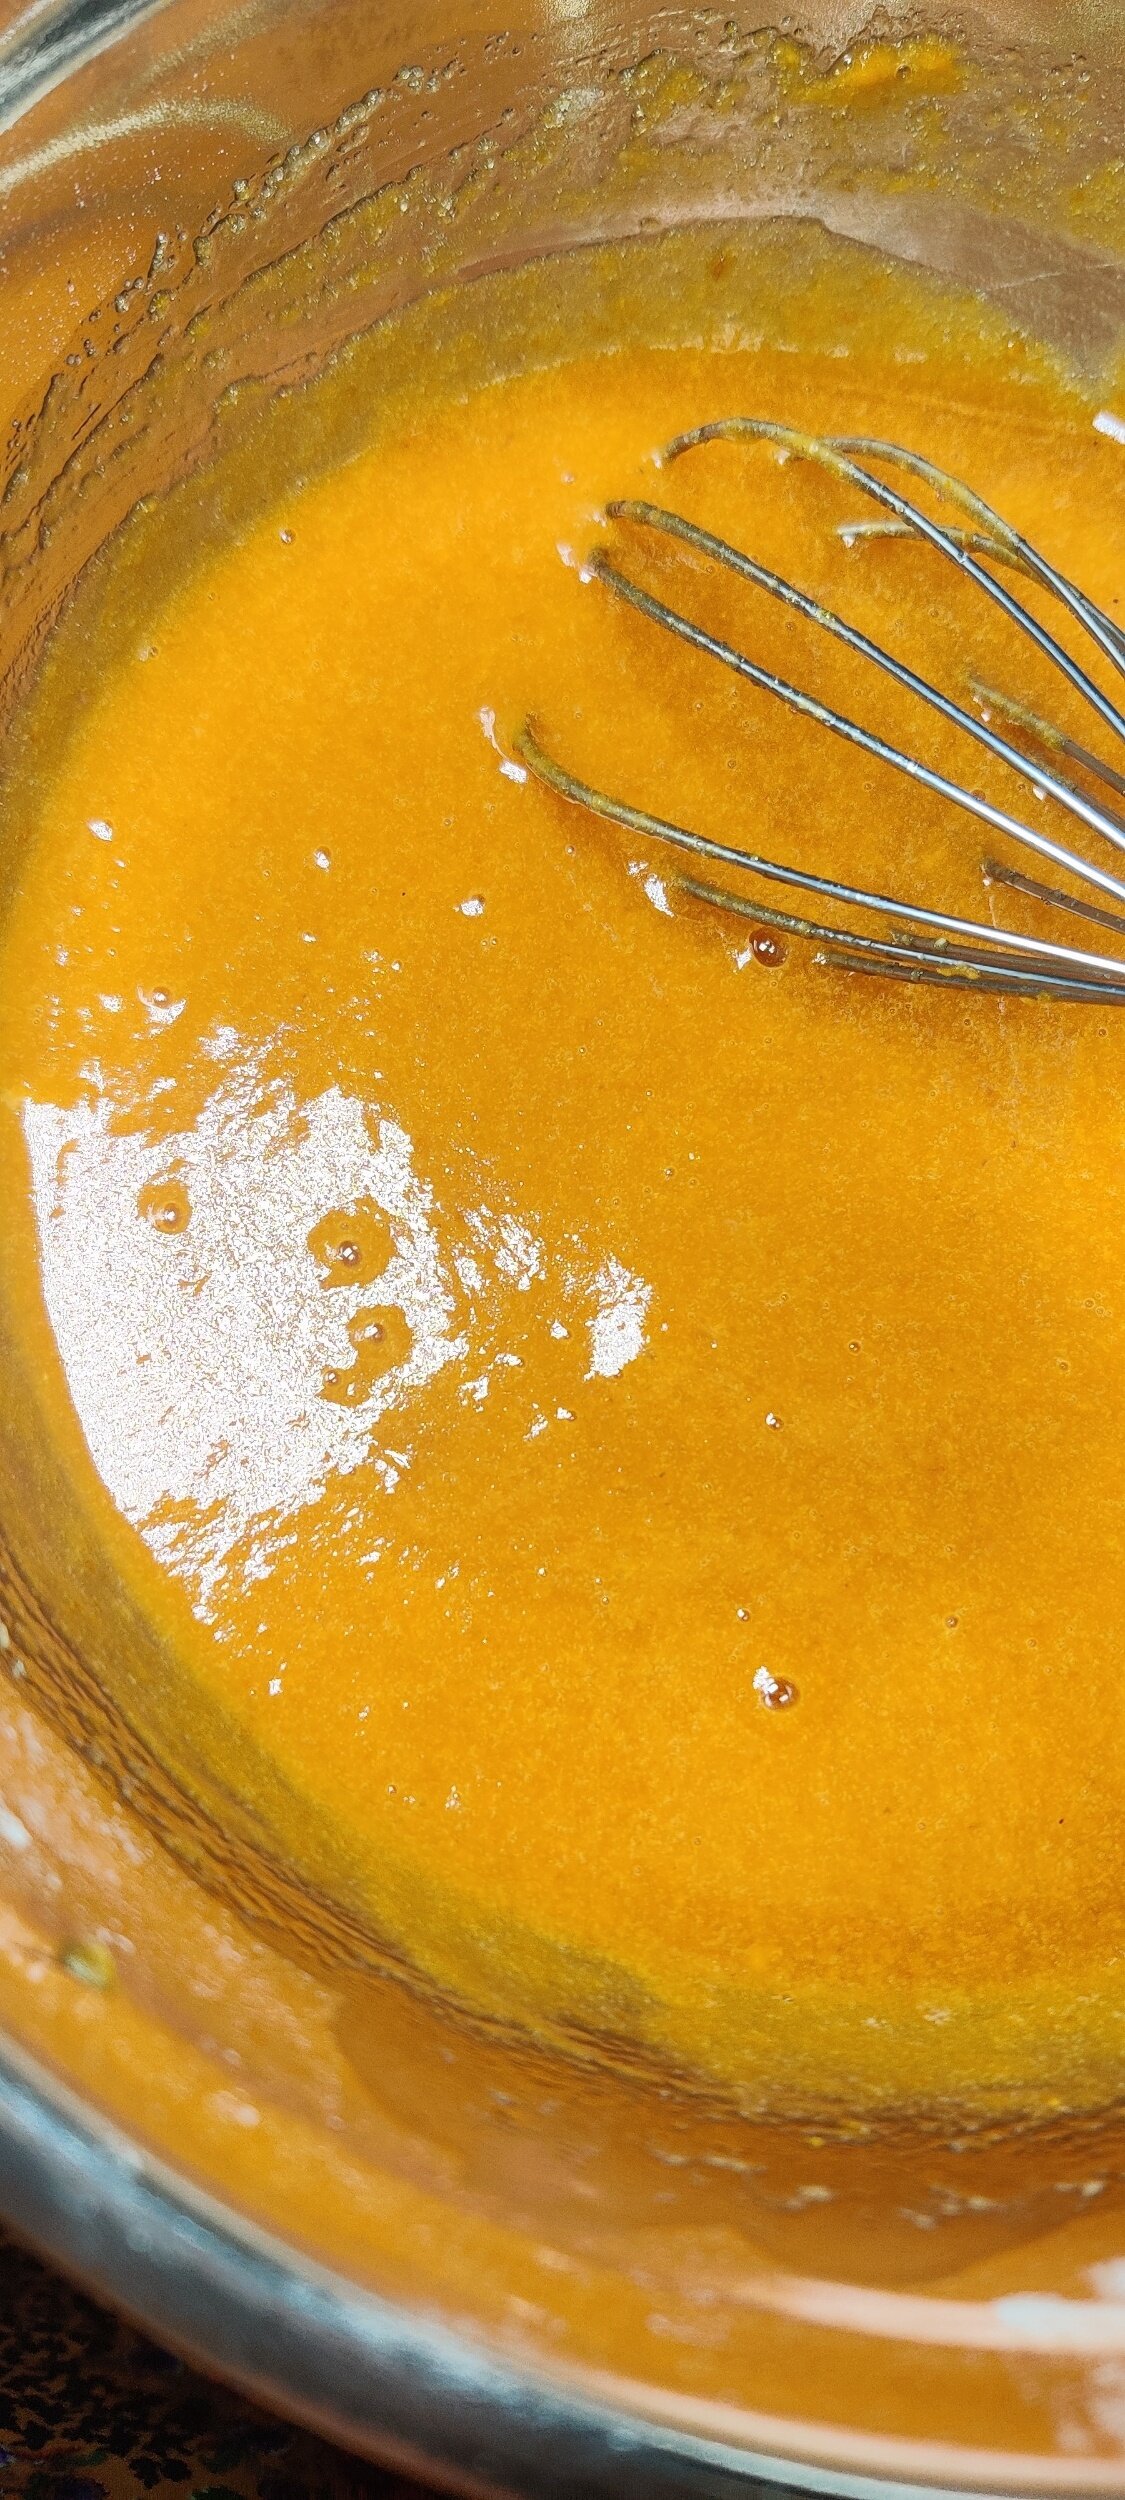
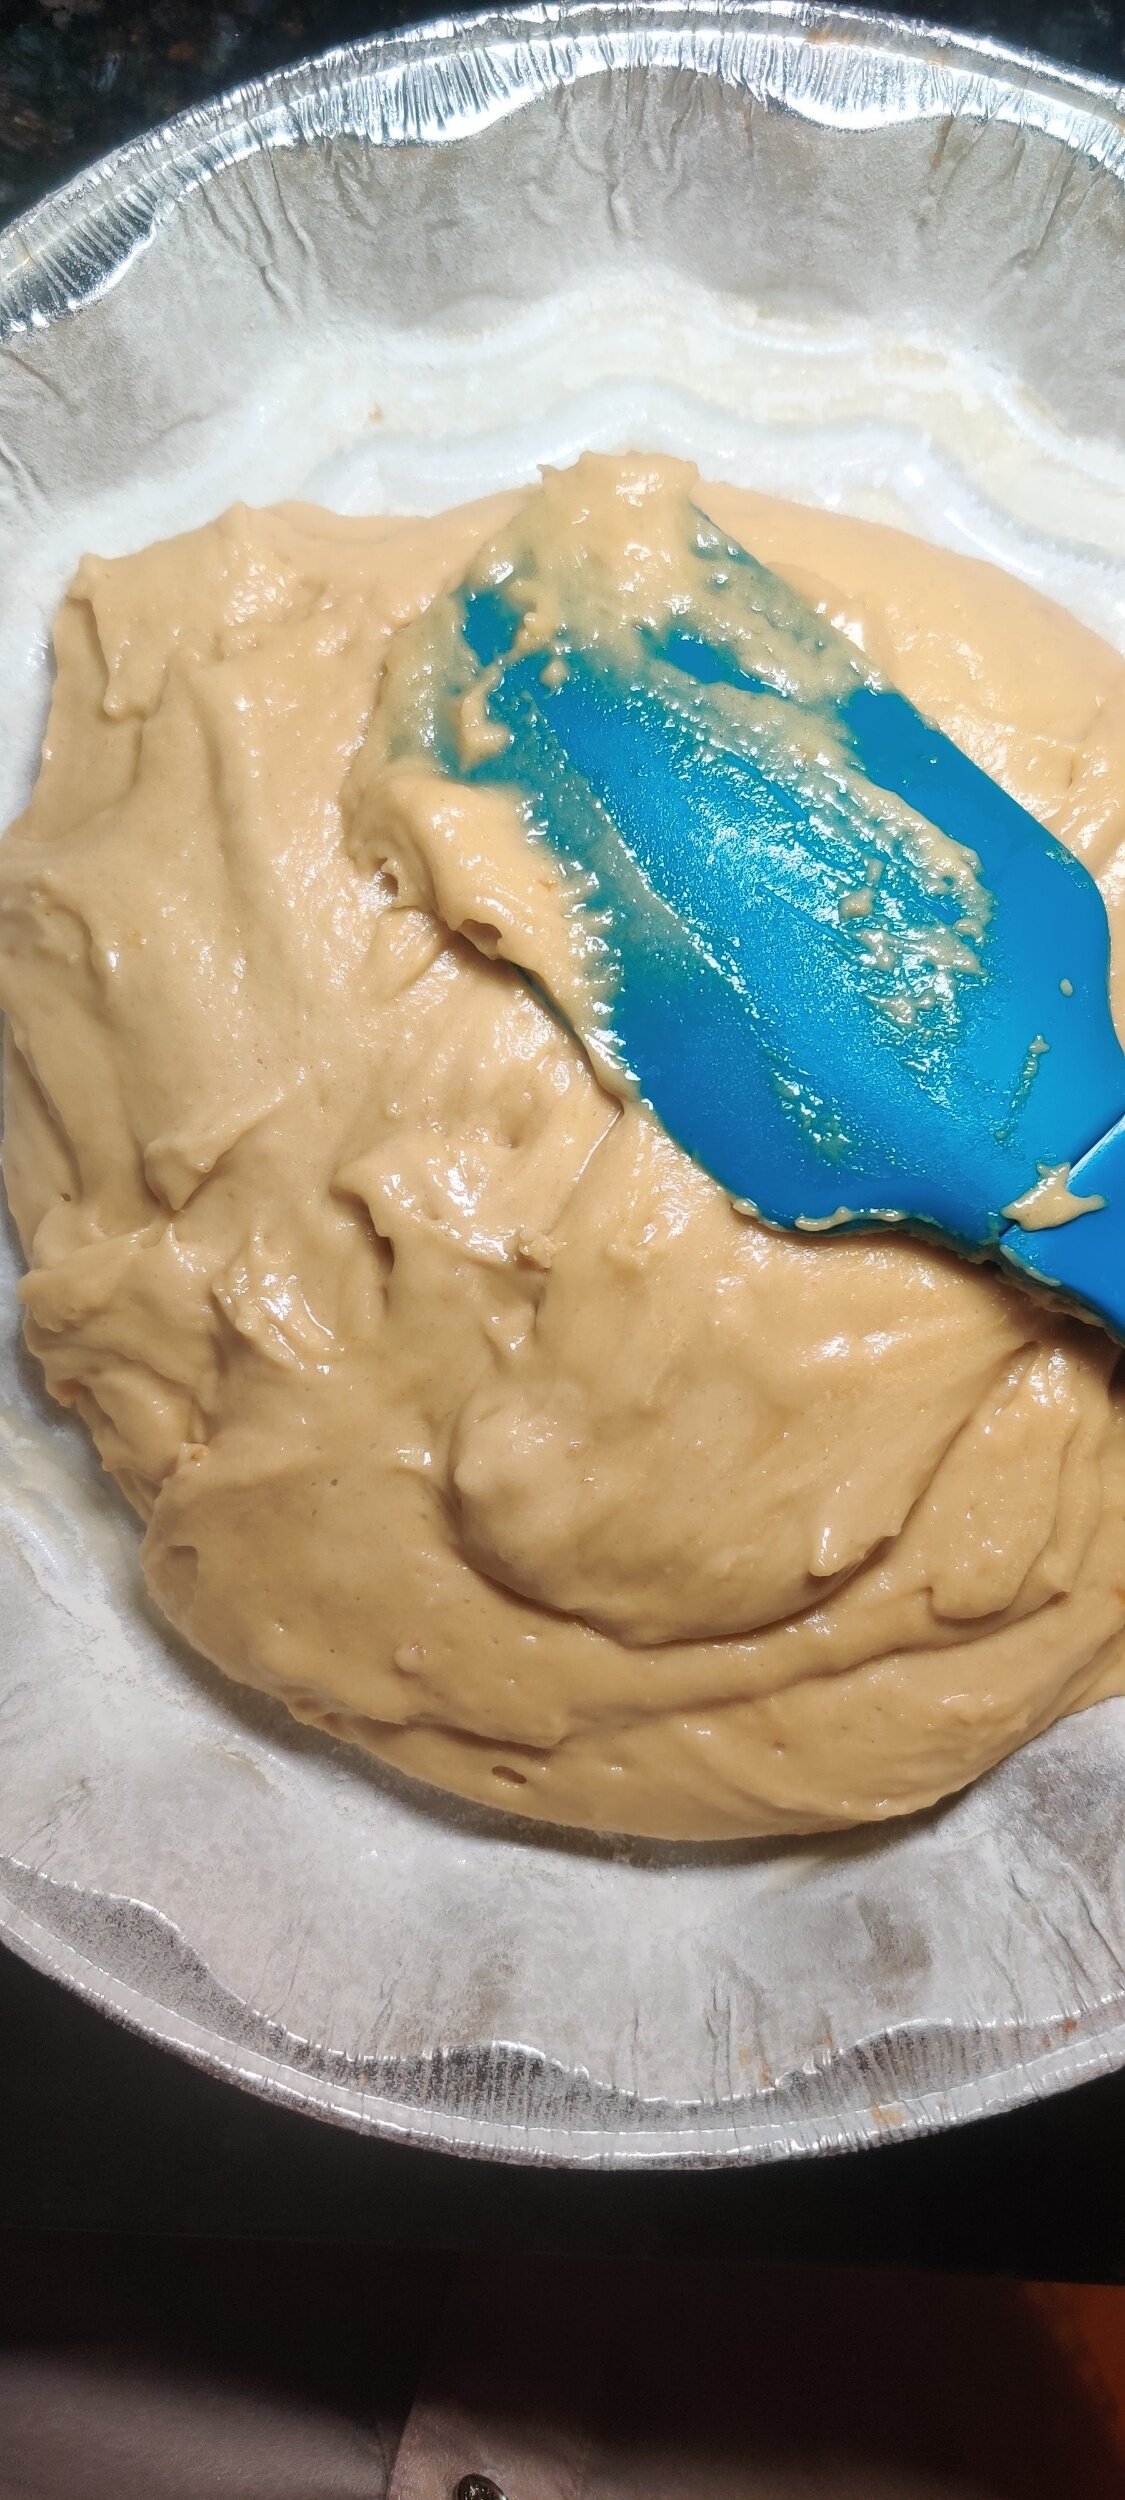
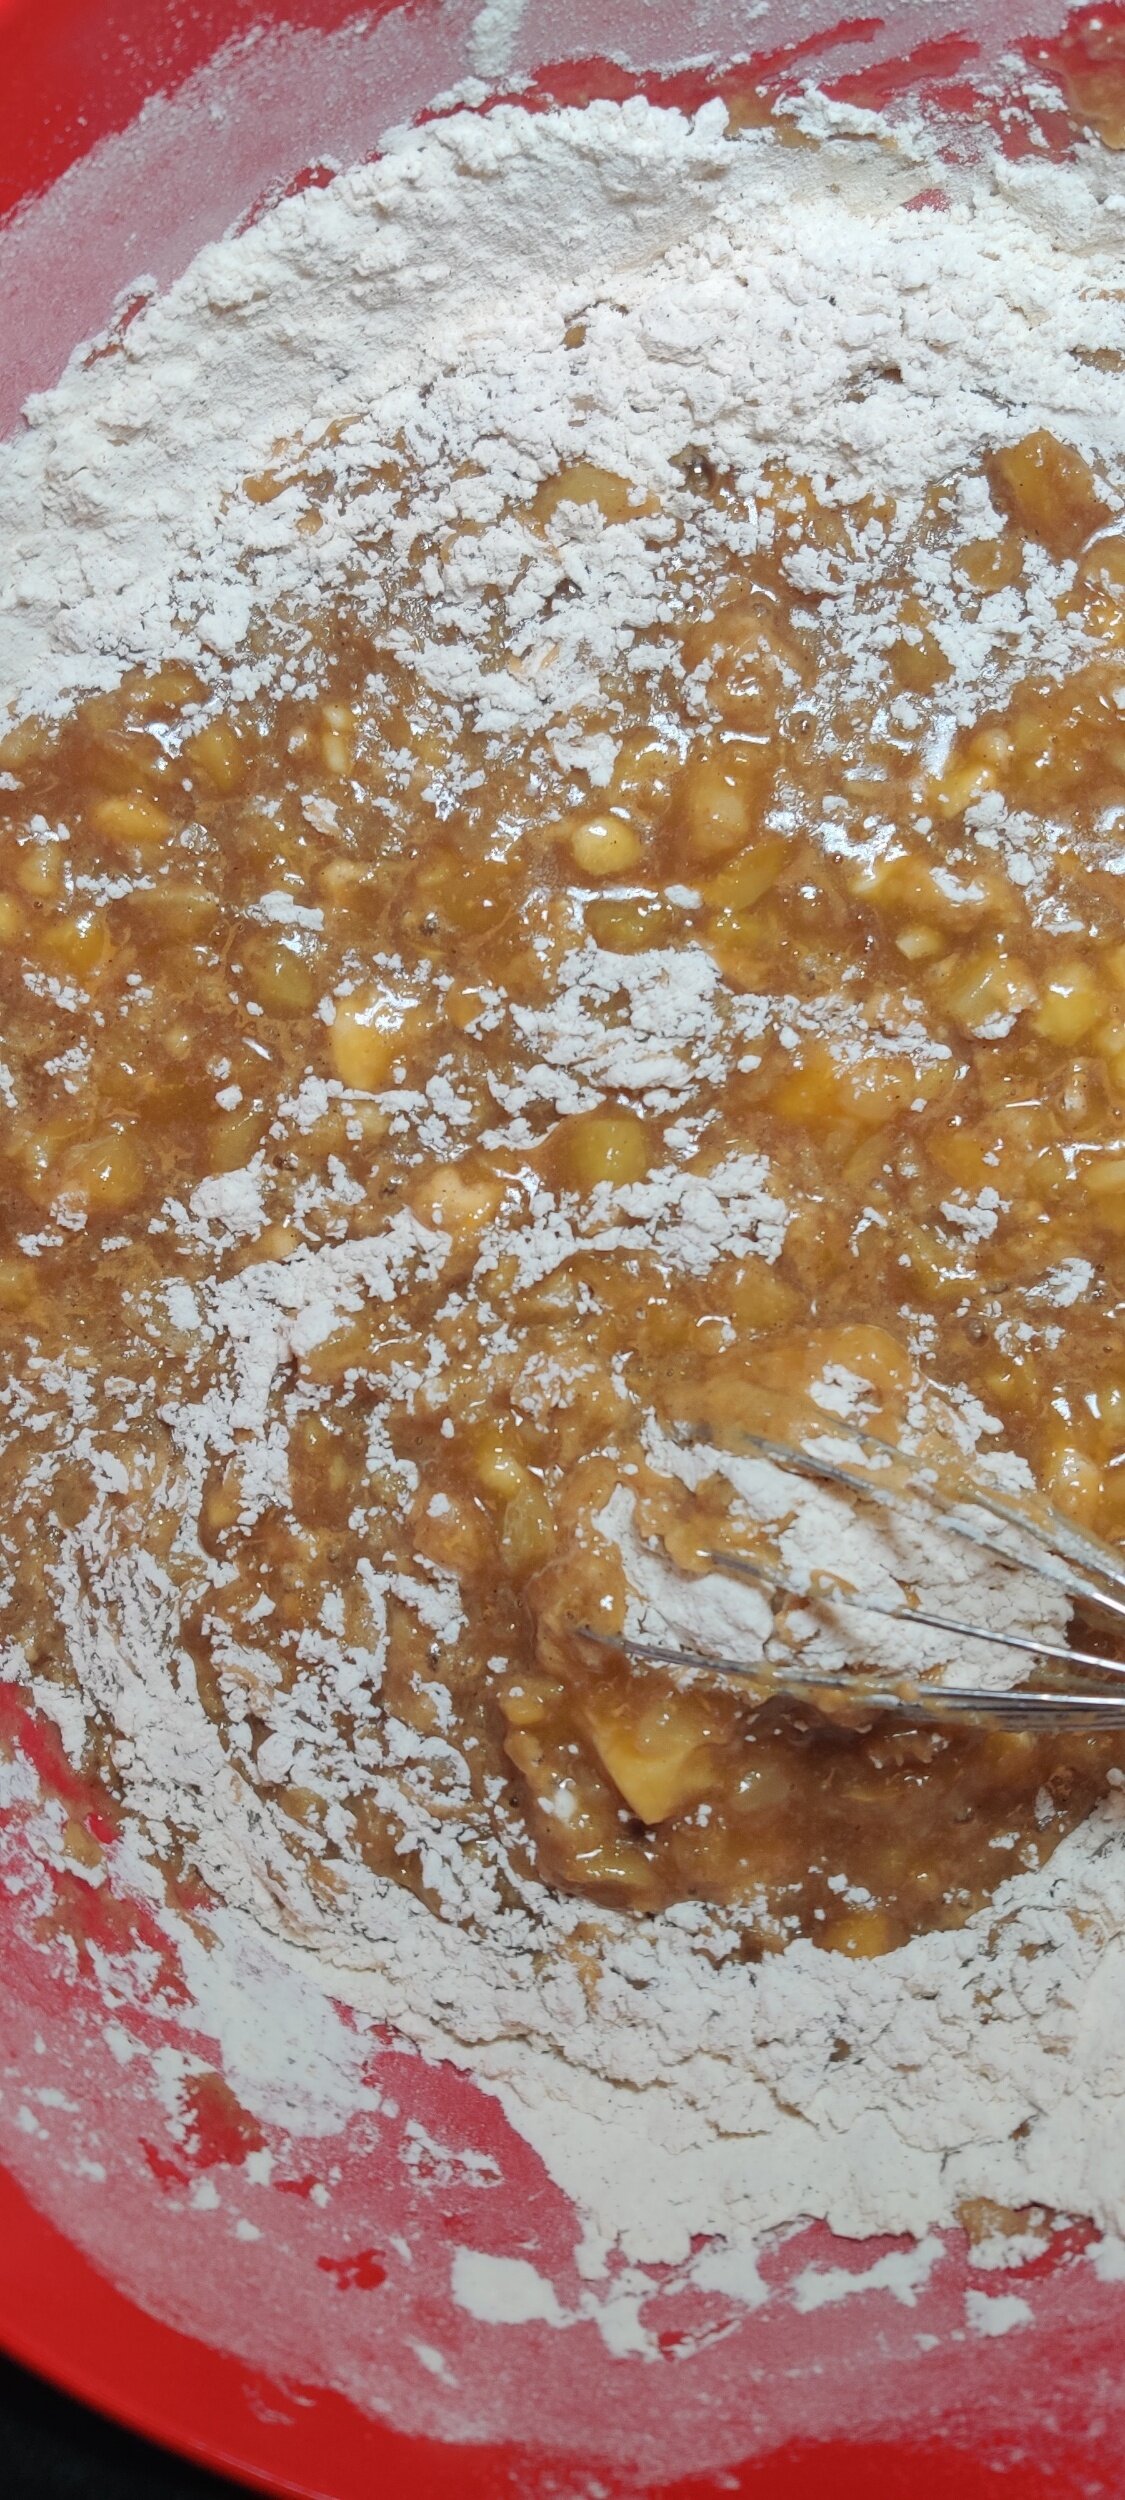
- Combine wet and dry ingredients until just mixed, but do not overwork.
- Add the vinegar and fold gently.
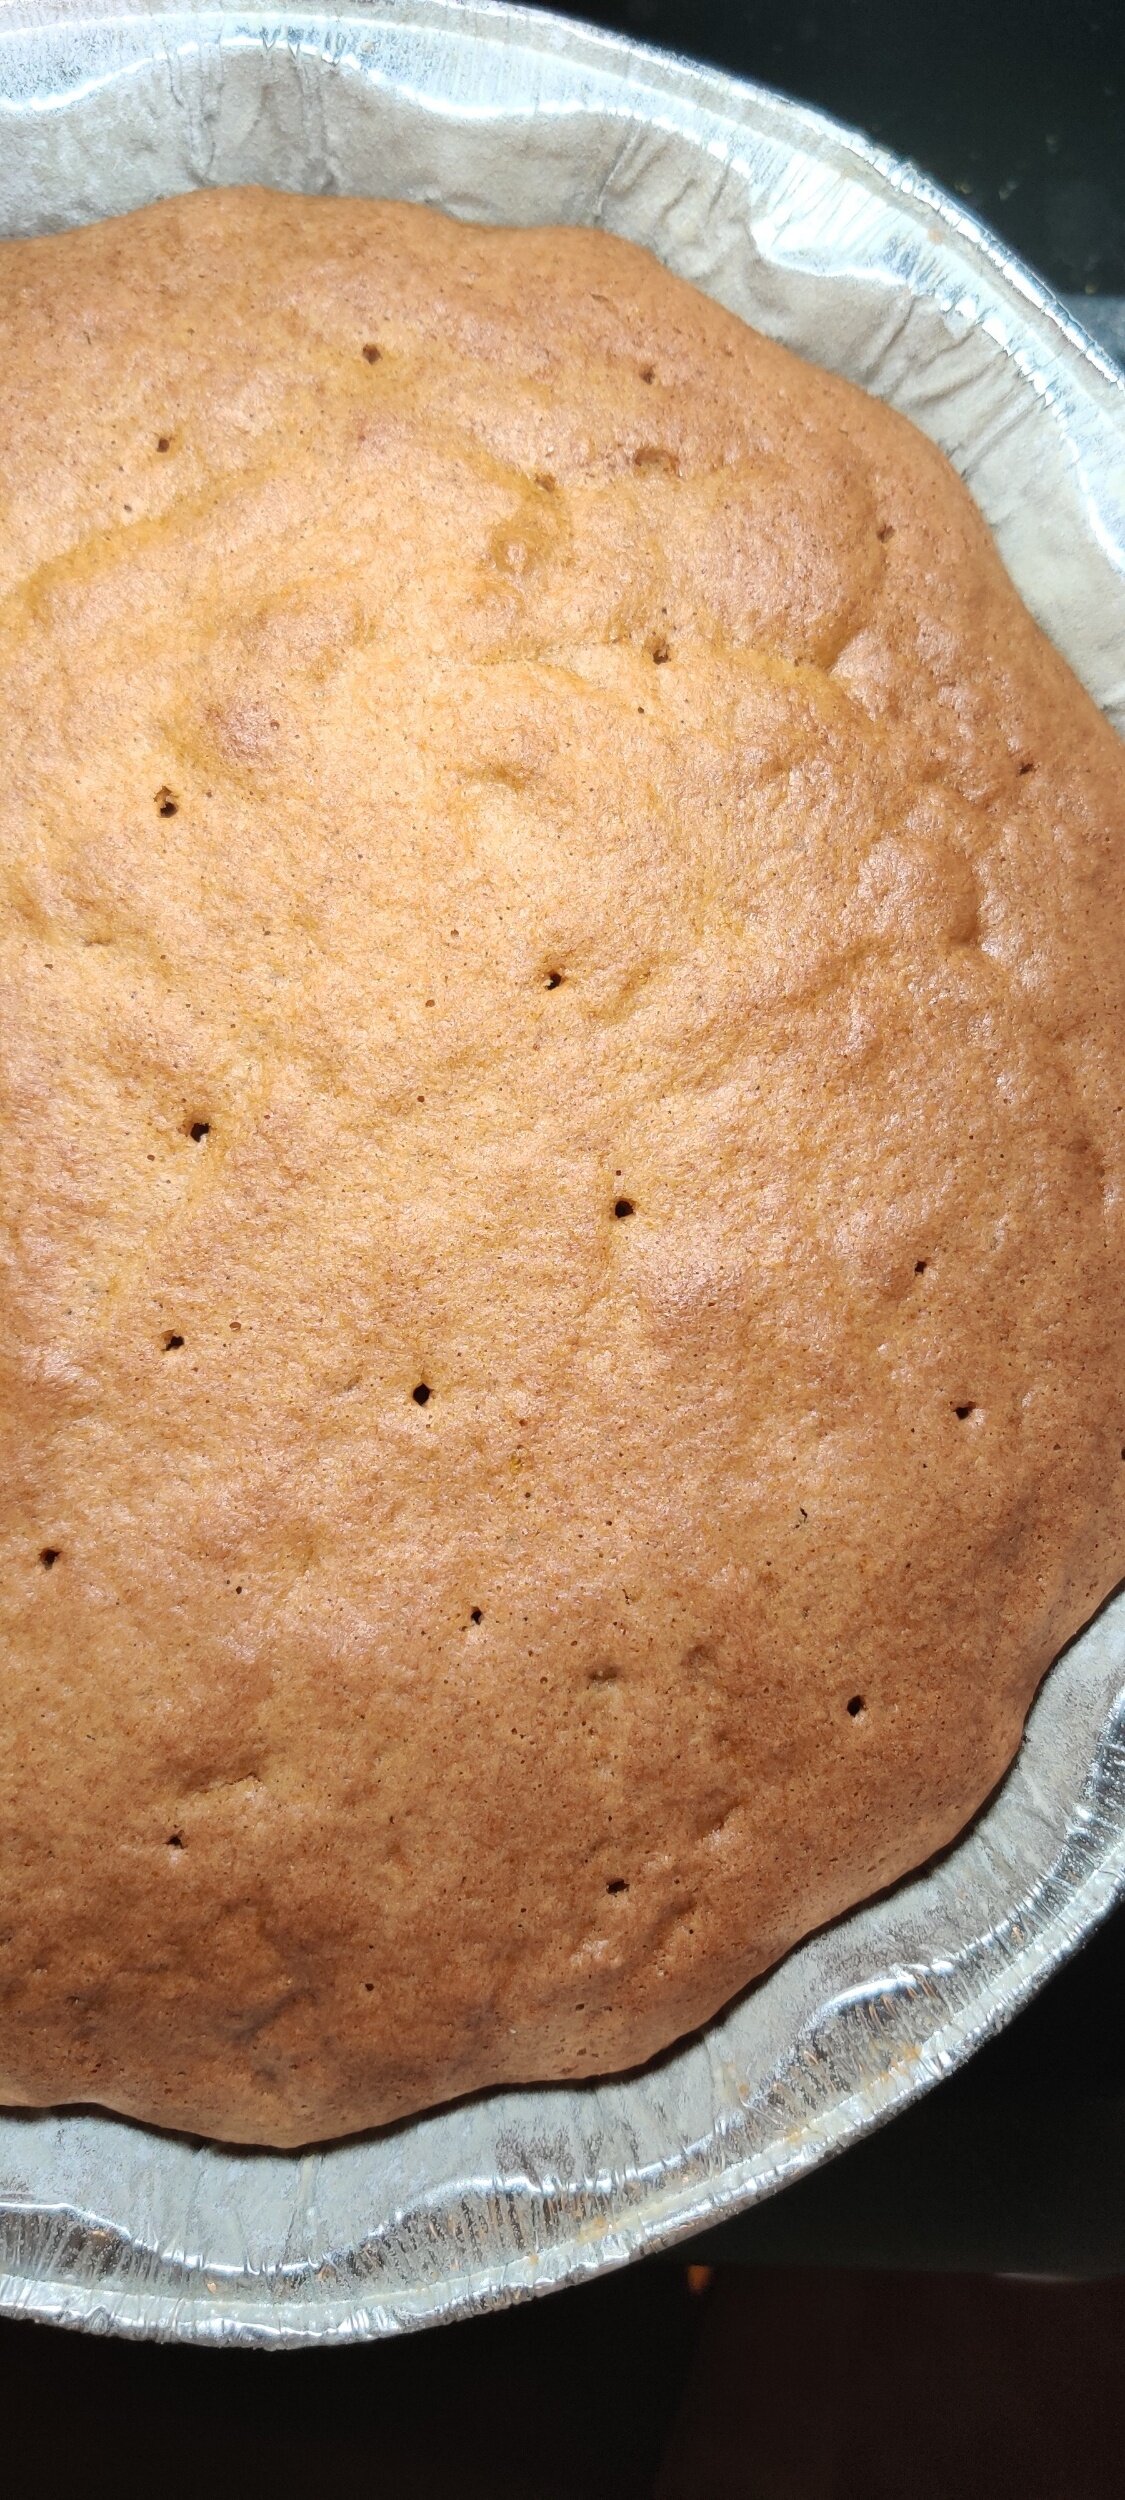
- Pour into pan and bake 35–40 minutes or until a toothpick comes out clean.
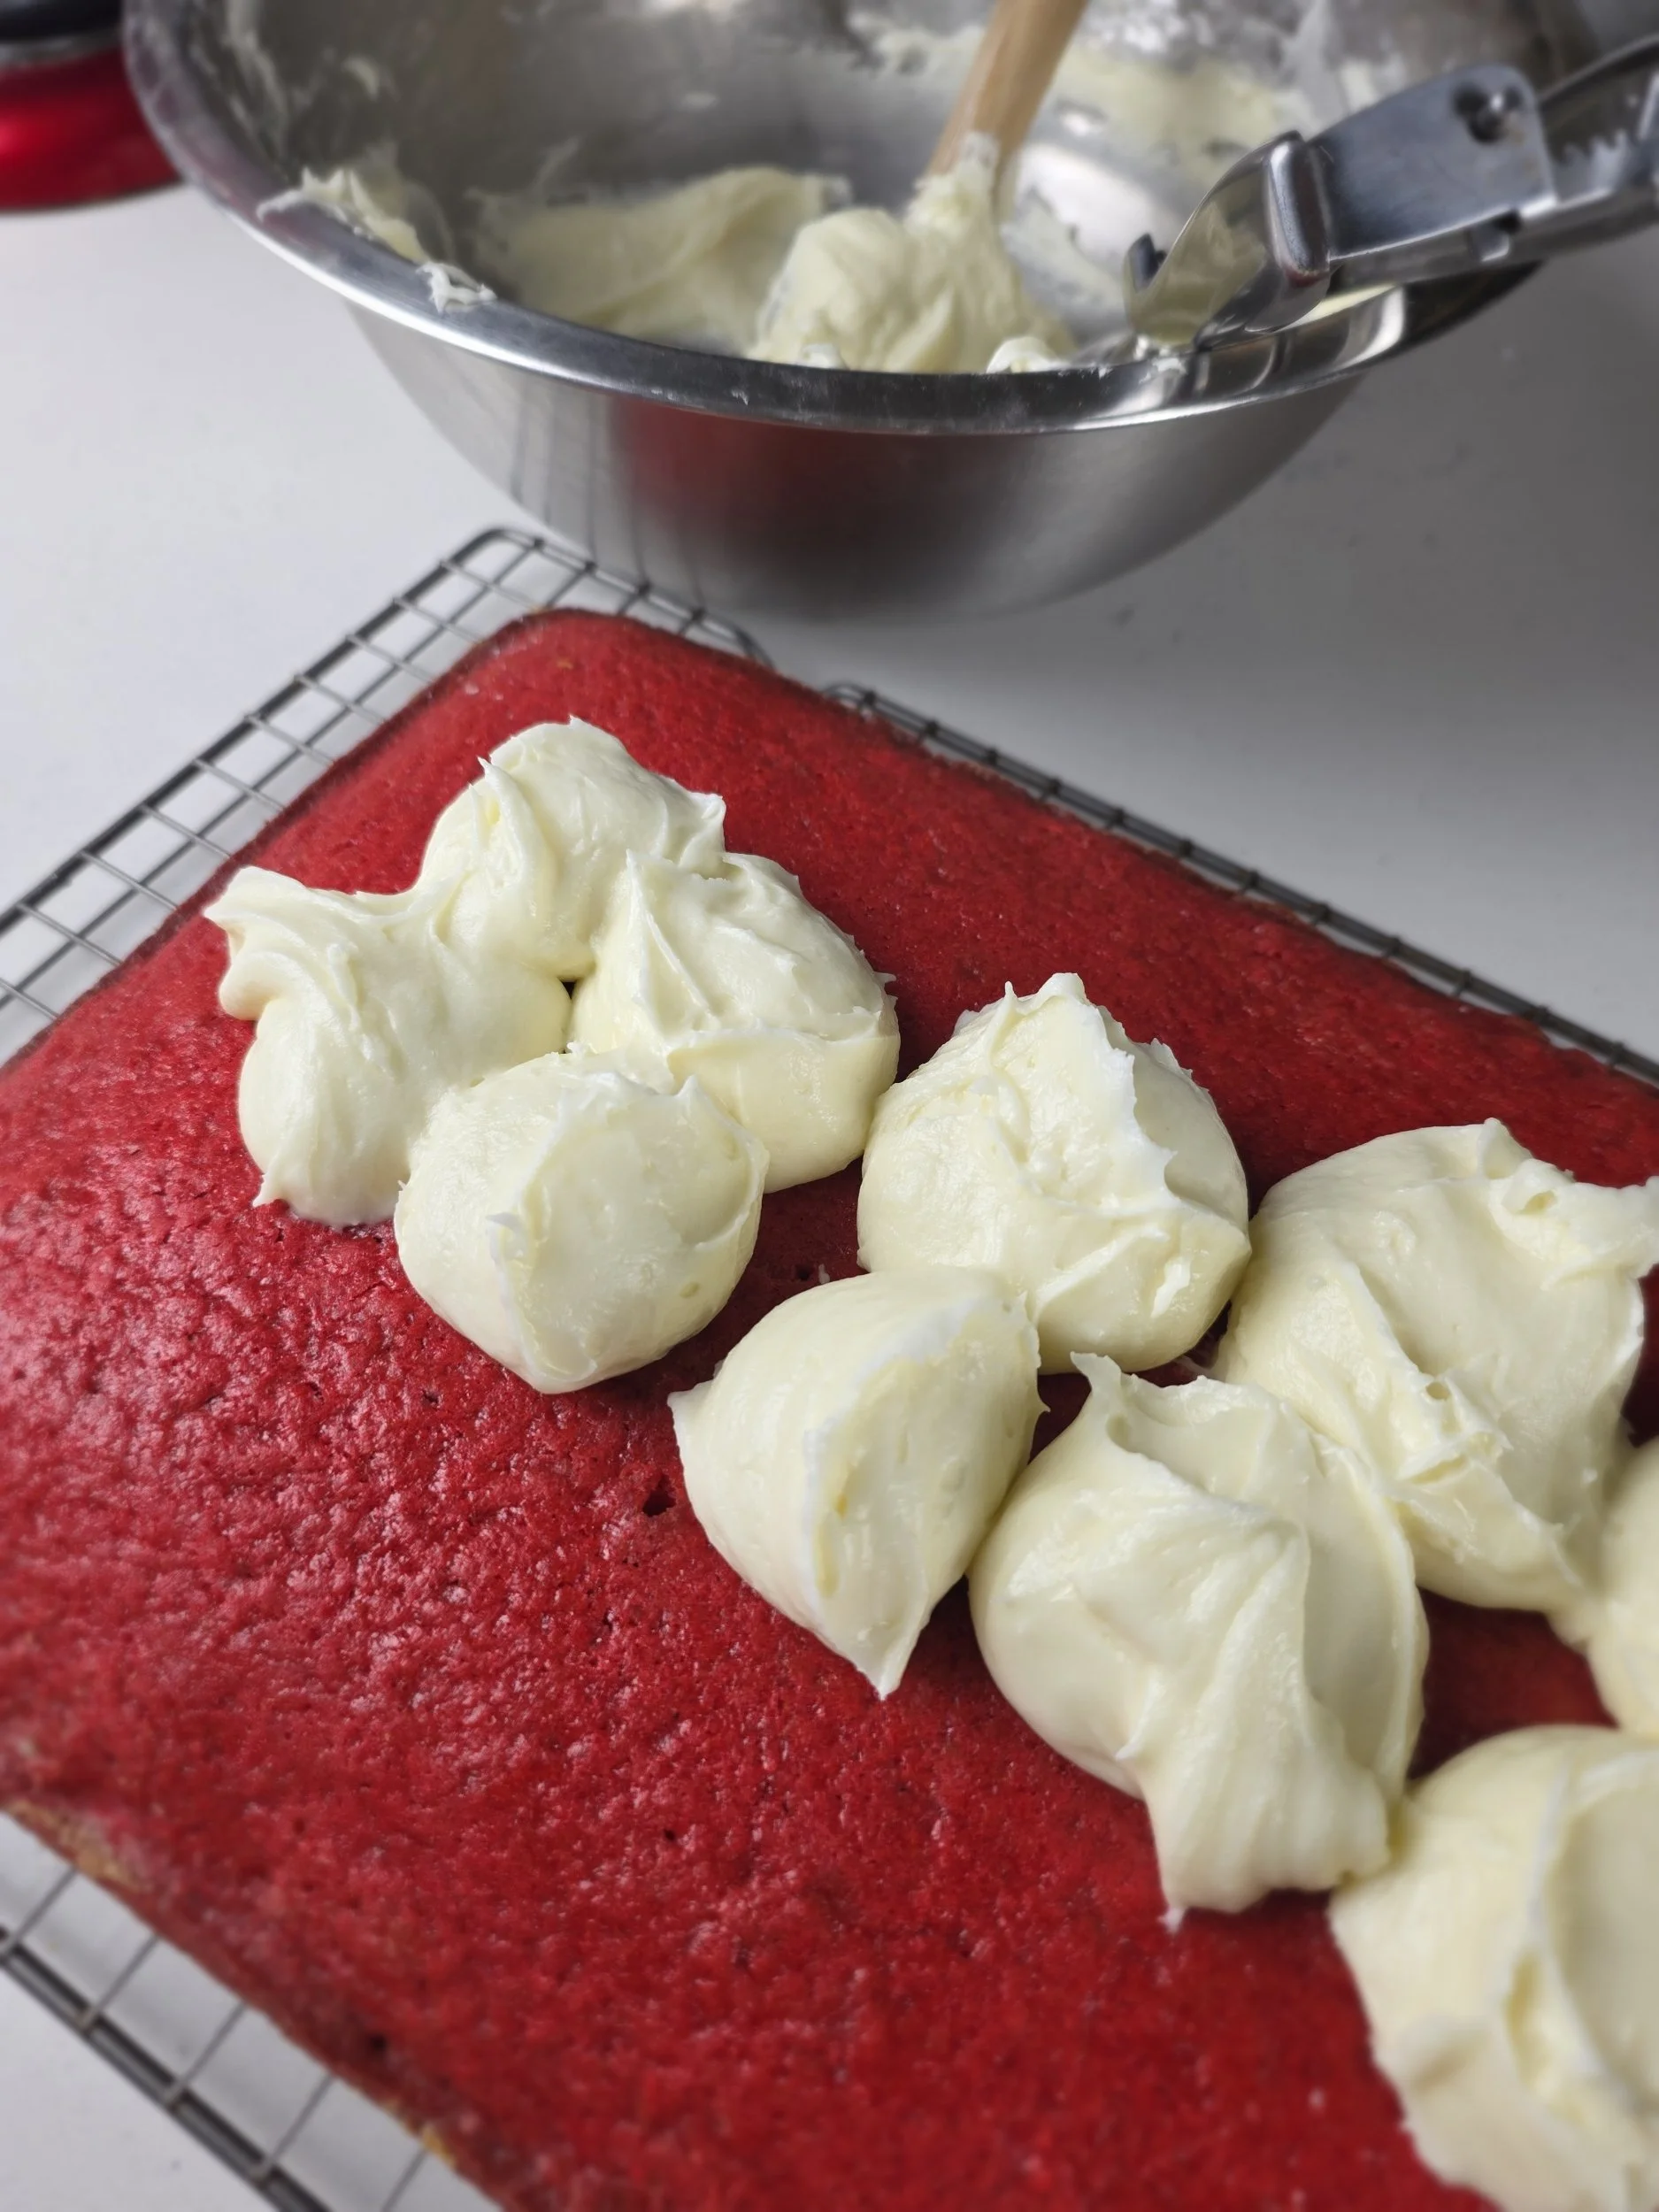
- Cool completely before frosting.
- Beat frosting ingredients until fluffy and spread over cooled cake.
Nutrition Facts
Calories
420Fat (grams)
22 gCarbs (grams)
52 gSugar (grams)
38 gProtein (grams)
4 gI am not a certified nutritionist and any nutritional information on dontmissmyplate.com should only be used as a general guideline.

Honey and Lemon Tea Cakes
A Taste of Comfort and History in Every Bite
Few rituals are as comforting—or as quietly elegant—as tea time, and nothing pairs better with it than simple, beautiful cakes. Whether it’s the deep, mellow sweetness of honey or the bright zing of lemon, both flavors offer a nostalgic warmth that feels perfectly at home beside a steaming cup. These Honey and Lemon Tea Cakes celebrate that timeless combination of flavor and pause, turning even the most ordinary afternoon into something a little more special.
As someone from Zimbabwe, a former British colony, tea time was woven into the fabric of daily life—an inheritance of colonial history that, like many things, we've adapted and made our own. Despite its complex roots, I still find joy in the tradition: the quiet comfort, the small bites, the act of slowing down. It’s a moment I continue to embrace, not for what it was, but for what it’s become—a space for connection, reflection, and a little sweetness shared.
Honey Cakes for Tea Time – A Cozy Classic
Golden, tender, and delicately sweet, these Honey Cakes are a perfect companion for your afternoon tea ritual. Infused with the natural warmth of honey, they’re soft, comforting, and just sweet enough to satisfy without overpowering. Whether you serve them plain or with a touch of glaze, these little cakes bring a timeless, cozy charm to any teatime table.
Lemon Cakes for Tea Time – Bright and Zesty
Light, fragrant, and bursting with citrus, these Lemon Cakes are a refreshing twist on a tea-time favorite. With their soft crumb and fresh lemon zest, they strike a perfect balance of tart and sweet. Ideal for spring afternoons or any time you need a sunny lift, these cakes pair beautifully with black or green tea—and a good conversation.
Light, Lovely Cakes for Gatherings that Celebrate the Season
There’s no better season for a tea time gathering than spring—when the days are longer, the blooms are fresh, and everything feels a little more hopeful. It’s the perfect time to set out a pot of tea, gather a few friends, and fill the table with light, fragrant bakes that match the mood of the season. These Honey and Lemon Tea Cakes fit beautifully into that picture: the honey brings a cozy warmth, while the lemon adds a bright, citrusy lift. Whether you serve them in a garden, on a balcony, or by an open window, they’re just the kind of treat that makes a spring tea party feel like something special.

Honey and Lemon Tea Cakes
Soft, citrusy, and gently sweet, these Honey and Lemon Tea Cakes are perfect for spring gatherings or a cozy tea break. Made with real honey and fresh lemon zest, they’re simple, elegant, and full of timeless flavor.
Ingredients
- 1 1/2 cups all-purpose flour
- 1/2 cup granulated sugar
- 1/2 cup butter, melted
- 1 teaspoon baking powder
- 1/2 teaspoon baking soda
- 1/4 teaspoon salt
- 2 tablespoons lemon juice
- Lemon zest of 1 lemon
- 2 eggs
- 1/2 cup warm water
- 1 teaspoon vanilla extract
- 1/4 teaspoon almond extract
- 1/2 cup sugar
- 2 lemons, sliced thinly
- 1/2 cup honey
- 1/2 cup butter, melted
- 2 eggs
- 1 cup coconut sugar
- 1 cup all-purpose flour
- 1/2 cup whole wheat white flour
- 1 teaspoon baking powder
- 1/2 teaspoon baking soda
- 1/4 teaspoon salt
- 1/2 teaspoon vanilla extract
- 1/2 cup spiced black/masala milk tea, warmed
Instructions
- Mix the wet ingredients and dry ingredients in separate bowls.
- Add the dry ingredients to the wet, alternating with the tea, and gently mix with a spatula until just combined—do not overmix. Let the batter rest for about 5 minutes.
- Using a cookie scoop, fill 24 wells of a greased mini muffin pan about two-thirds full. If you only have one pan, you can bake one batch first (either honey or lemon), then prepare and bake the second.
- Sprinkle sliced almonds or shredded coconut in the center of each cake to garnish and add texture. Bake at 350°F (175°C) for 13–15 minutes, or until a toothpick inserted in the center comes out clean.
- First, prepare the candied lemon slices. In a nonstick saucepan over medium heat, toss the lemon slices with sugar until evenly coated. Cook for 3–4 minutes, until the sugar begins to thicken and the lemons soften slightly. Be careful not to overcook or caramelize the sugar. Set aside to cool in the pan. You can work in batches to prevent the slices from sticking together.
- Next, mix the dry and wet ingredients in separate bowls.
- Add the wet ingredients to the dry, alternating with the warm tea, and gently stir with a spatula until just combined and no lumps remain—avoid overmixing. Let the batter rest for about 5 minutes.
- Using a cookie scoop, fill 24 wells of a greased mini muffin pan about two-thirds full. If you only have one pan, bake one batch at a time (either lemon or honey), then prepare and bake the second.
- Top each mini cake with a cooled candied lemon slice to garnish and add texture. Bake at 350°F (175°C) for 13–15 minutes, or until a toothpick inserted in the center comes out clean.
Nutrition Facts
Calories
83Fat (grams)
2.7 gCarbs (grams)
12.8 gSugar (grams)
5.7 gProtein (grams)
1.8 gI am not a certified nutritionist and any nutritional information on dontmissmyplate.com should only be used as a general guideline.


Cornmeal and Condensed Milk (Chess) Pie
I grew up with custard as a staple dessert, and cornmeal was always in the pantry. This pie combines both, turning a humble custard into a textured, rich treat. Inspired by the classic Southern chess pie with roots in England, I’ve added condensed and evaporated milk to give the custard extra creaminess. Lemon or chocolate are common variations, but here I stick to the simple, original custard flavour that melts in your mouth. Perfect for any time of year, with tea, coffee, or as a standalone dessert.

Cornmeal and Condensed Milk (Chess) Pie
Classic Southern chess pie made with cornmeal, condensed milk, and evaporated milk for a rich, custard-filled dessert. Textured, sweet, and comforting—perfect for dessert lovers looking to try a traditional American treat with a simple twist.
Ingredients
- 1 pie crust (room temperature)
- 1/4 cup cornmeal
- 1/4 cup condensed milk
- 1/4 cup water
- 1 tablespoon apple cider vinegar or lemon juice
- 1/4 cup evaporated milk
- 1/2 teaspoon cinnamon
- 1/2 teaspoon salt
- 1 tablespoon flour
- 2 teaspoons vanilla extract
- 1/2 teaspoon almond extract
- 4 large eggs
- 1 cup sugar
- 1/2 cup (8 tablespoons) butter
Instructions
- Roll out the pie crust into your pan. Poke small holes in the bottom and sides with a fork or knife. Freeze for 15 minutes.
- Blind bake the crust at 425°F (220°C) for 15 minutes with pie weights, dried beans, or rice on parchment to prevent air pockets.
- Reduce the oven to 350°F (175°C).
- For the filling, beat the eggs and sugar until well combined. Whisk in condensed milk, butter, water, vanilla, almond extract, vinegar, and evaporated milk.
- Add flour, cornmeal, salt, and cinnamon. Mix until everything is evenly incorporated, the filling will seem slightly watery but will set as it bakes.
- Pour the filling into the pre-baked crust and bake for 45–50 minutes, until firm to the touch.
- Cool at room temperature for about 4 hours, then chill before serving.
- Optional: dust with icing sugar or cinnamon before serving.
Nutrition Facts
Calories
320Fat (grams)
18 gCarbs (grams)
35 gSugar (grams)
20 gI am not a certified nutritionist and any nutritional information on dontmissmyplate.com should only be used as a general guideline.

Vanilla Bundt Cake with Cream Cheese Icing
This recipe is all you need for a birthday! A simple vanilla cake with some funfetti sprinkles.
Inspired by the German Gugelhupf, bundt cakes are one of my favorite tea-time treats.
What is the difference between yellow and white cake?
To be clear, this is a yellow vanilla cake. The egg yolks determine the distinction between the two. This difference shows in the colour, texture, and fat content - a white cake has less fat with the removal of yolks and tends to be spongier from the whipped egg whites. However, both are delicious but can serve different purposes. Think angel cake versus, well, this!
How to make a cake moist?
I am not a professional baker, but the answer to this is simple: add more moisture! You will be grateful to add an extra wet ingredient or two to the mix. There are a few you can incorporate into the batter, including:
YoghurtCream cheeseSour creamRicotta
Those are some of my go-to ingredients, but oil, eggs, milk, and heavy cream also aid you.
You also want to be mindful if you use alternative flours. Protein content can affect how dry the flour is, so you want to ensure the moisture you add matches up accordingly. Cake flour, for instance, is drier and crumblier as it has less protein. For this recipe, stick to the all-purpose if possible. Otherwise, look up what it will mean if you use wheat flour, for example, for the other ingredients!
What is the best frosting for cakes?
That is up to you. I am not a huge fan of buttercream icing, one of the most popular homemade cakes. I can eat it, but I prefer cream cheese frosting - its tangier cousin - or whipped cream, depending on the final product. I find the cream cheese removes the metallic taste in icing sugar, which can throw off your entire cake even if the batter is good. In this case, I recommend being a little heavy-handed with any extracts or zests you use to accent the icing, such as lemon and vanilla. Along with a bit of heavy cream, this will mask the icing sugar taste and give your icing some personality!

Vanilla Bundt Cake with Cream Cheese Icing
Ingredients
- 3 cups all-purpose flour, sifted
- 2 teaspoons baking powder
- 1/2 teaspoon salt
- 2 cups granulated sugar
- 5 eggs
- 1 tablespoon vanilla extract
- 1 teaspoon lemon juice or 1/2 teaspoon lemon zest/extract
- 1 1/4 cups low fat vanilla yoghurt, room temperature
- 1 cup butter, room temperature
- 1/2 cup heavy cream
- 1/3 cups vegetable oil
- 8 ounces cream cheese, room temperature
- 1/2 cup butter, room temperature
- Pinch of salt
- 1 tablespoon vanilla extract
- 1 teaspoon lemon juice or 1/2 teaspoon lemon zest/extract
- 3 1/2 cups icing sugar
- Funfetti sprinkles
Instructions
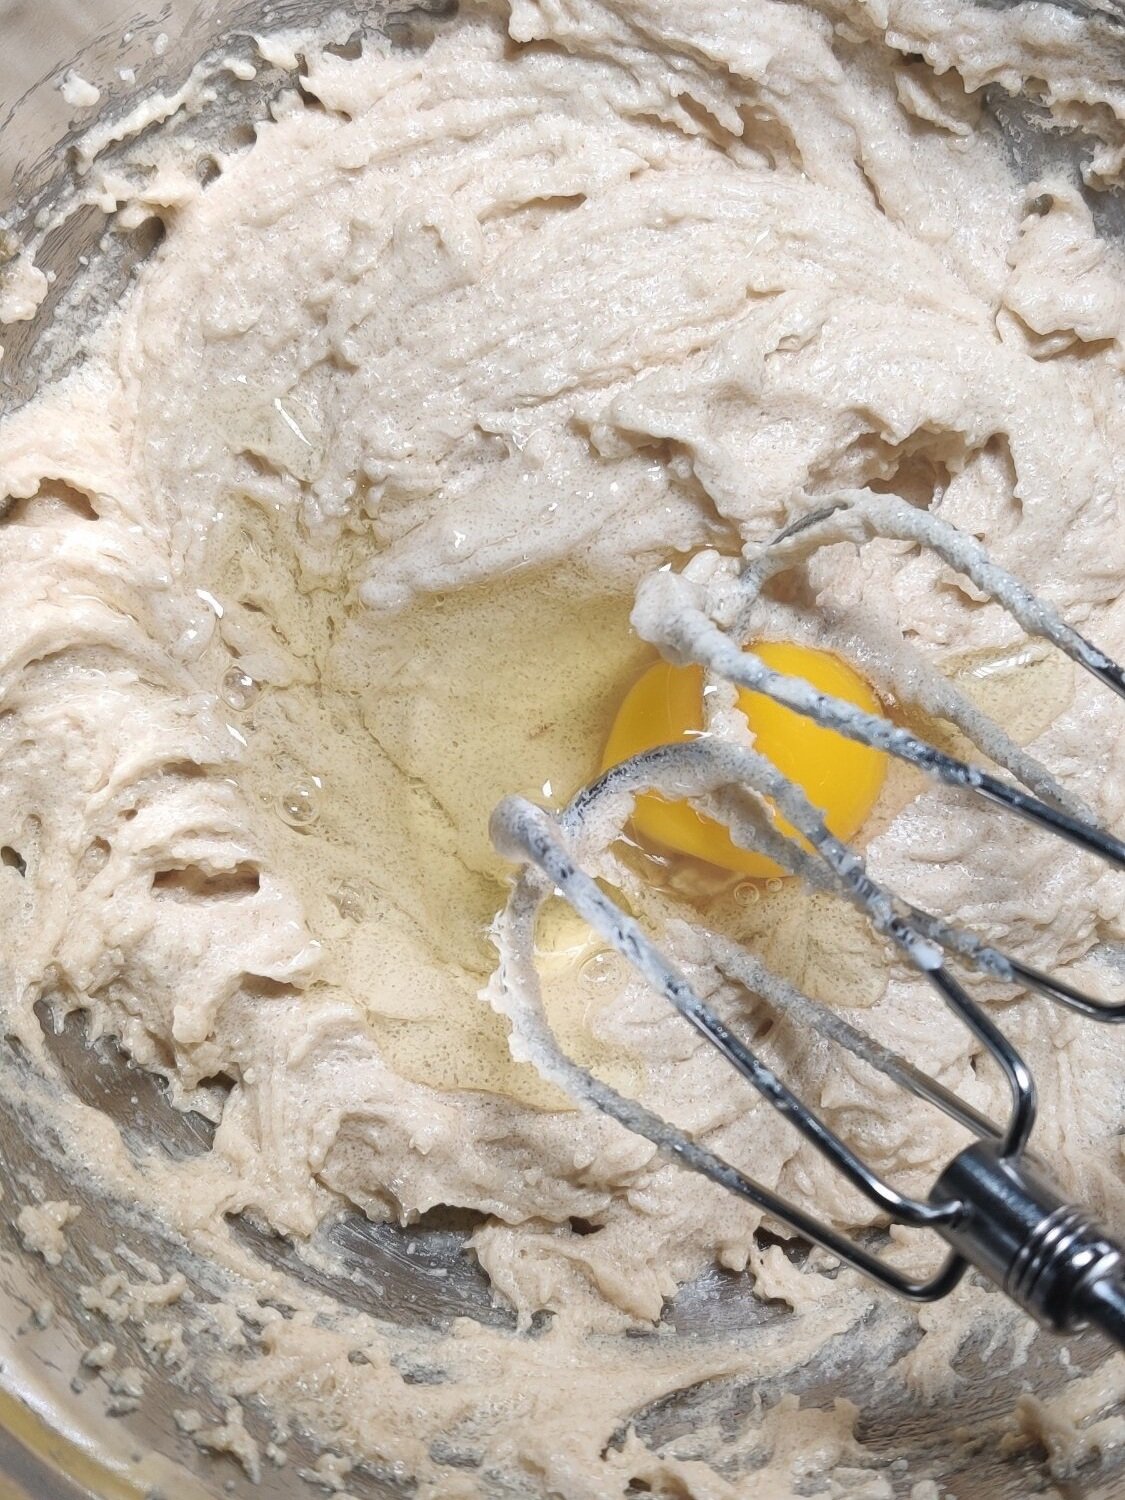
- In a medium bowl, whisk the dry ingredients for the cake except for the sugar, and set aside.
- Whisk the yoghurt and butter in a large bowl with a hand or stand mixer until smooth.
- Whisk in the vanilla and lemon.
- On medium-low speed, beat the sugar incrementally until slightly fluffy.
- On medium speed, add the eggs one at a time, beating until integrated. Use a spatula to get anything on the sides into the bowl.
- Whisk in the oil and milk until well incorporated.
- Whisk in the flour gradually on low speed until the wet and dry ingredients are just combined. Don't overmix; this could result in a dense cake!
- Spray a bundt cake tin, and pour in the batter—Smoothen with a spatula. Bake at 325F/163C until the cake is golden. Use a wooden stick or fork to ensure the thickest part of the cake is dry.
- Remove from the stove and cool on a rack for 30 minutes. Remove the cake from the tin and complete the cooking process for another hour before icing.
- Mix the cream cheese and butter in a separate bowl using an electric mixer. Add the icing sugar in three parts gradually, and then mix in the vanilla.
- Add the milk, and whisk until the icing continues to smoothen.
- Add the salt and lemon and adjust to your liking.
- When ready to frost the cake, move to a piping or plastic bag using the end and design you prefer.
- Decorate with sprinkles, and enjoy! Store in the fridge for up to five days.
Nutrition Facts
Calories
657Fat (grams)
34.3Carbs (grams)
83.1Sugar (grams)
61.3Protein (grams)
7.4I am not a certified nutritionist and any nutritional information on dontmissmyplate.com should only be used as a general guideline.


Basque Cheesecake with Pumpkin Caramel Sauce
Cheesecake is typically a crowd-pleaser and show-stopper if you do it right (or wrong!). I am trying to remember the first time I tasted a slice or which type is my favourite, but I do know that homemade versions tend to be hit or miss. I prefer mine to be light, not too dense or sweet, with a generous graham cracker crust, and easy on the toppings or coulis.
Then, enter the burnt Spanish basque cheesecake. The recipe emerged in 2010 but was invented in 1959.
I've always had a sweet tooth, but it took a while to appreciate the smokey, nutty taste of caramelized sugars that come with the basque cheesecake. You bake it on high heat, unlike traditional cheesecakes set in a water bath, and this helps develop flavours and gives it the characteristic browning of the crust on top. That is the crown and glory of the basque cheesecake, along with its gooey centre and custard consistency.
If you need more sweetness, serve the cheesecake with a drizzle of caramel sauce, made using pumpkin or sweet potato to give it a seasonal twist.
Note: As you pour the batter into the tin, keep an eye on overflow. You may have to put some aside to make mini cheesecakes using a cupcake or muffin pan.


Basque Cheesecake with Pumpkin Caramel Sauce
Ingredients
- 4 (8-ounce) boxes of cream cheese, softened
- 5 eggs, room temperature
- 2 egg yolks, room temperature
- 1 tablespoon pure vanilla extract
- 1 teaspoon pure almond or maple extract
- 1/2 teaspoon sea salt
- 1 teaspoon orange zest
- 2 cups heavy cream, room temperature
- 1/4 cup all-purpose flour
- 1 2/3 cups granulated sugar
- 1/4 teaspoon cinnamon
- 1/2 cup cooked pumpkin or sweet potato (mashed or a puree)
- 1/3 cup heavy cream
- 1 tablespoon pumpkin spice
- 1 teaspoon pure vanilla extract
- 1/2 cup coconut or granulated sugar
- 2 tablespoons butter
- 1/2 teaspoon salt
- 1/2 teaspoon baking soda
Instructions
- In a large bowl, using an electric mixer if you have one available, beat the cream until combined. Add the sugar and beat for 4- 5 minutes on medium-high until the sugar is fully incorporated into the cream cheese.
- Add the whole eggs one by one, beating until just combined after each addition. Don't over-mix!
- Add in the yolks and repeat. If there is a lot of batter on the sides, fold it back into the mixture before moving to the next step.
- Fold in the vanilla, maple and orange zest with a spatula. Beat the flour and cinnamon in to thicken the mixture before transferring it to a baking pan.
- Add the heavy cream and salt, then fold again without overmixing.
- Take two pieces of parchment paper and crumple both. Take the cheesecake springform pan and line it with both sheets, both vertically and horizontally. This will help your cheesecake as it forms.
- Bake at 400F for 1 hour 15 minutes, but start checking after 50 minutes. The top should be a caramelized golden brown or even a blackish colour, and the cake should jiggle mostly in the middle. If most of it jiggles, you can continue to bake for another 8-10 minutes.
- Note: Don't keep trying to bake it over time for fear that it may be undercooked; you want to avoid drying out your cheesecake.
- Cool the cheesecake at room temperature for 1-2 hours before chilling in the fridge overnight or for at least 4 hours.
- While the cheesecake is cooking, make the caramel.
- Serve the cheesecake with the sauce and enjoy!
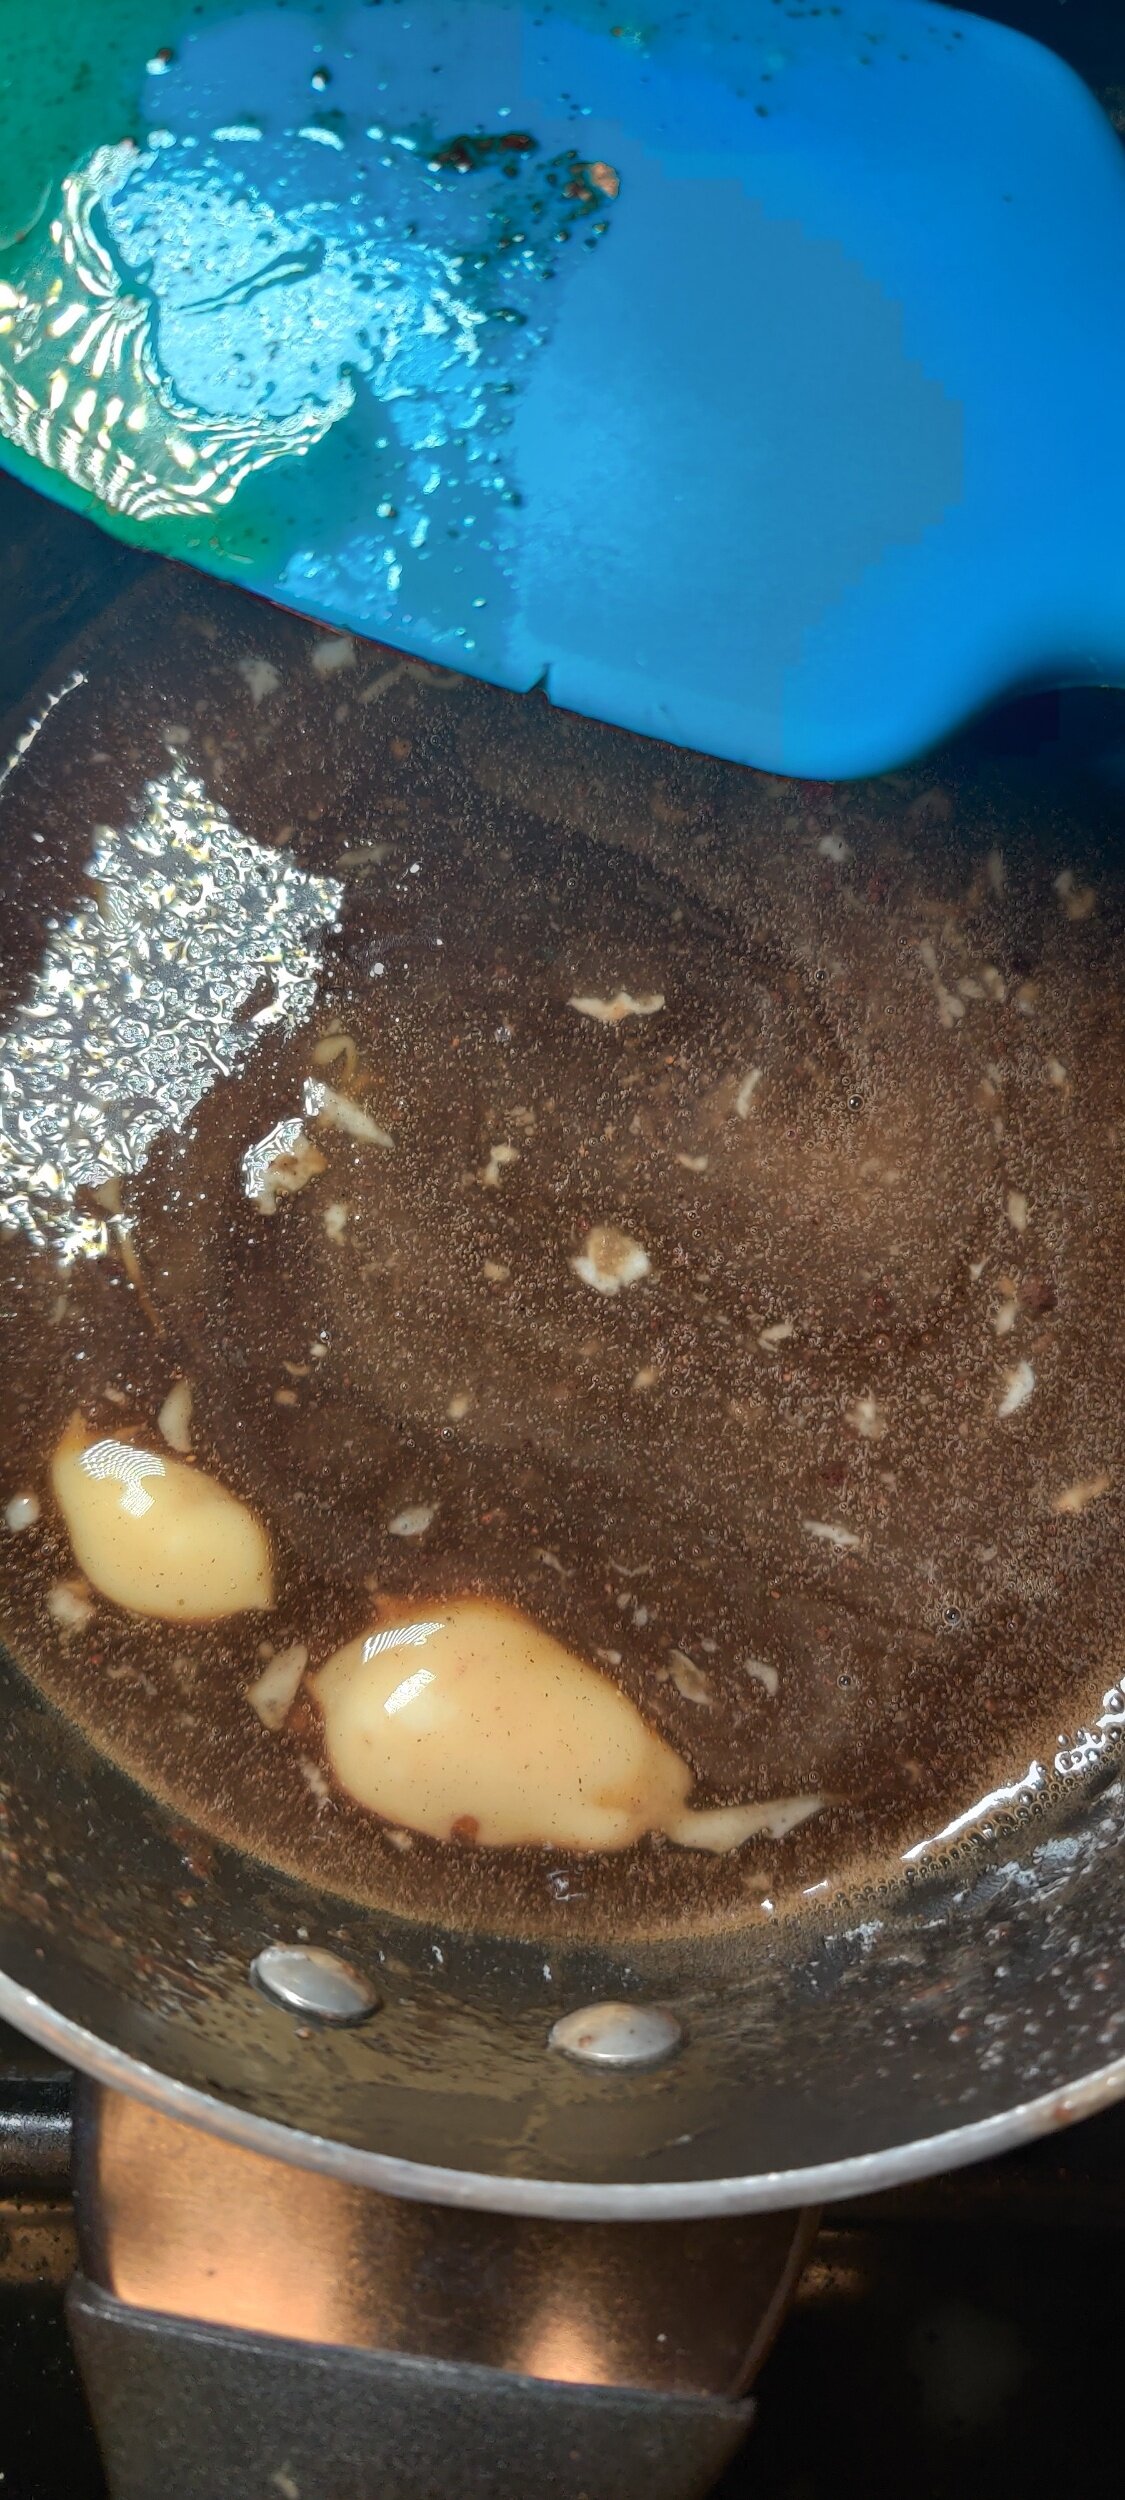
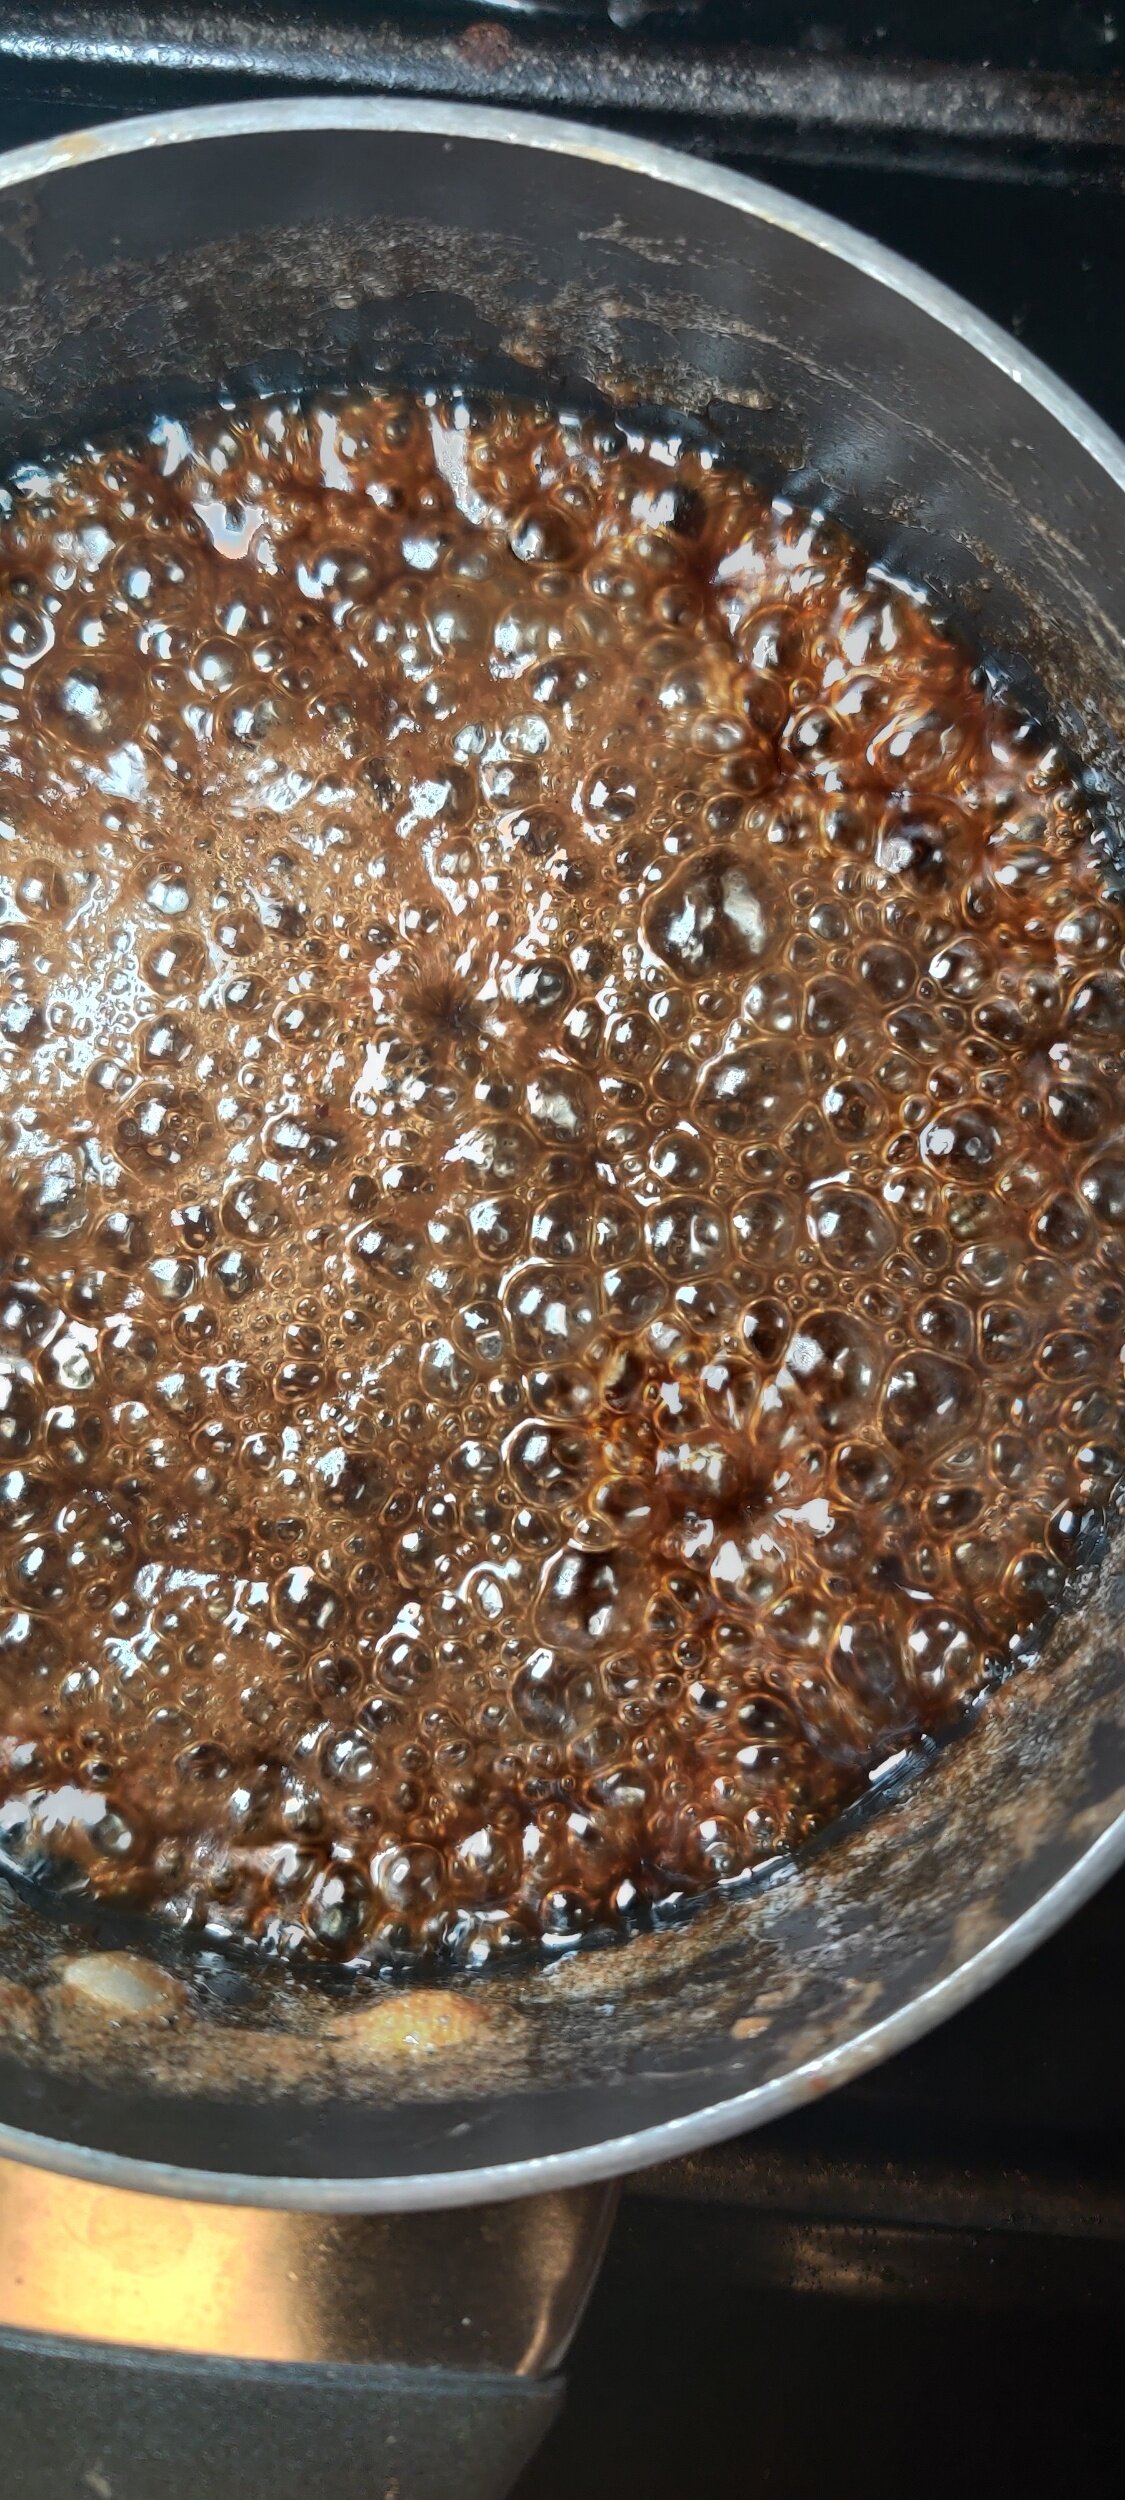
- Melt the sugar, add the butter and cook on low heat until it forms an amber color, stirring occasionally. Do not leave the stovetop to avoid burning the caramel!
- Add the spice, salt, vanilla, and sweet potato or pumpkin, then cook for 1-2 minutes before removing cream from the heat, stirring to smoothen. Follow this with the cream and cook for another minute.
- Add the baking soda, and stir quickly to combine before removing the pot from the stove top to cool the caramel and transfer to a heat-proof container. If you want a smoother consistency, strain the caramel while still warm.
- Refrigerate until ready to serve with the cheesecake. To warm up the sauce, heat with a splash of cream and stir well.
Nutrition Facts
Calories
485Fat (grams)
36.4 gSat. Fat (grams)
22.1 gCarbs (grams)
32.8 gFiber (grams)
0.1 gSugar (grams)
28.3 gProtein (grams)
9.2 gI am not a certified nutritionist and any nutritional information on dontmissmyplate.com should only be used as a general guideline.


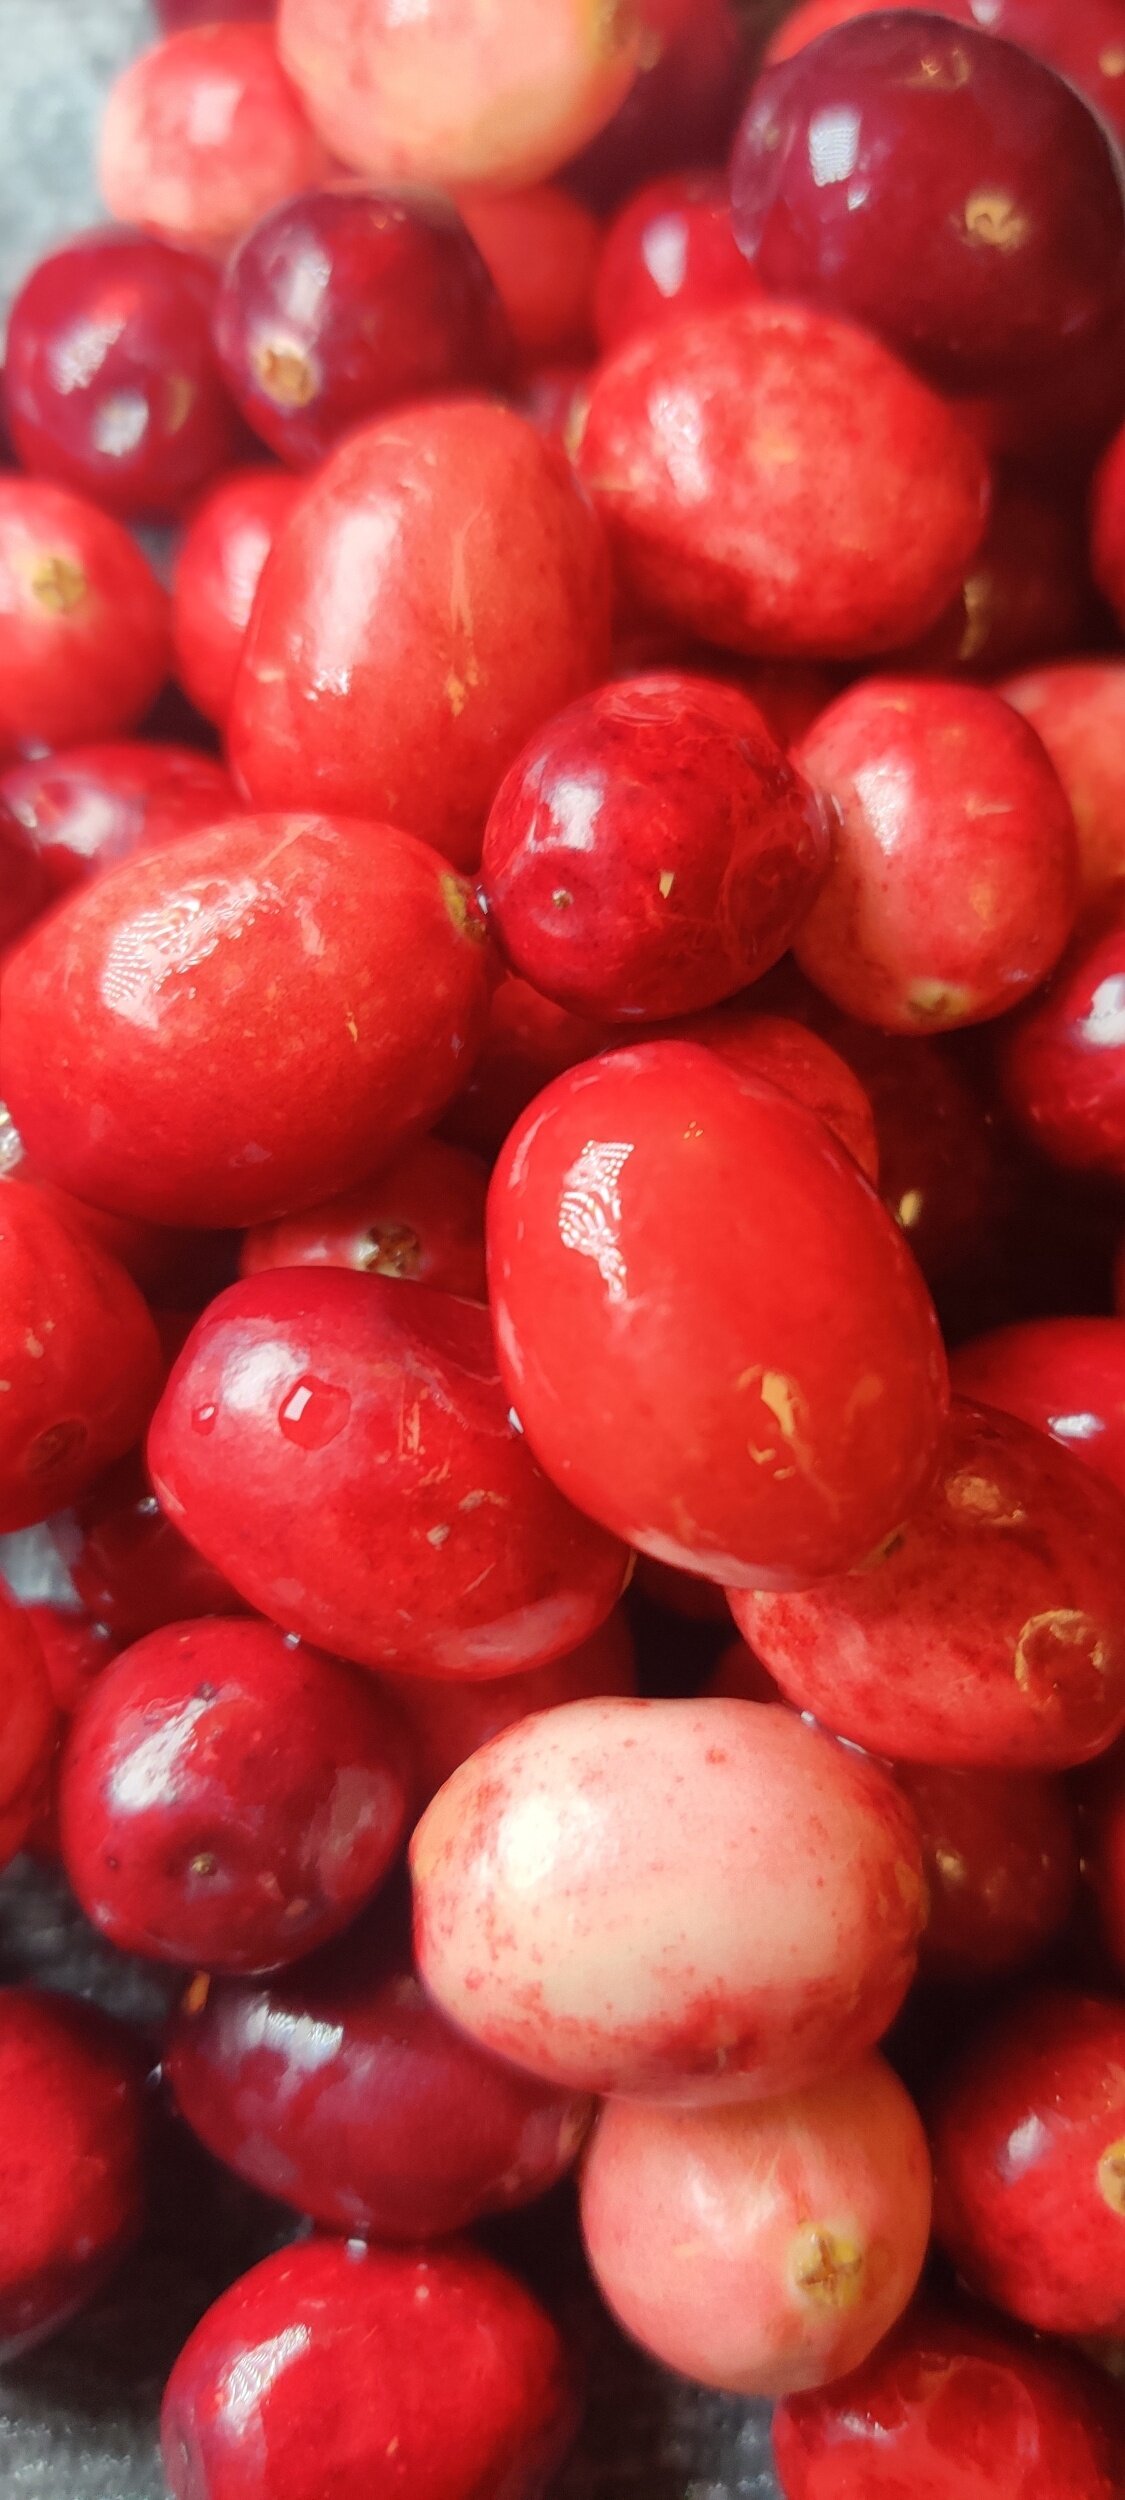
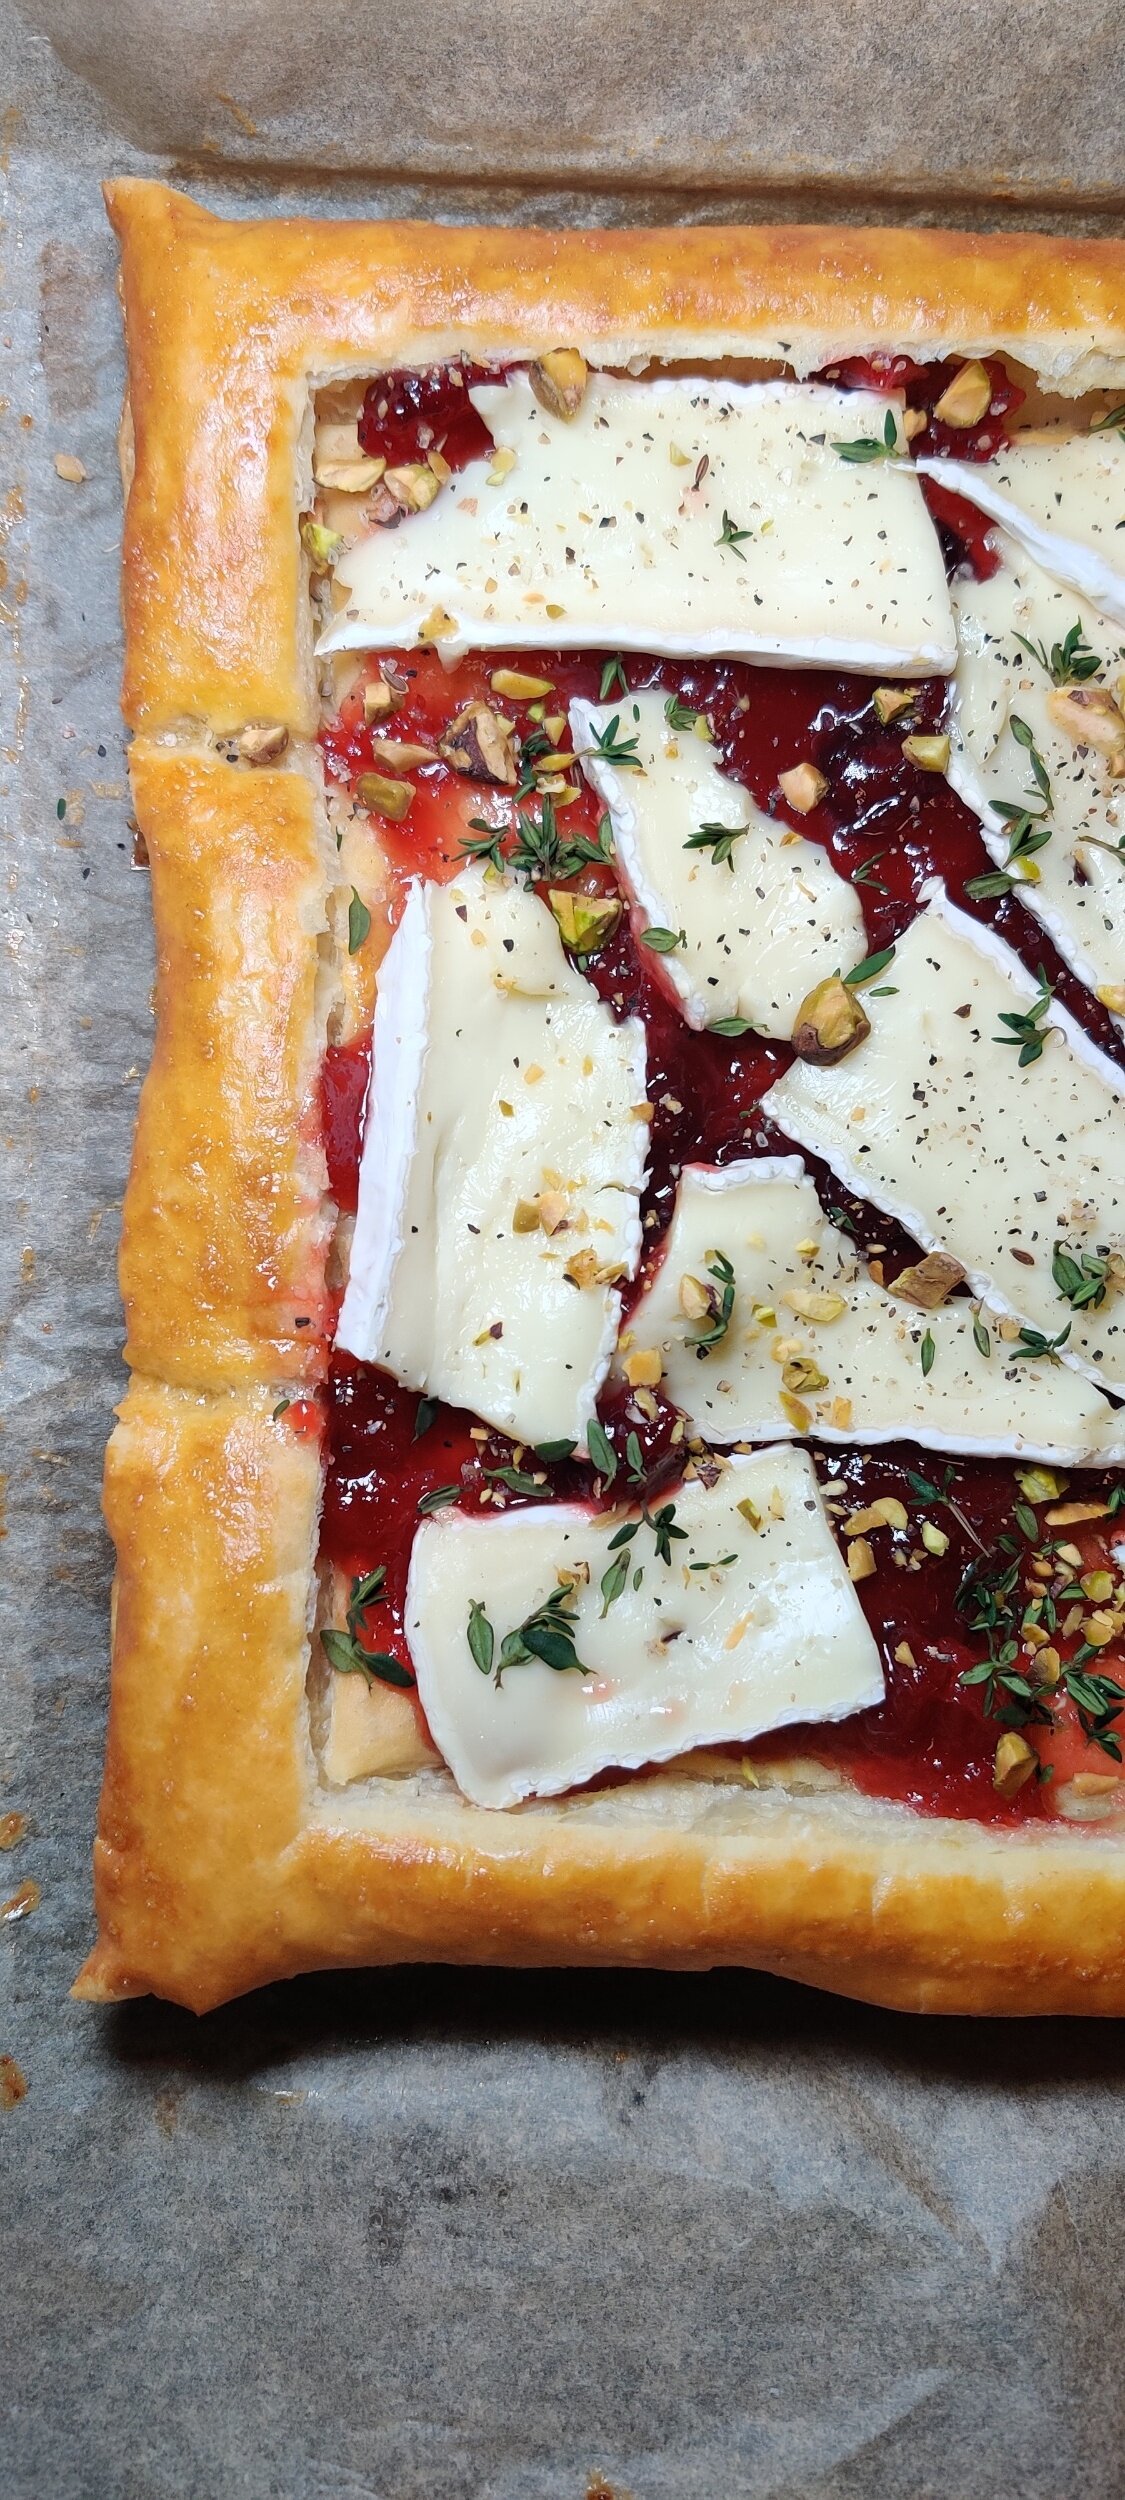
Cranberry Tart with Brie and Pistachio
We all know cranberries and brie go together! Well, okay we don’t all know but I’m telling you now based on what I know and have experienced.
I was going to make this a white chocolate and cranberry tart, but will reserve that for another treat! Something savory had to do. Since I already served the cranberry coq au vin style with the mushrooms and polenta in this recipe, I wanted rich, simple, and quick to make appetizer folks could customize.
Also, you don't have to use cranberries! You could use apples or anything else that compliments brie.
This is a great appetizer before the main Thanksgiving or holiday family meal is served. Or, during the days after when you want to snack on something familiar and have leftover cranberry sauce! It's super classy and will impress your guests.
Ingredients
1/2 cup fresh cranberries
1/2 cup orange juice
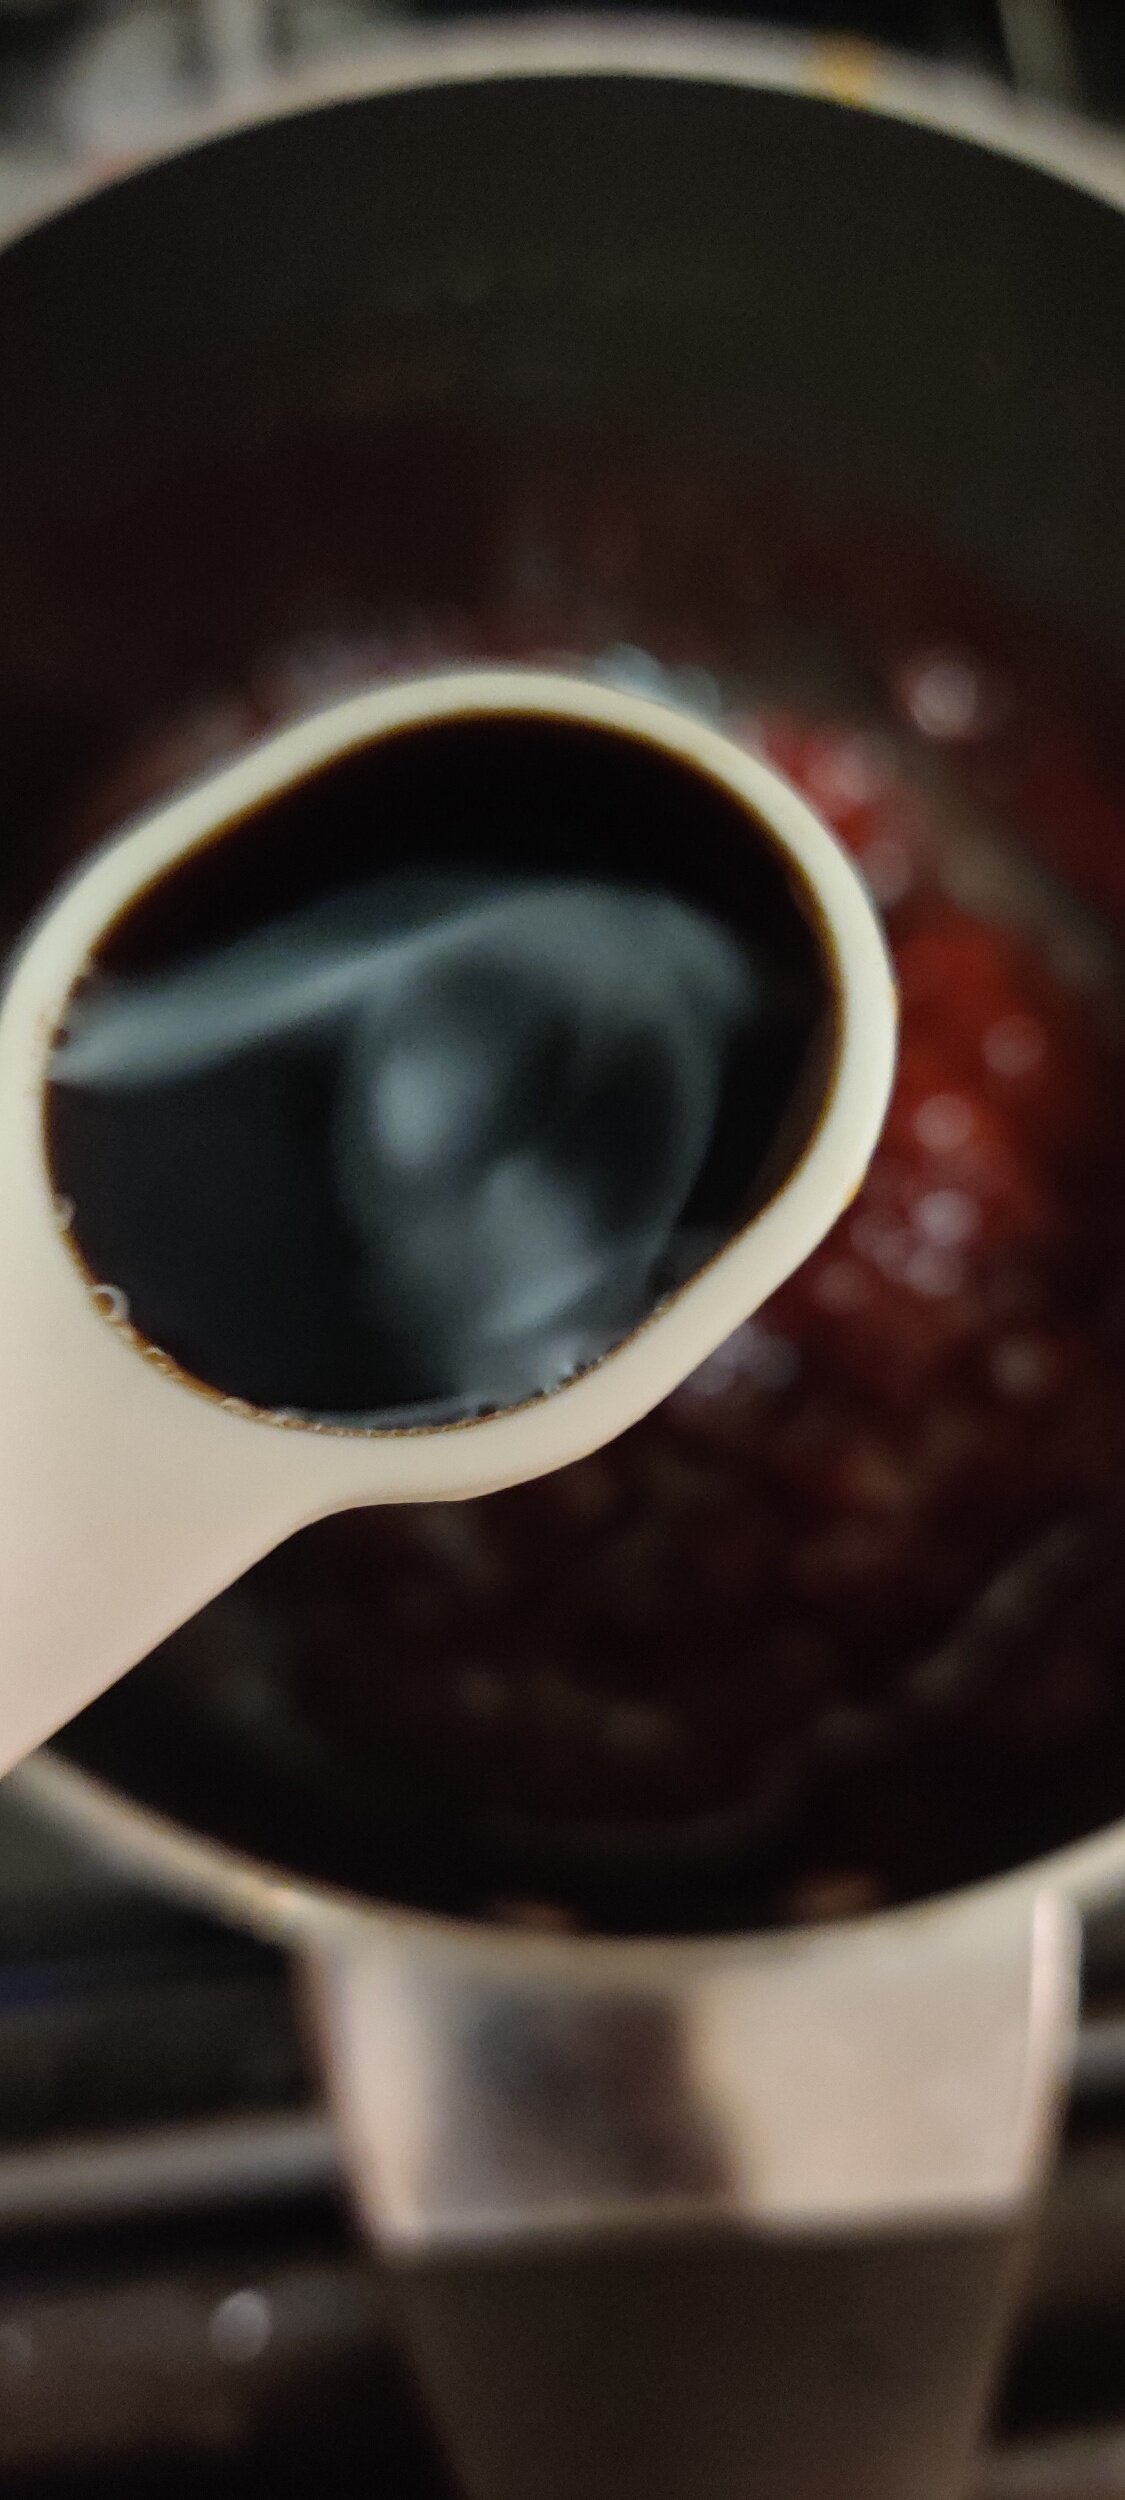
1 teaspoon balsamic
1/2 cup white sugar
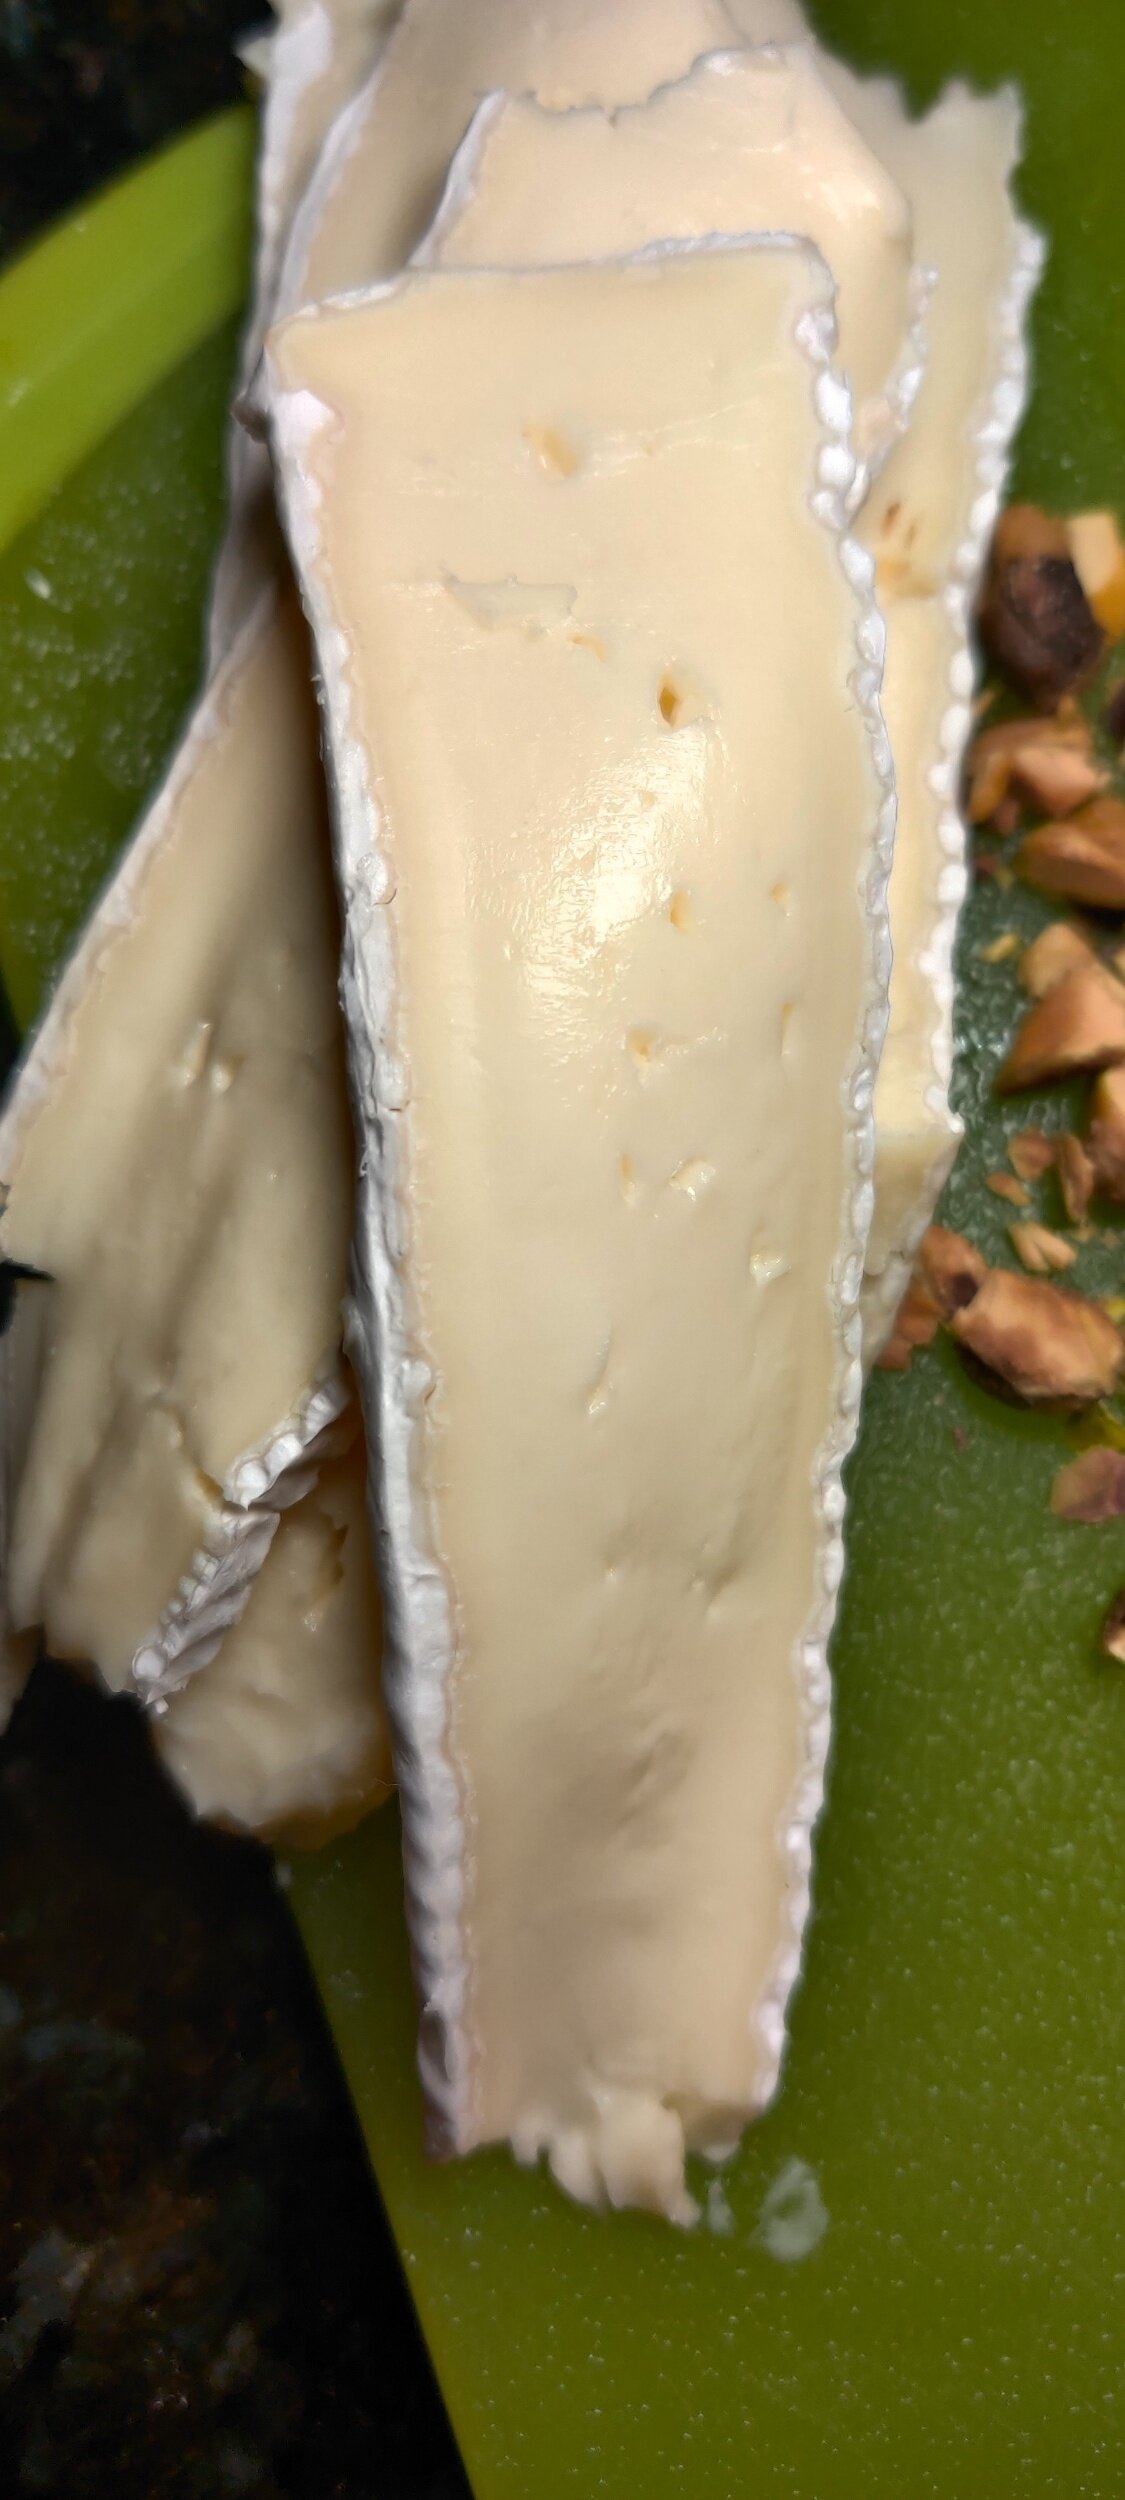
4 ounces medium or intense brie (half a regular wedge or more depending on how cheesy you want the tart)
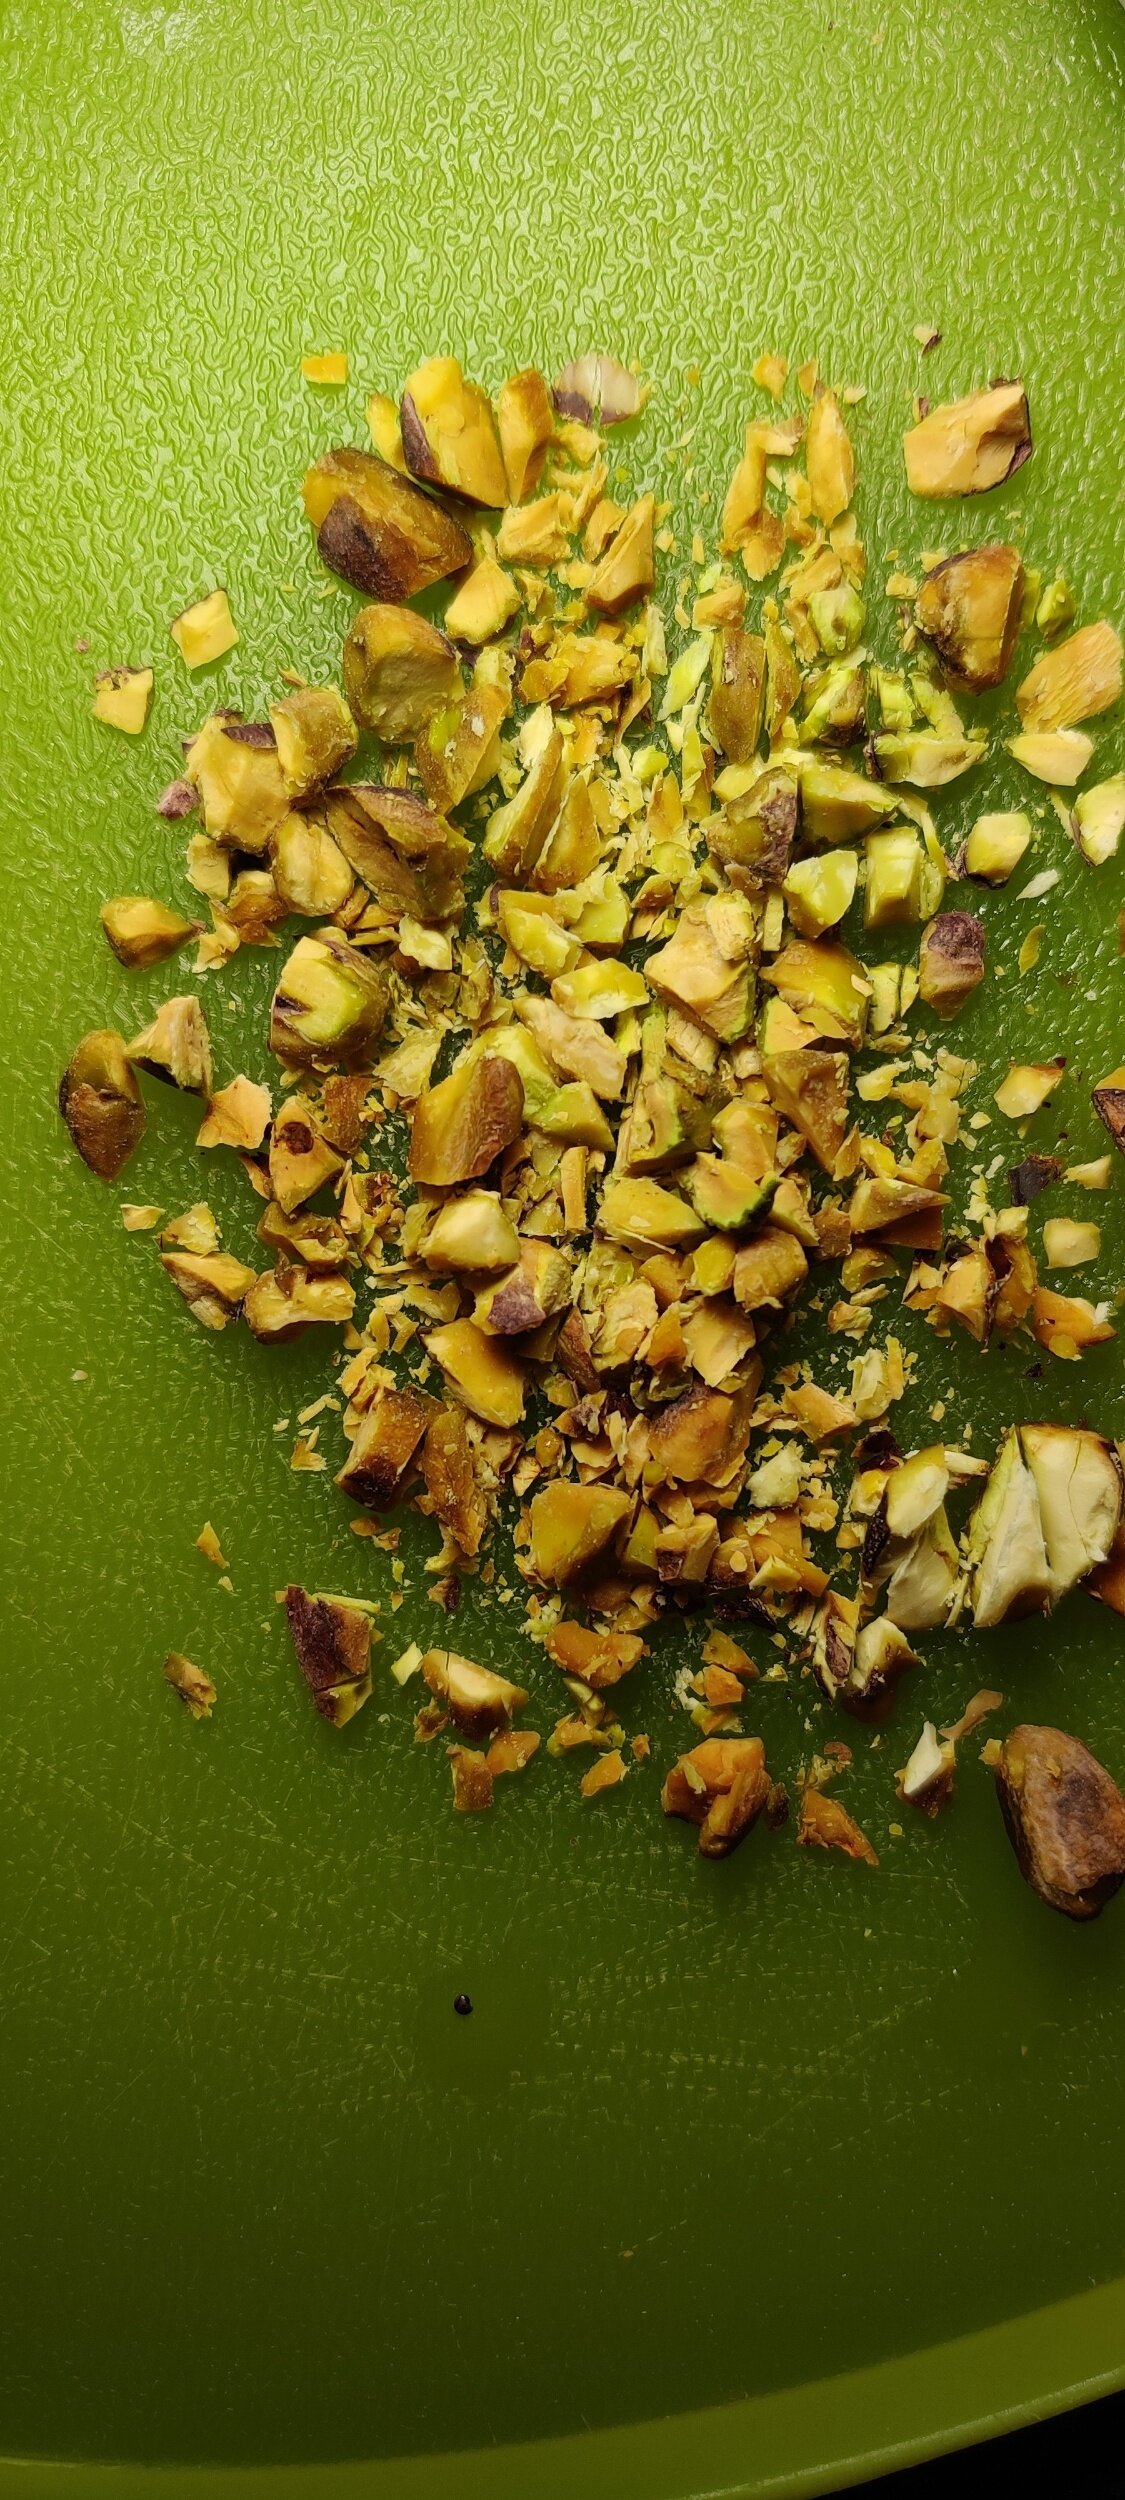
2 tablespoons pistachios
Fresh thyme sprigs
Salt and pepper or steak seasoning
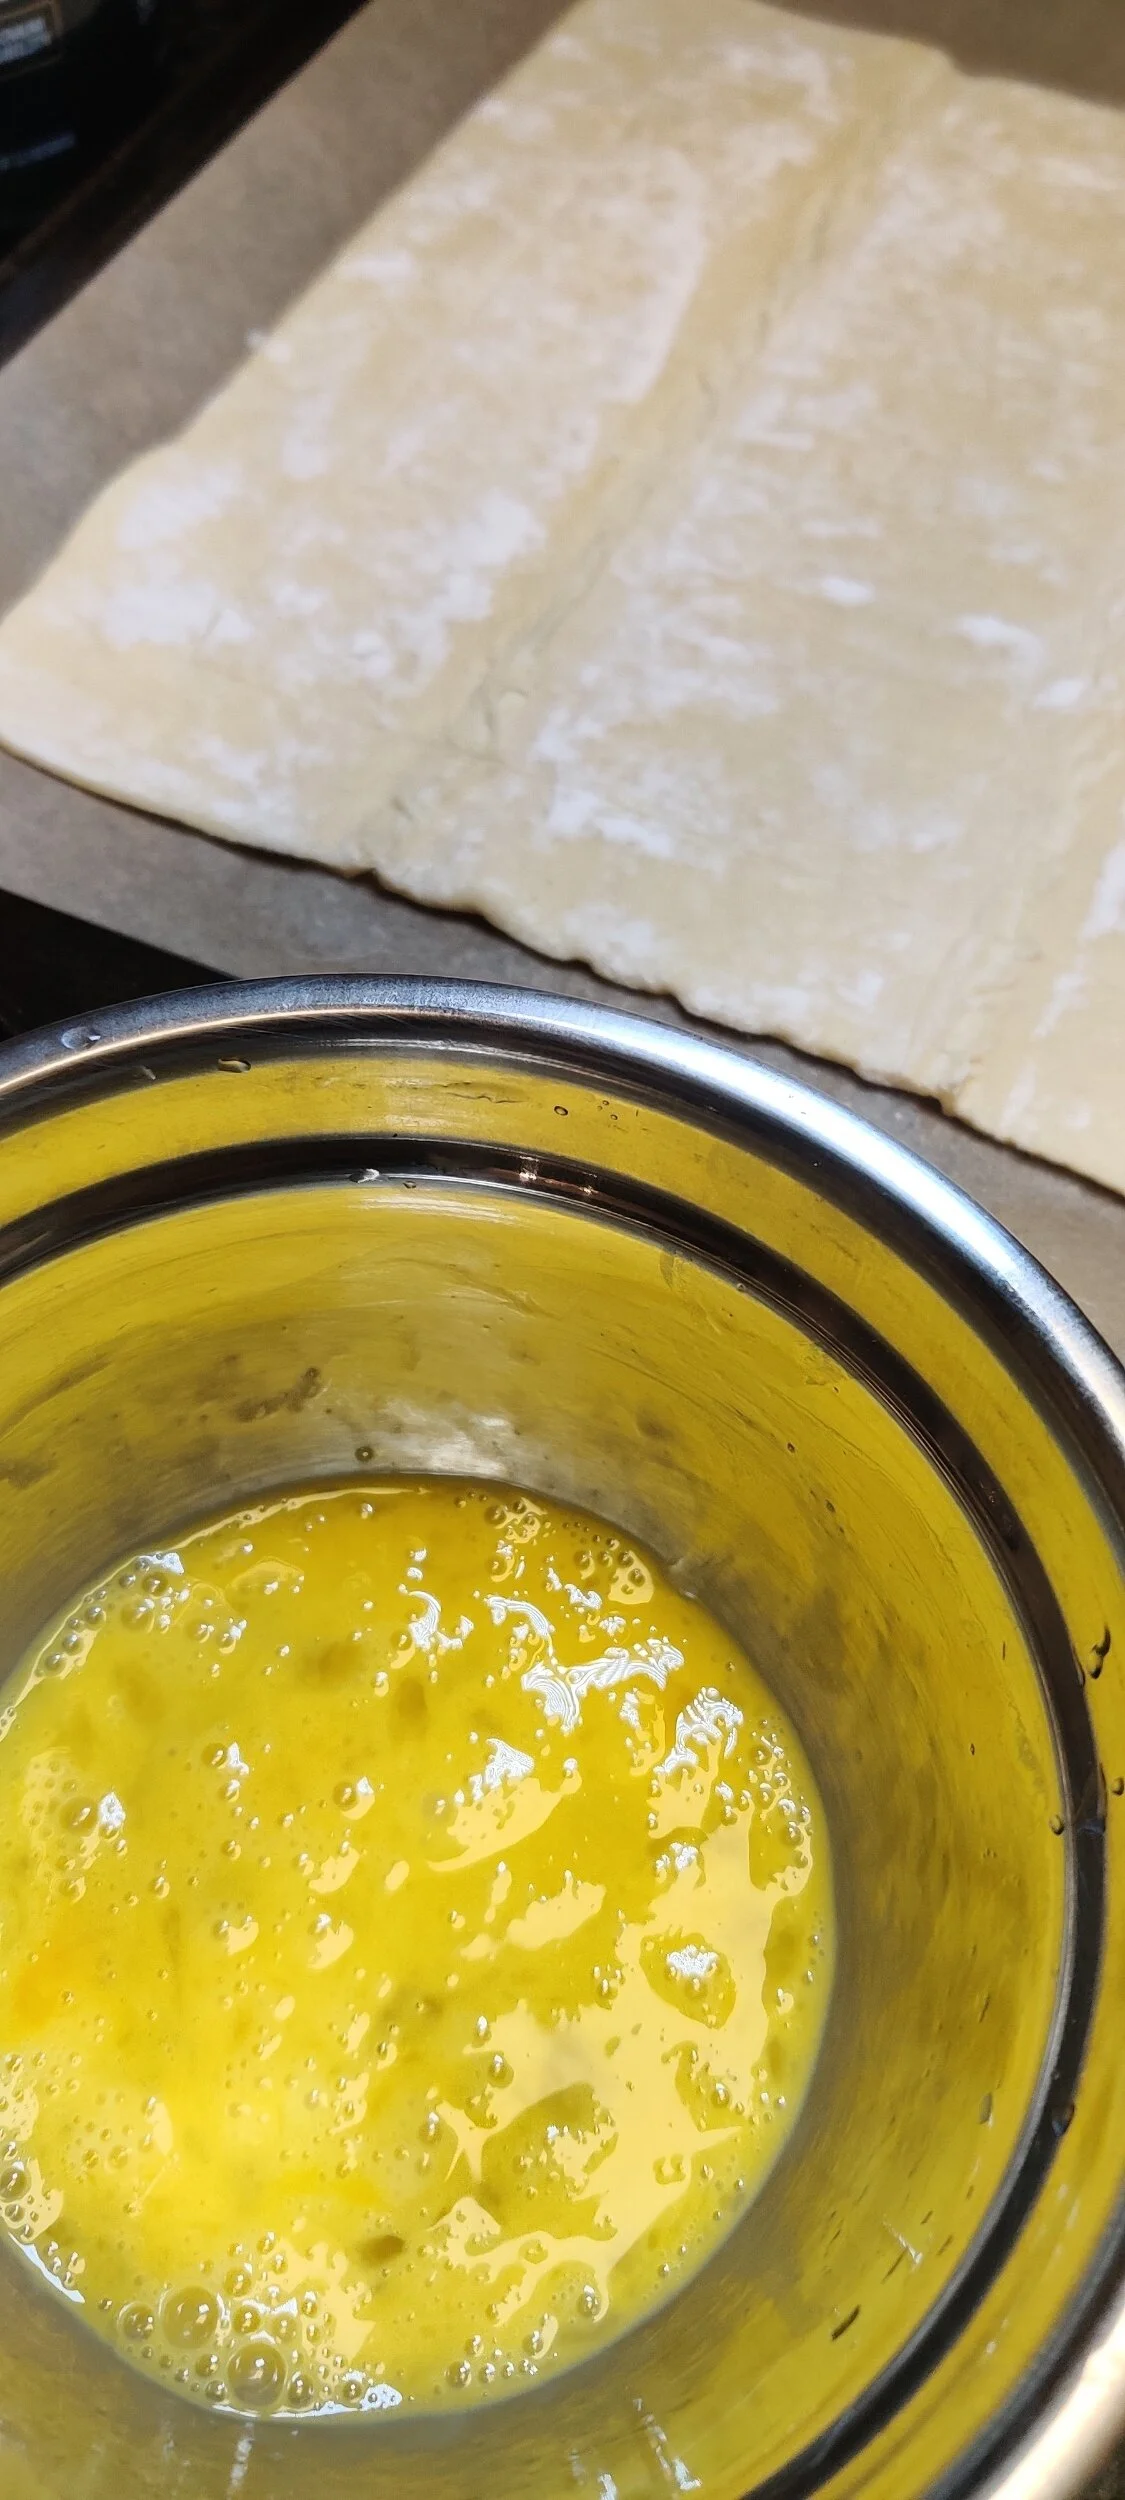
1 sheet puff pastry, thawed
1 egg
Honey
Instructions
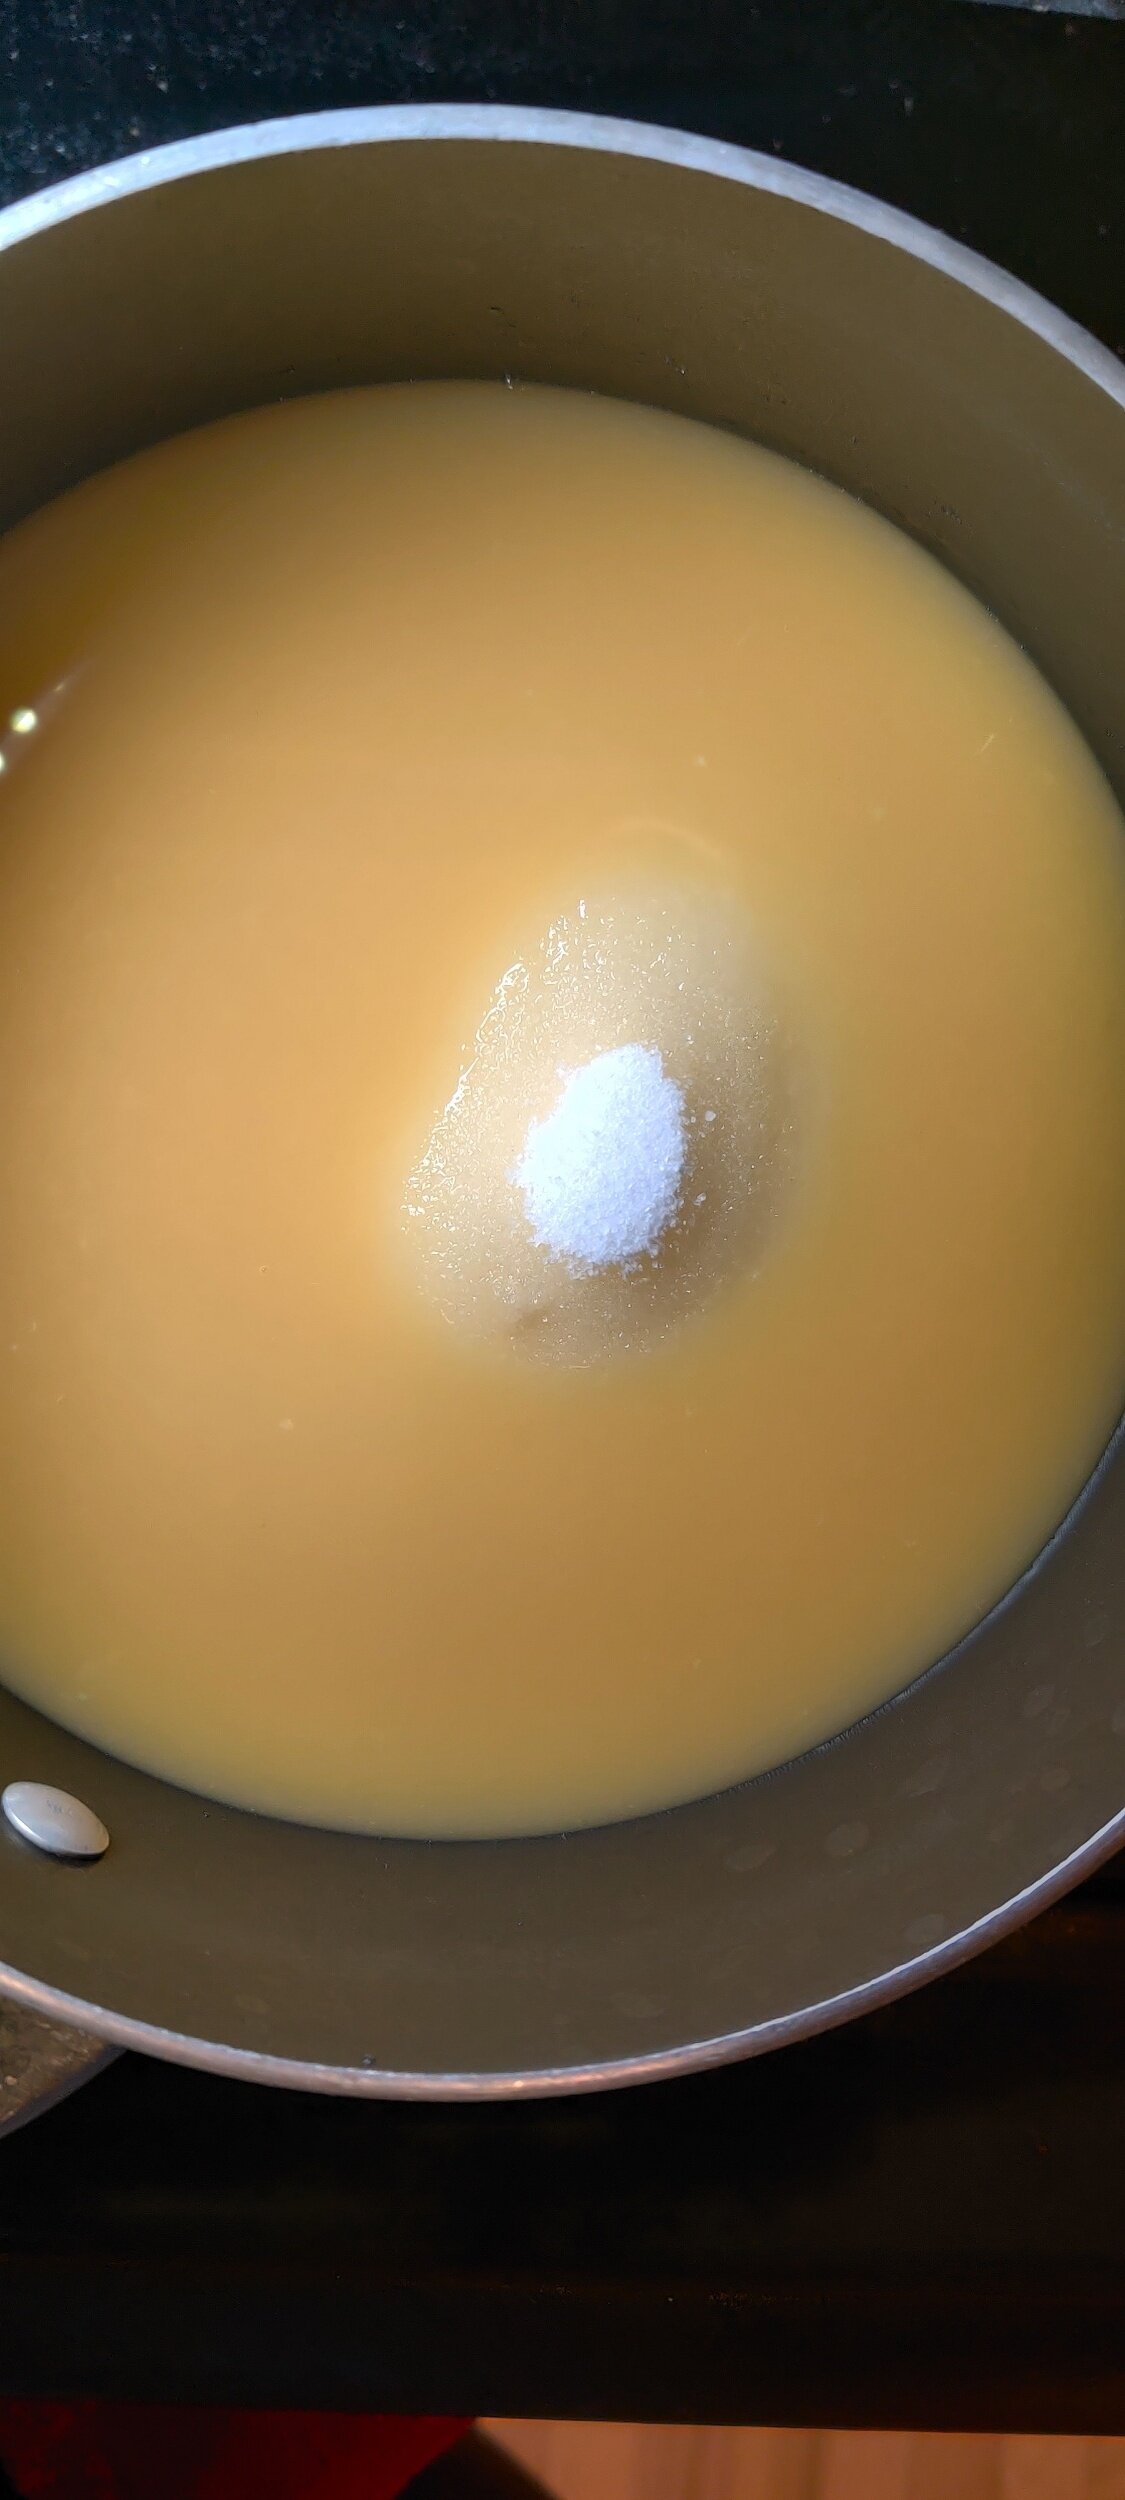
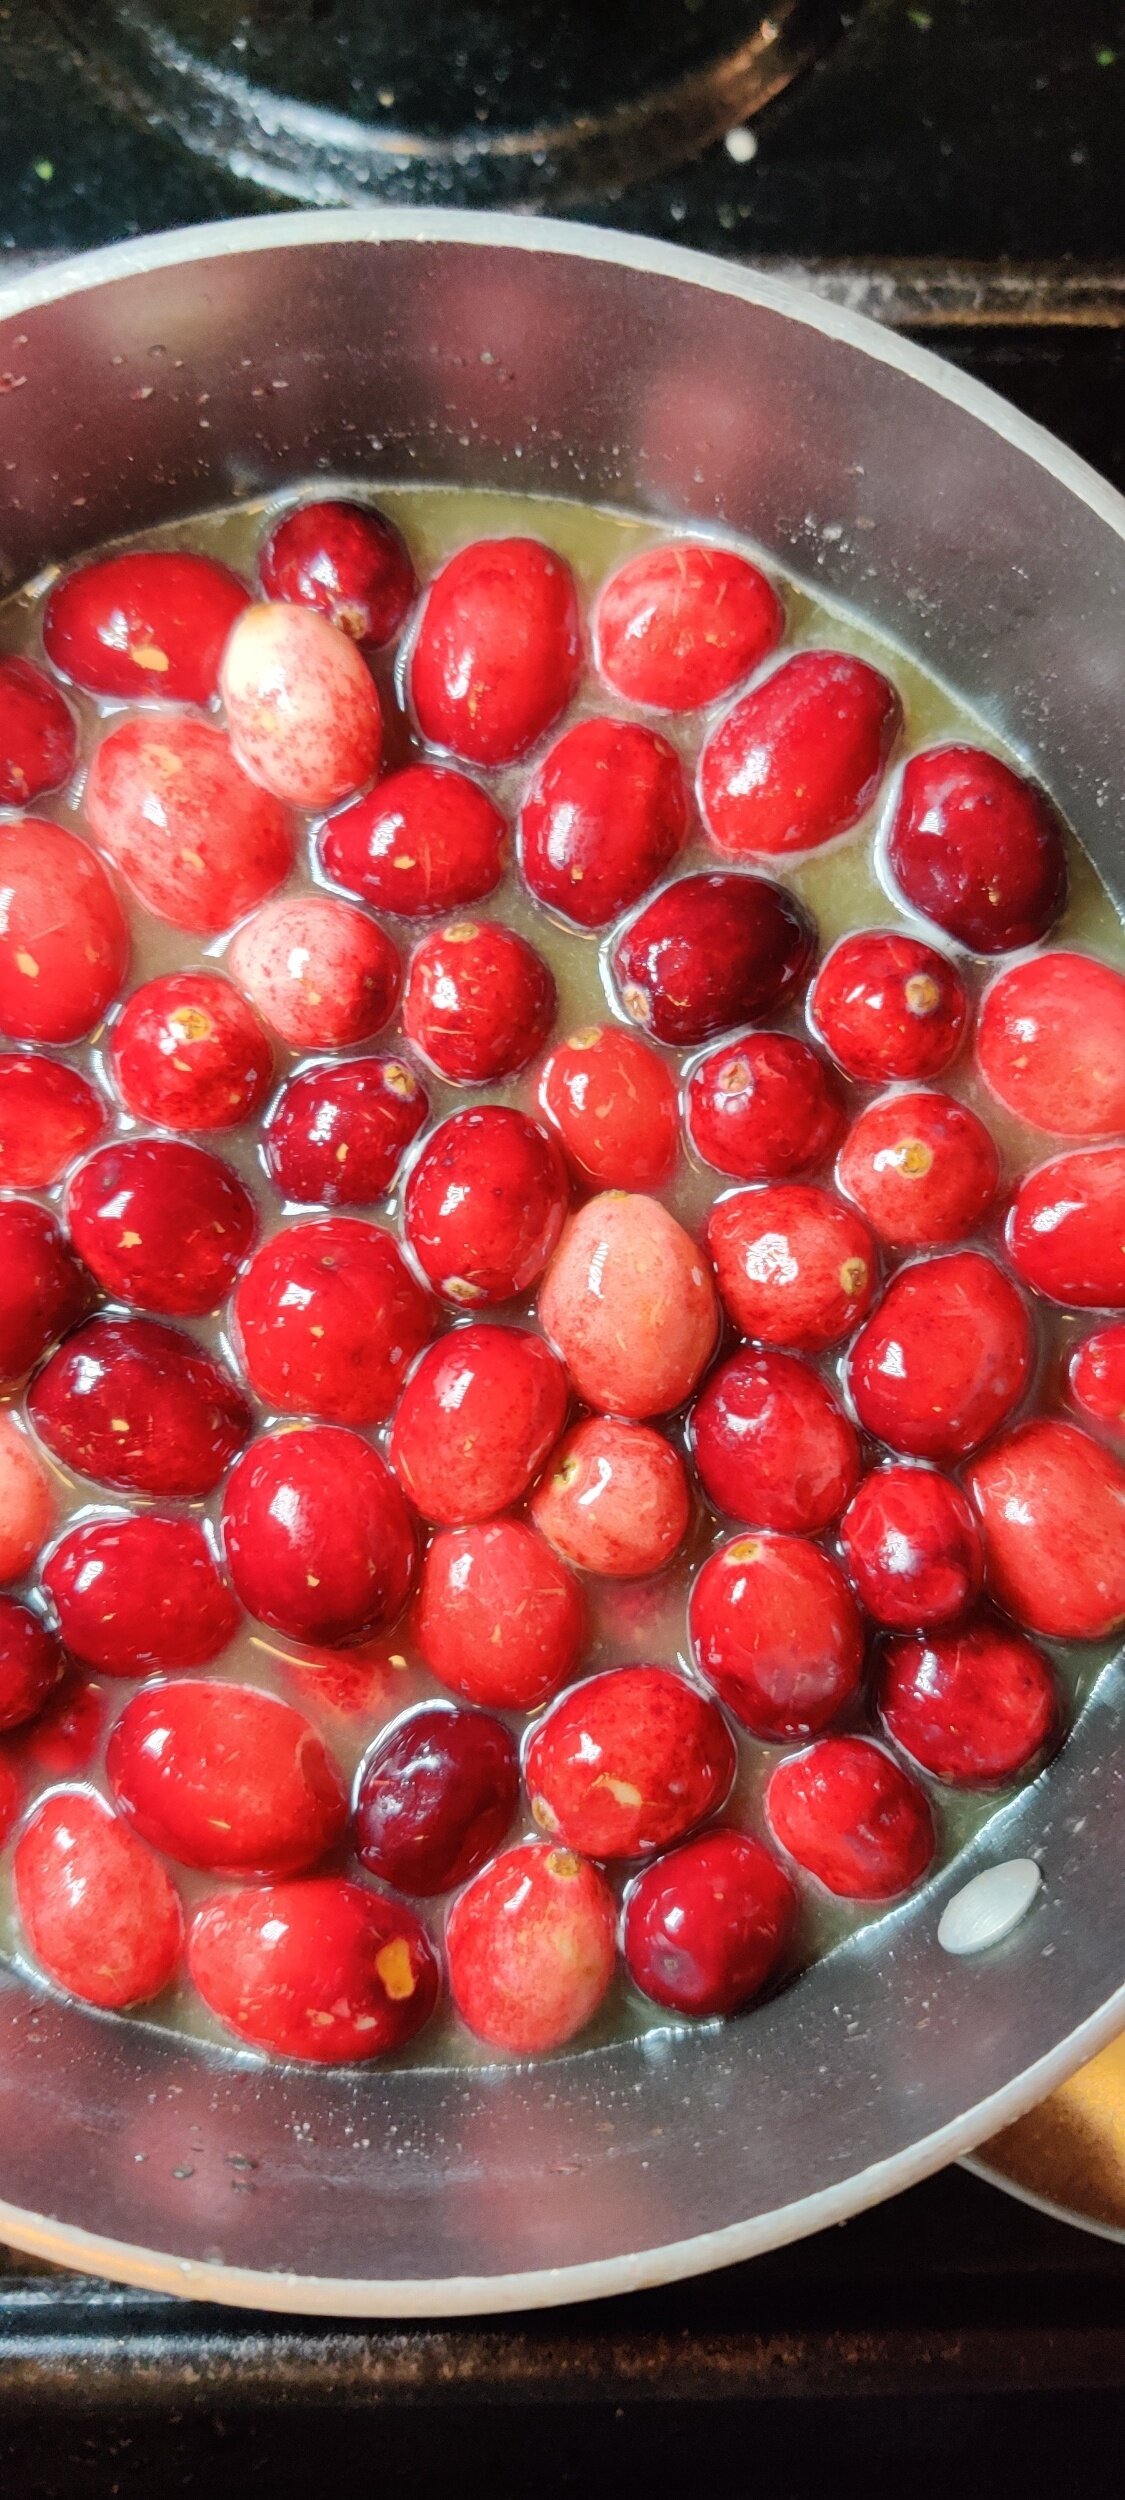
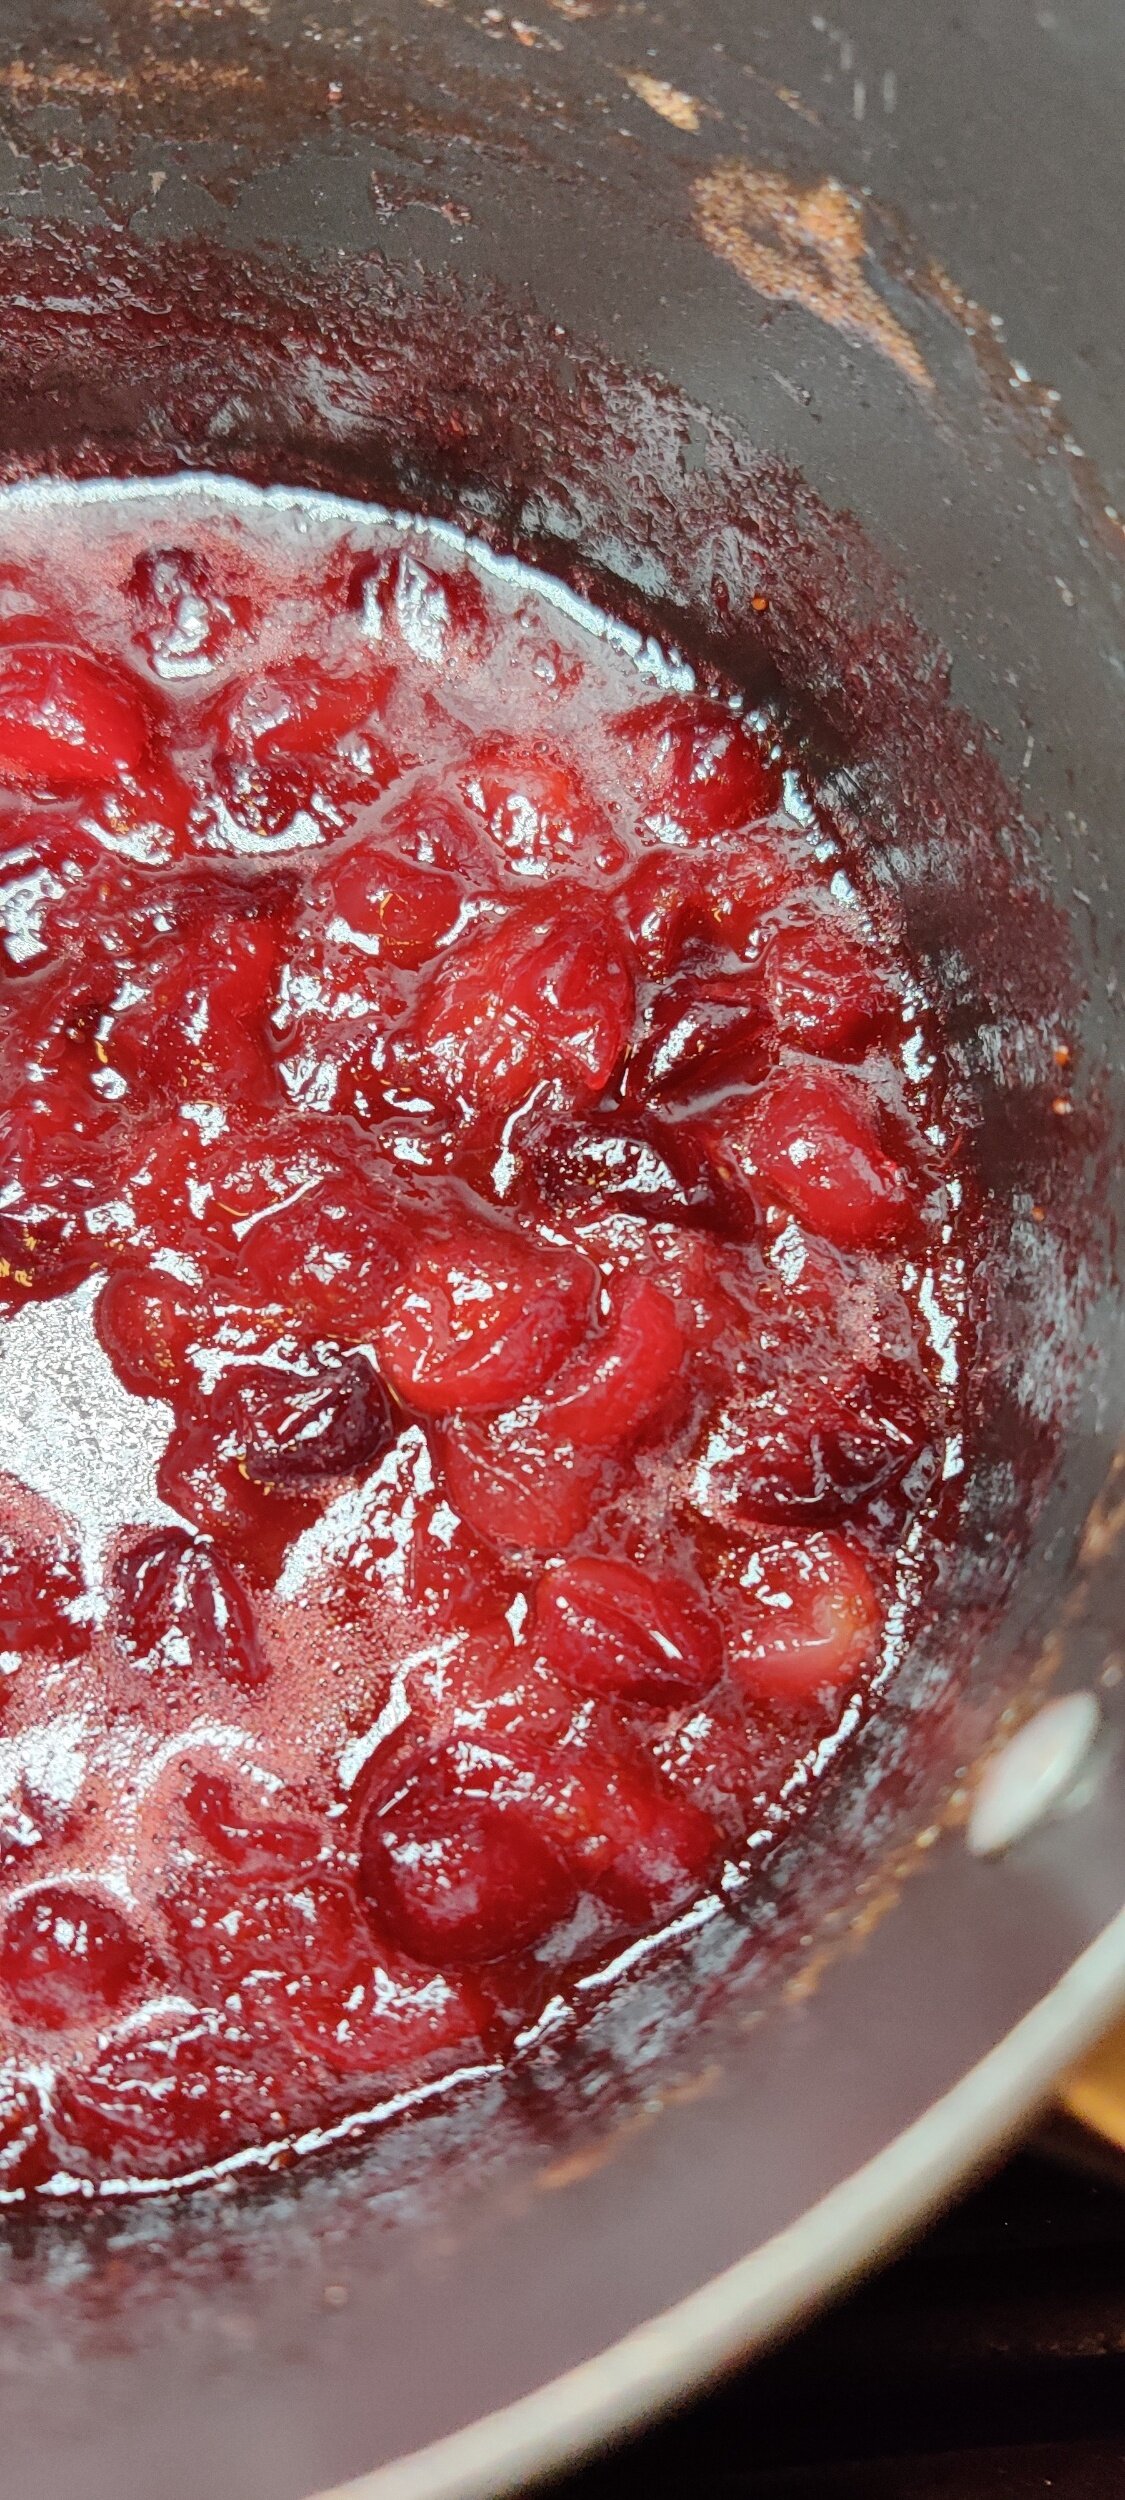
Make the cranberry sauce. On medium-low heat, dissolve the sugar in the orange juice.
Add the washed and drained cranberries and simmer on low heat for about 10 minutes until a thick sauce begins to form - the cranberries will break down and darken. Remove from heat and set aside.
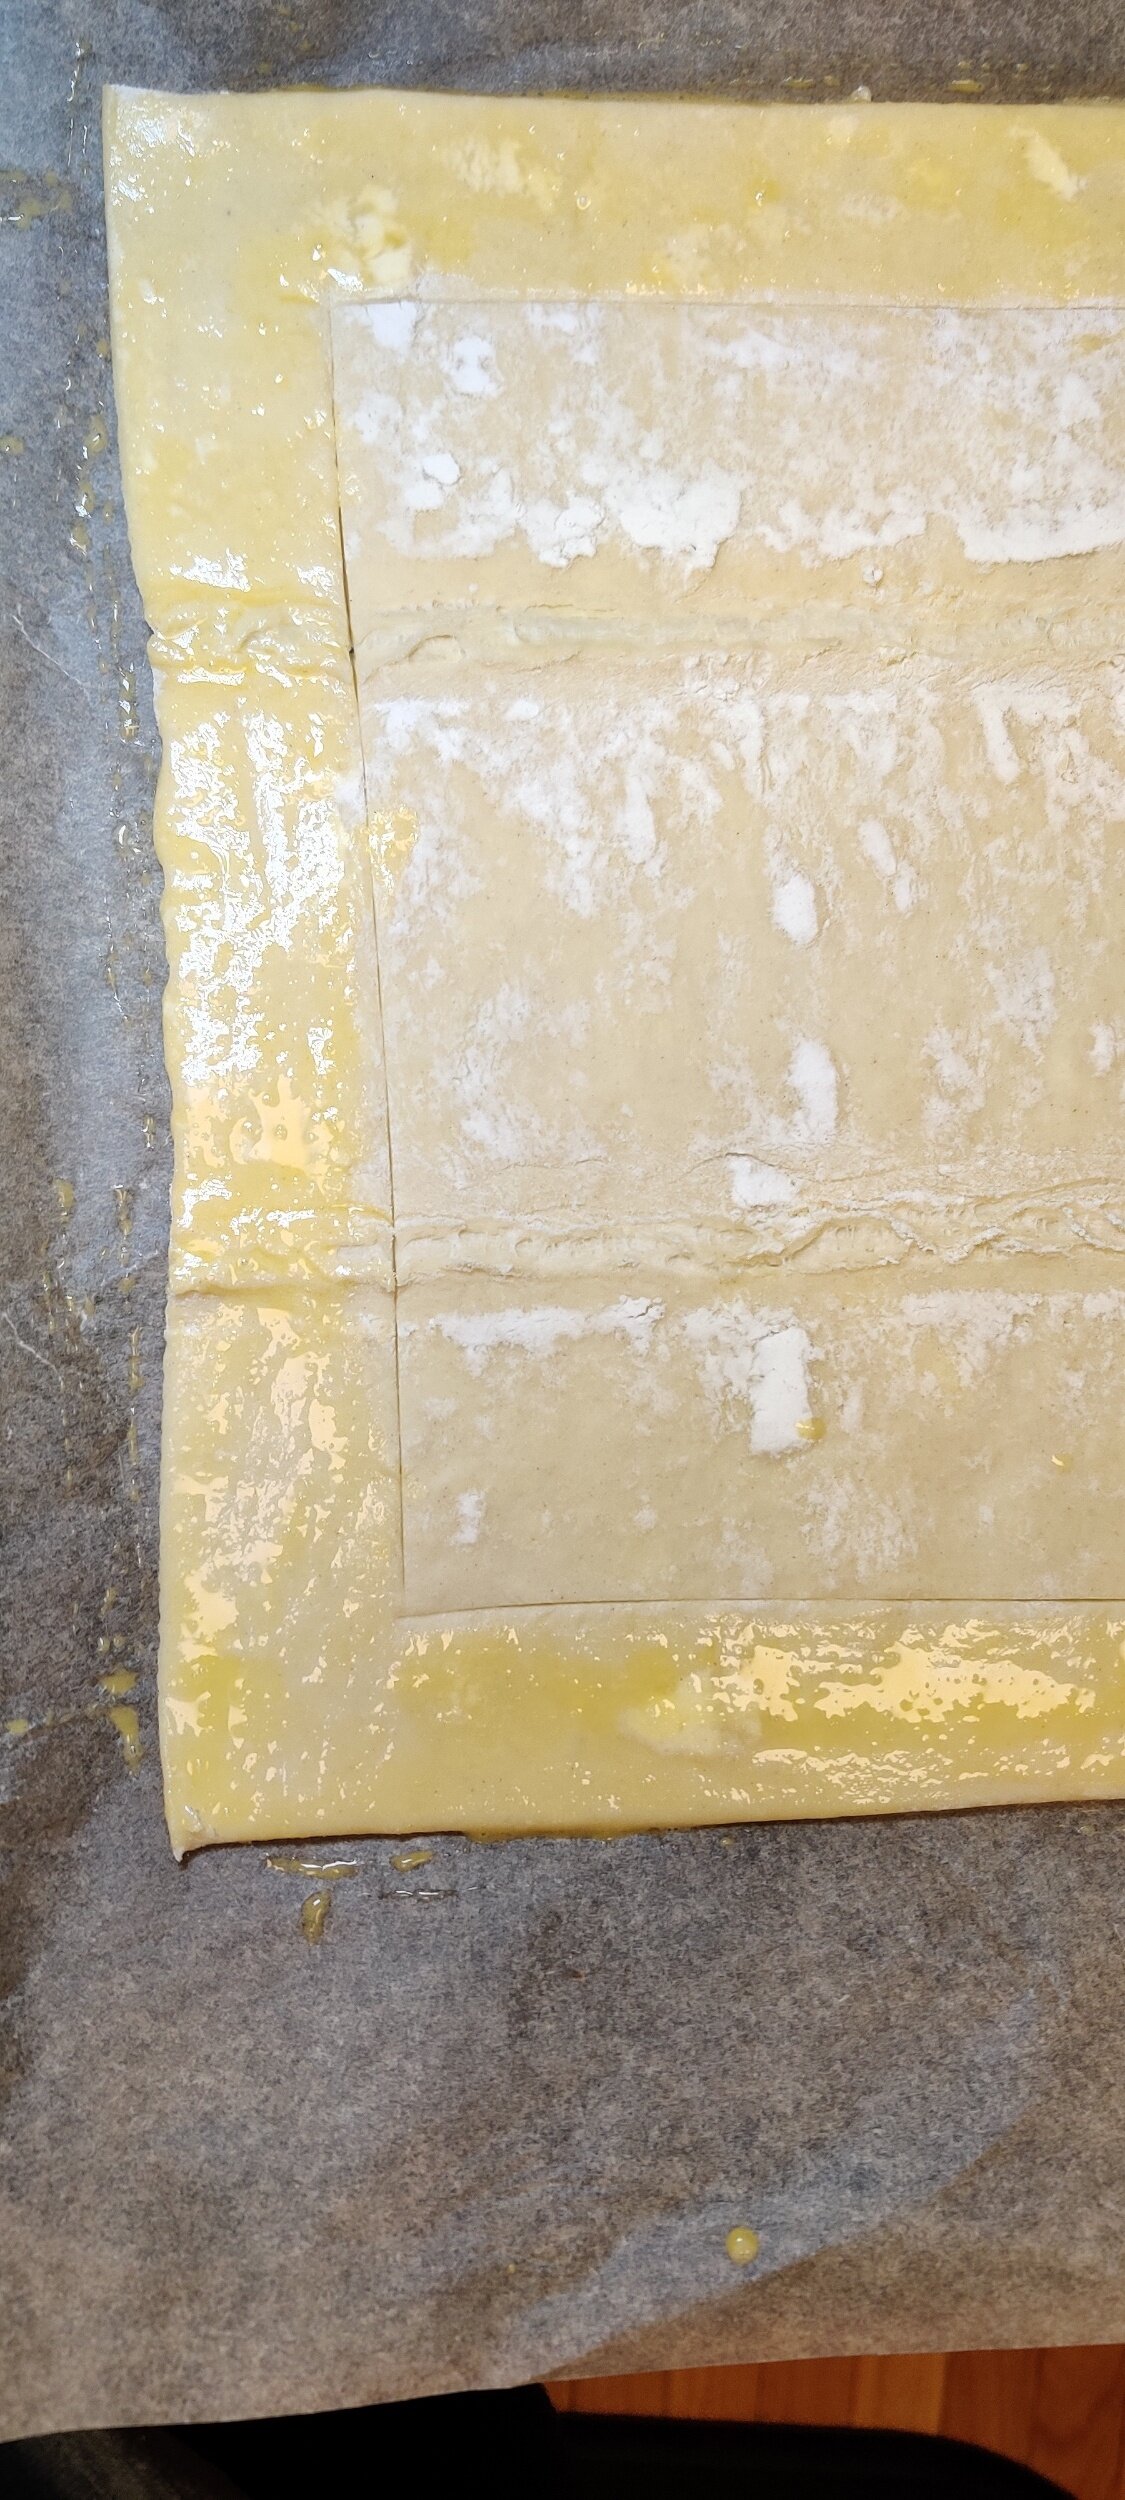
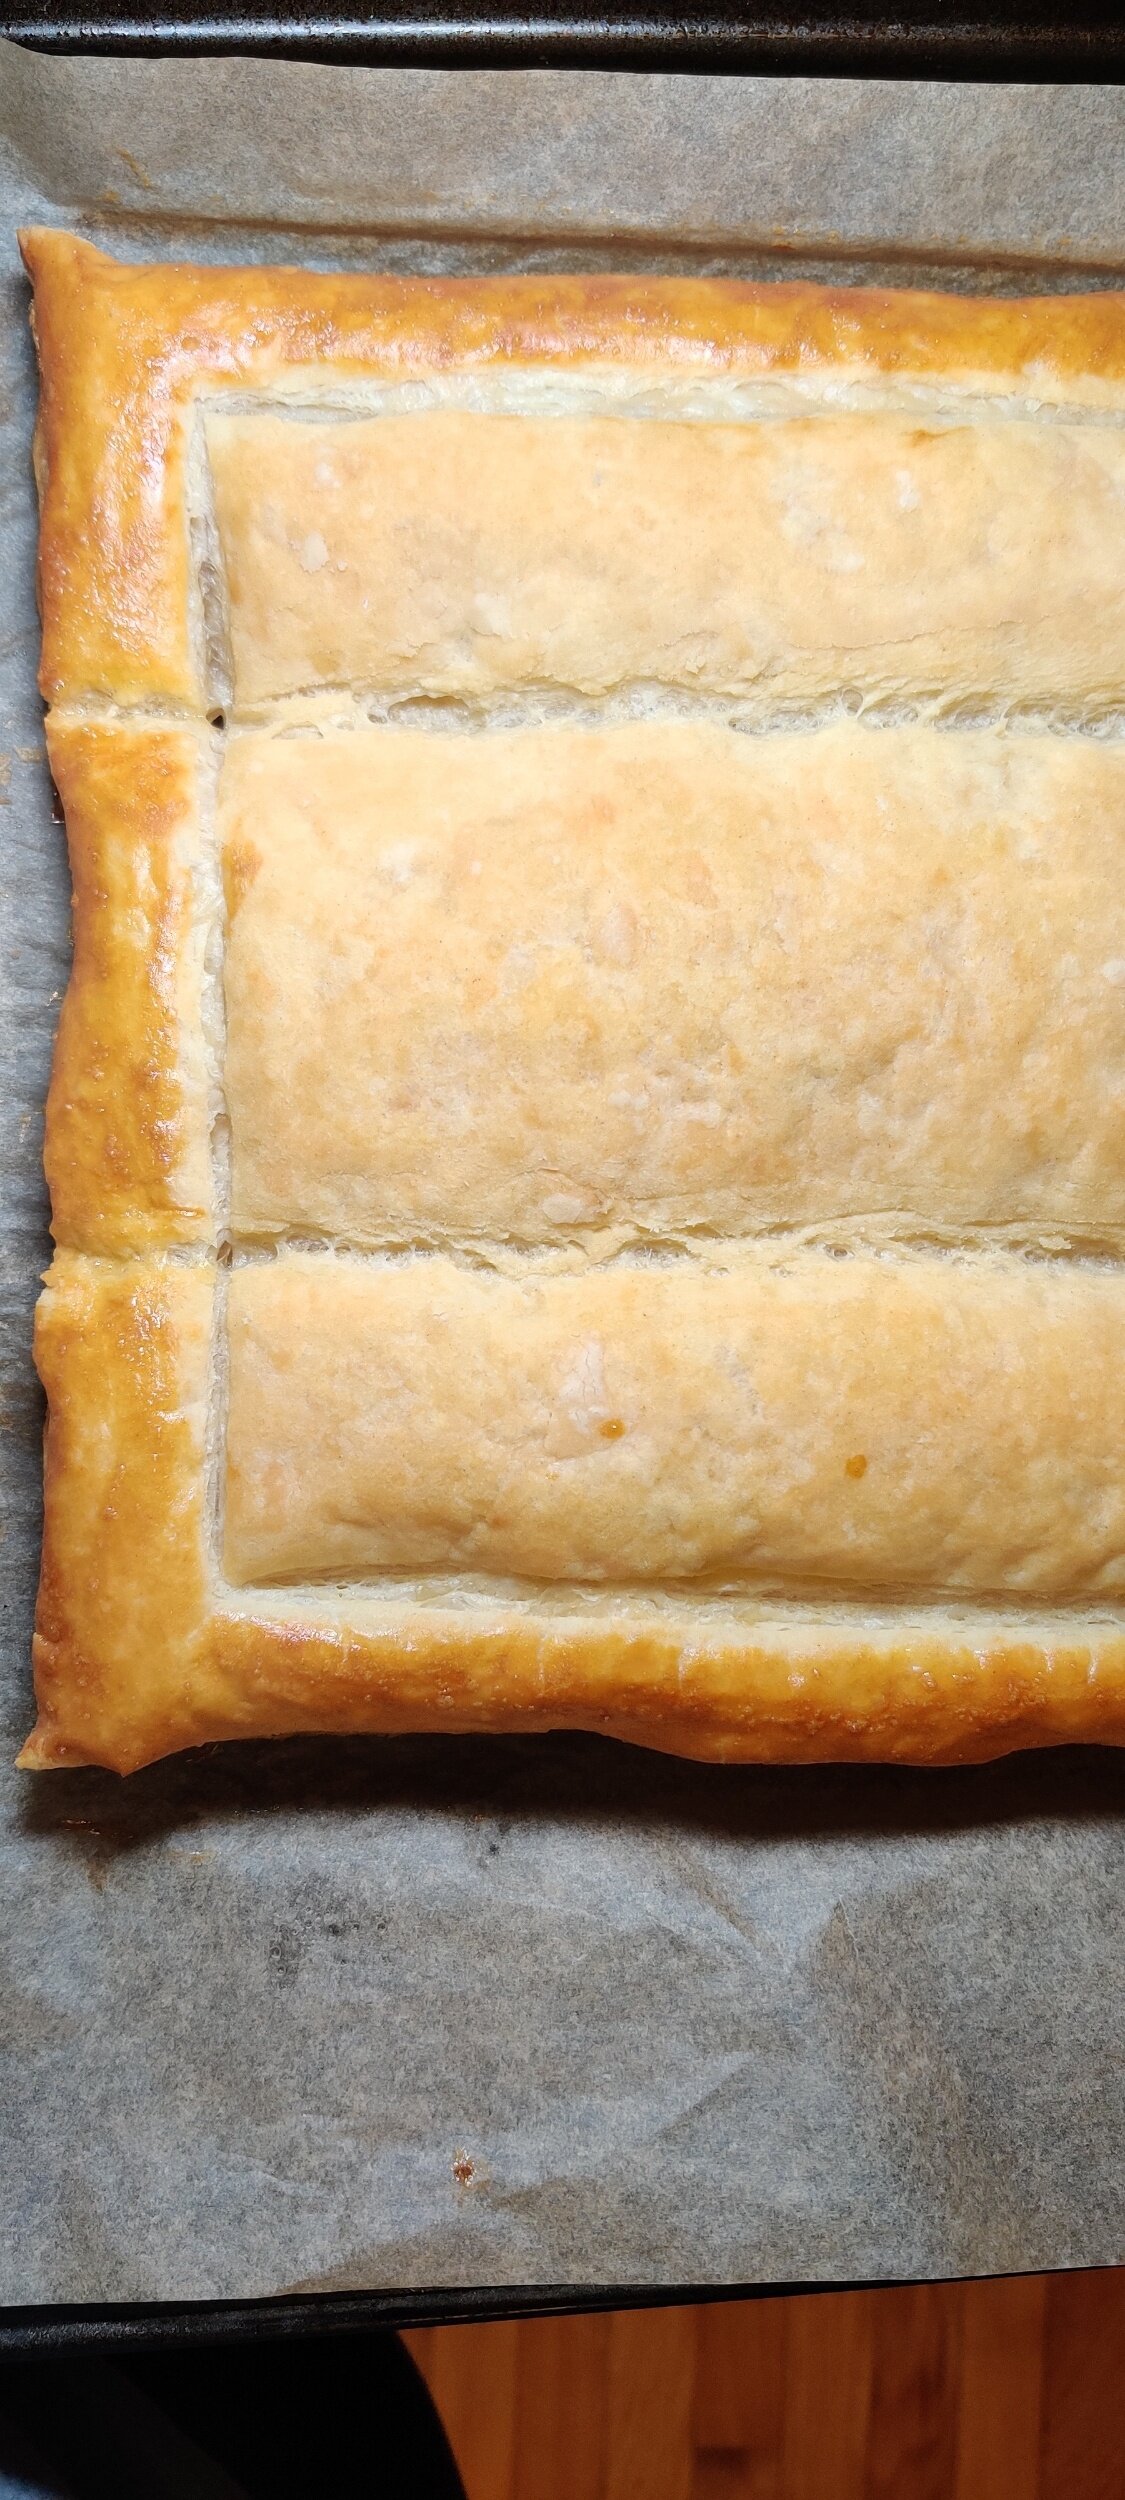
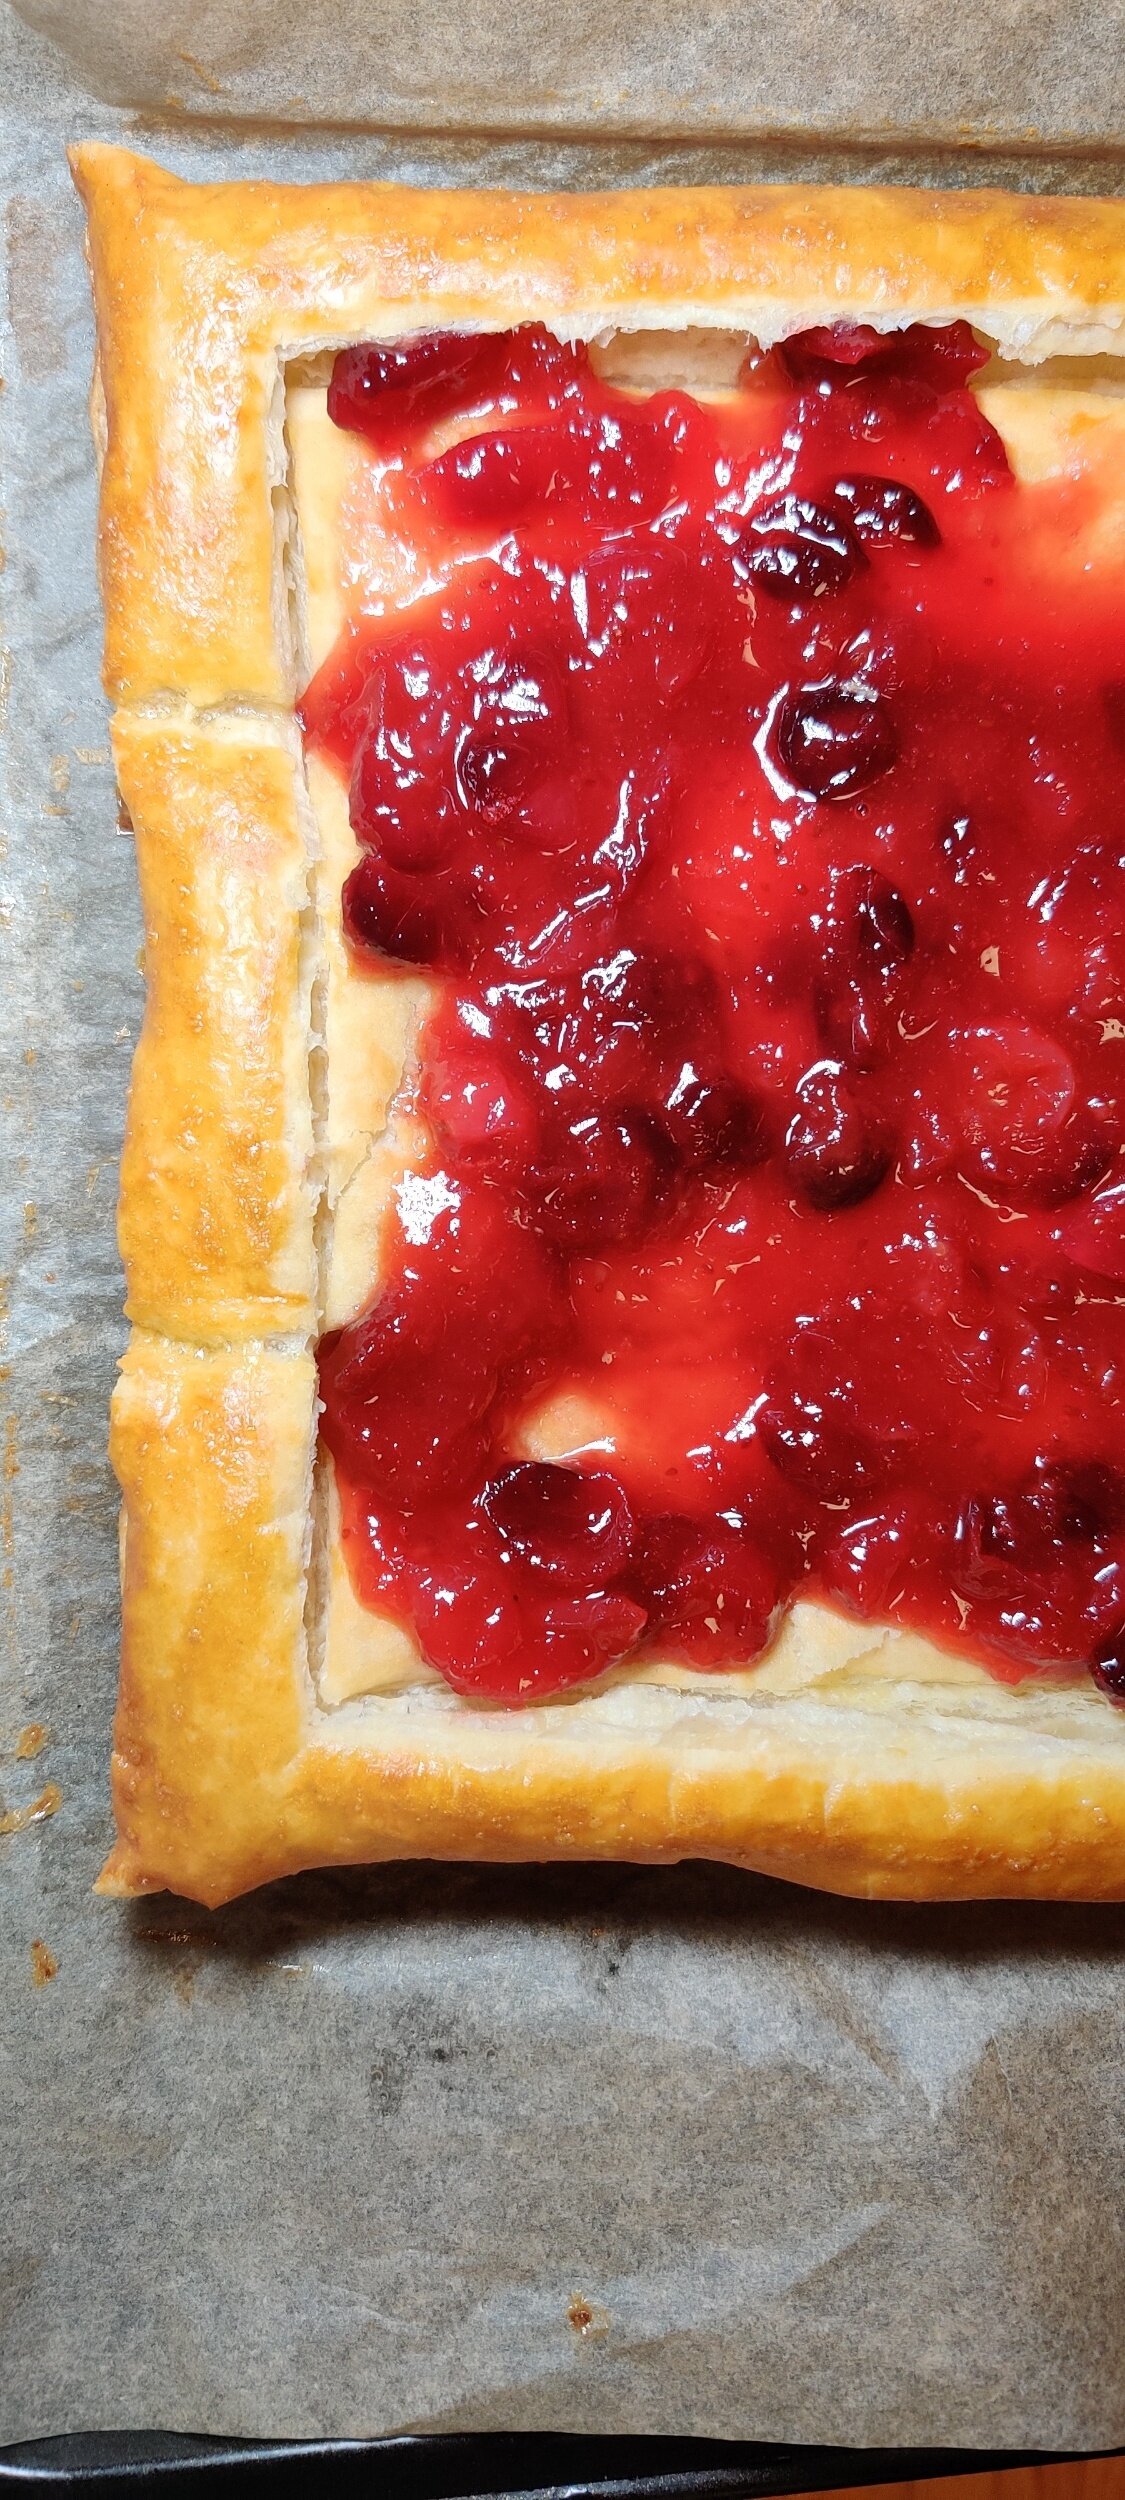
Score the puff pastry about an inch and a half of a border - take care not to cut all the way through! Gently mark with the knife so you can see the outline. Brush that area with egg wash and bake for 15 minutes in a 375F.
While baking, roughly chop the pistachios and slice the brie into thickly.
Remove the pastry from the oven, and gently press the inflated part/centre down with a spoon - take care not to crack it.
Smother most of the cranberry sauce over the pastry, then overlay with the cheese slices, then add dollops of the remaining cranberry sauce.
Add some fresh thyme (removed from the stalk) and sprinkle about 1 tablespoon of the pistachios.
Bake for another 15 minutes or until the cheese has melted to your liking.
Serve warm and drizzle with honey and extra pistachios!
Note: go easy on the cranberry if you don't want it too tangy!

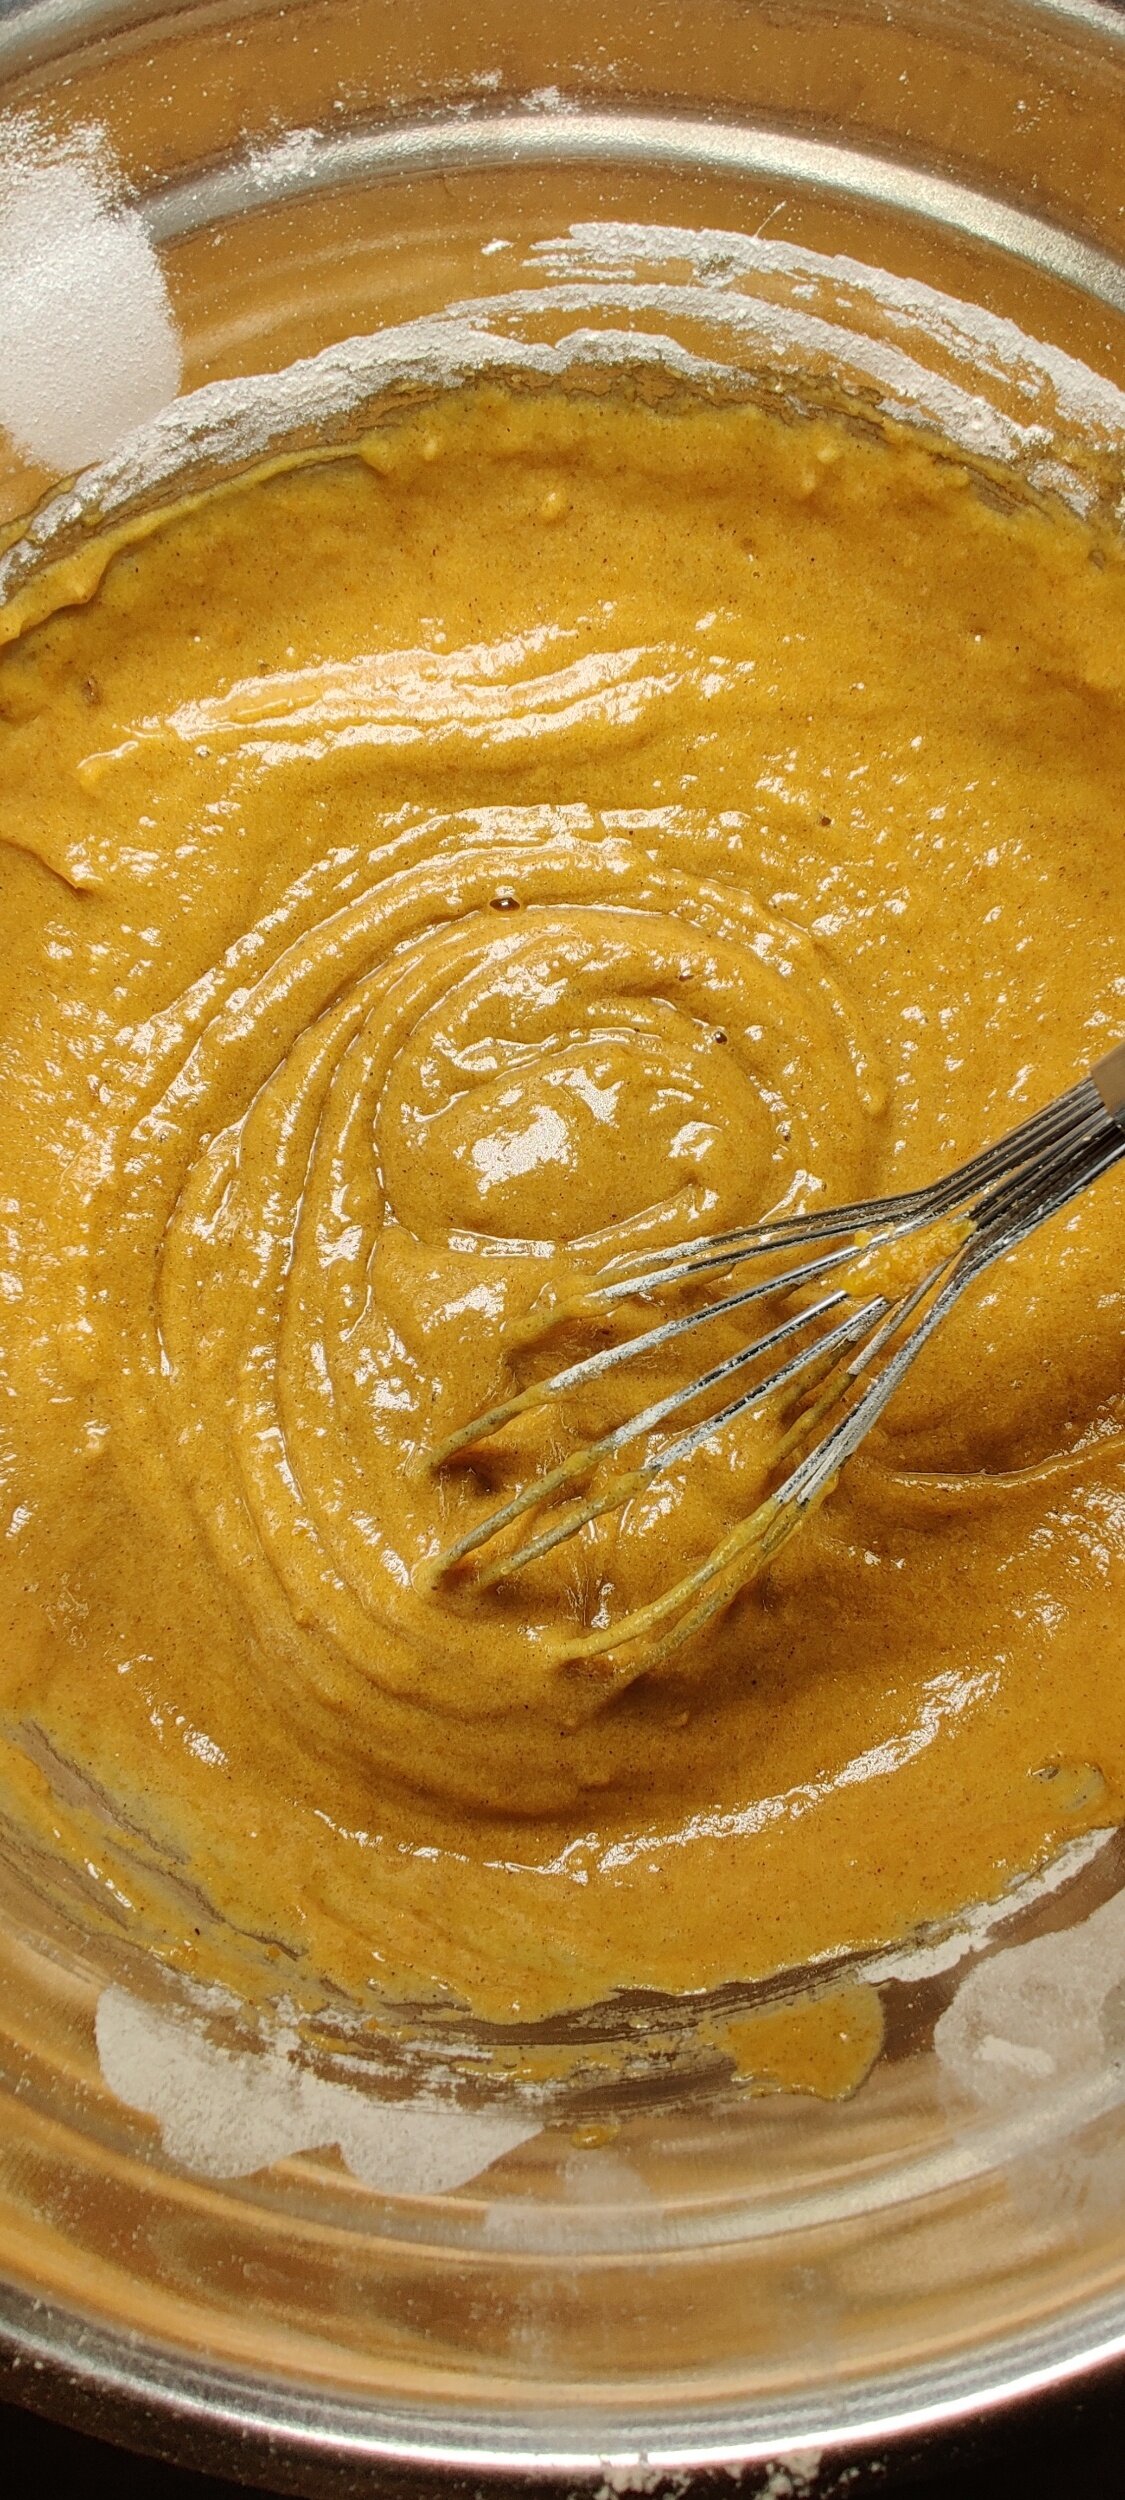
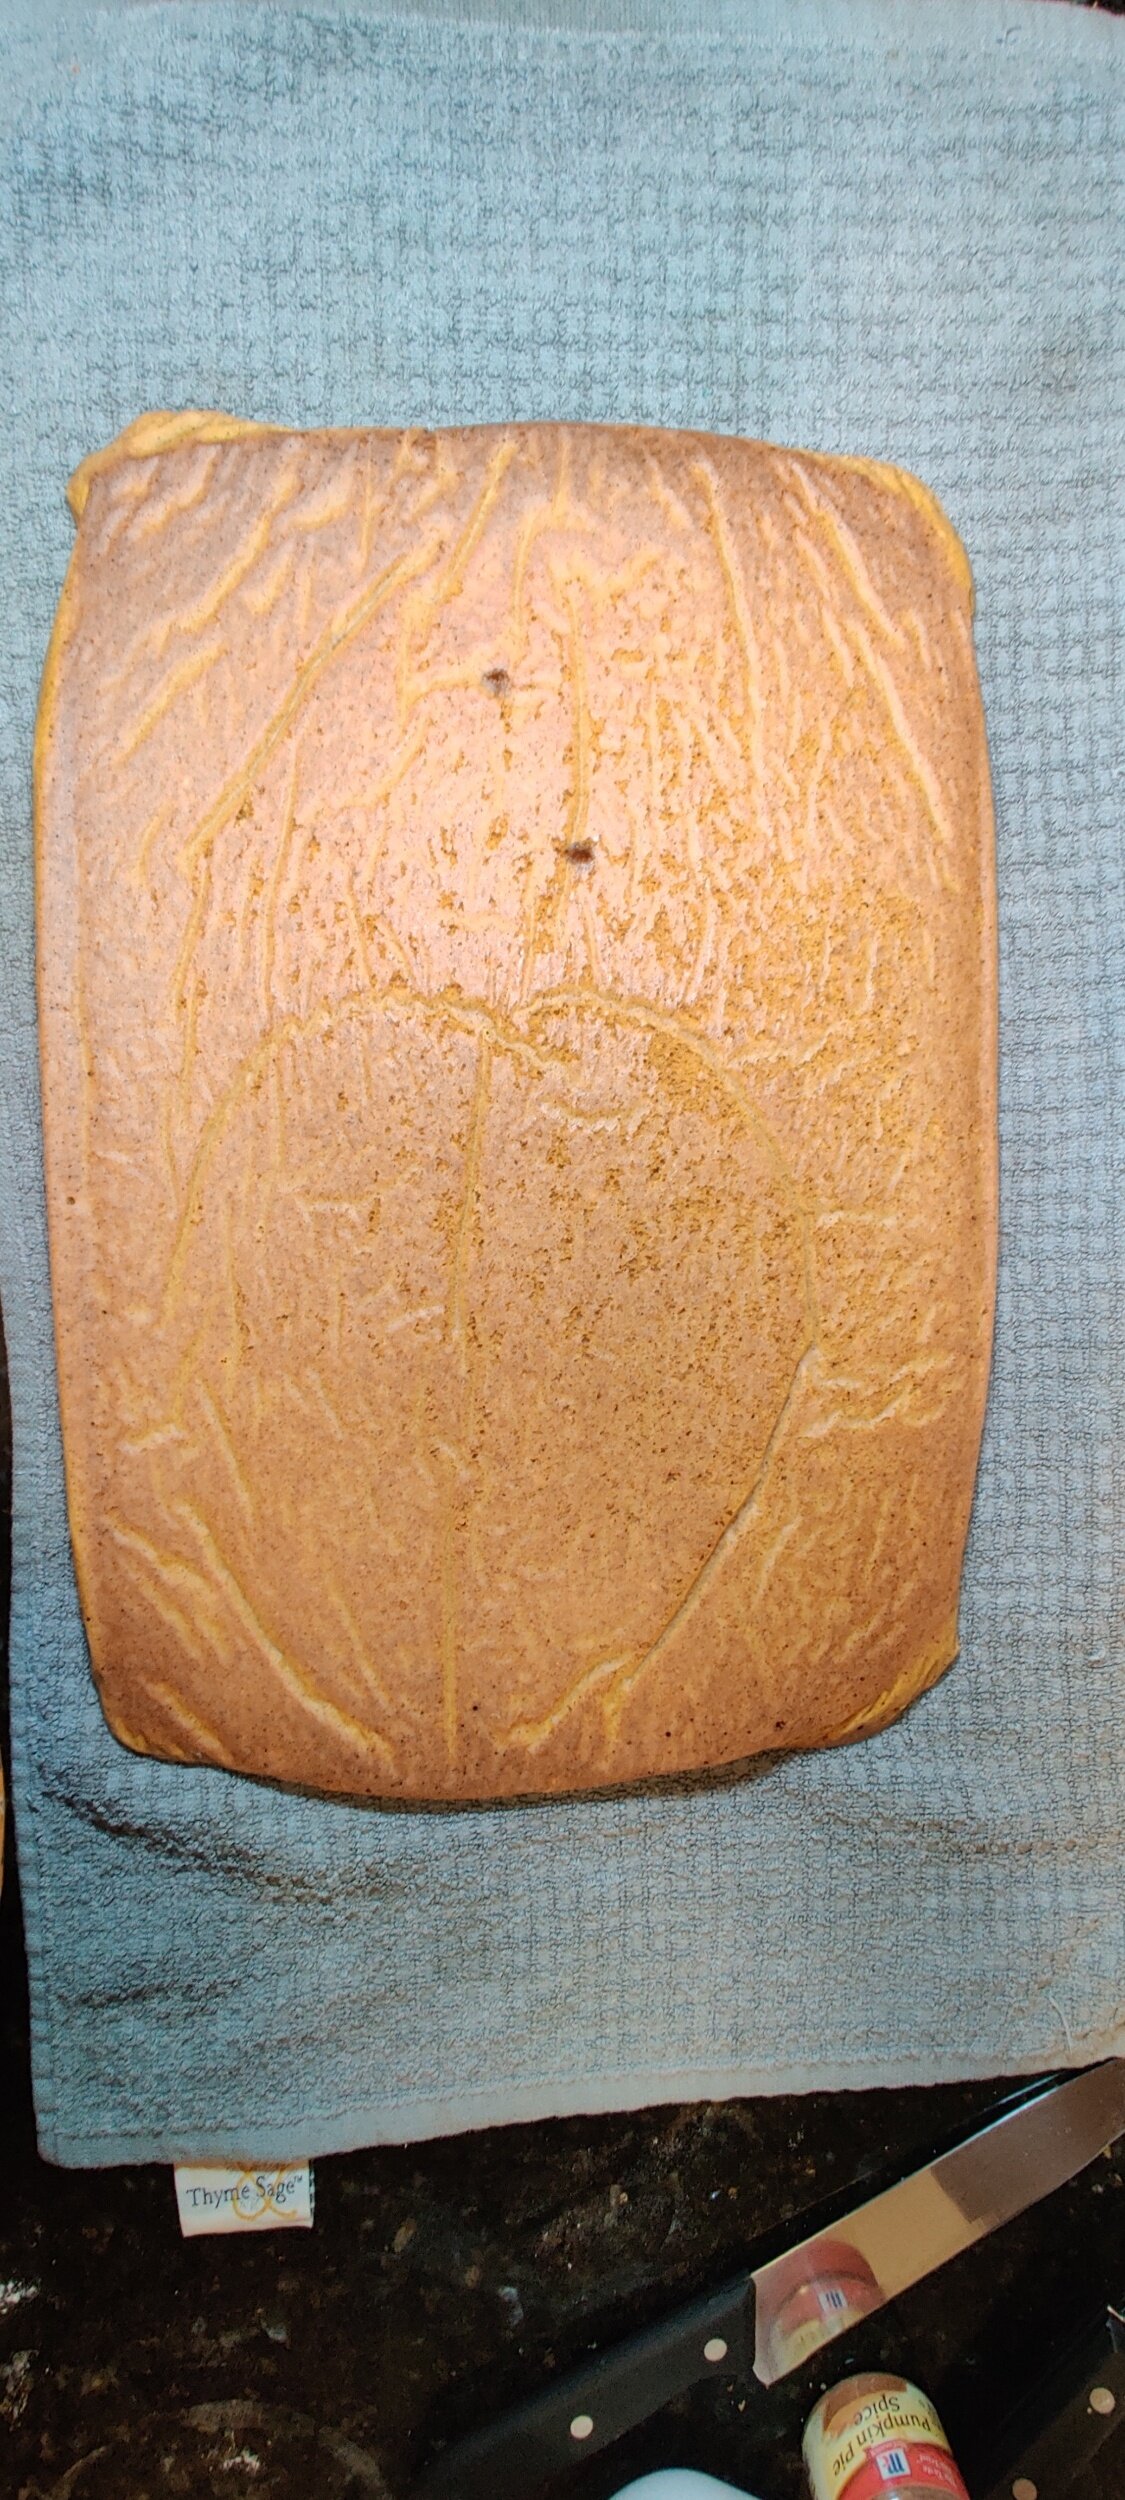
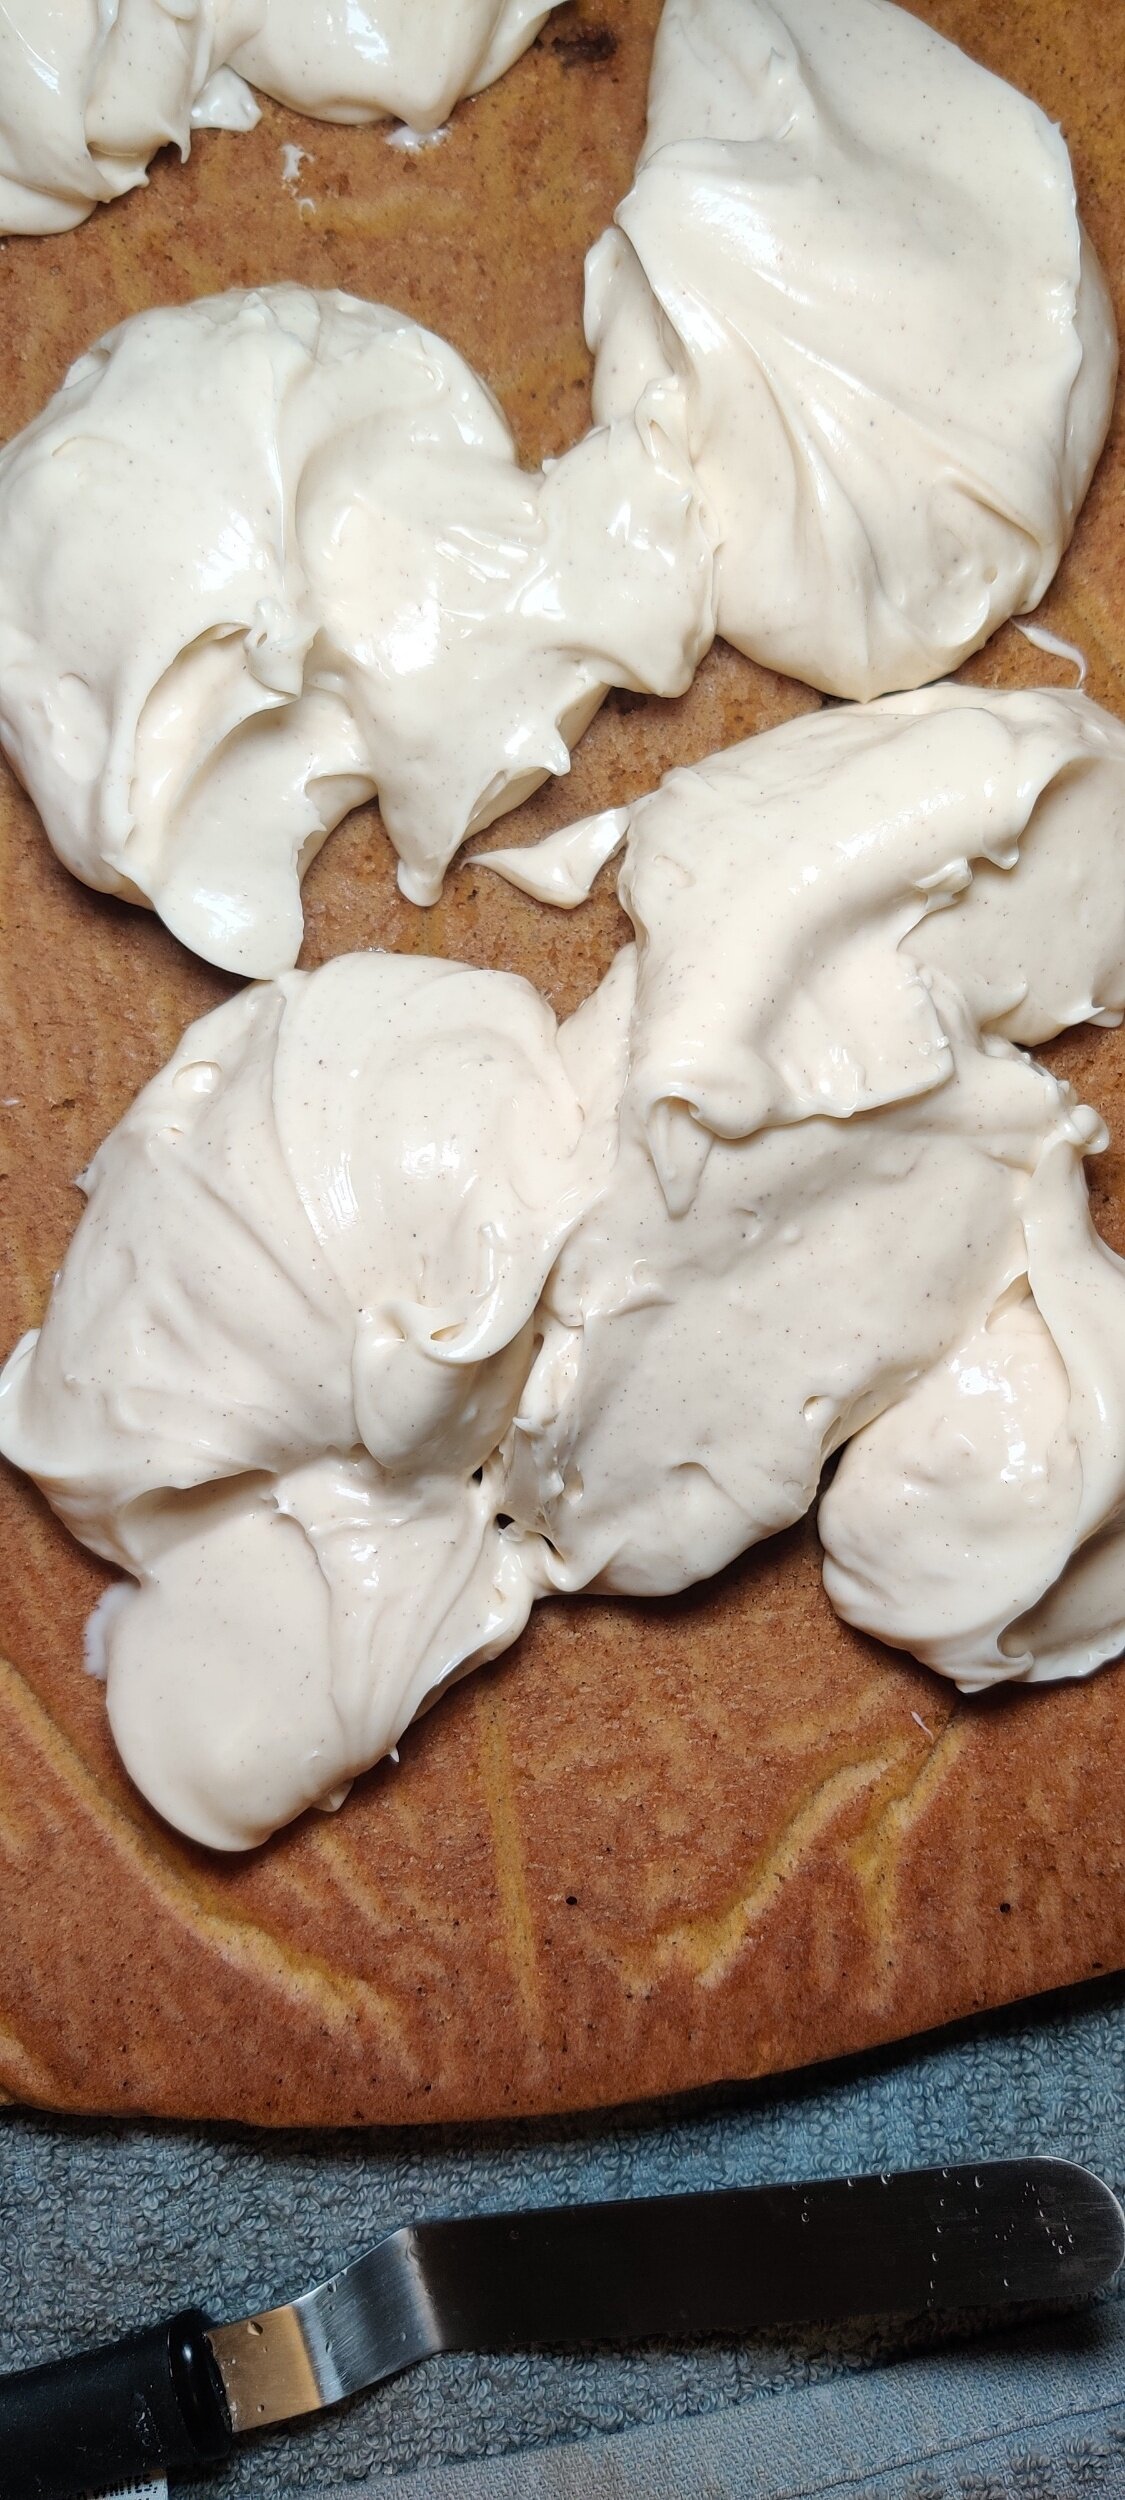
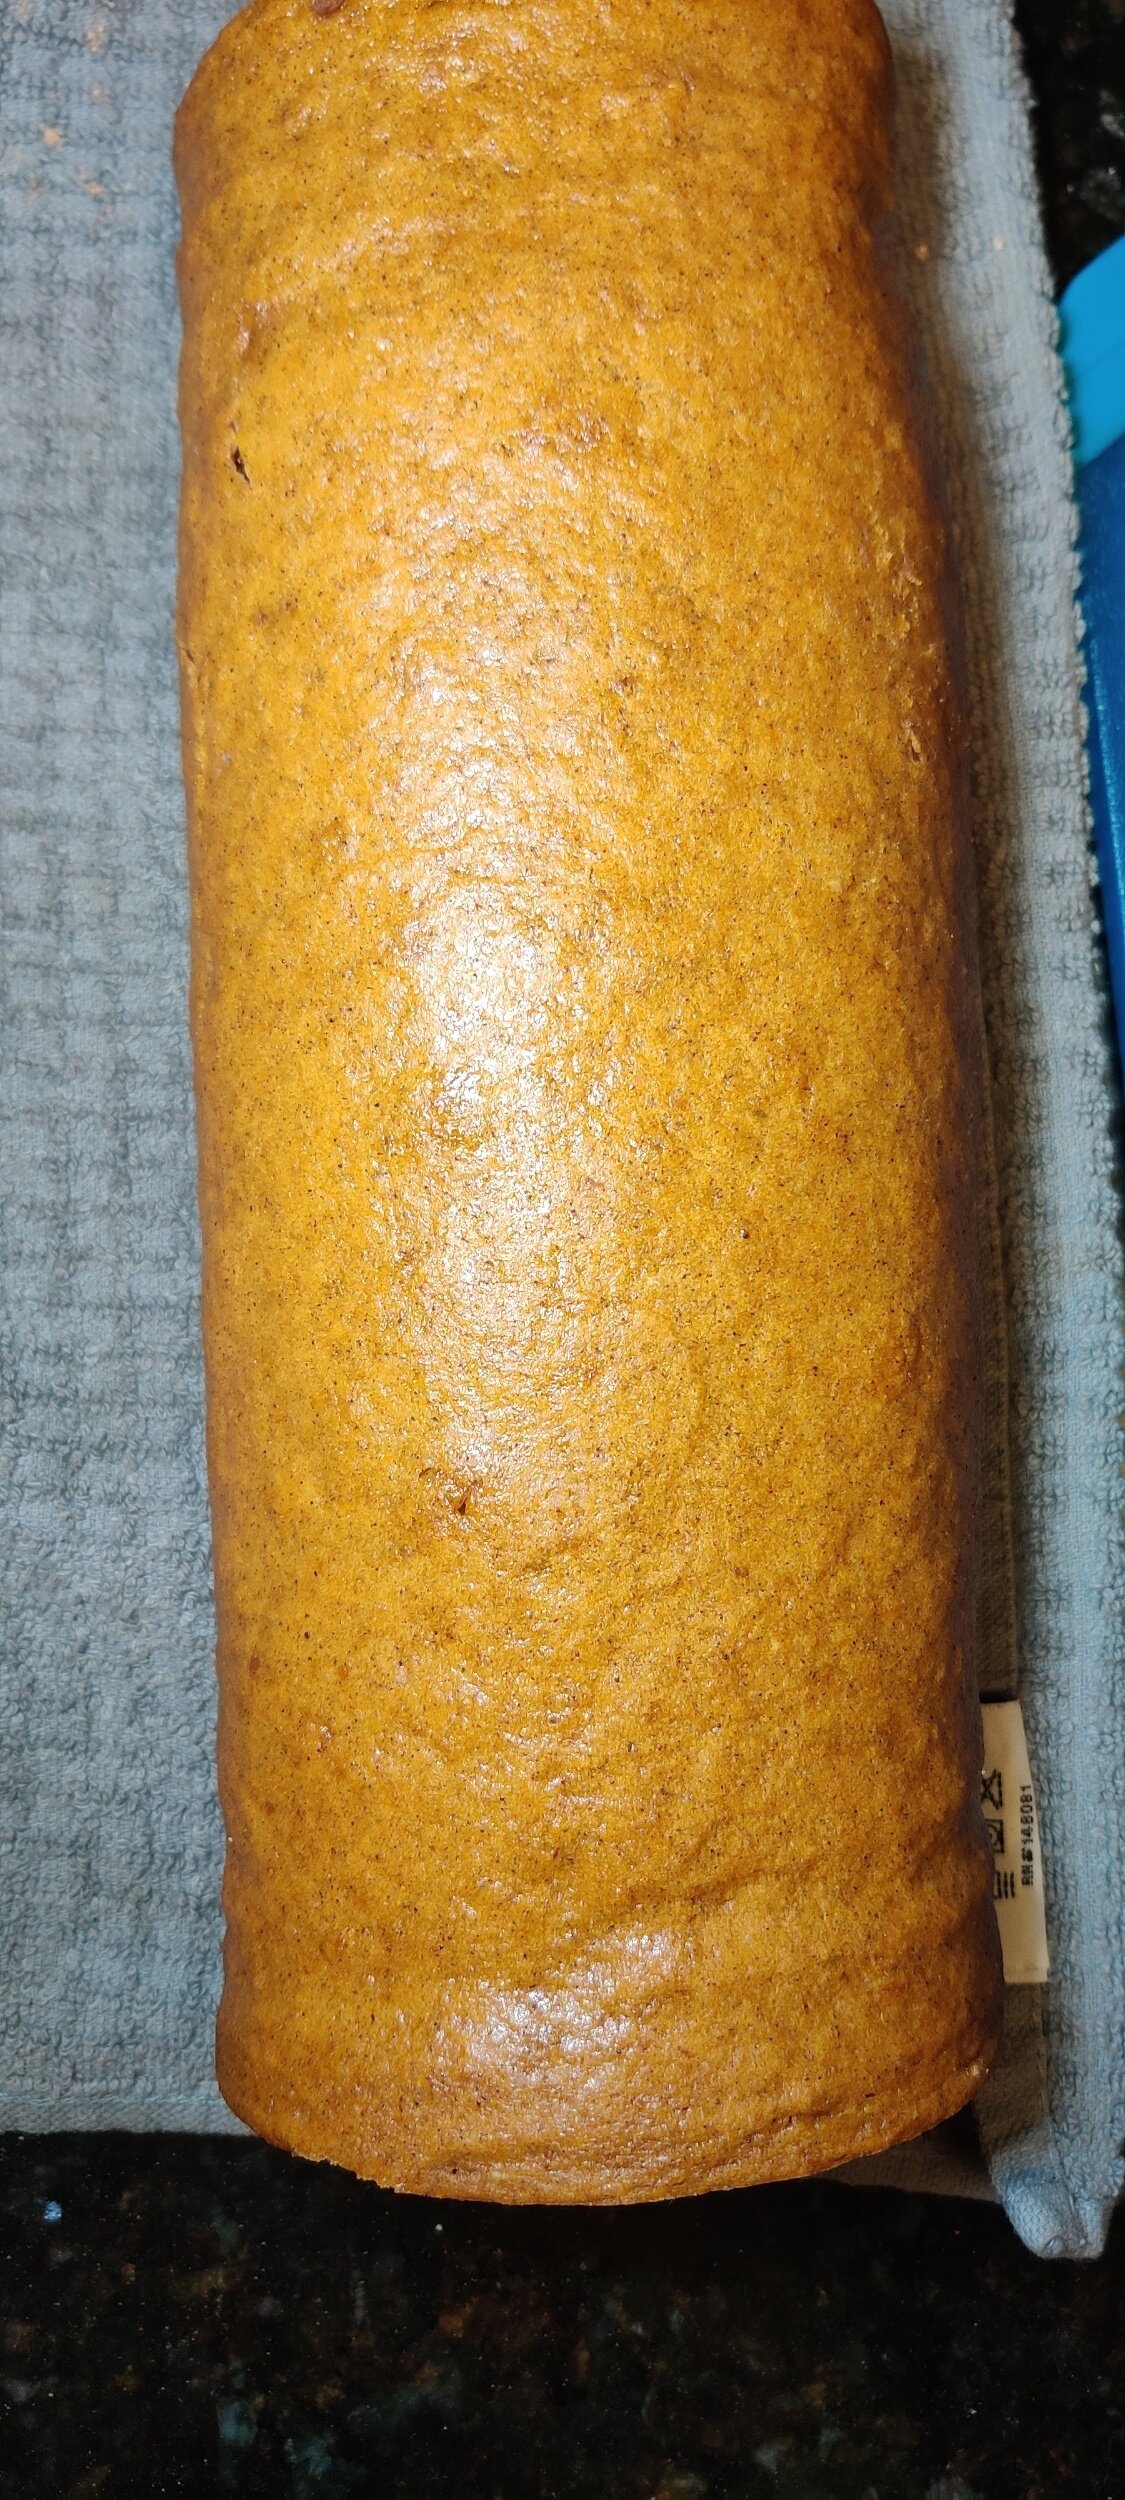
Pumpkin and Gingersnap Swiss Roll
The swiss roll. This was one of my late father’s favourite cakes, and I don’t blame him! Although, he had a preference for the traditional flavour with jam in the middle, occasionally chocolate. I thought I would go seasonal and use pumpkin flavour with a gingersnap cream cheese filling, it turned out to be delicious. Gingersnap was one of my grandmother's favourite biscuits and she had them ready for us as children when we would visit. This is just the kind of sweet treat you'll want at the table for dessert, and it's very fitting for autumn.
It may seem intimidating, but you can make it work for you! The most important thing is to be careful when you handle the cake. You don’t want it to crack or break to the point that it is unsalvageable.
Ingredients
Cake:
3 eggs
1/2 cup brown sugar
1/2 cup white sugar
2/3 cups pumpkin puree
1 teaspoon vanilla
1/4 teaspoon almond extract
3/4 cups flour
1/2 teaspoon baking soda
1/2 teaspoon baking powder
1 teaspoon cinnamon
1 tablespoon pumpkin spice
1 teaspoon gingersnap spice (I used Primal Palate’s Gingersnap)
1/4 teaspoon ginger
1 teaspoon salt
Filling:
8-ounces Greek yogurt and cream cheese, room temperature
1 teaspoon pumpkin spice
1/2 teaspoon cinnamon
1/2 teaspoon salt
8 tablespoon butter, room temperature
4 tablespoons maple syrup
1 1/2 cups icing sugar + extra
1 teaspoon gingersnap spice + extra
Instructions
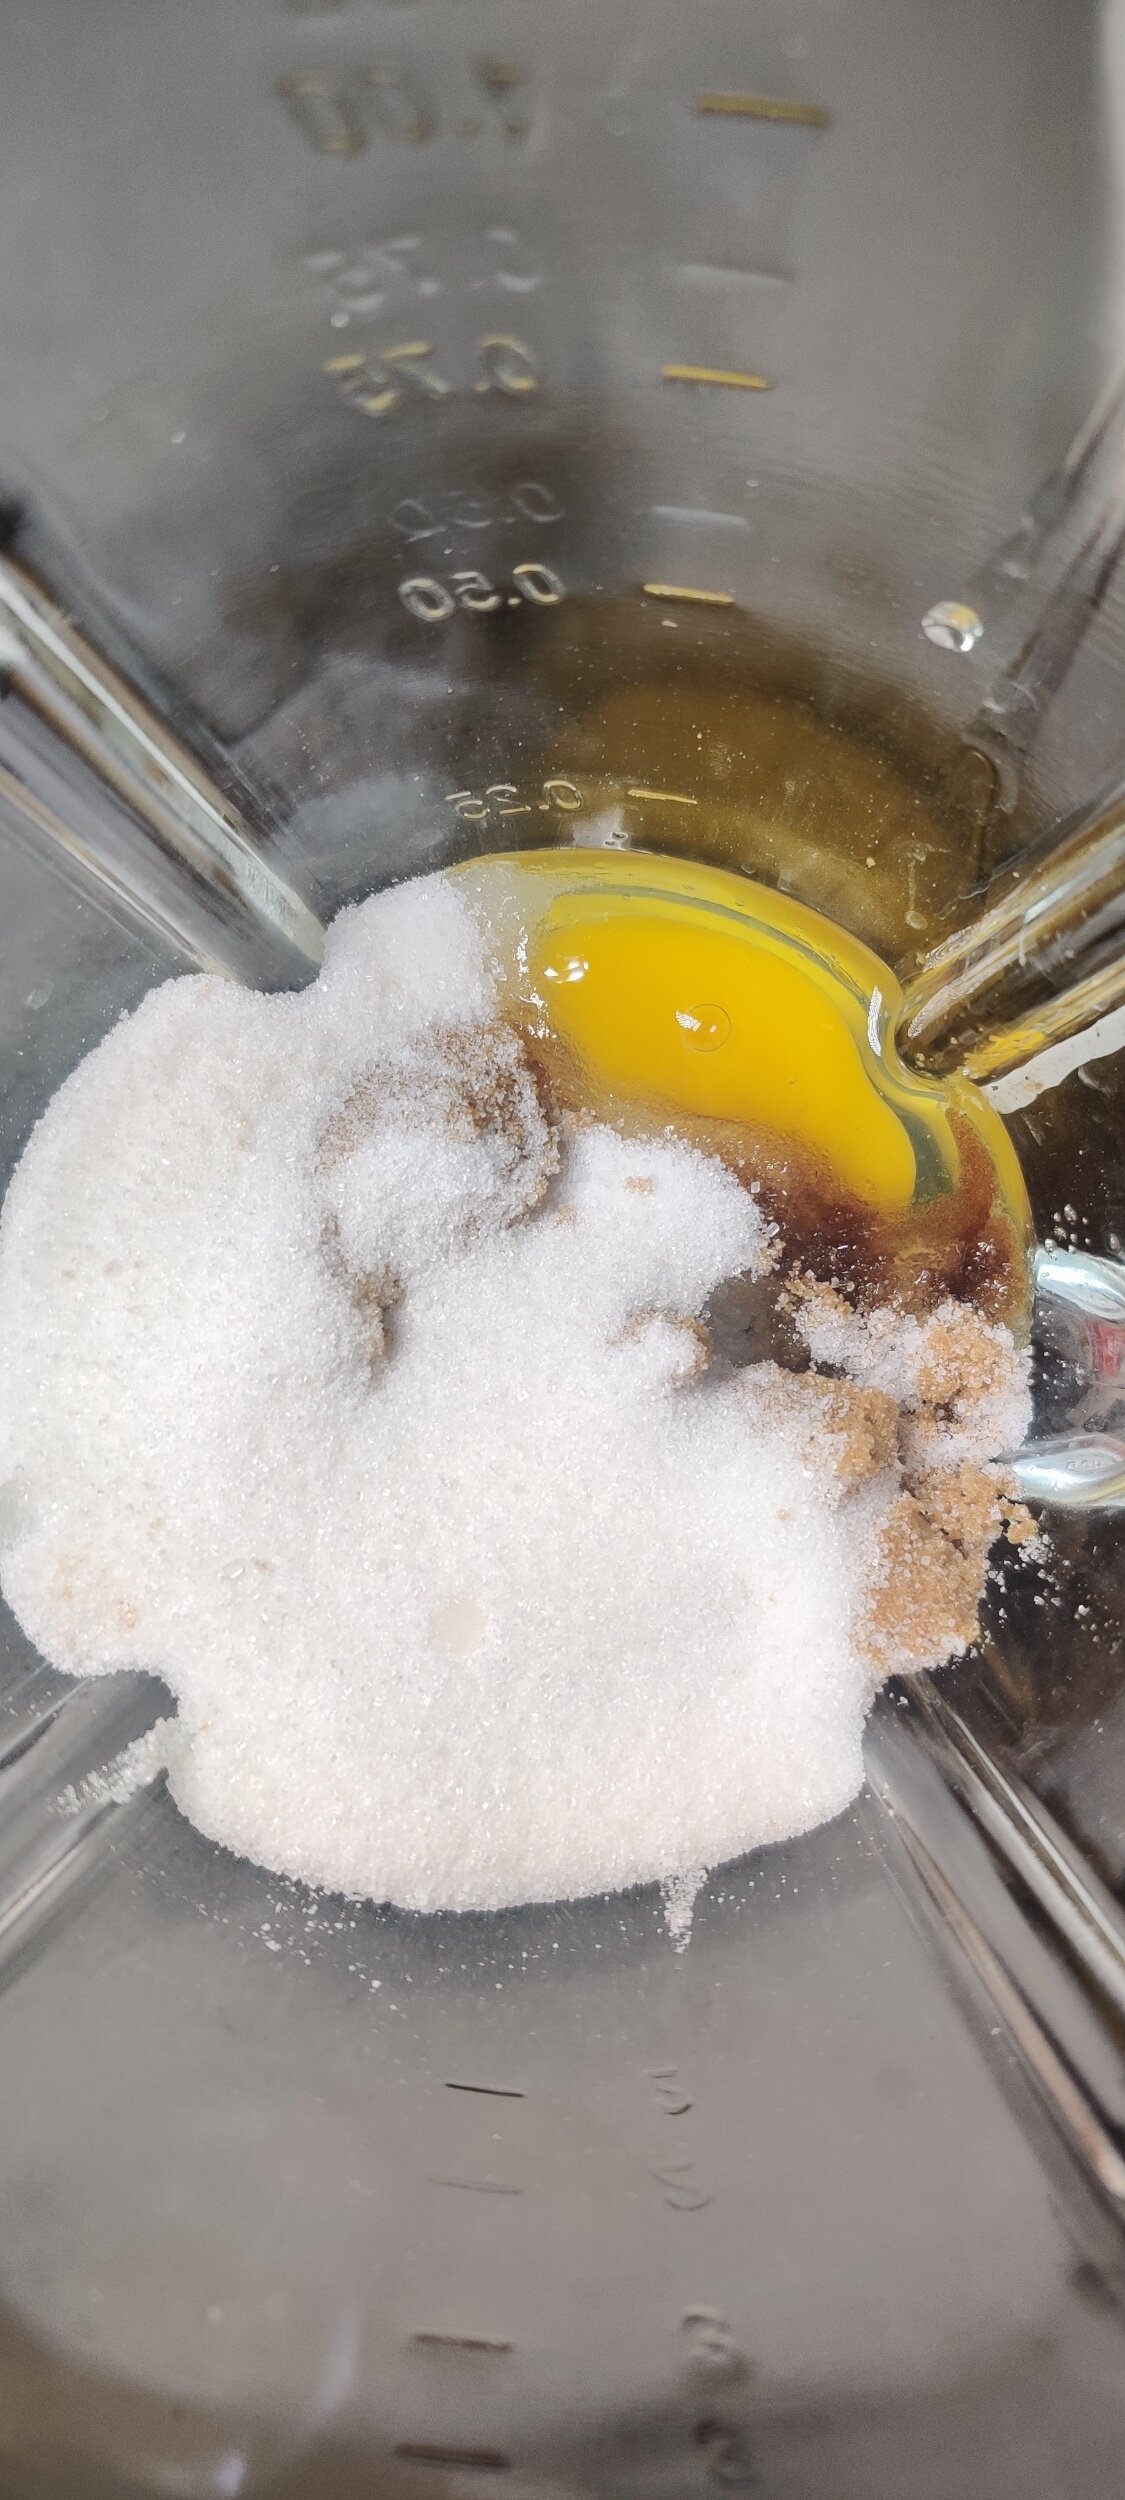
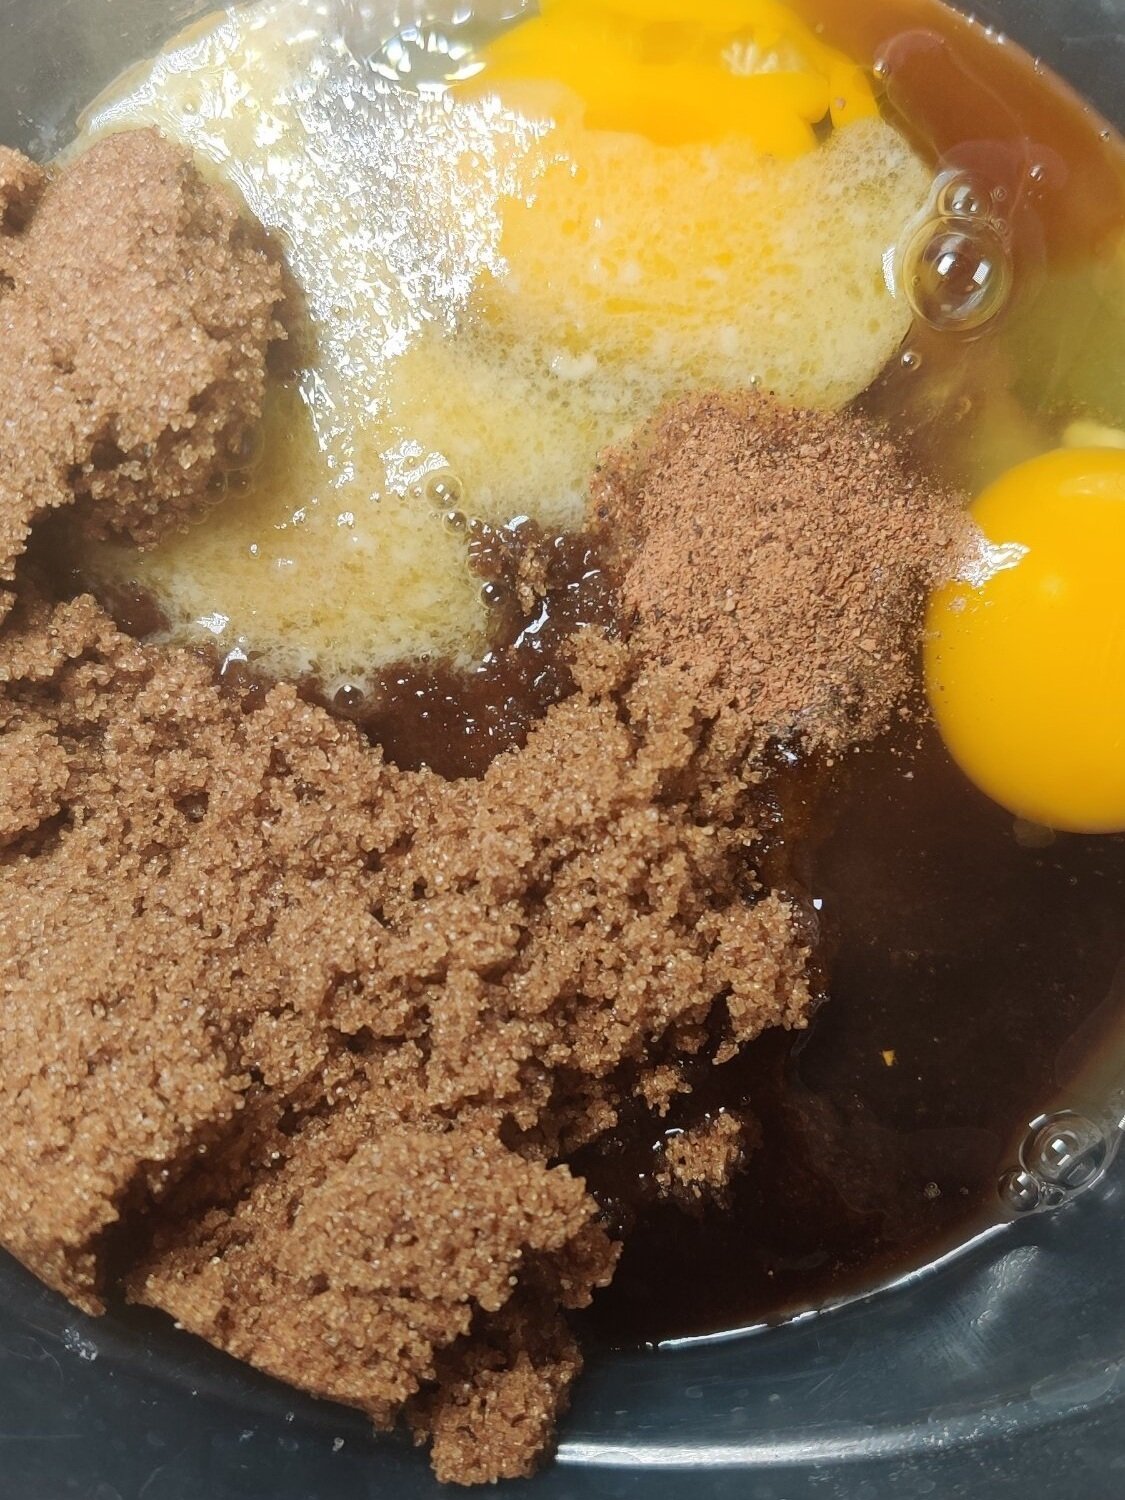
Beat the eggs, sugar, vanilla, almond extract, and pumpkin.
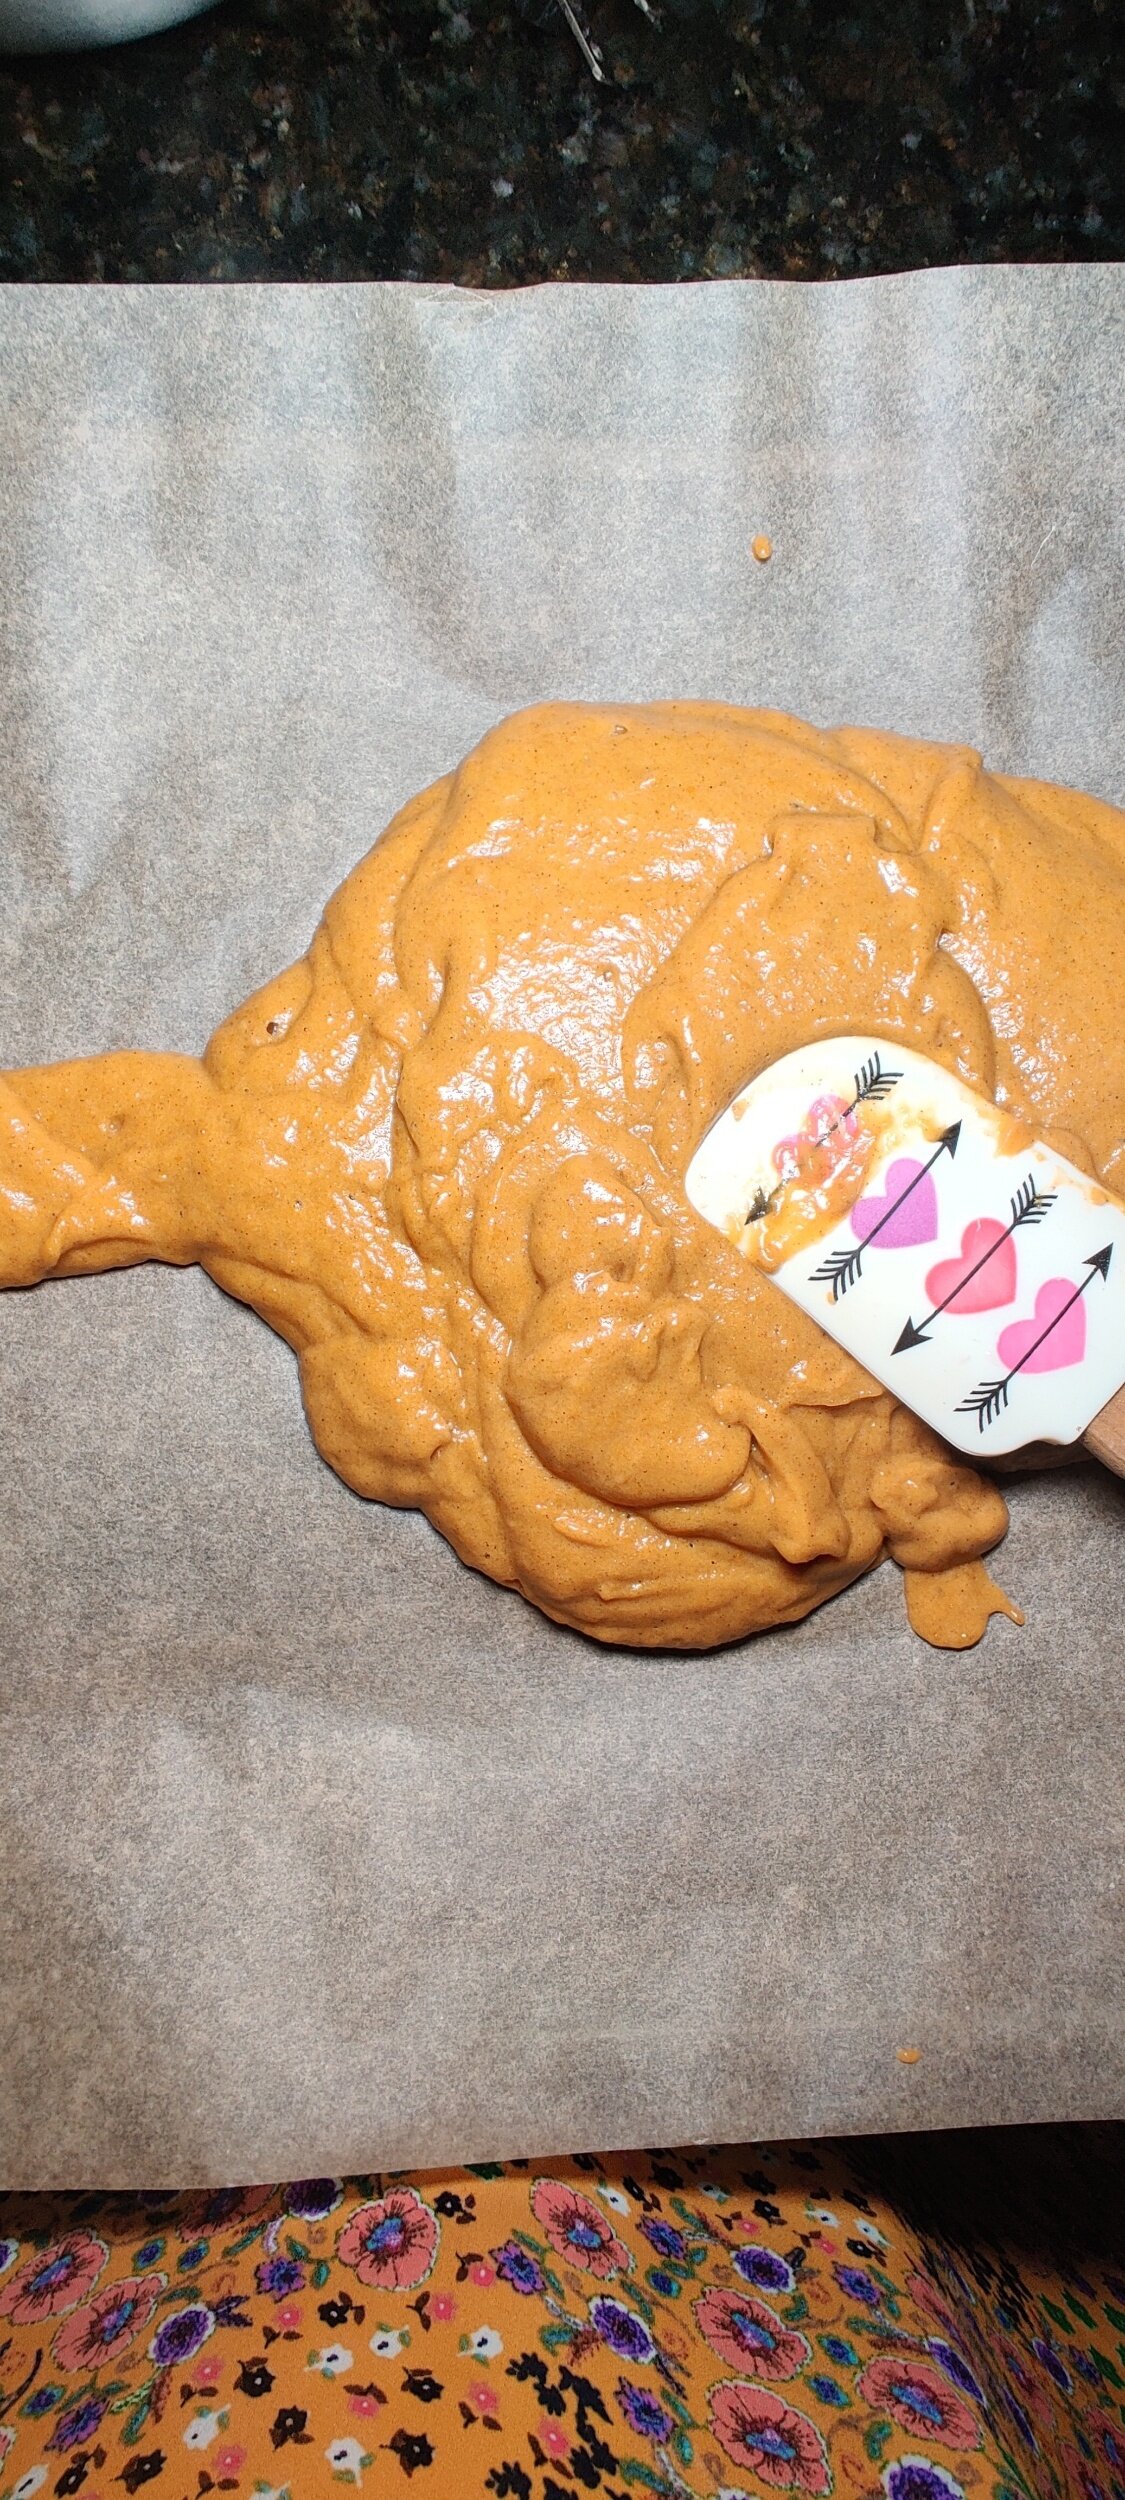
In a separate bowl, whisk the flour, salt, baking soda, baking powder, ginger, cinnamon, pumpkin spice, and gingersnap. Mix the spiced flour into the pumpkin mixture. Pour the batter into a baking tray lined with parchment paper (I used a 13 by 20 tray) and spread evenly with a spatula - it doesn’t have to fill the entire pan.
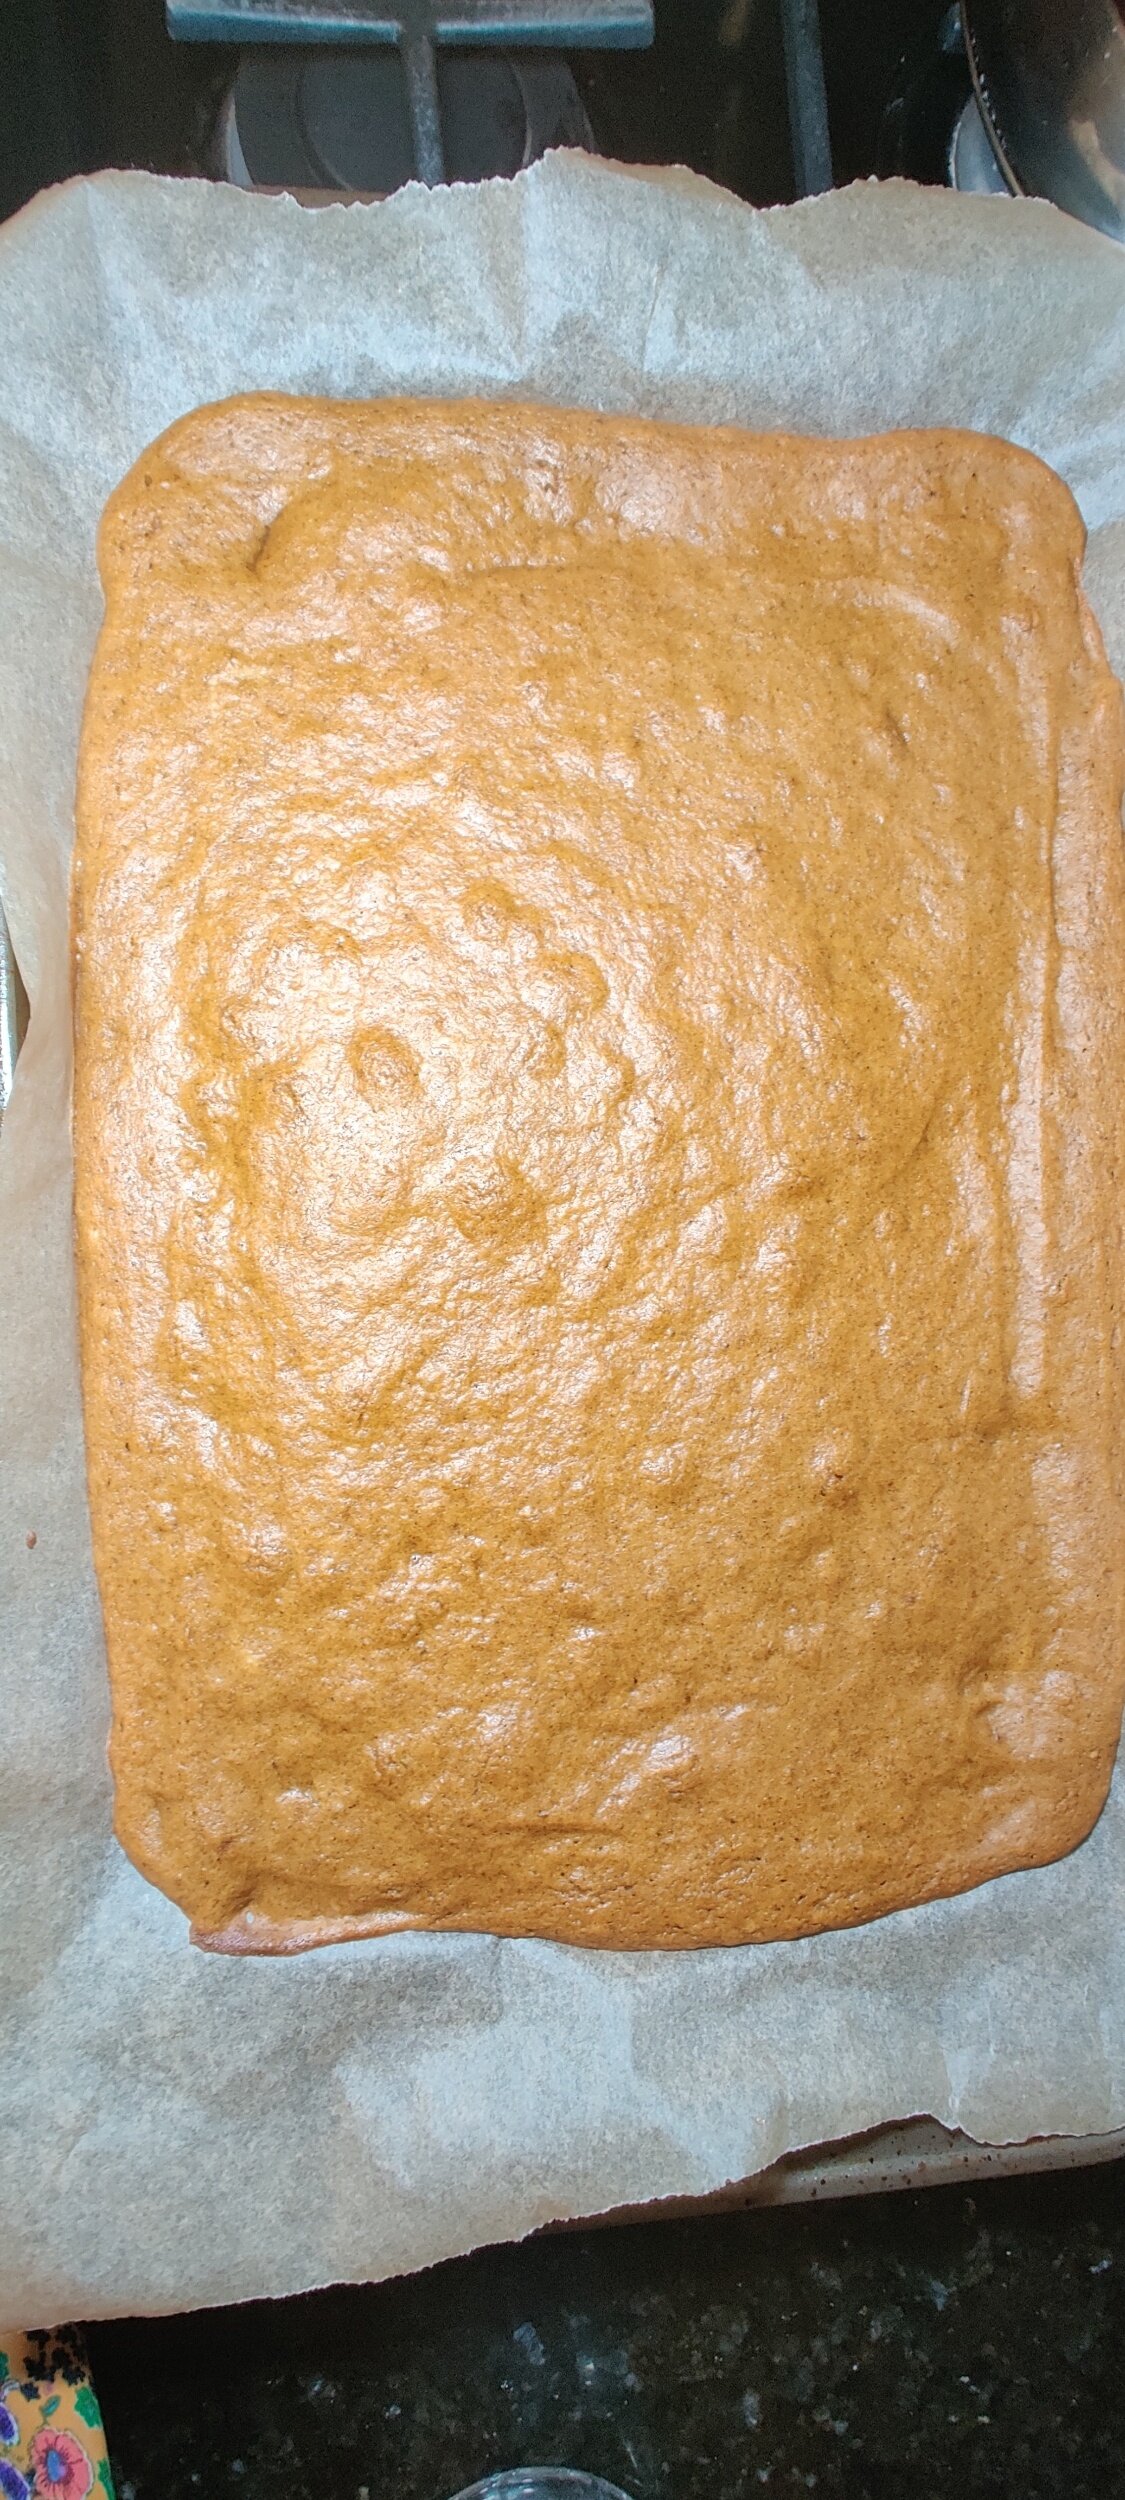
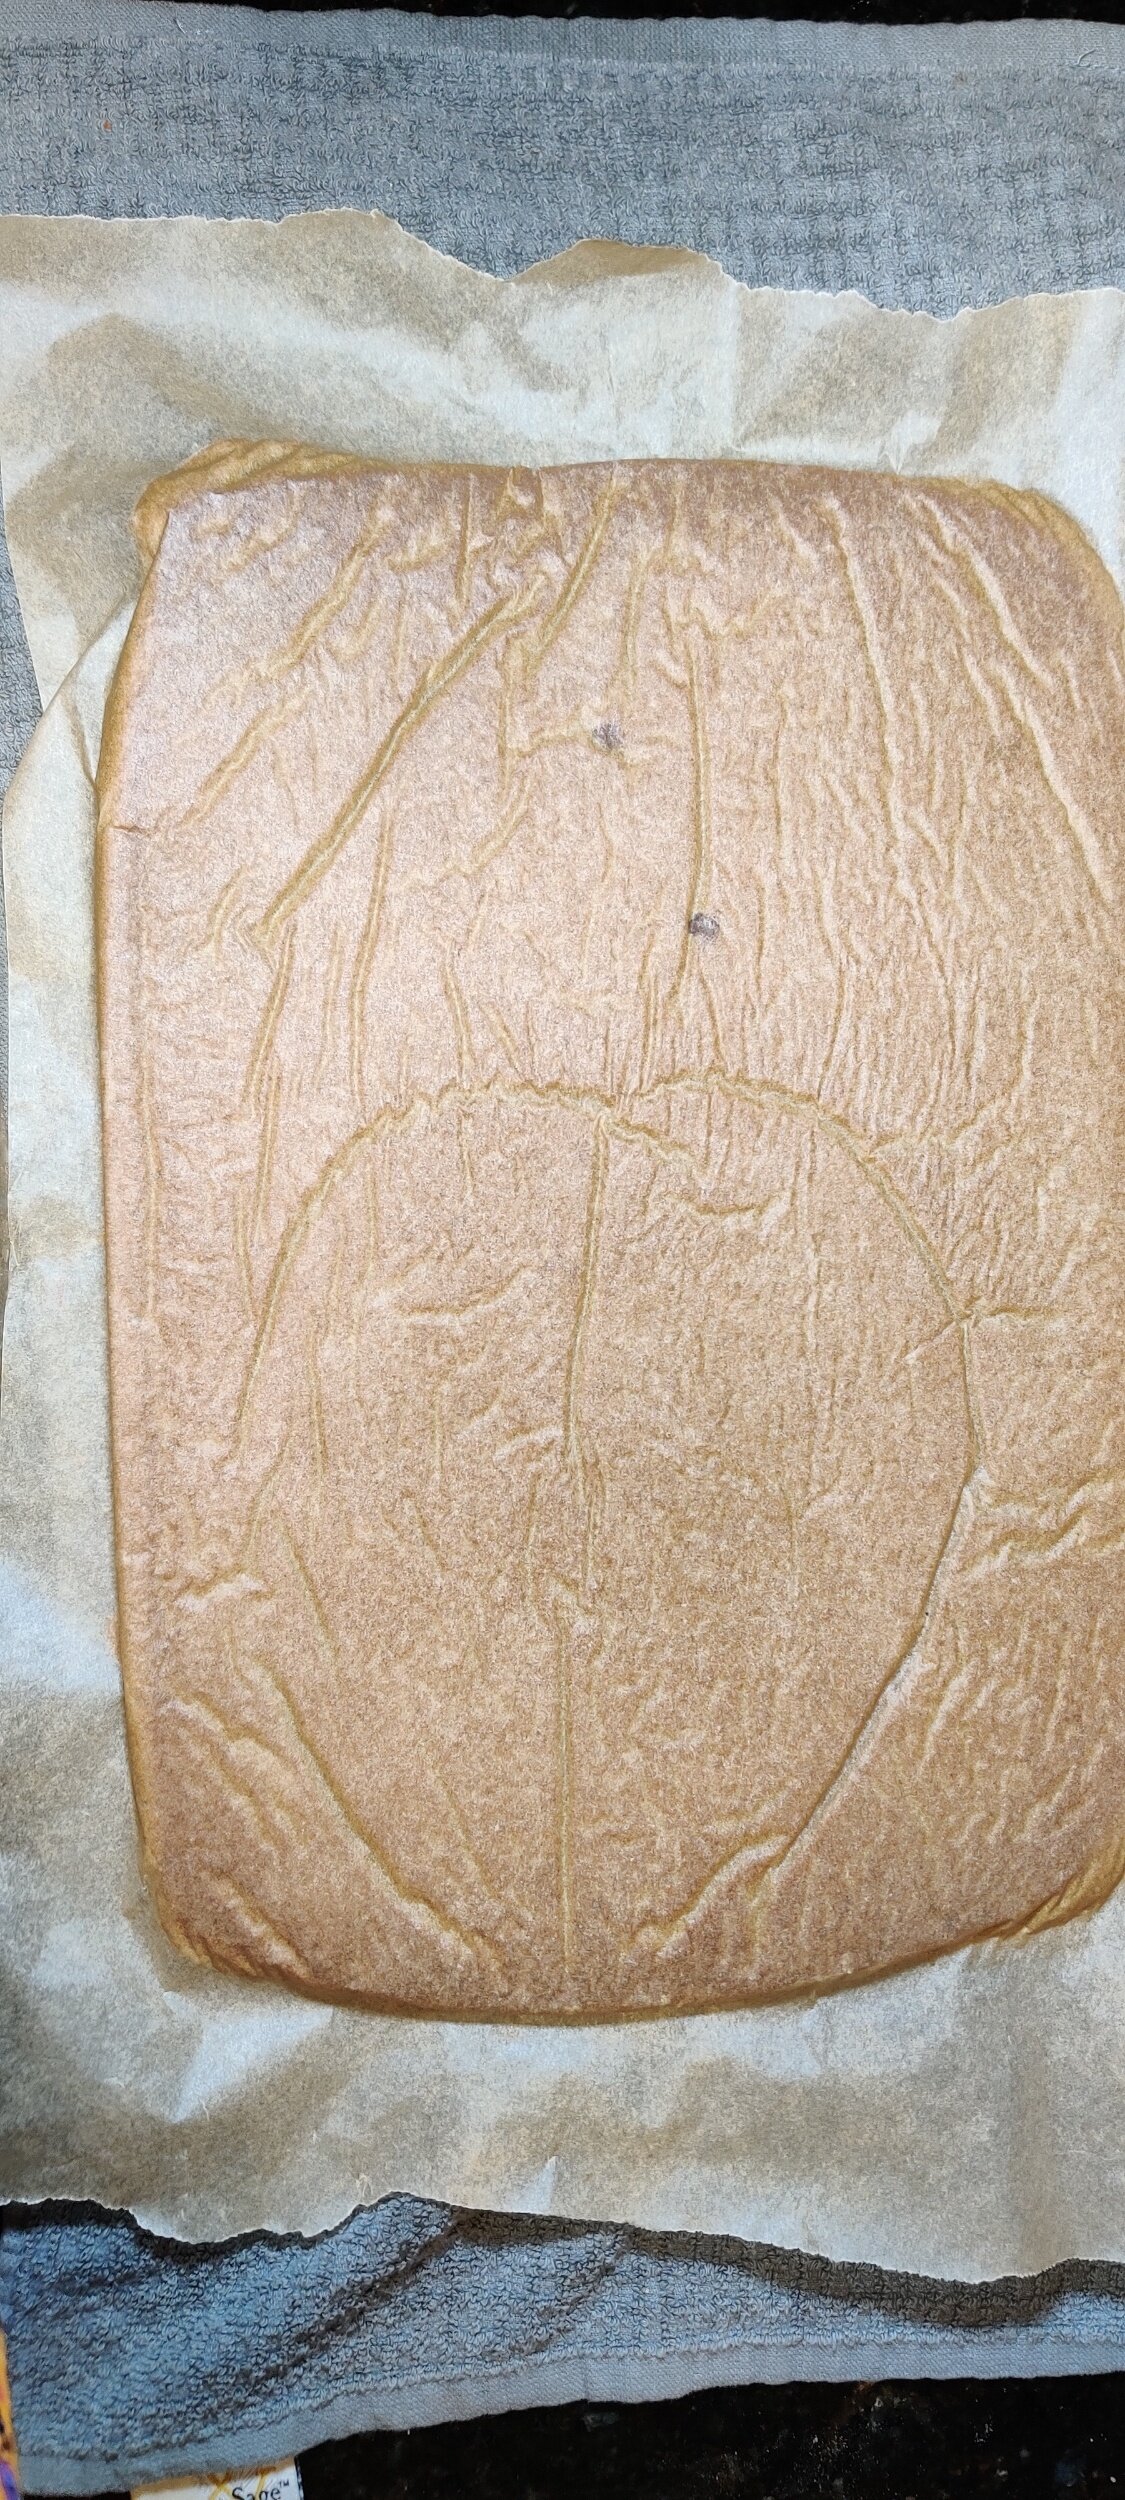
Bake at 375F for 12 minutes. Remove the cake from the oven and allow to cool slightly. Holding the tray and the one side of the cake, place carefully on a dish towel and a cutting board to flip over. Remove the parchment paper from the back carefully, then roll the cake in the towel and set the log aside.
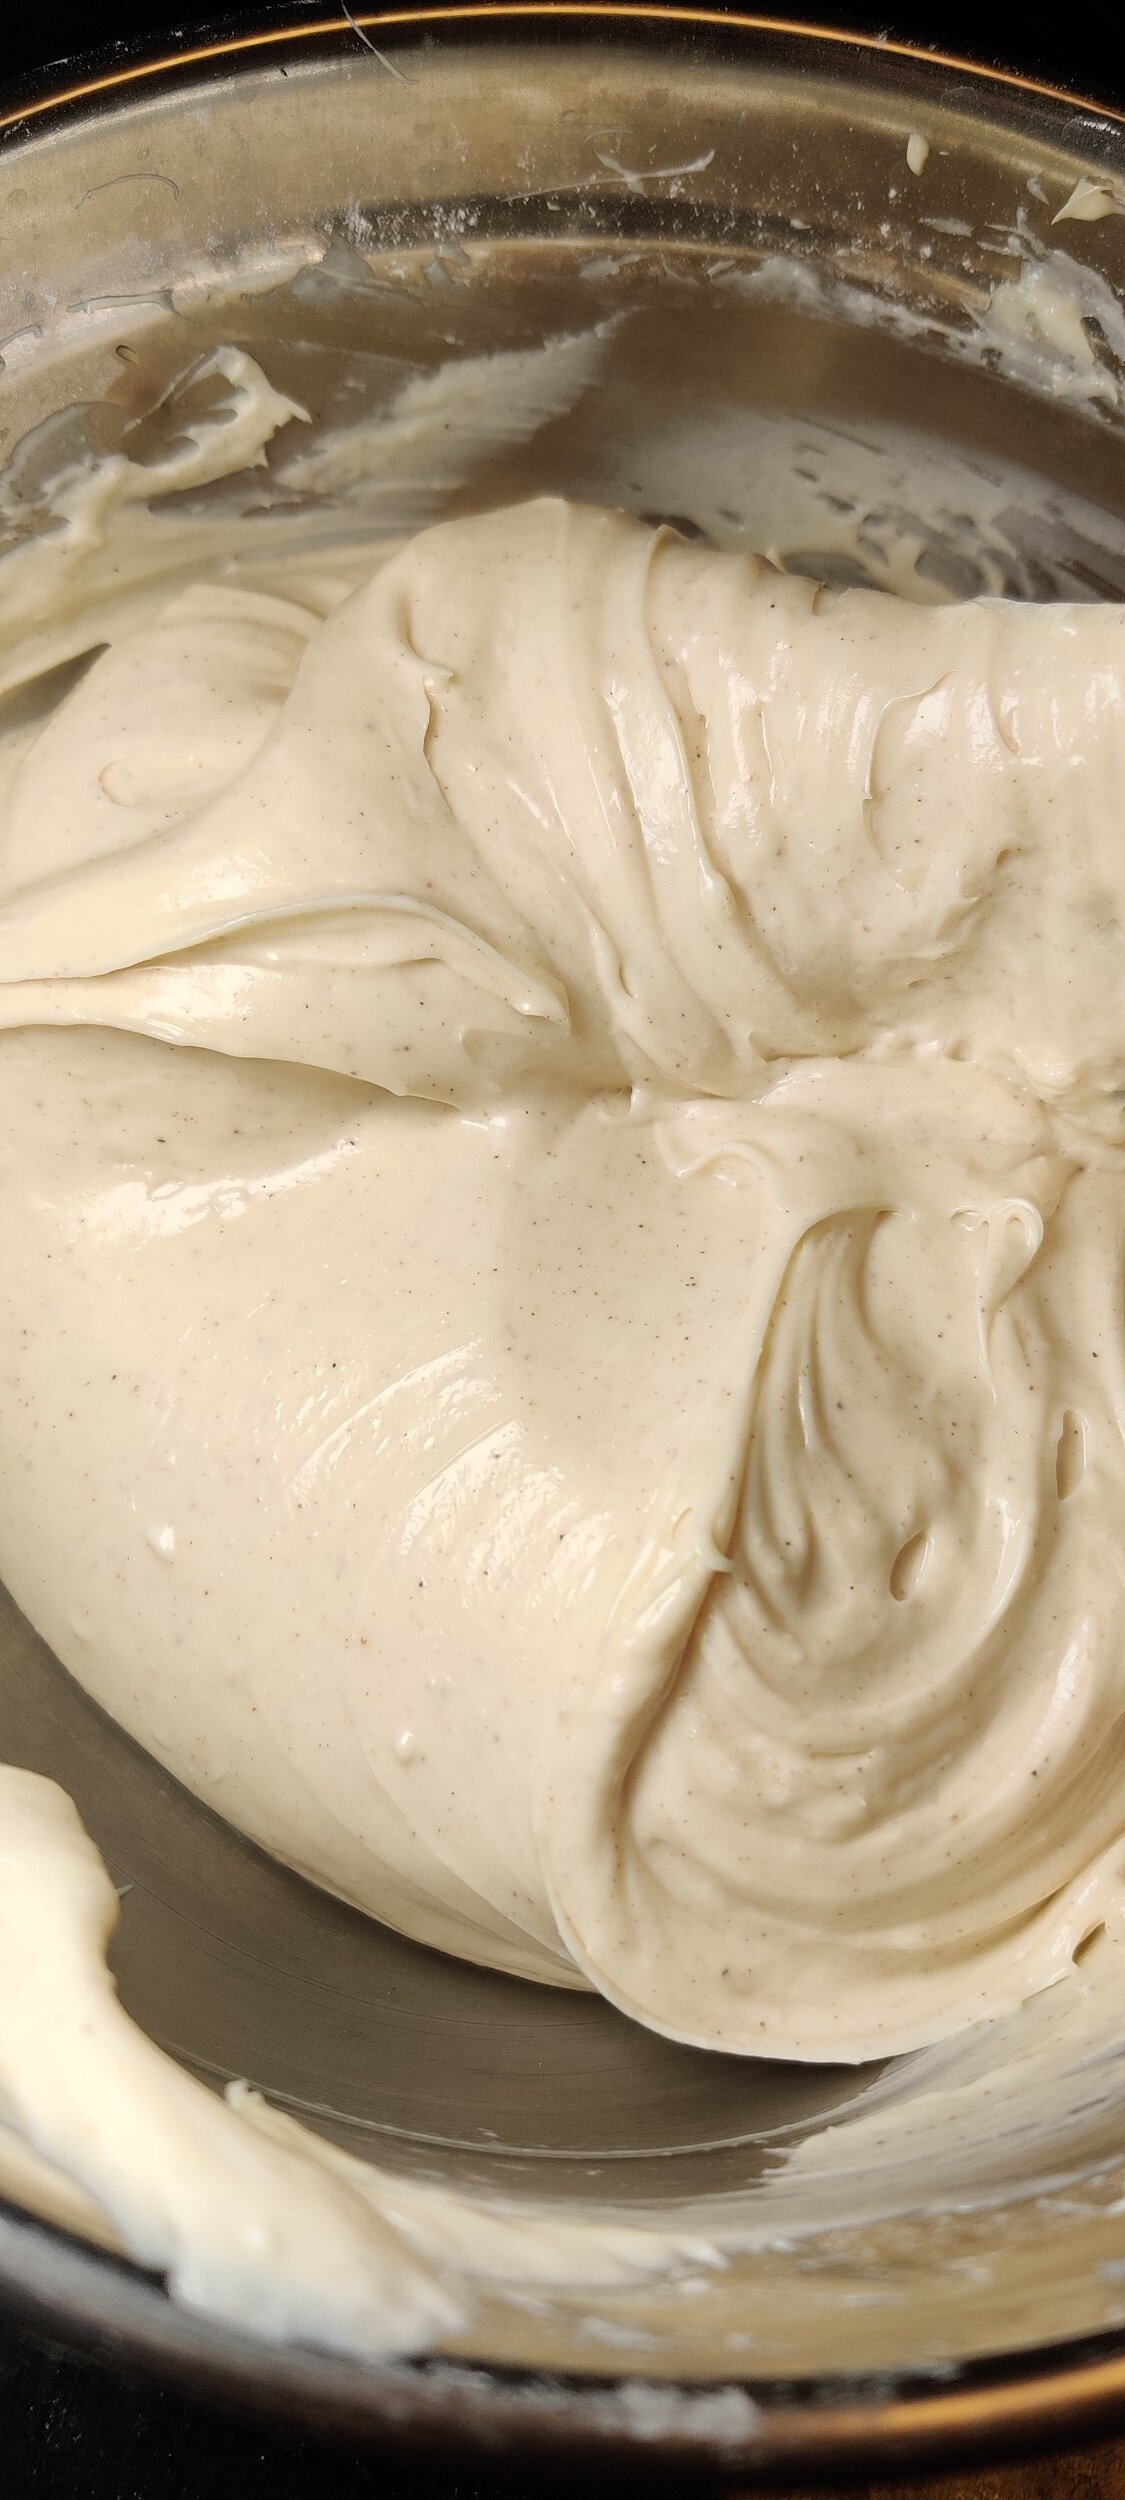
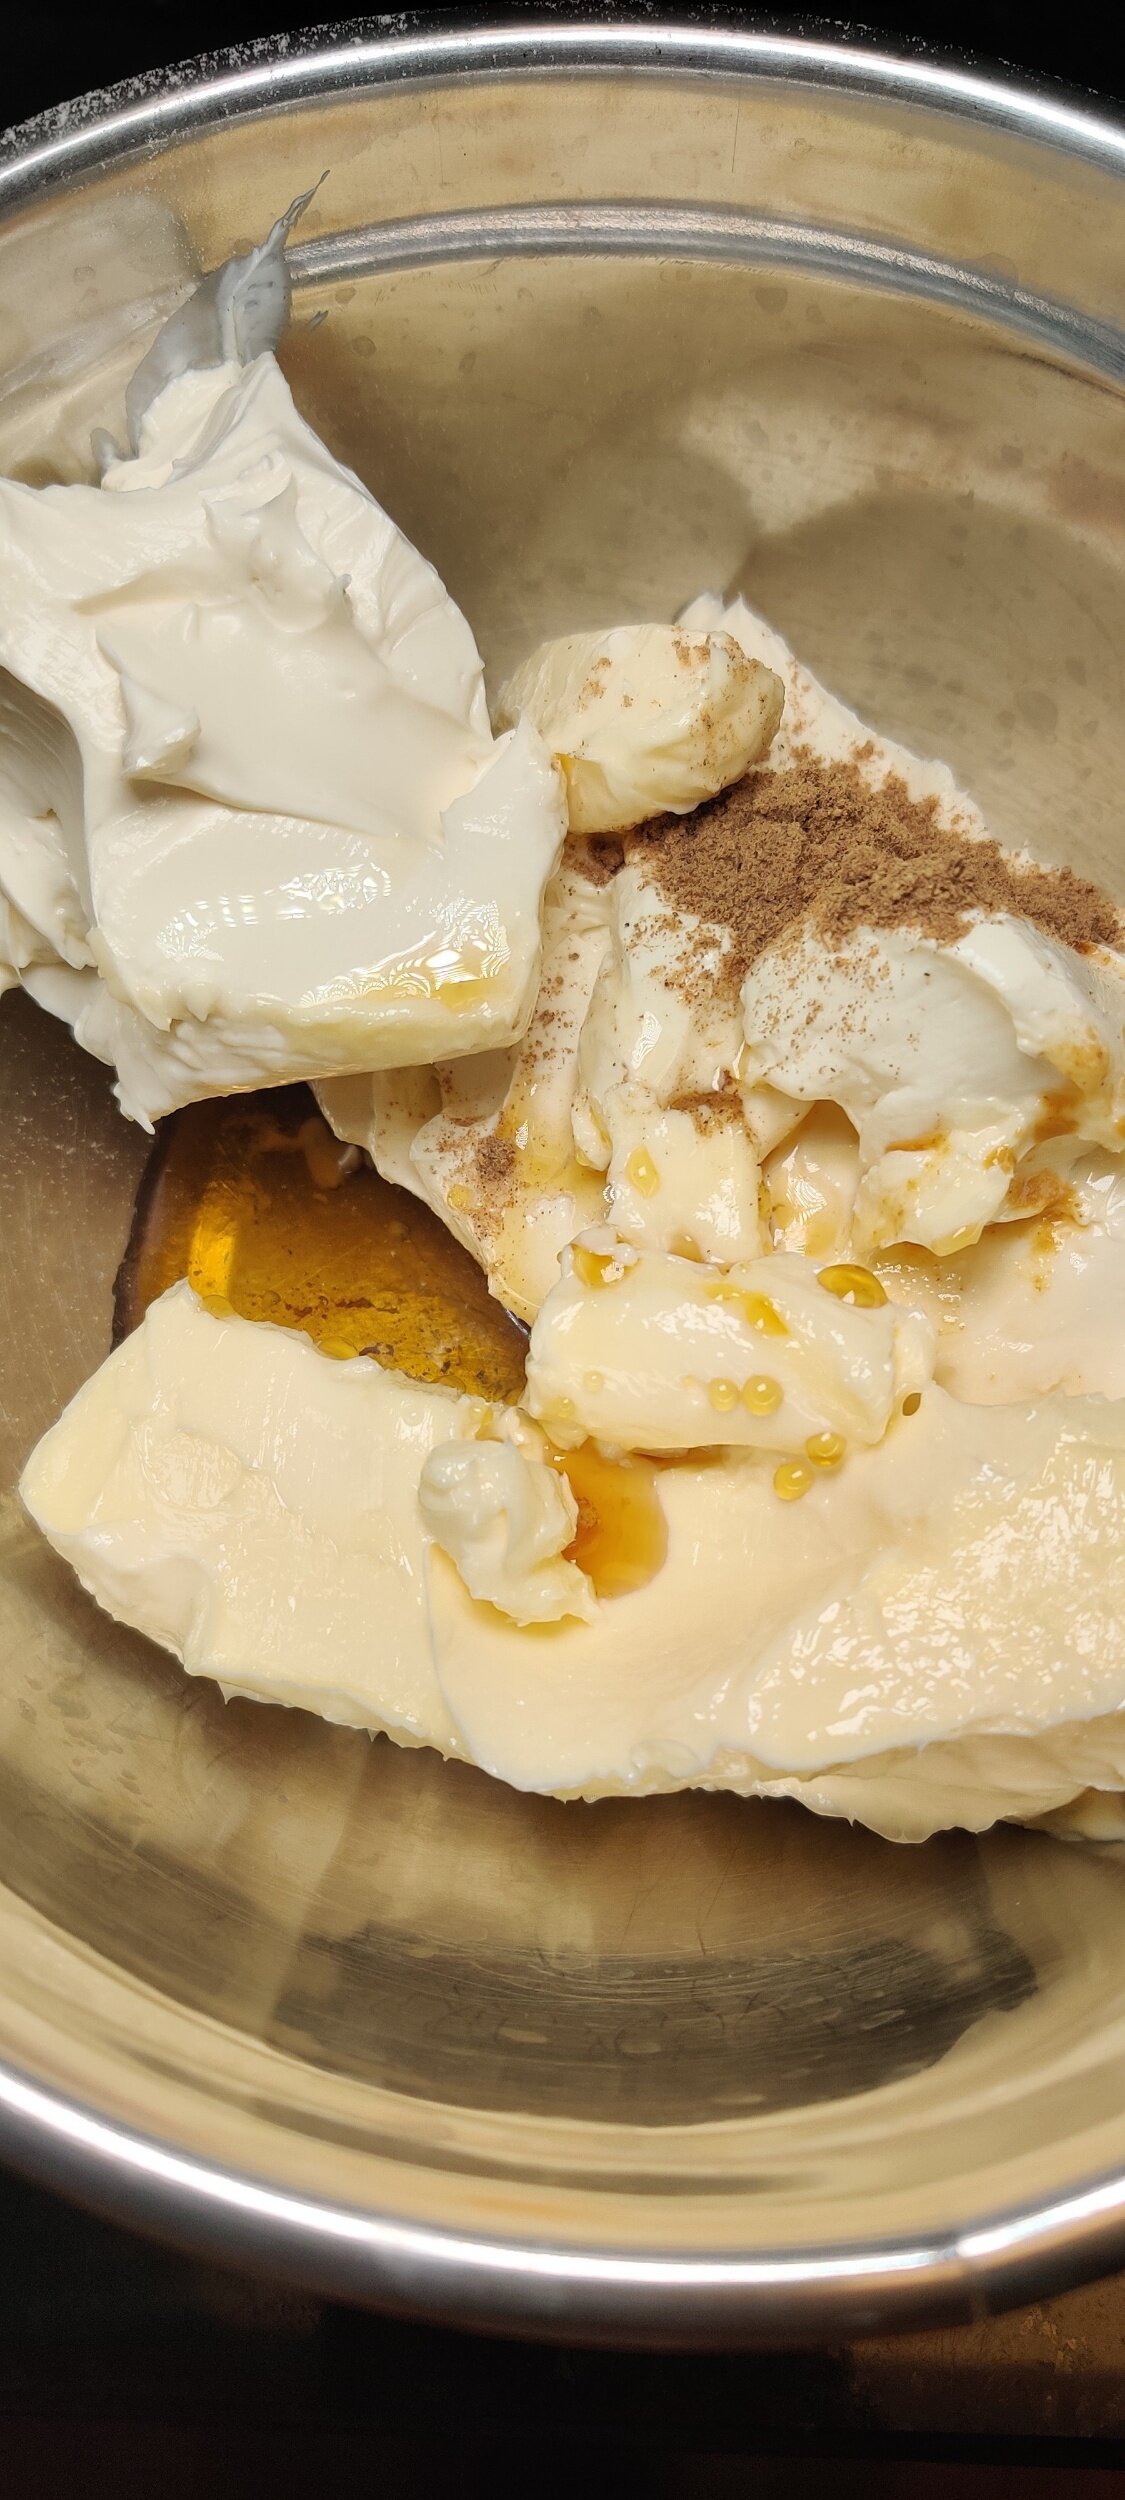
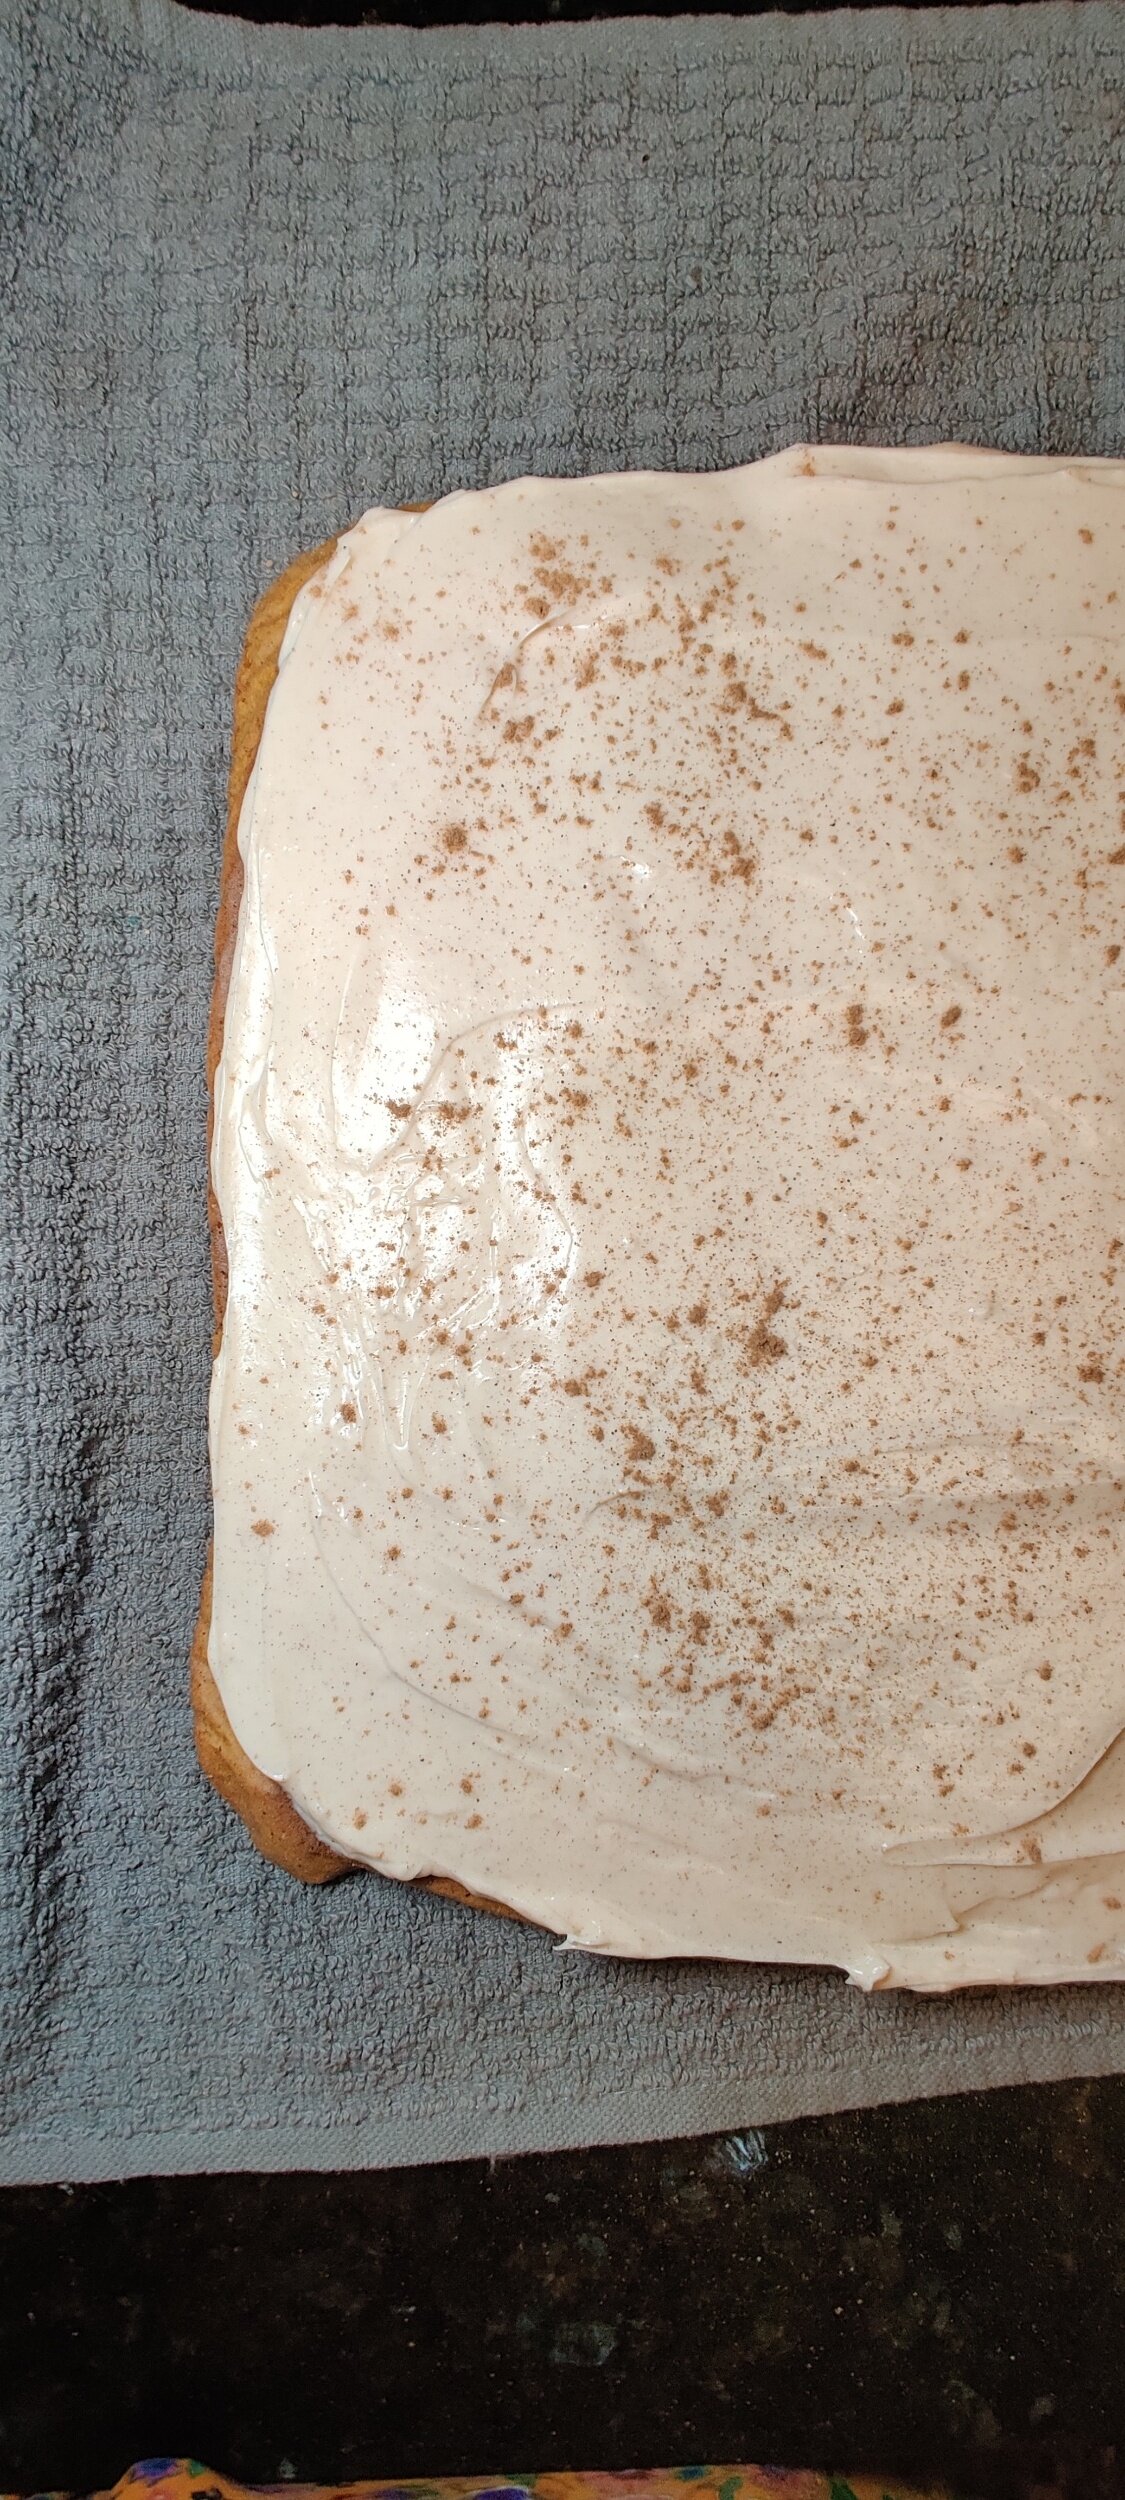
In a separate bowl, whisk the cream cheese, butter, vanilla, salt, pumpkin spice, ginger, gingersnap, icing sugar, and cinnamon until well incorporated. Unroll the cake, then use a spatula to spread the cream filling evenly to your desired thickness. Sprinkle with the extra gingersnap.
Now for the tricky part! Using the towel, roll the cake back into a log as tightly as you can without breaking it then refrigerate overnight or for at least 3-4 hours.
Sprinkle with extra icing sugar, slice and serve.

Malva Pudding with Coconut Rum Sauce
Malva pudding has already been featured on this blog but in the form of a cake. This time around, my remix is inspired by the rum cake, popular across the Caribbean from where it originates, baked for the holiday season especially.
I swapped out regular cream in the complimentary sauce with coconut cream, add some coconut flour to the batter, and add rum to the cake batter as well as the sauce.
It's absolutely delightful! You can serve it with ice cream, custard, or just use the rum sauce in this case!
If you don’t have rum, rum extract will do.


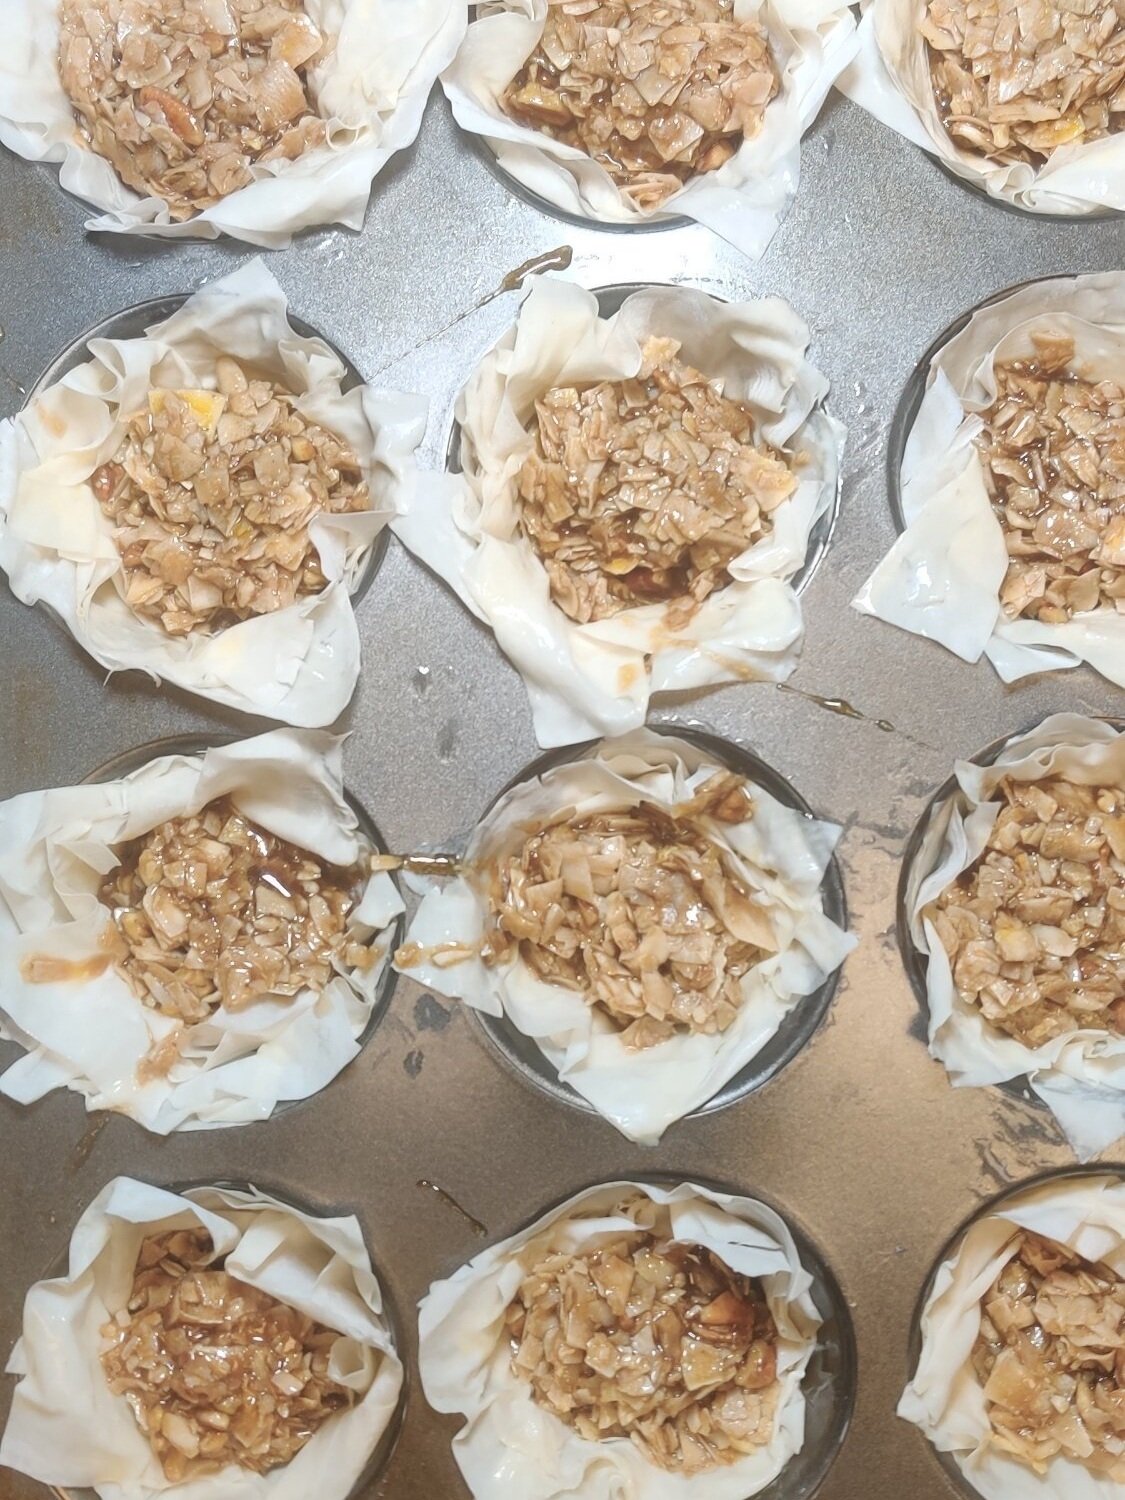
Coconut Pecan Tarts
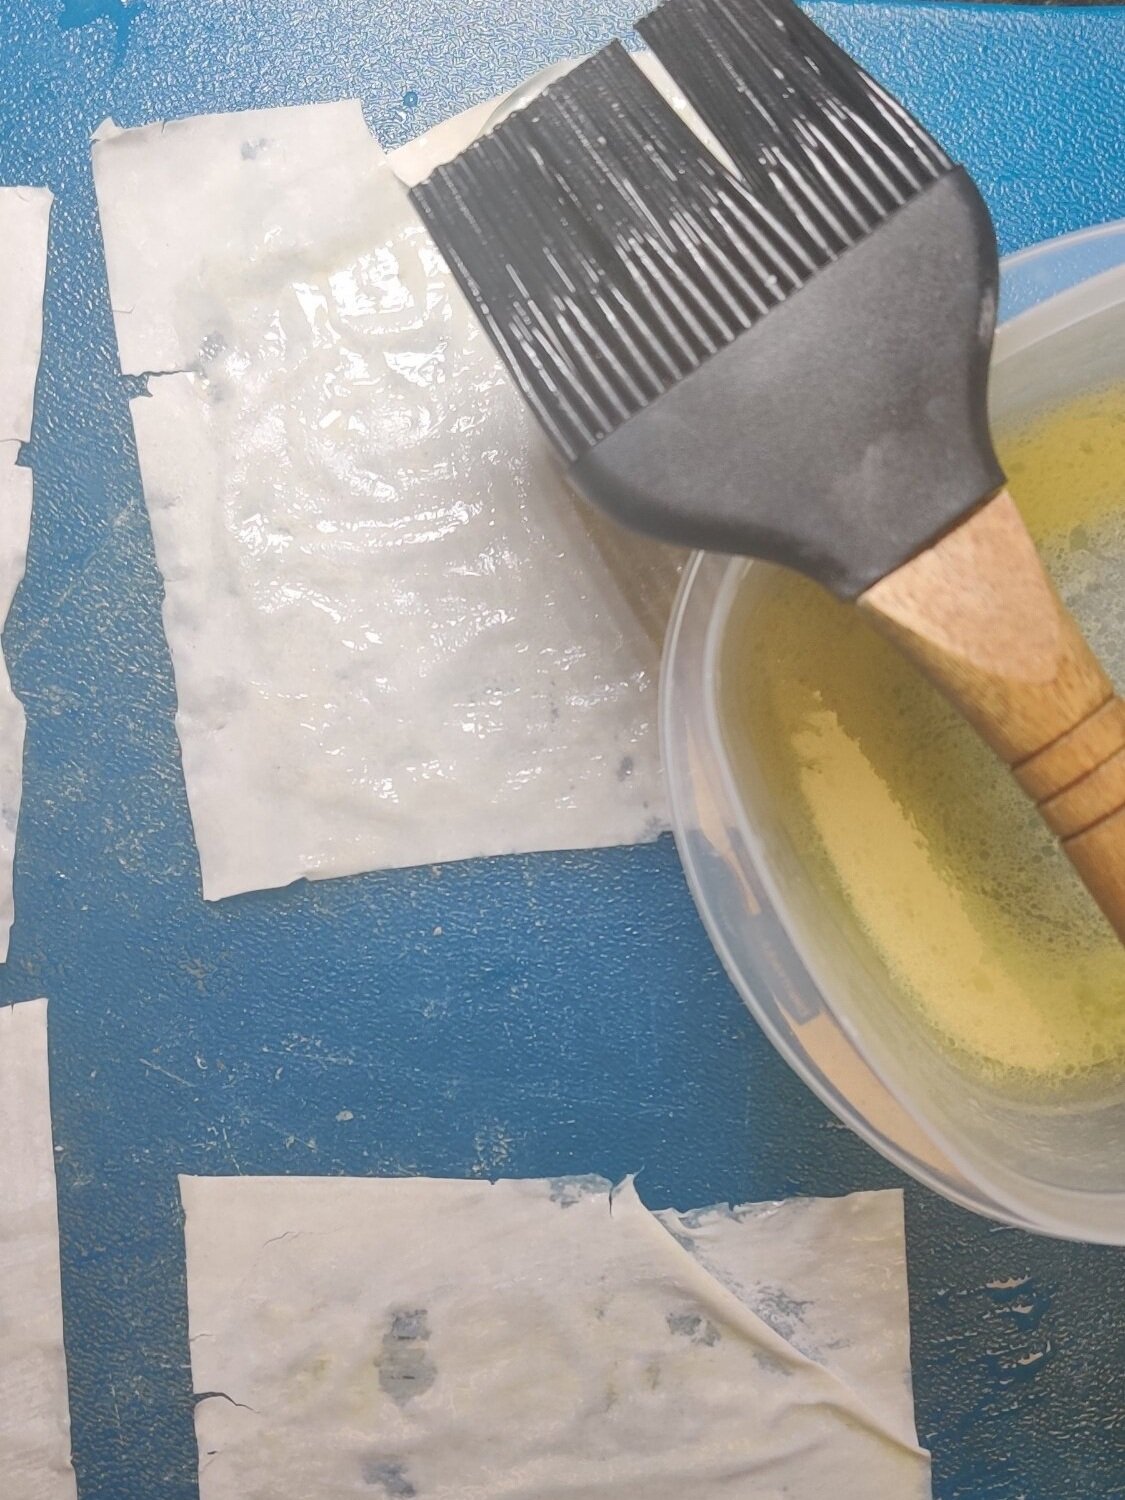
With coconuts being plentiful it makes sense that these tartlets are a sweet snack enjoyed on the island. They're spiced with a bit of nutmeg and sweetened with brown sugar. I add the pecans for crunch and to give them the pecan pie taste loved by so many. Gizzadas usually come in regular pastry that is pinched on the sides. The other crunch element comes from the phyllo dough, which is also meant to mimic the pinched pattern. I think it adds some more life and the cups hold just fine, enjoy!


Hummingbird Cake
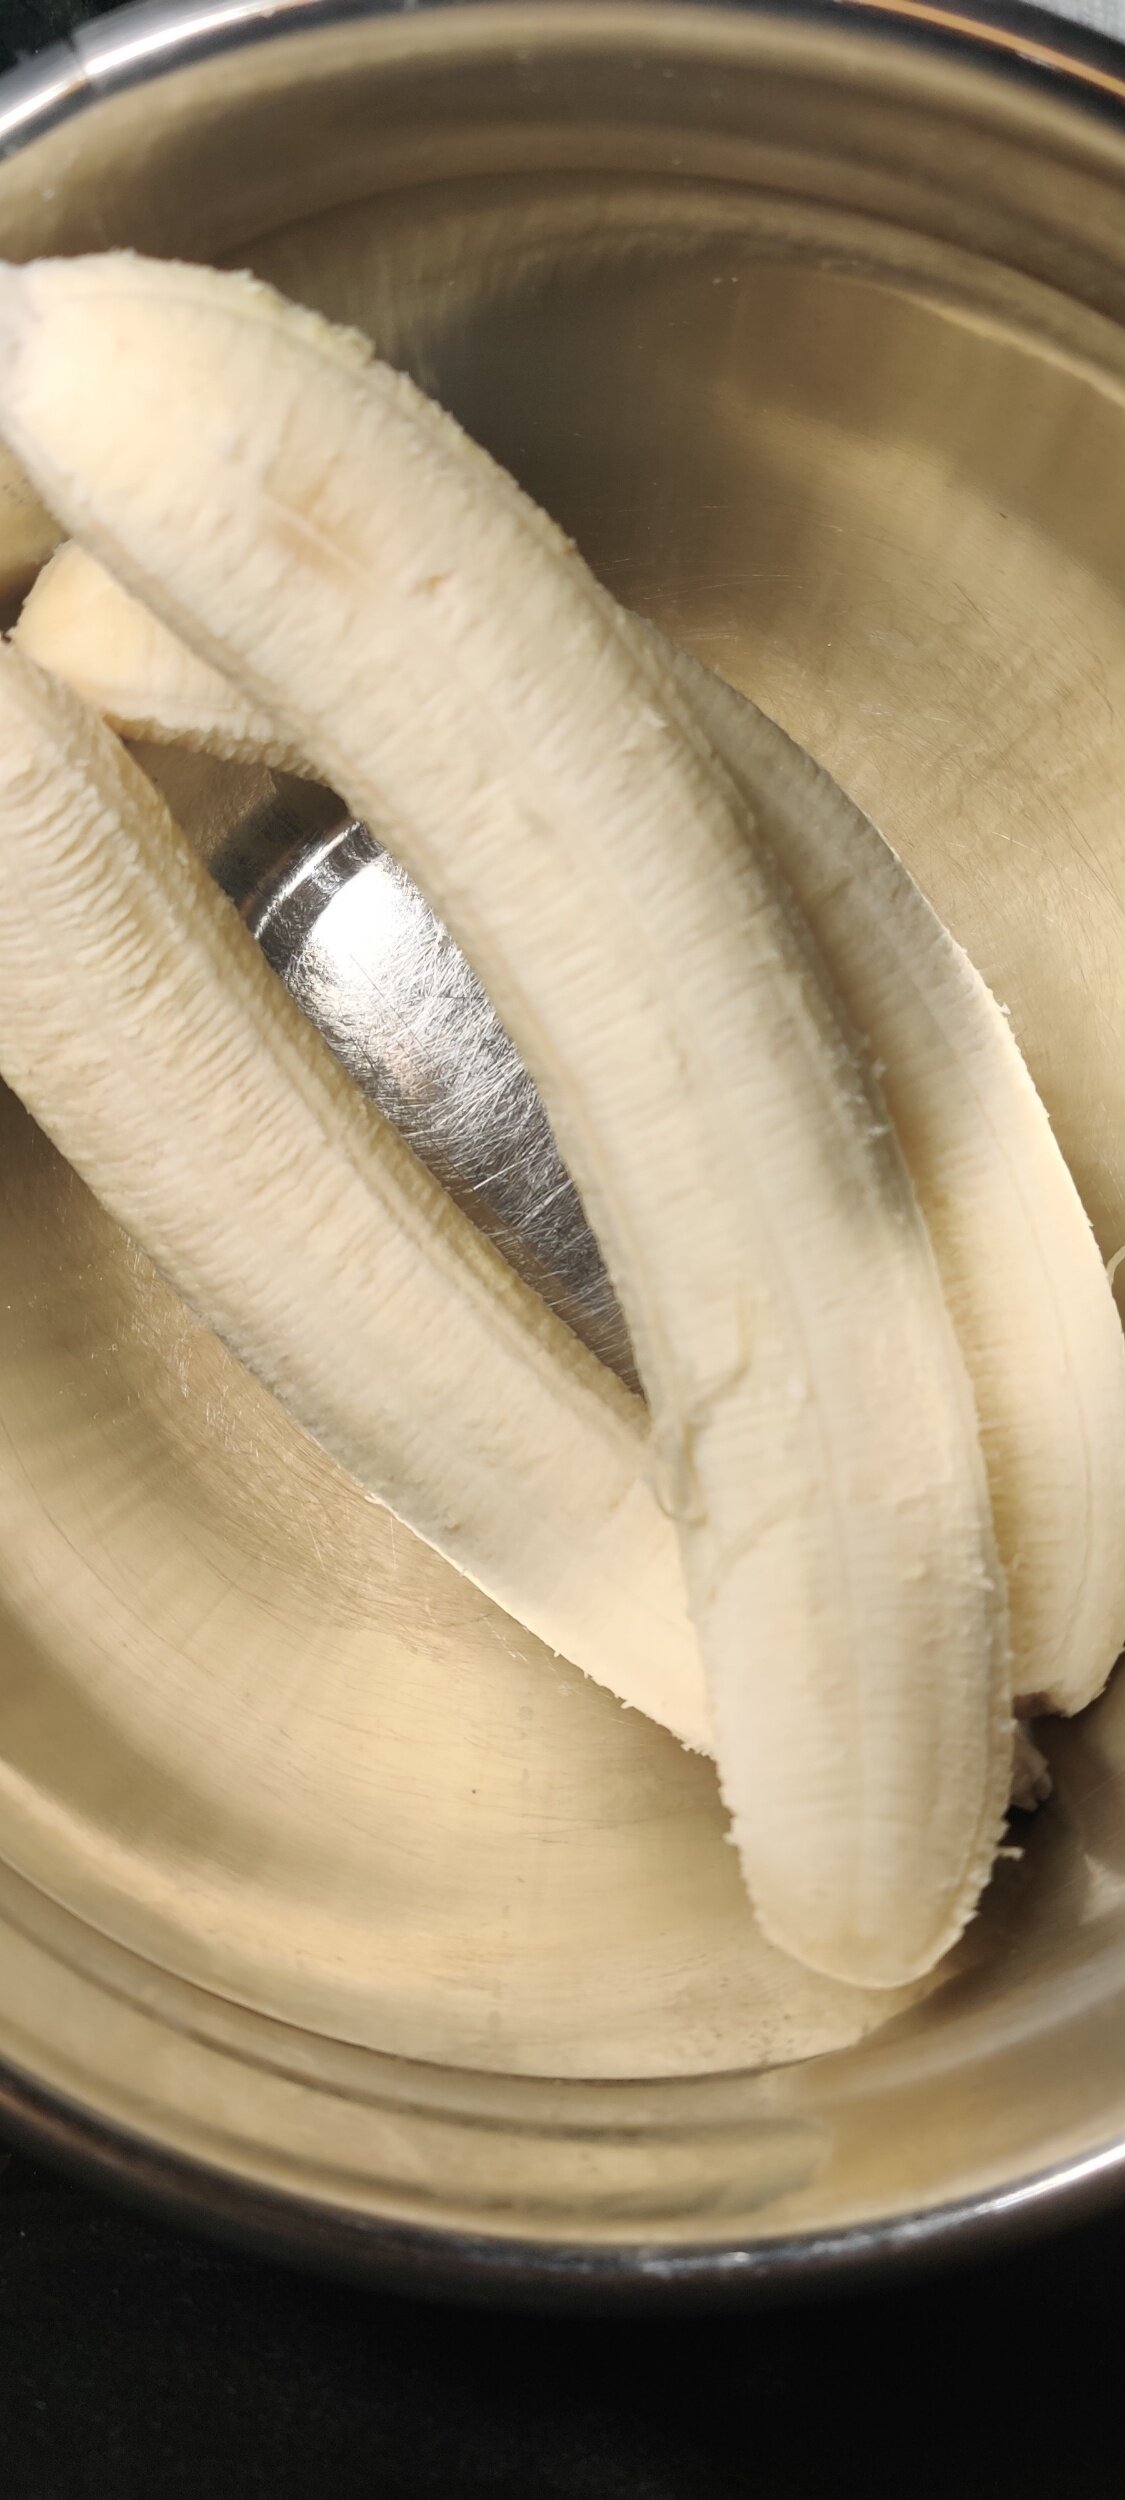
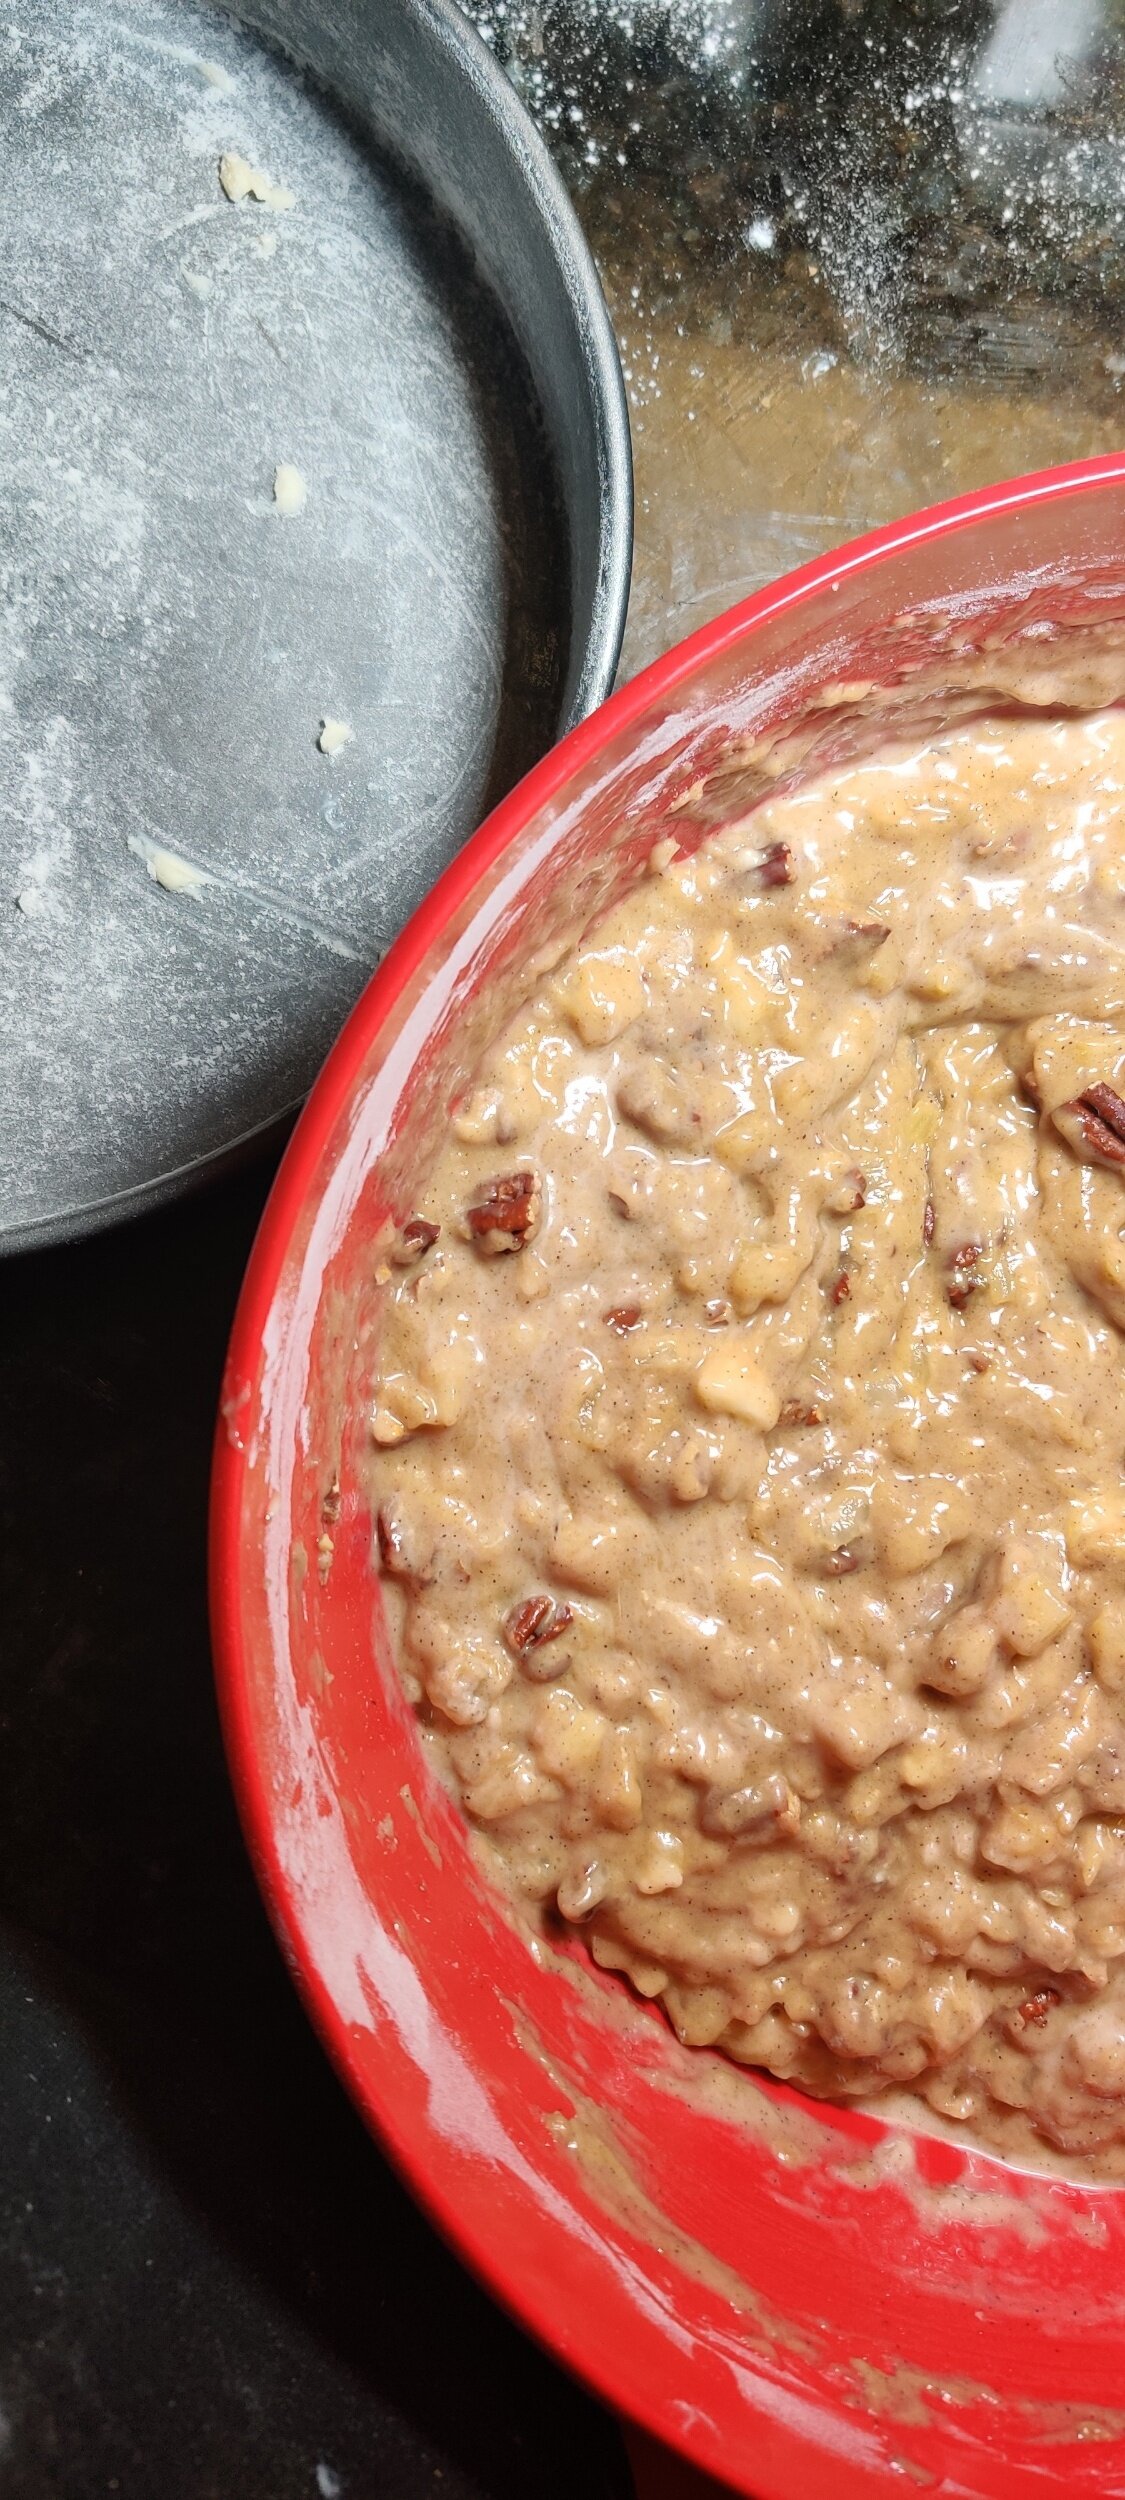
The cake was initially used to promote tourism to the Caribbean. I love food that has a story, but what drew me to exploring the recipe was its likeness to my go-to carrot cake recipe. Also, who doesn’t love pineapples and bananas? It’s a delicious, moist cake that pairs wonderfully with coffee or tea! Plus, it's easy to make.


Super Moist Grapefruit Pound Cake
I thoroughly enjoy pound cake for tea time or in the morning with some coffee, it always hits the spot. Marble or lemon pound cake is often my default, the latter in the warmer months like springtime. However, that isn’t the only citrus fruit you can use to add a fresh tang to your loaf!
Creamy Coconut Milk Tart (Melktart)
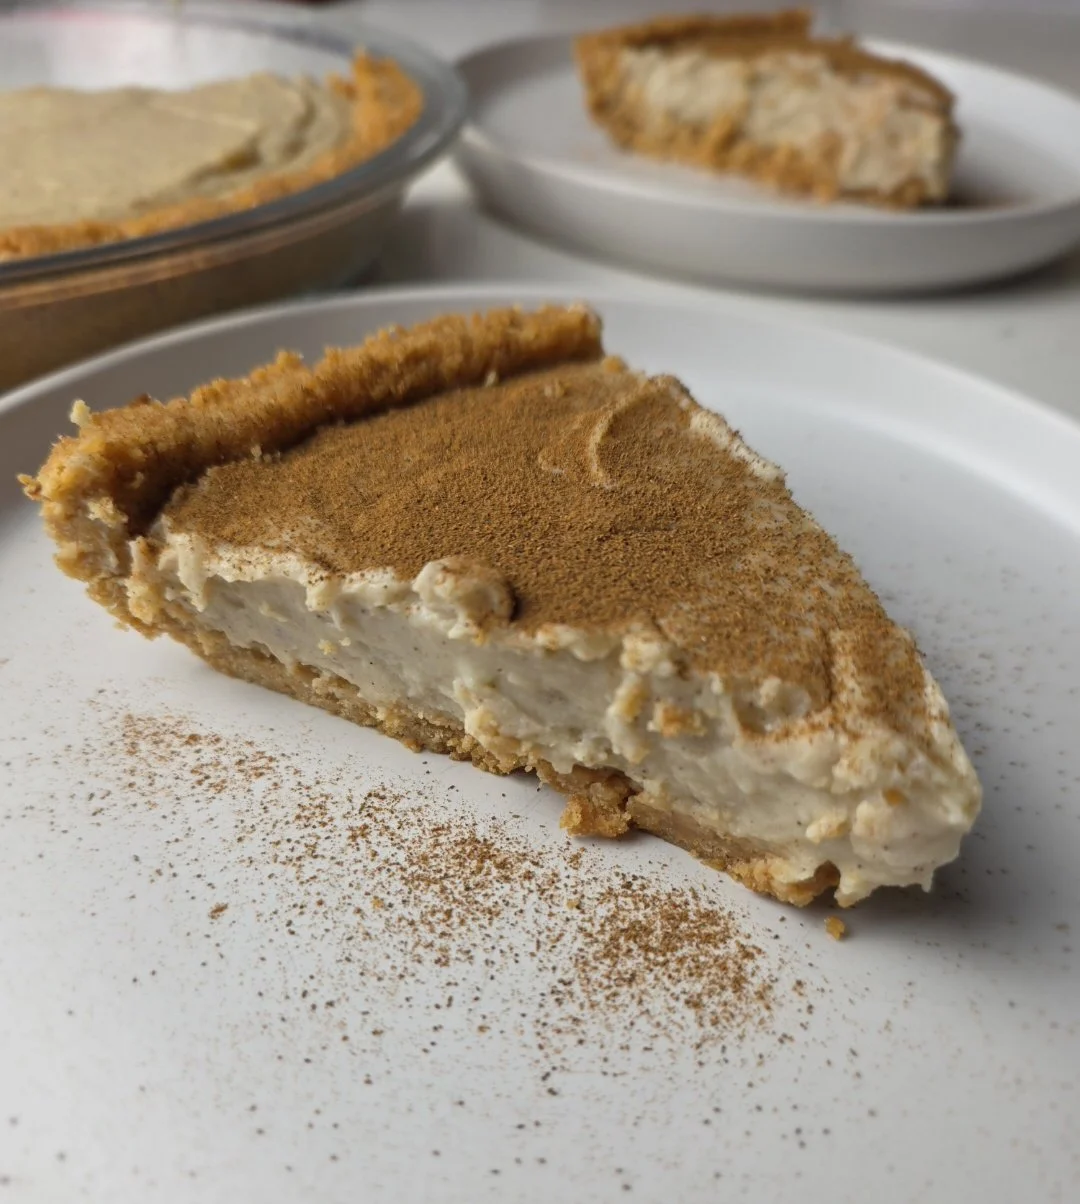
Milk tart, or melktert, is one of my all-time favorite desserts. It brings back so many memories of my mom in the kitchen, making silky custard, pudding, jelly, and cakes while I watched and learned. As a child, custard (packaged!) in particular was one of the first desserts I ever started making on my own, so it was no surprise that milk tart quickly became a comfort food I could never pass up. The buttery crust, creamy filling, and cinnamon (sometimes stronger, sometimes lighter) are simple but so satisfying.
For these versions, I’ve added a twist by using coconut milk in the filling (and toasted coconut flakes in the crust in the first version) for a subtle, unique flavor that enhances the sweet, nutty, tropical notes of the milk tart. I also made the custard slightly richer and creamier than the traditional version, so slices may be a touch softer than the classic, but the indulgent texture is intentional and totally worth it. In the second option, I swapped the traditional pastry for my favorite oatmeal crust to give it extra texture, thickness, and heartiness. Whether you’re a lifelong custard lover or just discovering this South African-inspired classic, it’s worth every bite.


Creamy Coconut Milk Tart
Classic South African milk tart (melktert) with a creamy coconut custard and an optional oatmeal crust for added texture. Sweet, comforting, and custard-forward—perfect for dessert lovers. This version is slightly richer and creamier than traditional milk tart, which may make slices less “perfectly set” than older recipes, but it delivers extra indulgence and flavor.
Ingredients
- 1 ½ cups coconut tennis biscuits (18–20 biscuits)
- 3 tbsp toasted coconut flakes
- 1 tbsp granulated sugar
- Pinch of salt
- ½ cup butter, melted (add more 1 tbsp at a time if needed)
- 1 ¼ cups whole milk
- ¾ cup coconut milk
- ½ cup condensed milk
- 2 tbsp granulated sugar
- 3 tbsp cornstarch
- 2 eggs
- 1 tbsp butter
- 1 tsp vanilla extract
- ¾ tsp cinnamon
- Pinch of nutmeg
- Pinch of cardamom
- 1¾ cups rolled or quick-cook oats
- 2½ sticks cold butter, cubed
- ²⁄₃ cup flour
- ²⁄₃ cup brown sugar
- 1 tsp salt
- 1 tsp cinnamon
Instructions
- Preheat oven to 325°F (160°C).
- Set aside the toasted coconut flakes.
- Pulse the biscuits in a food processor until they resemble coarse sand. Alternatively, crush them in a ziplock bag with a rolling pin.
- Add the toasted coconut and give the mixture a few more pulses (or a good mix) to integrate everything.
- Transfer the crushed biscuits to a bowl and mix in the sugar, salt, and melted butter until the mixture resembles damp sand and holds together when pinched. Add more butter 1 tbsp at a time if needed. It should not be too wet or too dry.
- Press the mixture evenly into a pie dish, using a cup to press the base and your fingers to shape the sides.
- Chill in the fridge for 10–15 minutes, then bake for 10–12 minutes. Cool while preparing the filling.
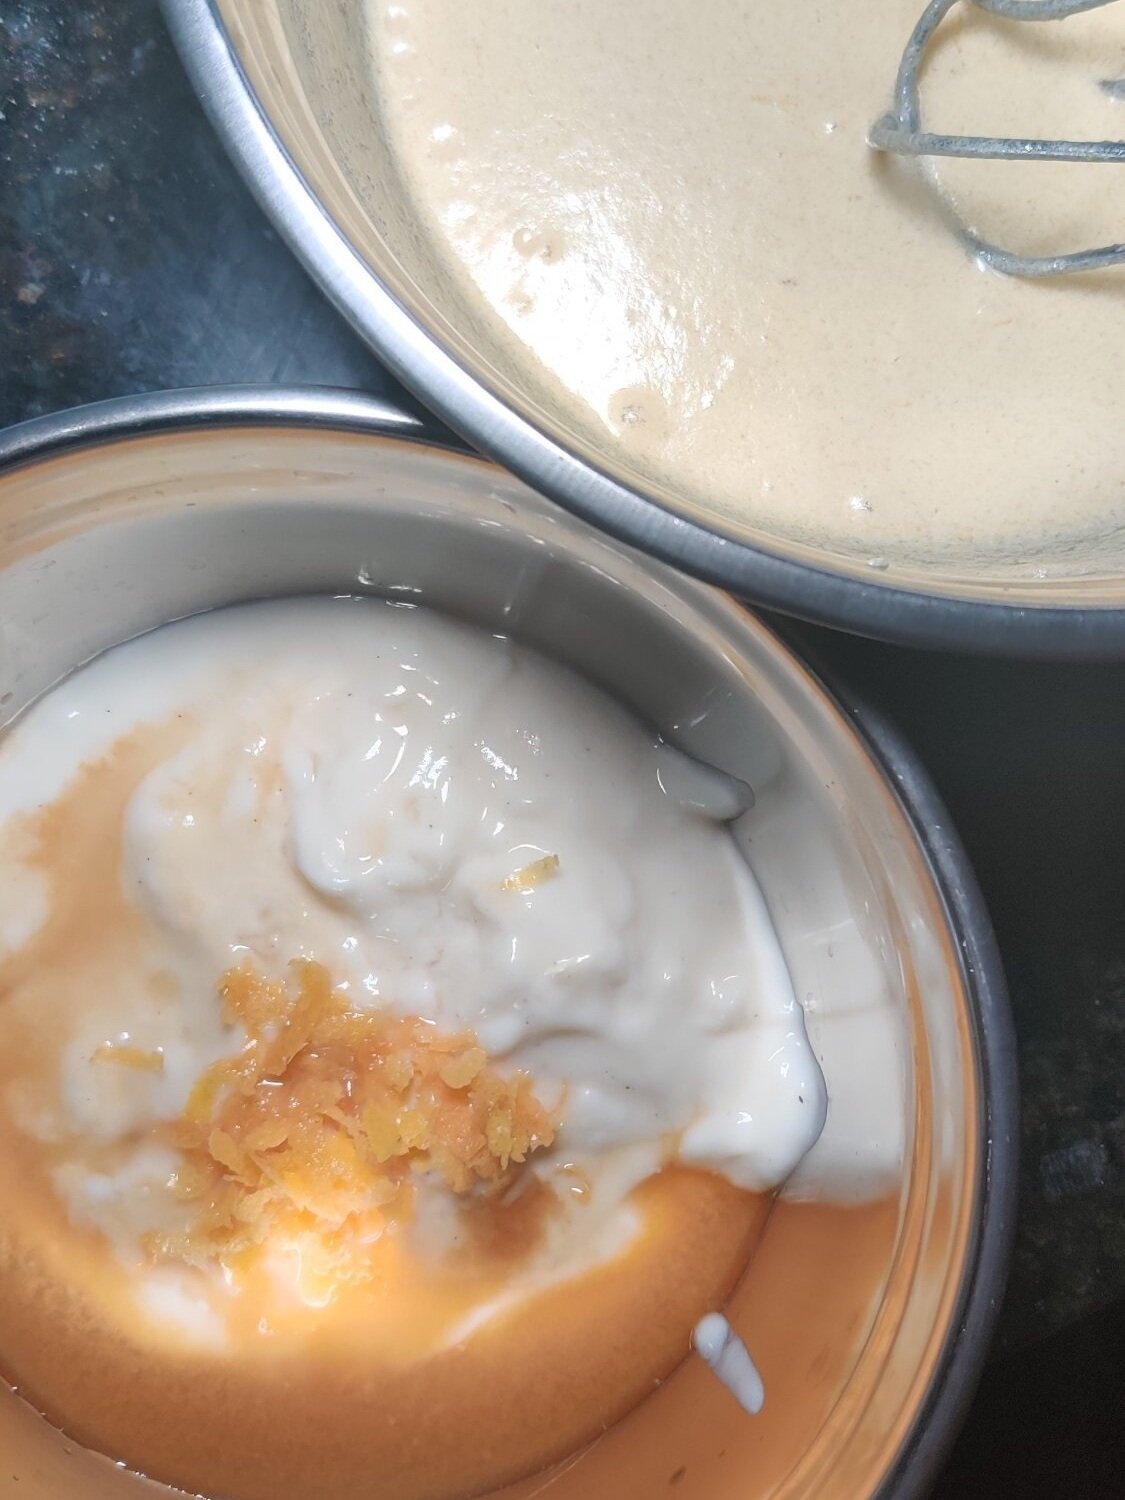
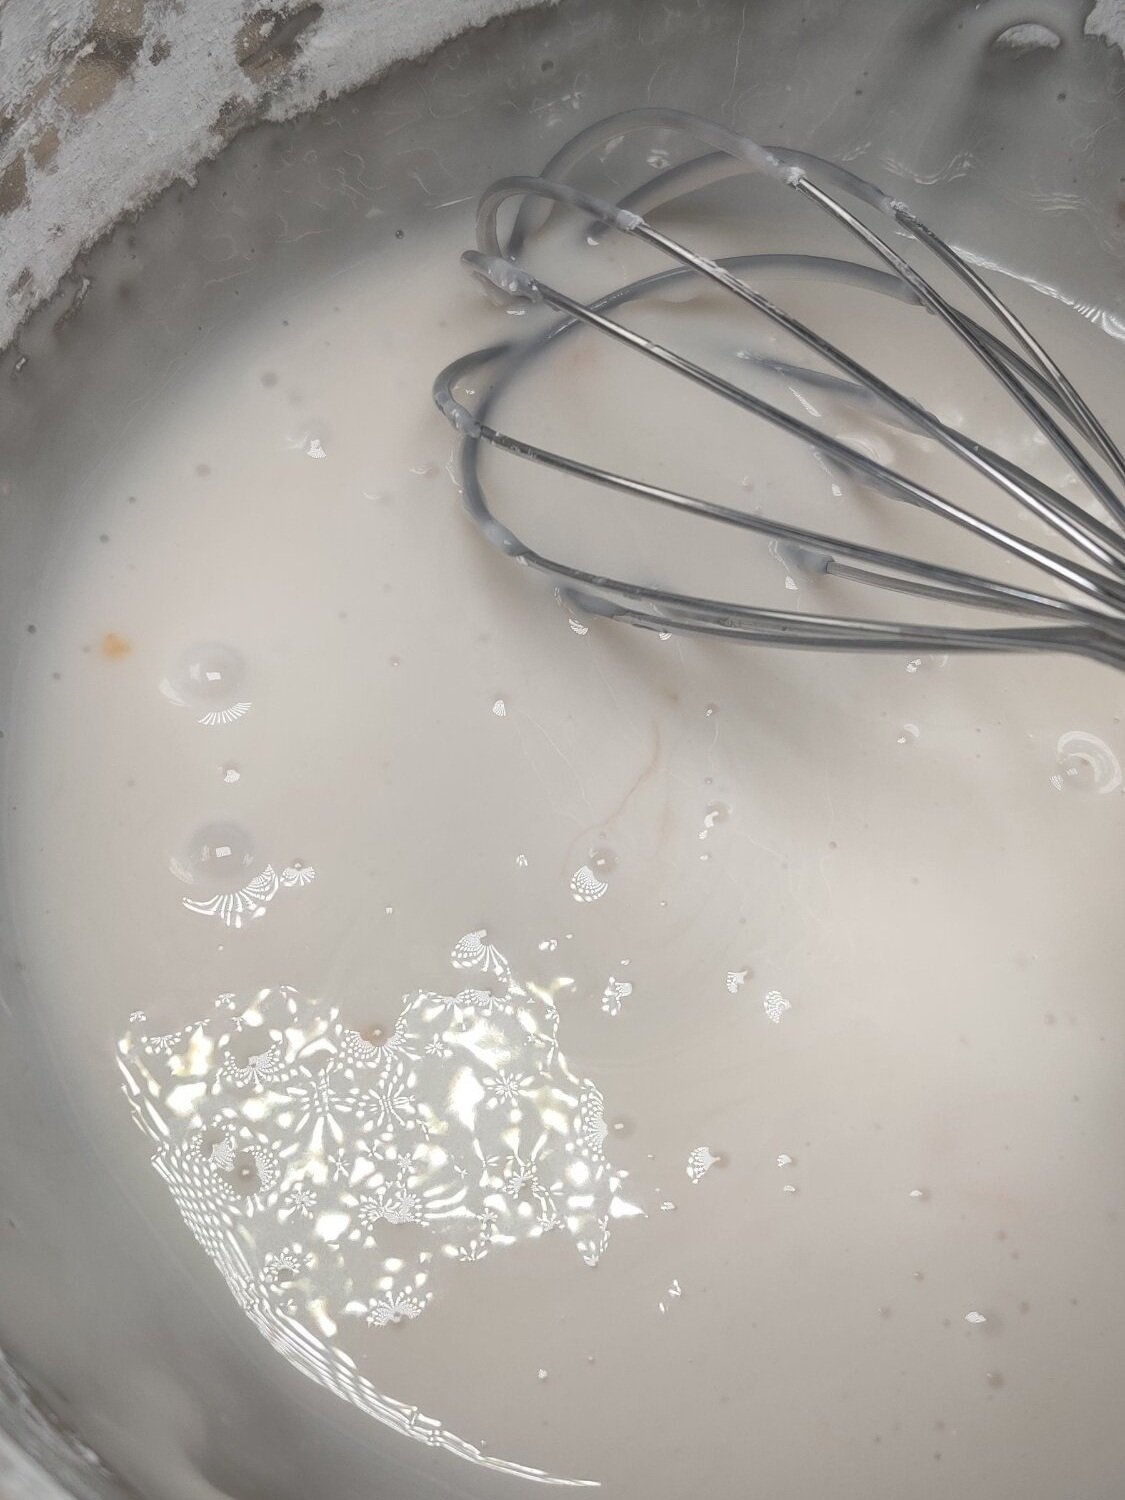
- In a small saucepan, heat the whole milk and coconut milk over low heat until steaming. Do not boil. Remove from the heat.
- In a separate bowl, whisk together the eggs, condensed milk, sugar, and cornstarch until smooth.
- Slowly whisk the warm milk mixture into the egg mixture a little at a time to temper it. Tempering means gradually warming the eggs so they don’t scramble when exposed to heat.
- Return the combined mixture to the saucepan and cook over low heat, stirring constantly for 5–8 minutes, or until it thickens and coats the back of a spoon.
- Remove from the heat and stir in the butter, vanilla, cinnamon, nutmeg, and cardamom.
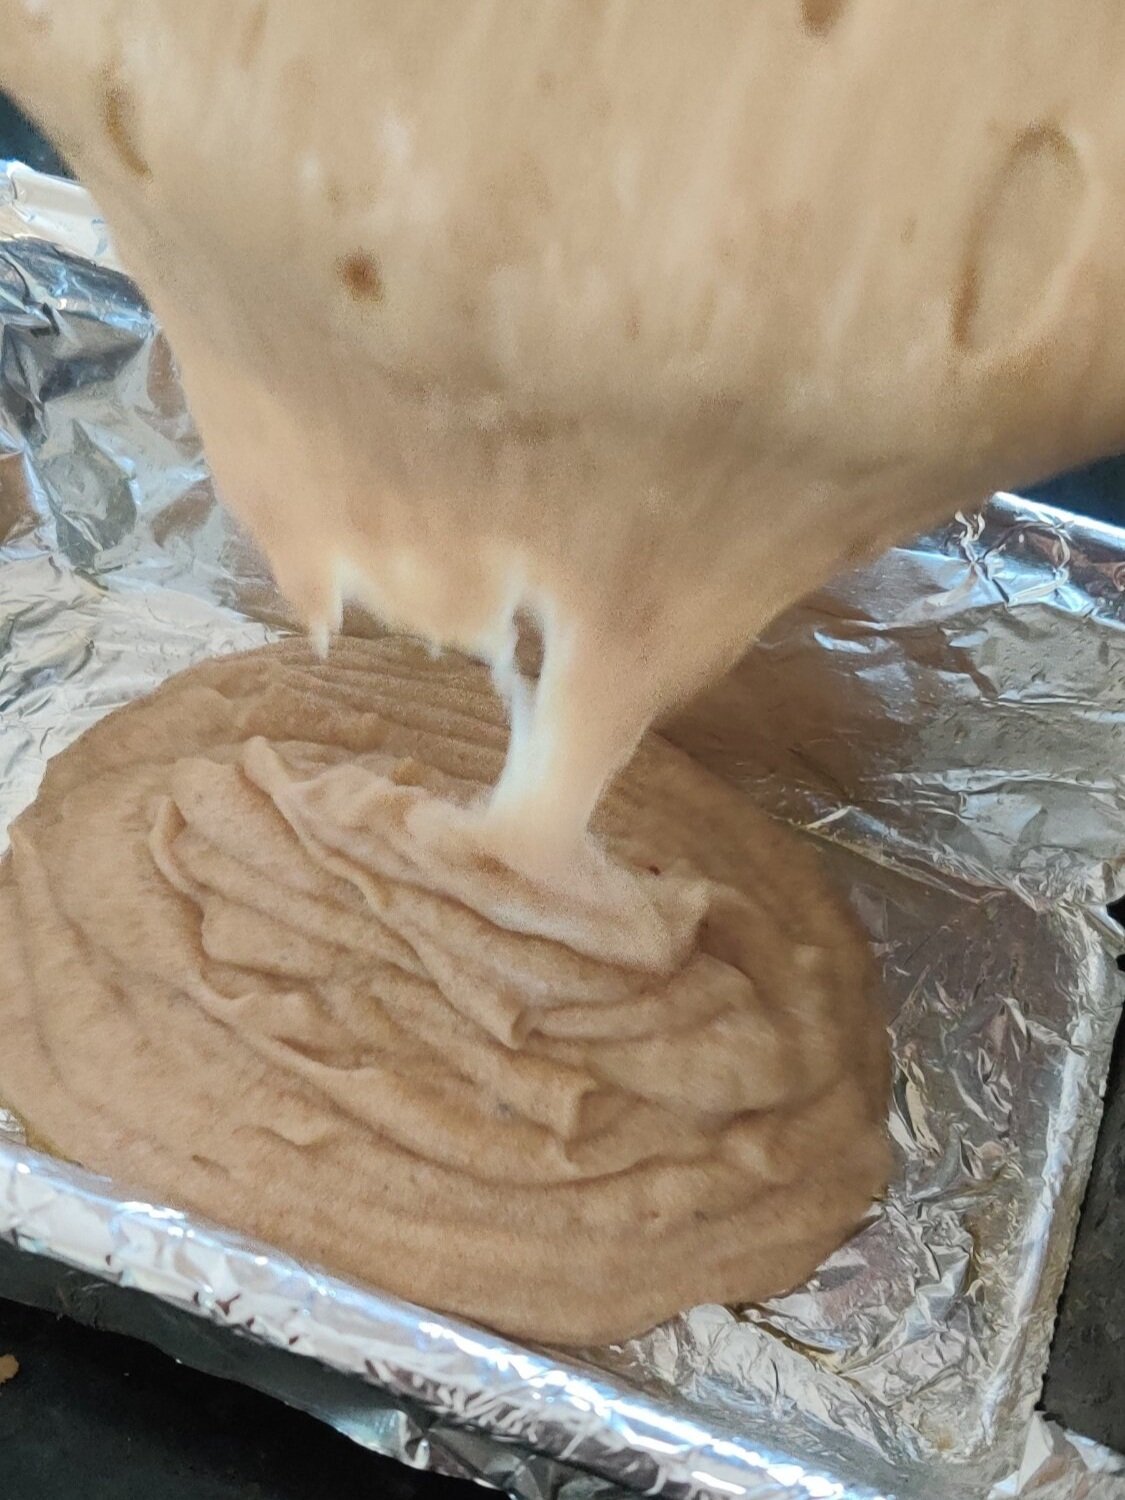
- Pour the filling into the baked crust and bake for 15 minutes.
- Cool at room temperature for 1 hour, then chill overnight (or at least 2–4 hours if you are short on time).
- Preheat oven to 350°F (175°C).
- In a large bowl, combine oats, flour, brown sugar, salt, and cinnamon. Cut in the cold butter with a pastry cutter until the mixture resembles large breadcrumbs. (Optional: pulse the dry ingredients with butter a few times in a food processor, but keep some texture—don’t over-process into a fine powder.)
- Press the mixture evenly into a greased 9-inch pie tin using the bottom of a measuring cup to compact the base and the sides.
- Bake for 15–20 minutes, until the crust is lightly browned and slightly crispy.
- Optional: To prevent shrinking or puffing, weigh down the crust with dried beans or pie weights on a piece of parchment paper while baking. If the crust does puff or shrink slightly, press it back into place gently while still warm.
- Let the crust cool completely before adding the filling.
Notes
For the oatmeal crust:
- Make sure butter is cold, this helps create that tender, crumbly texture.
- Pressing the crust evenly and firmly is key; uneven thickness can cause it to bake inconsistently.
- Using rolled oats gives a chewier, more textured crust, while quick-cook oats yield a slightly softer crust.
For 'classic' milk tart:
- Custard consistency: Make sure to whisk the cornstarch and eggs thoroughly before combining with warm milk to avoid lumps. The custard should coat the back of a spoon when fully cooked.
- Baking the tart: Keep an eye on the tart while baking—the filling should set but remain slightly wobbly in the center; it will firm as it cools.
- Crust options: You can use a traditional shortcrust pastry or swap in an oatmeal crust for extra texture and heartiness.
- Coconut twist: Using coconut milk adds a subtle tropical flavor, but you can substitute with regular milk if preferred.
- Serving: For neat slices, use a warm knife. Dust with cinnamon just before serving for a beautiful presentation.
- Storage: Store in the fridge, covered, for up to 3 days. Best served chilled or at room temperature.
Nutrition Facts
Calories
320Fat (grams)
18 gCarbs (grams)
36 gSugar (grams)
20 gProtein (grams)
6 gI am not a certified nutritionist and any nutritional information on dontmissmyplate.com should only be used as a general guideline.
