Cinnamon and Pear Shortbread Biscuits – Buttery, Soft and Crispy
Shortbread cookies are the ultimate testament to the beauty of simplicity. With just butter, sugar, and flour, these cookies deliver a tender, crumbly texture that melts in your mouth. I grew up eating these biscuits in Zimbabwe, a former British colony, where they were a staple at holiday tables, family tea times, and special occasions. Brands like Eat Sum More from South Africa were often on our shelves, and they hold a special place in my childhood memories.
While traditional shortbread is simple—one part sugar, two parts butter, three to four parts flour—I love to give it subtle seasonal twists. In this version, I’ve added diced dried pears and cinnamon chips, perfect for winter baking. Even though shortbread isn’t as popular in the U.S. outside of the holidays, it’s divine any time, whether for afternoon tea or just a sweet treat with your coffee.
That said, if you prefer classic, unadorned shortbread, you can skip the pears and cinnamon and still enjoy the melt-in-your-mouth texture and buttery richness that make shortbread timeless. This blog walks you through both approaches, so you can enjoy the cookies exactly the way you like them.
Tips for Perfect Shortbread Cookies
Even a simple cookie like shortbread has a few secrets to make it melt-in-your-mouth. Whether you’re making the classic version or the pear and cinnamon cookies inspired by winter flavors, these tips will help:
For Classic Shortbread
Use high-quality unsalted butter—it was the key in the biscuits I grew up eating.
Stick to the traditional trio: flour, sugar, butter. Subtle vanilla or citrus zest is fine.
Measure carefully; too much flour can make cookies dense.
Don’t overmix; just bring the dough together.
Chill for at least 30 minutes.
Prick with a fork before baking.
Bake low and slow: 300–325°F (150–165°C).
Cool completely and store in an airtight container.
For Pear and Cinnamon Shortbread
Gently fold in diced dried pears and cinnamon chips at the end so the dough stays tender.
You may need slightly more liquid if using whole wheat flour.
Chill, roll evenly, and follow the other tips above—the fruit will make the cookies softer, but just as buttery.
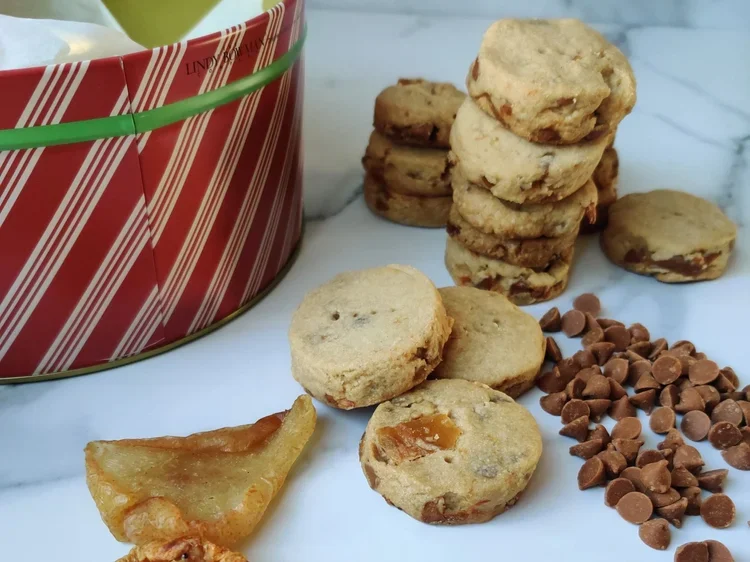

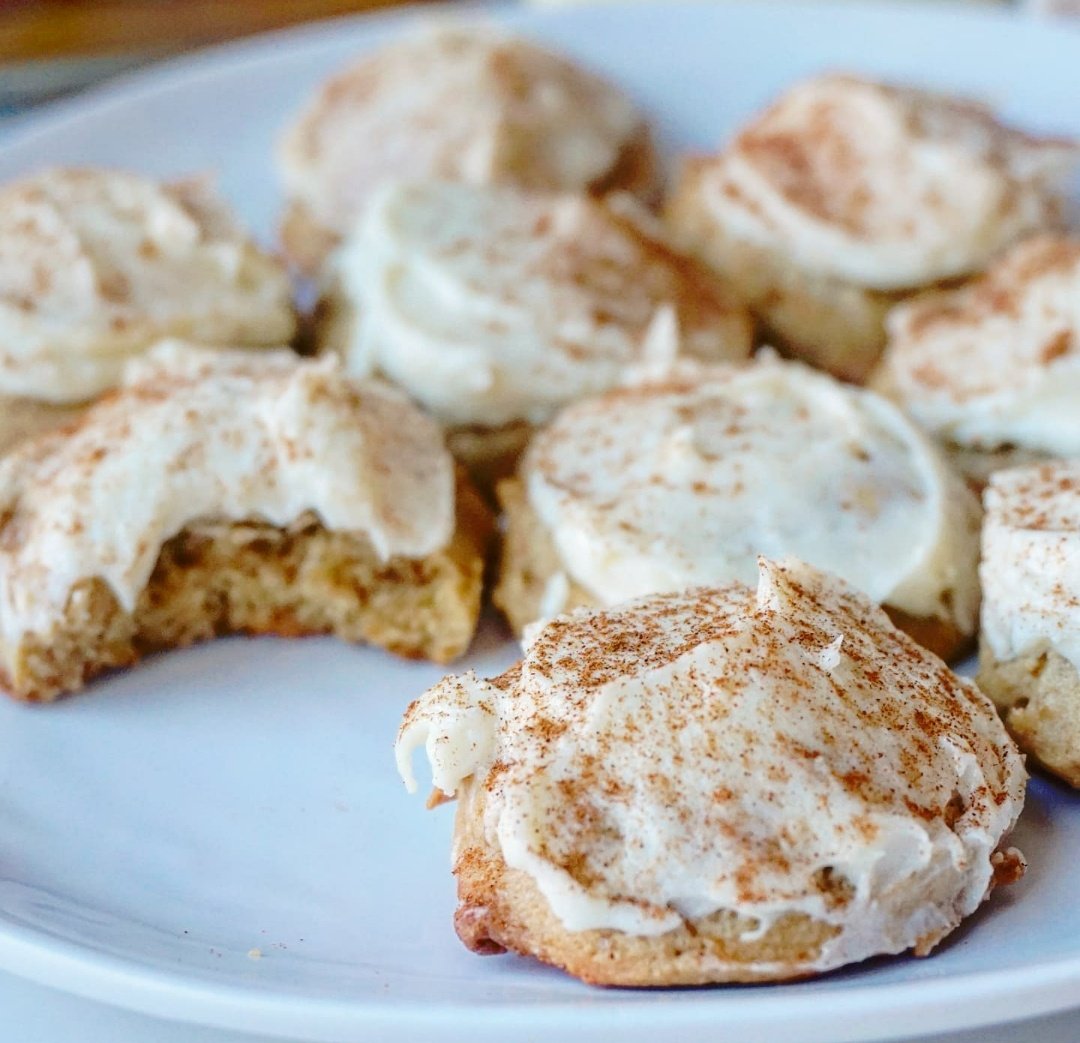
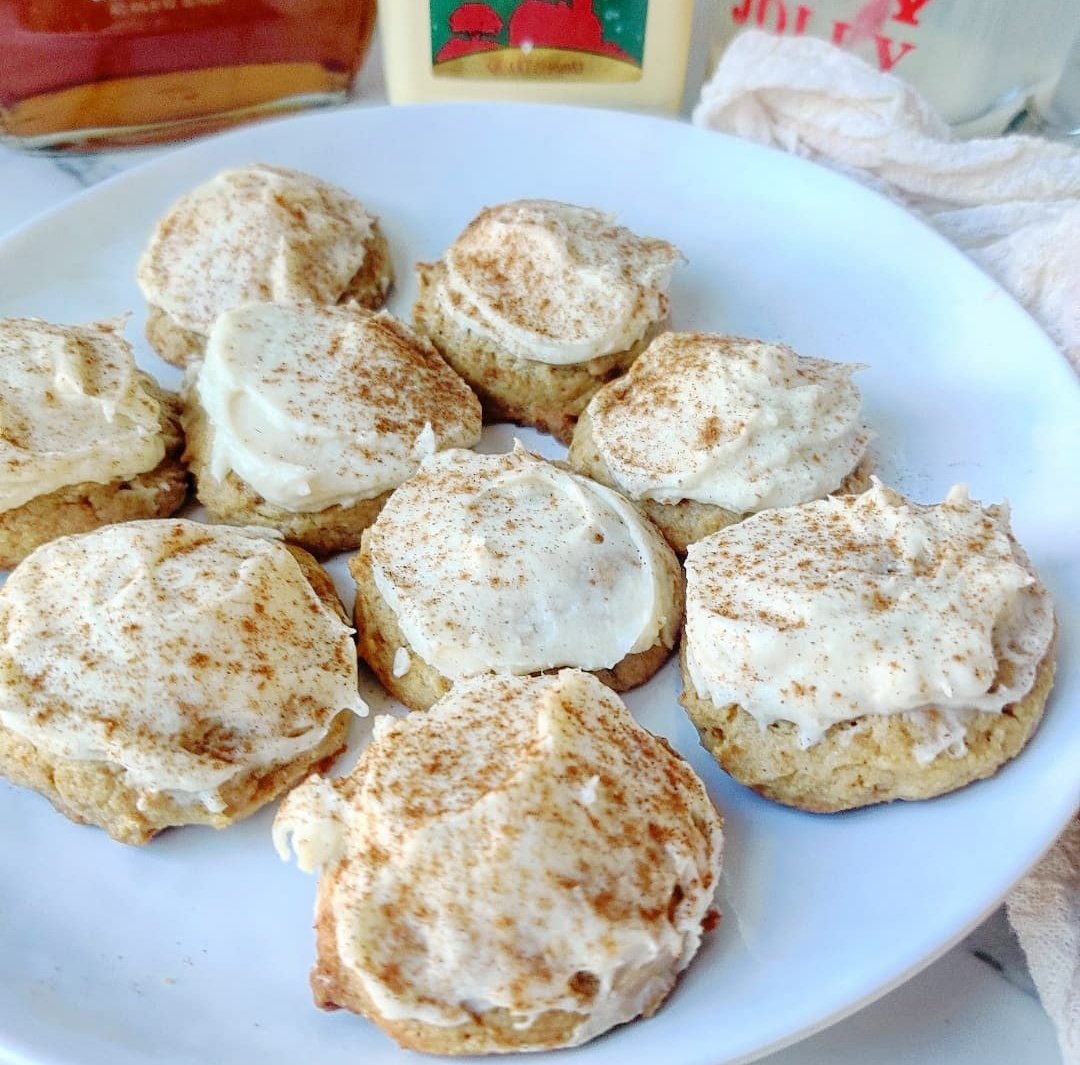
Cinnamon and Pear Shortbread Biscuits
These shortbread cookies are buttery, crisp, and melt in your mouth. Make them classic with just sugar, butter, and flour, or add pears and cinnamon for a festive touch.
Ingredients
- 3 cups all-purpose flour (or white whole wheat) + extra for dusting
- 1/2 cup + 2 tbsp granulated sugar
- 1/2 tsp salt
- 1 cup unsalted butter, softened
- 1 tsp vanilla extract
- 2–3 tbsp water (or heavy cream if using whole wheat)
- 2/3 cup finely diced dried pears
- 2/3 cup cinnamon chips or toffee bits
Instructions
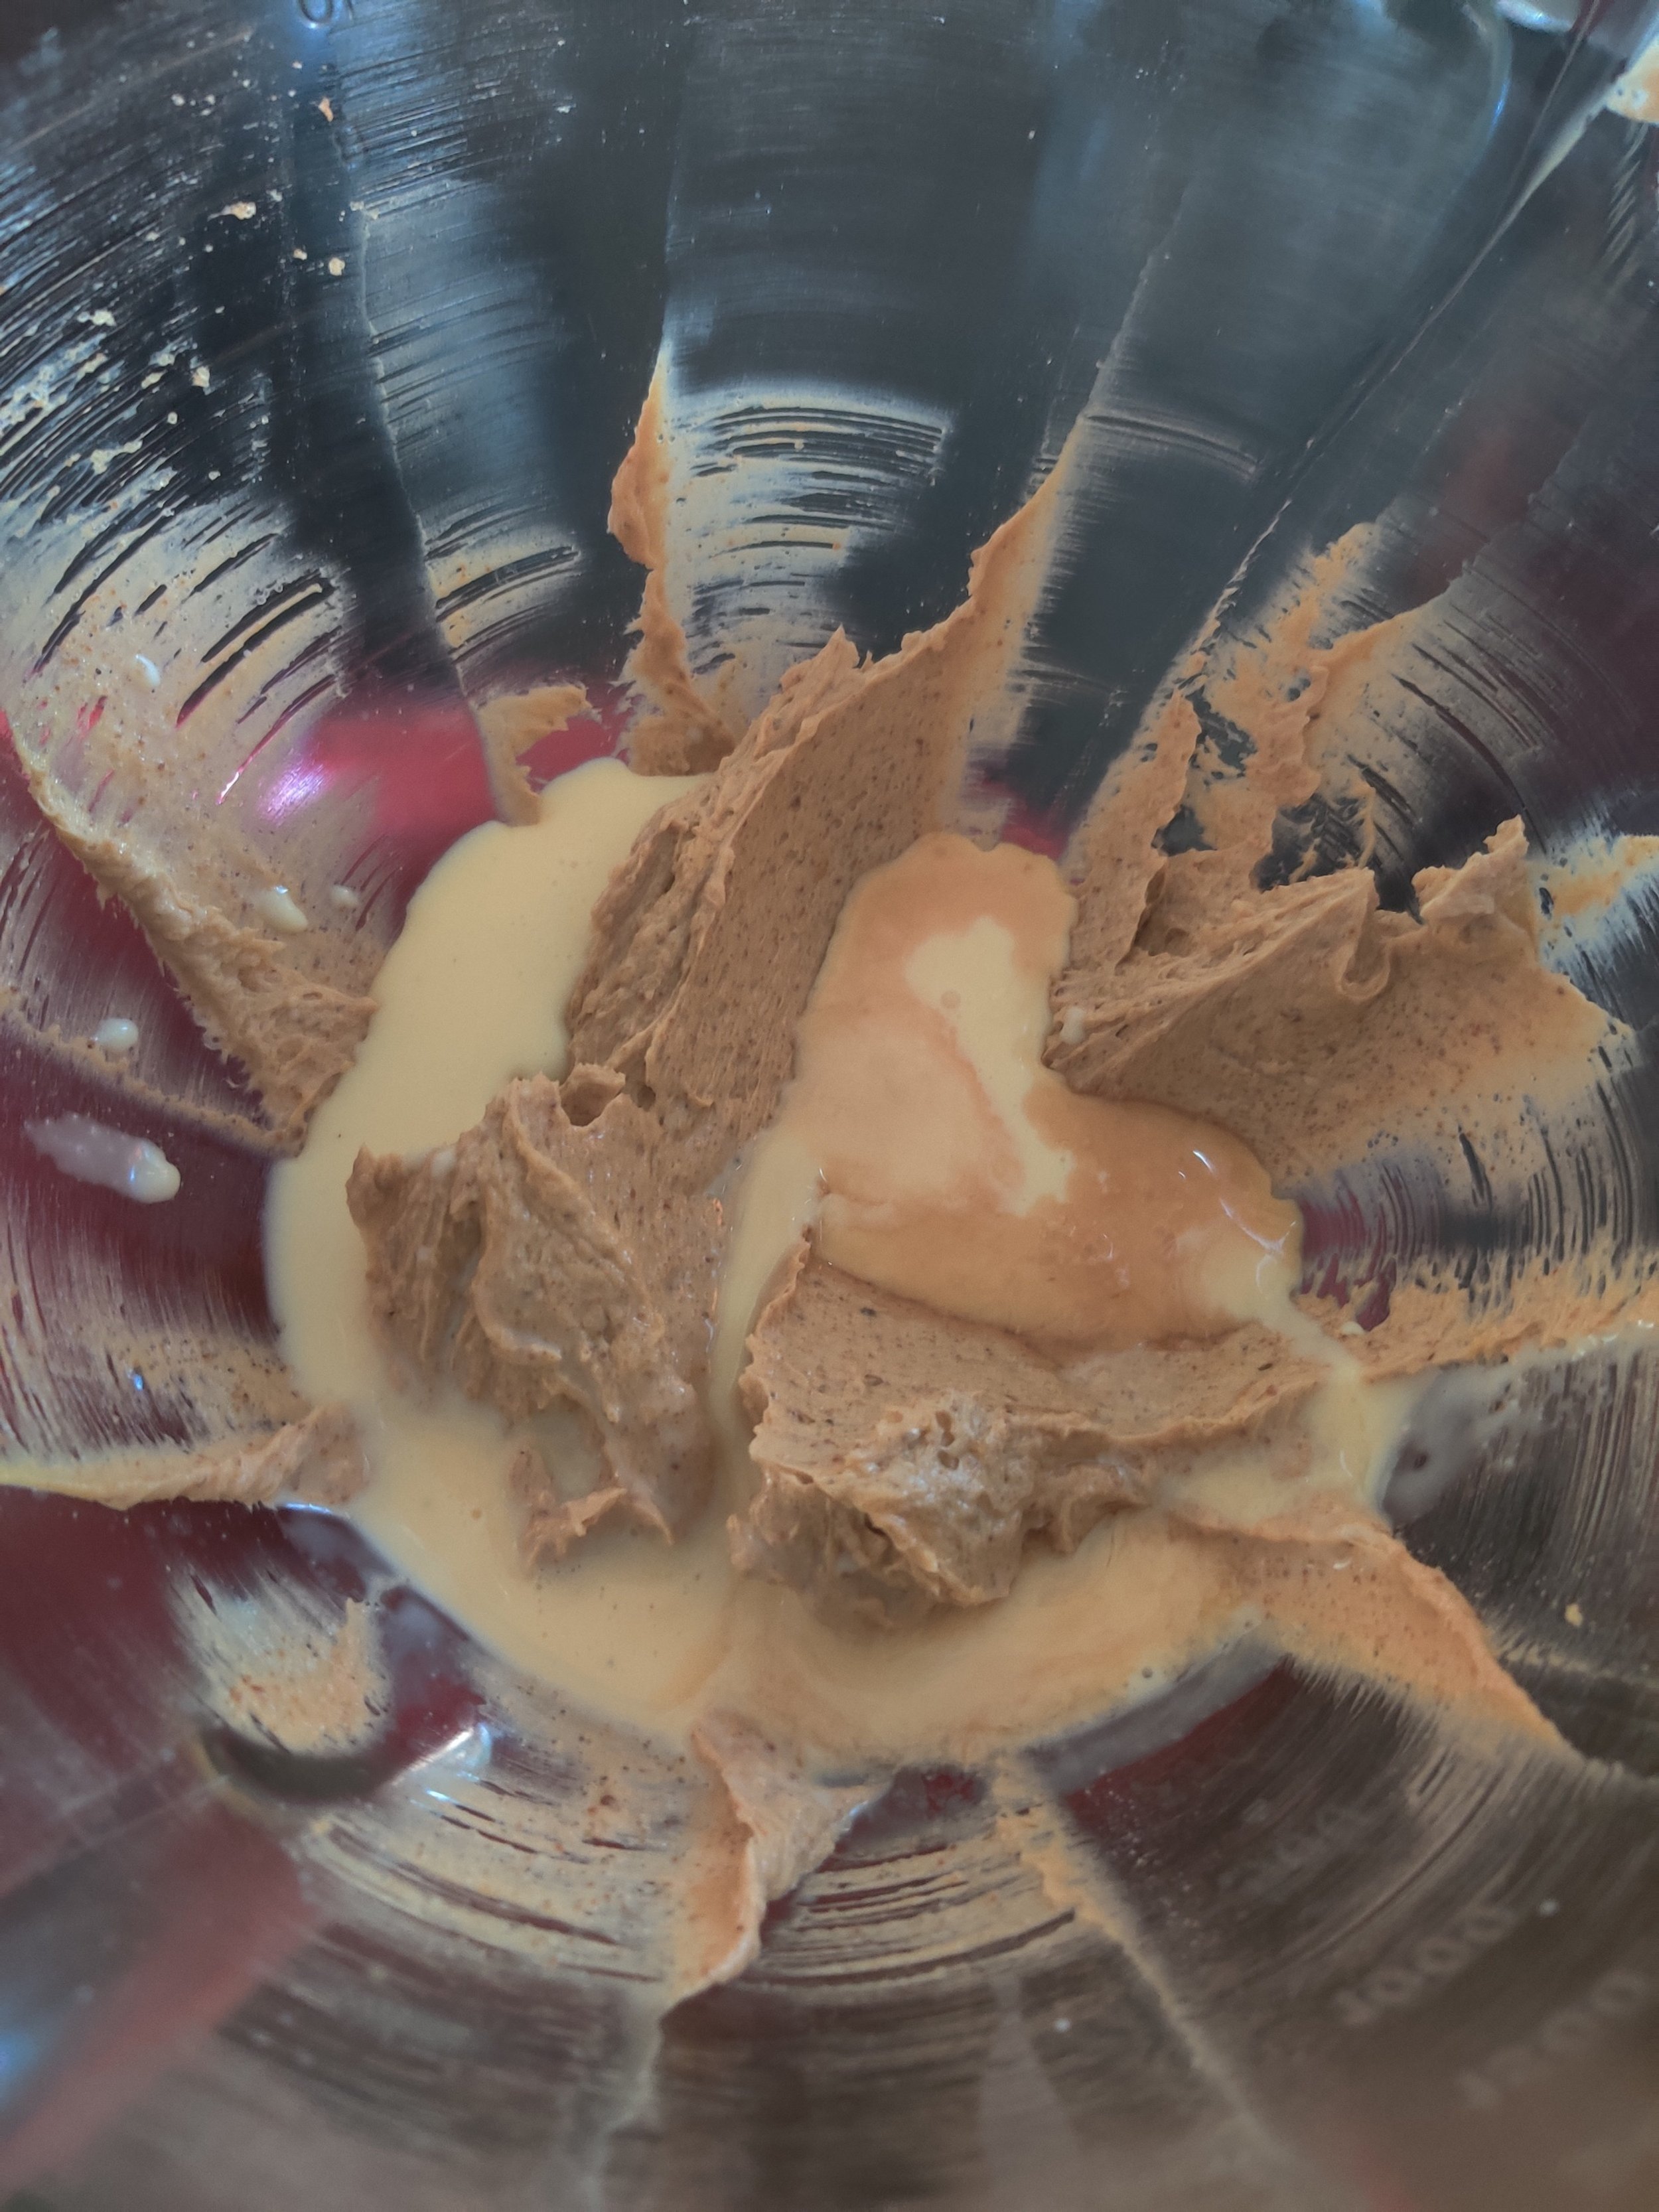
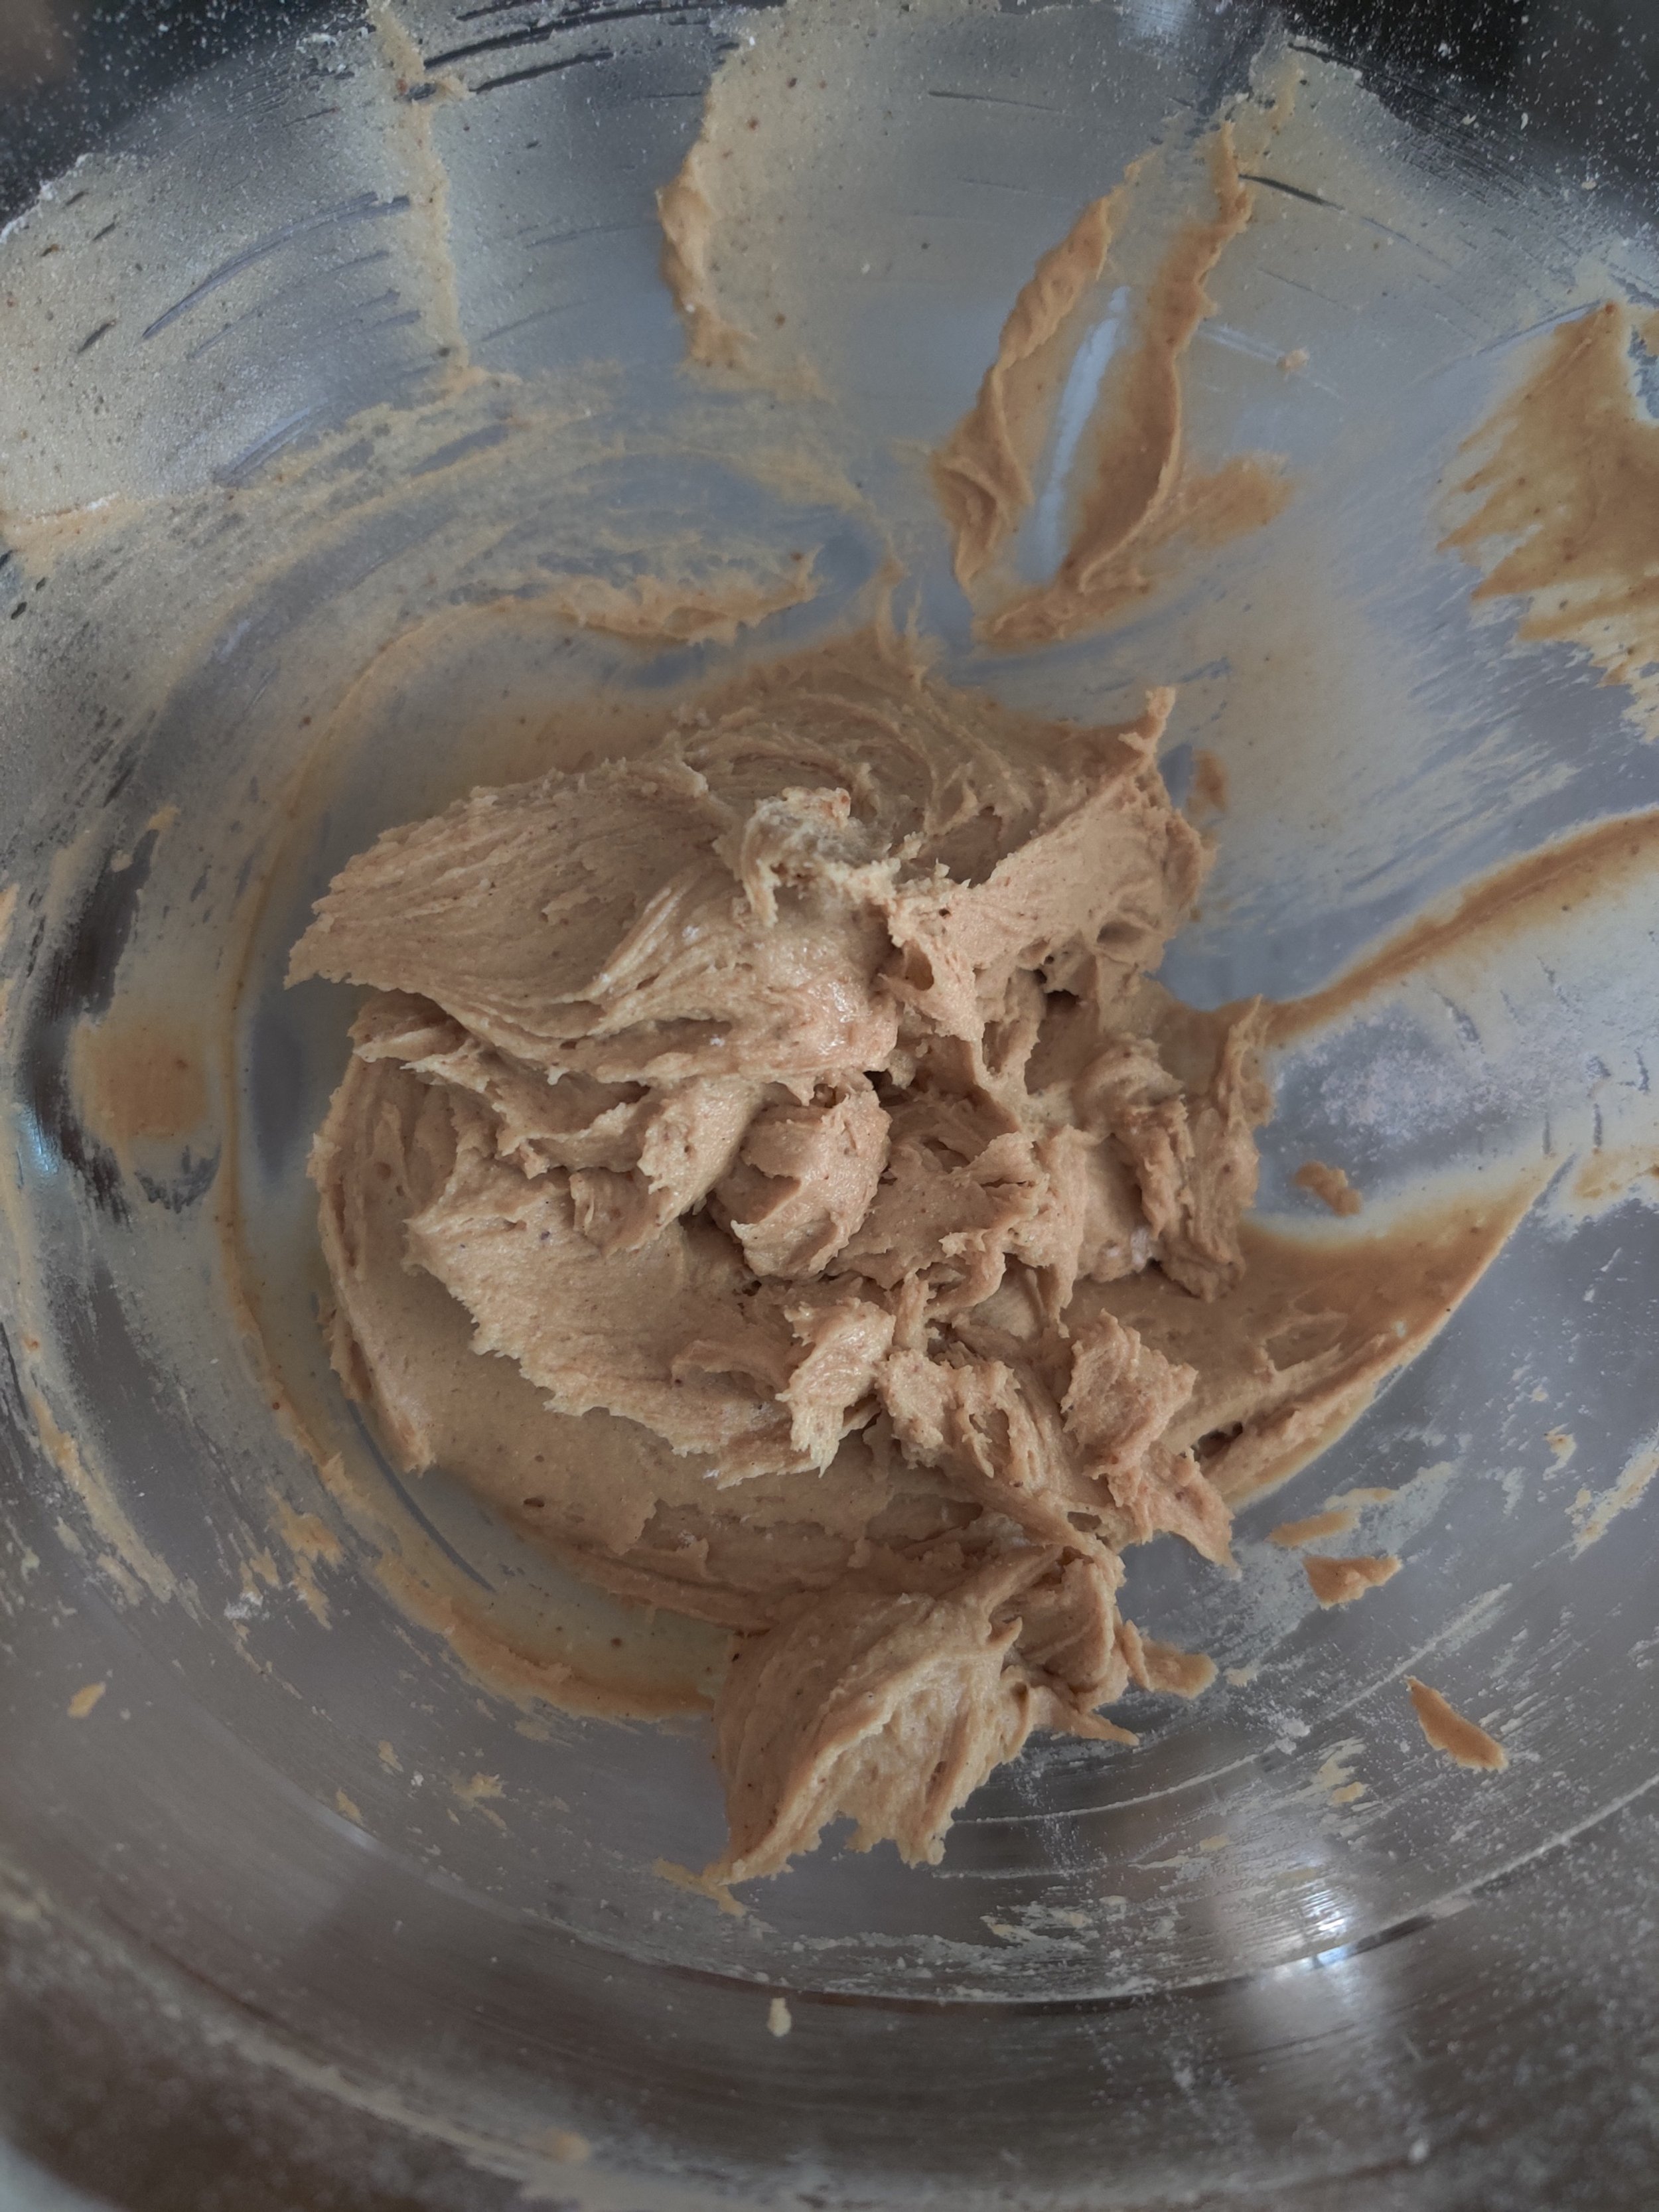
- In a stand mixer with paddle attachment, beat softened butter and sugar on medium until fluffy and light.
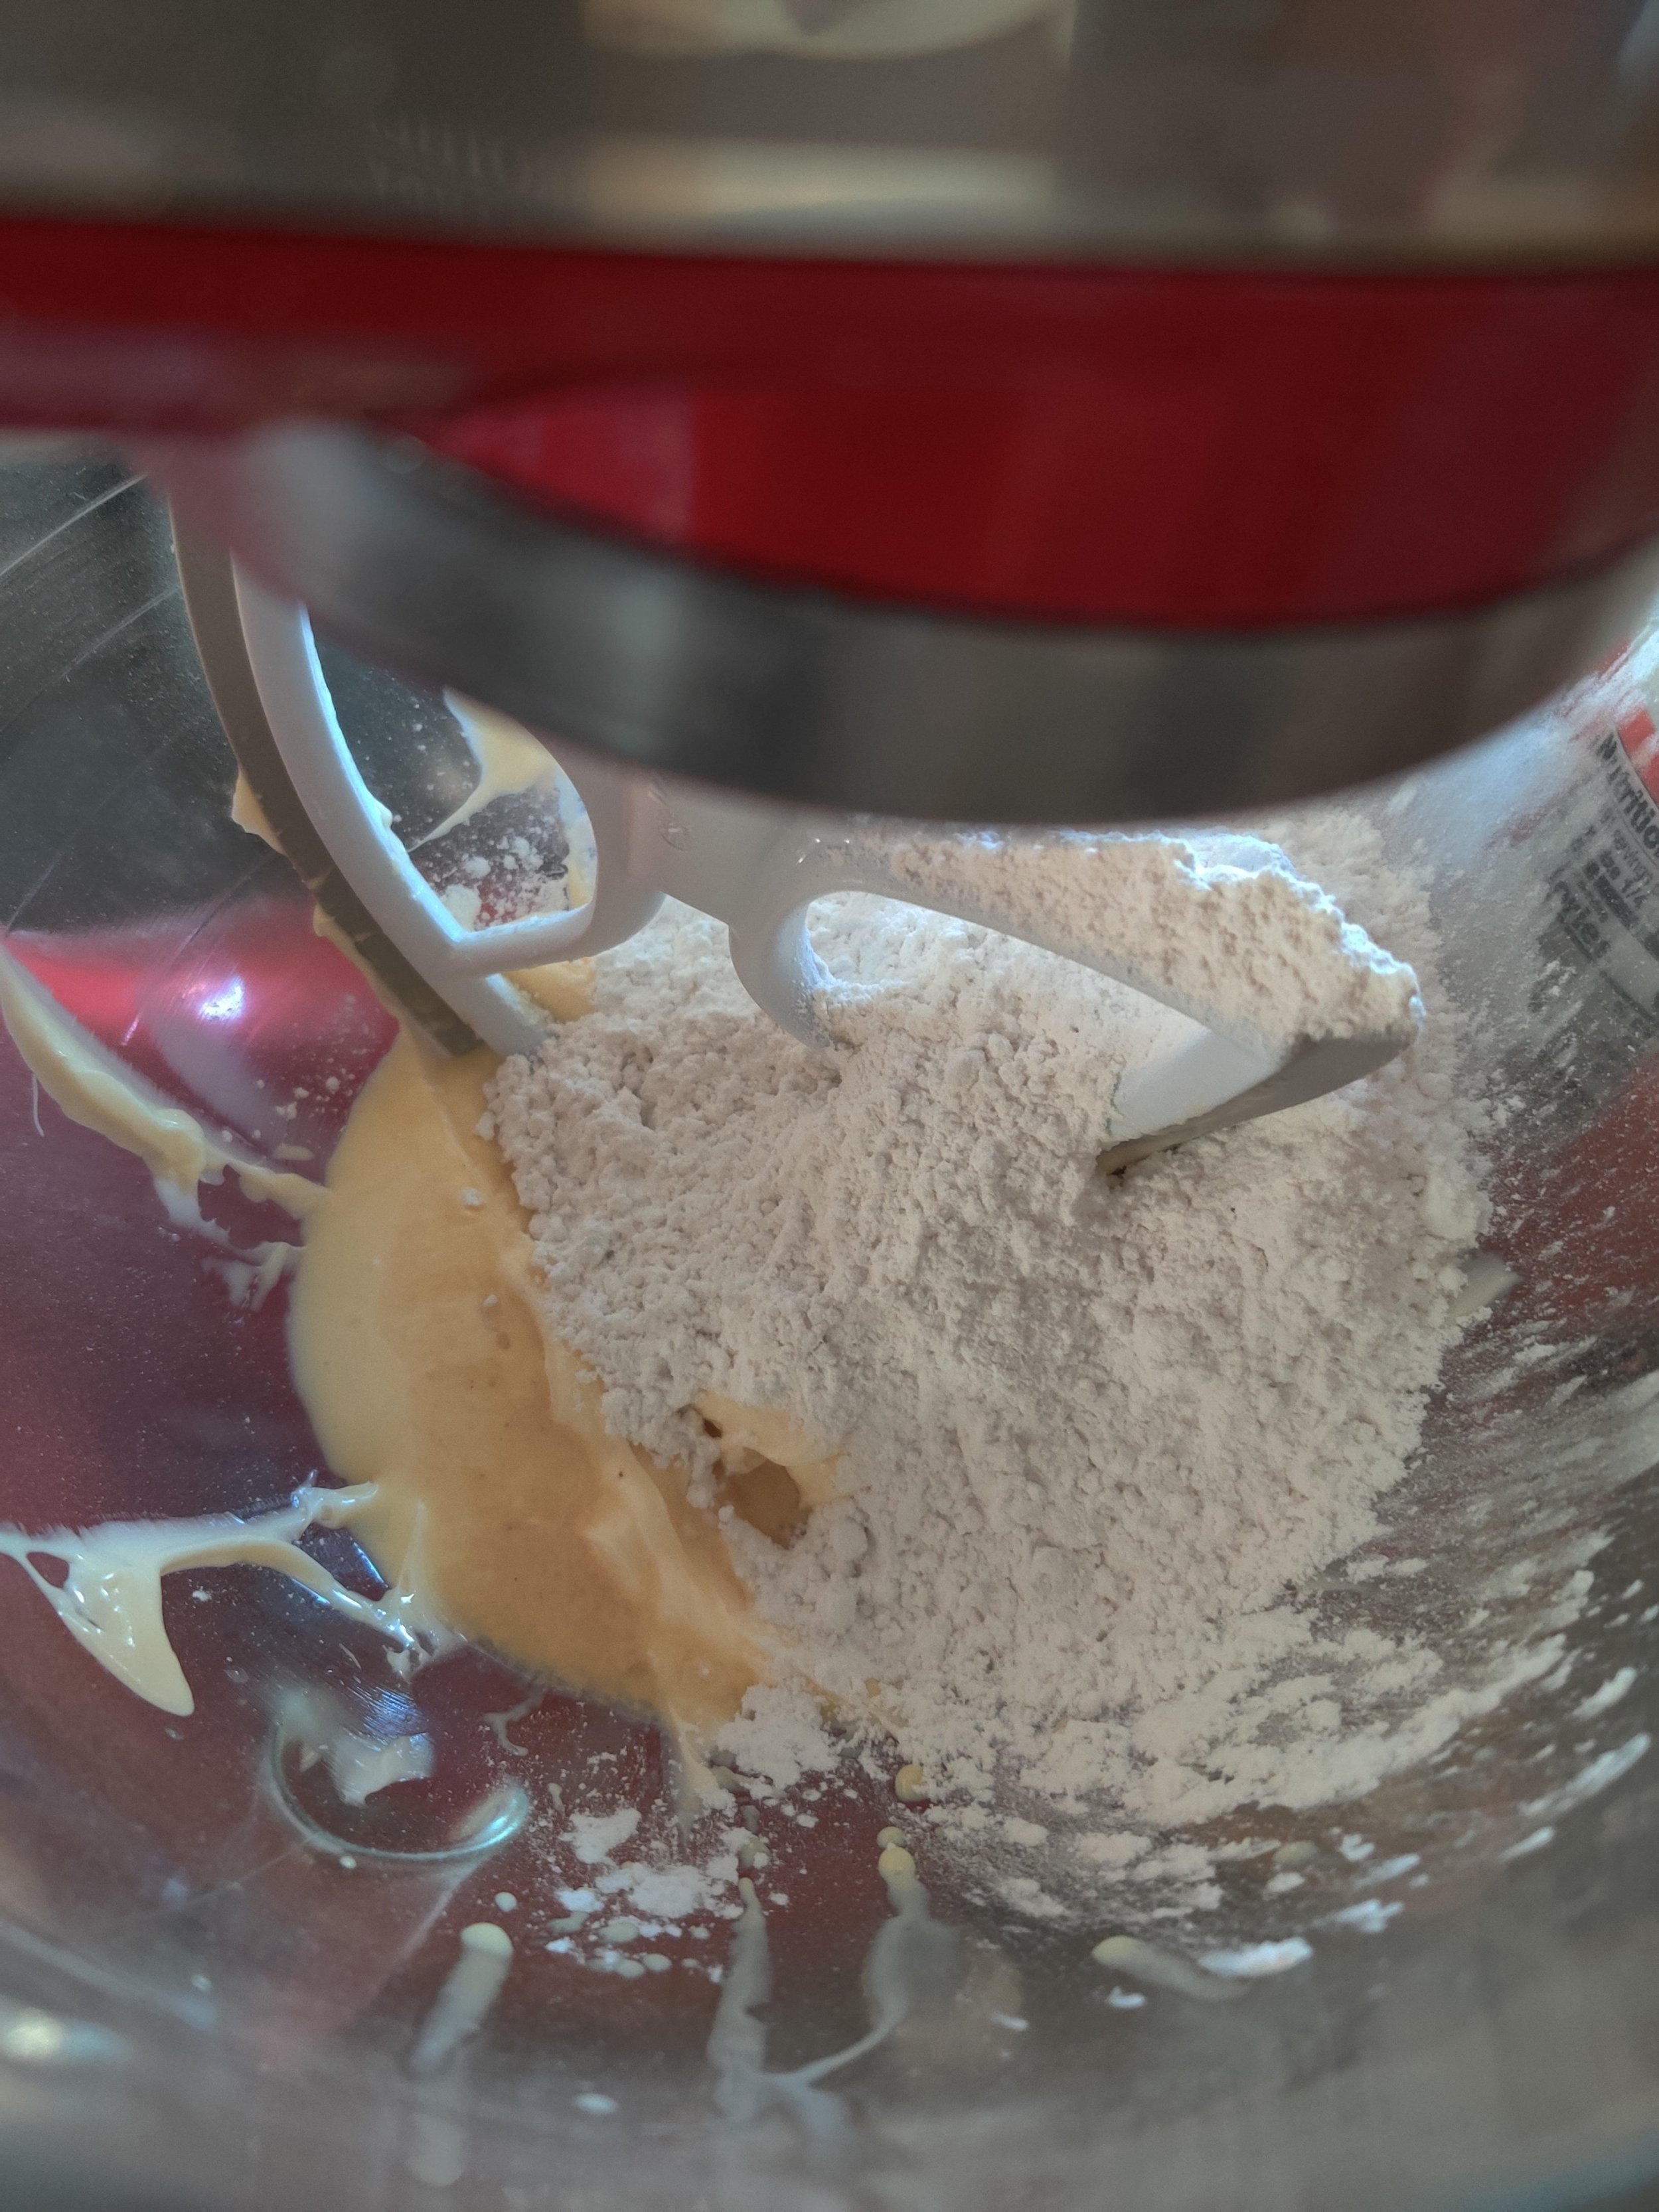
- Gradually add flour and salt at low speed until a crumbly dough forms.
- For the pear + cinnamon version, fold in diced pears and cinnamon chips with a spatula.
- Add vanilla, then slowly add water (or cream if needed) just until the dough comes together. It should stick slightly but not be wet.
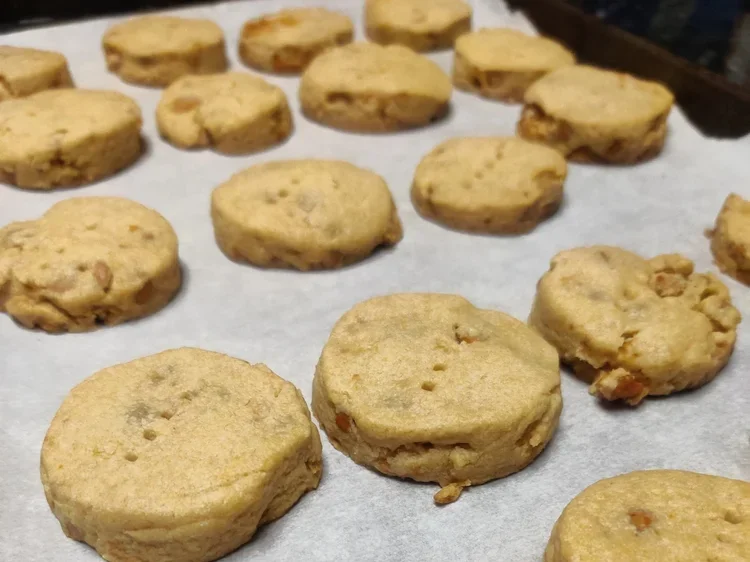
- Transfer dough to a floured surface, flatten to ~½ inch thickness. Cut into shapes or rounds.
- Place on parchment-lined trays and prick with a fork. Chill for at least 30 min.
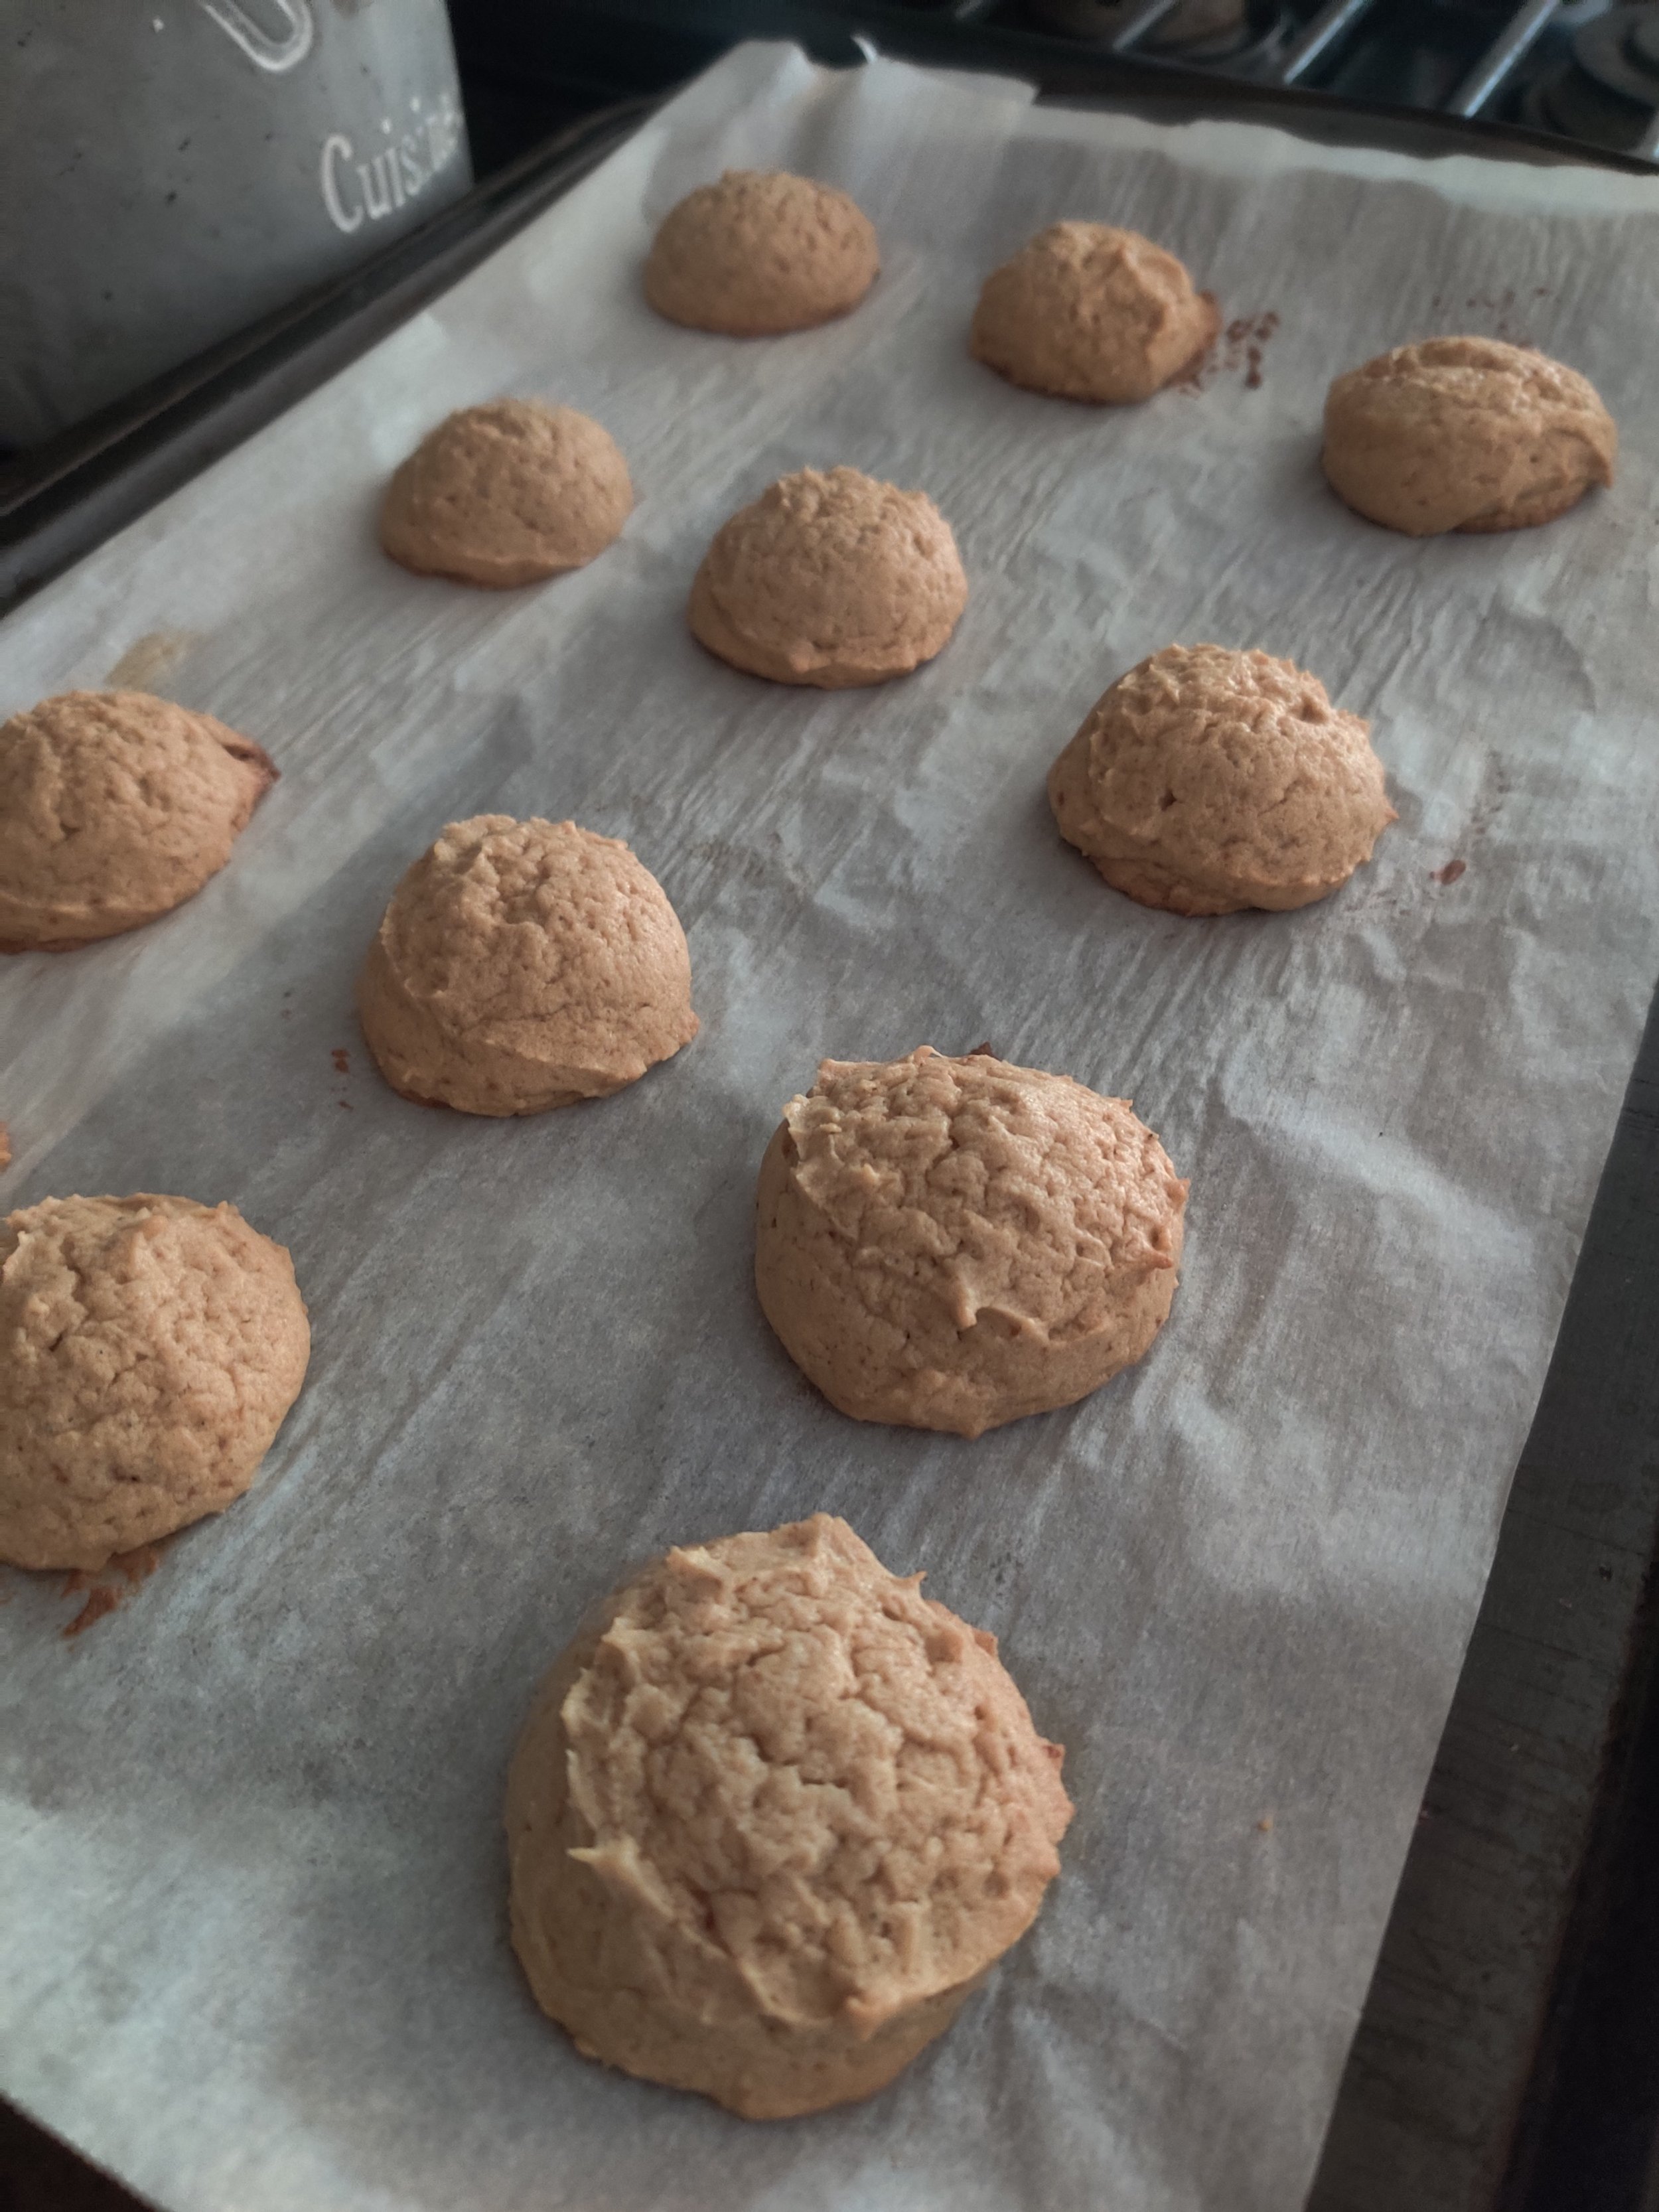
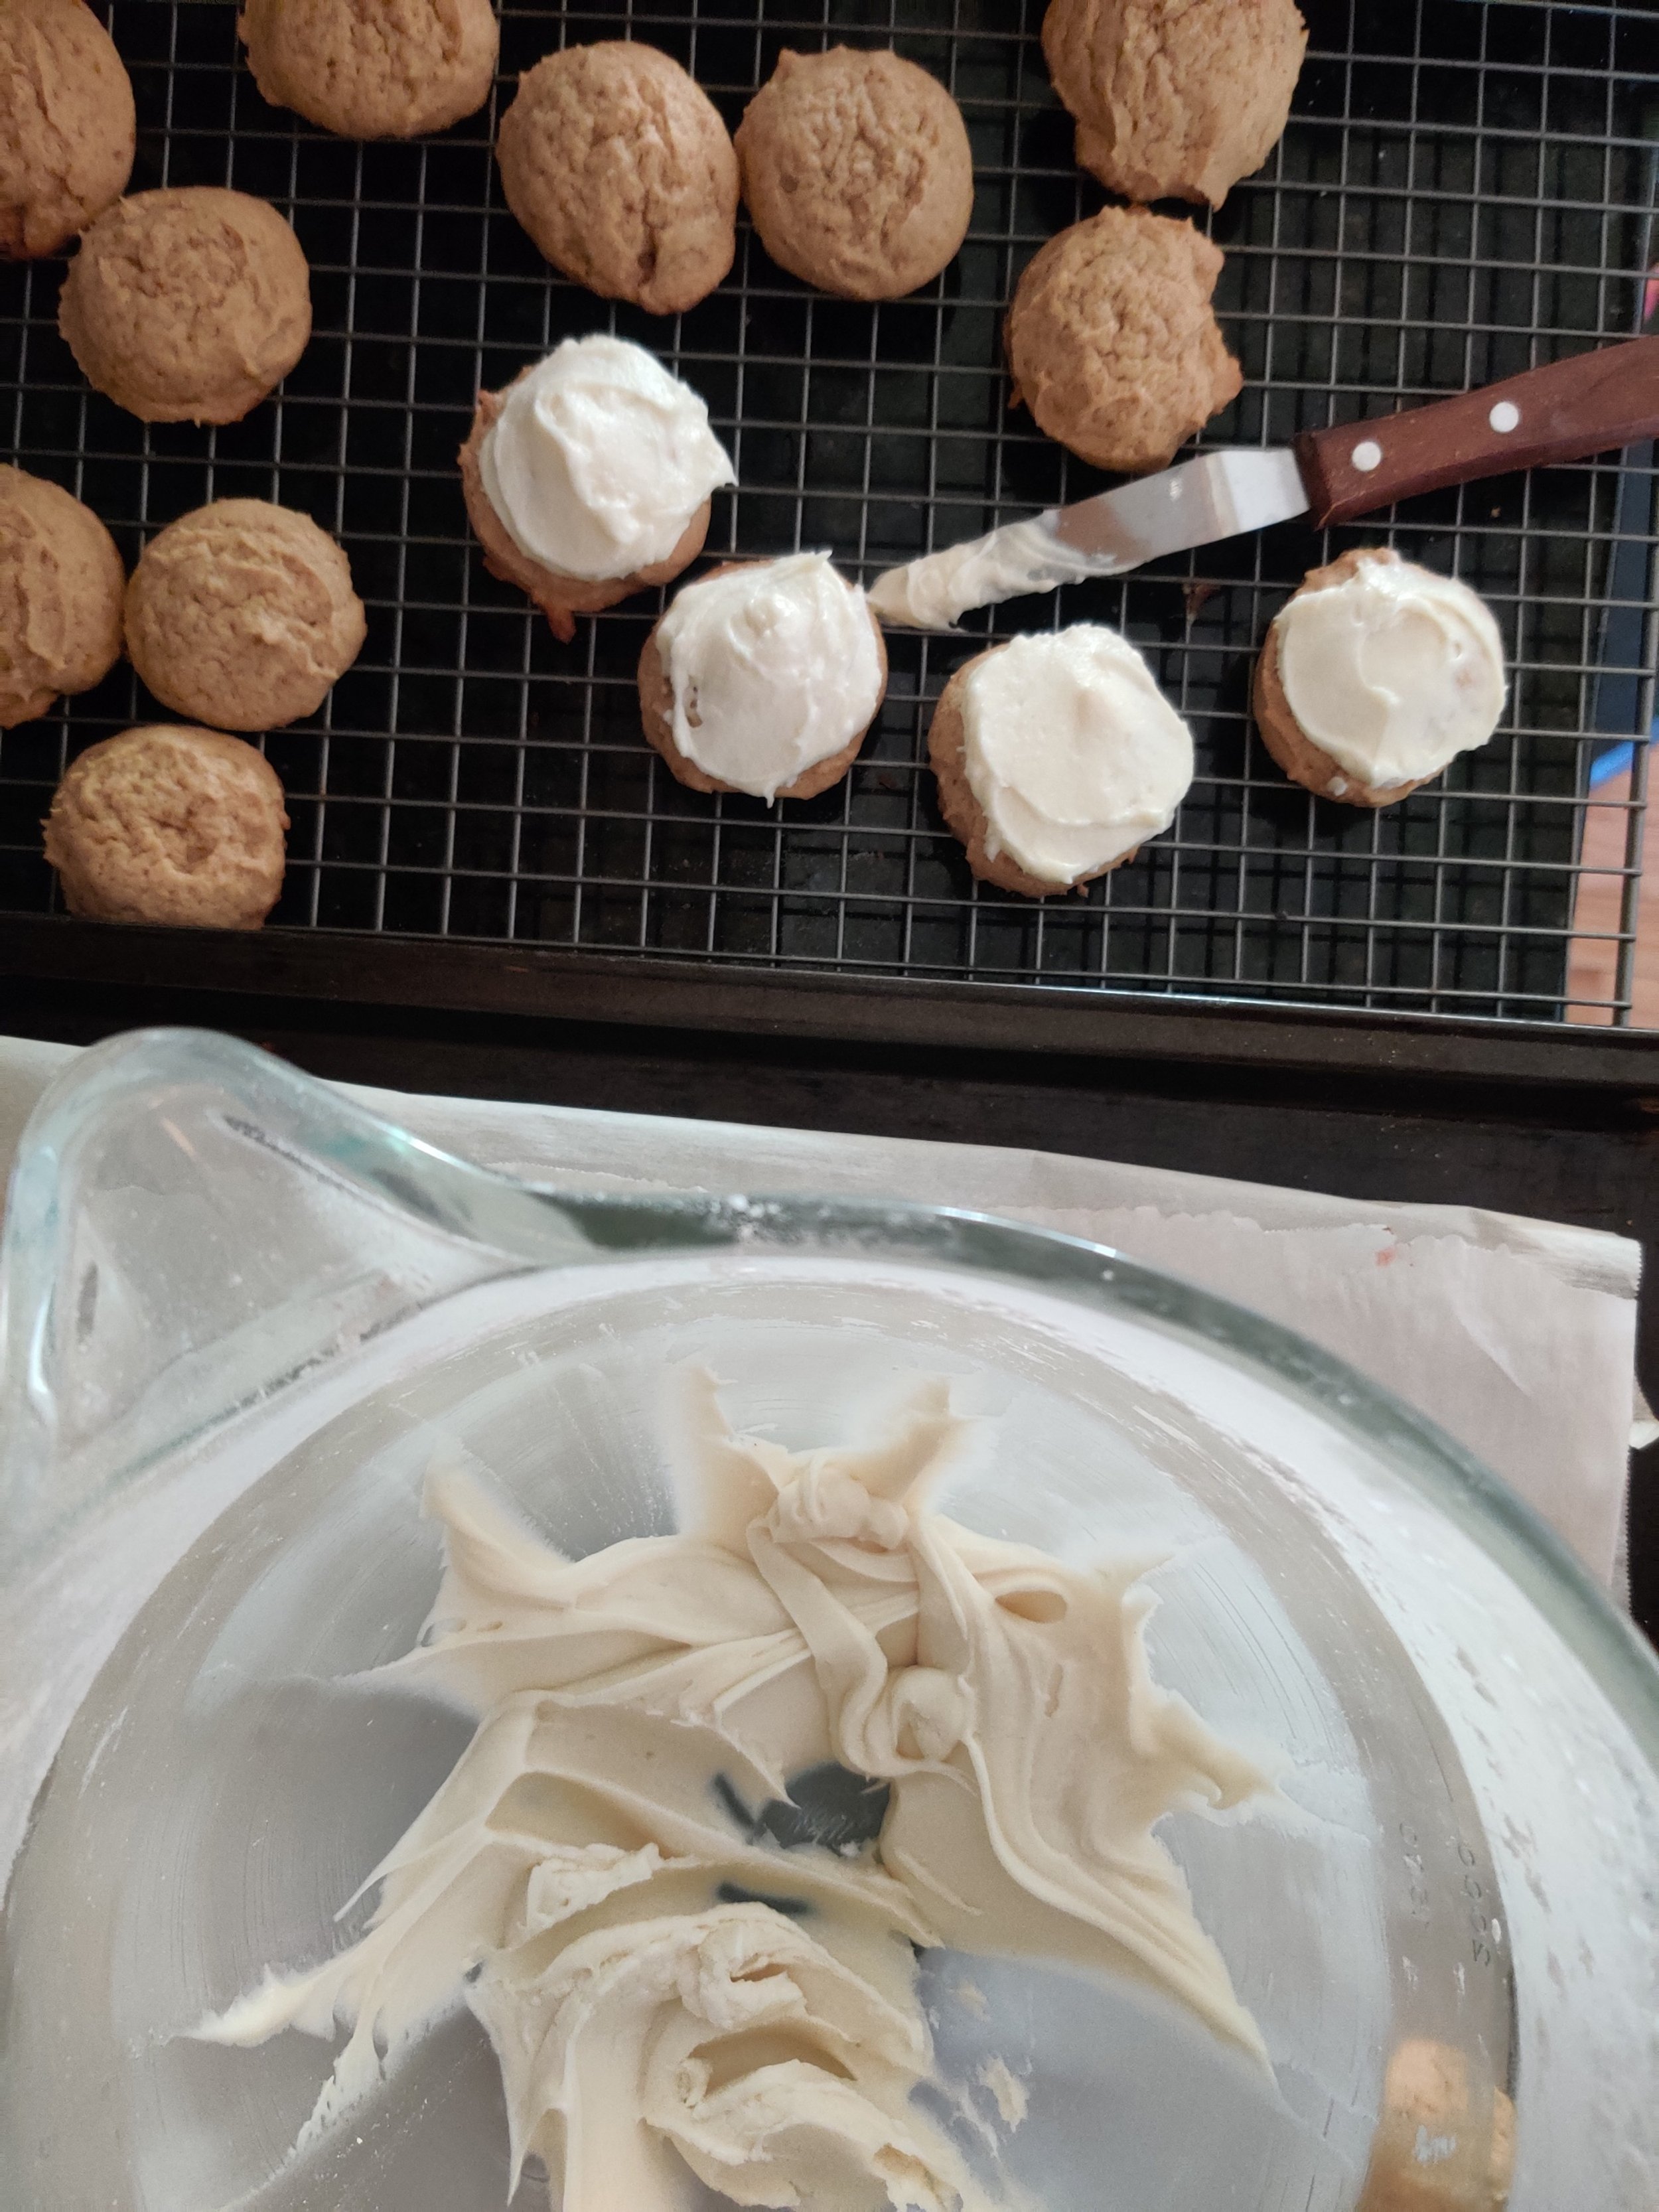
- Bake at 350°F (175°C) for 30 min, or until just lightly golden at edges. Cool completely before serving.
Notes
- Classic Shortbread: Skip pears and cinnamon. The flavor comes purely from butter and sugar.
- Flour Tip: White whole wheat may require extra liquid (cream) for dough cohesion.
- Storage: Airtight container at room temp for up to 2 weeks. Flavor improves after a day.
- Variations: Chocolate chips, nuts, or subtle zest work well too.
Nutrition Facts
Calories
125Fat (grams)
7 gCarbs (grams)
15 gSugar (grams)
7 gProtein (grams)
1 gI am not a certified nutritionist and any nutritional information on dontmissmyplate.com should only be used as a general guideline.


Ginger Biscuit Snickerdoodles
Ginger biscuits hold such a clear, dear memory in my mind. My grandmother always kept a tin of biscuits at her home, and when my siblings and I visited as children, we knew to expect a nibble. The collection included some crunchy ginger biscuits (or gingerbread biscuits, gingersnap, ginger nut, whatever you prefer!
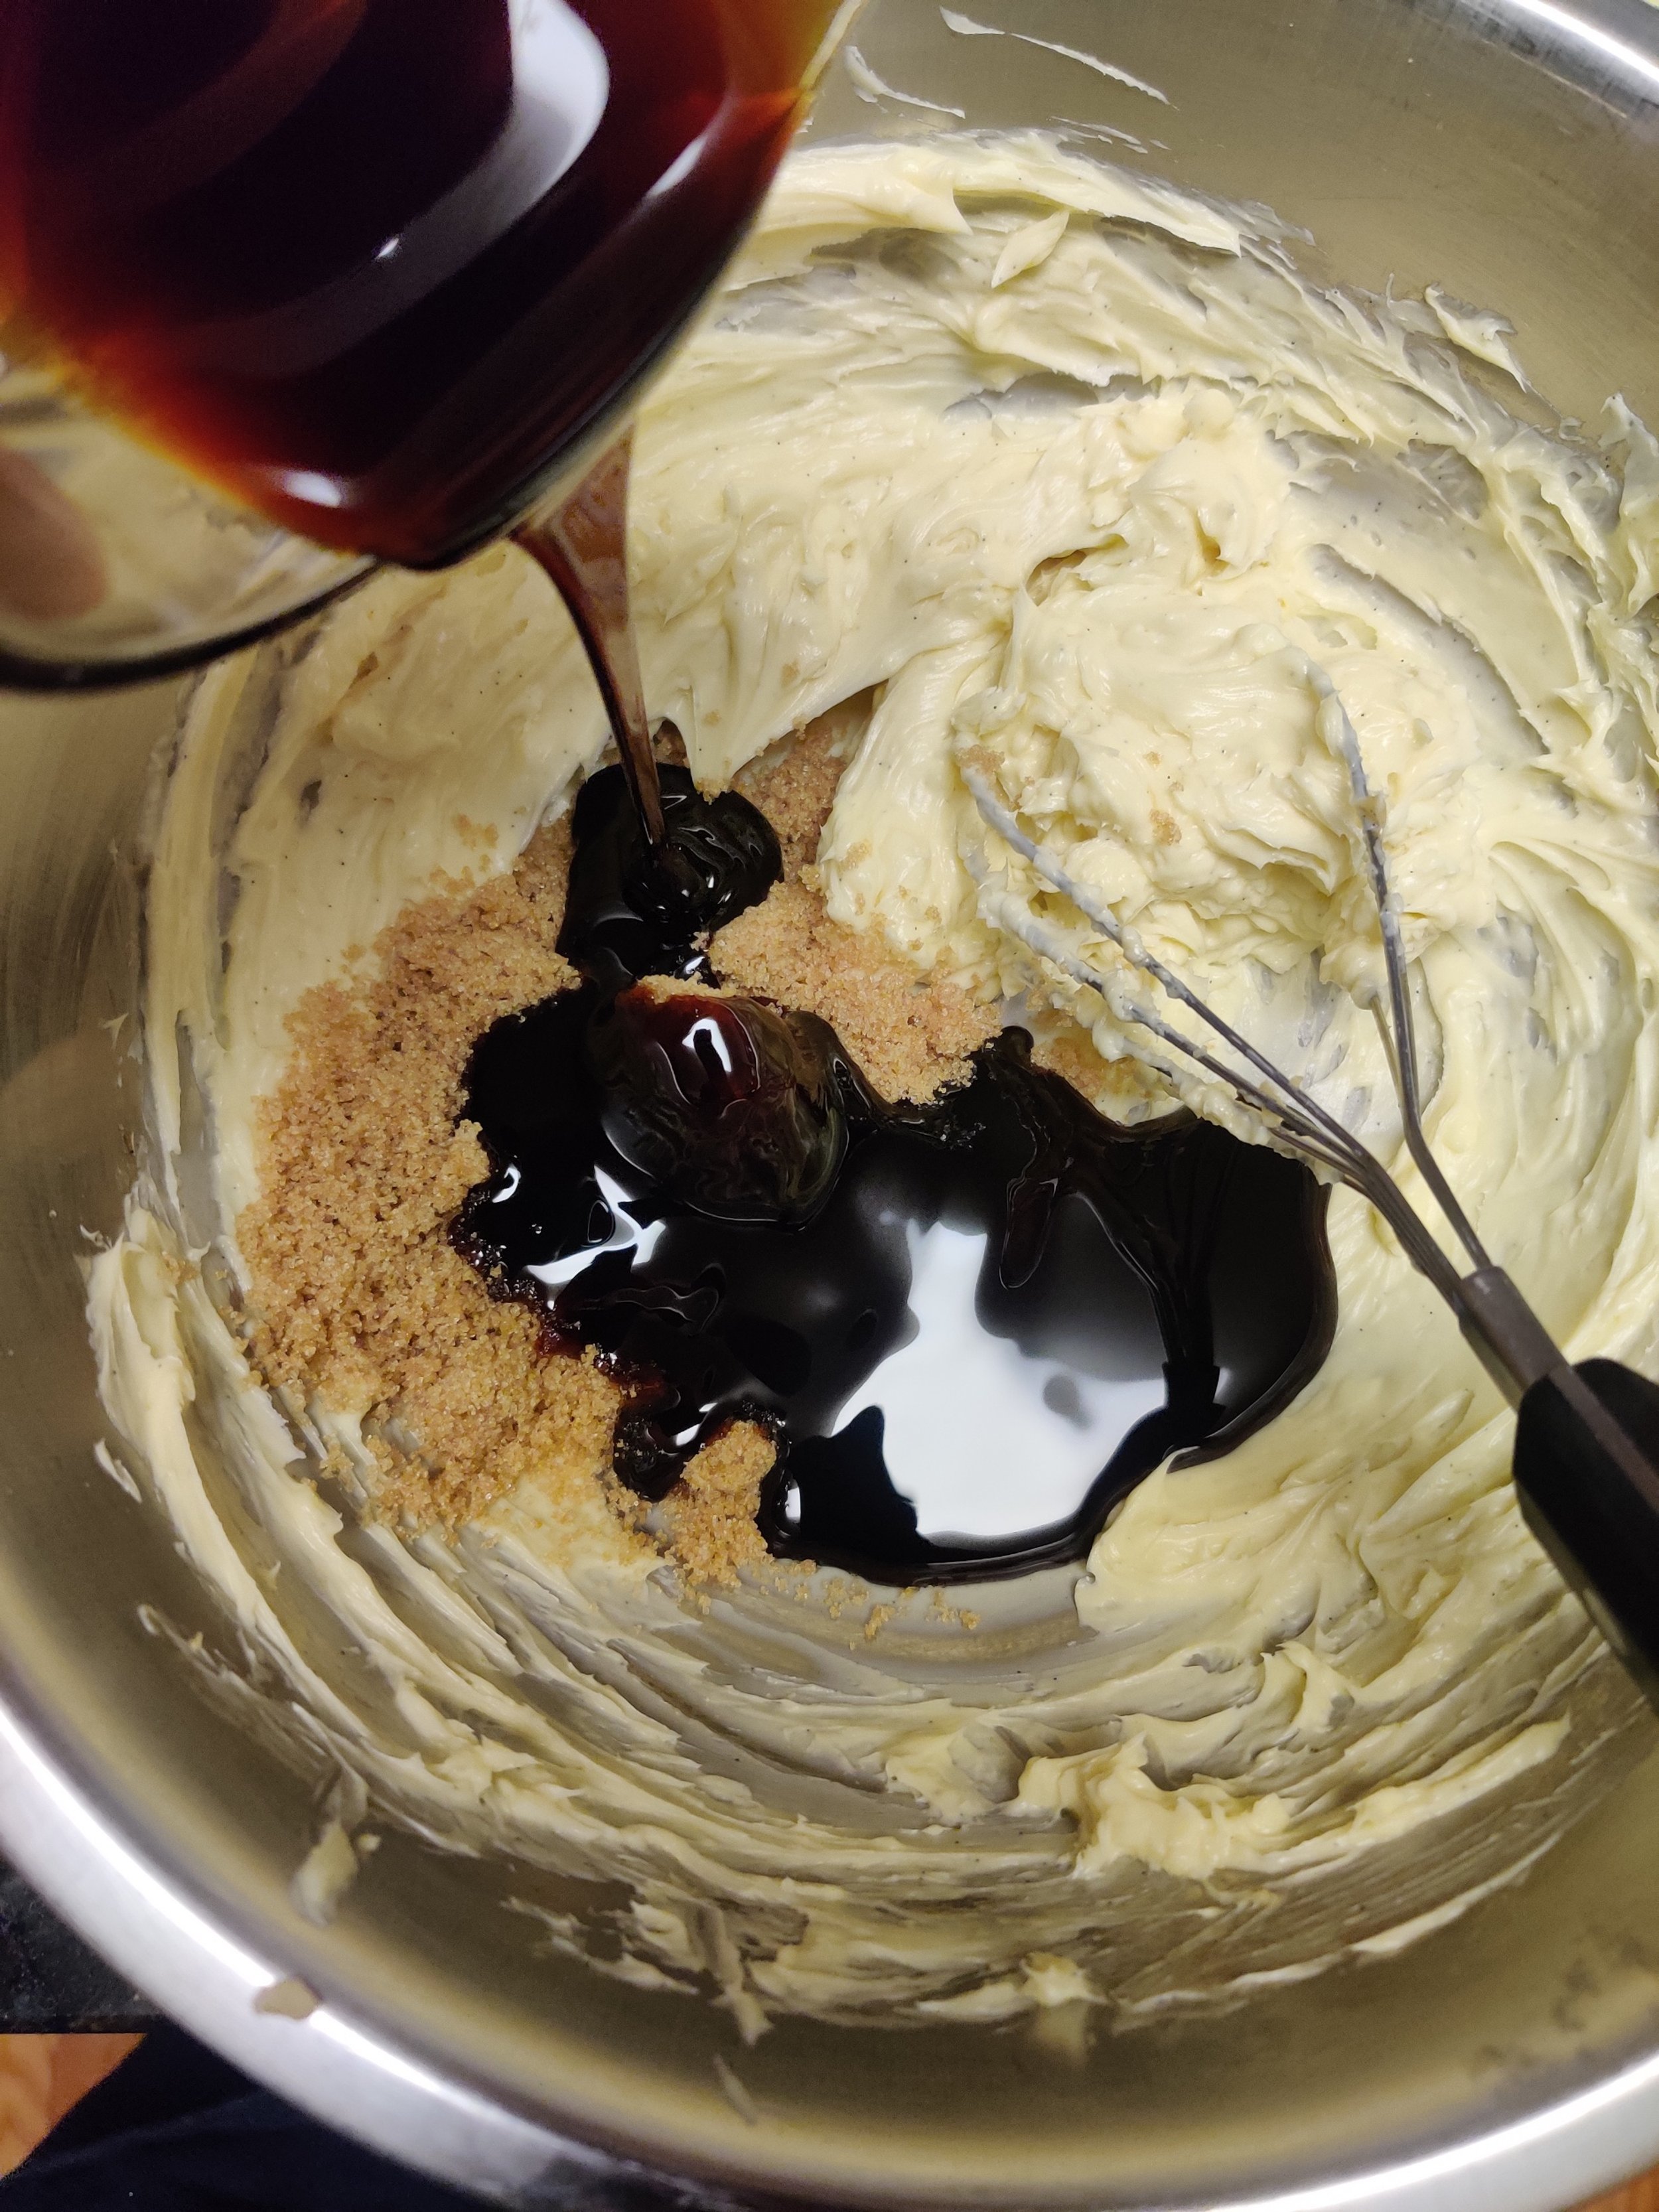
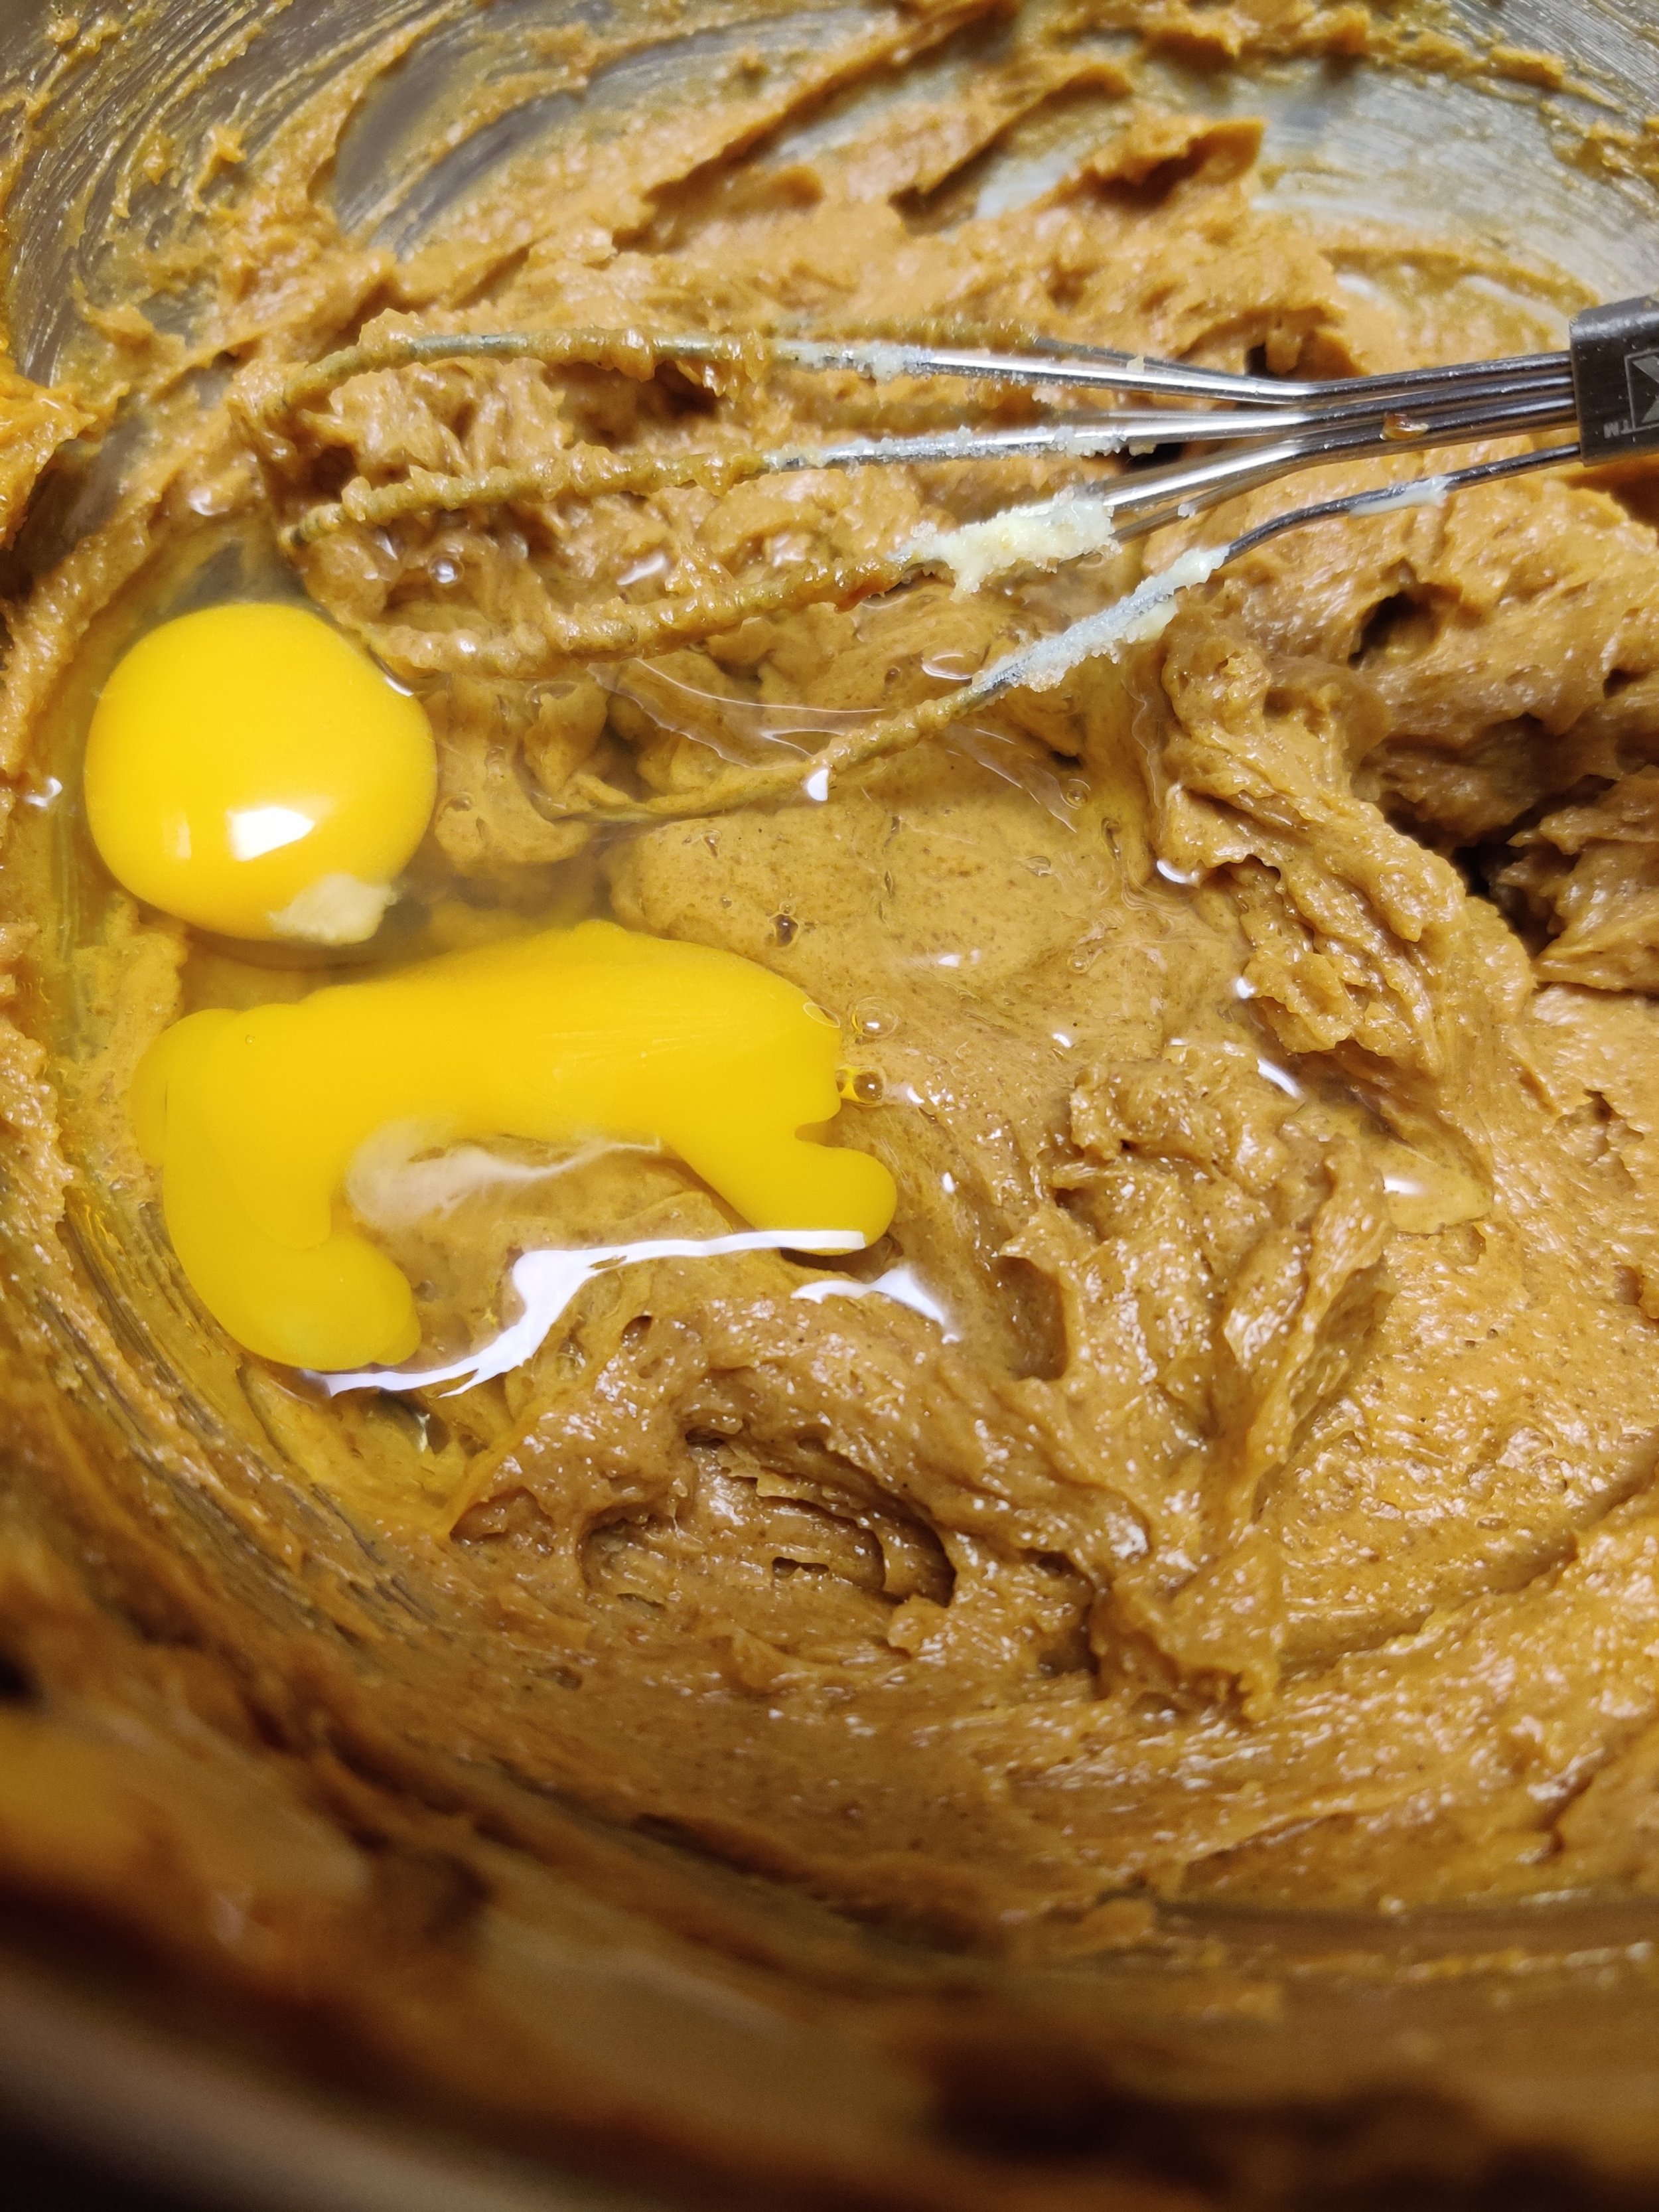
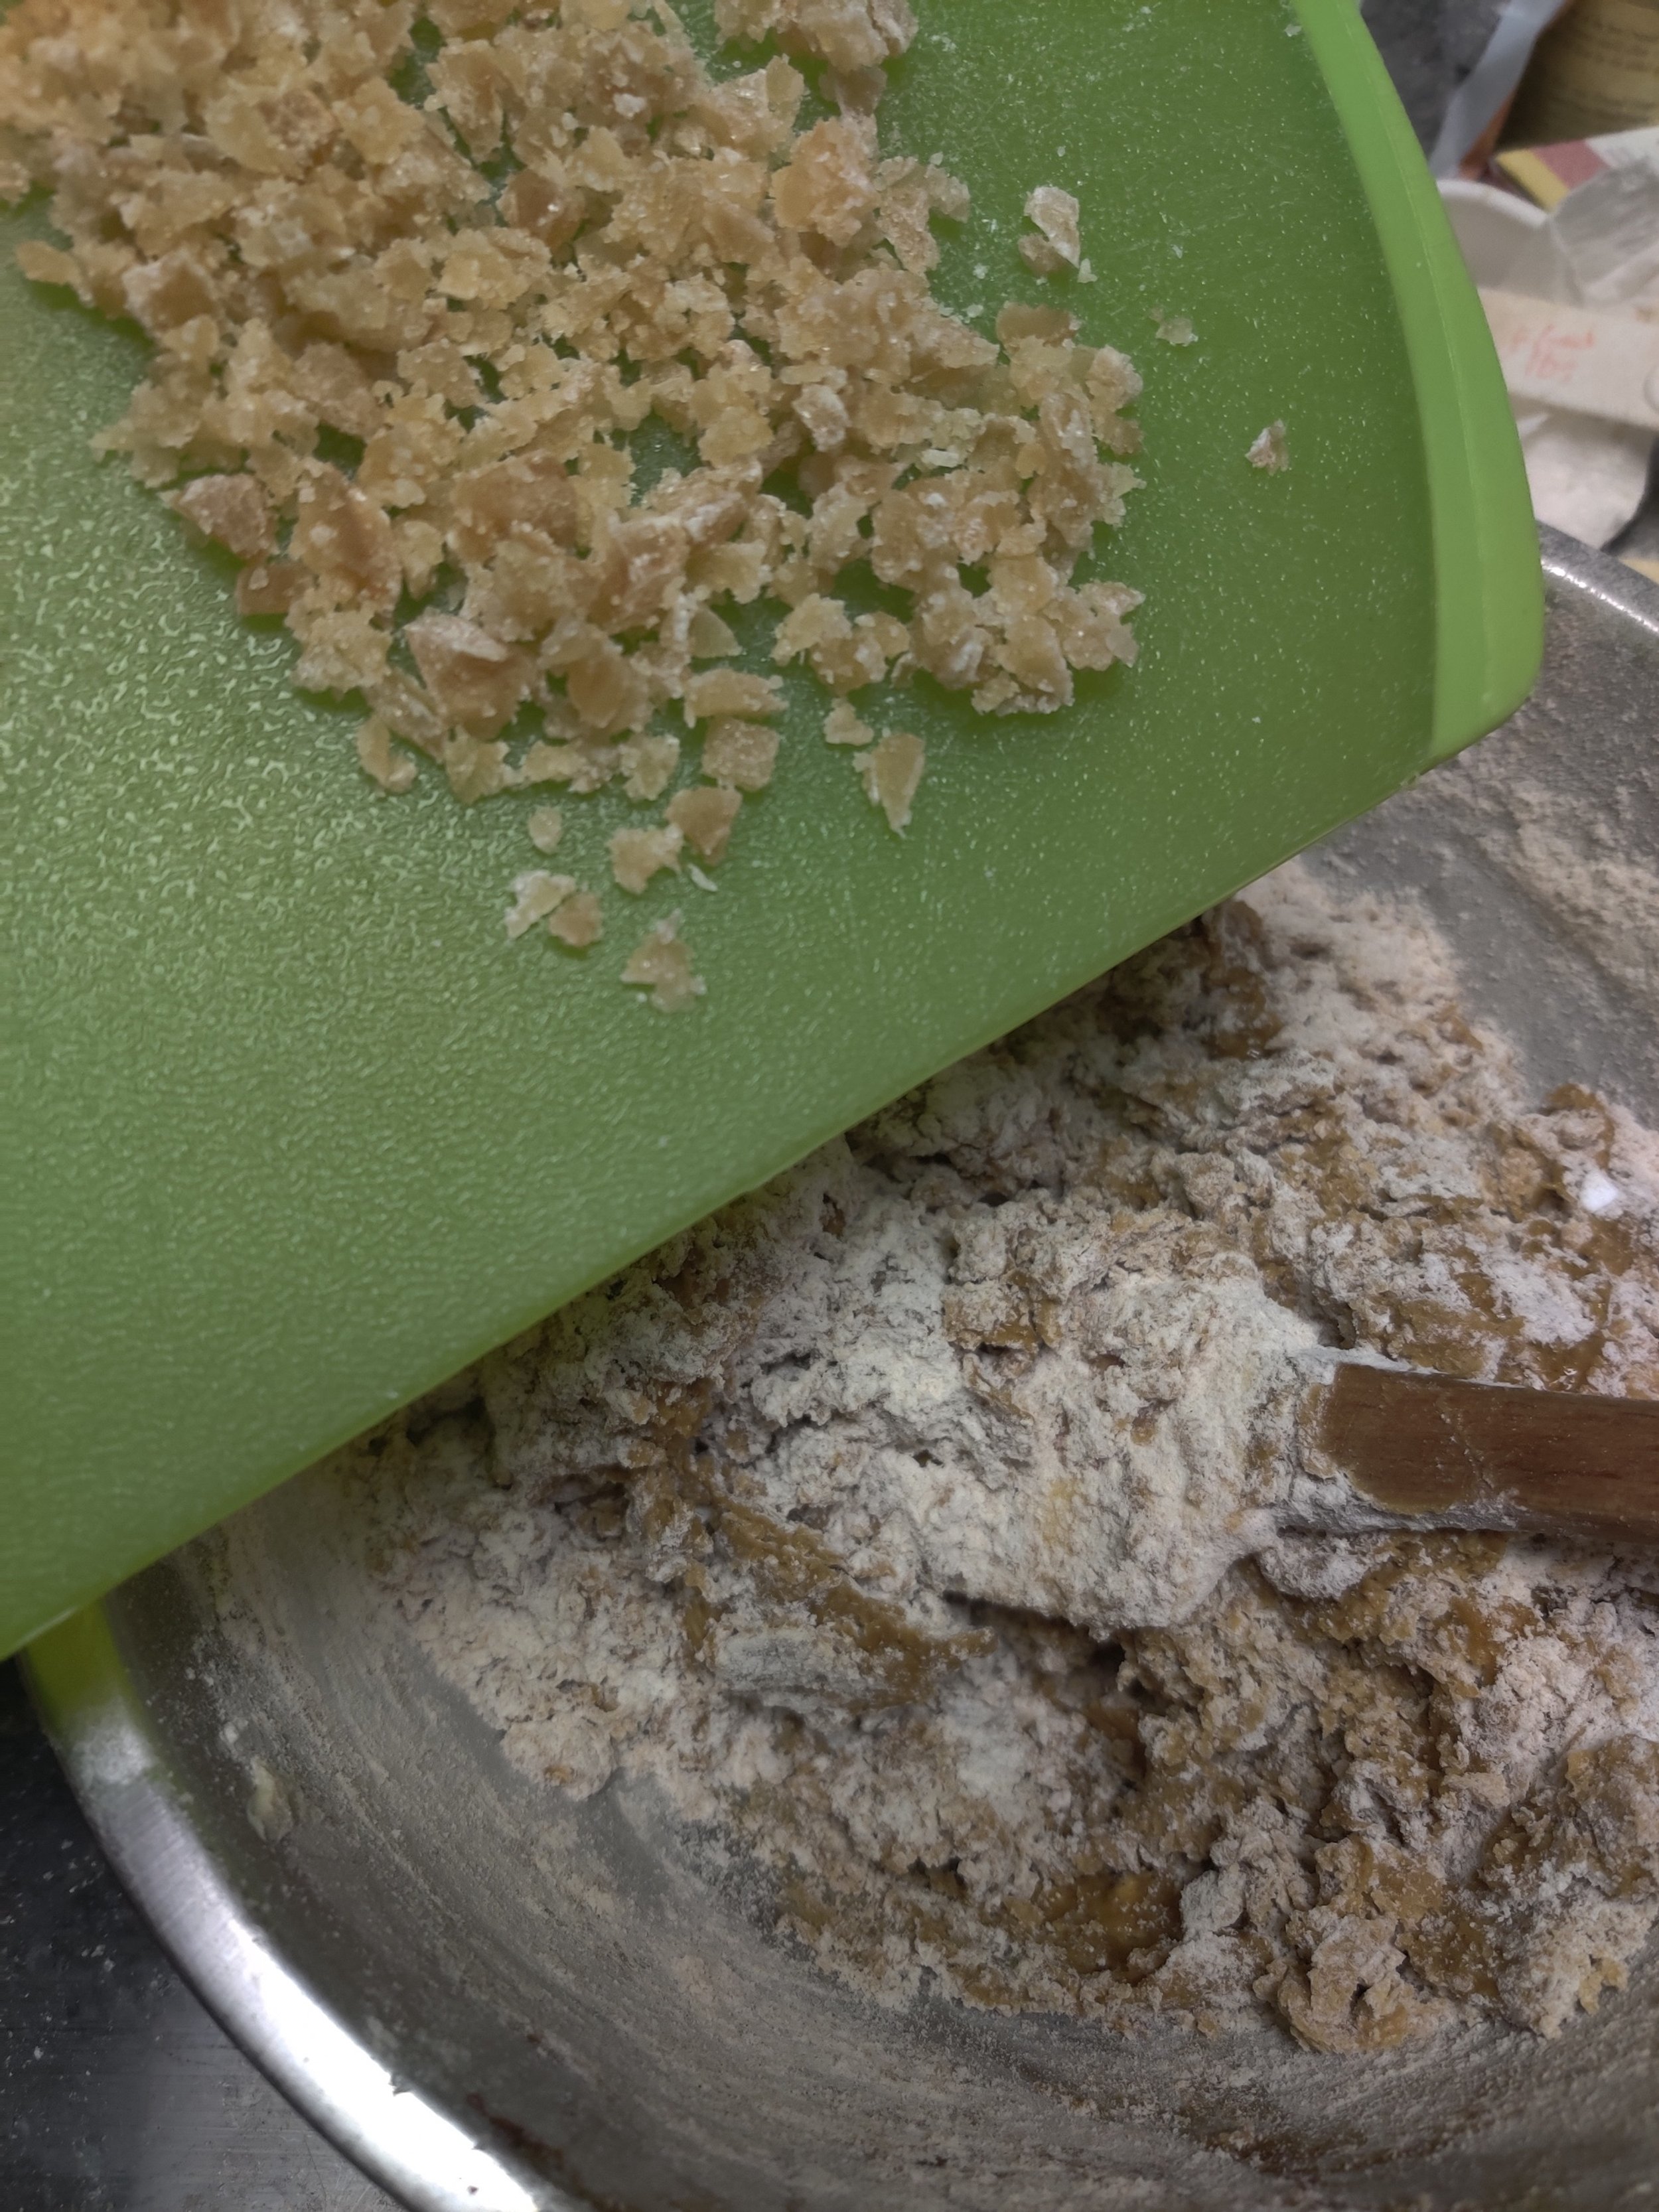
Molasses, brown sugar and a combination of nutmeg, cinnamon, and cloves make these cookies unique. I also added in some crystallized ginger to intensify the flavour. Thanks to Primal Palate Gingersnap Spice (a holiday baking necessity), there won't be any confusion about what you're eating!
What about the snickerdoodle part of this recipe? Well, these New England treats are simple but a fan favourite, and I'm one of them! A soft (or crisp) cookie rolled in cinnamon sugar; this combination is seamless.
If you are looker for a recipe for Gingerbread Man Biscuits, look no more! Click here.


Chocolate Coconut Cookies (Homemade Romany Cream Biscuits)
Introduction to “Romany Creams”: A Timeless Treat
If there's one biscuit that holds a special place in the hearts of Southern Africans, it's the iconic Romany Cream. Known for their rich chocolate flavor, perfectly crispy texture, and creamy center, these decadent treats have been a staple in households for generations. Whether paired with a hot cup of coffee, as a mid-afternoon snack, or shared during celebrations, Romany Creams are as versatile as they are delicious.
This recipe was inspired by Romany Creams (one of my favourite biscuits/cookies of all time). Make this batch first if you've never tried them, then taste the originals and let me know what you think!
My understanding is that Romany Creams were originally developed from Gipsy Creams (a reference to a recipe of custard cream biscuits from the nomadic people of Romany/other parts of Europe). Introduced in the UK, sales fell flat, but the recipe was revitalised in South Africa, where the biscuits are still produced today. I won't go too deep into the history here, but look it up when you get the chance.
I recommend making Romany Creams throughout the year, but with a few sprinkles, everyone will want you over in the holiday season.
A note on preparing the dough: using a stand mixer will save you some time, and the dough hook makes the kneading easier, giving you a more consistent result. However, you can use your hands throughout the process.
Here are some helpful tips for making perfect Romany Creams at home:
1. Choose Quality Ingredients
Use high-quality cocoa powder and chocolate for the best flavor. The richness of the biscuit depends on the quality of these key ingredients.
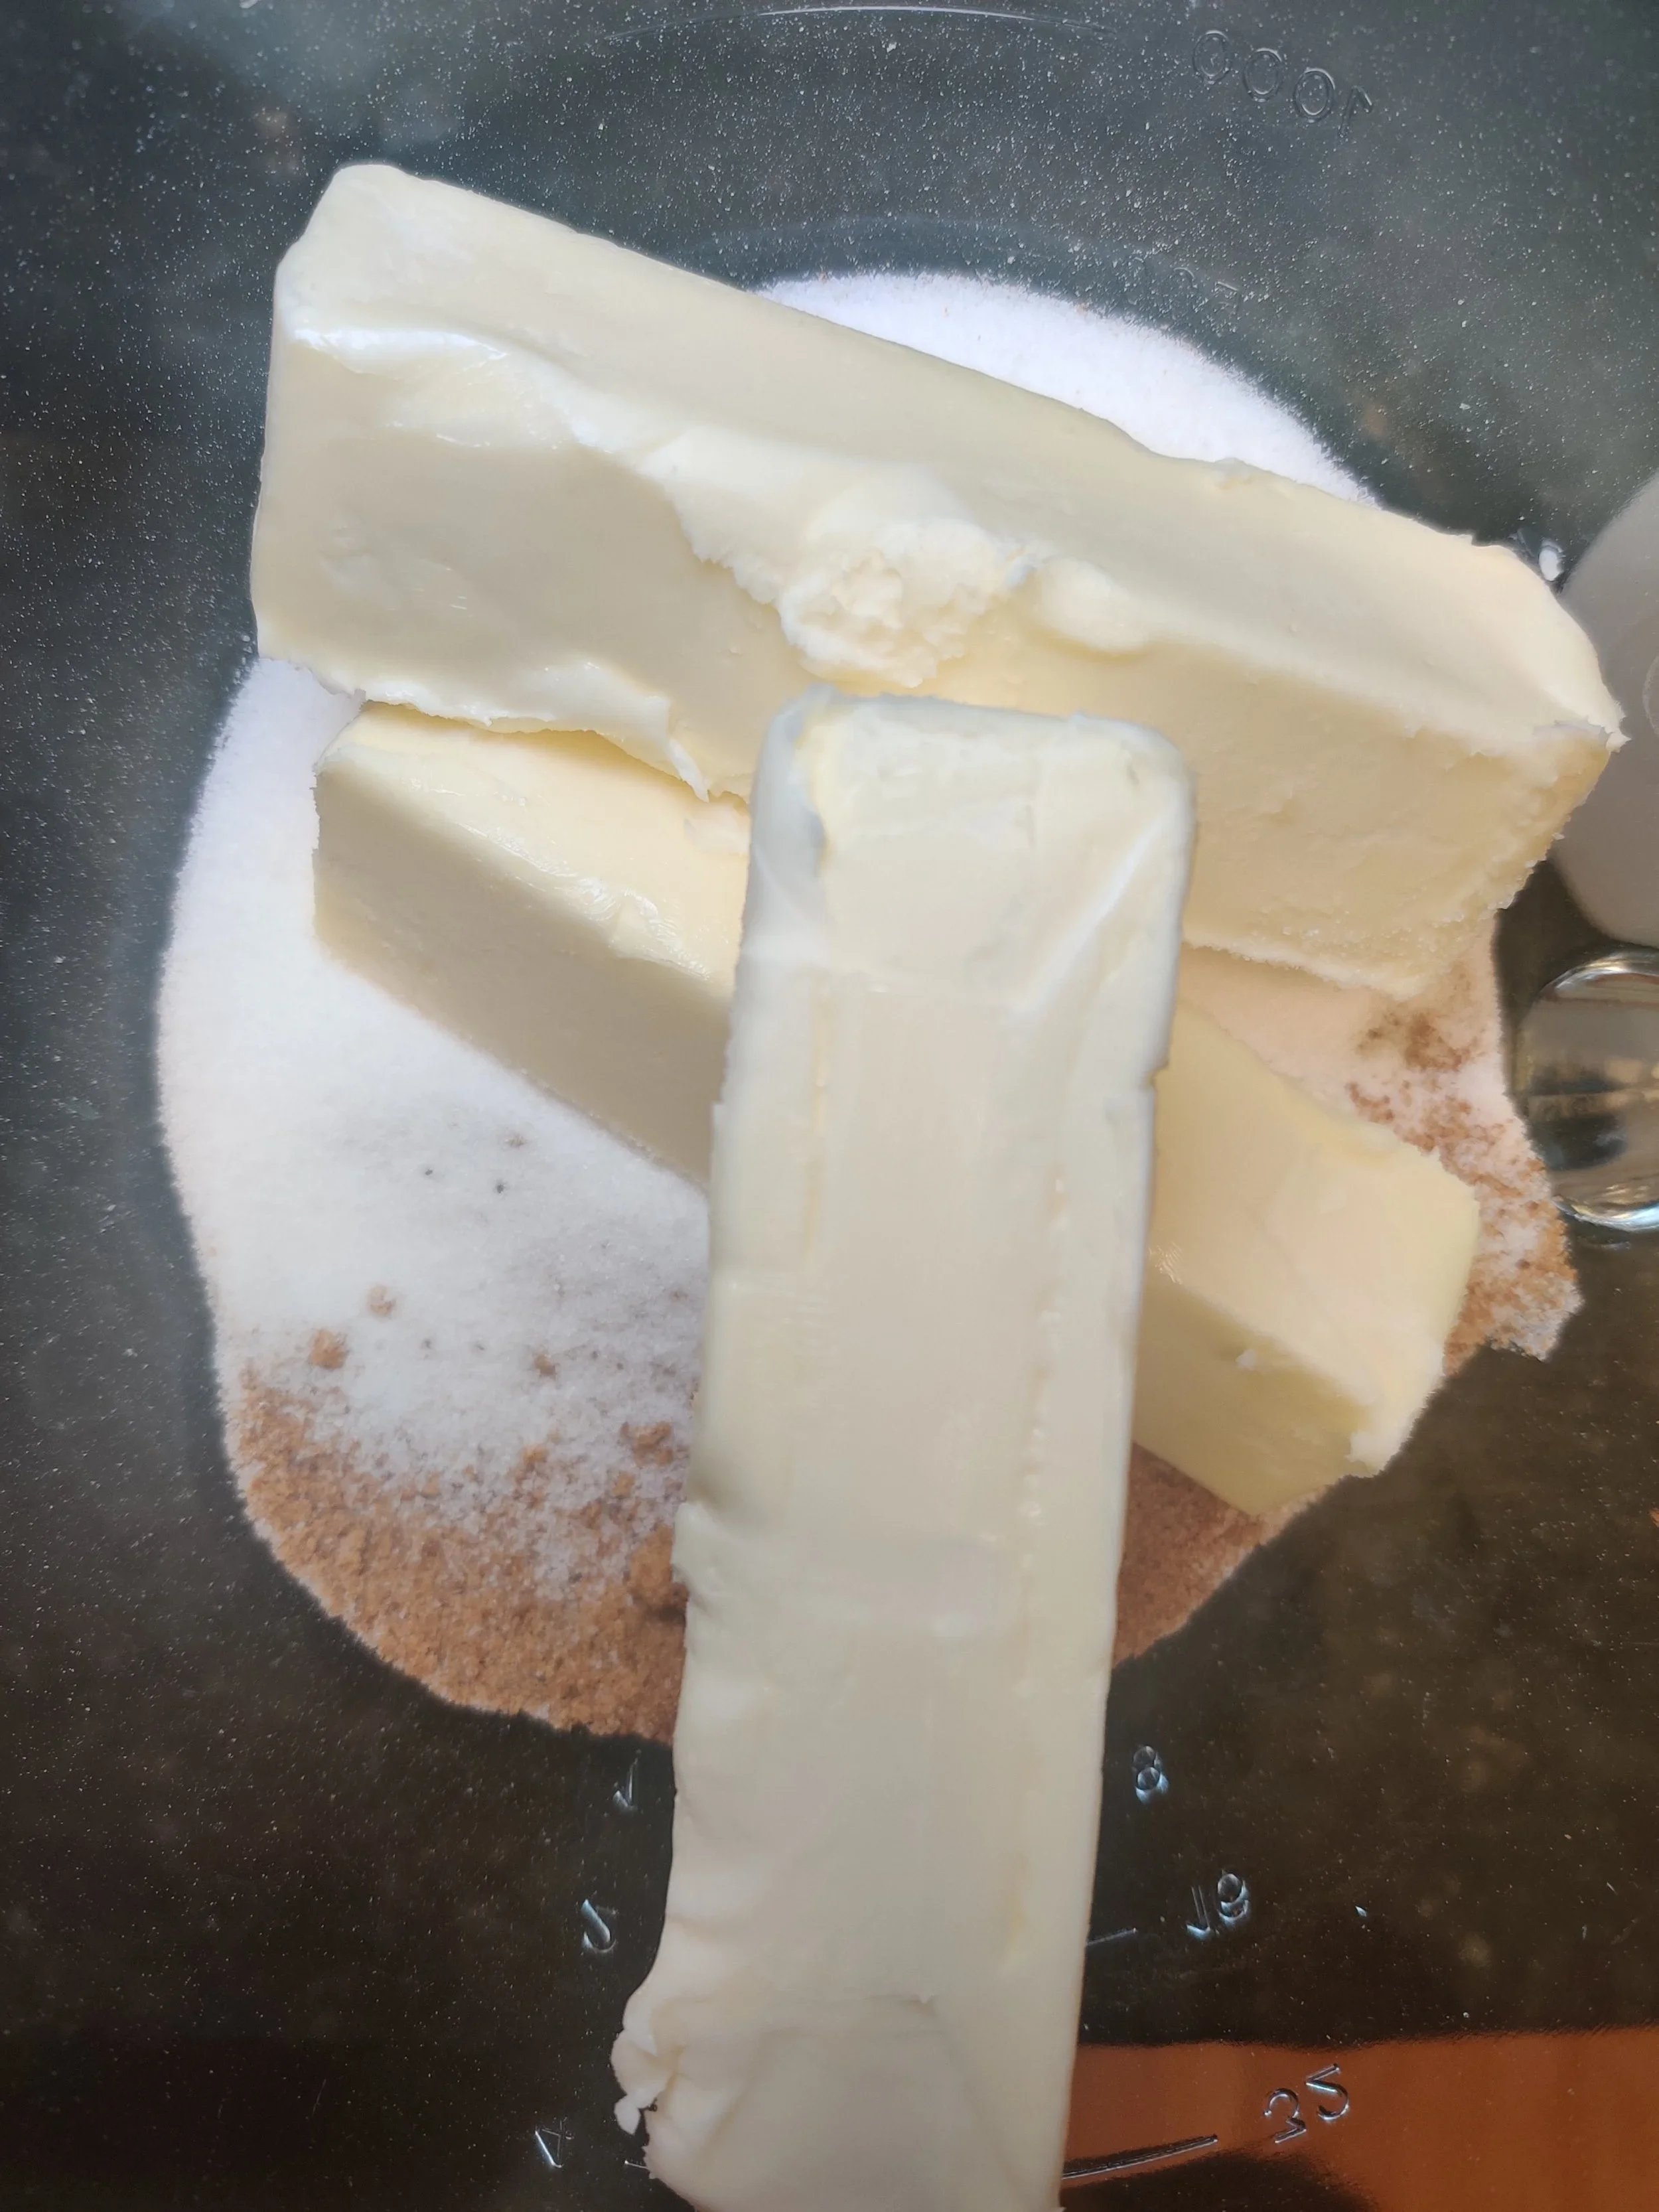
2. Cream Butter and Sugar Thoroughly
Creaming the butter and sugar until light and fluffy ensures the biscuits have the perfect texture—crisp yet tender.
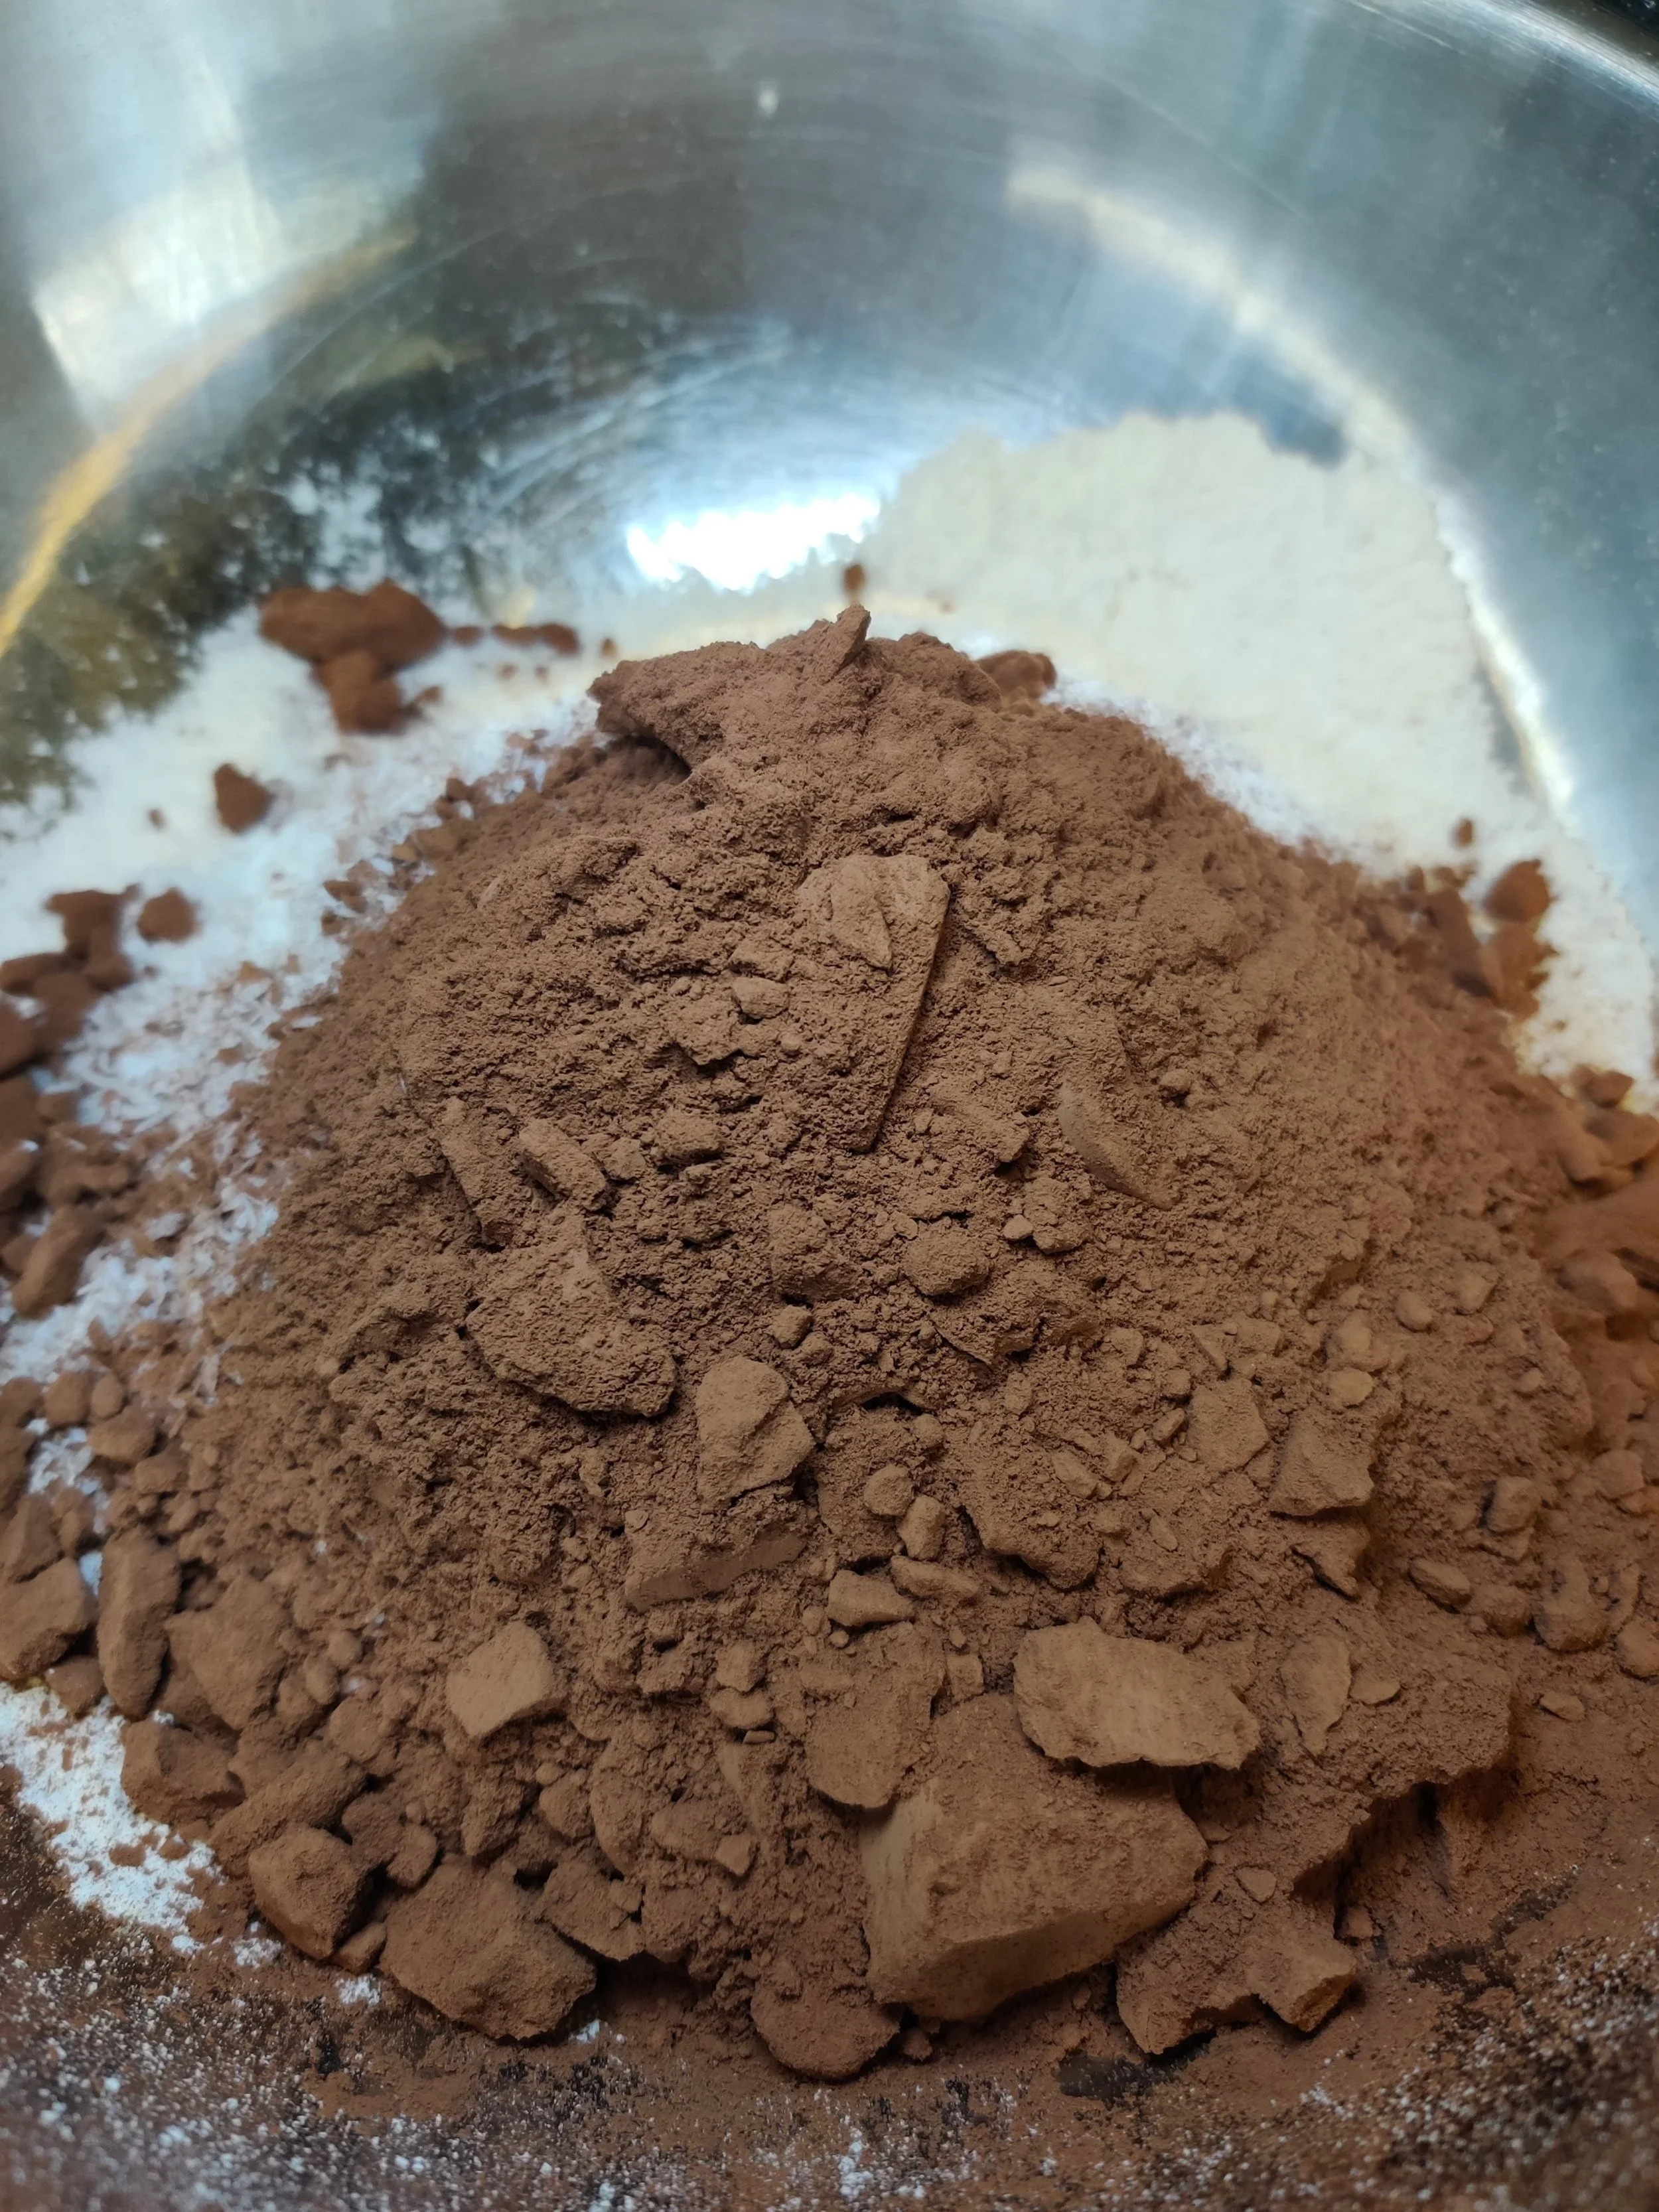
3. Sift Your Dry Ingredients
Sifting the dry ingredients (like flour, cocoa powder, and baking powder) helps avoid lumps and ensures an even distribution for a smooth dough.
4. Don’t Overwork the Dough
Mix the ingredients until just combined. Overworking the dough can make the biscuits tough instead of light and crisp.
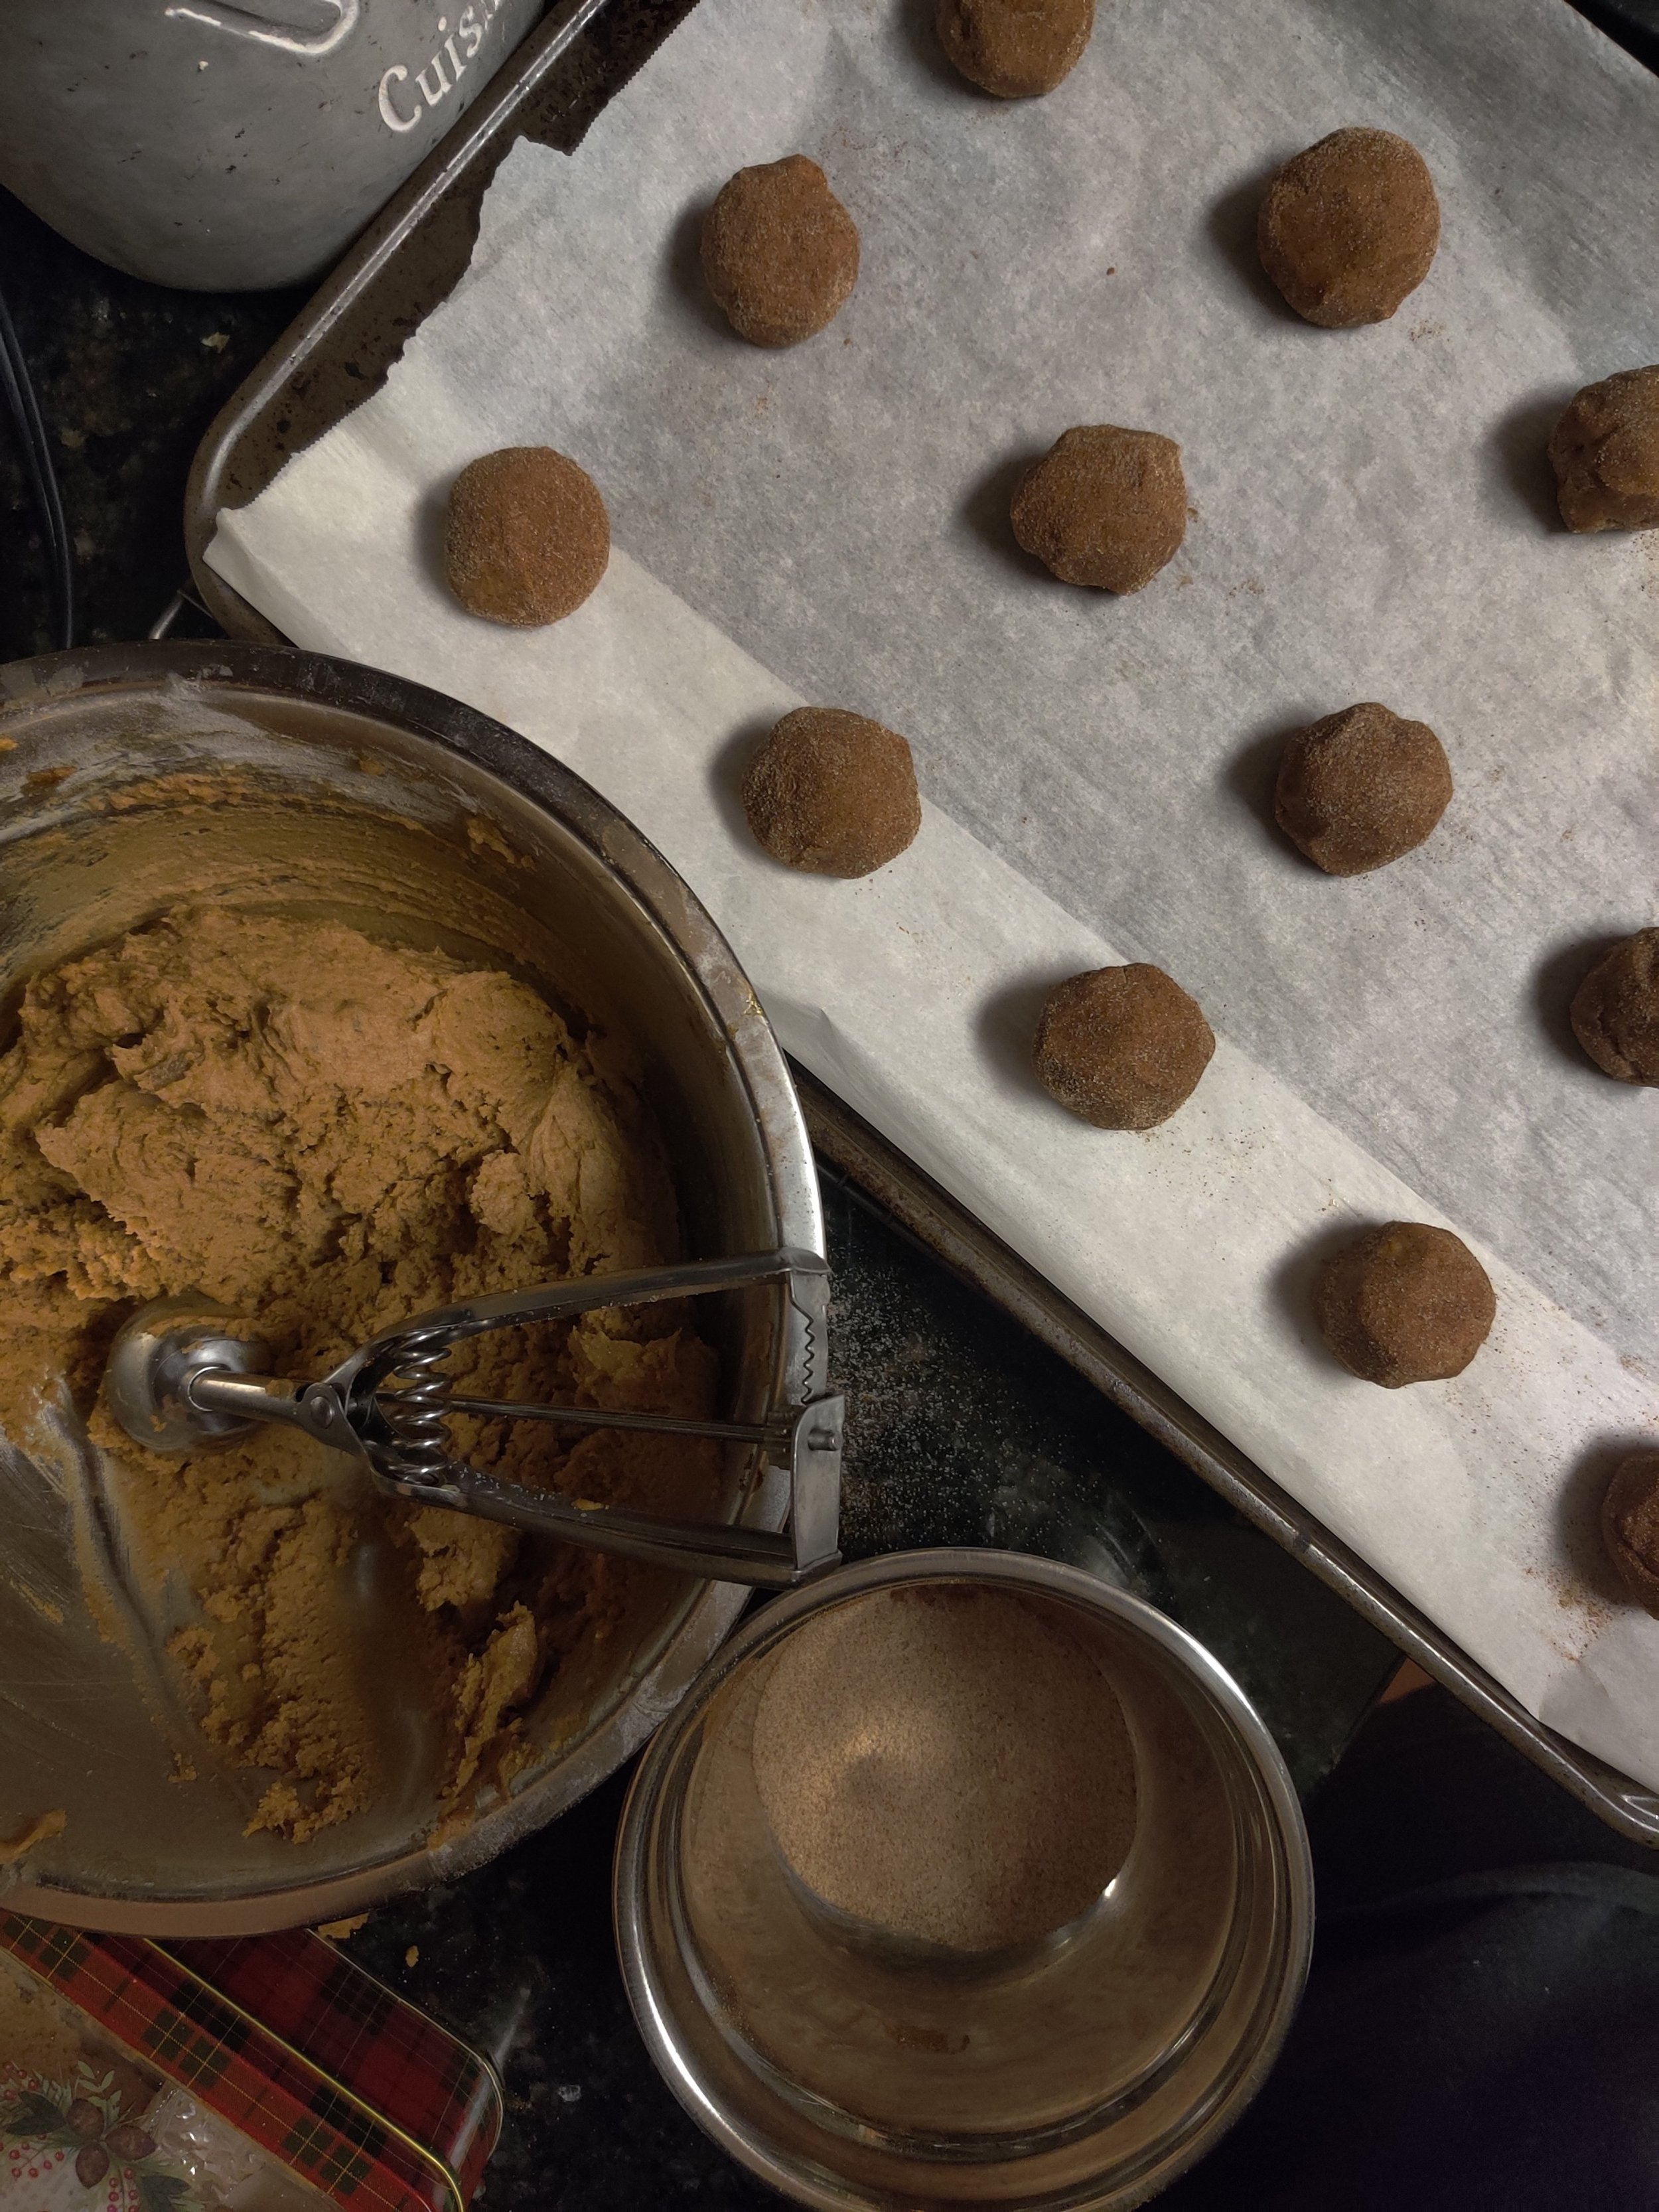
5. Shape Consistently
Roll the dough into evenly sized balls or logs to ensure the biscuits bake uniformly. If you’re pressing them with a fork, try to make the grooves consistent for an even texture.
6. Chill Before Baking
Letting the shaped dough rest in the fridge for 15–20 minutes before baking helps the biscuits hold their shape better in the oven.
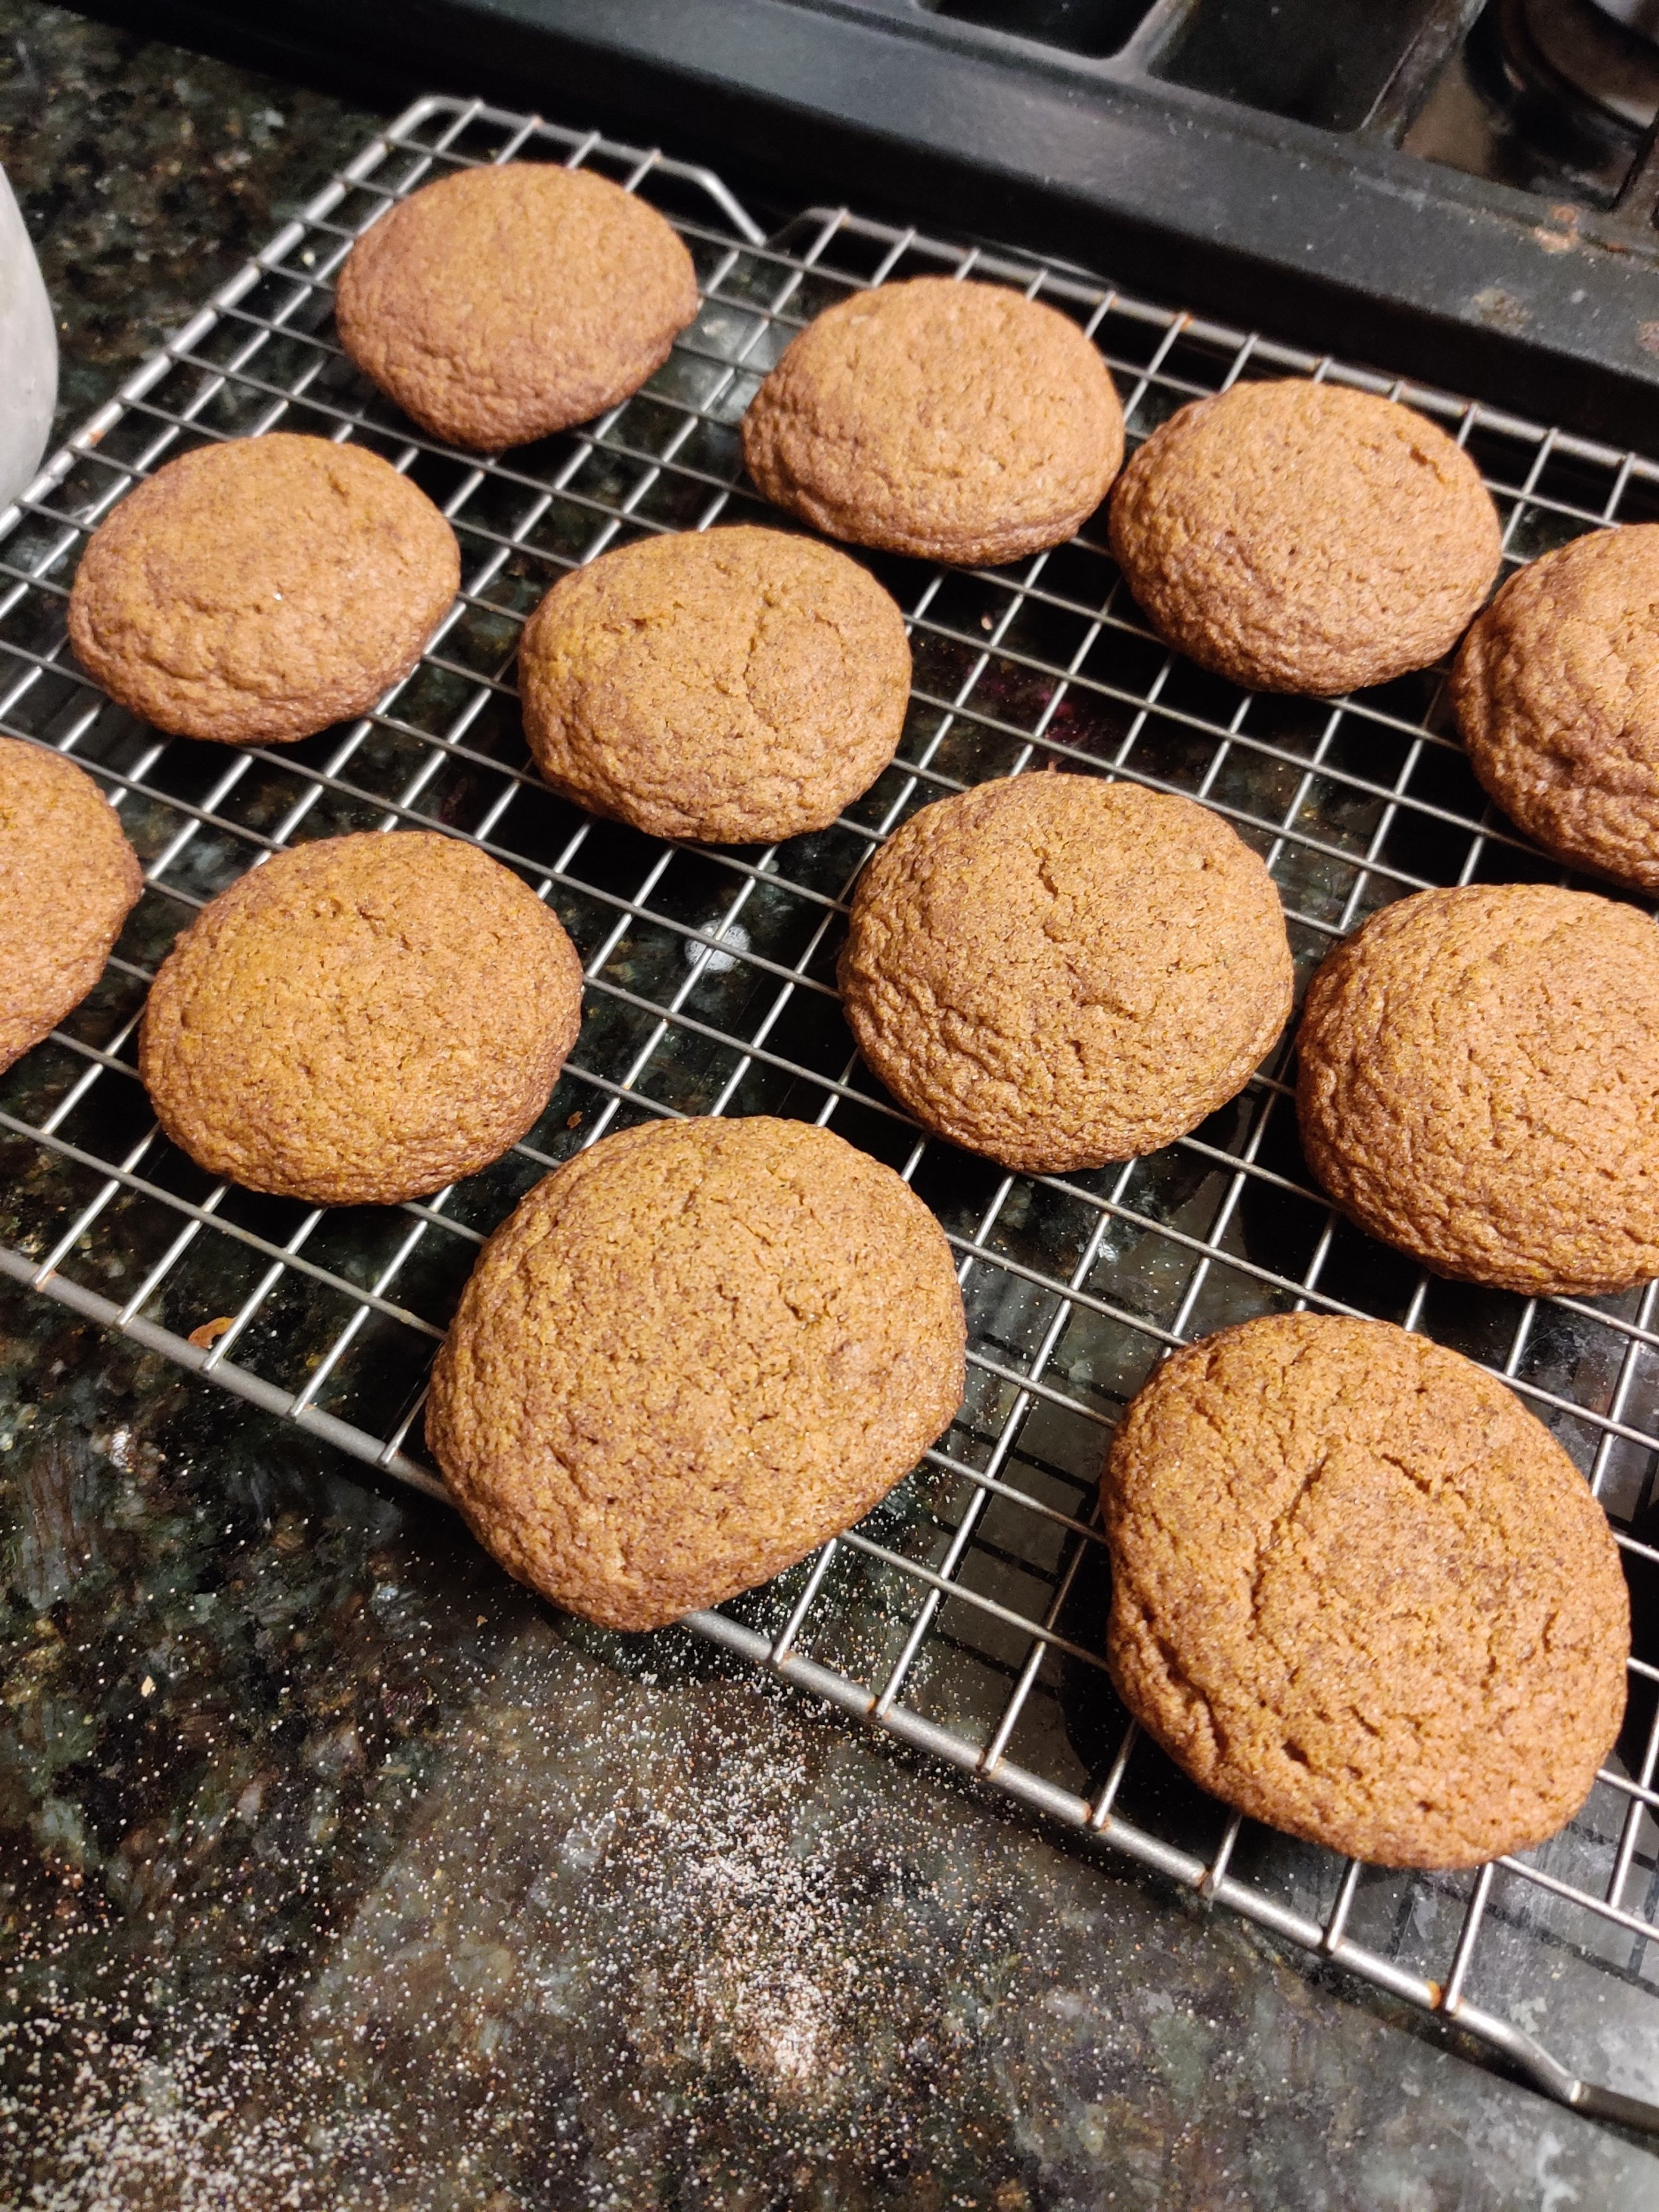
7. Bake with Care
Keep an eye on the baking time. The biscuits should be firm but not overly browned to retain their chocolaty flavor.
8. Choose the Right Filling
Traditional Romany Creams are filled with chocolate ganache or melted chocolate. Ensure the filling has cooled slightly before sandwiching the biscuits to avoid making them soggy.
9. Allow Cooling Before Filling
Always let the biscuits cool completely before adding the filling to prevent the chocolate from melting unevenly.
10. Store Properly
Once assembled, store your Romany Creams in an airtight container to keep them fresh and crispy. They can last up to a week (if you can resist eating them sooner!).
With these tips in mind, you'll be well on your way to creating Romany Creams that rival store-bought versions—if not better! I try to abide by some of these tips for the most part.
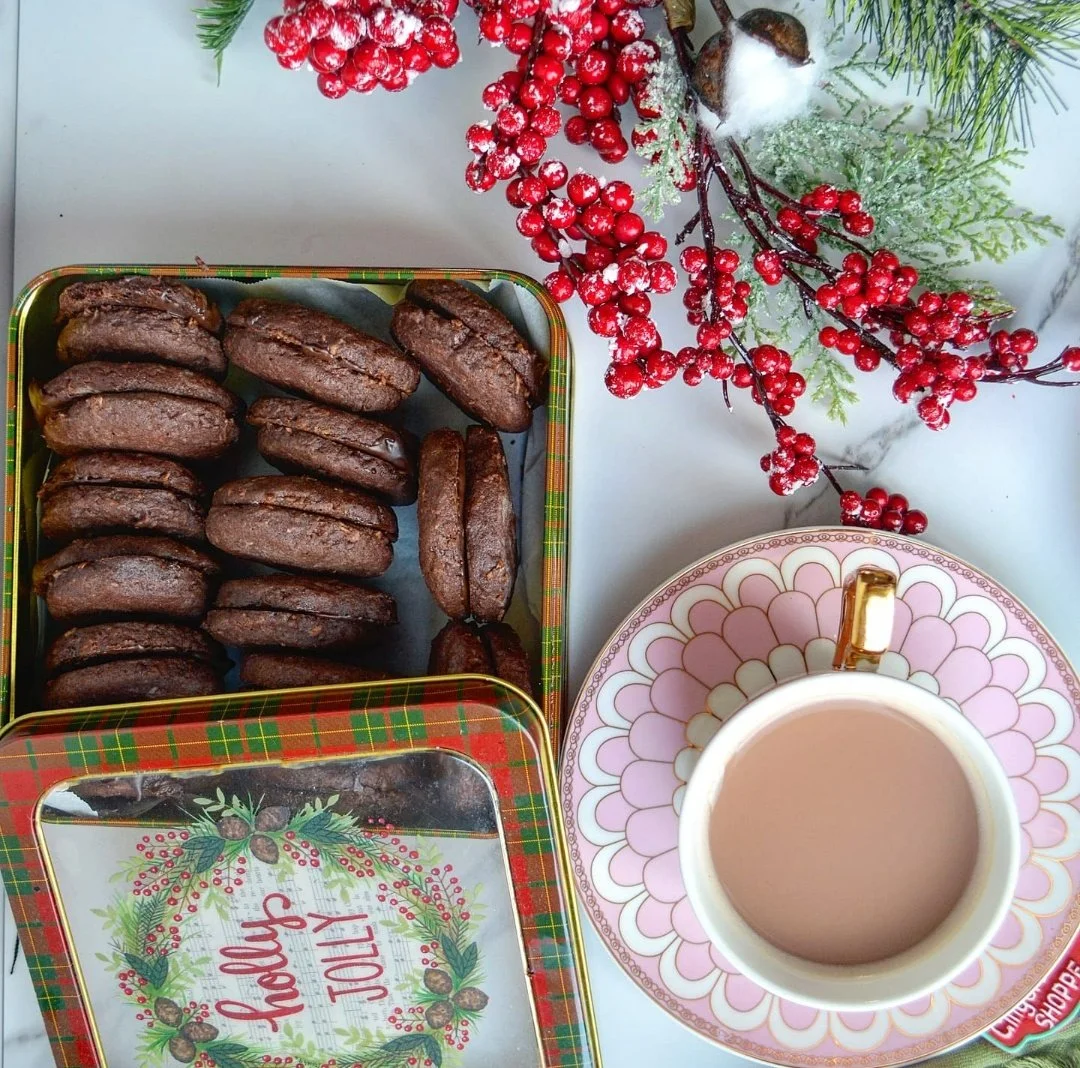

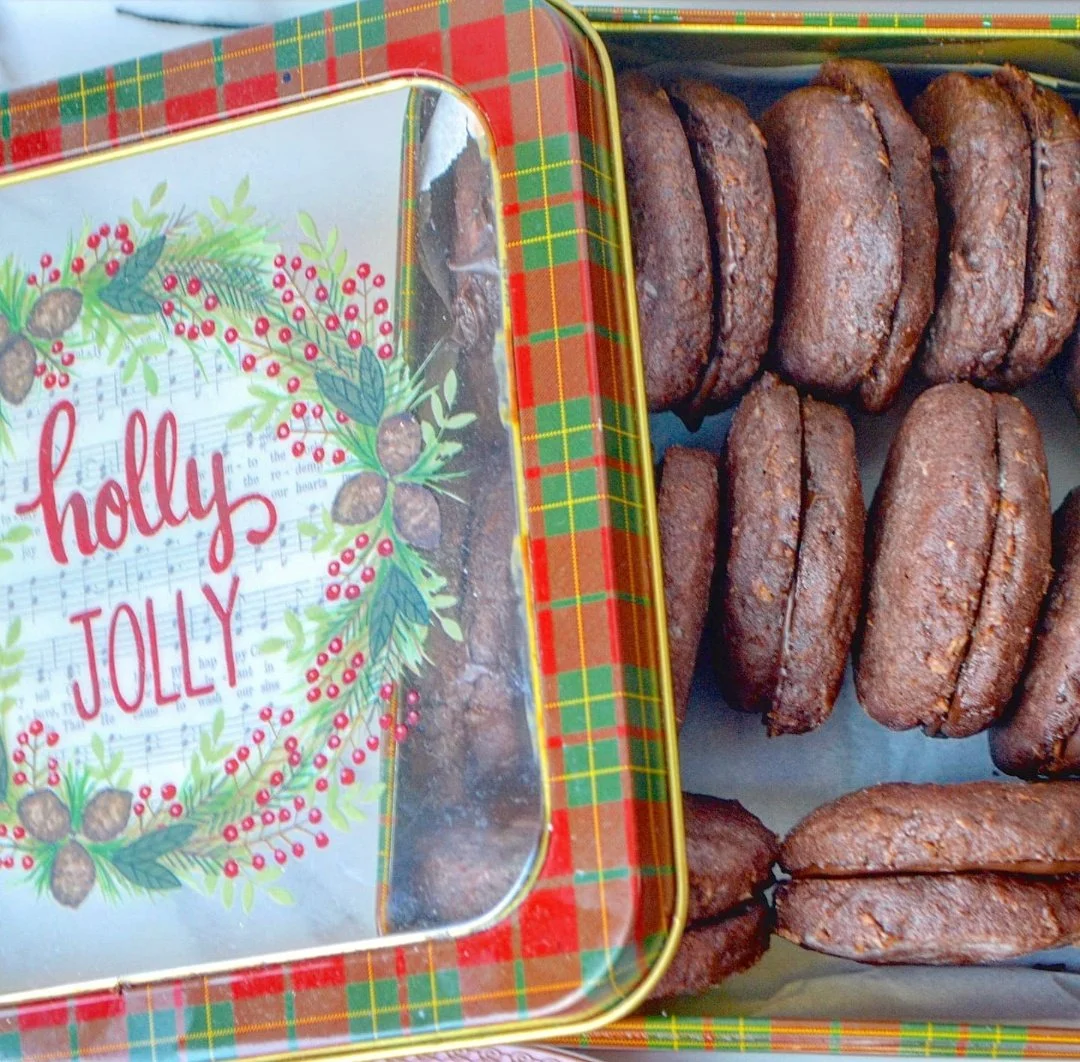

Holiday Homemade Romany Creams
This is a homemade version of the chocolate Romany Creams, sandwich cookies with melted chocolate in between and coconut (sometimes oats) incorporated into the dough. The addition makes them extra crunchy and hard to put down.
Ingredients
- 1/2 cup coconut sugar
- 1/2 cup granulated sugar
- 2 sticks butter
- 1 teaspoons vanilla extract
- 1 egg
- 3 tablespoons coconut oil, melted and cooled
- 2 1/2 cups all-purpose flour (optional: substitute 1/2 cup with coarsely ground rolled oats)
- 3/4 cup Dutch process or unsweetened natural cocoa powder
- 1 teaspoon baking powder
- 1 teaspoon salt
- 1 1/2 cups desiccated coconut
- 200g chocolate (milk and dark Cadbury or semi-sweet baking)
- Holiday sprinkles (optional)
Instructions
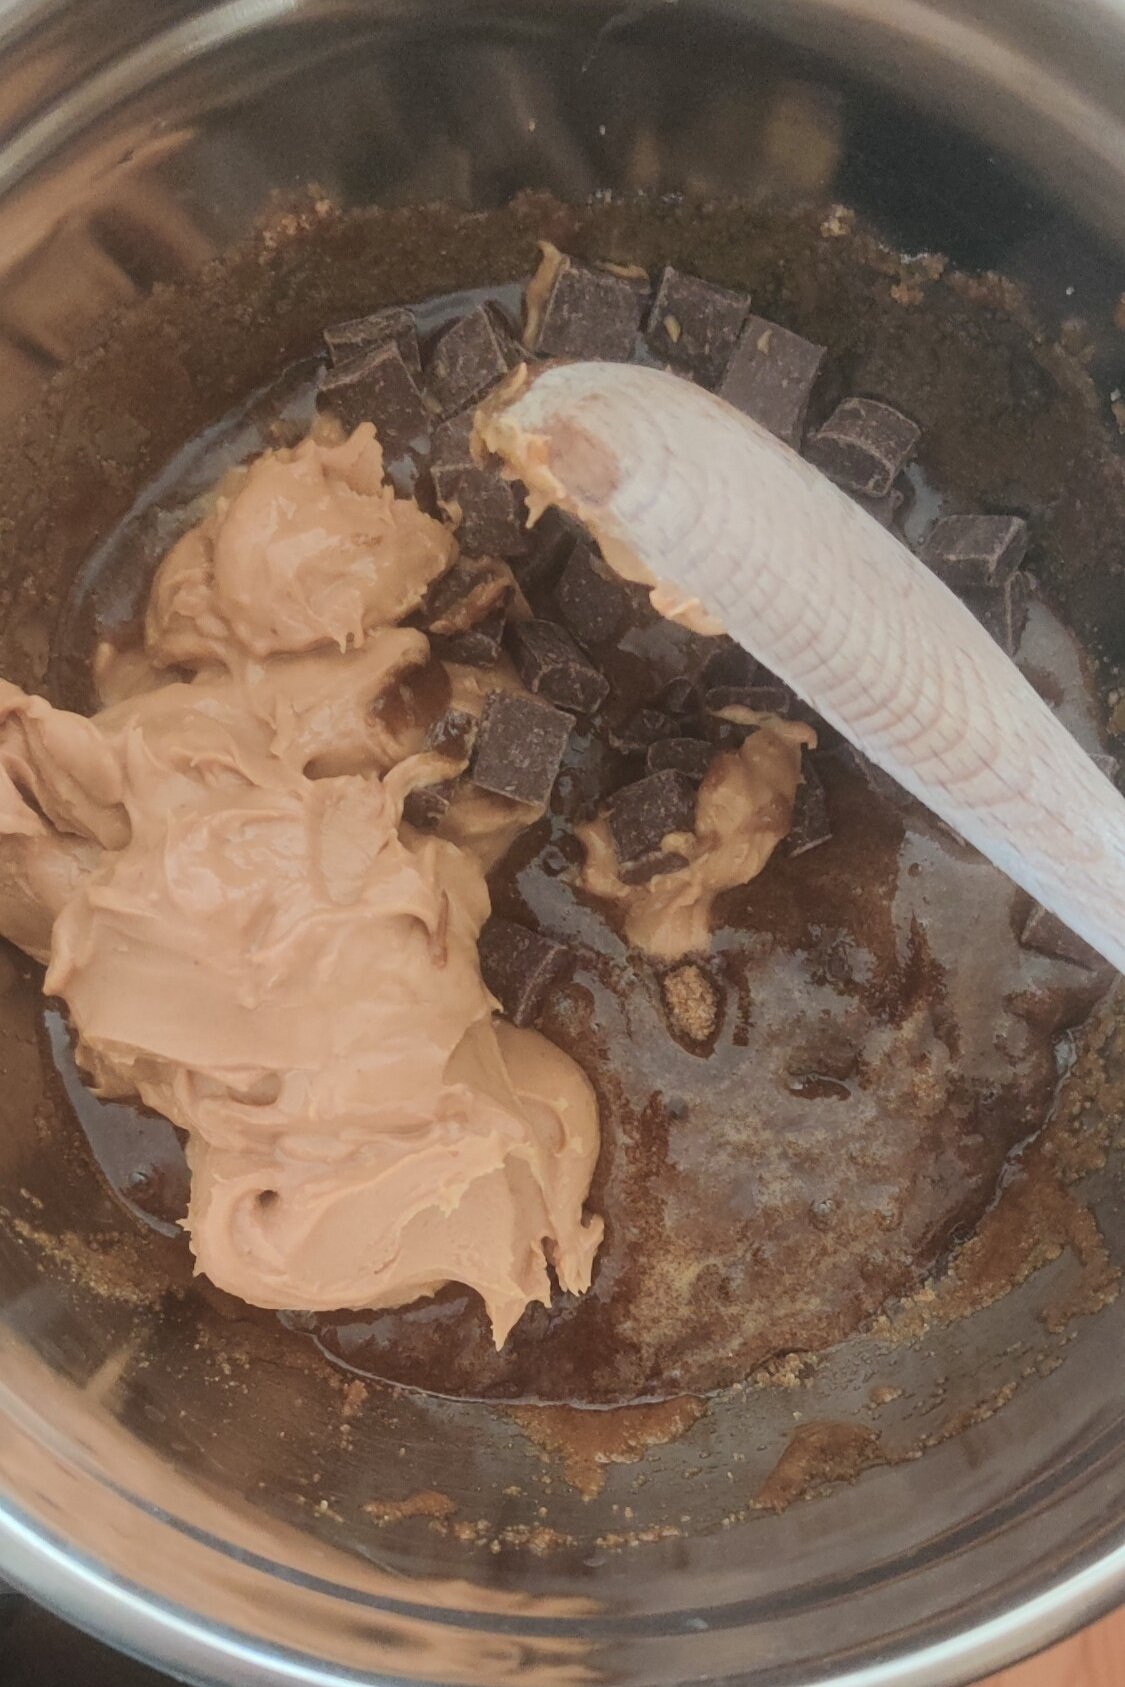
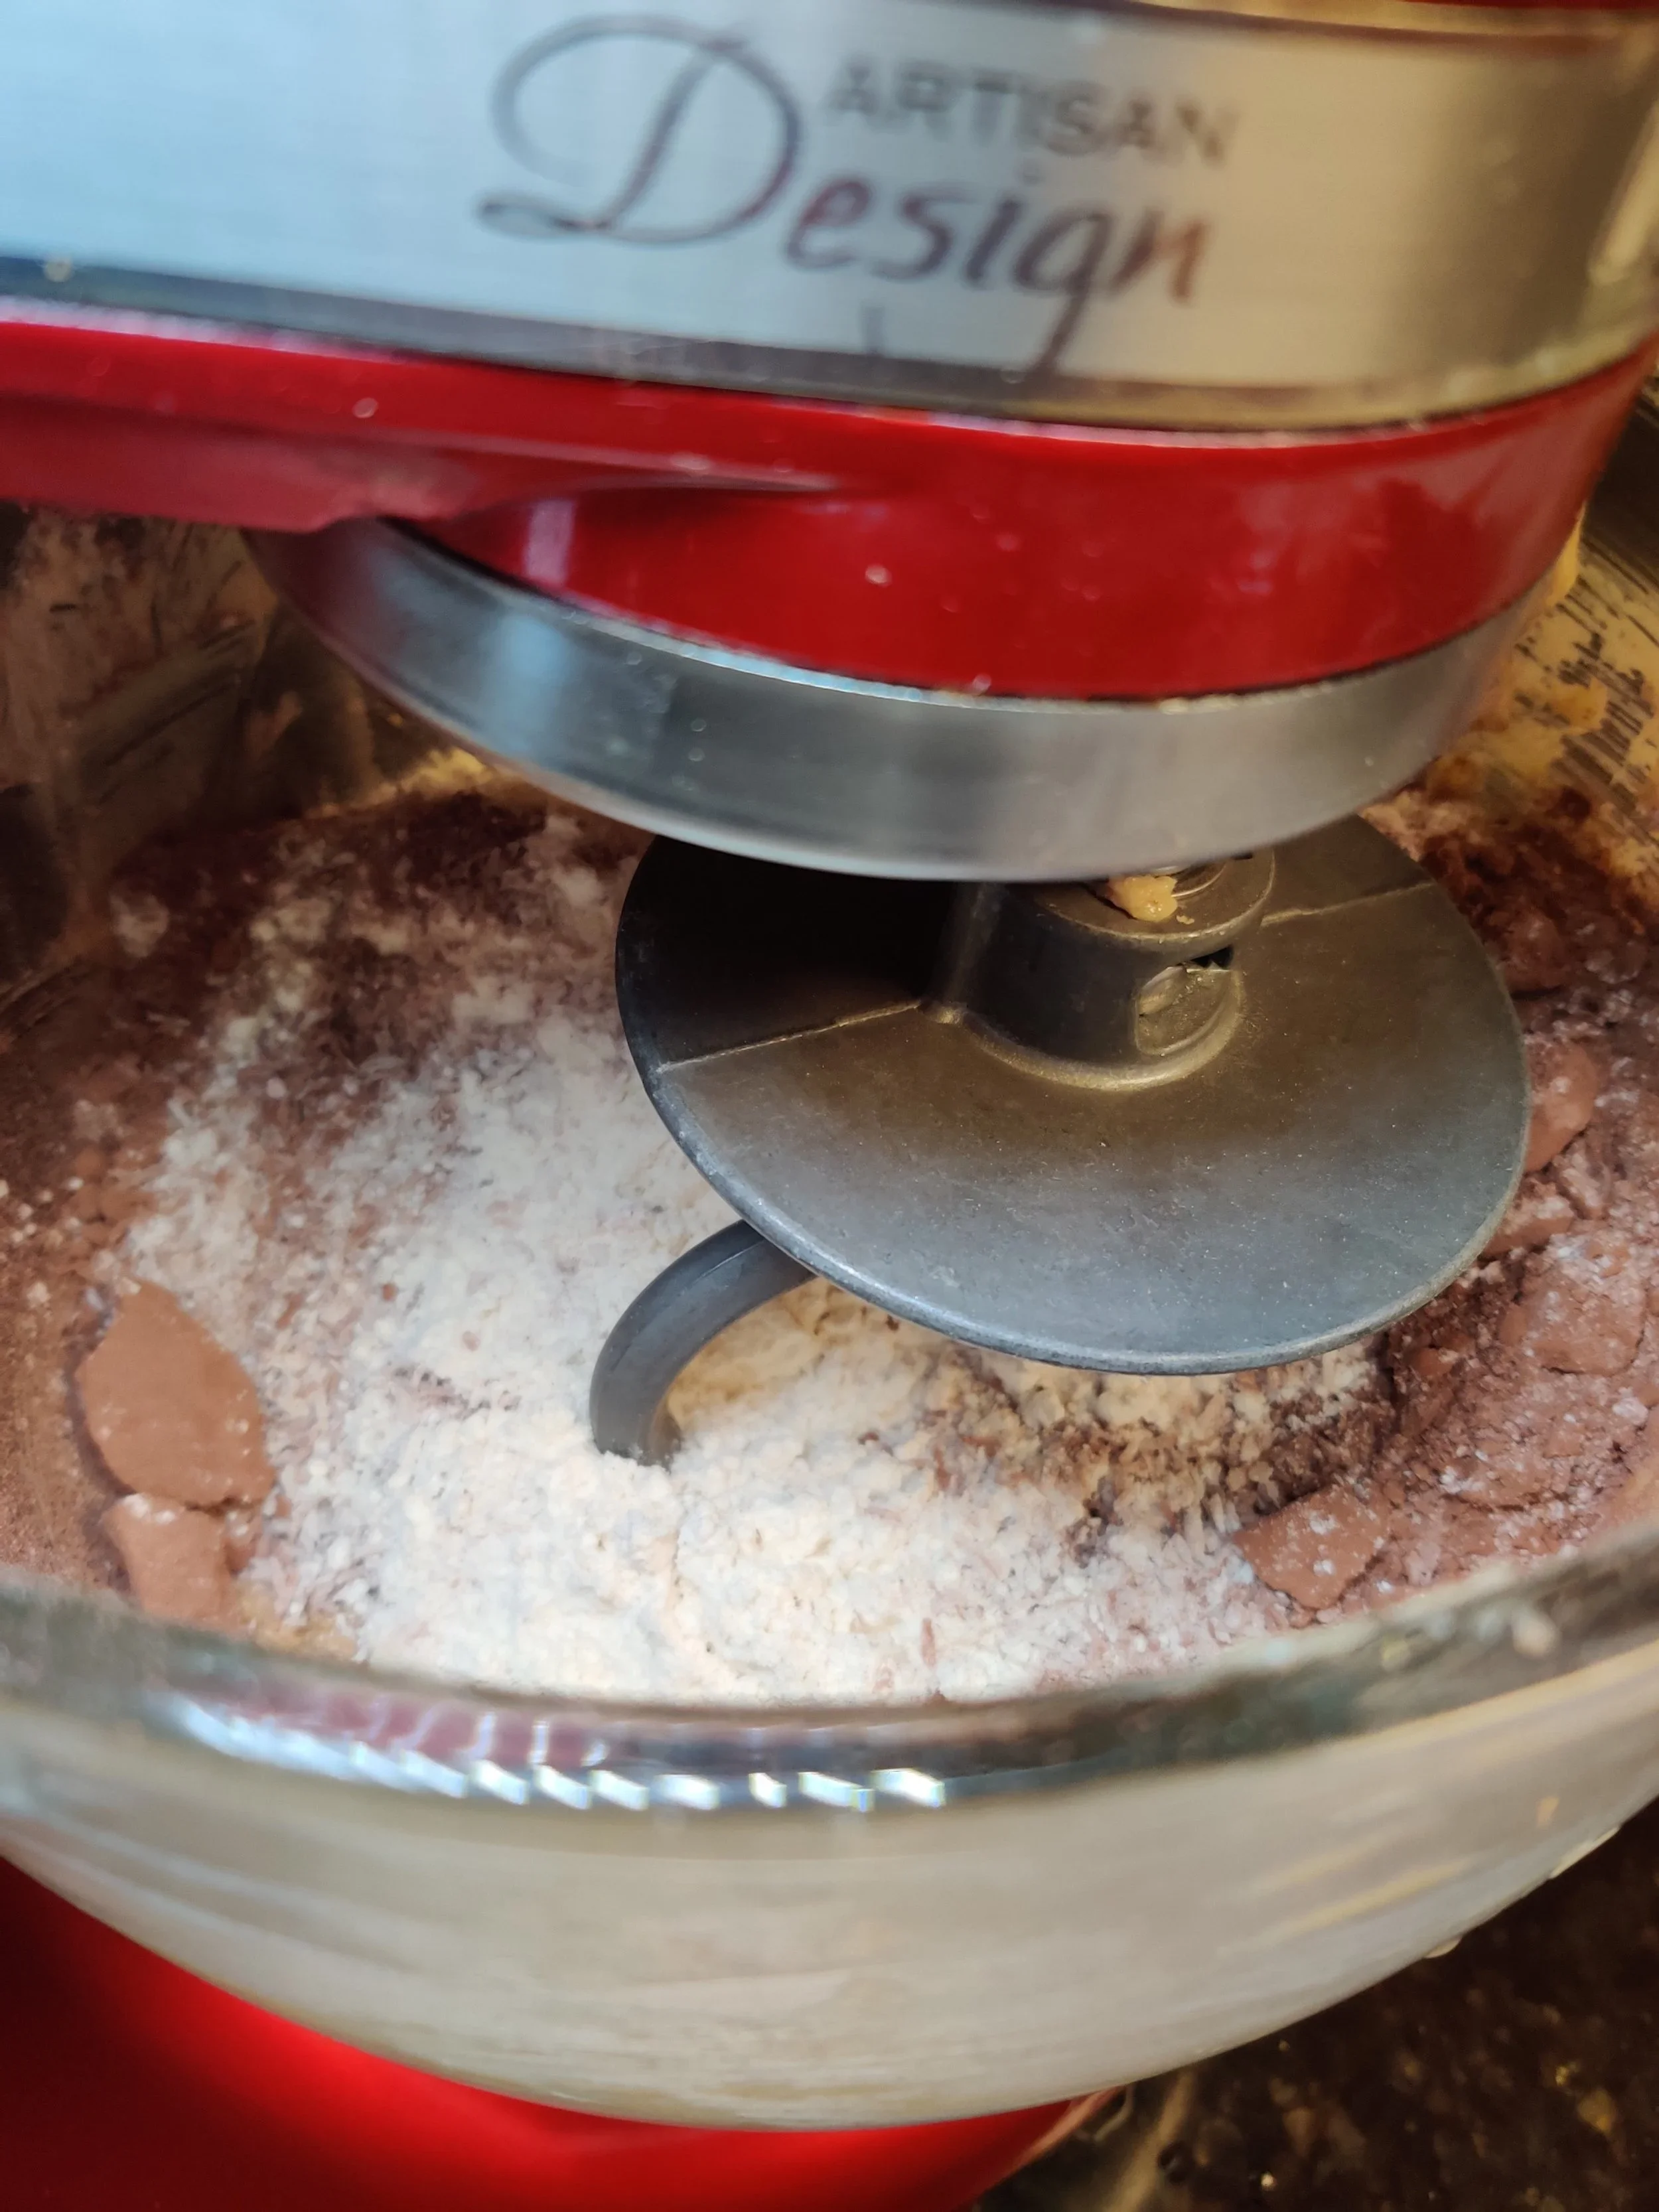
- Beat the sugars and butter until a creamy texture develops in a stand mixer. Add in the egg, oil and vanilla, and combine until smooth.
- Mix the other dry ingredients in a separate bowl, then add to the stand mixer bowl. Change the attachment to a kneading hook and mix quickly until a soft dough forms.
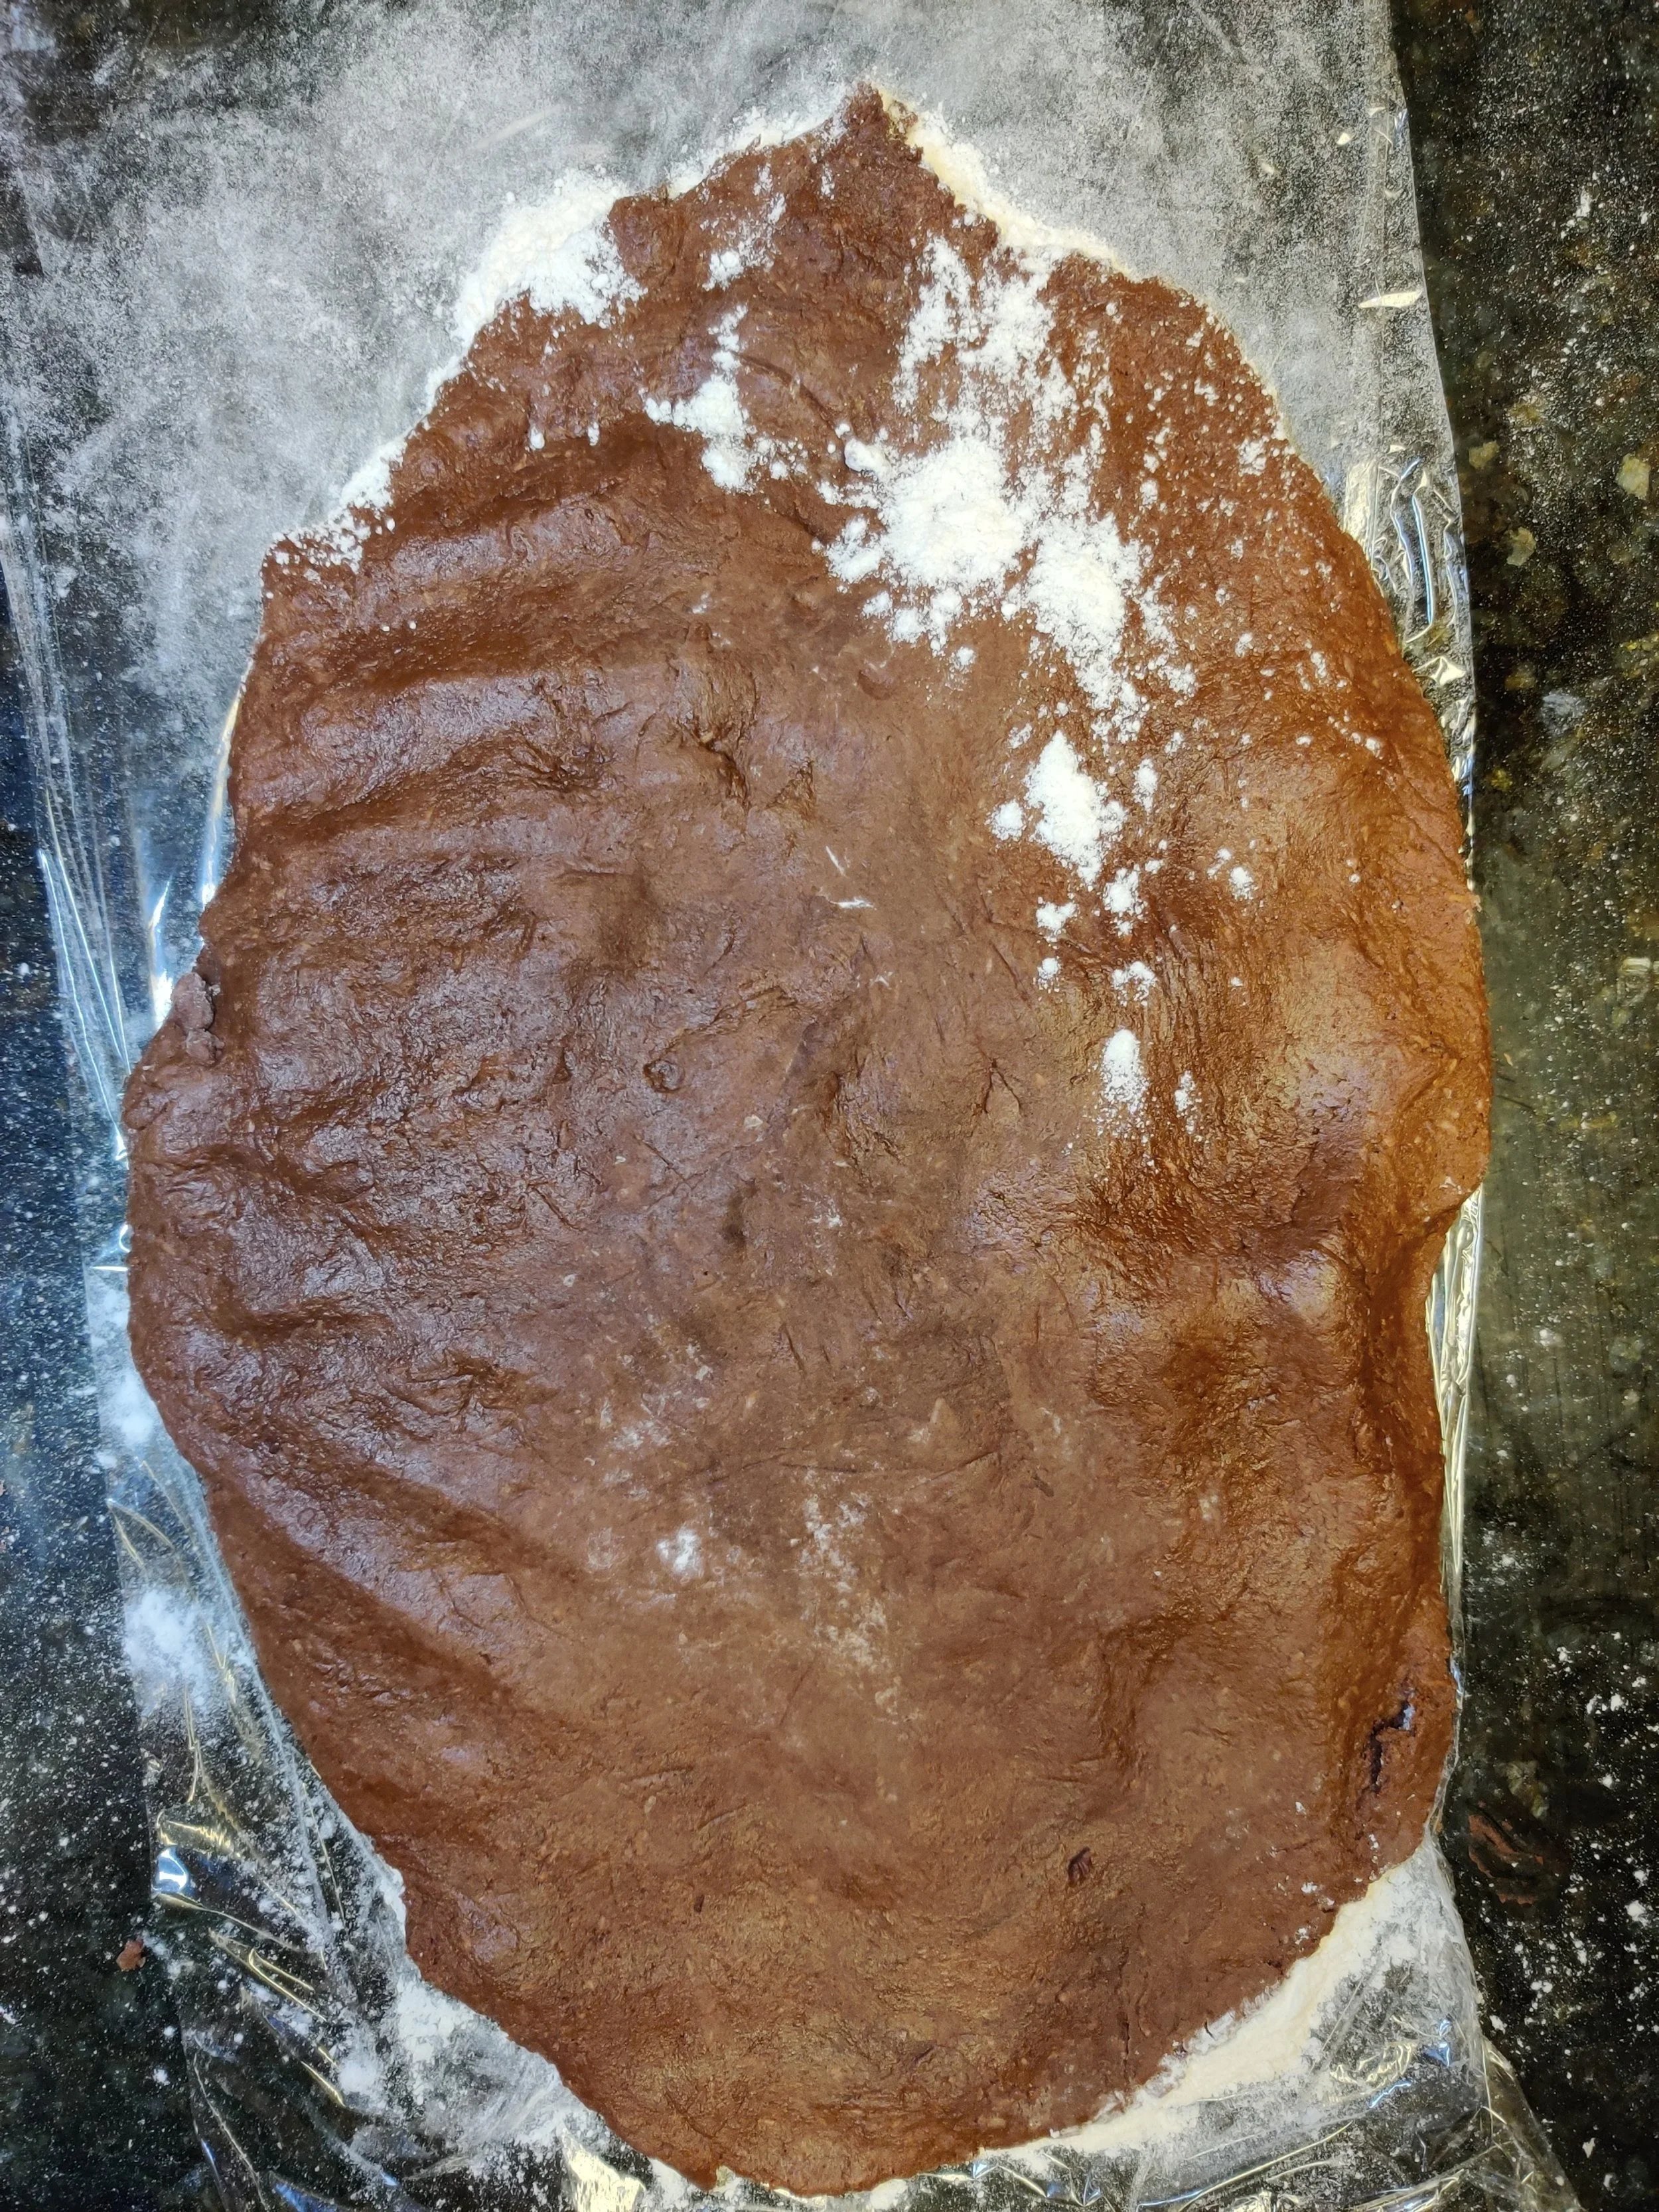
- Transfer the dough to a large floured piece of cling film. Cover with another piece, then roll out the dough to about an inch in thickness.
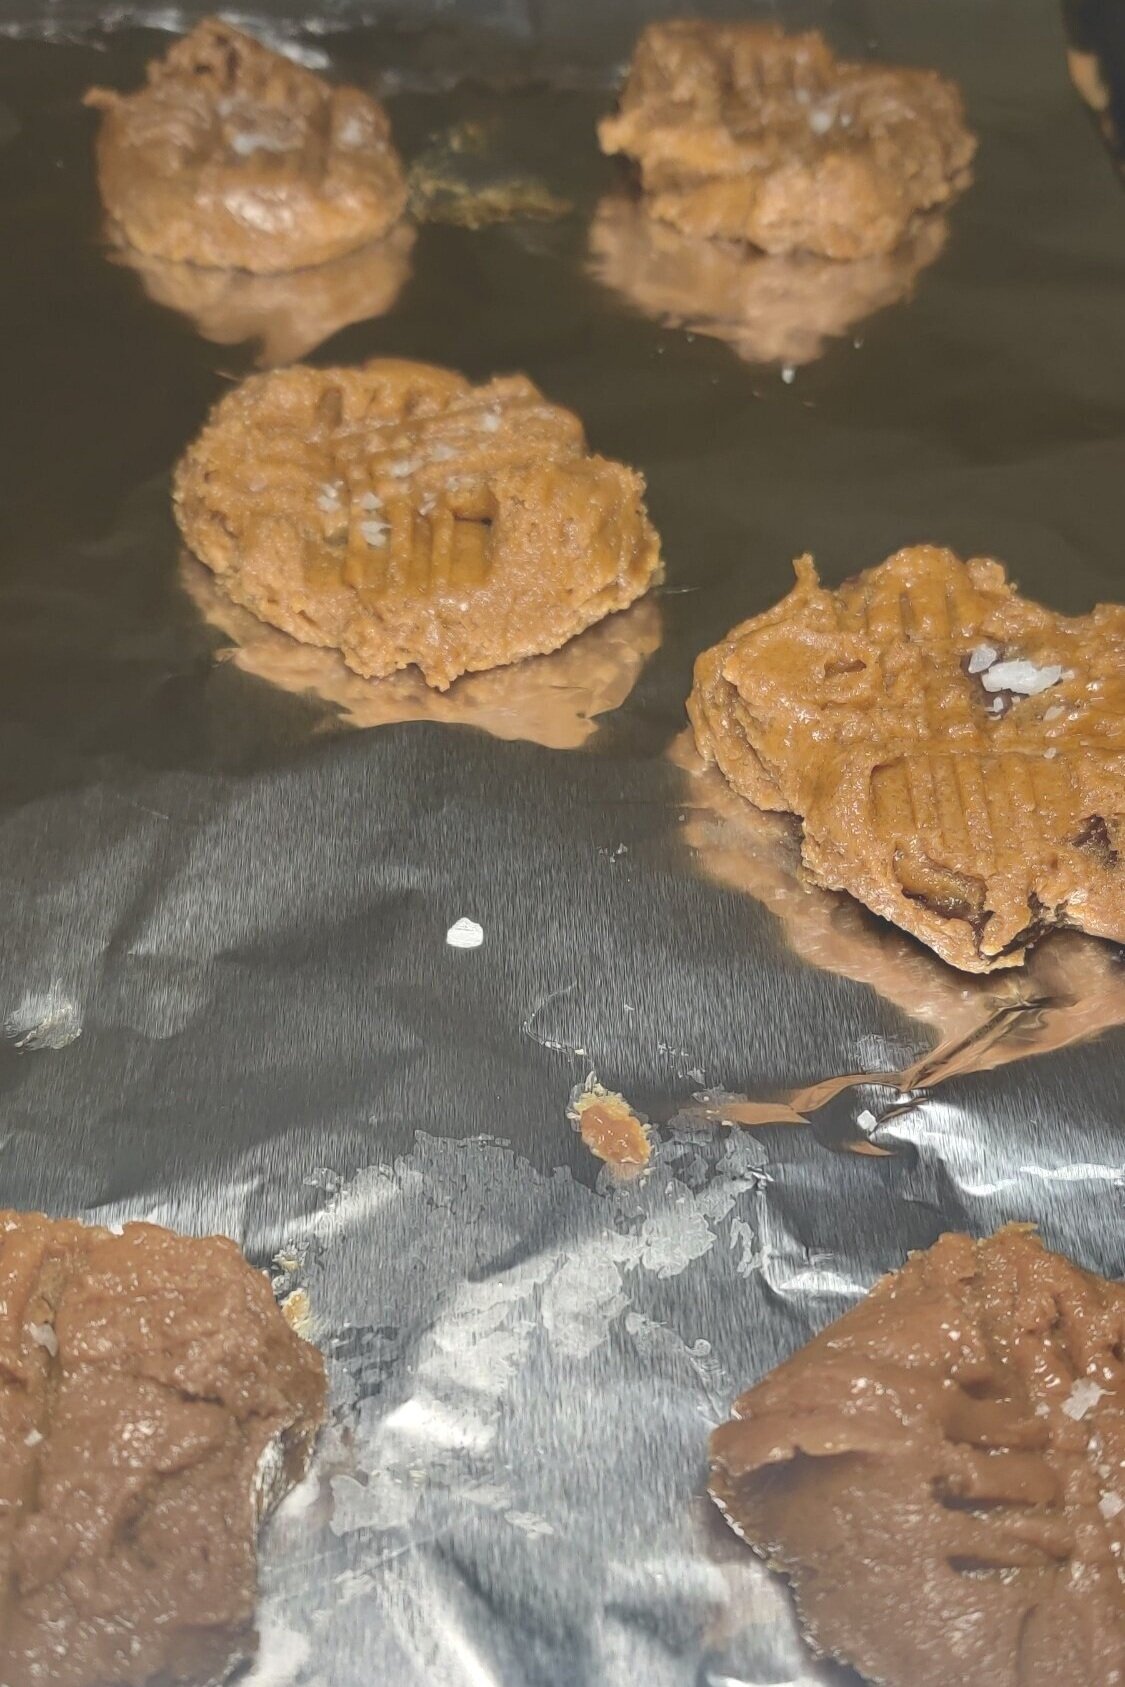
- Use a cookie cutter of the desired size and transfer the dough pieces to parchment-lined baking sheets - you'll probably have to do it in batches. If you are short on time, you can cover the dough with cling wrap and bake the next day.
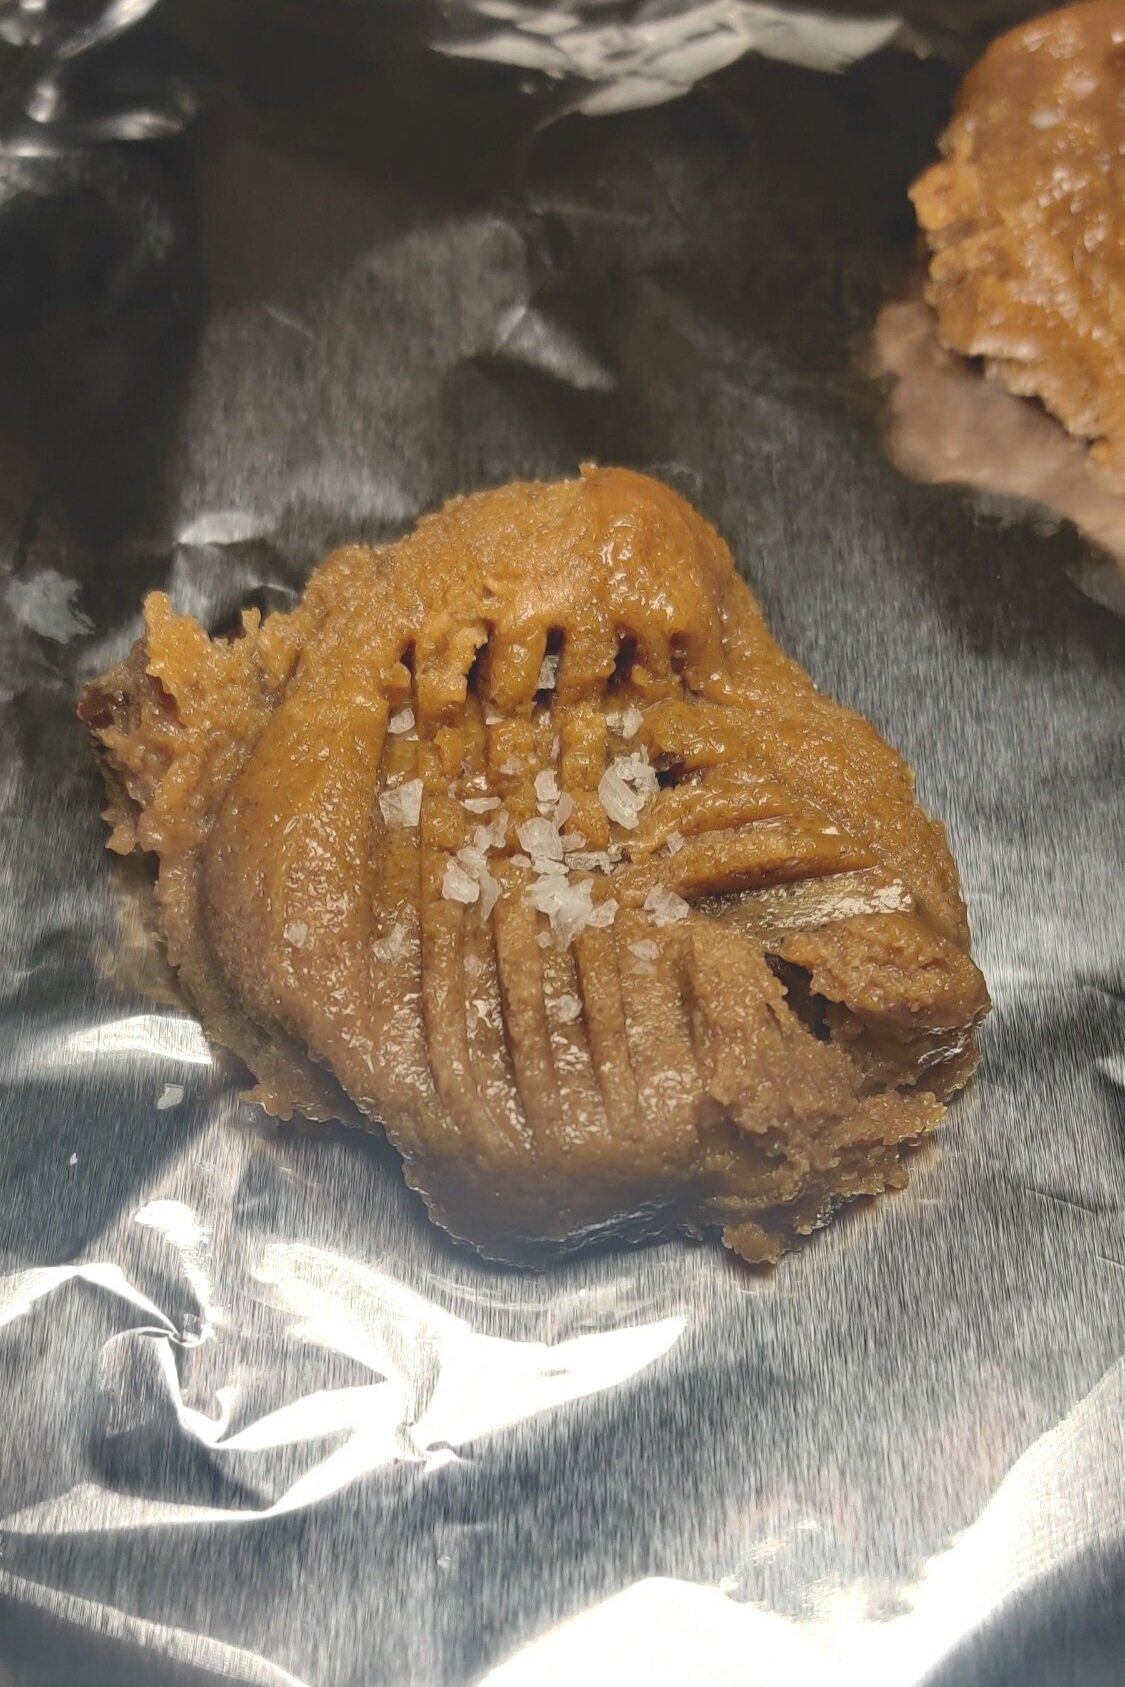
- Optional: Use a fork to make cross lines and create a texture on the top biscuit. You can also add seasonal sprinkles on the top side of each cookie before baking.
- Chill the biscuits in the fridge covered for at least 10 minutes and bake for 10-11 minutes at 350F, watch for burning. Set aside to cool.
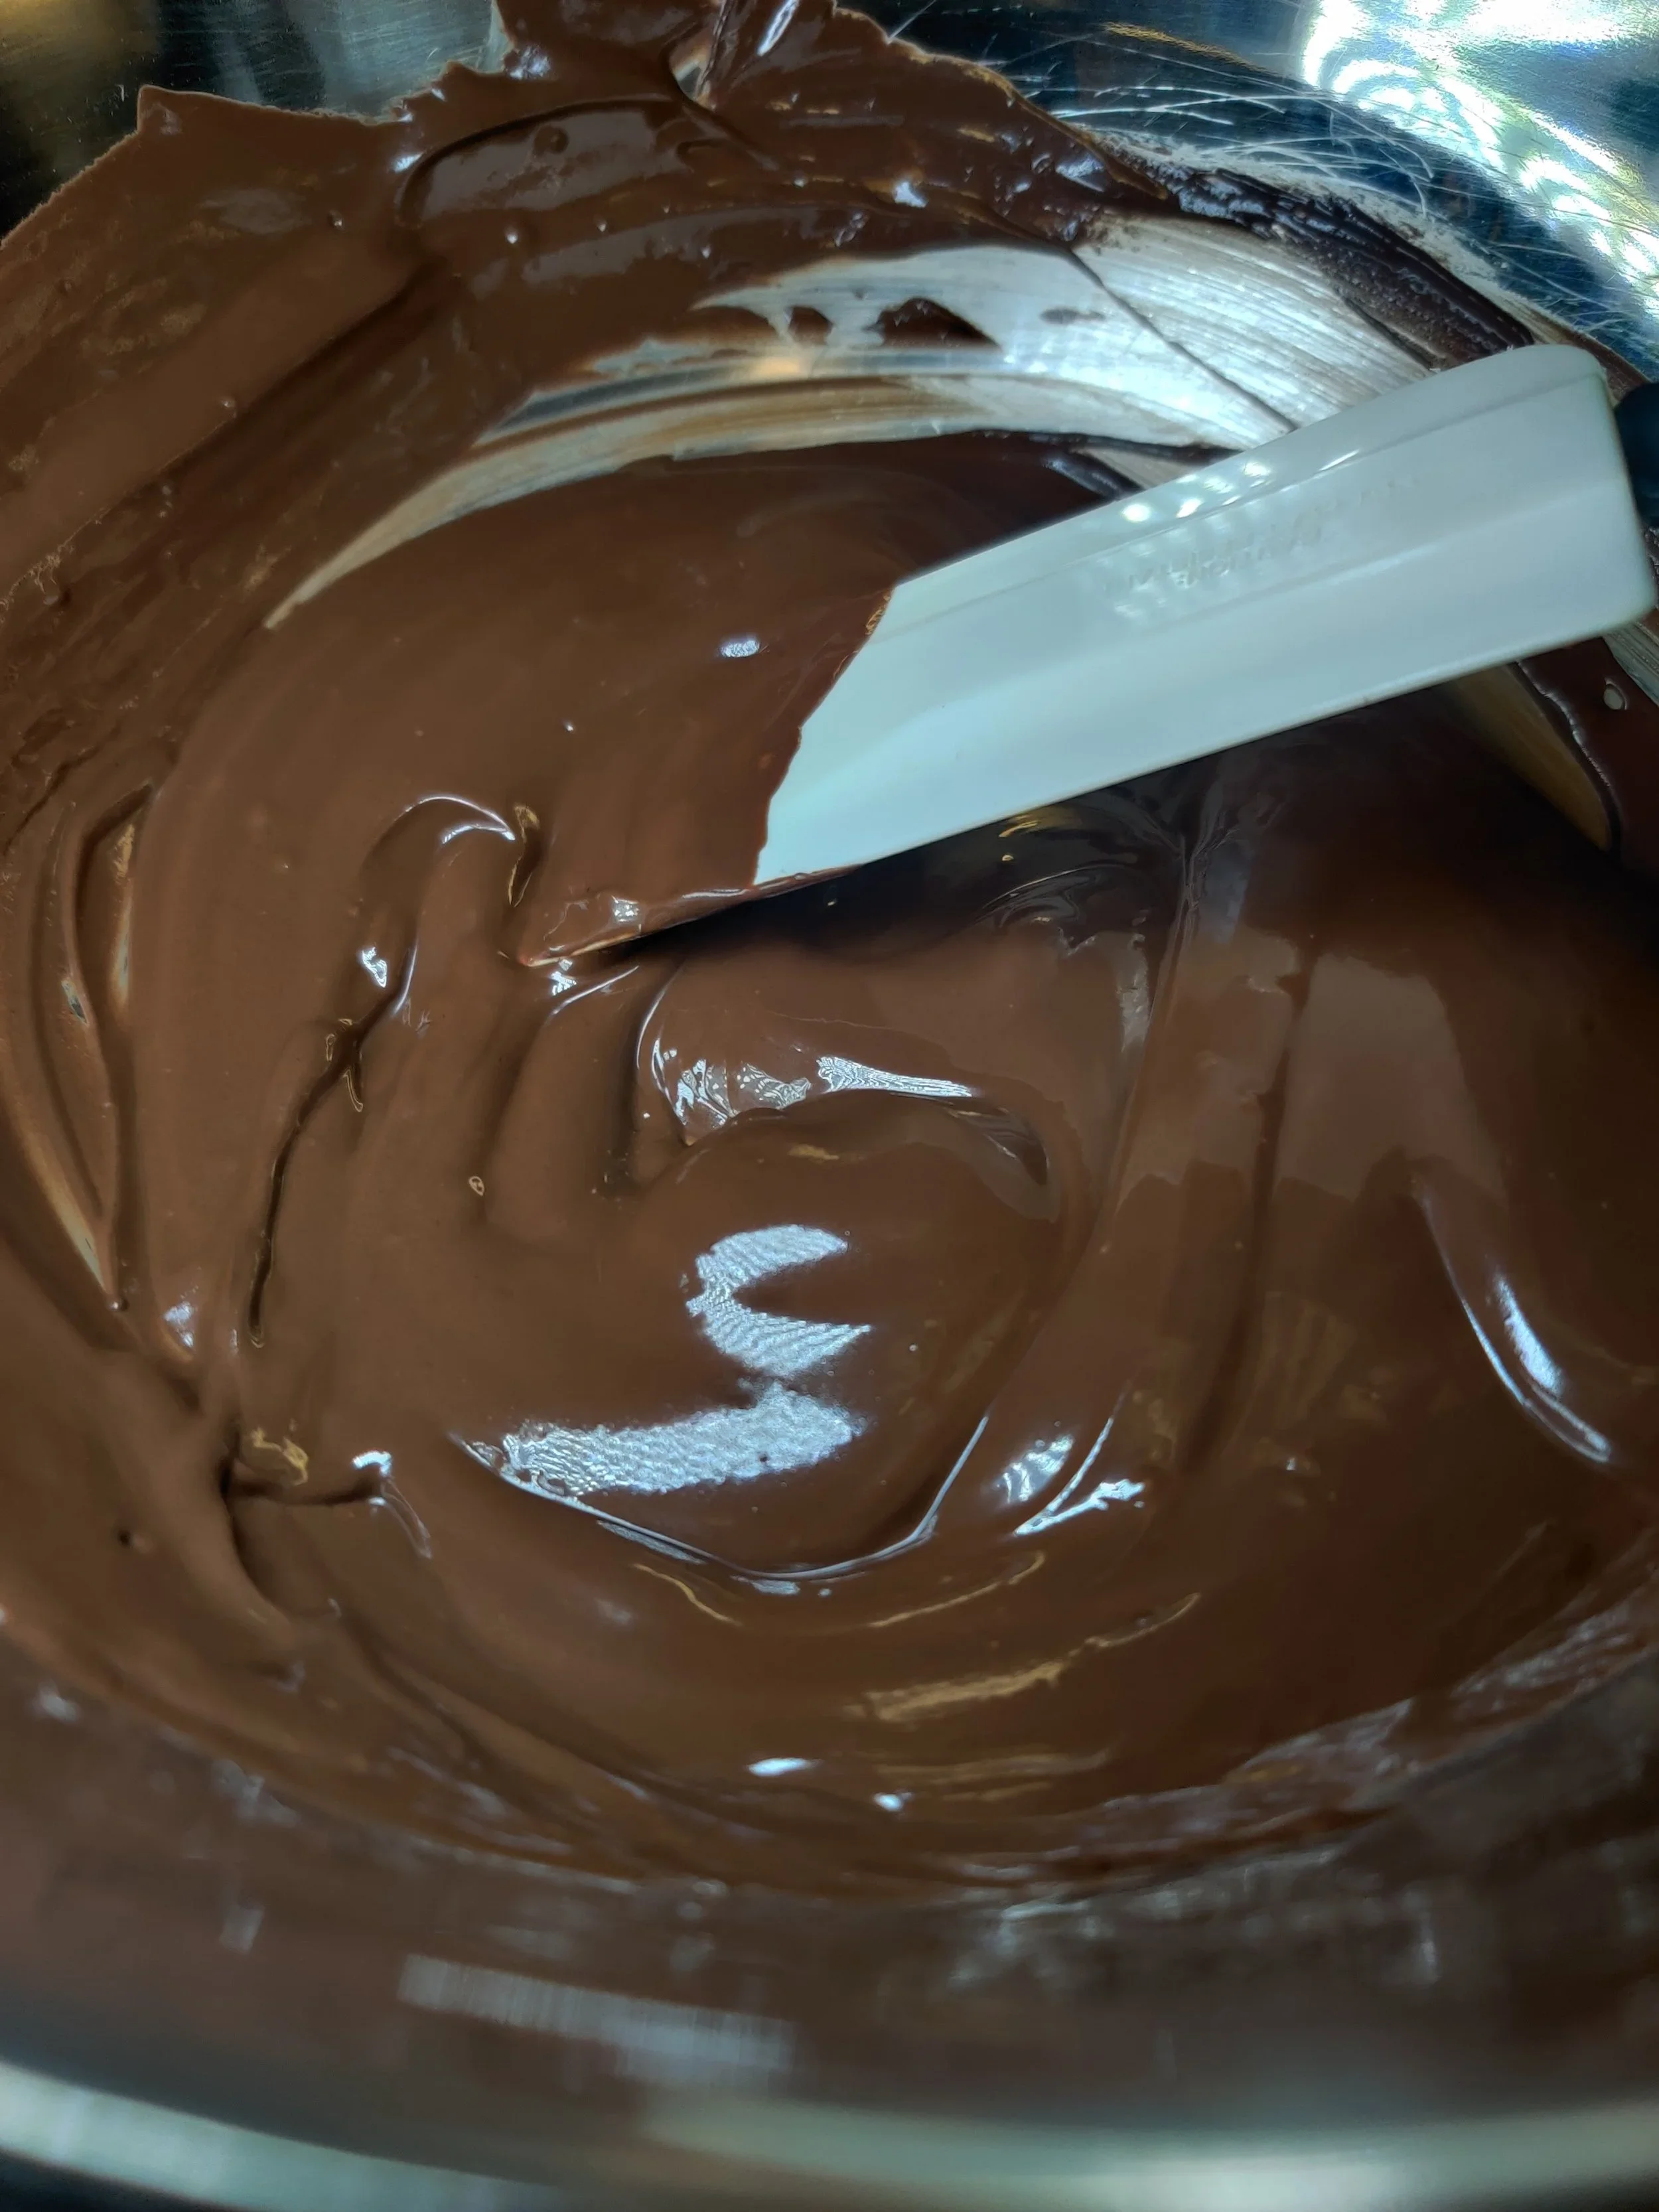
- While the first few batches bake, boil some water on medium-low and place a heat-resistant bowl on top. Add the chocolate to the bowl and heat until melted, stirring until smooth.
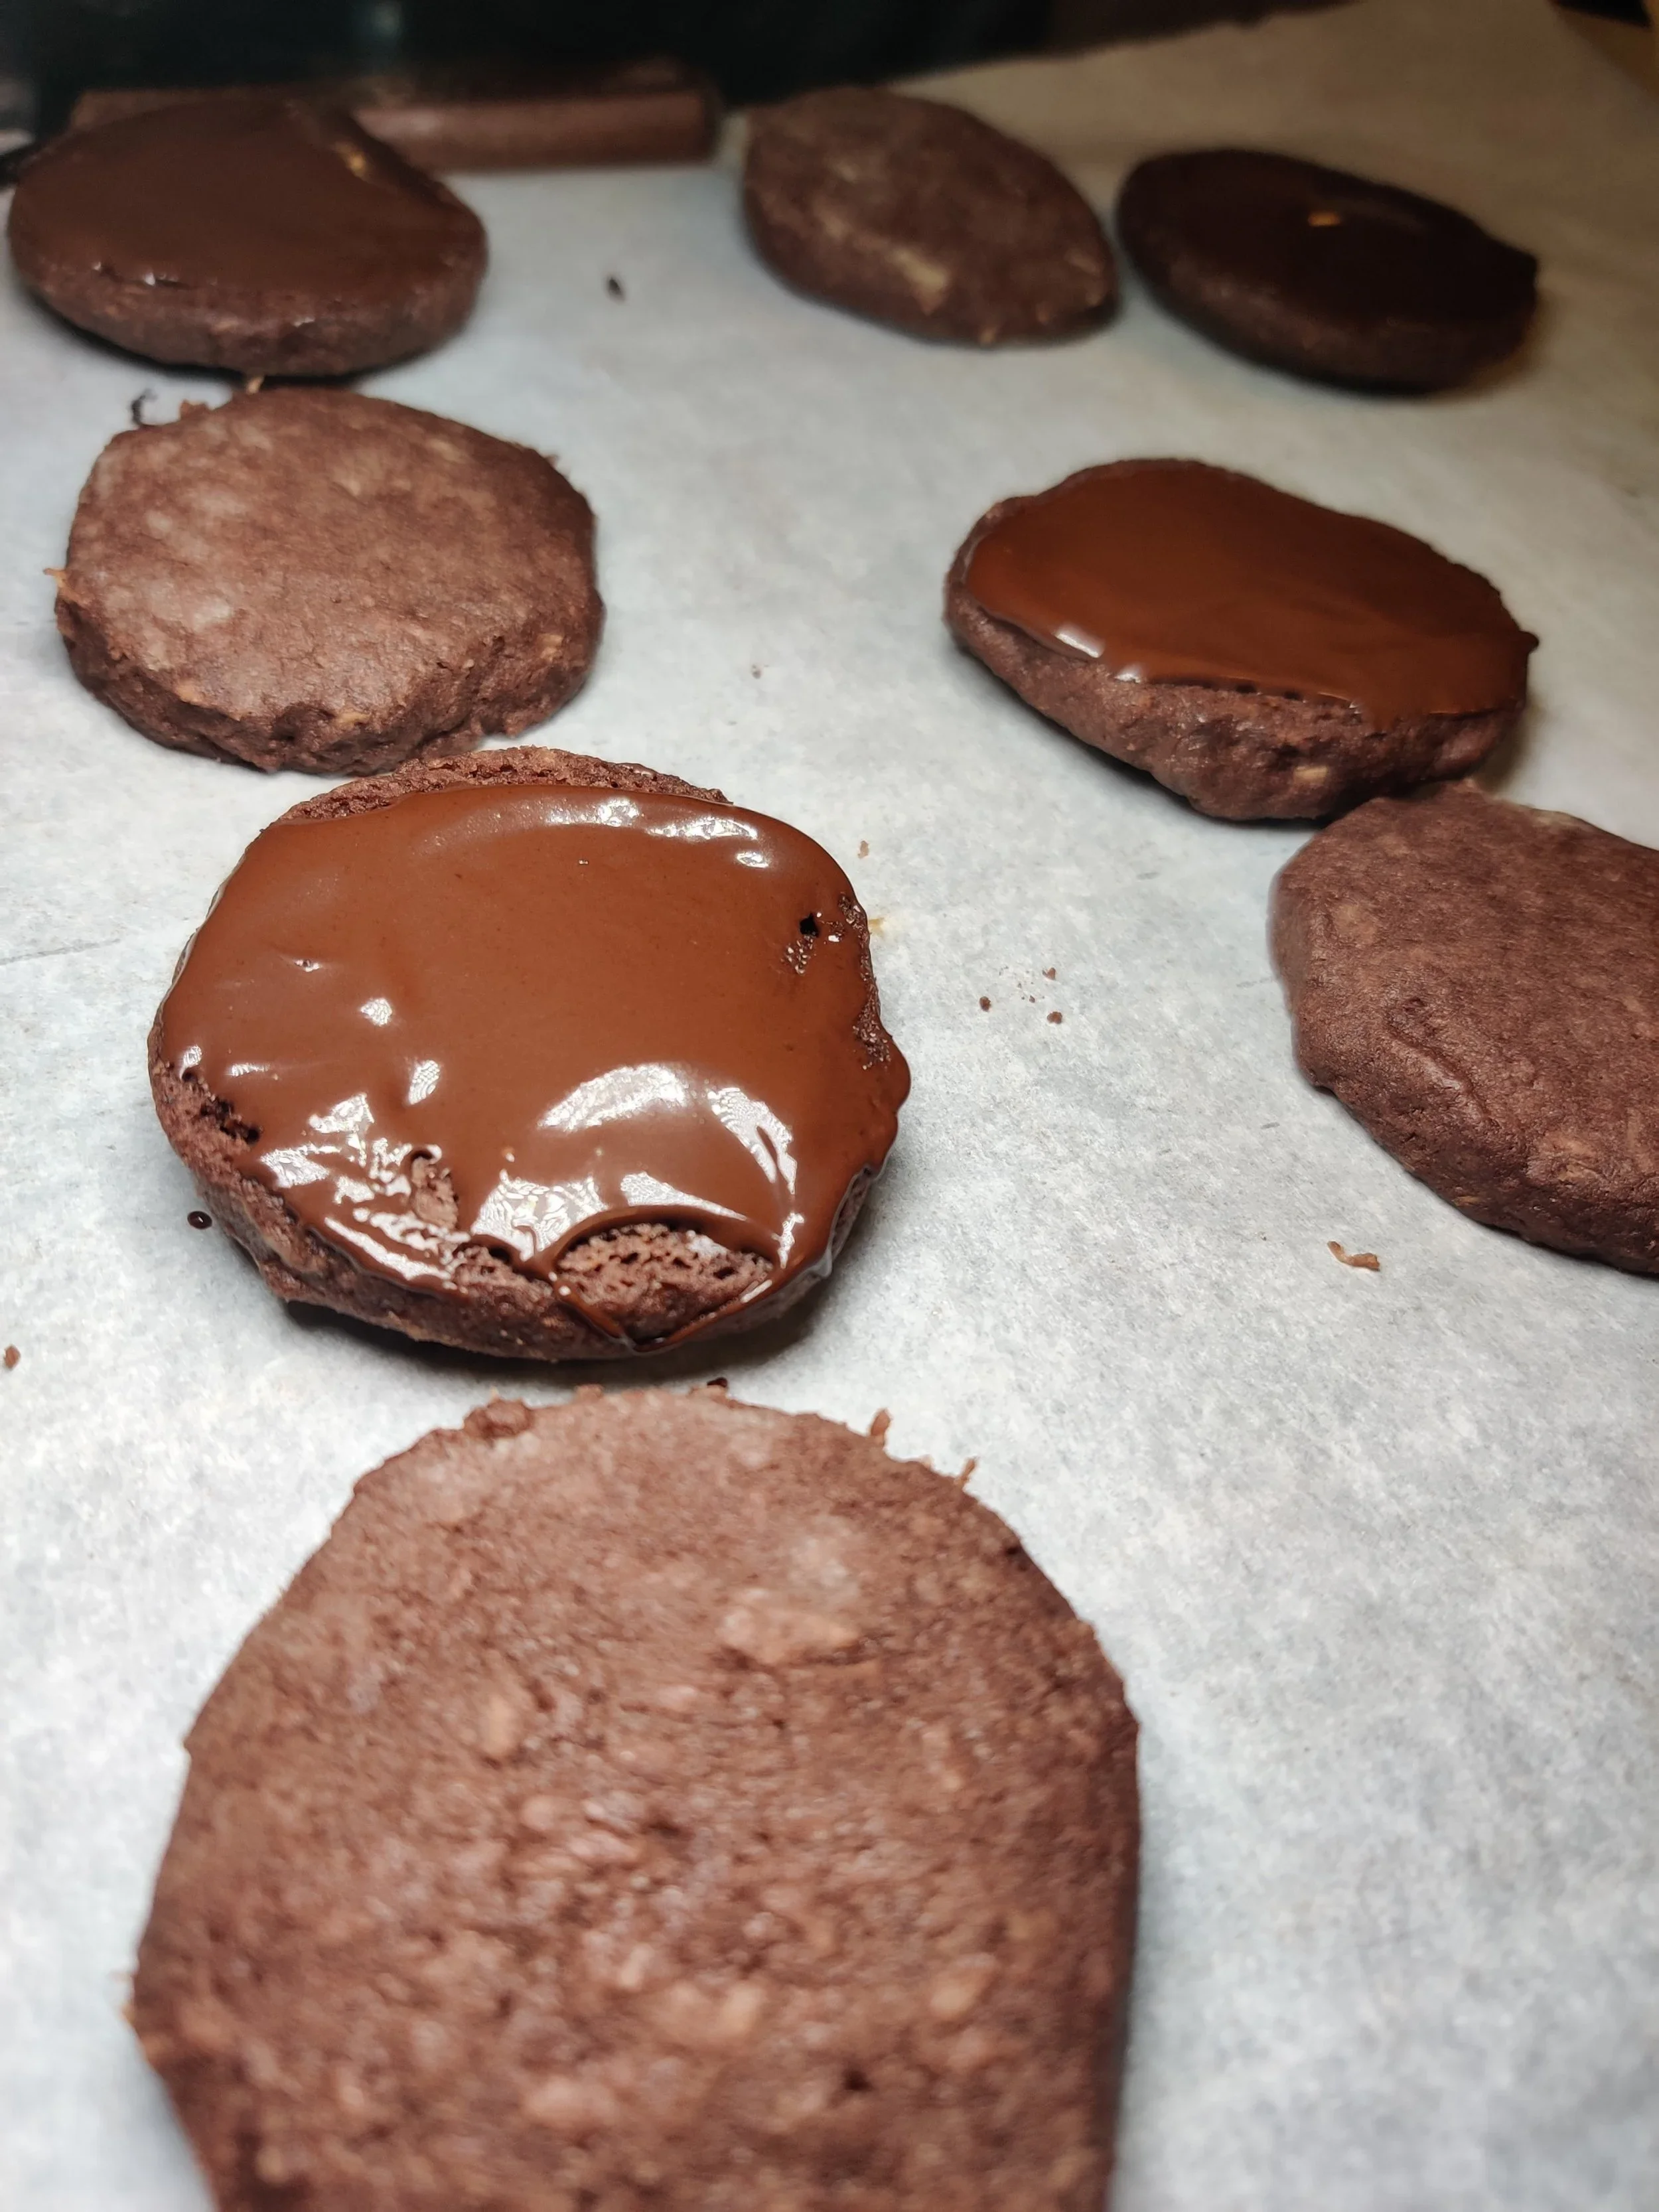
- Once everything has cooled, place a dollop of the melted chocolate inside one side of each biscuit, then close. And allow cooling further on a rack. Place in an airtight container and enjoy over five days for optimum taste.
Notes
You can also freeze the dough or cookie cut outs to bake in the future.
Nutrition Facts
Calories
118Fat (grams)
8.7 gCarbs (grams)
10 gSugar (grams)
4.3 gProtein (grams)
1 gI am not a certified nutritionist and any nutritional information on dontmissmyplate.com should only be used as a general guideline.