

Sticky Toffee Date Pudding
This recipe is part of a two-part 3-course meal menu. Start with this Creamy Tomato Beet Soup., followed by an Eggplant Lasagna with Mushroom Ragu, served with a Kale and Brussels Sprouts Salad.
I've made a pudding similar to this, which has become a South African quintessential dessert - Malva Pudding with Rum Sauce. Sticky toffee date pudding is the English or Australian version, a cake made from flour, eggs, sugar, butter and well, of course, dates!
What makes this dessert is the moist texture of the cake and the sauces you serve it with since it acts like a sponge. The "sticky" in sticky date pudding gets its name from the creamy brown sugar-based toffee sauce that goes on top.
Sticky toffee pudding is also often served with custard, ice cream, or whipped cream. In this case, like my previous dessert, I used my signature Amarula Custard.
Ingredients
Cake:
1 1/4 cups all-purpose flour
1 1/4 cups dark brown sugar
6 tablespoons butter
3 eggs
2 teaspoons baking powder
3/4 cup or 6-7 ounces dates, pitted (I used Medjool)
1 teaspoon vanilla extract
1 teaspoon baking soda
Toffee sauce:
6 tablespoons dark brown sugar
1/2 cup butter
1/2 cup + 2 tablespoons light brown sugar
1/4 teaspoon salt
1/2 teaspoon vanilla
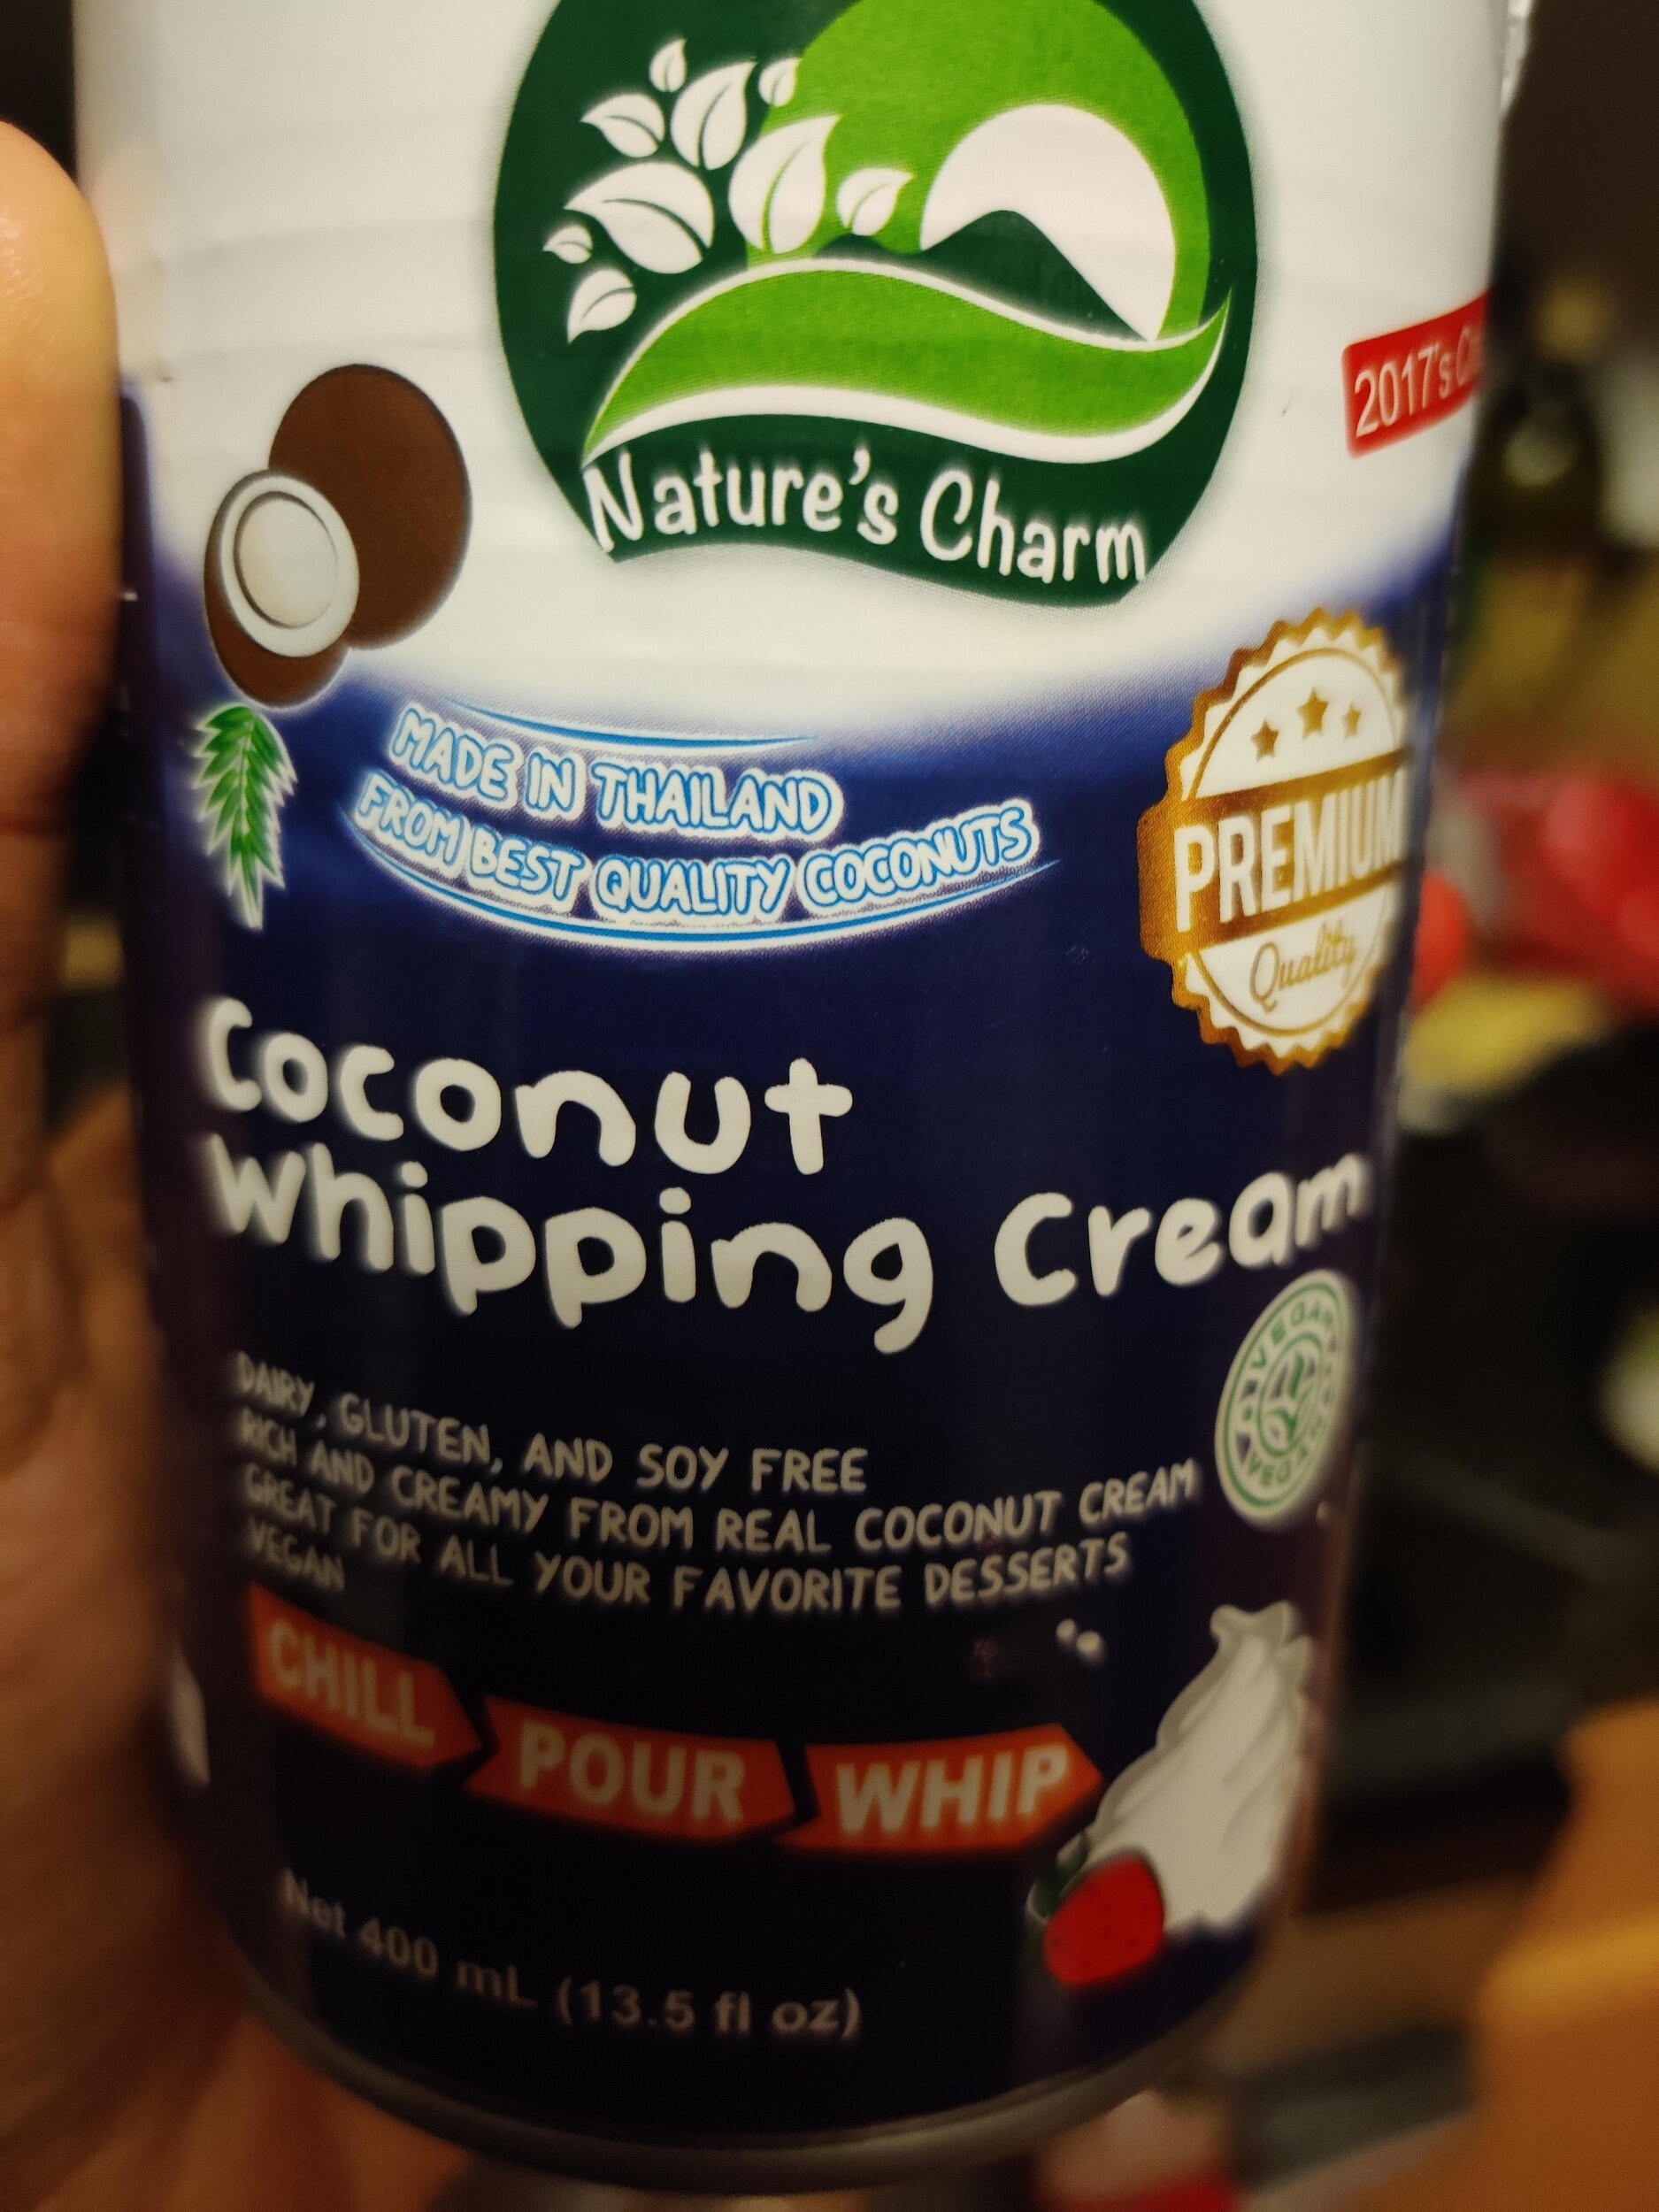
15-ounce (400ml) can coconut whipping cream
1/2 cup milk (I used plant-based for this)
Instructions
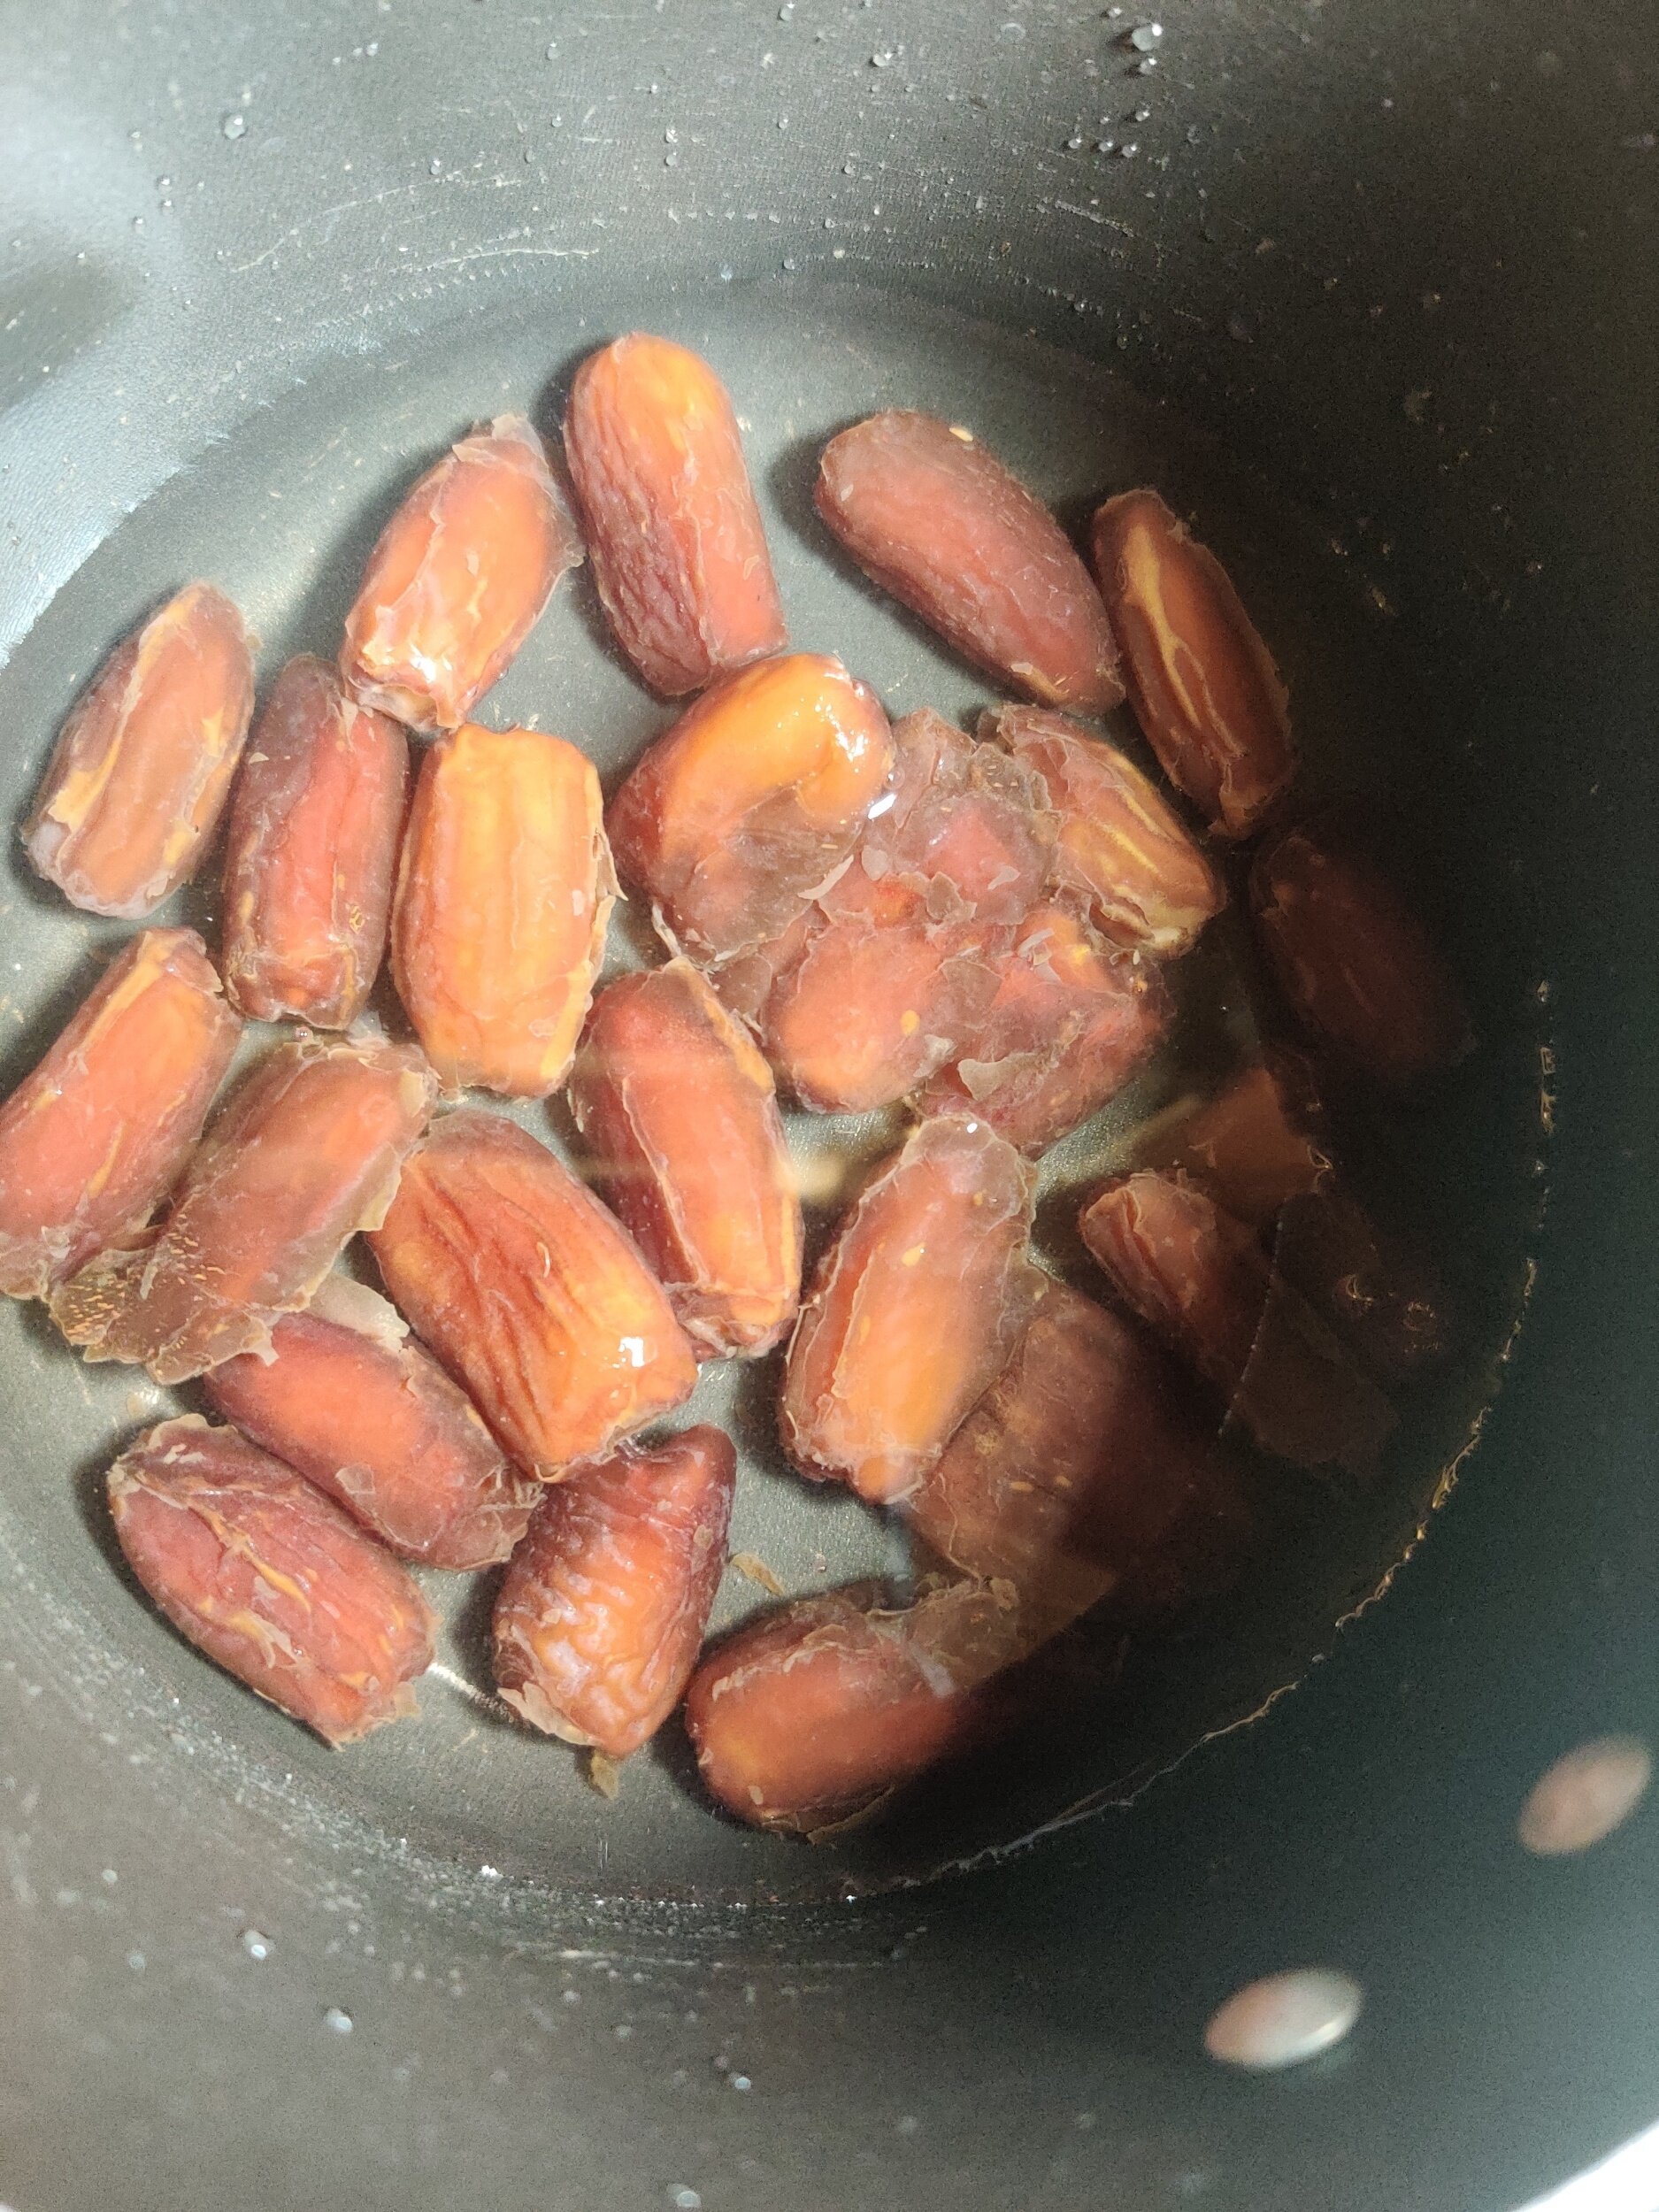
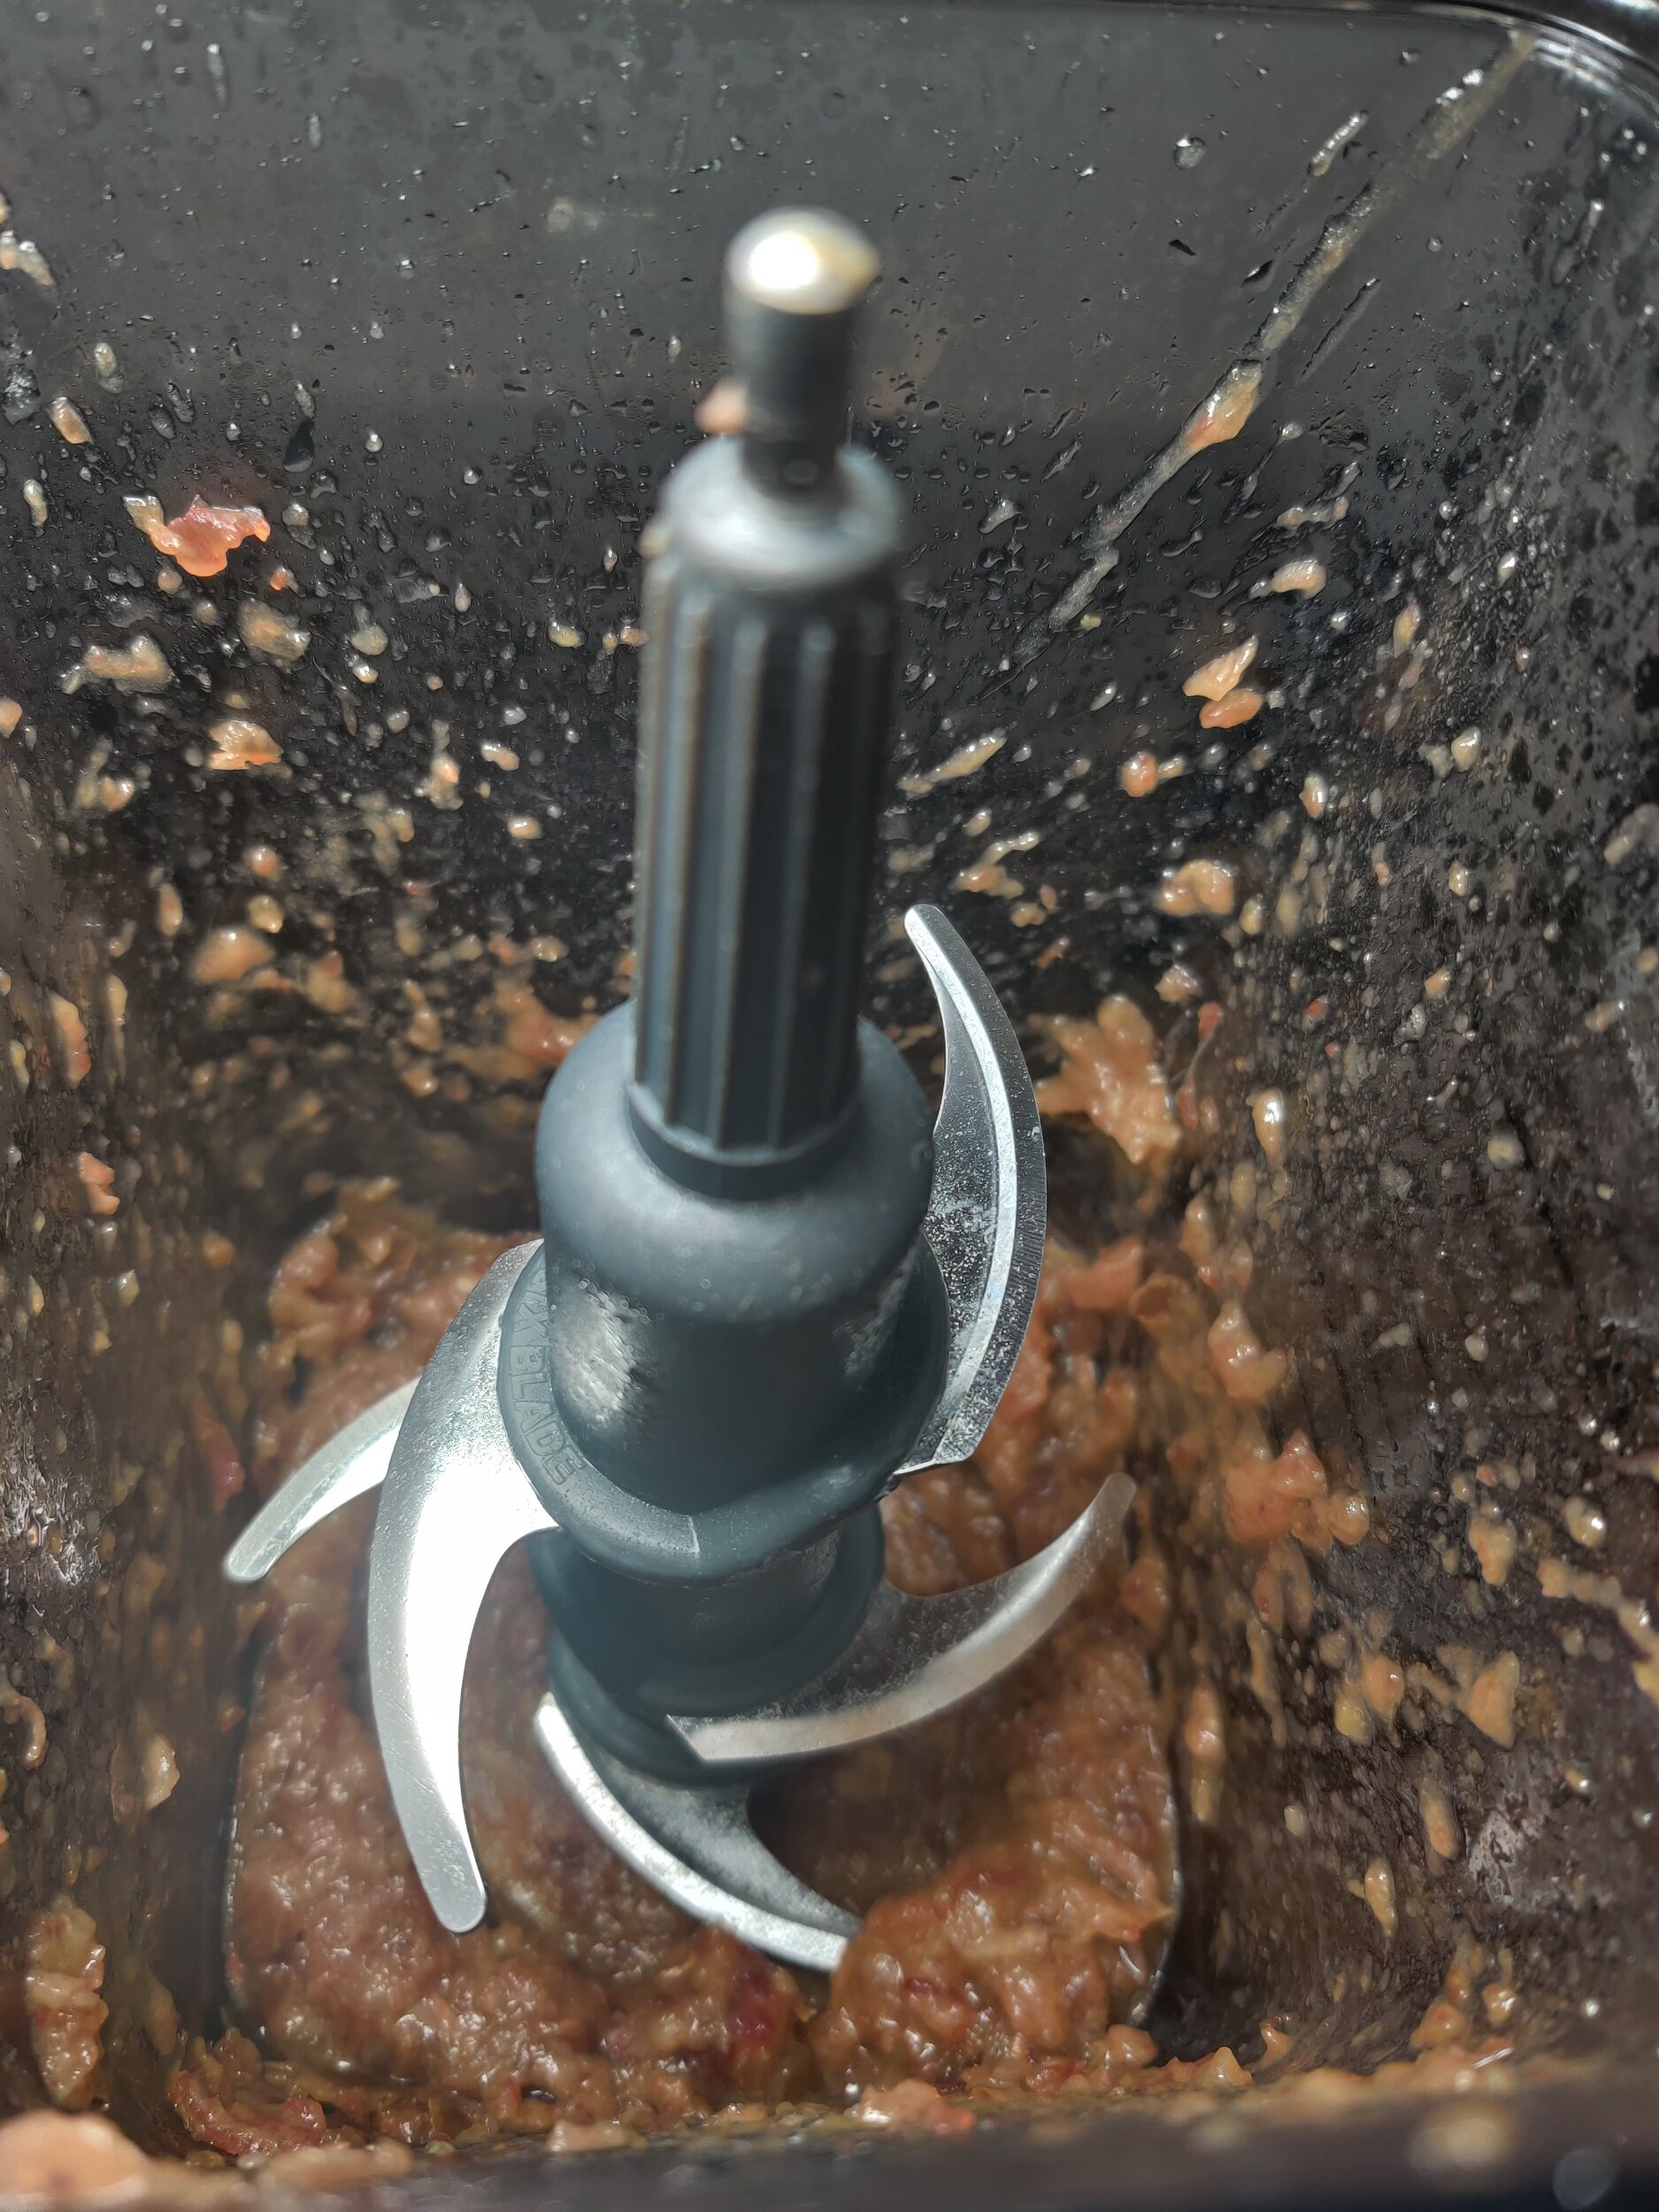
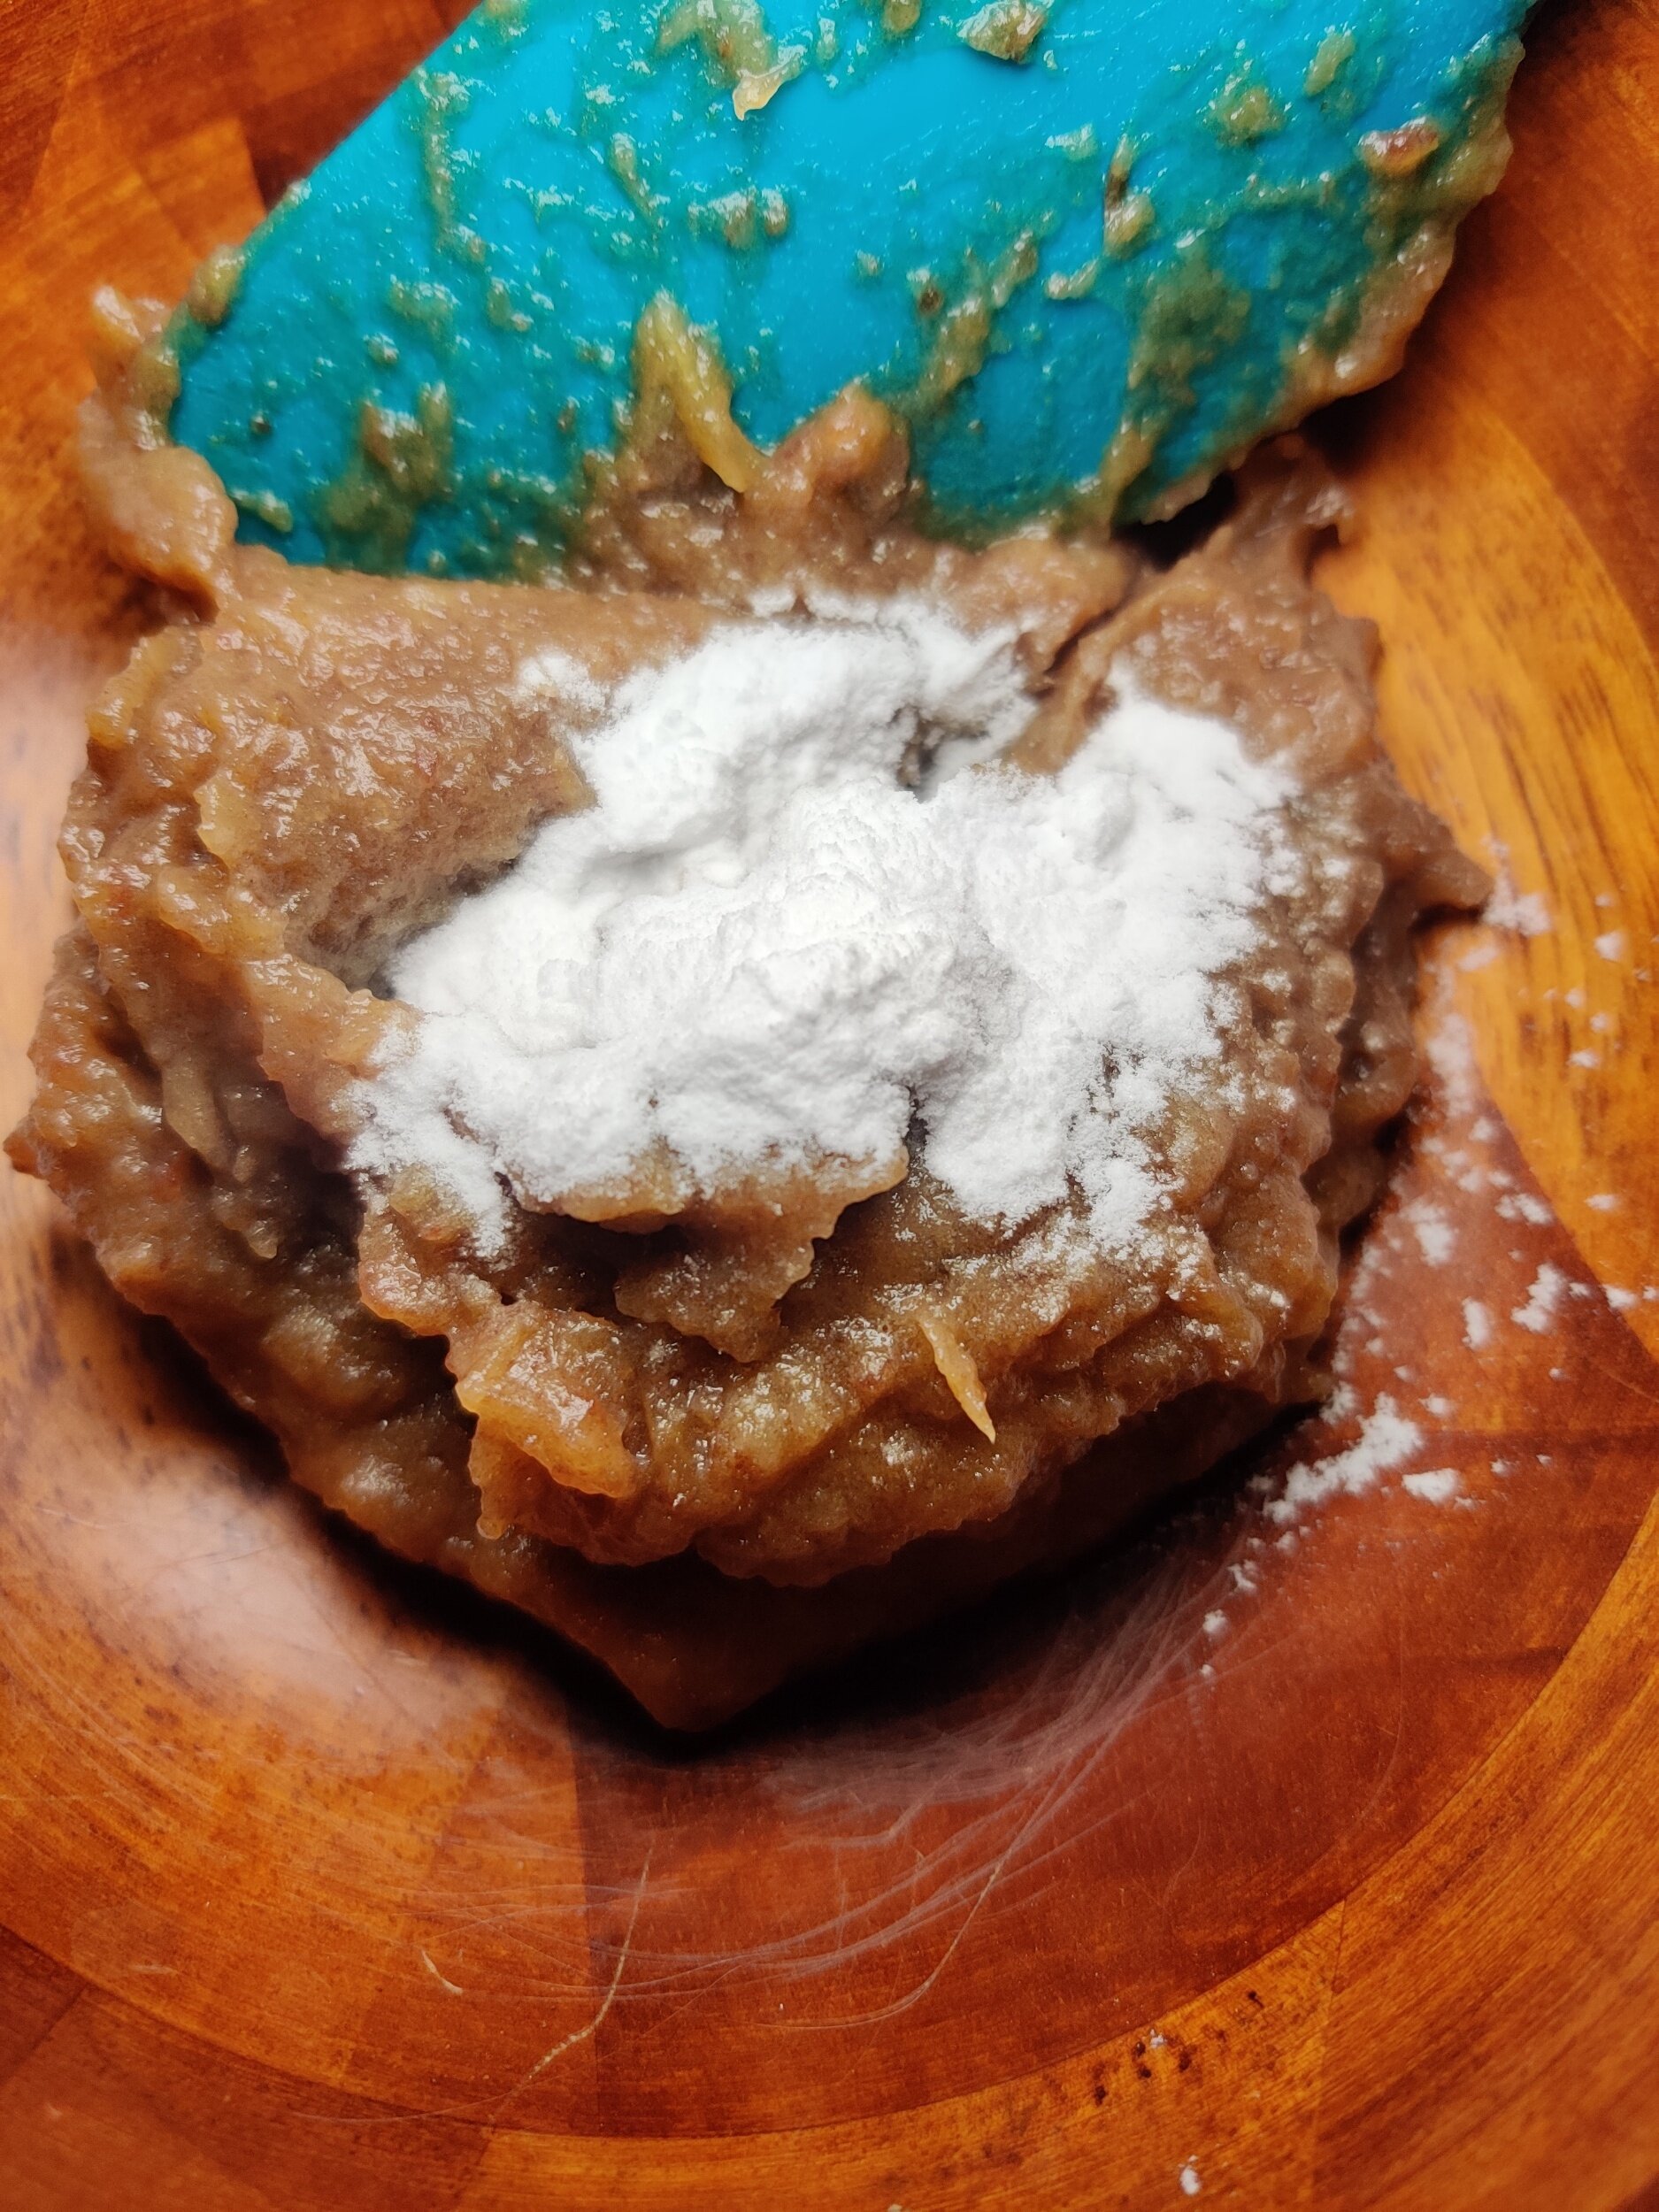
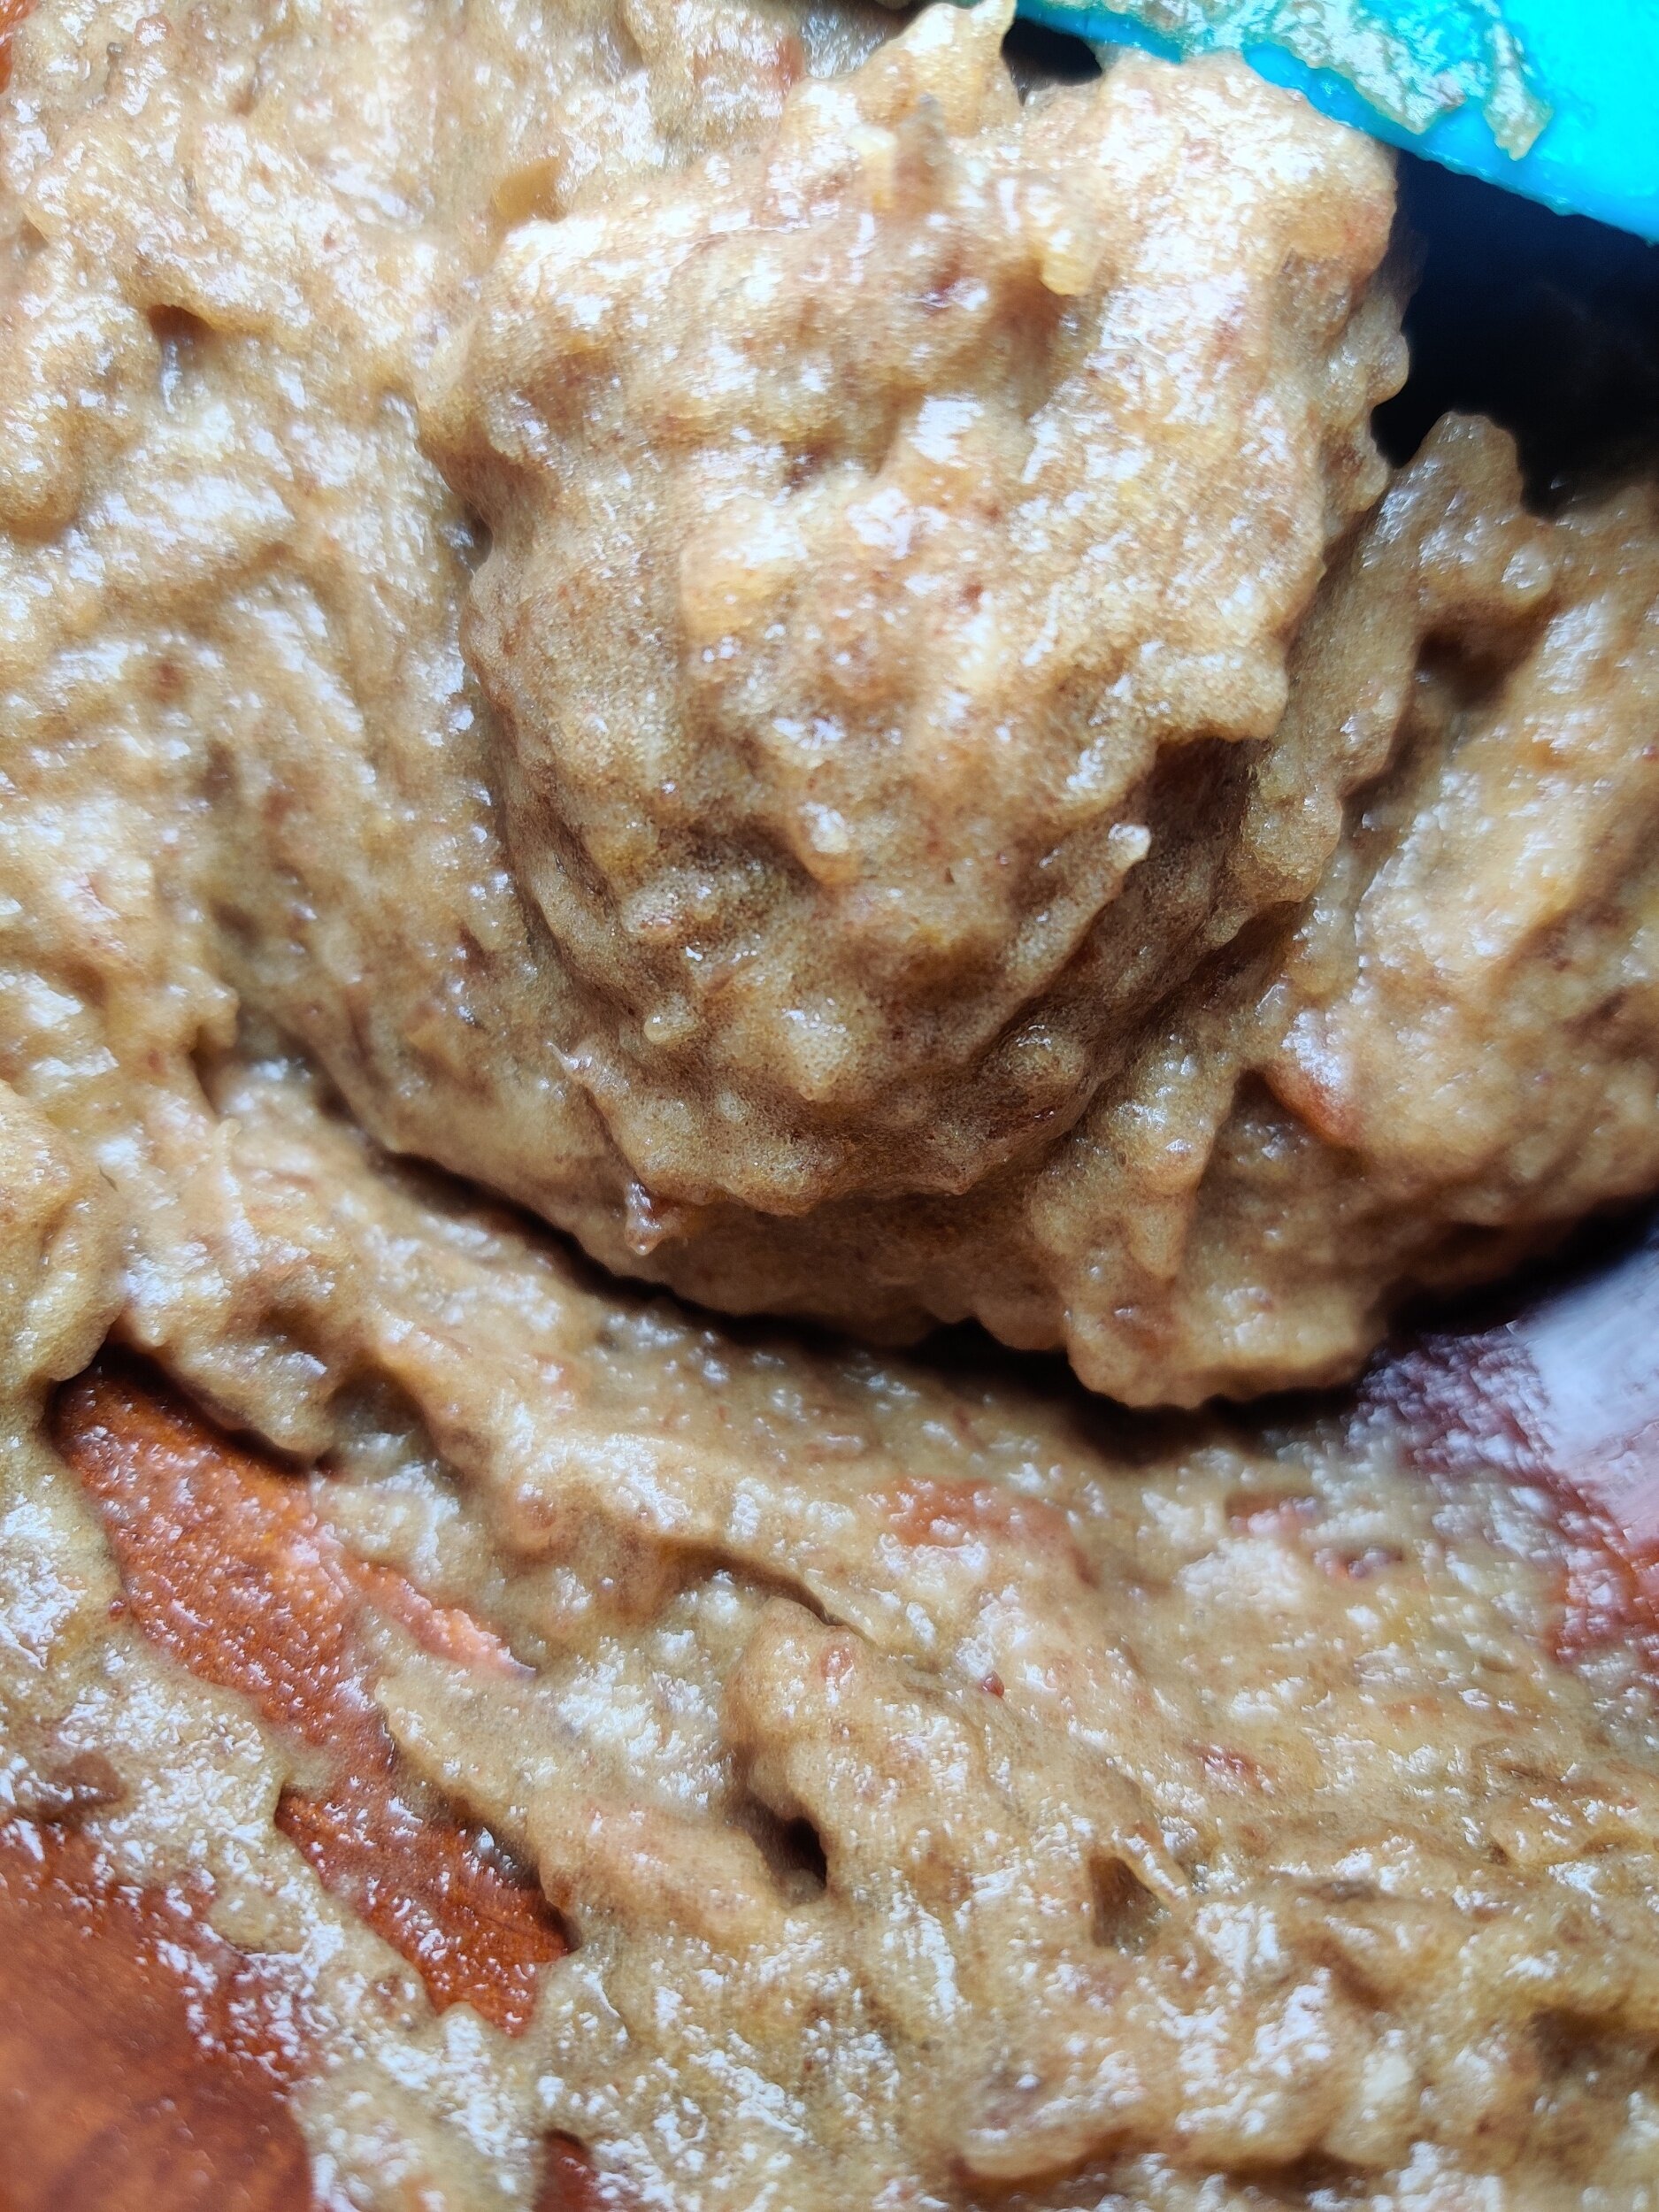
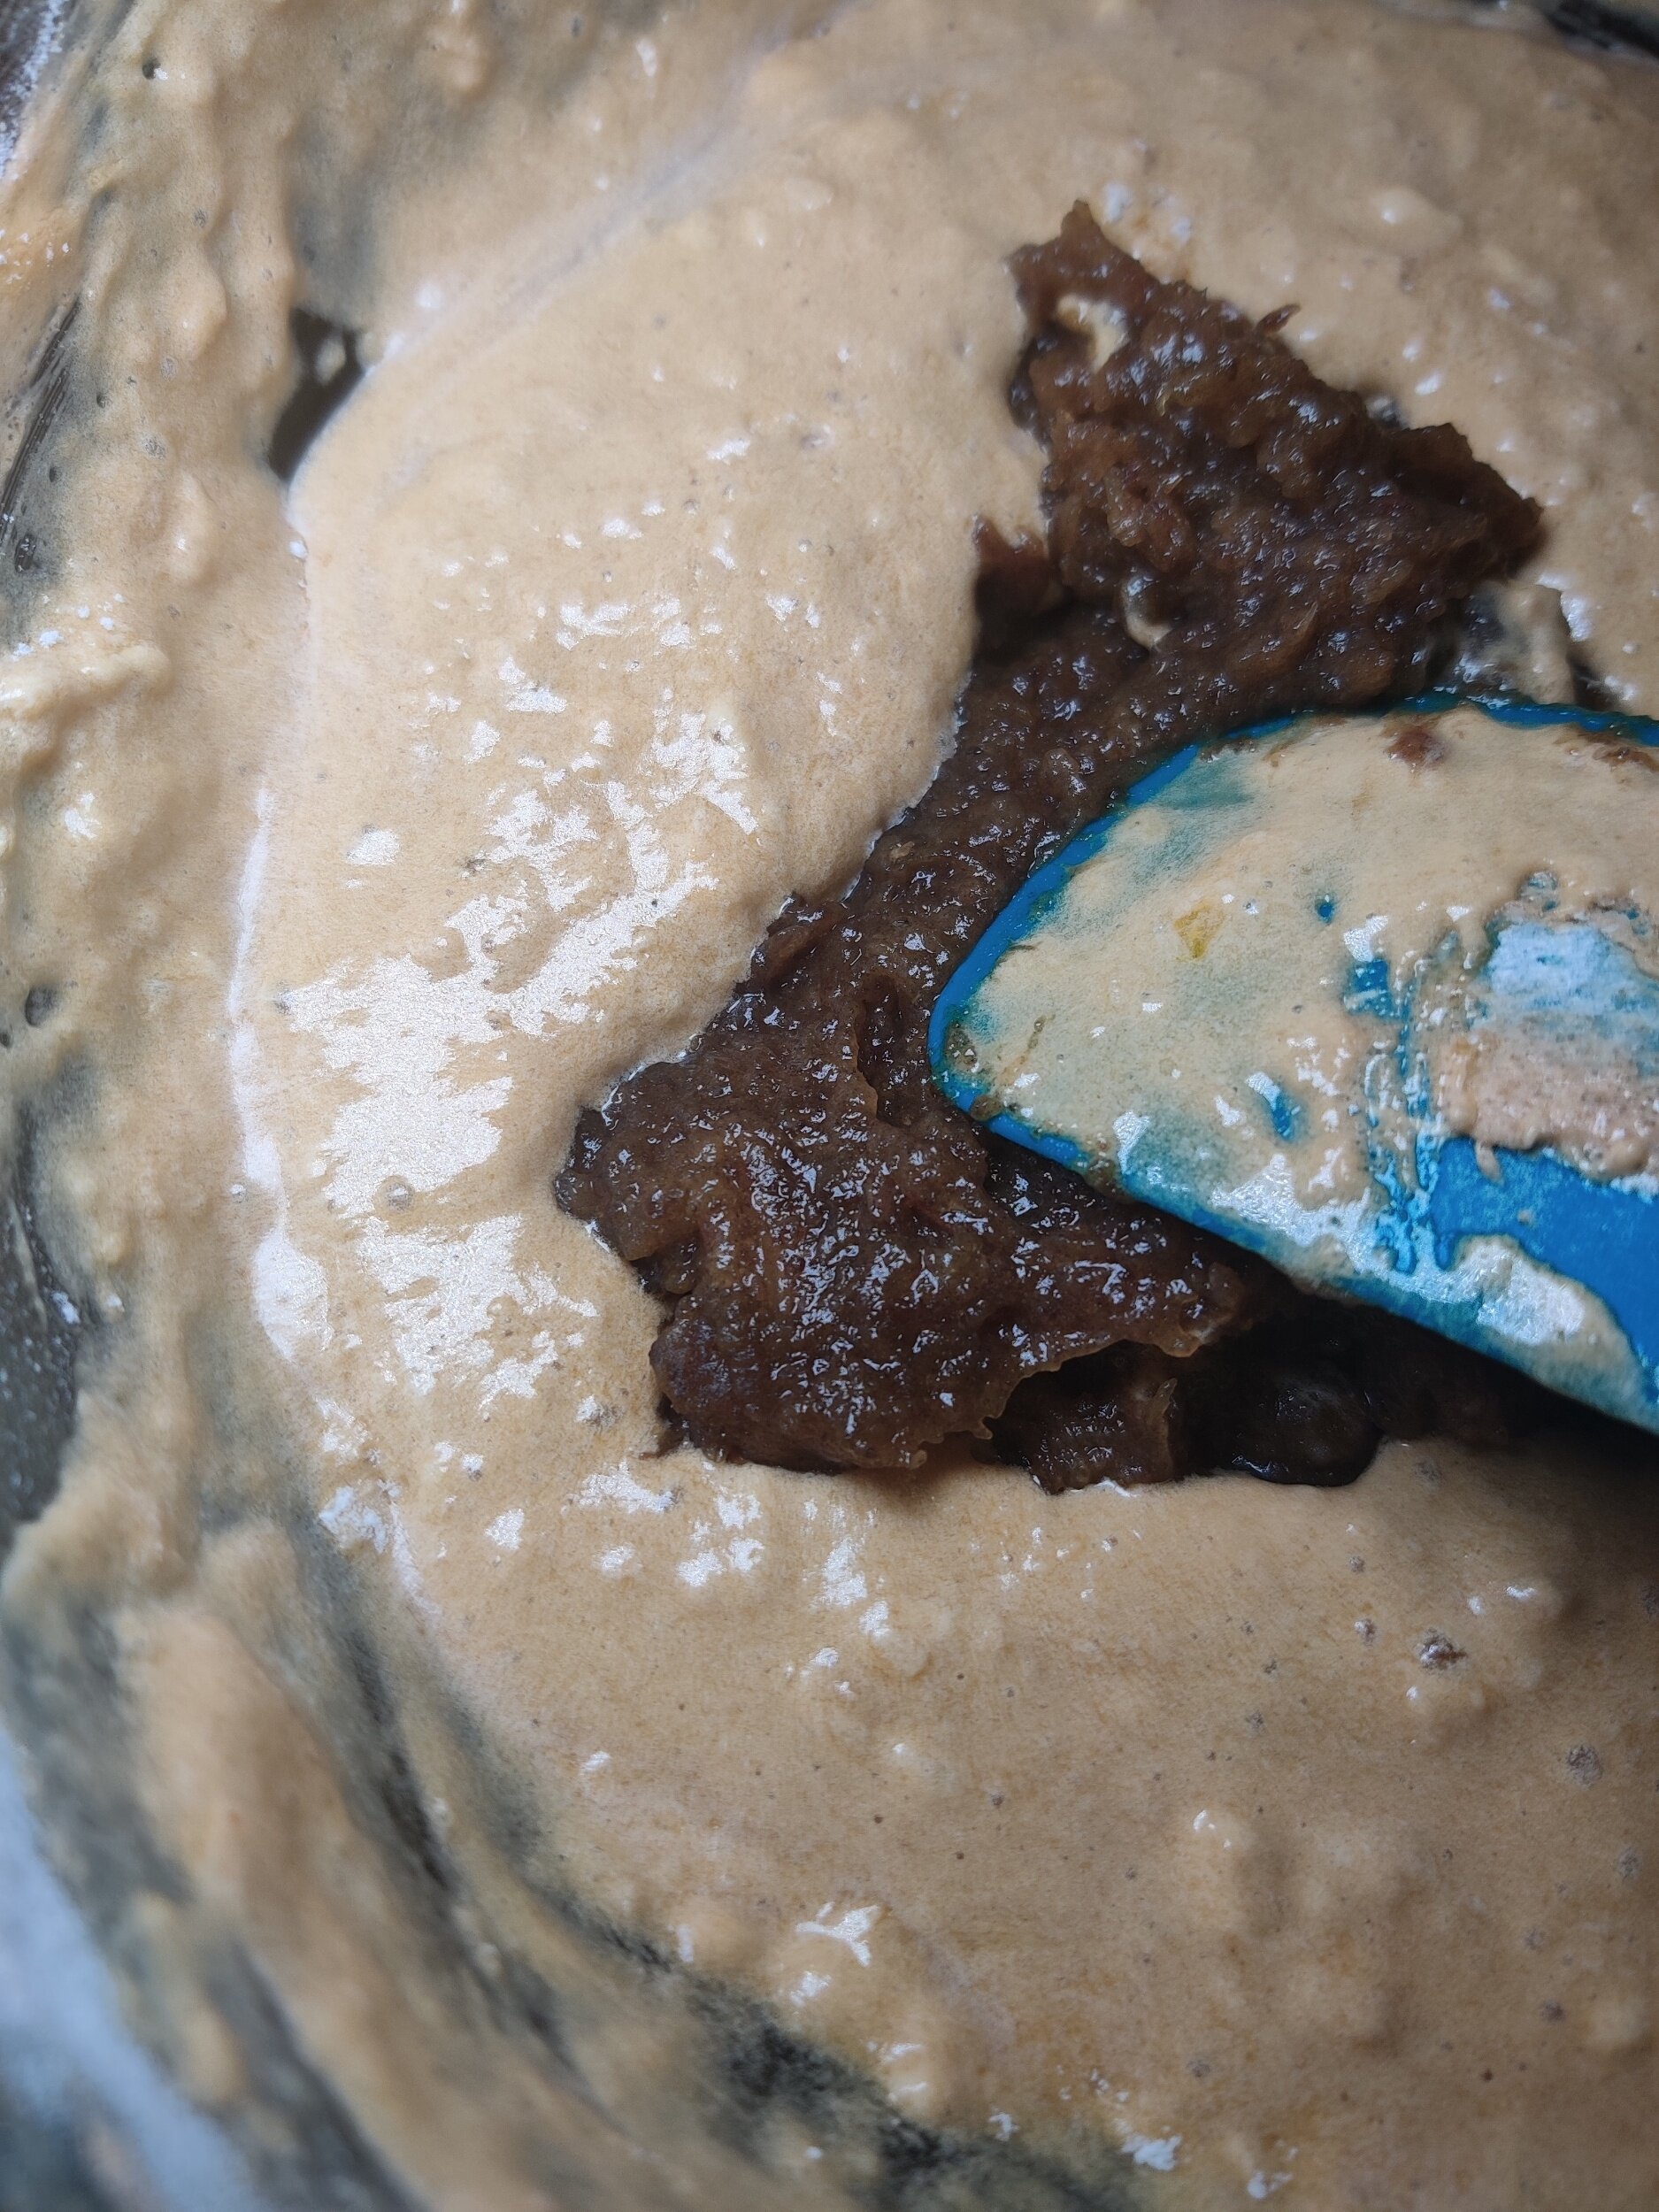
In a small saucepan, submerge and simmer the dates for about 5 minutes or until they begin to break down. Cool, strain, and pulse into a paste in a blender or food processor. Mix with the baking soda and set aside.
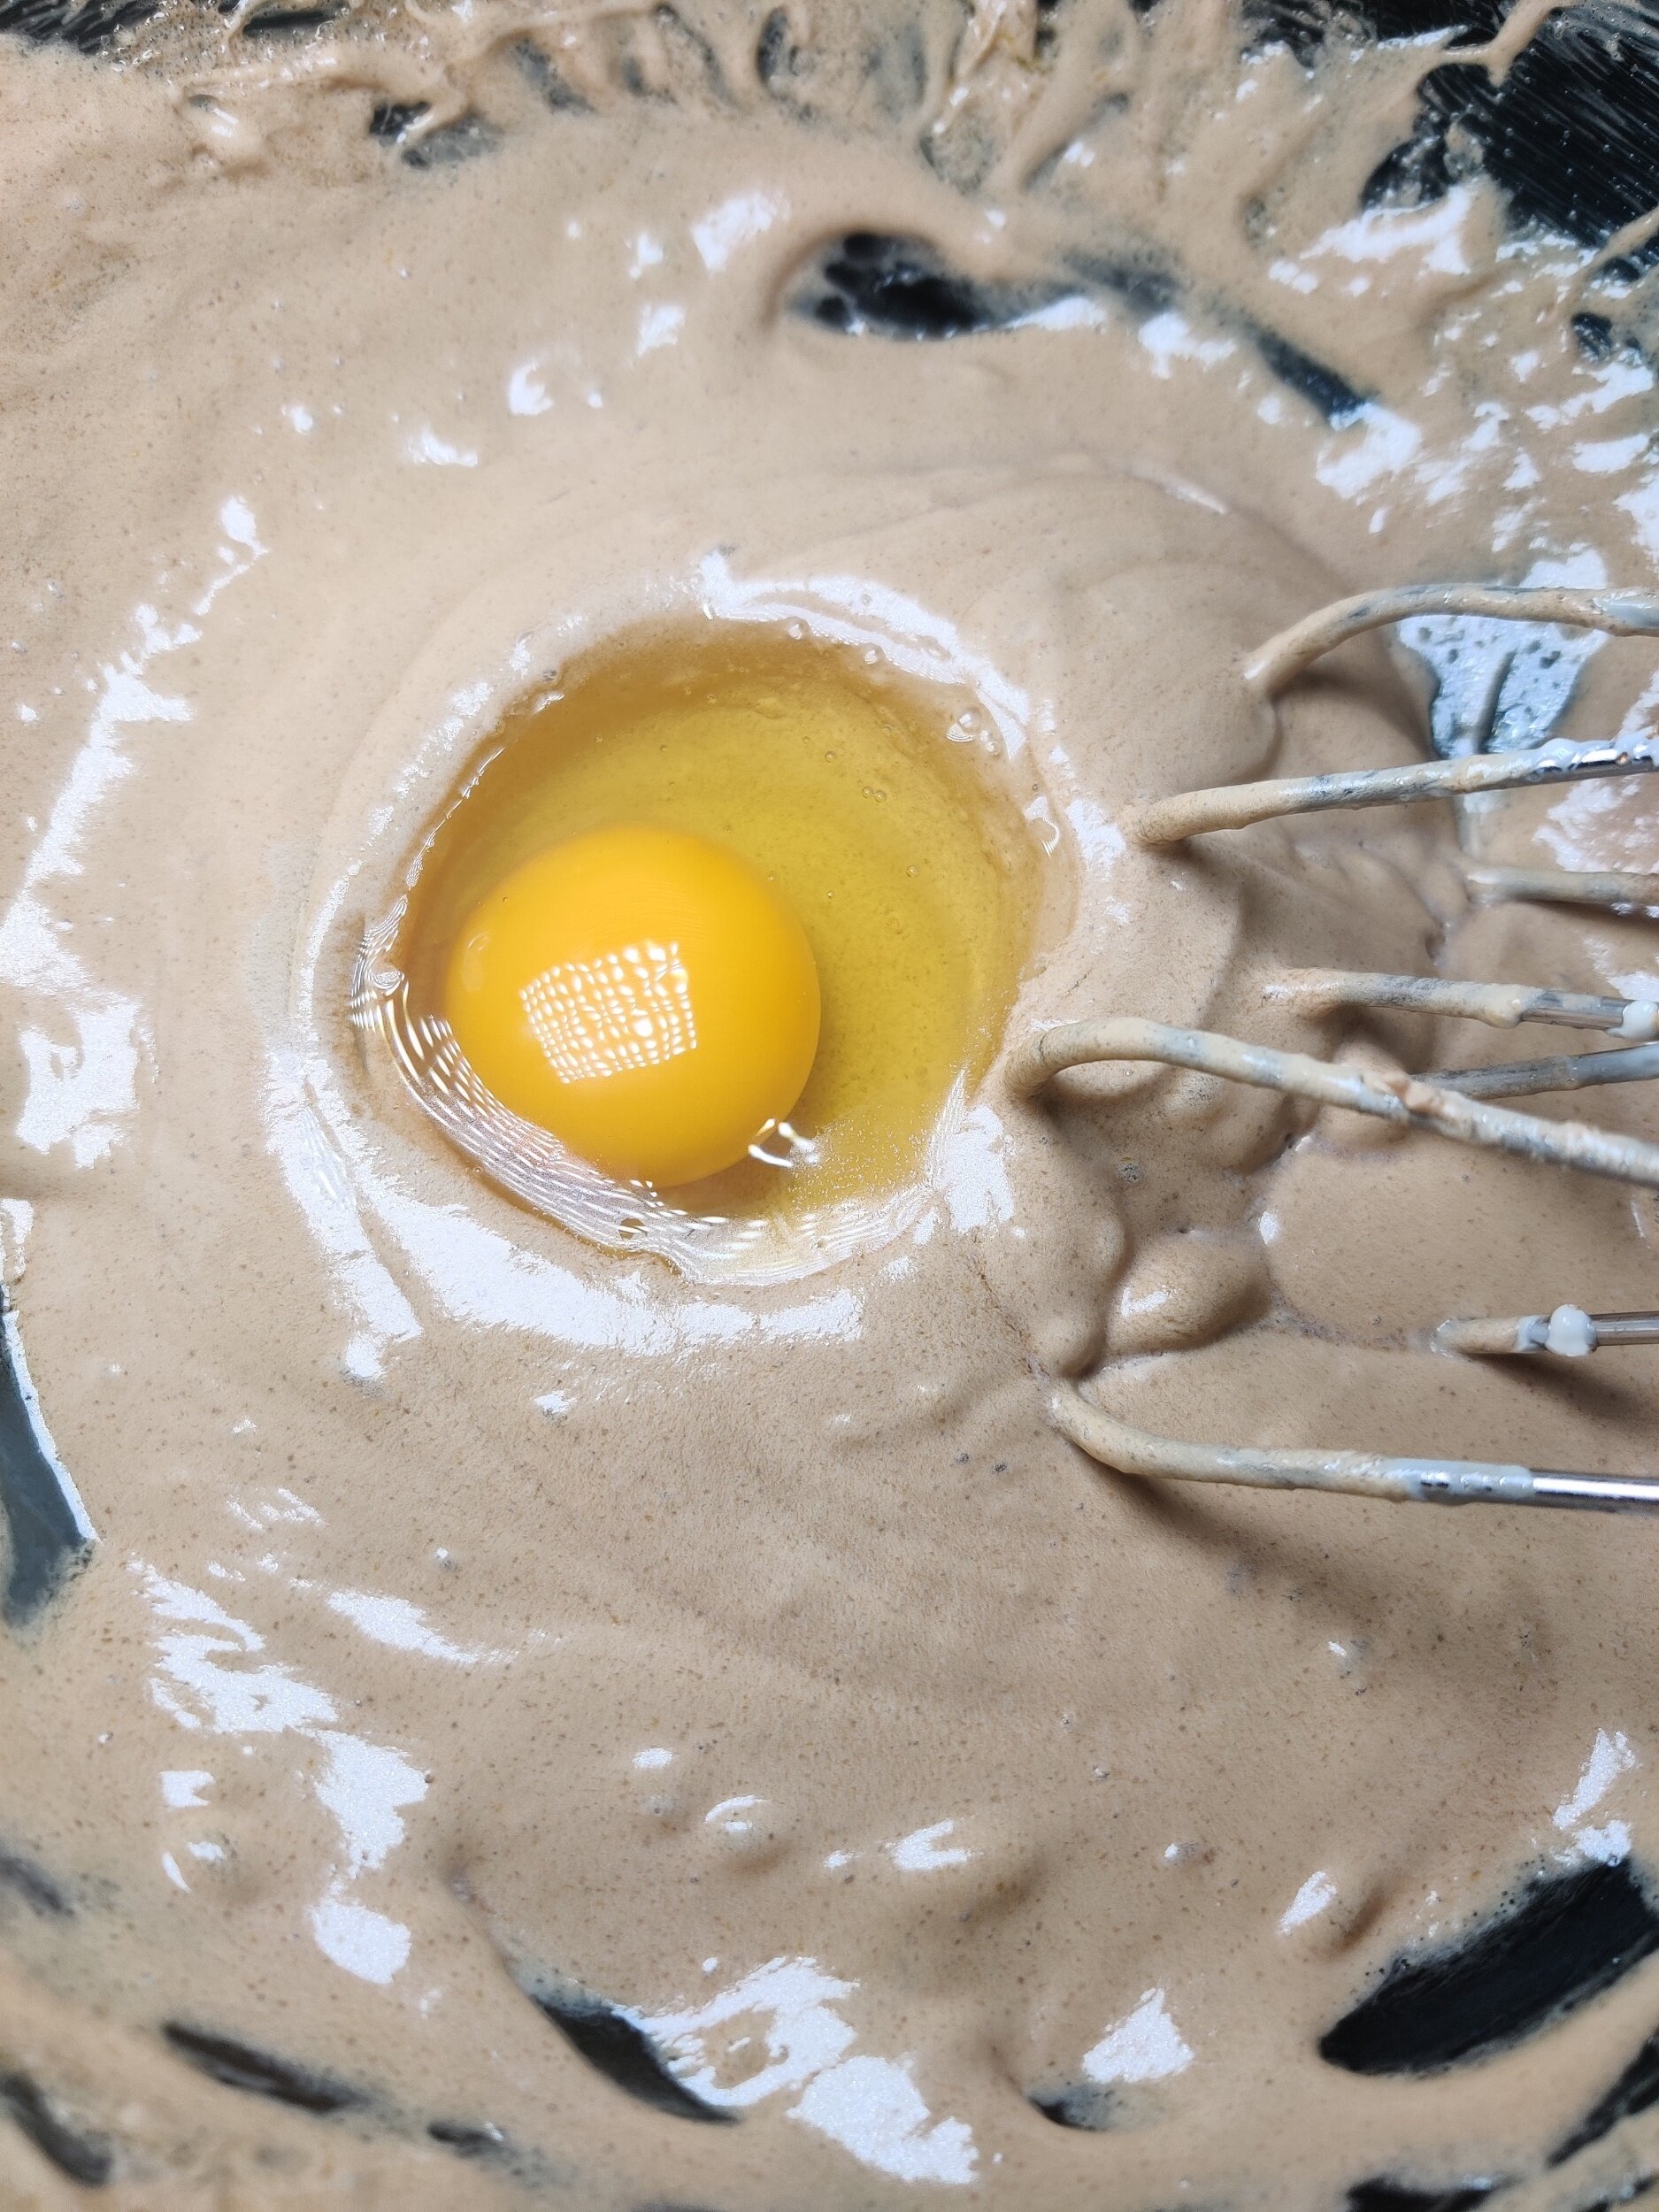
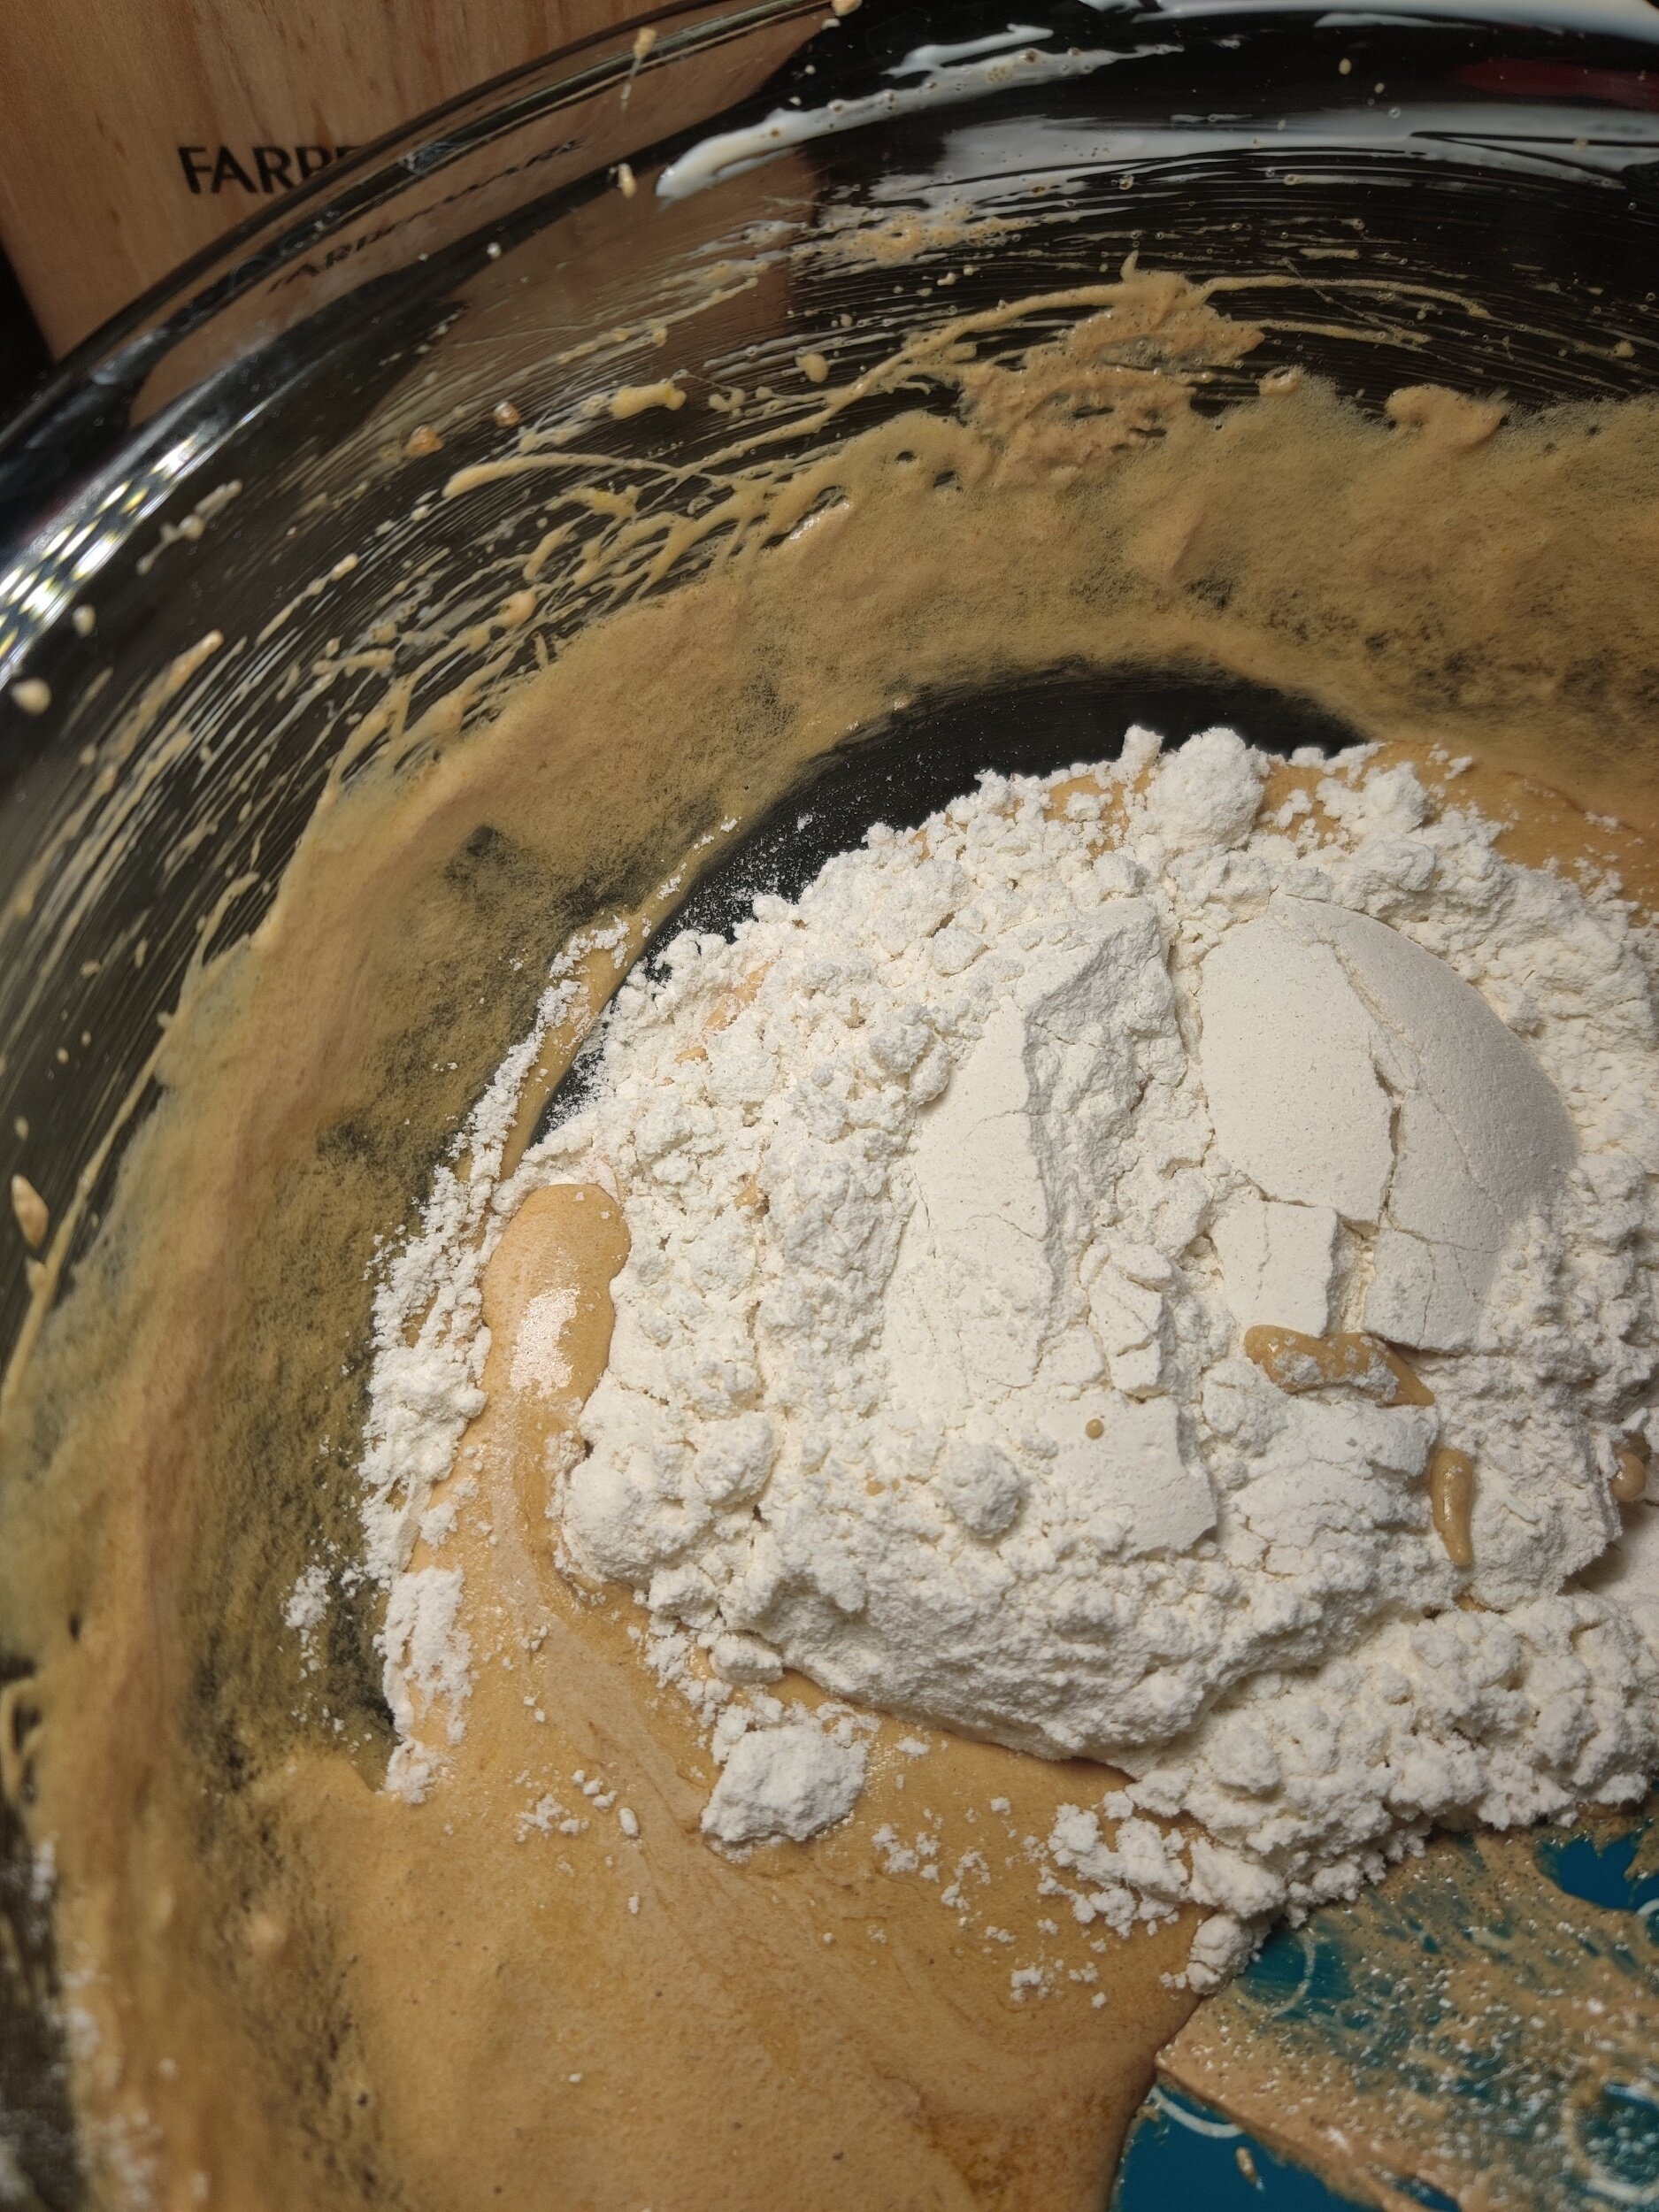
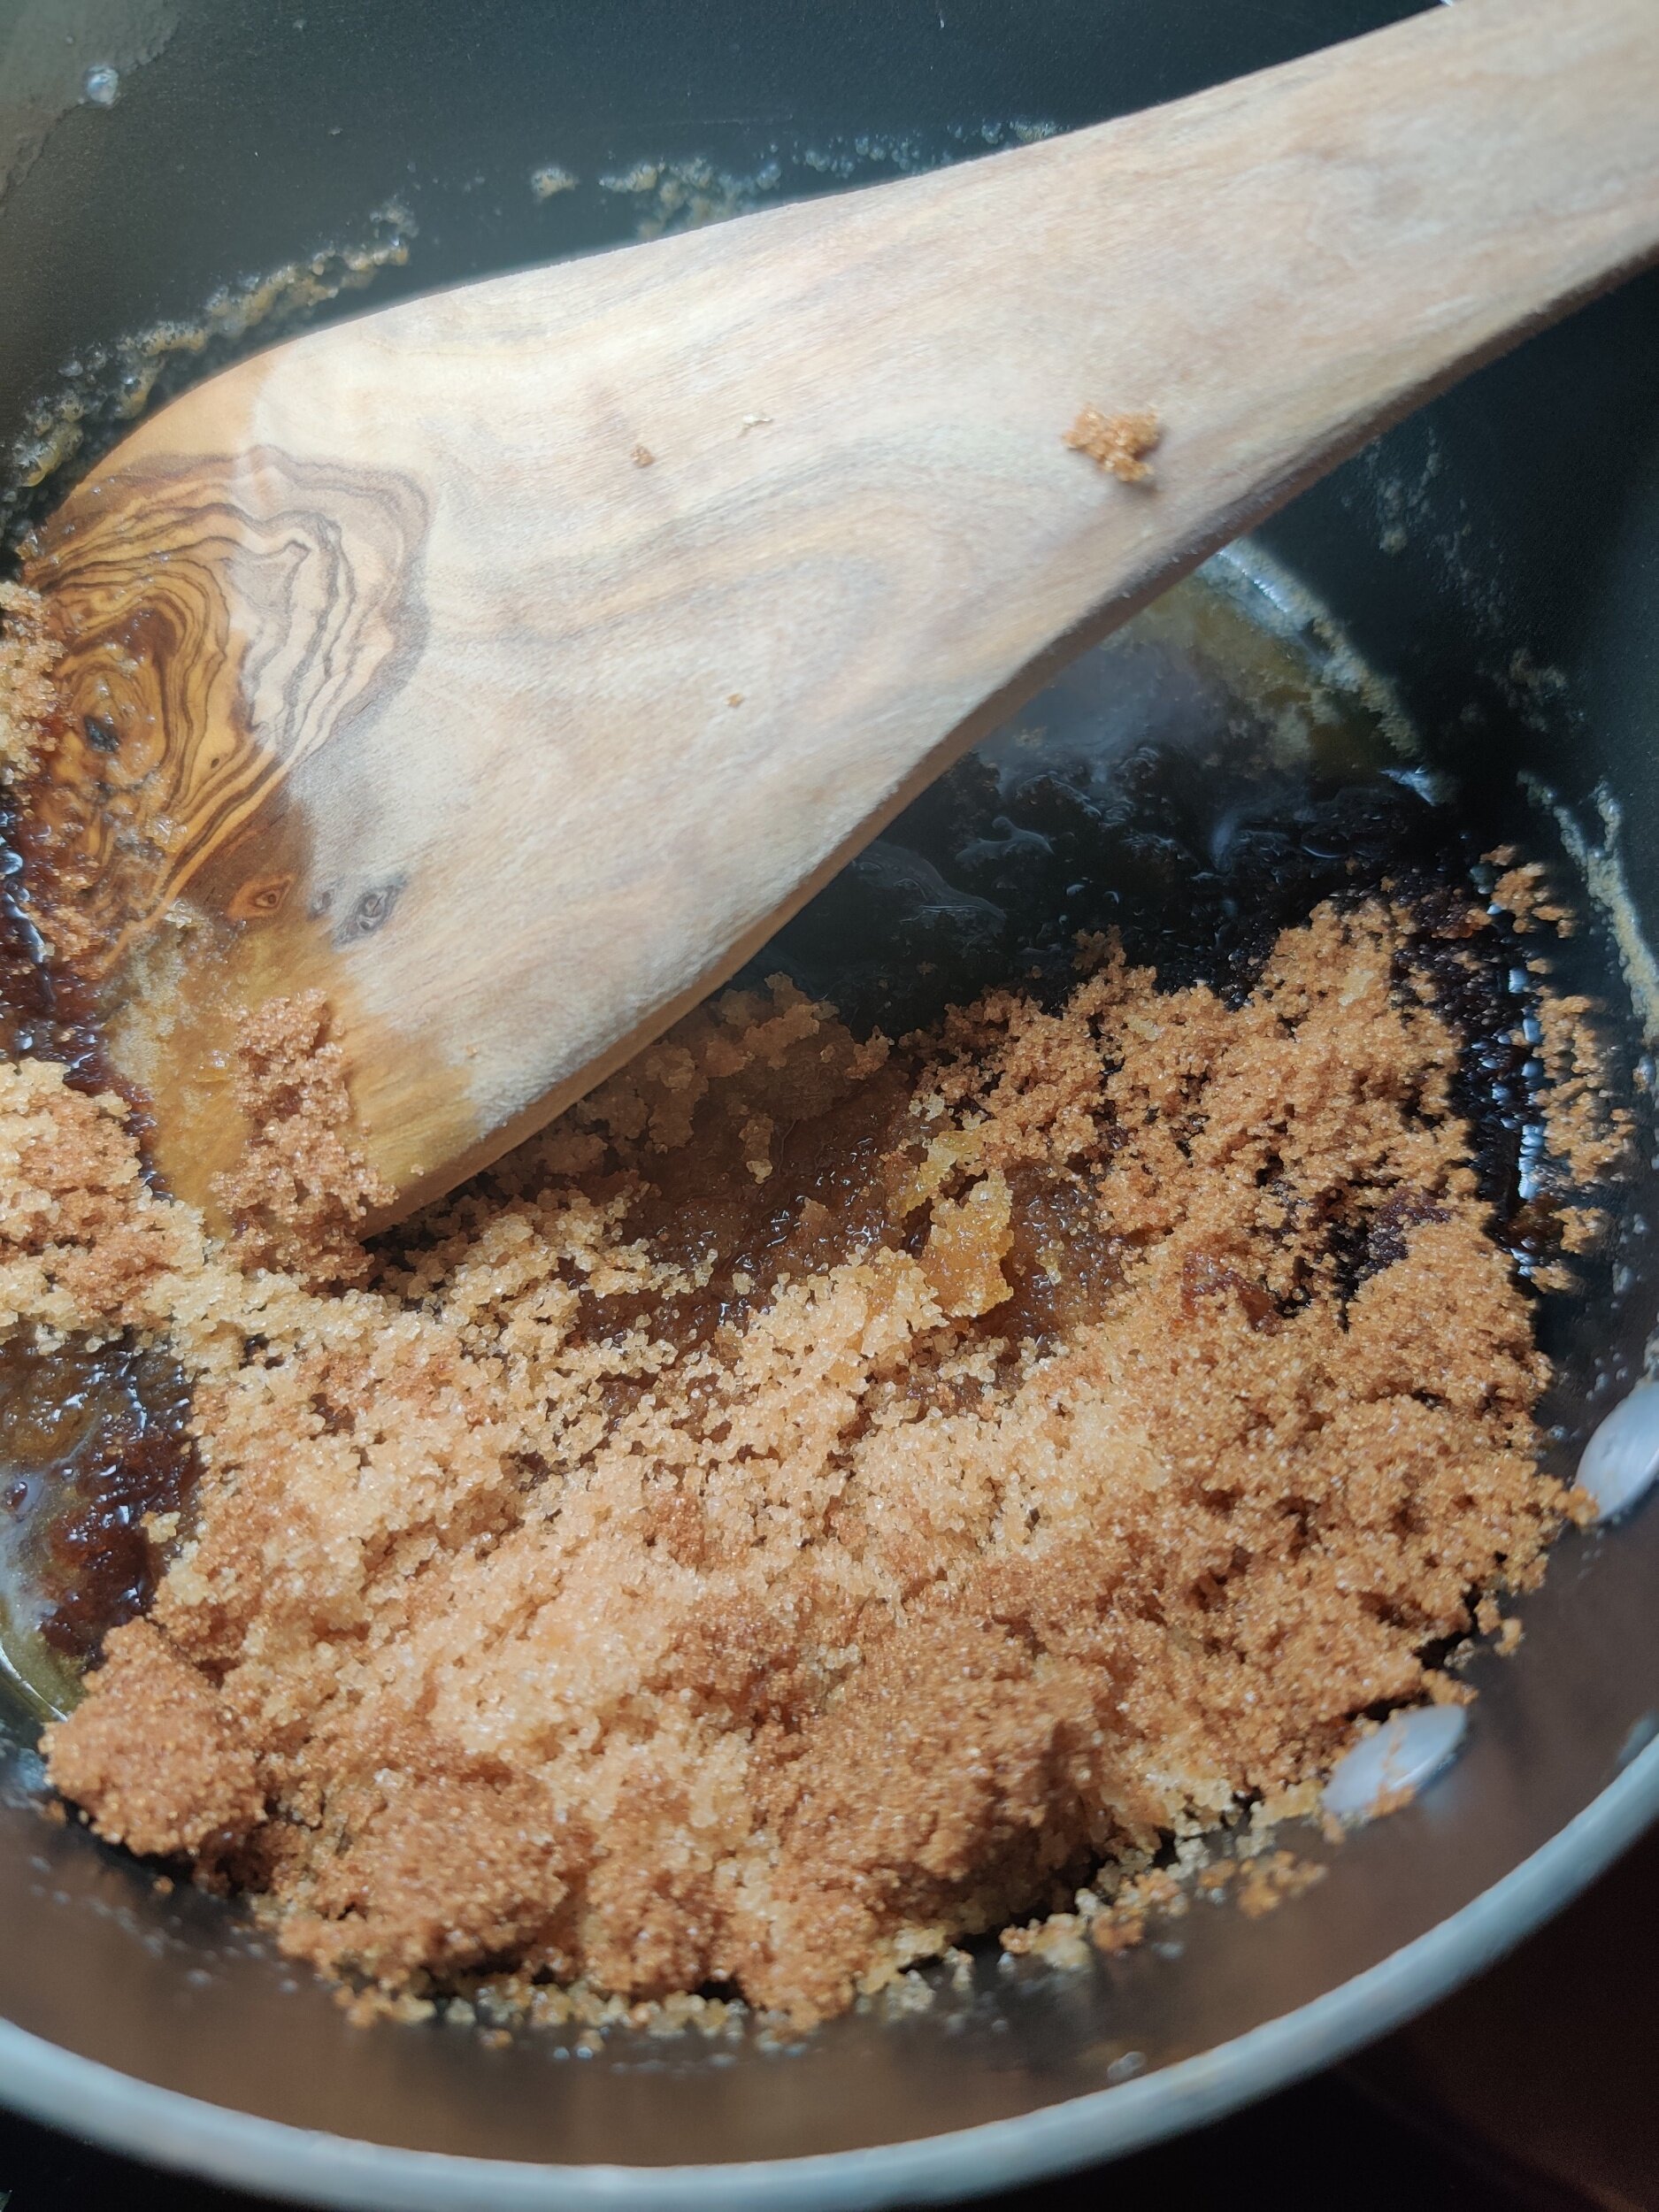
Cream the dark brown sugar and butter with an electric mixer on high speed until fluffy and creamy in a large bowl. Beat in the eggs one at a time, then gently fold in the flour, baking powder, and the date mix - you’ll notice it would have lightened and up a bit and become airy in texture.
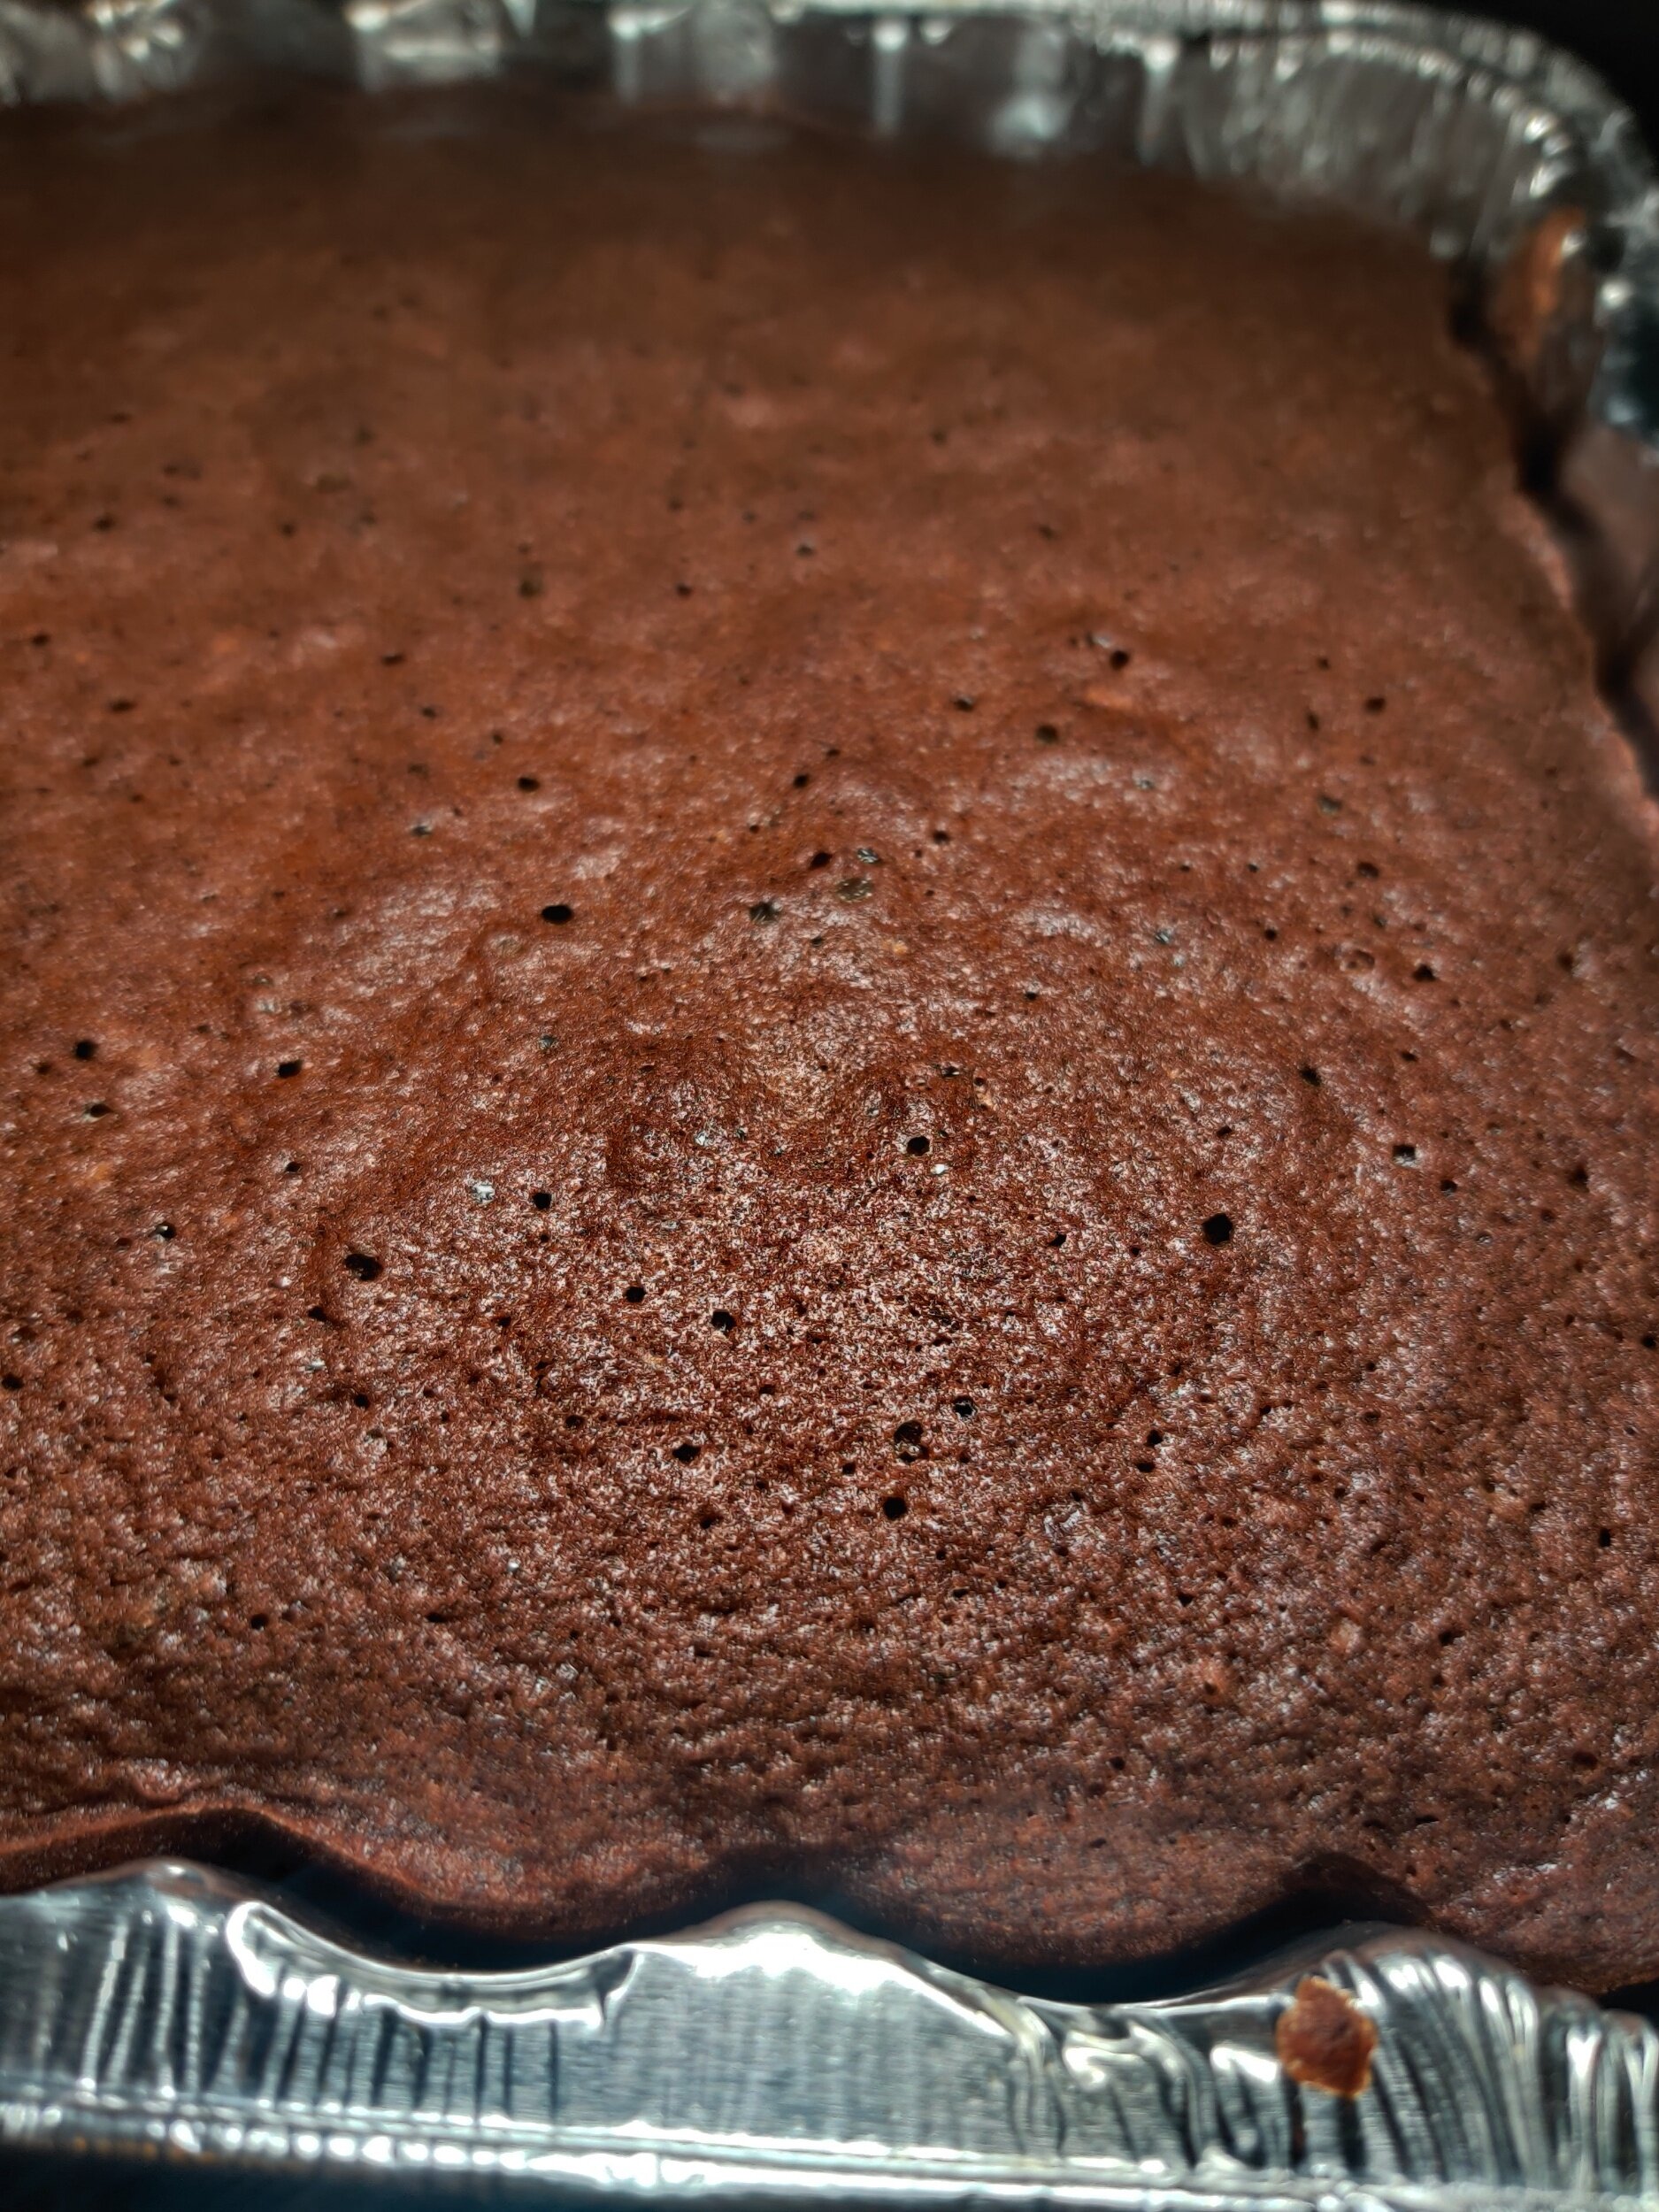
Pour the batter into a greased and/or parchment-lined cake tin (I used one 8 inches by 8 inches) and bake at 350F for about 50-60 minutes (depending on your oven). The centre must come out clean with a toothpick or skewer to check the doneness.
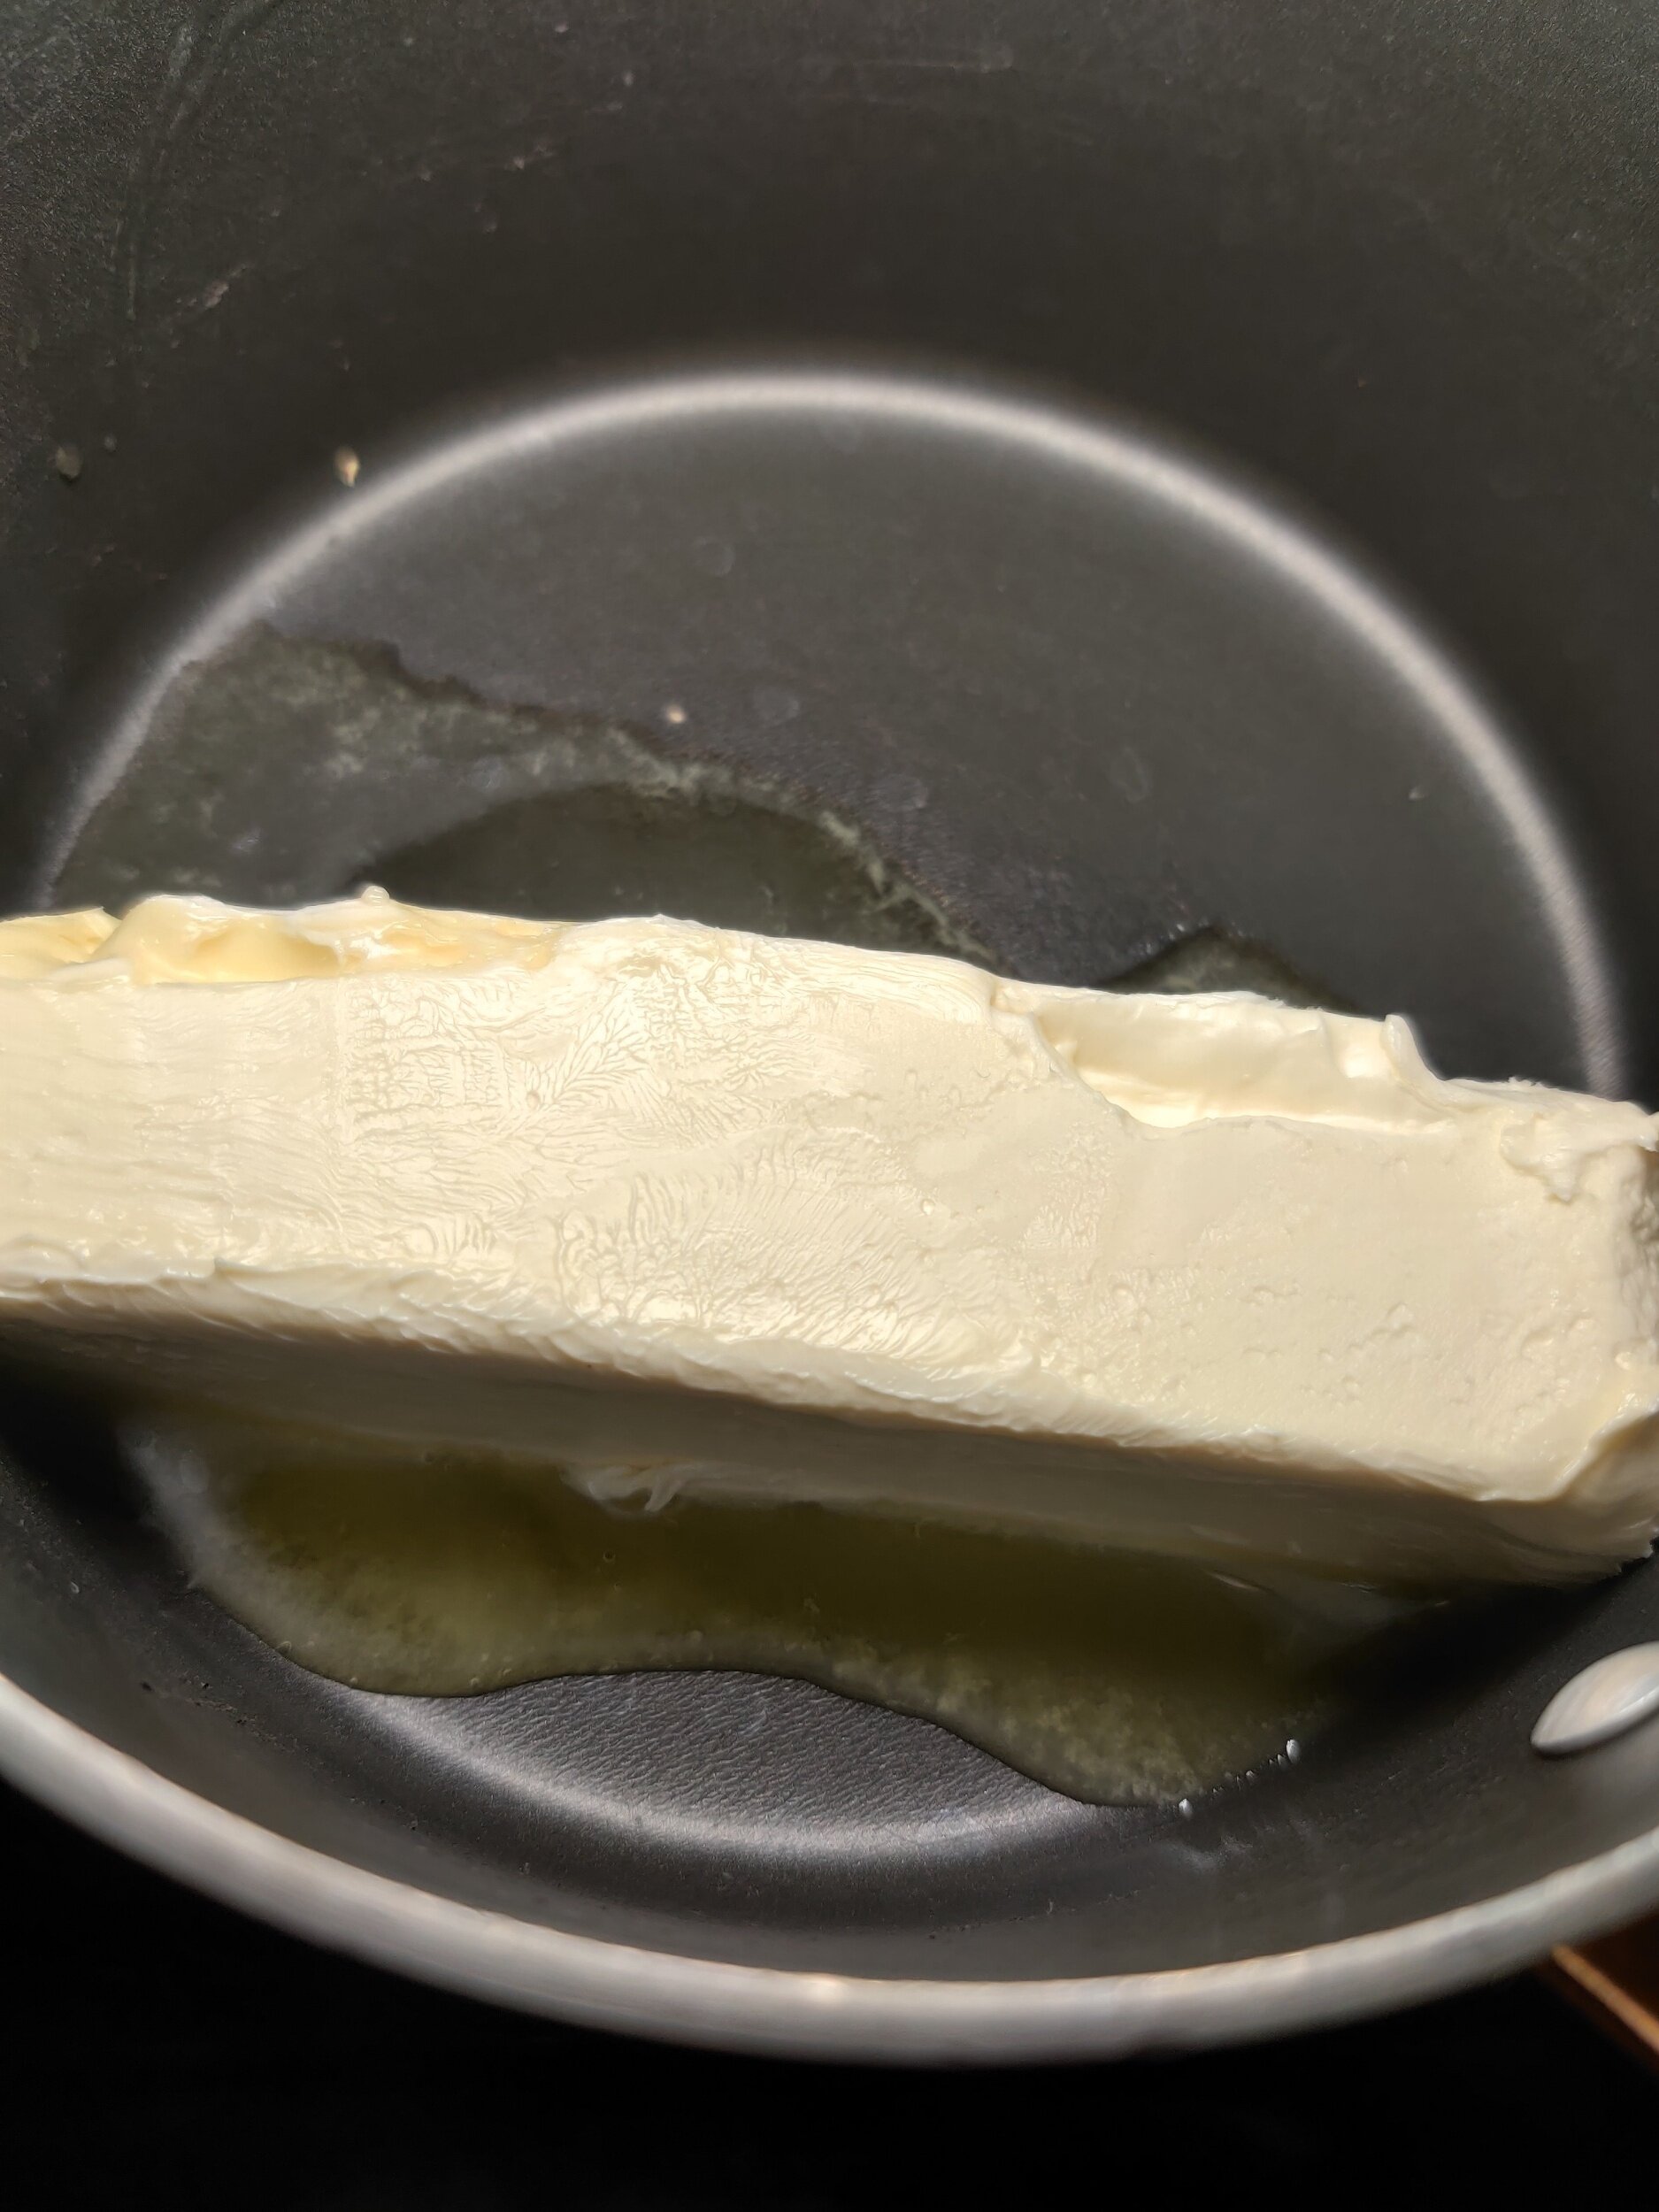
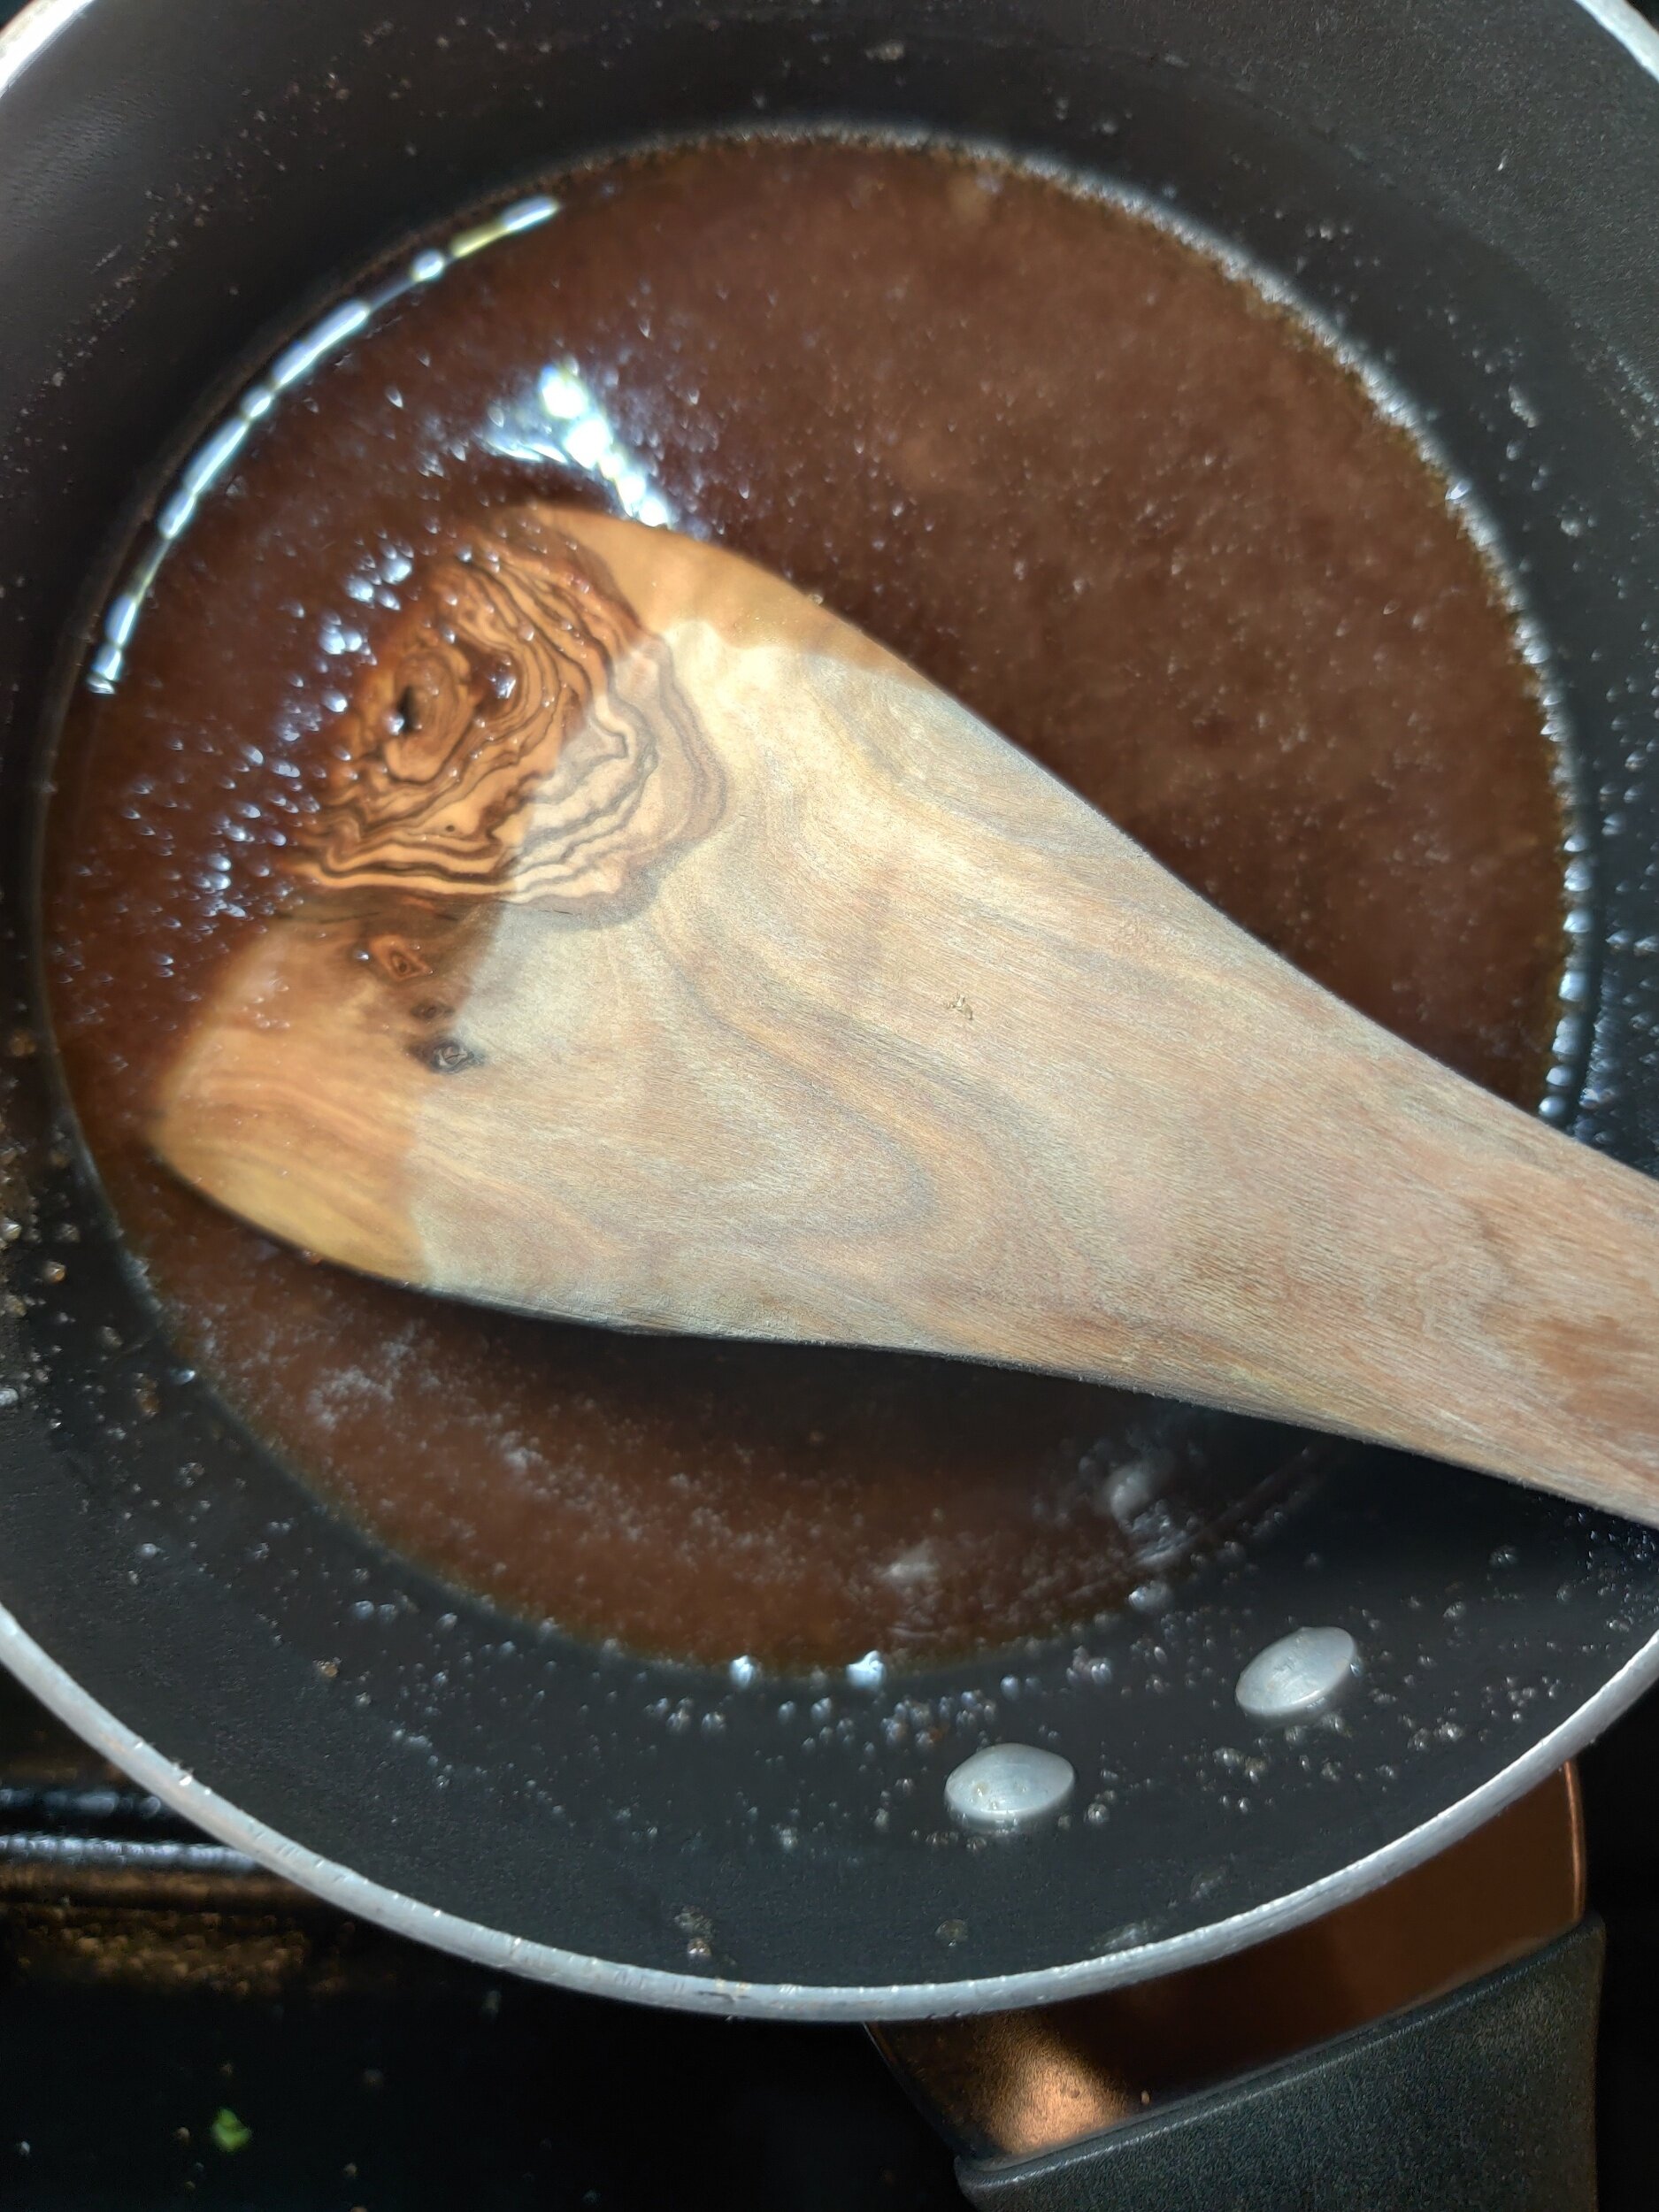
While this is baking, make your toffee sauce. Melt the butter in a saucepan. Add the two sugars and mix until dissolved. Stir in the cream and milk, then simmer for about 3-4 minutes. Remove from heat, and stir in the vanilla, set aside.
If you plan to serve this with custard, at this time, you can make my Amarula Custard.
Once your cake is done, set aside to cool before serving. Cut into squares, then assemble!
For each serving, spoon a bit of the custard in a bowl. Place your date cake on top, then drizzle the toffee sauce on top. Serve hot!
Store each item separately in airtight containers, consume in 3-4 days.
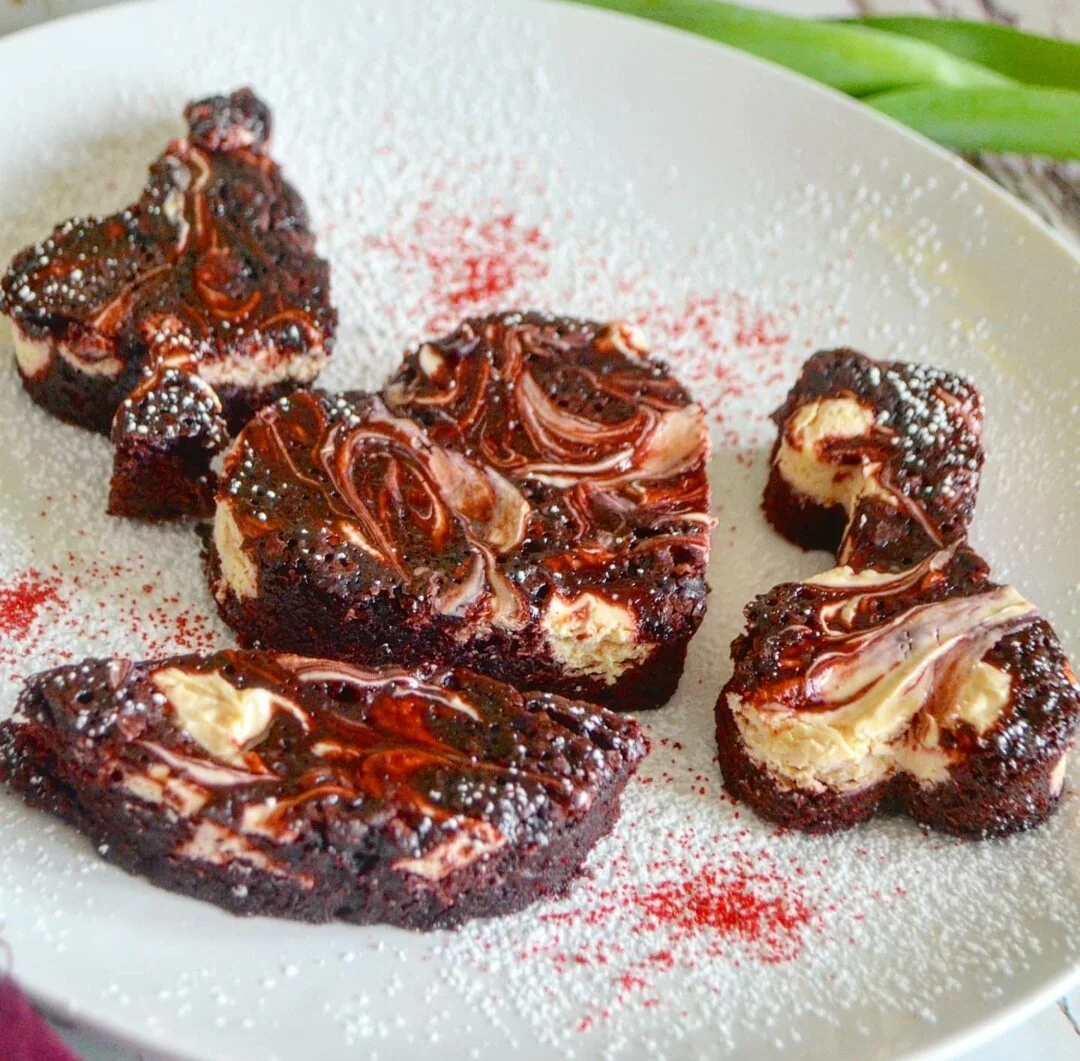
Red Velvet Cream Cheese Swirl Brownies
This recipe is part of a two-part 3-course meal menu. Start with this Avocado and Strawberry Salad, followed by a Roasted Veggie Sheet Pan with Pan Seared Salmon.
Are you a brownie fan? Do you like red velvet? Enjoy the occasional spread of cream cheese? Pairing red velvet and cream cheese is one of the dream teams in the realm of desserts and sweet things.
I have done this numerous times with pumpkin bread, and often favour brownie's' with creamy swirls when I see them in coffees shops. For a social occasion or to treat yourself, you can do it at home!
All you have to do it make your batter and the cream cheese mix - which will add some texture and another flavour element - to your red velvet, chocolate, pumpkin, or whatever goodness you are baking. The cream cheese will also make the brownies moist, which is great for those of us who like our brownies a little sturdy but not dry!
Since these were for a special occasion i.e. Valentine’s’ Day, I used cookie cutter shapes, but you can just cut them into squares once cooled!
Ingredients
3/4 cup all-purpose flour
1/4 cup unsweetened cocoa powder
1/2 teaspoon almond extract
1 1/2 teaspoons vanilla extract
1 cup white granulated sugar
2 eggs
1/2 cup butter
Pinch of salt
Powdered sugar (optional)
Cream cheese mixture:
1 (8-ounce) packet Greek yogurt cream cheese
1 egg yolk
Splash of lemon juice
1/4 cup white granulated sugar
2-3 drops red food coloring
1/4 teaspoon almond extract
1/2 teaspoon vanilla extract
Instructions
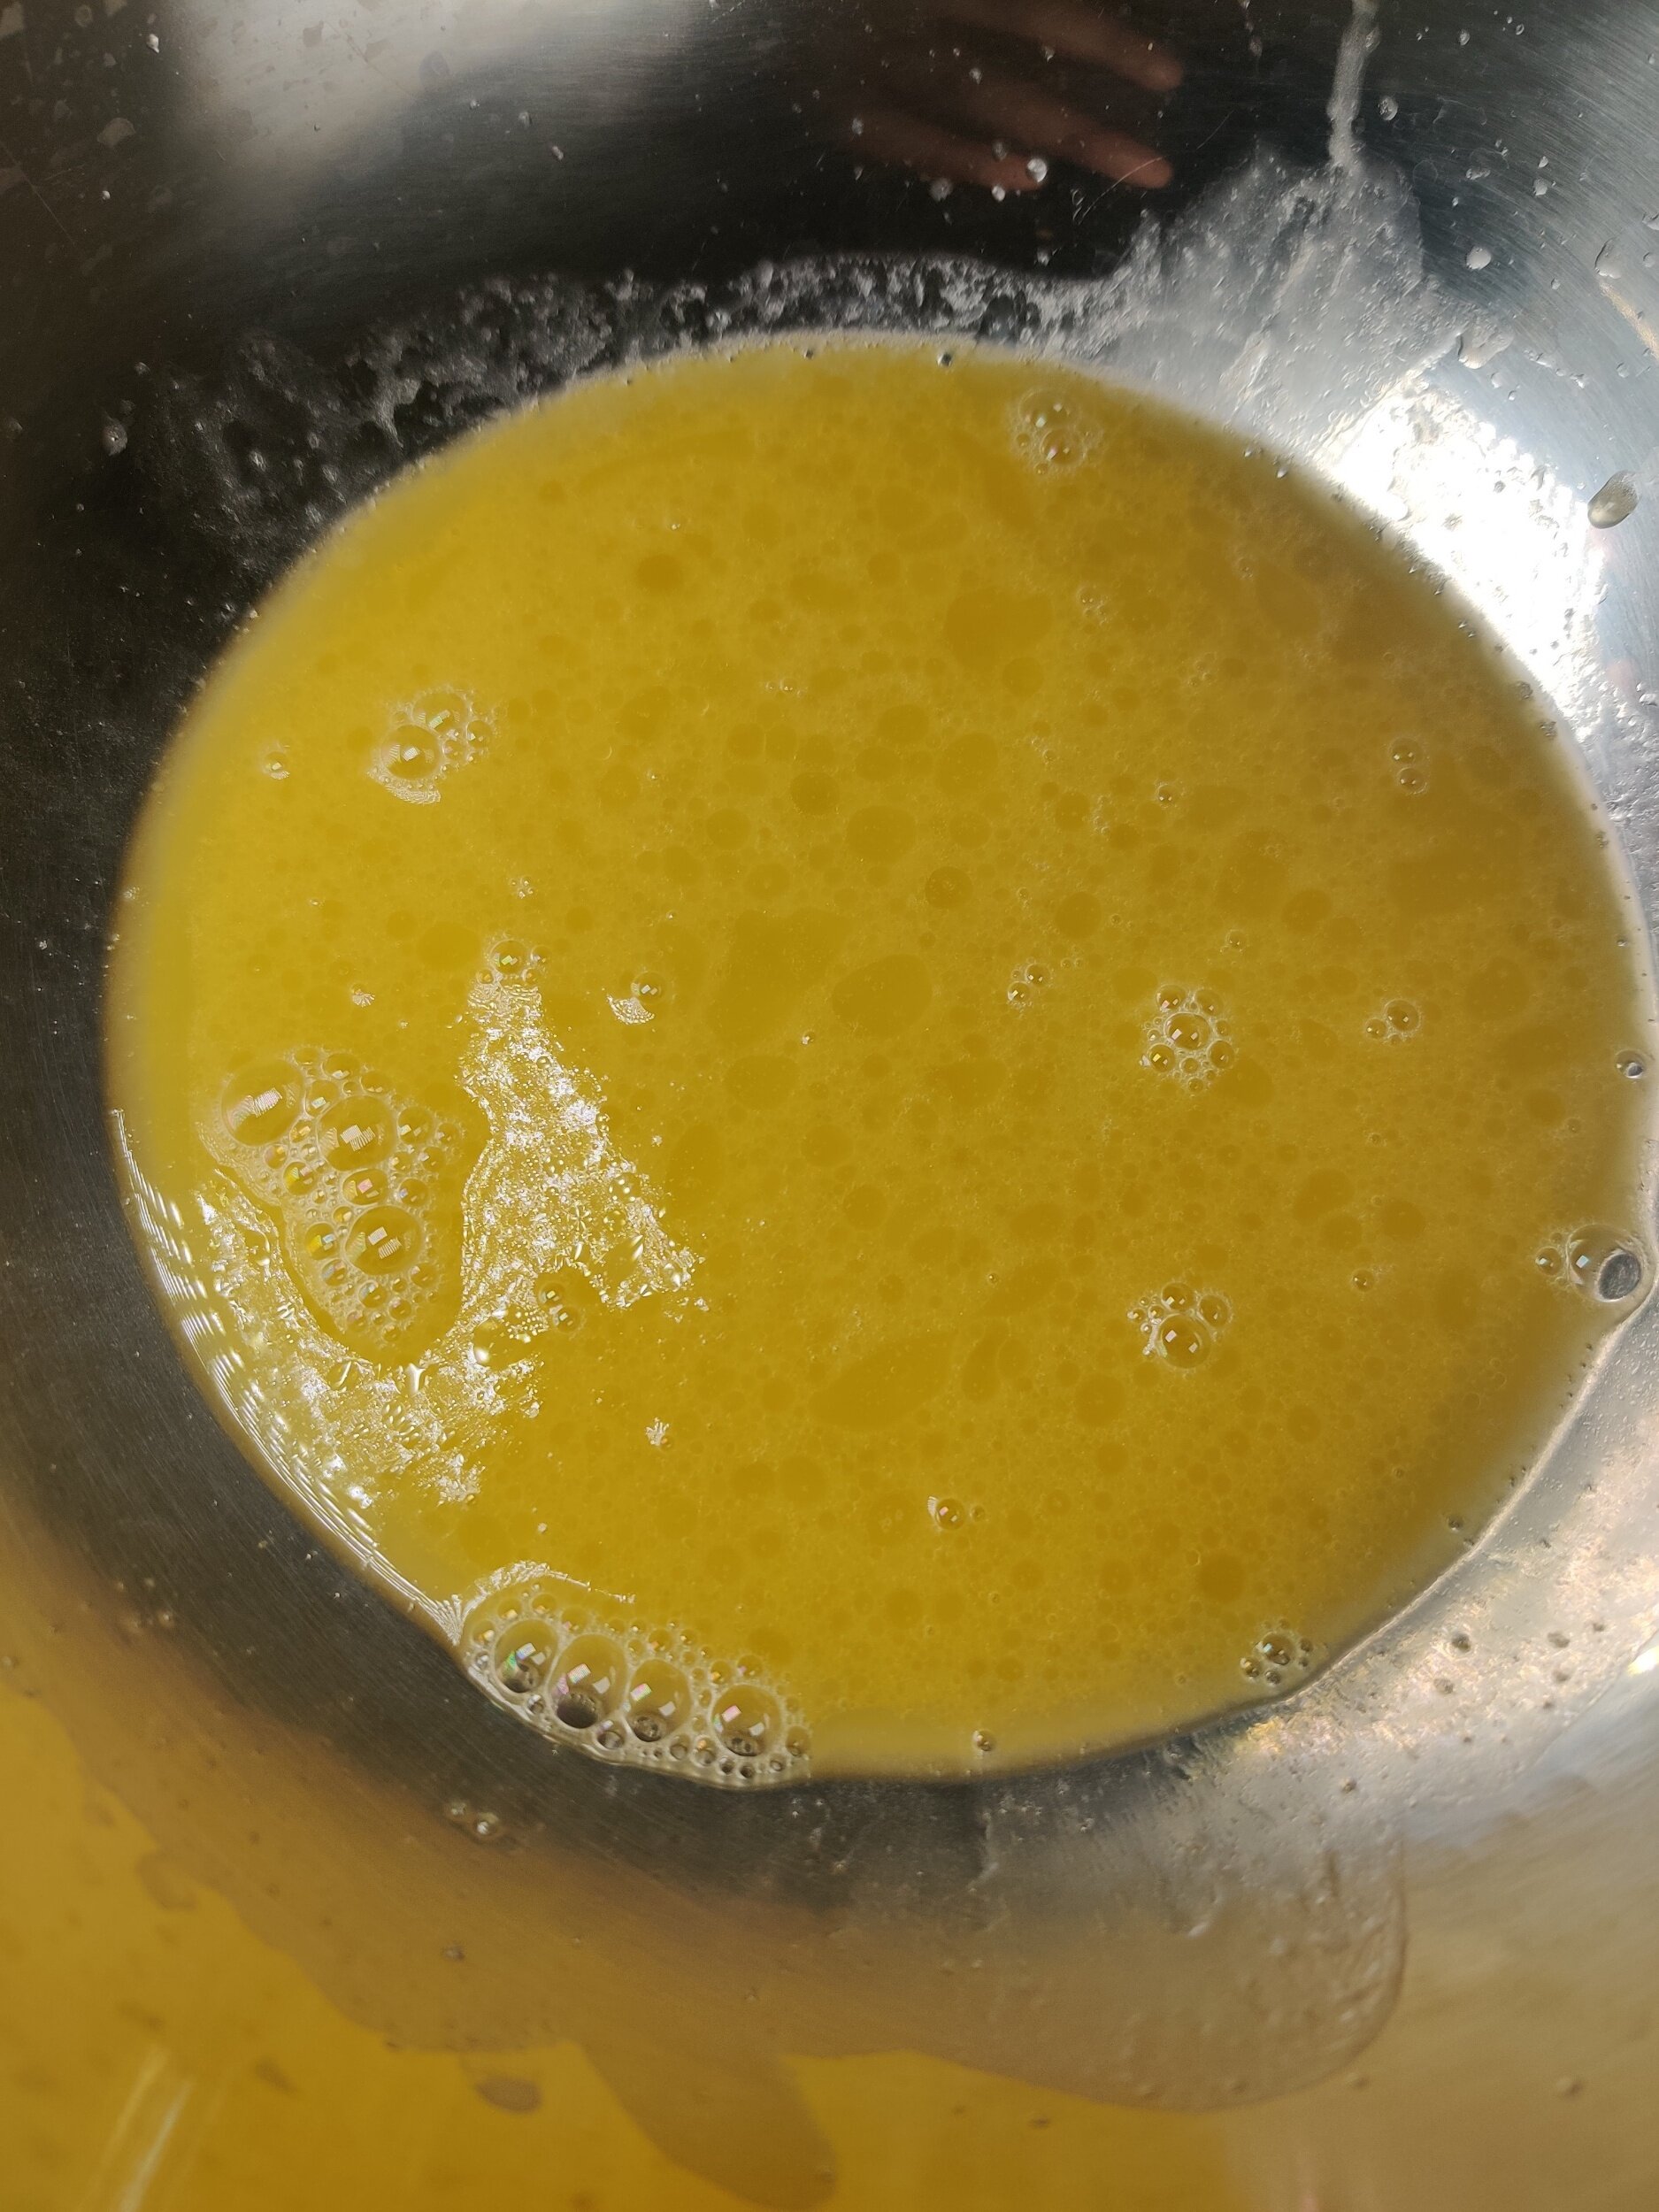
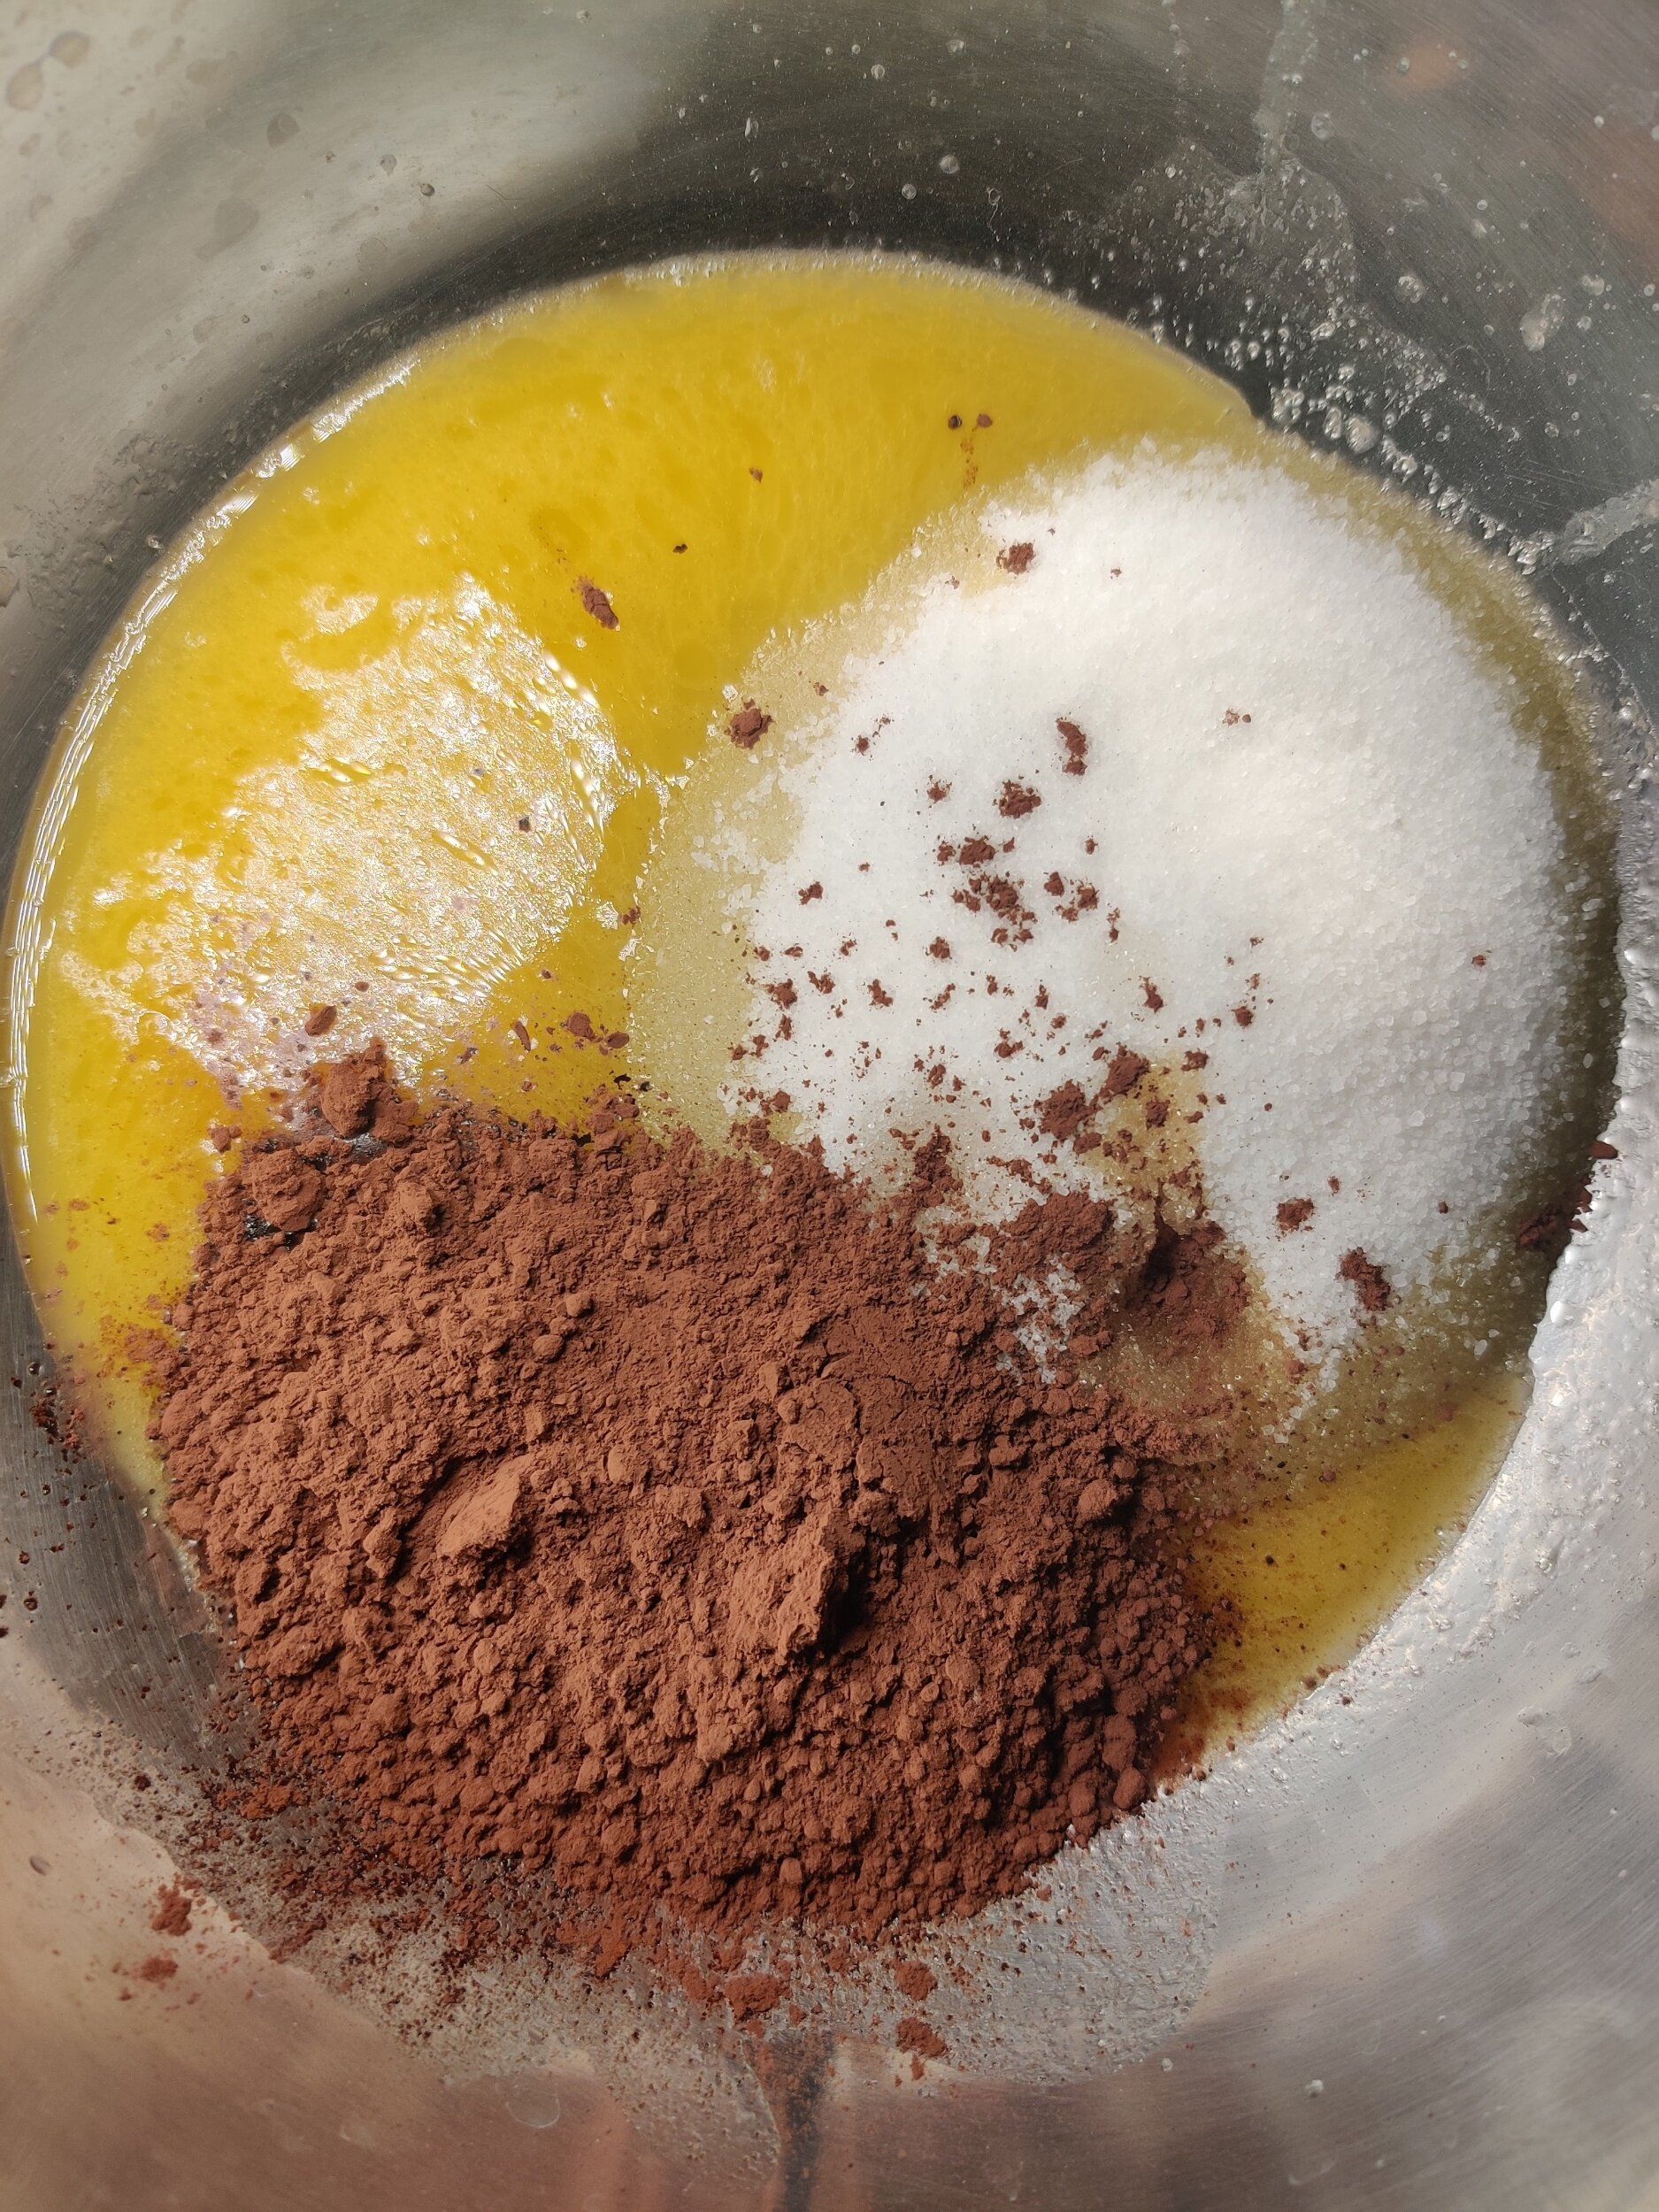
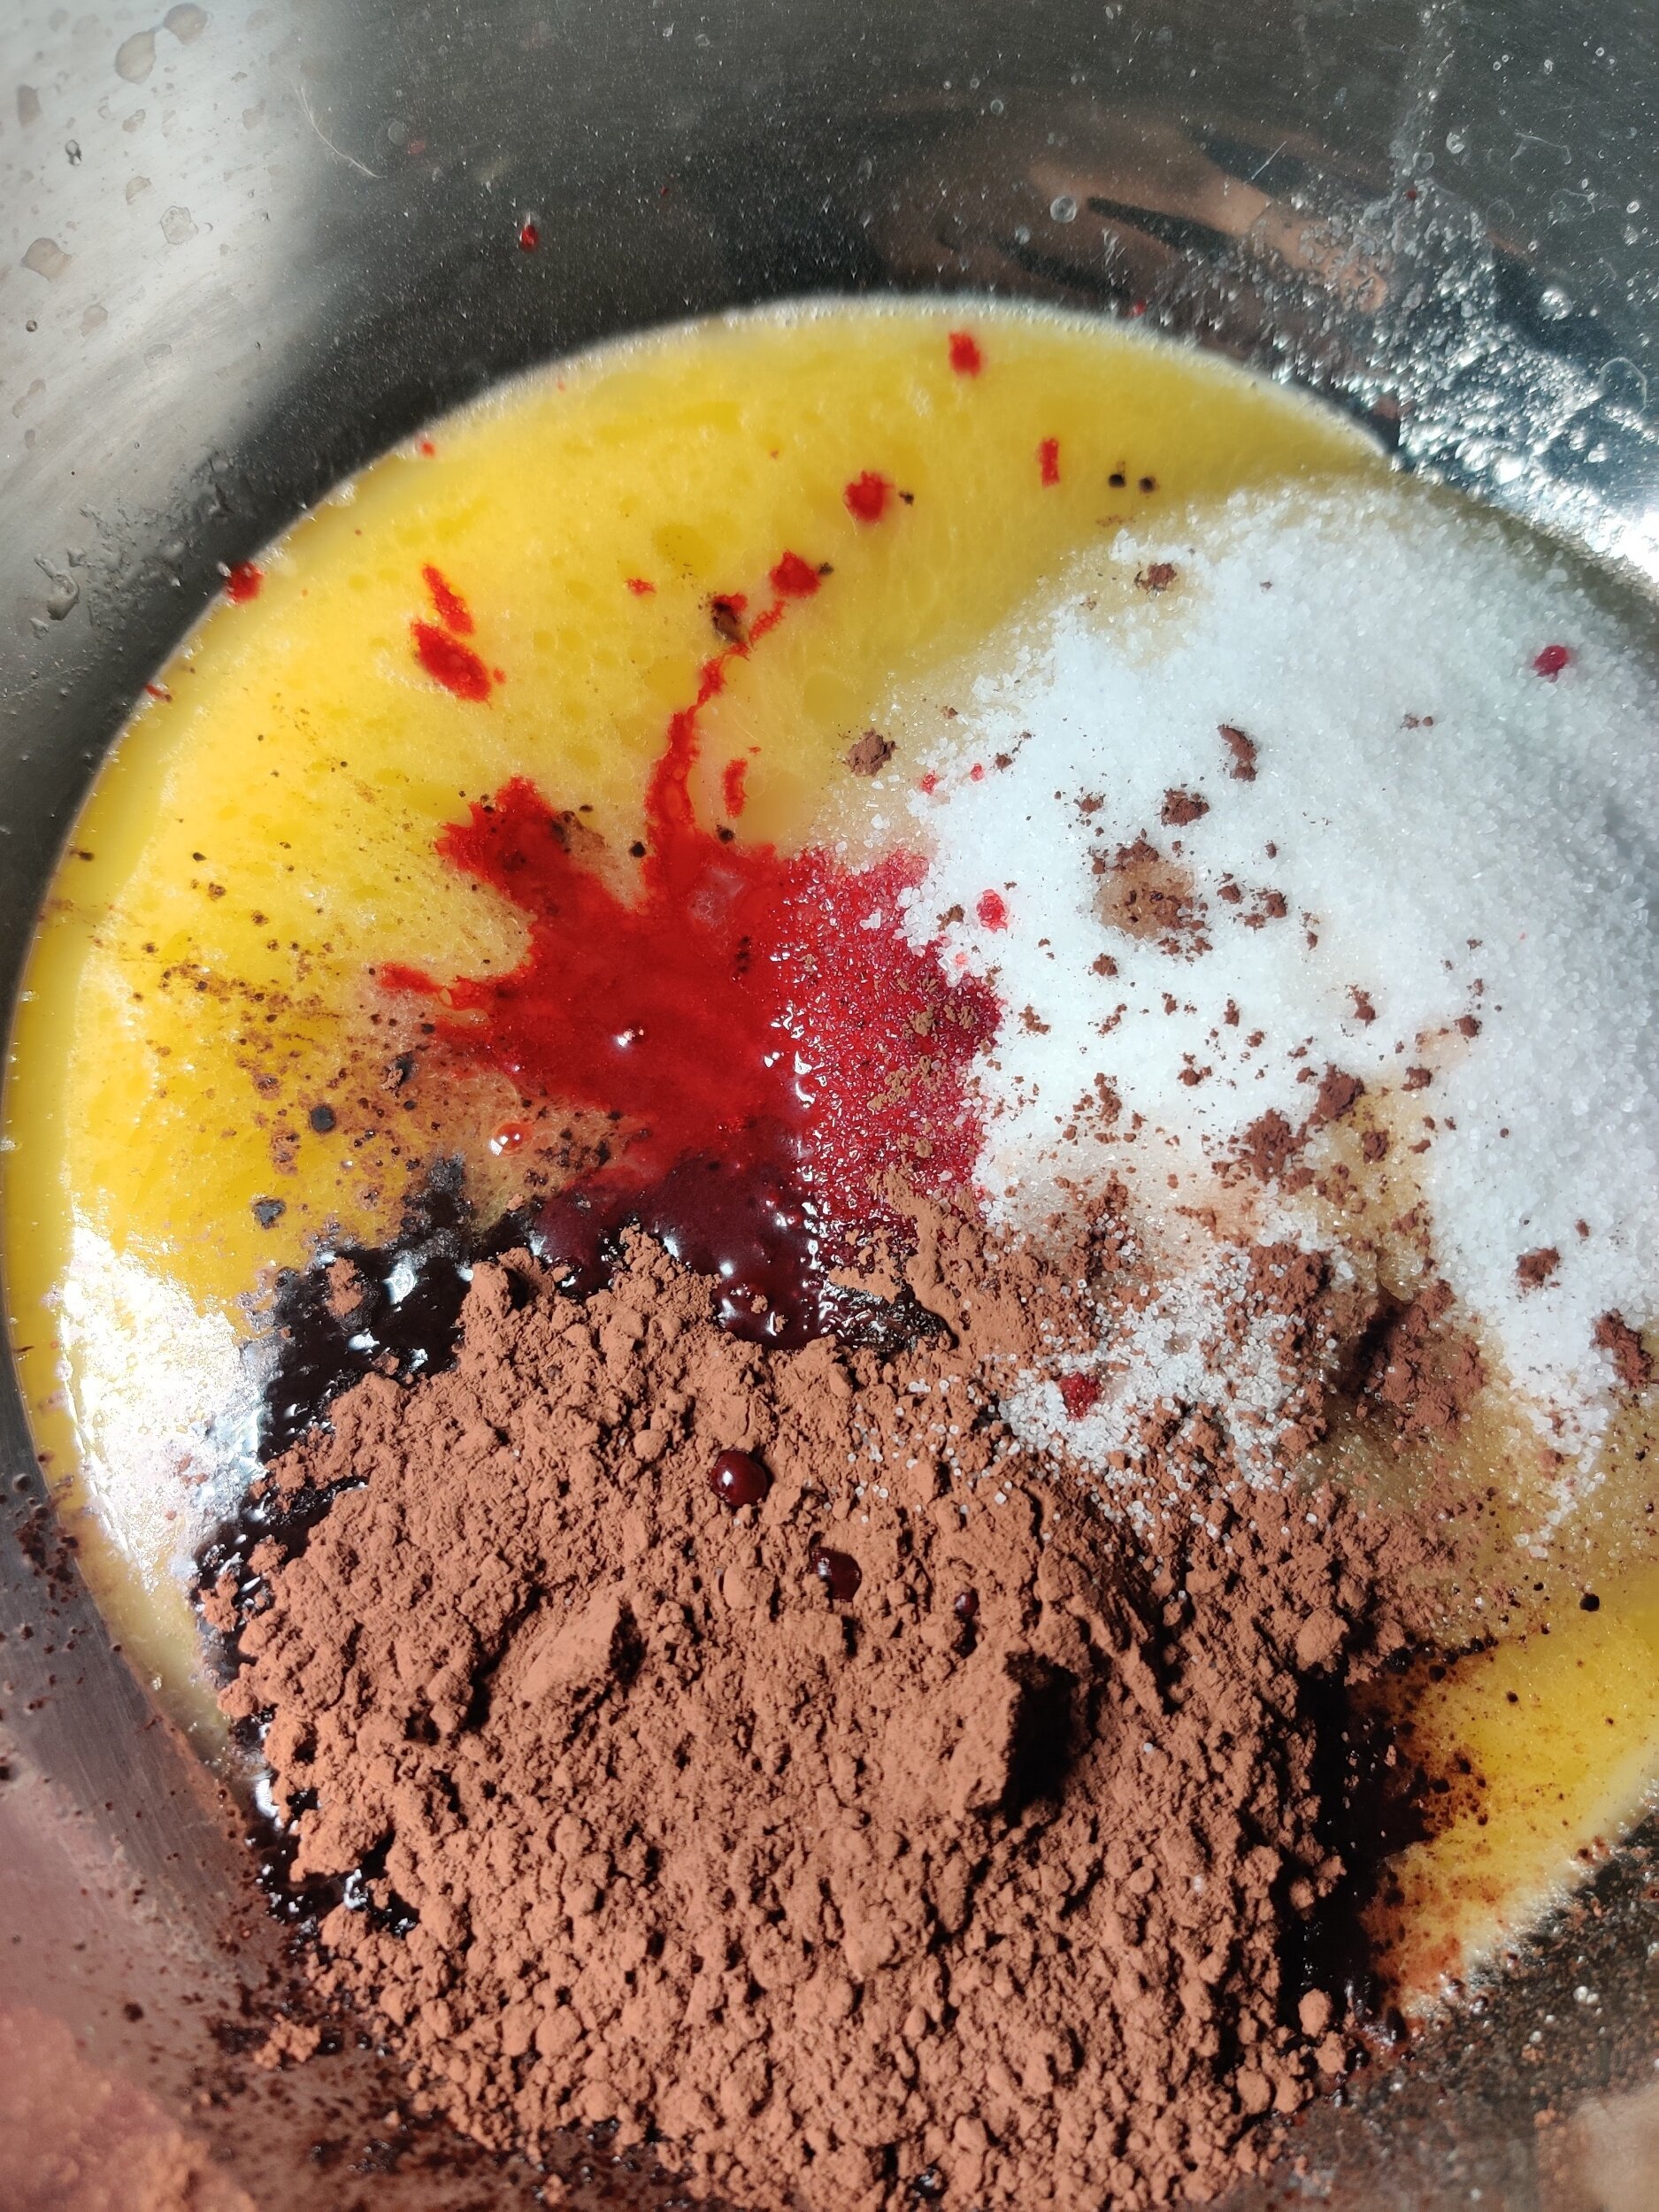
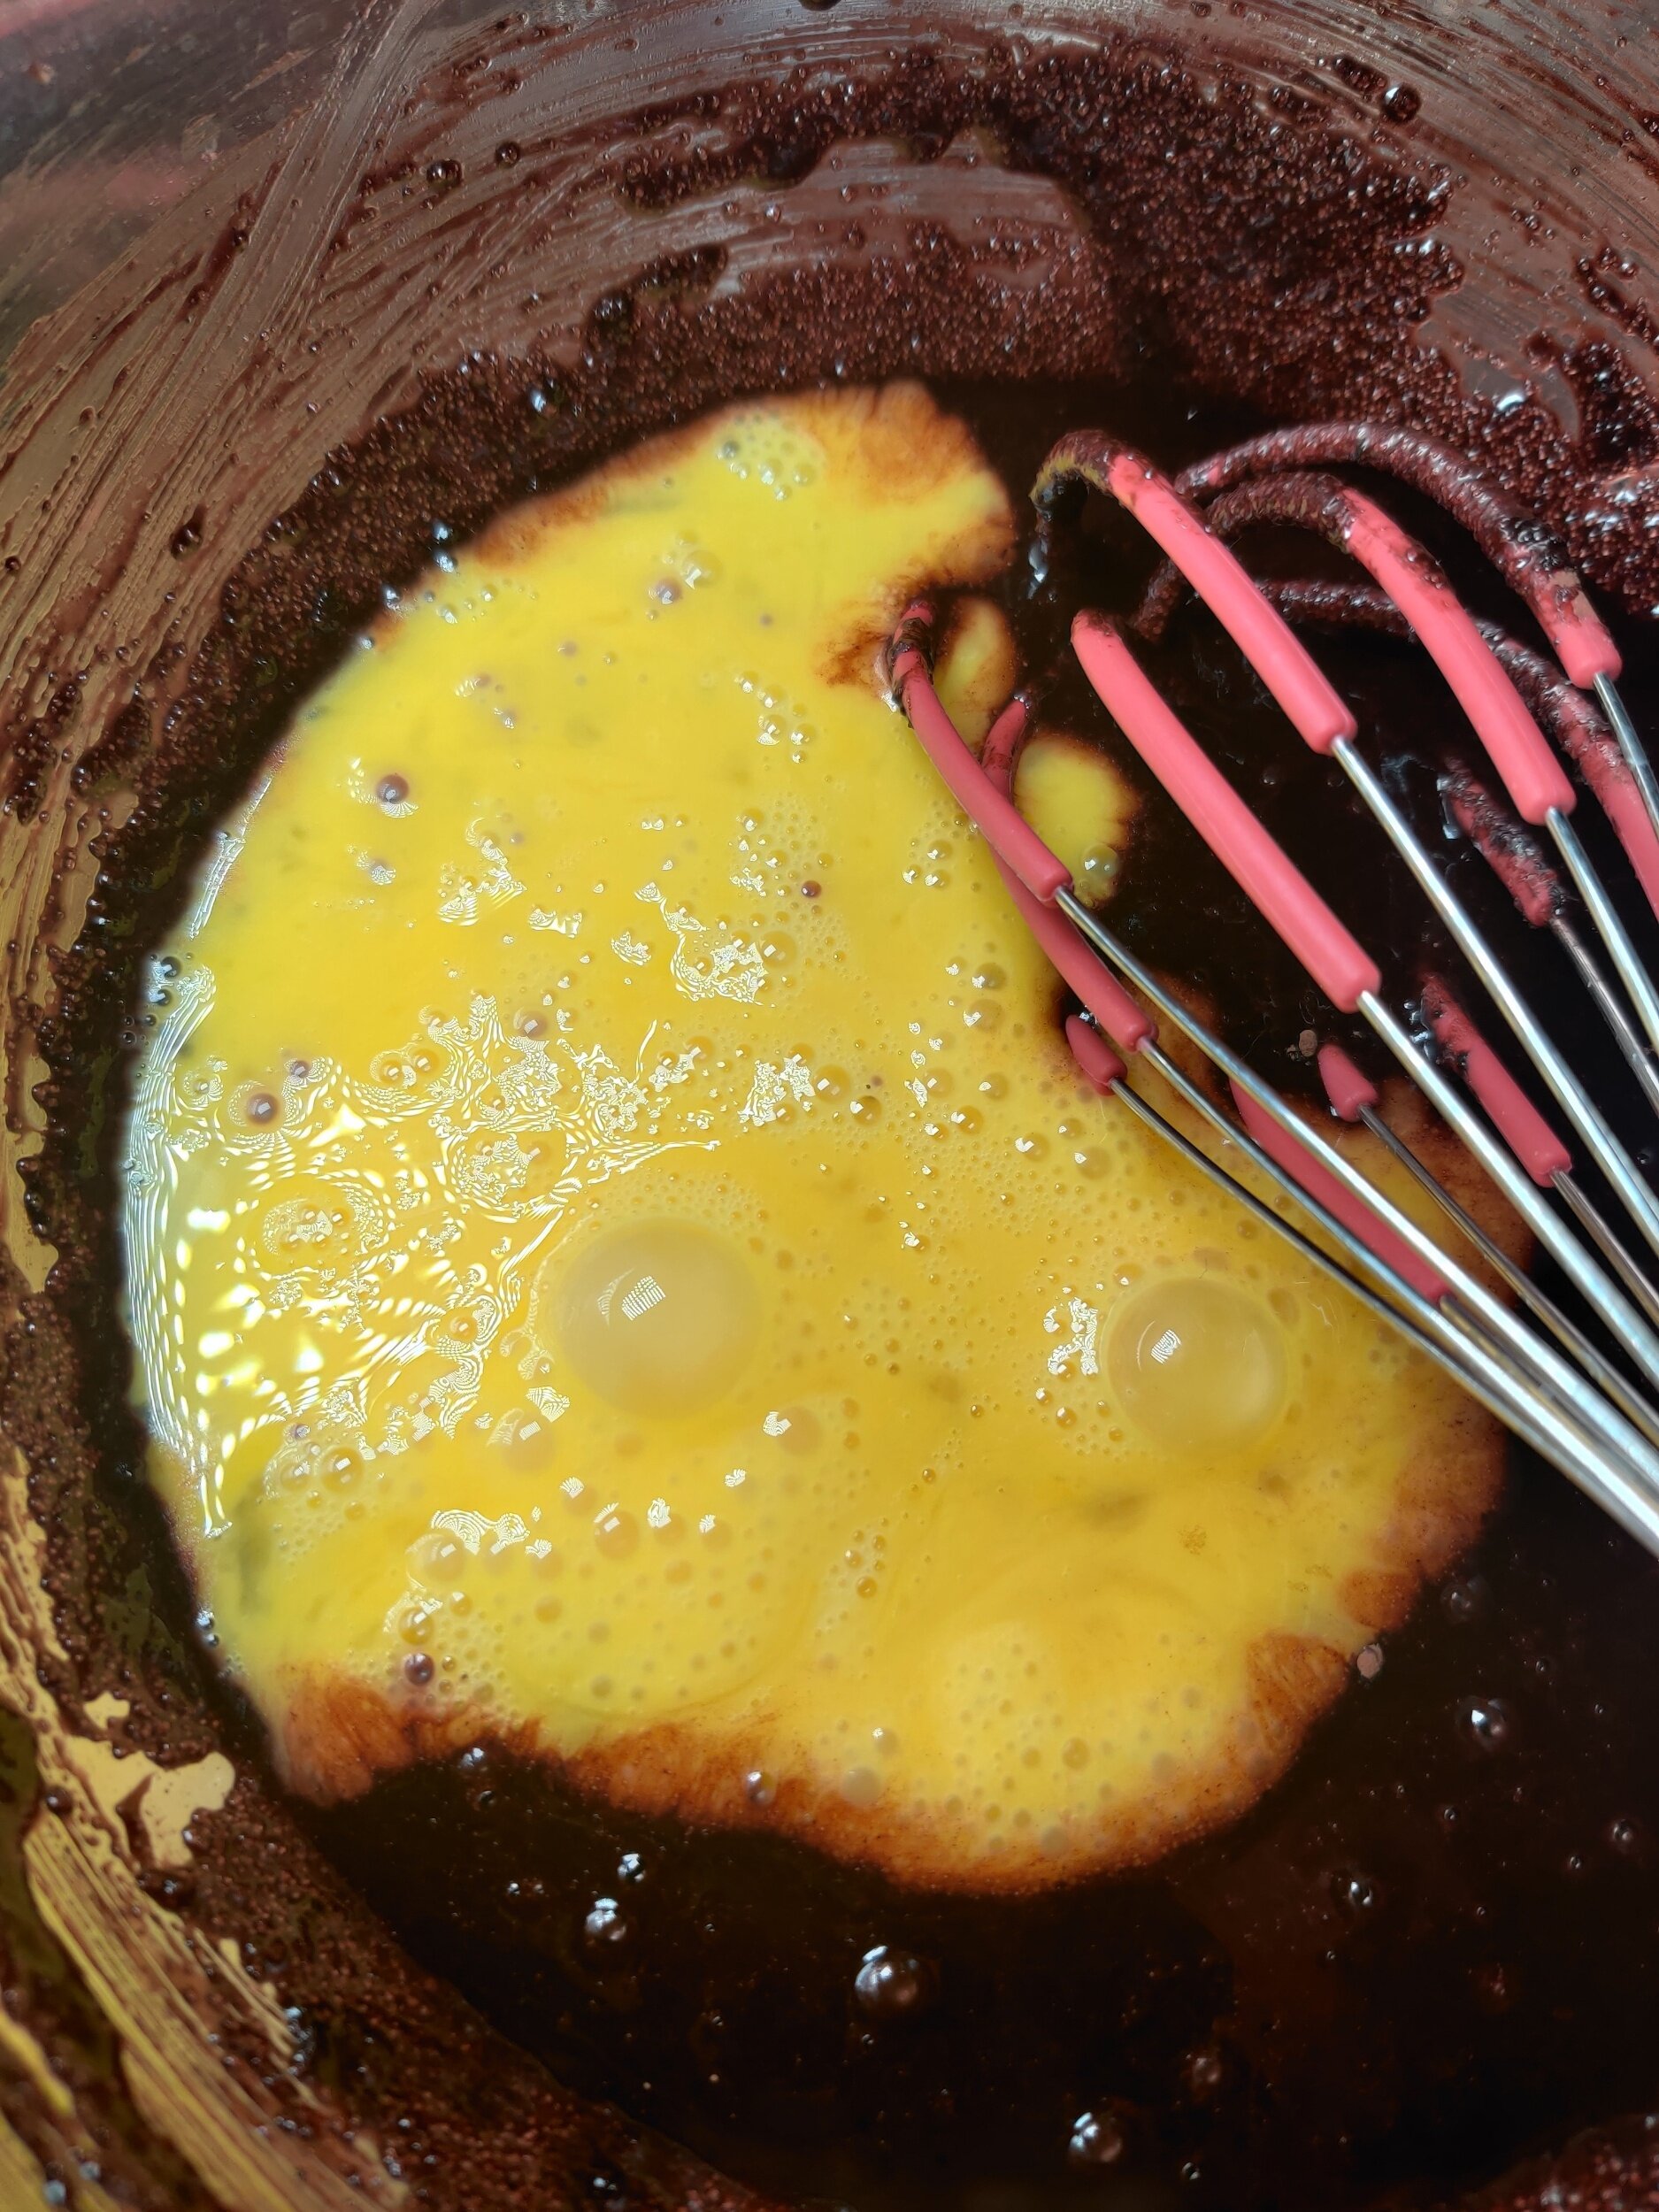
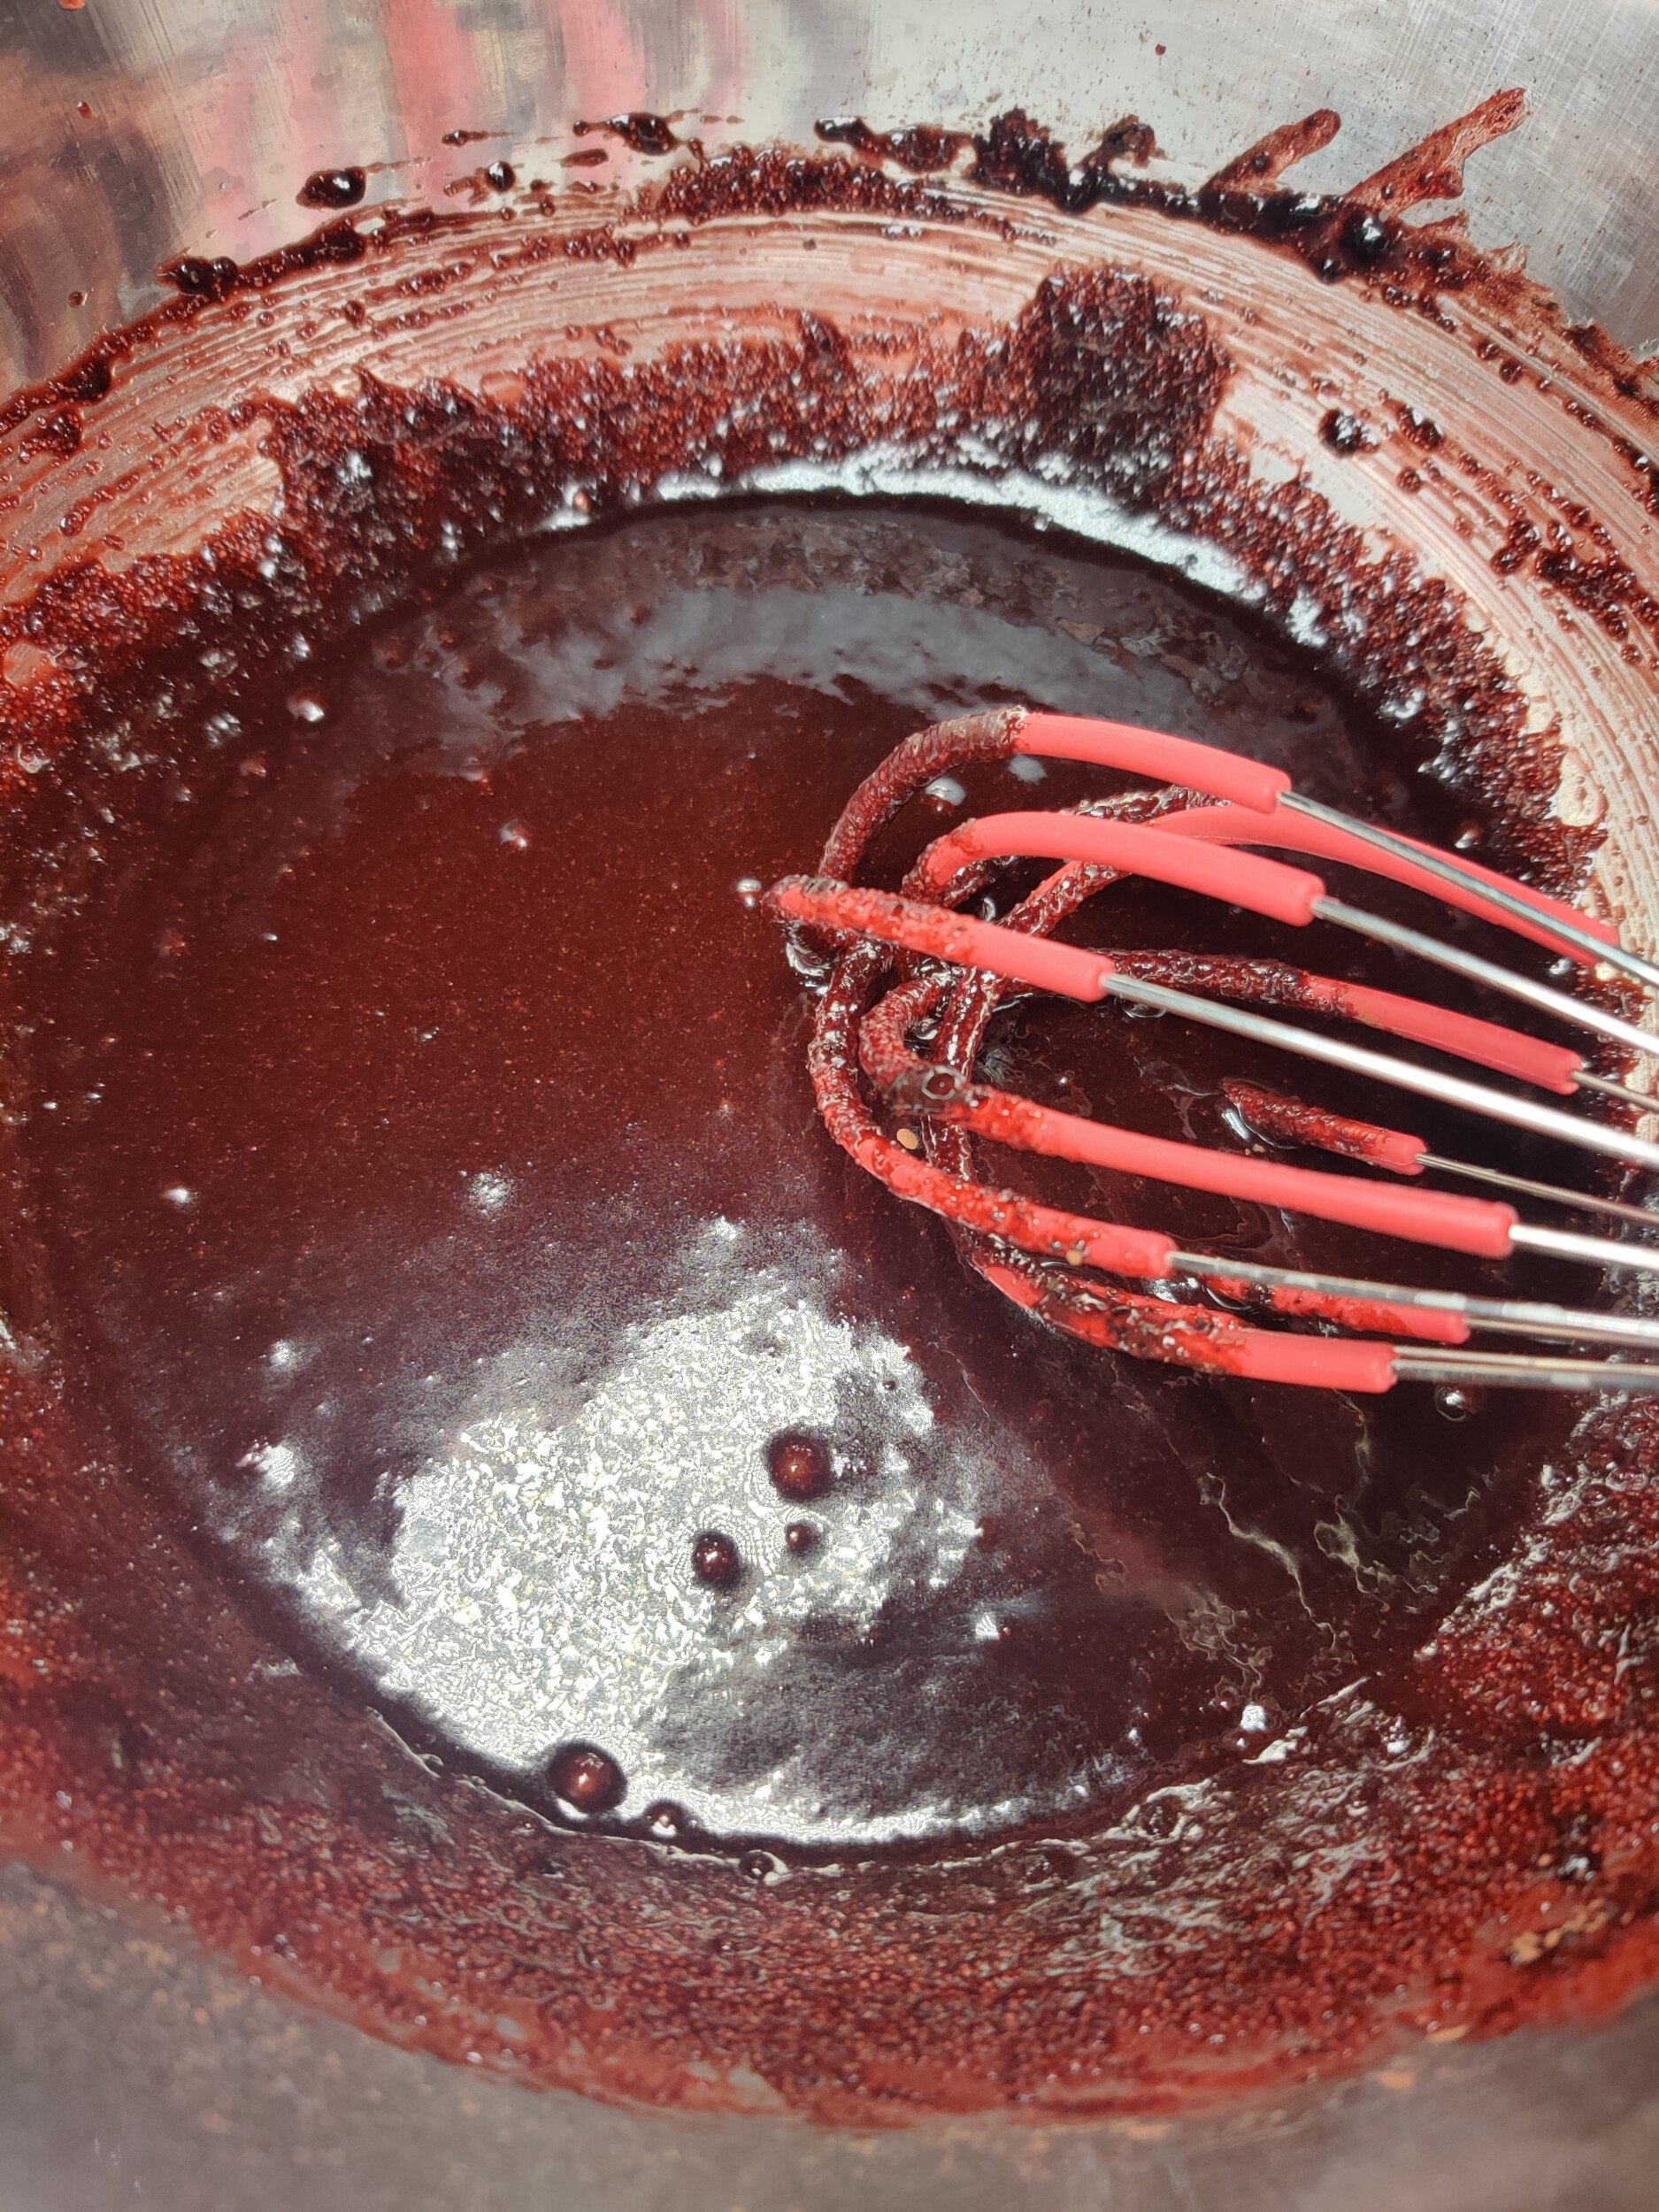
In a small microwavable bowl, melt the butter - about half a minutes should do. You can also do it quickly over high heat in a saucepan. Transfer to a large bowl, then add the salt, baking powder, sugar, salt, cocoa powder, vanilla and almond extract, and red colouring. Mix until combined but don't over mix.
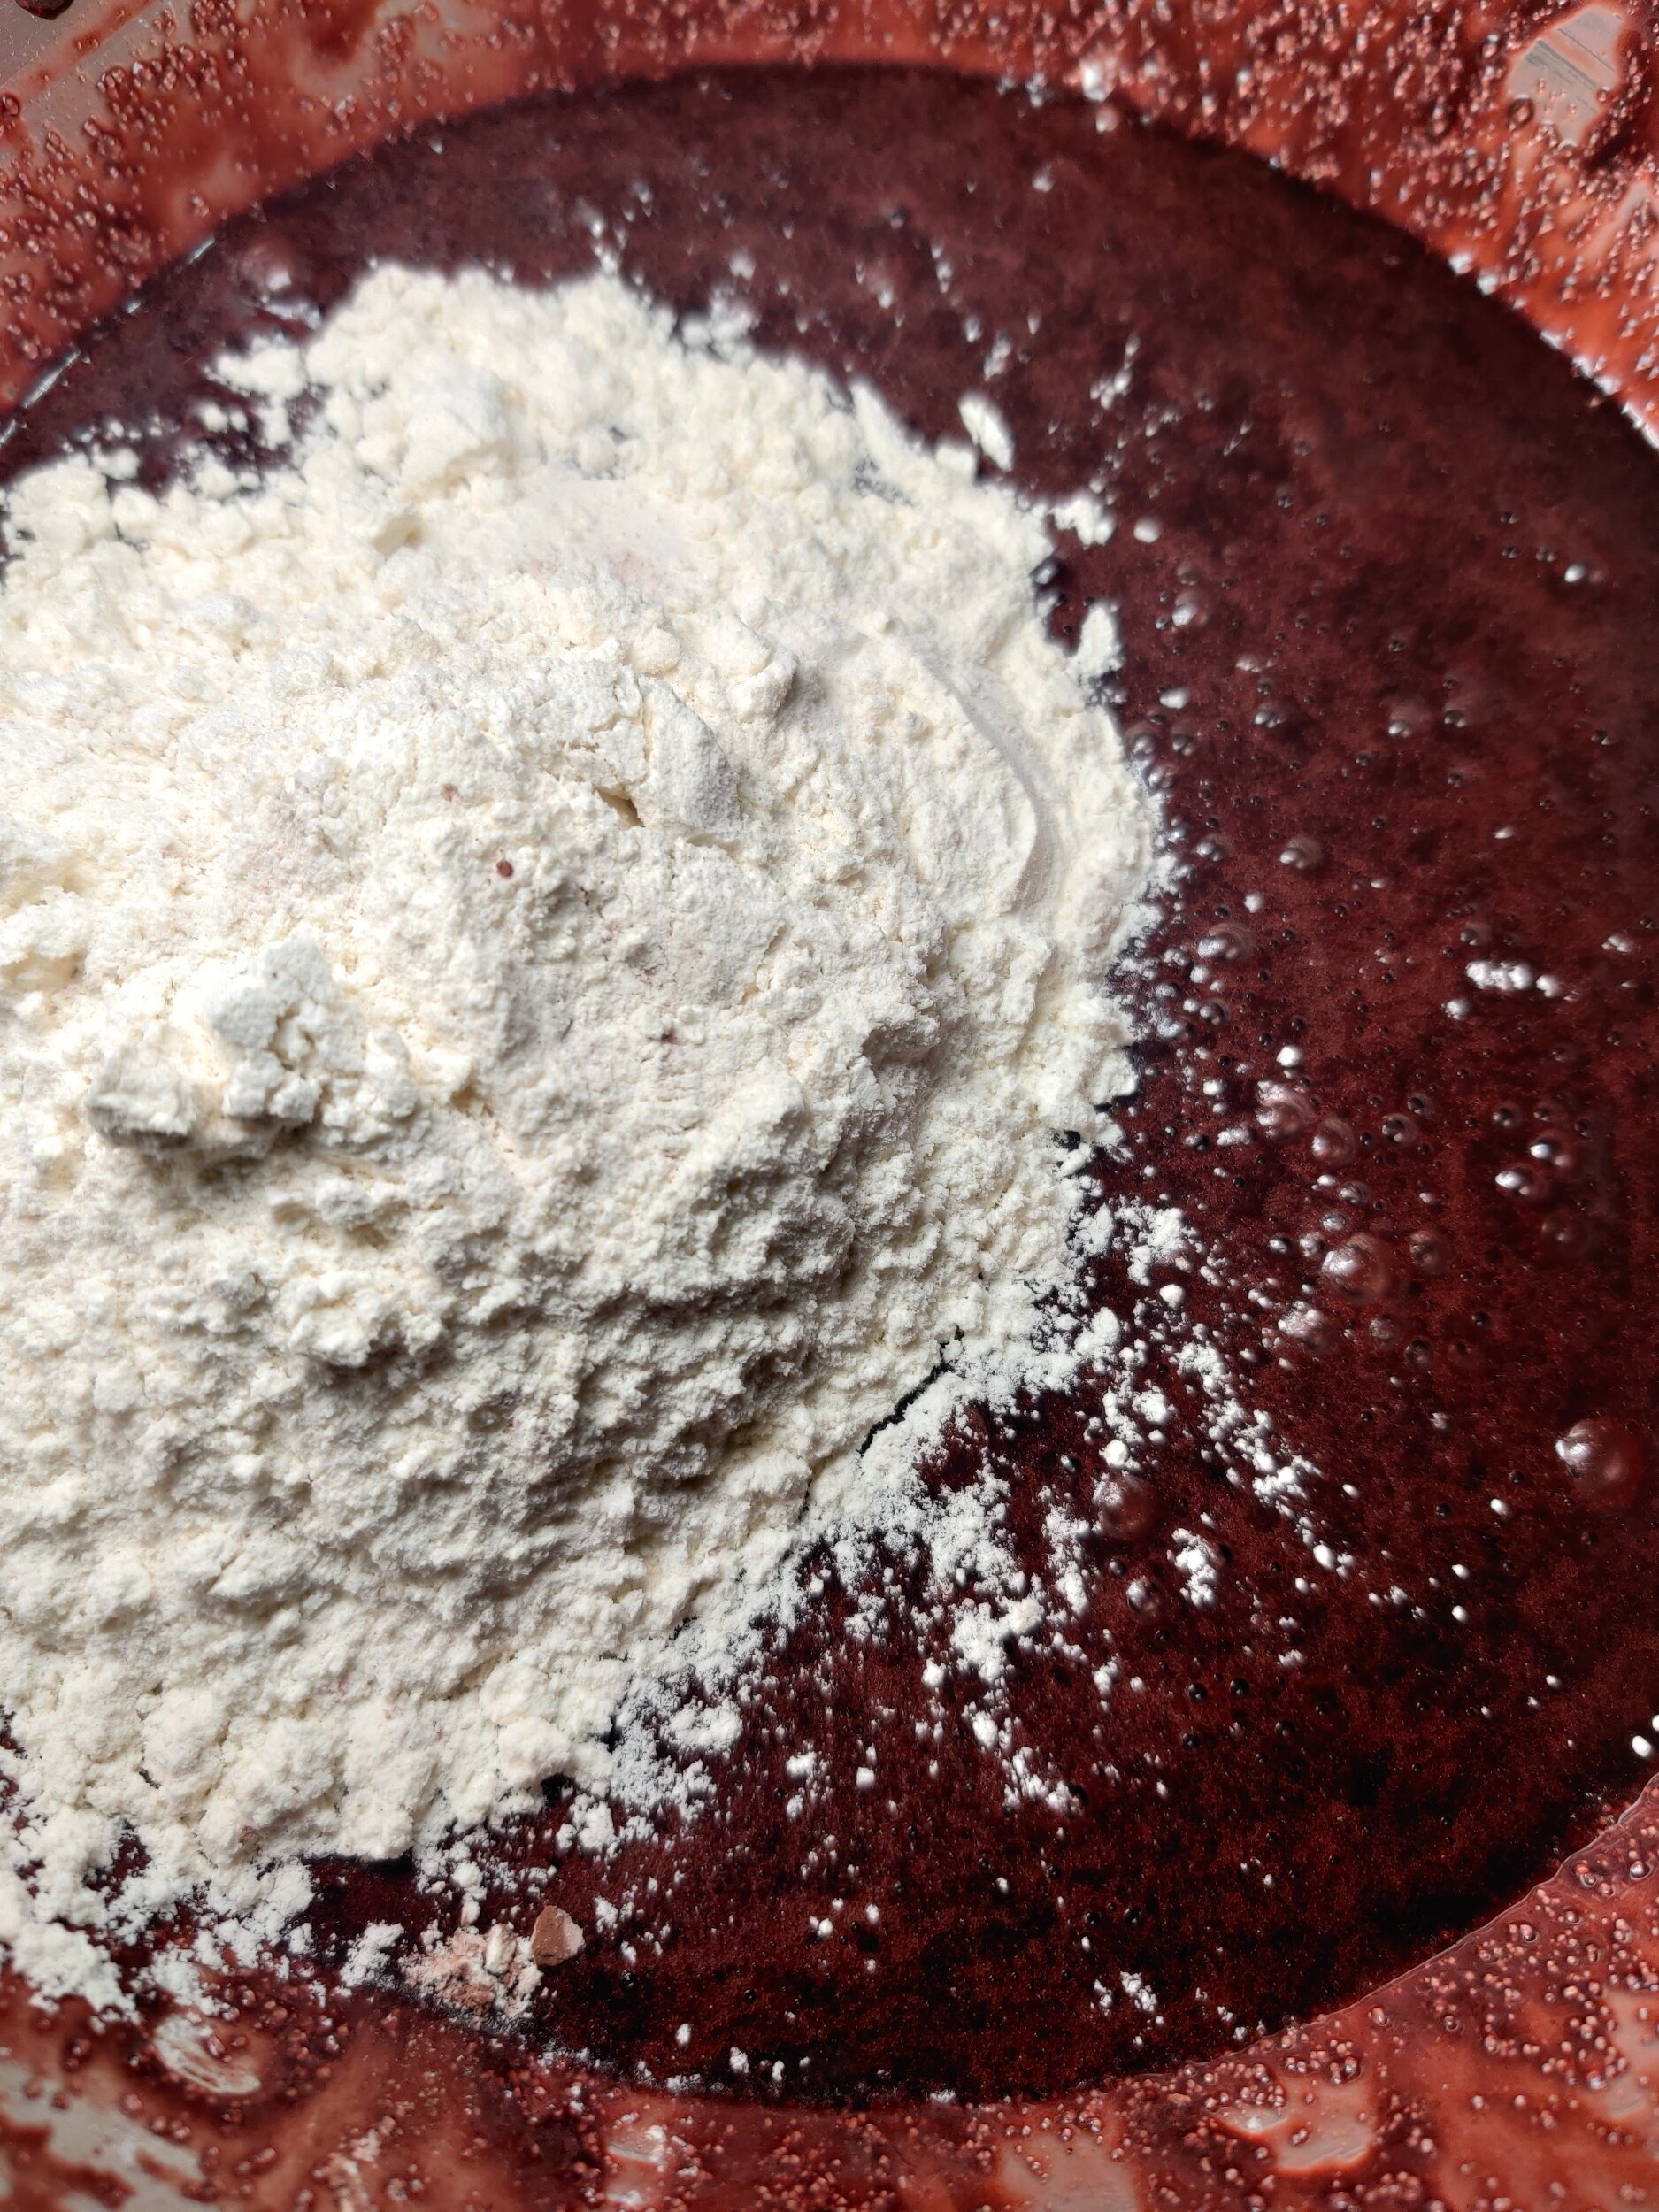
In another small bowl beat the eggs, whisk them into the main batter, and then gently fold into the flour until fully incorporated - you don't want lumps of dry flour!
Pour your brownie mix into a parchment-lined, lightly oil sprayed baking pan (I used one 8 inches by 8 inches). Use a spatula to even out your batter. You can set aside 2-4 tablespoons to drizzle on top of the cream cheese, depending on how much of it you want visible once baked.
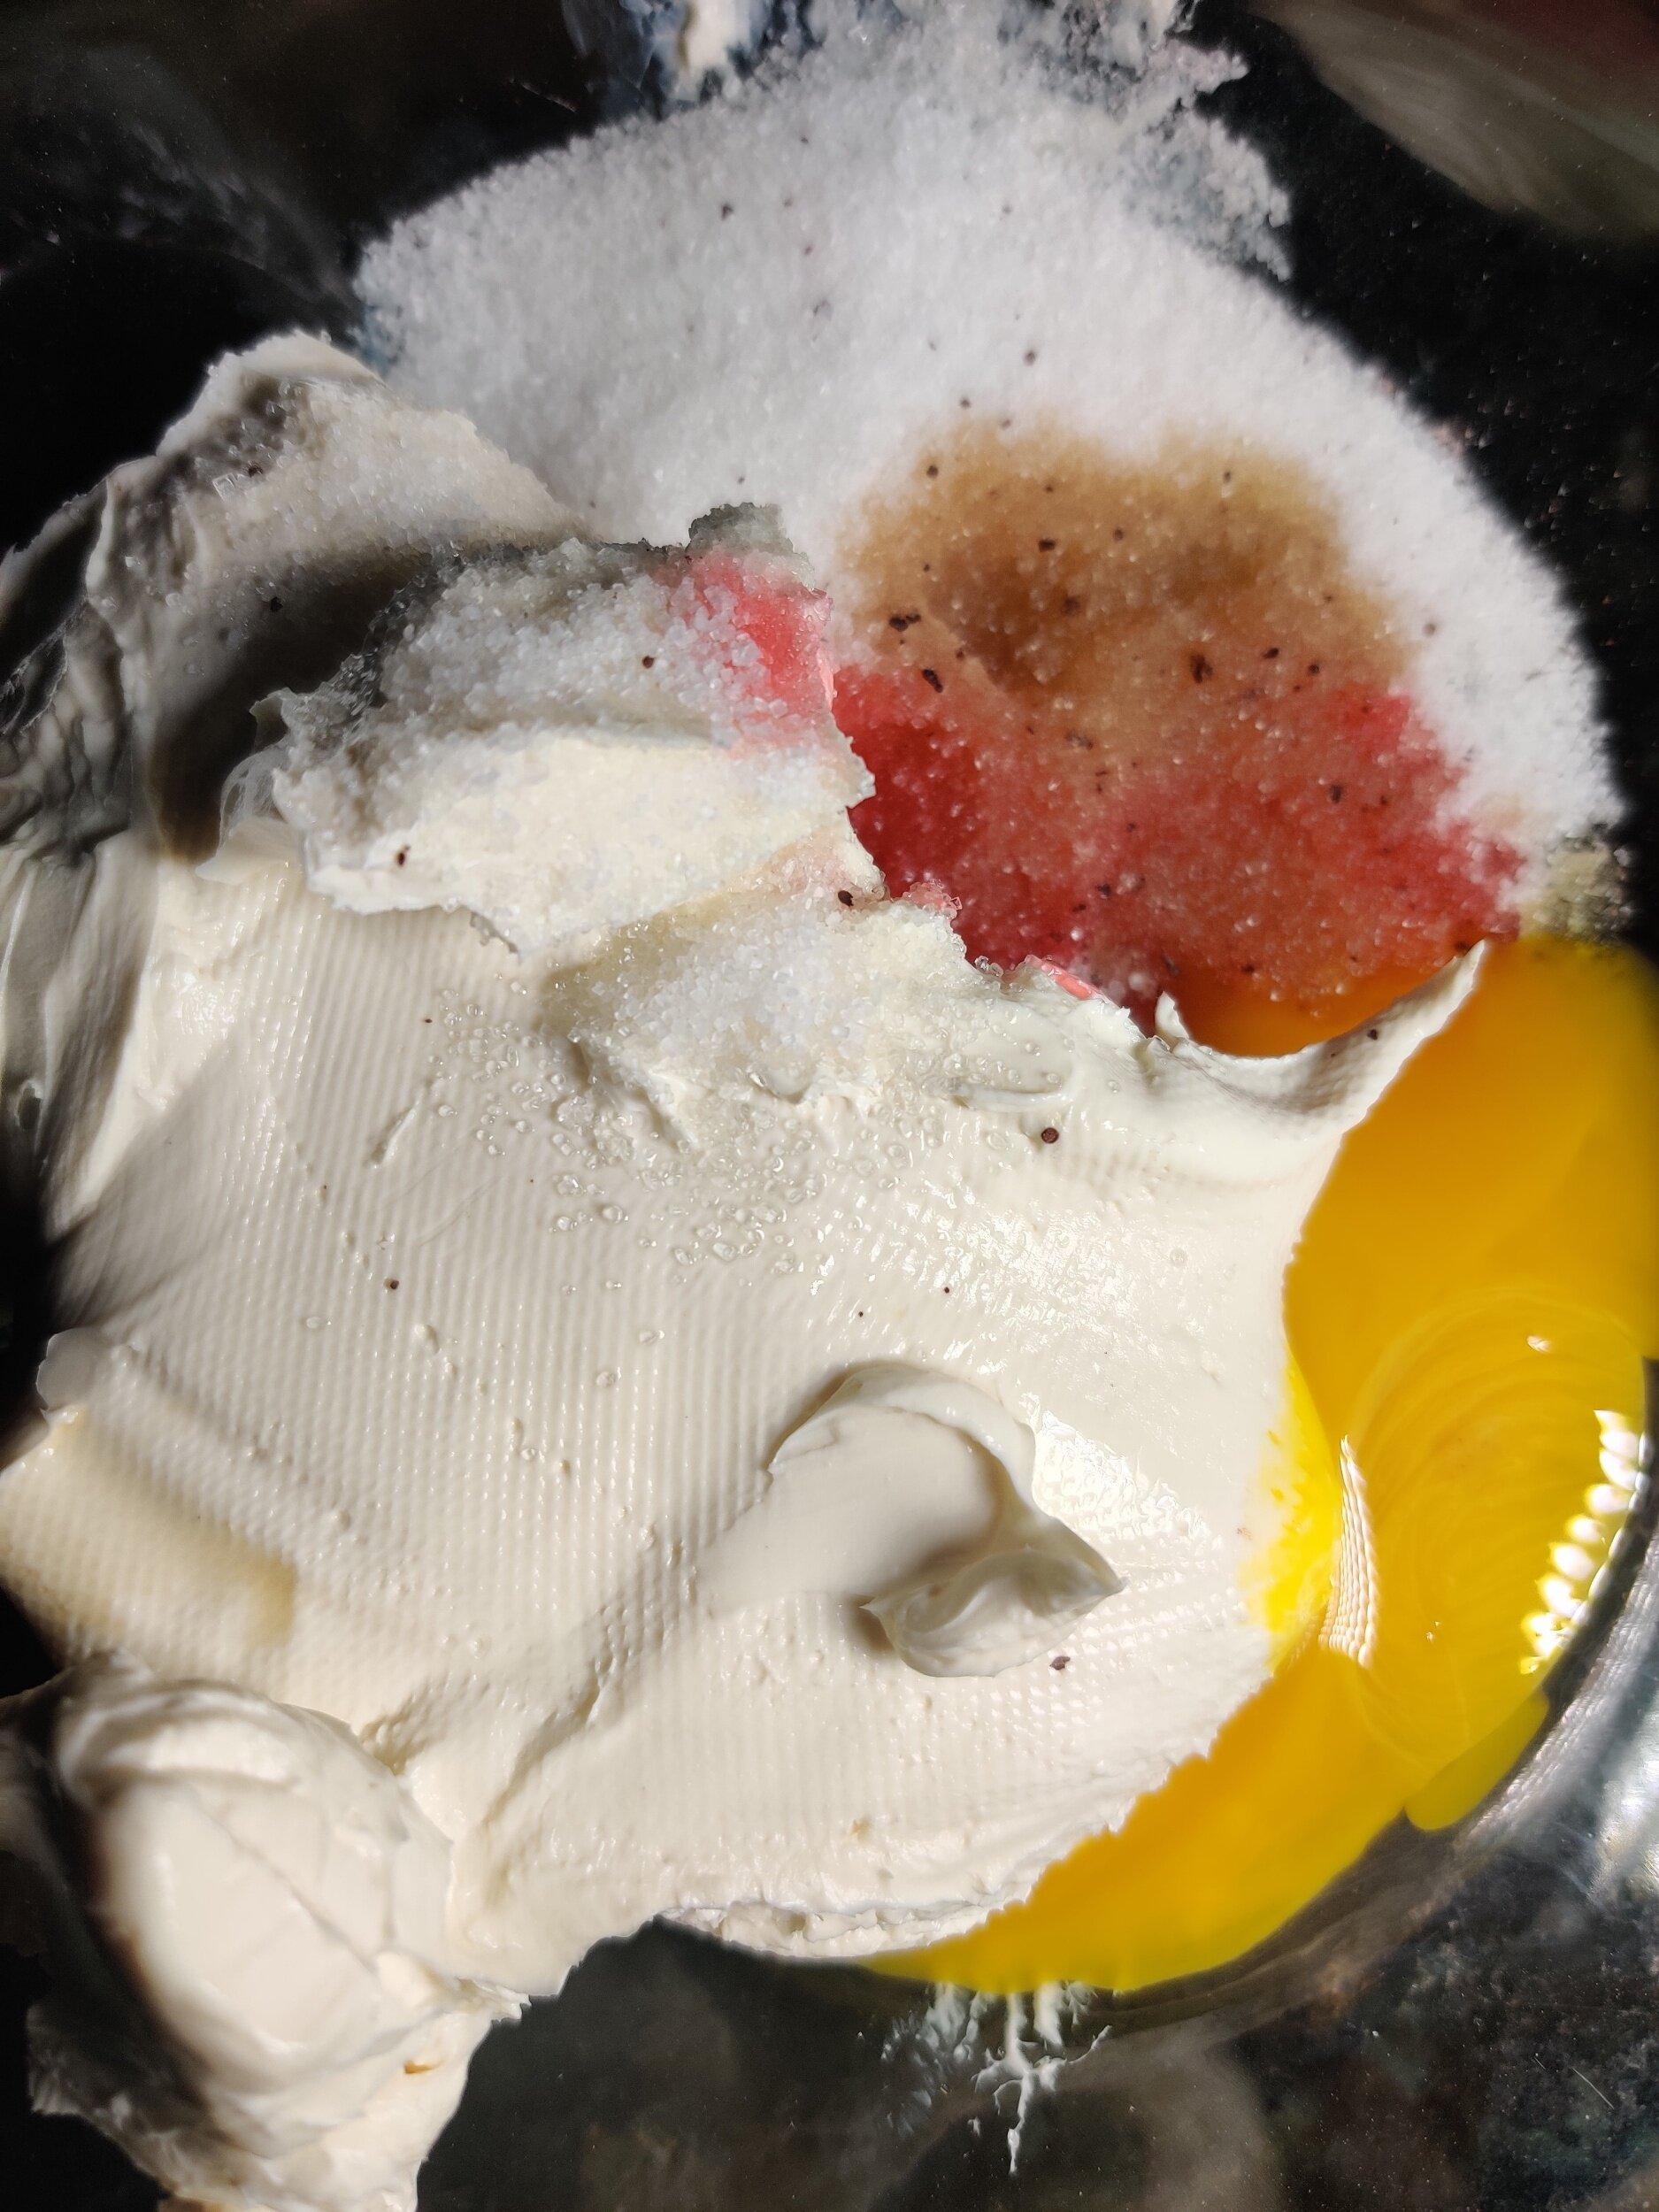
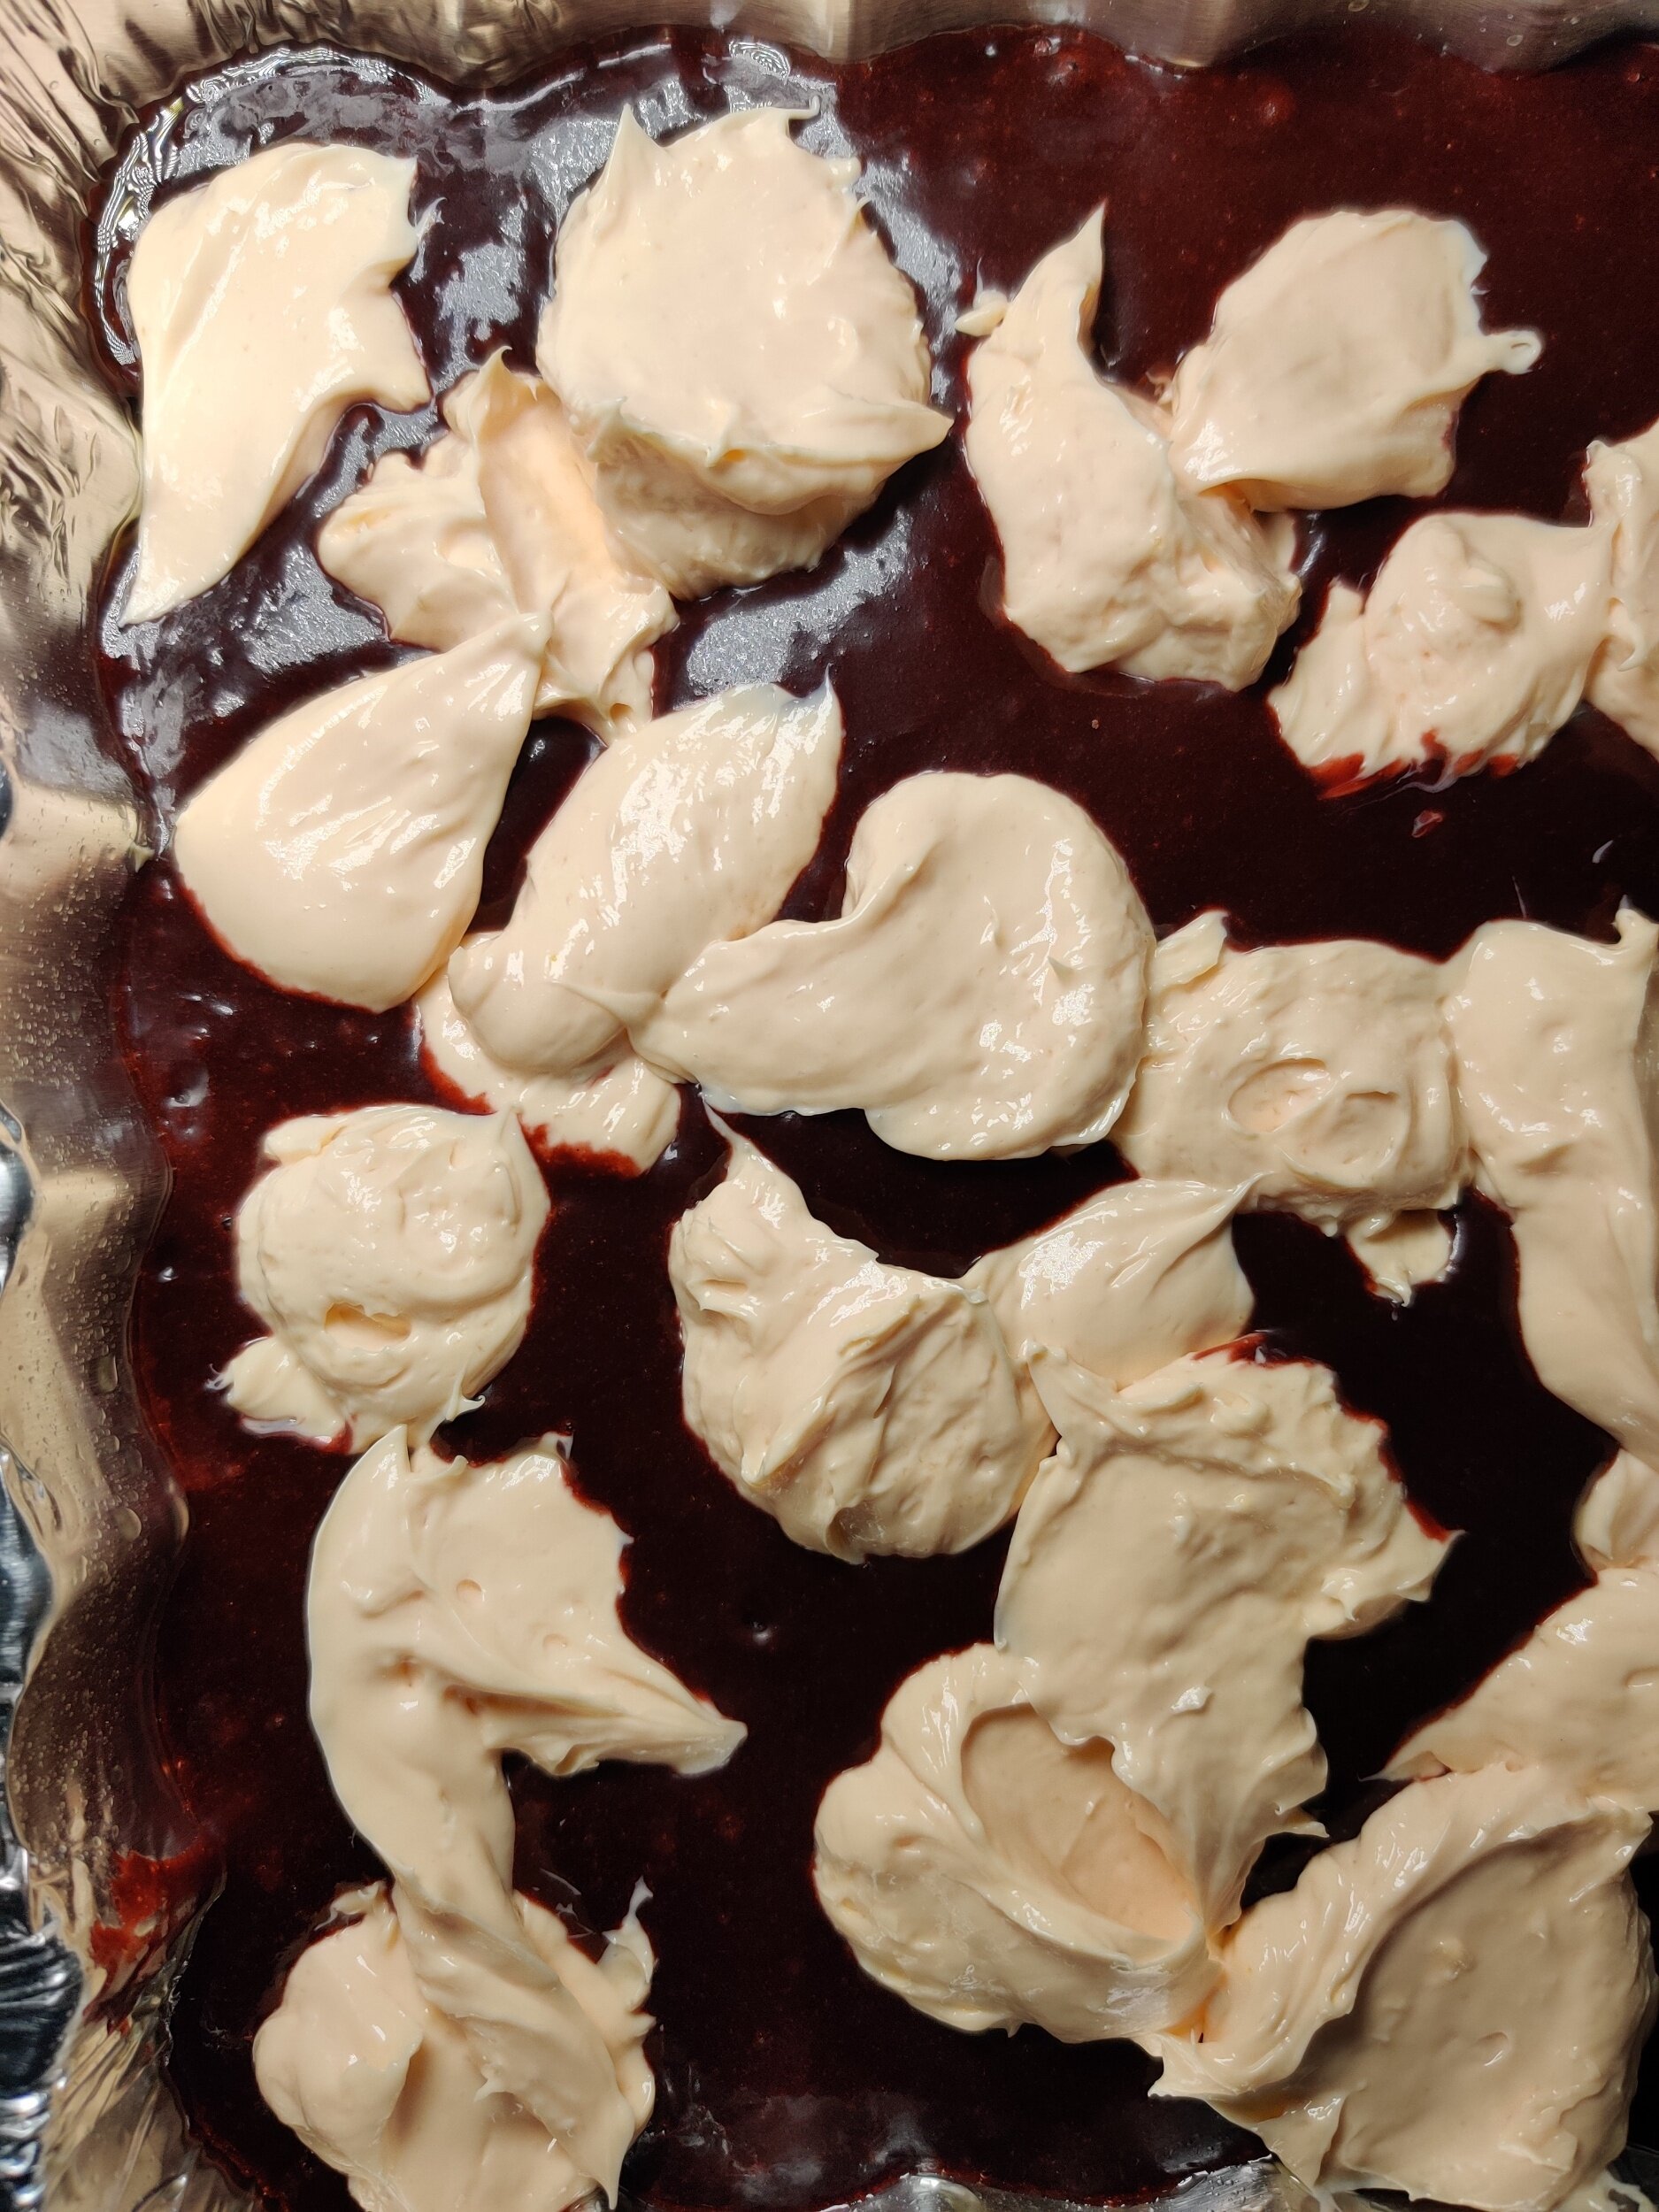
Now make your cream cheese mix. In a medium-sized bowl add the cream cheese, egg yolk, vanilla, a few drops of colouring, lemon, almond extract, and sugar. Beat with an electric mixer until smooth.
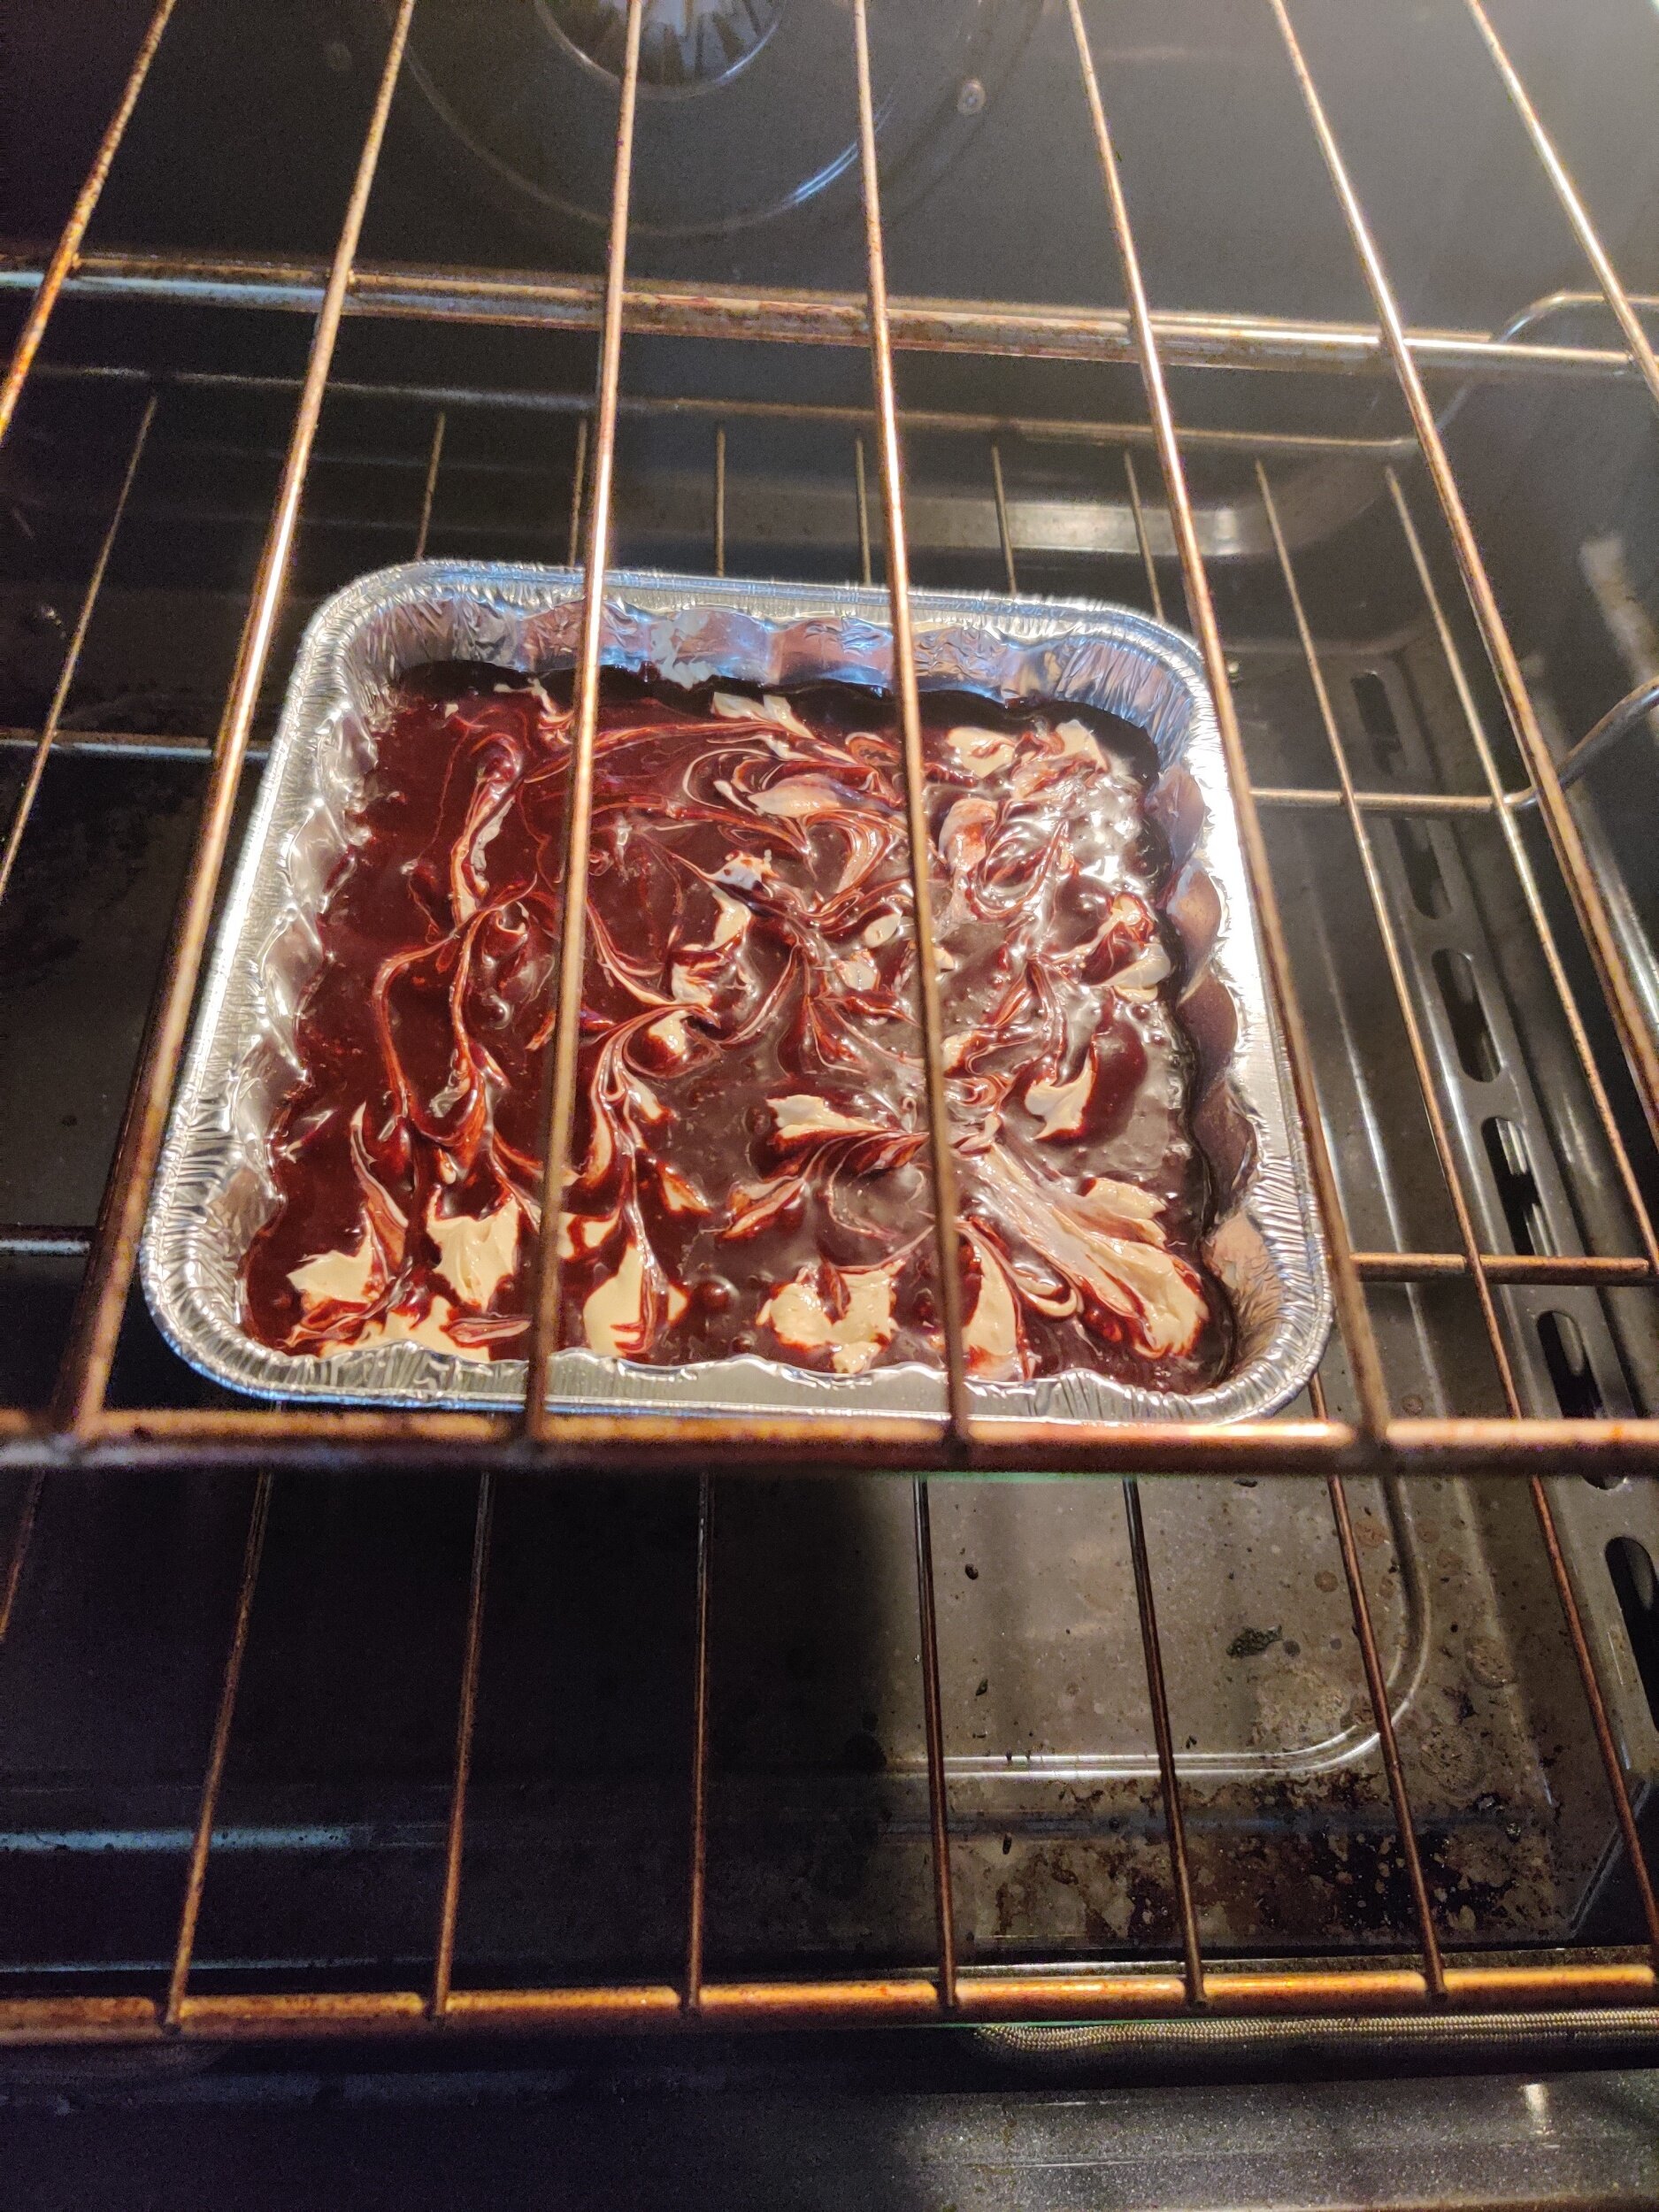
Spoon dollops of the cream mixture on top all over the top, then add your remaining brownie batter. Use a fork or knife and move it along the batter and cream cheese layers to create the swirl effect in an 'S' motion.
Bake at 400F for about 35 minutes, and make sure the centre comes out clean with a toothpick to check the doneness.
Set aside to cool before cutting, then sprinkle with a little powdered sugar and enjoy!
Store in the fridge in an airtight container and consume in 3-5 days!

