

Deviled Eggs with Chakalaka
When the weather begins to warm after a harsh winter, nothing kicks off a celebration of the new season like a colorful, flavorful appetizer. Enter Chakalaka Deviled Eggs, a South African twist on a classic seasonal party favorite.
Deviled eggs have long been associated with springtime, symbolizing rebirth and renewal, historically aligned with the end of Lent, when eggs were restricted.
This recipe combines a creamy, tangy yolk filling with the vibrant, spicy flavors of chakalaka, a beloved vegetable relish made from peppers, onions, carrots, and tomatoes, seasoned with curry and warm spices. Chakalaka is traditionally served alongside grilled meats and starchy sides like pap or sadza, making it a familiar and festive flavor profile.
These eggs are perfect for a wide range of events, from braais and cookouts to picnic spreads and upscale cocktail gatherings. They bring a pop of color, a touch of heat, and a playful nod to South African flavors, making them a springtime appetizer that’s as delicious as it is eye-catching.

Deviled Eggs with Chakalaka
Bright, flavorful, and a little spicy, these Chakalaka Deviled Eggs combine creamy yolks with the vibrant South African relish chakalaka. Perfect for spring gatherings, braais, picnics, or cocktail parties, they bring color, heat, and bold flavor to any appetizer spread.
Ingredients
- 1/2 medium onion, diced
- 1/2 large red bell pepper, diced
- 1 large garlic clove, minced
- 1 Thai chili, finely chopped
- 1 medium carrot, diced
- 1/4 cup baked beans in tomato sauce
- 1/4 cup fire-roasted diced tomatoes
- 1/4 tsp cayenne
- 1/2 tsp smoked paprika
- 1 tsp curry powder
- 1/4 tsp Royco Usavi beef seasoning
- 1/4 tsp salt
- 1/4 tsp black pepper
- 1/4 tsp ground coriander
- 1/4 tsp ground ginger
- 1 tsp chicken bouillon concentrate
- 1 cup water
- 1/4 cup ketchup/tomato sauce
- 1 tbsp tomato paste
- 1–2 tbsp Worcestershire sauce
- 1–2 tsp rice vinegar
- 1 tbsp chutney
- Ghee or oil, for cooking
- 6 large eggs
- 3 tbsp mayonnaise
- 1 tsp Dijon mustard
- 1 tsp lemon juice
- 2–3 tbsp prepared chakalaka (from above)
- 2 tbsp plain yogurt or sour cream (optional)
- Salt and pepper, to taste
- Optional garnish: smoked paprika, chopped parsley
Instructions
- Cook the eggs: Place the eggs in a pot and cover with 1 inch of cold water. Bring to a boil, then cover, turn off the heat, and let sit 10 minutes.
- Transfer to an ice bath for 5 minutes, then drain. Place in the fridge.
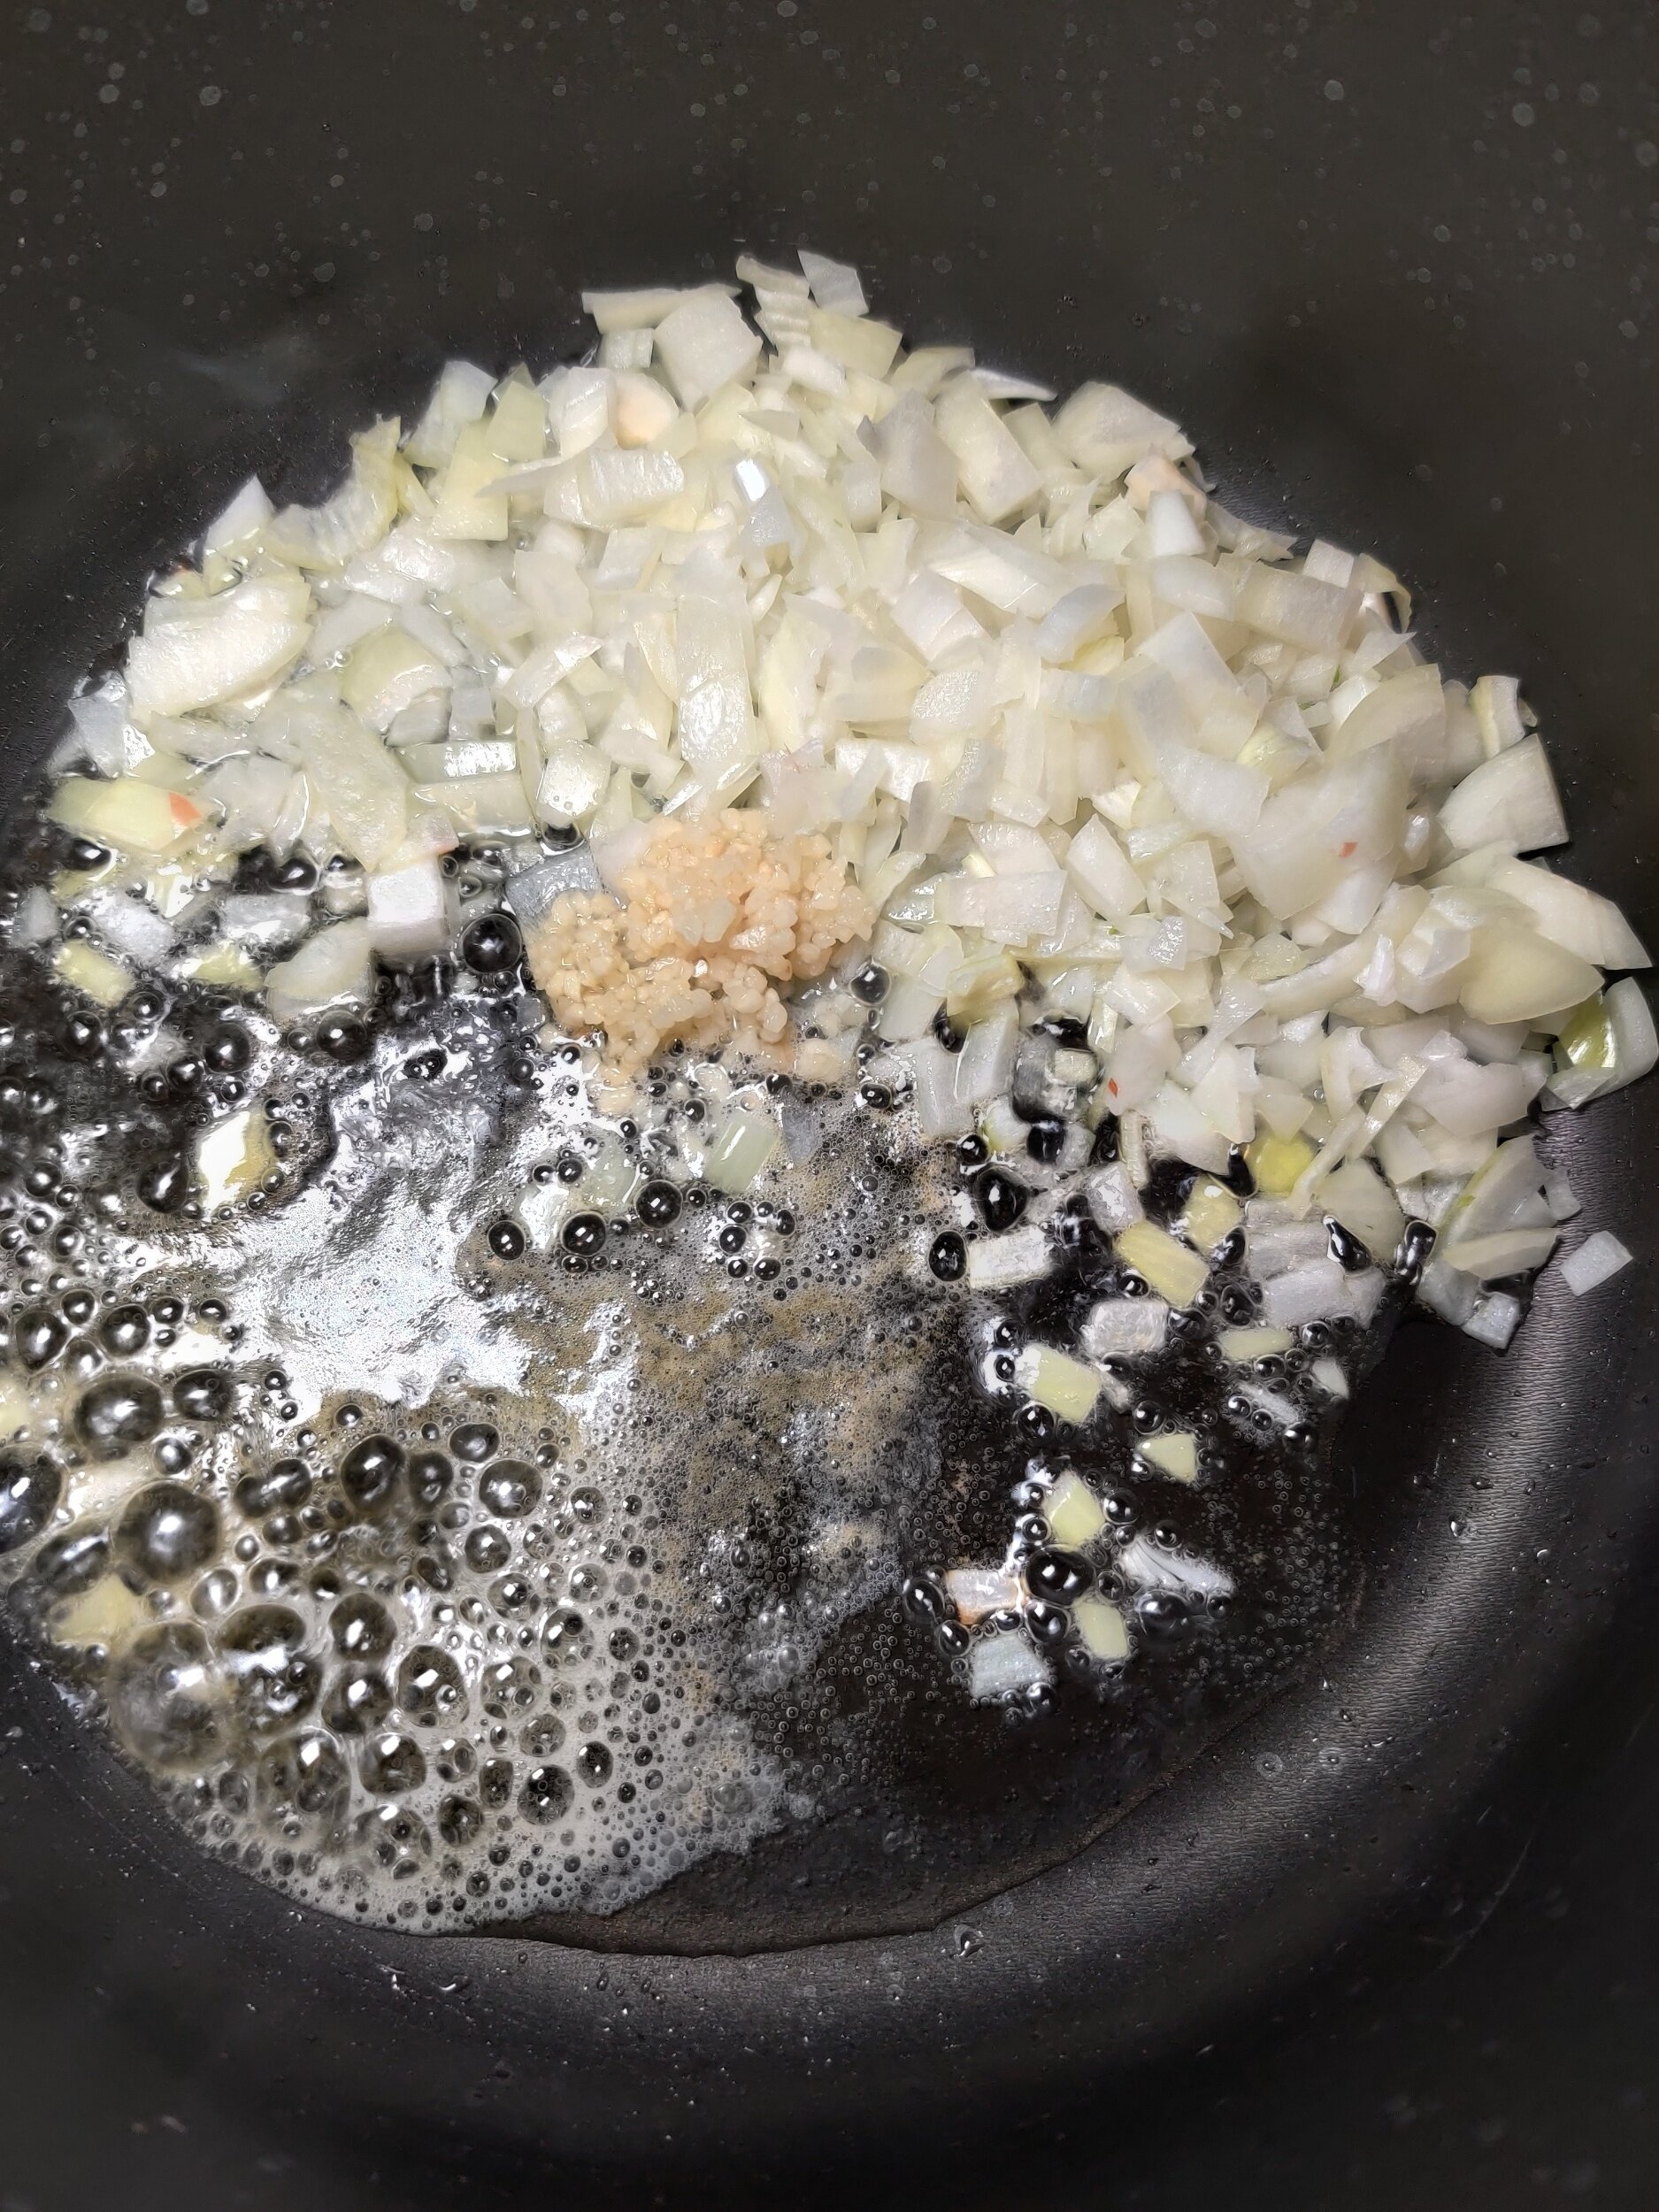
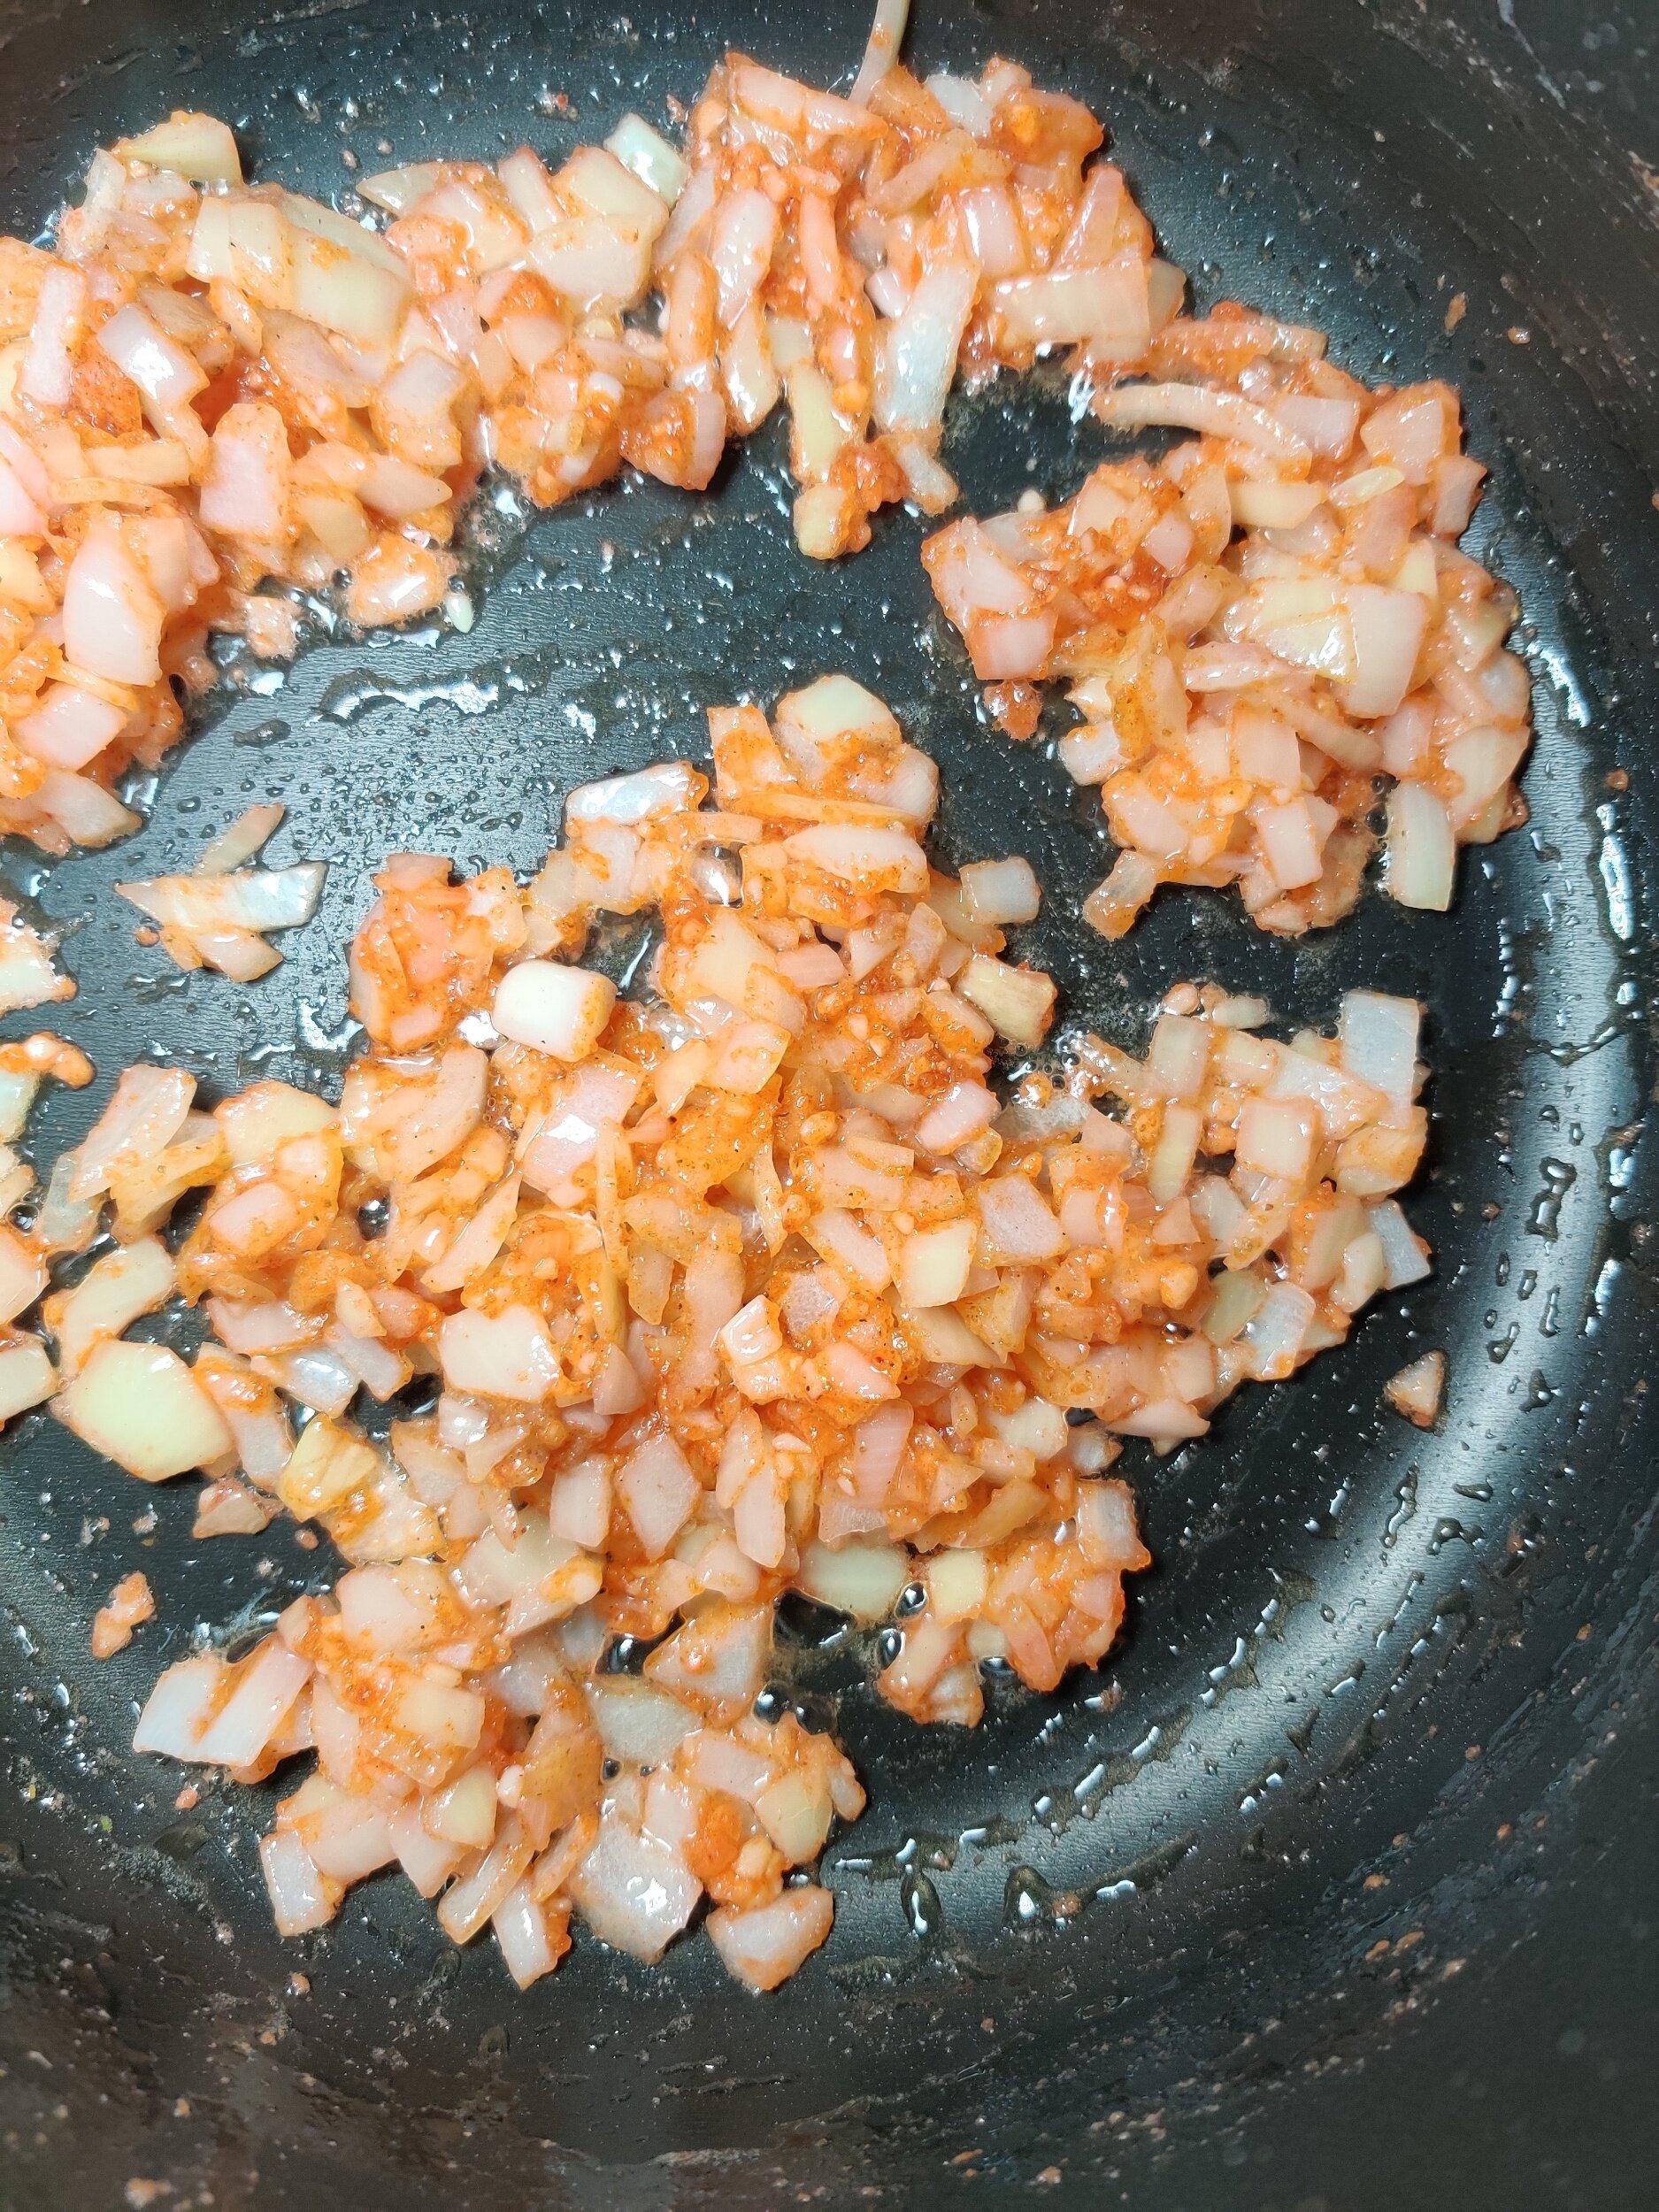
- Prepare chakalaka: Assemble your spices and chop your vegetables. Heat some ghee or oil in a pan and sauté the onions and garlic until soft. Add spices and bouillon; cook for at least 30 seconds.
- Add the bell pepper and chili pepper then cook 1–2 minutes. Stir in the tomato paste, Worcestershire sauce and ketchup to deglaze.
- Simmer vegetables: Add the carrots, diced tomatoes, baked beans, and water. Simmer for 15 minutes until thickened, stirring occasionally.
- Stir in the chutney, and vinegar, then season to taste. Set aside to cool, then add at least 1/2 cup to a bowl and use an immersion blender to smoothen slightly. Be sure to keep the texture and don't make soup!
- Make filling: Peel and halve the eggs and remove the yolks gently to a bowl.
- Mash the yolks, then mix in the mayonnaise, mustard, lemon juice, yogurt (if using), salt, and pepper. Stir in 2–3 tbsp chakalaka.
- Use an immersion blender to make it smoother if desired, but keep a few chunks for texture.
- Assemble eggs: Spoon or pipe yolk mixture into the egg whites.
- Garnish with smoked paprika, a little reserved chakalaka, and parsley.
- Chill until serving.
Notes
- Storage: These are best fresh! Refrigerate up to 24 hours.
- Yogurt or sour cream is optional. It adds extra creaminess and a subtle tang to the filling, which can mellow the spice from the chakalaka. Omit it if you prefer a firmer, more traditional deviled egg texture.
Nutrition Facts
Calories
82Fat (grams)
6.3 gSat. Fat (grams)
1.2 gCarbs (grams)
2.5 gFiber (grams)
0.7 gProtein (grams)
4.5 gI am not a certified nutritionist and any nutritional information on dontmissmyplate.com should only be used as a general guideline.

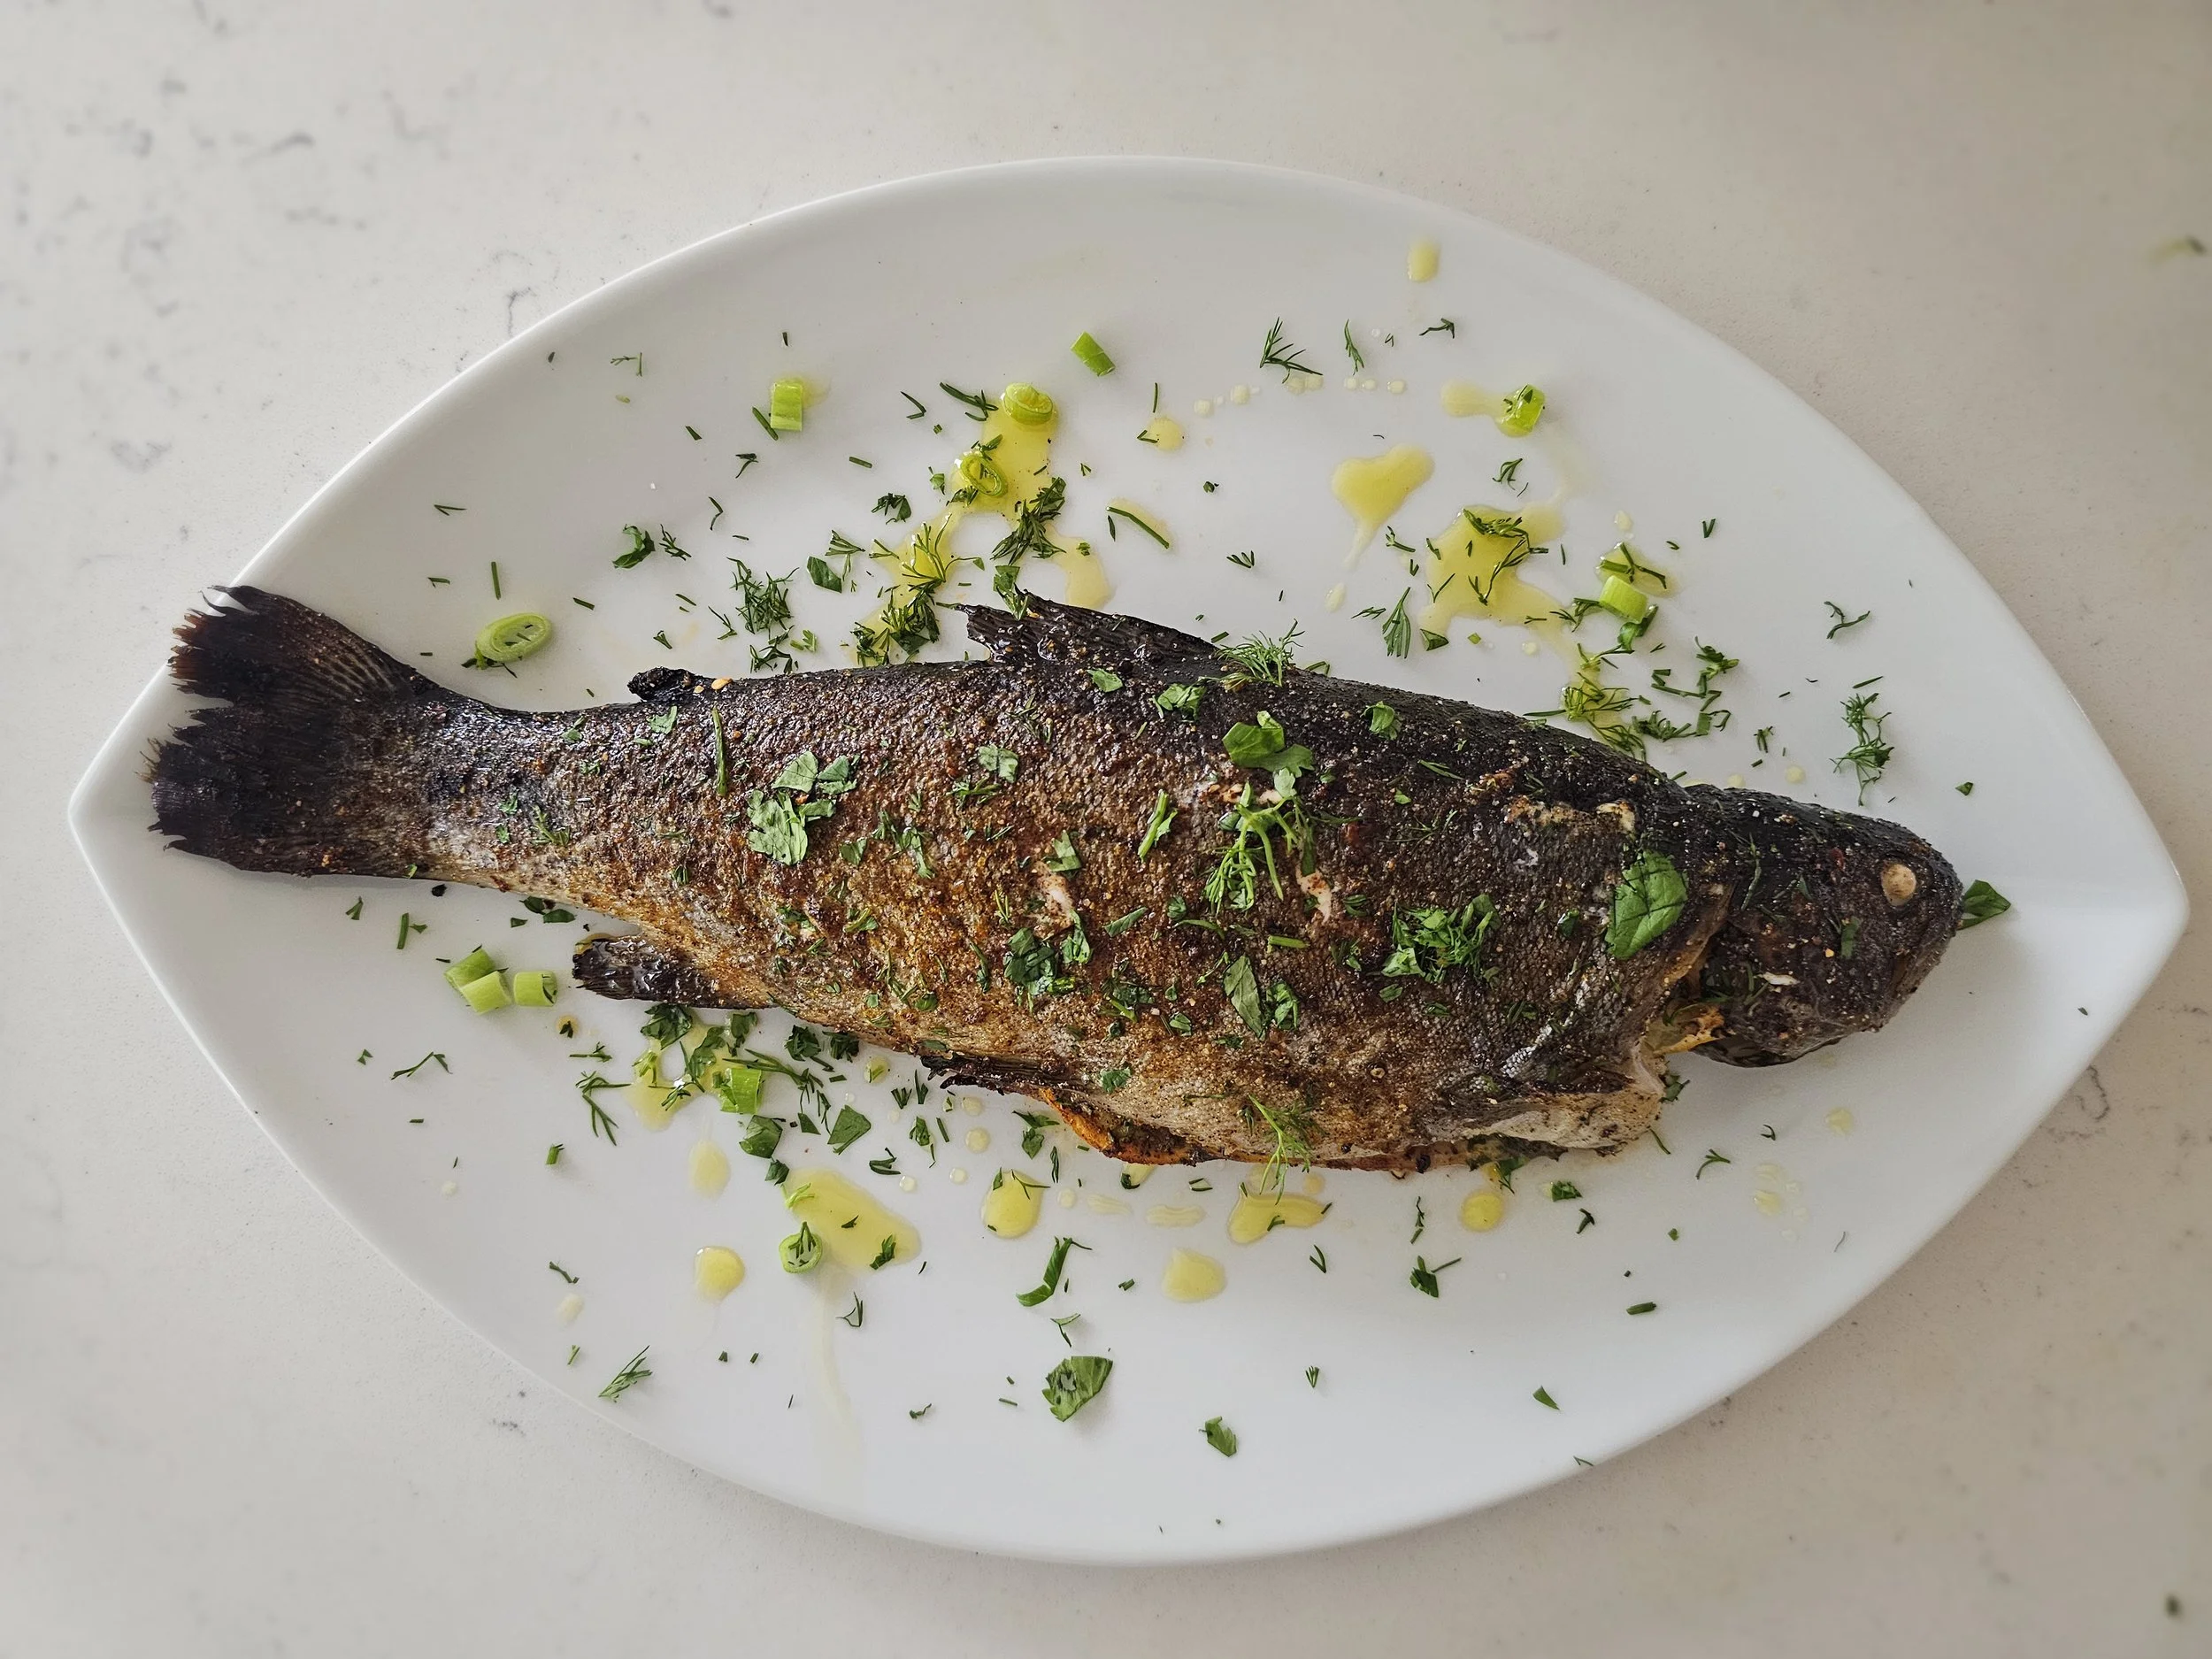
Oven-Baked Whole Trout with Herbs and Lemon
I’ve always had a particular love for cooking whole fish. There is something deeply satisfying about preparing it this way, honoring its structure, texture, and natural flavor rather than disguising it. That appreciation began long before the kitchen, through a love of fishing and the quiet patience it requires. Catching fish yourself changes the way you approach it on the plate.
This trout recipe reflects that mindset. It keeps the preparation simple while layering in thoughtful flavor. Fresh dill and parsley add brightness, while berbere, the warm and aromatic East African spice blend, brings depth and gentle heat. With its combination of chilies, garlic, and warming spices, berbere complements fish beautifully by enhancing its richness without overwhelming its delicate flesh. A squeeze of lemon at the end lifts and balances everything.
The method is straightforward. Roast the trout gently, then finish it under the broiler on parchment for a few minutes to crisp the skin while keeping the inside tender and juicy. The result is bold yet balanced, simple yet intentional, and a reminder that whole fish needs very little to feel special.
Tips for Perfect Trout:
Freshness is key: Choose trout with bright eyes, firm flesh, and a mild aroma. Fresh fish makes all the difference.
Pat dry thoroughly: Moisture is the enemy of crisp skin. Make sure the trout is well dried before applying your seasoning paste.
Herb and spice paste: Don’t skimp—it infuses flavor into every part of the fish. Rub generously inside the cavity and on the outside.
Watch the broil: Broiling is quick! Keep a close eye to avoid burning while achieving that golden, crispy skin.
Serving Suggestions:
Pair with lightly roasted vegetables like sweet potatoes, bell peppers, or zucchini to complement the spices.
A fresh, tangy salad with avocado, cucumber, and a citrus dressing balances the richness of the trout.
Just before serving, drizzle with a little extra olive oil and a squeeze of lemon for a burst of brightness.
Variations and Fusion Ideas:
Swap trout for other firm, white-fleshed fish like tilapia or bass if needed.
Add chopped chili or smoked paprika for a smoky, spicy kick.
Try a light yogurt drizzle on the side to introduce a creamy element that balances the spices.
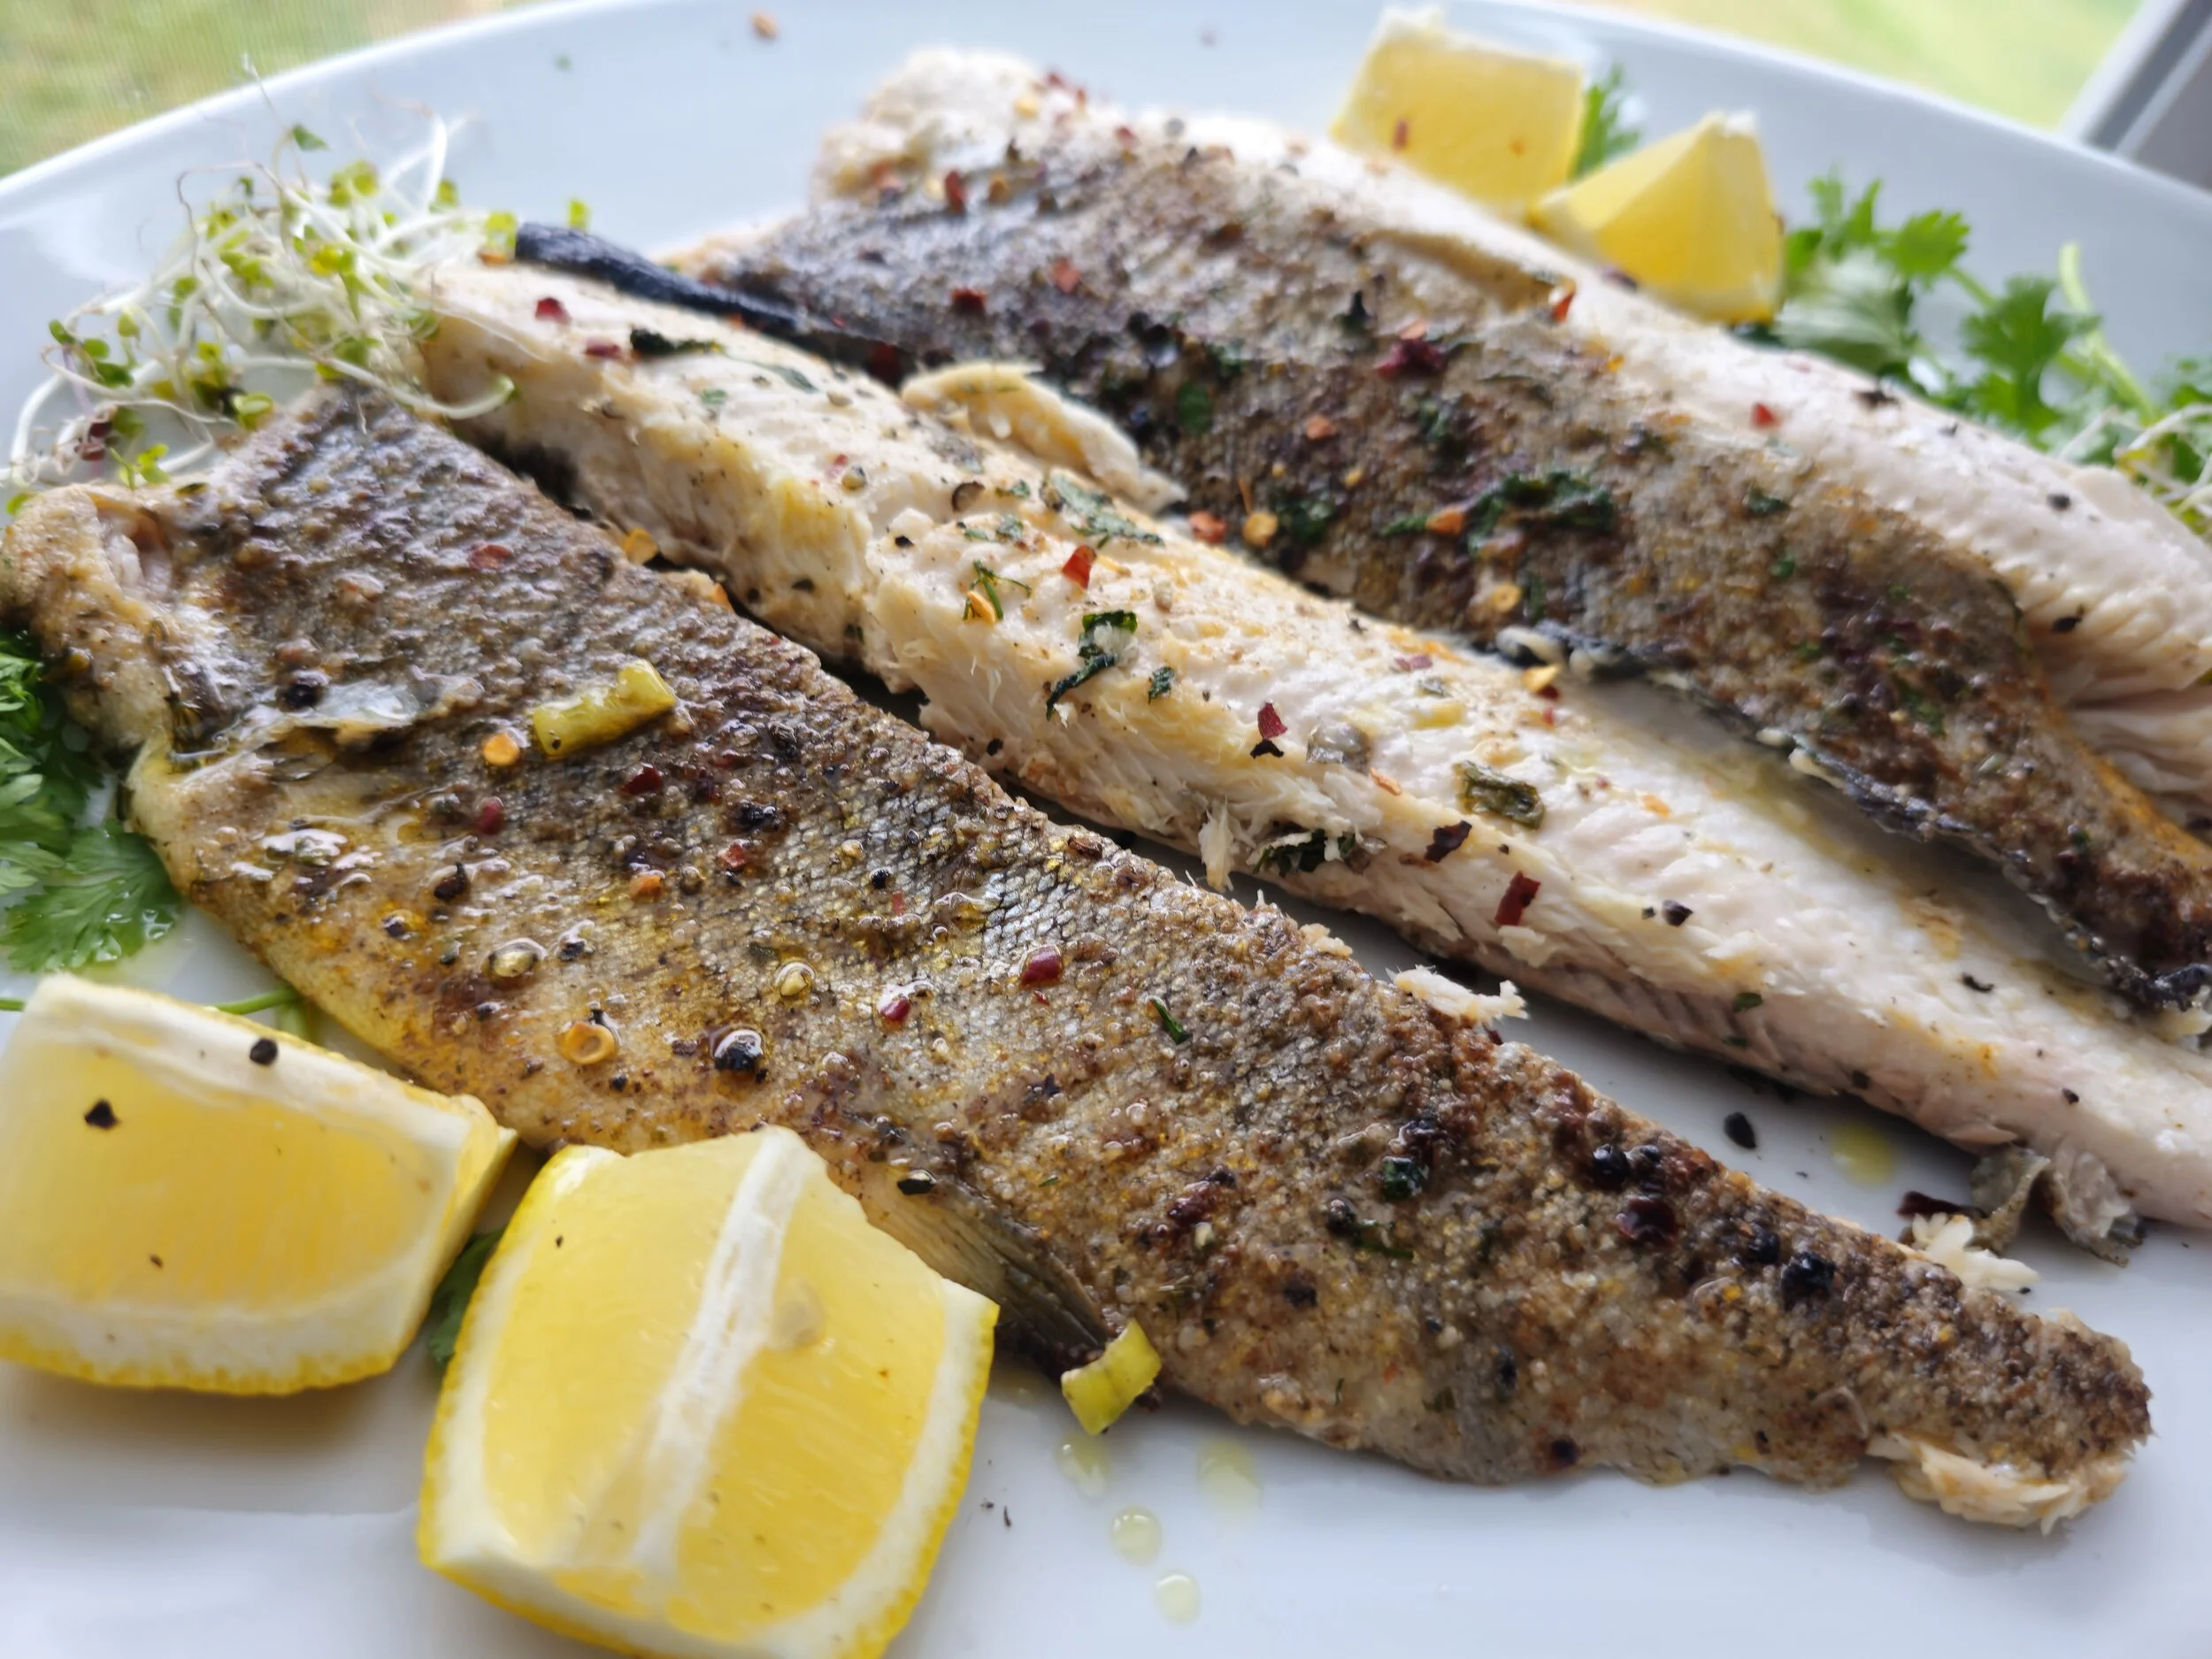
This broiled trout is more than a meal, it’s a celebration of fresh ingredients, bold African flavors, and the simple joy of cooking whole fish. (As shown in the video, you can also fillet the fish before serving for a boneless option your family or guests will appreciate.)
Whether it’s a weeknight dinner or a special occasion, this dish shines in both flavor and presentation. By layering herbs and spices and finishing with a quick broil for that irresistible skin, you’ll create something that’s not only visually stunning but deeply satisfying.

Oven-Baked Whole Trout with Herbs and Lemon
A simple, flavorful oven-baked whole trout recipe with herbs, lemon, and a crisp finish, perfect for weeknight dinners or special occasions.
Ingredients
- 1 whole large trout
- 2 lemons
- 1/3 cup spring onions, chopped
- 1/3 cup fresh dill, chopped
- 1/3 cup fresh parsley, chopped
- 2 garlic cloves, minced
- 2 tablespoons berbere spice
- 2 tablespoons spice for fish
- 1 tablespoon butter
- Salt and black pepper to taste
- Chili flakes (optional)
- Olive oil
Instructions
- Preheat your oven to 200°C (400°F).
- Clean and pat the trout dry. Make a few diagonal slashes on each side.
- In a small bowl, mix spring onions, dill, parsley, garlic, berbere spice, fish spice, salt, black pepper, and a drizzle of olive oil to form a paste.
- Rub the paste all over the trout, including inside the cavity. Slice one lemon and place the slices inside the fish cavity with a small knob of butter.
- Place the trout on parchment-lined baking sheet and cook in the oven until almost done, about 15–20 minutes depending on size.
- Switch the oven to broil and broil the trout for 5 minutes at the end to crisp the skin. Watch closely so it doesn’t burn.
- Serve hot with extra lemon wedges on the side and enjoy the fusion of African flavors with tender, juicy trout and perfectly crisp skin.
I am not a certified nutritionist and any nutritional information on dontmissmyplate.com should only be used as a general guideline.

Baked Snapper with a Quick African Pepper Sauce
At least in its authentic glory, African pepper sauce is commonly served as a condiment, dip or cooking sauce to pair with grilled meats and vegetables or used in stews, giving your dish a perfect balance of heat and depth of flavour. It's most popular in West Africa, but you see other versions of this with other peppers taking centre stage across the Continent. The combination of peppers, herbs, and spices can enhance or top off almost any dish, and it is extremely versatile. I pick this over conventional hot sauce any day because it uses fresh vegetables, and you can make batches to freeze for future use.
This version provides a quick, easy and convenient way to add flavour to your fish. I used red snapper in this recipe, but you can also use halibut, sea bass, bream, tilapia, or any fish with a mild taste that will absorb all the flavours. For the pepper sauce, instead of cooking down and frying the blended vegetables on the stovetop as is typically done, I roasted the vegetables to bring the flavours out before blending them, then used the pepper mix to coat the fish while it baked.
One great thing about this sauce is that you can tailor it to your tastes and tolerance by adding more or fewer tomatoes and peppers. You can also remove the seeds from the hot peppers to take the heat down a notch. I prefer habanero peppers in terms of the heat and flavour, but you can use a range of peppers, from jalapenos to scotch bonnet. In any case, I recommend using the freshest ingredients possible. In addition, especially since peppers are part of the Dirty Dozen, try using organic peppers if you can afford them.

Baked Red Snapper with Quick African Pepper Sauce

Ingredients
- 1 large red snapper
- 1 tablespoon garlic powder
- 2-3 garlic cloves
- 2 lemon slices (optional)
- 1 sprig fresh thyme
- 1 sprig fresh parsley
- 2 teaspoons salt
- 2 teaspoons black pepper
- 2 teaspoon Royco Usavi Mix (optional)
- 2 teaspoons oregano
- 2 teaspoons basil
- 1/2 cup olive oil, and extra for roasting the peppers
- 1 teaspoon salt
- 1/2 teaspoon black pepper
- 1 chicken bouillon cube
- 1/4 cup parsley, stems removed
- 5 large basil leaves
- 1/3 large yellow onion
- 3-4 mini sweet peppers
- 2 small habanero peppers
- 1 1/2 - 2 Roma tomatoes
- 1 inch piece fresh ginger
- Salt and pepper to taste
Instructions
- Place your peppers, onion, tomato, and garlic on a baking sheet with parchment paper—season with salt and pepper to taste.
- Roast the vegetables for 25 minutes at 400F or until roasted to your desired doneness.
- Remove from the oven and allow to cool for 15 minutes, then transfer to a food processor or blender. Add the ginger, parsley, basil, bouillon cube, salt, and pepper. Blend until combined, and a paste forms. Add the olive oil during this process to help smoothen the mixture.
- Set aside while you prepare the fish.
- Make sure your fish is clean, and then pat it dry with paper towels. Add the salt, pepper, garlic, herbs, and optional Royco/all-purpose seasoning.
- Stuff the inside of the fish with the thyme, parsley, lemon and garlic.
- Place the fish inside some foil and place it on a baking tray. Spoon the pepper sauce over both sides of the fish, ensuring it is fully coated.
- Place the fish in the oven and bake at 350F for 30 minutes. After 15-20 minutes, remove the fish, open the foil (without burning yourself with the hot air) and baste the sauce over the fish.
- Leave the foil open and allow the cause to continue cooking. This will help thicken and caramelize the sauce, developing the flavours further.
- Remove from the oven and spoon some sauce into the serving dish, placing the fish on top and adding the rest of the sauce on top. Garnish with fresh parsley and serve!
Notes
- To avoid overcooking the fish, check the internal temperature after 15-20 minutes and use that to determine how much more time you need.
- If you want a thicker sauce, you can place it on the stovetop before covering the fish with it and baking.
- If you get fresh fish from the market, ensure it is cleaned and descaled.
Nutrition Facts
Calories
237Fat (grams)
13.3 gSat. Fat (grams)
1.9 gCarbs (grams)
24.9 gFiber (grams)
6 gProtein (grams)
10.9 gI am not a certified nutritionist and any nutritional information on dontmissmyplate.com should only be used as a general guideline.

Sadza Nenyama (Beef and Kale Stew)
Sadza nenyama is not just a recipe, it is the default setting of the Zimbabwean table. Sadza, a thick cornmeal porridge cooked to a firm, smooth consistency, is the foundation of almost every traditional meal. Nenyama means "with meat," and together they form the most recognisable plate in Zimbabwean cooking: a dense, satisfying starch paired with a slow-cooked, tomato-based beef stew that fills the kitchen with the kind of smell that means someone is home.
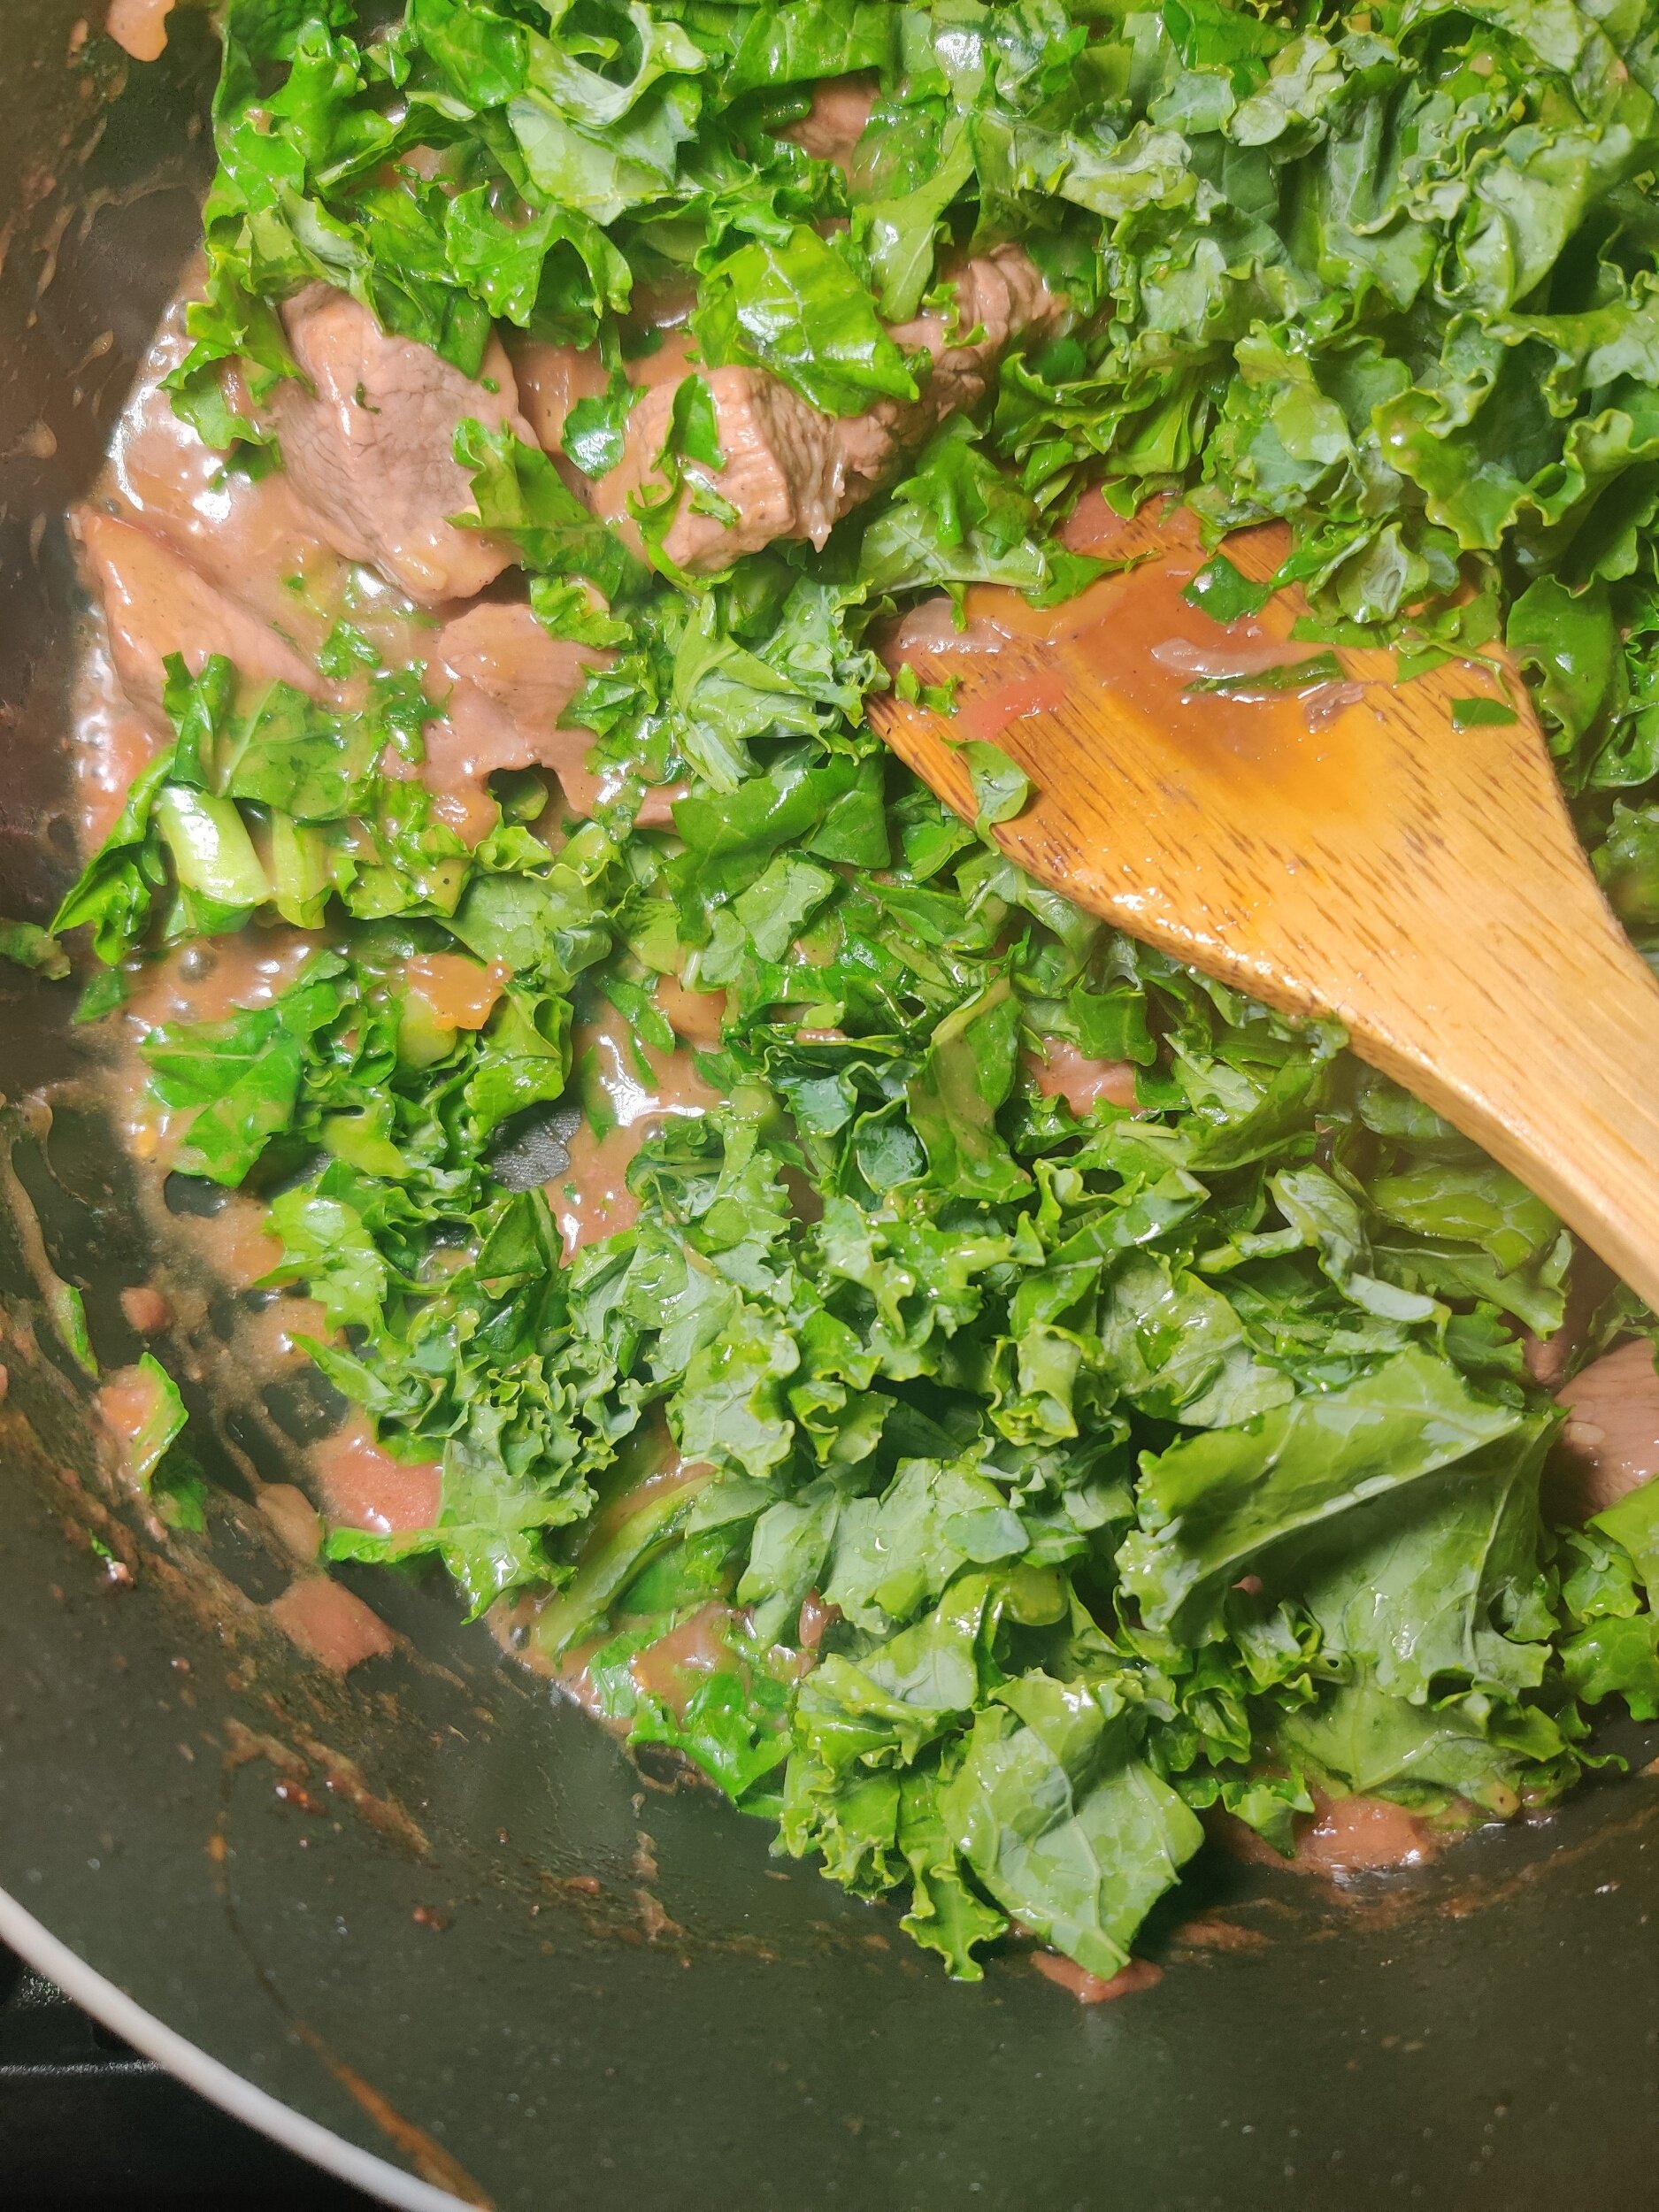
This version uses beef chuck simmered low and slow until the meat breaks down into the broth, building a rich, deeply savoury sauce that sadza was made to absorb. Kale stands in here for the traditional muriwo, leafy greens cooked simply alongside or into the stew, adding colour, texture, and nutrition without complicating the dish.
Royco Usavi Mix, the all-purpose seasoning found in virtually every Zimbabwean household, does a lot of the flavour work here. If you are outside Zimbabwe and cannot find it, the substitute in the recipe gets you close.
Sadza takes practice. The texture should be firm enough to scoop and mould with your hand, not loose like porridge. The instructions below will get you there.
For more traditional Southern African-inspired dishes, check out:


")
Sadza Nenyama (Beef and Kale Stew)
Traditional Zimbabwean Sadza with Beef and Kale Stew. Tender beef simmered in tomato and spices, served with hearty cornmeal porridge. Step-by-step instructions included with prep, cook time, and nutrition info.
Ingredients
- 1 lb beef chuck (or other stew cut)
- 1/2 large bunch kale, chopped
- 1 tbsp butter
- 2 tbsp vegetable oil
- 1 tsp salt
- 1 tbsp black pepper
- 3 tbsp Royco Usavi Mix (optional — or substitute 1 tsp cumin, 1 tsp coriander, 1/2 tsp turmeric, 1/4 tsp paprika, 1/4 tsp cornstarch, 1/2 tsp fenugreek powder)
- 1 yellow onion, diced
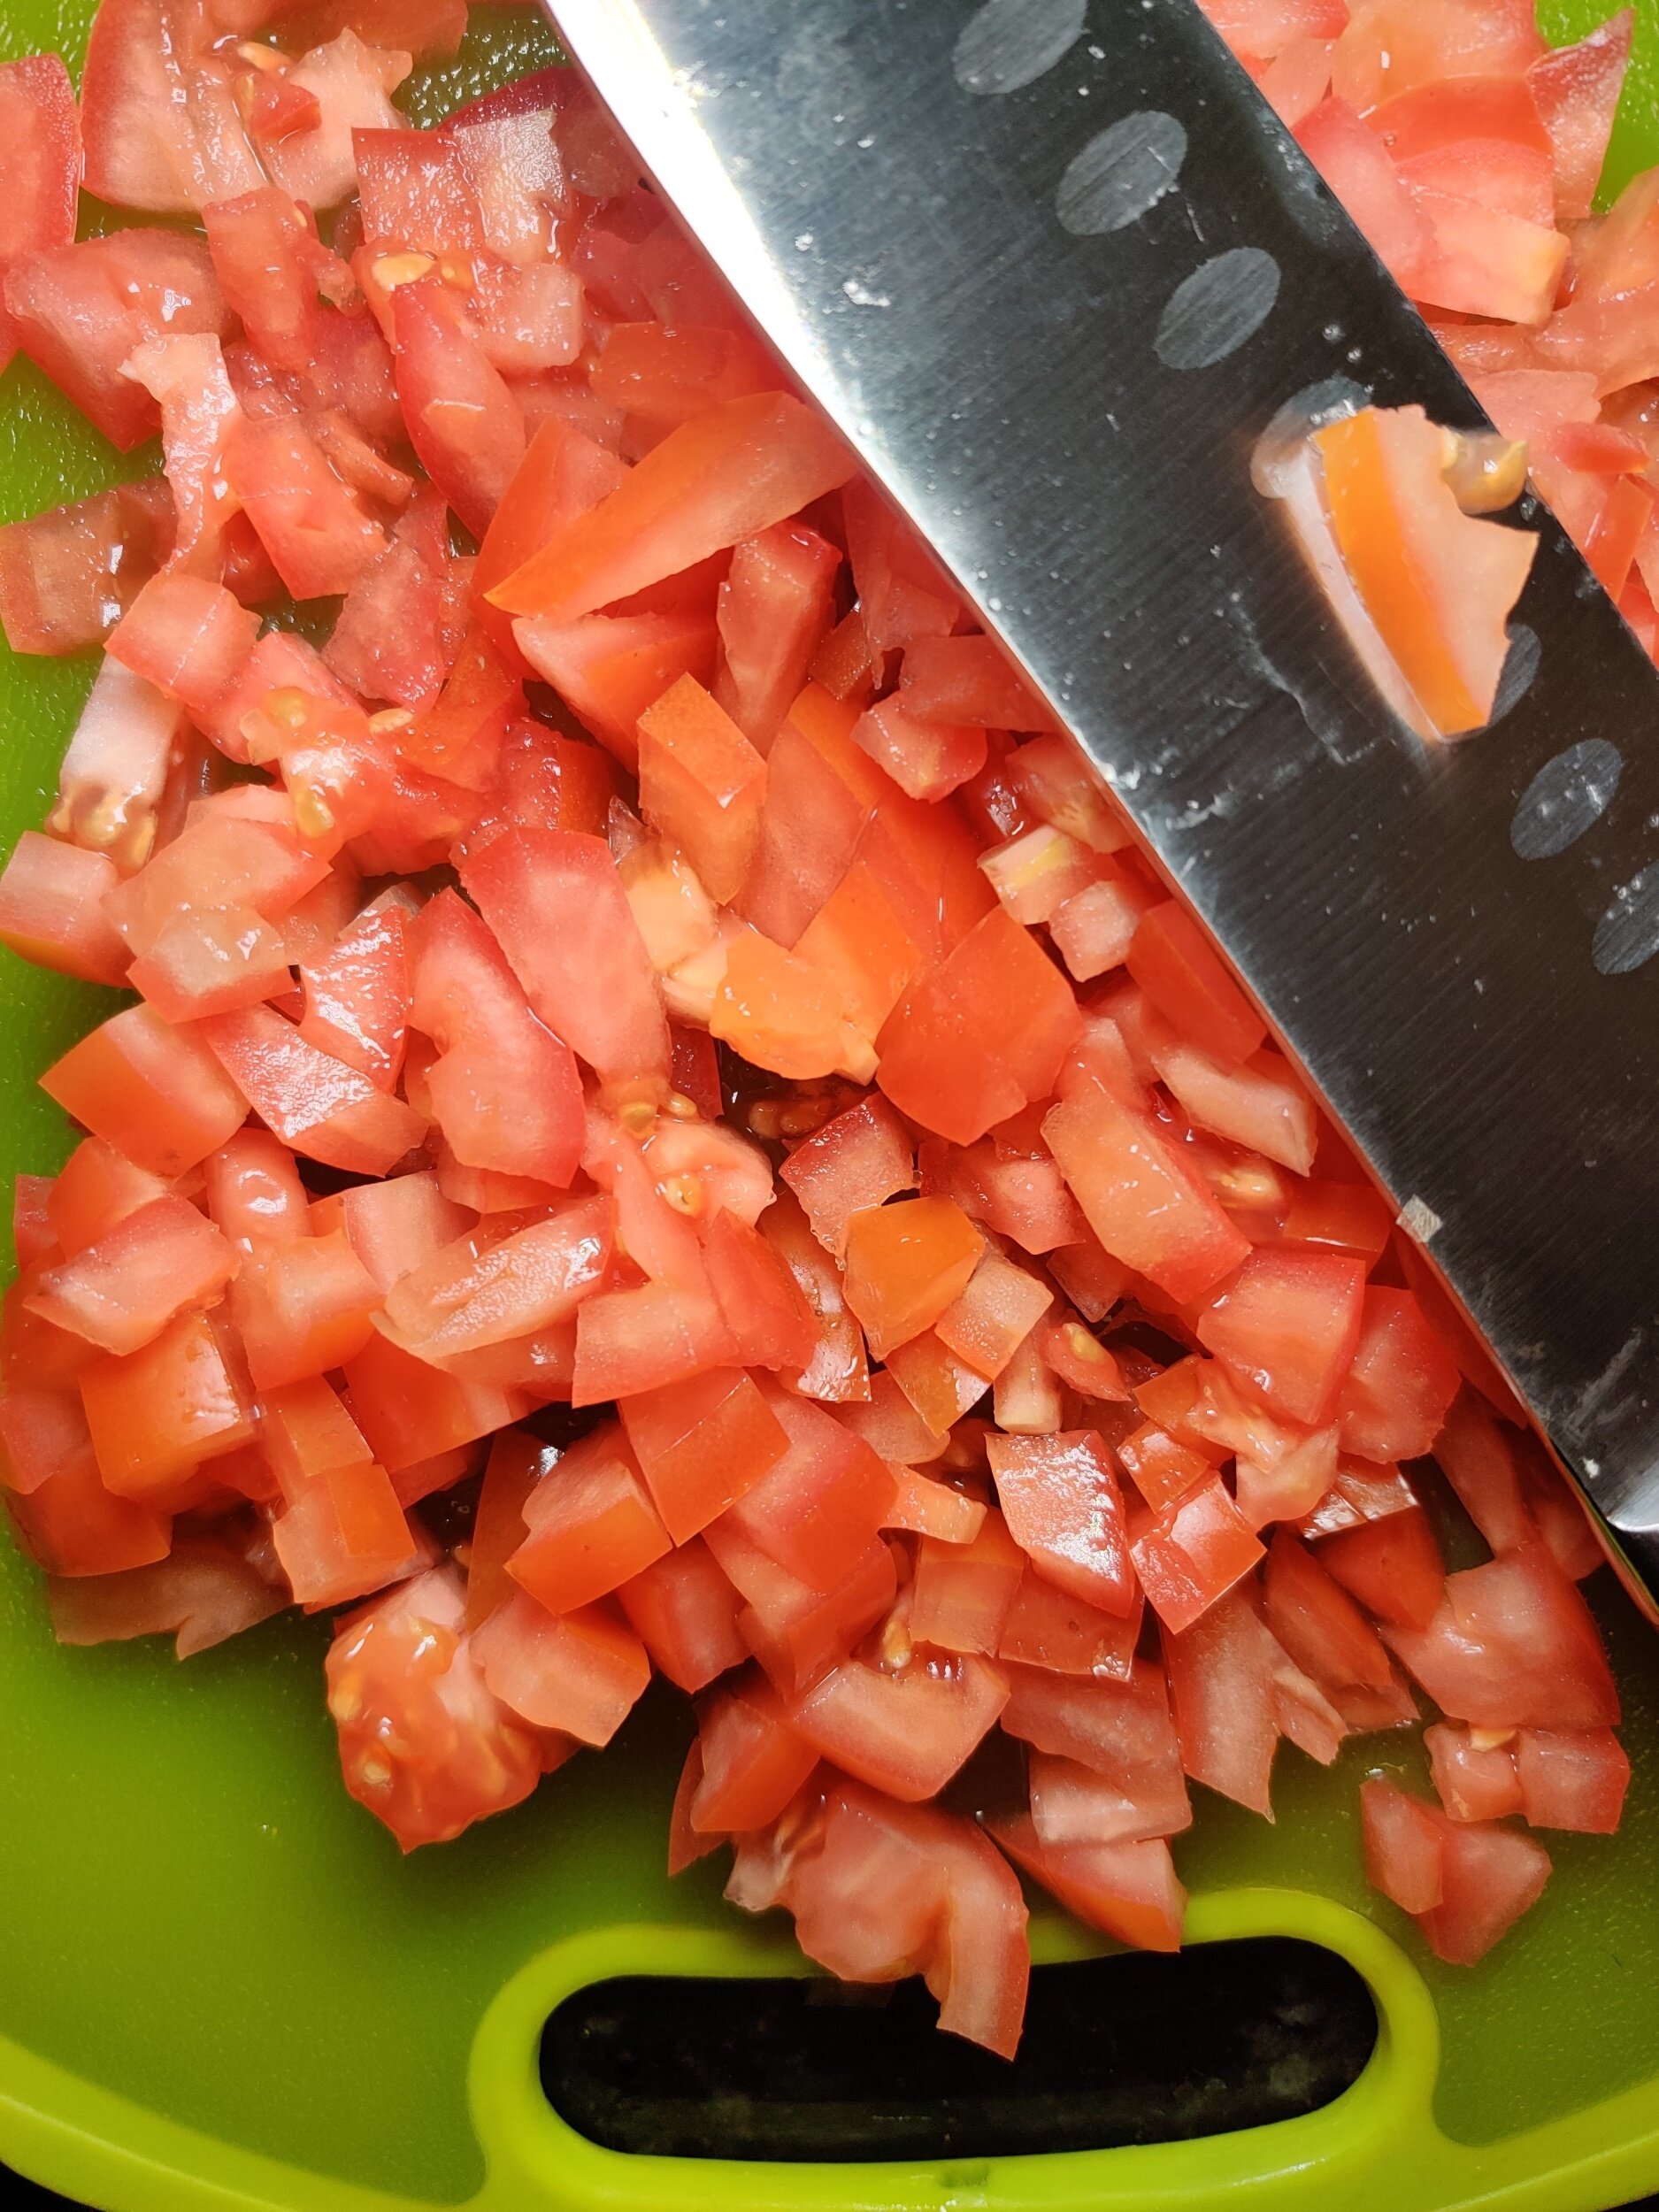
- 3–4 Roma tomatoes, diced
- 1 tbsp garlic, minced
- 1 tbsp chili flakes
- 3 beef or vegetable bouillon cubes
- 3 cups water
- 1 1/2 – 2 cups cornmeal (yellow or white)
- 1 tsp salt
- 3 cups boiling water
- 3/4 cup cold water
- 1 tsp garlic powder
Instructions
- Heat butter and oil in a large pot. Sauté onion and garlic 3–4 minutes until fragrant.
- Add salt, pepper, and spice blend; cook another 2–3 minutes.
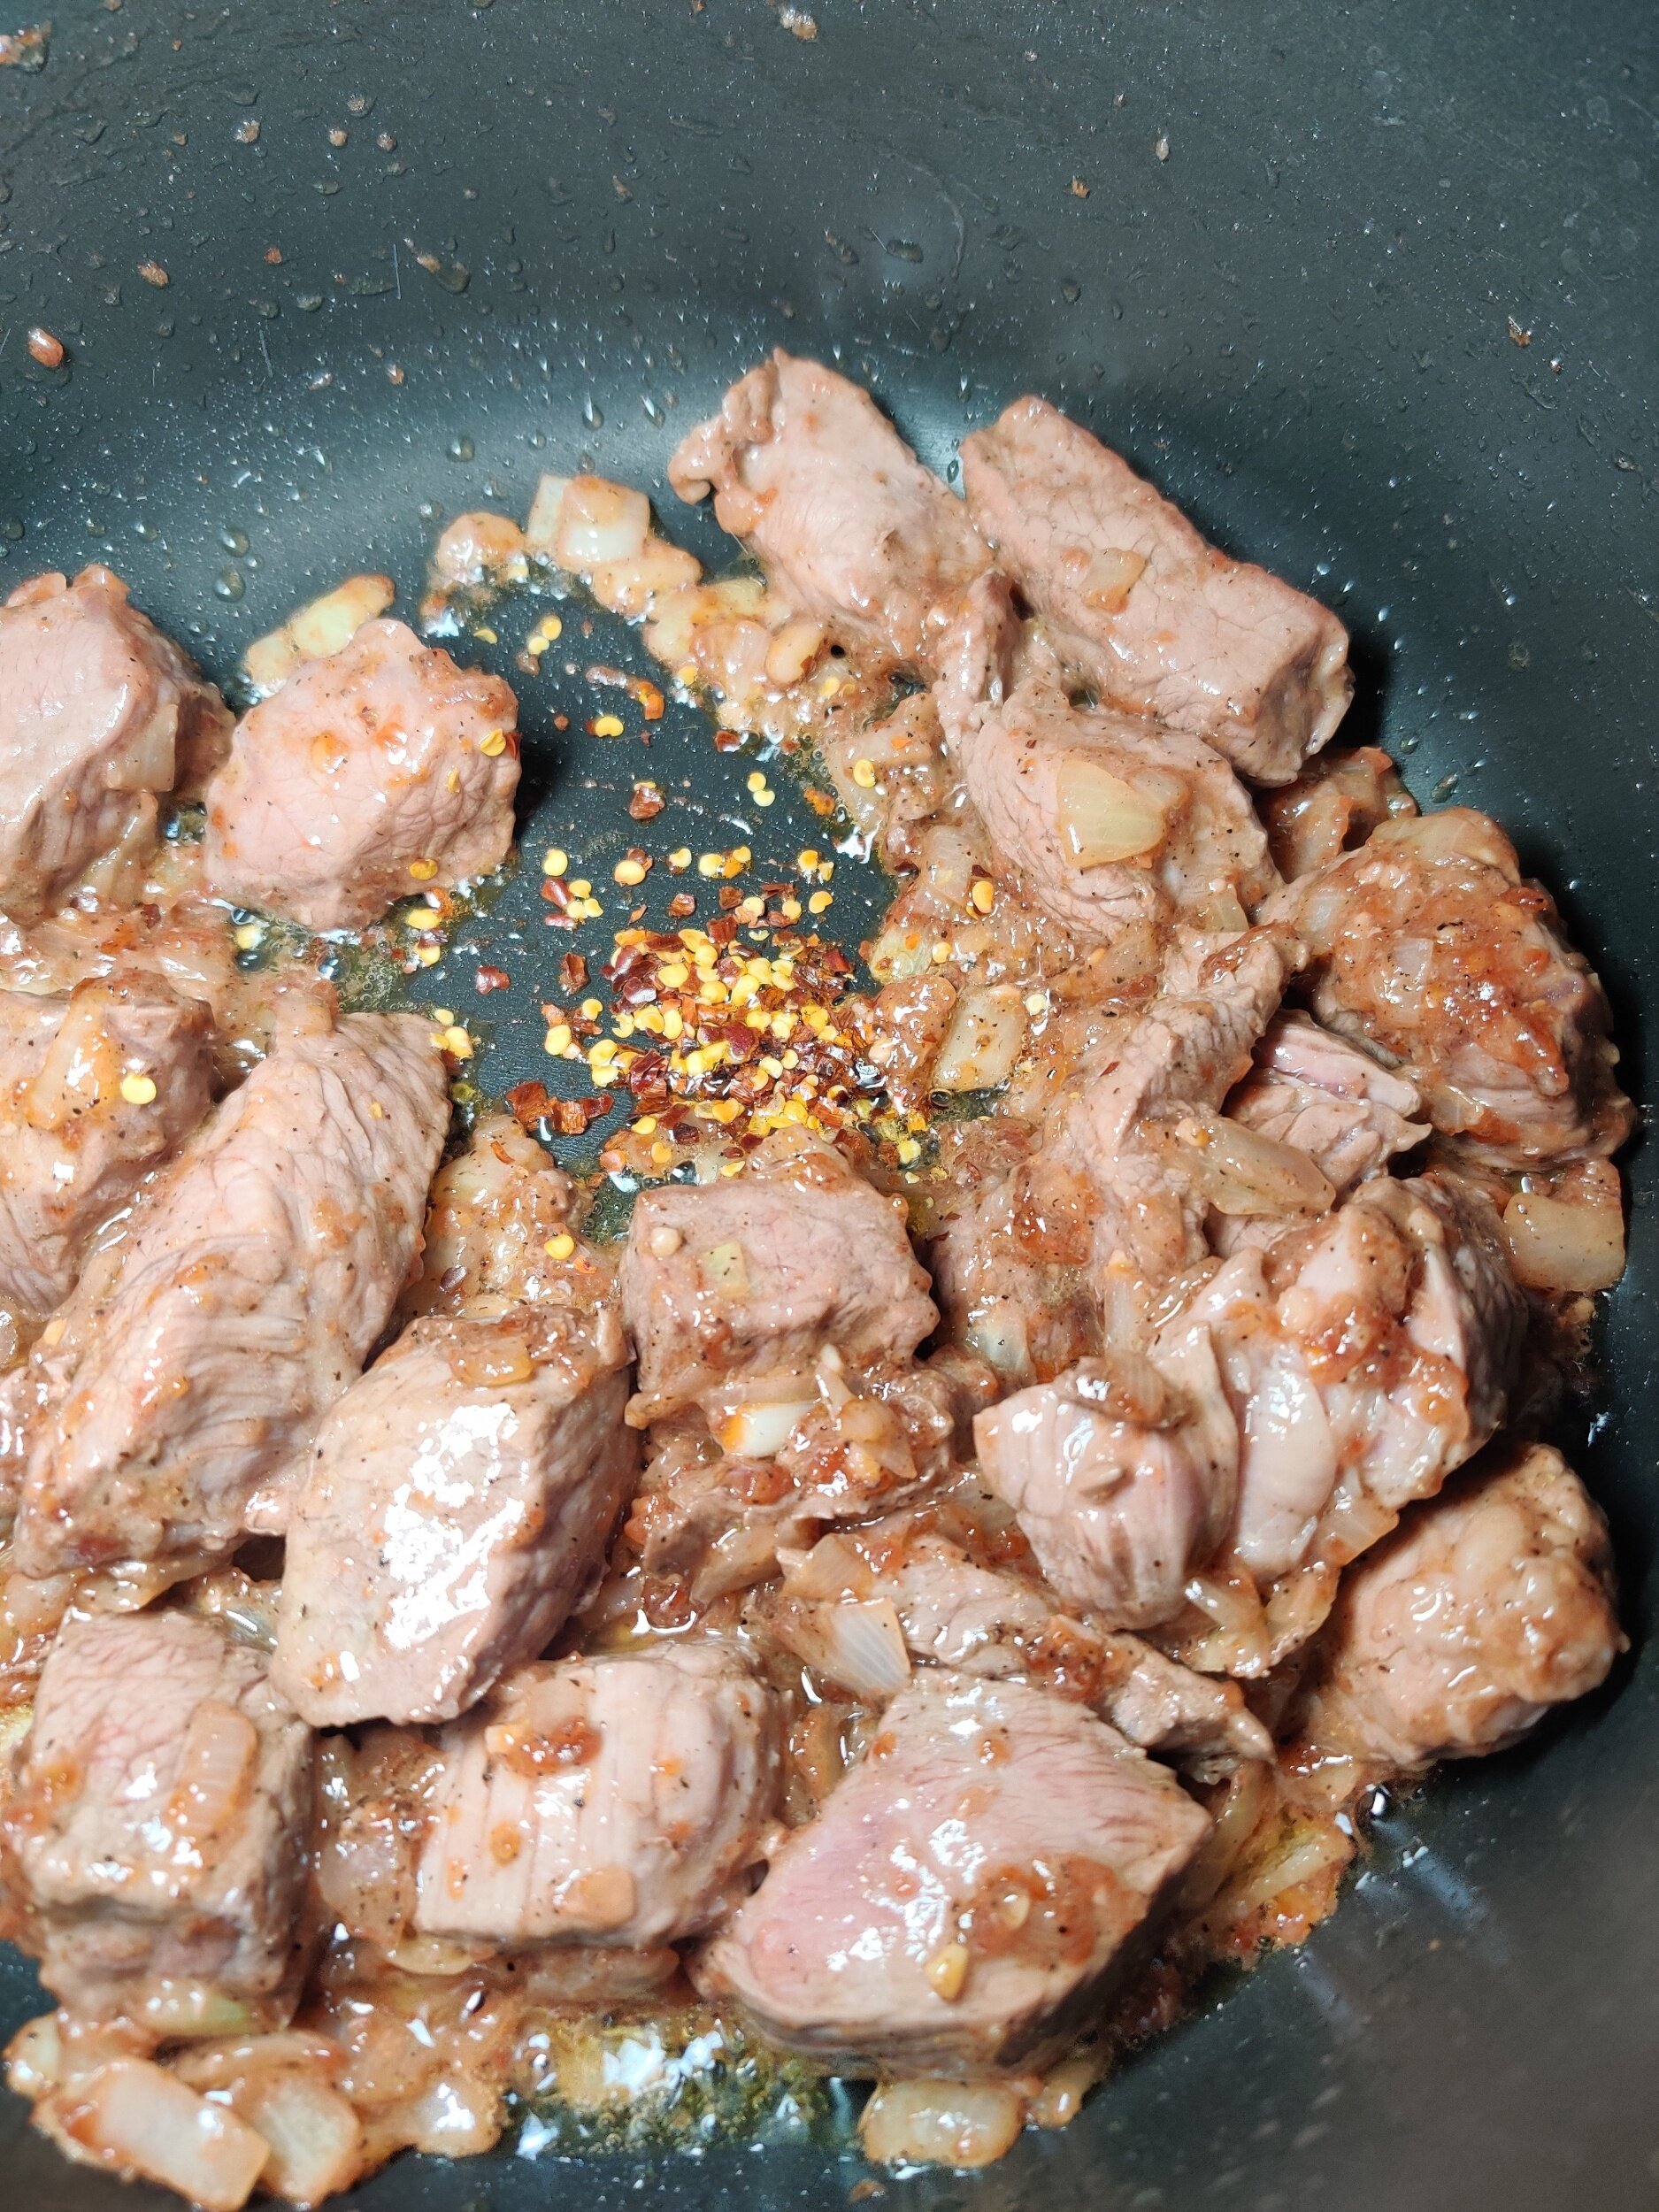
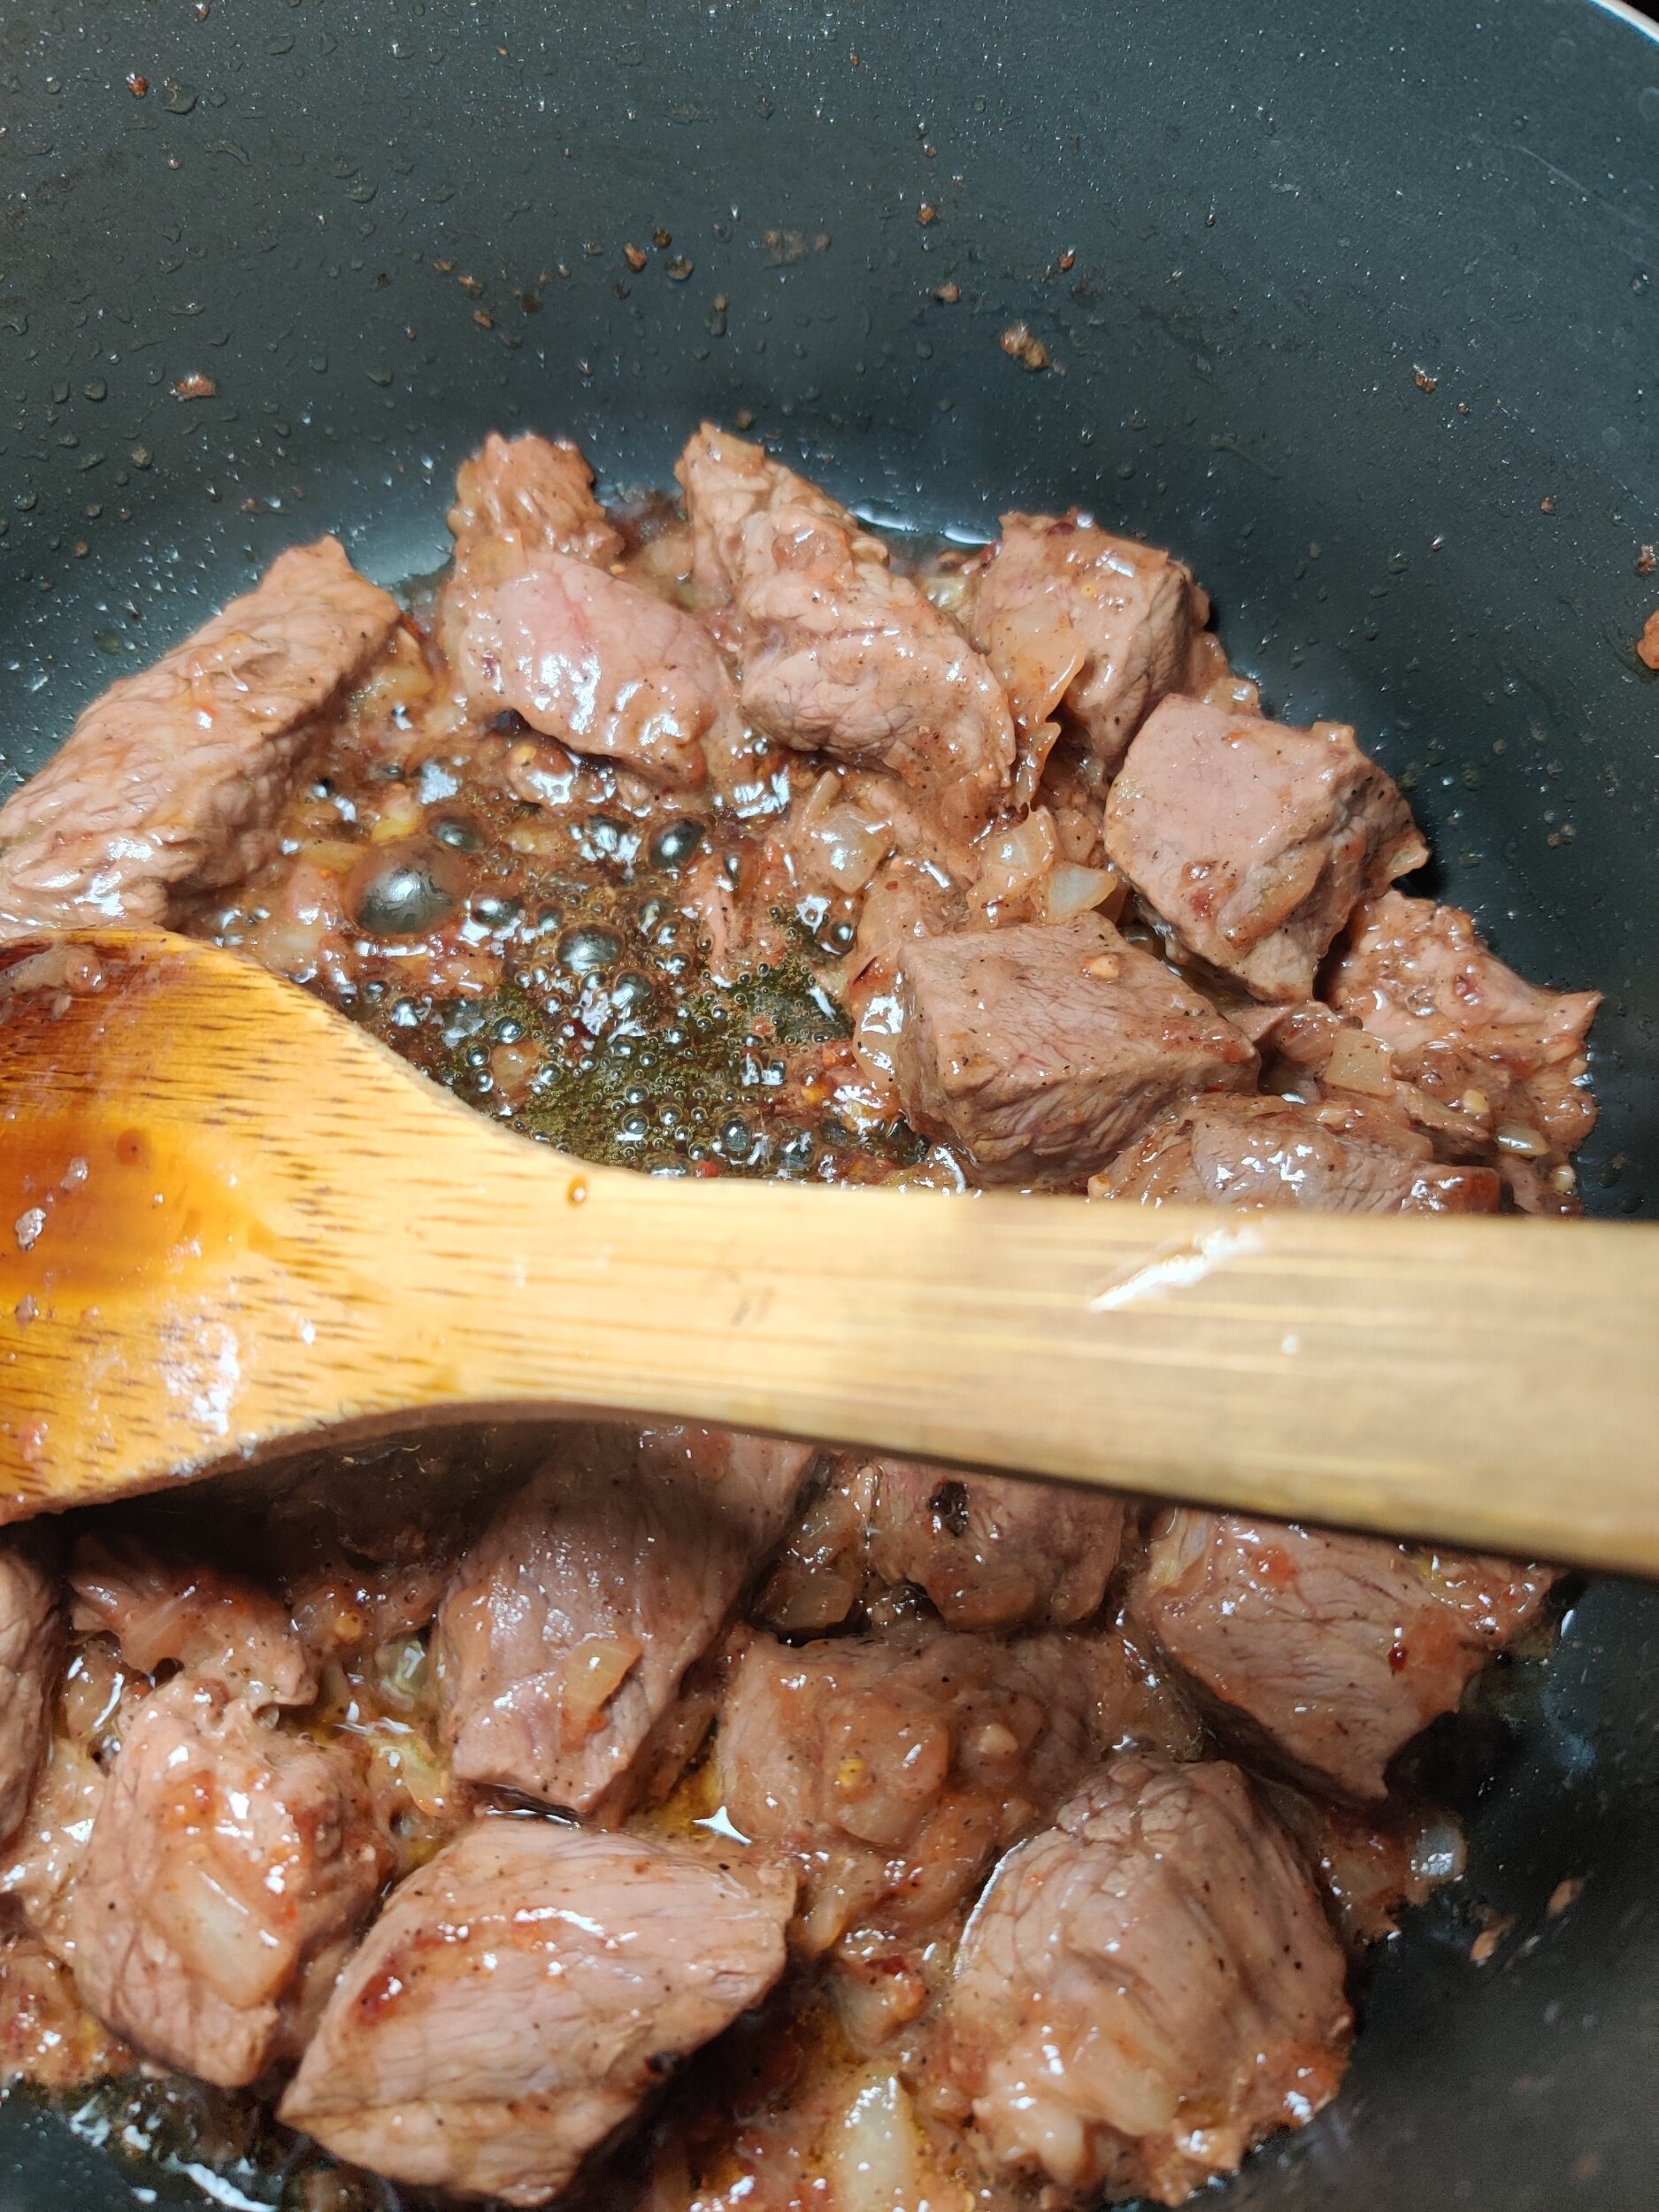
- Brown the beef with chili flakes for 5–7 minutes.
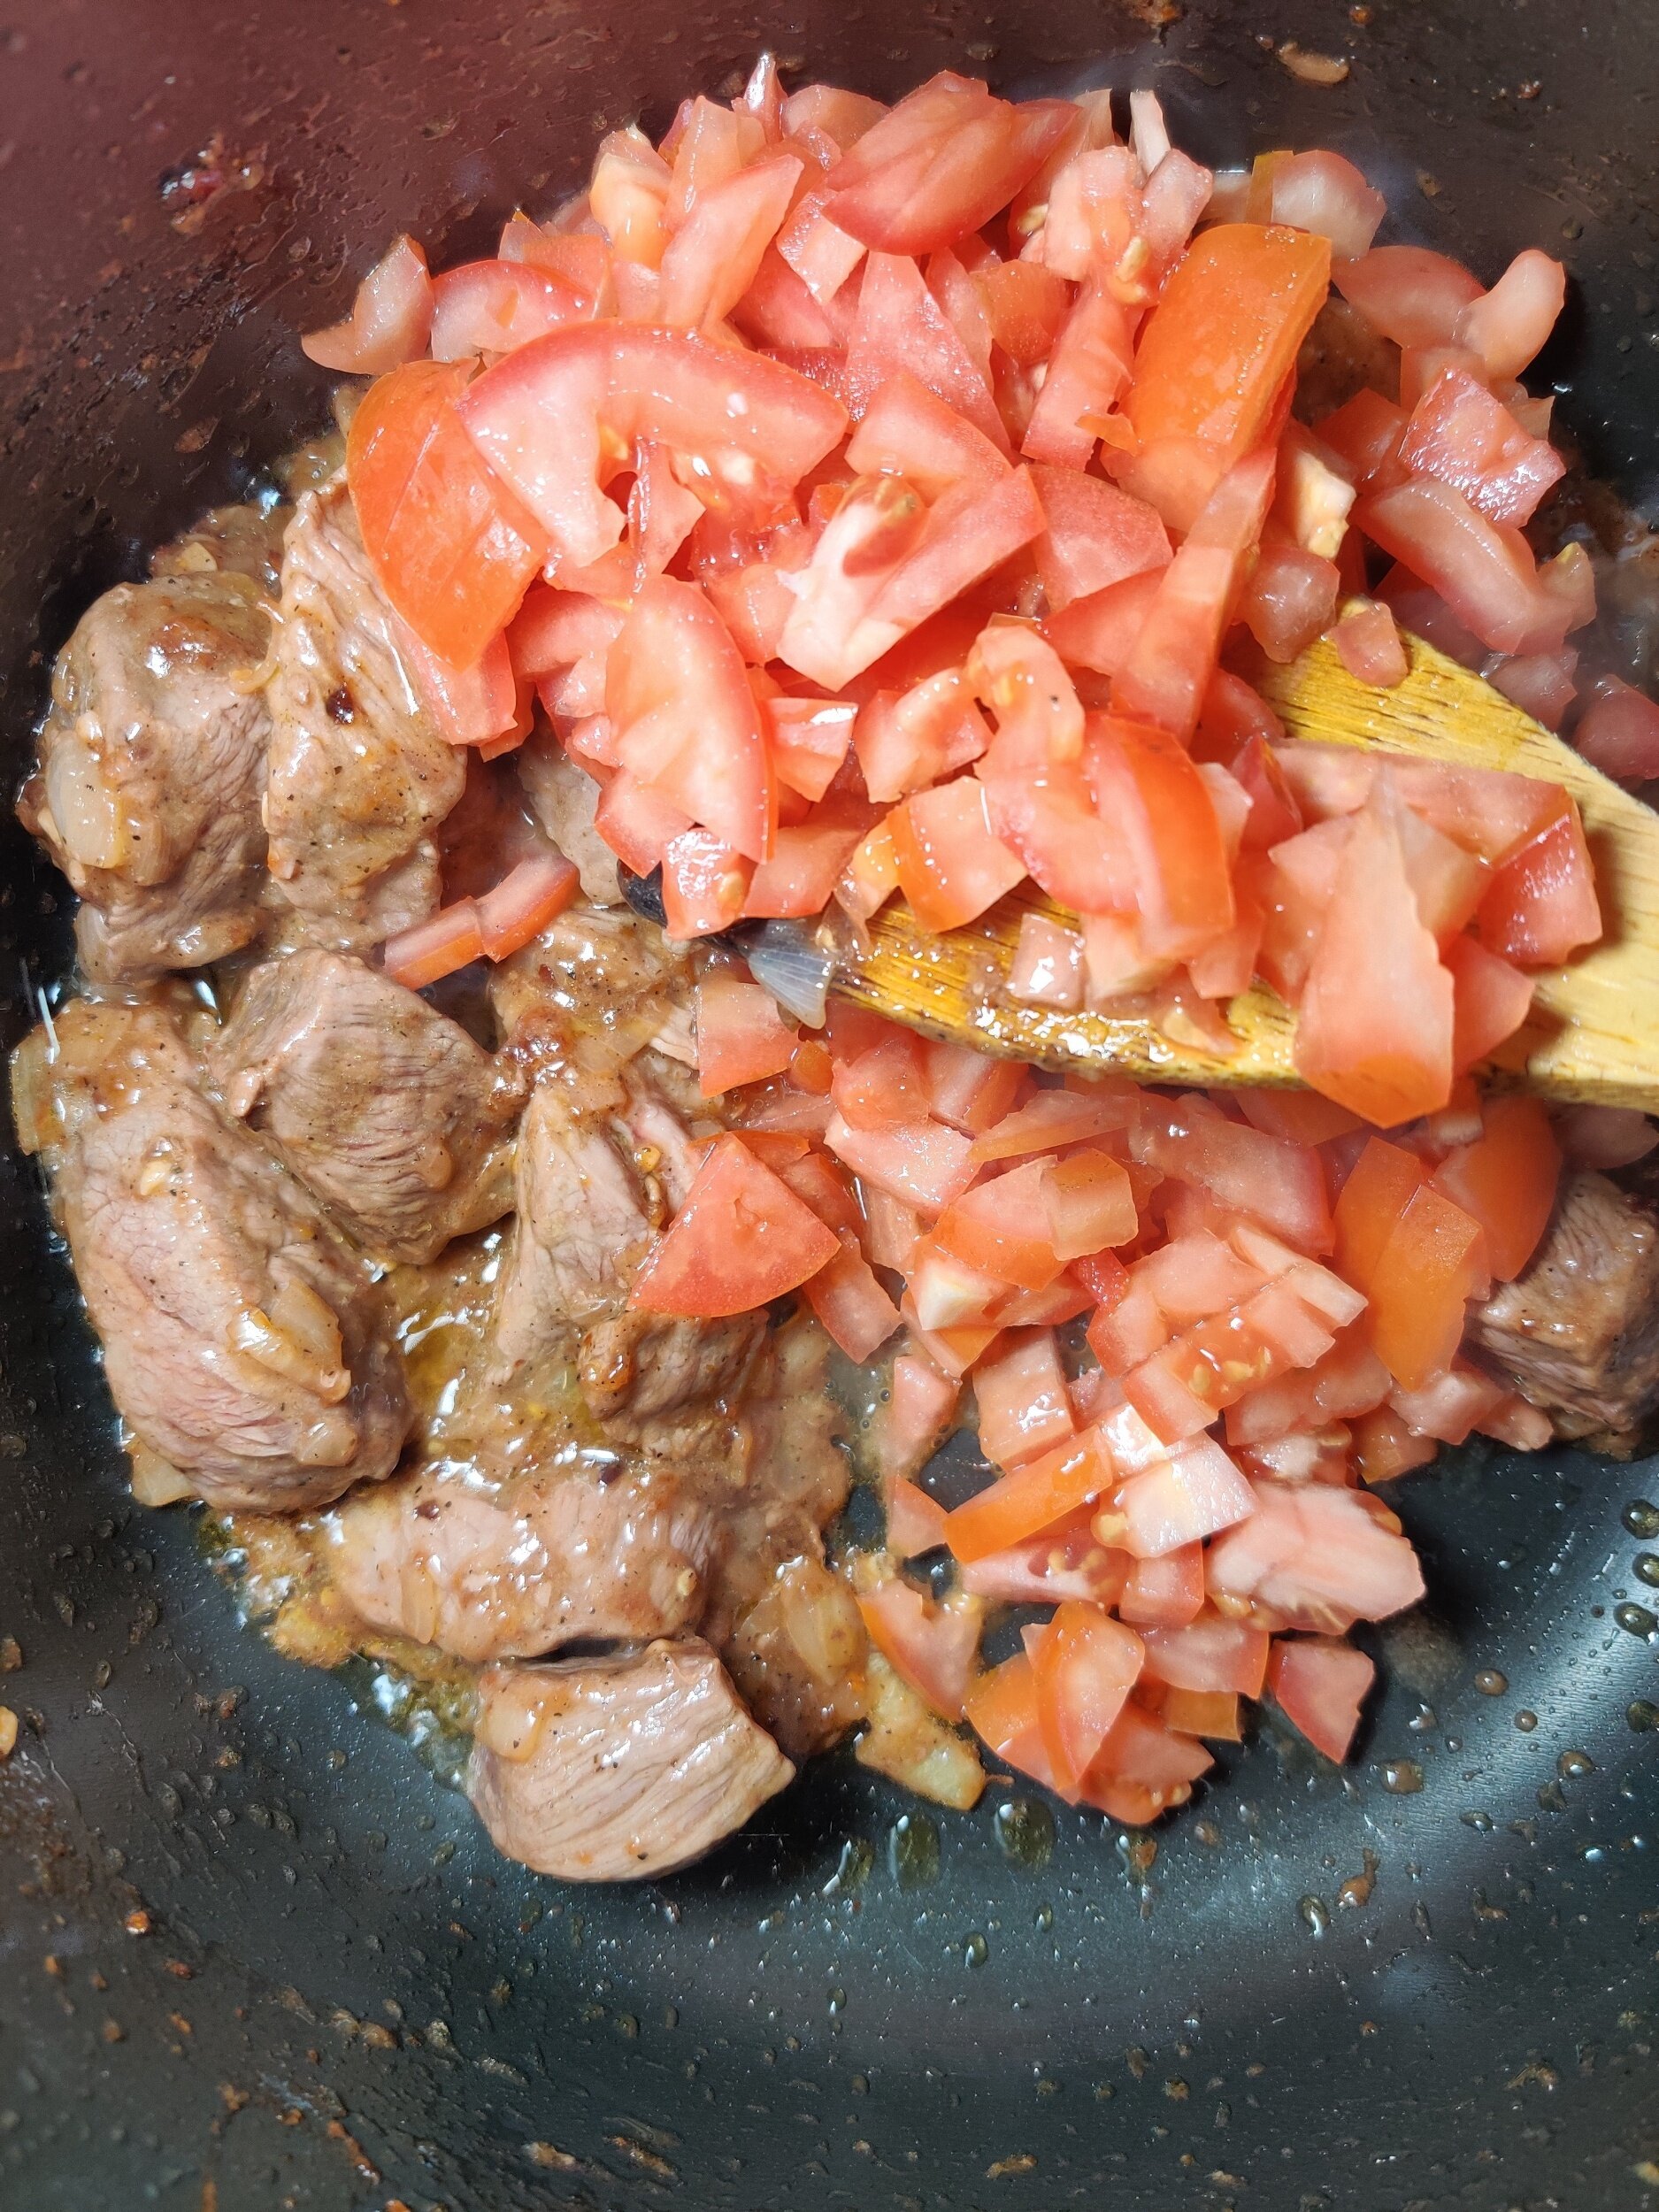
- Add tomatoes and bouillon cubes; stir to combine.
- Add chopped kale and water (or broth). Cover and simmer for 30 minutes, stirring occasionally, until beef is tender.
- Mix 1/2 cup cornmeal with cold water to make a smooth paste.
- Gradually stir in boiling water over medium heat. Cook 4–5 minutes until bubbling.
- Slowly add remaining cornmeal, folding to form a soft dough. Reduce heat to low and cook 15–20 minutes, stirring occasionally.
- Shape with a wooden spoon and serve hot alongside the stew.
Notes
- Vegetarian option: Replace beef with butternut or pumpkin cubes for a meat-free version.
- Extra flavor: Use bone-in beef for a richer, more aromatic broth.
- Serving: Sadza is best eaten hot; leftovers can be refrigerated 3–4 days or frozen.
- Pairings: Works beautifully with traditional Southern African sides or simple salads.
- Meat Choice: For quicker cooking, use boneless stew beef or sirloin cubes — they’ll be tender in 30–40 minutes. Bone-in cuts give a richer, more flavorful broth but take longer.
Nutrition Facts
Calories
500Fat (grams)
22 gCarbs (grams)
45 gFiber (grams)
6 gSugar (grams)
5 gProtein (grams)
28 gI am not a certified nutritionist and any nutritional information on dontmissmyplate.com should only be used as a general guideline.


Mushroom, Broccoli and Cauliflower Stirfry
Mushrooms are a fantastic addition to any meal. They are rich in umami, full of flavor, and perfect for plant-based eaters or anyone looking for a veggie-forward dish. Shiitake mushrooms, in particular, have a meaty texture and deep, savory taste that makes them a satisfying stand-in for meat in stir-fries or other dishes.
Stir-fries are one of my favorite weeknight go-tos because they’re quick, versatile, and packed with color, texture, and nutrients. You can swap in whatever vegetables you have on hand, experiment with different spices or sauces, and easily adjust portions for one or a crowd. The high heat and short cooking time help the veggies stay tender-crisp while locking in flavor and nutrients — no mushy broccoli or cauliflower here!
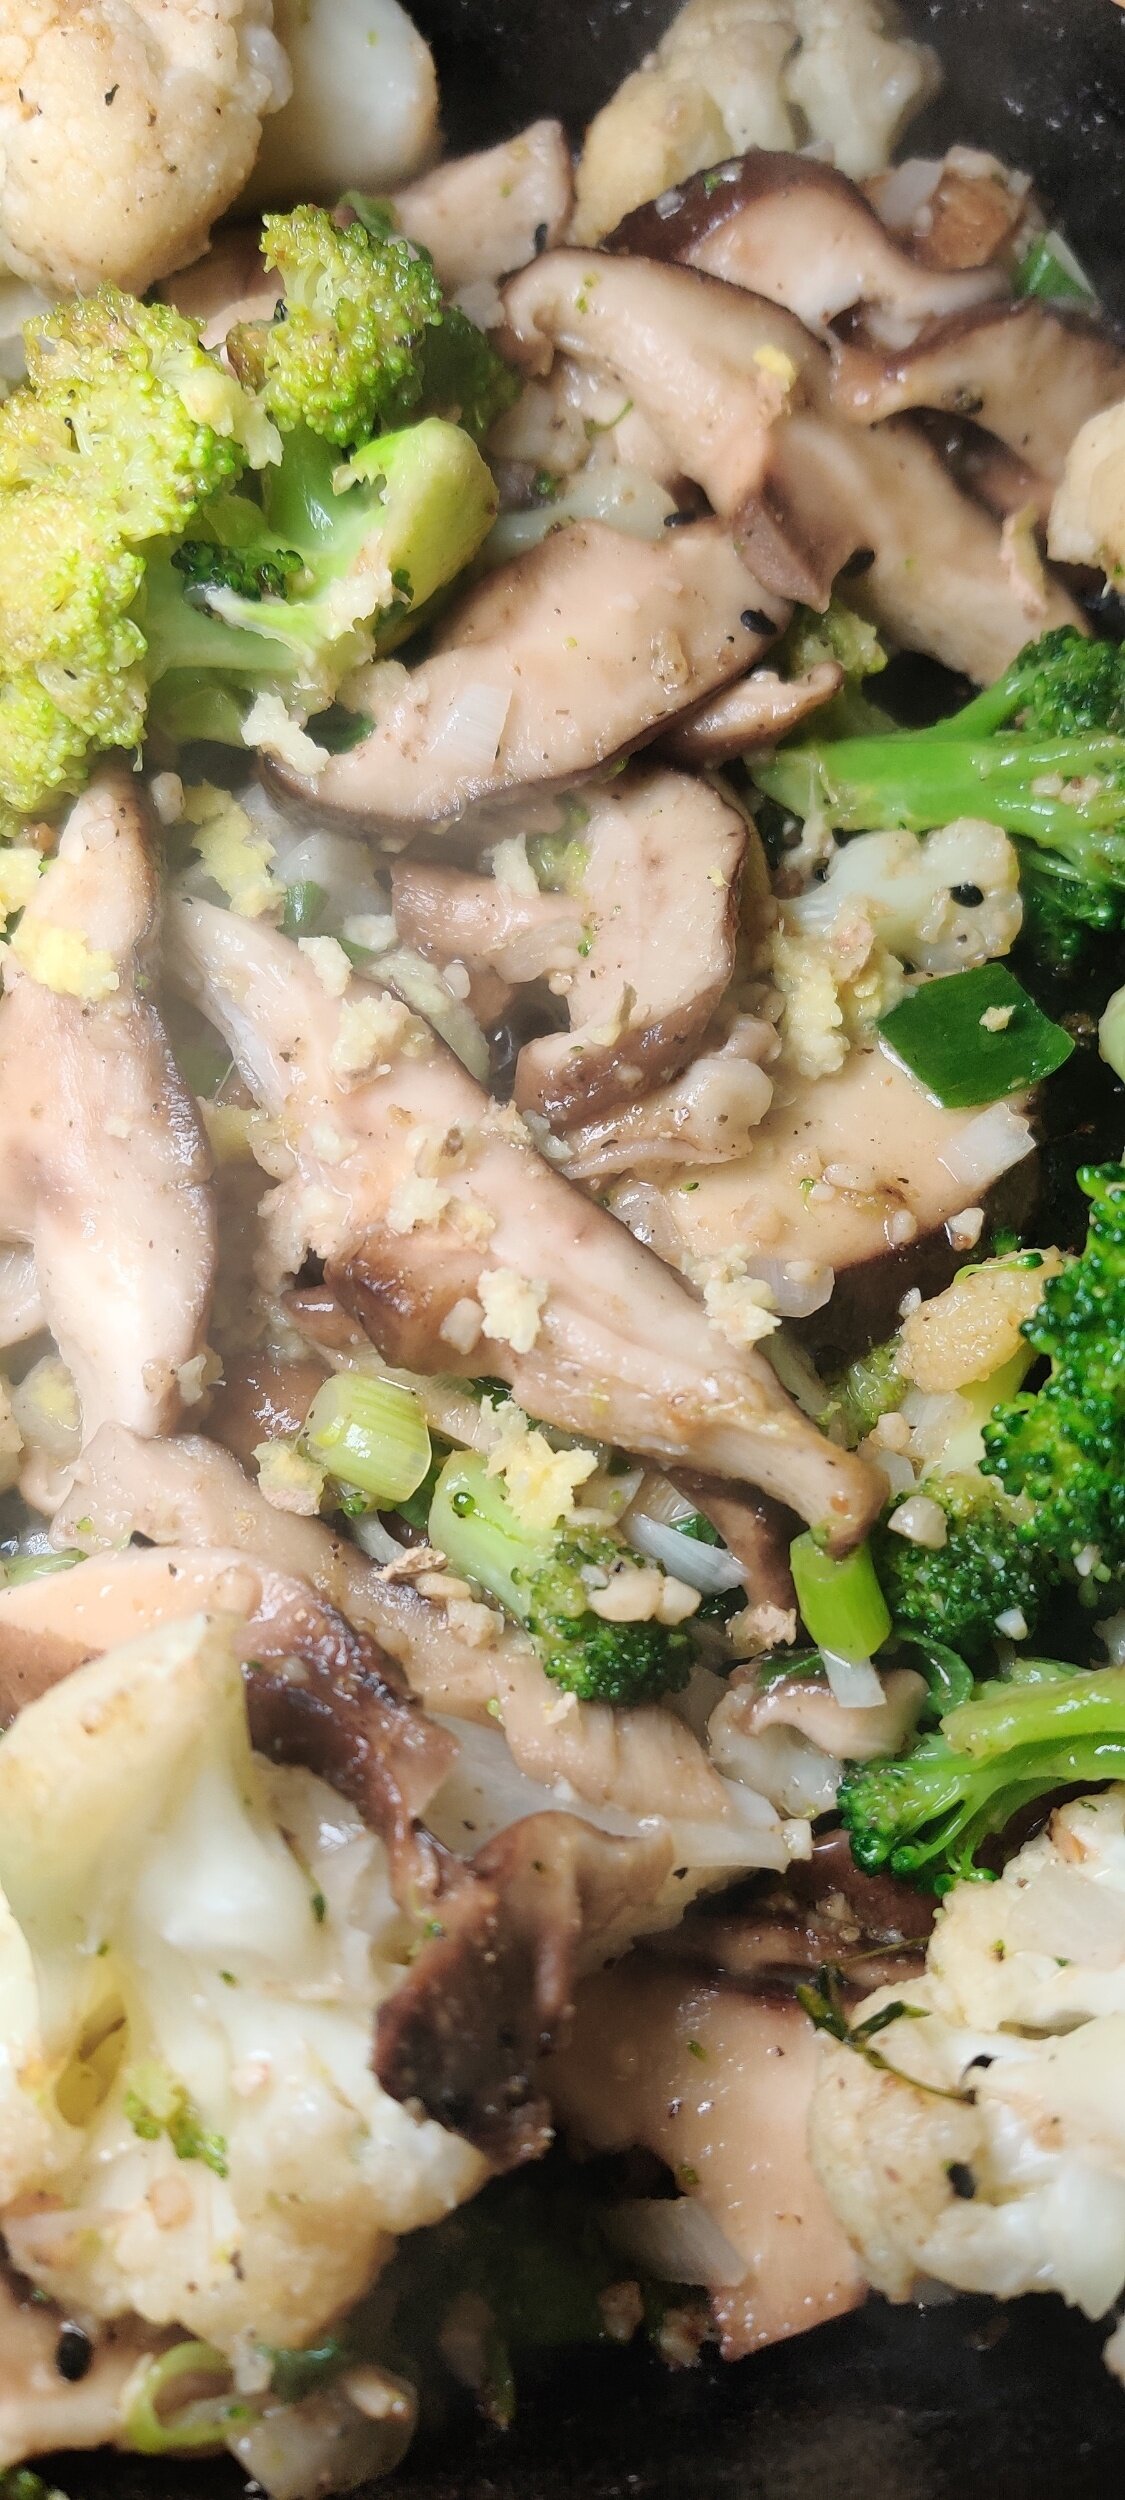
This recipe combines shiitake mushrooms, broccoli, and cauliflower with fresh garlic, ginger, and a punchy blend of spices for a simple yet satisfying dish. It’s light enough to serve as a side, but toss it with egg noodles, rice, or even quinoa for a more filling, main-dish meal.
A few practical tips: if you have a wok, it’s perfect for this recipe, but a large non-stick skillet works just as well. Be careful not to overcrowd the pan — cooking in batches ensures the vegetables sear instead of steam, keeping them vibrant and full of texture.
For even more variety, you can swap in other vegetables like snap peas, bell peppers, or bok choy. Try experimenting with sauces — a touch of hoisin, teriyaki, or sesame oil can completely change the flavor profile while keeping it quick and simple.
If you love mushrooms, check out some other favorite recipes:
– Mushroom Stroganoff
– Cheesy Mushroom Galette with Ricotta and Gruyere
– Red Wine Cream Sauce with Rigatoni Pasta and Shiitake Mushrooms
This stir-fry is a great reminder that plant-based meals can be fast, easy, and full of flavor, proving that weeknight dinners don’t have to be boring or complicated.


Mushroom, Broccoli and Cauliflower Stirfry
A quick, vibrant vegetable stir-fry featuring shiitake mushrooms, broccoli, and cauliflower, tossed in a savory soy-ginger sauce with bold spices. Serve it hot on its own for a light meal, or add egg noodles for a heartier, plant-forward dinner.
Ingredients
- 2 cups shiitake mushrooms, sliced
- 2 cups broccoli florets
- 2 cups cauliflower florets
- 1/2 large shallot, minced
- 1/3 cup green onions, chopped
- 2 tbsp soy sauce
- 2 tbsp cooking wine
- 1 tbsp steak and chops seasoning
- 1 tsp salt
- 1 tbsp black pepper
- 1 tbsp coriander
- 1 tsp red chili flakes
- 1 tsp fenugreek powder
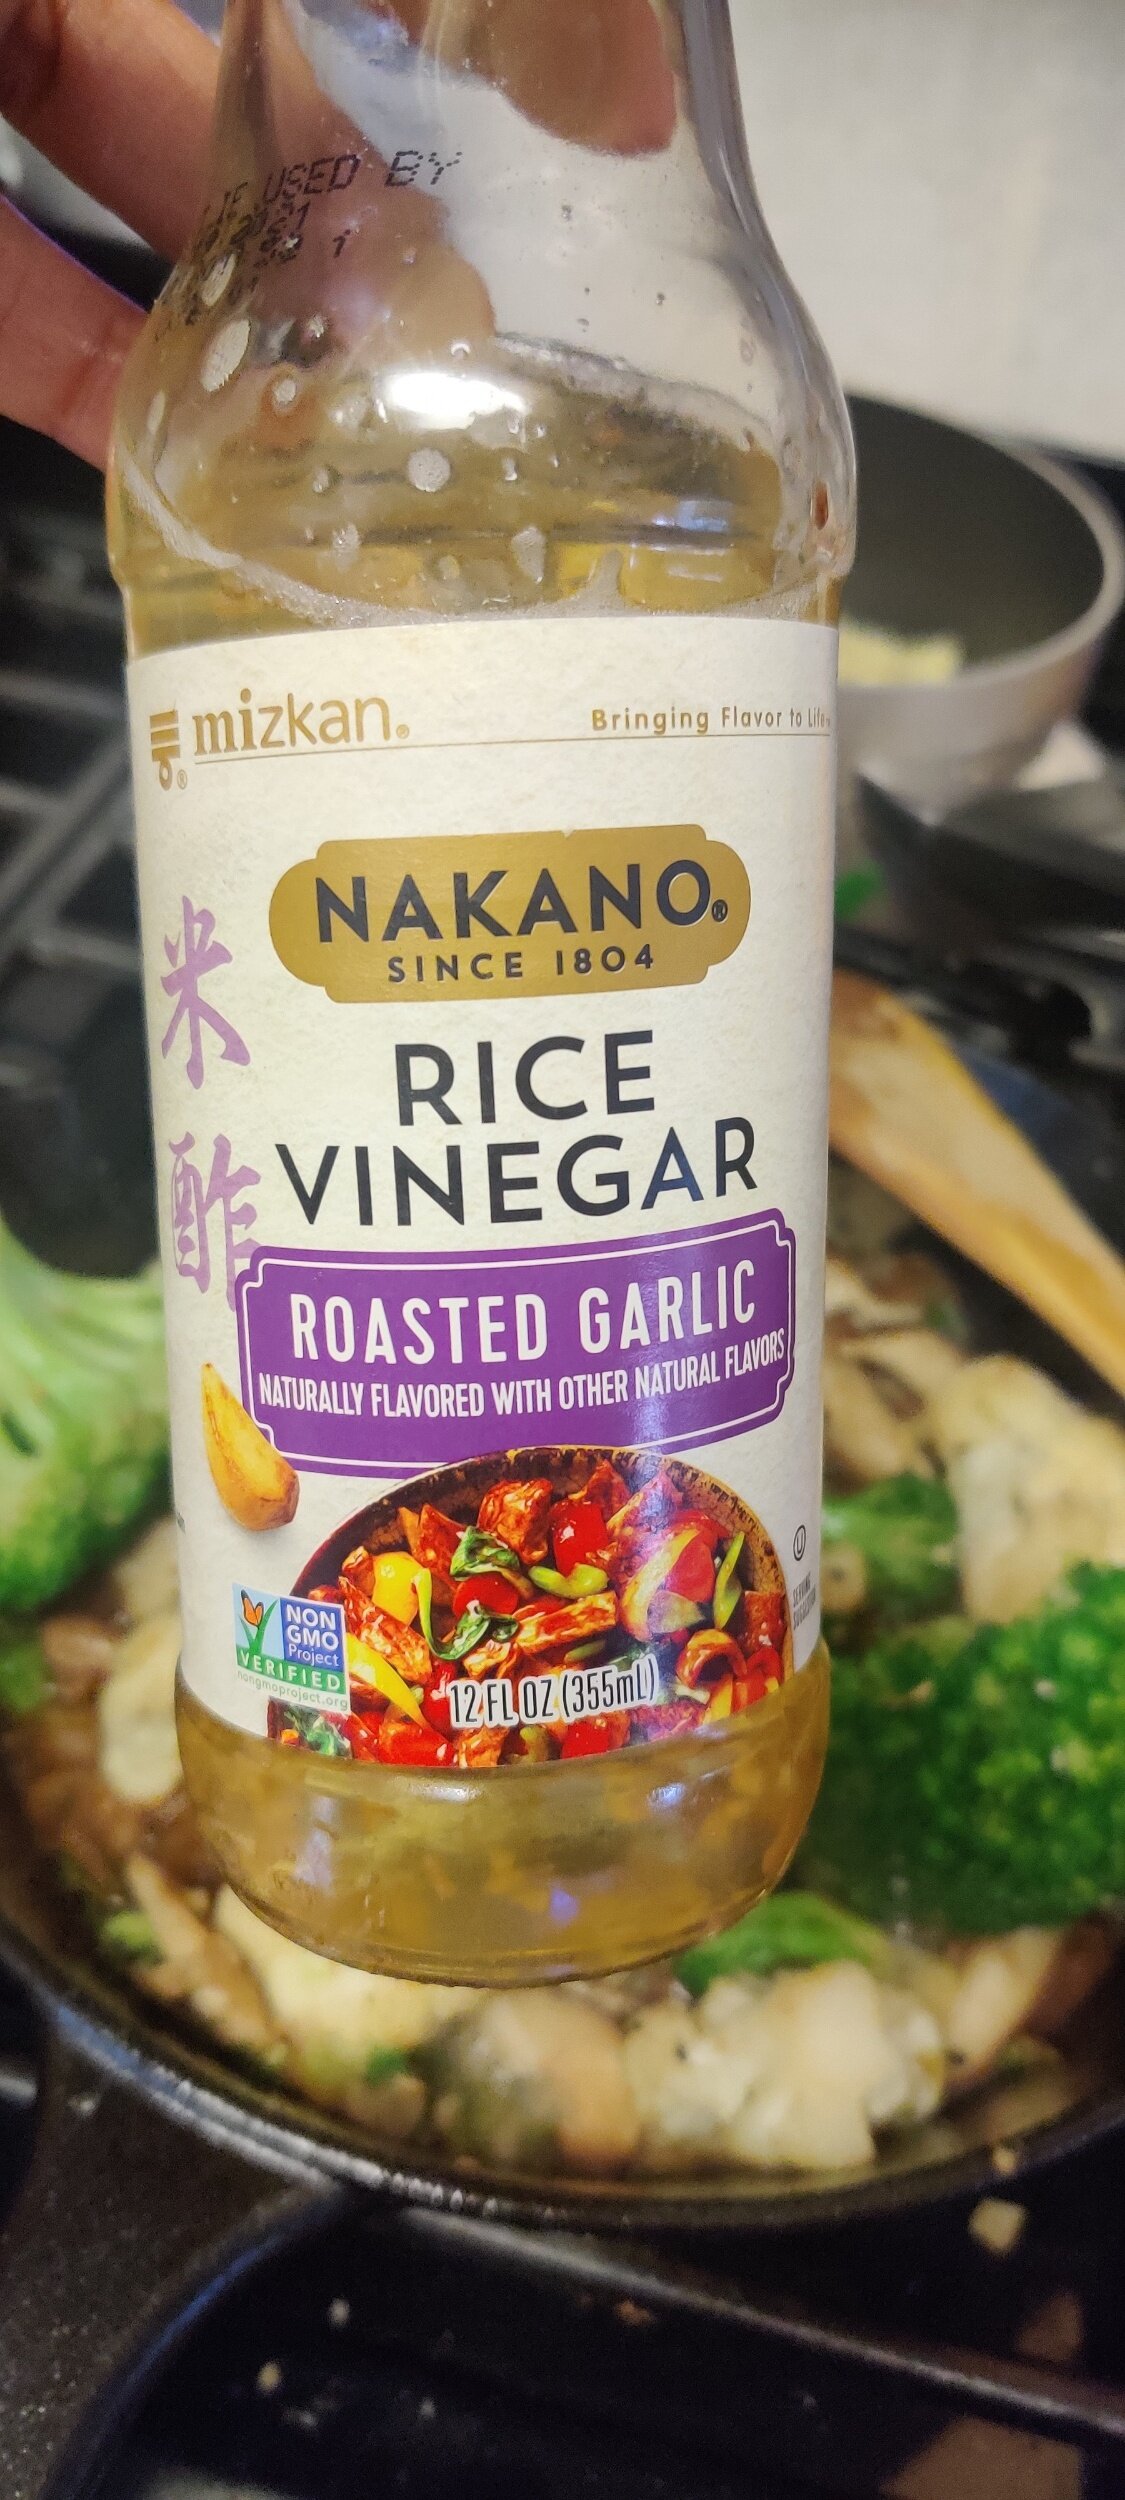
- 1 tbsp rice vinegar
- 3 tbsp butter (or plant-based alternative)
- 2 tbsp olive oil
- 1 tbsp fresh ginger, grated
- 2 tbsp fresh garlic, minced
- 1/2 cup egg noodles (optional)
- 1 tsp black sesame seeds (optional garnish)
Instructions
- Heat butter and olive oil in a large skillet or wok. Add spices, salt, and pepper; sauté 2–3 minutes until fragrant.
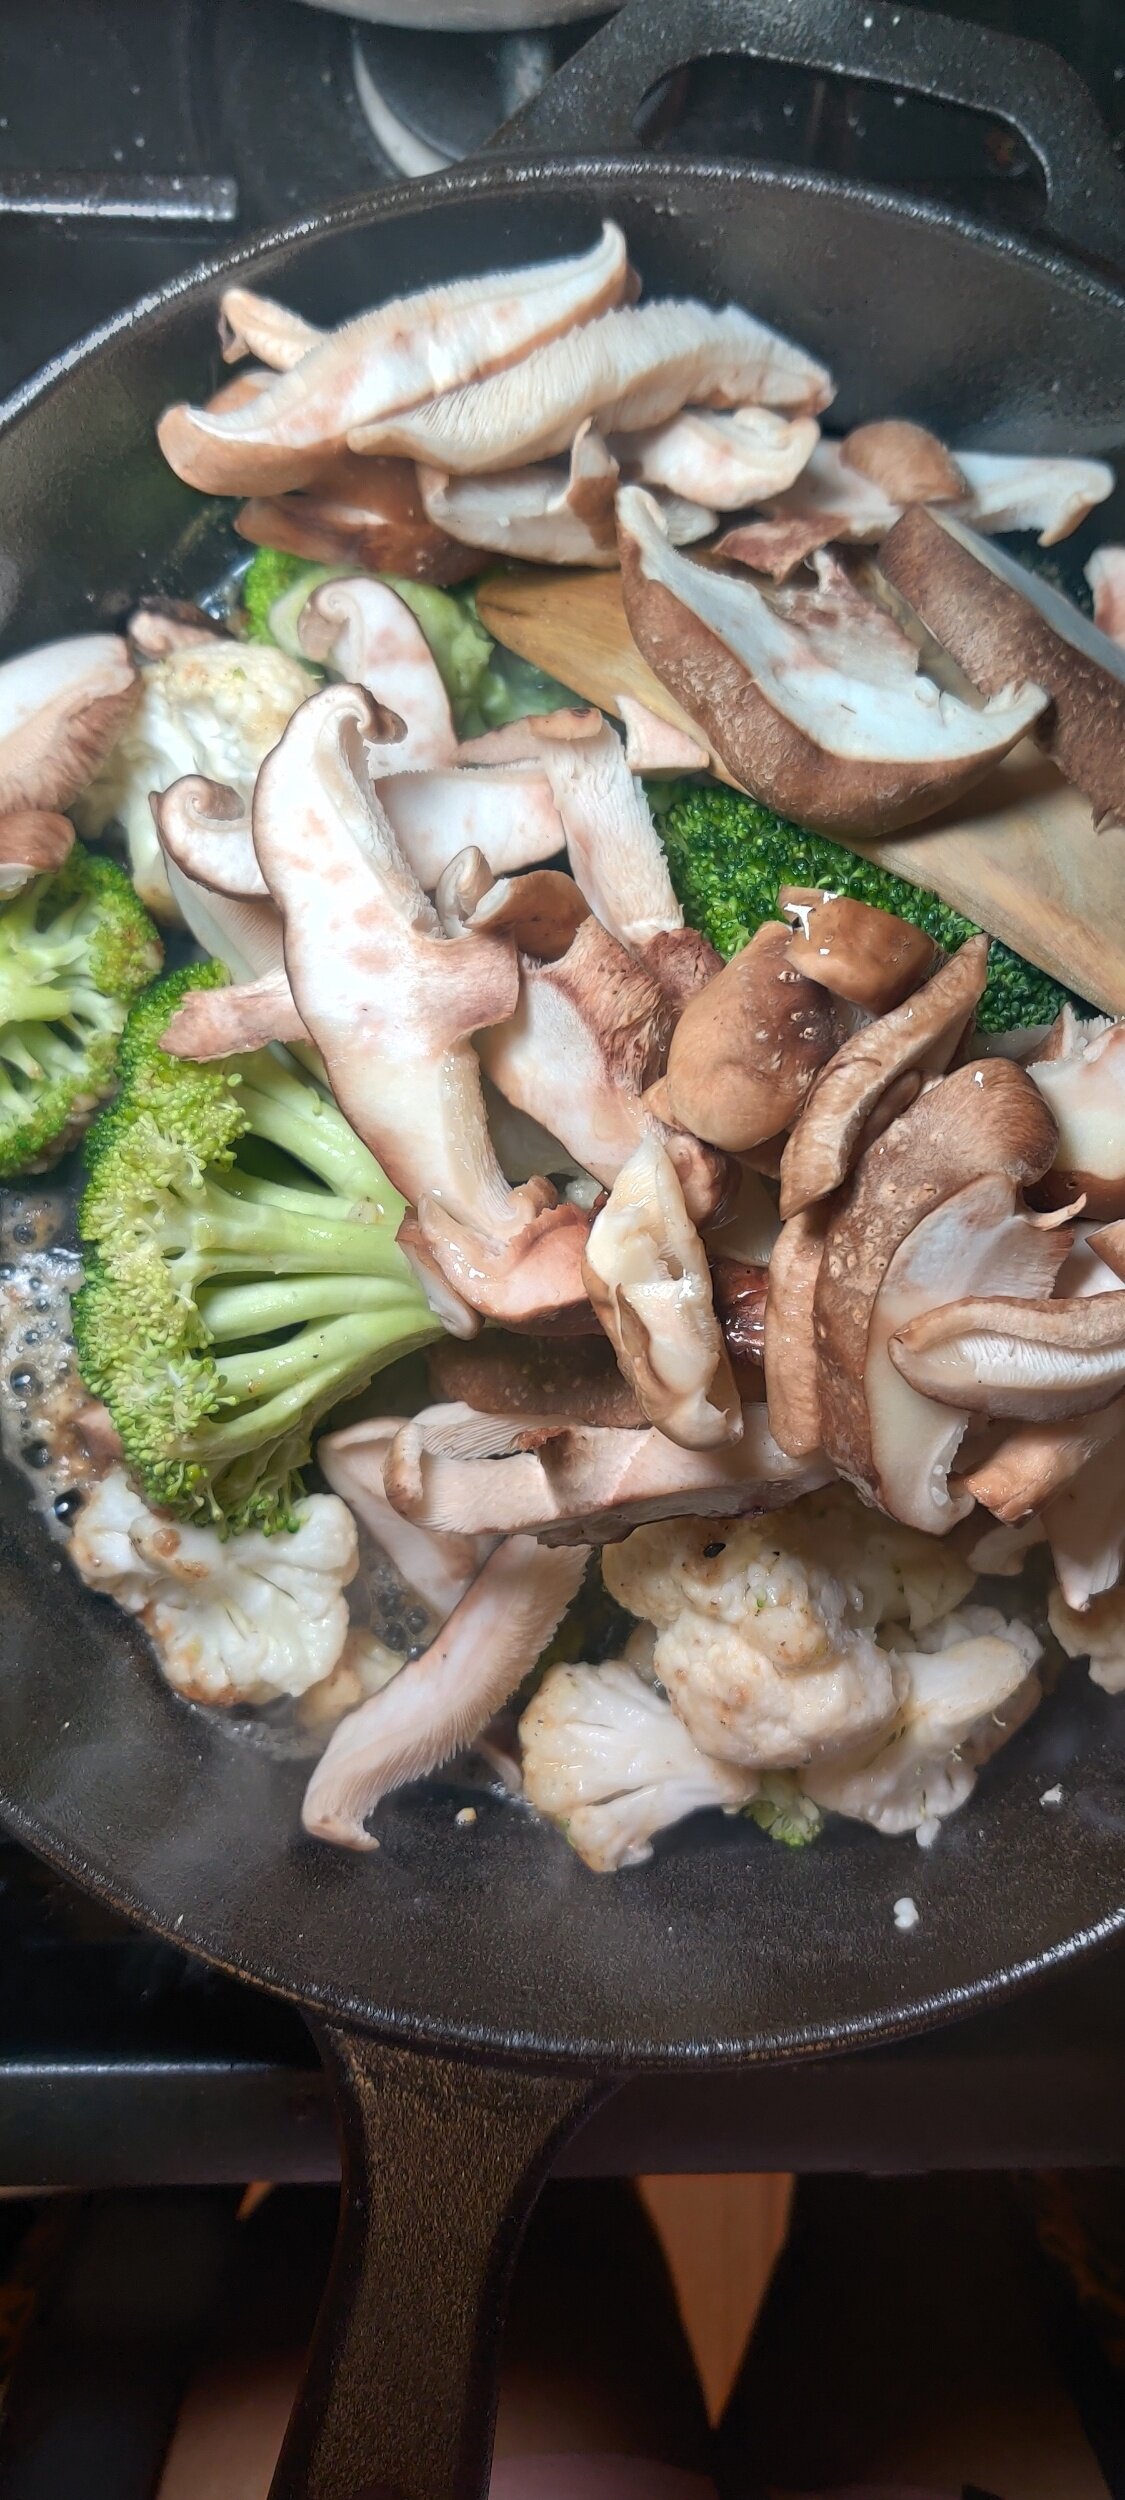
- Add mushrooms, broccoli, cauliflower, and shallot. Cook 5–6 minutes, stirring occasionally, until vegetables start to soften.
- Deglaze with soy sauce, cooking wine, and rice vinegar; cook another 2 minutes.
- Add ginger and garlic; sauté 2 more minutes.
- Taste and adjust seasoning with extra salt, pepper, or chili flakes if needed.
- Serve hot, either as-is or tossed with cooked egg noodles. Sprinkle with black sesame seeds if desired.
Notes
- Meat-free / plant-based: This dish is naturally vegetarian/vegan — omit butter and use plant-based oil or margarine.
- Extra veggies: Add snap peas, bell peppers, or bok choy for variety.
- Faster cooking: Slice mushrooms thinner and pre-cut veggies to reduce cook time by a few minutes.
- Heartier meal: Serve over noodles, rice, or quinoa.
Nutrition Facts
Fat (grams)
16 gCarbs (grams)
15 gFiber (grams)
5 gSugar (grams)
4 gProtein (grams)
7 gI am not a certified nutritionist and any nutritional information on dontmissmyplate.com should only be used as a general guideline.

