

Malawi Shandy Ice Lollies (Popsicles)
Malawi Shandy is one of those drinks that instantly takes me back to Zimbabwe.
I remember drinking it on houseboat holidays in Kariba and during trips to Victoria Falls—two destinations known for sunshine, adventure, and escaping everyday life. In both places, an ice-cold Malawi Shandy always seemed to taste better in the heat. Bright, citrusy, and finished with a few dashes of bitters, it was the kind of drink that felt synonymous with holidays, road trips, and long afternoons spent outdoors.
For most of my life, I never questioned the name. It wasn't until recently that I learned the word "shandy" likely traces its roots to the British shandygaff, a drink traditionally made by mixing beer with lemonade or ginger beer. Over time, however, the drink evolved into something distinctly Southern African. Today, Malawi Shandy is enjoyed far beyond Malawi itself and can be found throughout the region, where it is typically served as a refreshing non-alcoholic drink, though some people add vodka or rum for a simple cocktail.
Part of what makes Malawi Shandy so memorable is its appearance. The combination of citrus and bitters creates a beautiful amber-red gradient that is instantly recognizable to many Southern Africans. For some, it's a nostalgic reminder of family gatherings, holidays, and summer afternoons. For me, it's one of those flavors that immediately transports me back to some of Zimbabwe's most memorable warm-weather destinations.
For this recipe, I wanted to preserve both the flavor and the visual identity of the original by transforming it into an ice lolly. The result captures everything I love about Malawi Shandy: bright citrus, gentle spice, bittersweet complexity, and the sunset-like gradient that made me fall in love with the drink in the first place.
More than just a frozen treat, these ice lollies are a tribute to one of Southern Africa's most beloved warm-weather drinks and the memories attached to it.


")
Malawi Shandy Ice Lollies (Popsicles)
These Malawi Shandy Ice Lollies transform one of Southern Africa's most beloved citrus drinks into a refreshing frozen treat. Made with fresh orange juice, lemon, ginger ale, Sprite, and Angostura bitters, they capture the bright, bittersweet flavor and signature amber-red gradient of the original drink.
Ingredients
- 1 cup (240ml) freshly squeezed orange juice (about 4 oranges)
- 1 cup (240ml) Sprite
- ½ cup (120ml) ginger ale
- Juice of ½ lemon
- 2 tsp Angostura bitters
- 2 tsp prepared citrus base mixture
Instructions
- In a jug or bowl, combine the orange juice, Sprite, ginger ale, and lemon juice. Stir gently to combine, taking care not to remove too much carbonation.
- Pour the mixture into six ice lolly moulds, filling each mould approximately 90% full.
- Transfer the moulds to the freezer and chill for 35–45 minutes, or until the edges begin to freeze while the centre remains slushy.
- In a small bowl, combine the Angostura bitters with 2 teaspoons of the citrus base. Stir until evenly mixed.
- Remove the moulds from the freezer. Carefully pour approximately 1 teaspoon of the bitters mixture into each mould over the semi-frozen base. Do not stir or swirl! Allow the bitters mixture to settle naturally.
- Gently insert the mould lids or sticks without pressing down aggressively.
- Return the moulds to the freezer and freeze for 6–8 hours or overnight.
- To release the ice lollies, briefly run the outside of the mould under warm water for 2–3 seconds before gently pulling.
Notes
- Freshly squeezed orange juice produces the brightest flavour and colour.
- Do not over-stir after adding the bitters mixture, as this will disrupt the natural gradient effect.
- Each ice lolly will develop a slightly different pattern, making every one unique.
- For an adult version, serve alongside a Malawi Shandy spiked with vodka or rum.
- If using larger moulds, freezing times may increase.
- Store in an airtight container or in the moulds for up to 2 months. For best flavour and texture, enjoy within 3 weeks.
Serving Suggestion:
<span>• Garnish with orange slices and maraschino cherries.</span><br><span>• Serve alongside a chilled Malawi Shandy.</span><br><span>• Perfect for summer gatherings, braais, picnics, and poolside entertaining.</span><br><span>• Pair with tropical fruit platters or citrus-forward desserts.</span>
Nutrition Facts
Calories
45Carbs (grams)
11 gFiber (grams)
.2 gSugar (grams)
9 gProtein (grams)
.3 gI am not a certified nutritionist and any nutritional information on dontmissmyplate.com should only be used as a general guideline.
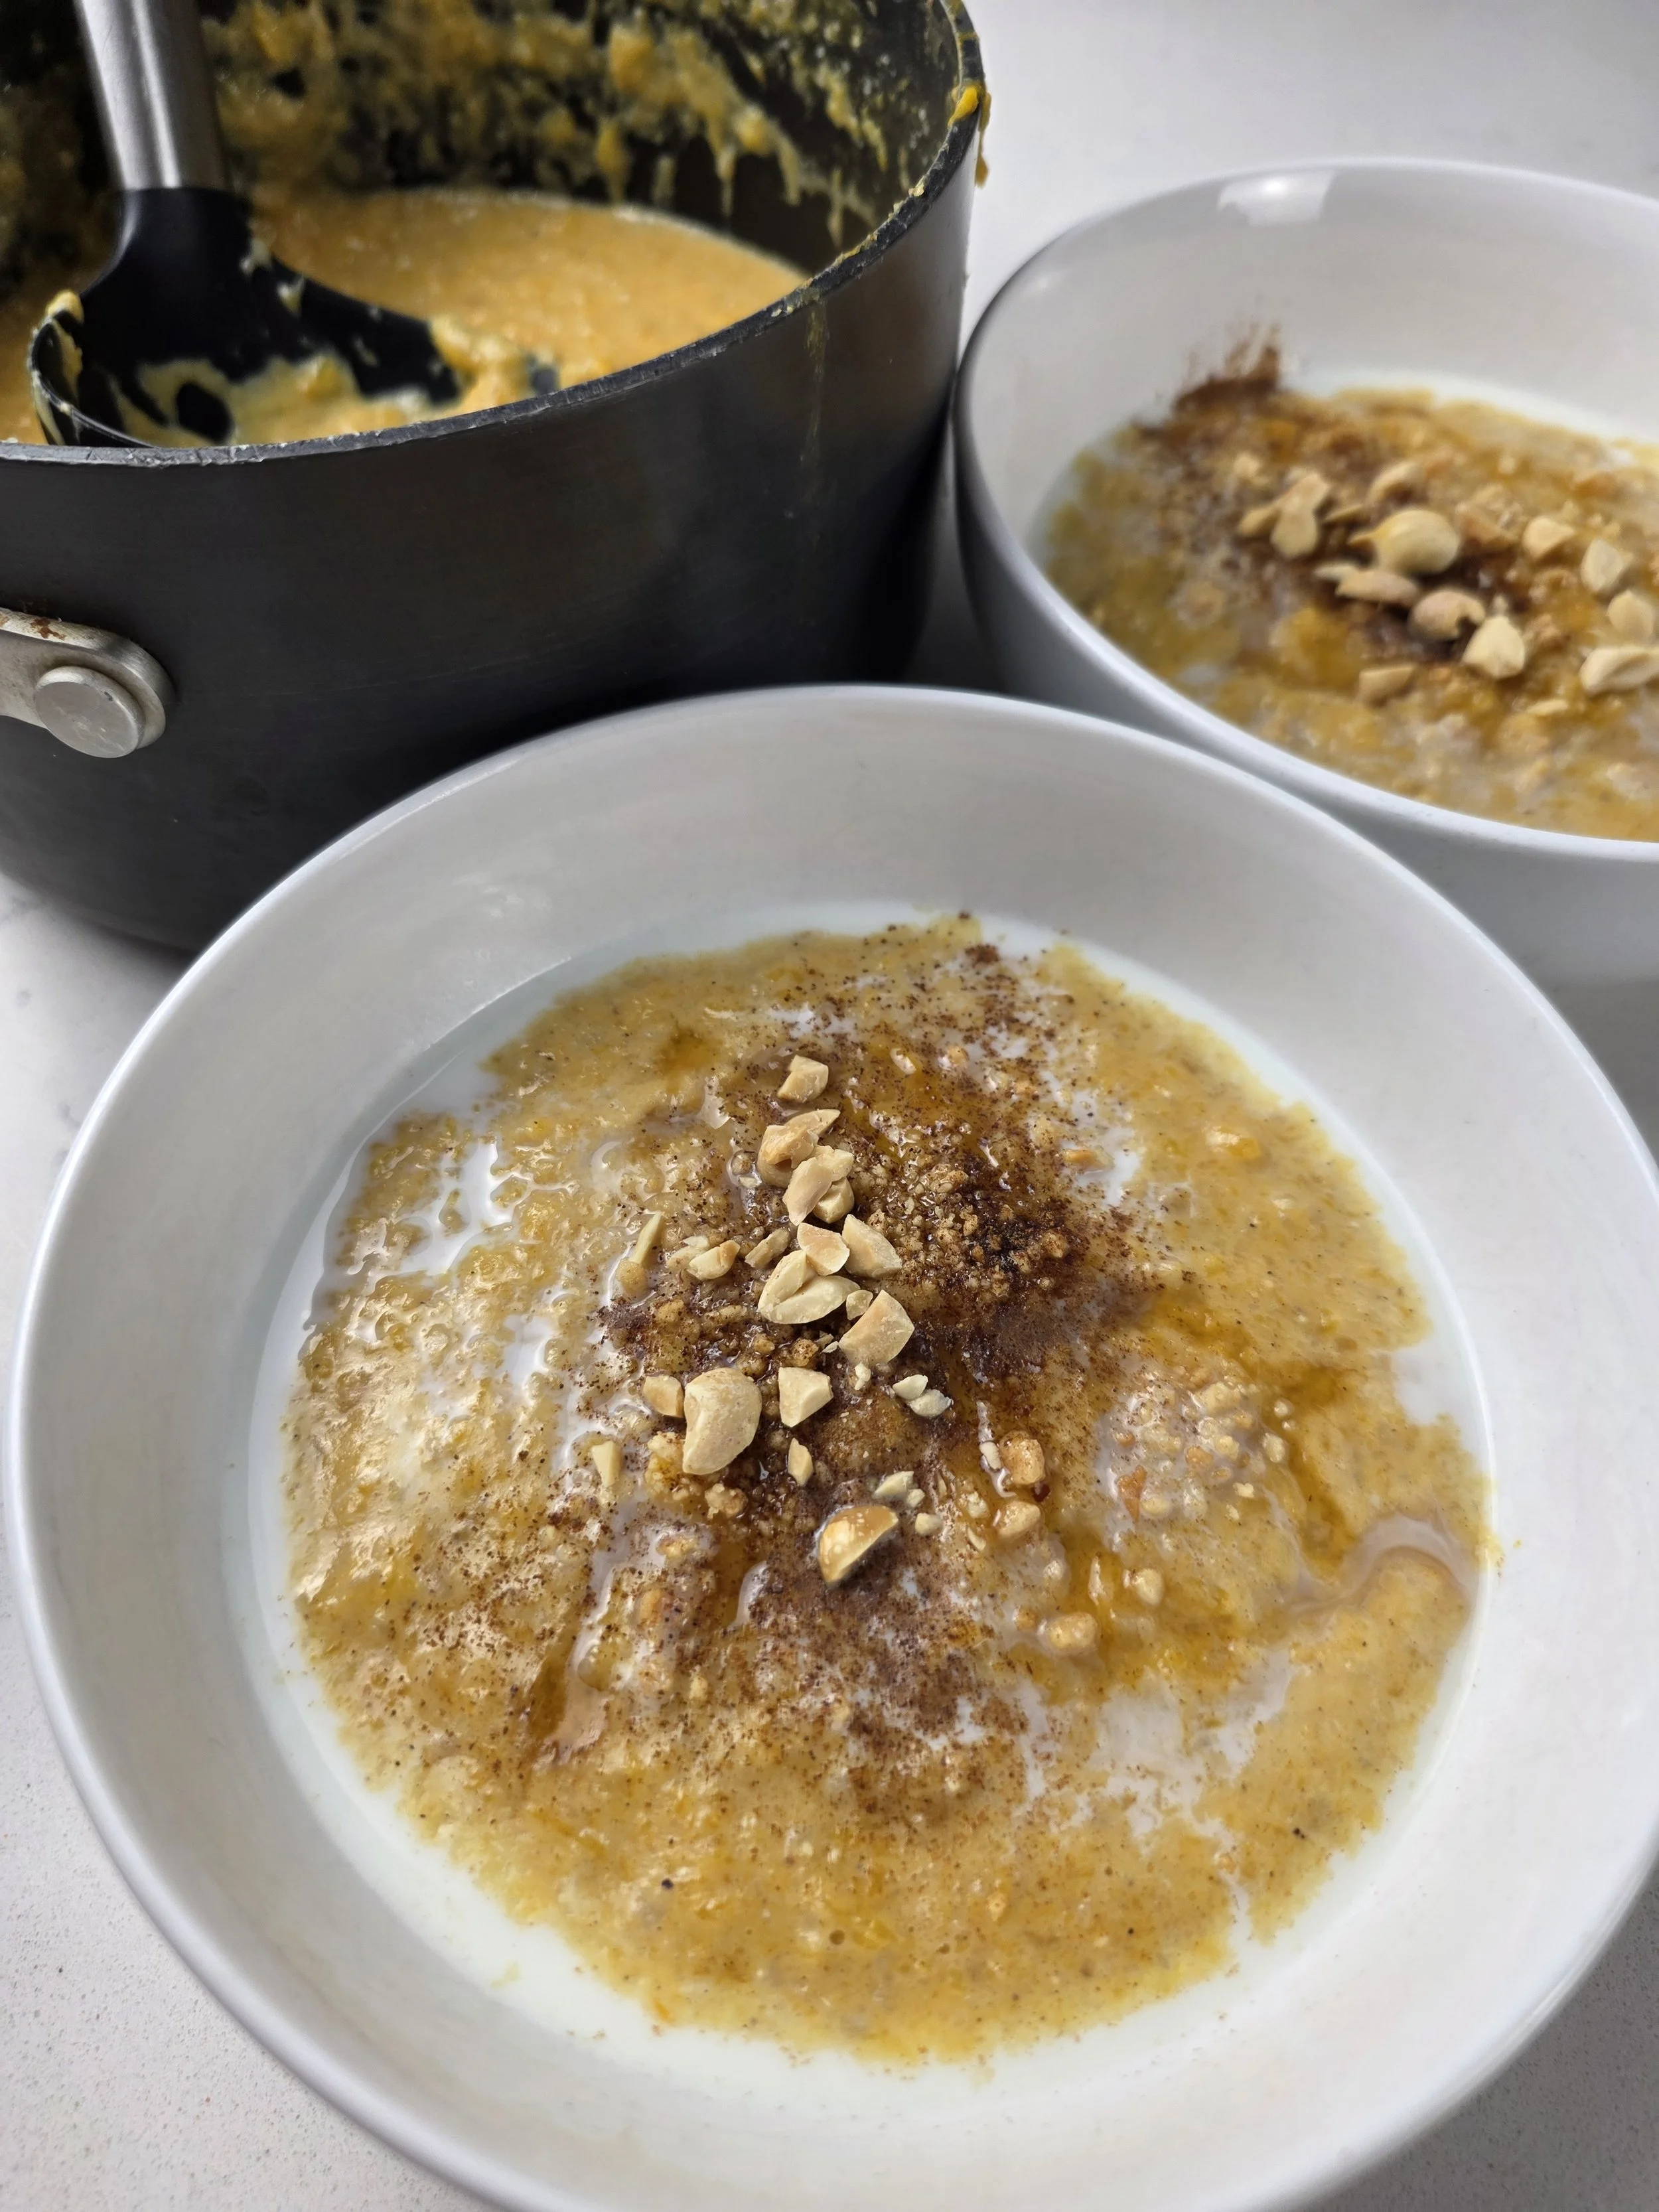
Pumpkin Peanut Wheat Porridge (Nhopi)
Inspired by Zimbabwean Nhopi and Kenyan Uji wa Ngano
There is something deeply comforting about warm porridge cultures across Africa. Whether it is maize-based, millet-based, sorghum-based, or wheat-based, many of us grew up with some version of a hot, nourishing bowl that anchored mornings, cold days, illness recovery, or simple moments of comfort.
During my recent trip to Kenya, I tried uji wa ngano, a creamy wheat porridge often served with plenty of hot milk. It immediately reminded me of the porridges I grew up eating in Zimbabwe. One of the most popular versions, alongside maize meal porridge served with butter or peanut butter, is nhopi — a pumpkin and peanut butter porridge, sometimes thickened with maize meal. Rich, lightly spiced, earthy, and deeply nostalgic, it remains a beloved comfort food across generations.
That experience made me curious about how these traditions could speak to each other.
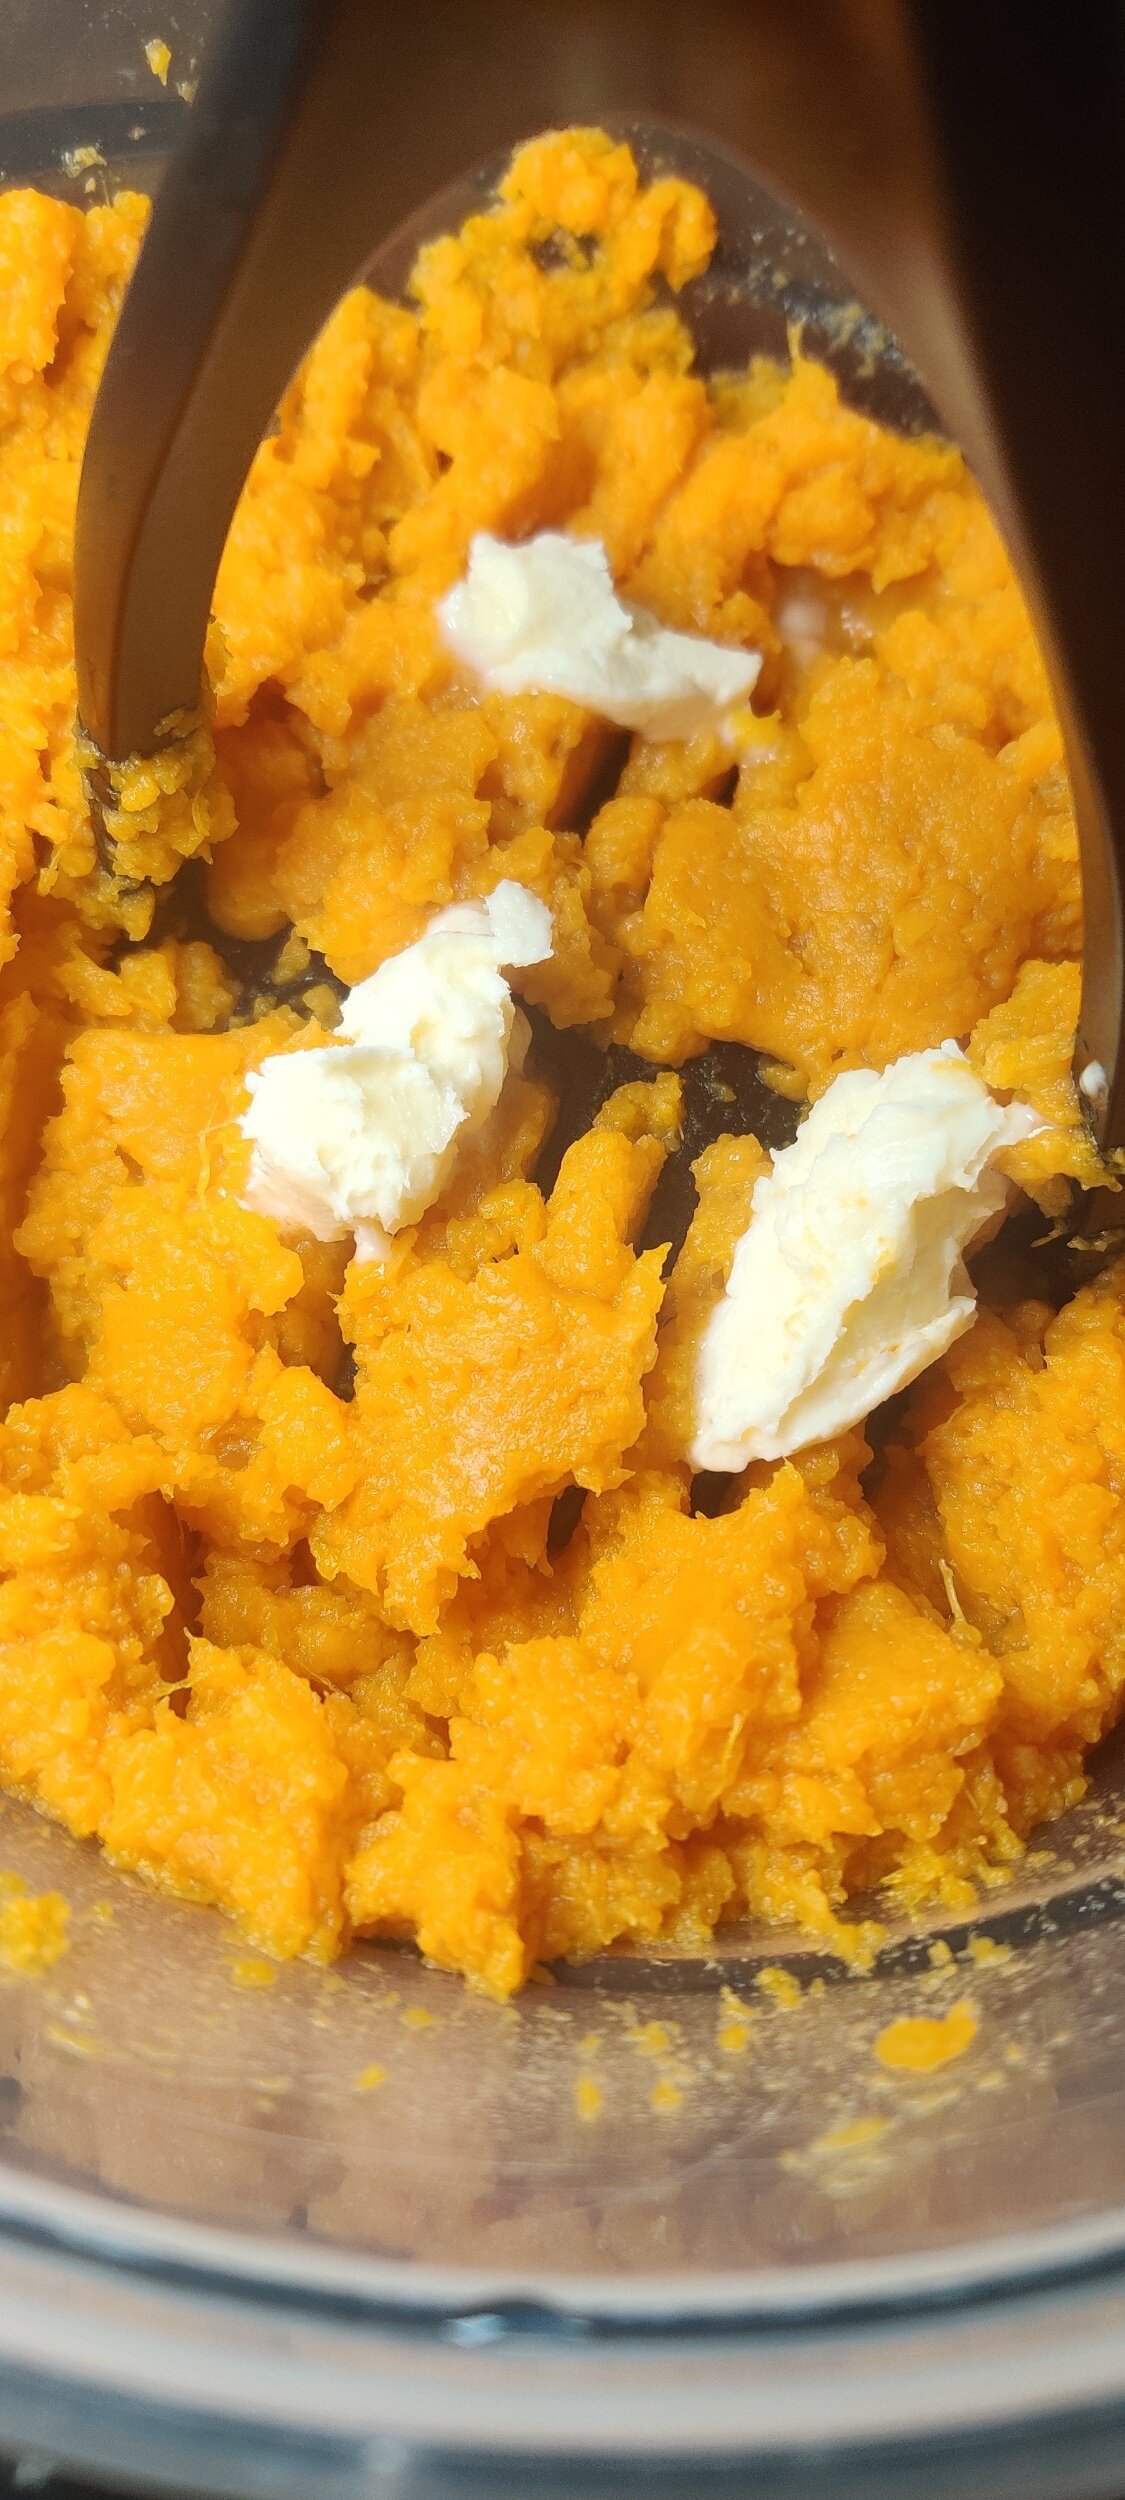
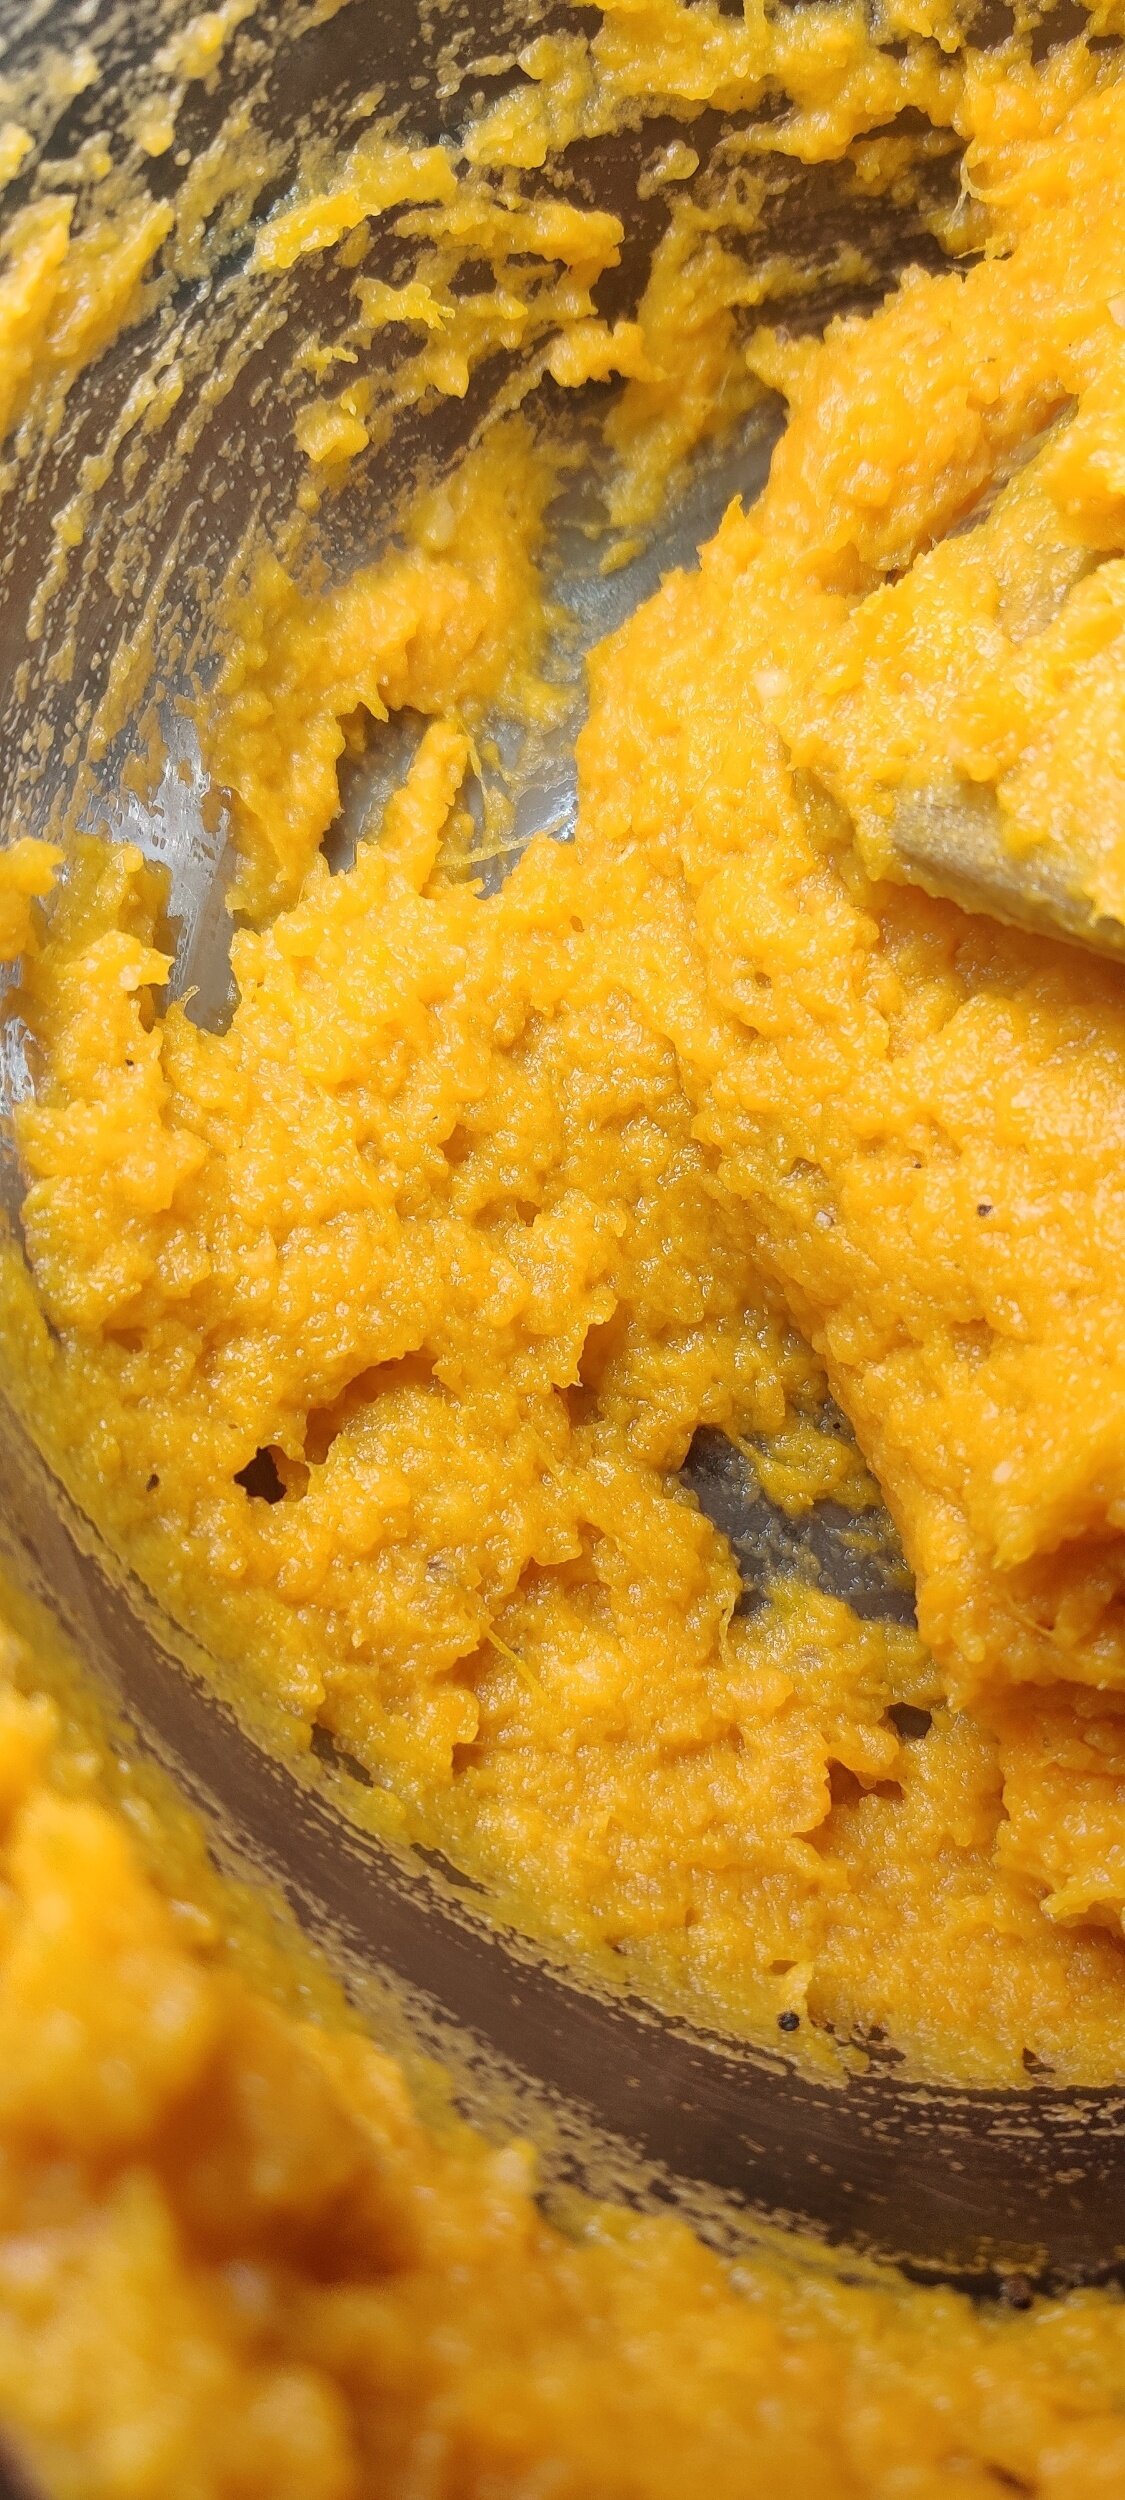
This recipe became a fusion of both ideas. Instead of using pumpkin as the main base like traditional nhopi, I used creamy wheat as the foundation and allowed roasted butternut and peanut butter to layer warmth, sweetness, richness, and familiarity into the porridge.
The bulgur wheat adds texture and grain bite similar to Kenyan wheat porridge, while the cream of wheat and powdered milk helps create a smoother, creamier consistency. Cardamom, brown sugar and cinnamon bring warmth that ties the dish together beautifully.
The final result sits somewhere between the two traditions: creamy, comforting, lightly spiced, and deeply filling. It is the kind of breakfast that feels both grounding and exploratory at the same time.

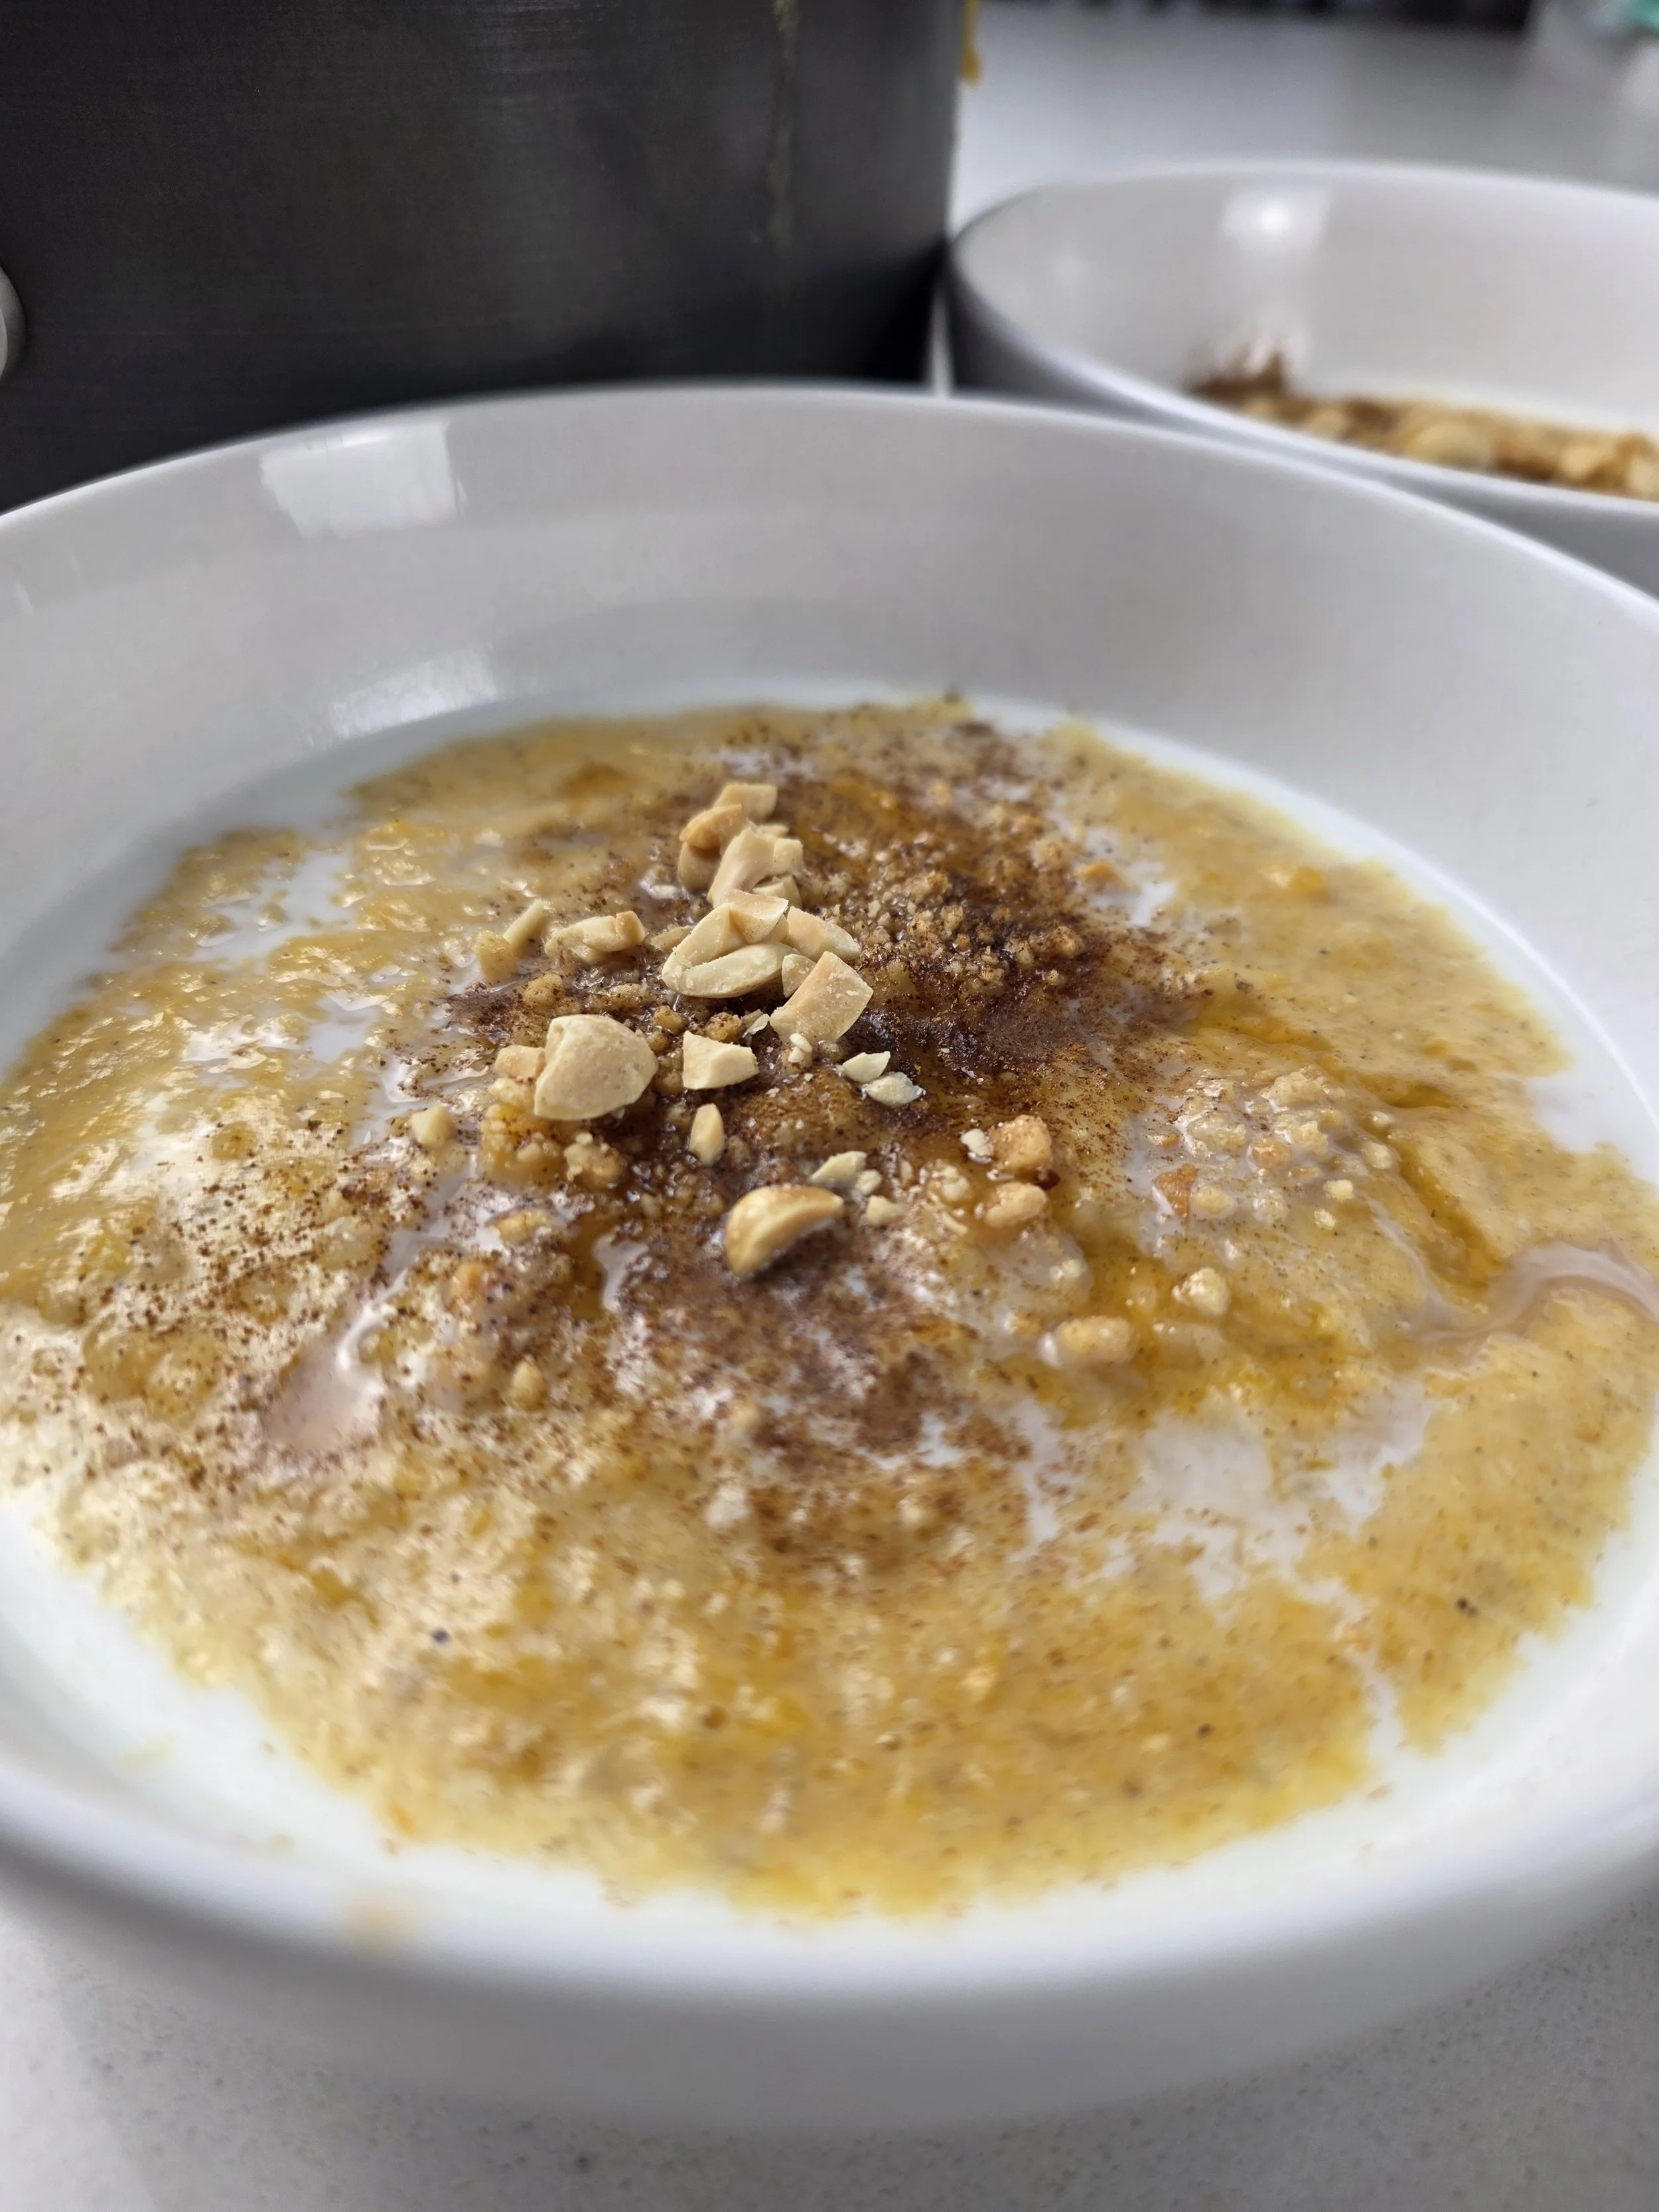

Pumpkin Peanut Wheat Porridge
A creamy wheat porridge with roasted butternut, peanut butter, and warm spices inspired by Zimbabwean and Kenyan breakfast traditions (nhopi and uji wa Ngano).
Ingredients
- ½ cup bulgur wheat
- ⅓ cup cream of wheat
- 2½ cups water
- 3–5 cups milk (adjust as needed)
- 2 to 2½ cups roasted butternut, mashed
- 2 tbsp peanut butter
- 2 tbsp brown sugar or honey (adjust to taste)
- ½ tsp cardamom
- ½ tsp cinnamon
- ½ tsp salt
Instructions
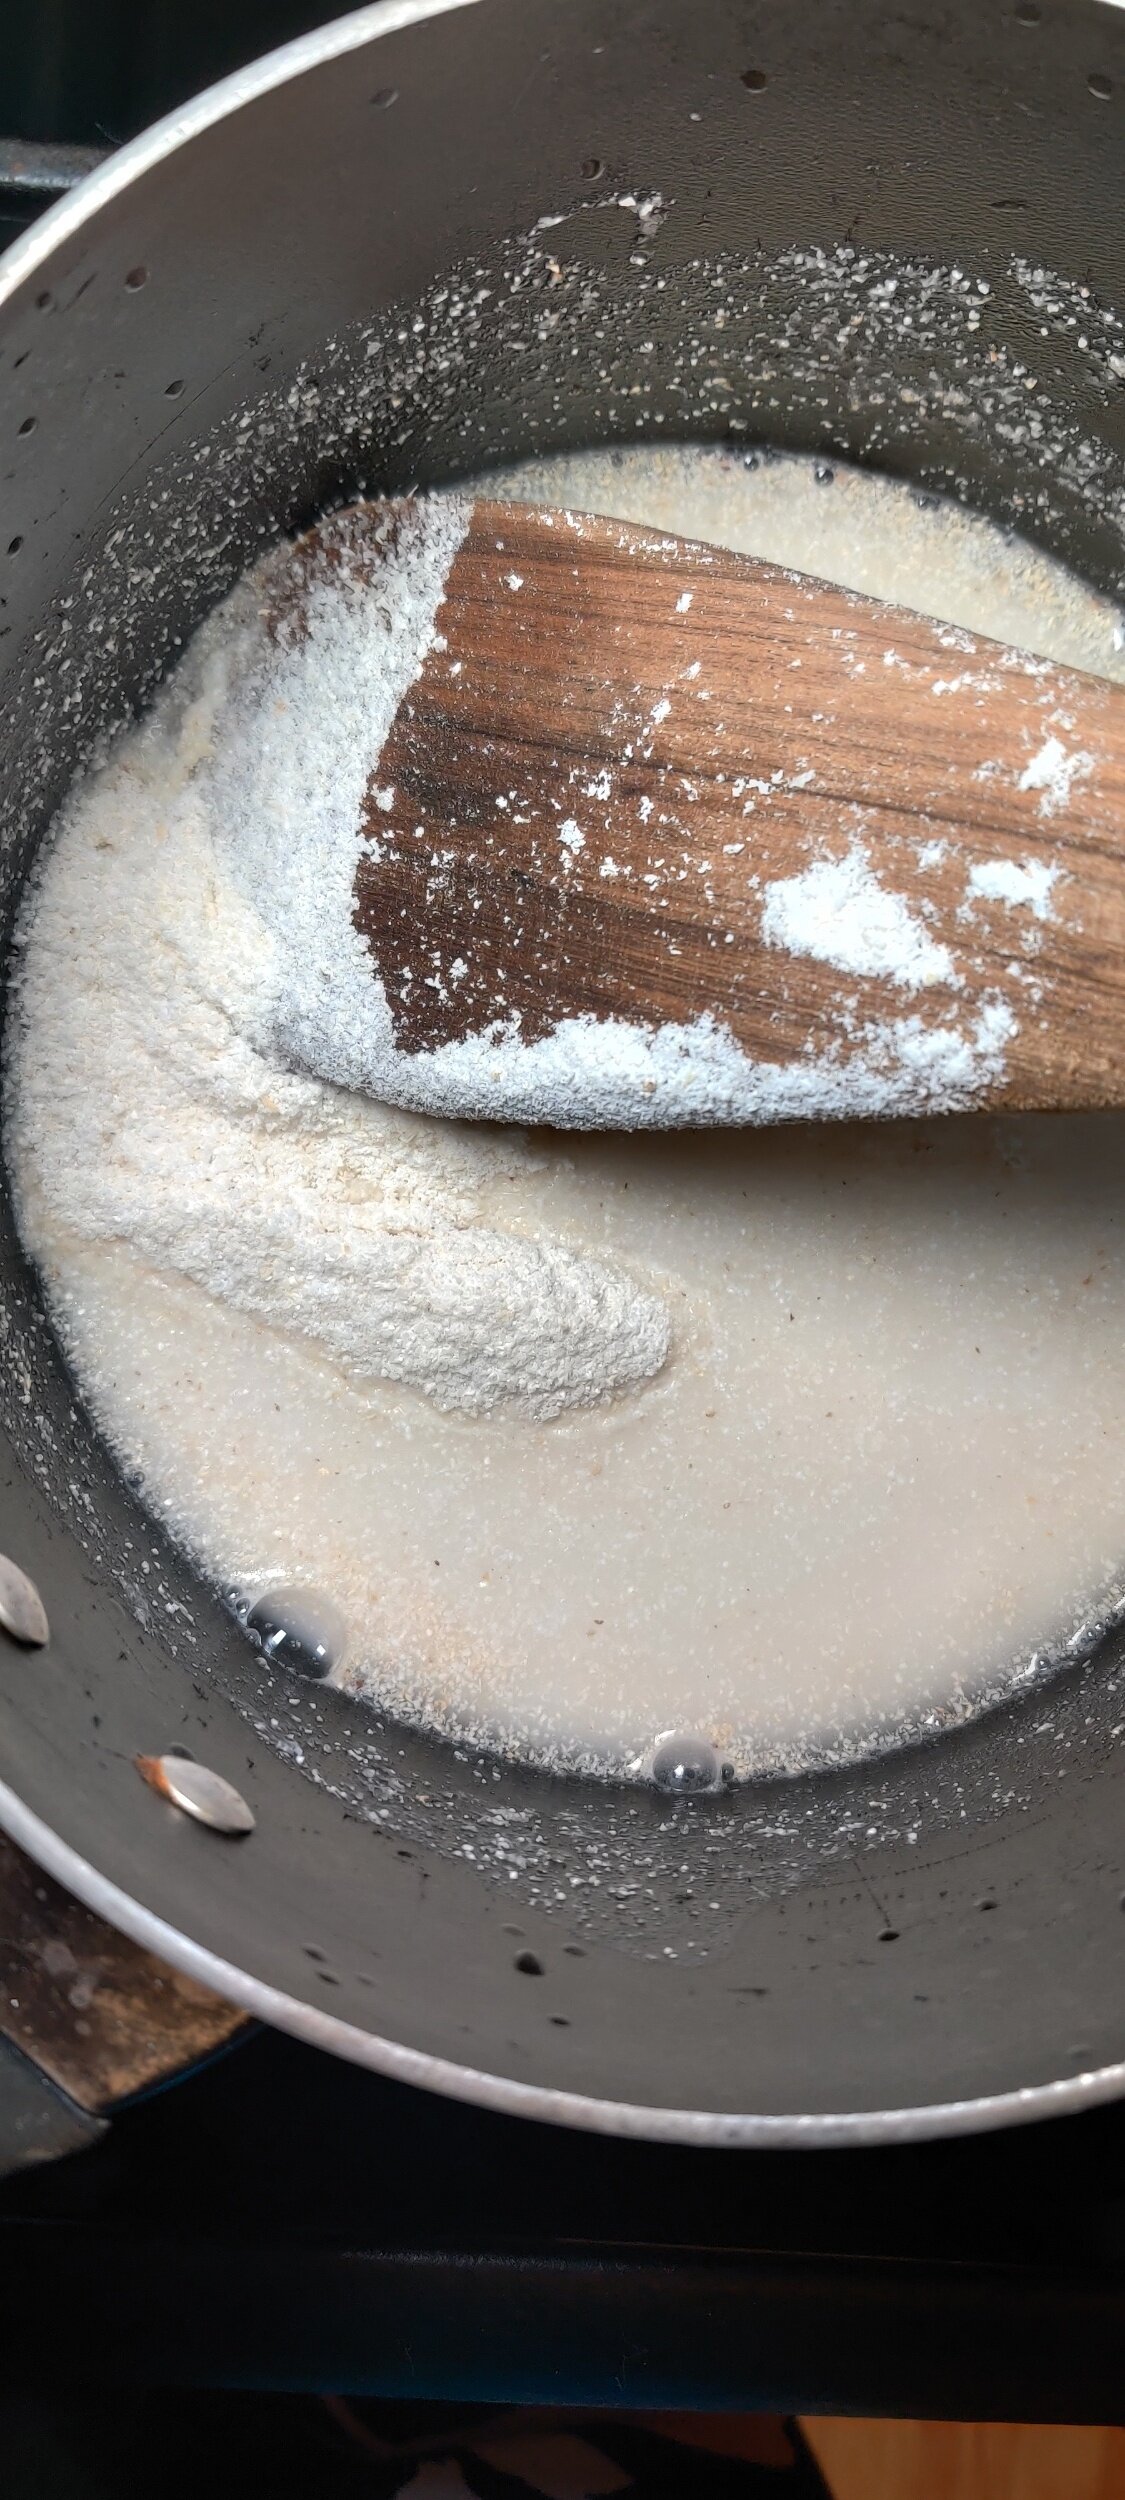
- Heat the water in a medium or large pot over medium-high heat. Add the bulgur wheat, reduce the heat to medium-low, and simmer for 10–12 minutes, or until softened.
- Stir in the Cream of Wheat and whisk continuously for about 3 minutes. If the mixture thickens too quickly, gradually add water, 1/4 cup at a time, until smooth.
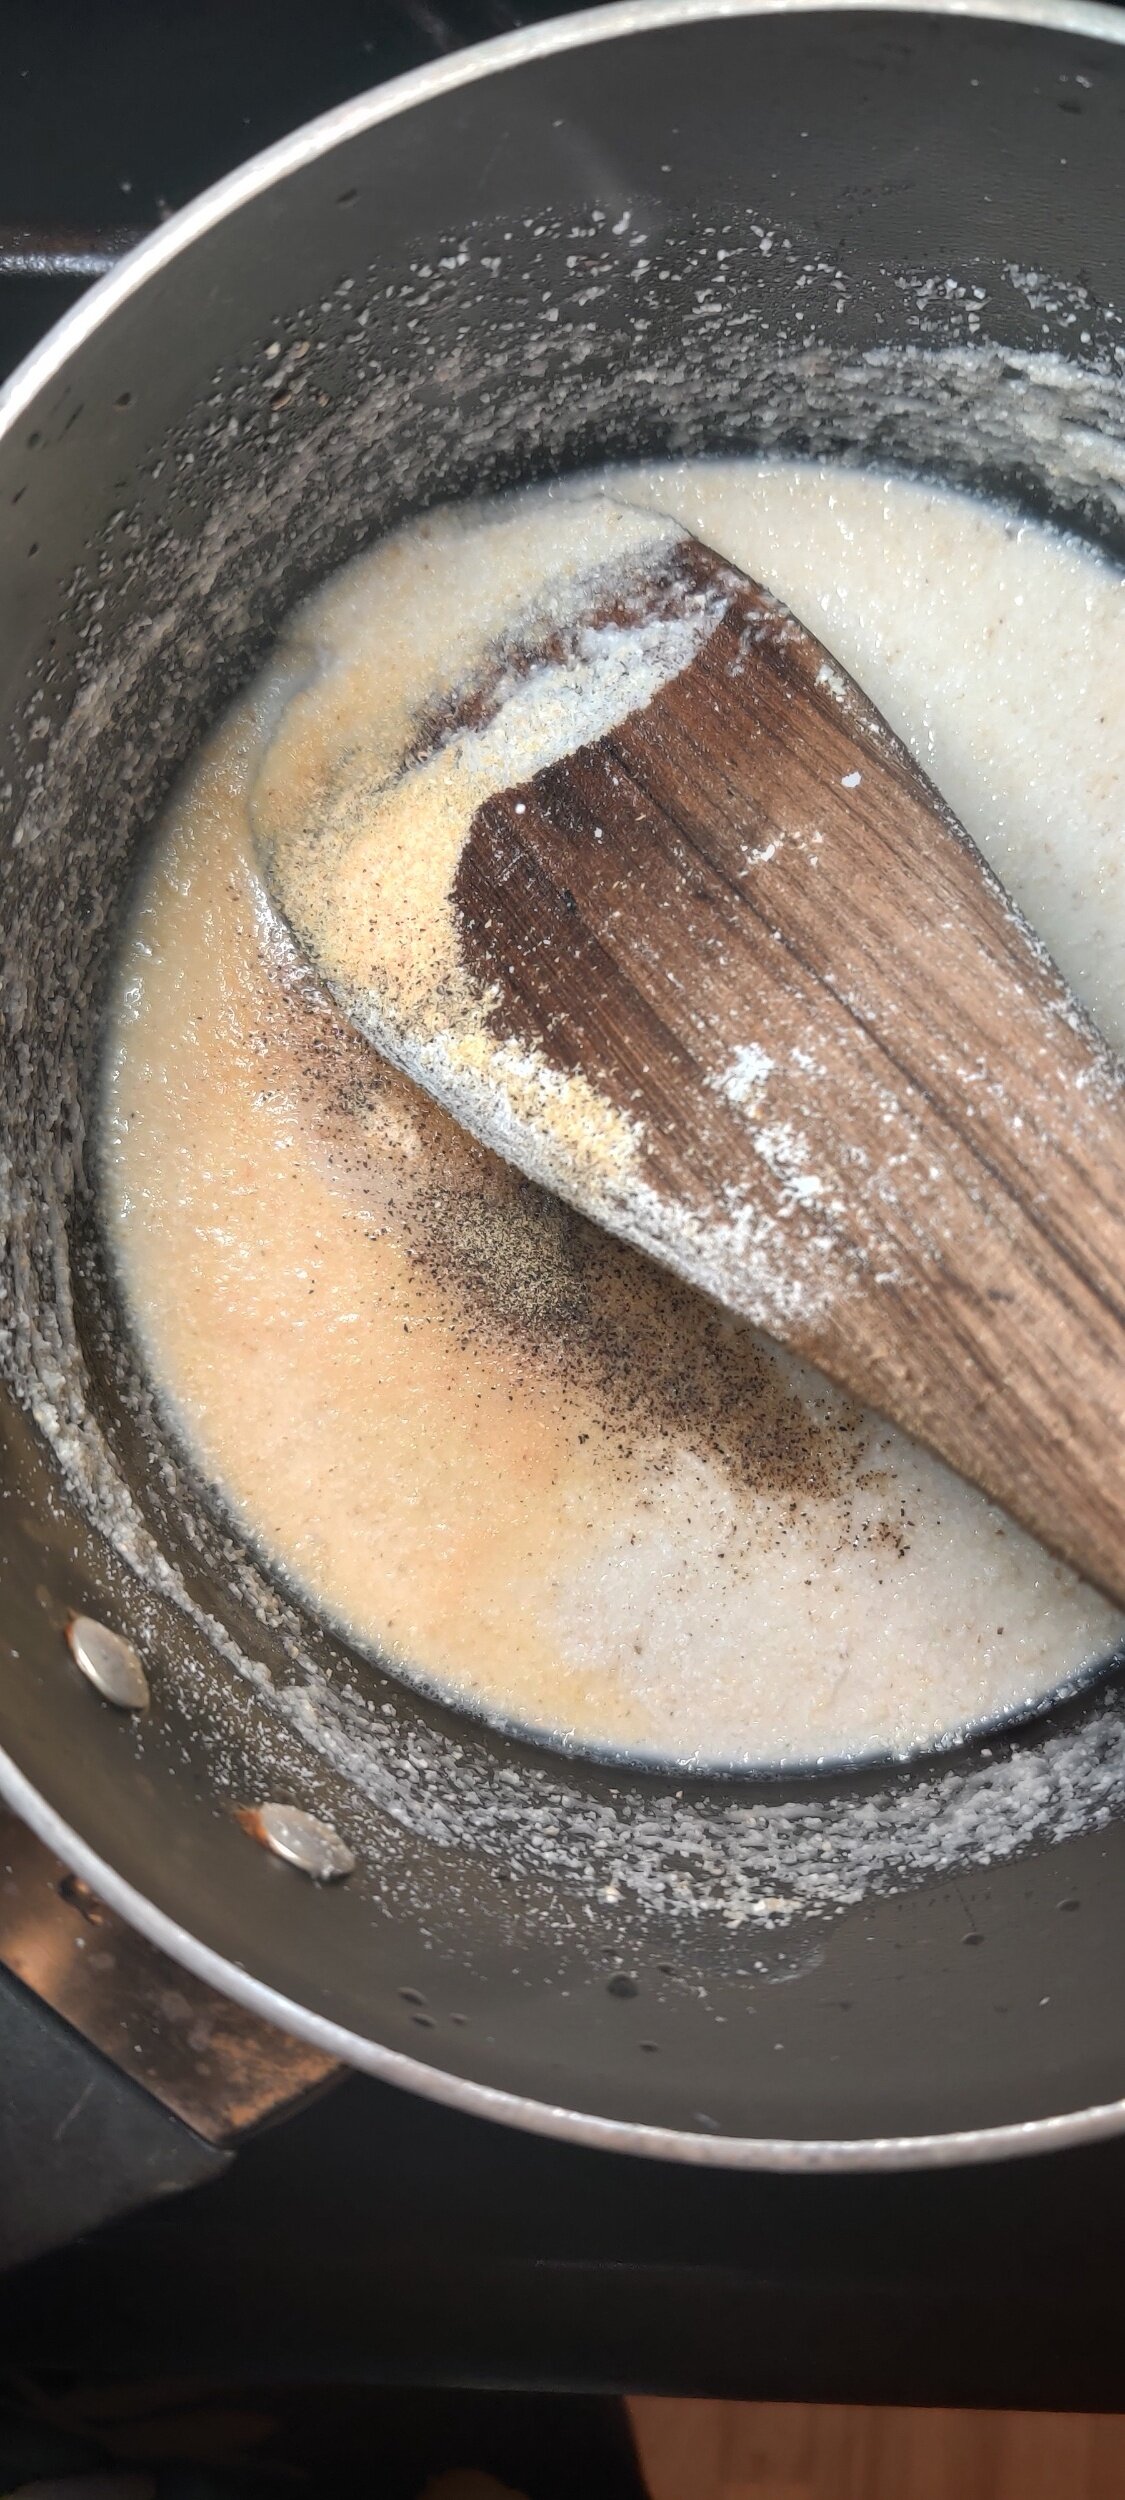
- Add the cinnamon, cardamom, salt, and roasted butternut squash. Whisk well, adding a little milk as needed to create a smoother texture.
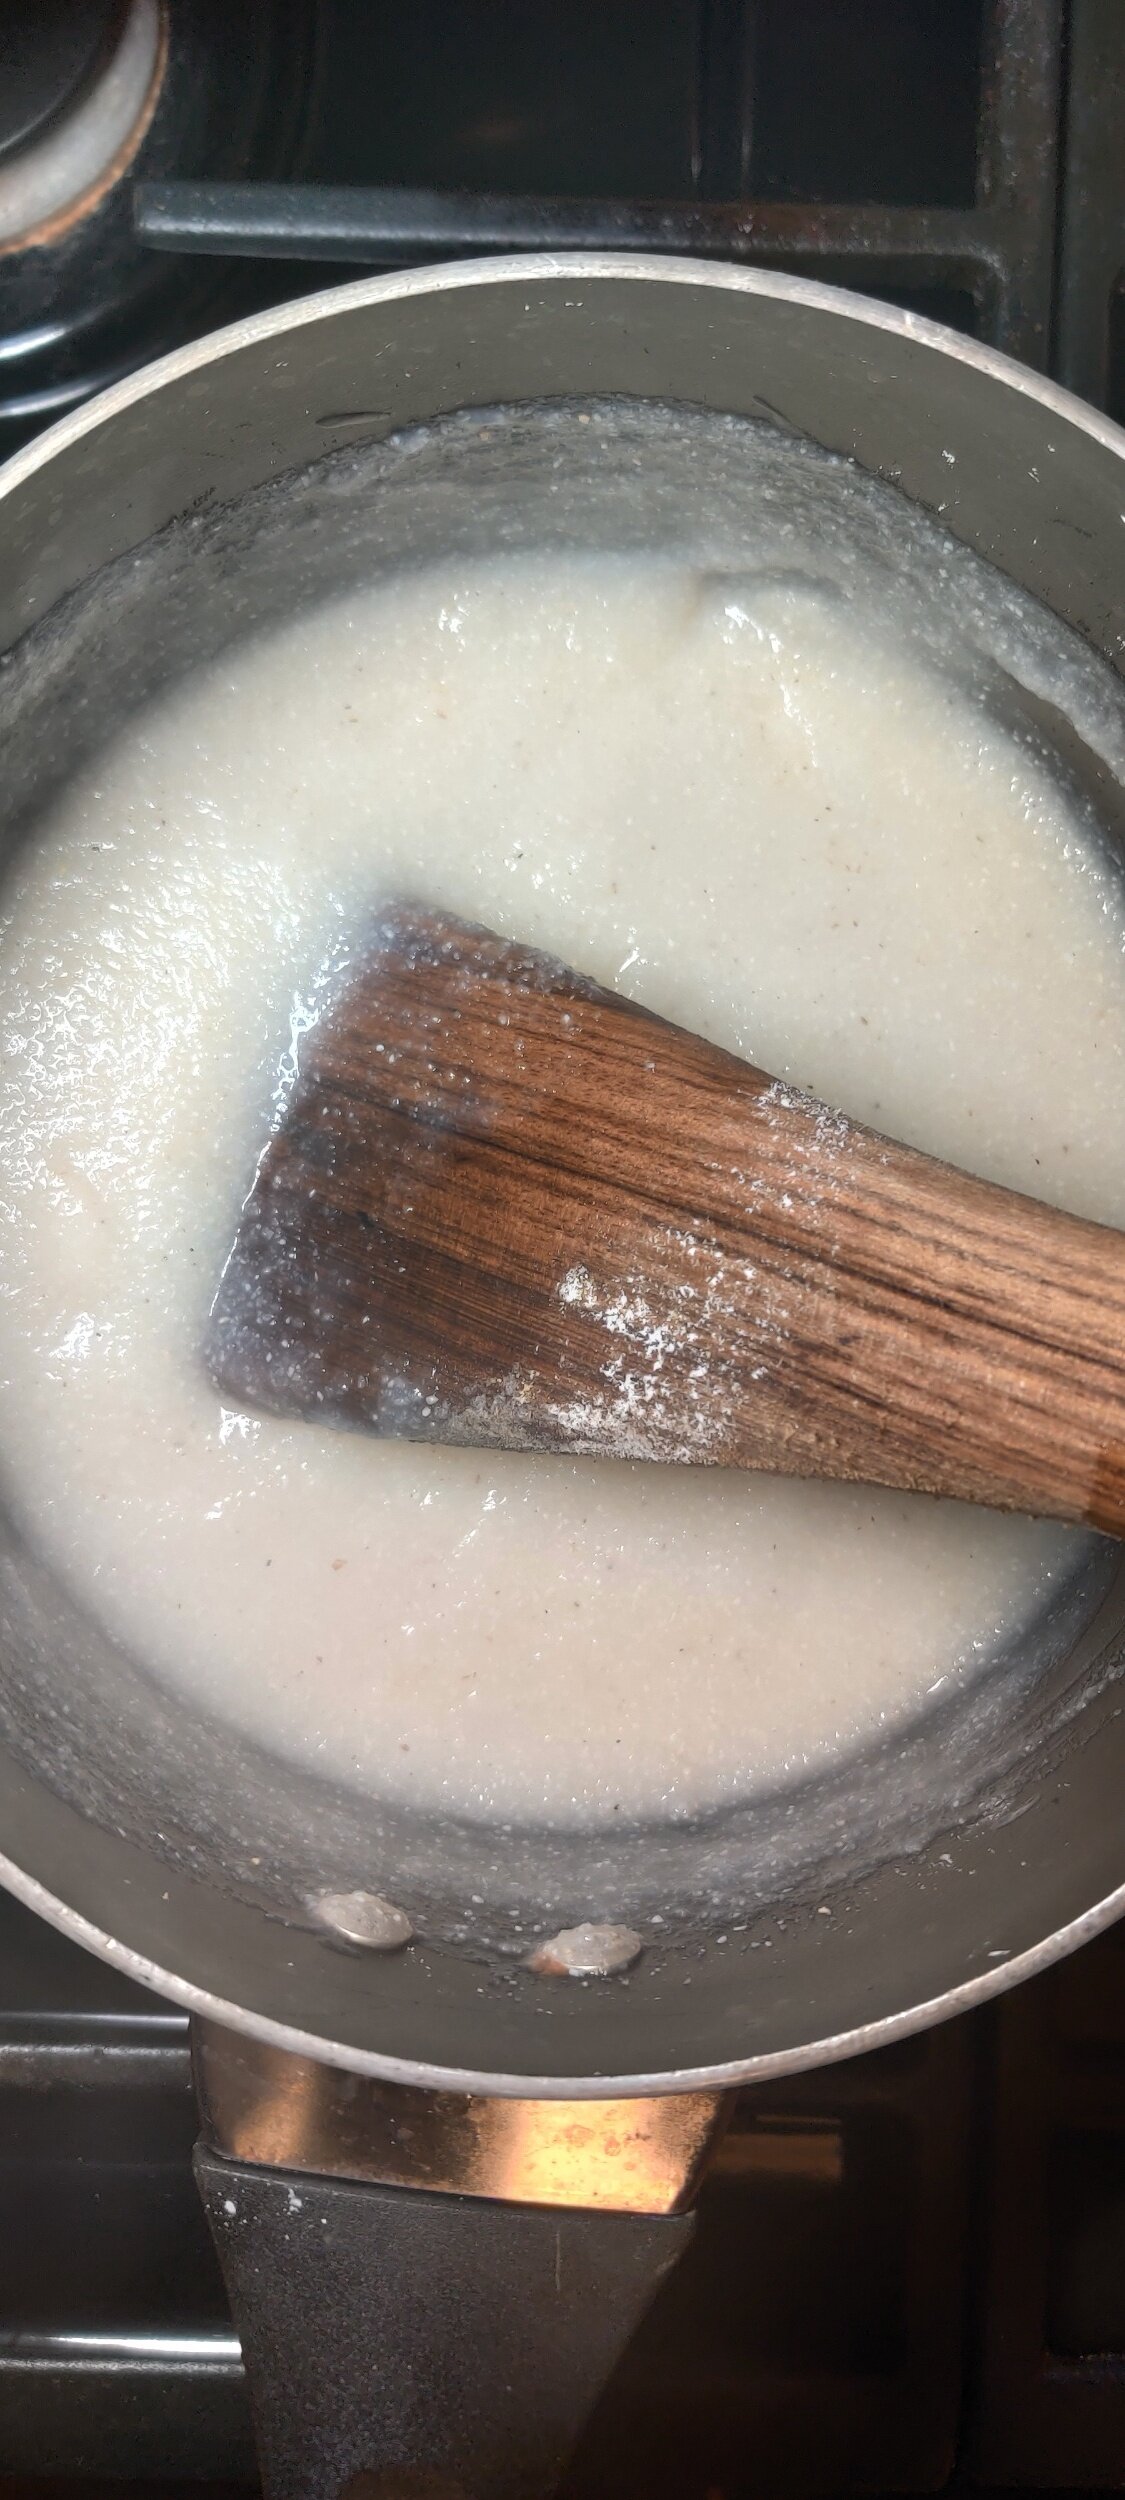
- Next, stir in the powdered milk for extra richness and creaminess. Add the brown sugar and peanut butter, then continue adding milk until the porridge reaches your desired consistency, simmering gently over low heat. Adjust seasoning to taste if needed.
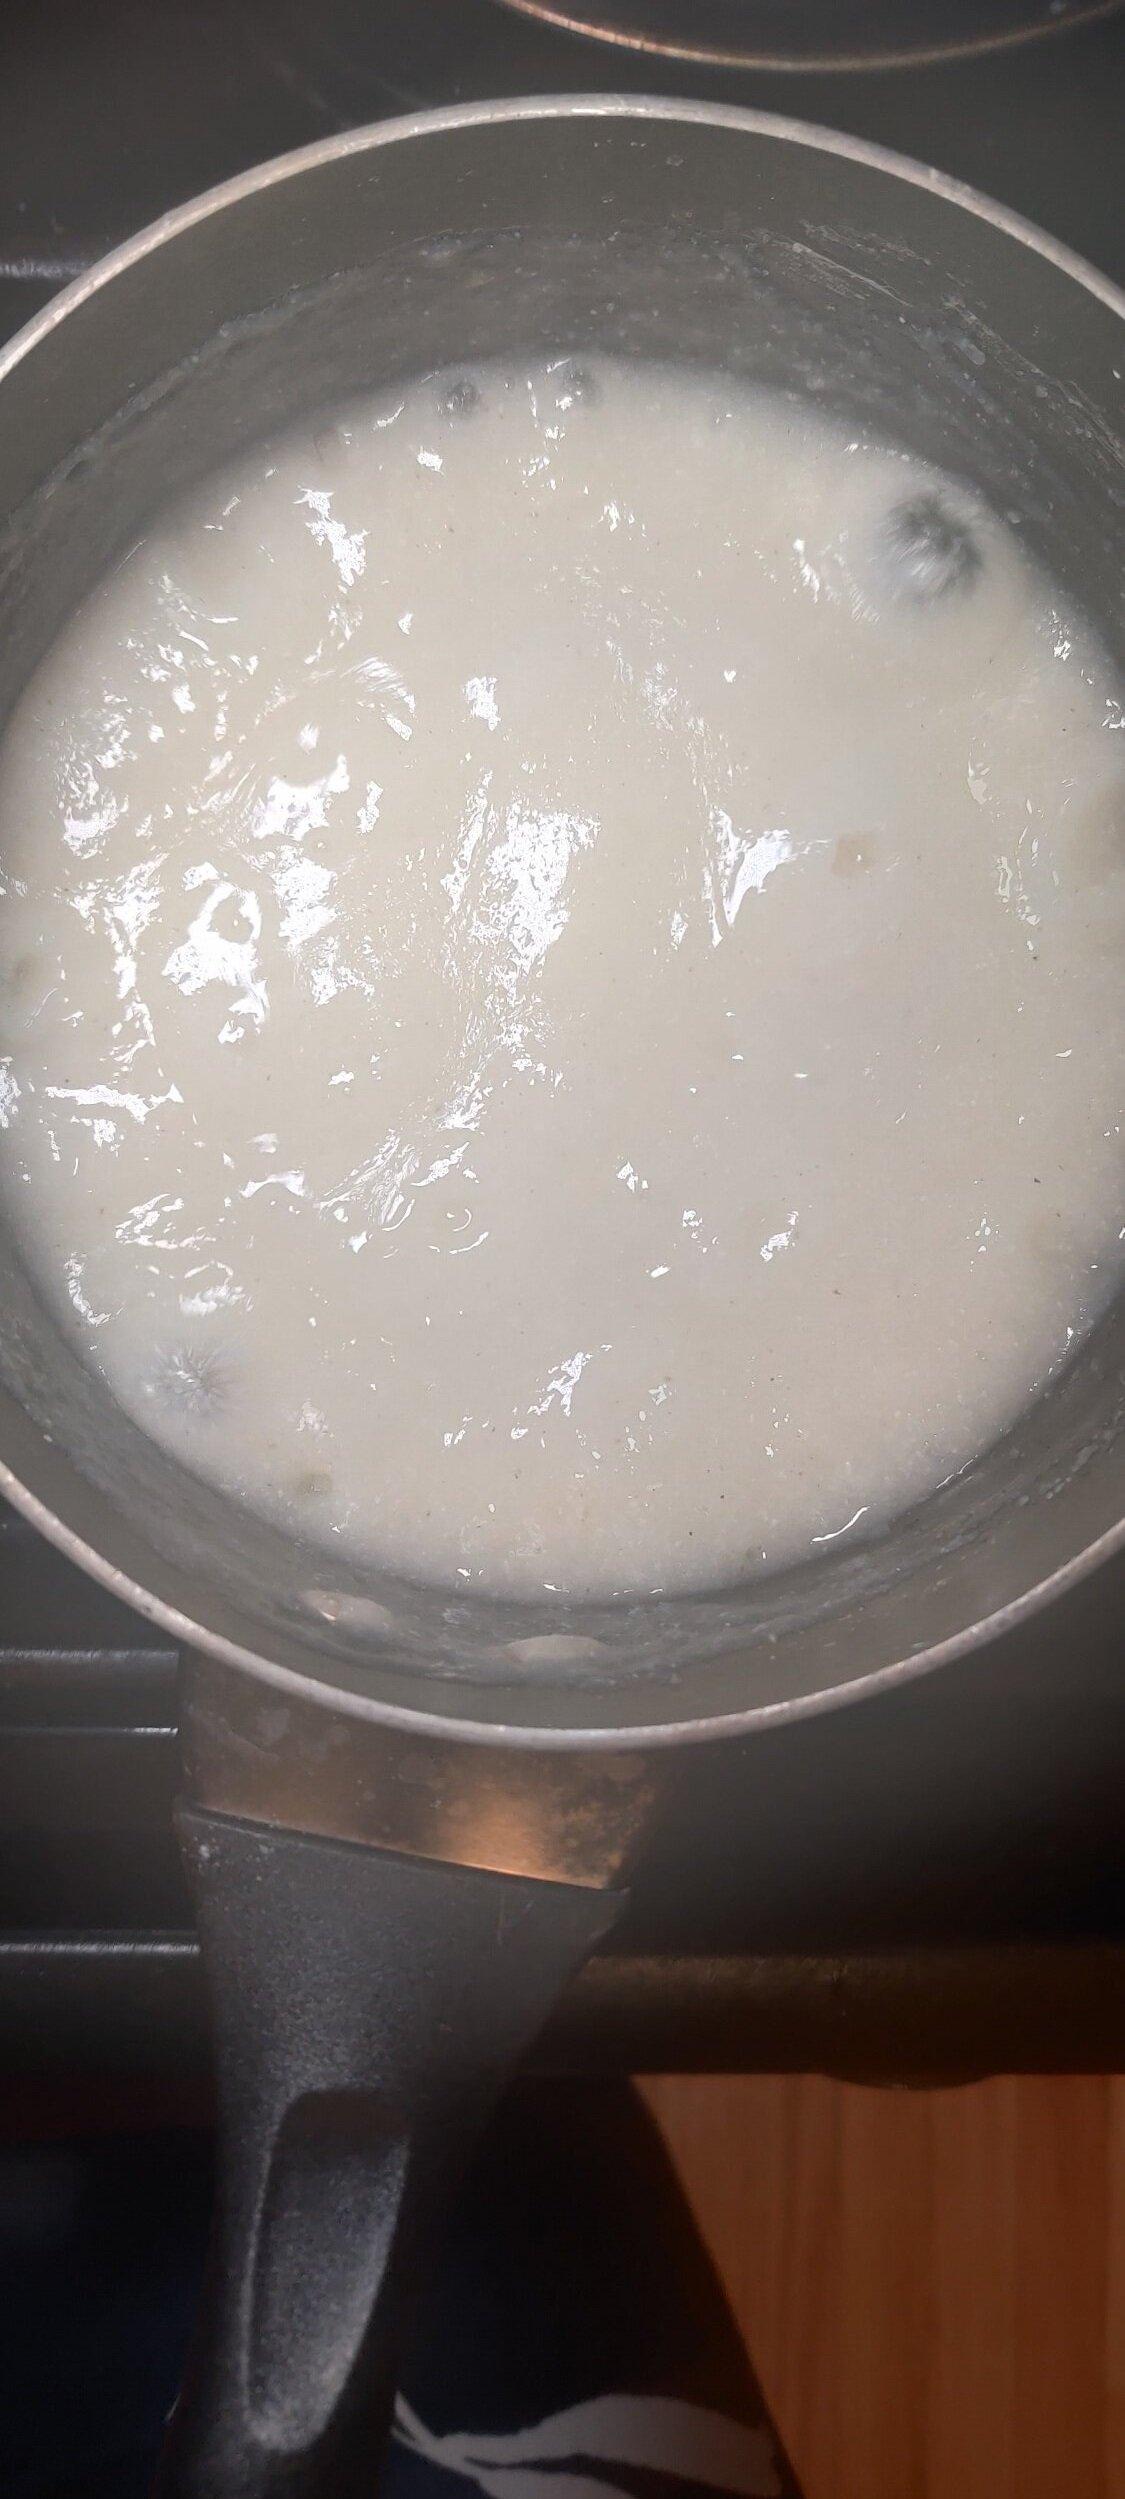
- Serve warm with optional toppings such as crushed peanuts, honey, and a sprinkle of cinnamon.
Notes
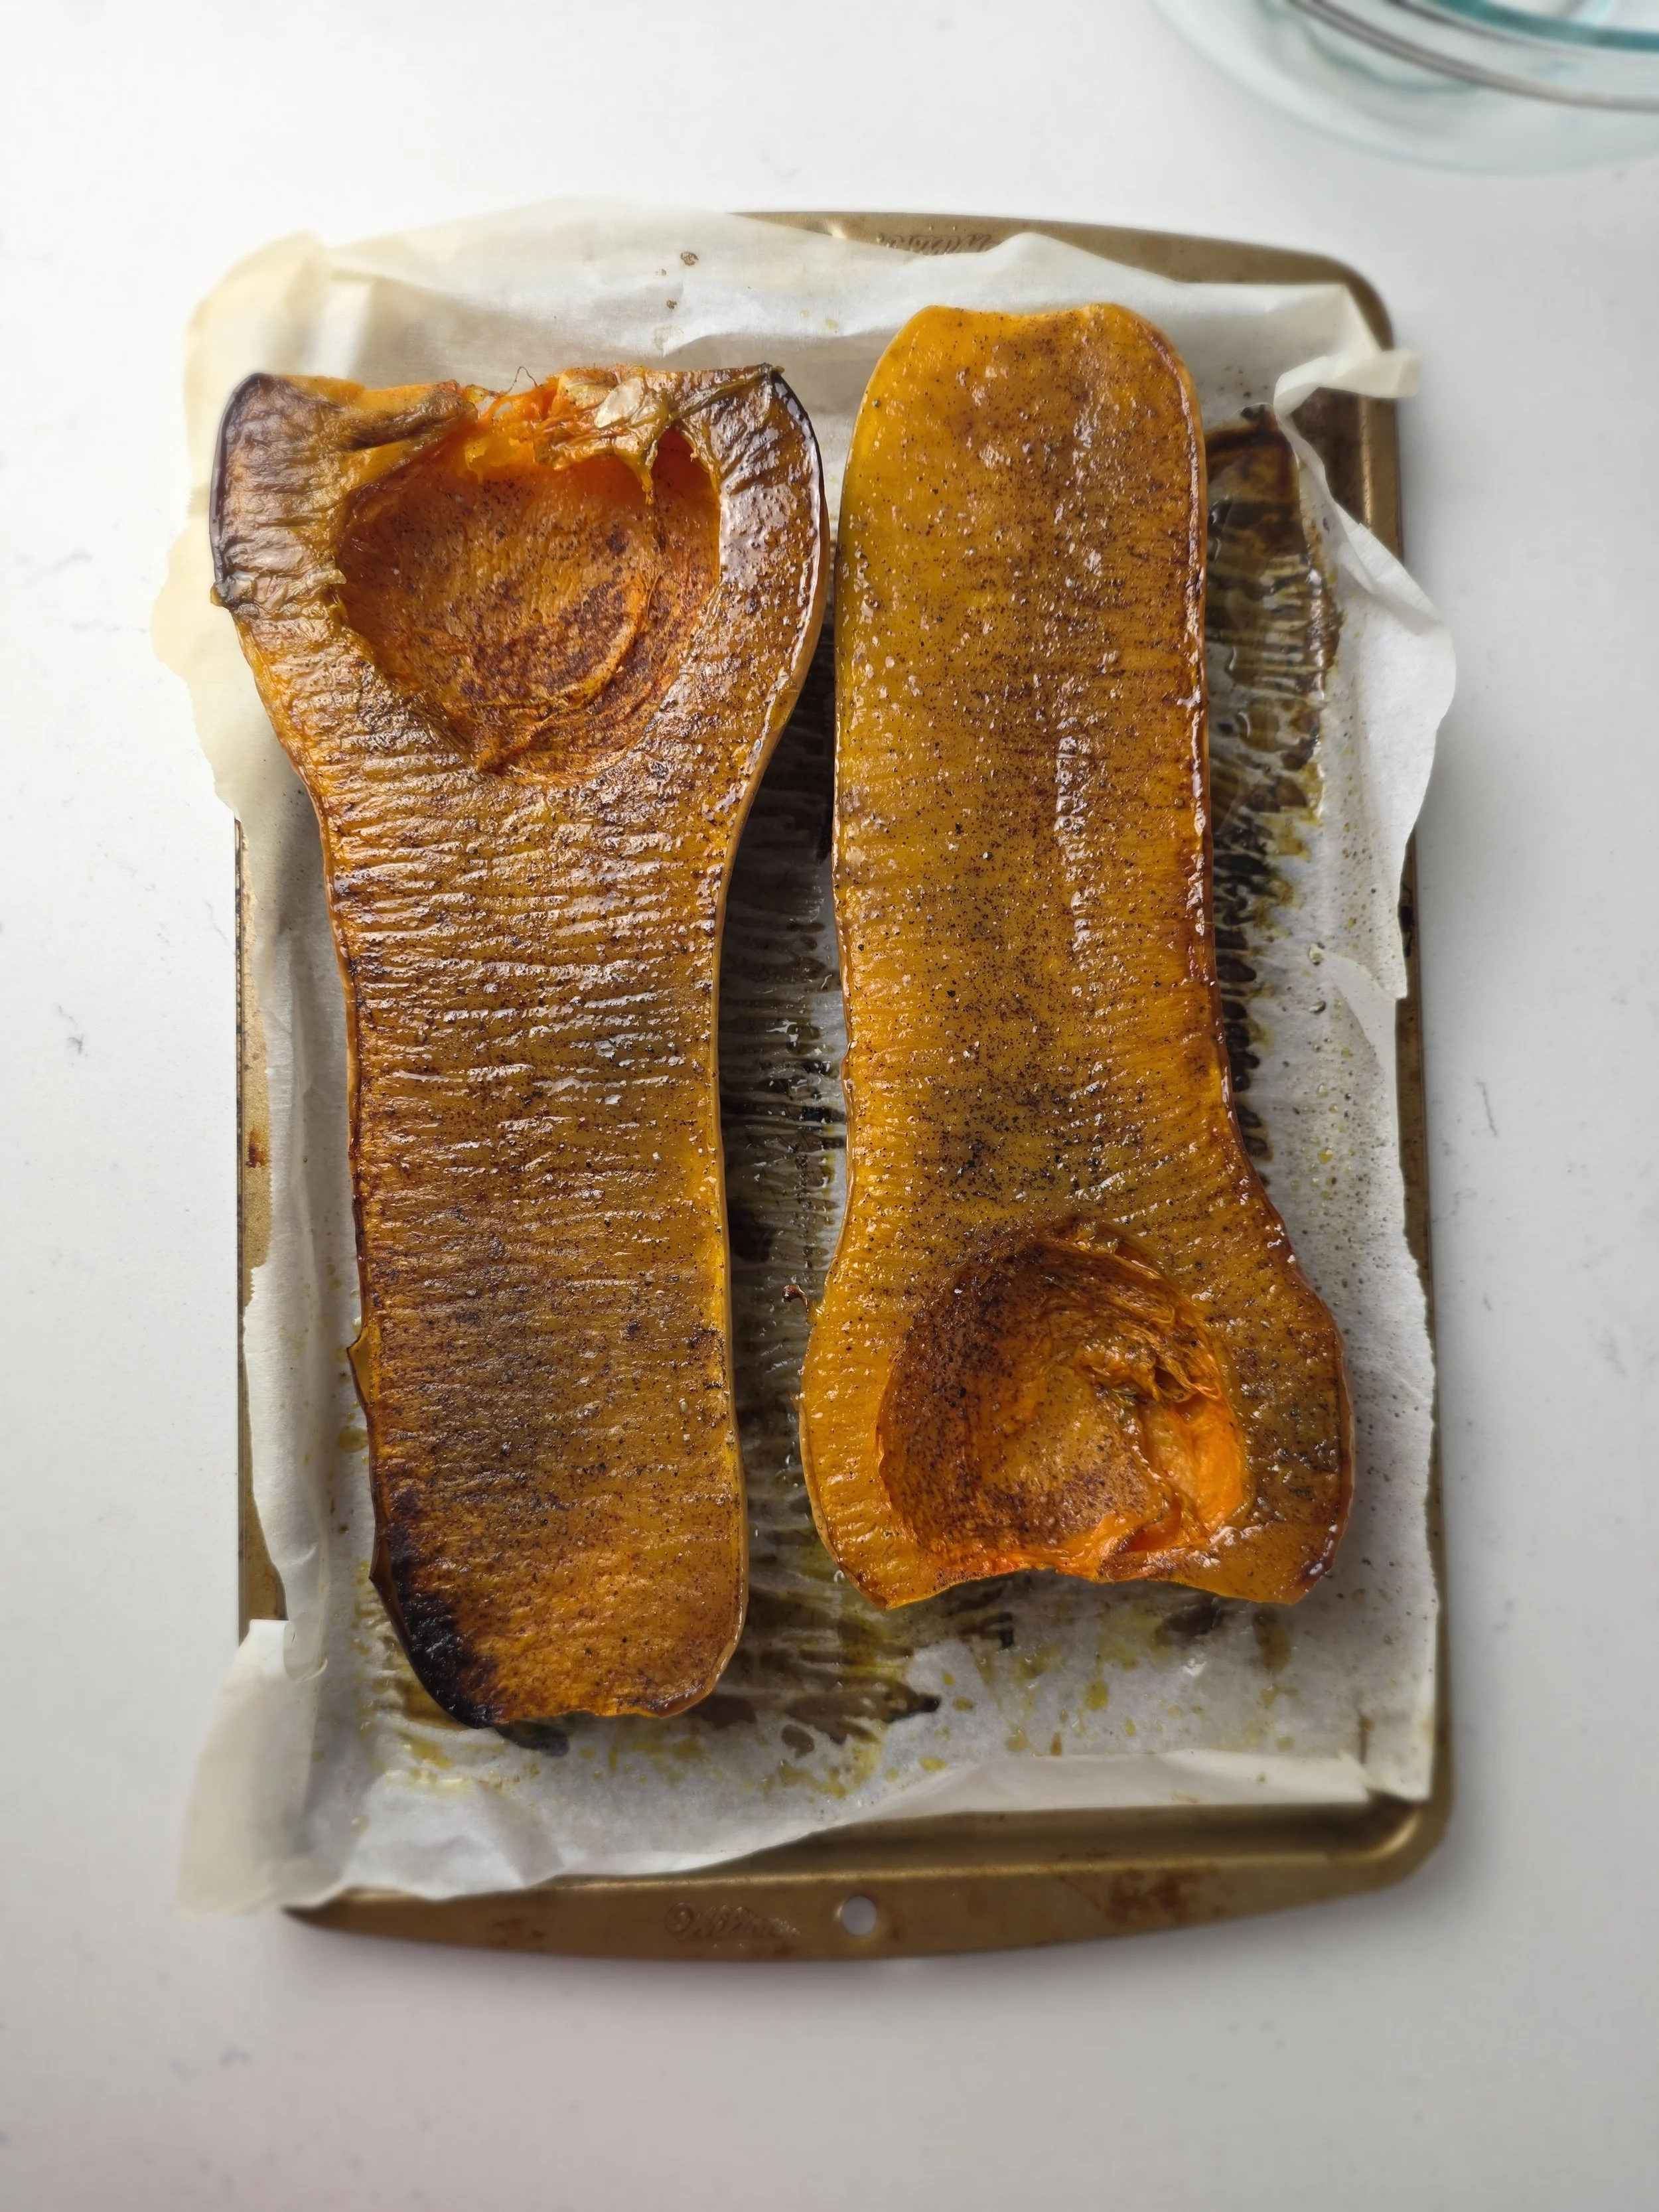
For the butternut squash, you can roast it beforehand for deeper flavor. Brush the squash with olive oil, then season with cinnamon, salt, and optionally a little brown sugar.
Place it cut-side down on a parchment-lined baking sheet and roast in a 400°F / 200°C oven for about 40 minutes, or until the flesh is soft enough to pierce easily with a fork.
Once all the ingredients are combined, adjust the consistency toward the end of the cooking process using milk as needed.
For a thicker, more nhopi-style texture:
- Use more butternut squash
- Use less milk
- Simmer longer for a denser consistency
For a looser Kenyan-style wheat porridge:
- Add more milk
- Use slightly less butternut squash
- Keep the texture smooth and pourable
Nutrition Facts
Calories
320Fat (grams)
13 gCarbs (grams)
42 gFiber (grams)
6 gSugar (grams)
9 gProtein (grams)
9 gI am not a certified nutritionist and any nutritional information on dontmissmyplate.com should only be used as a general guideline.

Goat “Kebab Style” With Coconut Curry Sauce
This goat kebab-style dish is inspired by the bold, communal flavors of East African cooking, where grilled meats, fresh salads, sautéed greens, and rich sauces come together on a single plate. Traditionally, dishes like nyama choma are cooked over open flames and served simply with onions, greens, and starches such as ugali, a thick, grain-based porridge.
This version brings those flavors into a more accessible, home-friendly format by using an air fryer, making it easier to recreate without sacrificing depth or character. The goat is first parboiled for tenderness, then marinated and cooked at high heat to achieve caramelized edges. It’s paired with a coconut curry sauce for richness, fresh kachumbari (a simple tomato-onion salad) for brightness, and sautéed greens for balance. The result is a complete, layered meal that feels both rooted in tradition and adaptable for everyday cooking.
This dish was also inspired by a trip to Nairobi, where I immersed myself in the local food culture and tried to experience as much as possible. I was struck by the similarities between Kenyan and Zimbabwean cuisine, which I found especially intriguing. The two countries share a number of culinary connections shaped by overlapping histories. Ugali in Kenya, for example, is very similar to sadza in Zimbabwe. In this recipe, I’ve used finger millet (zyiyo in Zimbabwe), which is also popular in Kenya (ugali wa wimbi).
I also made it in honour of my father, who was a massive ‘mbudzi’ (goat both in Swahili and Shona) fan and loved learning about travel and culture.
For greens, a variety of options can be used (everything from collard greens and spinach to pumpkin leaves) another shared thread between the cuisines, although I wanted somehting on the bitter side to balance the sweetness from the coconut sauce so when with dandelion greens. The fresh salad adds balance, acidity, and crunch, while the coconut sauce brings richness to complement the crispy goat. Coconut, in particular, reflects Kenya’s coastal influences and long history of trade, introducing spices and tropical elements that are less common in Zimbabwean cuisine.

Goat “Kebab Style” With Coconut Sauce
Tender, crispy marinated goat chunks, parboiled for tenderness and finished in the air fryer or grill, then served with grilled onions, coconut curry sauce, and classic East African-inspired sides.
Ingredients
- 2 lbs goat chunks
- 4 garlic cloves
- 1 medium onion, cut into wedges
- 2 bay leaves
- 1 tbsp fresh ginger, grated
- 1 tbsp vinegar
- 1 tsp salt
- 2 lbs goat, parboiled, drained, and dried
- 3 tbsp olive oil
- 2–3 garlic cloves, minced
- 2 medium onions, cut into wedges (reserve some for grilling)
- 2 bay leaves
- 2 tbsp fresh ginger, grated
- 1 tbsp vinegar
- 2 tsp cumin
- 2 tsp coriander
- 1 tsp onion powder
- 1 tsp paprika
- 1 tsp curry powder
- 1 tsp salt
- 1 tsp black pepper
- 1 tsp pilau masala (optional)
- 1 yellow onion, chopped
- 2 garlic cloves, minced
- 1 chili pepper, minced
- 2 tbsp fresh ginger, grated
- 1 tbsp curry powder
- 1 tbsp paprika
- 1 can coconut milk
- 2 tbsp tomato paste
- 1 tbsp tomato sauce
- 1-2 tbsp Worcestershire sauce
- 1 tsp chicken bouillon paste (optional)
- Salt and pepper, to taste
- 2 tomatoes, sliced
- ½ large red onion, sliced
- Juice of 1 lime
- Olive oil
- Fresh parsley
- Salt, to taste
- 1 bunch dandelion greens (or pumpkin leaves if available)
- 2–3 garlic cloves, minced
- Cooking oil
- Salt and pepper, to taste
- All-purpose seasoning (optional)
- 1 tsp chicken bouillon paste
- Lemon juice
- 2-3 cups dry finger millet flour
- 2-3 cups boiling water
- 1 cup cold water
- Salt,Goat & Coconut Sauce to taste
- All-purpose seasoning (optional)
Instructions
- Parboil the goat with the garlic, onion, bay leaves, ginger, vinegar, and salt for about 30 minutes, or until slightly tender. Drain and discard the aromatics, then pat the goat dry and let it sit for 5–10 minutes before transferring to a bowl.
- Mix the marinade ingredients with the goat until evenly coated. Cover and refrigerate for at least 6–8 hours, preferably overnight.
- Remove the goat from the fridge about 20 minutes before cooking to allow it to come closer to room temperature for more even cooking.
- Cook the goat in an air fryer, indoor grill, or grill-air fryer combo at 400°F / 200°C for about 15 minutes, turning halfway through. The edges should be crisp and caramelized while the inside stays tender.
- Add the onion wedges during the last 7–8 minutes of cooking so they soften and char slightly while still retaining some bite.
- For the coconut sauce, sauté the onion and garlic until fragrant and translucent. Add the ginger and chili pepper and cook for another 2–3 minutes.
- Stir in the bouillon paste, tomato paste, salt, paprika, curry powder, and black pepper, cooking for about 1 minute until fragrant. Add the coconut milk, tomato sauce, and Worcestershire sauce, then simmer gently for 10–15 minutes until slightly thickened.
- Skewer the goat chunks with the grilled onions if desired, then serve with the coconut sauce.
- Kachumbari: Combine the tomatoes and red onion with lime juice, olive oil, parsley, and salt to taste.
- Dandelion Greens: Sauté the garlic in oil until fragrant, then add the greens and cook until wilted and tender. Season with salt, pepper, bouillon paste, and a squeeze of lemon juice.
- Finger Millet Sadza/Ugali: Bring water and salt to a simmer, then gradually whisk in about ½ cup of the finger millet flour until a thick paste forms, ensuring lumps do not develop and removing any if needed.
- Gradually add more boiling water as needed until you reach the desired quantity and consistency of sadza/ugali. Reduce the heat to low and cook for about 20 minutes.
- Once cooked through, add the remaining flour and use a wooden spoon to fold and stir until smooth and thick. Turn off the heat, cover with a lid, and let it rest for 5 minutes before serving.
- Serve everything together while warm.
Notes
- Goat is parboiled first to ensure tenderness.
- Sauce should be simmered, not aggressively boiled. You may nitice fat coming to the surgace once it begins to cool, just skim that off the top.
- Serve sauce on the side to preserve texture and don;t straing is to keep it more tranditnoal.
Nutrition Facts
Calories
520Fat (grams)
32 gCarbs (grams)
18 gProtein (grams)
35 gI am not a certified nutritionist and any nutritional information on dontmissmyplate.com should only be used as a general guideline.
Roasted Croacker Fish with Muto Sauce (Zimbabwean-Style)
Whole fish has always been one of my favorite ways to cook and eat, and if you know my cooking, you know I’m known for it. There’s something about working with the fish in its entirety that feels more connected, more intentional, and ultimately more flavorful.
In Zimbabwe, fish is sometimes overlooked in everyday conversation around food, but it plays a significant role in many communities, especially in areas where access to freshwater lakes makes fish a regular and cherished part of the diet. Whether grilled, fried, or simmered in sauces, fish is a staple that deserves more attention.
This dish brings that tradition into a slightly more modern, flexible approach. Instead of simply making a standard Zimbabwean tomato-based gravy (muto), where you roast the vegetable and aromatics base (tomatoes, onions, garlic, and chilies) to deepen their flavor, then blend them into what I call a muto-style sauce. It’s perfect for coating fish before finishing it in the oven.
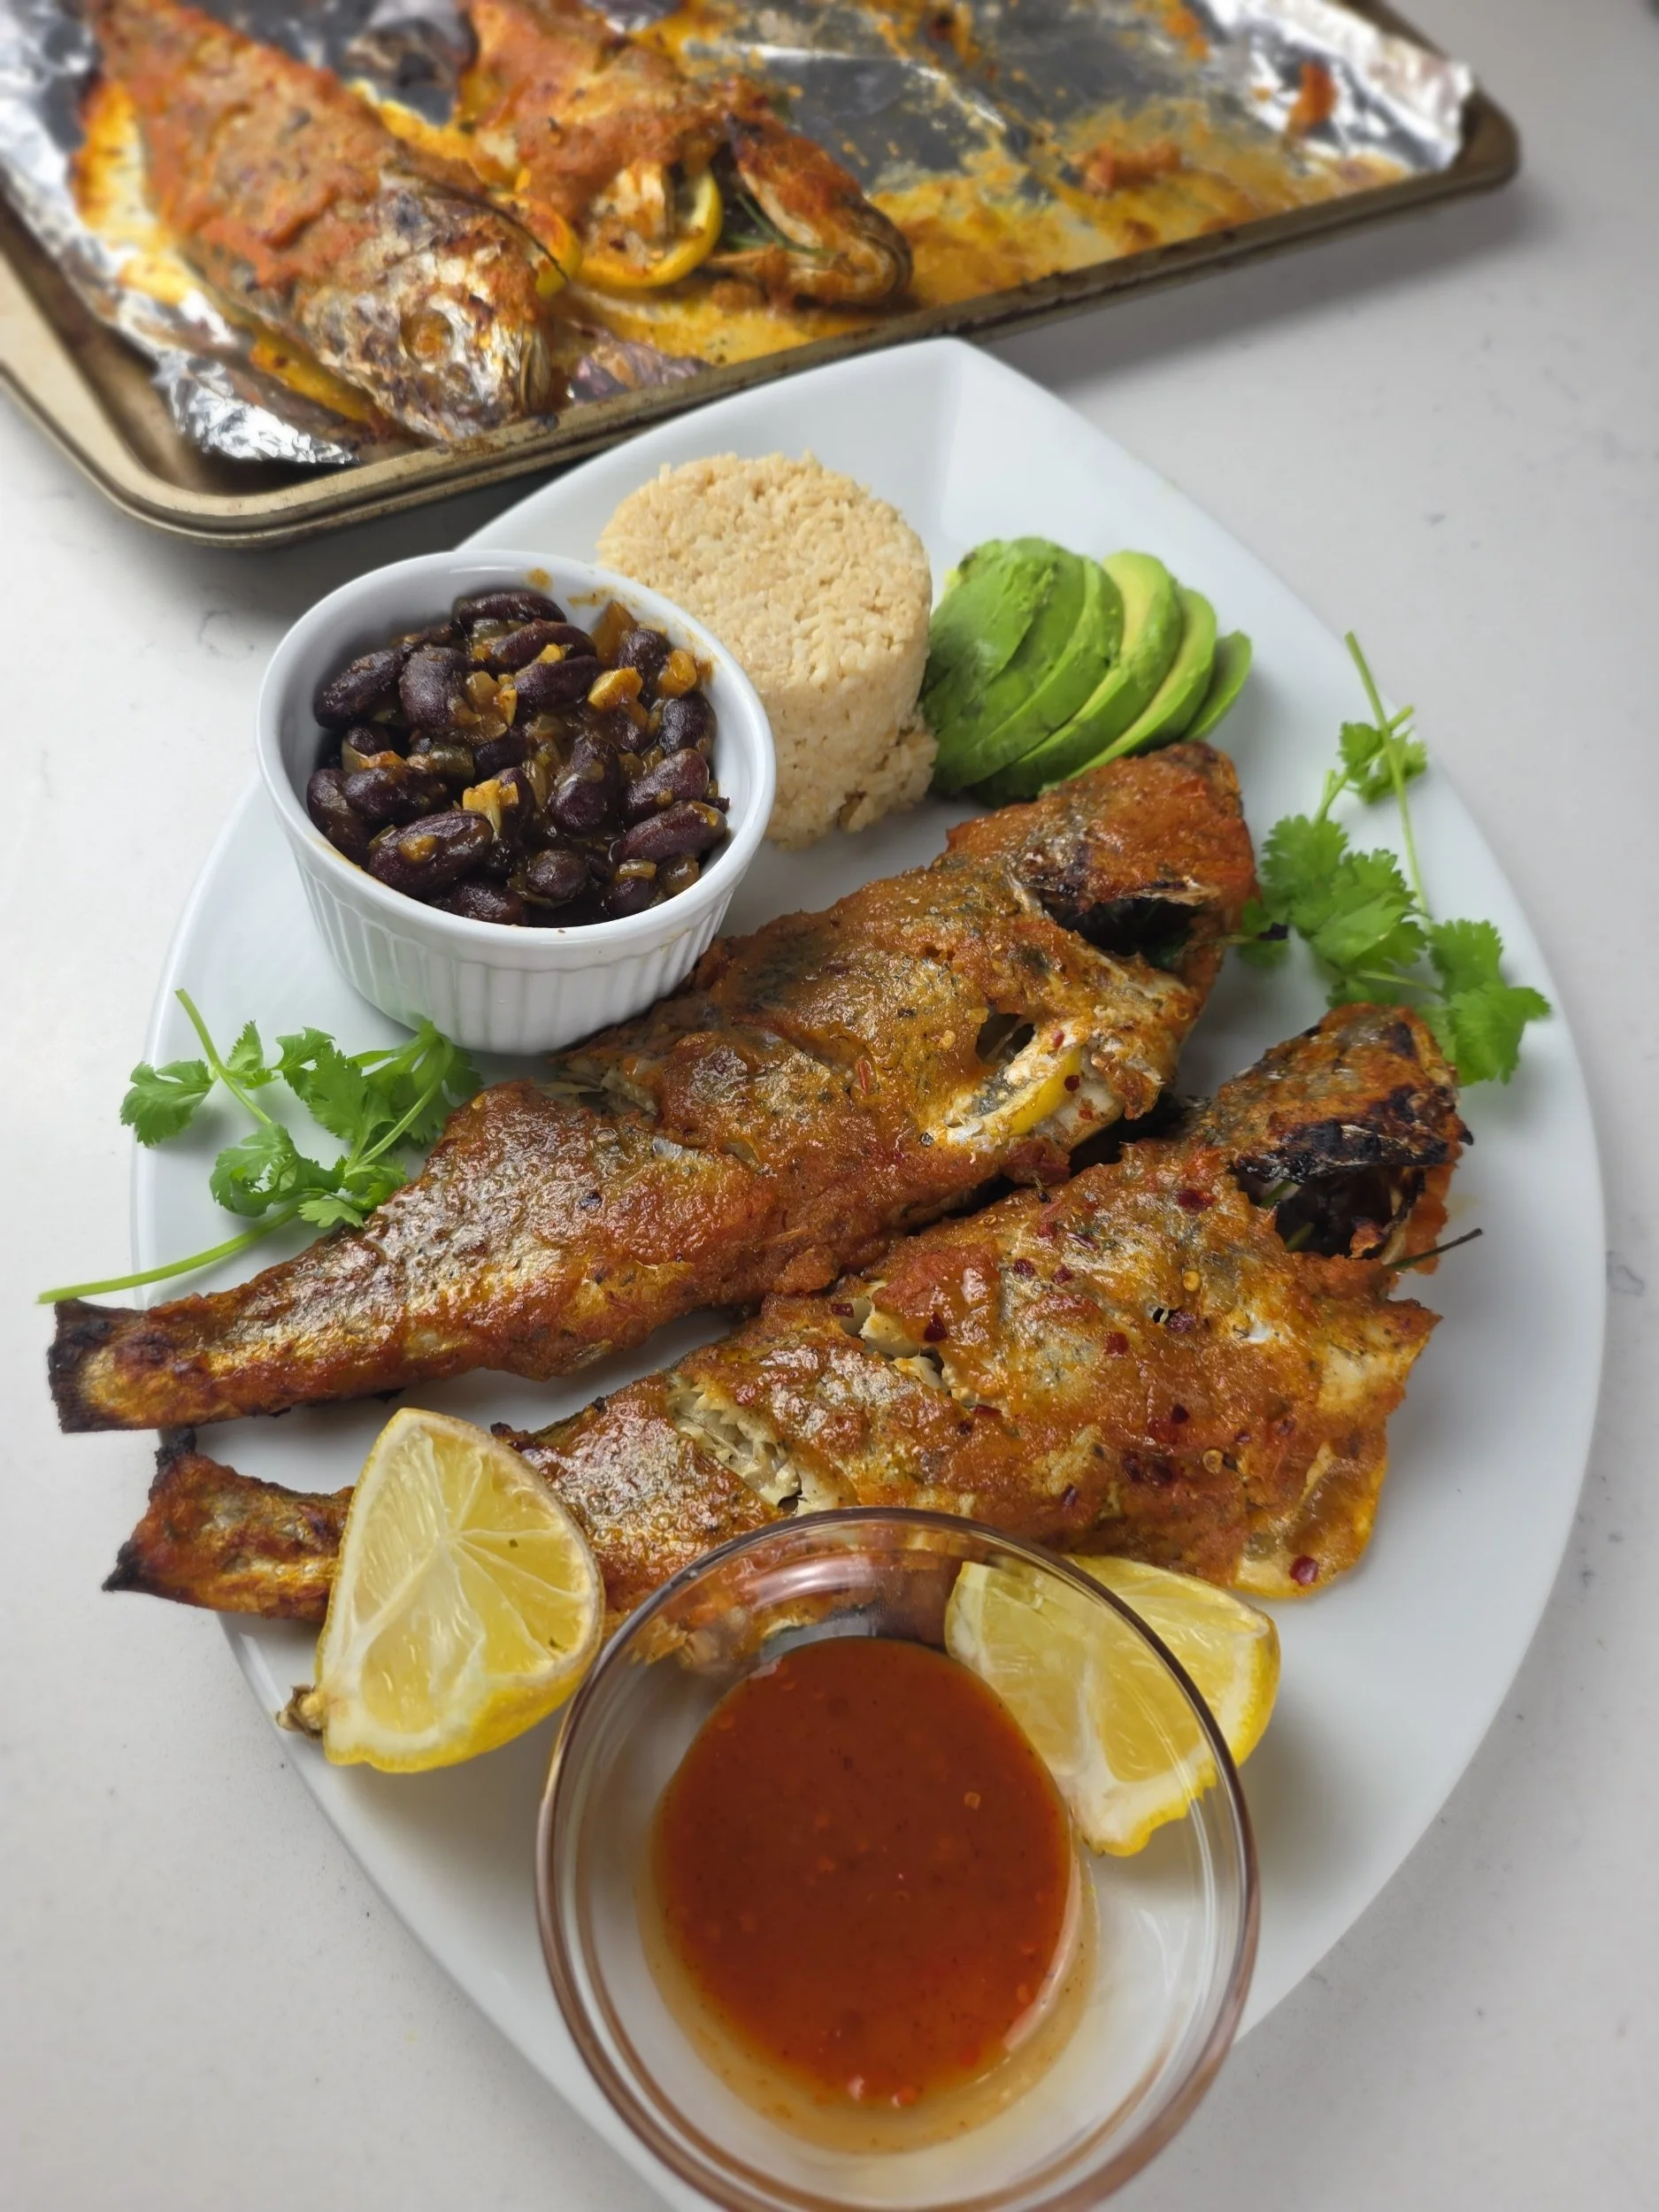
It’s served alongside peanut butter rice and sugar beans, a combination that reflects how Zimbabwean meals often come together: a strong protein, a starch, and something hearty and comforting on the side. The peanut butter rice (also known as mupunga unedovi) adds richness, while the beans bring balance and texture.
More than anything, this dish is about rethinking how we approach familiar flavors. Zimbabwean food doesn’t have to stay in one format, it can evolve and adapt.
")
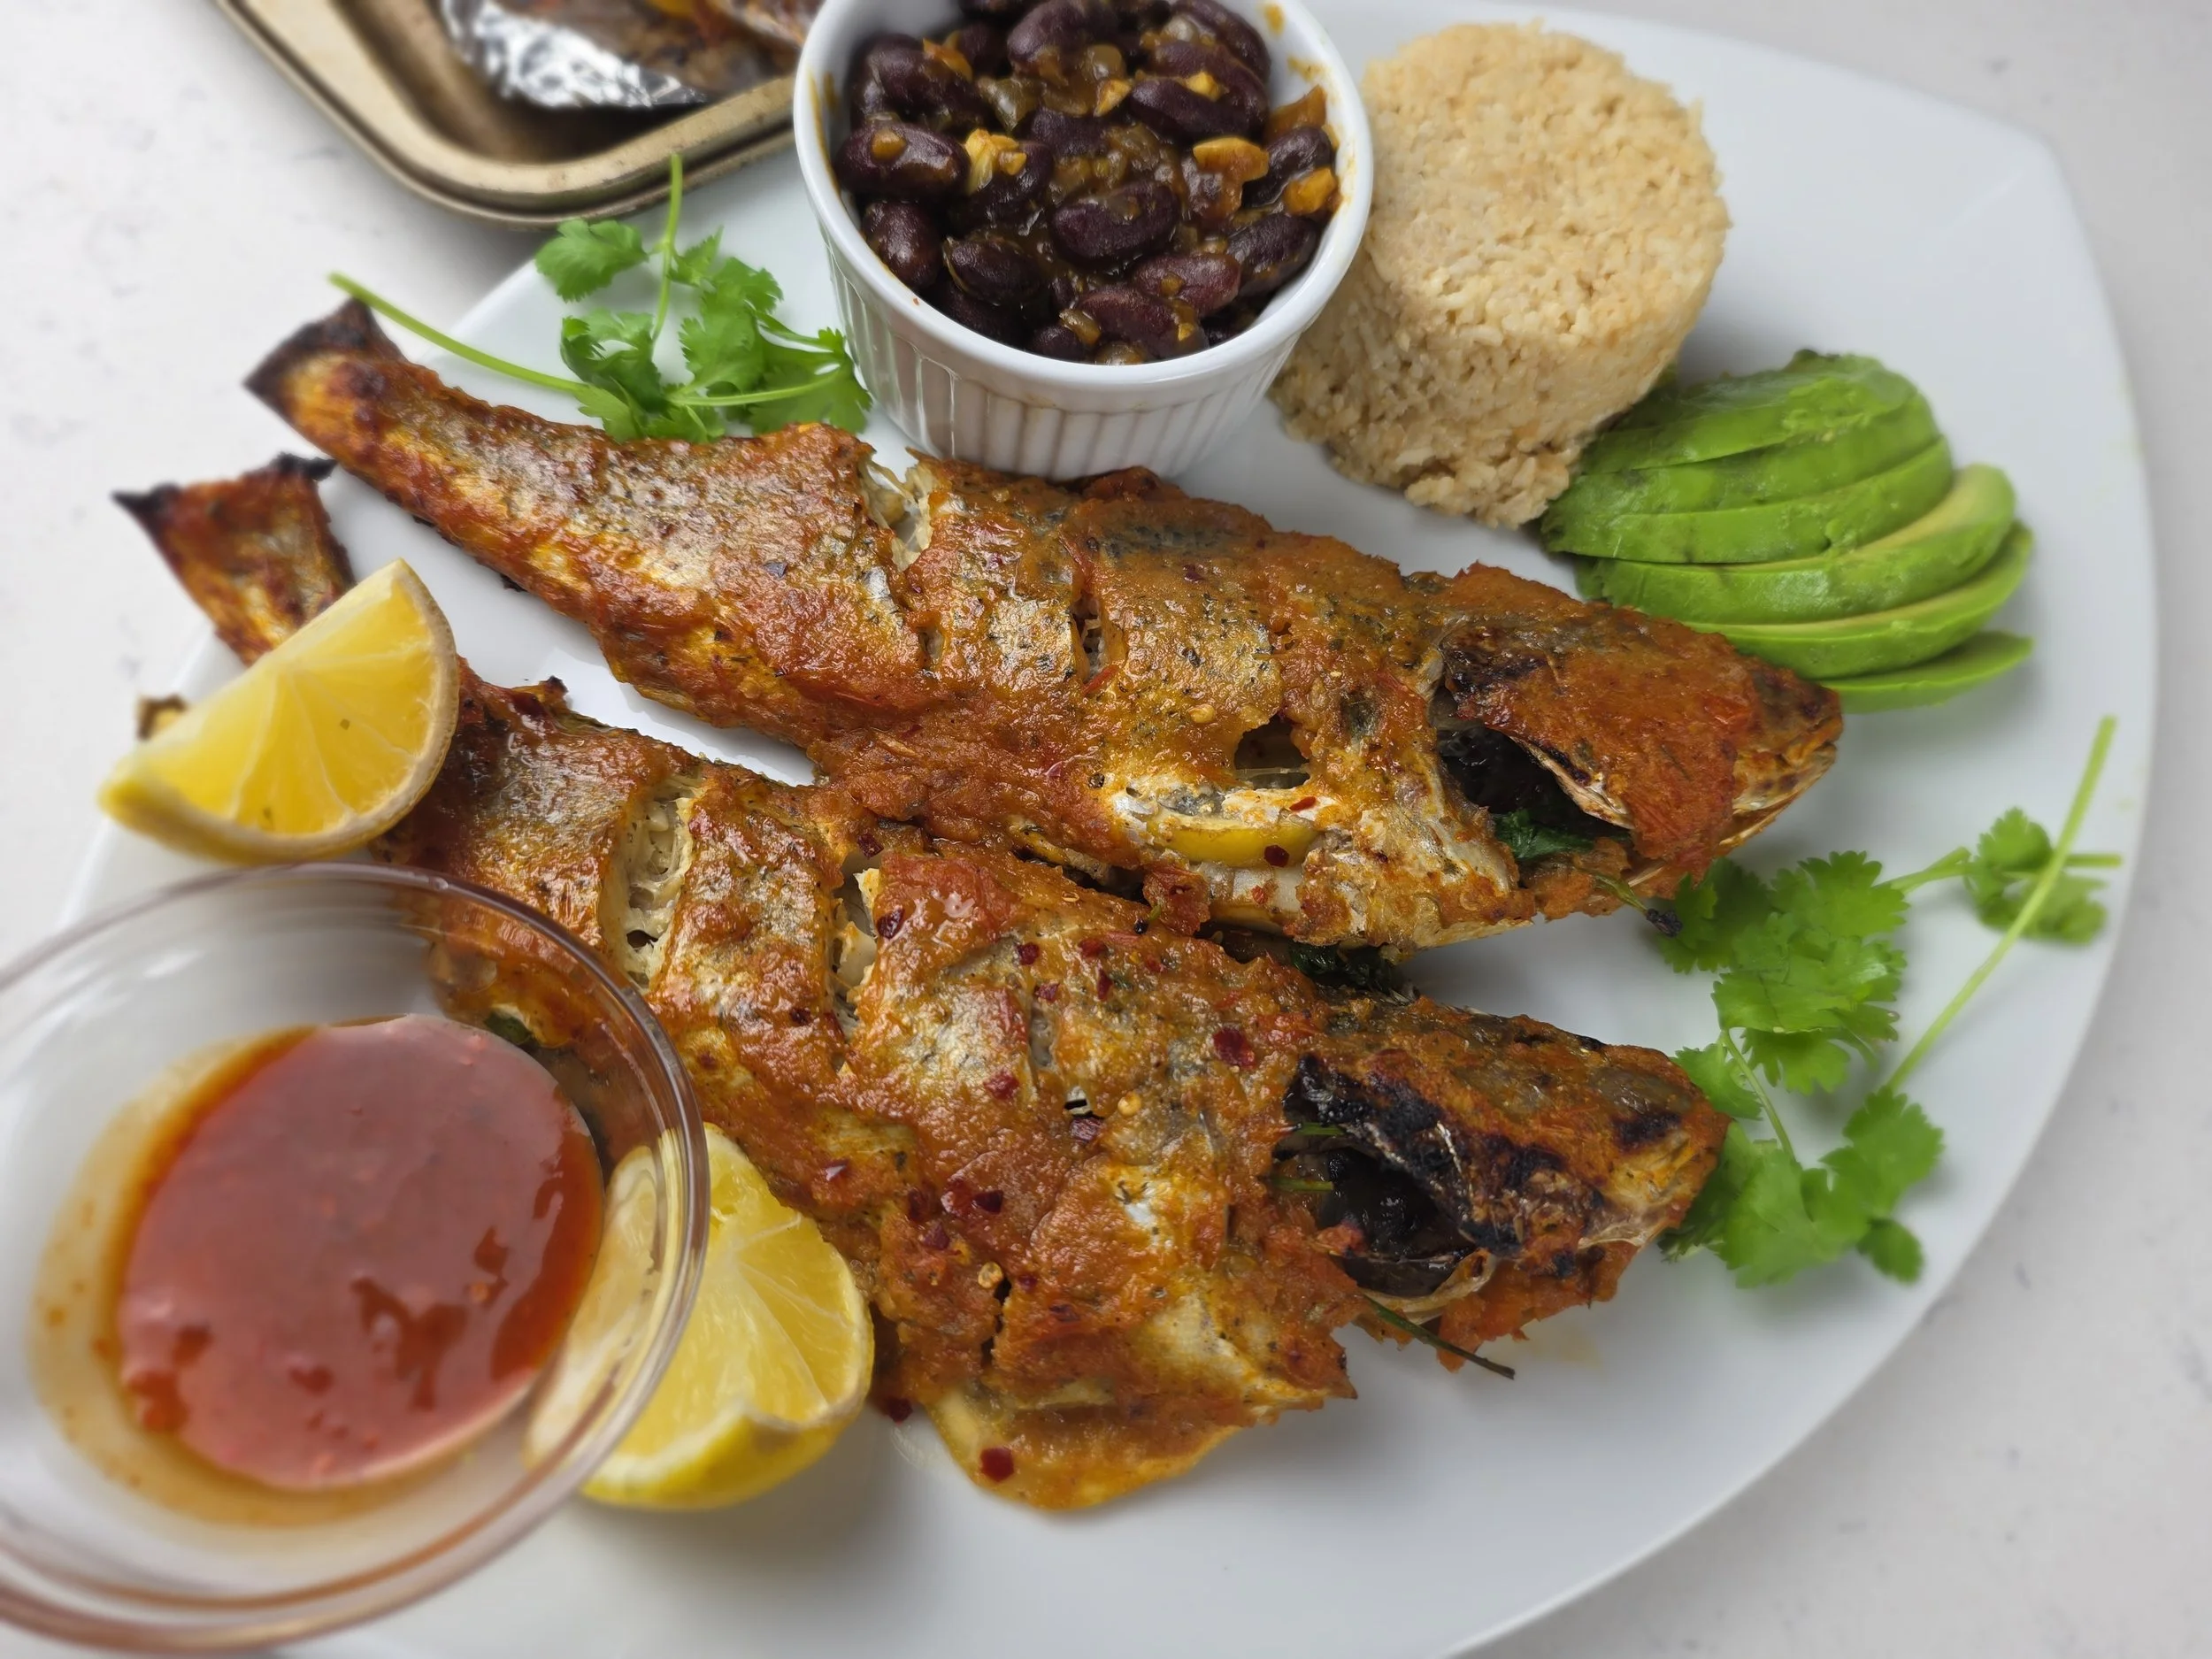
Roasted Croaker Fish with Muto Sauce (Zimbabwean Style)
A flavorful roasted whole fish served with a rich roasted vegetable “muto” sauce, paired with optional peanut butter rice and beans for a hearty Zimbabwean-inspired meal.
Ingredients
- 4 small whole croaker fish (~8 inches each), cleaned
- 2–3 tbsp olive oil
- 2 tbsp fish spice
- 2 tsp paprika
- 2 tsp salt
- 2 tsp black pepper
- 4 garlic cloves, sliced or lightly crushed
- 4 slices lemon + juice of 1 lemon (optional)
- Fresh cilantro or parsley (for garnish)
- Chili flakes (optional)
- 1 large onion, cut into wedges
- 5 Roma tomatoes, halved
- 4 garlic cloves, skin on
- 3–4 hot chilies (Thai or similar)
- 2–3 tbsp oil
- 1 tbsp tomato paste
- 1 tbsp Worcestershire sauce
- 1 tbsp seasoned salt (or to taste)
- 1 tsp black pepper
- Splash of stock or water (for blending)
- 1 cup basmati rice
- 2 tbsp smooth peanut butter
- 4 tbsp hot water
- 2 bay leaves
- 1½ tbsp rice seasoning or stock powder
- 1 tsp salt
- 1½ cups cooked sugar or kidney beans (or 1 can, drained)
- 1/3 onion, chopped
- 1/3 shallot, chopped
- 2 tbsp tomato paste
- 1 hot chili pepper, chopped
- 1 cup chicken stock
- 1–2 tbsp oil
- 1 tsp salt (to taste)
Instructions
- Preheat the oven to 220°C / 425°F.
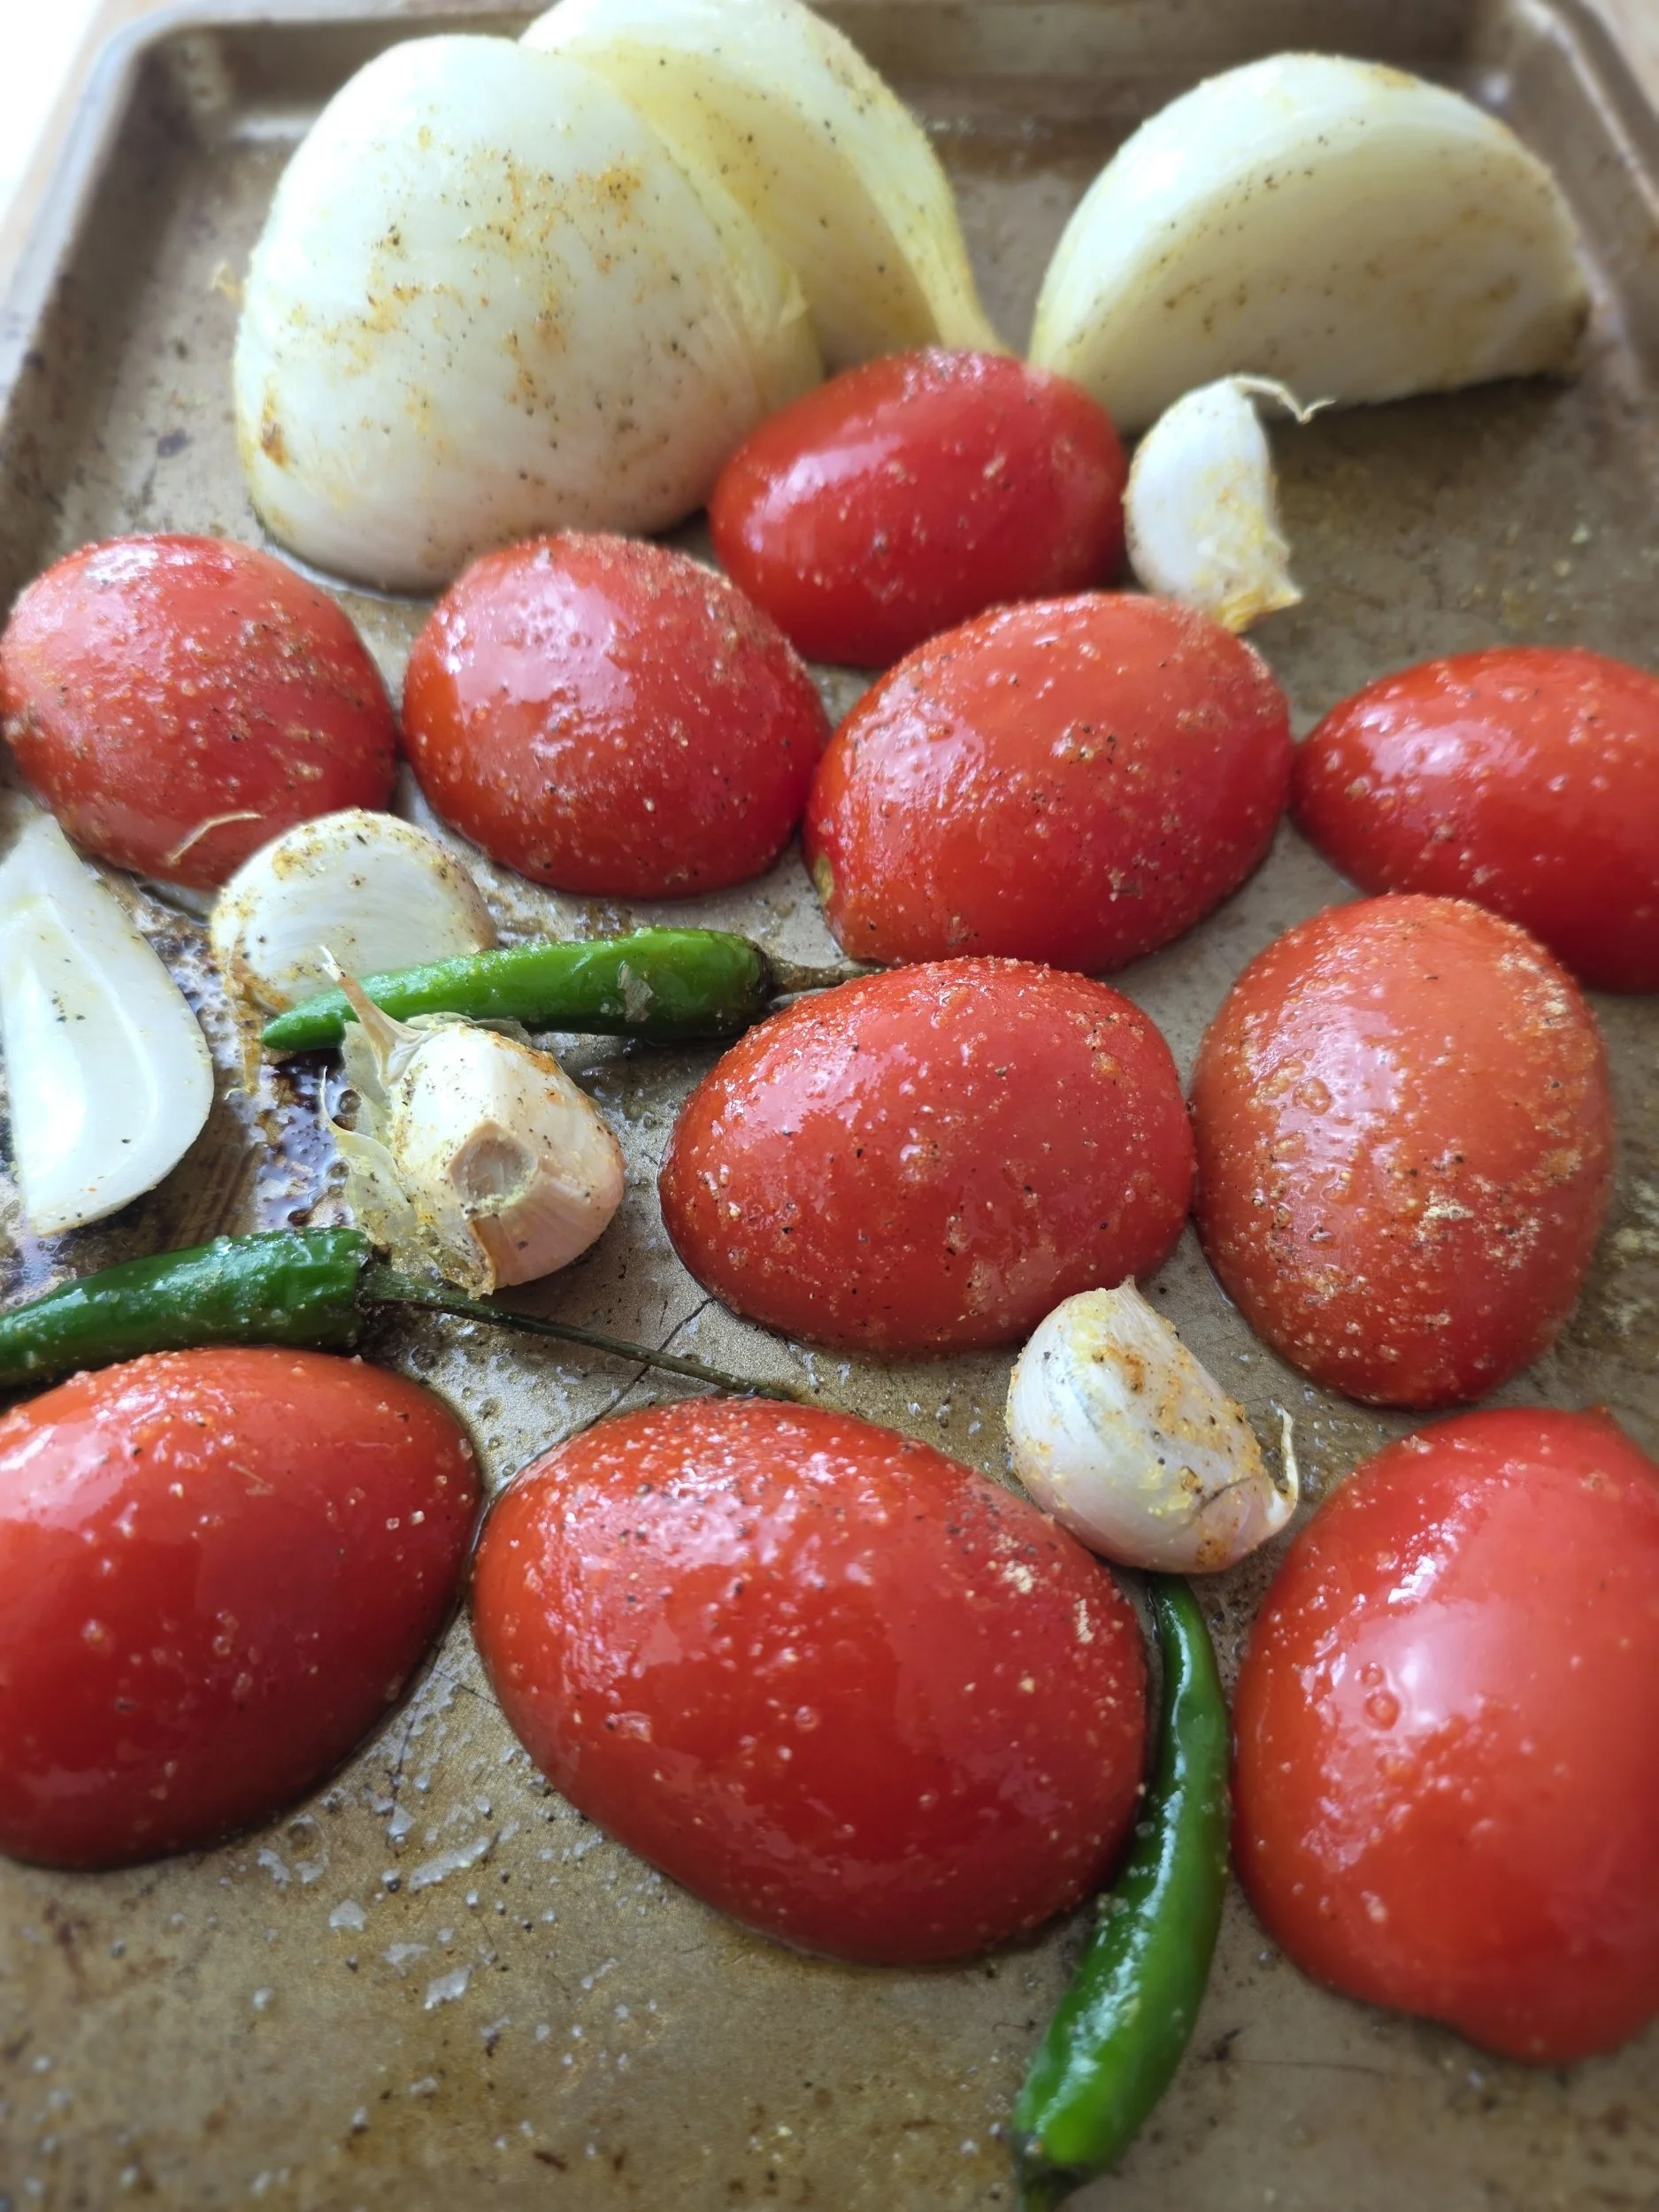
- Toss the onion, tomatoes, garlic, and chilies with oil and salt, then spread them on a baking tray. Roast for about 25 minutes, flipping half way, until everything is soft.
- Remove the garlic skins, then transfer everything to a blender. Add the tomato paste, Worcestershire sauce, black pepper, and a splash of water. Blend until smooth, or mash for a chunkier texture if preferred. Pour into a pan and simmer for about 10 minutes, adjusting seasoning as needed, then set aside.
- Optional (rice): Cook the rice in salted water with bay leaves and seasoning according to package instructions. Once done, keep it warm. Mix the peanut butter with hot water until smooth, then fold it into the cooked rice until evenly combined.
- Optional (sugar beans): Heat oil in a pan for the beans and sauté the onion and garlic until soft. Add chili, tomato paste, and seasoning, stirring well to combine. Add the beans and stock, then simmer for 5–8 minutes until slightly thickened and flavorful.
- Reduce oven temperature to 200°C / 400°F.
- Pat the fish dry and score both sides. Rub with olive oil, salt, pepper, paprika, and fish spice.
- Stuff each fish with garlic, lemon slices, and herbs, then set aside.
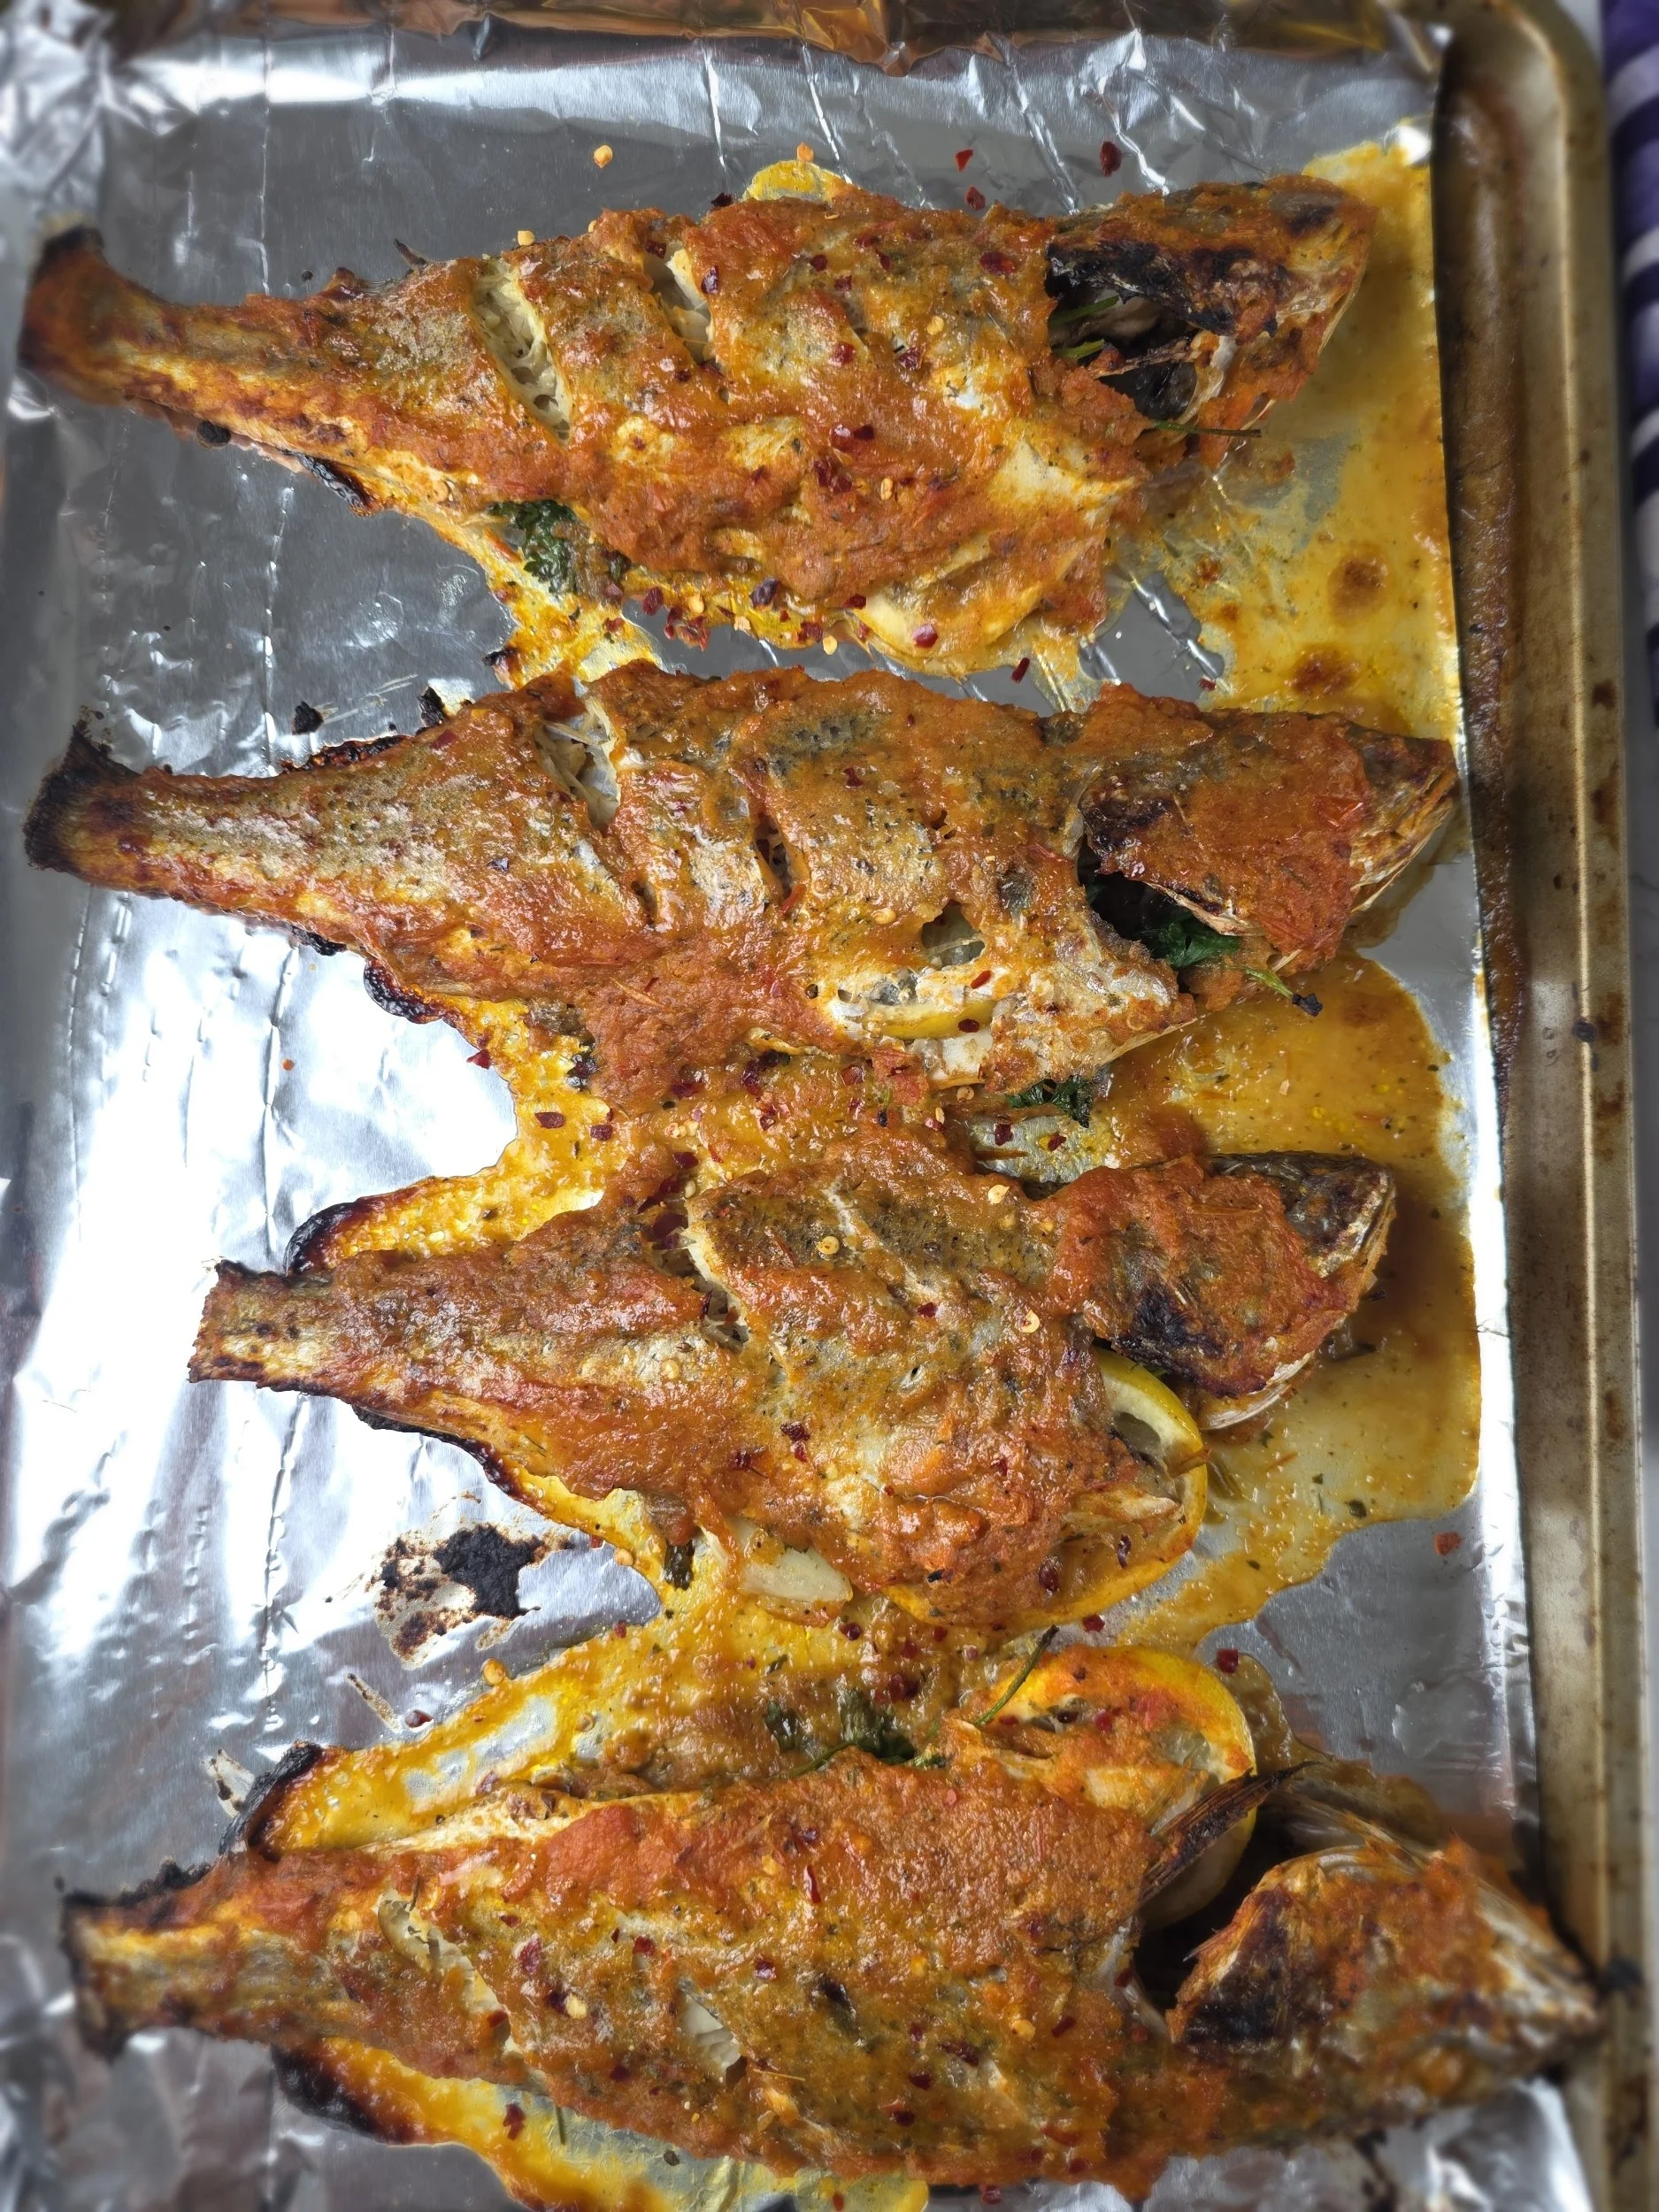
- Place the fish on a baking tray and spoon some of the muto sauce over the top. Cover loosely with foil and bake for 8–10 minutes. Remove the foil and cook for another 5 minutes.
- Brush with more muto sauce, season with chilli flakes, and broil for 2–3 minutes until slightly caramelized.
- Serve with extra sauce and your chosen sides, such as peanut butter rice, beans, avocado, or chili sauce.
Notes
- Roasting the vegetables is essential for deep flavor, don’t skip it.
- Blend for smooth sauce or mash for rustic texture.
- Avoid overcooking the fish; it cooks quickly and can dry out.
- Always mix peanut butter with hot water before adding to rice for smooth consistency.
Nutrition Facts
Calories
500Fat (grams)
25 gCarbs (grams)
40 gProtein (grams)
35 gI am not a certified nutritionist and any nutritional information on dontmissmyplate.com should only be used as a general guideline.

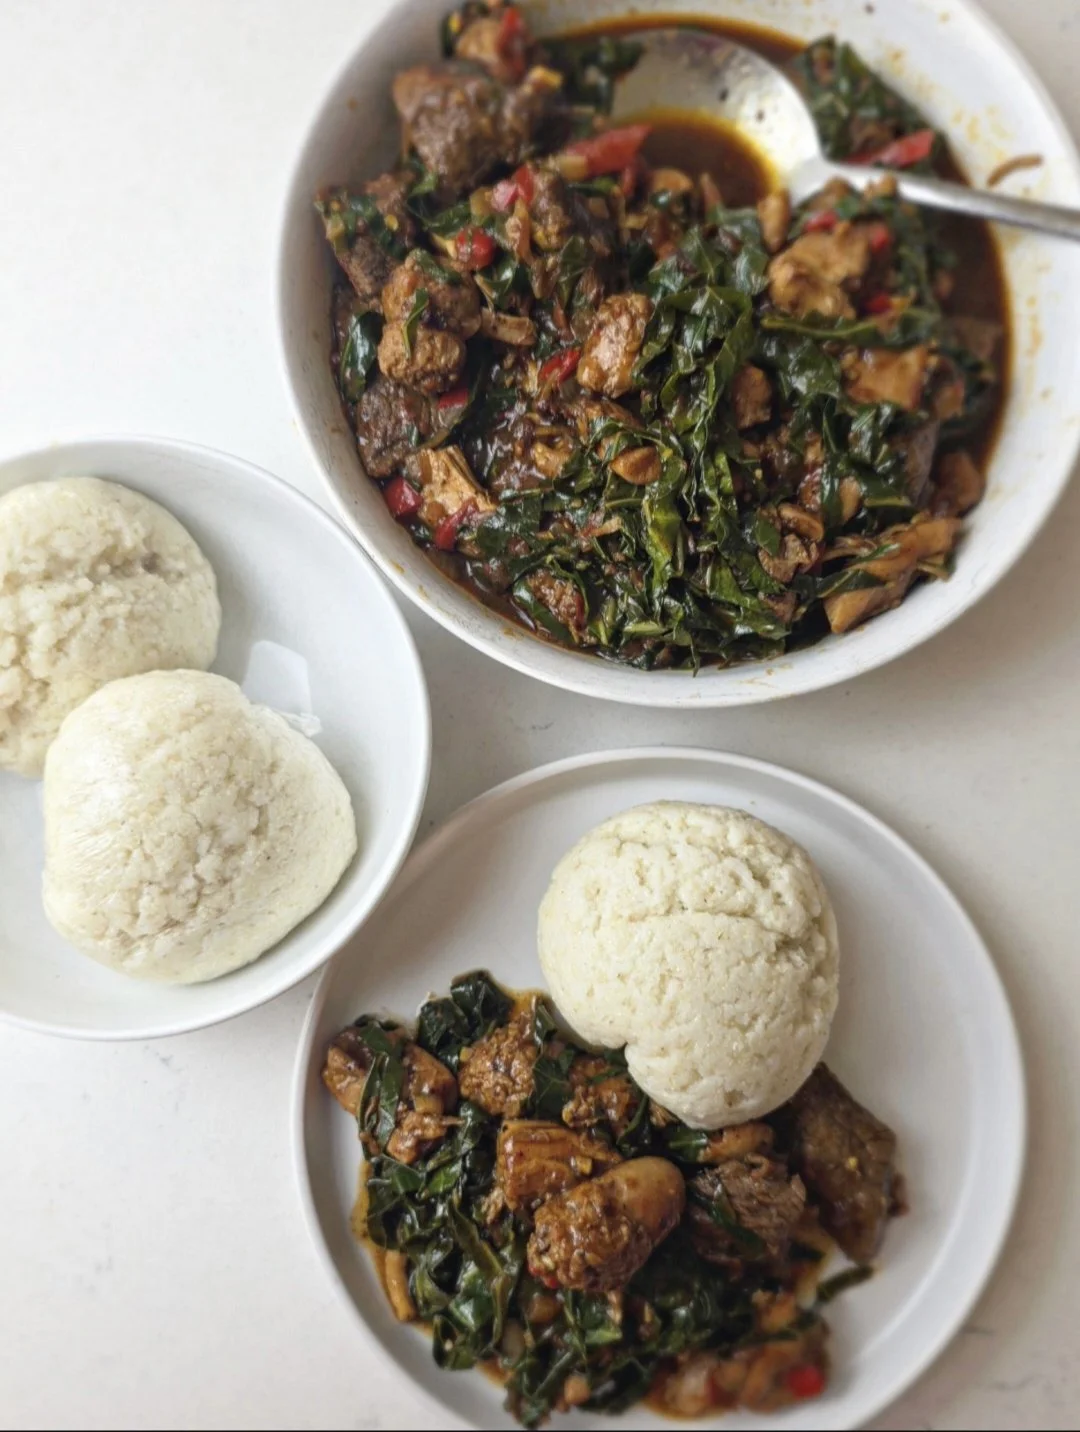
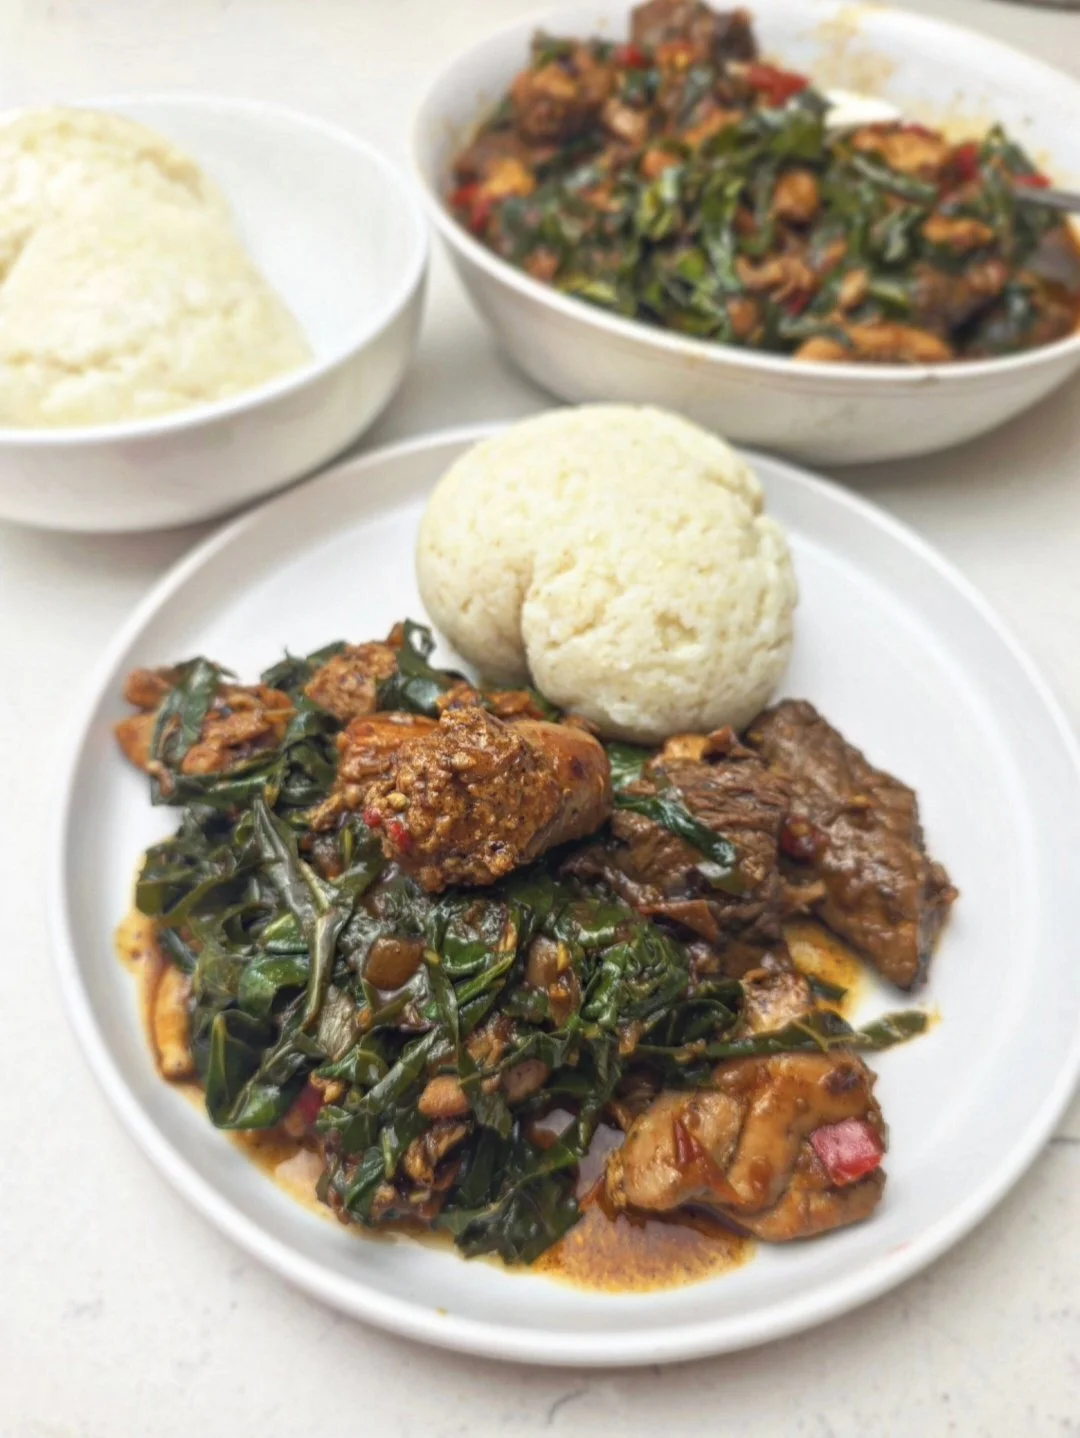
Zimbabwean Gango (Meat Medley and Greens)
Gango is a deeply comforting and richly layered Zimbabwean dish that brings together multiple meats, cooked in a savory onion and tomato base (also known as muto) with tender greens. Traditionally made with a combination of beef, chicken, and sausage, it’s the kind of meal that feels abundant, hearty, and deeply satisfying. It’s not an everyday dish for many households! Gango is often reserved for weekends, gatherings, or moments when you want to cook something special and filling. On the other hand, it is also a resourceful dish, a way to use different cuts of meat and turn them into something rich, comforting and full of flavour.
In Zimbabwe, meat has historically been a luxury for many families, particularly in the rural areas, which is why dishes like gango feel so intentional. Instead of relying on heavy seasoning, the flavor often comes from the quality of the meat itself, combined with simple aromatics like onion, garlic, and tomato, and sometimes peppers. When done right, the result is a dish that tastes full, balanced, and naturally rich without needing much intervention.
This version uses sirloin beef chunks, chicken thighs, and sausage, finished with collard greens for a slight bitterness that balances the richness. It’s best served with sadza (traditional cormeal side), rice, or any starch that can soak up the sauce. For those who enjoy heat, a chili sauce or a fresh chili relish works beautifully on the side.
")
Zimbabwean Gango (Meat Medley with Greens)
A hearty Zimbabwean-style gango made with beef, chicken, sausage, and collard greens, simmered in a rich onion and tomato base. A comforting, special-occasion dish perfect with sadza or rice.
Ingredients
- 1–1.25 lbs chuck or sirloin beef (cut into chunks)
- 4 chicken thighs, skinless and boneless, chopped
- 2 sausages (boerwoers, bratwurst or similar), sliced
- 1 large onion, sliced
- 4 garlic cloves, minced
- 4 Roma tomatoes, chopped
- 2 tbsp tomato paste
- 1 red bell pepper, diced (optional)
- 1 chilli pepper, chopped (optional)
- 1 bunch collard greens, chopped
- 1 - 1 1/2 cups stock (or water + one 10g boullion cube)
- 1 beef stock cube (optional)
- 1 tsp curry powder
- 1 tsp paprika
- 1 tsp black pepper
- 2 tsp salt
- 1 tbsp Royco Usavi mix beef flavour (optional)
Instructions
- In a Dutch oven, sear the beef, chicken, and sausage in batches. Remove and set aside.
- In the same pot, cook onion and garlic until softened (3 min). Add the bell and chilli peppers, cook for 2-3 min.
- Add tomatoes and tomato paste. Cook until thick, glossy and slightly reduced (5 min).
- Add the stock cube, curry powder and spices. Cook 30–60 seconds and adjust as needed to taste.
- Return all meats to the pot. Add stock (do not fully submerge, you are not making a stew).
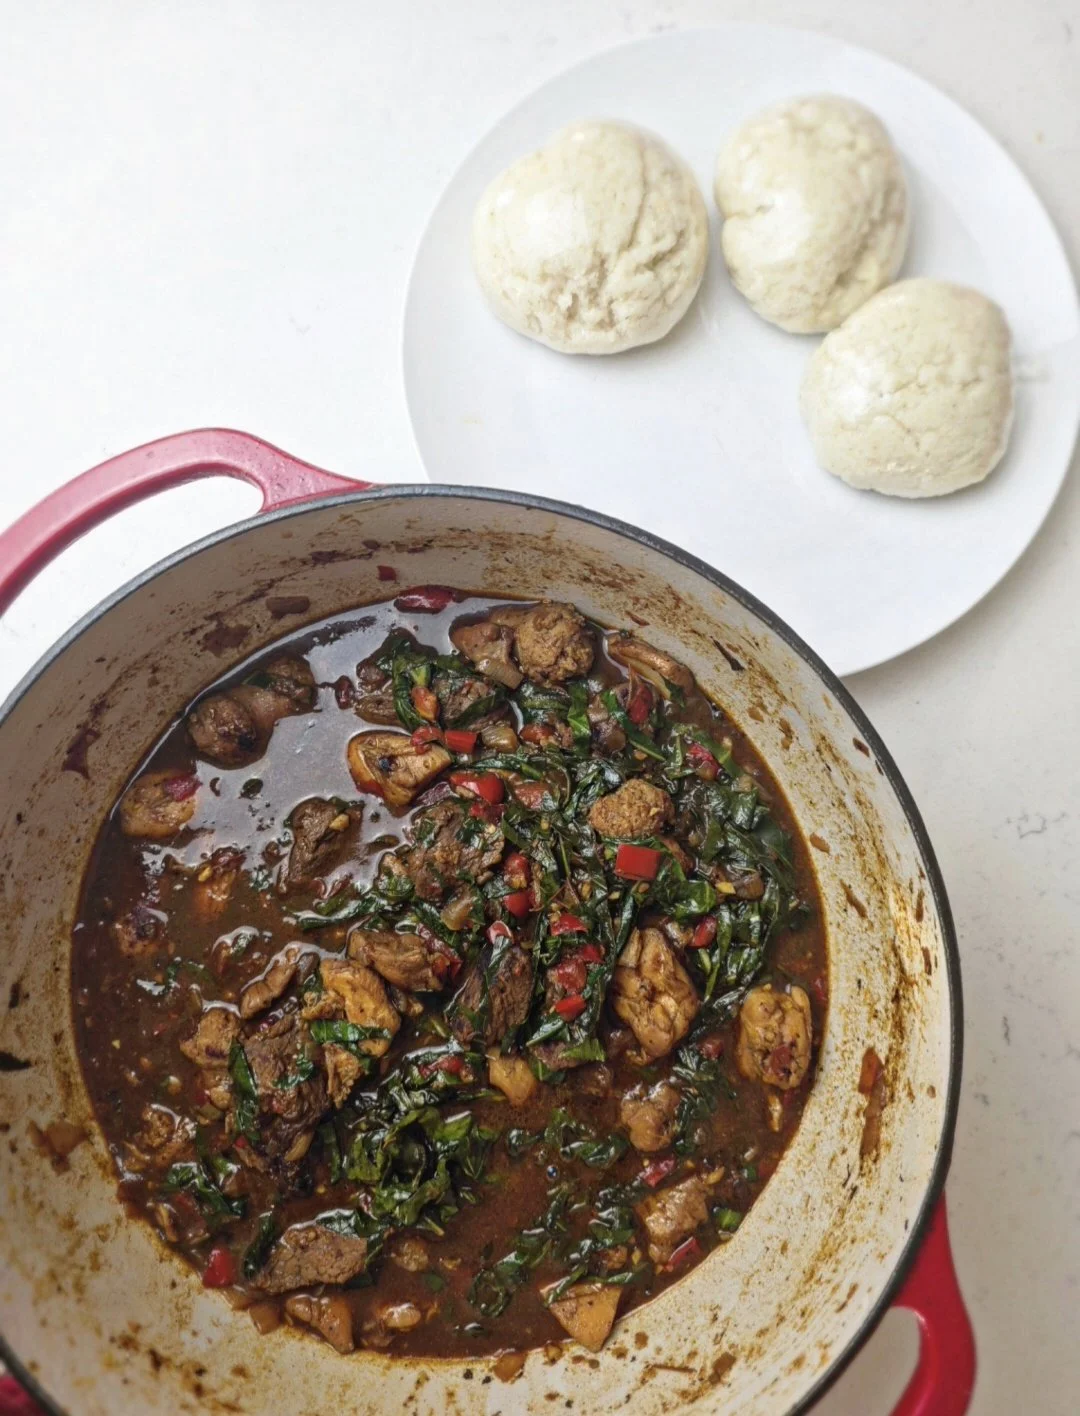
- Bring to a gentle simmer, cover slightly, and cook 30 minutes, removing the lid completely to reduce the liquid in the last 10 minutes.
- Stir in collard greens and cook for another 10–15 minutes until tender,
- Adjust seasoning again and reduce to desired consistency.
Notes
- Meat quality matters: If using supermarket beef, consider marinating lightly with salt, pepper, garlic and other spices beforehand.
- Stock matters: If flavor feels flat, use stronger stock or add a second cube sparingly.
- Don’t rush the reduction as flavor develops as liquid reduces.
- Best with sadza or rice.
Nutrition Facts
Calories
550Fat (grams)
35 gProtein (grams)
40 gI am not a certified nutritionist and any nutritional information on dontmissmyplate.com should only be used as a general guideline.

Pepper Steak Meat Pies
Meat pies come in all shapes and sizes, but one of my favourites will always be the handheld pepper steak pie. Growing up, these flaky, golden pies were everywhere—filled with rich, peppery beef and perfect as a quick, satisfying snack. Whether grabbed on the go or enjoyed with a cold Fanta or Coca-Cola, they’re a staple across Zimbabwe and much of Southern Africa.
Across the region, meat pies are a true comfort food. Walk into almost any bakery and you’ll find different variations, from beef and onion to curry steak, all wrapped in a buttery crust and baked until golden. This homemade version focuses on the classic pepper steak filling, known for its deep flavour and subtle heat from freshly ground black pepper.
If you’re looking for an easy homemade meat pie recipe with a flaky crust and a rich, savoury filling, this is a great place to start. Inspired by Zimbabwean bakery-style pies, these pepper steak pies are warm, comforting, and full of nostalgic flavour.
Perfect for lunch, snacks, or meal prep, these homemade pepper steak meat pies are a must-try for anyone who loves savoury baking.

Zimbabwean Meat Pies: Pepper Steak
Flaky homemade pepper steak meat pies filled with tender, peppery beef. A classic Southern African savory pie perfect for snacks or meals.
Ingredients
- 1.5 lbs chuck or blade steak, cut into medium bite-sized chunks
- 1 large onion, finely chopped
- 1 tbsp garlic, minced
- 1 tbsp Royco Usavi beef mix (optional)
- 2 tbsp flour
- 2 tsp black pepper (plus extra to finish)
- 1 tsp paprika
- 1/2 tsp chili powder
- 1/2 tsp garam masala
- 1/4 tsp cayenne
- 1 tsp steak seasoning
- 1 tsp salt
- Pinch ground cloves
- 1 tsp dried thyme
- 1 tsp Worcestershire sauce
- 1 tsp tomato paste
- 1/4 cup sherry
- 1/2 cup red wine
- 1 to 1½ cups beef broth (as needed)
- 1 tbsp beef bouillon powder
- 1 tbsp butter
- 2 sheets puff pastry
- 1 egg (for egg wash)
Instructions
- Prepare the beef coating
- In a medium bowl, combine the flour, paprika, cayenne (if using), salt, and black pepper.
- Add the beef chunks and toss well until each piece is evenly coated with the flour mixture.
- Brown the beef
- Heat 2–3 tablespoons of oil in a large, deep pan over medium-high heat.
- Add the beef in a single layer, working in batches to avoid overcrowding.
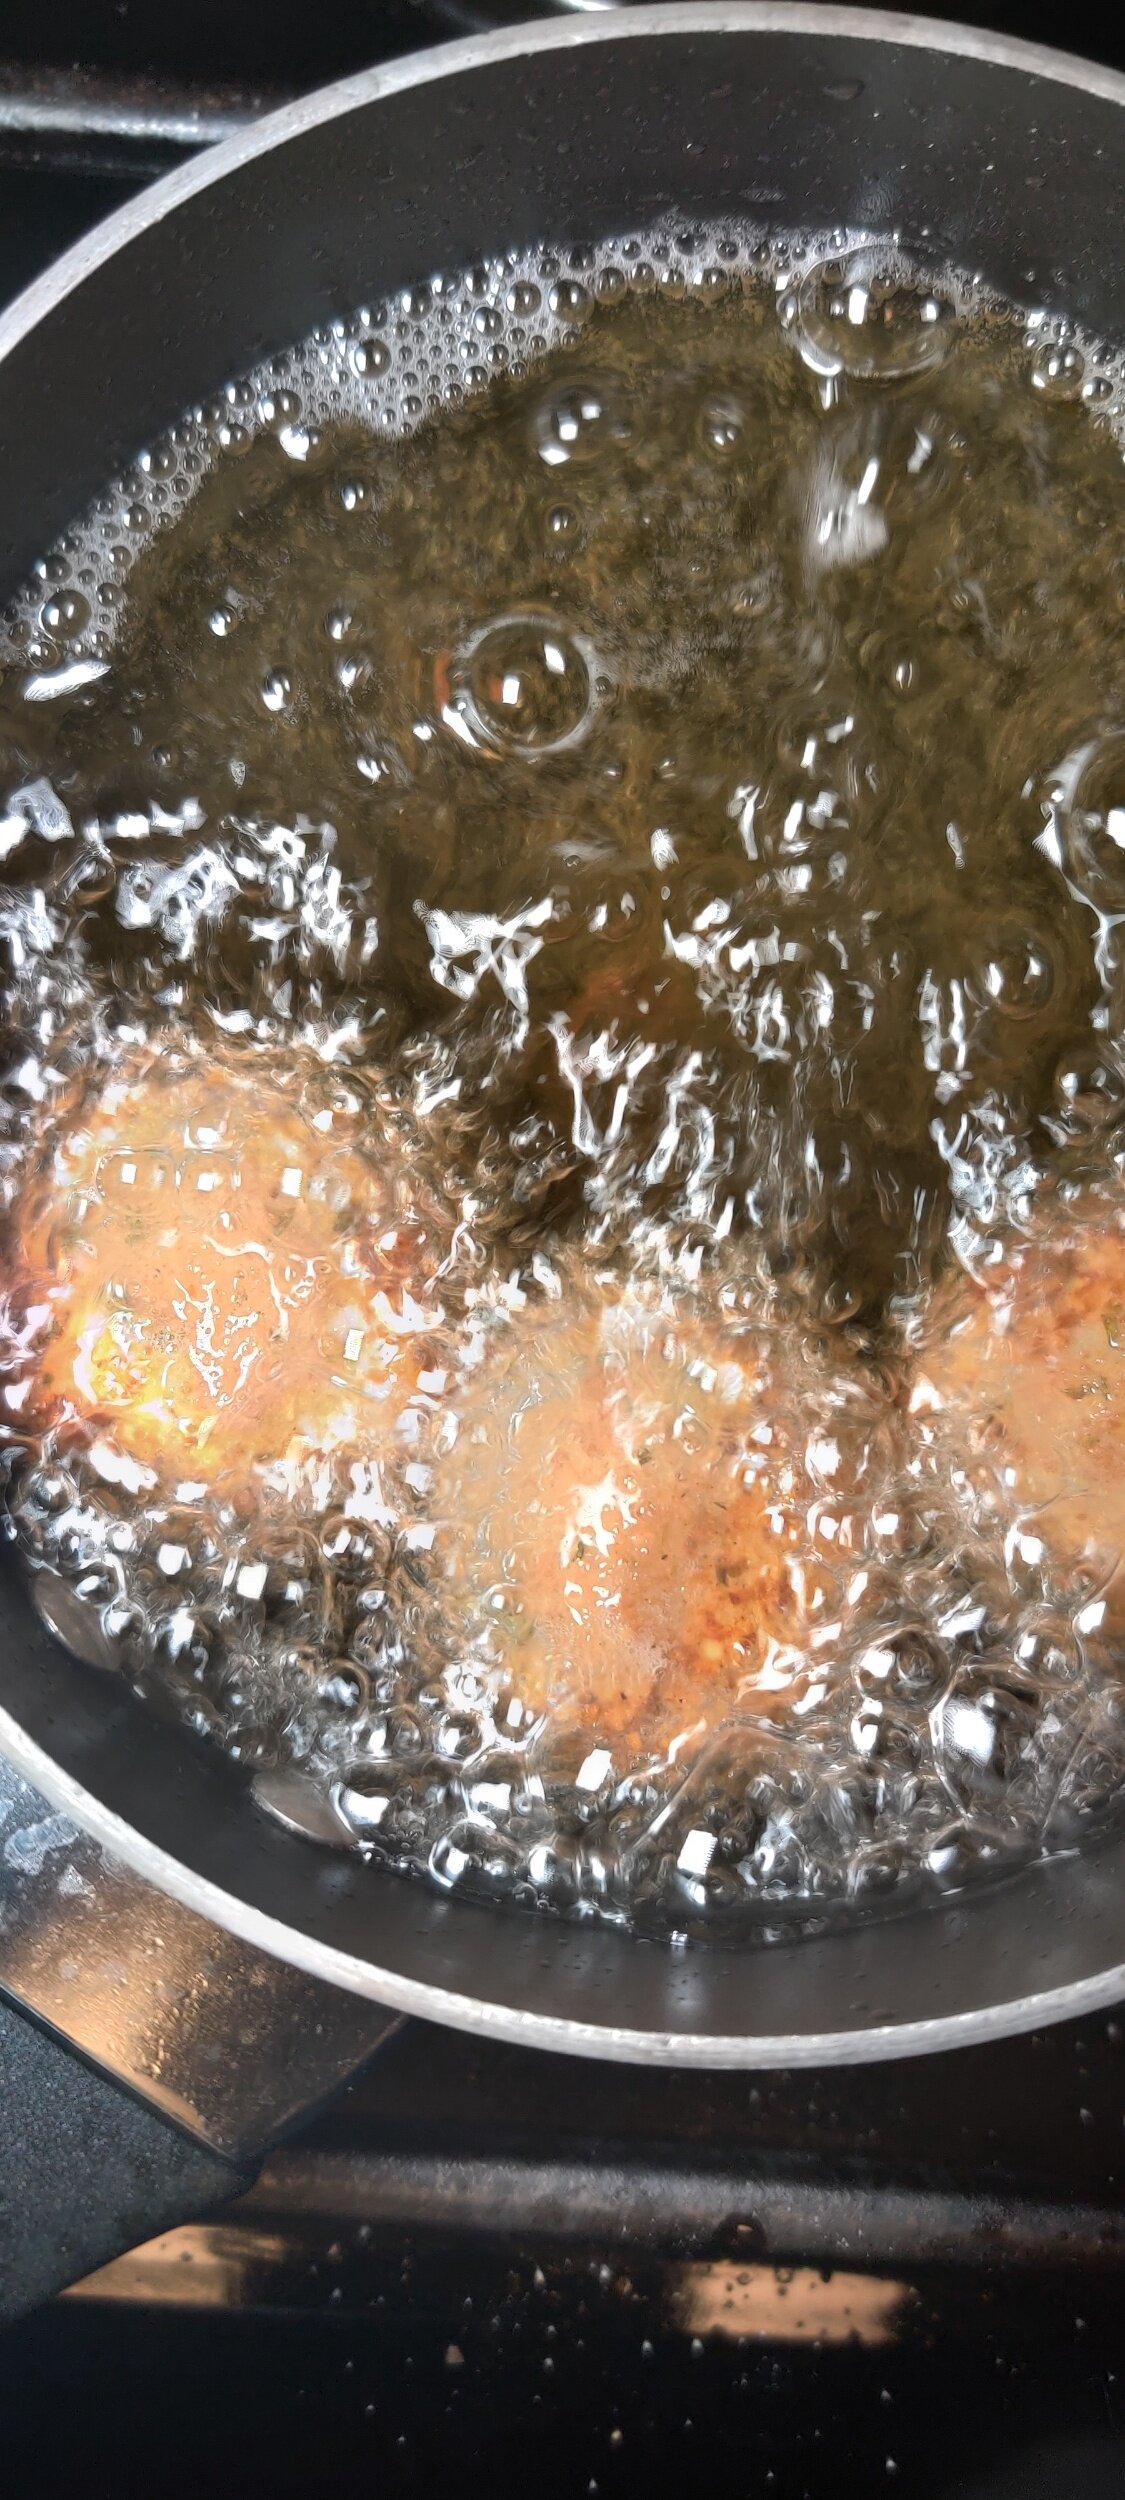
- Cook each batch until all sides are nicely browned (about 3–4 minutes per batch). Remove browned beef and set aside on a plate.
- Cook the aromatics
- In the same pan, add the chopped onions. Cook over medium heat for 3–4 minutes until soft and lightly golden.
- Add minced garlic and thyme leaves, stirring for about 1 minute until fragrant.
- Deglaze the pan
- Pour in the sherry, scraping up any browned bits from the bottom of the pan.
- Stir in the red wine, tomato paste, and Worcestershire sauce. Let simmer for 2–3 minutes.
- Add broth and return beef
- Pour in the beef broth or bouillon, then return the browned beef to the pan. Stir to combine.
- Braise the beef
- Cover the pan with a lid and reduce the heat to low.
- Simmer gently on the stove at 325–350°F (160–175°C) for 1½ to 2 hours, or place the covered pan in a preheated oven at the same temperature.
- Stir occasionally, and add a little more broth if the sauce becomes too thick before the beef is tender.
- The beef is done when it is fork-tender and the sauce has thickened to a rich consistency.
- Finish the filling
- Remove the pan from heat. Stir in 2 tablespoons of butter and a small pinch of freshly ground black pepper.
- Taste and adjust seasoning if needed.
- Let the filling cool completely before using it to fill your meat pies.
- Cut the pastry
- Roll out your pastry to about ⅛ inch thick.
- Cut into squares (roughly 4–5 inches, depending on desired pie size).
- Add the filling
- Place 1–2 tablespoons of the cooled pepper steak filling in the center of each pastry square.
- Spread slightly, leaving a small border around the edges.
- Top with second layer
- Place a second pastry square or layer over the filling.
- Press the edges together gently, then seal with a fork.
- Pierce the tops a few times with a fork to allow steam to escape.
- Chill before baking
- Place the assembled pies on a baking tray lined with parchment paper.
- Refrigerate for 20–30 minutes. This helps the pastry hold its shape and bake evenly.
- Egg wash and bake
- Brush the tops with beaten egg for a golden finish.
- Bake in a preheated oven at 400°F (200°C) for 20–25 minutes, or until the pastry is puffed and golden brown.
- Serve
- Remove from oven and let cool slightly before serving.
- Perfect warm as a snack, lunch, or part of a Southern African-inspired spread.
Notes
- Use chuck or blade steak only for best tenderness and avoid generic “stew meat” (inconsistent results)
- Proper browning is essential for flavor
- Cook low and slow, this is what makes the meat tender
- Filling should be thick, not watery, before assembling
- Cooling the filling prevents soggy pastry
Nutrition Facts
Calories
320Fat (grams)
18 gCarbs (grams)
18 gI am not a certified nutritionist and any nutritional information on dontmissmyplate.com should only be used as a general guideline.

Peri-Peri Chicken Livers with Onion Gravy
Chicken livers were one of the first foods that made me feel connected to both comfort and culture. My earliest memories of them go back to childhood, when my mother would cook the livers and giblets from a whole chicken and serve them alongside eggs, toast, baked beans, and a rich onion gravy. It was the kind of breakfast that stayed with you. Hearty, deeply flavorful, and surprisingly comforting.
Years later, I was delighted to find chicken livers on the menu at Nando's. Their peri-peri livers immediately transported me back to my mother's kitchen table. Although the flavors were different, the feeling was the same. There was something familiar about that combination of tender livers, onions, spice, and sauce.
My appreciation for liver deepened even further during a period when I struggled with anemia. What started as a practical way to increase my iron intake quickly became something I genuinely looked forward to eating. Chicken liver is one of the most nutrient-dense foods available, packed with iron, vitamin B12, vitamin A, folate, selenium, and high-quality protein. It's often described as nature's multivitamin, but unlike most healthy foods, it also happens to be incredibly satisfying when prepared well.
That is something many people miss about liver. It often gets a bad reputation from being overcooked. When treated properly, chicken livers are tender, rich, and full of flavor. They absorb spices beautifully and pair particularly well with ingredients like onions, garlic, tomatoes, and chili.
Across Southern Africa, chicken livers are far more than a forgotten ingredient. They're a staple found in home kitchens, roadside eateries, and restaurant menus alike. They're often simmered in richly seasoned sauces and served with bread, pap, or sadza. This tradition eventually found a wider audience through chains like Nando's, whose peri-peri chicken livers introduced many people around the world to a dish that Southern Africans had been enjoying for generations.
This recipe draws inspiration from those flavors. The livers are lightly coated to help them brown beautifully, then cooked with onions, garlic, coriander, and peri-peri seasoning before being finished with a touch of cream. The result is a rich, savory dish with just enough heat and a silky sauce that begs to be spooned over bread, rice, pap, or sadza.
Whether you're already a liver lover or trying to give it a second chance, this is the recipe I'd start with.
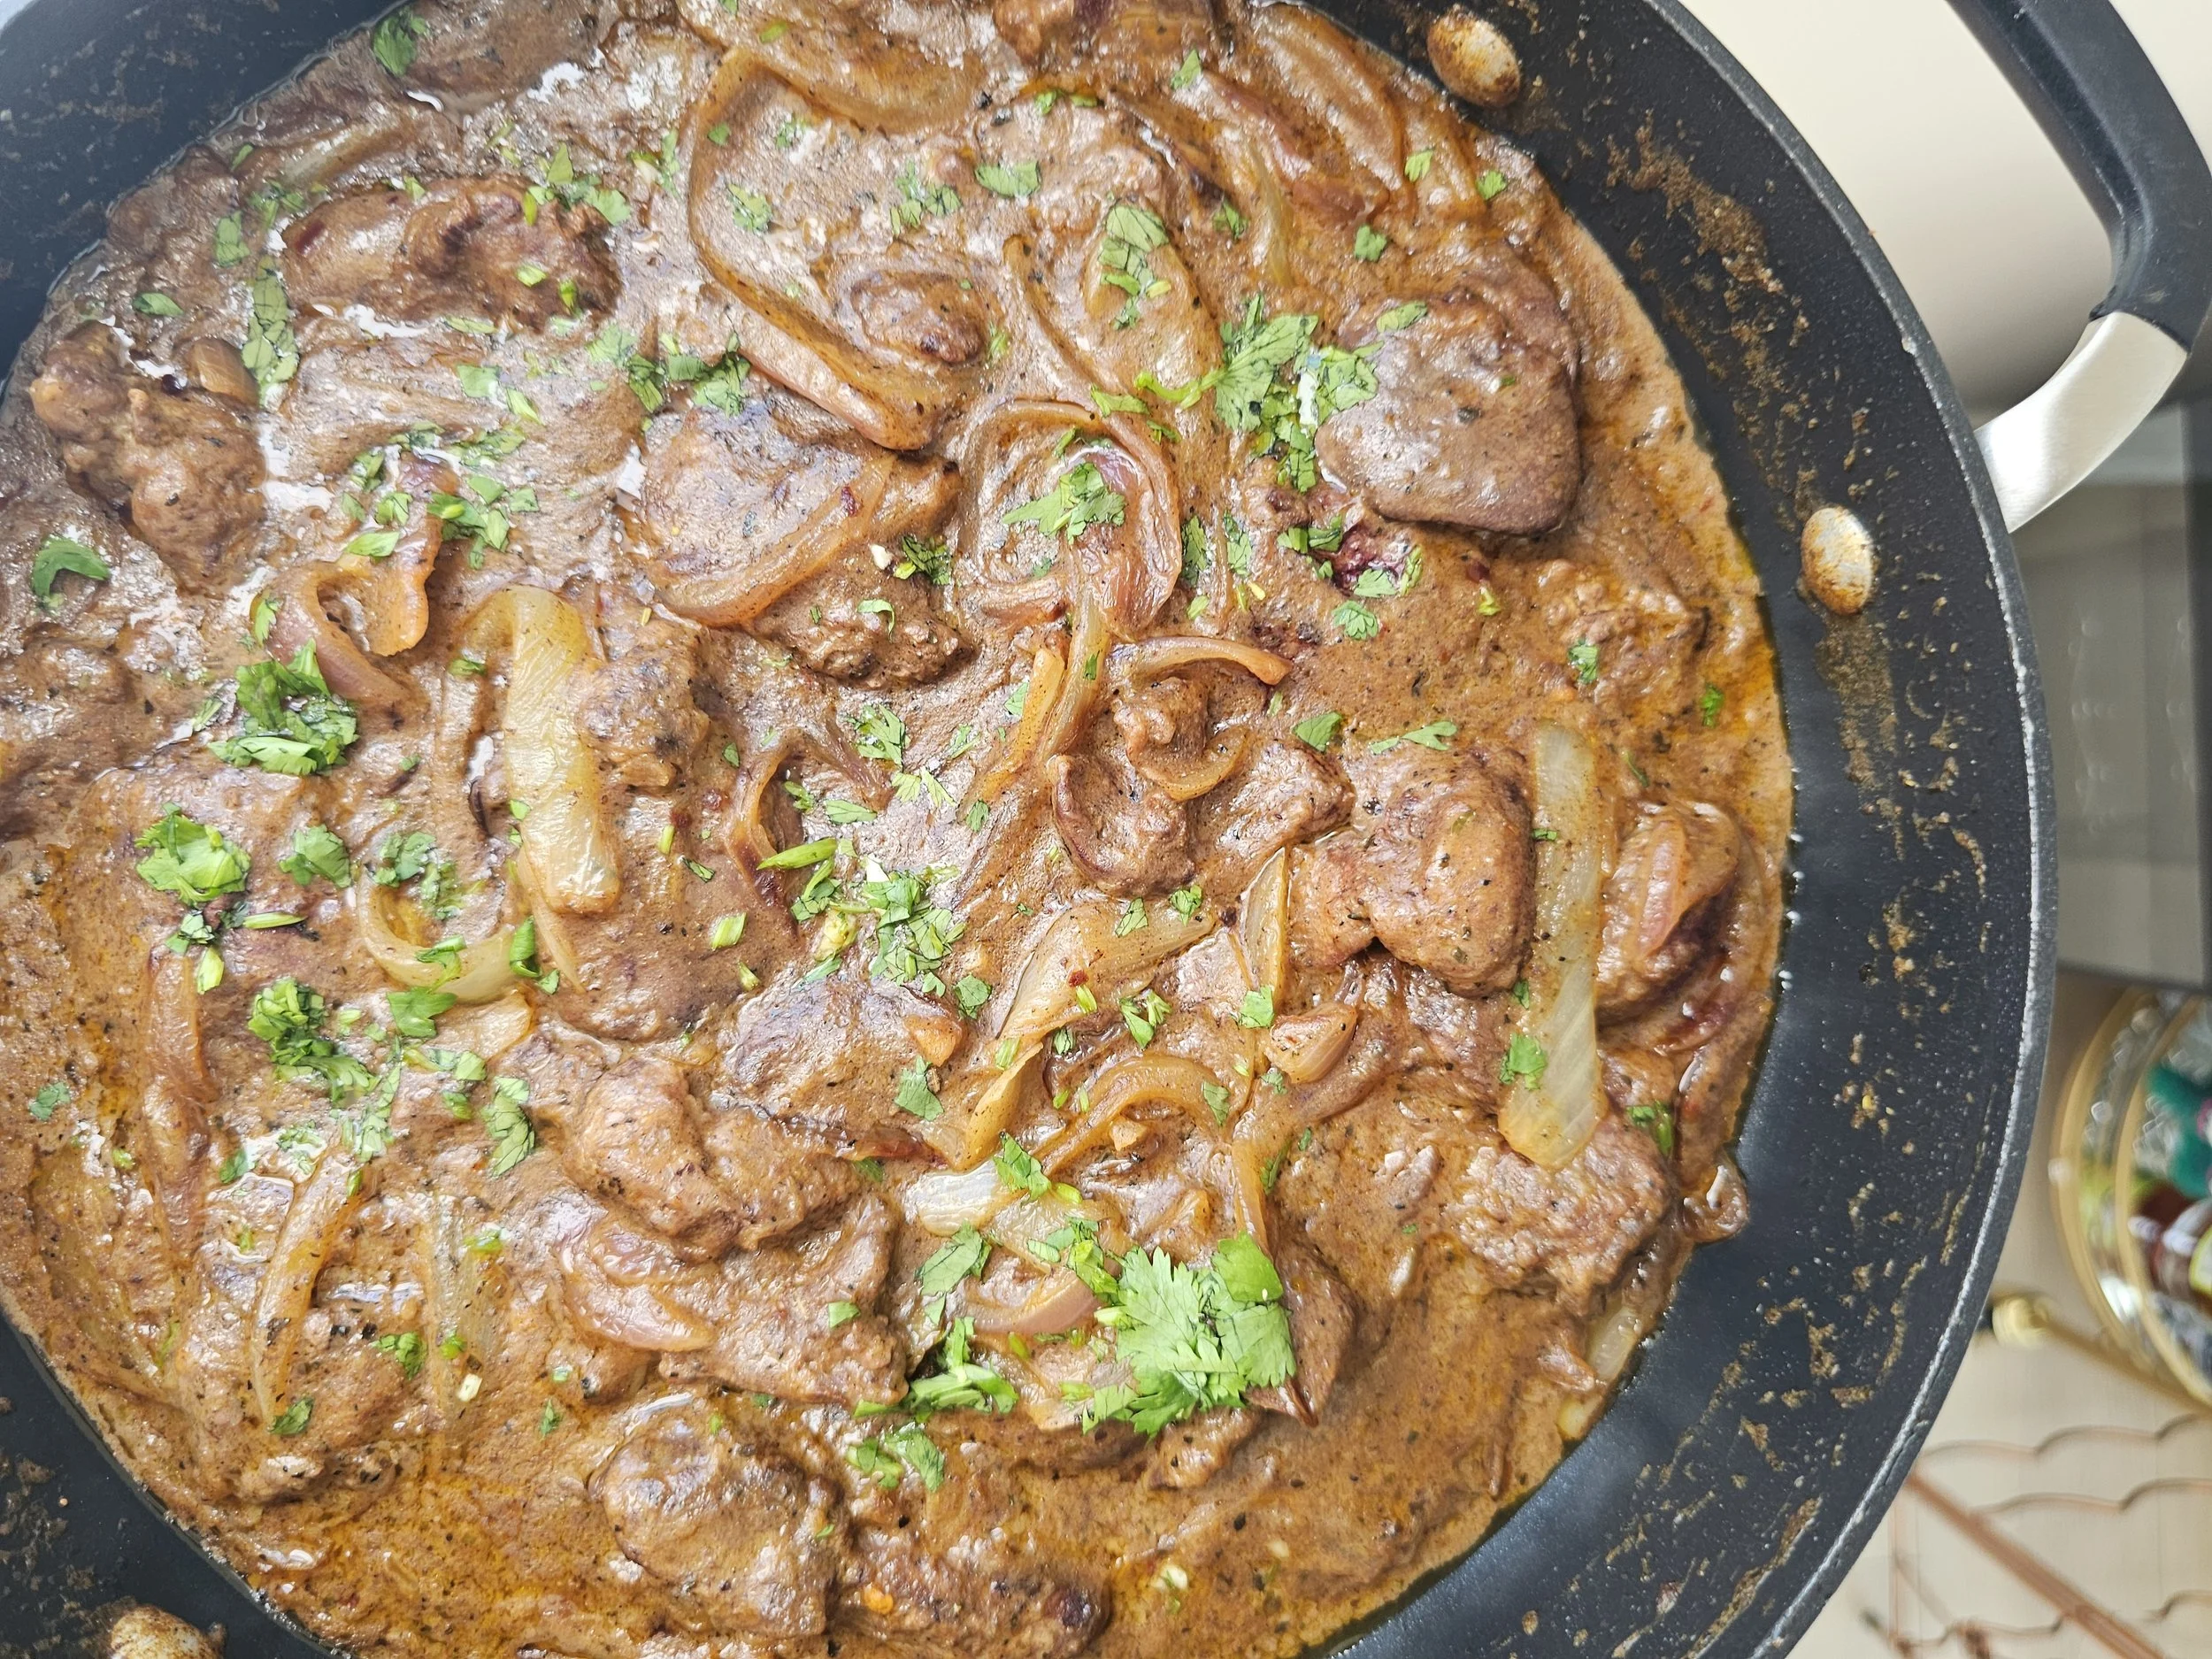


Peri-Peri Chicken Livers with Onion Gravy
Rich, spicy, and comforting, these Peri-Peri Style Chicken Livers in Onion Gravy bring bold Southern African and Portuguese-inspired flavors to your table.
Ingredients
- 510 g (about 1.2 lb) chicken livers, cleaned and patted dry
- ½ medium red onion
- ½ medium yellow onion
- 2–3 garlic cloves, minced
- 2 teaspoons Portuguese or peri-peri chicken spice (I used Robertsons)
- ½ teaspoon garlic powder
- ½ teaspoon onion powder
- ½ teaspoon chilli flakes
- ½ teaspoon black pepper
- ½ teaspoon Italian seasoning
- ½ teaspoon ground coriander
- 1 teaspoon Royco Usavi Mix (or another mild, low-sodium all-purpose seasoning with some thickening)
- ¼ cup + 2 tablespoons flour, seasoned with 1/4 teaspoon of salt, black pepper, and garlic powder each
- ⅔ cup chicken stock
- 4 tablespoons cooking oil
- 3 tablespoons butter
- Salt and black pepper, to taste
- 3 teaspoons powdered milk + ½ cup water (or substitute with cream)
- 1 tablespoon tomato paste
- 1 lemon (use half to clean the livers and the other half to finish once cooked)
- Fresh parsley, for garnish
Instructions
- After soaking the chicken livers briefly in water with a bit of lemon juice, pat them dry with paper towels. Trim away any connective tissue or excess fat.
- Slice the onions into thin wedges and mince the garlic.
- Combine all your dry seasonings (except the all-purpose seasoning) and set aside.
- In a shallow bowl, season ¼ cup of flour with salt, black pepper, and garlic powder. Lightly coat the livers in the seasoned flour and shake off any excess.
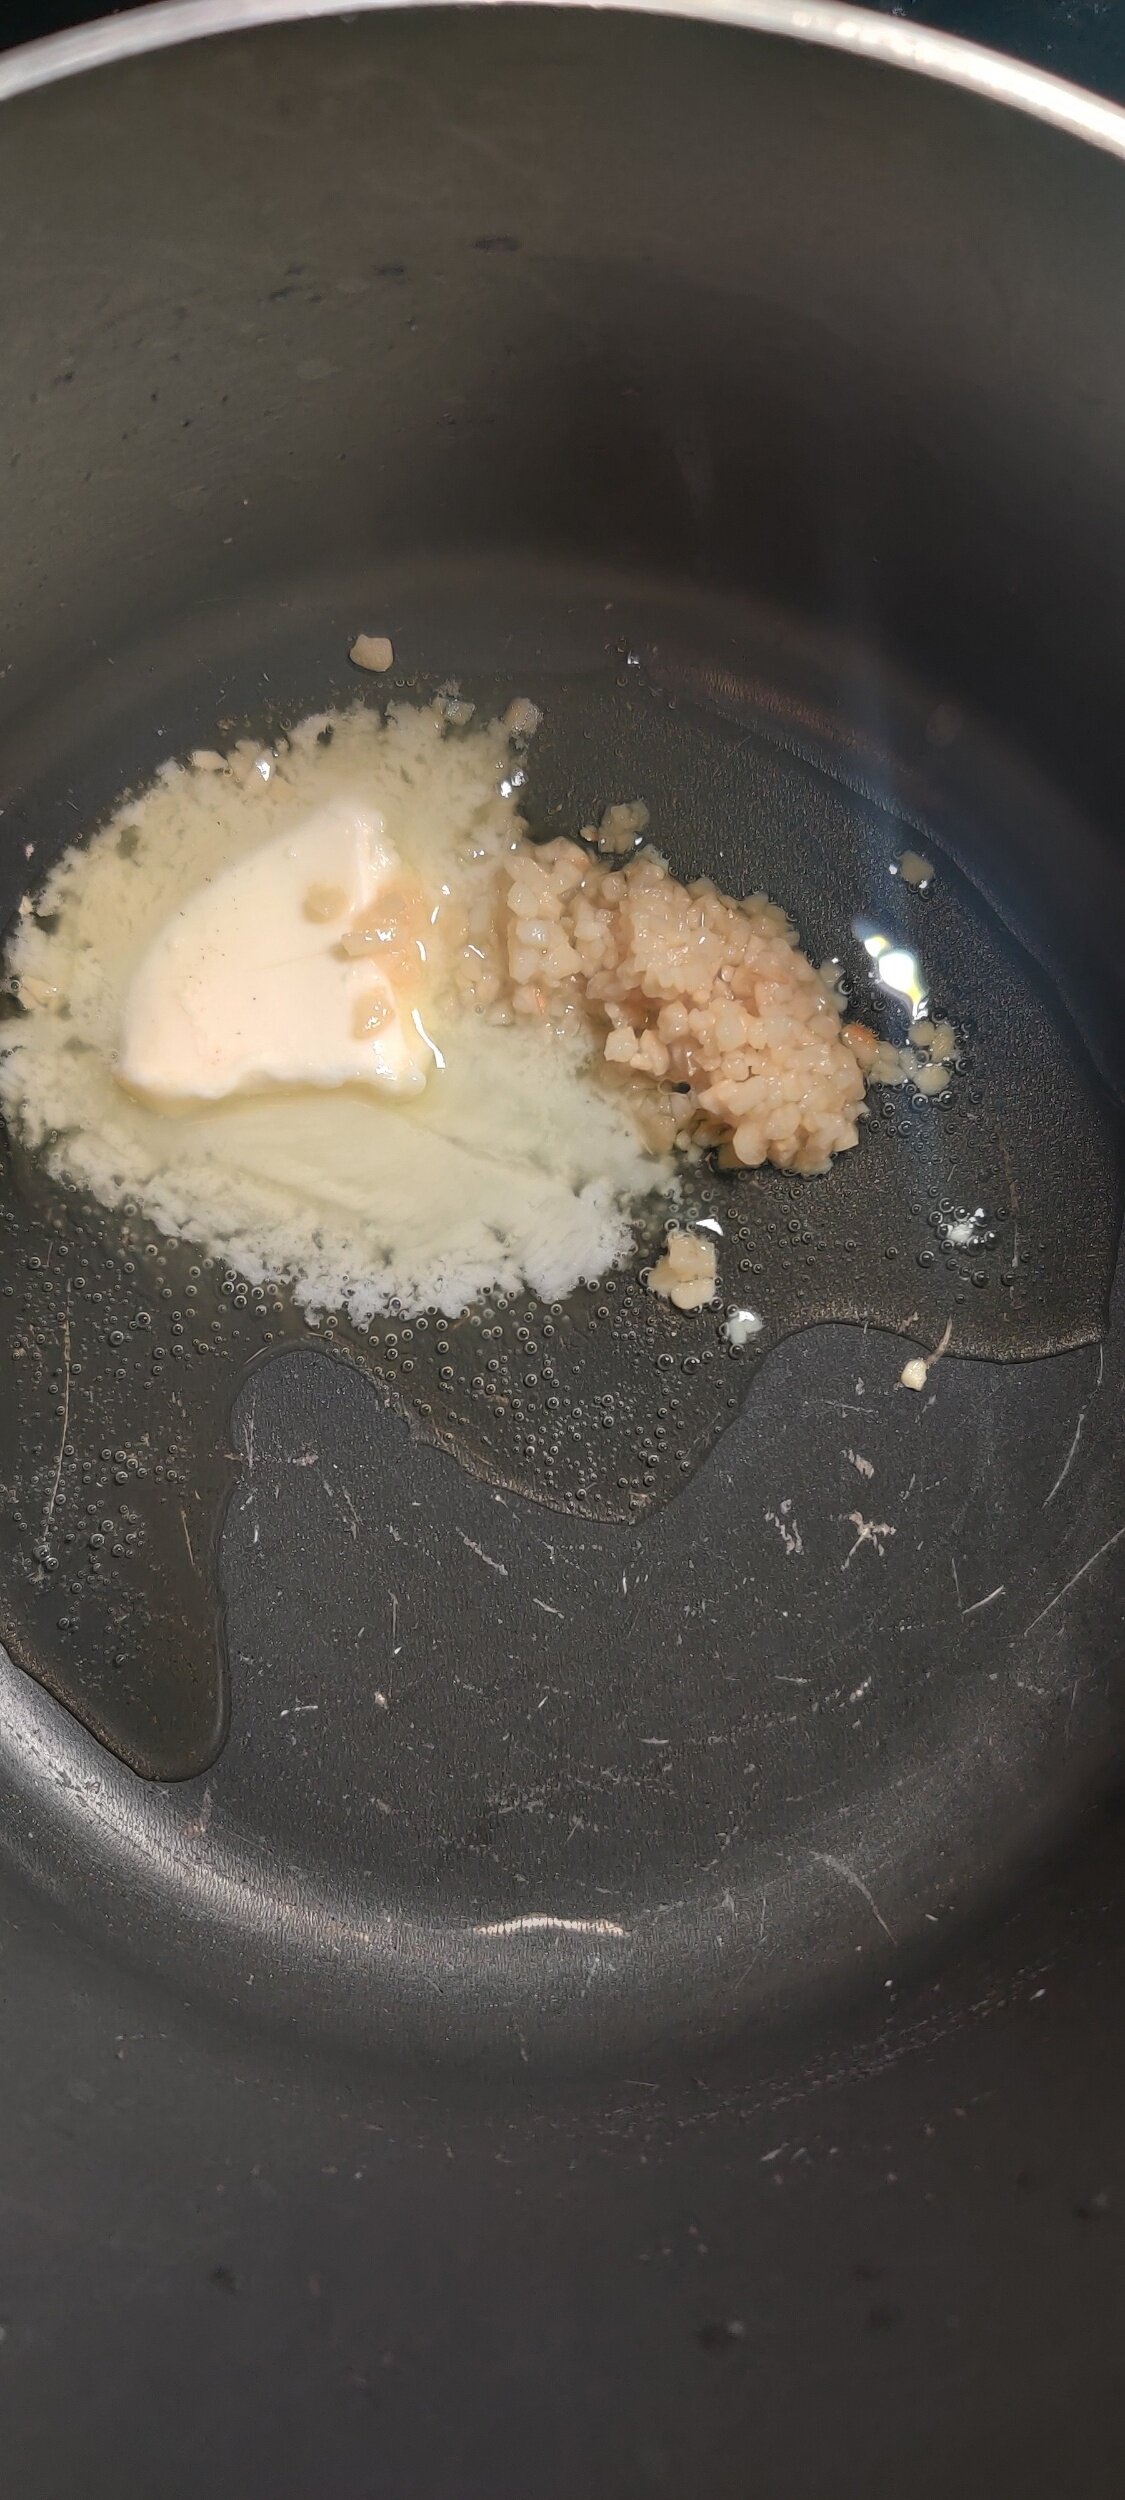
- Heat 2 tablespoons of oil and 1 tablespoon of butter in a large, deep pan over medium-low heat.
- Add the red and yellow onions along with the garlic. Cook until golden and lightly caramelized but still slightly crisp.
- Add 1 tablespoon of oil and 1 tablespoon of butter, then stir in the combined spices, letting them bloom for 1–2 minutes.
- Remove the onion mixture from the pan and set aside.
- Add the remaining oil and butter to the pan. Sear the livers for 3–4 minutes per side until browned but not fully cooked through.
- Return the onions to the pan.
- Add the chicken stock, all-purpose seasoning, and tomato paste. Stir to combine and deglaze the pan.
- Simmer gently for 5–7 minutes, or until the livers reach an internal temperature of 160°F (71°C). Avoid overcooking.
- Stir in the powdered-milk-and-water mixture (or cream) and cook for 1–2 more minutes until the sauce thickens slightly.
- Remove from the heat and let the dish rest for 5 minutes.
- Squeeze the juice from the remaining half lemon over the livers and garnish with chopped parsley.
- Serve hot with fresh bread, pap/sadza, or mashed potatoes.
Nutrition Facts
Calories
370Fat (grams)
23.5 gCarbs (grams)
11 gFiber (grams)
1.5 gProtein (grams)
29 gI am not a certified nutritionist and any nutritional information on dontmissmyplate.com should only be used as a general guideline.

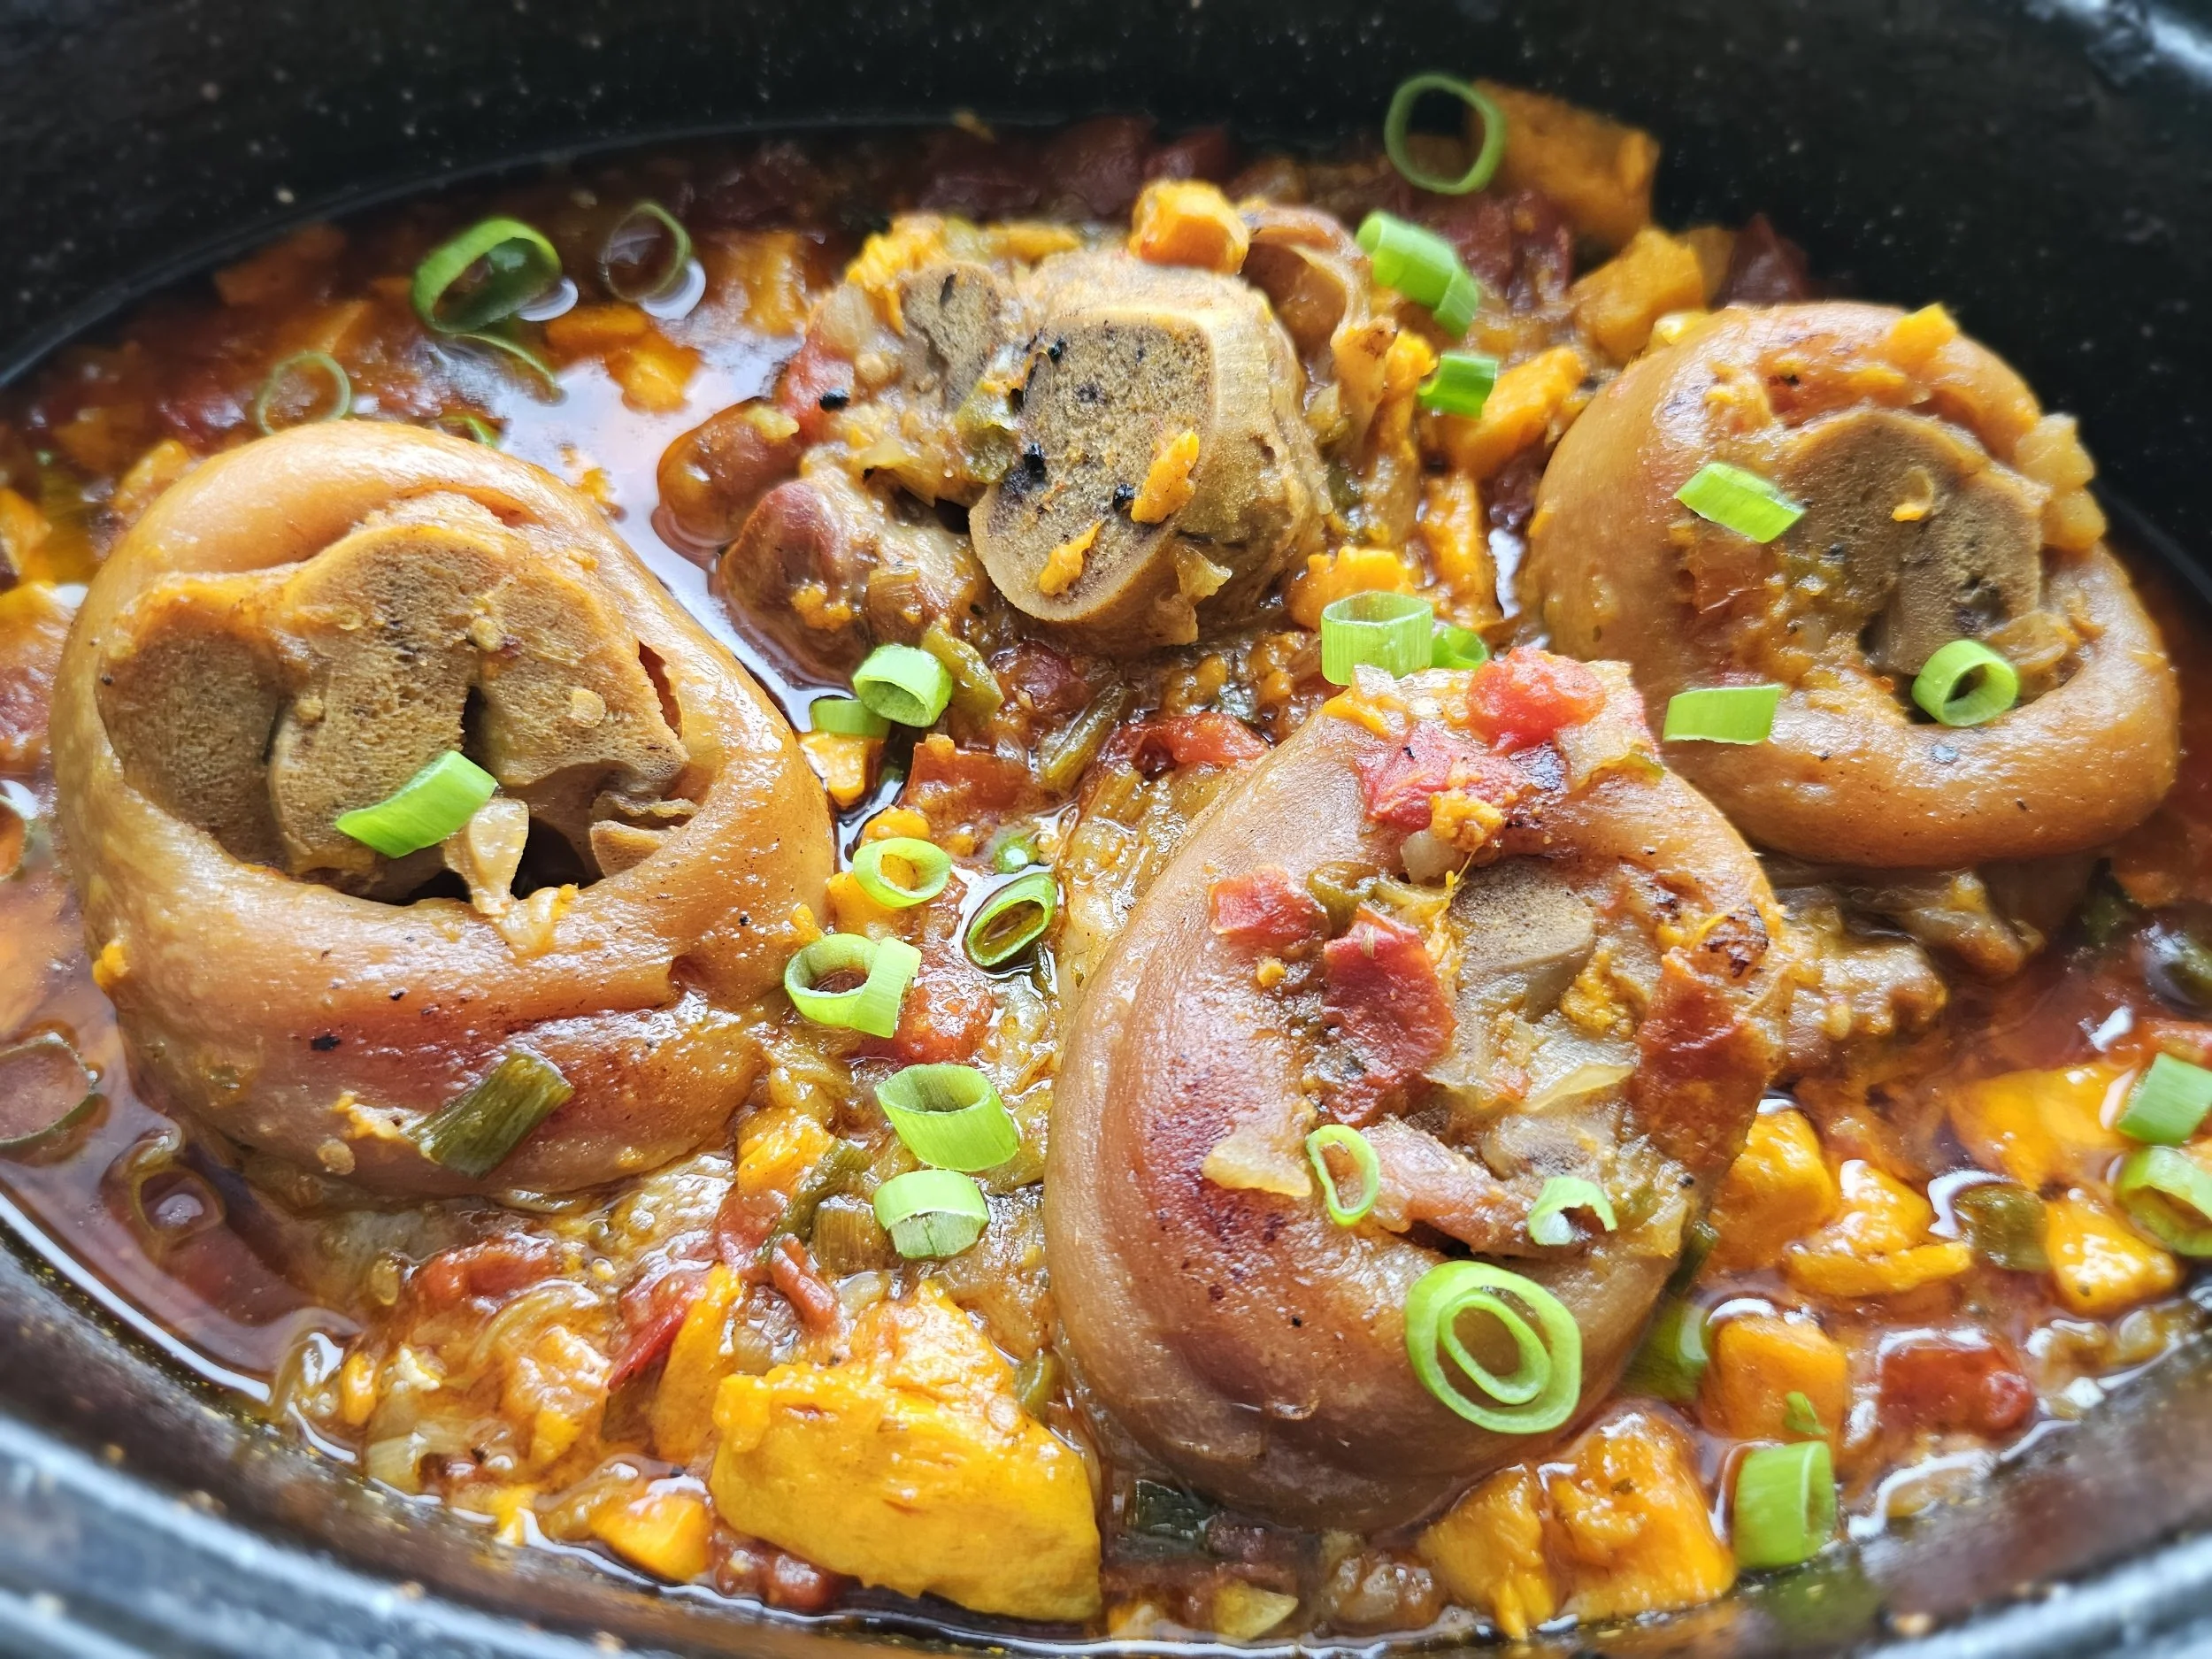
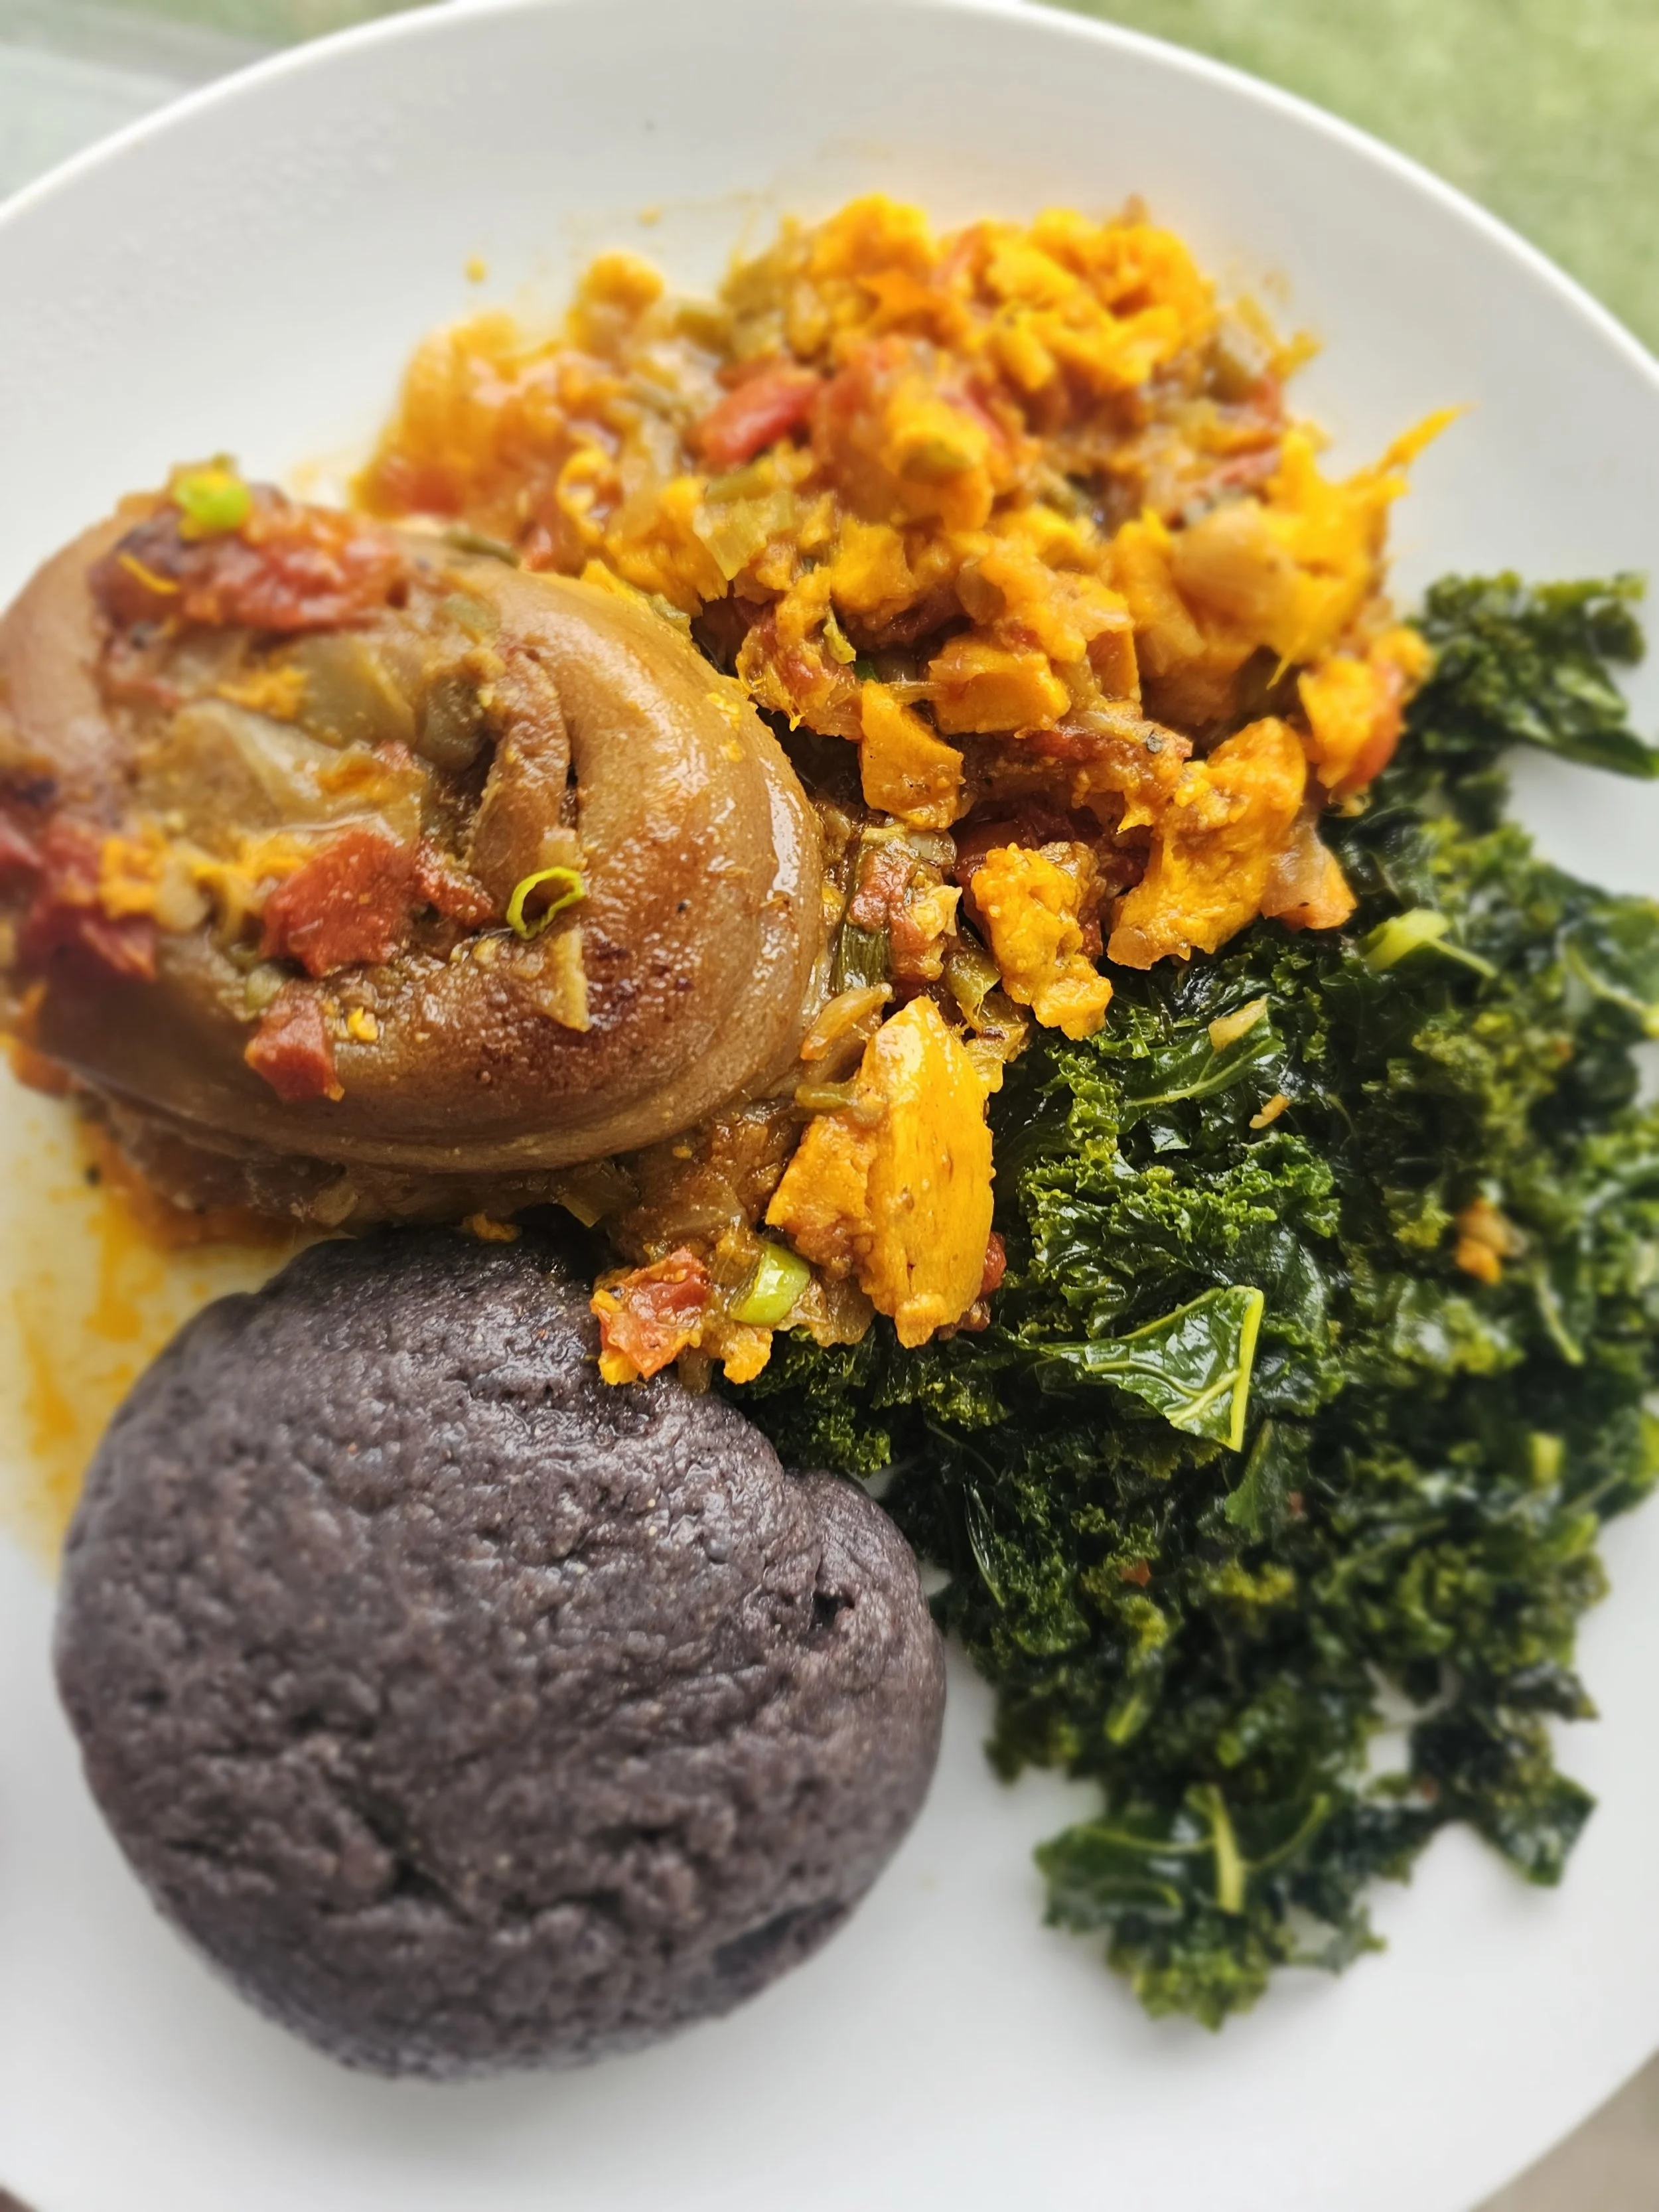
Stewed Pork Hocks with Sweet Potato (Mazondo)
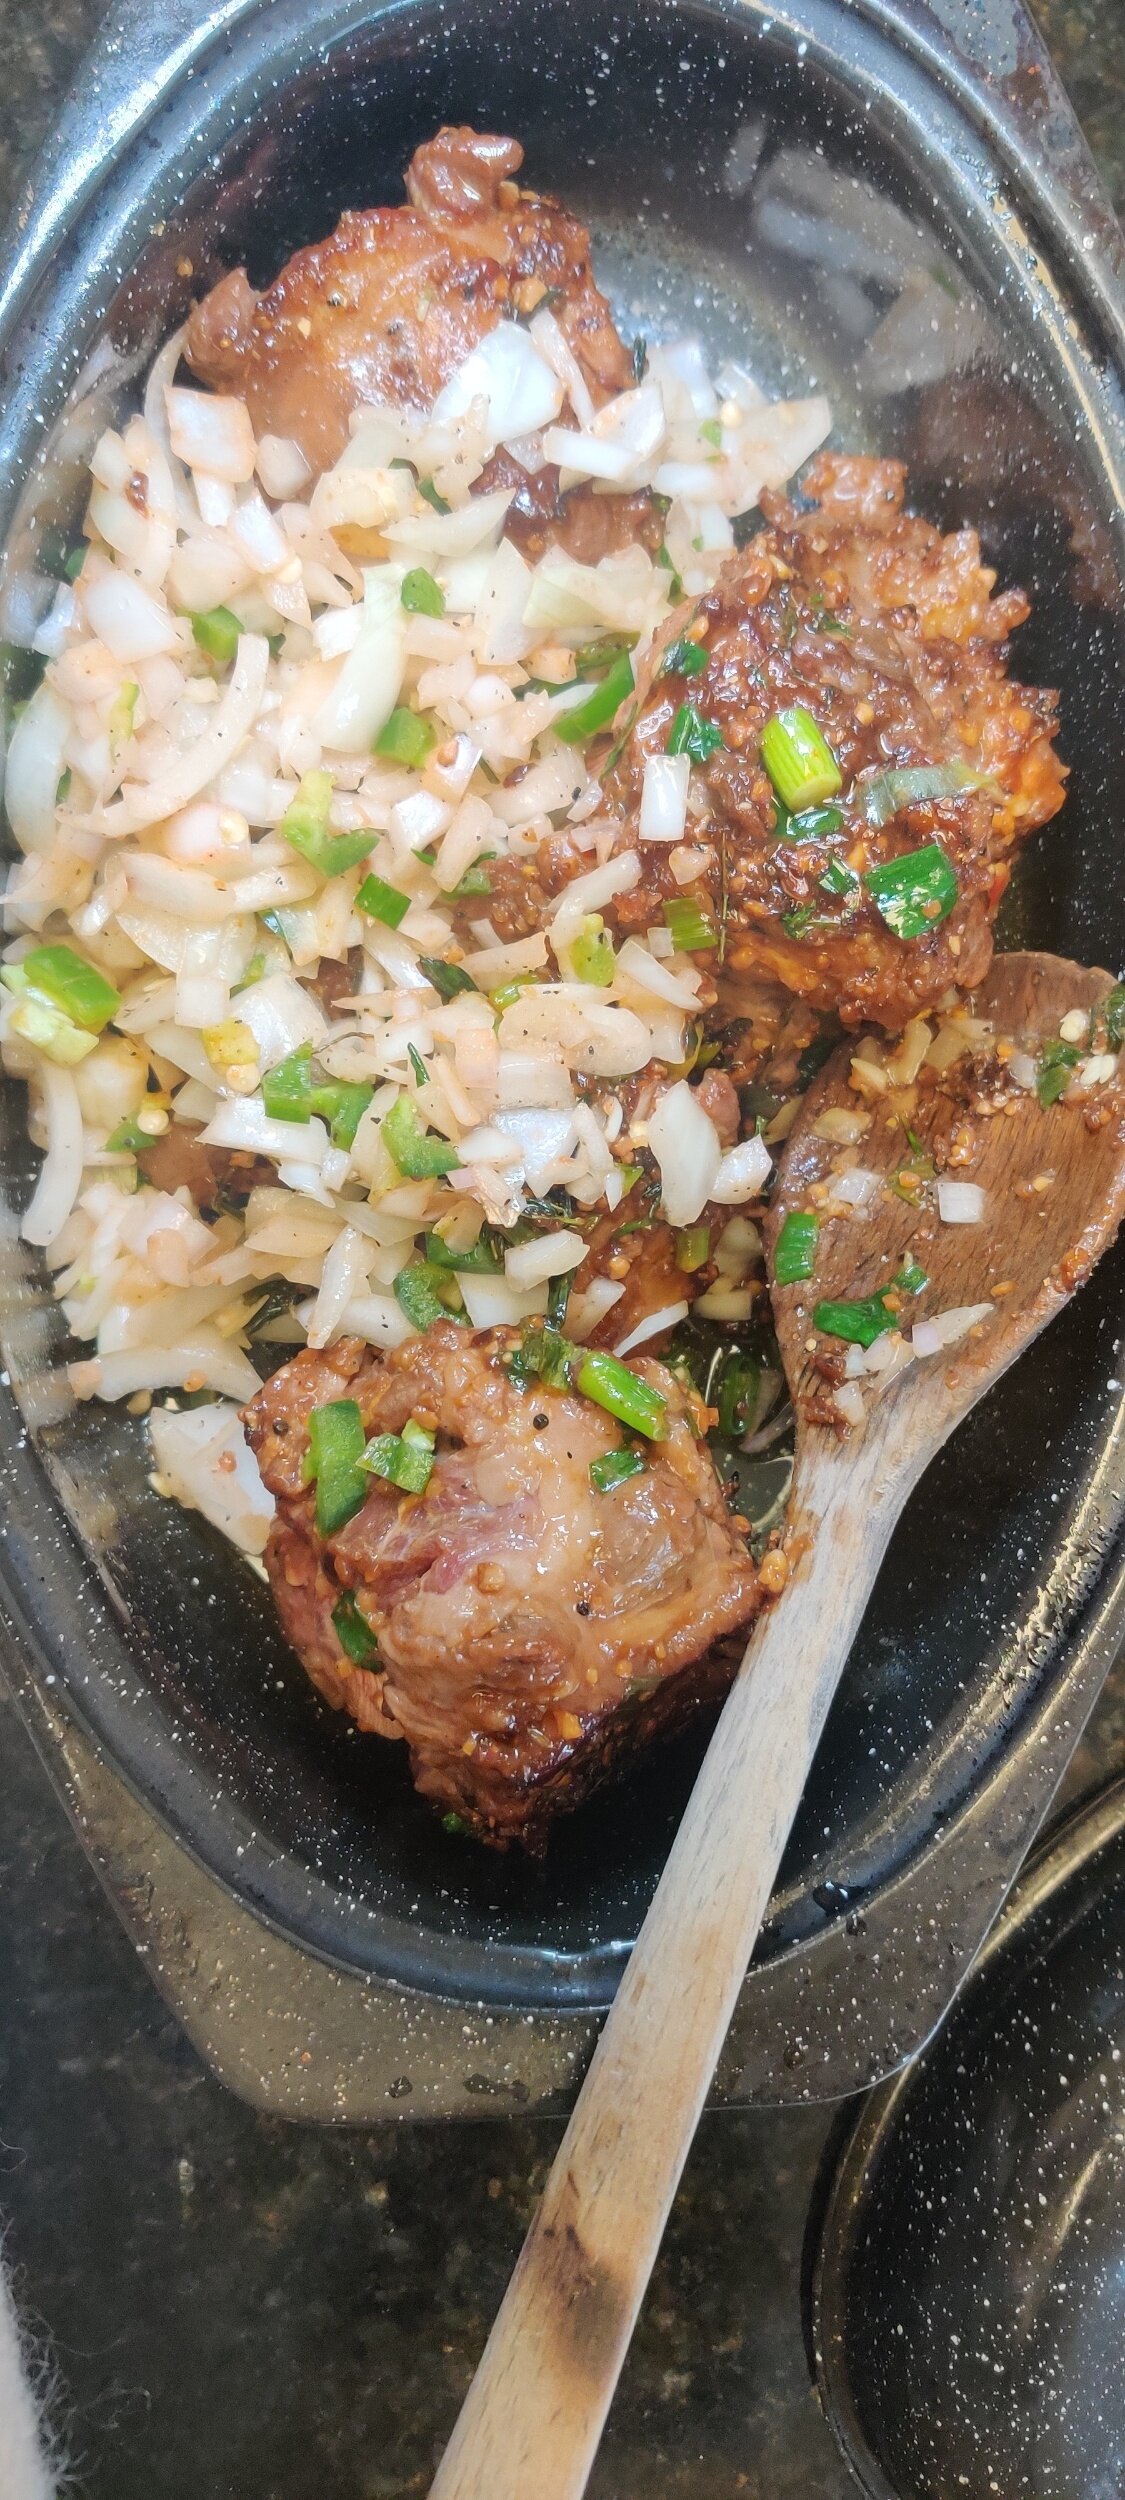
If delicacies could walk… or rather, trot. Few cuts of meat are as humble yet deeply flavorful as pork hocks. Known for their tough skin, bone, and rich connective tissue, pork hocks have long been transformed by cultures that understand the value of slow cooking. In the American South, ham hocks brought deep, smoky flavor to pots of collard greens and beans, a survival food turned soulful cuisine. In Zimbabwe, they take on a new identity as mazondo, pig’s feet or ankles, revered as a delicacy. Often served in bars, homesteads, and special gatherings, mazondo is slow-cooked with onions, chilies, tomatoes, and spices until it’s meltingly tender.
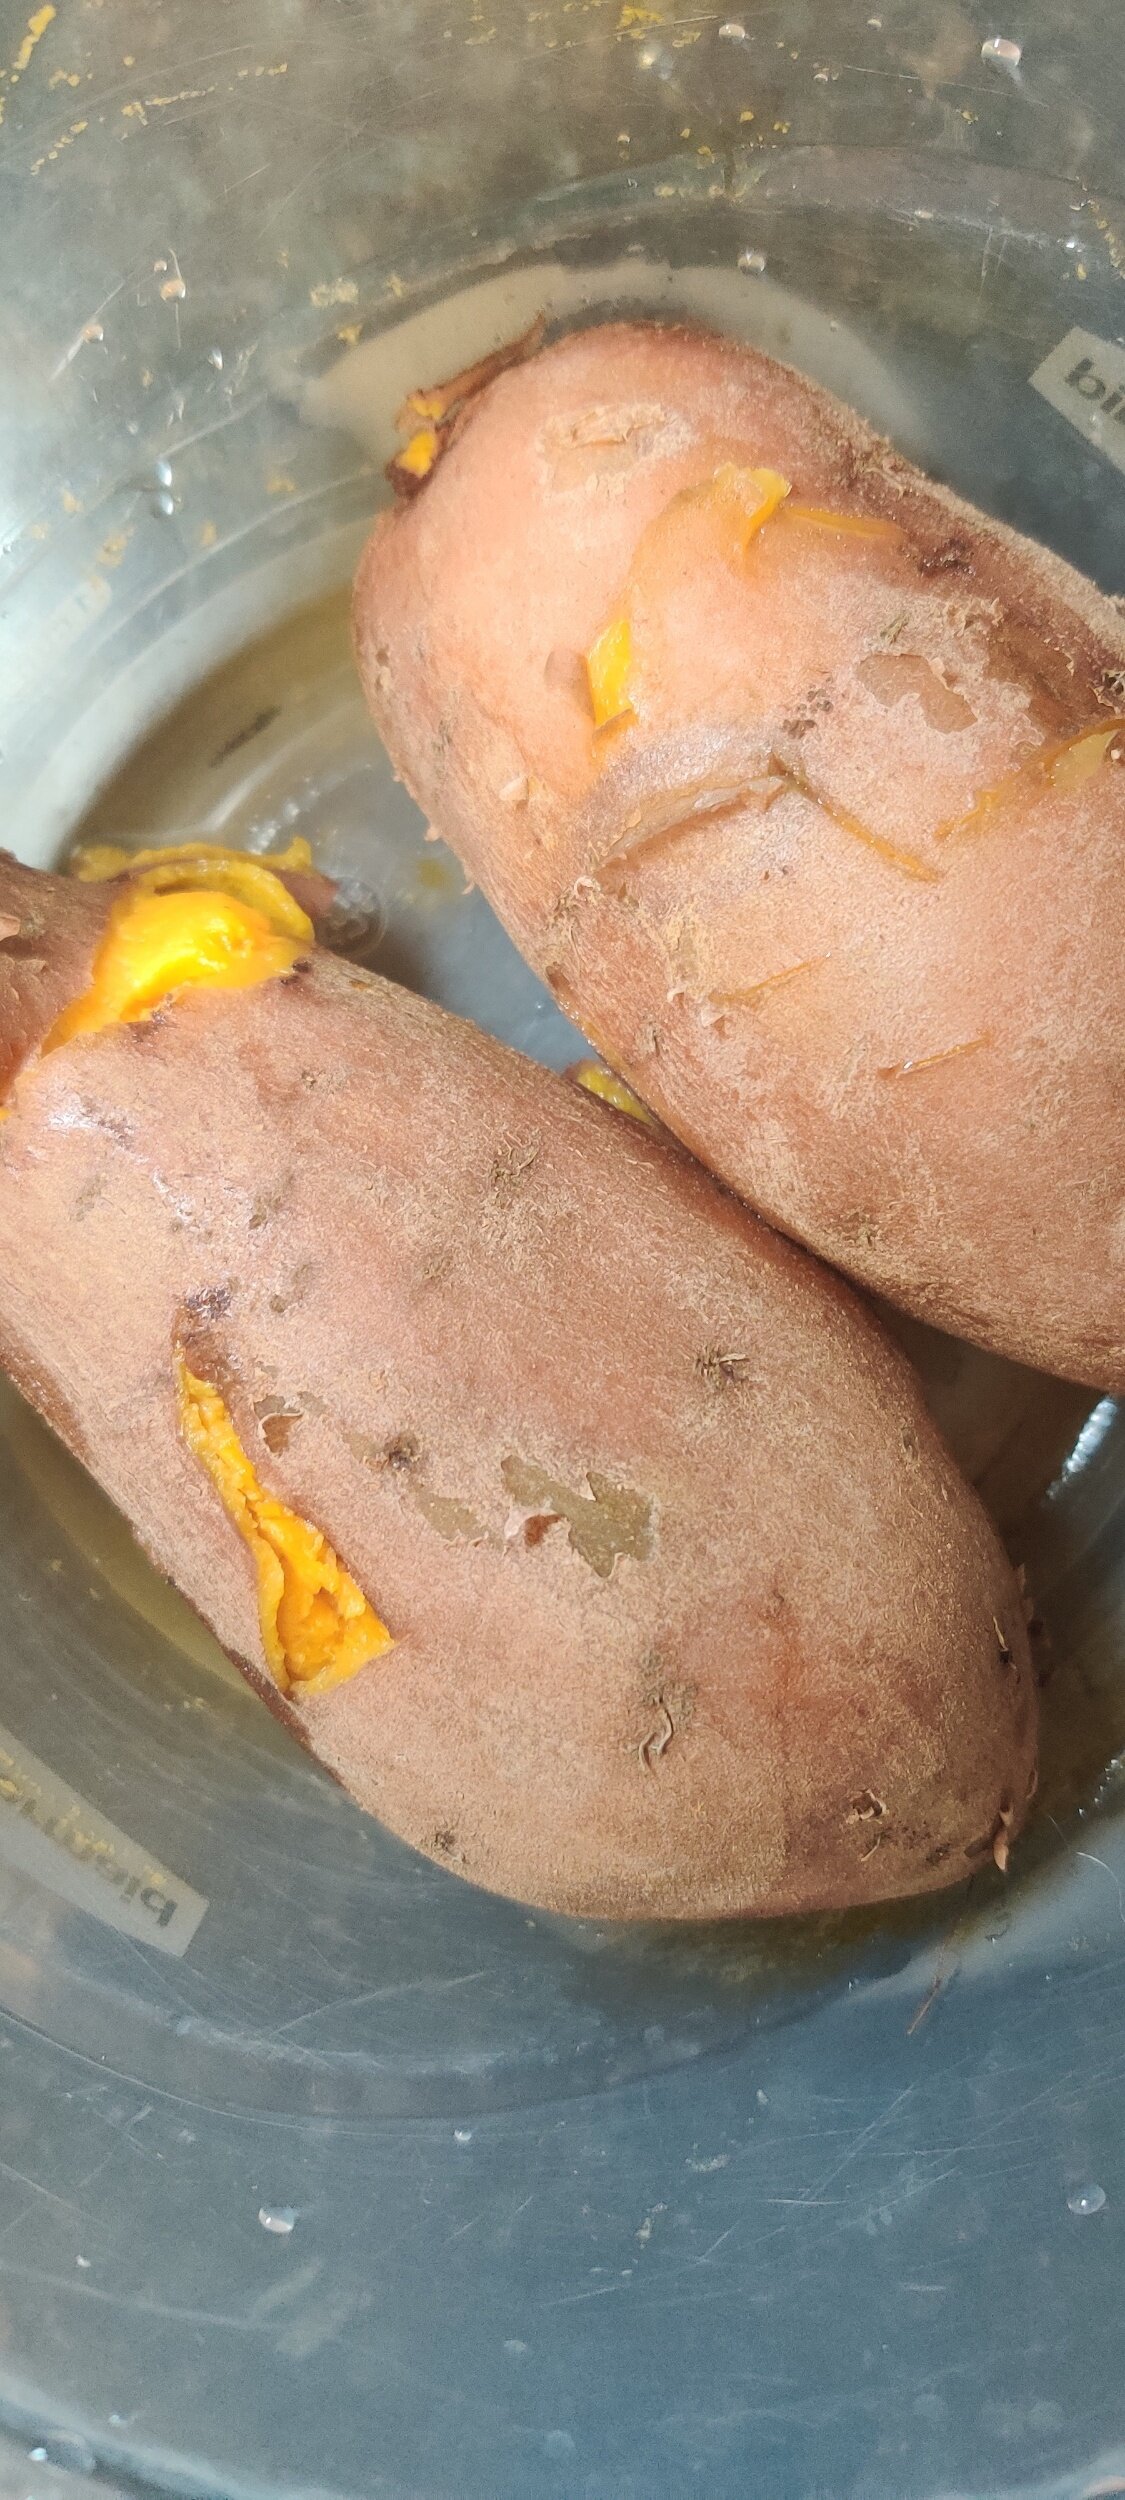
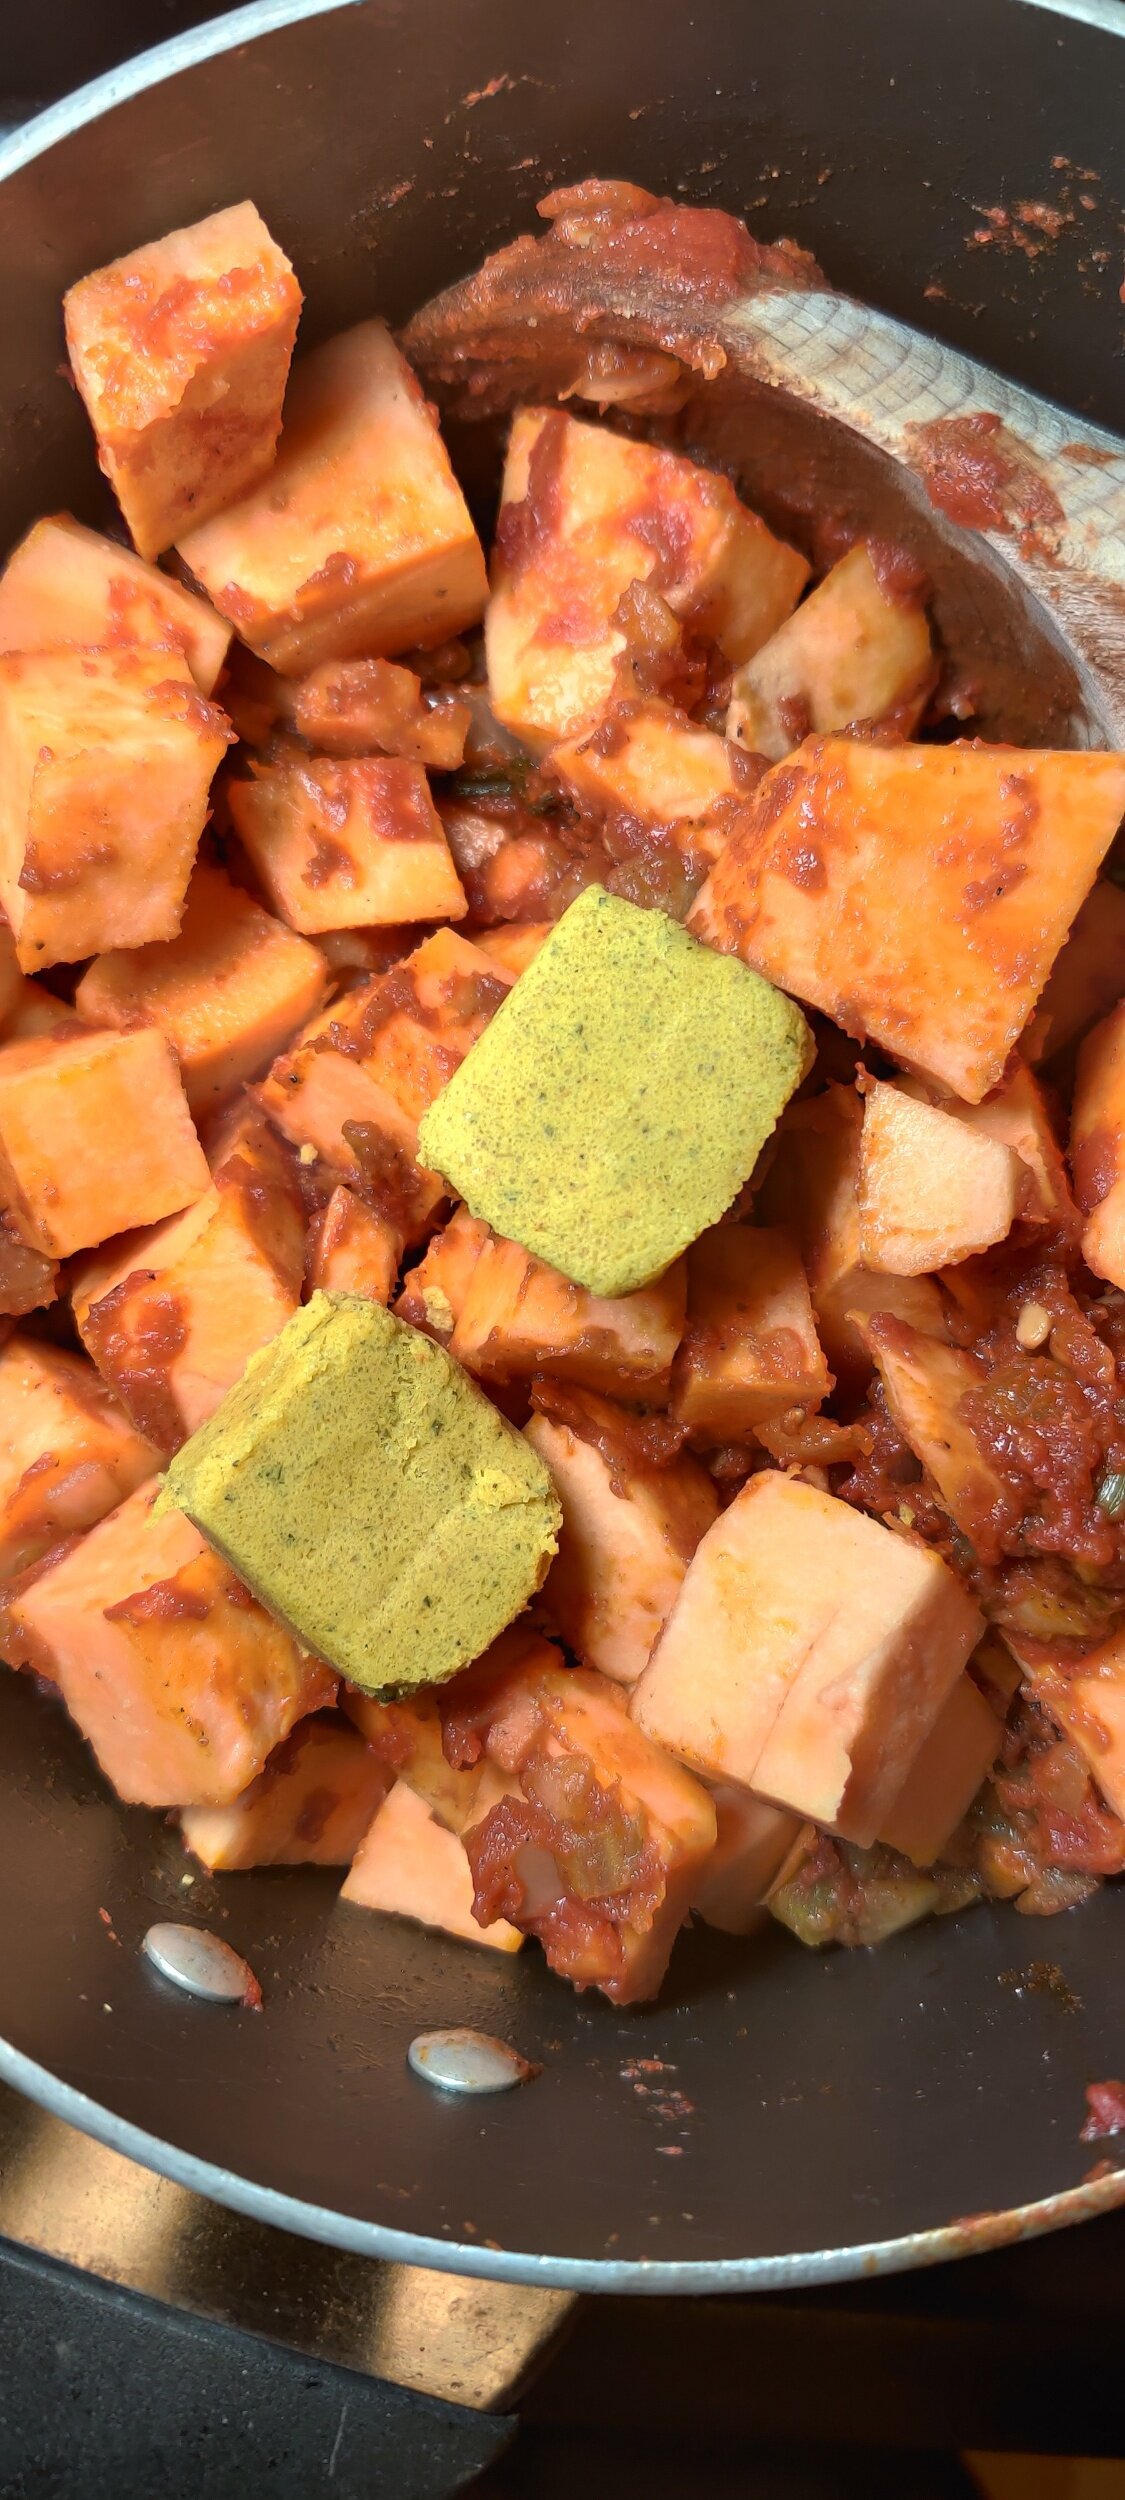
In this recipe, I brought that tradition into the stew pot, giving the hocks a good sear to lock in flavor, then letting them braise low and slow with bold aromatics, rich seasoning, and an unexpected but powerful addition: sweet potato. While in Zimbabwe sweet potatoes (mbambaira) are typically enjoyed boiled or roasted as a standalone snack or side, they have an untapped potential when added to stews. Here, the sweet potato doesn’t just add subtle, earthy sweetness — it also brings nutrition and natural starch that gently thickens the broth as it cooks down, tying everything together in a rich, velvety texture.
Before cooking, I soak the hocks in red wine vinegar. This isn’t just for cleaning and tenderizing, but also to cut through the richness and add a subtle tang that balances the stew. It's a simple step, but it makes all the difference when working with fatty, collagen-rich cuts.
Prep and Cooking Tips for Mazondo
1. Soaking = Better Flavor and Cleaner Broth
Soaking pork hocks in vinegar and water helps clean the meat, neutralize strong odors, and tenderize it slightly. Rinse well after soaking to avoid excess acidity in the stew.
2. Sear for Maximum Flavor
Don’t skip the browning step, it adds deep, caramelized flavor that builds the base of your stew. Let the hocks sear undisturbed for a few minutes per side to get a good crust.
3. Low and Slow is Key
This stew rewards patience. Keep the heat low and let the hocks simmer gently for 2.5 to 3 hours. Rushing will result in chewy meat and thin broth.
4. Sweet Potato Choices Matter
Use a firm, orange-fleshed sweet potato or yam that holds up to long cooking. Softer varieties may break down too much, though that can also be desirable for thickening.
5. Customize the Heat
Adjust the chili to your preference. For mild stew, remove seeds from the chili or use a milder pepper. For more heat, add fresh chili near the end of cooking or include crushed chili flakes.
6. Make it Ahead
Like most stews, this tastes even better the next day. The flavors deepen and the texture improves after resting. Store in the fridge overnight and reheat gently.
7. Serving Suggestions
Traditionally served with sadza in Zimbabwe, but it's also excellent with rice, mashed potatoes, or crusty bread to soak up the broth. Try pairing it with sautéed greens for a full meal.
8. Skim the Fat (or Don’t)
Pork hocks release a good amount of fat. You can skim some off the top during or after cooking, or stir it back in for maximum richness, up to you.
9. Broth Boost
If you have homemade broth, use it! It gives the stew more body and complexity than water and bouillon alone.
10. Leftover Ideas
Leftover stew can be shredded and used in tacos, wraps, or even spooned over pap/sadza for a quick second-day meal.
With each spoonful, you're tasting tradition, technique, and transformation. The vinegar, the hocks, the sweet potato, each element speaks to how simple ingredients, handled with care and patience, can deliver deeply rooted, unforgettable flavor.
")
Stewed Pork Hocks with Sweet Potato (Mazondo)
Discover a rich, slow-cooked Pork Hock Stew (Mazondo) with sweet potato, inspired by Zimbabwean flavors and Southern soul food traditions. Tender pork hocks are soaked in vinegar, seared, and simmered with tomatoes, chili, and spices for a hearty, flavorful dish.
Ingredients
- 4 large pork hocks
- 1/3 cup red wine vinegar (for soaking)
- 1 tablespoon salt
- 1 tablespoon black pepper
- 1 large sweet potato or yam, peeled and cubed
- 1 large yellow onion, chopped
- 4 Roma tomatoes, chopped
- 1 chili pepper, finely chopped
- 2 large cloves garlic, minced
- 2 spring onions, sliced
- 2 bouillon cubes + 2 cups water (or homemade broth)
- 1/2 tablespoon Royco Usavi Mix (or your preferred all-purpose seasoning)
- 1/2 tablespoon Shishanyama spice (or BBQ meat rub)
- 2 tablespoons Worcestershire sauce
- 1 teaspoon cumin
- 1 teaspoon paprika
- 1 teaspoon oregano
- Cooking oil (coconut or olive oil)
- 2 tablespoons butter
Instructions
- Rinse the pork hocks under cold water. Place them in a large bowl and soak in red wine vinegar with enough water to cover. Let sit for 10 minutes, then drain and pat dry—very dry, so they brown nicely.
- Season the hocks with salt and pepper. In a large oven-proof pot roast dish or Dutch oven, heat a bit of oil over medium-high heat. Sear the hocks on all sides until golden and well browned. Remove and set aside.
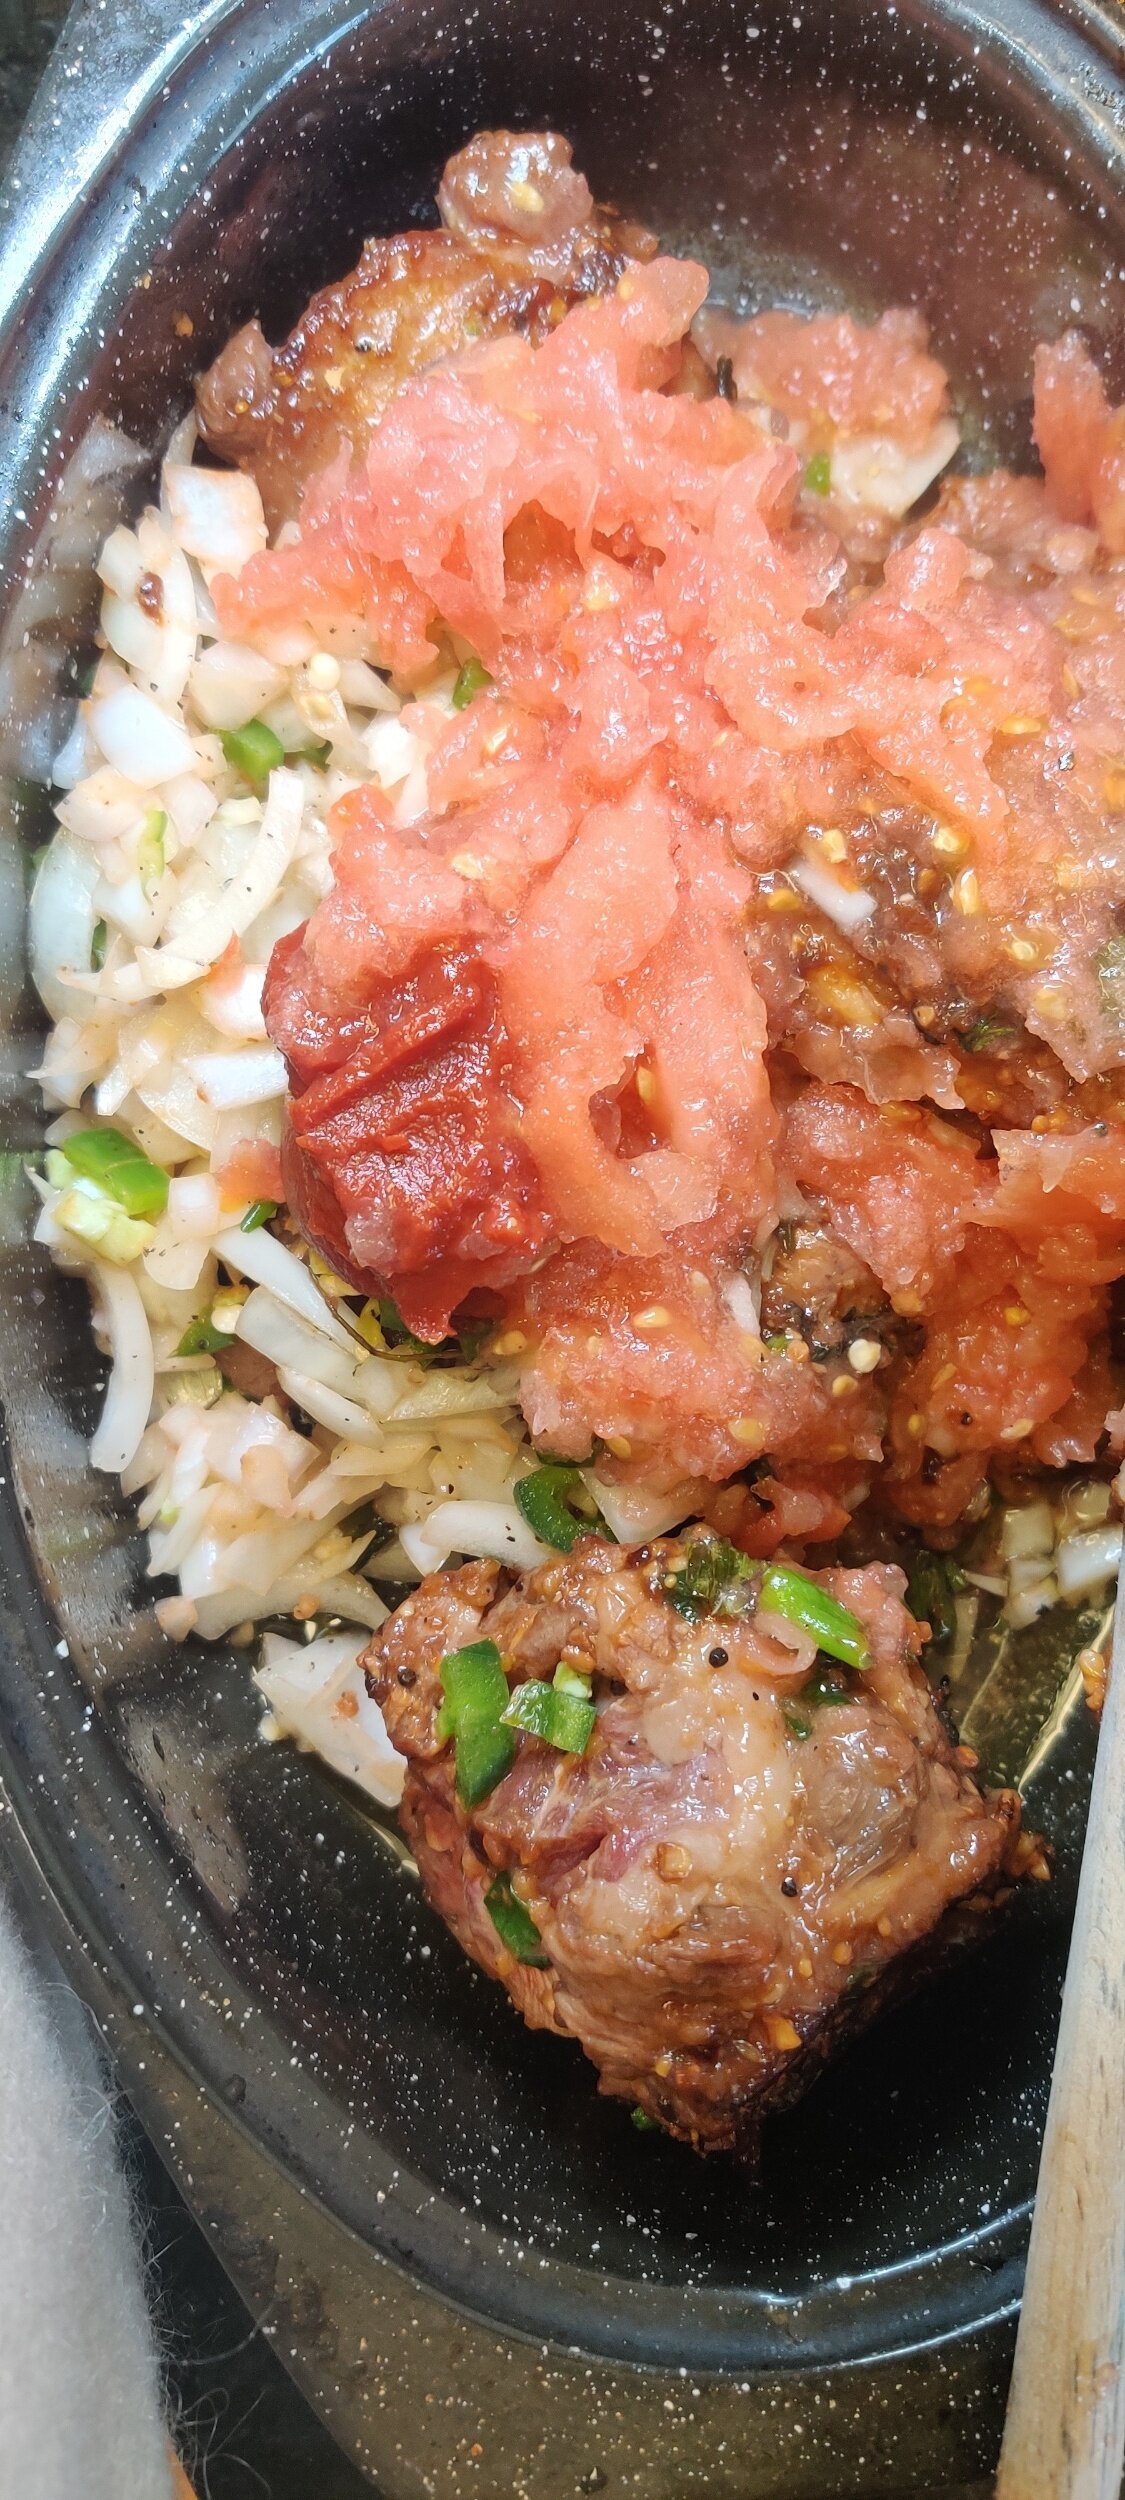
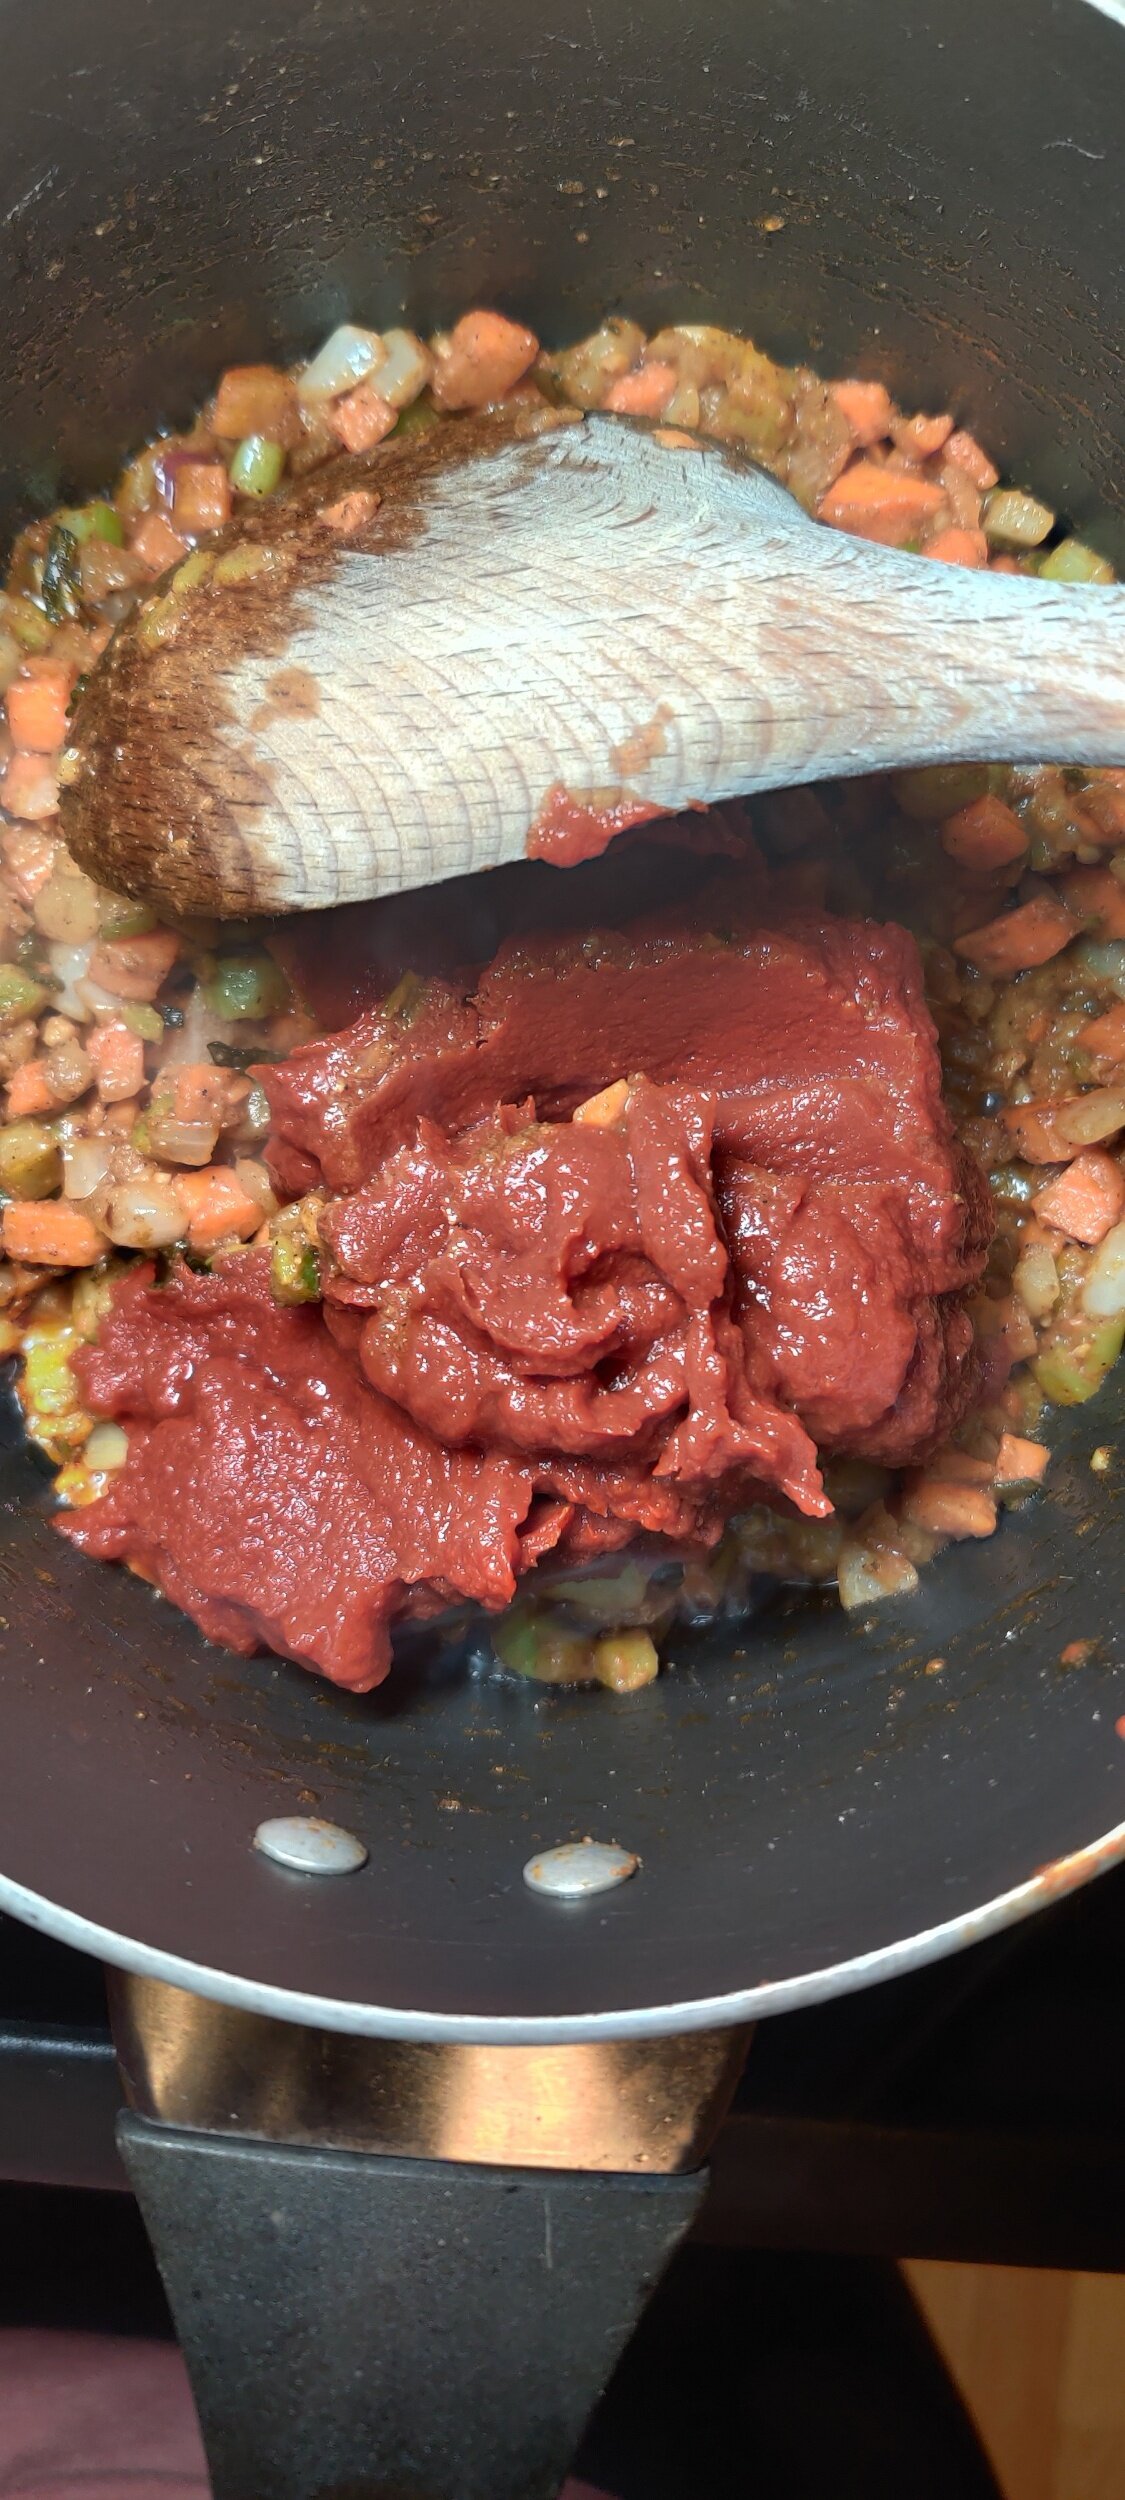
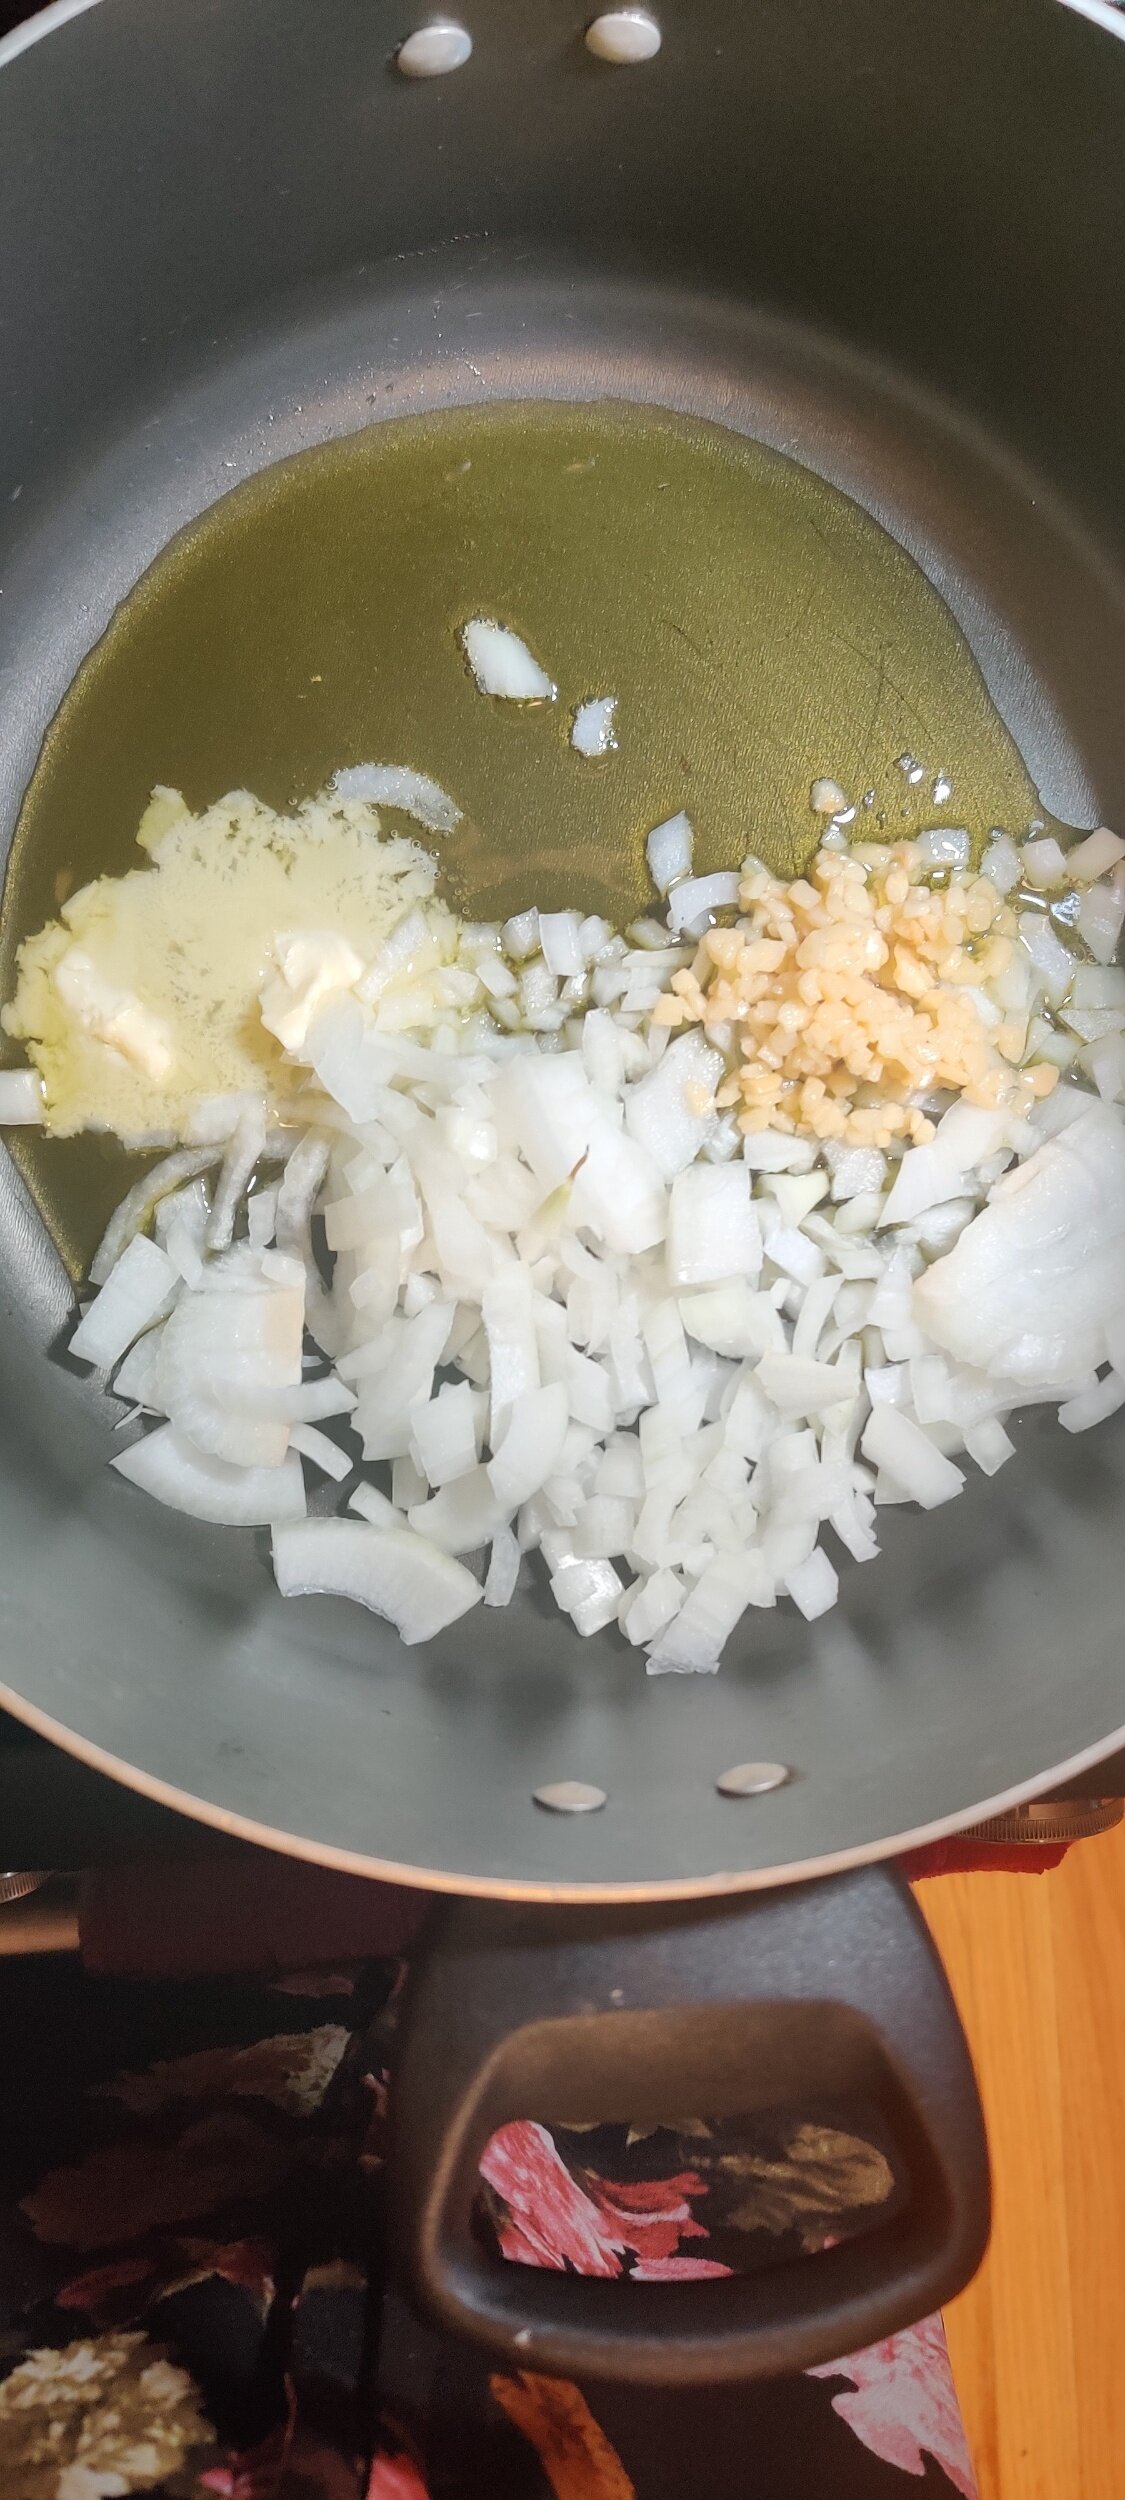
- In the same pot, sauté the onion, garlic, chili, and spring onions until softened and fragrant. Add the Royco Usavi Mix, Shishanyama, and bouillon cubes. Cook for 1–2 minutes to bloom the spices, adding a bit more oil if needed. Stir in the tomatoes and Worcestershire sauce and cook for another 1–2 minutes.
- Add the cubed sweet potatoes, followed by the broth (or water), cumin, paprika, and oregano. Let everything simmer for 3–4 minutes to start developing the base of the stew.
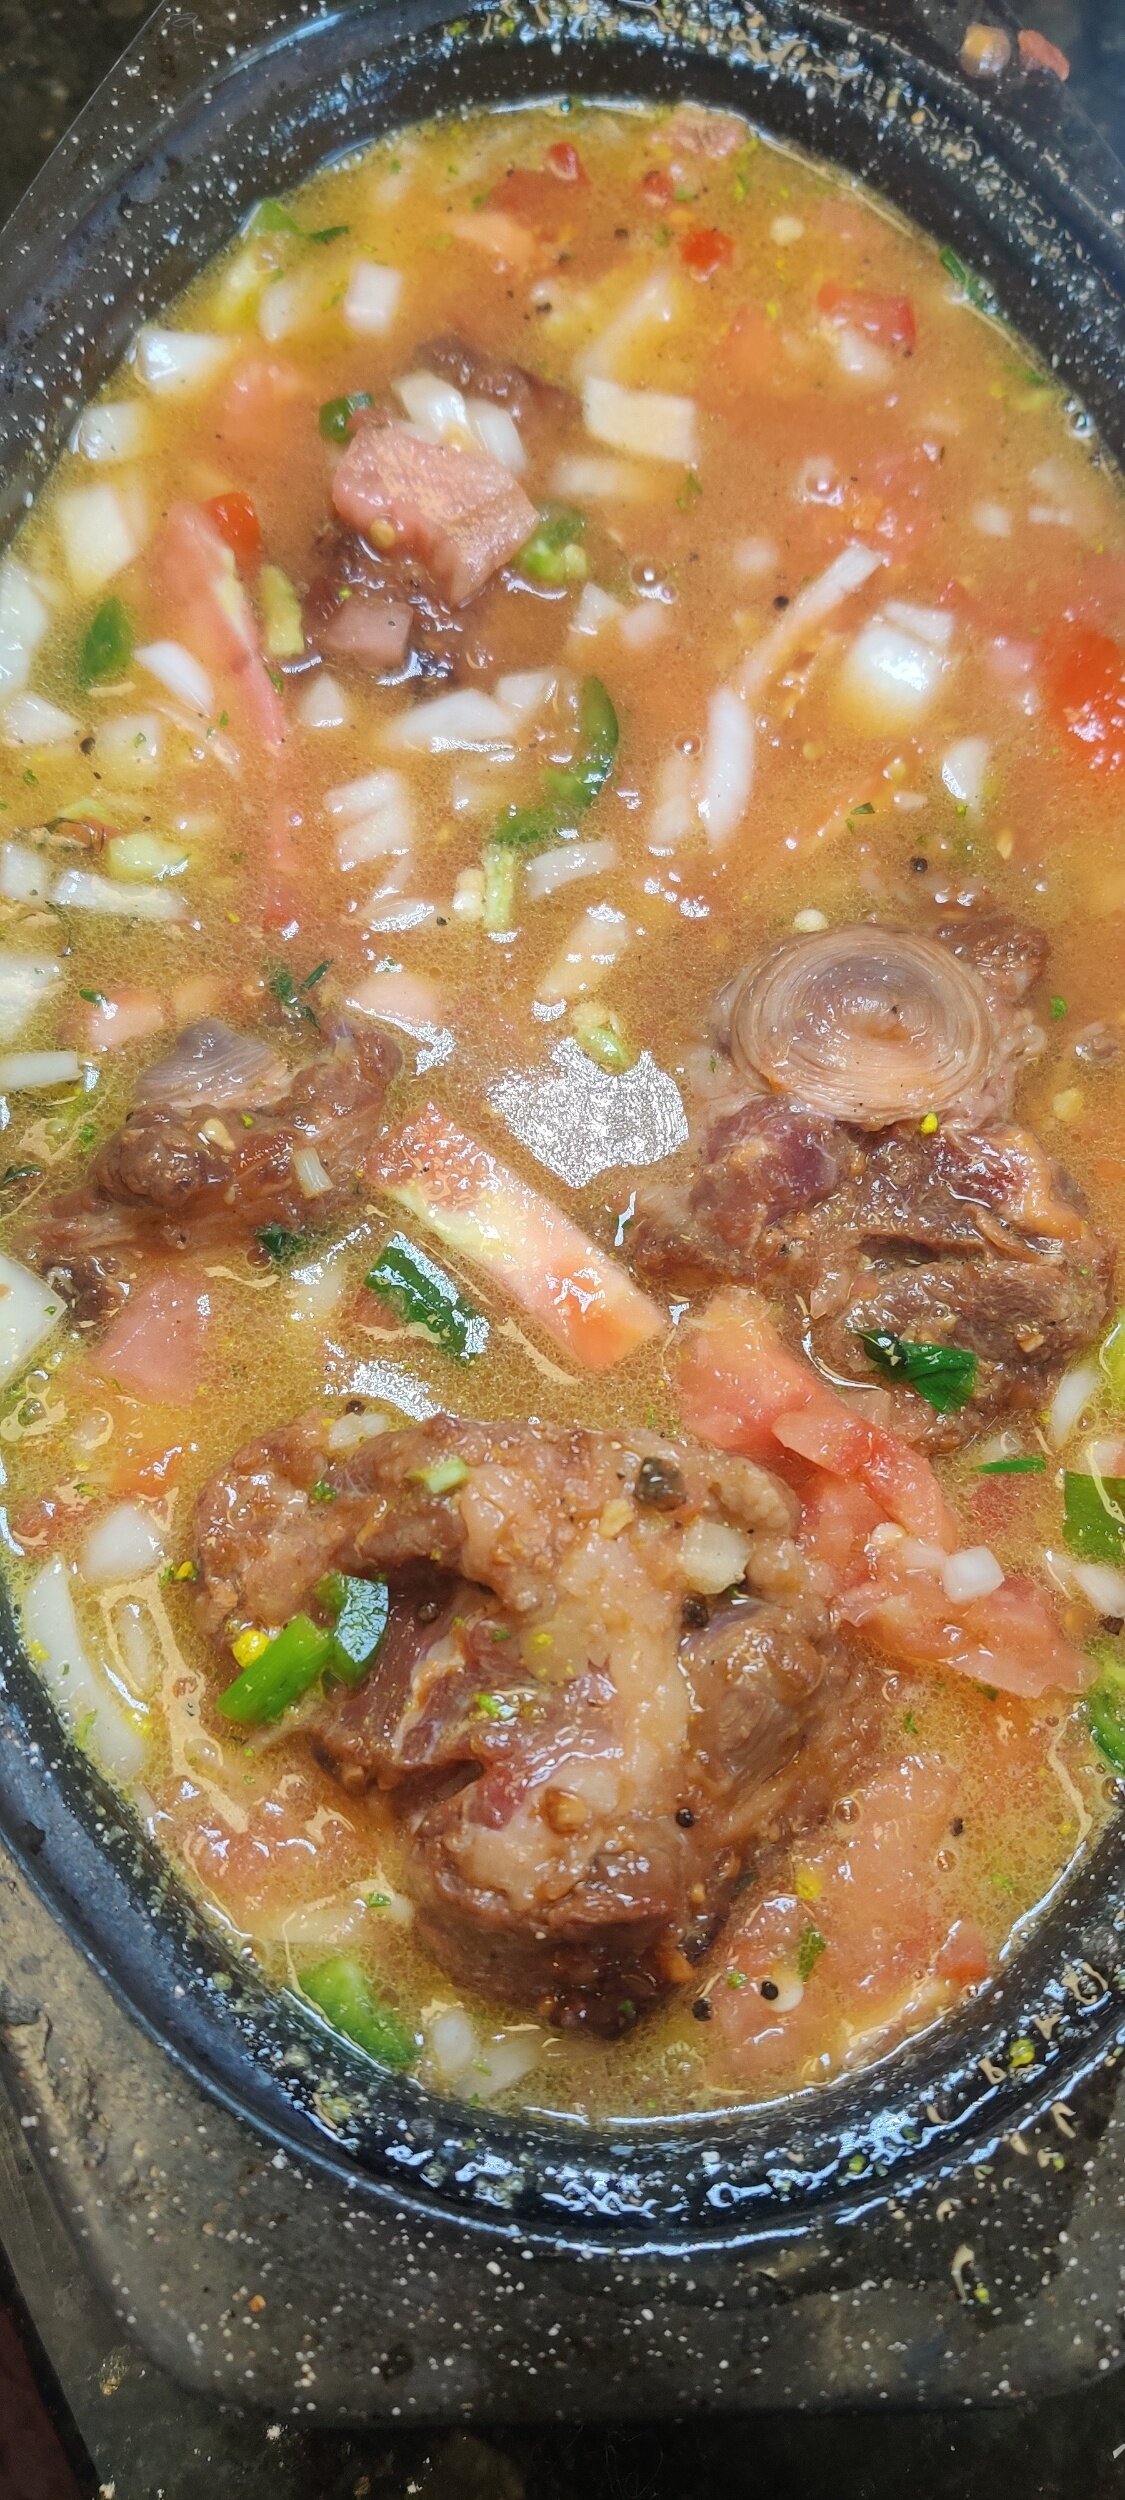
- Transfer the pork hocks to a deep roasting pan or heavy pot. Pour the sweet potato and tomato mixture over the hocks, making sure they’re mostly submerged. The liquid will reduce and become the stew.
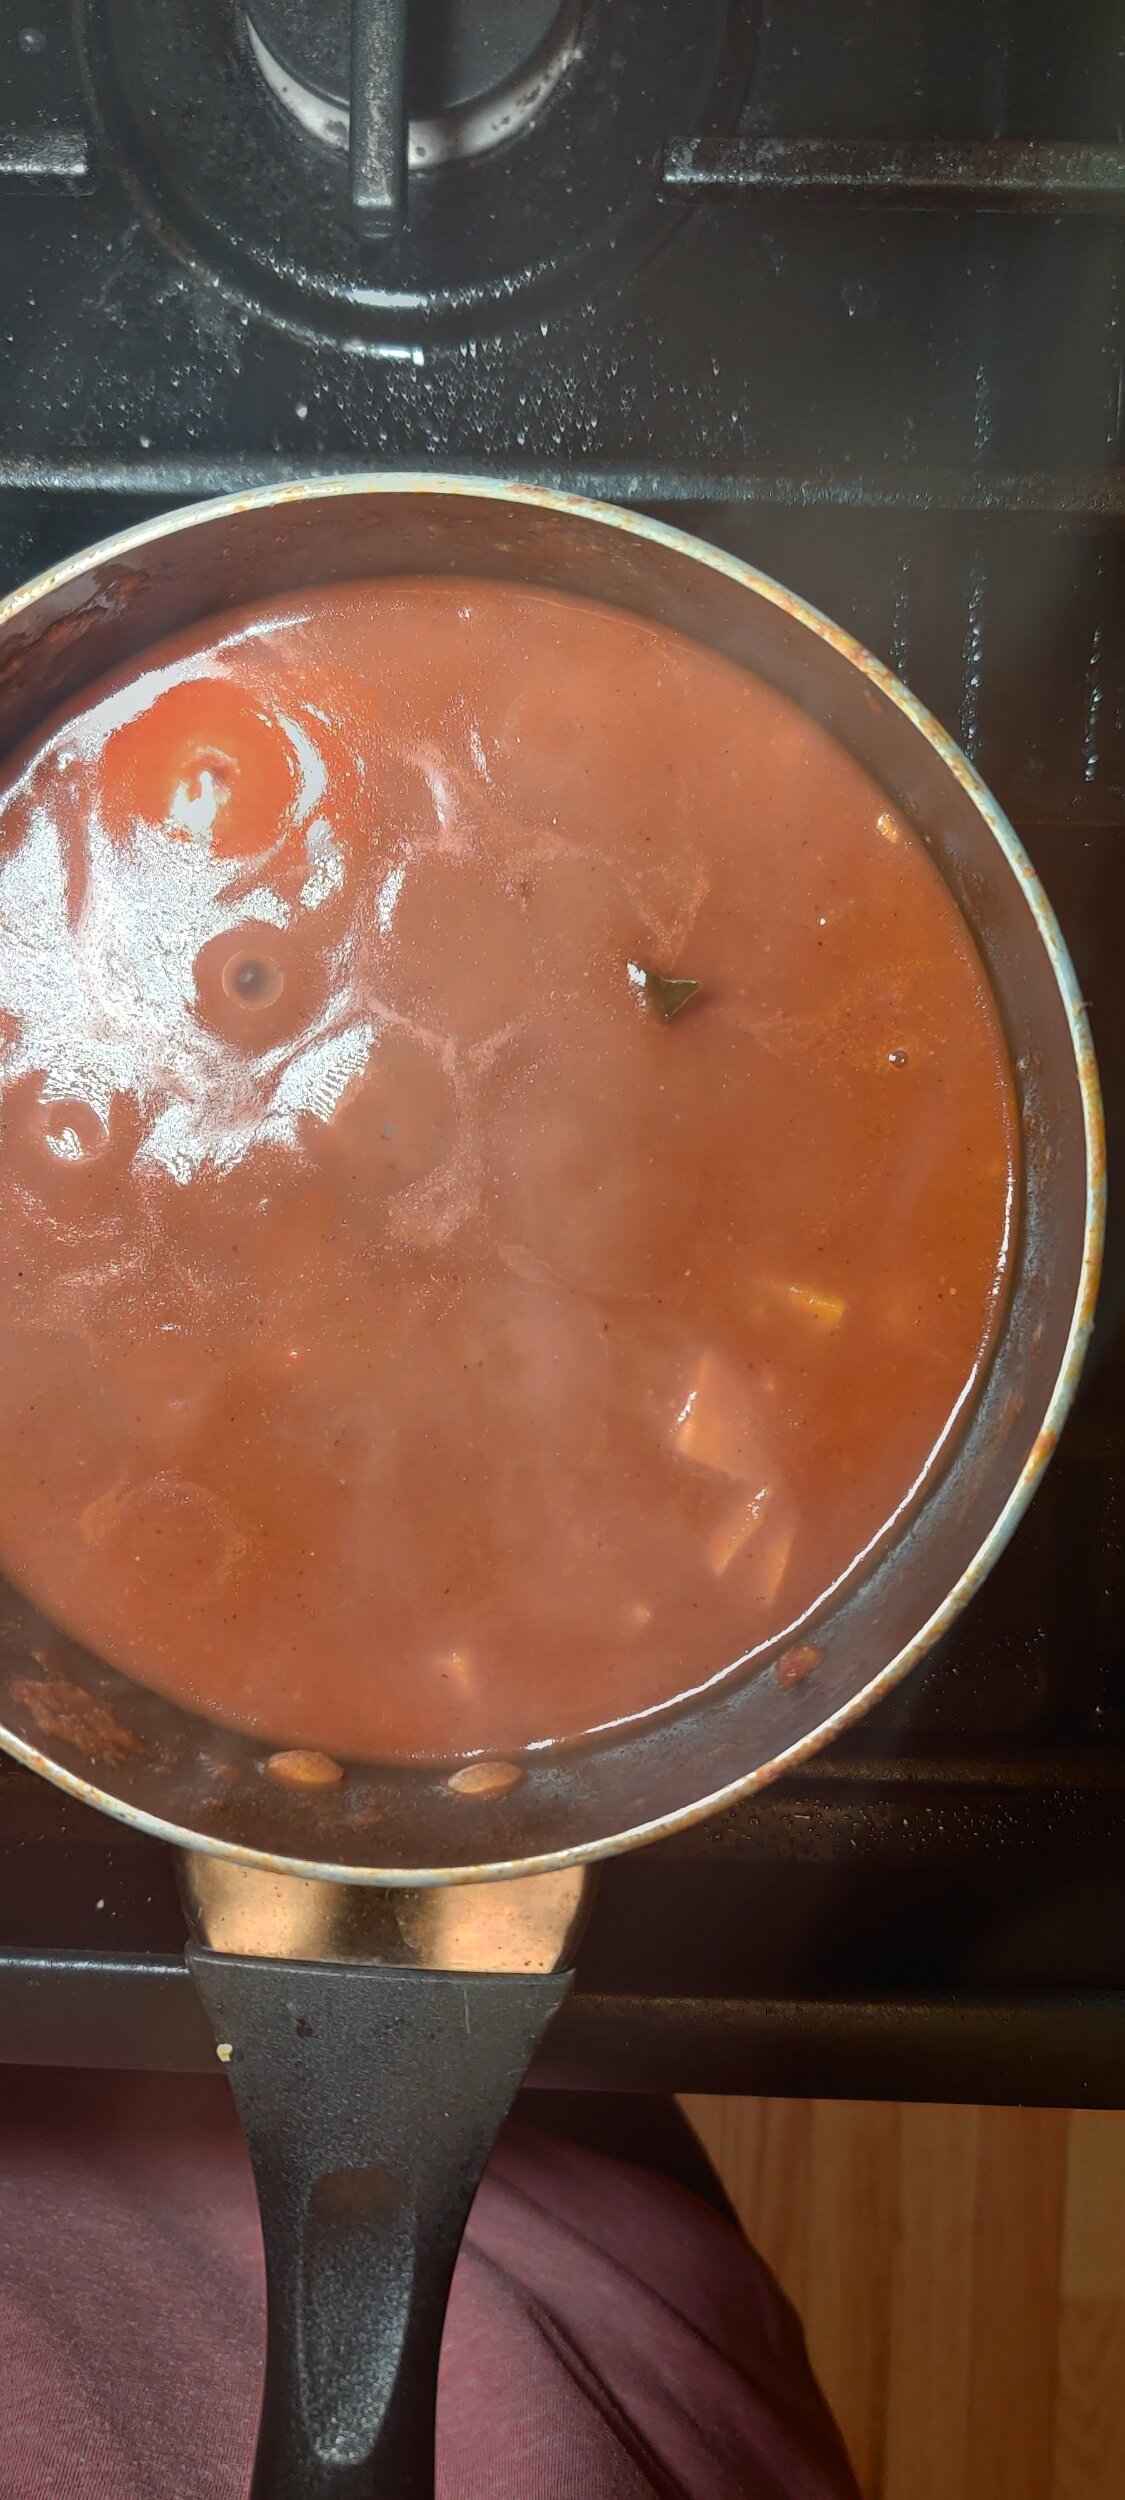
- Cover and simmer on low heat at 325°F for 2.5 to 3 hours, until the meat is fall-off-the-bone tender and the sweet potatoes are soft. When checking occasionally during cooking, avoid over-mixing to prevent the sweet potatoes from breaking down into a soup-like consistency.
- If there's more liquid than you'd prefer with about 30 minutes remaining, increase the temperature to 350°F.
- Finish with chopped fresh spring onions. Adjust seasoning with extra salt, pepper, or chili flakes if you like more heat. Serve hot with sadza, rice, or thick bread, and sautéed kale (muriwo) on the side.
I am not a certified nutritionist and any nutritional information on dontmissmyplate.com should only be used as a general guideline.

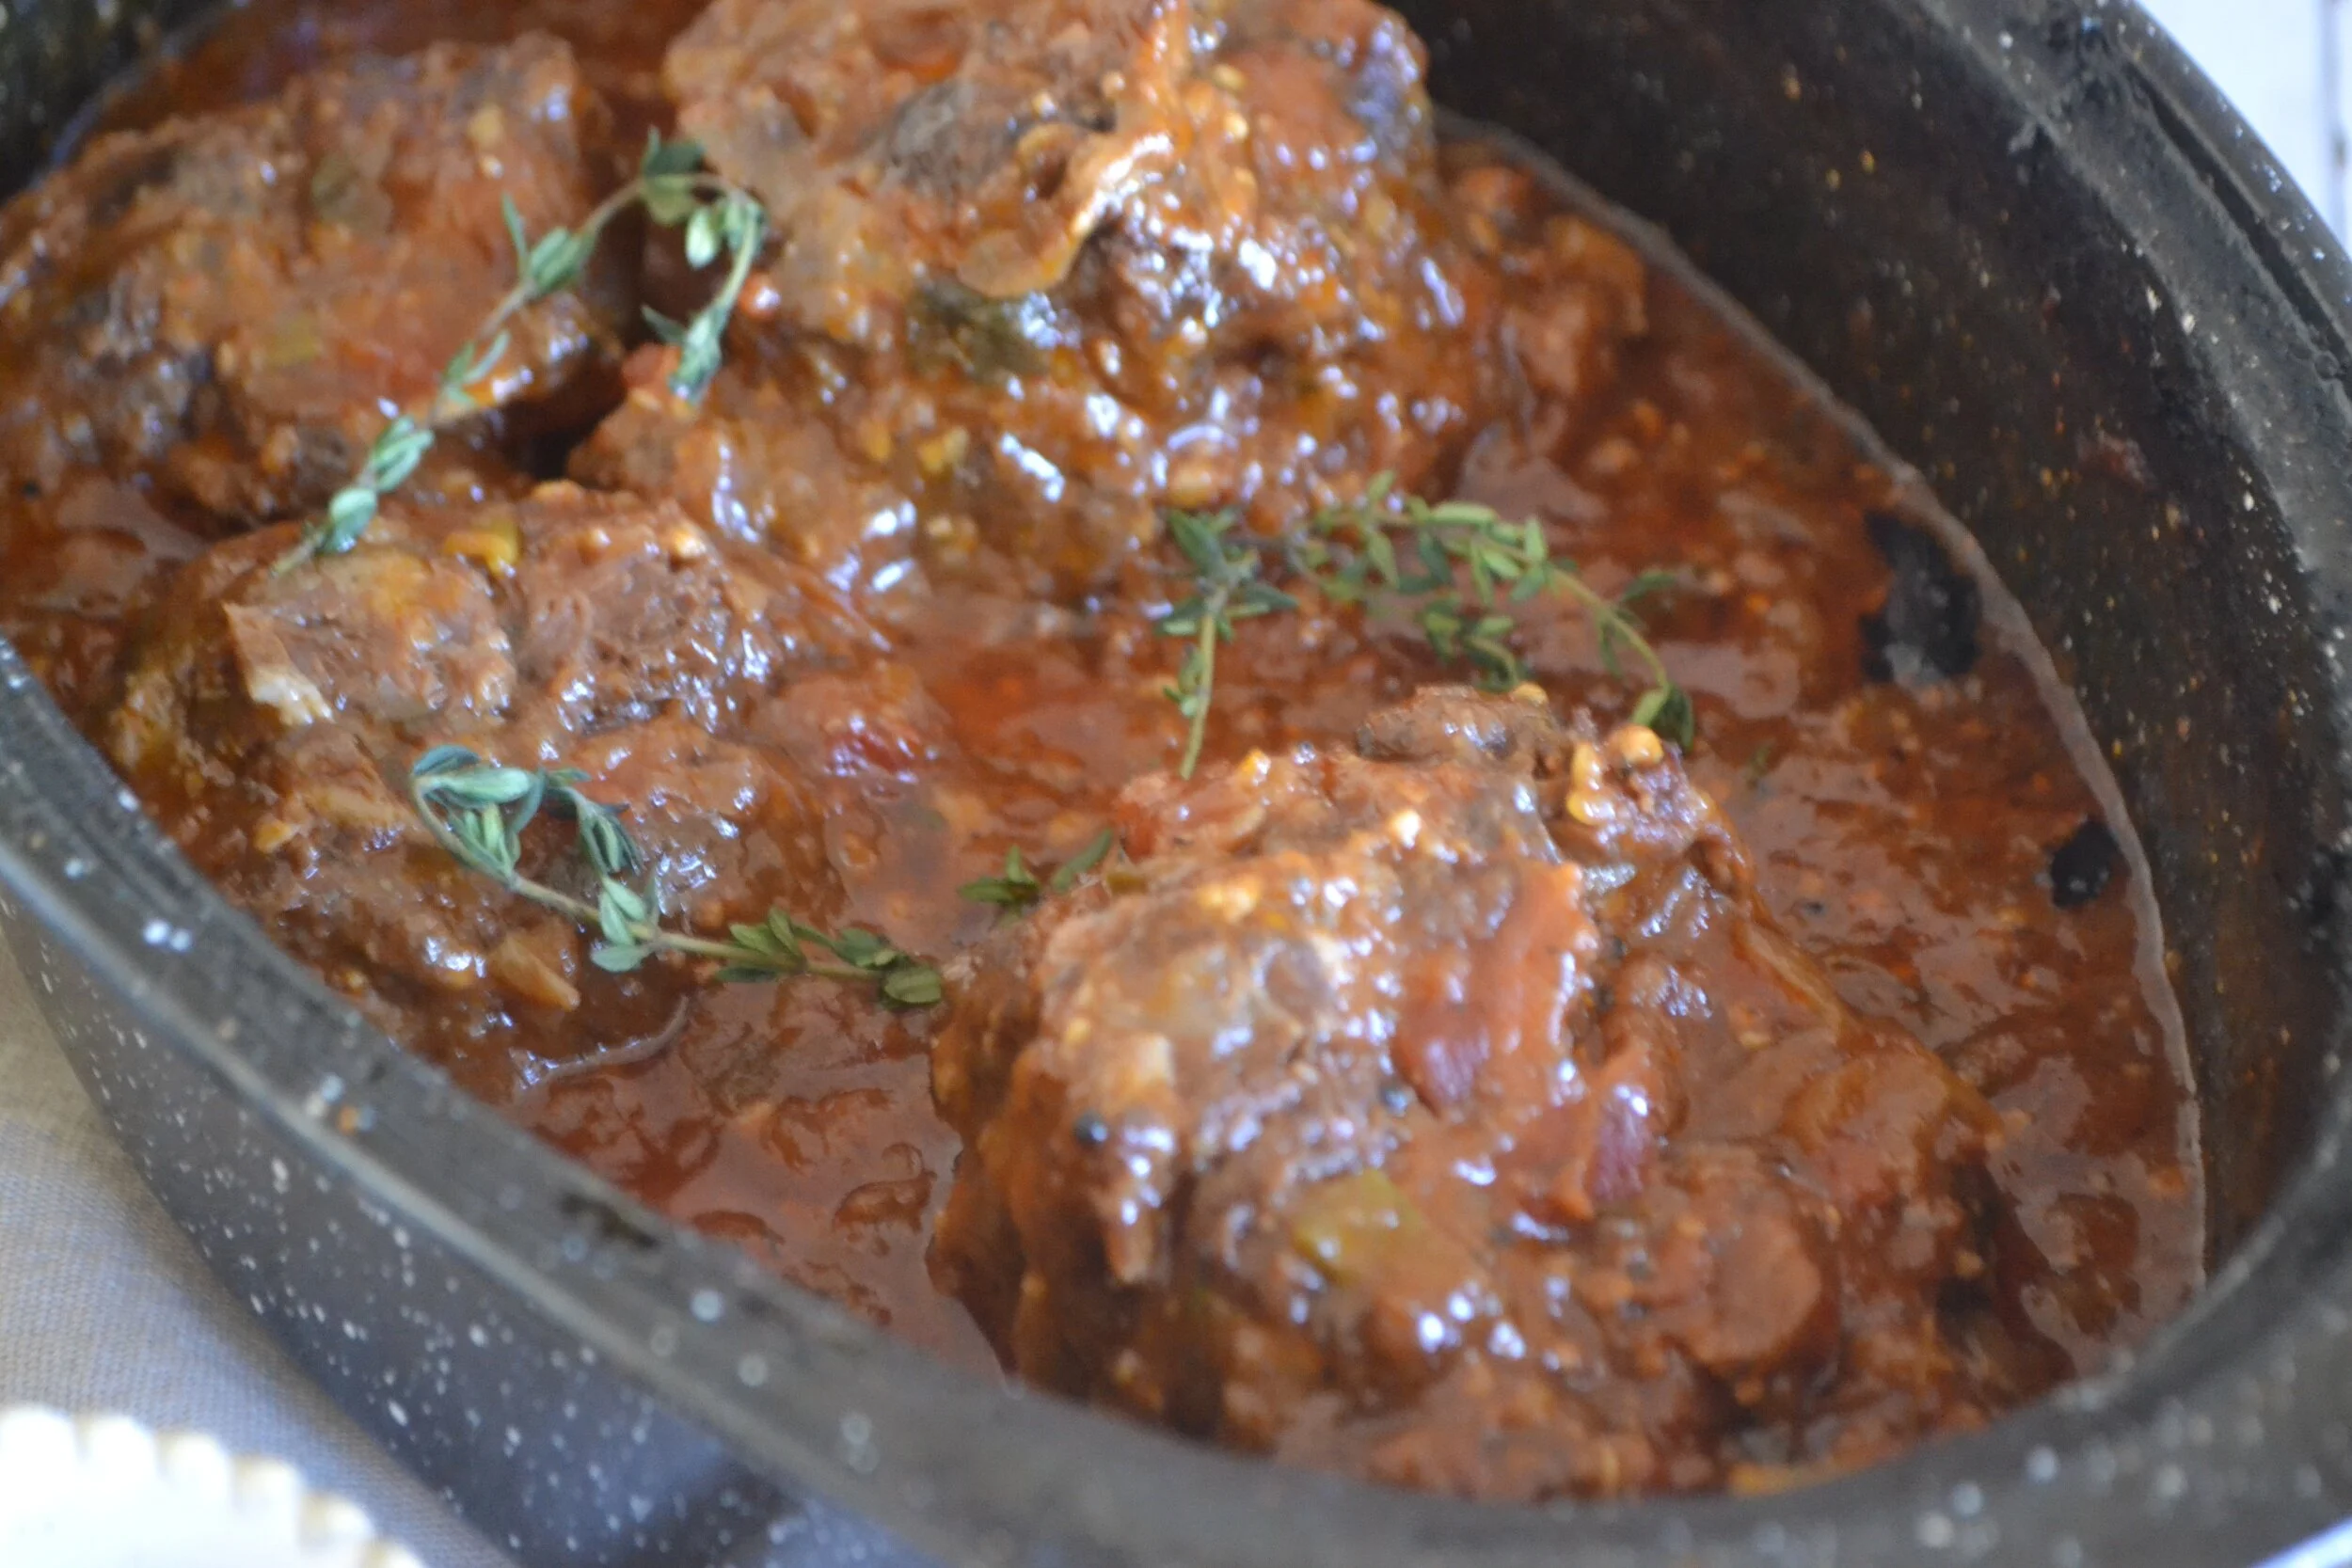
Oven-Braised African Oxtail Stew
Cooking Oven-Braised Oxtail Stew Recipe African-Style
Oxtail is a beloved delicacy across many African cuisines, known for its rich flavor, tender texture, and deep, comforting stews. Slow-cooked to perfection, oxtail transforms into a melt-in-your-mouth dish infused with aromatic spices, herbs, and hearty ingredients. From the peppery, tomato-based oxtail stew of West Africa to the deeply savory, slow-braised variations of South Africa, this dish is a true celebration of bold flavors and traditional cooking techniques.
Whether served with rice, dumplings, fufu, Sadza, or pap, African oxtail dishes bring warmth and nostalgia to every bite. Its gelatinous richness makes for an irresistibly silky sauce, perfect for soaking up with your favorite side. If you’re looking for a meal that embodies comfort and tradition, African oxtail is a must-try!
Coming from Zimbabwe, I regarded oxtail as a special treat, typically reserved for special occasions. However, from time to time, we would get it as a surprise on a random winter weeknight for dinner. Honestly, though, this dish can be enjoyed all year round.
My mother kept it simple, using a combination of yellow onions, green onions, tomatoes, chili peppers, salt, and pepper—and the result was perfection. The dish was perfectly balanced: not too greasy, not dry, spicy yet slightly sweet, and incredibly satisfying, especially when served with sadza (Zimbabwean cornmeal) and muriwo (sautéed kale).
Living in the United States exposed me to various oxtail preparations I had never encountered before, from Vietnamese oxtail pho (Phở Đuôi Bò), a traditional broth-based soup, to Caribbean-style oxtail with browning sauce and white beans.
This recipe is relatively simple but can be elevated by using high-quality ingredients, such as locally sourced meat from the butcher. It also benefits from leaning into the bold spices commonly used in African cuisine—masala curry powder, cardamom, nutmeg, and cumin—all of which enhance the depth of flavor in oxtail stews.
Does rendered fat make stew taste better?
Also known as liquid gold, oxtail preparation is a matter of personal preference and may be influenced by health goals or the dish you plan to pair it with. If you're committed to reducing animal fats, feel free to trim away! However, keep in mind that some fat contributes to the rich flavor, signature color, texture, and moisture that make oxtail so special.
You can also leave the fat intact while cooking, then simply skim off the rendered fat that rises to the top once it's done. In general, oxtail is a fattier cut of meat compared to others, but that’s part of what makes it so delicious!
Some points to consider:
In addition to adding flavor, richness, and moisture to the dish, fat acts as a flavor carrier, helping to coat the ingredients and intensify their taste. Essentially, it enhances the overall mouthfeel and depth of the stew. Key benefits include:
Flavor Enhancement: Rendered fat releases flavorful compounds that infuse the stew with a deeper, richer taste.
Moisture Retention: Fat helps keep the meat and vegetables moist during cooking, preventing them from drying out.
Browning Potential: Cooking meat in rendered fat creates a delicious caramelized crust, adding another layer of flavor.

Oven-Braised African Oxtail Stew
Ingredients
- 3 tablespoons olive oil
- 1.5 lbs oxtail
- 1 tablespoon seasoned salt
- 1 tablespoon black pepper
- 1 tablesppon dark brown sugar
- 1 cup mirepoix (carrots, onion and celery)
- 1/3 cup green onions/scallions (optional)
- 1/2 cup red bell peppers
- 1/2 cup diced tomatoes (frozen or fresh)
- 3 garlic cloves
- 1 tablespoon Masala curry powder
- 1 tablespoon Royco Usavi Mix or all-purpose seasoning
- 1 tablespoon flour or cornstarch (optional)
- 1 tablespoon onion powder
- 1 teaspoon cayenne pepper
- 1 teaspoon smoked paprika
- 1 tablespoon oregano
- 1 teaspoon cumin
- 1 tablespoon garlic powder
- 4 beef bouillon cubes
- 1/4 cup red cooking wine
- 4 cups water
- 1/2 lime juice
- 1/2 teaspoon ground ginger
- 1/4 teaspoon cardamon
- 1/4 teaspoon cloves
- 1/4 teaspoon nutmeg
- 2 tablespoons Worcestershire sauce
- 2 tablespoons tomato paste
- 1 thyme spring
- 1 habanero pepper
- 3 bay leaves
- 2 cups carrots and peas, cooked
Instructions
- Preheat the oven** to 350°F (175°C).
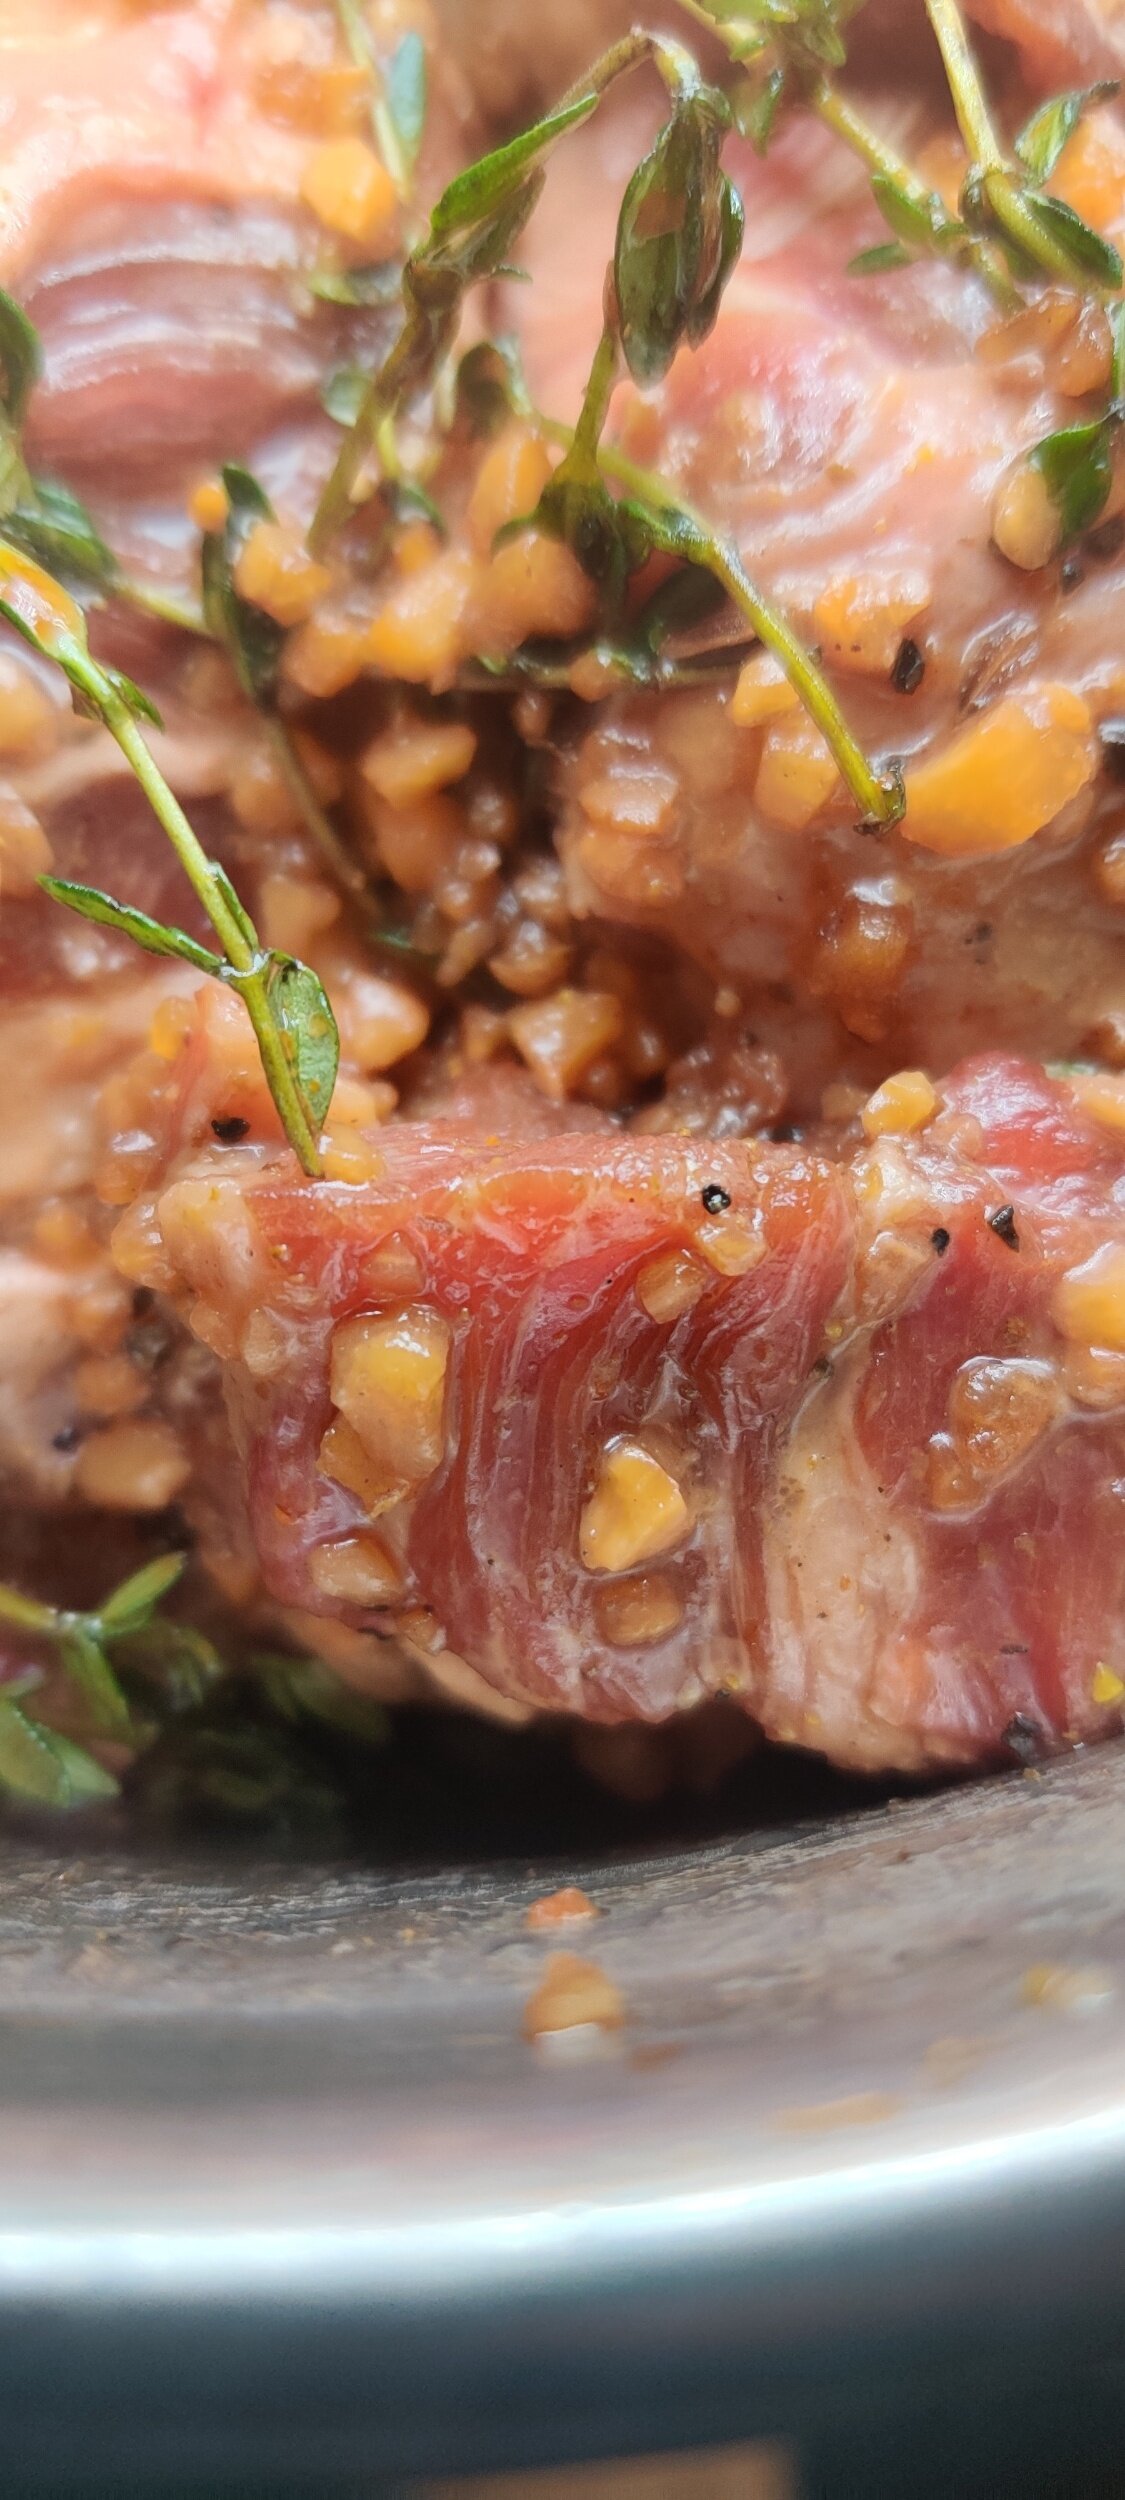
- Prepare the oxtail: Wash the oxtail in cold water, vinegar, and lime juice, then pat dry. Depending on your preference and the leanness of the cuts, trim any excess fat or leave the bones as they are.
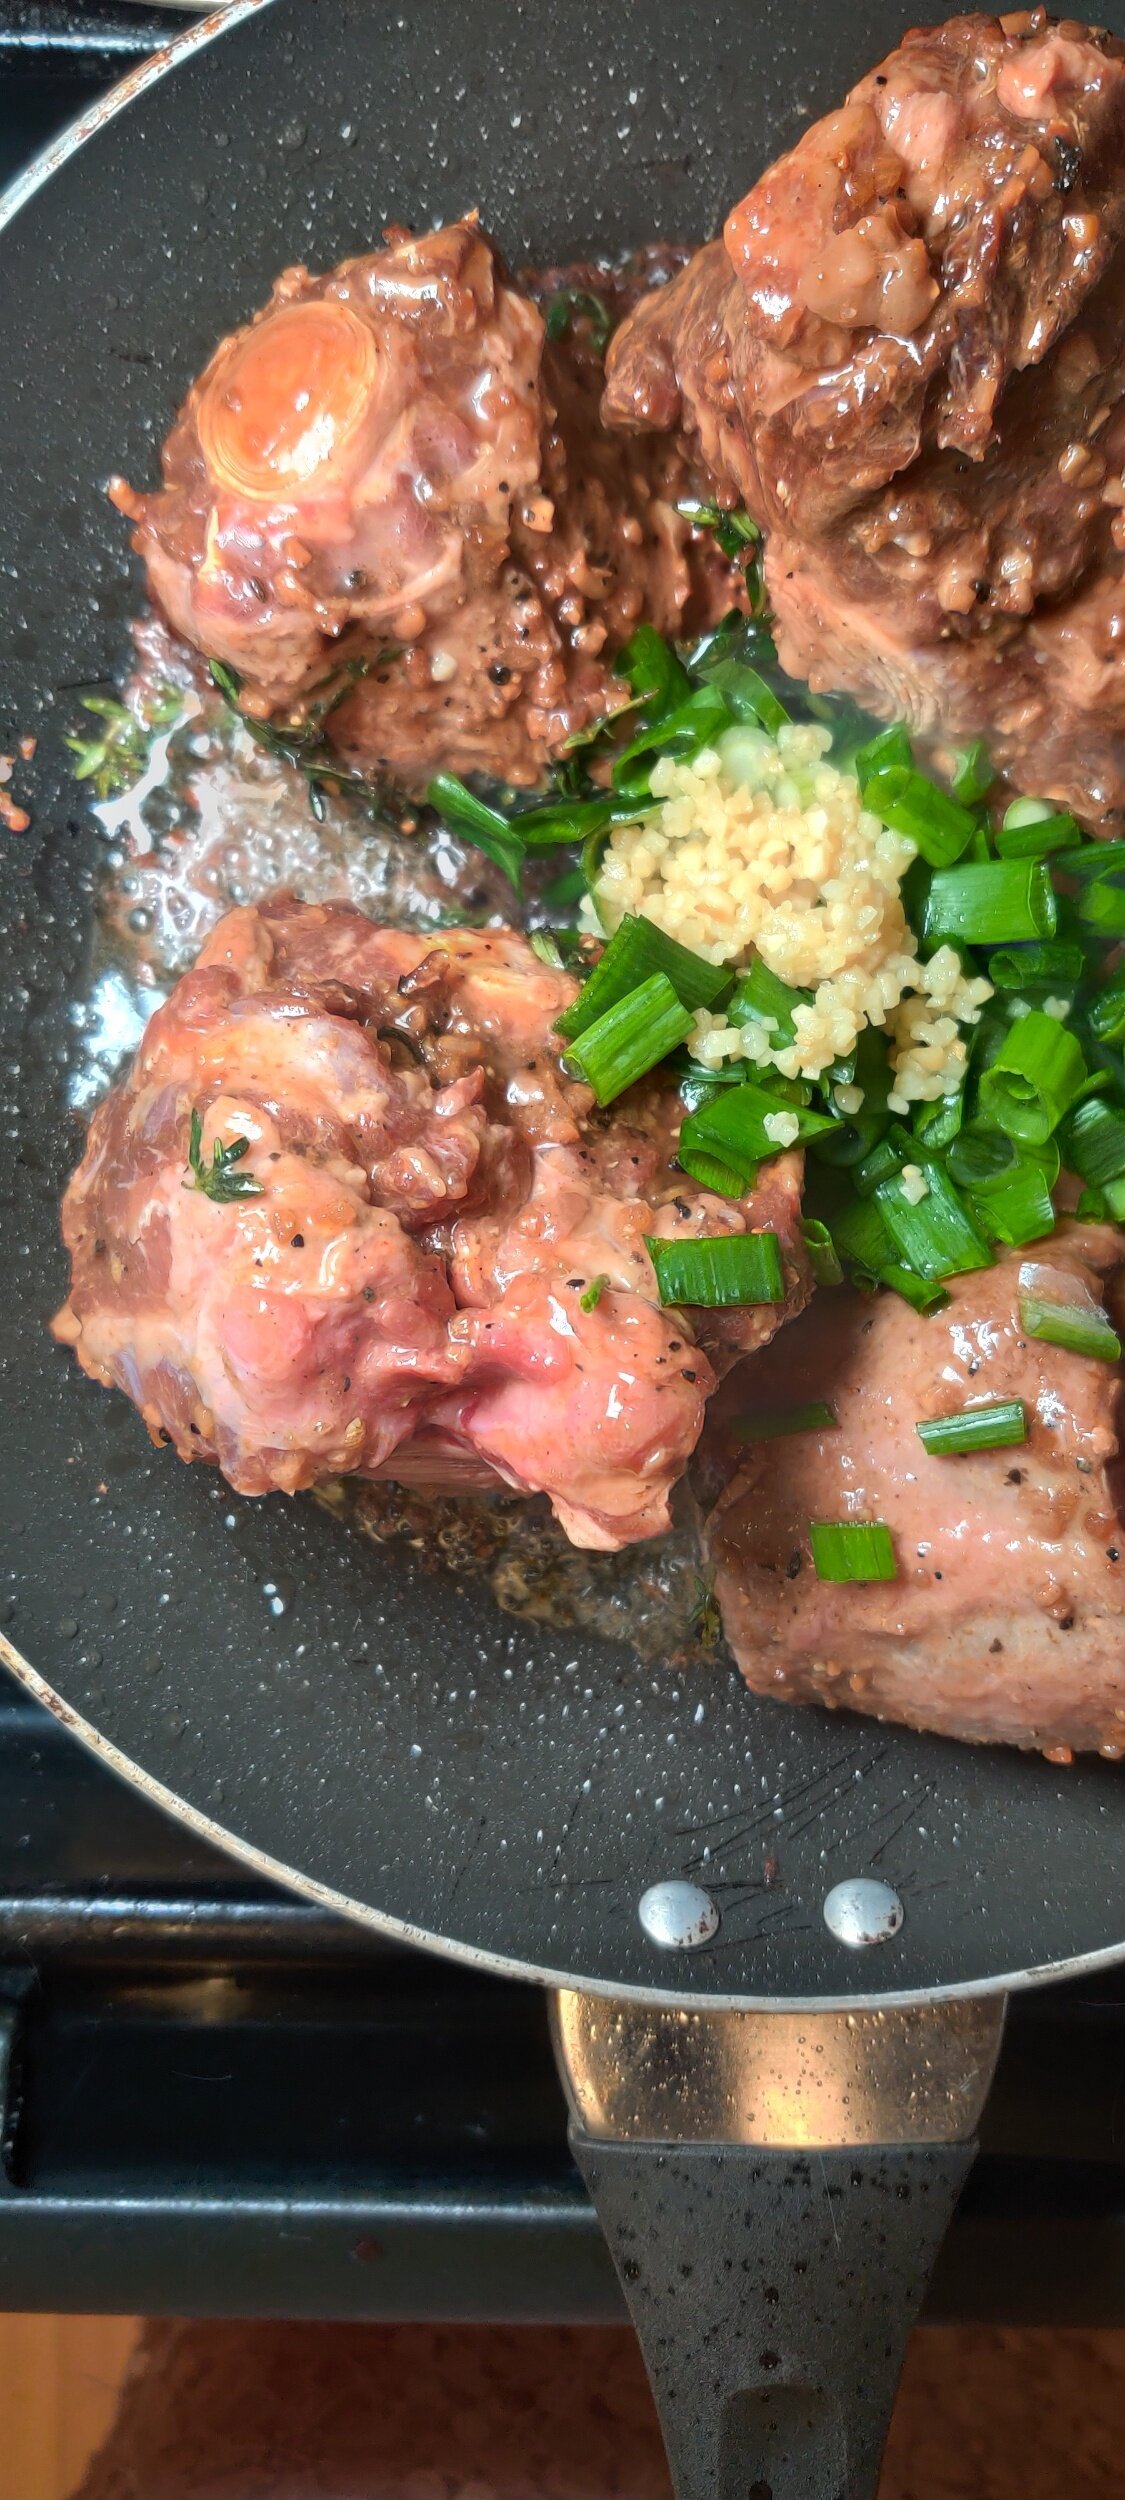
- Brown the oxtail. In a Dutch oven, heat some oil over medium to medium-low heat. Add the oxtail pieces, then season with sugar, salt, and pepper, mixing to coat evenly. Sear until browned on all sides, ensuring even color. Remove the oxtail from the pot, keeping the oil in the pan.
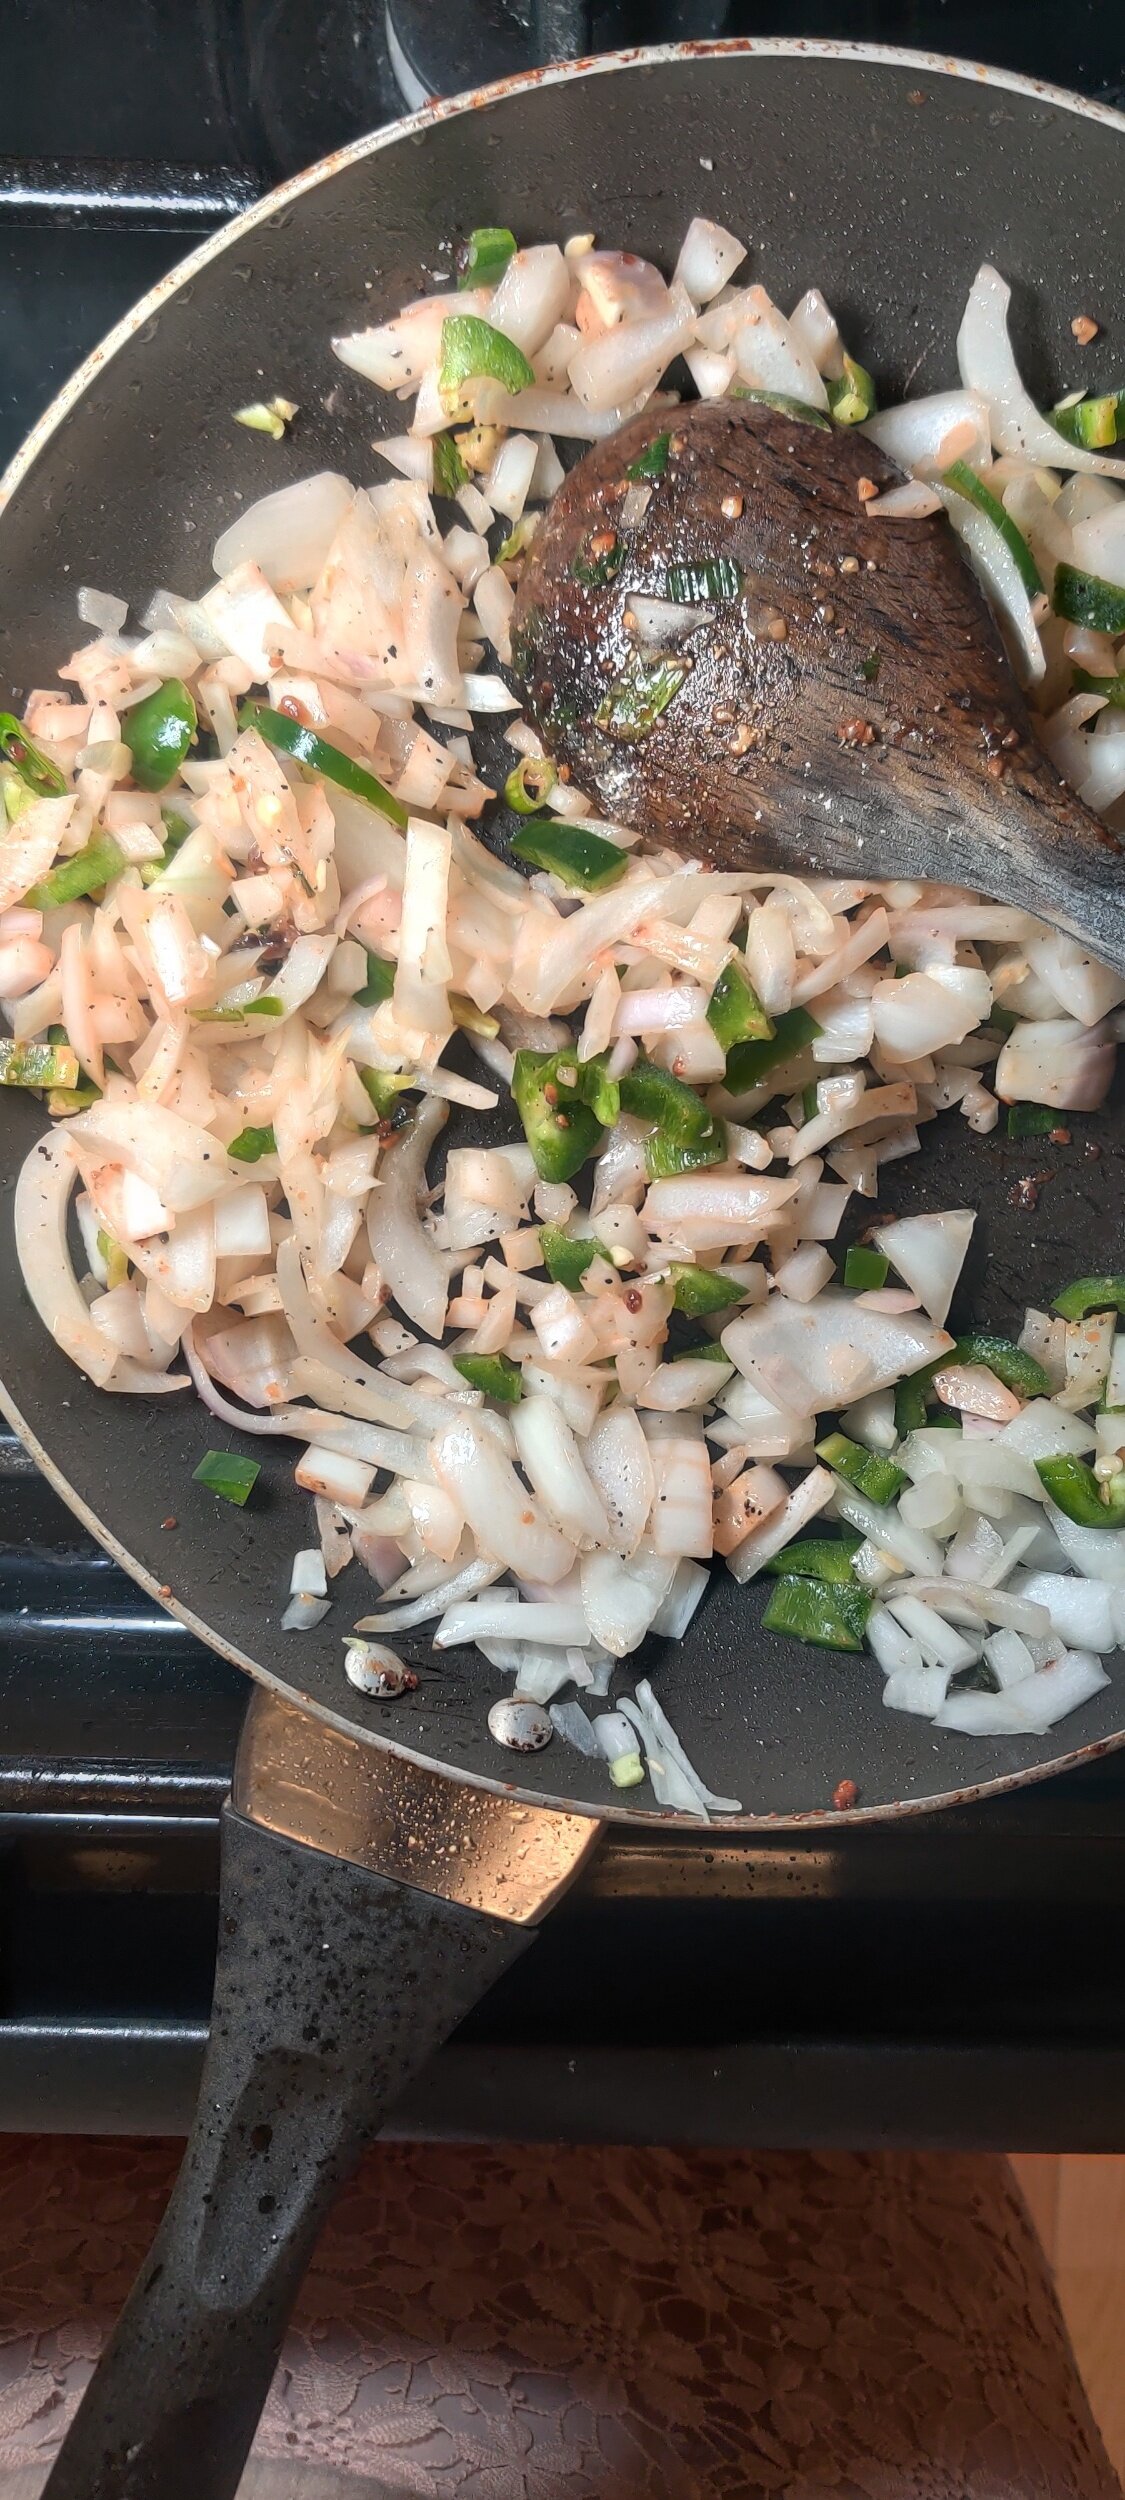
- Sauté the vegetables. Add the mirepoix (onions, carrots, and celery) and cook for 1–2 minutes. Add the peppers and cook for another 1–2 minutes.
- Stir in the tomatoes (if using frozen, cook down for 2–3 minutes). Add the garlic and cook for another minute.
- Reduce the heat to low to prevent burning. Stir in curry powder, Royco Usavi mix, onion powder, cayenne pepper, smoked paprika, oregano, cumin, and garlic powder. Mix gently to incorporate and bloom the spices.
- Add the bouillon cubes, followed by cooking wine to deglaze the pot. Stir well, crushing the bouillon cubes as they dissolve.
- Return the oxtail to the pot: Stir to coat the meat in the aromatics and seasonings.
- Pour in water and stir, then add lime juice.
- Stir in ginger, cardamom, cloves, nutmeg, and Worcestershire sauce.
- Add tomato paste, thyme, bay leaves, and habanero. Mix thoroughly, ensuring the tomato paste is well incorporated.
- Cover and place the pot in the oven for 2 ½ hours. Halfway through cooking, reduce the oven temperature to 325°F (163°C) and give the stew a stir.
- Remove from the oven and stir in peas and carrots. Let the stew rest for 10 minutes before serving.
I am not a certified nutritionist and any nutritional information on dontmissmyplate.com should only be used as a general guideline.

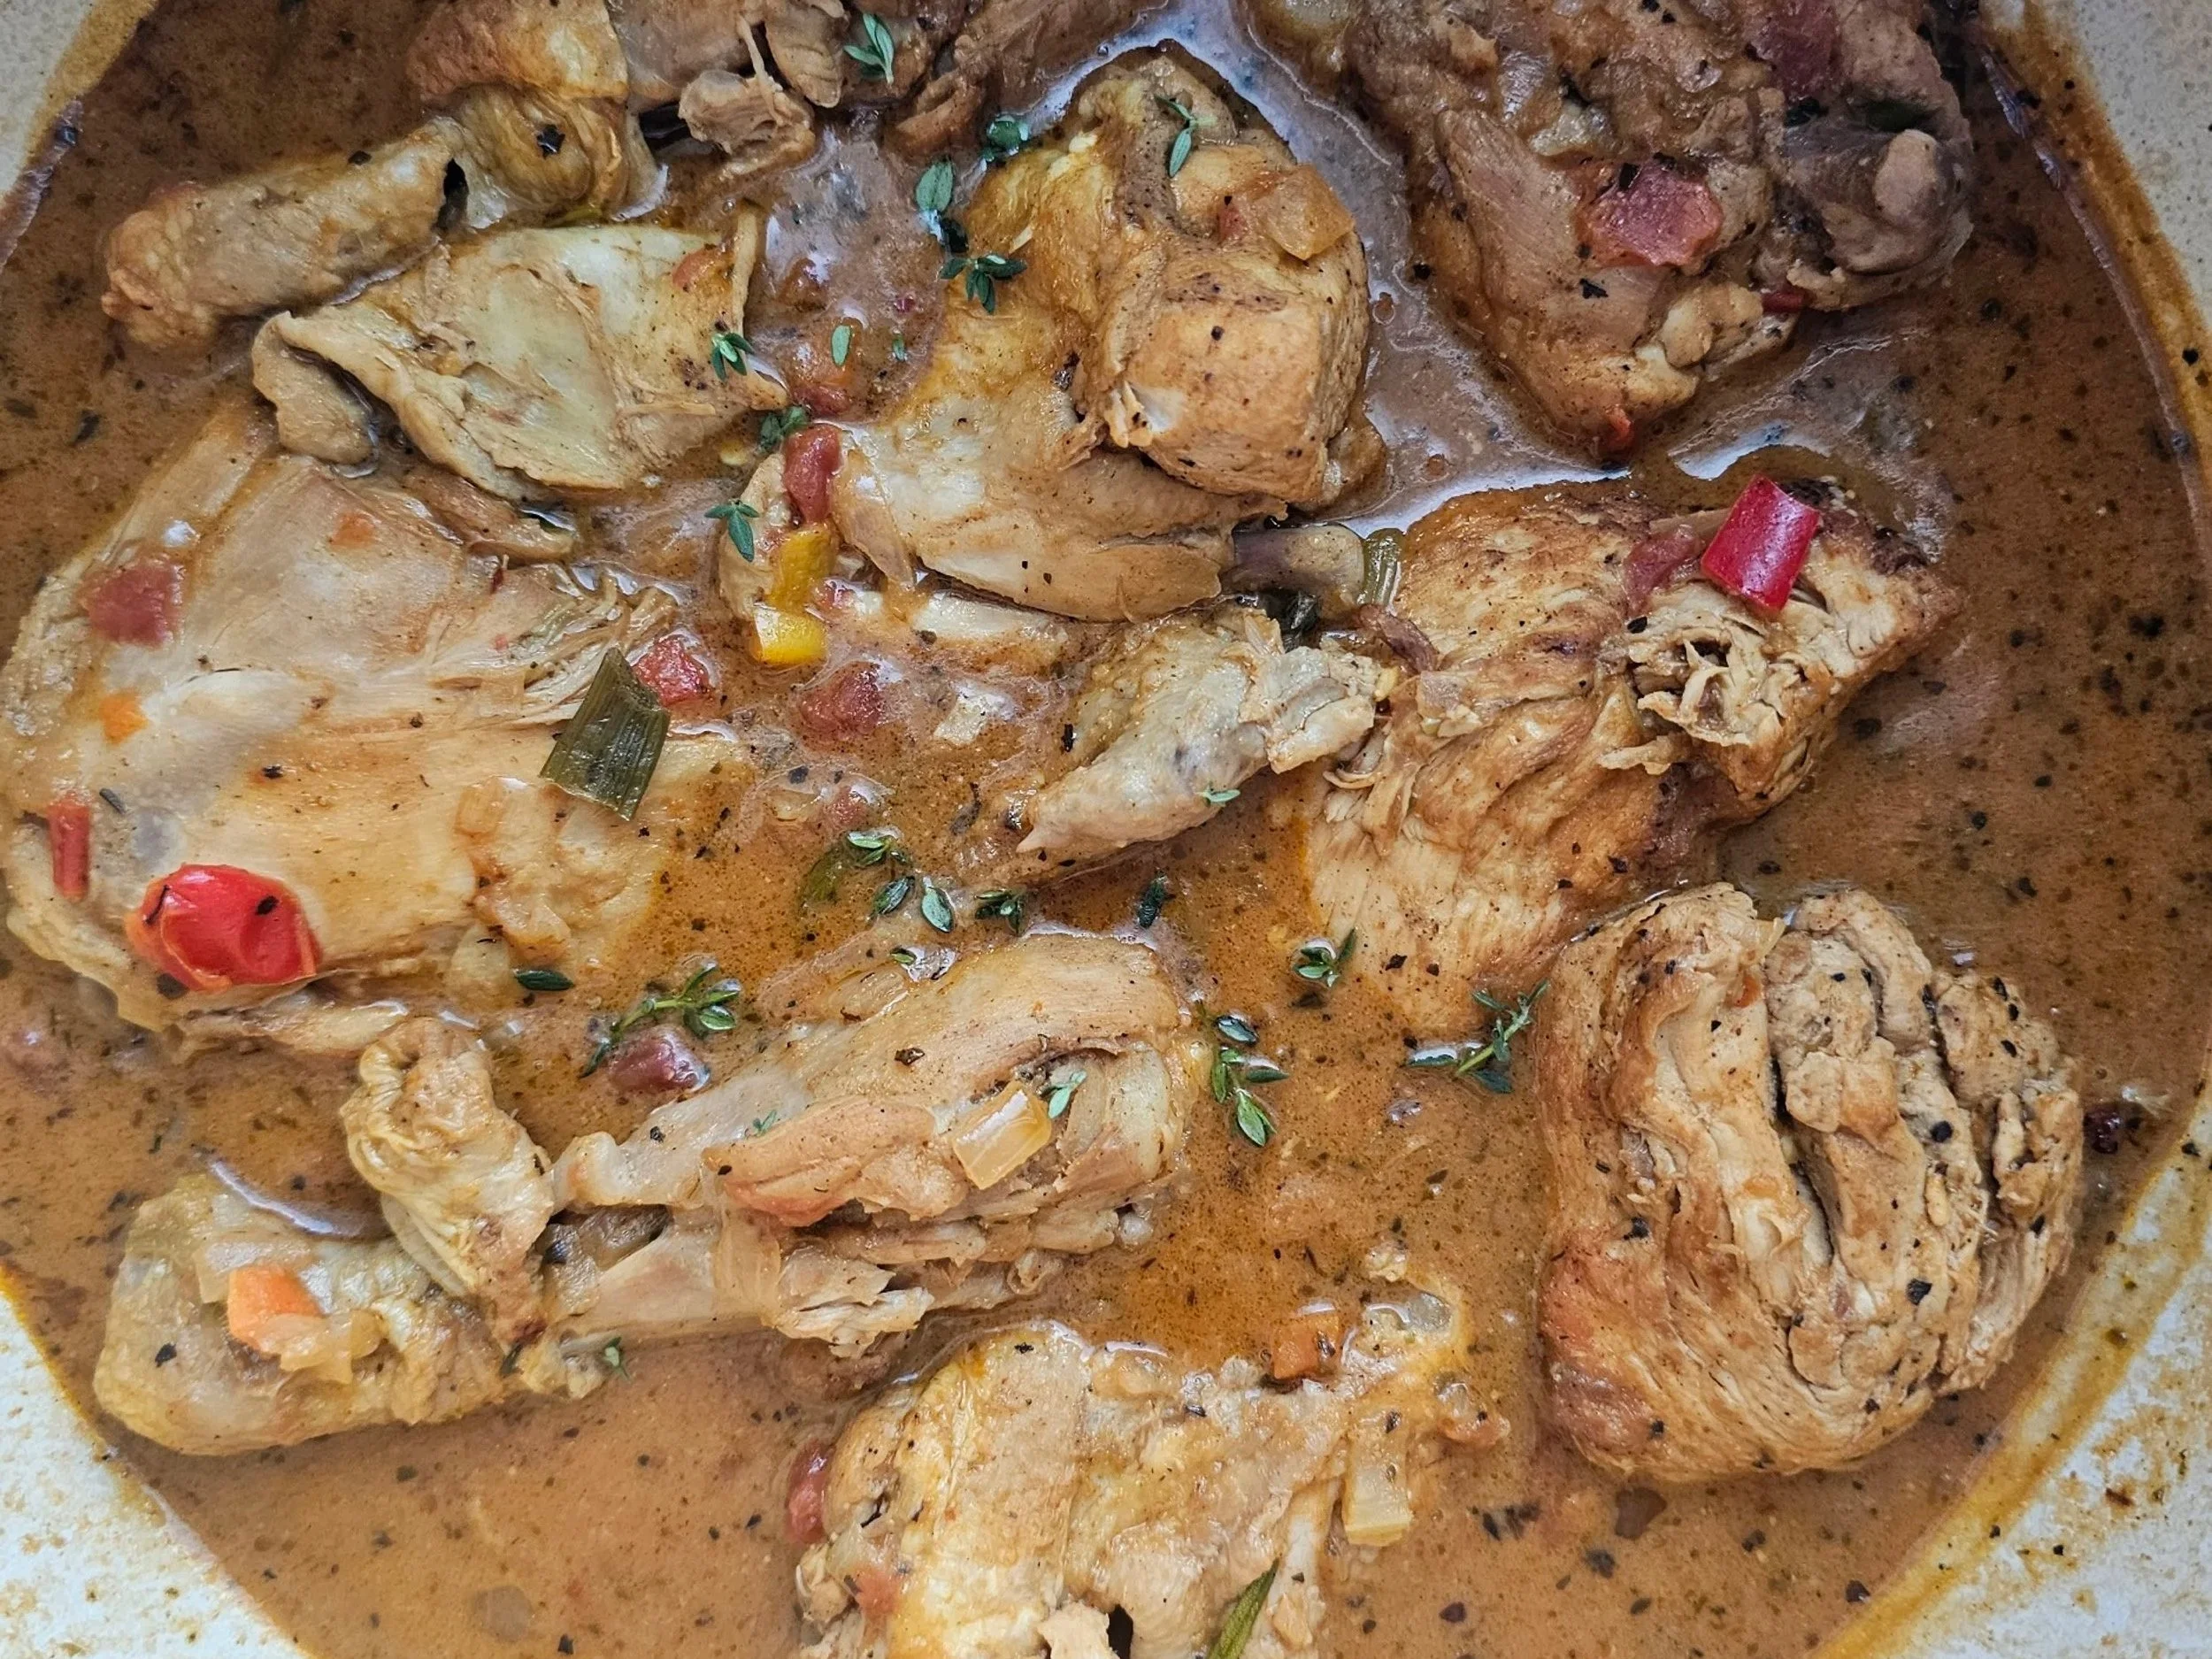
Huku ne Dovi (Zimbabwean Peanut Chicken Stew)
Huku ne dovi, or Zimbabwean peanut butter chicken stew, is a hearty dish made with chicken simmered in a rich peanut butter sauce alongside tomatoes, vegetables, hot chilies, and sometimes bell peppers. The result is a beautiful balance of savory, nutty, and mildly spicy flavors. While often served as a thick stew alongside sadza, rice, or bread, it can also be prepared more like a soup, with the addition of leafy greens, vegetables, and tubers.
For those unfamiliar with the combination of chicken and peanut butter, it may sound unusual at first. Yet throughout much of Africa, groundnuts (peanuts) are a staple ingredient used to enrich sauces, soups, and stews. Similar pairings can also be found in parts of Southeast Asia, where peanuts are used to add richness and depth to savory dishes. In Zimbabwe, peanut butter gives huku ne dovi its distinctive flavor and velvety texture, creating a sauce that coats each piece of chicken beautifully. Beyond its flavor, peanut butter is also an important source of protein and is often used to enrich vegetable dishes or provide nourishment when meat is scarce or unavailable.
Growing up, huku ne dovi was not an everyday meal in my household, which made it feel even more special whenever it appeared on the table. It was the kind of dish that brought warmth and comfort, especially during the cooler months, and one that was best enjoyed with a generous serving of sadza, rice, or fresh bread to soak up every last bit of sauce.
One of the secrets to a great peanut butter chicken stew is finding the right balance between the richness of the peanut butter and the heat of the chilies. Neither should overpower the other. Instead, the gentle sweetness of the peanuts softens the spice, creating layers of flavor that develop as the stew simmers. This recipe is also highly adaptable. Some people prefer the chicken simmered until it becomes tender and nearly falls off the bone, allowing it to absorb the flavors of the sauce. Others enjoy chicken with a firmer texture and crisp, browned skin. If you prefer the latter, simply roast or brown the chicken separately and add it back to the stew just before serving.
The consistency of the sauce can be adjusted to suit your preference as well. A slightly thinner sauce is wonderful spooned over rice, while a thicker stew pairs beautifully with sadza or bread, allowing the sauce to cling to every bite. For the best flavor, use bone-in chicken pieces whenever possible and take the time to brown them before simmering. This simple step adds depth and richness to the finished dish. Allow the stew to cook gently rather than rushing the process, giving the flavors time to meld together and the sauce time to develop its signature richness.
Whether you're discovering Zimbabwean cuisine for the first time or recreating a familiar favorite, this is a dish that showcases the comforting simplicity and bold flavors that make home cooking easy, and memorable.

")
Huku ne Dovi (Spicy Zimbabwean Peanut Chicken Stew)
Zimbabwean Peanut Chicken Stew, or *huku ne dovi*, is a flavorful and comforting dish that combines tender chicken, smooth peanut butter, vibrant vegetables, spicy chilies, and fragrant spices.
Ingredients
- 1/4 cup olive oil
- 1 whole chicken, cleaned and cut into pieces
- 2 tablespoons chicken spice (I used Hind’s)
- 2 green onions
- 1 large hot chilli pepper
- 1/2 large yellow onion
- 1/2 cup mirepoix (chopped onion, carrots and celery)
- 1-2 tablespoons butter
- 1 tablespoon garlic powder
- 1 teaspoon black pepper
- 1 tablespoon paprika
- 1 tablespoon Royco Usavi Mix
- 3 chicken bouillon cubes
- 1/3 cup red wine
- 1 cup diced tomatoes
- 3 sweet bell peppers
- 1/3 cup peanut butter
- 2 tablespoons tomato paste
- 1 teaspoon ginger
- 1 teaspoon cumin
- 1 teaspoon coriander
- 1 teaspoon herb blend (I used basil and thyme)
- 3 cups water
- 3 bay leaves
- 2-3 tablespoons cornstarch or flour (optional)
Instructions
- Season the chicken with all-purpose chicken spice, then brown it in a Dutch oven or non-stick pan over medium to medium-high heat. Once browned, remove the chicken and set it aside.
- In the same pot, add the remaining oil and butter. Stir in the mirepoix, onions, bouillon cubes, garlic powder, black pepper, paprika, and Royco Usavi Mix. Sauté for 2-3 minutes until caramelized. Deglaze the pot with the wine, scraping up any browned bits to incorporate all the flavors.
- Next, add the tomatoes, peppers, chili peppers, cumin, ginger, and coriander. Cook for 1-2 minutes to allow the spices to bloom and the vegetables to soften.
- Return the chicken to the pot and pour in the water. Add more water if you prefer a thinner stew or soup-like consistency. Ensure as much of the chicken as possible is submerged to help it cook evenly. Simmer on low heat for 15-20 minutes.
- In a small bowl, mix the peanut butter with some of the hot stew liquid to thin it out. Stir in the tomato paste, then add the mixture to the pot, ensuring it is evenly distributed.
- Add the bay leaves and continue simmering for another 15-20 minutes.
- Optional: After 5-10 minutes, if you don’t want the chicken to fall off the bone, you can remove it and let the stew continue cooking separately to allow the flavors to come together.
- To thicken the sauce: Remove the chicken, then mix 2 tablespoons of cornstarch or flour with hot liquid from the pot to create a smooth slurry. Stir the slurry back into the pot, mixing well to activate the thickening. Continue cooking until the desired consistency is achieved.
- Season to taste, return the chicken to the pot, and serve hot with yellow rice or your preferred starch.
Nutrition Facts
Calories
438Fat (grams)
20.3 gSat. Fat (grams)
4.8 gCarbs (grams)
62.1 gFiber (grams)
18.5 gProtein (grams)
15.6 gI am not a certified nutritionist and any nutritional information on dontmissmyplate.com should only be used as a general guideline.

Sadza Nenyama (Beef and Kale Stew)
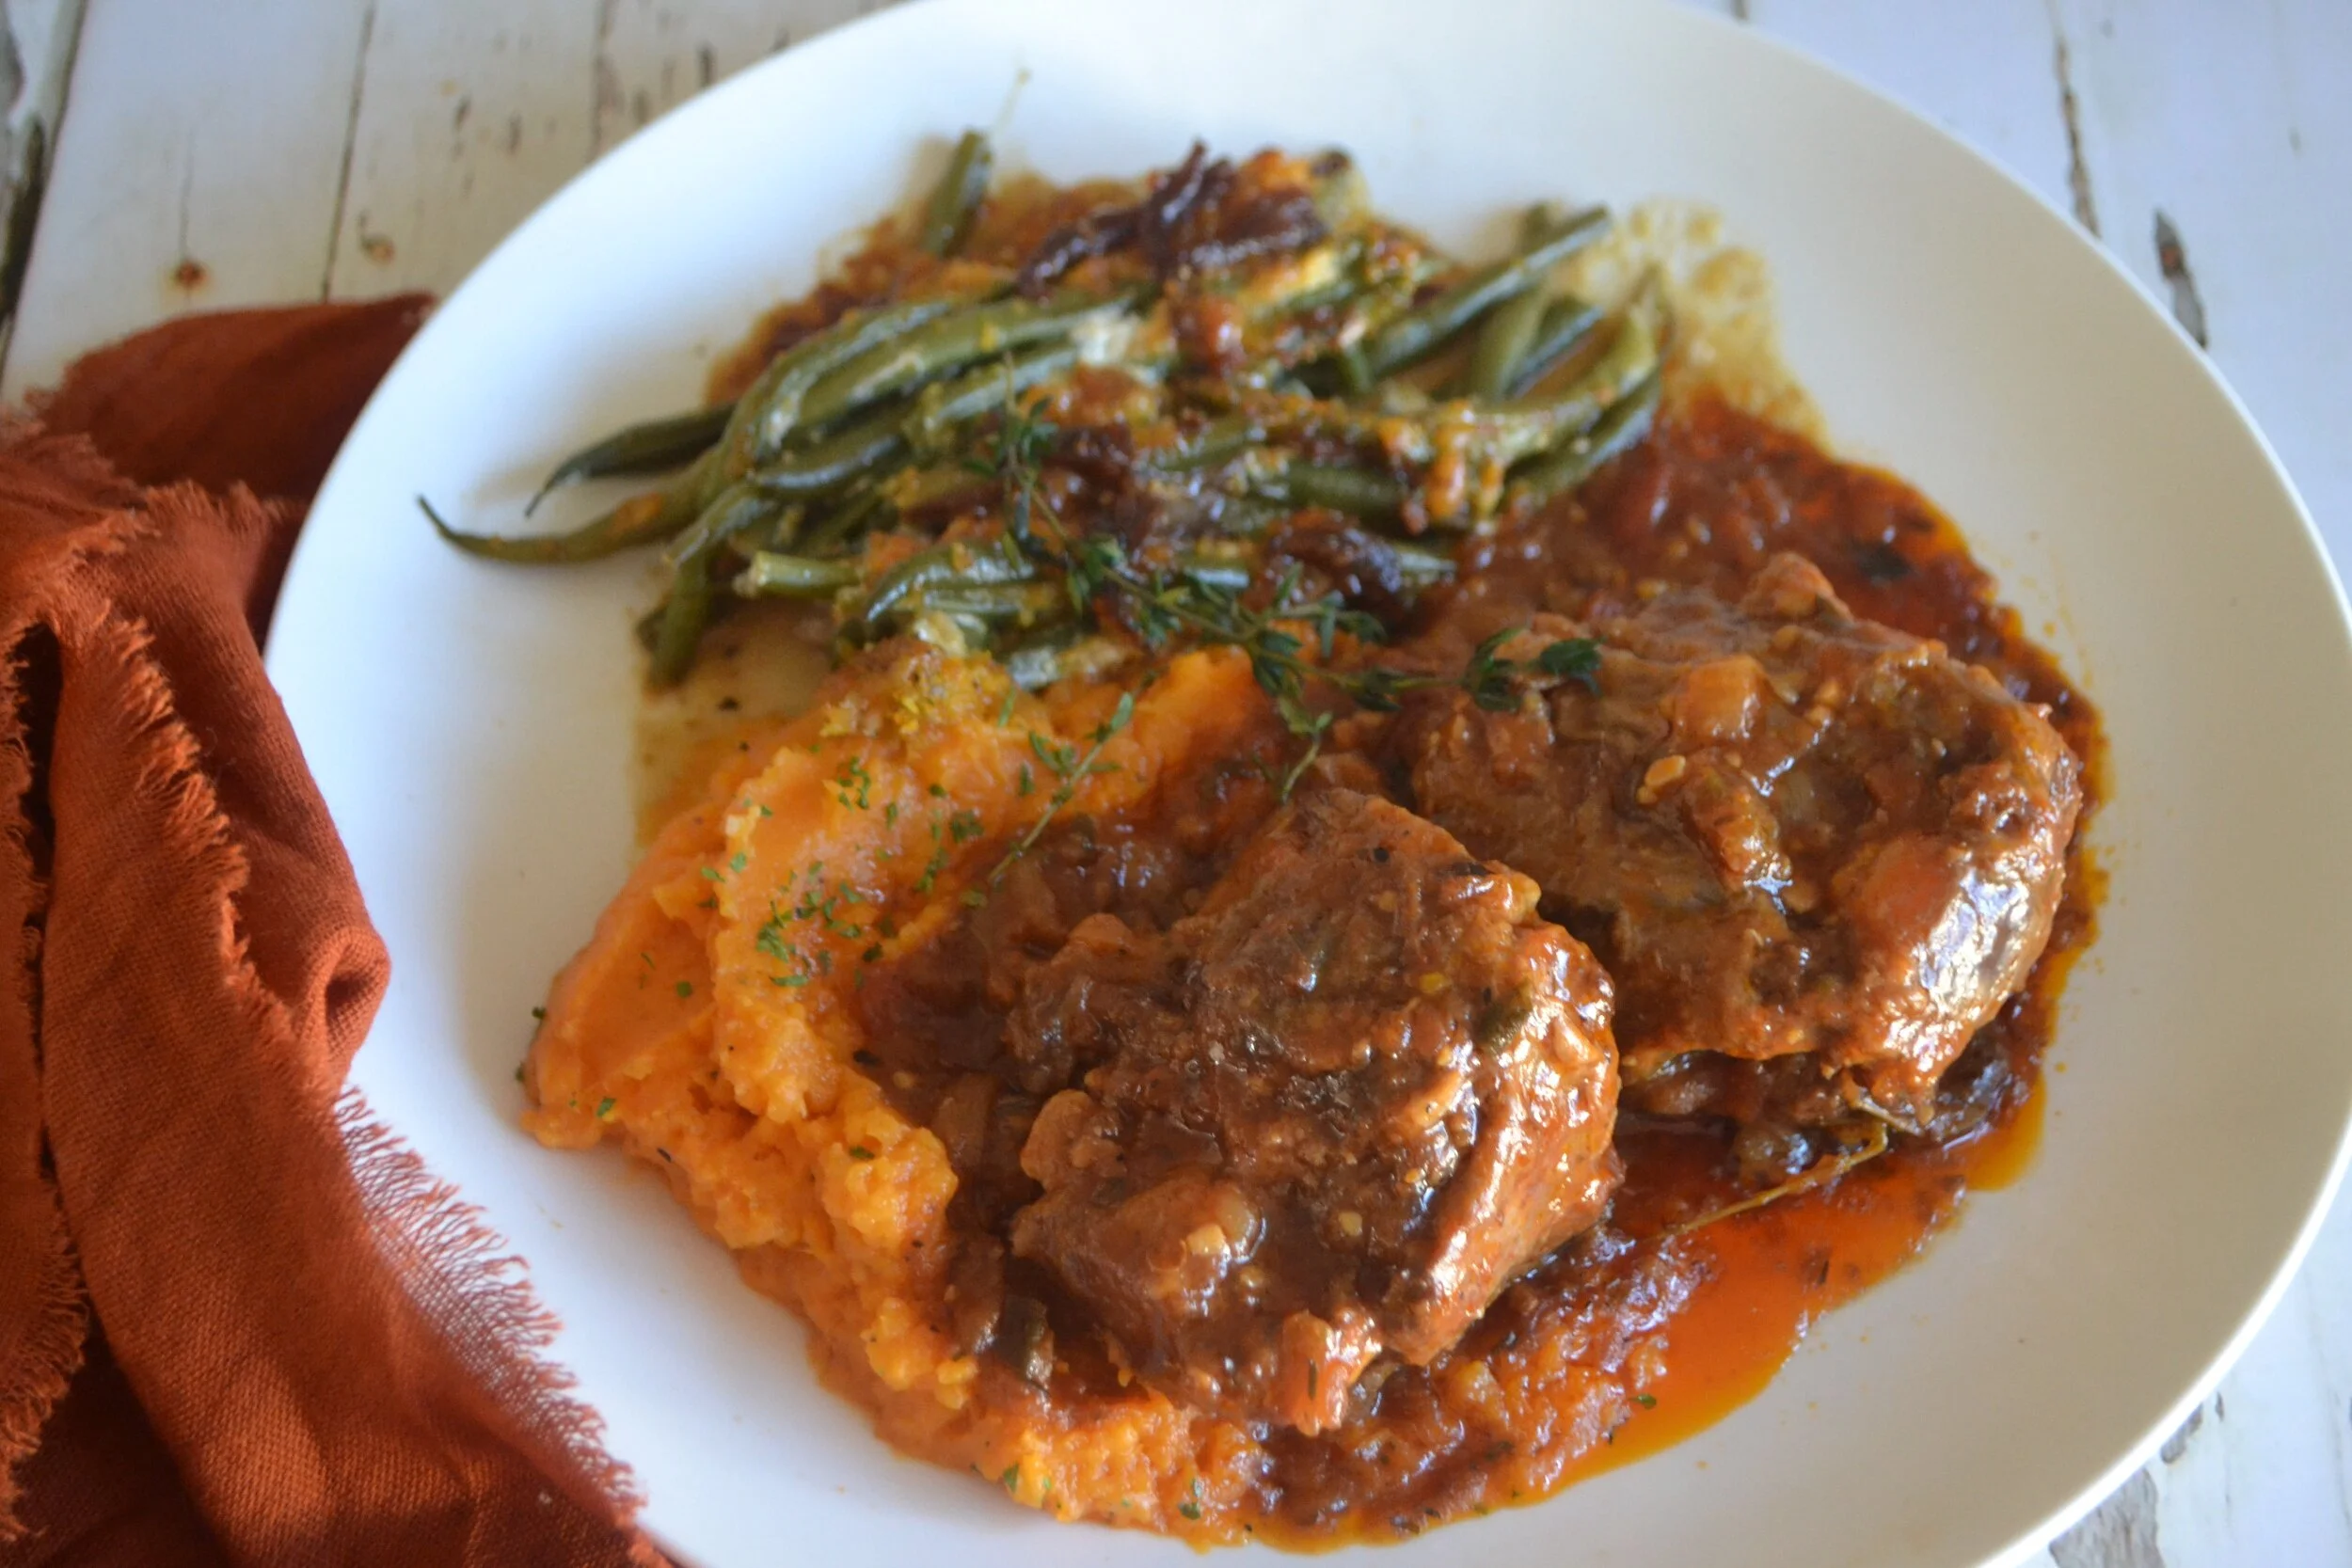
Sadza nenyama is not just a recipe, it is the default setting of the Zimbabwean table. Sadza, a thick cornmeal porridge cooked to a firm, smooth consistency, is the foundation of almost every traditional meal. Nenyama means "with meat," and together they form the most recognisable plate in Zimbabwean cooking: a dense, satisfying starch paired with a slow-cooked, tomato-based beef stew that fills the kitchen with the kind of smell that means someone is home.
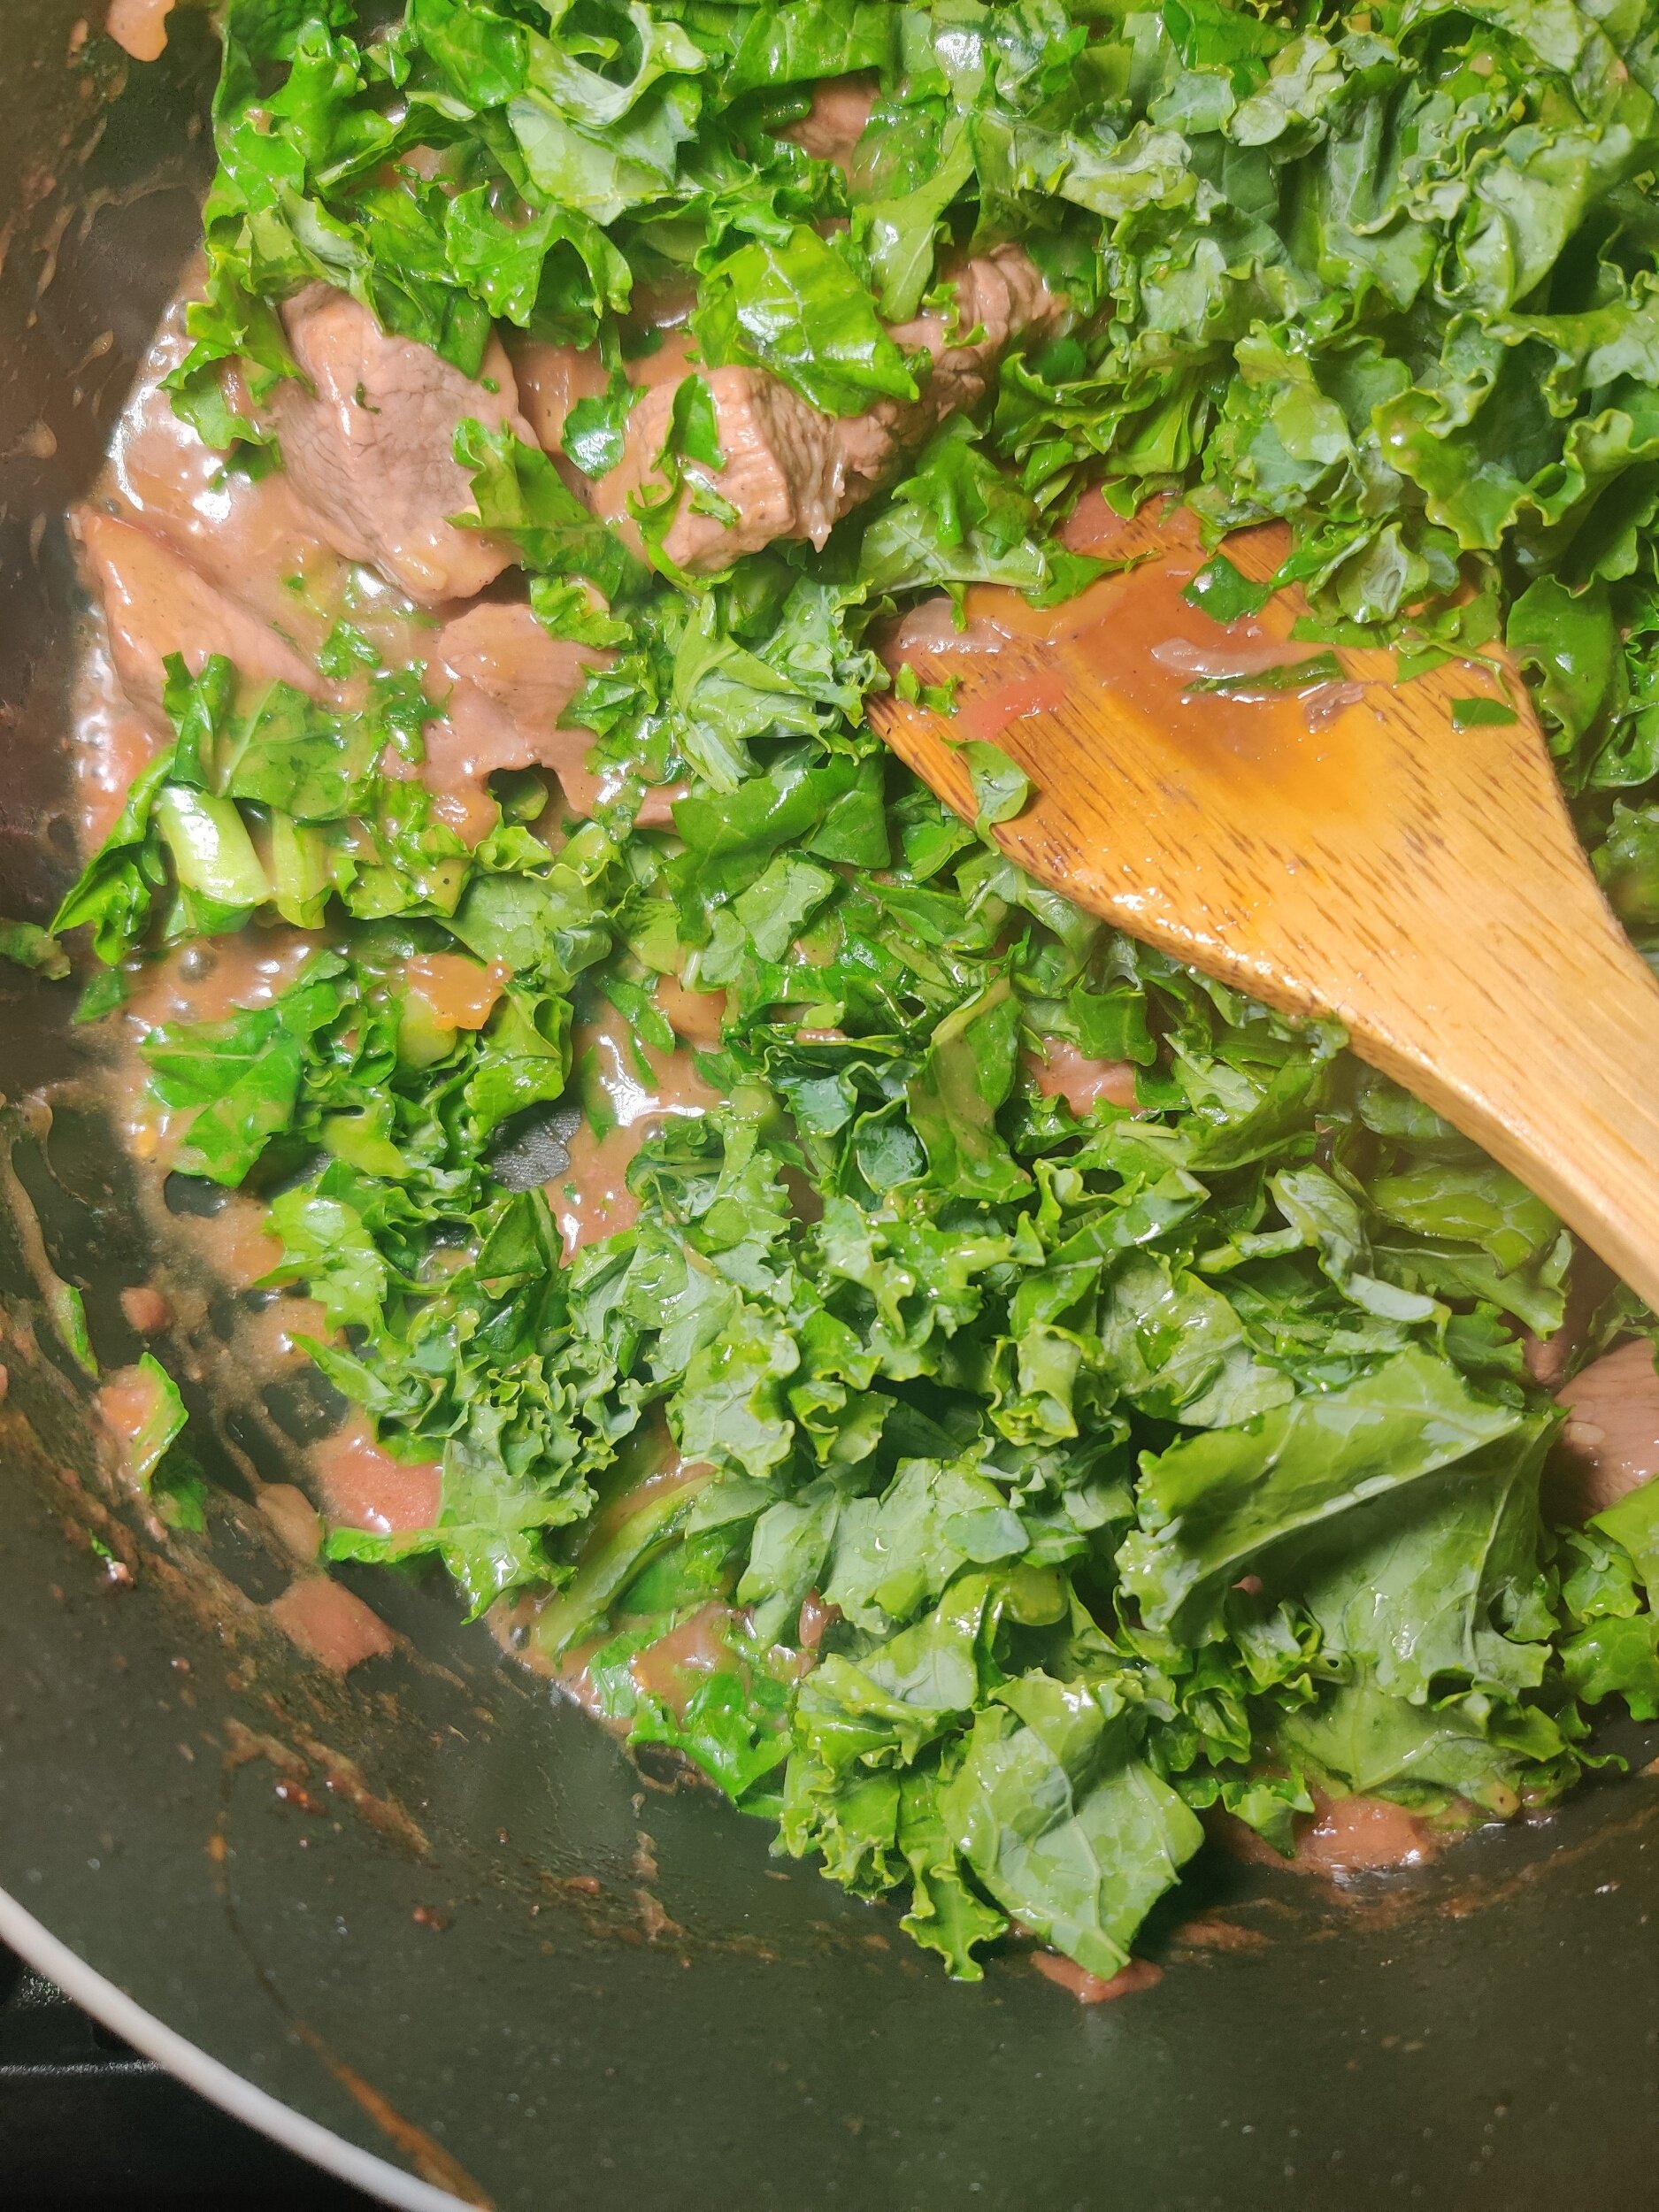
This version uses beef chuck simmered low and slow until the meat breaks down into the broth, building a rich, deeply savoury sauce that sadza was made to absorb. Kale stands in here for the traditional muriwo, leafy greens cooked simply alongside or into the stew, adding colour, texture, and nutrition without complicating the dish.
Royco Usavi Mix, the all-purpose seasoning found in virtually every Zimbabwean household, does a lot of the flavour work here. If you are outside Zimbabwe and cannot find it, the substitute in the recipe gets you close.
Sadza takes practice. The texture should be firm enough to scoop and mould with your hand, not loose like porridge. The instructions below will get you there.
For more traditional Southern African-inspired dishes, check out:

")
Sadza Nenyama (Beef and Kale Stew)
Traditional Zimbabwean Sadza with Beef and Kale Stew. Tender beef simmered in tomato and spices, served with hearty cornmeal porridge. Step-by-step instructions included with prep, cook time, and nutrition info.
Ingredients
- 1 lb beef chuck (or other stew cut)
- 1/2 large bunch kale, chopped
- 1 tbsp butter
- 2 tbsp vegetable oil
- 1 tsp salt
- 1 tbsp black pepper
- 3 tbsp Royco Usavi Mix (optional — or substitute 1 tsp cumin, 1 tsp coriander, 1/2 tsp turmeric, 1/4 tsp paprika, 1/4 tsp cornstarch, 1/2 tsp fenugreek powder)
- 1 yellow onion, diced
- 3–4 Roma tomatoes, diced
- 1 tbsp garlic, minced
- 1 tbsp chili flakes
- 3 beef or vegetable bouillon cubes
- 3 cups water
- 1 1/2 – 2 cups cornmeal (yellow or white)
- 1 tsp salt
- 3 cups boiling water
- 3/4 cup cold water
- 1 tsp garlic powder
Instructions
- Heat butter and oil in a large pot. Sauté onion and garlic 3–4 minutes until fragrant.
- Add salt, pepper, and spice blend; cook another 2–3 minutes.
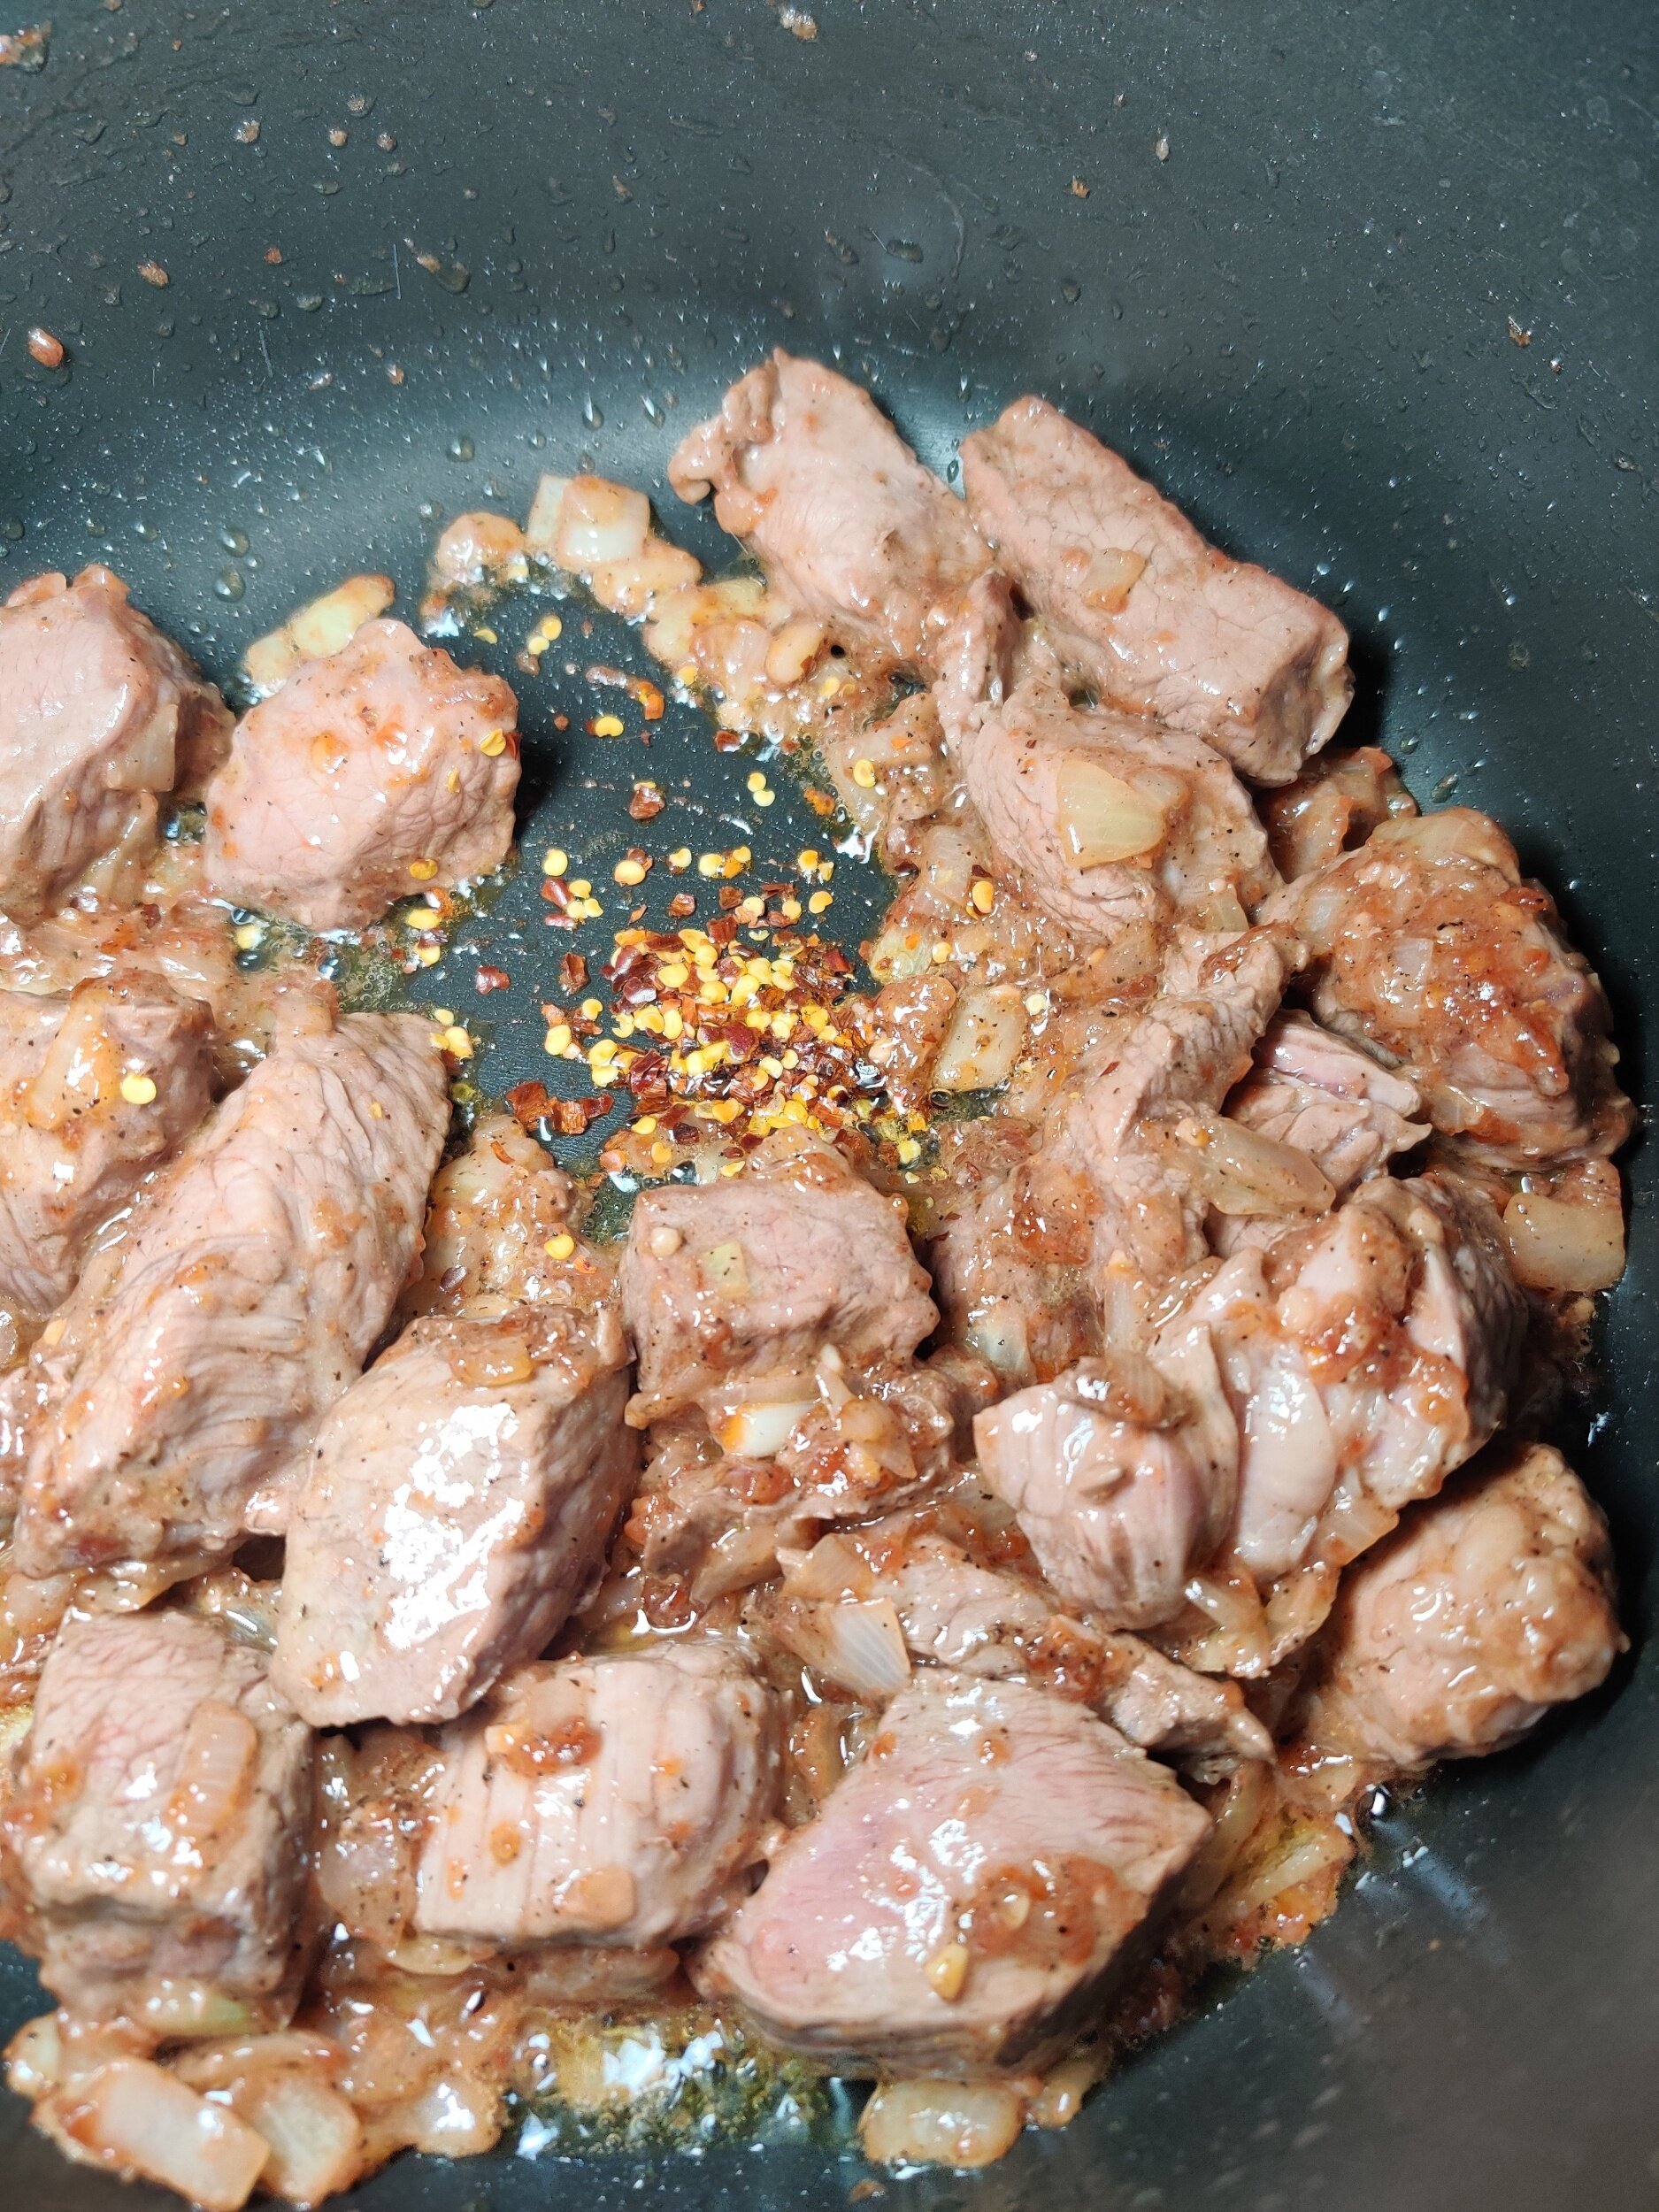
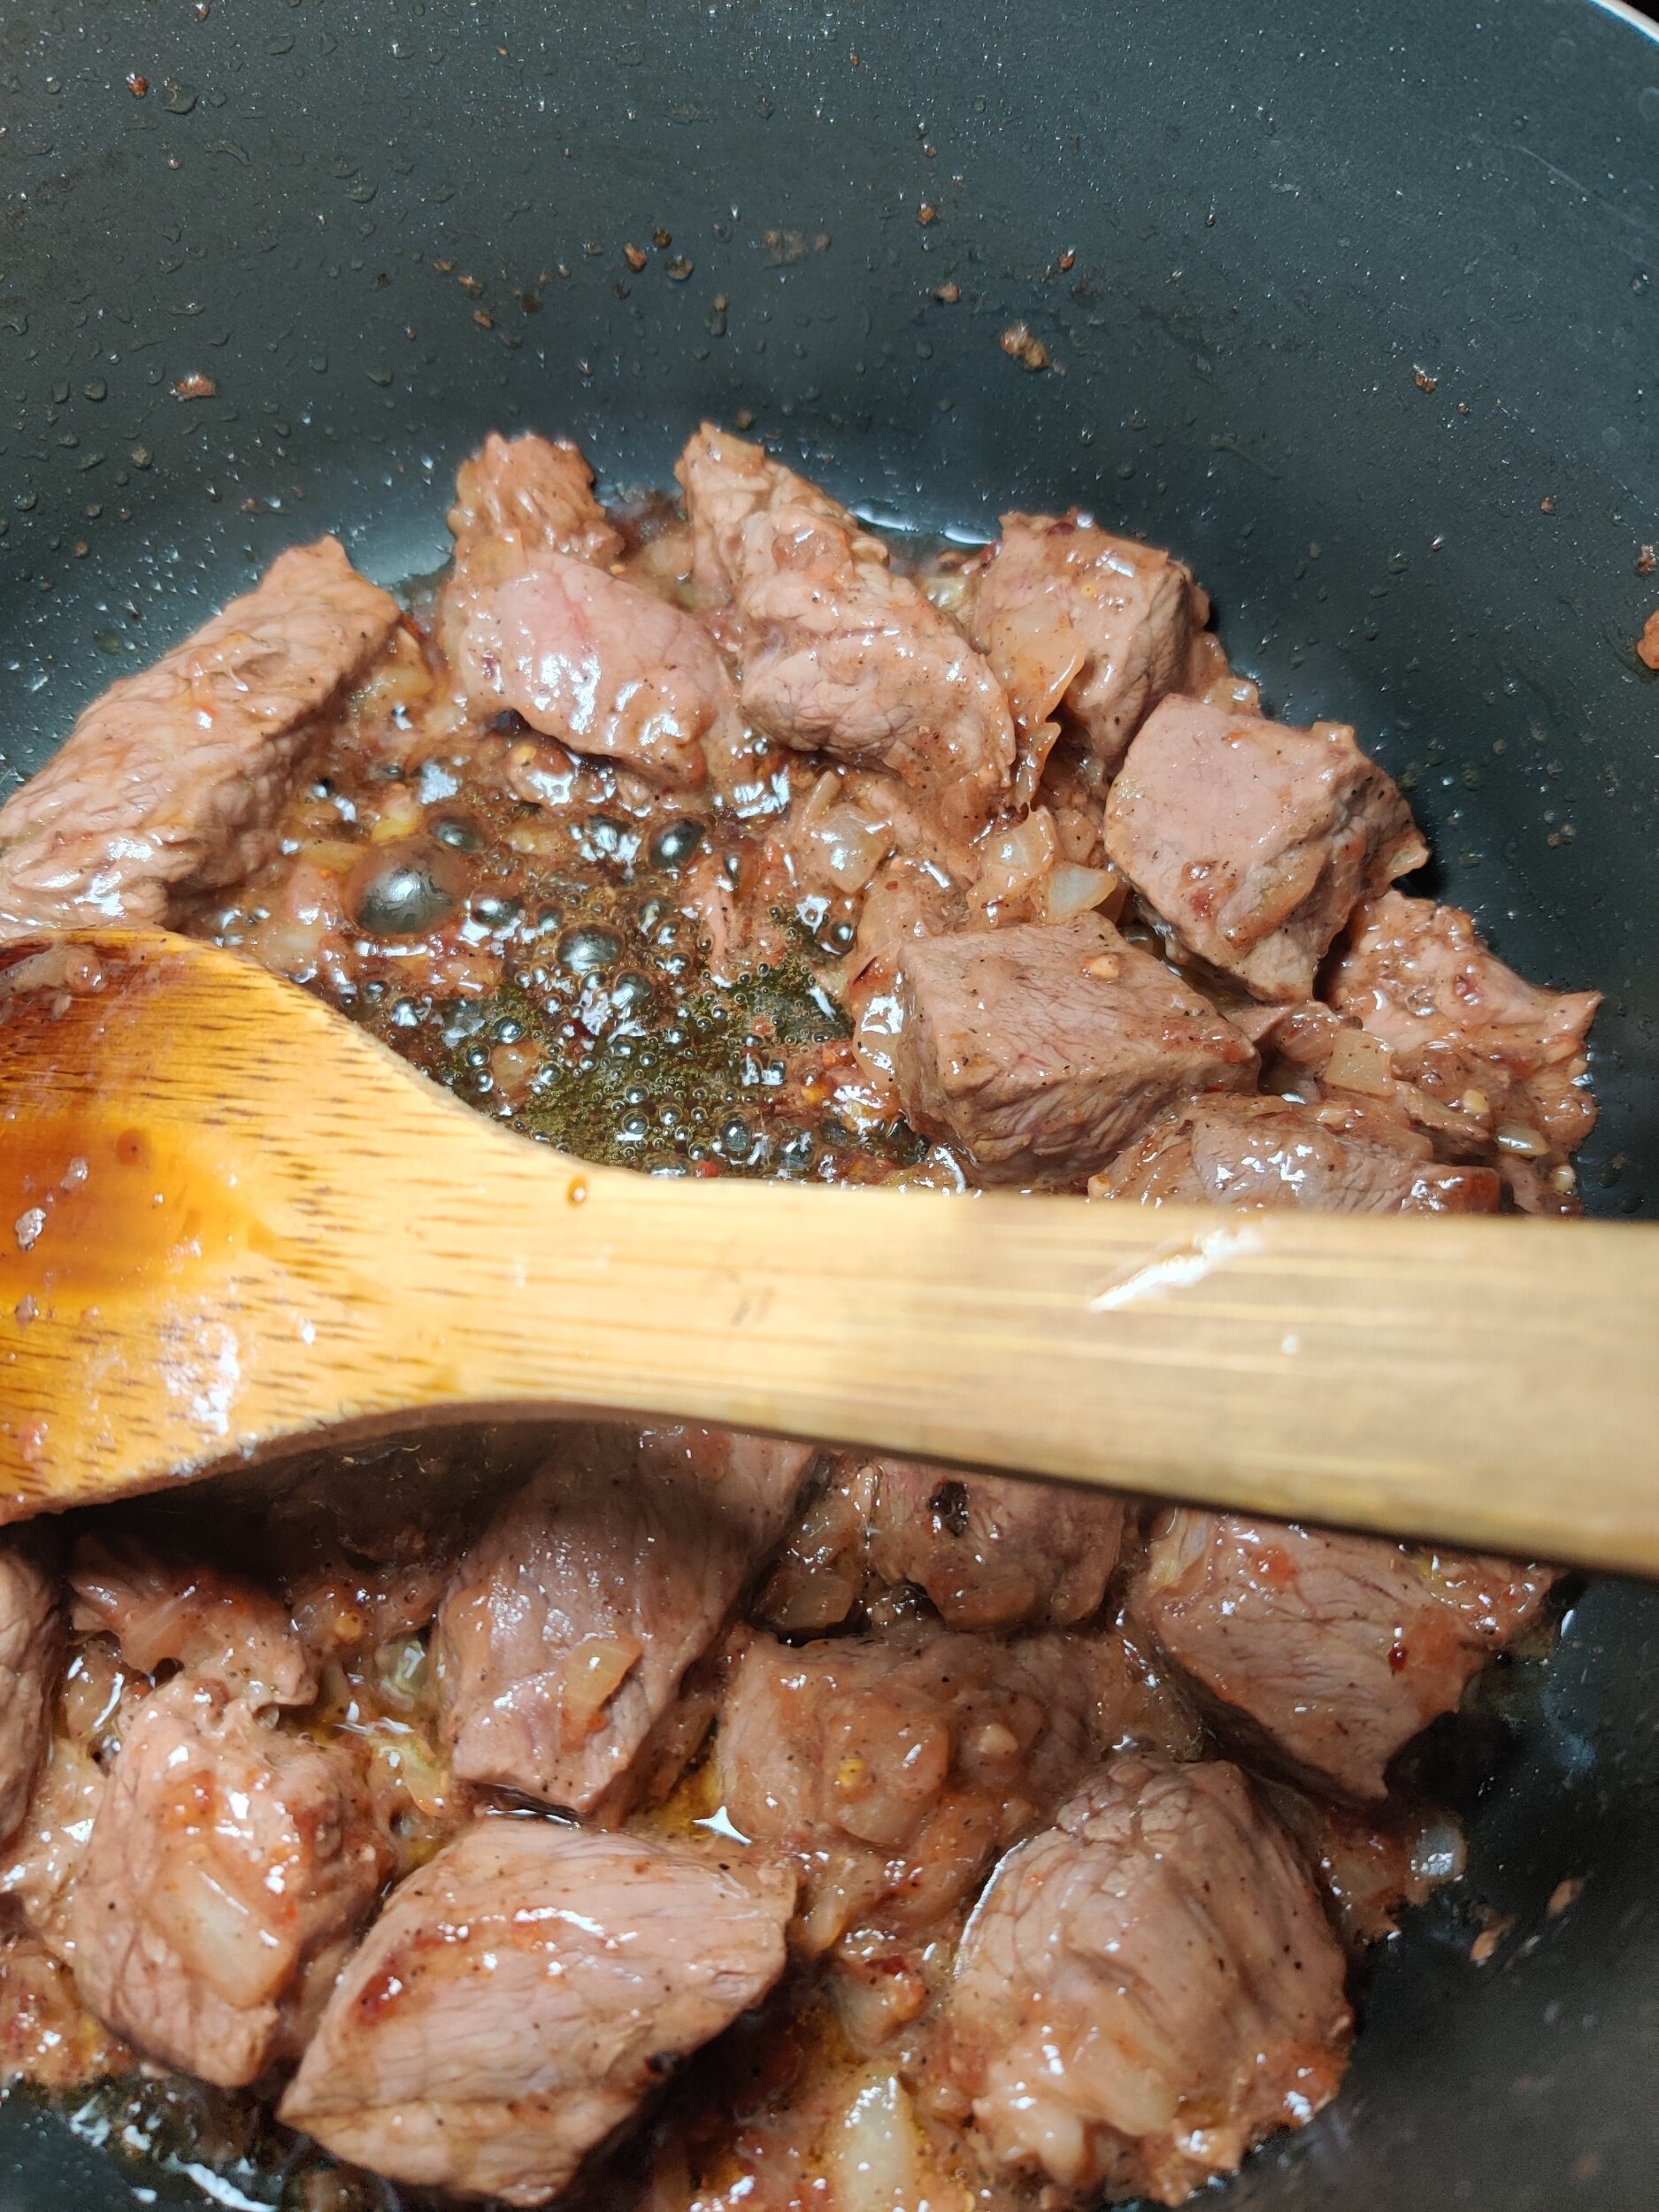
- Brown the beef with chili flakes for 5–7 minutes.
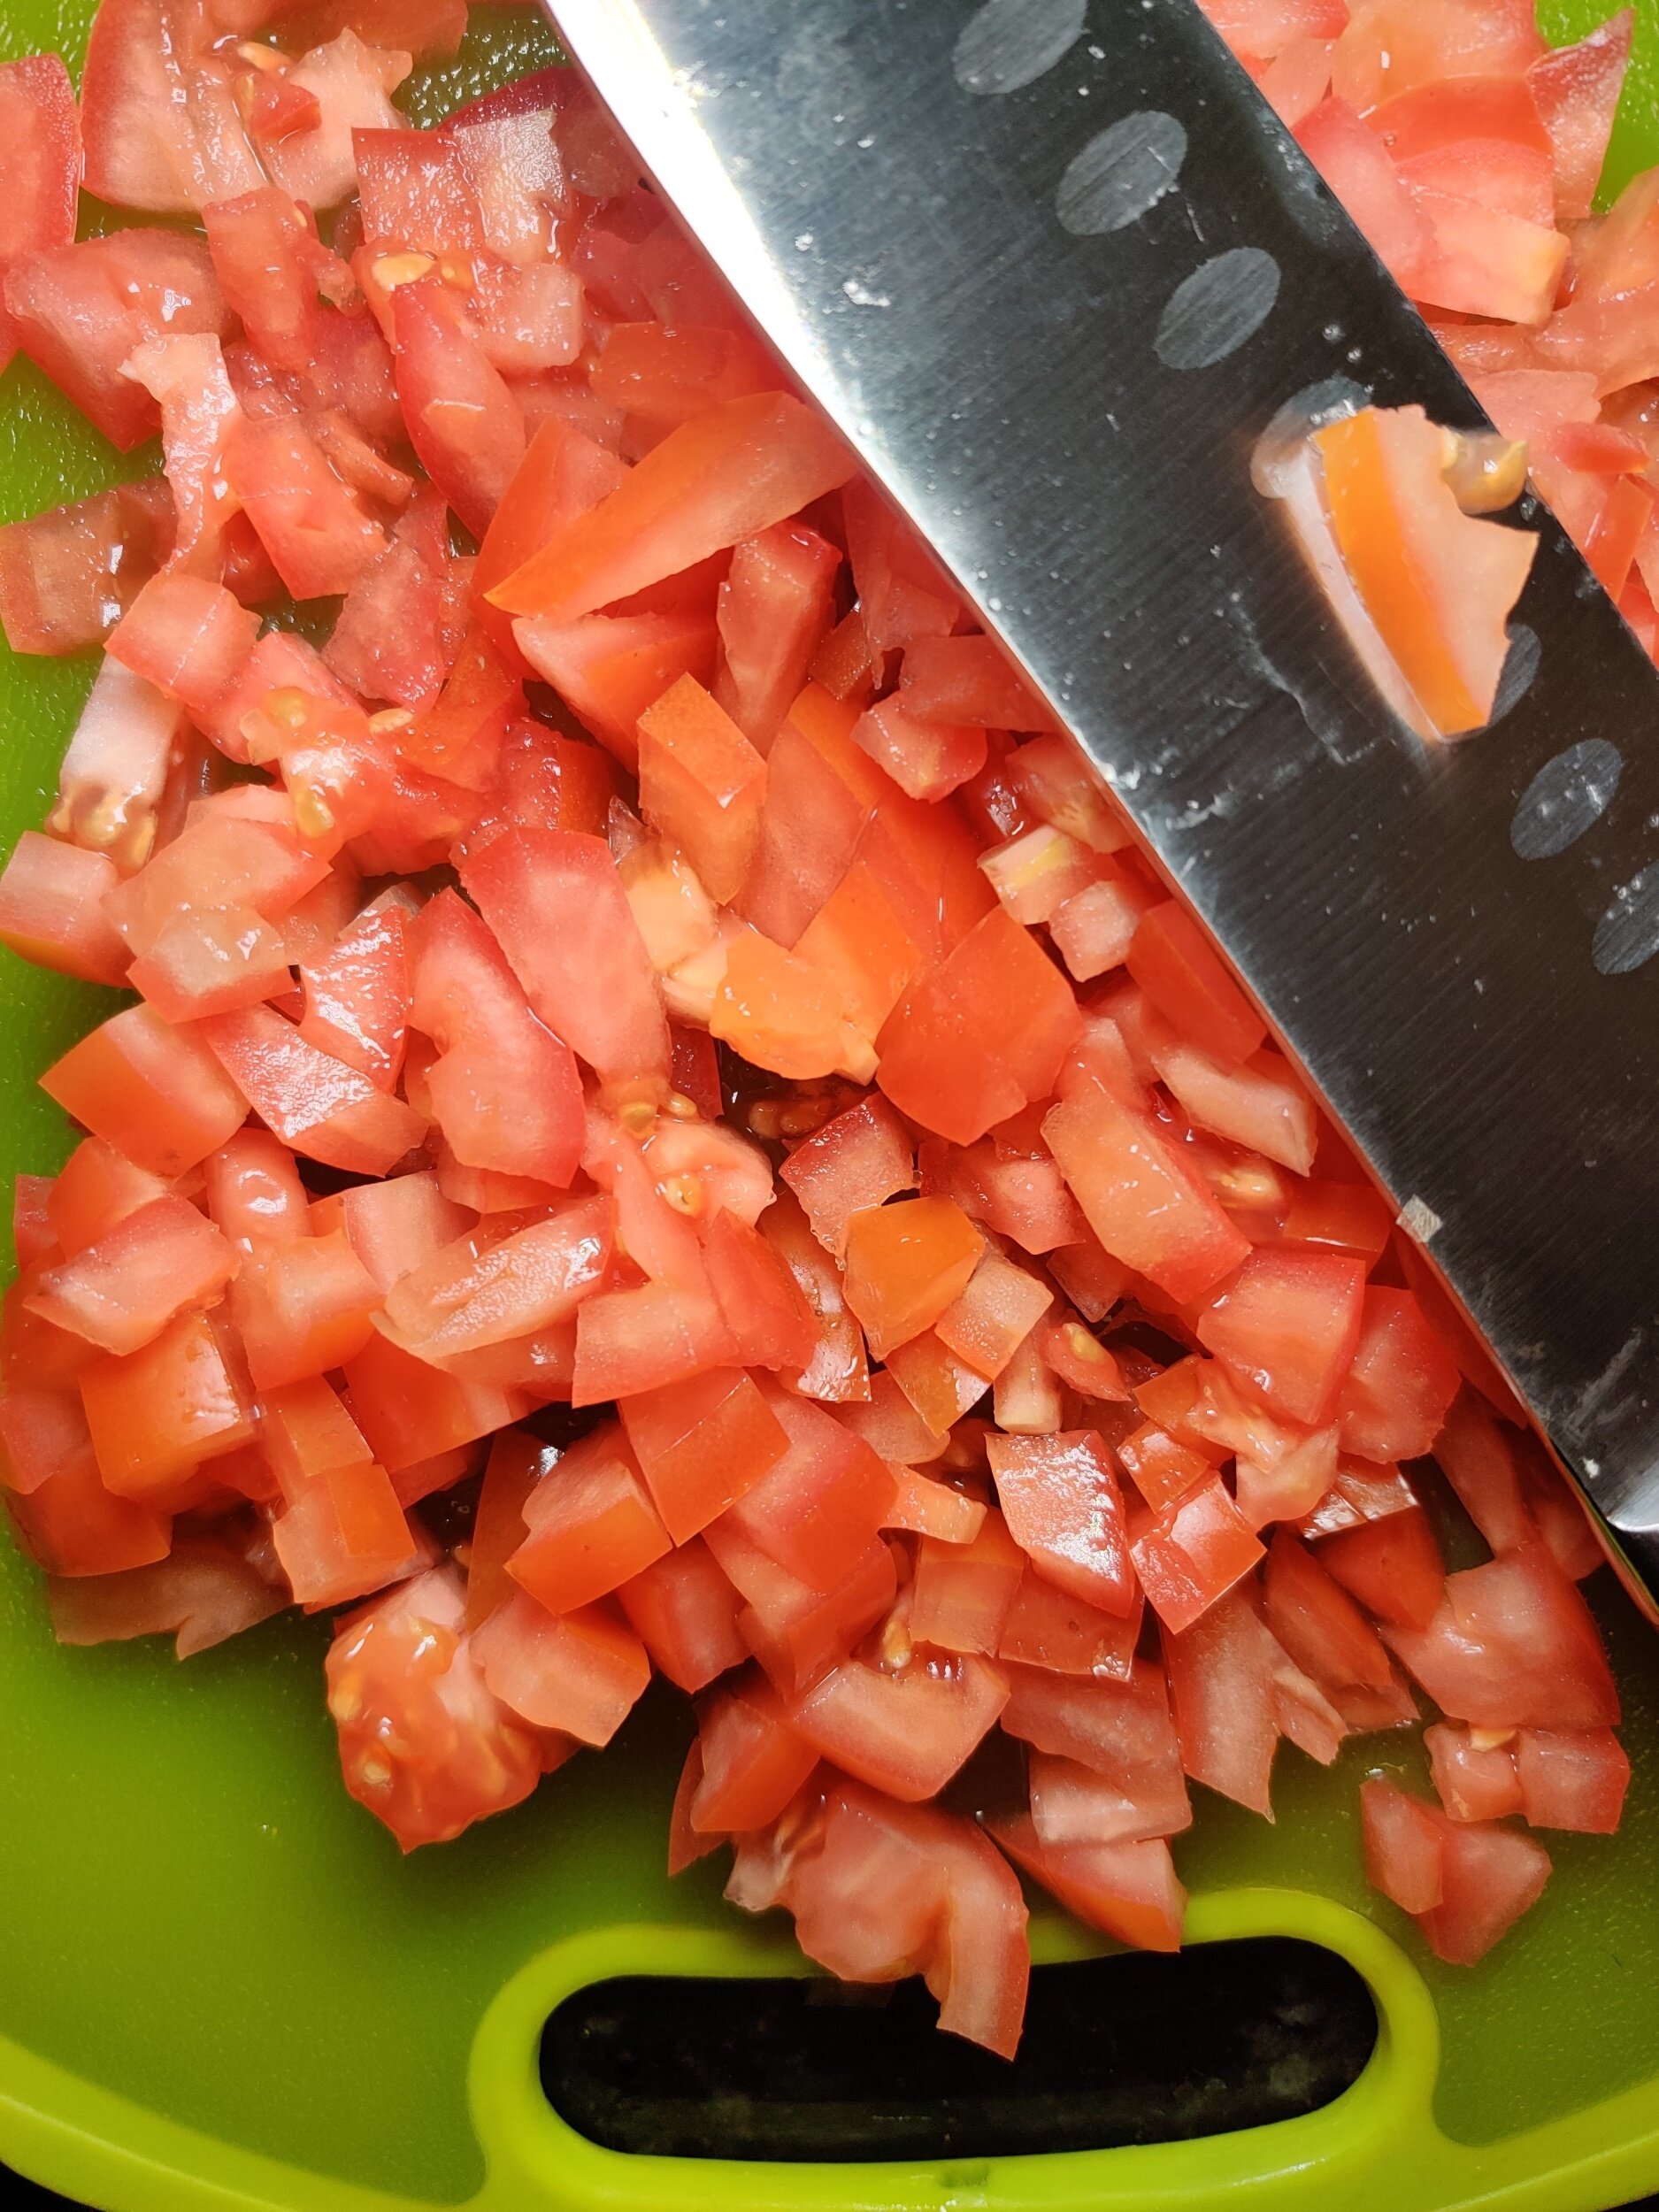
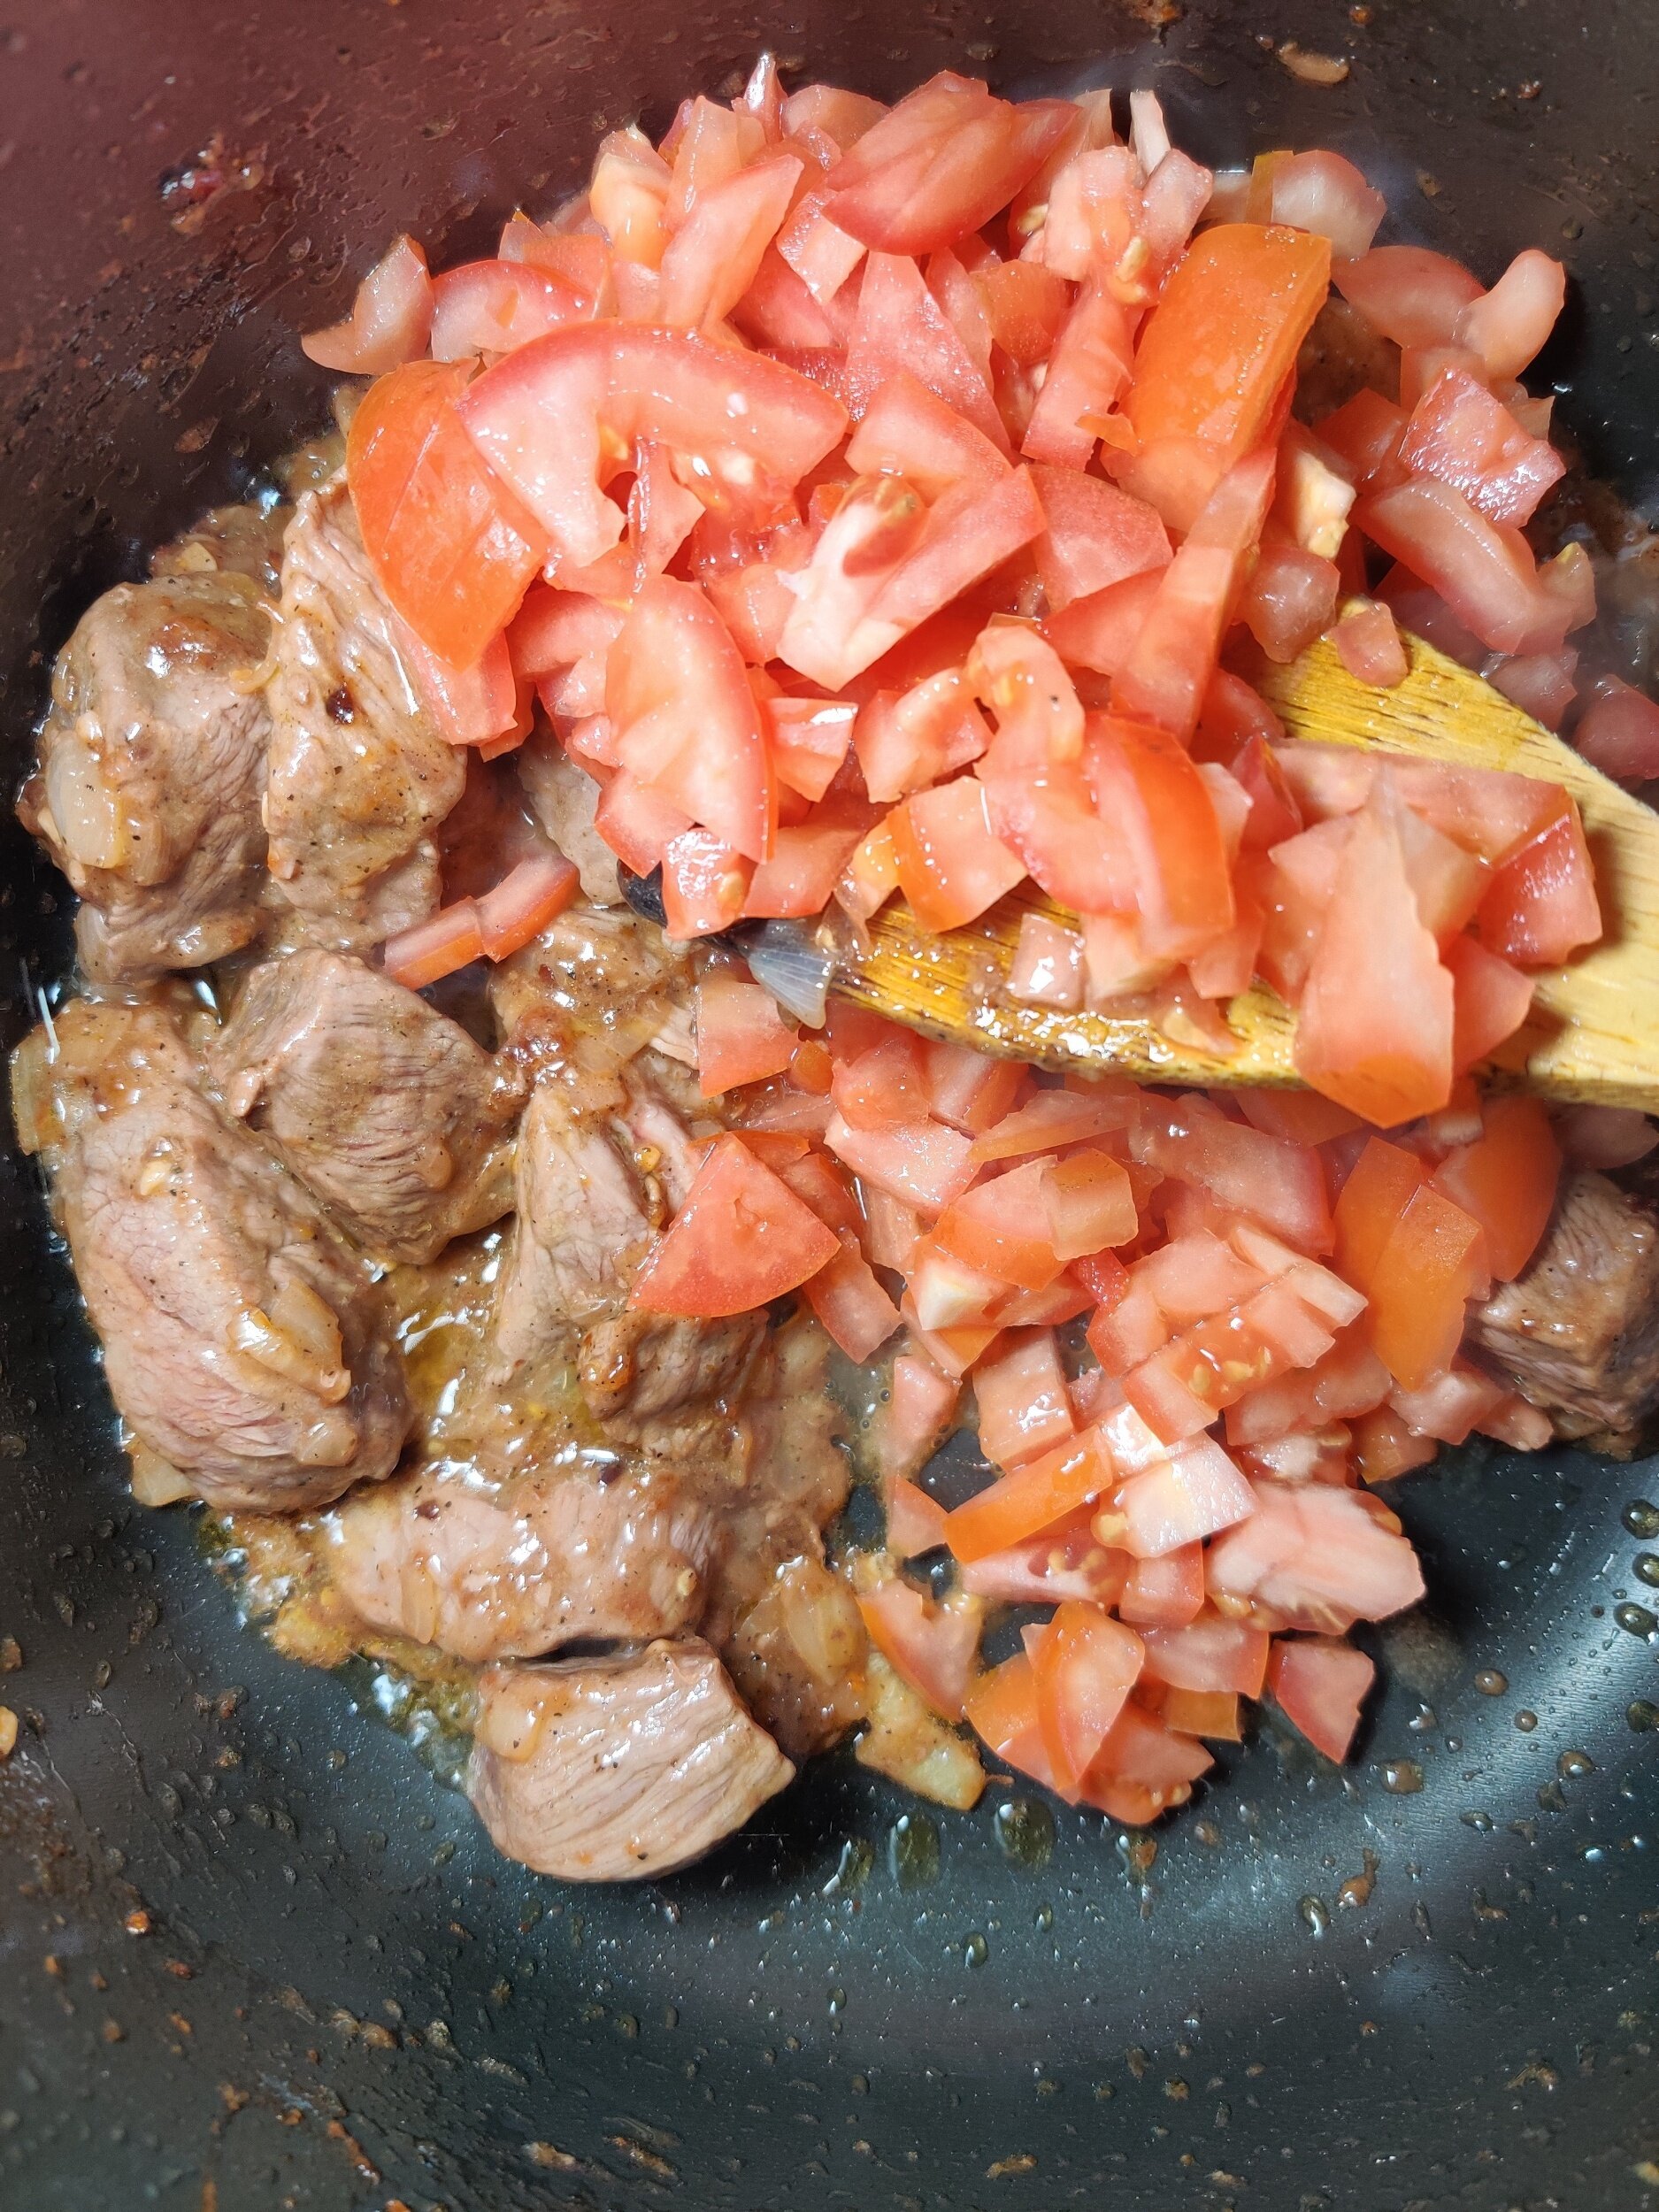
- Add tomatoes and bouillon cubes; stir to combine.
- Add chopped kale and water (or broth). Cover and simmer for 30 minutes, stirring occasionally, until beef is tender.
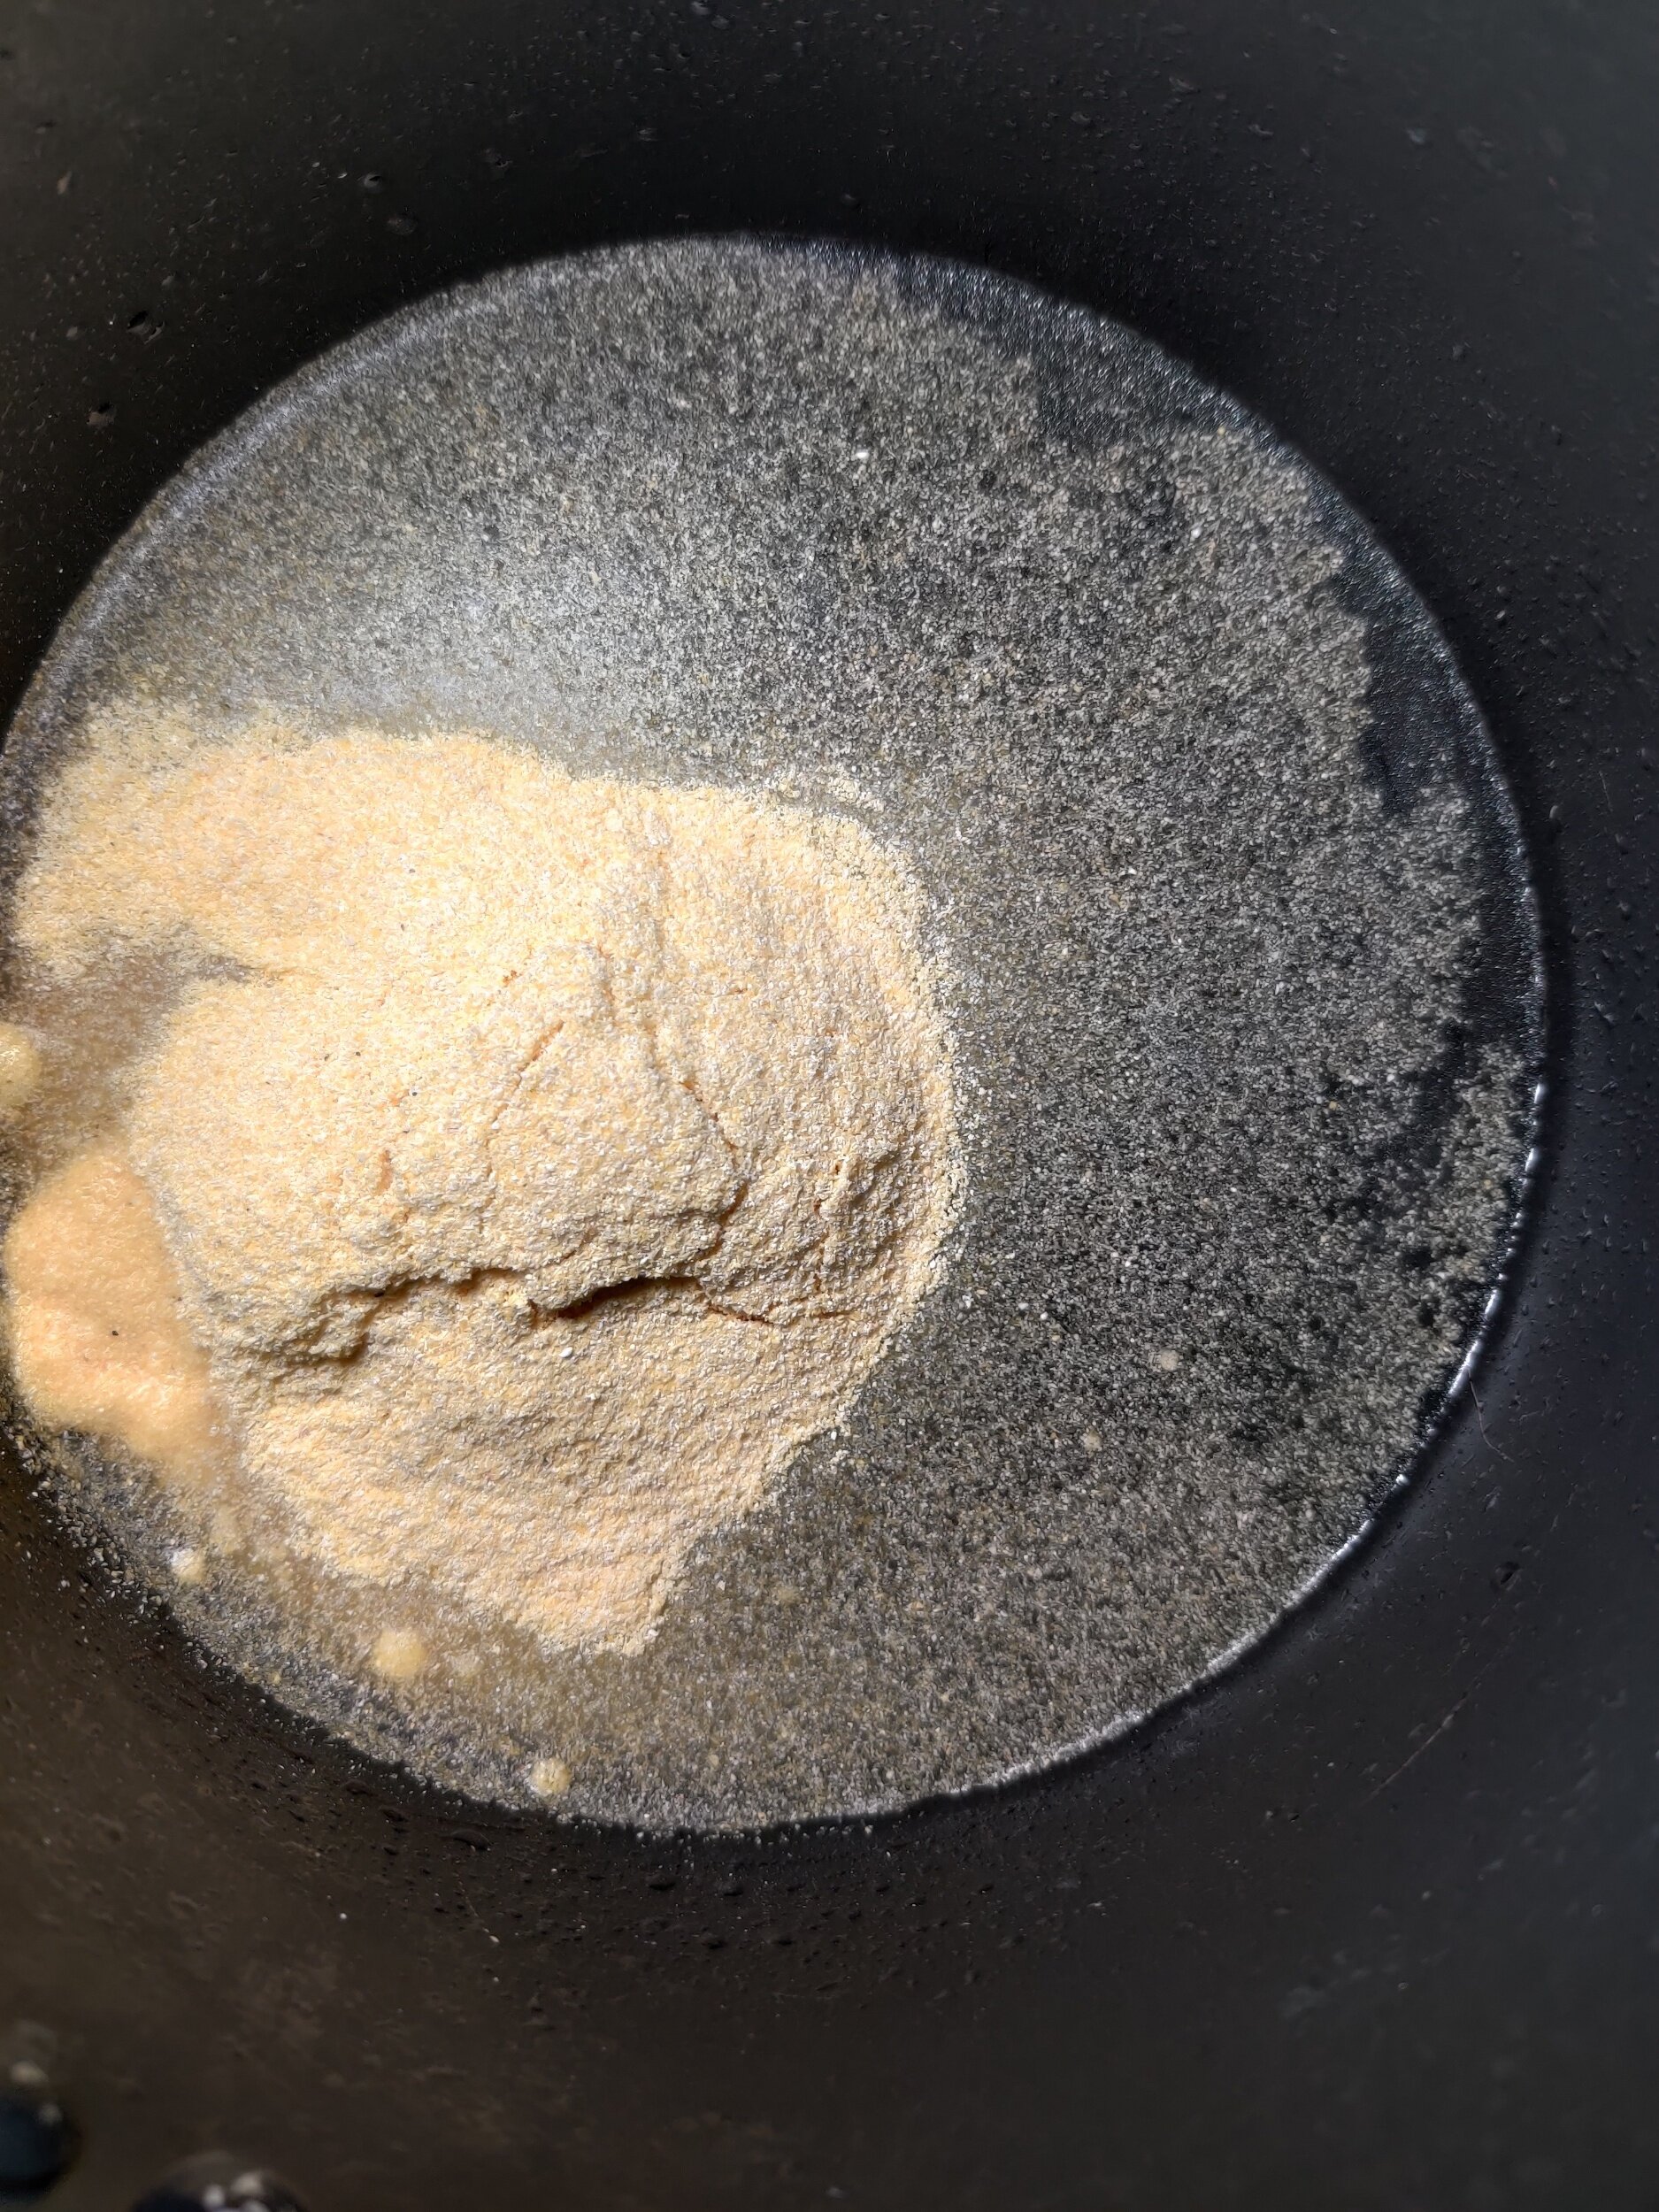
- Mix 1/2 cup cornmeal with cold water to make a smooth paste.
- Gradually stir in boiling water over medium heat. Cook 4–5 minutes until bubbling.
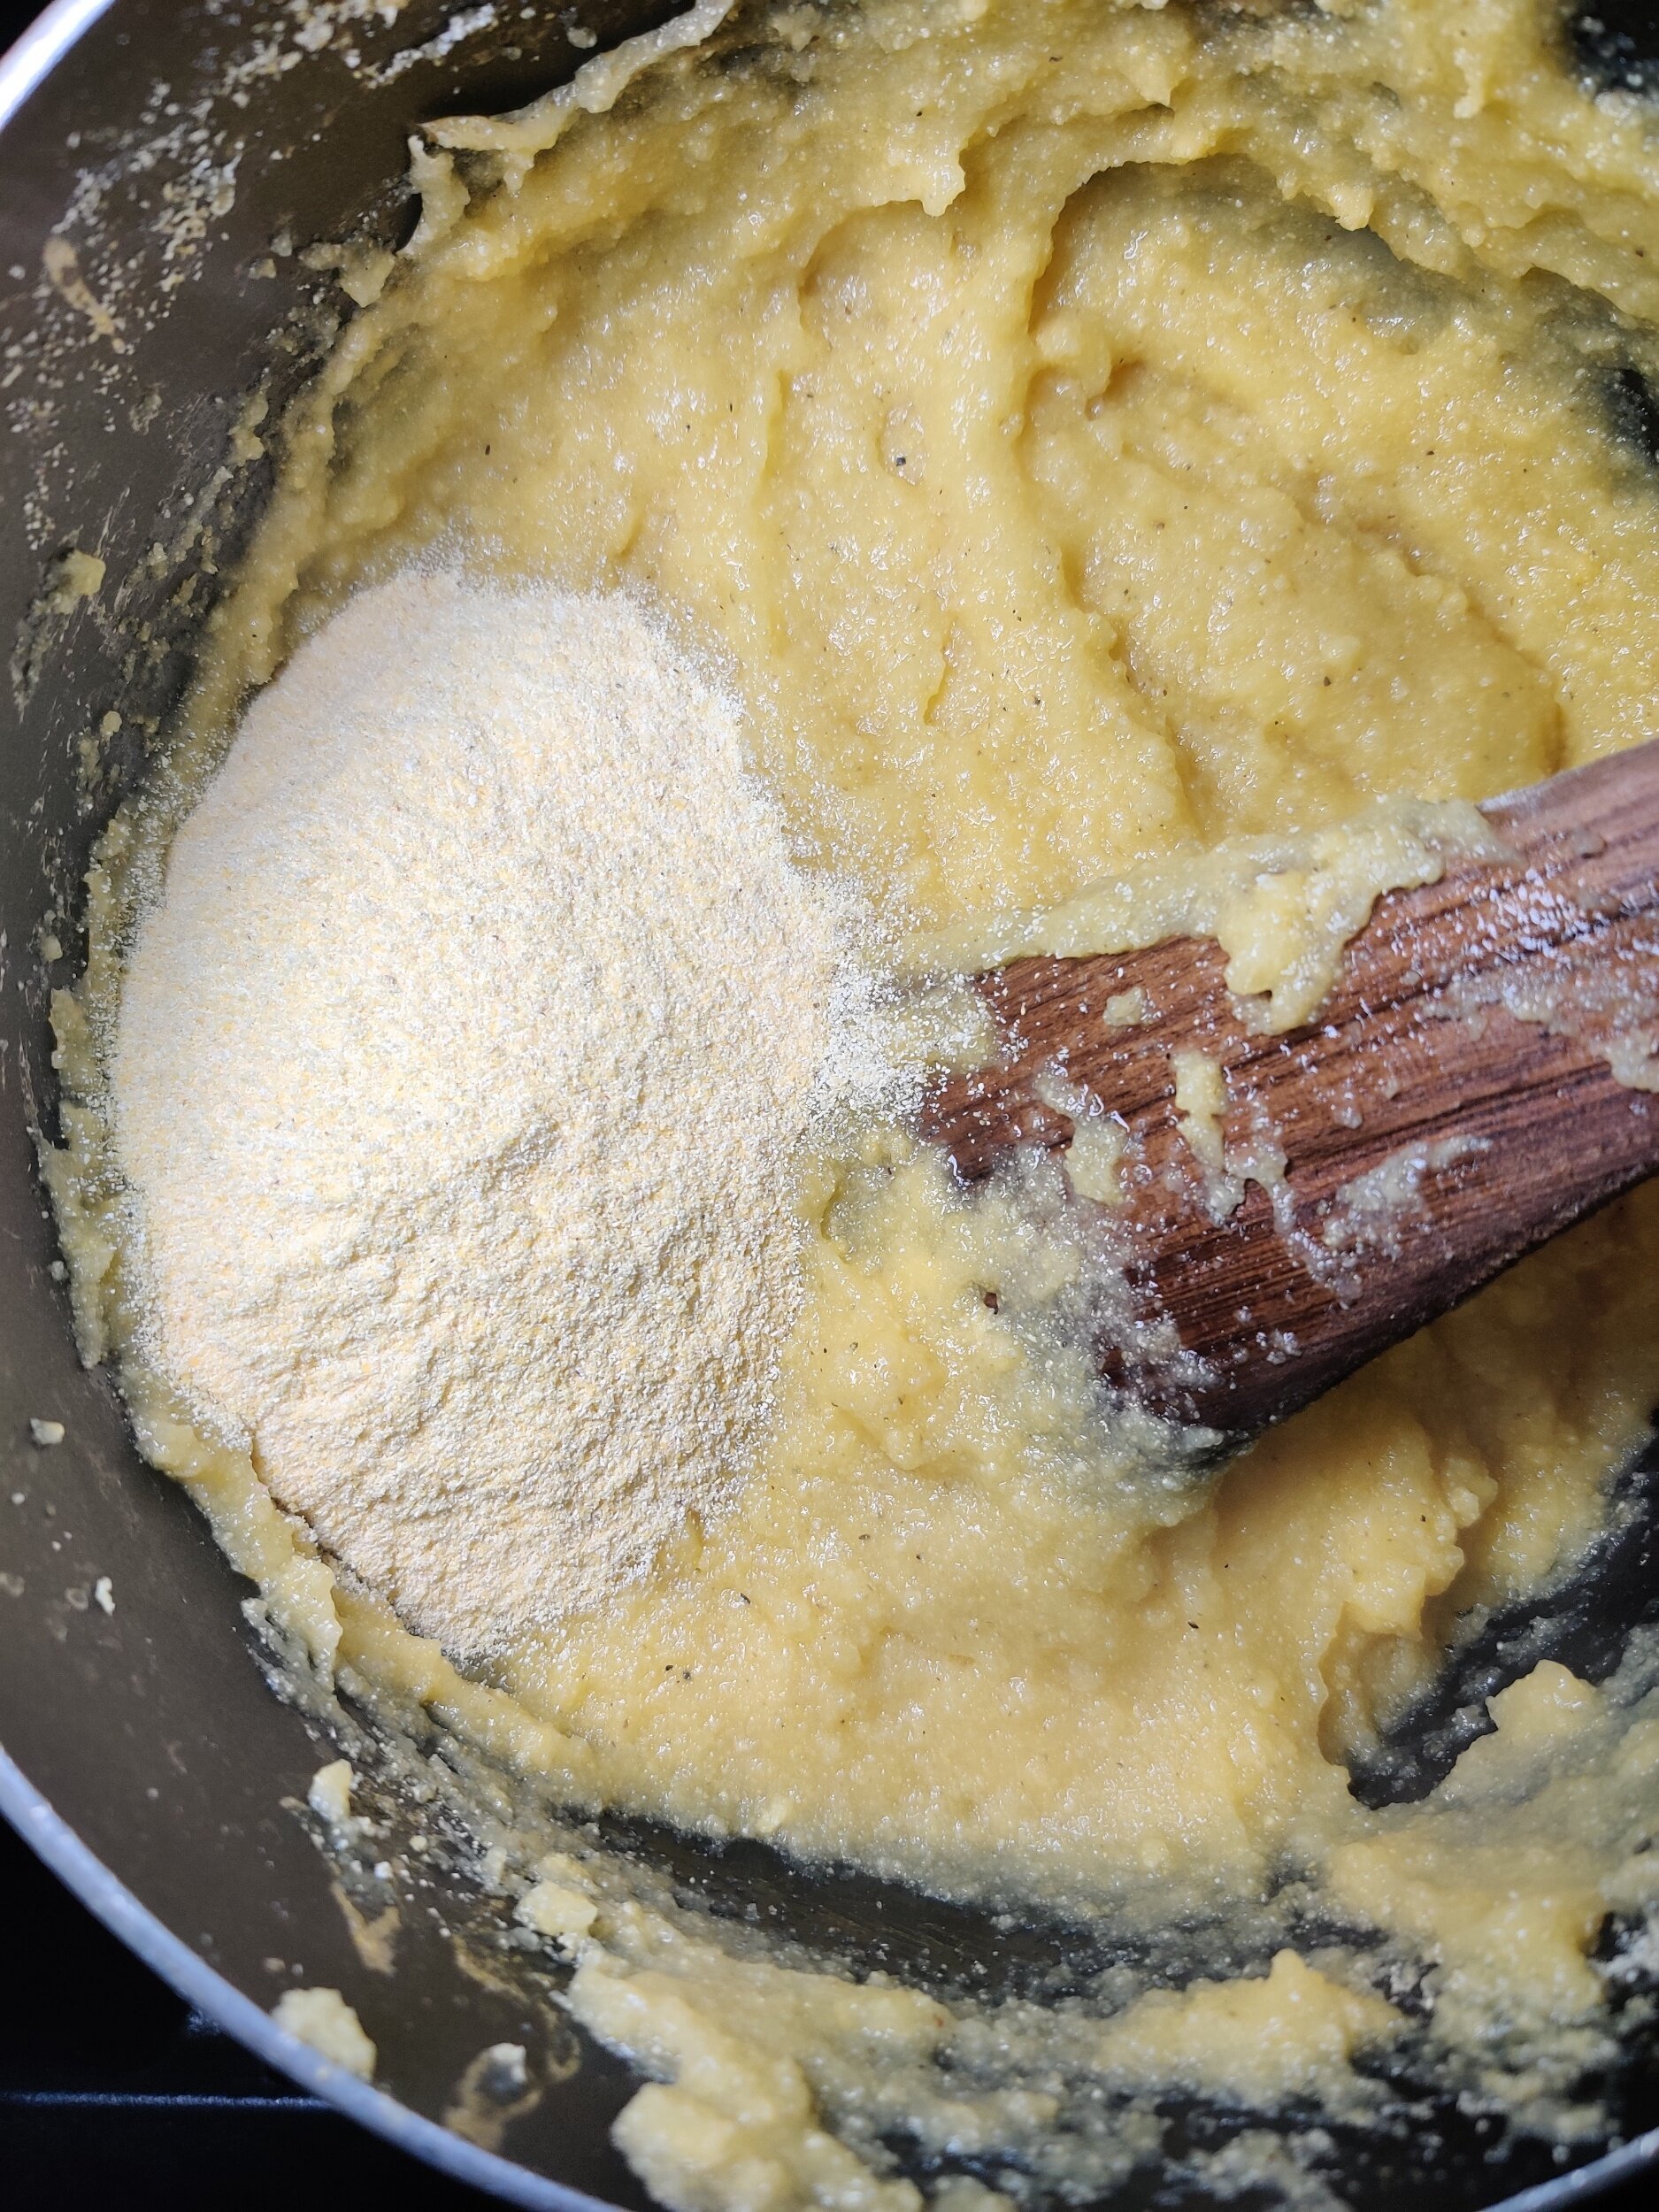
- Slowly add remaining cornmeal, folding to form a soft dough. Reduce heat to low and cook 15–20 minutes, stirring occasionally.
- Shape with a wooden spoon and serve hot alongside the stew.
Notes
- Vegetarian option: Replace beef with butternut or pumpkin cubes for a meat-free version.
- Extra flavor: Use bone-in beef for a richer, more aromatic broth.
- Serving: Sadza is best eaten hot; leftovers can be refrigerated 3–4 days or frozen.
- Pairings: Works beautifully with traditional Southern African sides or simple salads.
- Meat Choice: For quicker cooking, use boneless stew beef or sirloin cubes — they’ll be tender in 30–40 minutes. Bone-in cuts give a richer, more flavorful broth but take longer.
Nutrition Facts
Calories
500Fat (grams)
22 gCarbs (grams)
45 gFiber (grams)
6 gSugar (grams)
5 gProtein (grams)
28 gI am not a certified nutritionist and any nutritional information on dontmissmyplate.com should only be used as a general guideline.

Braised Oxtail with Sweet Potato Mash and Green Bean Casserole
Oxtail is a delicacy and beloved dish in my eyes. That's because growing up my mother made the most delectable, slow-cooked braised oxtail you'll ever taste. A lot of people associate oxtail stew with the Caribbean, however, it's enjoyed in parts of Africa as well and, Zimbabwe is no exception. It should be reserved for special occasions as the meat around the bones is high in fat content, but you won’t regret it!
The oxtail bones can be marinated, or not, then lightly fried to brown the meat before adding it to a pressure cooker or roasting pot with vegetables and broth for a few hours i.e. braising. The result? A juicy, succulent, flavourful fall-off-the-bone short rib like dish in a very rich stew you can even eat separately with some fresh bread.
Why now? The holidays call for hearty, comforting dishes, and this oxtail main is the epitome and will not disappoint the table. It's also a great alternative to roast turkey for those who want to venture out!
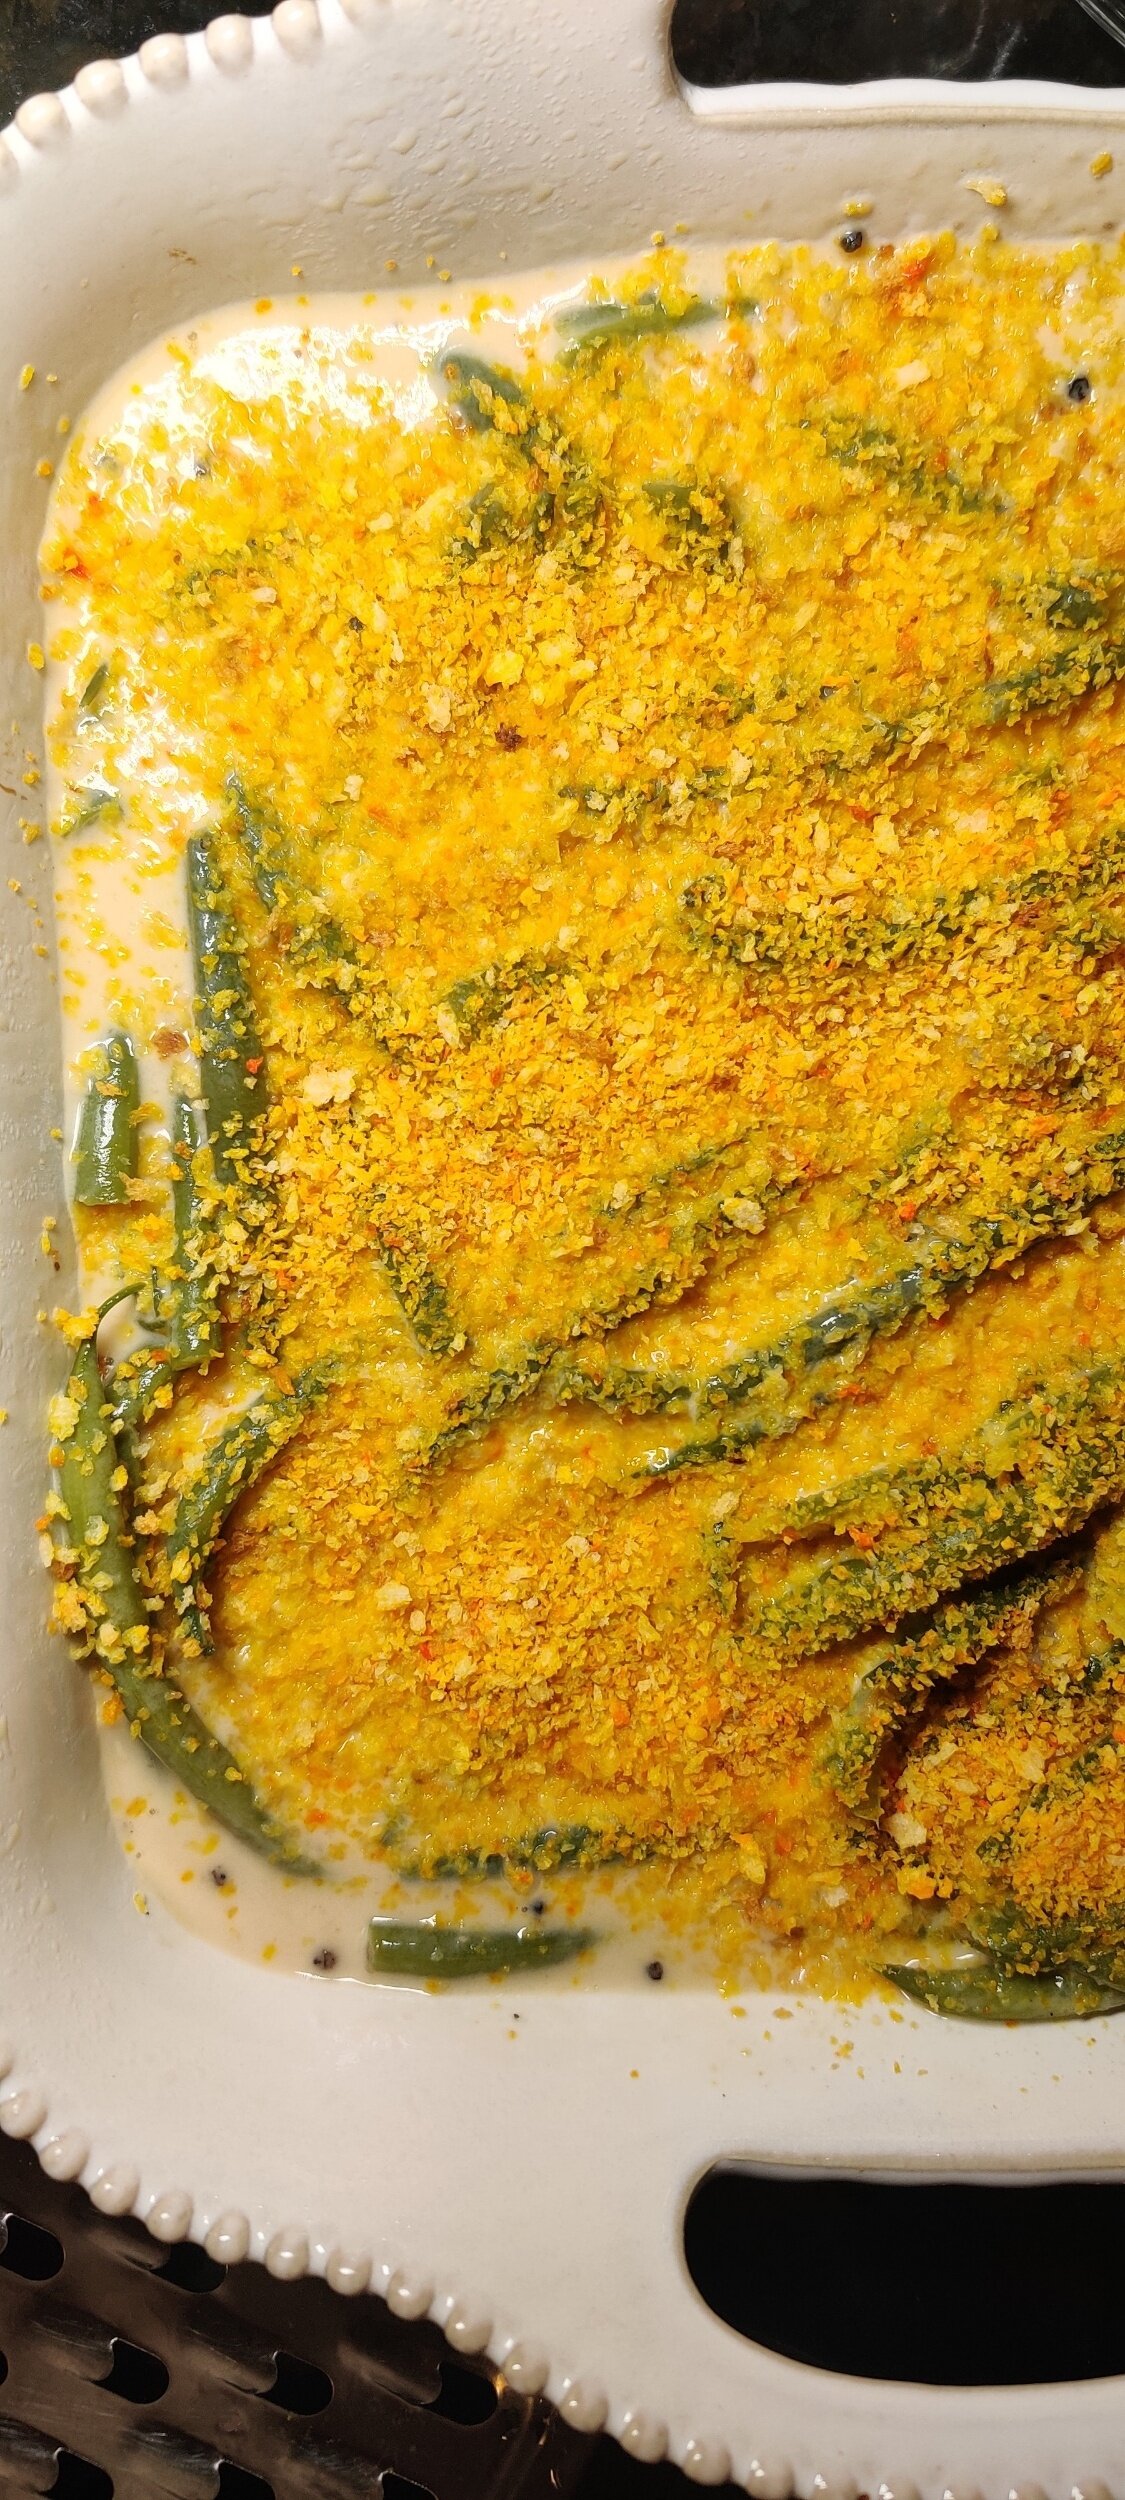
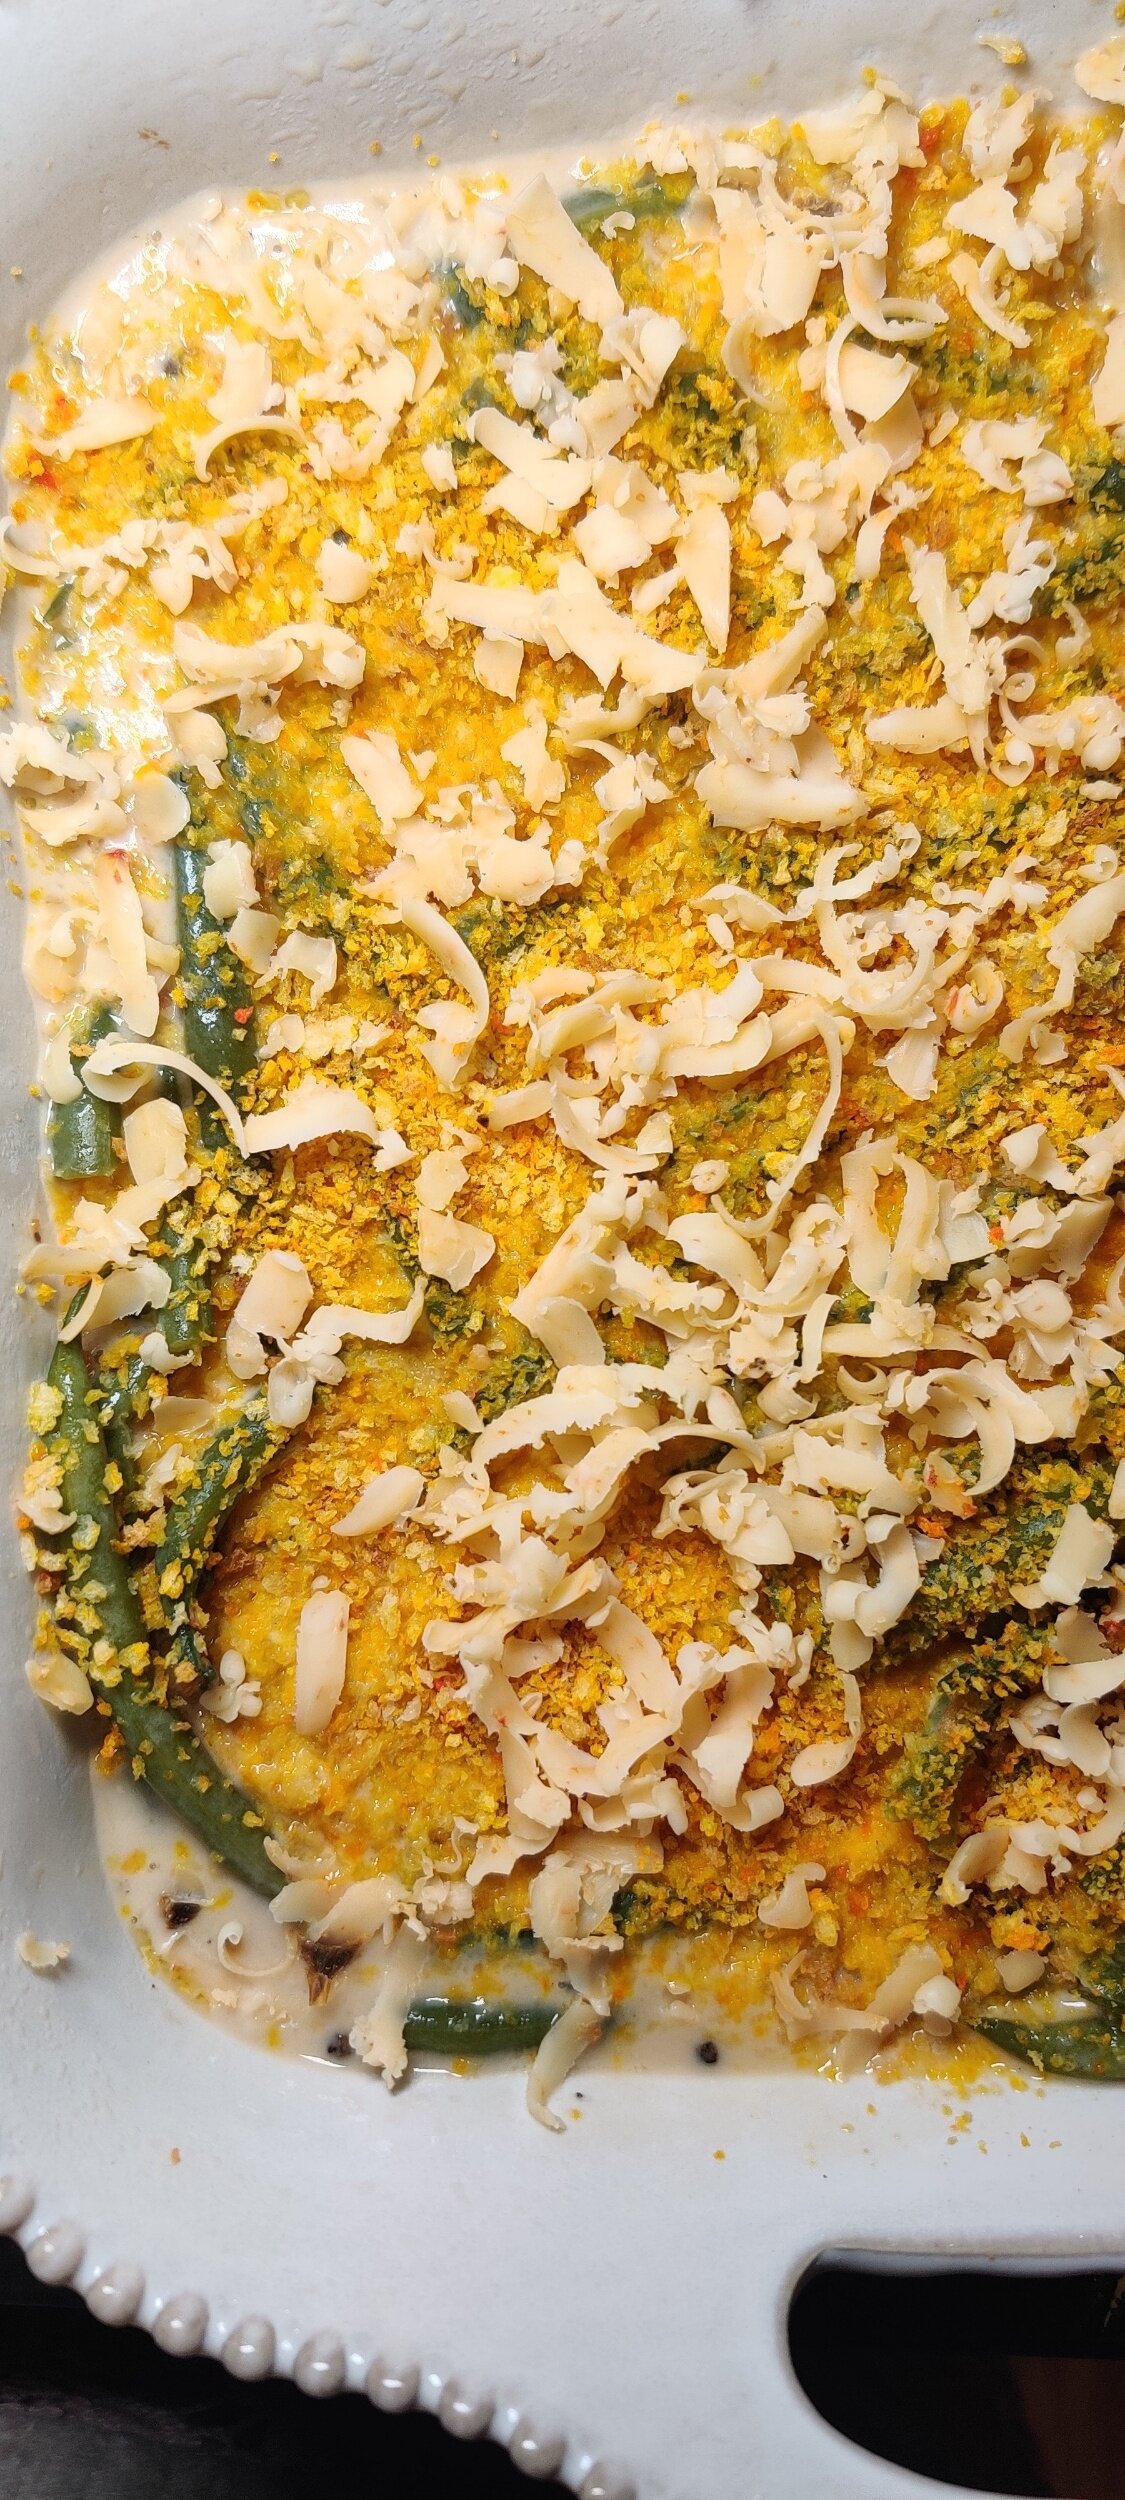
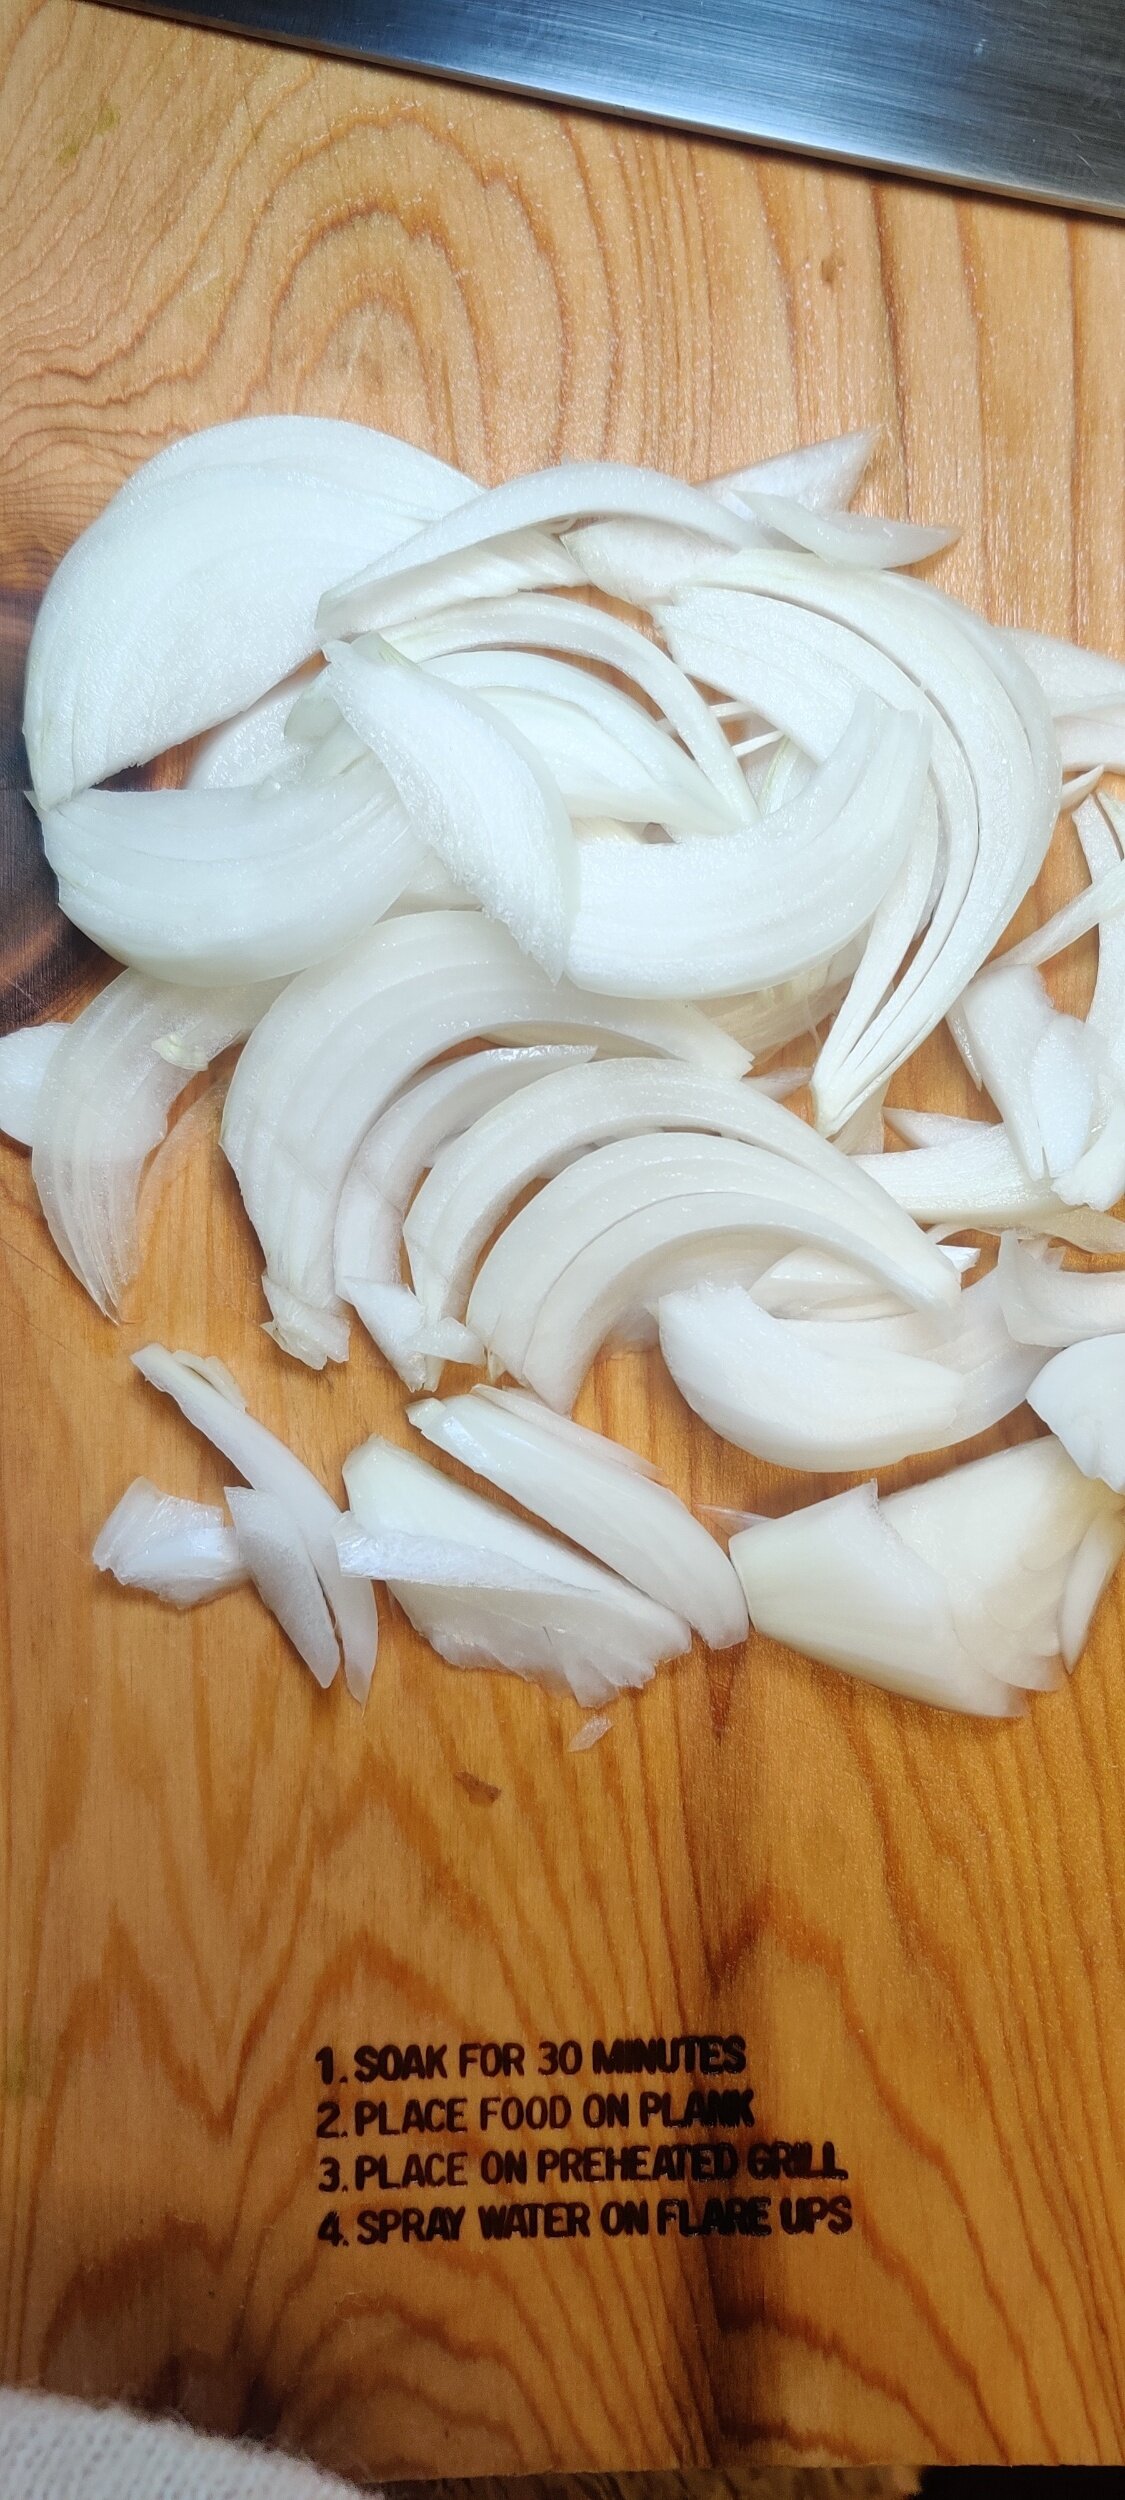
What sides to pair it with? That can remain classic, I used green beans and sweet potato. I add some garlic to the mashed potatoes for some extra flavour and made caramelized onions for the green bean casserole.
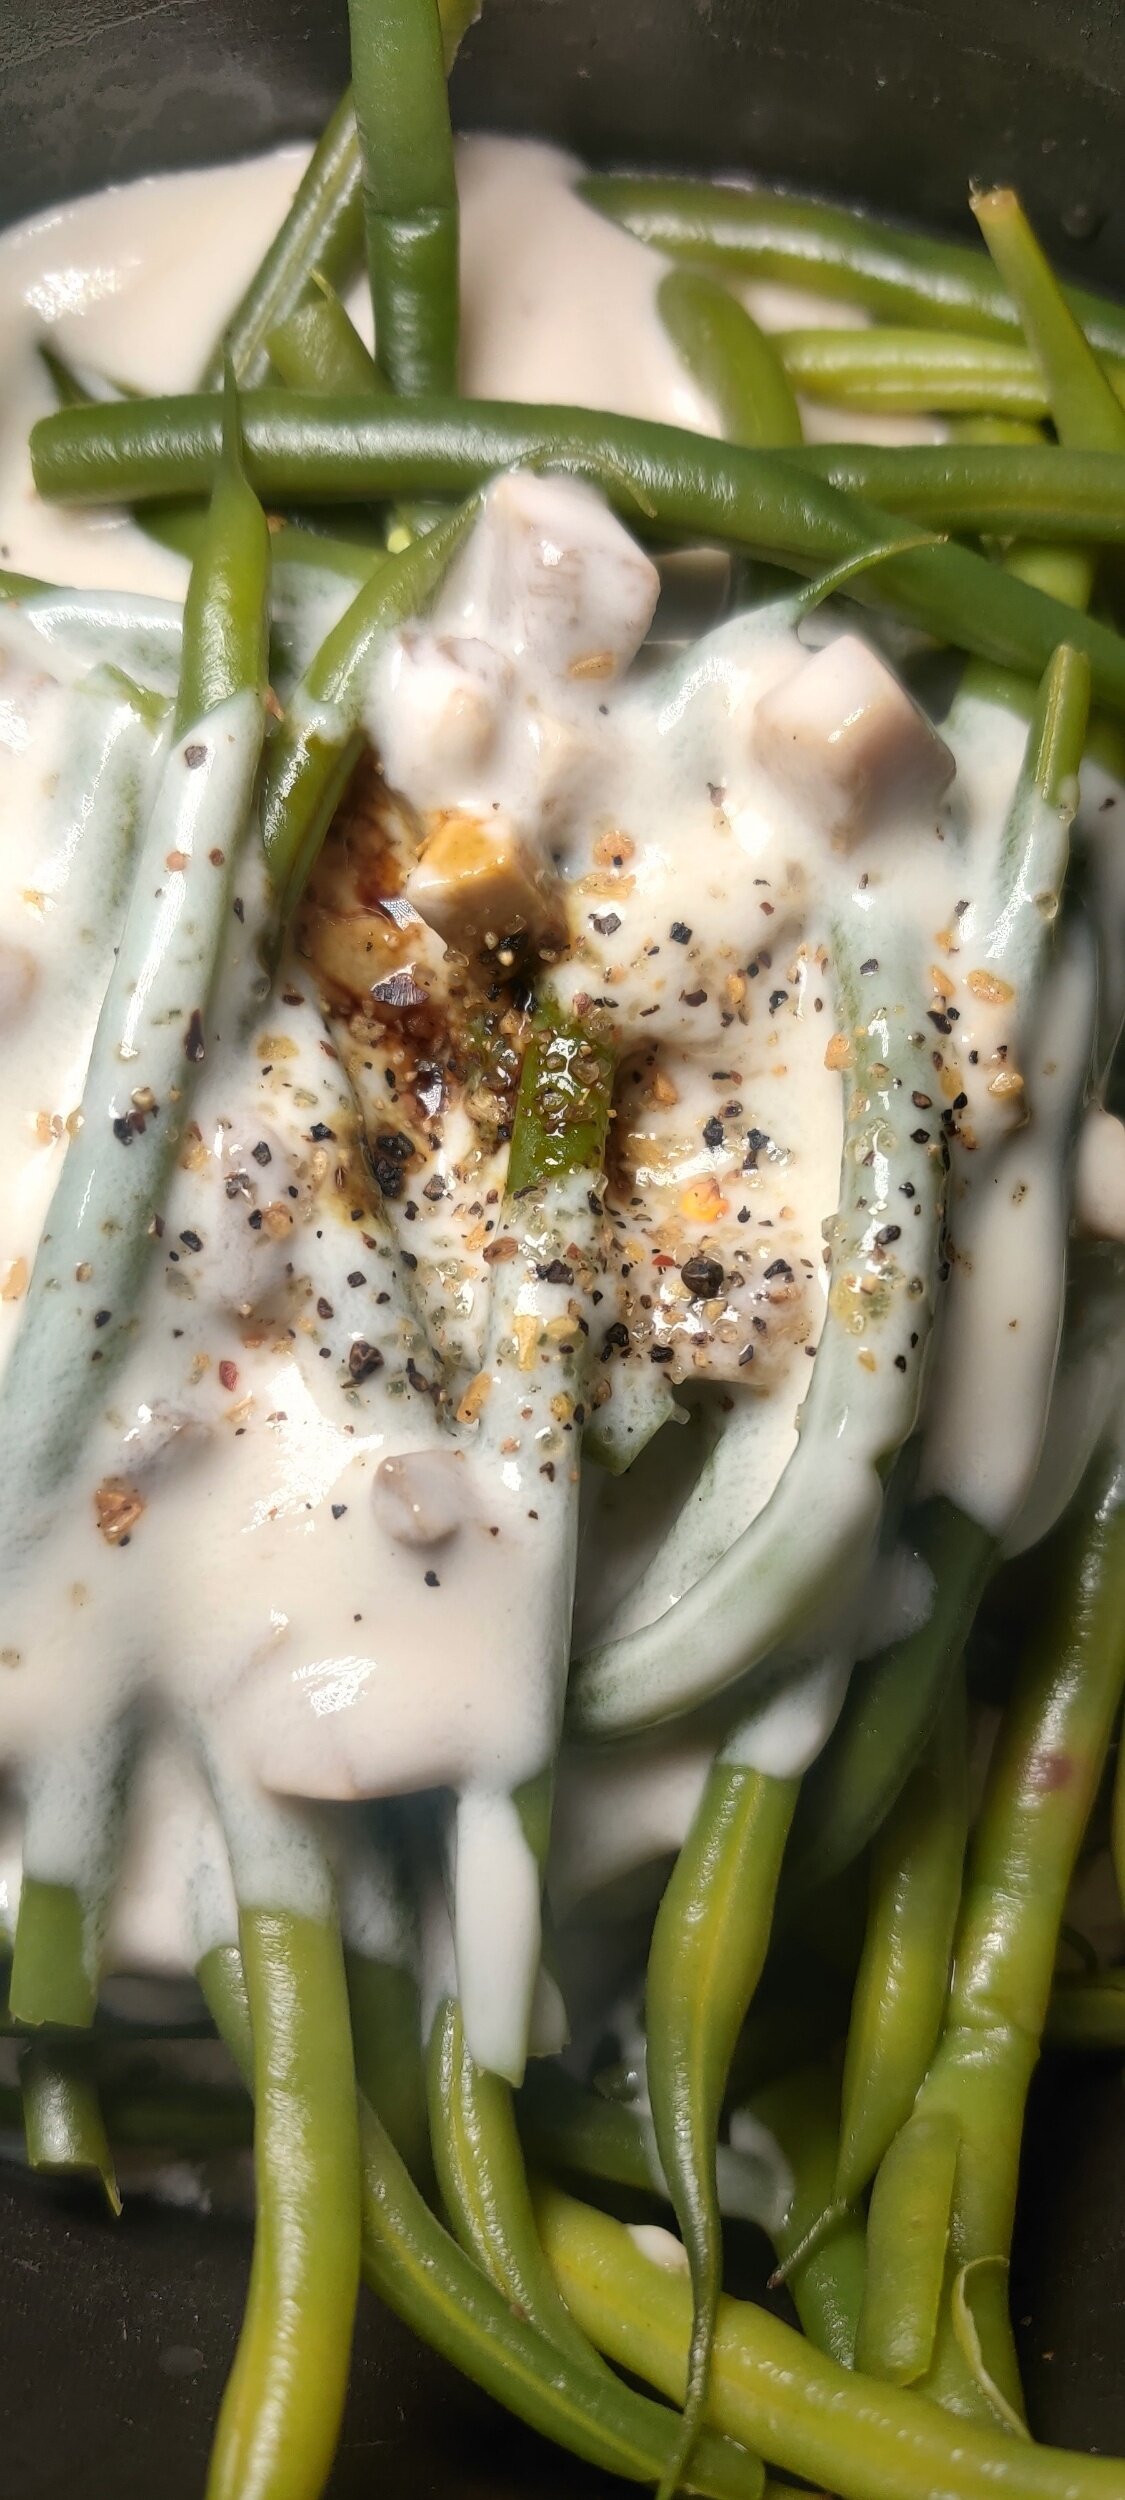
I stewed in cream of mushroom soup but didn't want to use the out-of-a-box fried onions to top the beans as per the traditional recipe. It seems a fresh onion is a better option!
What about the texture? That's where some bread crumbs can come in, but it's up to you!
Ingredients
Oxtail:
4-8 oxtail bones
1/4 cup scallions, chopped
3 tablespoons fresh garlic, minced
1/2 yellow onion, diced
1 jalapeno, diced
1/2 large shallot, diced
2 large heirloom tomatoes
2 tablespoons tomato paste
Fresh thyme sprigs
4 tablespoons Royco Usavi mix (optional)
3 beef bouillon cubes
3 cups warm water
3 tablespoons steak seasoning or equal mix salt and coarsely ground pepper
1/4 cup soy sauce
1/4 cup cooking wine
1/4 cup olive oil
3 tablespoons vegetable oil
Mashed sweet potato:
2 large sweet potatoes
2 tablespoons garlic, minced
1/2 teaspoon salt
1 teaspoon coarsely ground black pepper
2 tablespoons garlic powder
2 tablespoons butter
1/4 cup milk or cream

Green bean casserole:
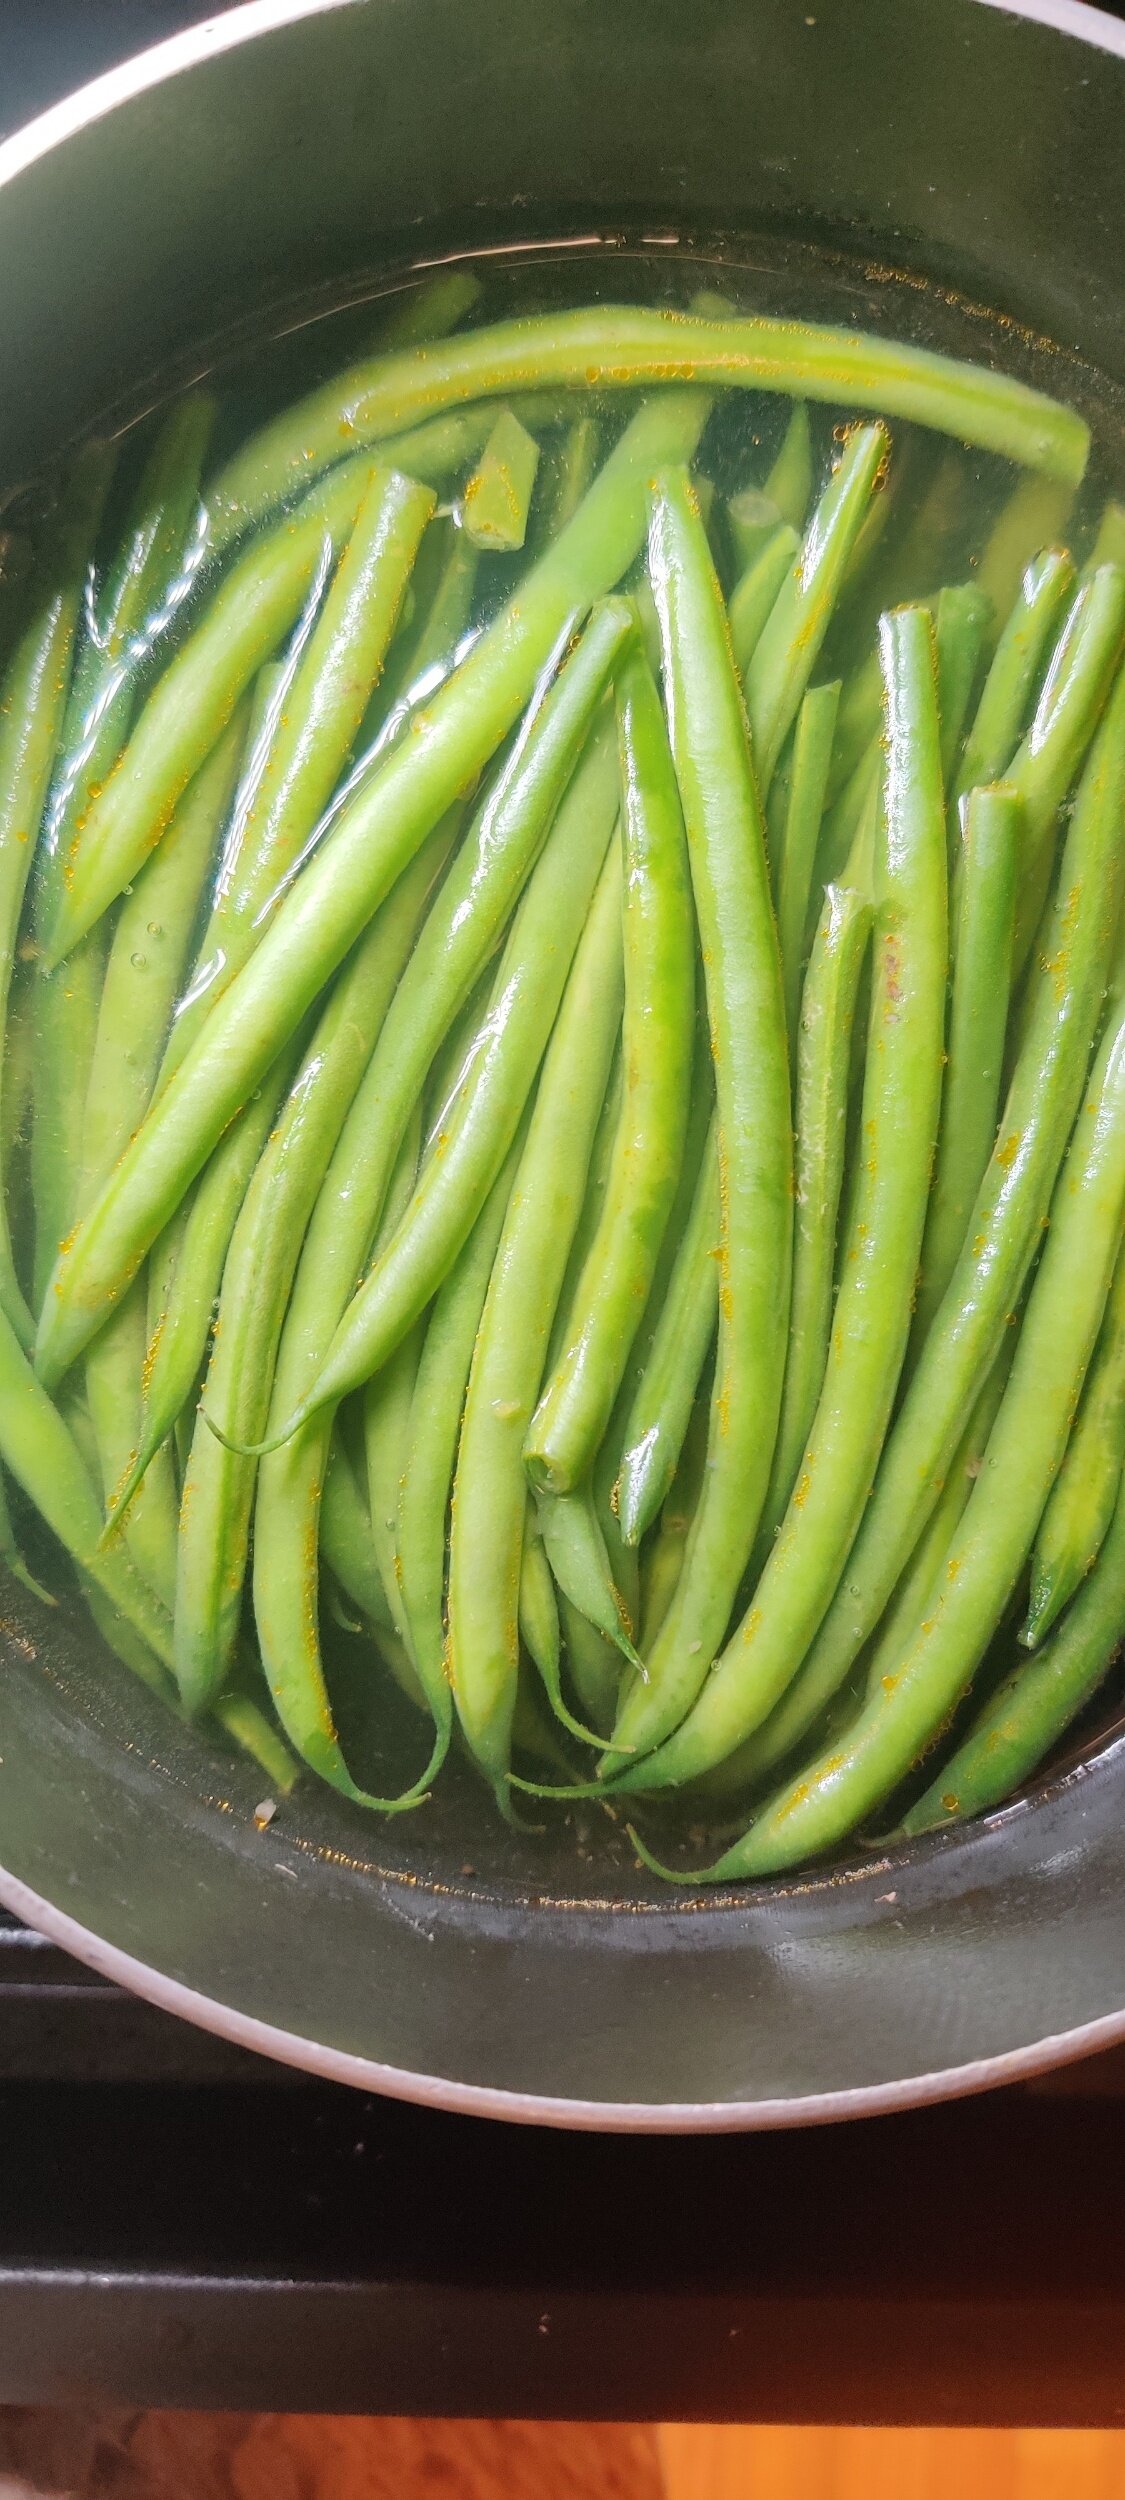
1 small bag French green beans
2 tablespoons garlic powder
1 can cream of mushroom soup
1/2 teaspoon salt
1 teaspoon black pepper
1 teaspoon brown sugar
1/3 cup milk
1/4 cup bread crumbs
2 tablespoons Habanero cheese, grated
1/4 of a large yellow onion
2 tablespoons butter

Instructions:
Prepare the oxtail. Cut off as much of the extra, visible fat that you can. Marinate the bones in the soy sauce, cooking wine, steak seasoning, fresh thyme, 2 tablespoons Royco seasoning, 1 tablespoon garlic, and olive oil. Cover with cling wrap and set in the fridge for about 3 hours.
In a large saucepan or skillet, heat the vegetable oil on medium-high. Brown the oxtail for 5 minutes, then add the scallions and 2 tablespoon garlic. Saute for another 3 minutes.
Transfer the oxtail to a roasting pot. Toss the diced jalapeno, onion, and shallot in the same saucepan with 1 tablespoon of Royco. Spoon over the oxtail.
Add the tomato paste, grate one tomato in and dice the other, over the oxtail.
In a small bowl, crush and dissolve the bouillon cubes in warm water, then pour into the pot. Add extra steak seasoning and 1 tablespoon of Royco, then mix well.
Remove any large thyme stems. Place in a 350F oven with the lid on for 4 hours, or until the broth has thickened and the meat easily comes off the bone.
Prepare the mashed potatoes. Boil the sweet potatoes until softened, about 15 minutes. Remove the skin and transfer to a bowl. Mash with a potato masher, then add the butter, salt and pepper, garlic powder, fresh garlic, and milk/cream. Mix until well incorporated, season to taste.
When the oxtail has about an hour left, blanch the green beans. Boil a pot of water (enough to cover the beans) then add the beans and cook until the outside is a bit softened, about 3-5 minutes. You want them to have a bit of crunch. Quickly dunk in cold water to stop the cooking, drain and set aside.
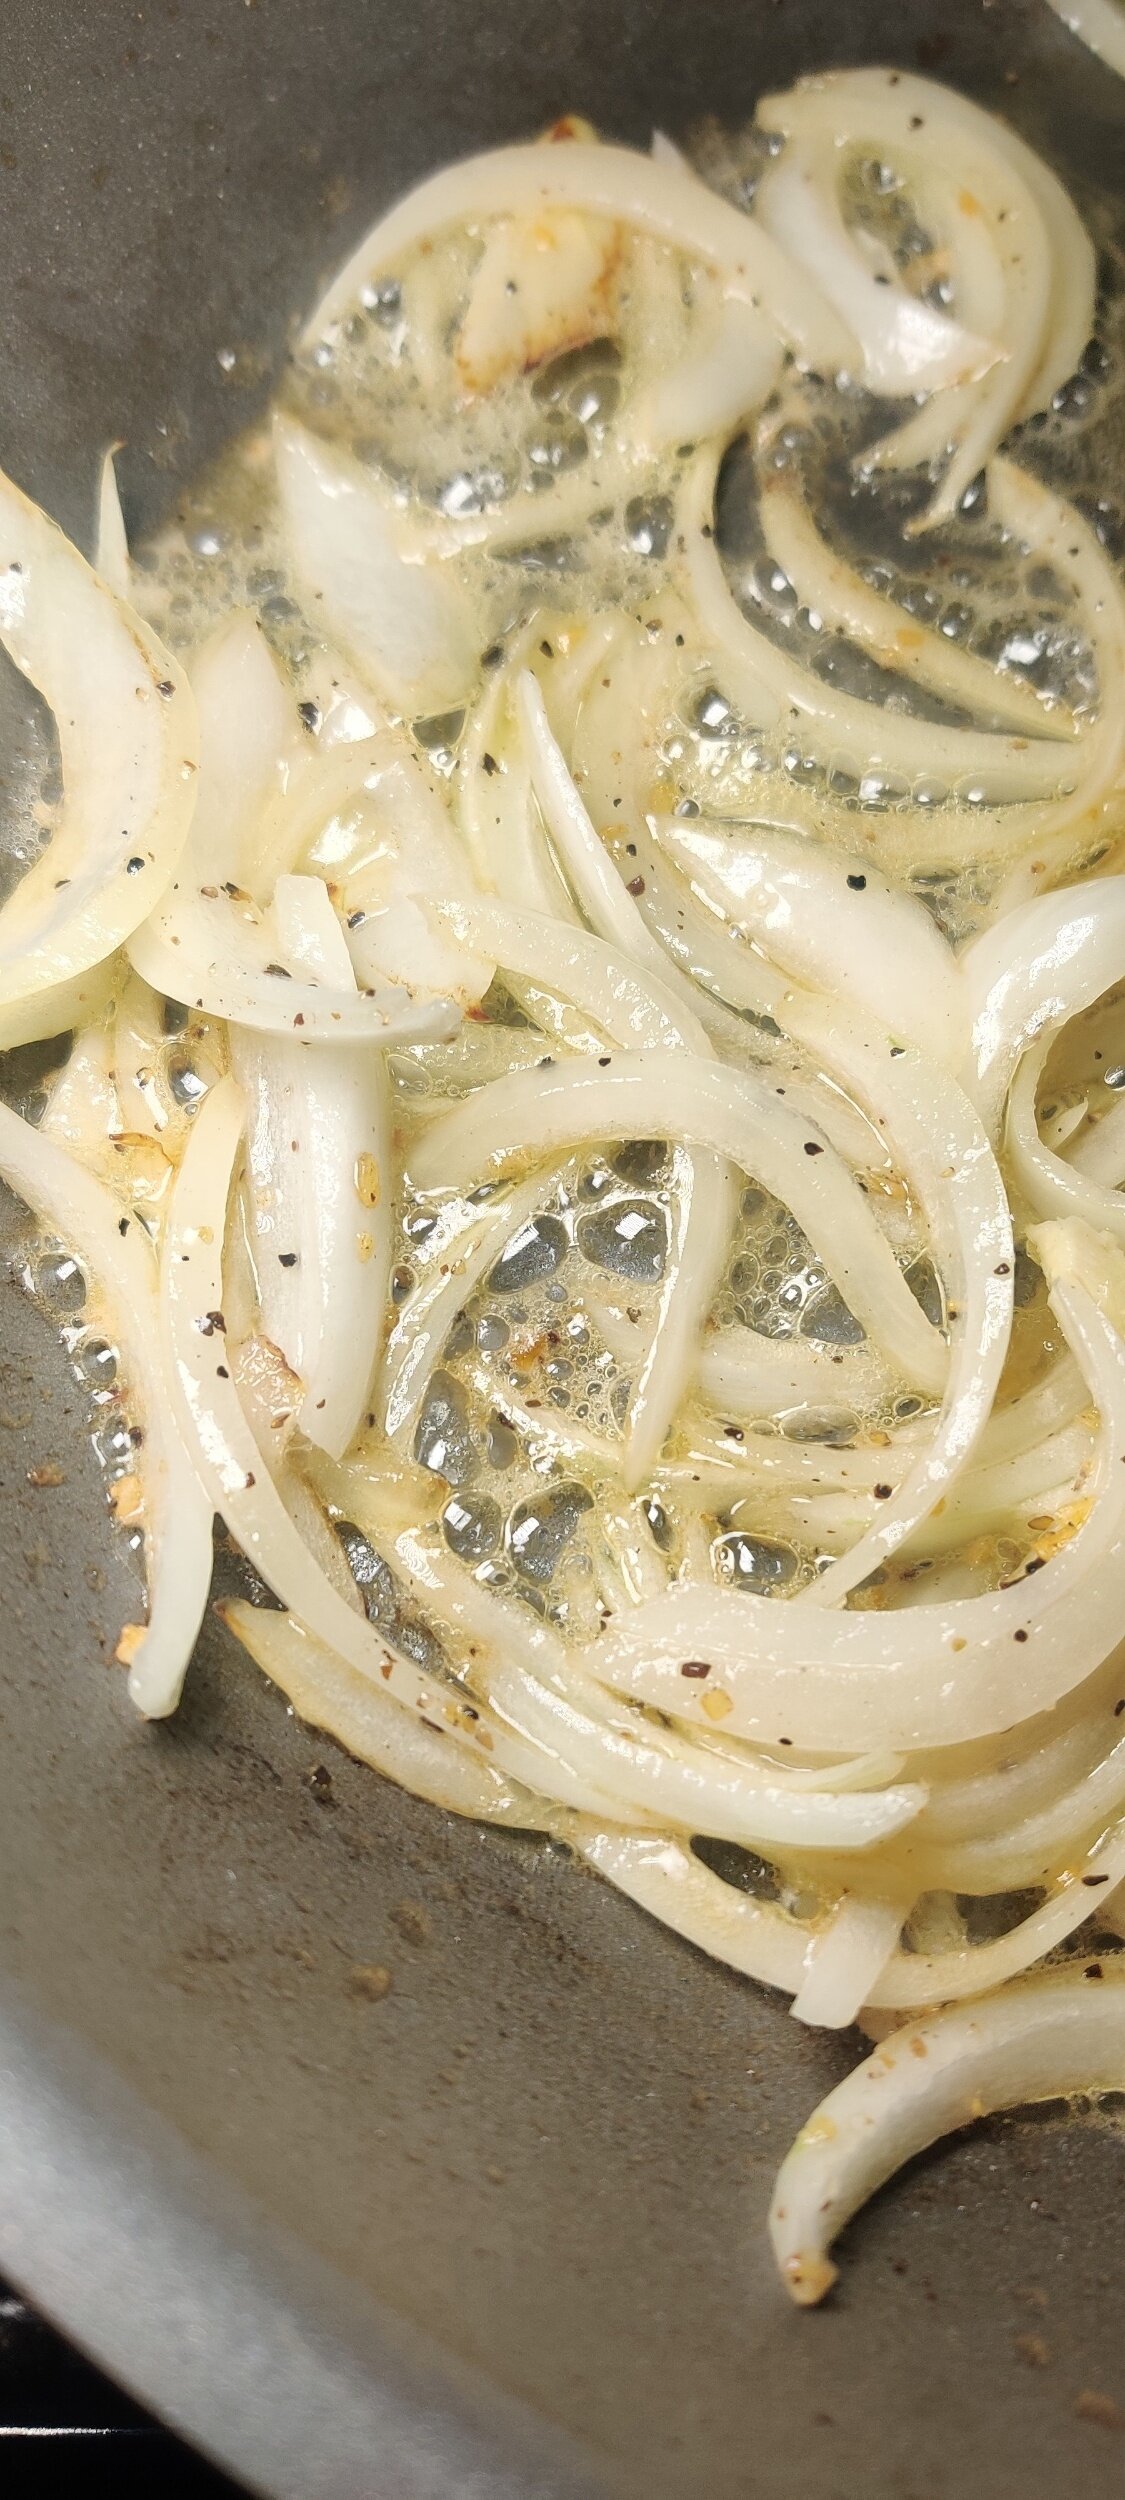
Chop the onion lengthwise, the add to a nonstick pan with the butter. Season with the salt and pepper, sweat them out for about 3-4 minutes.
Deglaze the pan with the soy sauce and add brown sugar. Reduce the heat and stir until the onions begin to caramelize, set aside.
In a small baking dish, add the drained beans, mushroom cream soup, salt, pepper, garlic powder, and milk.
Sprinkle the bread crumbs and grated cheese on top. Bake at 350F for about 25-30 minutes. Remove from heat and top with the caramelized onions.
Serve the oxtail hot atop the mashed potatoes with the green bean casserole on the side.
Tip: The oxtail will taste better in the two days after as the flavours will meld together and intensify, consider making it the day before serving!

Pawpaw Sorbet
This recipe is the sixth of six plates I would serve if asked to make a 6-course meal or string of small plates/tapas based on Zimbabwean cuisine. I used ingredients that are commonly eaten or are considered a cornerstone of our cooking, but with a modern twist. The first was sweet potato soup, the second tomato bruschetta with guava balsamic glaze, the third fried sadza with chili creamed corn, the fourth Portobello steak with acorn squash and greens and the fifth mango, avocado and cucumber salad.
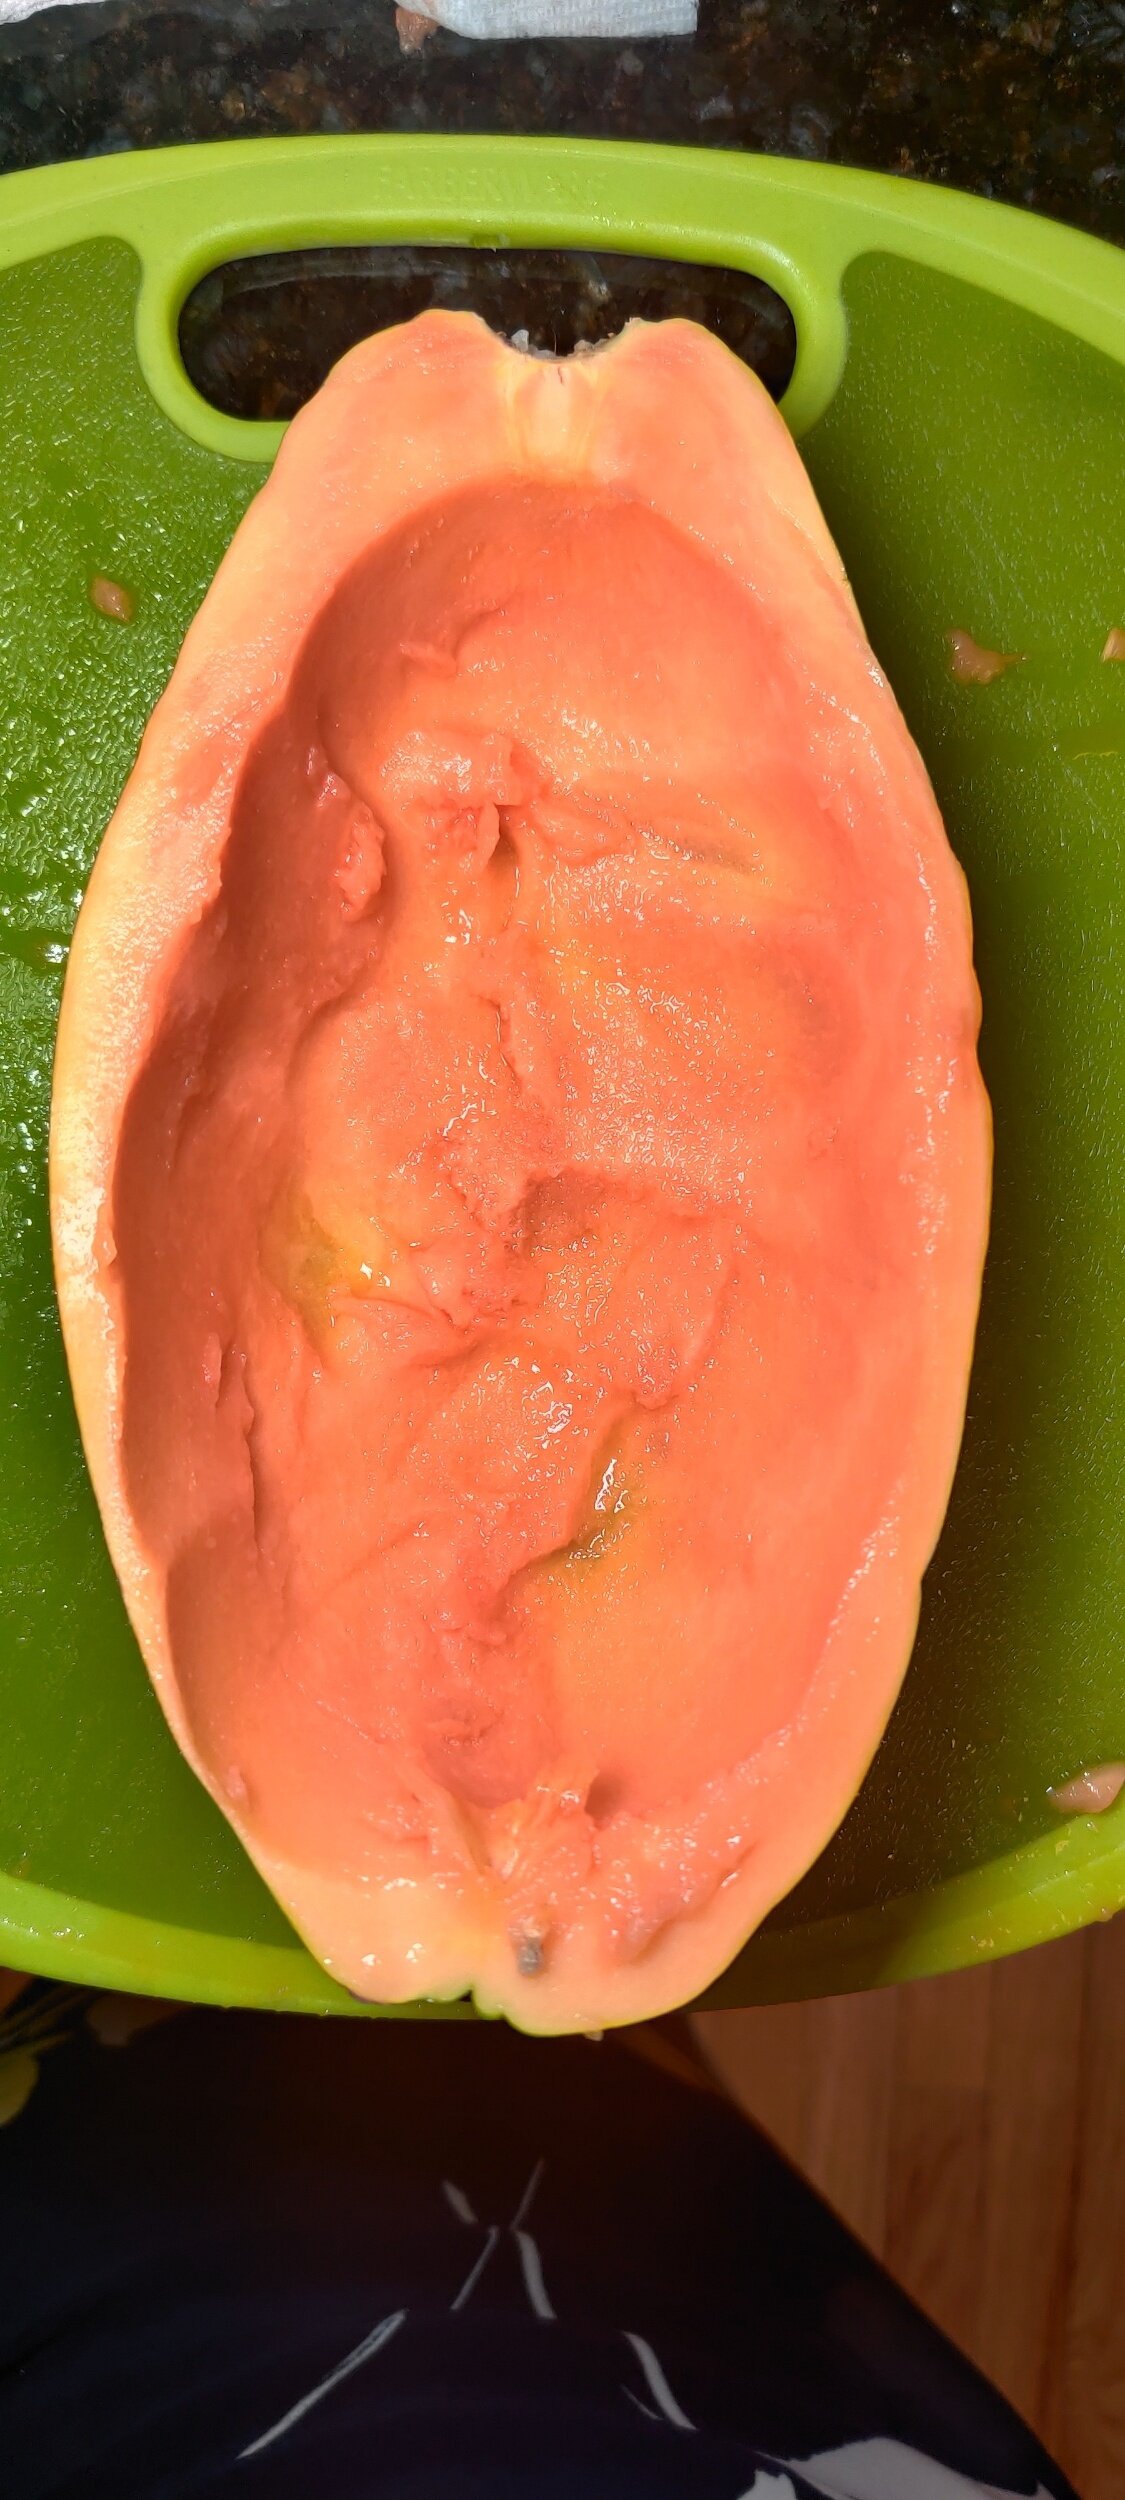
One of the most refreshing fruits there are. More so than watermelon or even pineapple. Pawpaws - or papaya - depending on how accurate you want to be or where you grew up - have a subtle sweetness that can be manipulated into delicious desserts. They are also known for their beneficial properties to the skin, but I simply knew them as a tropical fruit that happened to grow in our garden for a time.
One of the most refreshing fruits there are. More so than watermelon or even pineapple. Pawpaws - or papaya - depending on how accurate you want to be or where you grew up - have a subtle sweetness that can be manipulated into delicious desserts. They are also known for their beneficial properties to the skin, but I simply knew them as a tropical fruit that happened to grow in our garden for a time. This sorbet is light and a perfect finish to a series of savoury plates, especially for those who do not want to indulge in something overly decadent.
The simplicity speaks to the approach I find to dominate the Zimbabwean kitchen, which is the simplest preparation possible, bordering on blandness. However, if done right and with fresh ingredients, can help you to appreciate and focus on the taste of the main ingredient - in this case, the pawpaw.
Both natural sweeteners enhance the sugar in the fruit, but I used both since they lower on the intensity scale. The berry flavour adds another dimension other than the pawpaw to give the sorbet a bit of an edge.
Ingredients
1 pawpaw/papaya
2 tablespoons honey
1/4 cup berry syrup
1 teaspoon lemon juice
4 tablespoons water


Instructions
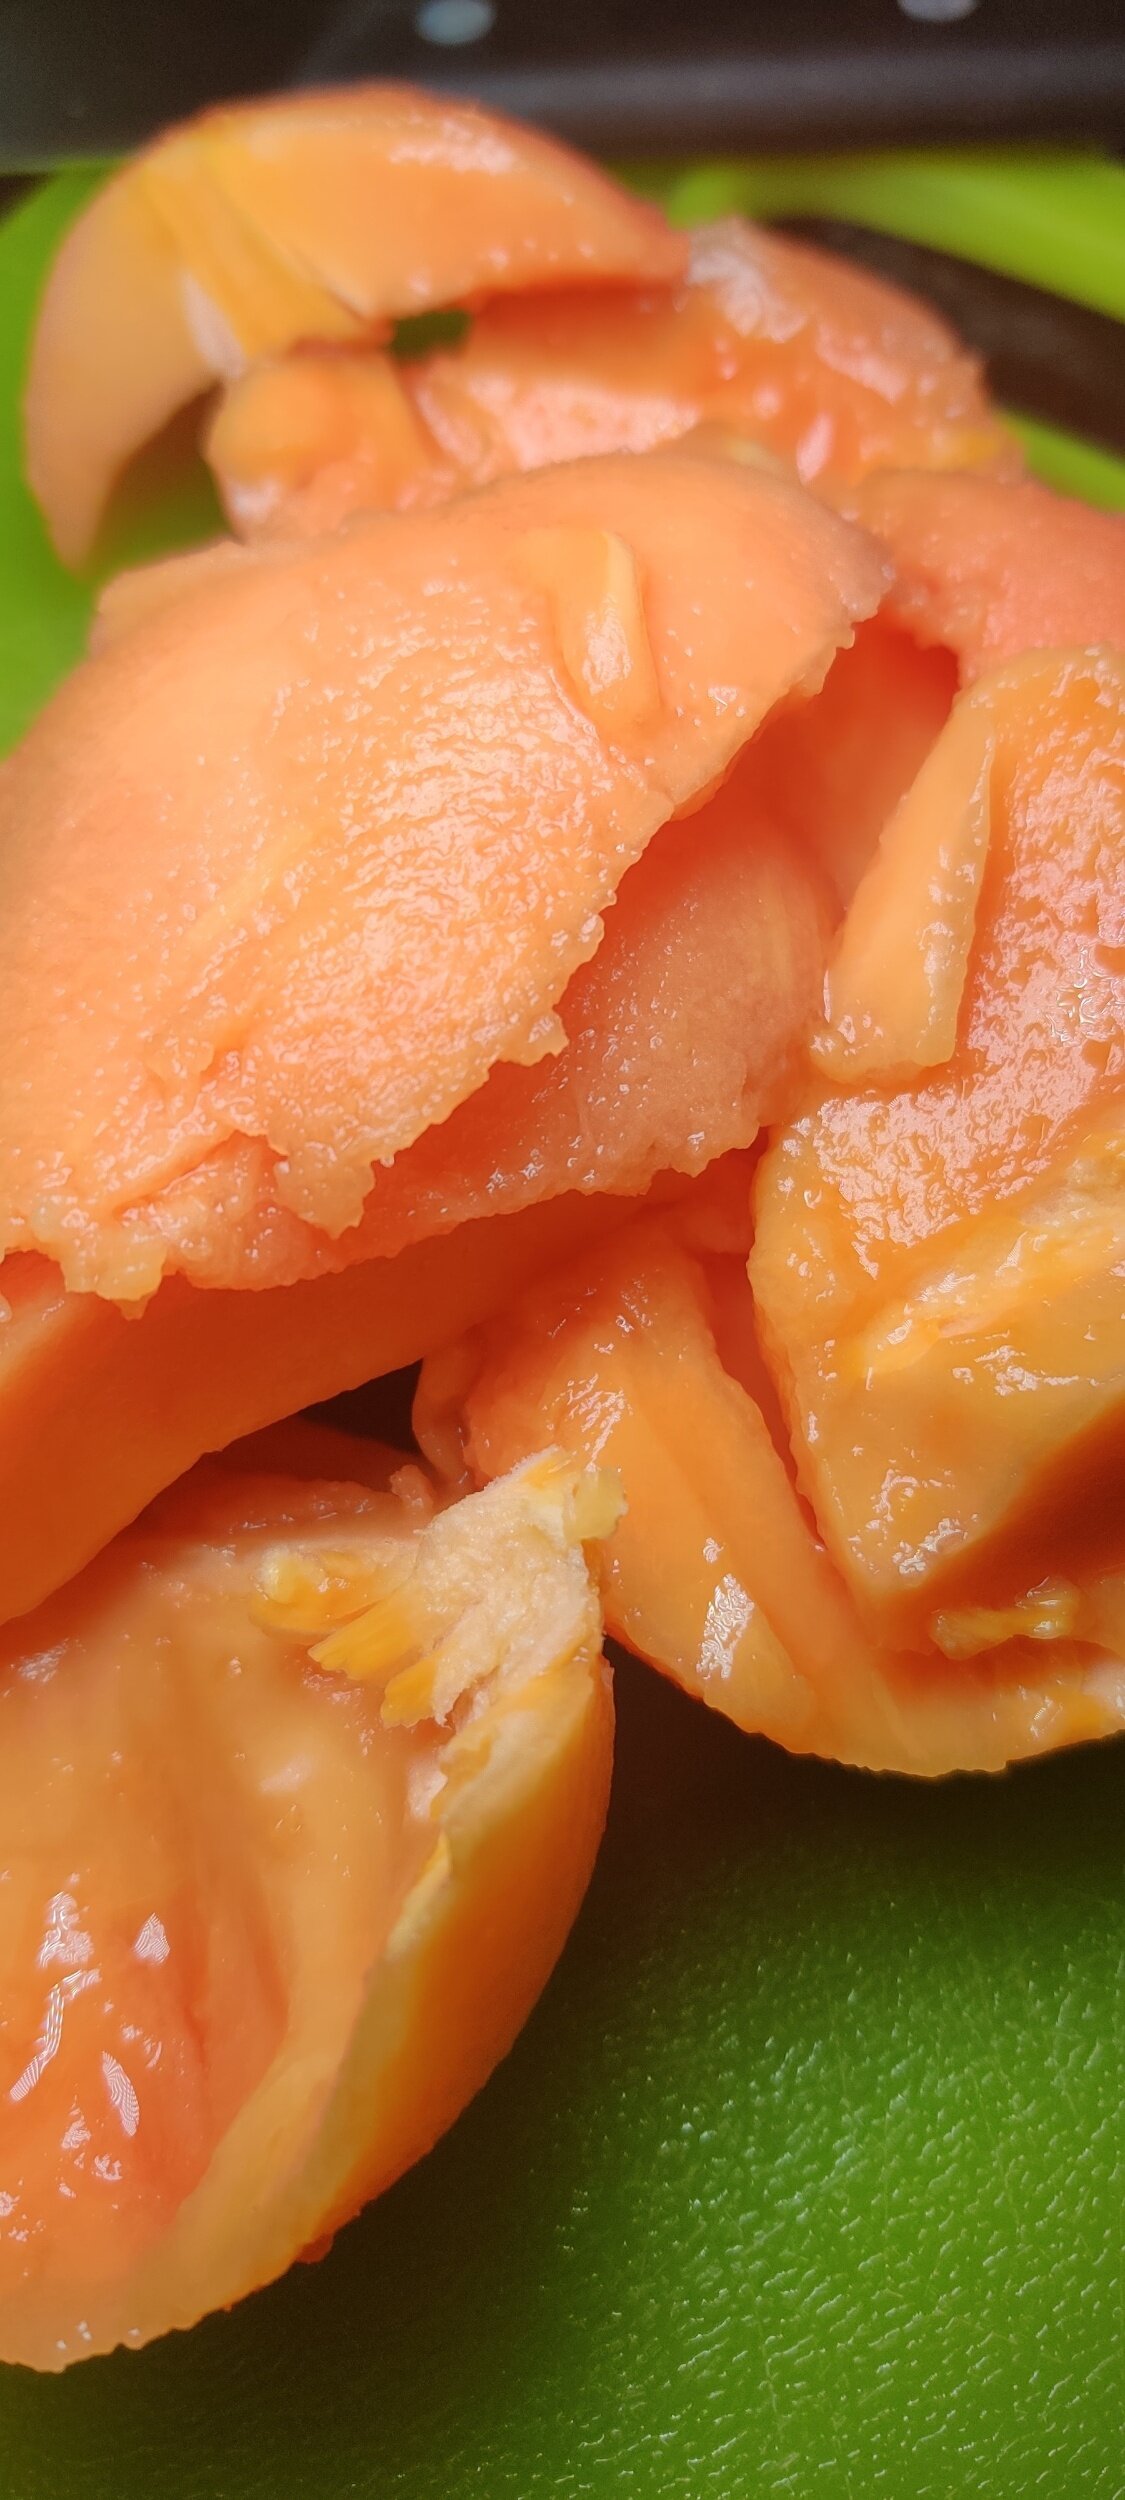
Slice the pawpaw in half, then remove the seeds and fibers. Keep one or both of the skins for serving purposes.
Roughly chop the pawpaw, place the pieces in a zip lock bag, then freeze
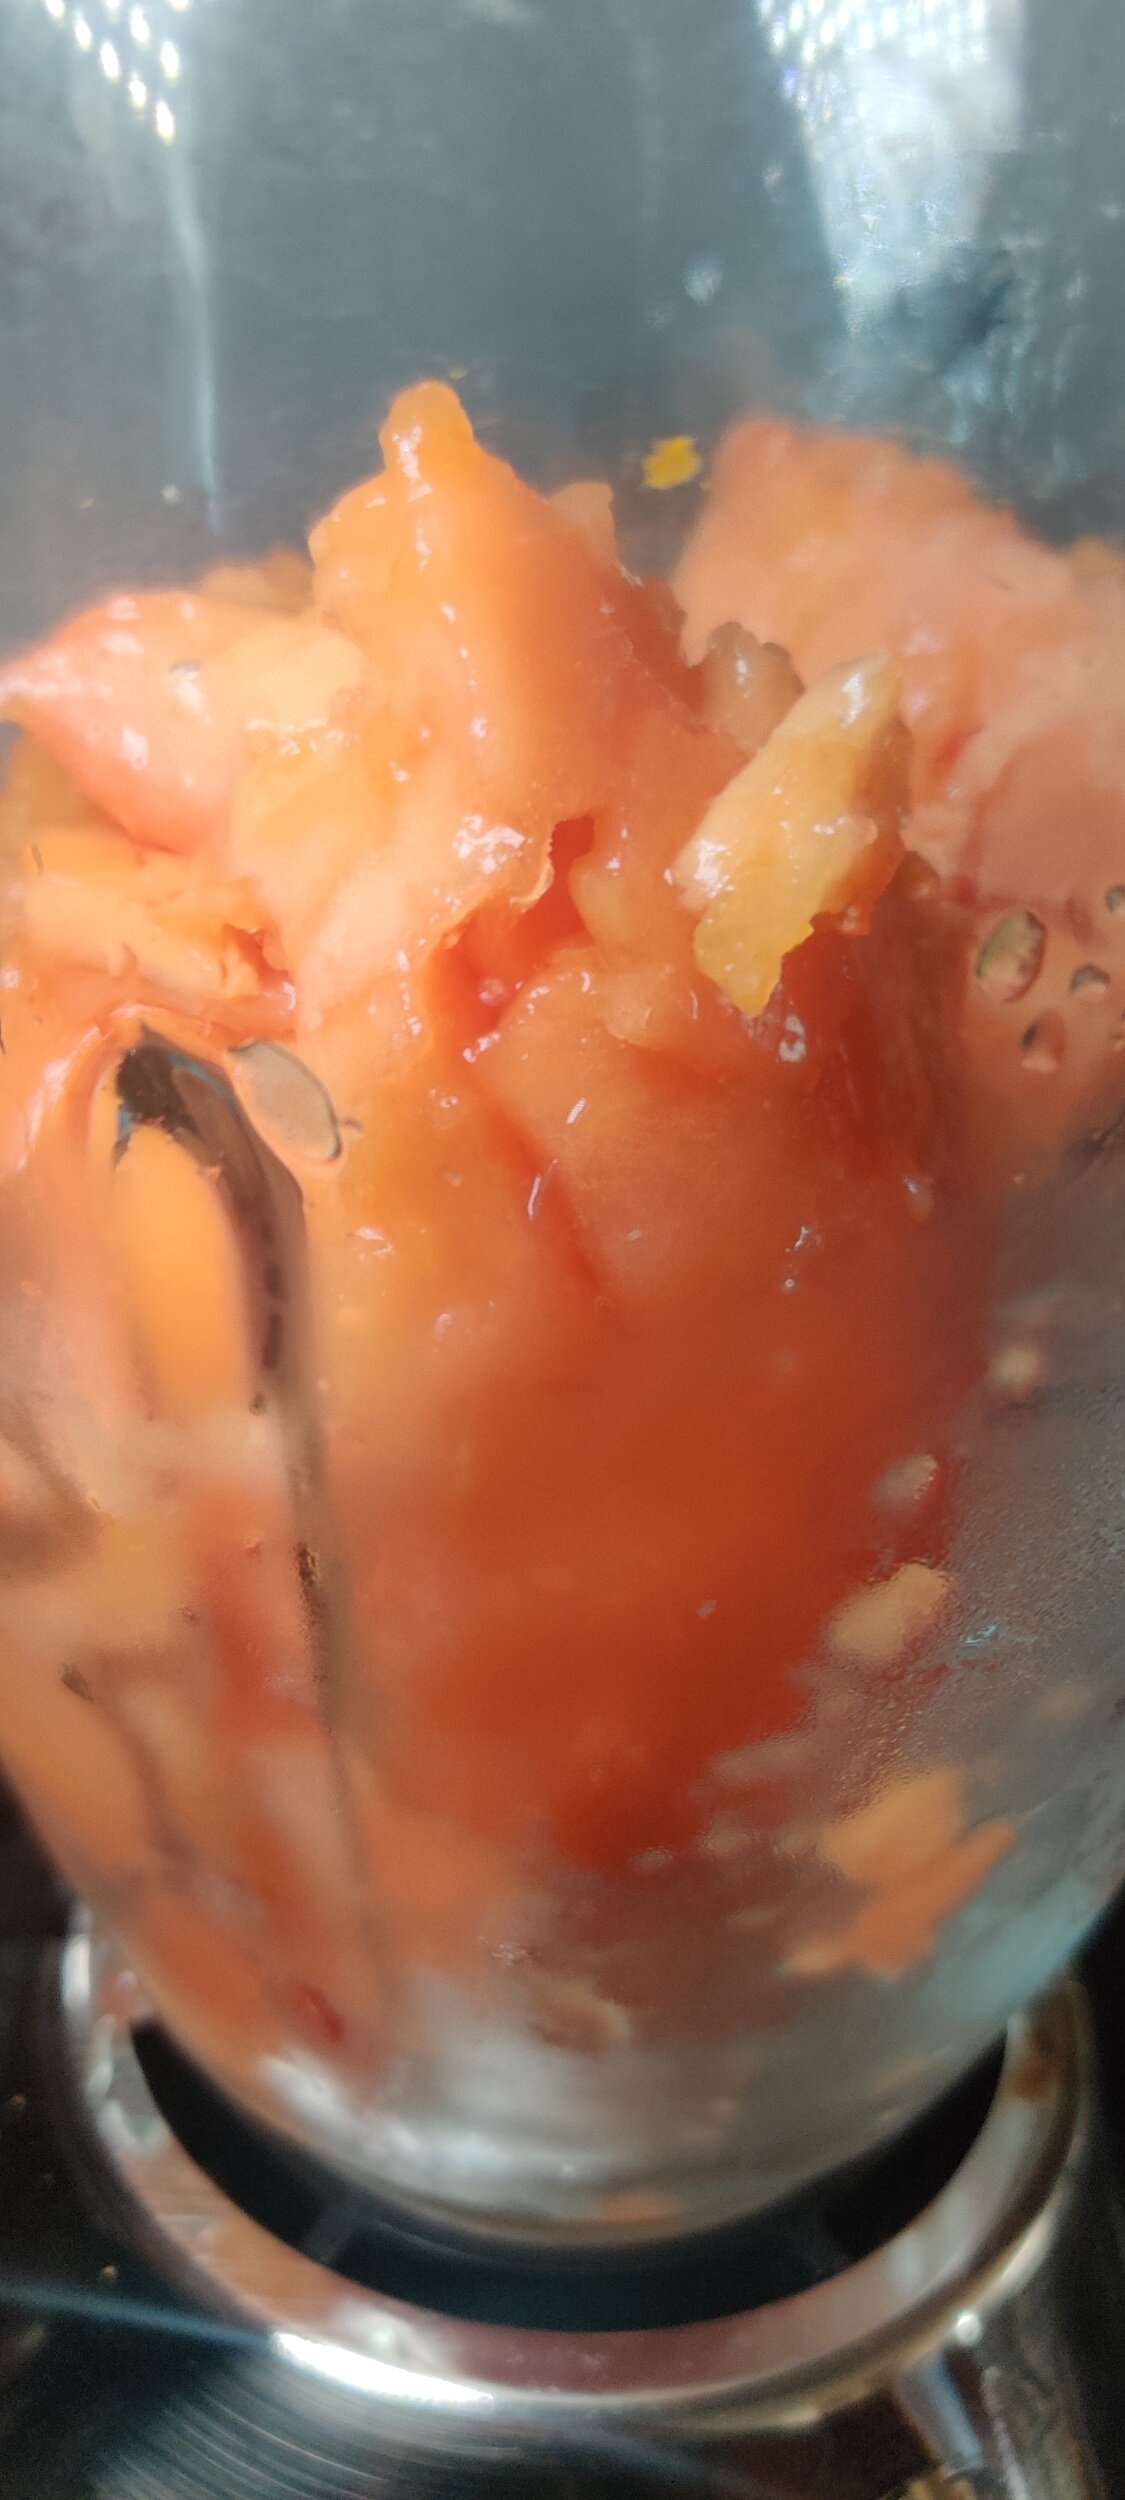
In a food processor or blender, blend the pawpaw pieces, adding the water a little at a time. As the sorbet smoothens, add the honey, lemon juice, and berry maple syrup. You can adjust the quantities to get the level of sweetness and texture you desire.
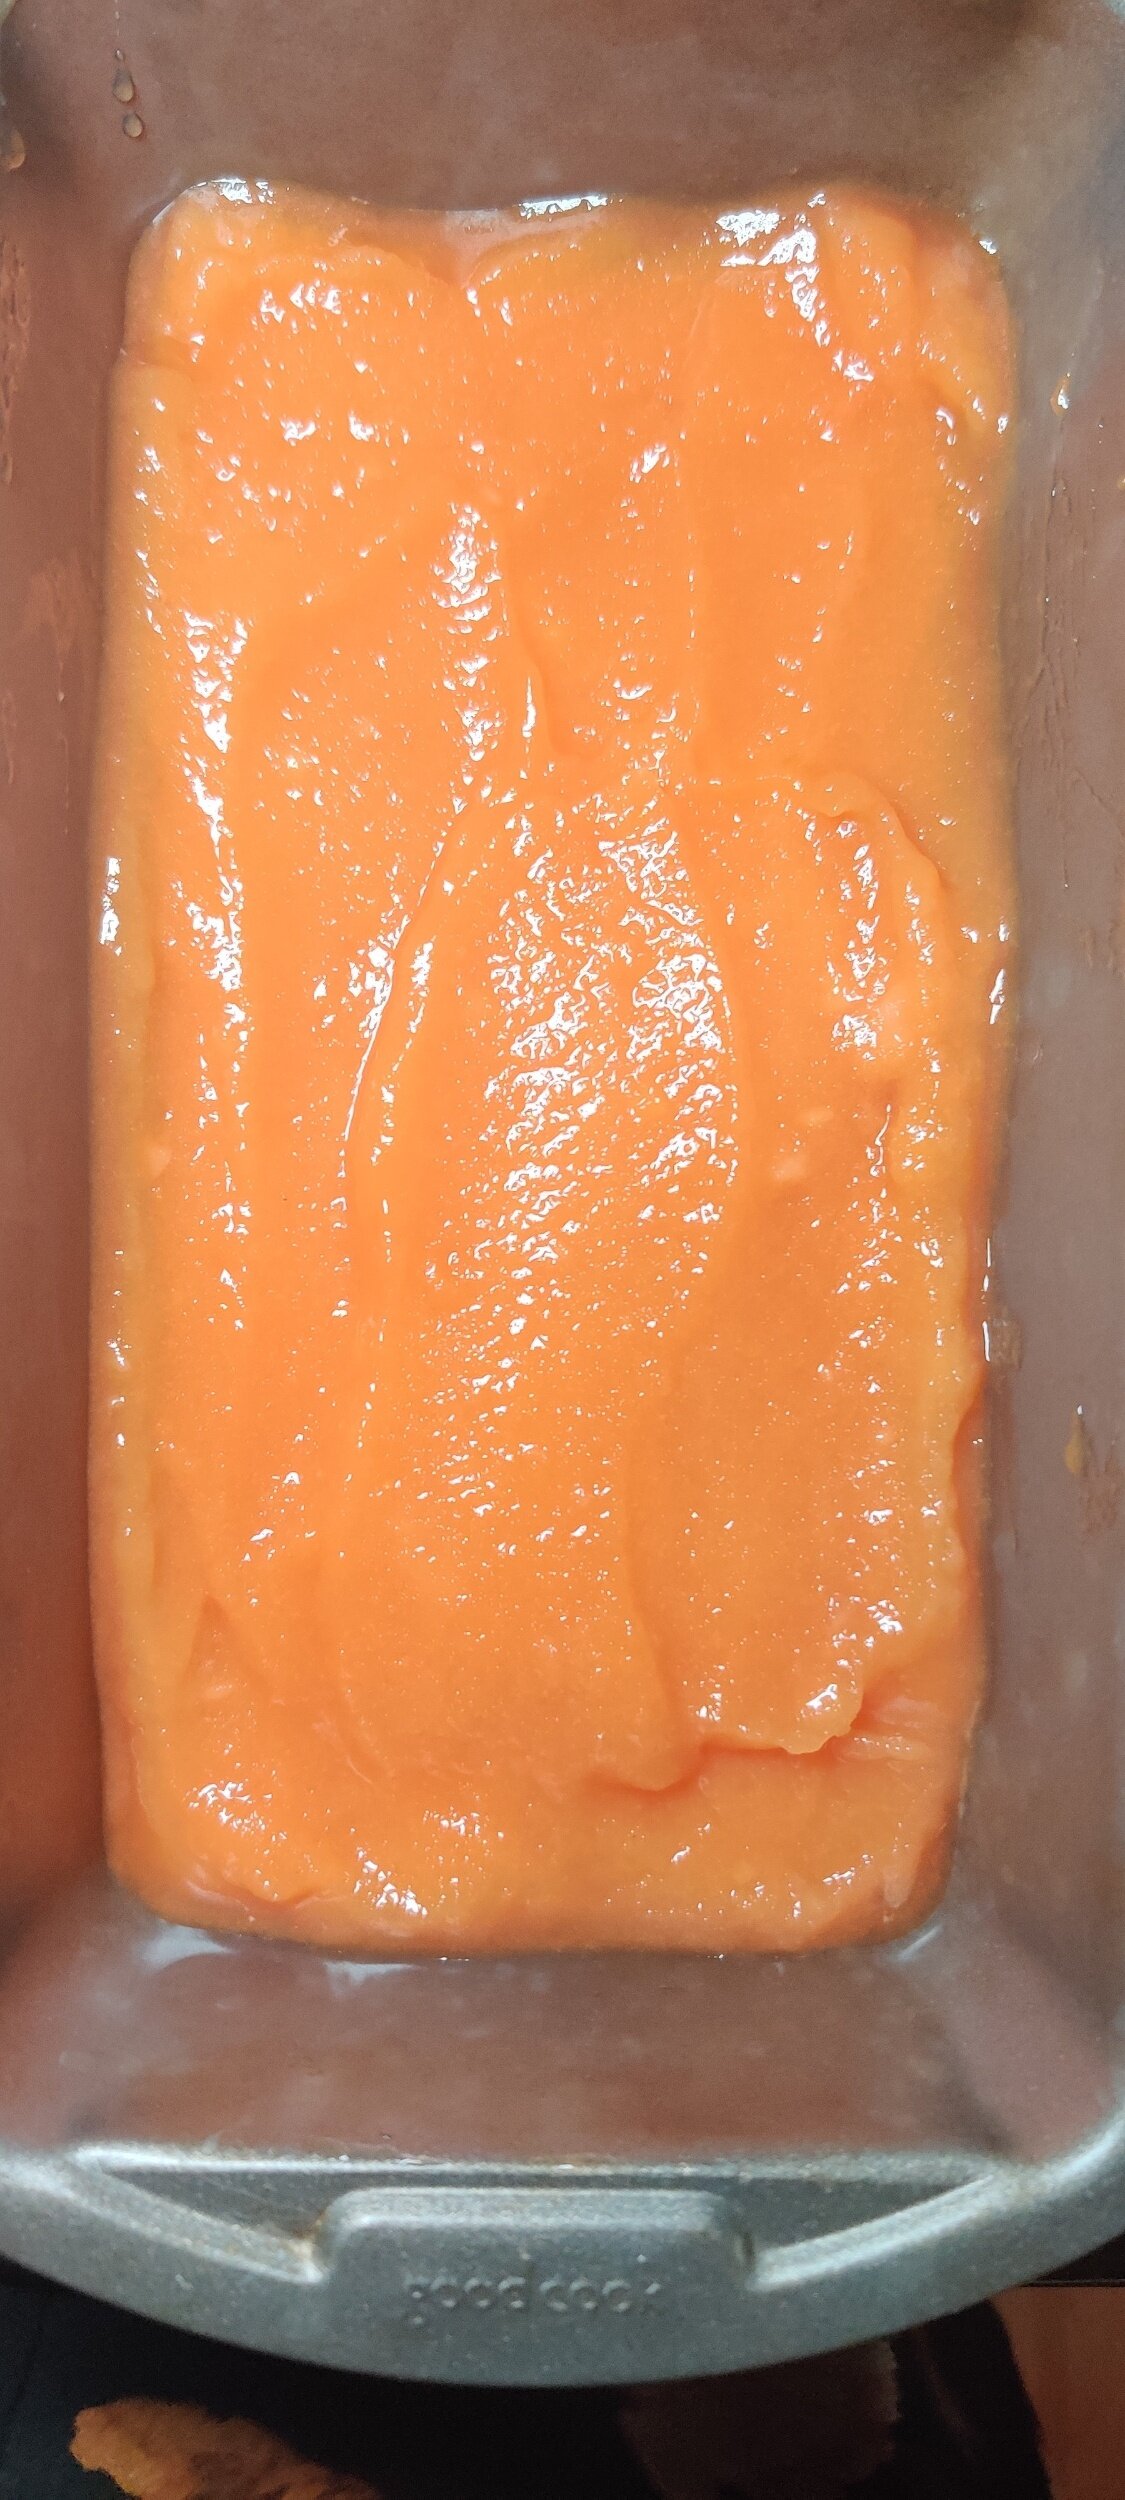
Scoop the mixture into a loaf tin, and freeze for at least 4 hours or overnight. Serve immediately.


Fried Sadza with Chilli Creamed Corn
This recipe is the third of six plates I would serve if asked to make a 6-course meal or string of small plates/tapas based on Zimbabwean cuisine. I used ingredients that are commonly eaten or are considered a cornerstone of our cooking, but with a modern twist. The first was sweet potato soup and the second was tomato bruschetta with guava balsamic glaze.
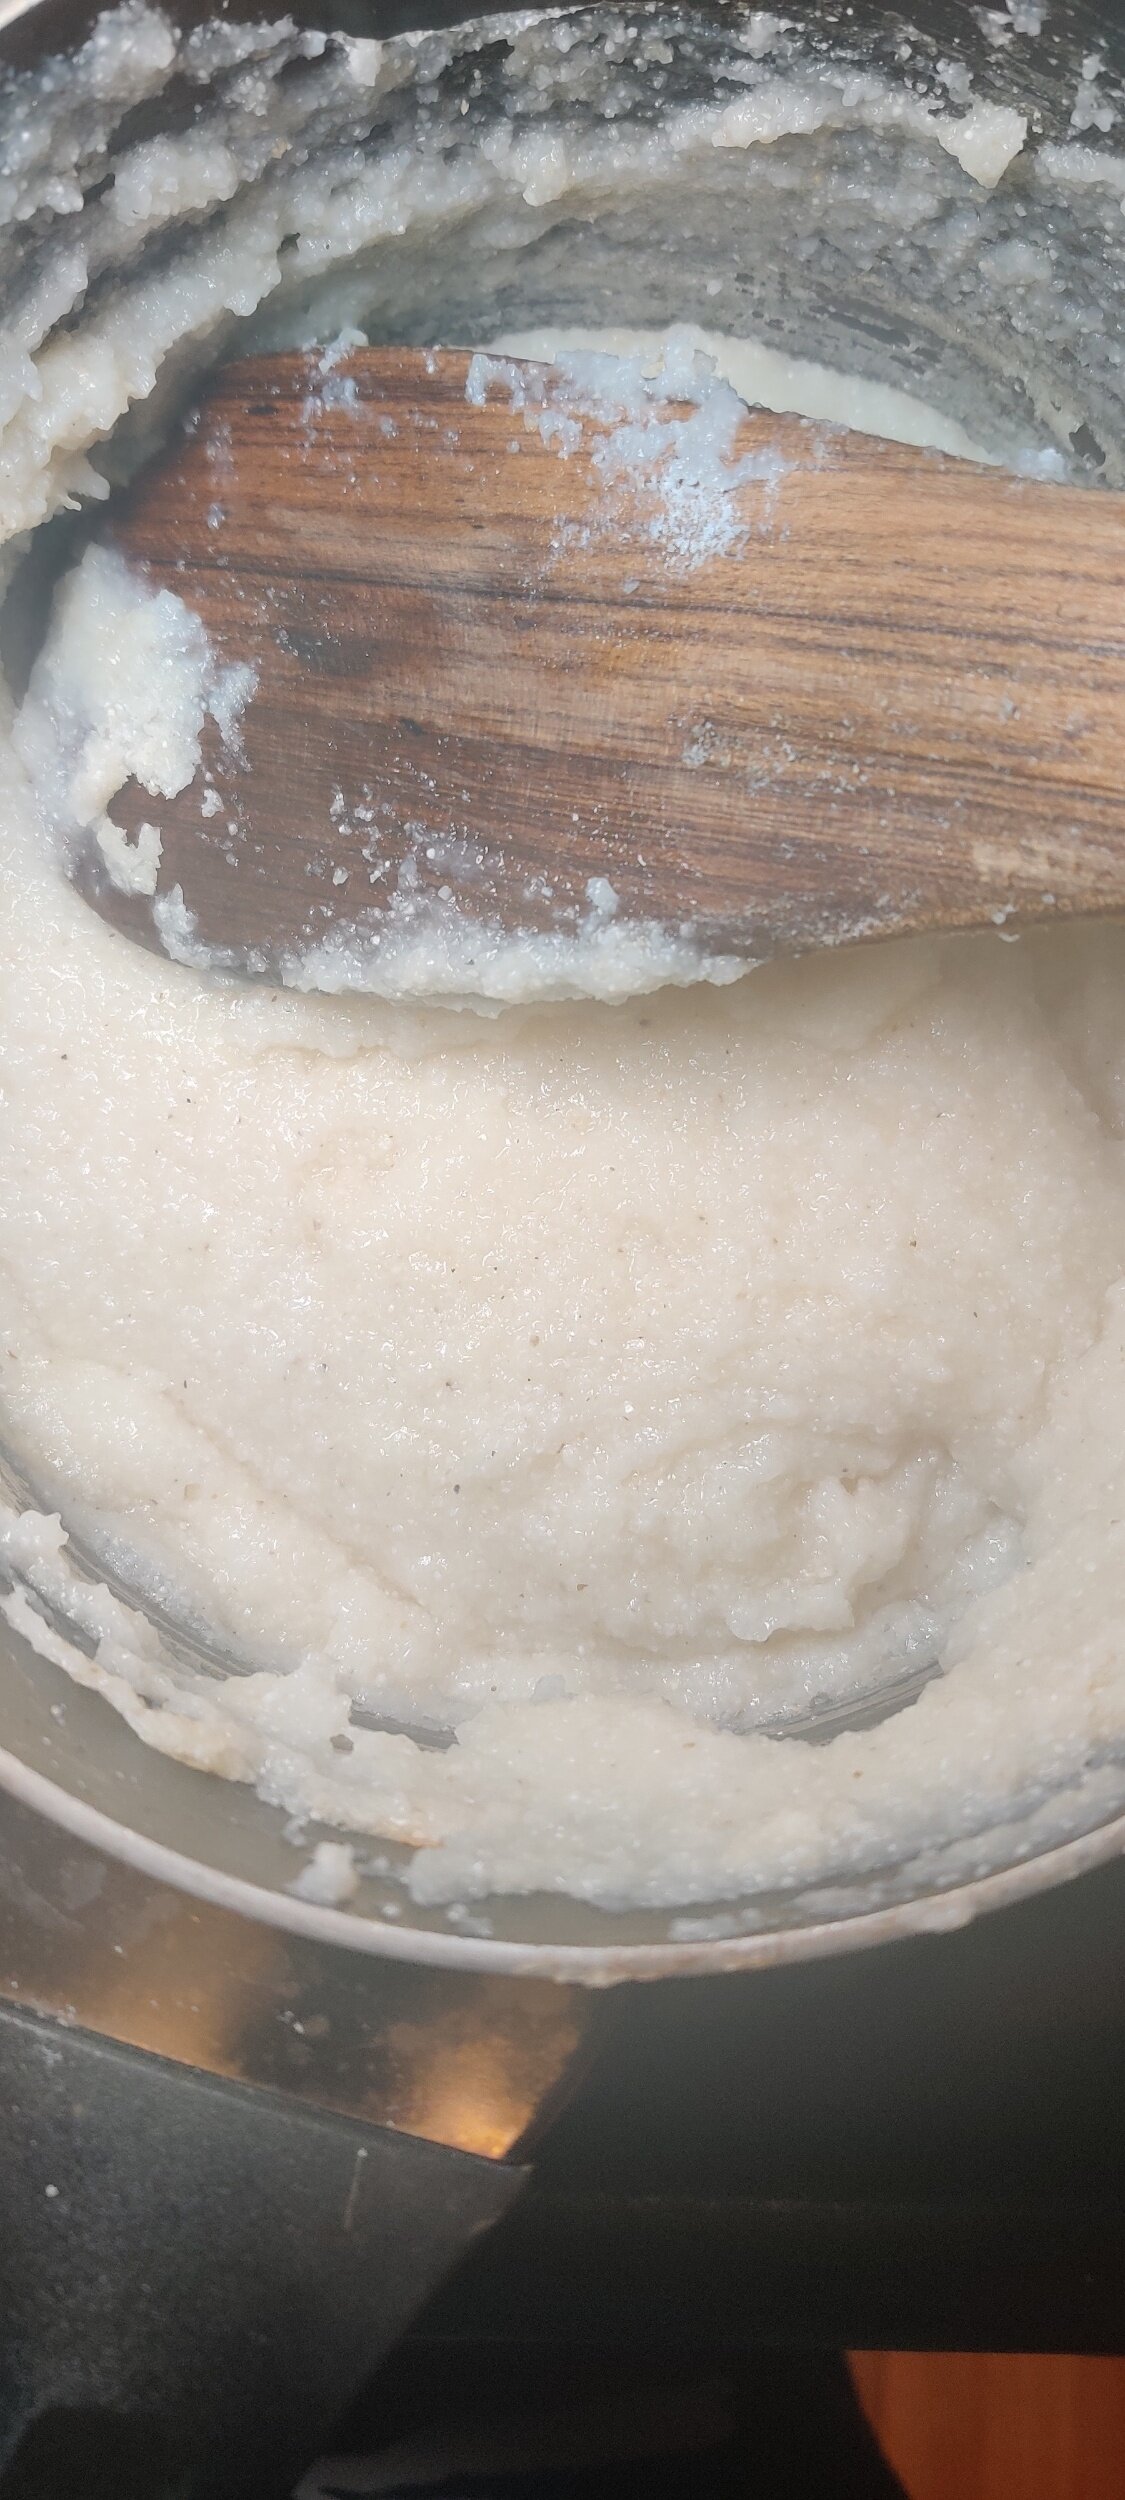
Sadza. A quintessential part of Zimbabwean cuisine. It's merely ground cornmeal cooked into a dough-like consistency, so a lot can be done with it. We don't typically fry it, similar to the way hushpuppies are made. I like to compare it to naan in India and injera in Ethiopia. Sazda is mainly used as a starch to serve with stewed and grilled meats and vegetables, or as a tool to eat with using hands, no cutlery necessary!
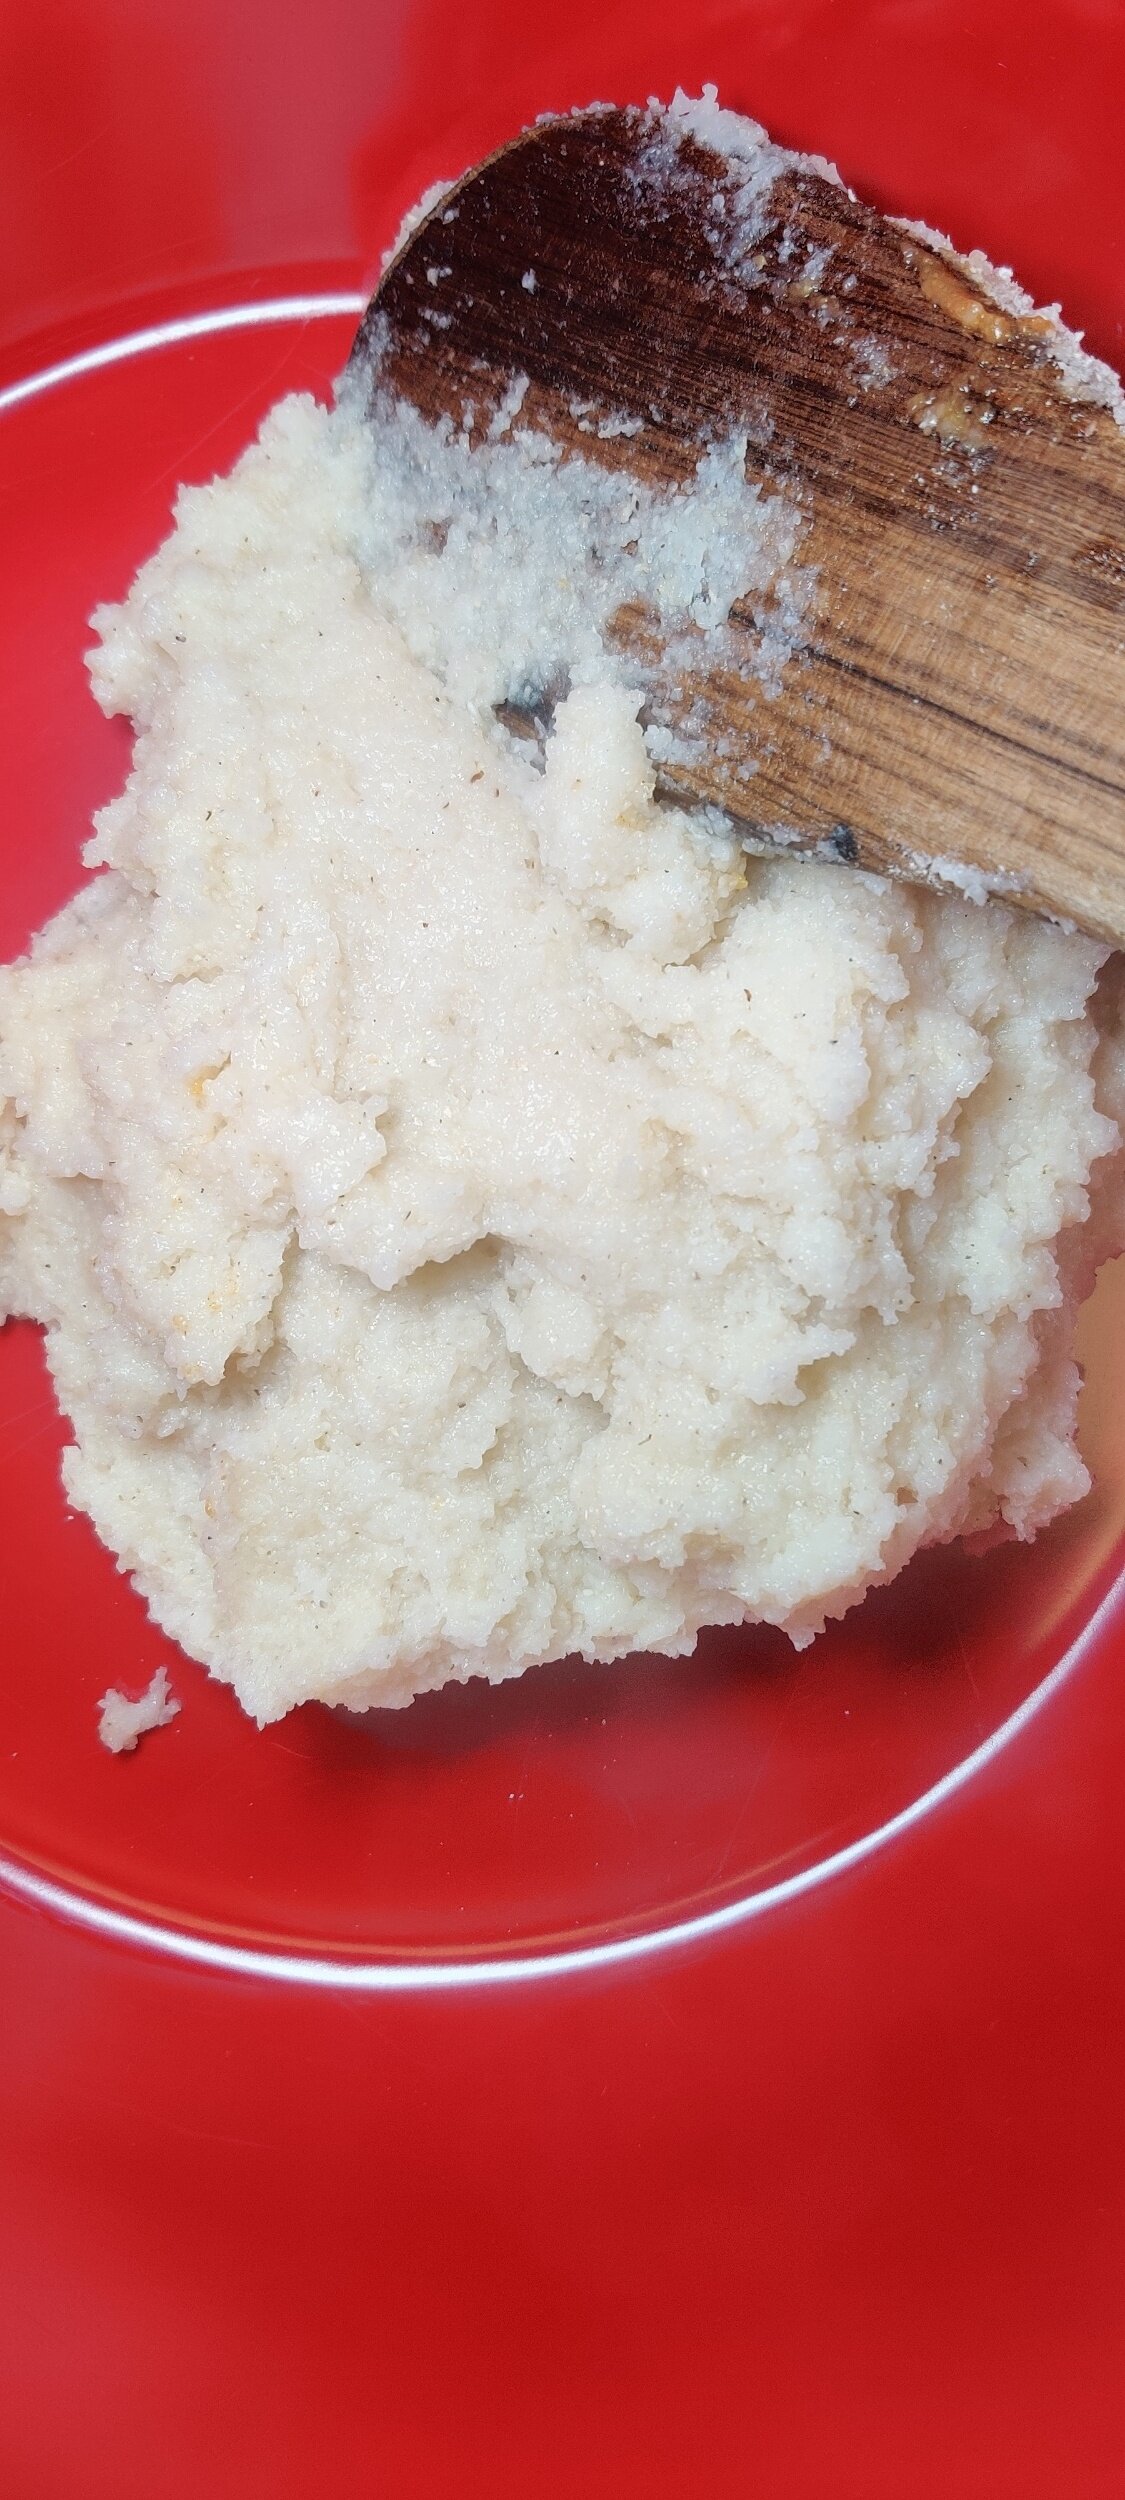
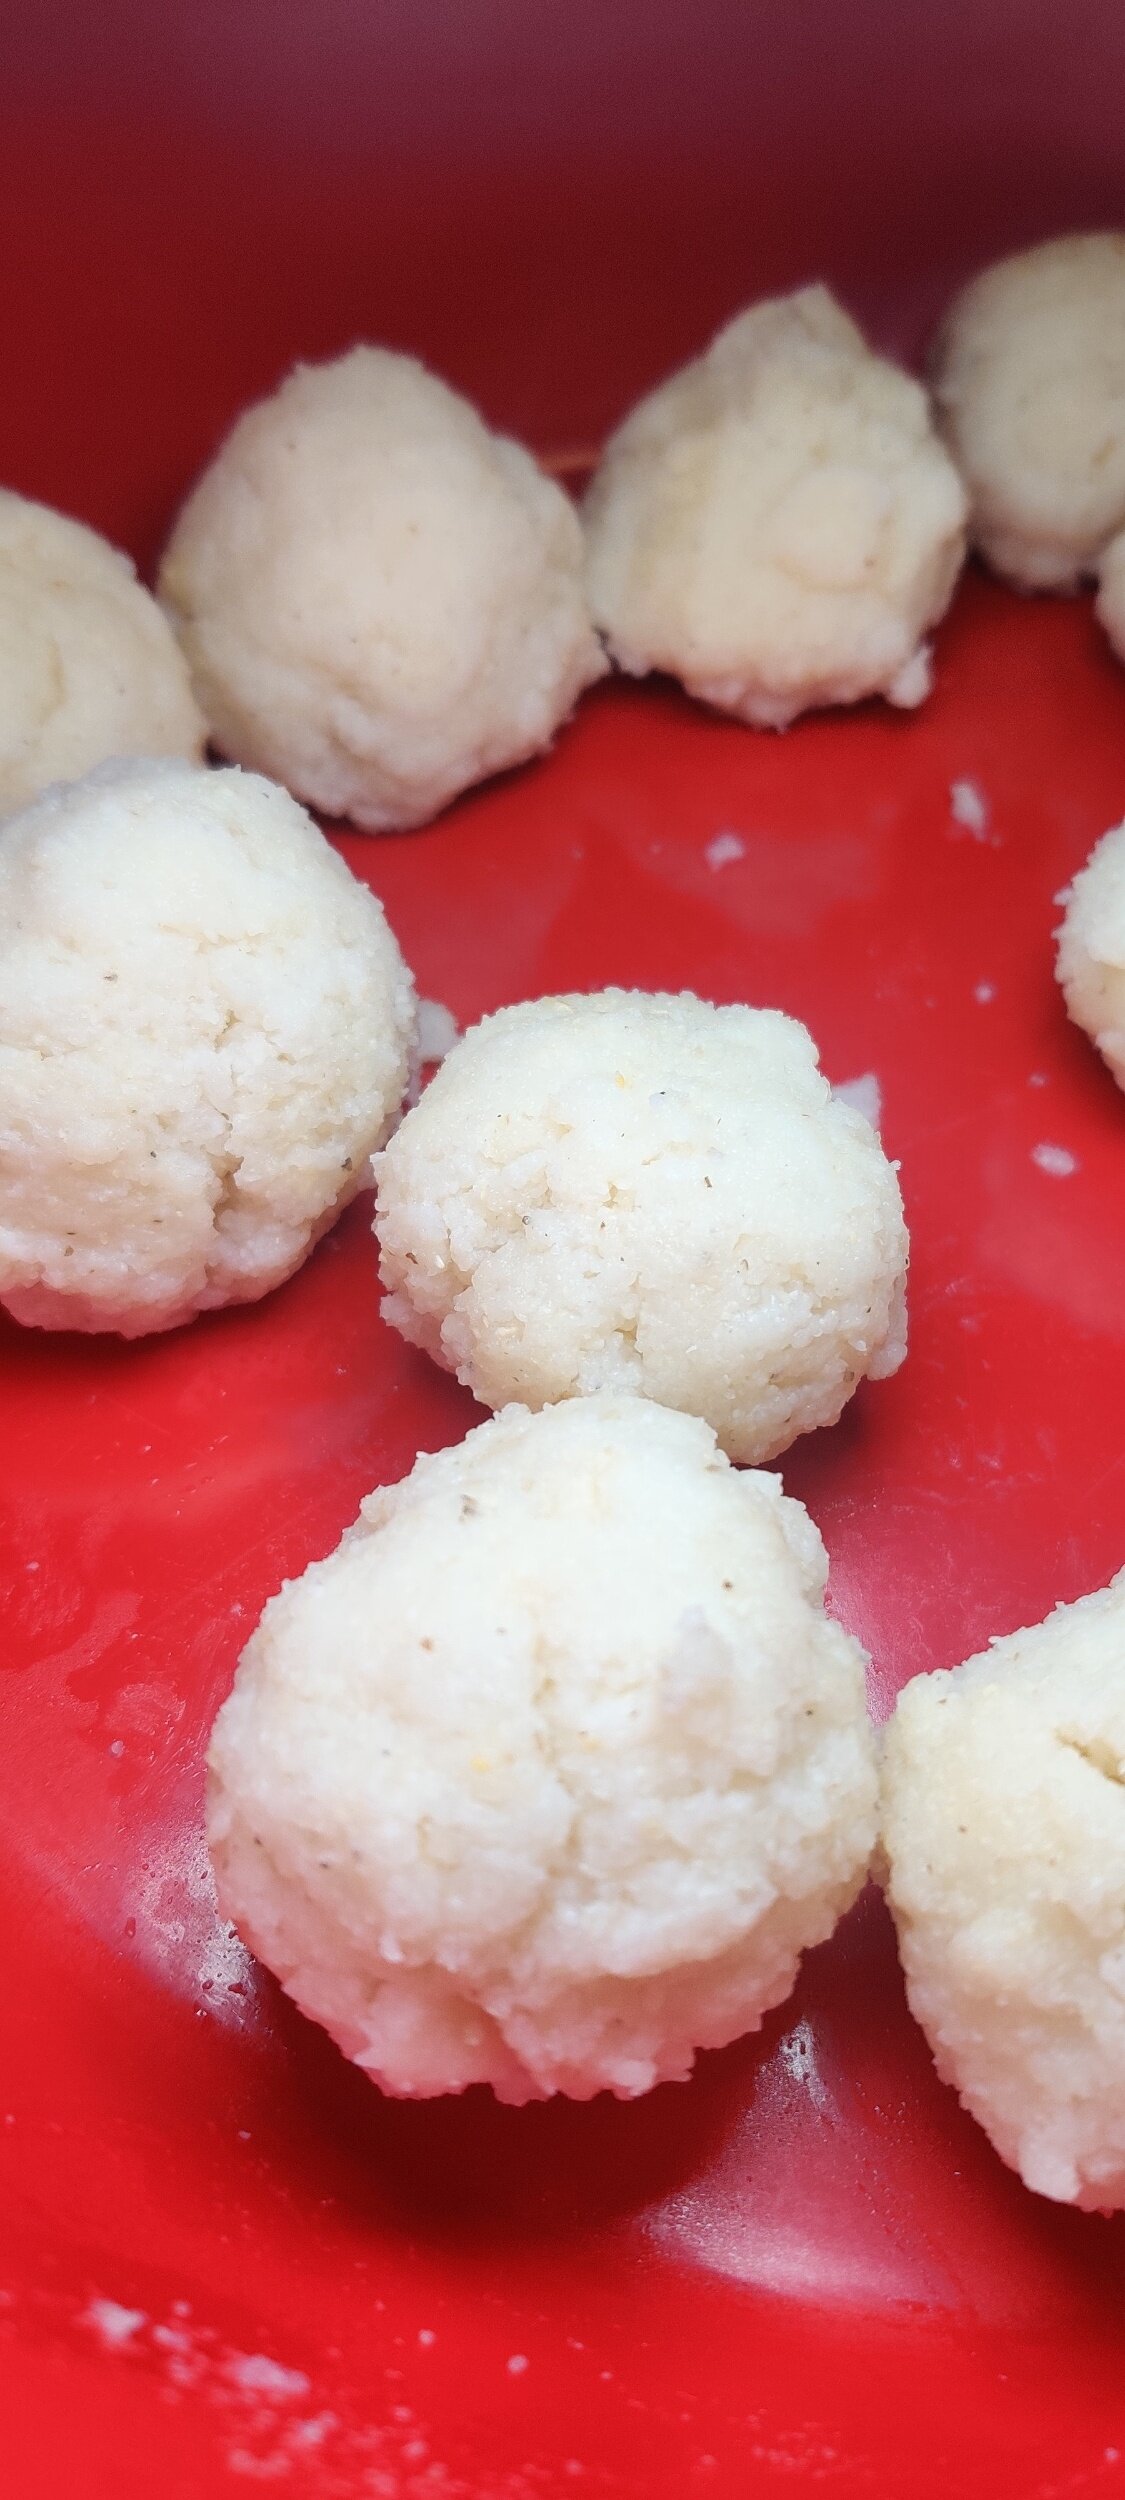
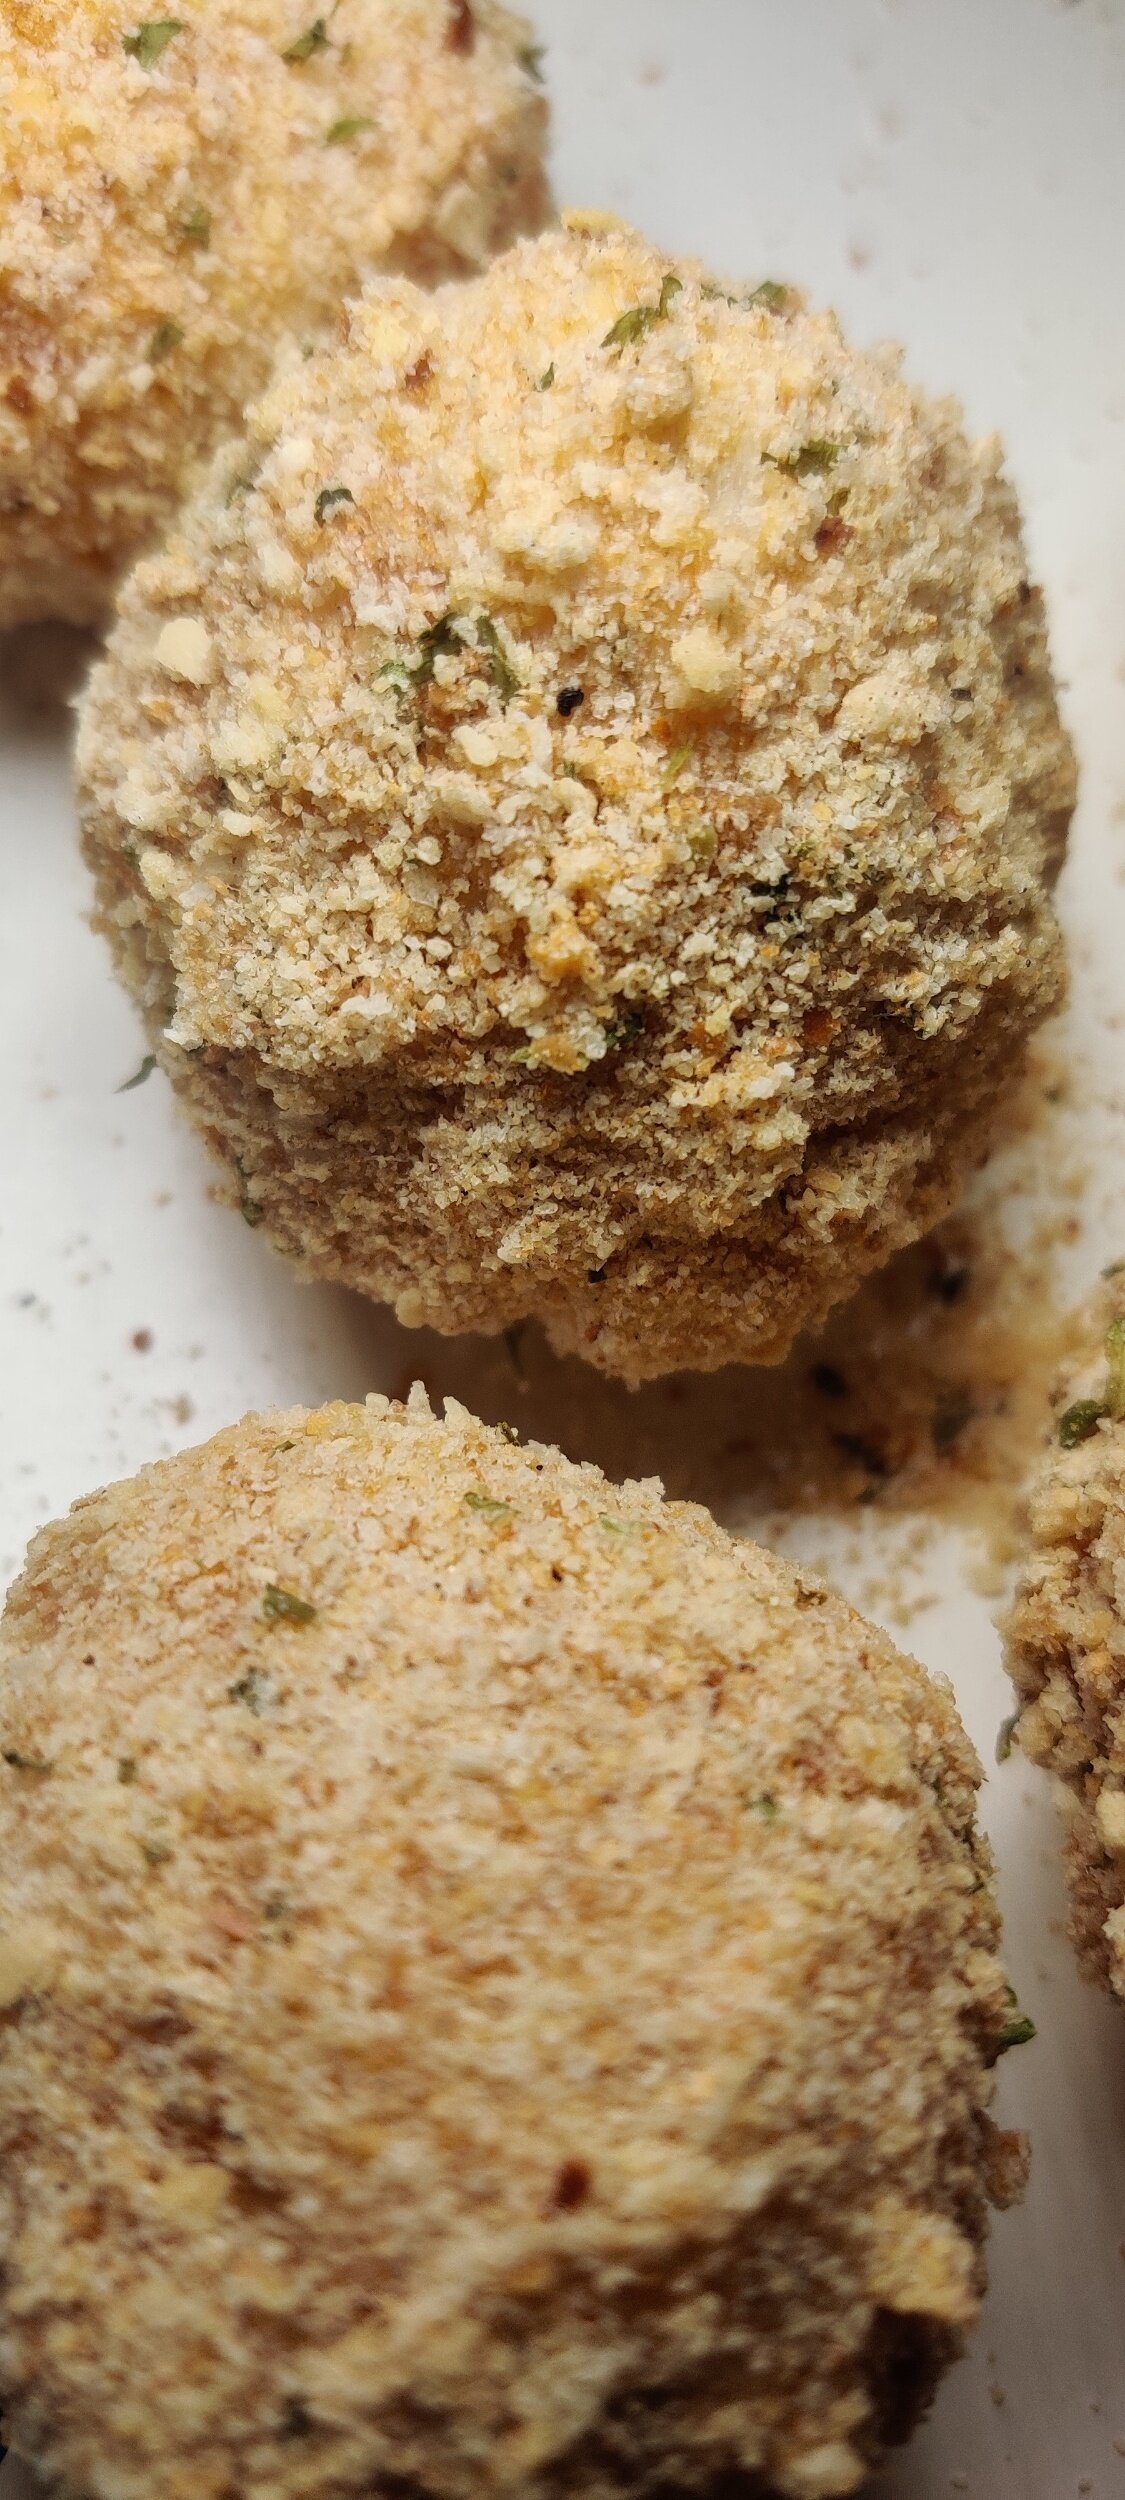
I seasoned and cooked the sadza, coat them with breadcrumbs then fried the balls in peanut oil.
These can be delicious as they are, but you'll want a sauce or gravy to serve the fried sadza with. Fast-food chain KFC adapted this into their menu to cater to the Zimbabwean market, which I found interesting when I first learned of it, but you can do it in your own home!
I made a spicy, creamed corn sauce to dip the fried sadza balls into, making for a delightful appetizer. If you're big on texture, add some corn kernels.
Ingredients
1 1/2 cups white mealie/cornmeal
1 tablespoon garlic powder
2 teaspoons salt
2 tablespoons black pepper
2 teaspoons fenugreek powder
1 1/2 tablespoons coriander
1 can creamed corn
1 tablespoon cumin
2 tablespoons tomato sauce
1 tablespoon paprika
1 teaspoon cayenne pepper
1/2 poblano pepper, diced
2 tablespoons Royco Usavi mix (optional)
1 tablespoon minced garlic
1/4 cup finely minced onion
2 cups peanut oil (more if you need it)
1/3 + 1/4 cup cold water
1 1/2 cups boiling water
1 egg, beaten
1/3 cup breadcrumbs
Instructions
Make your sauce. You can reheat it when it comes time to serve with the sadza balls. In a small frying pan, sauté the creamed corn and diced poblano pepper with the minced garlic, tomato sauce, onion, 1 tablespoon black pepper, 1 teaspoon fenugreek, 1 teaspoon salt, 1 tablespoon coriander, cumin, paprika, cayenne, and Royco Usavi on medium-low heat for about 5 minutes. Add 1/4 cup water and simmer for another 5 minutes, set aside. You can adjust the water depending on how thick you want your dipping sauce.
Mix about 1/4 of the cornmeal with the garlic powder, 1 teaspoon salt, 1 tablespoon black pepper, 1 teaspoon fenugreek and 1/3 cup cold water (or enough) to form a paste. Pour the boiling water into a little bit at a time while stirring with a wooden (or whisking) to prevent lumps over medium heat. Take care not to splash yourself! A thick porridge should begin to form.
Over medium-low heat, once the porridge begins to bubble cover with a lid and simmer for about 15 minutes.
Fold in the rest of the cornmeal flour a little bit at a time with a figure 8 motion to thicken the sadza, and ensure not to leave any dry cornmeal in the pot. You can add more or less cornmeal by a slight margin, but you’ll want the sadza to be thick enough to roll into balls later.
Cover with lid again and allow for it to breathe for about 10 minutes - you may hear a puffing sound. Remove from heat and set aside.
Transfer the sadza to a large bowl to further cool until you can manage it with your hands, but don't allow it to get stone cold!
Heat the peanut oil on medium-low heat in preparation to fry.
Roll the sadza into balls, then systematically dip into egg and then the breadcrumbs.
Fry the sadza balls 3-4 at a time depending on the size of your pot, rotating to evenly fry on each side until they are golden brown.
Remove and place on paper towels to drain any excess oil.
Serve the fried sadza balls hot immediately with the sauce, makes about 9-12 balls.

Sweet Potato Soup
This is one of six plates I would serve if asked to make a 6-course meal or string of small plates/tapas based on Zimbabwean cuisine. I used ingredients that are commonly eaten or are considered a cornerstone of our cooking, but with a modern twist.
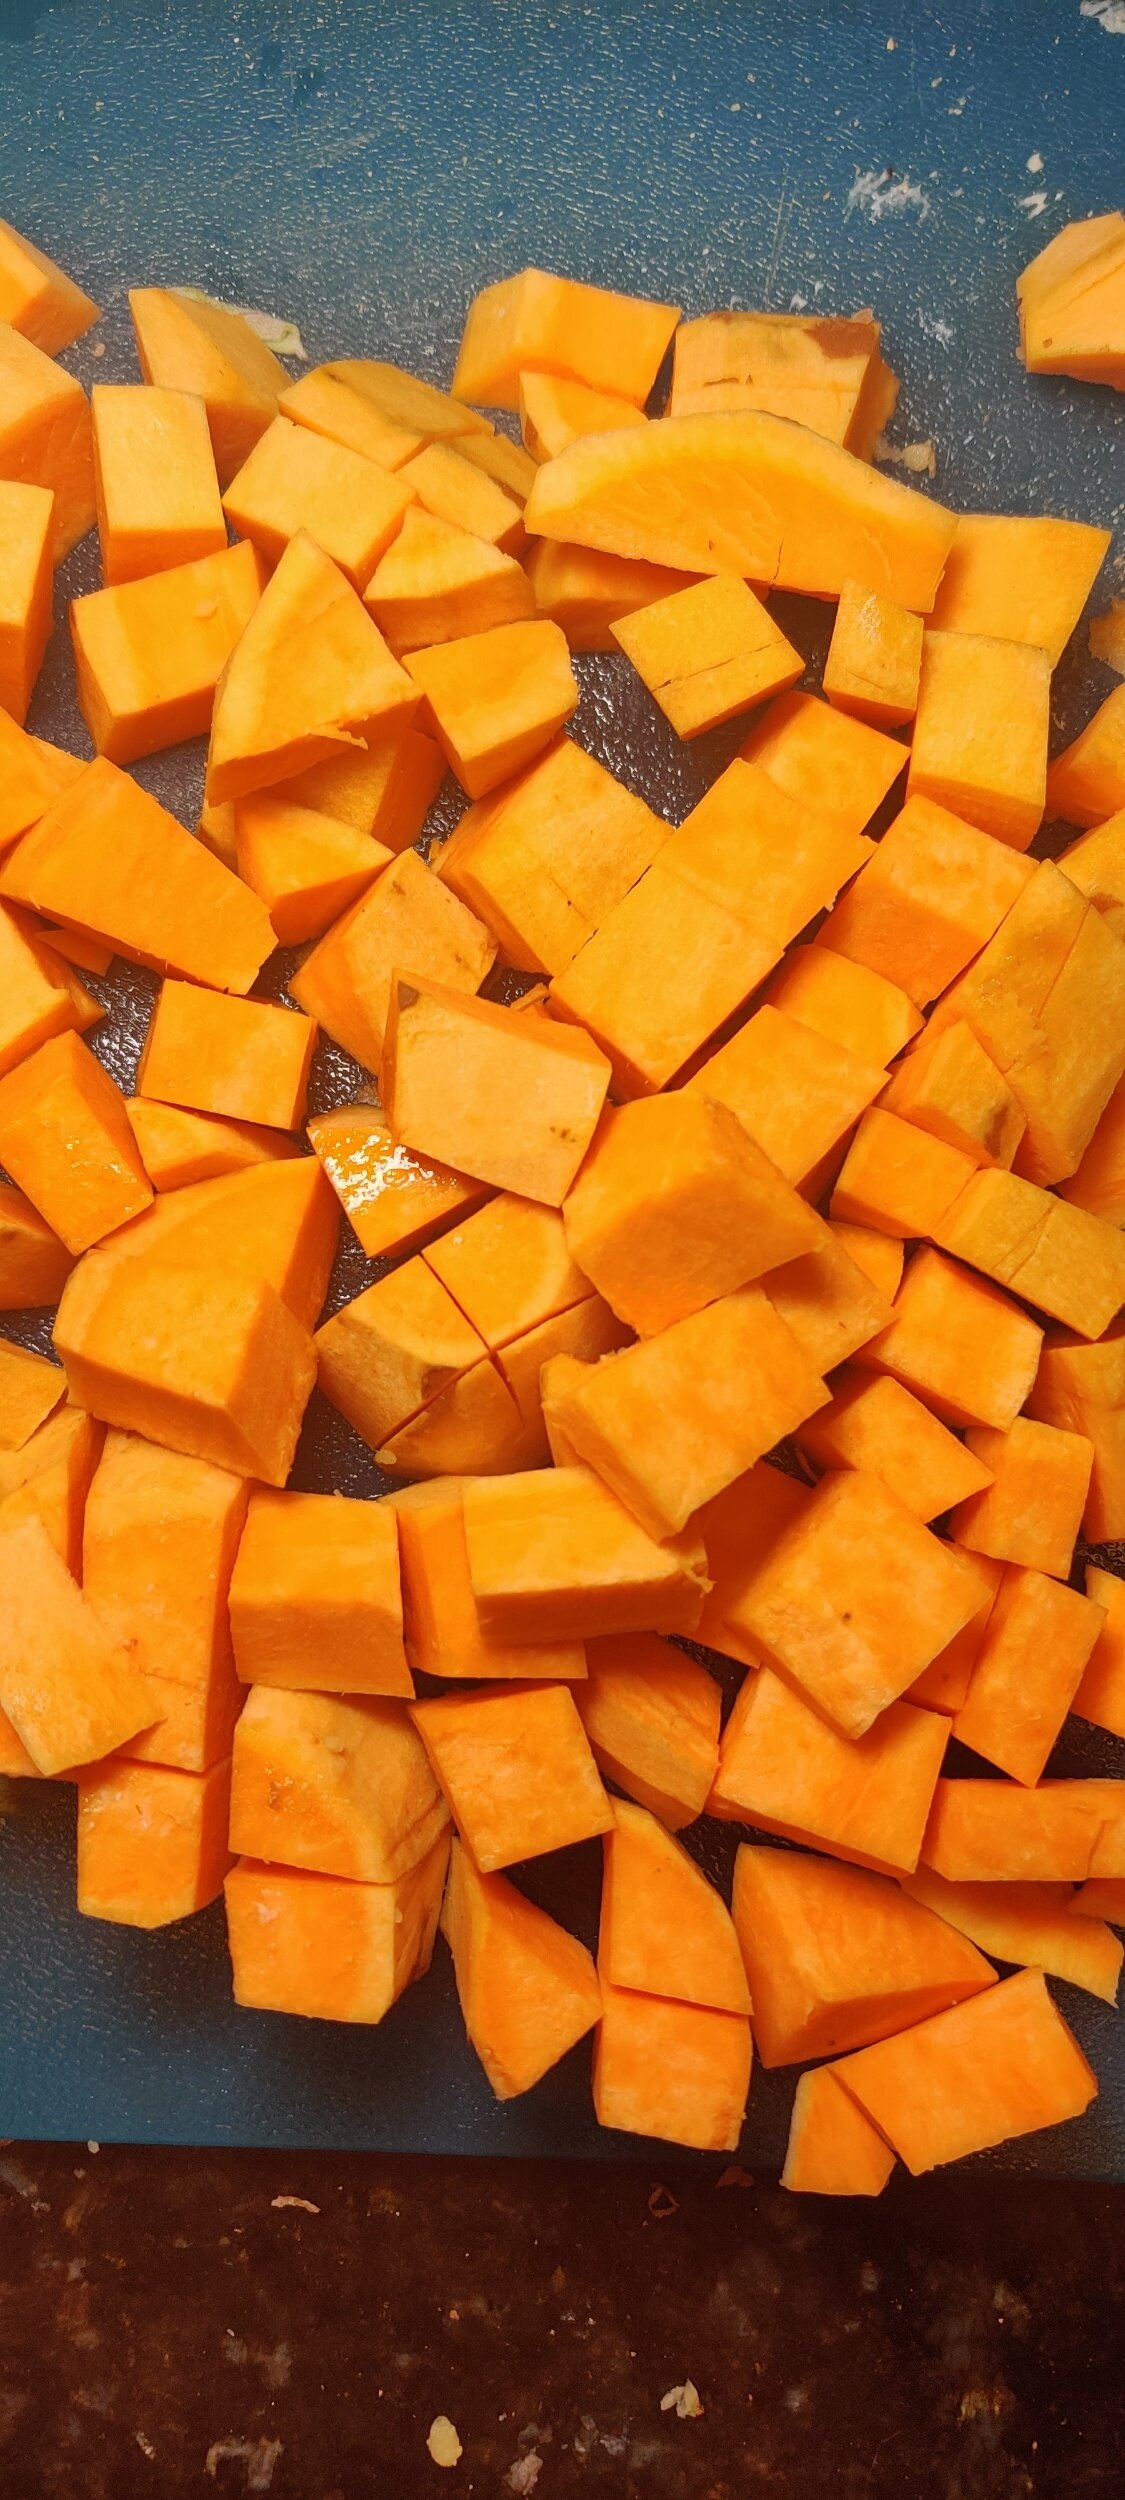
The sweet potato. I've used it many times in several recipes on this website. It's one of the most widely-eaten starchy tubers in Zimbabwe so I had to use it.
There is nothing better than a thick, rich, flavourful soup and it’s not hard to achieve at all. No need to go to a restaurant for it! It’s all about the right combination of spices, rich broth, and a solid base.
If I had more time and patience, I may have made my own homemade broth for it! Homemade is usually best.
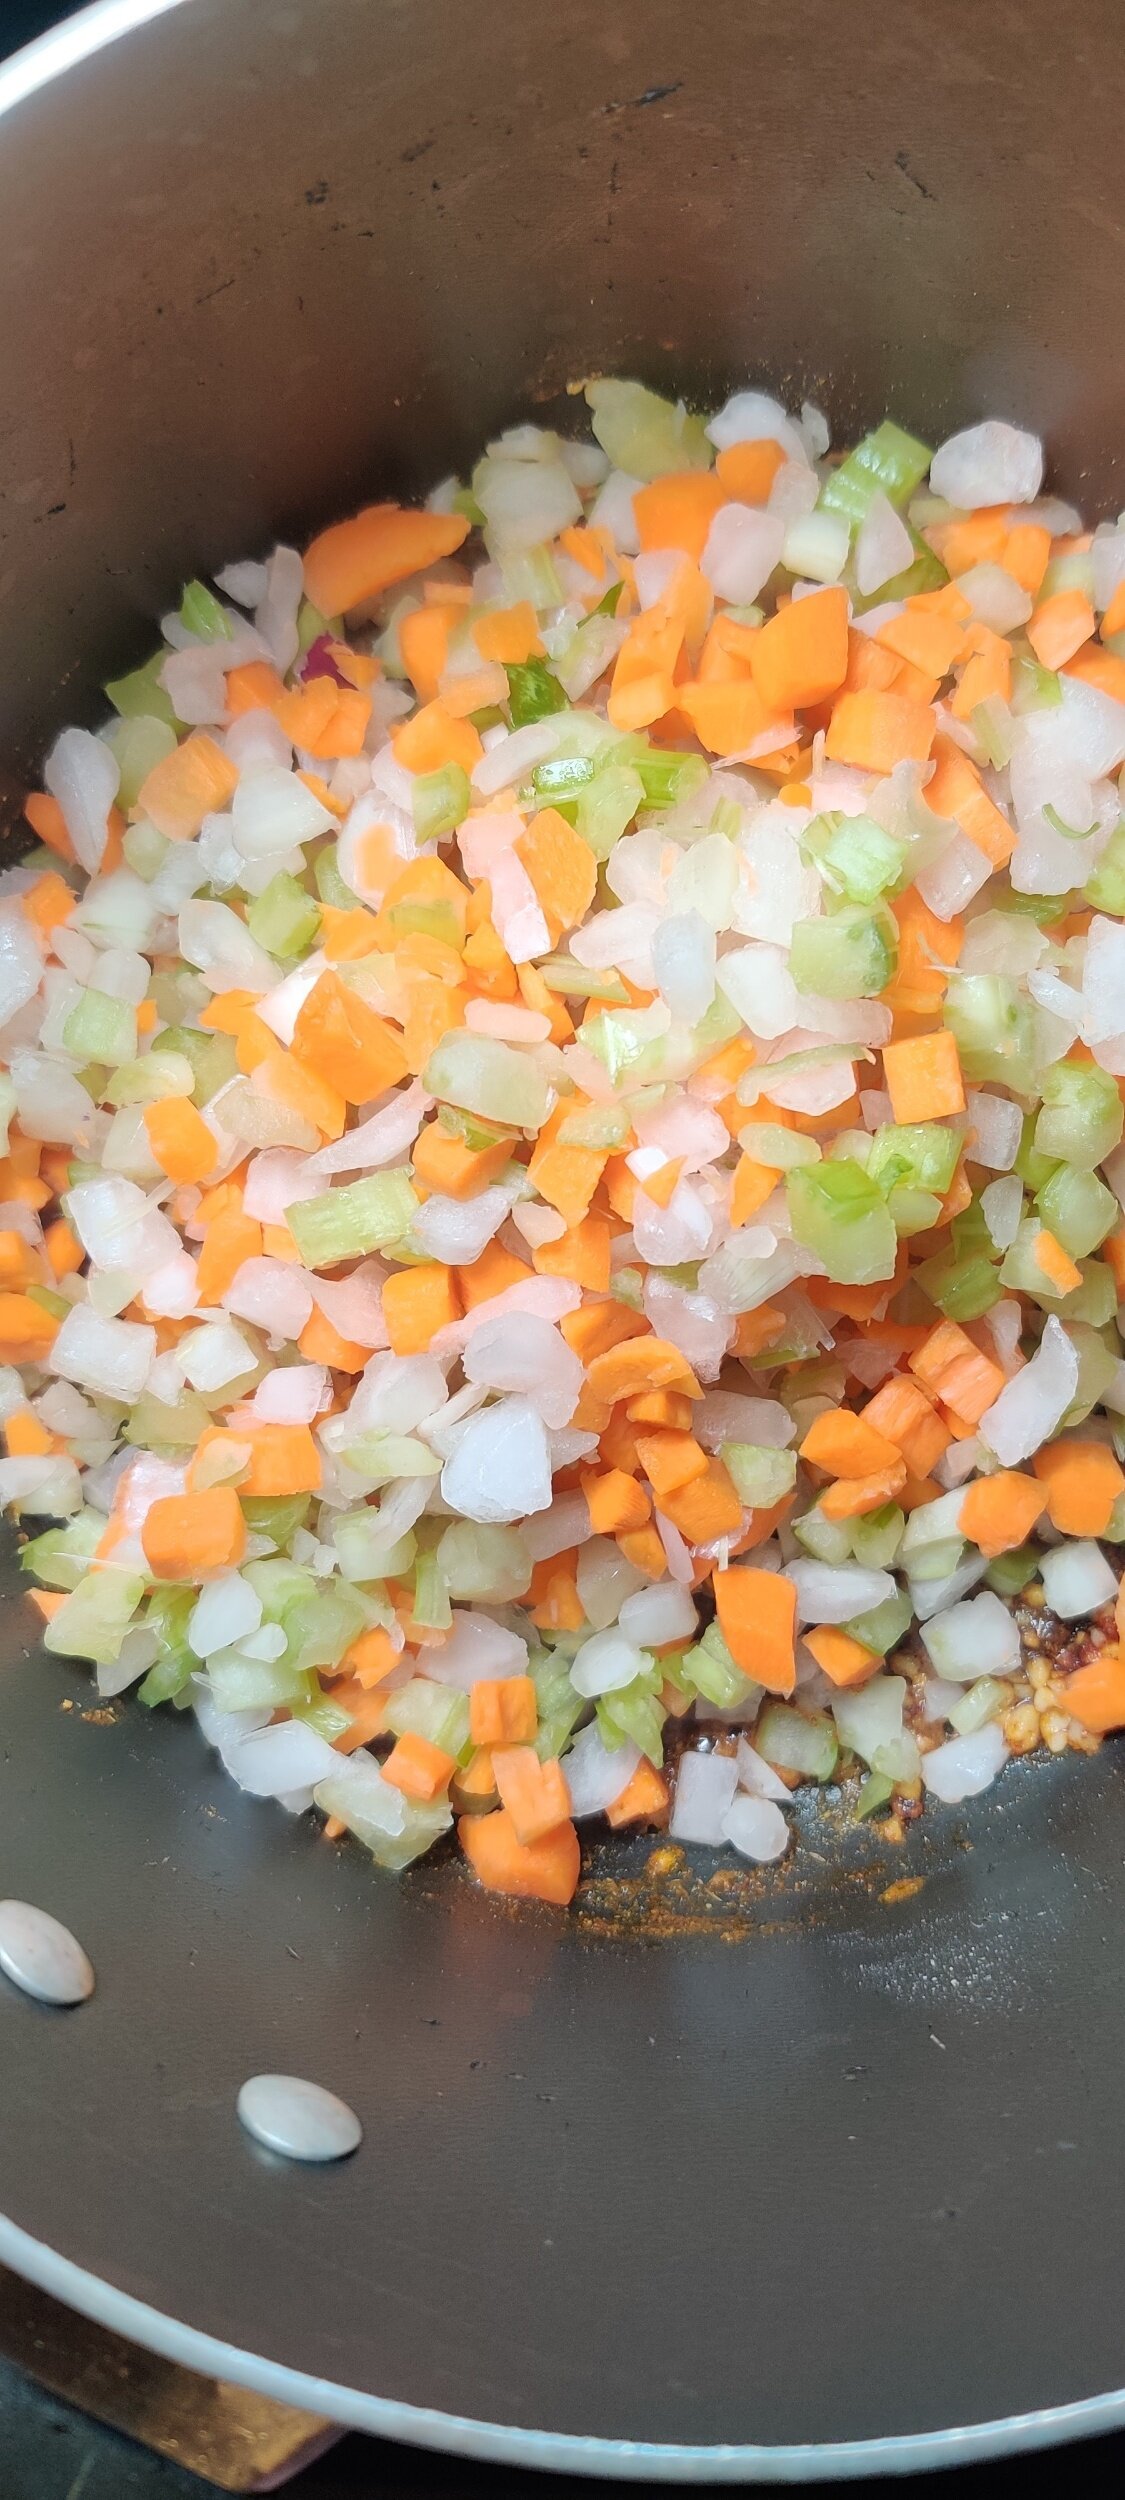
Since sweet potatoes are starchy, they lend themselves well to soups and help thicken everything up. In this case, so does the tomato paste. It’s used in French cooking technique known as pincage which you add to mirepoix (a combination of celery, onion and carrots) which makes for a great soup base because of the flavour it adds.
I also add the tomato paste because tomatoes are almost always present in the typical Zimbabwean kitchen and all over the markets year-round. They are also the base for most stews whether vegetarian or meat-based, it’s rare to find any Zimbabwean stew that has no tomato present. I also think it adds a flavour dimension that makes soup have more depth of flavor.
Ingredients
1 large sweet potato
1 cup mirepoix (2 parts diced onion, 1 part celery, 1 part carrot)
2-3 bay leaves
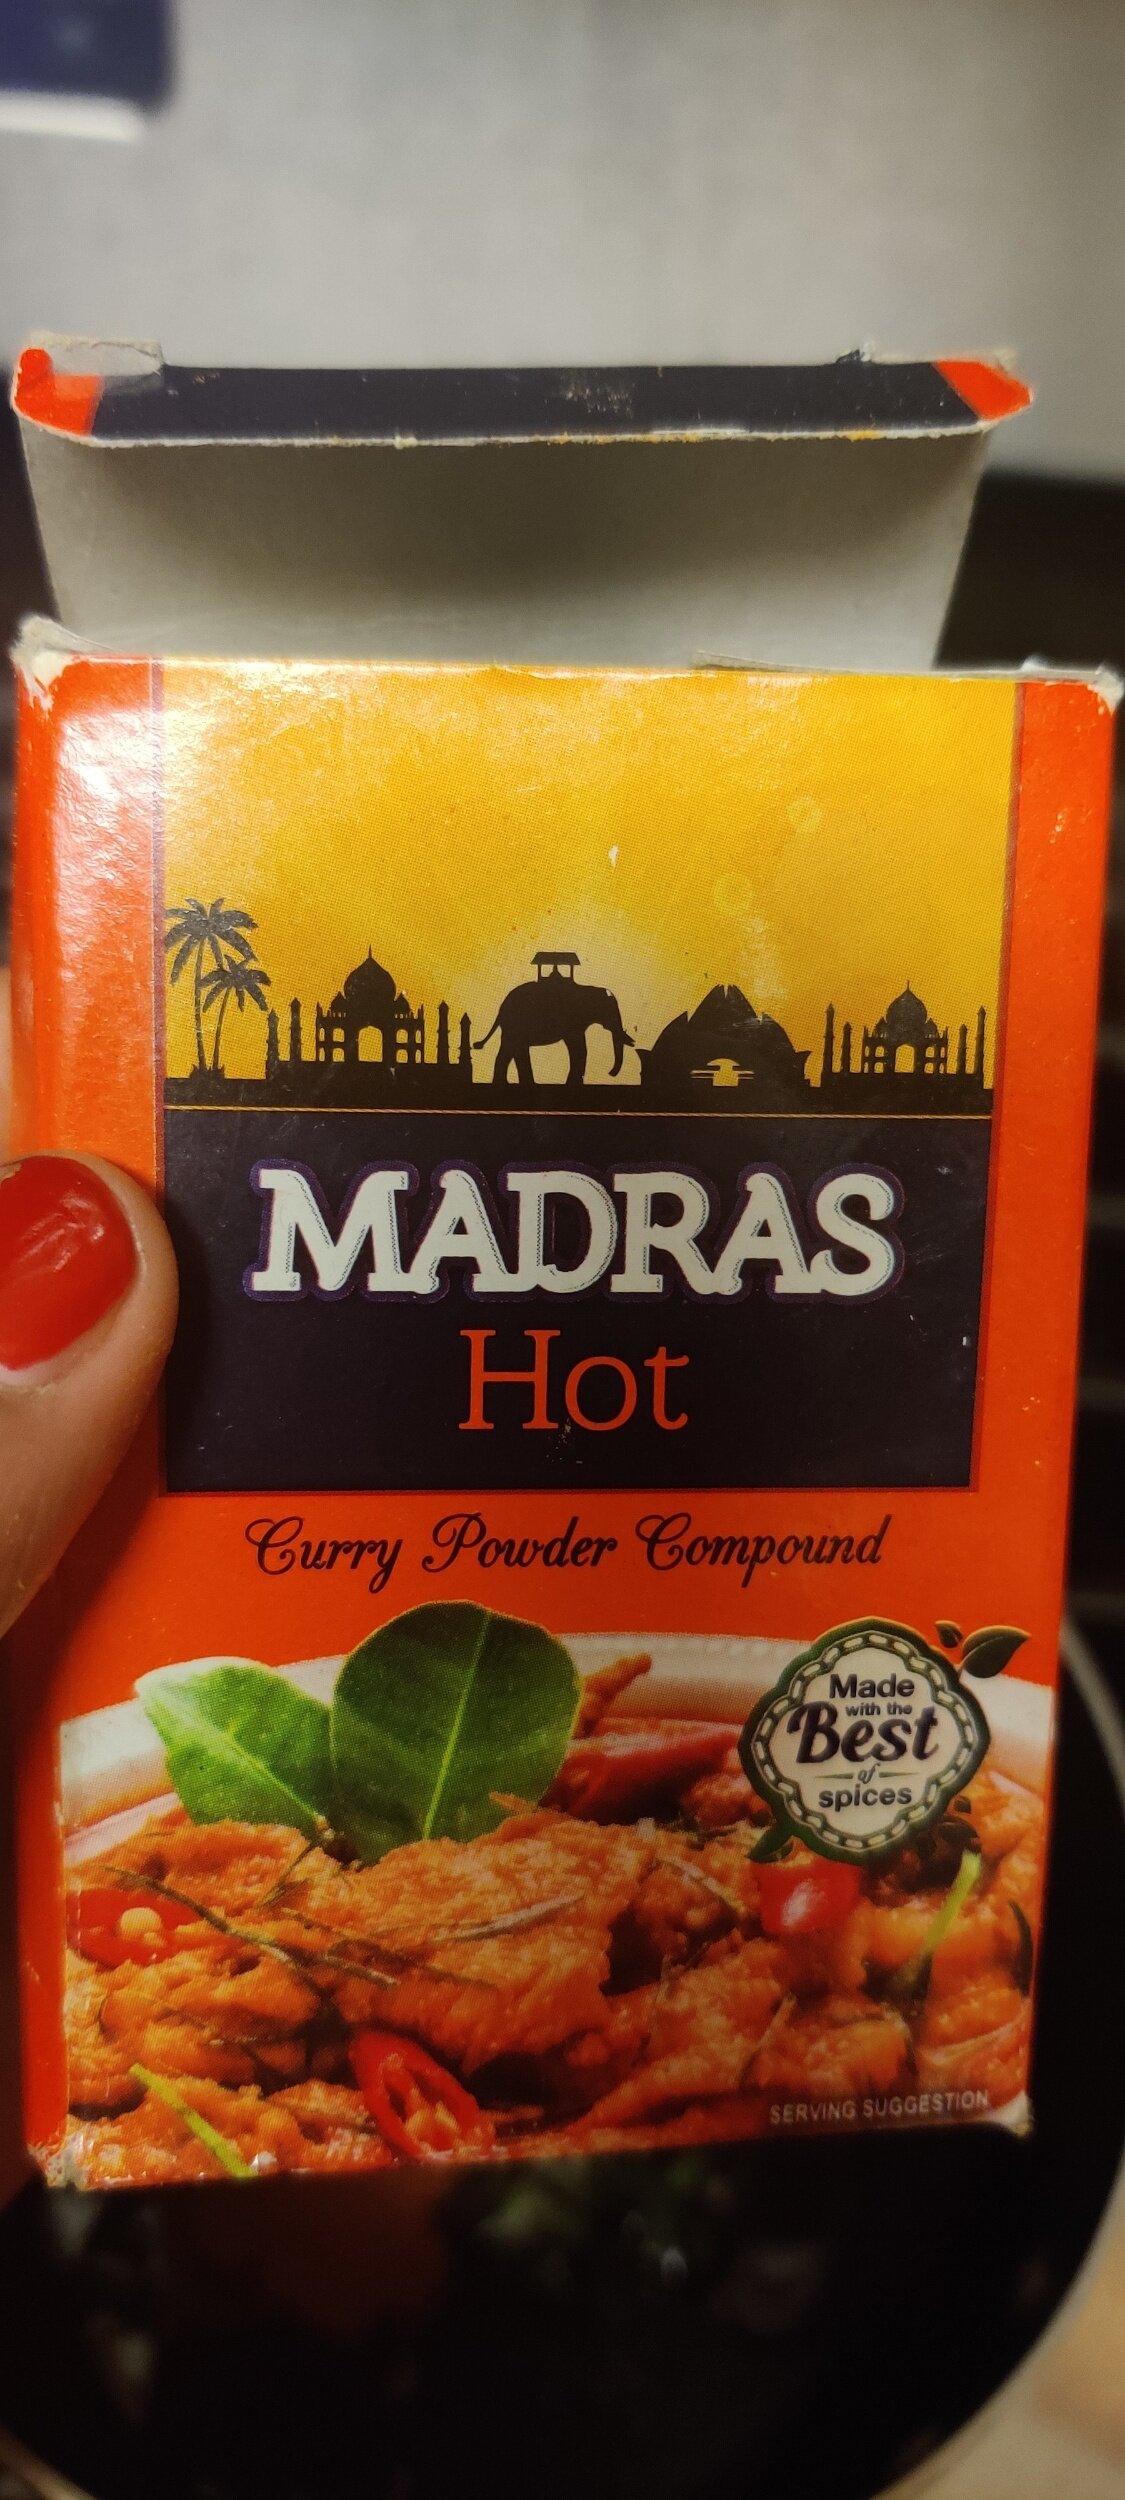
1 tablespoon hot Madras curry powder
1 teaspoon fenugreek powder
1 teaspoon cinnamon
1 teaspoon cumin
1 teaspoon coriander
1 tablespoon black pepper
1 teaspoon salt
1 teaspoon smoked paprika
2 tablespoons hot mango chutney
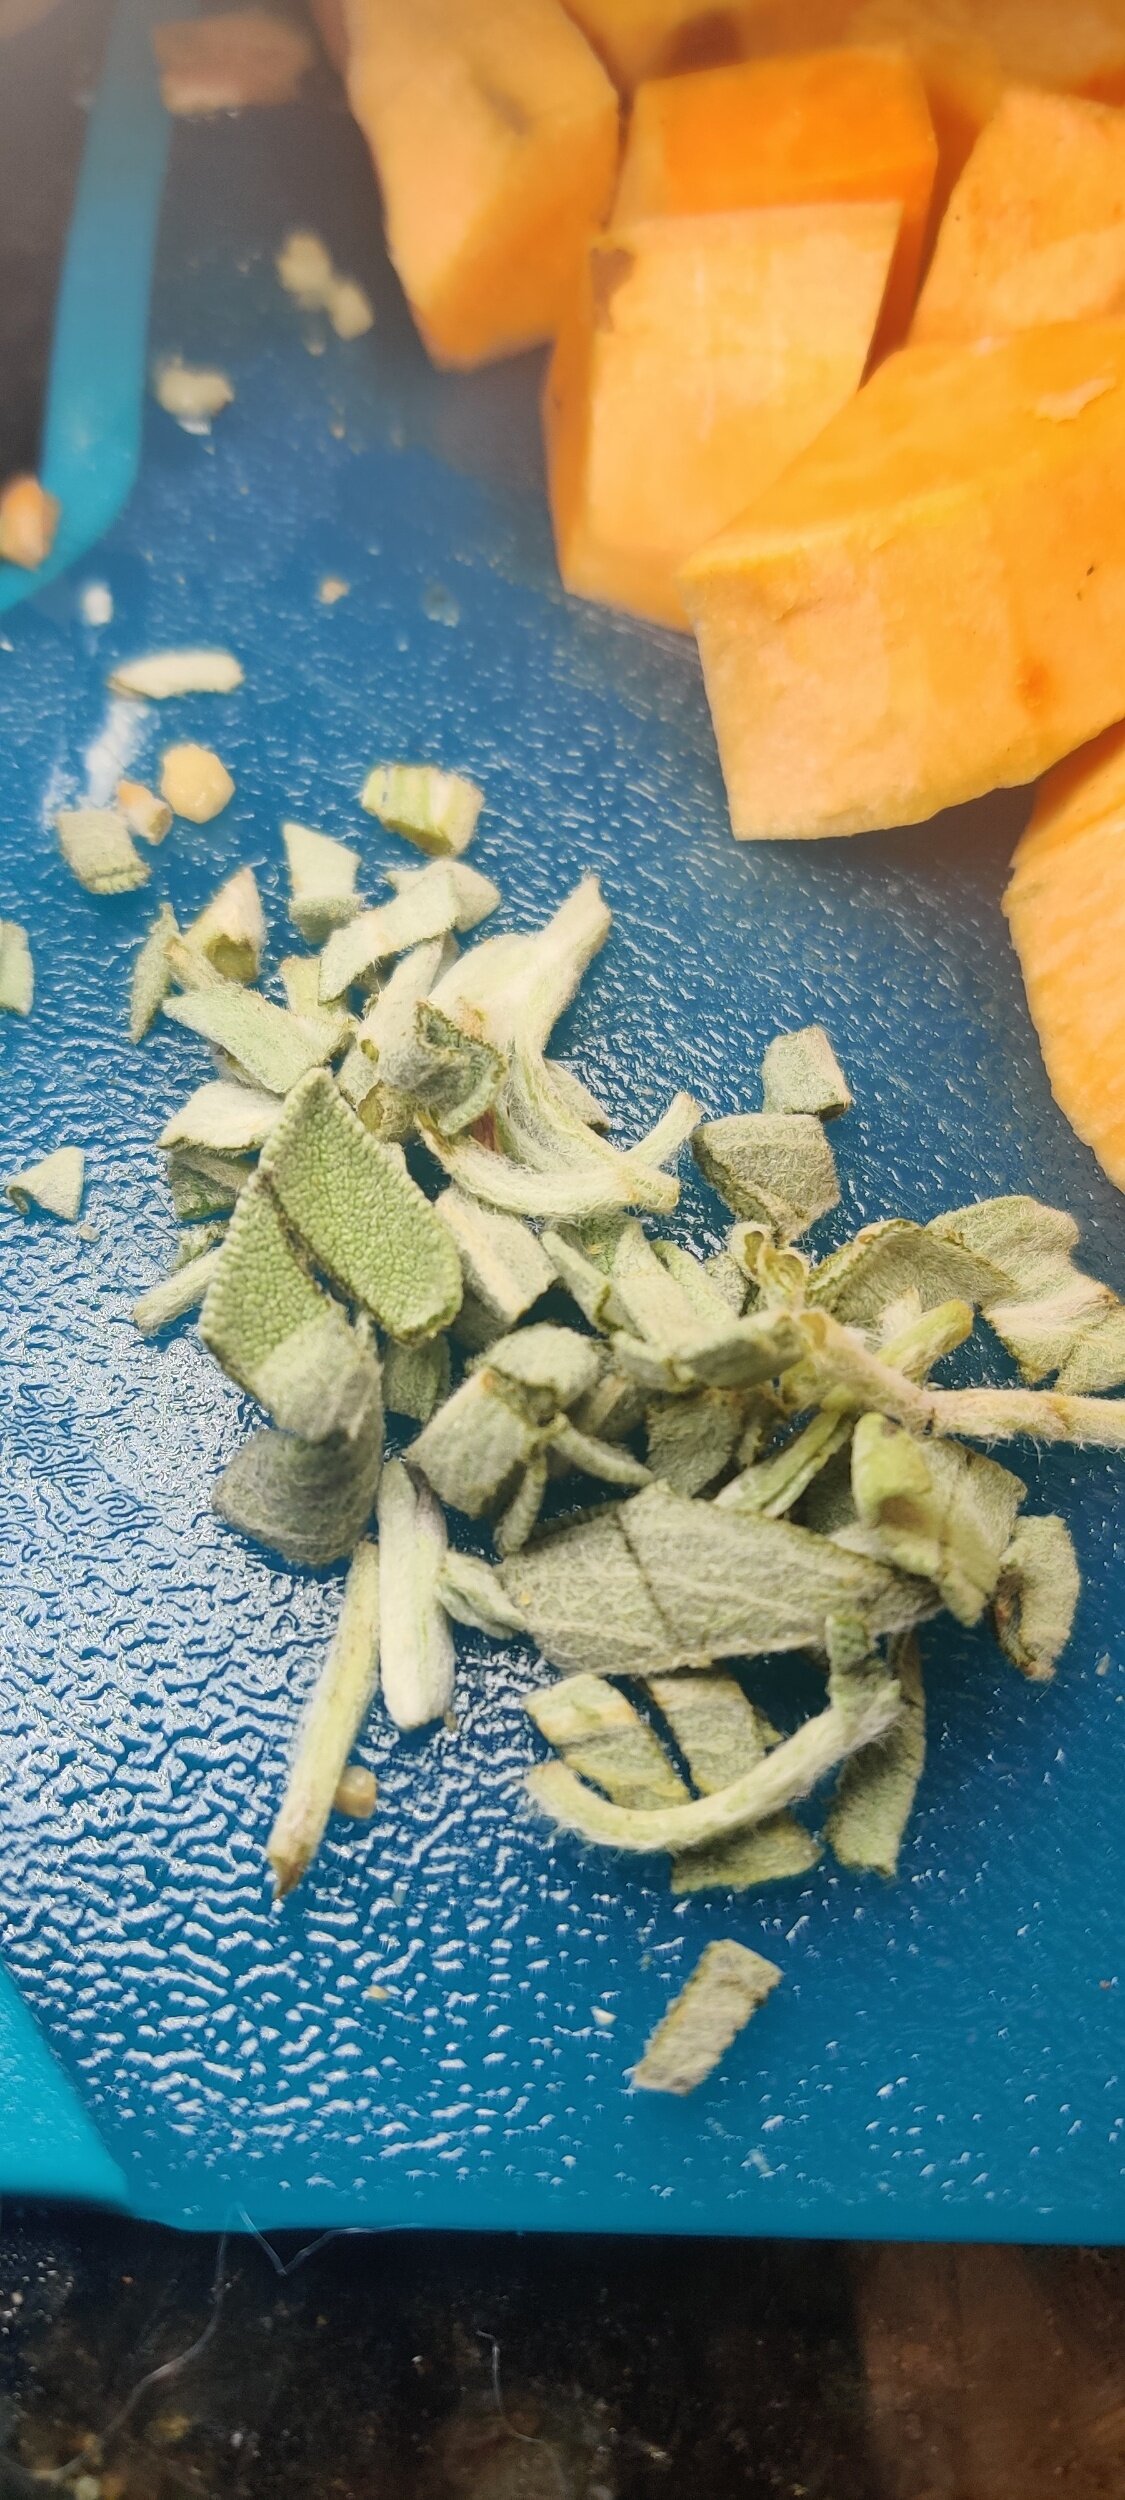
1 tablespoon fresh sage, chopped
1 (6-oz) can tomato paste
2 bouillon cubes
3-4 cups water
1 tablespoon butter
2 tablespoons olive oil
1 tablespoon minced garlic


Instructions
Peel and dice the sweet potato. In a large pot, heat the butter and oil with the garlic until fragrant, about 2 minutes.
Add all the spices and the sage, cook for another 2-3 minutes.
Mix in the mirepoix and chutney until evenly coated and cook until the vegetables begin to soften.
Add in the tomato paste and stir frequently to form a pincage - cook for another 2-3 minutes until it begins to brown.
Pour in the water and reduce the heat to simmer. Add the bay leaves and cover with a lid for about 30 minutes or until the sweet potato softens. You'll want to regularly check your soup and stir occasionally. The soup will be thick and flagrant, add a little bit more water if necessary.
Set aside and cool the soup down. Once cooled, take out a few whole sweet potato cubes. Pour the soup into a blender or use a hand blender to puree the soup until smooth or your desired texture.
Garnish with croutons, fresh sage, and sweet potato cubes you set aside. Serves 3-4.

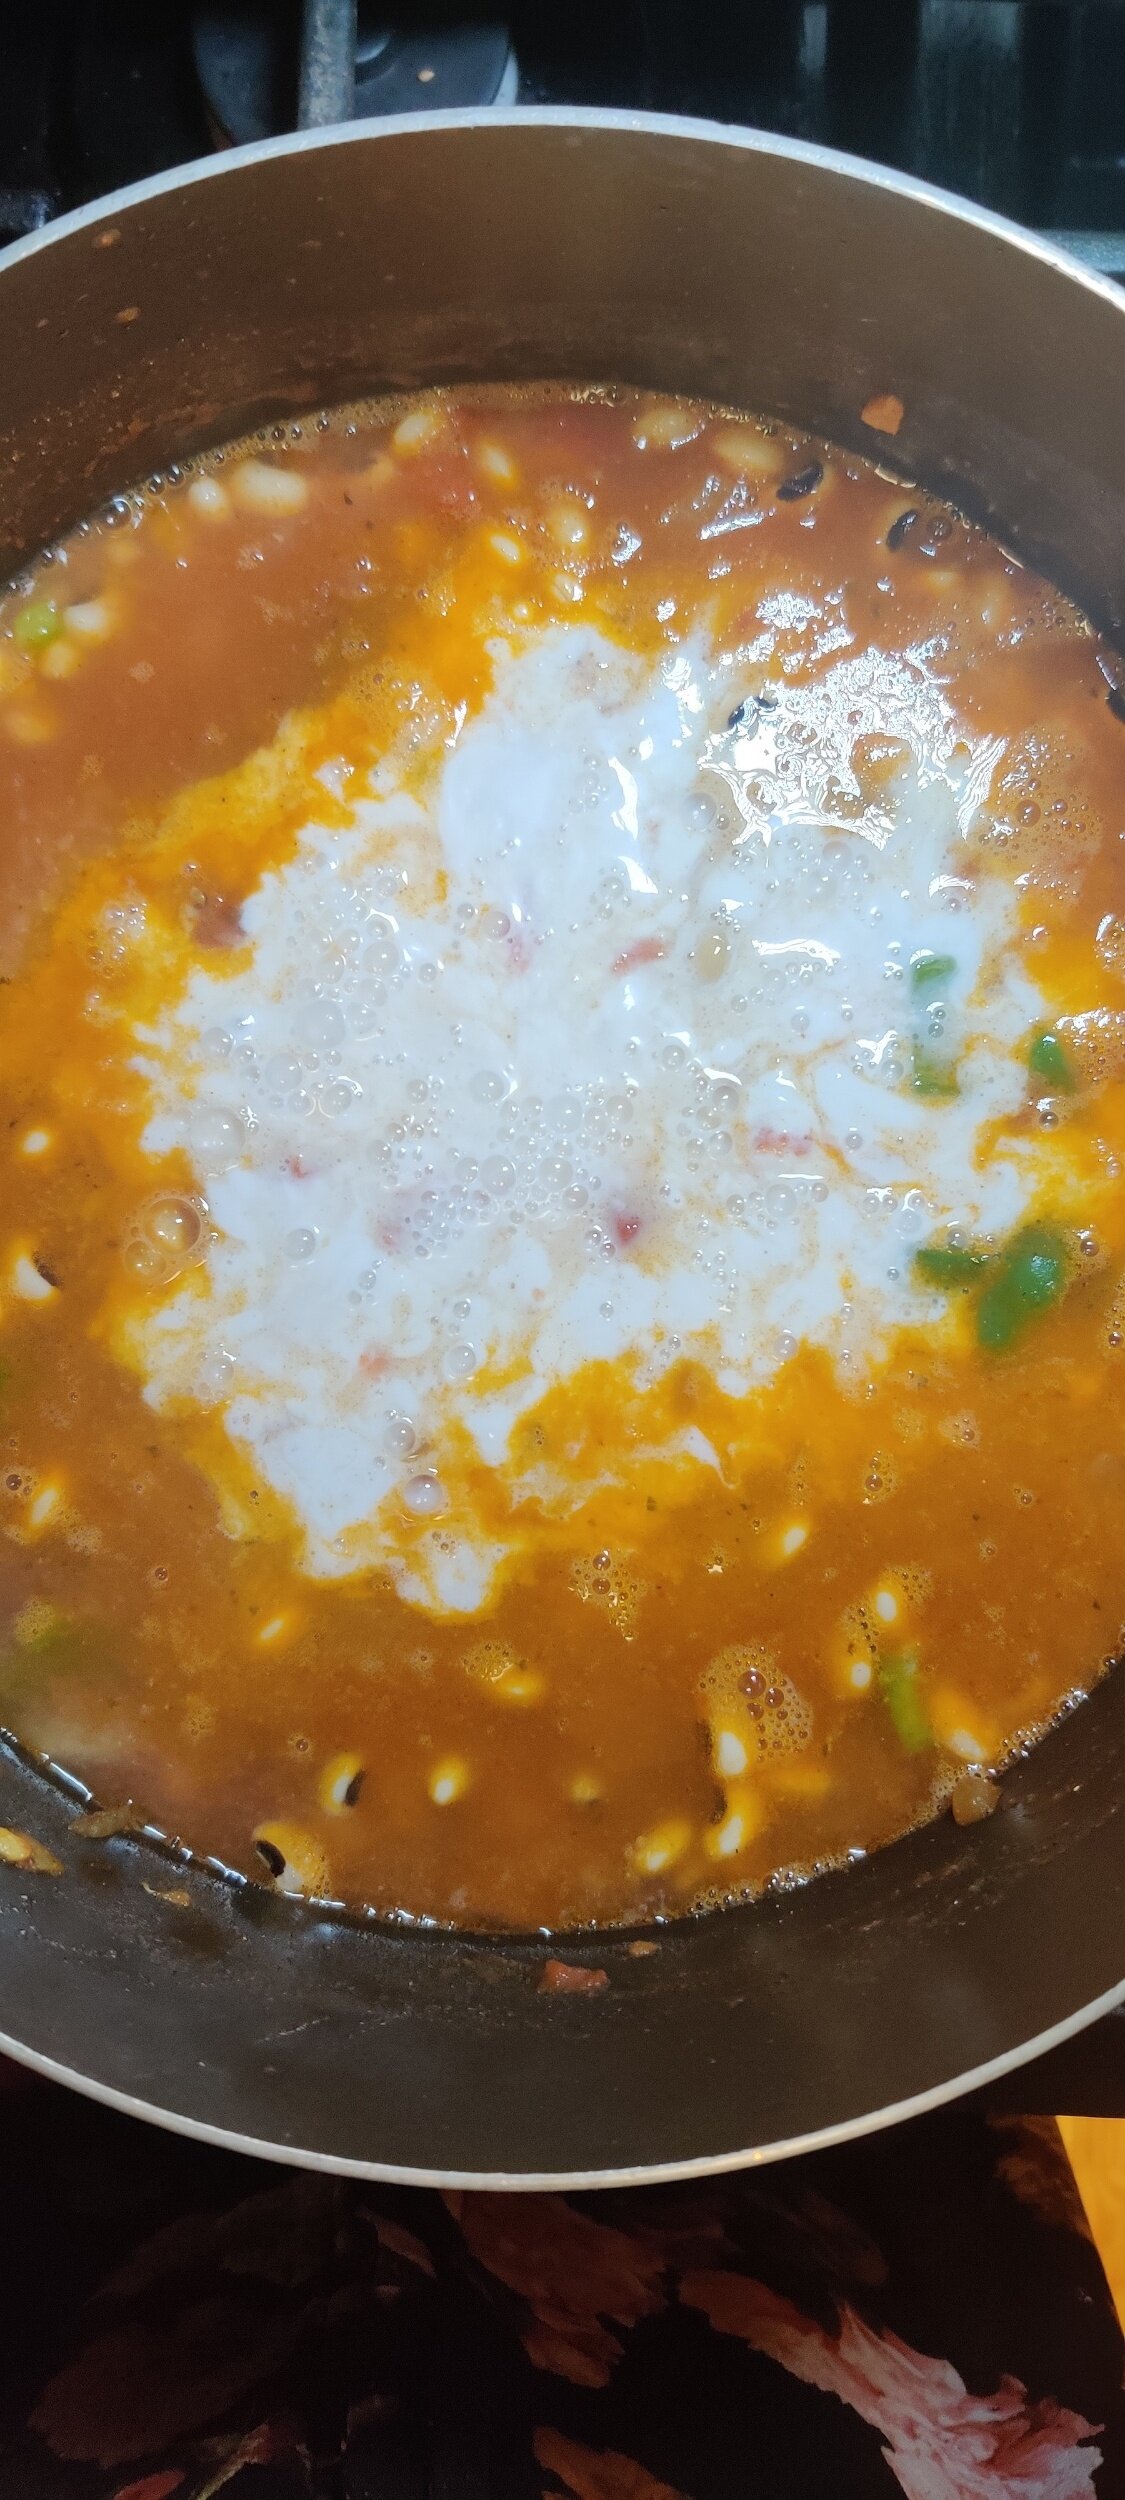
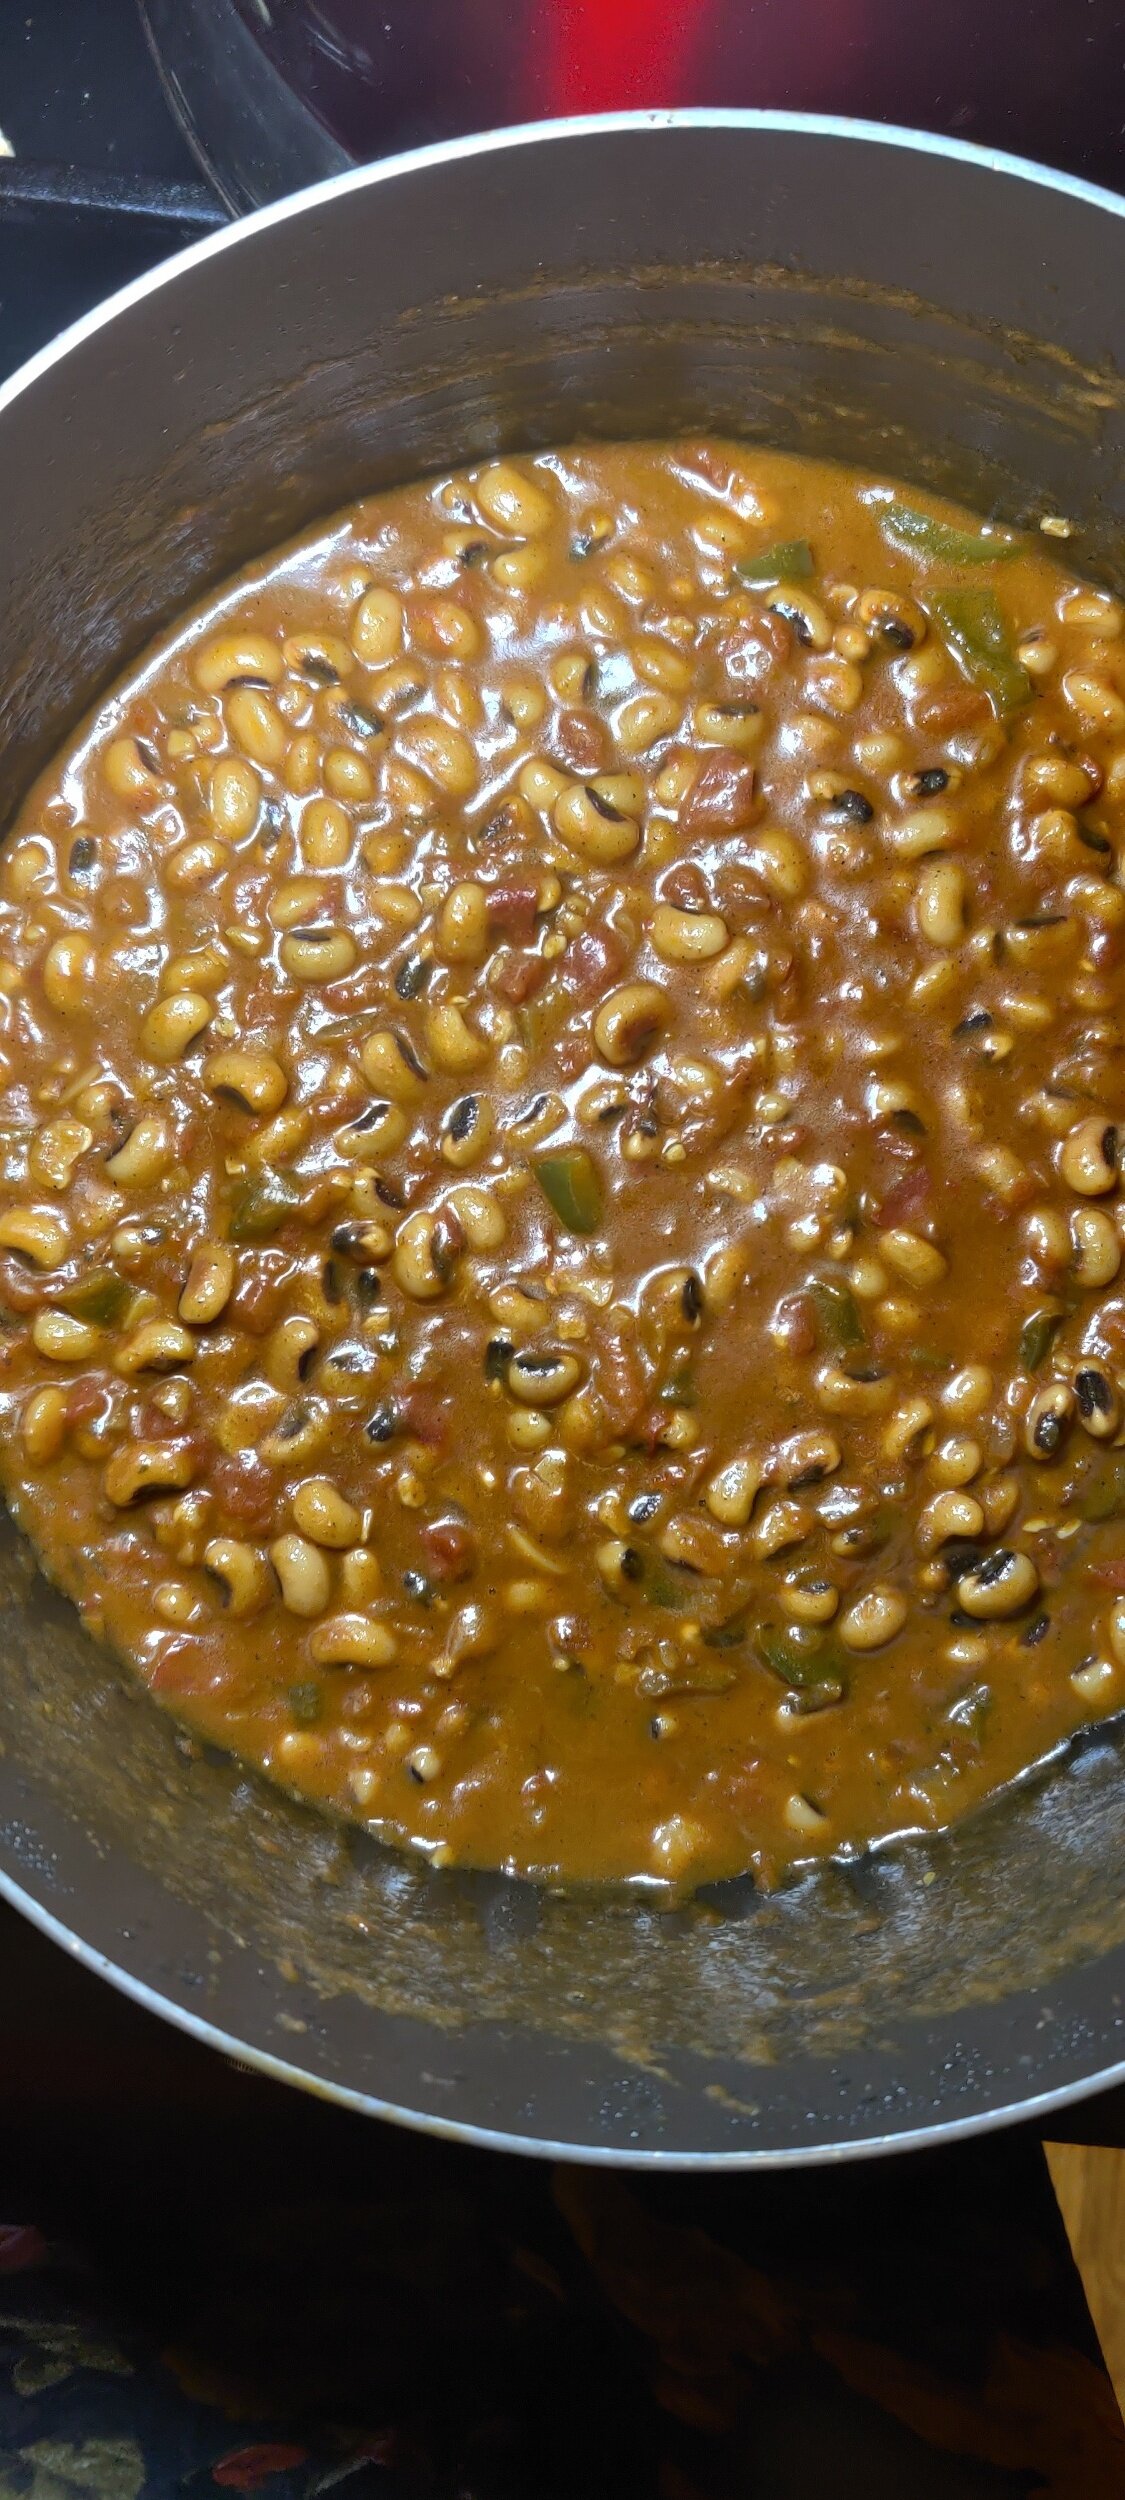
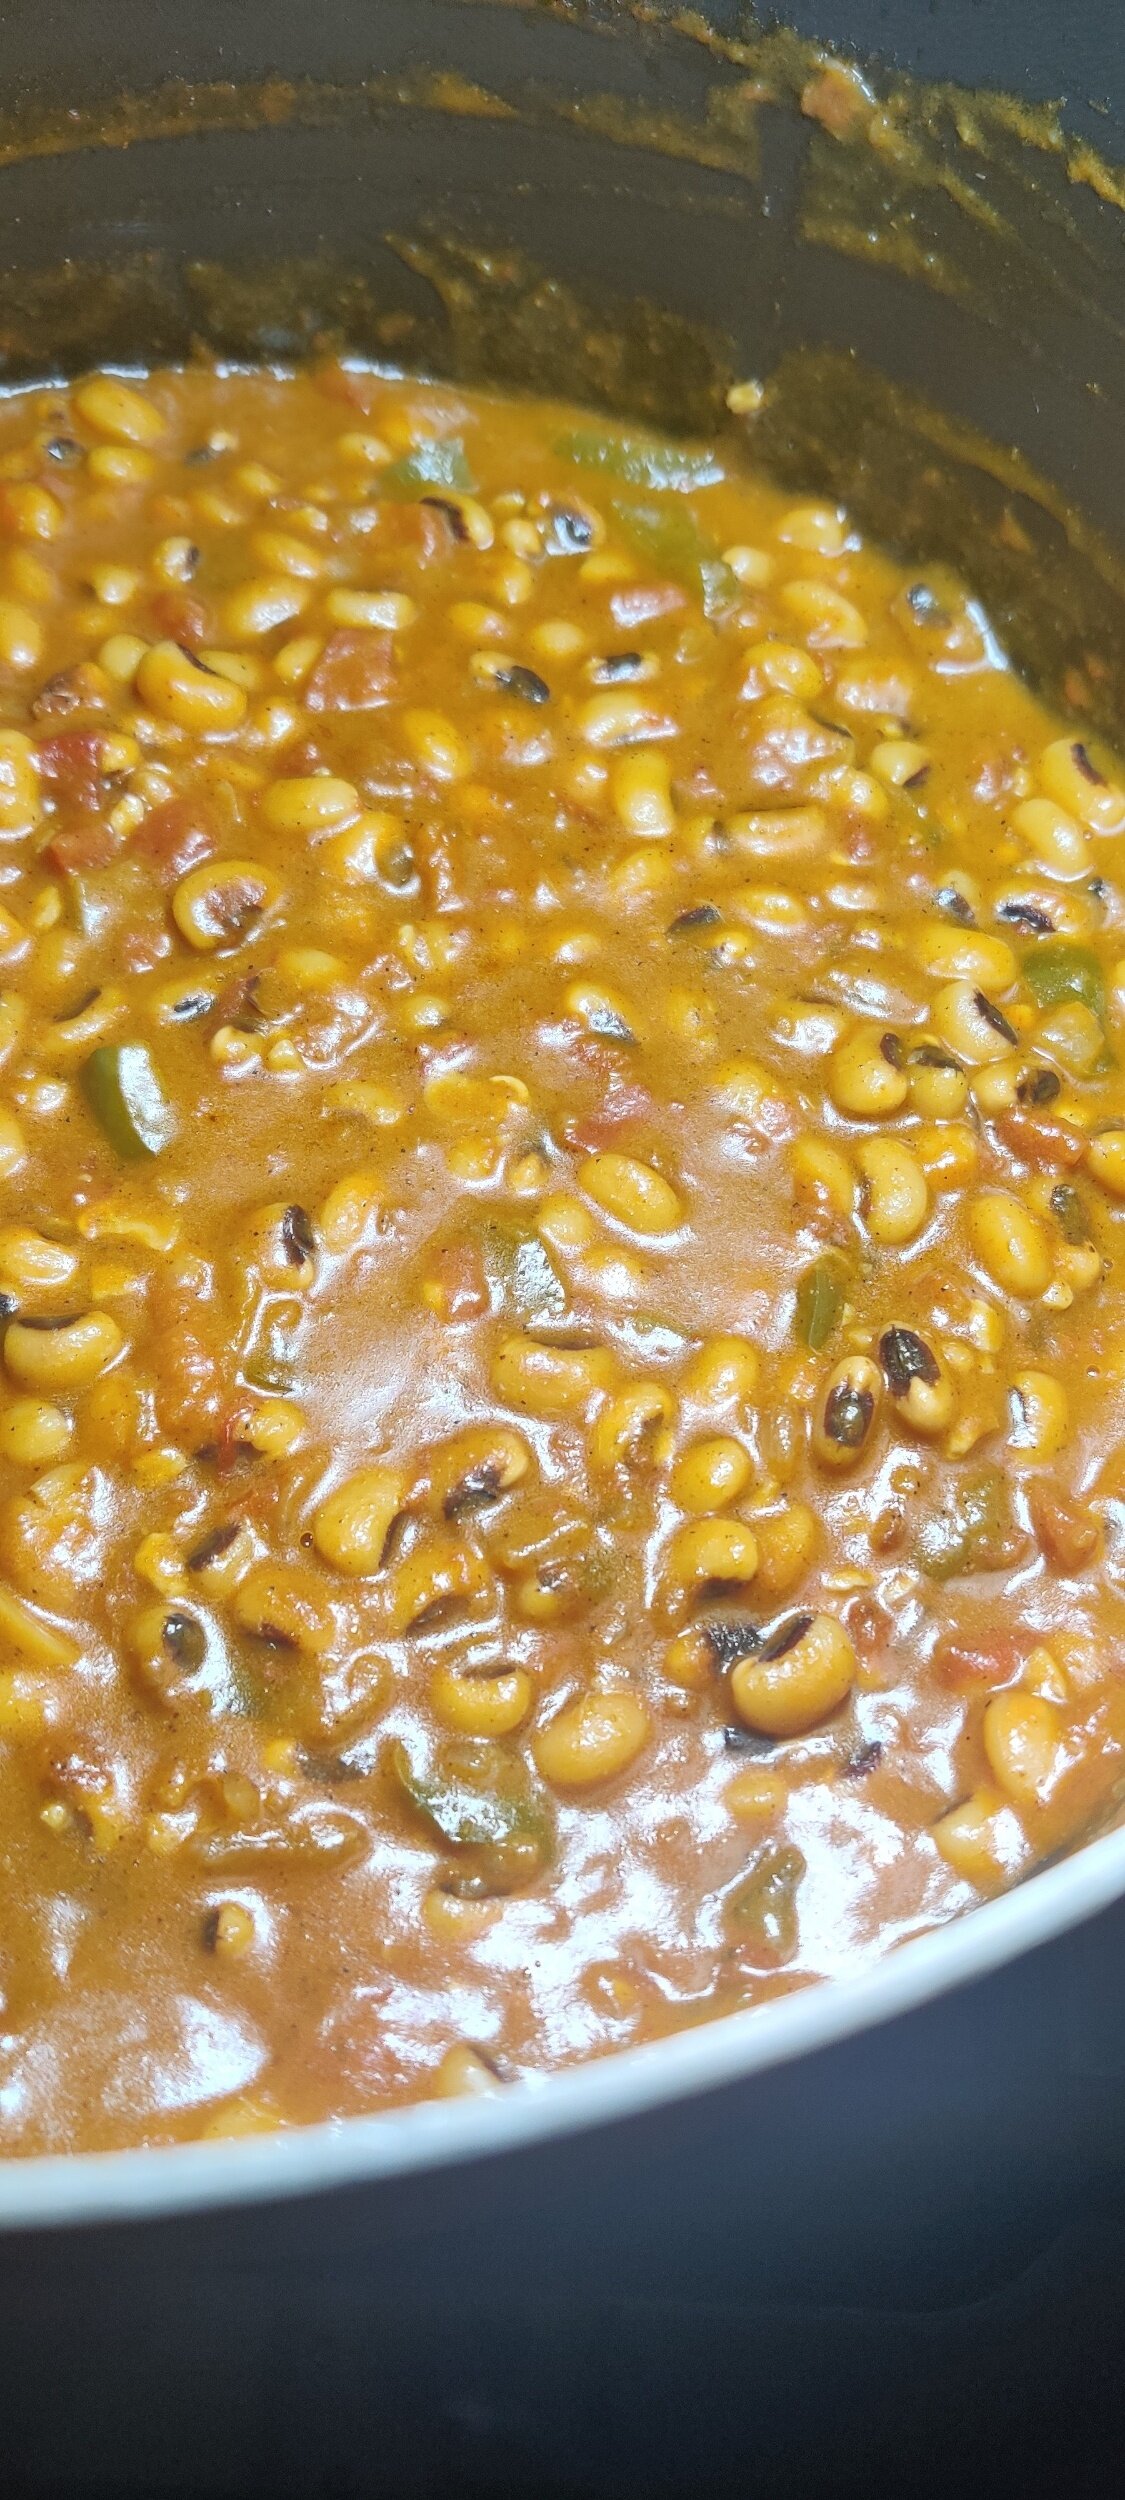
Black-Eyed Peas with Coconut and Tomato
I'm a huge fan of beans, and they are great if you are looking to cut down or eliminate your meat intake. They are filling, nutritious, and high in protein to name a few benefits.
Black-eyed peas - also known as cowpeas - are hearty and delicious. This bean is eaten extensively across West Africa where it's said to have originated and is an important staple in the Caribbean and the American South - where they are considered a lucky charm by some during New Years.
You can do a lot with black-eyed peas as they are quite versatile, check out my black-eyed pea and pinto bean meatloaf recipe for example.
I served this stew with finger millet in the form of sadza, a thick porridge native to Zimbabwe using an ancient grain much healthier than its white corn counterpart. You can find a recipe for it, here.
The spices muddled in the coconut milk and tomato makes for a rich stew that can be paired with a variety of vegetables or grilled meats or served as a main dish. You won't regret it!
Ingredients
3 cups dry black-eyed peas (soaked for 24 hours and drained)
1 tablespoon salt
2 tablespoons black pepper
1 tablespoon cumin
1 tablespoon coriander
1 tablespoon ginger
1 can coconut milk
3 beef bouillons
6 cups water
1 teaspoon fenugreek
1 teaspoon paprika
1 tablespoon garlic
1/2 yellow onion, chopped
1 small green pepper, finely chopped
1 cup tomatoes, diced
2 tablespoons tomato sauce/ketchup
2 tablespoons butter
2 tablespoons olive oil
2 tablespoons curry powder

Instructions
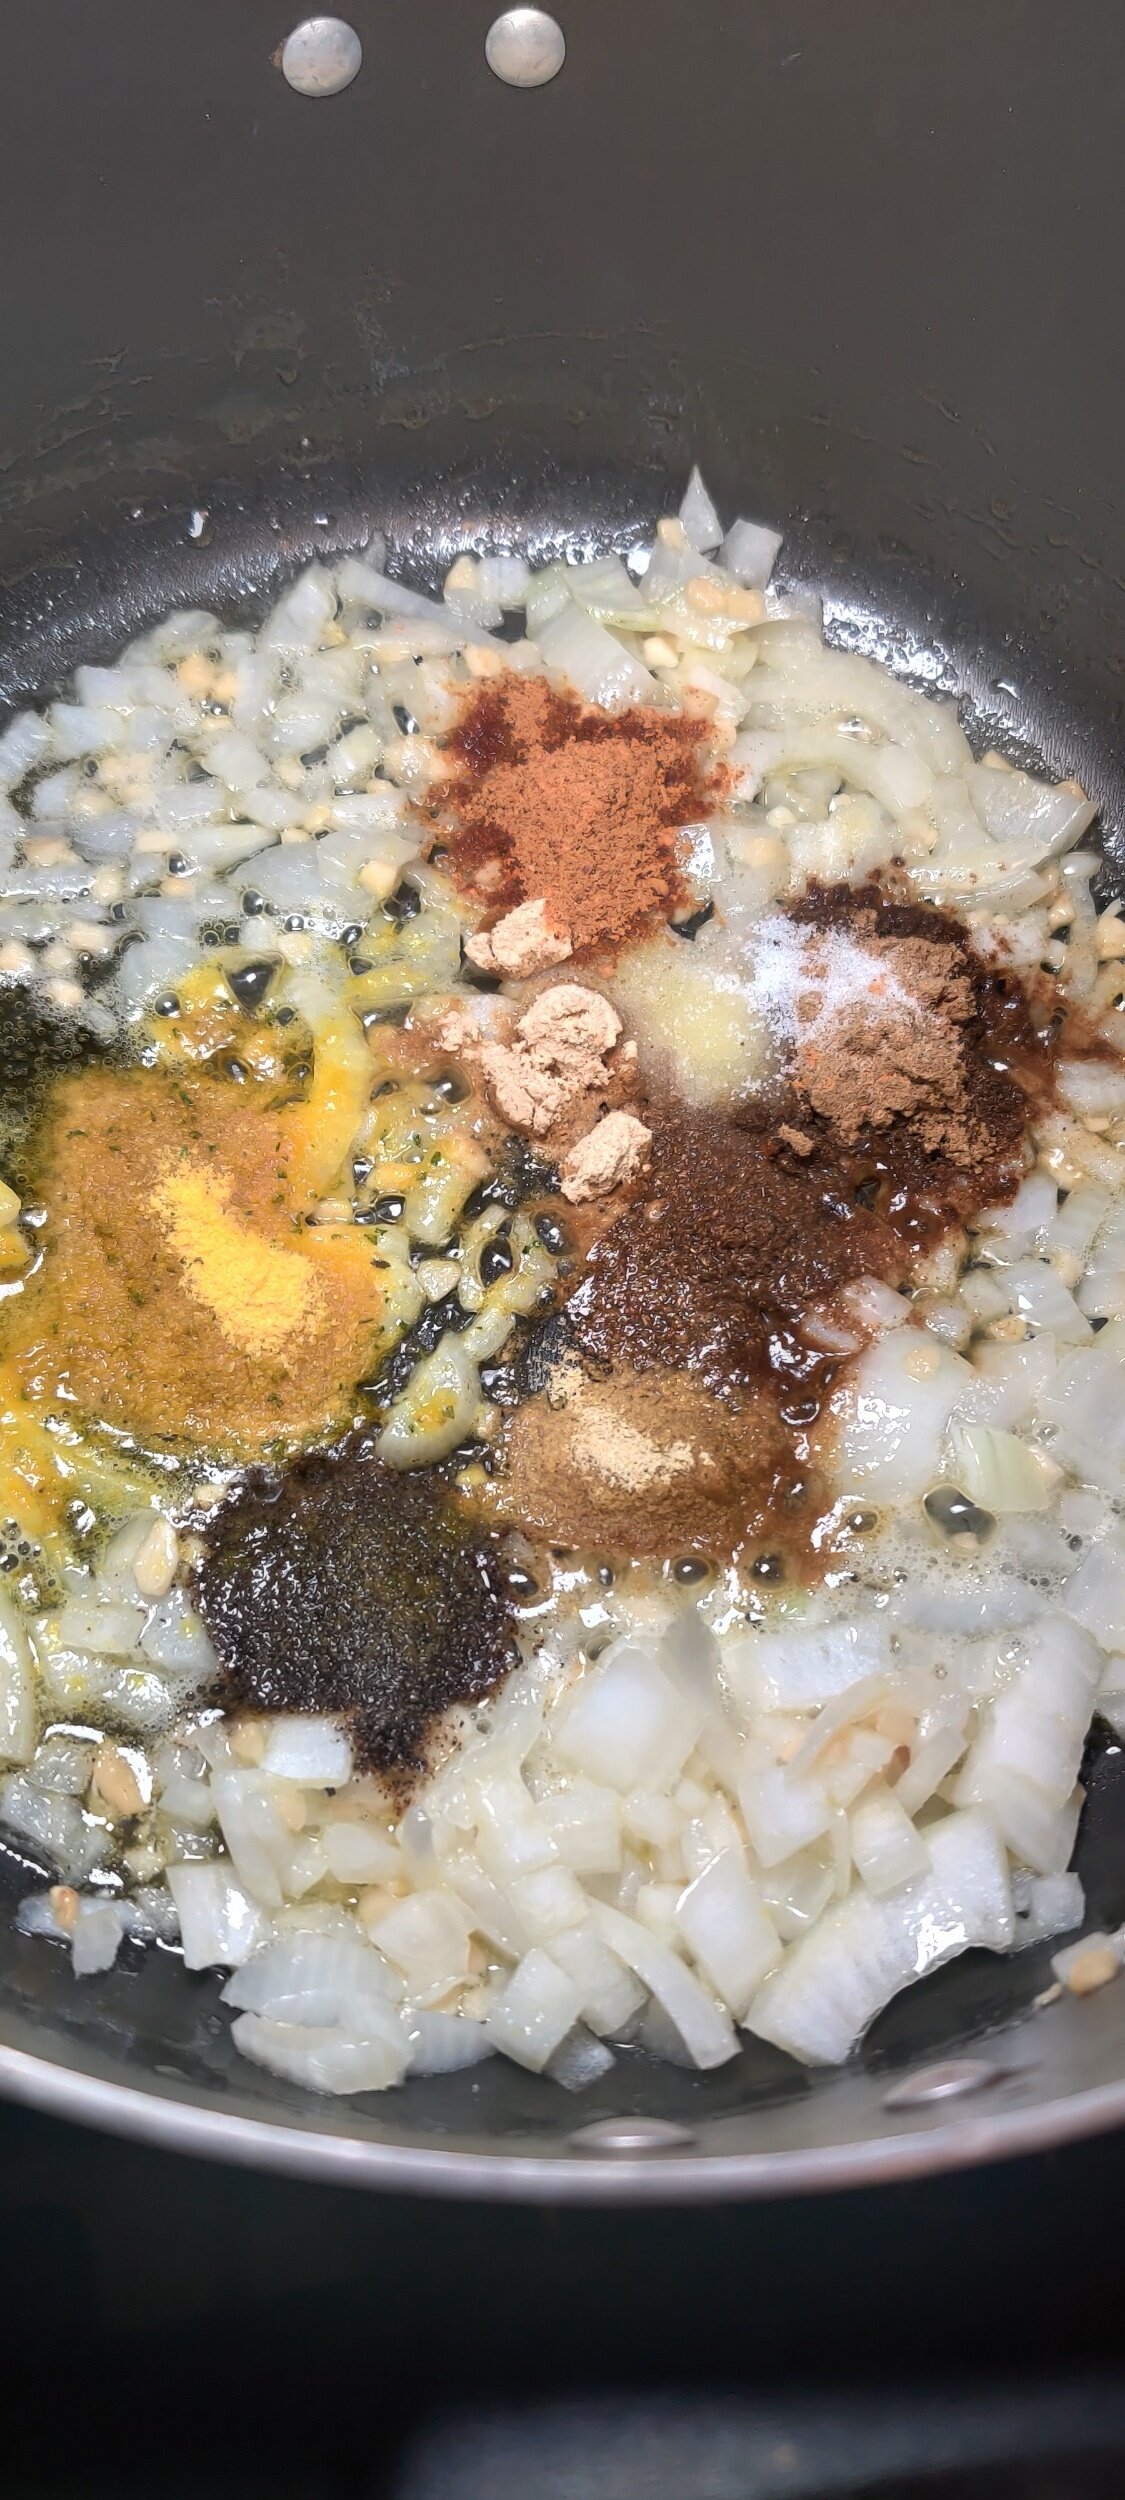
In a large pot, saute the onion and garlic in olive oil and butter for 3 minutes until the onion starts to soften.
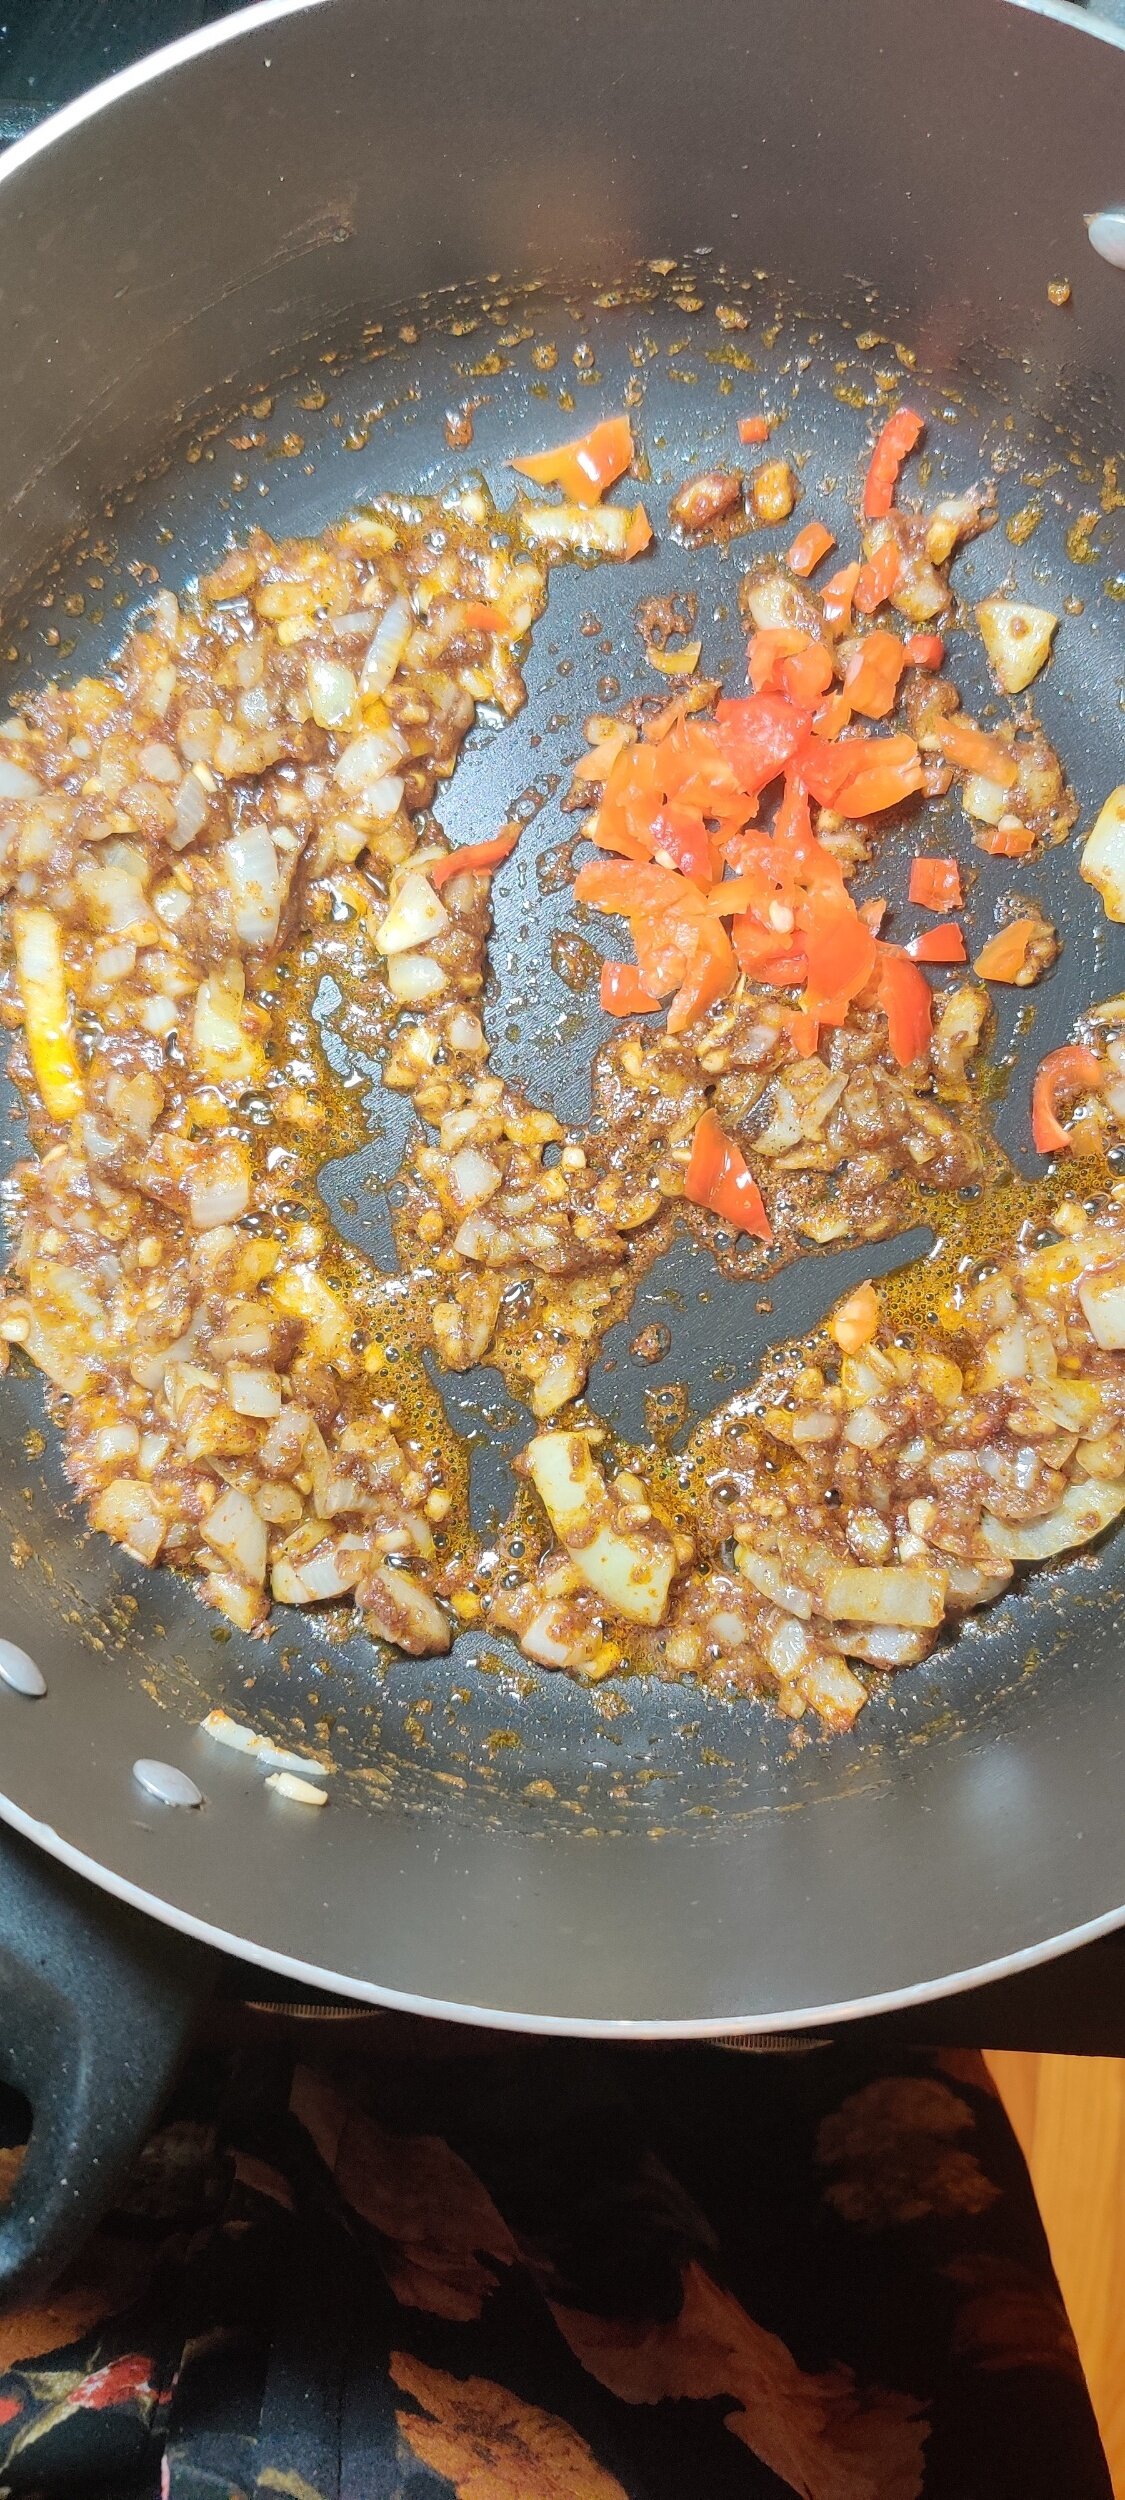
Add the spices, bouillon cubes, salt and black pepper, cook for another 2 minutes.
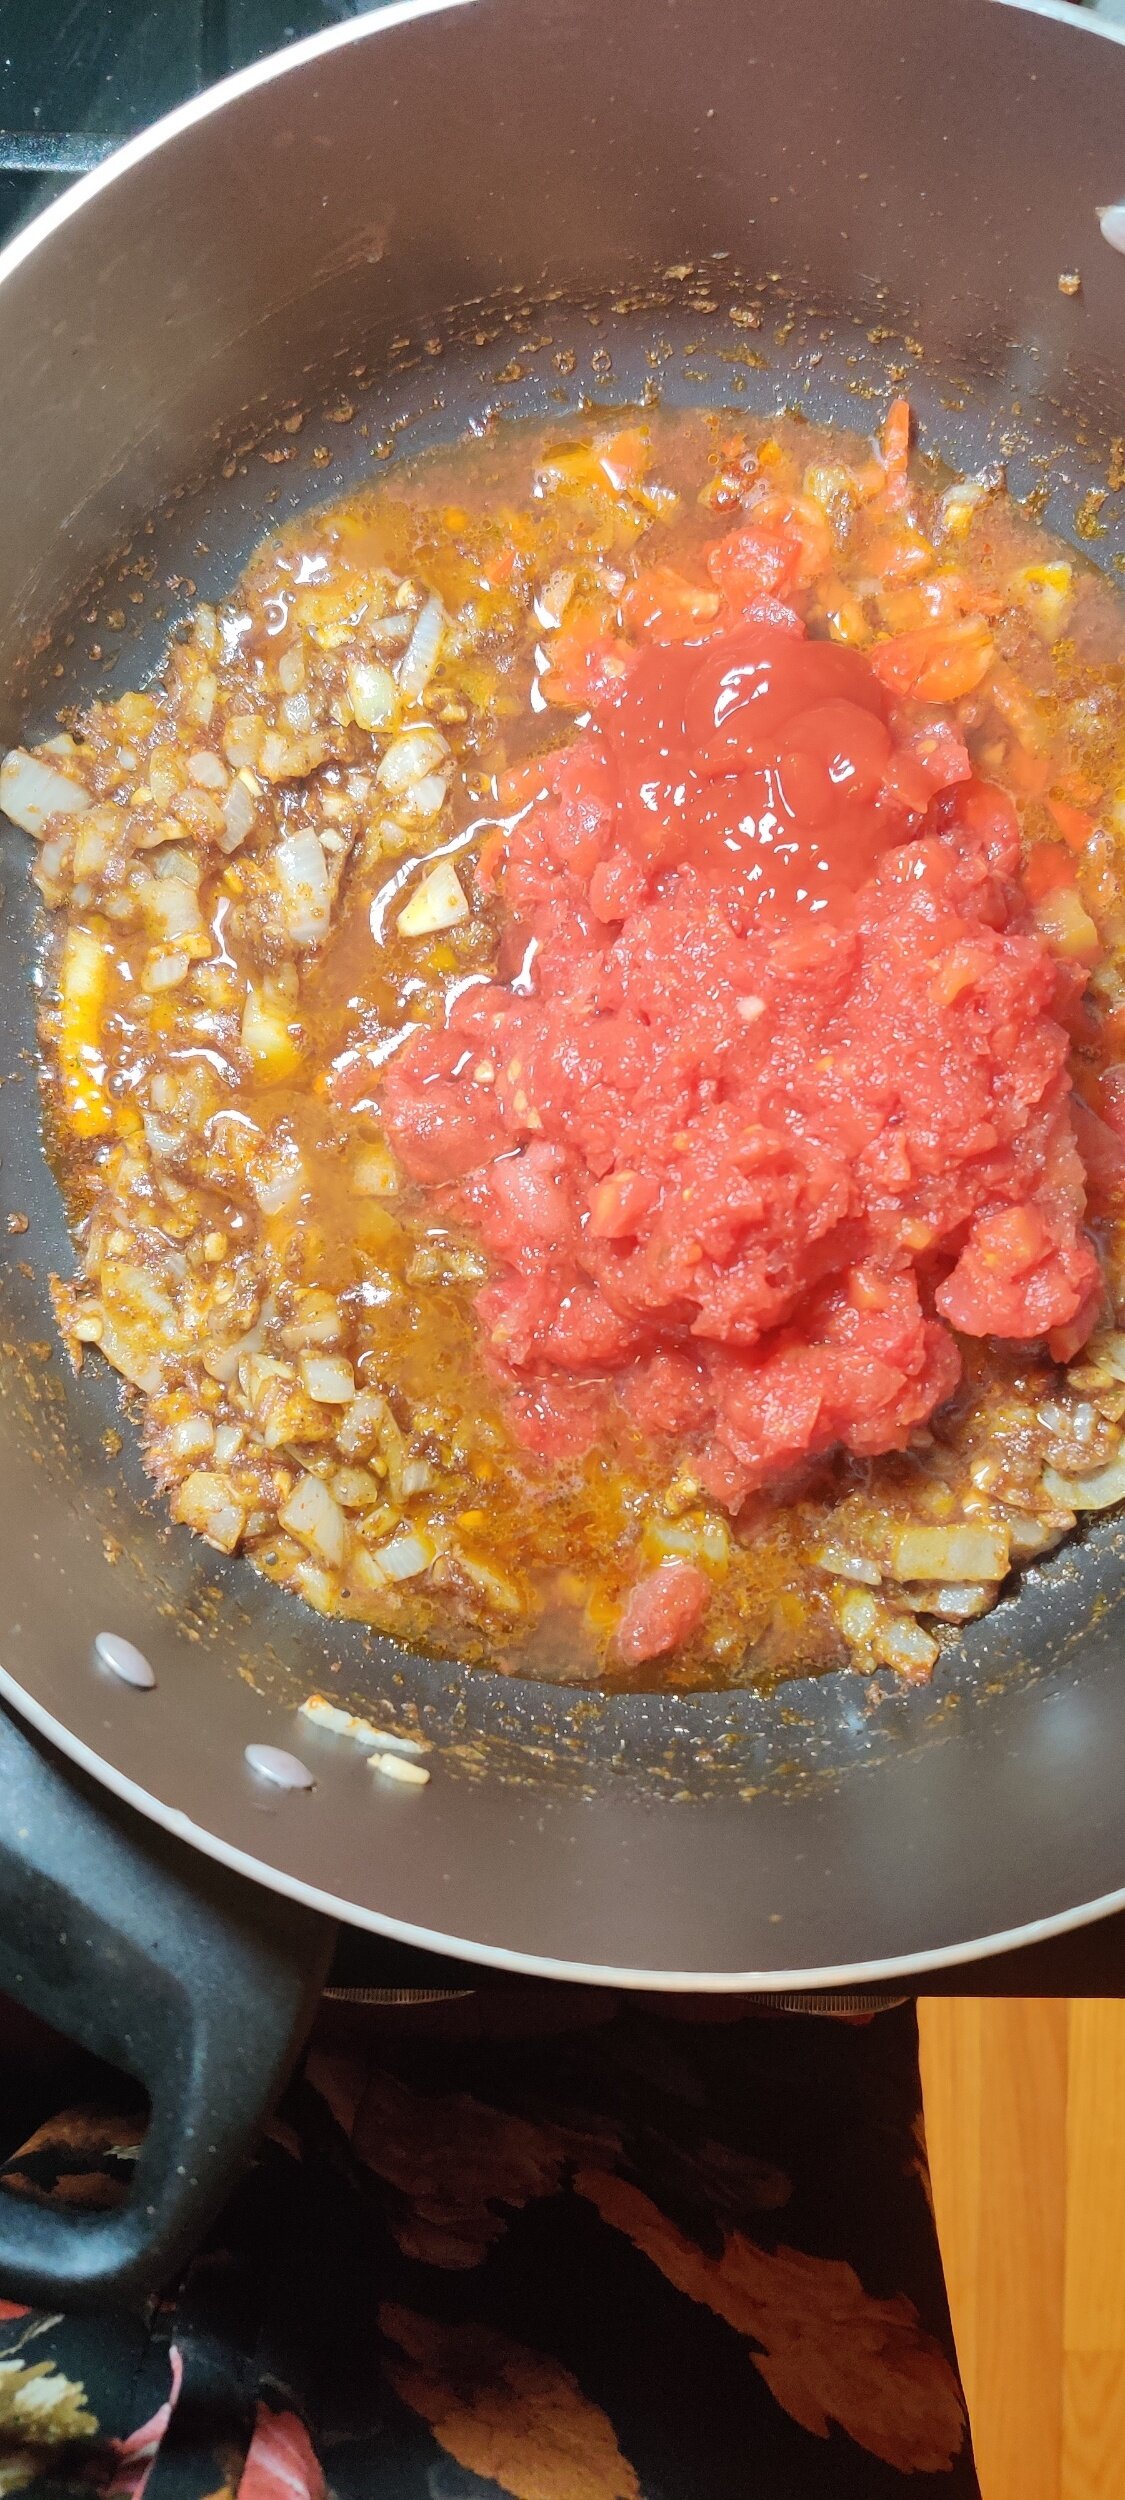
Mix in the diced tomatoes and tomato sauce/ketchup, cook for about 5 minutes.
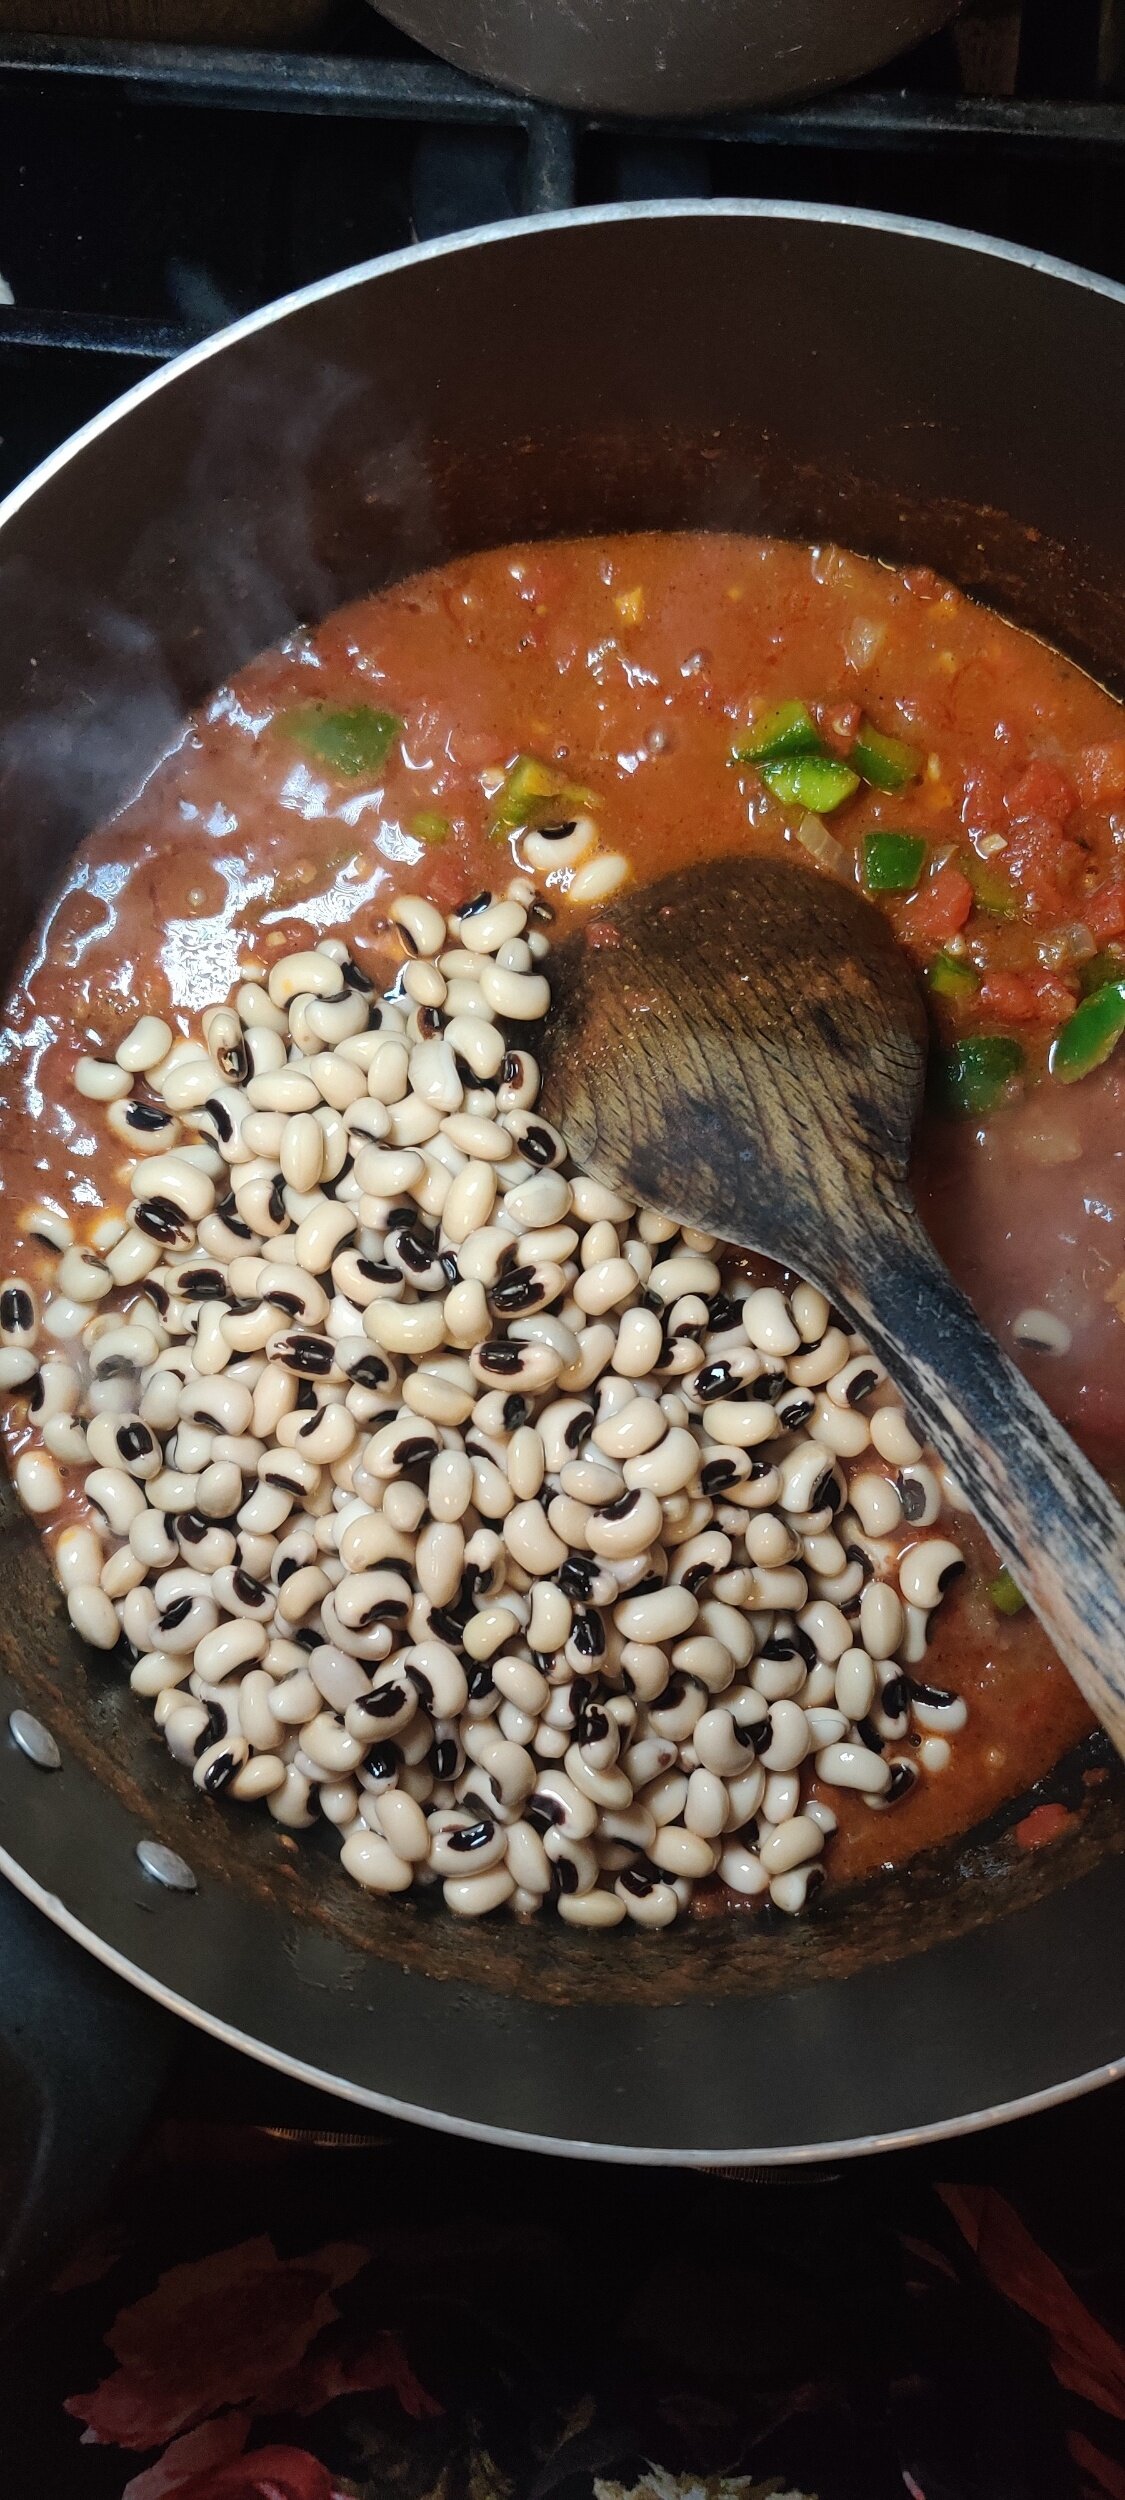
Stir in the green pepper and black-eyed peas, then pour in the water and coconut milk. Season to taste with additional salt and pepper if necessary.
Reduce the temperature and simmer for 35-40 minutes. Check the stew periodically and stir until the black-eyed peas soften and are cooked through. Add more water if needed.
While the beans are cooking, prepare your sadza or whatever starch you want to serve the stew with. All you'll need for that is water and corn/maize/millet meal.
Serve both hot, enough for 4-5.

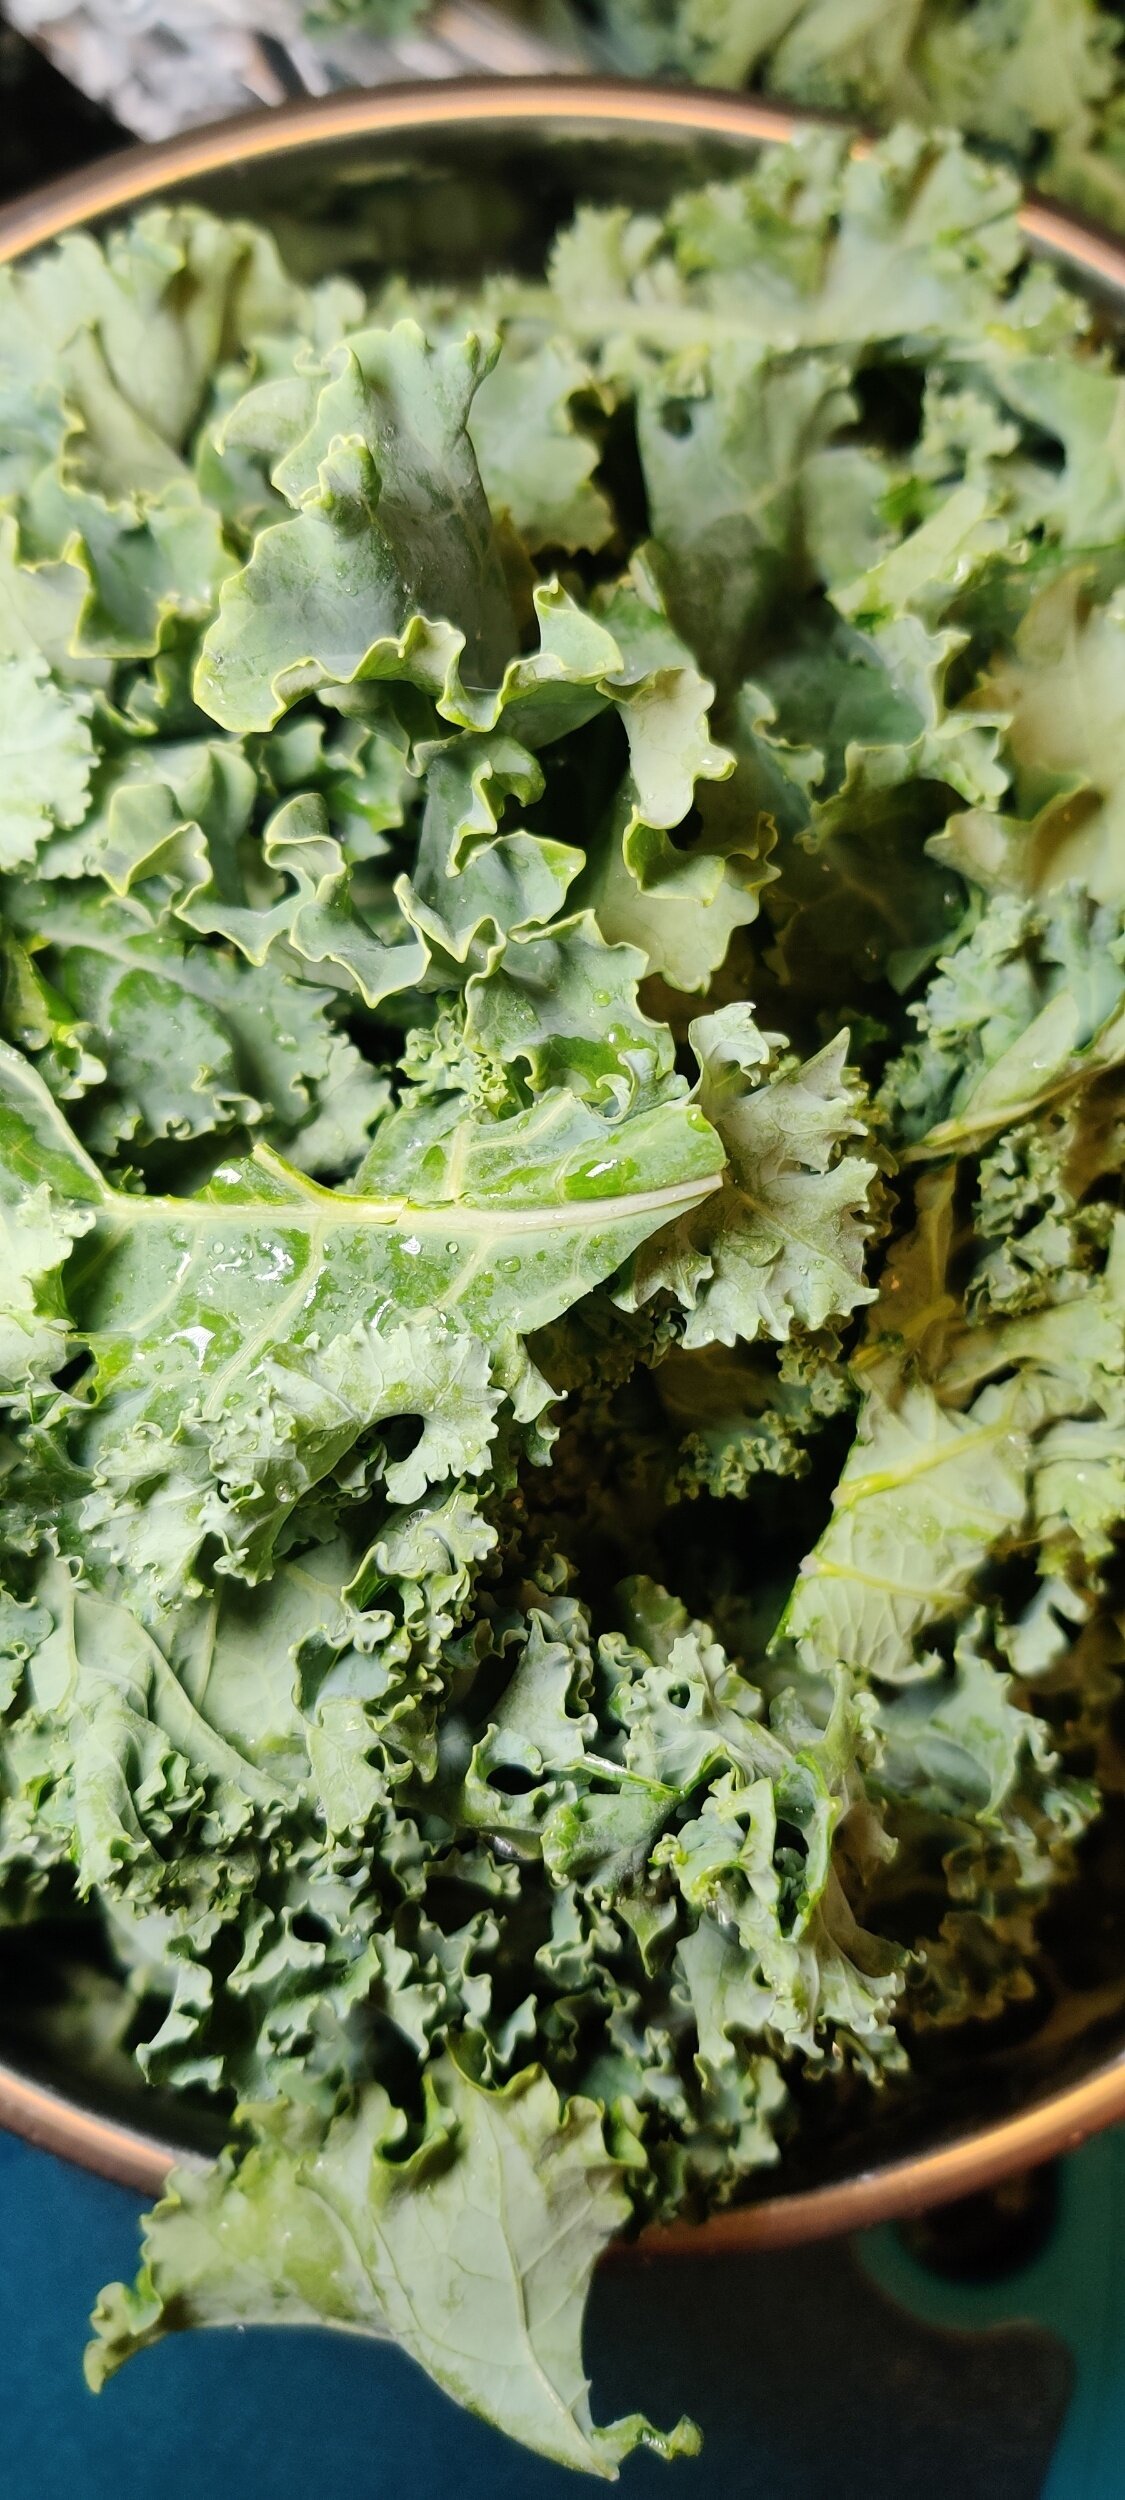
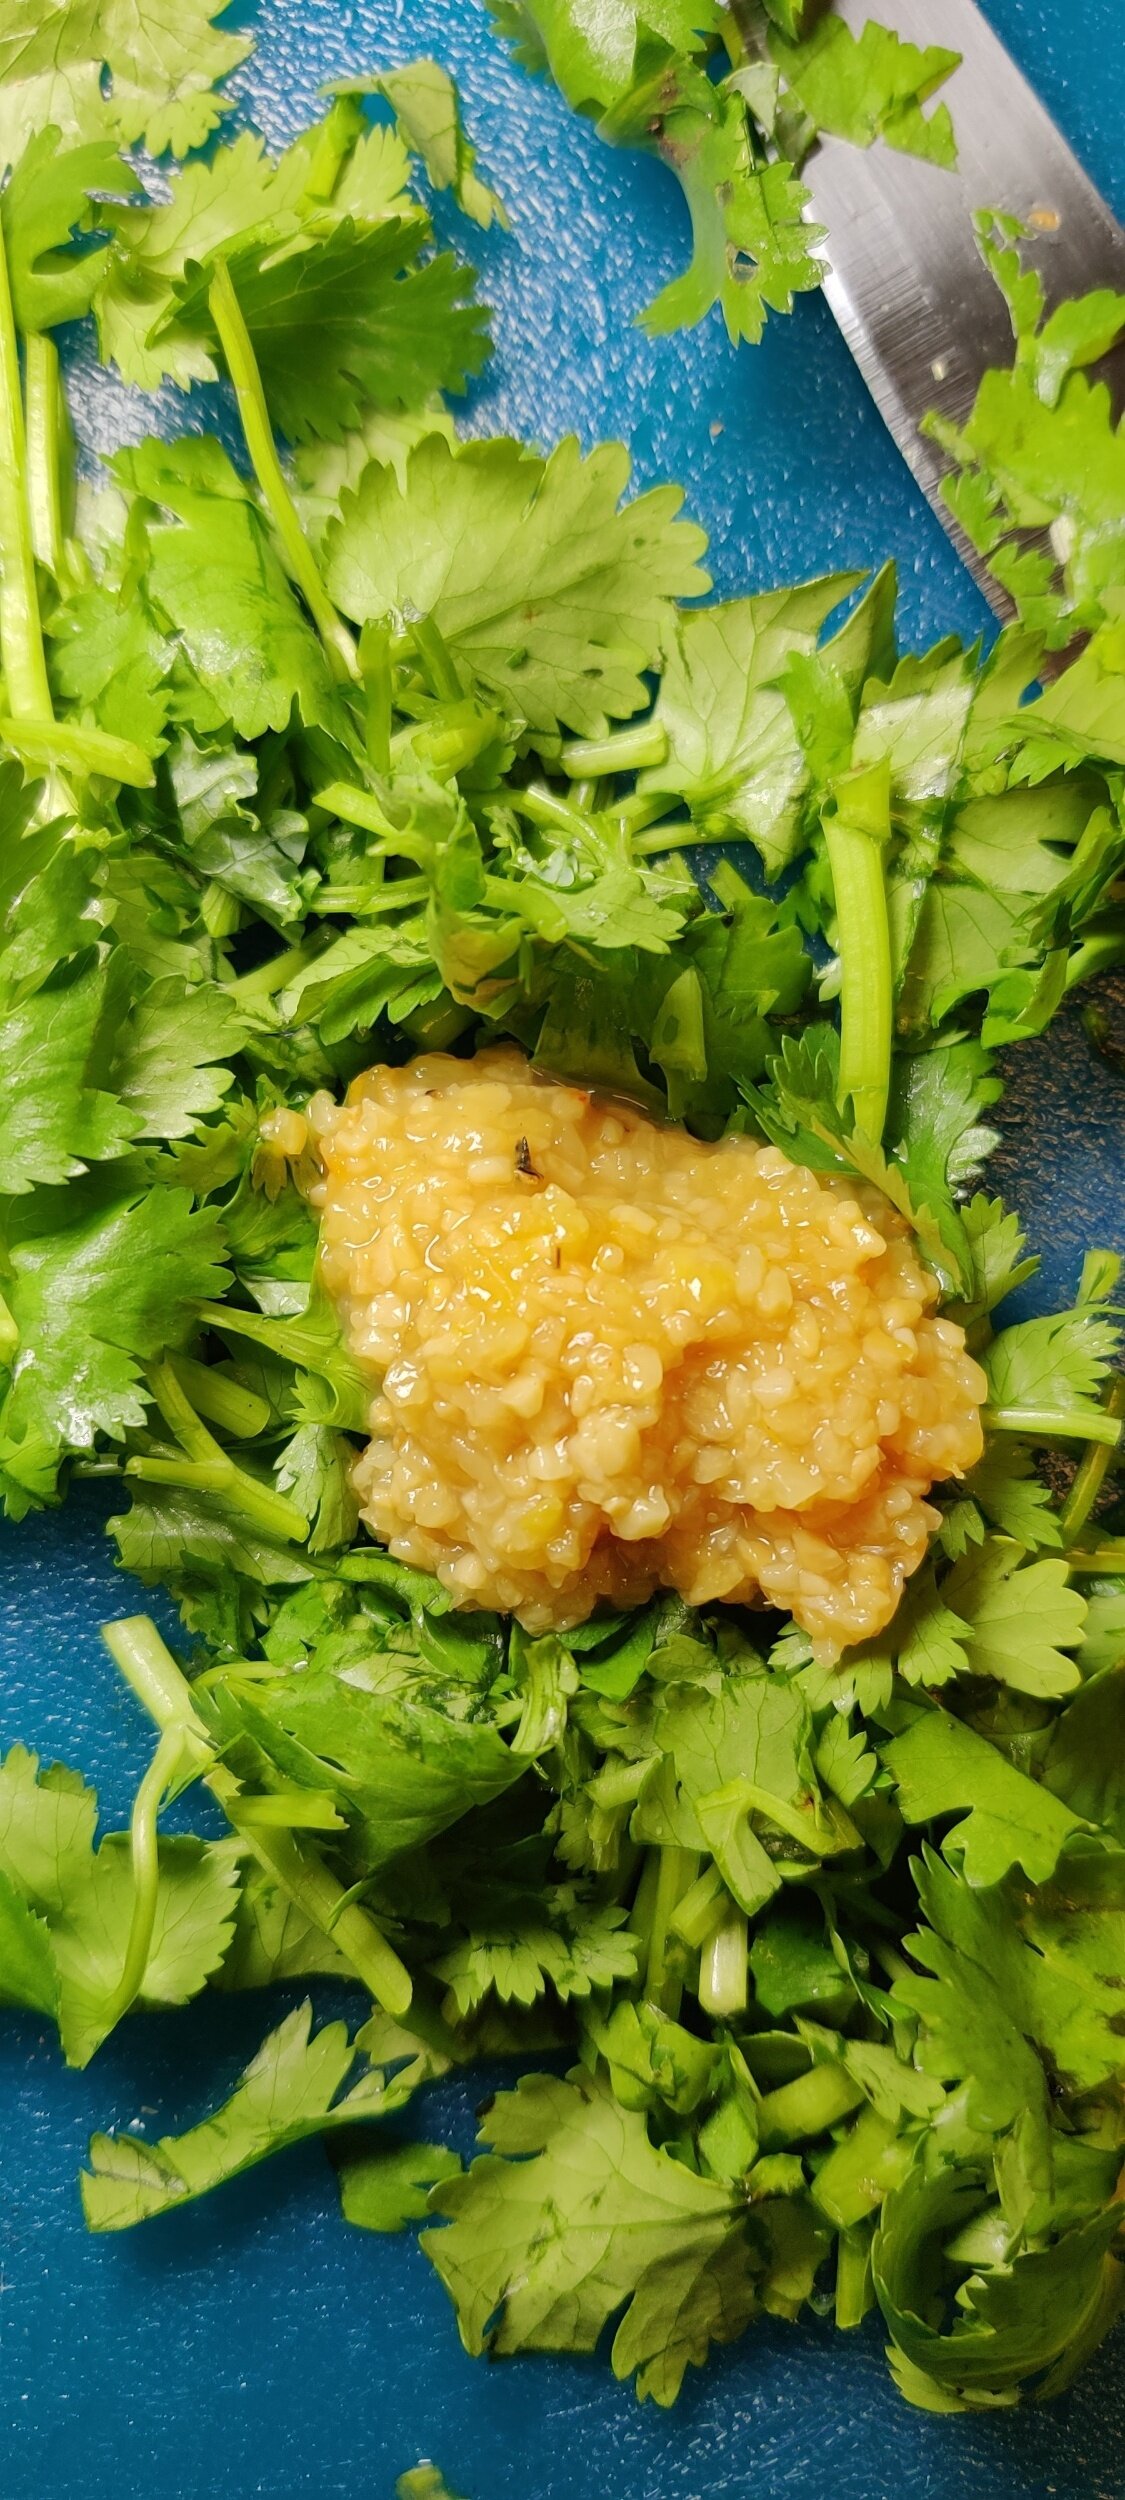
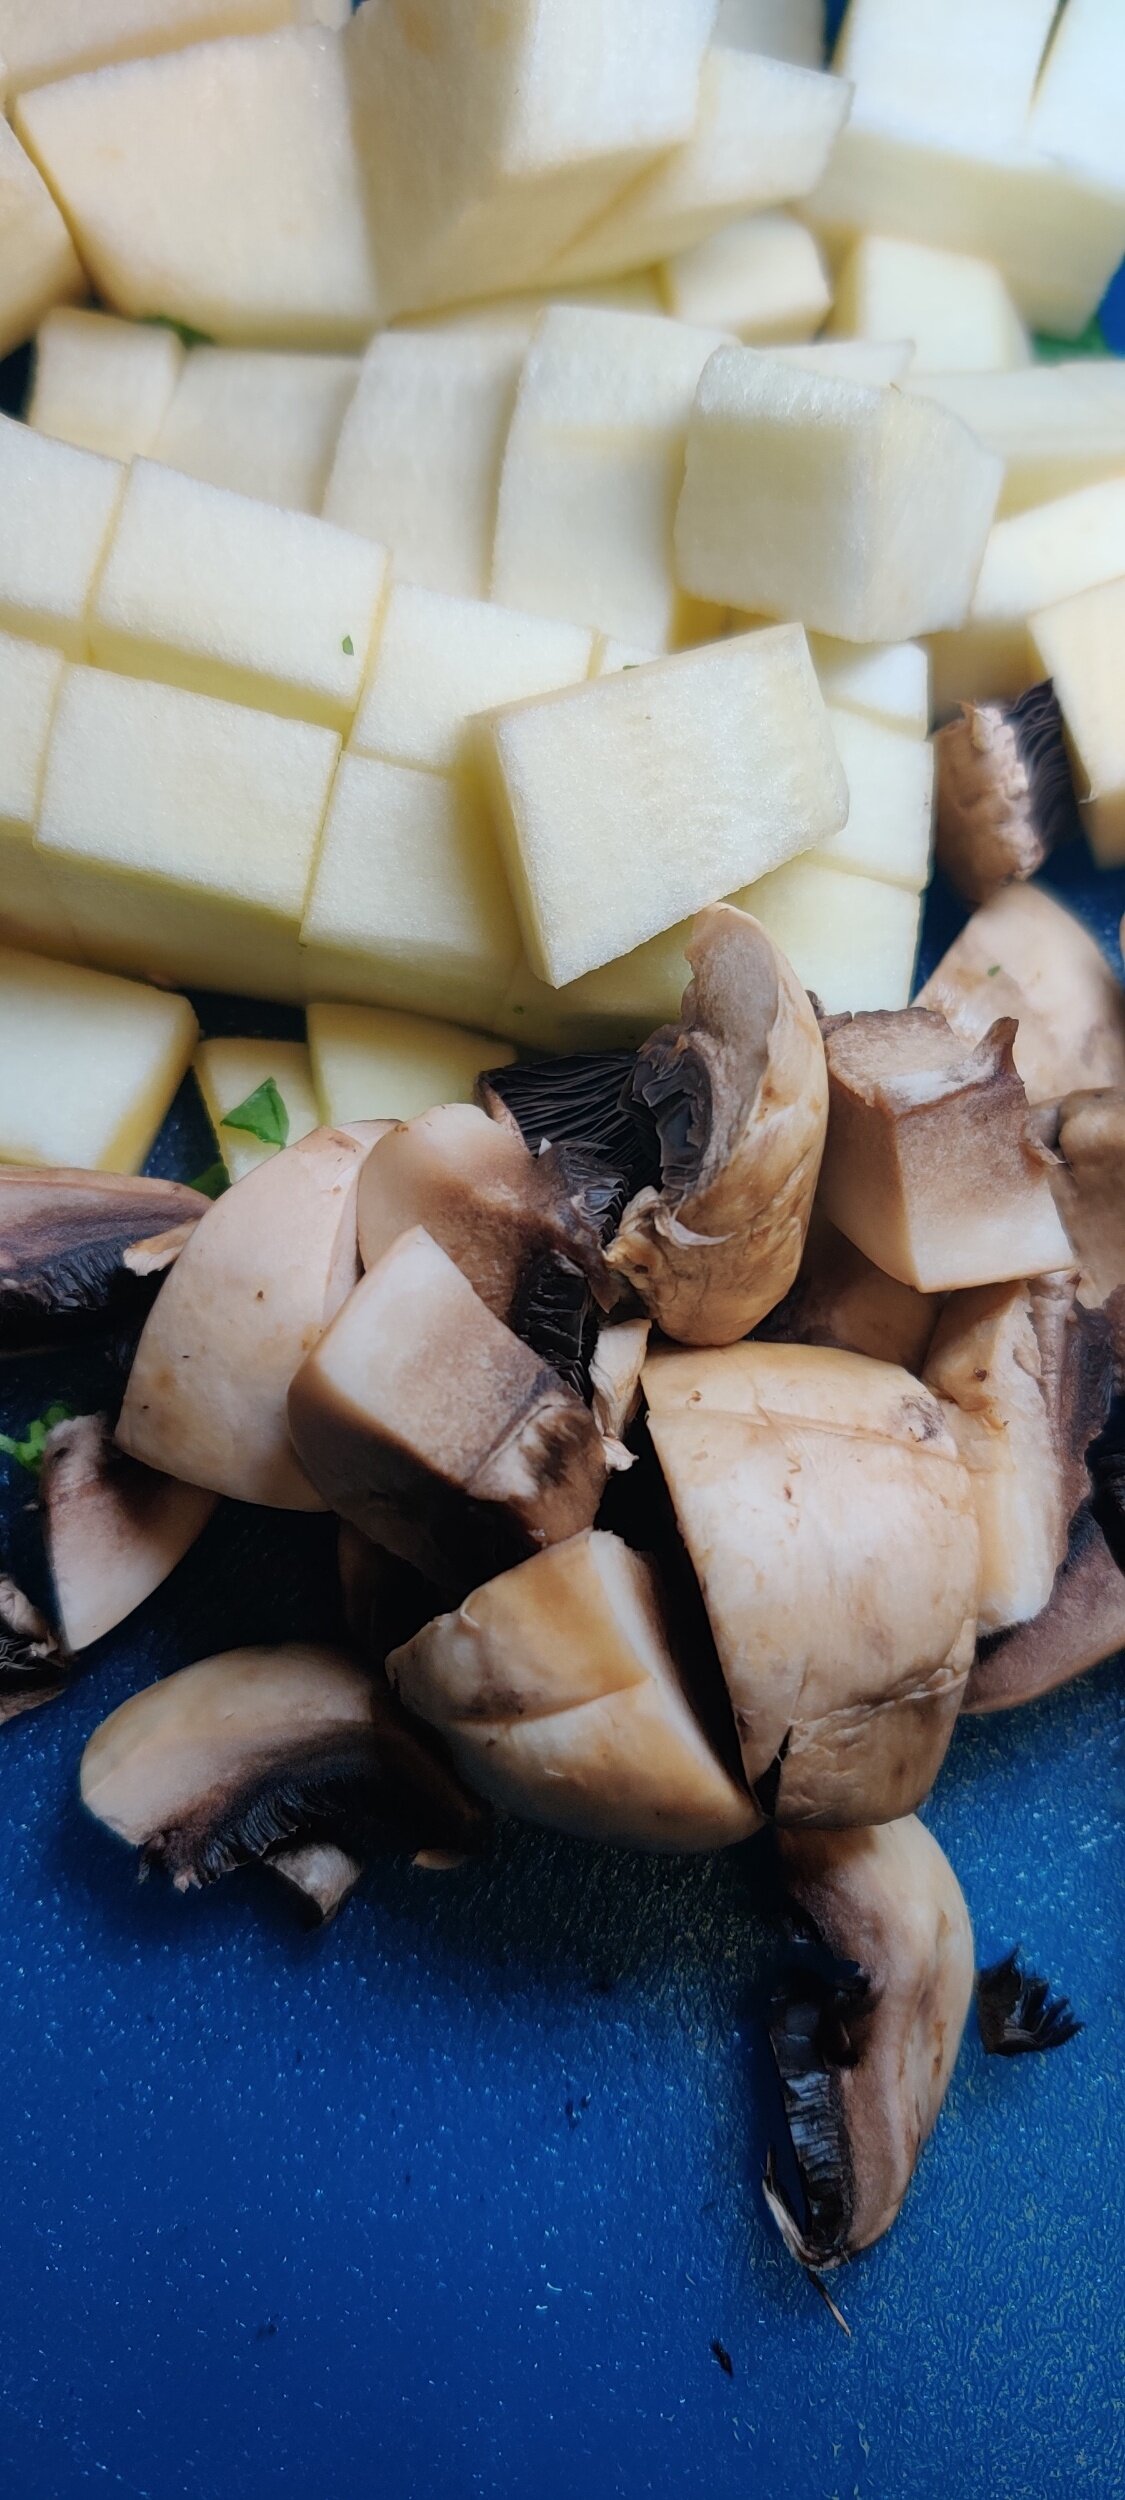
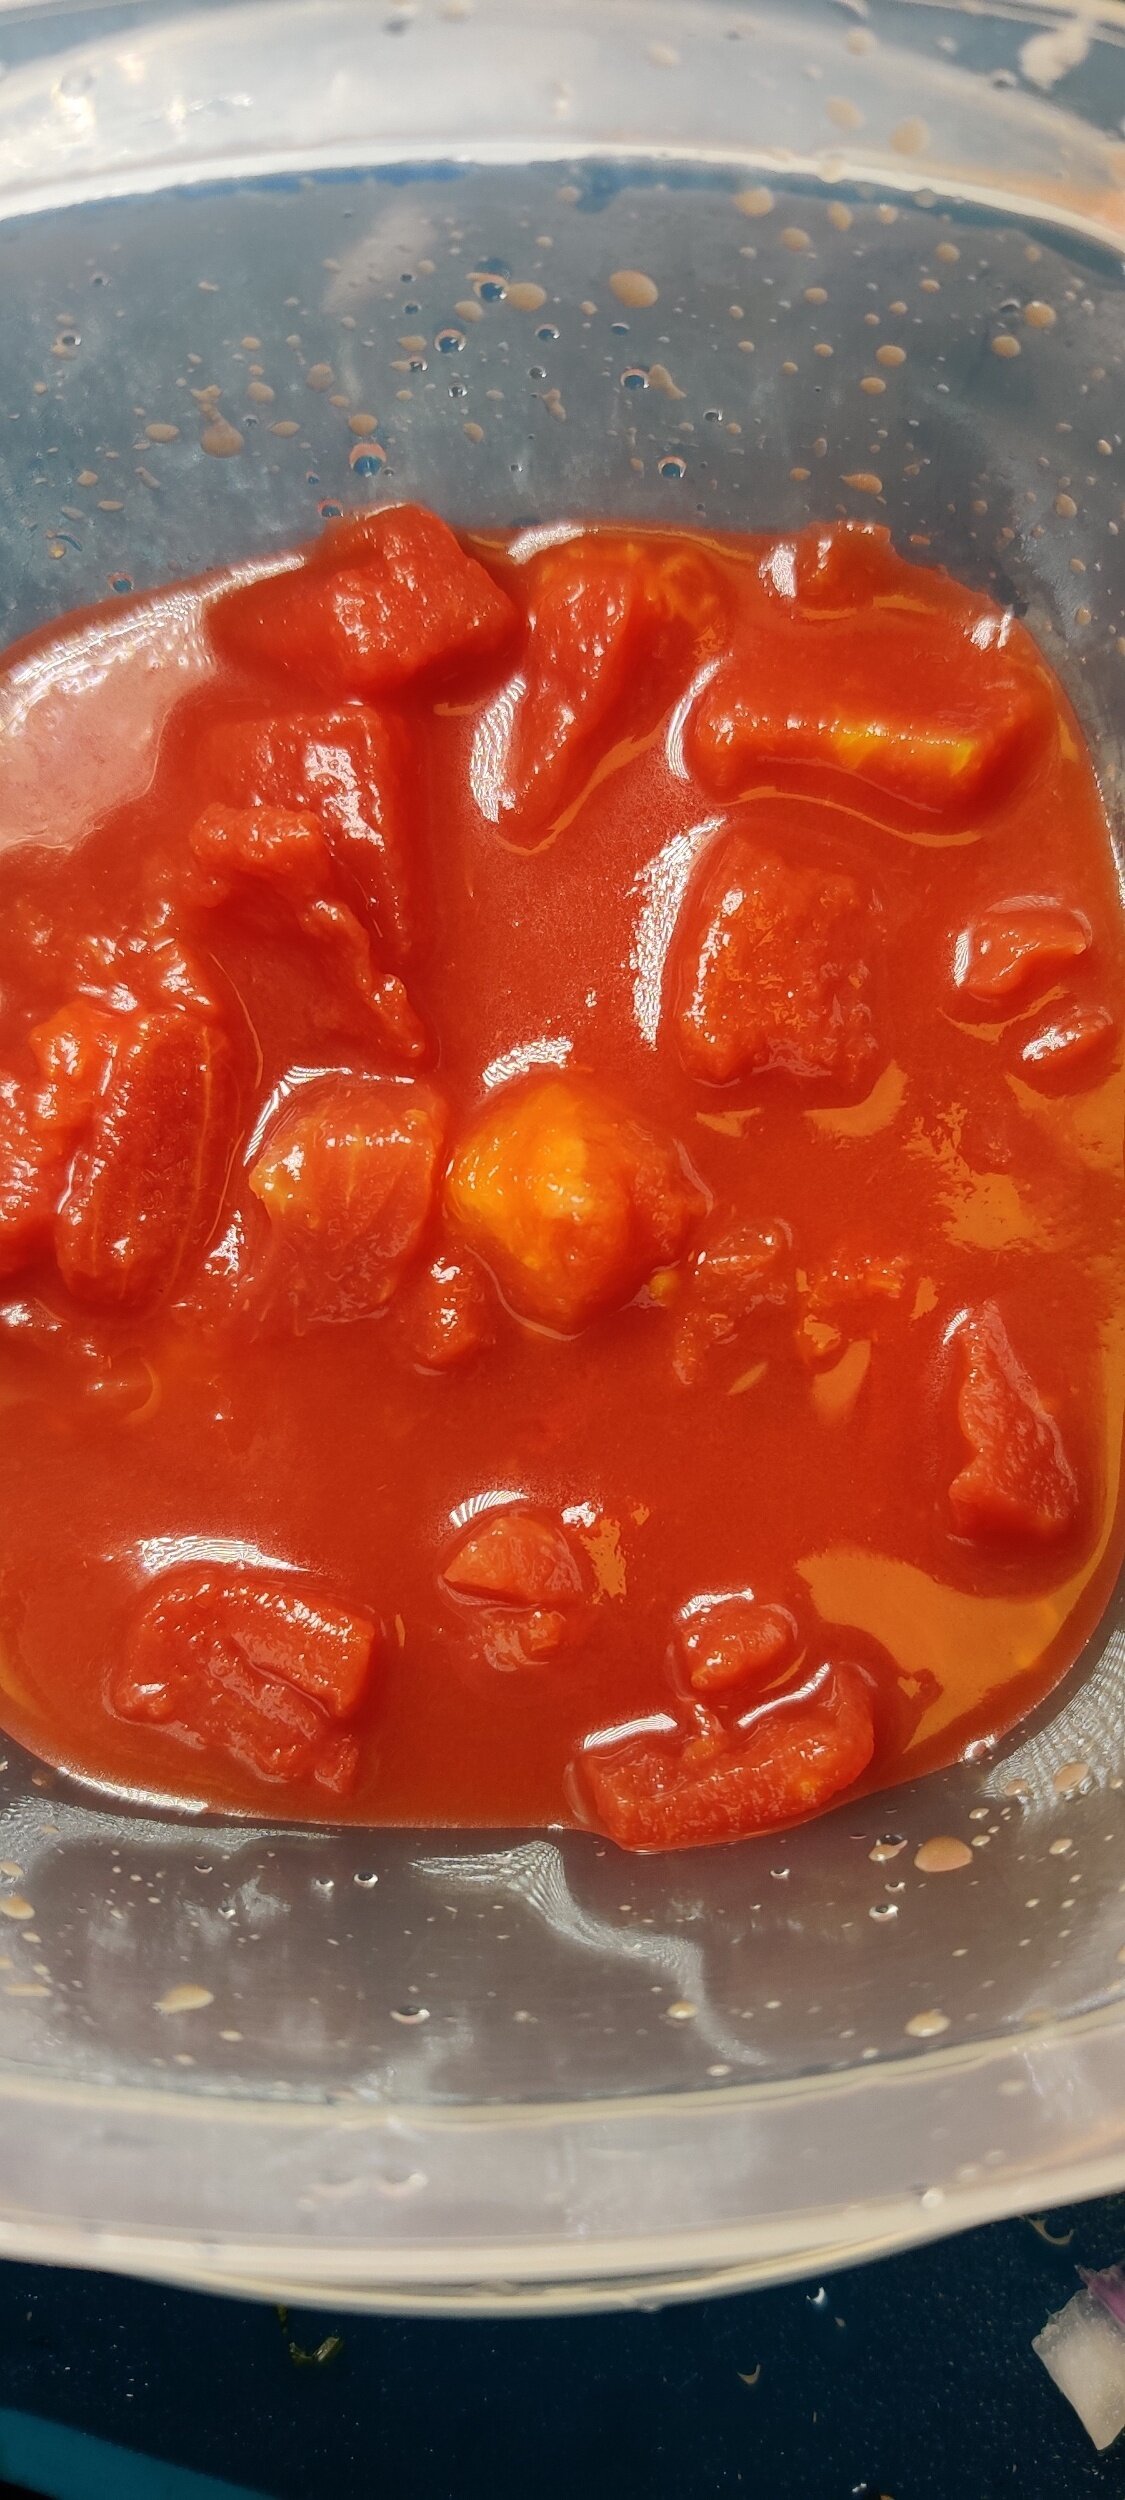
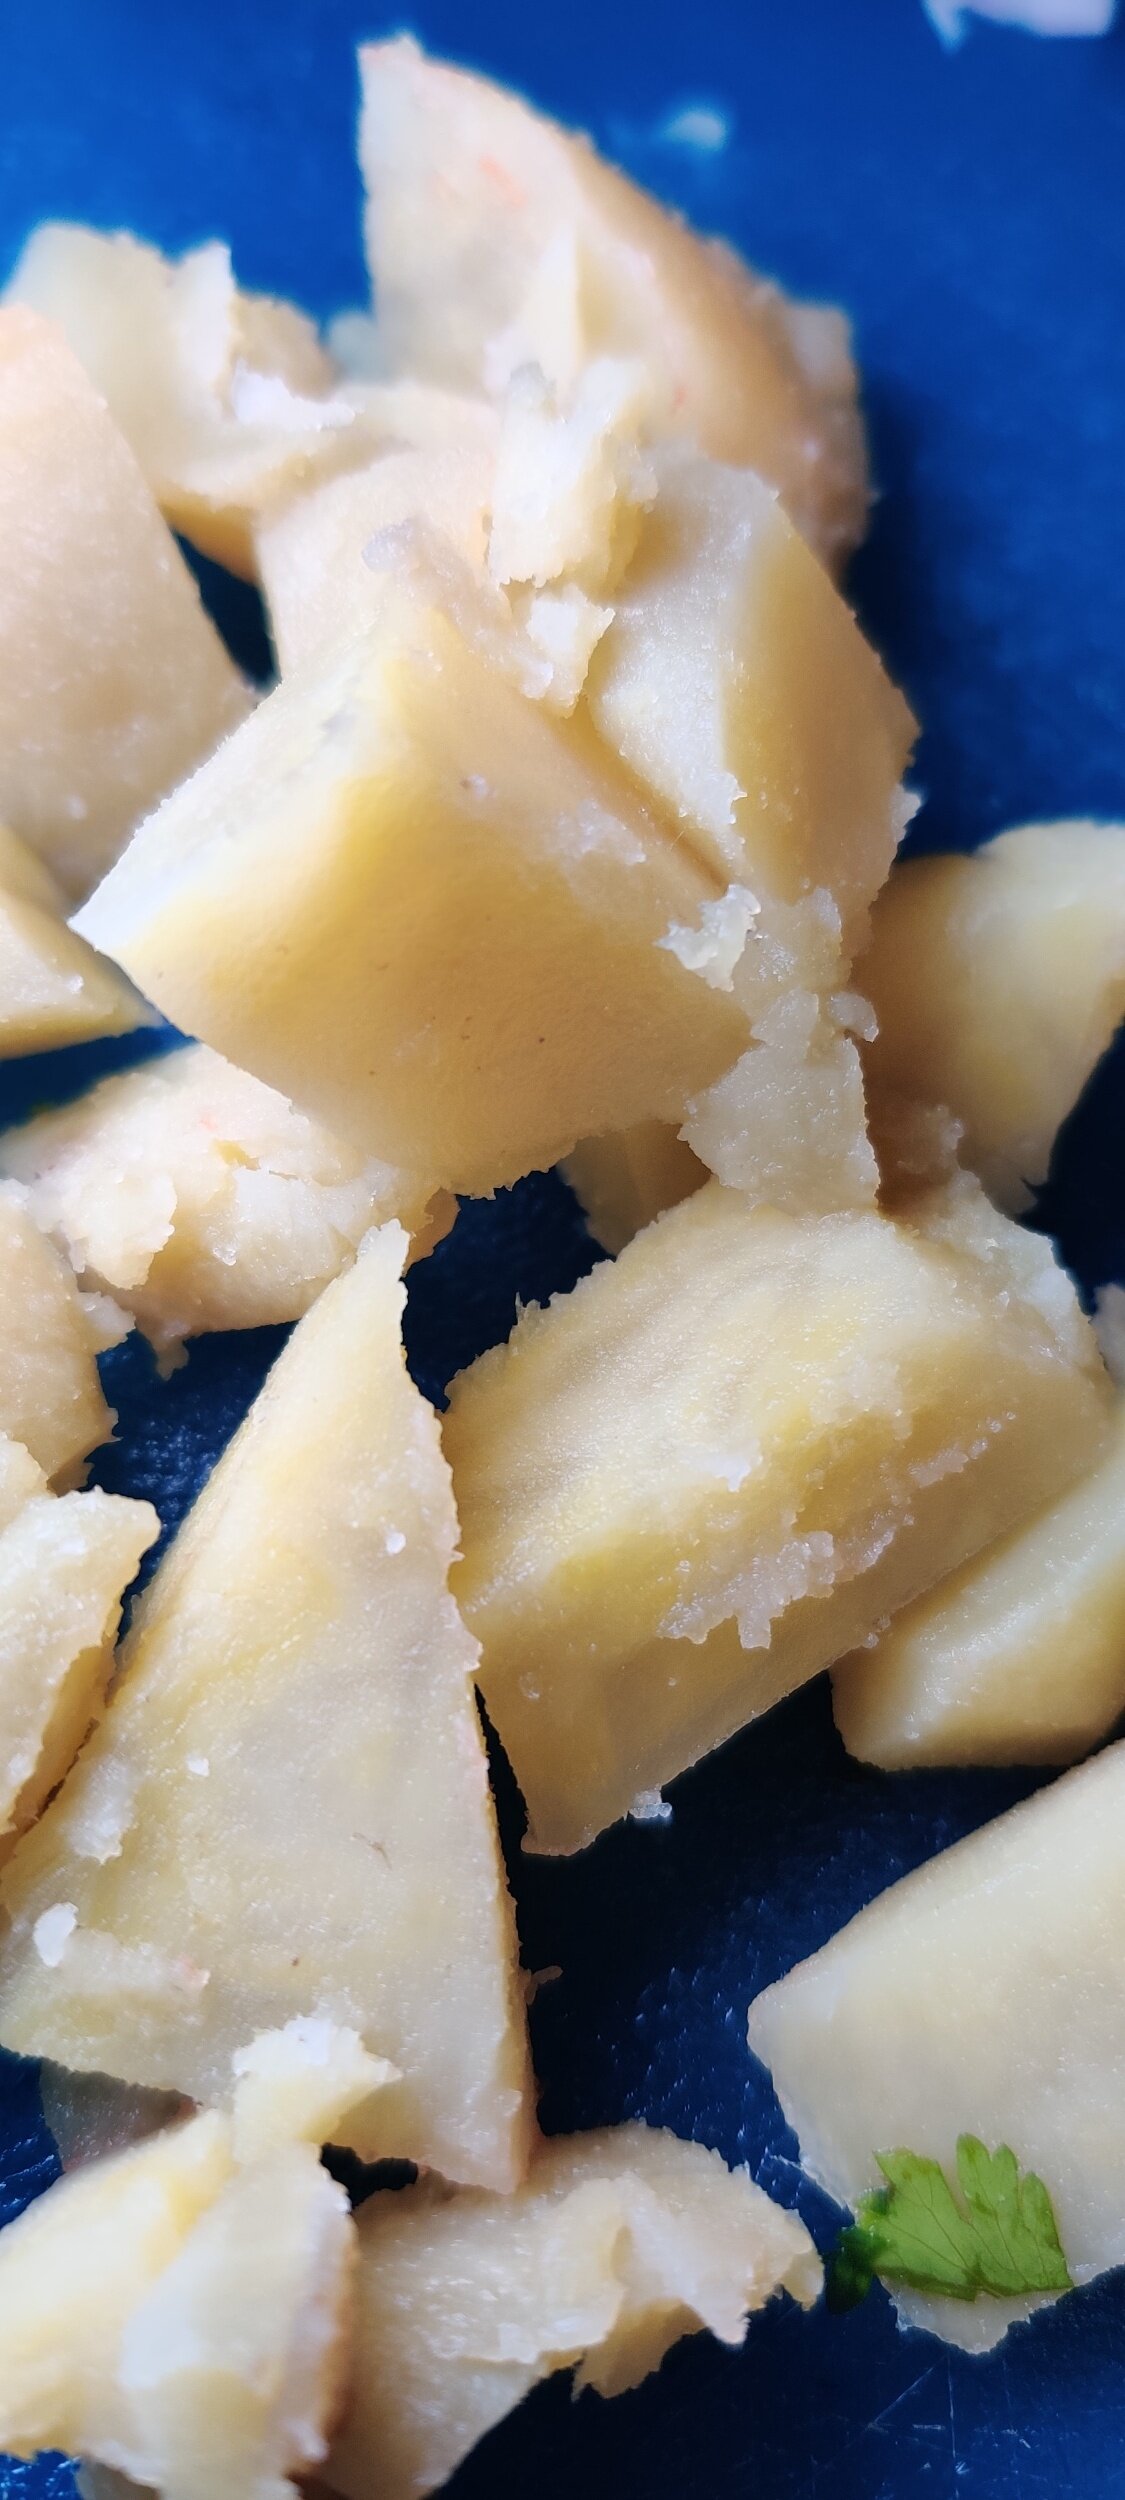
East African Mashed Kale Stew (Sukuma Wiki) with Chapati
This dish is inspired by one of East Africa’s most beloved comfort foods: Sukuma Wiki, a flavorful sautéed kale or collard green dish often served with chapati or ugali. Common across countries like Kenya, Uganda, and Tanzania, Sukuma Wiki is a simple, affordable way to stretch meals, the name literally means “stretch the week” in Swahili.
I’ve taken that foundation and turned it into a heartier, stew-like version by adding peanut butter, yam, mushrooms, and eggplant for extra richness. This version leans into bold spices and a creamy texture, making it filling enough to enjoy as a main dish.
While this stew draws heavily from Sukuma Wiki, I was also inspired by other traditions across the continent. In Zimbabwe, pumpkin leaves (muboora) are cooked with peanut butter to create a deeply savory side or main. They’re often overlooked, but when cooked right, they're just as good as kale or collard greens. Since I’m currently in the United States, I’ve used kale (muriwo) as a substitute, it’s readily available and holds up beautifully in stews.
In Rwanda, a dish called isombe uses ground cassava leaves stewed in a similar way, often served with plantains and, of course, chapati, my favorite flatbread of all time.
I’ve paired this stew with East African chapati, which is soft, flaky, and layered. It’s made differently from Indian chapati, using a coiled rolling technique that creates those signature flaky layers. You can find my chapati recipe [here] if you’d like to make it from scratch.
This dish is warm, deeply nourishing, and full of flavor. It’s a beautiful mix of traditions and ingredients that come together to celebrate African cooking in a way that’s comforting and easy to recreate at home.
 with Chapati")
East African Mashed Kale Stew (Sukuma Wiki) with Chapati
A hearty, comforting East African-inspired kale stew packed with vegetables, spices, and richness from peanut butter. Serve with chapati for a complete meal.
Ingredients
- 1 pound kale, chopped
- 2 tablespoons garlic, minced
- ¼ cup fresh parsley, chopped
- ½ large eggplant, chopped
- ½ cup mushrooms, chopped
- 1 large tomato or 1 (14-ounce) can diced tomatoes
- ½ white-fleshed yam or sweet potato, chopped
- ½ large onion, chopped
- ½ large bell pepper, chopped
- ½ jalapeño, chopped
- 6 cups beef broth
- 2 vegetable bouillon cubes
- 1 tablespoon salt
- 2 tablespoons black pepper
- 1 tablespoon chili flakes
- ½ cup peanut butter
- 2 cups water
- 2 tablespoons vegetable oil
- 1 teaspoon fenugreek
- 1 teaspoon cumin
- 1 teaspoon coriander
- 1 teaspoon paprika
- 1 teaspoon sugar
- 1 teaspoon fennel
- ¼ cup chopped parsley (for garnish or added at the end)
Instructions
- Heat the vegetable oil in a large pot over medium heat. Add the chopped kale and cook until wilted and the edges begin to crisp slightly.
- Stir in the garlic and parsley. Cook for 2 minutes, until fragrant.
- Add the onion, eggplant, mushrooms, and all the spices (fenugreek, cumin, coriander, paprika, sugar, fennel, salt, pepper, and chili flakes). Sauté for another 2 minutes.
- Add the bell pepper and jalapeño, and cook for 1 more minute.
- Stir in the tomato, yam (or sweet potato), bouillon cubes, water, and beef broth.
- Reduce the heat to low, cover, and let the stew simmer for about 35 minutes. Stir occasionally and add more water if the stew becomes too thick.
- Once the vegetables are soft and the flavors are well developed, stir in the peanut butter and simmer for 5 more minutes. Taste and adjust seasoning as needed.
- Serve hot, ideally with freshly made chapati or another flatbread.
Notes
Tips:
- The richer your broth, the more flavorful the stew will be. Homemade stock or beef bone broth adds incredible depth.
- While traditionally made with beef broth, this stew can easily be made vegetarian or vegan by using a well-seasoned vegetable broth.
- You can also blend part of the stew for a smoother texture or leave it chunky, depending on your preference.
I am not a certified nutritionist and any nutritional information on dontmissmyplate.com should only be used as a general guideline.

Chermoula Red Snapper with Peanut Butter Rice
This dish is a combination of a lot of different influences. Meals like this that make me appreciate the exposure I've had to food from my background, visiting restaurants, reading, and exploring in the kitchen.
Let’s start with the peanut butter rice!
This is a favoured way of preparing rice in Zimbabwe. It’s an easy, affordable way to add protein to the rice when there is no meat, but even when there is adds an interesting dimension to rice. If you haven’t tried peanut butter rice, I encourage it of course!

The second most important thing, the fish and the marinade!
Chermoula is a herb marinade used to season fish and vegetables in Morocco, Tunisia, Libya, and other parts of North Africa. It adds a rich taste to even the mildest fish. Once you make it you will be using it forever.
As for the red snapper, once clean, stuff it with simple herbs and add some lemon slices for favour on the inside. You can also get it from the butcher prepared for you, but that doesn’t mean you can’t add seasoning!

Ingredients
Chermoula and fish:
1 red snapper, cleaned
1/2 cup parsley, chopped
1/4 cup cilantro, chopped
1 teaspoon cumin
1/2 teaspoon black pepper
Pinch of salt
1 teaspoon paprika
1/2 cup olive oil
1 tablespoon lemon zest
4 teaspoons garlic, minced
1 teaspoon chili powder
4 lemon slices
1 thyme sprig
1 parsley spring
Peanut butter rice:
1 cup white rice
1/3 cup peanut butter
1/2 teaspoon black pepper
1/4 teaspoon salt
1/4 hot cup water
1 3/4 cups water
1 vegetable sachet or bouillon
1 tablespoon olive oil
1 teaspoon garlic, minced
Beans:
1 teaspoon paprika
1 teaspoon chili powder
1 can pinto beans (sugar beans if you can get them, that was my first choice!)
1 teaspoon black pepper
1/2 teaspoon salt
1/2 cup water
1/2 vegetable bouillon, crushed
1 tablespoon Scotch bonnet pepper sauce
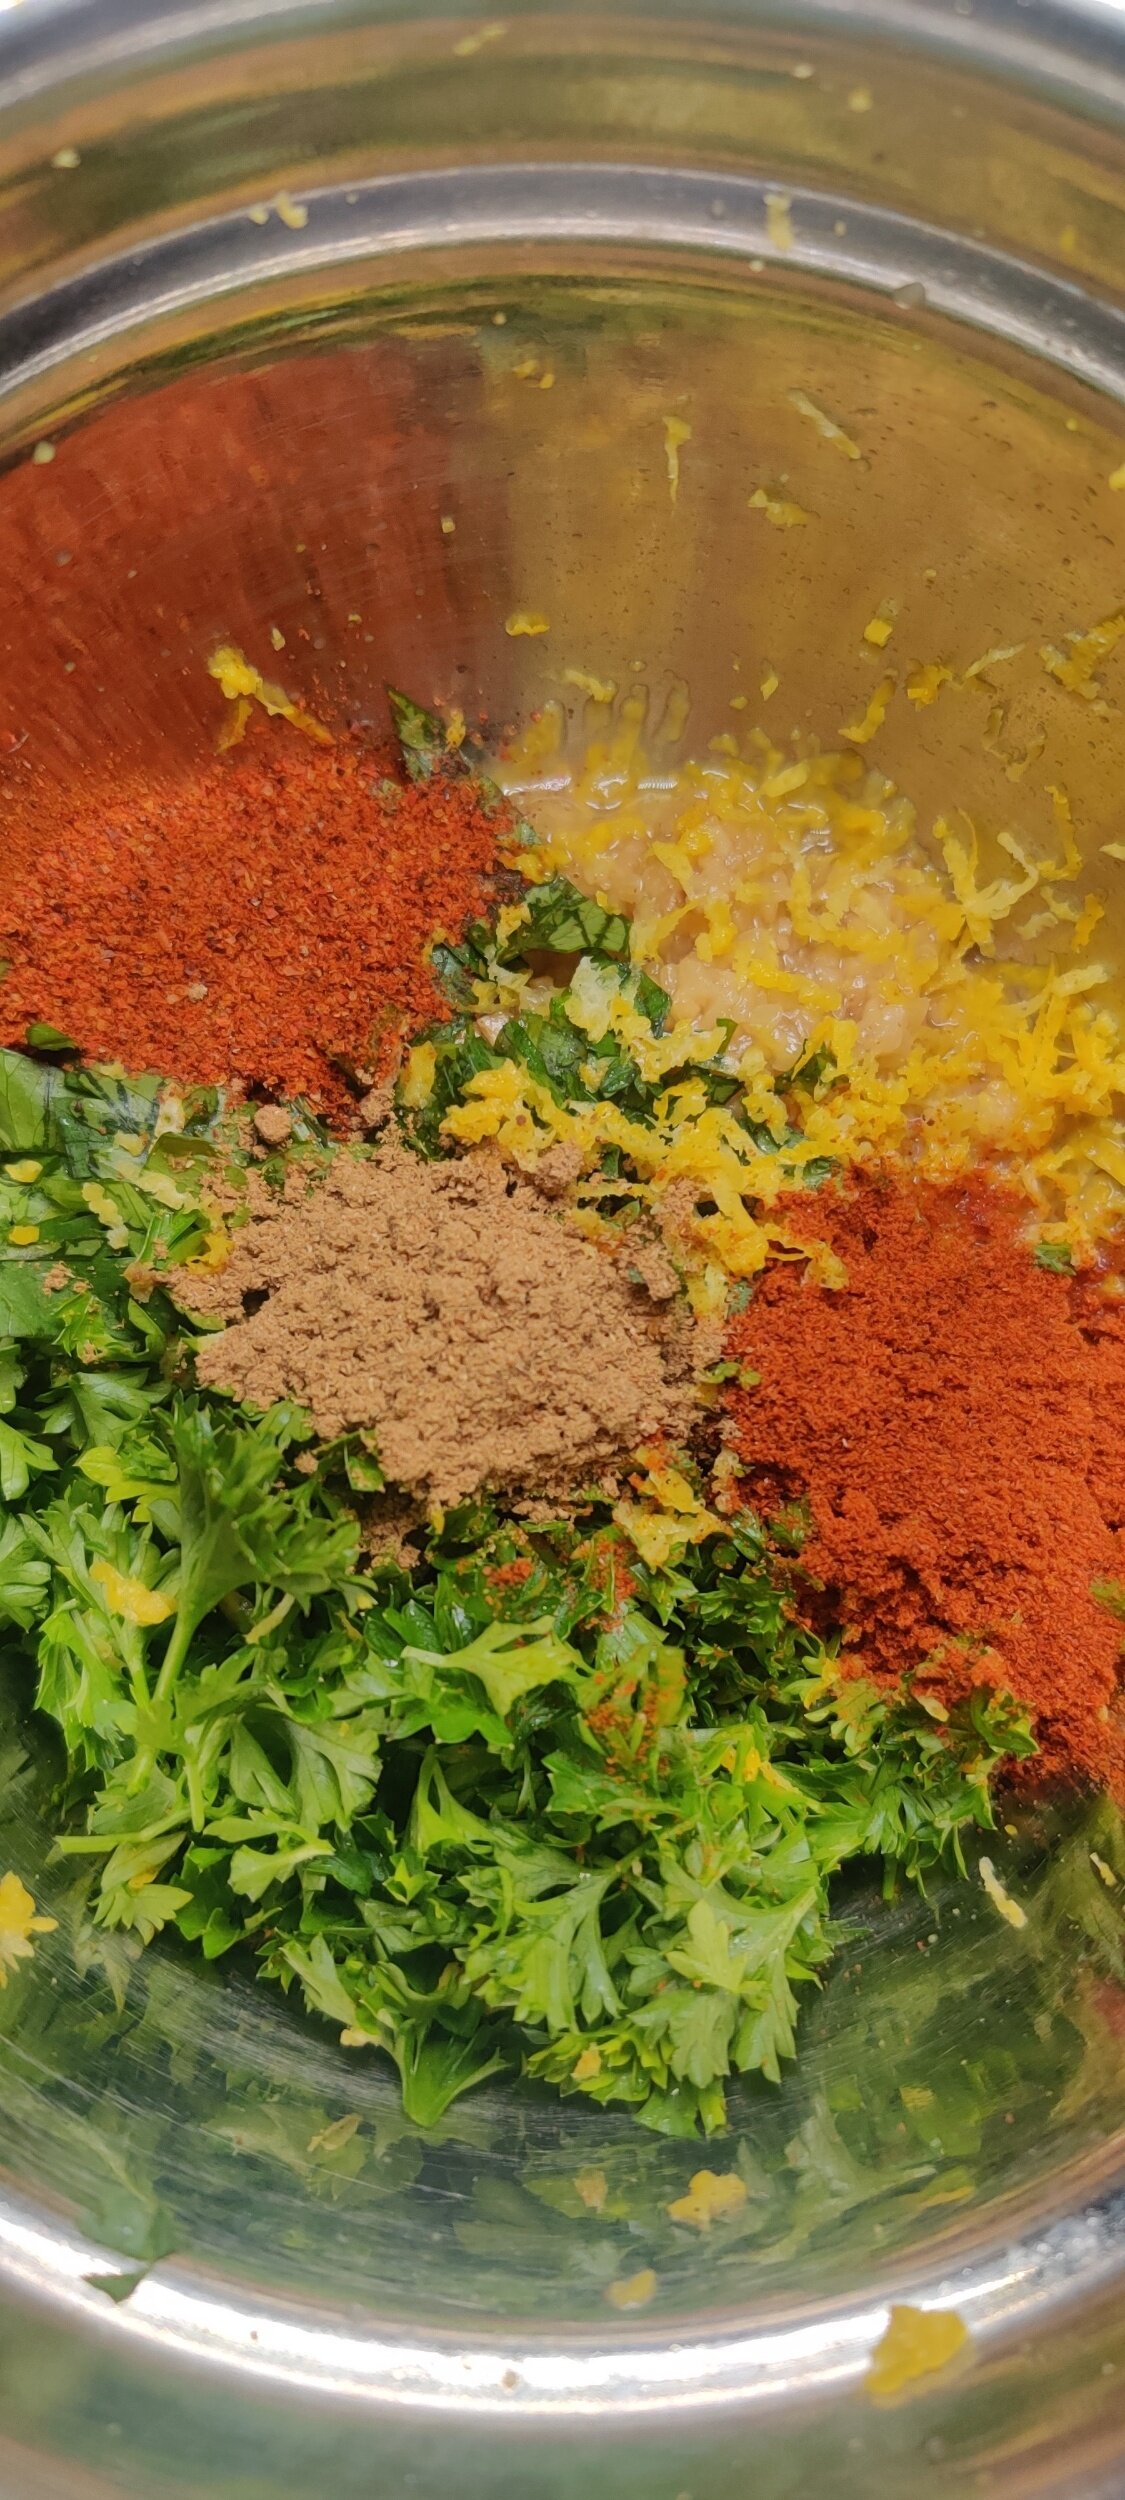
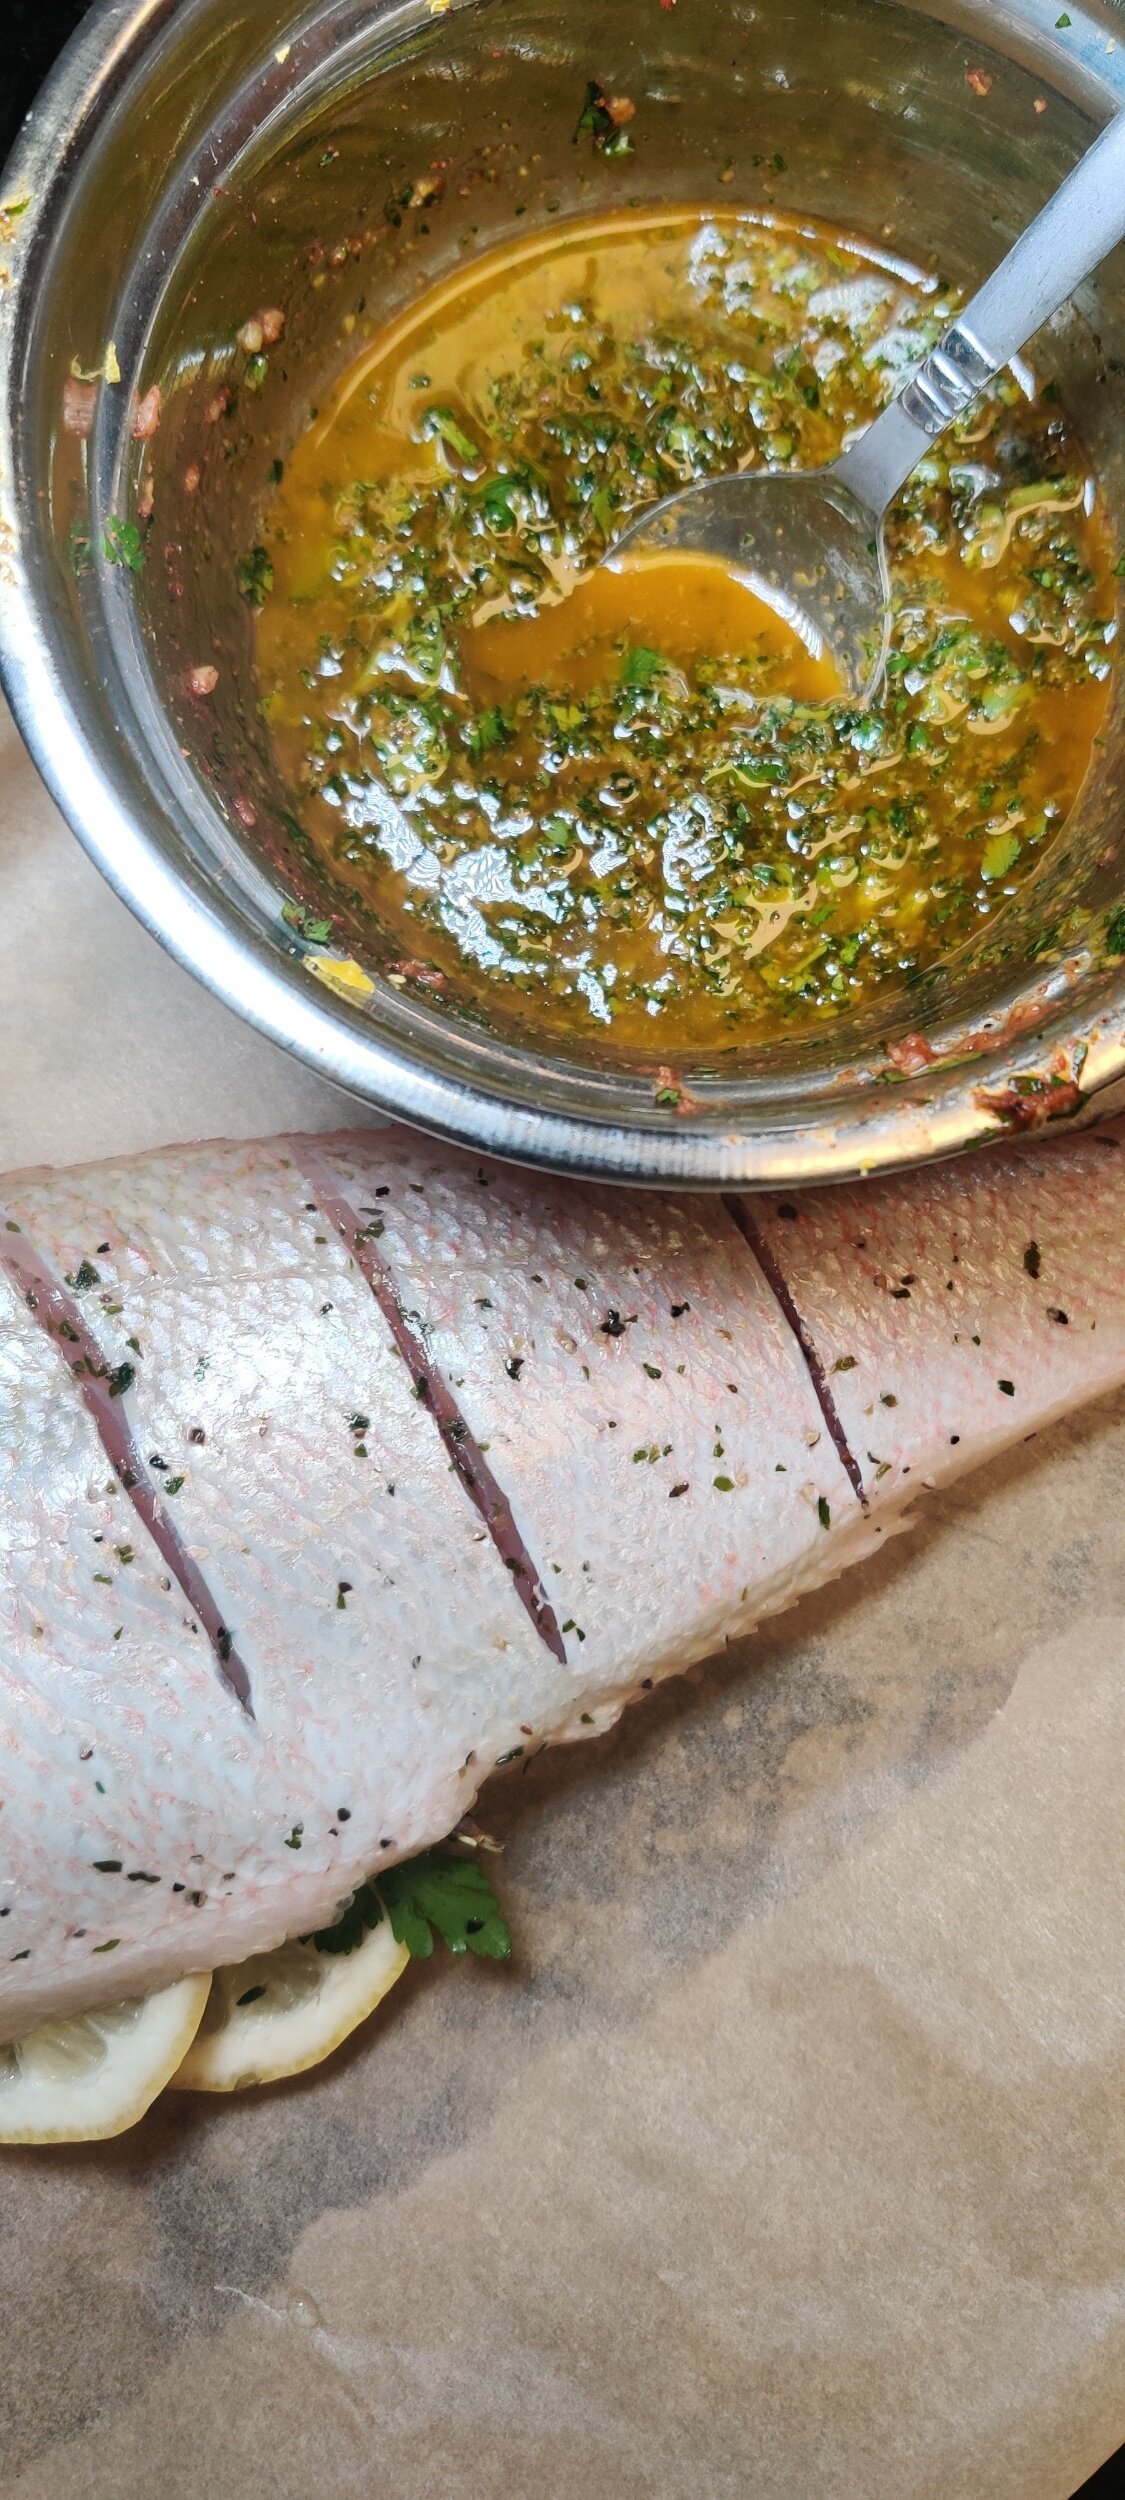
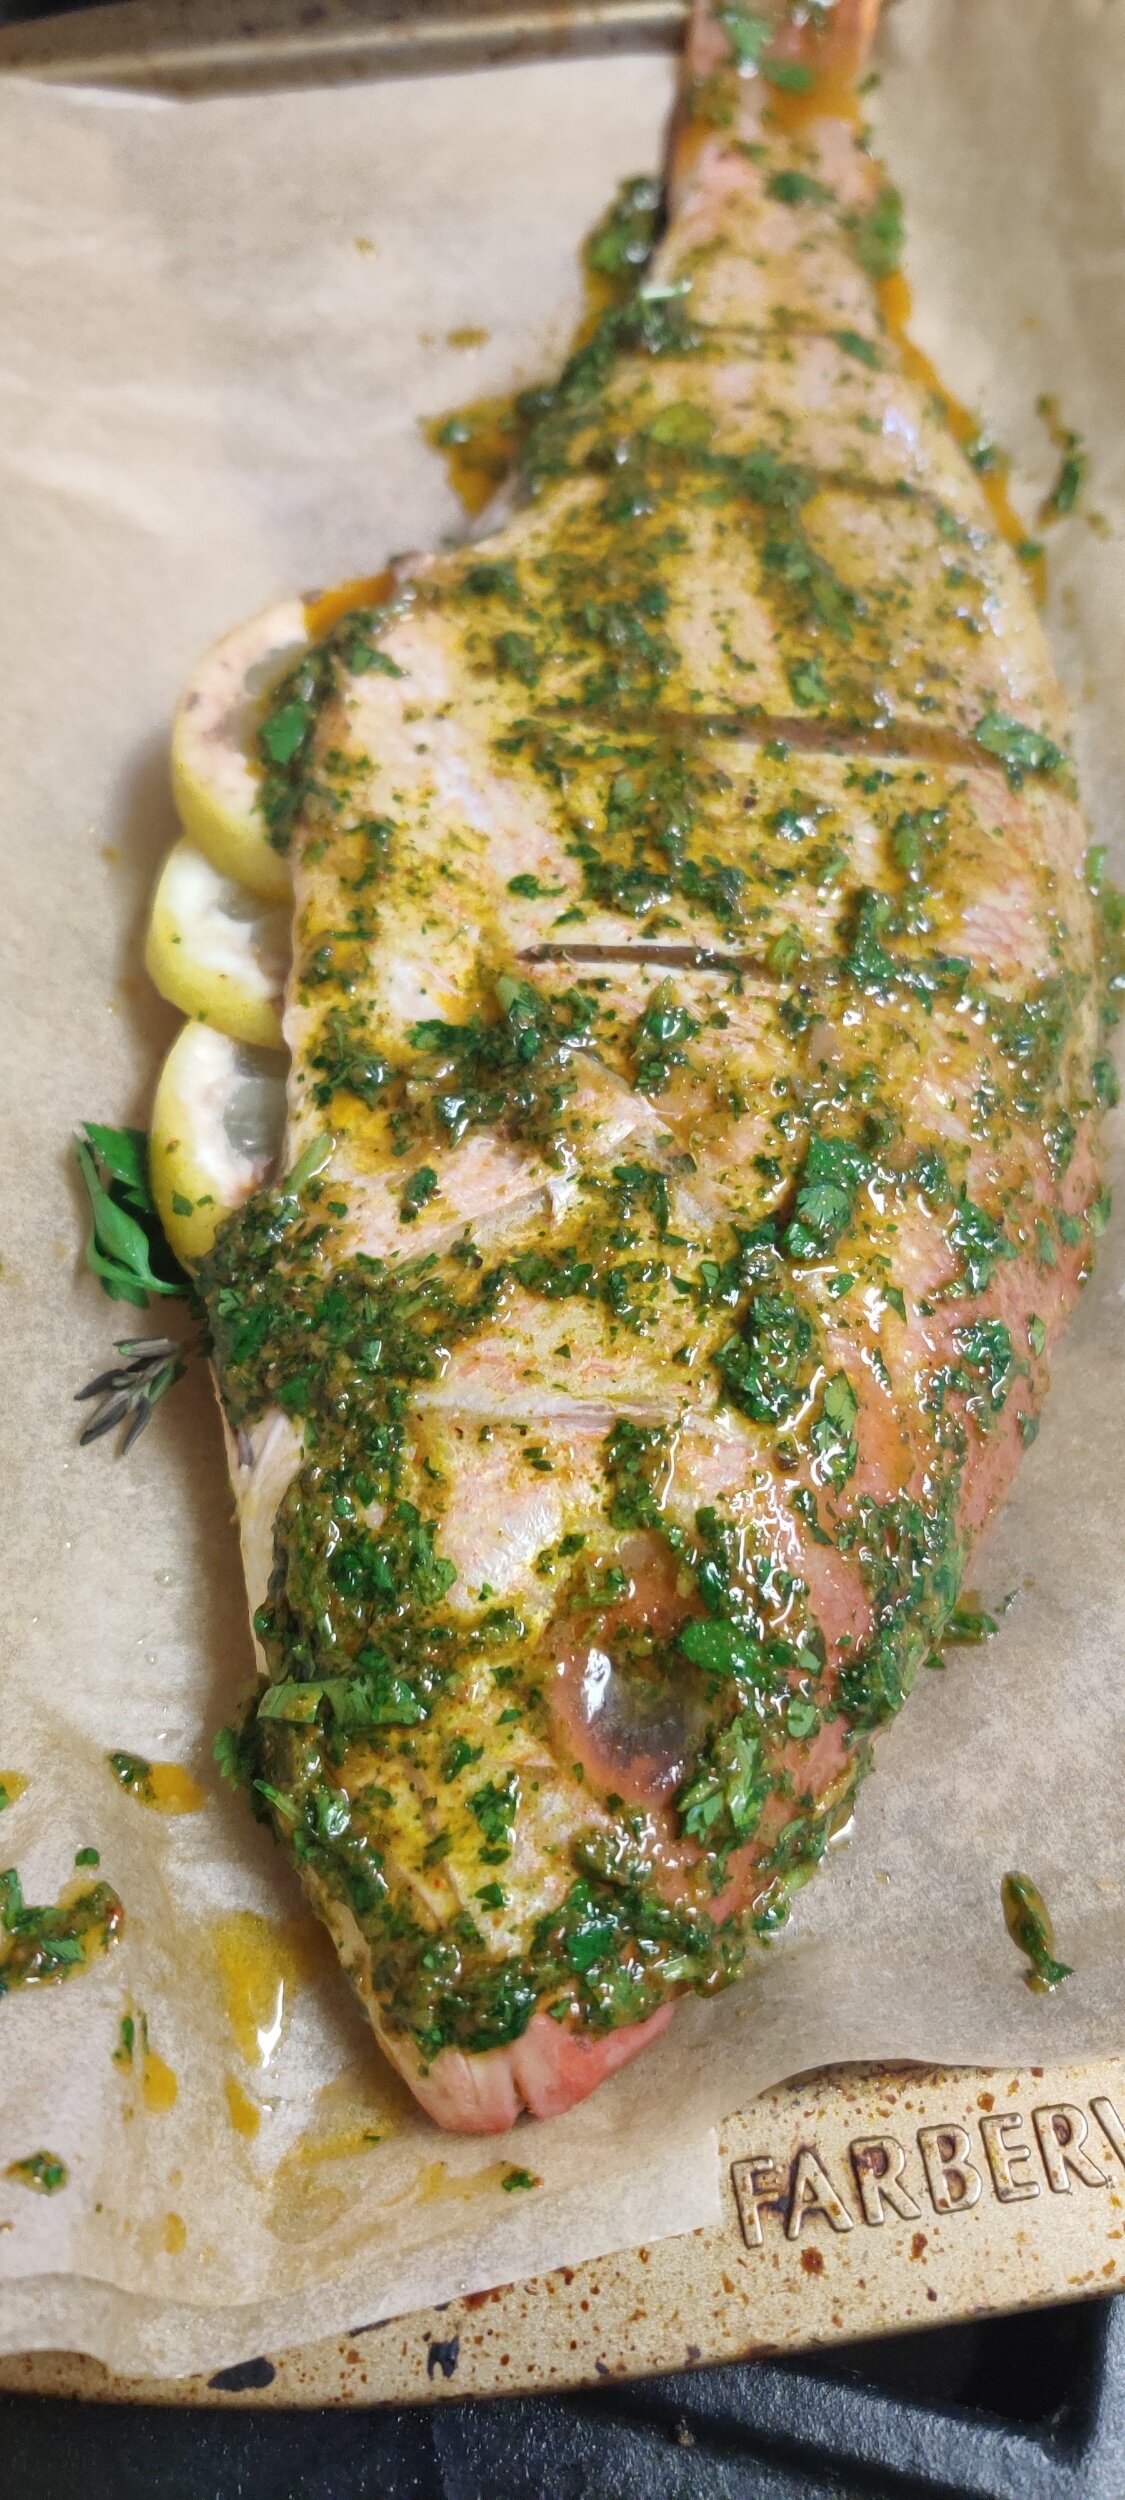
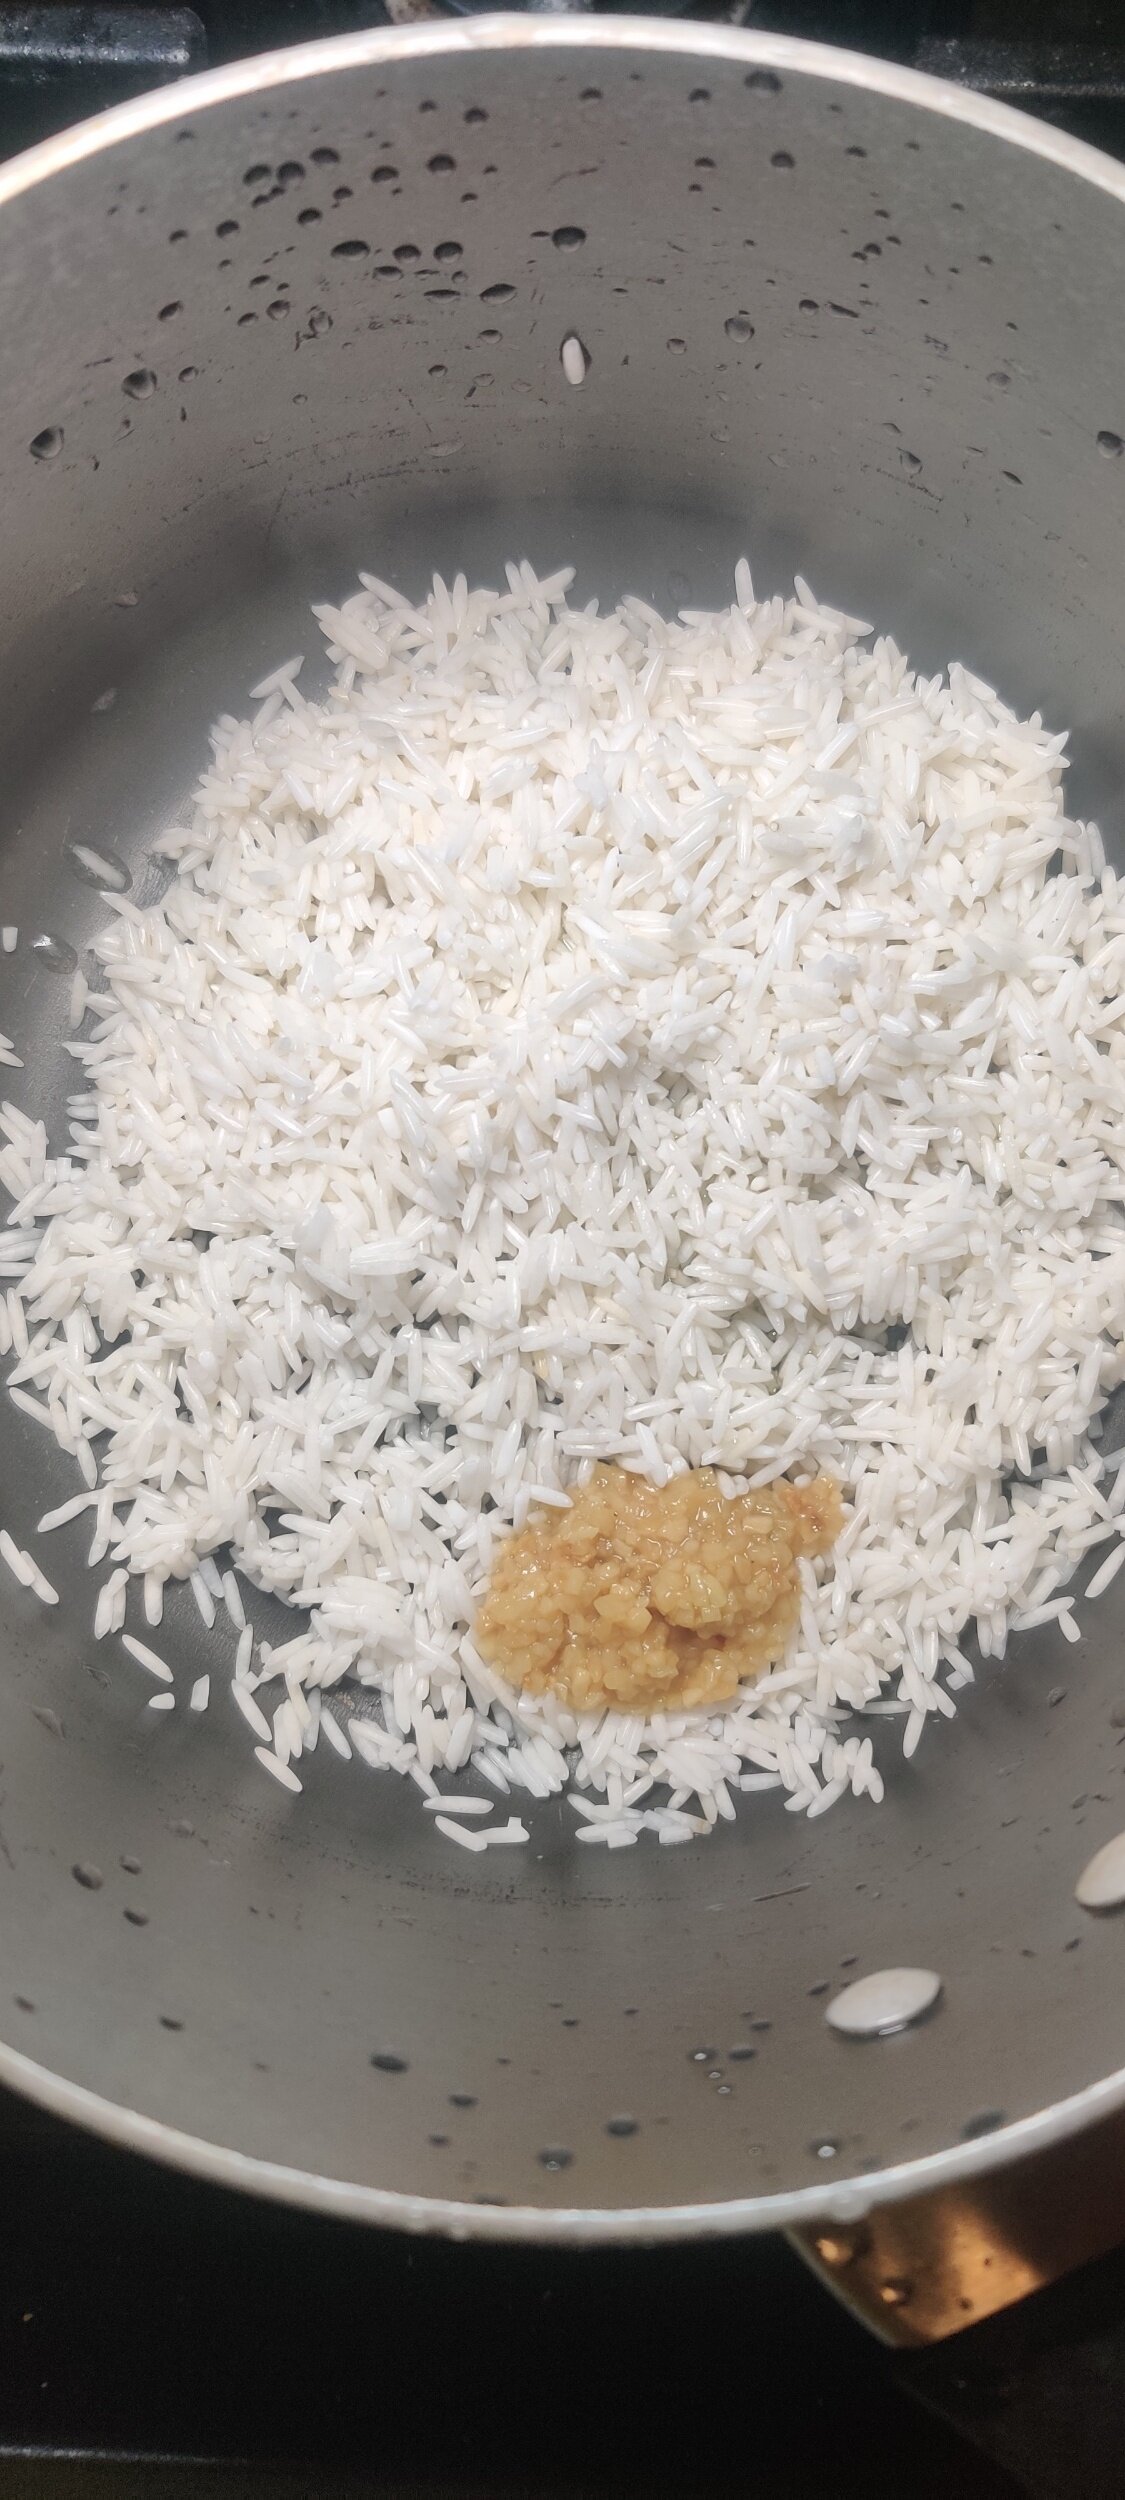
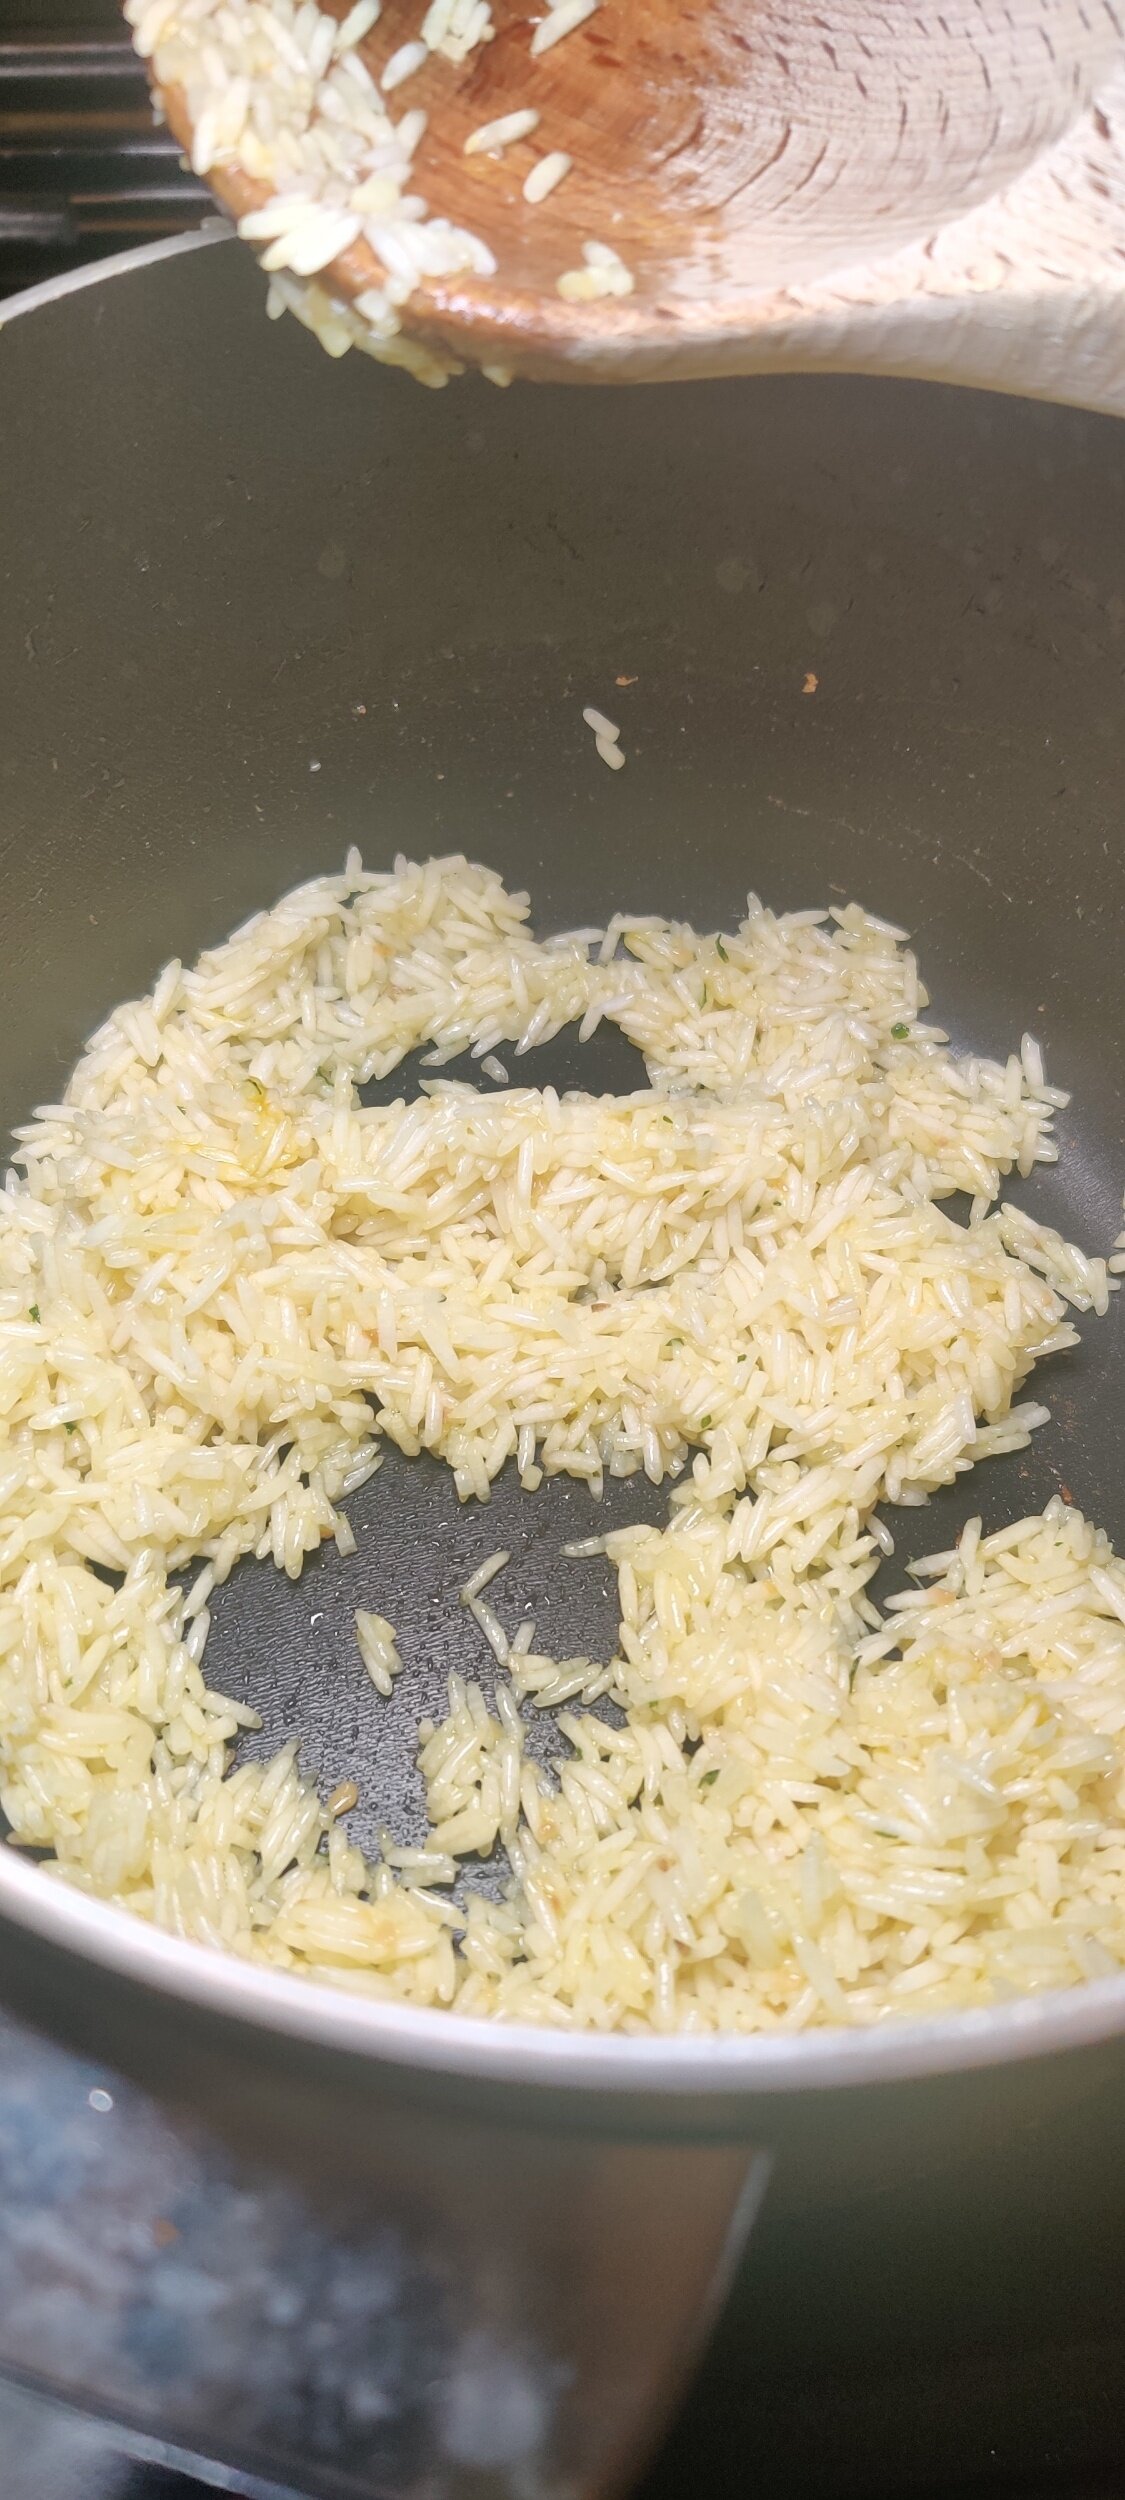
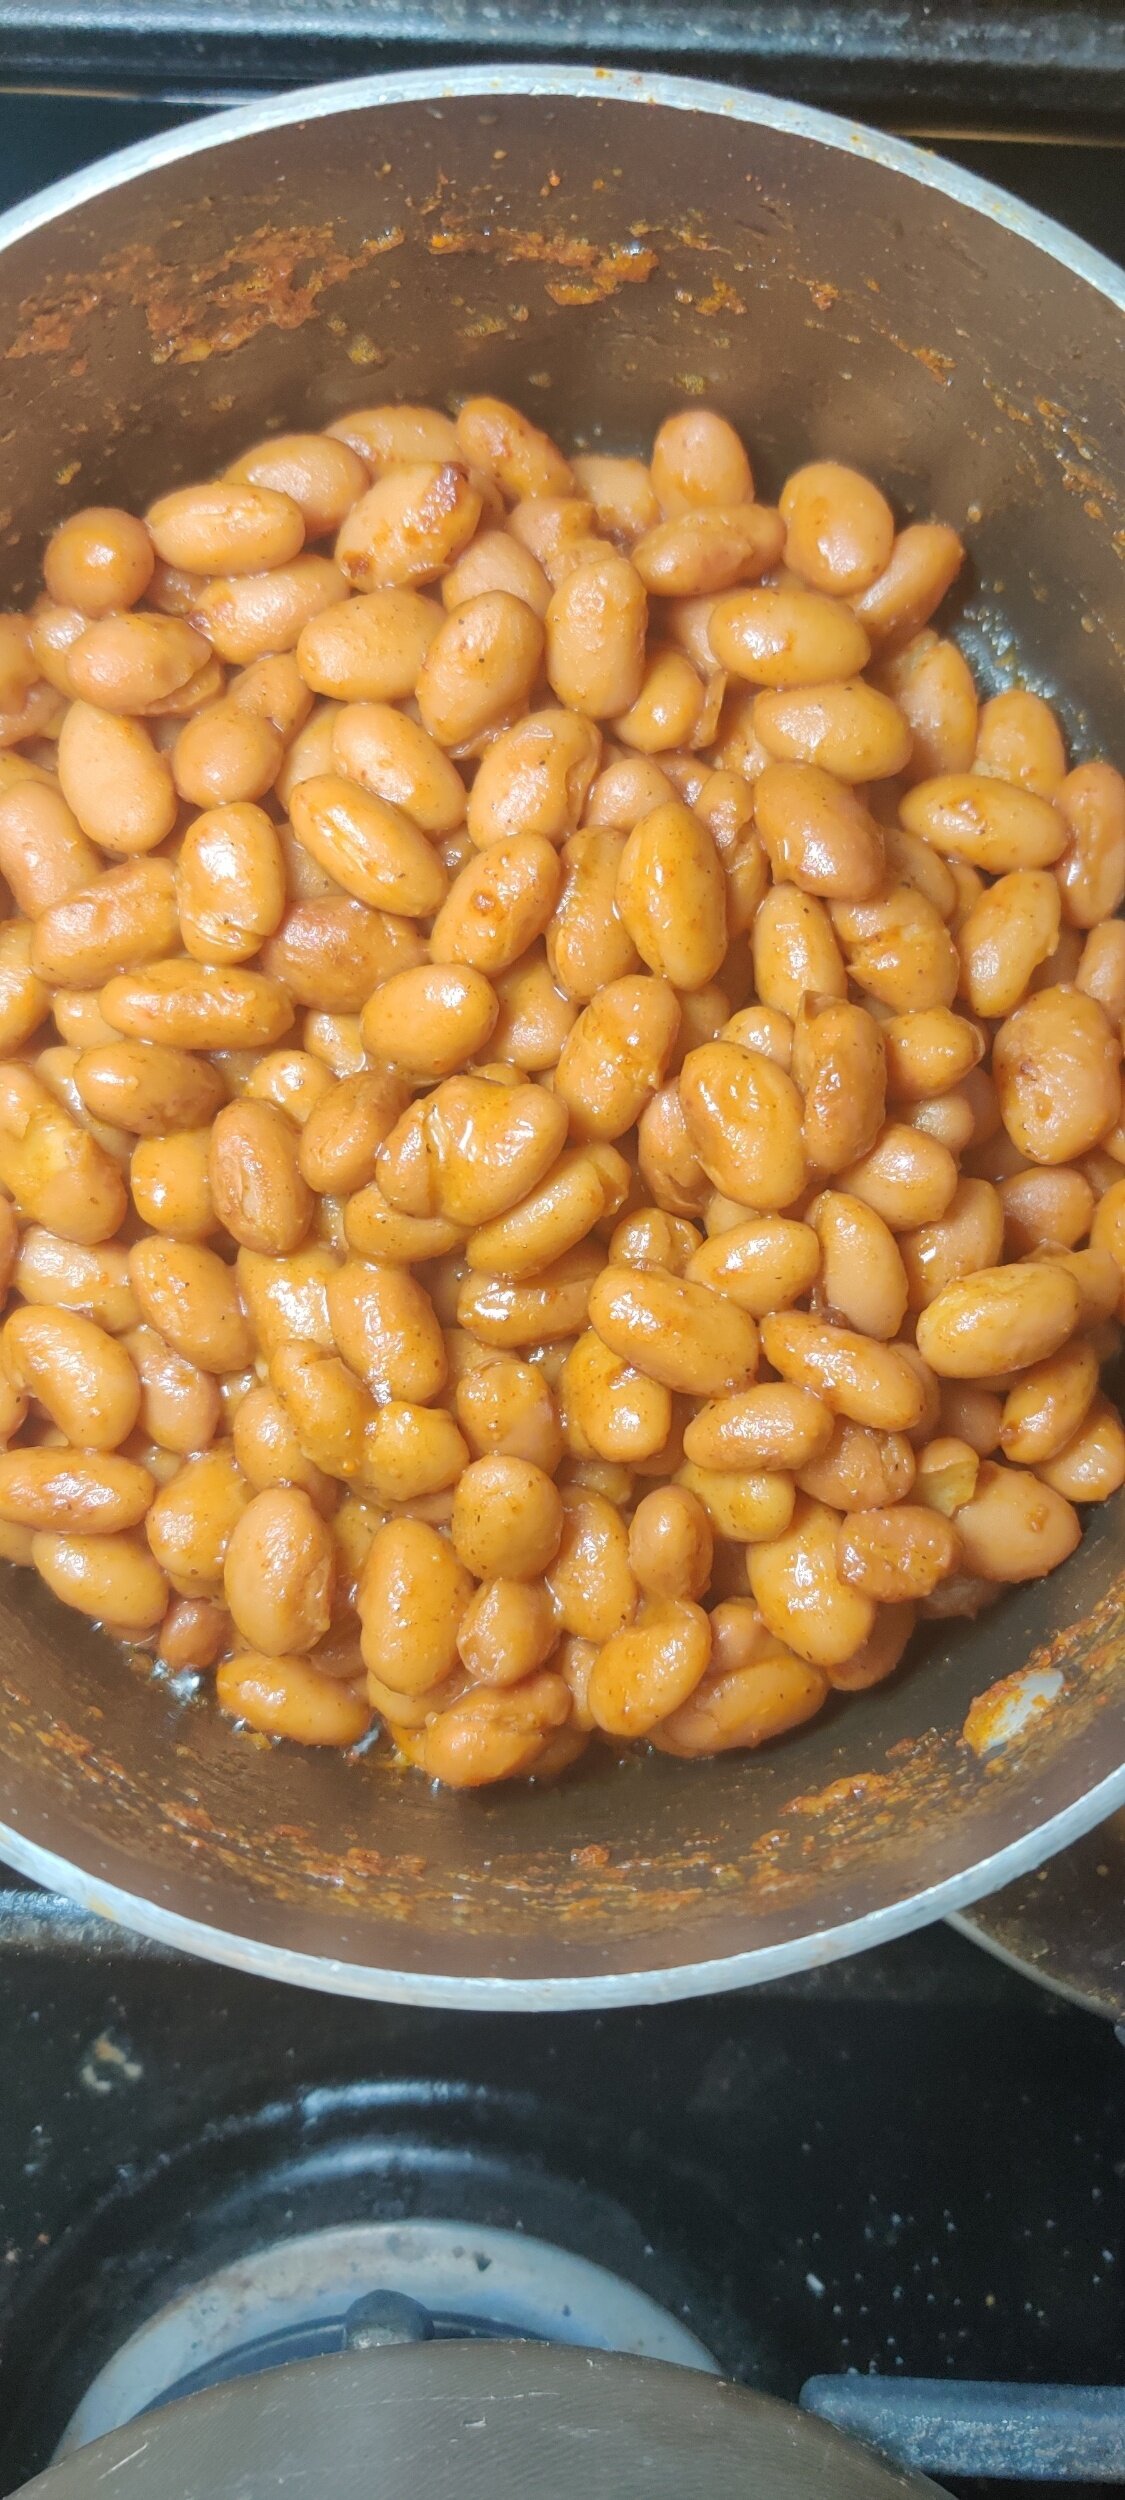
Instructions
Prepare the chermoula. In a blender or food processor, add the parsley, cilantro, lemon zest, paprika, cumin, and chilli powder. Mix on low while adding the olive oil to create a paste, so don’t blend until it turns into a liquid! If you accidentally do, add some more parsley to thicken.
For the red snapper, if it isn’t already, stuff the fish with the herb sprigs and lemon slices. Baste the fish on both sides with the chermoula and chill what remains for later. Bake the fish at 450F on each side for 10-15 minutes. When done, the fish should flake easily using a fork. You can also check the internal temperature and go by what’s recommended. Set aside to rest.
While the fish bakes, prepare your rice. Cook the rice with garlic and olive oil before adding the broth sachet. Follow up with 1 3/4 cups water (or whatever rice quantity you want according to the package) and simmer with a lid until the water has evaporated - you want your rice on the drier side because the peanut butter will be added.
Mix the hot water with the peanut butter to make a smooth paste and mix it into the rice. Steam with the lid on for 5 minutes, then remove from heat.
For the beans, sauté them in the oil, bouillon, and spices for about 3 minutes, then simmer in water for about 5-7 minutes. Since canned beans are cooked this should not take long otherwise the beans will break down into mush.
Use the chermoula to baste the cooked snapper and serve with the hot beans and peanut butter rice, feeds 2!

Sadza with Butter Bean Kale Relish
Ah yes, I love a meal that tastes like home. Home being Zimbabwe in this case. There's nothing like a plate of hot relish (stewed vegetables) and sadza (thick corn/maize meal porridge). This is considered one of the cornerstones of our cuisine and feeds millions of people across the country. It's kind of like how pasta is to the Italians dare I say!
Perhaps I'm biased, but it's some of the best-tasting comfort food, and not smothered in fat either. I made it vegan although some Zimbabweans would request some grilled or in-bone meat. You can do without it.
The one thing I'd insist you include if possible is the Usavi mix. It's a spice brand you'll find in most households but is essentially just a blend of cornstarch, salt, sugar, turmeric, coriander, garlic, fennel, methee/fenugreek, cumin, and paprika. Some people like to add curry powder to their relish, but I find that changes the flavour profile into something completely different. This is all about simple deliciousness!
Ingredients
1 can butter/Lima beans (keep the sauce)
1 tablespoon garlic, minced
1 tablespoon olive oil
1/2 onion, chopped
1/4 tomato, chopped
2 tablespoons Usavi mix
1/2 teaspoon salt
1 tablespoon chili flakes
1 teaspoon black pepper
1/4 cup water
1 tablespoon butter
2 tablespoons vegetable
3 cups chopped kale
Sadza:
1 cup white corn/maize meal
3/4 cup cold water
2 1/2 - 4 cups boiling water (depending on how thick you want your sadza)
1/2 teaspoonsalt


Instructions
Heat the olive oil and butter, saute the garlic and onions for about 3 minutes to sweat them out.
Add the Usavi mix, salt, and pepper, cook for another 2 minutes to bring out the flavours.
Add the chopped kale and cook until wilted down, then add the tomato and vegetable oil and fry for 2 minutes.
Add the beans along with the sauce from the can, chilli flakes, and water. Reduce heat and simmer for about 10 minutes, stirring occasionally. Set aside.
Prepare your sadza. In a pot, make a paste using the cold water and a 1/2 cup of maize meal, add the salt. When you add the cold water, do it gradually to keep control of the consistency of the paste, you don’t want clumps and it should all come together.
Place the pot over medium-high heat and add 1/2 cup of boiling water. With a wooden spoon, stir quickly and get rid of any lumps. You want a smooth porridge to form. If you need to, use a whisk!
Add the rest of the hot water a 1/2 cup at a time, still stirring or whisking to ensure you still develop a smooth porridge. At this point, it will start to bubble or kwata. Reduce to medium-low heat and place a lid on top. Careful not to get burnt. Let the sadza cook for about 10 minutes.
Once cooked, fold in the rest of the corn/maize meal. You’ll want to use a twisting or figure-8 motion with your wooden spoon to make sure all the dry mix is coated and you incorporate air. This is the final step to make it a thick, dough-like consistency. You can add more corn/maize meal depending on the texture and consistency you want.
Put the lid back on and sit on low heat to allow the sadza to rest for about 5 minutes. You might hear it 'breathing' or puffing at this point.
When ready to serve, dip your wooden spoon in some cold water to prevent too much sticking. Mould your sadza into a round shape and serve with your relish, enough for 2 people.
Tip: to smoothen your sadza use cling wrap as you shape it.
Also, eat with your (washed) hands! It tastes better.

Finger Millet Peanut Butter Porridge
Most people enjoy porridge as oatmeal, but it's also quite popular in cornmeal form with an array of toppings. I grew up eating it pretty plain, save for butter, sugar, honey or peanut butter. I used to love it in the morning before school, especially during the winter. Porridge is a very popular breakfast option for most Zimbabweans. It's cheap and can keep you full for hours. Peanuts also feature prominently in African cuisine, so you won't find a shortage of meals that include them. Luckily, peanut butter is amazing! Ground millet is a healthier option with tons of calcium and tastes better than ground cornmeal porridge in my opinion. So try this recipe out, it's comforting and delicious!
Ingredients
1 cup finger millet, ground and toasted
2 1/2 cups hot water
1 cup cold water
1/2 teaspoon salt
1 teaspoon butter
1 tablespoon peanut butter
1 teaspoon honey
1 teaspoon sugar
1 teaspoon peanuts (to garnish)
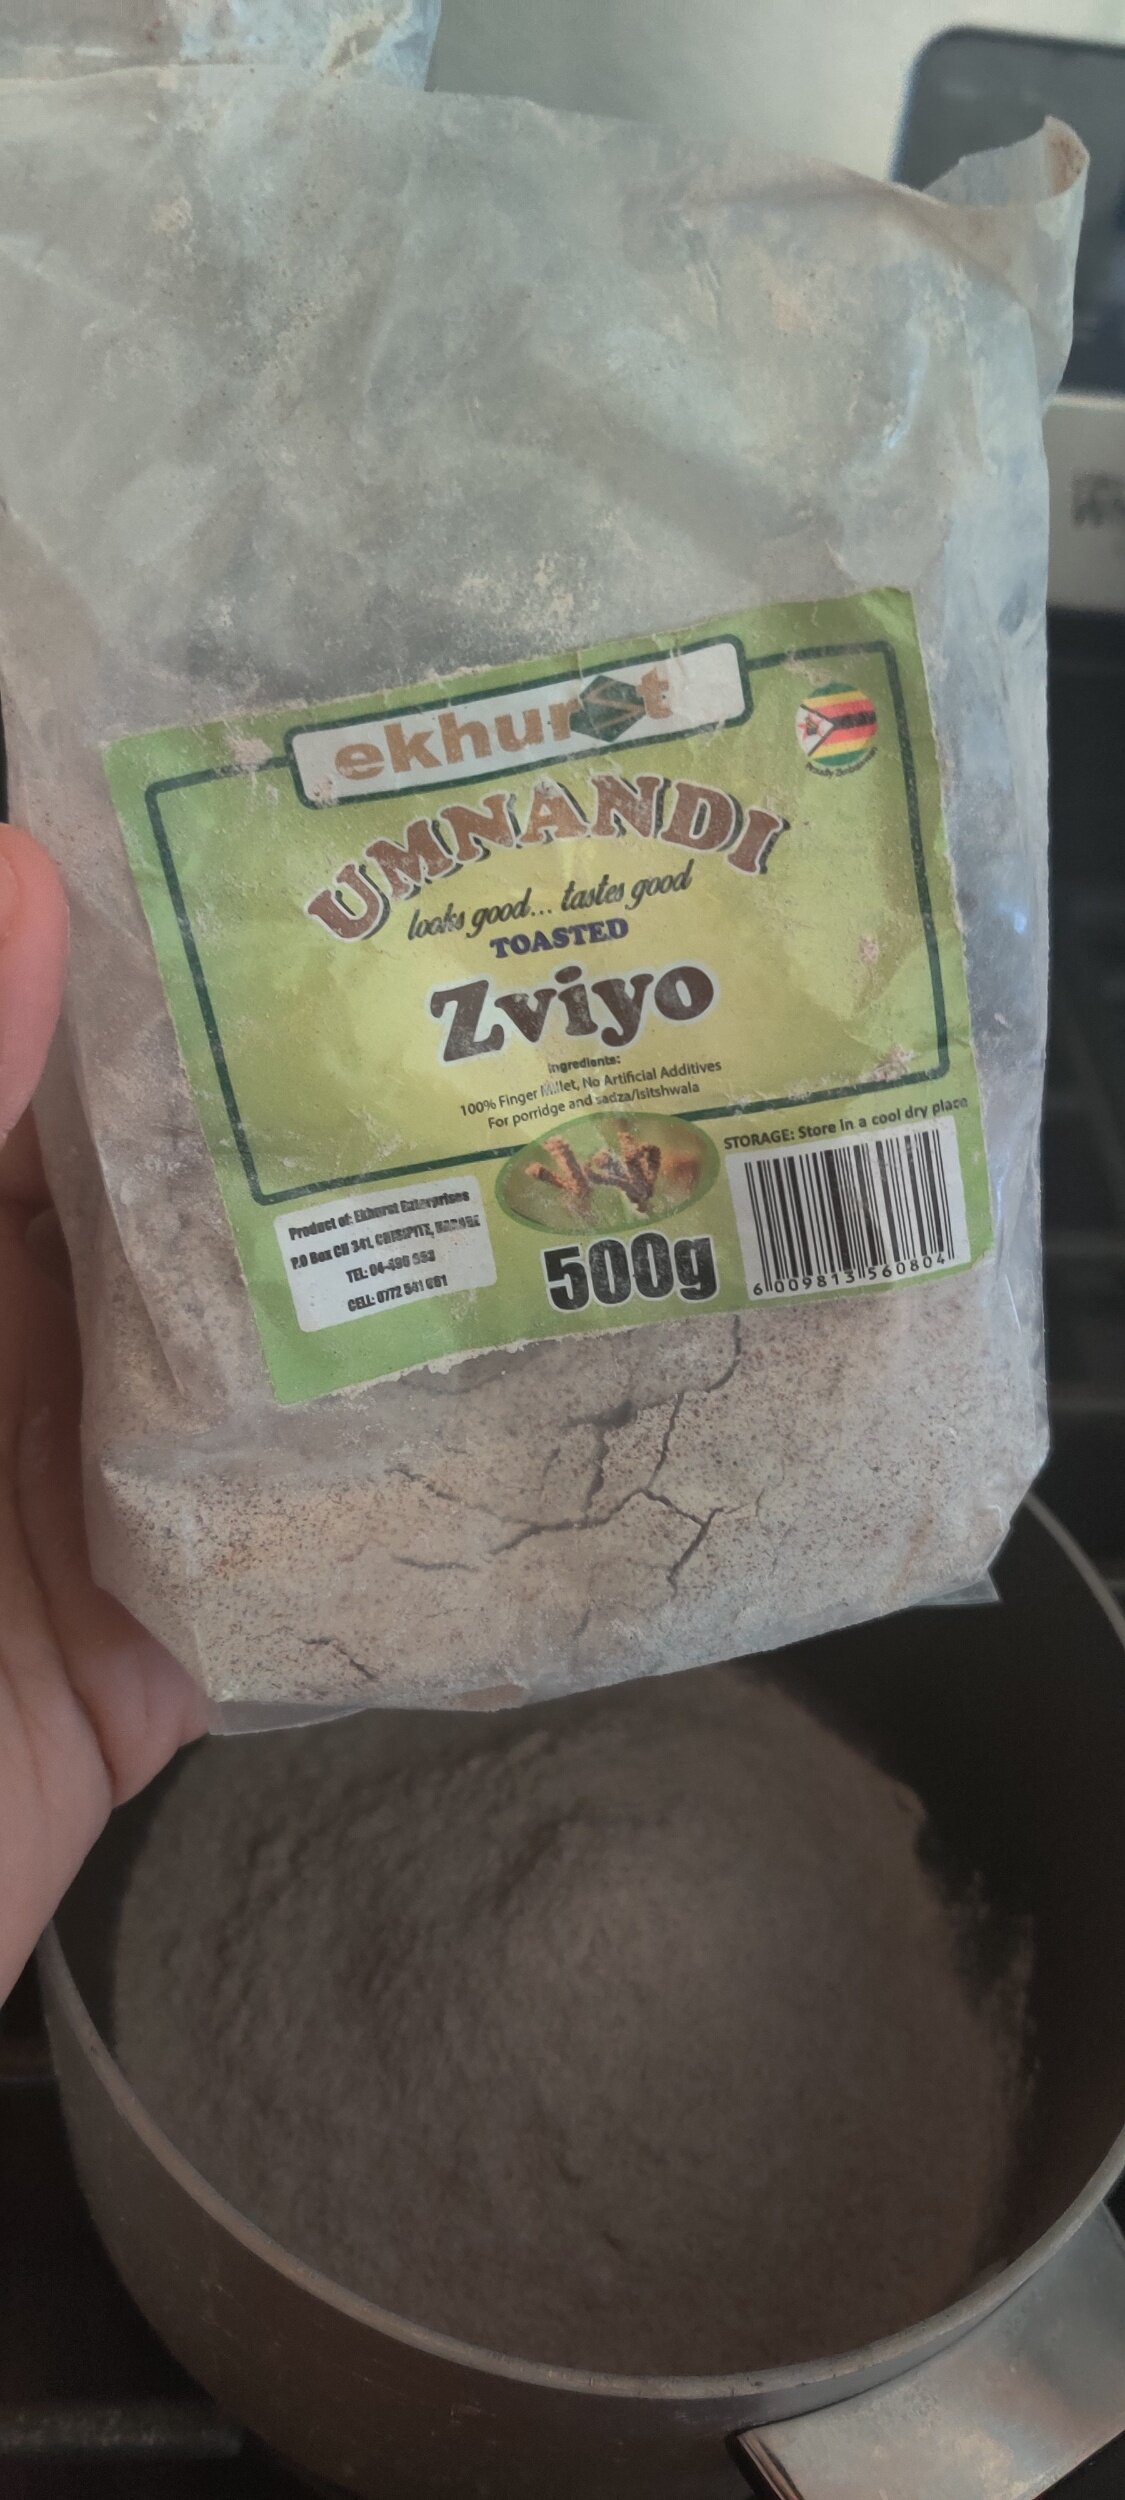
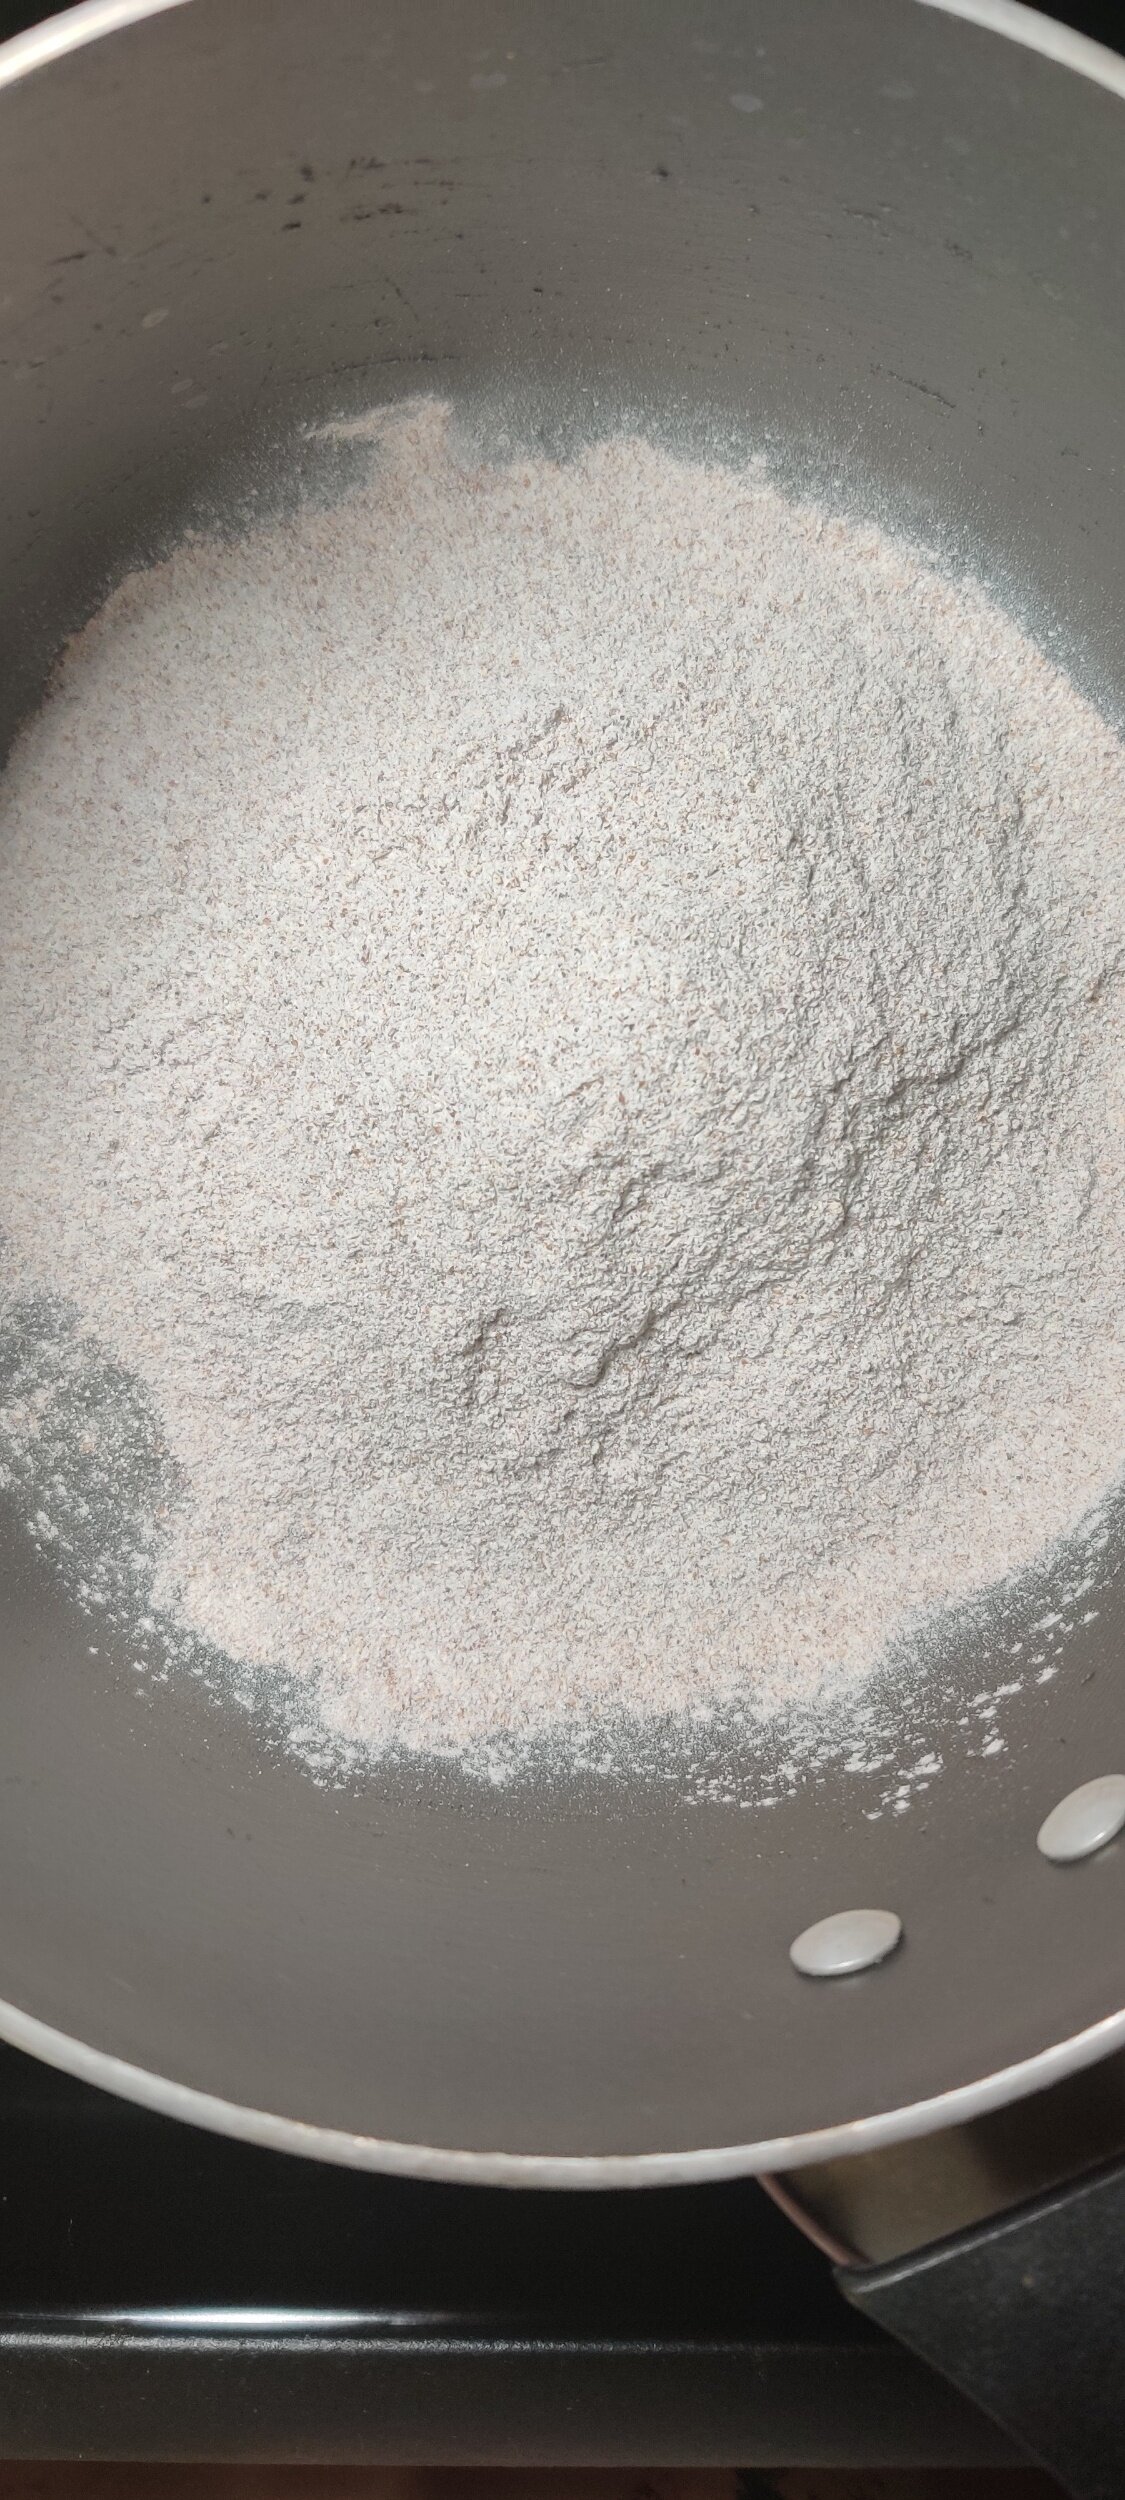
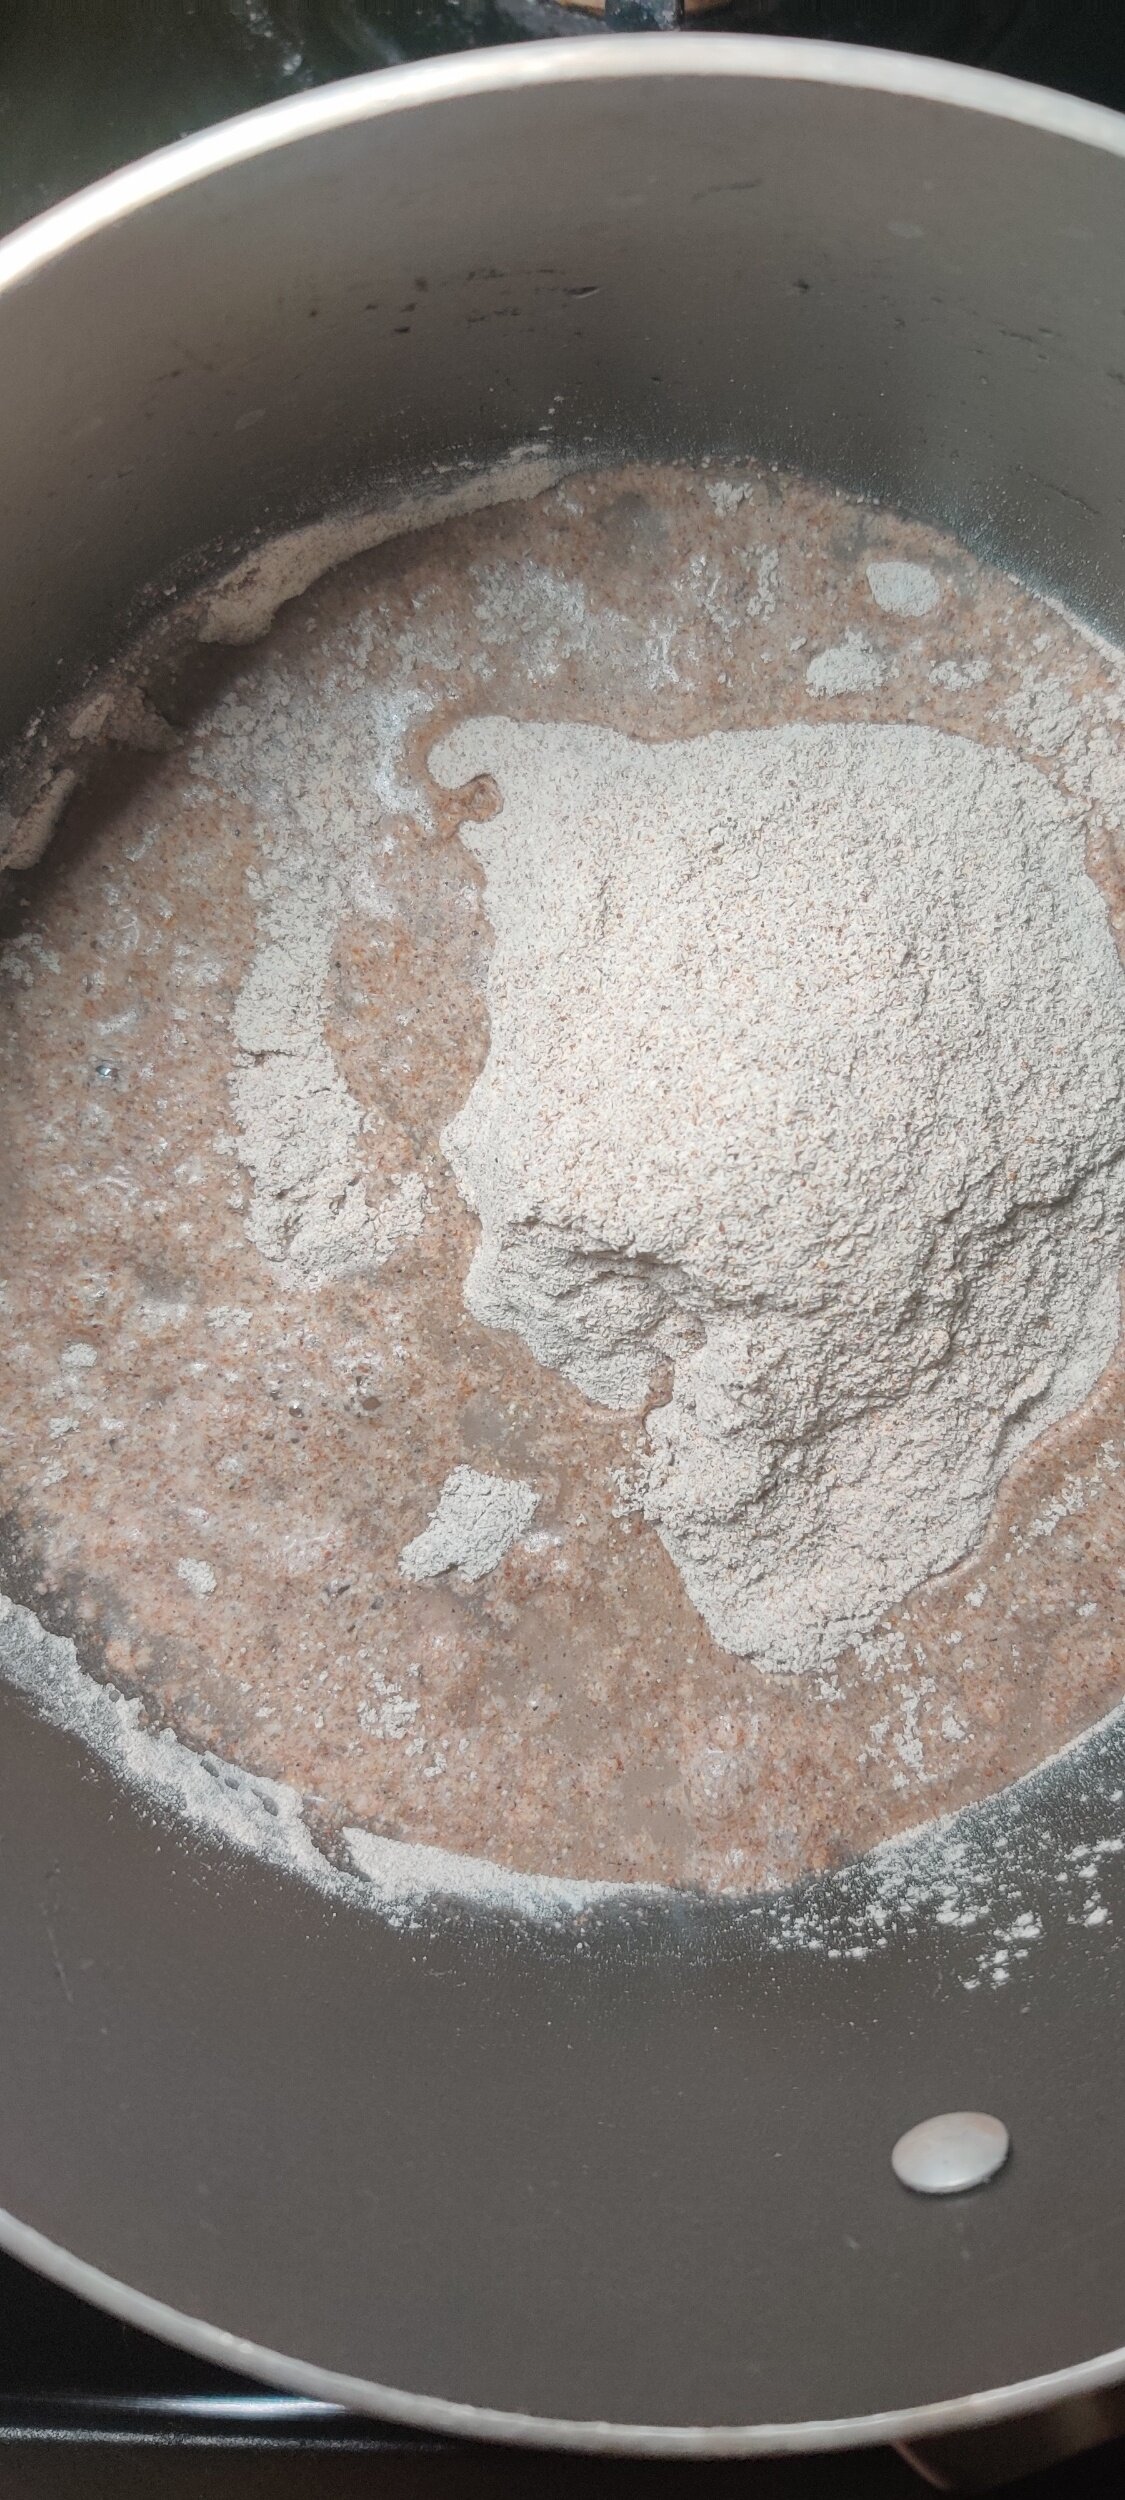


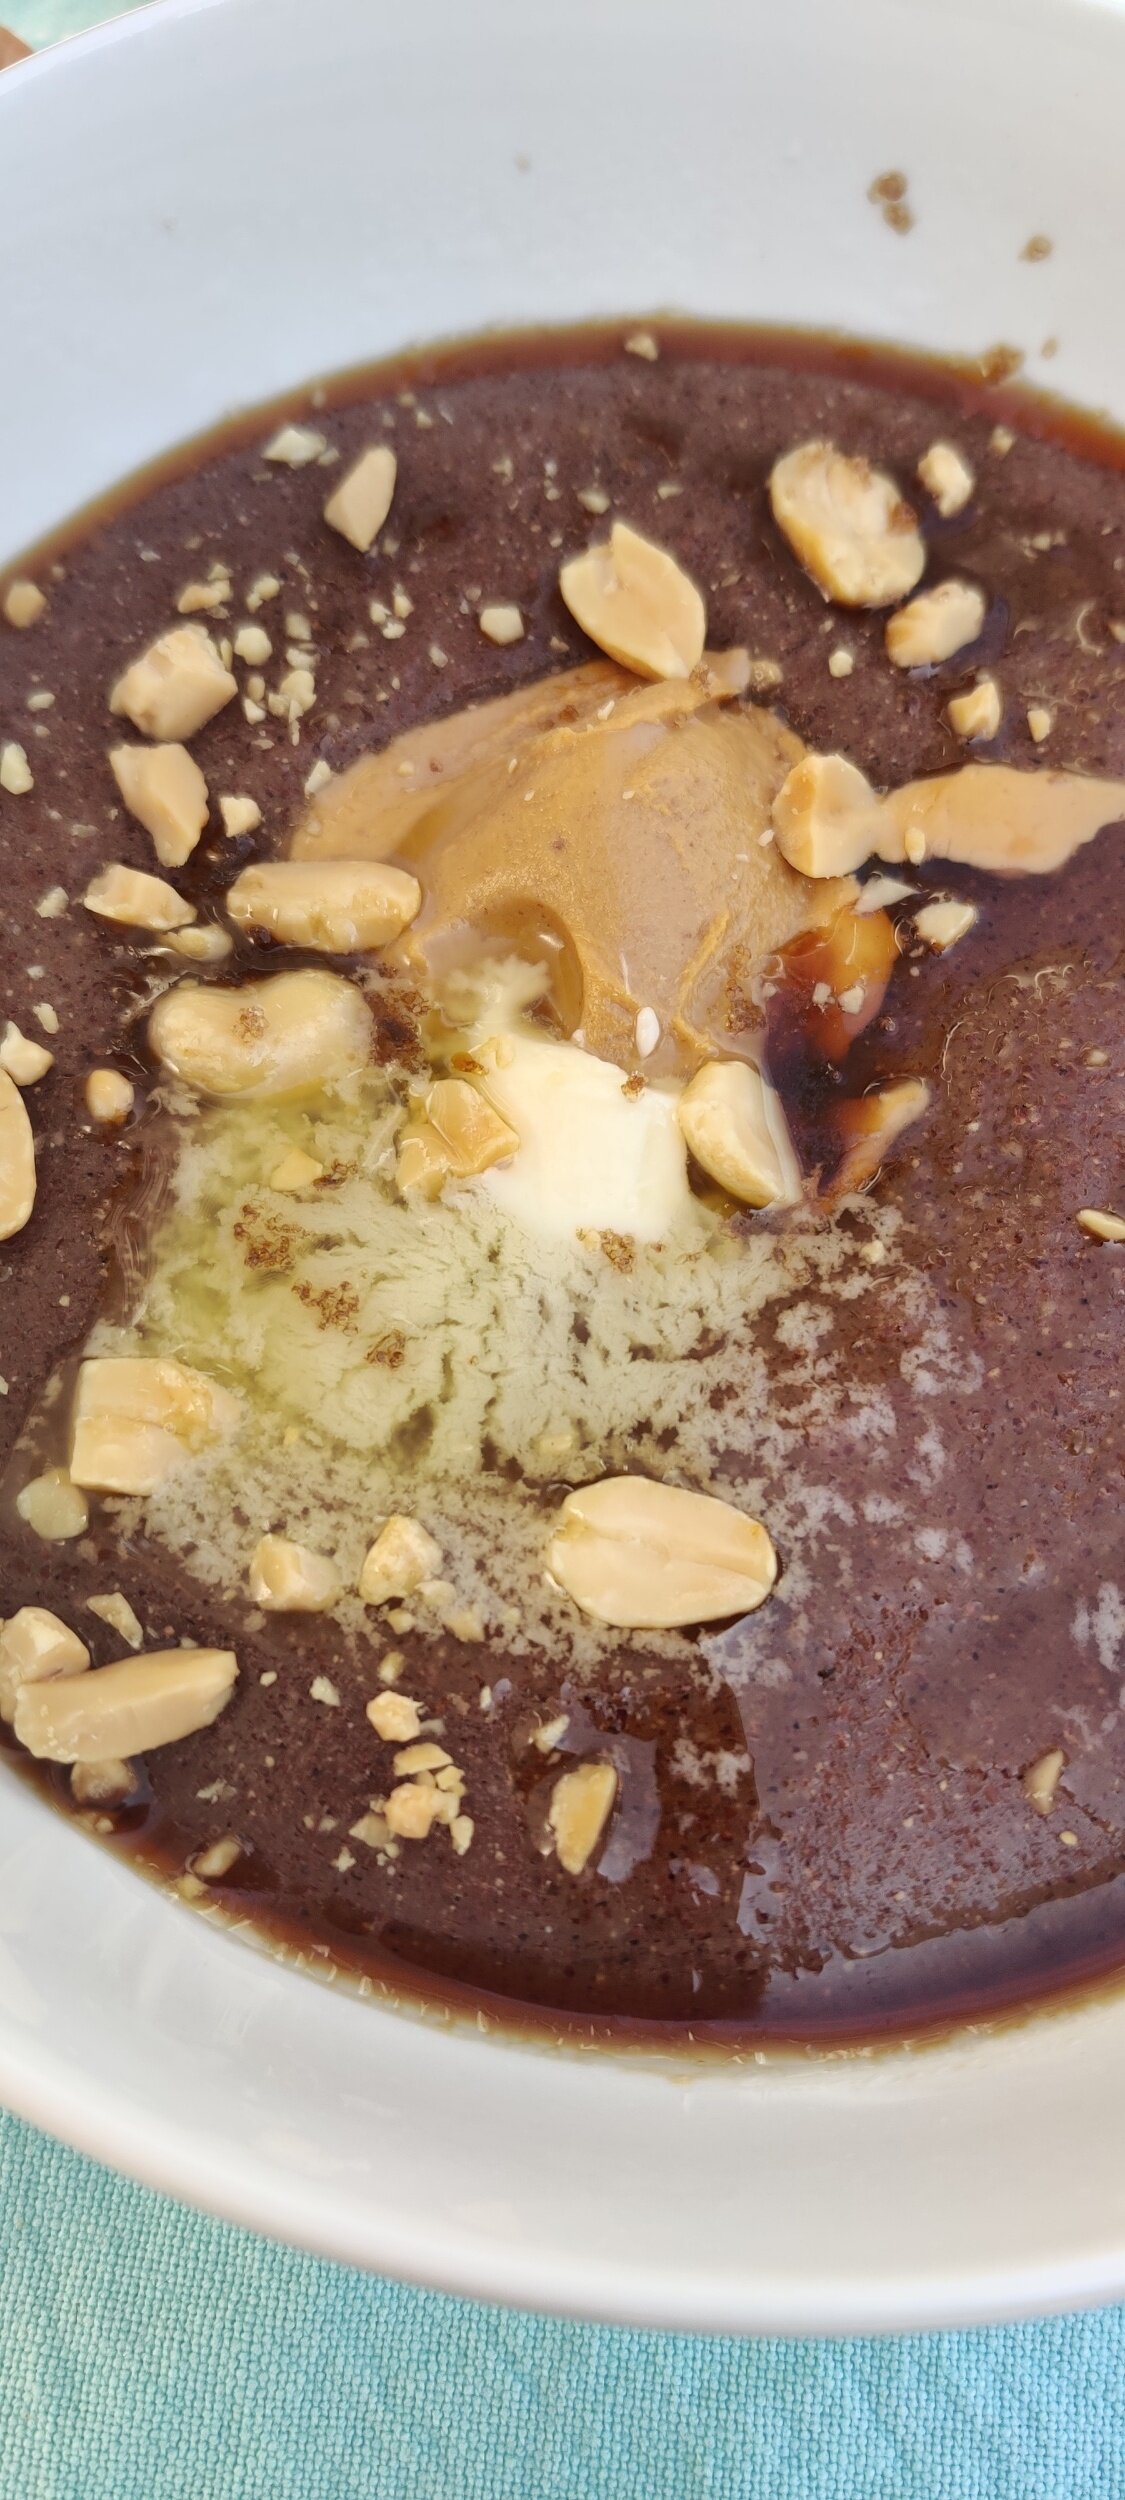
Instructions
Combine the millet and cold water to make a paste.
Add the boiled water and stir with a wooden spoon or whisk to remove the lumps.
Reduce the temperature and simmer covered for 10-15 minutes.
Serve hot with sugar, honey, butter, and peanut butter.