

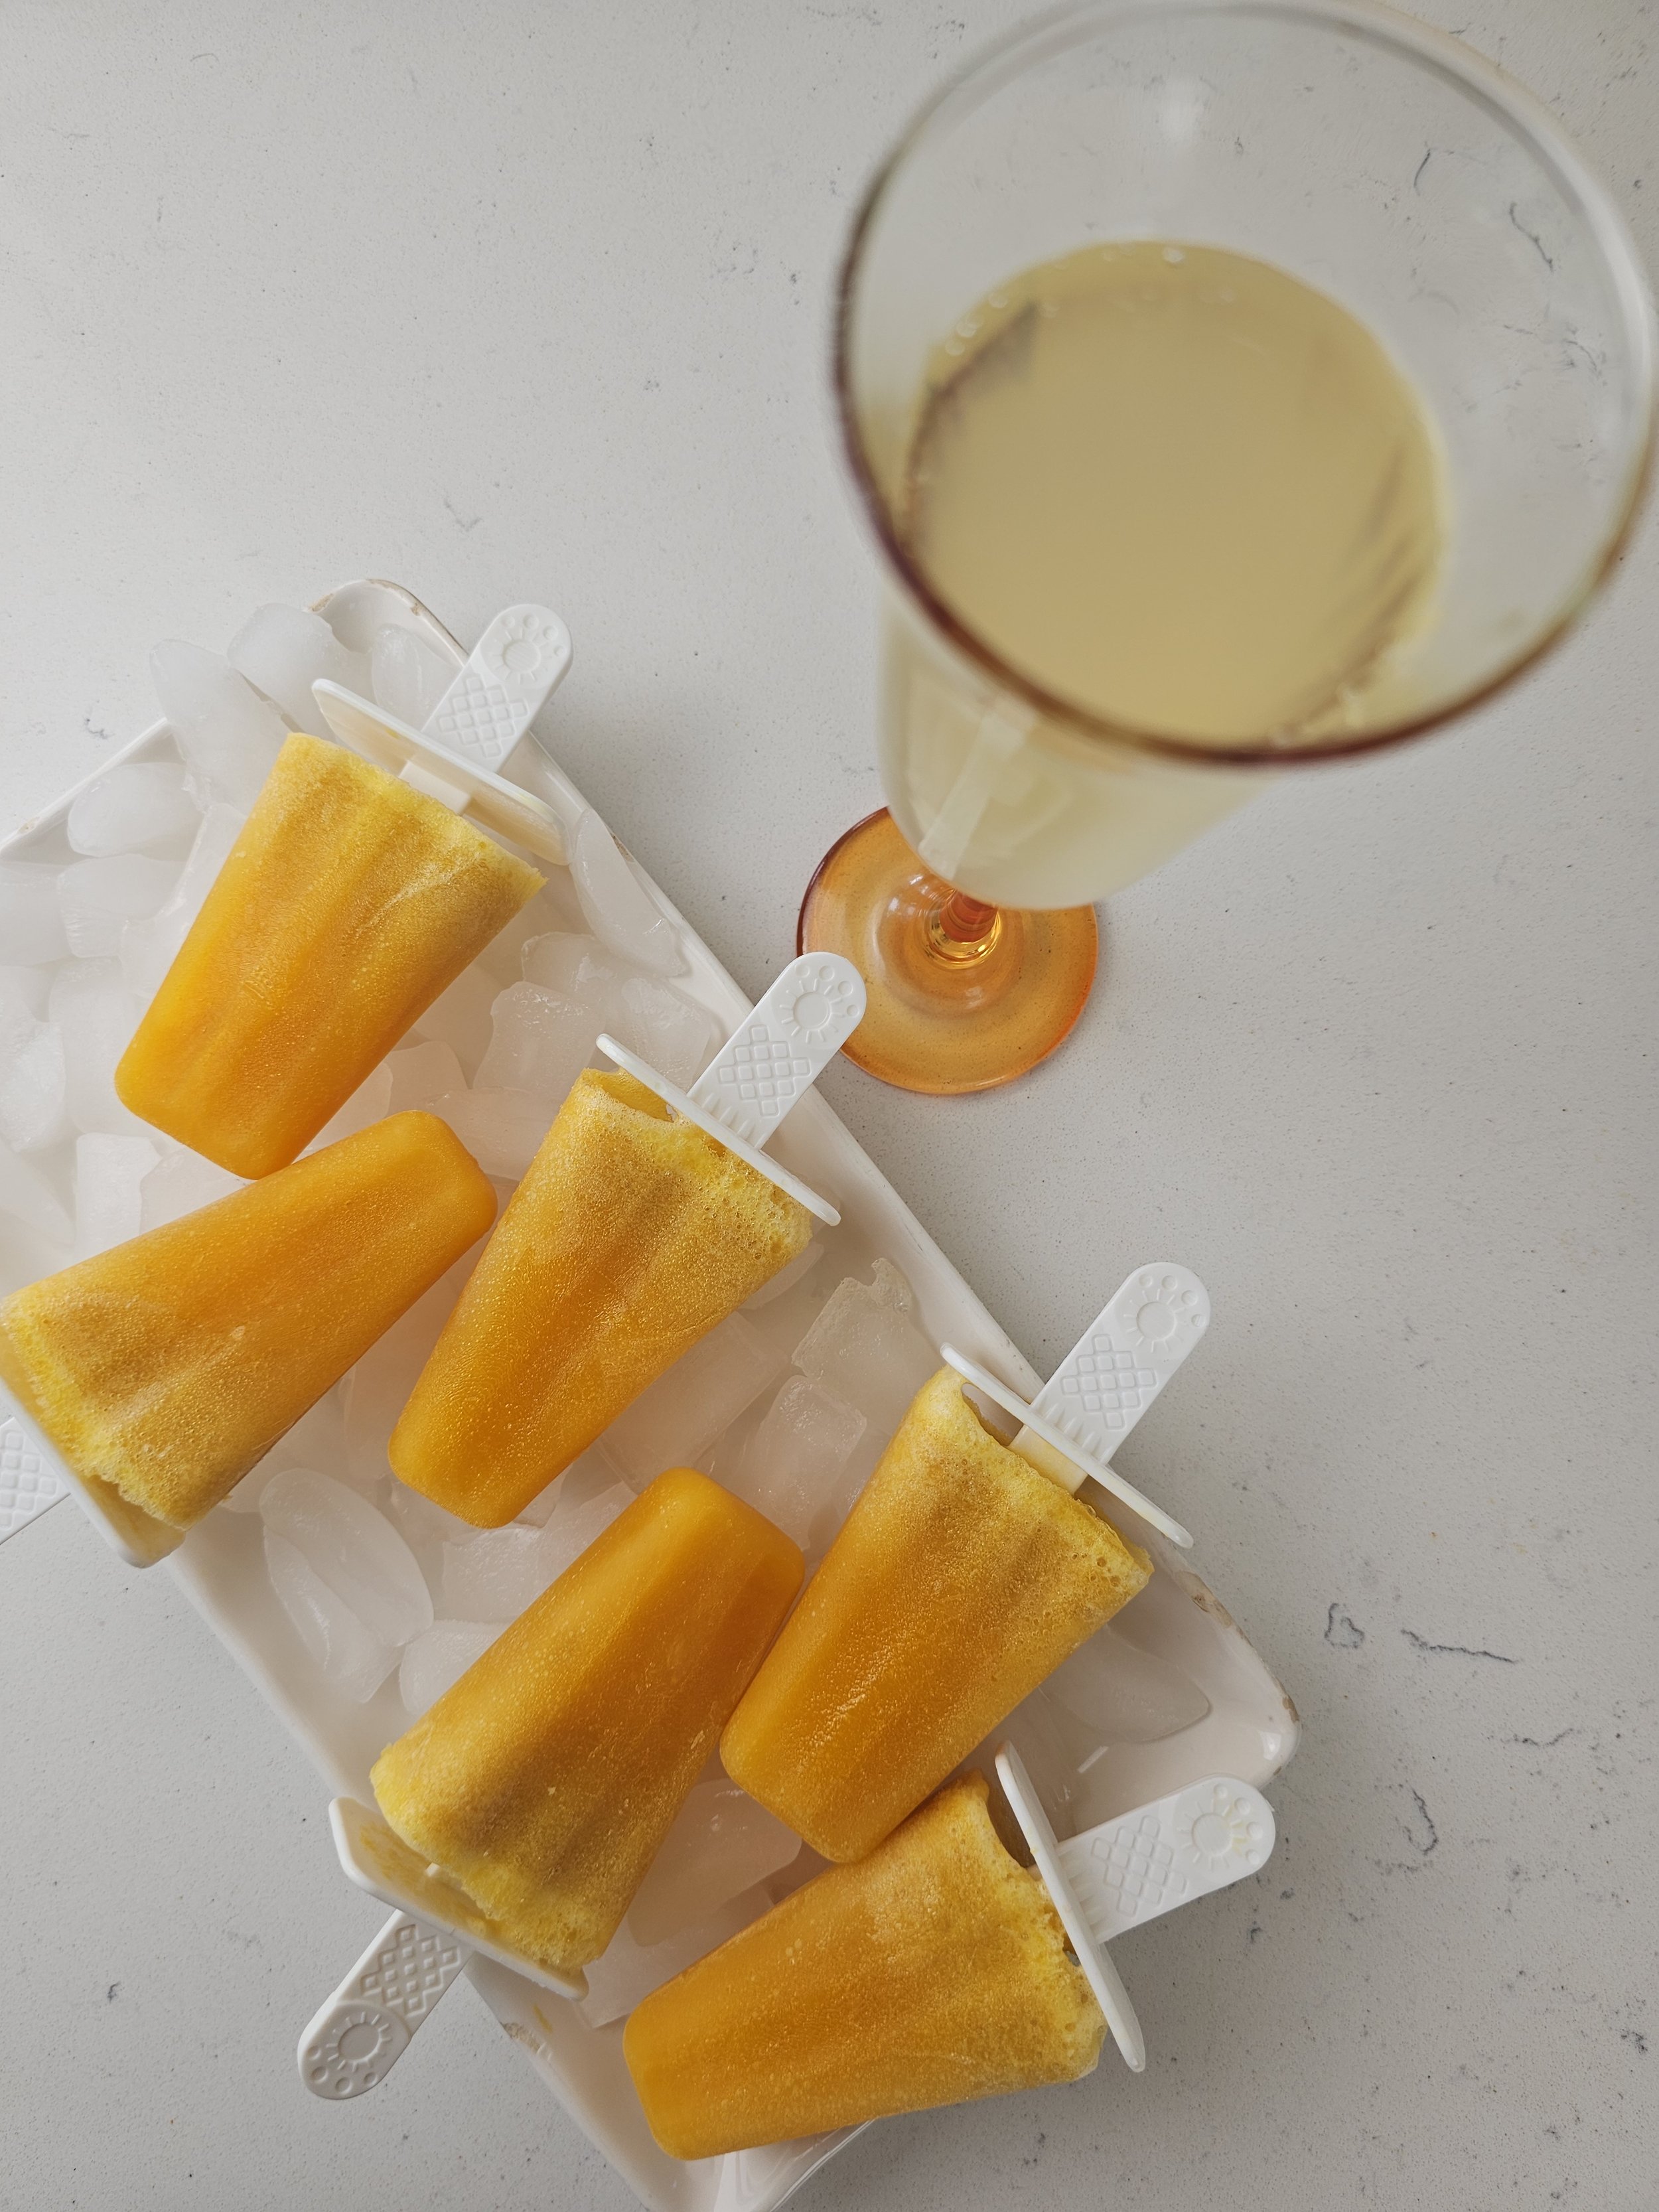
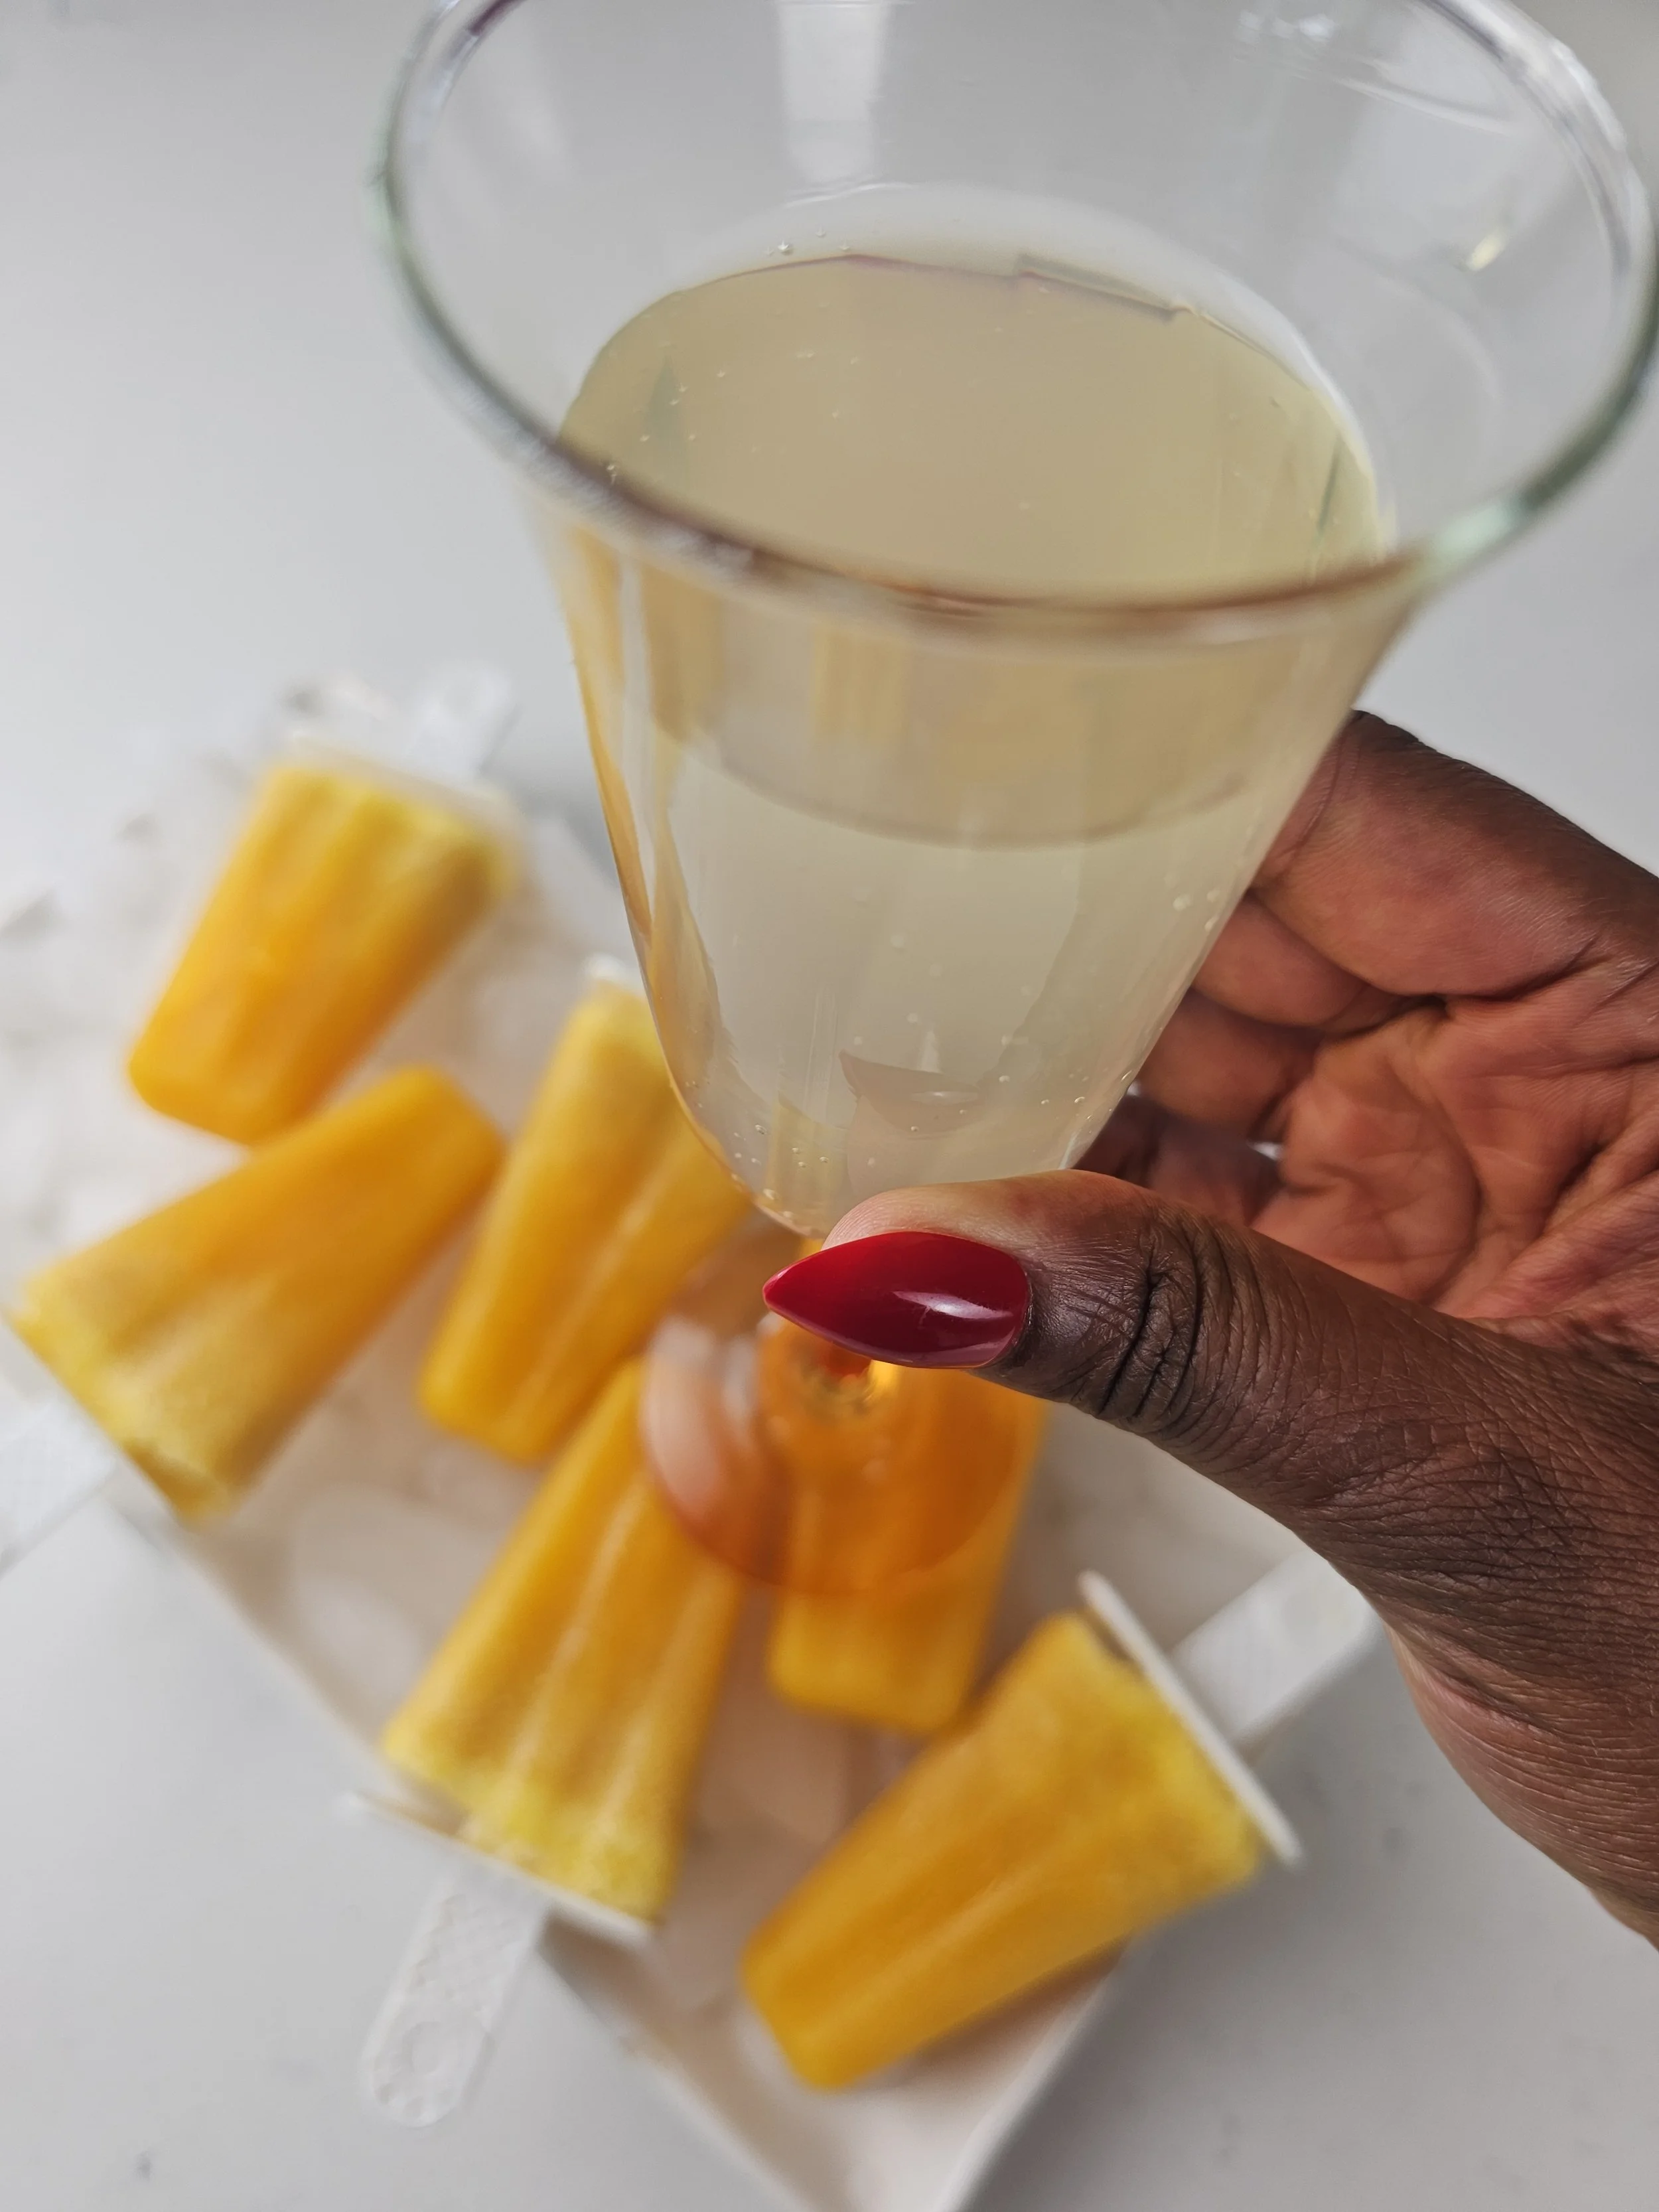
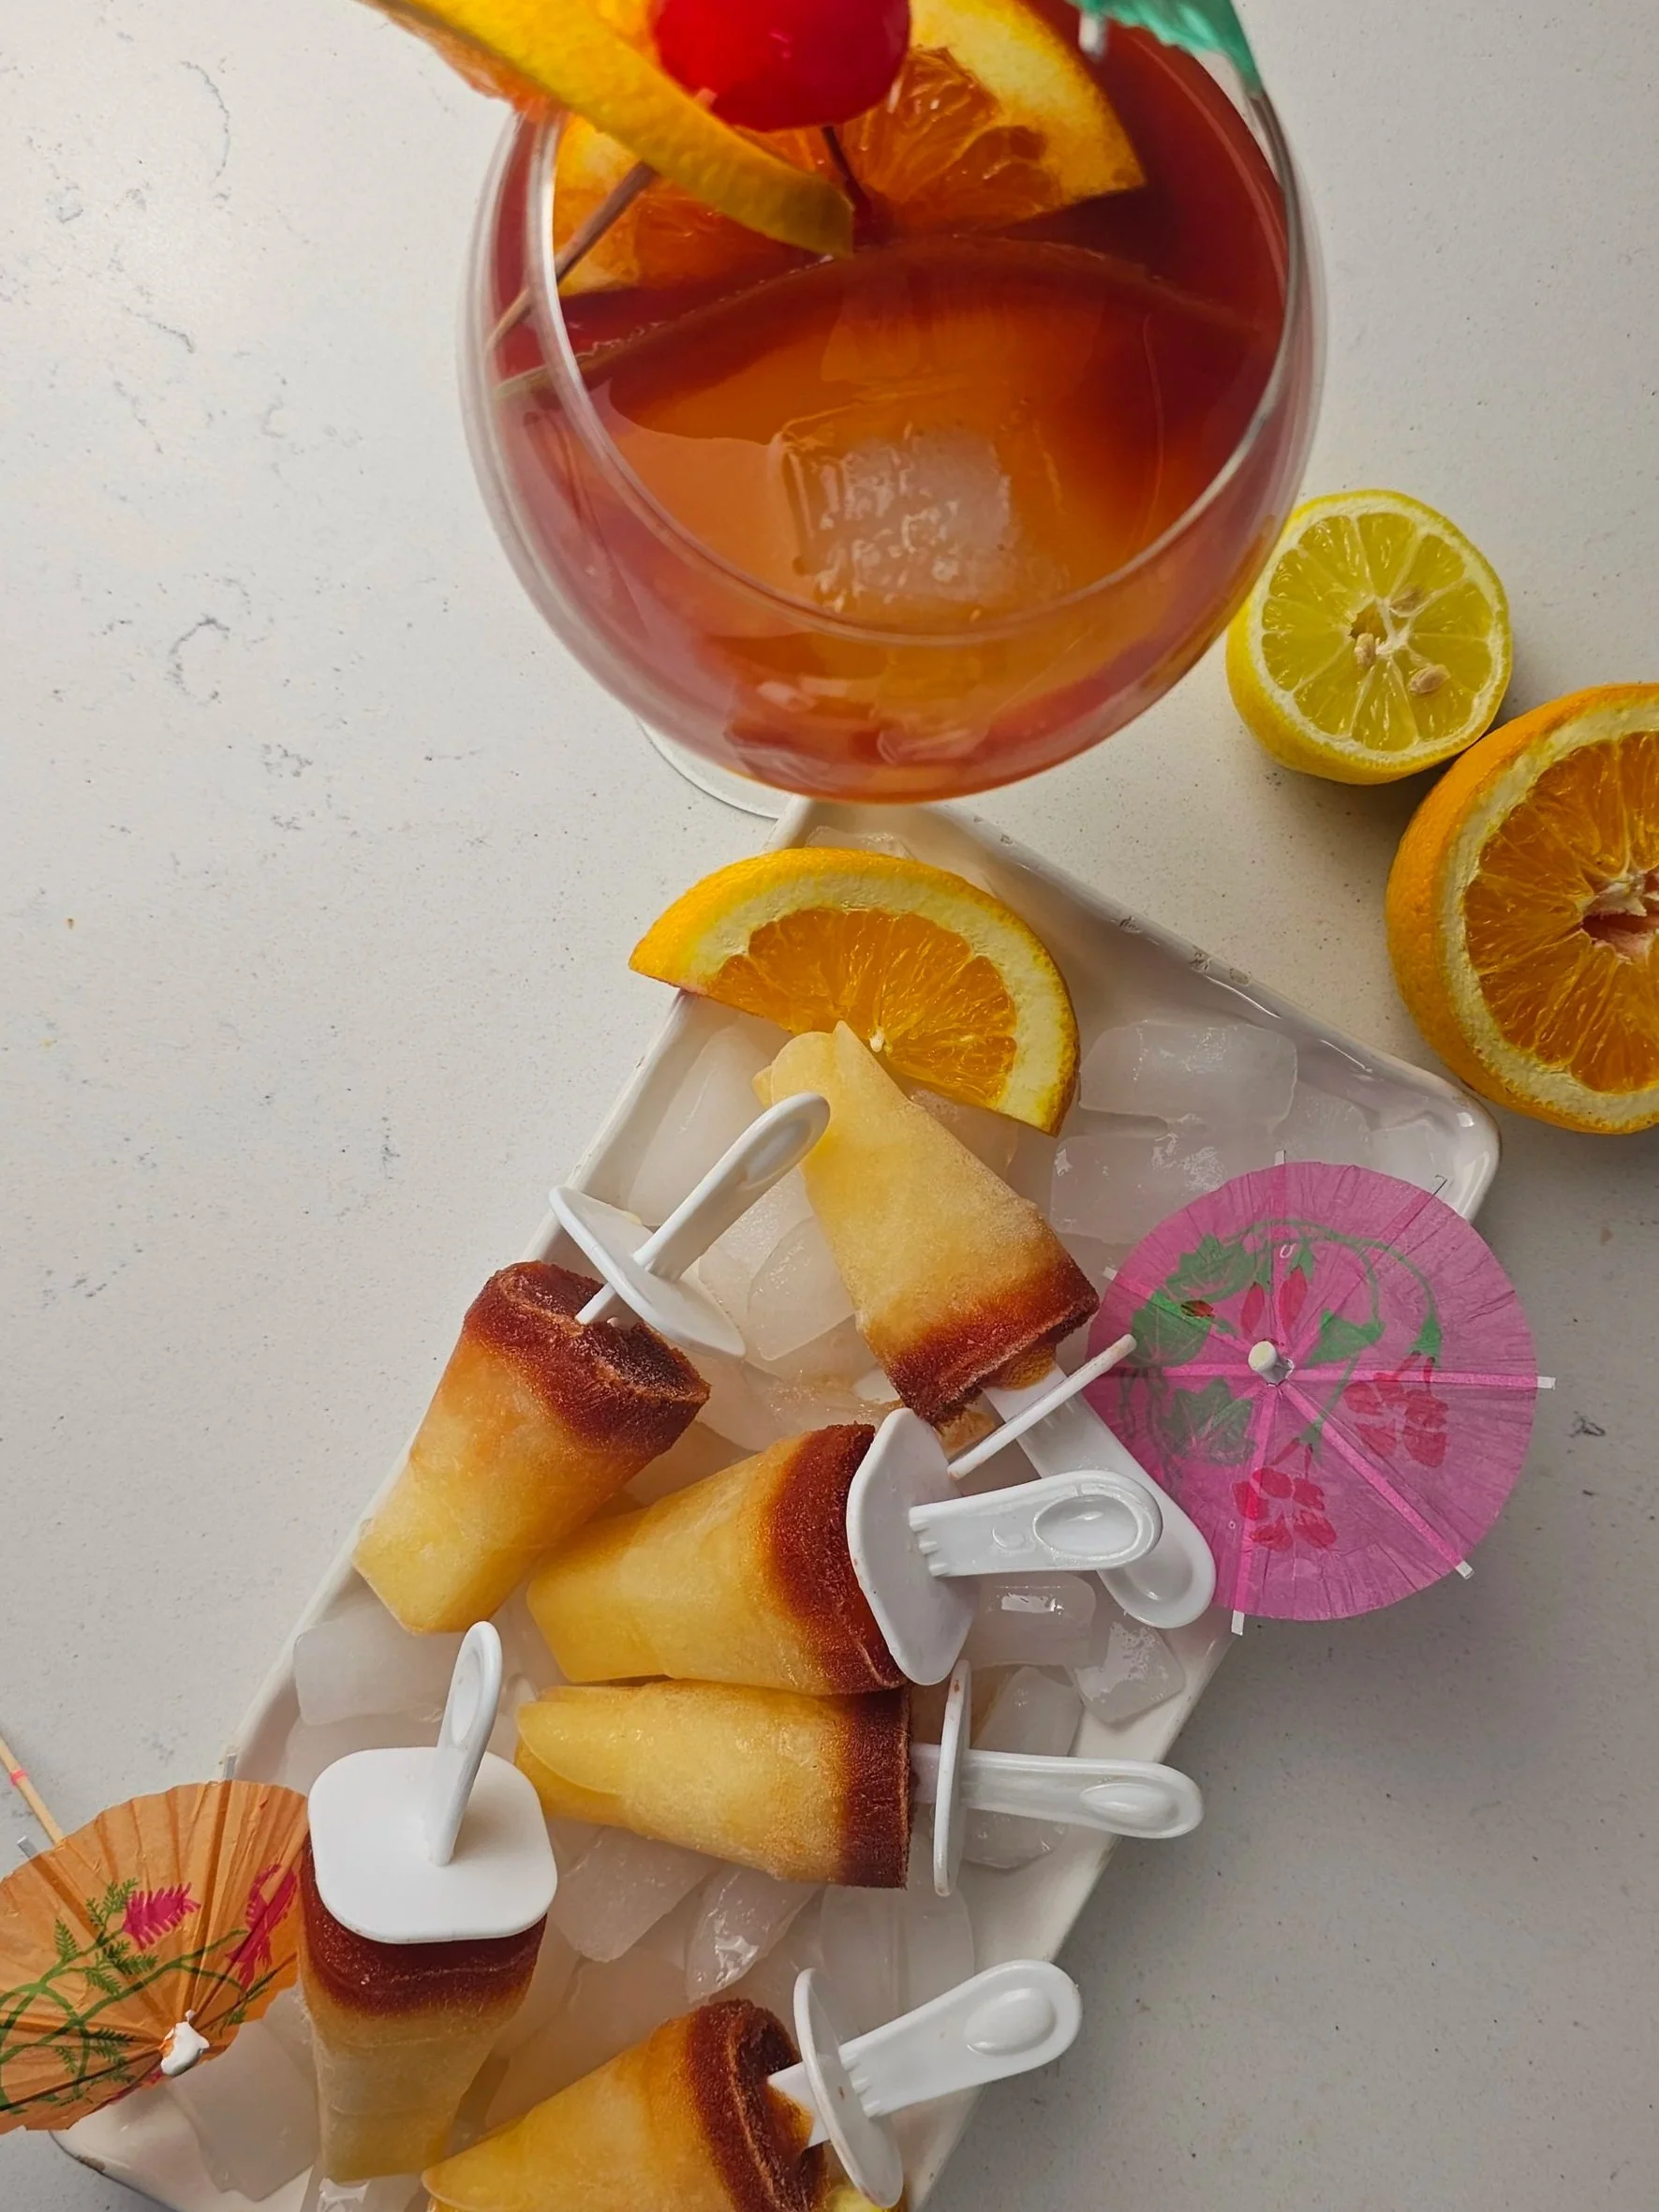
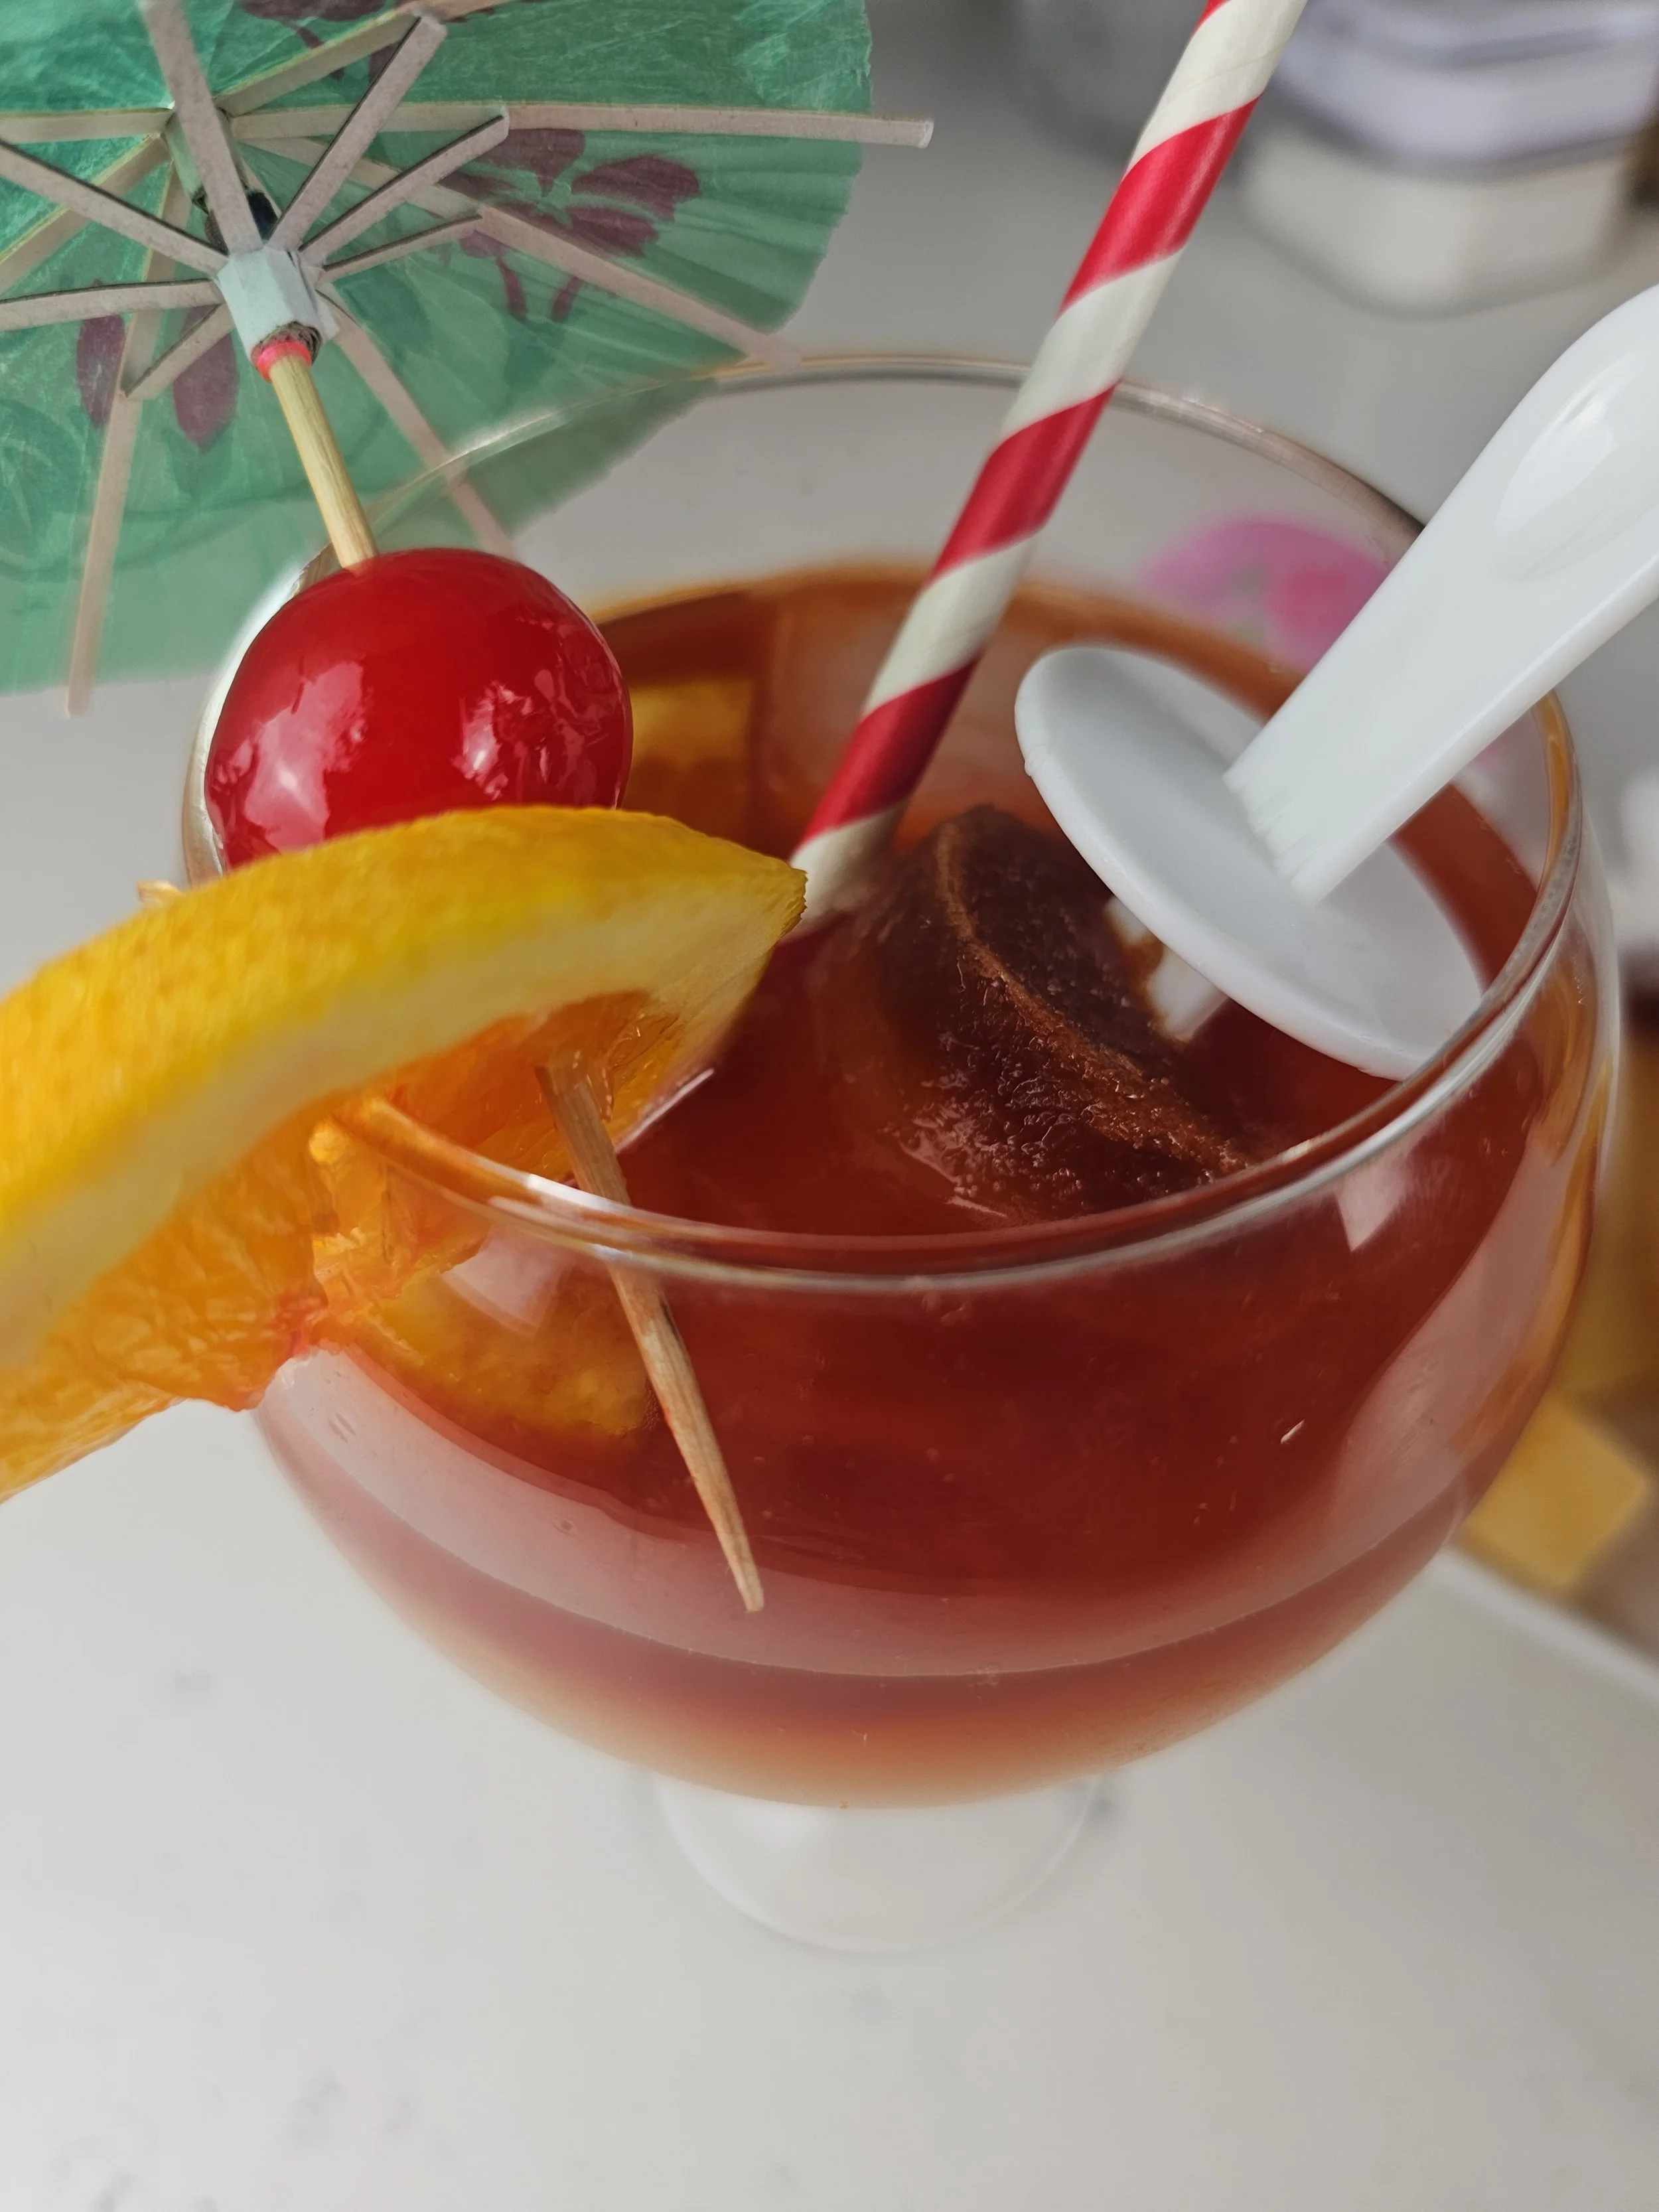
Pornstar Martini Ice Lollies (Mocktail Popsicles)
There are some flavours that do not just stay in your memory because of how they taste, but because of where they first come from. One of the earliest times I encountered a Pornstar Martini style cocktail was during a cocktail making experience in Zanzibar. It was not just the drink itself that stood out, but the entire setting. Warm coastal air, ocean in the background, and that feeling of being somewhere completely different from everyday life. What stayed with me was not only the flavour but the way it was served. Vibrant, layered, and visually split between a rich tropical base and a lighter sparkling finish. That contrast in flavour and presentation is what I have always associated with it.
In this version, I have leaned into those tropical notes in a more playful and accessible way for a frozen dessert. I used pineapple alongside passion fruit because it naturally softens the sharpness of passion fruit and adds a round, juicy sweetness that works especially well once frozen. Vanilla brings warmth and depth, tying everything together into a smooth and balanced flavour profile.
To keep that original split personality feel of the cocktail, I also wanted a sparkling element when serving. Instead of champagne, I use ginger ale with a splash of pineapple juice. This is not a direct replacement but a non alcoholic way to recreate the same celebratory fizz and light golden colour in a glass.
In this recipe, those core flavour ideas are reimagined as frozen ice lollies. The result is a simple tropical dessert that still carries the identity of the original inspiration. Bright passion fruit, soft pineapple sweetness, and subtle vanilla warmth, frozen into a refreshing summer treat.
These ice lollies can be enjoyed on their own or paired with sparkling wine or a non alcoholic fizz for a more cocktail style serving. They can also be dipped into a glass for a playful frozen twist on the original presentation.
It is a frozen interpretation of a modern classic built from memory, shaped by travel, and designed for warm days and simple ingredients.
")
Pornstar Martini Ice Lollies (Mocktail Popsicles)
Tropical passion fruit and pineapple ice lollies with vanilla and lime, inspired by the vibrant flavours of a Pornstar Martini mocktail. These refreshing homemade frozen treats are perfect for hot summer days, garden parties, and tropical-themed gatherings.
Ingredients
- 1 cup passion fruit pulp (fresh or thawed frozen)
- 1 cup pineapple juice
- 2–3 tsp vanilla syrup
- 1–2 tsp honey (optional, adjust to taste)
- Juice of 1 lime
- Pinch of salt
Instructions
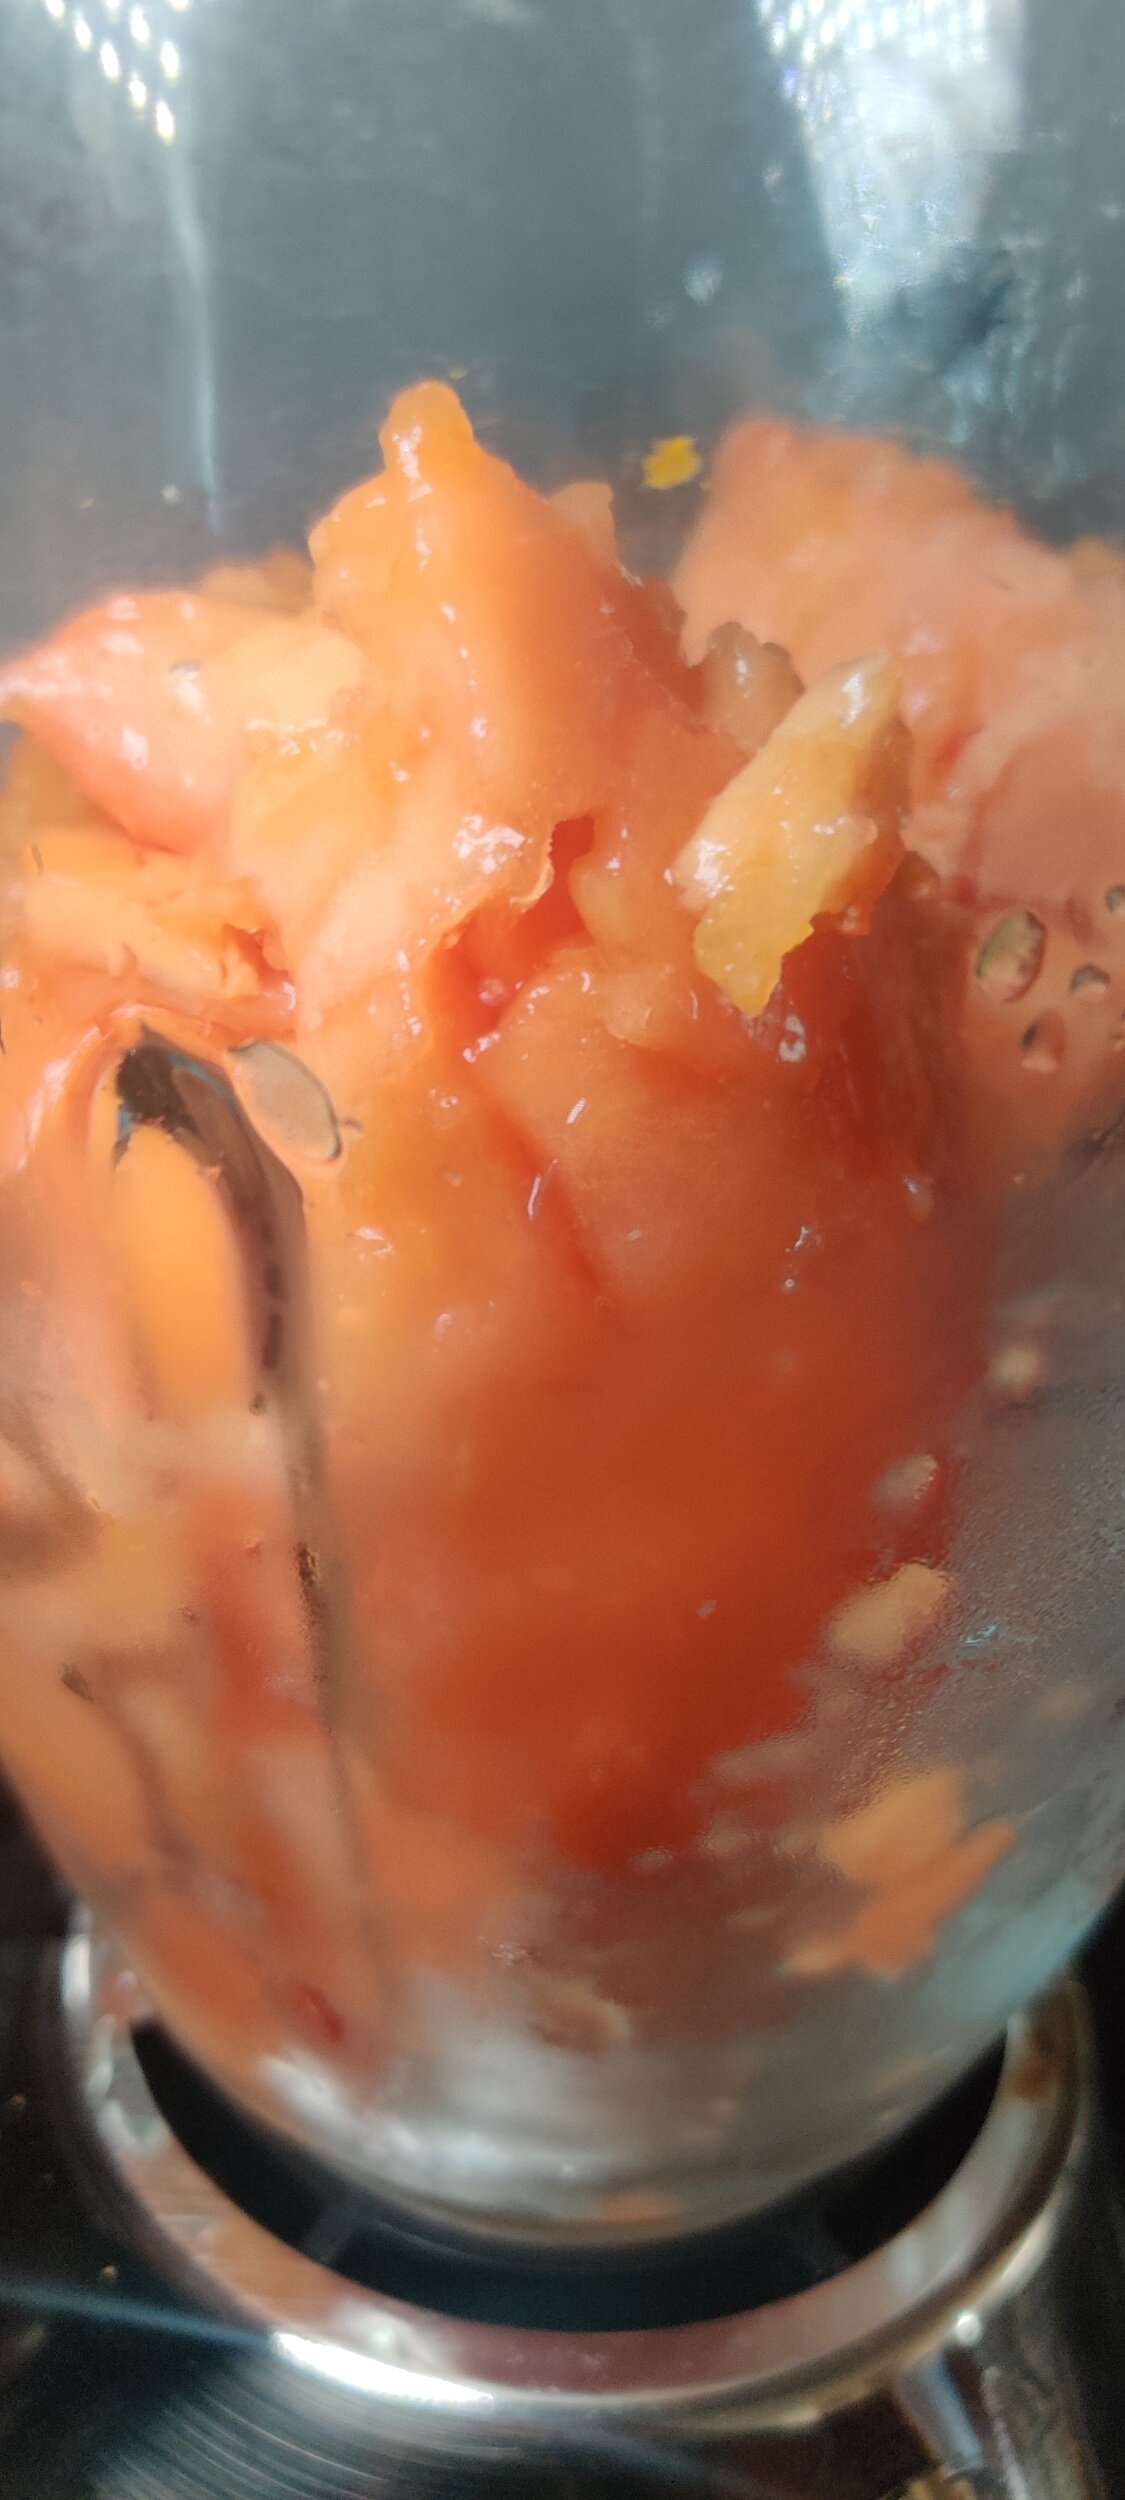
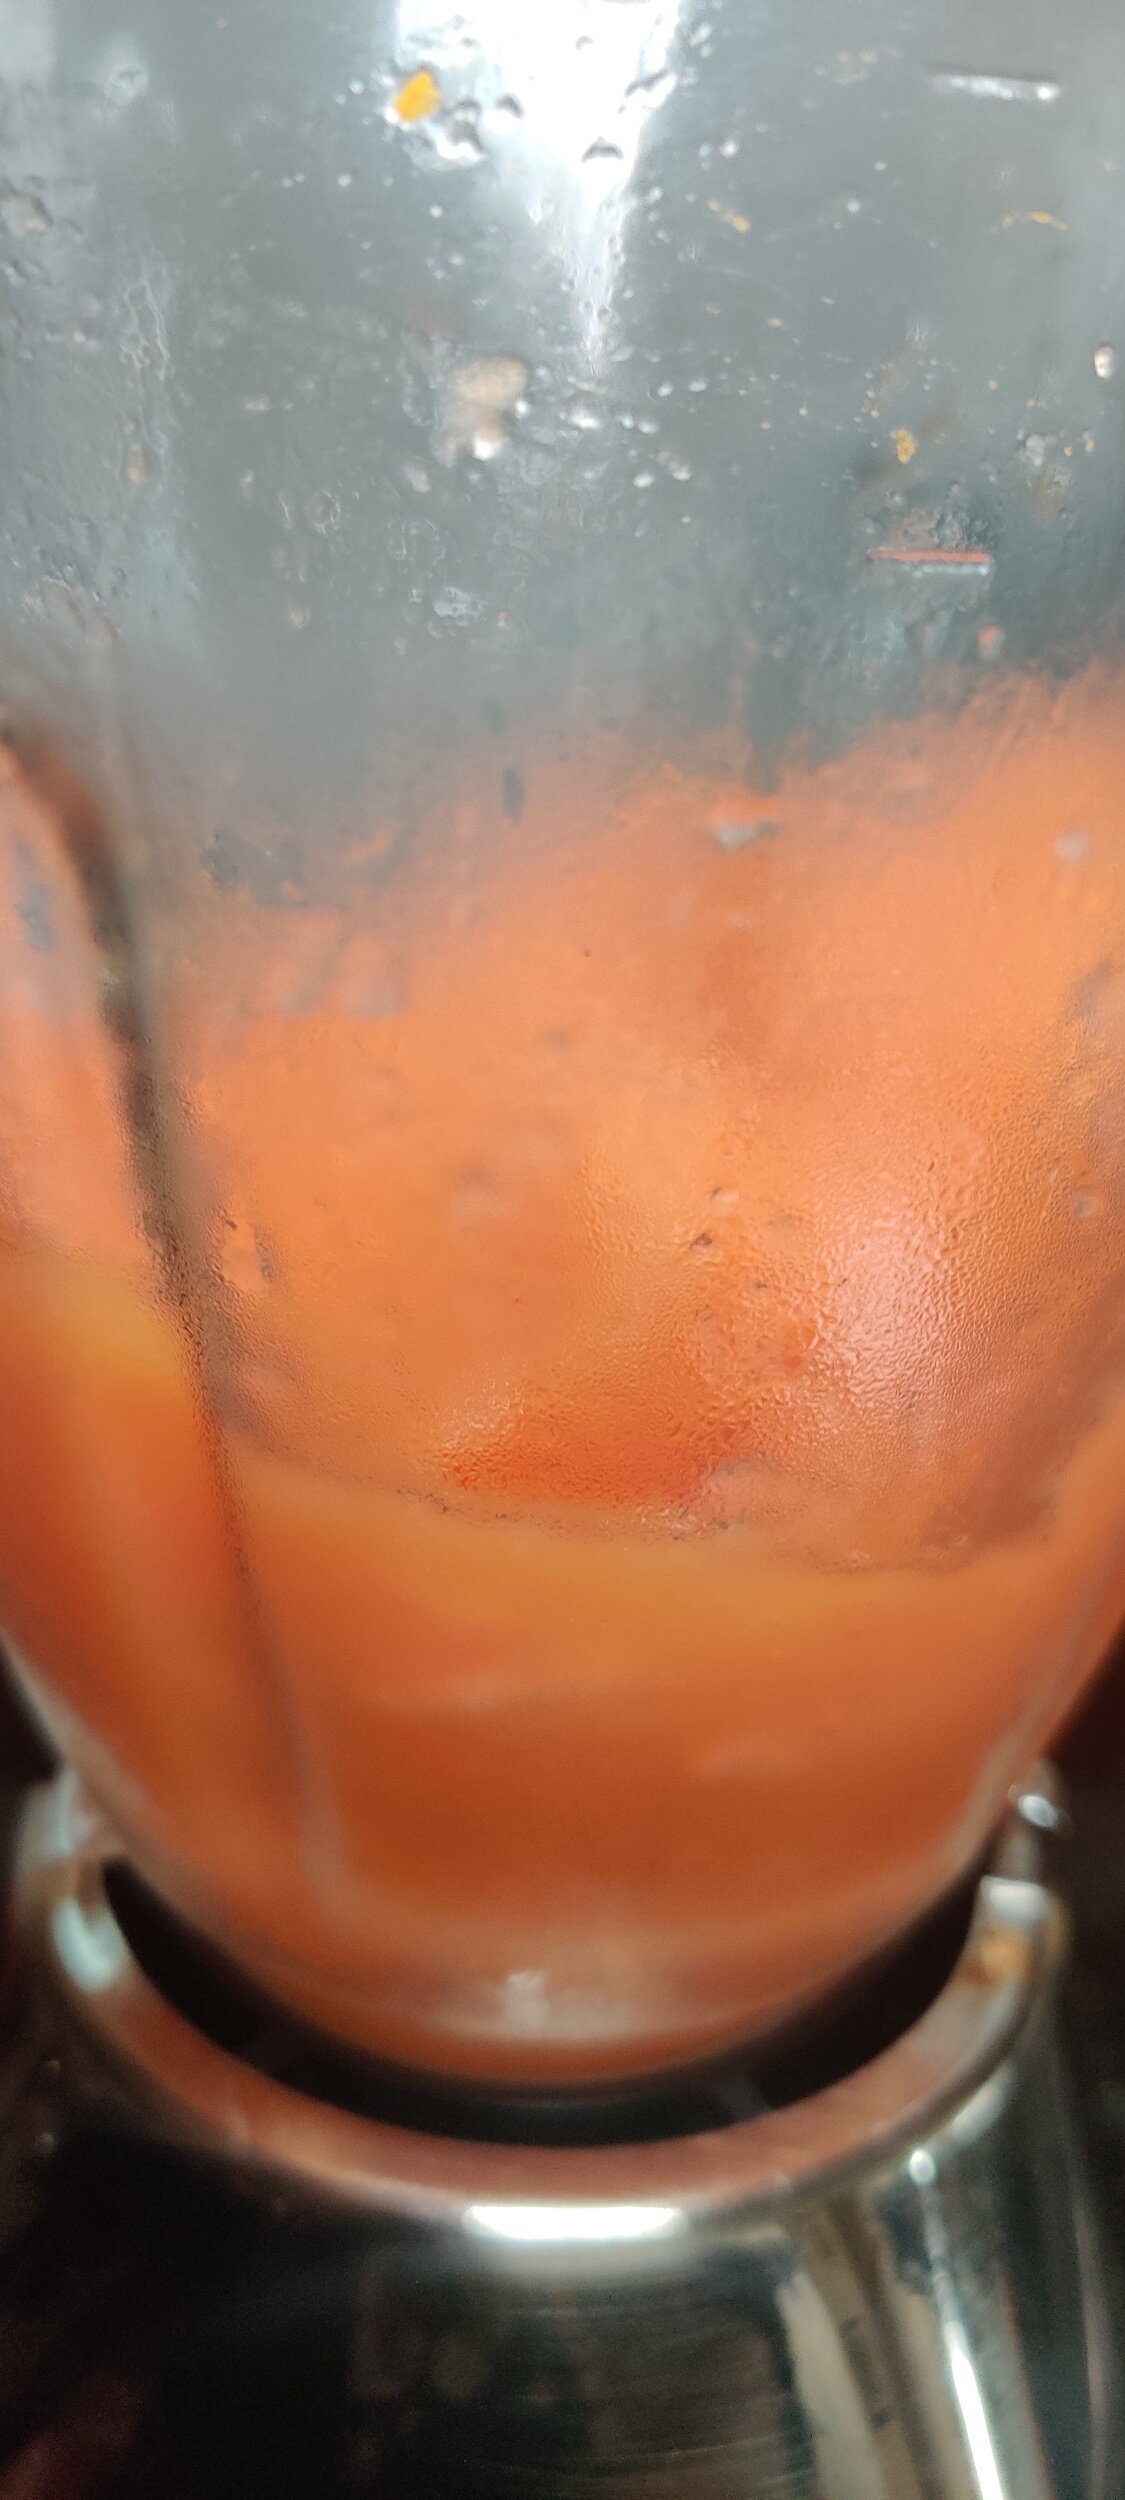
- If using frozen passion fruit pulp, allow it to thaw slightly, then blend until smooth.
- Add the passion fruit pulp, pineapple juice, vanilla syrup, honey (if using), lime juice, and a pinch of salt to a jug. Stir until fully combined.
- Taste the mixture and adjust if needed. Add a little extra honey or vanilla syrup if it's too tart, or more lime juice if it's too sweet.
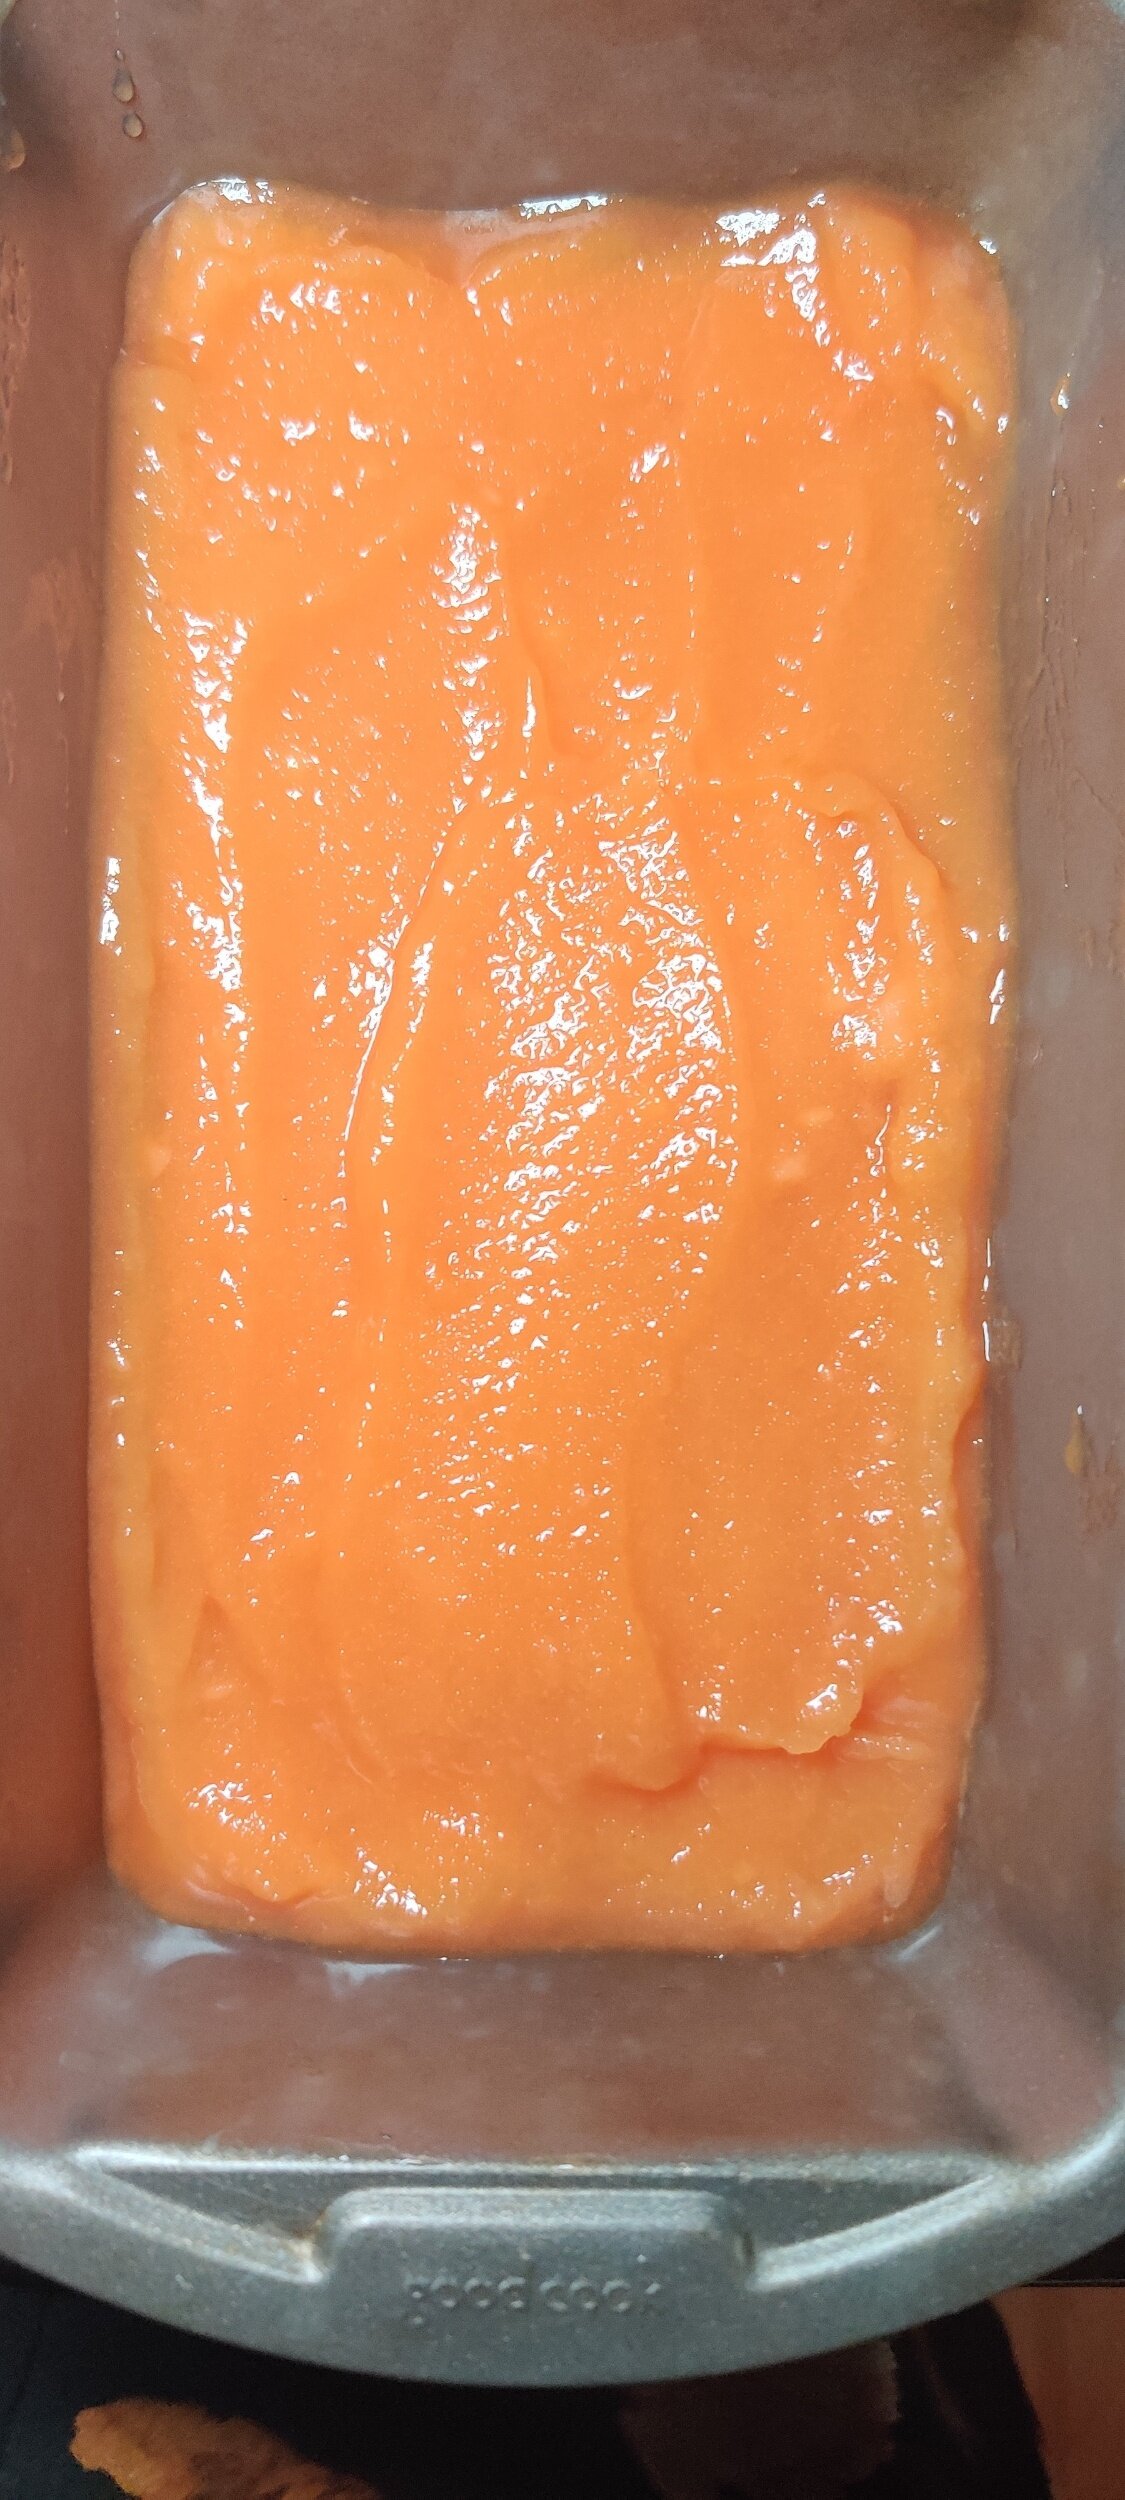
- Pour the mixture into ice lolly moulds, leaving a small gap at the top for expansion as they freeze.
- Insert the sticks and freeze for 6–8 hours, or overnight, until completely solid.
- To release the lollies, run the moulds under warm water for a few seconds before gently pulling them out.
Notes
- Fresh passion fruit gives the best flavour and texture, but thawed frozen passion fruit pulp works just as well.
- The sweetness of pineapple juice can vary, so taste the mixture before freezing and adjust the honey or vanilla syrup as needed.
- A small pinch of salt enhances the tropical fruit flavours and helps balance the sweetness.
- For a smoother ice lolly, strain the passion fruit pulp before mixing. Leave the seeds in if you prefer added texture and a more rustic finish.
- Freezing naturally reduces perceived sweetness, so the mixture should taste slightly sweeter than you want the finished lollies to be.
- Store the ice lollies in the freezer for up to 2 months in an airtight container or wrapped individually to prevent freezer burn.
Nutrition Facts
Calories
120Fat (grams)
2 gCarbs (grams)
25 gFiber (grams)
2 gSugar (grams)
22 gProtein (grams)
1 gI am not a certified nutritionist and any nutritional information on dontmissmyplate.com should only be used as a general guideline.
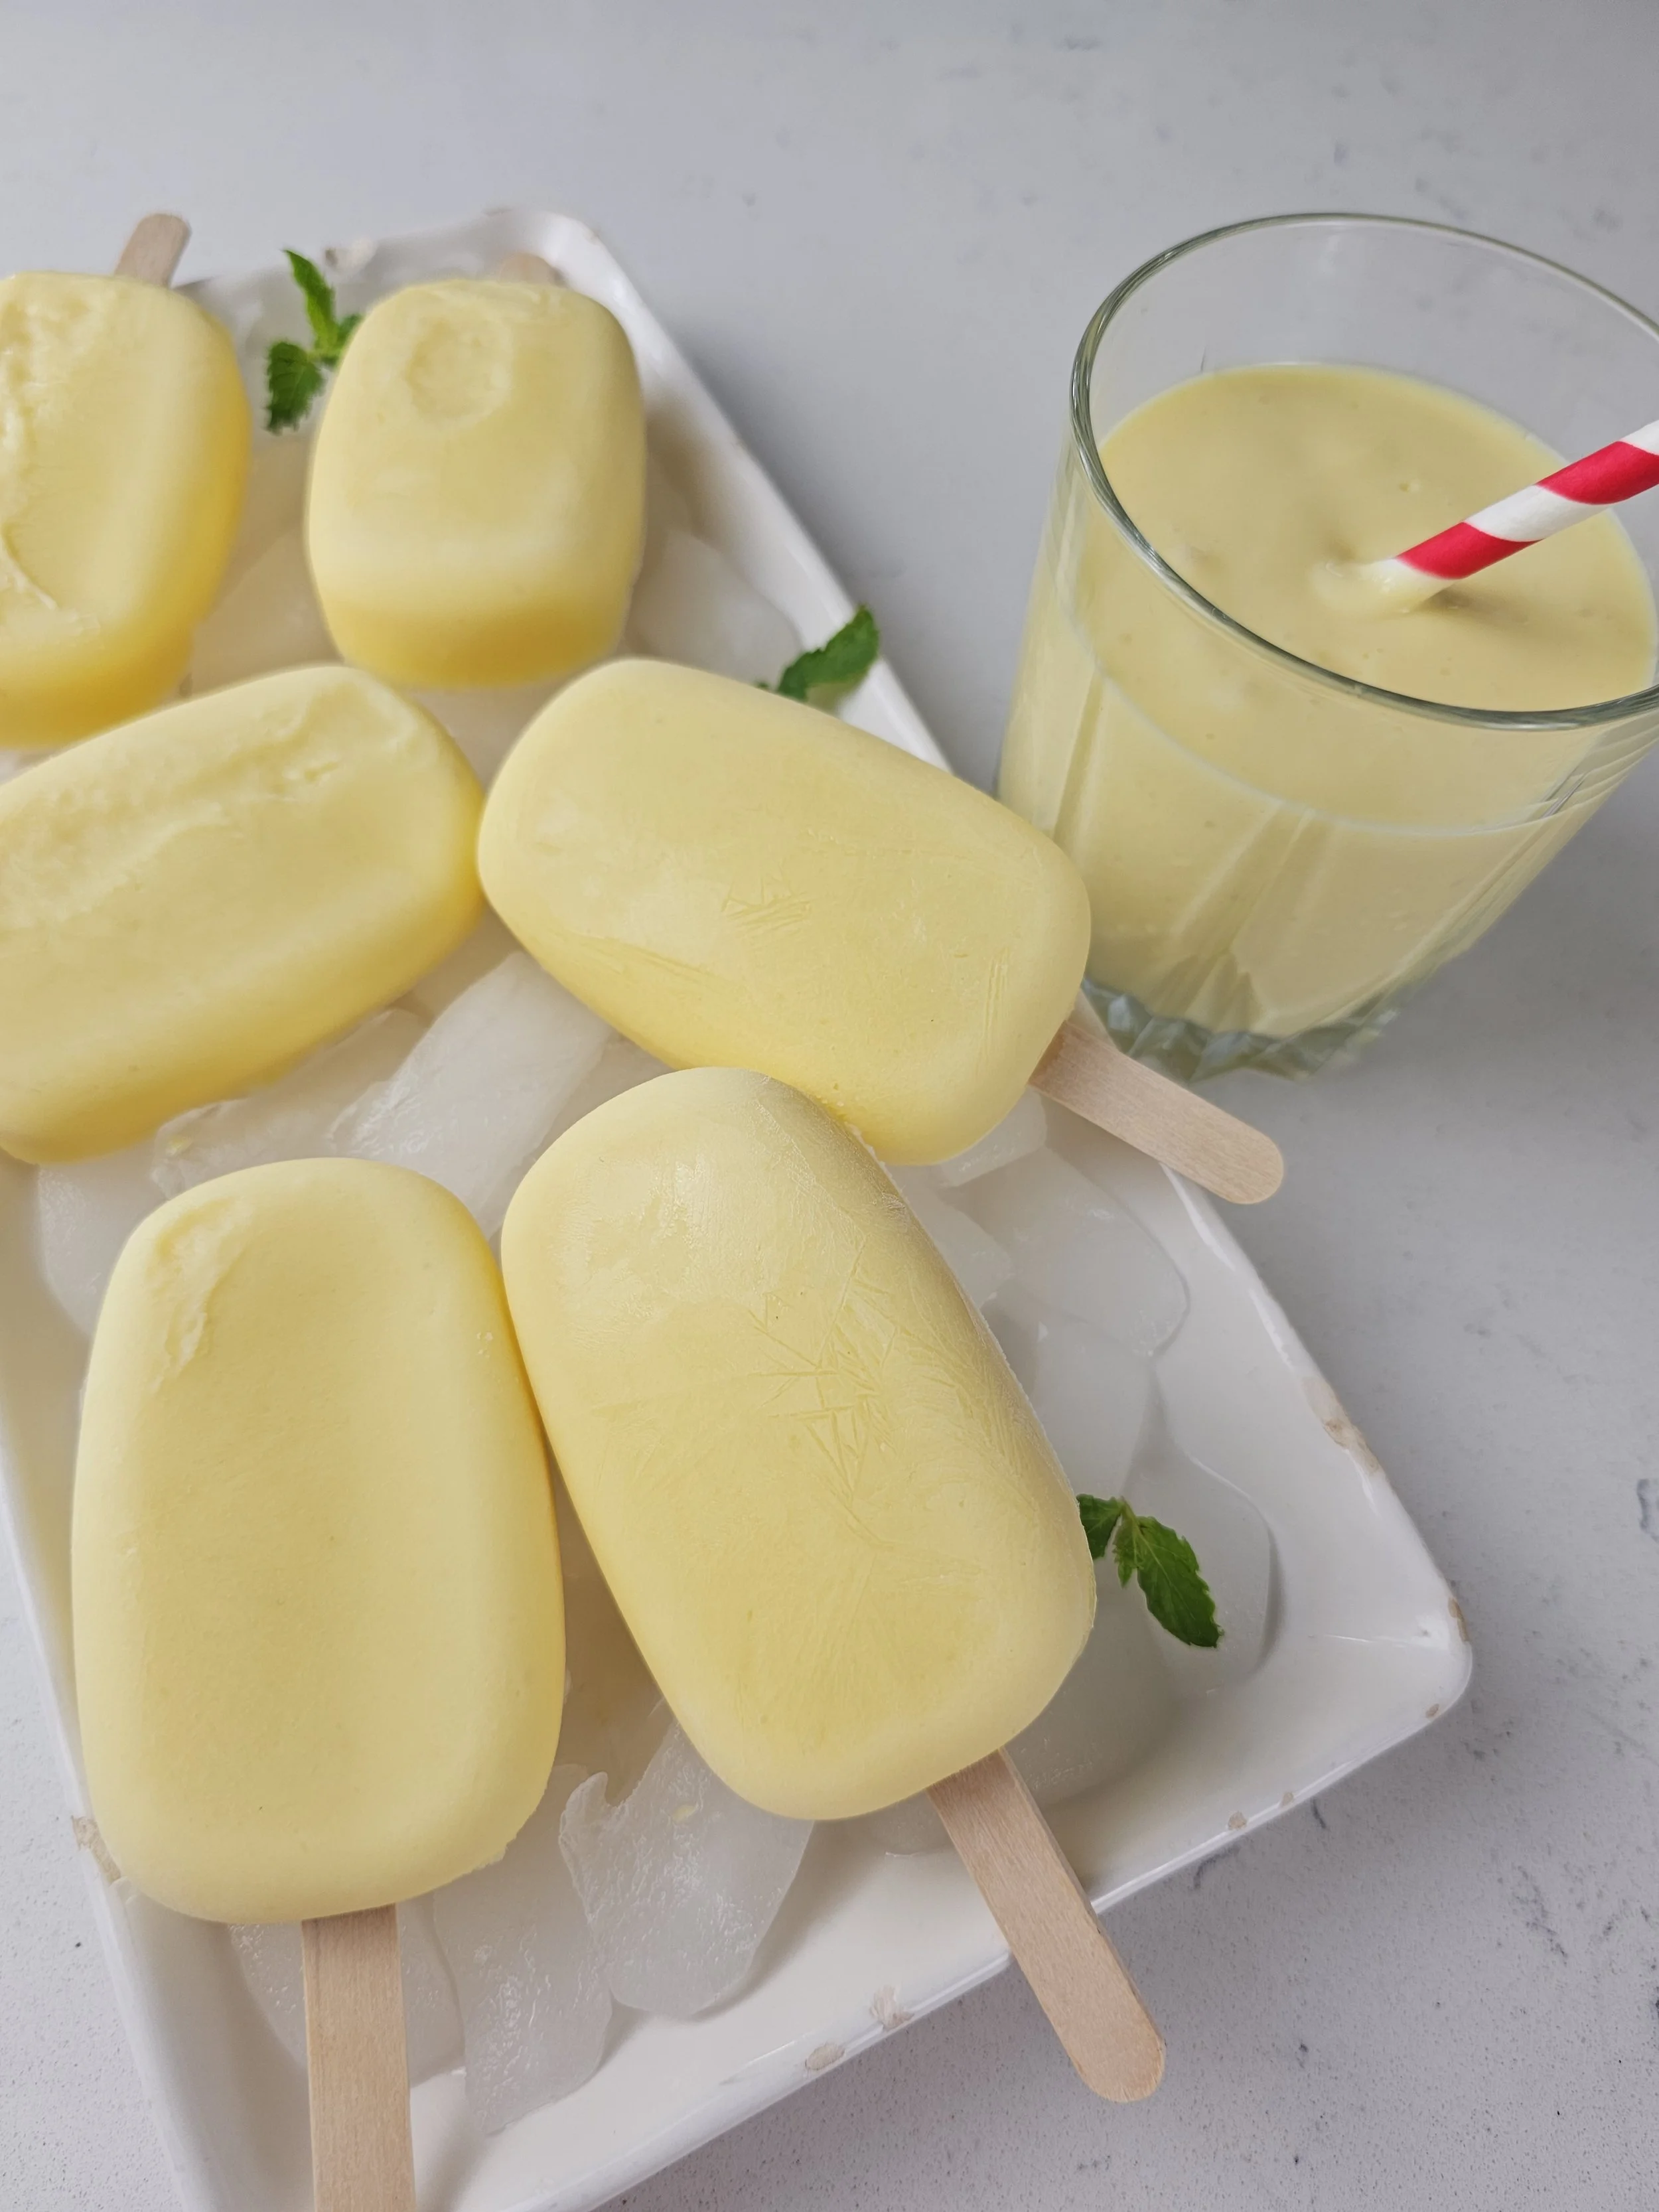
Mango Ginger Cream Ice Lollies (Popsicles)
Some recipe ideas come from childhood memories, others come from travel. This one started with a mango ginger milkshake at Nairobi Street Kitchen.
The combination immediately stood out to me. Mango and ginger aren't unusual ingredients on their own, but together they create something special: the sweetness of ripe mango balanced by the warmth and gentle bite of fresh ginger.
Across East Africa, ginger appears in drinks and desserts in ways that often differ from what many people are familiar with elsewhere. Seeing how ingredients are used differently from one country to another is one of my favorite parts of exploring food cultures.
After trying the milkshake, I couldn't stop thinking about how well those flavors would work as a frozen dessert. The creaminess of the drink already felt halfway between a milkshake and ice cream, making it a natural candidate for an ice lolly.
These Mango Ginger Ice Lollies transform that inspiration into a refreshing summer treat. Made with real mango, fresh ginger infusion, cream, and ice cream, they're fruity, creamy, and just spicy enough to keep you coming back for another bite.
Whether you're looking for a unique frozen dessert or simply want a new way to enjoy mango season, these ice lollies capture the flavor combination that inspired them in Nairobi.


Mango Ginger Ice Lollies
A creamy mango and ginger ice lolly inspired by a memorable milkshake in Nairobi. Sweet mango, fresh ginger, cream, and ice cream come together in this refreshing frozen dessert.
Ingredients
- 2 tbsp freshly grated ginger
- ¼ cup water
- 2½ cups frozen mango chunks
- 1 cup vanilla ice cream
- 3 tbsp heavy cream (for blending and added creaminess if needed)
- Juice of ½ lime
- Pinch of salt
- 2–4 tbsp ginger infusion, to taste
Instructions
- Step 1: Make the Ginger Infusion
- 1. Combine the grated ginger and water in a small bowl.
- 2. Let sit for 10–15 minutes.
- 3. Strain through a fine mesh sieve, pressing gently to extract as much liquid as possible.
- 4. Discard the solids and reserve the ginger liquid.
- Step 2: Blend the Ice Lolly Base
- 1. Add the frozen mango, vanilla ice cream, heavy cream, lime juice, salt, and 3 tablespoons of ginger infusion to a blender.
- 2. Blend until smooth.
- 3. If the mixture is too thick, add milk one tablespoon at a time until thick but pourable.
- 4. Taste and add additional ginger infusion if desired. The ginger flavour should be slightly stronger than you want in the finished ice lolly, as freezing will mellow it.
- Step 3: Fill the Moulds
- 1. Pour the mixture evenly into 6 ice lolly moulds.
- 2. Leave a little space at the top for expansion.
- 3. Insert sticks or lids.
- Step 4: Freeze
- 1. Freeze for 6–8 hours or overnight until completely solid.
- Step 5: Serve
- 1. Briefly run the outside of the moulds under warm water for 2–3 seconds.
- 2. Gently release the ice lollies.
- 3. Serve immediately.
Notes
- The sweetness of the final ice lollies will depend on the ripeness of the mango and the brand of ice cream used.
- Lime juice brightens the flavour and helps balance the richness of the cream and ice cream.
- The pinch of salt enhances both the mango and ginger flavours without making the ice lollies taste salty.
- For a stronger ginger kick, increase the ginger infusion gradually and taste as you go.
Nutrition Facts
Calories
120Fat (grams)
5 gCarbs (grams)
18 gFiber (grams)
1.5 gSugar (grams)
15 gProtein (grams)
2 gI am not a certified nutritionist and any nutritional information on dontmissmyplate.com should only be used as a general guideline.
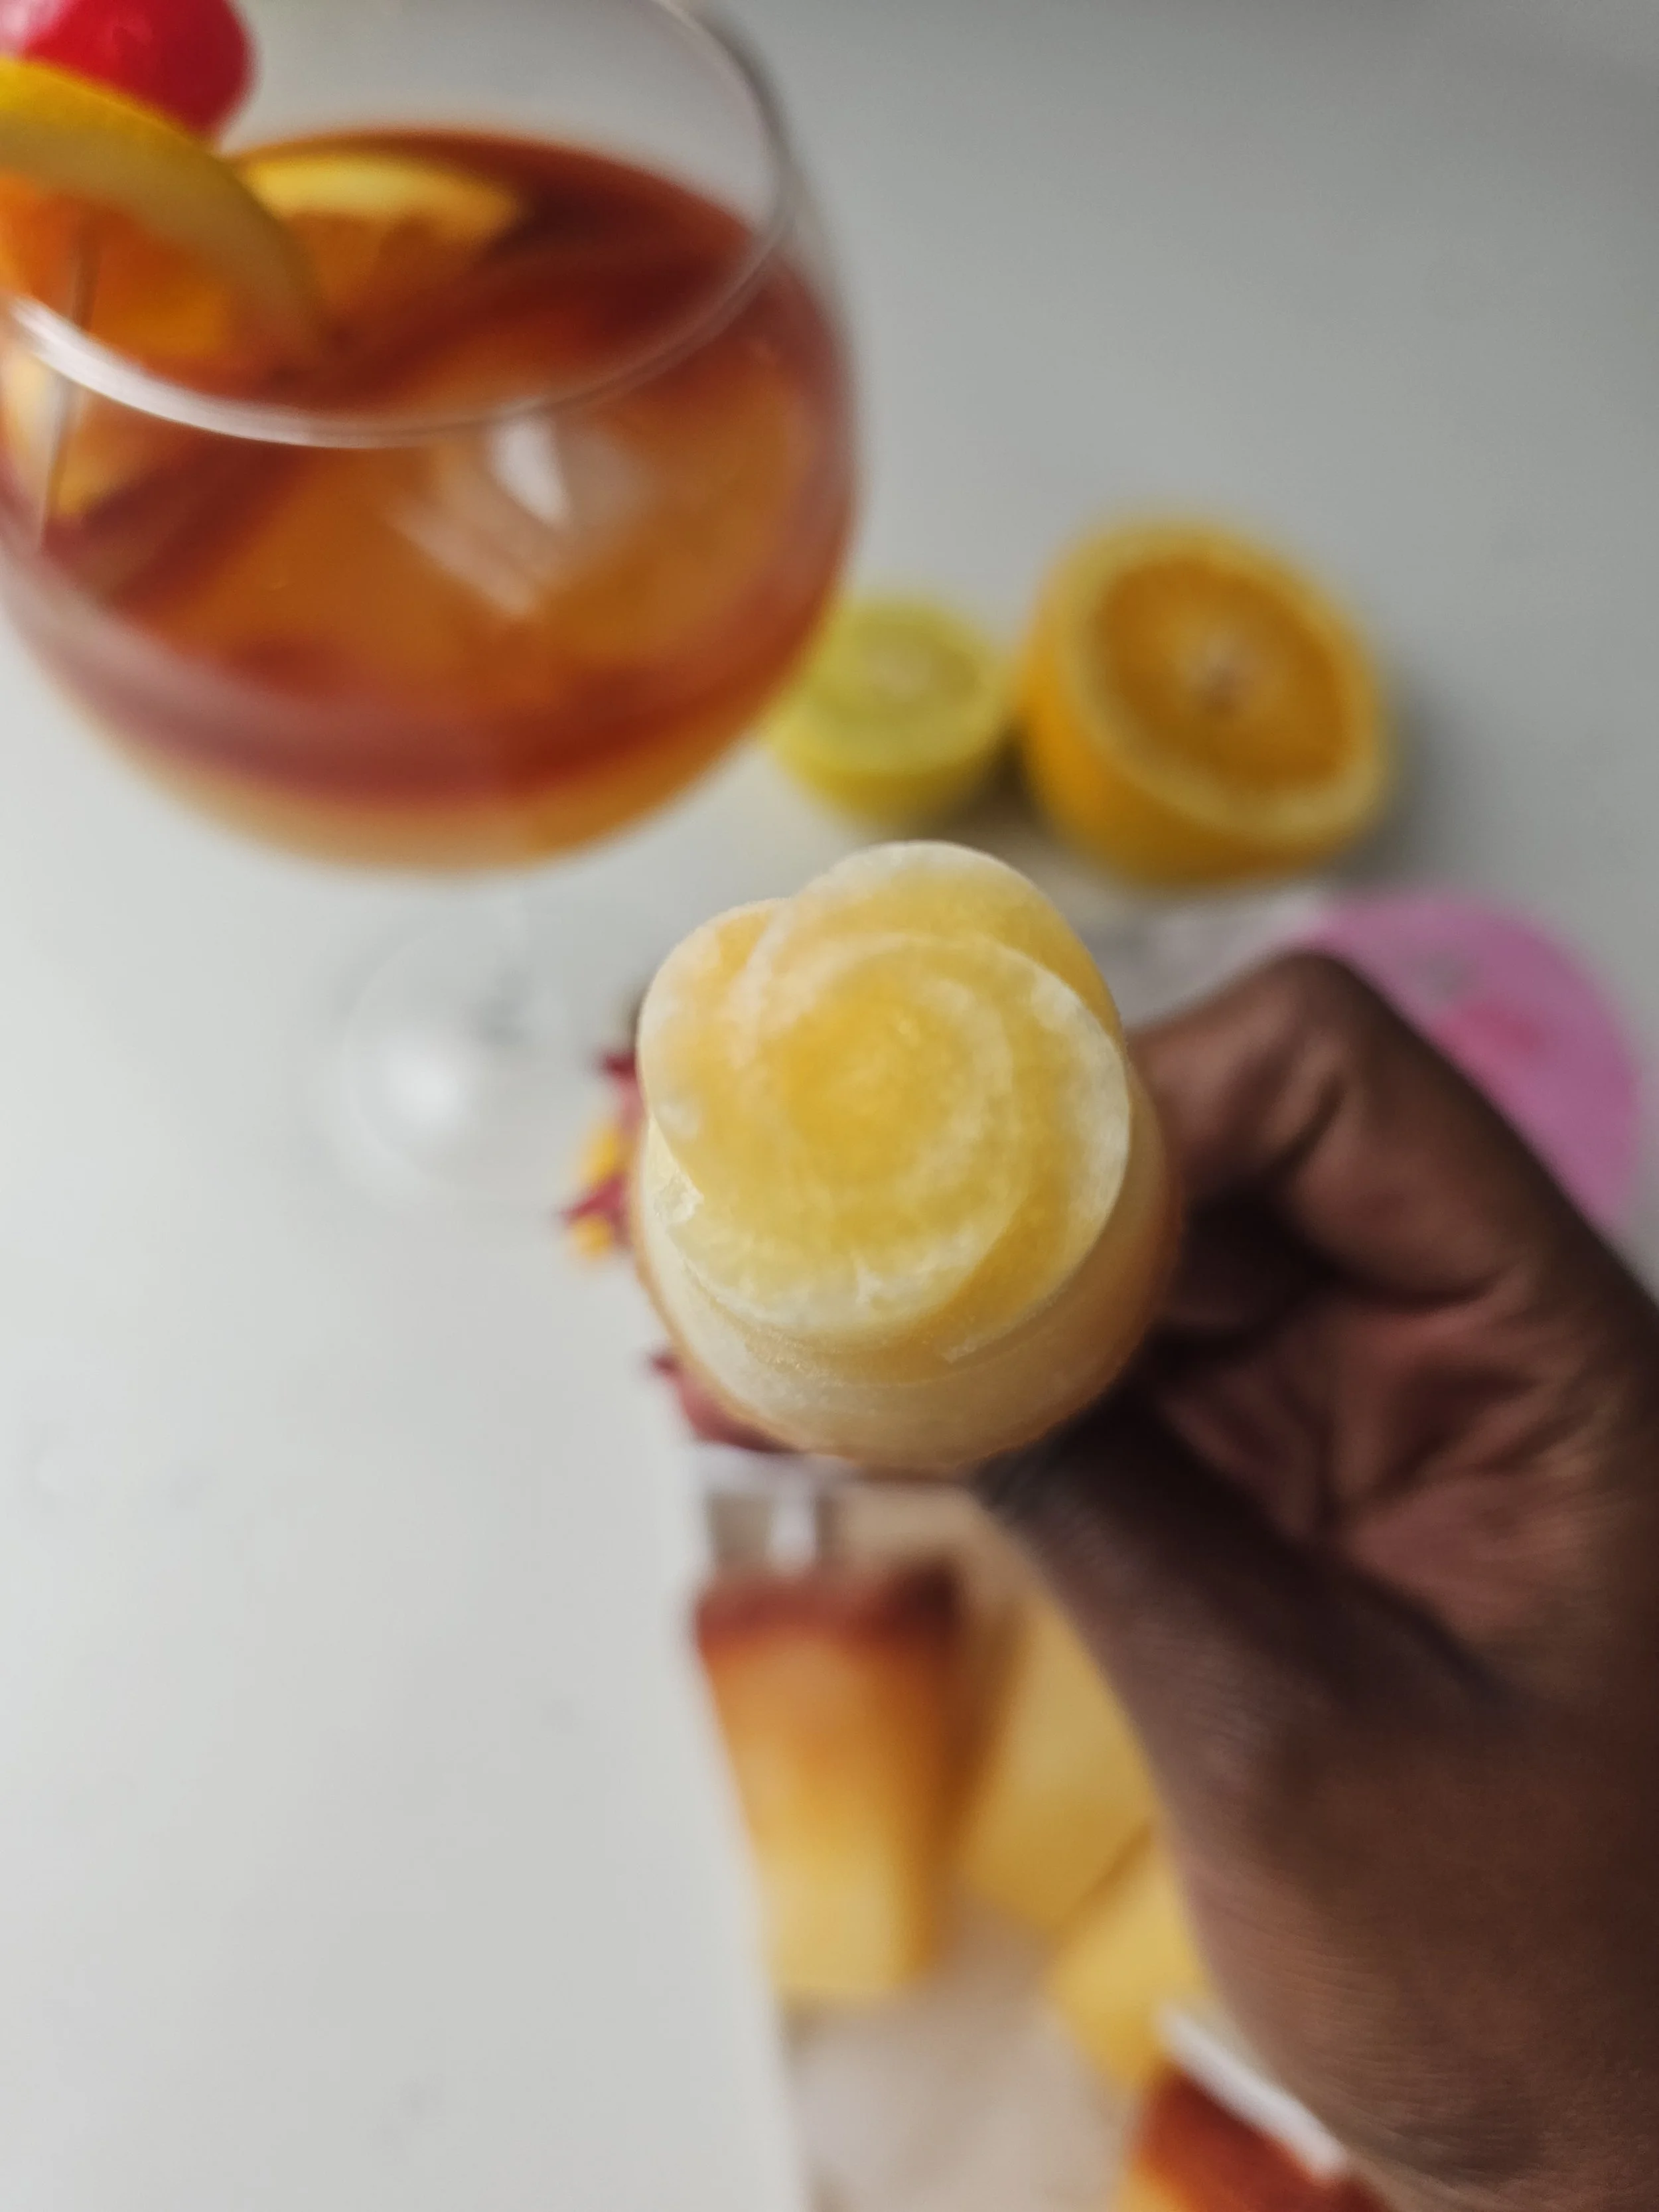
Malawi Shandy Ice Lollies (Popsicles)
Malawi Shandy is one of those drinks that instantly takes me back to Zimbabwe.
I remember drinking it on houseboat holidays in Kariba and during trips to Victoria Falls—two destinations known for sunshine, adventure, and escaping everyday life. In both places, an ice-cold Malawi Shandy always seemed to taste better in the heat. Bright, citrusy, and finished with a few dashes of bitters, it was the kind of drink that felt synonymous with holidays, road trips, and long afternoons spent outdoors.
For most of my life, I never questioned the name. It wasn't until recently that I learned the word "shandy" likely traces its roots to the British shandygaff, a drink traditionally made by mixing beer with lemonade or ginger beer. Over time, however, the drink evolved into something distinctly Southern African. Today, Malawi Shandy is enjoyed far beyond Malawi itself and can be found throughout the region, where it is typically served as a refreshing non-alcoholic drink, though some people add vodka or rum for a simple cocktail.
Part of what makes Malawi Shandy so memorable is its appearance. The combination of citrus and bitters creates a beautiful amber-red gradient that is instantly recognizable to many Southern Africans. For some, it's a nostalgic reminder of family gatherings, holidays, and summer afternoons. For me, it's one of those flavors that immediately transports me back to some of Zimbabwe's most memorable warm-weather destinations.
For this recipe, I wanted to preserve both the flavor and the visual identity of the original by transforming it into an ice lolly. The result captures everything I love about Malawi Shandy: bright citrus, gentle spice, bittersweet complexity, and the sunset-like gradient that made me fall in love with the drink in the first place.
More than just a frozen treat, these ice lollies are a tribute to one of Southern Africa's most beloved warm-weather drinks and the memories attached to it.
")
Malawi Shandy Ice Lollies (Popsicles)
These Malawi Shandy Ice Lollies transform one of Southern Africa's most beloved citrus drinks into a refreshing frozen treat. Made with fresh orange juice, lemon, ginger ale, Sprite, and Angostura bitters, they capture the bright, bittersweet flavor and signature amber-red gradient of the original drink.
Ingredients
- 1 cup (240ml) freshly squeezed orange juice (about 4 oranges)
- 1 cup (240ml) Sprite
- ½ cup (120ml) ginger ale
- Juice of ½ lemon
- 2 tsp Angostura bitters
- 2 tsp prepared citrus base mixture
Instructions
- In a jug or bowl, combine the orange juice, Sprite, ginger ale, and lemon juice. Stir gently to combine, taking care not to remove too much carbonation.
- Pour the mixture into six ice lolly moulds, filling each mould approximately 90% full.
- Transfer the moulds to the freezer and chill for 35–45 minutes, or until the edges begin to freeze while the centre remains slushy.
- In a small bowl, combine the Angostura bitters with 2 teaspoons of the citrus base. Stir until evenly mixed.
- Remove the moulds from the freezer. Carefully pour approximately 1 teaspoon of the bitters mixture into each mould over the semi-frozen base. Do not stir or swirl! Allow the bitters mixture to settle naturally.
- Gently insert the mould lids or sticks without pressing down aggressively.
- Return the moulds to the freezer and freeze for 6–8 hours or overnight.
- To release the ice lollies, briefly run the outside of the mould under warm water for 2–3 seconds before gently pulling.
Notes
- Freshly squeezed orange juice produces the brightest flavour and colour.
- Do not over-stir after adding the bitters mixture, as this will disrupt the natural gradient effect.
- Each ice lolly will develop a slightly different pattern, making every one unique.
- For an adult version, serve alongside a Malawi Shandy spiked with vodka or rum.
- If using larger moulds, freezing times may increase.
- Store in an airtight container or in the moulds for up to 2 months. For best flavour and texture, enjoy within 3 weeks.
Serving Suggestion:
<span>• Garnish with orange slices and maraschino cherries.</span><br><span>• Serve alongside a chilled Malawi Shandy.</span><br><span>• Perfect for summer gatherings, braais, picnics, and poolside entertaining.</span><br><span>• Pair with tropical fruit platters or citrus-forward desserts.</span>
Nutrition Facts
Calories
45Carbs (grams)
11 gFiber (grams)
.2 gSugar (grams)
9 gProtein (grams)
.3 gI am not a certified nutritionist and any nutritional information on dontmissmyplate.com should only be used as a general guideline.

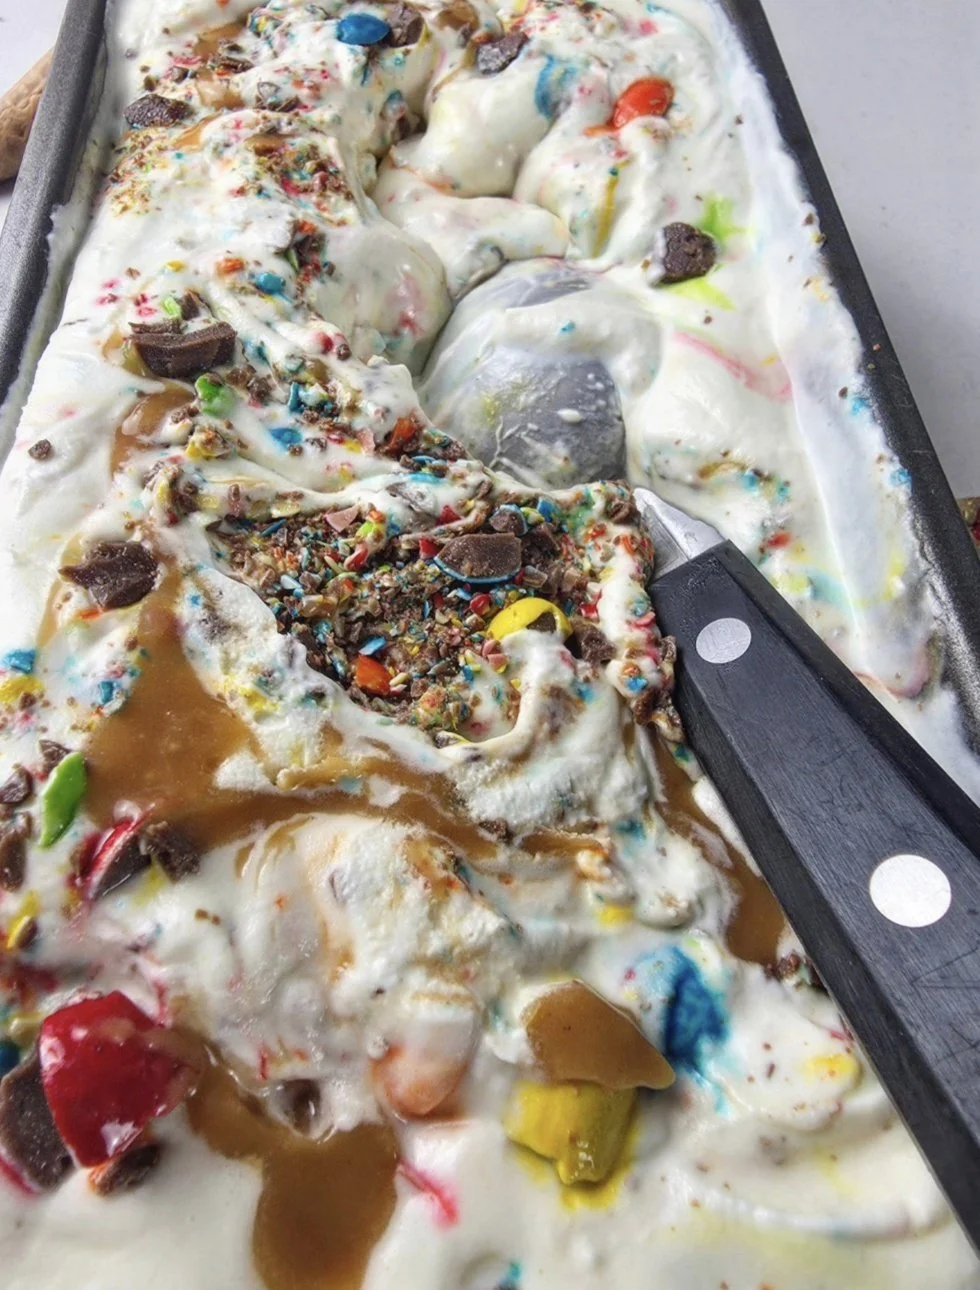
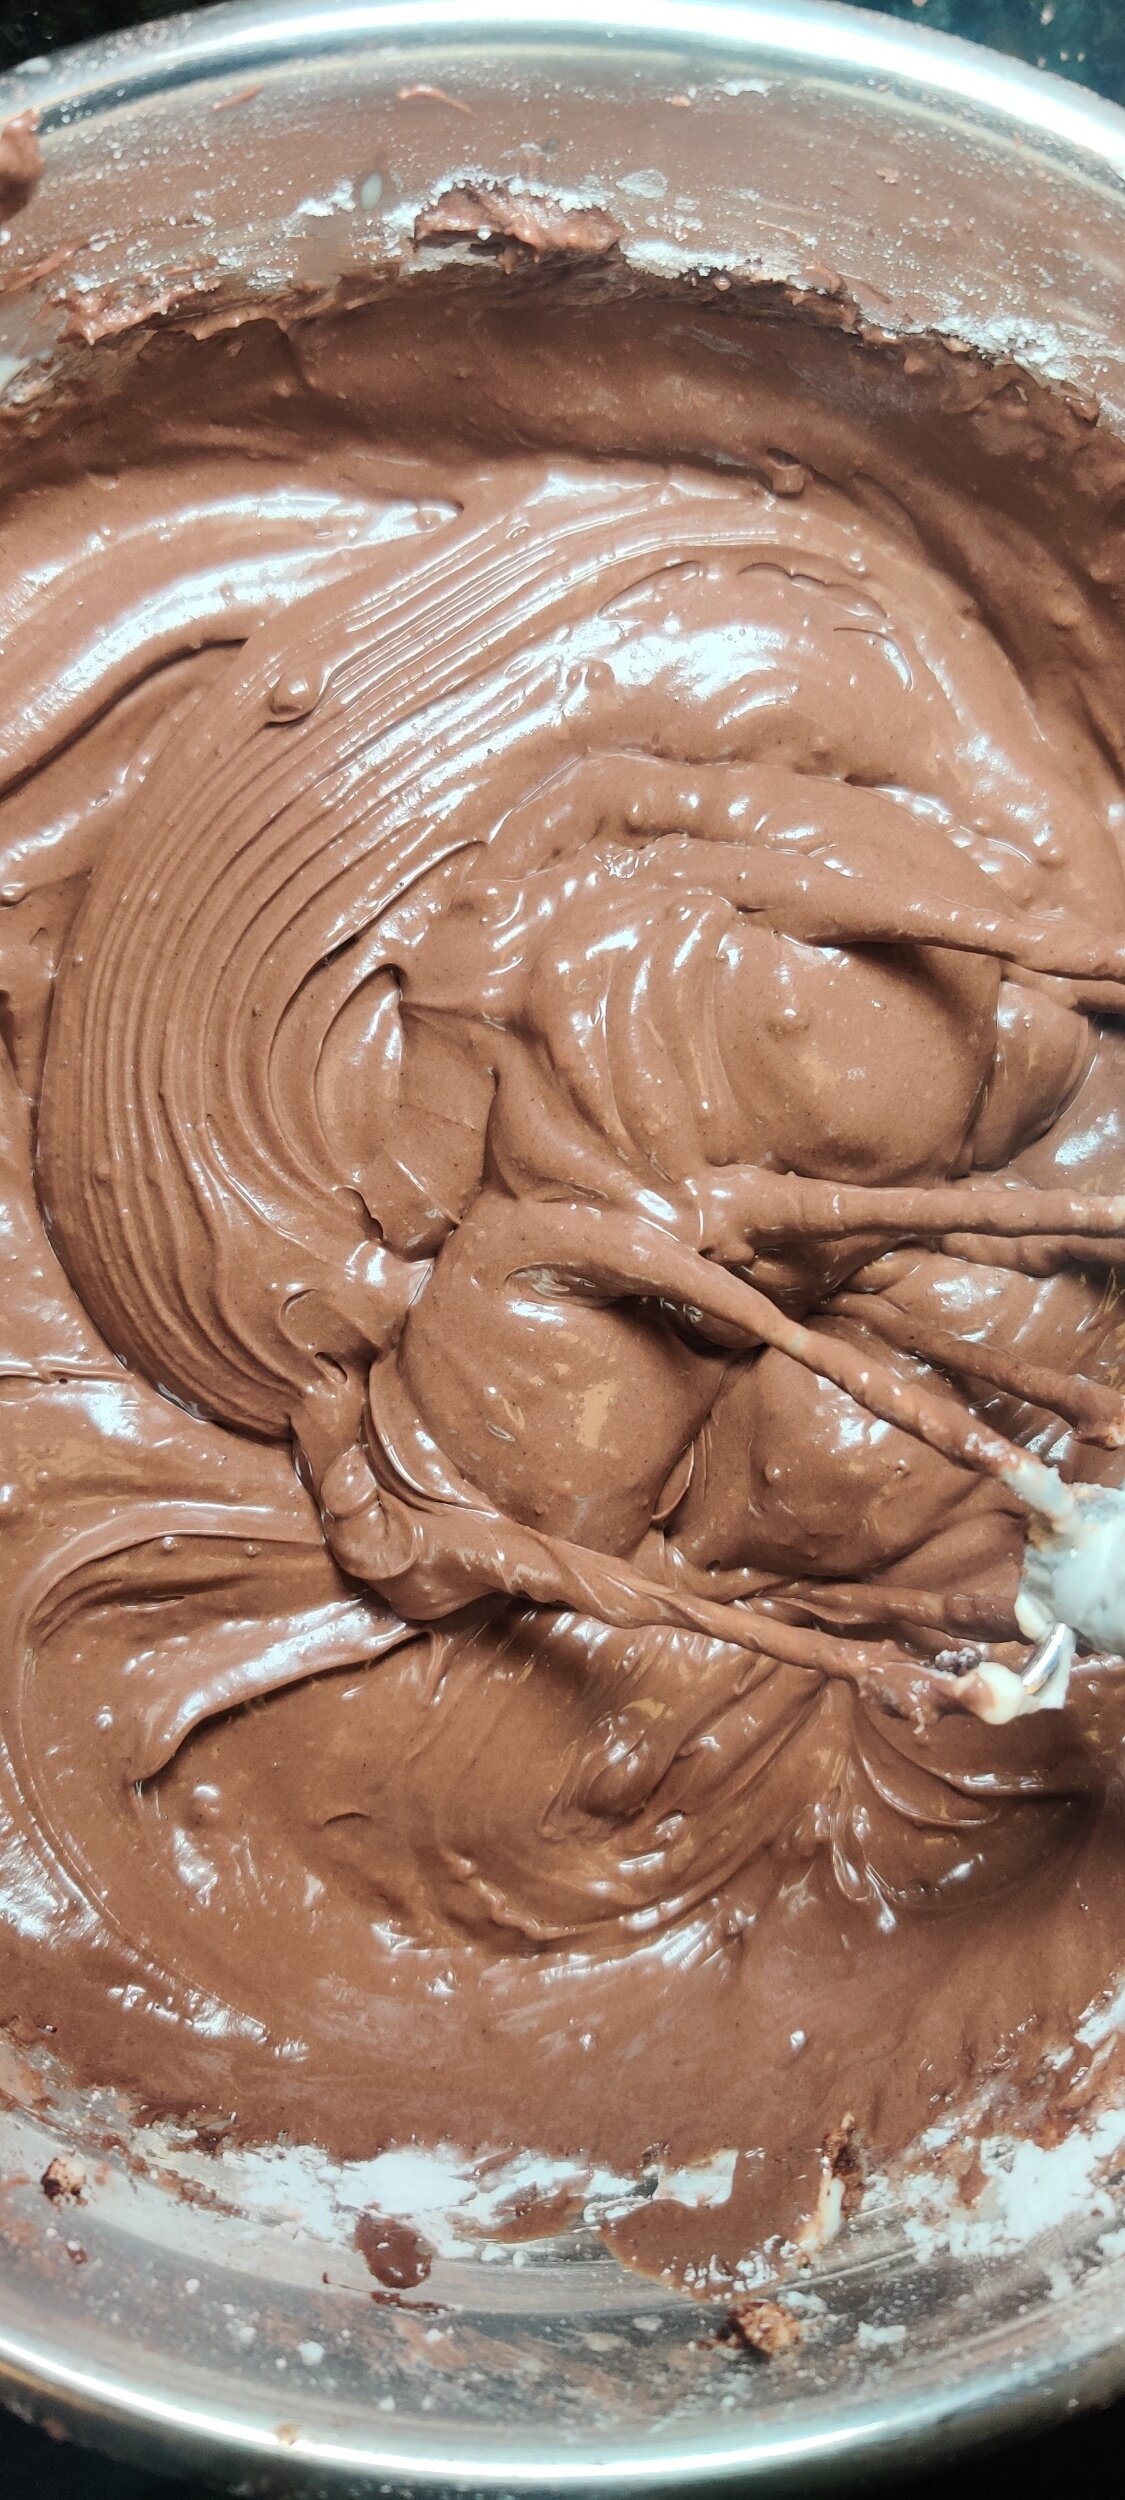
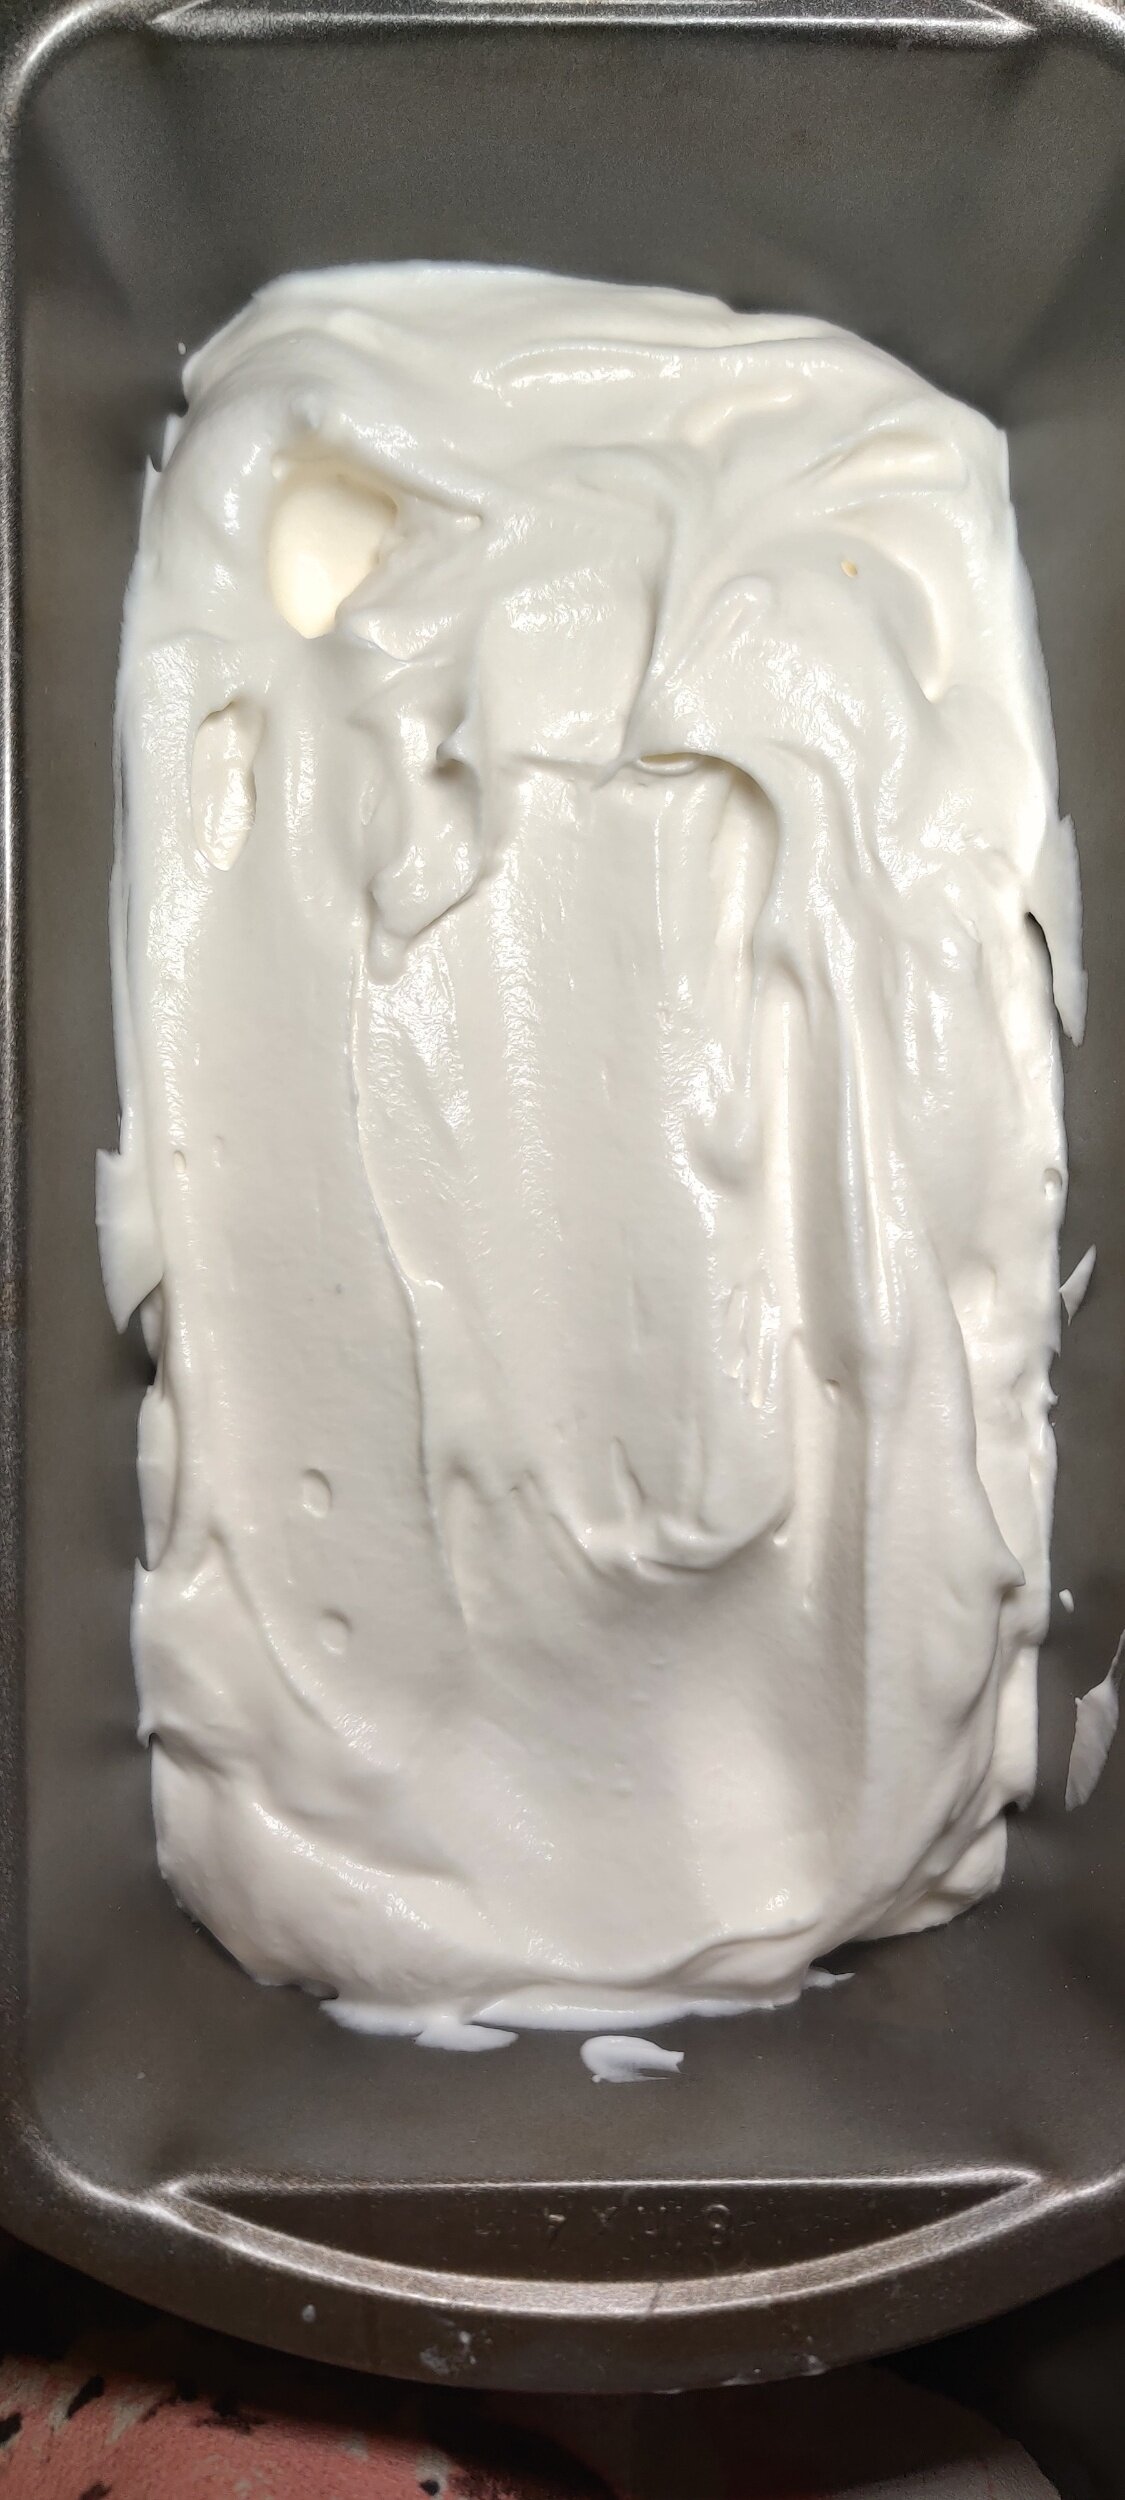
No-Churn Chocolate Egg Ice Cream with Caramel Drizzle
This no-churn Easter egg and caramel ice cream is a rich, creamy homemade dessert made without any ice cream machine, just a few simple ingredients and a freezer.
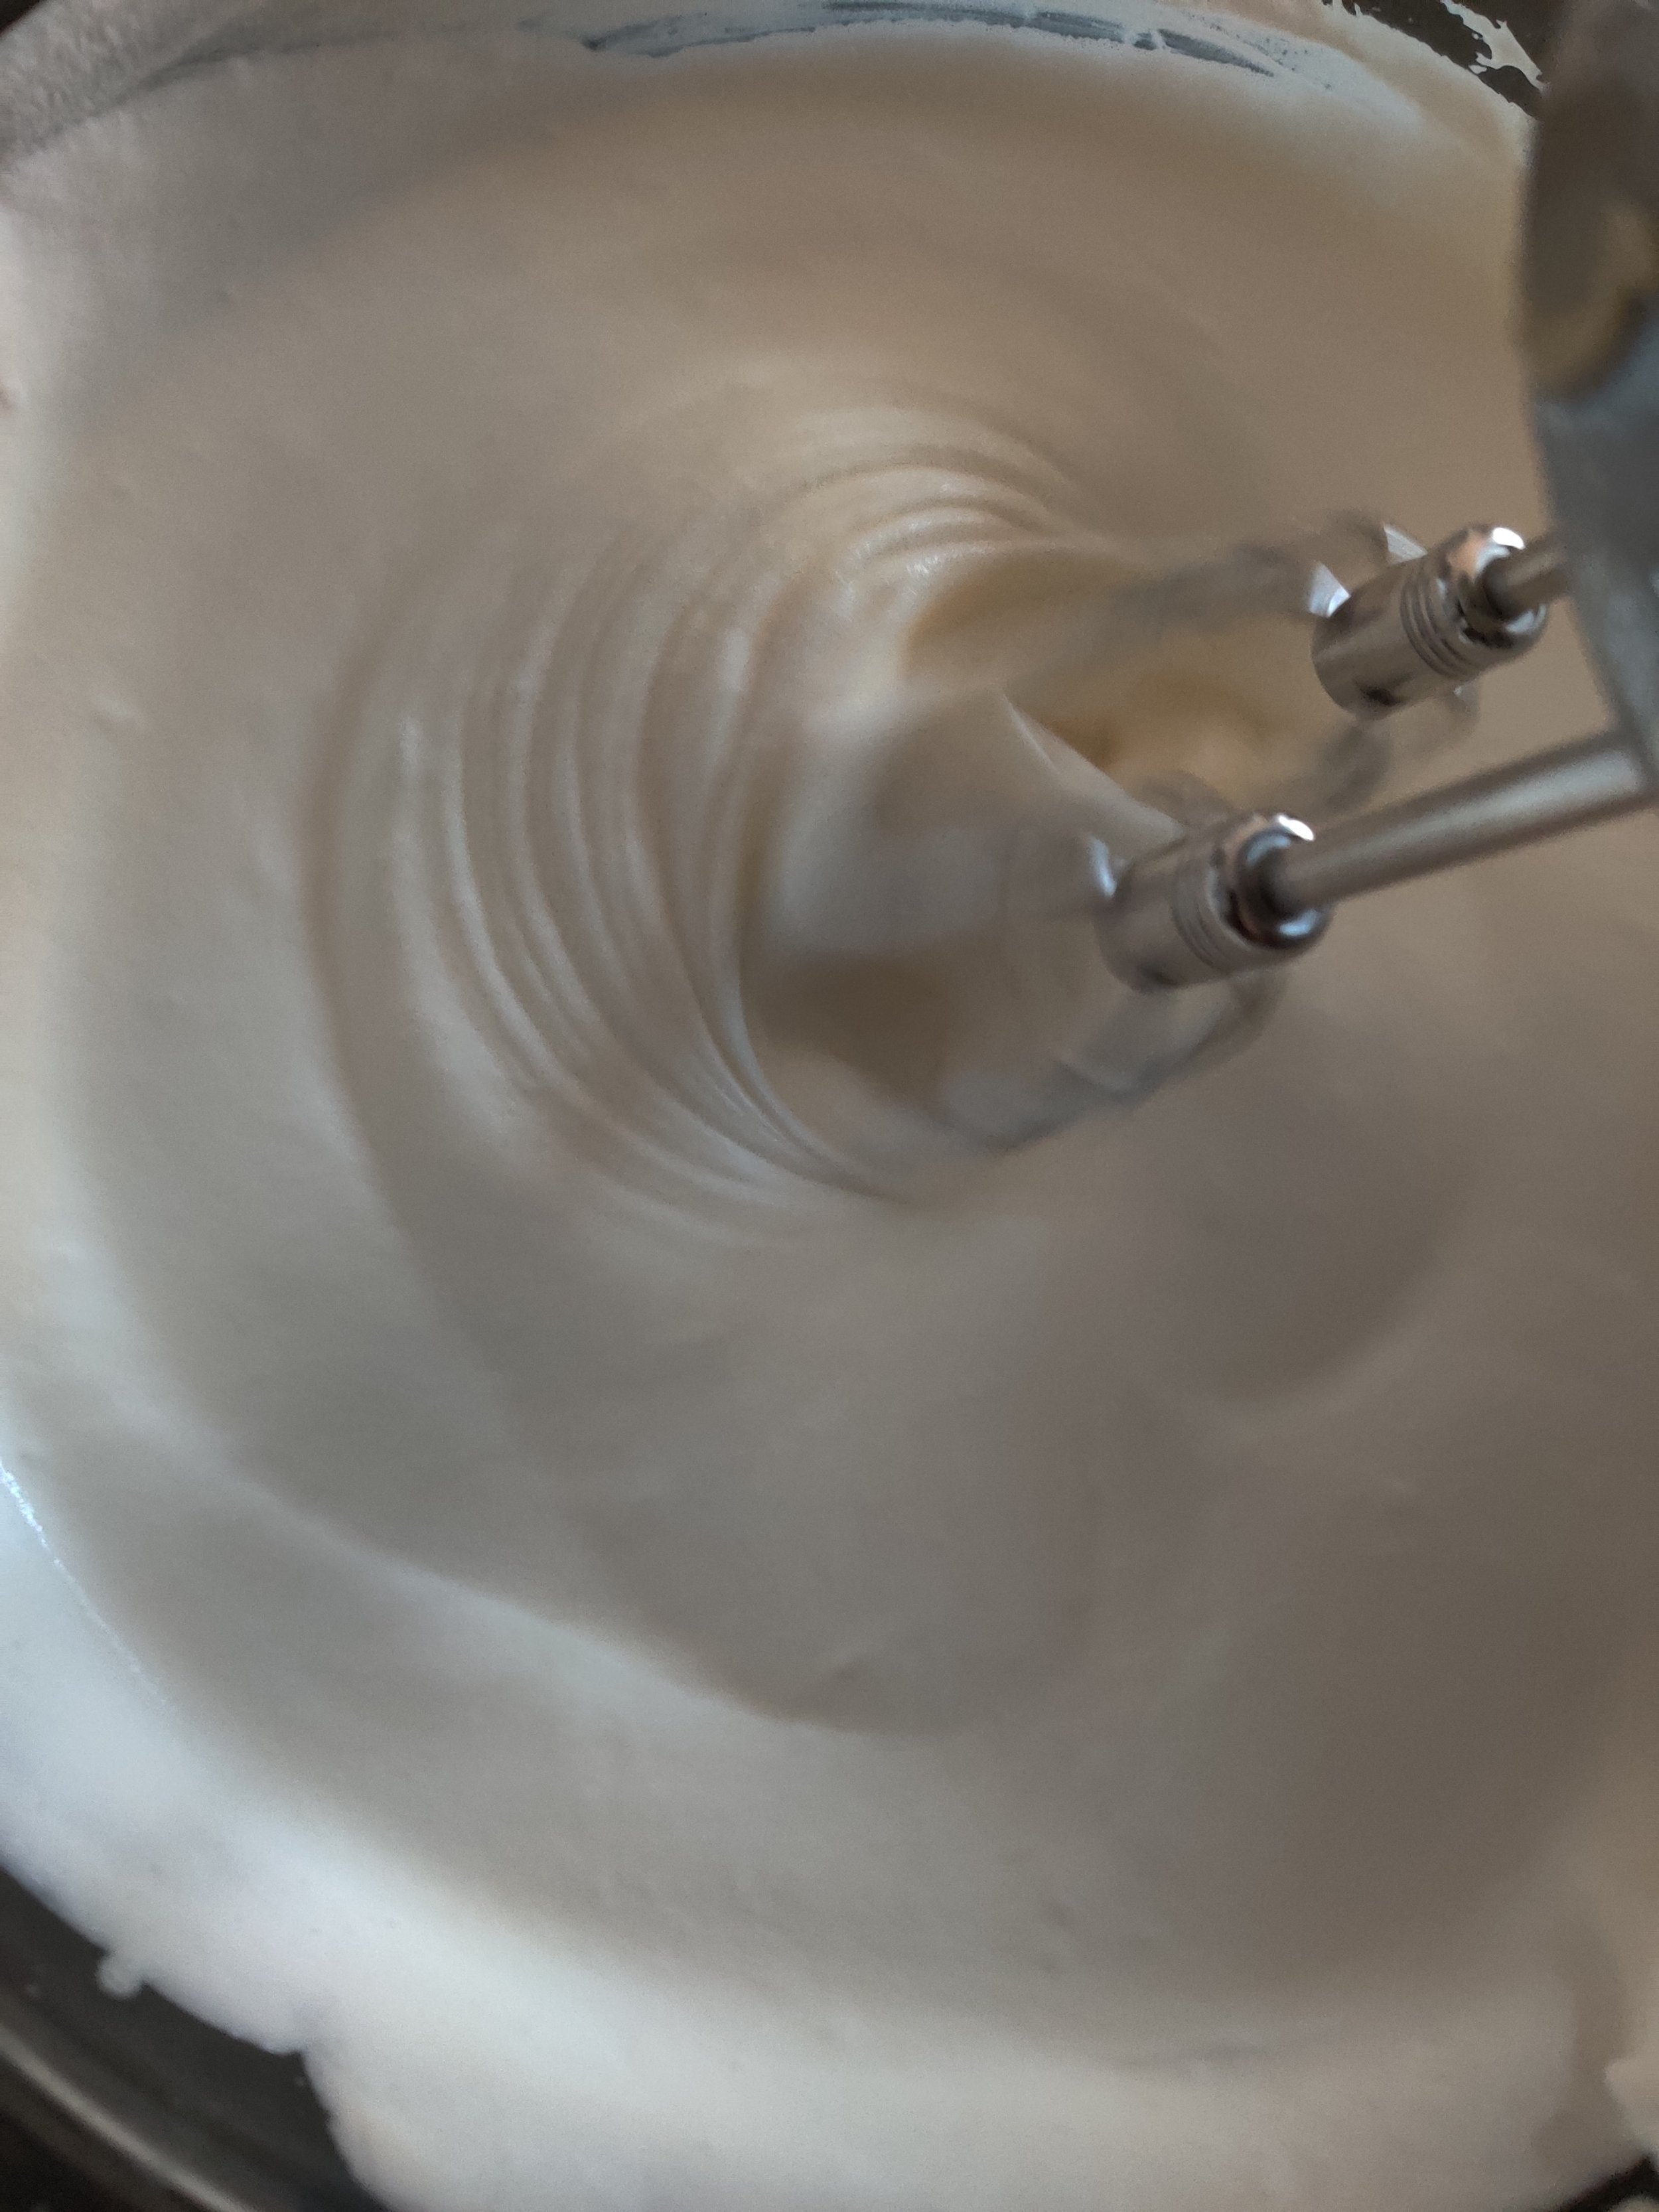
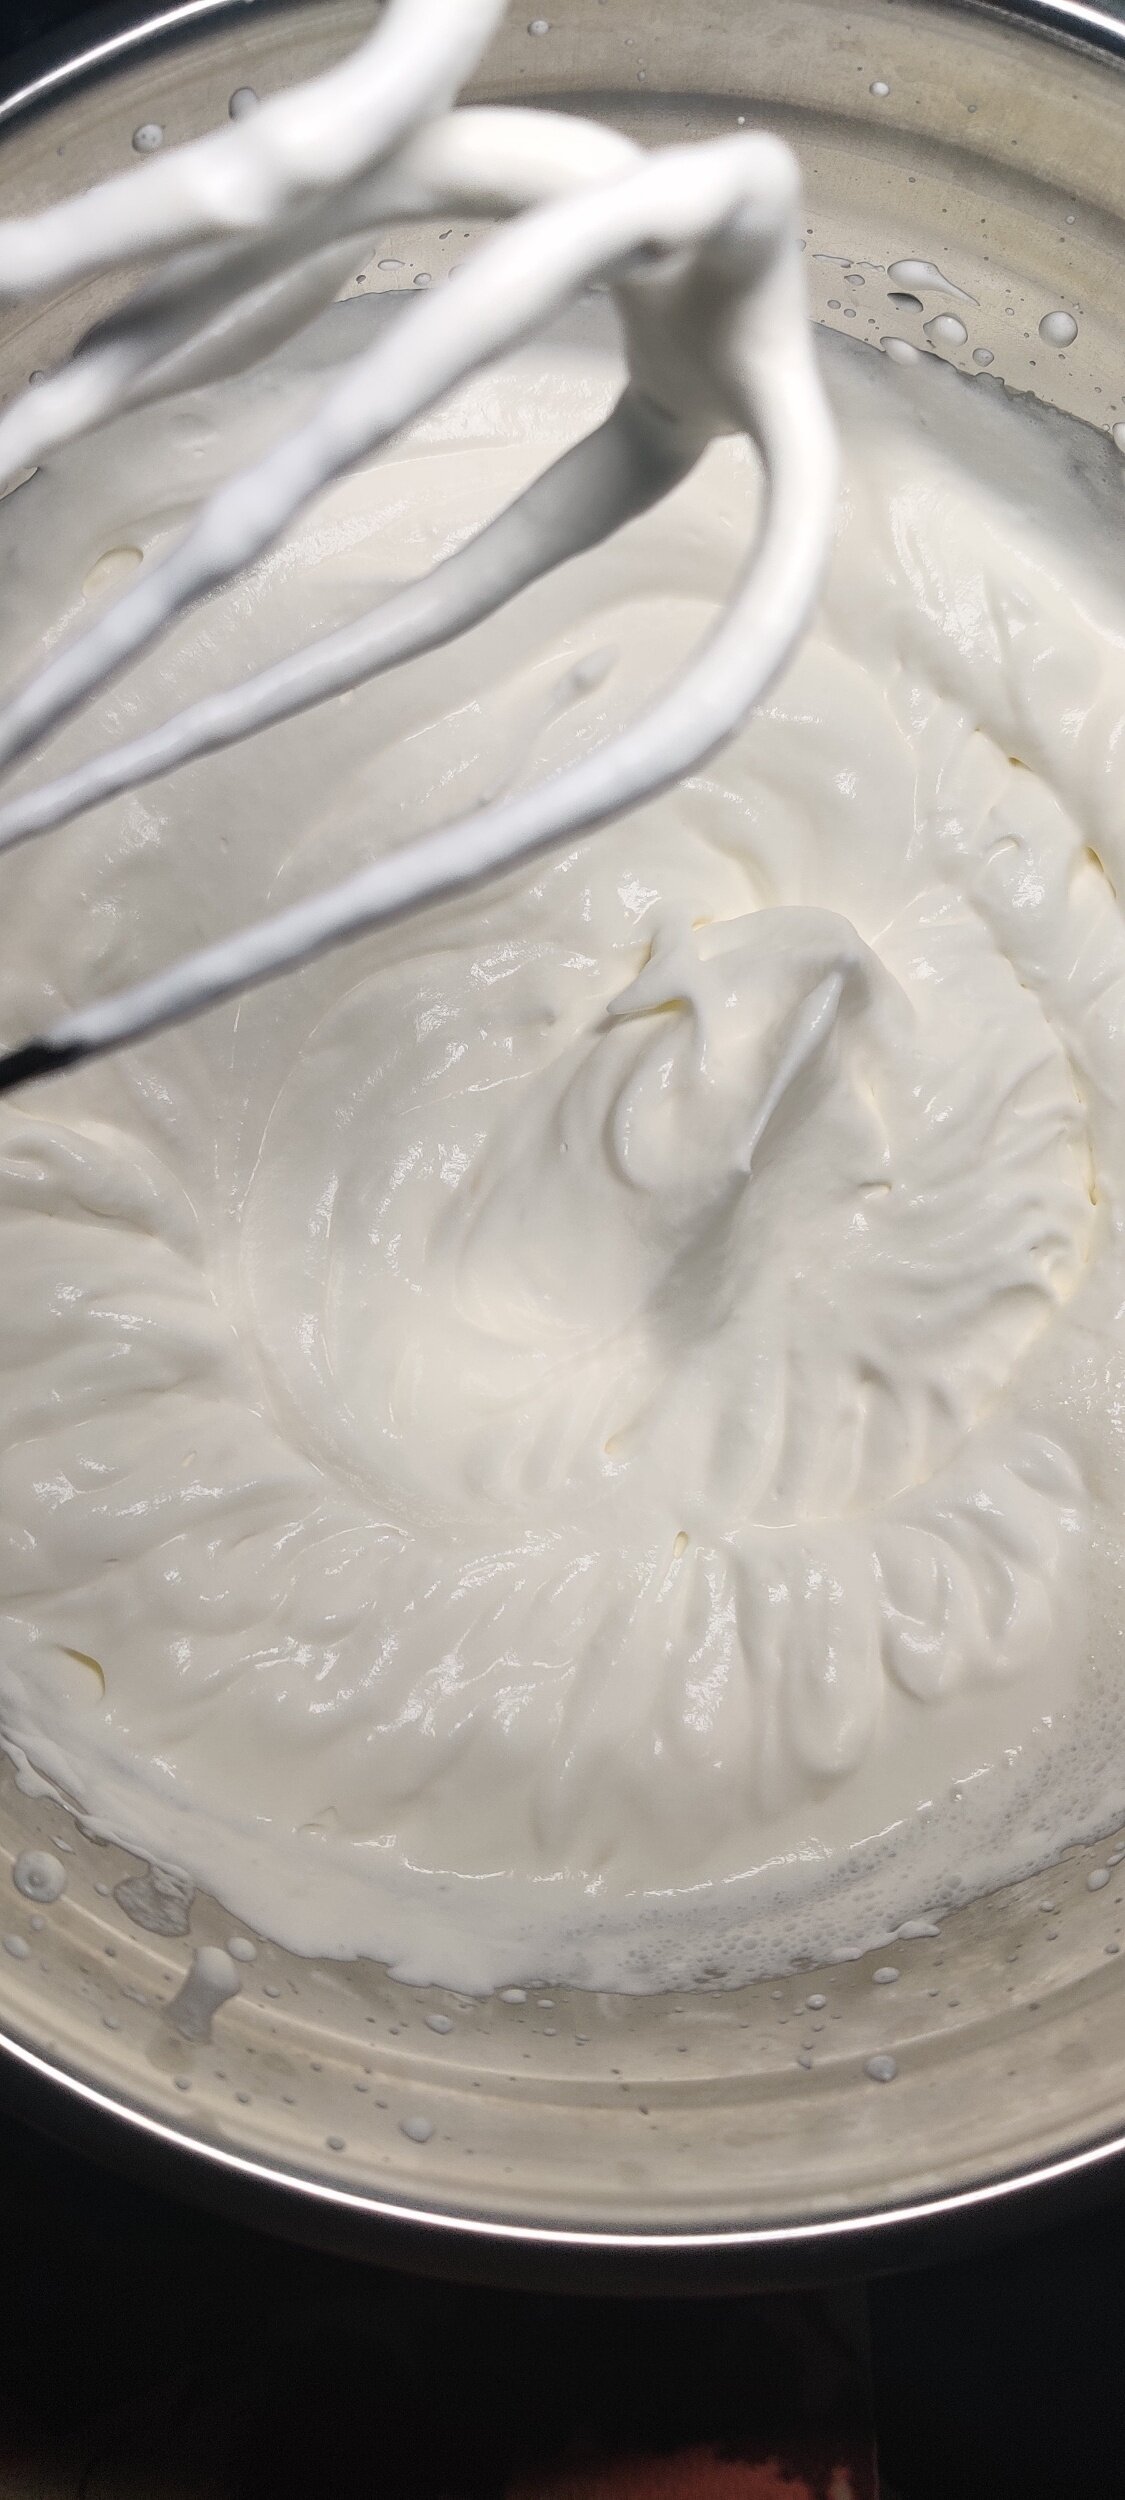
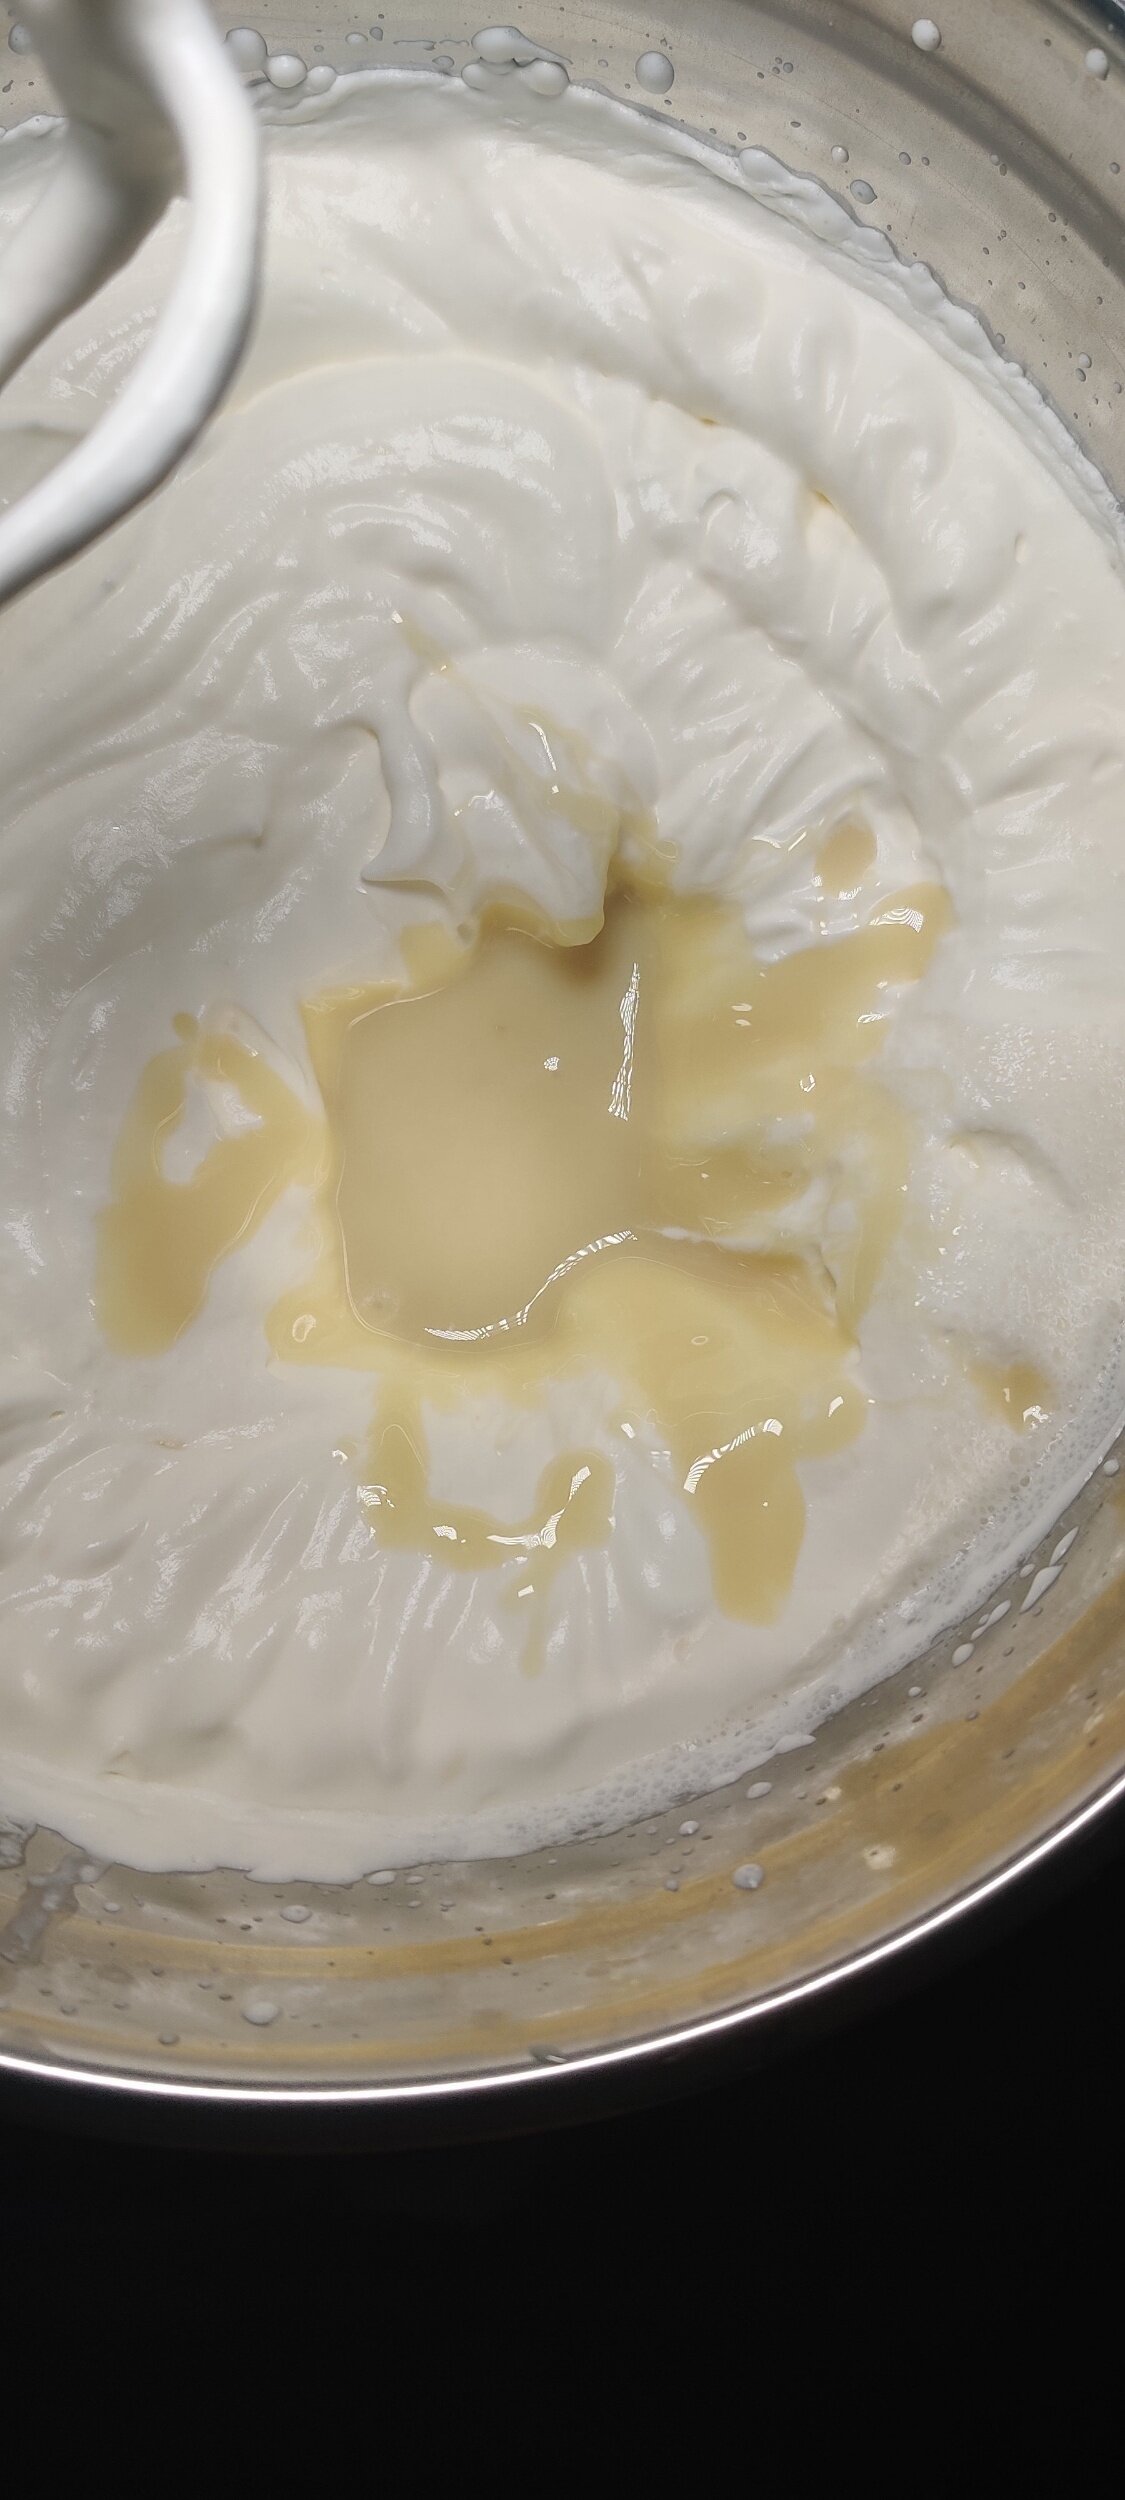
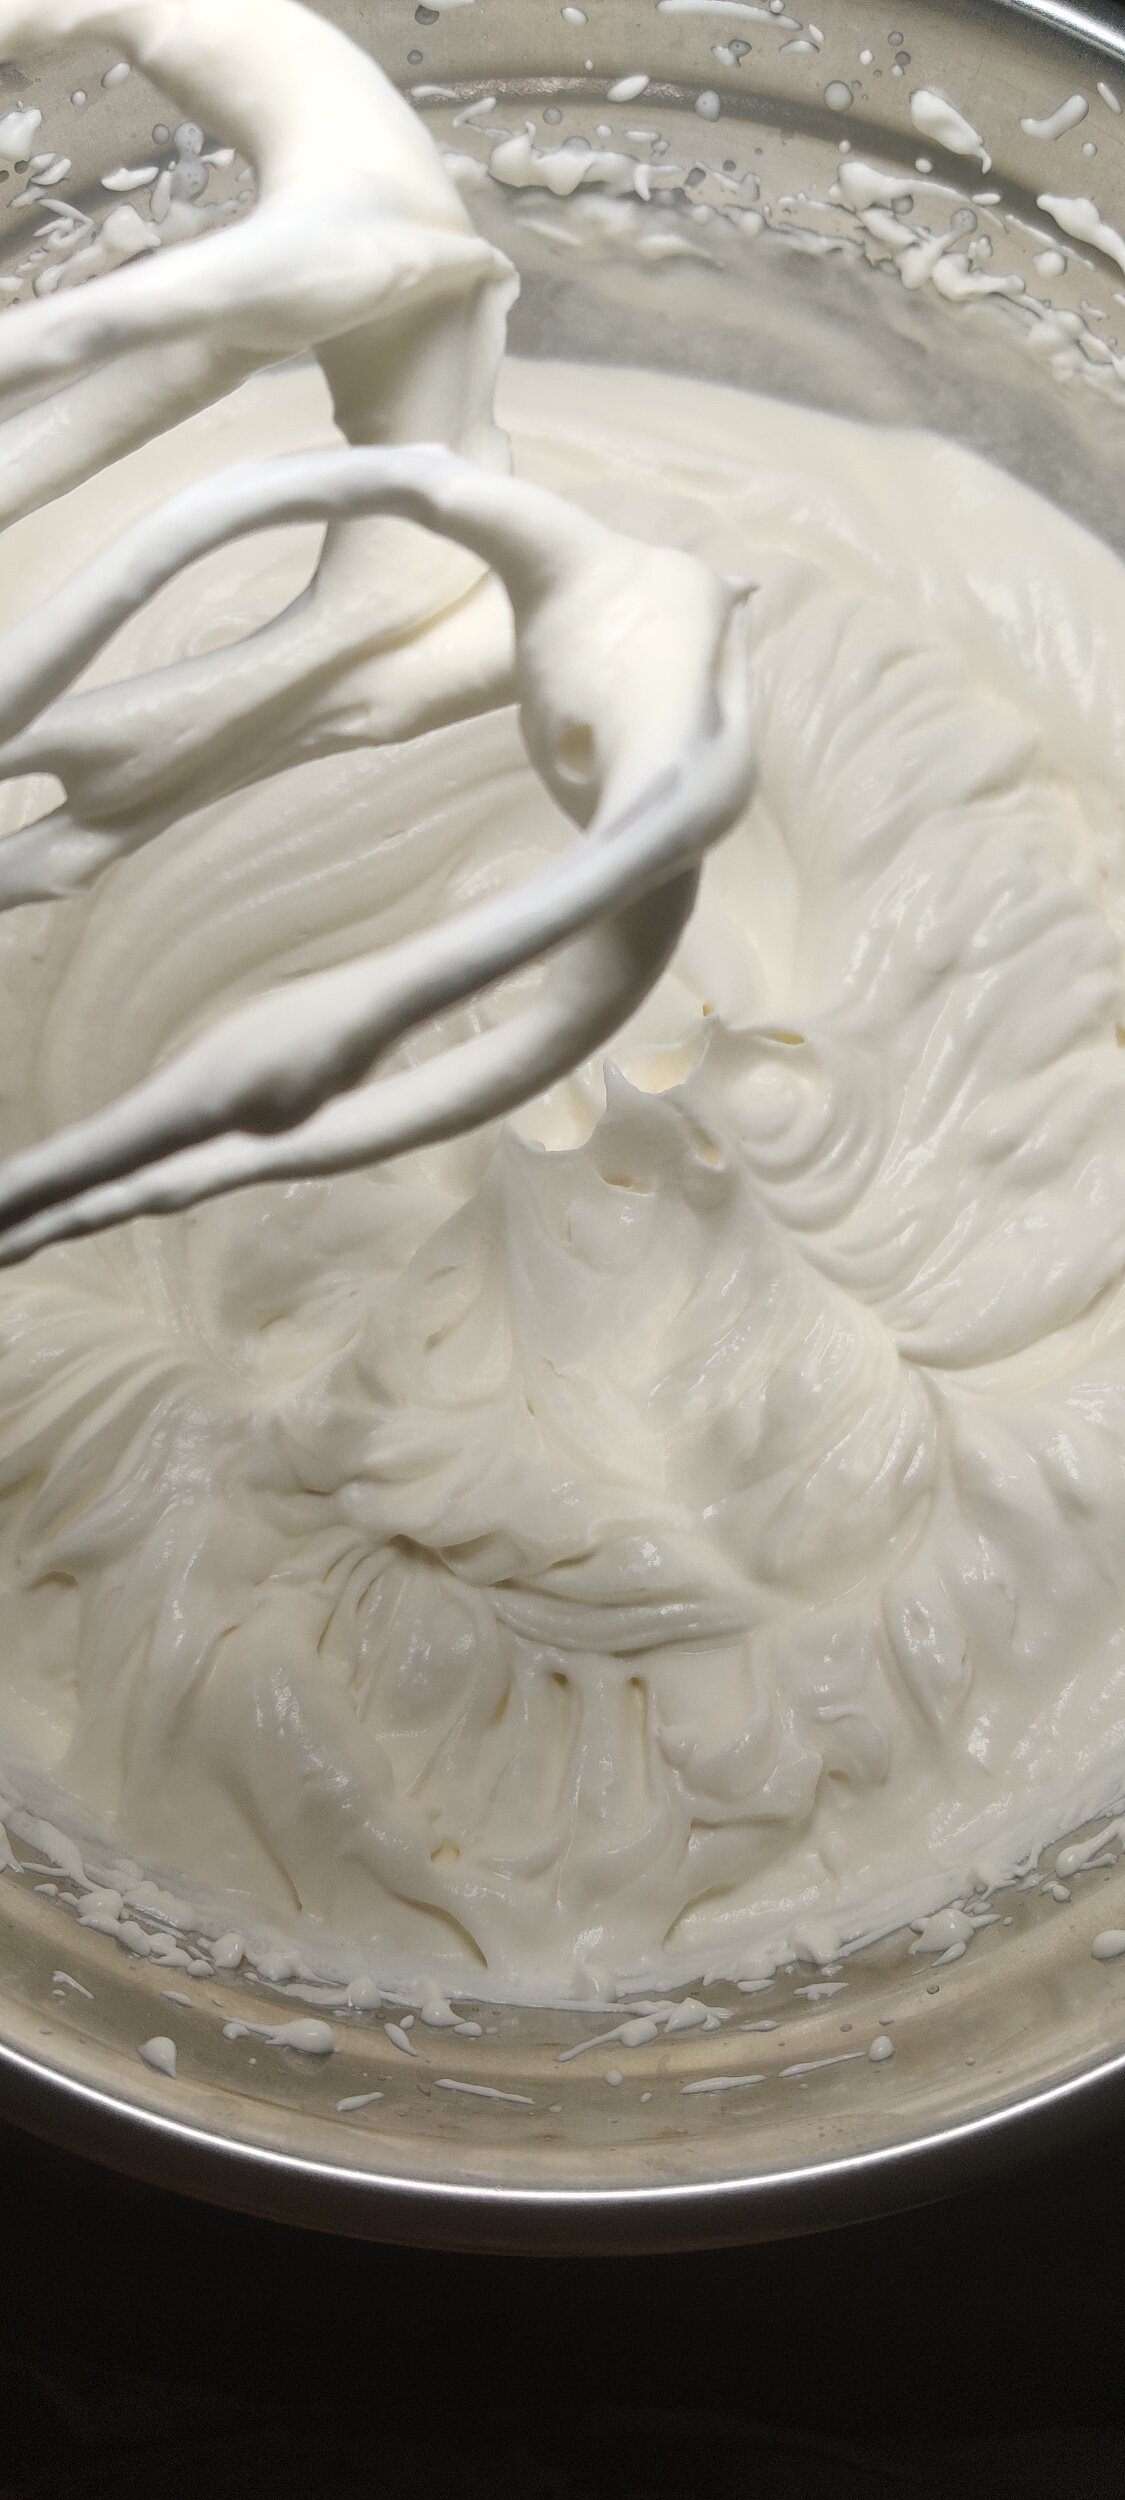
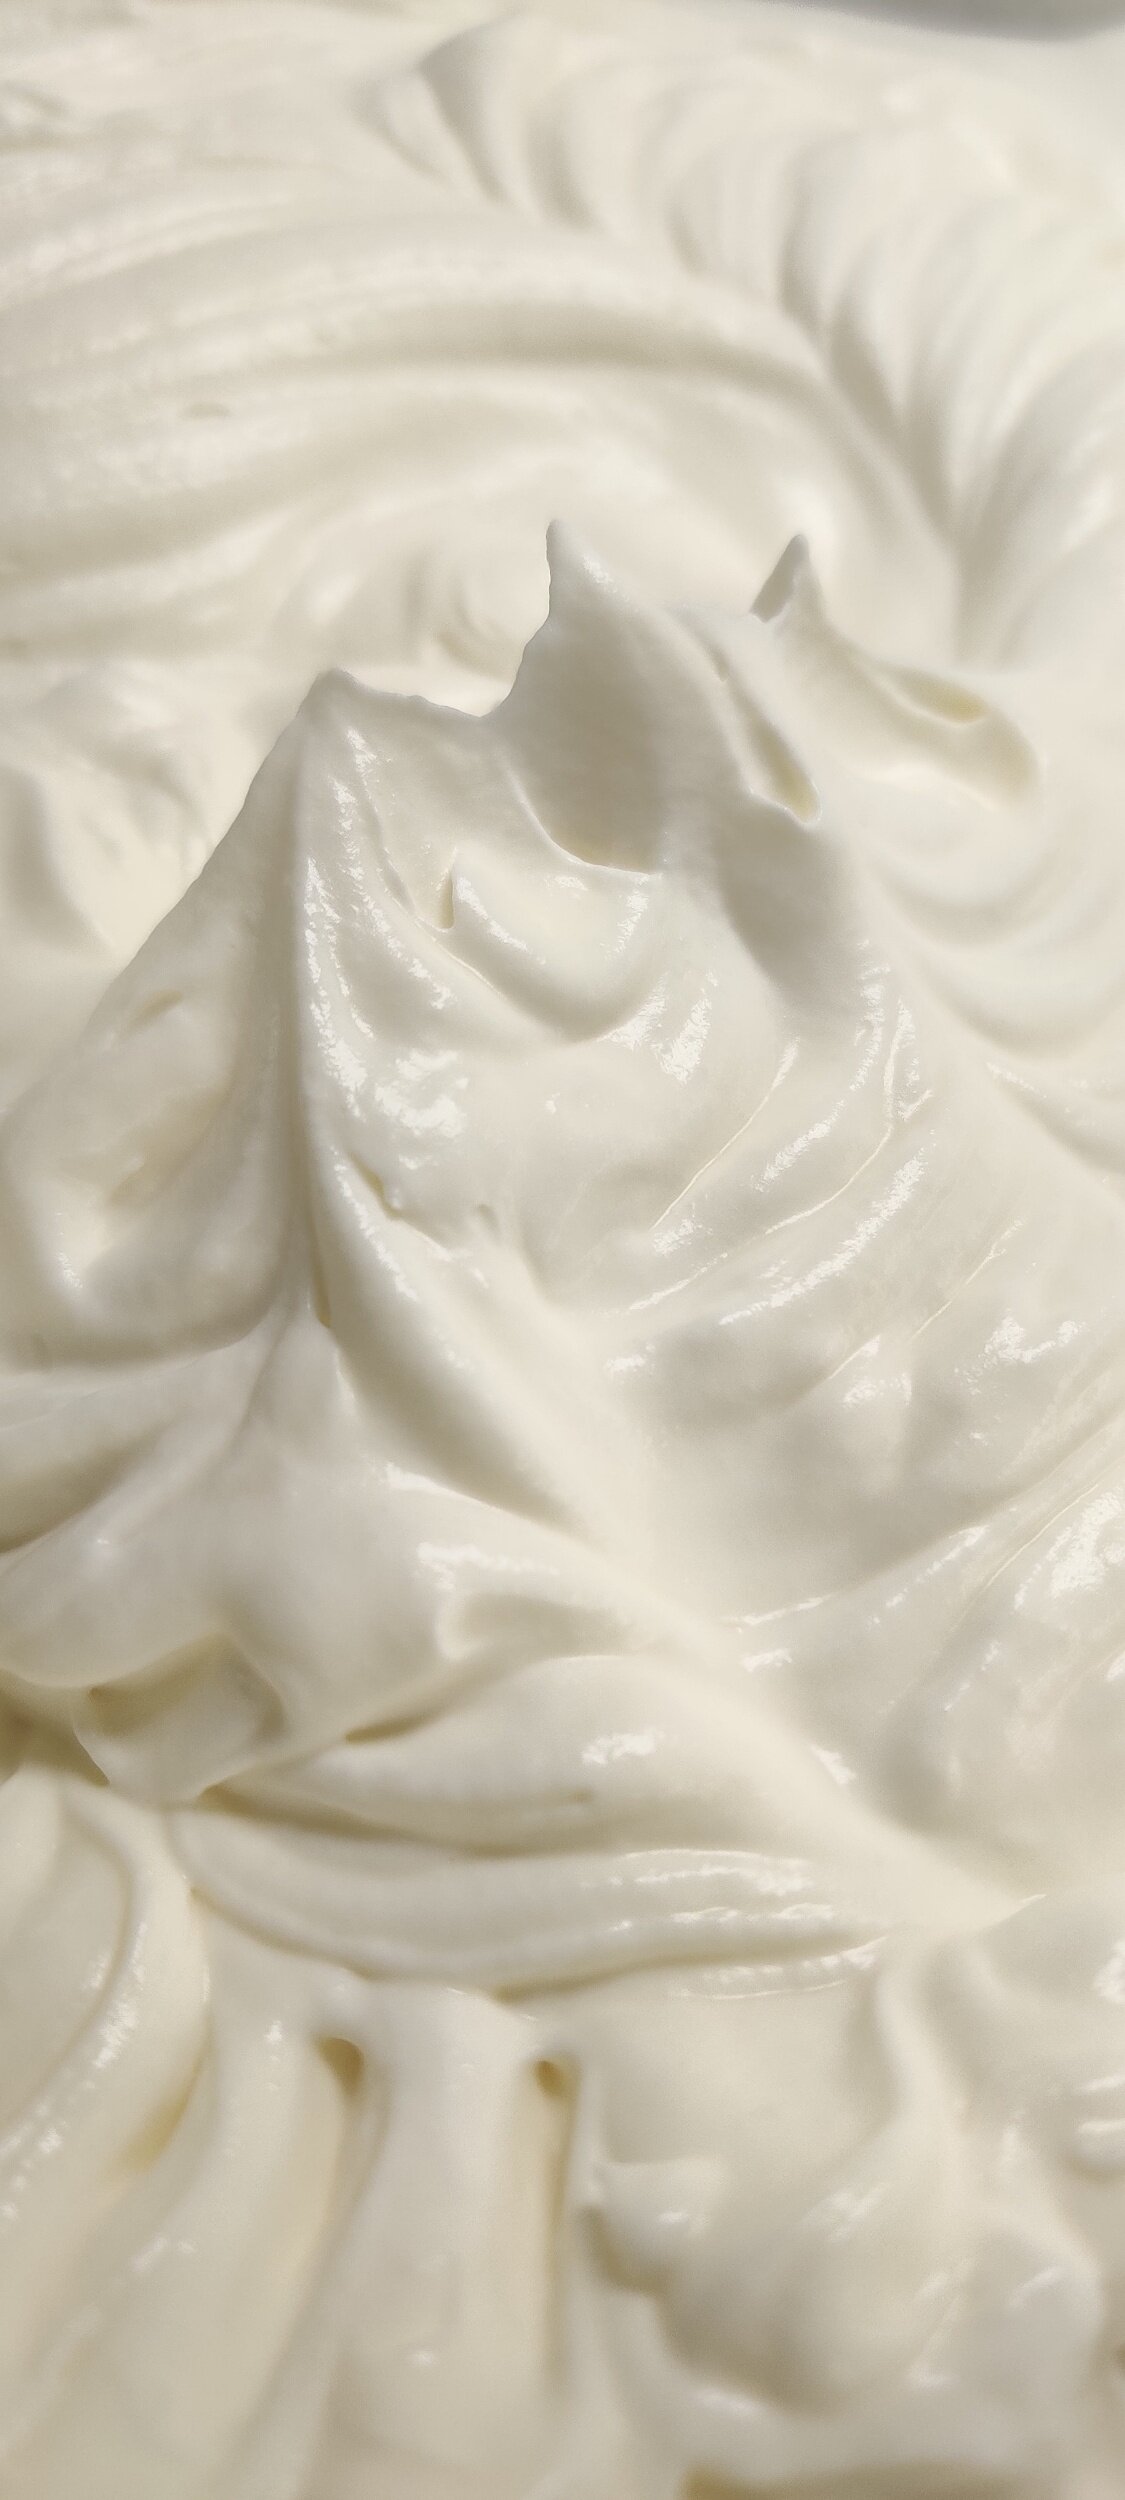
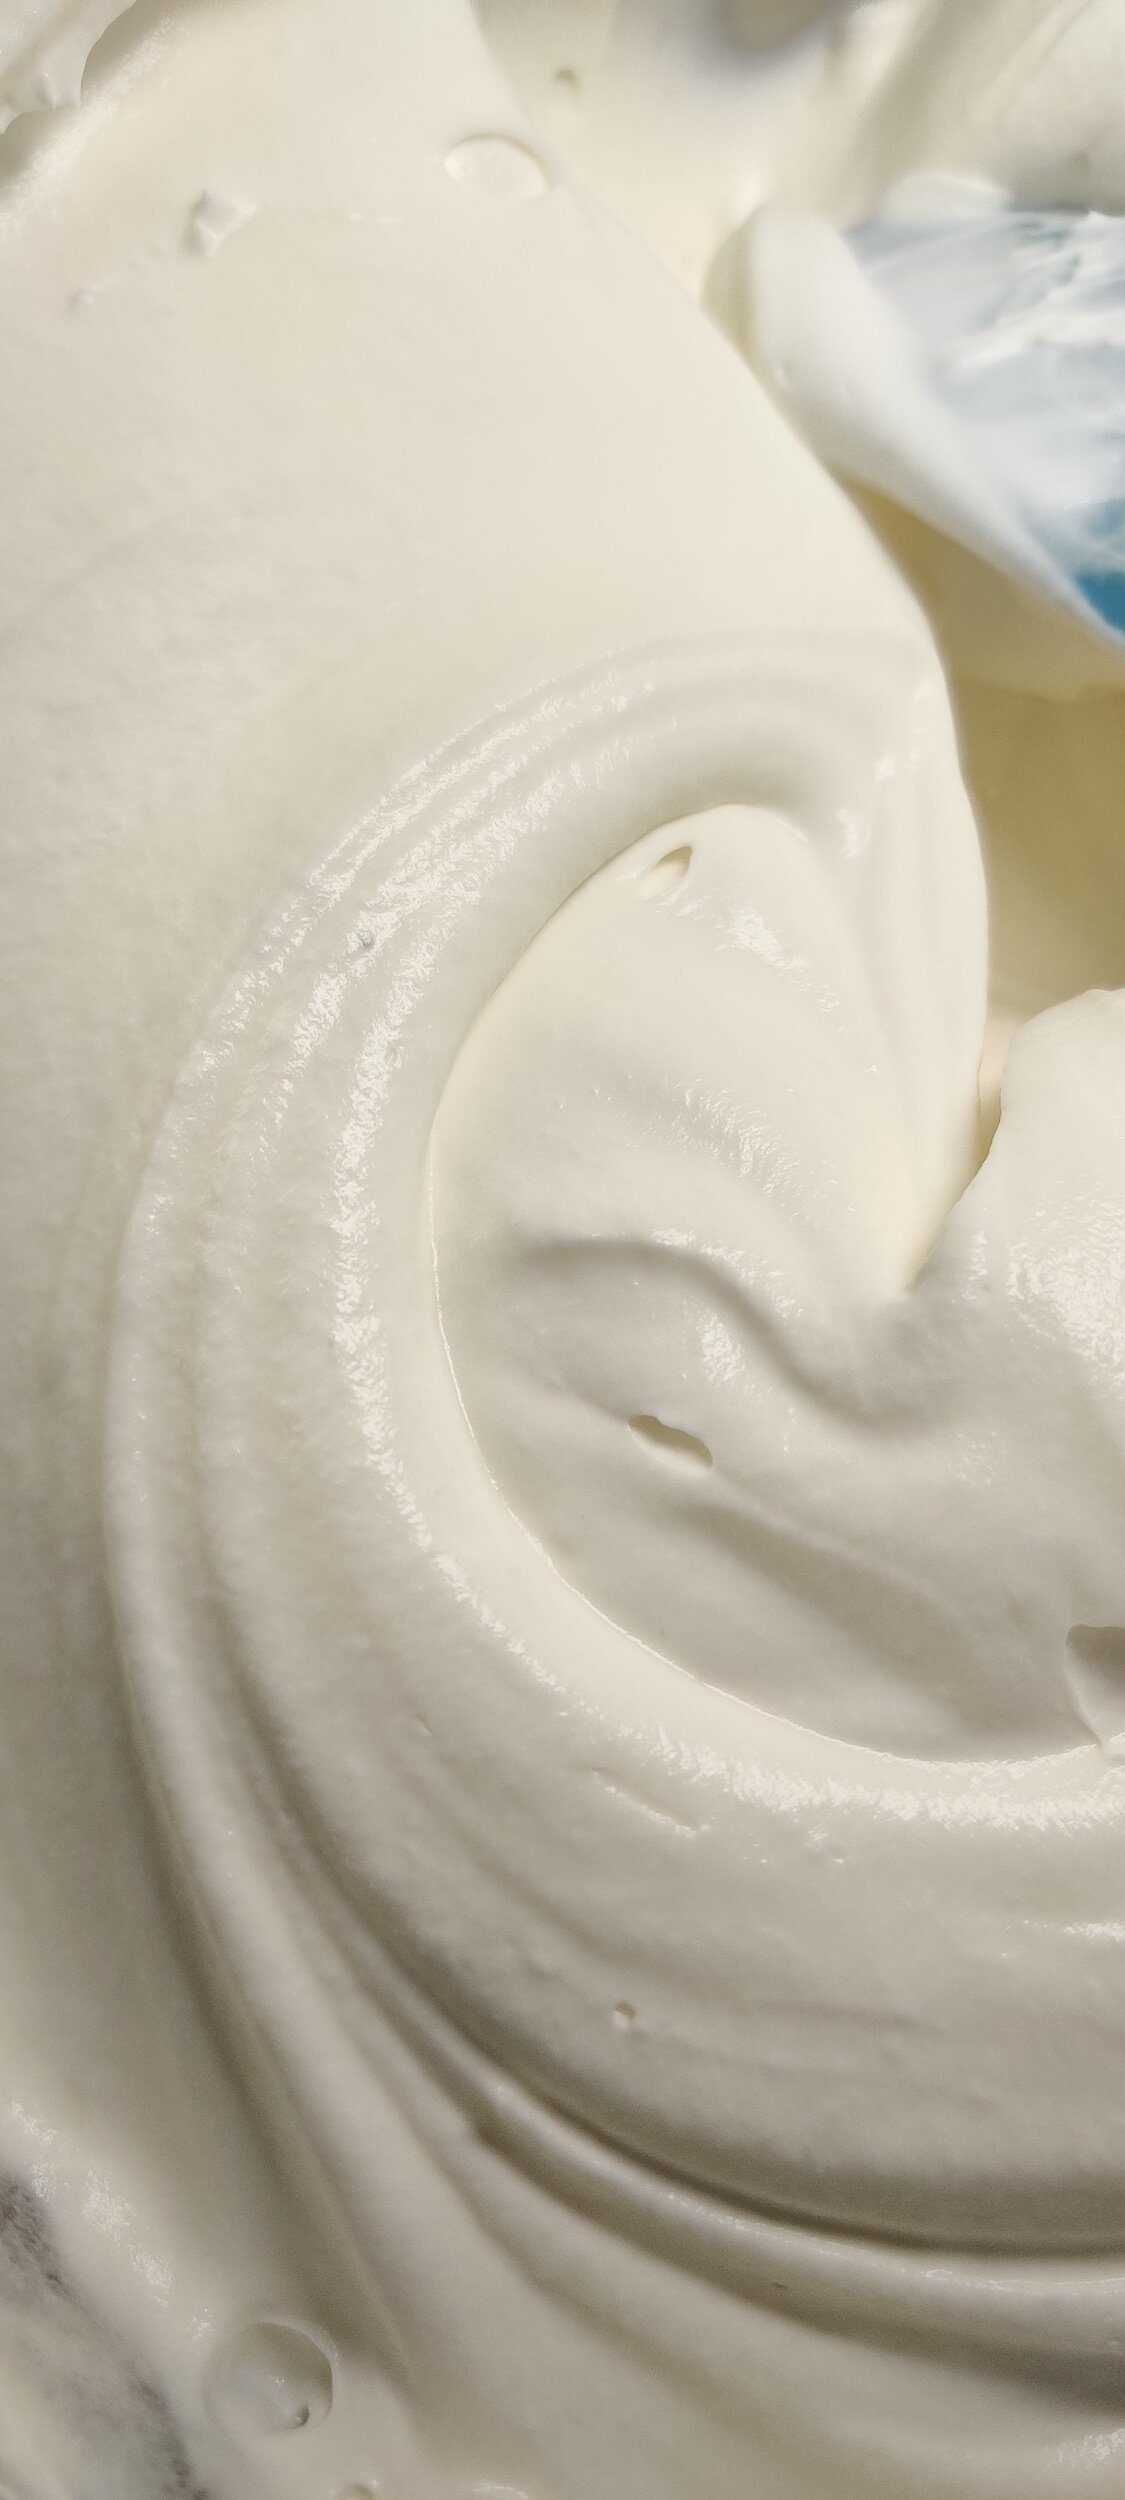
No-churn ice cream works by combining whipped cream and sweetened condensed milk, creating a smooth, airy base that freezes into a soft, scoopable texture. The key is keeping the cream light and fluffy, then gently folding it into the condensed milk so you don’t lose the air that gives the ice cream its signature creaminess.
In this version, crushed mini Easter eggs and caramel pieces are folded through the mixture, making it the perfect way to use leftover Easter candy or seasonal chocolate. You can also adapt this base with cookies, fruit, nuts, or other chocolates year-round.
The result is a simple, indulgent homemade ice cream that requires no churning, no special equipment, and minimal effort. Just freeze and enjoy!


No-Churn Easter Egg and Caramel Ice Cream
This easy no-churn ice cream is made with whipped cream and sweetened condensed milk for a rich creamy, texture - no machine needed. Folded with crushed mini Easter eggs and caramel, it's the perfect way to turn leftover holiday chocolate into a simple, indulgent frozen dessert.
Ingredients
- 2 cups heavy whipping cream (cold)
- 1 can (397g / 14 oz) sweetened condensed milk
- 1 tsp vanilla extract
- 1–1.5 cups mini Easter eggs (crushed)
- ½ cup caramel sauce or chopped caramel pieces (optional)
- Pinch of salt (optional, enhances flavor)
Instructions
- Whip the cold heavy cream in a bowl until stiff peaks form.
- In a separate bowl, mix sweetened condensed milk and vanilla.
- Gently fold the whipped cream into the condensed milk mixture (important: keep it airy).
- Fold in crushed Easter eggs and caramel pieces.
- Pour mixture into a freezer-safe container.
- Swirl extra caramel on top if desired.
- Cover and freeze for 6–8 hours or overnight.
- Scoop and serve once firm.
Notes
- Always fold whipped cream into the condensed milk gently (not the other way around) to keep the mixture light and airy.
- Do not overmix after adding whipped cream, this keeps it light and airy
- Almost any chocolate or candy can be substituted (cookies, fruit, nuts)
- Best texture after overnight freezing
- Let sit 5–10 minutes before scooping for easier serving
Nutrition Facts
Calories
400Fat (grams)
25 gCarbs (grams)
35 gSugar (grams)
30 gProtein (grams)
6 gI am not a certified nutritionist and any nutritional information on dontmissmyplate.com should only be used as a general guideline.

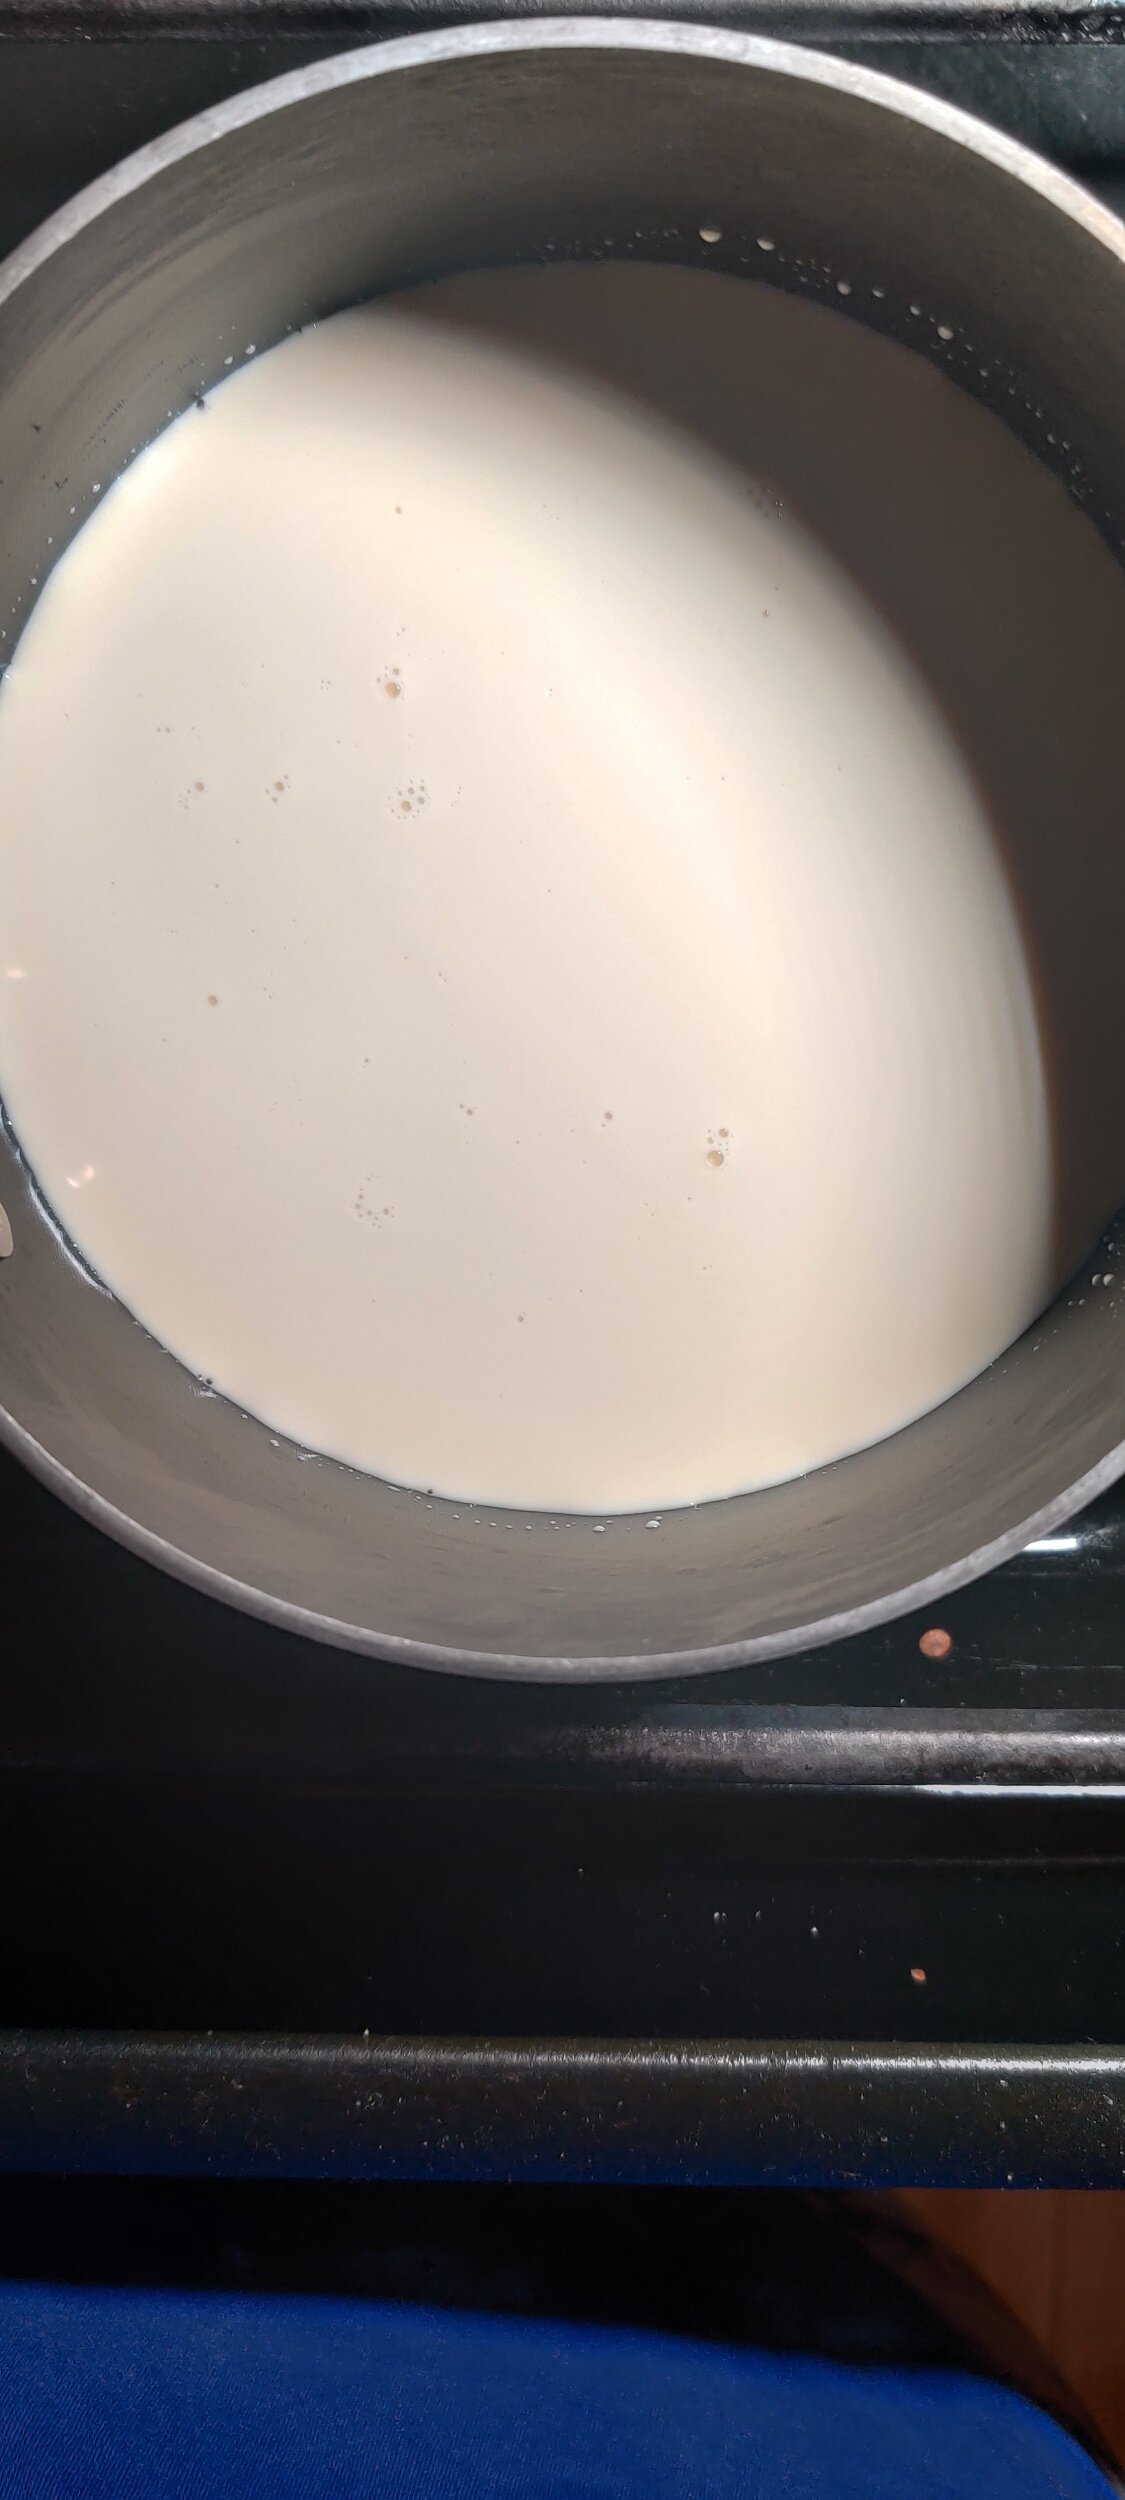
Creamy Coconut Cornbread Ice Cream (No Churn)
Who isn't down for eating ice cream regardless of the season? As Summer ends and makes way for the Fall, flavours change, and various fruits and vegetables will take the stage, from pumpkins and sweet potatoes to corn and apples, pears and figs. When people think about corn (or maize, or mealie cobs), ice cream probably doesn't come to mind--although some of the more experimental producers, companies like Van Leeuwen and Jeni's may have made that the case.
But what if you want to make some corn ice cream in your own at home? Better yet, still decadent, possibly dairy-free, and without an ice cream maker.
Be sure to explore the website for other sweet recipes, the no churn ice cream recipes listed below which you can use with dairy or alterative milk products to make.
Nature's Charm produces two main ingredients (linked below) you need for your ice cream base - whipped cream (to help add air to the mixture, especially since you won't be getting the smooth, light texture that typically comes from the churning motion of an ice cream maker) and condensed milk (which supplies the sugar and fat content). I am a fan of their quality, organic products and recommend trying them. They even make condensed oat milk! Even if you don't have specific dietary requirements and restrictions, check out some of my favourite gluten-free and vegan baking items here.
If you are in need of some quality loaf pans, for ice cream, bread, or whatever else, try these!

These Nordic Ware Aluminum Loaf Pans (Set of 2) , 1.5-pound pans can do it all—and then some with oven-safe aplomb. They’re made of pure cast aluminum reinforced with steel, so they’ll heat up in a flash and bake extra-evenly time after time. Even more: They’ve got galvanized steel rims to prevent warping, and they’ll never rust either.
Have you ever used coconut milk products as your base?
How to Make Non-Dairy No-Churn Ice Cream
This website has several recipes that do not require an ice cream maker. There is no need to purchase an overpriced machine; you have total control over what goes into your easy, homemade sweet treat.
As previously noted, an integral part of making ice cream is the churning process or adding air into the mixture, which you can achieve using a hand mixer (in addition to the whipped cream). There is also no need for eggs or to cook the main ingredients. You can substitute the coconut products with another alternative or dairy milk with this recipe. One thing to note is that using products with less fat or sugar could impact the creaminess factor and how hard the ice cream turns out. This is because fat doesn't freeze, and sugar helps keep ice cream softer in texture (by preventing some of the water from turning into ice, but it works both ways, so there's no need to overdo it!)
You can substitute the coconut products with another alternative or dairy milk with this recipe.
Why is My No Churn Ice Cream hard?
Yep, I had asked myself this question before and even tried homemade ice cream recipes a few times before getting it right, especially when switching to low-fat and reduced-sugar products. The main potential drawback or challenge with no-churn ice cream is the consistency and texture not meeting expectations. You will likely need to leave it out longer once it is frozen.
Be sure to do two things during the process:
Mix your ingredients well, but don't beat to the point of separating or depleting your whipped cream.
Make sure the container is airtight when you freeze the ice cream.
These are not the only factors; for example, cling wrap helps prevent water particles from crystalizing on top of the ice cream. You can add alcohol to the base mixture, which does not freeze, ensuring you whip your cream adequately. There are also natural additives known as 'stabilizers' like guar gum or thickeners like tapioca flour (used in gelato), and keeping all your ingredients and the freezer cold!
")
Creamy Coconut Cornbread Ice Cream (No Churn)
Ingredients
- 1 can (14-ounces) coconut condensed milk
- 1 can (15-ounces) coconut whipped cream
- 1 can (8.5-ounces) creamed corn
- 1 box gluten-free cornbread (I used Bob's Red Mill Mix)
- 1 tablespoon pure vanilla extract or paste
- 1 teaspoon lemon juice
- 1/2 teaspoon lemon zest
- 1/2 teaspoon salt
- Pinch of cinnamon
Instructions
- Follow the instructions for the cornbread premix: bake, cool and crumble the desired amount into pieces, set aside.
- Combine the condensed milk, creamed corn, and vanilla, whisking until well incorporated in a large bowl.
- Add the (chilled overnight) whipped coconut cream to another separate bowl and beat for about three minutes on high speed and/or until stiff peaks form. Watch for curdling or separation in the coconut mix; you will want to mix sparingly, or else the ice cream may have an undesirable texture.
- Using a large spoon or whisk, fold the whipped cream into the corn mixture, starting with two or three initial portions--this will help ensure you don't deflate the whipped air.
- Fold in the crumbled cornbread pieces, then pour the mixture into a loaf pan or ice cream container. You can also swirl in any extra creamed corn and condensed milk mixture.
- Cover with cling film, laying it directly on the ice cream's surface, then place in the freezer overnight or for at least four hours.
- When ready to serve, leave the ice cream at room temperature for about 10 minutes, then enjoy it in cups or cones!
I am not a certified nutritionist and any nutritional information on dontmissmyplate.com should only be used as a general guideline.

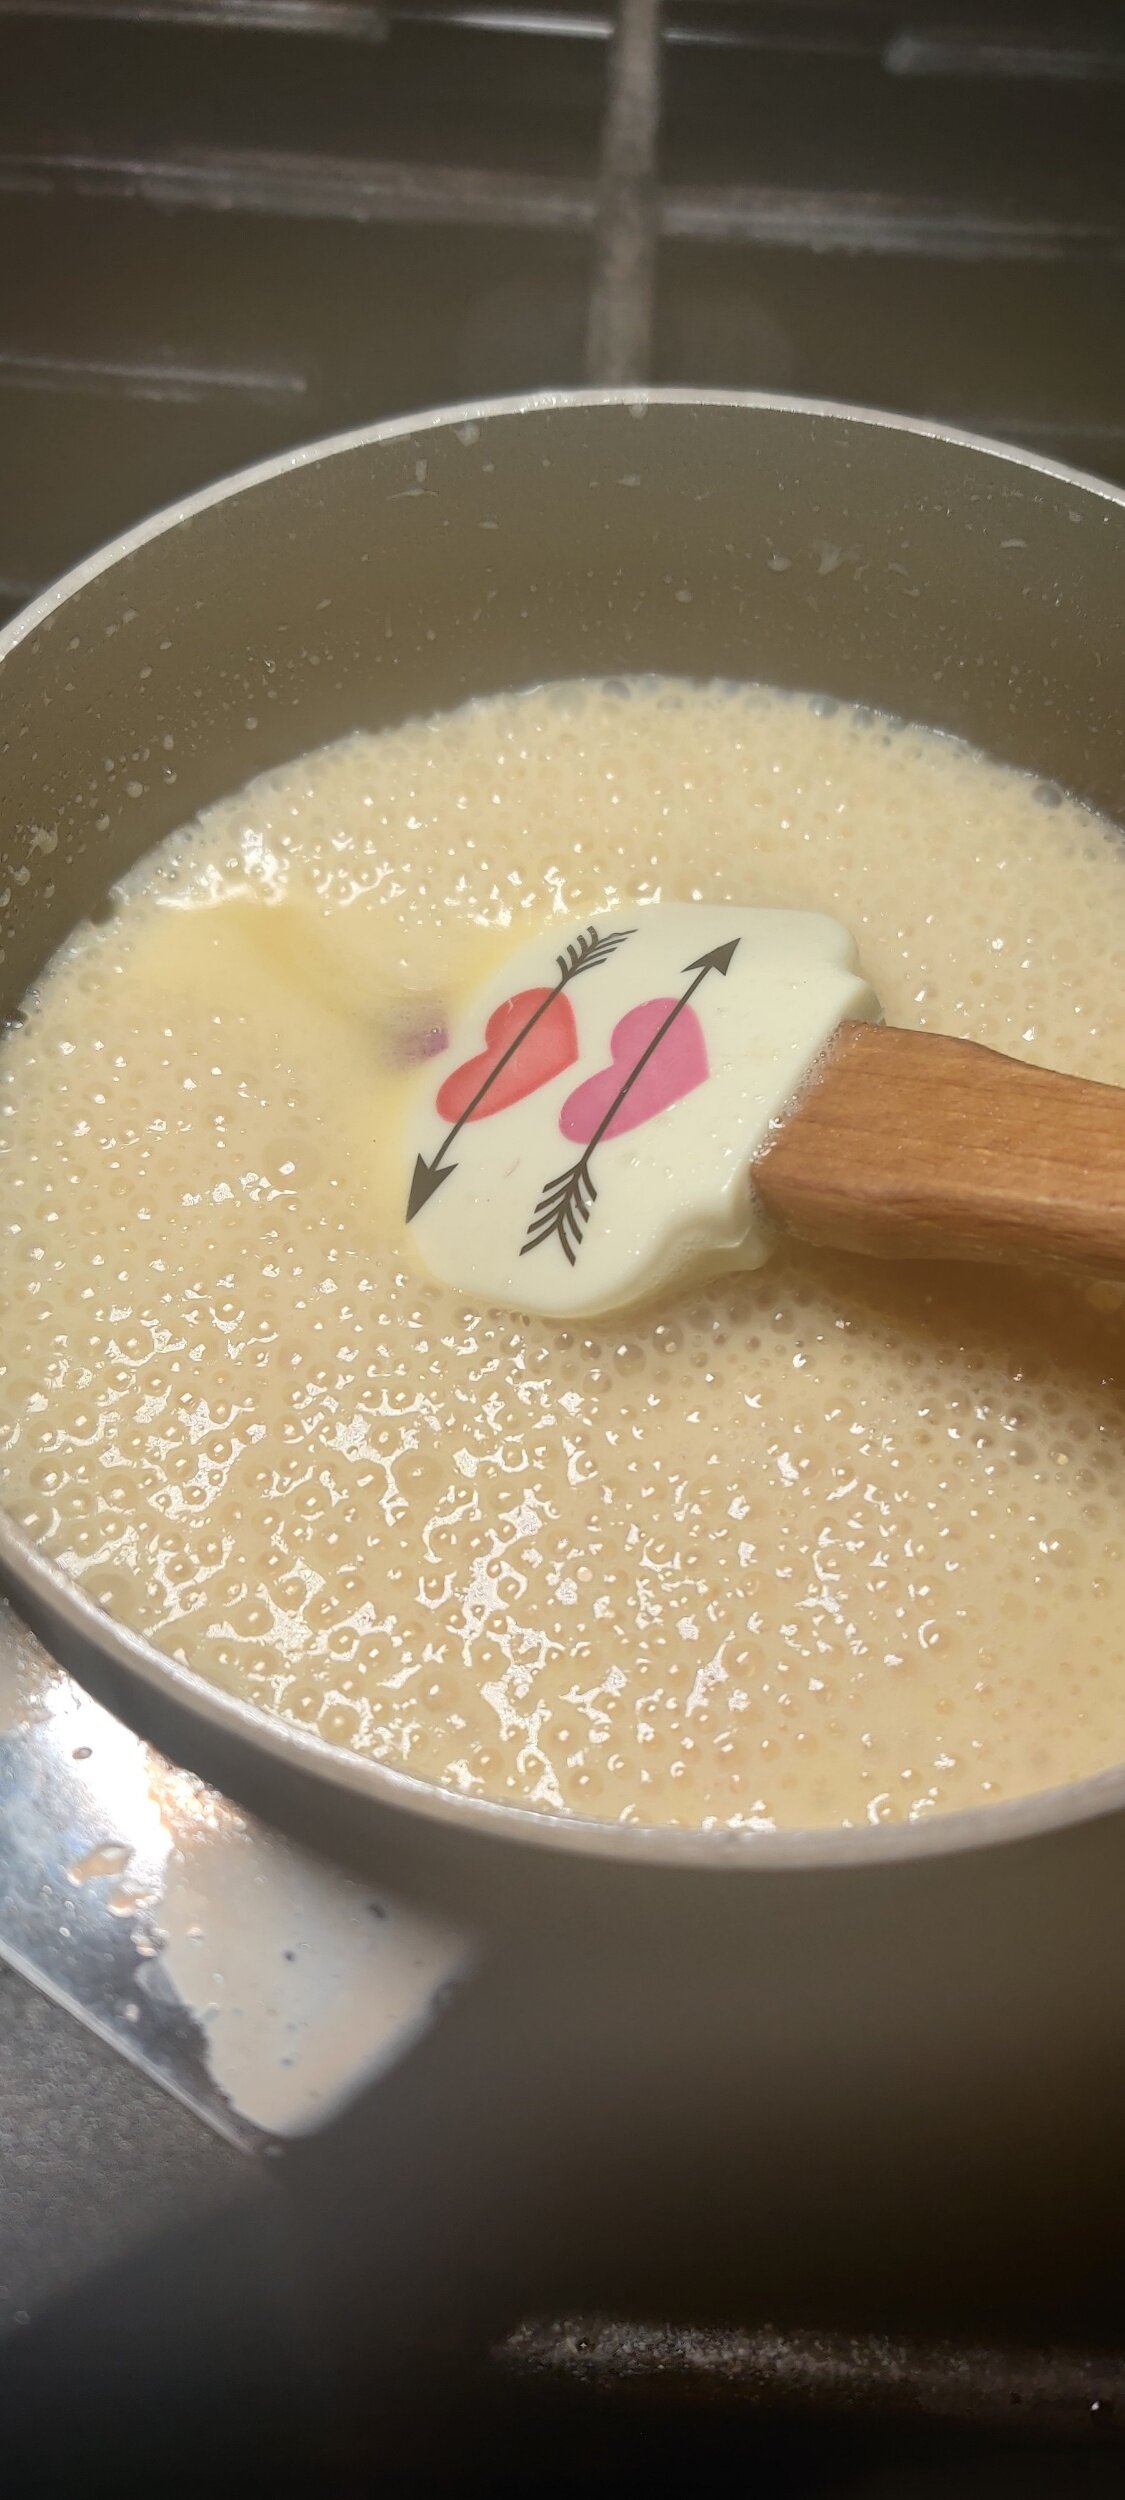
Sweet Potato and Gingersnap Ice Cream (No-Churn)
Not much screams post-New Year season like gingersnap and sweet potato, at least for this recipe. Those flavours stay with many of us even after the holidays, and with good reason.
When it comes to gingernut - or gingersnap or gingerbread, whatever you want to call it - I love the warm and fuzzy feeling I get from the cinnamon, cloves, brown sugar and molasses medley. It's unparalleled, especially when paired with anything creamy.
I also can't help but love vegetables like sweet potato that can be used for both savoury and sweet dishes; they are highly versatile and have great nutritional value.
No-churn ice cream is a favourite treat of mine, reflected on the website. Recommend you try some of the other recipes as well, including:
How to make homemade ice cream?
Making ice cream at home is not as intimidating as some may believe. It's easy, quick, and perfect for customizing. Sure, without an ice cream maker, it won't come out as smooth and refined, but if you do it right, it will be delicious and creamy, with textures and flavours you can have fun with. If you have a family, make it a contest to see who can make the best-tasting version!
")
Sweet Potato and Gingernut Ice Cream (No-Churn)
Ingredients
- 1 cup (organic) sweet potato puree
- 2 tablespoons butter
- 1 teaspoon molasses
- 1 teaspoon ground cinnamon
- 1 teaspoon brown sugar
- Pinch of ground cloves
- 1/4 teaspoon ground nutmeg
- Pinch of ground ginger
- 1/2 cup gingernut biscuits
- 1 teaspoon vanilla extract
- Pinch of salt
- 2 cups heavy cream
- 1 (14-ounce) condensed milk
Instructions
- In a saucepan over medium-low heat, melt the butter and cook for 1-2 minutes. Add the spices and cook for another minute.
- Add the sweet potato, sugar, and molasses. Heat and stir for another 2-3 minutes until all the ingredients are well mixed.
- Pour the heavy cream into a large bowl, and whisk using an electric hand mixer on medium-high speed until soft peaks form, for about 4-5 minutes.
- Fold in the condensed milk and then beat until stiff peaks form and the mixture thickens with creamy folds.
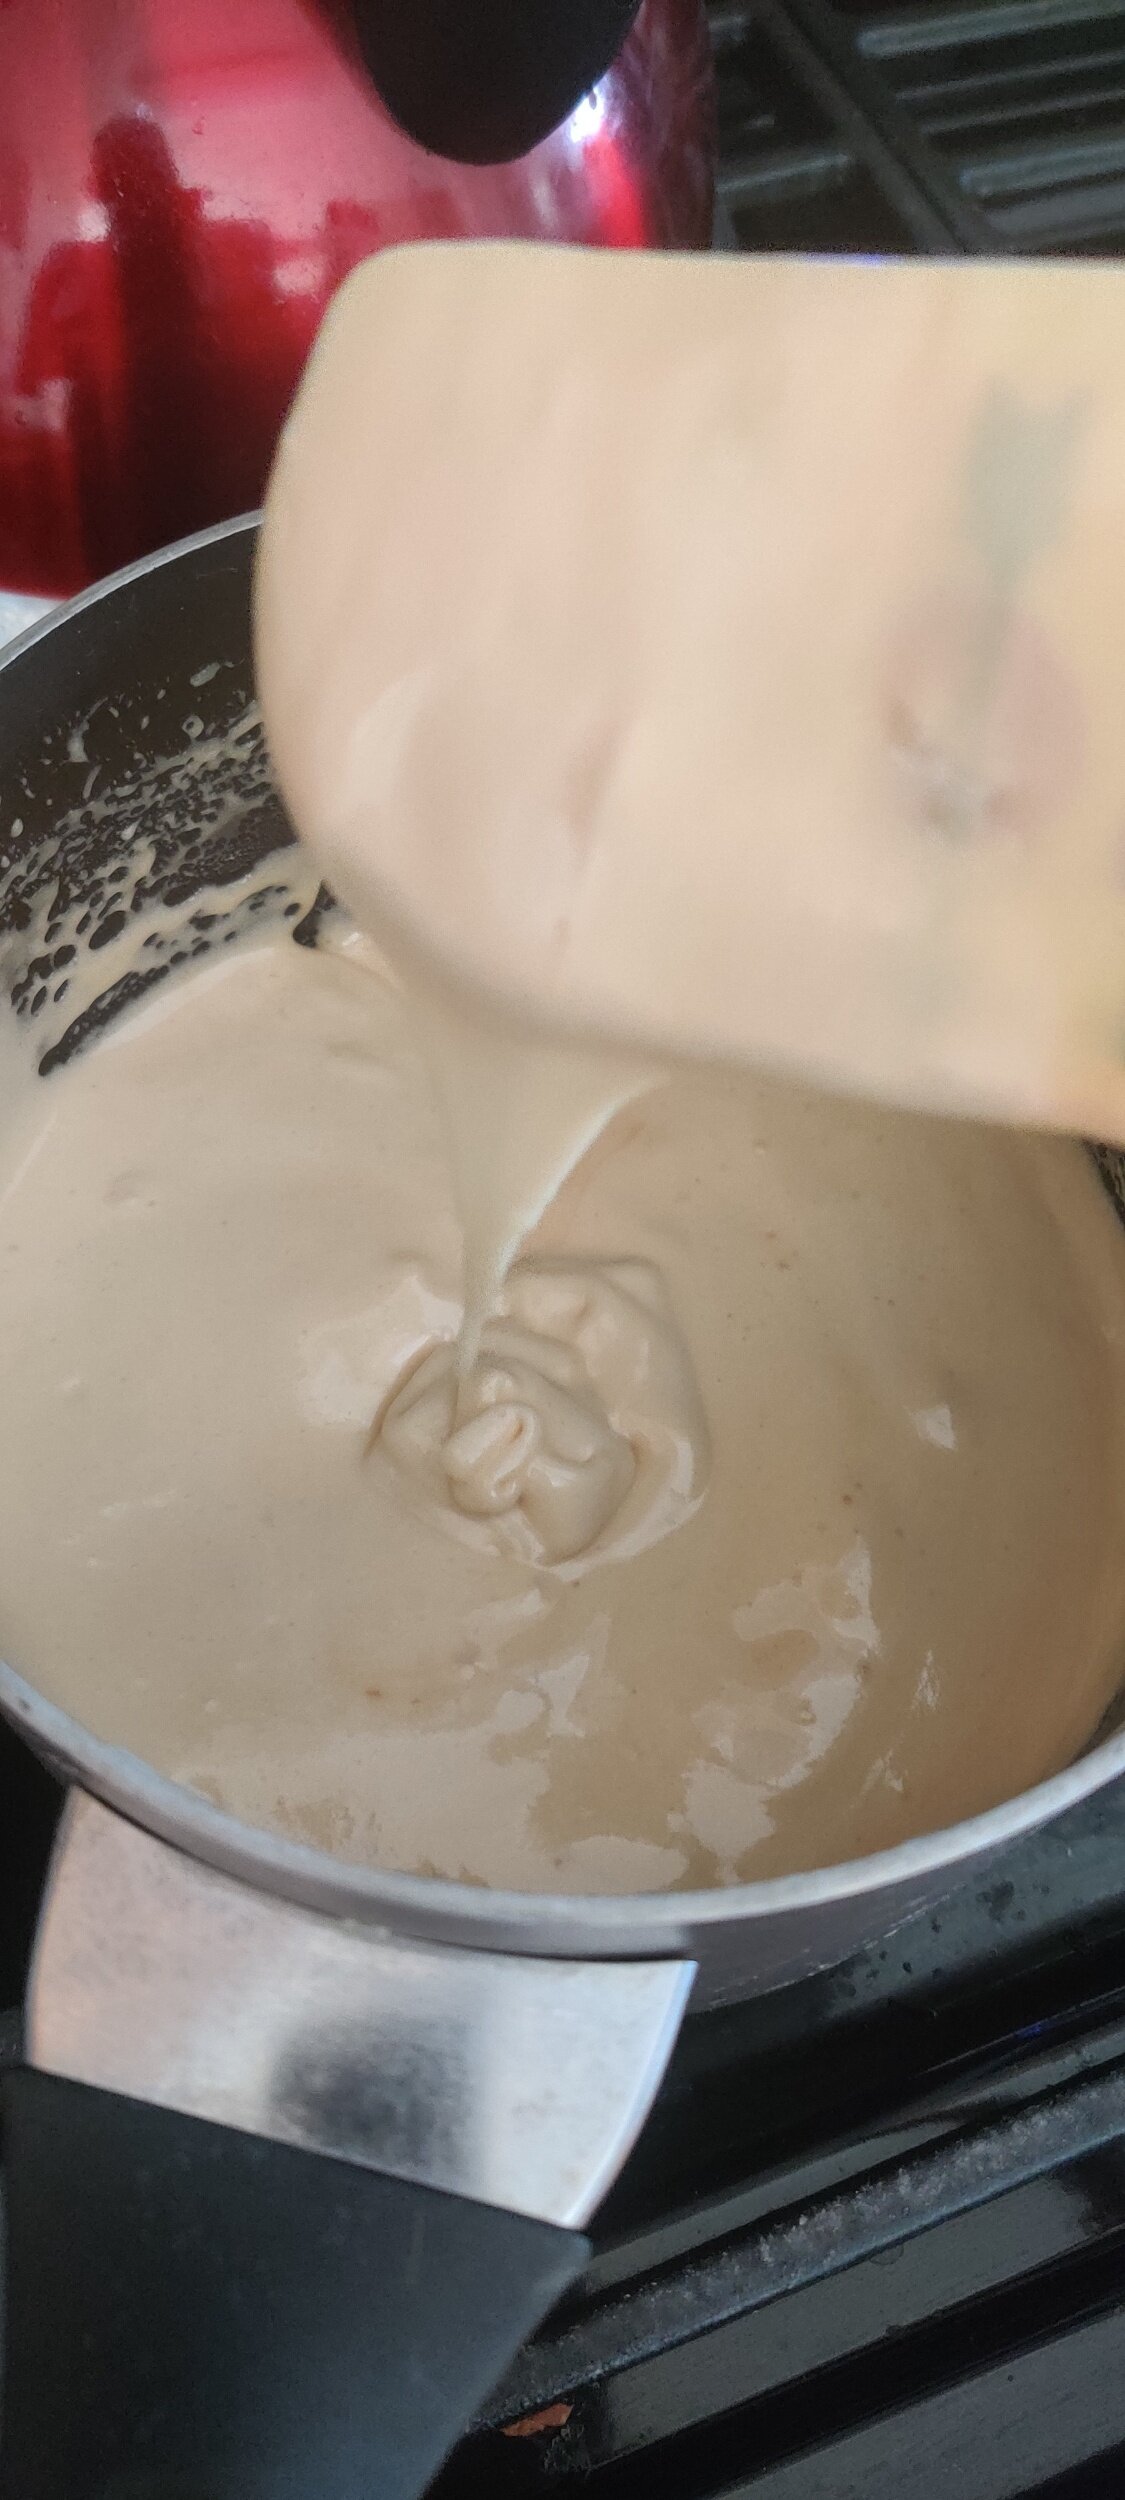
- Break up the gingernut biscuits and pulse them in a blender or food processor to desired consistency. Mix into the heavy cream bowl along with the cooled sweet potato mixture, leaving some of each for topping —you can swirl with a fork once transferred to a bread loaf tin or ice cream container.
- Seal and cover the ice cream with cling wrap and freeze for at least 6 hours or overnight.
- Serve immediately once softened.
Nutrition Facts
Calories
406Fat (grams)
19.2Carbs (grams)
54.1Protein (grams)
6.4I am not a certified nutritionist and any nutritional information on dontmissmyplate.com should only be used as a general guideline.

Coconut and Blueberry No-Churn Ice Cream
Springtime (or summer), Easter, whatever the occasion, do you need any excuse to have some ice cream? Better yet, homemade when you know what ingredients go into it. When blueberries are in season, there is no excuse not to use them! As it turns out, they also pair well with a refreshing flavour, lemon! The coconut adds another dimension. You don't need an ice cream maker to enjoy ice cream. If you are interested in some other ideas, check out this Bourbon Peach Crumble Ice Cream or this Double Chocolate Hazelnut and Aero Mint Ice Cream with Shortbread.
The thing about homemade anything is the quality of the ingredients will have a significant bearing on the result. In this case especially, with so few in the mix, that matters!
Blueberries: The fresher, the better! Try to get organic and free of pesticides or any other additives.
Sugar: If you can get a less refined product, try to get organic cane sugar. You'll get the right amount of sweetness without any unwanted extras.
Heavy cream: as with any dairy product, you'll want to go with a quality brand and the other organic ingredients.
Condensed milk: whether you choose to go with the coconut milk version of cow's milk, quality brand and organic!
How does no-churn ice cream work?
When I first learned about this process, I was excited about the possibilities. We don't all invest in an ice cream machine and can get super creative with flavours. Quite honestly, it may seem like a luxury in some cases. Hand mixer? You'll likely have one for soups, etc. The machine whips the cream into a light, airy consistency. You can achieve the same thing with an electric hand mixer. You whip the cream in two stages, first into light peaks, then heavy peaks. As for the addition of the condensed milk completes what you will end up with, known as the ice cream base.

Coconut and Blueberry No-Churn Ice Cream
Ingredients
- 2 cups fresh blueberries
- 1/3 cup organic granulated sugar
- 1 tablespoon lemon juice
- 1 teaspoon vanilla extract
- Pinch of salt
- 2 cups heavy cream
- 1 (14-ounce) coconut condensed milk
Instructions
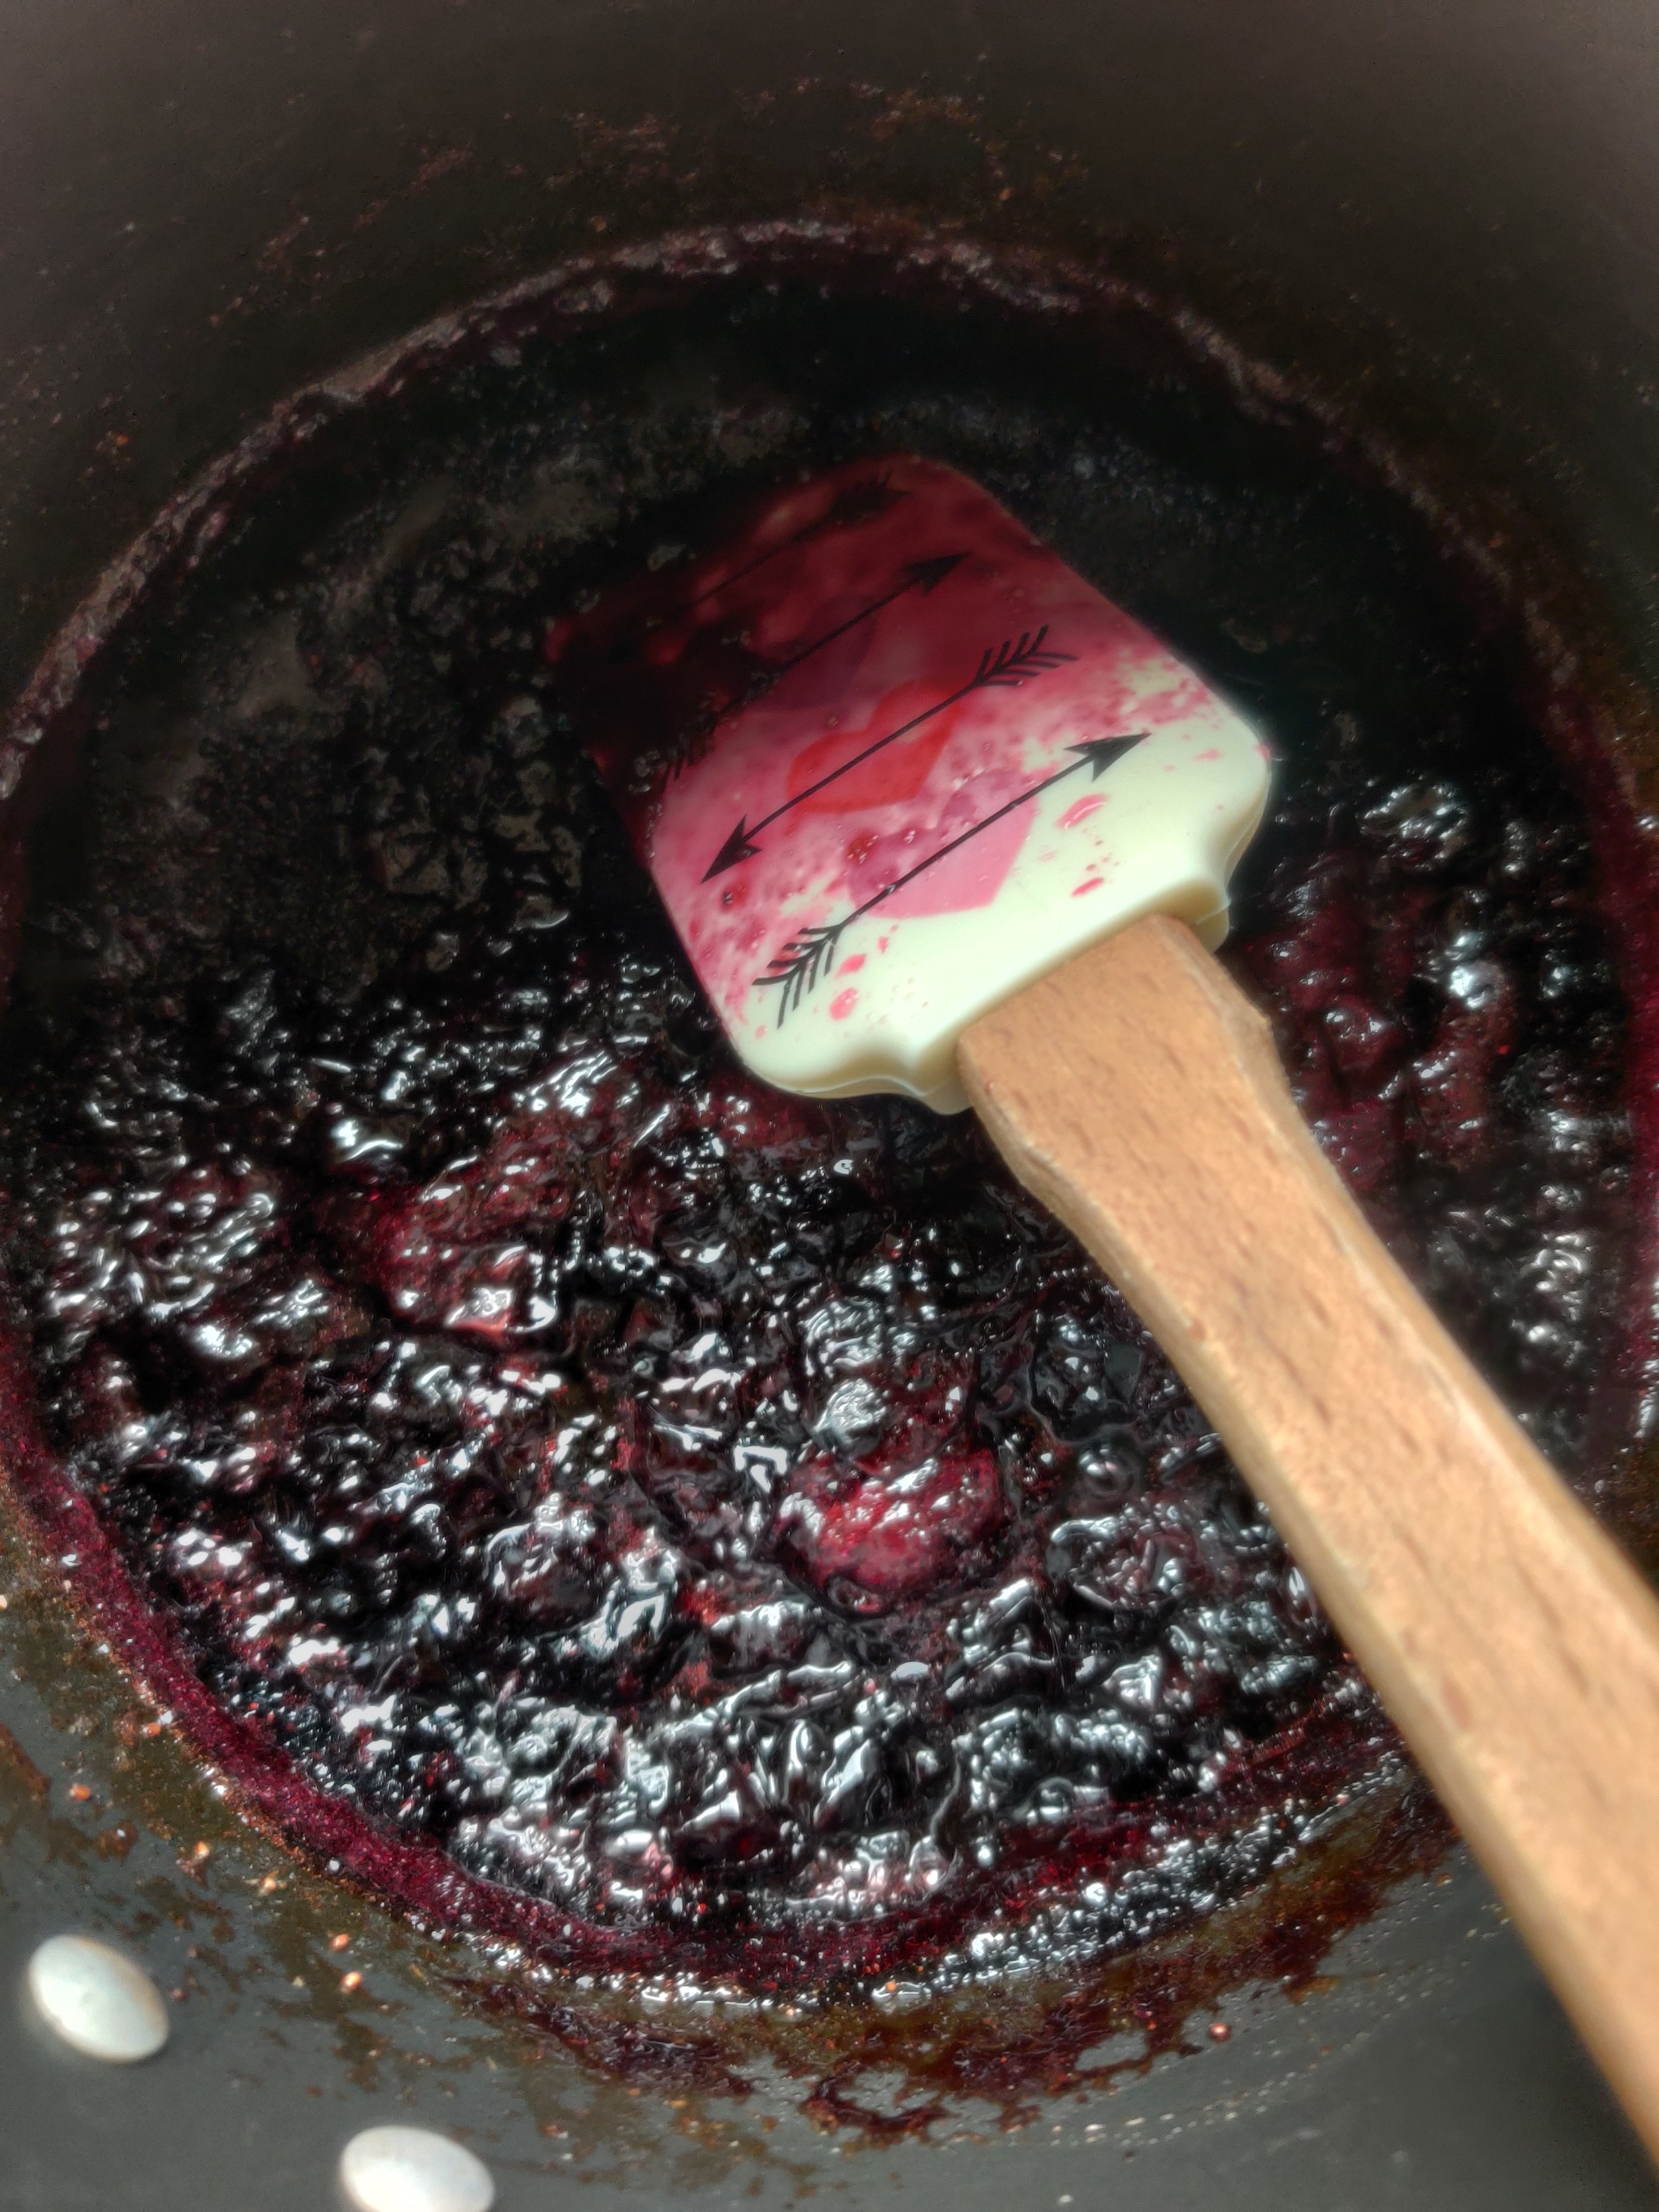
- Heat the sugar and blueberries in a saucepan until the sugar melts over medium heat. Stir frequently, adding the lemon.
- Lower the heat and simmer, crushing with a spatula until the berries bubble into a thick sauce. Take care not to burn the mixture!
- In a large bowl, use a hand mixer to whisk the heavy cream until soft peaks form, about 4-5 minutes on medium to high speed.
- Add the condensed milk, fold in, and then beat with an electric mixer until stiff peaks form and the mixture looks thick with creamy folds.
- Mix 3/4 cups of the berries into the ice cream base, then pour into a loaf pan.
- Top with the remaining berries, then swirl with a fork. Cover the top with cling wrap and freeze for 6 hours or overnight.
- Leave out for 5 minutes, then serve.
Nutrition Facts
Calories
298Fat (grams)
13.6Carbs (grams)
40.7Sugar (grams)
38.8Protein (grams)
5I am not a certified nutritionist and any nutritional information on dontmissmyplate.com should only be used as a general guideline.


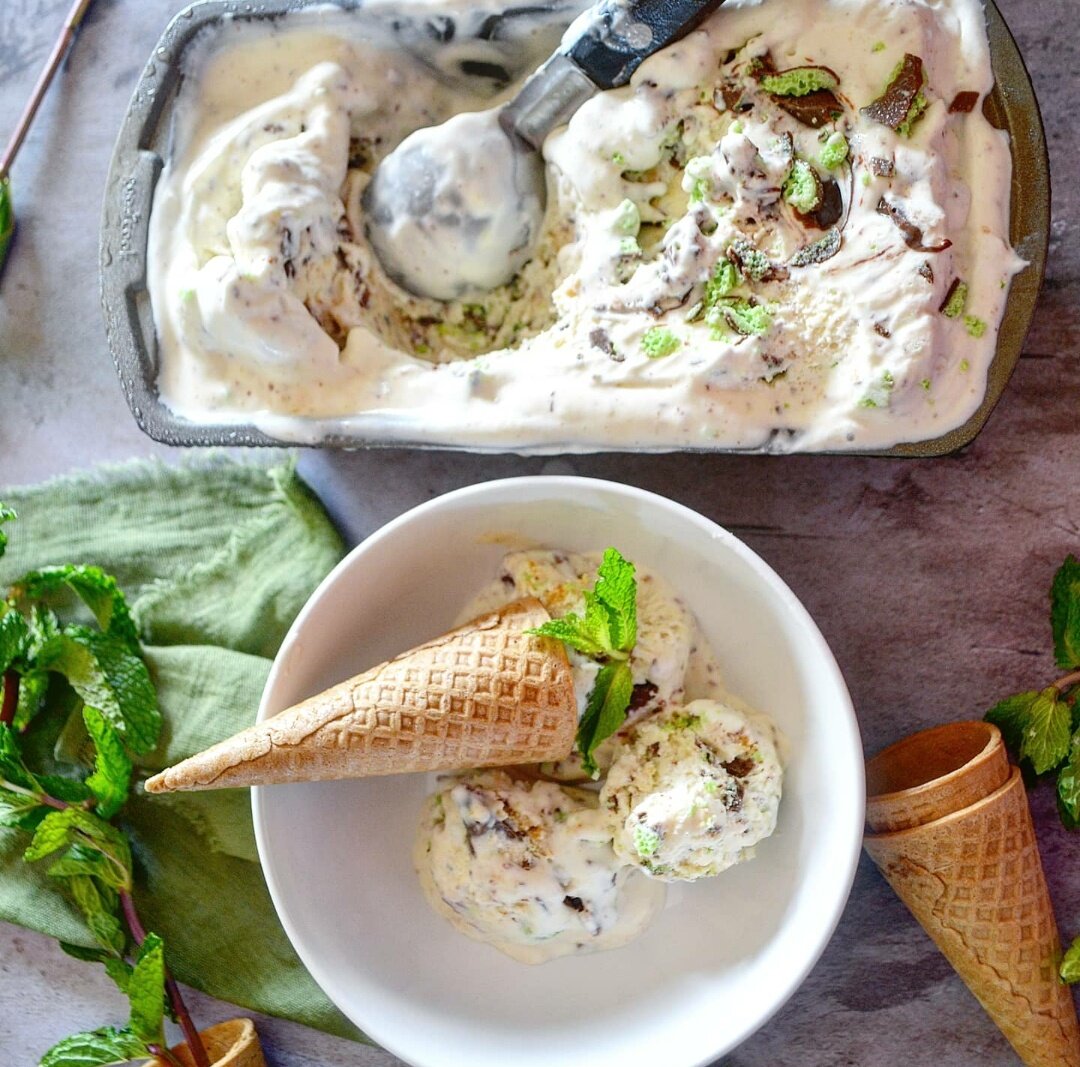
Double Chocolate Hazelnut and Aero Mint Ice Cream with Shortbread (No-Churn)
Ice cream is too easy to make at home to be constantly buying store-bought pints! And no, you don't need an ice cream machine. You can get creative and add in all your favourite sweet treats to the creamy heat reliever. You also have a better sense of what you are adding to the mix from a nutritional perspective.
Aero chocolate is unique because it's aerated, i.e. has an air bubble texture, making it one of those candy bars that truly melts in your mouth. Made in the UK and sold across southern Africa, it's one of the chocolate bars I grew up on.
If you are looking for another no-churn ice cream recipe, try this peach crumble with bourbon ice cream. This one takes a different turn but still celebrates the summer heat with chocolate, hazelnut, refreshing peppermint, and another melt-in-your-mouth sweet treat - shortbread! The textures and flavours swim in cream and condensed milk waves effortlessly, making this recipe a win-win perfect for the whole family!


")
Double Chocolate Hazelnut and Aero Mint Ice Cream with Shortbread (No-Churn)
Ingredients
- 2 cups heavy cream
- 1 (14-ounce can) condensed milk
- 1 teaspoon vanilla extract or paste
- 4 Aero chocolate bars (I used 2 peppermint and 2 chocolate)
- 3 shortbread cookies
- 3 teaspoons chocolate hazelnut spread
Instructions
- Whip the cream to form soft peaks for about 3 minutes (don’t overbeat to avoid separation occurring).
- Fold in the condensed milk and vanilla extract. Whip again for about a minute to form a stiff but smooth consistency.
- Crush the chocolates and shortbread (set some chocolate aside to sprinkle on top), then fold into the ice cream base.
- Transfer to loaf pan, then use a small spatula to even the surface. Place dollops of the chocolate hazelnut spread on top, then make a swirl motion utilizing a knife or small spatula to mix it in.
- Place a layer of cling film directly on top of the ice cream, then use another to seal tightly - the plastic will help prevent too much ice crystalizing on top.
- Freeze overnight. When ready to serve, leave out the fridge for 5 minutes, then enjoy!
Nutrition Facts
Calories
332Fat (grams)
17.9Carbs (grams)
36.7Protein (grams)
5.1I am not a certified nutritionist and any nutritional information on dontmissmyplate.com should only be used as a general guideline.


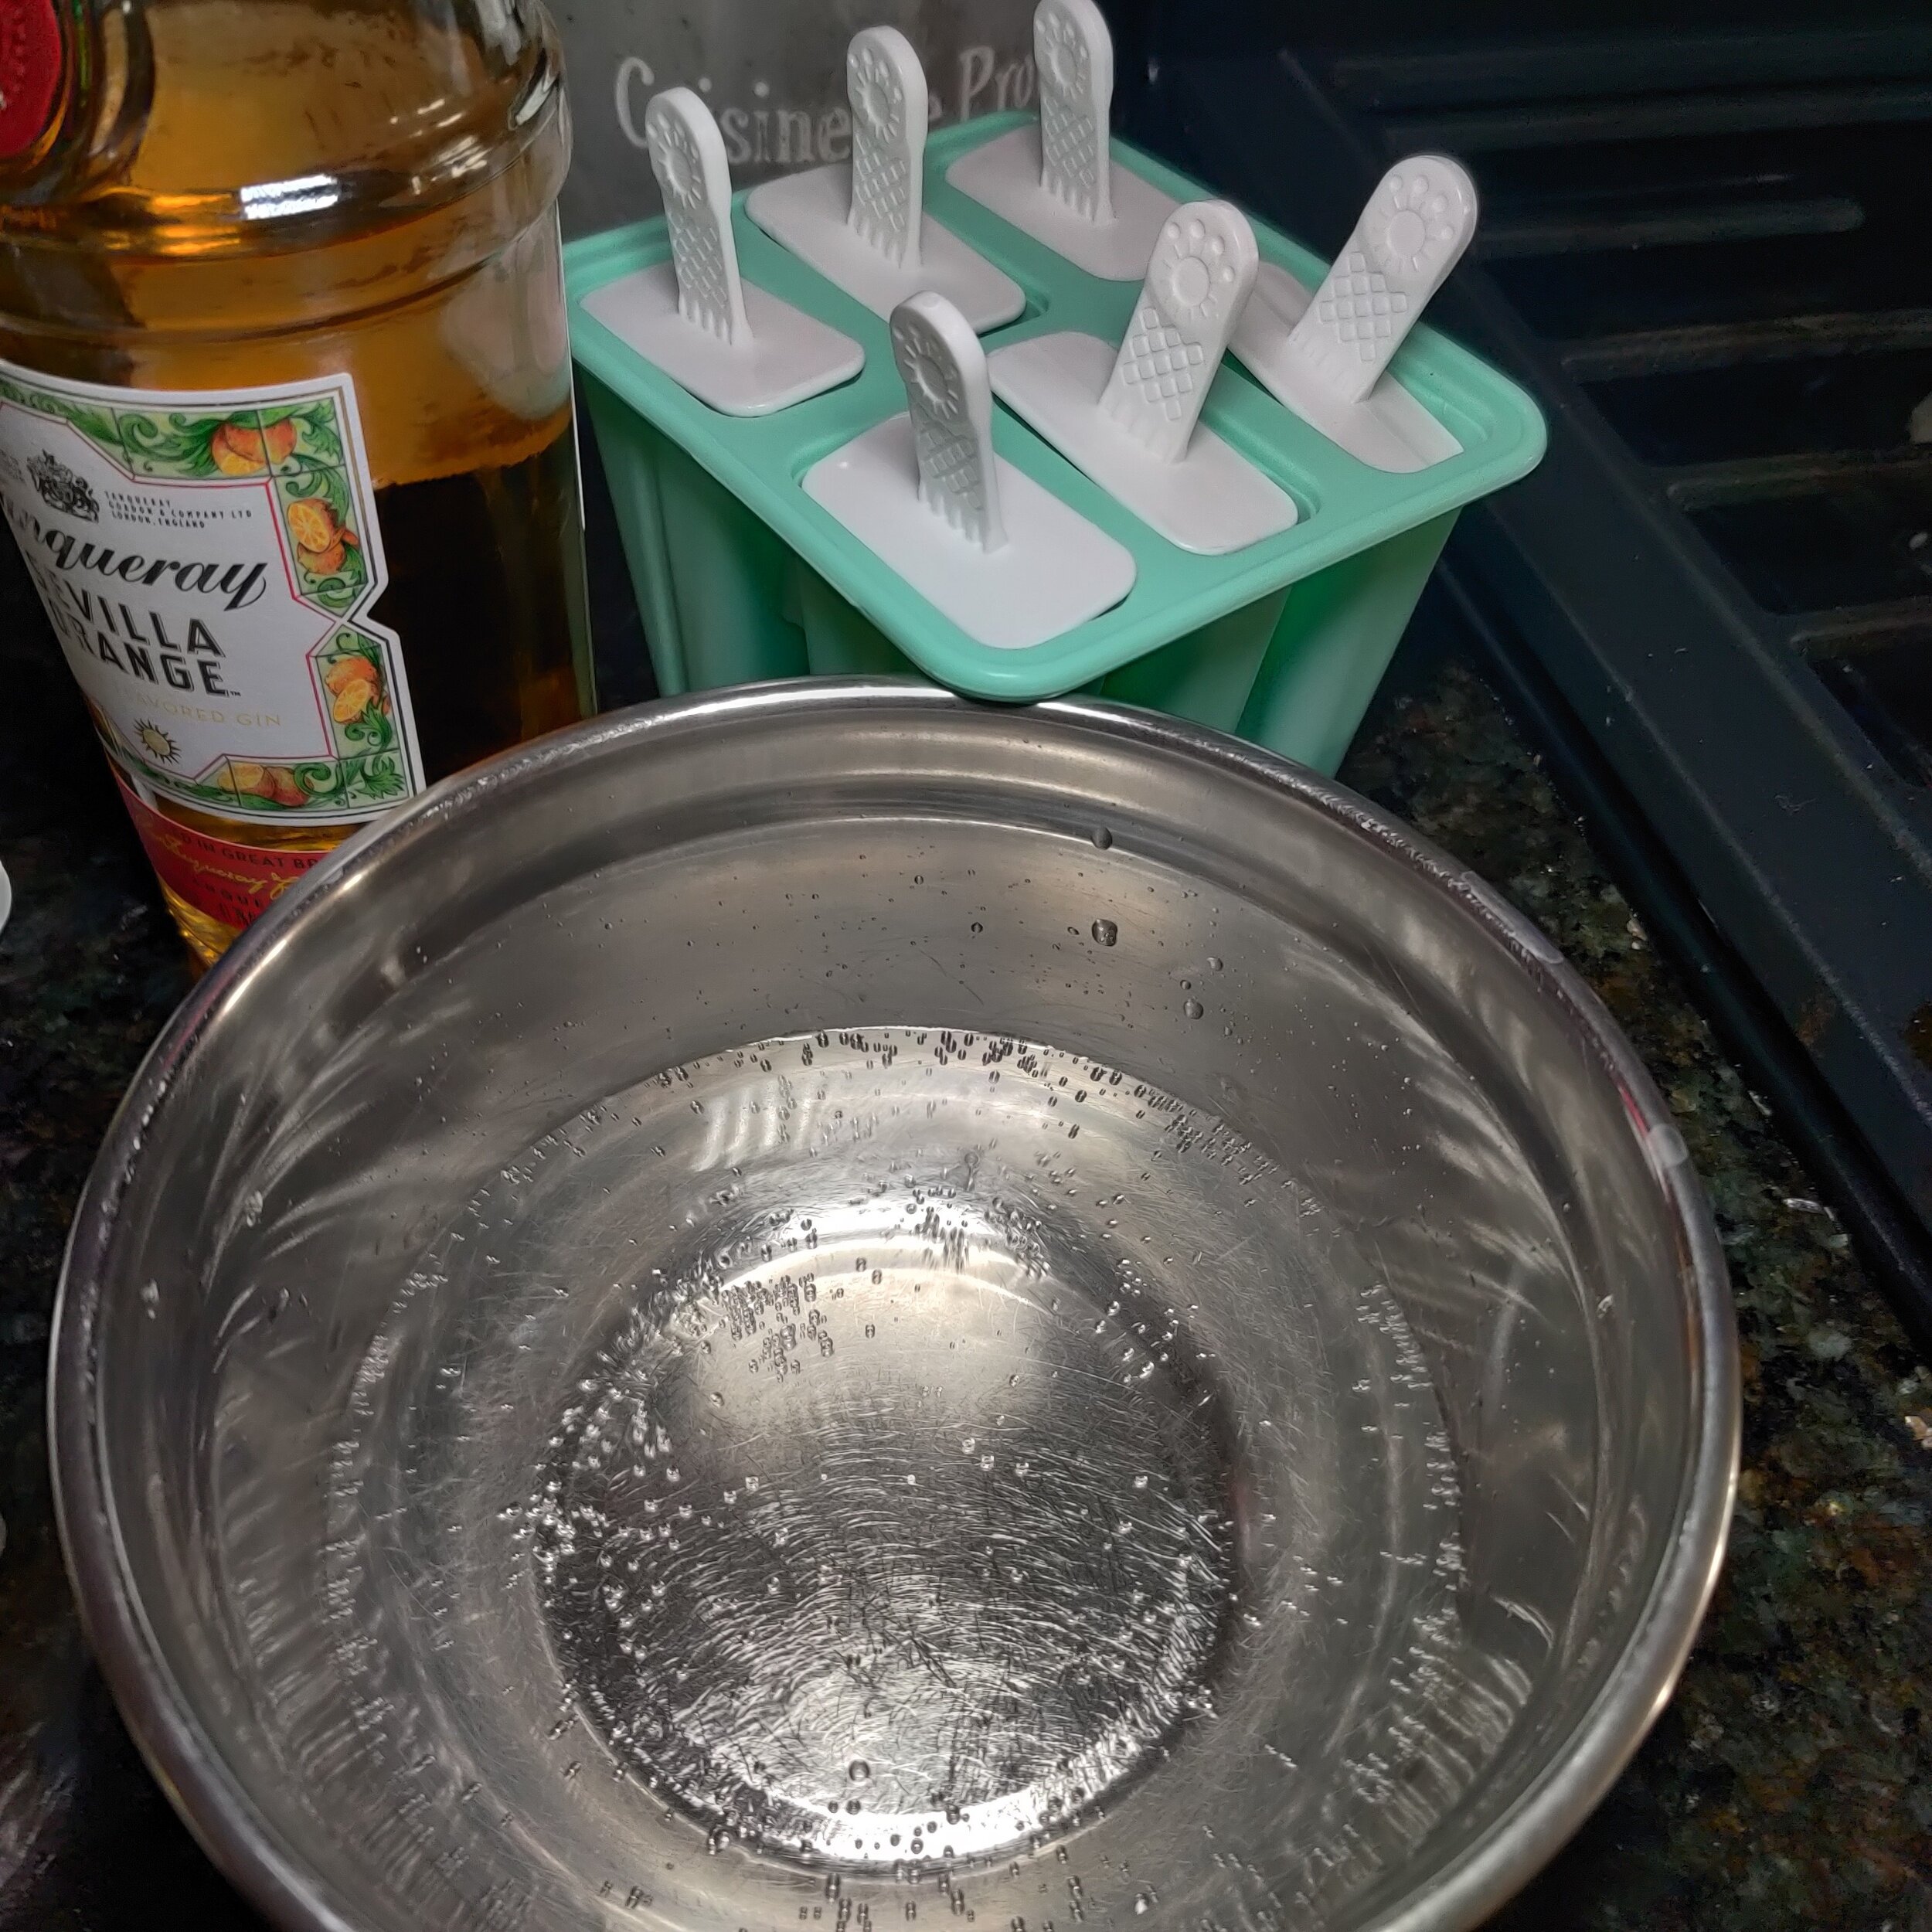
Triple Citrus Gin and Tonic Ice Lollies
Oh yes, the glorious gin and tonic cocktail I've learned to appreciate over time. In the US, G&T is associated with elderly folks, not sure why! I've always been a wine enthusiast first, but I love a good gin o'clock once in a while.
When the weather starts to warm up wherever you are, consider converting this classic alcoholic beverage into an icy, sweet treat! I don't believe all cocktails lend themselves well to this method. For instance, a Pina colada could easily, vodka tonic or an old fashioned? Not so much. The lime, lemon, and botanicals help enhance the mixture and make it easy to convert the water-based drink into a popsicle. I used a decent quality gin infused with orange for a trifecta of citrusy goodness—perfect for the spring.
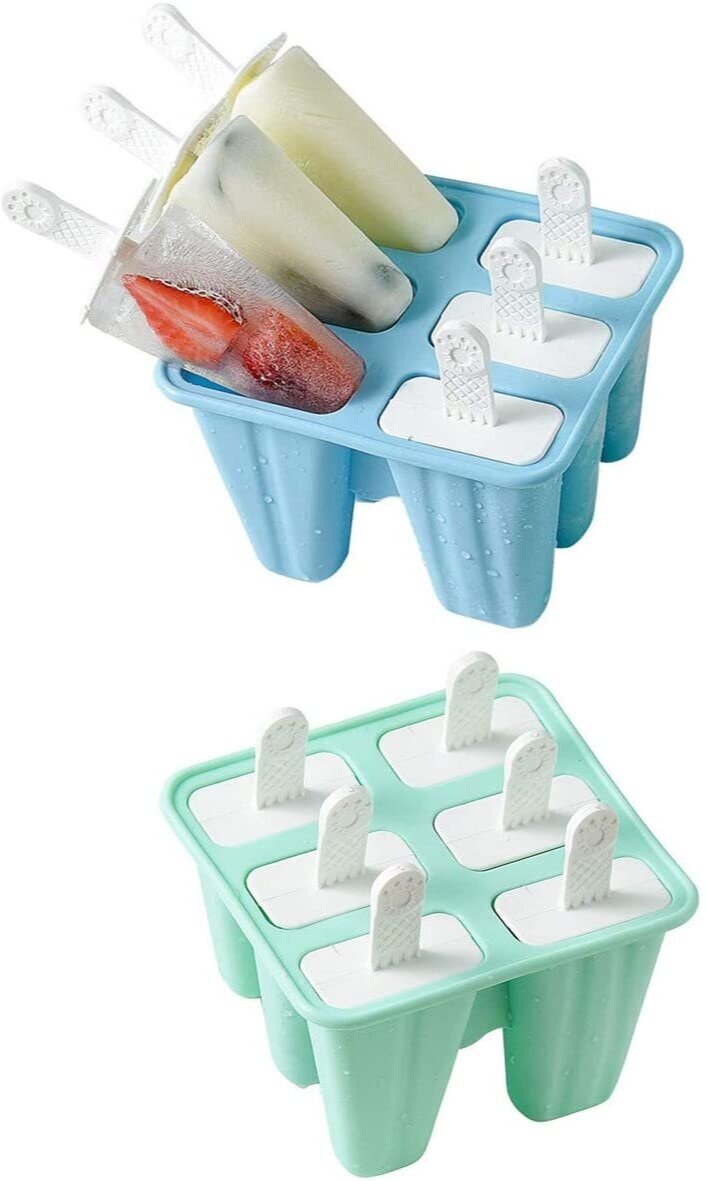
This recipe is obviously not for the kids! I will make some non-alcoholic versions in the future so stay tuned. Of course, you're going to need some moulds, but they're super inexpensive. Here are the ones I use: another one of my favourite spring (and summer) kitchen must-haves. Enjoy and lick quickly before it melts!
Ingredients
1/4 cup lemon juice
1 tablespoon lime zest
1 tablespoon lime juice
1 1/2 cups tonic water
1/4 cup citrus-infused gin (I used Tanqueray Sevilla Orange)
1/4 cup water
1/3 cup granulated sugar
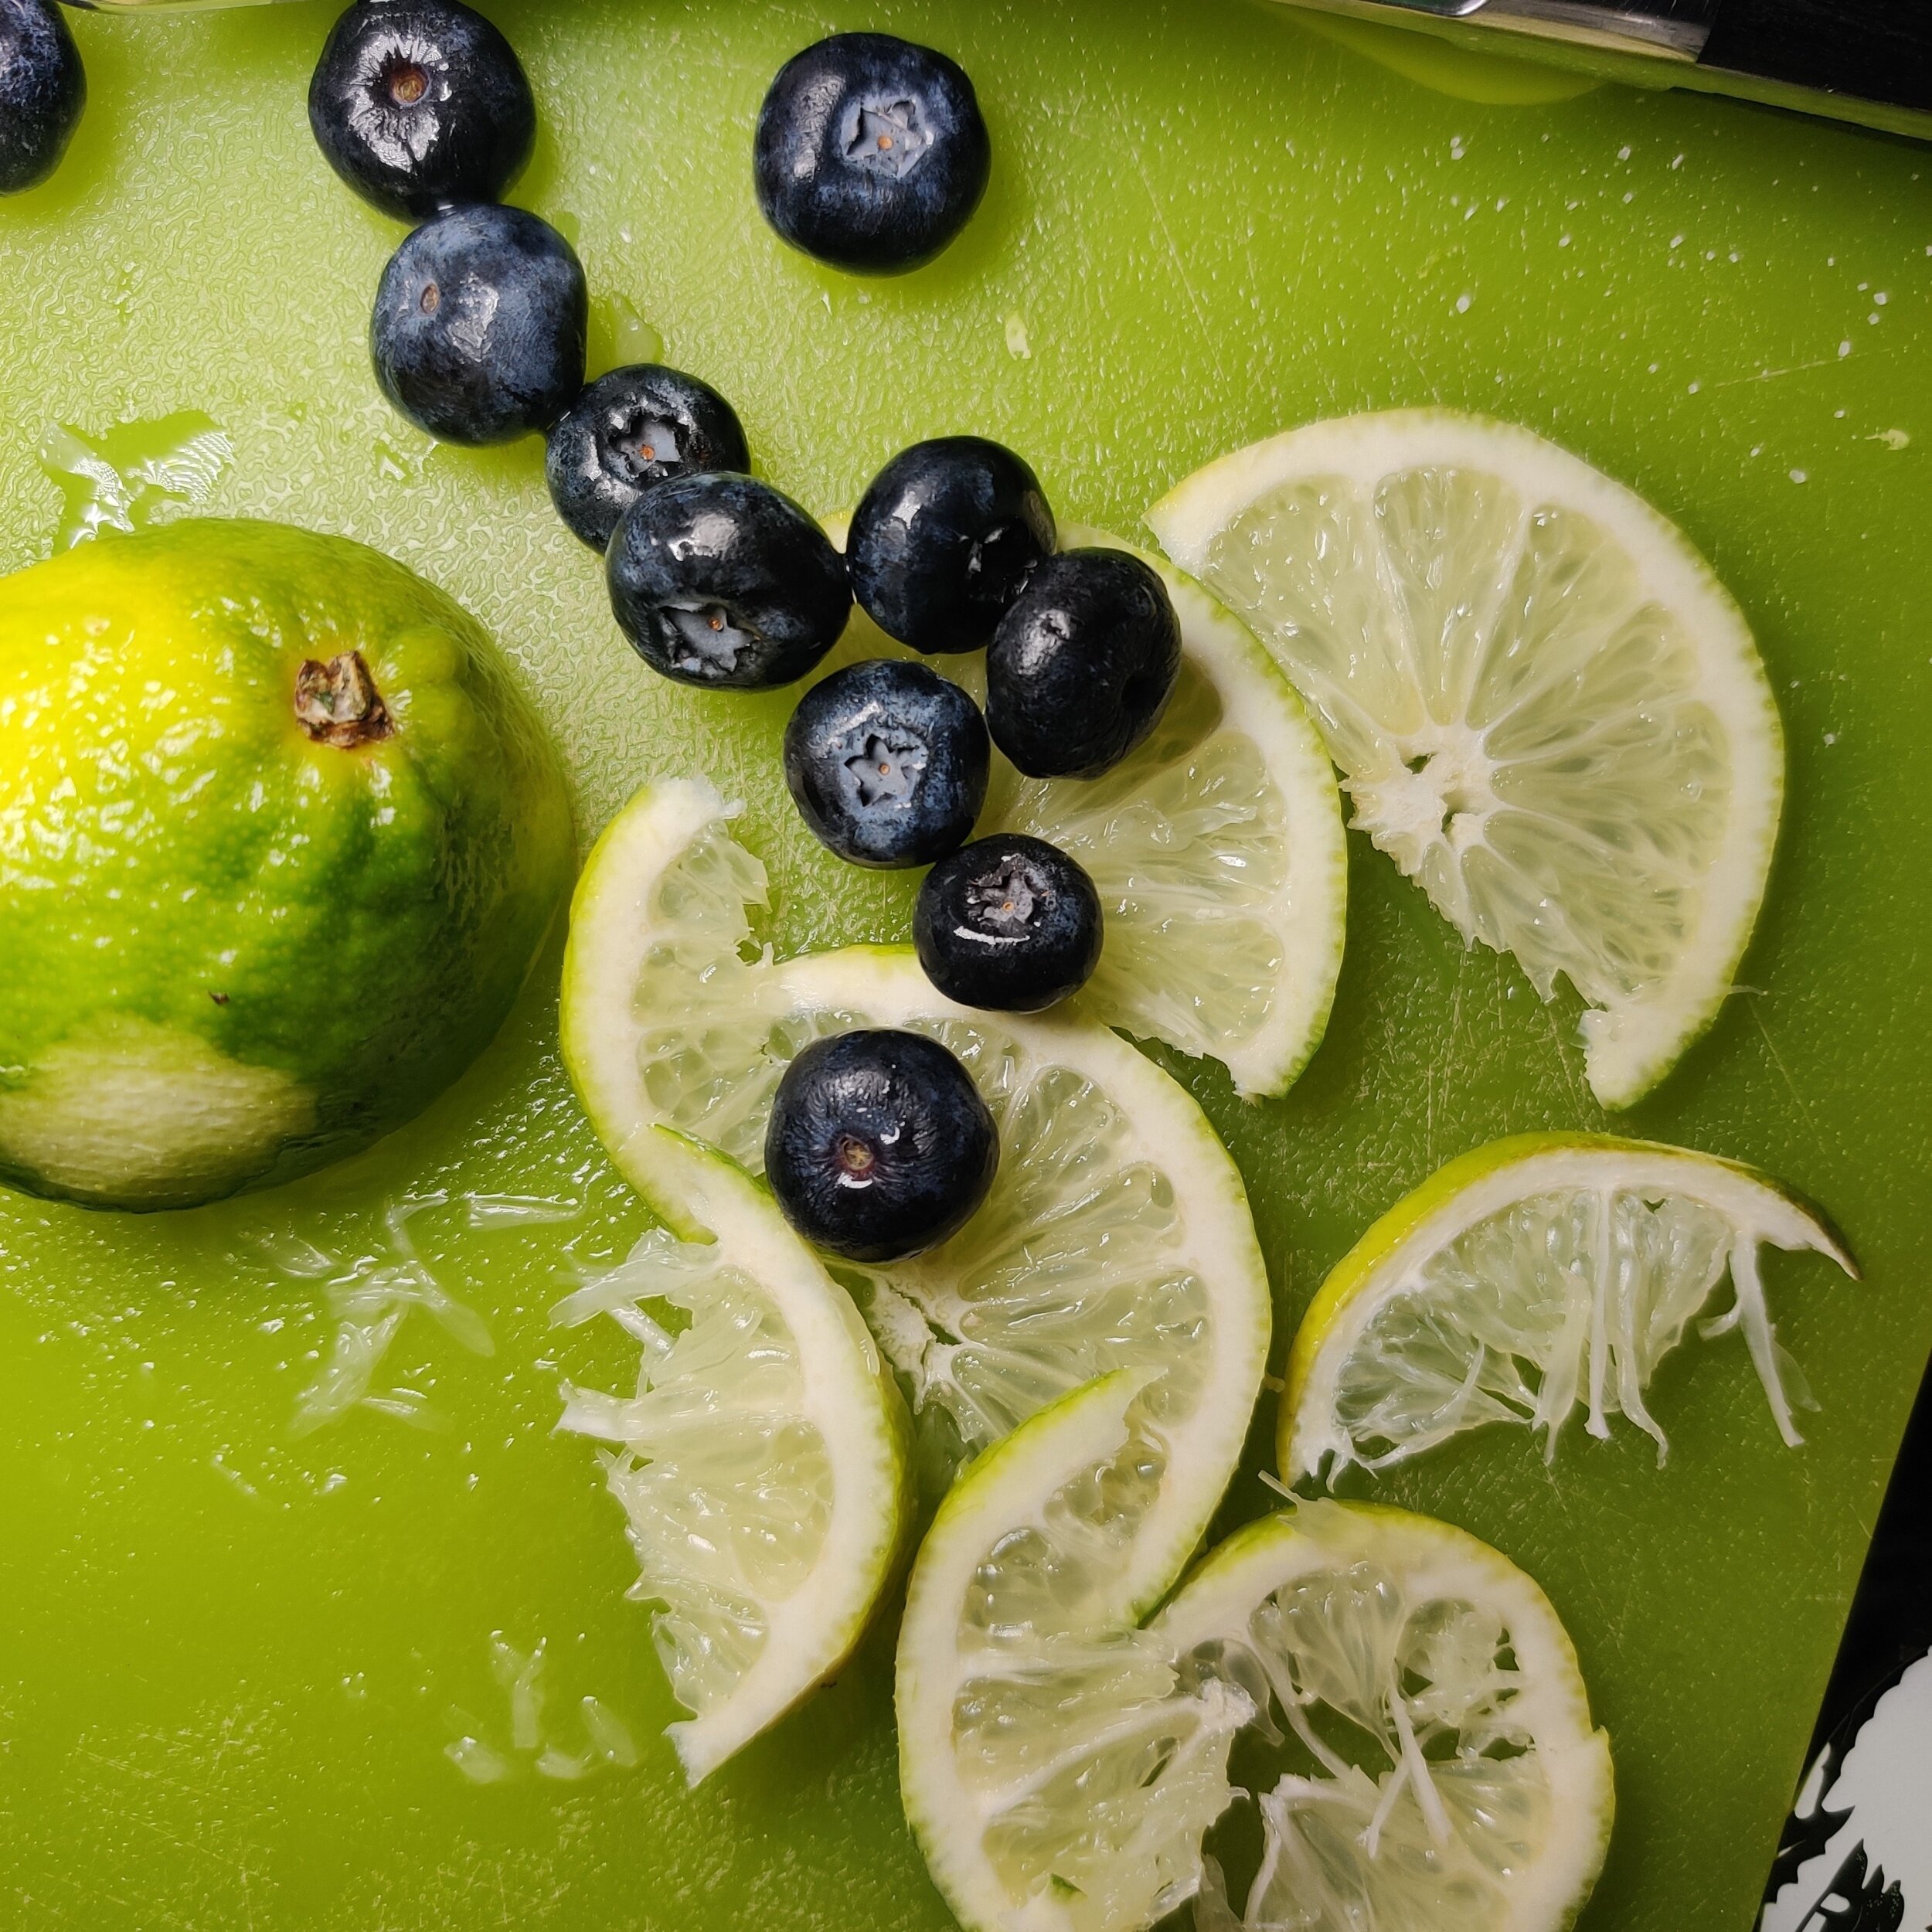
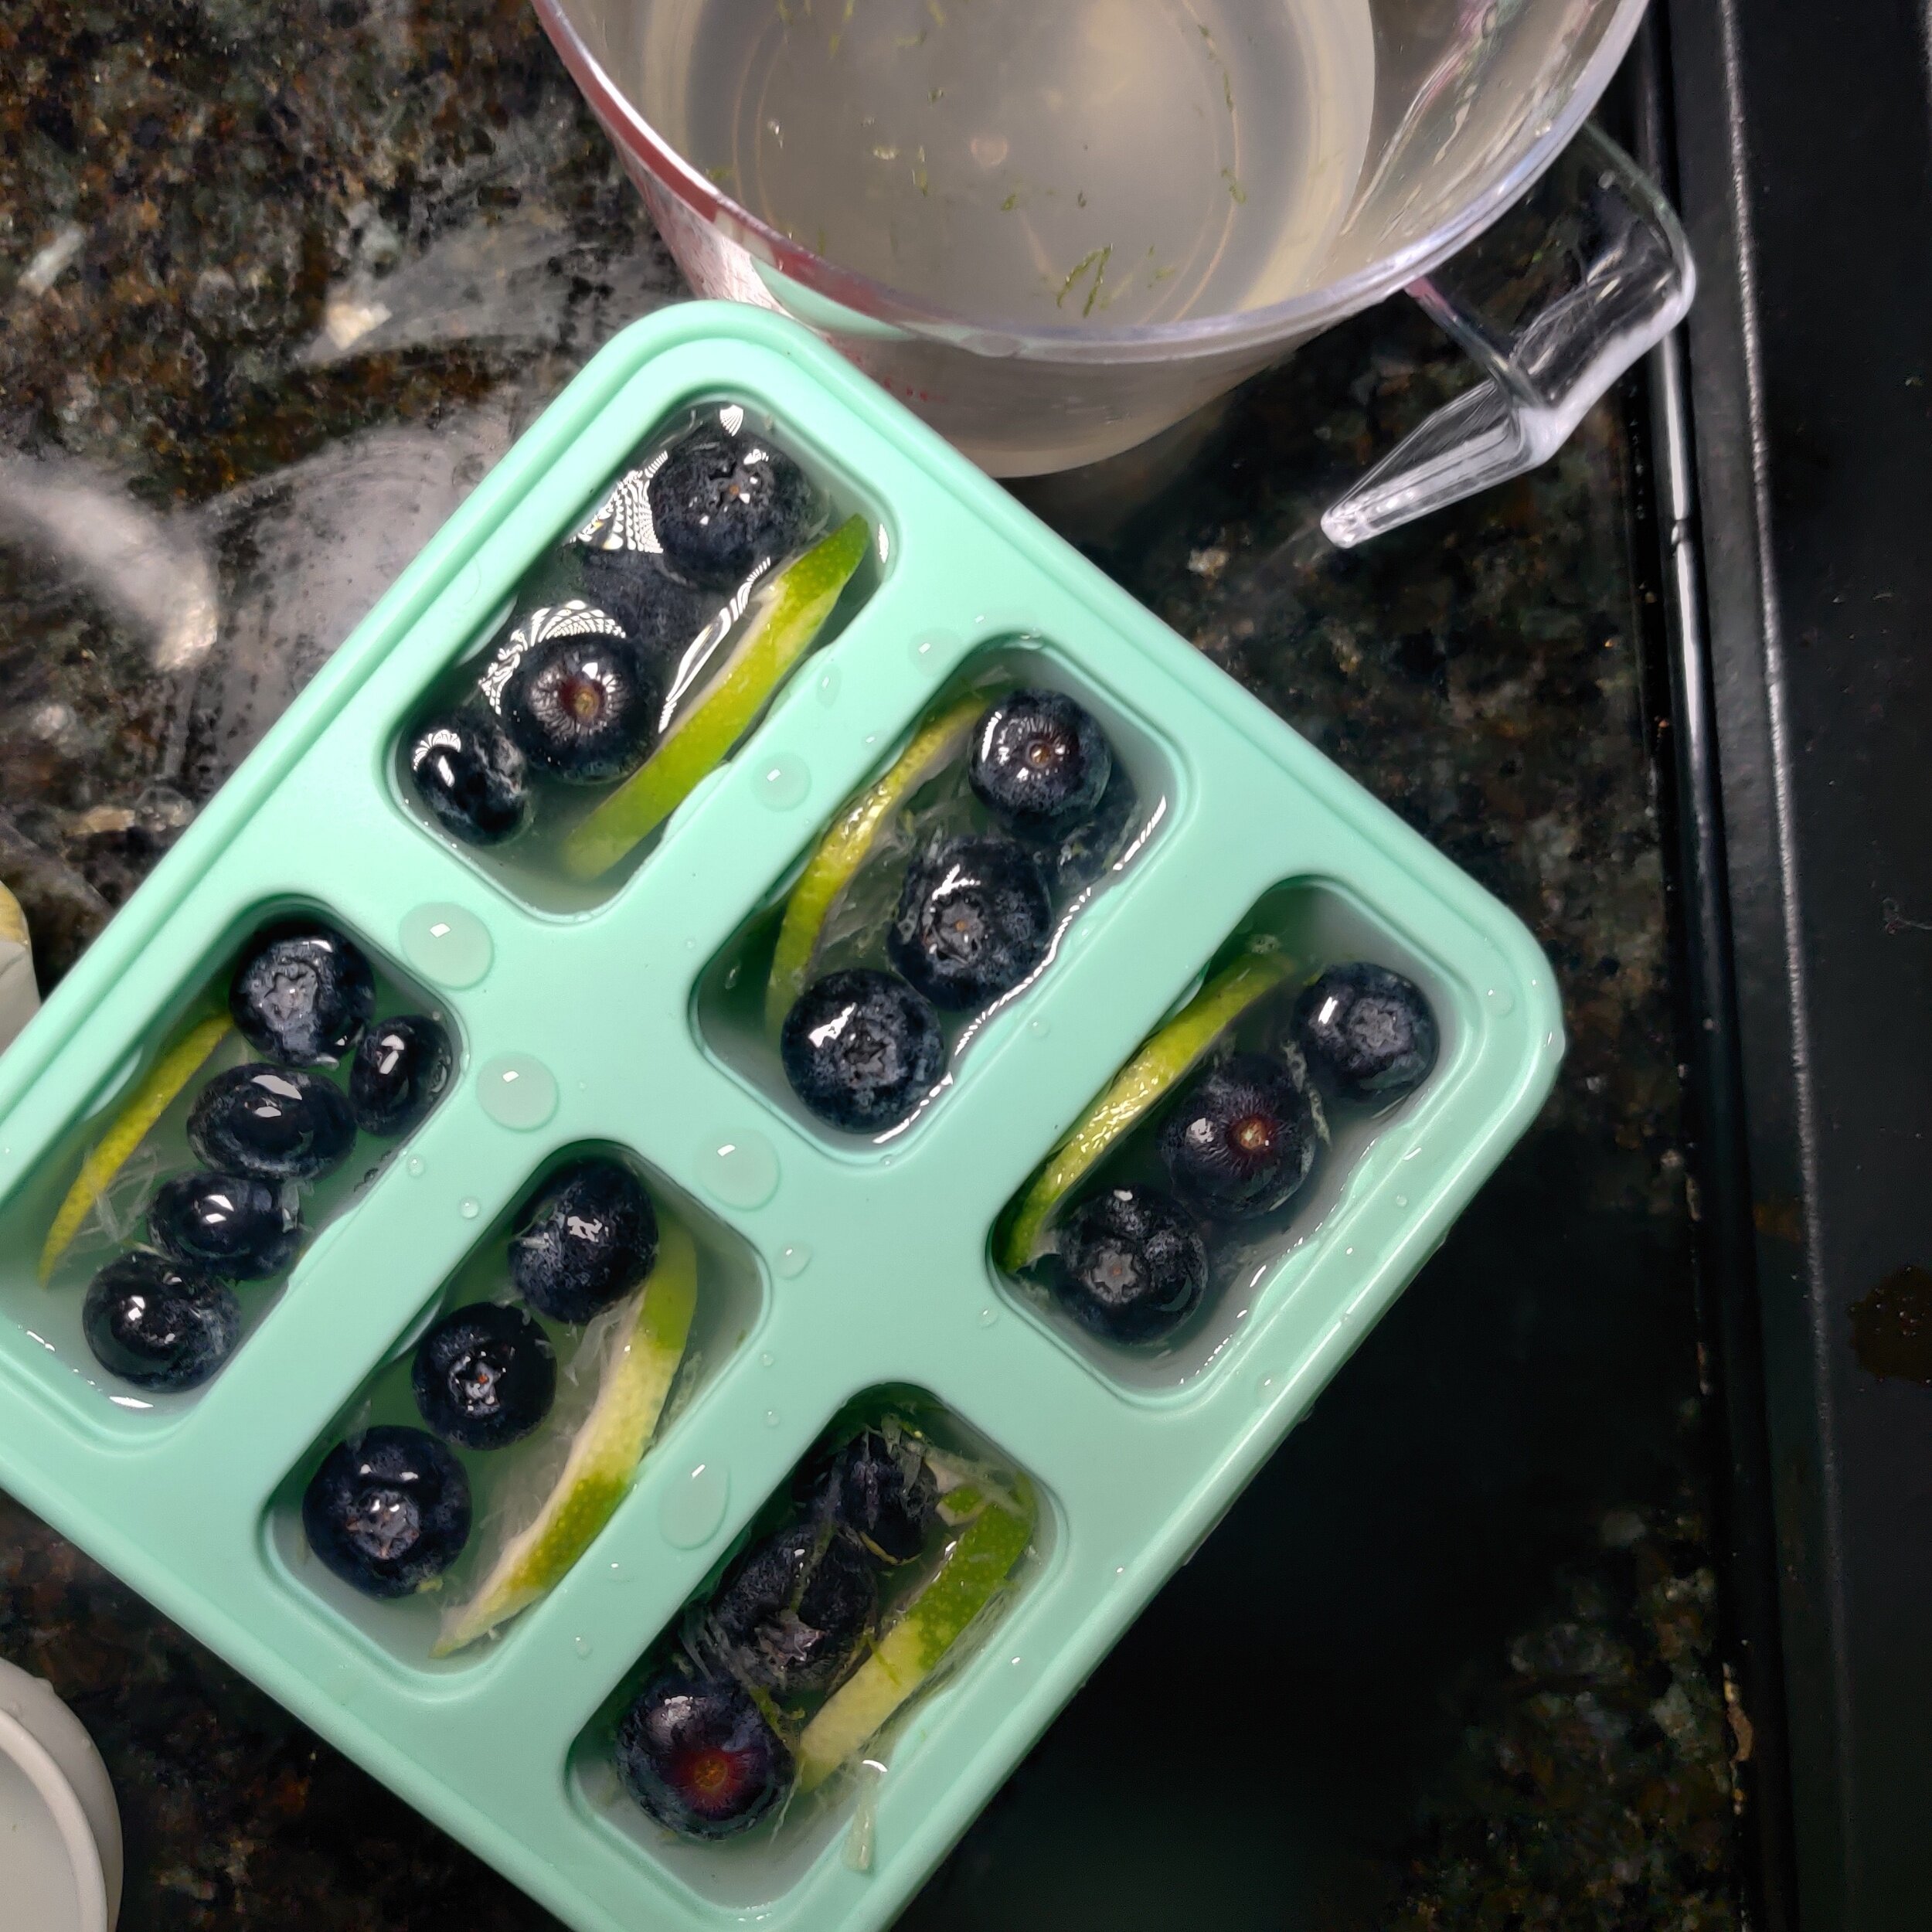
Botanicals (I used a few blueberries and one thing lime slice per lolly)
Instructions
Mix all the ingredients together except for the botanicals in a bowl, and stir well before transferring to a small jug. Make sure all the sugar is dissolved.
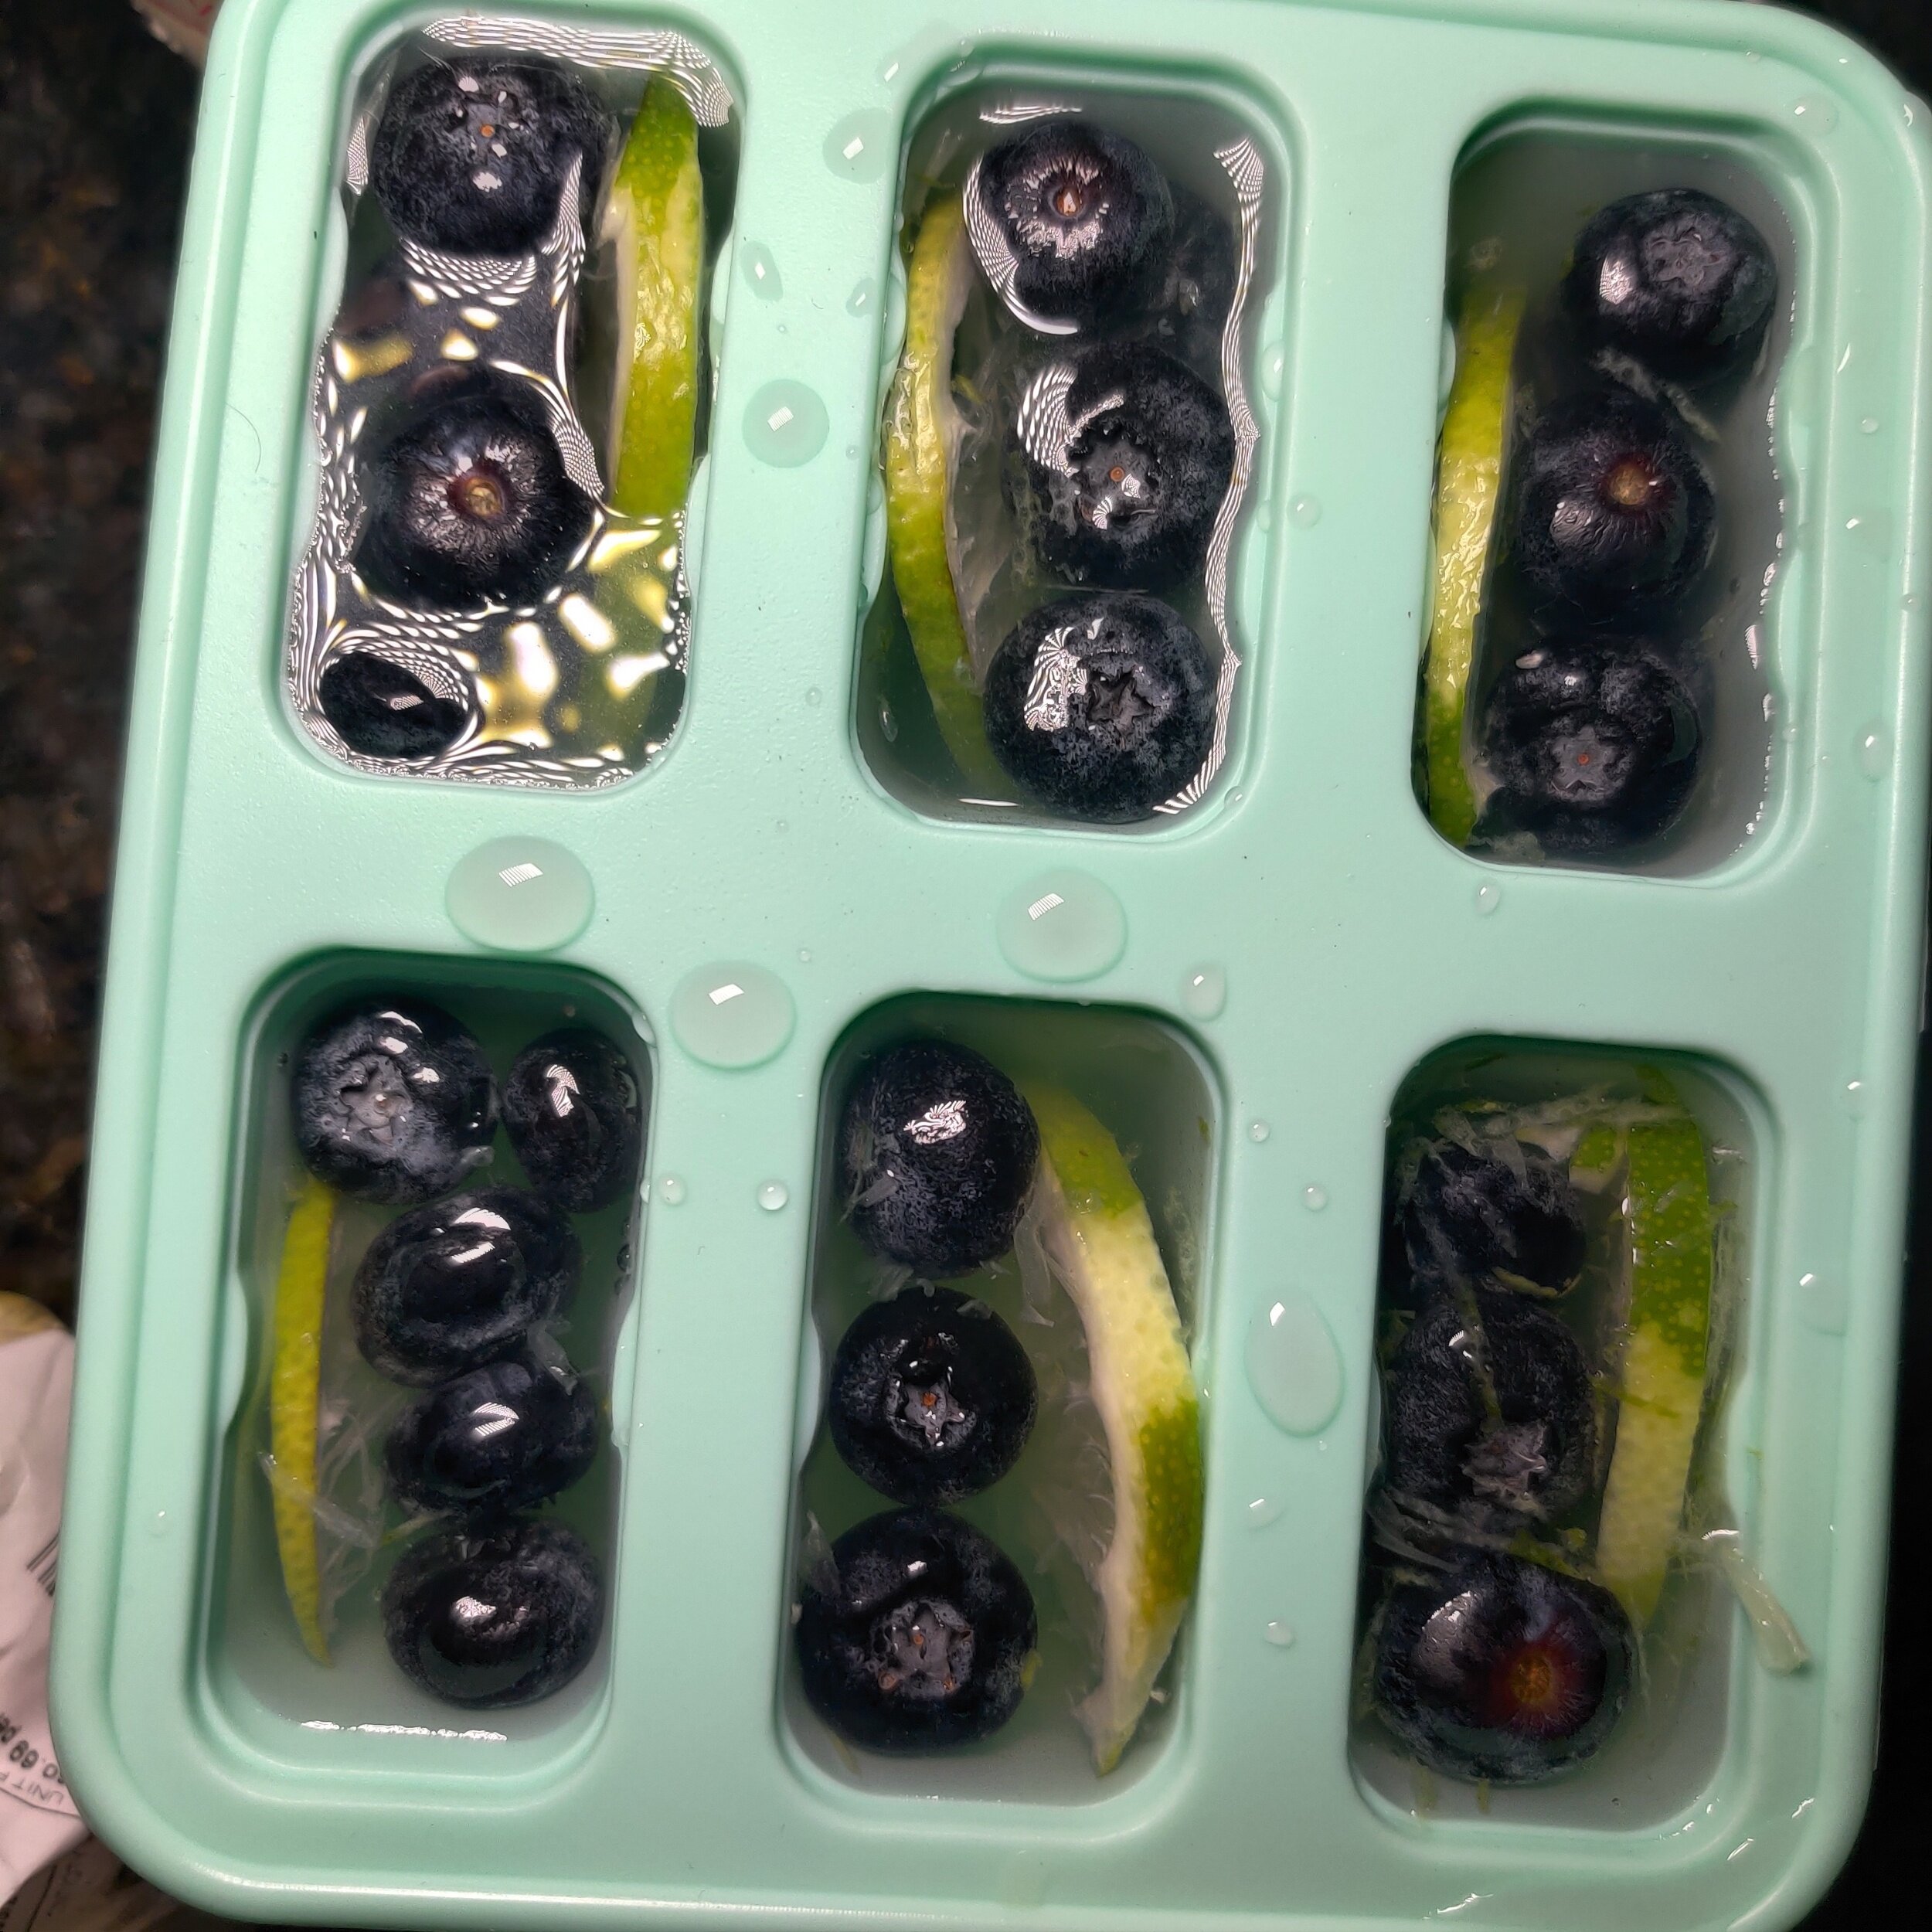
Use the jug to evenly pour the mixture into the individual moulds, almost filled but leaving enough room at the top for the blueberries or anything else you want at the bottom or sides of your ice lollies. You can add other botanicals at this point!
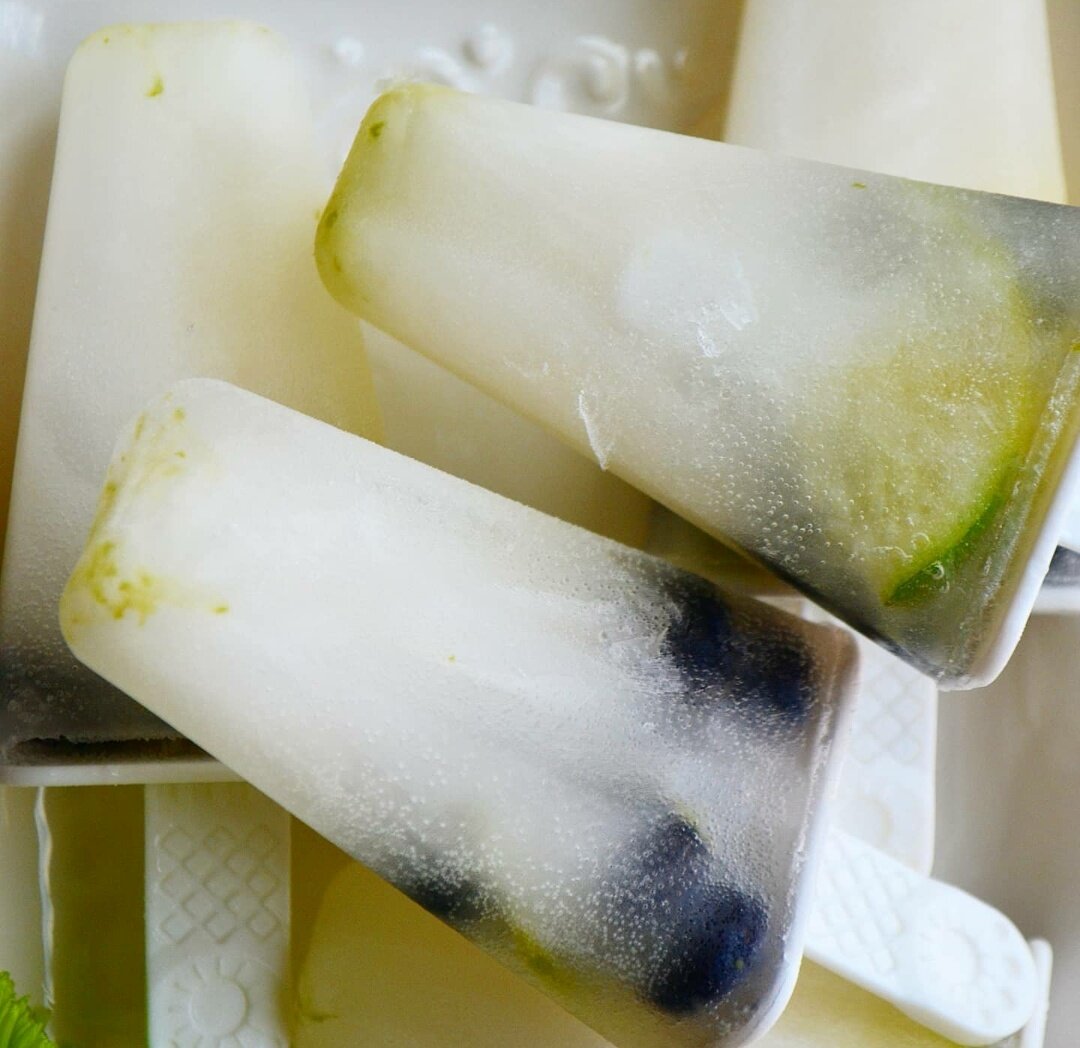
Freeze on a sturdy shelf overnight or for at least 6 hours. Carefully jiggle the lollies out of the case, and enjoy!
Note: If you have any mixture leftover, stir it into a regular gin and tonic!


Pawpaw Sorbet
This recipe is the sixth of six plates I would serve if asked to make a 6-course meal or string of small plates/tapas based on Zimbabwean cuisine. I used ingredients that are commonly eaten or are considered a cornerstone of our cooking, but with a modern twist. The first was sweet potato soup, the second tomato bruschetta with guava balsamic glaze, the third fried sadza with chili creamed corn, the fourth Portobello steak with acorn squash and greens and the fifth mango, avocado and cucumber salad.
One of the most refreshing fruits there are. More so than watermelon or even pineapple. Pawpaws - or papaya - depending on how accurate you want to be or where you grew up - have a subtle sweetness that can be manipulated into delicious desserts. They are also known for their beneficial properties to the skin, but I simply knew them as a tropical fruit that happened to grow in our garden for a time.
One of the most refreshing fruits there are. More so than watermelon or even pineapple. Pawpaws - or papaya - depending on how accurate you want to be or where you grew up - have a subtle sweetness that can be manipulated into delicious desserts. They are also known for their beneficial properties to the skin, but I simply knew them as a tropical fruit that happened to grow in our garden for a time. This sorbet is light and a perfect finish to a series of savoury plates, especially for those who do not want to indulge in something overly decadent.
The simplicity speaks to the approach I find to dominate the Zimbabwean kitchen, which is the simplest preparation possible, bordering on blandness. However, if done right and with fresh ingredients, can help you to appreciate and focus on the taste of the main ingredient - in this case, the pawpaw.
Both natural sweeteners enhance the sugar in the fruit, but I used both since they lower on the intensity scale. The berry flavour adds another dimension other than the pawpaw to give the sorbet a bit of an edge.
Ingredients
1 pawpaw/papaya
2 tablespoons honey
1/4 cup berry syrup
1 teaspoon lemon juice
4 tablespoons water

Instructions
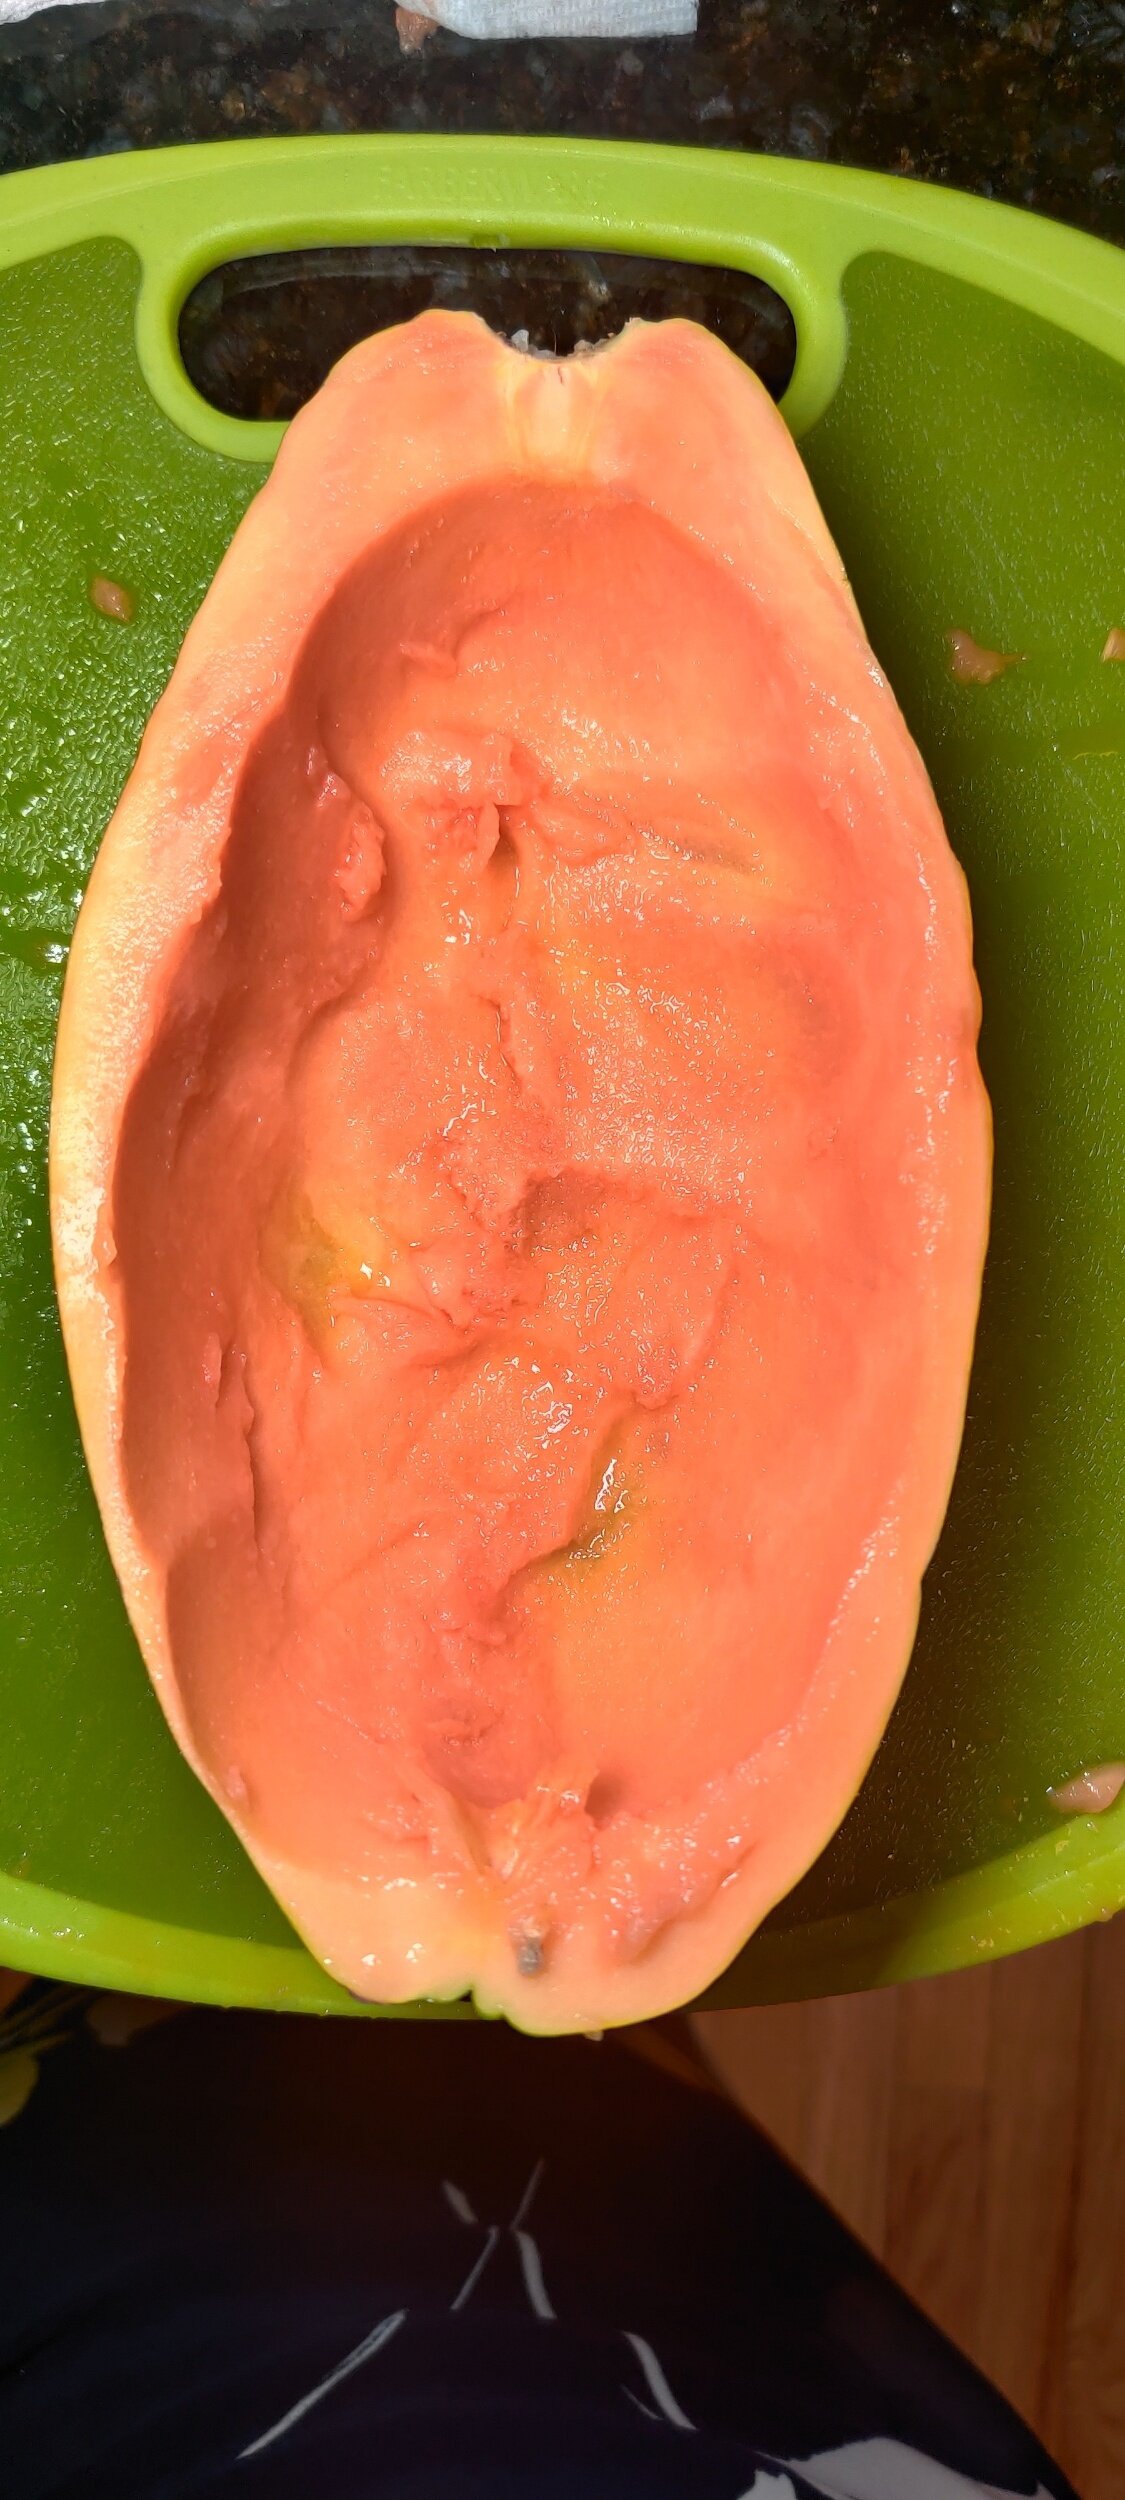
Slice the pawpaw in half, then remove the seeds and fibers. Keep one or both of the skins for serving purposes.
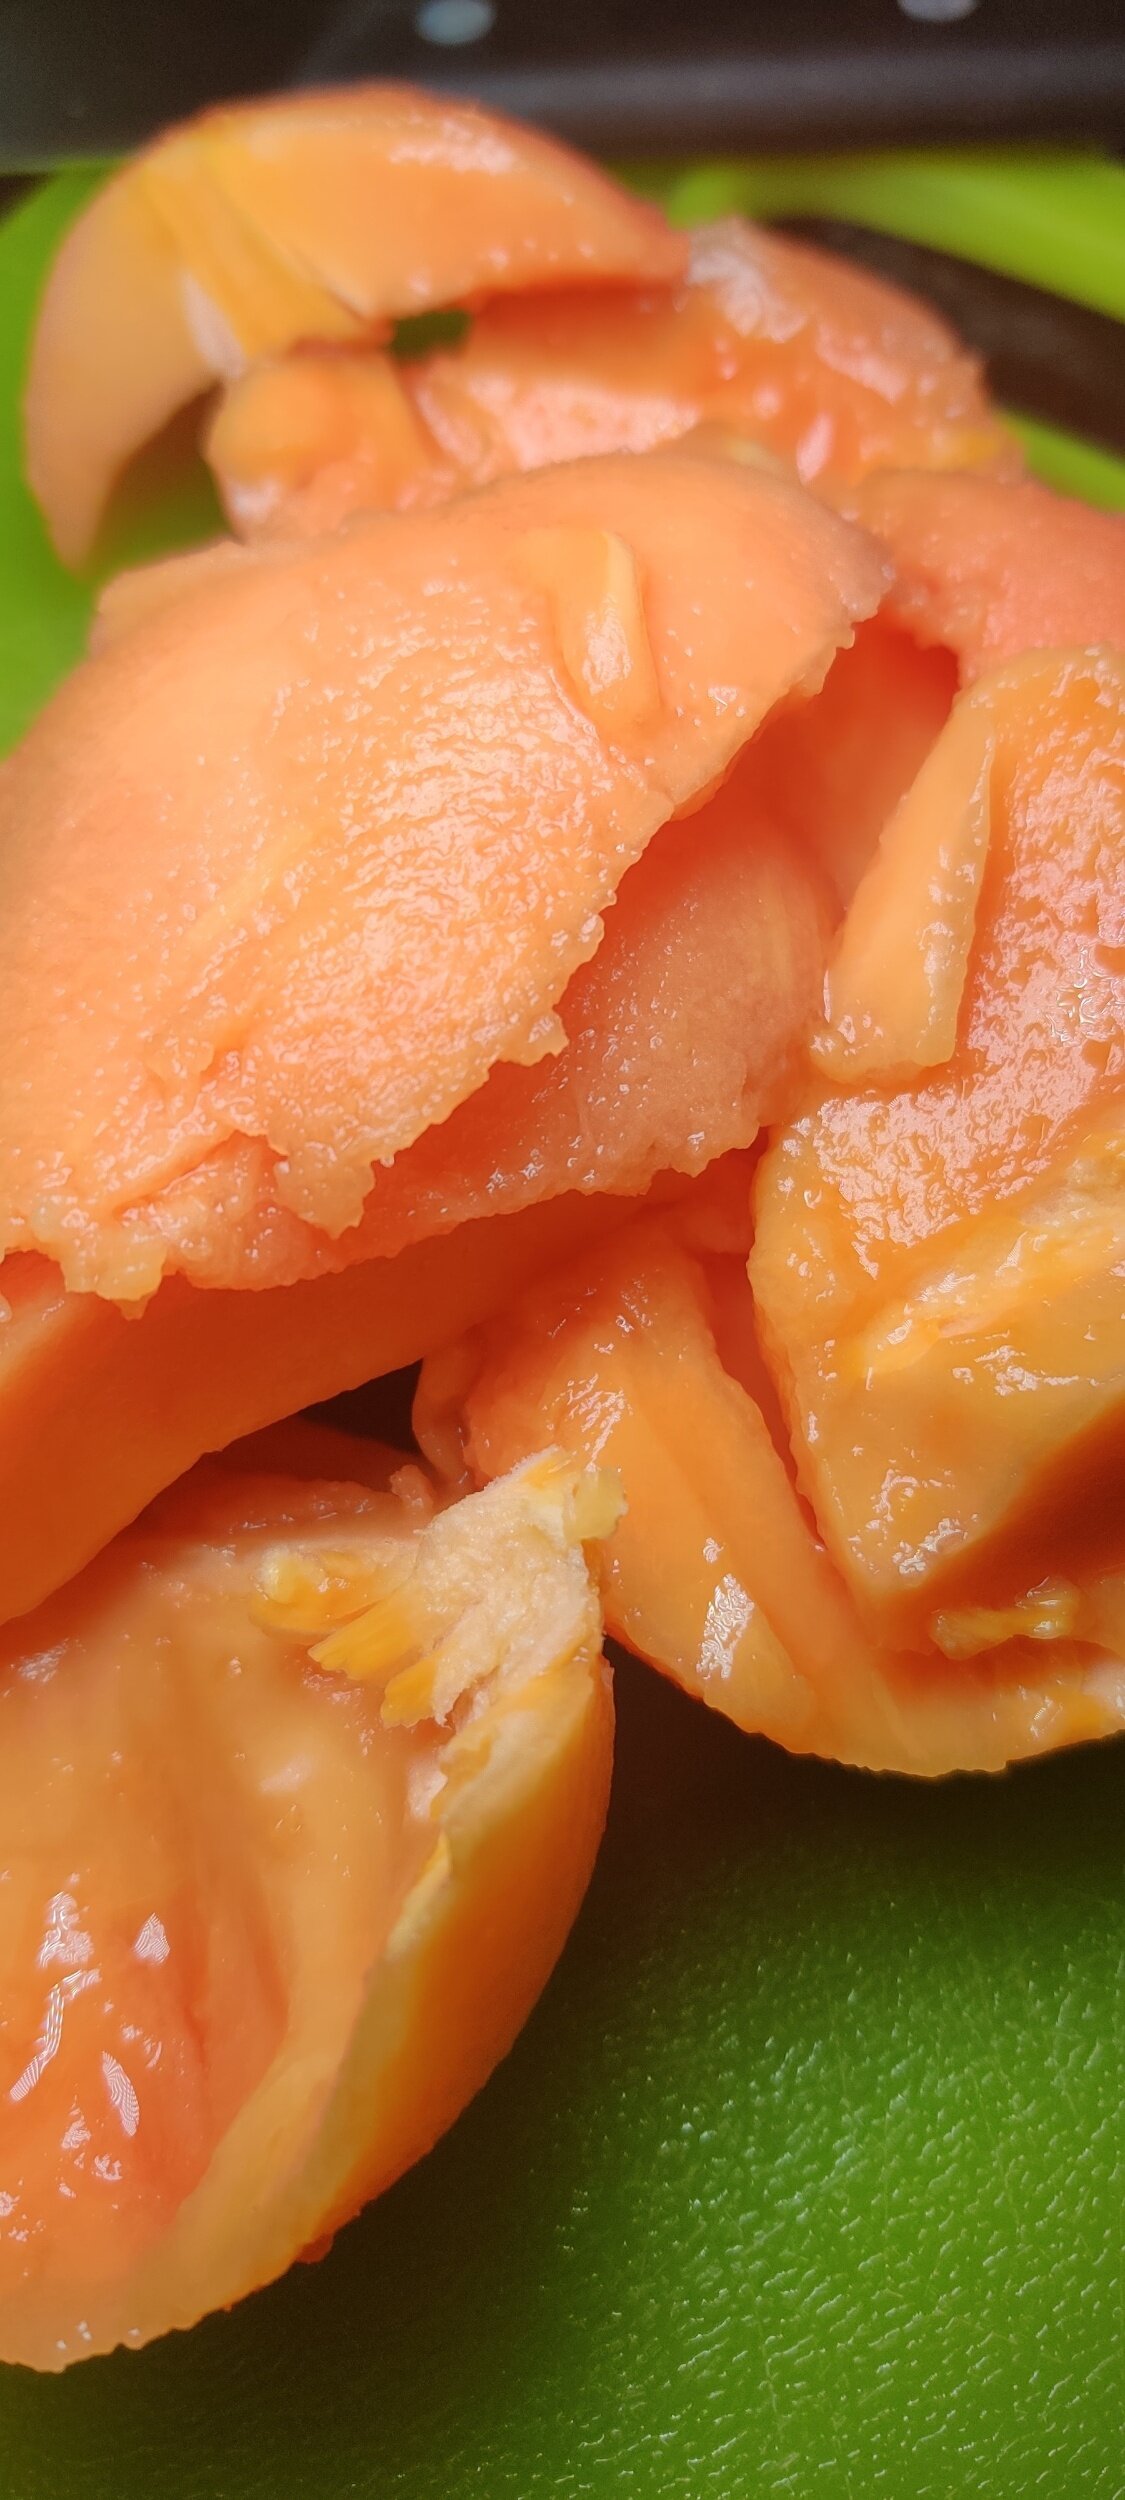
Roughly chop the pawpaw, place the pieces in a zip lock bag, then freeze
In a food processor or blender, blend the pawpaw pieces, adding the water a little at a time. As the sorbet smoothens, add the honey, lemon juice, and berry maple syrup. You can adjust the quantities to get the level of sweetness and texture you desire.
Scoop the mixture into a loaf tin, and freeze for at least 4 hours or overnight. Serve immediately.


Mulled Sangria Poached Pears
Are you a fan of sangria? A fan of pears? Do you add them to your sangria in addition to lemon, orange, berries or apples?
I typically associate poached pears with winter as I do mulled wine, often enjoyed by the fireplace on a chilly evening. However, you can also take pleasure in both in the warmer months by putting a sangria spin and introducing a fruity flavour.
This recipe soaks the pears in a 'mulled sangria' - a combination of mulled wine with the spices and natural sweetener and sangria with the additional fruit elements.
Sangria is a Spanish/Portuguese concoction I enjoy in the summertime heat and is something quite special. It’s tangy, refreshing, and fun to drink. I didn't grow up drinking it though but had regular fruit punch instead.
As for pears, I didn’t eat very many of those either compared to apples or mangoes. As I understand it, poached pears or Poire à la Beaujolais originates in France.
Whatever the case may be, I'm thankful for both! This recipe celebrates and brings the two together in the form of a sophisticated dessert that’s sure to please!

Ingredients
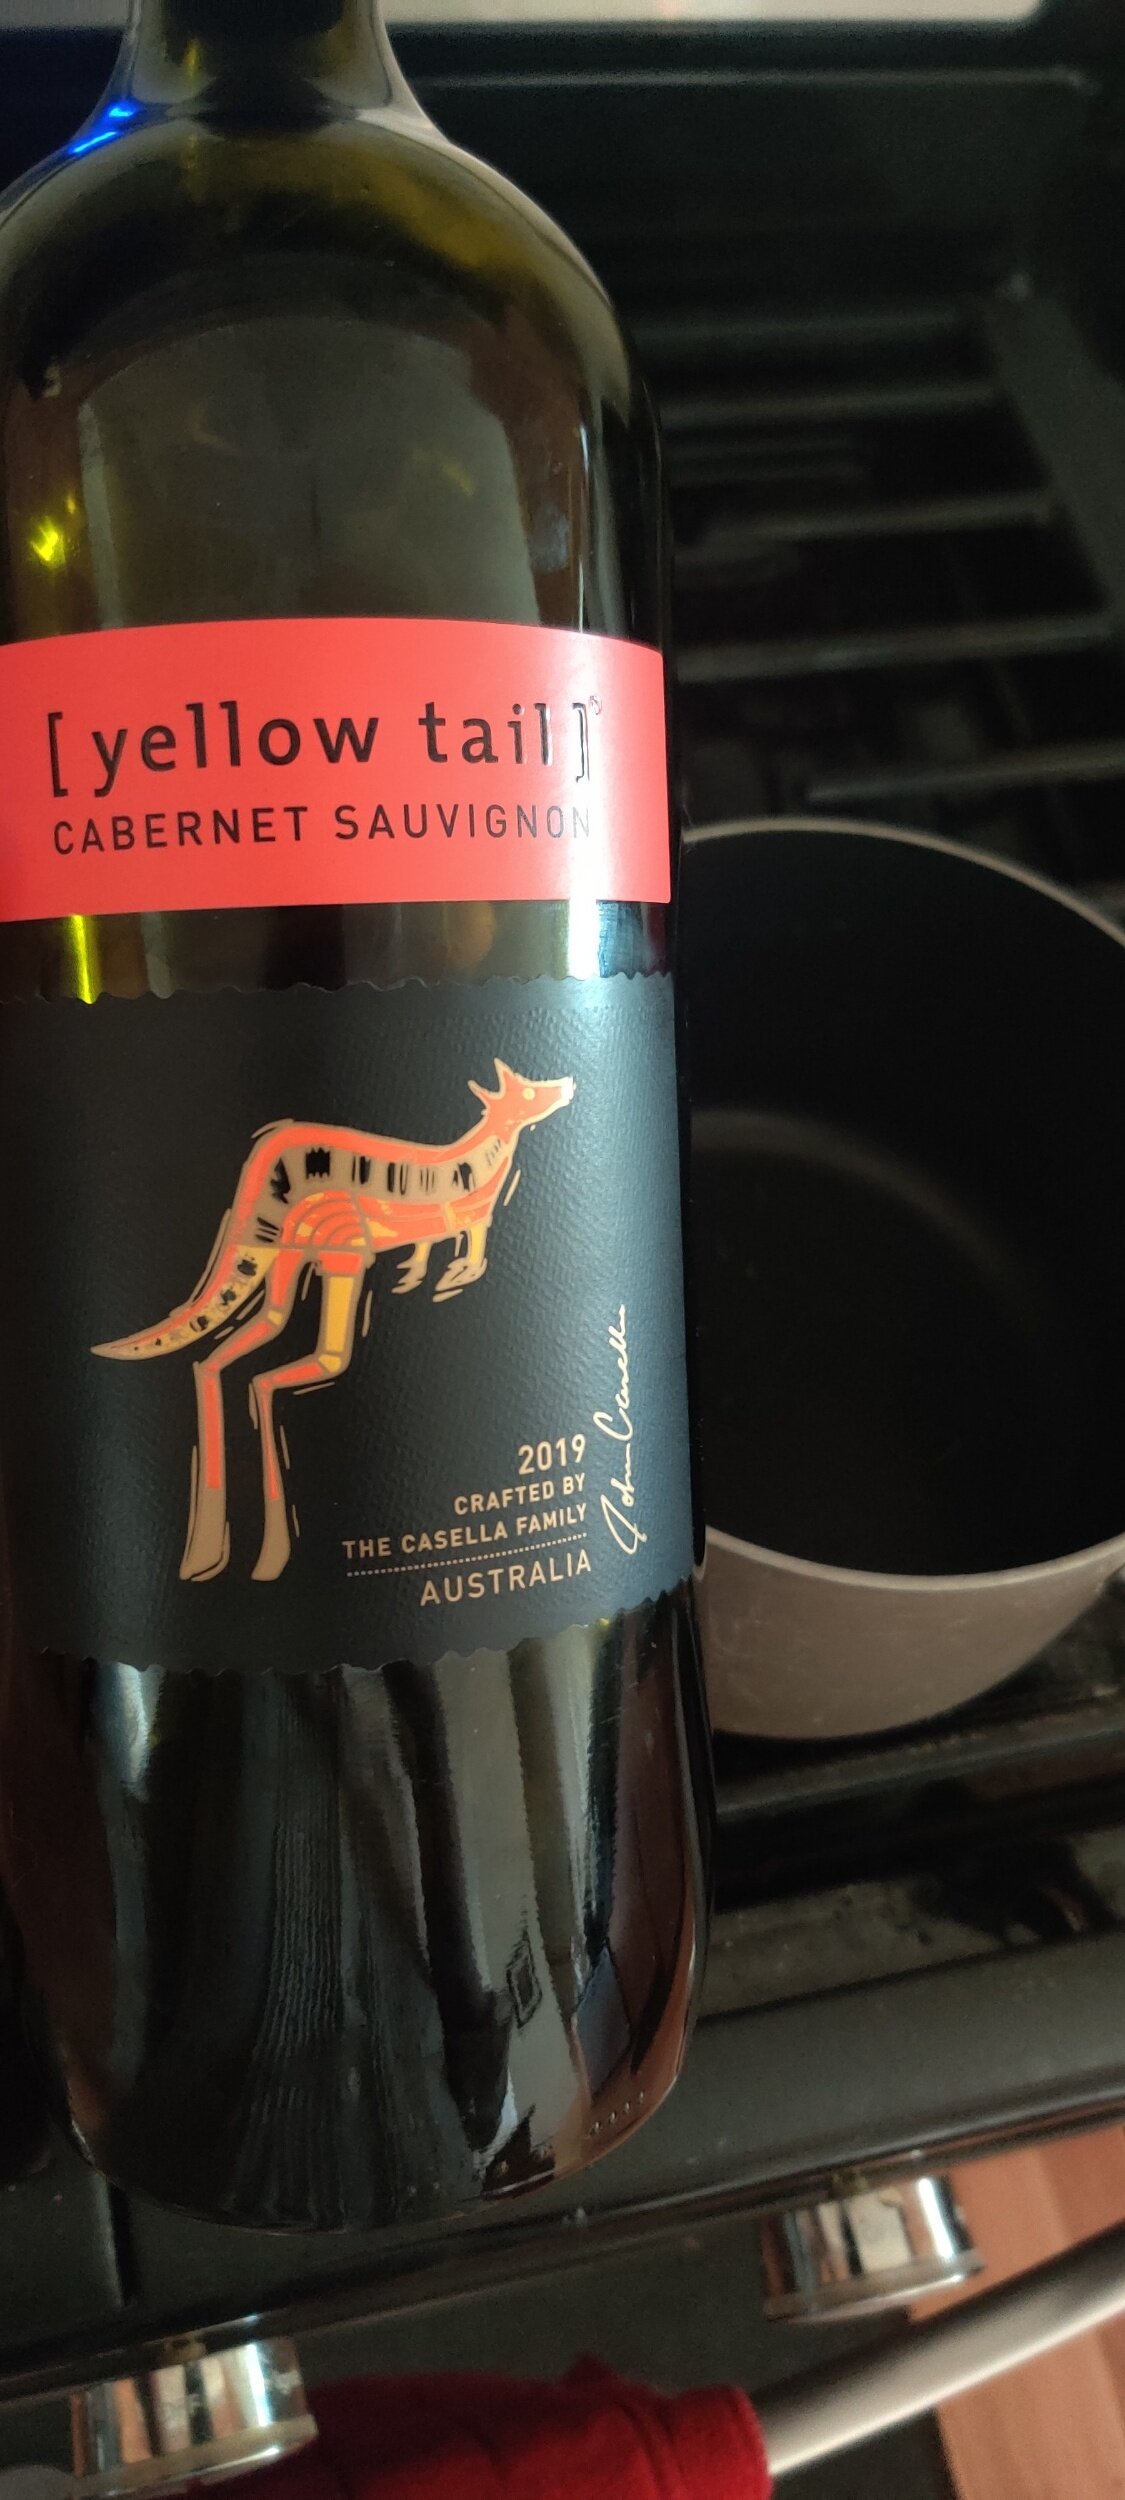
1 cup red wine (I used a Cabernet Sauvignon)
2 Anjou pears (not too ripe)
2 tablespoons white sugar
1/4 cup date syrup or honey
Pinch of salt
1/2 teaspoon cinnamon or a cinnamon stick
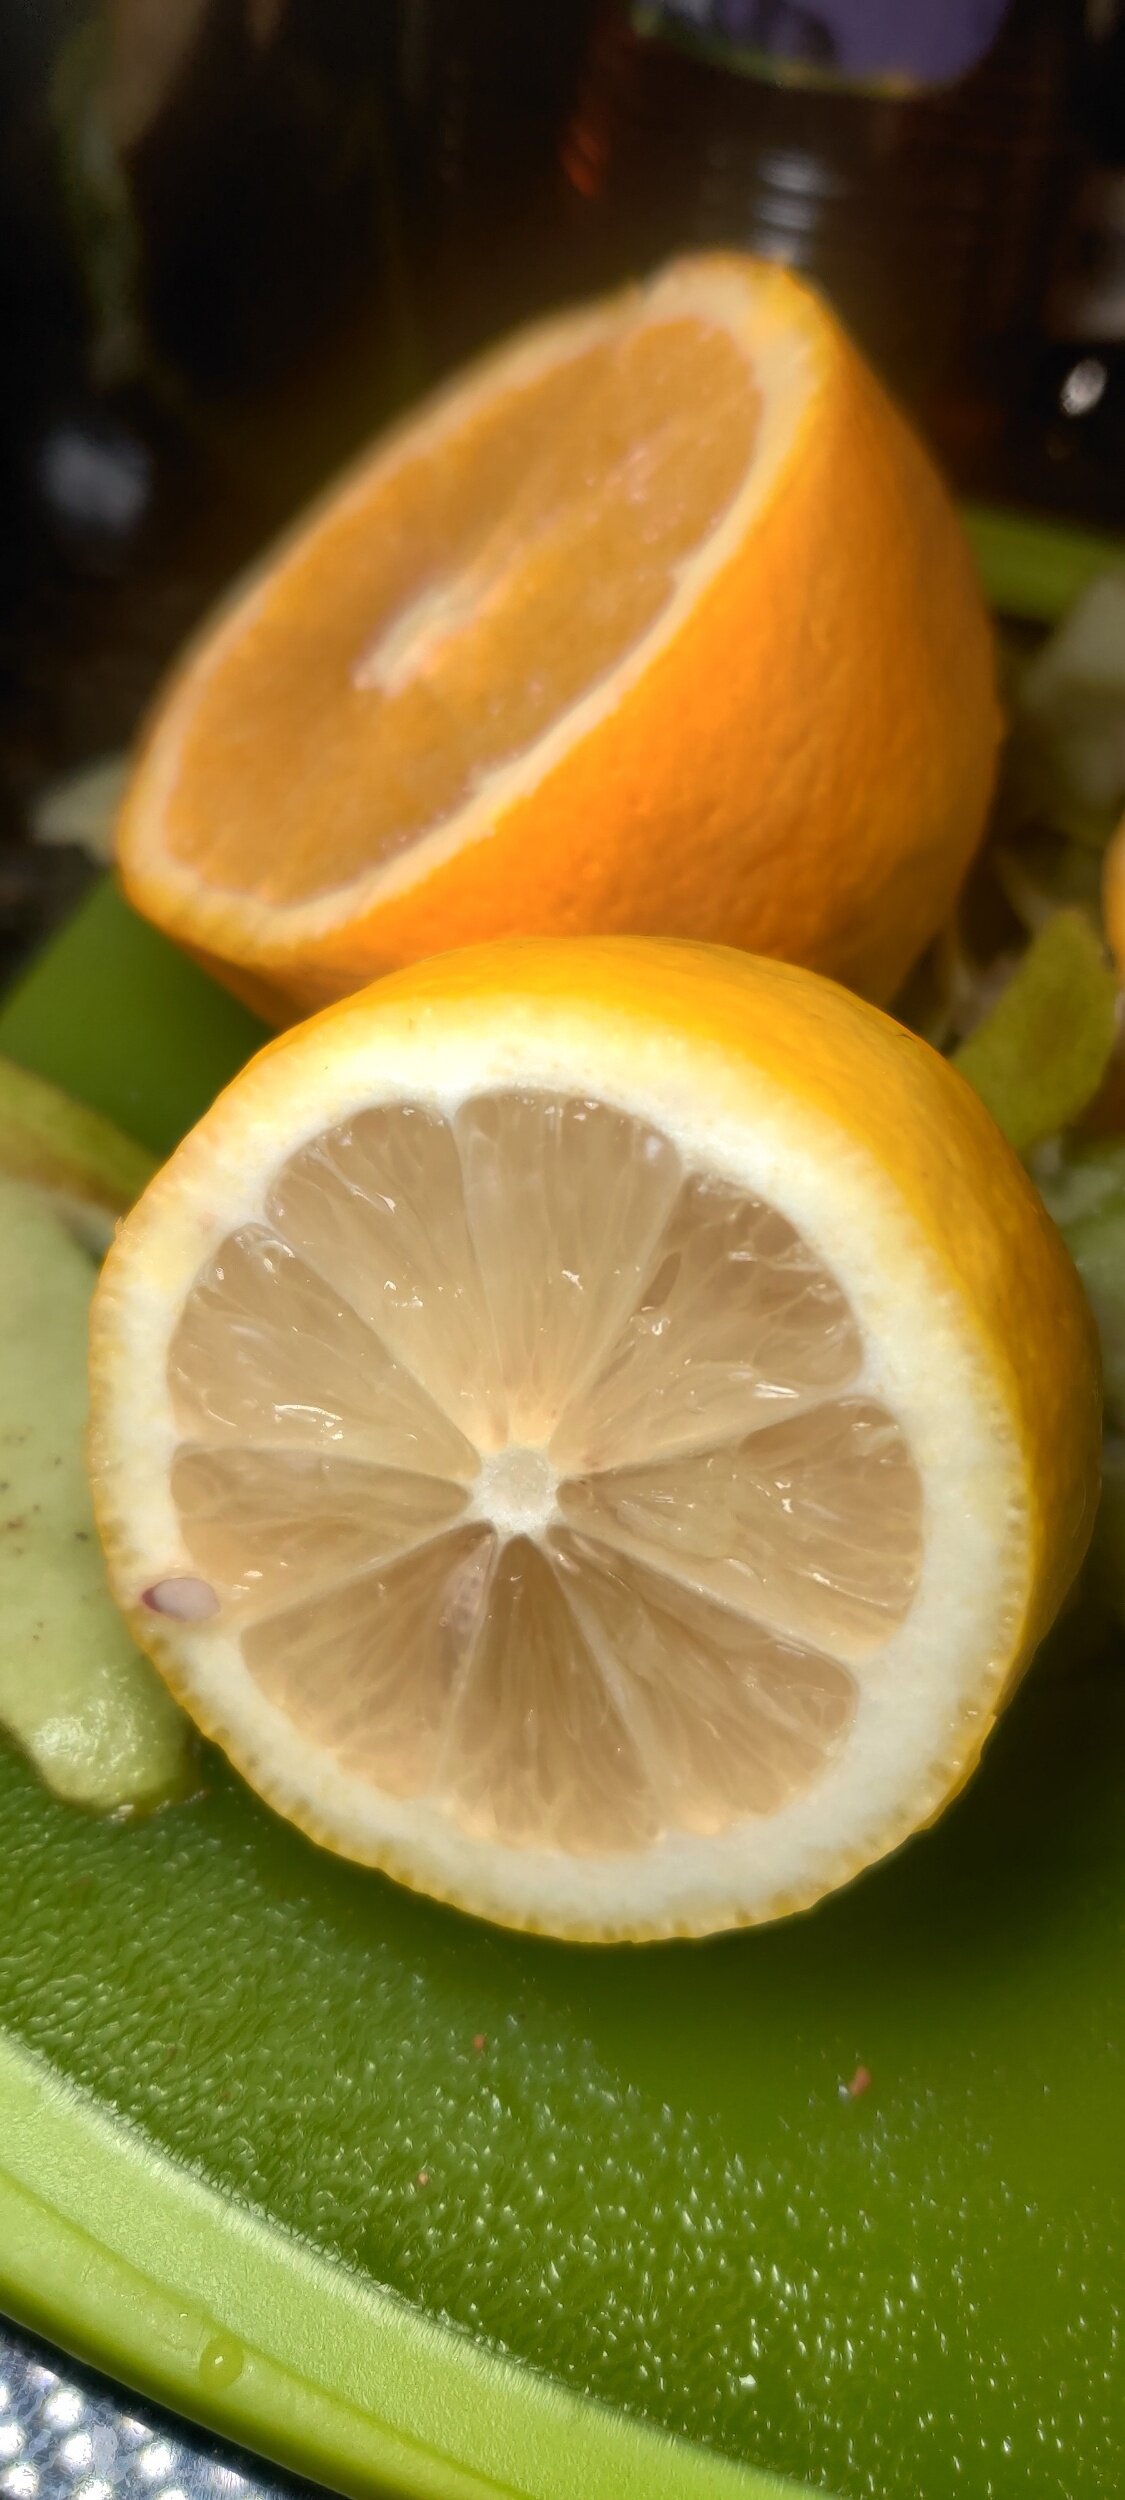
1/3 cup orange zest and juice
1 teaspoon vanilla essence or a vanilla pod
1/4 teaspoon almond extract
1/4 teaspoon nutmeg
1/4 teaspoon cloves
1/3 lemon zest and juice
1/4 cup cooking wine
3/4 cup water
Garnish:
Roasted pistachios, crushed
Coconut whipping cream


Instructions
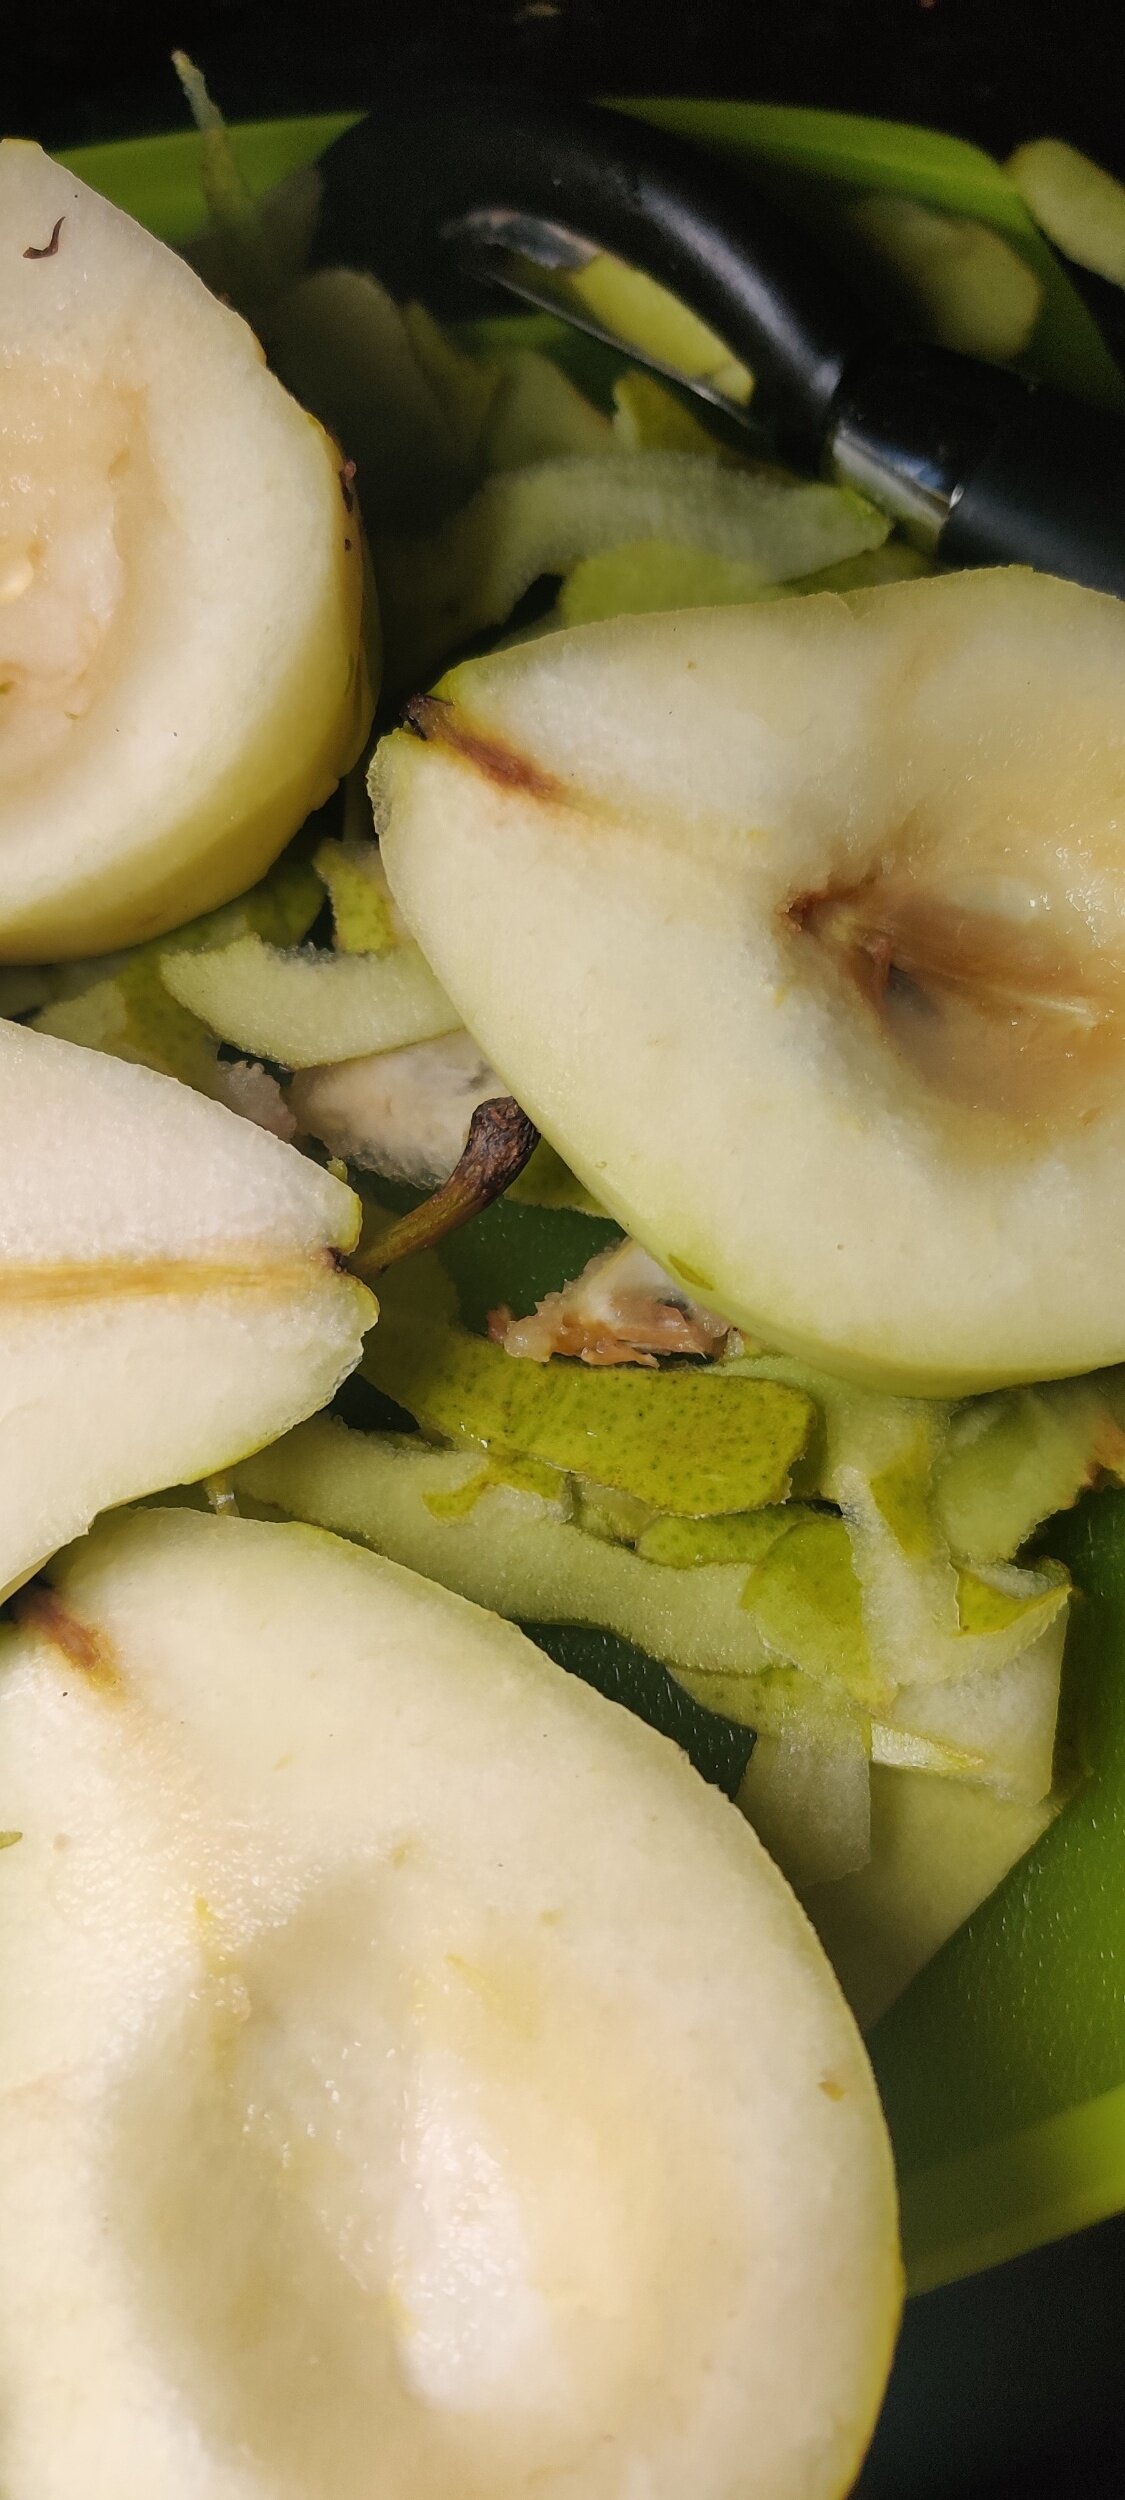
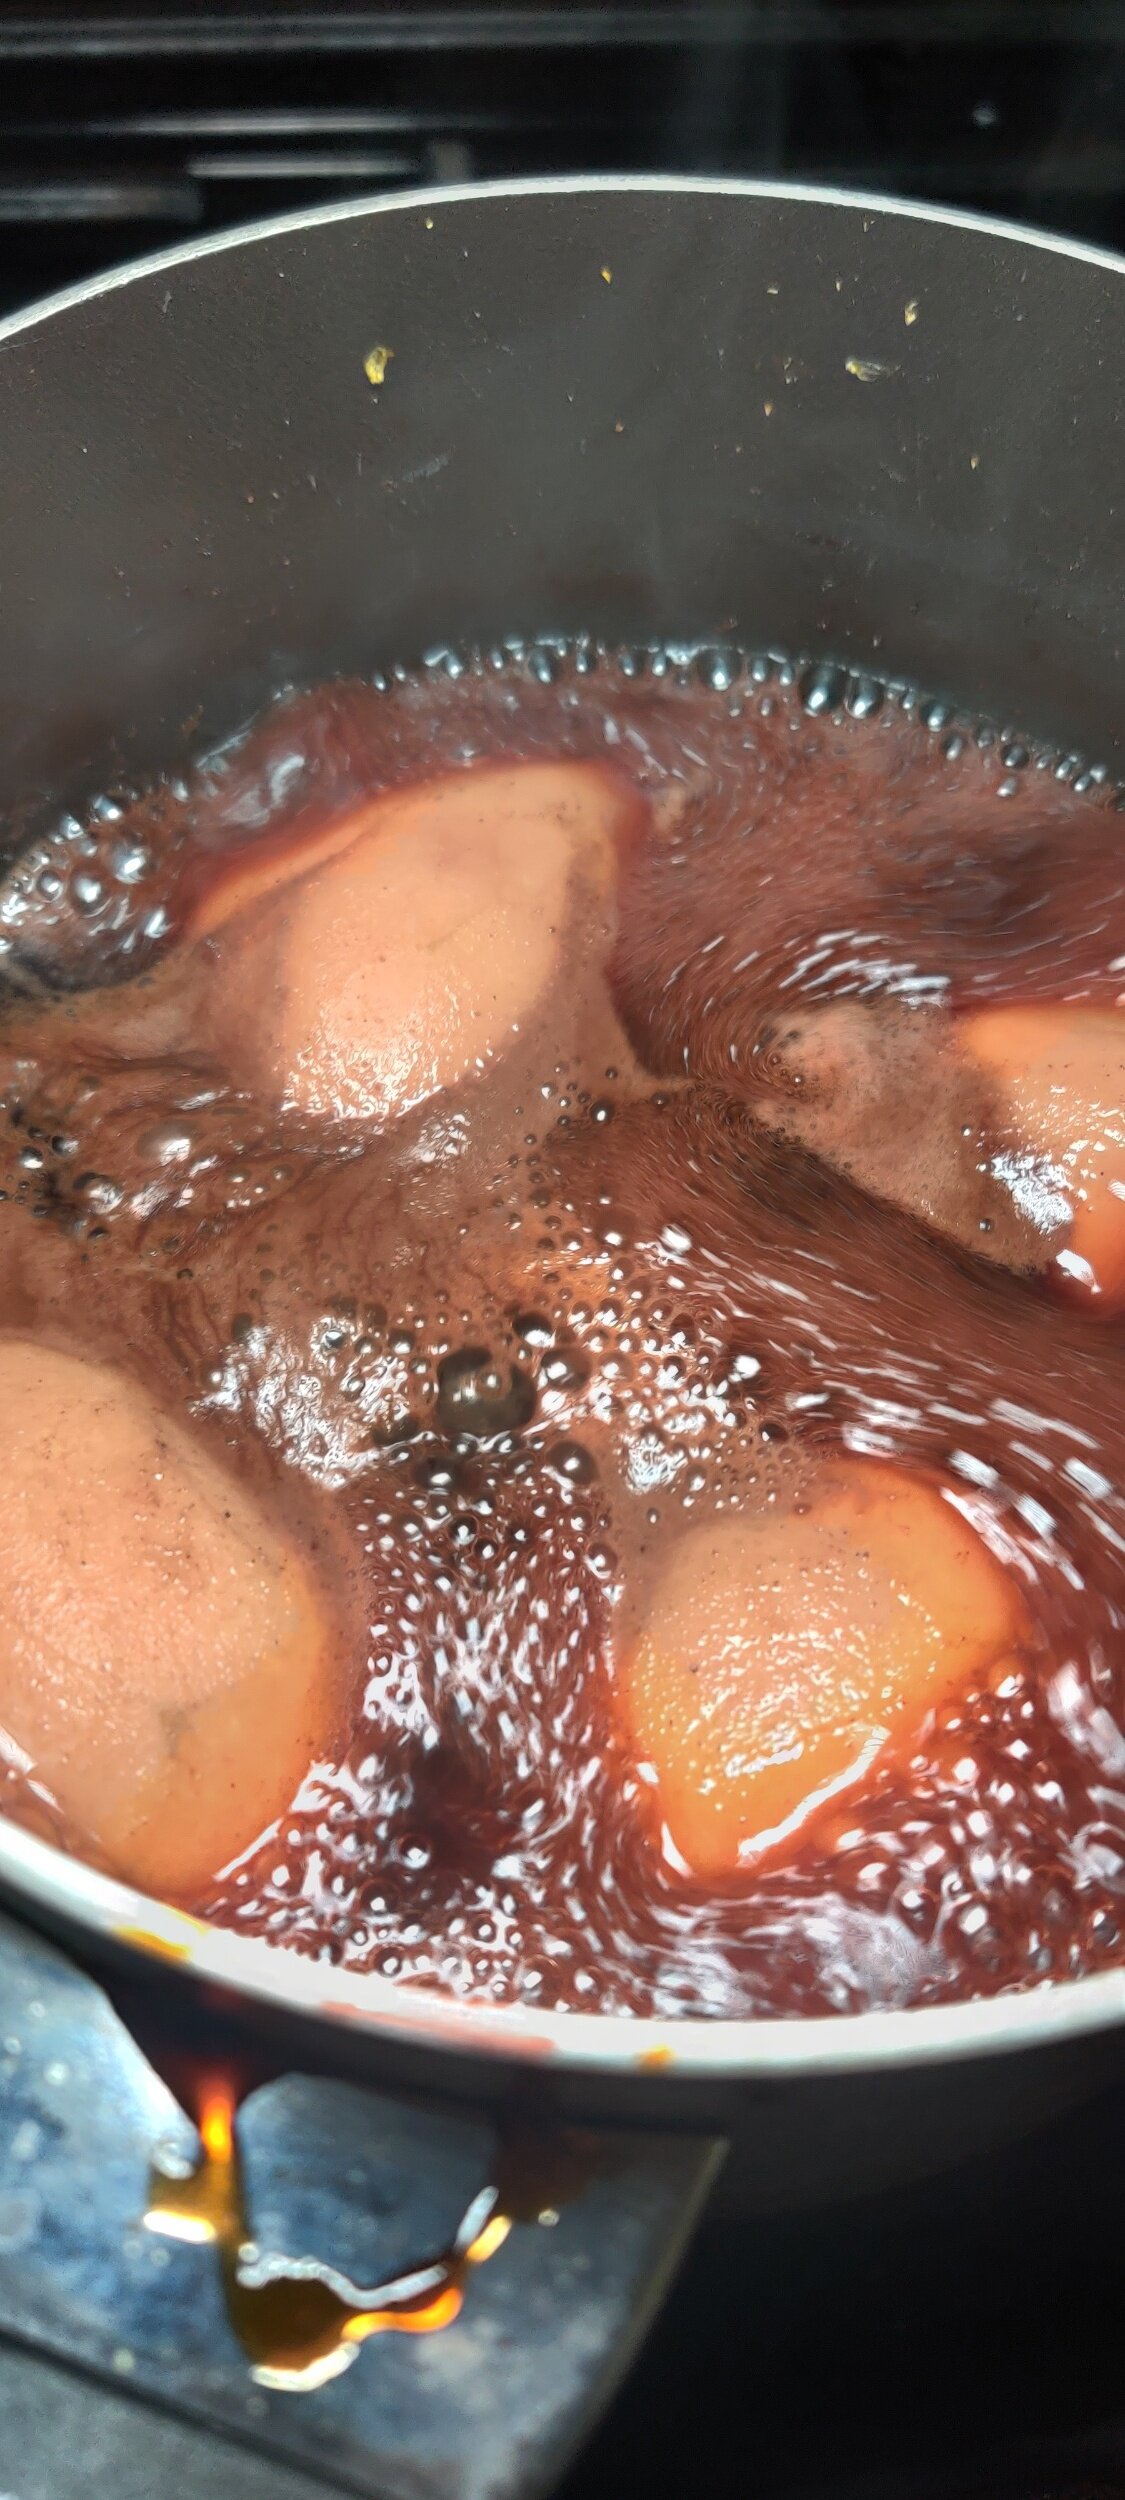
Peel, halve and decore the pears.
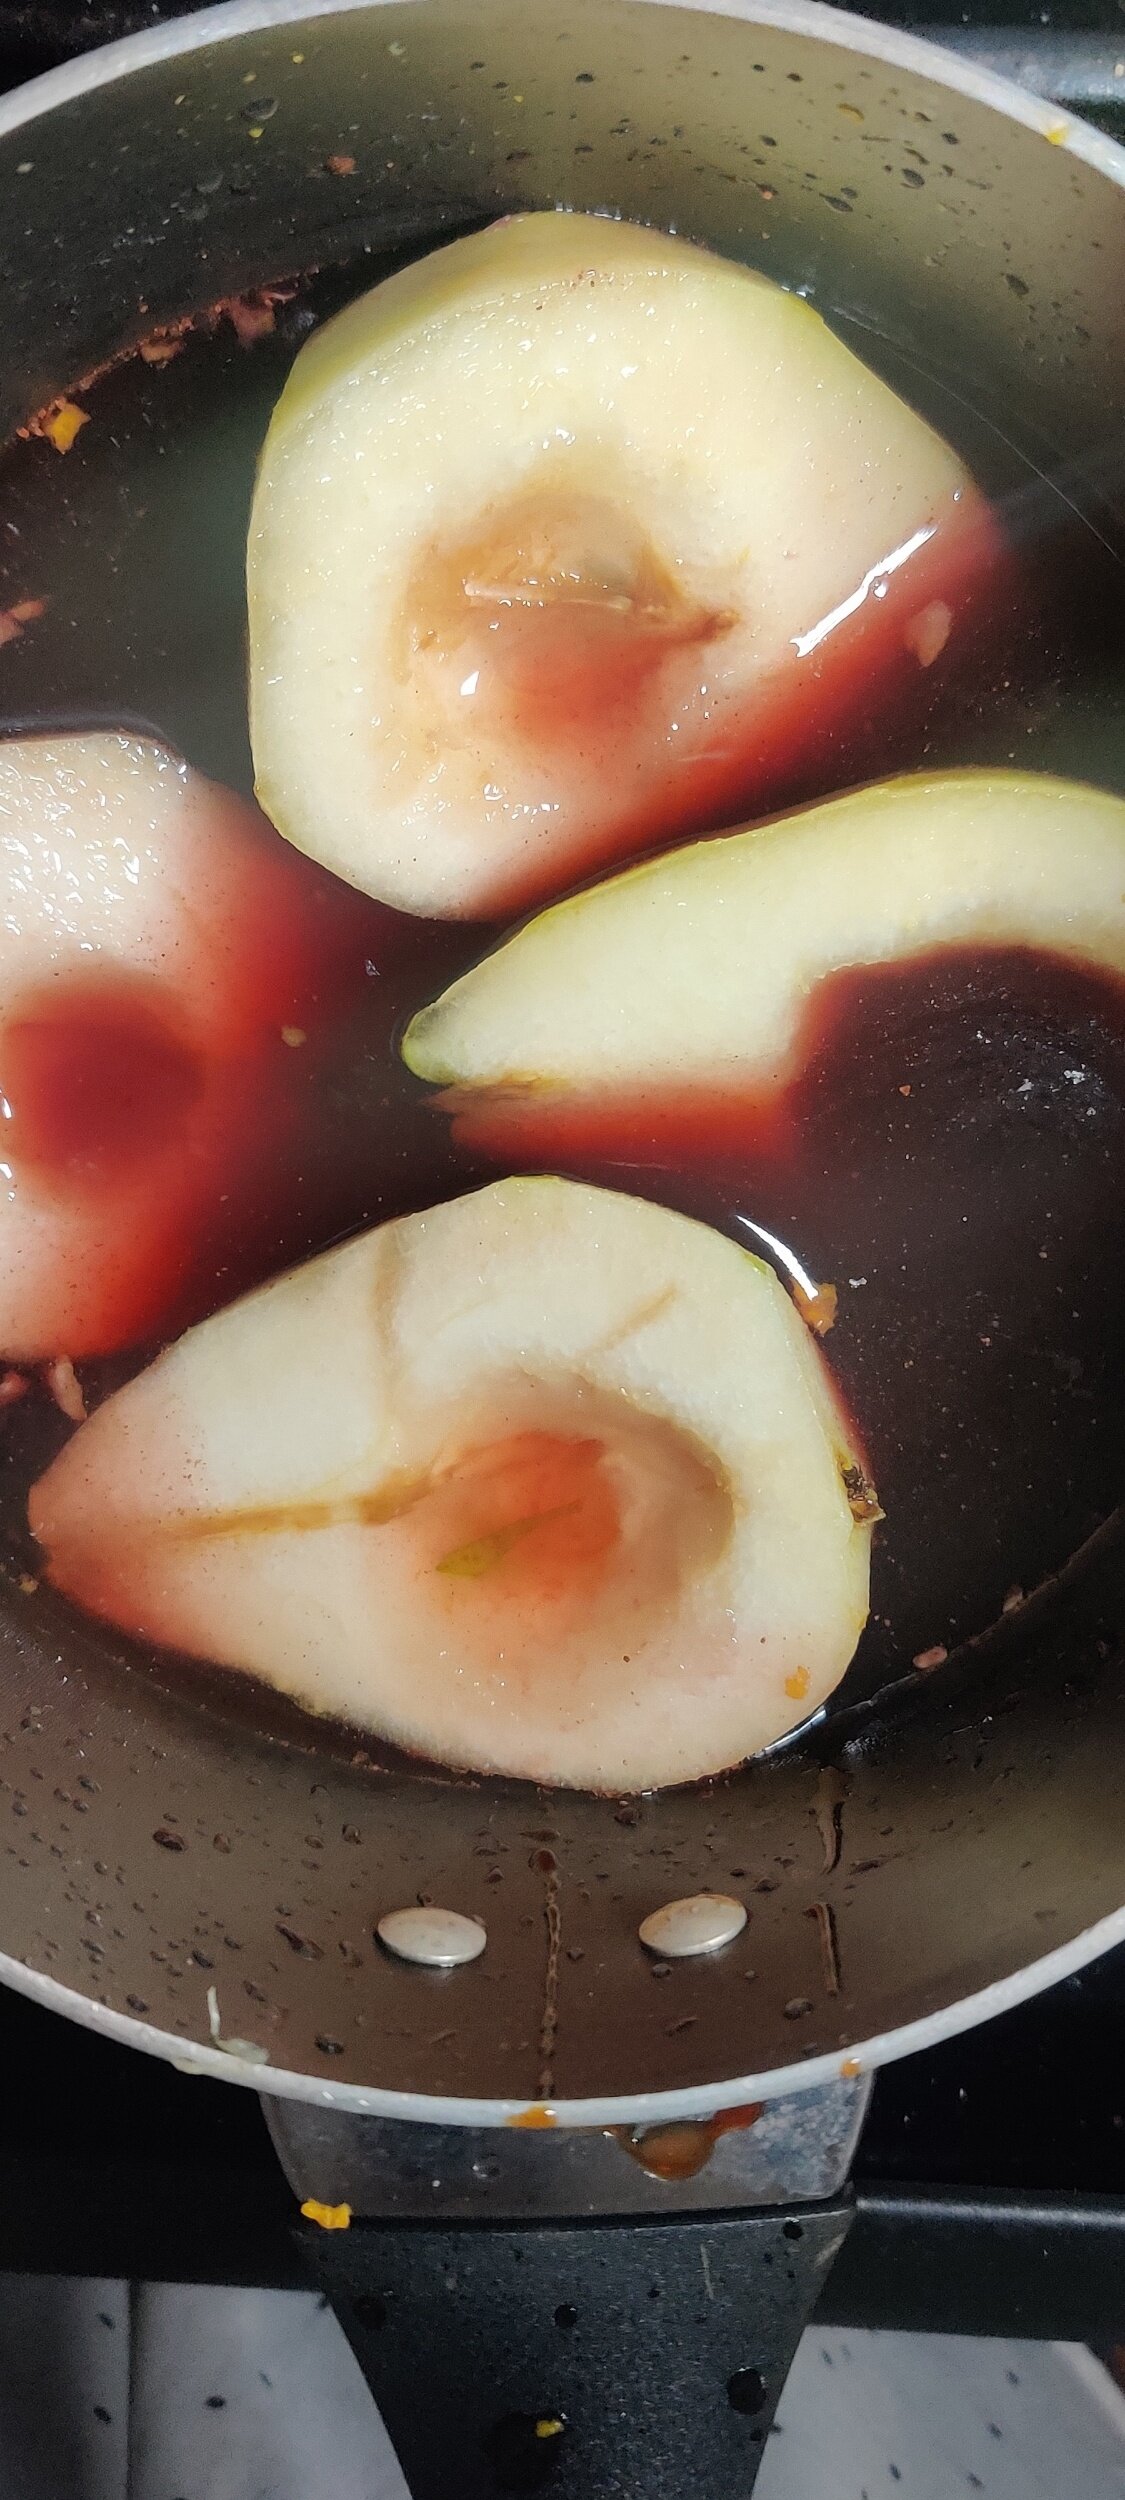
In a medium-sized pot, add all the ingredients including the pears and bring the spiced liquid to a boil (save the garnish ingredients).
Reduce the heat and simmer for 35 minutes with the lid on top. Cook until the pears are softened - test with a knife it should cut into the pears with ease.
Remove the pears and cool the remaining liquid.
Place the pears in a glass container core side down, and pour over the liquid. Place in the fridge overnight.
The next day: remove the pears from the liquid and set aside. Strain the liquid of necessary and simmer the mulled sangria mixture into a reduction until it becomes a thickened liquid.
Seat the pears on whipped cream and pour the reduction on top. Sprinkle with pistachios, enjoy cold or at room temperature! Serves 2 people.

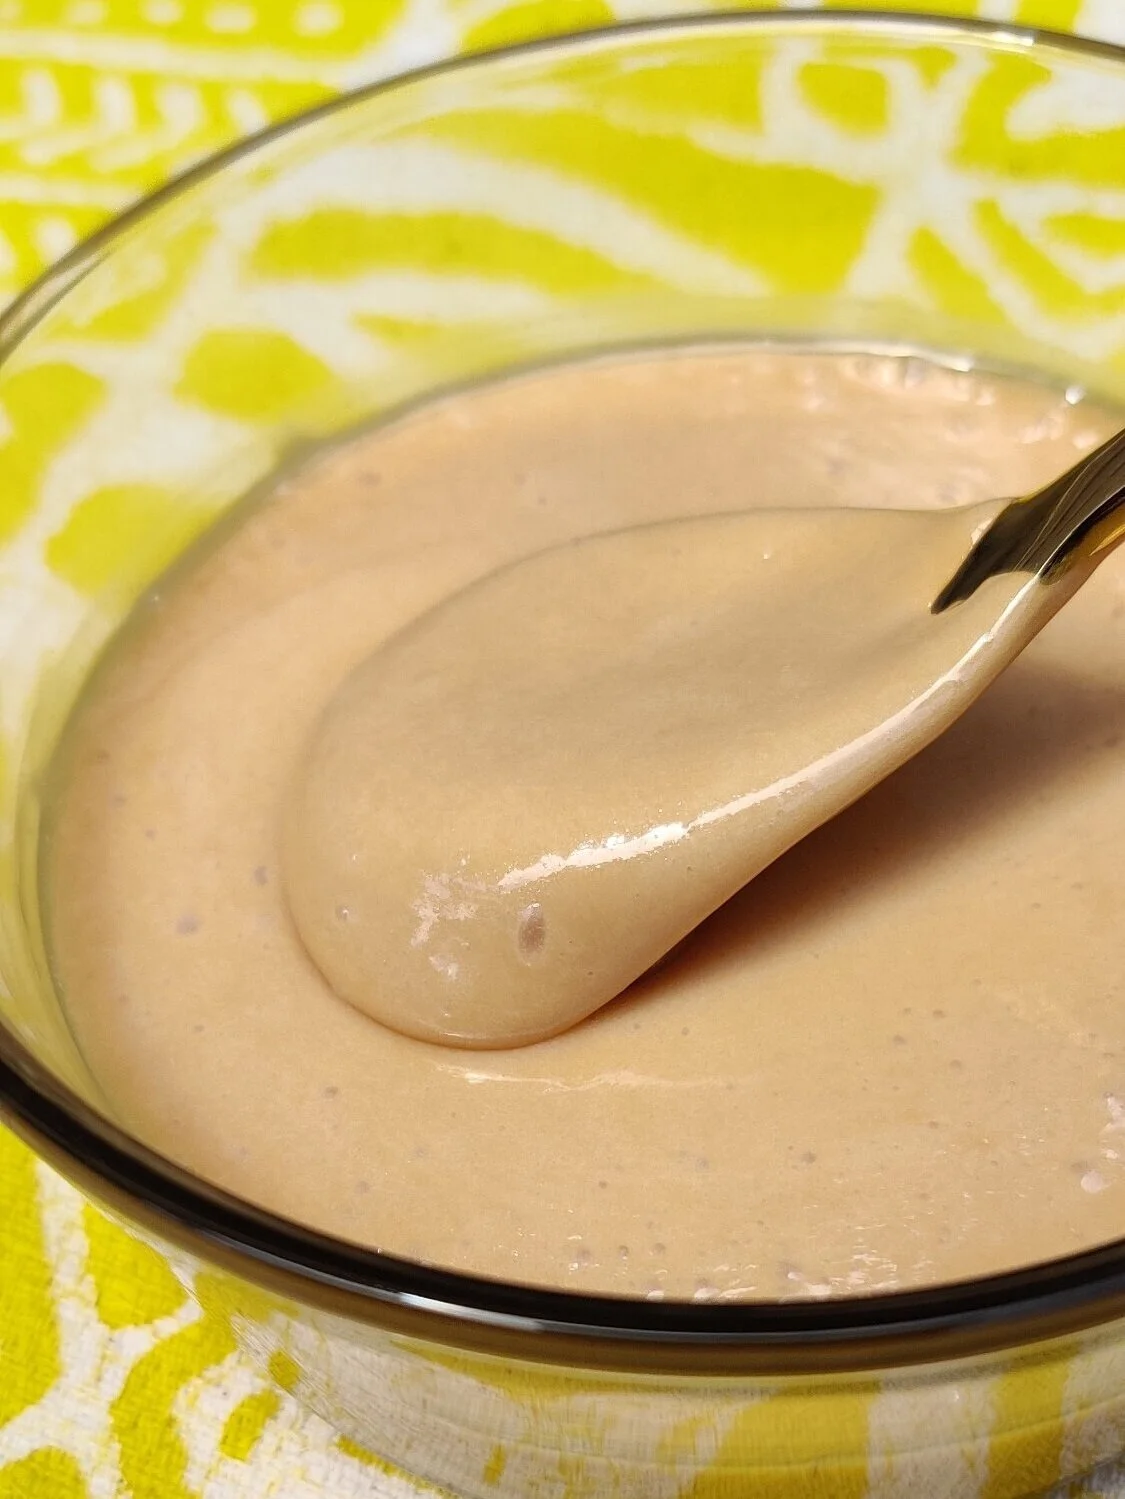
Salted Goat Milk Caramel (Cajeta)
I’m a firm believer that caramel is the best thing ever created.
You can use it as a condiment for your desserts, add it to or on top of cake frosting, or make candy. Most people use cow’s milk for caramel, and you can whip up a delicious vegan version with coconut milk. But how about goat’s milk? It may seem like an unusual choice, but for those of us who grew up drinking it occasionally, it has a unique flavour and tang worth exploring.
You can test it out and try my tiger nut chocolate cake recipe with goat milk cream cheese frosting.
In Mexico, it’s common to make caramel with goat’s milk, and it’s called cajeta. Give it a try!
Ingredients
3/4 cup white sugar
1 cup goat milk
1 1/2 tablespoons butter
2 pinches sea salt crystals
1/2 teaspoon baking soda
1/2 teaspoon vanilla
1/2 teaspoon cinnamon

Instructions
In a medium-sized pot, bring the butter, sugar, and goat milk to a boil.
Reduce the heat, then stir frequently for 10 minutes. The caramel will start to thicken.
Allow the caramel to continue to thicken more, and stir frequently for another 10 minutes.
Remove from the stovetop, then stir in the baking soda, salt, and vanilla.
Allow the cajeta to cool, it will eventually darken in colour.
Store in an airtight container and use as needed within 3 months!

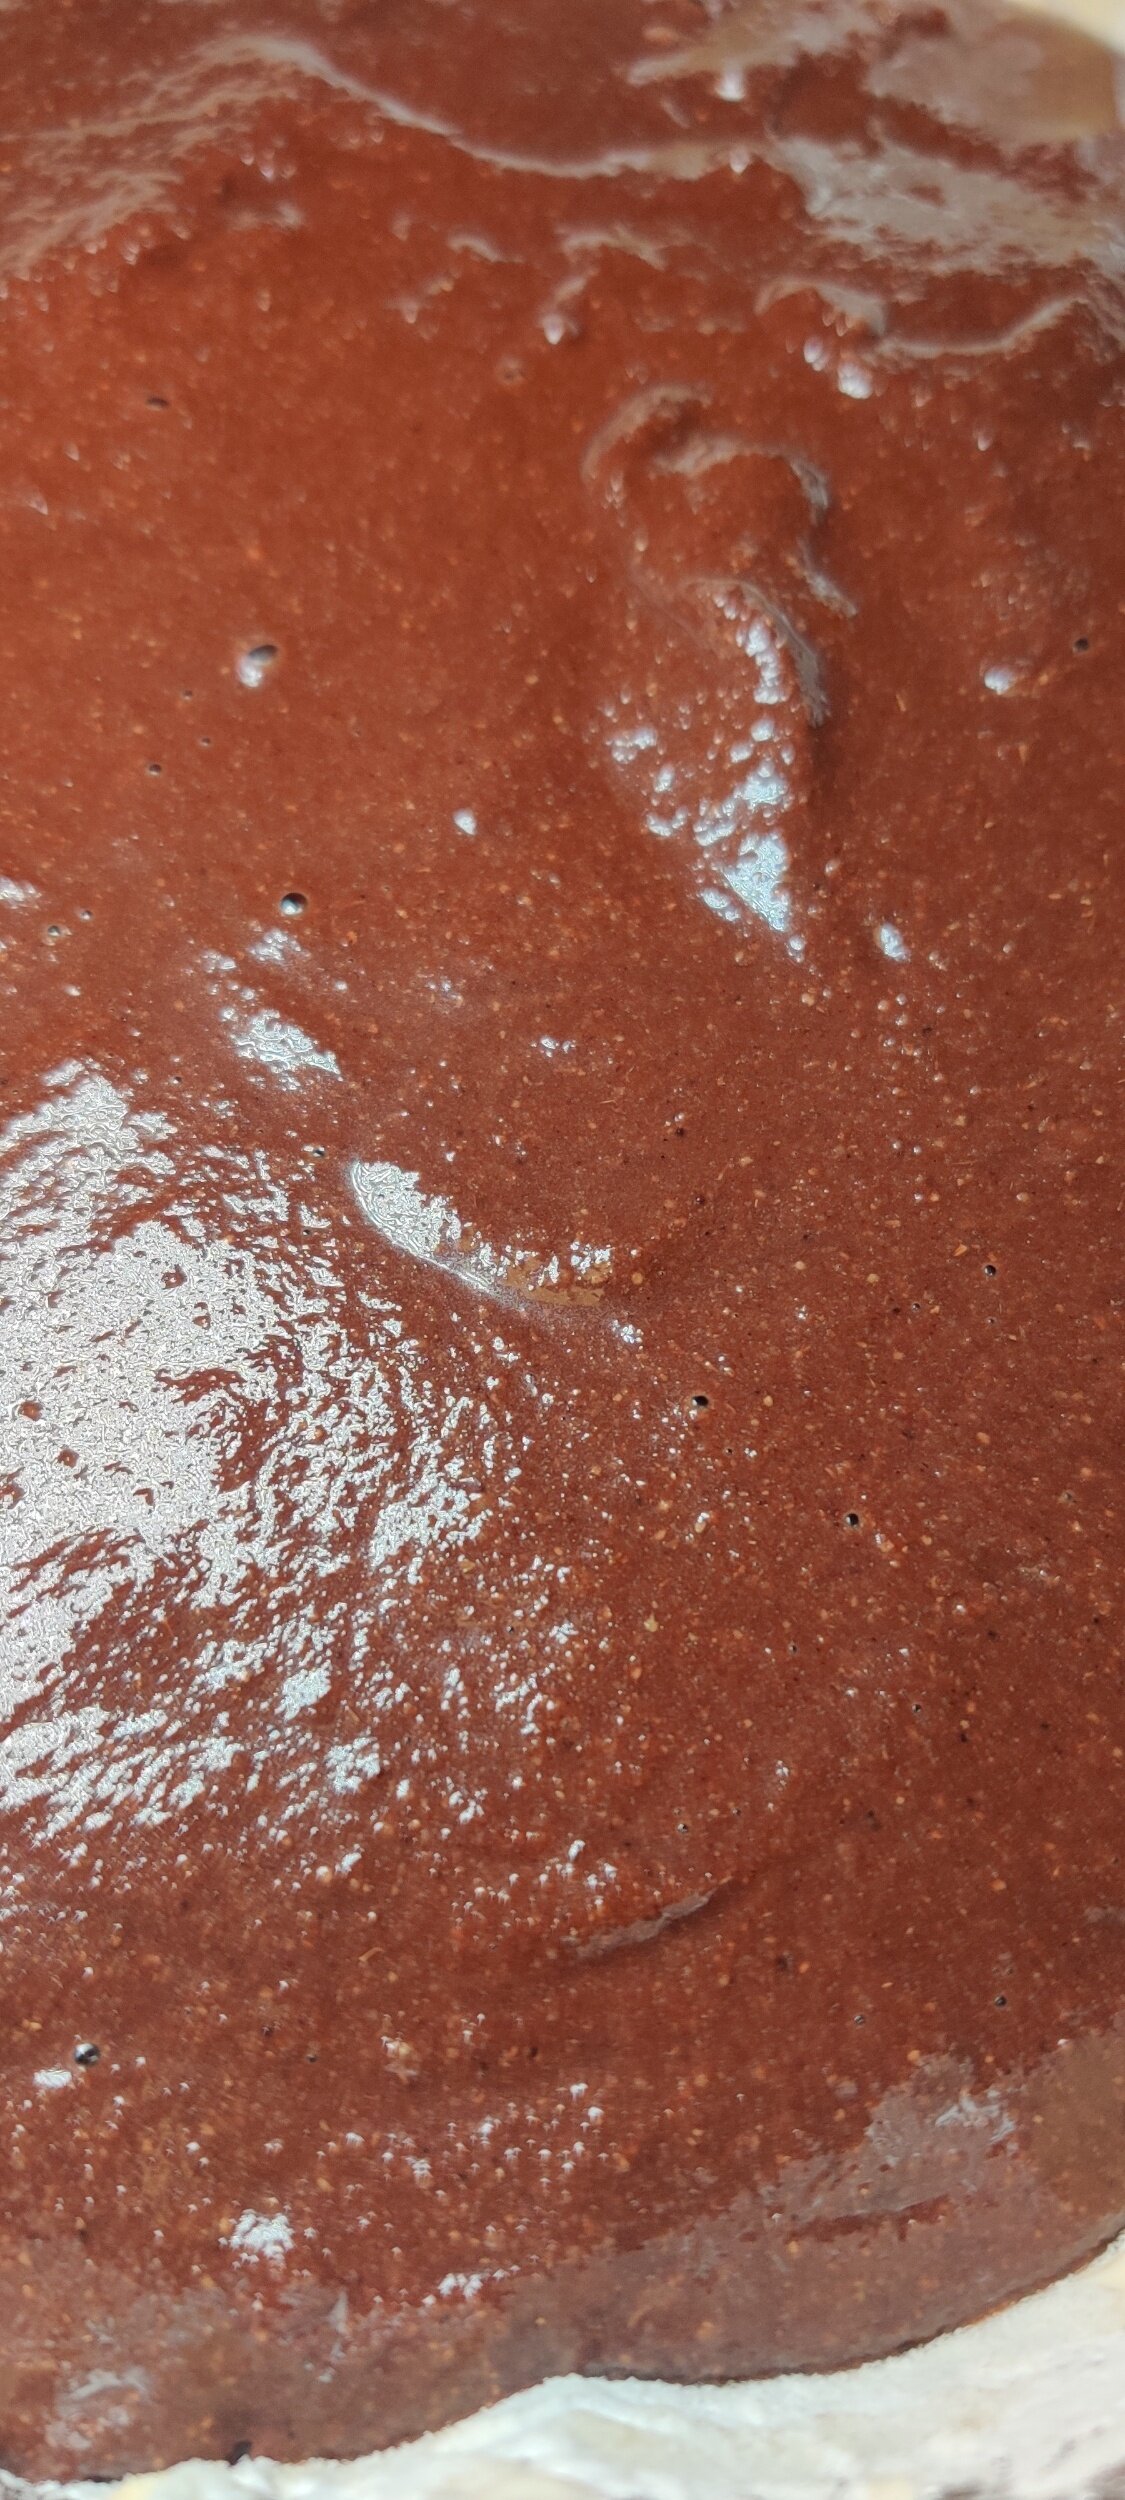
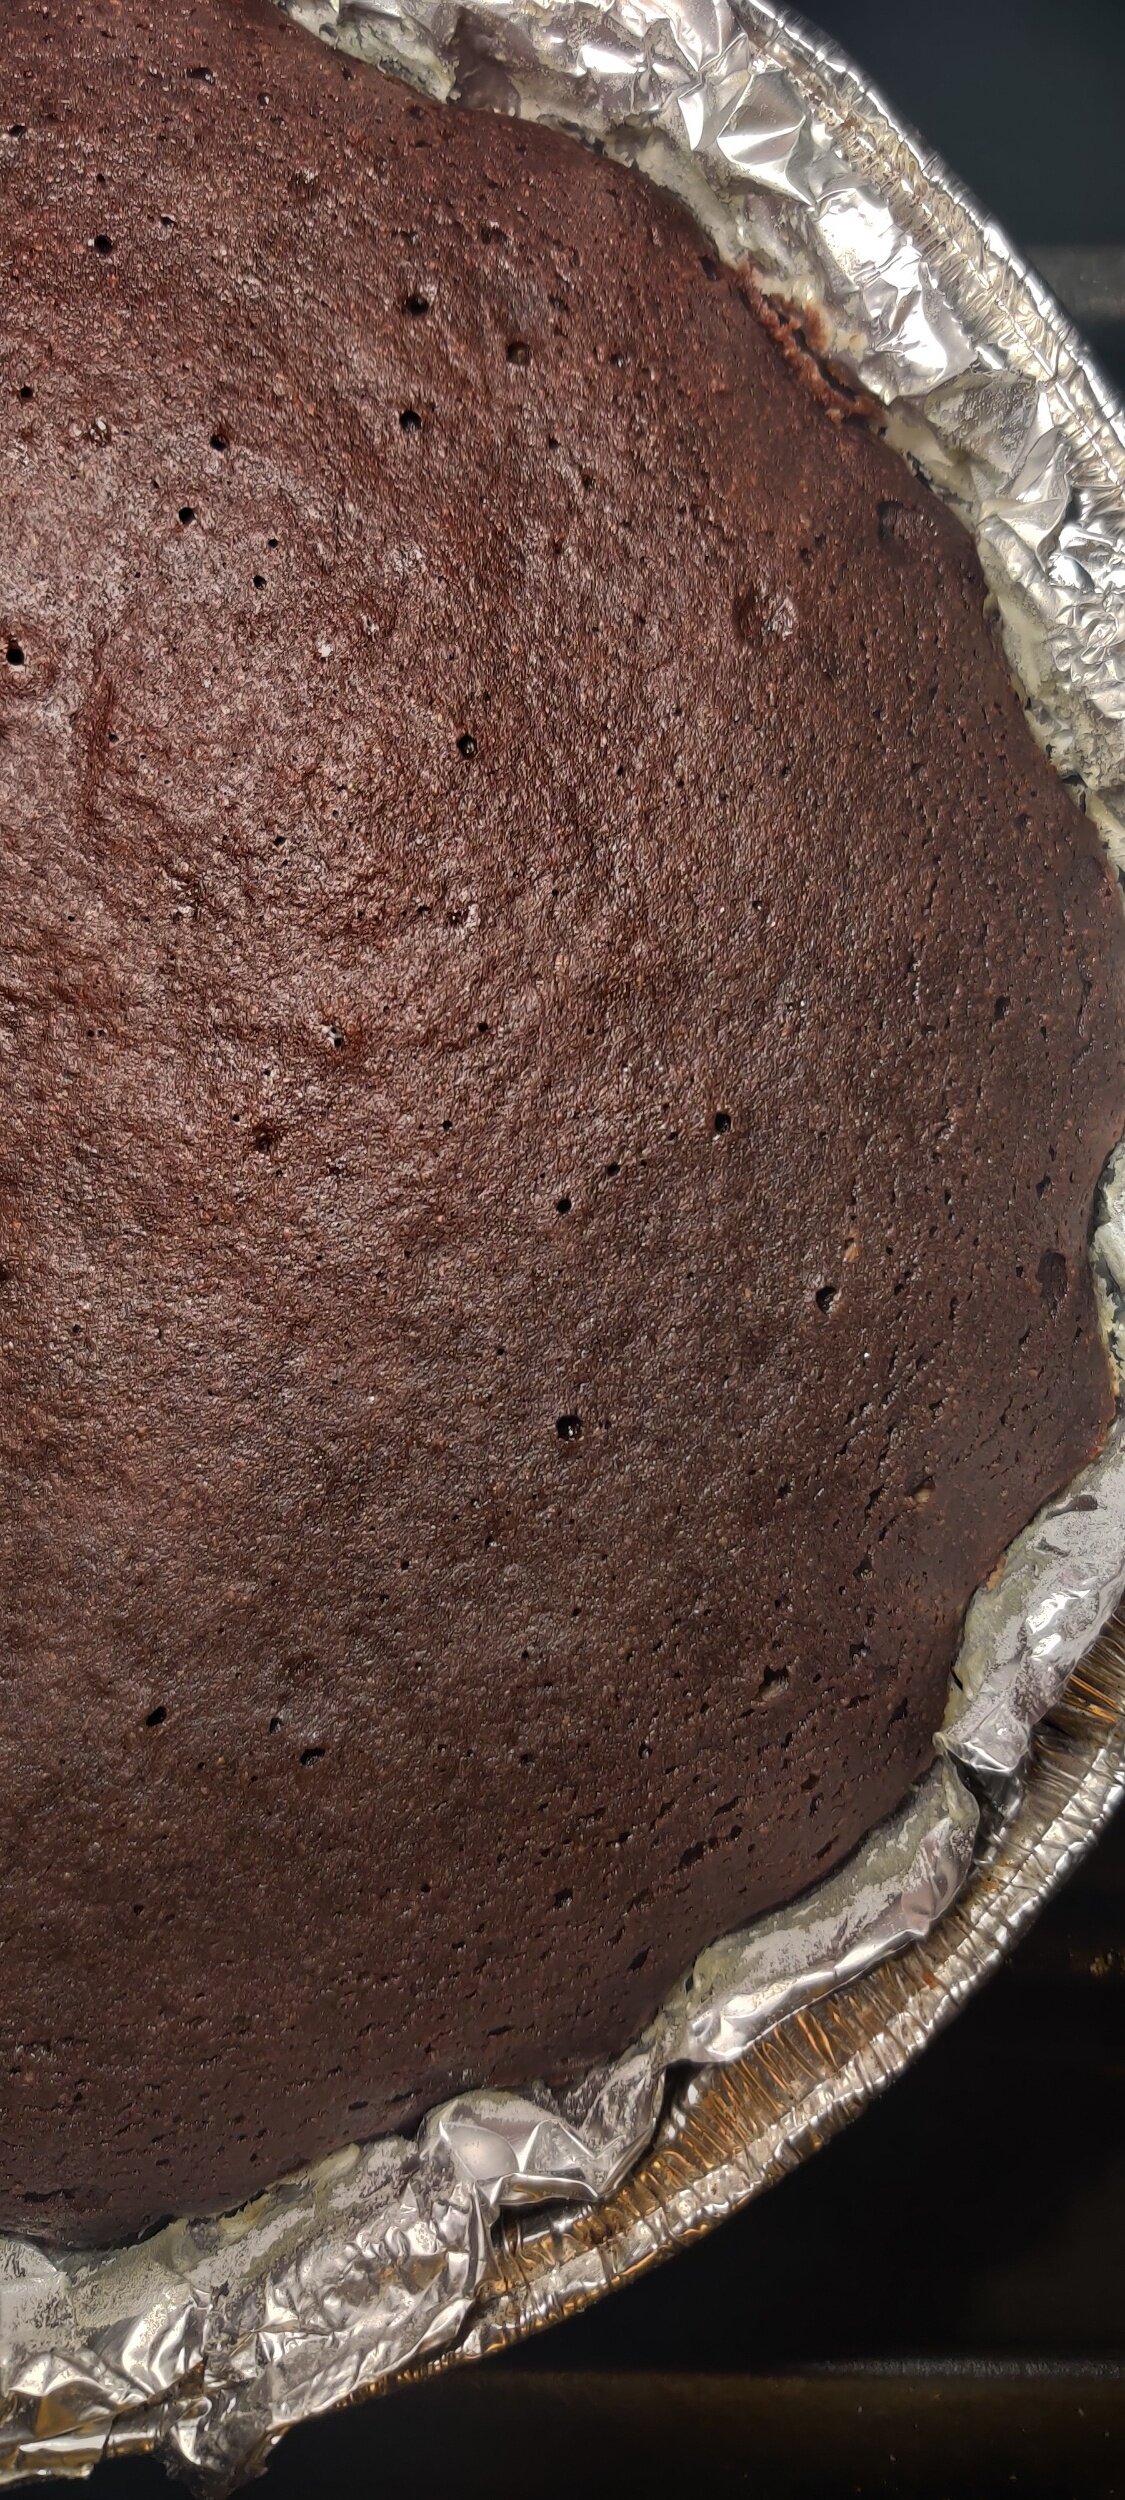
Tigernut Chocolate Cake with Goat Milk Cream Cheese Frosting
I love chocolate cake. I think it's safe to say that most people do. It is, after all, an all-time classic for dessert lovers. This cake, however, uses two ingredients that are considered unconventional, making for a gritty, earthy tasting cake, but still delicious. The cake is moist, not too sweet, and the frosting just melts in your mouth!
If you need to balance the texture a bit you can serve the cake with ice cream or a berry coulis!
This is a flourless cake, and the substitute I used was tigernut flour. The ancient grain dates back to the Egyptians and is considered a superfood by some. Alternatively, you could use almond, cassava, or any other gluten-free flour. Tigernut is a starchy root with a nutty taste, and they are great for your gut due to their prebiotic fibre content.
Many ancient grains that are better alternatives health-wise compared to the processed grains we eat today. The good news is a lot of them are making a comeback!
I also used goat milk in both the batter and the cream cheese frosting. Goat milk has a very unique, tangy flavour compared to cow's or plant-based milk, giving the frosting a subtle, earthy taste as well.
I also used Greek yoghurt cream cheese, which ensured the frosting didn’t have the metallic taste the sugar often gives the icing!


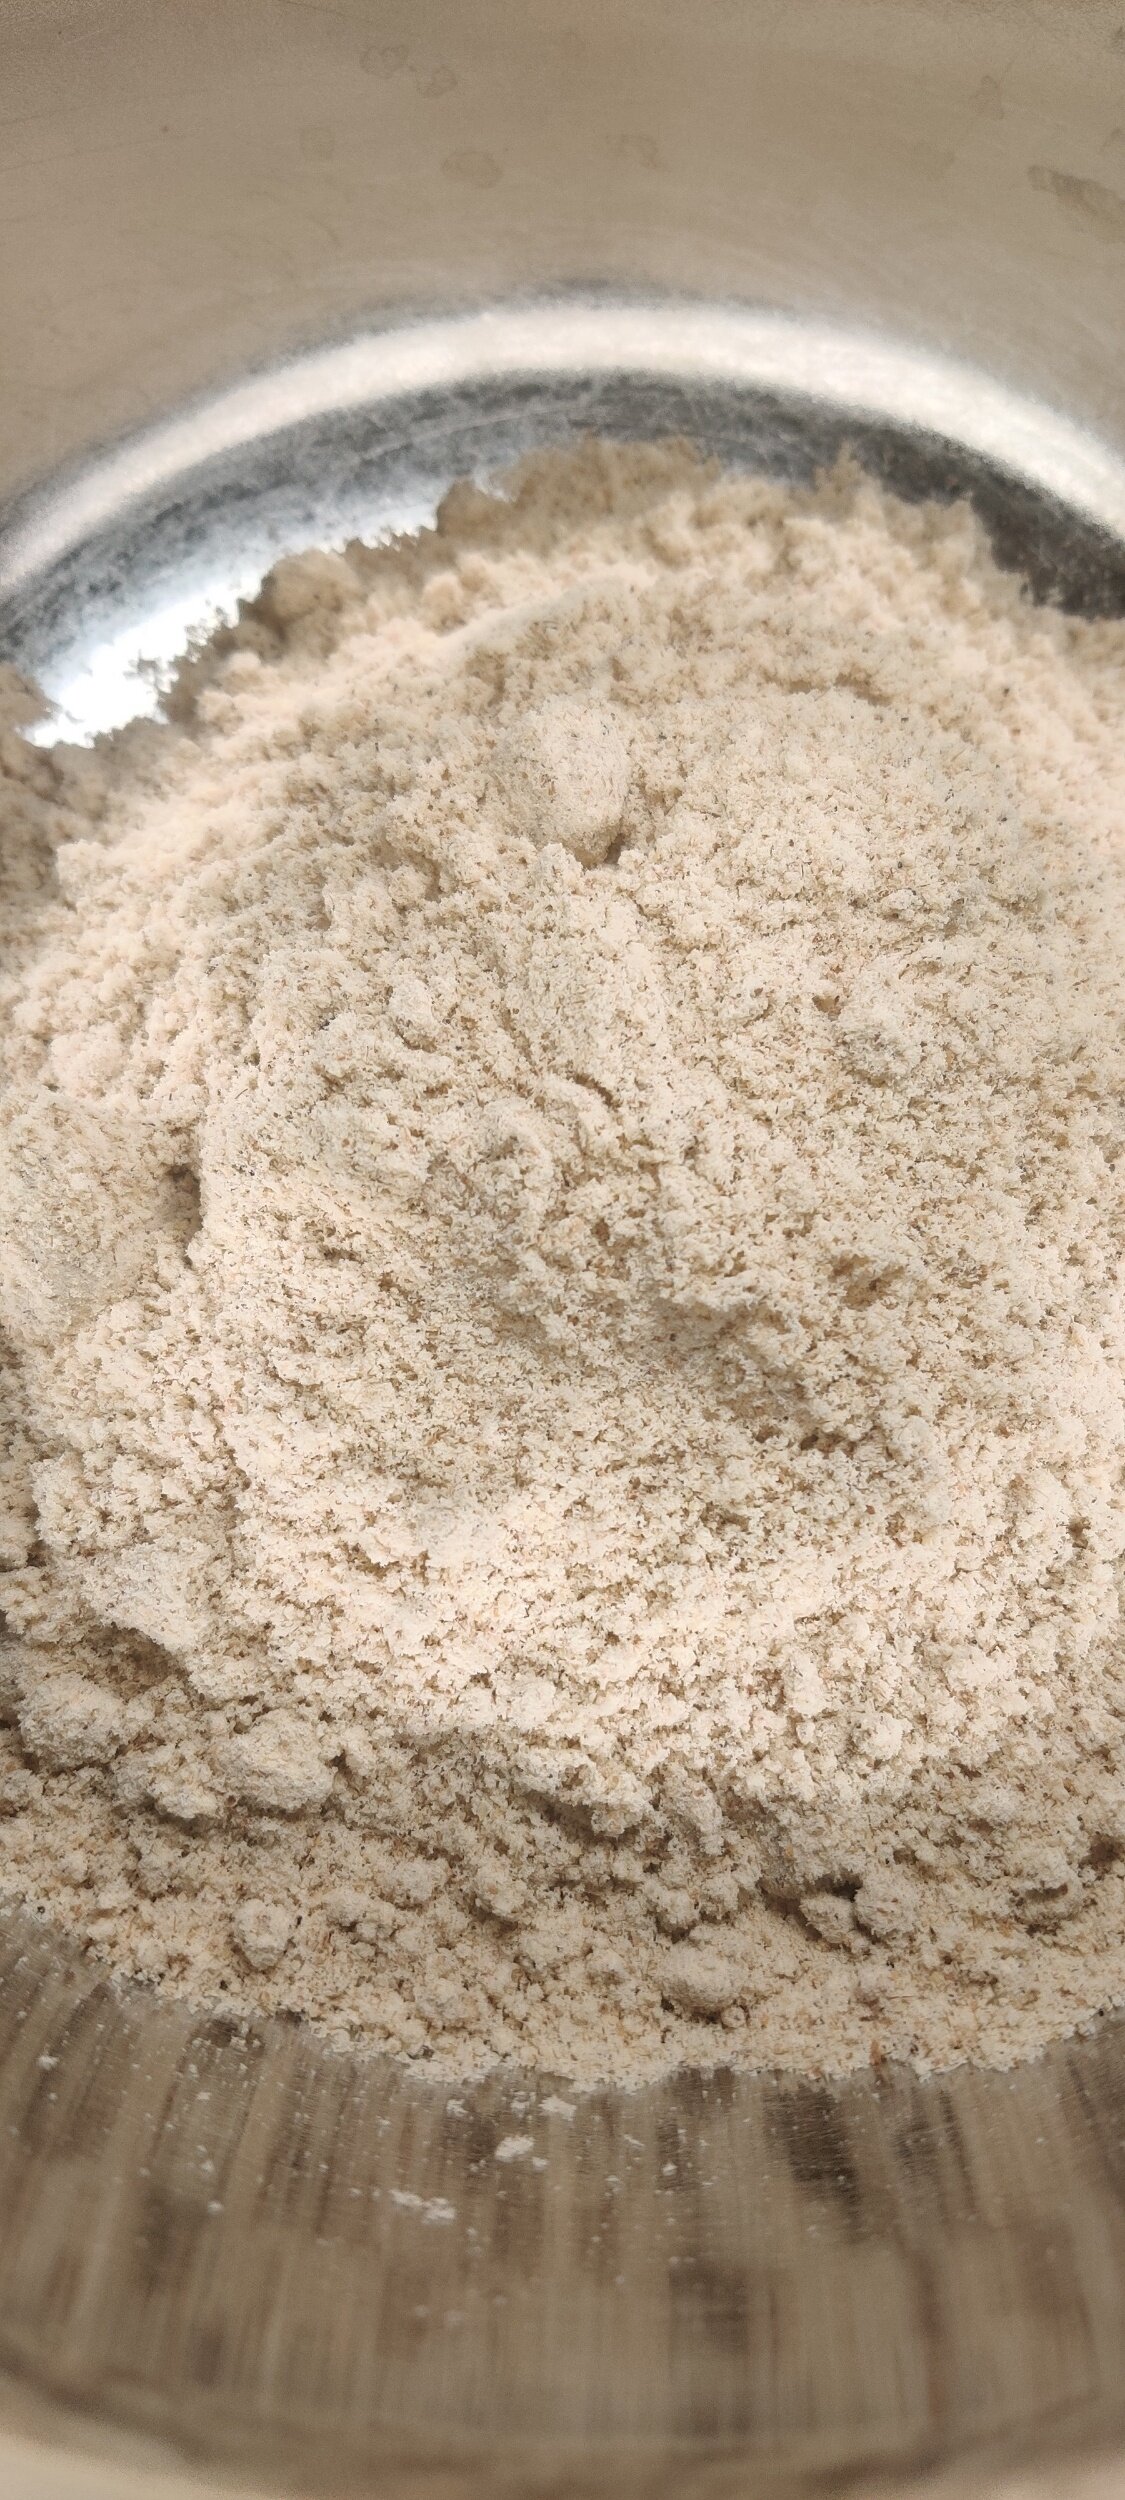
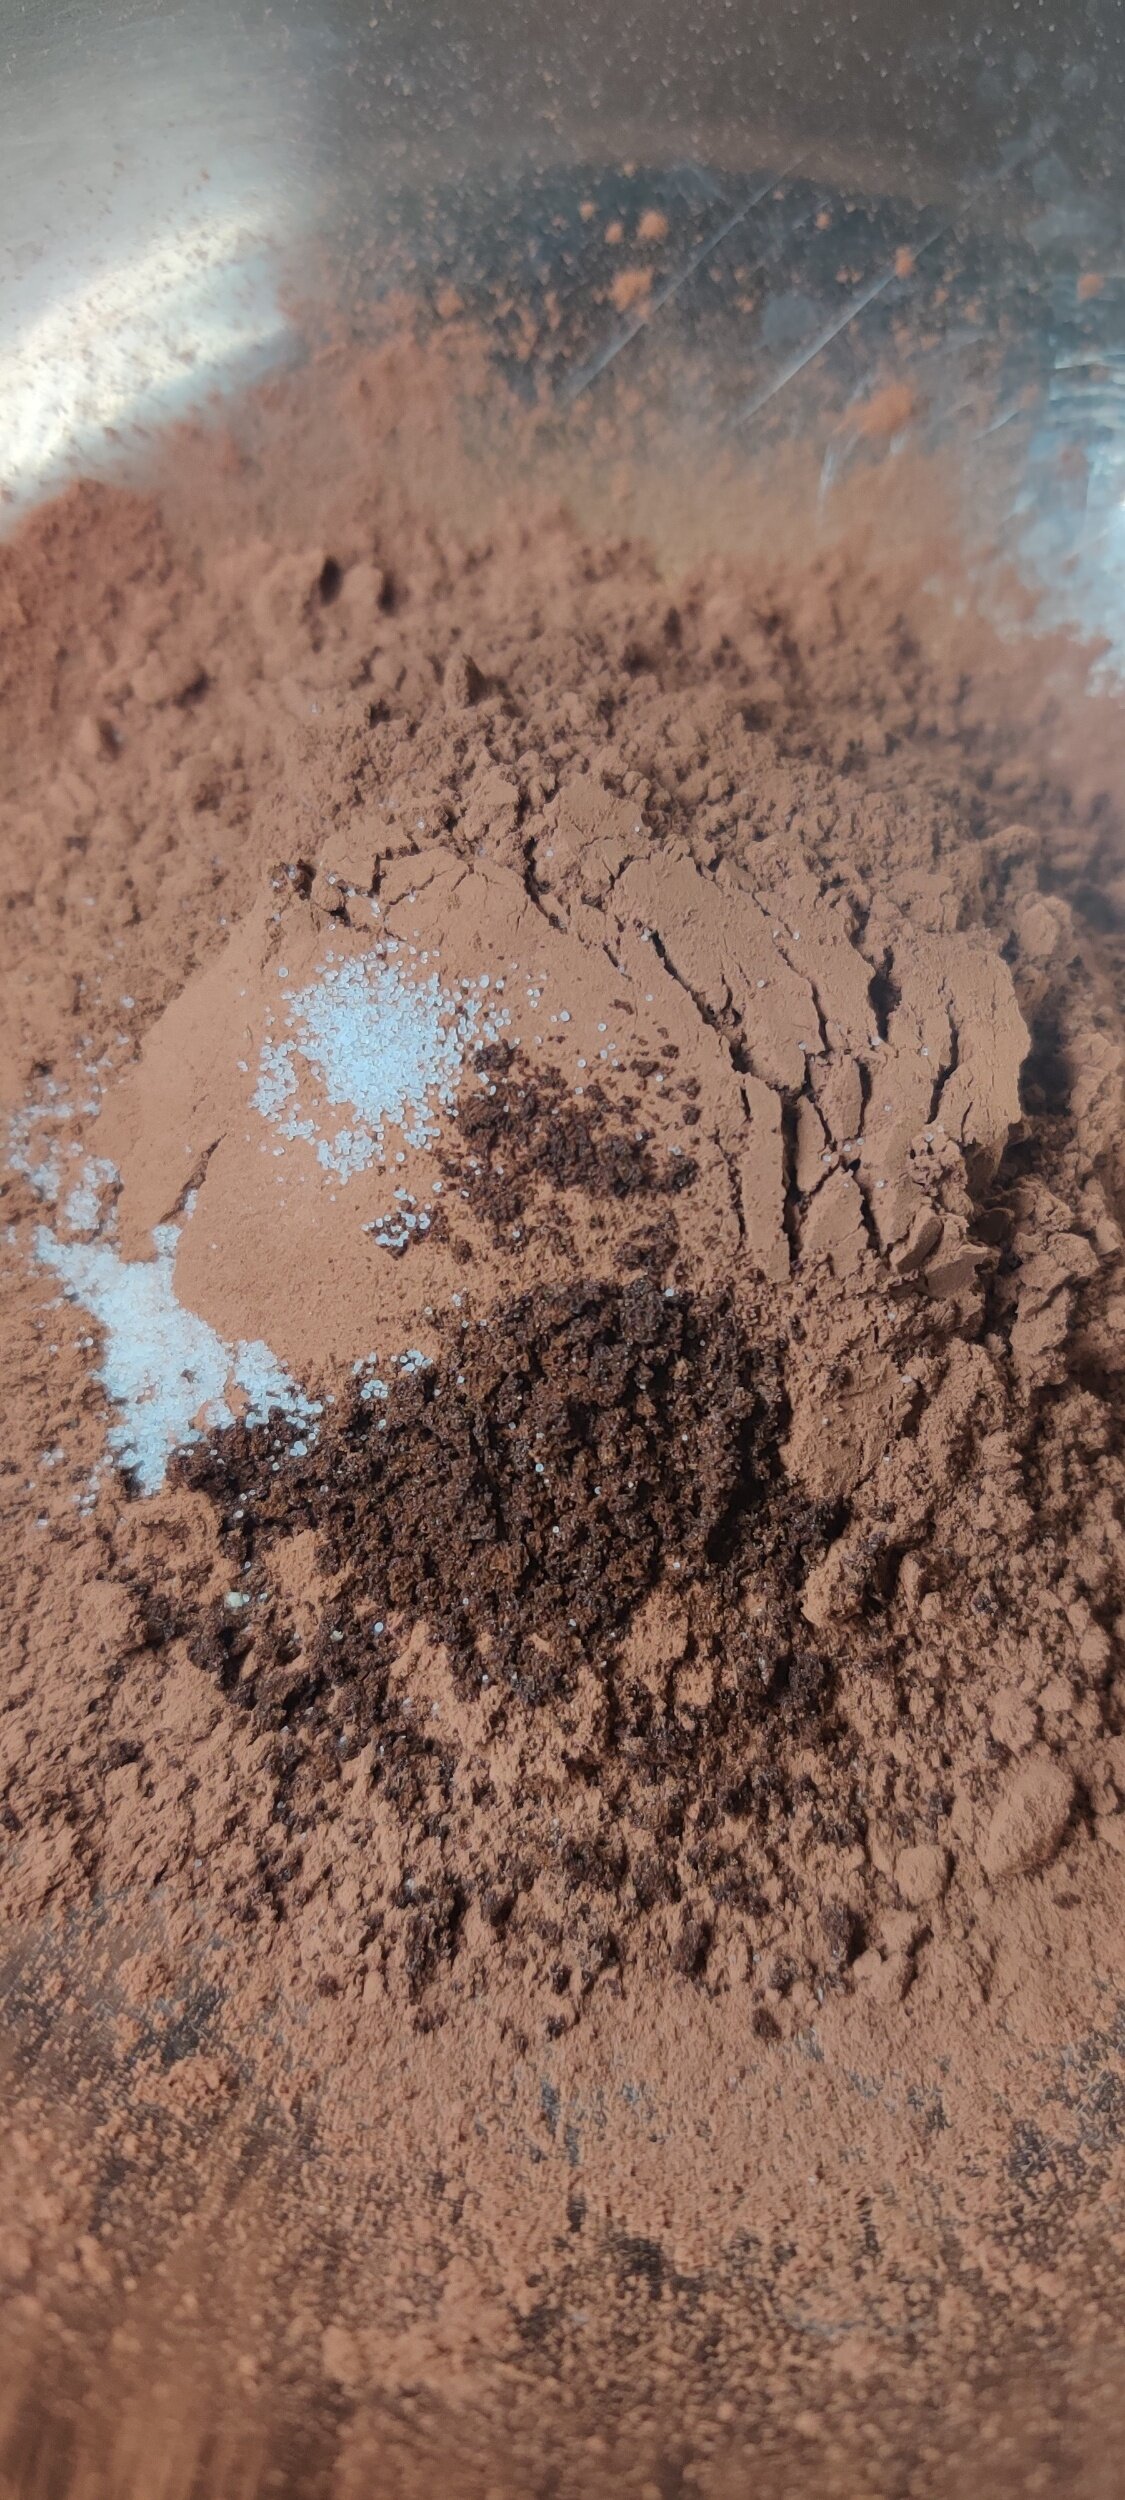
Ingredients
Cake:
1/3 cup white sugar
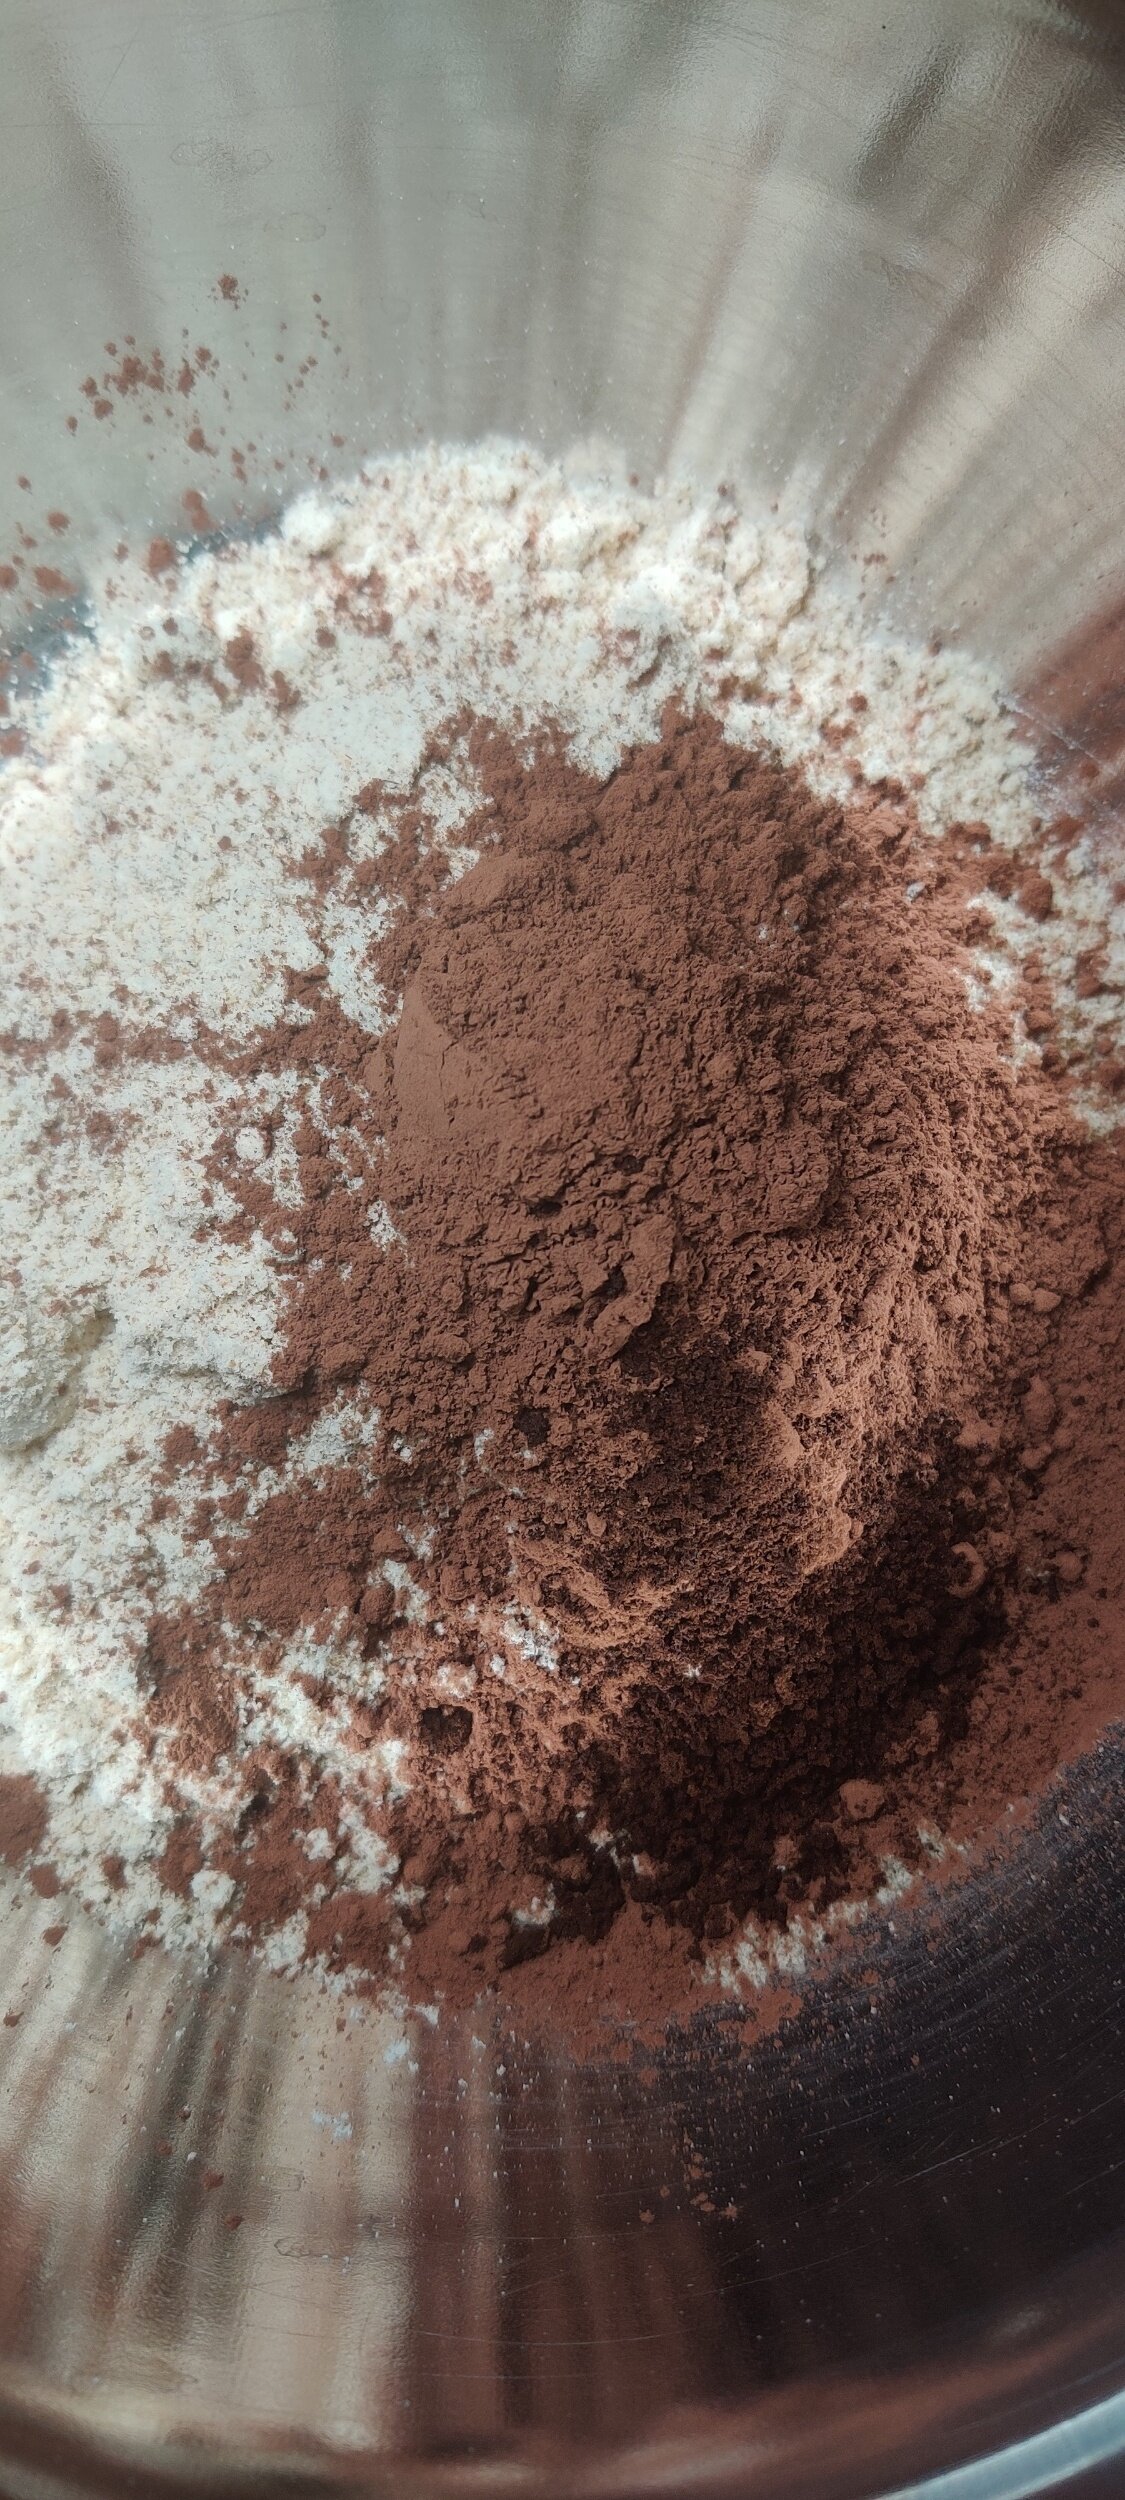
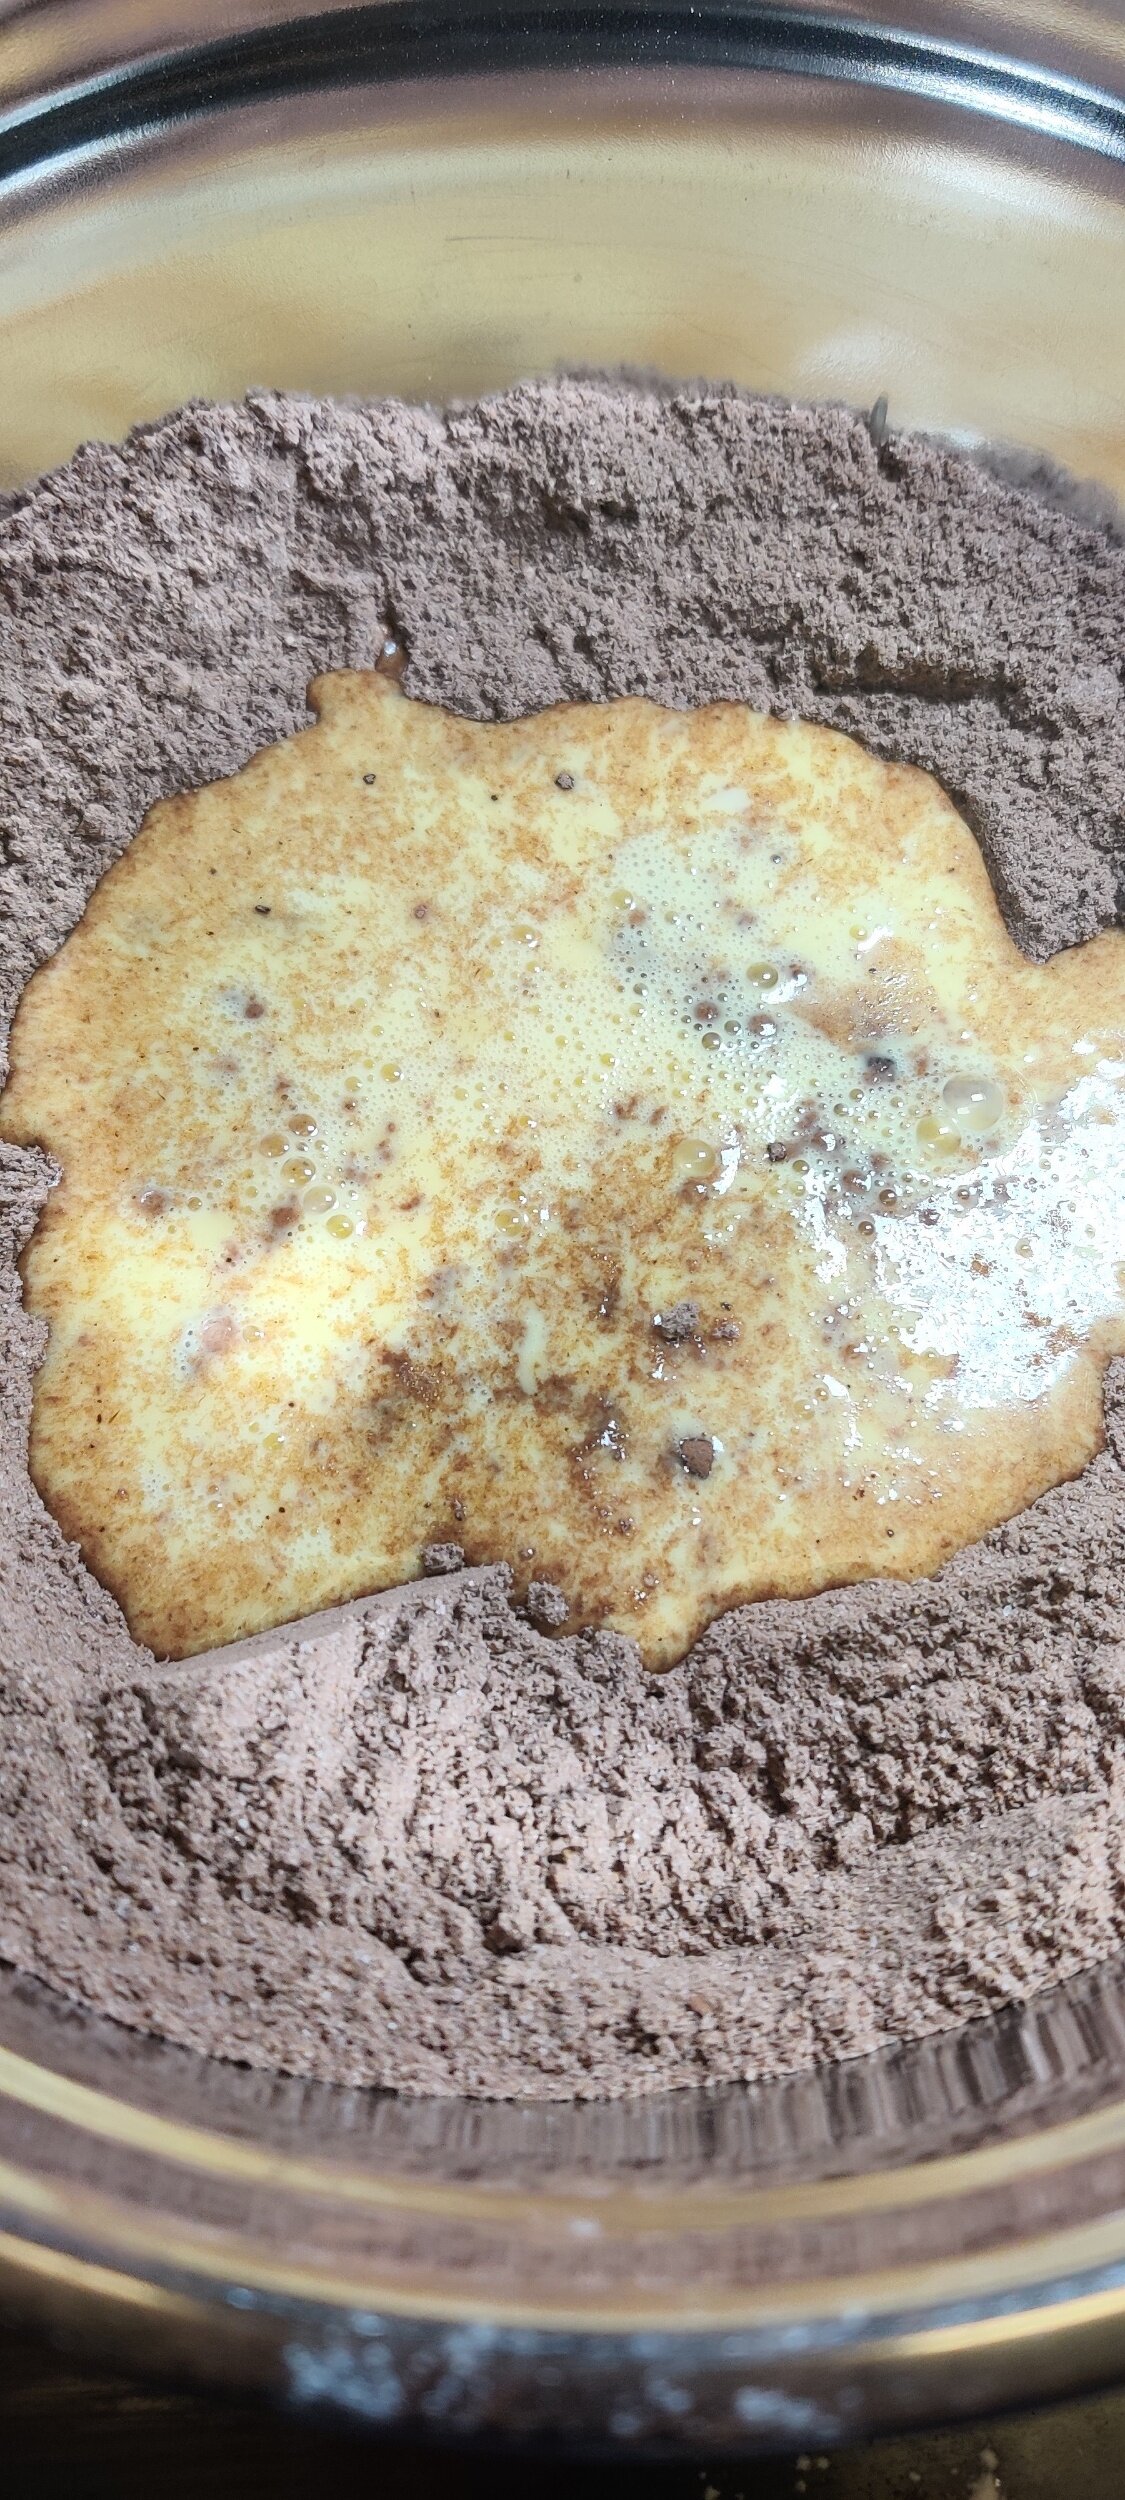
6 tablespoons cocoa powder
2 teaspoons vanilla
1 teaspoon espresso powder
1/3 cup goat milk
1/2 teaspoon salt
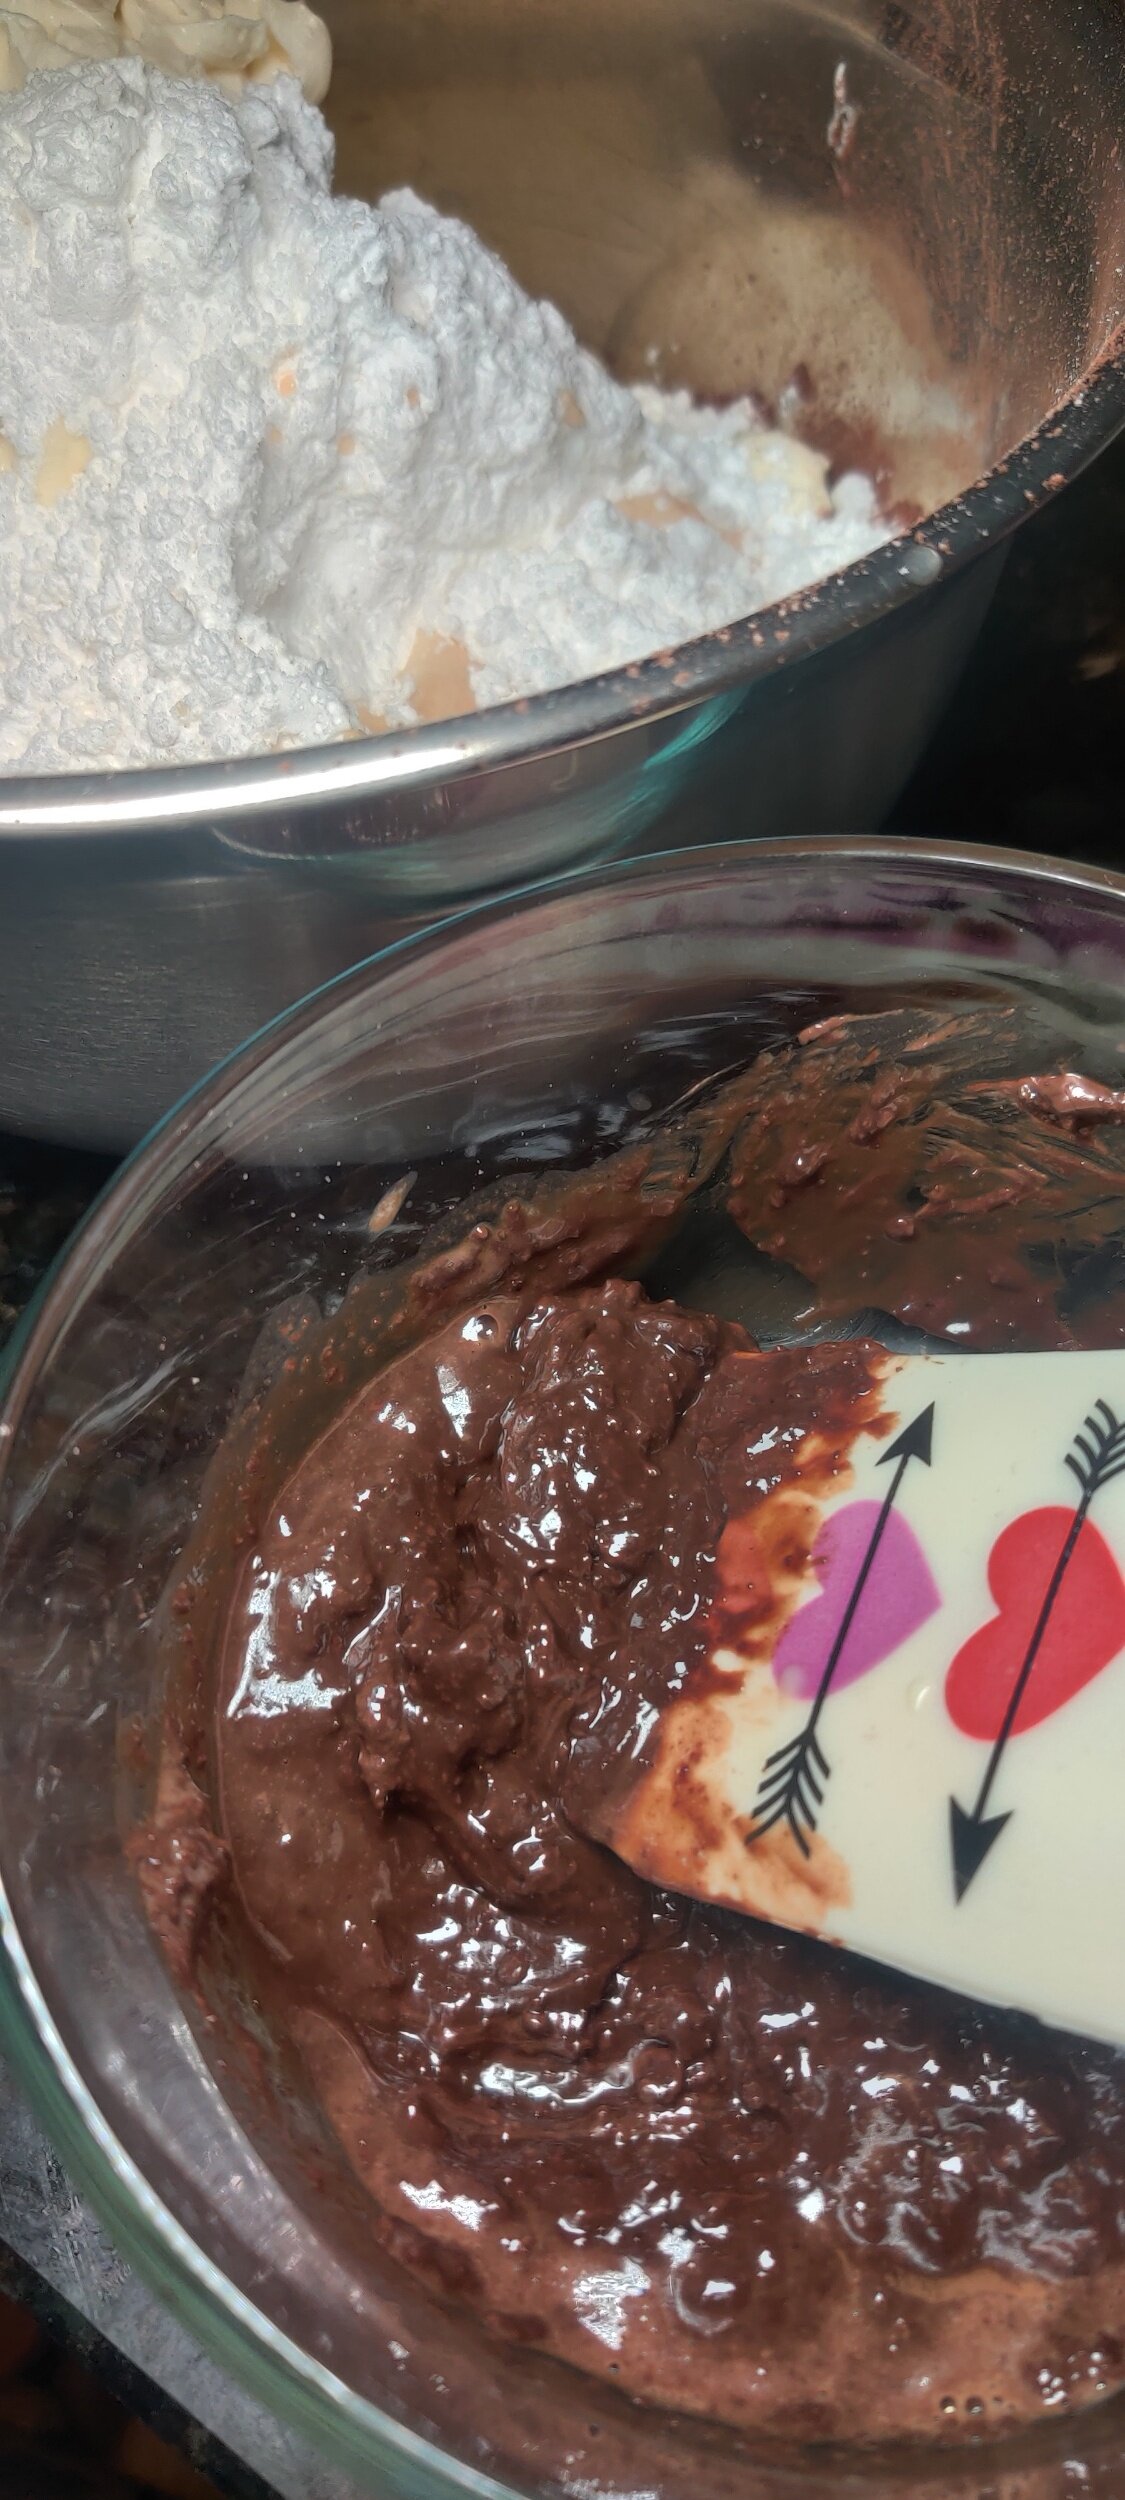
1 1/2 cups tigernut flour
1/2 teaspoon almond extract
2 1/4 teaspoons baking powder
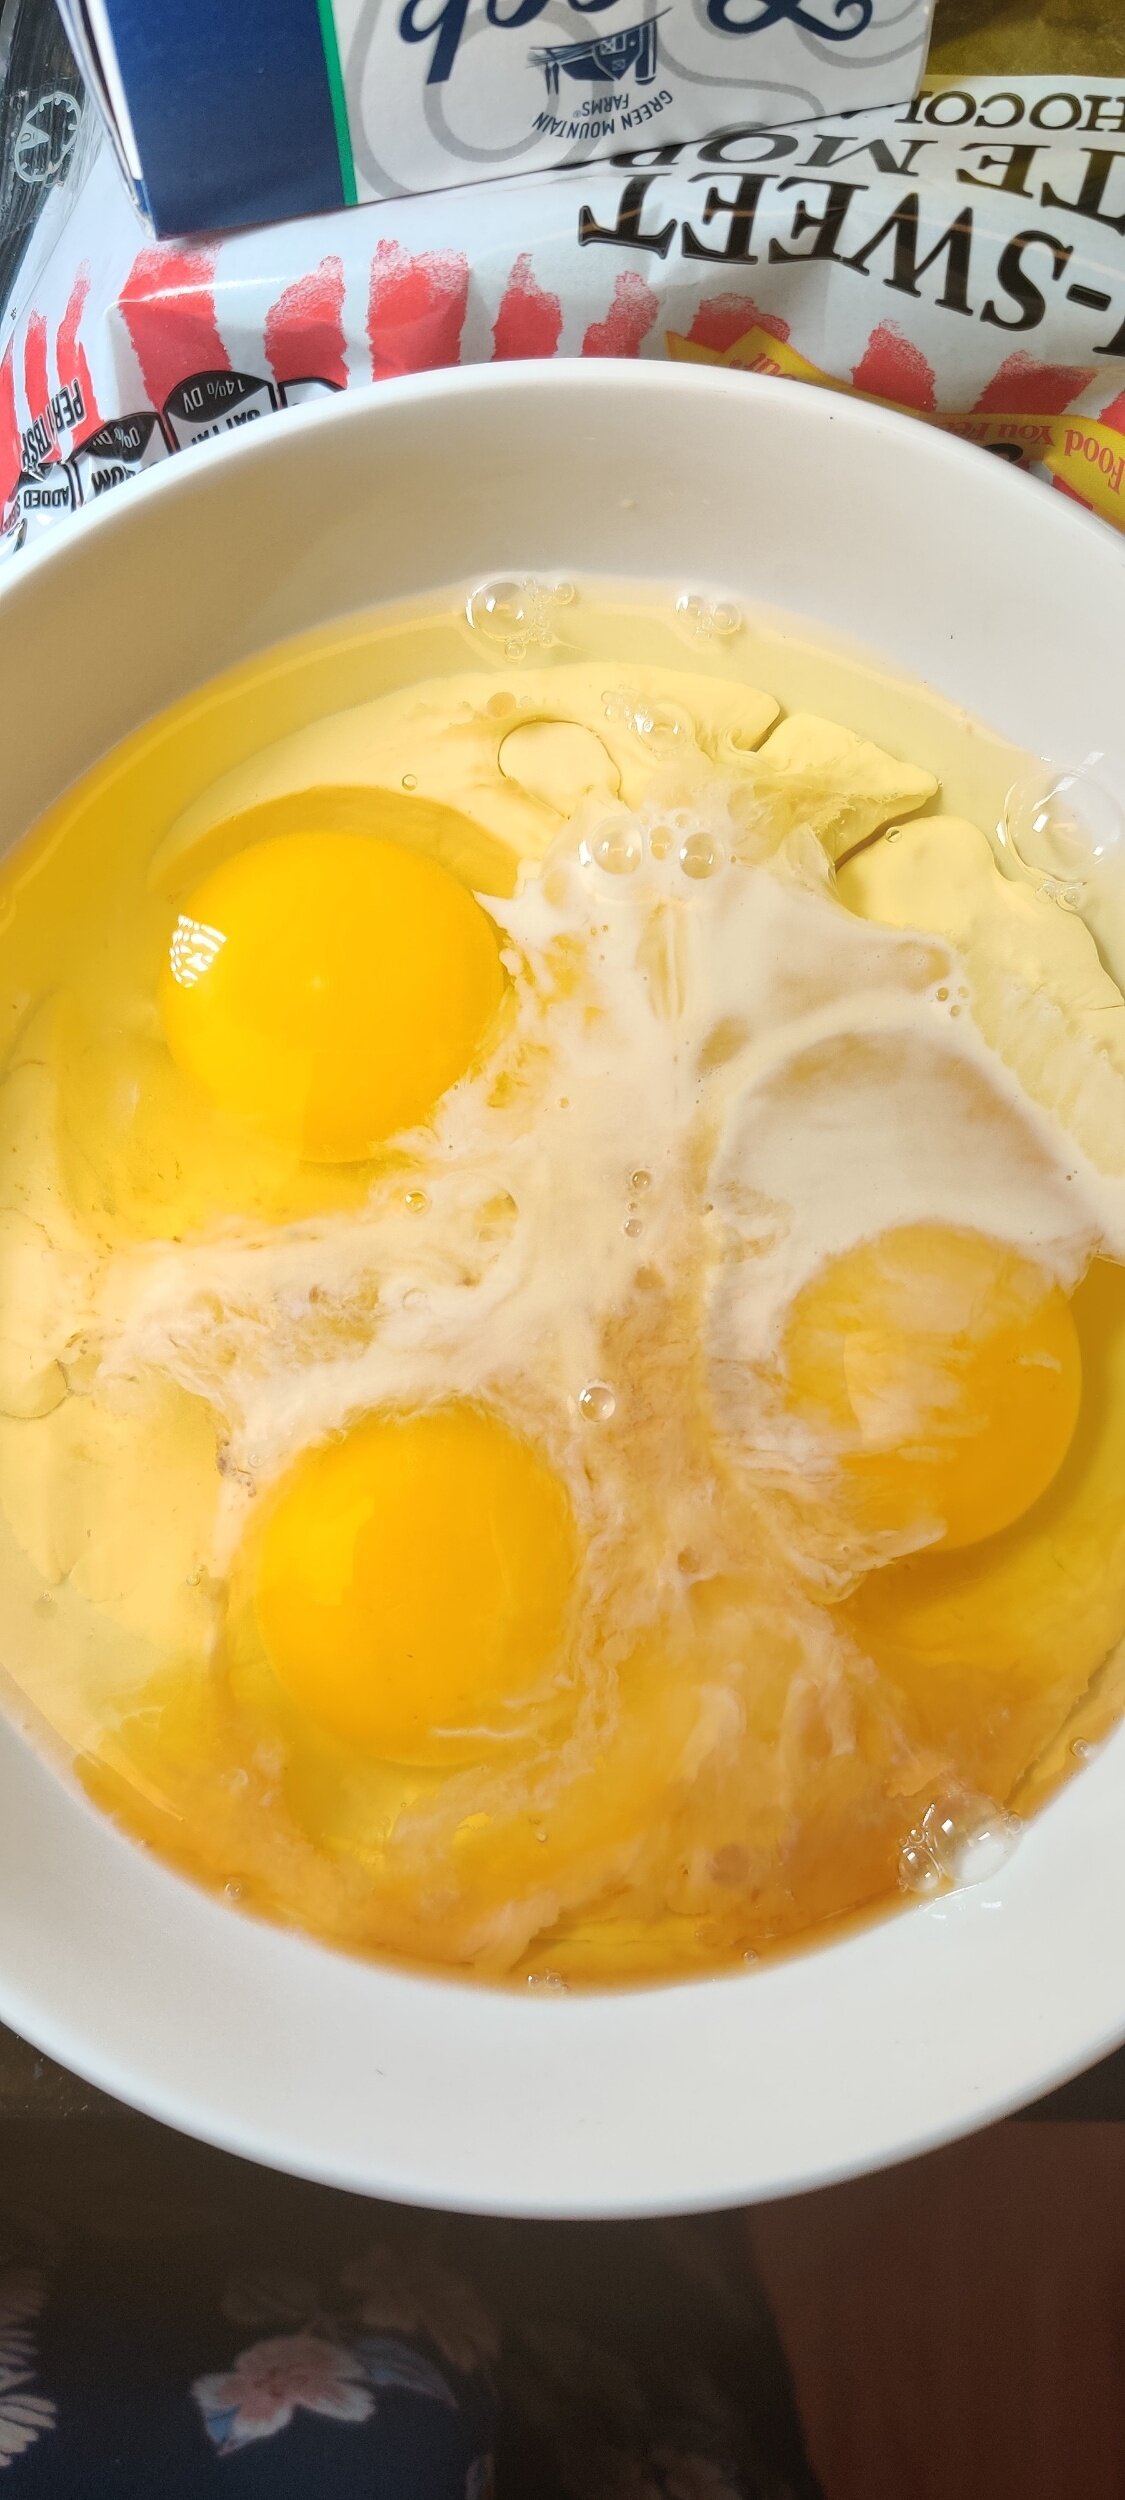
3 eggs
Frosting:
1 packet (8 ounce) Greek yoghurt cream cheese (room temperature)
1/4 cup melted chocolate
2 1/2 tablespoons goat milk
1/4 cup butter (room temperature)
Pinch of salt
1/2 teaspoon espresso powder
1/2 teaspoon lemon juice
1 1/2 cups icing sugar
1 1/2 teaspoons vanilla
1/2 cup cocoa powder
Instructions
For the cake, in a large bowl mix the dry ingredients and make sure there are no lumps.
Make a well then pour in the beaten wet ingredients. Fold the egg mixture into the batter and mix until smooth and well incorporated with no lumps.
Prepare a baking tin (I used an 8-inch cake tin) and pour in the batter.
Bake at 350F for 15-20 minutes or until the cake firms and a toothpick comes out clean in the middle. Set aside to cool.
Make the frosting. With an electric mixer, blend all the ingredients. Add more icing sugar or milk according to your desired frosting consistency.
Chill the frosting in the fridge until you are ready to frost the cooled cake!

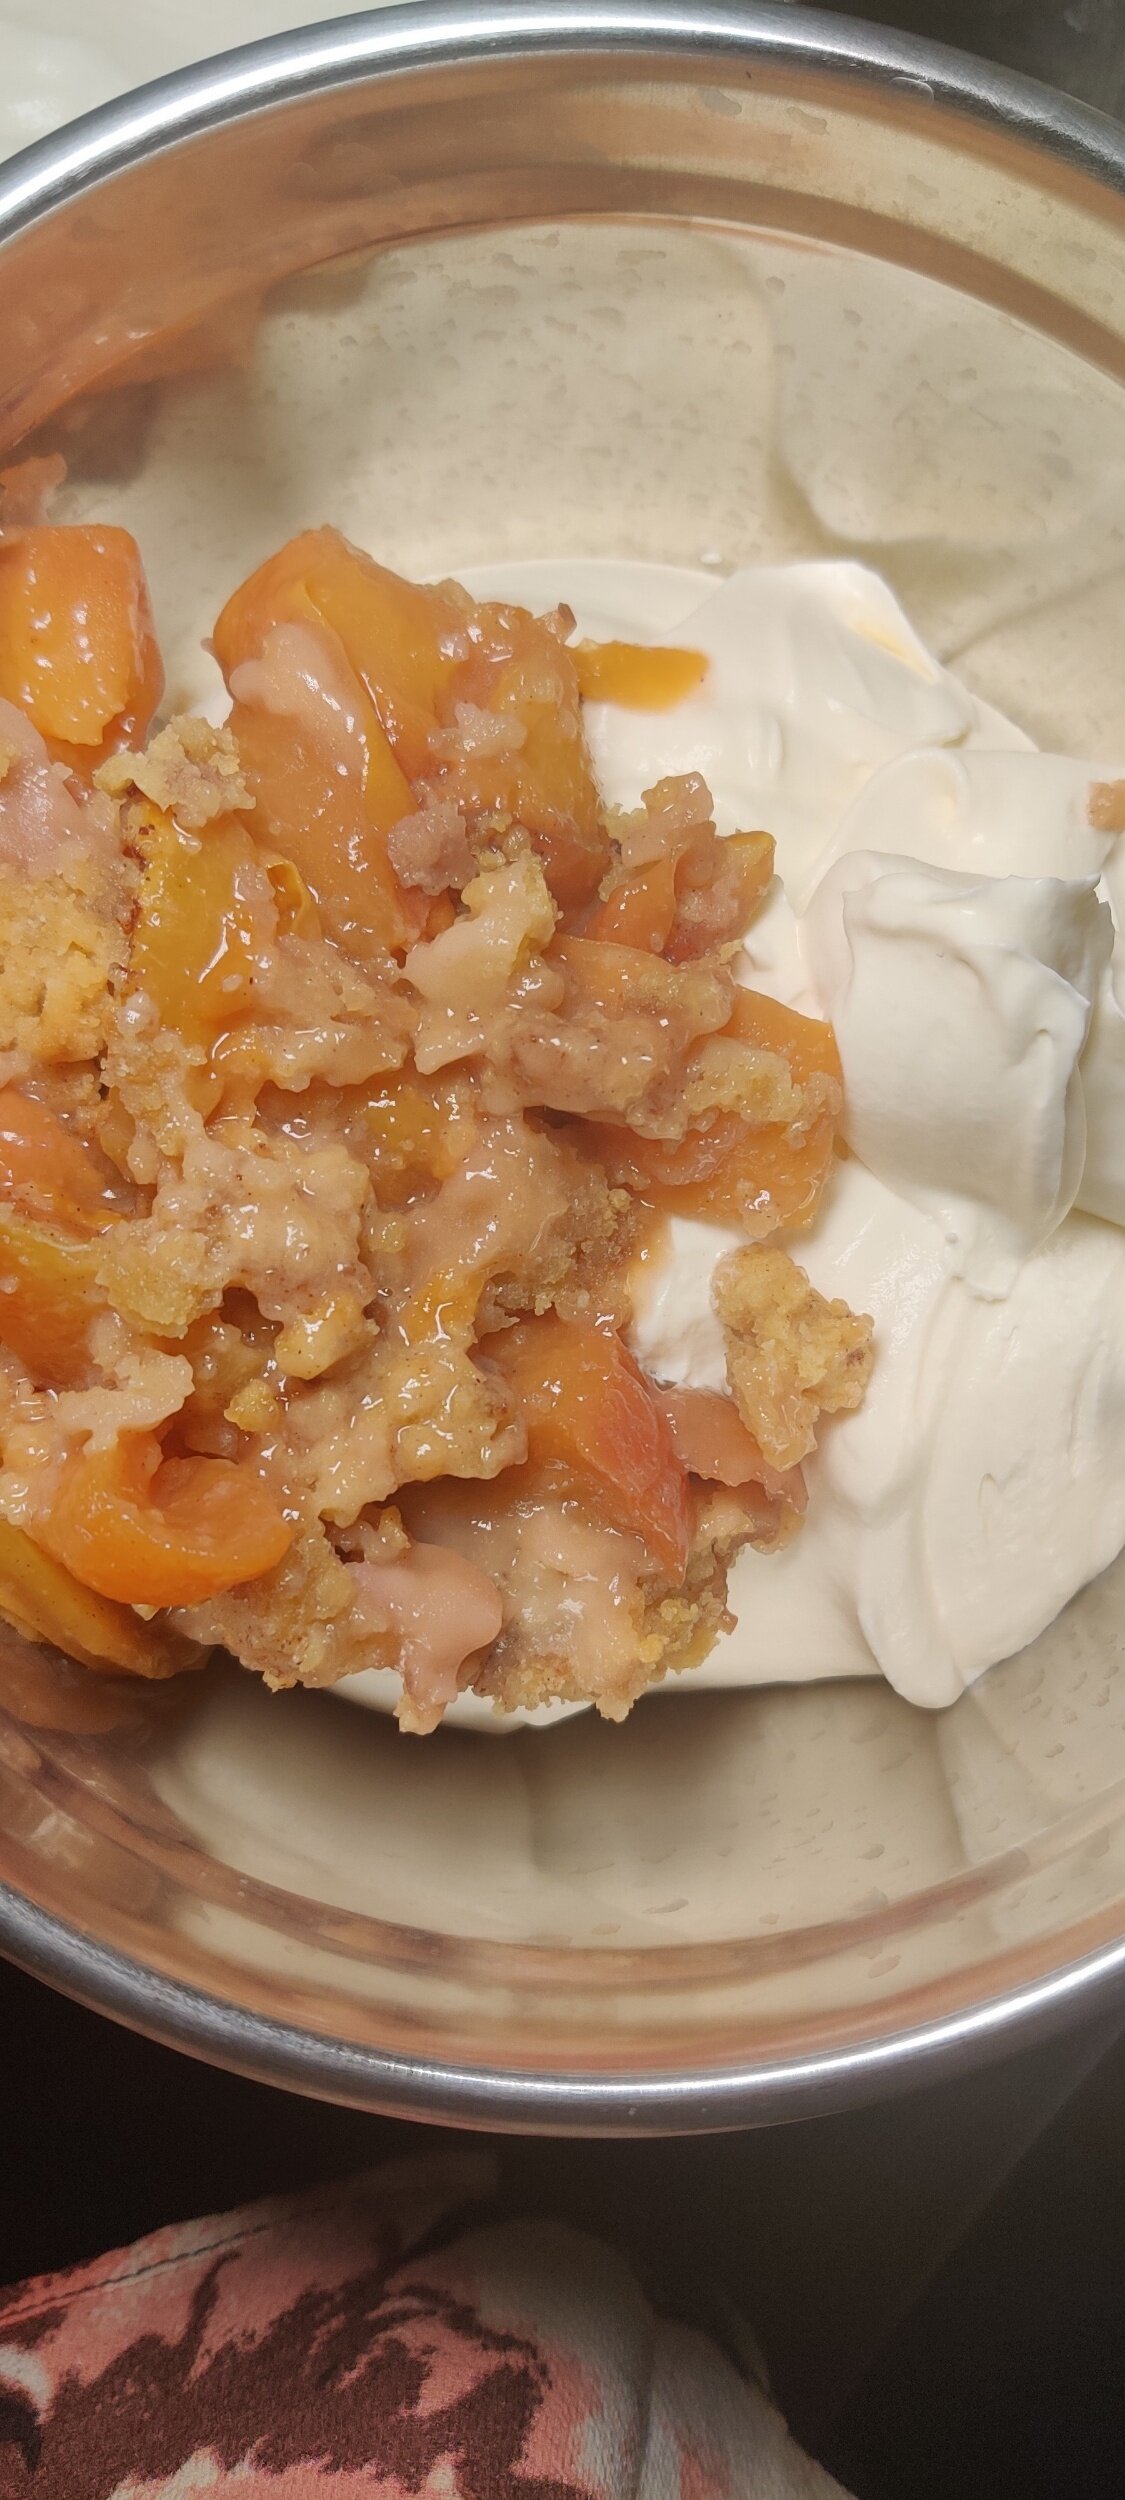
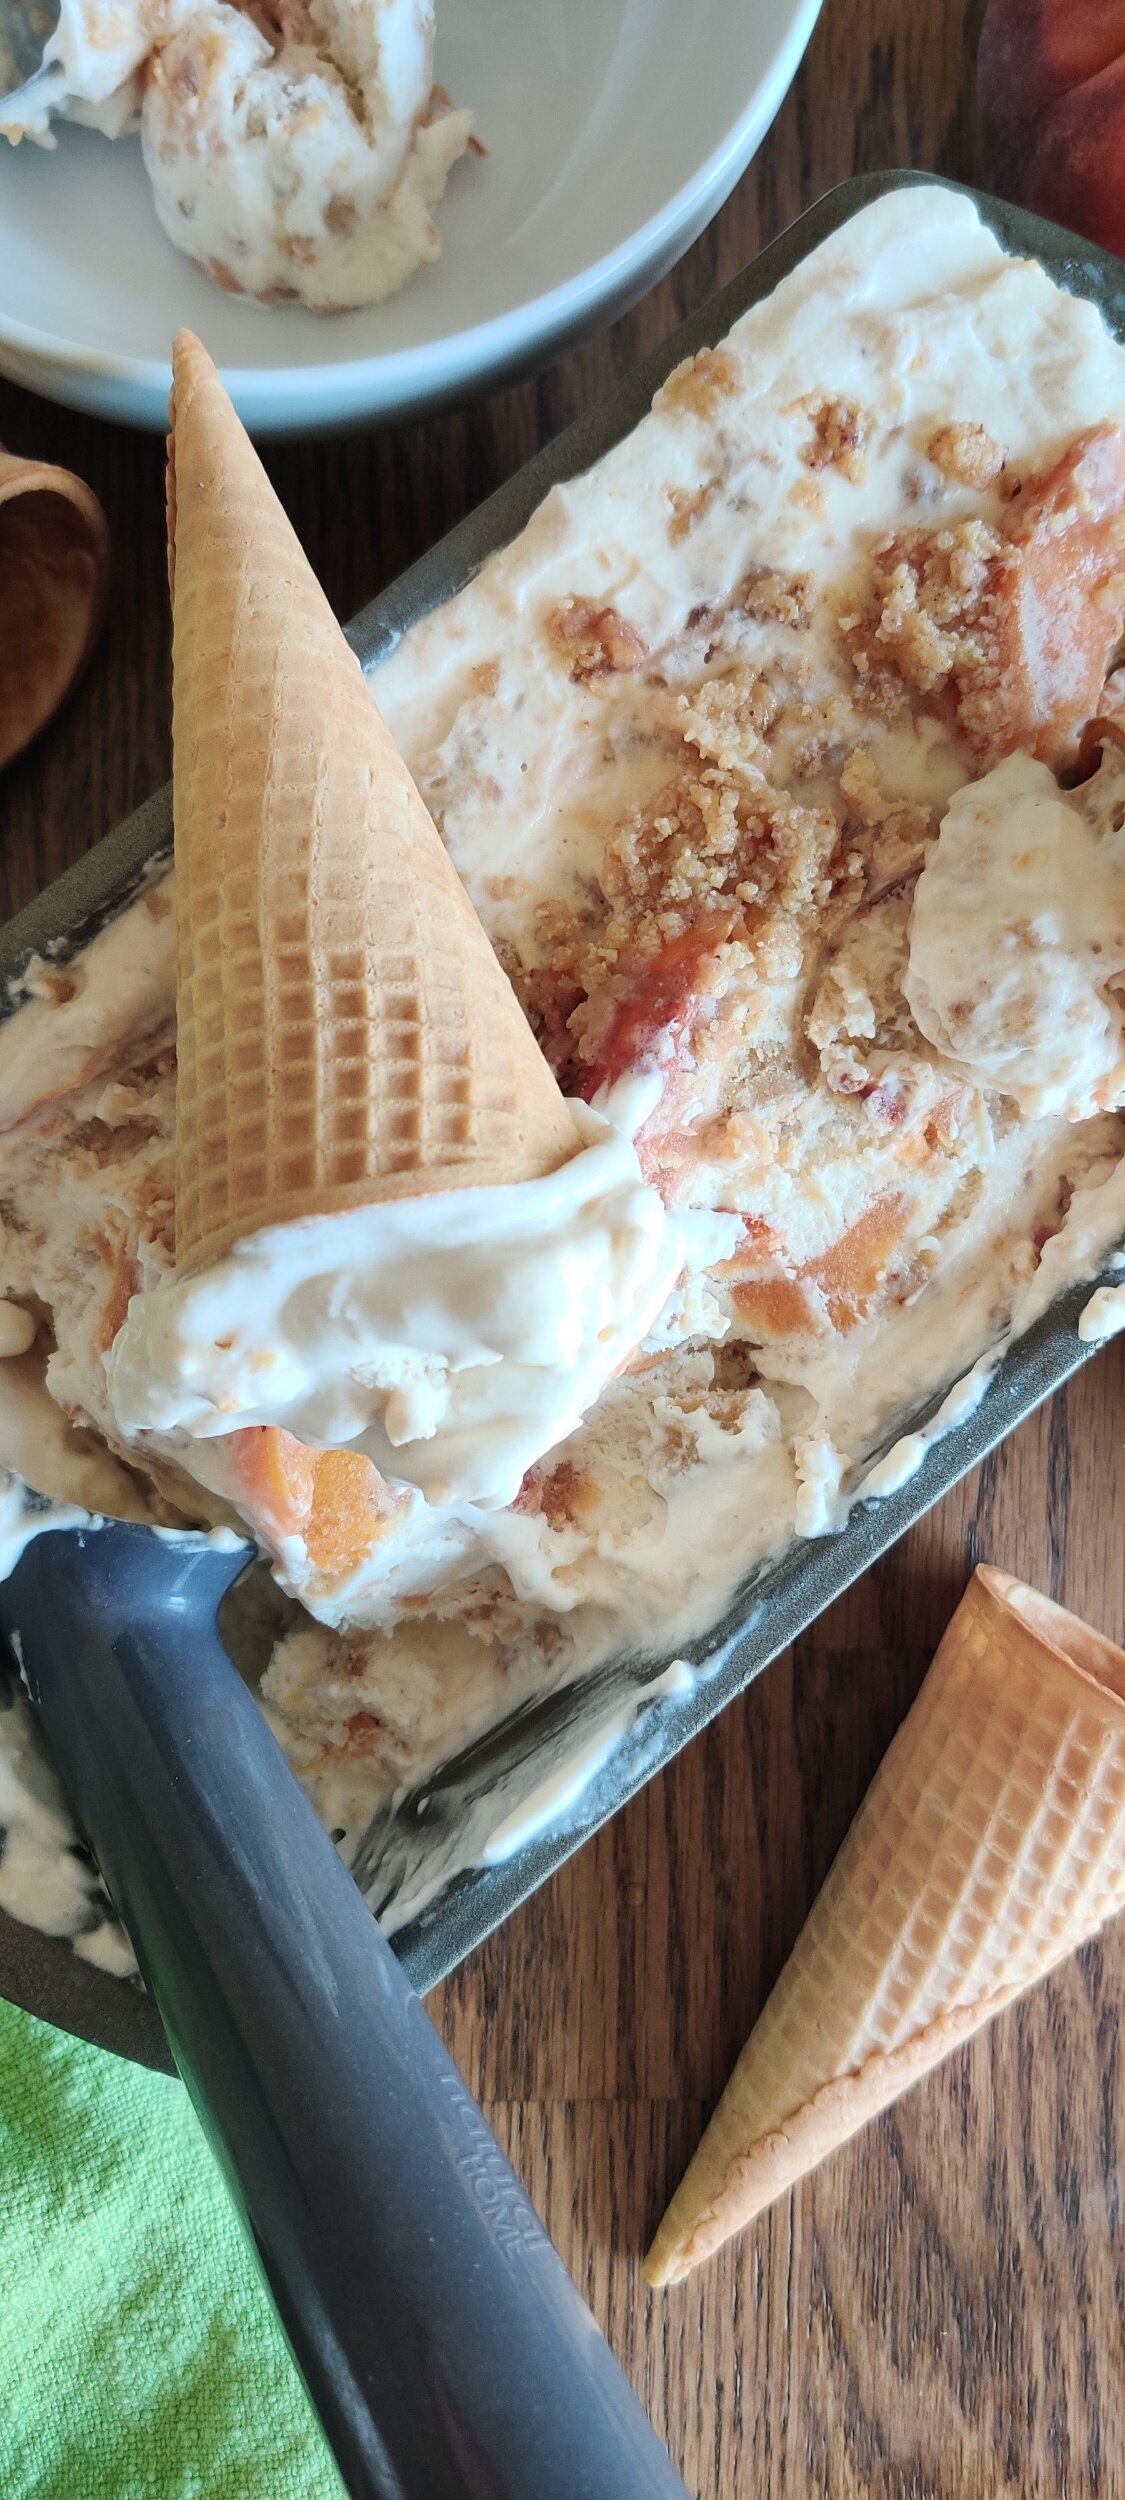
Bourbon Peach Crumble Ice Cream (No-Churn)
Summertime calls for pies, tarts, and cakes that feature fresh, seasonal fruit. Heavy hitters include strawberries, blueberries, lemons, and peaches, and I love it! But why not turn these dessert classics into something to cool you down like ice cream? It’s fun, delicious, and will please the kids if you have any around!
And no, you do not need an ice cream maker for this recipe, it’s no-churn.
The heavy whipping cream makes up for the churning process which adds air to prevent large ice crystals forming. This makes for a smoother, creamier finished product. The condensed milk serves as your ice cream base typically prepared with milk, sugar, cream and eggs.
I have made homemade ice cream before. For while I thought it was difficult it doesn't have to be! All you need is your base/condensed milk, some heavy cream, and your flavours. If you do it right it comes pretty close to what you get in the stores. You may never buy again and make your own from now on.
This ice cream takes the favoured peach crumble (or cobbler) and turns it into a decadent dessert, hope you enjoy it!
If you don’t consume dairy, there are alternatives for whipping cream and condensed milk on the market.
Ingredients
1 (14-ounce) can condensed milk, chilled
2 cups heavy cream
1 cup peach crumble or cobbler (you can use my recipe)
1 teaspoon bourbon
Instructions
Whip the heavy cream with an electric or stand mixer until soft peaks form about 3-4 minutes. The cream should stand but with a slight slump.
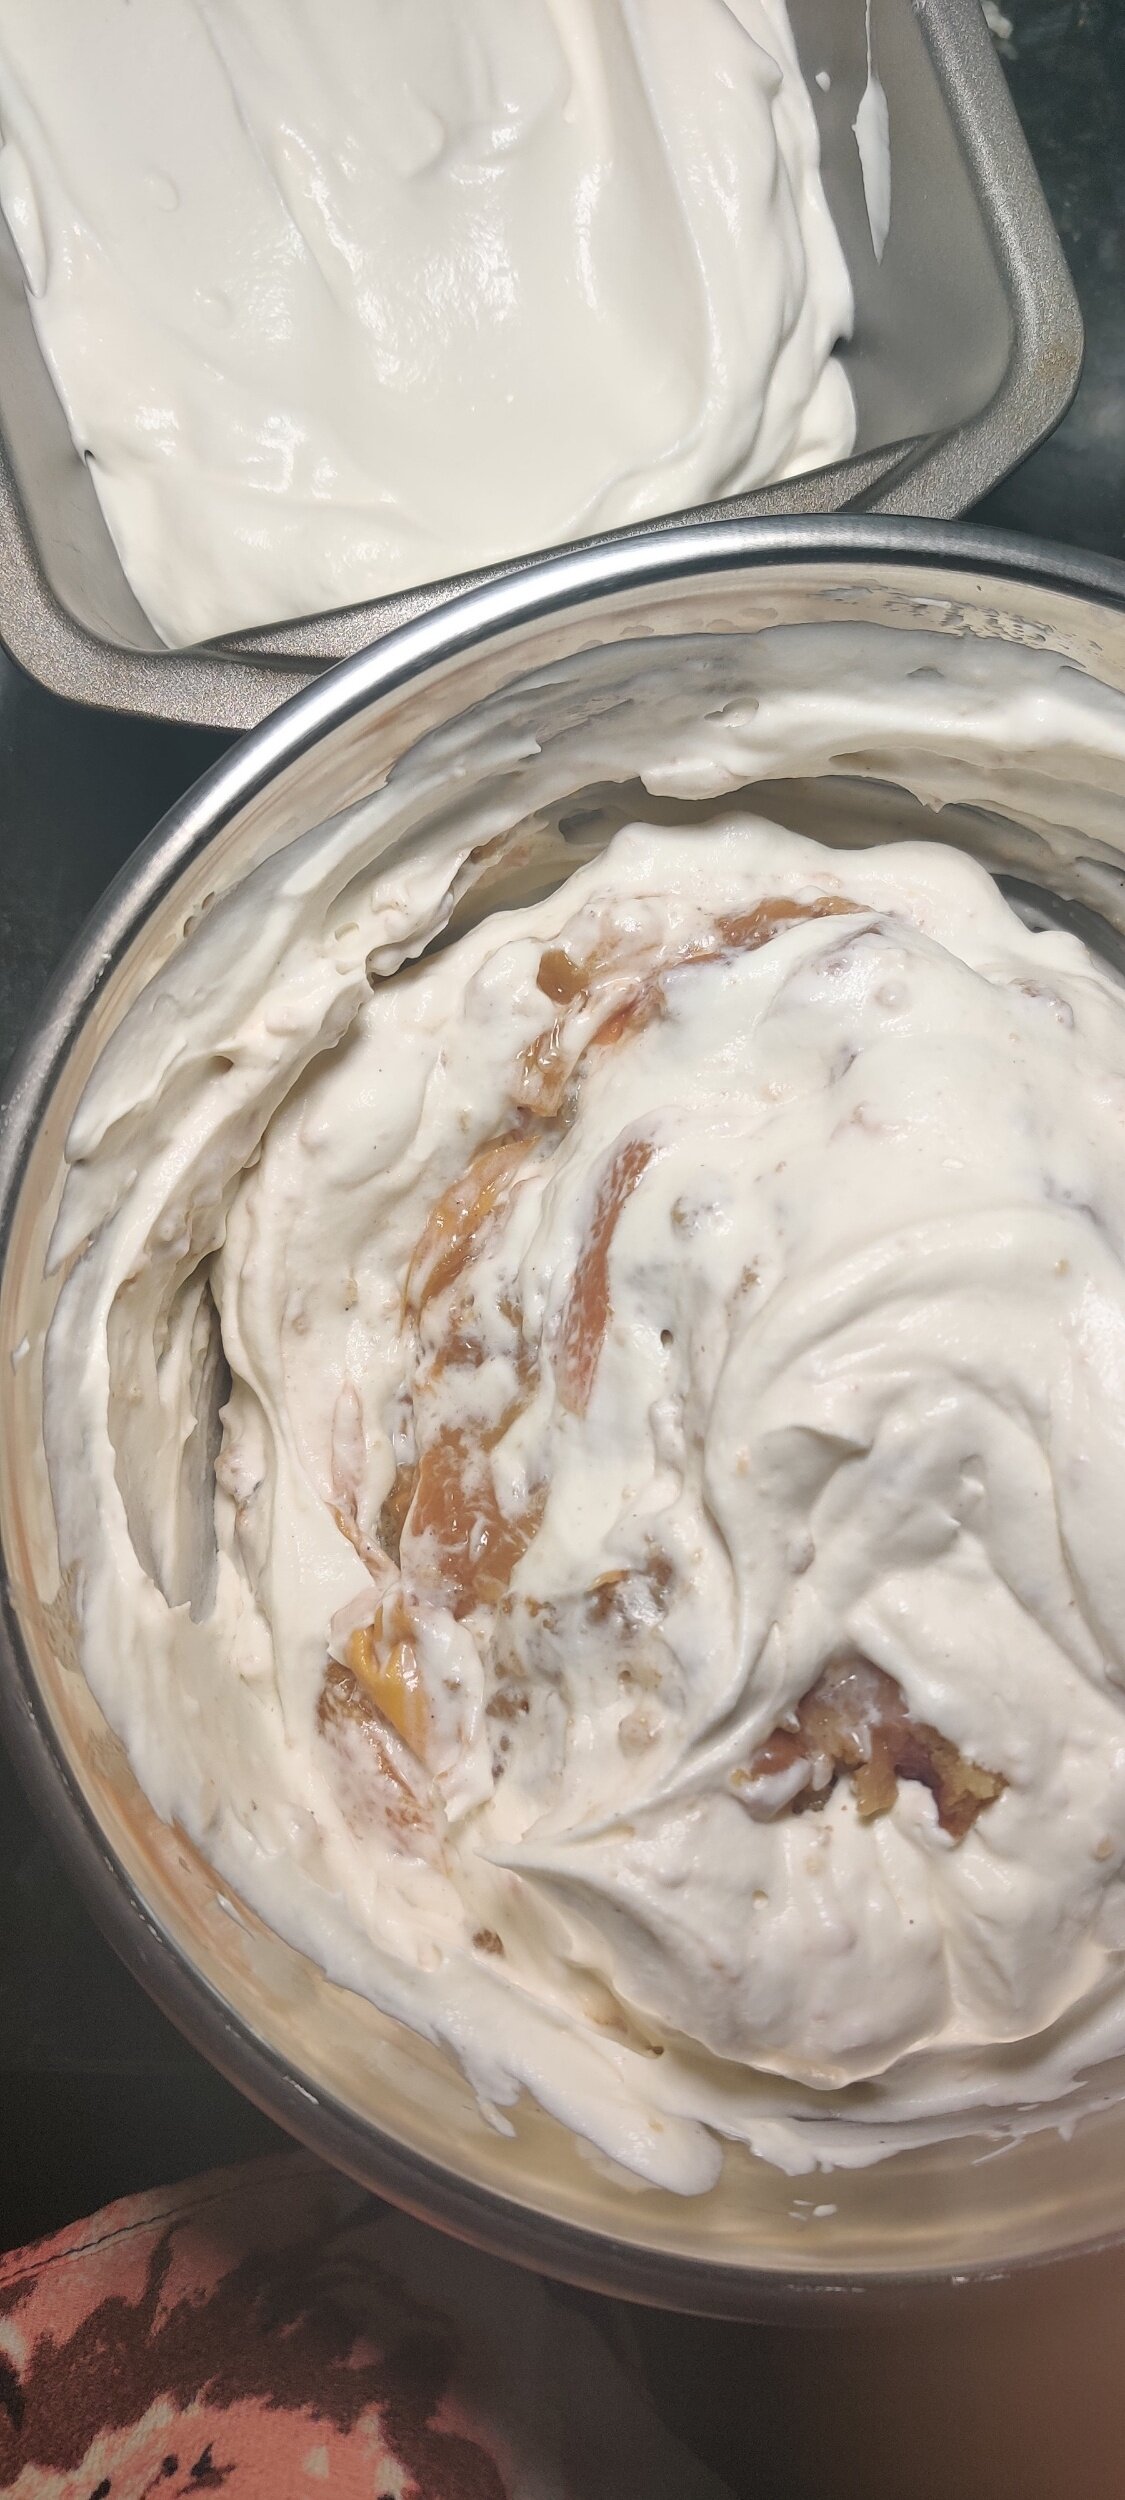
Fold in the condensed milk then beat until stiff peaks form, another 3-4 minutes. The cream should look thicker with a wavy pattern. Fold in the bourbon.
In a small bowl, mix about 1 1/2 cups of ice cream with the peach crumble.
In your loaf pan or ice cream container, fill it halfway with the rest of the ice cream, then add the portion with the crumble on top. Take a knife or spoon and swirl to distribute the crumble. You can sprinkle some on top if you desire as well!
Before placing in the freezer overnight or for at least 6 hours, make sure the ice cream is airtight! If not, ice crystals may on the surface. You can also place a piece of wax paper on top to help prevent this in addition to sealing.
Serve with sugar cones or as a side to peach crumble or any other dessert!

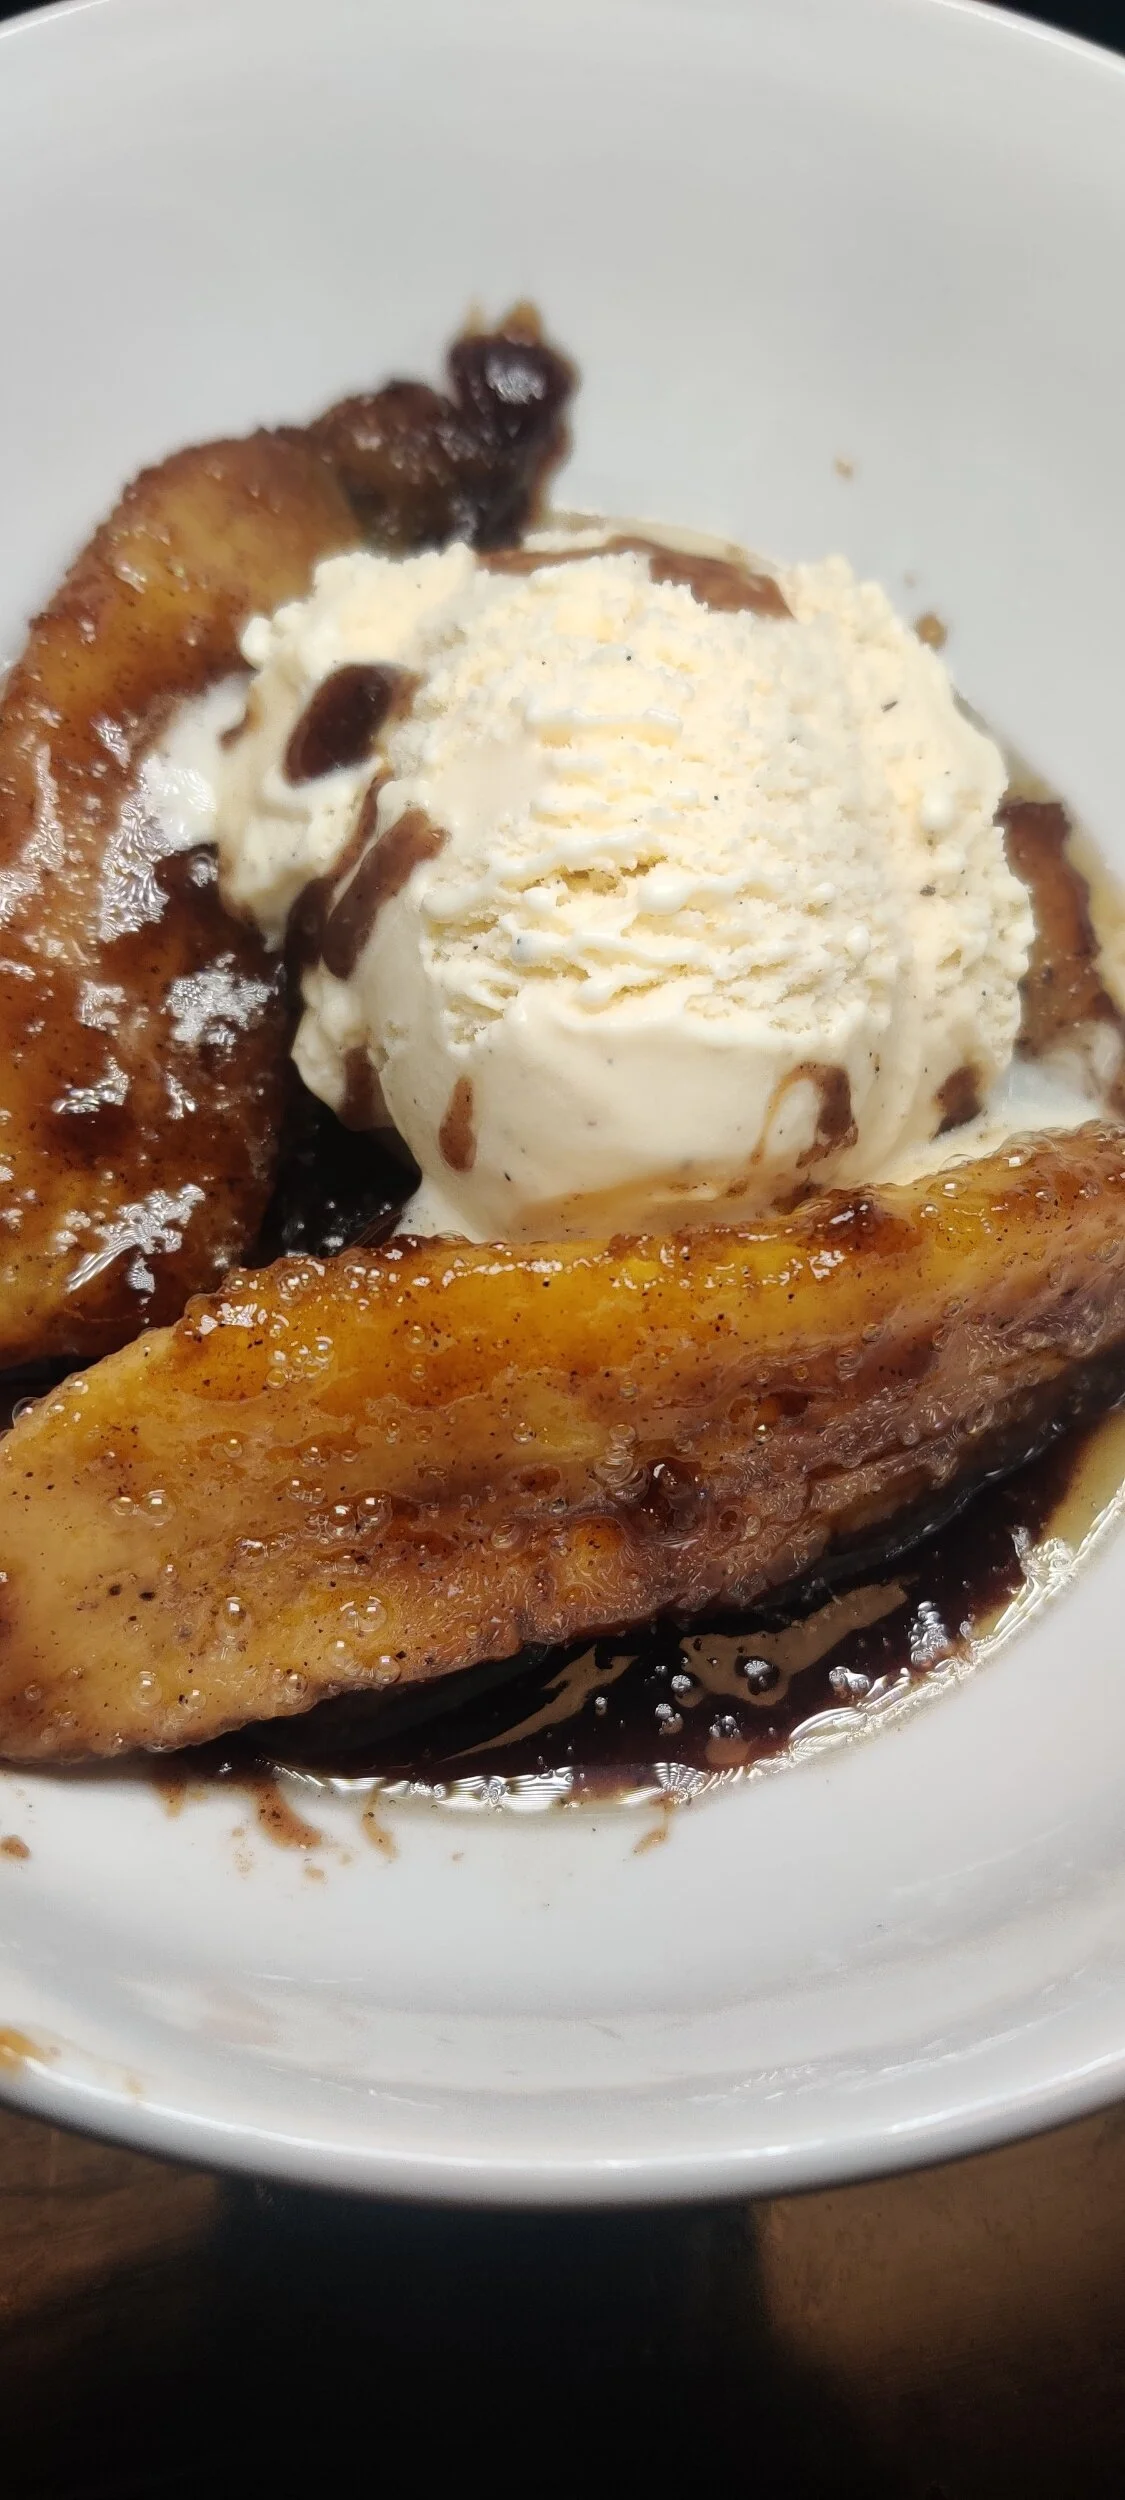
Banana Foster
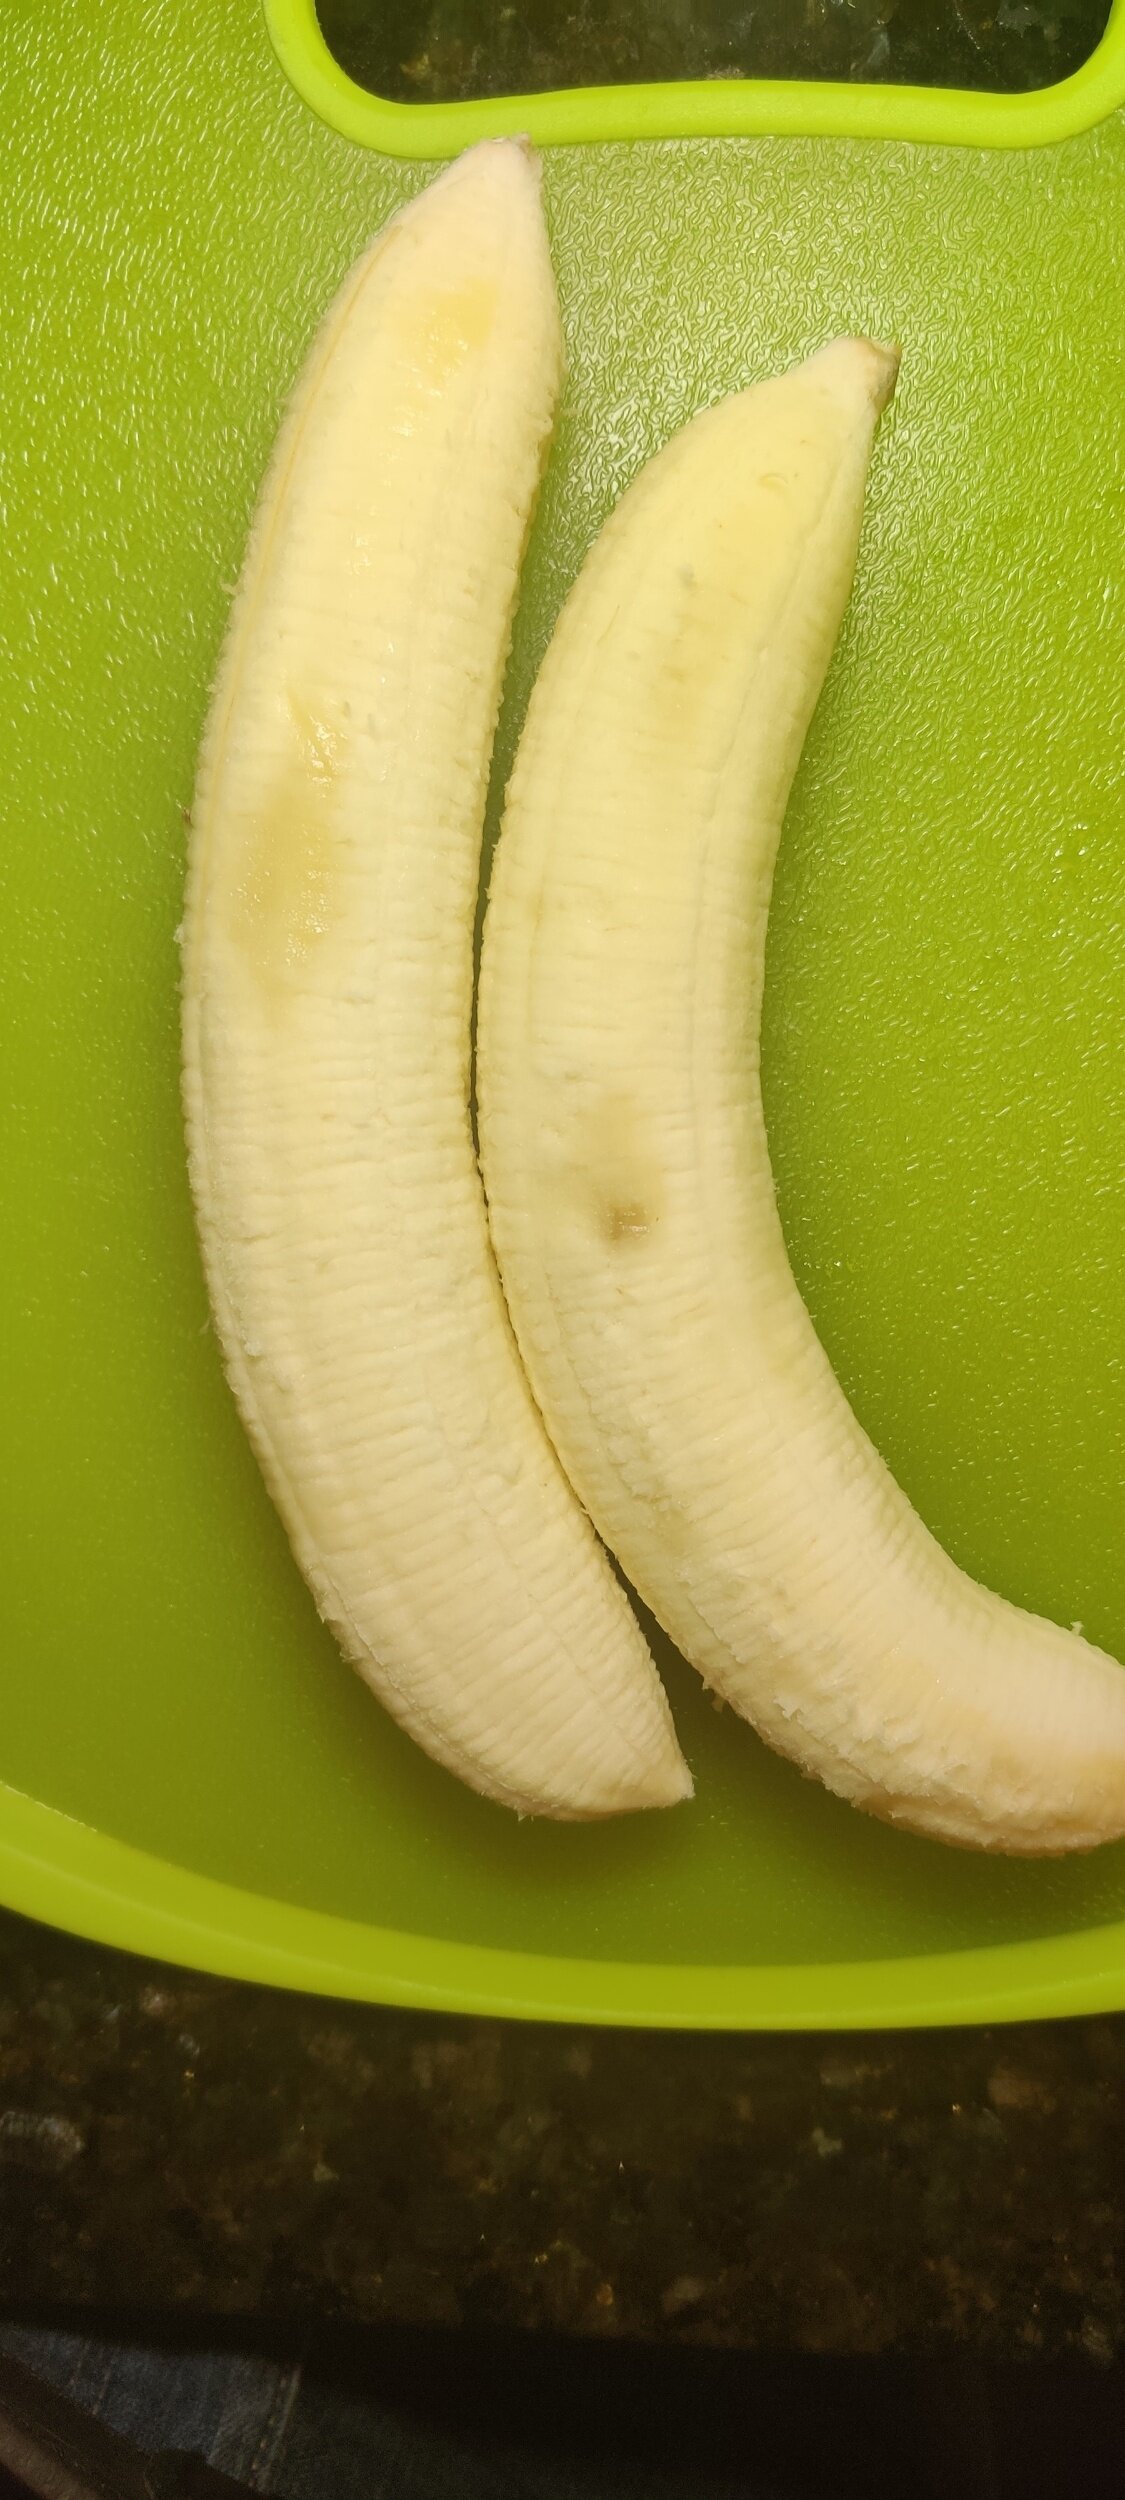
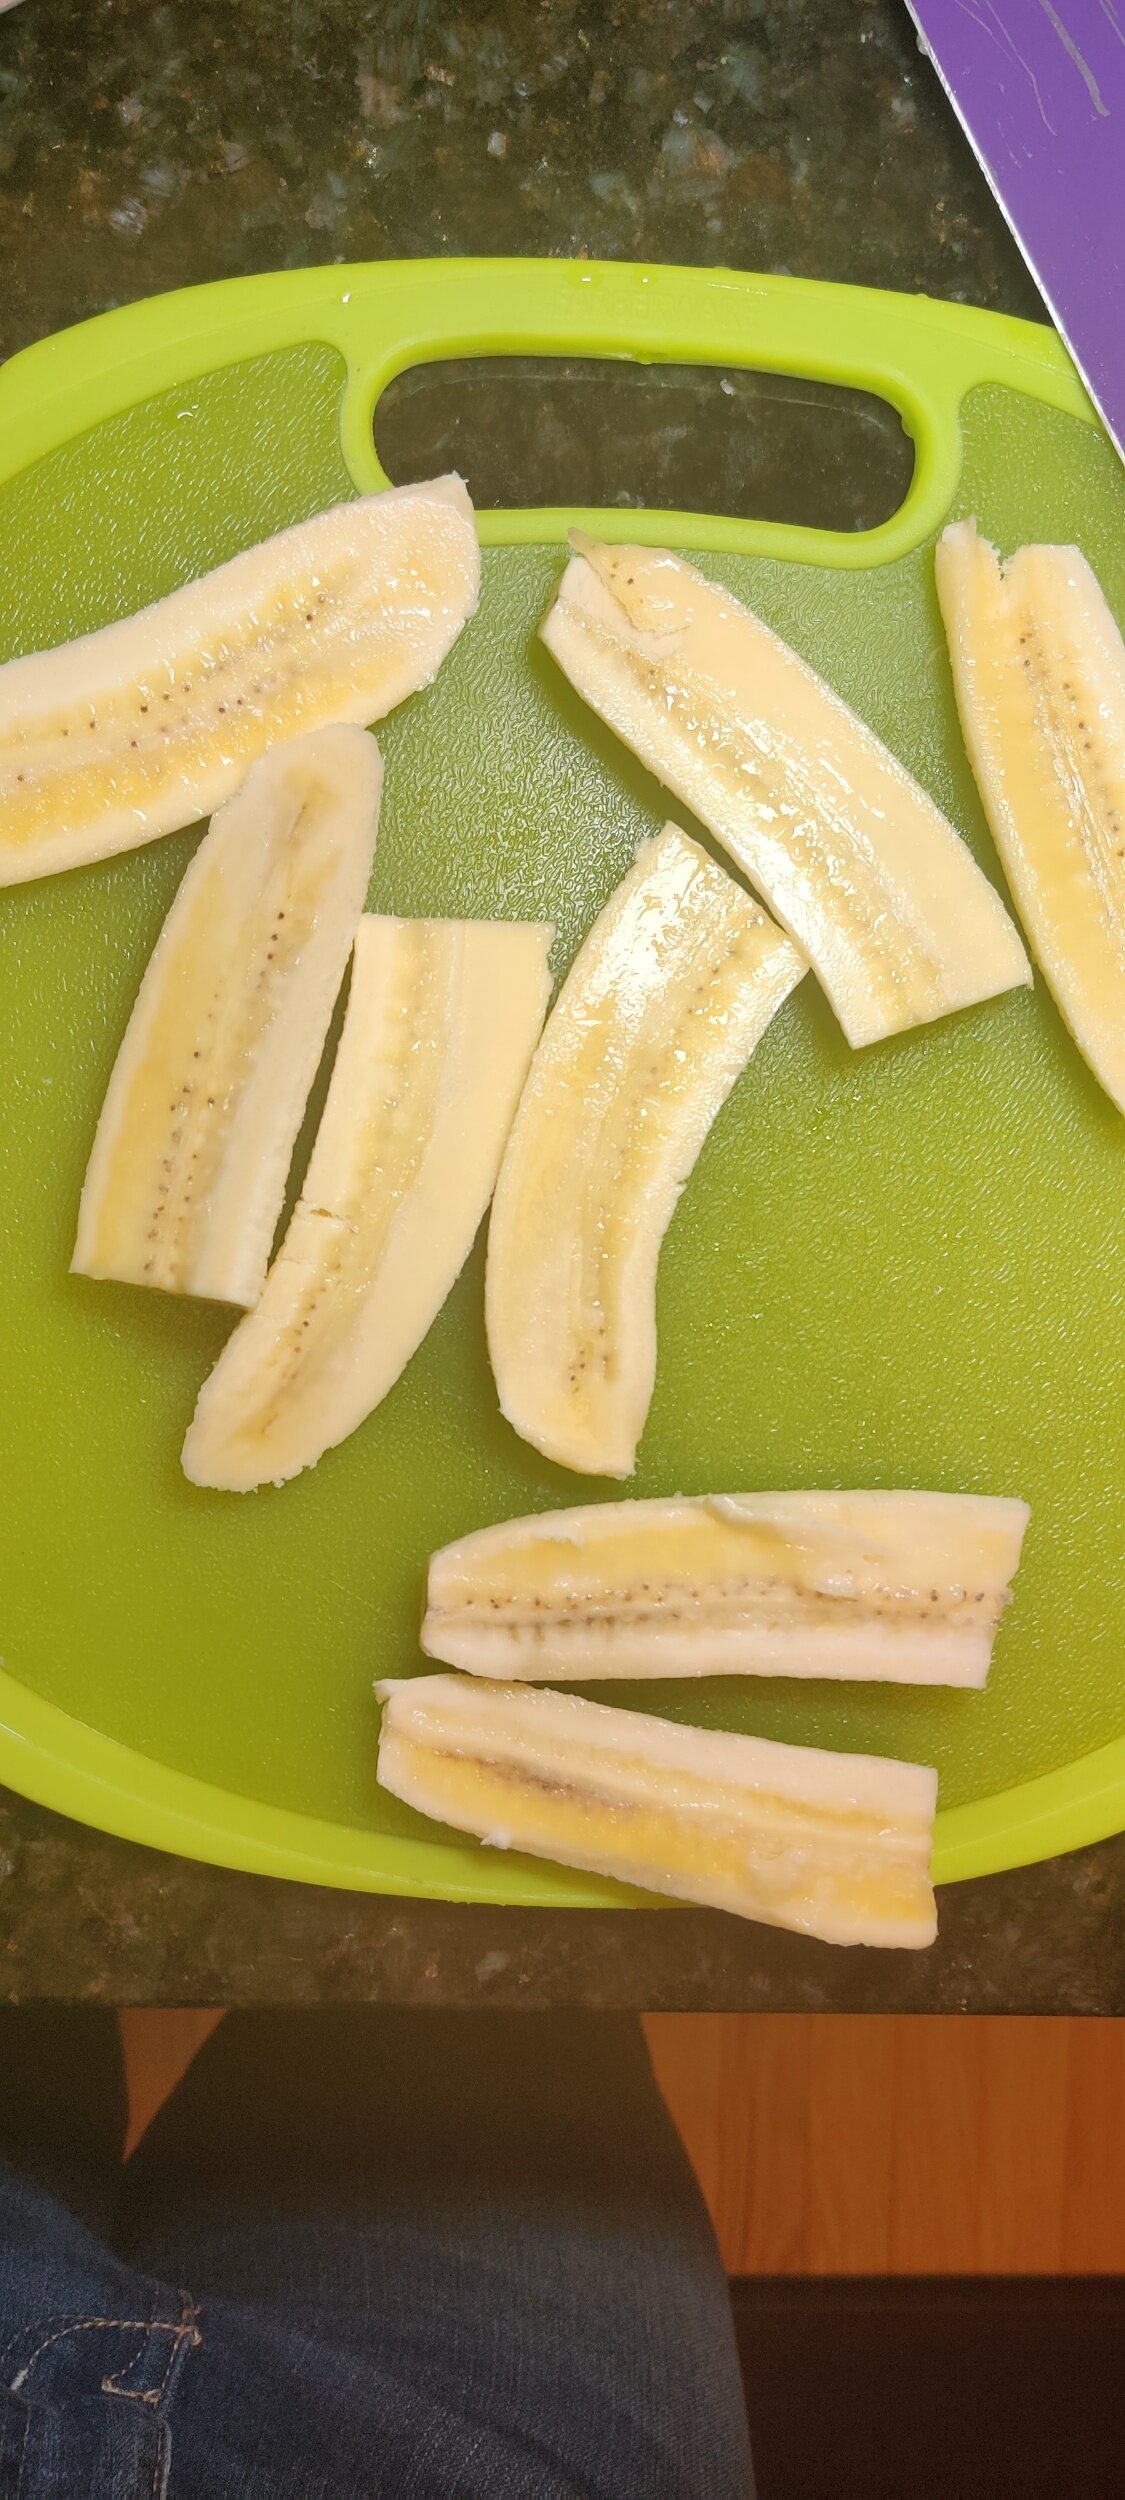
When I finally got to taste this dish in it’s city and restaurant of origin, I was absolutely delighted. Banana foster indulges all the senses, and for a banana lover it is an extremely easy but sophisticated dessert that is guaranteed to please.
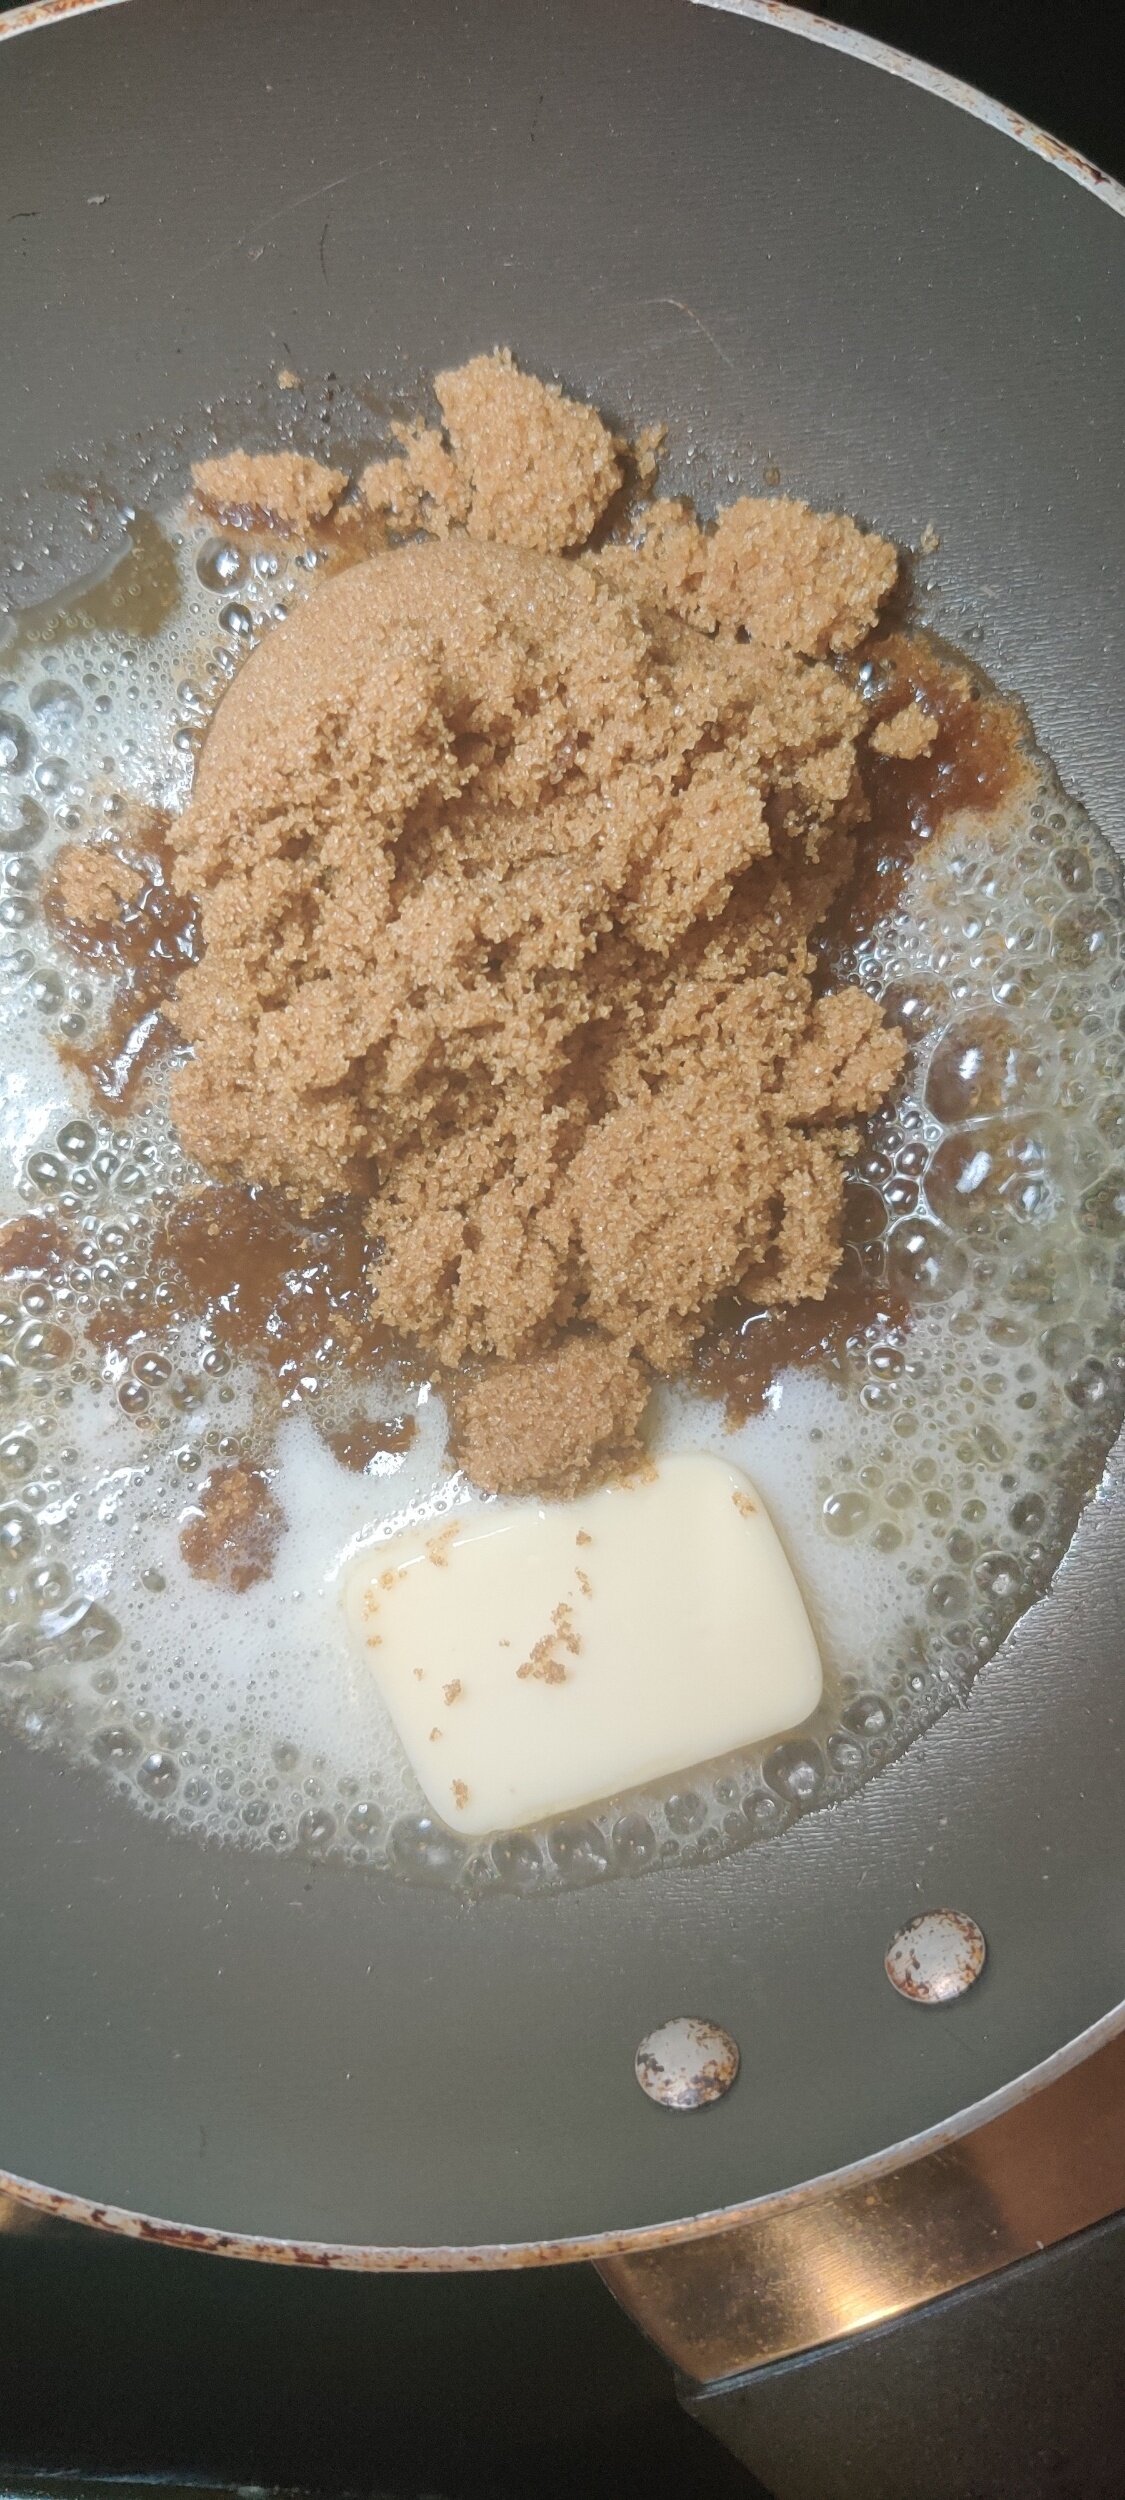
Ingredients
2 bananas (not overly ripe)
2/3 light brown sugar
1/2 teaspoon vanilla
3 tablespoons rum (or whiskey)
3 tablespoons butter
1/2 teaspoon cinnamon
Pinch of salt
Instructions
Note: This is not the flambé version so no worries about flames licking you in the face!
Step 1
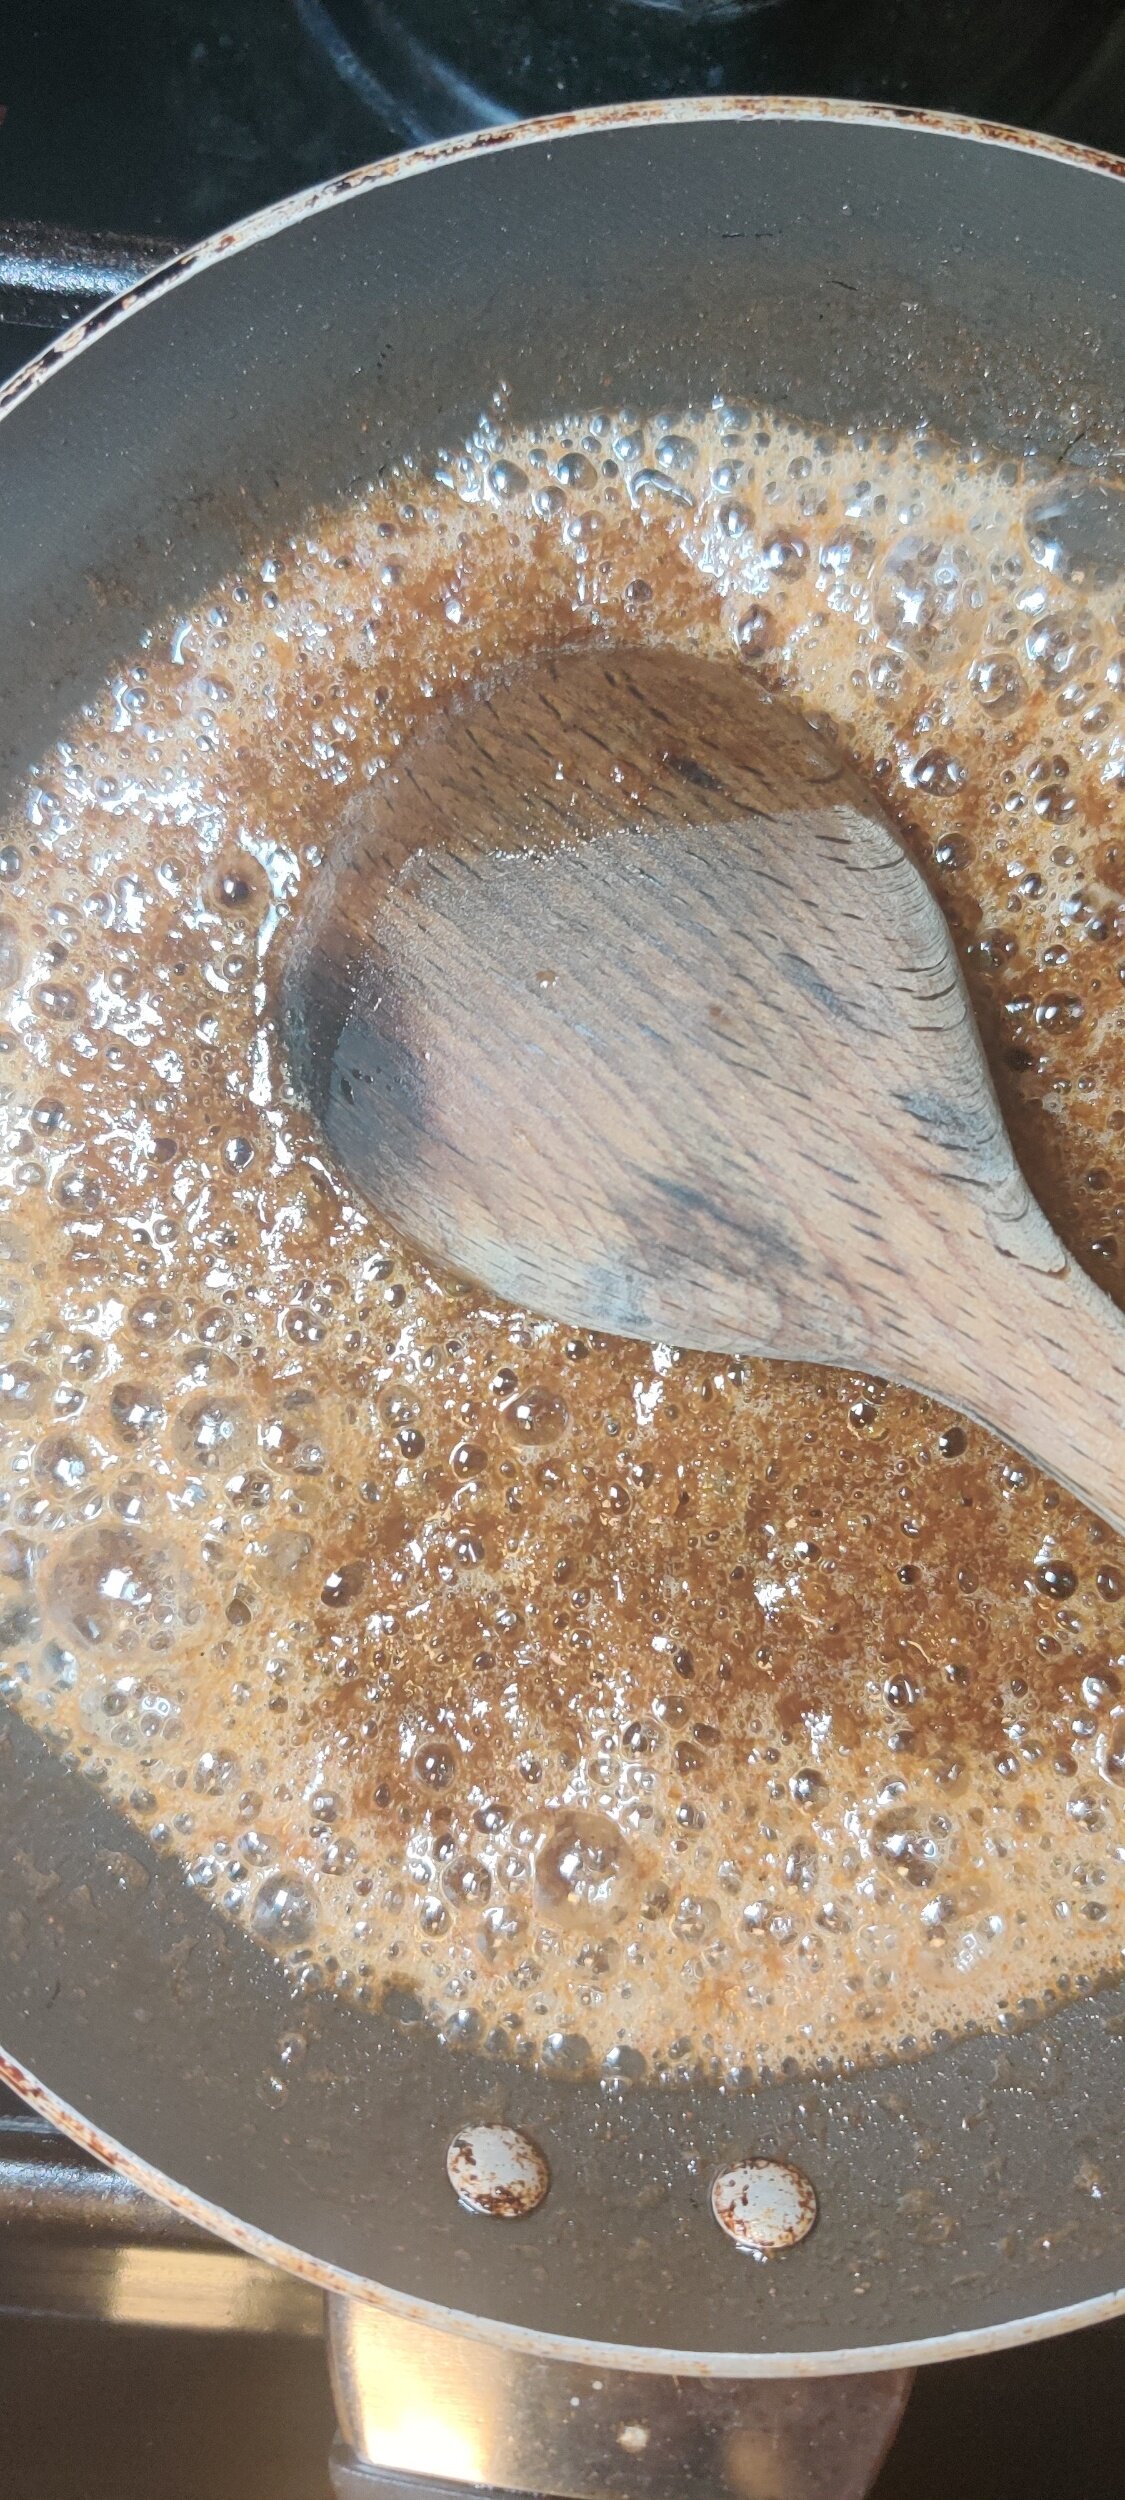
Melt the butter. Stir in the sugar and mix until it has dissolved. Add the vanilla, cinnamon, salt, and rum.
Step 2
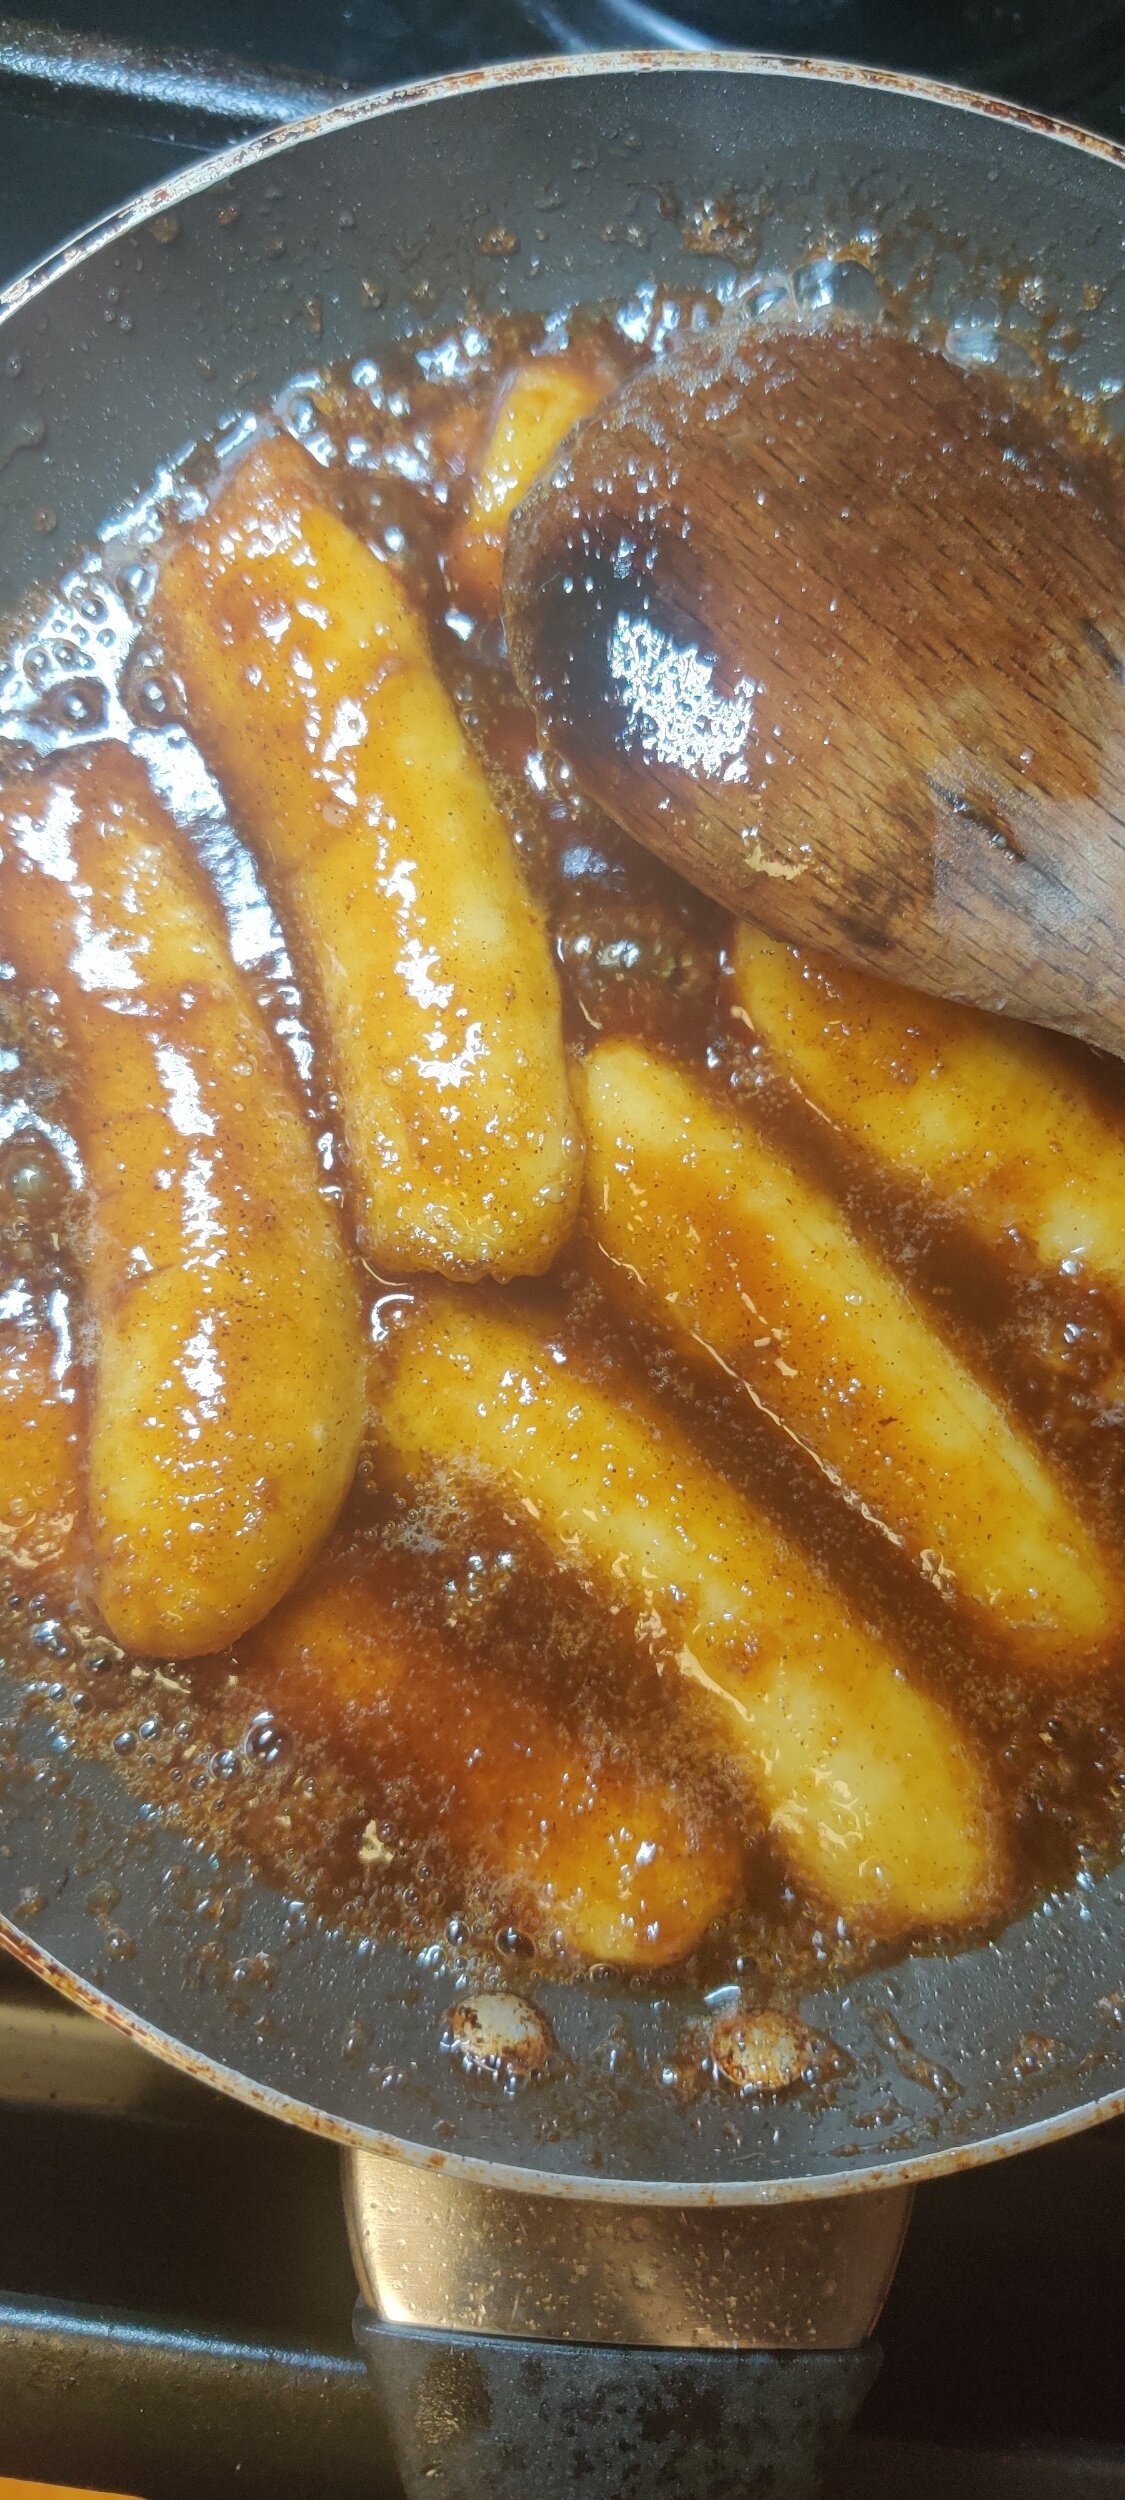
Add the bananas and baste, cooking and pouring over each side for about 2 minutes on medium low heat.
Enjoy hot with vanilla ice cream, serves 2!
Tip: Do not overcook, this will prevent the bananas breaking down and the rum/whiskey sauce caramelizing hardening.