
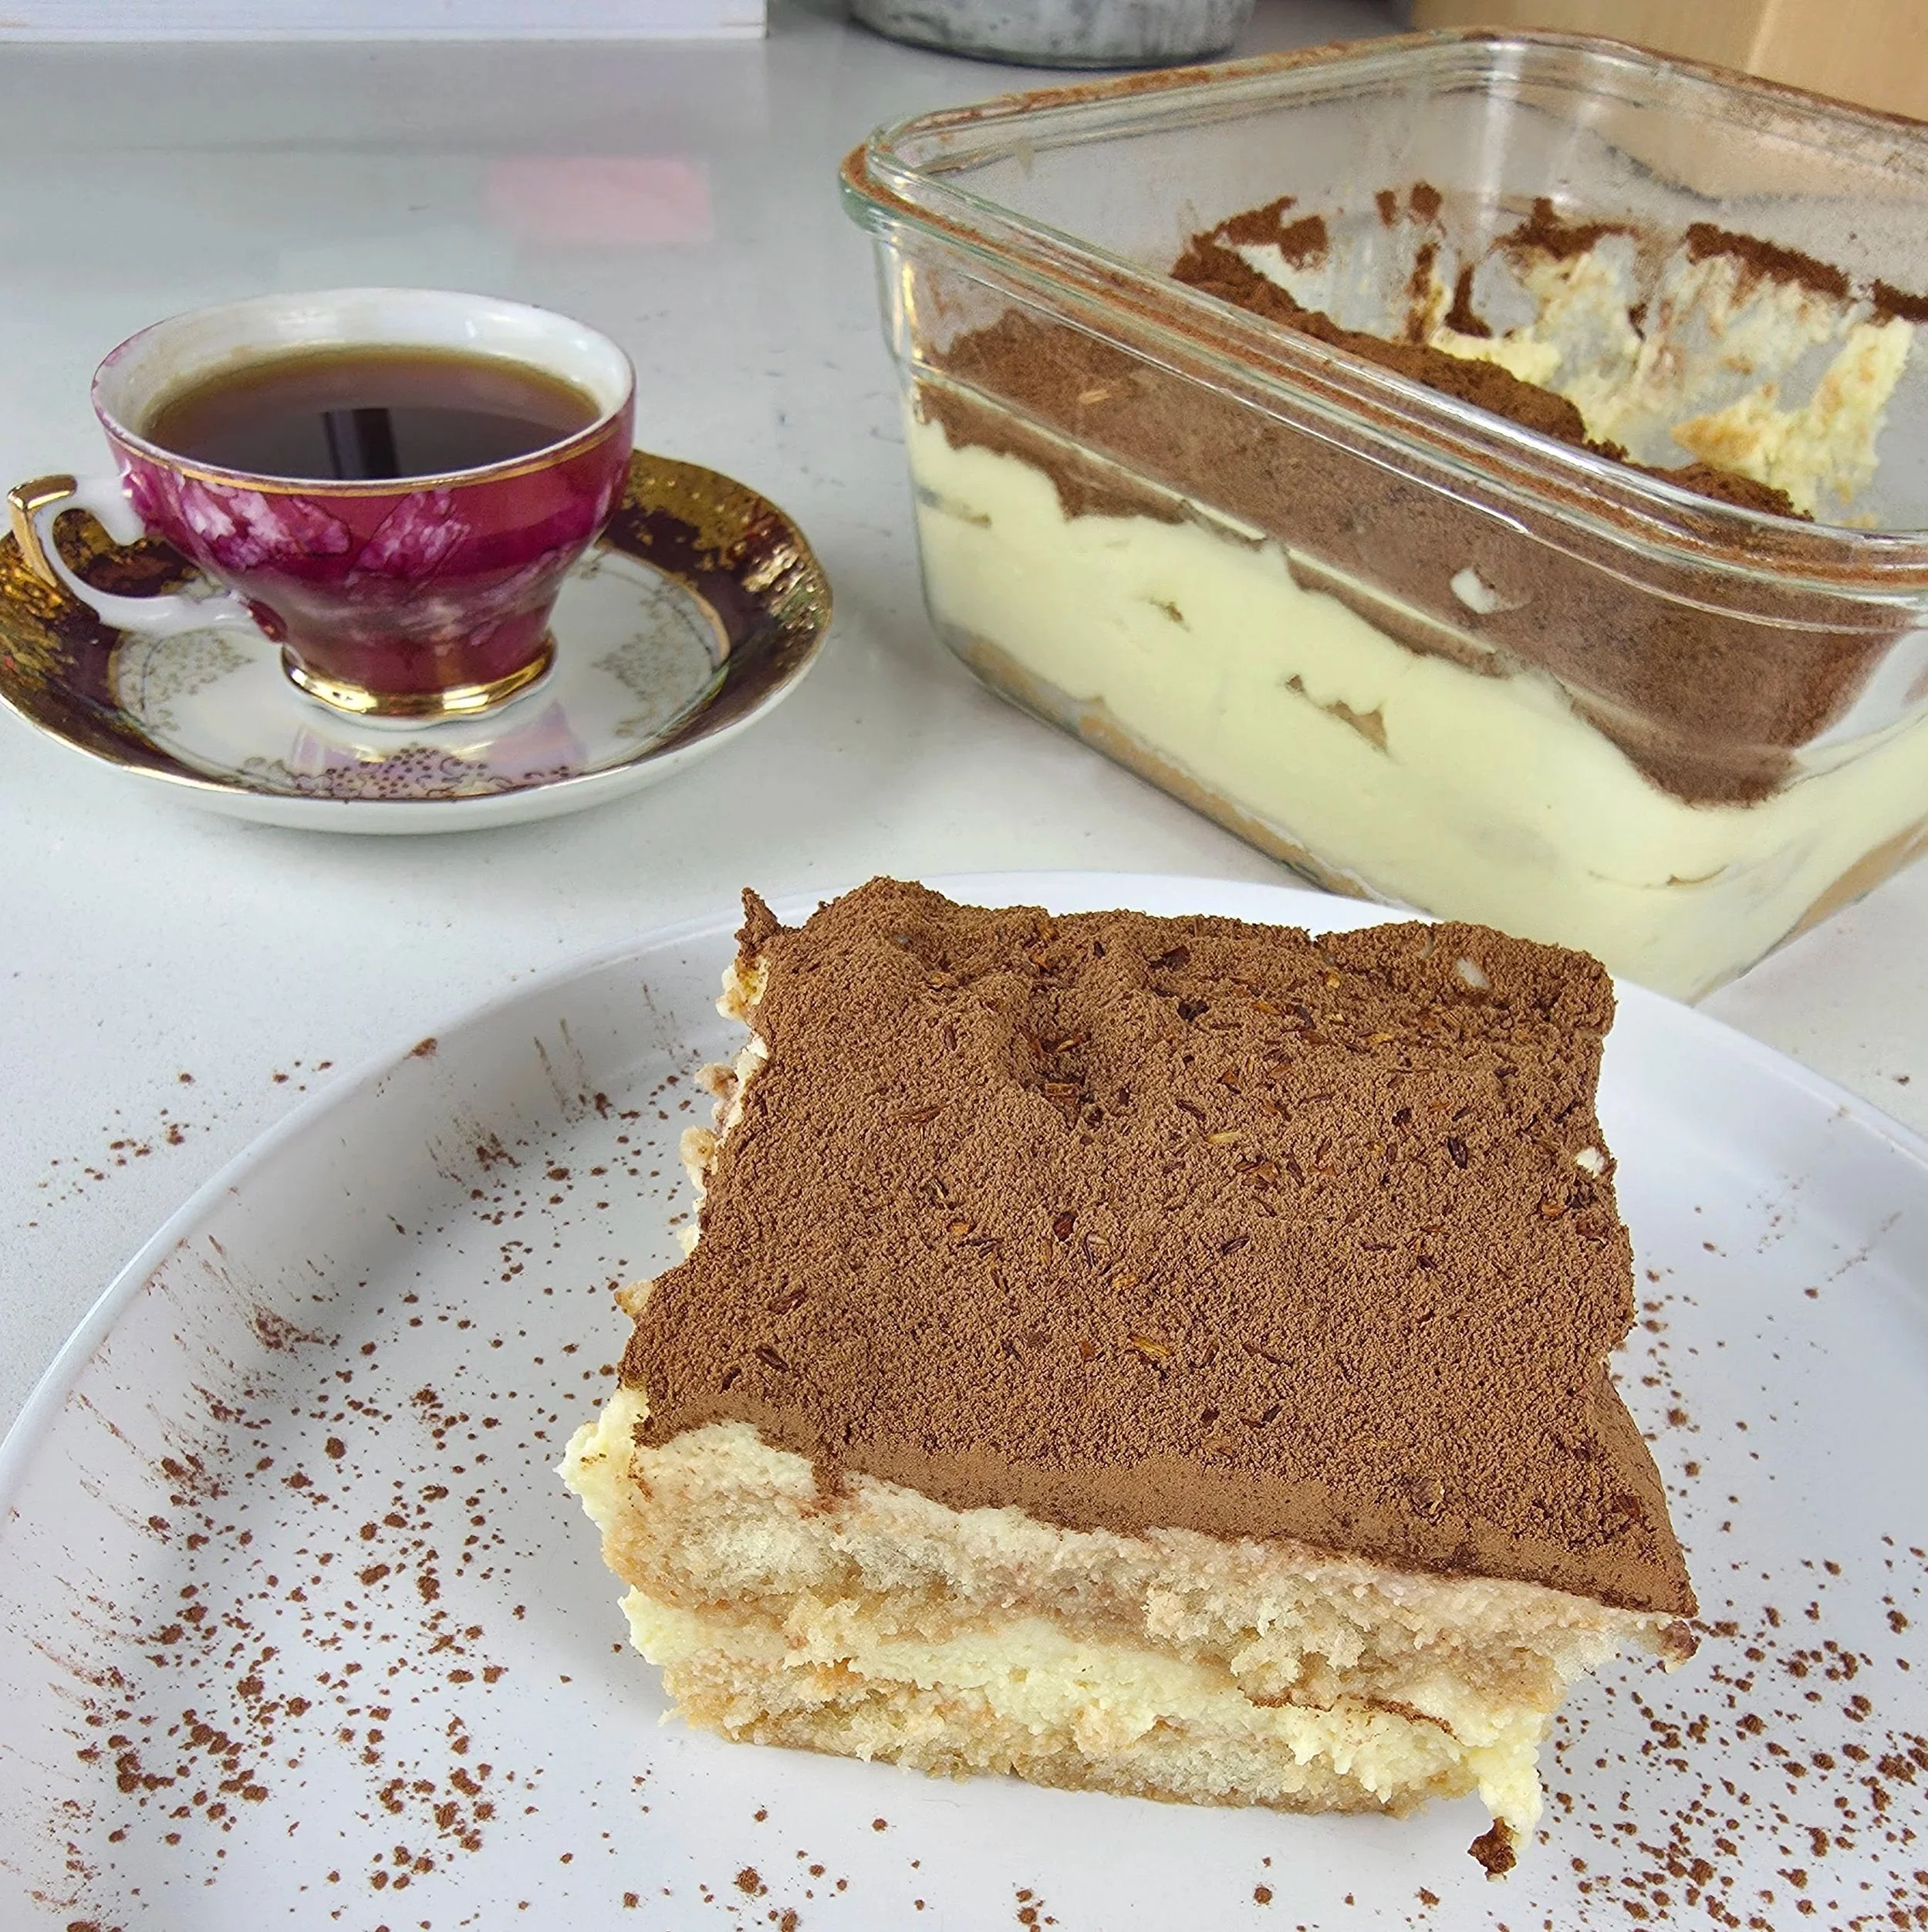
Rooibos Tiramisu
A Southern African-inspired take on Italian tiramisu, this Rooibos Tiramisu replaces the traditional coffee soak with strong rooibos tea, masala wine and vanilla for a creamy, aromatic dessert that's perfect for tea lovers.
Tiramisu is one of those desserts that doesn't really need an introduction. Creamy mascarpone, delicate ladyfingers, cocoa and that unmistakable coffee-soaked bite make it a classic for a reason. But what happens when you're a tea lover who wants to experience tiramisu without making coffee the star?
I first fell in love with making tiramisu during a cooking class in Italy, where I had the chance to make the classic version from scratch. There's something special about preparing a dish in the place where it originated—or at least, in the country that made it famous around the world. Working with mascarpone, egg yolks, sugar and those delicate Italian ladyfingers gave me a much better appreciation for why the dessert works so well. But when I started thinking about putting my own spin on it, I didn't want to simply swap one ingredient for another and call it a new recipe. I wanted the twist to actually make sense, and for me, that meant rooibos.
Rooibos is naturally caffeine-free, with a mellow, nutty, earthy sweetness and subtle notes that can lean toward vanilla, honey and even cocoa depending on the blend. It also happens to be one of those ingredients that immediately brings a South African connection to a dessert that is otherwise unmistakably Italian.
Instead of soaking the ladyfingers in coffee, they're dipped in a strong rooibos infusion, finished with a little marsala wine and vanilla. The result isn't supposed to taste like coffee tiramisu with tea substituted for the coffee. The goal is something different: a tiramisu where rooibos has its own identity.
I also wanted to keep the dessert approachable for people who simply aren't coffee drinkers. If you love tea, don't drink caffeine, or just want something unexpected for dessert, this version gives you the creamy, cocoa-dusted experience of tiramisu while taking it in a completely different direction.
The mascarpone cream remains rich and airy, while the rooibos brings warmth and depth. A small amount of espresso powder in the cocoa topping is there only to deepen the chocolate notes—not to turn the dessert back into a coffee tiramisu.
It's a little bit Italy, a little bit Southern Africa, and very much my kind of fusion.
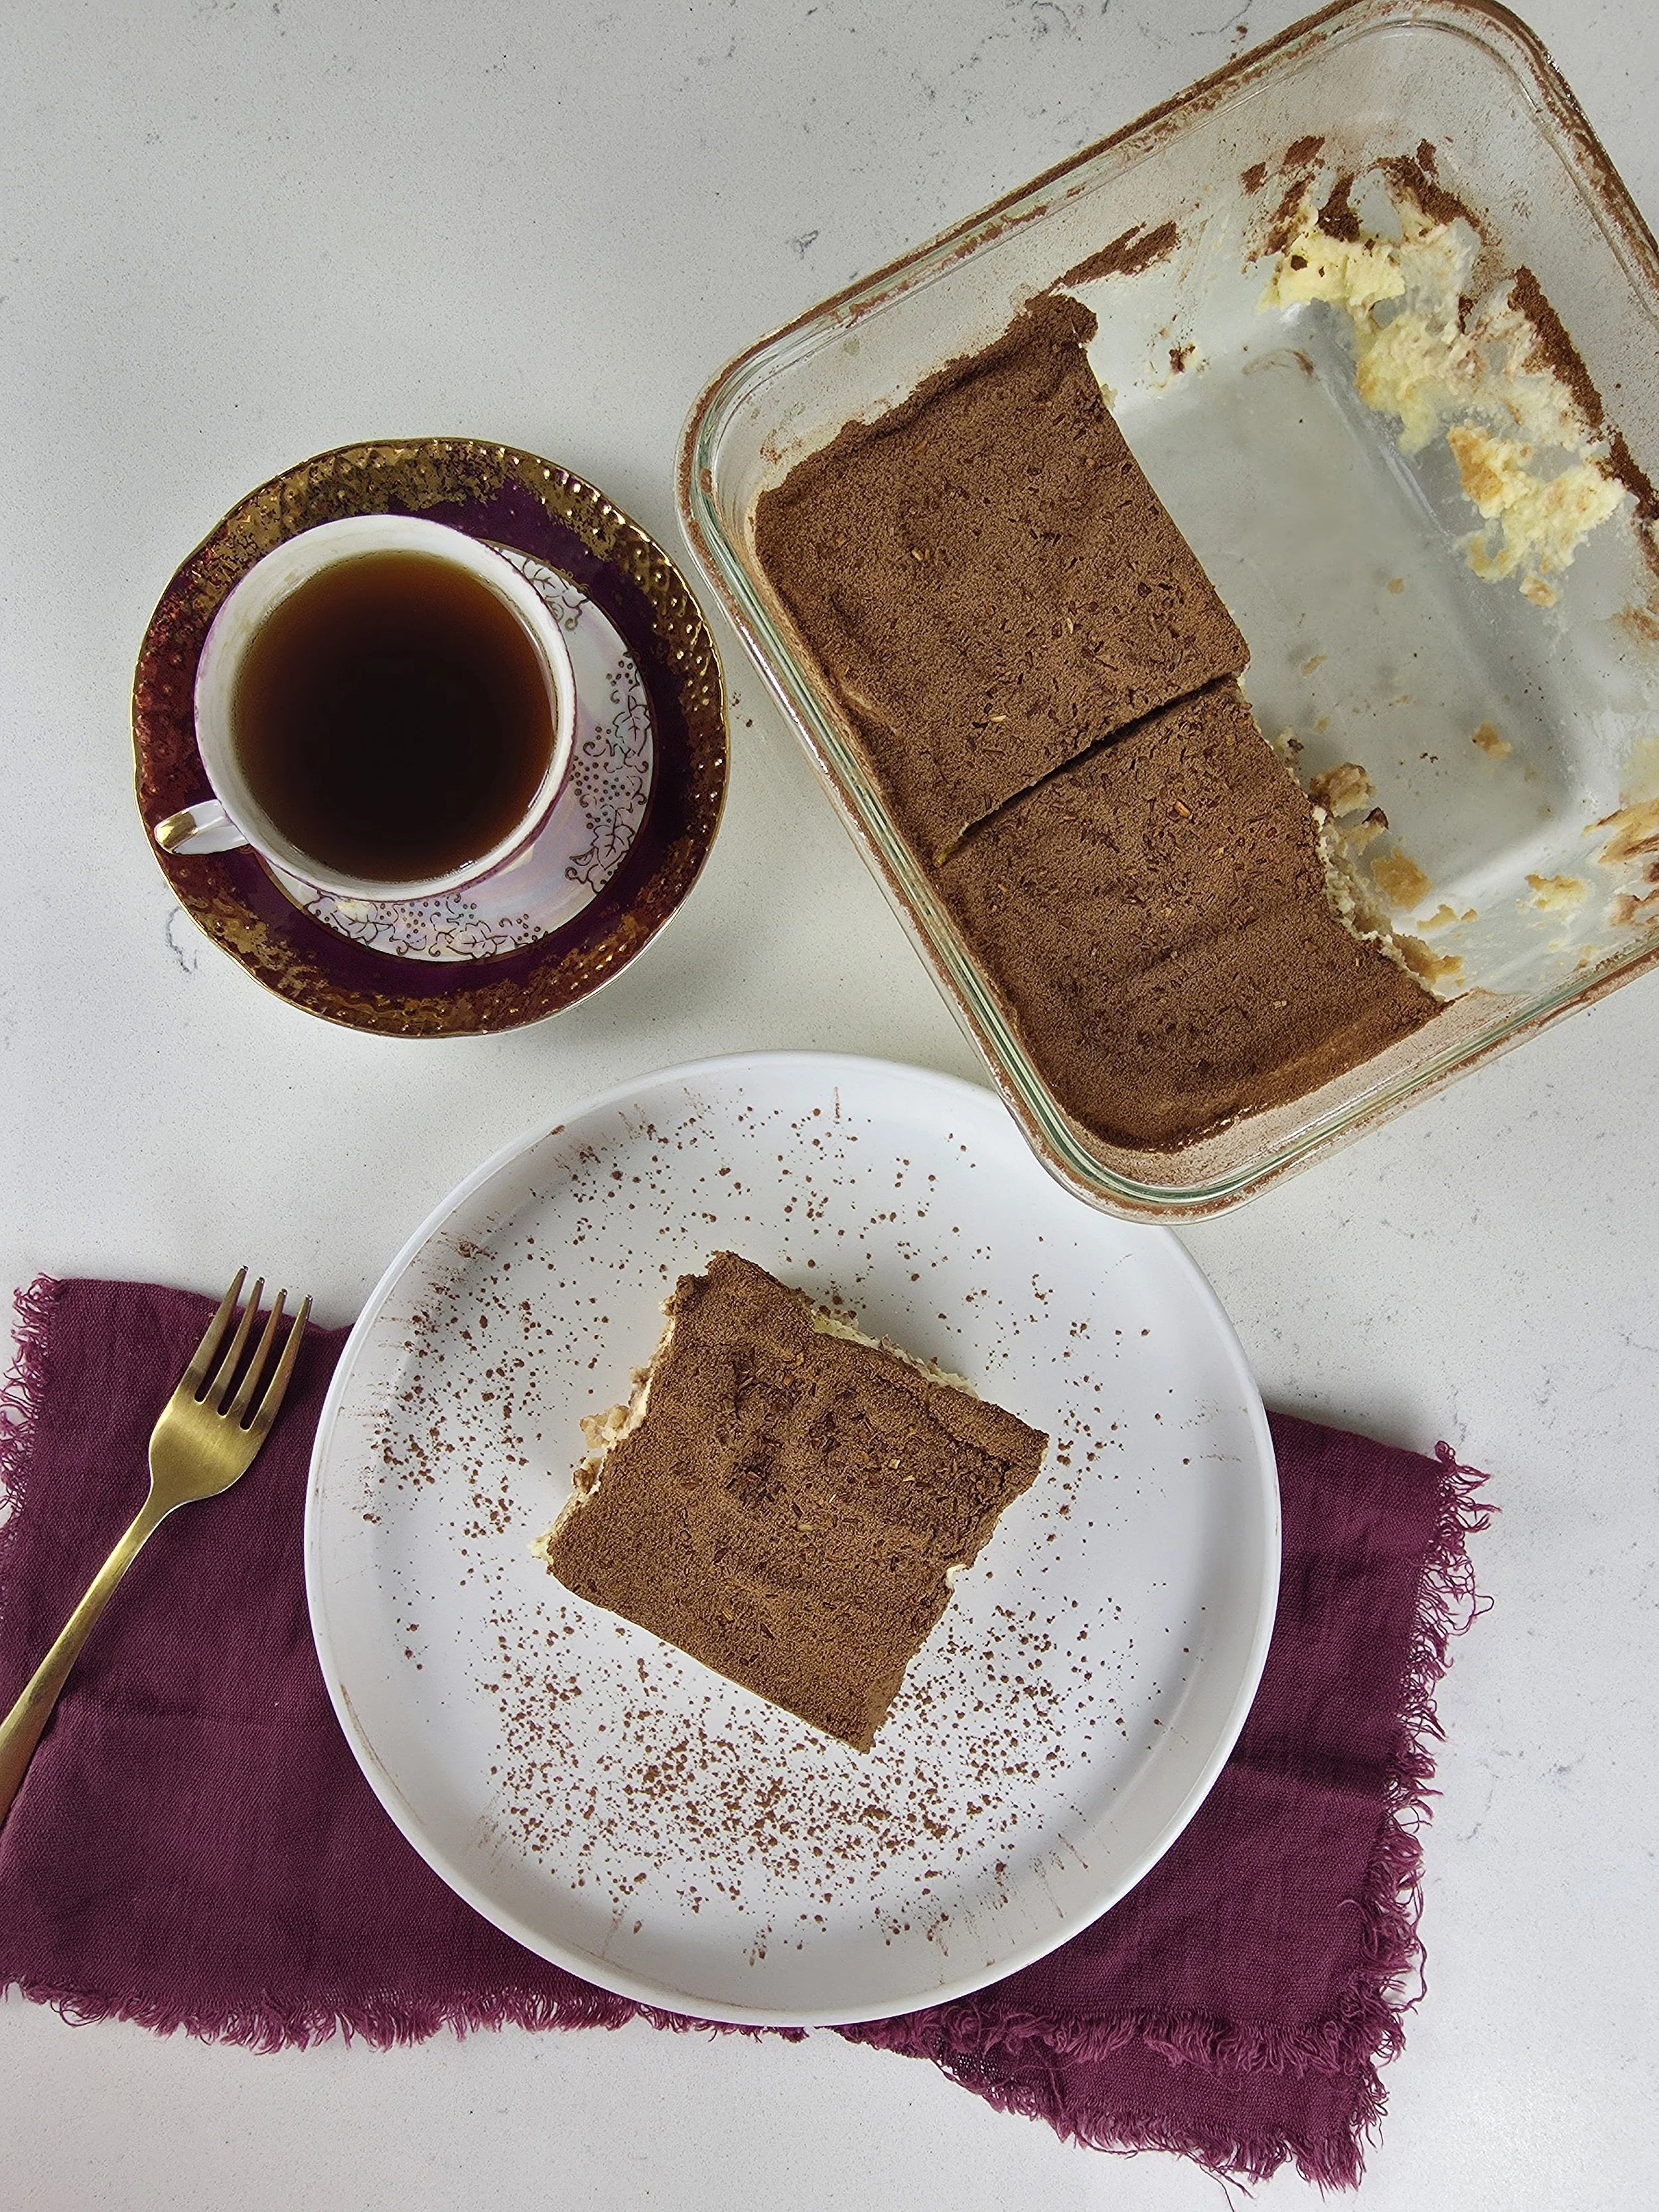
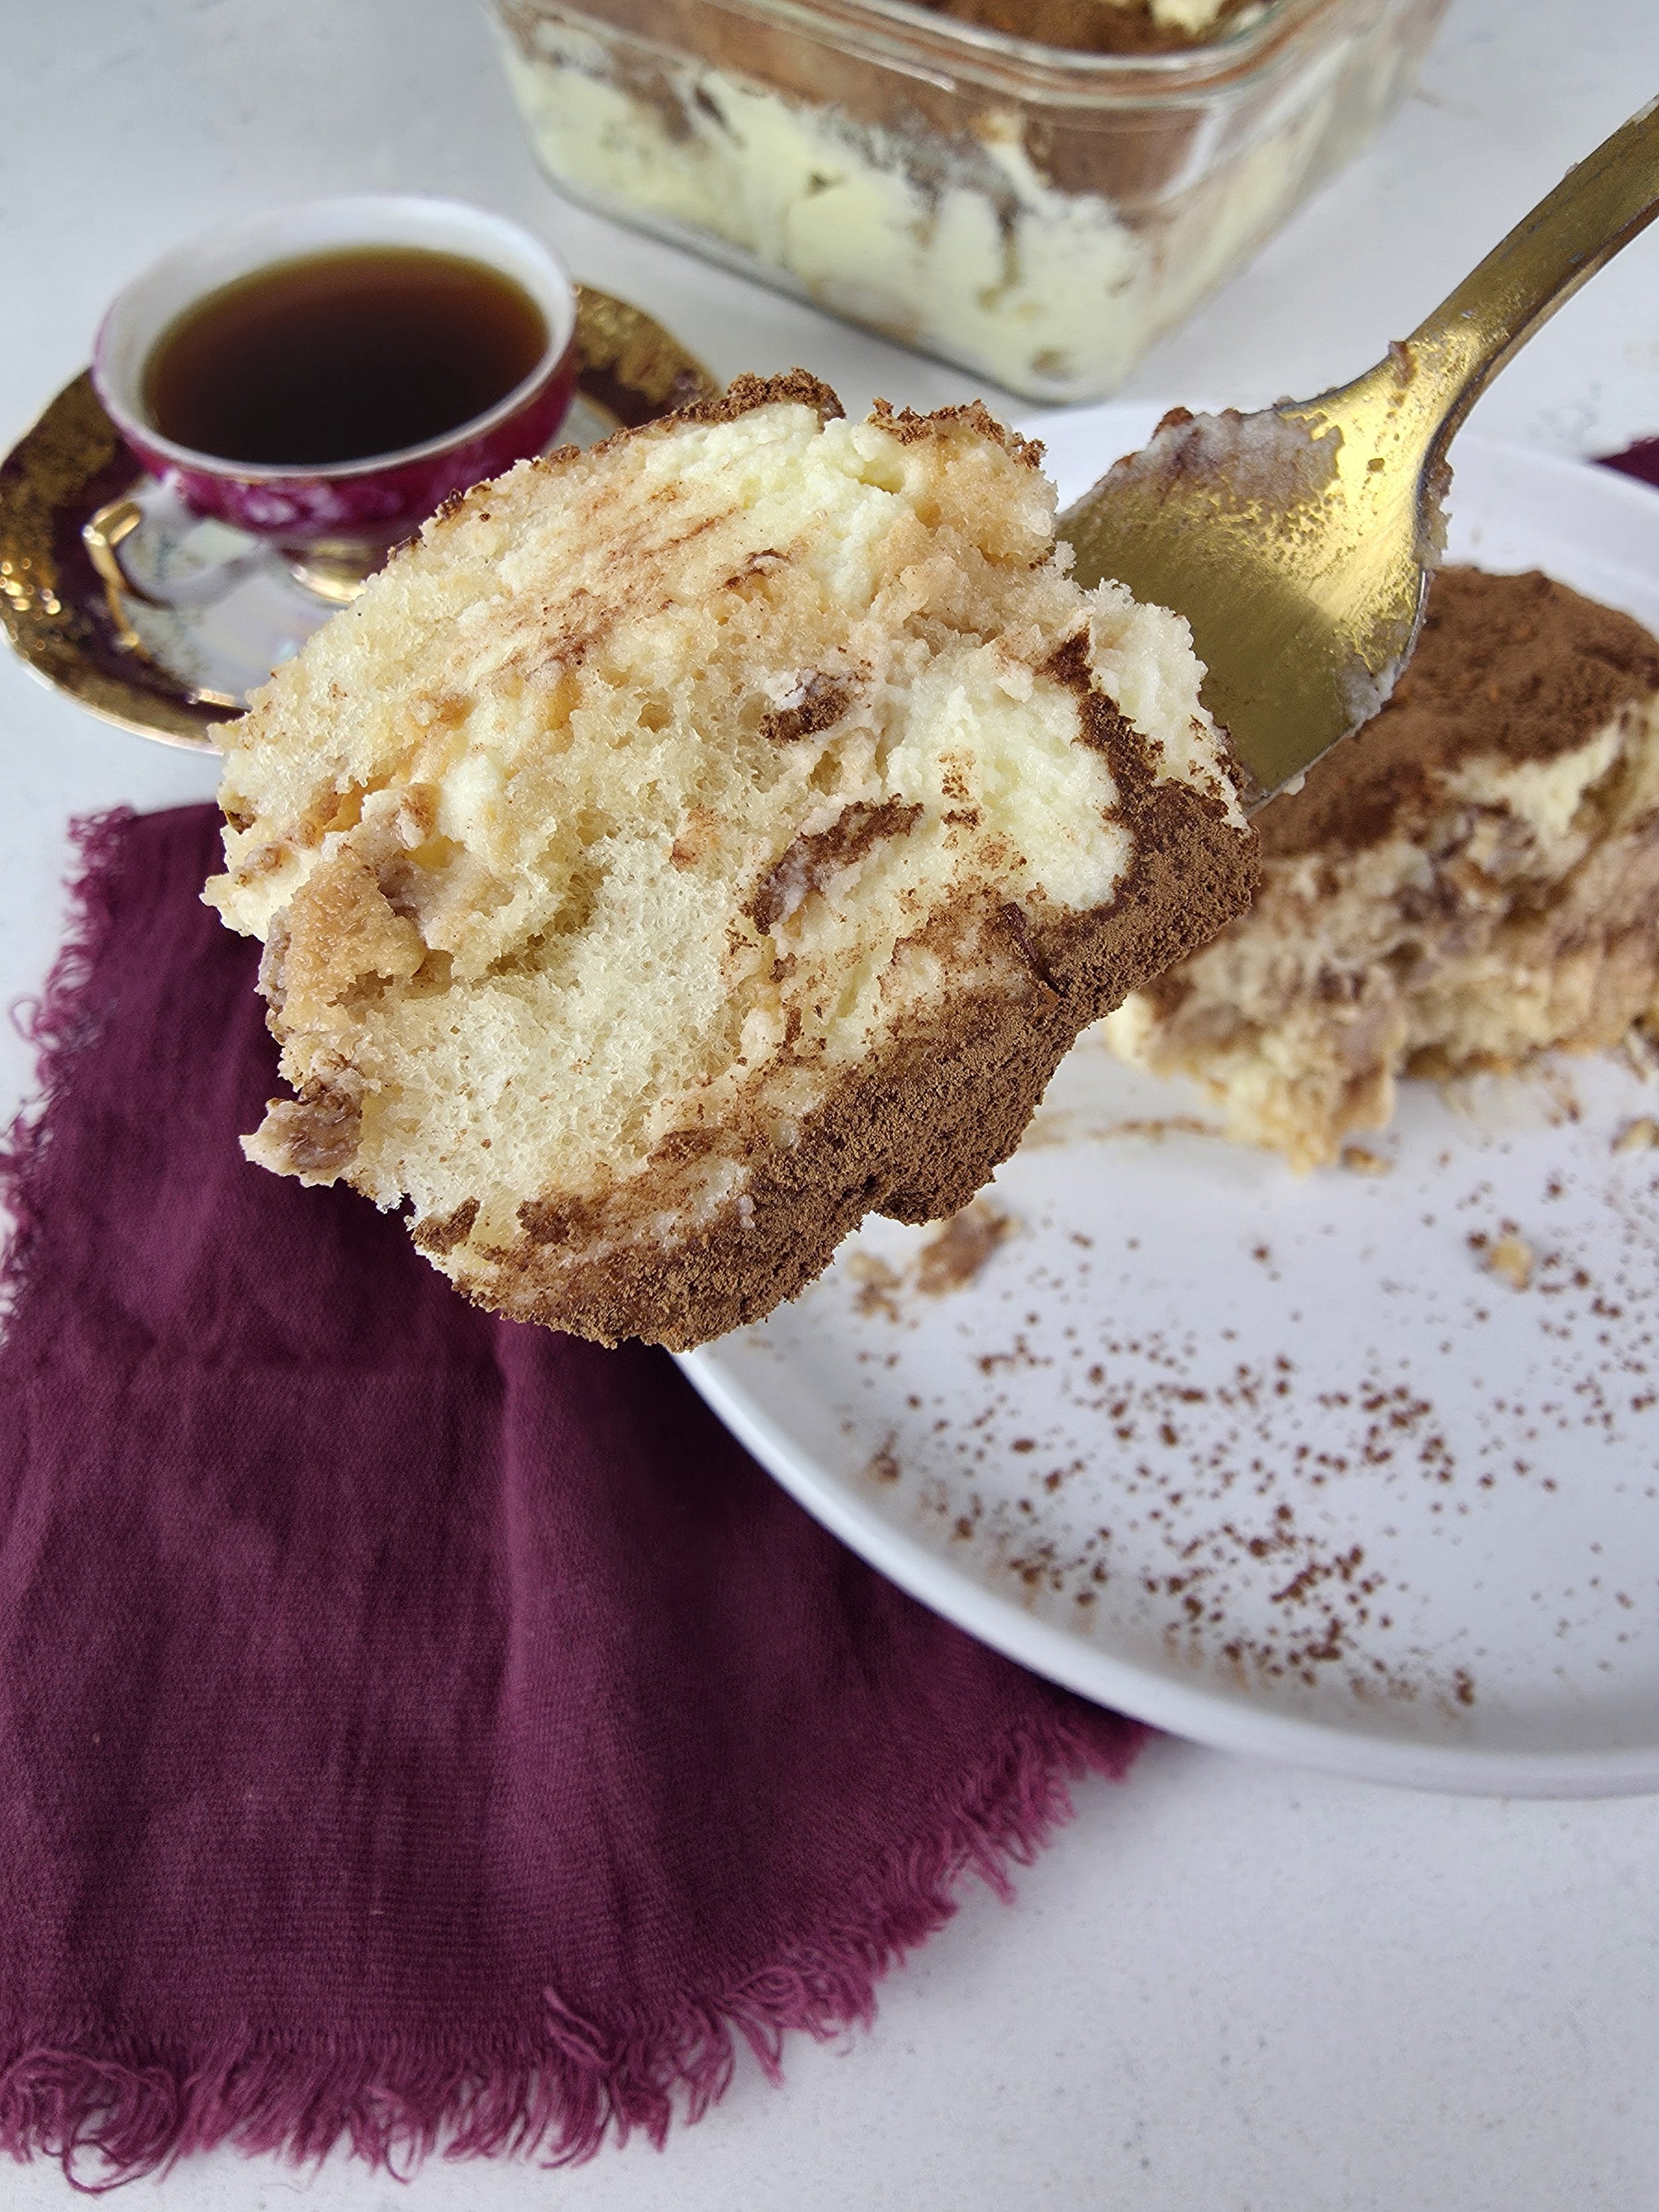

Rooibos Tiramisu
A Southern African-inspired twist on classic Italian tiramisu, made with bold rooibos tea, masala wine, mascarpone and a cocoa-espresso finish.
Ingredients
- 1 cup water
- 2 teaspoons loose-leaf rooibos
- 1 tablespoon granulated sugar
- 2 tablespoons masala wine
- ½ teaspoon vanilla extract
- 2 large egg yolks
- ¼ cup (50g) granulated sugar
- 1 tablespoon masala wine
- 8 ounces (225g) mascarpone, slightly softened
- ⅔ cup (160ml) heavy whipping cream, cold
- ½ teaspoon vanilla extract
- Pinch of salt
- 12–14 Savoiardi ladyfingers
- Topping
- 1 tablespoon unsweetened cocoa powder
- ¼ teaspoon espresso powder
- Optional: a tiny pinch of very finely crushed rooibos leaves for visual garnish
Instructions
- Bring 1 cup of water to a boil. Add the rooibos and steep for 8–12 minutes, or until very strong. If needed, add a little more water and additional loose-leaf rooibos to account for evaporation and maintain enough liquid for dipping the ladyfingers. Remove the tea bags or strain the loose tea once the rooibos is ready. You can prepare the remaining components while the tea steeps.
- While the tea is still hot, stir in the sugar until dissolved. Allow the tea to cool to warm or room temperature, then stir in the masala wine and vanilla. Set aside.
- In a heatproof bowl, whisk together the egg yolks, sugar, and 1 tablespoon of masala wine. Place the bowl over a saucepan of gently simmering water, making sure the bottom of the bowl does not touch the water. Whisk constantly until the mixture reaches 160°F. Remove from the heat and let cool for about 5 minutes.
- Transfer the cooked yolk mixture to a large bowl. Add the mascarpone, vanilla, and salt, and whisk until smooth.
- In a separate bowl, whip the cold heavy cream to medium-stiff peaks. Gently fold half of the whipped cream into the mascarpone mixture, then fold in the remaining cream just until combined. Do not overmix.
- Pour the rooibos soak into a shallow dish. Dip each ladyfinger very briefly, about 1 second per side, until moistened but not saturated.
- Arrange the dipped ladyfingers in a single layer across the bottom of a 6 × 6-inch dish, breaking them as needed to fit. Spread half of the mascarpone cream evenly over the ladyfingers. Add a second layer of dipped ladyfingers, followed by the remaining mascarpone cream. Smooth the top.
- Combine the cocoa powder and espresso powder, then sift the mixture evenly over the tiramisu. If desired, finish with a tiny pinch of finely crushed rooibos leaves for visual contrast.
- Cover and refrigerate for at least 4 hours, preferably overnight. Serve chilled.
Notes
- Strong rooibos matters. The tea should taste more concentrated than a normal cup because the mascarpone and ladyfingers will mellow it.
- Don't oversoak the ladyfingers. A very quick dip keeps the tiramisu structured rather than soggy.
- The espresso powder is subtle. It deepens the cocoa flavor without turning this into coffee tiramisu.
- Masala wine: The small amount adds warmth and spice without overpowering the rooibos.
- Egg safety: The yolk mixture is heated to 160°F before being incorporated into the cream.
Nutrition Facts
Calories
580Fat (grams)
37 gSat. Fat (grams)
22 gCarbs (grams)
56 gSugar (grams)
29 gProtein (grams)
9 gI am not a certified nutritionist and any nutritional information on dontmissmyplate.com should only be used as a general guideline.
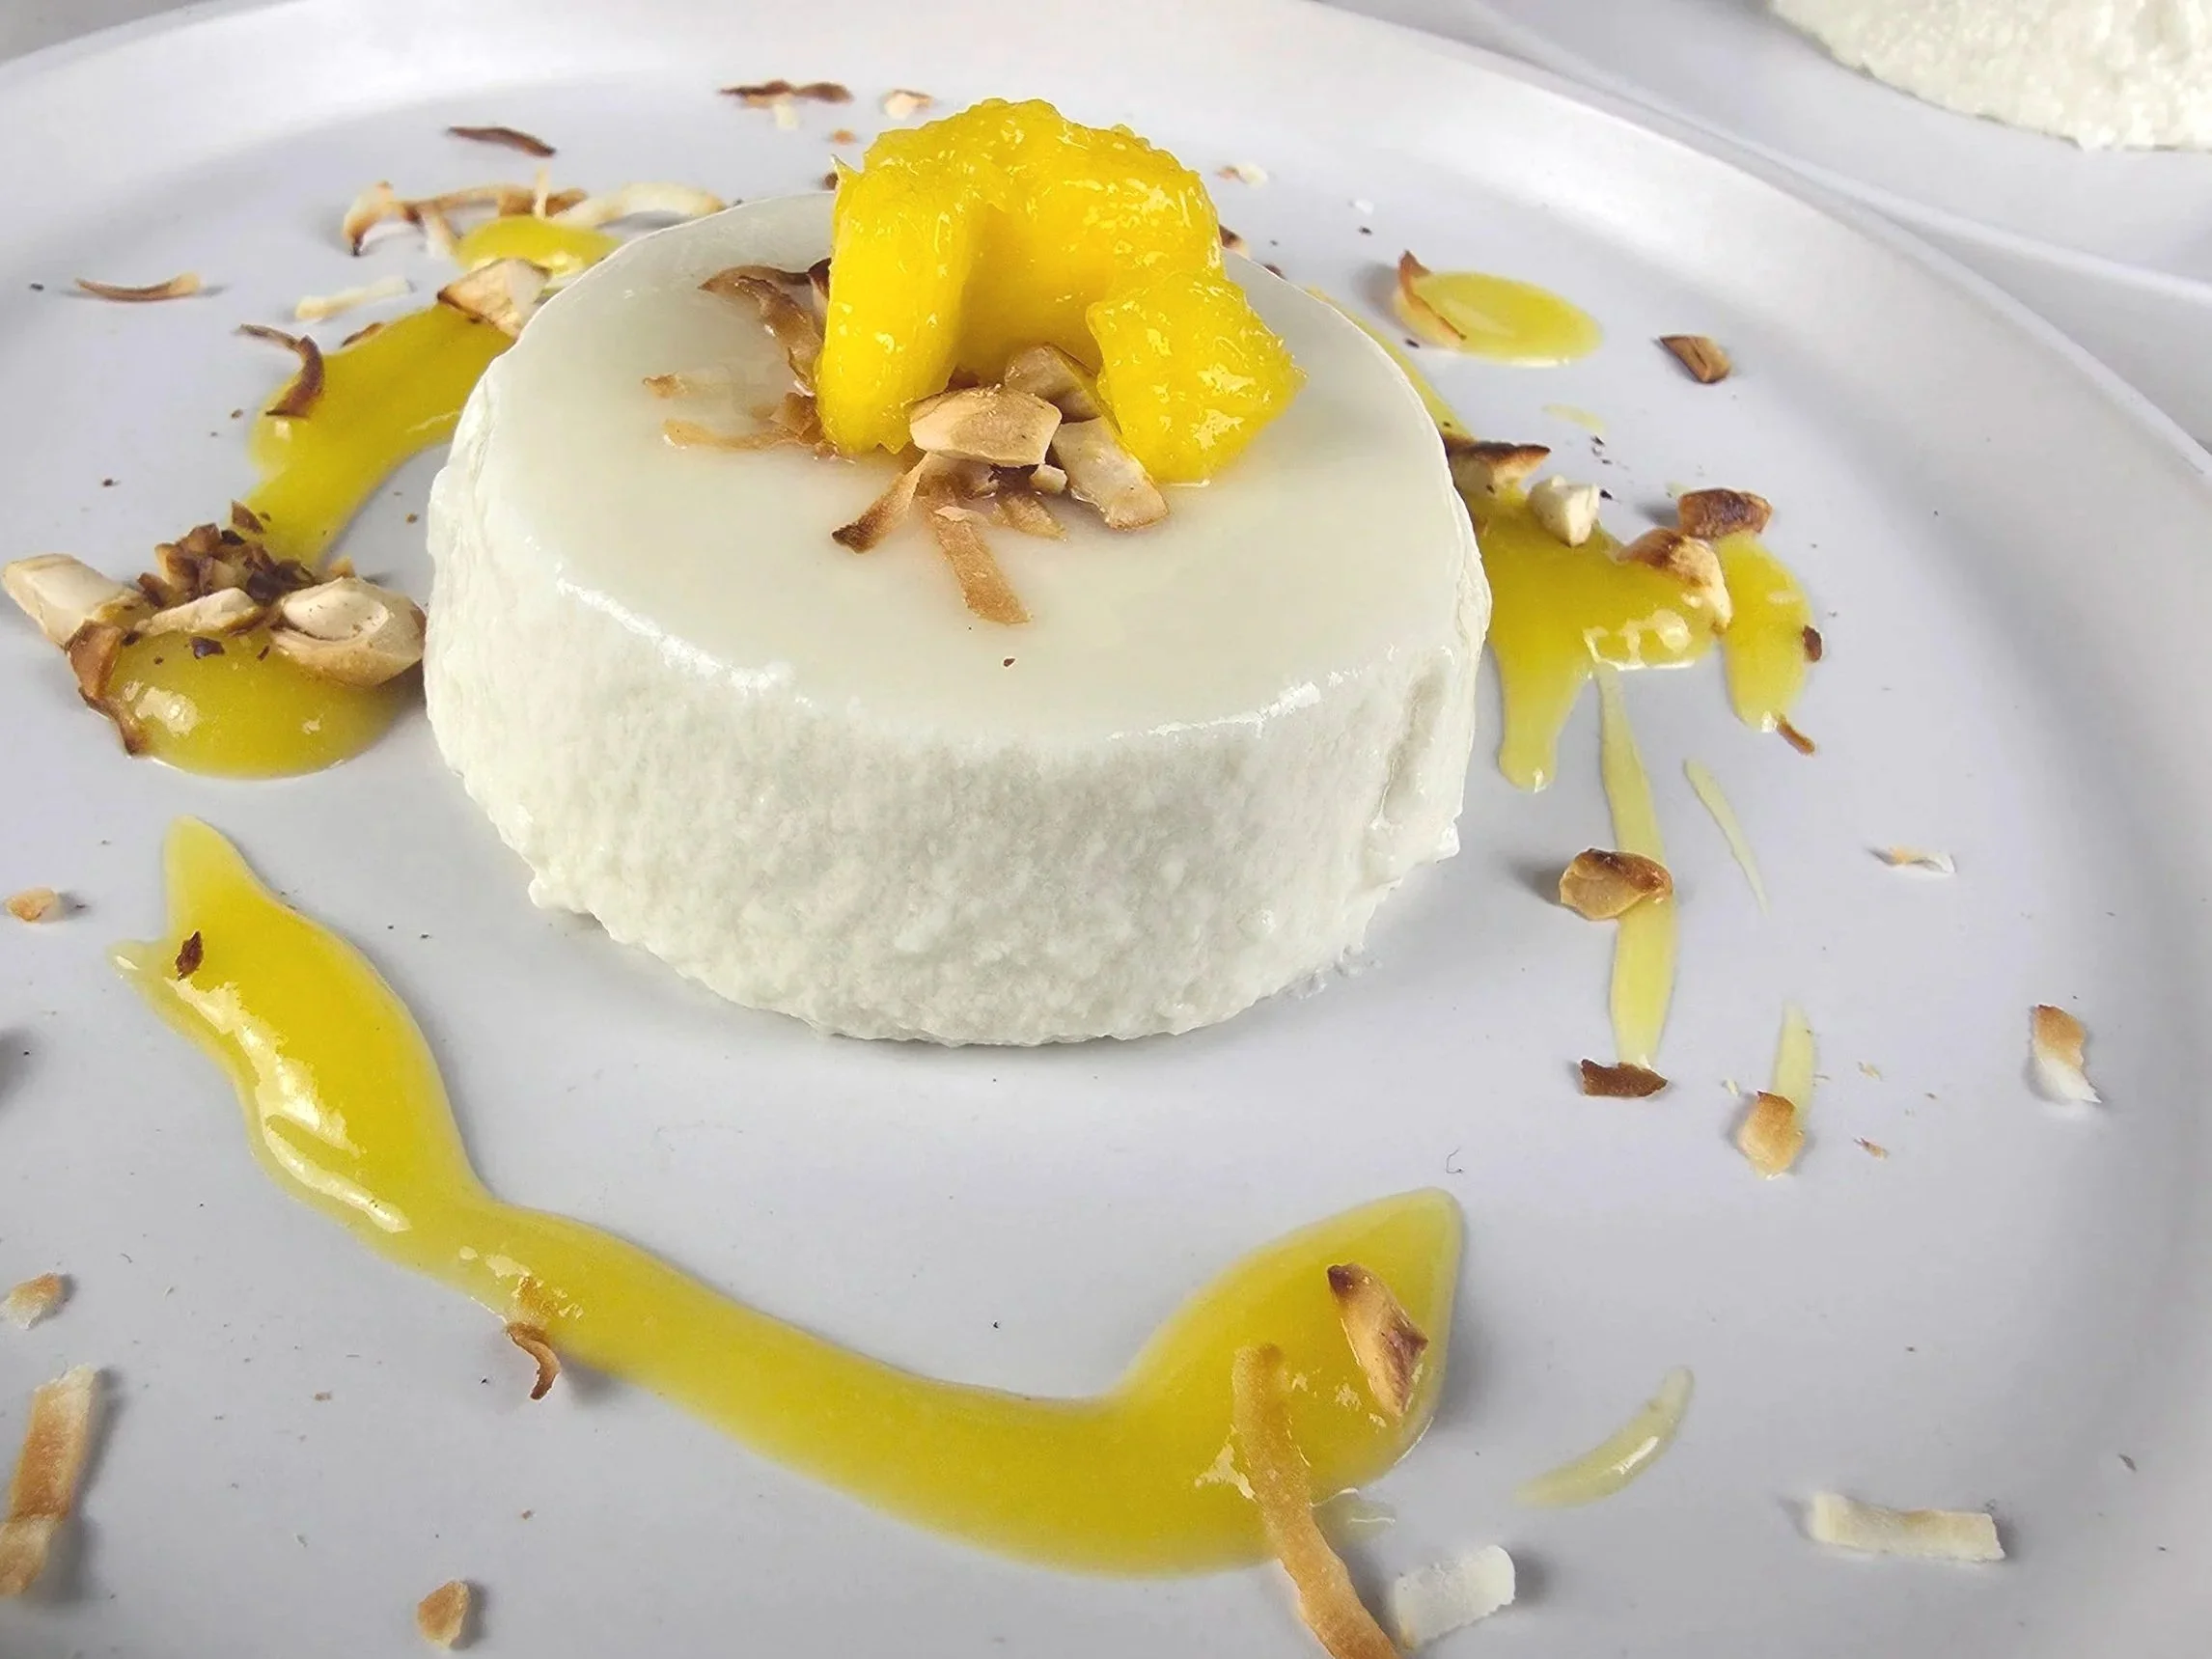
Coconut Panna Cotta with Mango (Zanzibar Inspired)
A coconut panna cotta infused with Zanzibar spice, topped with mango, toasted coconut, and cashews, born from a trip to Italy and a love of East African flavour.
Some of my favourite recipes are inspired by the places I've travelled rather than traditional recipes themselves. After returning from Italy, where panna cotta seemed to appear on every dessert menu I came across, I couldn't stop thinking about how beautifully its delicate texture would pair with the tropical flavours I'd fallen for while visiting Zanzibar.
So instead of a classic vanilla panna cotta, I swapped in creamy coconut, added just enough vanilla and warming spice to perfume every bite, then finished it with sweet mango, toasted coconut, and crunchy cashews. The result is rich yet surprisingly light, the kind of elegant dessert that feels just as at home after a summer barbecue as it does at the end of a special dinner party. The coconut never overwhelms, the spices stay in the background, and the mango brings just enough brightness to tie it all together.
It's Italy meeting East Africa on one plate, and it might be one of my favourite desserts I've ever created. It's also make ahead friendly, naturally gluten free, and tropical without tipping into overly sweet, so it works just as well for casual entertaining as it does for something a little more special.
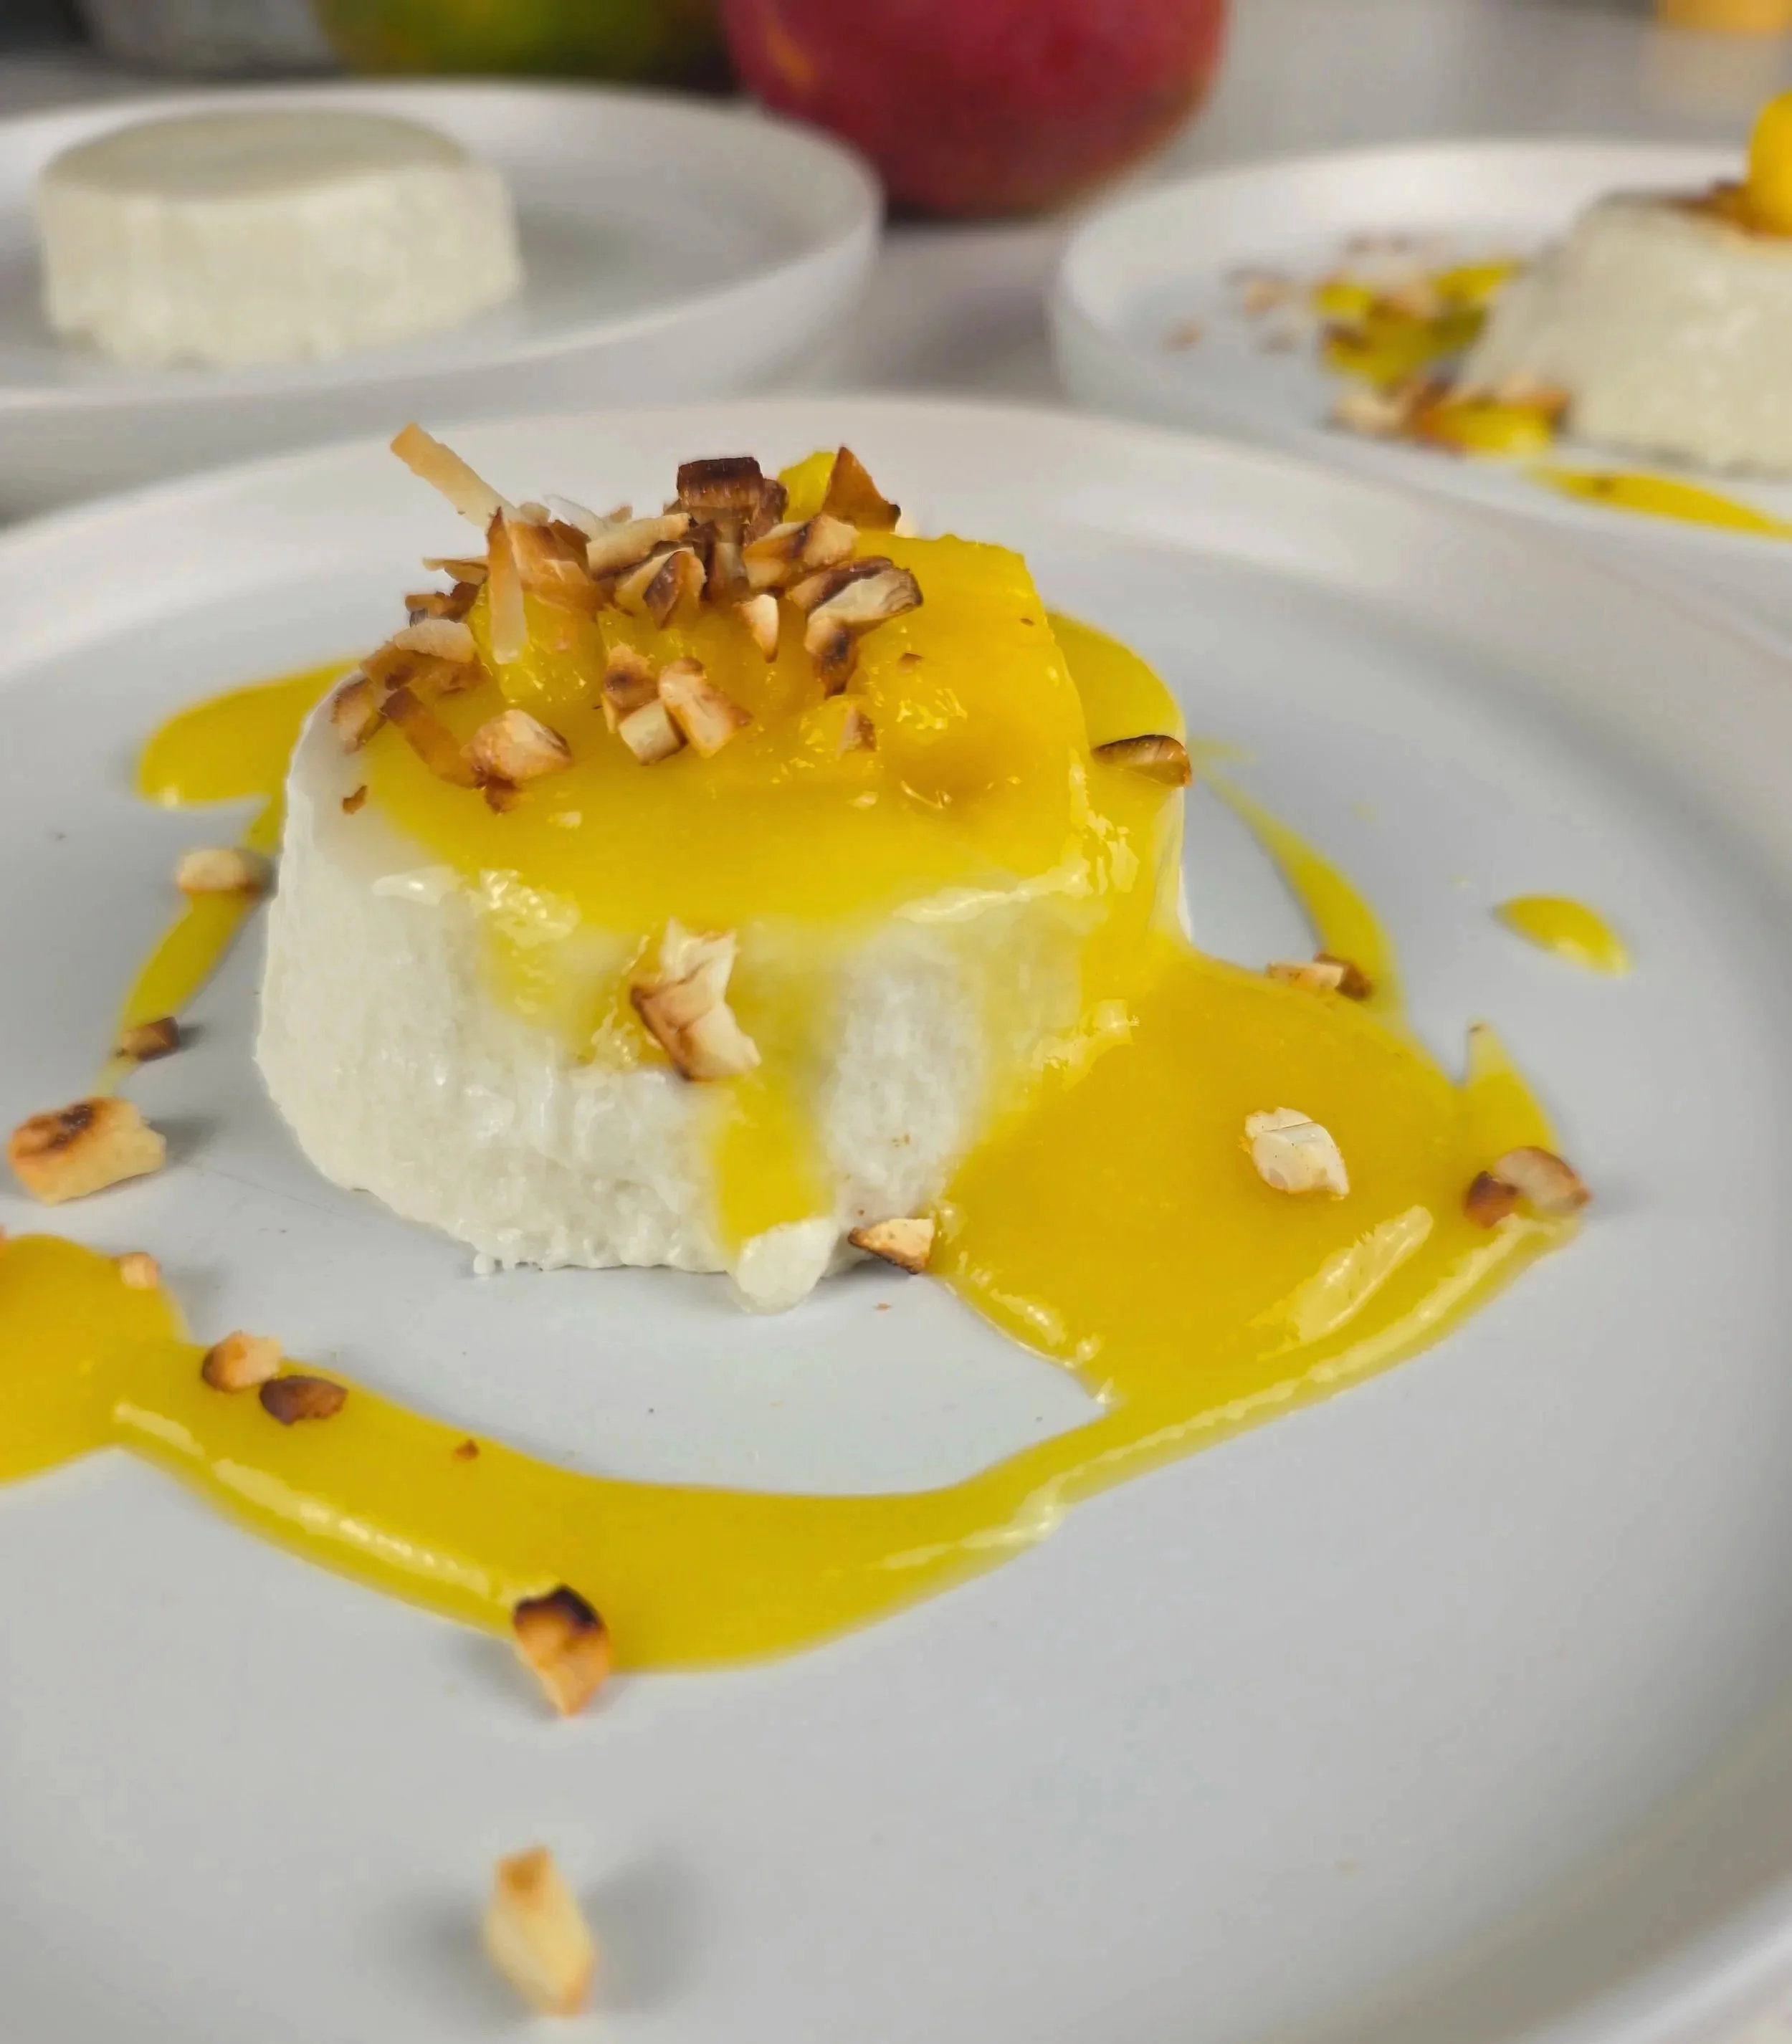

Coconut Panna Cotta with Fresh Mango
Inspired by my travels through Zanzibar, this silky coconut panna cotta combines the elegance of a classic Italian dessert with the tropical flavours of East Africa. Creamy coconut, fragrant vanilla and warming spices are finished with sweet mango, toasted coconut and crunchy cashews for a dessert that's rich, refreshing and effortlessly elegant.
Ingredients
- 2 cups (480ml) full-fat coconut milk
- 1 cup (240ml) heavy cream
- ⅓ cup (65g) granulated sugar
- 2 tsp vanilla extract
- ⅛ tsp ground cinnamon
- ⅛ tsp ground cardamom
- Pinch of salt
- 2¼ tsp powdered gelatin
- 3 tbsp cold water
- 2 cups frozen mango chunks, thawed
- 1–2 tbsp honey (adjust to taste)
- Pinch of salt
- 1–3 tsp water, only if needed for consistency
- Fresh mango cubes
- Toasted coconut flakes
- Toasted chopped cashews
Instructions
- Bloom the gelatin, then sprinkle the gelatin evenly over the cold water. Leave untouched for 5 minutes until fully bloomed.
- Combine and warm the coconut milk, heavy cream, sugar, cinnamon, cardamom and a pinch salt.
- Heat over low to medium-low to heat for about 5 minutes, whisking gently until the sugar dissolves and milks begins to steam. Do not boil!
- Remove from the heat.
- Stir in the vanilla.
- ---
- Step 3 – Add the gelatin
- Add the bloomed gelatin.
- Whisk until completely dissolved.
- Strain through a fine mesh sieve.
- Allow to cool for about 10–15 minutes, until no longer steaming but still pourable.
- ---
- Step 4 – Fill the ramekins
- Lightly grease each ramekin with a very thin film of neutral oil.
- Pour in the panna cotta.
- Tap gently to remove air bubbles.
- Refrigerate overnight.
- ---
- Step 5 – Prepare the mango
- Blend together:
- thawed mango
- honey
- pinch salt
- If needed, add 1 teaspoon of water at a time until it reaches a thick, spoonable consistency.
- If using very frozen mango, gently warm the purée before blending again.
- ---
- Step 6 – Unmold (Optional)
- Serve directly in the ramekin for the easiest presentation.
- If unmolding:
- Dip the ramekin in warm water for 20–30 seconds.
- Run a thin smooth knife gently around the edge if needed.
- Invert onto the serving plate.
- ---
- Step 7 – Assemble
- Spoon a little mango purée over or beside the panna cotta.
- Top with
- fresh mango
- toasted coconut
- toasted cashews
- Serve immediately.
Notes
General
- Don't boil the coconut mixture.
- Bloom the gelatin completely before adding.
- Strain before pouring for the smoothest finish.
- Serve in ramekins for the easiest presentation.
- Silicone moulds work beautifully if you prefer unmolded panna cotta.
- Frozen mango works perfectly.
---
Troubleshooting
- My panna cotta won't release.
- Dip in warm water for 20–30 seconds.
- Use a smooth knife to break the seal.
- Or simply serve in the ramekin.
---
- My mango is too thick.
- Allow it to thaw completely.
- Blend again.
- Only add water one teaspoon at a time.
---
- My panna cotta has tiny bubbles.
- The mixture was likely whisked a little too vigorously.
- Tap the filled ramekins on the counter before chilling and allow the mixture to rest briefly before pouring.
---
Storage
- Panna cotta: 3 days refrigerated
- Mango purée: 3–4 days refrigerated
- Do not freeze.
Nutrition Facts
Calories
400Fat (grams)
33 gSat. Fat (grams)
26 gCarbs (grams)
25 gFiber (grams)
2 gSugar (grams)
21 gProtein (grams)
4 gI am not a certified nutritionist and any nutritional information on dontmissmyplate.com should only be used as a general guideline.
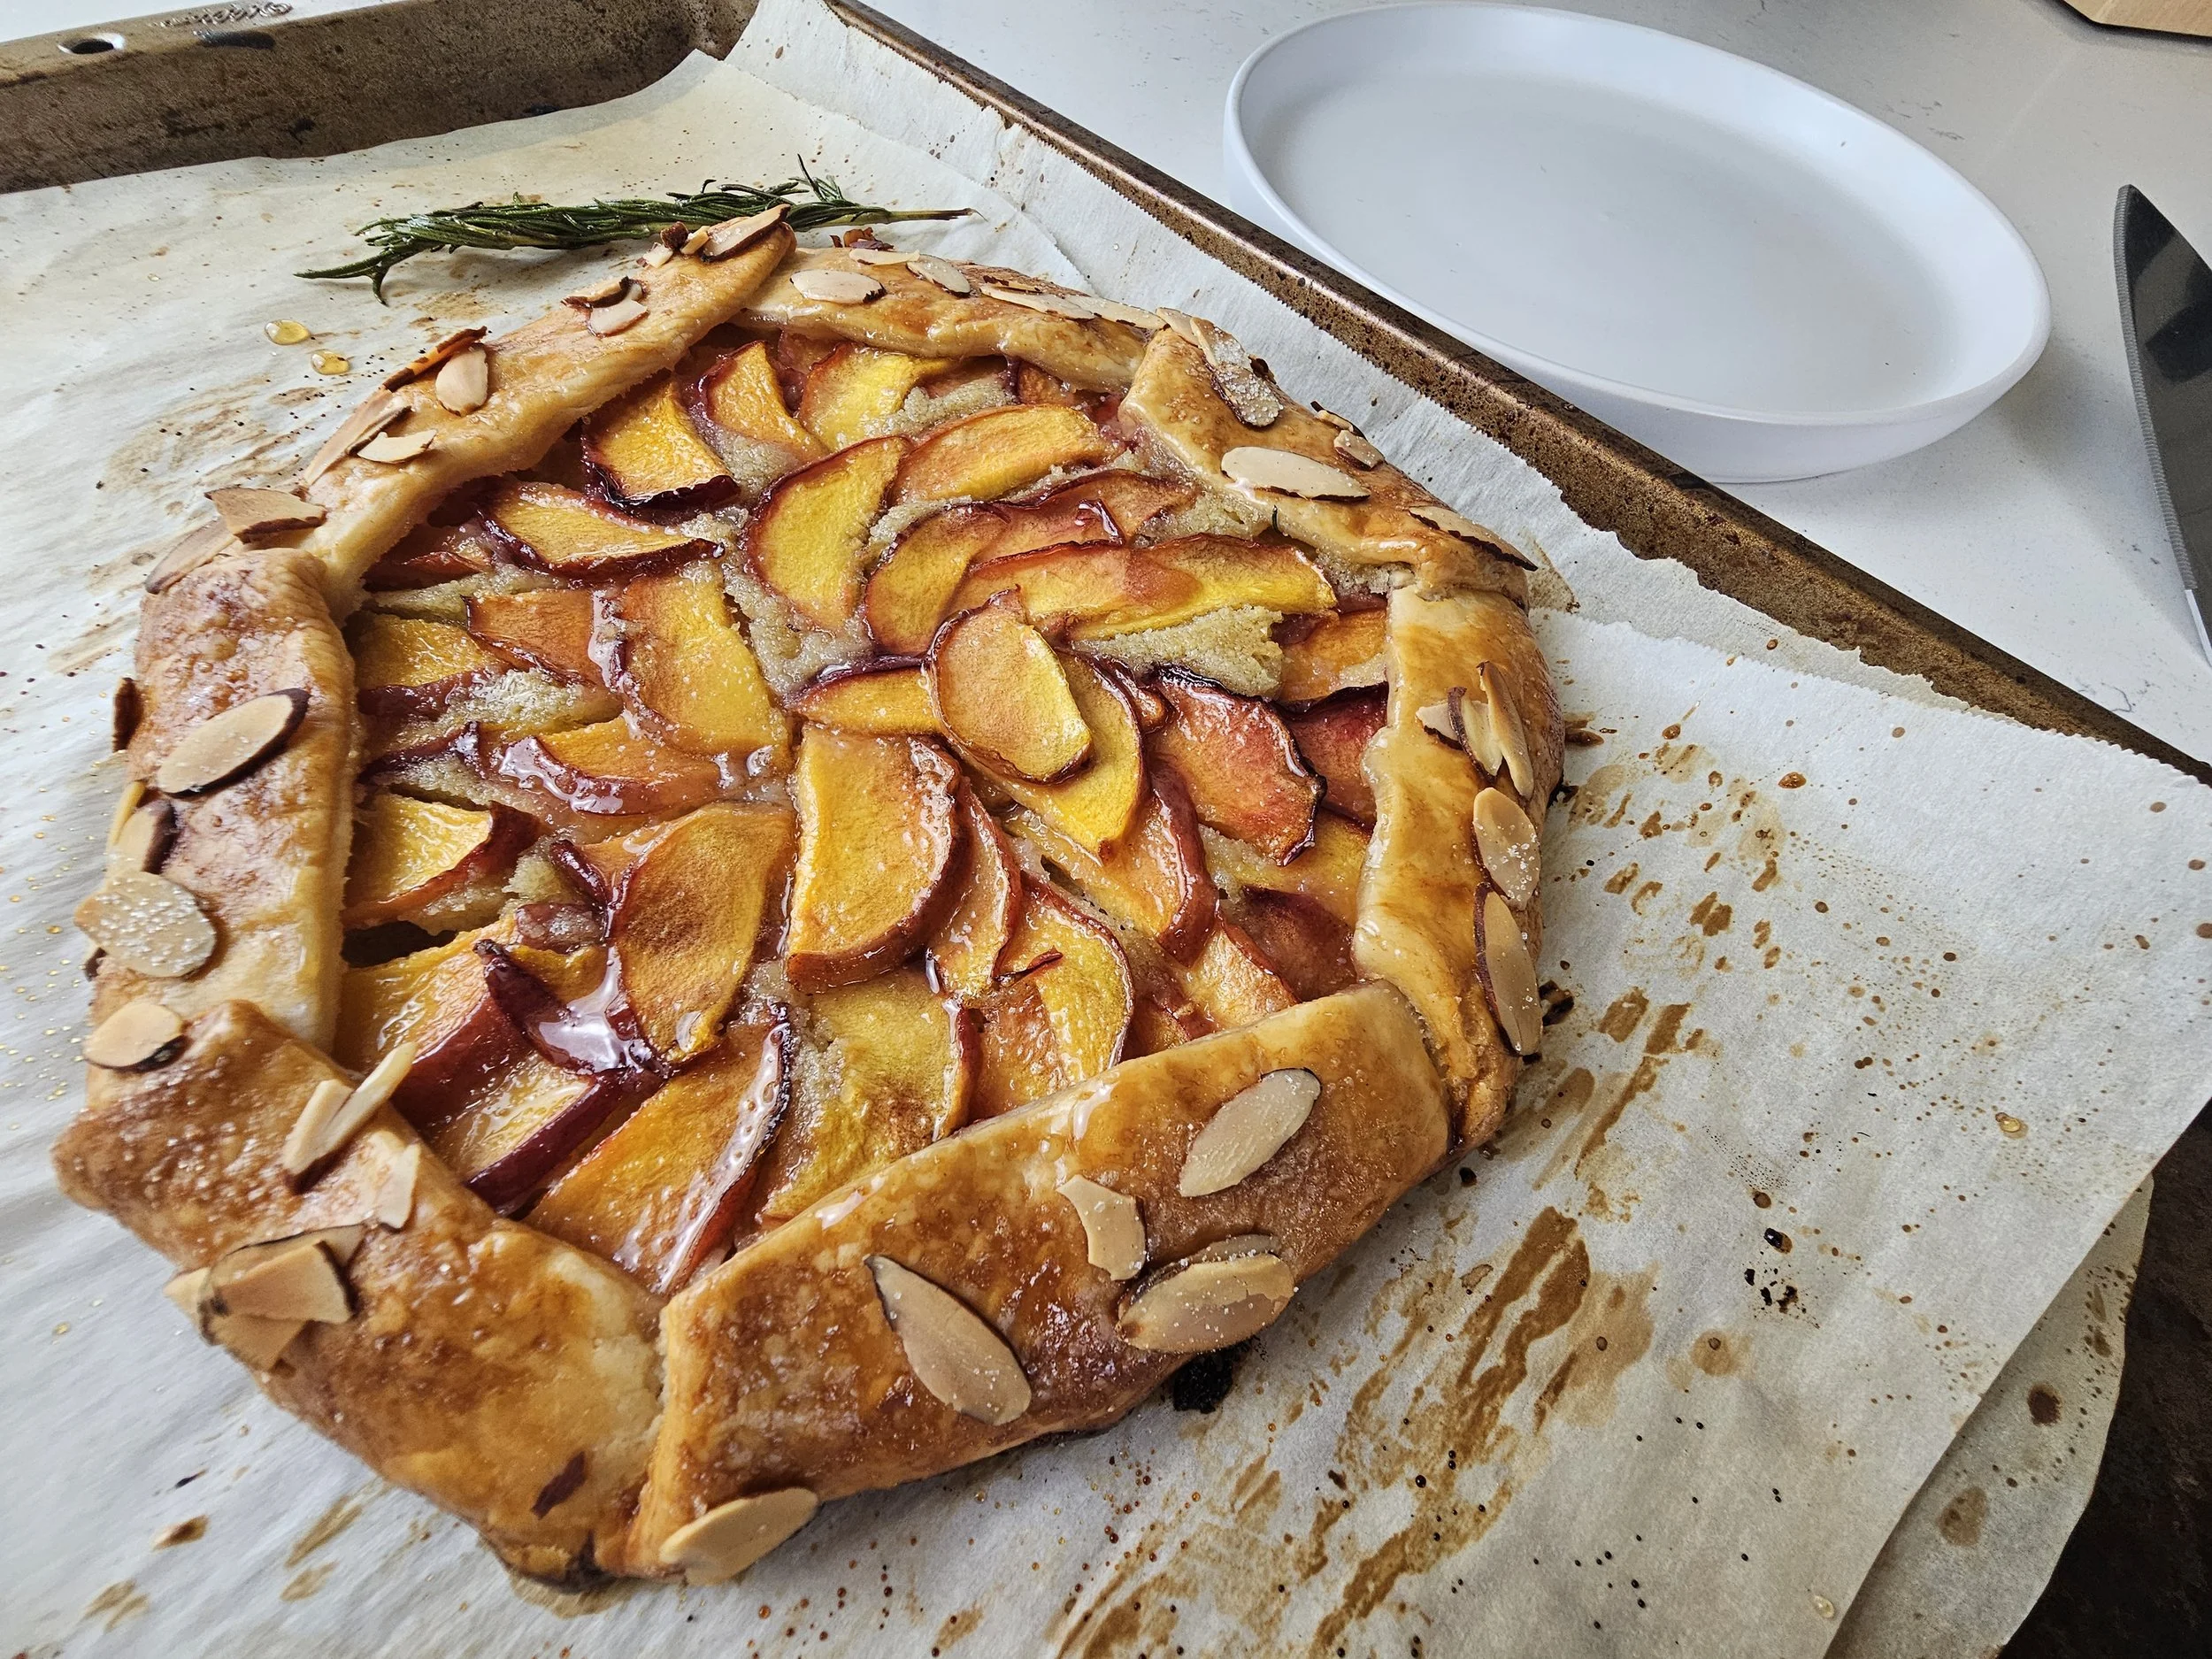
Summer Nectarine and Almond Galette with Rosemary Honey
A rustic nectarine and almond galette with rosemary honey, easy pie crust, quick frangipane, and a taste of stone fruit season in Florence.
Stone fruit was everywhere when I visited Italy this summer. Nectarines, peaches, and apricots filled the market stalls in Florence, piled high in the kind of displays that make you want to buy fruit even when you have absolutely no plan for what you're going to do with it. They showed up on dessert menus too, often paired with almonds in pastries and simple seasonal desserts.
That combination stayed with me when I came home. Stone fruit and almonds are a classic pairing in European baking, and I wanted to take those flavors and turn them into something that felt special without becoming an all-day baking project.
This Summer Nectarine & Almond Galette with Rosemary Honey is my easy version of that idea. Instead of making pastry from scratch, I start with a store-bought pie crust and fill it with a quick almond frangipane, a rich almond cream made with butter, sugar, egg, and almond flour. Thin slices of fresh nectarine go over the top before the crust is folded around the fruit and baked until golden.
I originally planned to use apricots, which are the more traditional pairing with almond in European baking, but nectarines were what looked best at the market and I went with them instead. It turned out to be the right call. Their fresh, slightly tart flavor doesn't overpower the almond filling, so you still really taste the frangipane underneath. A rosemary-infused honey brushed over the warm fruit adds a subtle herbal note and gives the nectarines a beautiful glossy finish.
What you end up with is a galette that looks like it took more effort than it did. The crust is golden and flaky, the frangipane is soft and fragrant, and the nectarines sink slightly into the filling as they bake, becoming jammy at the edges while staying tender in the center. It's rustic, summery, and intentionally uncomplicated. Serve it slightly warm with a scoop of vanilla ice cream and let the fruit, almond, and rosemary do the rest.
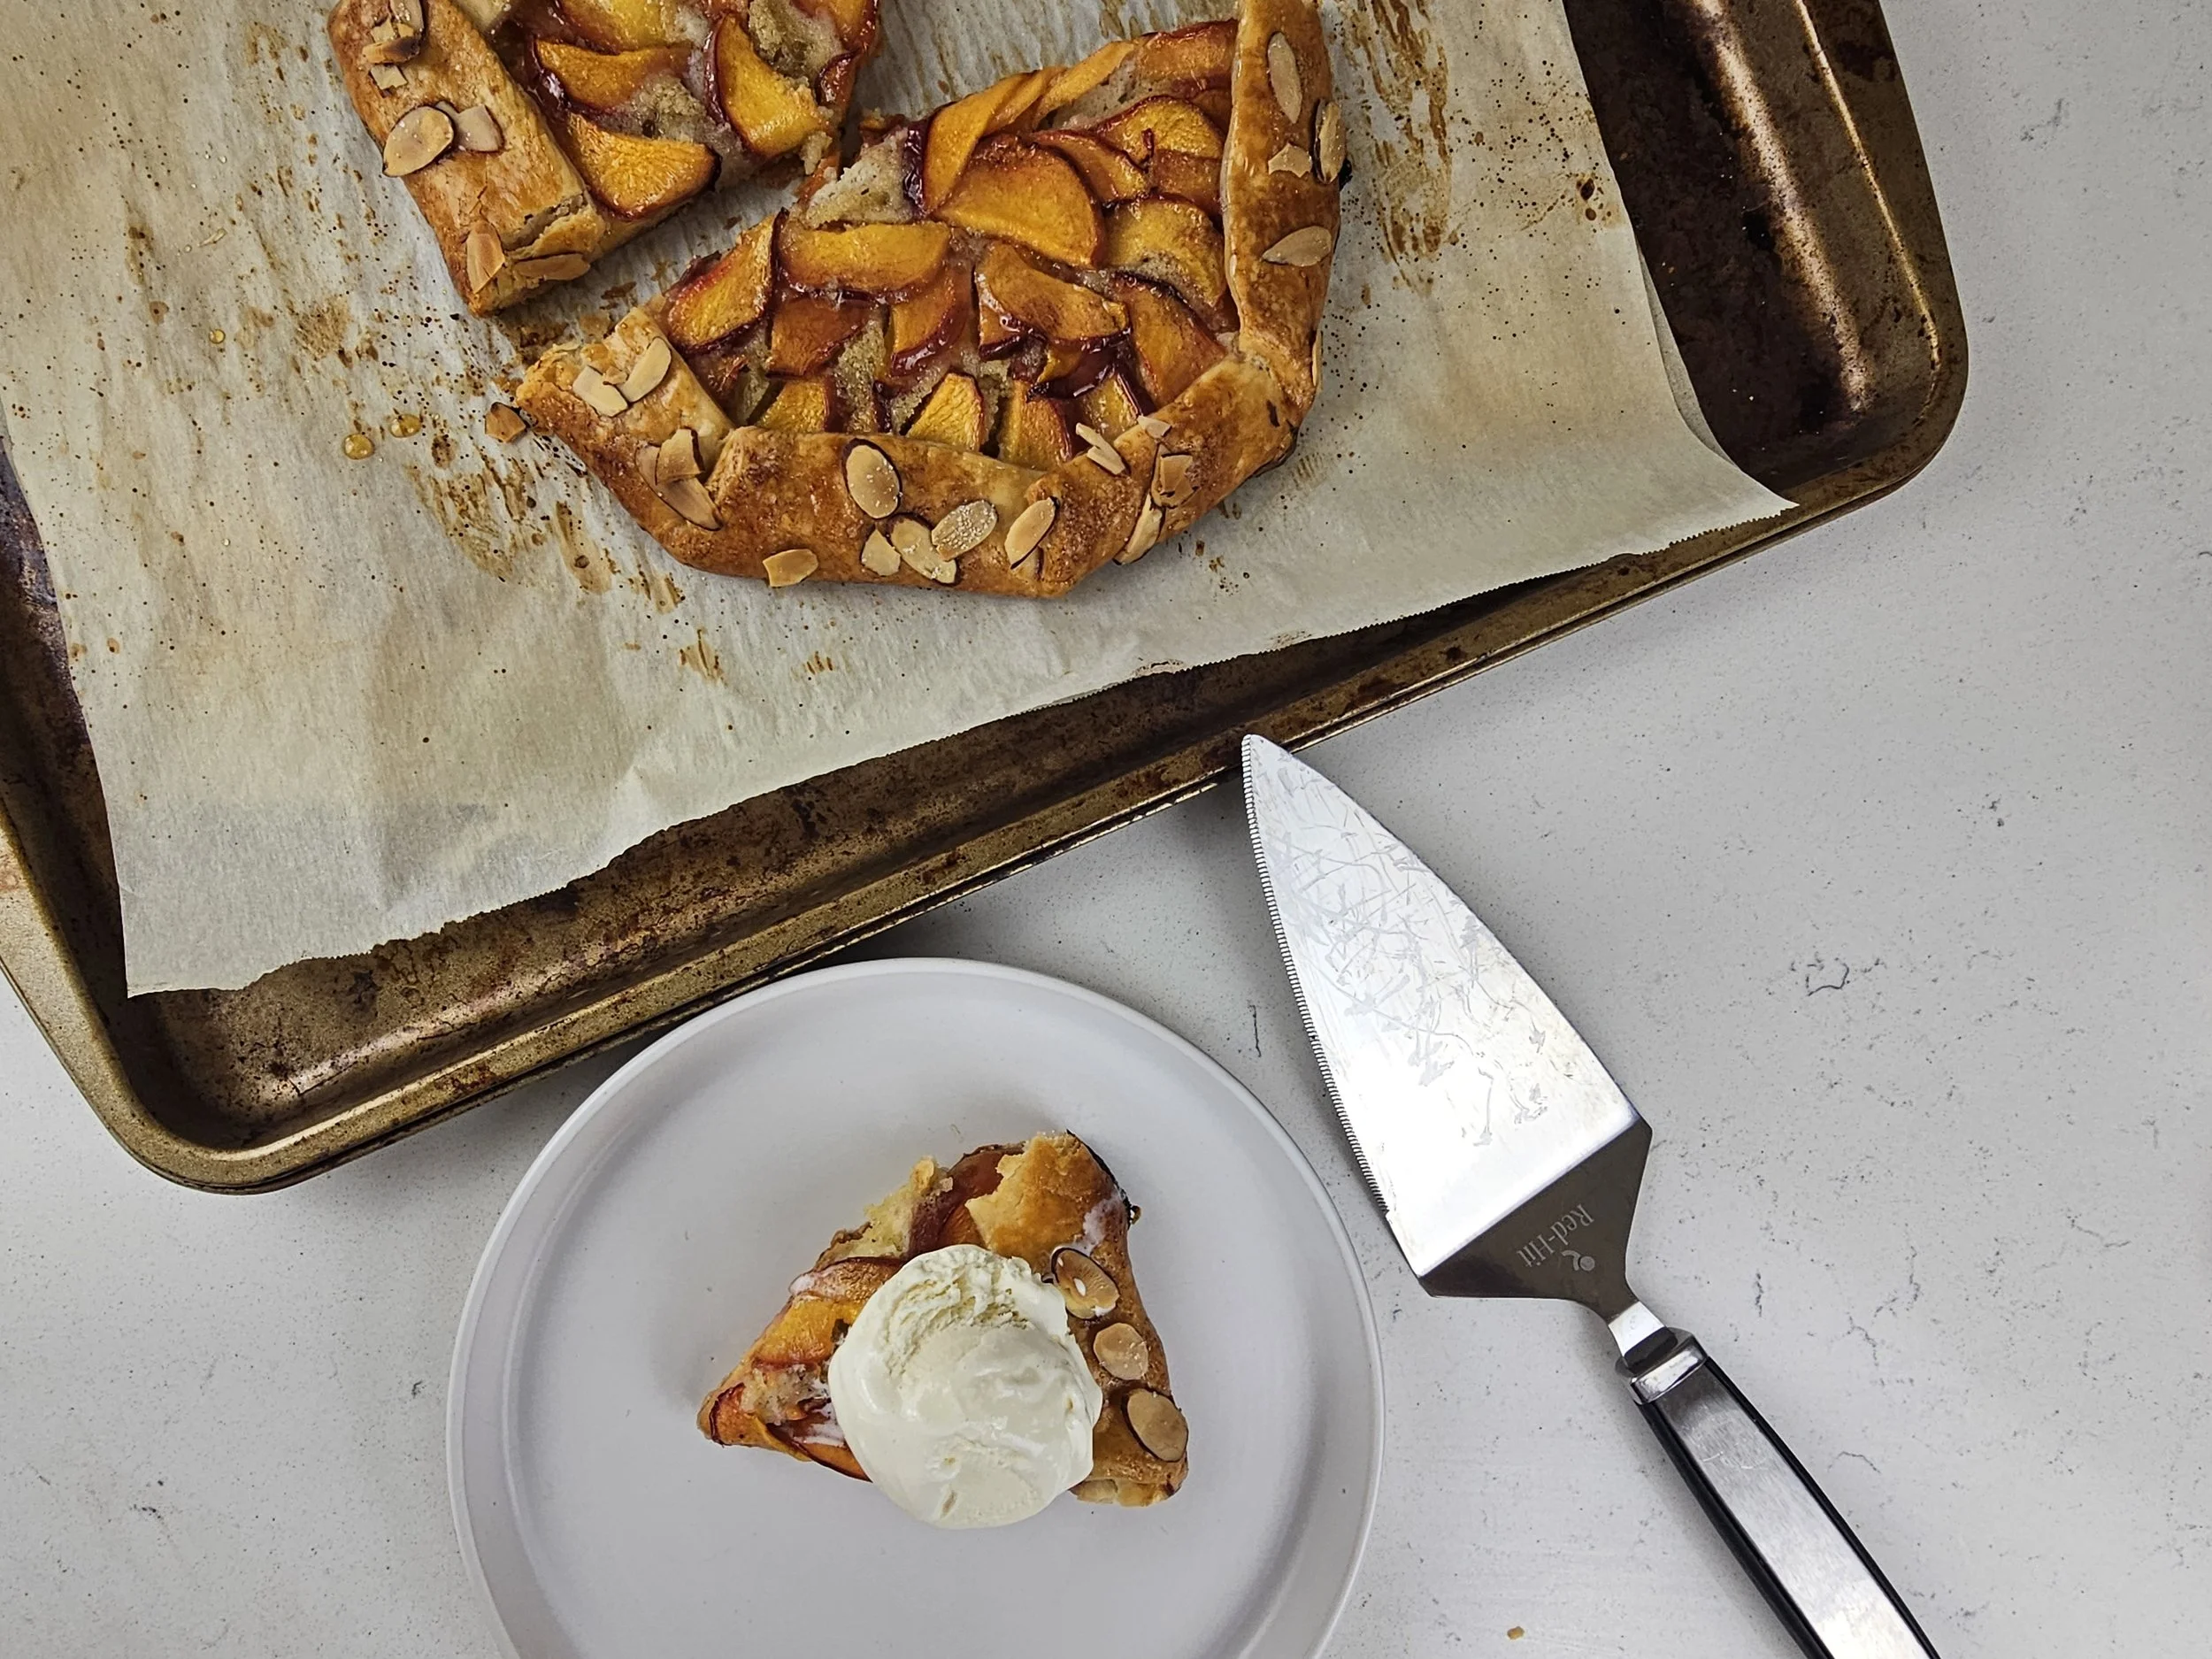
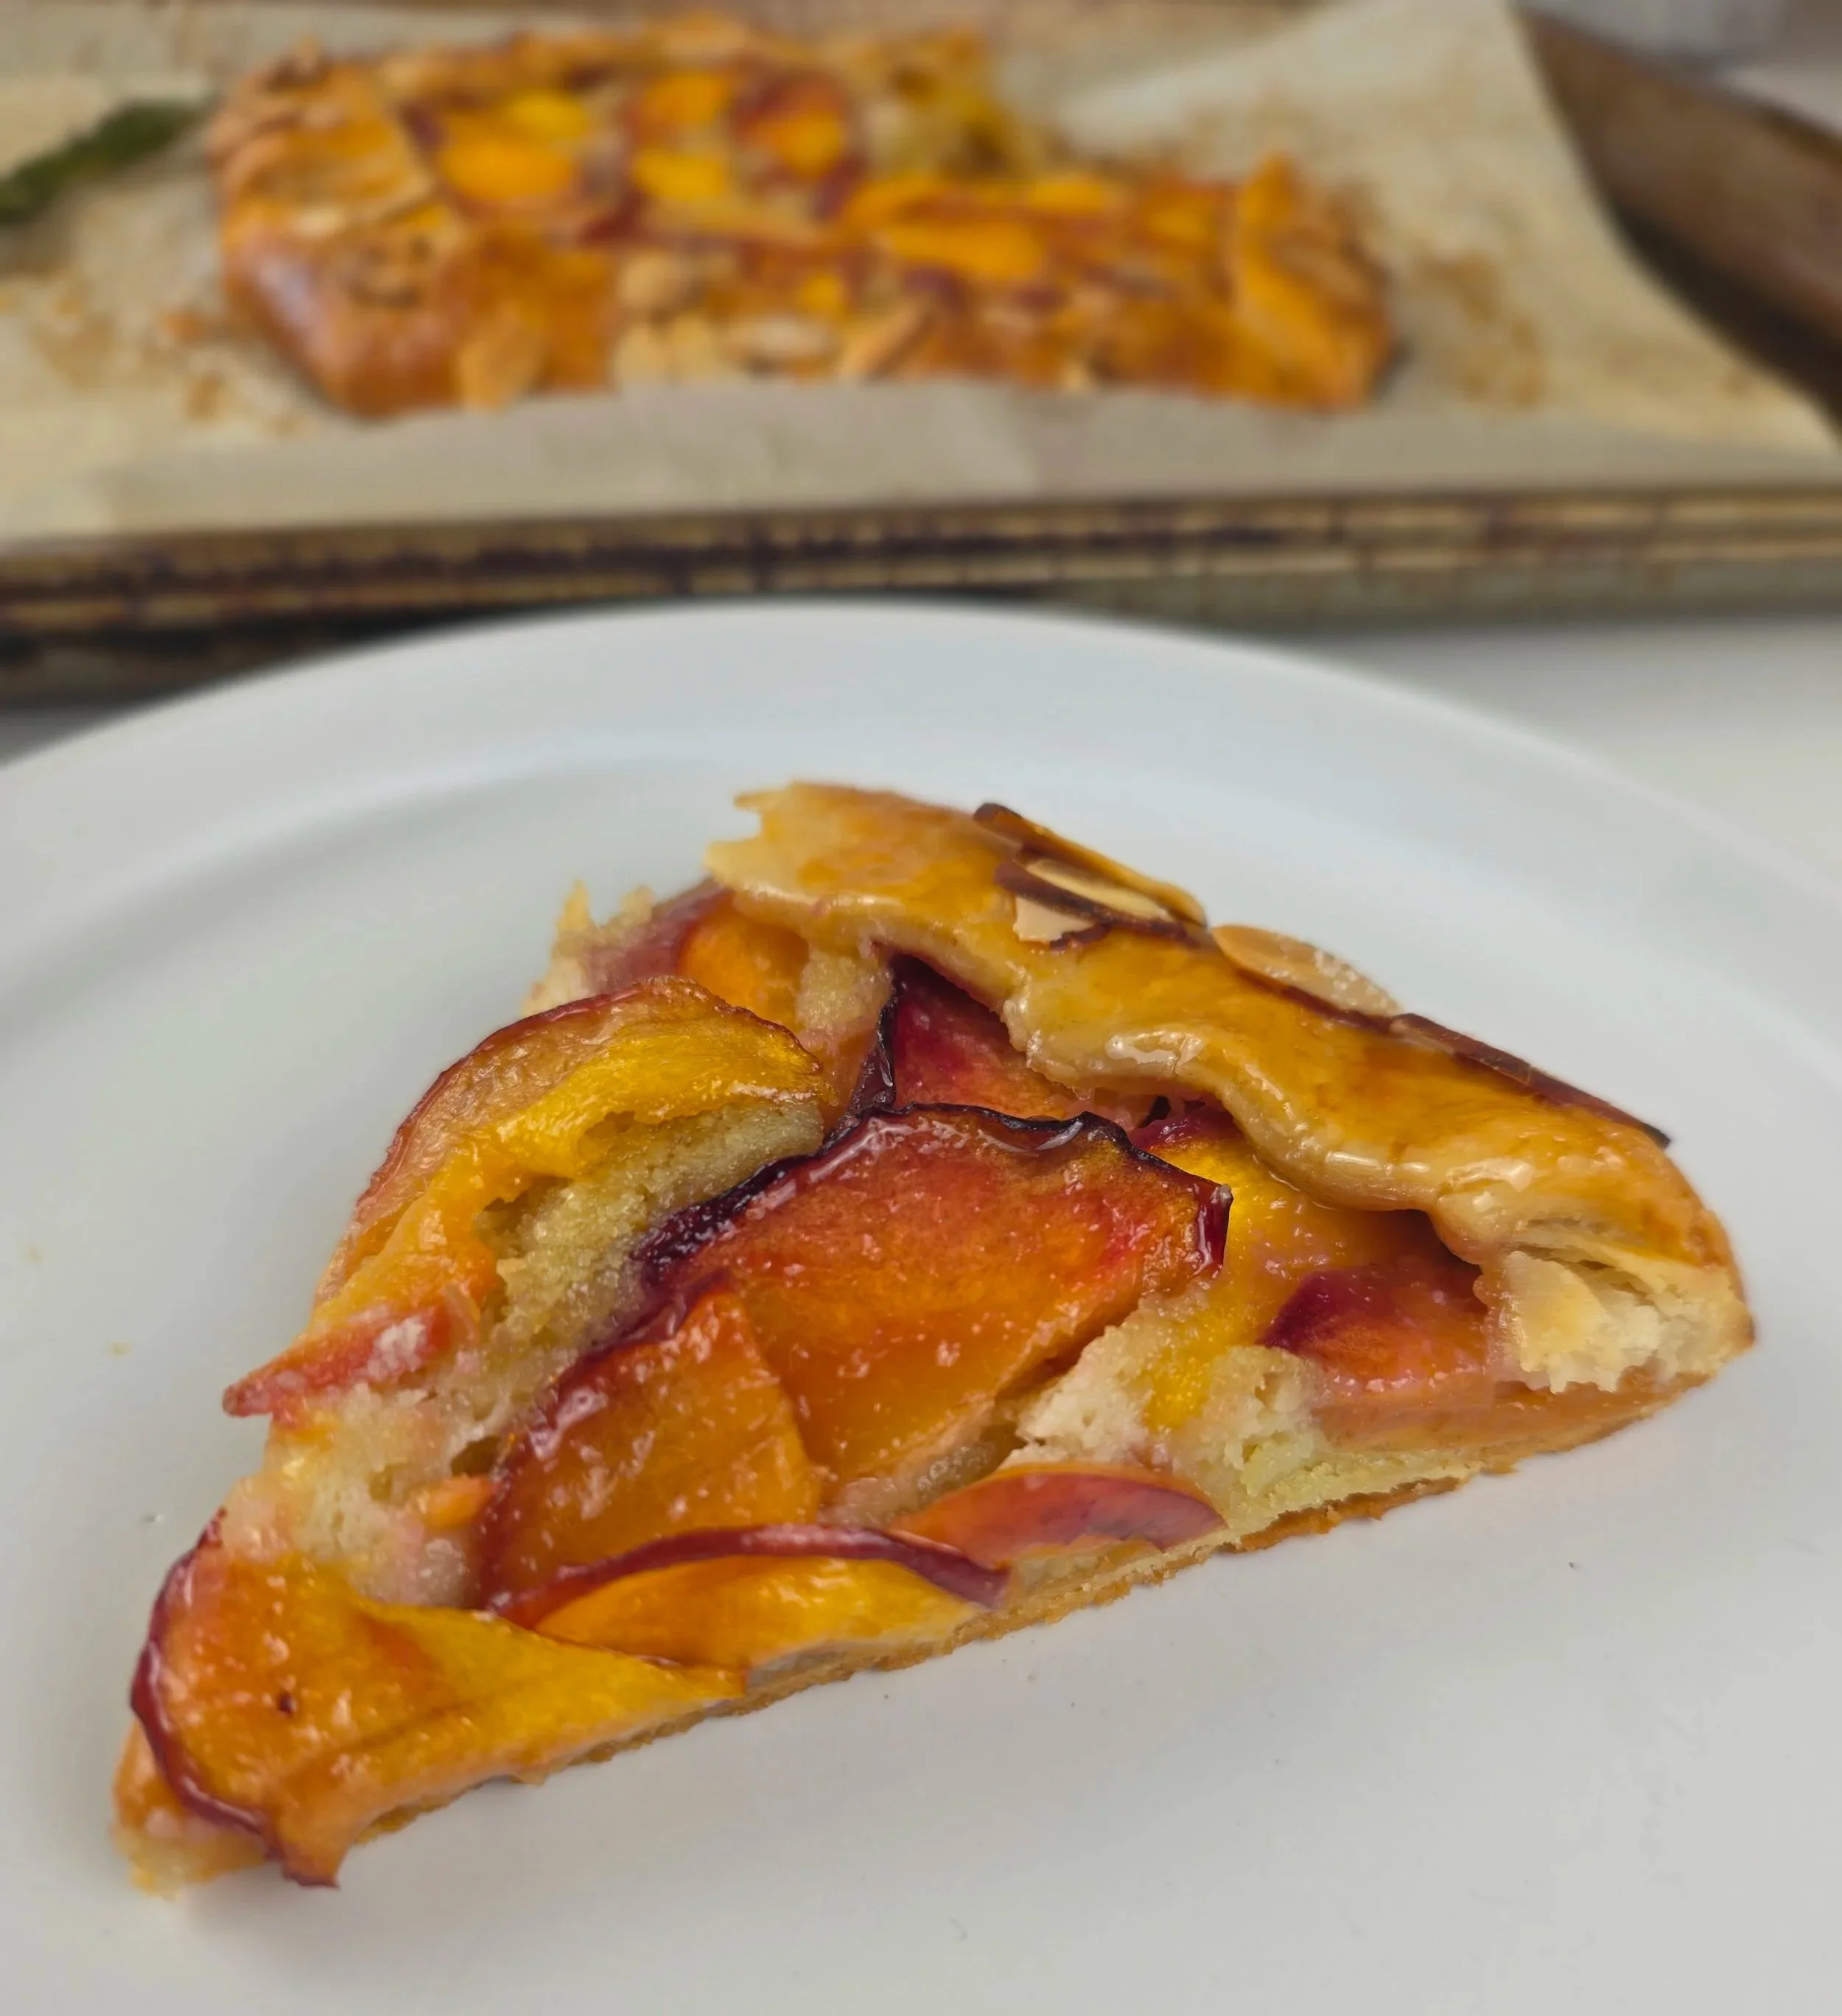

Summer Nectarine & Almond Galette with Rosemary Honey
A free-form nectarine and almond galette with a store-bought crust, creamy frangipane filling, and a rosemary honey glaze. Originally planned with apricots, nectarines turned out to be the better call. Rustic, seasonal, and especially good served warm with vanilla ice cream.
Ingredients
- 4 tablespoons unsalted butter, softened
- 1/4 cup granulated sugar
- 1 large egg
- 3/4 cup almond flour
- 1/2 teaspoon almond extract
- Pinch of salt
- 1 store-bought refrigerated pie crust, about 11 inches
- 3–4 nectarines, pitted and thinly sliced, about 1 1/2–2 cups
- 2 tablespoons granulated sugar
- 1 teaspoon cornstarch
- 1/2 teaspoon lemon juice
- 2 tablespoons slivered almonds
- 1 egg, beaten, for egg wash
- 1 tablespoon granulated or coarse sugar, for sprinkling
- 3 tablespoons honey
- 1 small sprig fresh rosemary
- 1 tablespoon water
Instructions
- In a medium bowl, beat the softened butter and sugar together until light and creamy, about 2 minutes. Add the egg and almond extract and mix until combined. Add the almond flour and salt and mix until a thick, smooth paste forms.
- Refrigerate the frangipane for 15 minutes while preparing the remaining ingredients.
- Preheat oven to 375°F (190°C). Line a baking sheet with parchment paper.
- Remove the pie crust from the refrigerator and allow it to sit at room temperature until cool but pliable enough to unroll without cracking, about 10–15 minutes or according to package directions.
- Pit the nectarines and cut into approximately 1/4-inch slices. If the nectarines are clingstone and difficult to separate from the pits, cut sections of flesh away from the pit first, then thinly slice. Set aside.
- Unroll the pie crust directly onto the prepared baking sheet. Spread the chilled frangipane evenly over the crust, leaving approximately a 1 1/4-inch border around the edge.
- Just before assembling, gently toss the nectarine slices with the sugar, cornstarch, and lemon juice. Arrange the nectarines over the frangipane in an overlapping pattern, leaving the border clear. If liquid has accumulated in the bowl, lift out the fruit and leave the excess liquid behind.
- Fold the exposed edges of the crust inward over the outer edge of the fruit, allowing the dough to overlap naturally as you work around the galette. Gently press the overlapping folds together.
- Brush the folded crust with the beaten egg. Scatter the slivered almonds over the border and sprinkle with granulated or coarse sugar.
- 10. If the dough has become very soft while assembling, refrigerate the assembled galette for 10–15 minutes before baking. Otherwise, bake immediately.
- Bake for 30–35 minutes, or until the crust is deep golden brown, the nectarines are tender, and the frangipane is set and lightly puffed.
- While the galette bakes, combine the honey, rosemary sprig, and water in a small saucepan over low heat. Warm for 3–4 minutes until fragrant and fluid, without allowing the mixture to boil. Remove from the heat and discard the rosemary. If the honey is too thick to brush easily, stir in up to 1 teaspoon additional warm water.
- Remove the galette from the oven and allow it to cool for about 5 minutes. Lightly brush the warm rosemary honey over the exposed nectarines until glossy.
- Allow the galette to cool for at least 10–15 minutes before slicing. Serve as is or with vanilla ice cream.
Notes
- Apricots or peaches work equally well in place of nectarines — use whatever stone fruit looks best at the market.
- If the frangipane softens too much while you assemble the galette, pop it back in the fridge for 10 minutes before baking.
- Best served warm on the day it's baked. Leftovers can be stored loosely covered at room temperature for up to 2 days.
Nutrition Facts
Calories
380Fat (grams)
22 gCarbs (grams)
42 gFiber (grams)
2 gSugar (grams)
24 gProtein (grams)
6 gI am not a certified nutritionist and any nutritional information on dontmissmyplate.com should only be used as a general guideline.
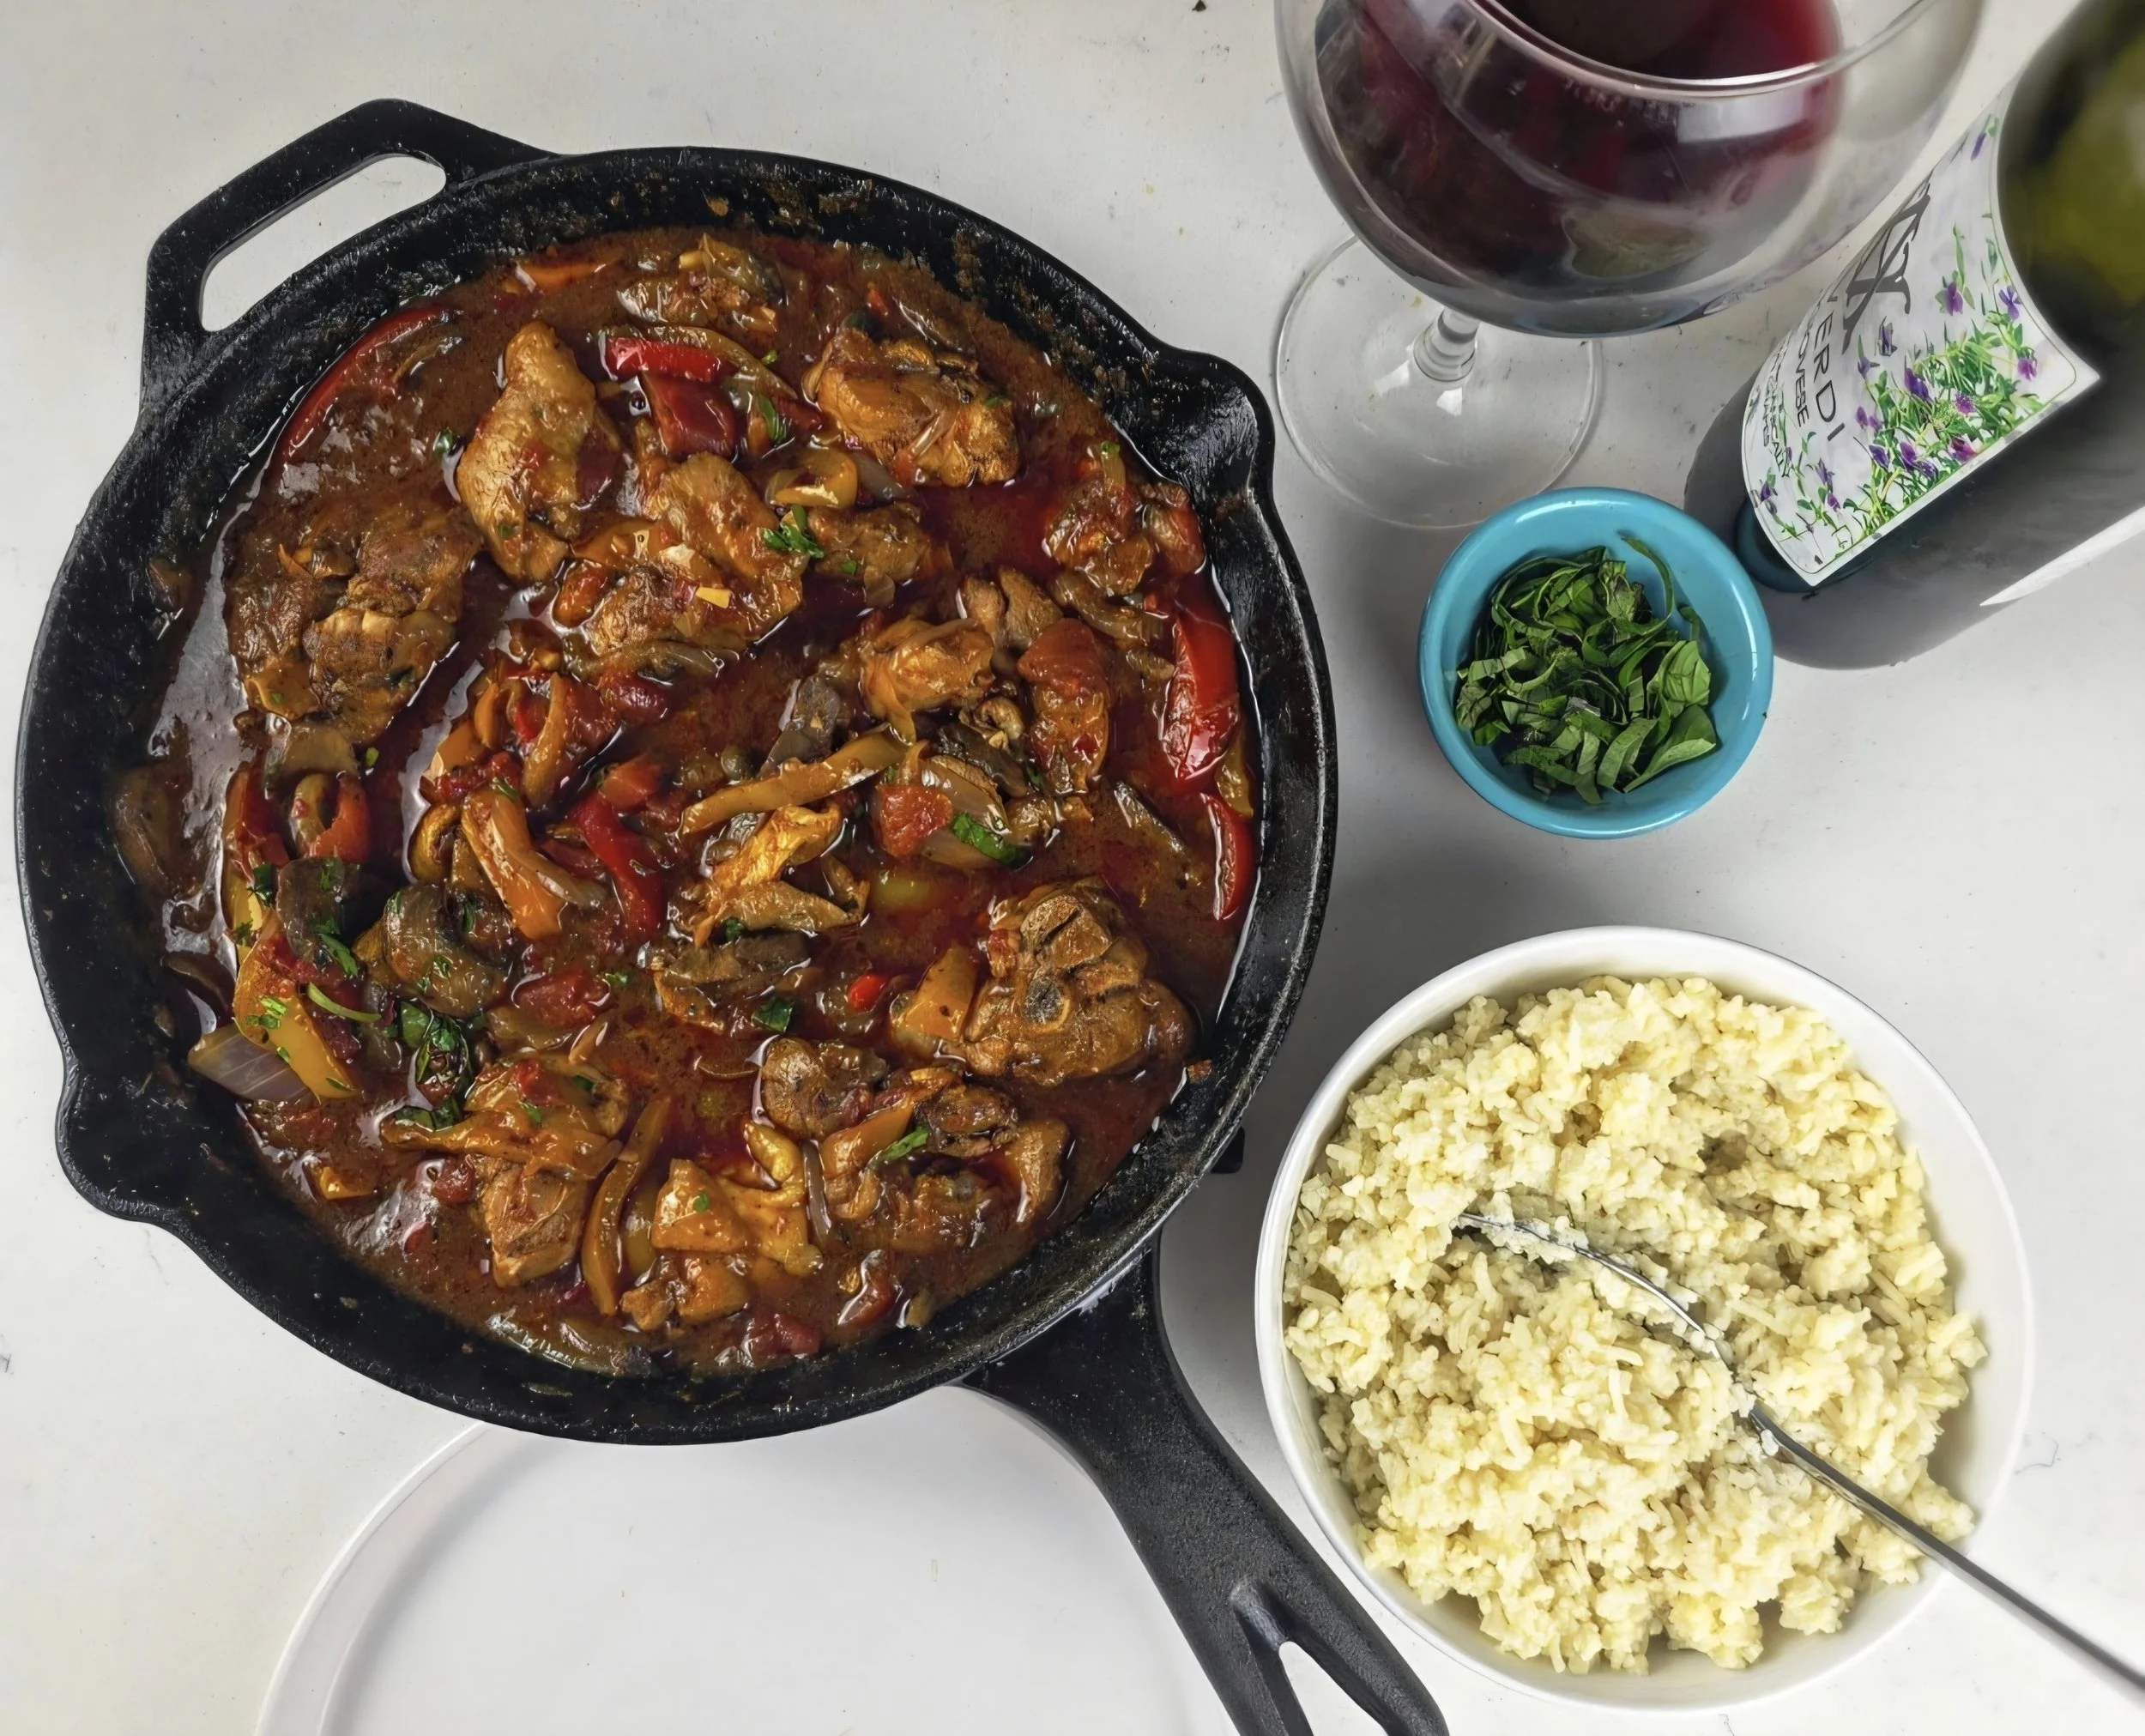
Mum's Chicken Cacciatore
Hunter's style chicken cacciatore, my mum's Sunday version with bell peppers and tomatoes, and what it taught me about Rome before I'd ever been there.
Cacciatore means "hunter's style" in Italian — a rustic, slow-cooked braise that has fed Italian families for generations. The classic version varies by region: in Rome it's white wine and rosemary, in the north you'll find olives and capers, and in the south tomatoes take center stage. It's the kind of dish that belongs to whoever is making it, which is probably why it traveled so well.
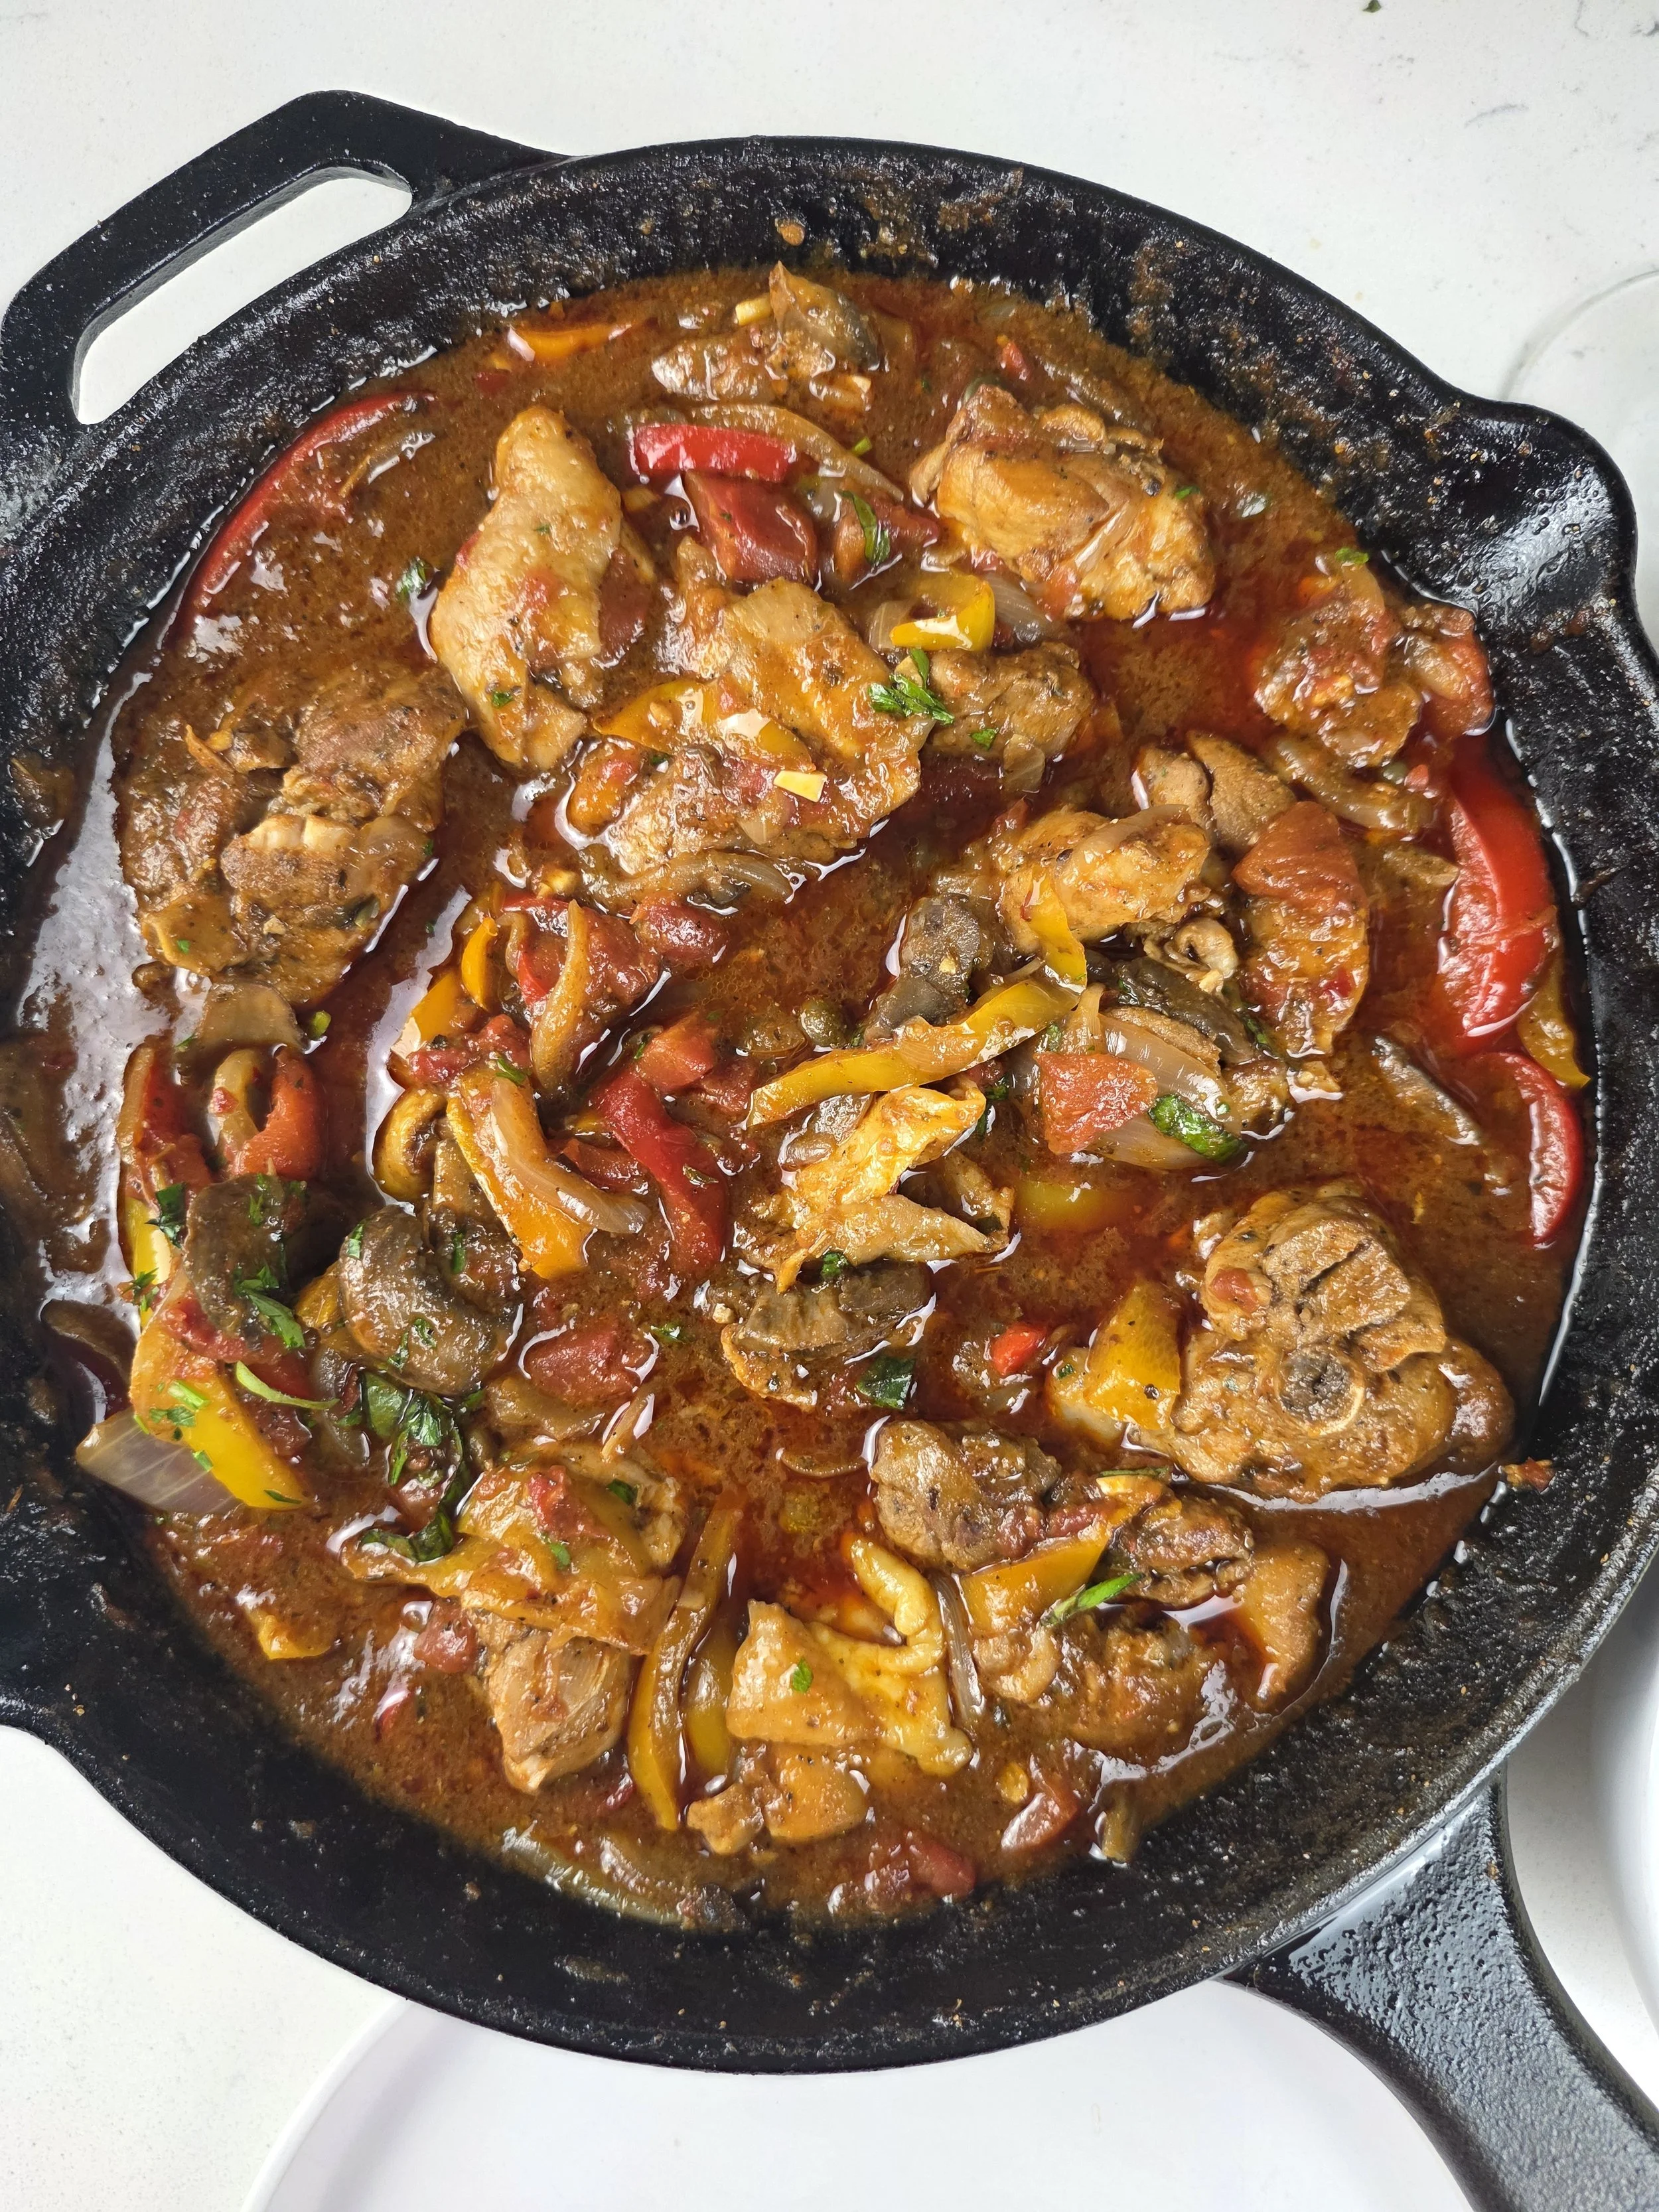
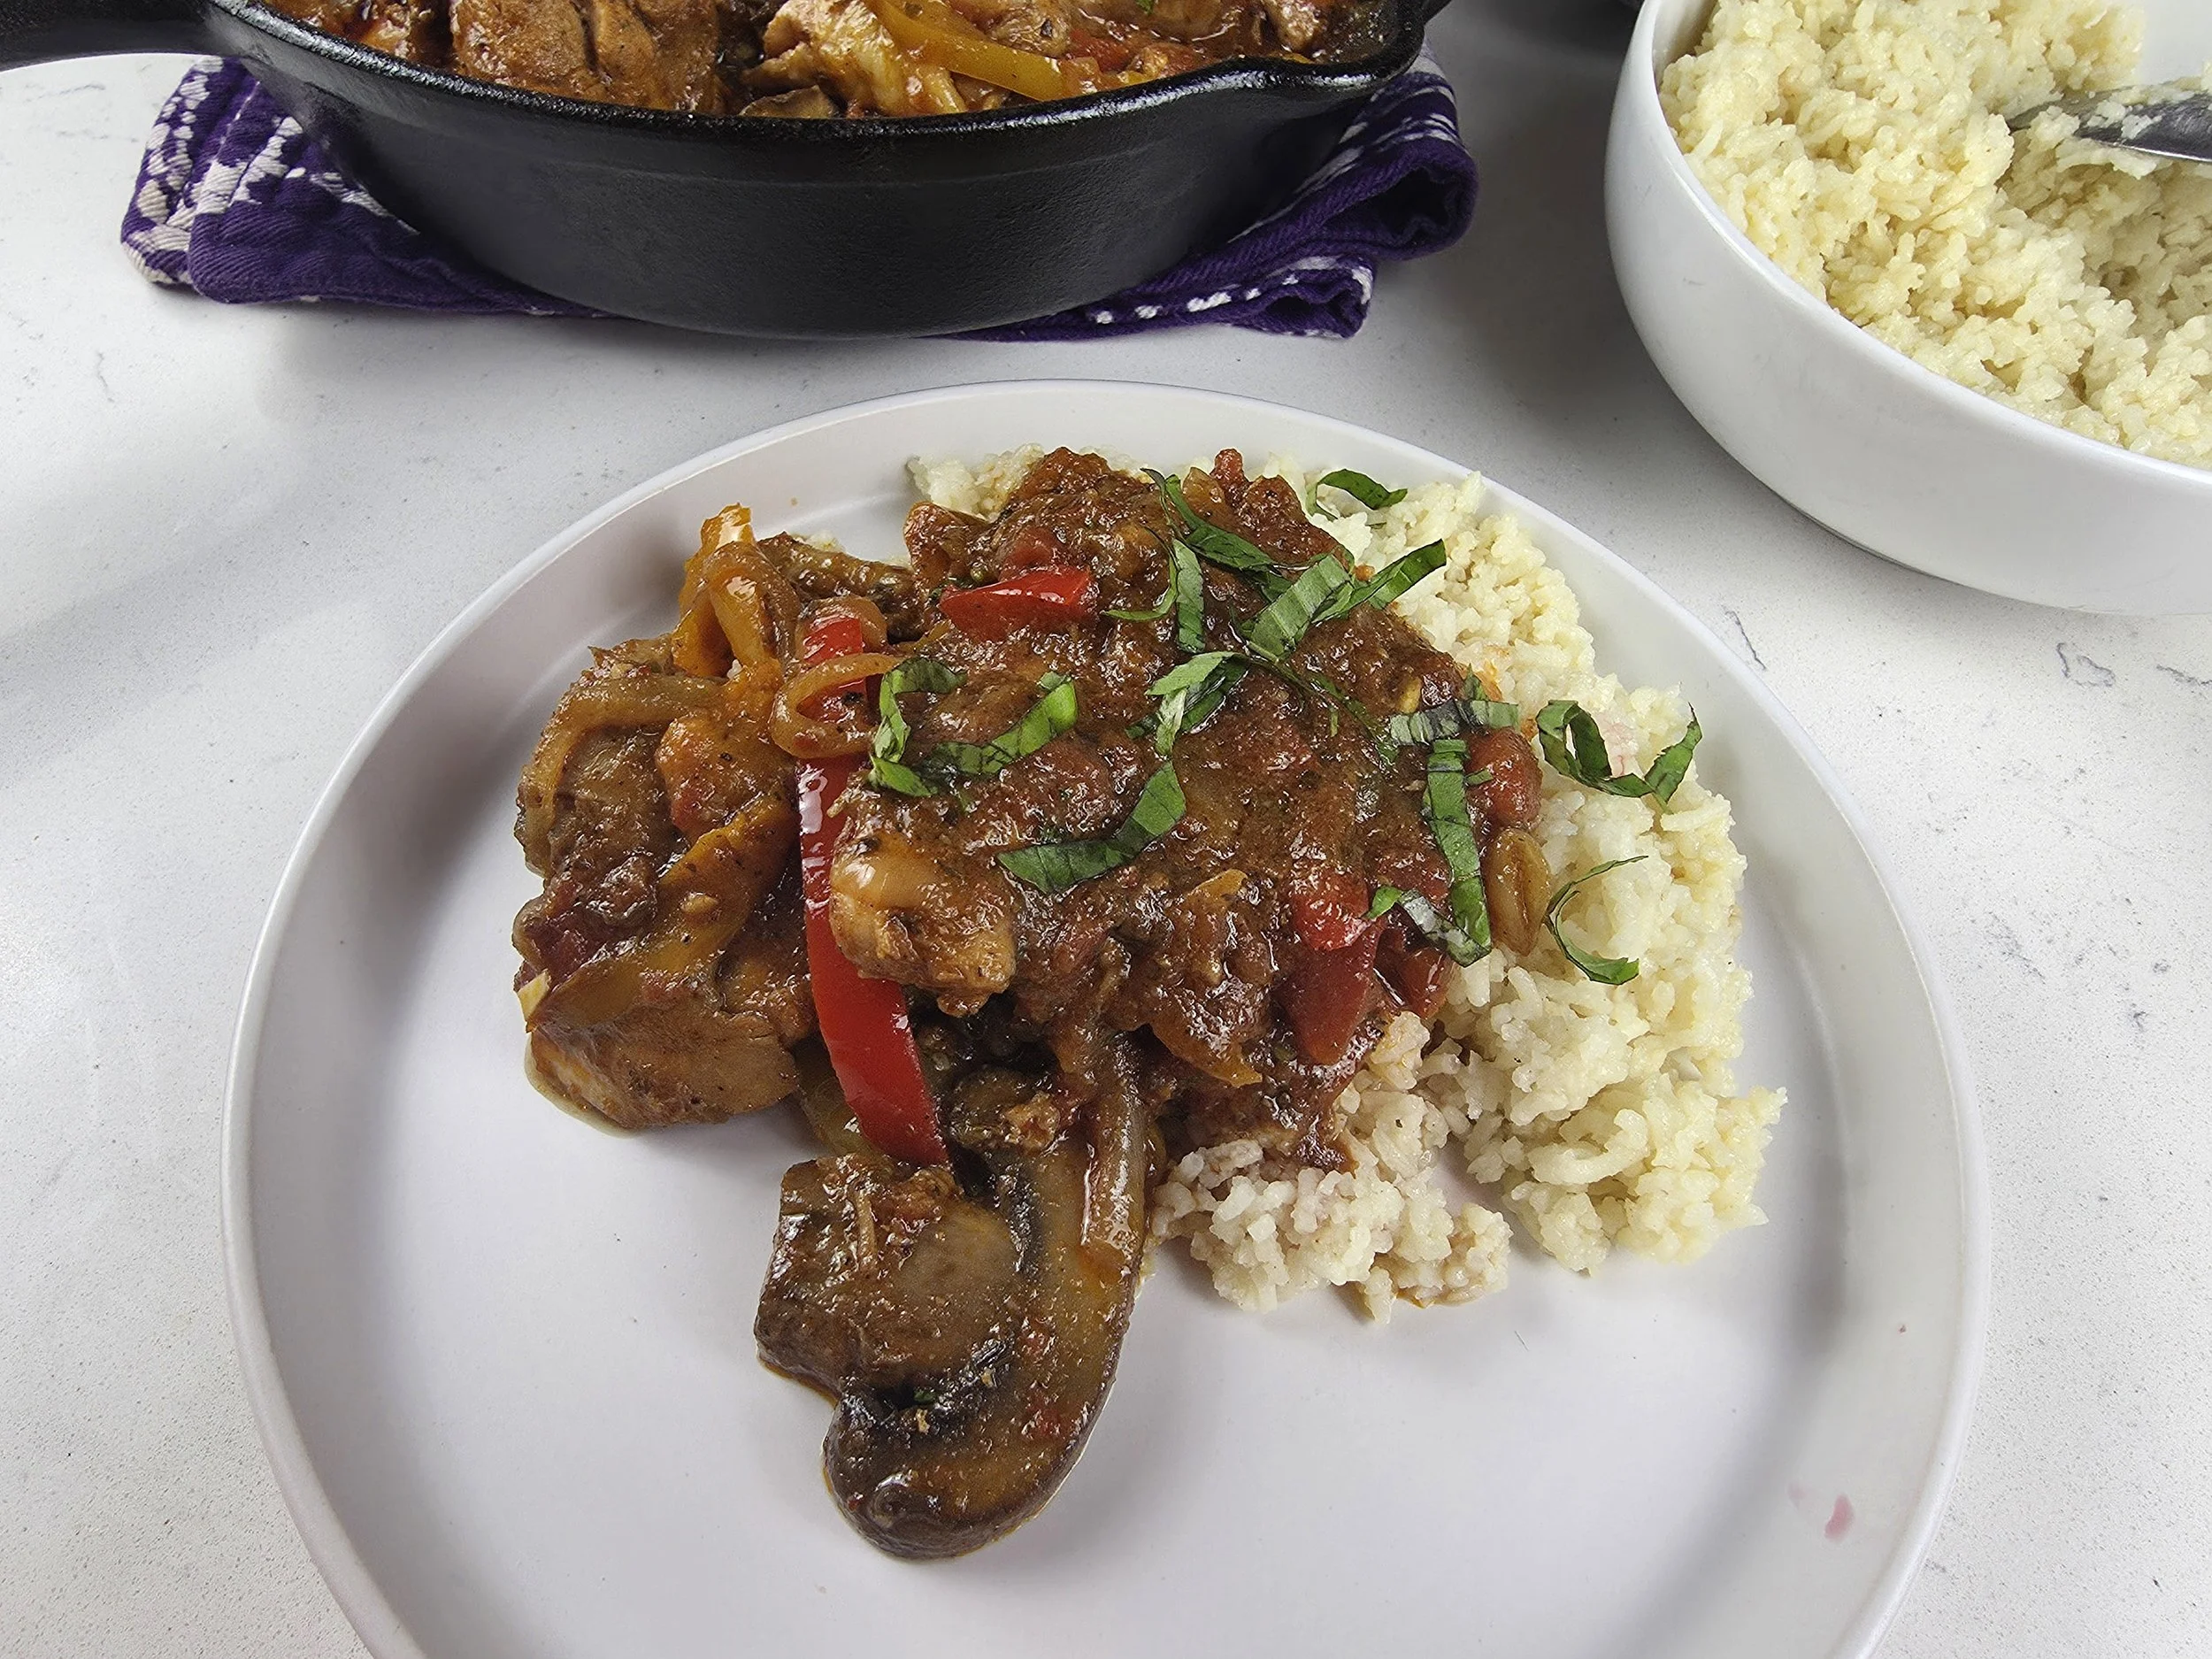
I grew up eating my mum's version on Sunday evenings, occasionally and always memorably. Bell peppers, tomatoes, juicy cuts of bone-in chicken, a rich deeply spiced sauce served over rice. It was bold and comforting and unlike anything else she made. Looking back, I realize she was introducing me to global flavors before I had any language for it. I just knew it tasted different in the best way.
Years later I ate cacciatore stuffed inside a trapizzino in Rome, the iconic Roman street food that folds thick crispy triangular bread around slow-cooked fillings. The Roman version was white wine, rosemary, no tomato. I came home thinking about it and immediately called my mom. Her version is nothing like what I ate in Rome, and that's exactly the point. Some dishes don't need to be reinvented. They just need to be made.

Mom's Chicken Cacciatore
Bone-in chicken thighs braised in a spiced tomato and bell pepper sauce with mushrooms, capers, and a splash of red wine. My mom's version of cacciatore — bold, simple, and served over rice.
Ingredients
- 4 large bone-in, skin-on chicken thighs
- 1 teaspoon chicken spice
- 1 teaspoon salt
- 1 teaspoon black pepper
- 1 teaspoon garlic powder
- 1 teaspoon onion powder
- 1 teaspoon dried oregano
- 1 teaspoon paprika
- 1 tablespoon butter
- 1 tablespoon olive oil
- 1 medium yellow onion, sliced into half moons
- 3 garlic cloves, finely minced
- 1 tablespoon tomato paste
- 1/2 red bell pepper, sliced
- 1/2 green bell pepper, sliced
- 1/2 orange bell pepper, sliced
- 1 cup button mushrooms, sliced
- 1 can (14 ounces) diced tomatoes with oregano and basil
- 1/2 cup red wine
- 1 cup chicken broth (or 1 cup water plus 1 teaspoon bouillon paste)
- 1 teaspoon dried oregano
- Fresh basil leaves, to finish
- Salt and black pepper, to taste
- Cooked rice, for serving
Instructions
- Combine chicken spice, salt, black pepper, garlic powder, onion powder, oregano, and paprika in a small bowl. Divide in half, and use one half to season the quartered chicken thighs and reserve the other half for later. Let chicken sit at room temperature for at least 5 minutes while you prep remaining ingredients.
- Heat 1 tablespoon butter and 1 tablespoon olive oil in a large Dutch oven or heavy-bottomed pot over medium-high heat until the butter is foaming. Add chicken skin-side down and cook, undisturbed, until deeply golden brown, 4–5 minutes. Flip and cook the other side until lightly browned, 2–3 minutes. Transfer to a plate and set aside.
- In the same pot over medium heat, add onion and garlic. Cook, stirring occasionally, until softened and translucent, 2–3 minutes.
- Add the reserved spice blend and tomato paste. Cook, stirring constantly, until slightly darkened and fragrant, 1–2 minutes.
- Add bell peppers and mushrooms. Cook, stirring occasionally, until peppers are just softened, 3–4 minutes.
- Pour in drained canned tomatoes, red wine, and water with bouillon paste. Add capers. Stir to combine, scraping up any browned bits from the bottom of the pot. Bring to a gentle boil over medium-high heat.
- Return chicken to the pot skin-side up, nestling it into the sauce. The liquid should come at least about halfway up the chicken — add a small splash more water if needed. Add dried oregano.
- Reduce heat to low, partially cover, and simmer until chicken is cooked through and reaches an internal temperature of 165°F, 30–35 minutes.
- If the sauce is still too thin once chicken is cooked through, remove chicken and set aside. Increase heat to medium-high and reduce sauce uncovered for 5–10 minutes until thickened to your liking. Return chicken to the pot and warm through for 2 minutes.
- Squeeze fresh lemon over the top, scatter fresh basil, adjust seasoning with salt and pepper, and serve hot over rice.
Nutrition Facts
Calories
480Fat (grams)
24 gCarbs (grams)
18 gFiber (grams)
4 gProtein (grams)
38 gI am not a certified nutritionist and any nutritional information on dontmissmyplate.com should only be used as a general guideline.
Biltong Carbonara
Carbonara is one of the most iconic Roman pasta dishes in the world, traditionally built around cured pork, pecorino cheese, eggs, black pepper, and pasta water to create a silky emulsion without cream. In this version, I wanted to reinterpret that structure through a Southern African lens using one of the region’s most beloved ingredients: biltong.
Biltong is a cured and air-dried beef commonly enjoyed across Zimbabwe, South Africa, Botswana, and Namibia. While many people compare it to jerky, the flavor and texture are completely different. Biltong is richer, more tender, and deeply savory, with concentrated beef flavor from the curing and drying process. It is not just a snack where I come from, it is part of the culture.
For this dish, I wanted to respect the foundation of a traditional carbonara while introducing the bold identity of biltong in a way that still feels intentional and balanced. Instead of replacing the classic smoky pork notes entirely, I use rendered bacon fat to preserve that familiar carbonara backbone while allowing the cured beef flavor of the biltong to take center stage.
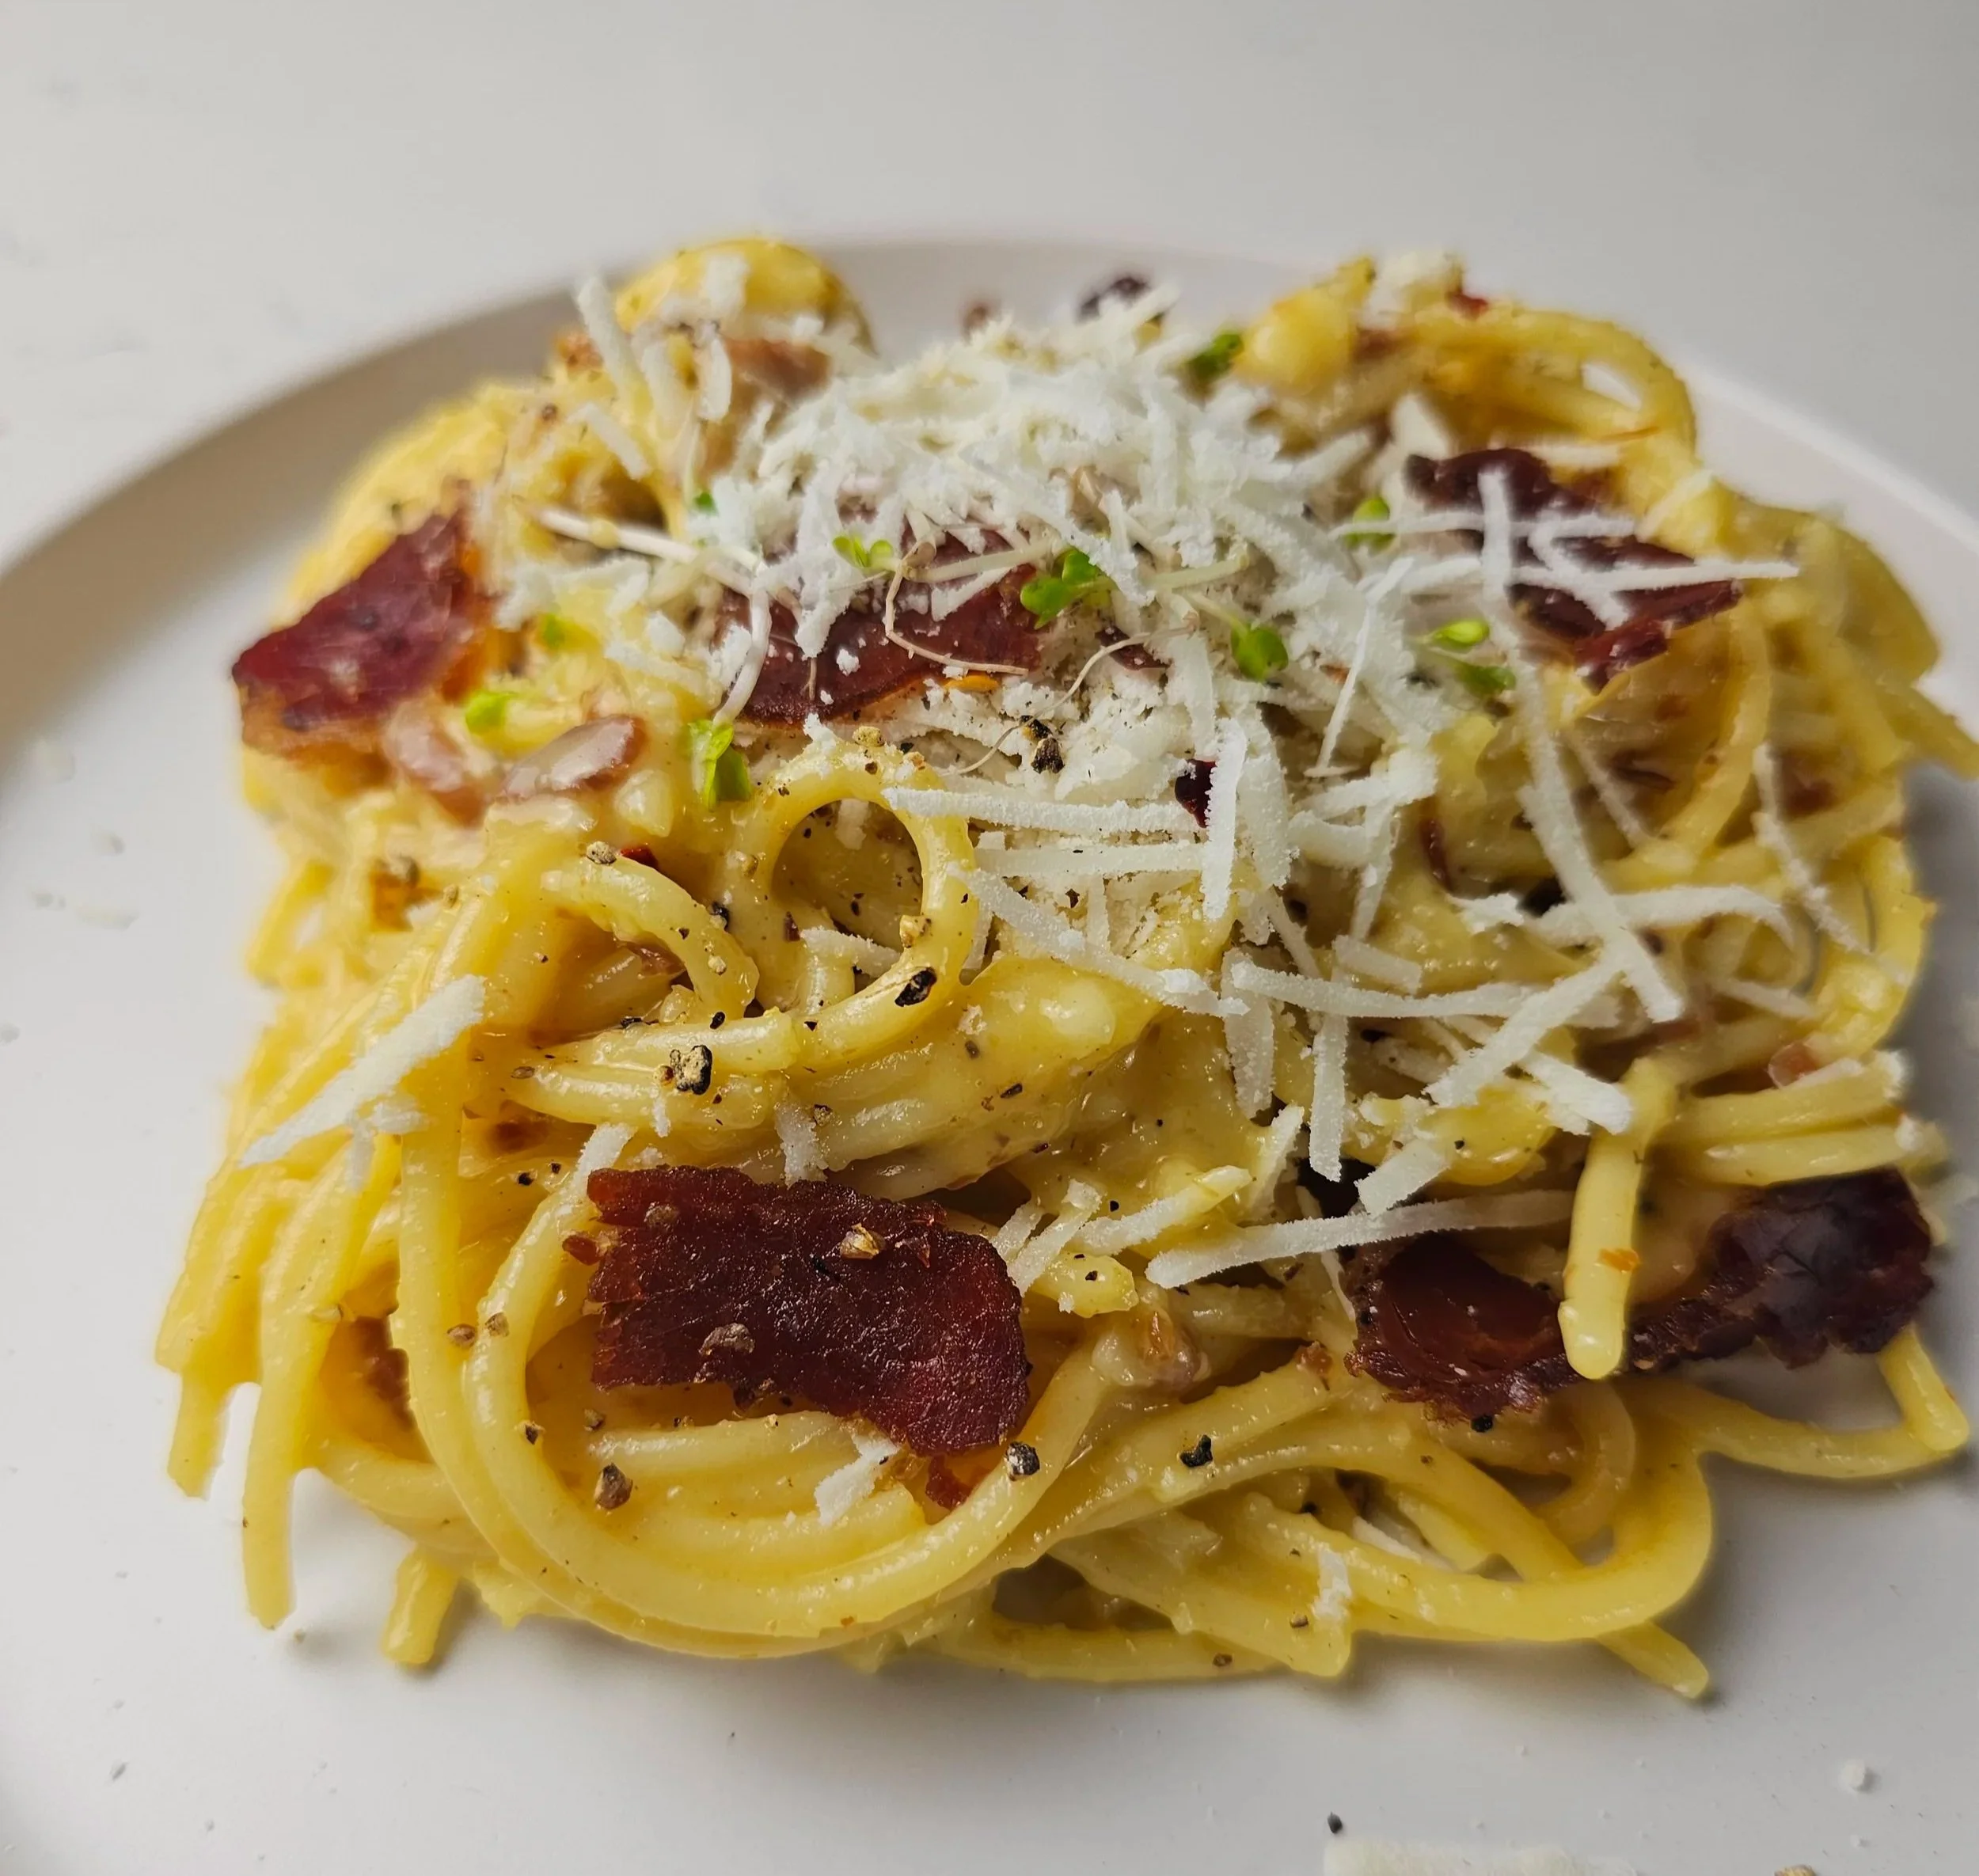
The result is a fusion dish that feels both comforting and personal. Silky pasta coated in a glossy pecorino and egg sauce, layered with black pepper, smoky bacon fat, and the deep umami of biltong.
This recipe reflects the kind of cooking I love most, honoring classic techniques while telling my own story through flavor.

Biltong Carbonara
A Southern African-inspired twist on classic Roman carbonara made with biltong, pecorino, eggs, and smoky bacon fat for a rich, savory pasta with bold cured beef flavor.
Ingredients
- 8 oz (225g) dry spaghetti noodles
- 3 strips thick bacon (for rendered fat)
- 1 cup (black pepper) biltong, divided into two portions (½ cup finely chopped and ½ cup sliced for garnish)
- 2 whole eggs
- 1 egg yelp
- 1 1/4 cup grated pecorino cheese
- 1½ teaspoon freshly cracked black pepper
- 1 large garlic clove, smashed
- 1–1½ cups reserved pasta water
- Chilli flakes (optional)
Instructions
- In a large mixing bowl, combine the egg, yolk, pecorino, ½ teaspoon of the black pepper, and 1/2 the biltong, finely chopped. Mix thoroughly with a fork until fully combined then set aside.
- Bring a large pot of salted water to a boil. Cook the spaghetti noodles until 1 minute before al dente according to package instructions.
- Reserve 1–1½ cups pasta water before draining.
- Place bacon strips into a cold pan. Turn heat to medium-low and cook until crispy and the fat has rendered, about 6–8 minutes. Remove bacon (use for another reicepe) and set the oil aside. Keep rendered fat in the pan.
- Lower heat to low-medium then add smashed garlic clove and a small pinch of black pepper to the bacon fat. Cook for 20–30 seconds until fragrant, then remove garlic.
- Add drained pasta into the pan and toss in the bacon fat, follwoed by add a small splash of reserved pasta water and toss again.
- Transfer the pasta to the mixing bowl with the egg mixture.
- Wait about 10 seconds so the pasta is hot but not scorching.
- Toss aggressively until the sauce begins coating the pasta.
- Add reserved warm pasta water gradually, 1 tablespoon at a time, until the sauce becomes glossy and silky. Be patirnet, it's can take a few mintue!
- Twirl pasta onto serving plates and top servings with sliced biltong, extra pecorino, freshly cracked black pepper and chilli flakes.
- Serve immediately.
Nutrition Facts
Calories
640Fat (grams)
34 gSat. Fat (grams)
14 gCarbs (grams)
38 gFiber (grams)
2 gProtein (grams)
32 gI am not a certified nutritionist and any nutritional information on dontmissmyplate.com should only be used as a general guideline.

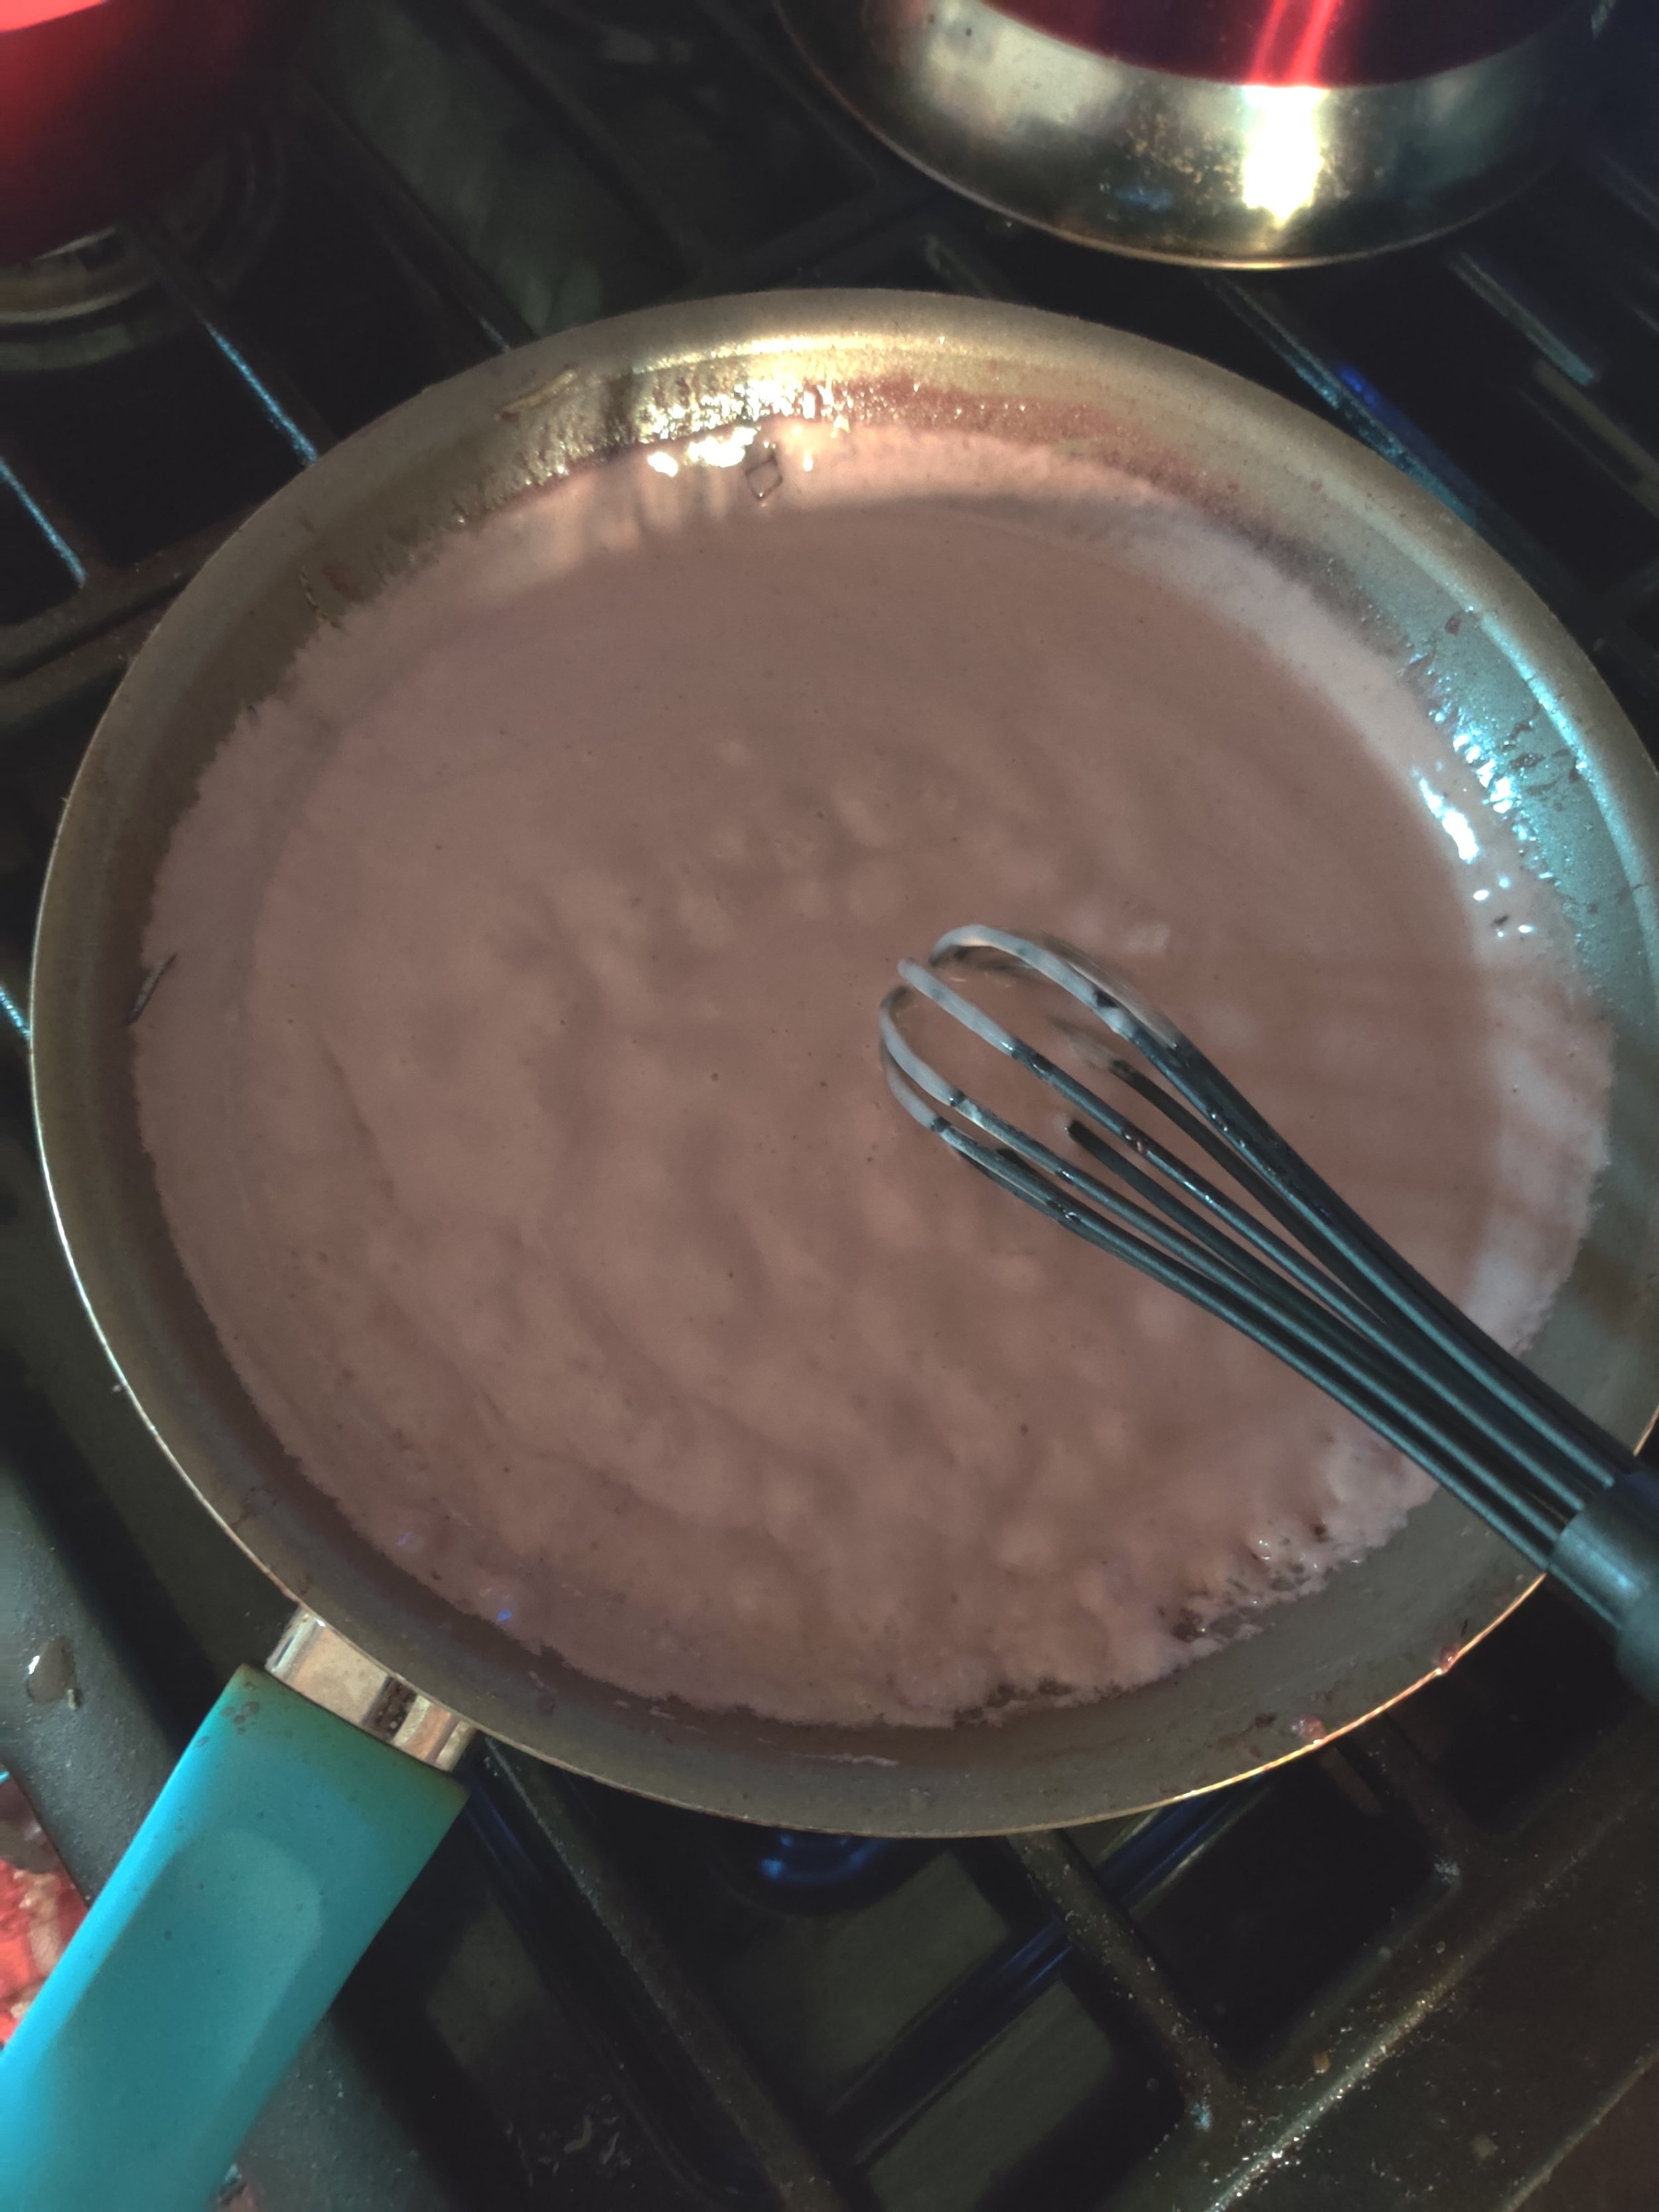
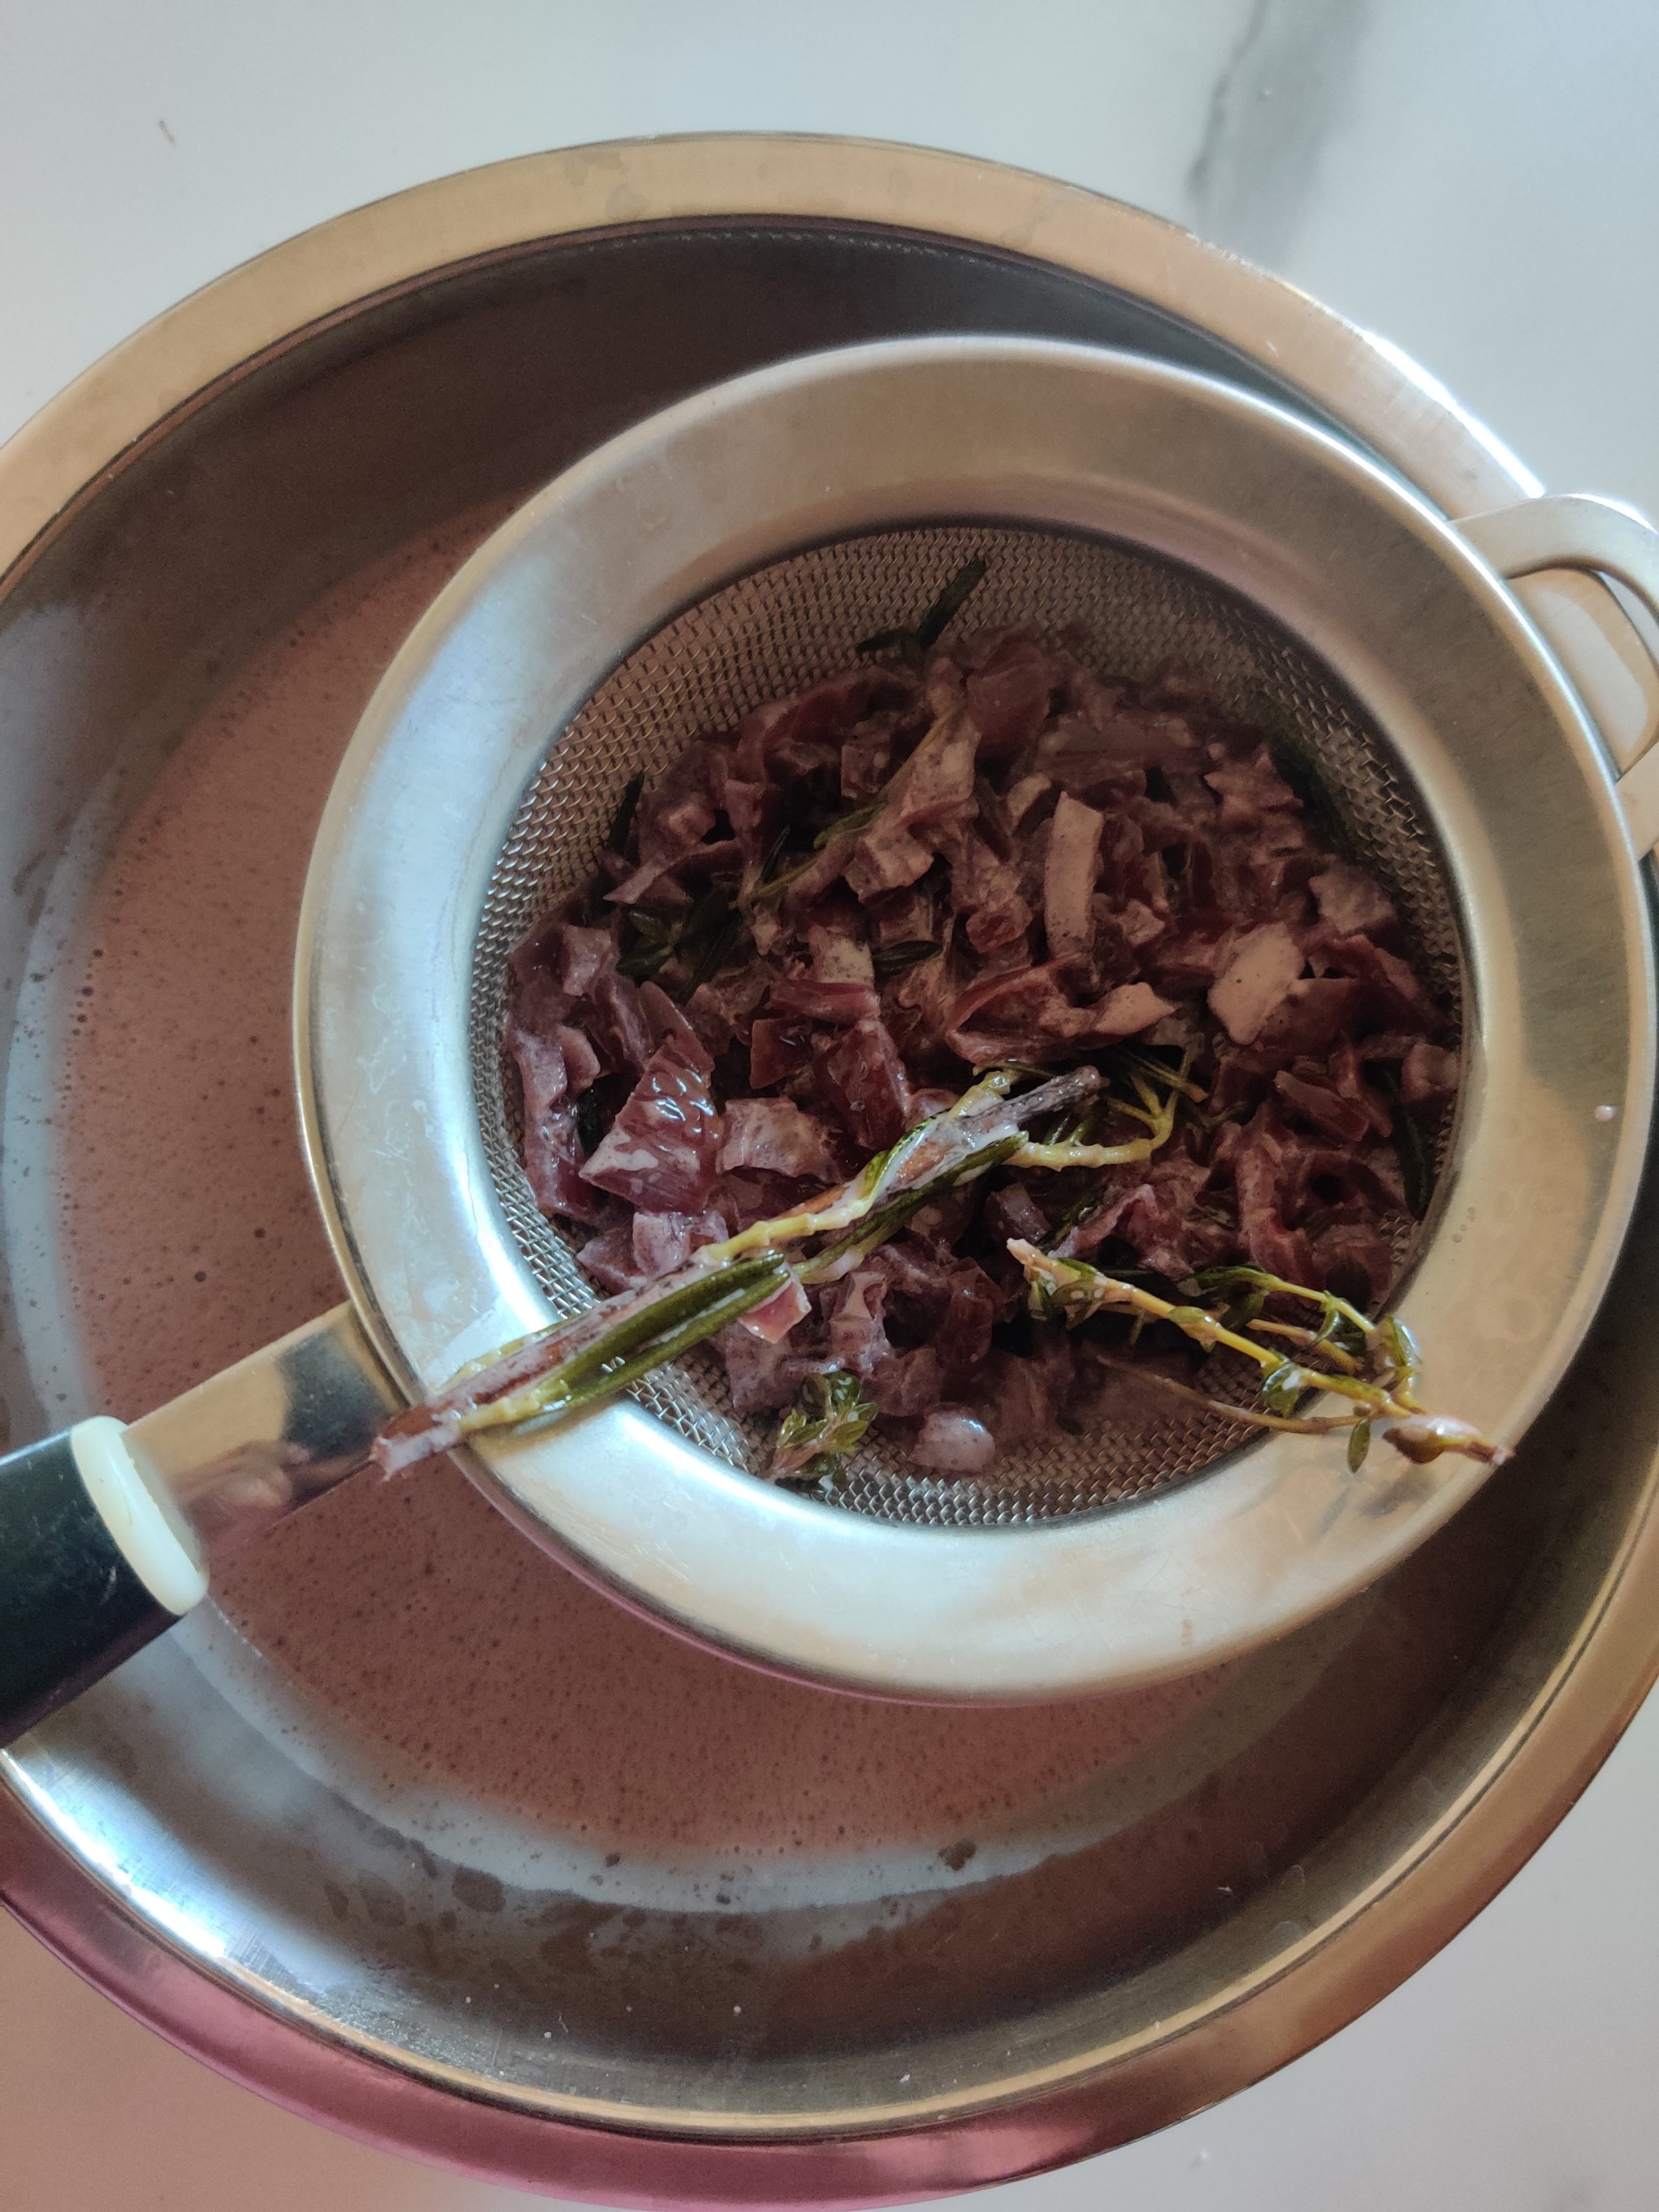
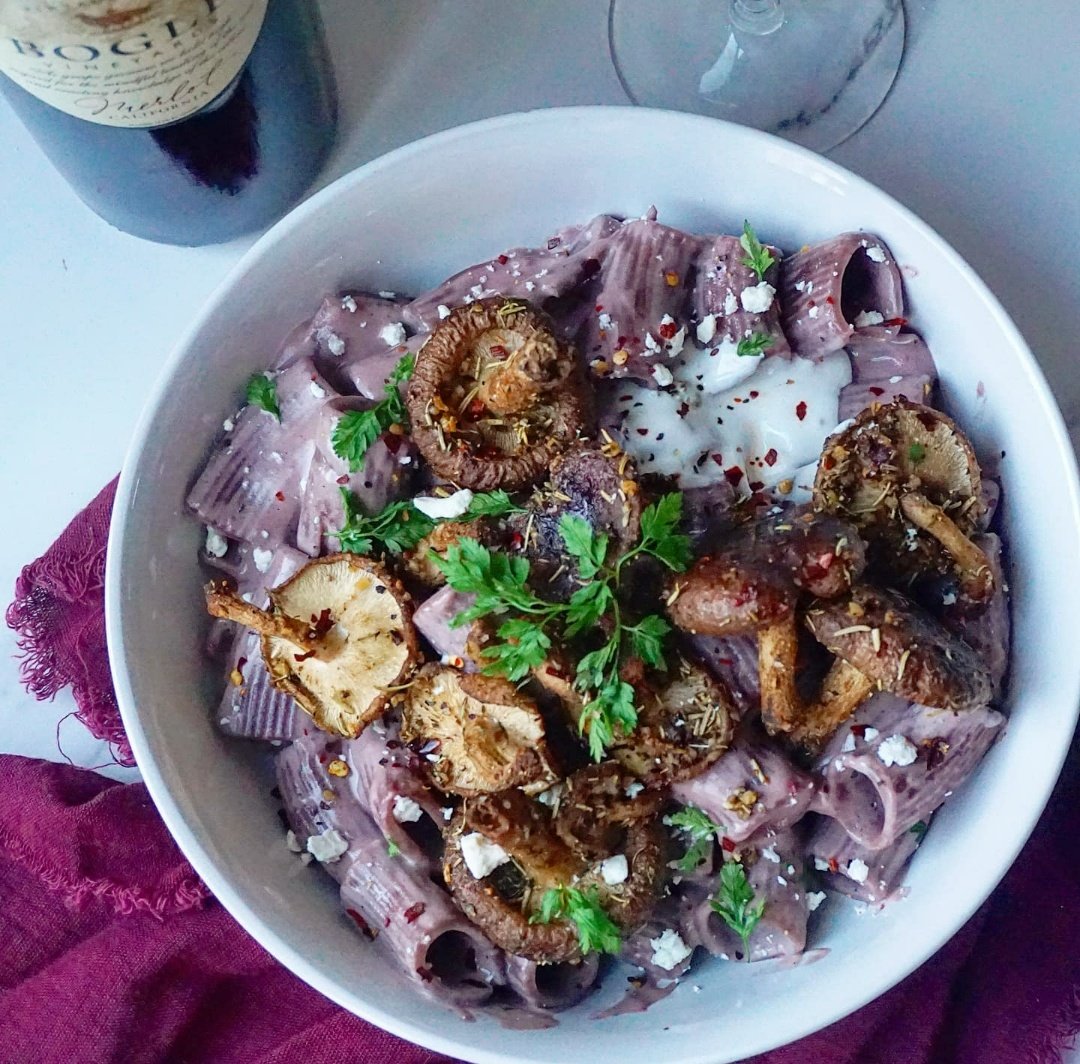
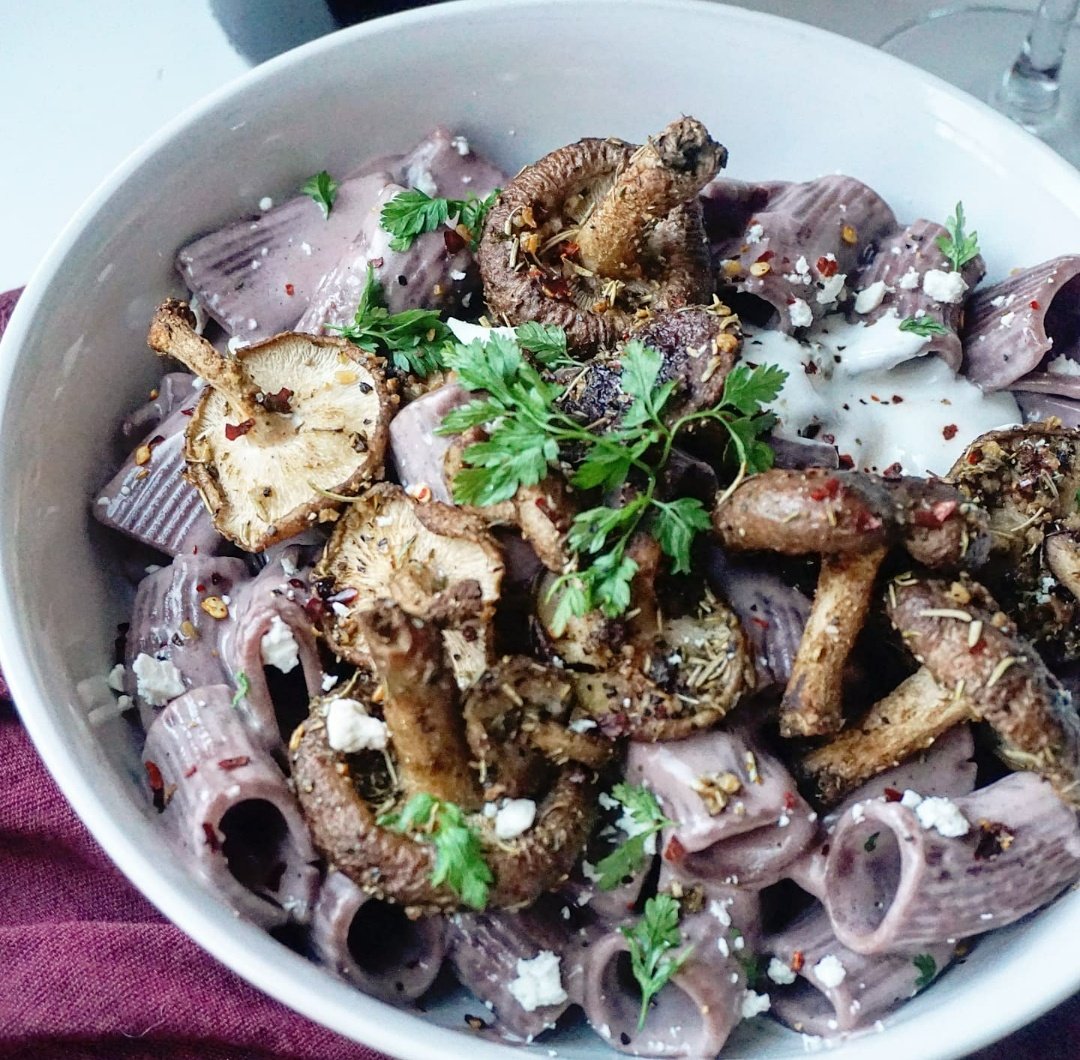
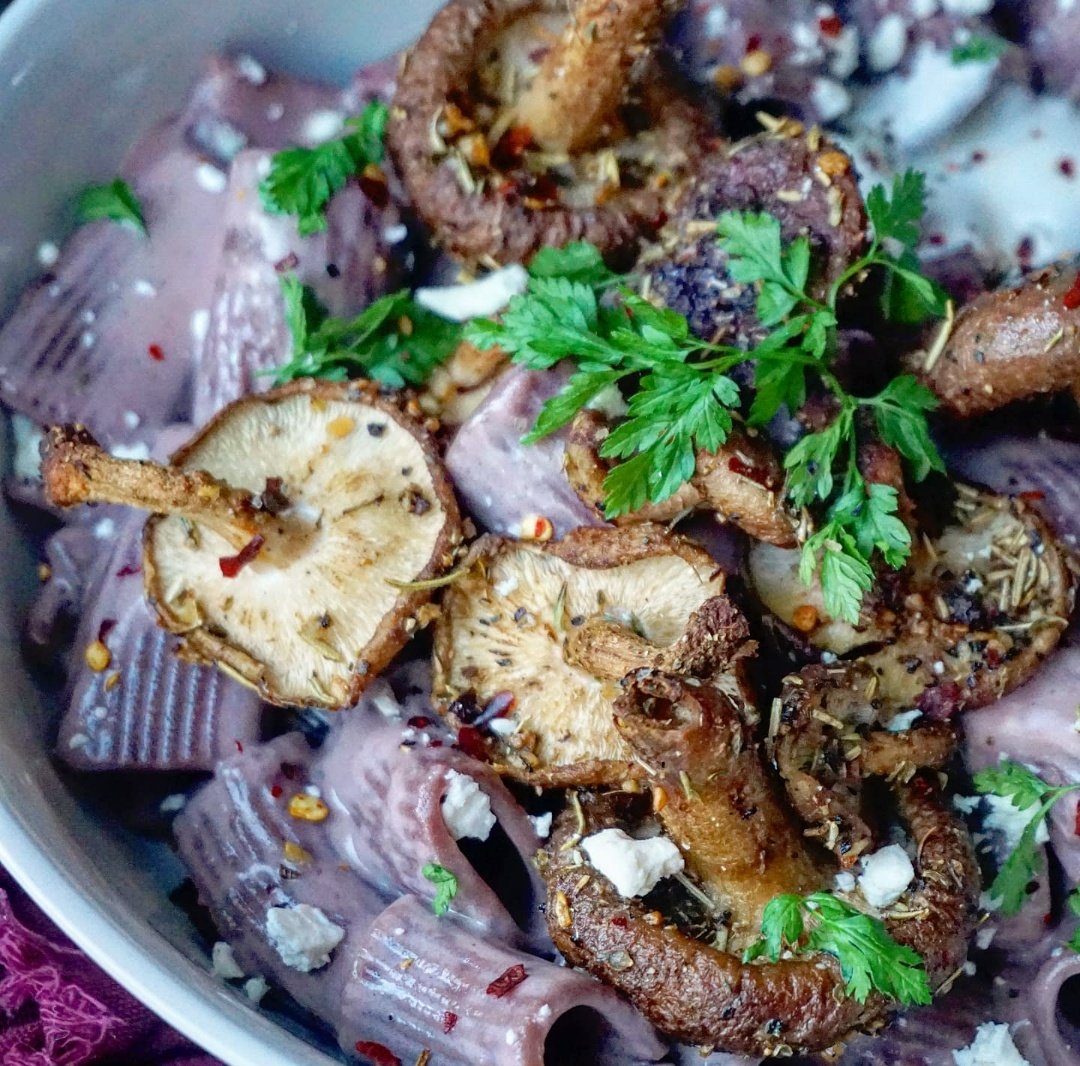
Red Wine Cream Sauce with Rigatoni Pasta and Shiitake Mushrooms
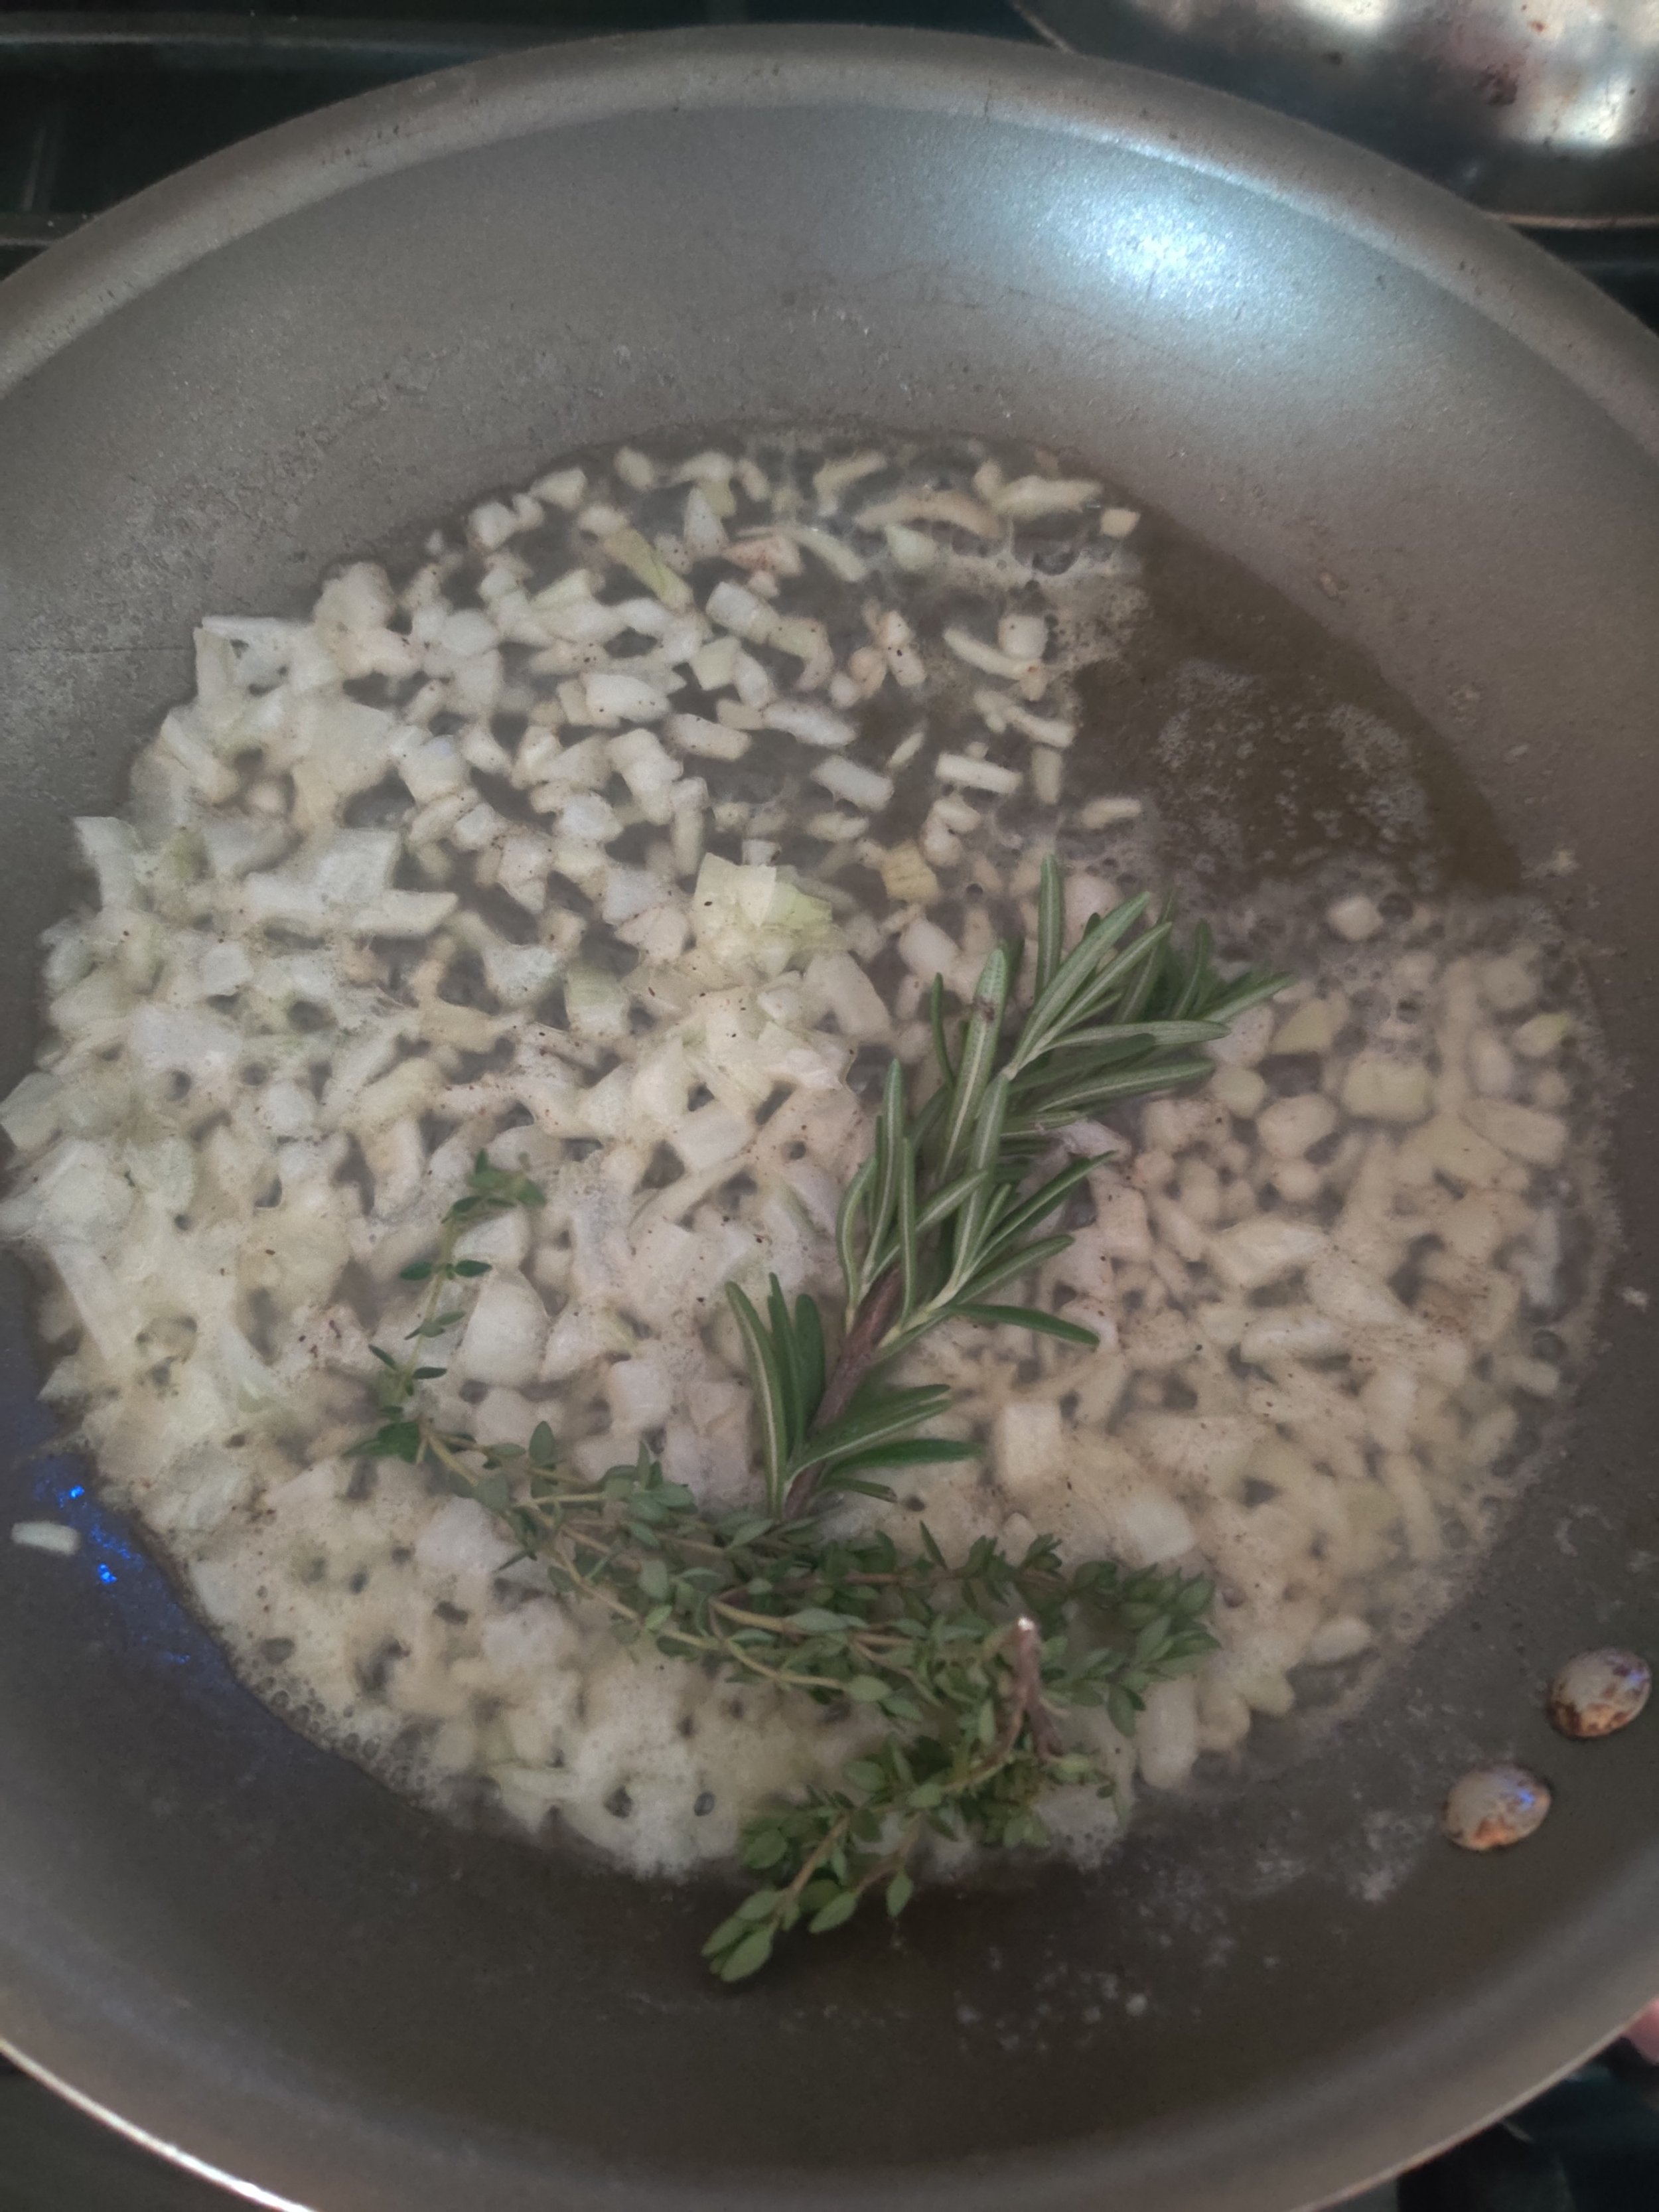
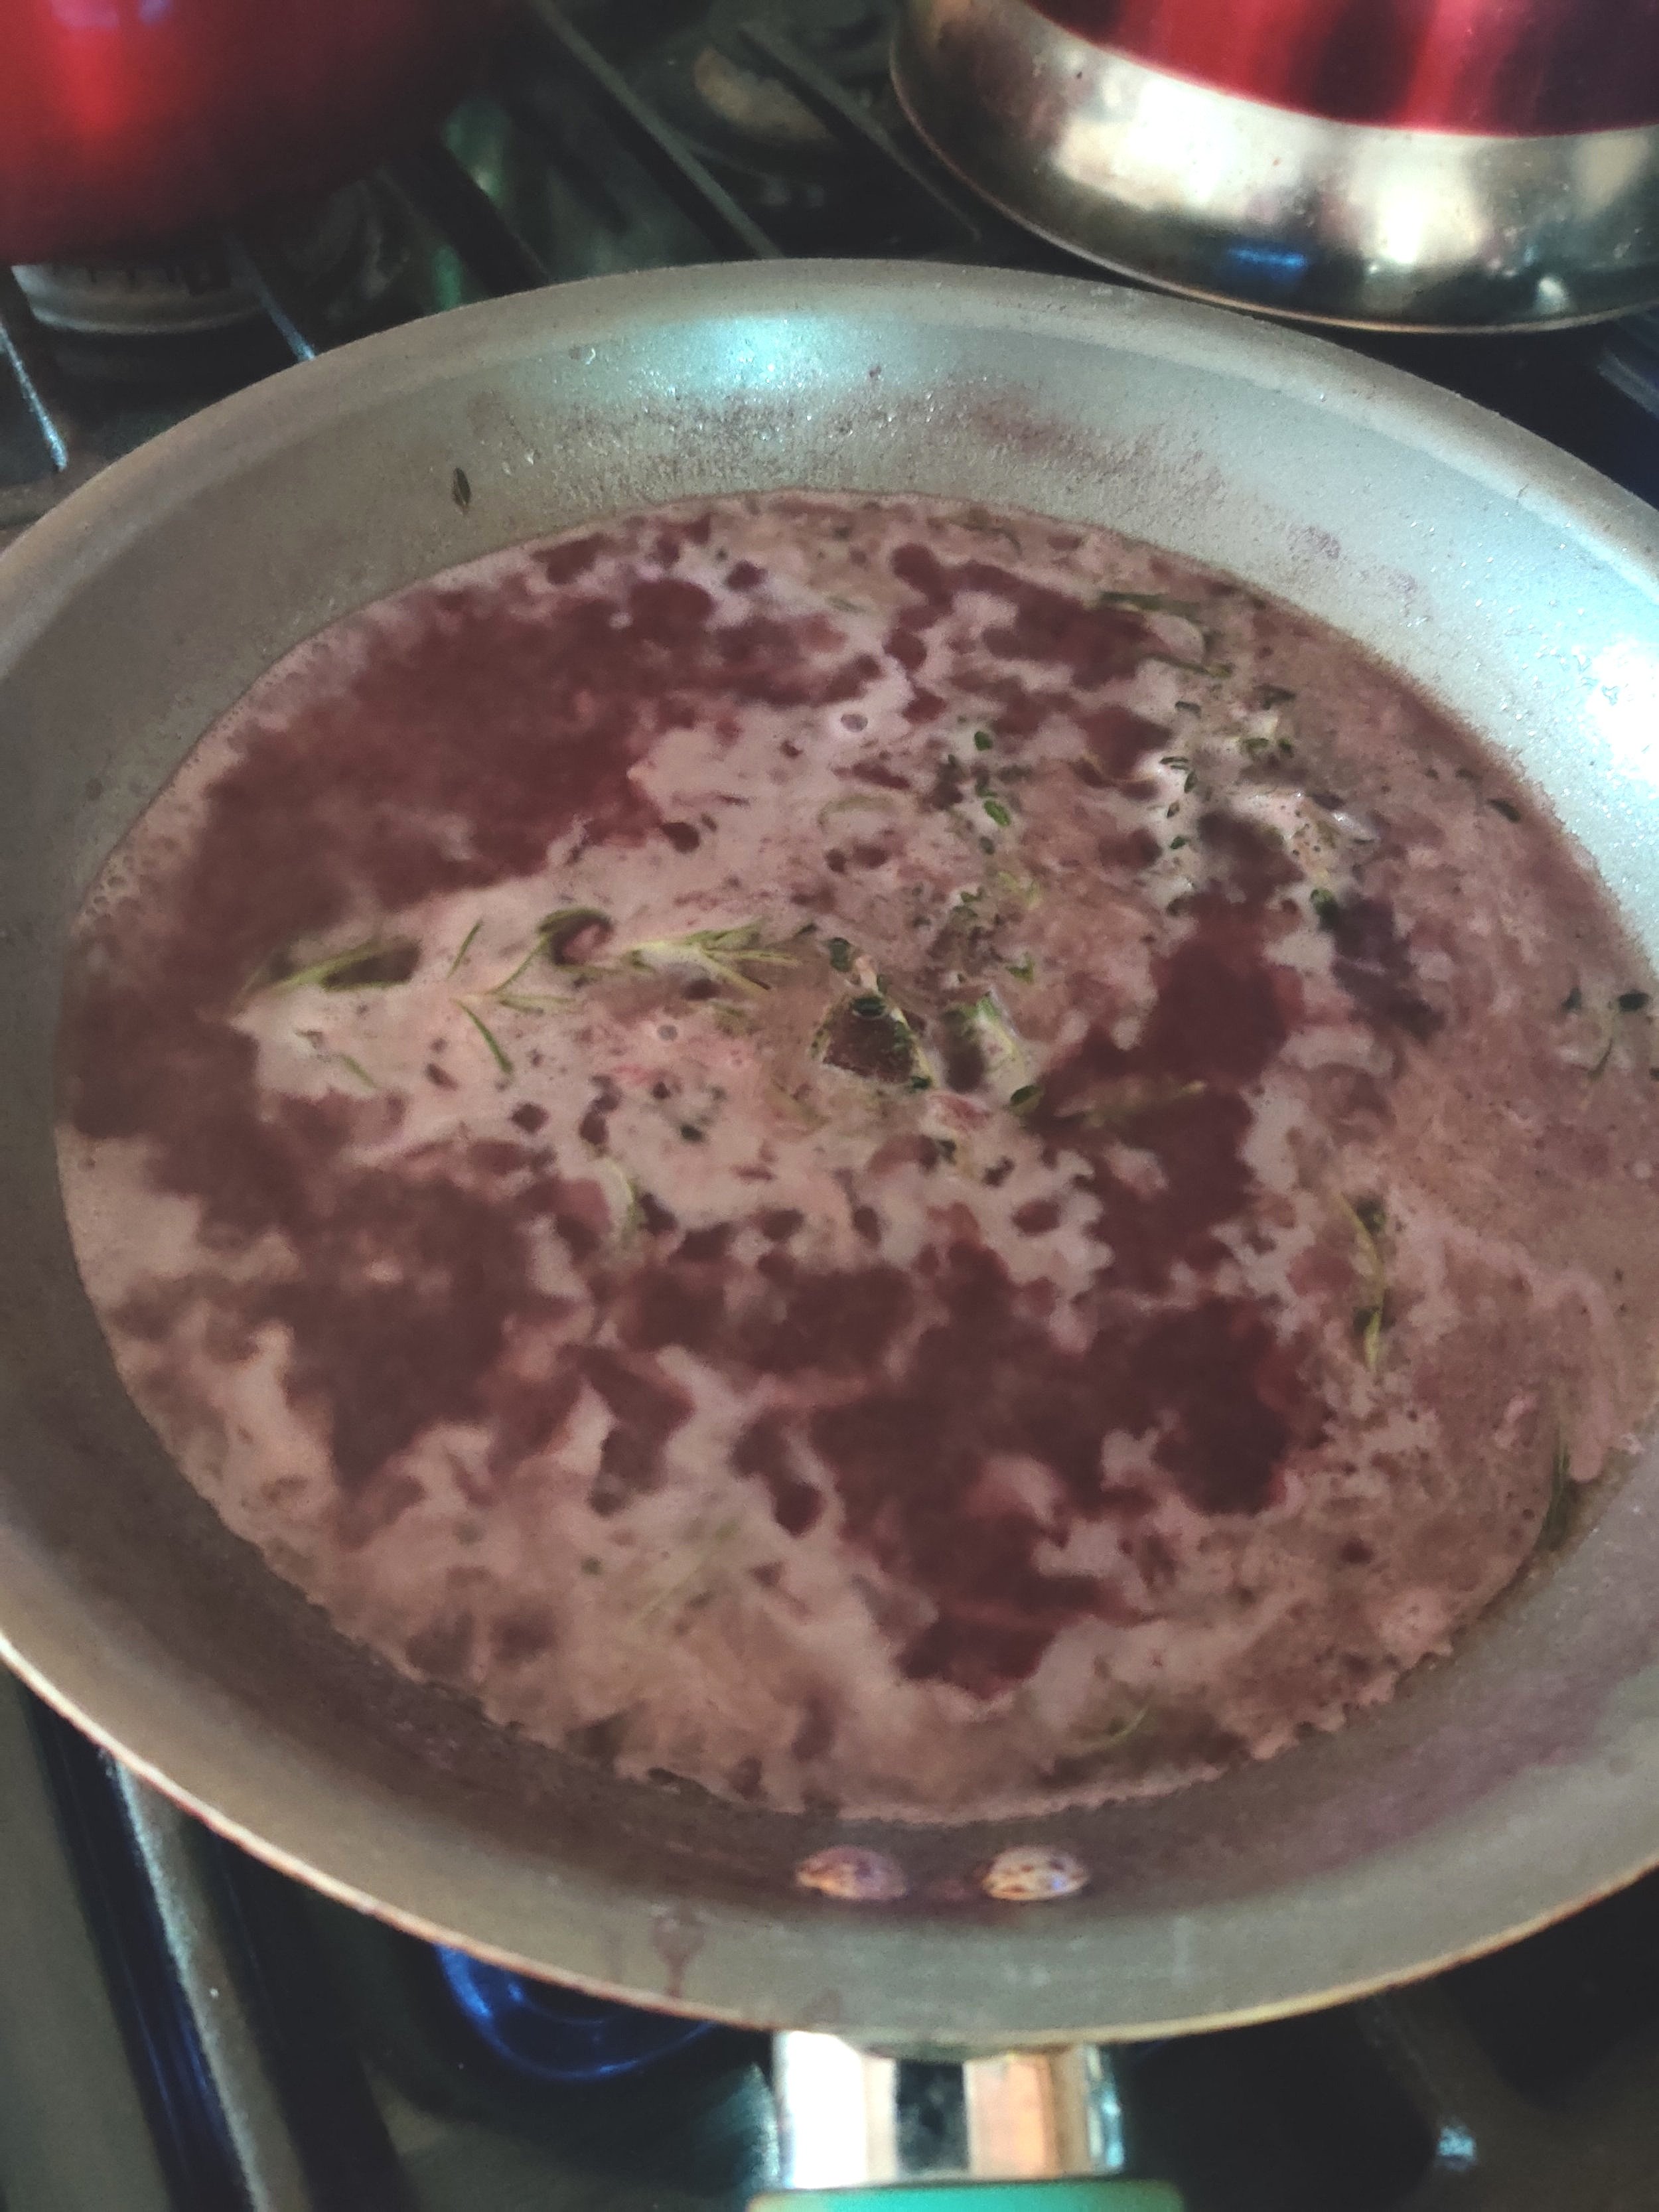
Red wine is my favourite alcoholic beverage, hands down. How ideal that some studies show a glass a day is good for the heart! You can use cooking wine to mimic the taste as an alternative, but I would recommend going for high quality in both cases. It doesn't have to be vintage from the 18th century at $100 a bottle, but something with body and good flavour! I used a merlot from Bogle.
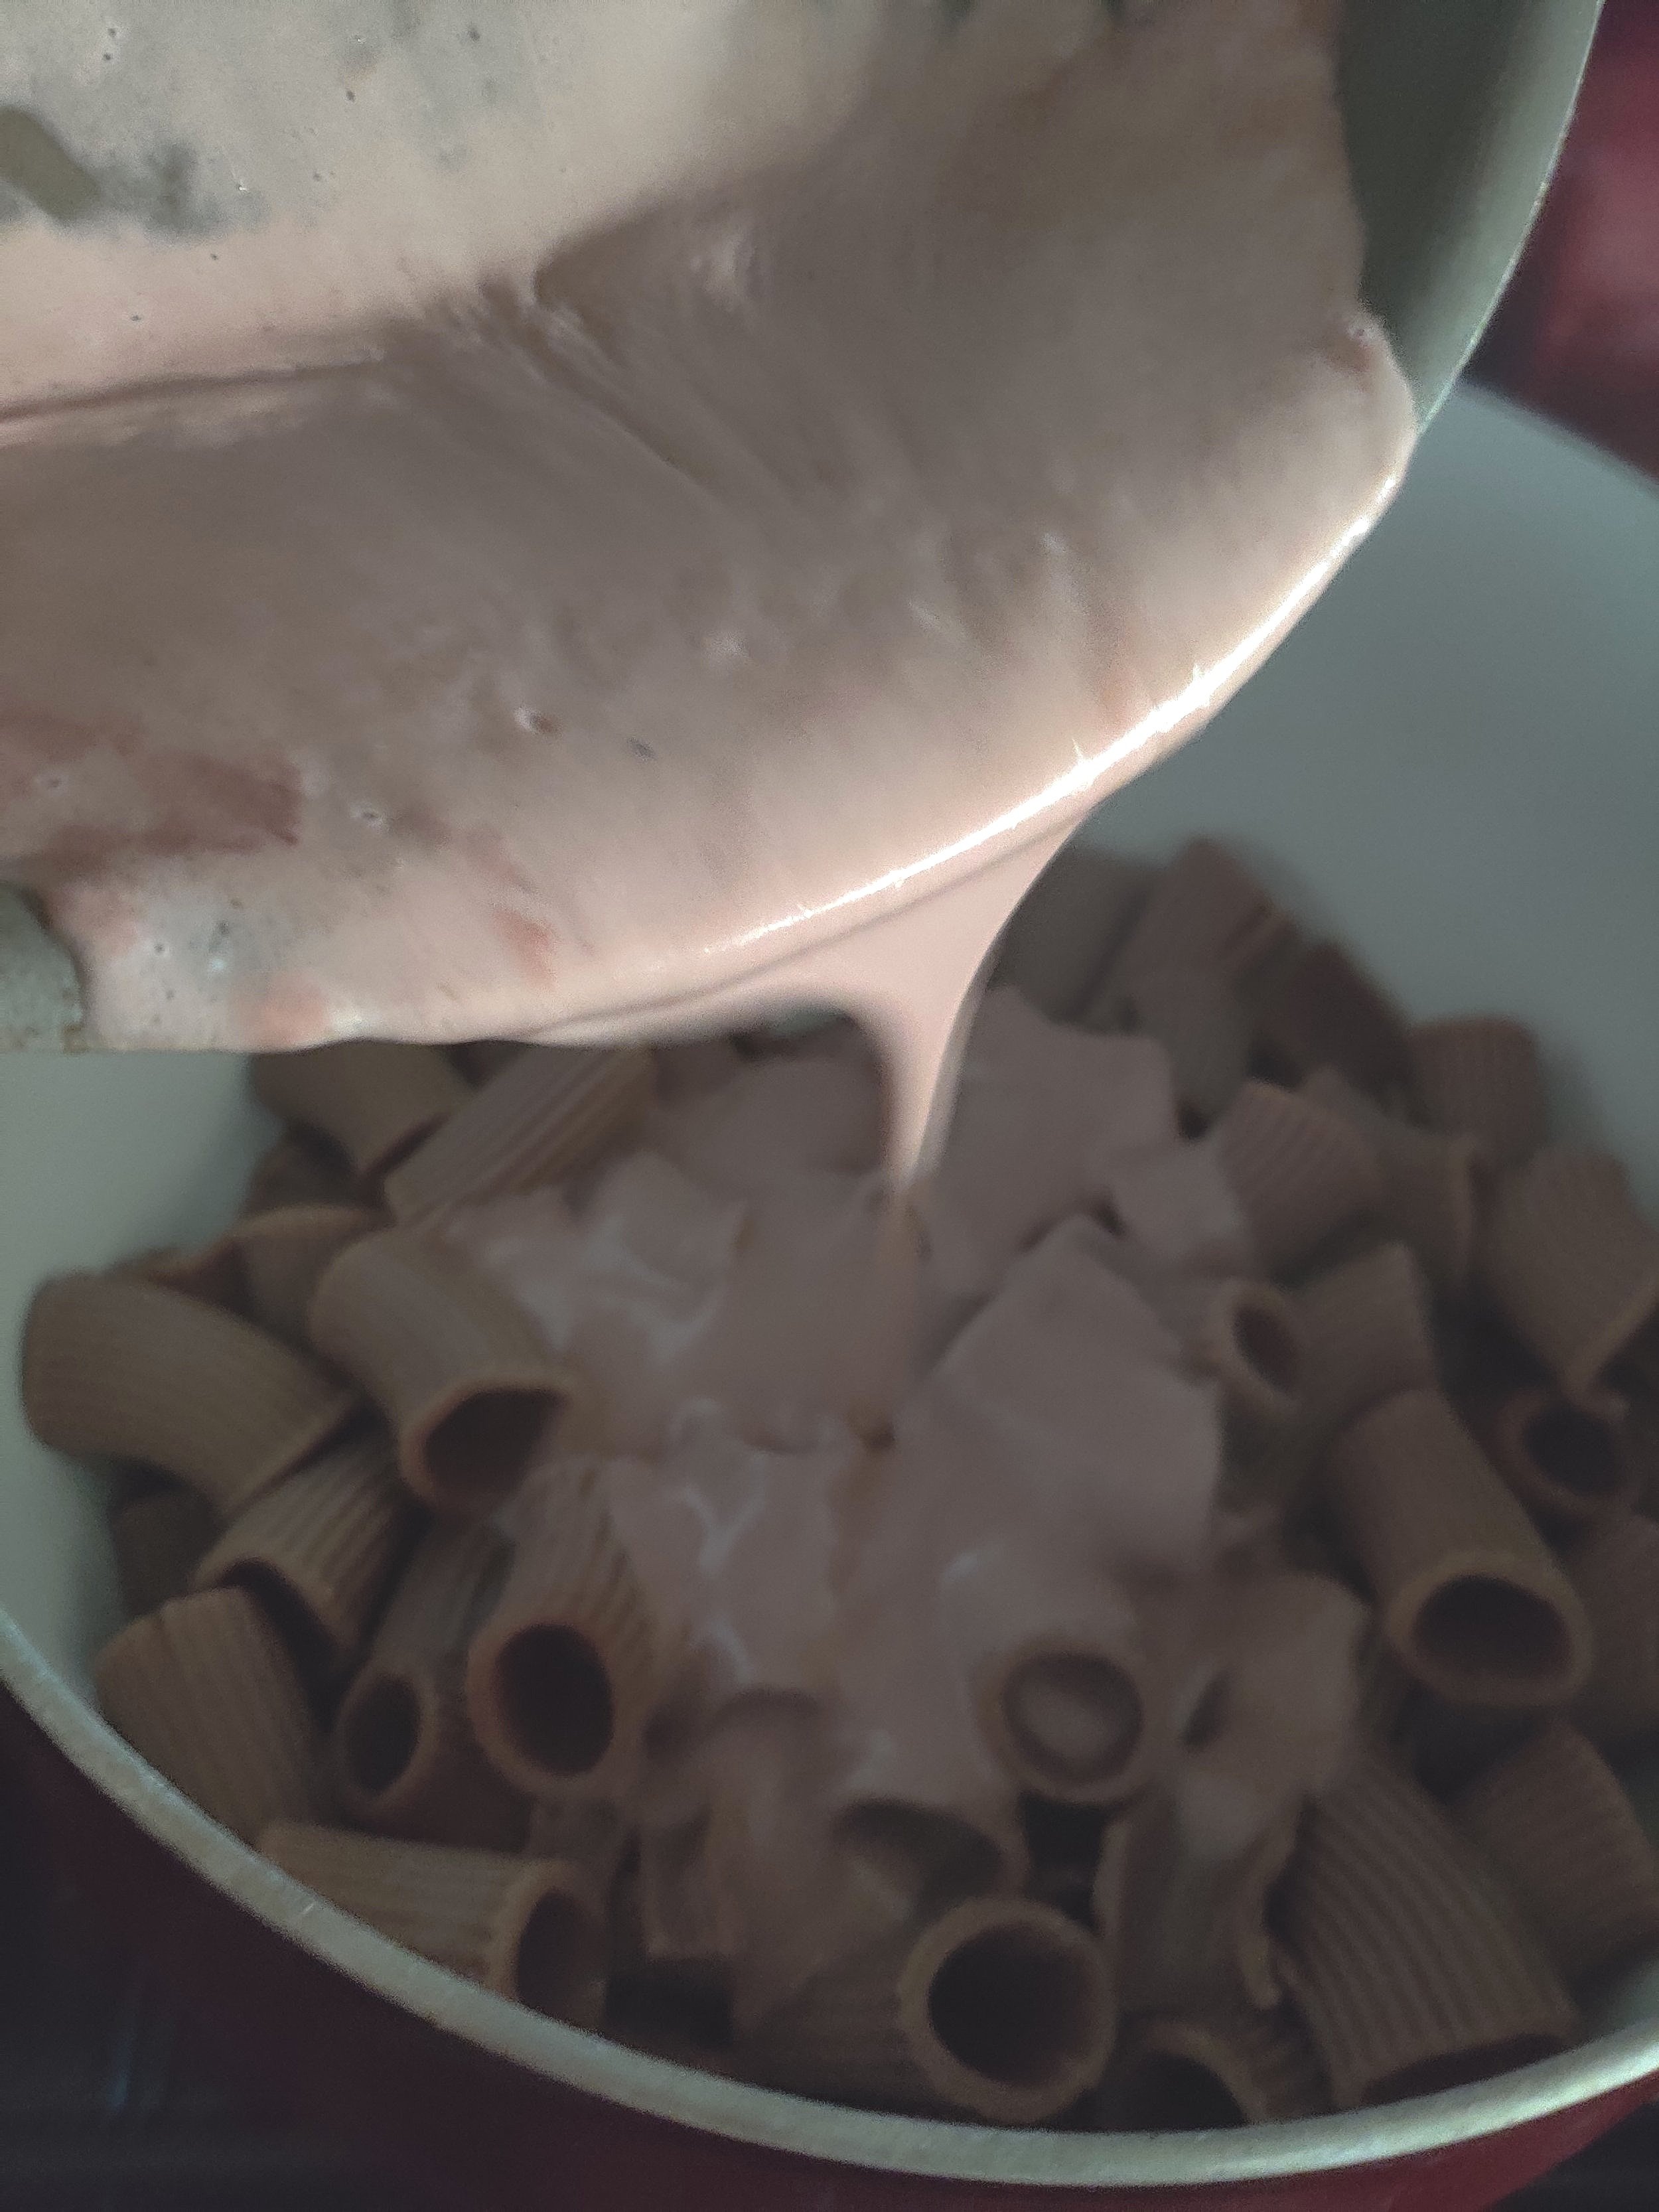
The great thing about pasta is that we can infuse it with many non-traditional ingredients, from greens to starchy fibres to herbs to, well, wine! I used some red wine rigatoni from the Pasta Palette. You should find something similar in a speciality store near you. If not, regular rigatoni will do!
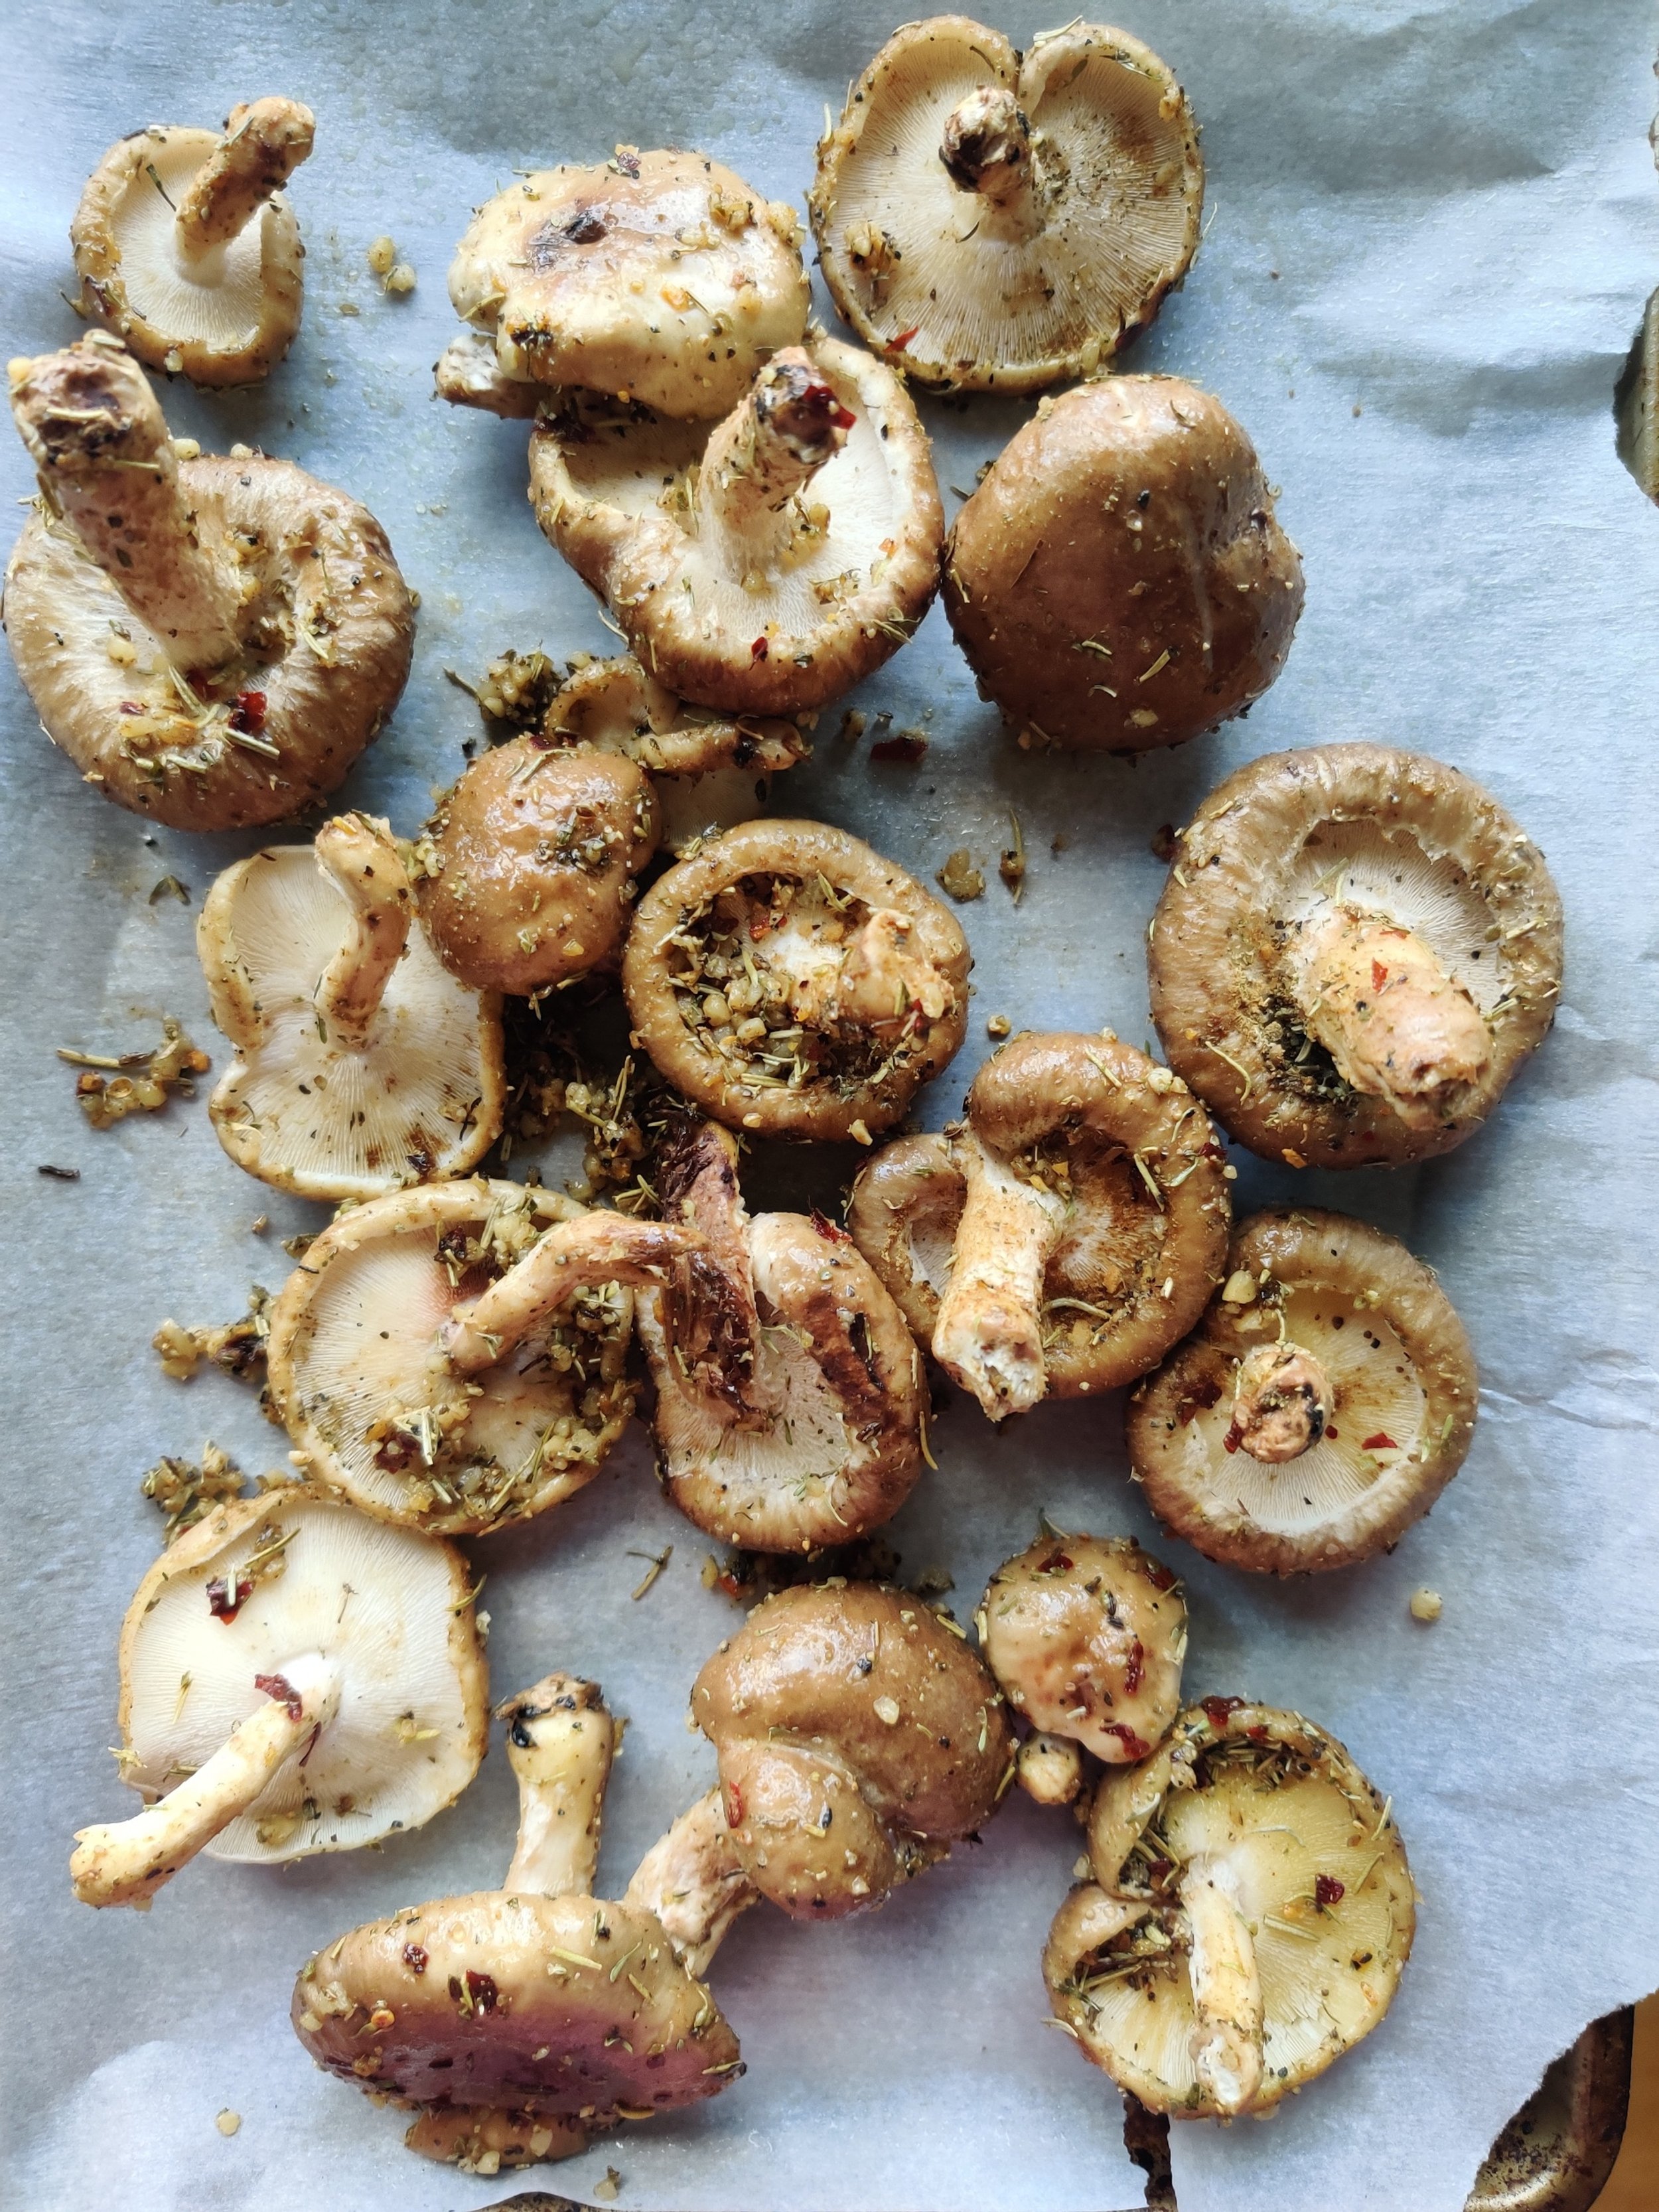
As for the mushrooms, shiitake mushrooms are the way to go! Not only do they add a striking visual component, but the natural umami makes them perfectly balanced and an ideal meat substitute (although braised beef or short rib would compliment this dish just fine).


Burrata, Melon, and Prosciutto Galette
What's not to love about this combo? Fruit and cured meat is an ancient pairing meant to help boost the immune system. With the addition of burrata and arugula, melon and prosciutto are some of the most well-known Italian antipasti out there, and that's not a shock! I'm a sucker for the sweetness from the melon, saltiness from the prosciutto, creaminess from the burrata, freshness, and slightly bitter notes from the arugula put together.
How about baking all these ingredients together? Explore the website for sweet and savoury recipes, which use the galette, a perfect vehicle to combine what you love and experiment. All you need is some pastry dough, either store-bought or homemade and some egg wash. Save the arugula to top at the end; this changes the characteristics a bit but leaves what we love about the combo intact.
Enjoy a slice for lunch or dinner or as a warm, tasty appetizer before the main meal. Many restaurants have embraced the approach in the form of a pizza; why not create the experience in your own home?
Ingredients
1 pie pastry dough, thawed
4-5 slices of prosciutto
1/2 cup arugula
1 burrata
3/4 cup melon
1/4 teaspoon black pepper
1/8 teaspoon salt
1 teaspoon steak seasoning
1 teaspoon date syrup
1 teaspoon olive oil
1 egg (for egg wash)
Hot honey
Red chili flakes
Instructions
Roll out the thawed pastry dough.
Remove the melon flesh from the skin and slice it into thin, flat pieces. Toss in a bowl with salt, pepper, date syrup and olive oil.
Lay the melon pieces in the middle of the dough. Leave about an inch of the outside to fold over part of the filling.
Place the cured meat and cheese broken up evenly over the melon. For the prosciutto, you can bunch it up or lay the pieces flat.
Fold the pastry sides all the way around, tucking in or folding any corners that stick out.
Beat the egg, then use a basting brush to coat the edge of the galette, then garnish with steak seasoning.
Bake the galette for 20-2r minutes at 350F; the contents will be bubbling hot.
Remove from heat, then top with the arugula and a drizzle of hot honey and chili flakes. Serve warm.

Cauliflower Piccata
Is cauliflower underrated? Yes, and I think part of the reason is its association with broccoli, which many people don't like-- probably because they haven't had it cooked right! Strictly boiled is a terrible idea; generally, I recommend it roasted with parmesan, garlic, salt, and black pepper.
I'm sure you've seen cauliflower served in a variety of ways on restaurant menus. I'm talking cauliflower steak, rice, or soup to name a few.
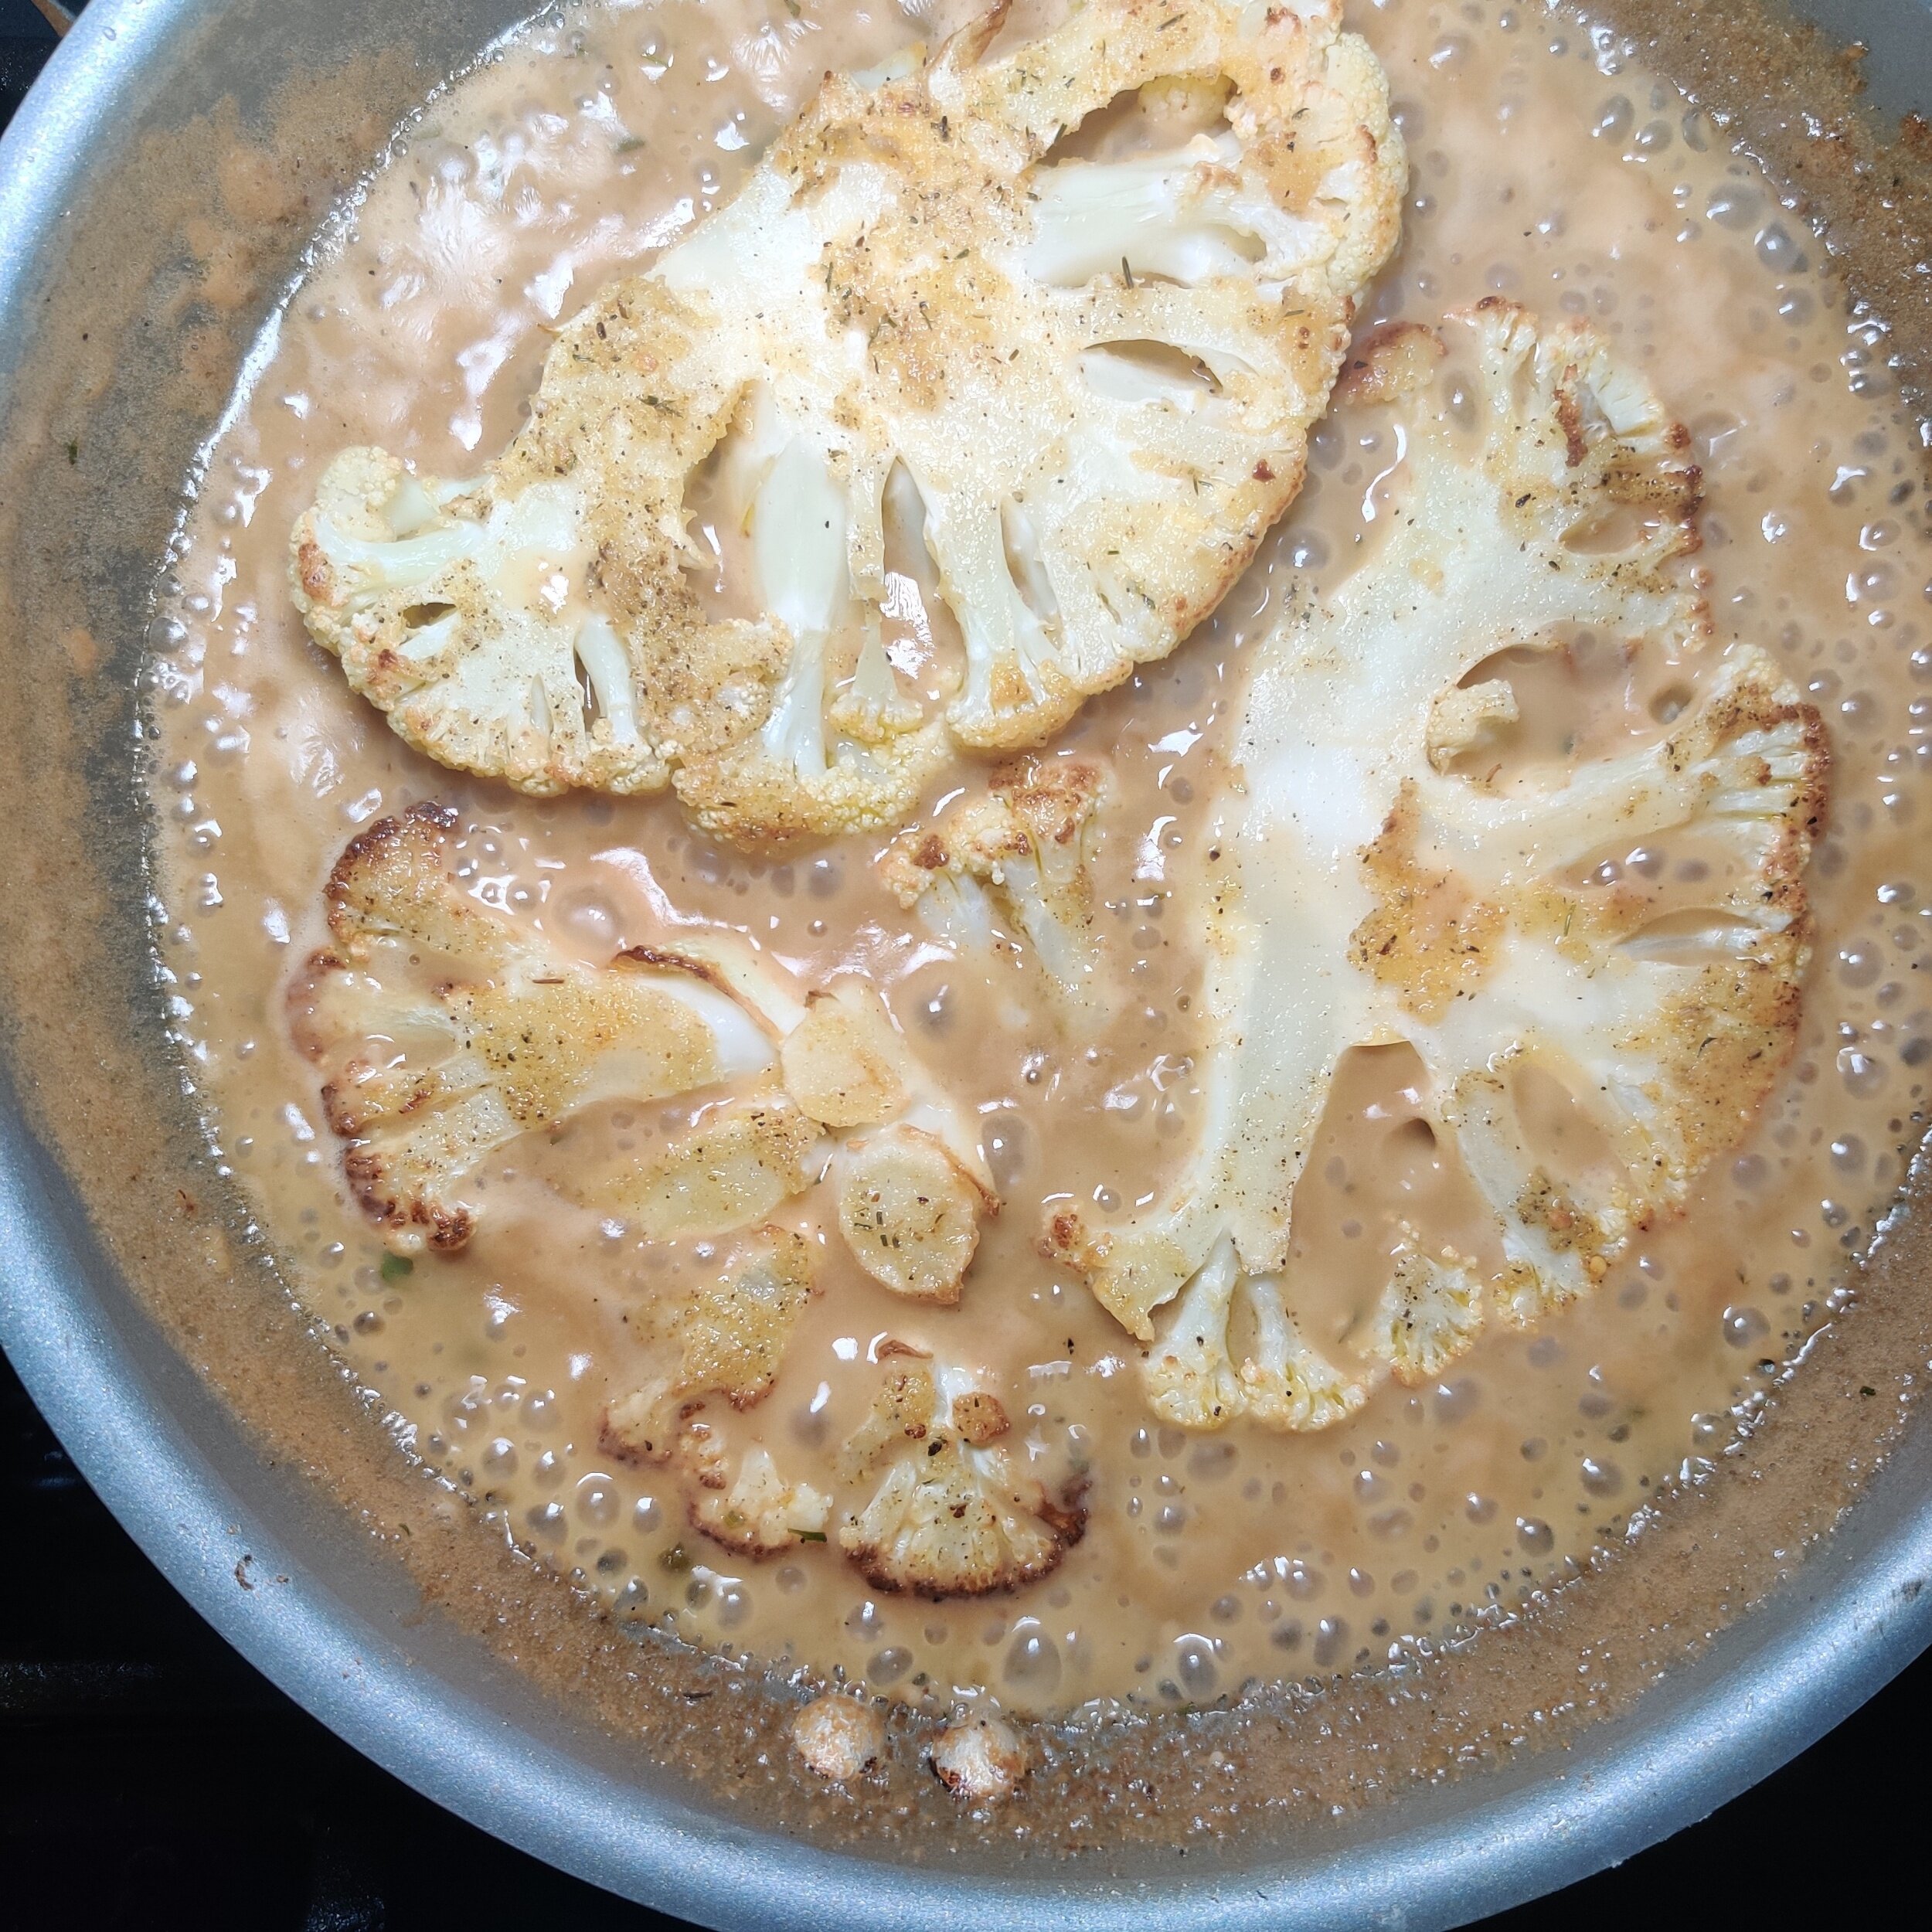
This recipe, of course, treats the vegetable like a piece of butterflied, flattened chicken breast (or veal, actually) to make the classic Italian piccata. The dish combines capers and lemon juice with heavy cream (I used coconut to make it vegan), white wine, fresh parsley, garlic, and butter which brings everything together.
You can eat it as is Secondo style or with some hot pasta!
Ingredients
1 large cauliflower head (you will likely have a some individual florets left over)
2 tablespoons capers
1/4 - 1/3 cup olive oil
1 tablespoon butter
1/2 teaspoon salt
1 teaspoon black pepper
2 teaspoons garlic powder
1/2 cup flour (more or less depending on what you need to drench the cauliflower)
1 tablespoon steak seasoning
1/3 cup white wine
2-3 tablespoons lemon juice + slices to garnish
1-1 1/2 cups vegetable broth (depending on how saucy you want the dish)
2 teaspoons garlic, minced
Cooking spray
2-3 tablespoons fresh parsley, chopped
5 ounces coconut cream
Instructions
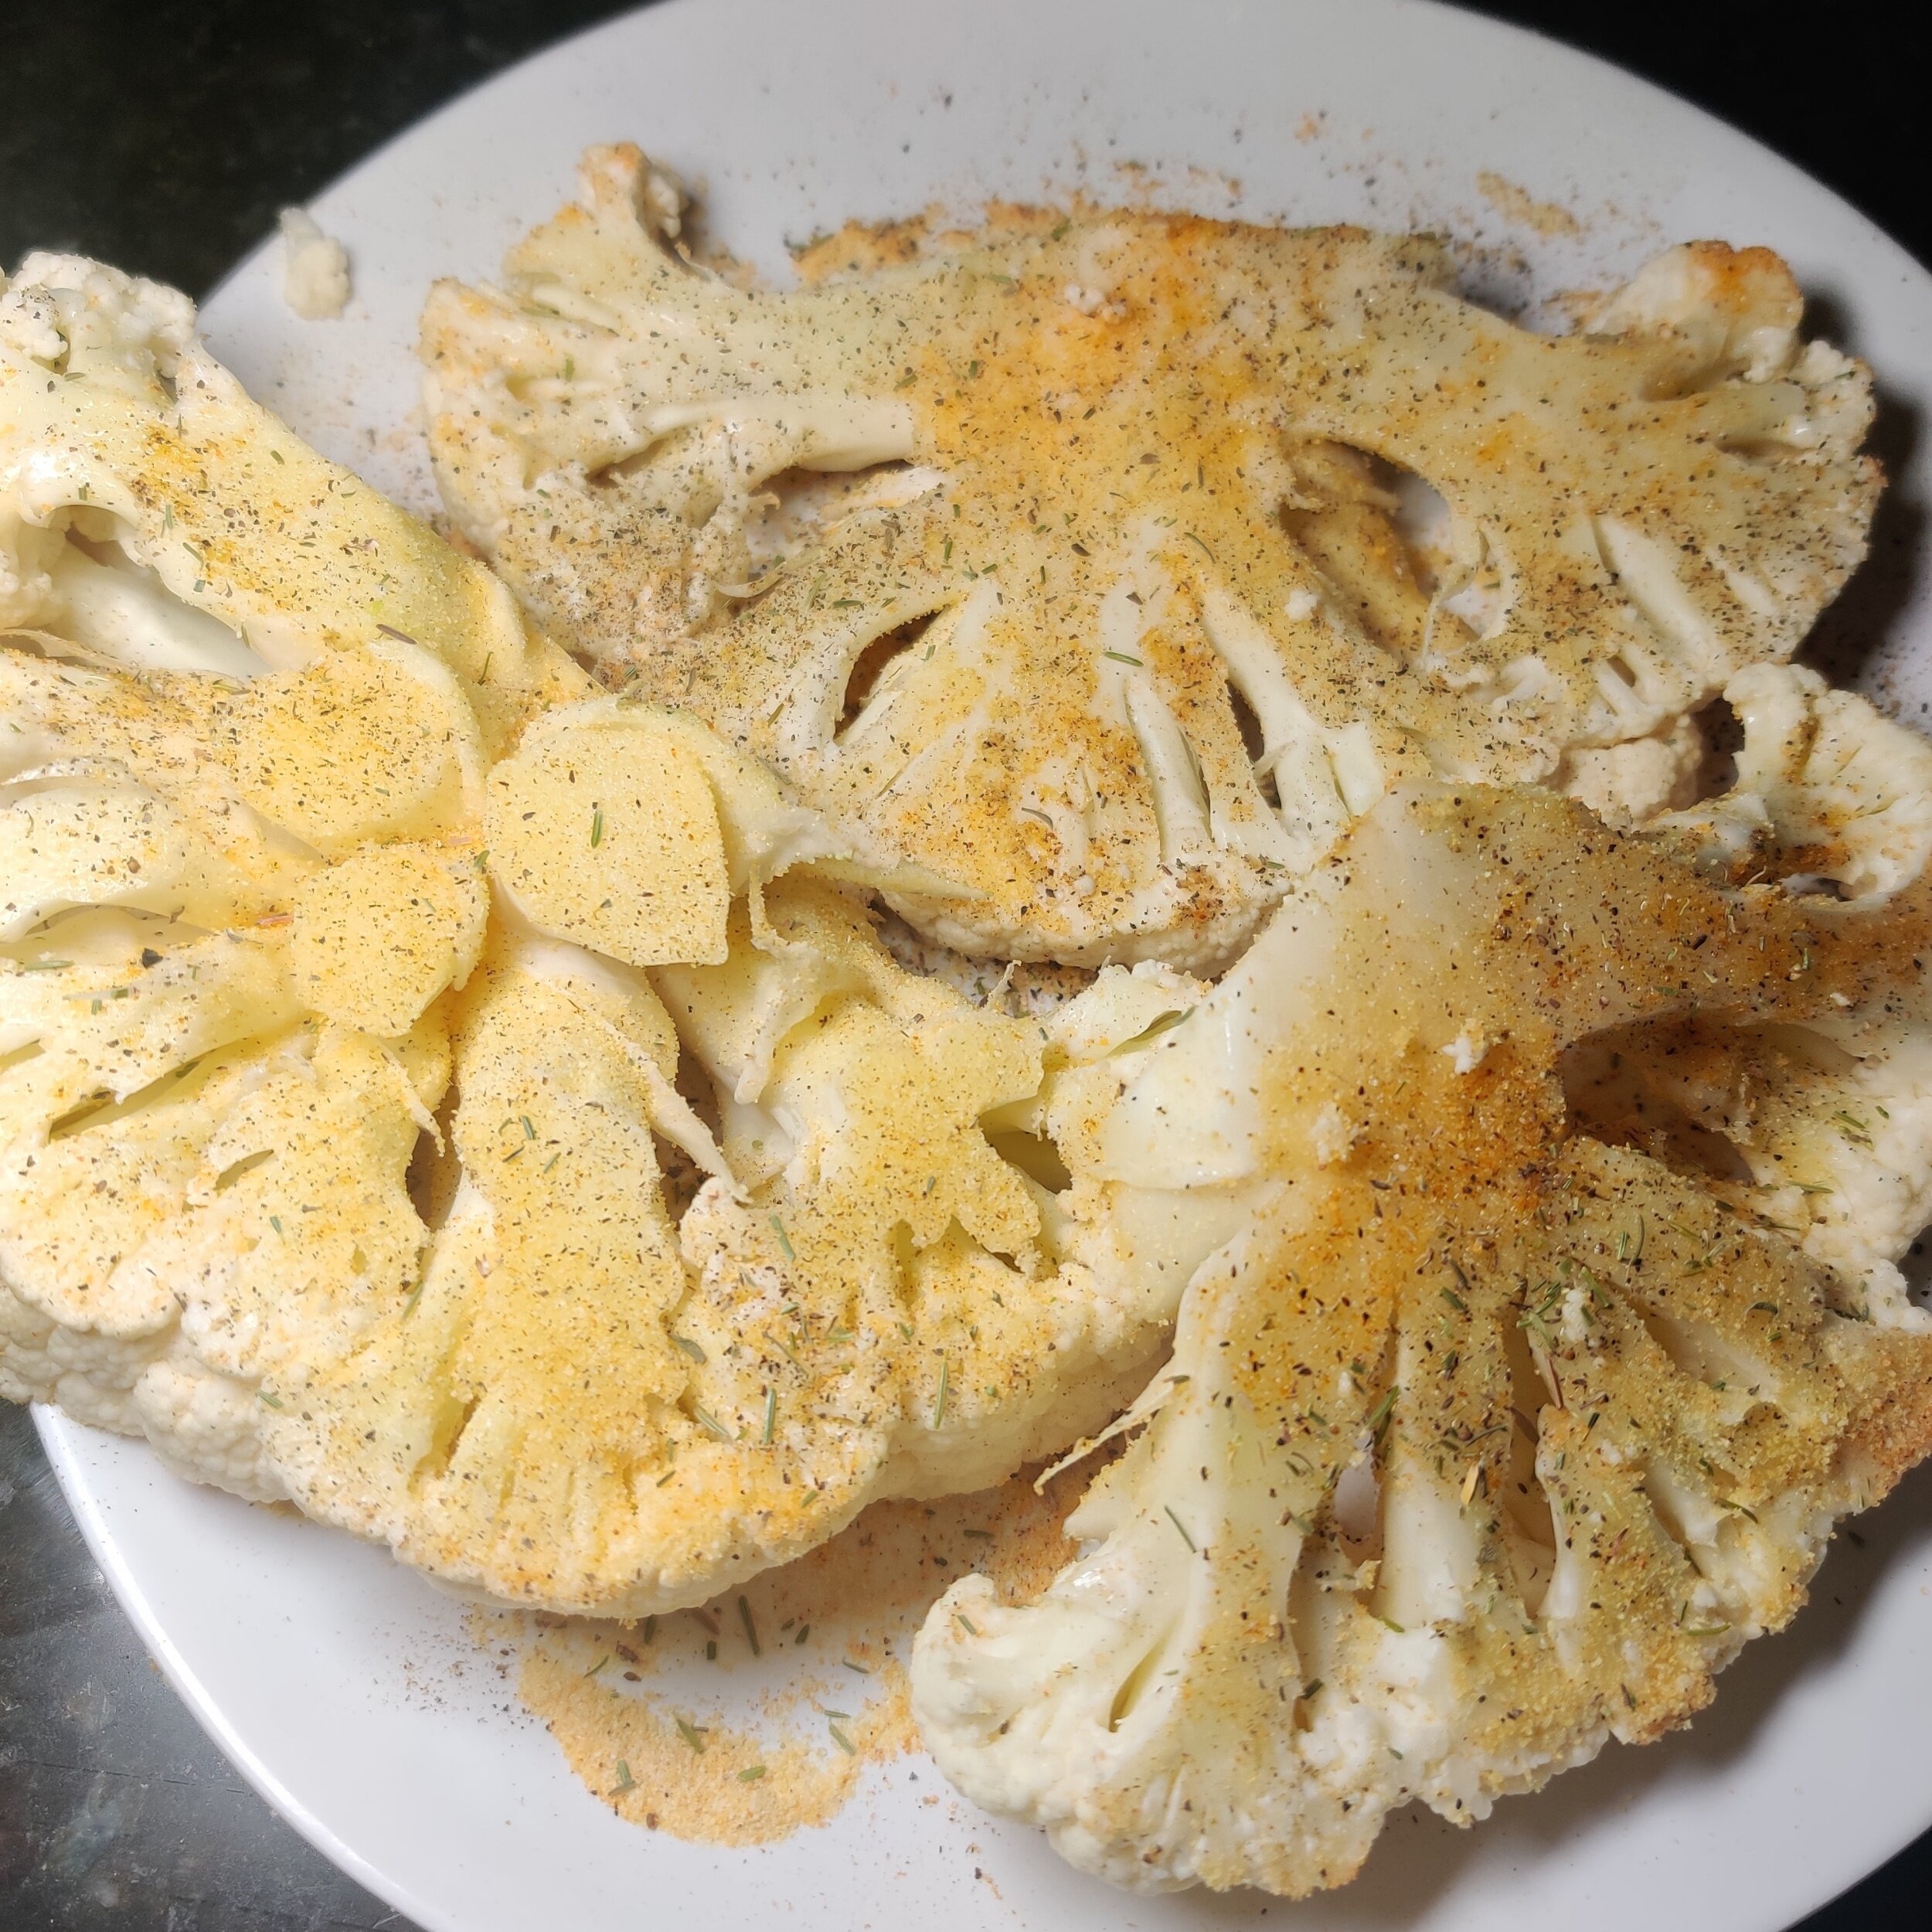
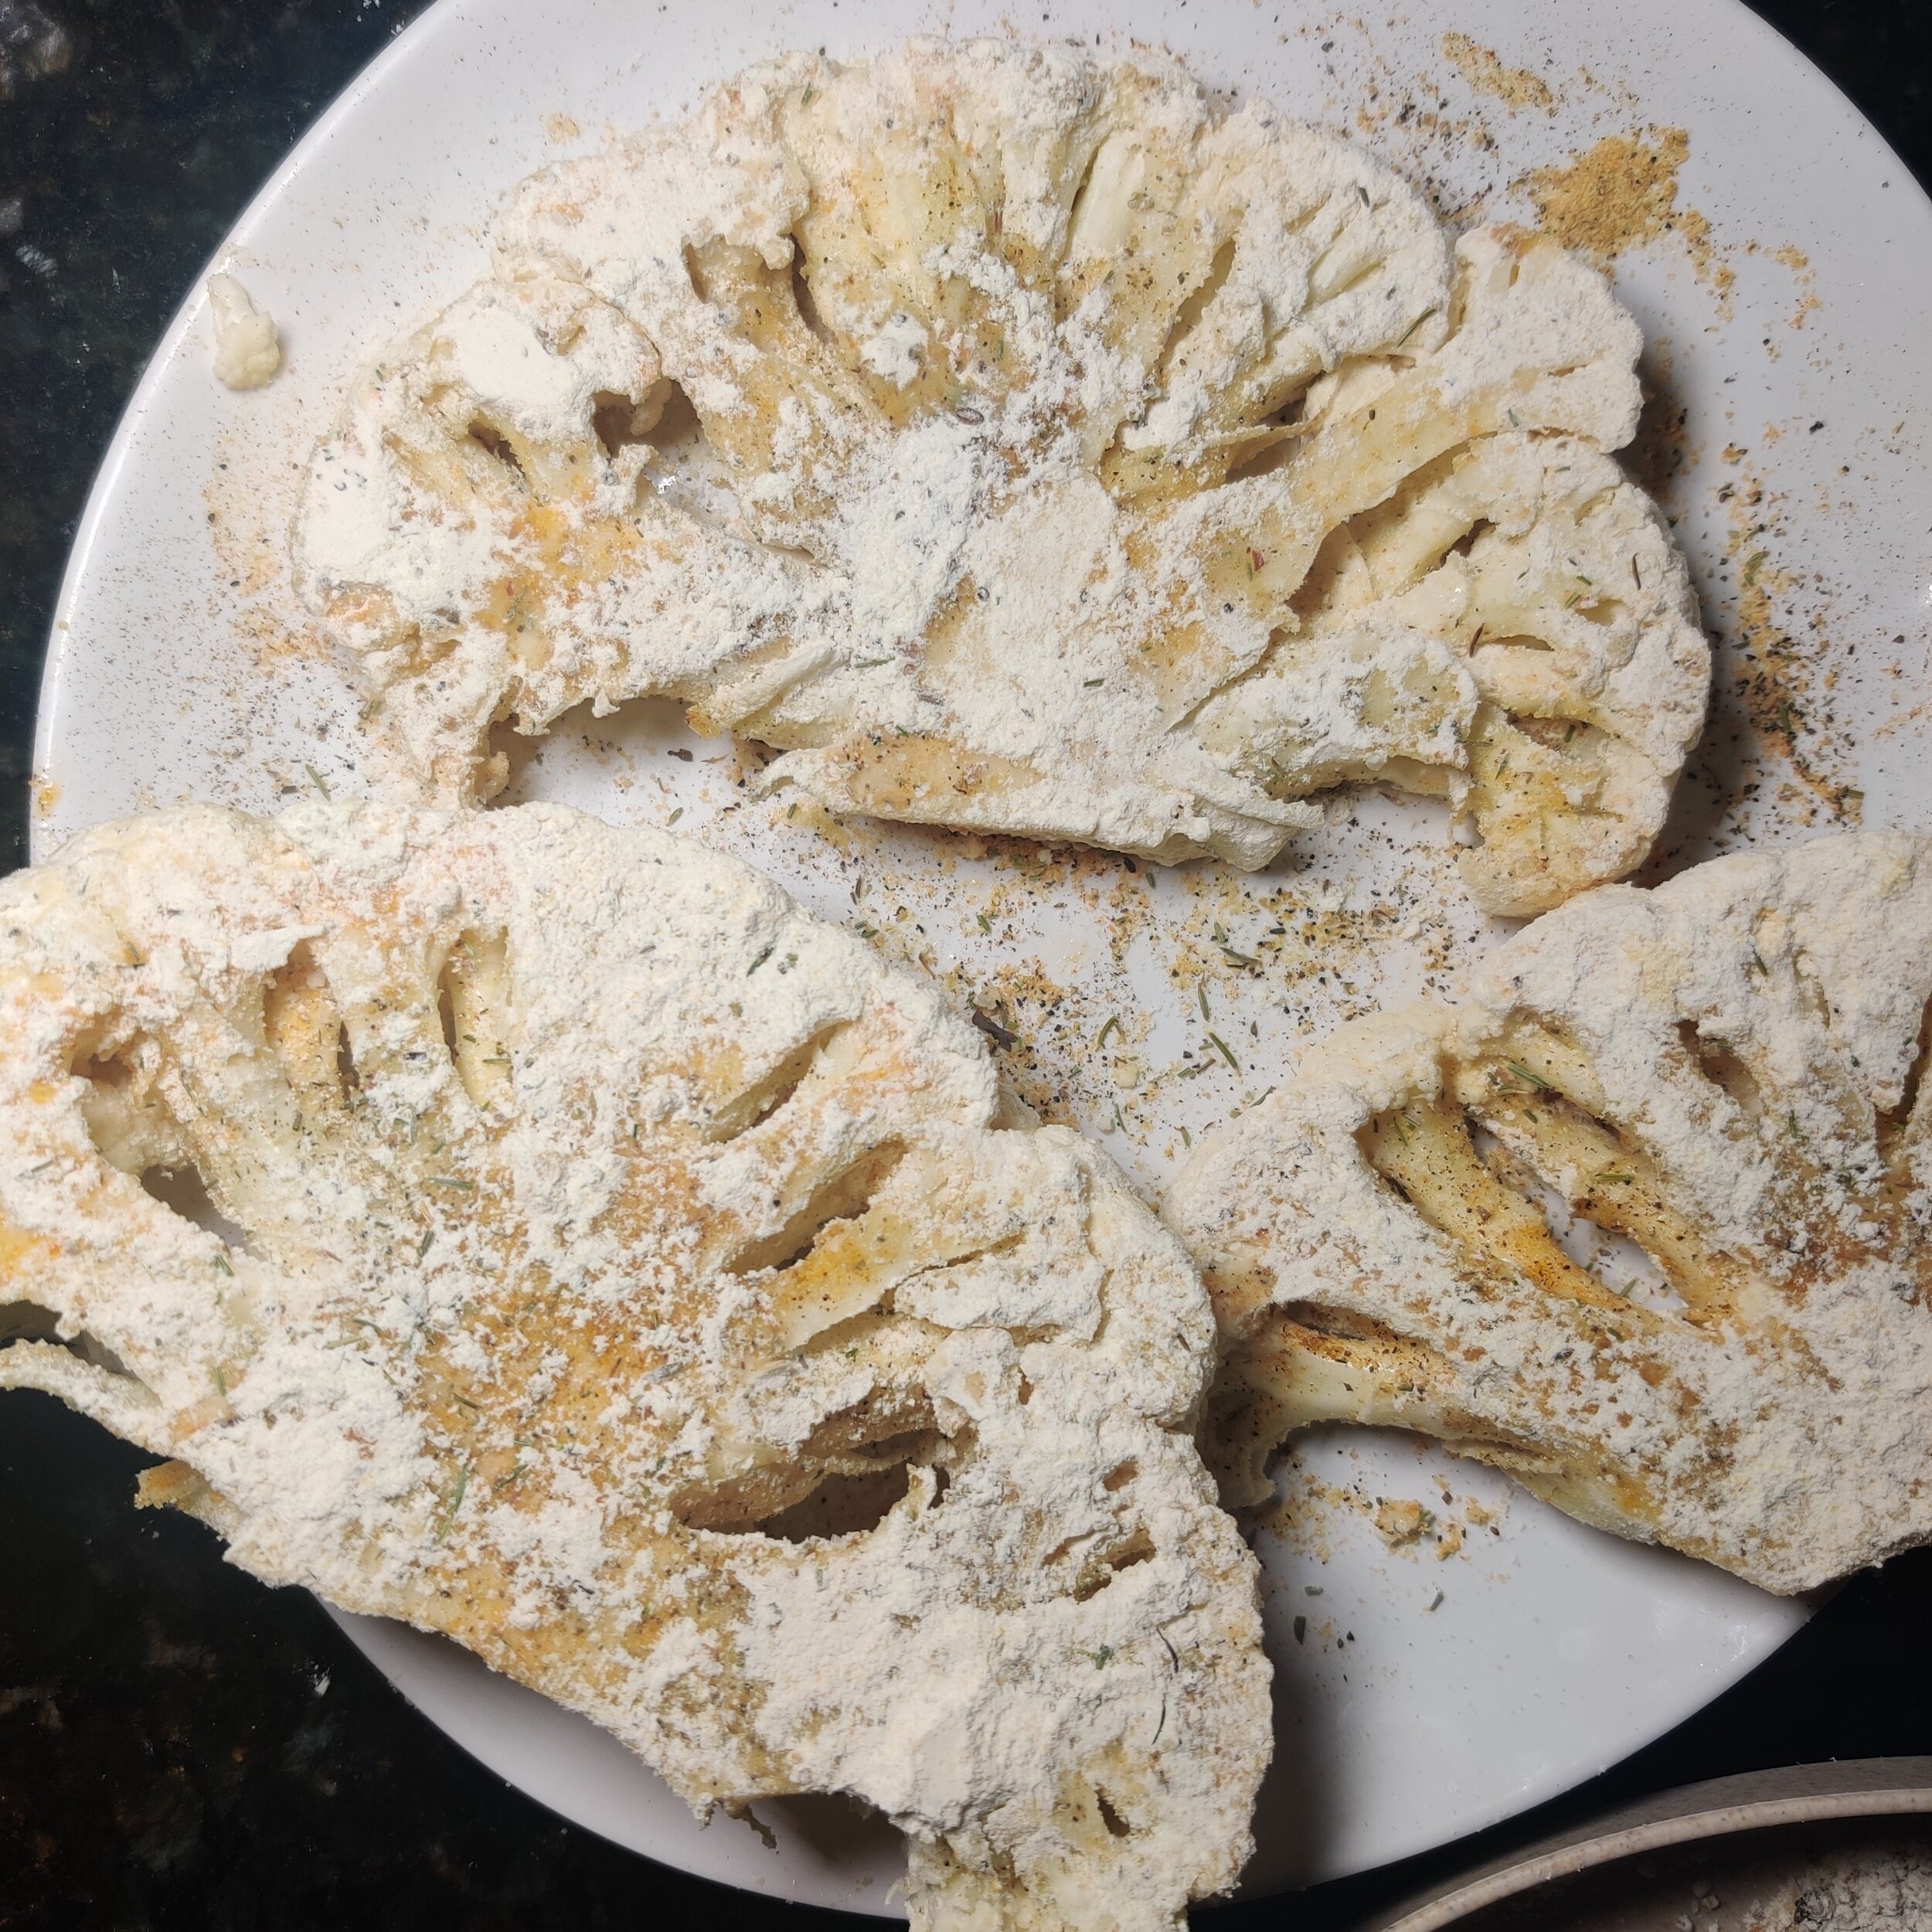
Remove the leaves and stem from the cauliflower head and cut lengthwise into 1/2-1 inch slices - you want them thick enough to not break down while cooking, but not too thick. 1 large head will give you 3-4 slices; you can keep the extra florets for another recipe. Make sure the cauliflower is dry so that it does not become soggy!
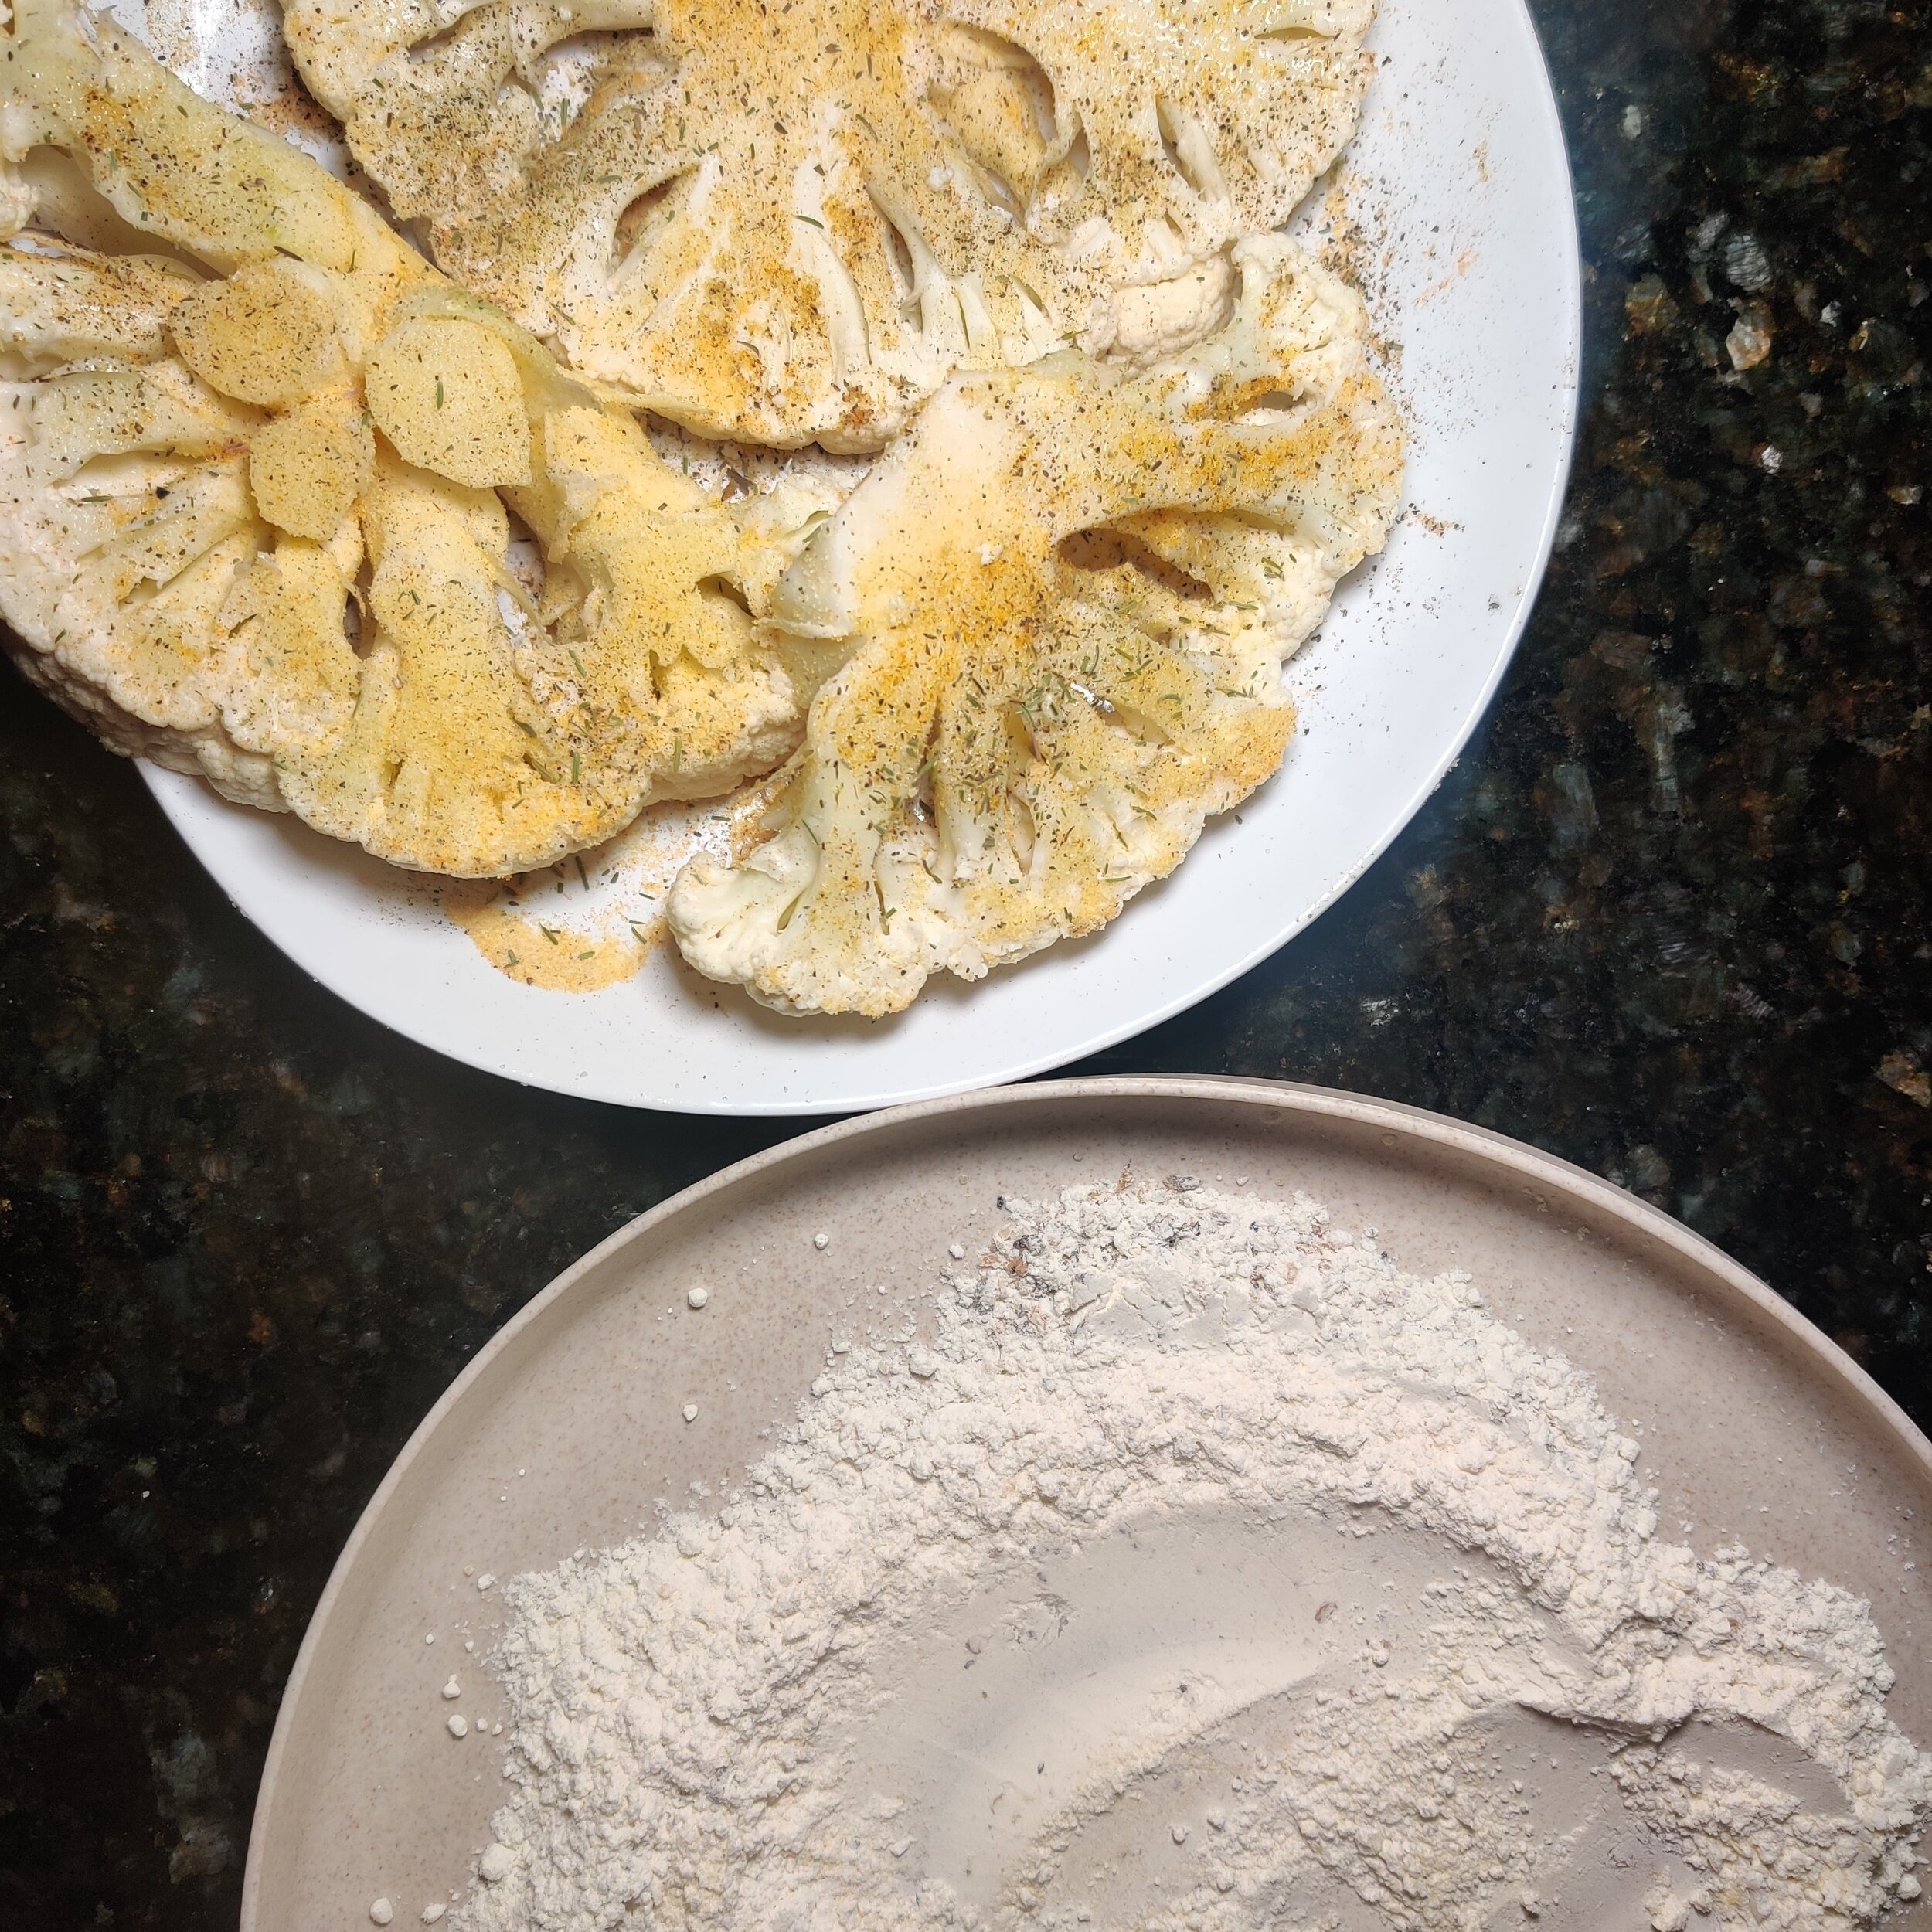
Season the cauliflower with 1 teaspoon garlic powder, salt, and black pepper.
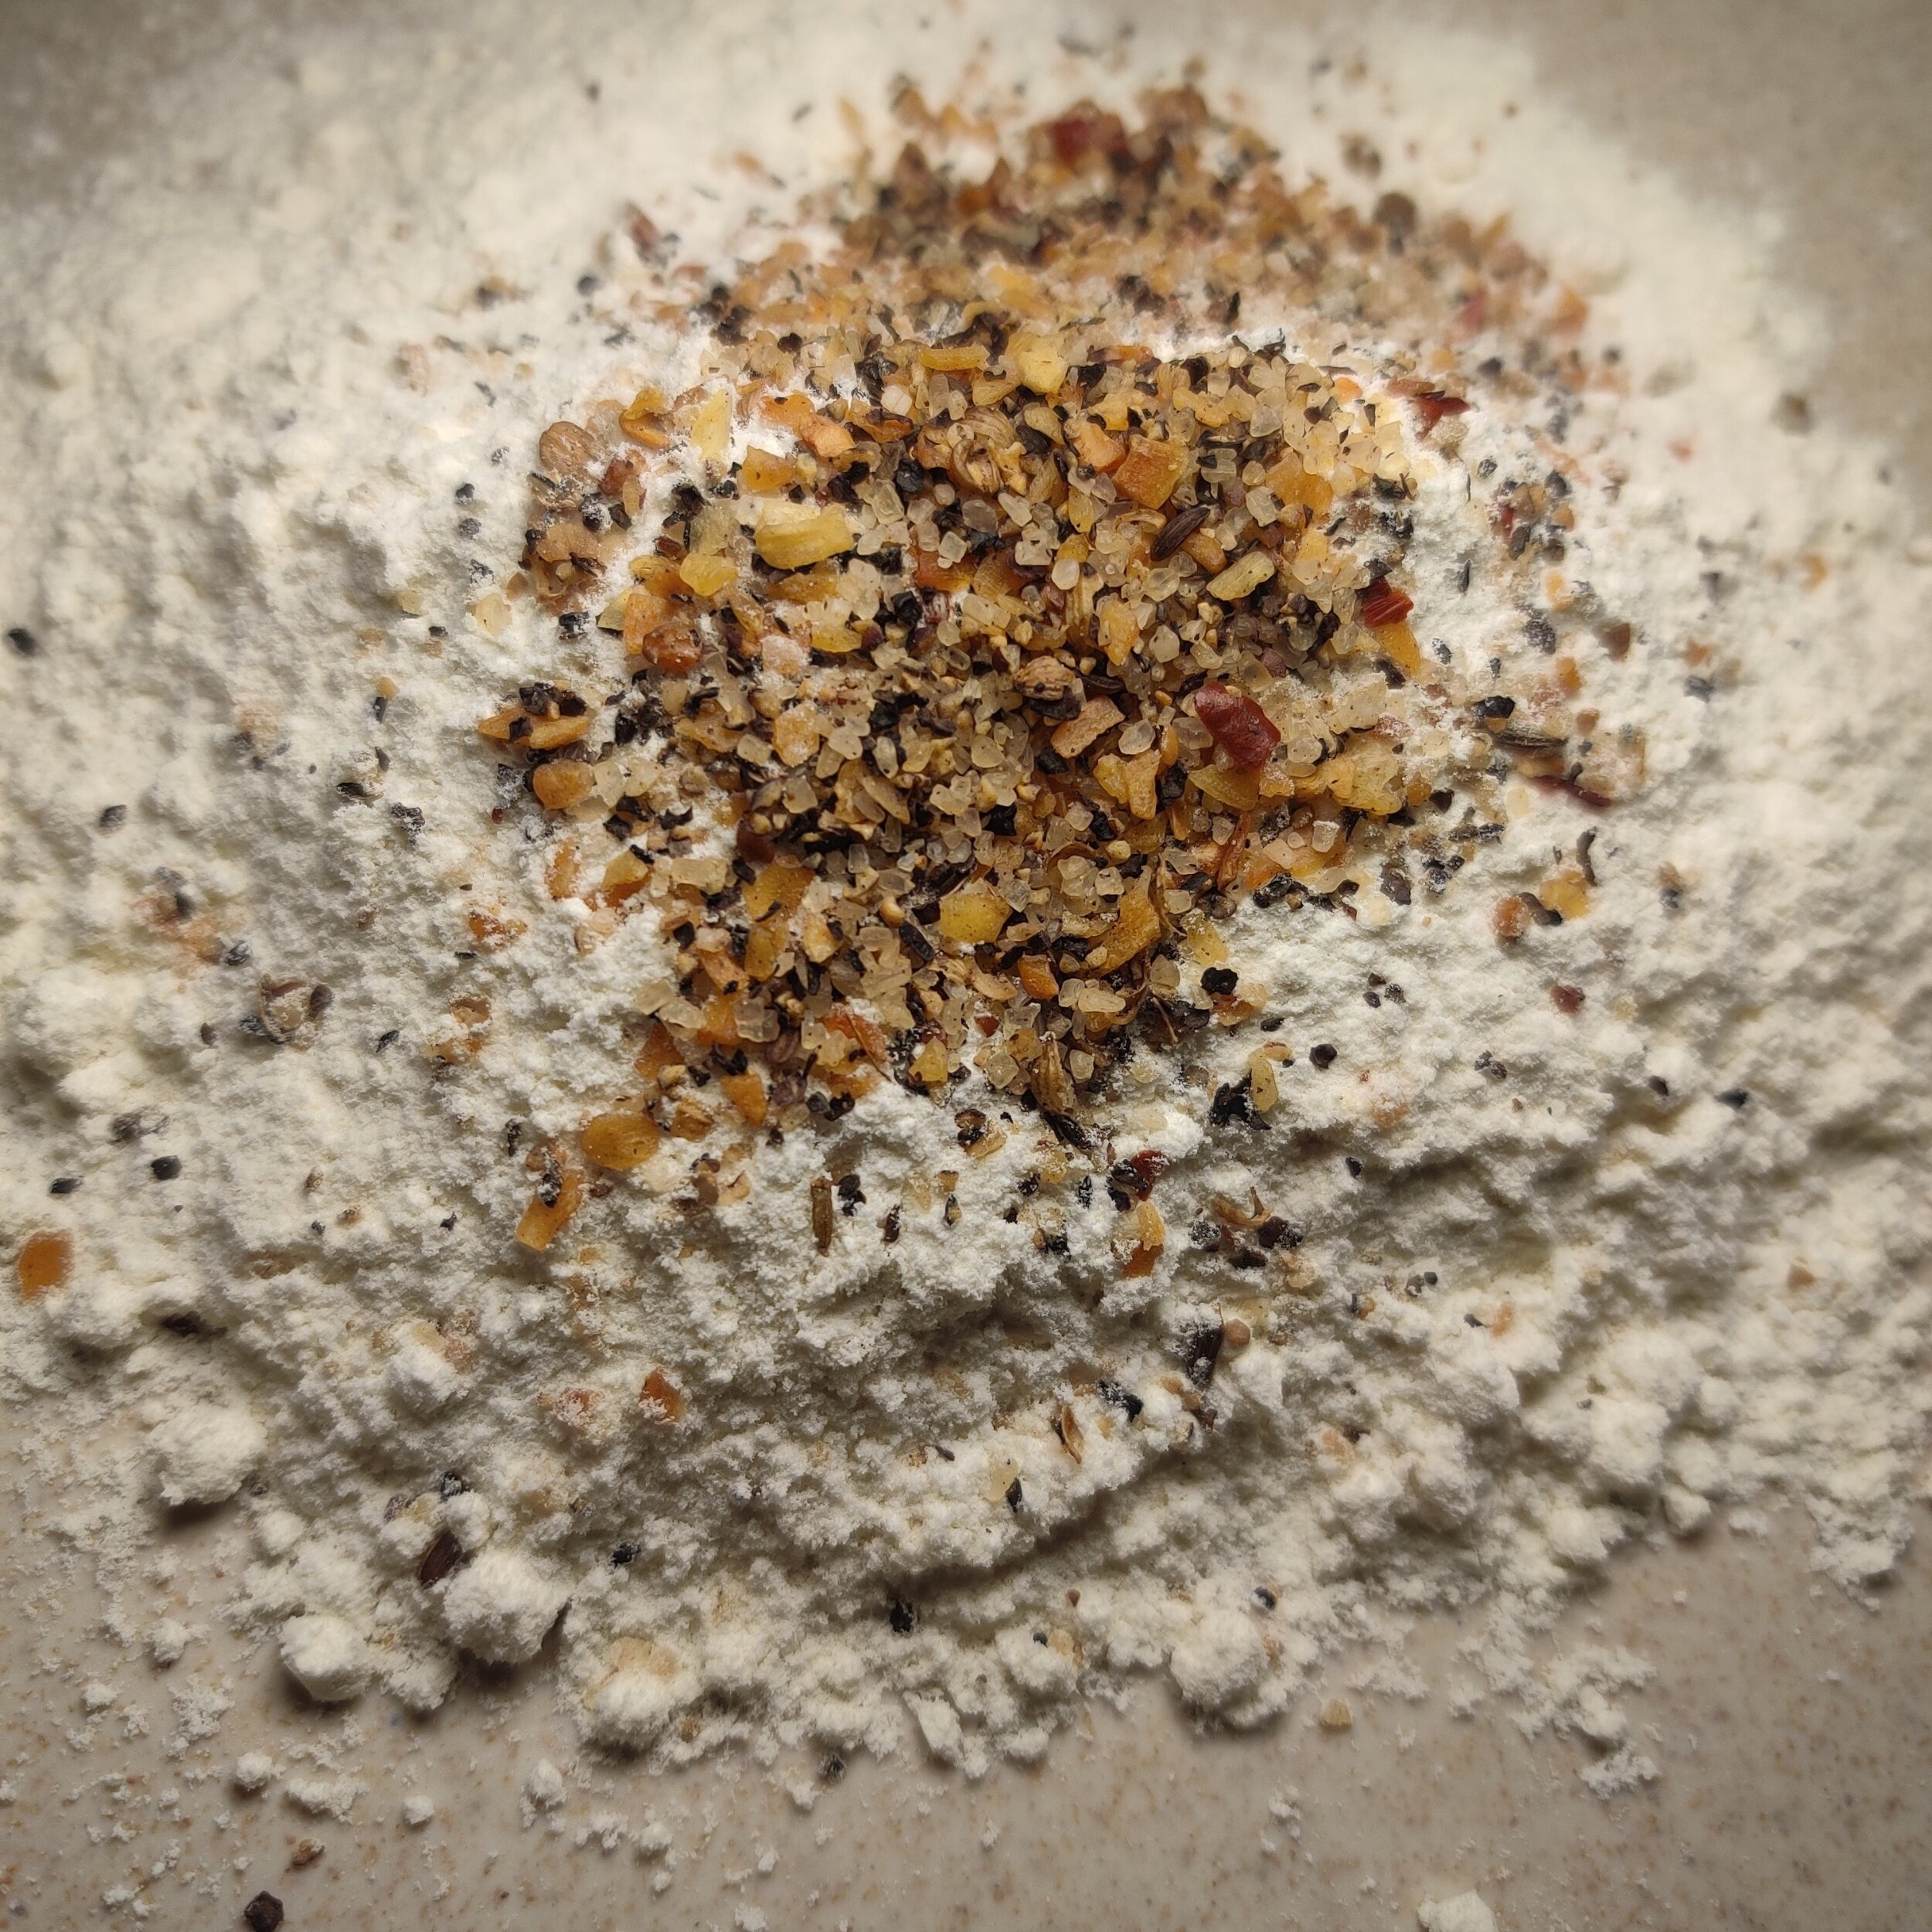
Season the flour with the steak seasoning and 1 teaspoon garlic, mix well. Drench the cauliflower slices one by one, set aside.
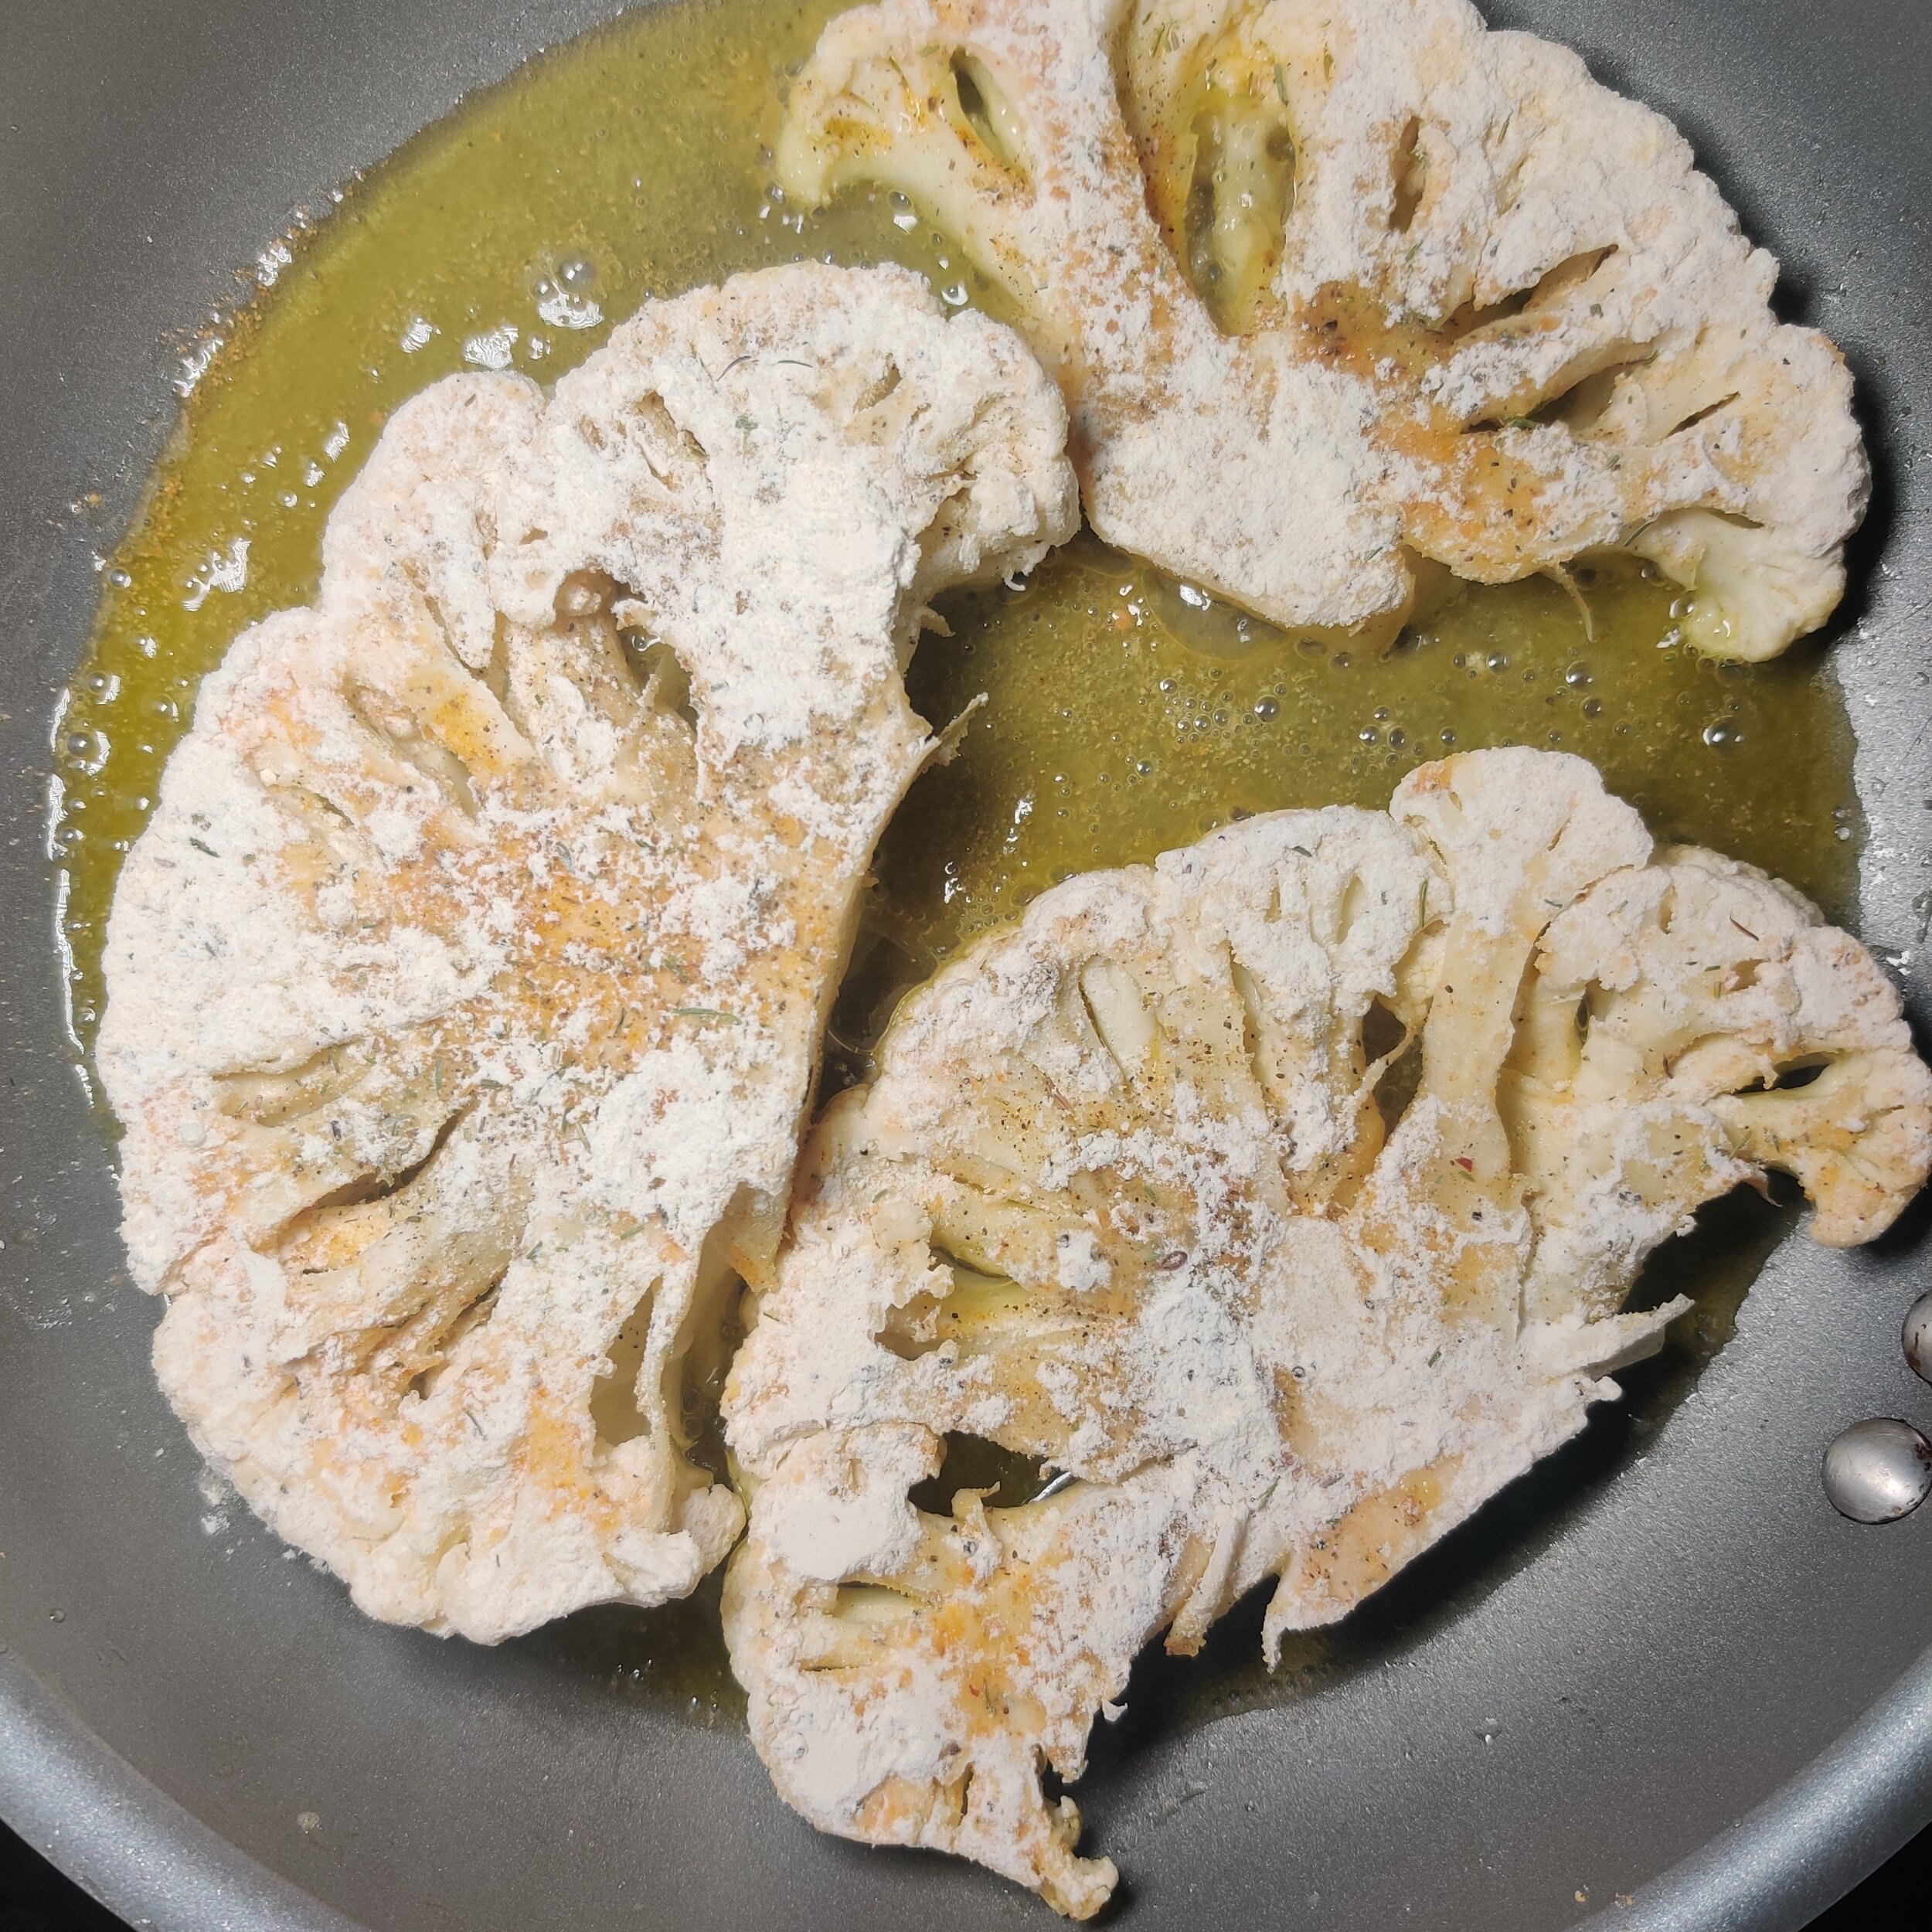
Pour the olive oil into the nonstick pan until the entire surface is covered (you can adjust accordingly) and turn the heat to medium-high.
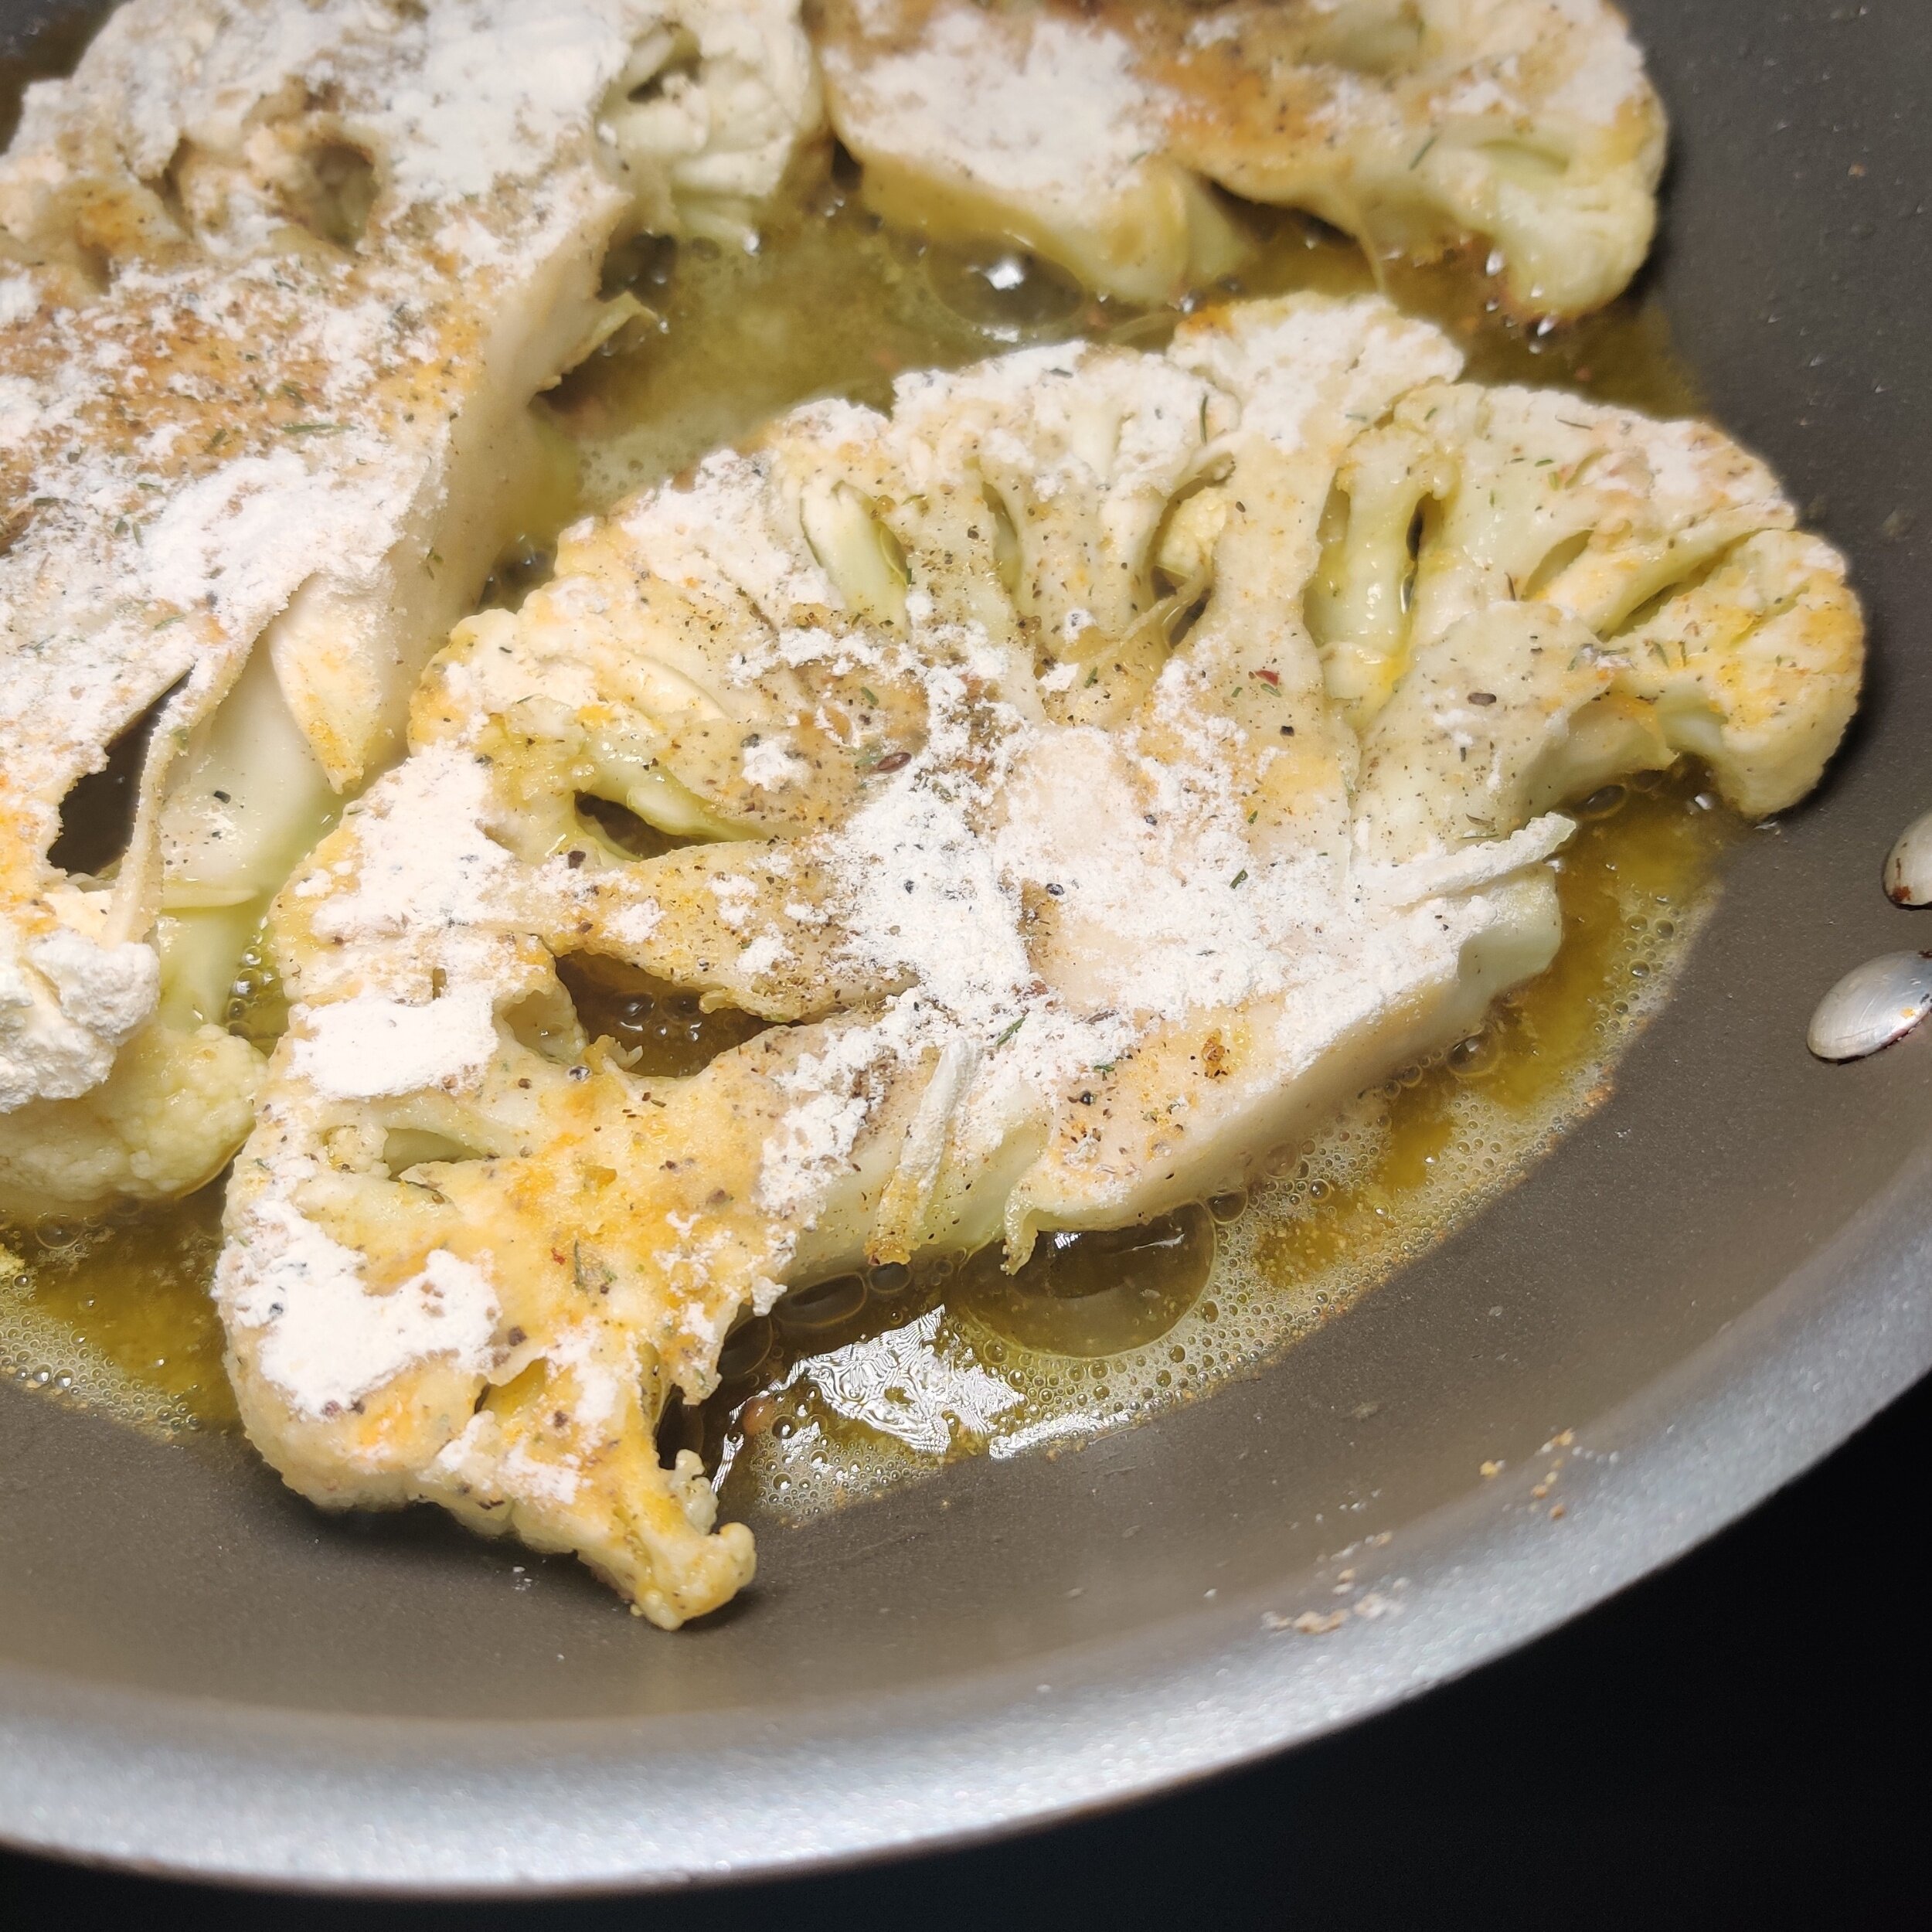
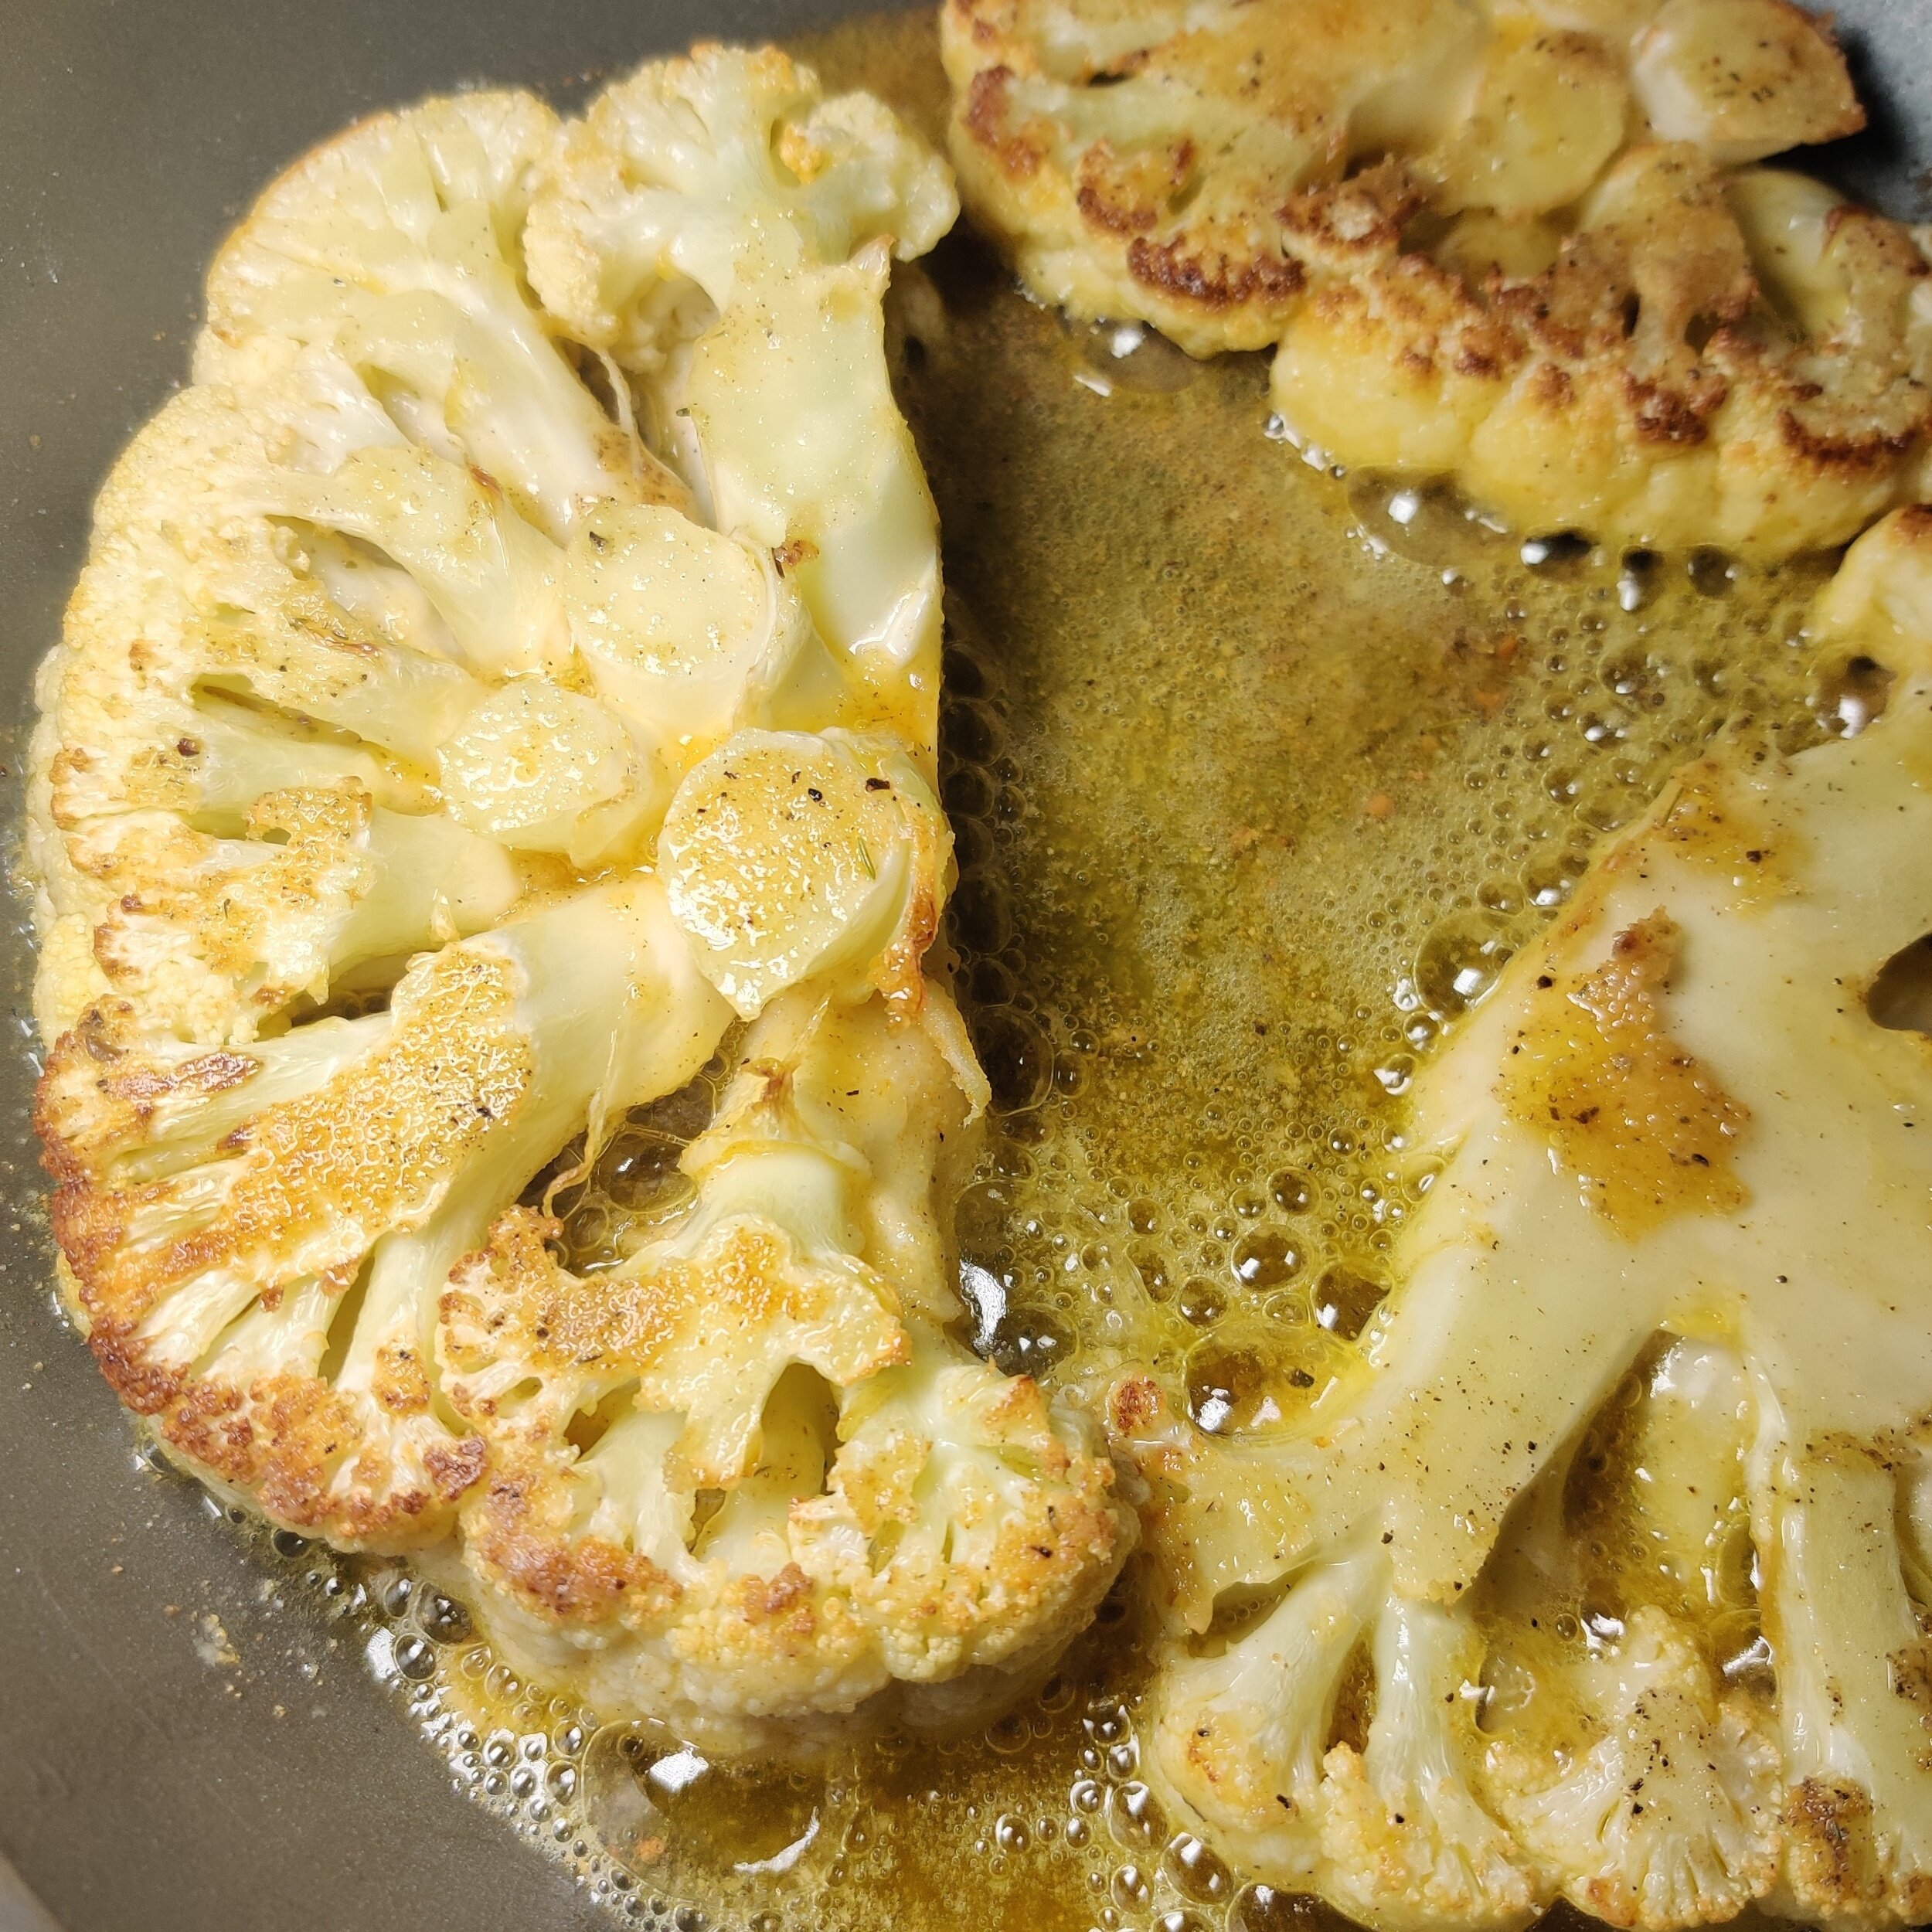
Add the cauliflower slices to the pan and cook for 2-3 minutes, cooking each side until golden. Remove from the pan.
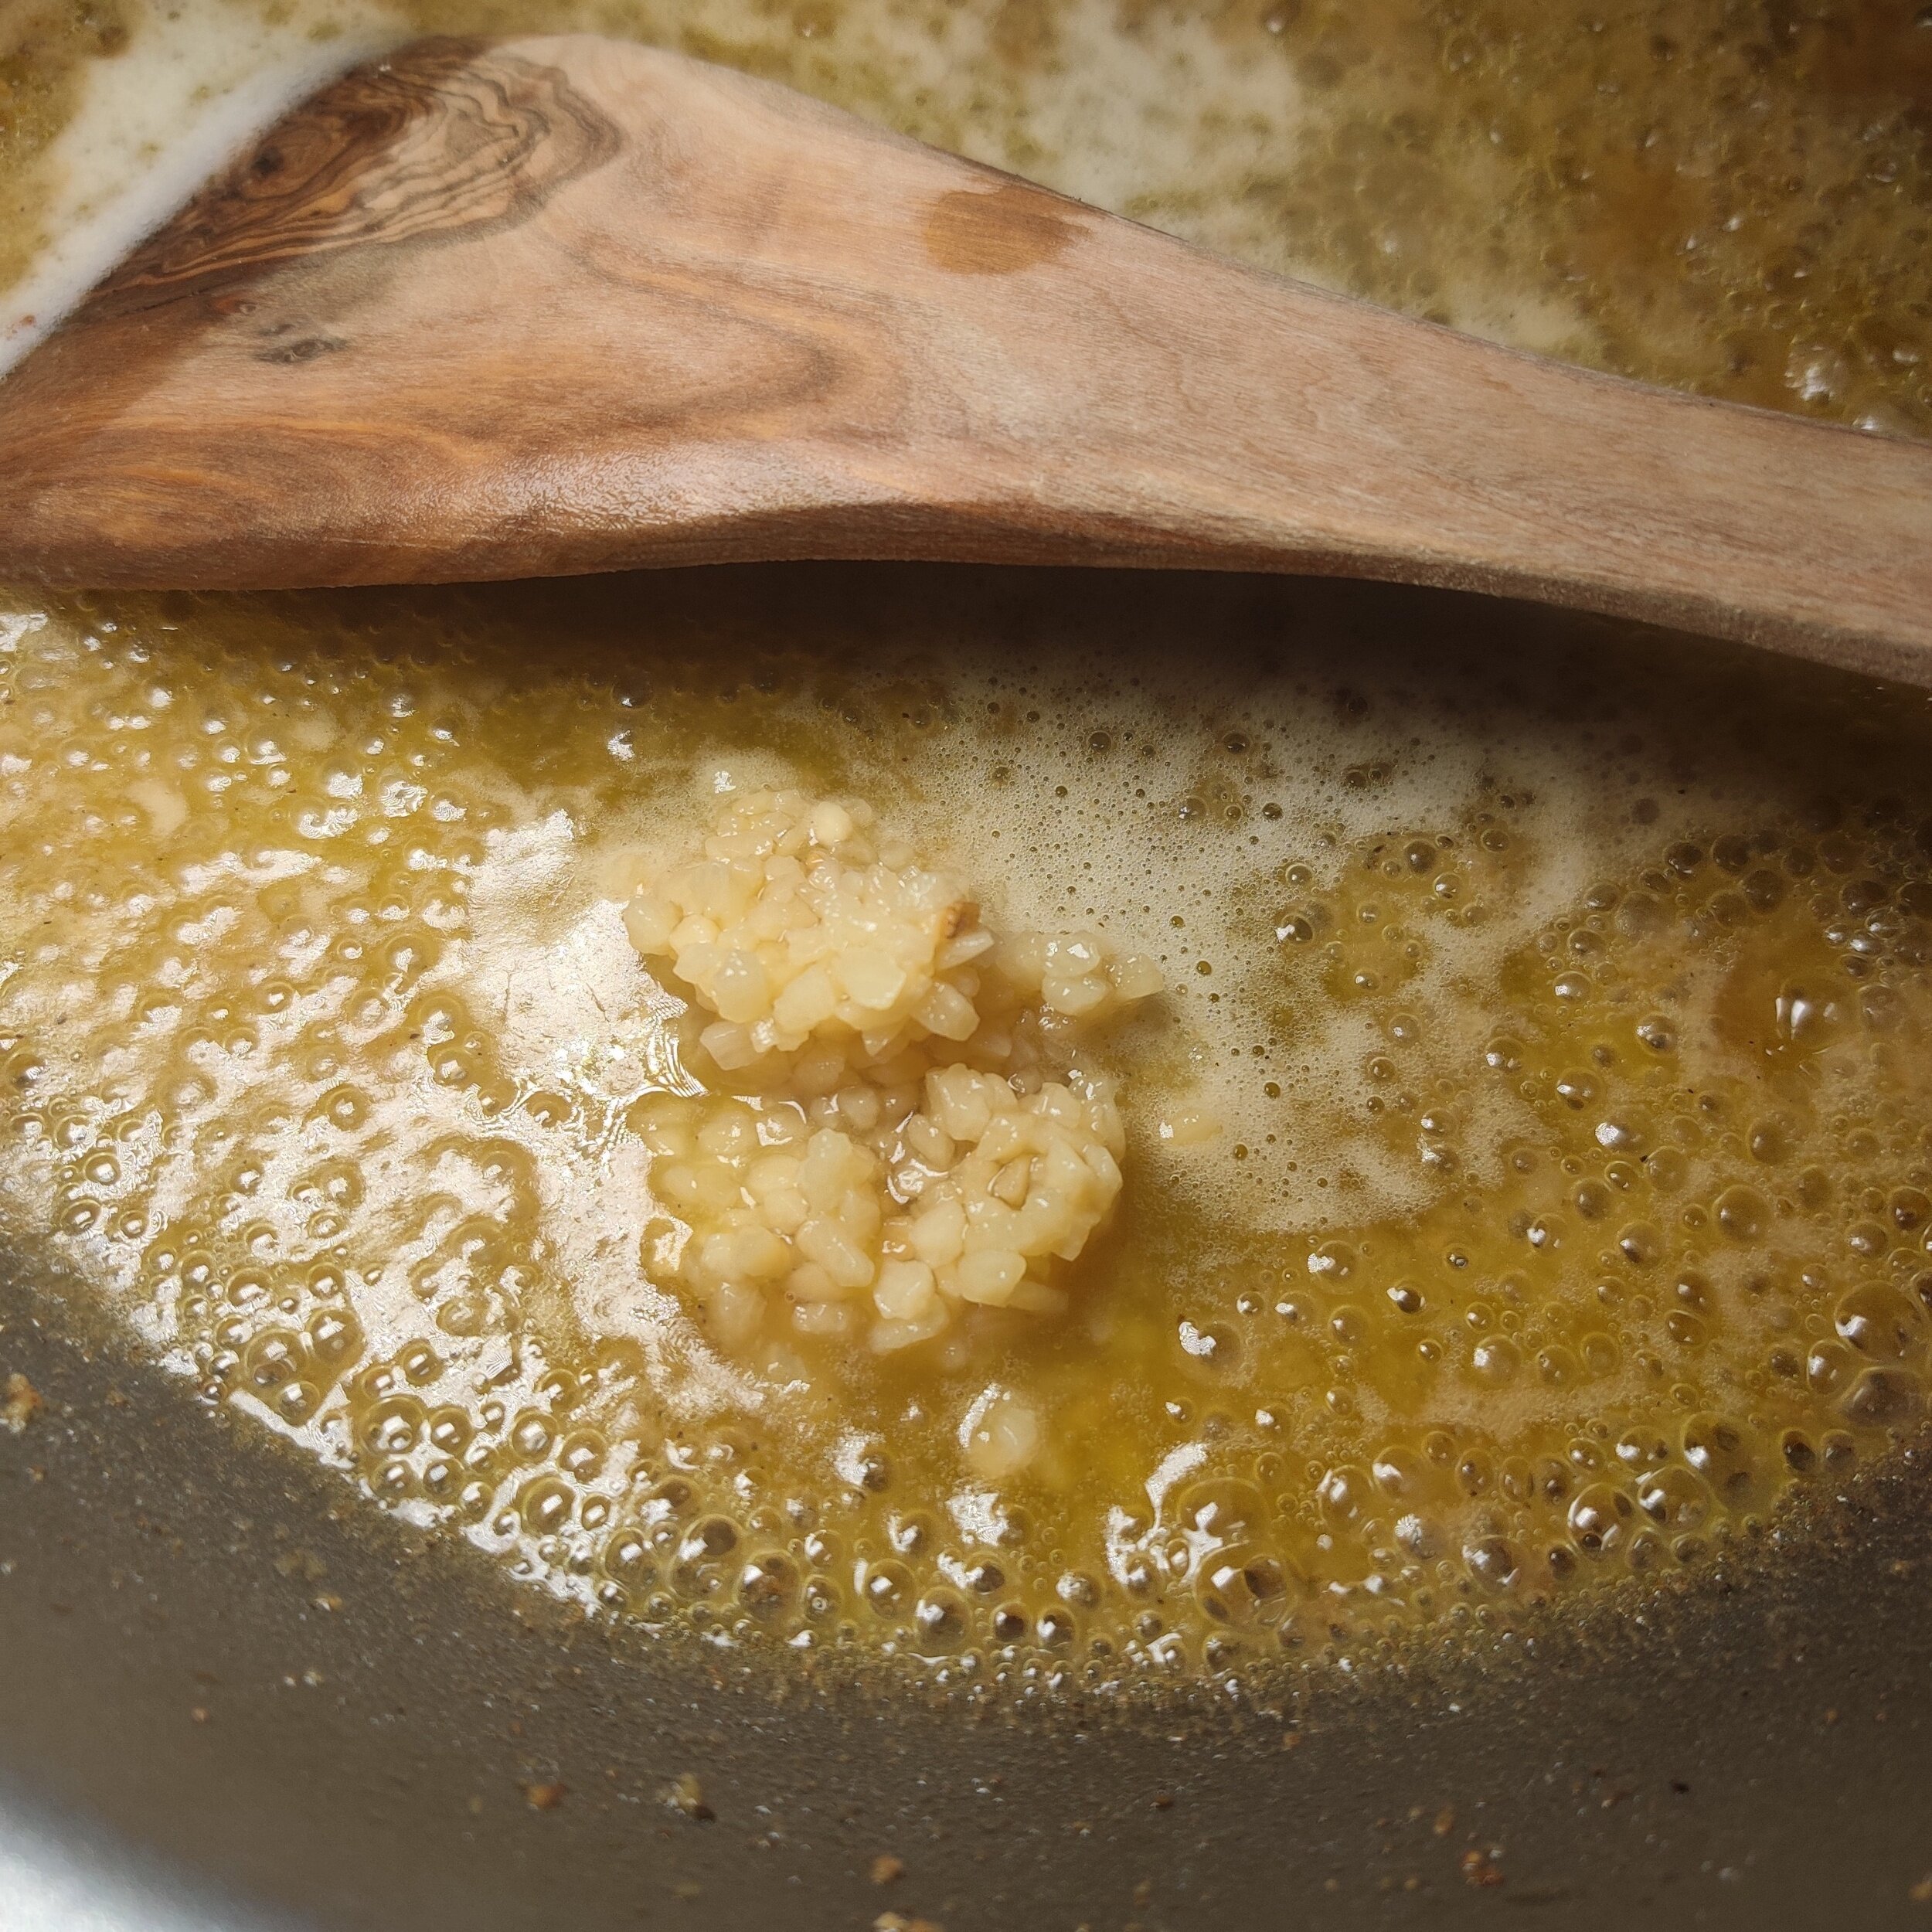
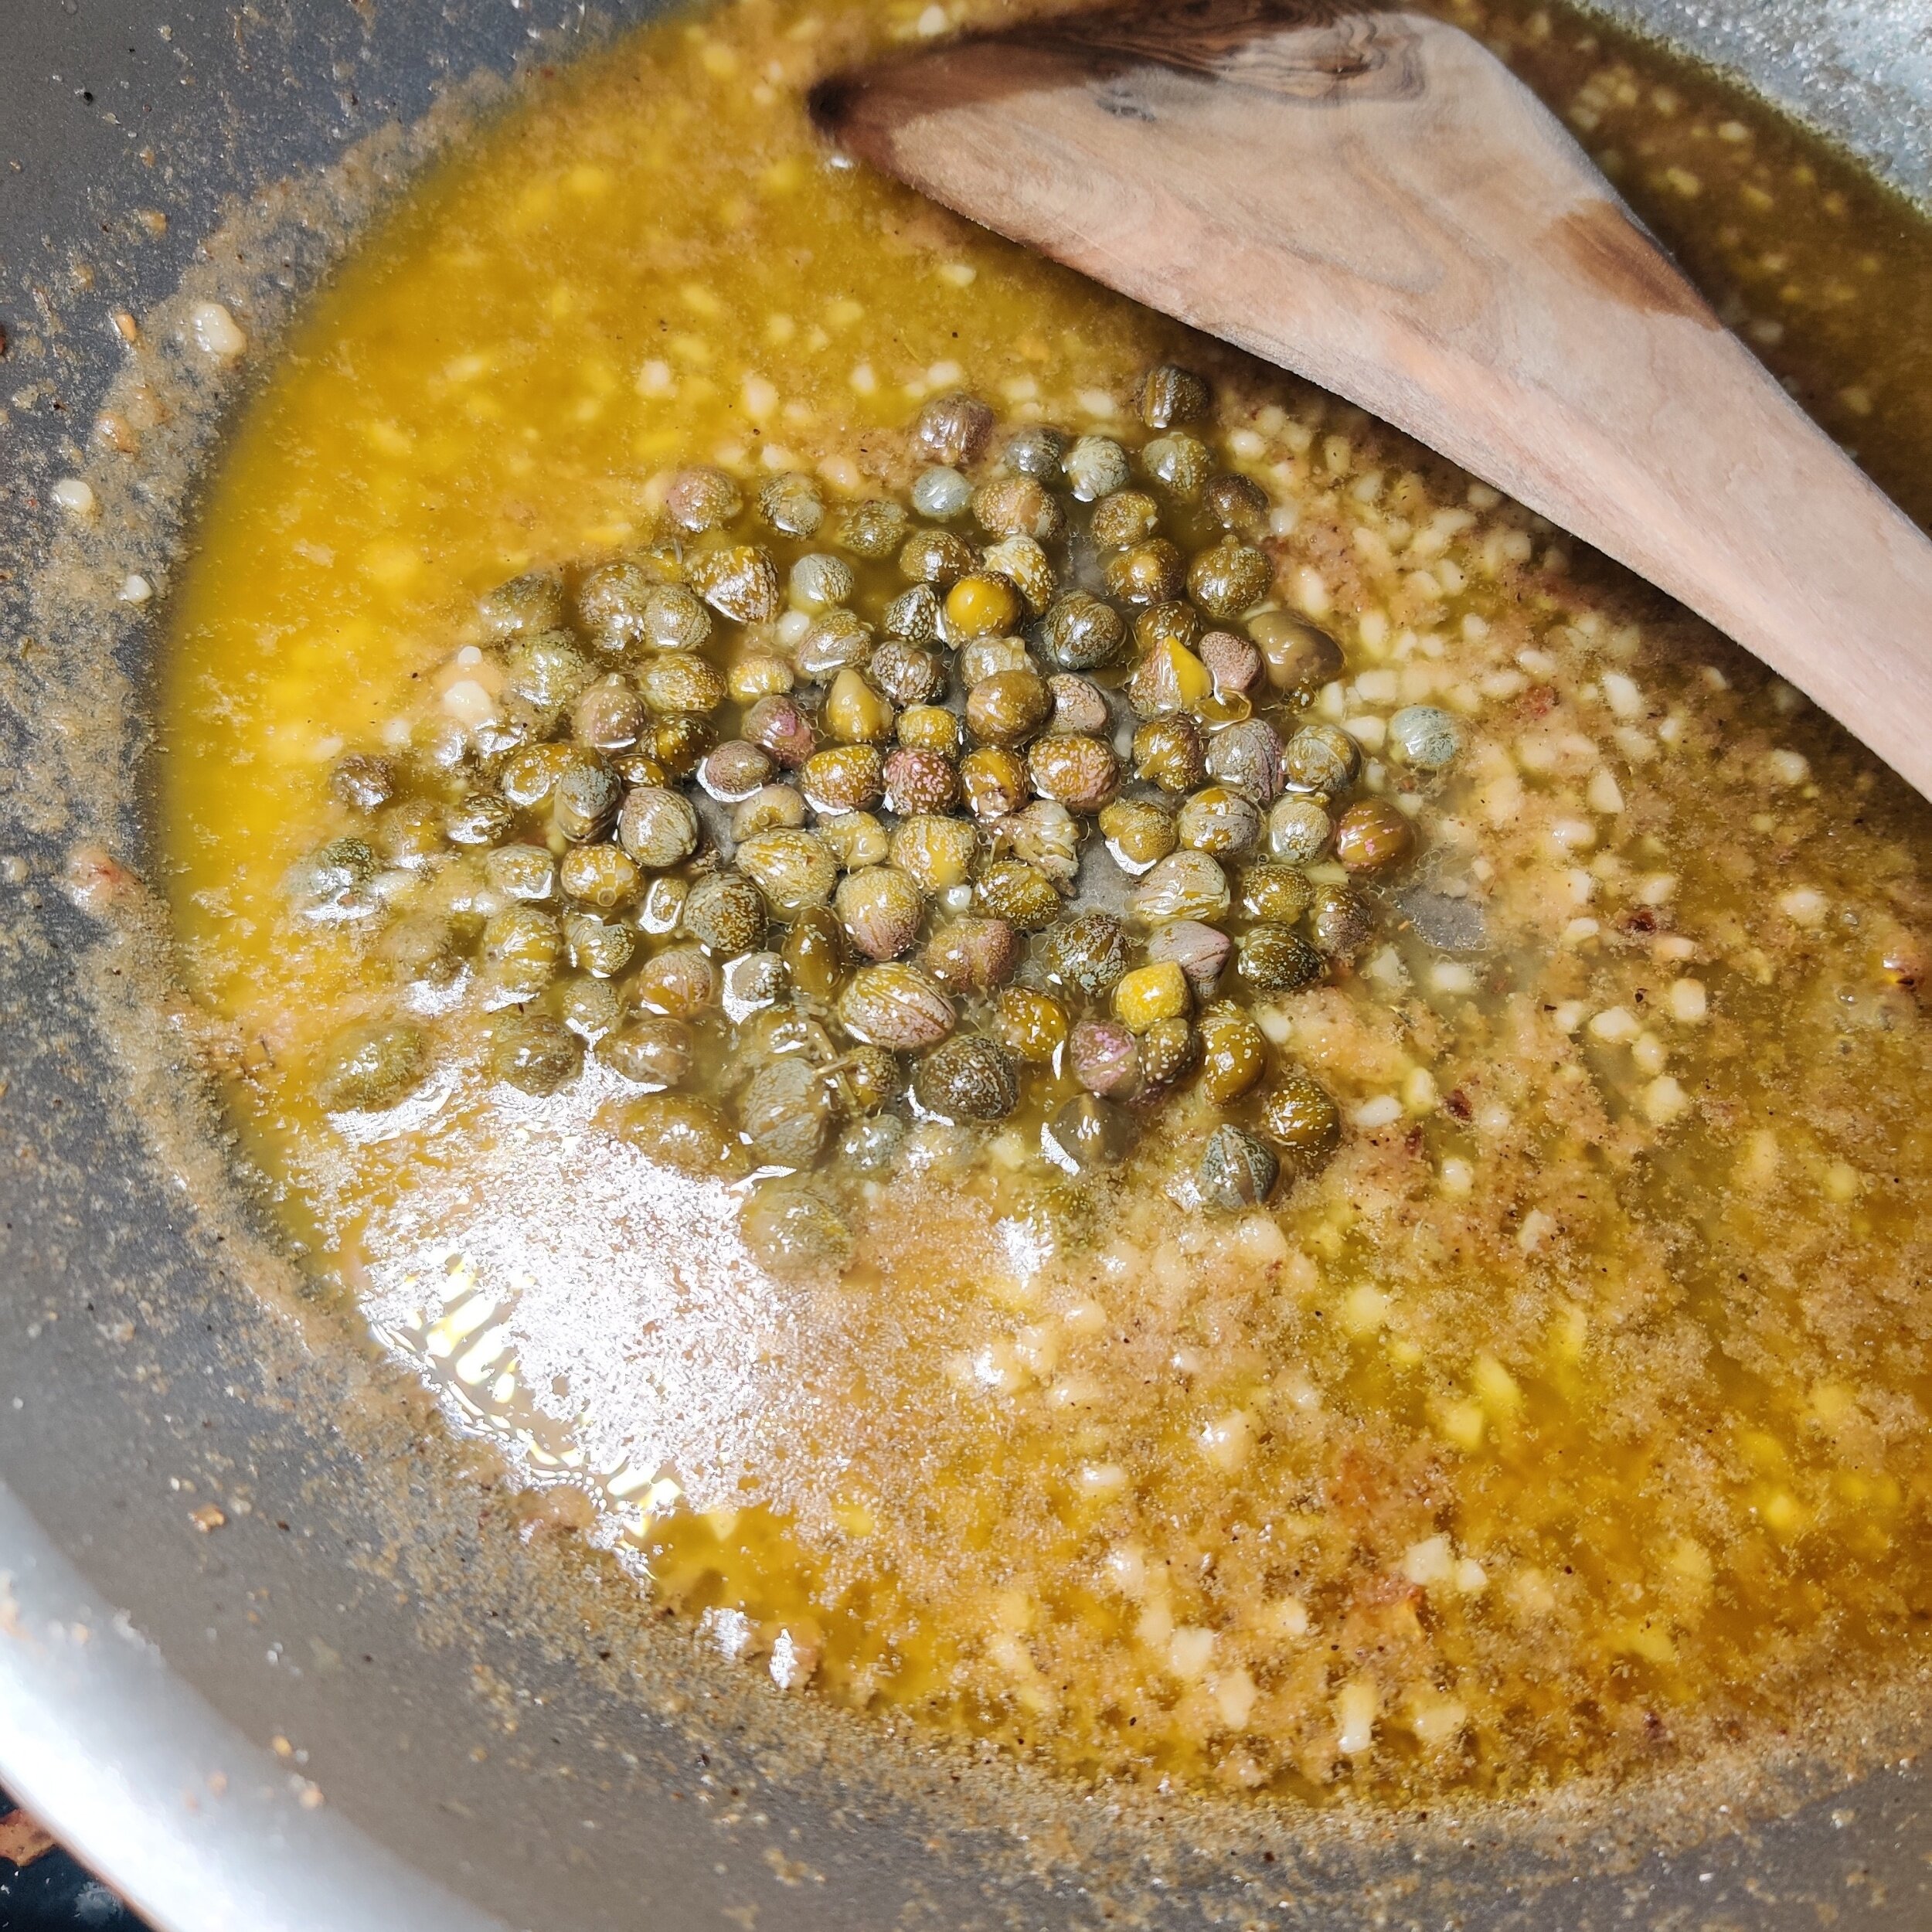
Add the butter to the remaining oil and melt, and deglaze with the white wine, cook for about 1 minute. Add the garlic and capers, cook for about 2 minutes.
Follow this with the lemon and broth, then simmer for about 5 minutes (you can reduce the heat if necessary).
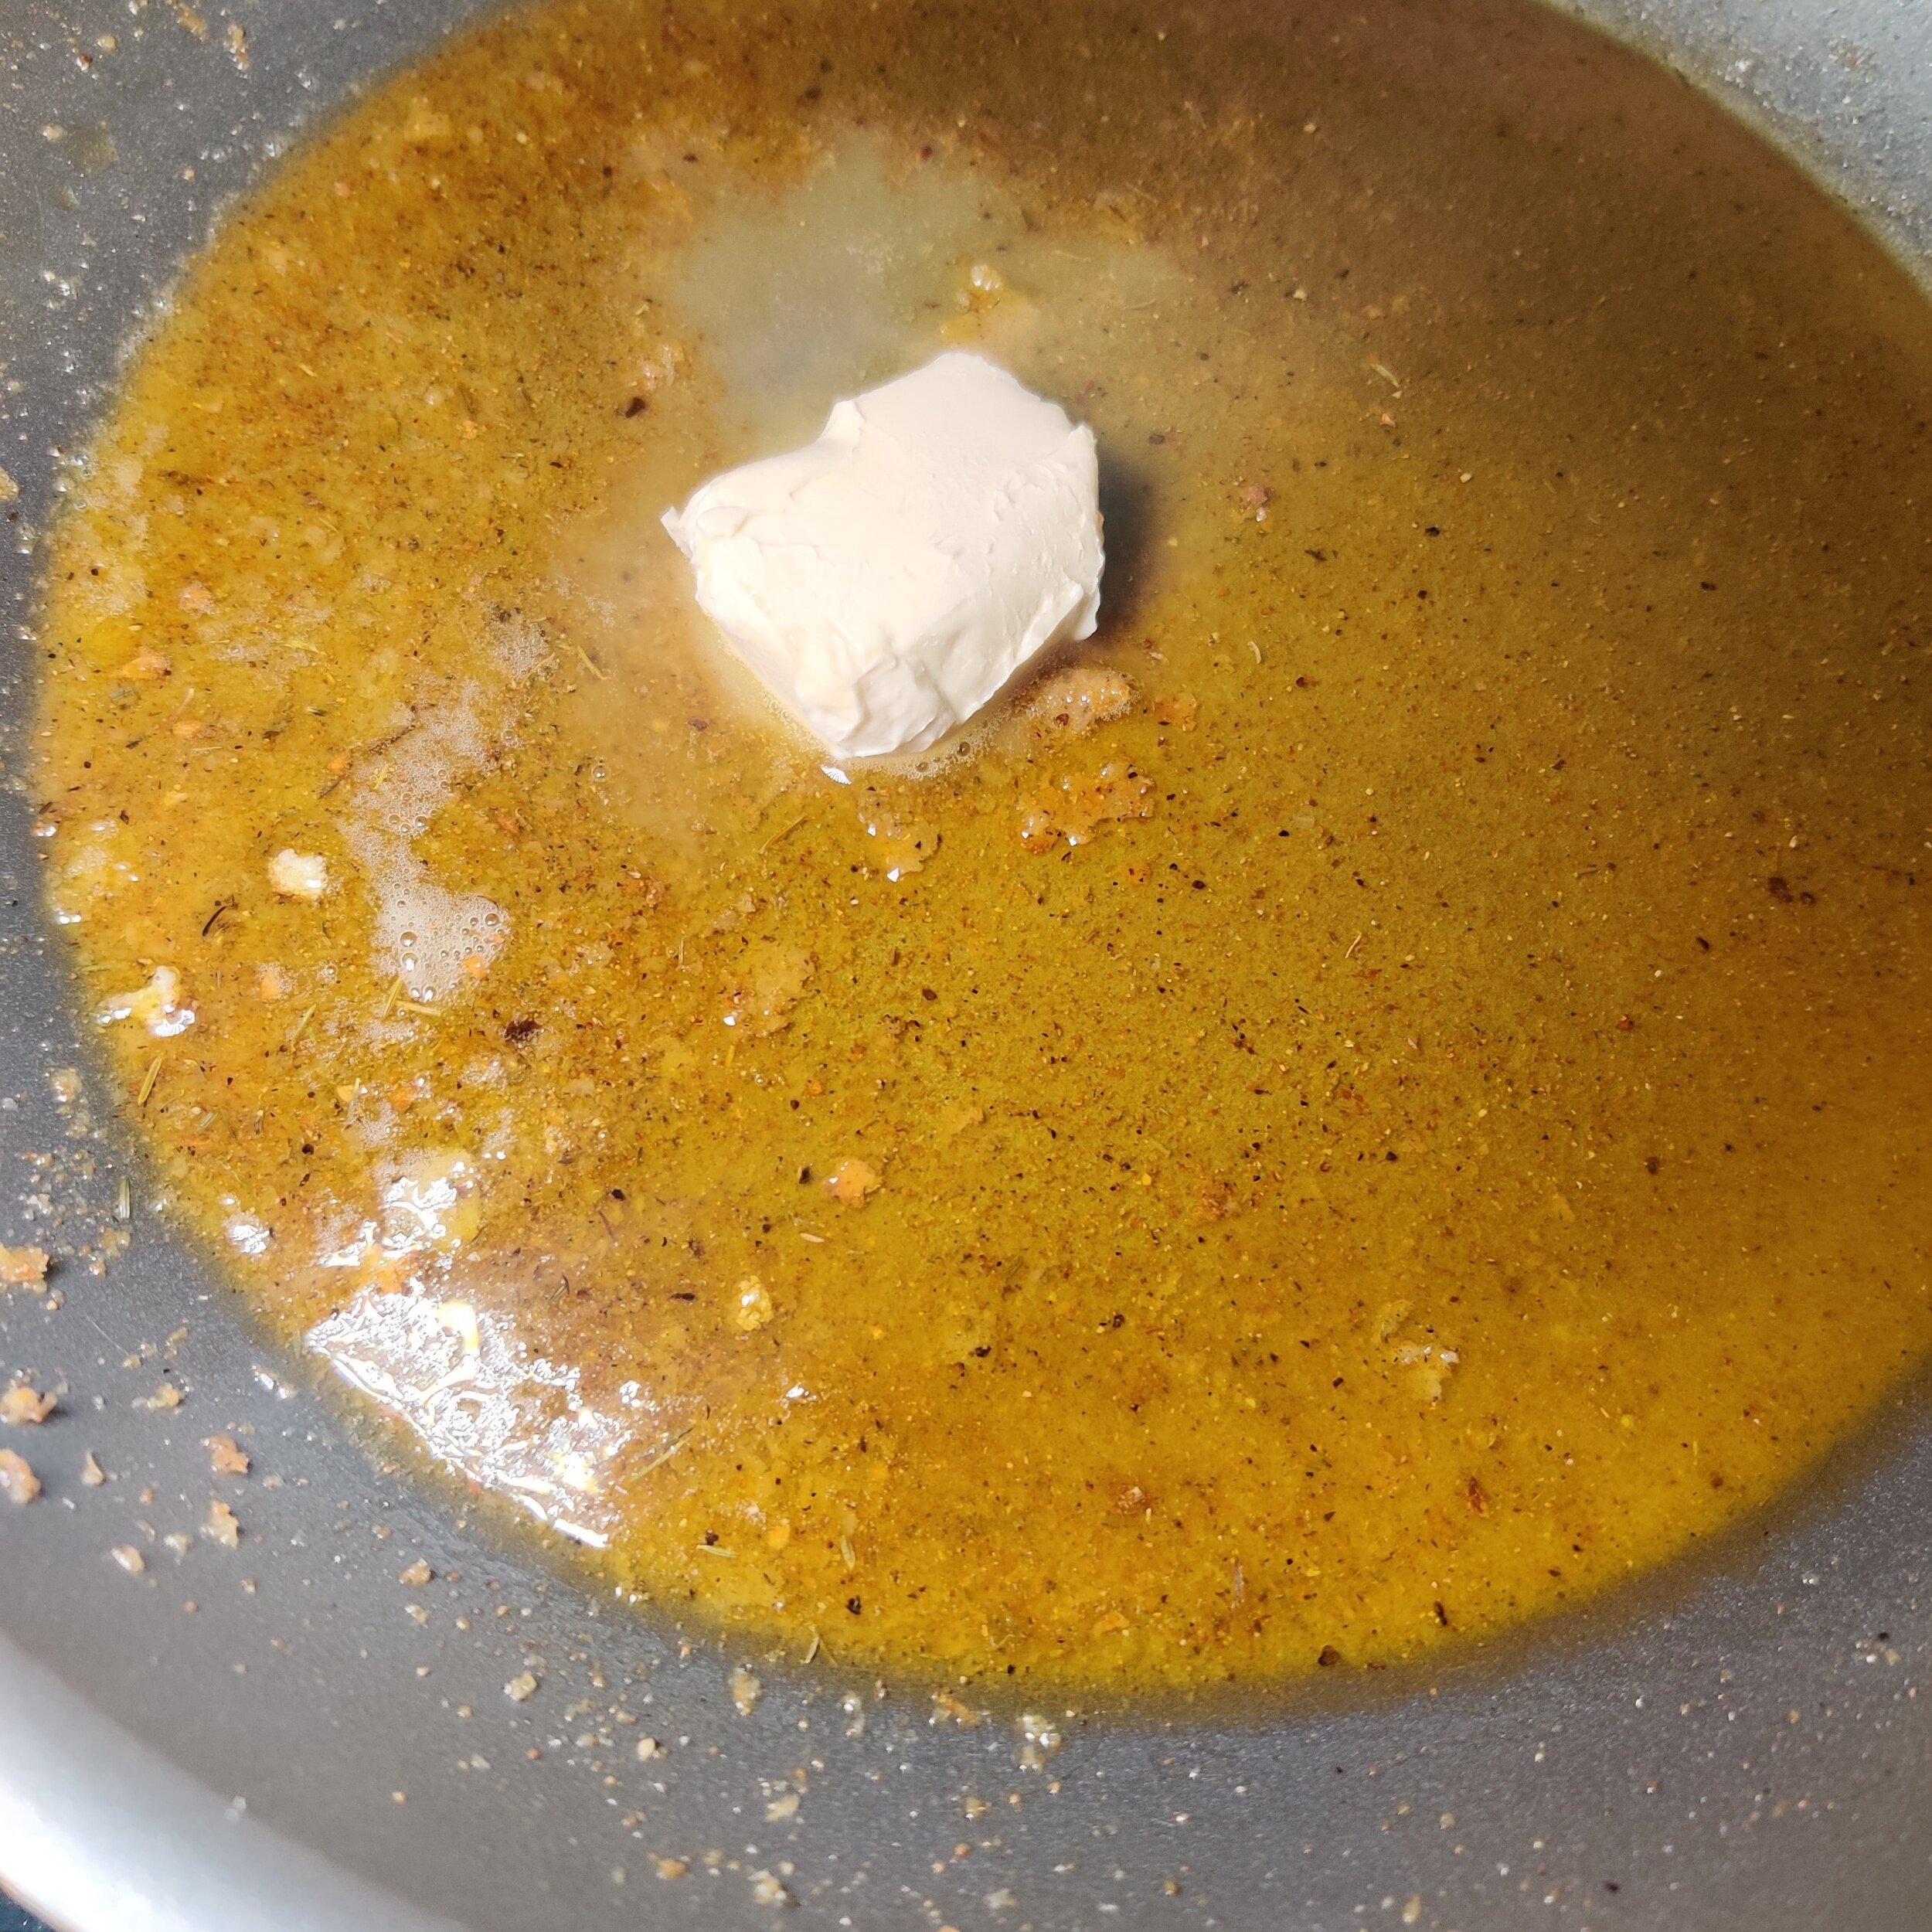
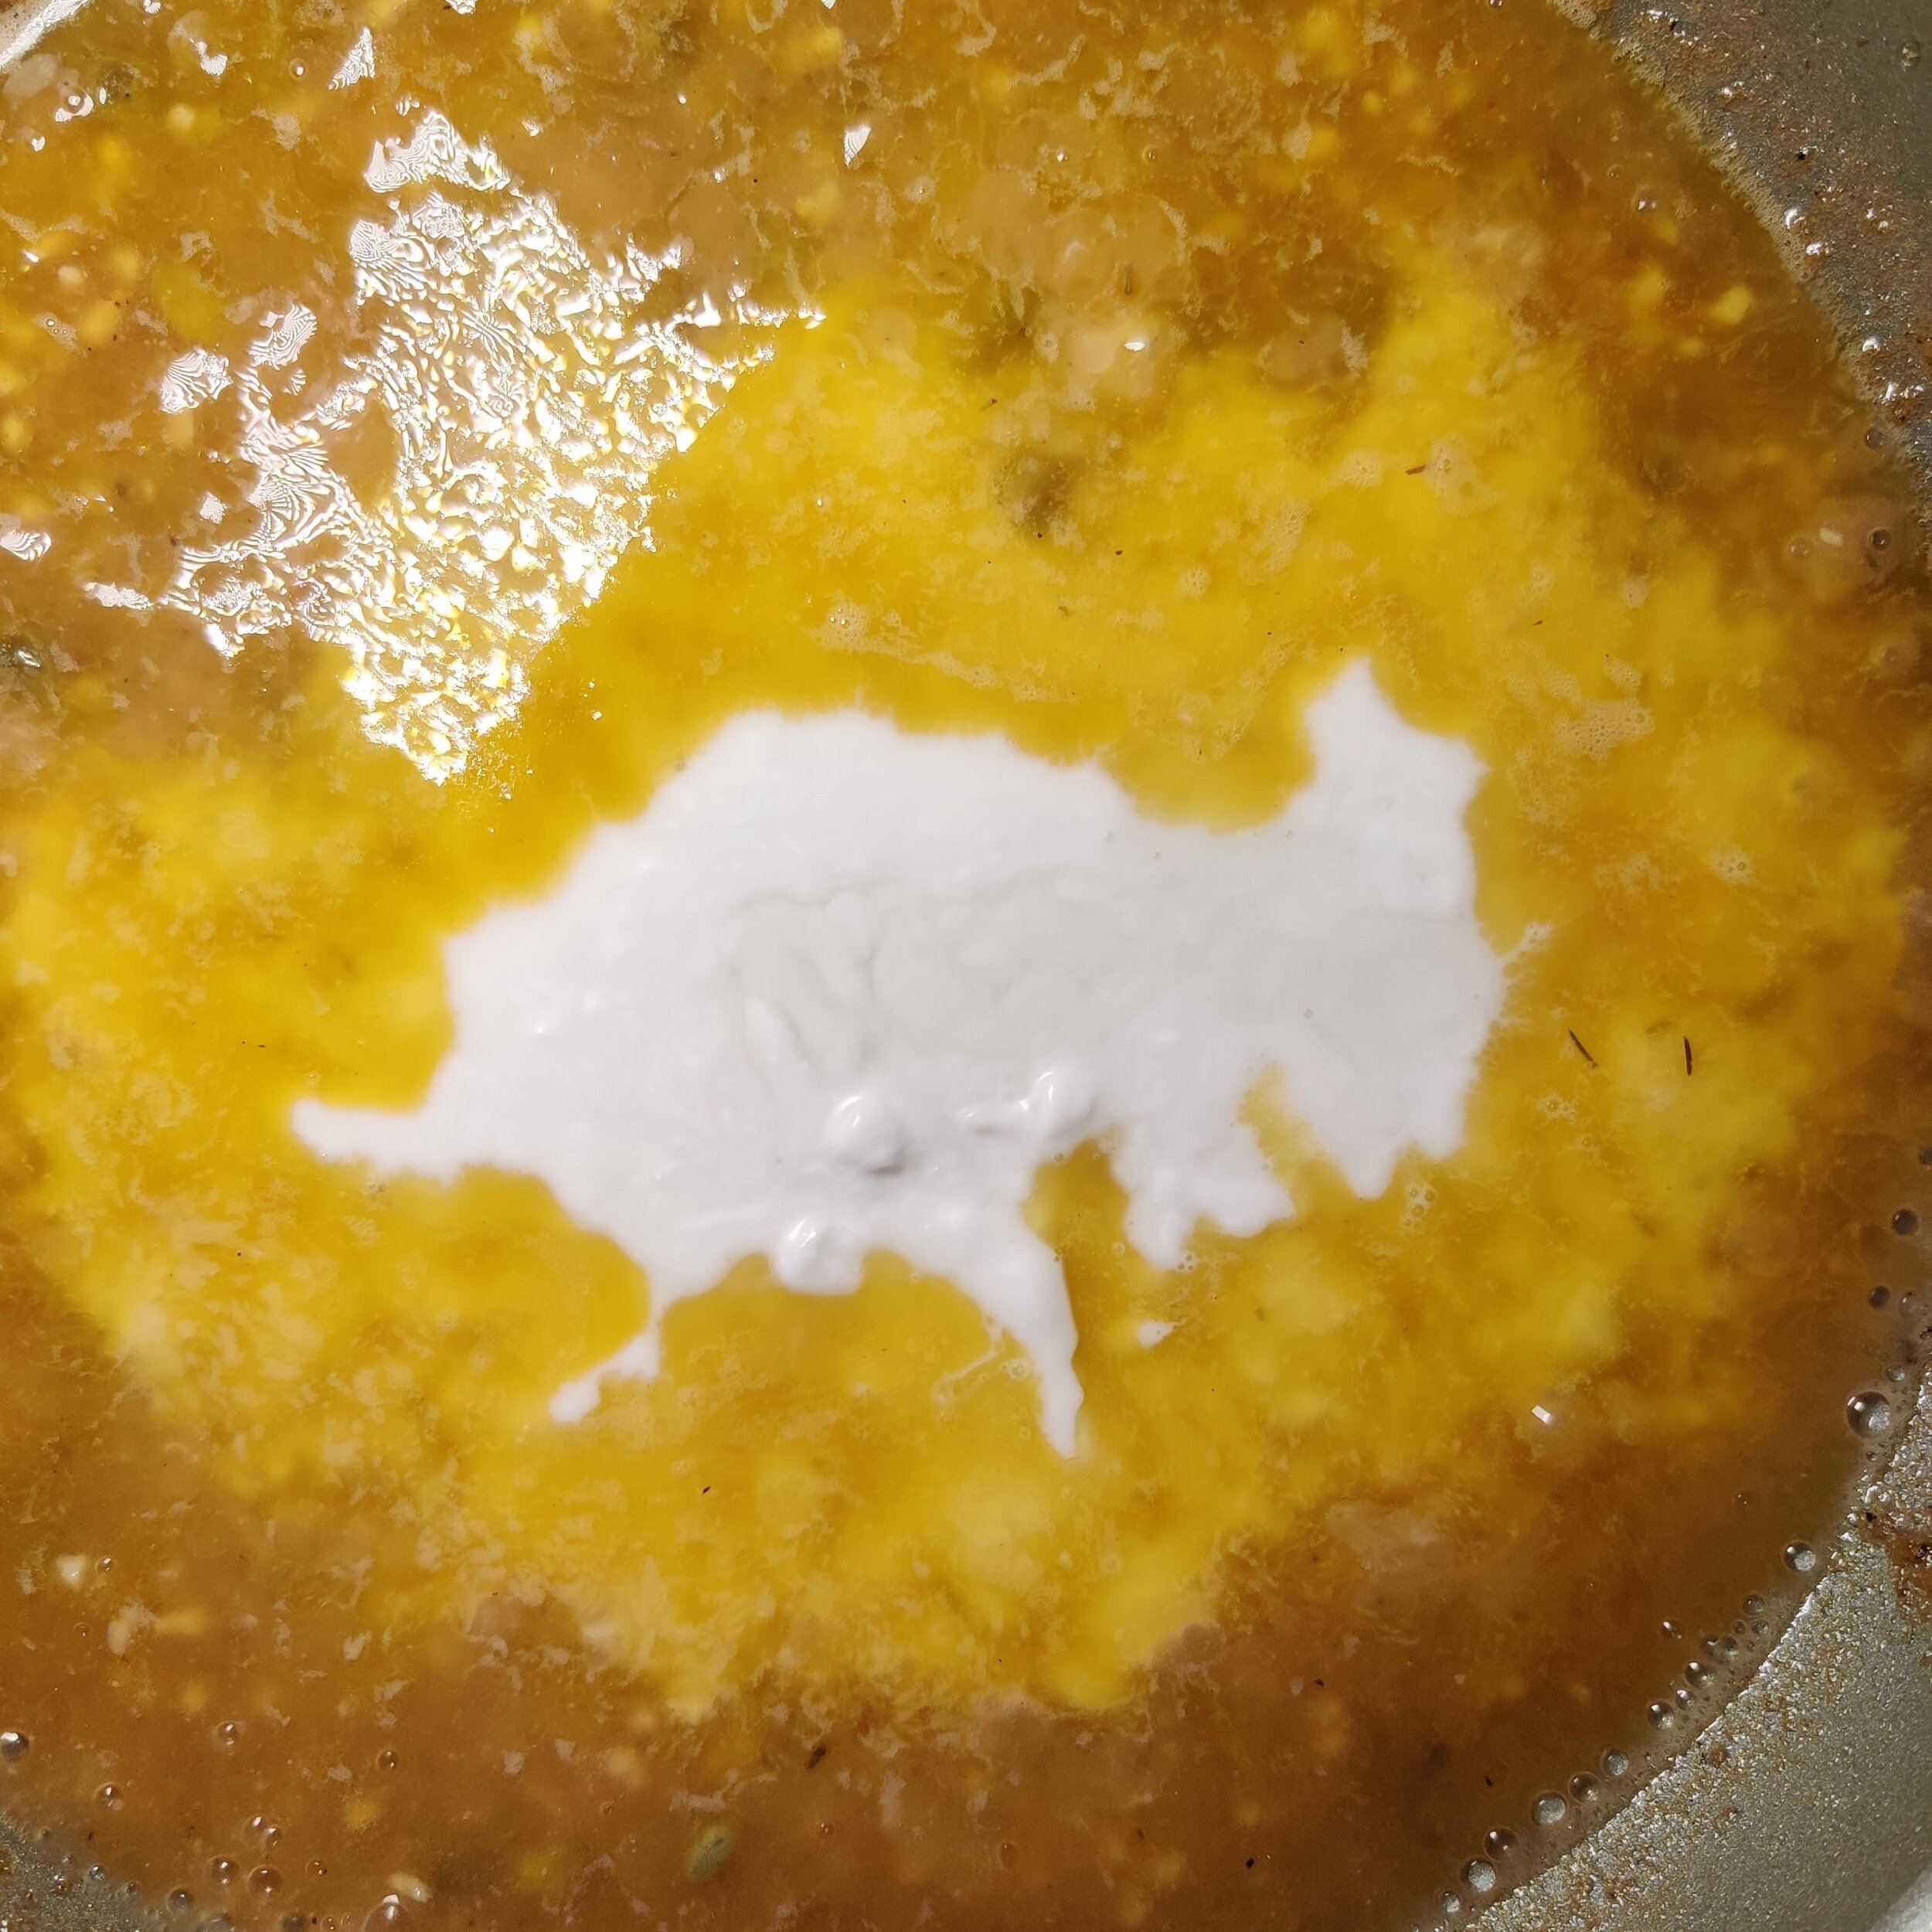
Mix in the coconut cream and stir; the mixture should start to thicken—if too watery, add 1/2 teaspoon of flour. Add the cauliflower back to the pan and cook on both sides for 1 minute each (you don’t want to overcook though!), and make sure you flip over the cauliflower slices gently to prevent them from breaking down.
Sprinkle with fresh parsley and gently shake the pan to distribute the sauce and herbs.
Remove from heat and serve hot with extra capers and lemon slices - I used limes because that's what I had! Serves 2.


Classic Minestrone Soup with Sweet Potato
Looking for a hearty, flavour-packed broth-based soup that doesn’t rely on cream to be delicious? This Classic Minestrone Soup with Sweet Potato is exactly that. Packed with vegetables, beans, pasta, and a rich, savoury broth, it’s a comforting Italian vegetable soup that is both filling and surprisingly easy to make.
I’ve always found that some broth-based soups can fall a little flat, which is probably why creamy soups like butternut or mushroom tend to be such popular go-tos. But a good minestrone proves that you don’t need heavy cream or coconut milk to make a soup feel satisfying. The secret is building flavour at every stage and starting with a good-quality broth.
Minestrone is a traditional Italian soup with countless regional variations, so there’s plenty of room to make it your own. My version combines sweet potato with classic minestrone ingredients for a hearty, slightly sweet twist while keeping the soup firmly rooted in its Italian-inspired foundations.
Serve this easy minestrone soup as a starter for an Italian-themed dinner, enjoy a bowl for a satisfying lunch, or make a big pot for a cosy winter or rainy-day meal. It’s nutritious, comforting, and substantial enough to stand on its own.
One important tip: season as you go and taste throughout the cooking process. And don’t underestimate the broth—because it forms the foundation of the entire soup, using a freshly made or good-quality stock can make a noticeable difference in the finished dish.


Classic Minestrone Soup with Sweet Potato
A hearty, flavour-packed minestrone soup with sweet potato, white beans, kale, zucchini, and pasta, finished with pesto and Parmesan.
Ingredients
- 2 tablespoons olive oil
- ¼ cup finely chopped pancetta or shiitake mushrooms, for a vegetarian option
- 1 cup diced carrots and celery, using equal amounts of each
- 1 cup diced yellow onion
- 3 large garlic cloves, finely chopped, or 2 teaspoons minced garlic
- 1 large sweet potato, peeled and diced
- 1 large zucchini, diced
- ½ bunch kale, chopped into bite-sized pieces
- 1 (15-ounce) can whole tomatoes, roughly chopped
- 2½ quarts vegetable broth, preferably homemade or good quality
- ½–1 cup white beans, soaked overnight, rinsed and drained, or precooked/canned. White kidney beans or cannellini beans work well.
- 1 cup cavatappi pasta, or another small pasta such as ditalini, small shells, or elbow macaroni
- 1 bay leaf
- 1 large sprig fresh thyme
- 1 teaspoon salt, plus more to taste
- 1–2 teaspoons freshly ground black pepper, plus more to taste
- 1 tablespoon dried thyme (optional)
- 1 teaspoon ground coriander (optional)
- 1 teaspoon dried basil (optional)
- Pesto, to taste
- Grated or shaved Parmesan cheese, to taste
Instructions
- Bring a pot of salted water to a boil and cook the pasta according to the package instructions until al dente. Drain and set aside. You can also cook the pasta while the soup is simmering to save time.
- If using dried beans, cook them in a pot of boiling water until tender, about 35 minutes or longer if needed. The beans should be cooked through but still hold their shape without splitting. Drain and set aside.
- Heat the olive oil in a large, heavy-bottomed pot or Dutch oven over medium heat. Add the pancetta or shiitake mushrooms and sauté for about 2 minutes, until lightly browned and fragrant.Add the carrots, celery, and onion. Cook for 4–5 minutes, stirring occasionally, until the vegetables begin to soften. If using the optional dried thyme, coriander, or basil, add them at this stage and stir to coat the vegetables.
- Add the aromatics and broth. Stir in the garlic, followed by the chopped tomatoes. Add the fresh thyme and bay leaf, then pour in the vegetable broth. Bring the soup to a simmer and cook over medium heat for about 15 minutes, allowing the flavours to develop.
- Add the diced sweet potato and increase the heat to medium-high. Bring the soup to a gentle boil or lively simmer, then cook for another 15 minutes, or until the sweet potato is beginning to soften. Season with salt and black pepper to taste.
- Reduce the heat slightly and add the kale, zucchini, and most of the cooked beans. Simmer for 6–8 minutes, until the kale has wilted and the zucchini is tender but still has some bite. Taste and adjust the seasoning as needed.
- Stir the cooked pasta into individual serving bowls rather than adding it directly to the pot. Ladle the hot minestrone over the pasta, then finish each bowl with pesto and grated or shaved Parmesan. Stir gently and season to taste.
Notes
- Since broth forms the base of the soup, homemade or good-quality vegetable stock will make a noticeable difference in the final flavour.
- Taste the soup throughout cooking and adjust the salt and pepper to your preference. The vegetables and broth can vary in seasoning, so don't rely solely on the listed amount.
- White kidney beans and cannellini beans work particularly well, but other white beans can be substituted.
- For the best texture, add cooked pasta directly to individual bowls rather than the main pot. This prevents it from absorbing all the broth and becoming soggy, especially when storing leftovers.
- Pesto and Parmesan are best added when serving. They add a fresh, savoury finish to each bowl.
- Use shiitake mushrooms instead of pancetta and make sure your Parmesan and pesto are vegetarian if needed.
- Minestrone is a wonderfully adaptable soup. Feel free to swap in seasonal vegetables or use whatever beans and small pasta you have on hand.
Nutrition Facts
Calories
390Fat (grams)
14 gCarbs (grams)
55 gFiber (grams)
10 gSugar (grams)
10 gProtein (grams)
13 gI am not a certified nutritionist and any nutritional information on dontmissmyplate.com should only be used as a general guideline.


Baked Feta Pasta "Tik Tok Viral"
#FetaPasta or #BakedFetaPasta. Some of you may have seen it already, the Tik Tok trend that went viral for its simplicity and deliciousness (at least from a visual standpoint. Last time I saw something like this was Dalogna coffee - which to be honest, I found overwhelming and well, gross.
I'm not one to jump on bandwagons, but this certainly looks like it is worth trying. Why?
I'm a huge fan of feta cheese, I love all the bold Italian flavours that one can incorporate into this recipe - I'm talking, basil, tomato, garlic, olive oil, and of course pasta. The pesto was to add another layer of flavour, and the chilli flakes some heat.
Also, it's easy. For a lot of people with busy schedules, this is all you want from a recipe.
Make this if you are looking for a filling dish or something vegetarian that still packs a flavour punch. I will note that I have seen comments and articles mentioning that tomatoes aren't currently in season, so this will probably taste better between May and October. Still worth trying in the means to see what the hype is about!
Ingredients
1 block feta cheese
1 cup grape or cherry tomatoes
1/4 cup fresh basil leaves, chopped
1 teaspoon dried basil
4-5 fresh garlic cloves, peeled
1 teaspoon salt
1 teaspoon black pepper
3 cups cooked pasta
3-4 tablespoons olive oil


Instructions
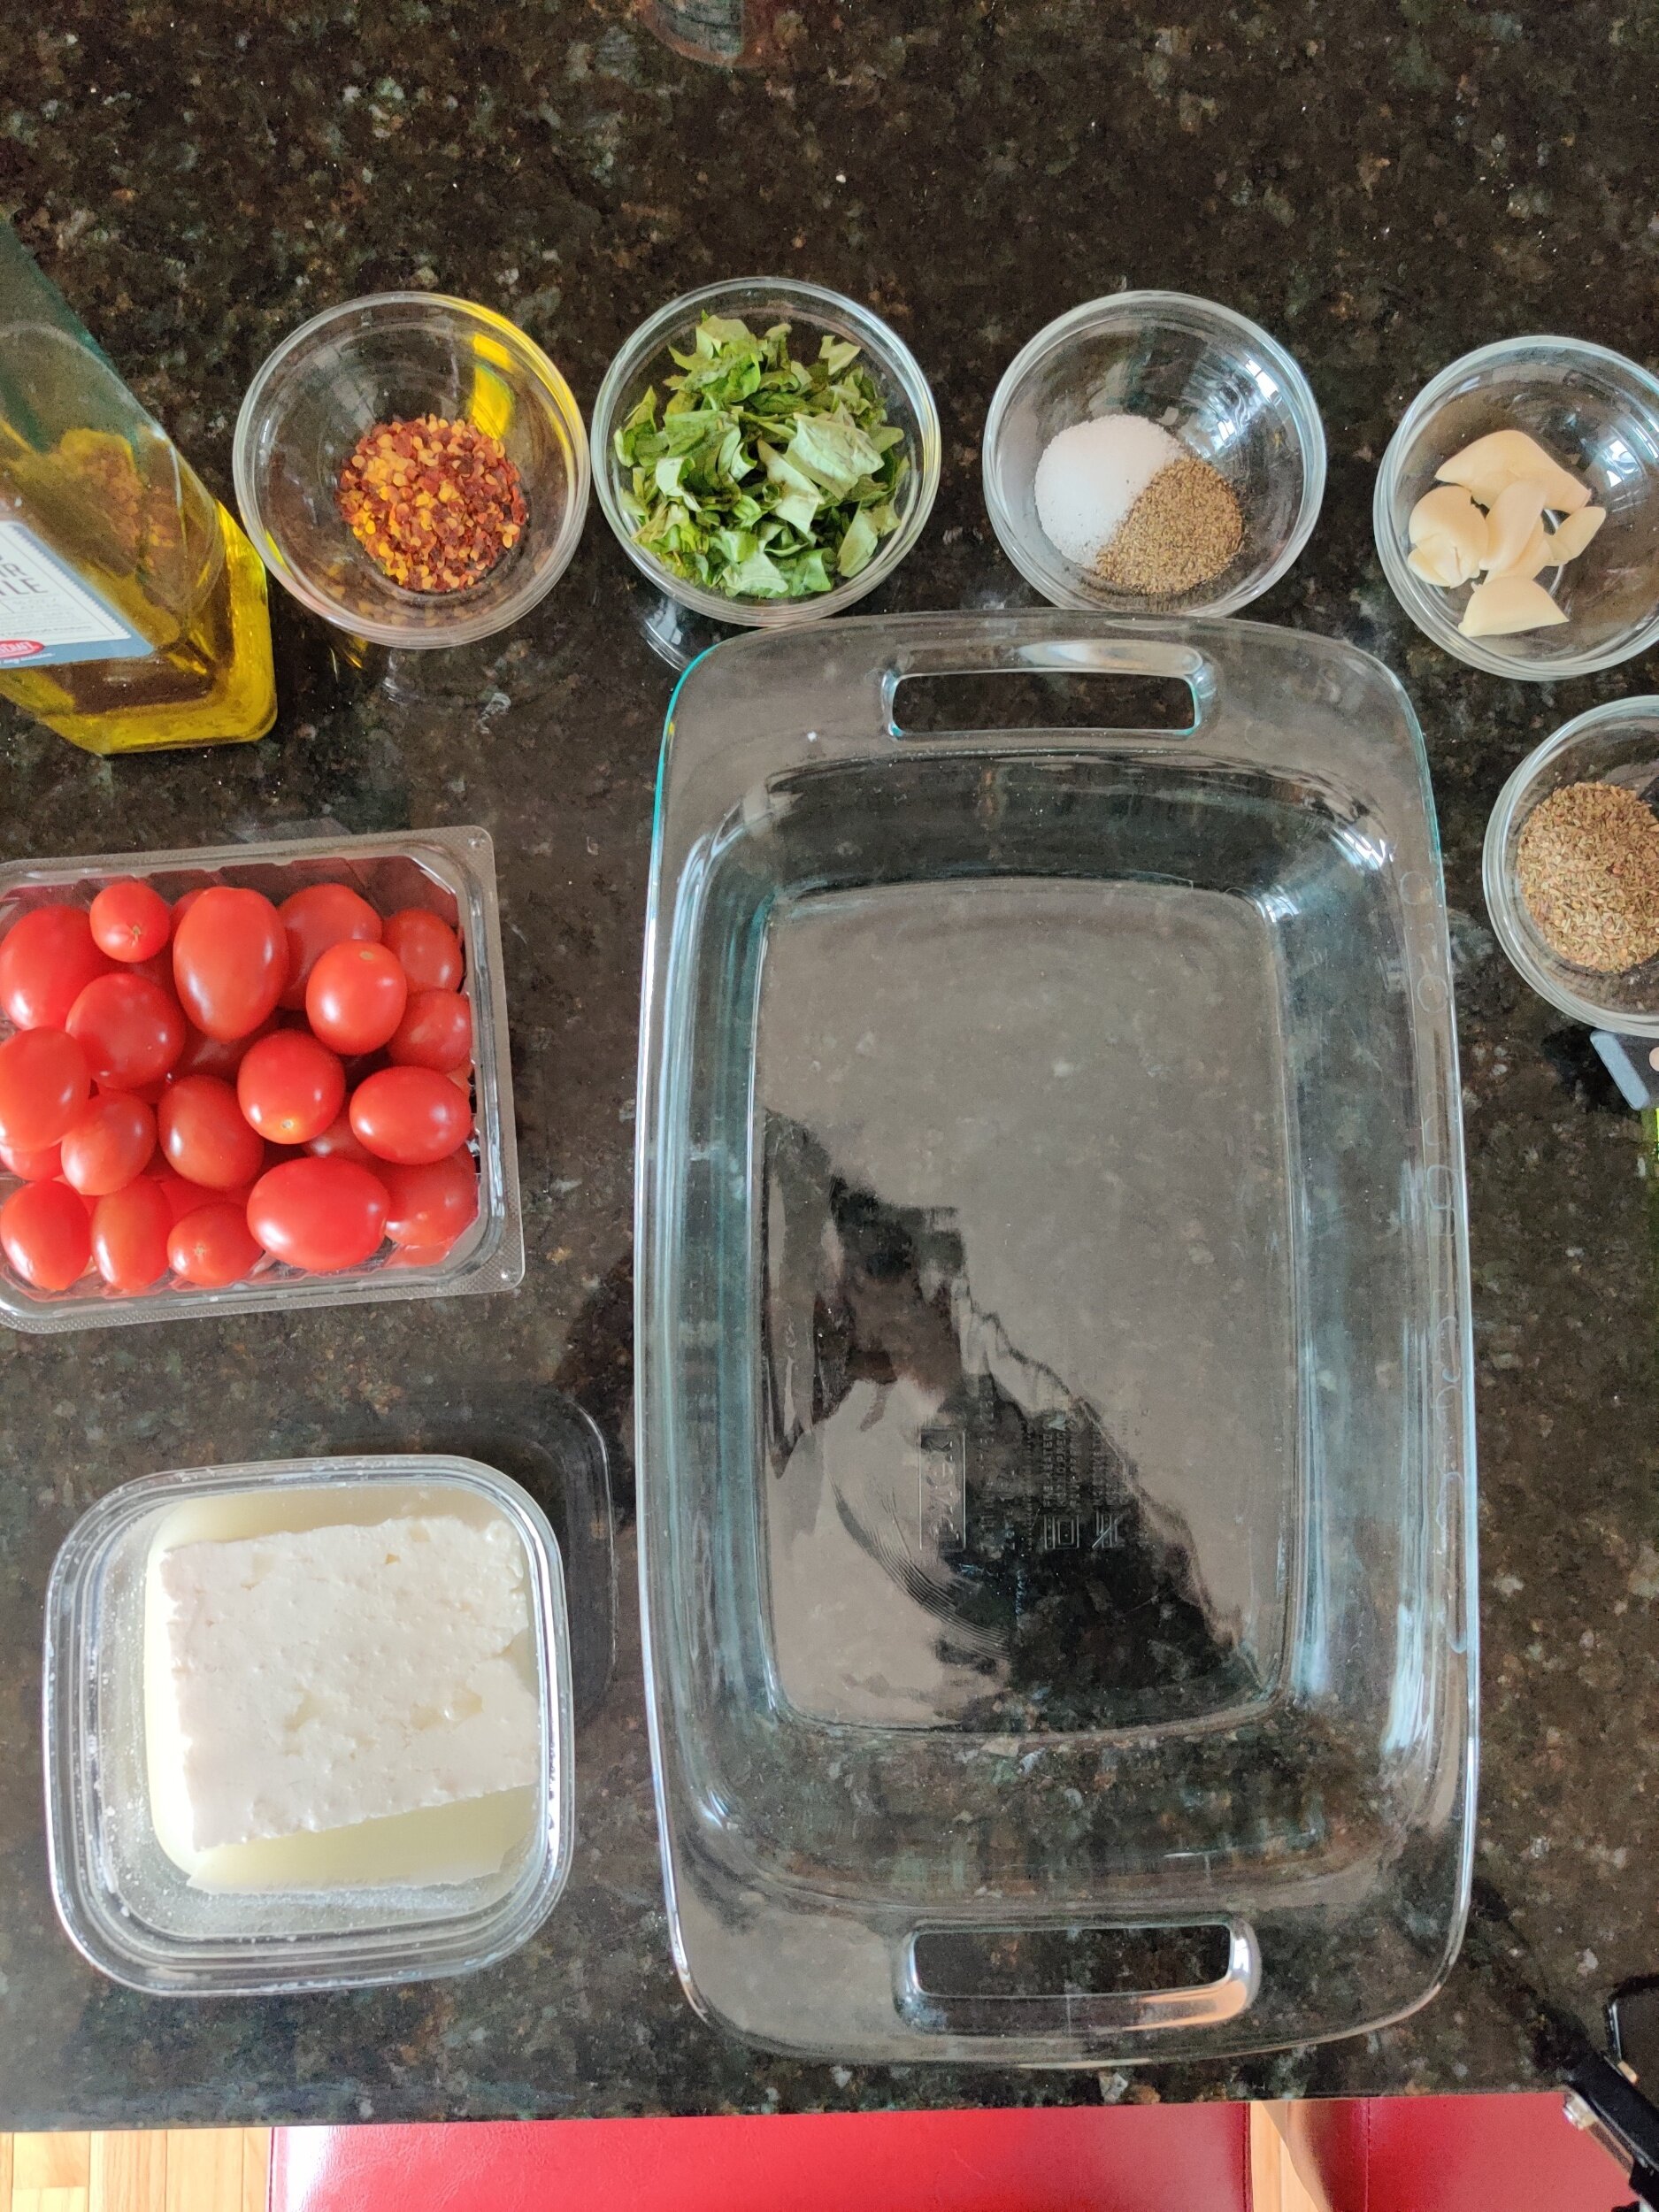
In a baking pan, toss the tomatoes half the salt and pepper, 2 tablespoons olive oil, and half the dried basil.
Place the feta in the centre, and the garlic cloves around the pan. Drizzle the cheese with more olive oil and remaining seasoning, and sprinkle with chilli flakes.
Bake at 400F for 35 minutes.
(Cook your pasta in the meantime if you haven't already).
Remove from heat. Crush the baked feta and garlic cloves, then stir in the fresh basil and pasta.
Serve immediately!


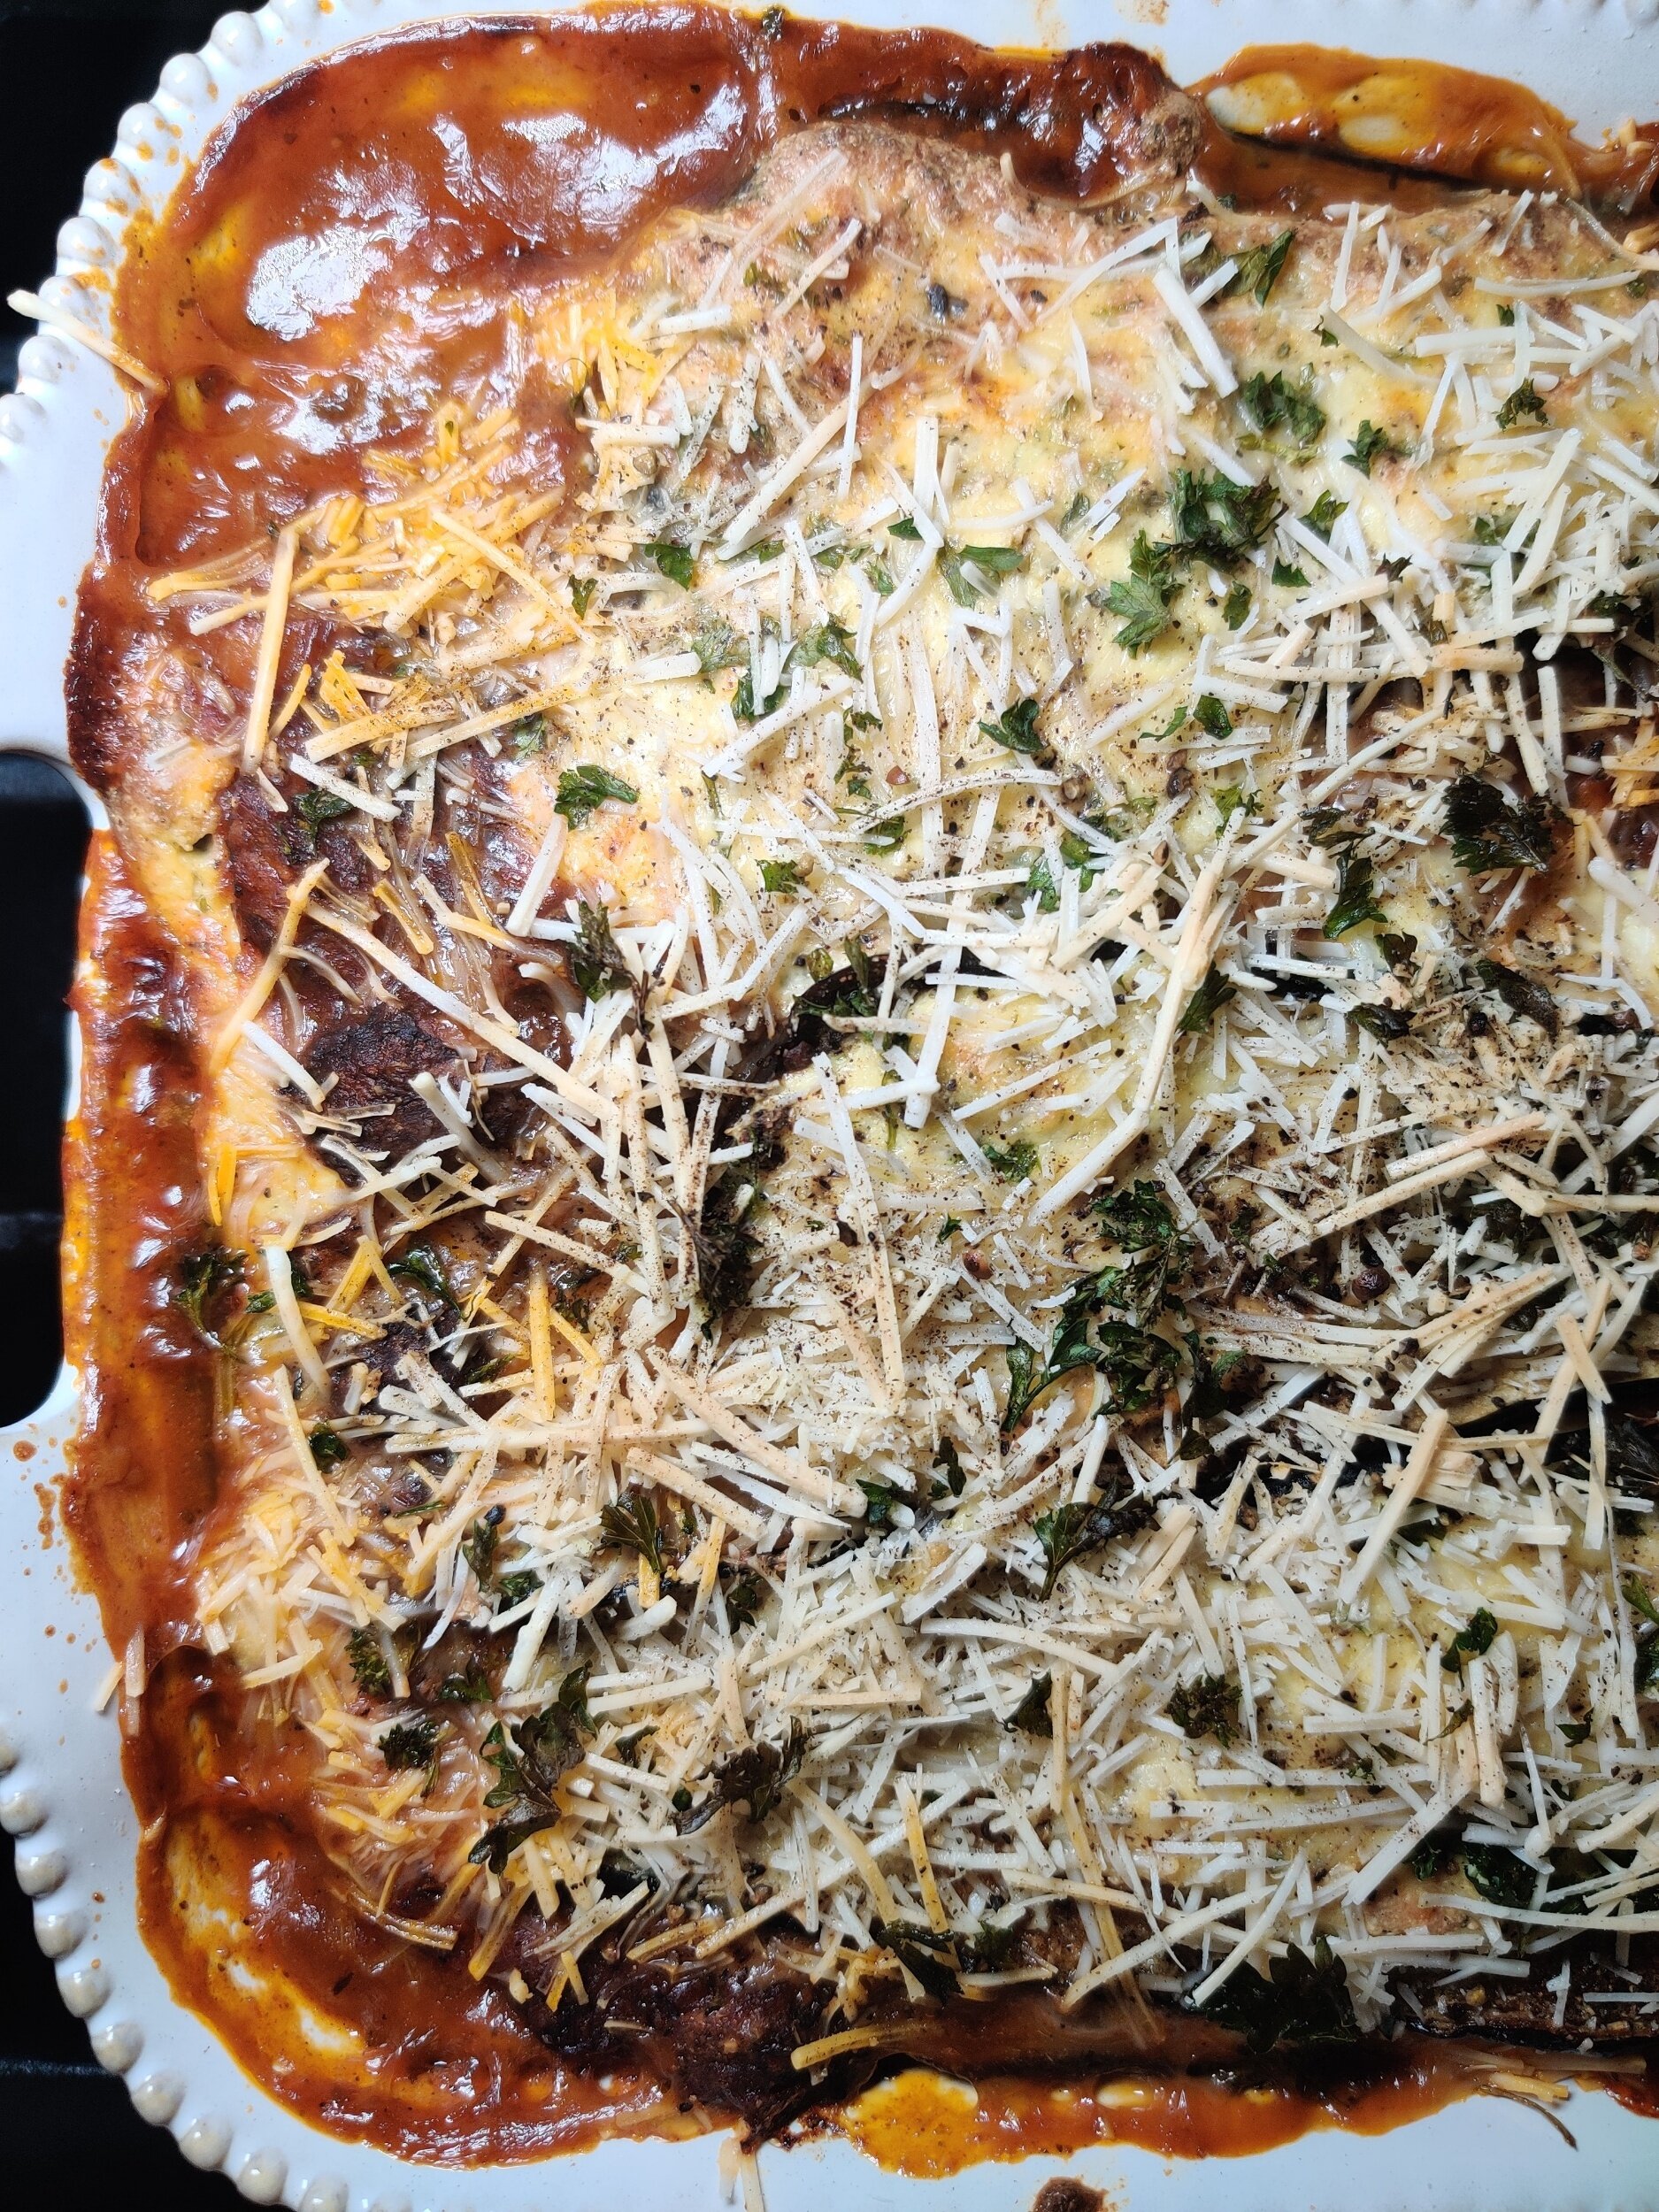
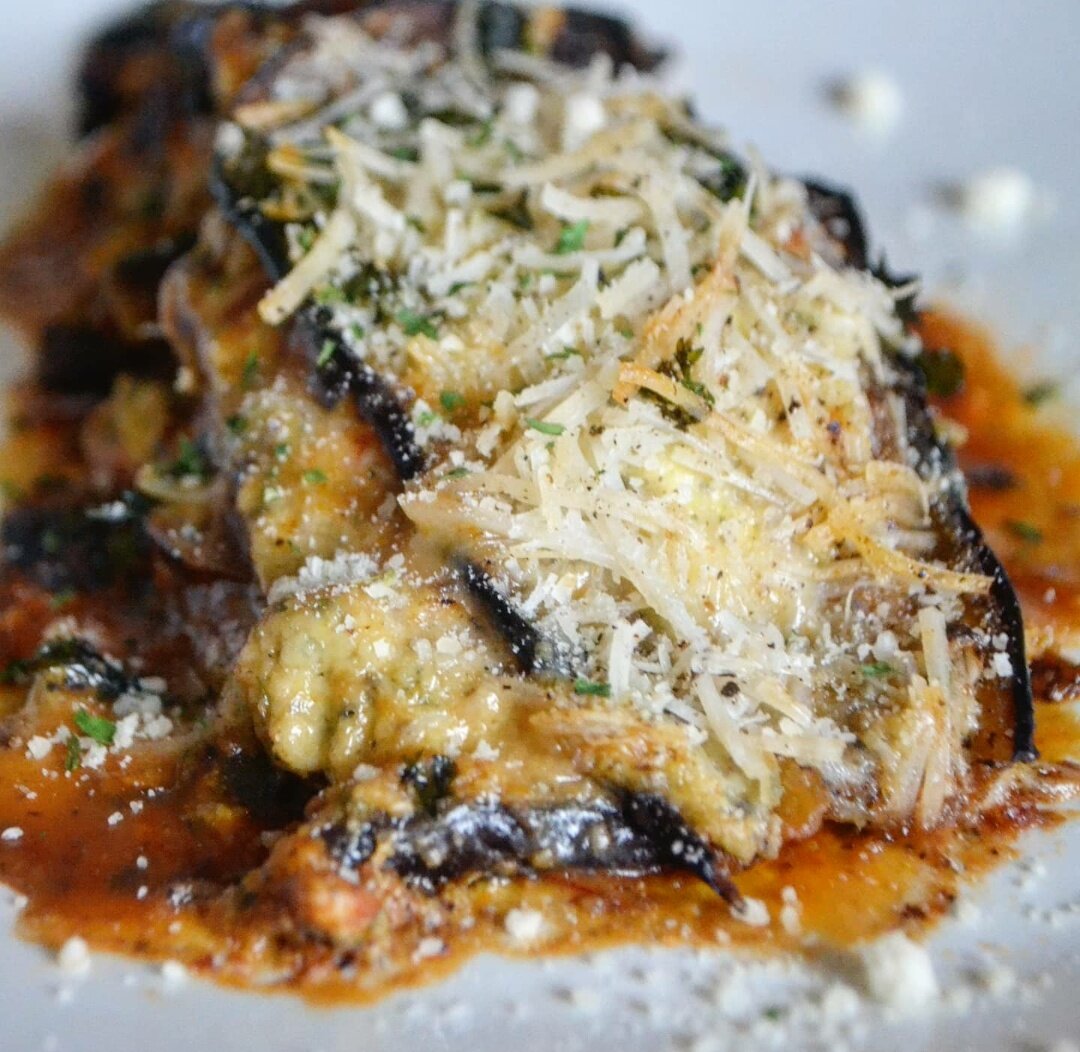
Eggplant Lasagna with Mushroom Ragu
This recipe is part of a two-part 3-course meal menu. Start with this Creamy Tomato Beet Soup.
Who doesn't love lasagna? Whether it's traditional with pasta and meat, vegetarian, vegan, gluten-free, you name it - it's a people pleaser and is super satisfying!
One of the most popular vegetarian, low-carb versions is substituting the pasta with eggplant. The vegetable cut into thick enough sheets (not too thick!) acts as the lasagna pasta sheets, and takes on whatever flavour you add to them like a sponge. Most people keep the meat, but I swapped that out for some baby Bella mushrooms, and it was just as delicious.
This a great main dish when you are hosting or looking for a tasty weekend dinner.
I also paired the lasagna with an easy Kale and Shaved Brussels Sprouts Salad. Even though eggplant is a vegetable, you may still want to balance out the cheese with something green!
I also recommend pairing this dish with a bold, red wine like a cabernet sauvignon or merlot.

Ingredients
2 eggplants
1/3 cup olive oil
1 teaspoon salt
1 teaspoon black pepper
1 tablespoon garlic powder
1/2 cup ricotta cheese
1/3 cup parmesan cheese, grated
1 tablespoon Italian seasoning
1 teaspoon dried parsley
1 tablespoon fresh parsley, finely chopped
1 egg
1 teaspoon salt
1 tablespoon black pepper
1 tablespoon garlic powder
1/2 teaspoon paprika
9 ounces Baby Bella mushrooms ( a pack and a half)
1/2 red onion, finely chopped
3 spring onions, finely chopped
2 tablespoons fresh garlic, minced
1 teaspoon salt
1 tablespoon black pepper
1 tablespoon cumin
1 tablespoon coriander
1 teaspoon fenugreek powder
1 teaspoon dried parsley
1 teaspoon Italian seasoning
2 tablespoon butter
1 tablespoon olive oil
1 jar marinara sauce
2 tablespoon sherry or cooking wine
2 tablespoons Worcester sauce
1/3 cup mozzarella cheese
Fresh parsley or basil
Instructions
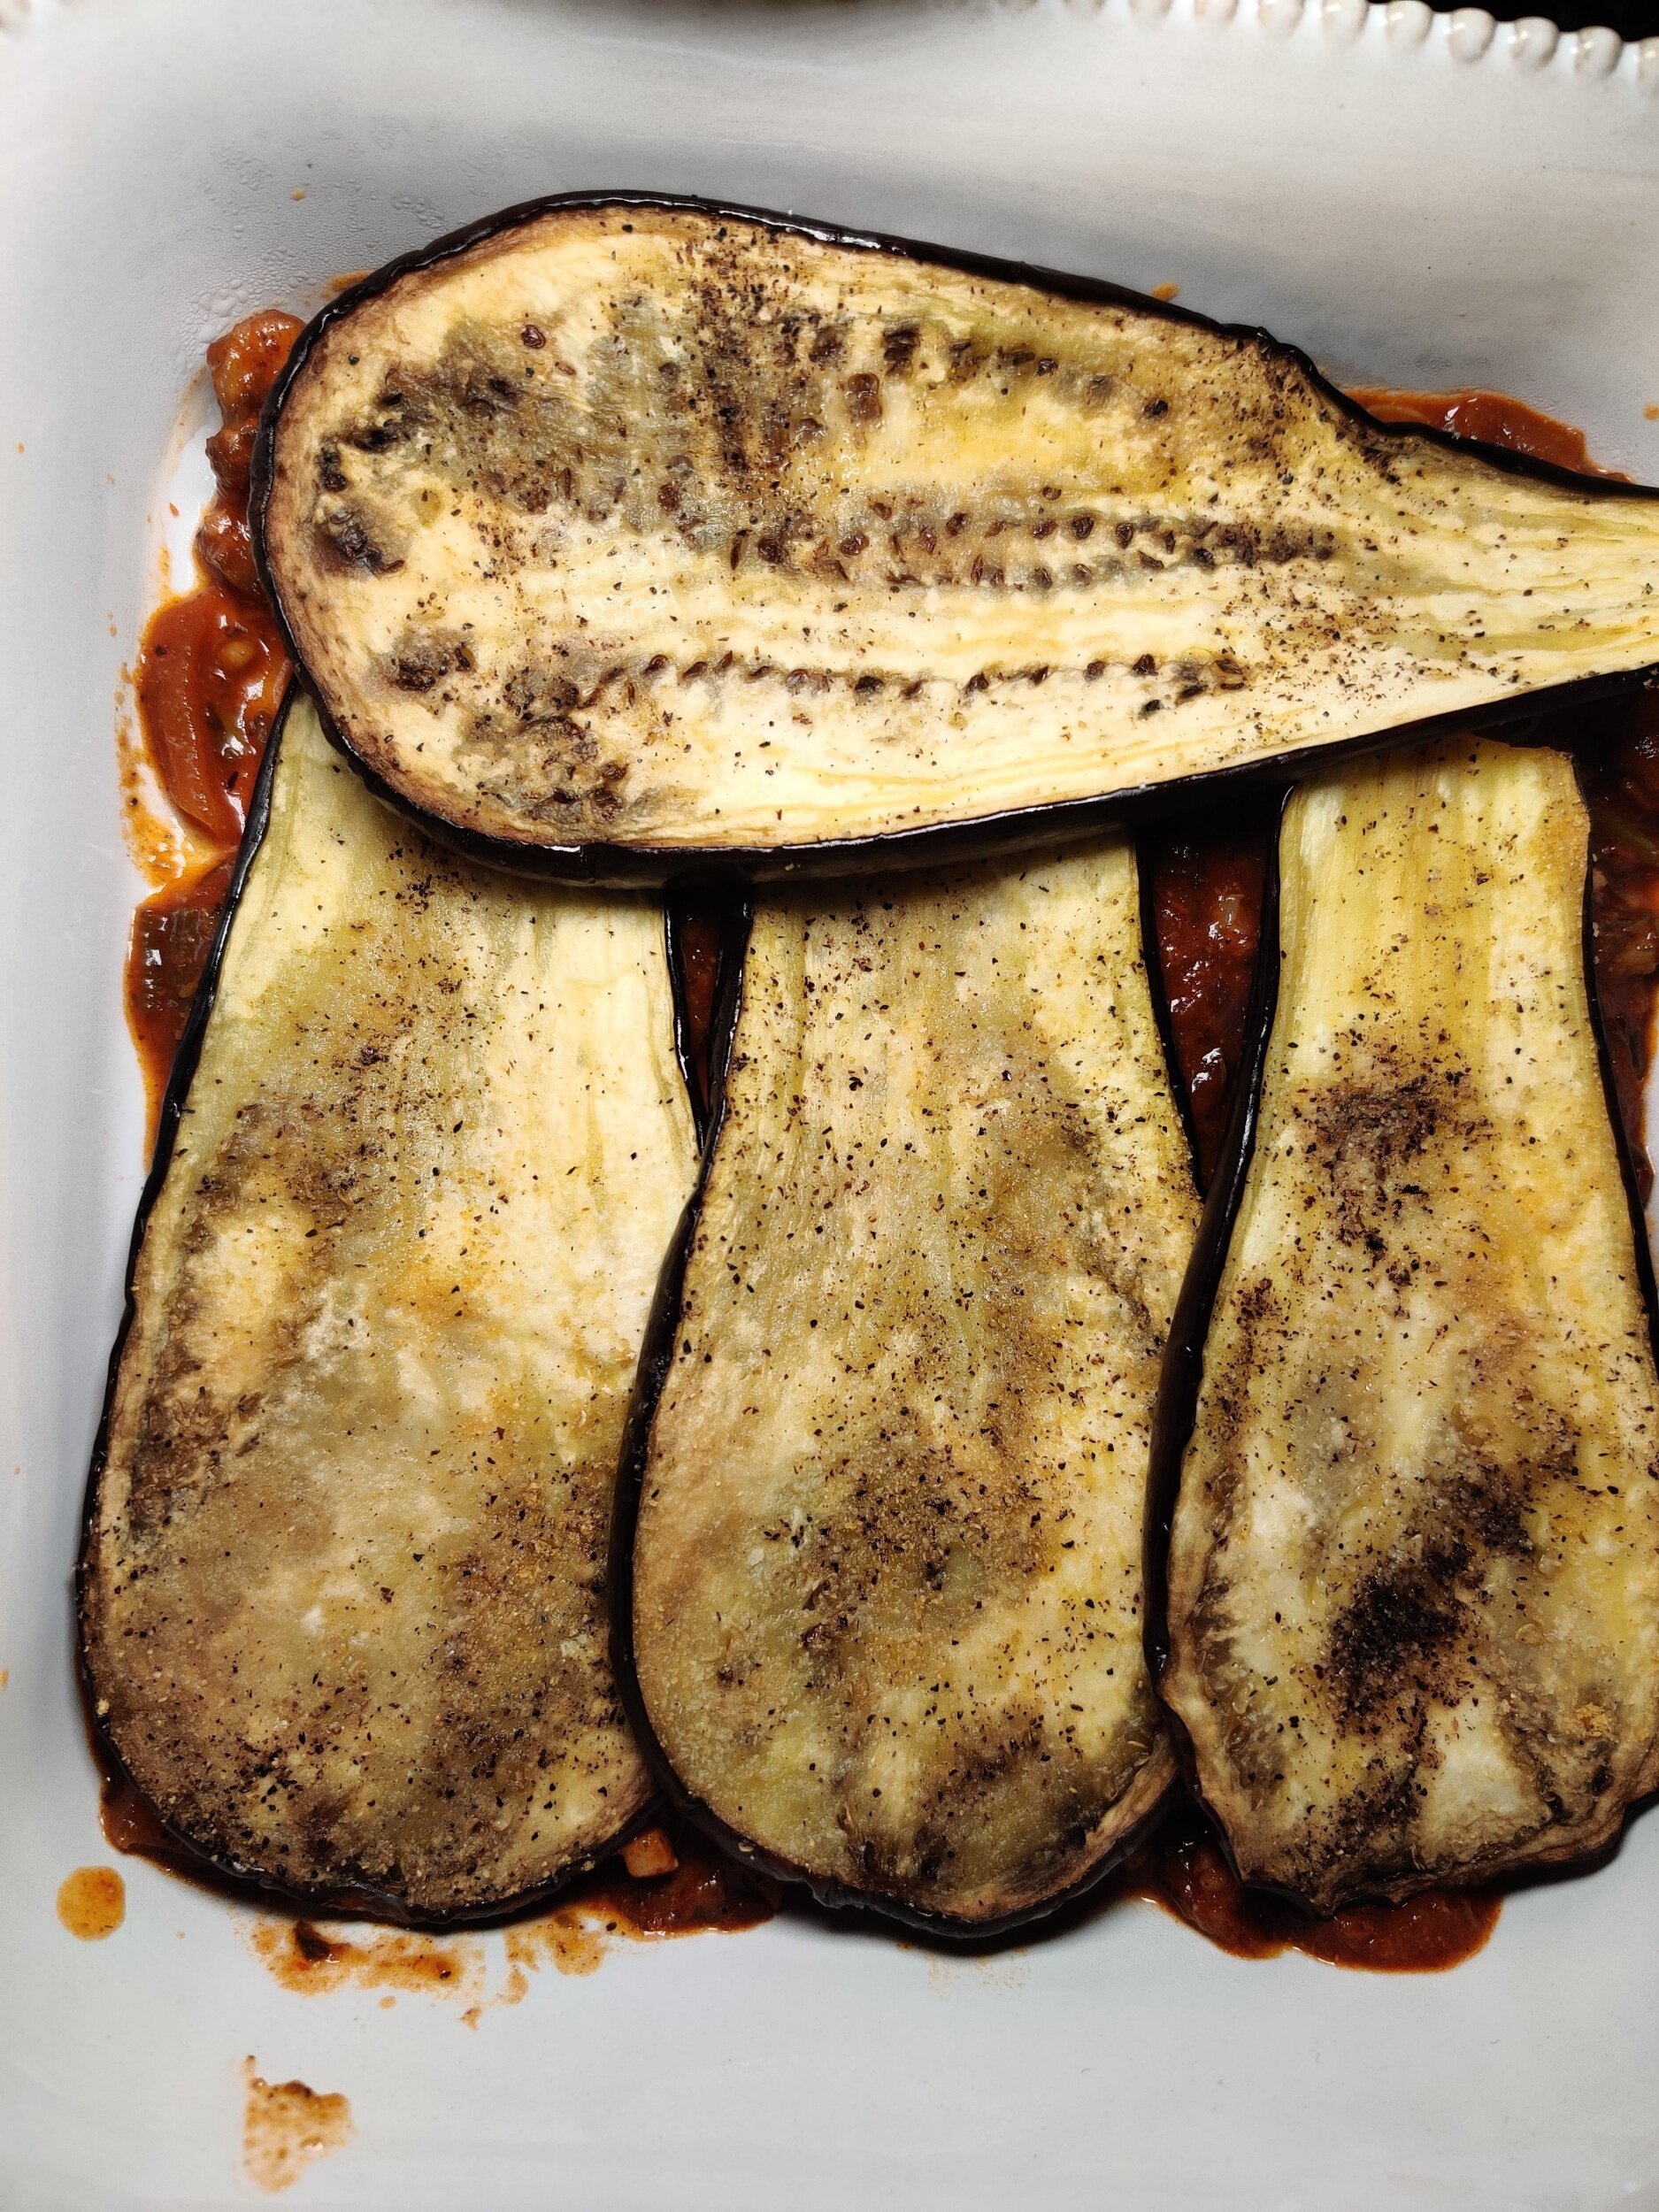
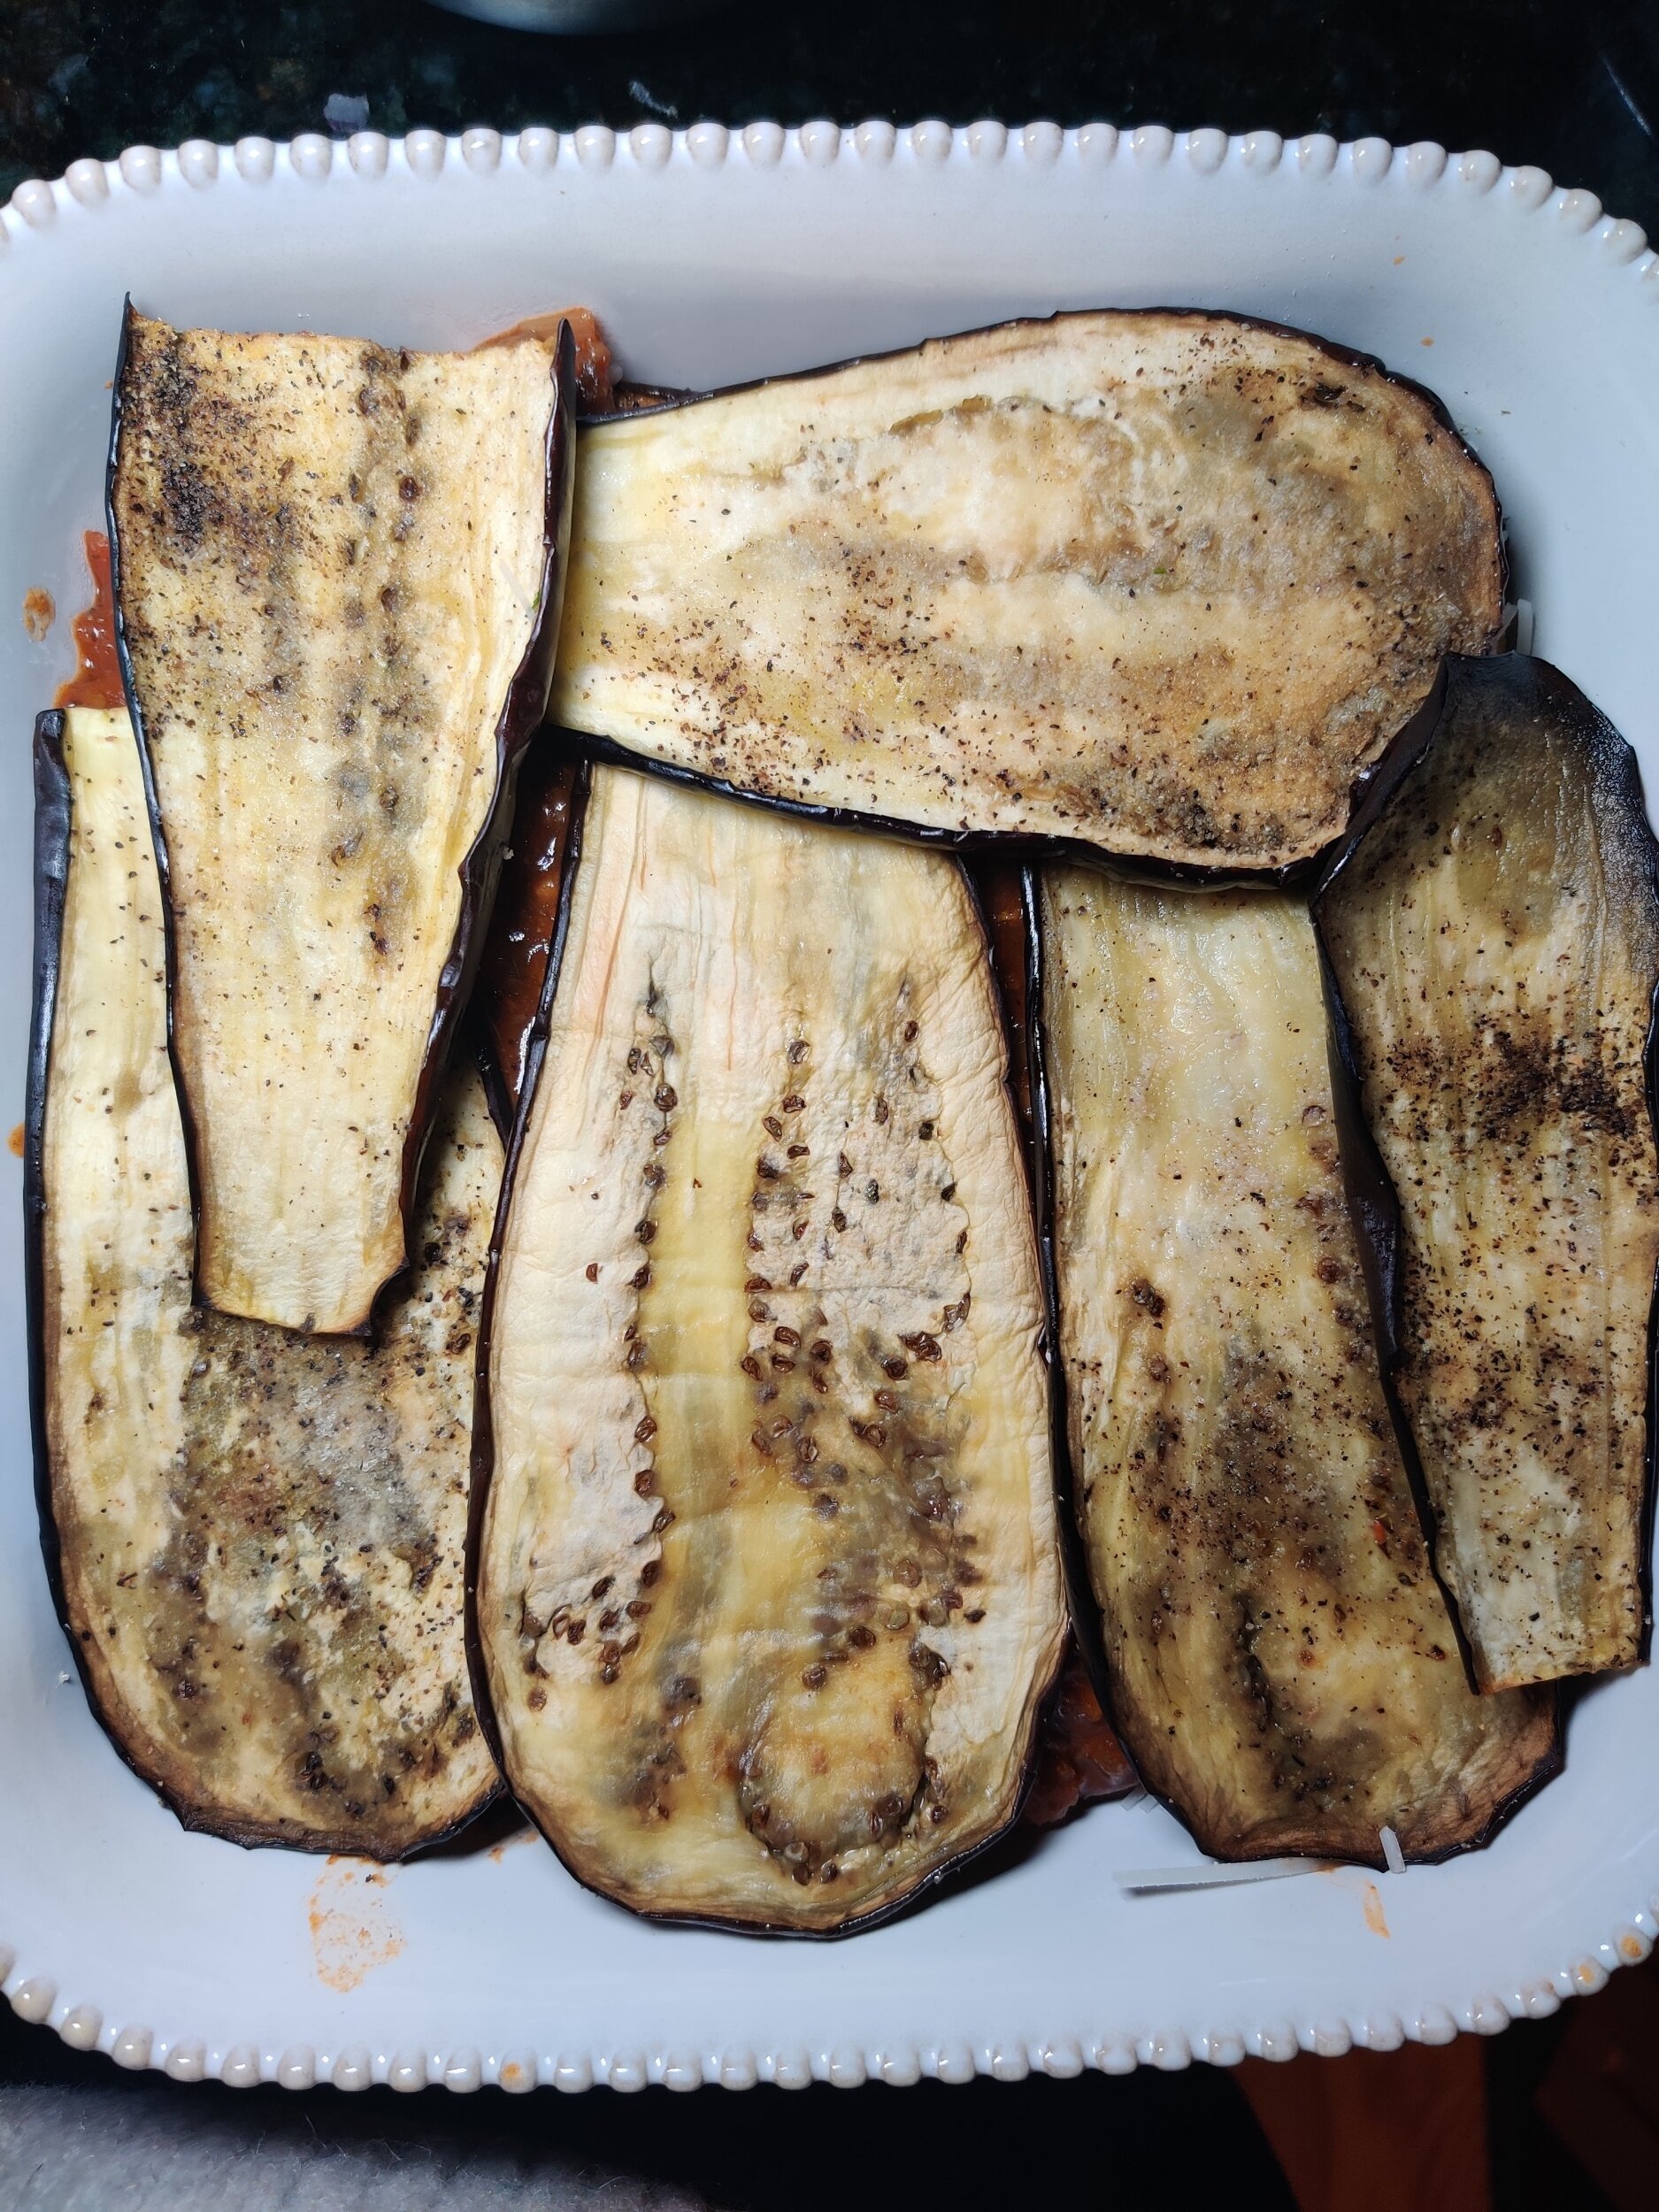
Prepare the eggplant. Think of this like boiling pasta sheets before laying them into the baking pan to layer your lasagna. Pre-cooked eggplant will taste so much better seasoned and baked before assembly.
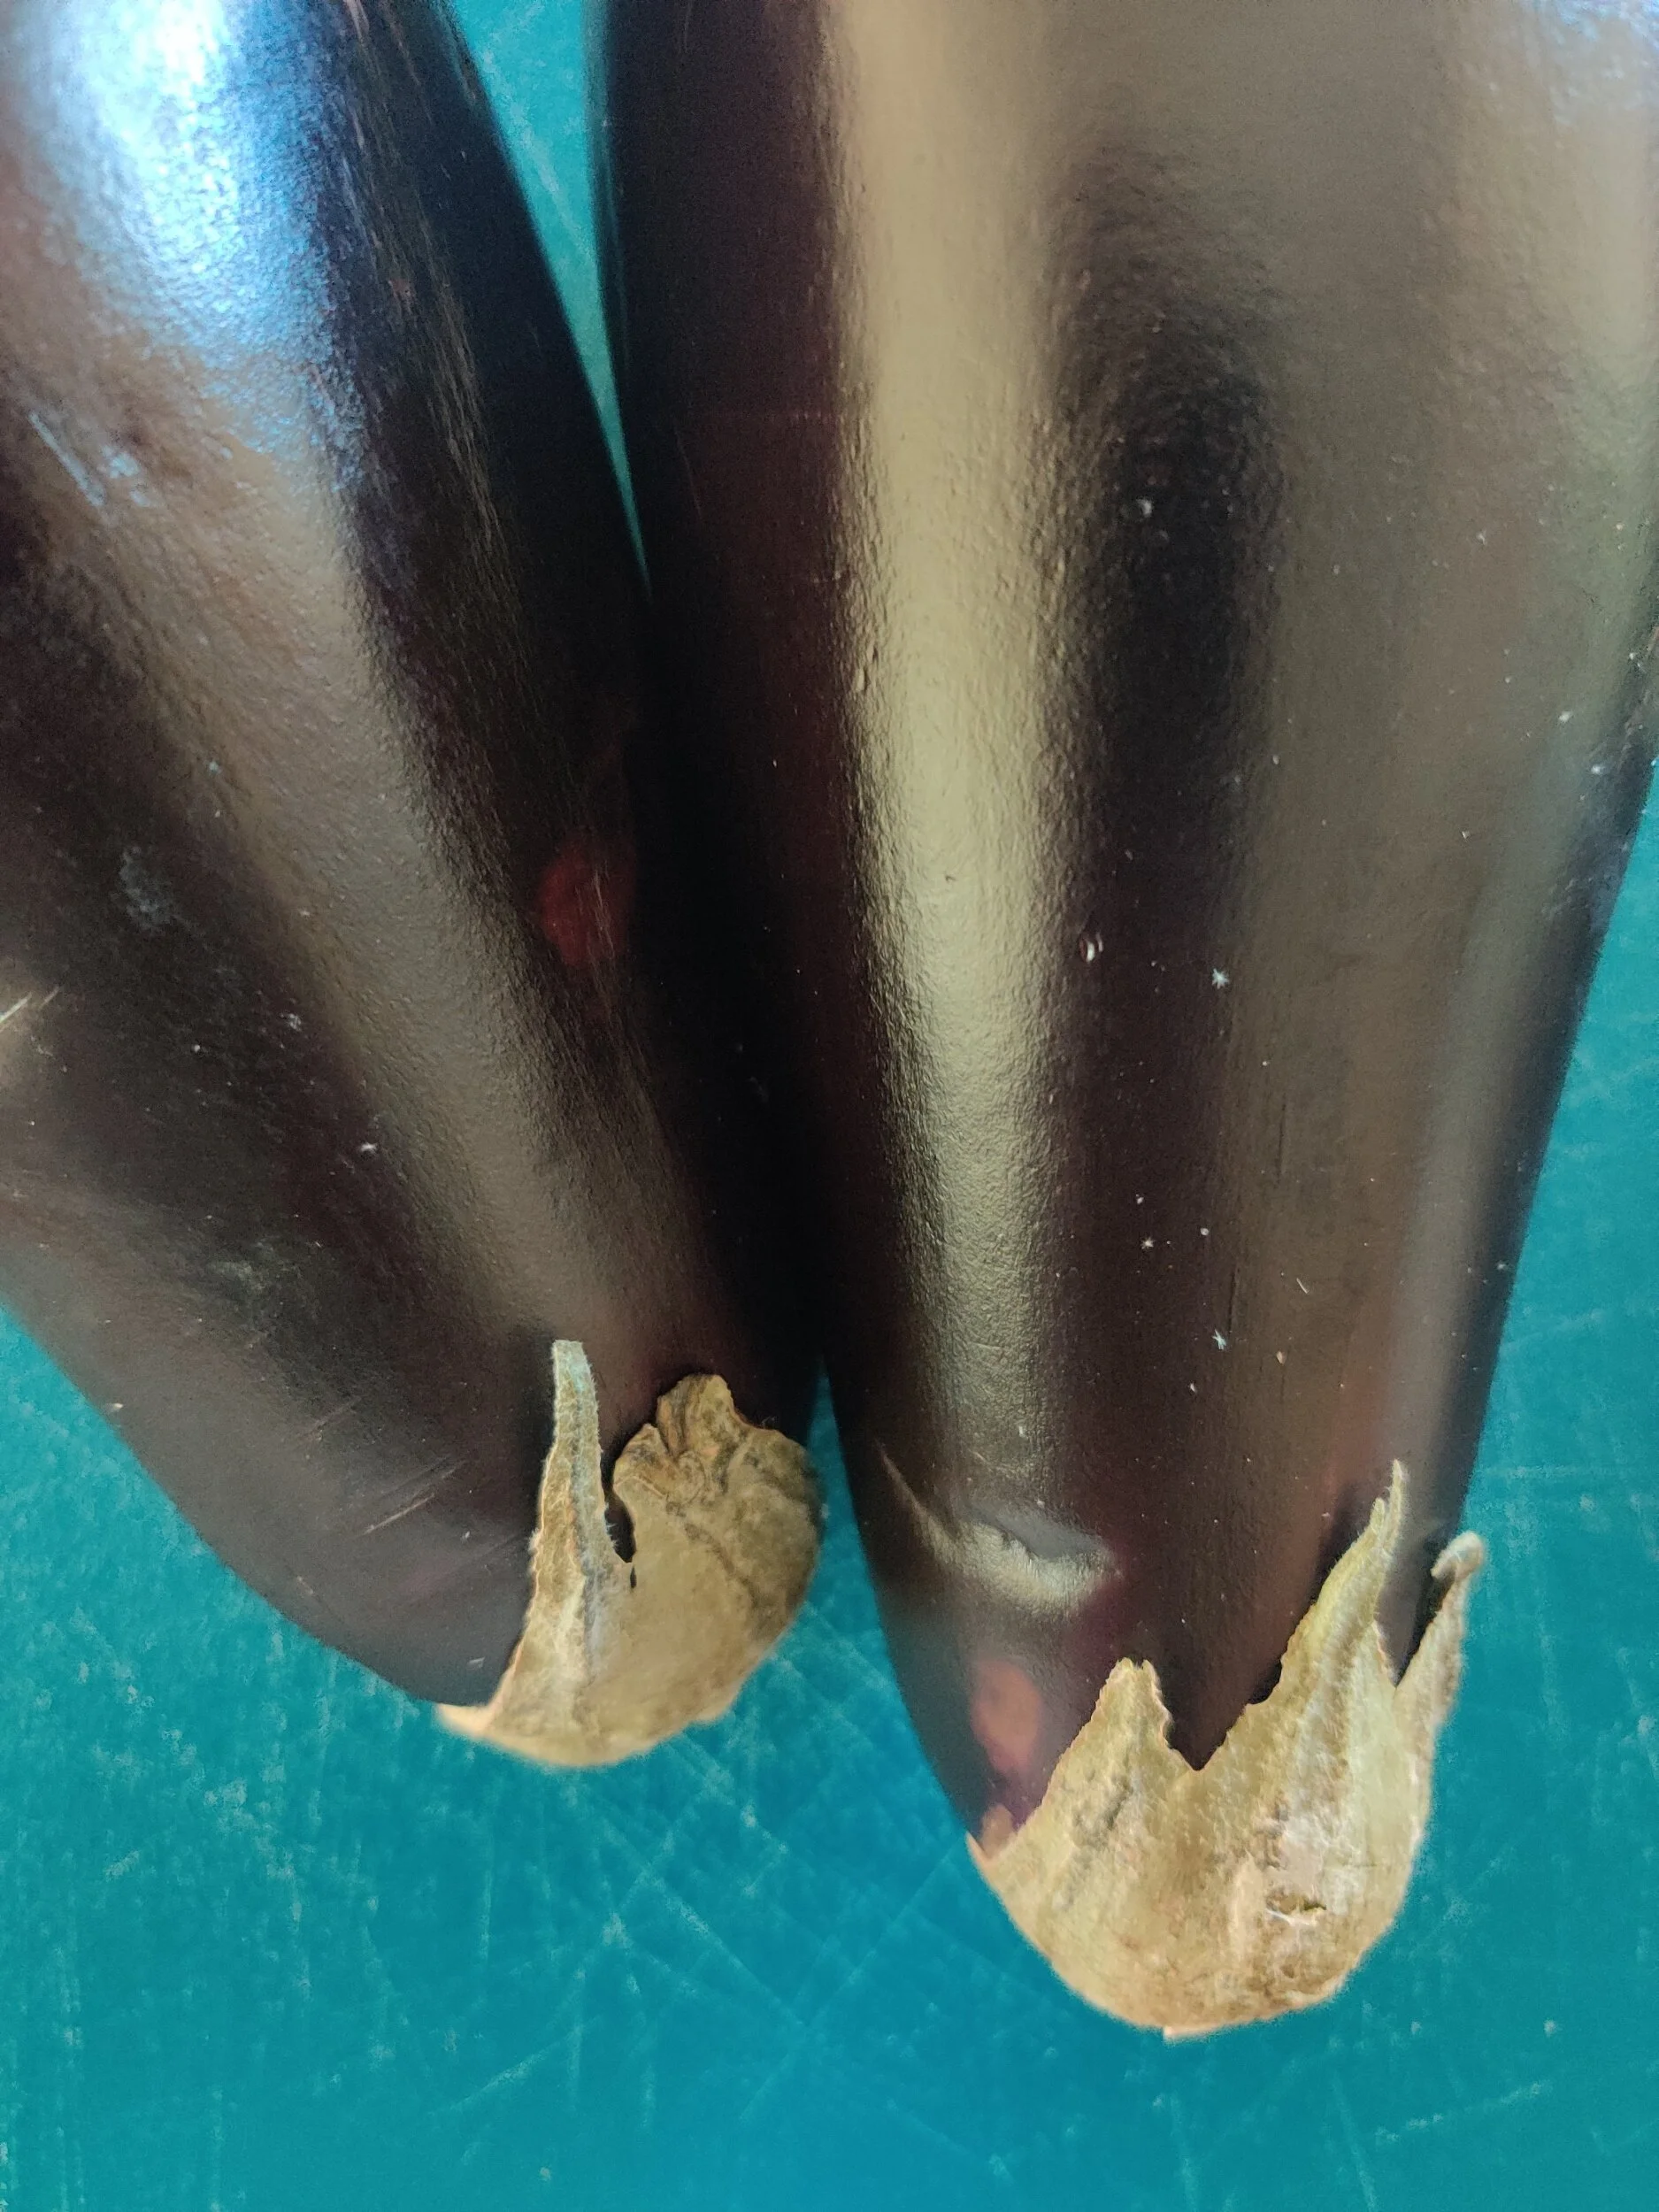
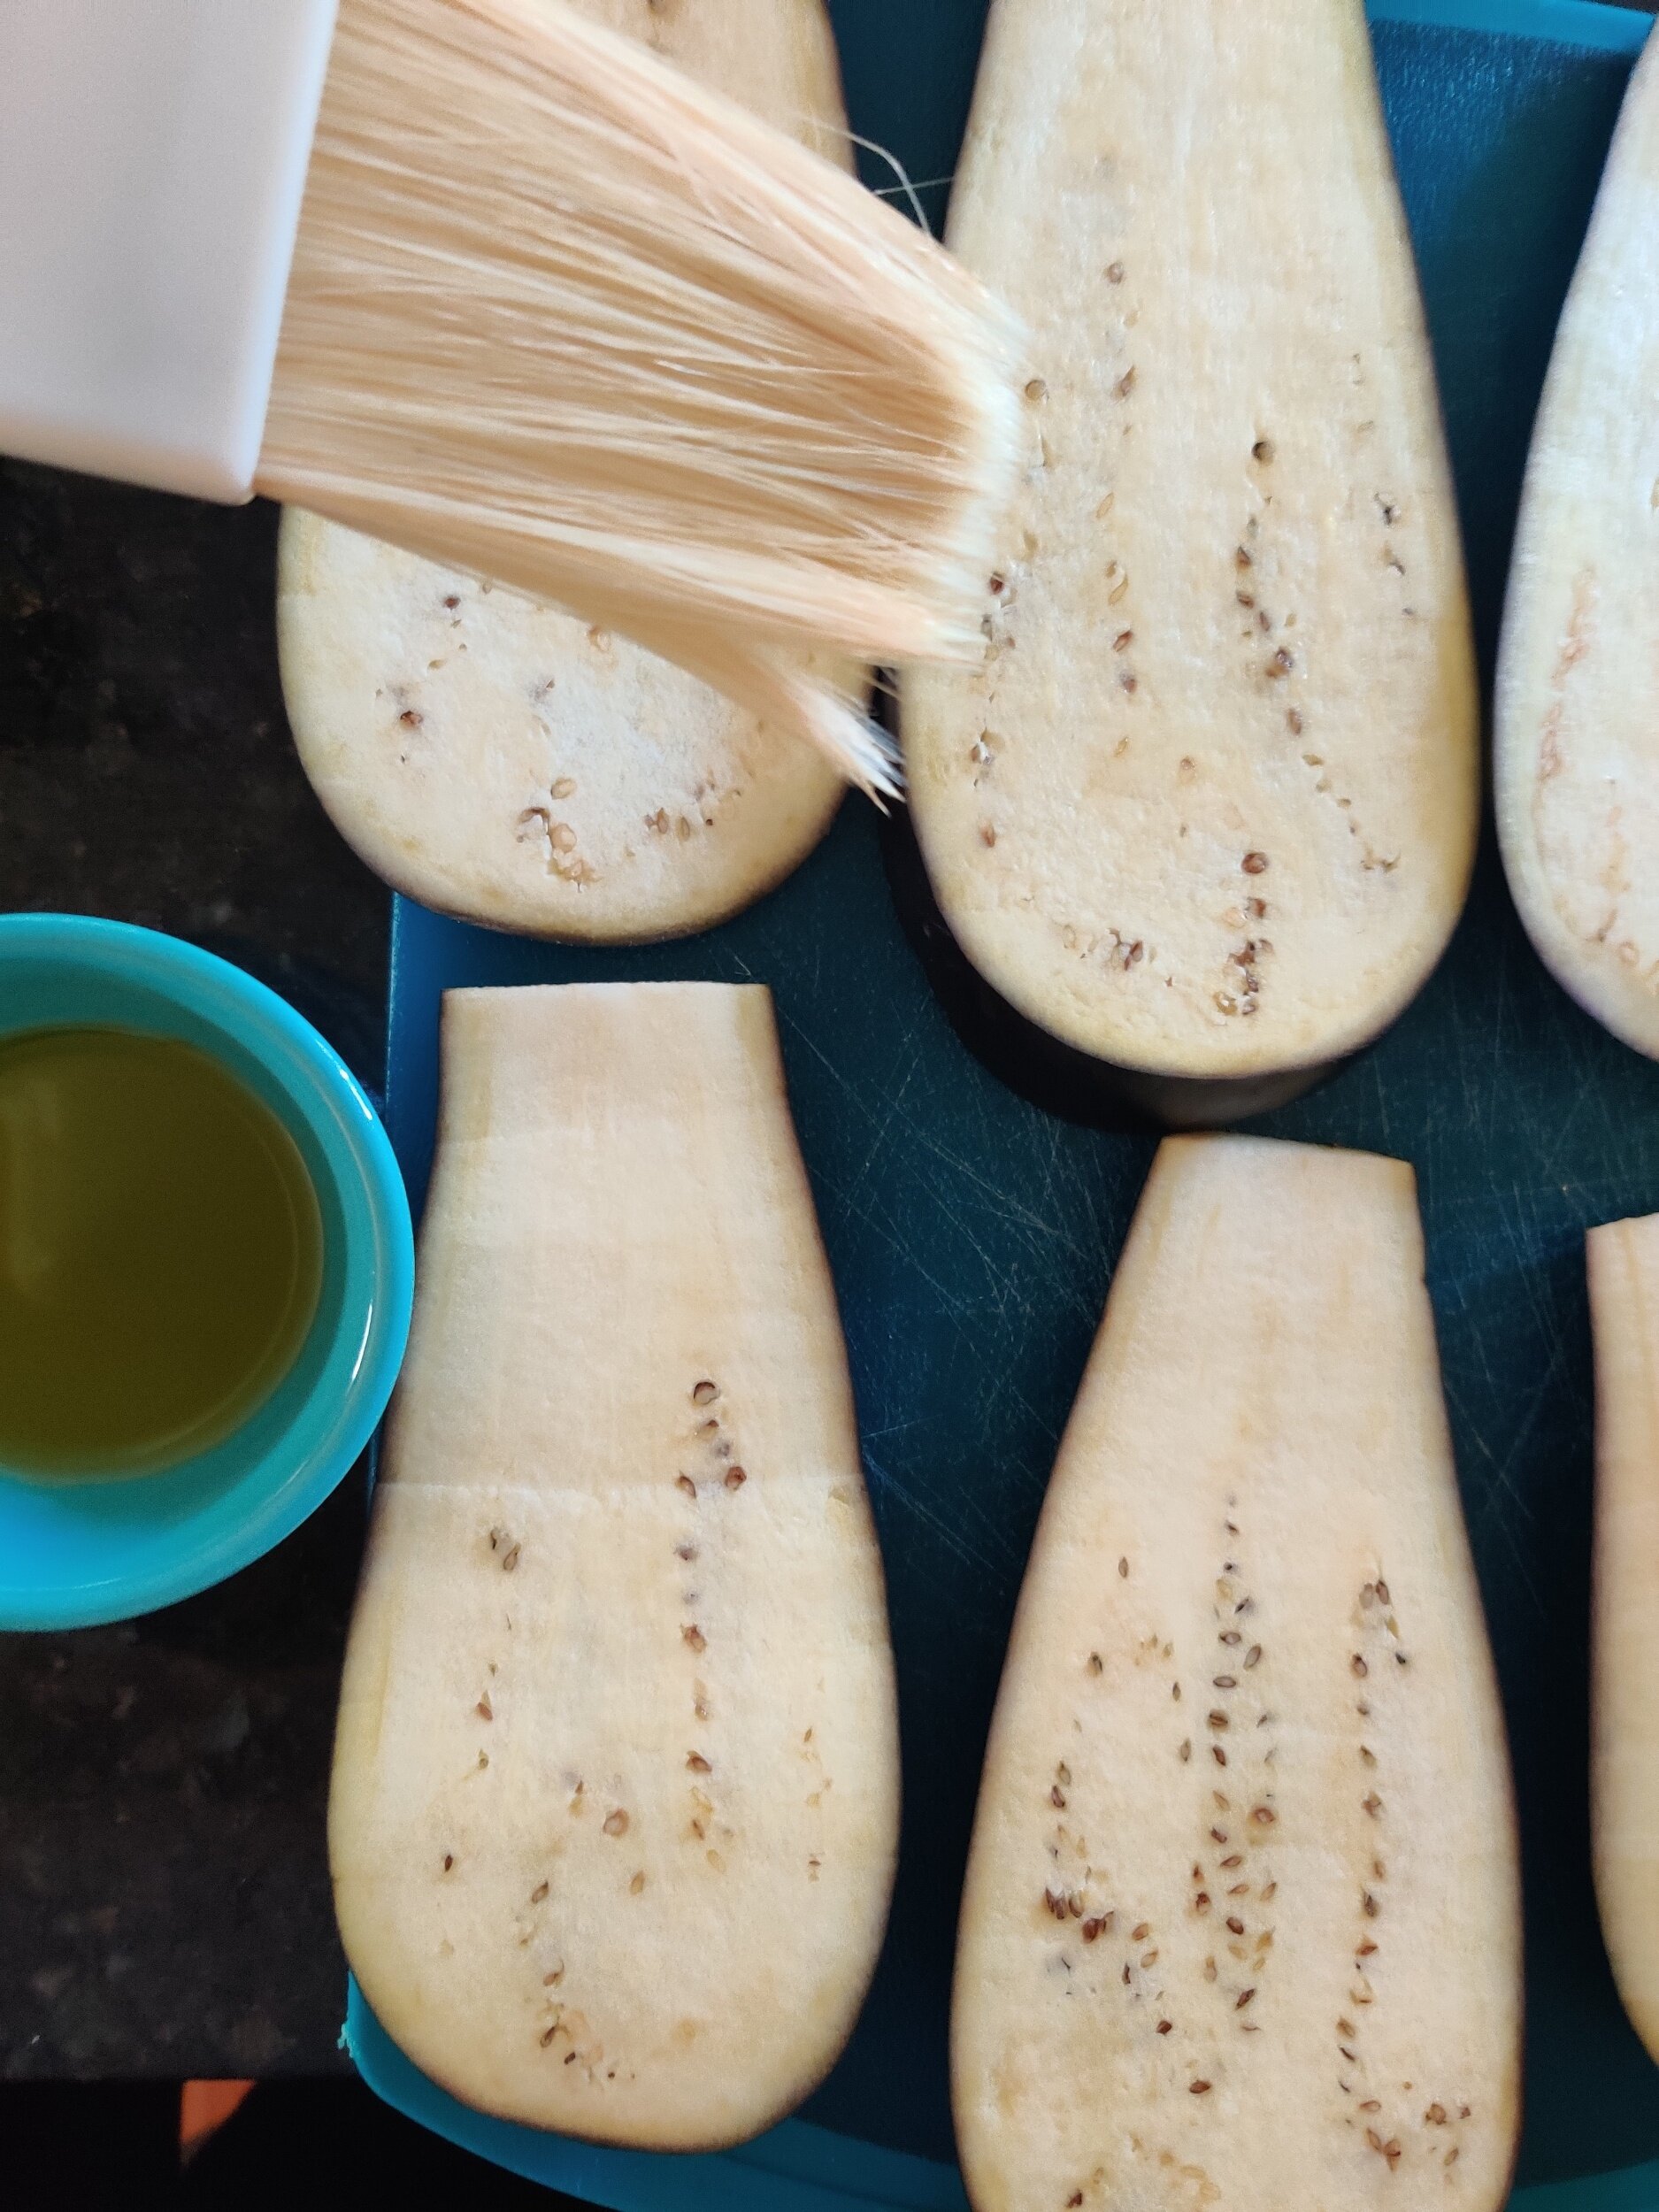
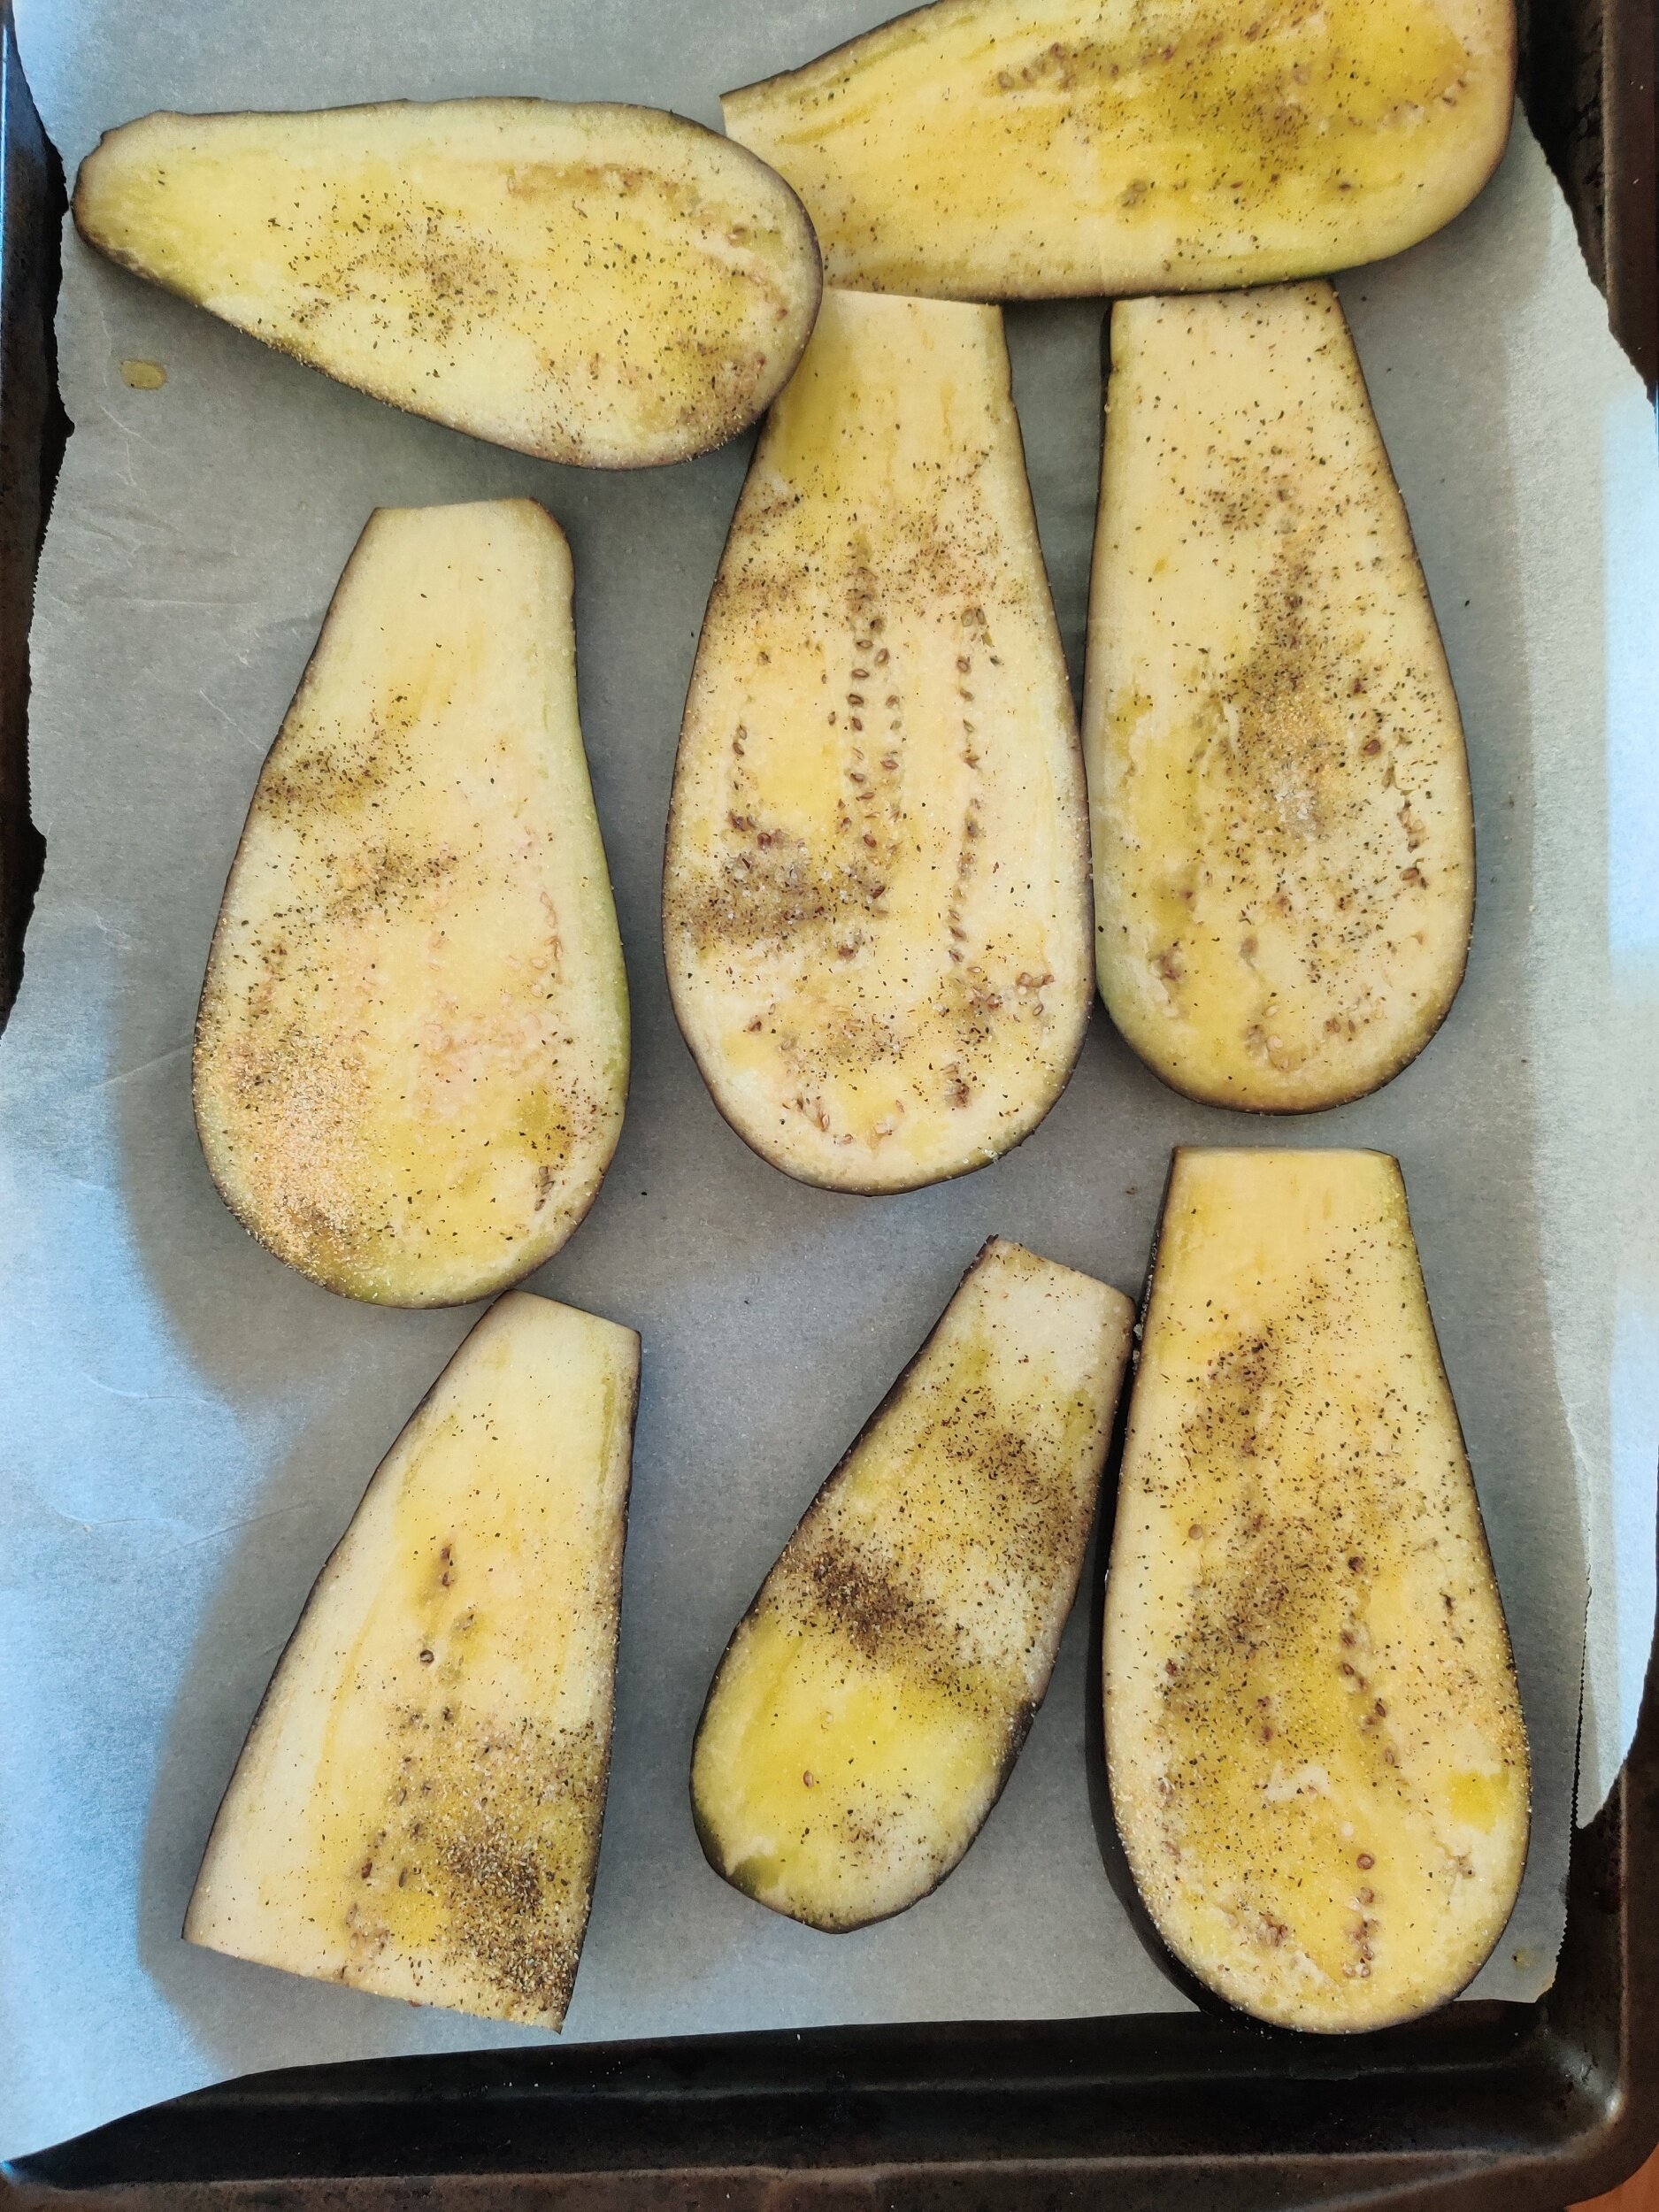
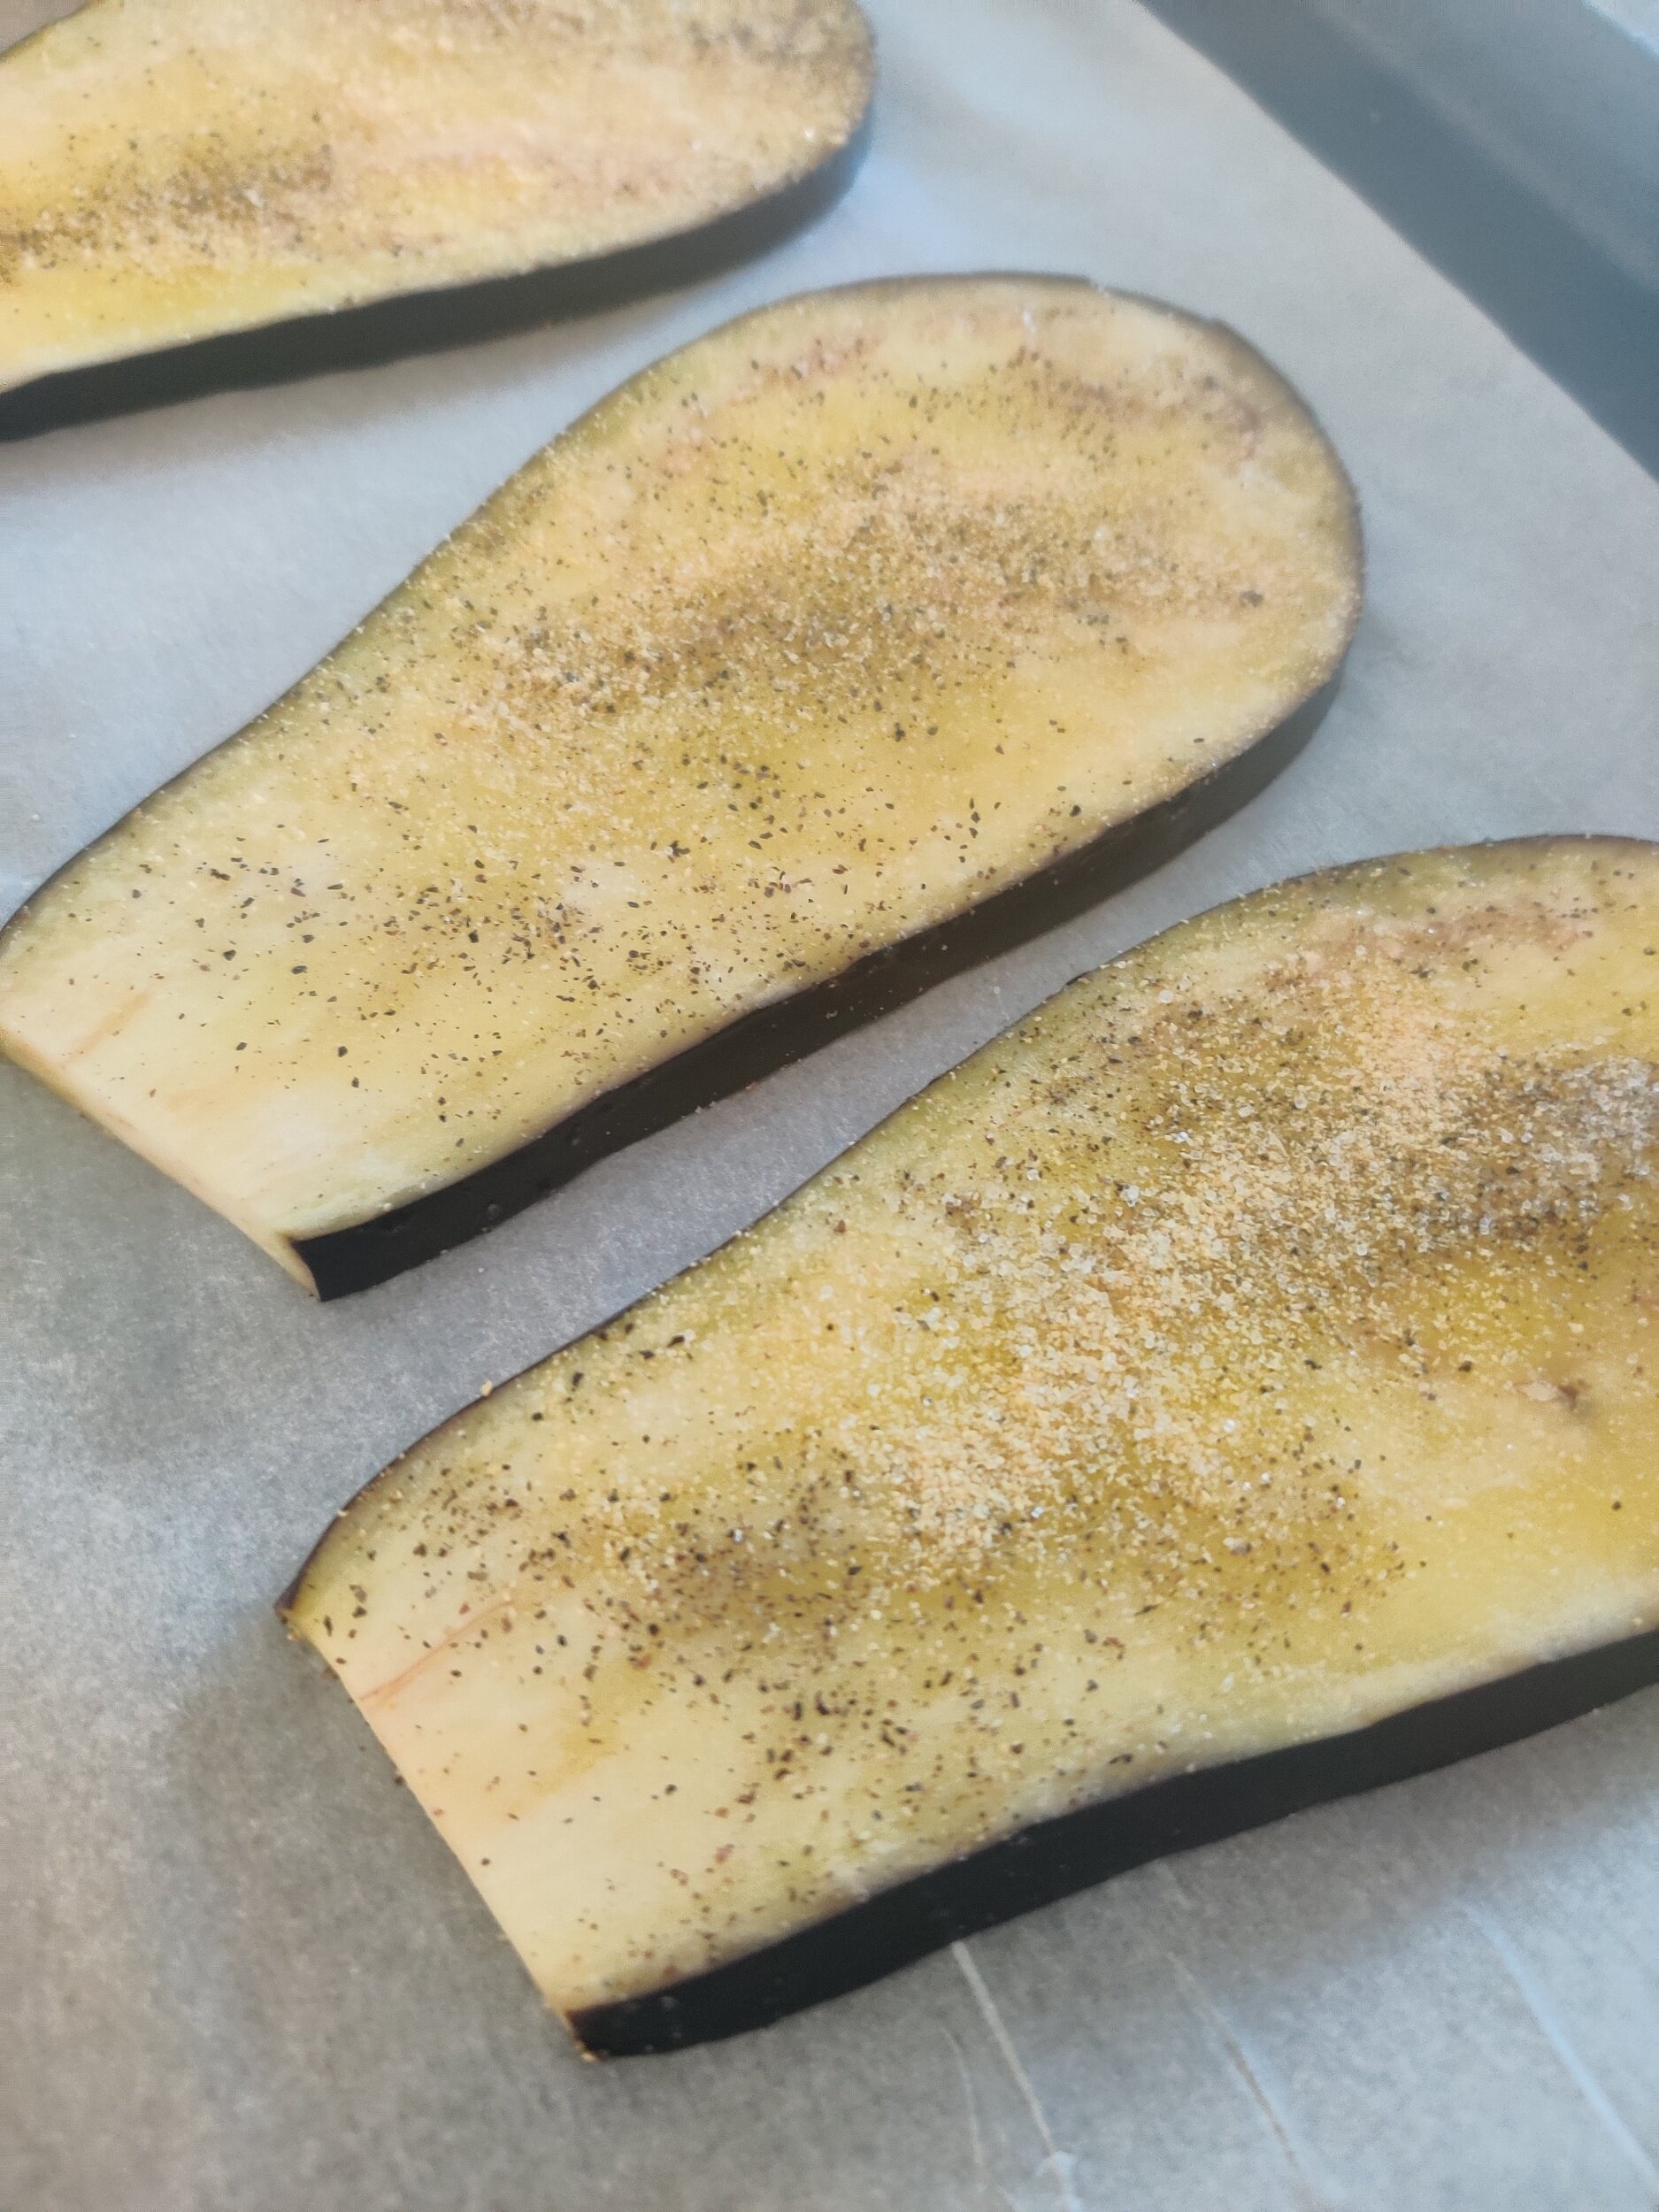
Line two baking sheets with parchment paper. Slice off the tips of your eggplants, then slice lengthwise into 1/4 inch slices (or just thick enough to handle the layers on top).
Brush with olive oil, then season with the salt, pepper and garlic powder.
Bake at 375F for about 20 minutes, until slightly browned and softened, remove from oven and set aside.
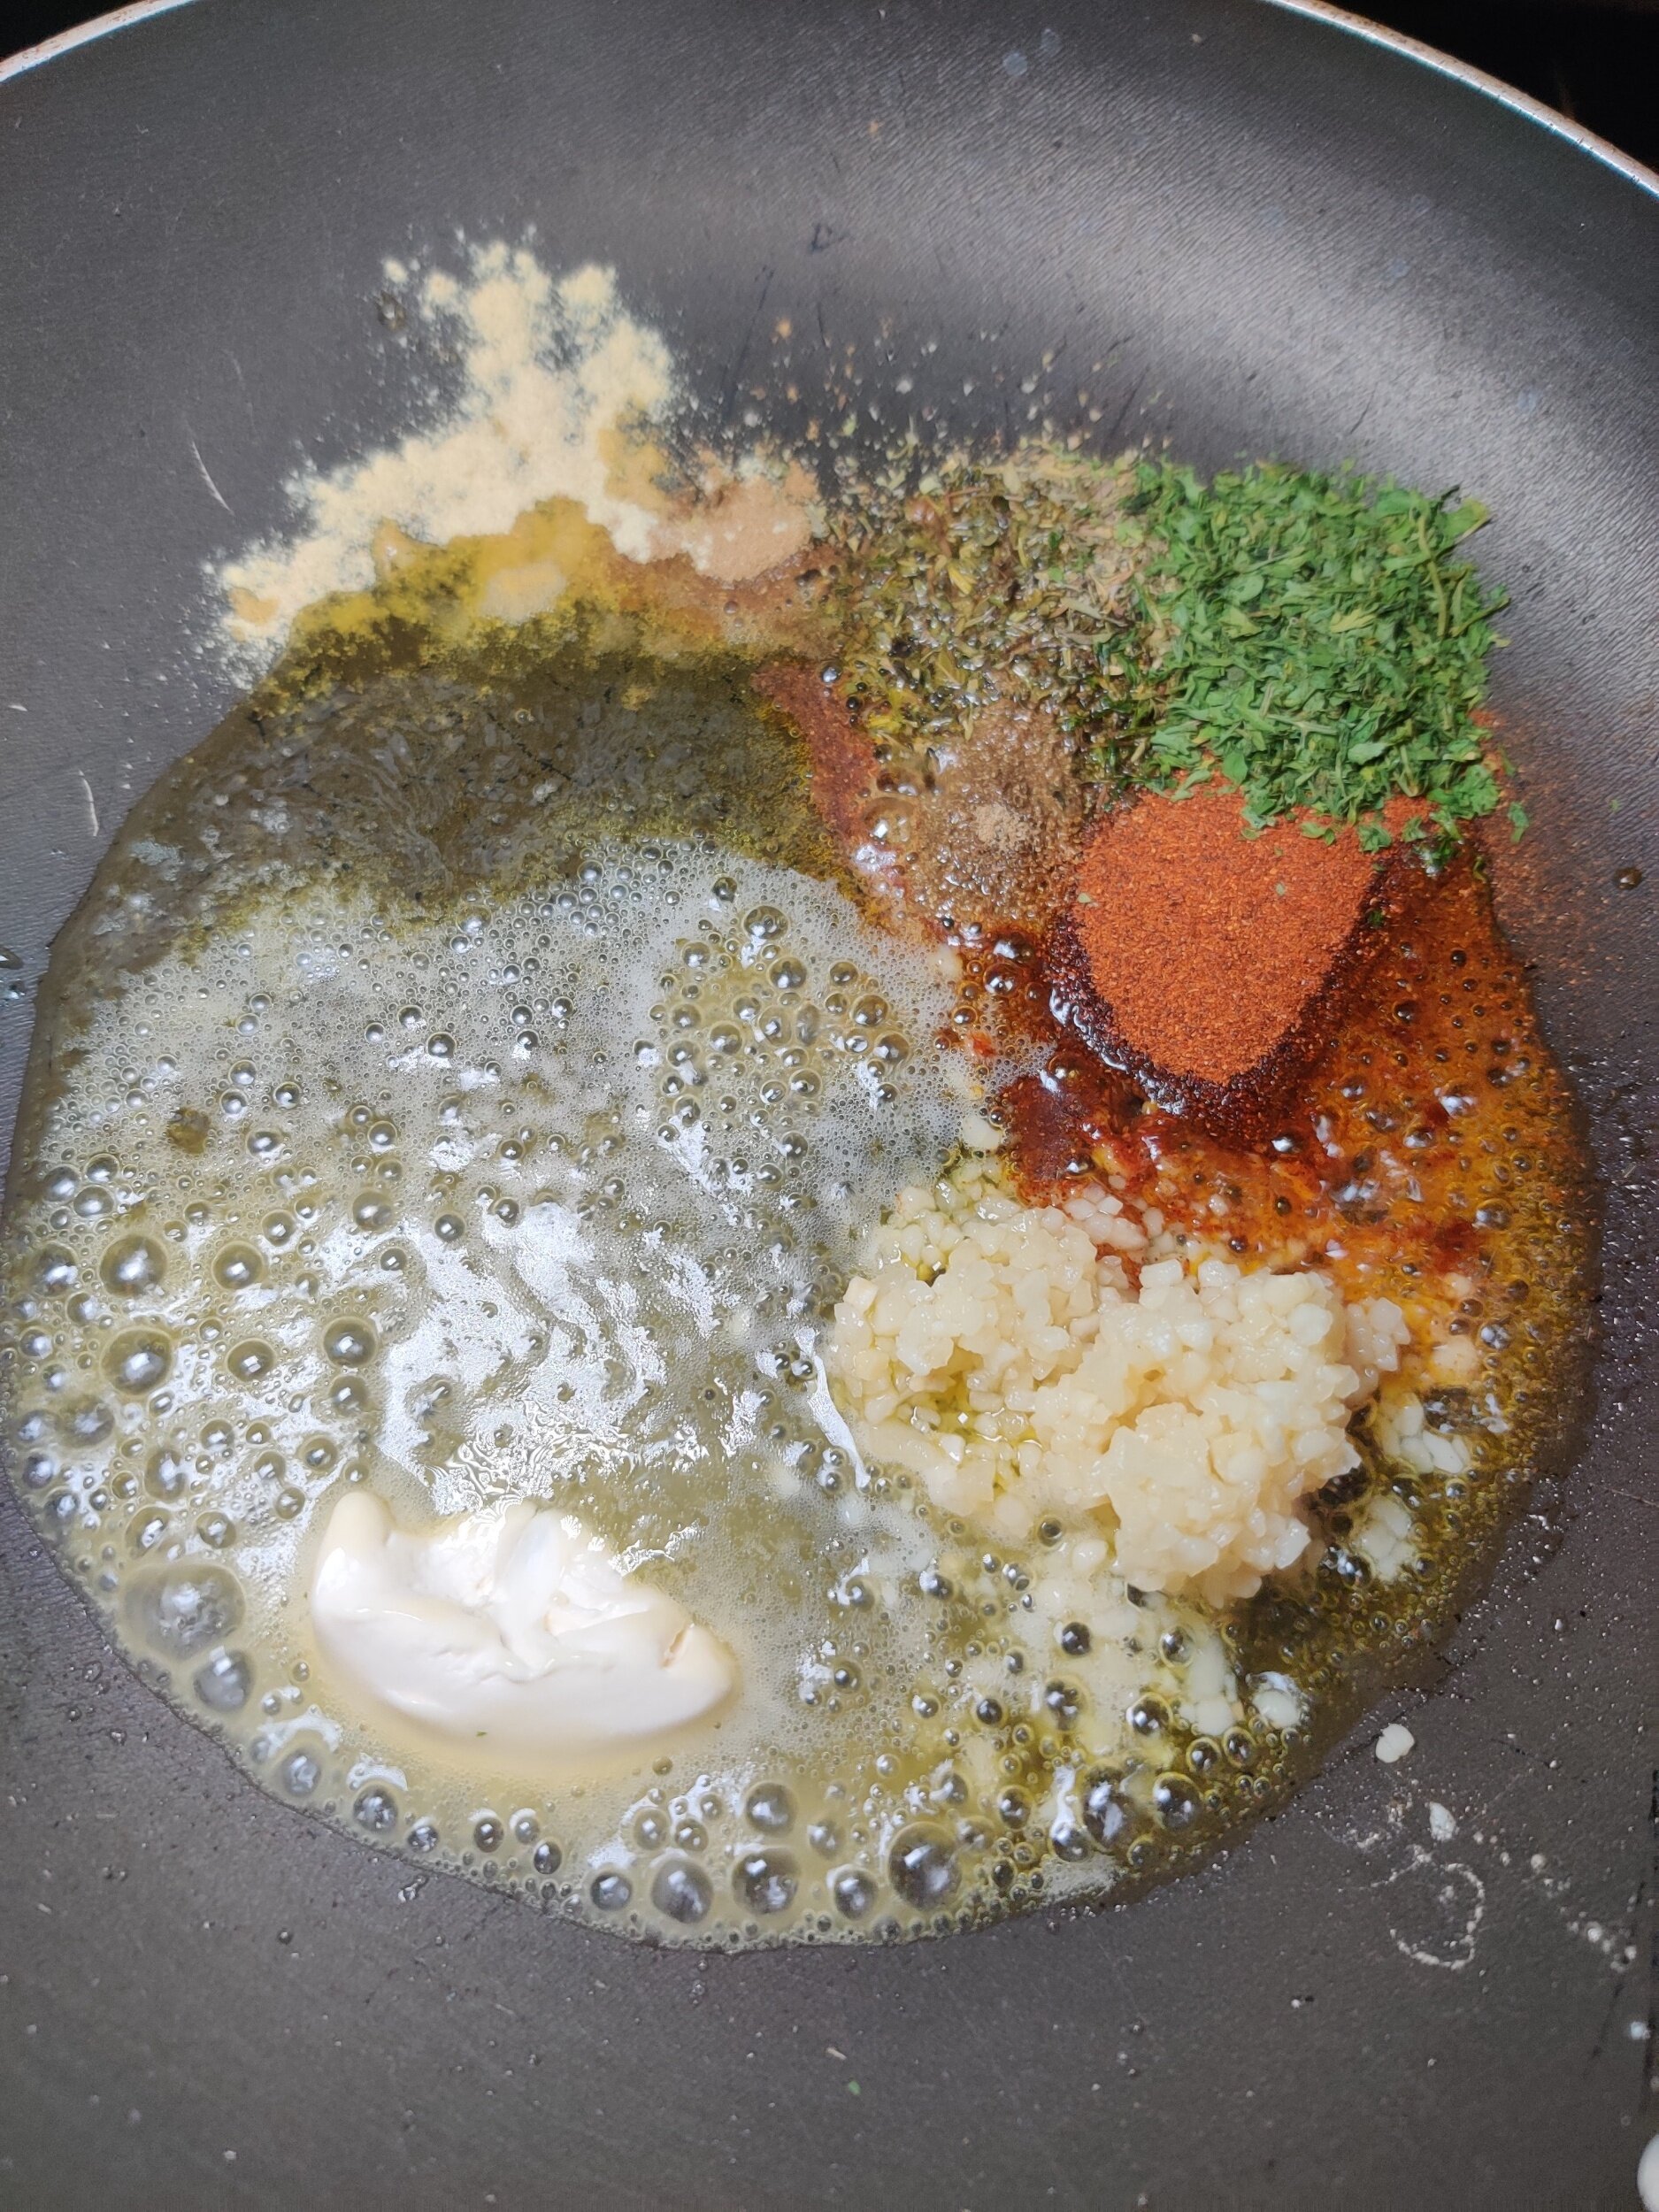
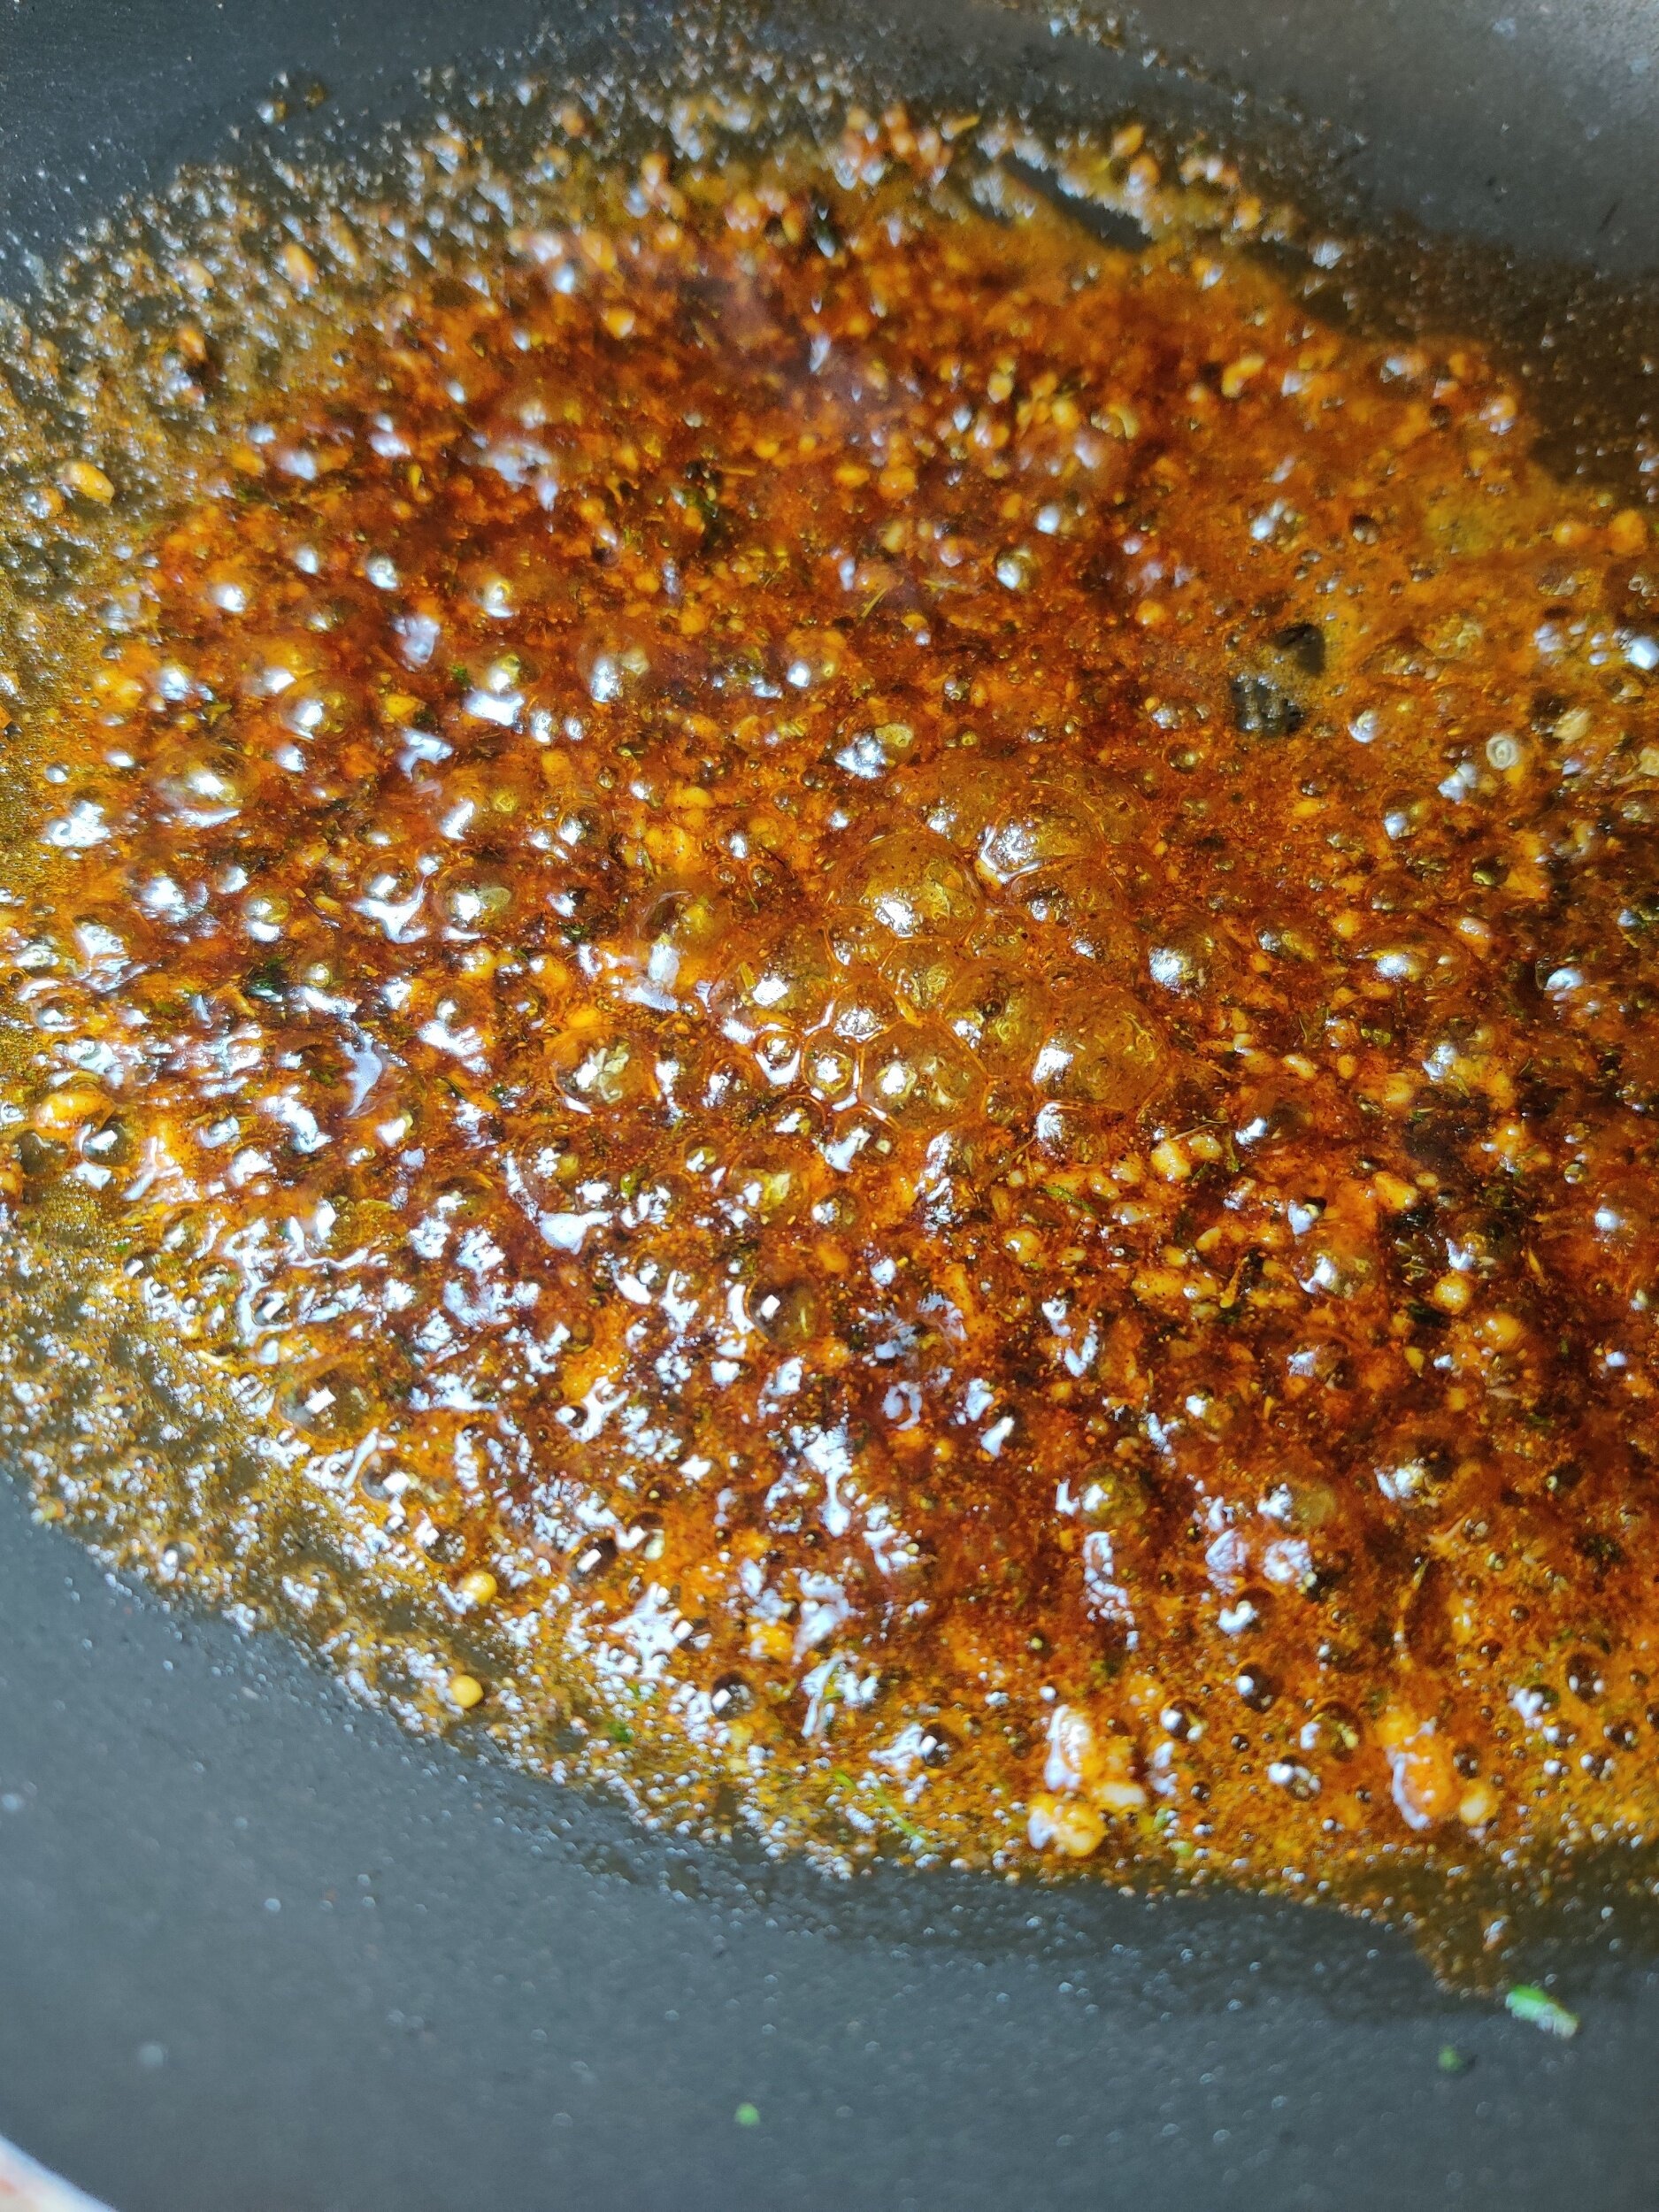
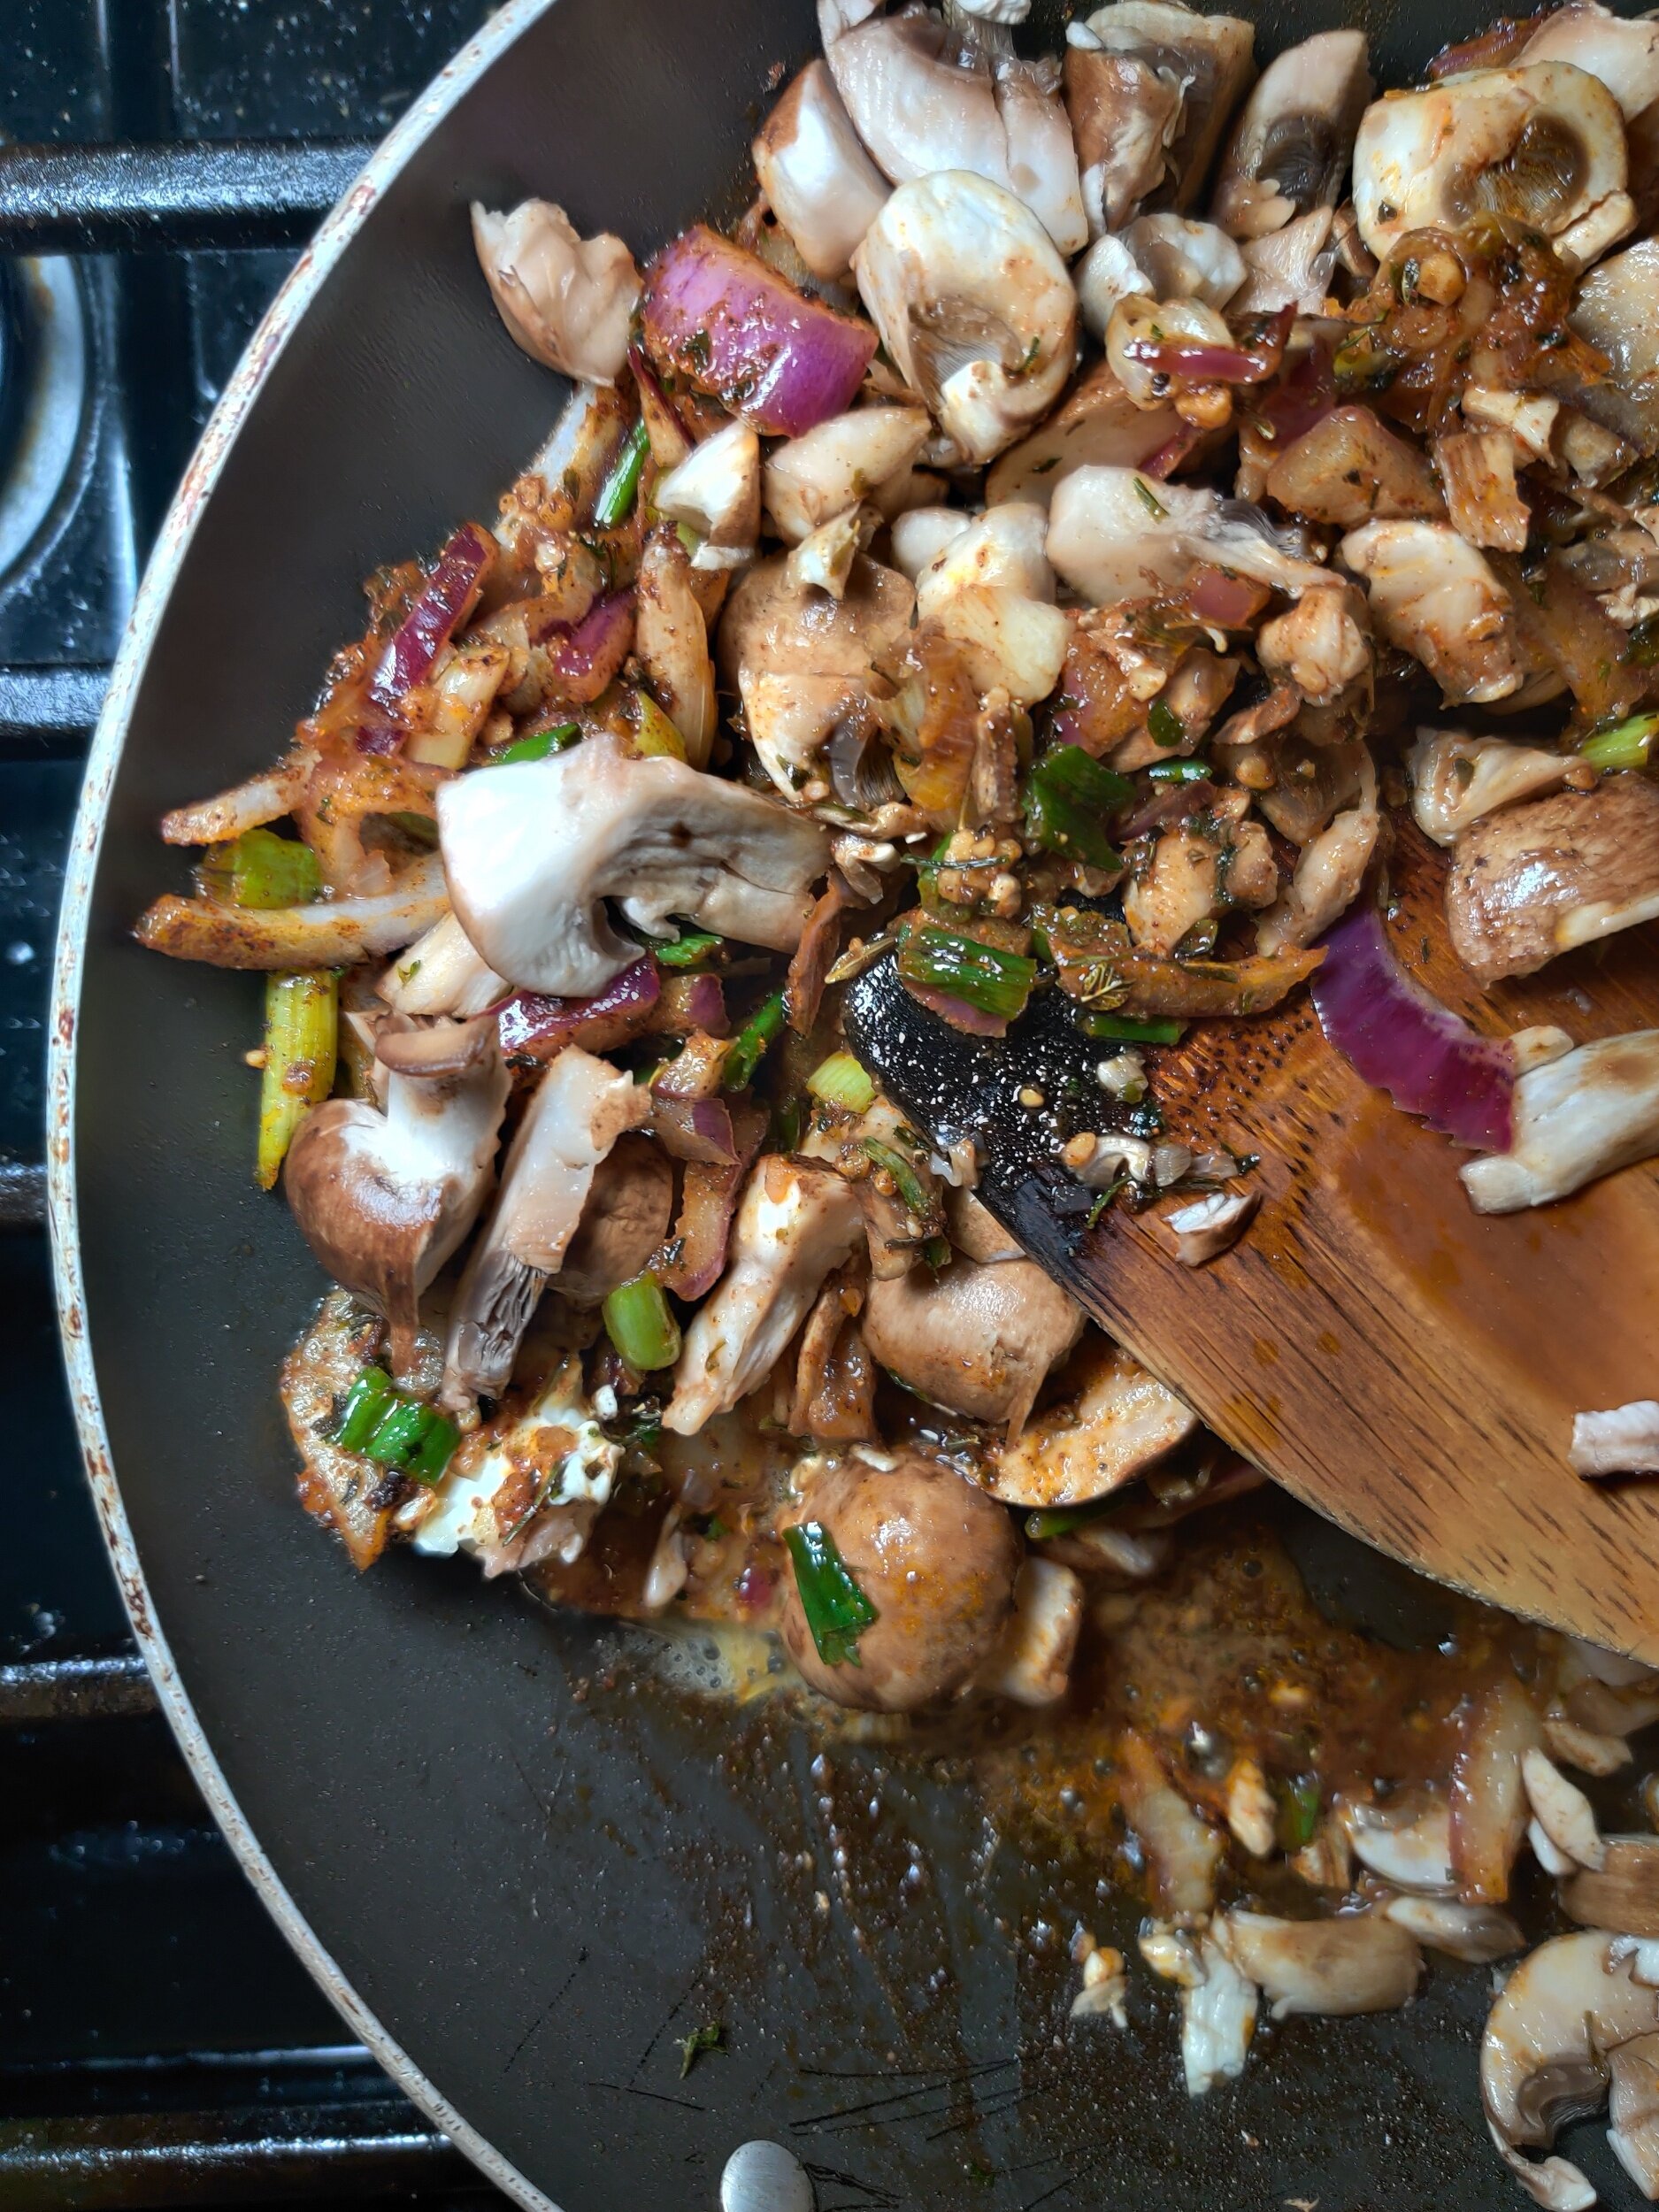
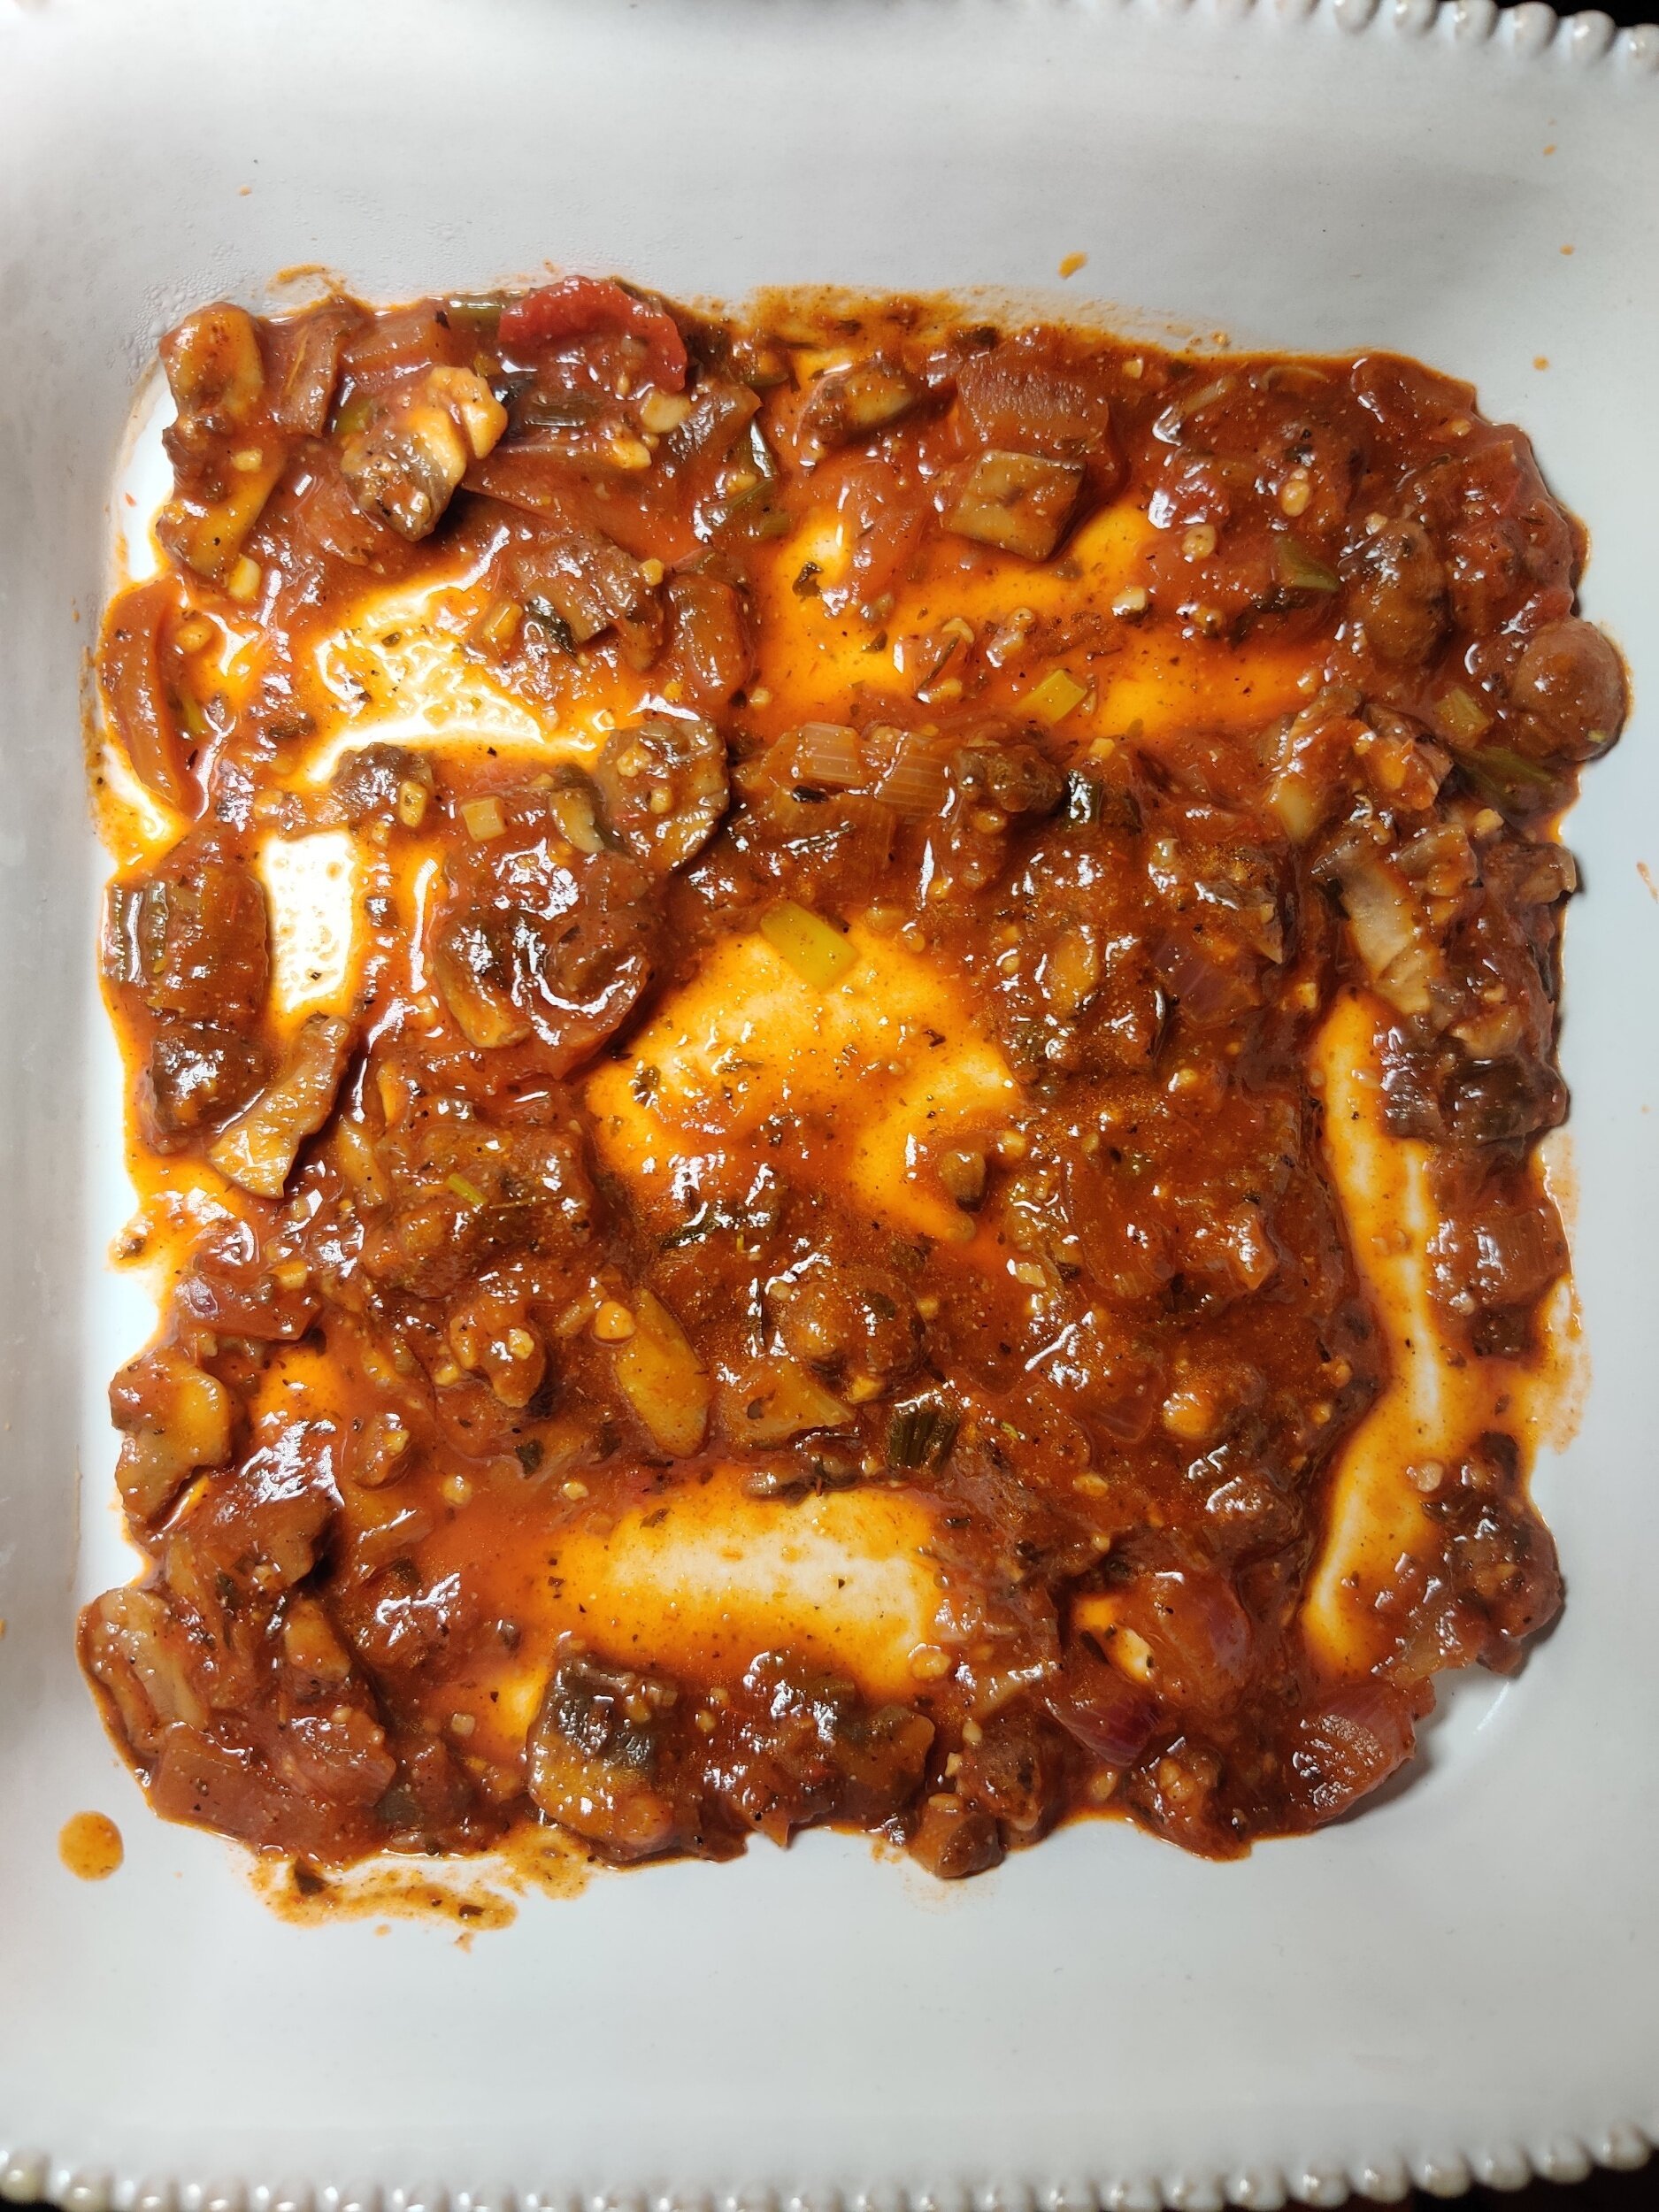
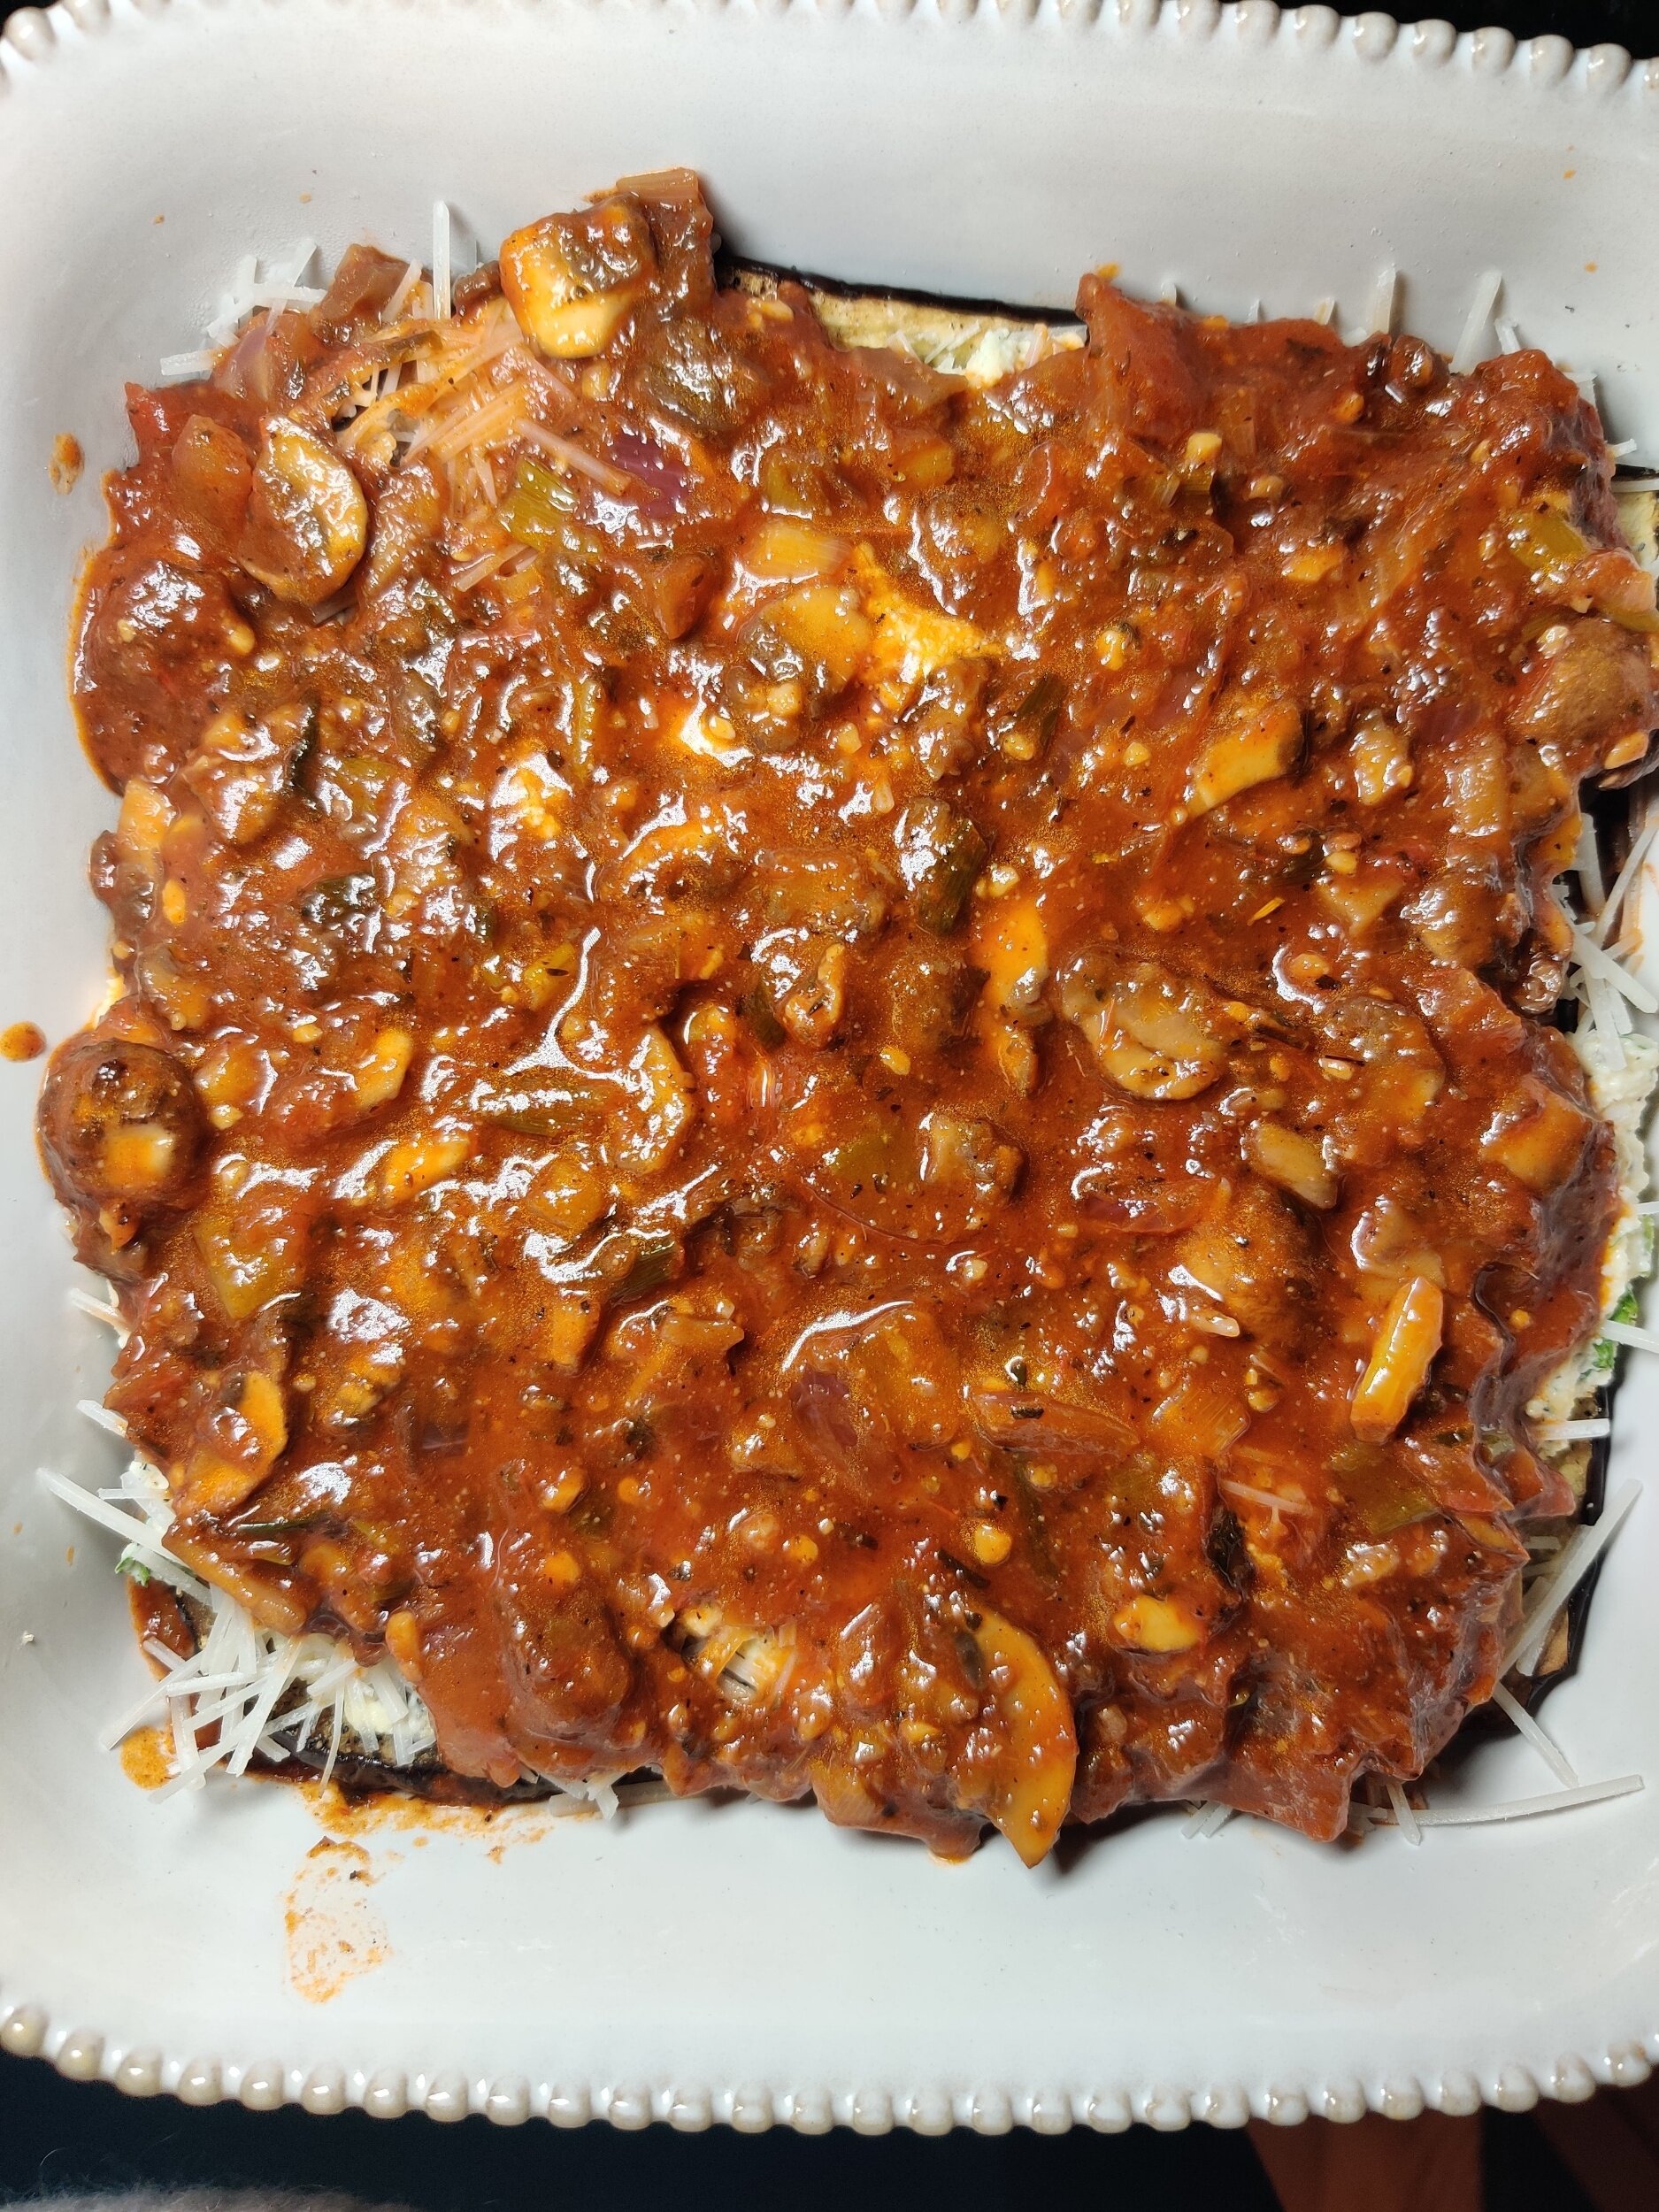
Make your ragu. In a saucepan, add the butter, olive oil, salt, pepper, fresh garlic and spices. Sauté for 2-3 minutes until fragrant. Add the spring and red onions, cook for another 2-3 minutes.
Add in the mushroom, and sweat them out for about 5 minutes.
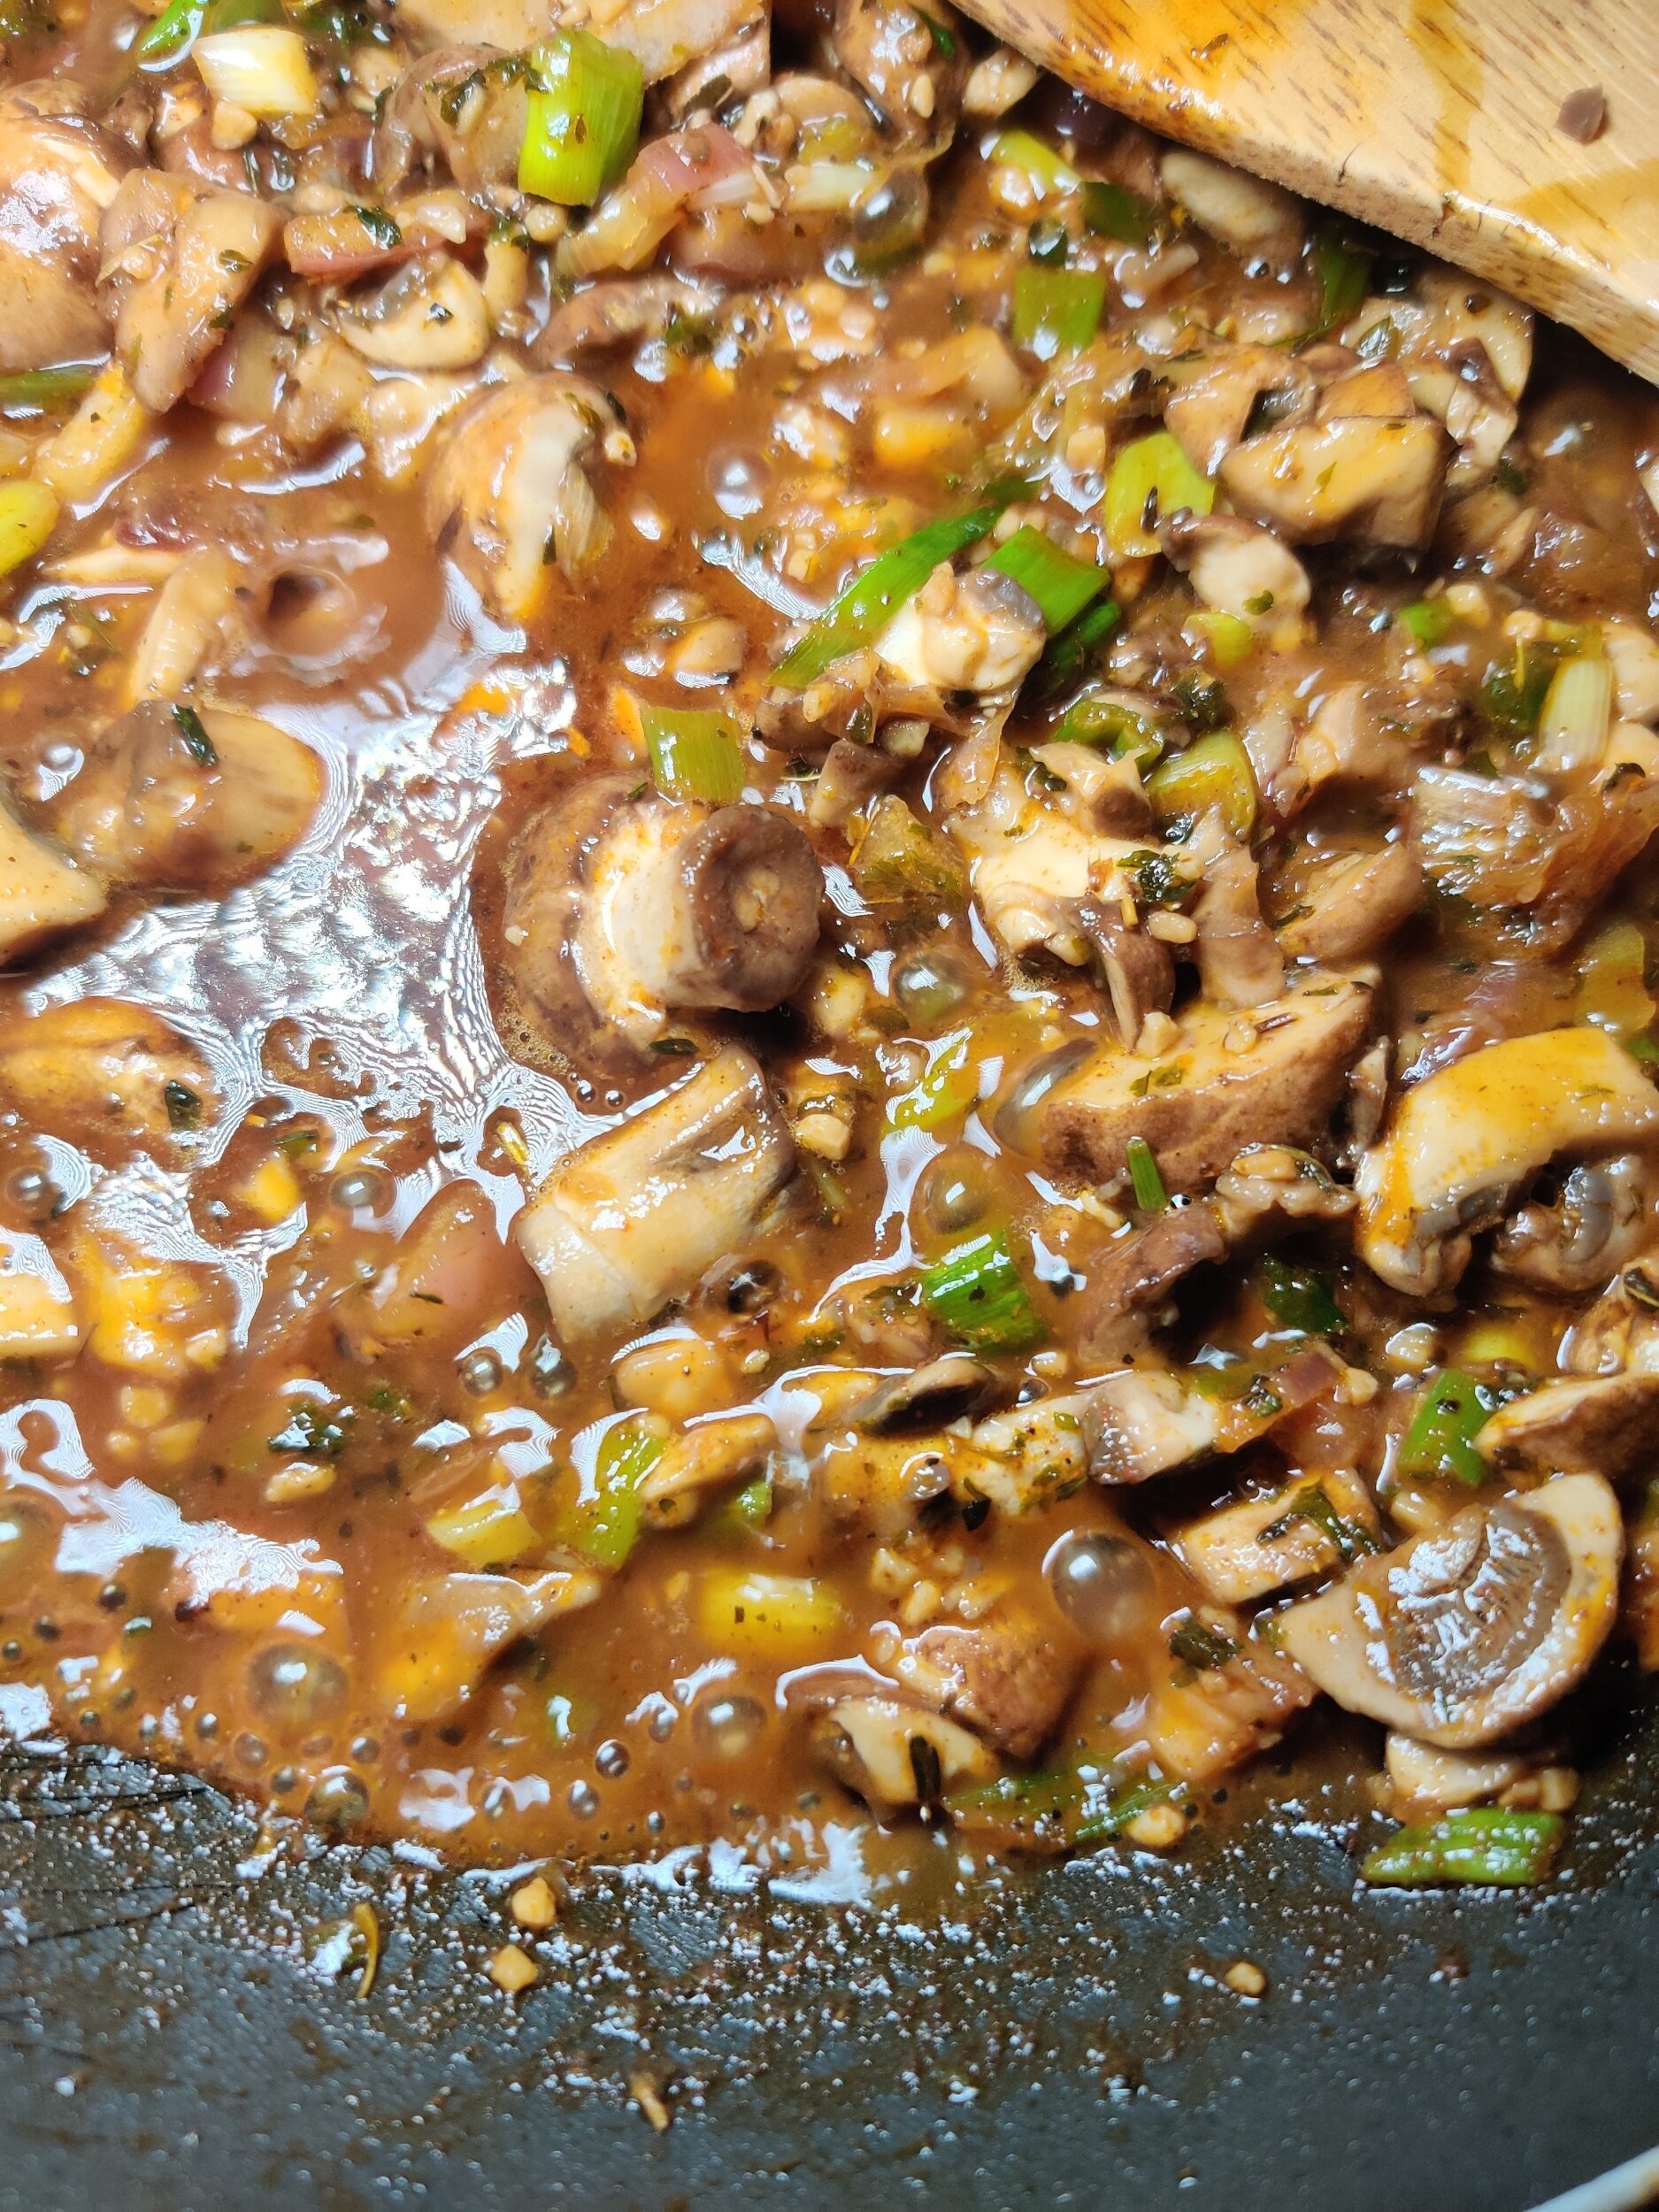
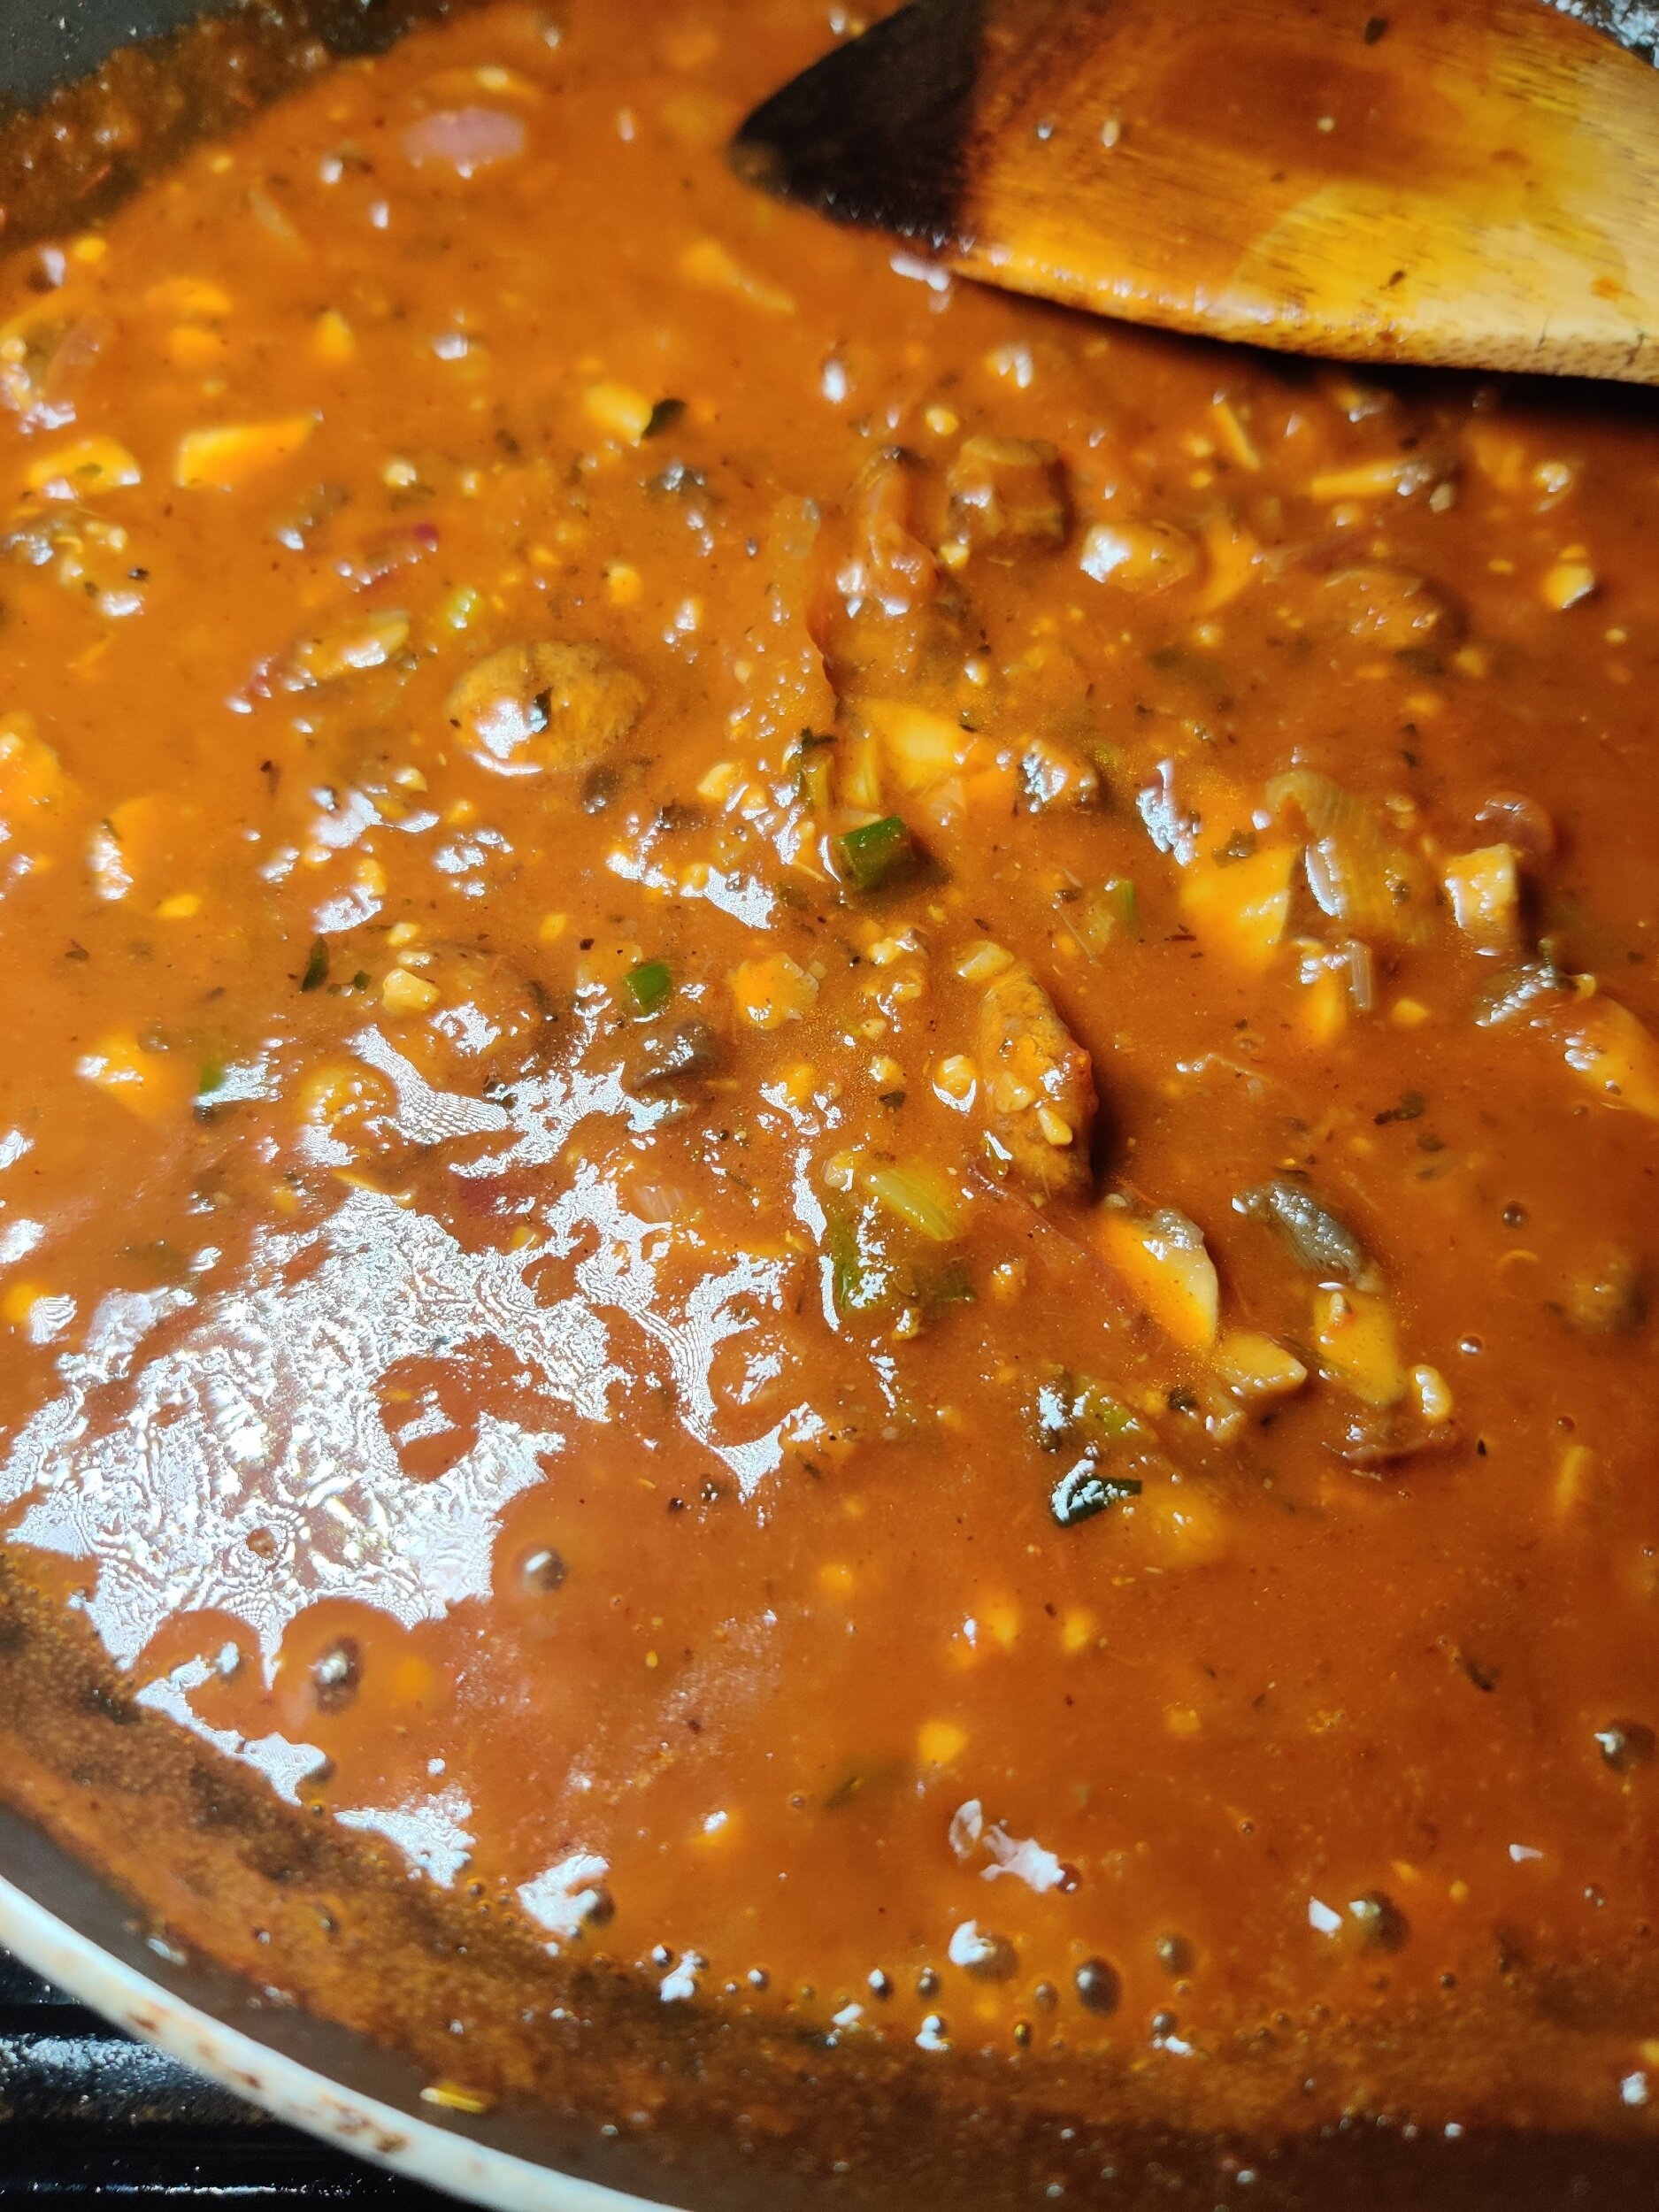
Add in the Worchester sauce, sherry, and marinara sauce, reduce heat from medium to low and simmer for about 10 minutes, stirring occasionally. Season to taste.
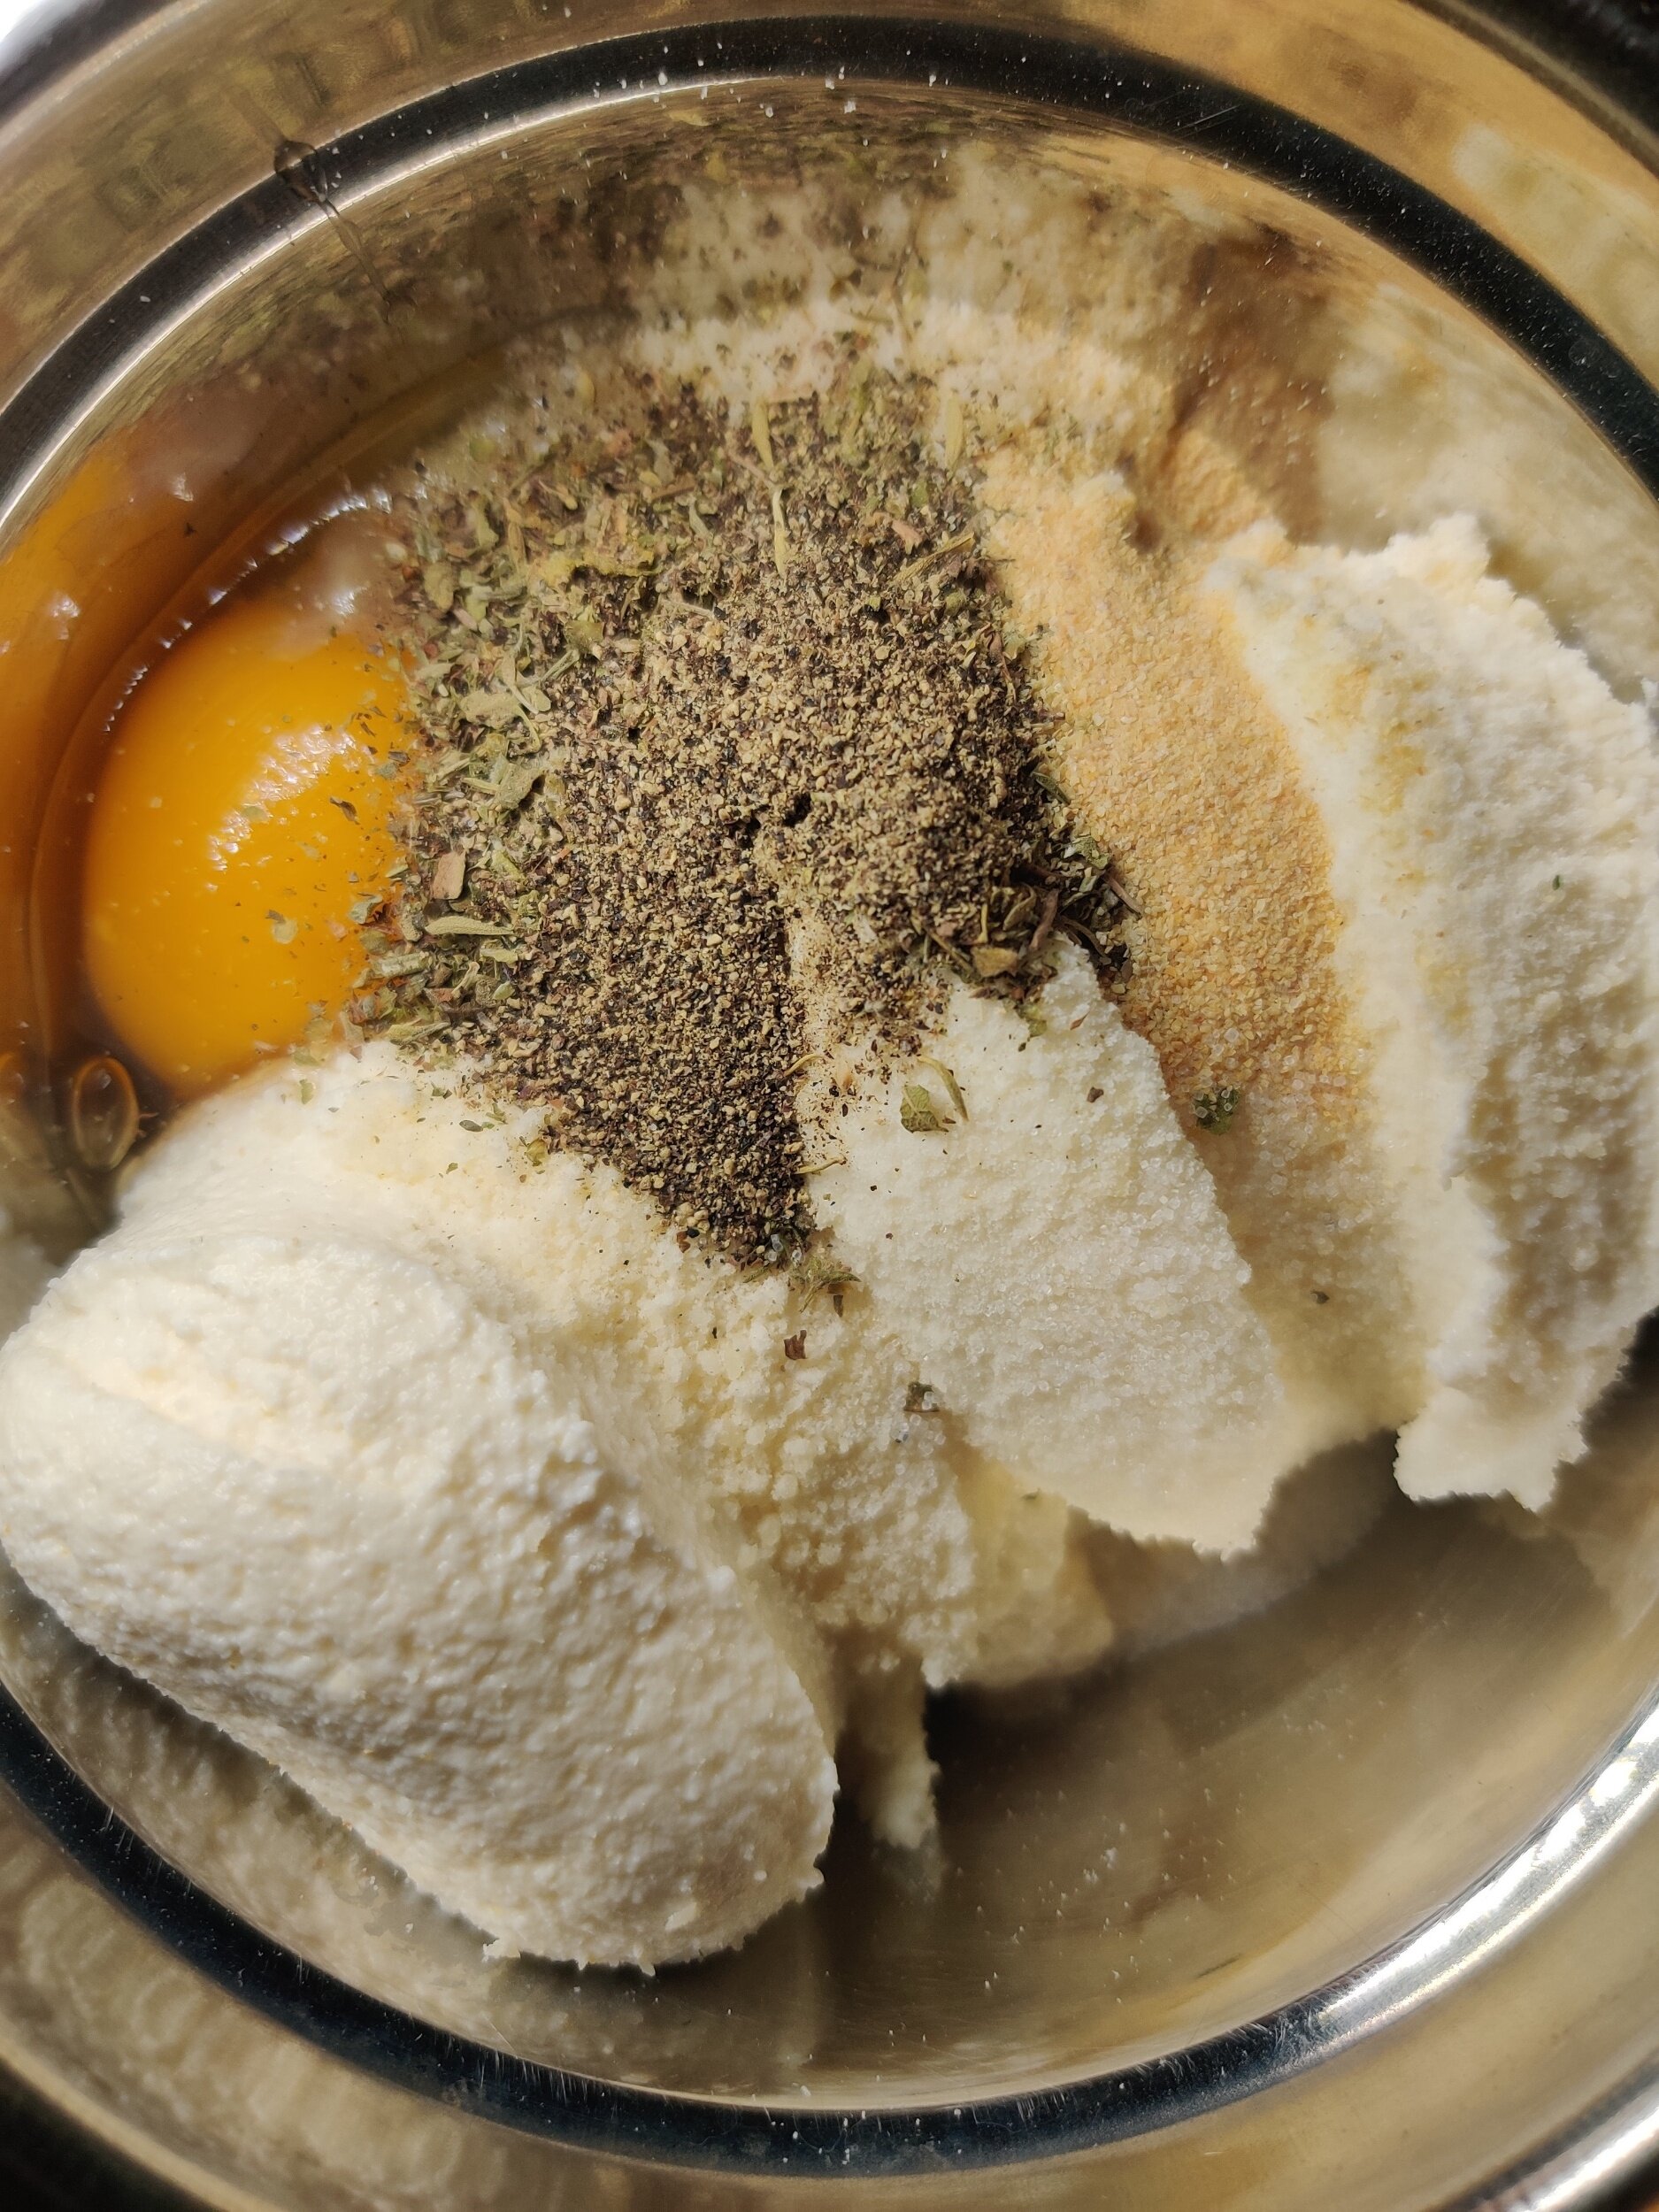
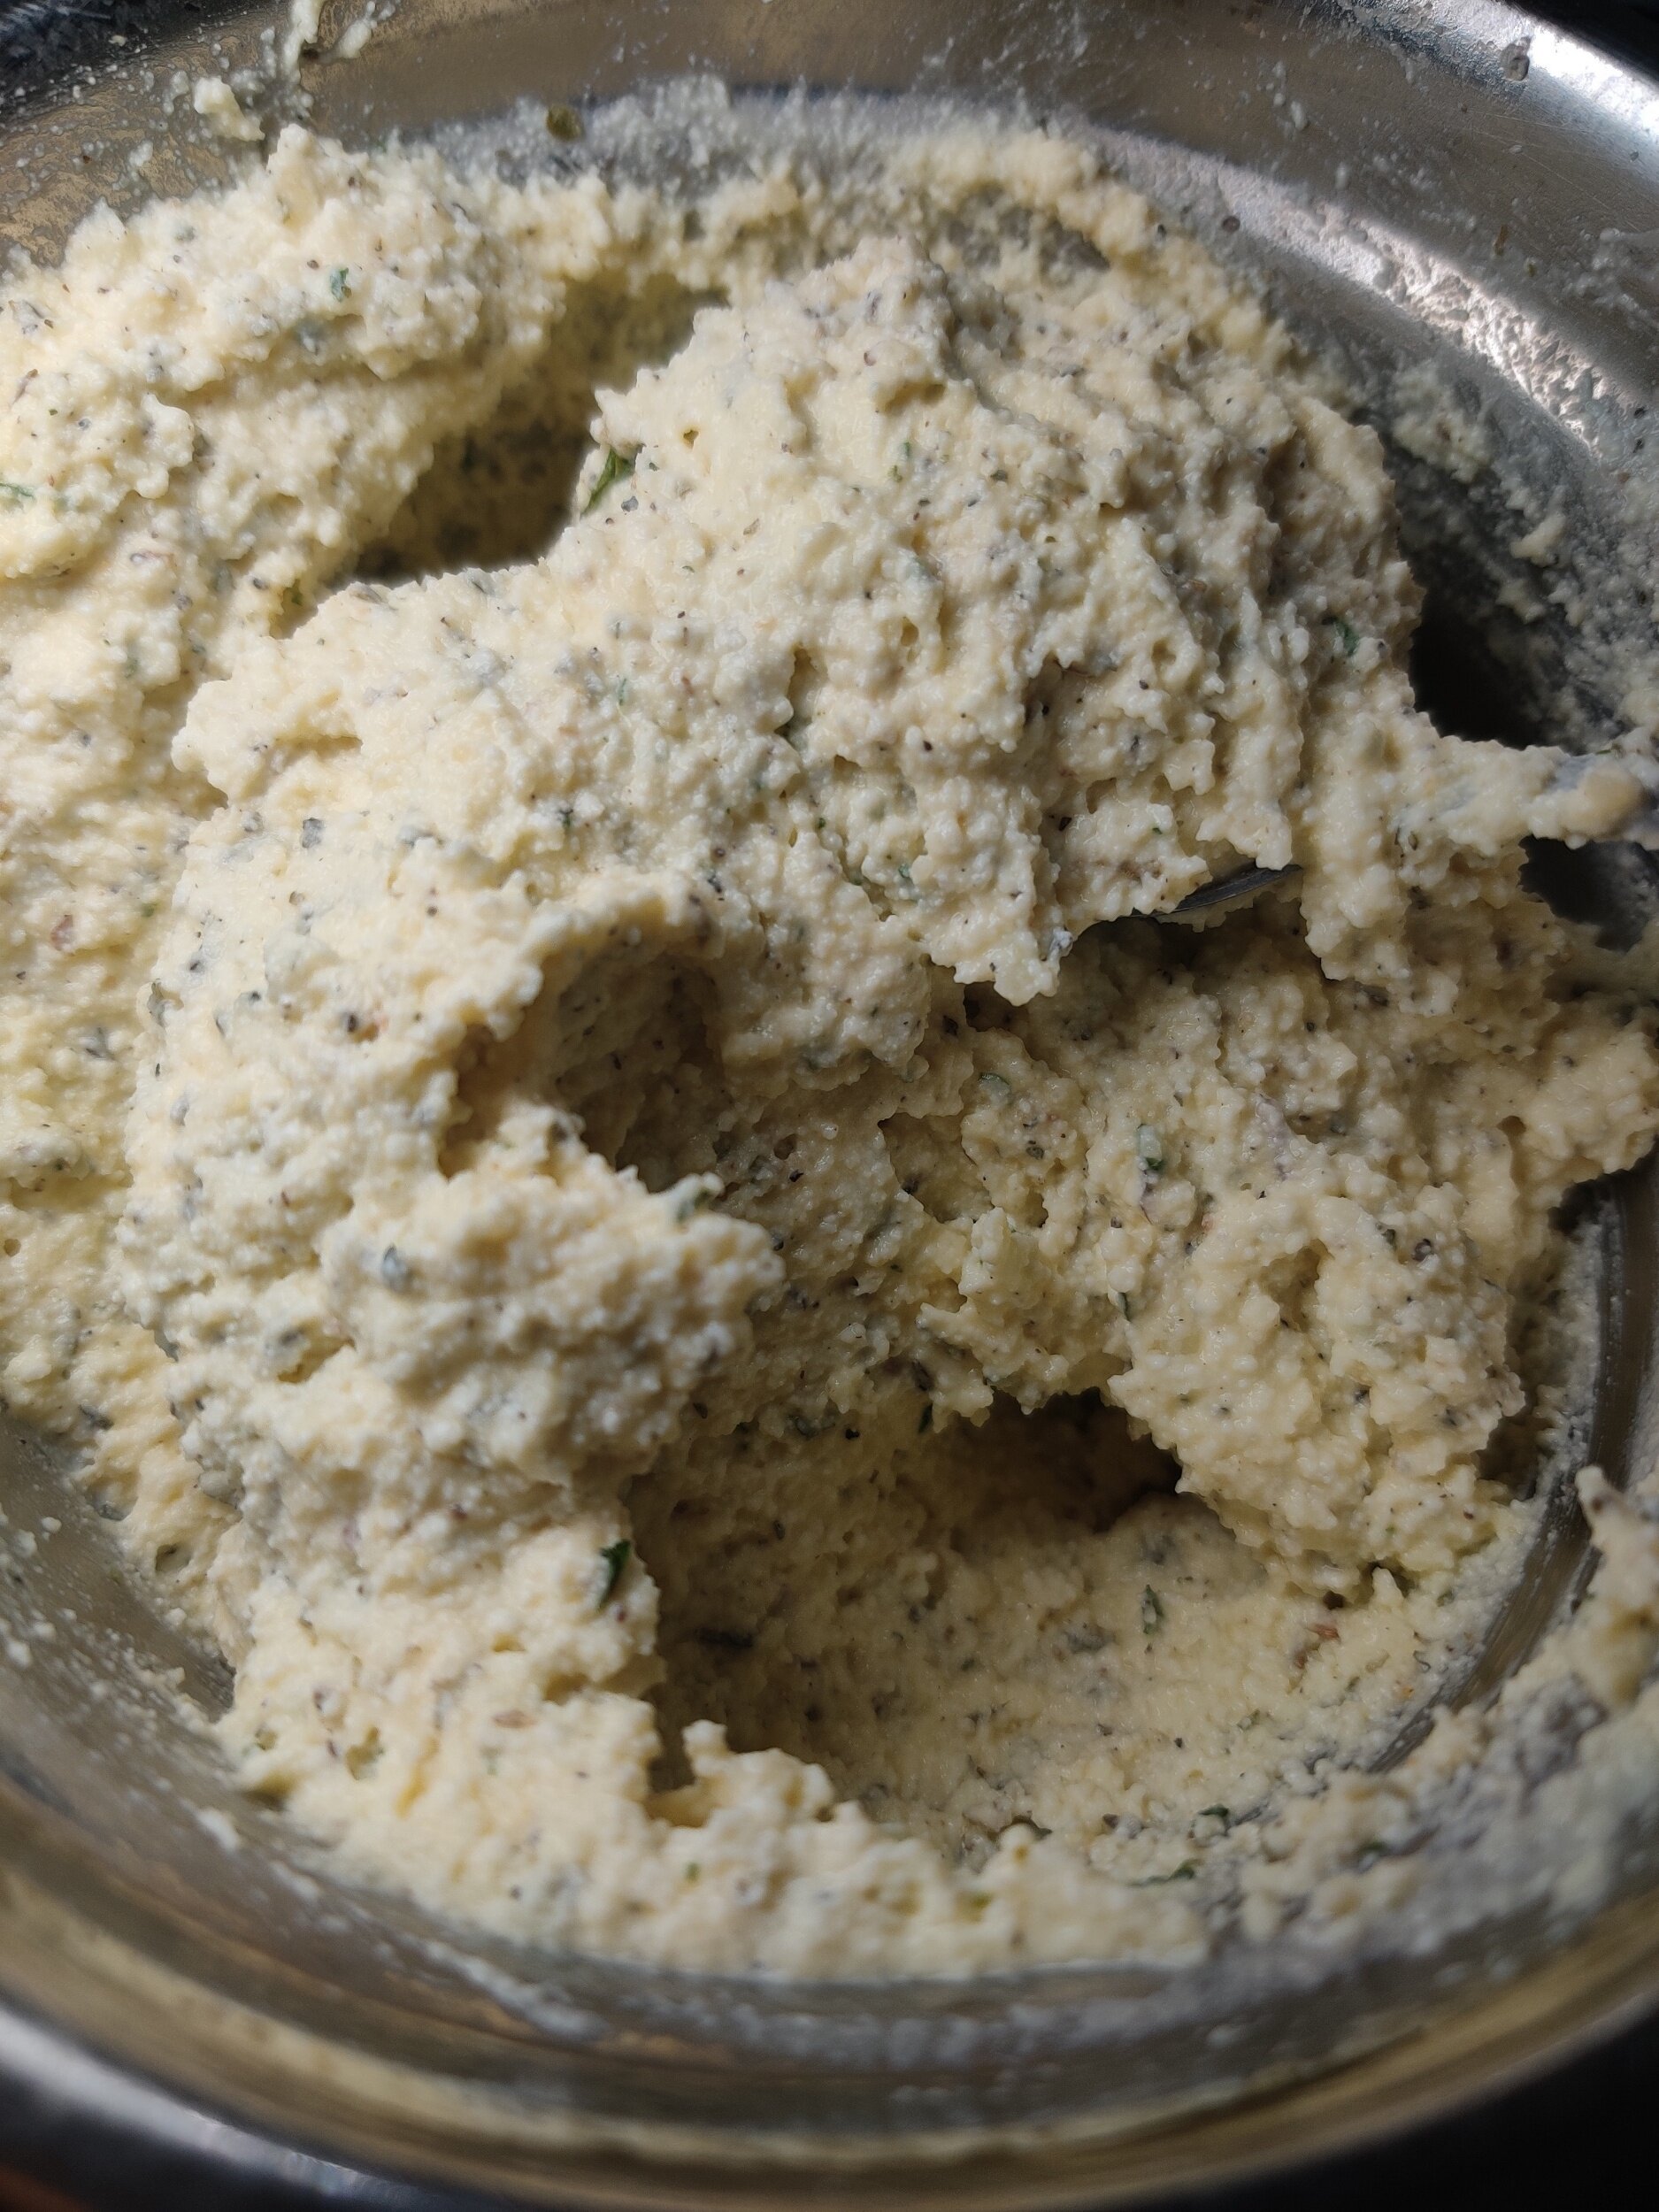
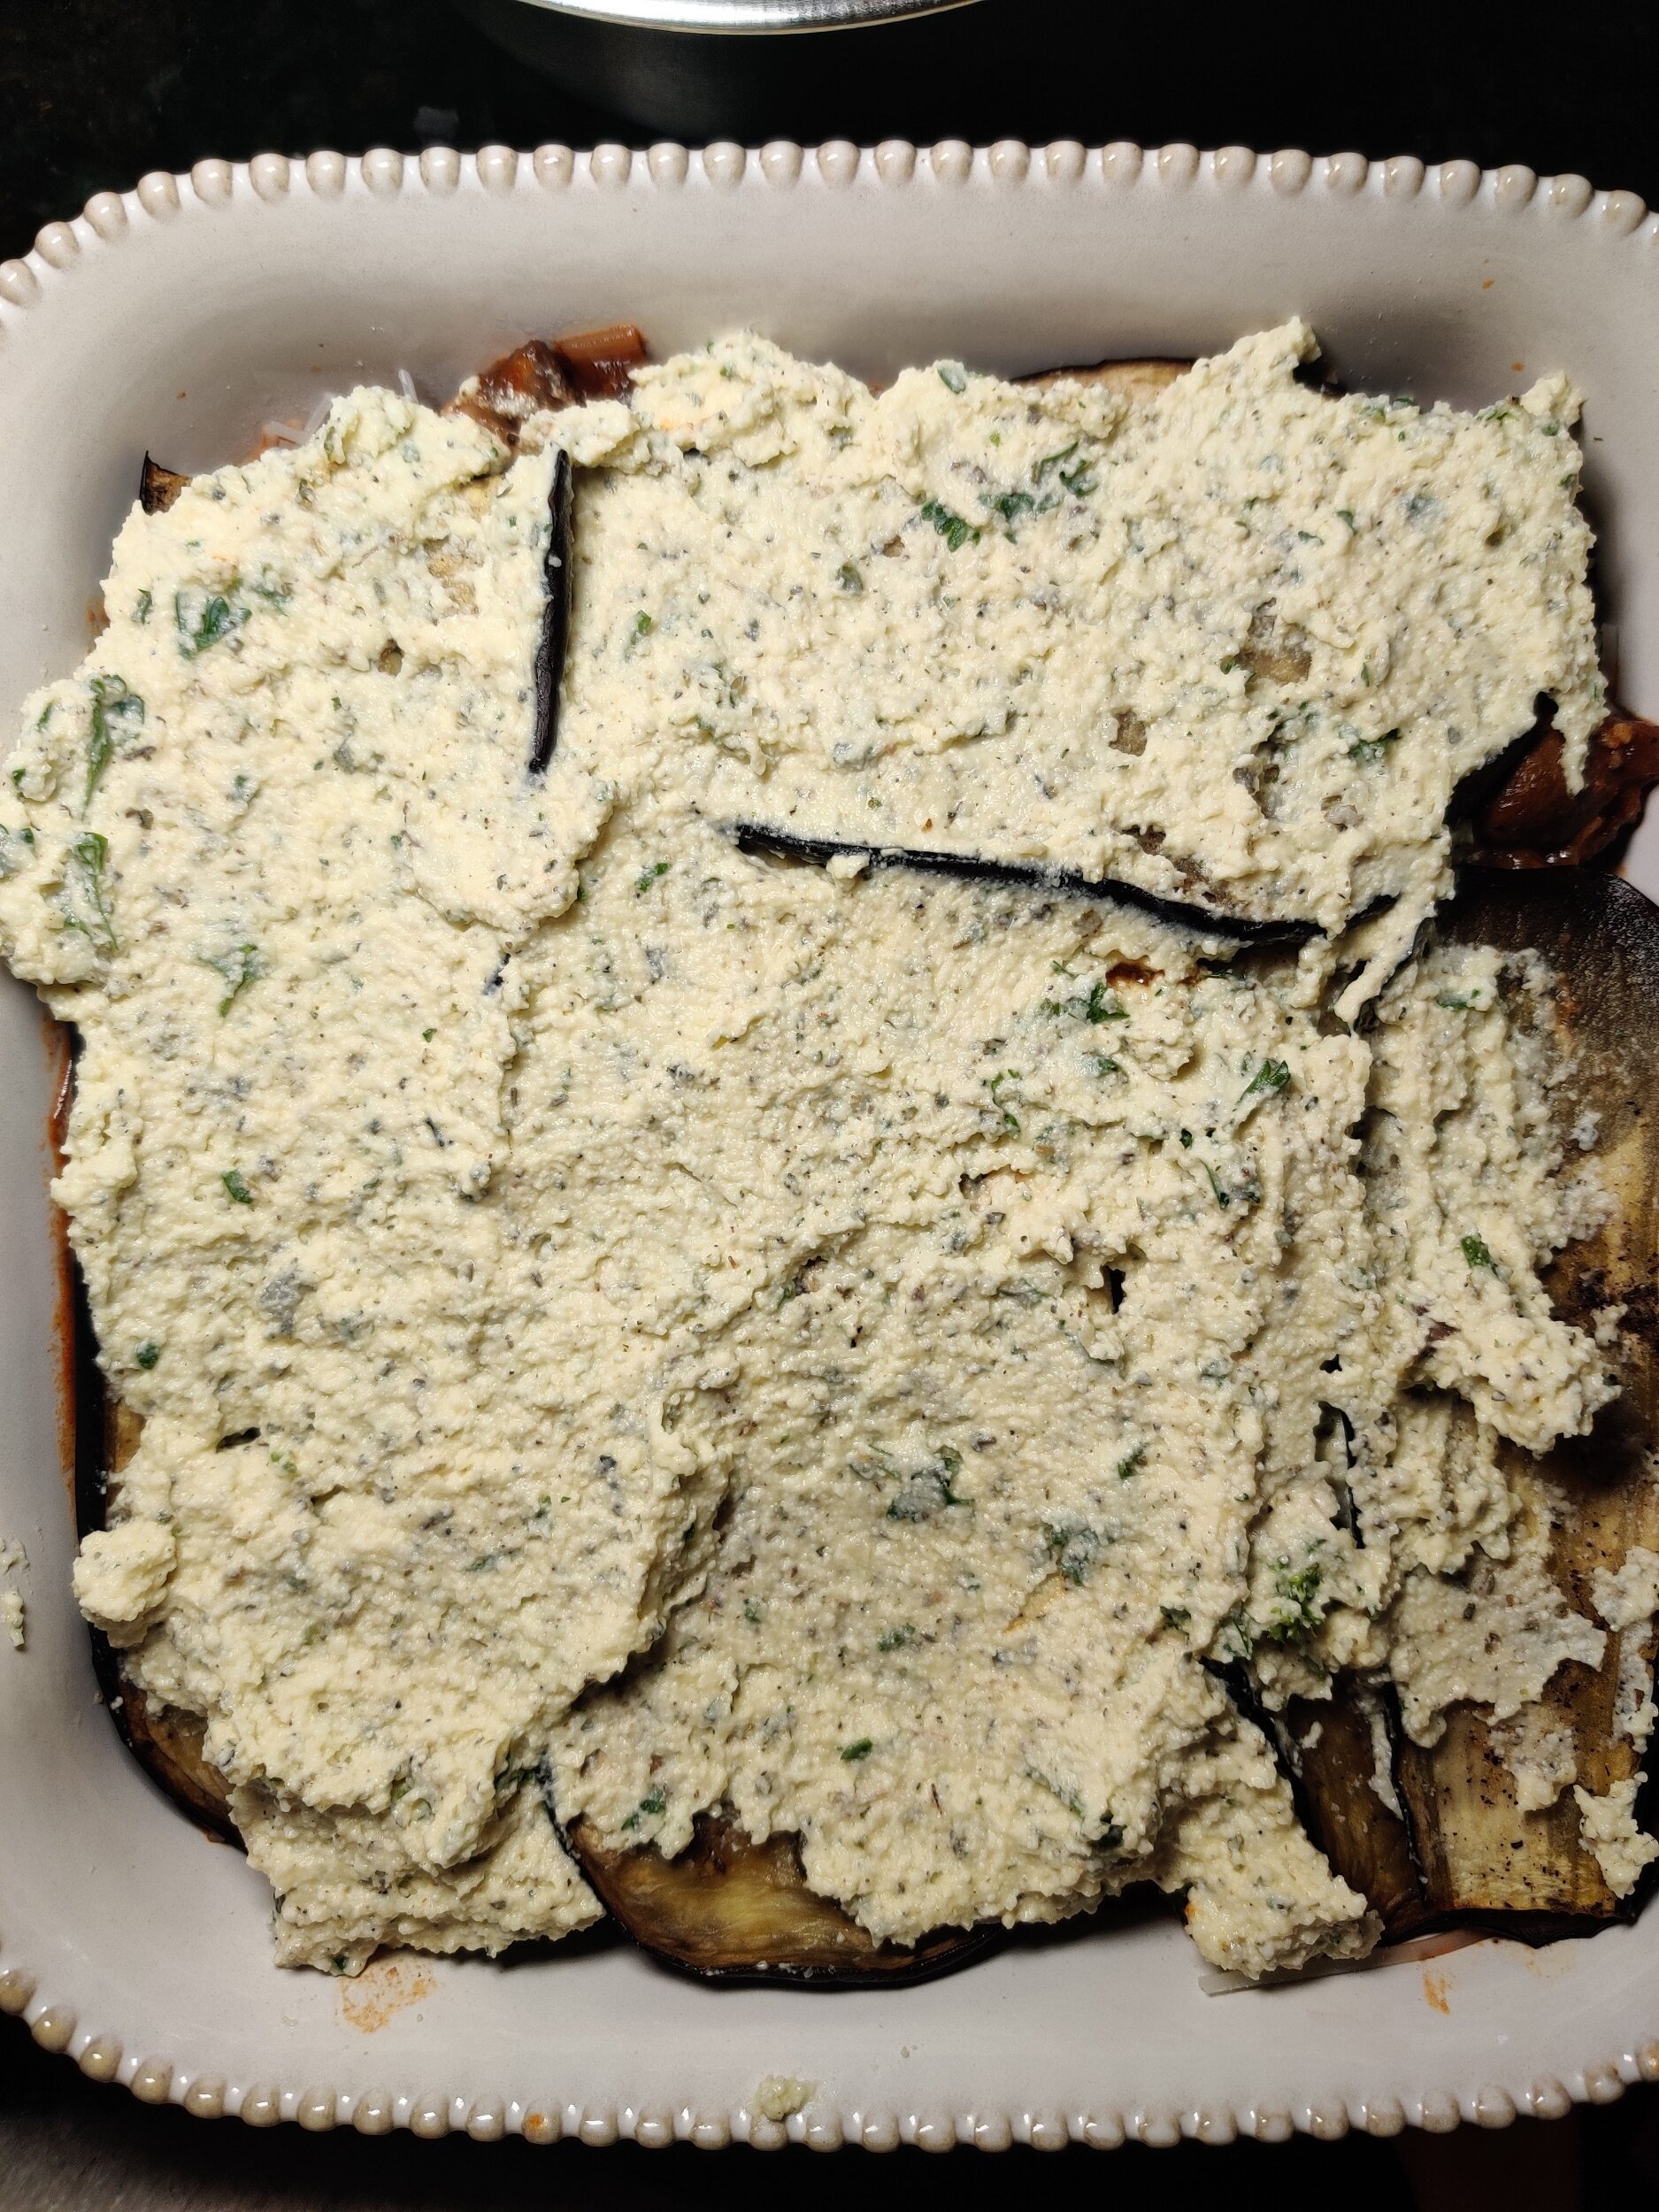
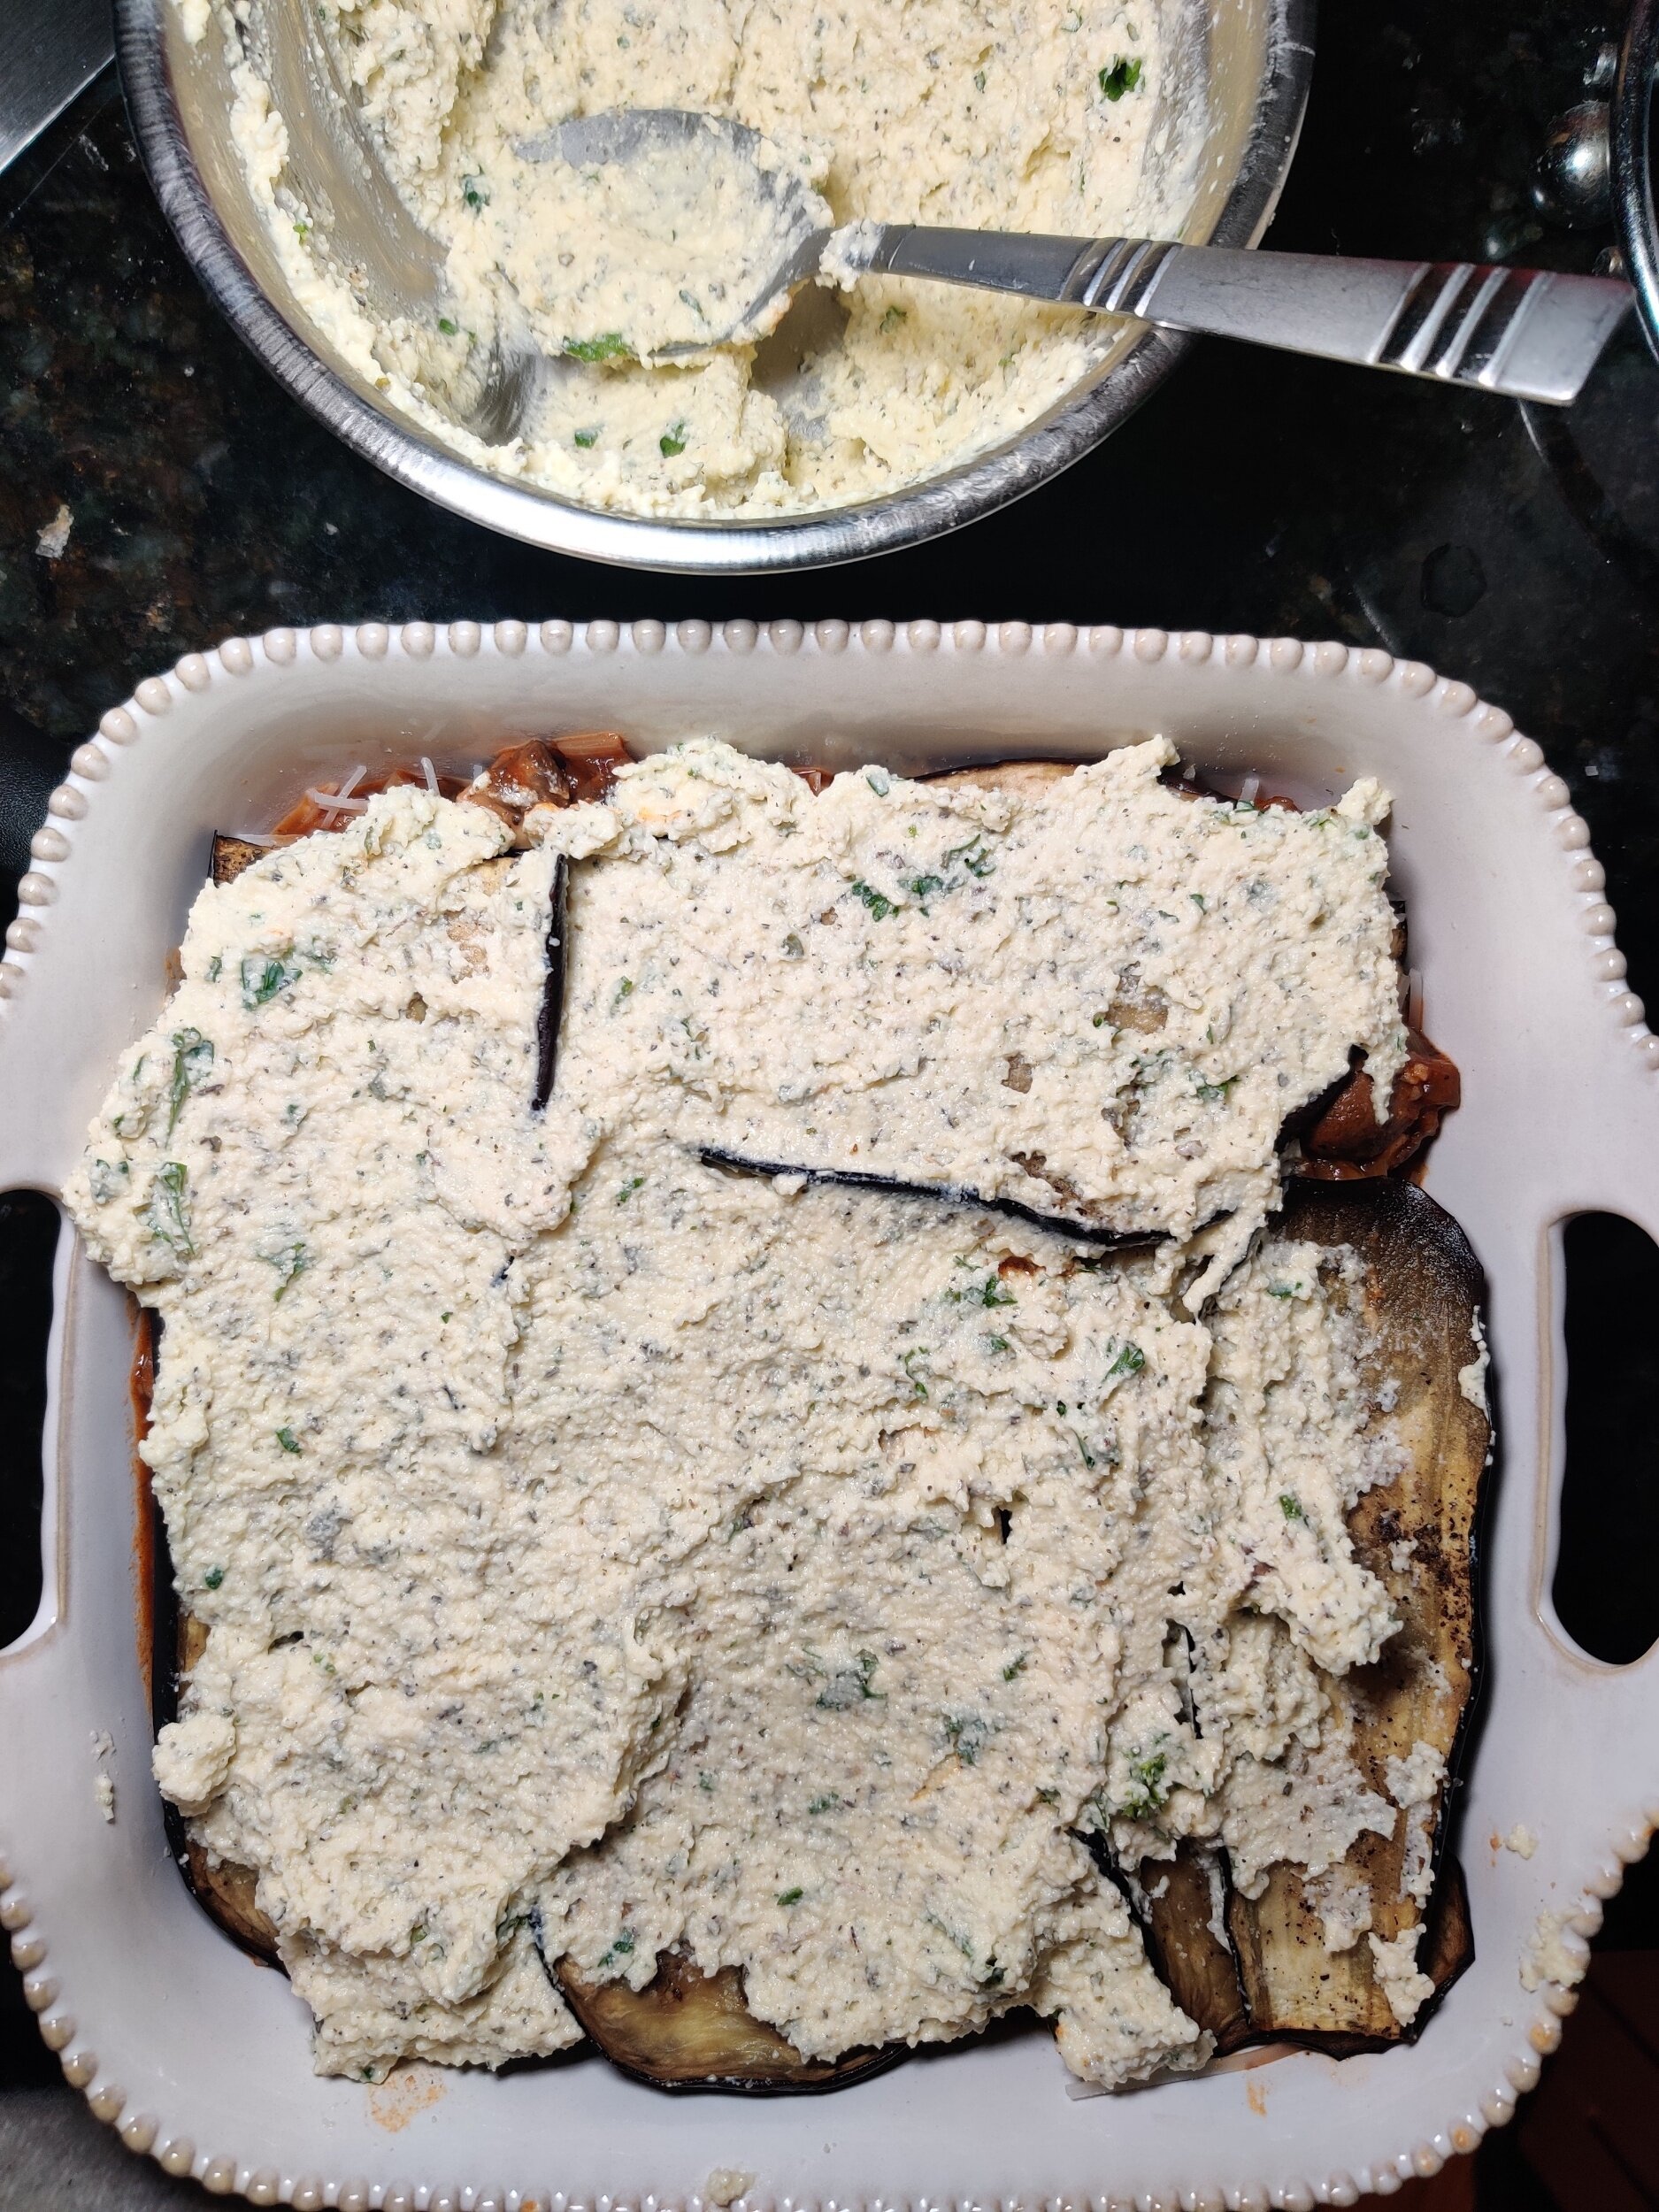
While the ragu cooks, make the cheese filling. In a small bowl, beat the egg with the parmesan, ricotta, fresh herbs, salt, pepper, garlic and spices.
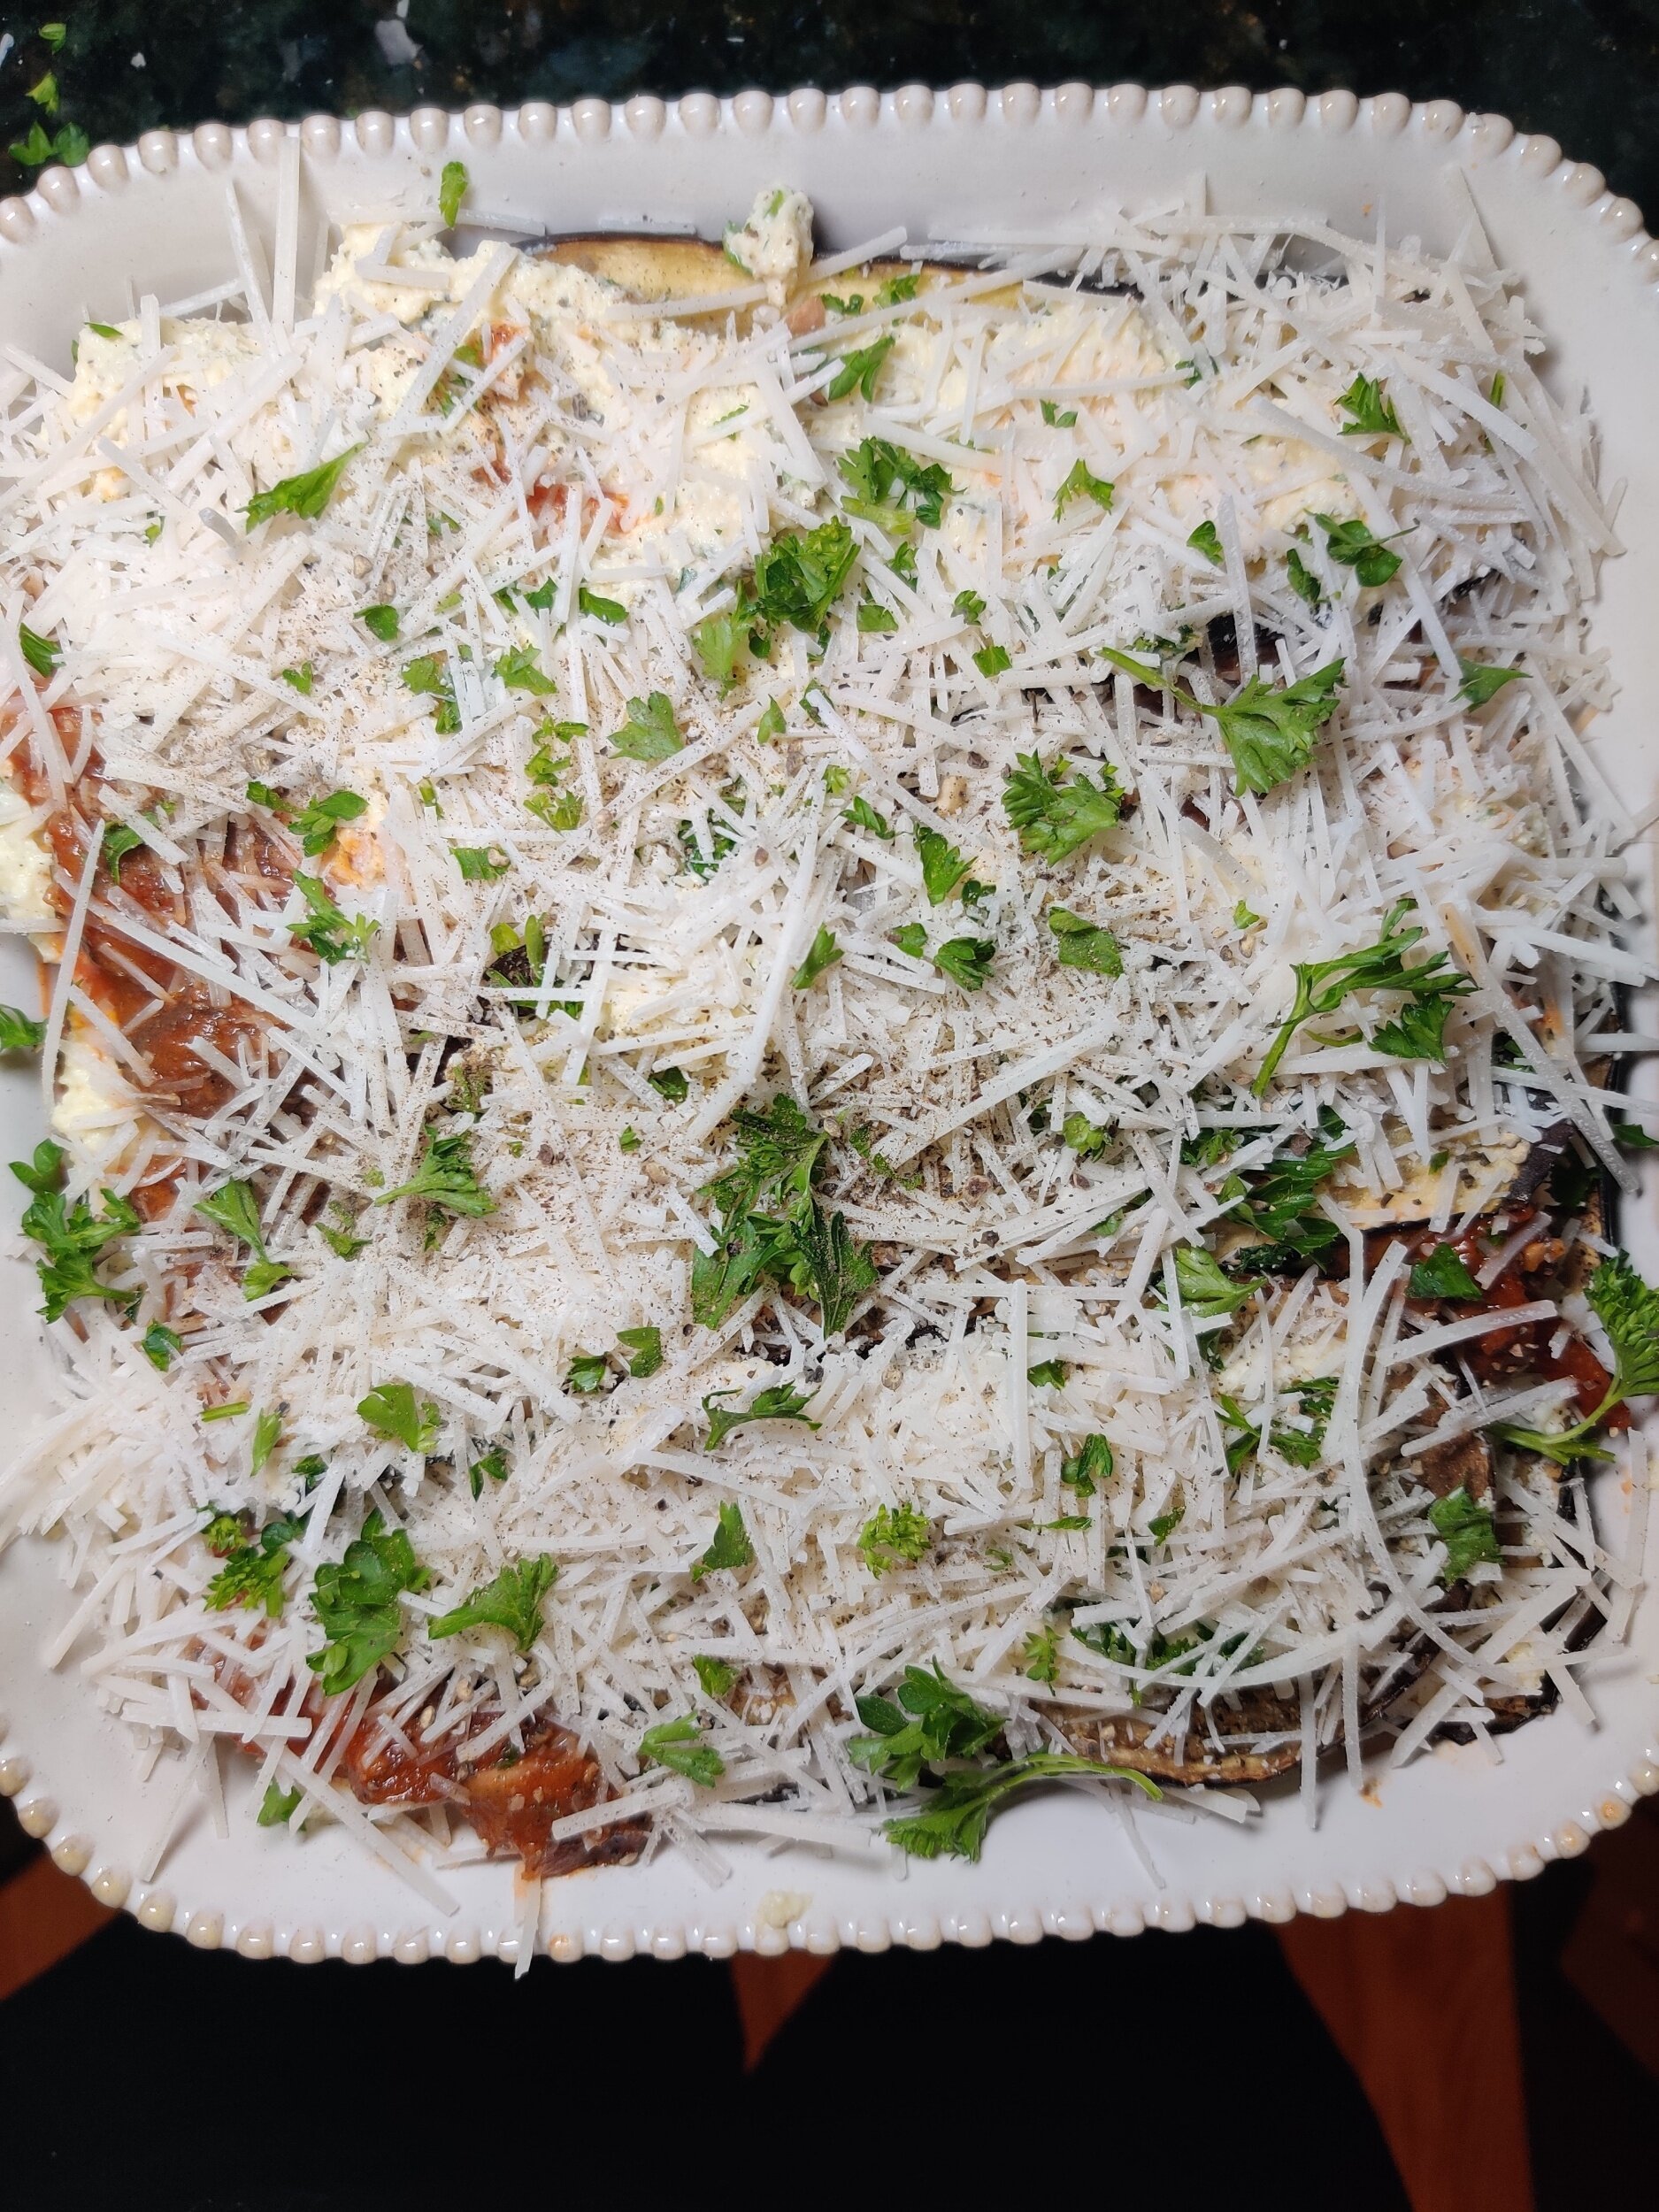
Once the ragu is done, assemble your lasagna! In a baking pan (I used 8 by 8 inches) spoon a level layer of the ragu, then layer the eggplant, ricotta mix, and mozzarella cheese on top. Repeat the process in equal parts each time. Your final layer should be mozzarella cheese which can melt on top, sprinkle some grated parmesan and fresh parsley if you care.
Bake for 30 minutes at 375F - you can cover the baking pan with foil if you like then broil at the end to melt or crispen the top.
Serve with the Kale and Brussels Sprouts Salad!
Tricolor Vegan Pasta
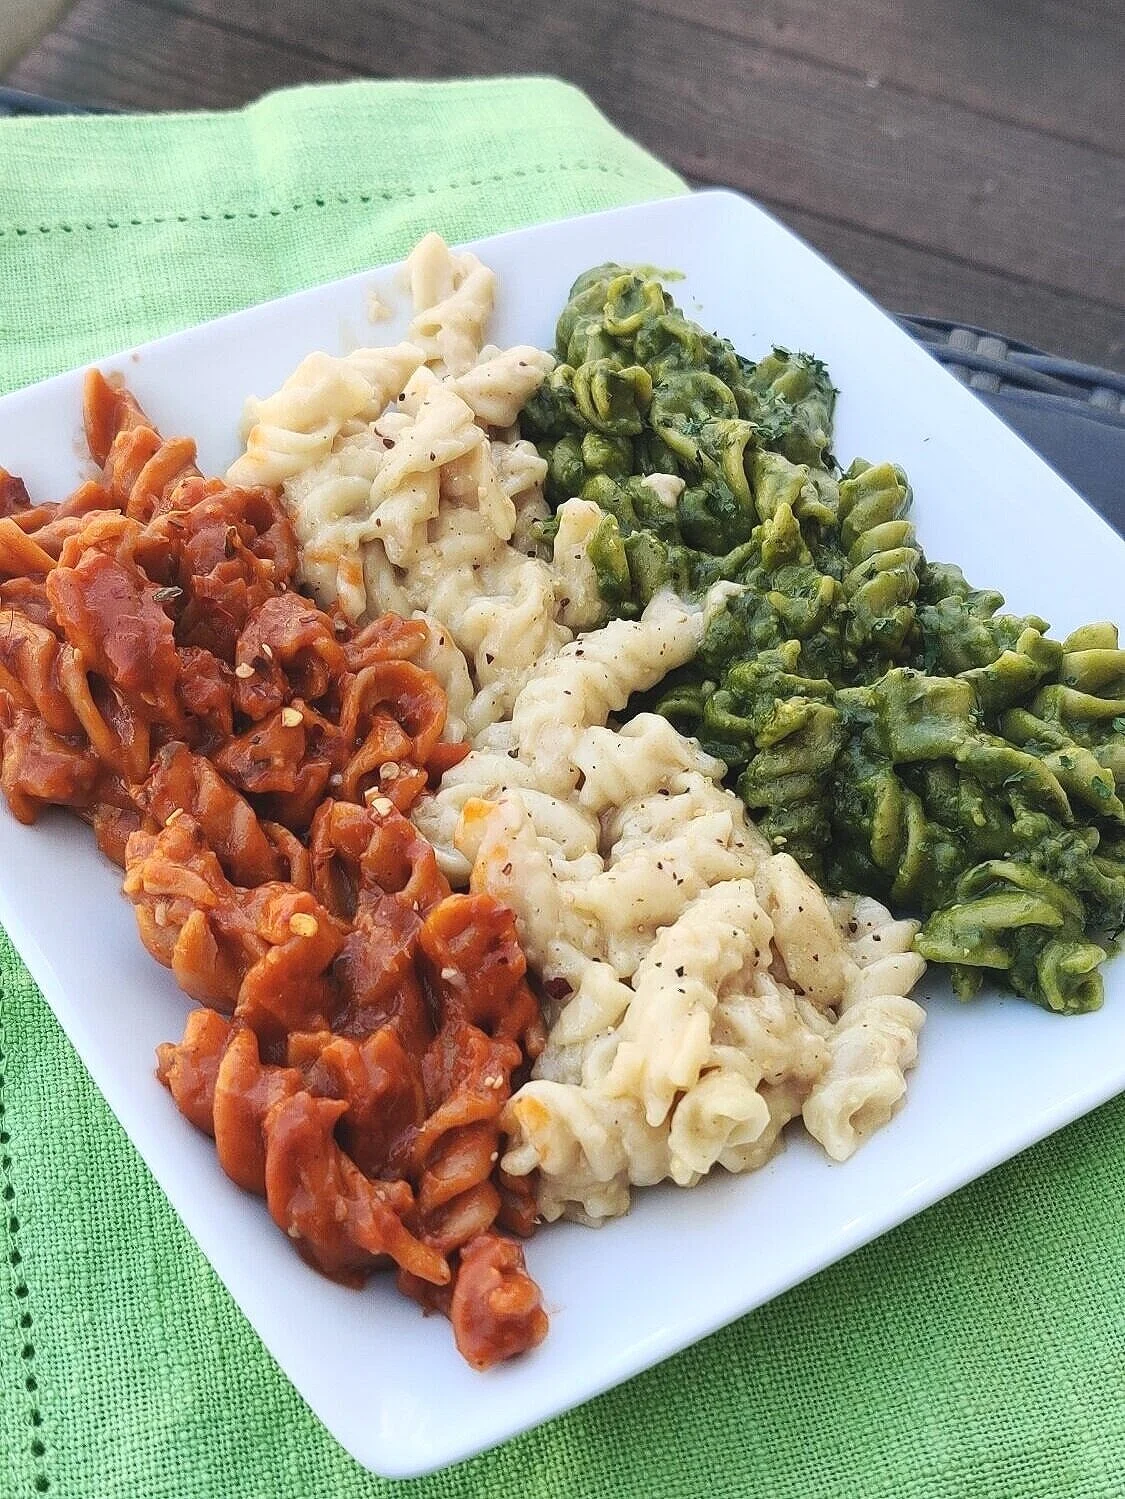
This dish was inspired by the Tris Signature gnocchi served at Gnoccheria by Luzzo’s in New York City. The plate caught my eye on Instagram where it continues to trend due to the striking colors and love for saucy pasta. This version is on the healthier side with the omission of heavy cream and cheese, but it's still a delightful, quick, and easy meal!
Ingredients
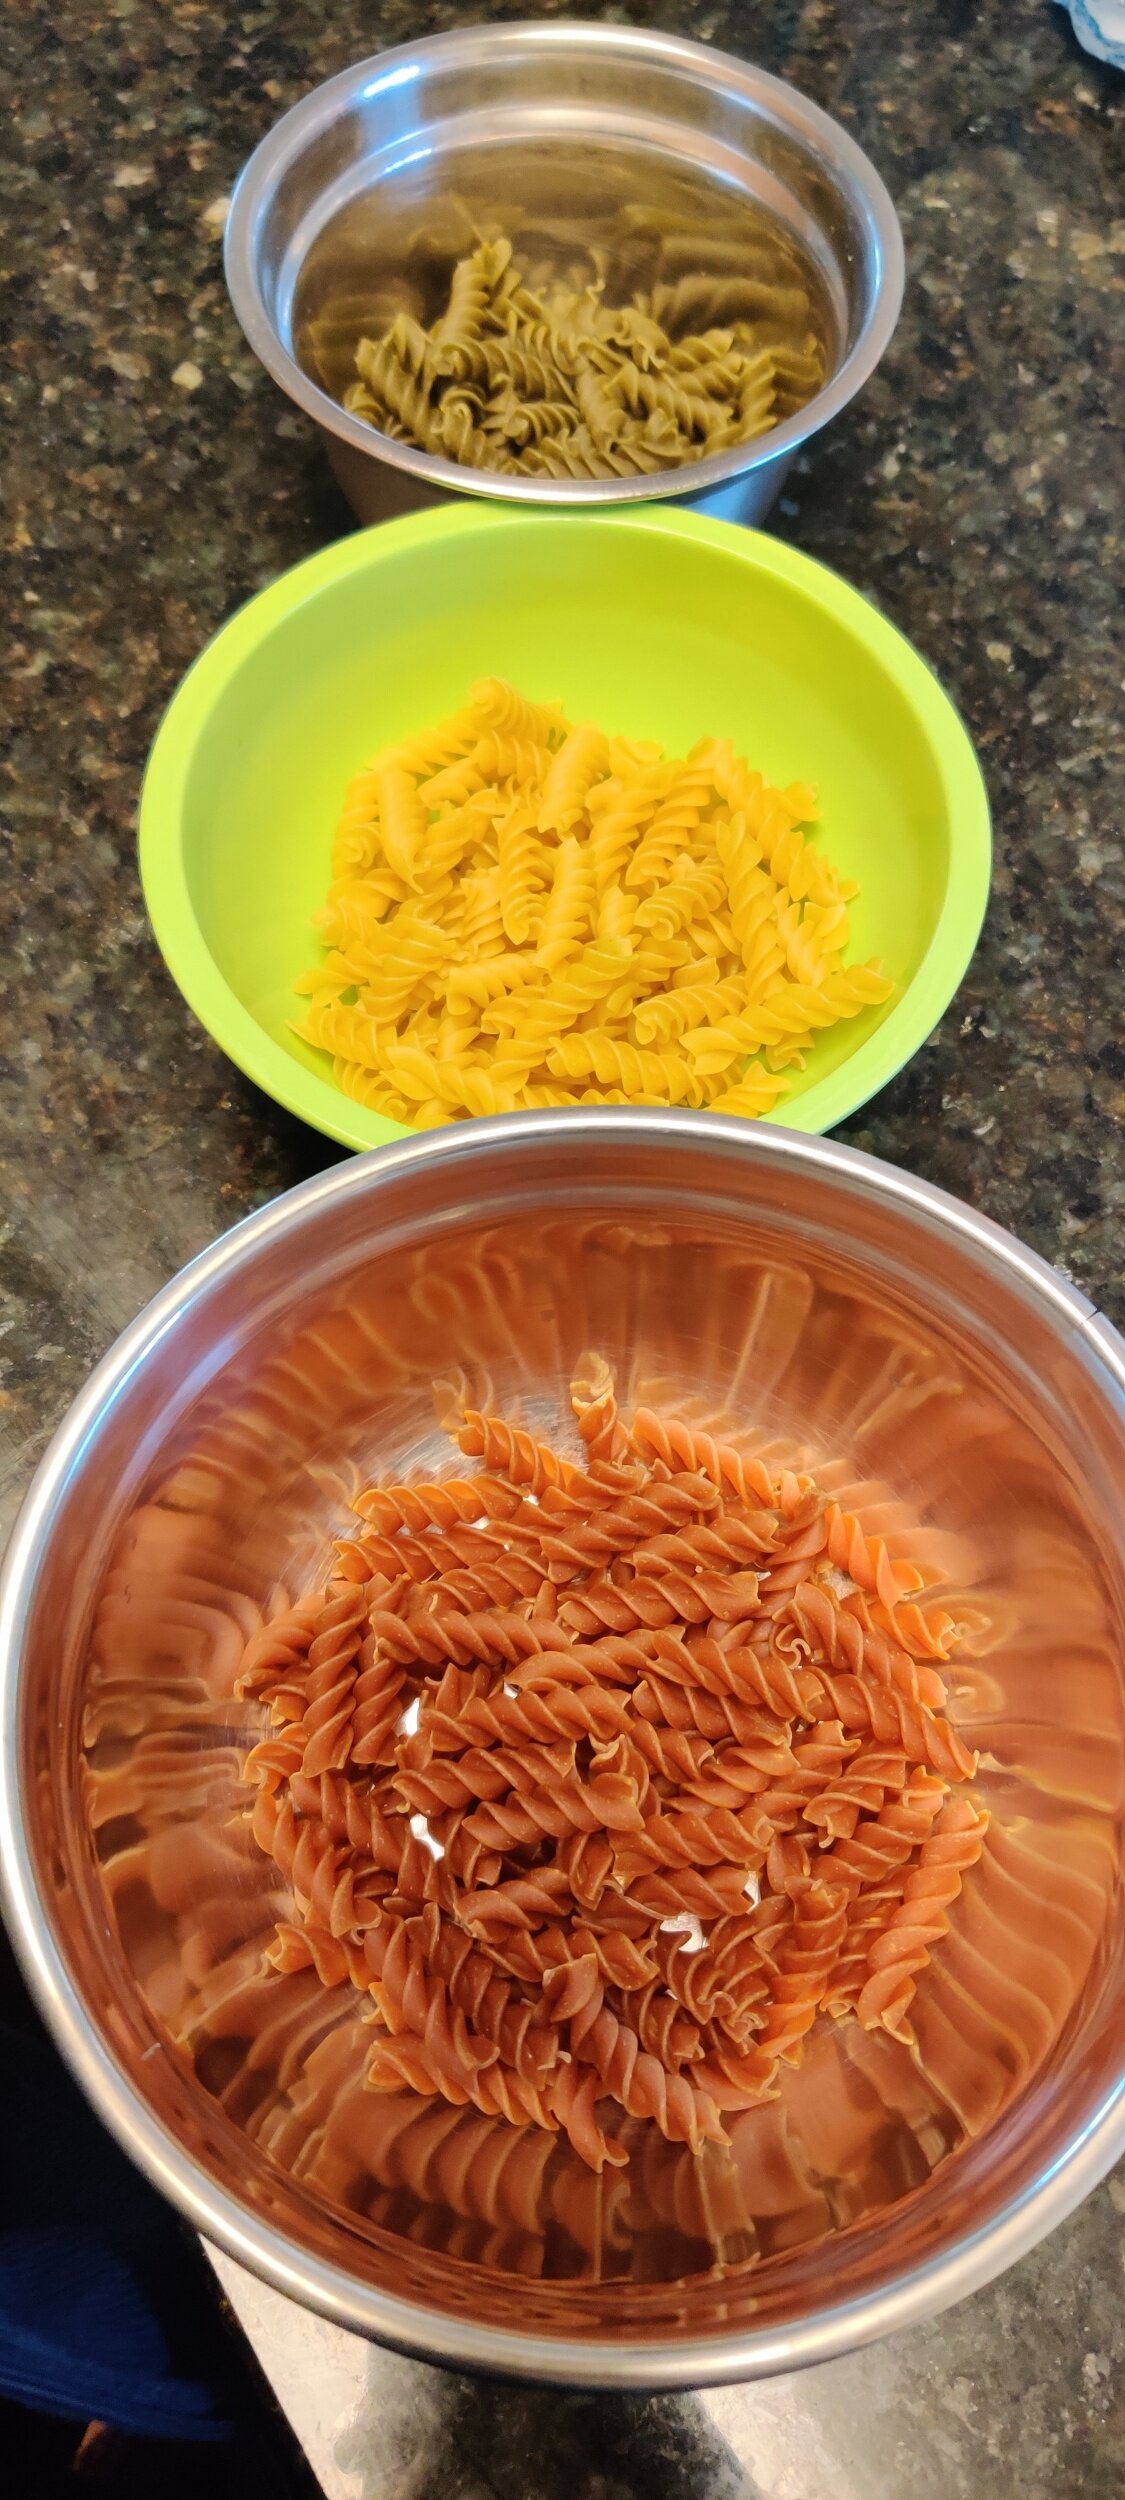
1 1/2 cups tricolor rotini (or whatever pasta you have)
6 tablespoons vegan butter or coconut oil
6 tablespoons flour
3 teaspoons minced garlic
1/2 cup coconut milk
1 1/2 cups vegetable broth
2 cups spinach
1/2 hass avocado
3 teaspoons black pepper
1 1/2 teaspoons salt
1 teaspoon Dijon mustard
3 tablespoons Worchester sauce
3 teaspoons olive oil
1/2 cup tomato ragu
1/2 teaspoon chili flakes
1 teaspoon fresh thyme
1 teaspoon fresh cilantro, chopped
1 tablespoon dried parsley
1 1/2 teaspoons lemon juice
Instructions
Step 1
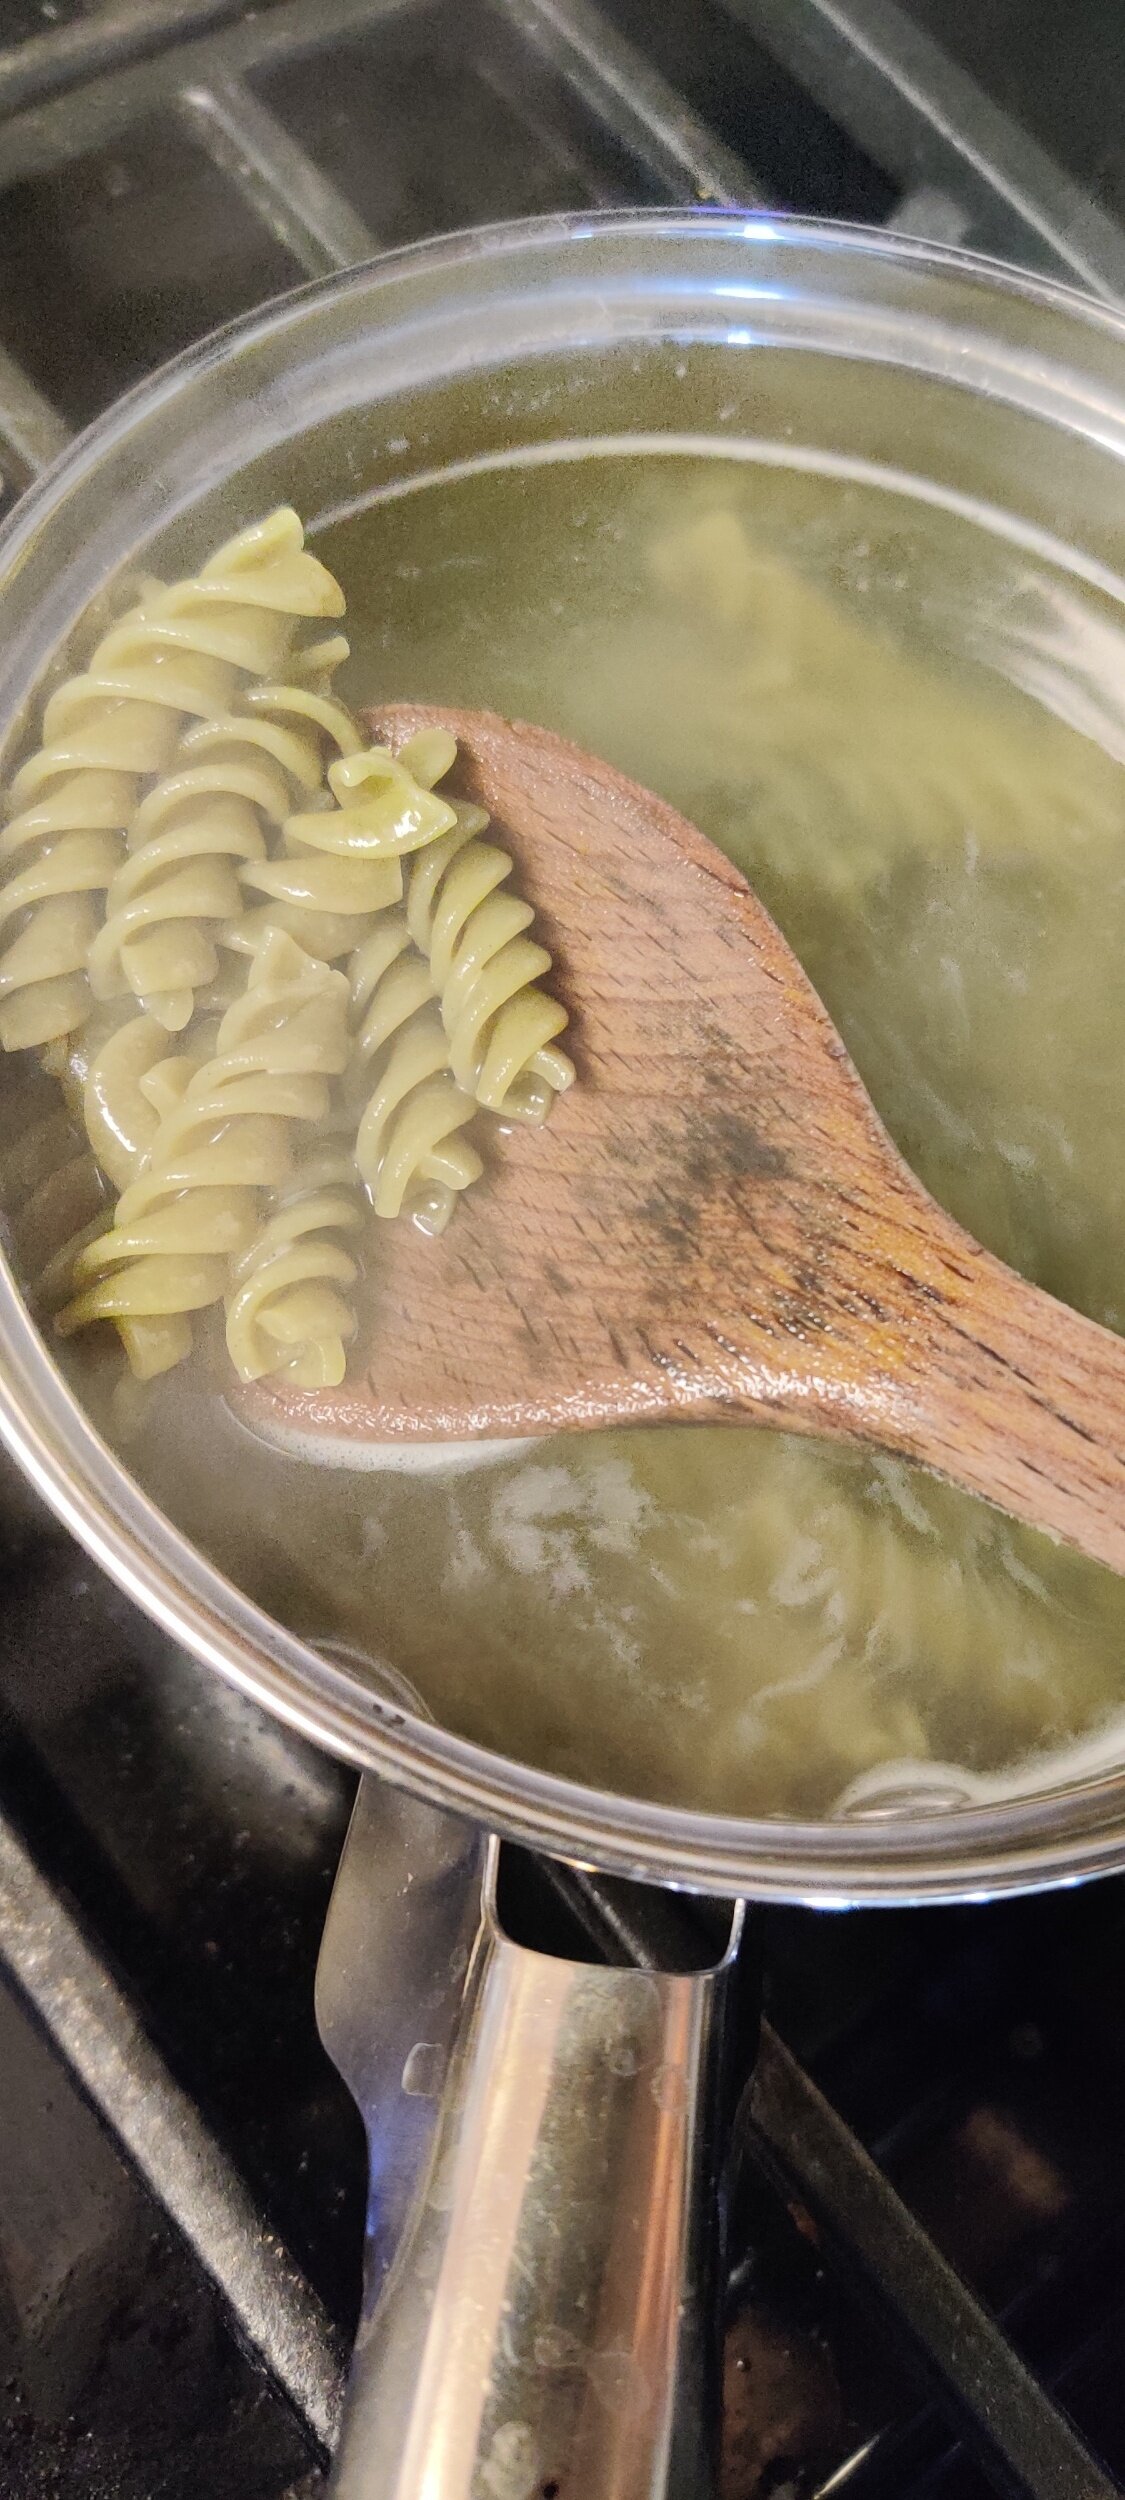
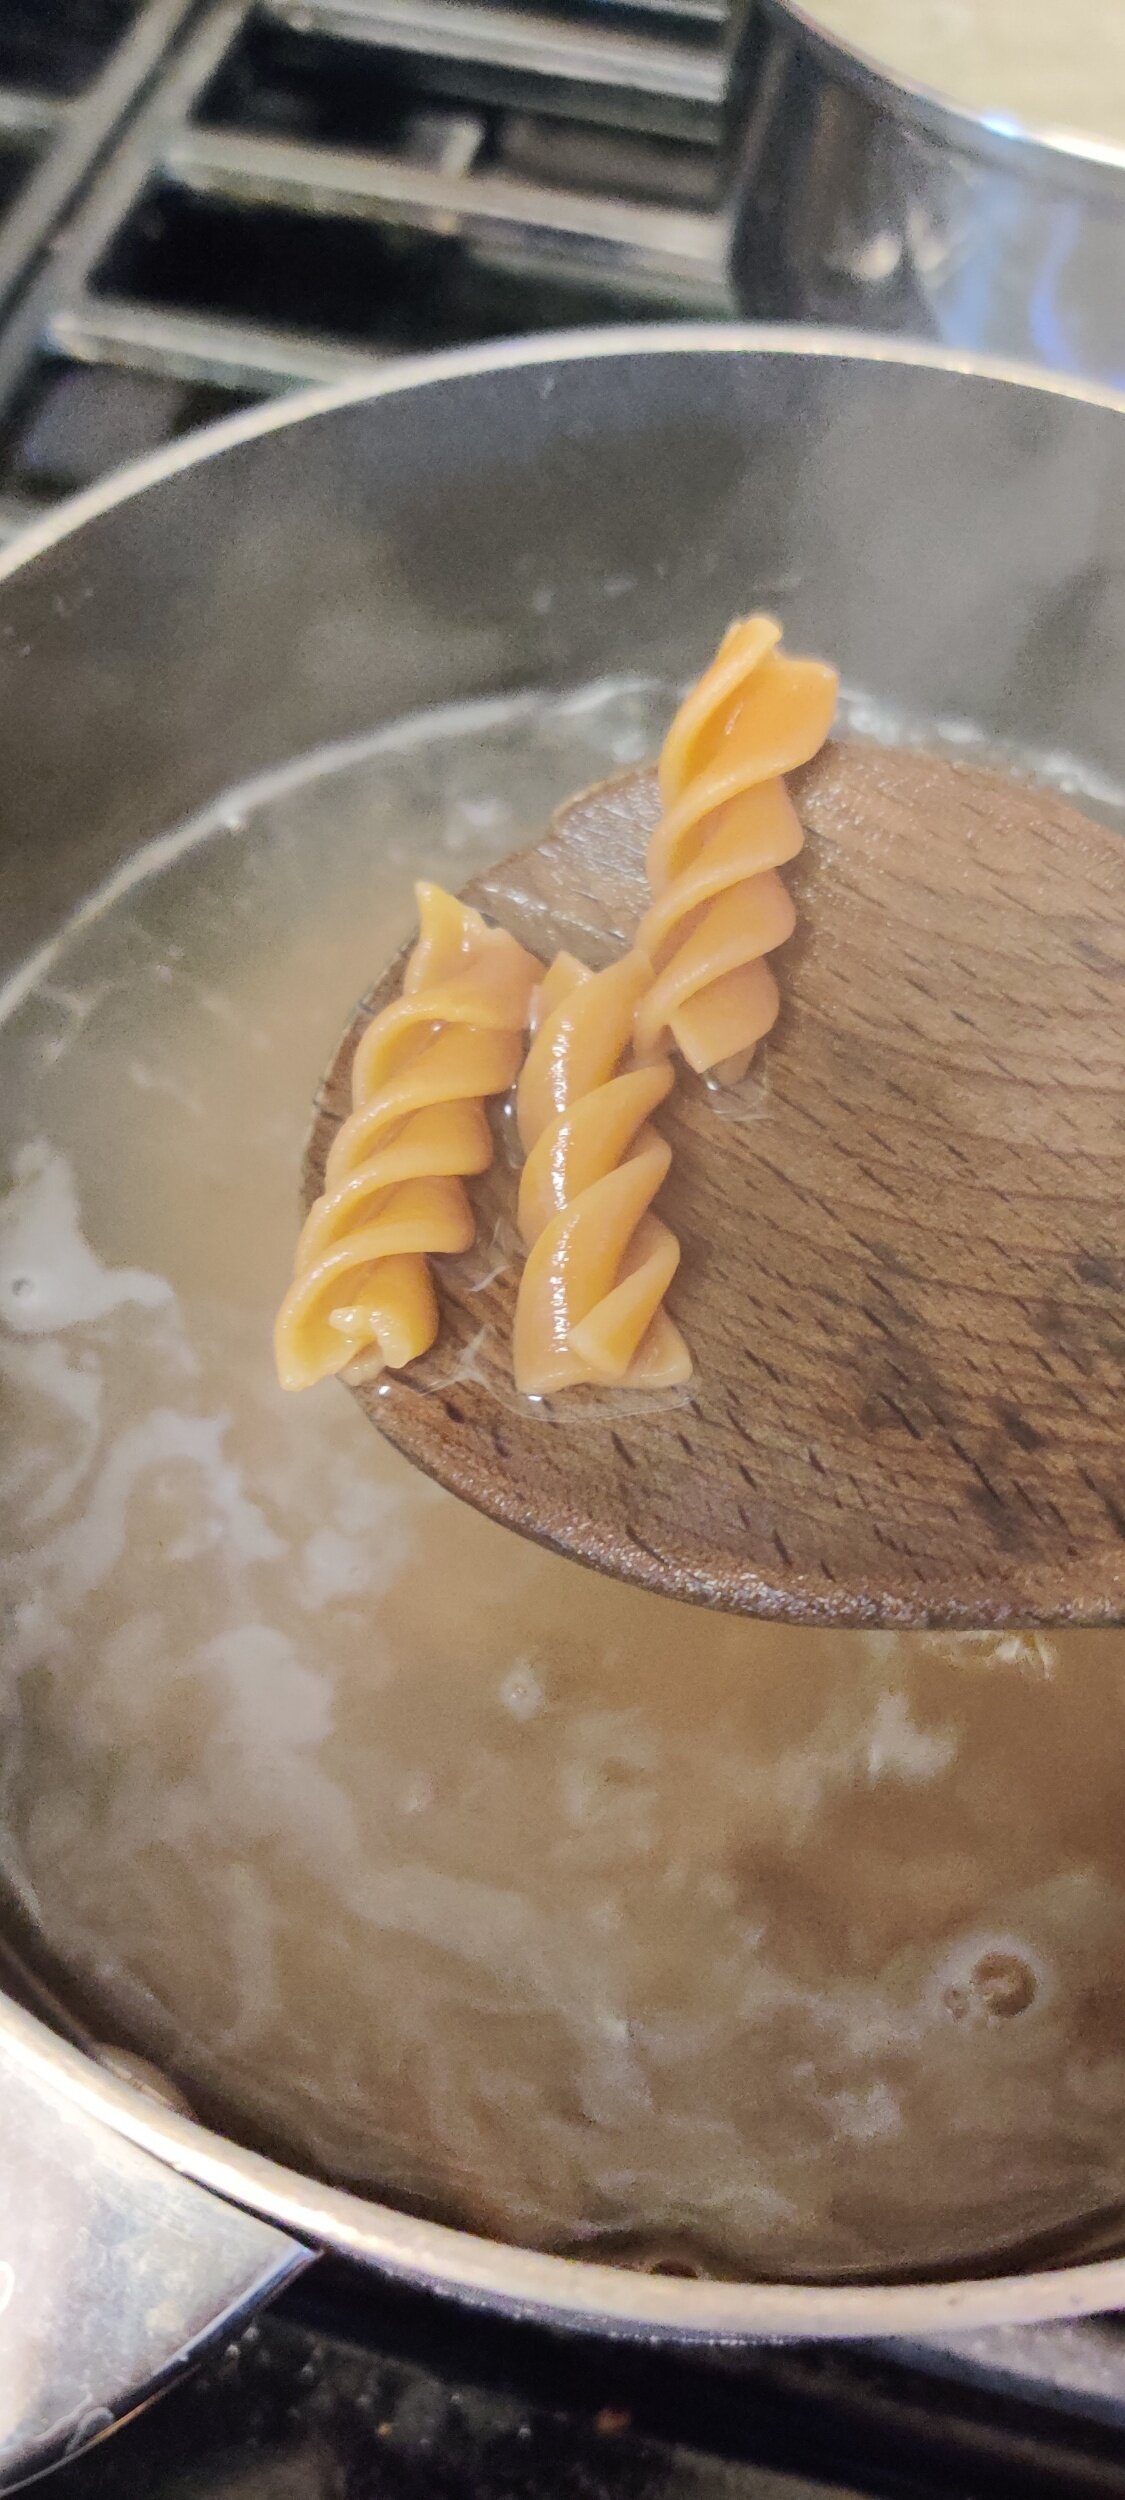
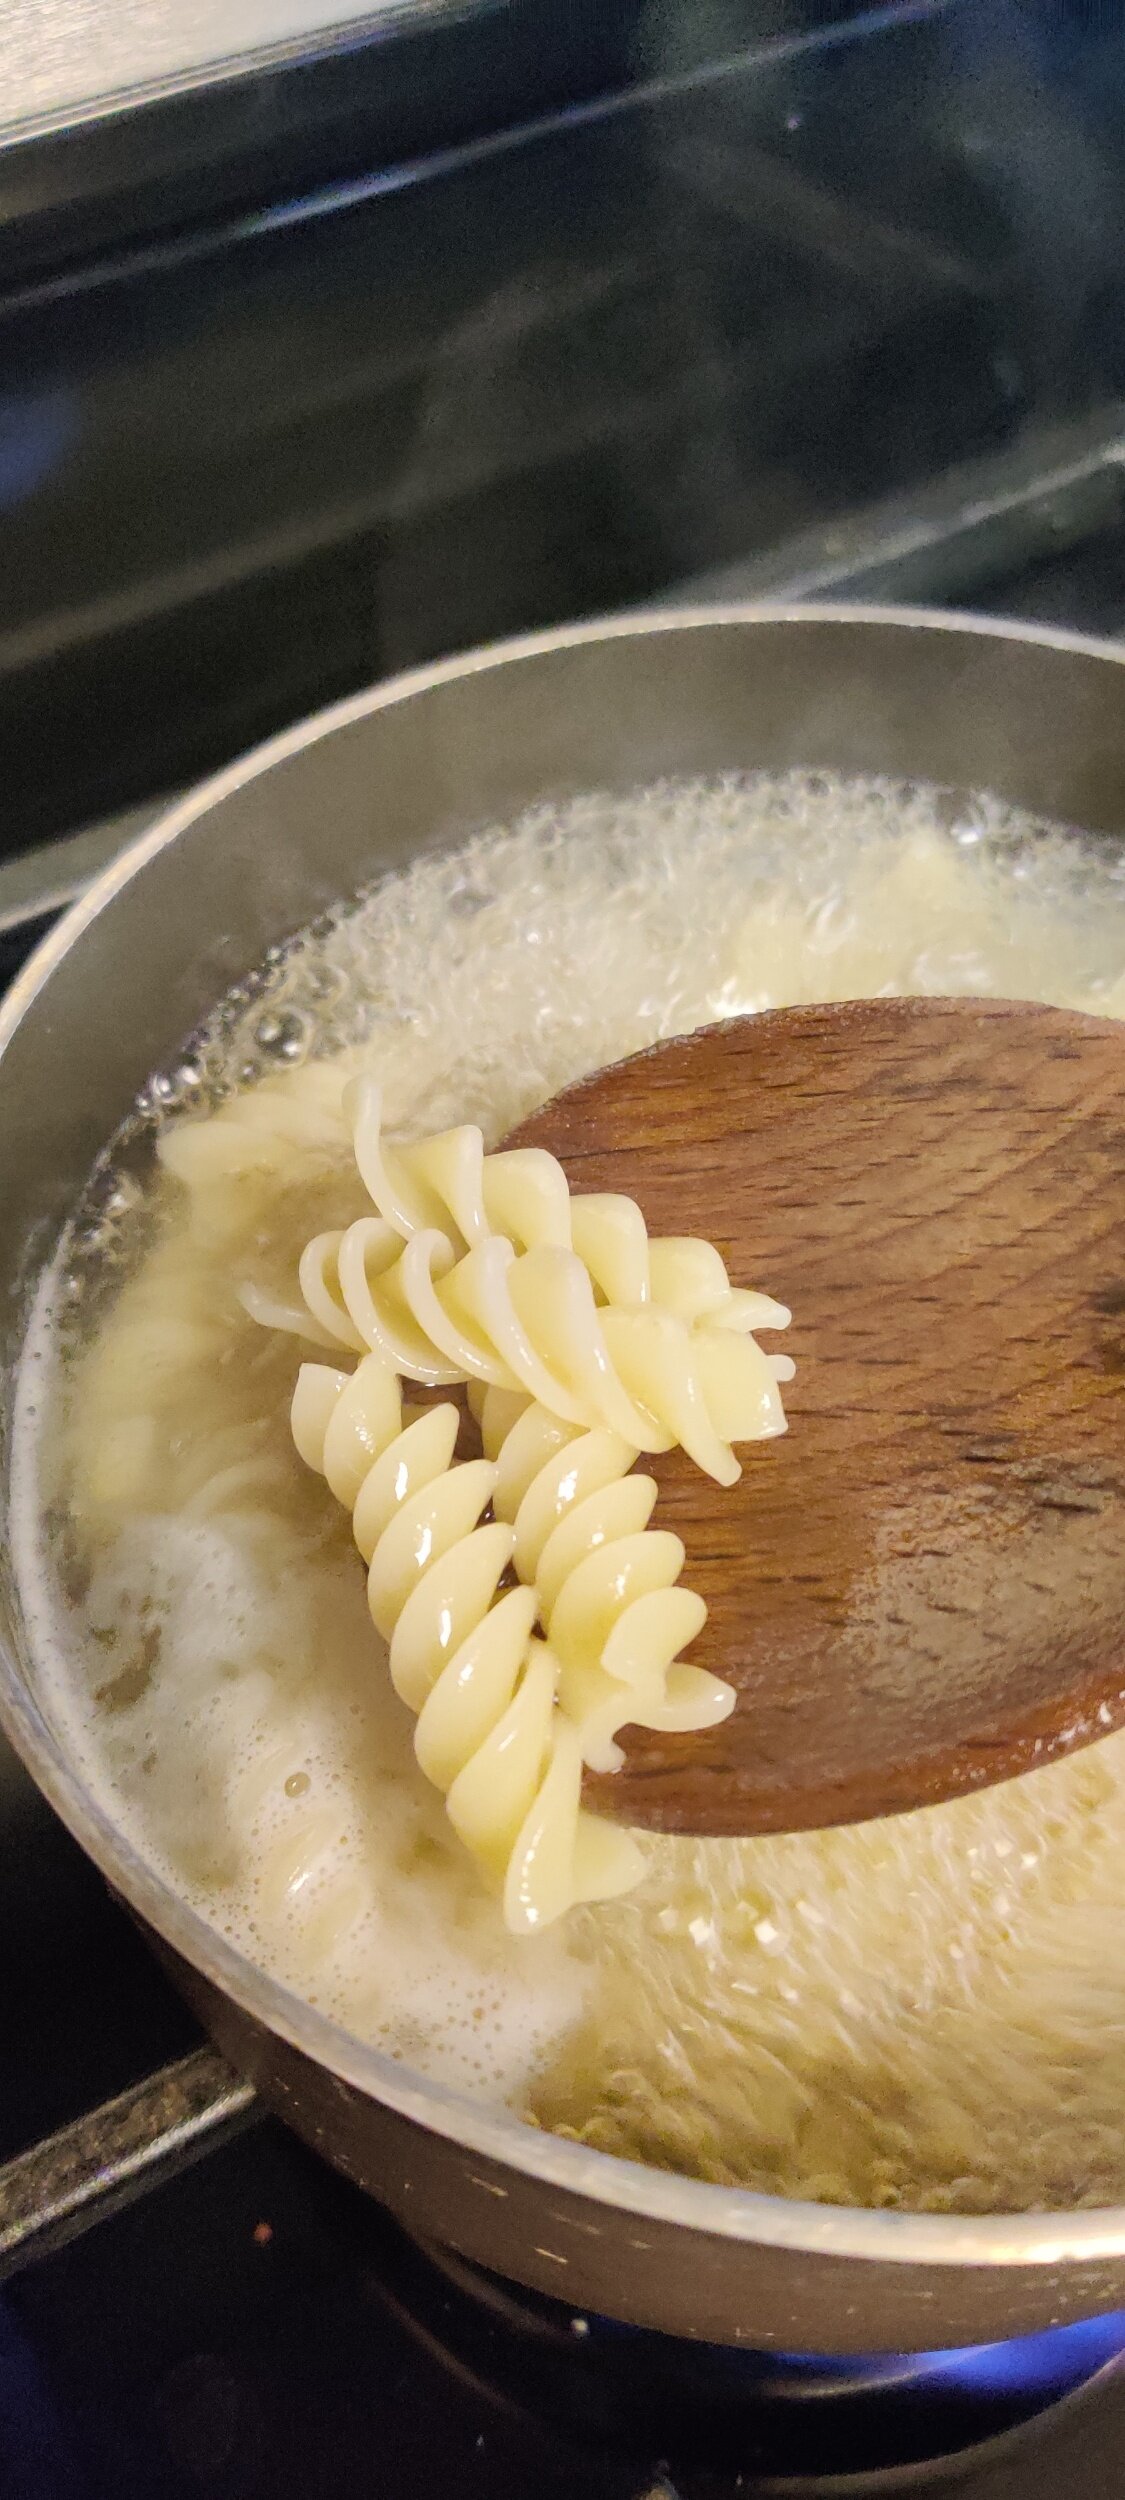
Cook the pasta according to the packet and drain each portion separately.(Separate the noodles by color before cooking, it will make it easier but is worth it if have the tricolor available. This should equate to a 1/2 cup for each portion).
Step 2
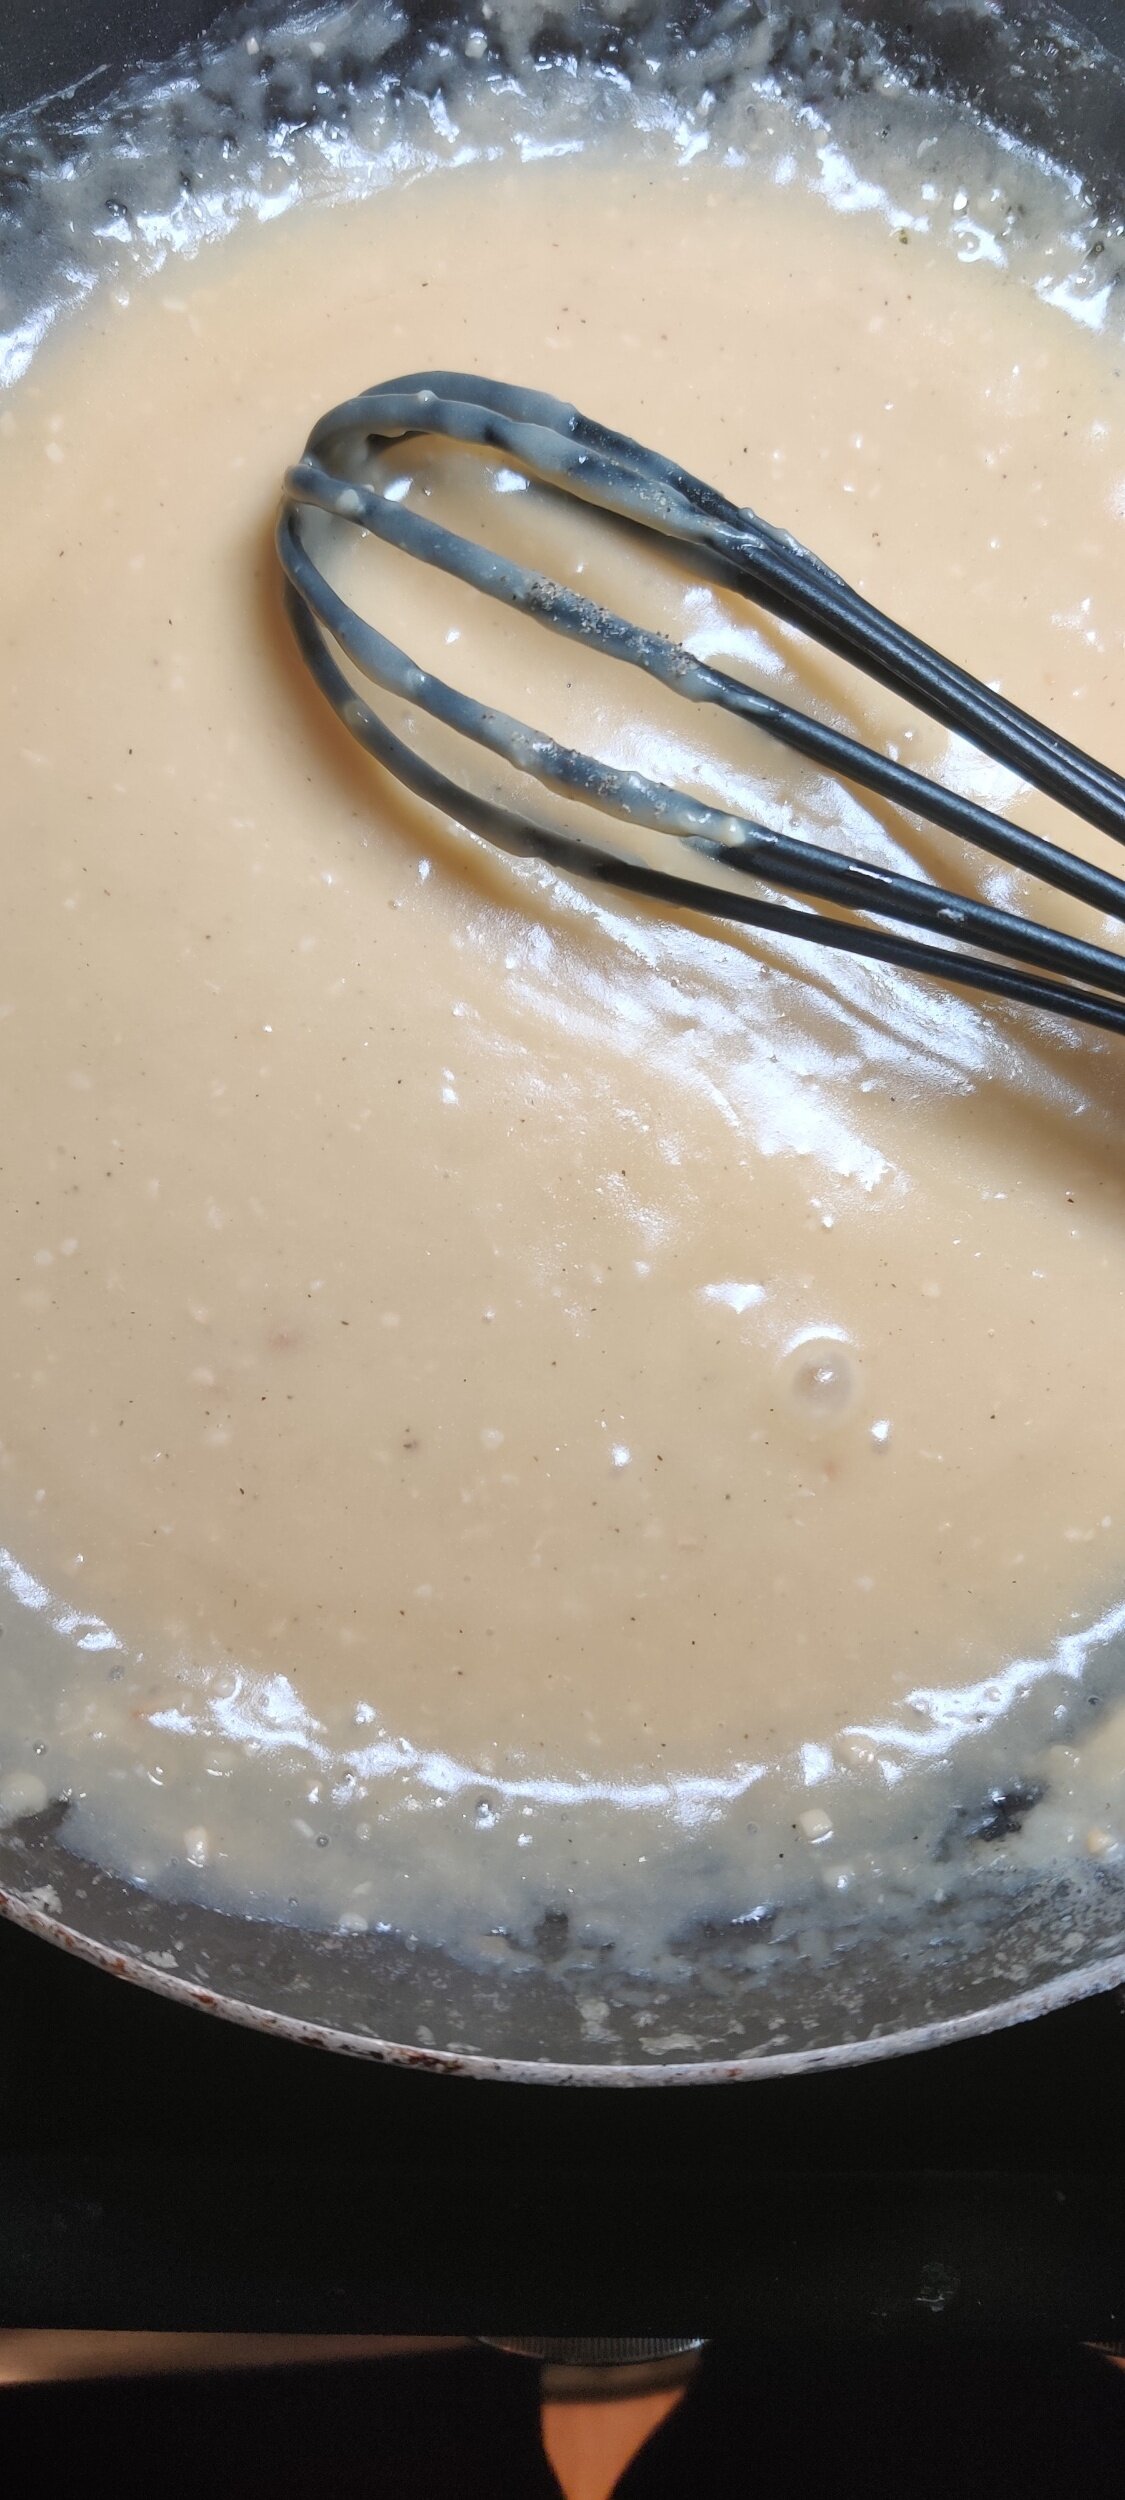
For the vegan alfredo sauce: Melt 2 tablespoons butter and add 1 teaspoon black pepper, 1/2 teaspoon salt, 1 tablespoon Worchester sauce, 1/2 cup broth, the olive oil, lemon juice, and coconut milk, mix until combined. Whisk in 2 tablespoons flour to thicken the sauce and cook for 2-3 minutes. (Depending on how saucy you like your pasta, add more coconut milk).
Mix in the regular colored pasta and mustard, set aside.
Step 3
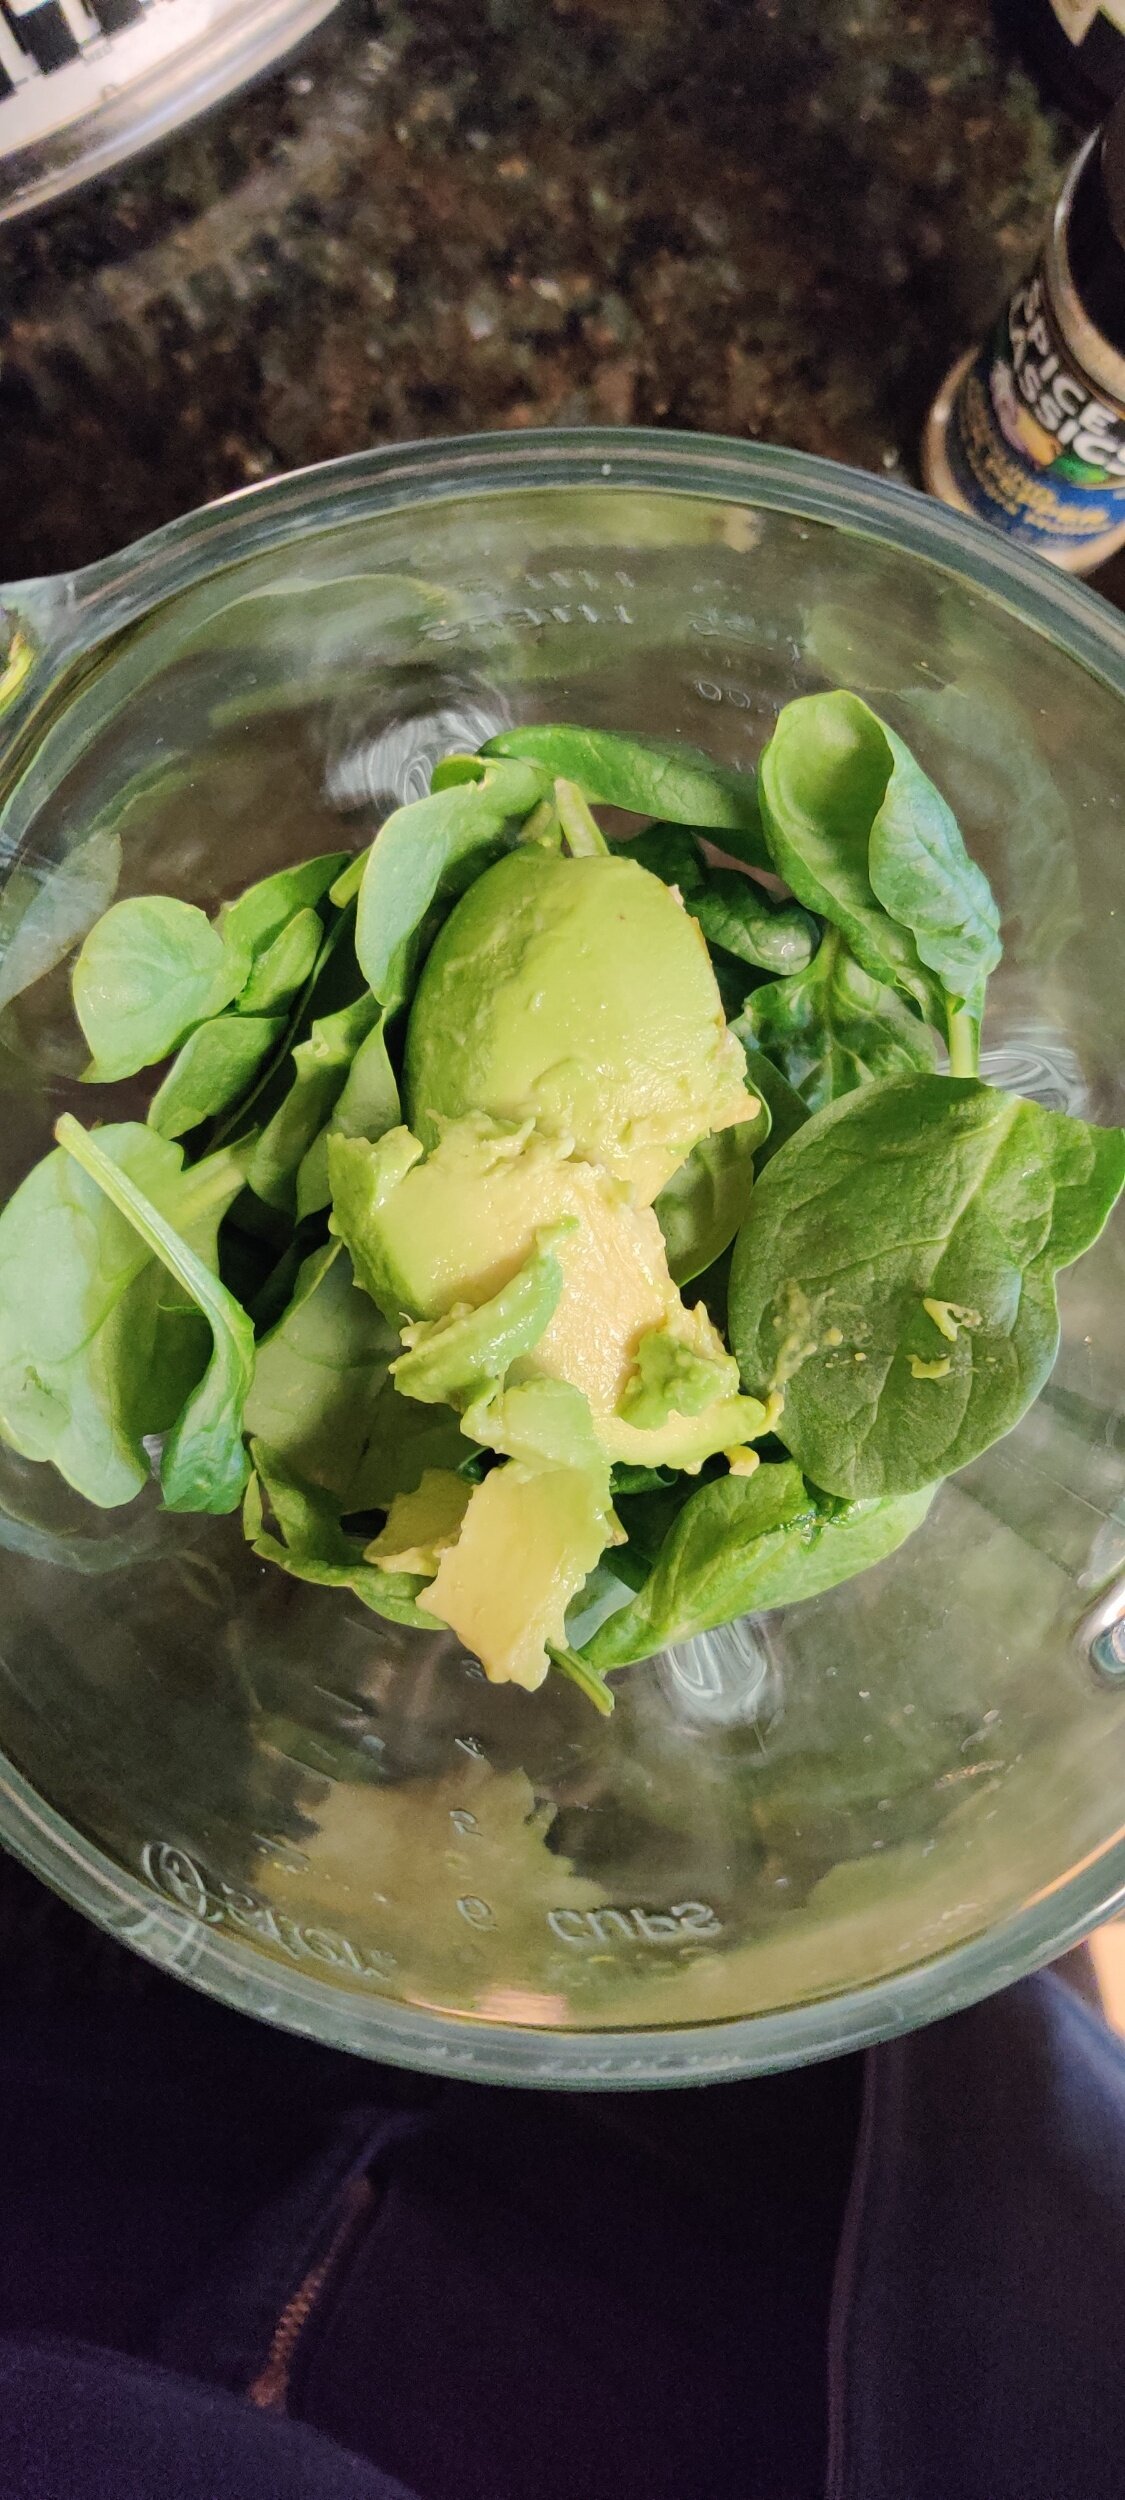
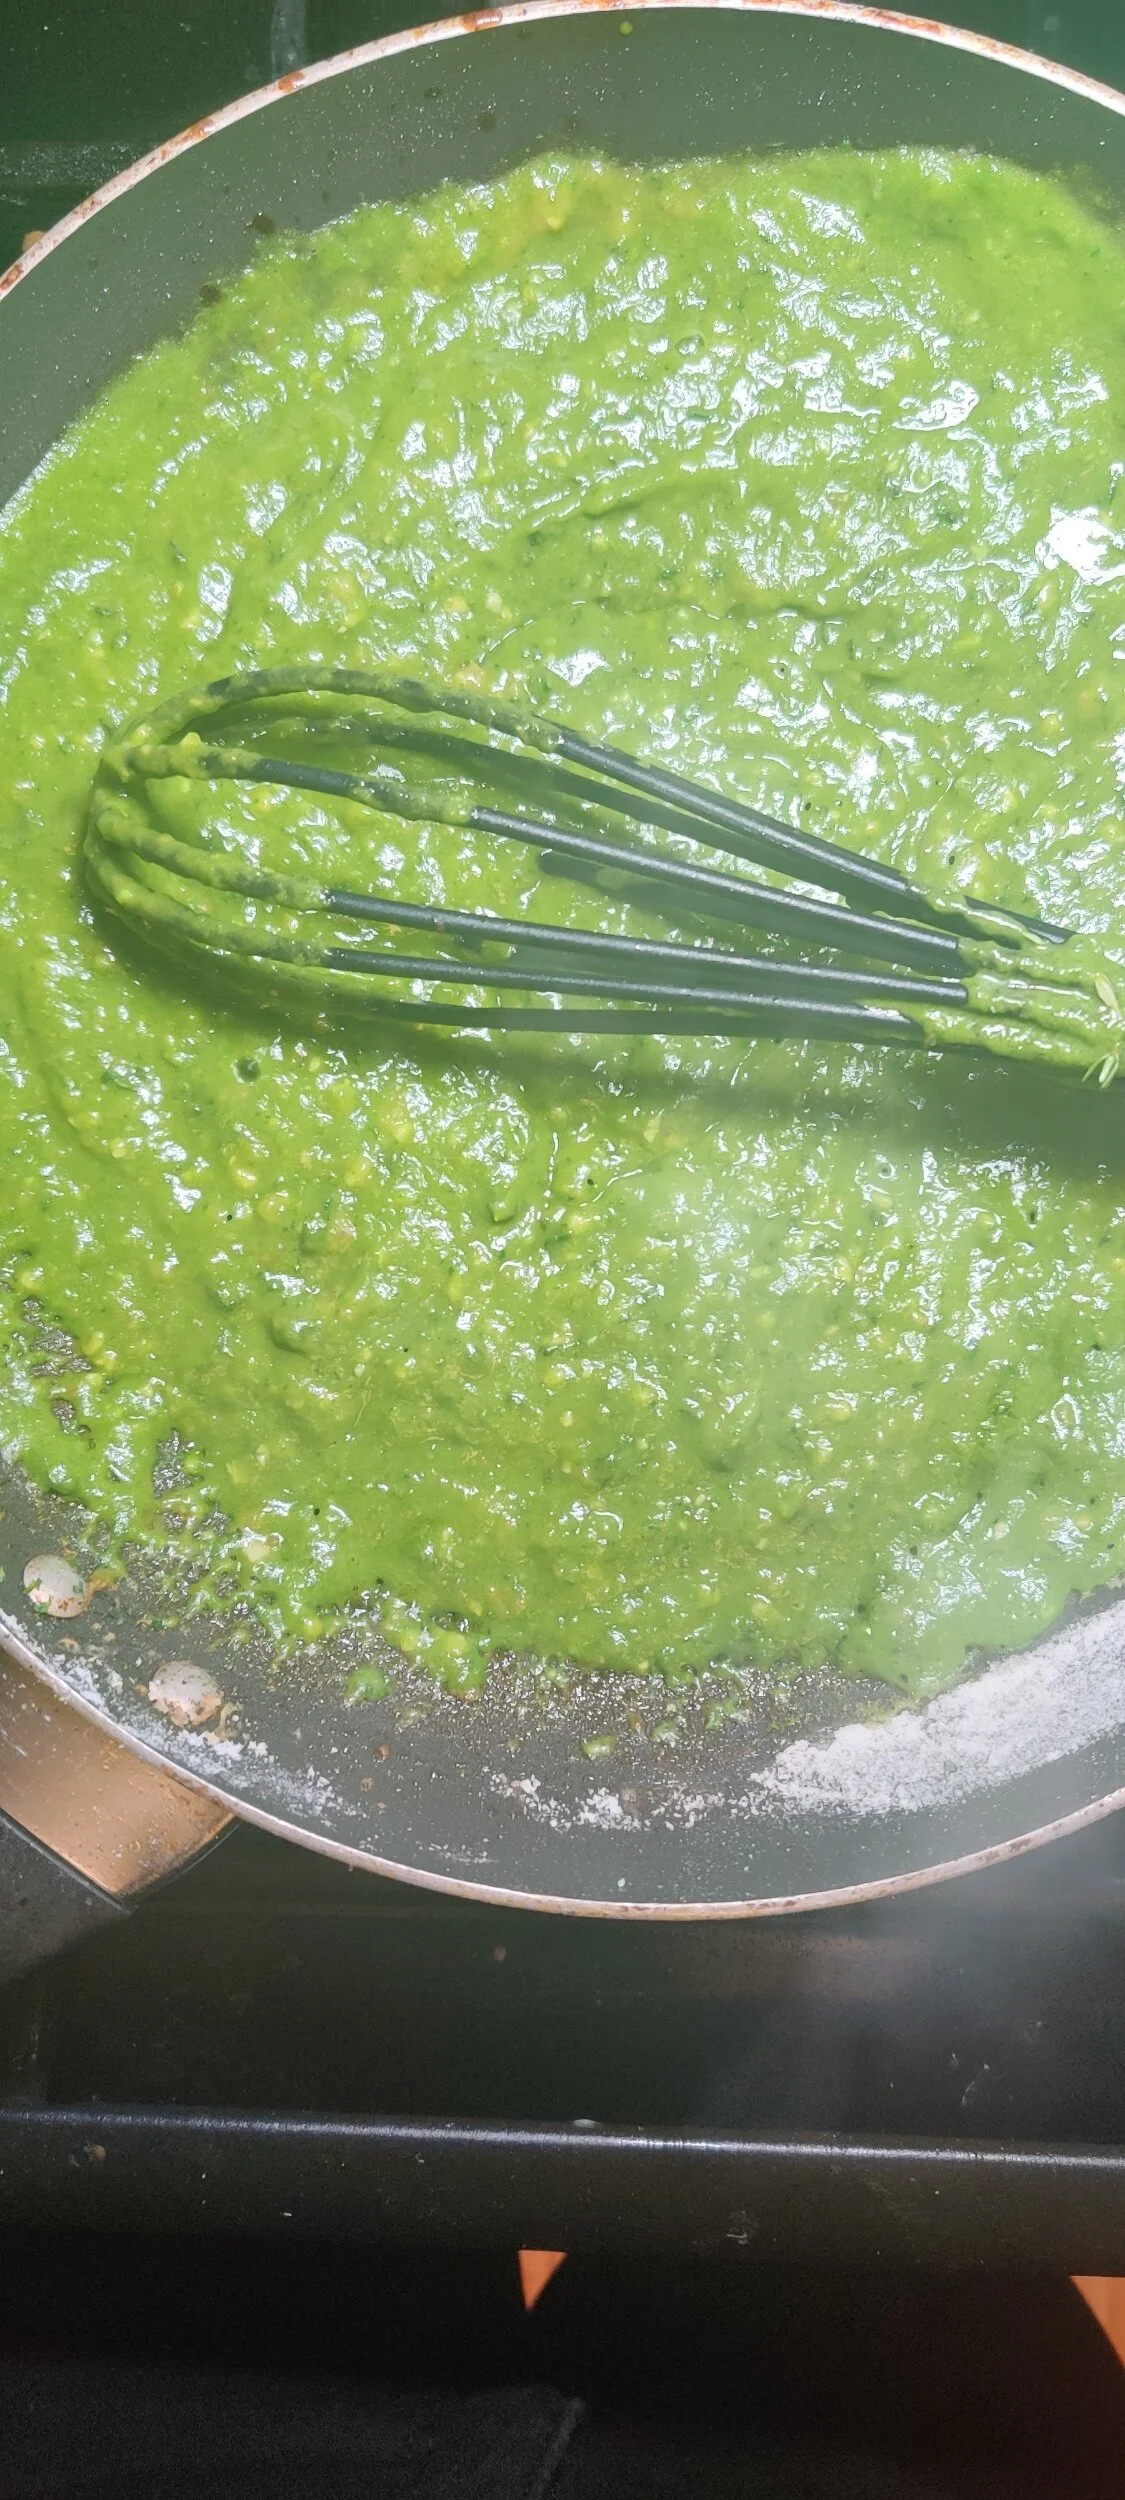
For the spinach avocado sauce: Blend the avocado and spinach with a little bit of vegetable broth or water until smooth.
Melt 2 tablespoons butter and add 1 teaspoon black pepper, 1/2 teaspoon salt, 1 tablespoon Worchester sauce, 1/2 cup broth, the olive oil, lemon juice, blended spinach avocado, and the parsley, fresh thyme, and cilantro. Mix until combined. Whisk in 2 tablespoons flour to thicken the sauce and cook for 2-3 minutes. (Depending on how saucy you like your pasta, add more vegetable broth).
Mix in the green colored pasta and set aside.
Step 4
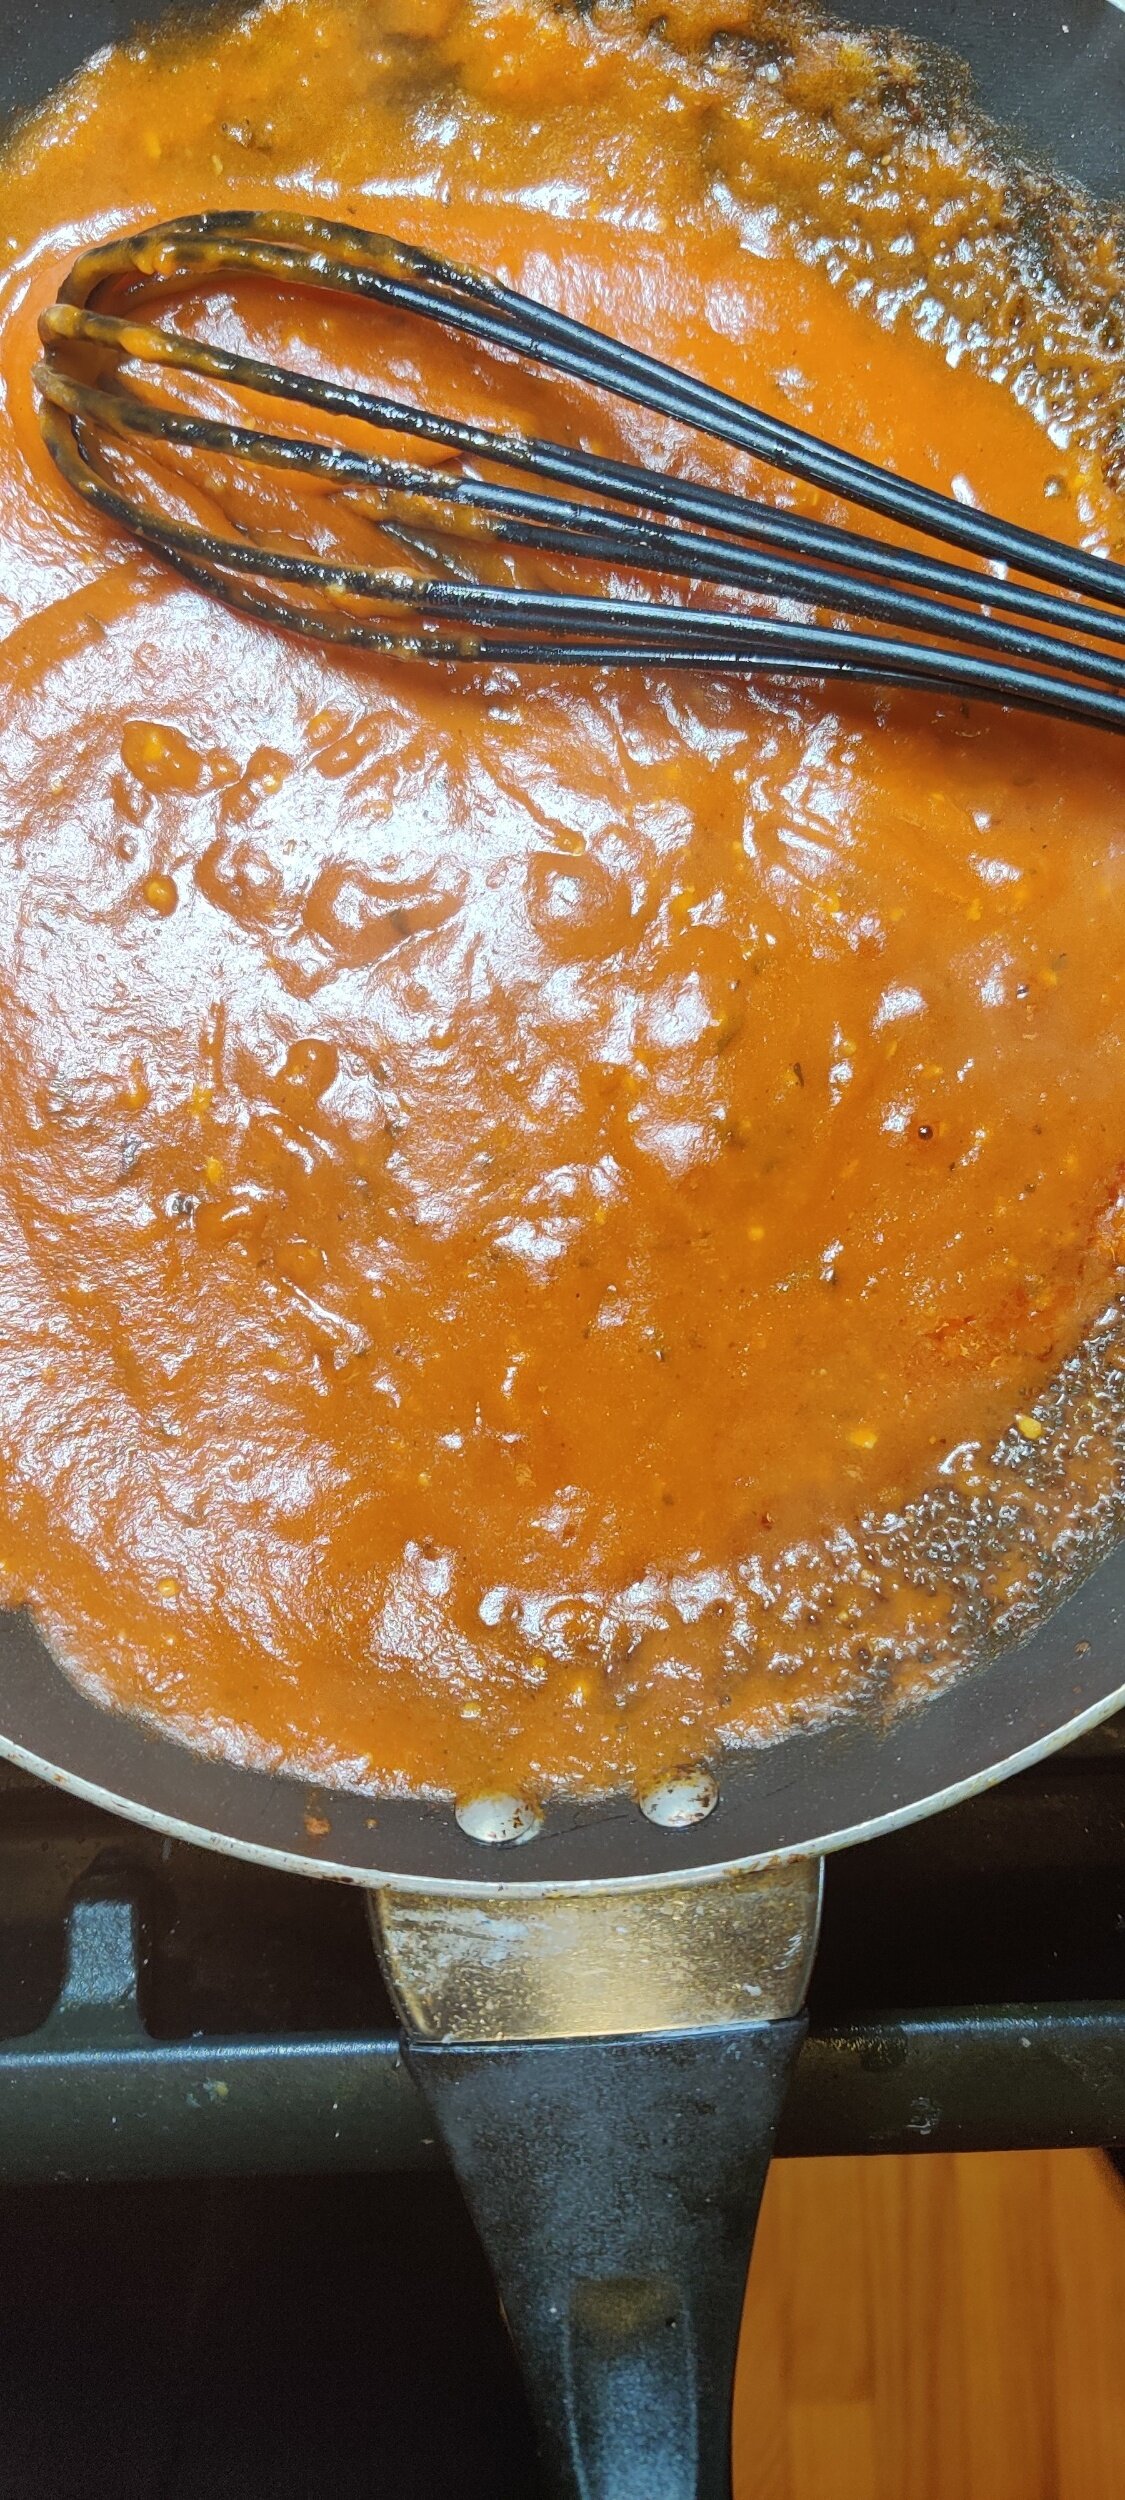
For the spicy tomato sauce: Melt 2 tablespoons butter and add 1 teaspoon black pepper, 1/2 teaspoon salt, 1 tablespoon Worchester sauce, 1/2 cup broth, the olive oil, lemon juice, tomato ragu, and the chili flakes, mix until combined. Whisk in 2 tablespoons flour to thicken the sauce and cook for 2-3 minutes. (Depending on how saucy you like your pasta, add more ragu).
Mix in the red colored pasta and set aside.
Note: You can also melt the butter and add the flour to form the roux first, then add the other ingredients.
When ready to serve, heat the portions individually and garnish to your liking.

Carbonara Pasta
Thank the stars and the Romans for this delicious Italian dish! Yes, you can make it in your home easily and impress all guests and family. Restaurants or the taste may make carbonara appear complicated, but it is one of the easiest pasta dishes out there. You just have to make sure the raw eggs are fully cooked, but not scrambled. With very few ingredients, this makes a satisfying dinner or lunch.
Ingredients
Half a box of spaghetti noodles (1lb)
Half a packet of bacon (4-6 ounces)
2 - 3 eggs
1 cup parmesan cheese, finely grated or shredded
3 tablespoons parsley (ideally fresh but dried works)
2 tablespoons fresh garlic, minced
4 tablespoons black pepper, coarsely ground
Salt


Instructions
Step 1
Chop the bacon into bits and sauté them until just crispy, then add the garlic and cook for another minute, do not burn!
Step 2
Put the bacon aside, prepare your spaghetti according to the box’s instructions. When you drain the noodles keep the water for the sauce. Toss in the bacon, bacon fat and garlic and make sure it evenly coats.
Step 3
Quickly whisk the eggs and parmesan cheese together, then add to the hot pasta. (Don’t do this over the heat, you want the pasta’s heat to cook the eggs as you mix everything together, but you don’t want them to scramble).
Step 4
Season generously with the black pepper and parsley, add more cheese if you like. You can add the pasta water to get the desired sauce consistency and amount.
Eat while hot! Serves 3-4.

Sweet Potato Gnocchi and Coconut Shrimp
I love sweet potato and grew up calling it ‘mbambaira’, typically in boiled form. Boring! Sweet potato is extremely versatile and I understand the superfood much better now. Combine it with flour to make some easy homemade gnocchi. The dumplings can be combined with your choice of sauce and/or protein---in this case, coconut shrimp in a thickened red Thai curry sauce.
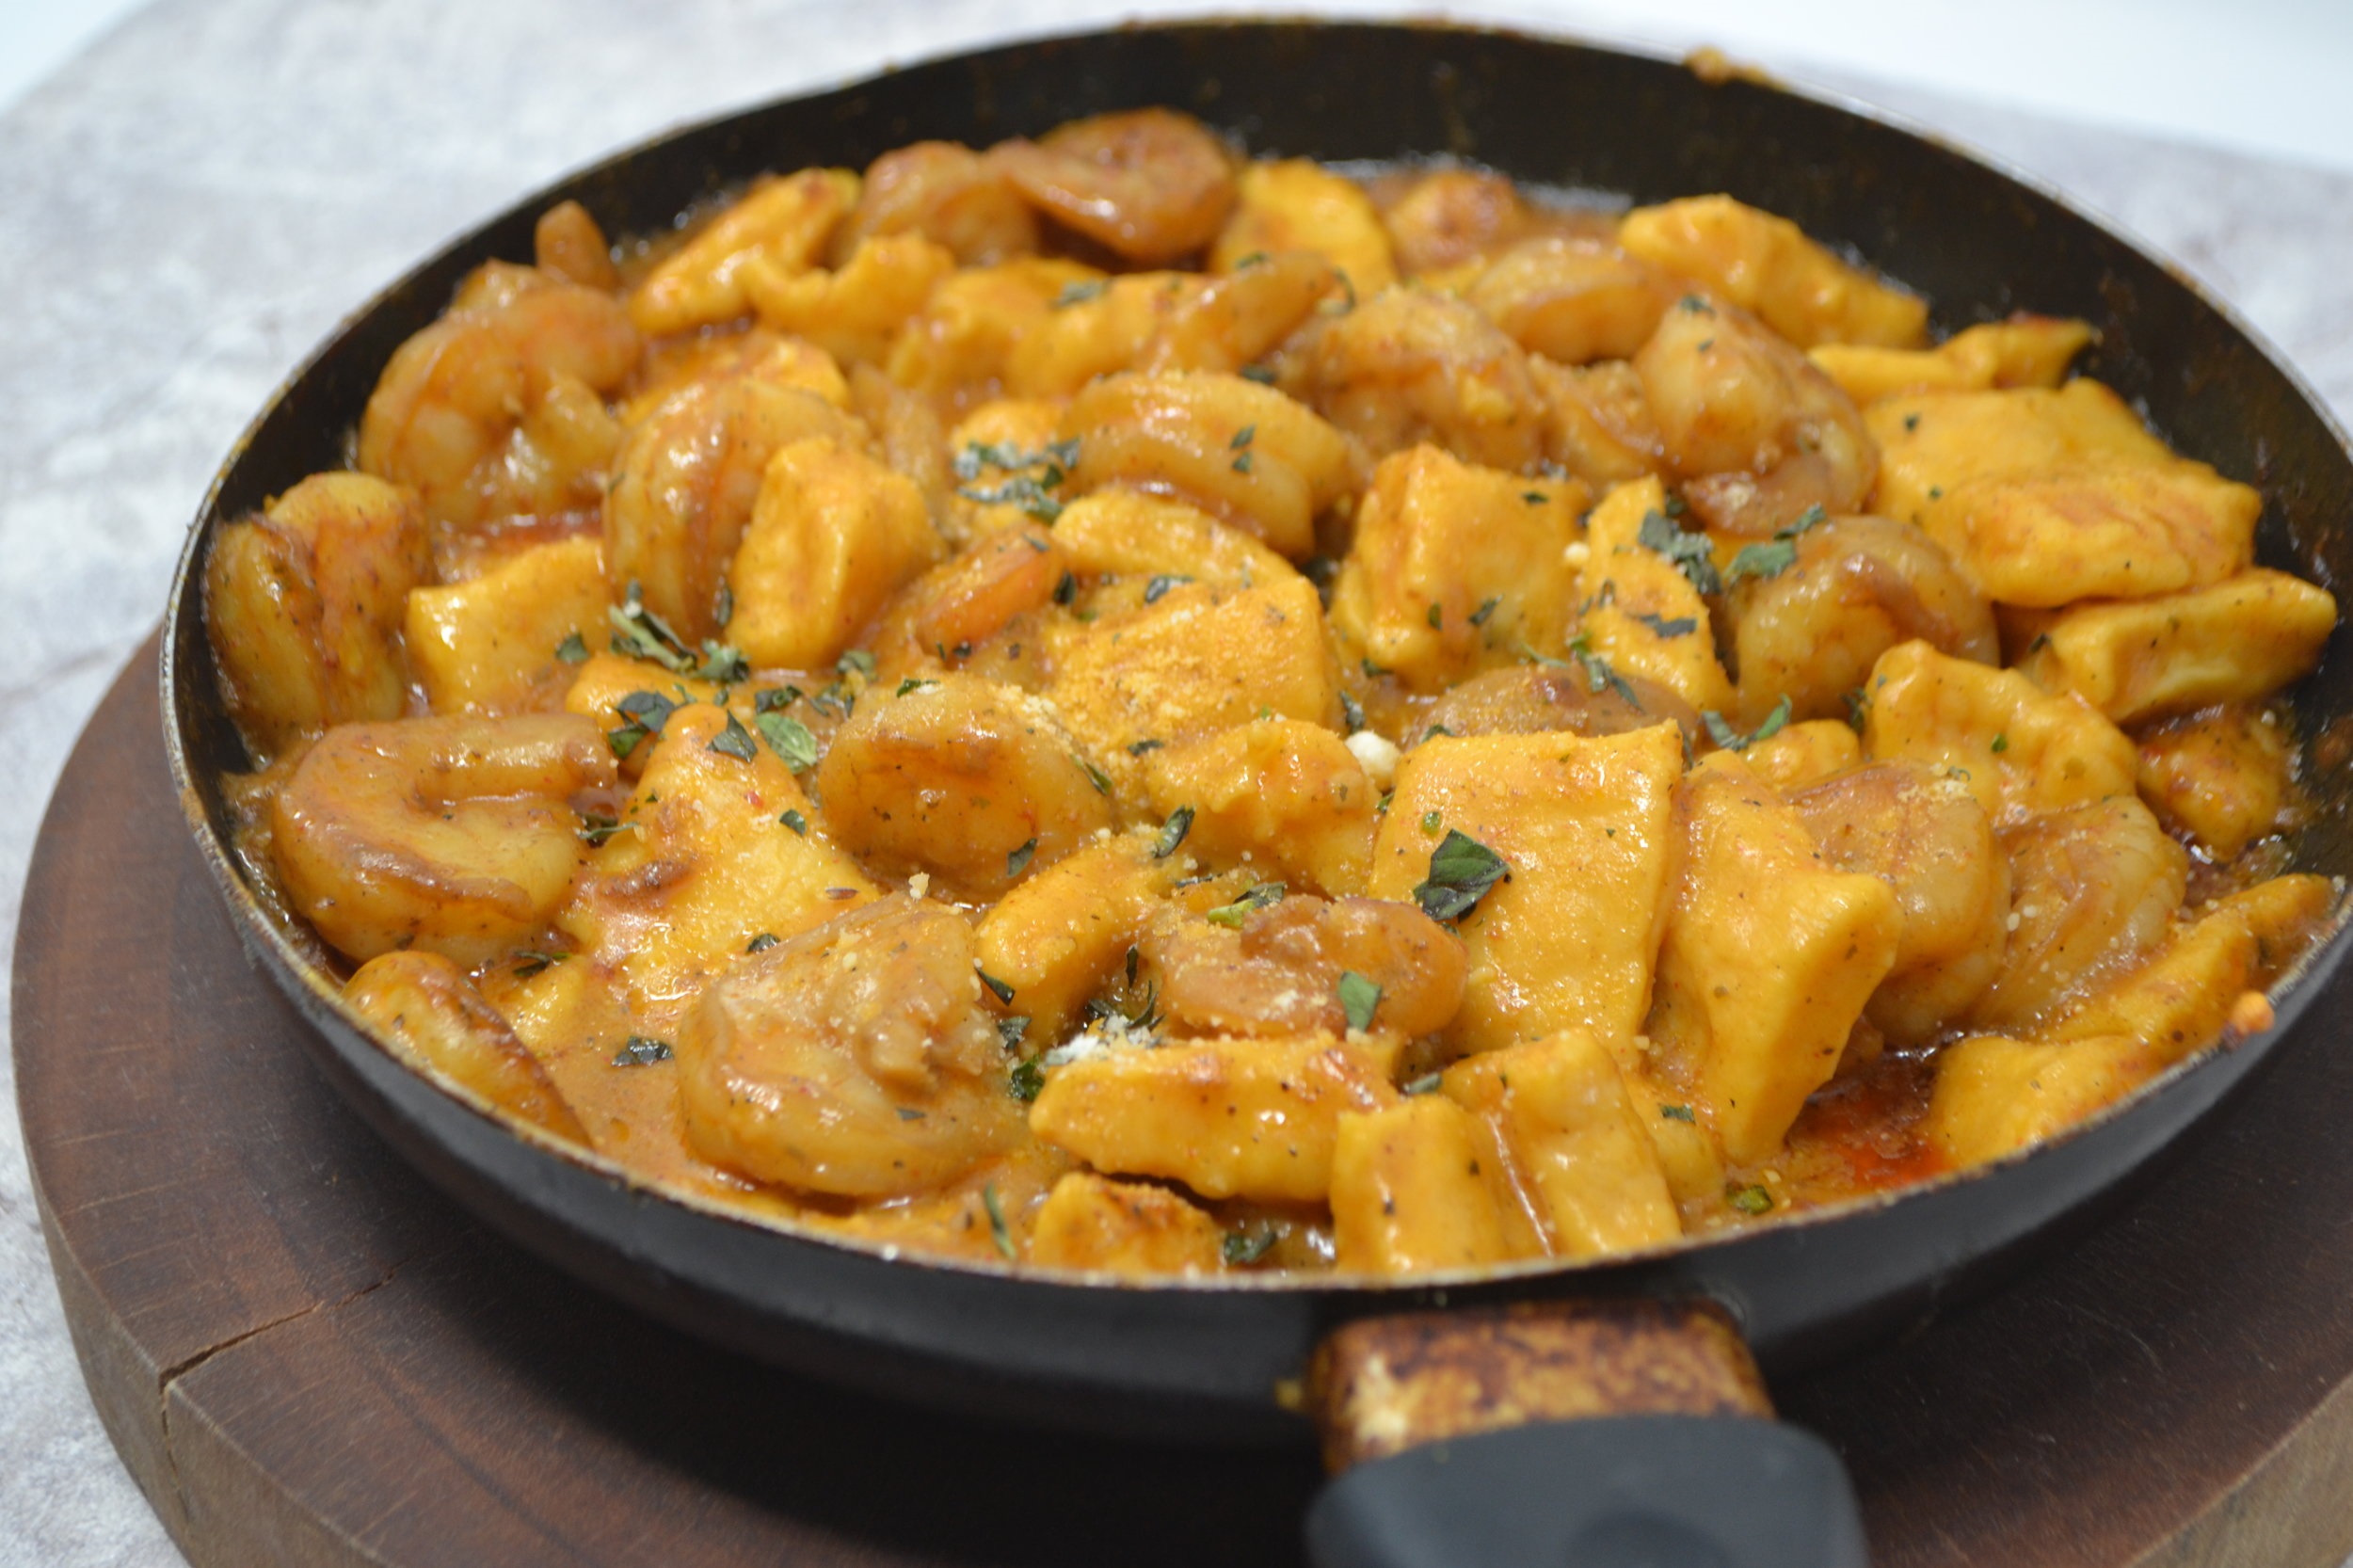
Sweet Potato Gnocchi and Coconut Shrimp
Ingredients:
- 3 large sweet potatoes
- 1 cup parmesan cheese, grated
- 1 cup ricotta cheese (drained for 2 hours)
- 2 tablespoon brown sugar
- 1 teaspoon cinnamon
- 1/2 teaspoon nutmeg
- 6-8 cups water
- 1/2 lb. large shrimp, peeled and deveined
- 1 tablespoon olive oil
- 1 tablespoon butter
- 1 teaspoon minced garlic
- 1 tablespoon red curry paste
- 1 cup coconut milk
- 1 teaspoon cornstarch
- 2 cups chicken stock
- 1 teaspoon salt
- 1 tablespoon black pepper
- 2 tablespoon old bay seasoning
- 1 teaspoon chili powder
- 1 teaspoon fresh sage, chopped
- 1 teaspoon lemon juice
Instructions:
- Roast the sweet potatoes in the oven at 400F for 20 minutes until softened and fully cooked. Allow to cool, remove the skin, and mash in a medium bowl.
- Add the ricotta and mix until combined well. Add the parmesan, sugar, cinnamon, nutmeg, and salt. Mash until well incorporated.
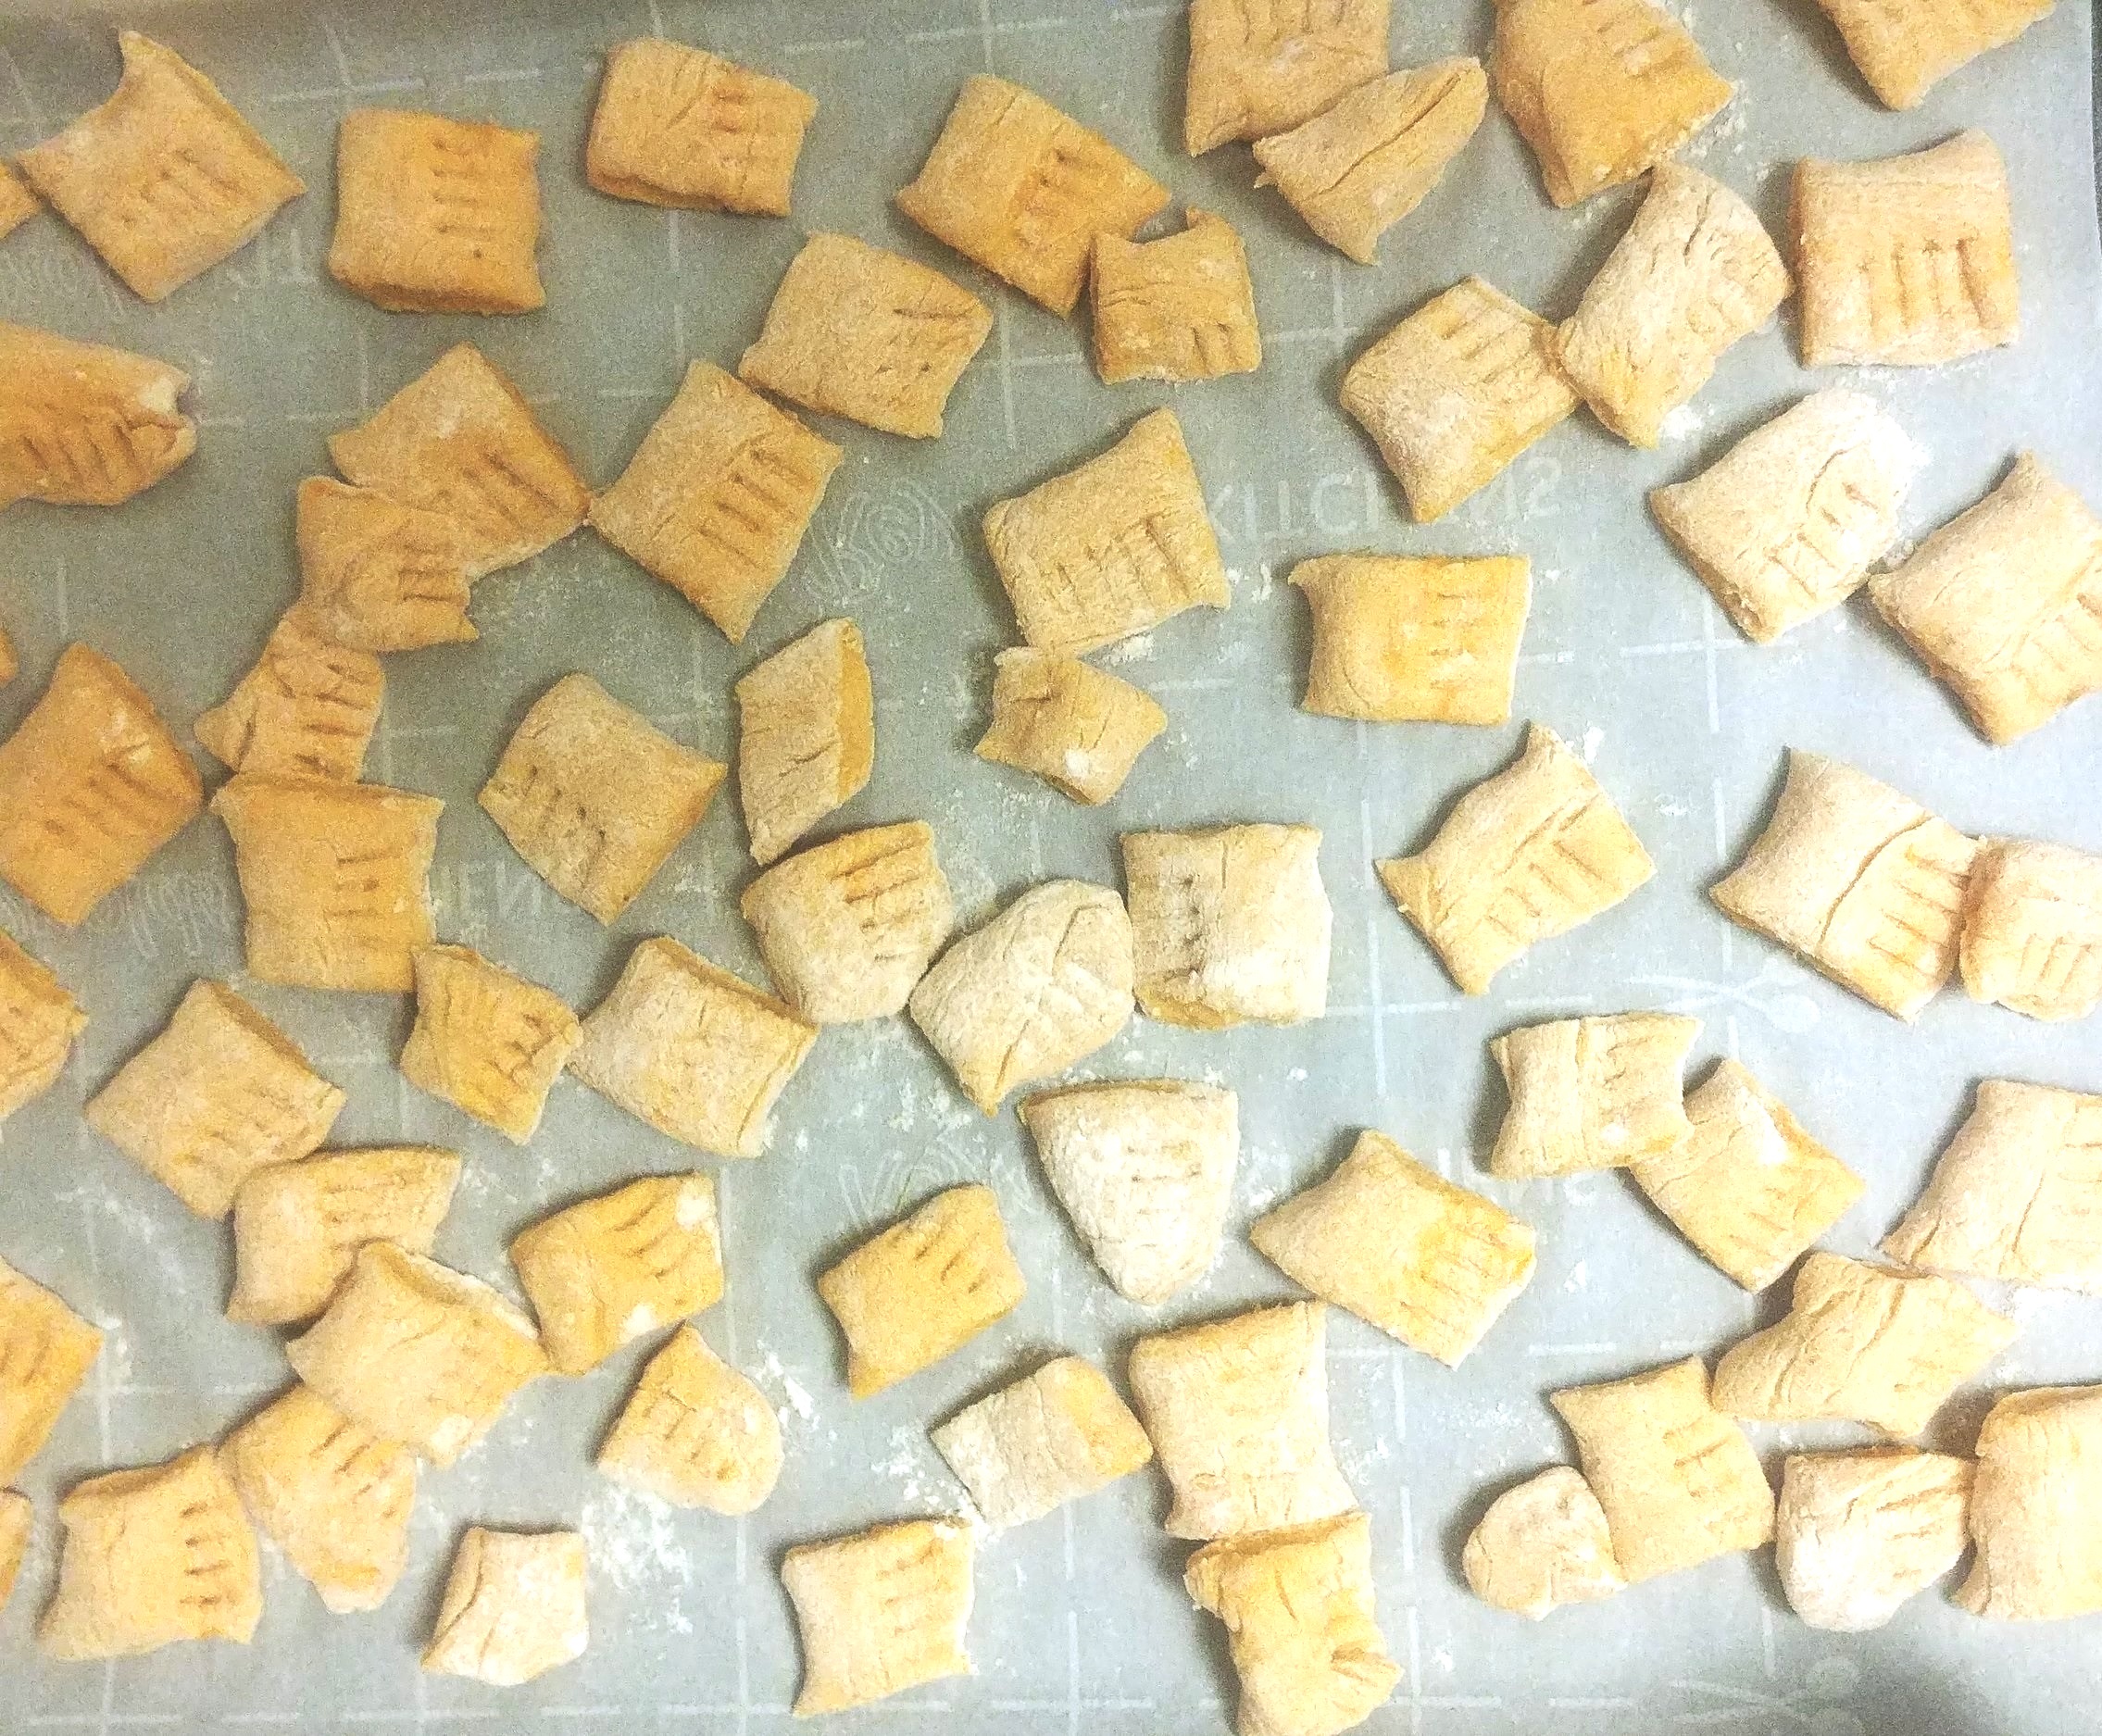
- Add the flour in three parts until a soft dough forms. Roll and knead on a lightly floured surface (add more flour if the dough is too sticky). Cut the dough into three parts and roll into 12-inch/30 cm long pieces the same thickness as your middle finger.
- Cut into ½ inch/1 cm pieces and press roll with a fork. Place the uncooked gnocchi on a baking trays with parchment paper.
- Boil the water and add salt to taste. Add the gnocchi in batches and cook for 6 minutes each or until they float to the top, placing the cooked gnocchi back on the parchment paper.
- Prepare the coconut shrimp. Cook the garlic in the oil and butter until fragrant, about 2 minutes.
- Add the coconut milk, curry paste, stock, salt, pepper, chili powder, and old bay. Stir in the cornstarch to thicken the sauce. Simmer for about 5 minutes, stirring occasionally.
- Add the shrimp and cook for 4 minutes until pinkish and no longer translucent. Finish with lemon juice and take the pan off the heat.
- Combine the gnocchi with the shrimp, serve hot. Garnish with sage and additional parmesan.
Calories
797Fat (grams)
49.33Carbs (grams)
57.97Protein (grams)
35.84