Holiday "Christmas Crack" Toffee with Pretzels and Coconut
One of my favorite sweets is English toffee! Hard or soft, this candy (made of butter and caramelized sugar) is a treat many people find irresistible, hence the surging demand around the holidays when people are gathering and looking to satisfy their sweet tooth. Toffee also makes a great gift and is ideal for late-night snacking!
Traditional English toffee doesn't typically come with nuts, though the American version is often topped with crushed almonds.
The fun thing about toffee for the holidays? You can pretty much add whatever toppings you want. In this case, I add some pretzels for extra crunch and saltiness and make up for the saltine crackers many people use for the bottom layer. The coconut adds another dimension of sweetness, but much more subtle than the sugar, of course! Although almonds tend to be the most popular nuts, as I mentioned, I'm a huge fan of toasted pecans and walnuts all the same.
What's the most important part about making toffee? If you want that perfect crunch, not chewy, but a light, brittle crunch that still melts in your mouth (too solid, and your teeth might shatter!), you'll need to heat the butter and sugar mix to 285-300F before pouring it onto a solid, nonstick surface before chilling.

Holiday "Christmas Crack" Toffee with Pretzels and Coconut
Ingredients
- 2 cups butter
- 2 cups granulated sugar
- 1/4 teaspoon salt
- 1/4 cup unsalted chopped pecans
- 1/4 cup unsalted chopped walnuts
- 1/4 cup desiccated coconut
- 1 teaspoon sea salt (optional)
- 1/2 cup thin pretzels
Instructions
- Roughly chop the pecans and walnuts, place them on a baking sheet in an oven at 400F and toast for 12-15 minutes until crispy; remove from the oven.
- In a medium-sized pot, melt the butter and stir in the sugar occasionally to dissolve it. Bring to a gentle boil on medium-low heat (depending on your stove) until it turns amber in colour and the temperature reaches 285F.
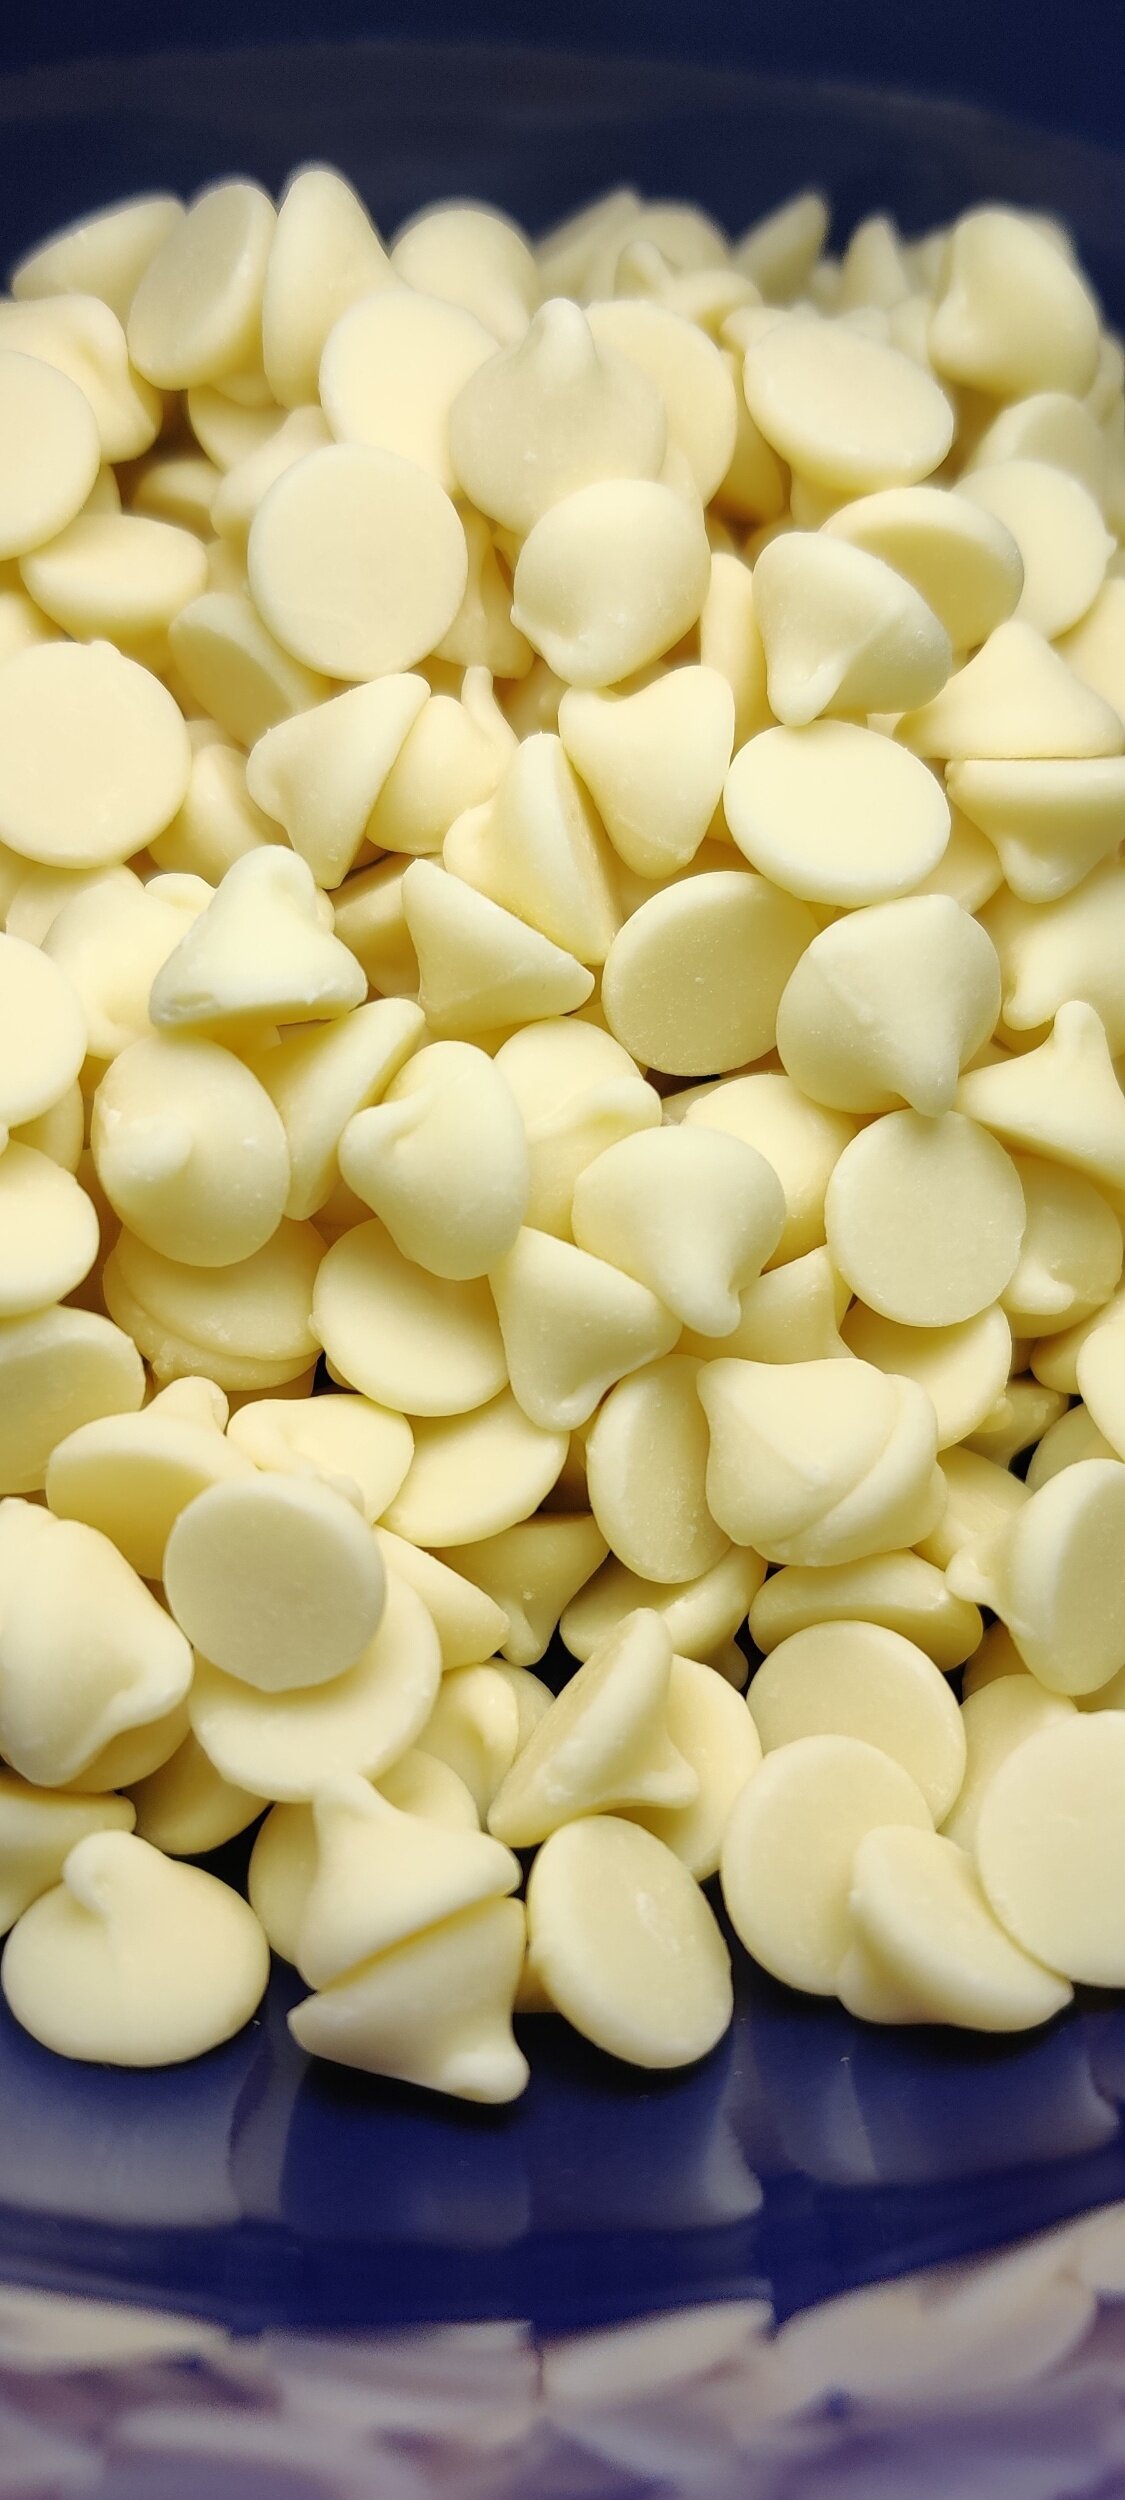
- Remove from heat and pour onto a foil-lined baking tray. Allow the toffee to set for about 1 minute, then sprinkle with chocolate chips evenly. Spread with a spatula and allow the chocolate to melt.
- Sprinkle the nuts, coconut, sea salt, and crushed pretzels, and gently press the toppings into the toffee with the spatula. Move to the fridge and chill until hardened. Enjoy!
Nutrition Facts
Calories
298Fat (grams)
22.5 gCarbs (grams)
25.6 gSugar (grams)
20.4 gProtein (grams)
1.4 gI am not a certified nutritionist and any nutritional information on dontmissmyplate.com should only be used as a general guideline.
Chocolate Coconut Cookies (Homemade Romany Cream Biscuits)
Introduction to “Romany Creams”: A Timeless Treat
If there's one biscuit that holds a special place in the hearts of Southern Africans, it's the iconic Romany Cream. Known for their rich chocolate flavor, perfectly crispy texture, and creamy center, these decadent treats have been a staple in households for generations. Whether paired with a hot cup of coffee, as a mid-afternoon snack, or shared during celebrations, Romany Creams are as versatile as they are delicious.
This recipe was inspired by Romany Creams (one of my favourite biscuits/cookies of all time). Make this batch first if you've never tried them, then taste the originals and let me know what you think!
My understanding is that Romany Creams were originally developed from Gipsy Creams (a reference to a recipe of custard cream biscuits from the nomadic people of Romany/other parts of Europe). Introduced in the UK, sales fell flat, but the recipe was revitalised in South Africa, where the biscuits are still produced today. I won't go too deep into the history here, but look it up when you get the chance.
I recommend making Romany Creams throughout the year, but with a few sprinkles, everyone will want you over in the holiday season.
A note on preparing the dough: using a stand mixer will save you some time, and the dough hook makes the kneading easier, giving you a more consistent result. However, you can use your hands throughout the process.
Here are some helpful tips for making perfect Romany Creams at home:
1. Choose Quality Ingredients
Use high-quality cocoa powder and chocolate for the best flavor. The richness of the biscuit depends on the quality of these key ingredients.
2. Cream Butter and Sugar Thoroughly
Creaming the butter and sugar until light and fluffy ensures the biscuits have the perfect texture—crisp yet tender.
3. Sift Your Dry Ingredients
Sifting the dry ingredients (like flour, cocoa powder, and baking powder) helps avoid lumps and ensures an even distribution for a smooth dough.
4. Don’t Overwork the Dough
Mix the ingredients until just combined. Overworking the dough can make the biscuits tough instead of light and crisp.
5. Shape Consistently
Roll the dough into evenly sized balls or logs to ensure the biscuits bake uniformly. If you’re pressing them with a fork, try to make the grooves consistent for an even texture.
6. Chill Before Baking
Letting the shaped dough rest in the fridge for 15–20 minutes before baking helps the biscuits hold their shape better in the oven.
7. Bake with Care
Keep an eye on the baking time. The biscuits should be firm but not overly browned to retain their chocolaty flavor.
8. Choose the Right Filling
Traditional Romany Creams are filled with chocolate ganache or melted chocolate. Ensure the filling has cooled slightly before sandwiching the biscuits to avoid making them soggy.
9. Allow Cooling Before Filling
Always let the biscuits cool completely before adding the filling to prevent the chocolate from melting unevenly.
10. Store Properly
Once assembled, store your Romany Creams in an airtight container to keep them fresh and crispy. They can last up to a week (if you can resist eating them sooner!).
With these tips in mind, you'll be well on your way to creating Romany Creams that rival store-bought versions—if not better! I try to abide by some of these tips for the most part.

Holiday Homemade Romany Creams
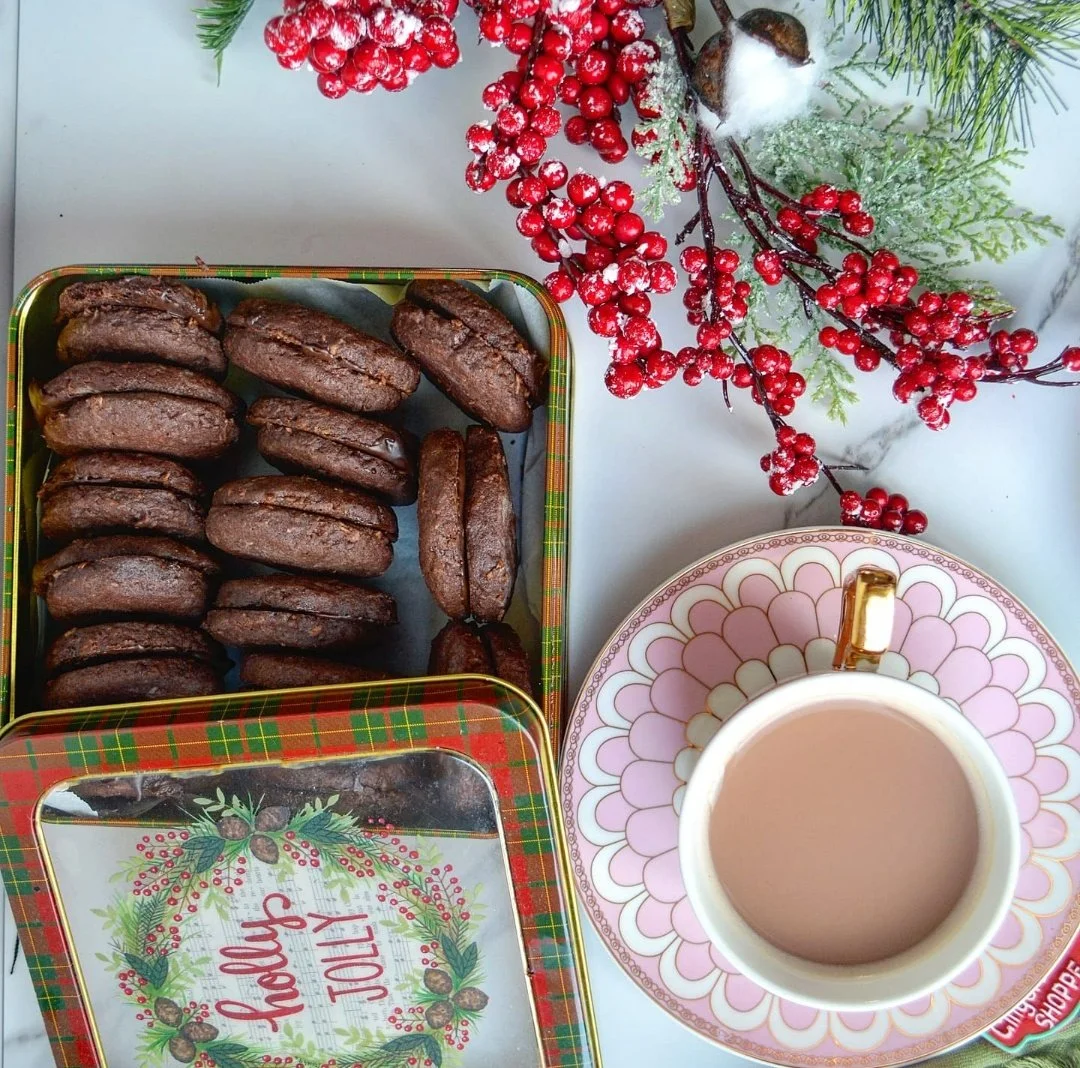
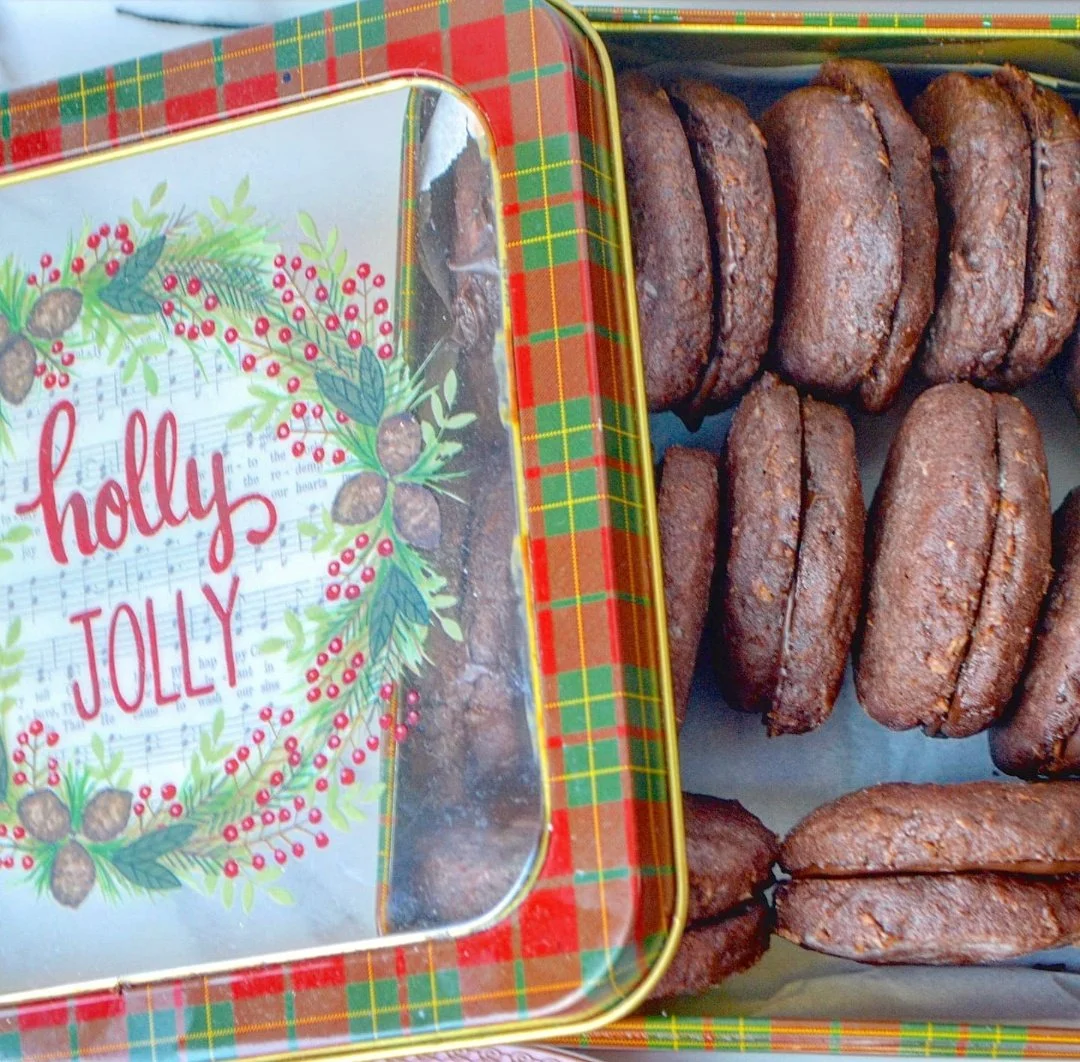
This is a homemade version of the chocolate Romany Creams, sandwich cookies with melted chocolate in between and coconut (sometimes oats) incorporated into the dough. The addition makes them extra crunchy and hard to put down.
Ingredients
- 1/2 cup coconut sugar
- 1/2 cup granulated sugar
- 2 sticks butter
- 1 teaspoons vanilla extract
- 1 egg
- 3 tablespoons coconut oil, melted and cooled
- 2 1/2 cups all-purpose flour (optional: substitute 1/2 cup with coarsely ground rolled oats)
- 3/4 cup Dutch process or unsweetened natural cocoa powder
- 1 teaspoon baking powder
- 1 teaspoon salt
- 1 1/2 cups desiccated coconut
- 200g chocolate (milk and dark Cadbury or semi-sweet baking)
- Holiday sprinkles (optional)
Instructions
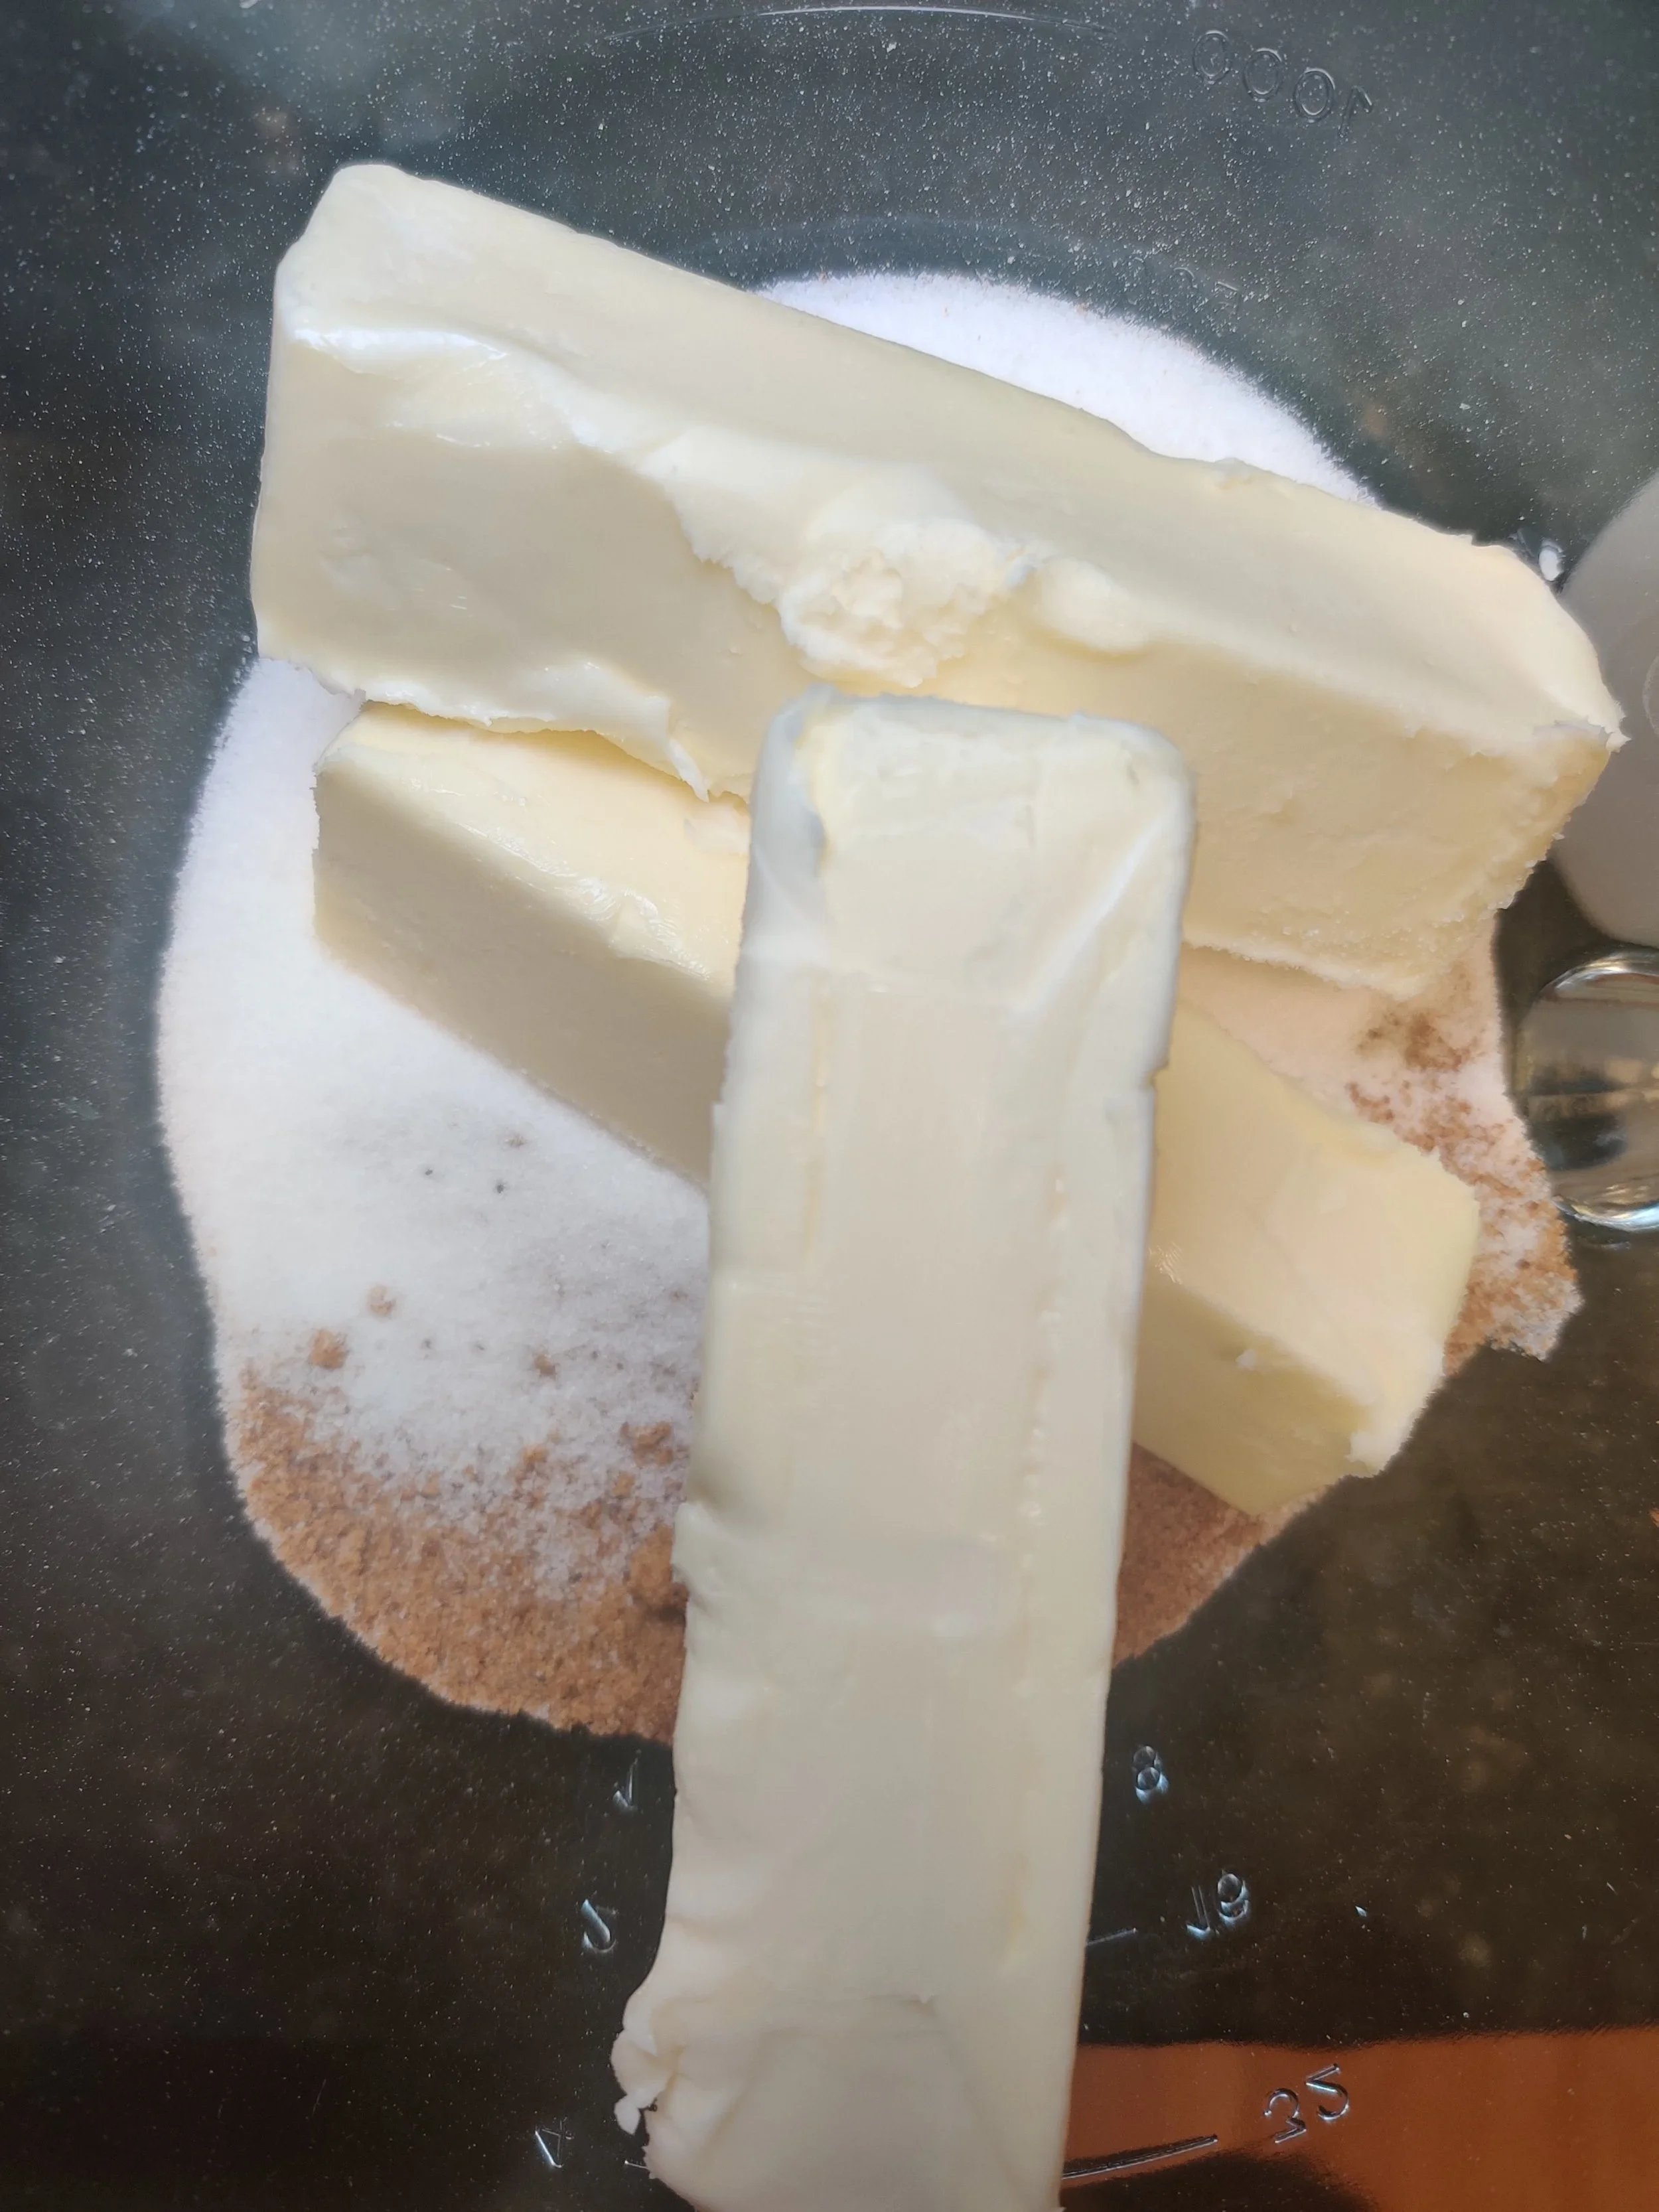
- Beat the sugars and butter until a creamy texture develops in a stand mixer. Add in the egg, oil and vanilla, and combine until smooth.
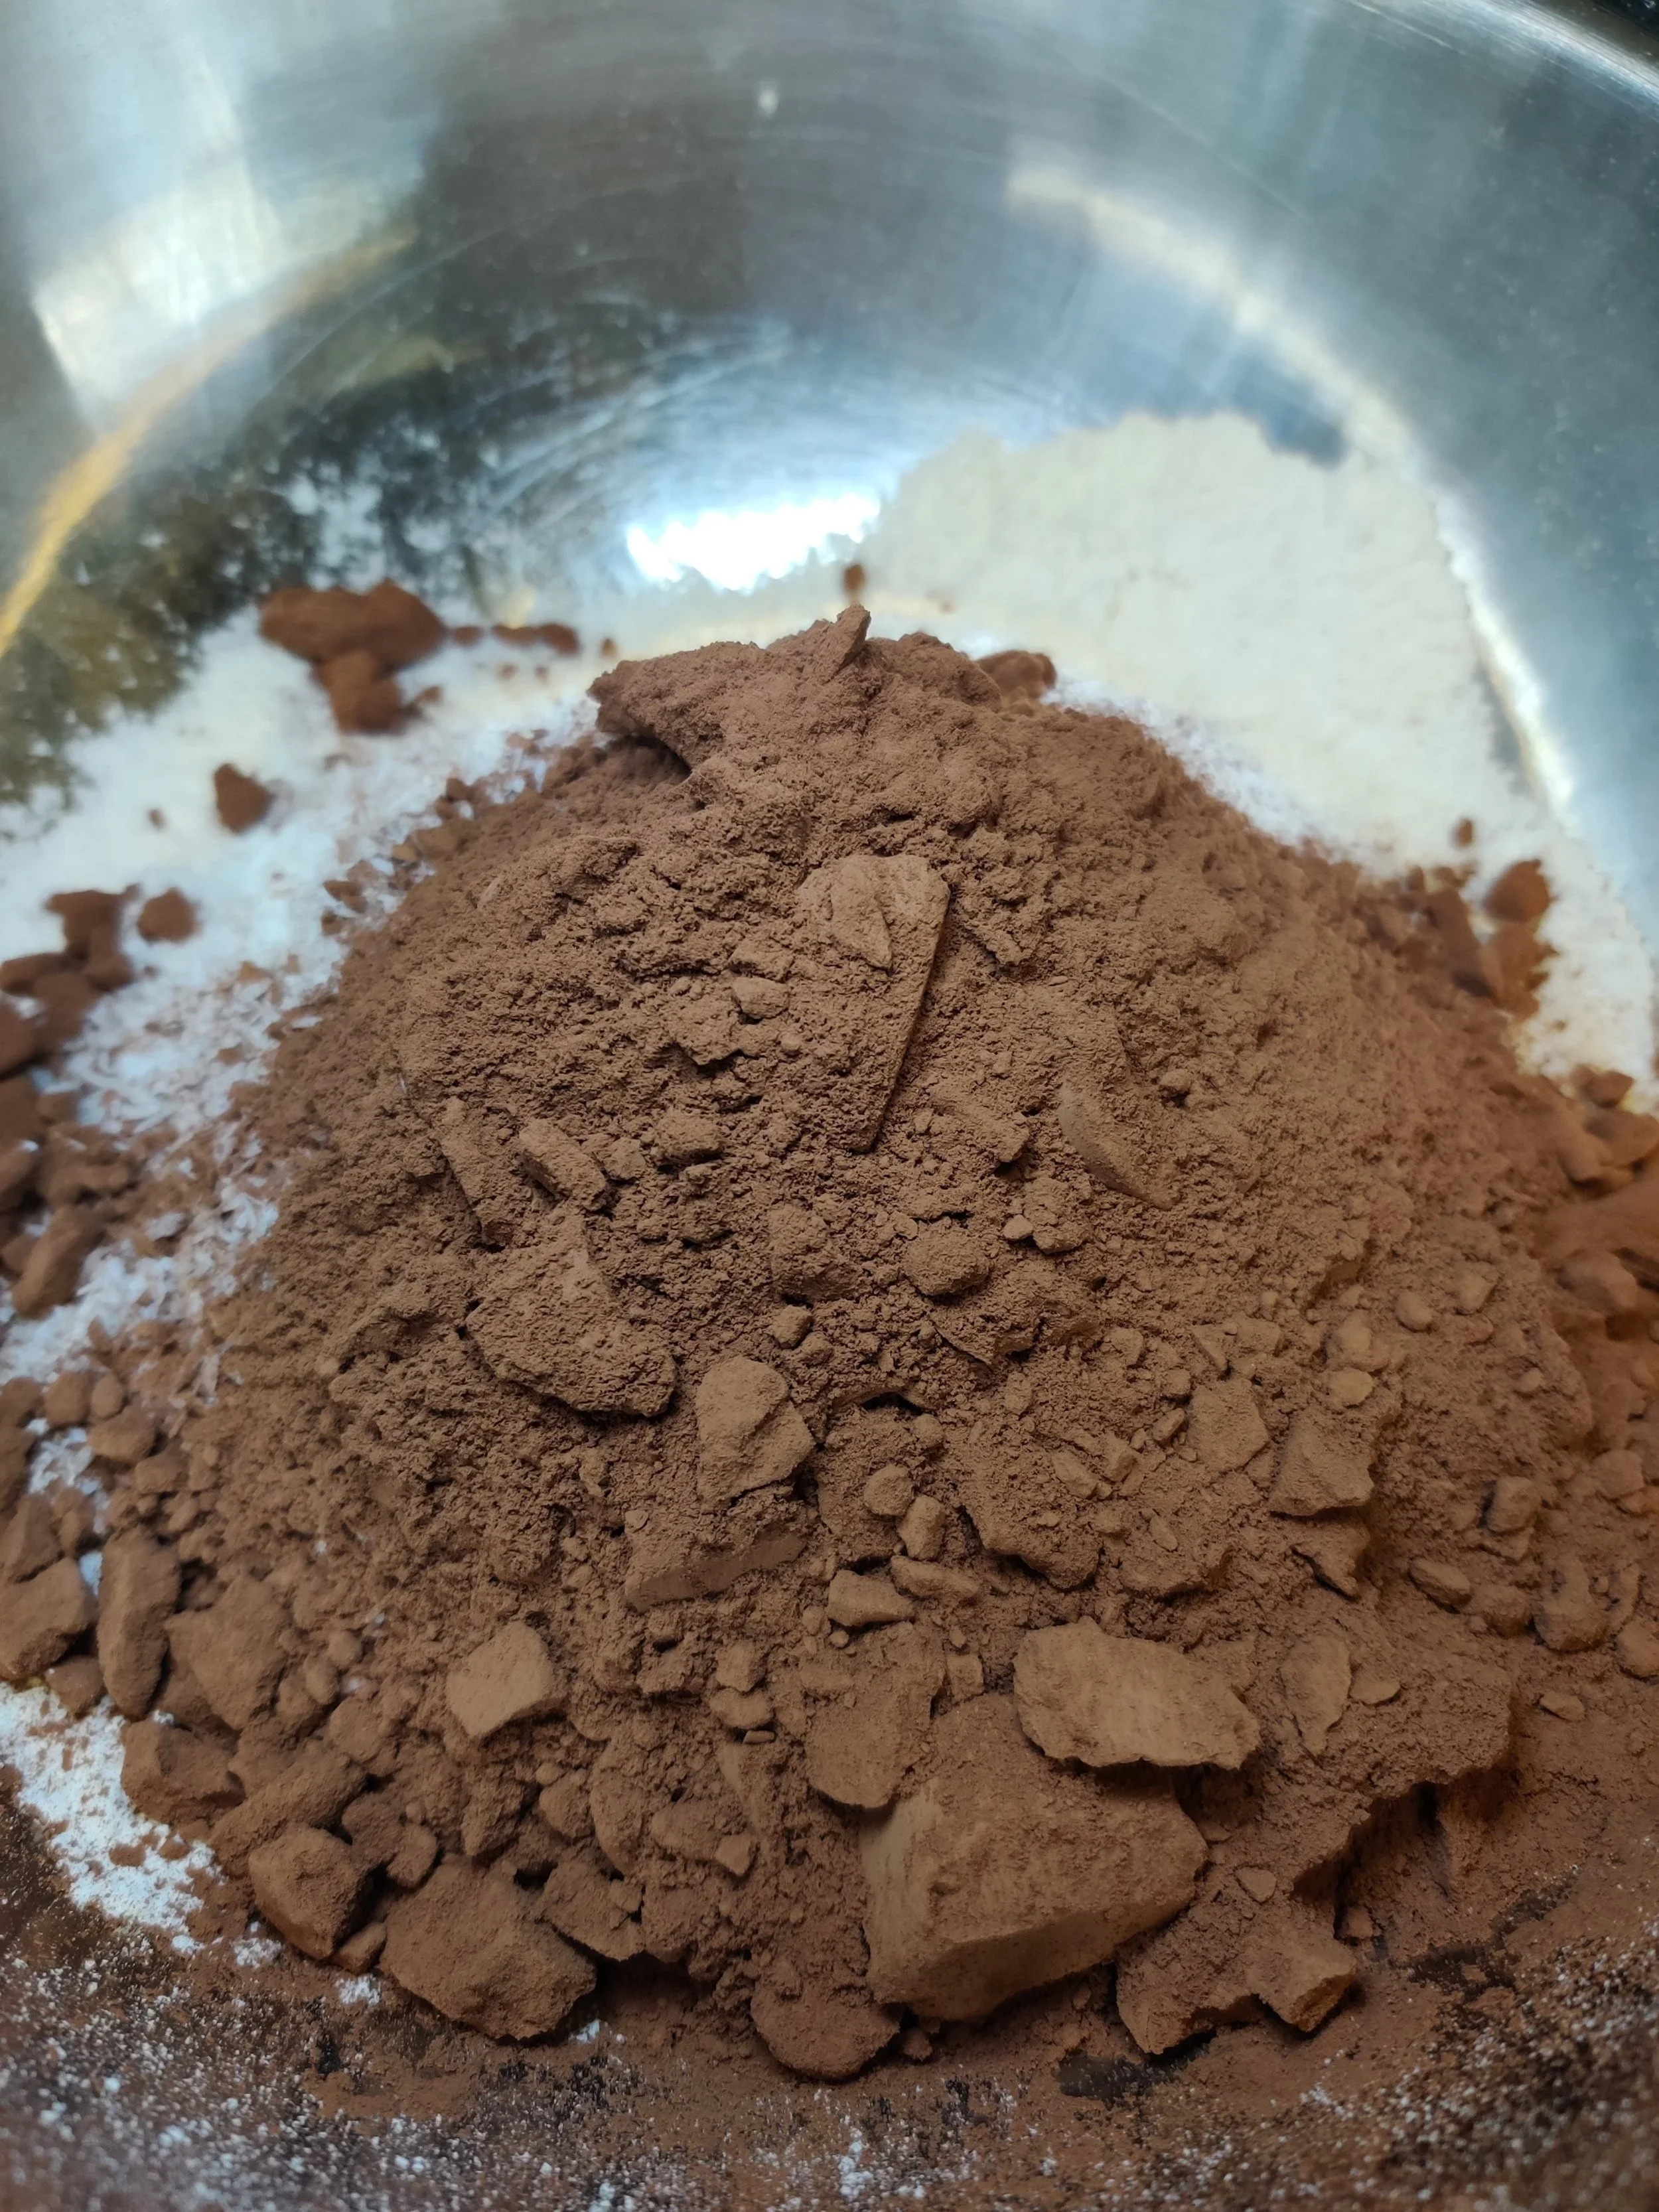
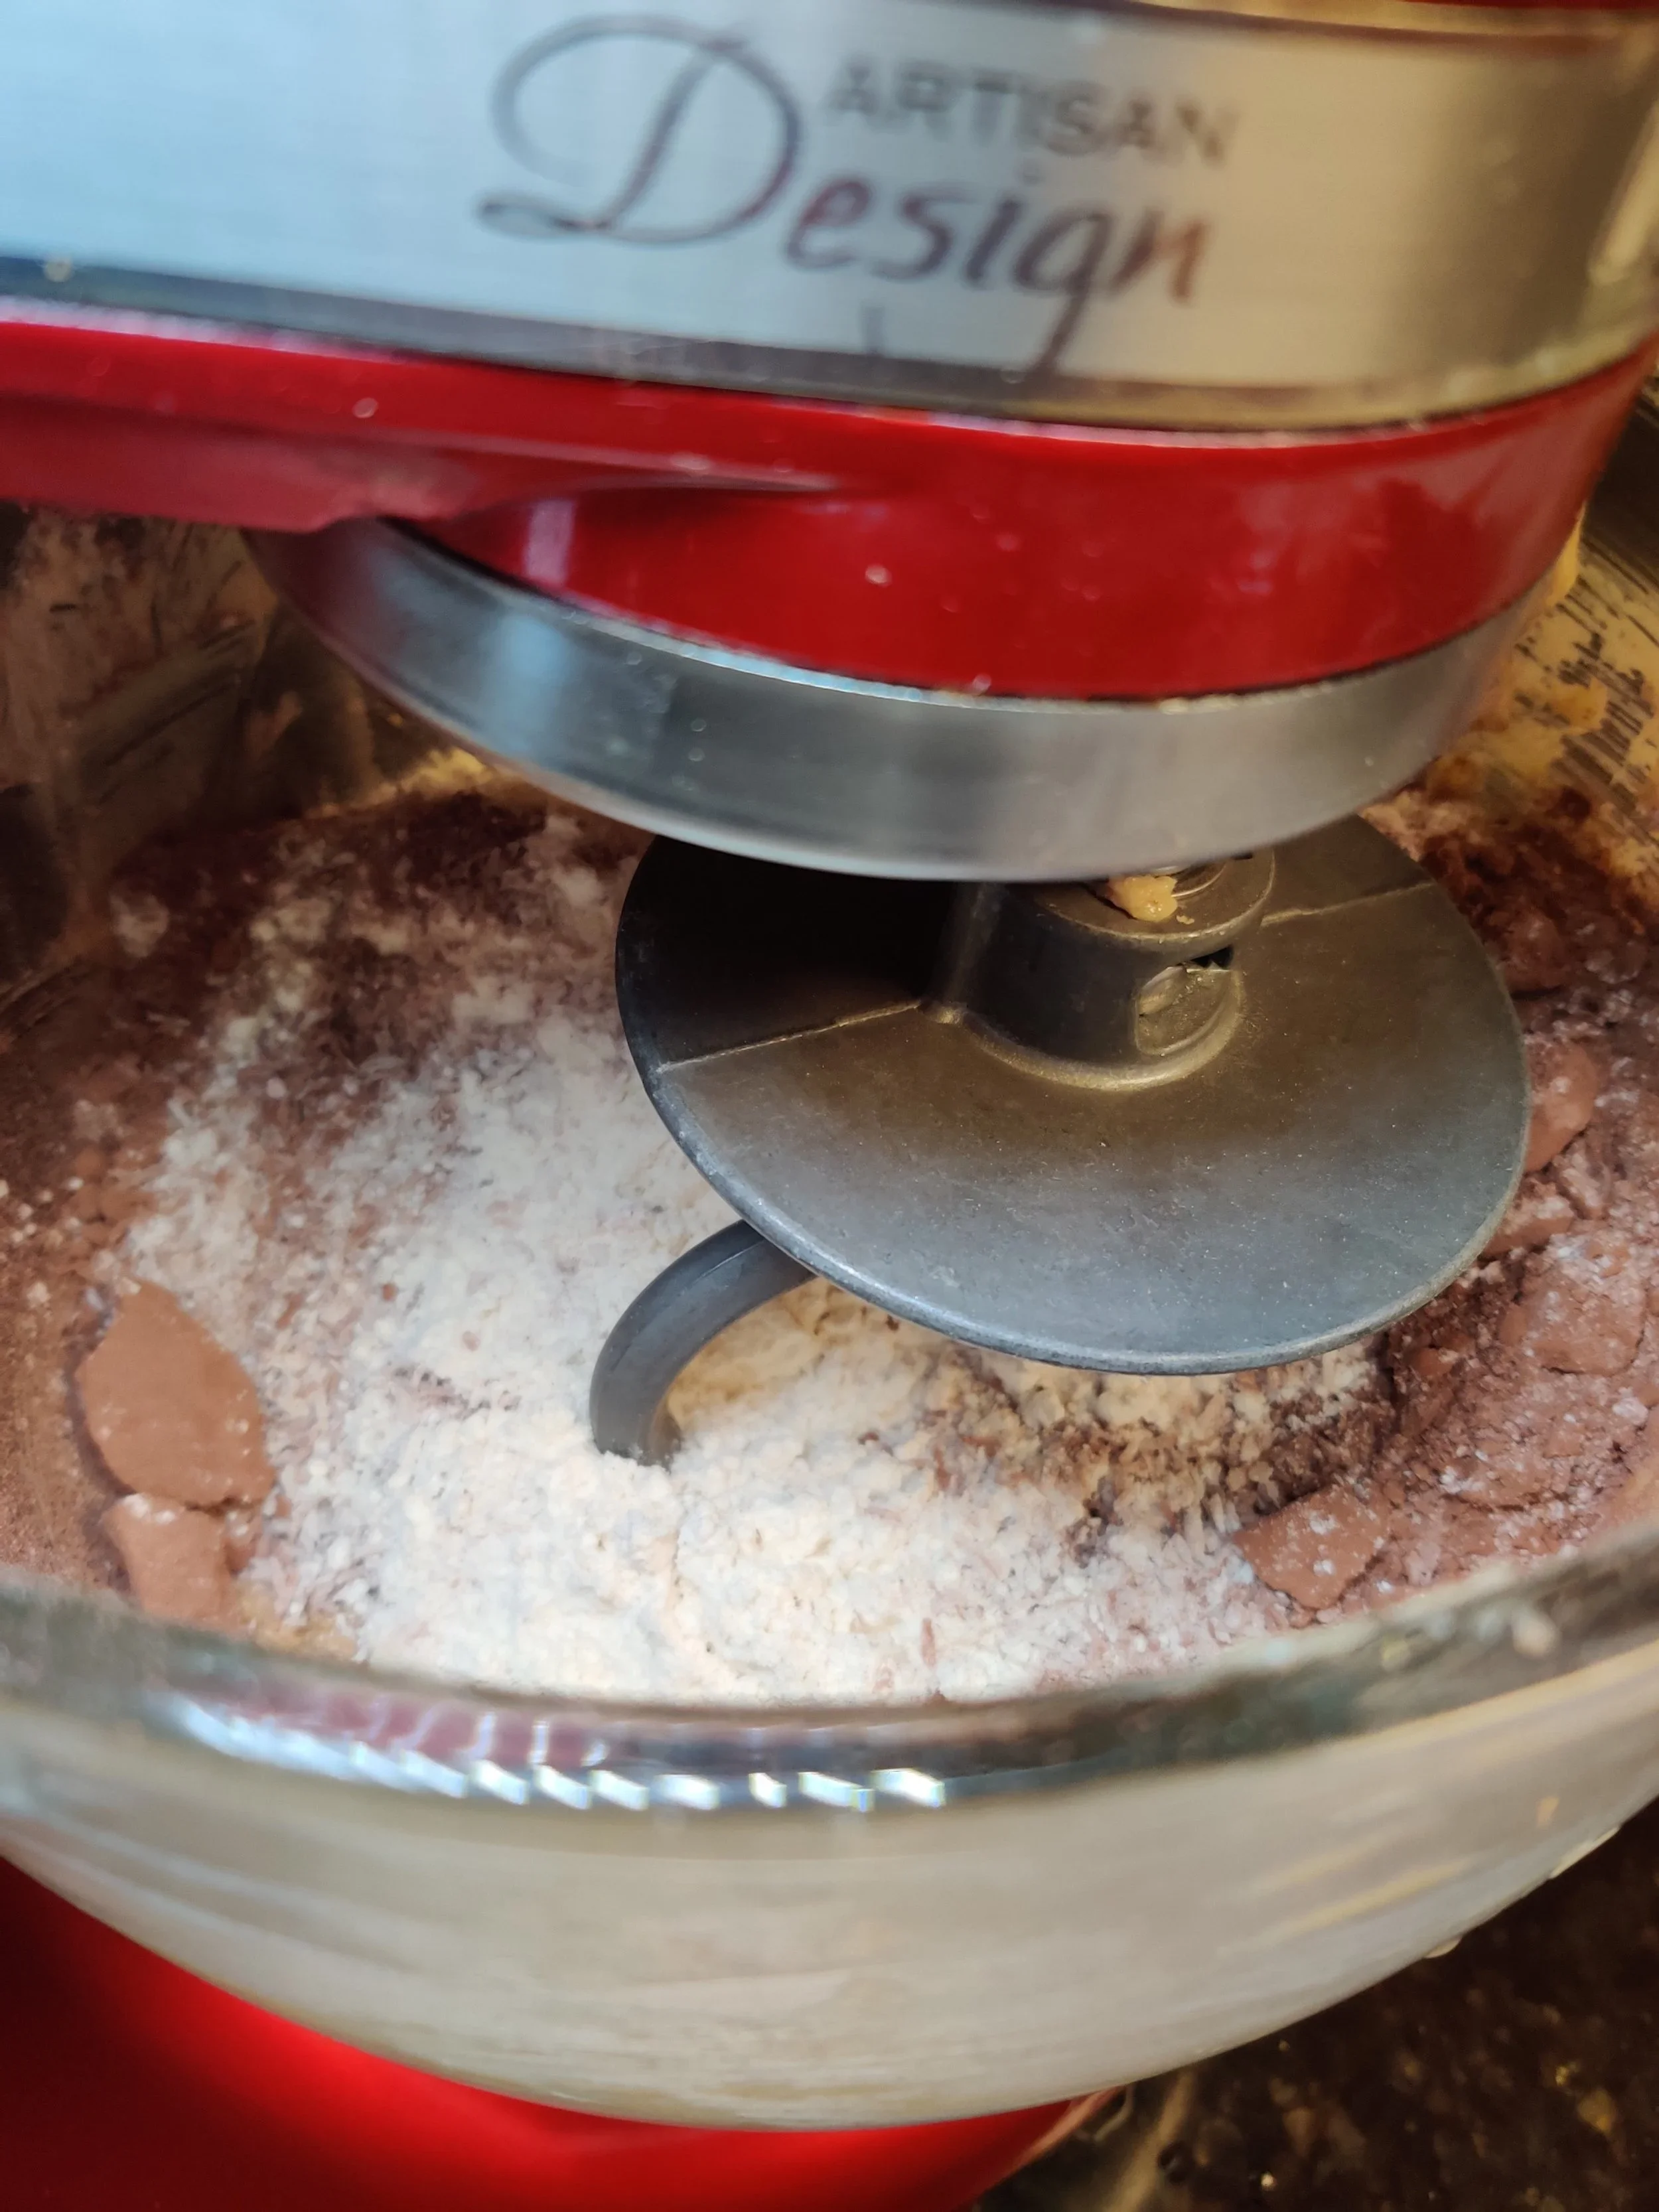
- Mix the other dry ingredients in a separate bowl, then add to the stand mixer bowl. Change the attachment to a kneading hook and mix quickly until a soft dough forms.
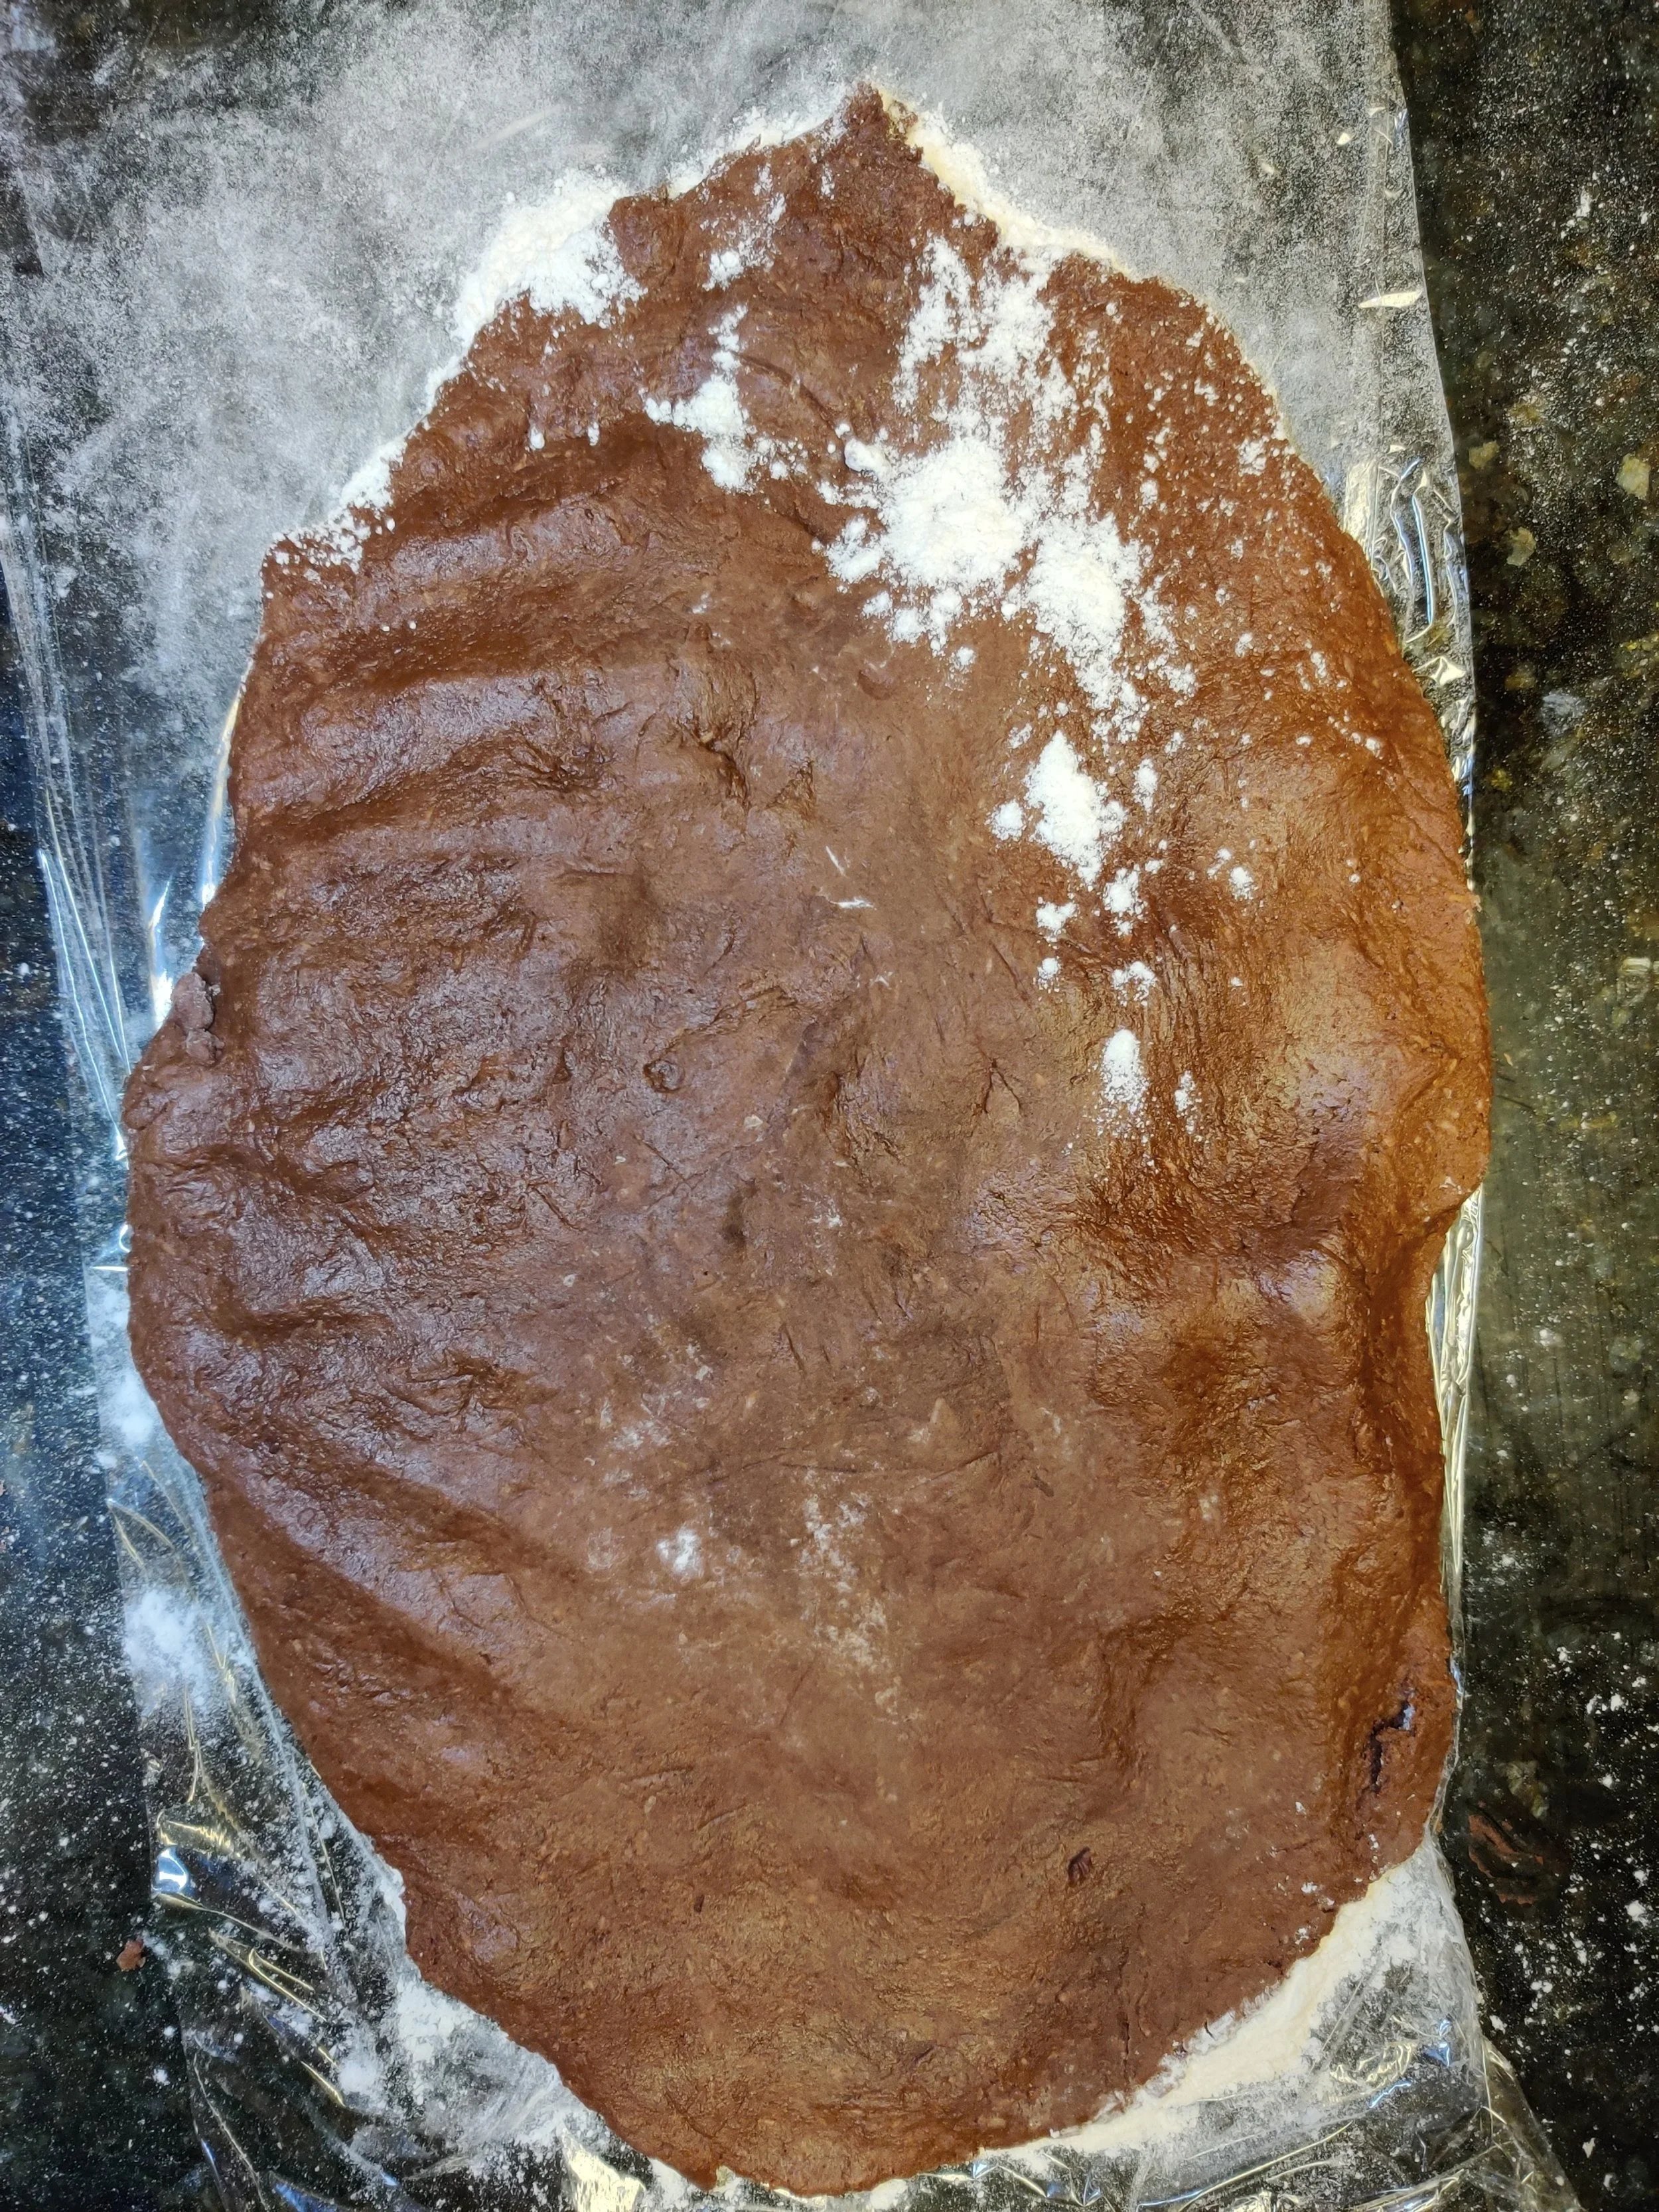
- Transfer the dough to a large floured piece of cling film. Cover with another piece, then roll out the dough to about an inch in thickness.
- Use a cookie cutter of the desired size and transfer the dough pieces to parchment-lined baking sheets - you'll probably have to do it in batches. If you are short on time, you can cover the dough with cling wrap and bake the next day.
- Optional: Use a fork to make cross lines and create a texture on the top biscuit. You can also add seasonal sprinkles on the top side of each cookie before baking.
- Chill the biscuits in the fridge covered for at least 10 minutes and bake for 10-11 minutes at 350F, watch for burning. Set aside to cool.
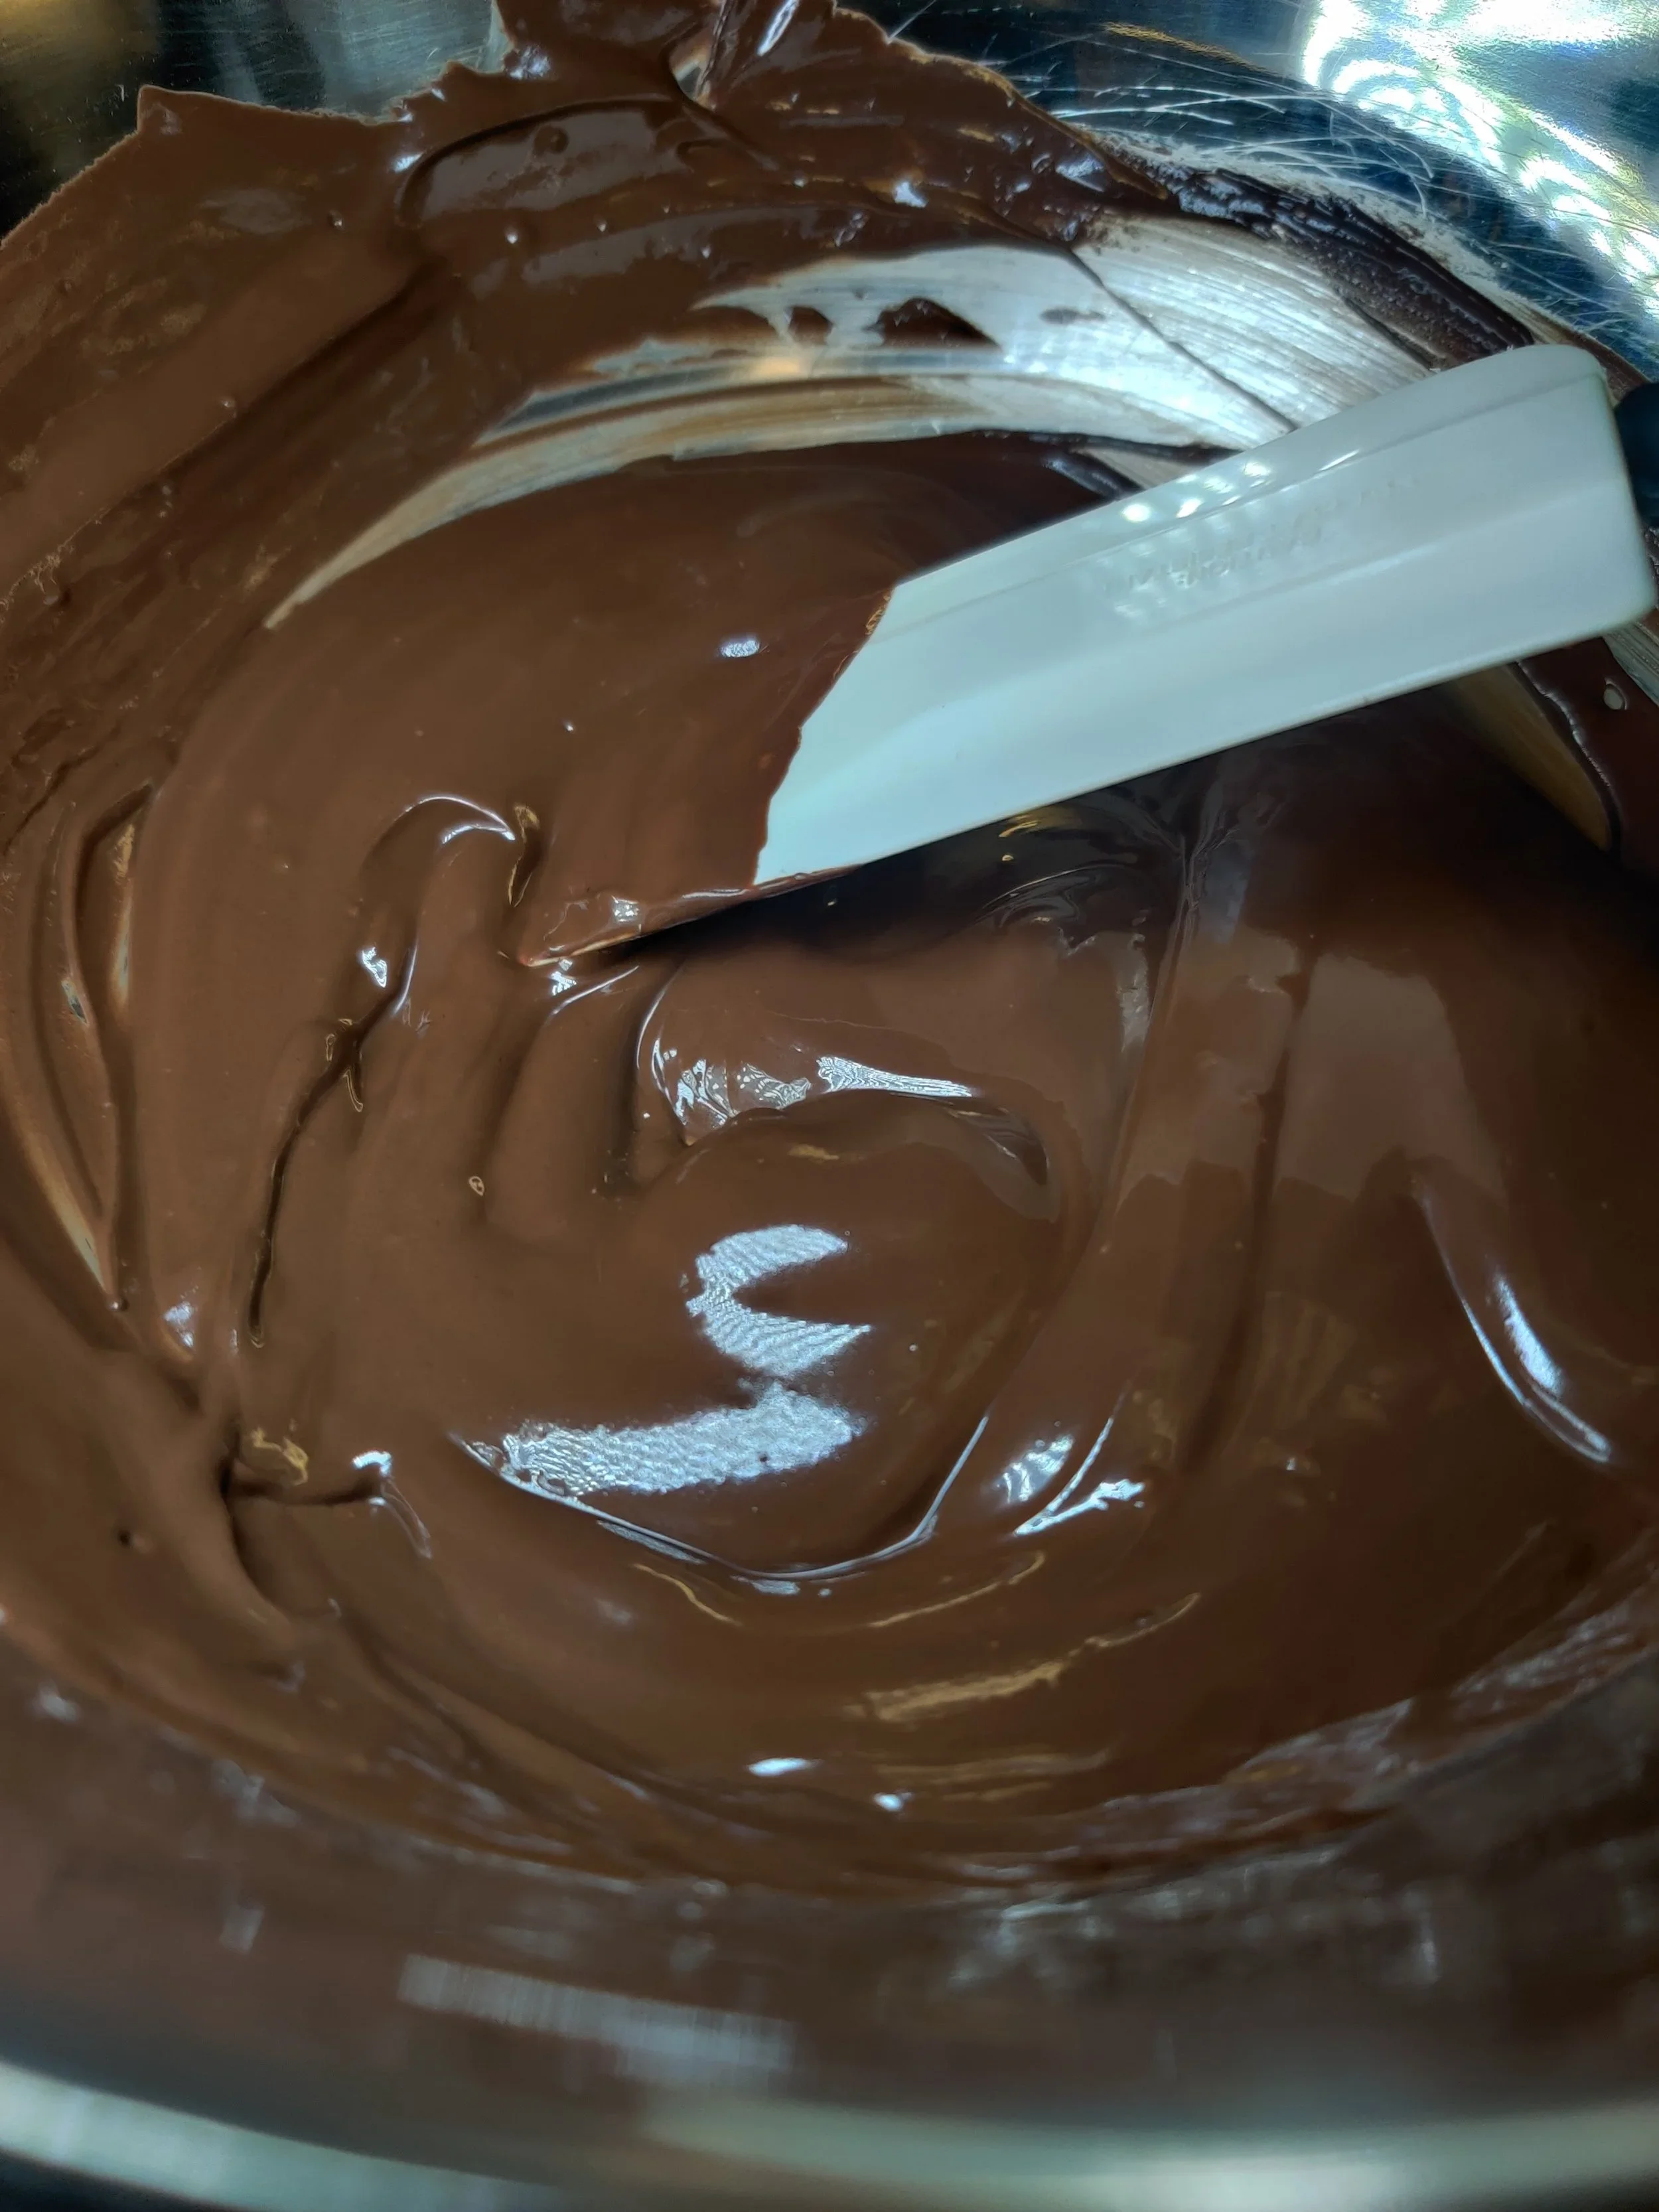
- While the first few batches bake, boil some water on medium-low and place a heat-resistant bowl on top. Add the chocolate to the bowl and heat until melted, stirring until smooth.
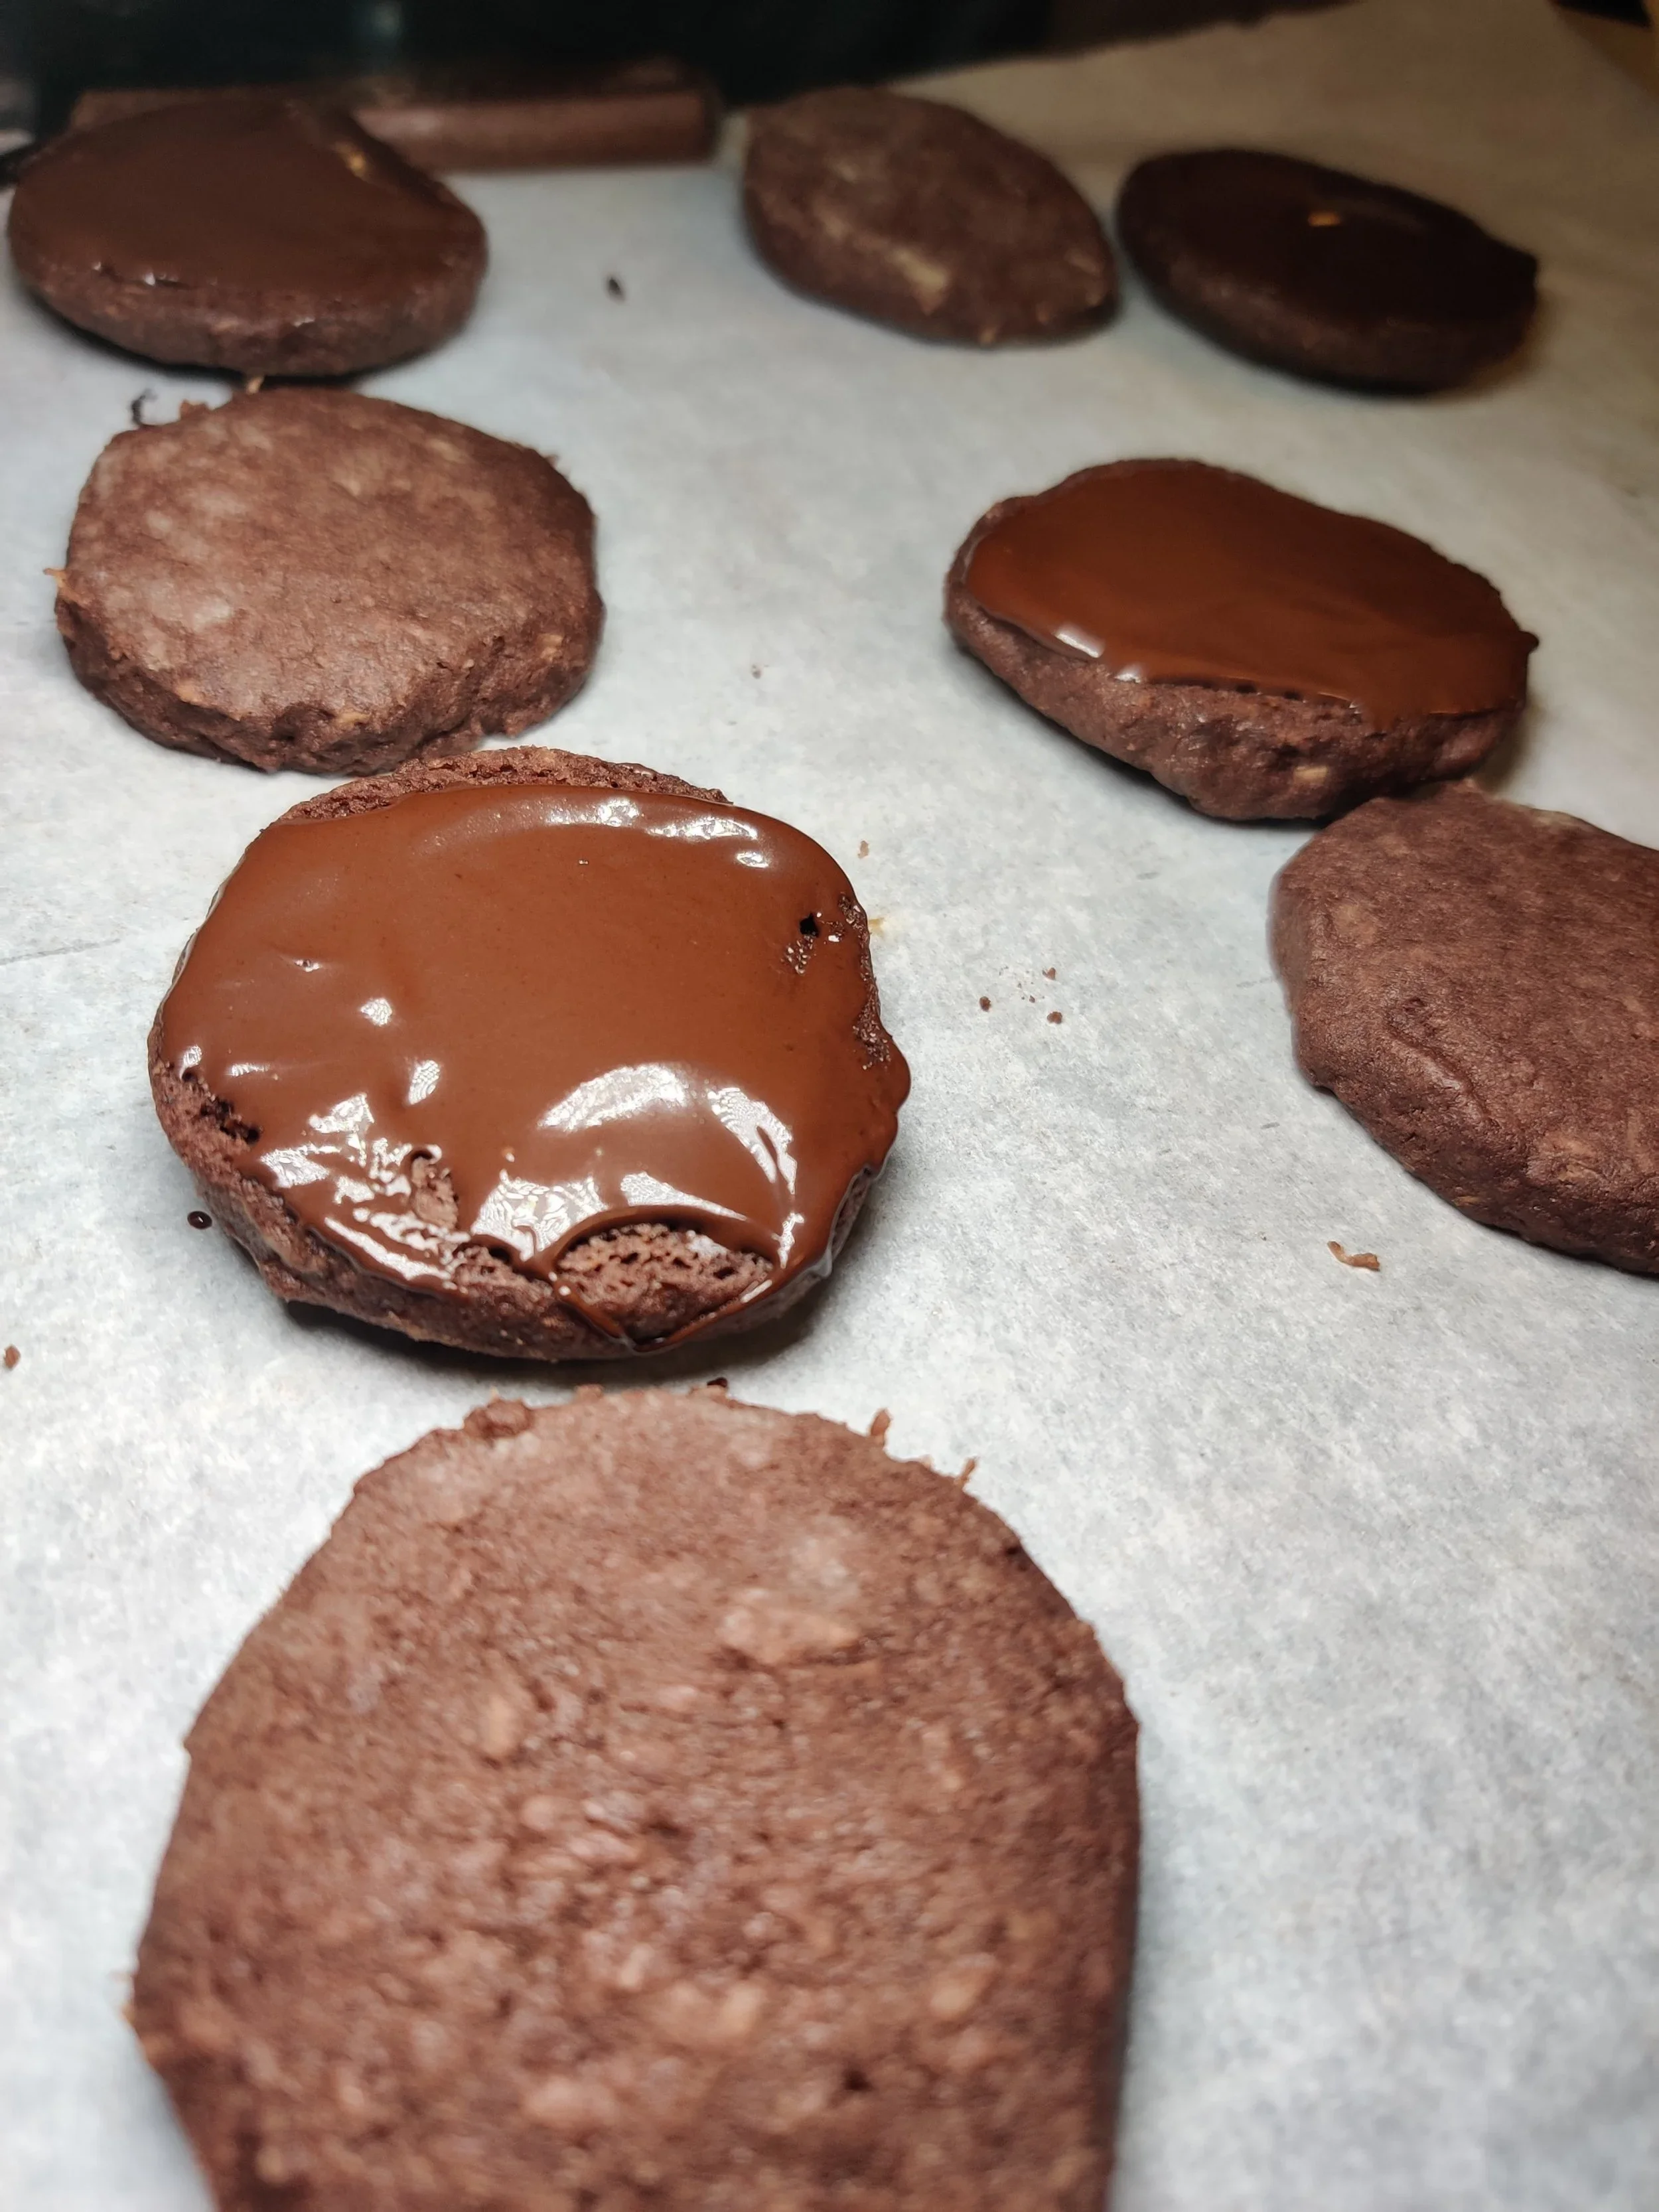
- Once everything has cooled, place a dollop of the melted chocolate inside one side of each biscuit, then close. And allow cooling further on a rack. Place in an airtight container and enjoy over five days for optimum taste.
Notes
You can also freeze the dough or cookie cut outs to bake in the future.
Nutrition Facts
Calories
118Fat (grams)
8.7 gCarbs (grams)
10 gSugar (grams)
4.3 gProtein (grams)
1 gI am not a certified nutritionist and any nutritional information on dontmissmyplate.com should only be used as a general guideline.
White Chocolate, Dried Cranberry and Roasted Pistachio Bark
Chocolate bark is often associated with hampers and gift-giving, so what's a better time to whip up a batch than the holidays?
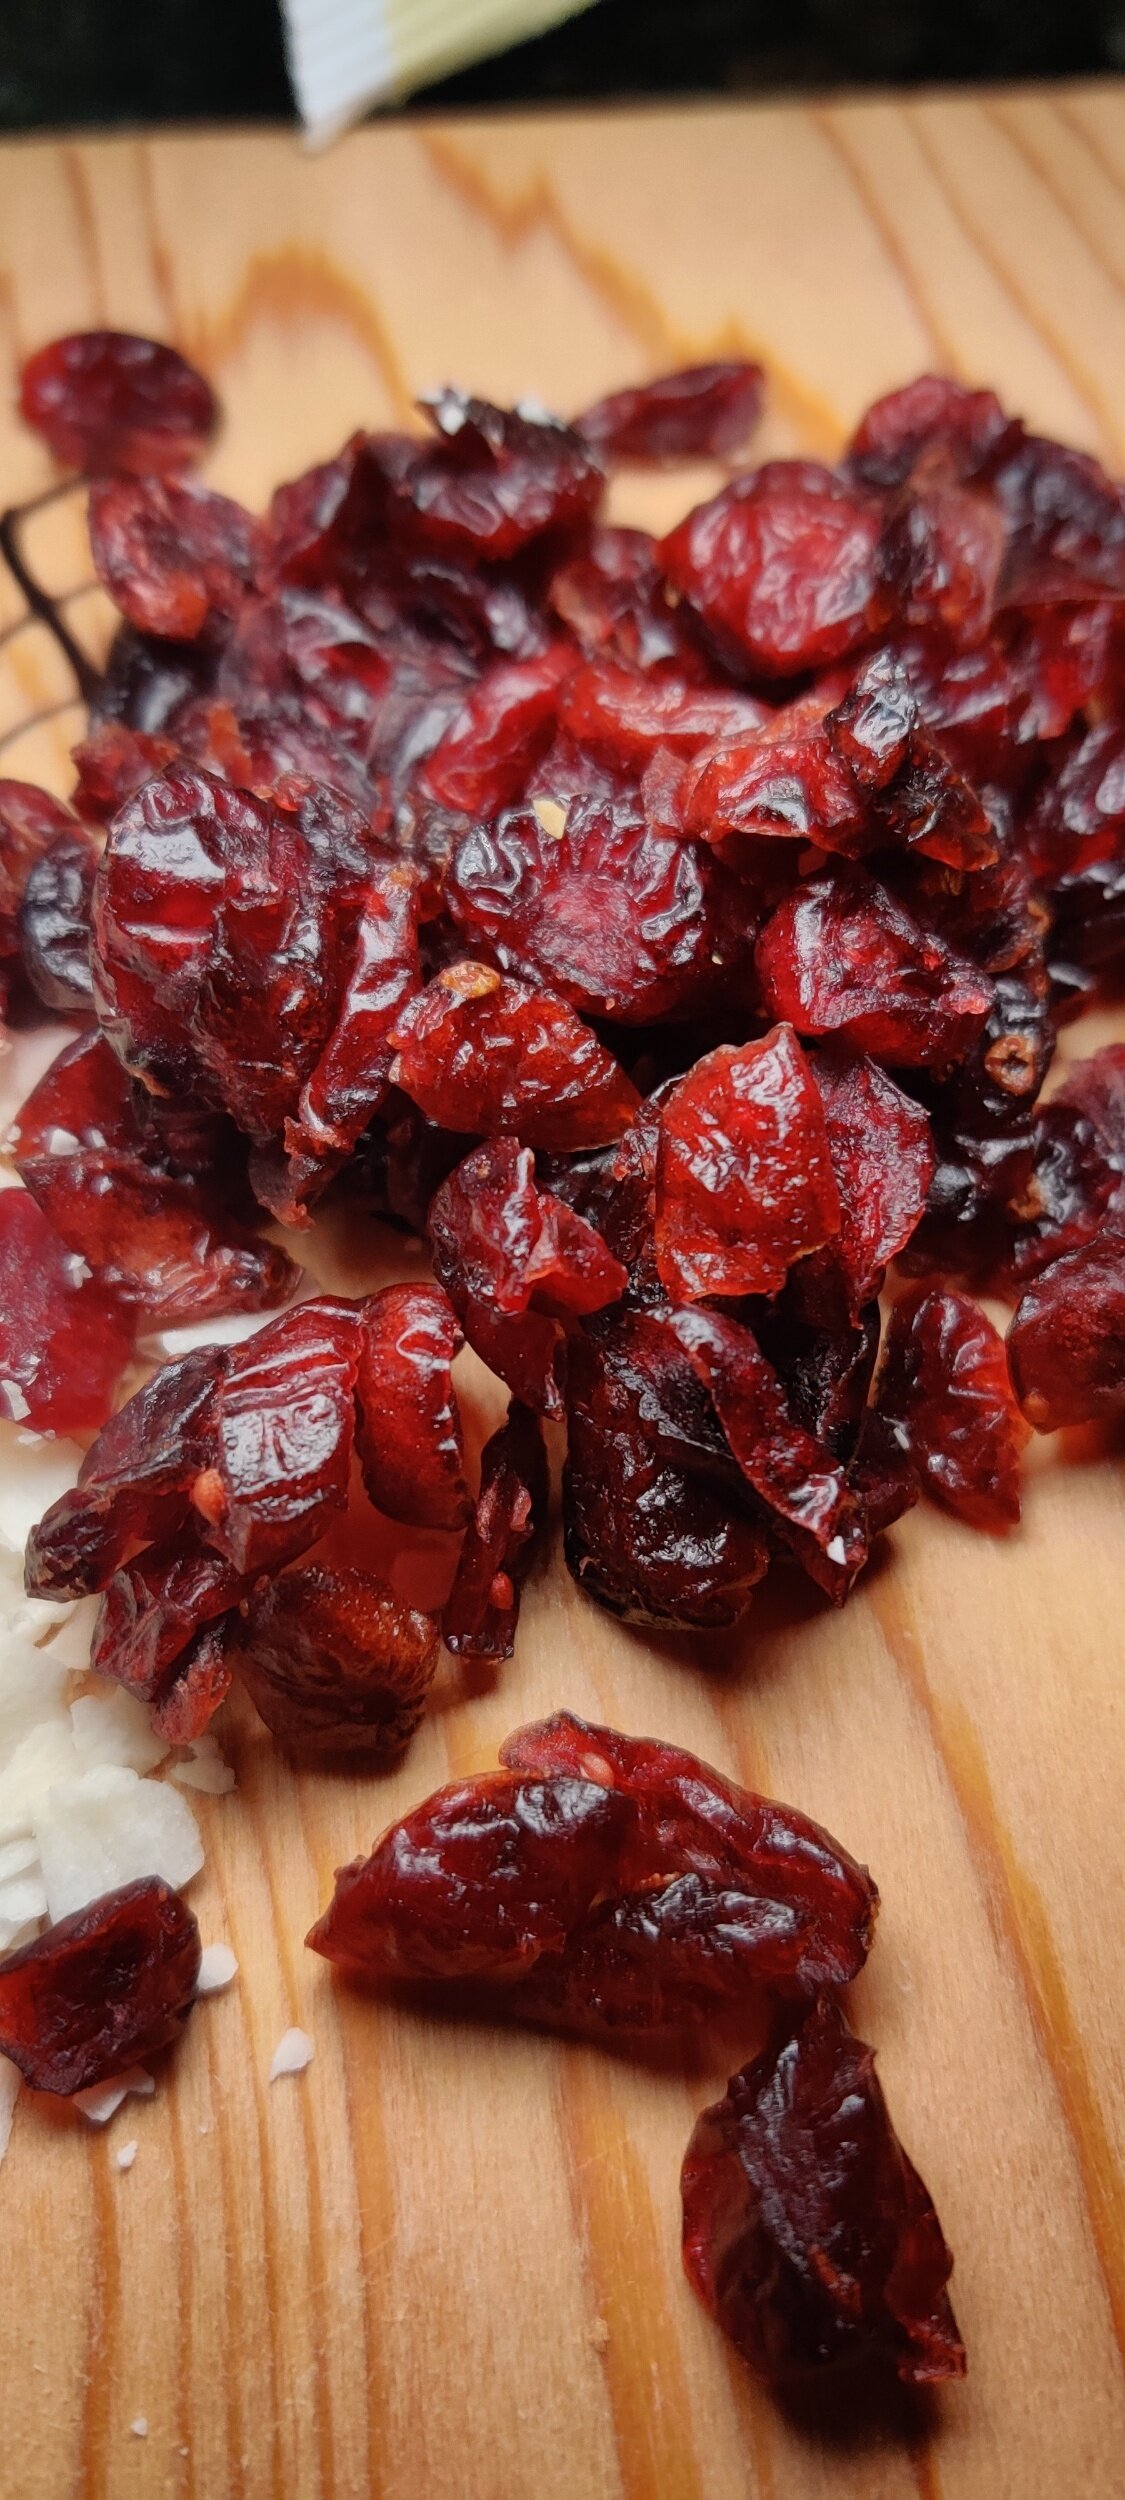
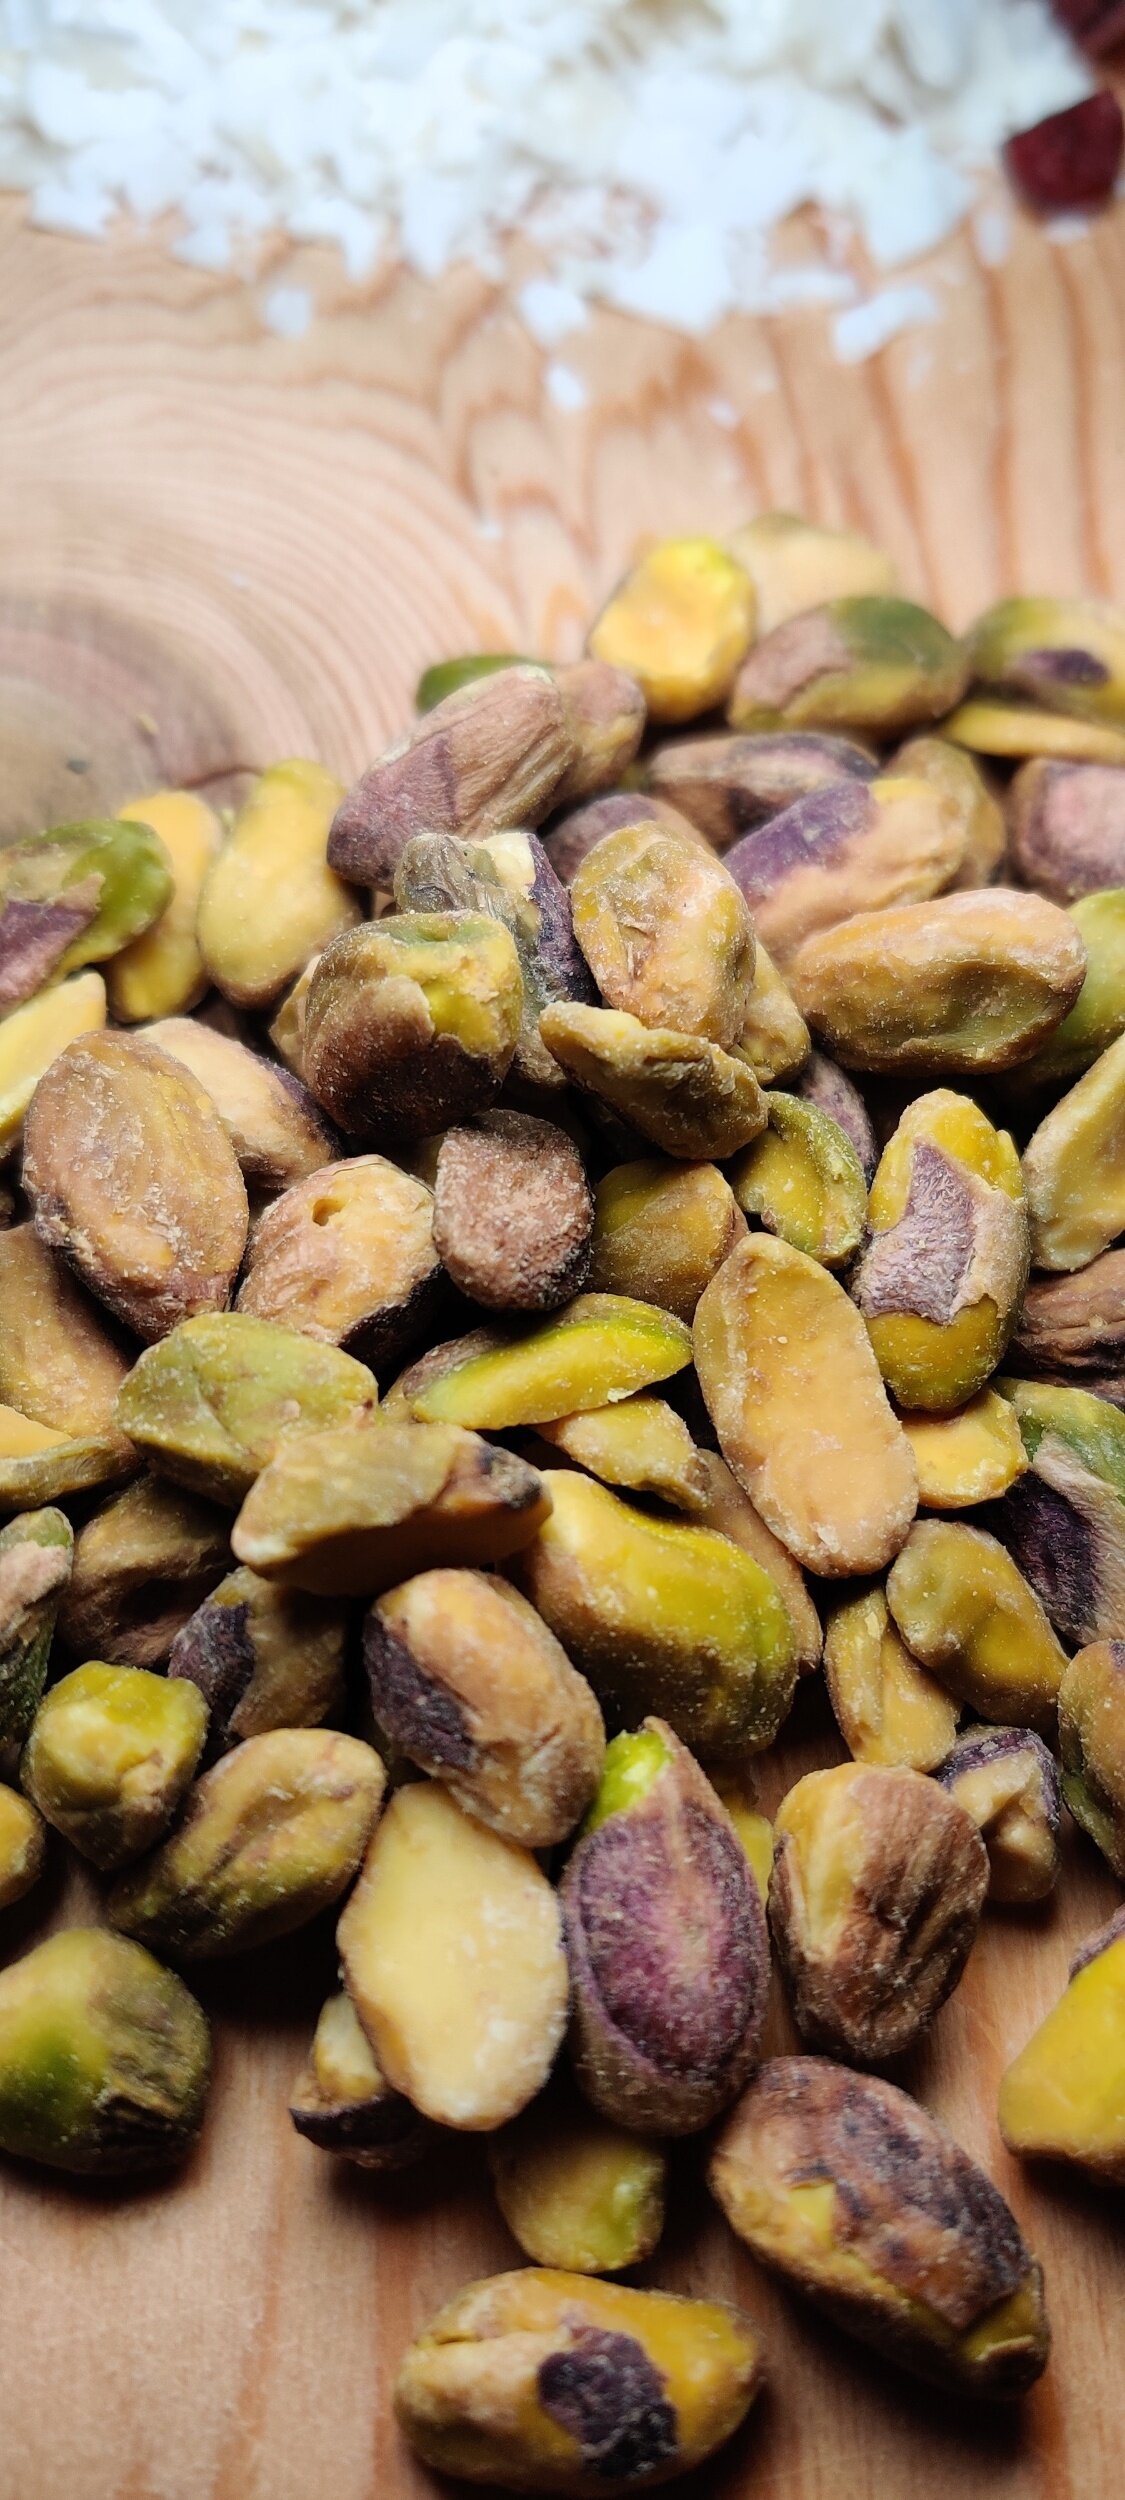
I recently made two recipes this season with fresh cranberries here and here, but let's not forget dried cranberries which you can do a lot with as well! They pair well with the same ingredients used in savoury dishes when used for sweet or baked goods, like pistachios!
Share this recipe as a gift, or put it together for those who want a sweet bite but not necessarily a slice of pie after indulging in an array of comfort food entrees!
What about the day after dining festivities? Many people set up their Christmas trees around this time after family meals. Play some Christmas music, sip on some hot chocolate and marshmallows, and nibble on some of this bark. That's what I did!
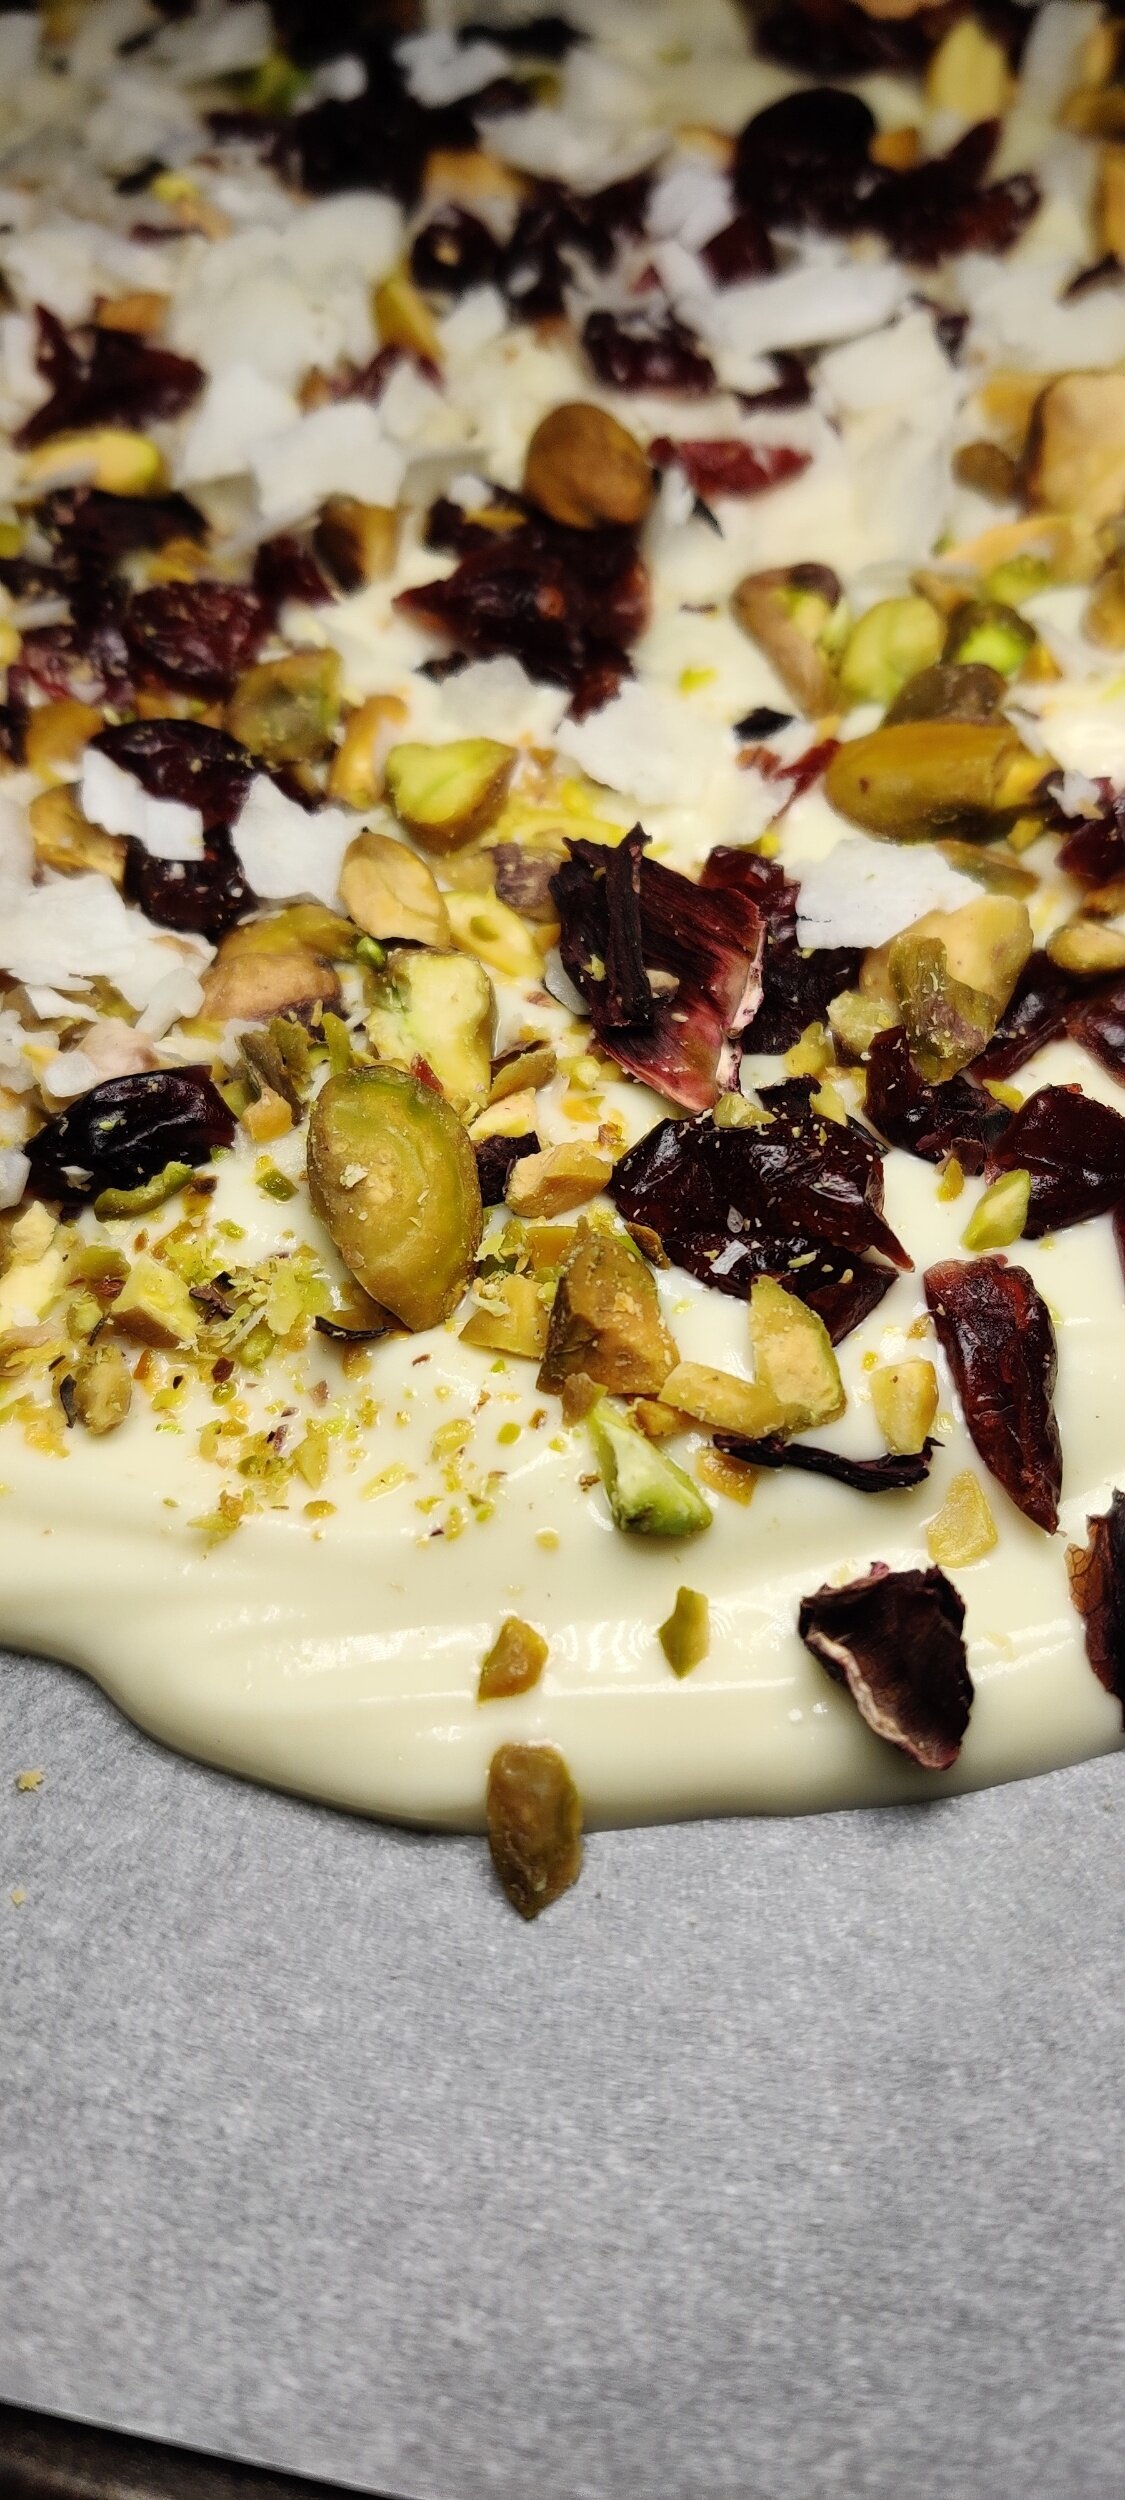
Since this isn't hardened sugar, it's easier on the teeth. The kids will love it, the colour and texture of the toppings give it a festive feel, and you can customize to your liking! I combined some ingredients that compliment the white chocolate and the cranberries, but it's up to you.
If you are looking for a milk or dark chocolate bark recipe, check out my masala tea bark, which I was inspired to make after a trip to Zanzibar!
Ingredients
5 drops almond extract
1 teaspoon coconut oil
2 cups white chocolate chips
1/3 cup pistachios
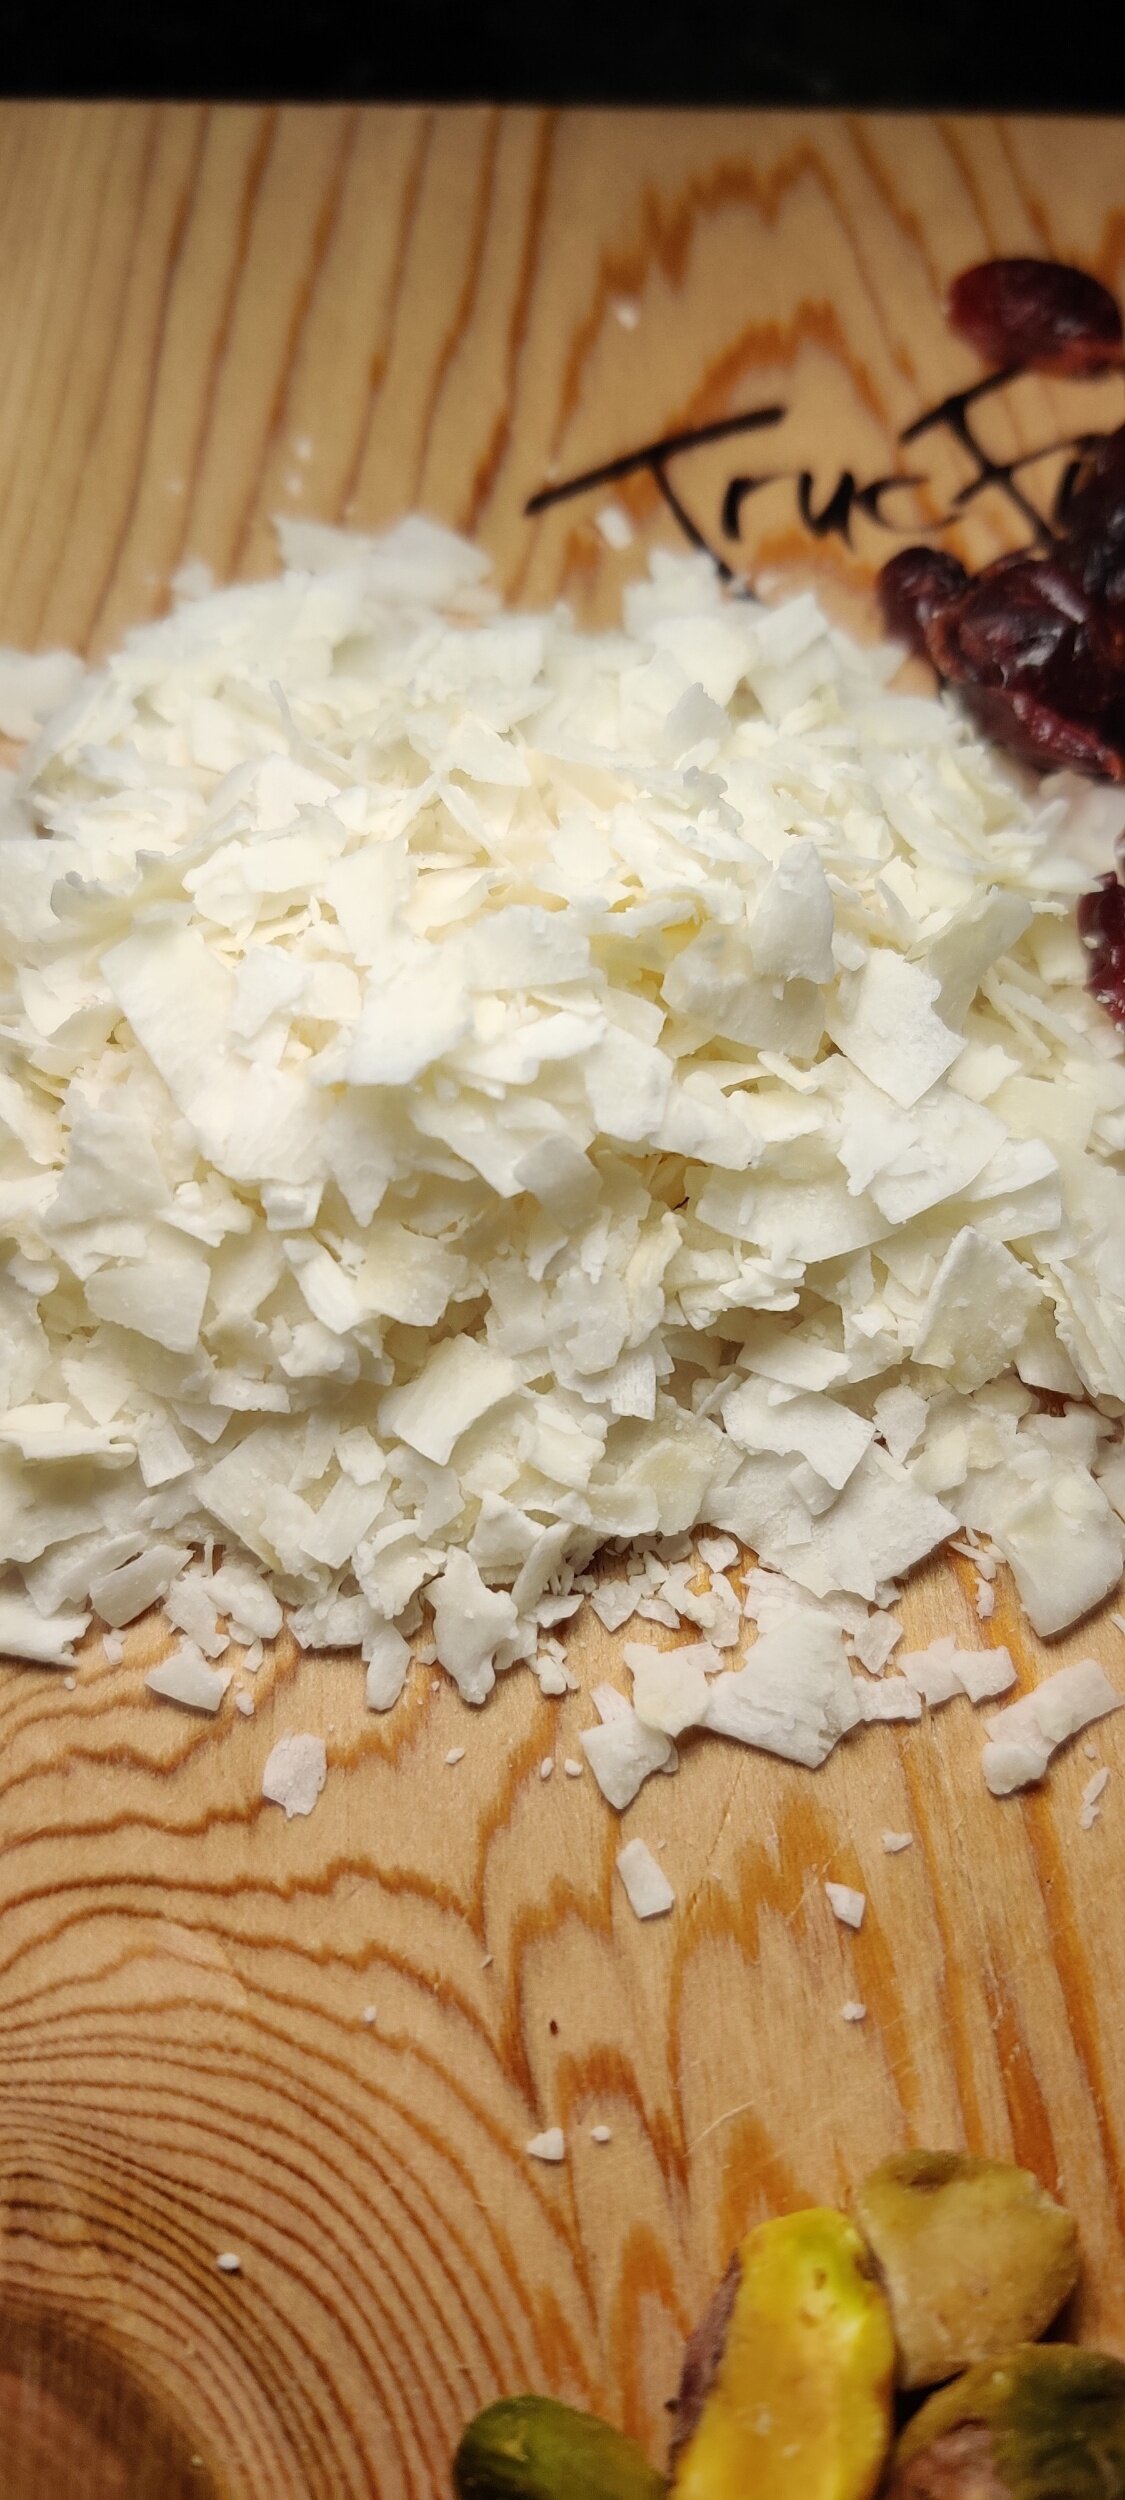
1/3 cup shredded coconut
1/3 dried cranberries
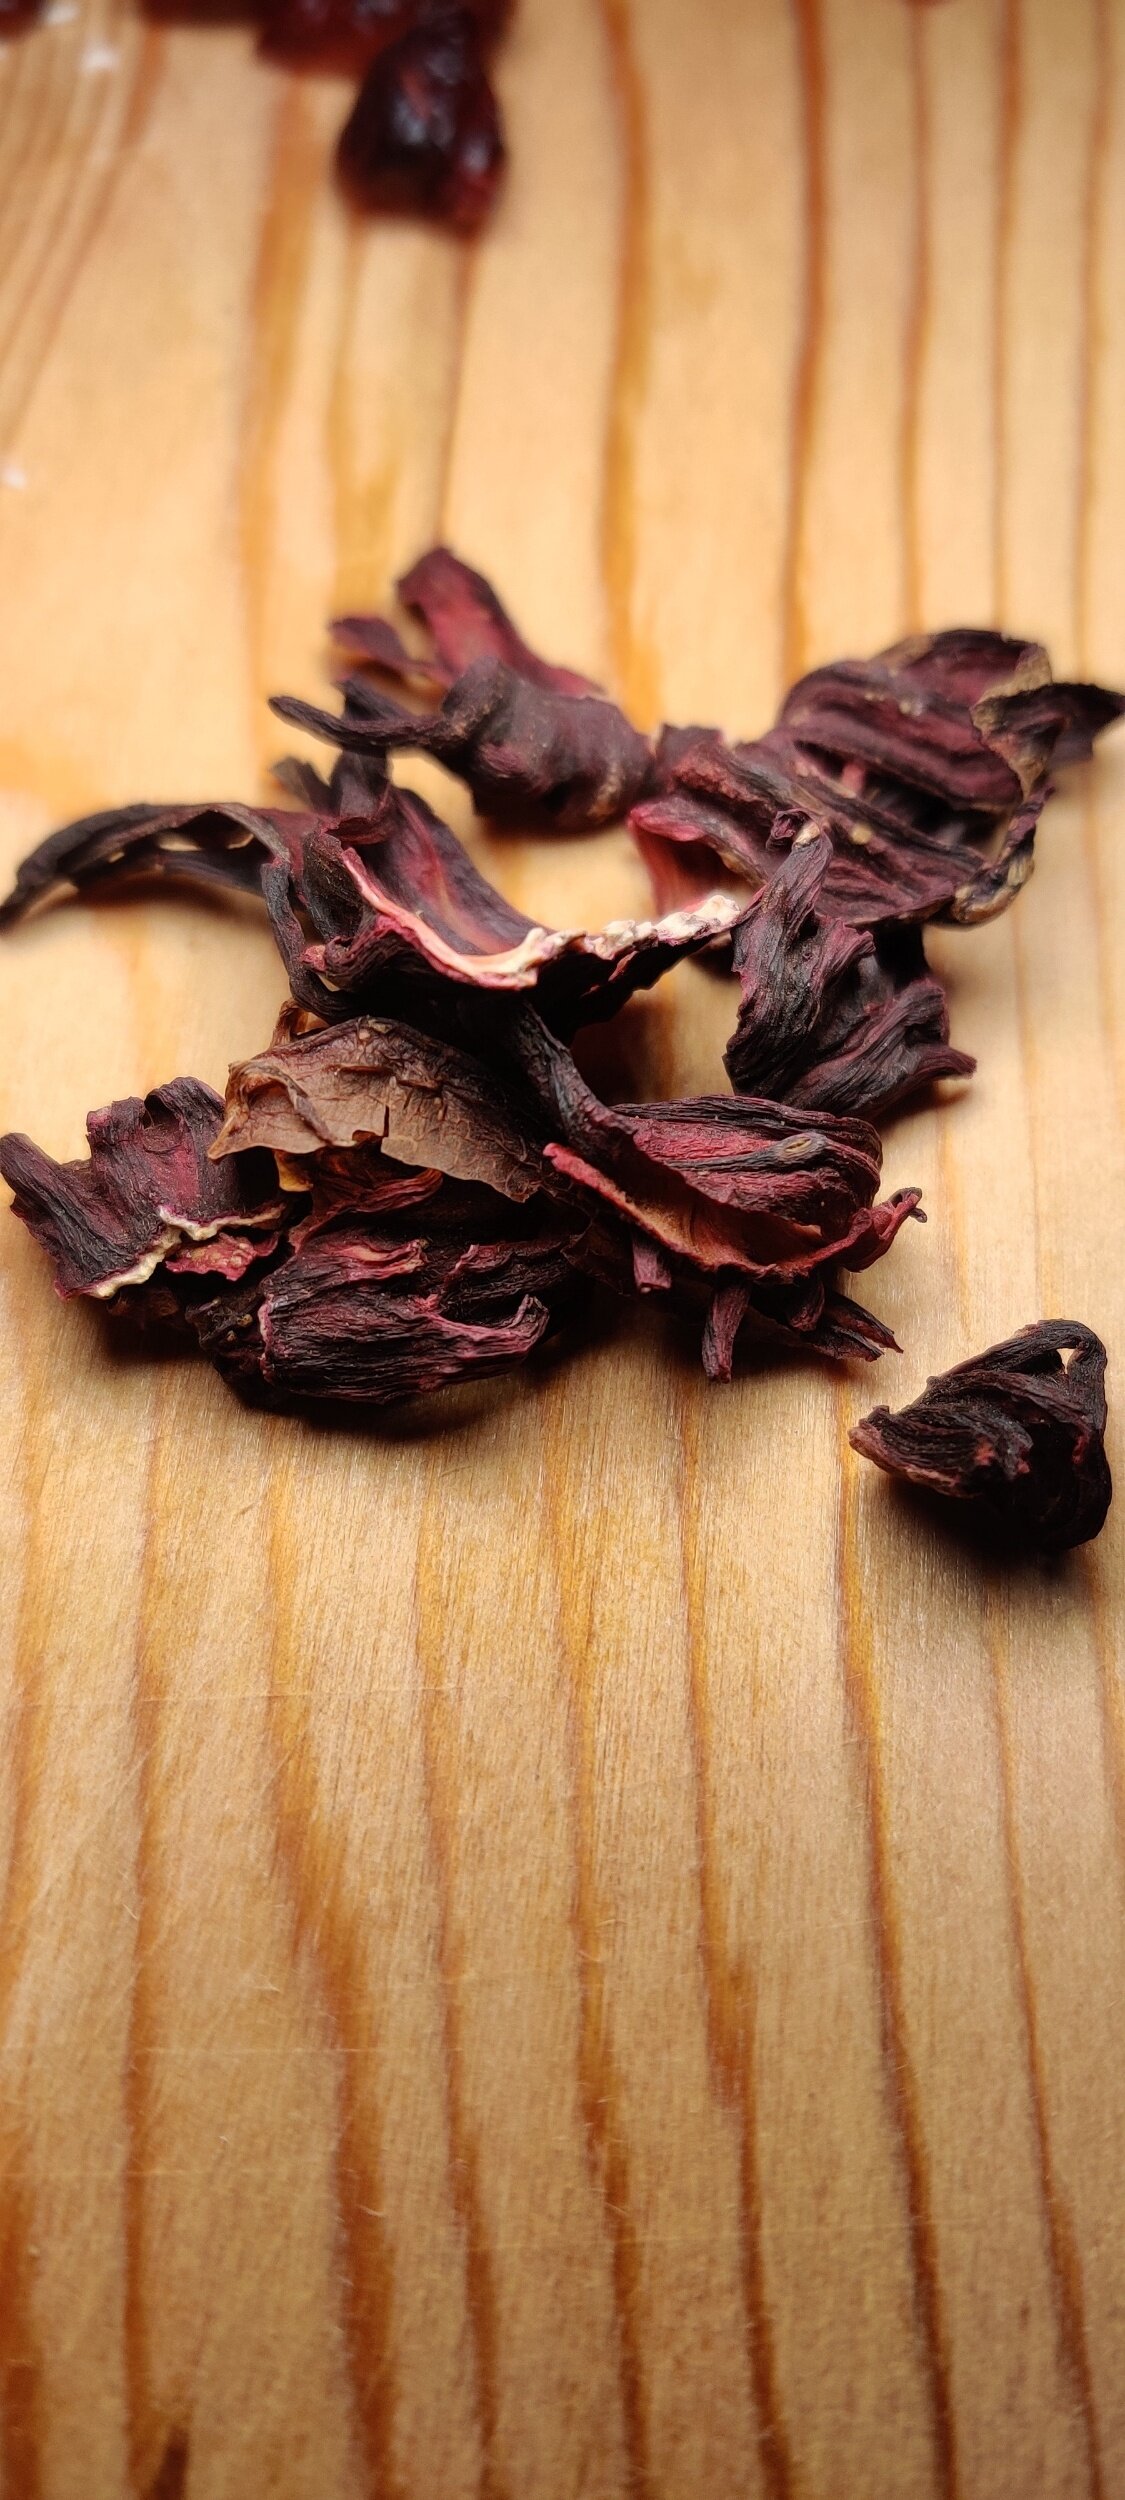
1 tablespoon dried roselle
Instructions
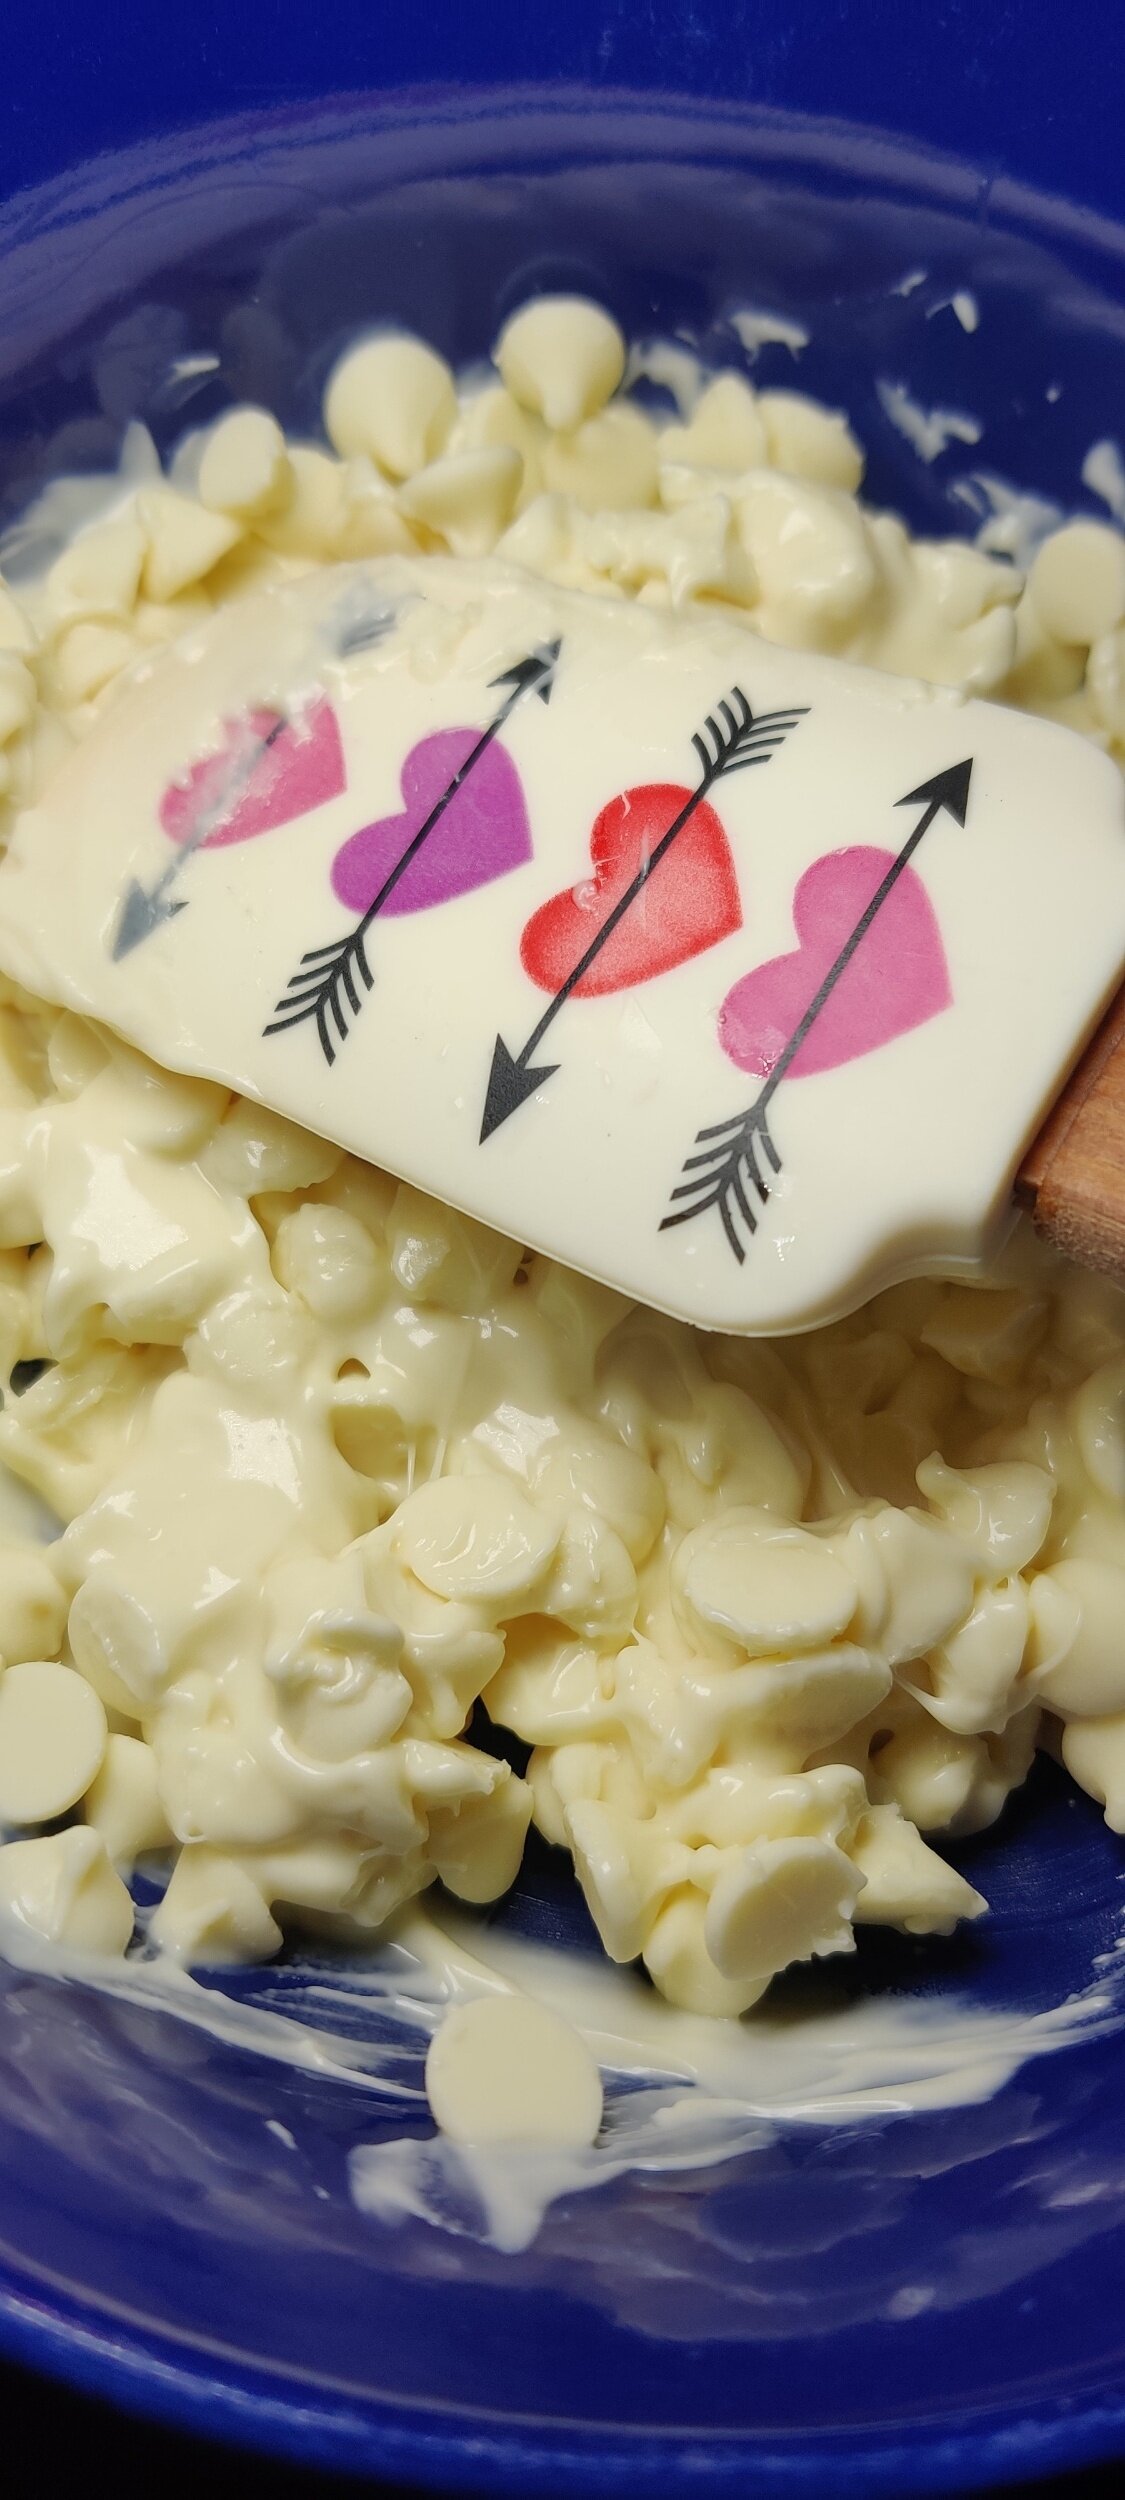
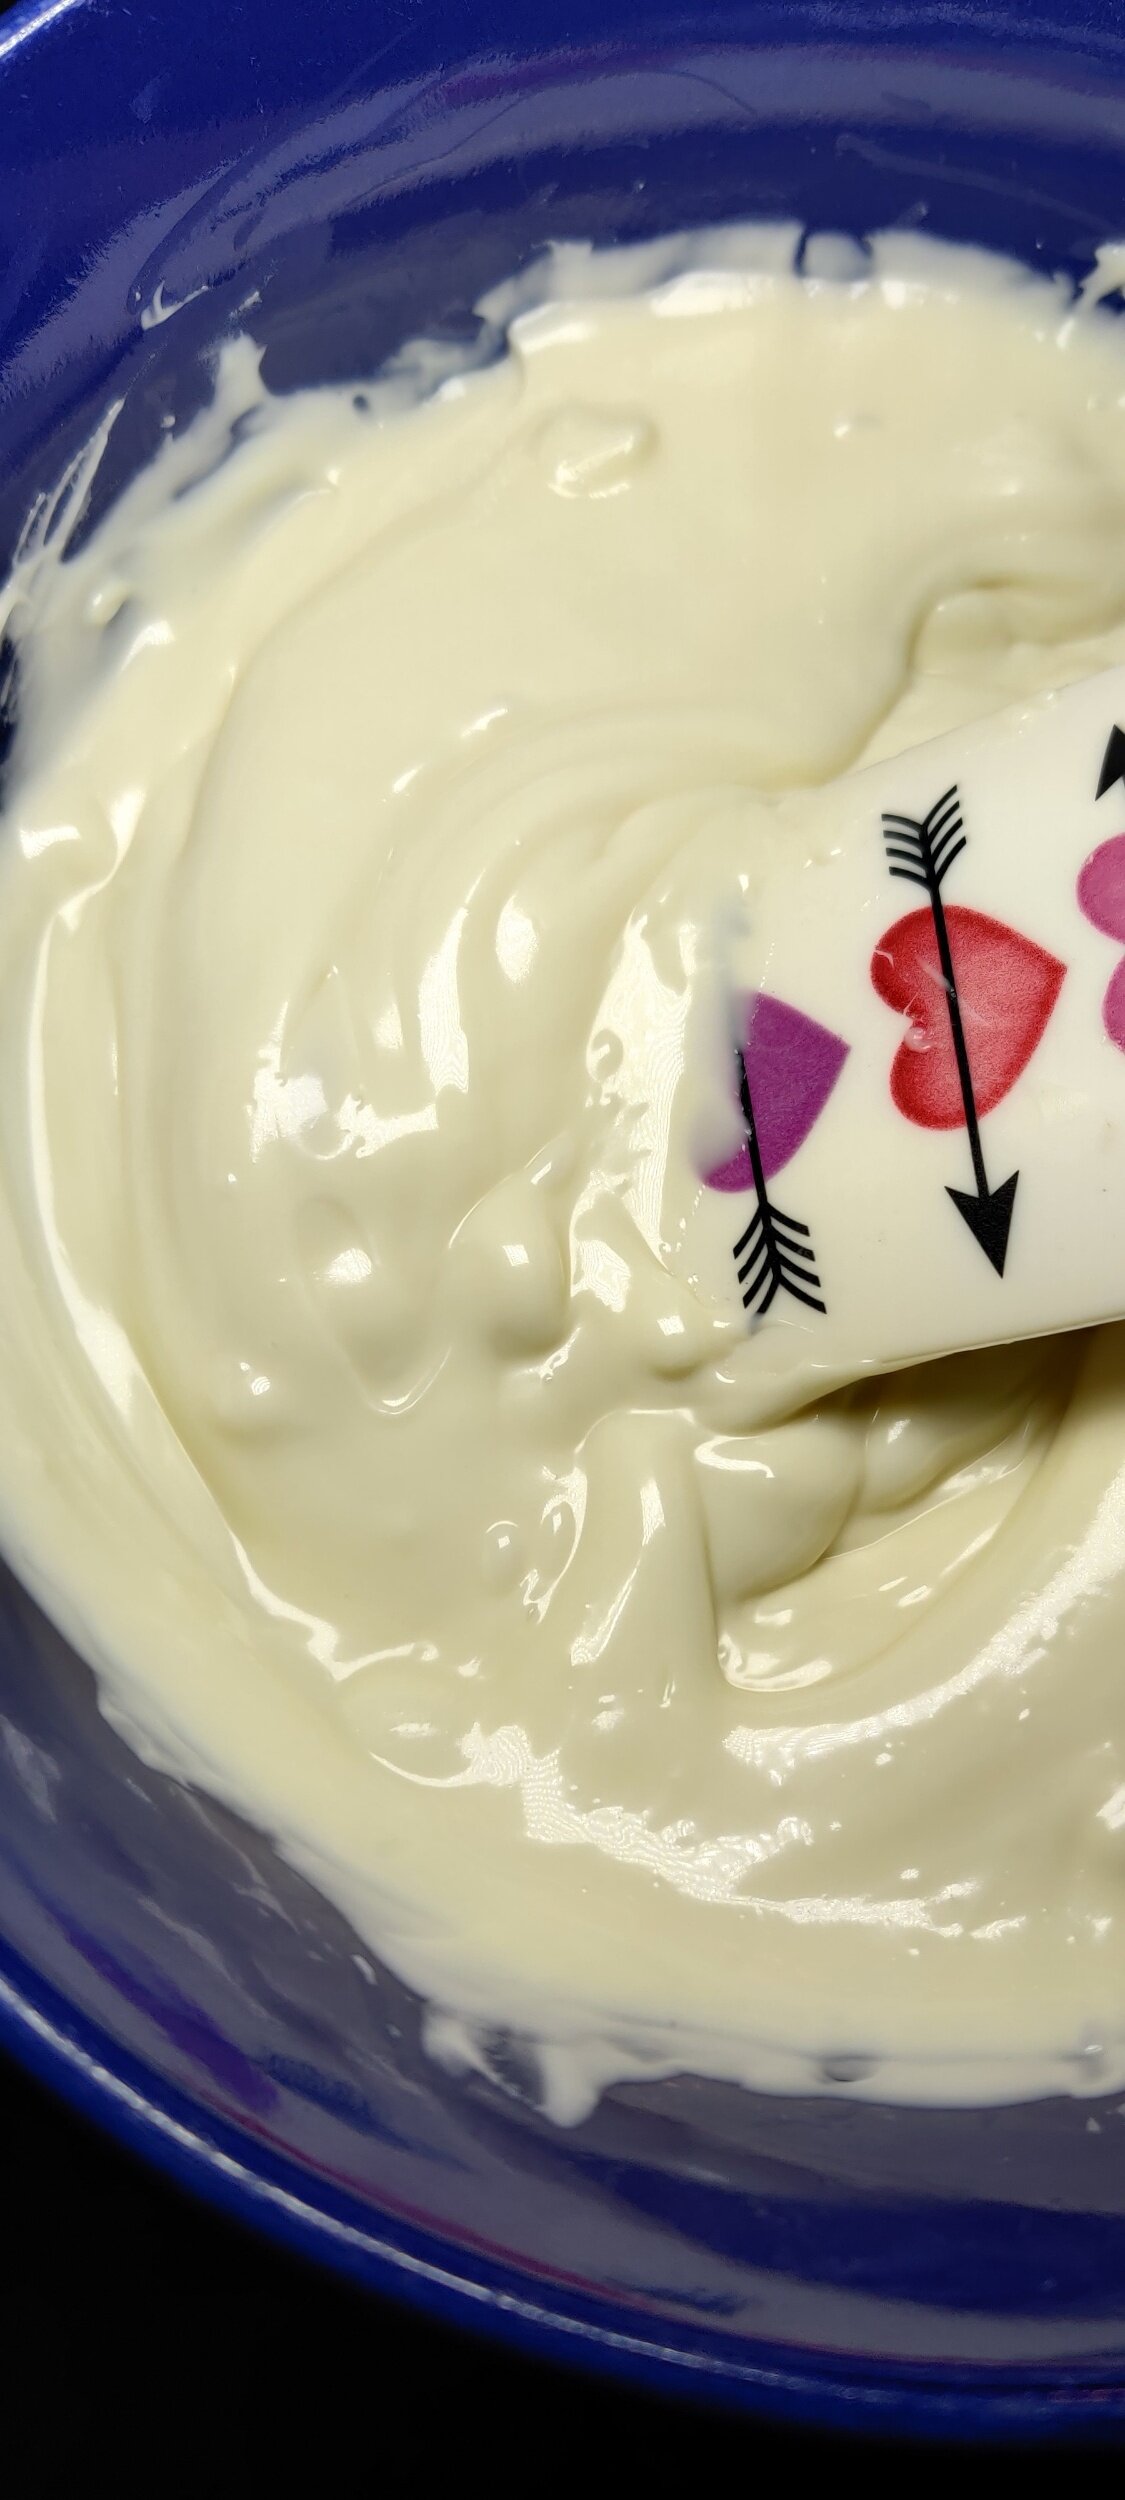
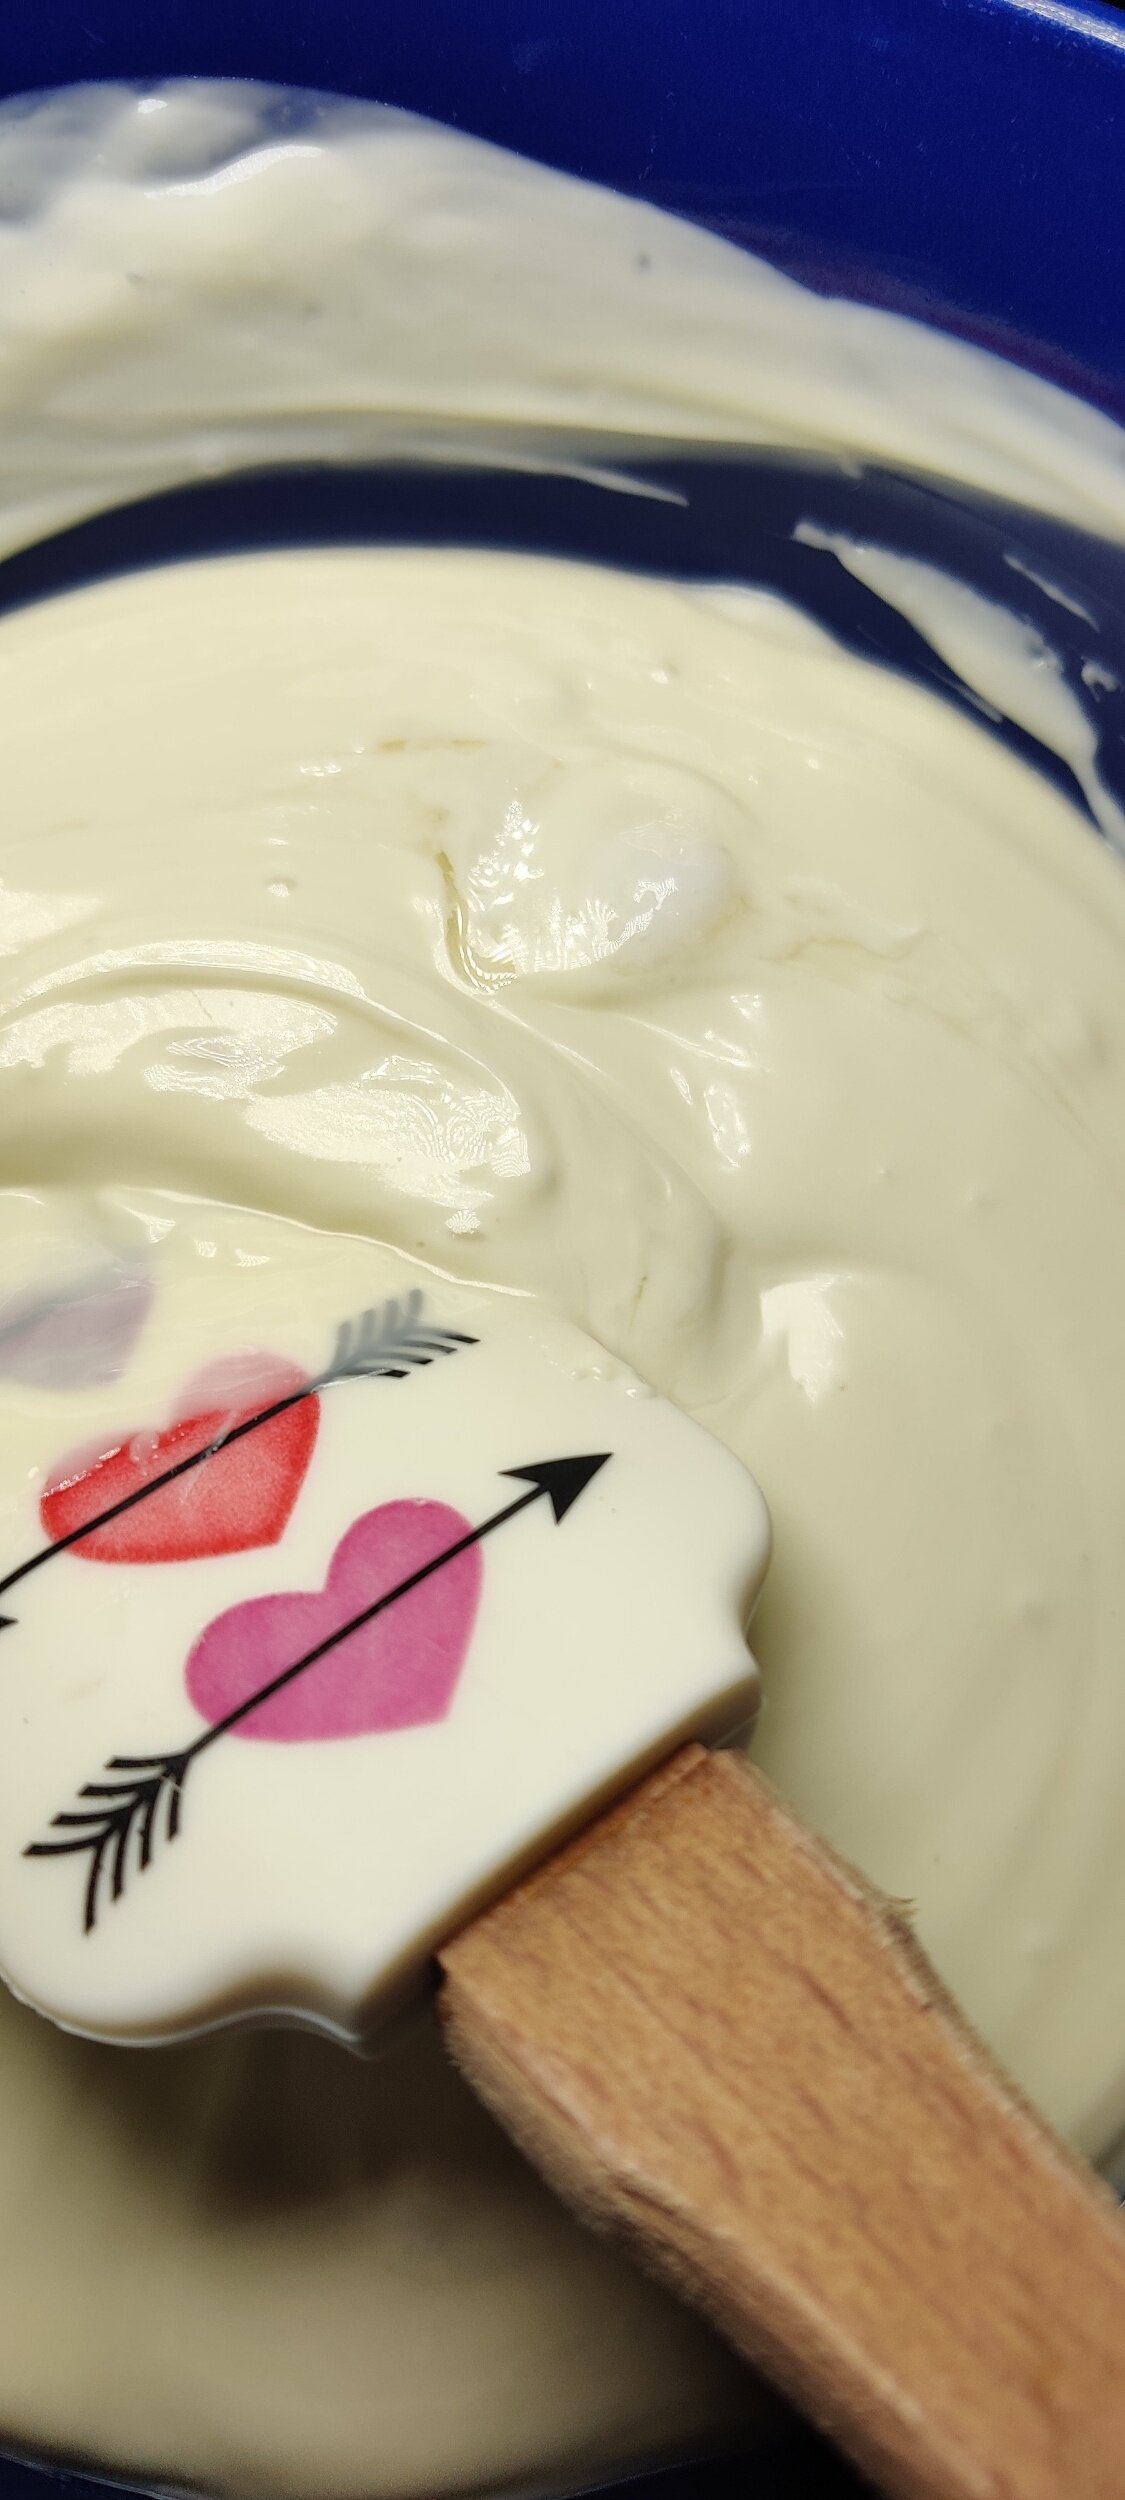
Melt the chocolate chips in the microwave for 2 minutes, stirring every 30 seconds. When you have 30 seconds left, stir in the coconut oil. Once all the chocolate has melted, stir in the almond extract. Make sure all the large lumps are gone.
Quickly spread the melted chocolate evenly (to your desired thickness) over a prepared baking tray lined with parchment paper.
Sprinkle the pistachios, cranberries, coconut, and roselle petals on top.
Chill in the freezer for 1 hour, then break apart with a knife into squares or shards. Wrap up in parchment paper and a zip lock bag and refrigerate.
Chocolate Witch Hat and Little Monster Vanilla Cupcakes
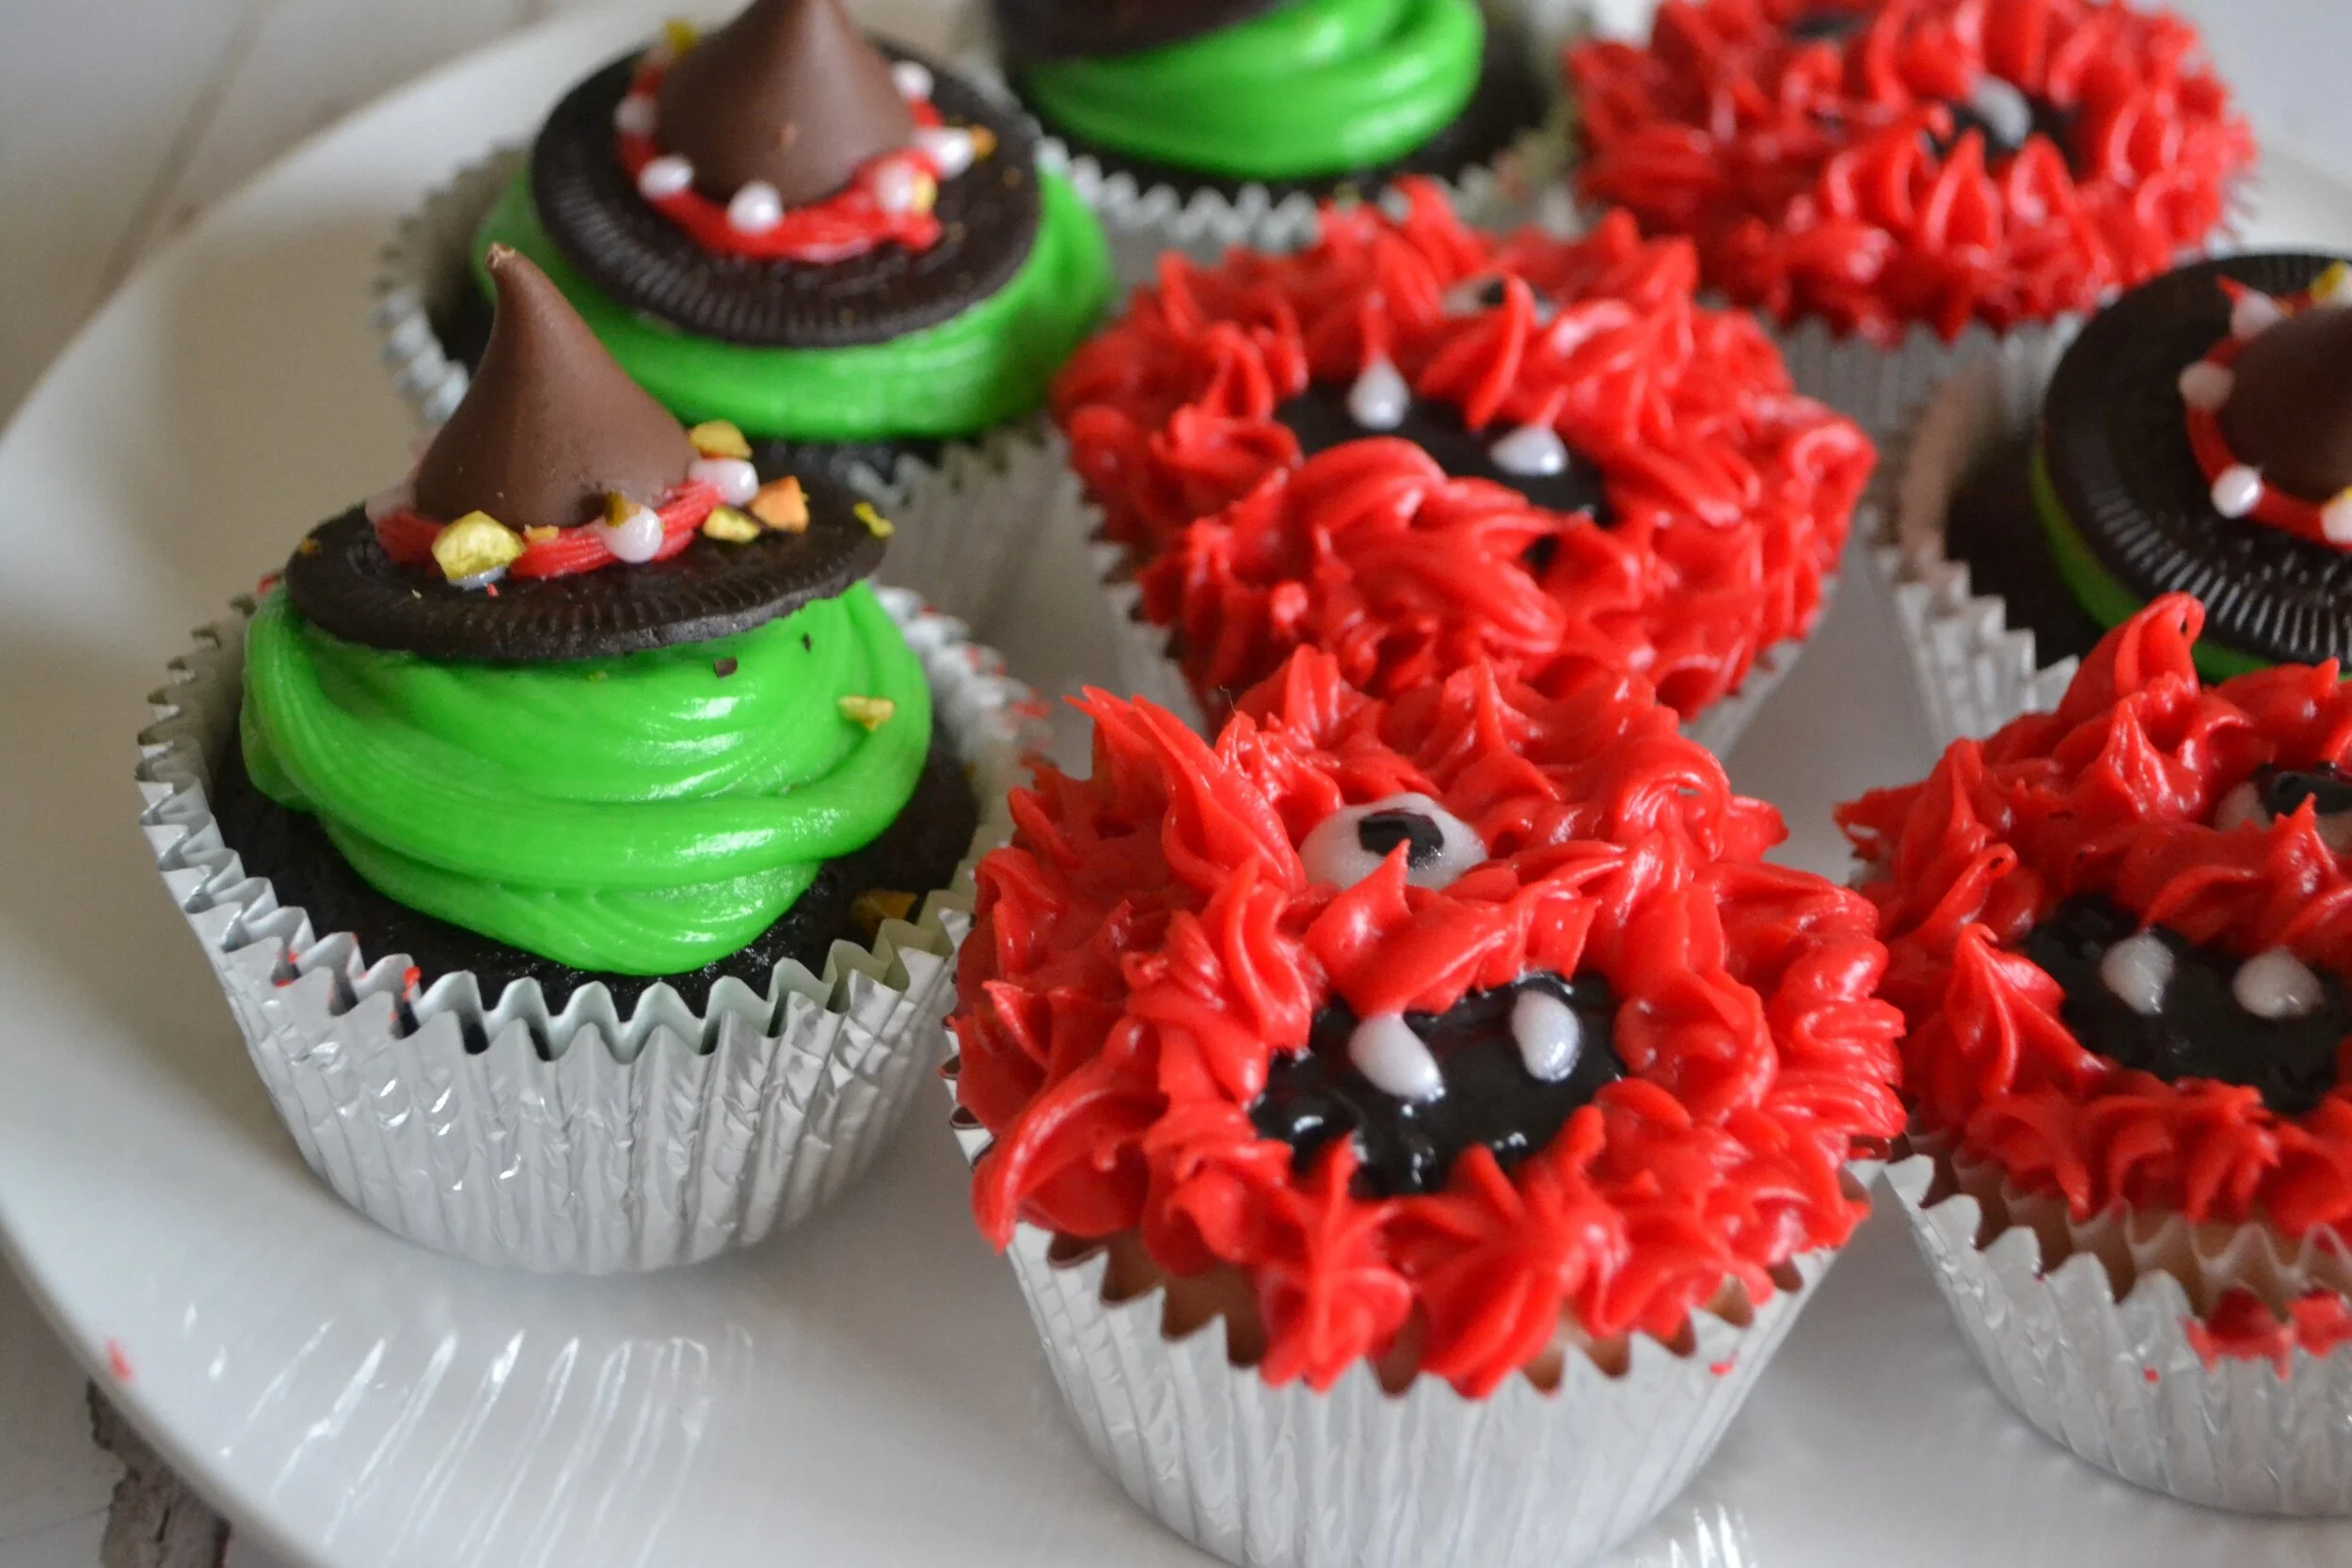
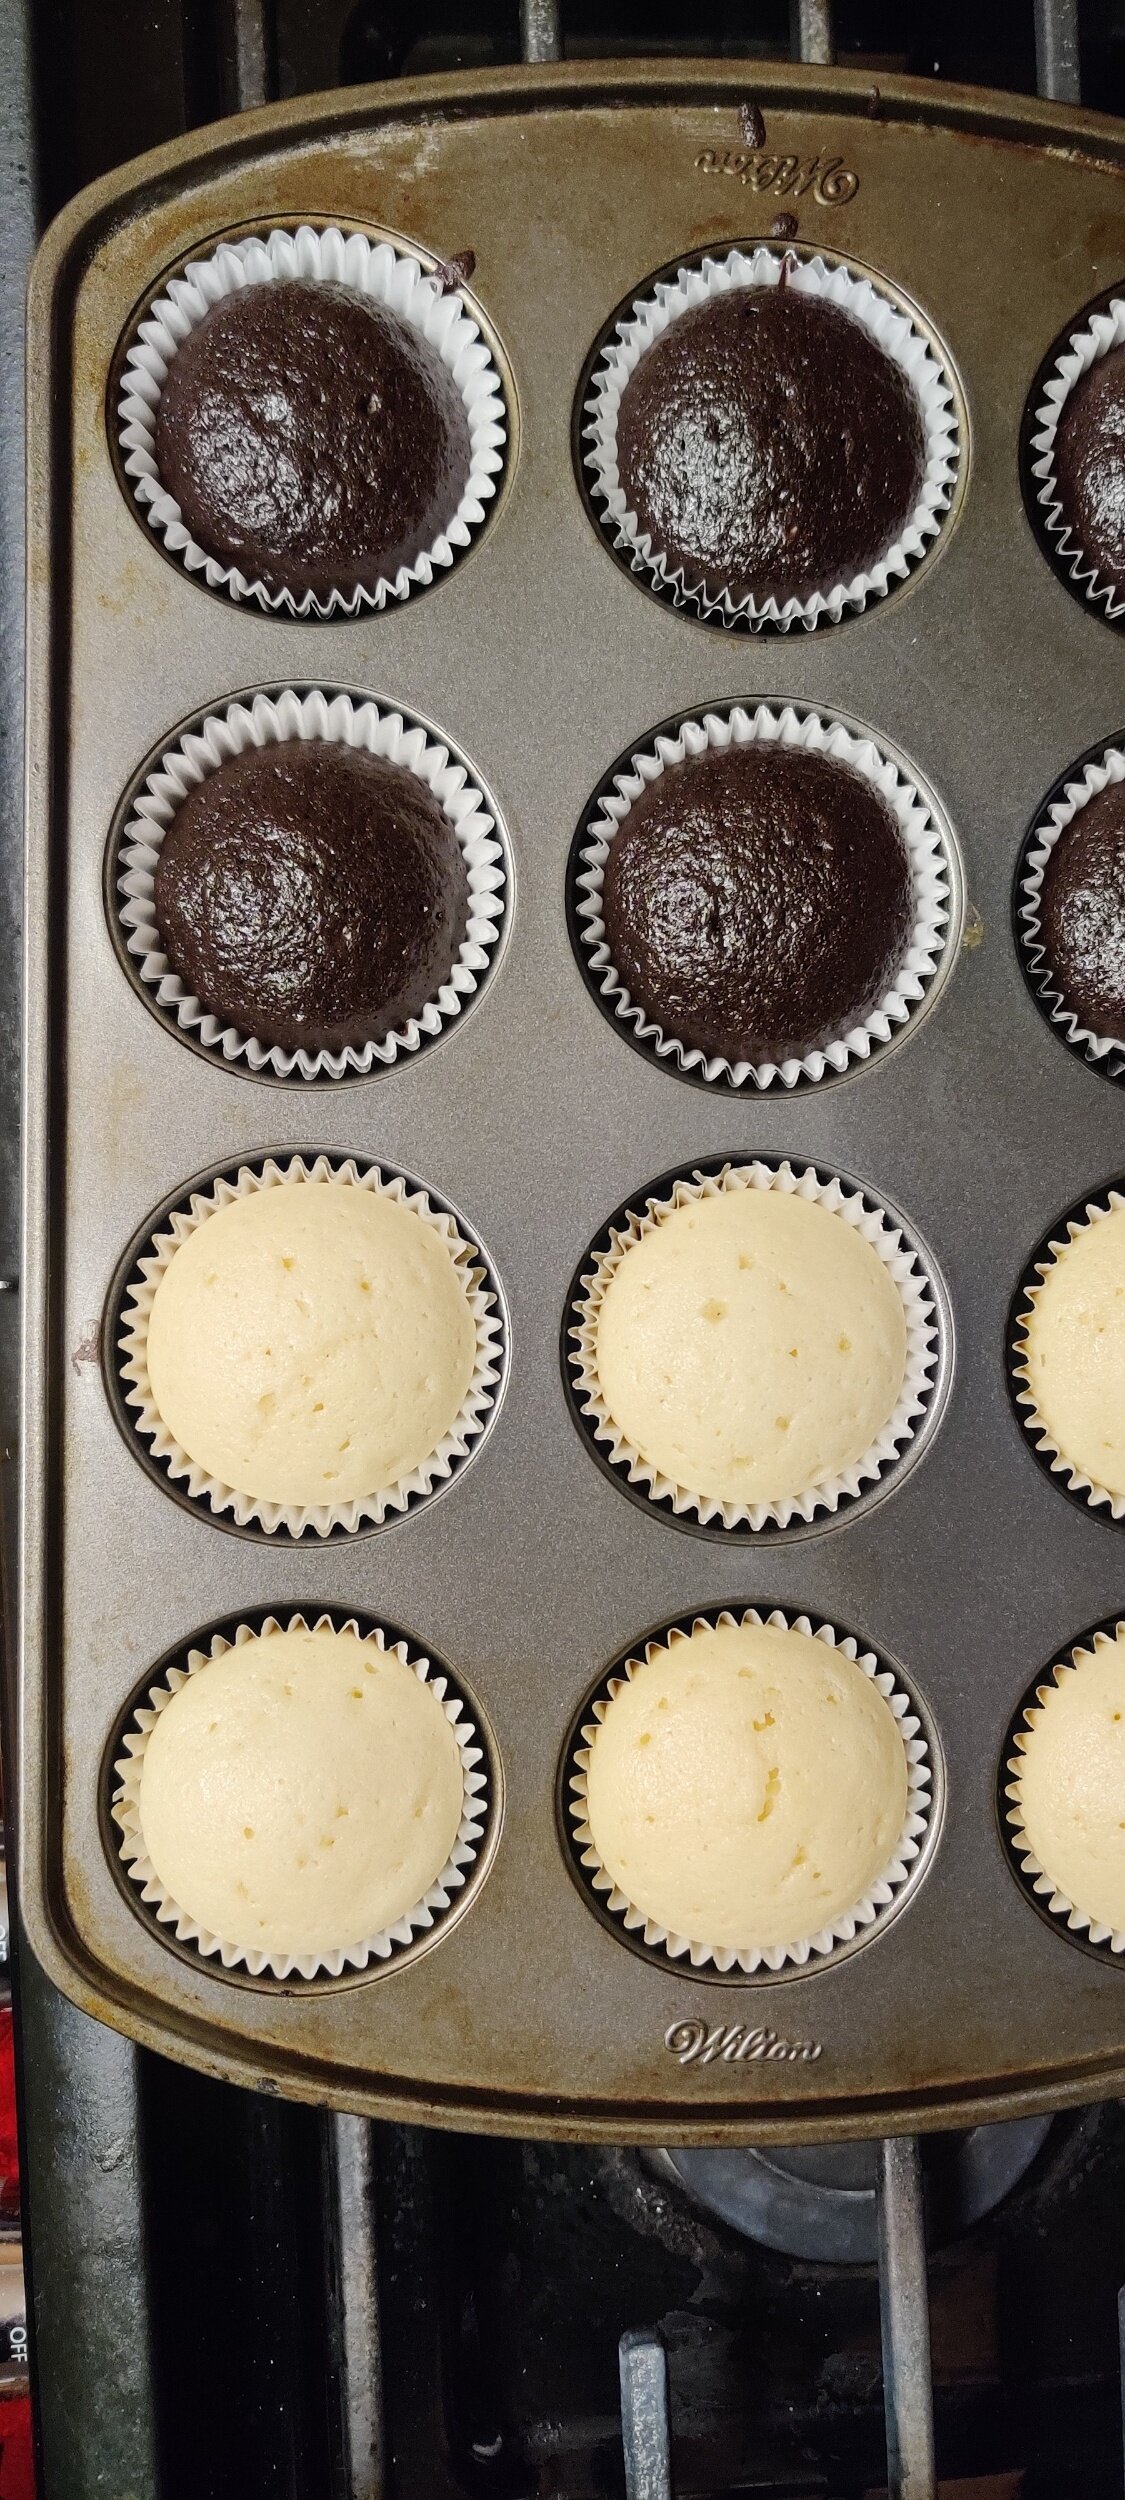
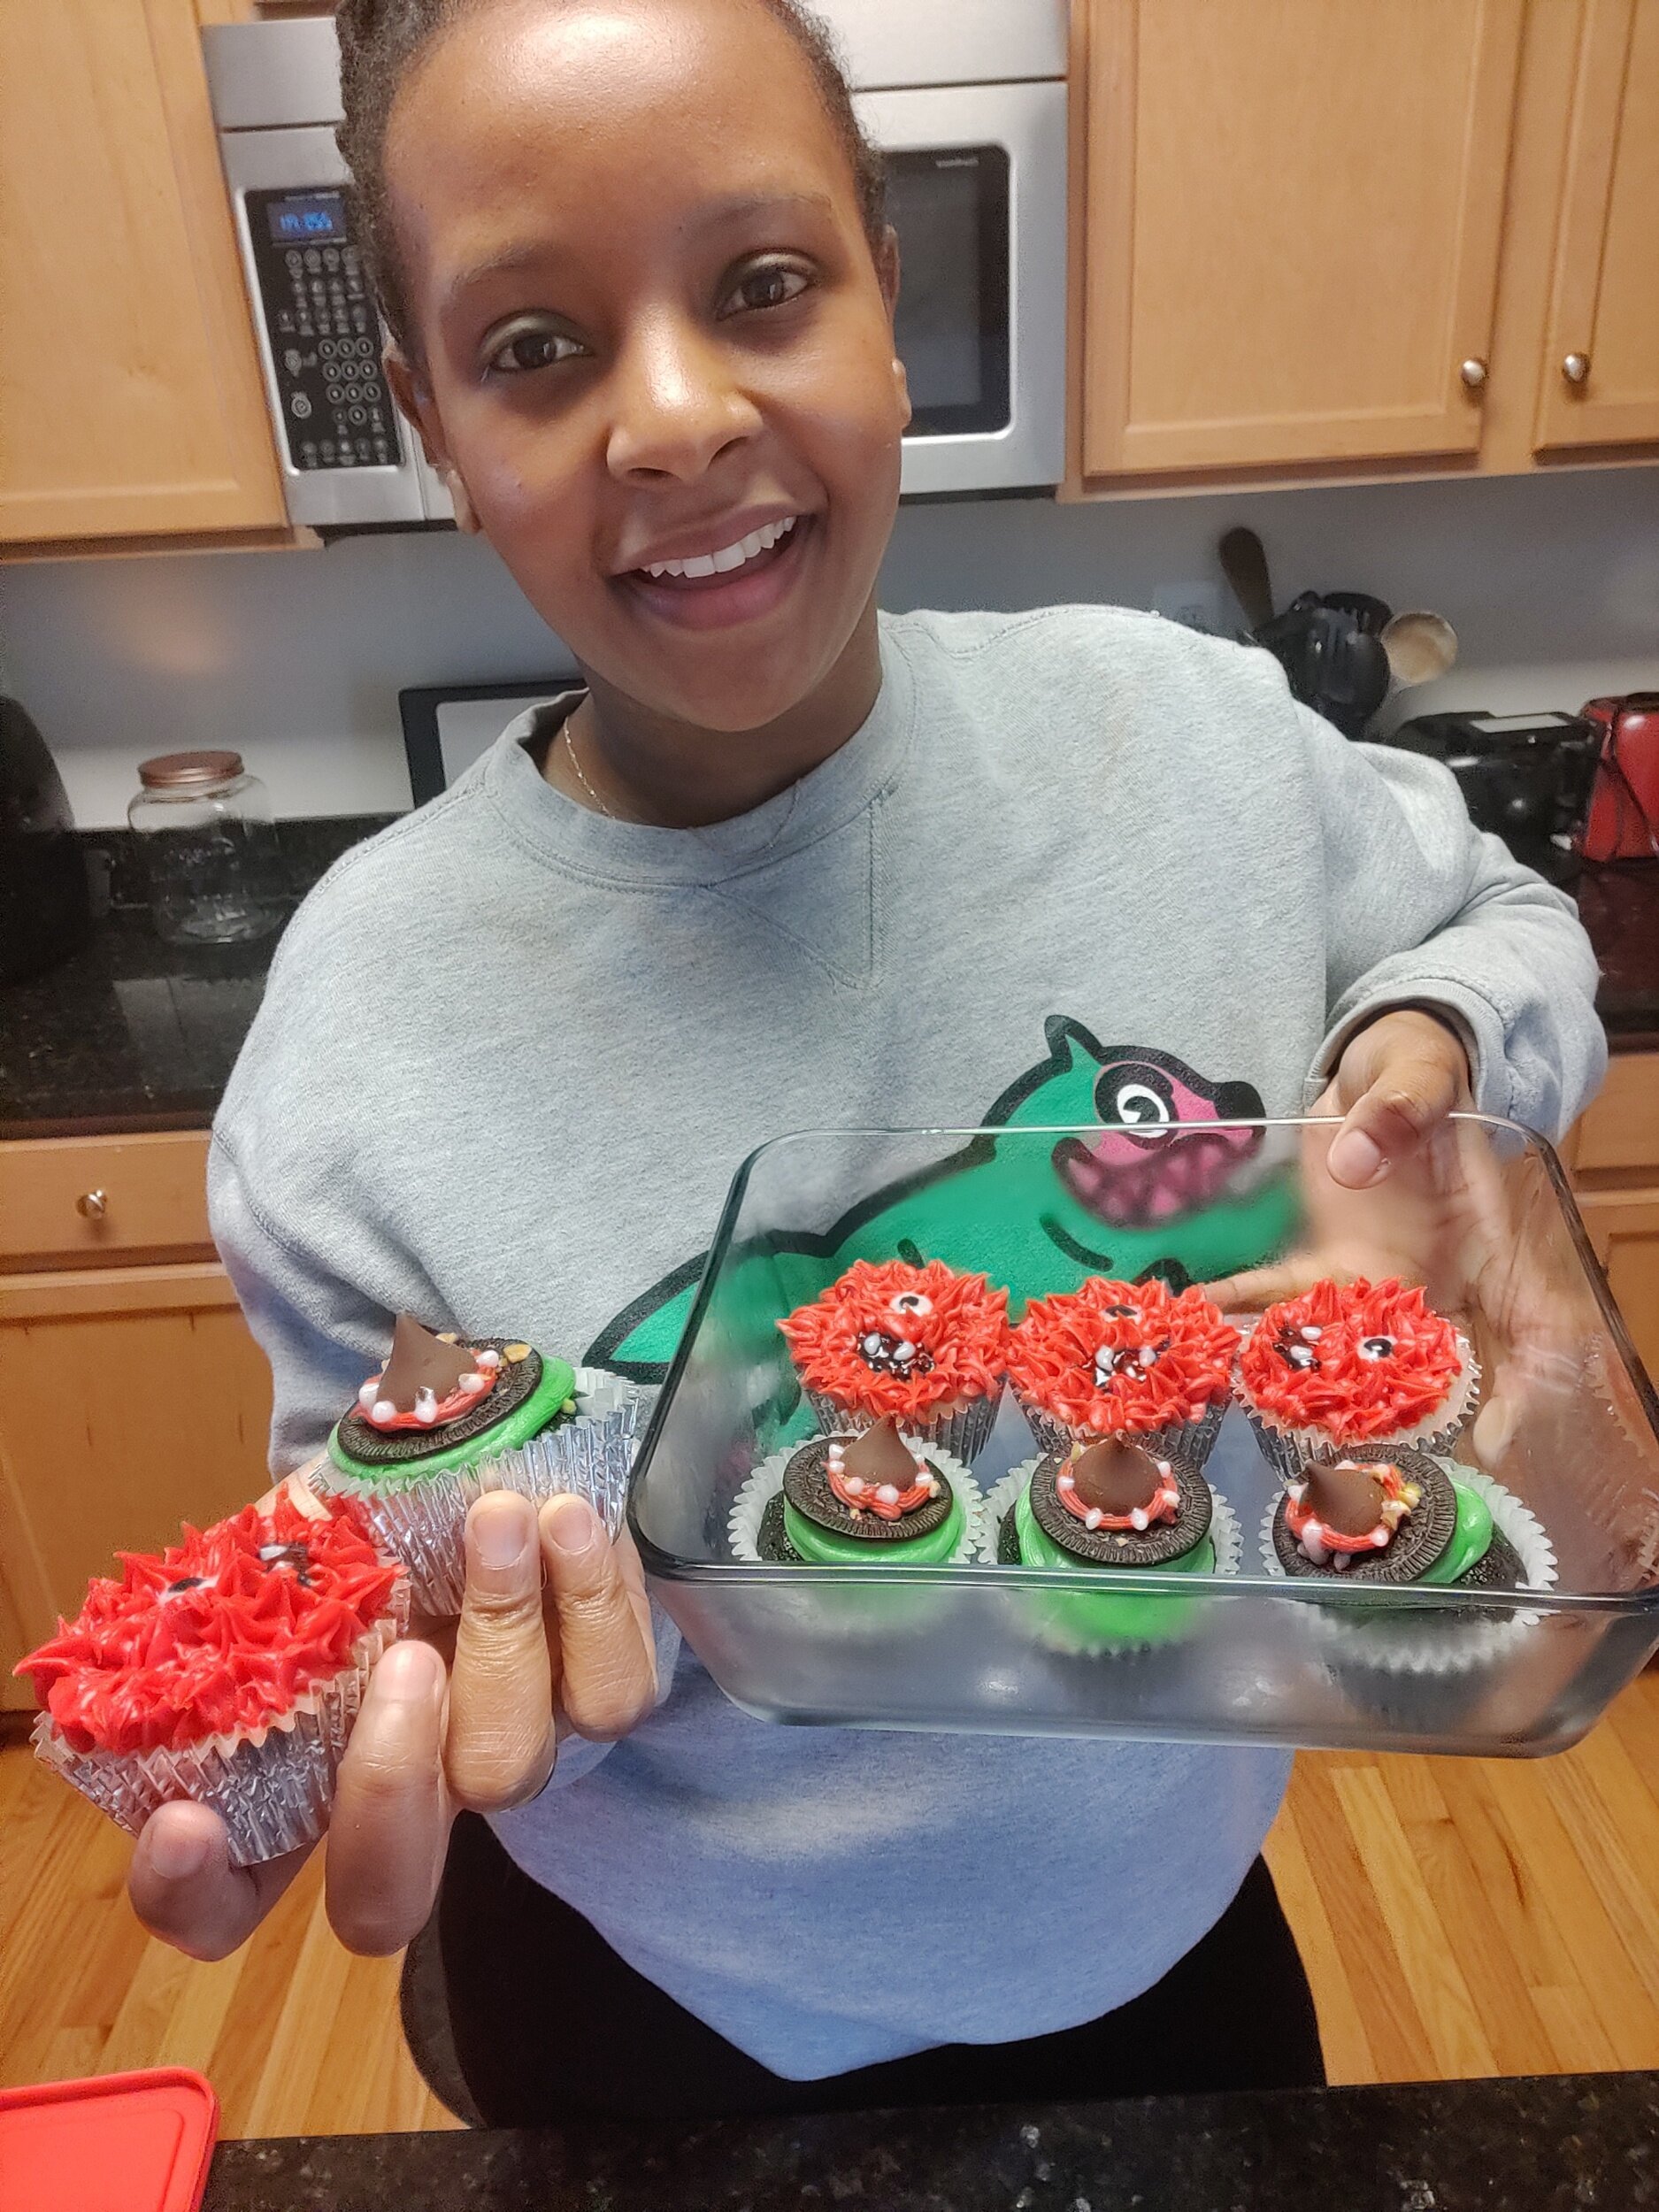
It's that time of the year! Halloween is perfect for some kid-friendly, easy, fun baking. Cupcakes lend themselves well to this, so I whipped up a tray of 12 you can make with the family.
We all know there is a split down the middle when it comes to vanilla and chocolate, so I made both! If you want two dozen, double the recipe and have one tray for each.
The main thing I prioritize with each - vanilla cupcakes should be moist, and sour cream helps that. Egg whites also help add some fluffiness and soften the batter. I also used parts of cake flour to help ensure soften cakes even more. For chocolate cupcakes, I always add expresso powder, this enhances the intensity of the chocolate flavour.
I hope you enjoy these and have fun decorating! They are moist and delicious, just like how cupcakes should be.
Ingredients
Vanilla cupcakes:
1/3 cup cake flour
1/2 cup all-purpose flour
Pinch of salt
Pinch of baking soda
1 teaspoon baking powder
1 1/2 egg whites
1/4 cup milk
6 tablespoons butter, melted
1/4 cup sour cream
1 teaspoon vanilla
Black icing
White icing
Red icing
(I used Wilton's Icing pouches since I needed several colours and didn't need that much icing. You can also make a batch of vanilla buttercream icing then use the pouches for decorative accents).
Chocolate cupcakes:
2 tablespoons cake flour
4 tablespoons all-purpose flour
1/4, cup cocoa powder (I used Hershey's Cocoa special dark)
1 teaspoon espresso powder
Pinch of salt
1/2 teaspoon baking powder
Baking soda
1/4 cup light brown sugar
1/4 cup white sugar
1 egg
1/4 teaspoon baking soda
1 teaspoon vanilla extract
1/4 cup milk
2 tablespoons + 2 teaspoons vegetable oil
6 Oreo thins ( 1side cookie only, remove the cream)
6 Hershey kisses
Green icing
Red icing
Pistachios (optional)
Instructions
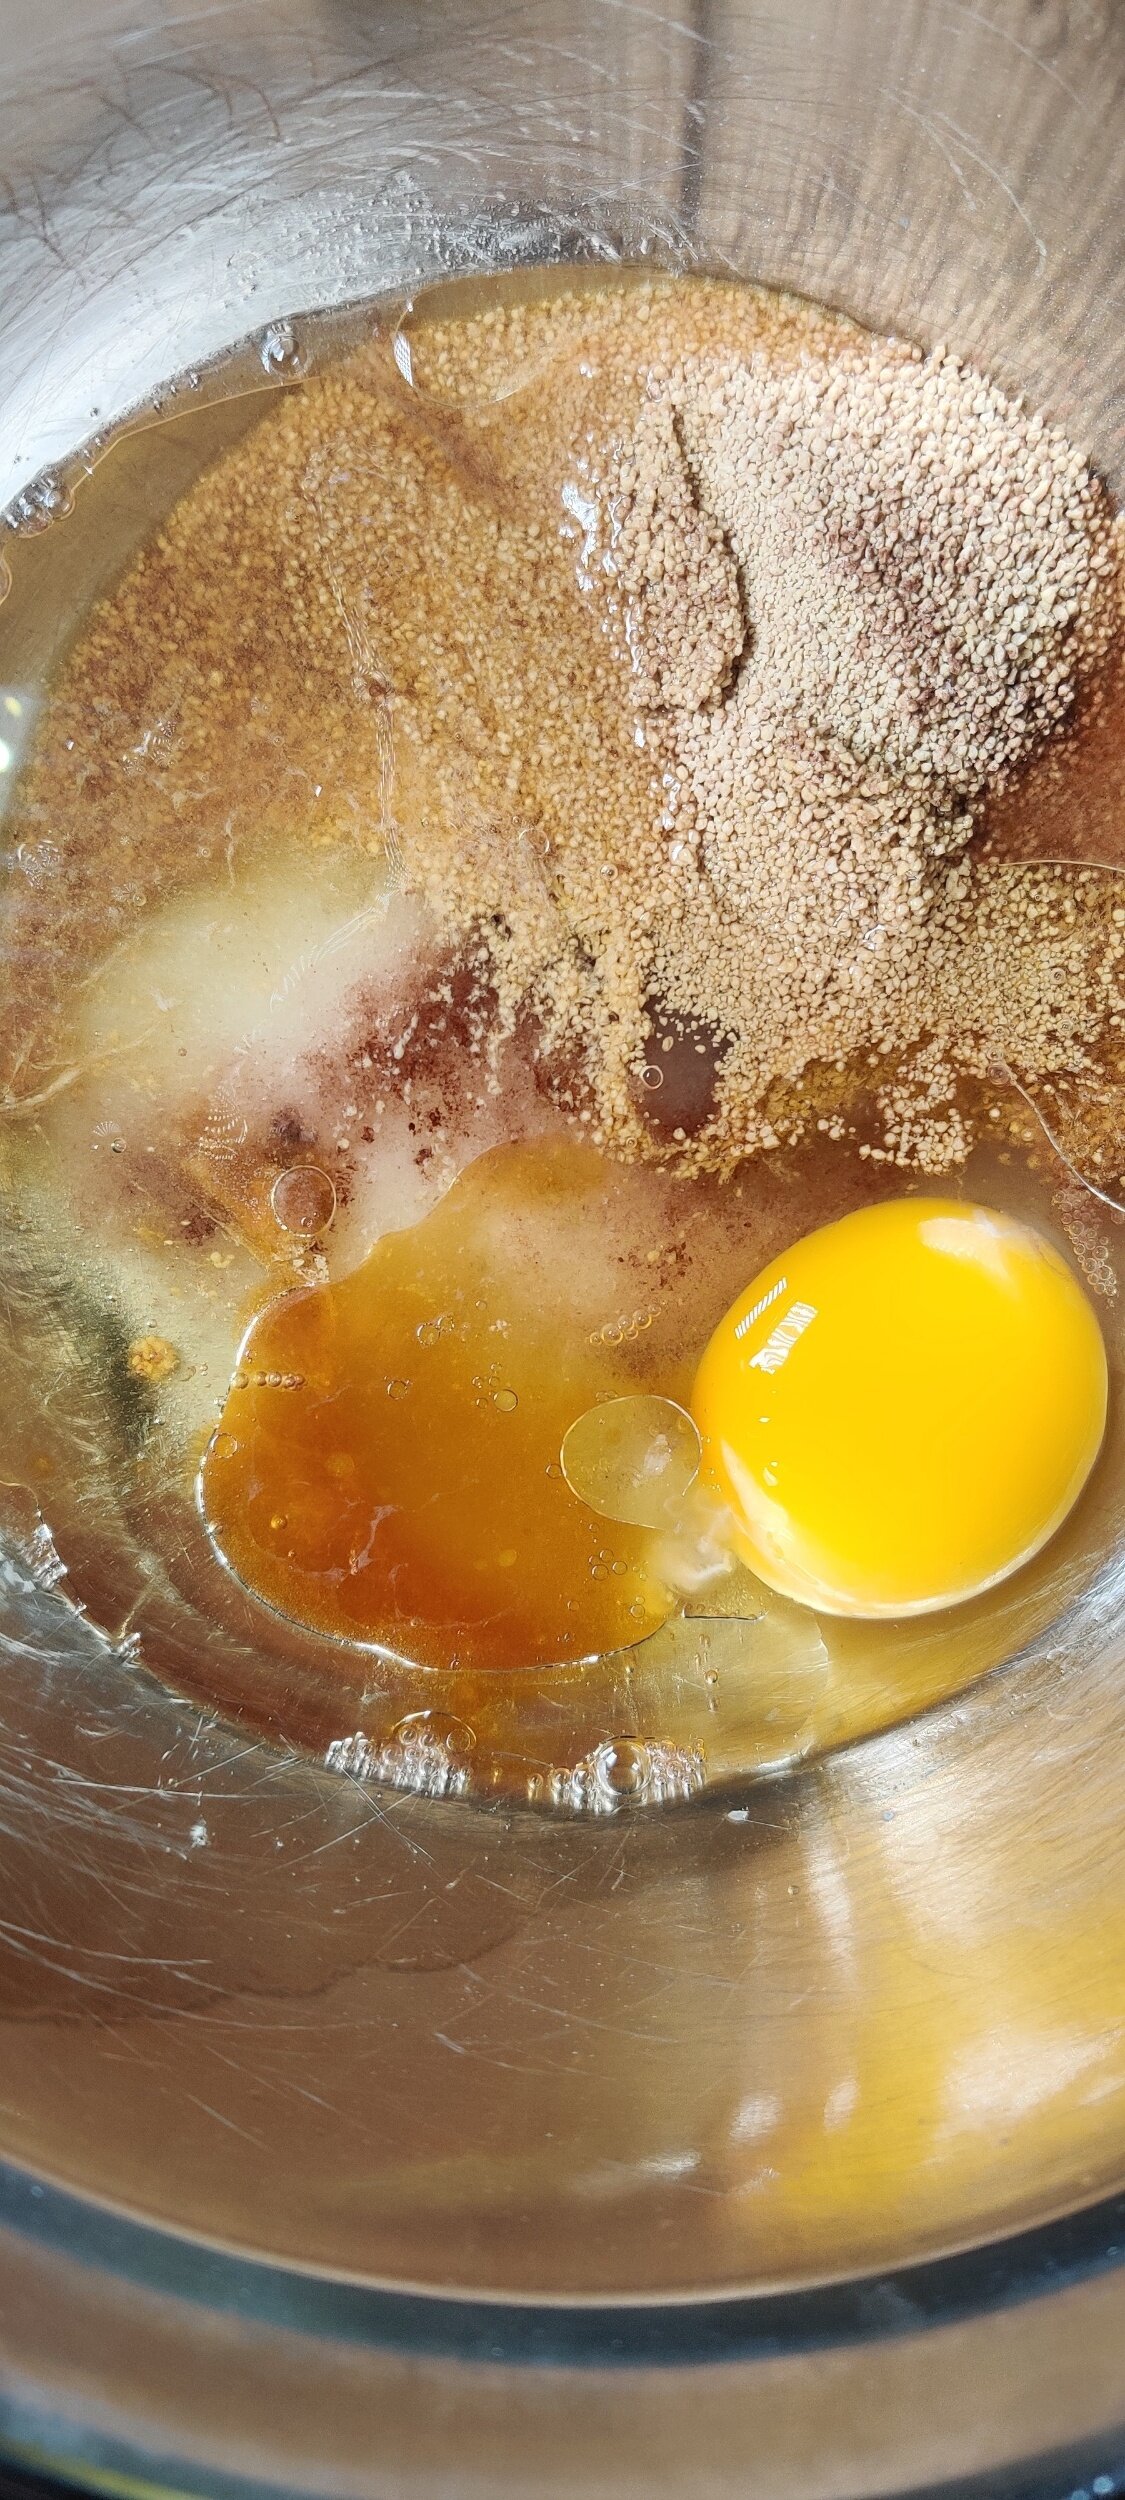
Get four bowls for each mix - two small and two large.
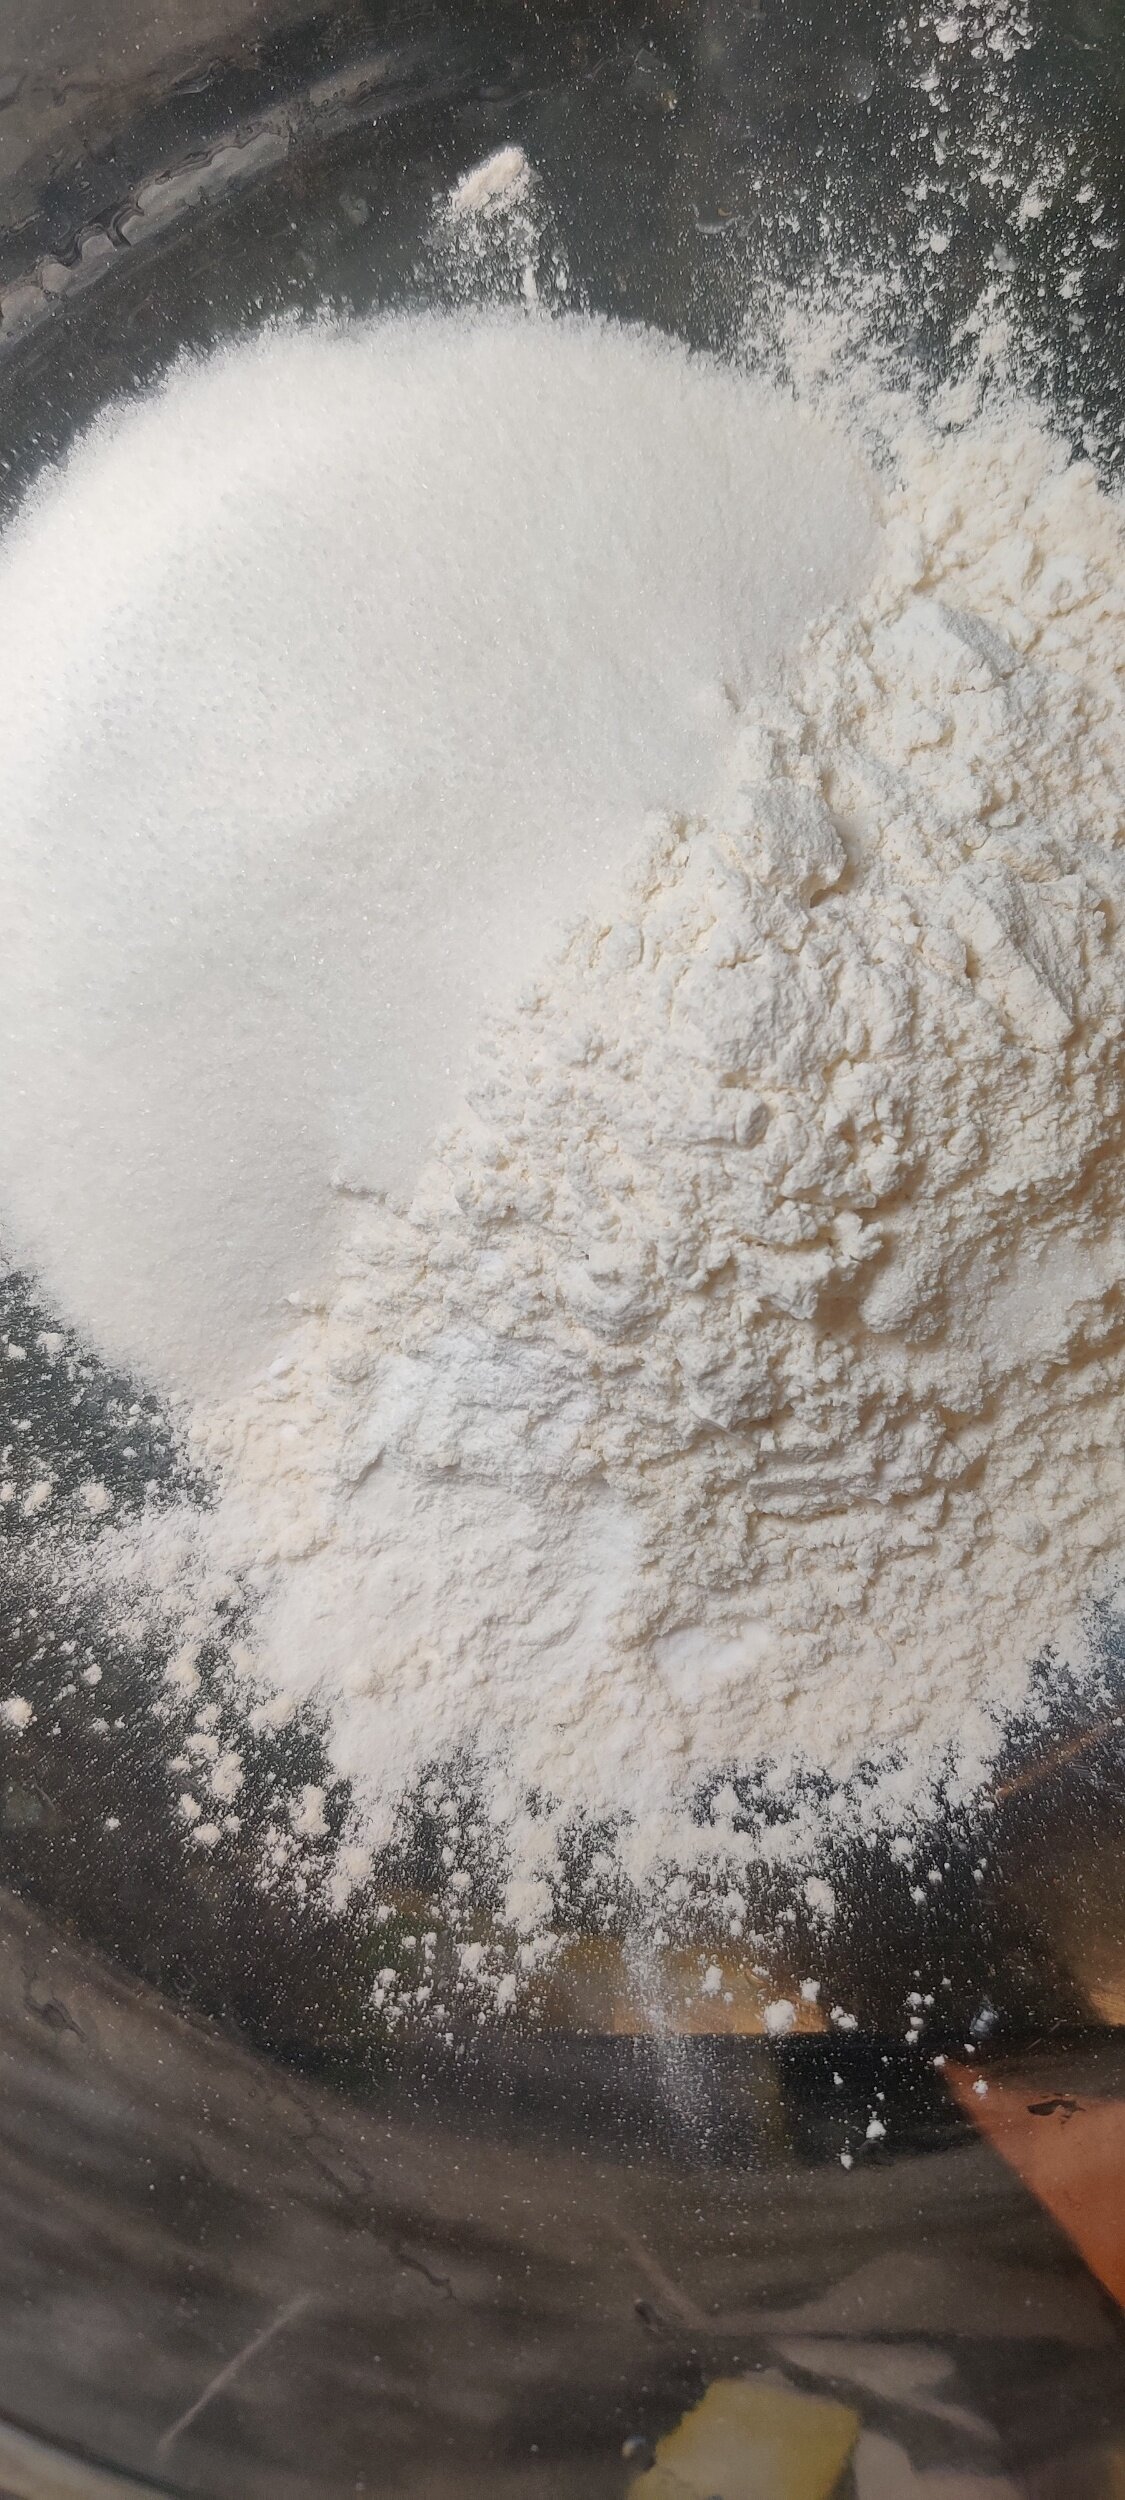
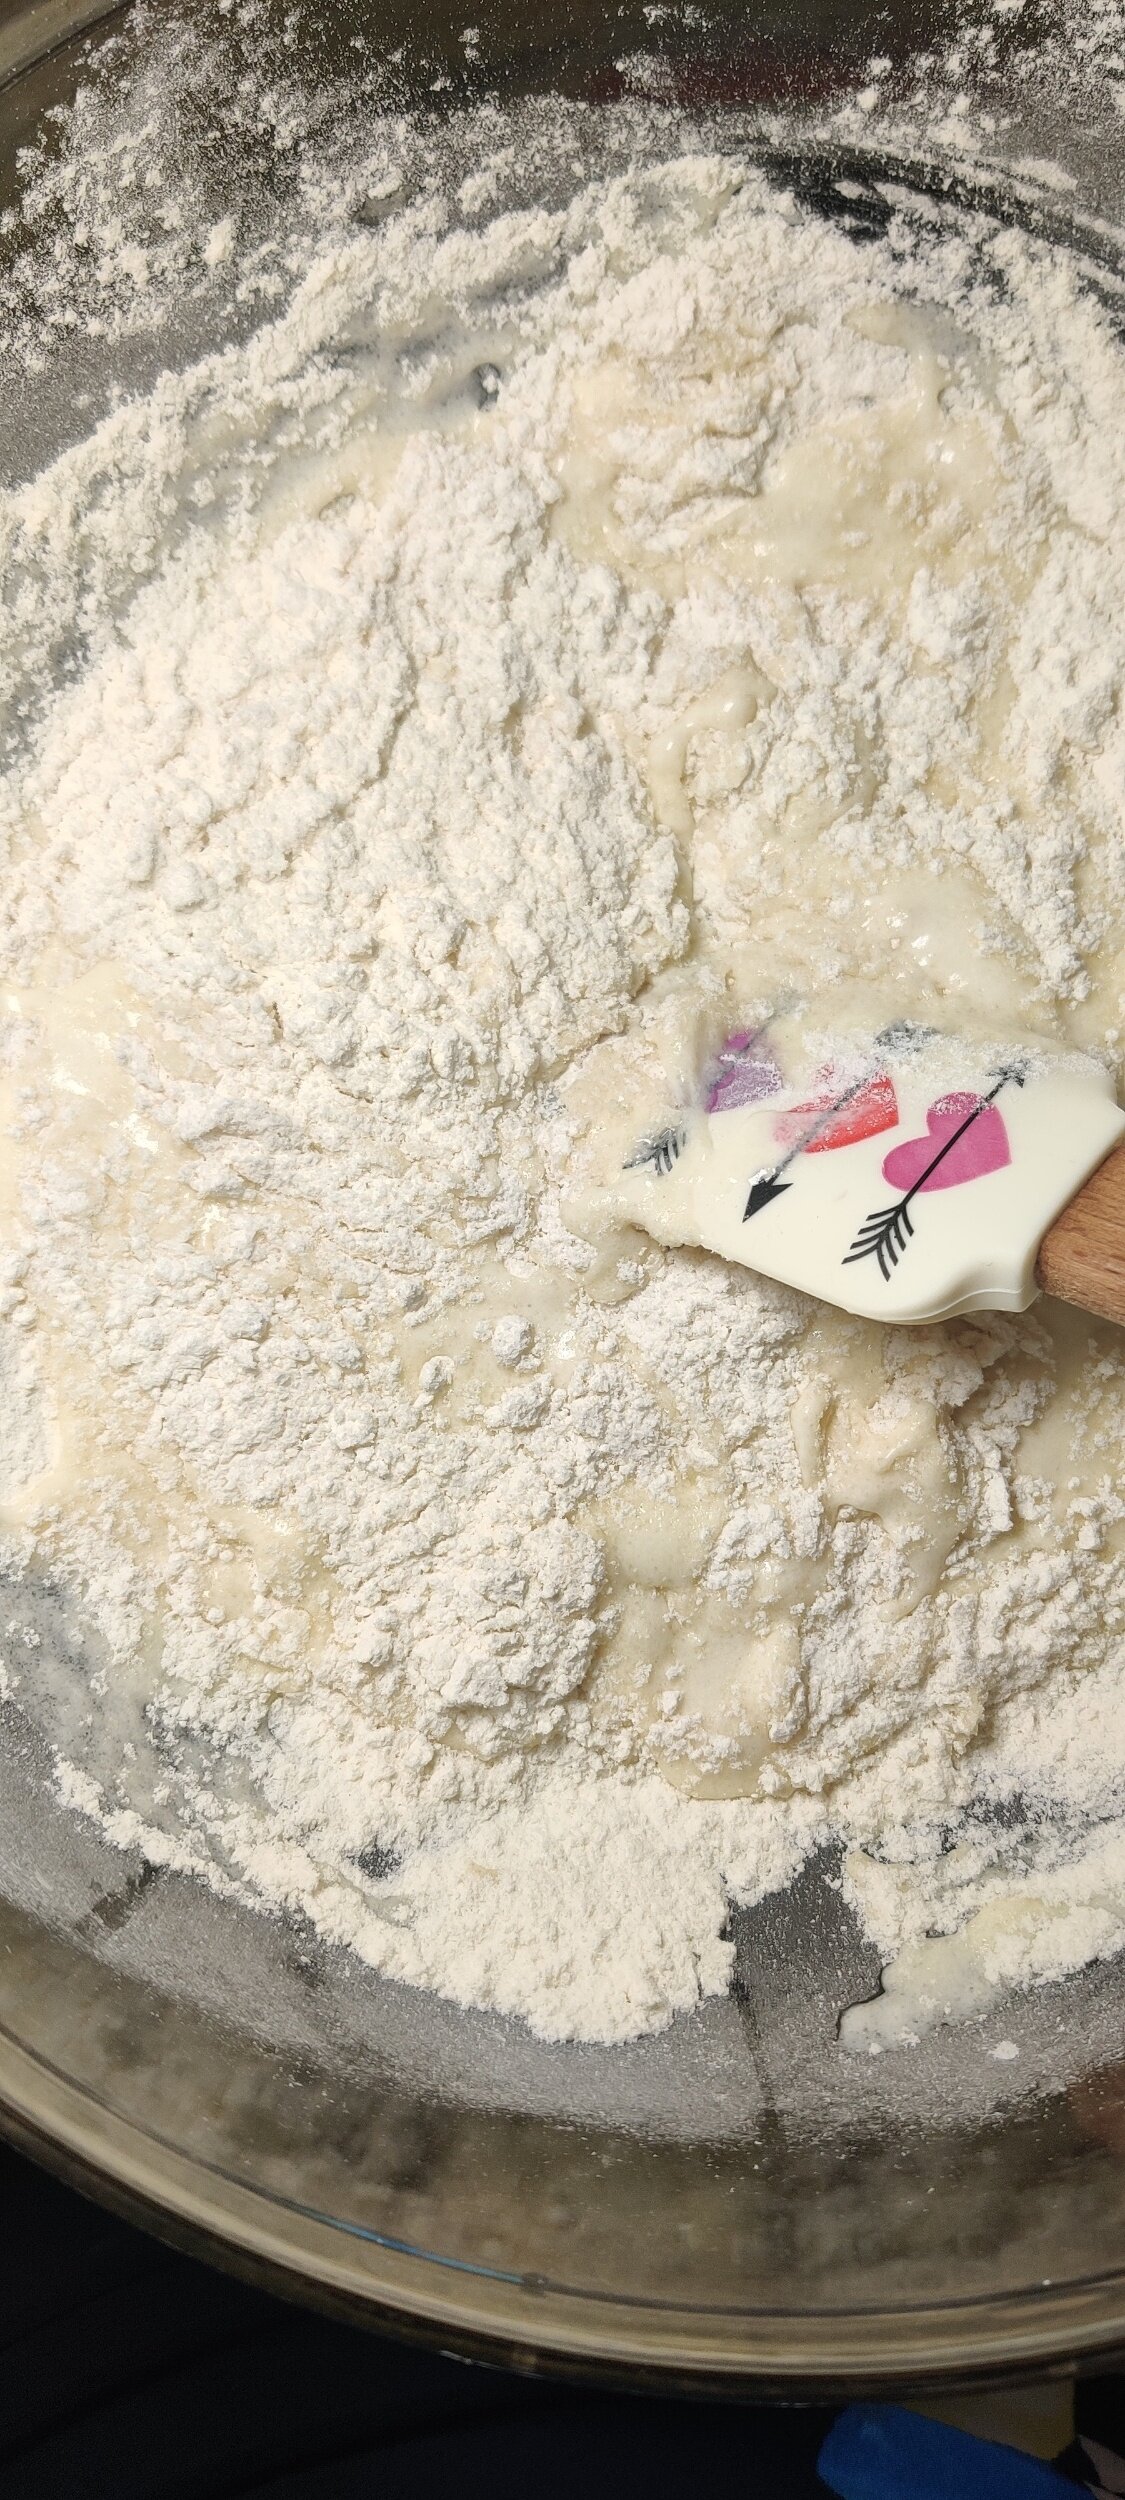
For the vanilla cupcake batter, whisk the flour, salt, baking powder, salt, and baking soda.
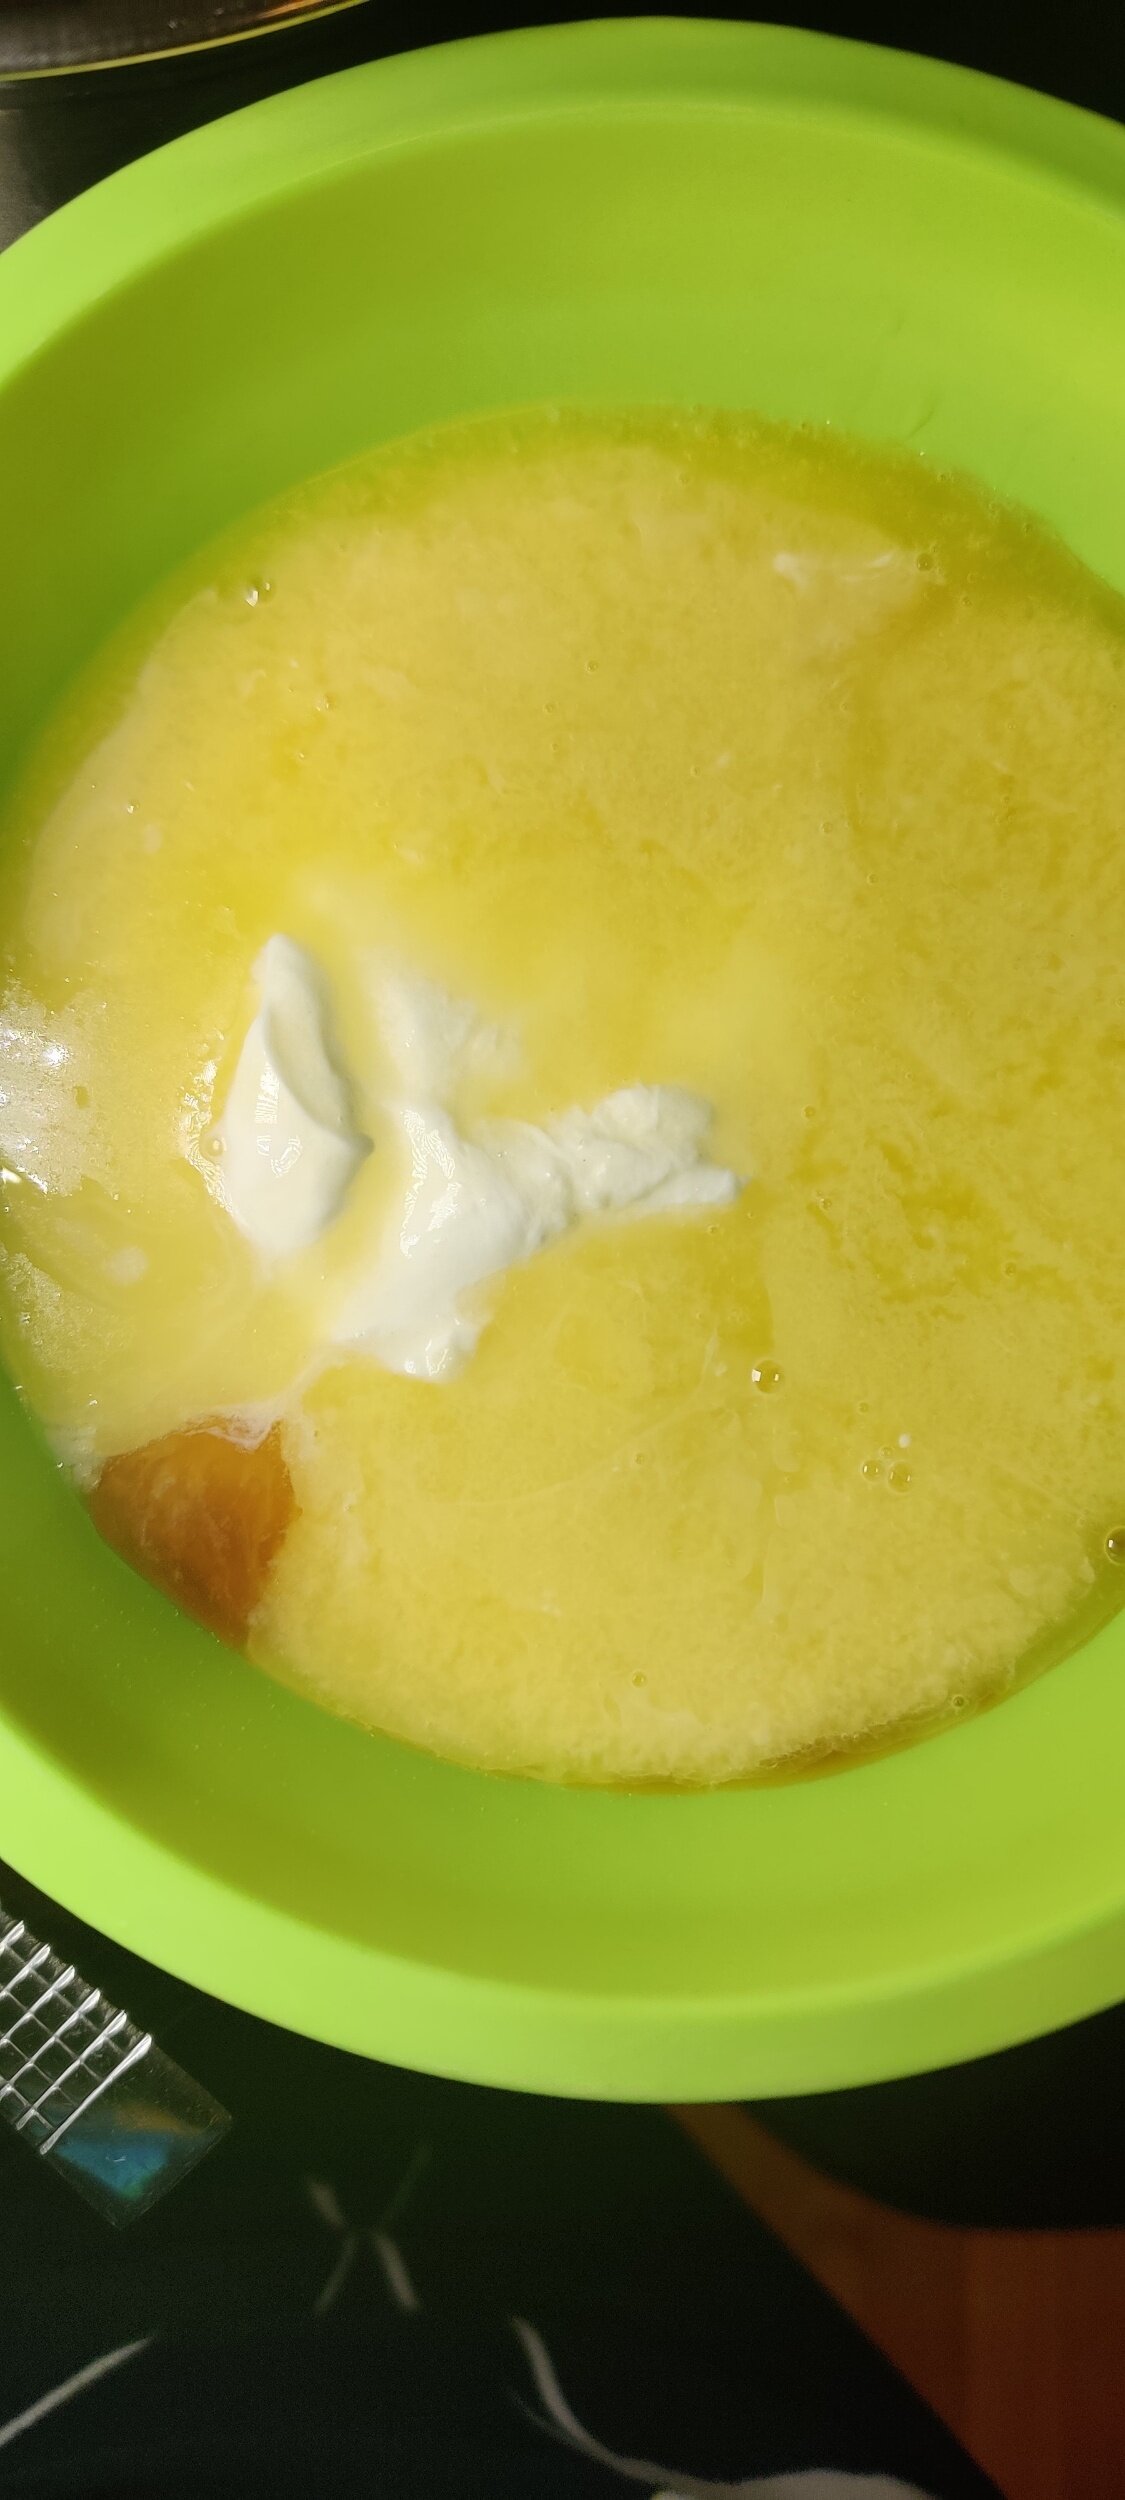
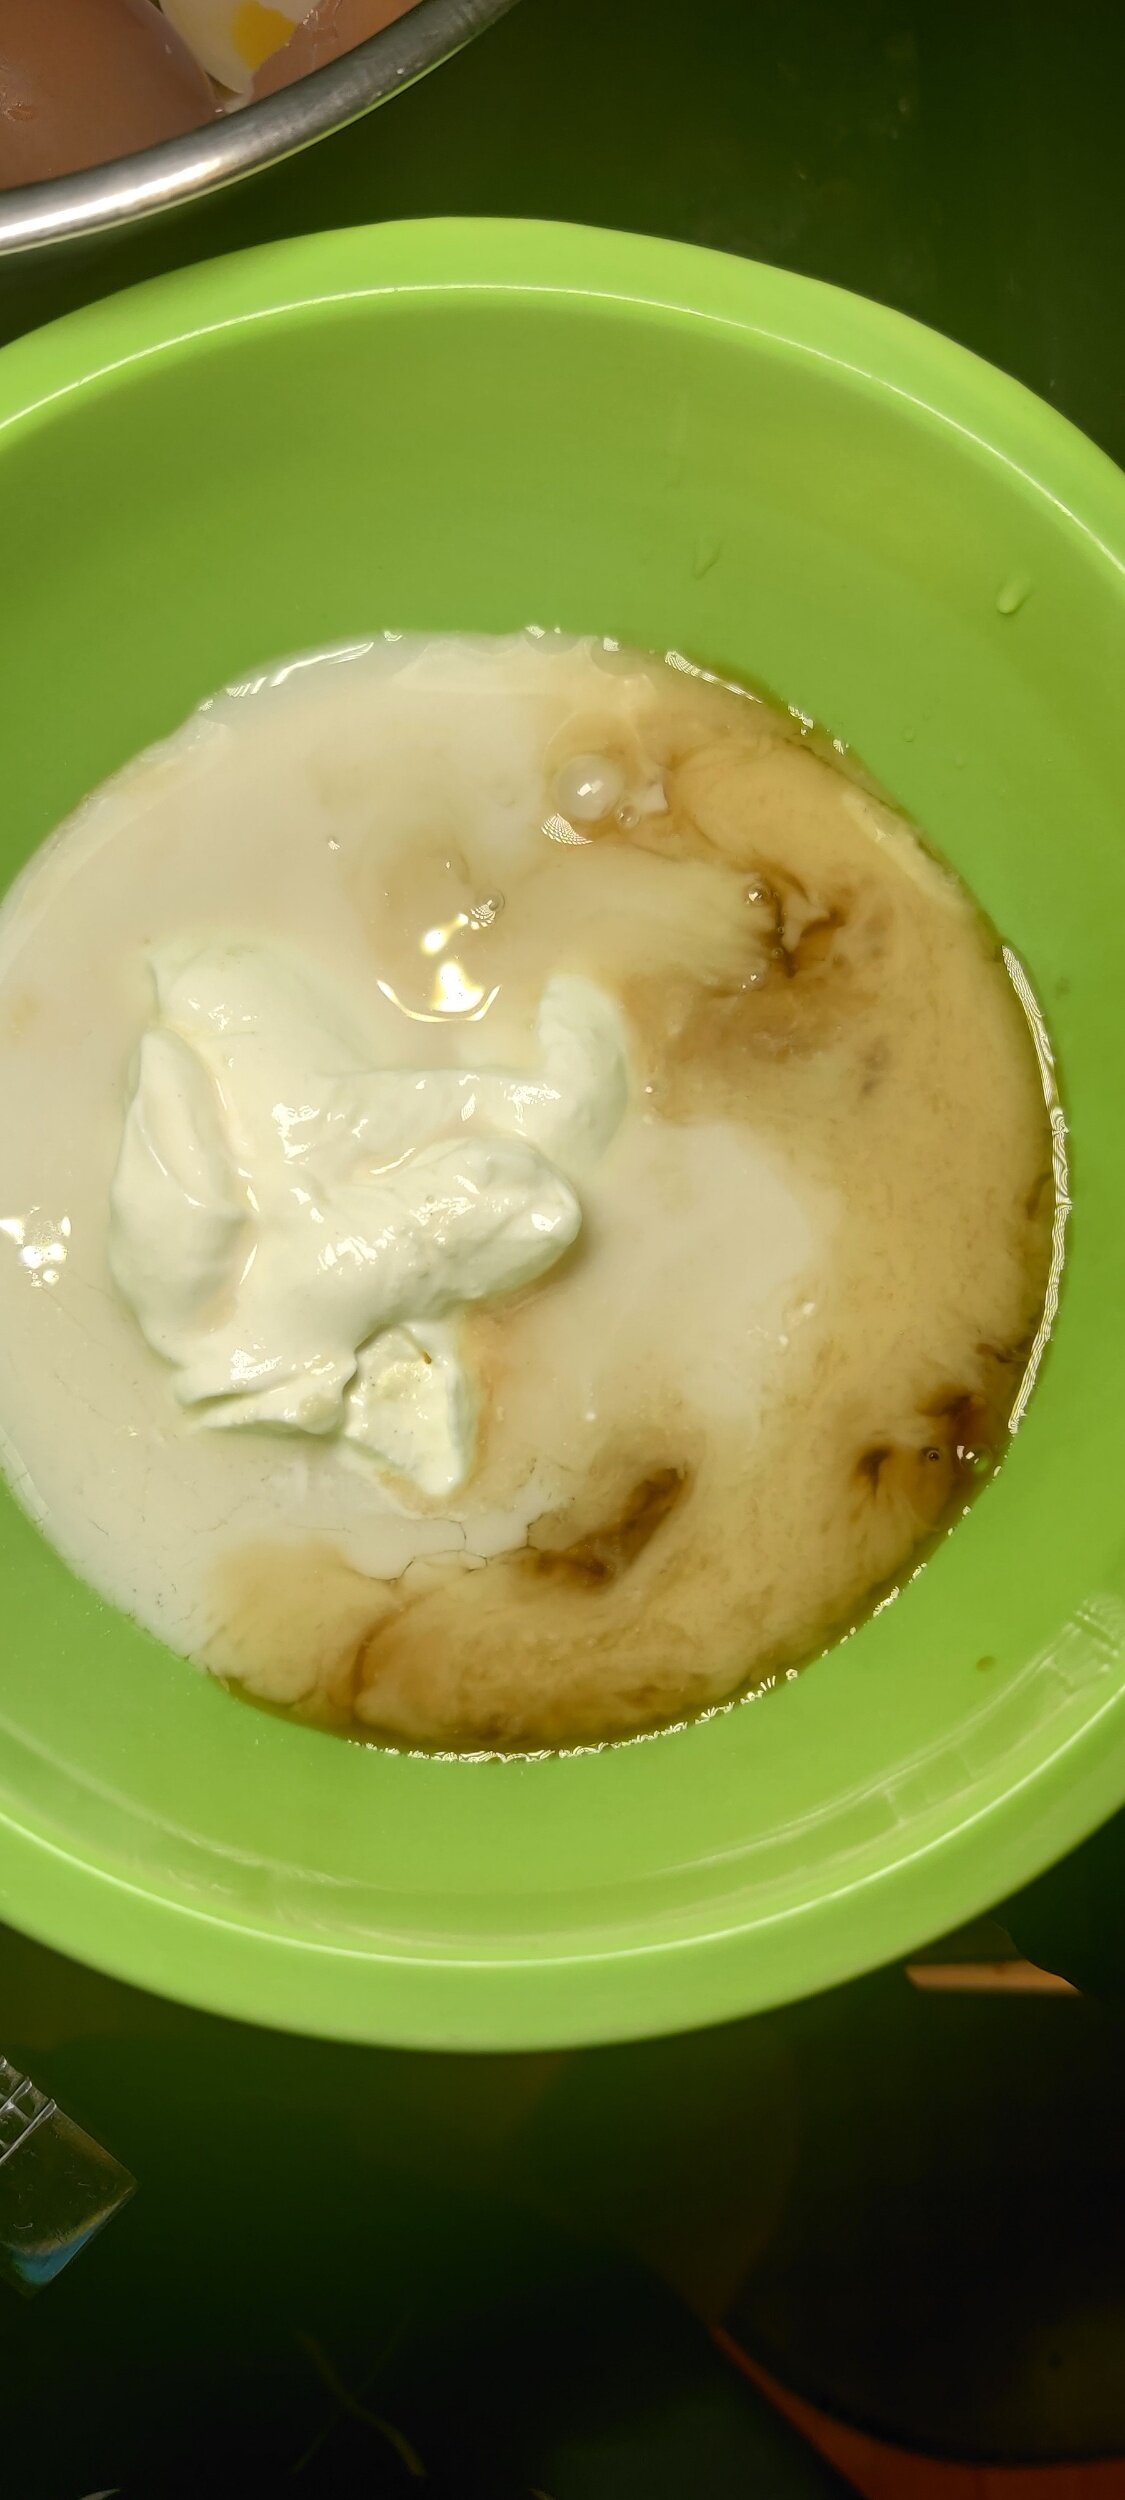
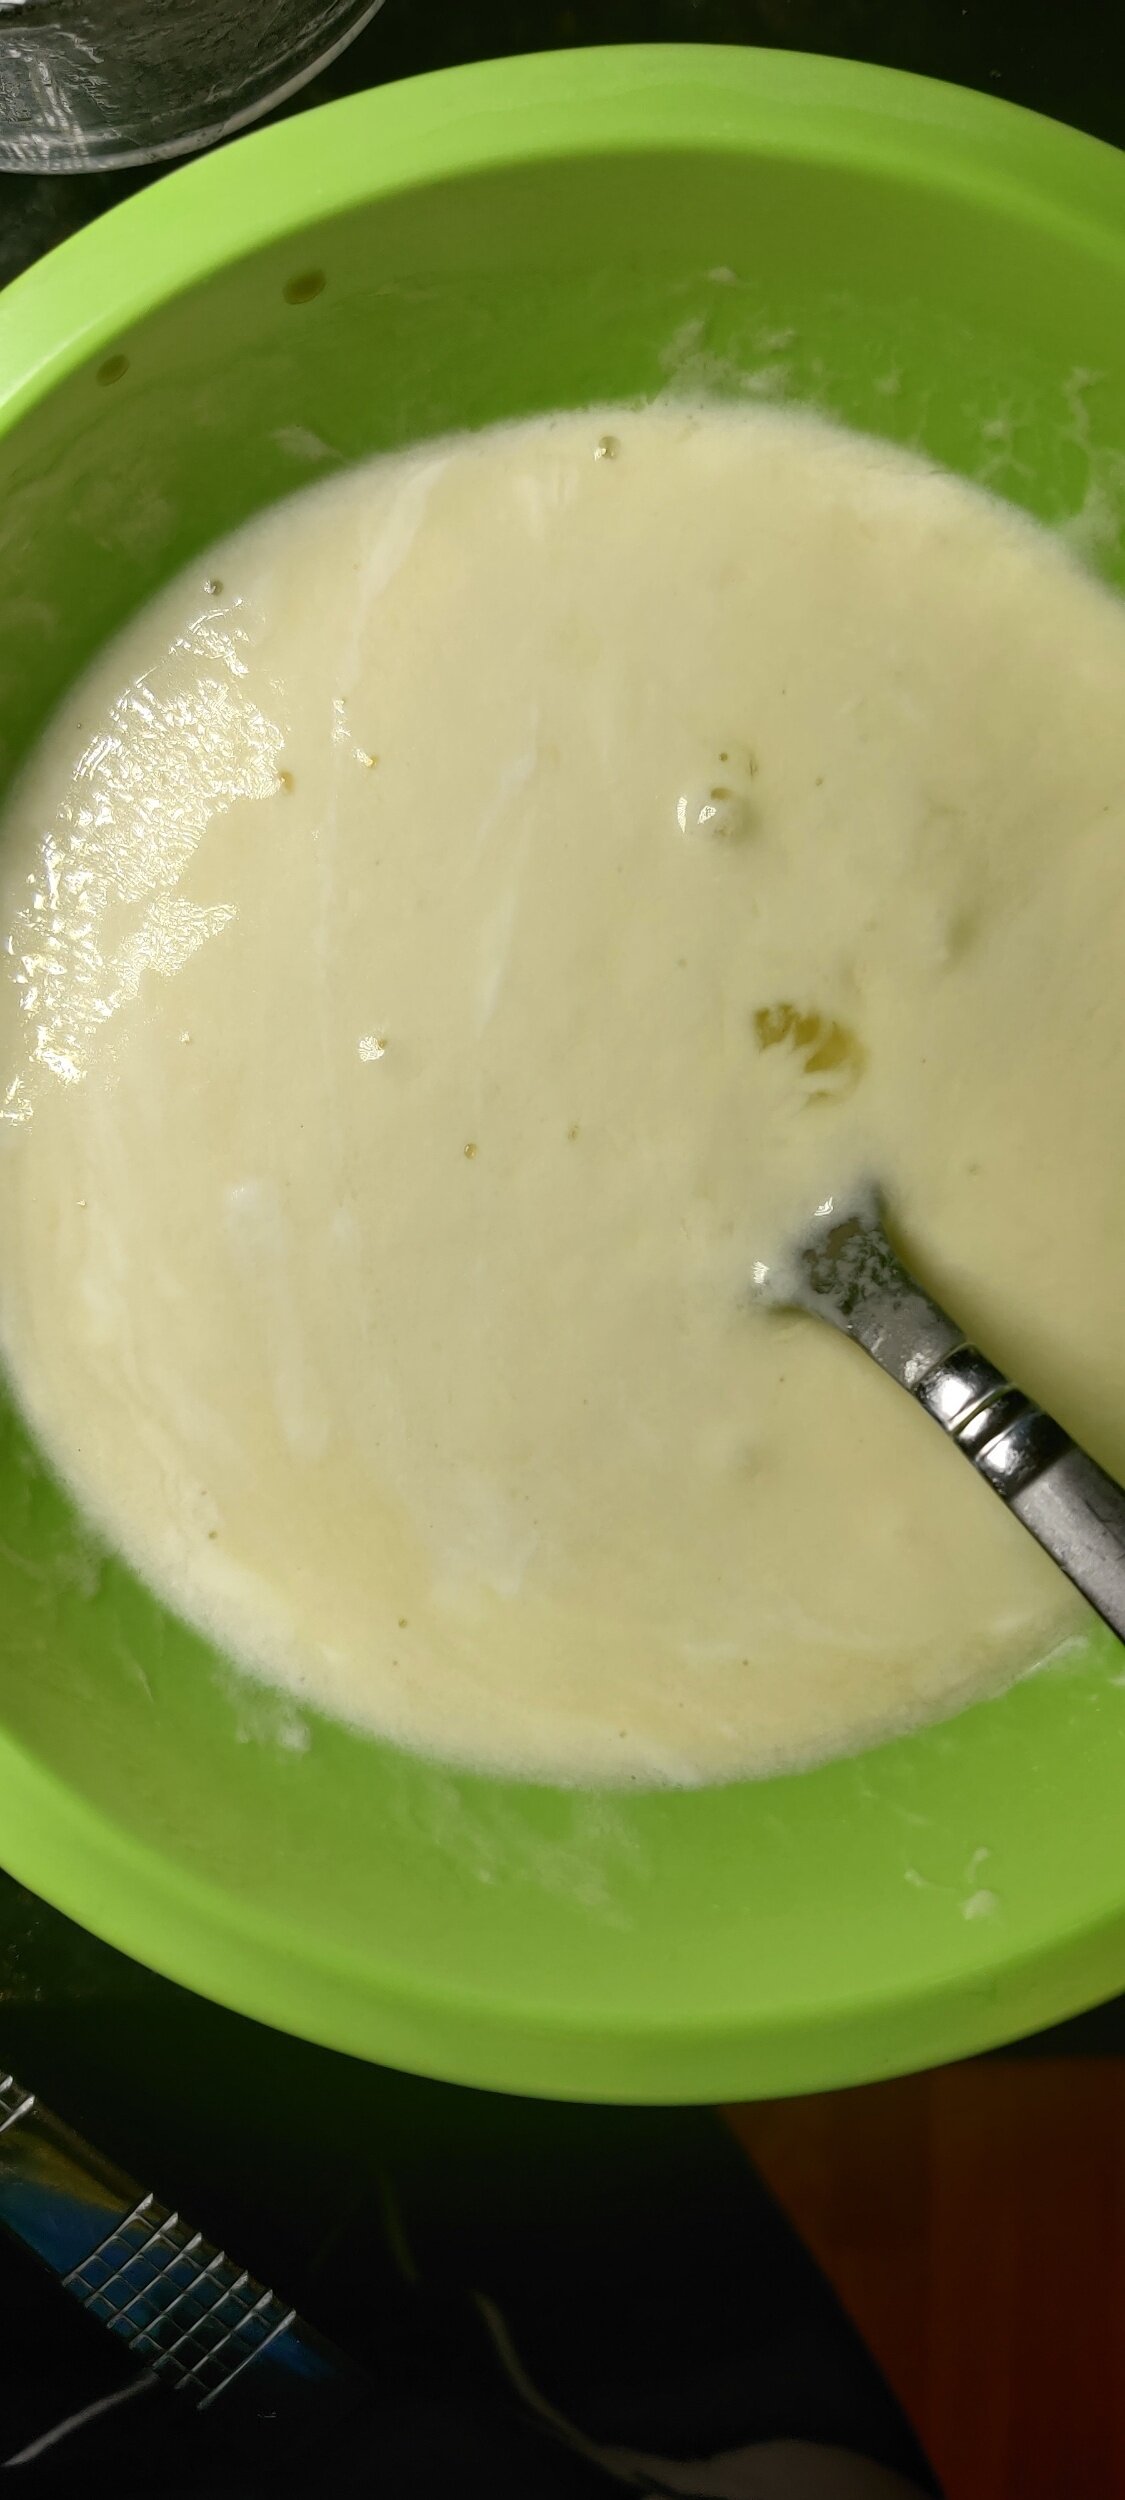
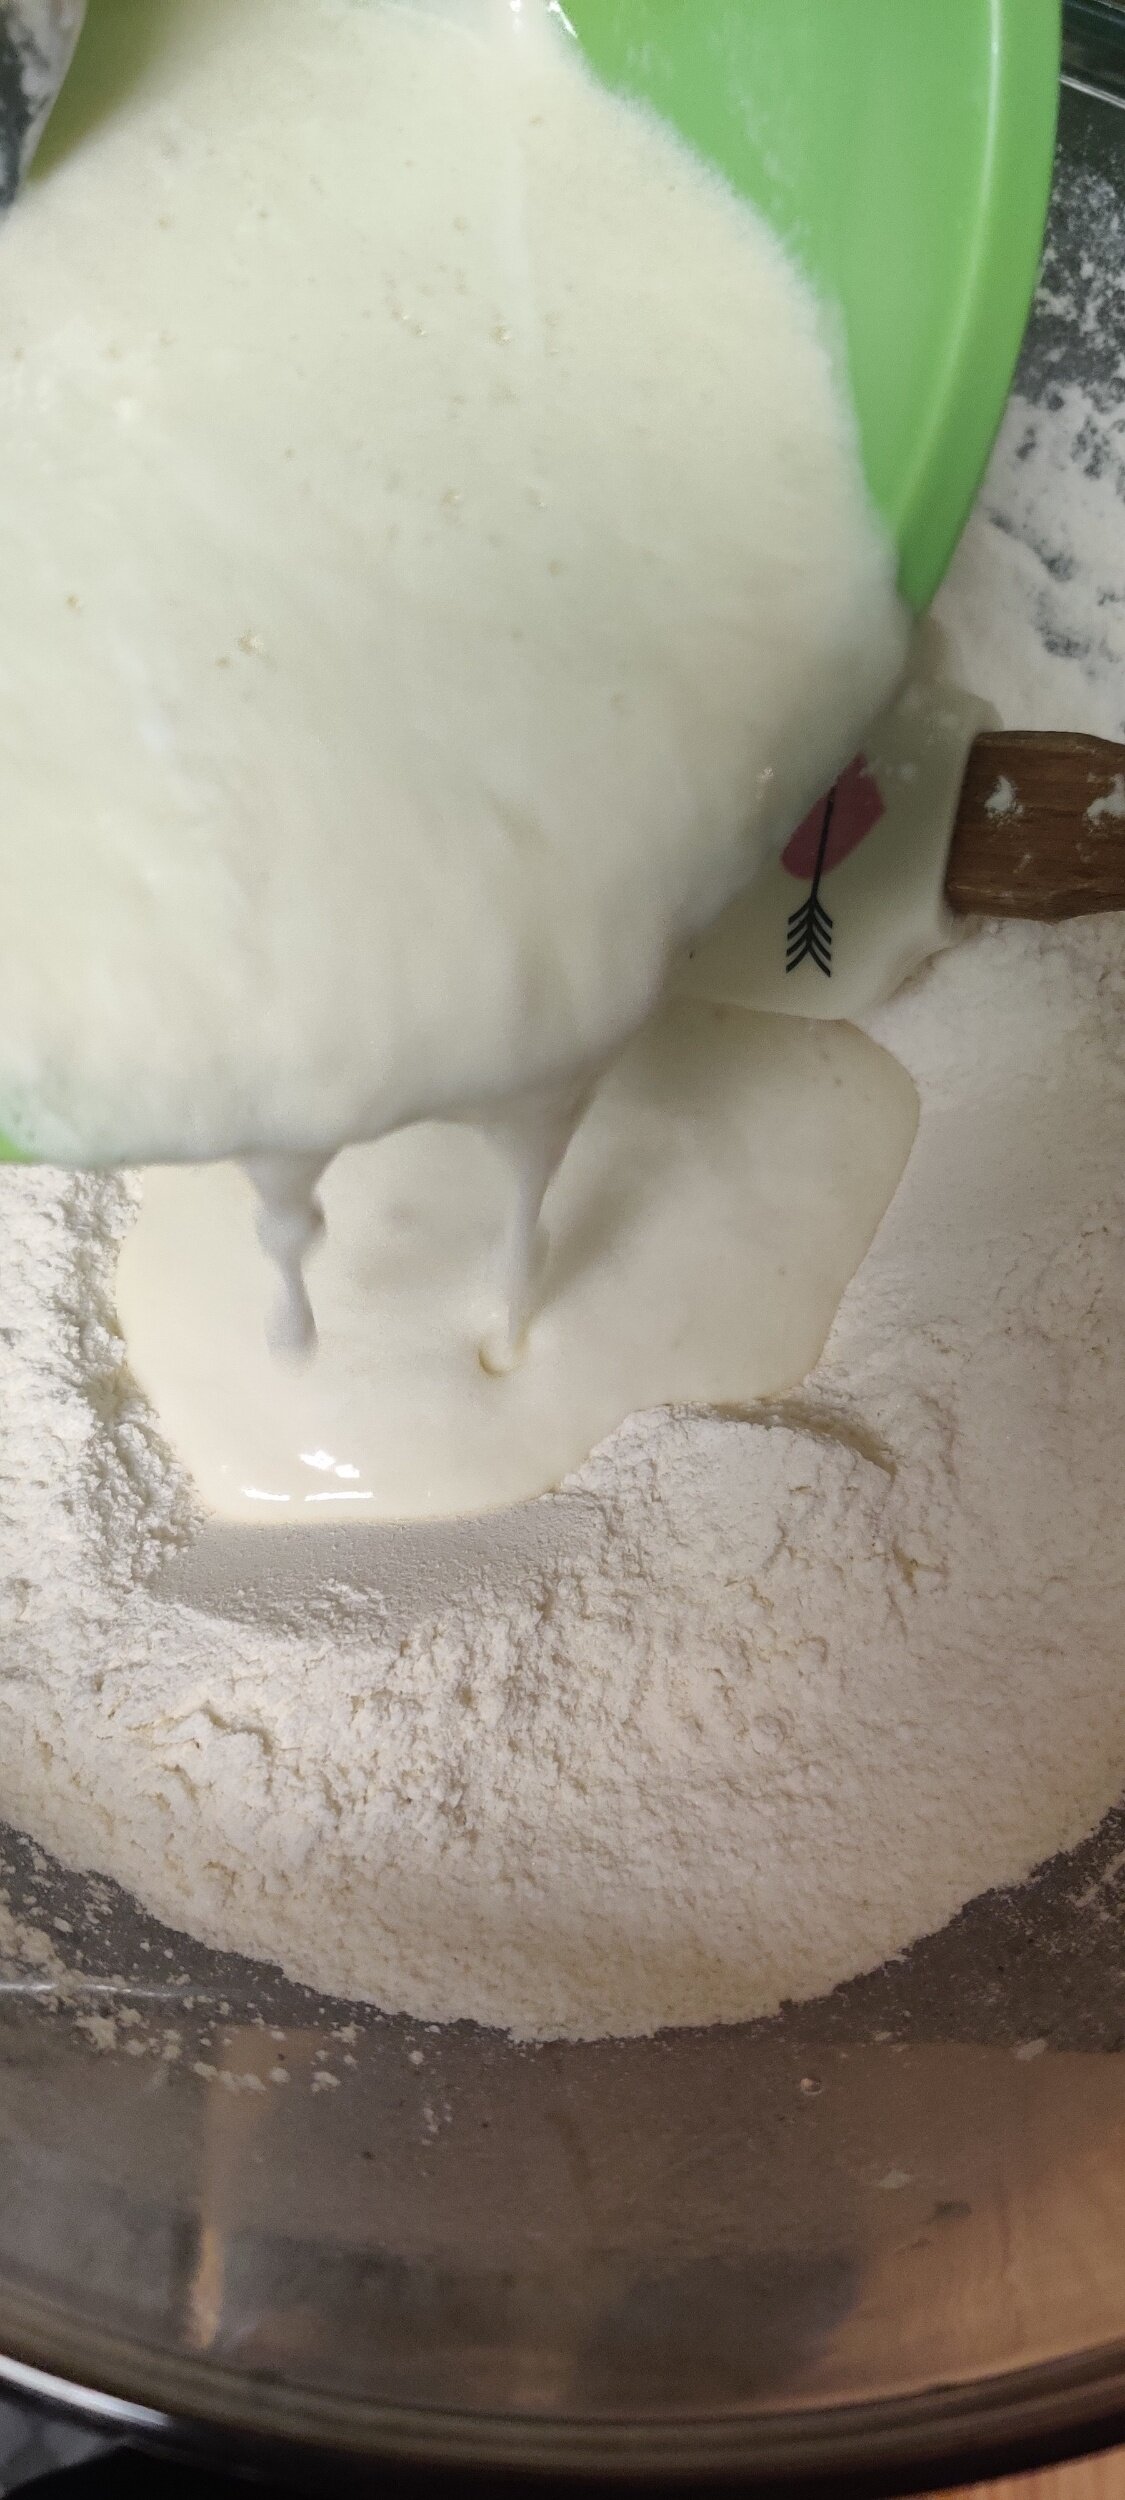
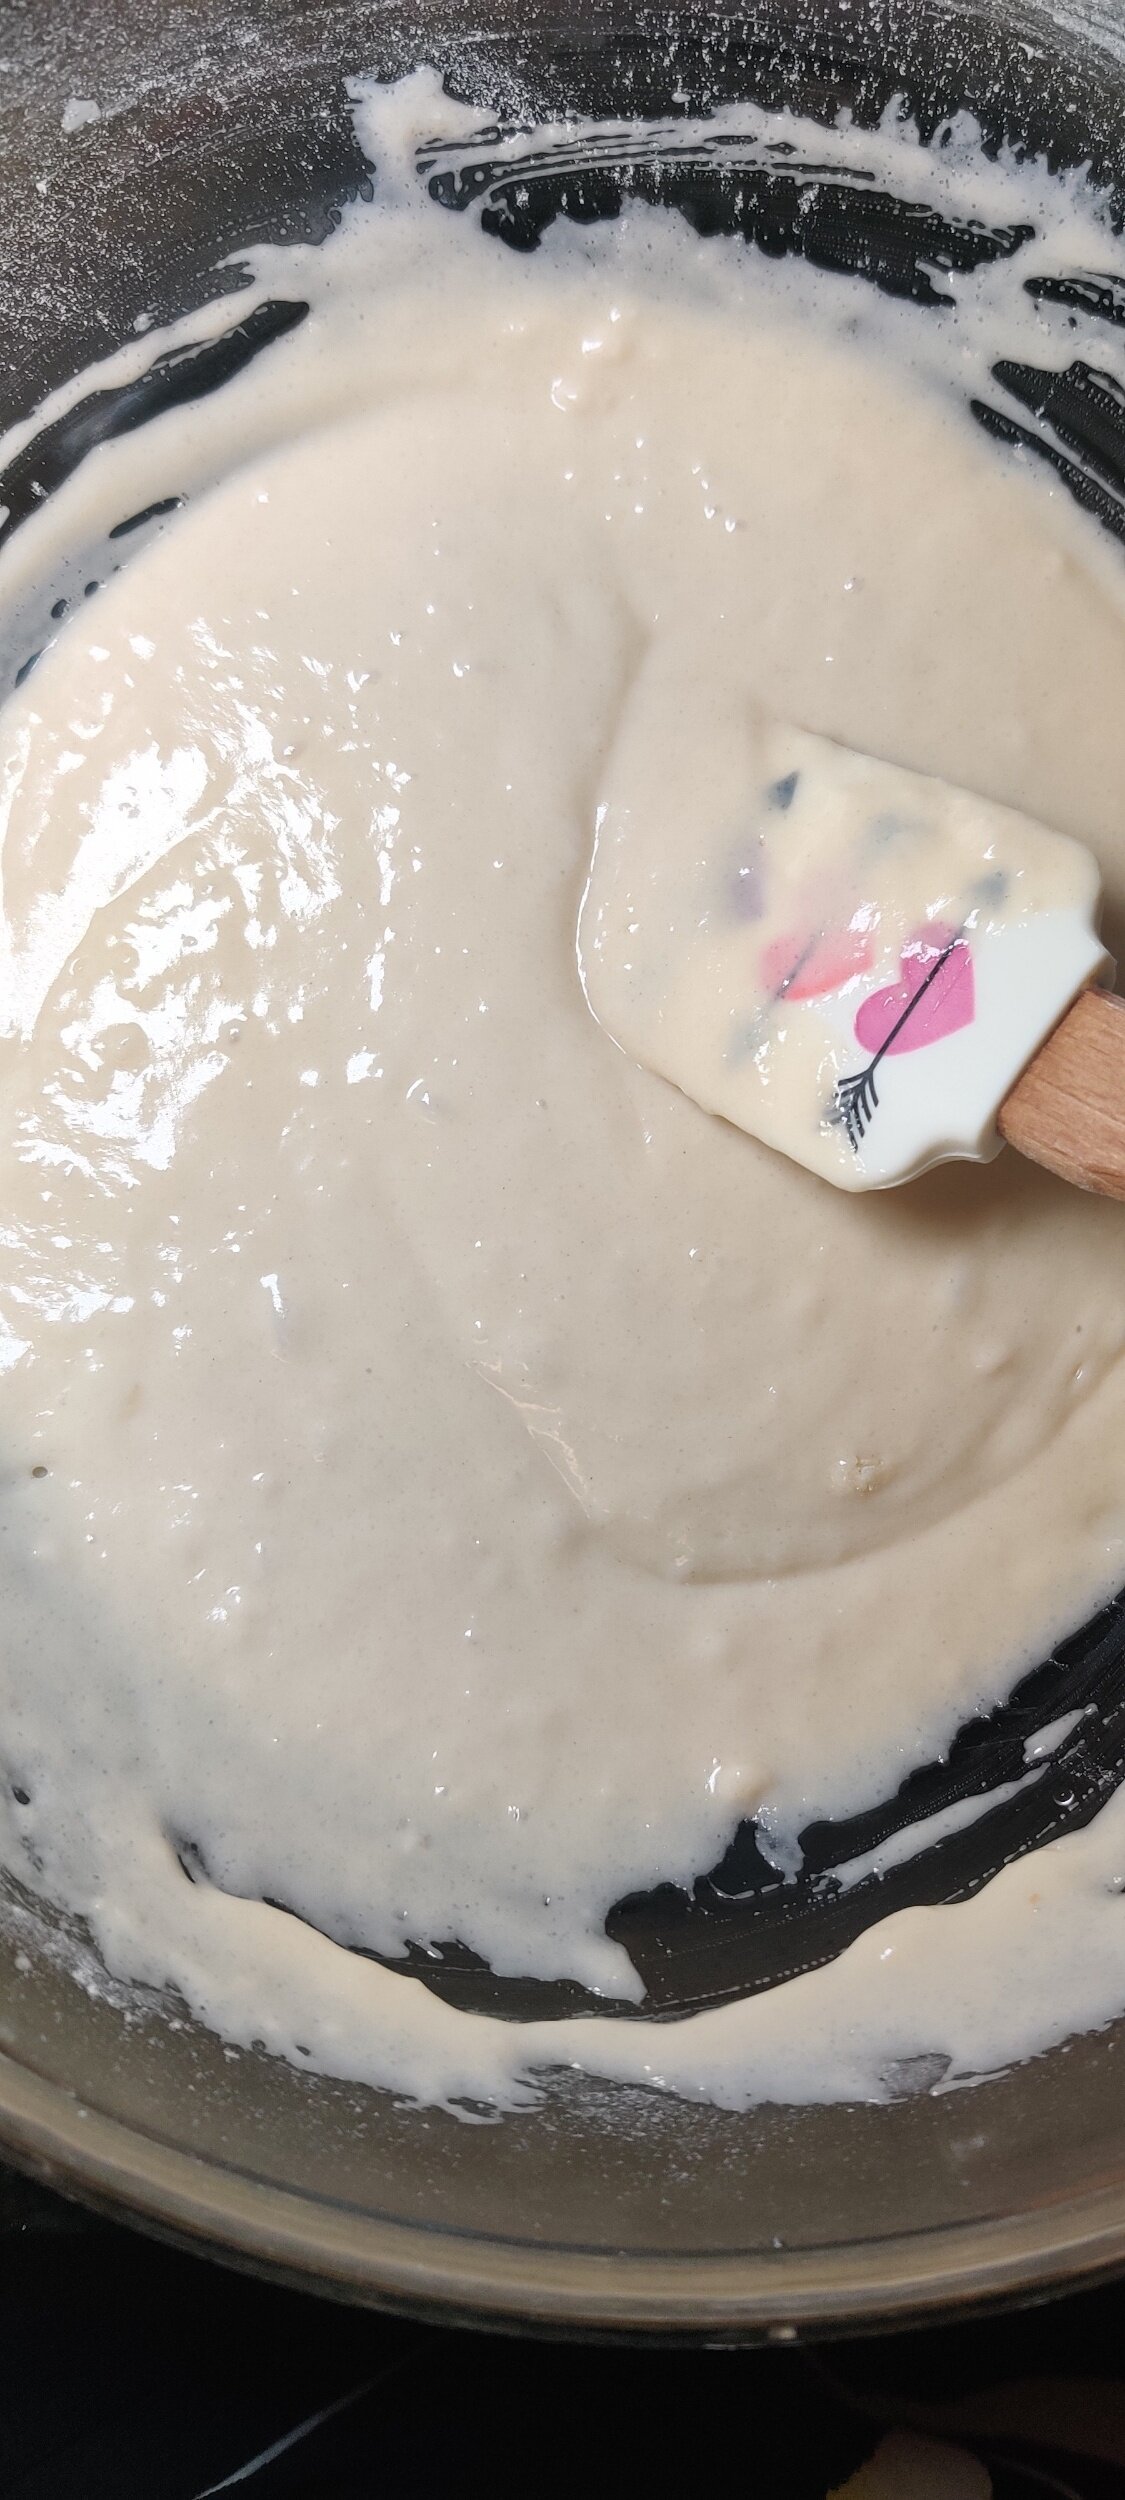
In the small bowl, combine the eggs, vanilla, milk, butter, and sour cream. Pour the mixture into the dry ingredients bowl and mix until combined, set aside.
For the chocolate cupcakes batter.
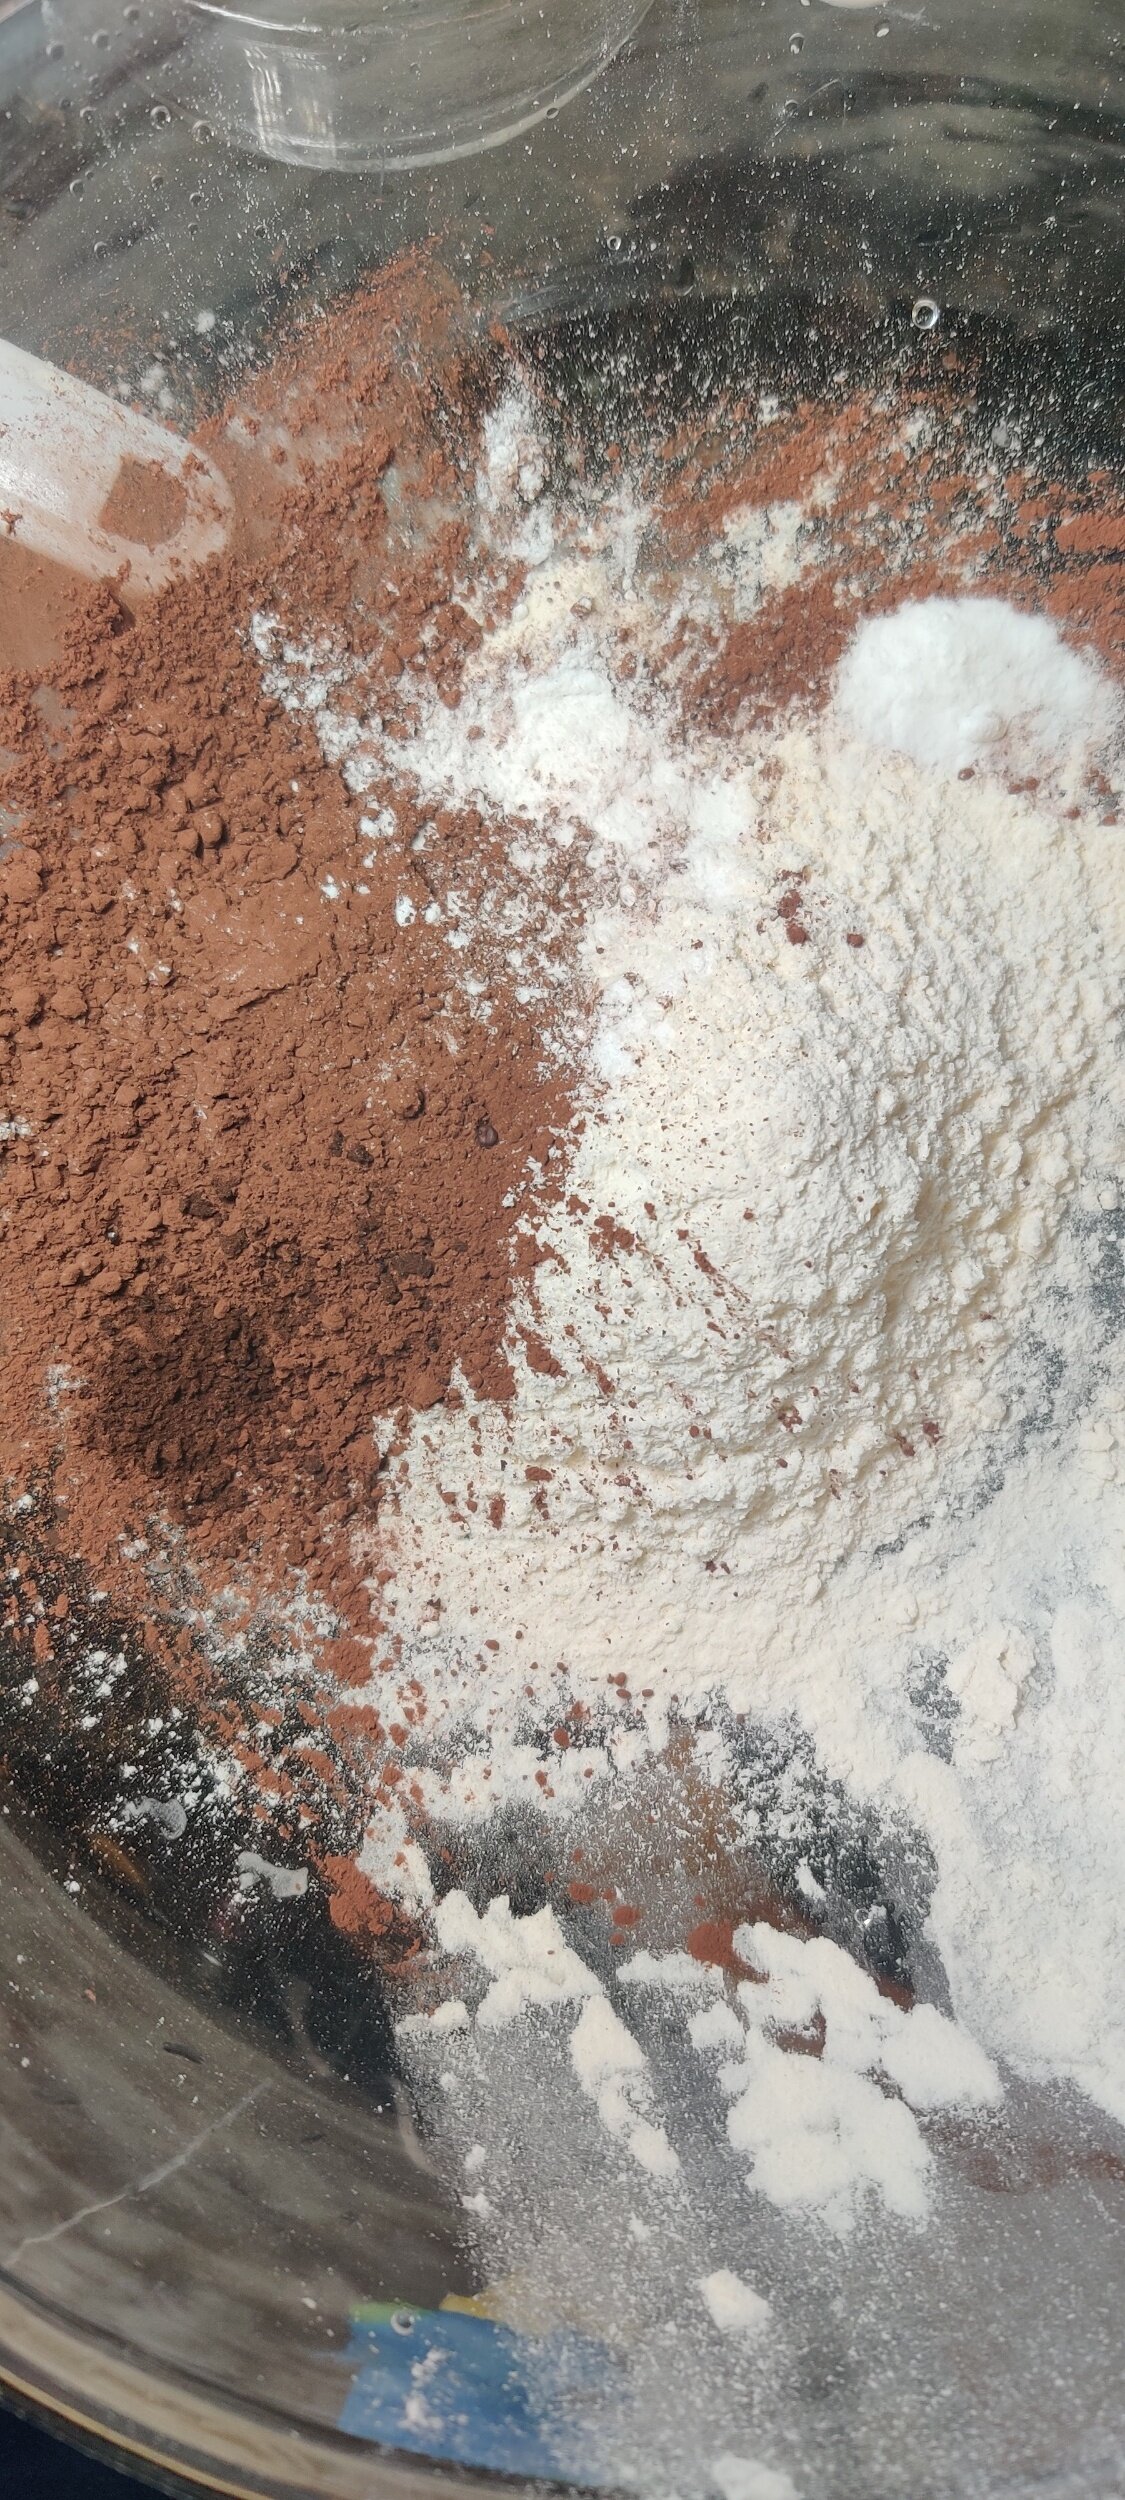
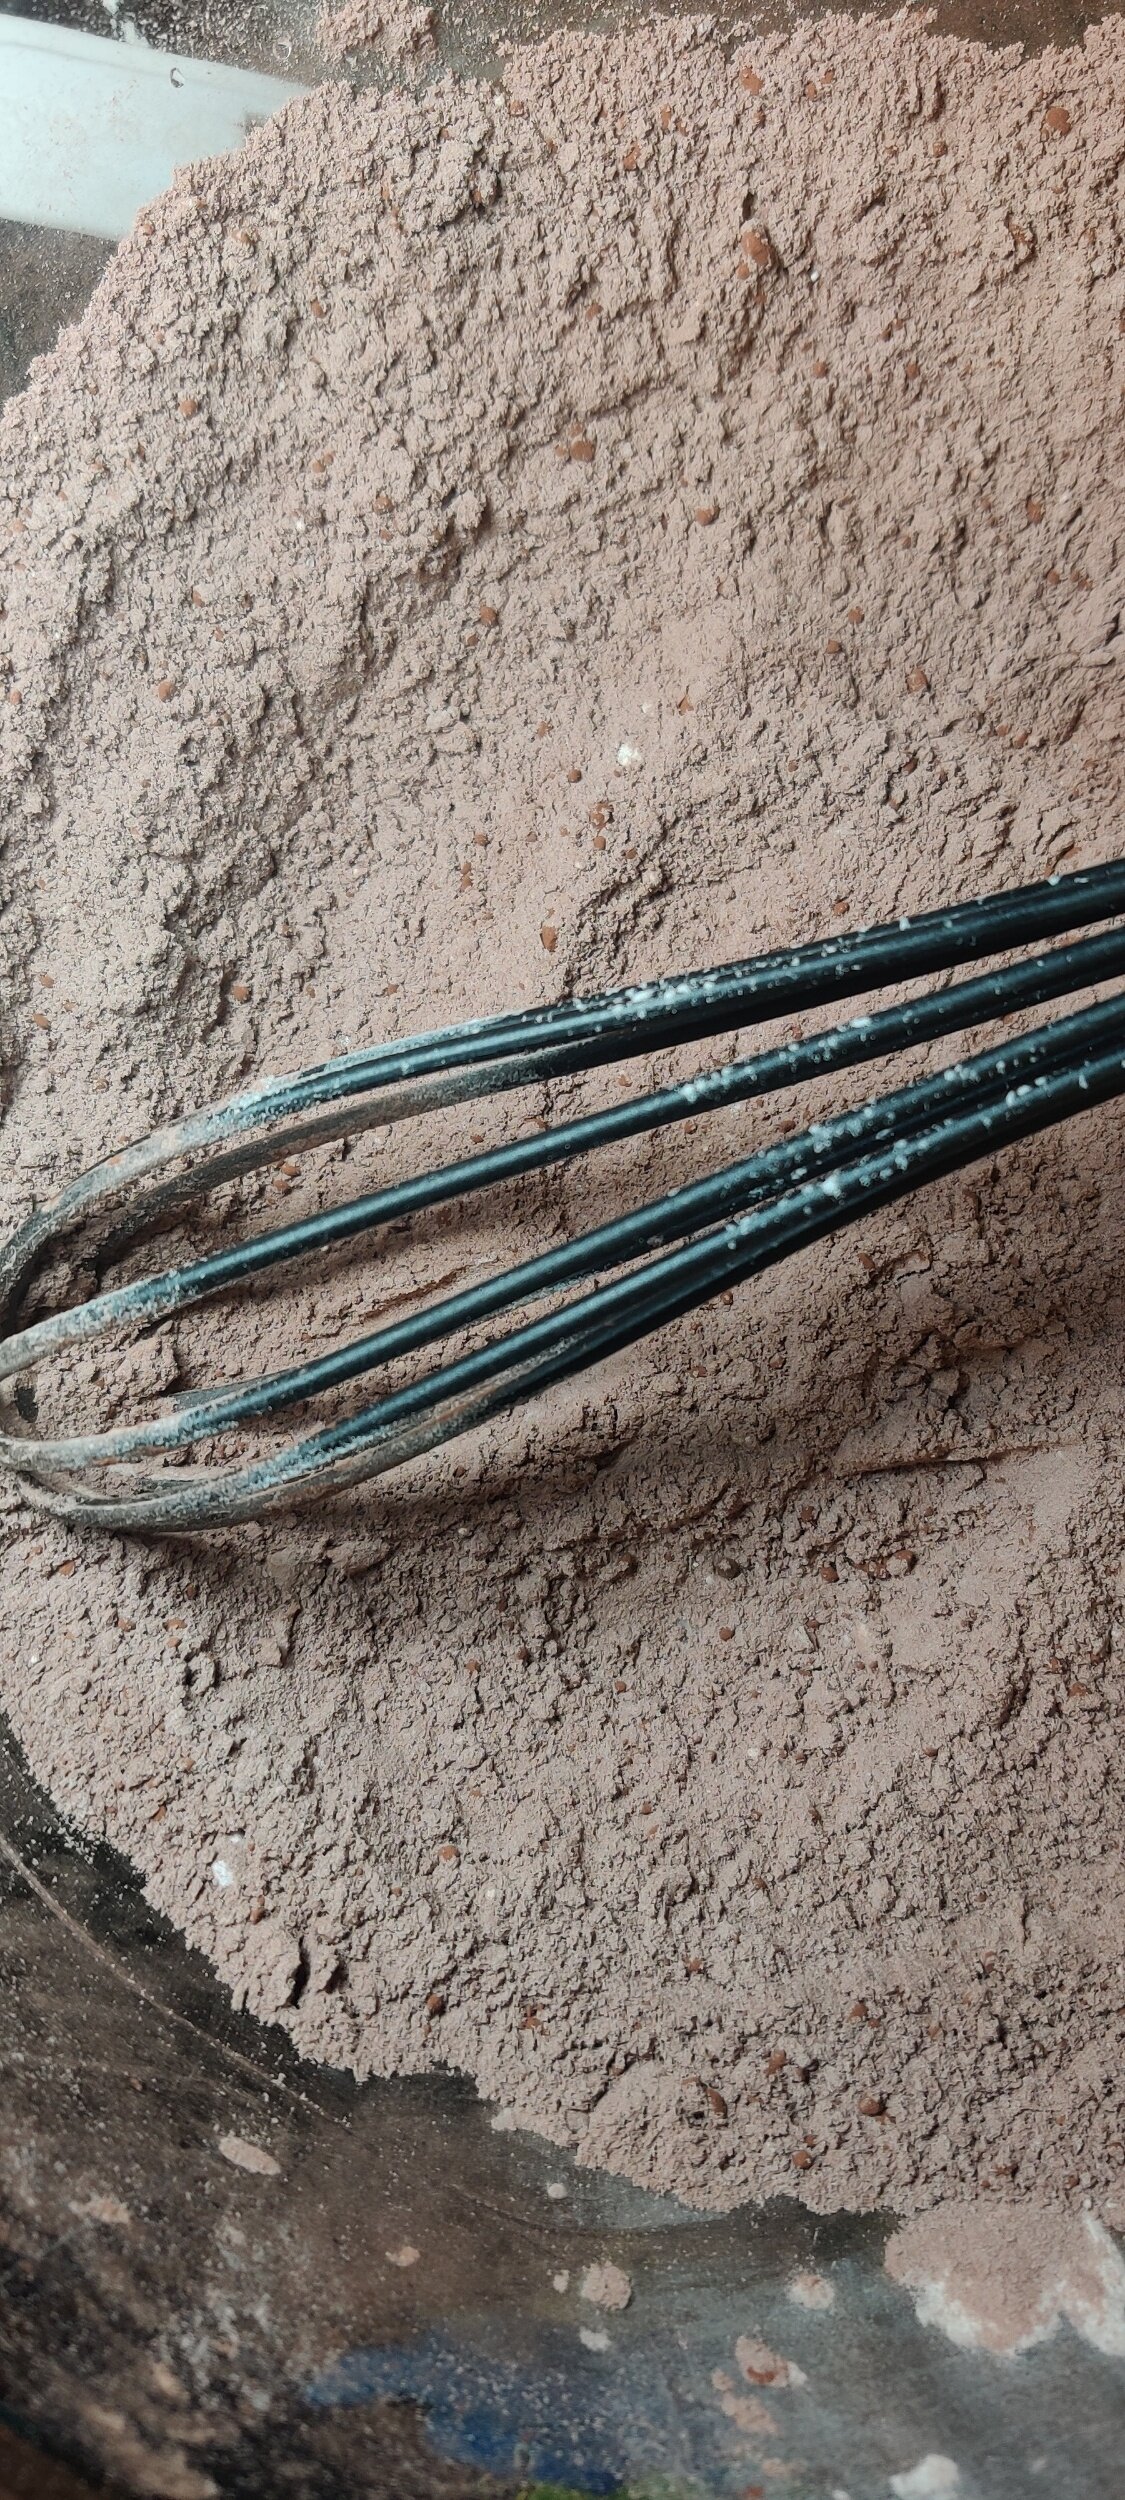
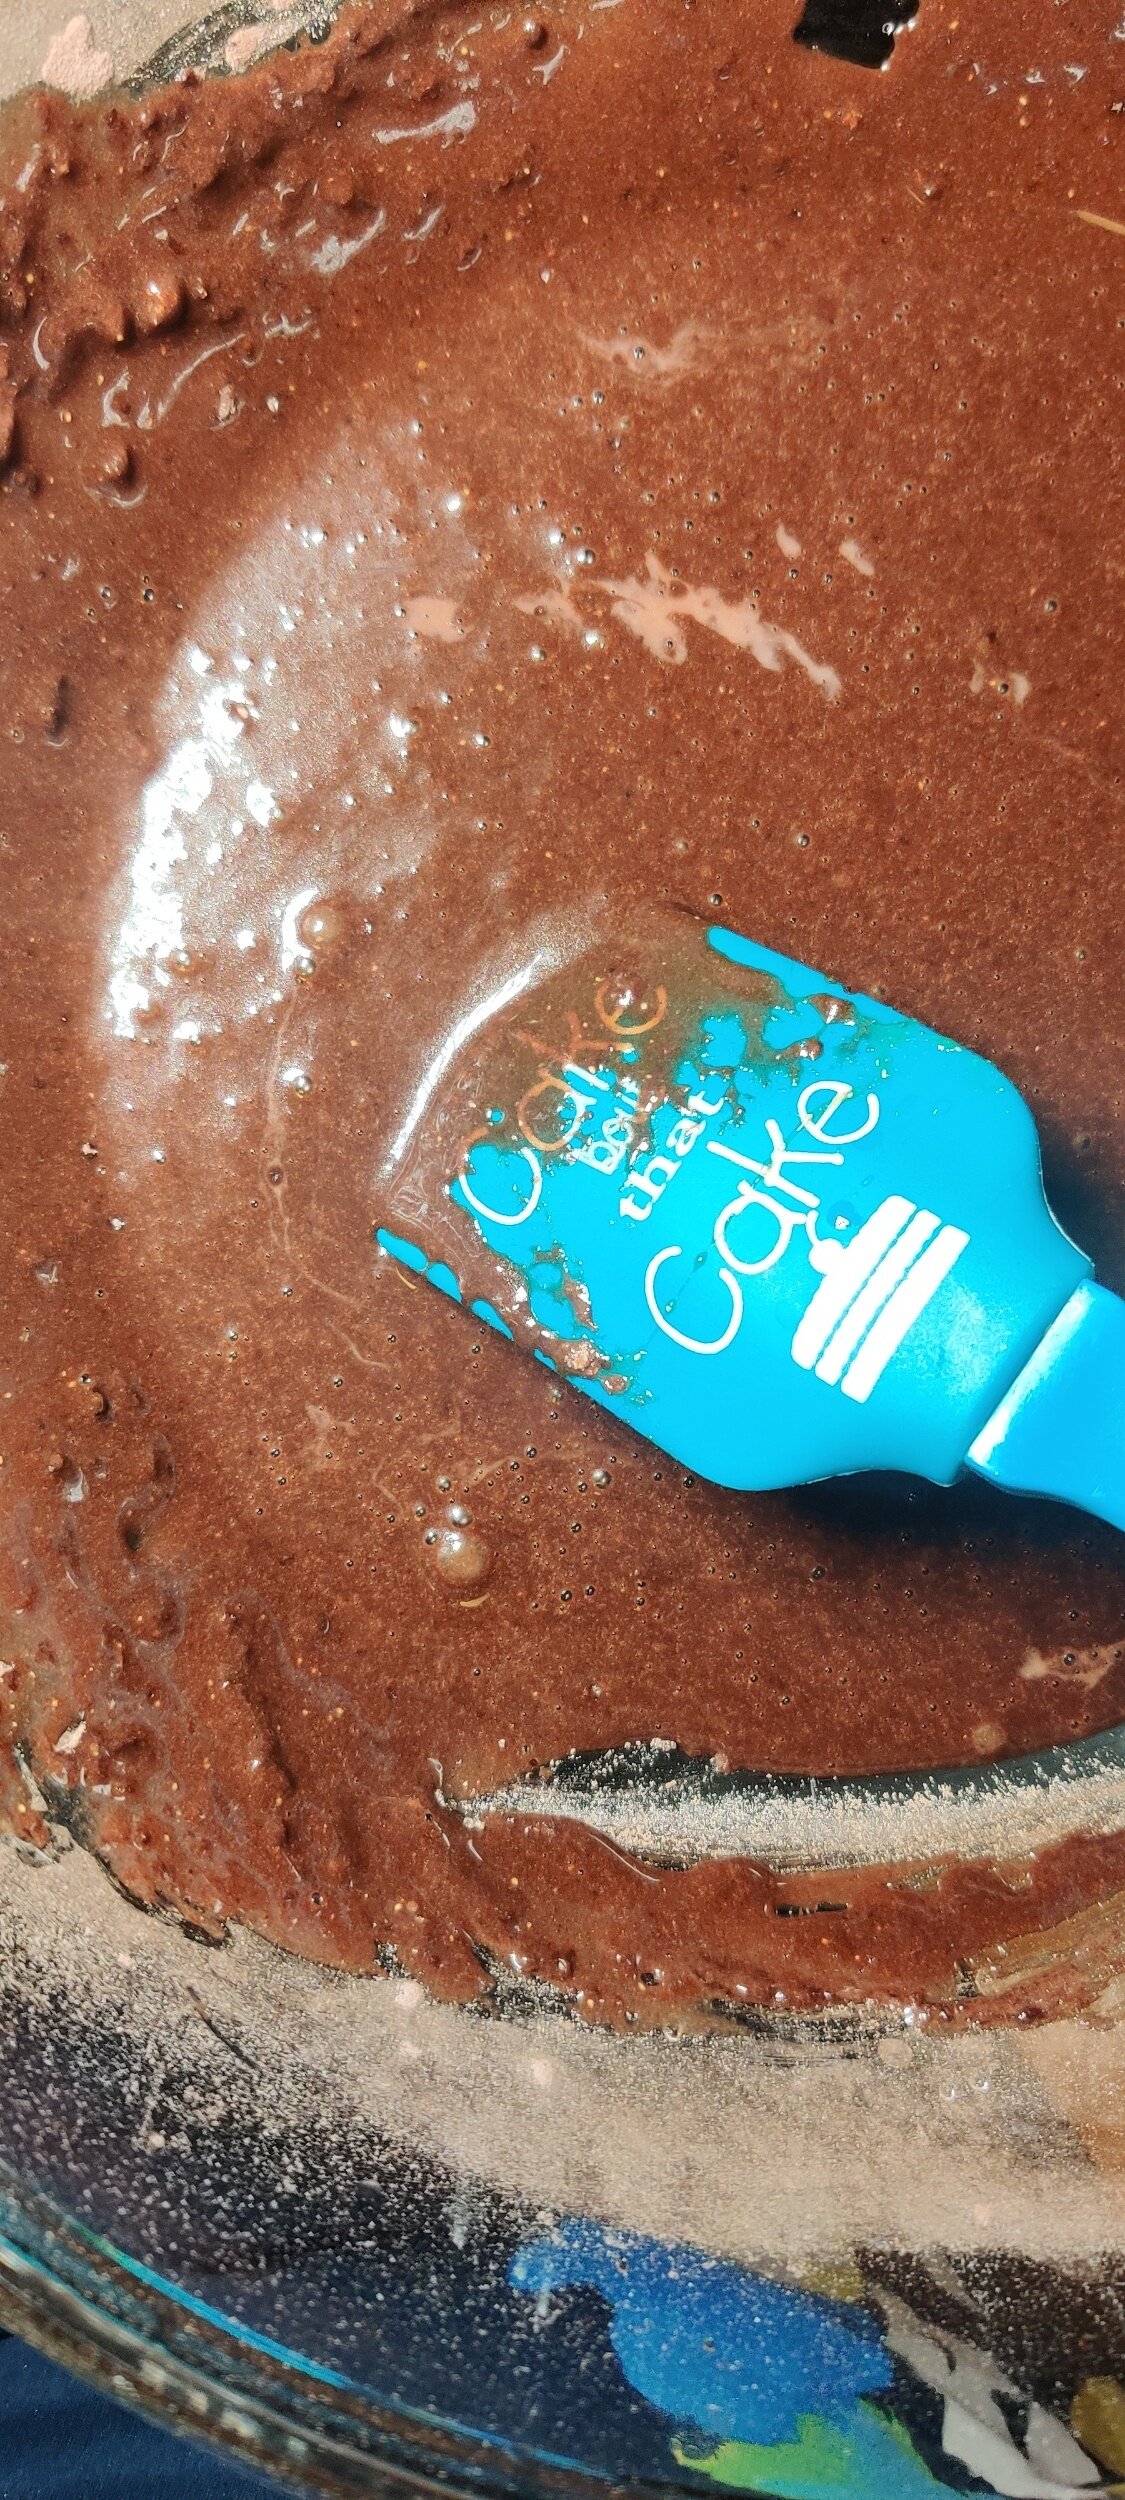
Whisk the flour, baking soda, baking powder, espresso, cocoa powder, and salt.
In a small bowl, whisk the egg, sugar, vanilla, and butter. Combine the wet ingredients with the dry ingredients, don't overmix.
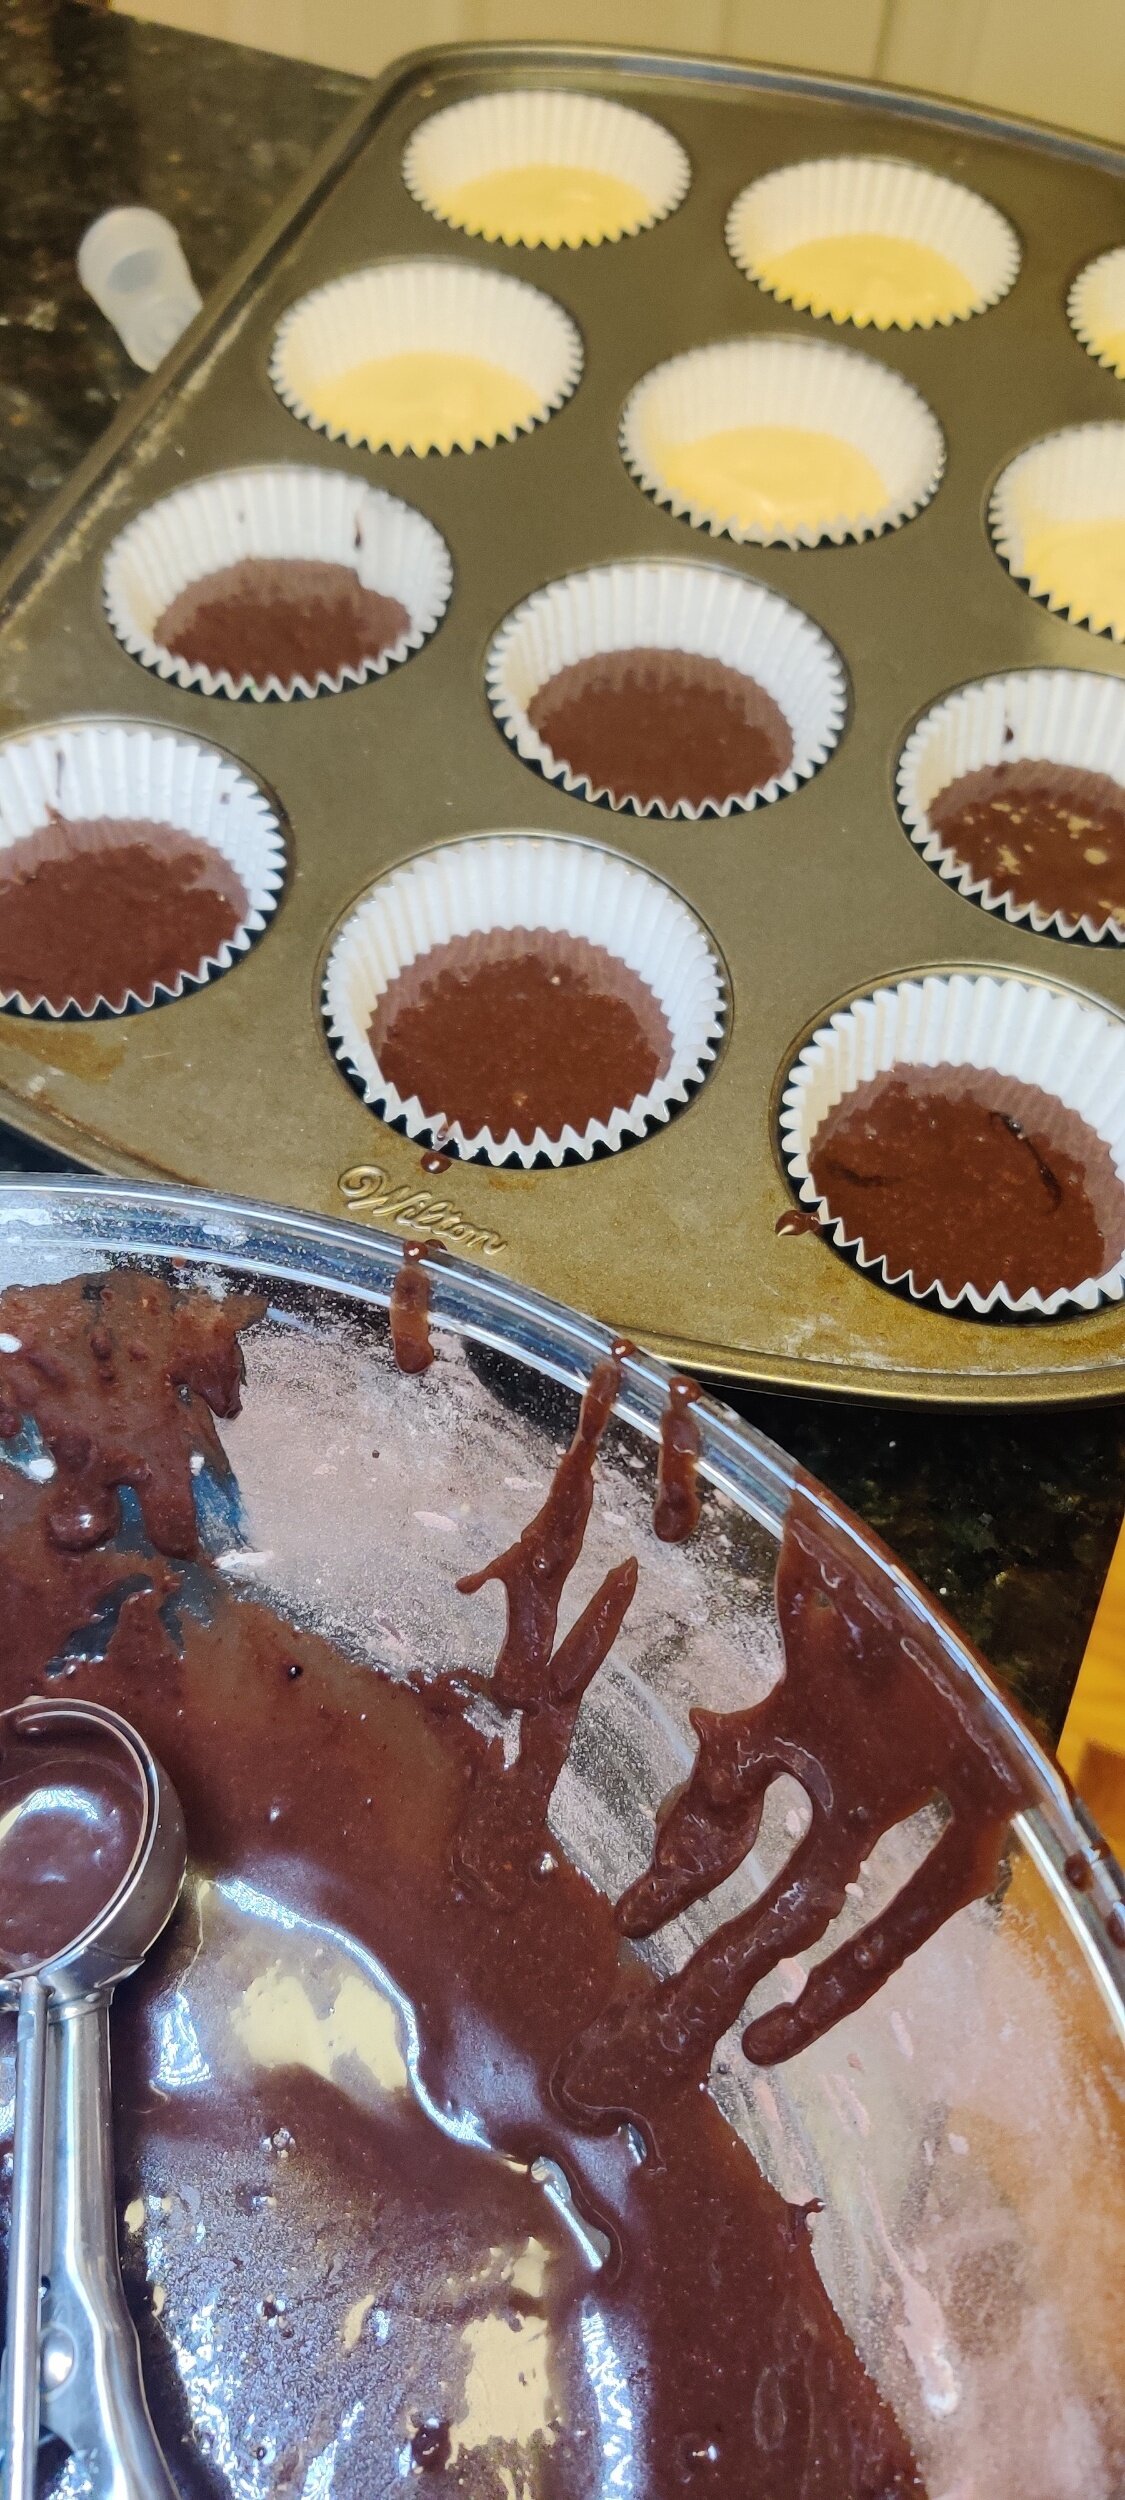
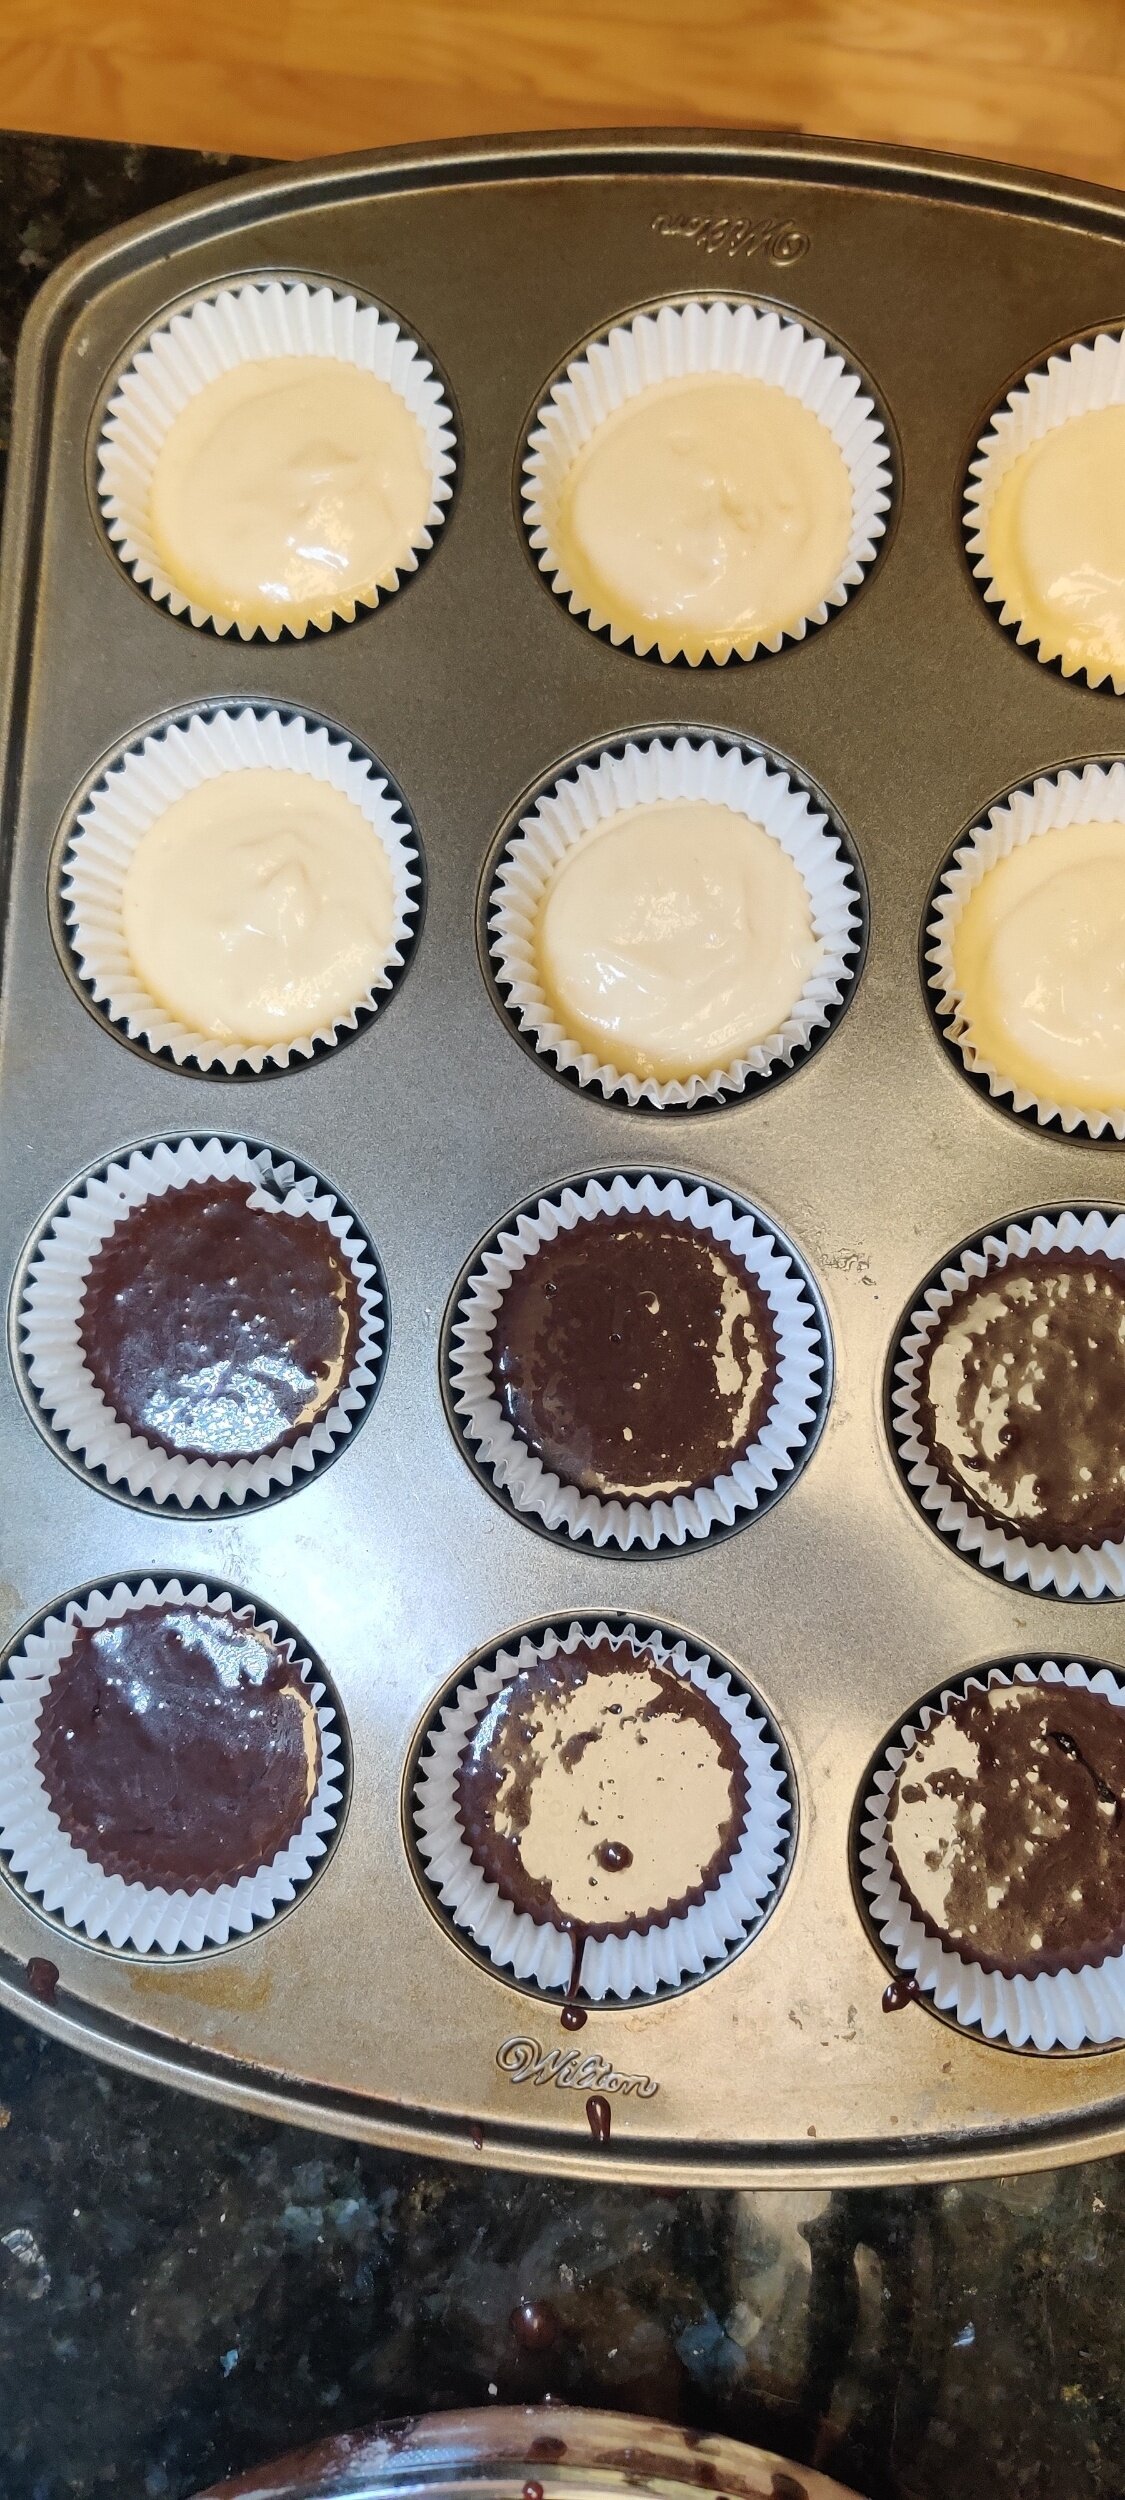
Place double-lined cupcake cases in a muffin tray and turn your oven to 350F.
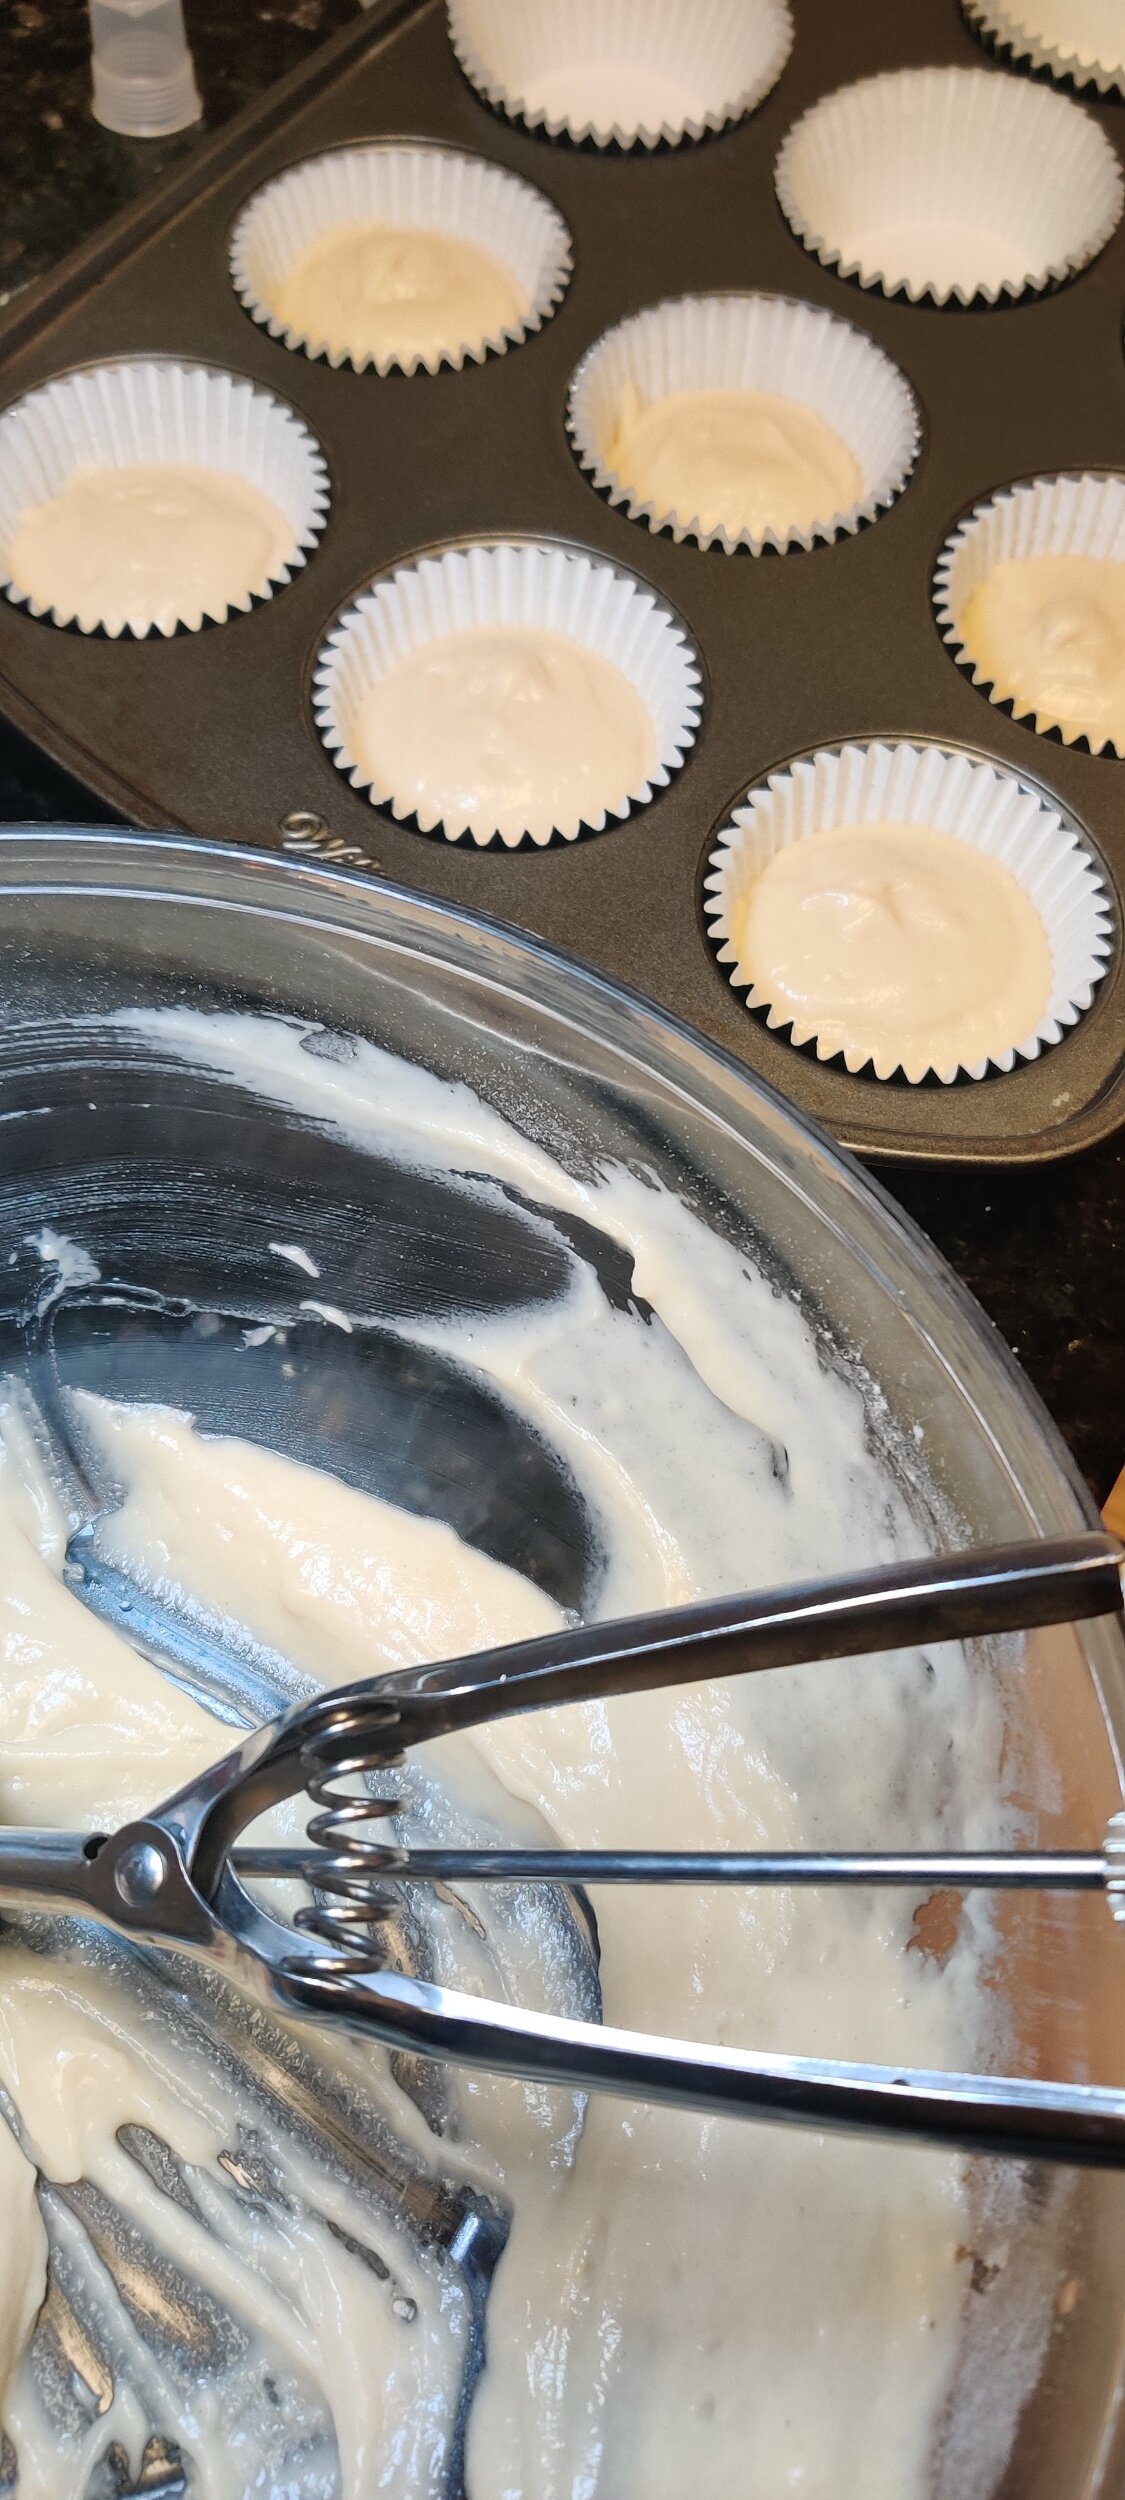
Using a cookie dough scoop or tablespoon, fill the vanilla cupcakes 2/3rds and the chocolate 1/2 full.
Bake for 18 minutes then remove from the oven. Cool for at least 10 minutes so the icing doesn't melt when you decorate.
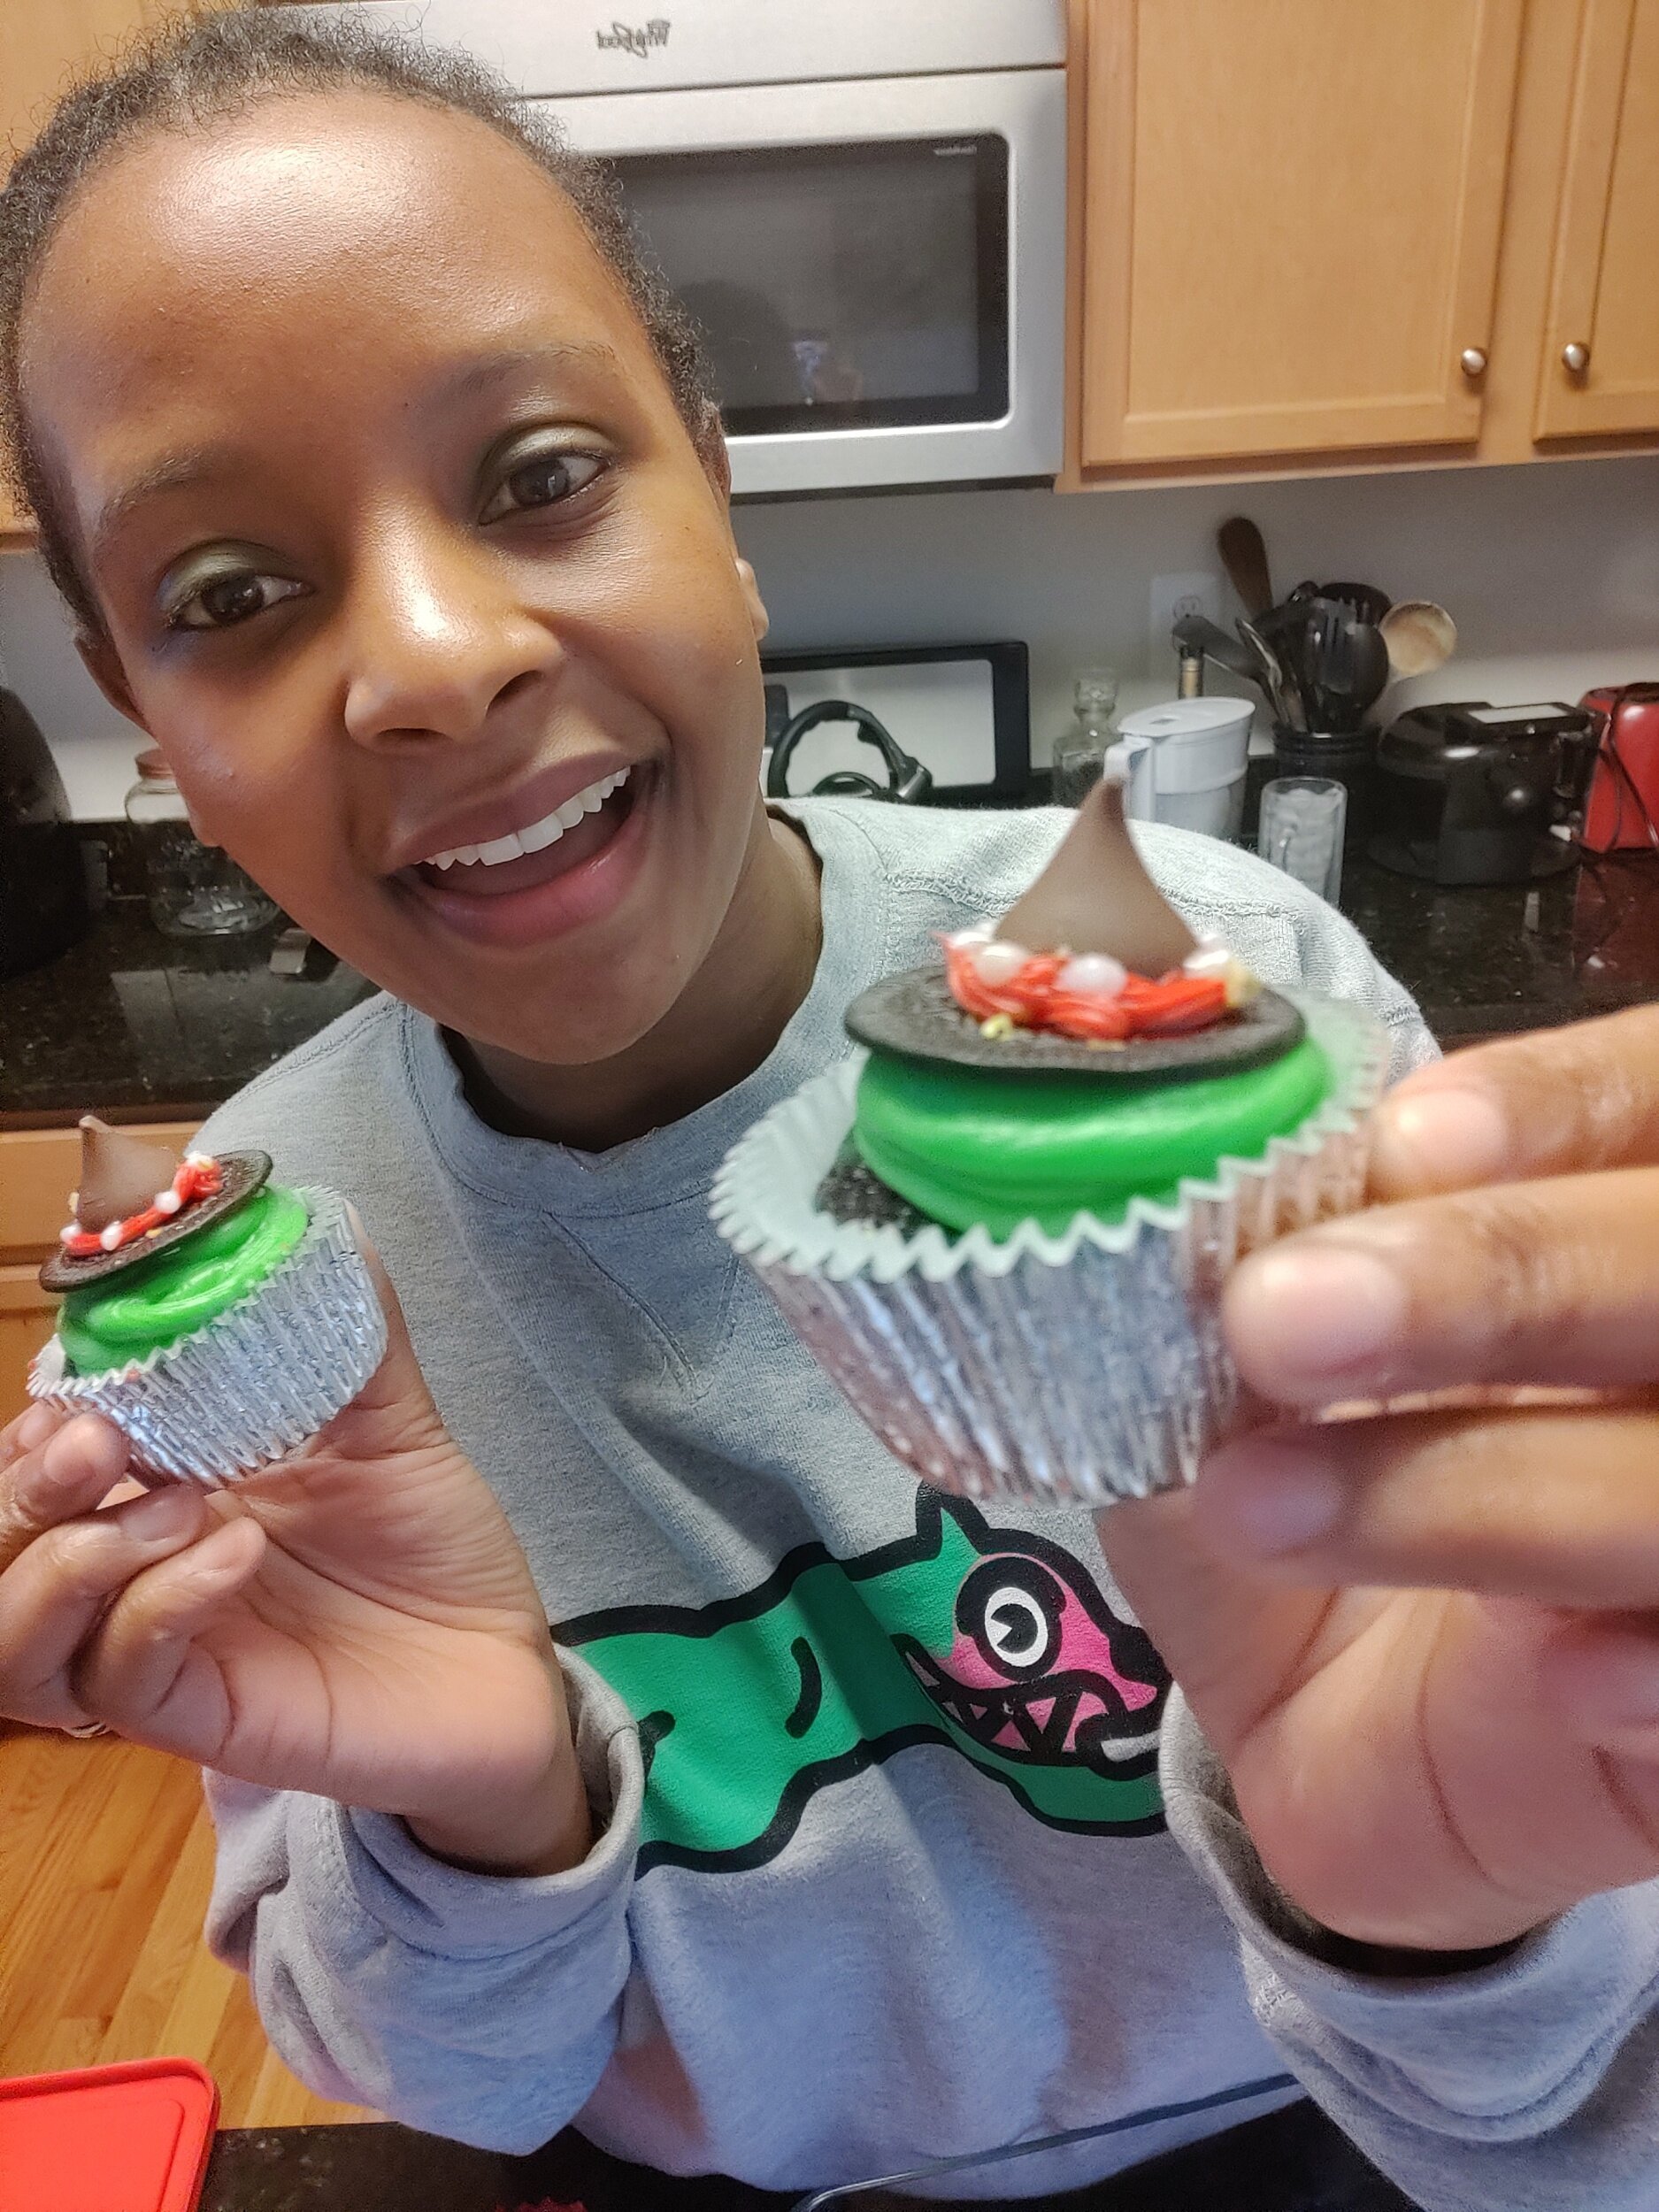
For the witches! Add the green icing in a cone shape to the chocolate cupcakes, place an Oreo thin on top, then the Hershey kiss. Decorate as you please with the red icing and pistachios.
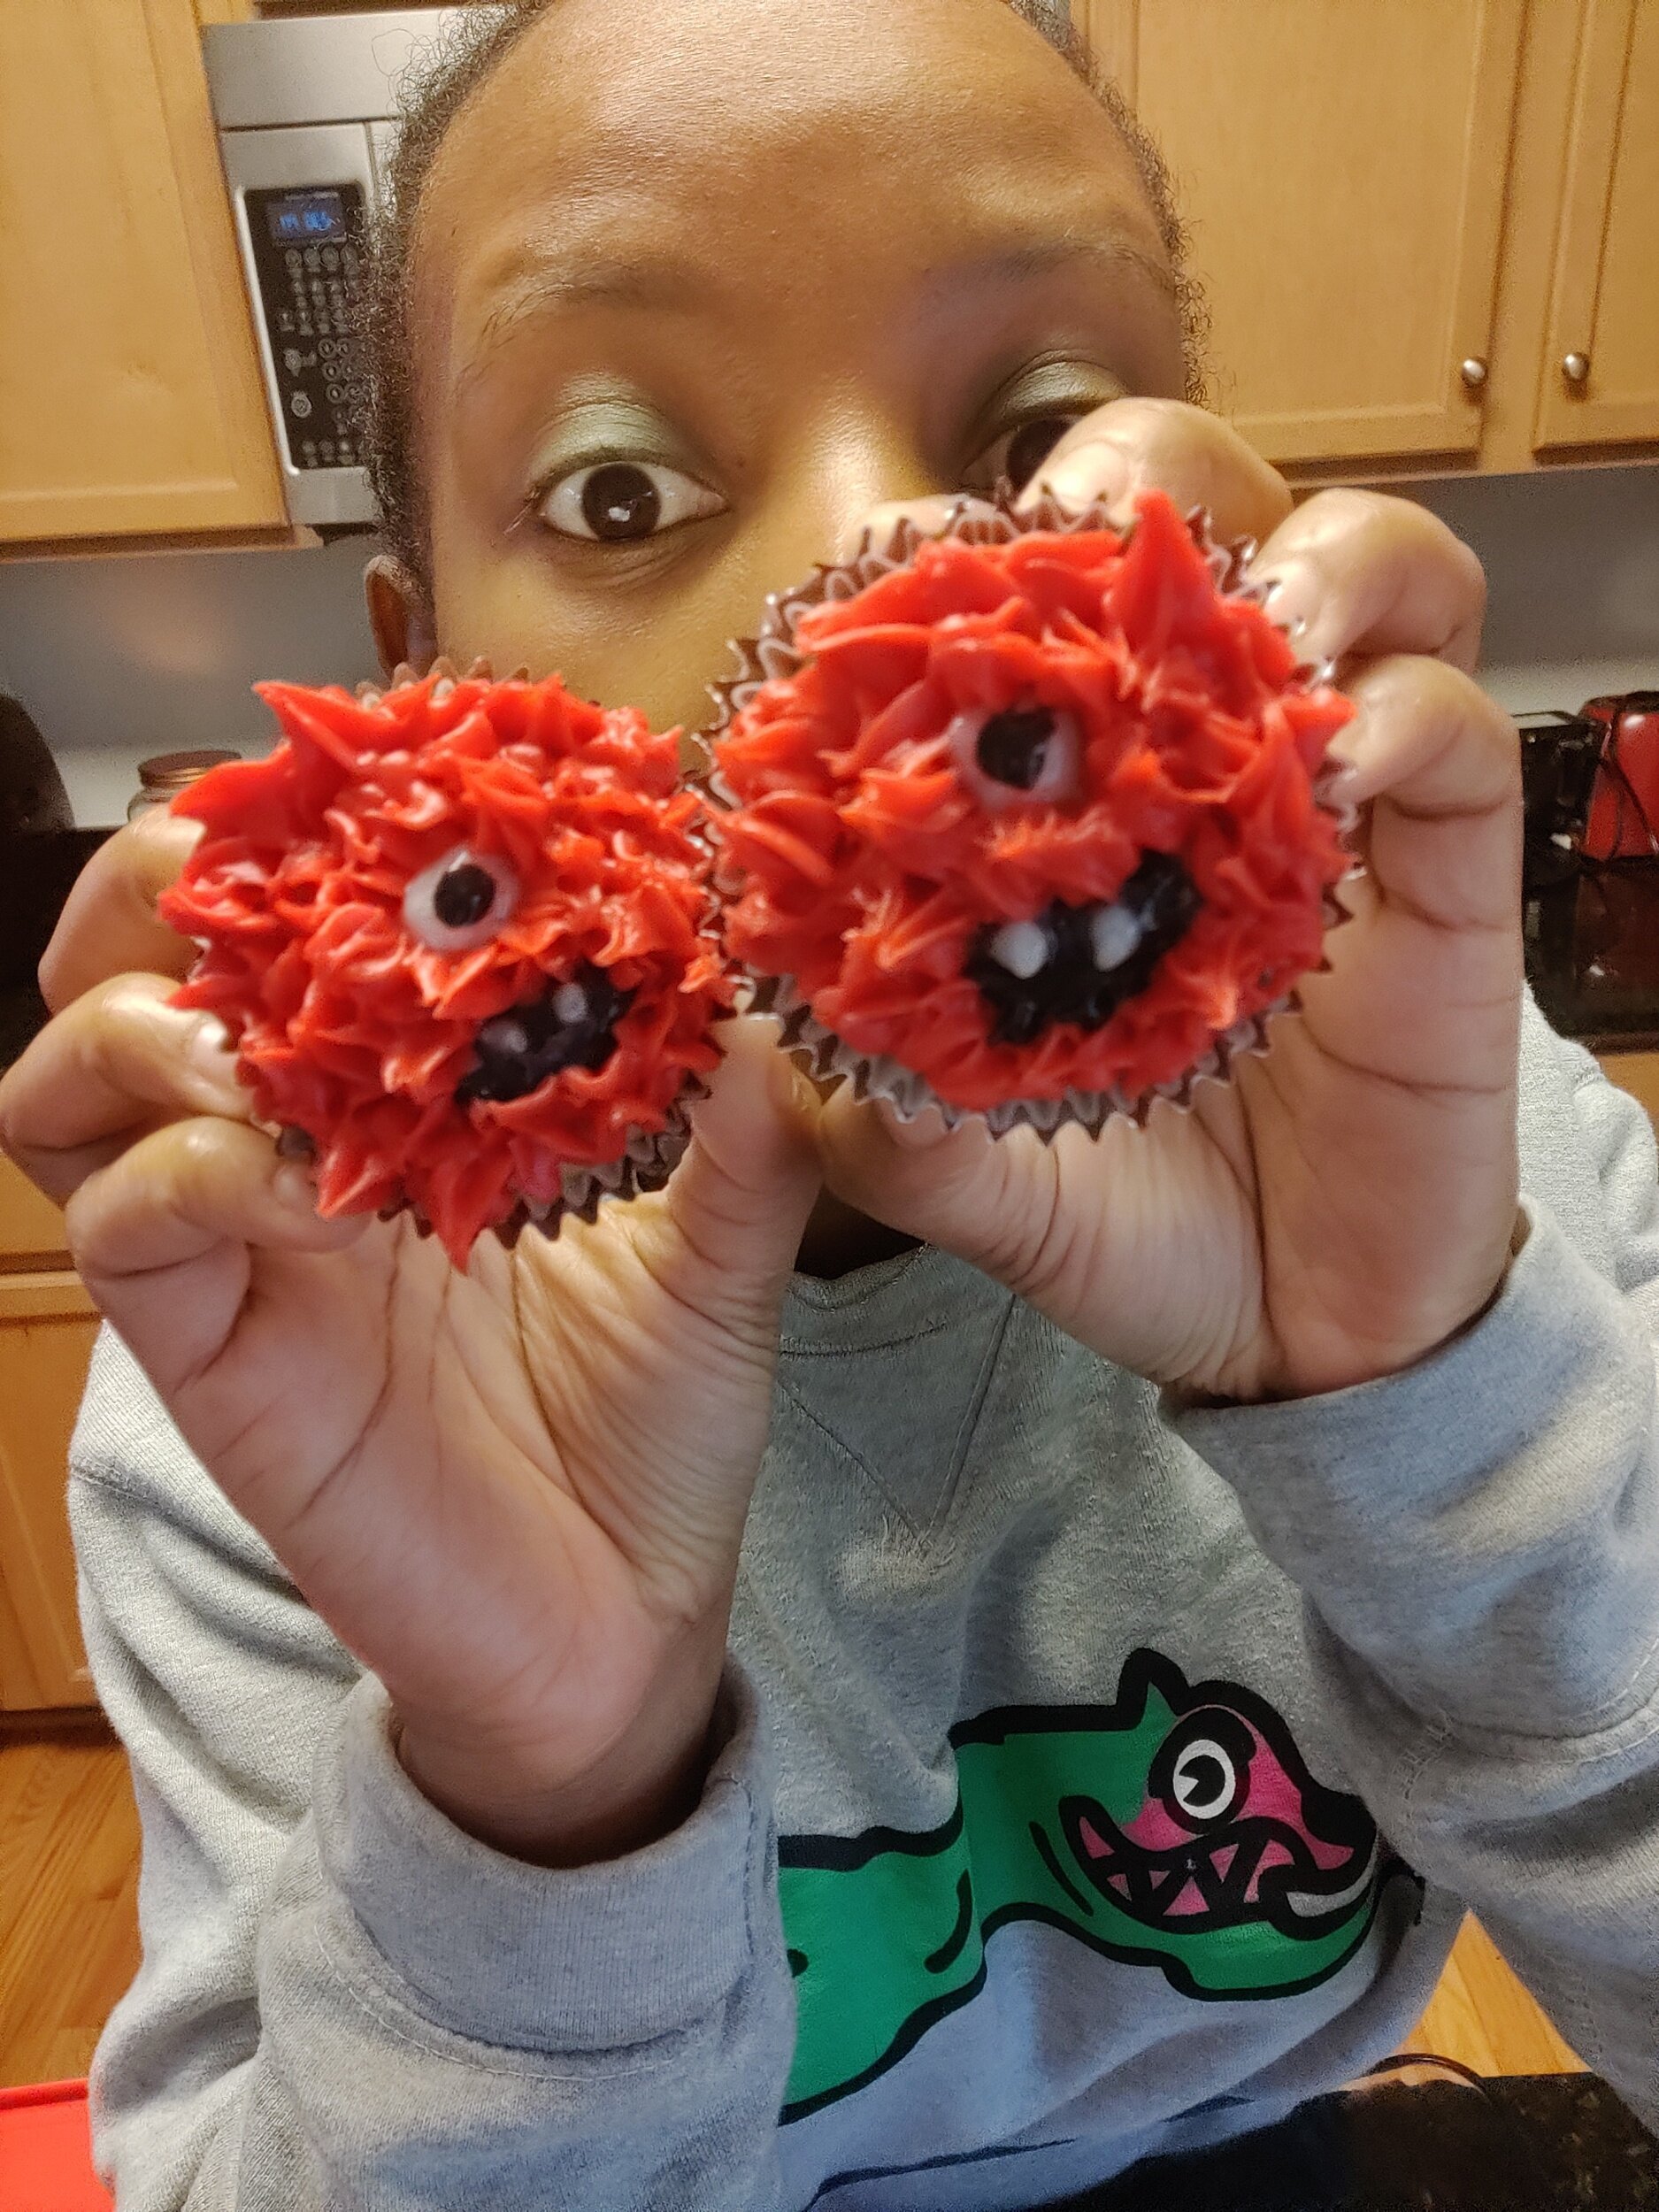
For the little monsters, draw the eyes and mouth with the white and black icing. Using an appropriate icing tip, pipe the fur for the monsters to your liking. Enjoy!
Chocolate (5-Seed Butter) and Oreo Baklava
The devil is in the details. I think that applies to this recipe! Finally, some Baklava that should make you feel a little less guilty.
Ever since we met in New York in 2010 I've been in love. Baklava was always my dessert after falafel on St Marks Place in Manhattan. I was always intimidated when it came to making it myself and I think many of you may have felt the same way before, but it isn't that bad! Think of it like making lasagna.
What about the origins? I find that this information is always an important factor for my process and appreciation! I believe credit goes to the Ottoman Turks but I'm pretty sure those versed in Greek food history may beg to differ. Either way, I'm grateful.
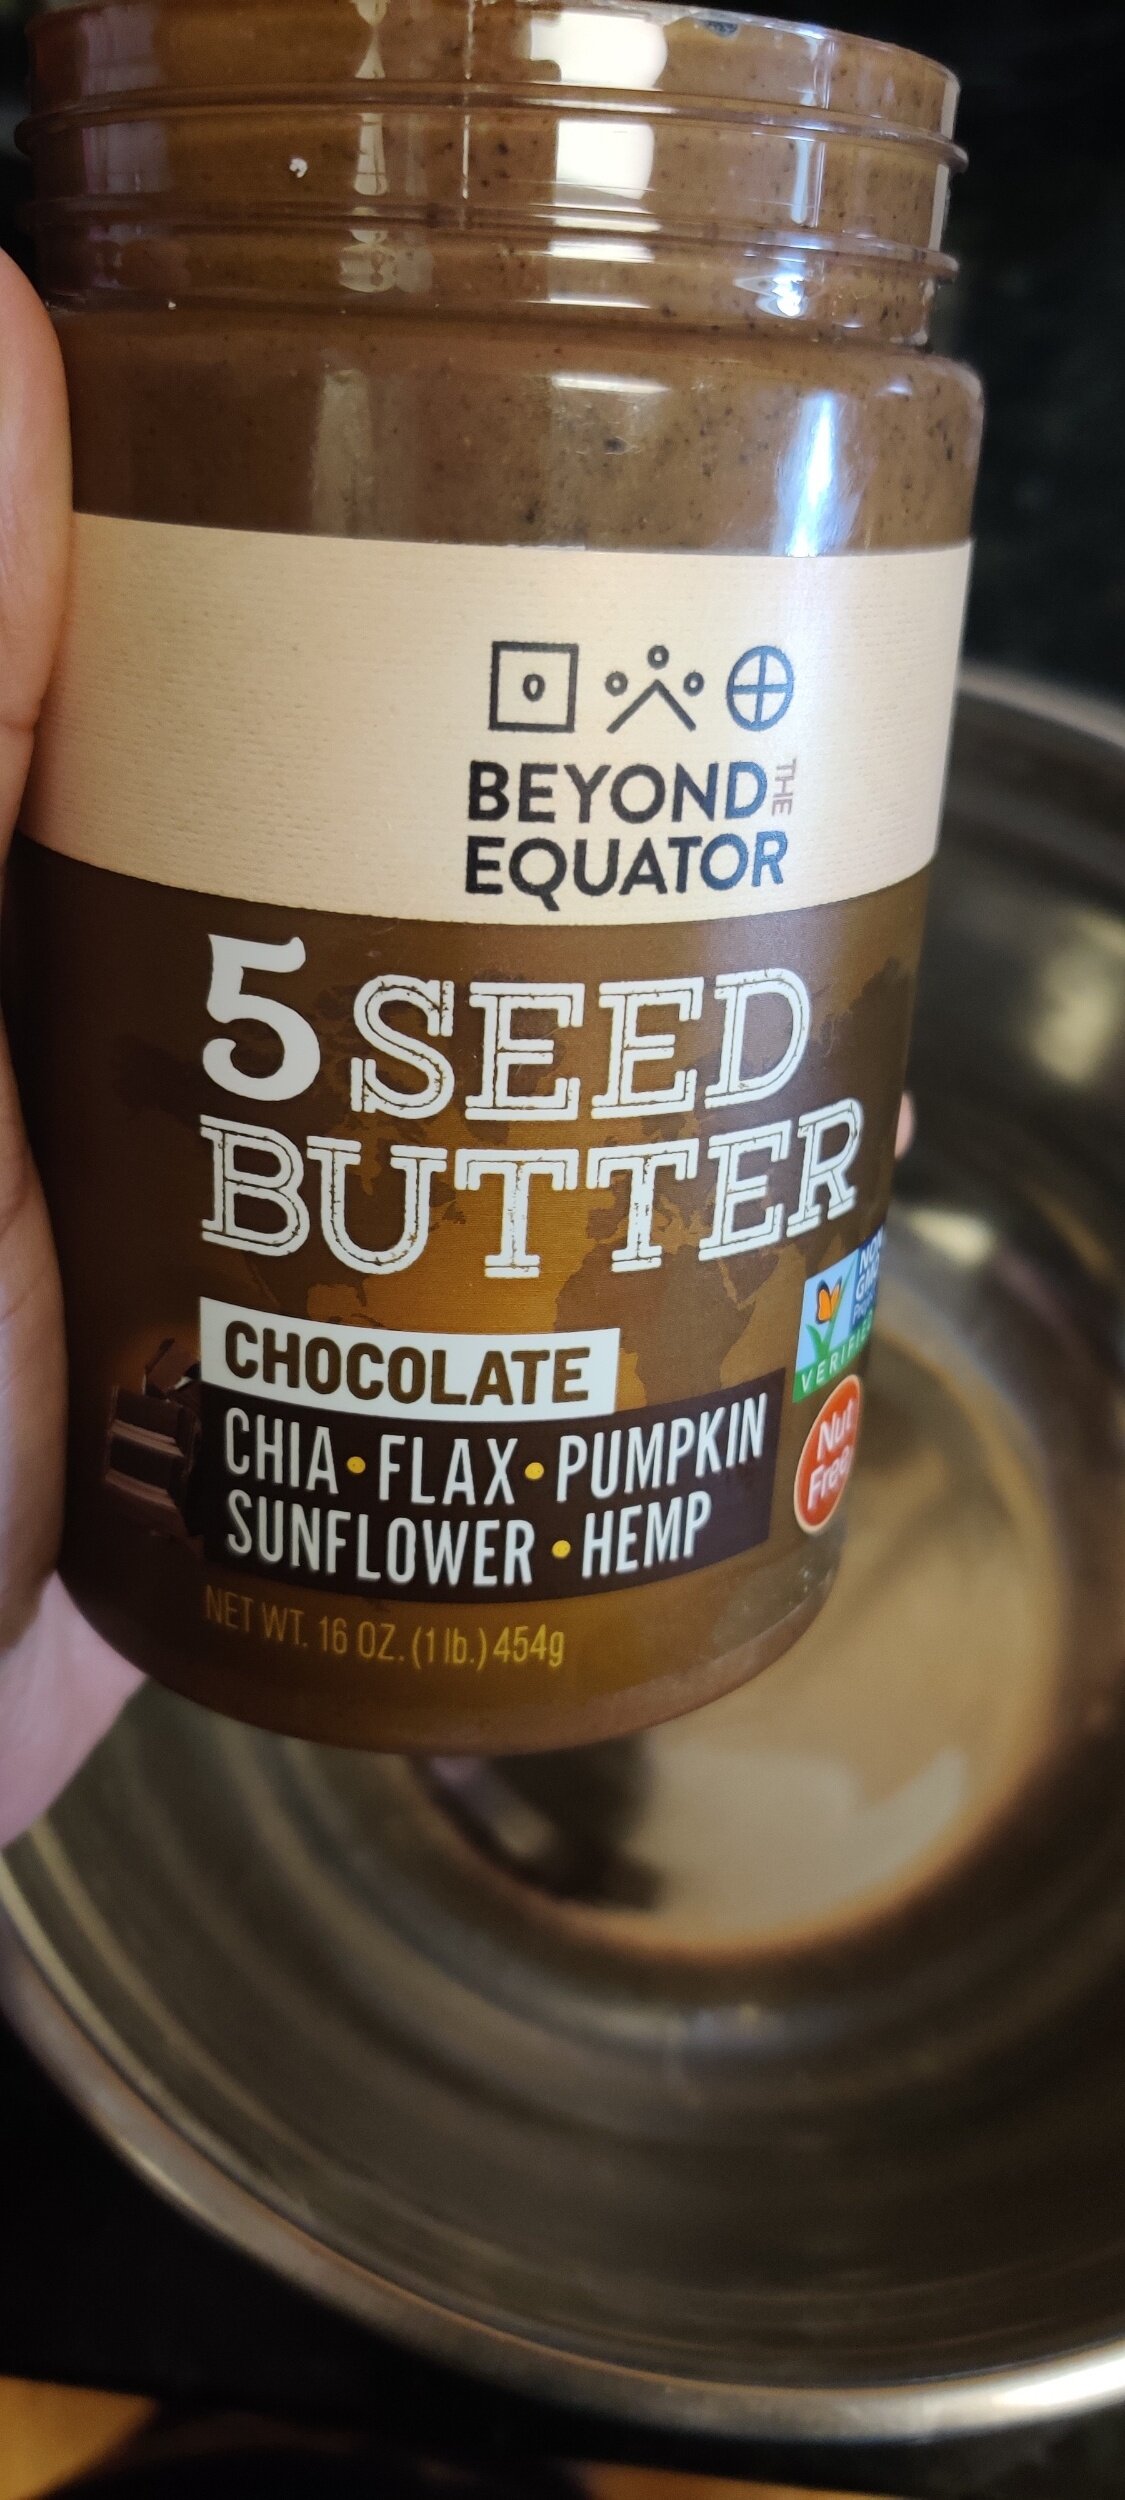
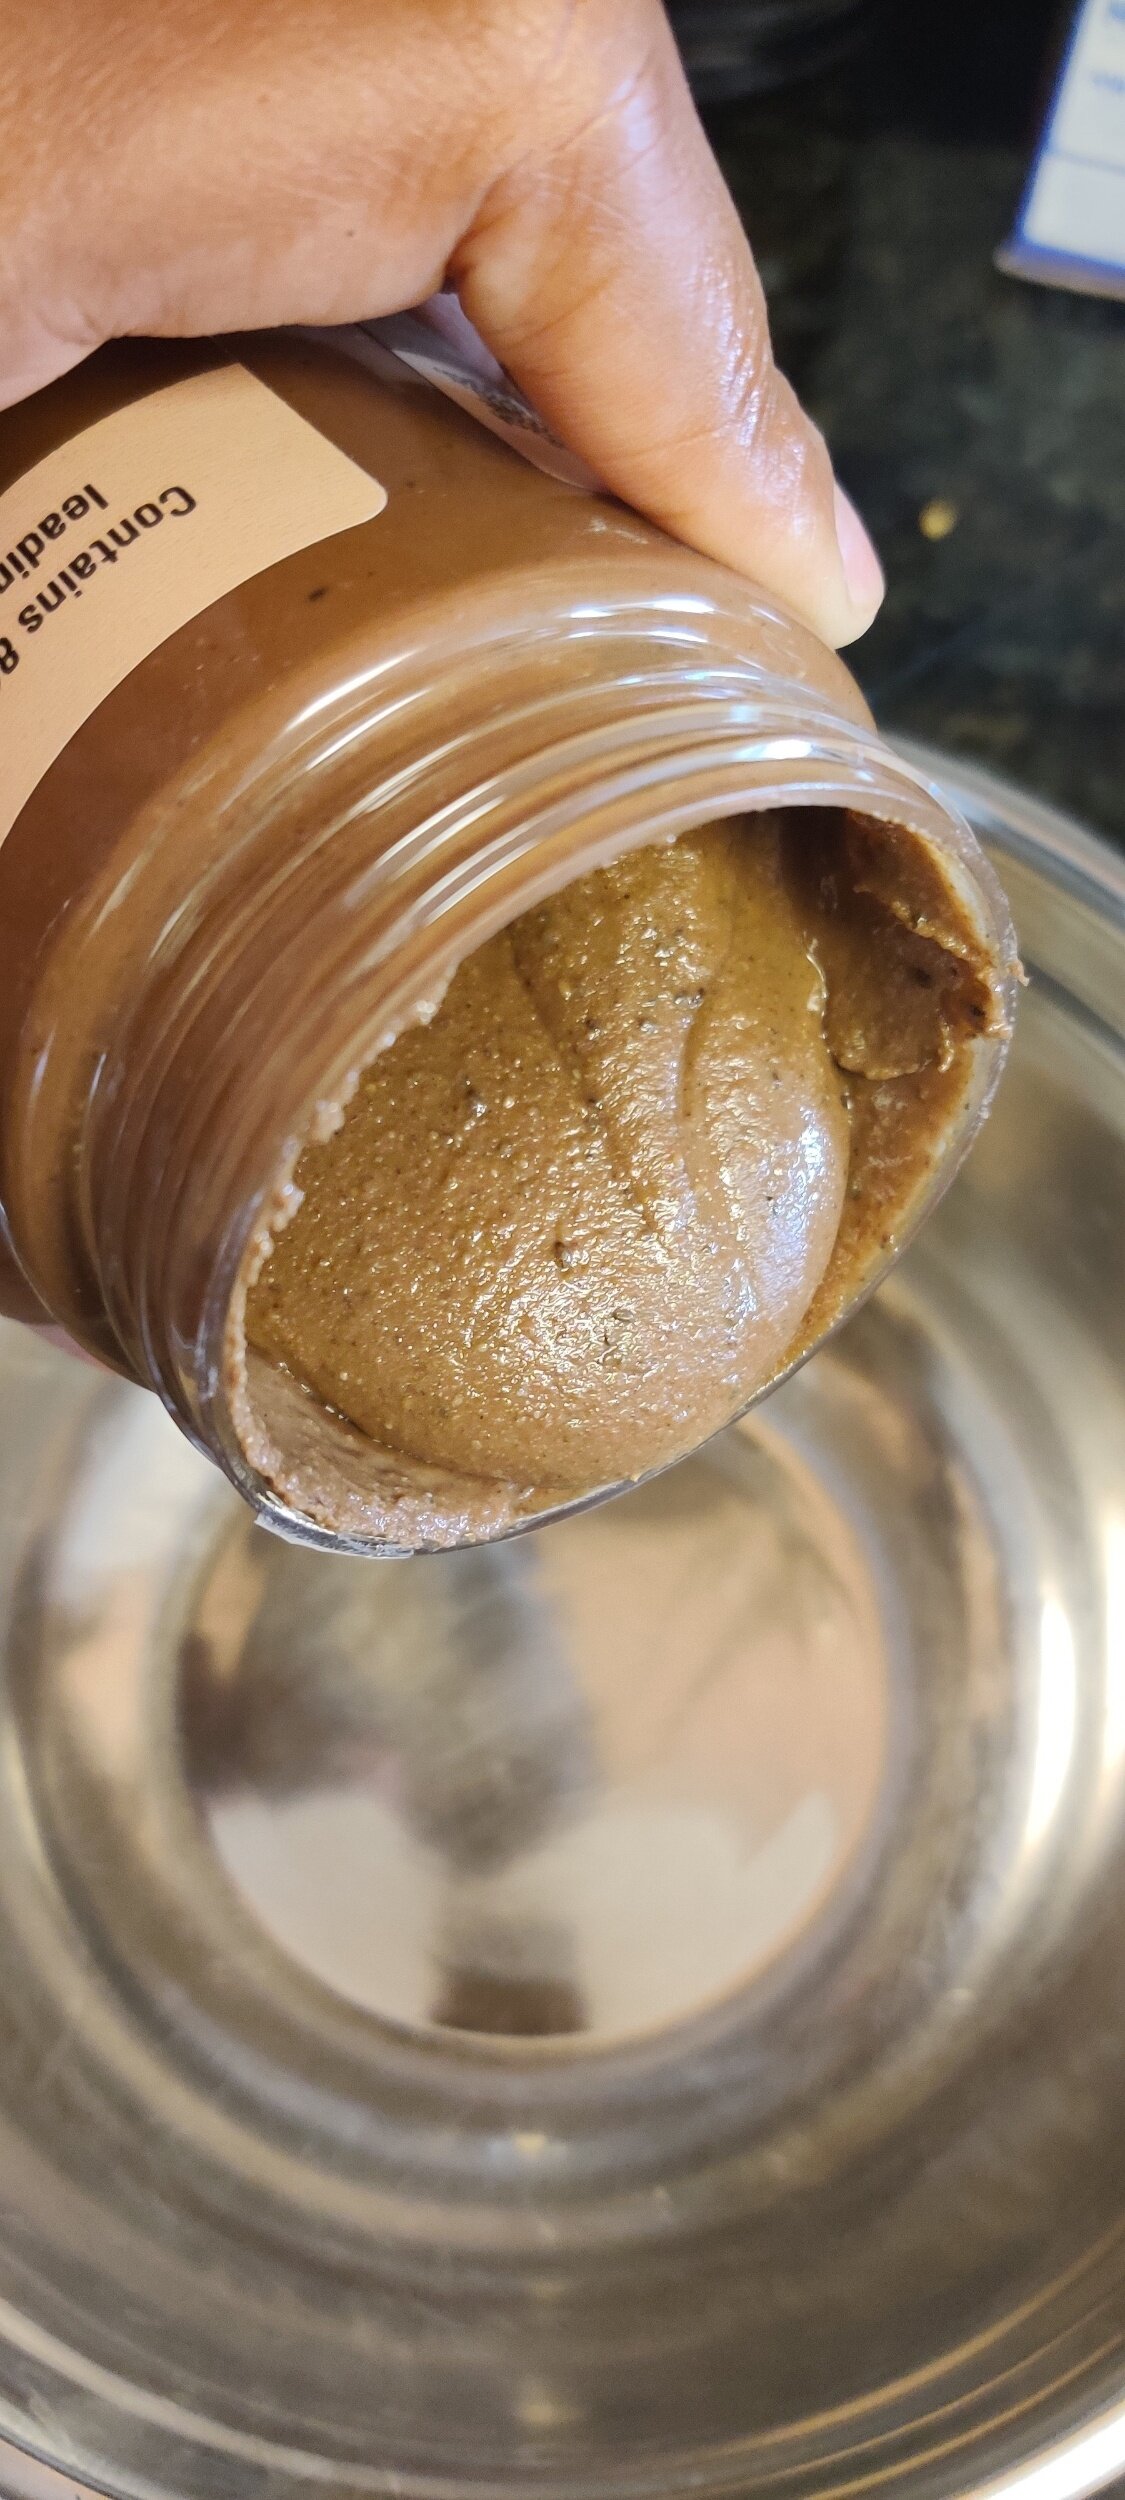
One of the most well-known versions consists of layers of chopped pistachios and honey in between the paper-thin dough sheets. I put in a chocolate twist with a dose of 5 superfoods - namely hemp, sunflower seeds, pumpkin seeds, flax and chia. I used a 5-seed butter with cocoa butter from Beyond the Equator.
Even though this recipe does call for added sugar from the Oreos, honey, sugar and granola, it is still way less sugar-packed. Regular chocolate spreads such as Nutella have way more (75% to be exact!) or extreme amounts of honey. The product is also made sustainably, calling for up to 80% less water than another comparable option - almond butter. To top that off, it's dairy-free, nut-free. and doesn't contain eggs! It's lower in carbs so you won't feel as bad about the phyllo dough either. I put a bit of emphasis on using something like this because the texture helps hold the baklava together and the nutty taste adds flavour.
Ingredients
8 - 10 Oreos
1/3 cup 5-seed chocolate butter (I used the one from Beyond the Equator)
1/4 cup + 1 tablespoon honey
1/4 cup white sugar
1/4 cup light brown sugar
2 tablespoons lemon juice
1/4 teaspoon cinnamon
1/8 teaspoon nutmeg
1 1/2 sticks plant-based butter
1 granola bar (two singles)
15 phyllo dough sheets (about 1 packet thawed to room temperature)
1/3 cup + 2 tablespoons water
Instructions
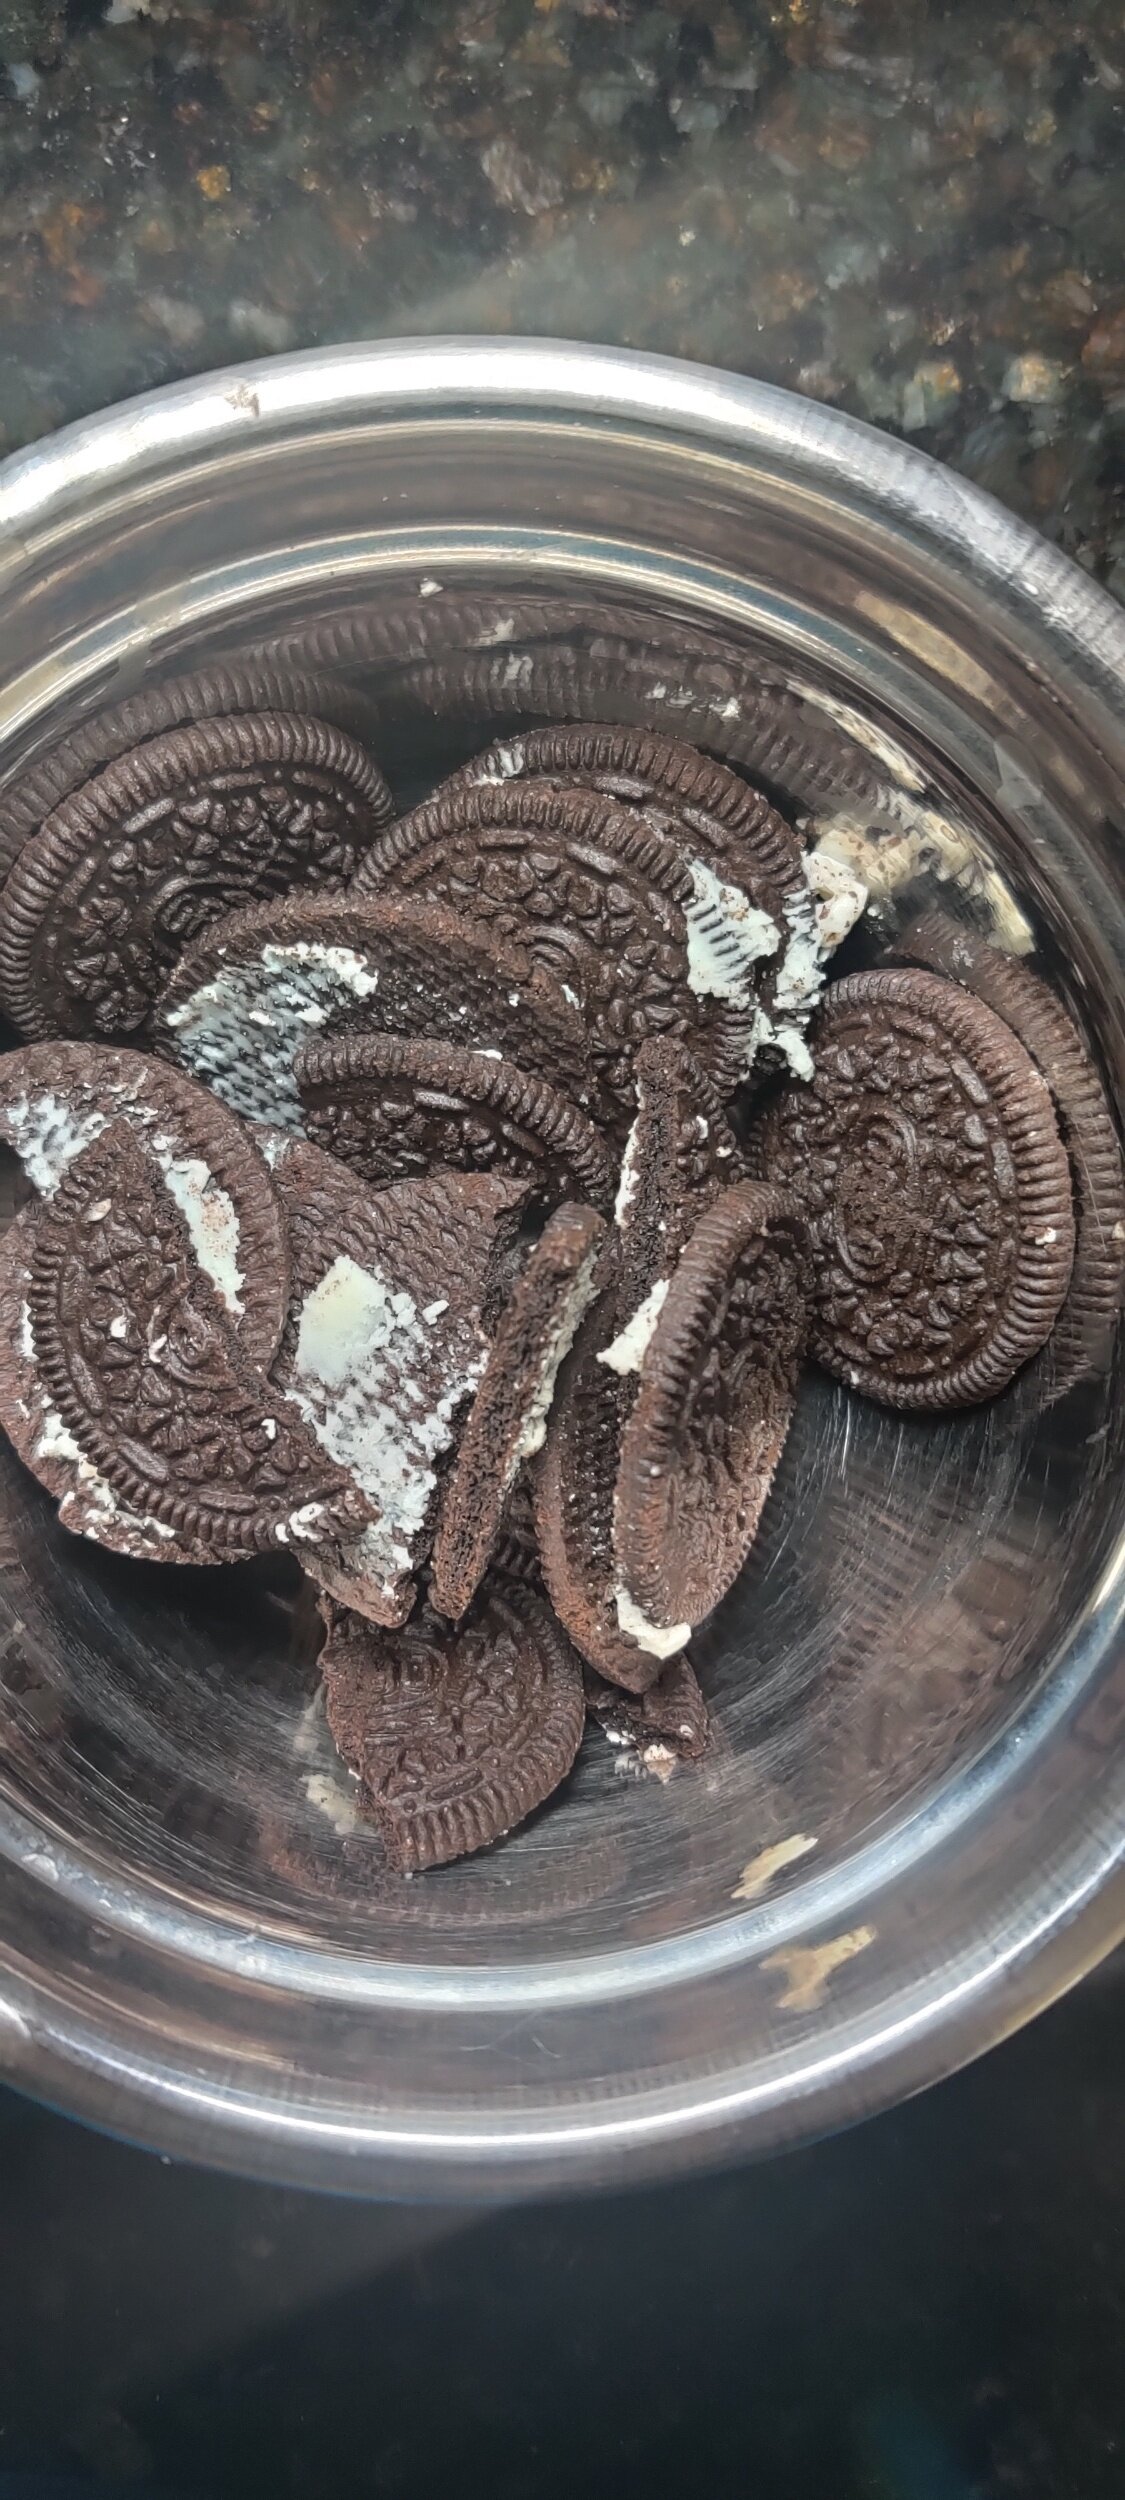
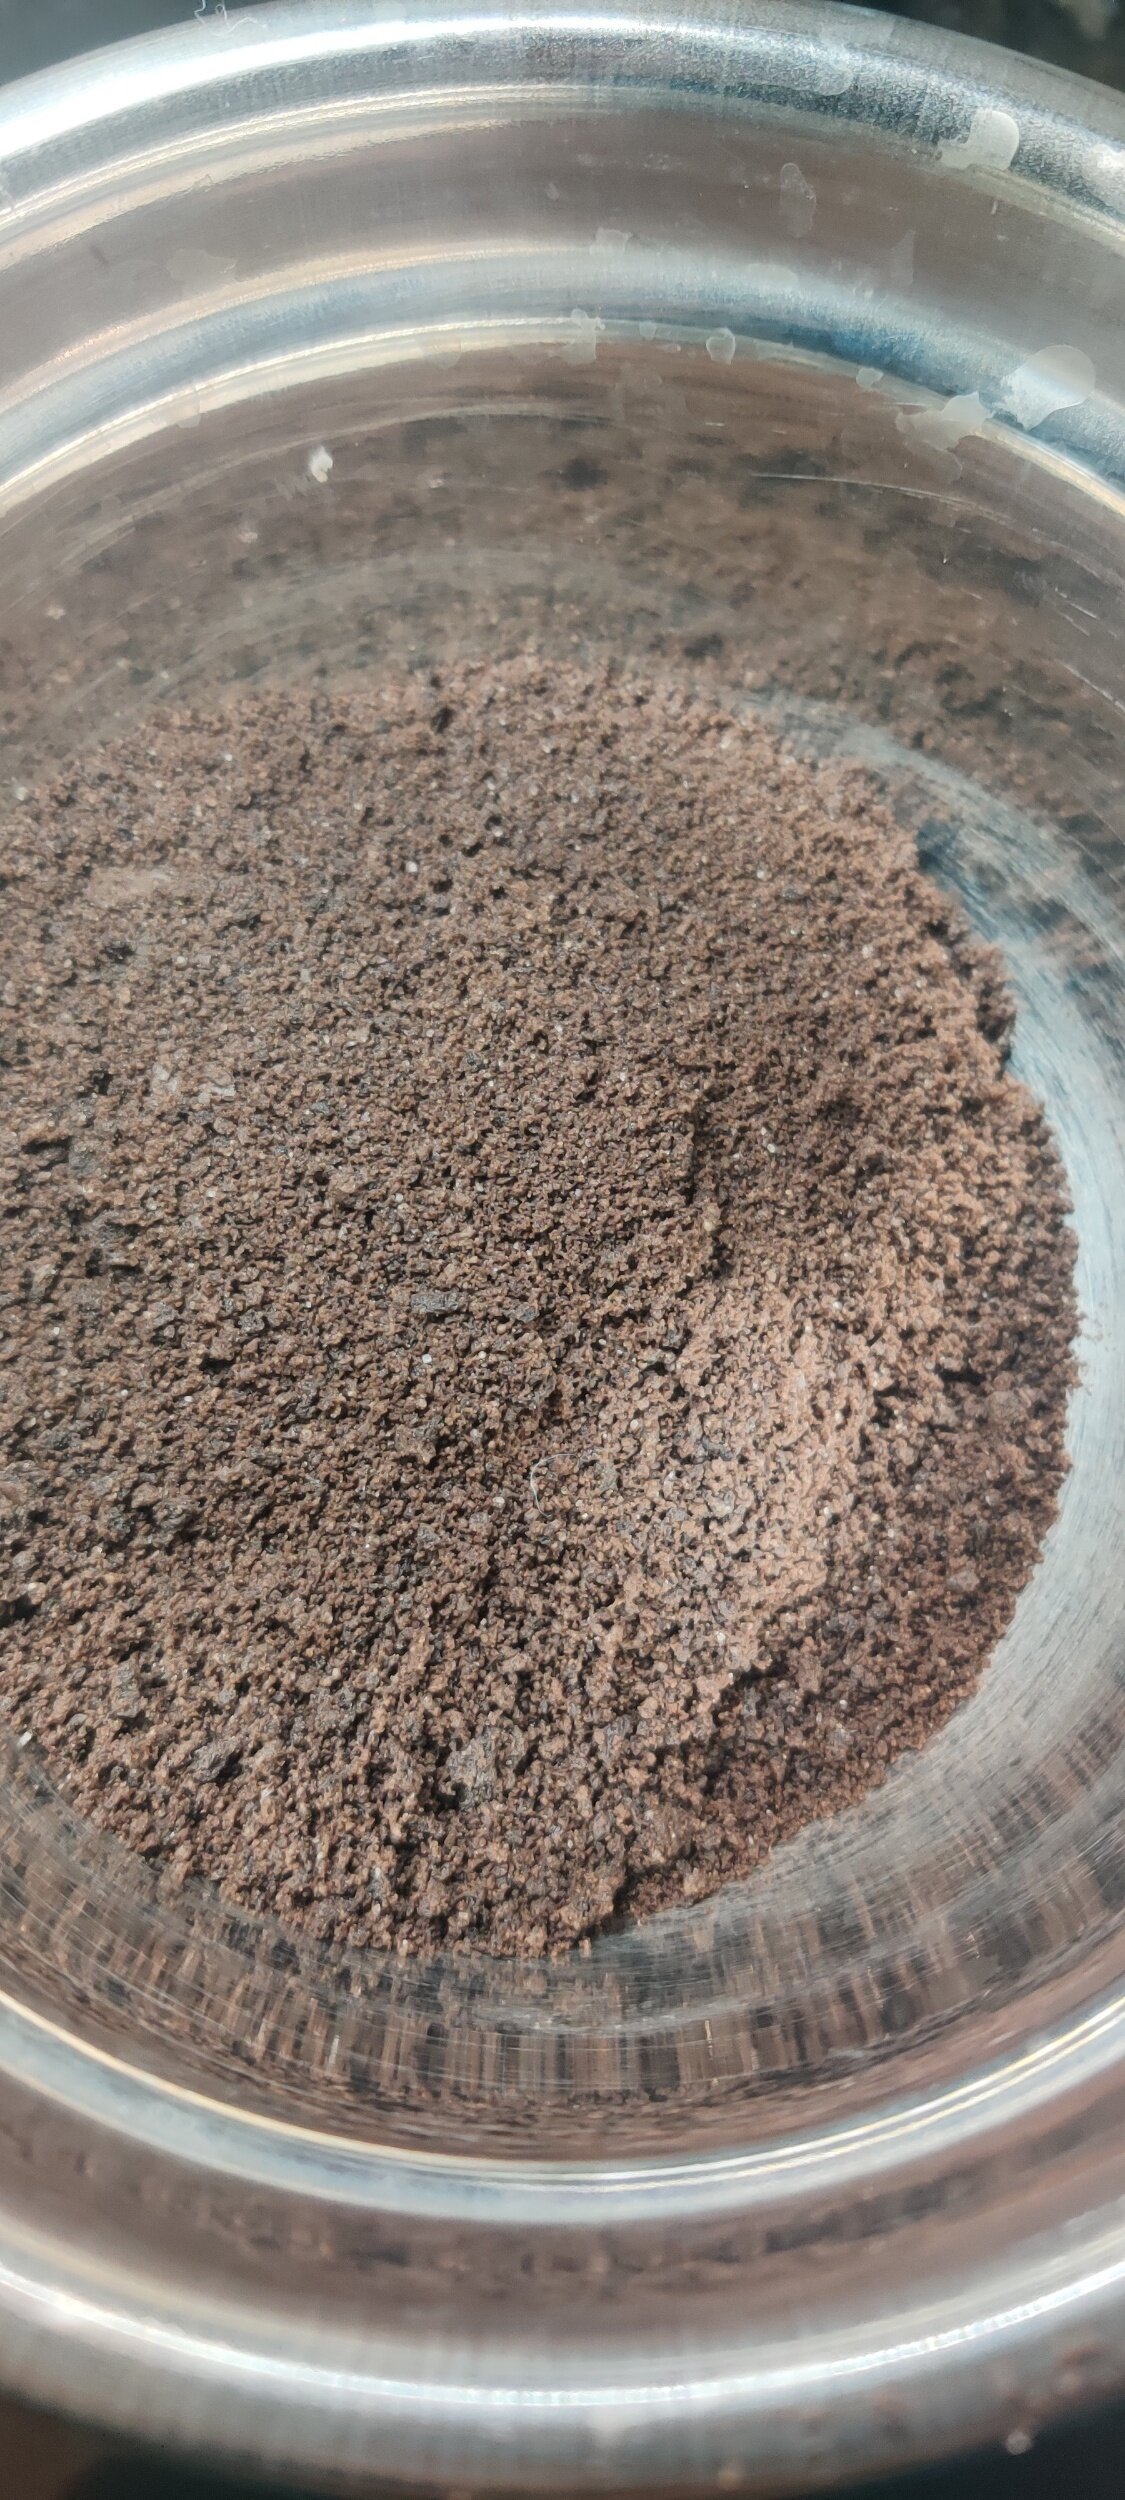
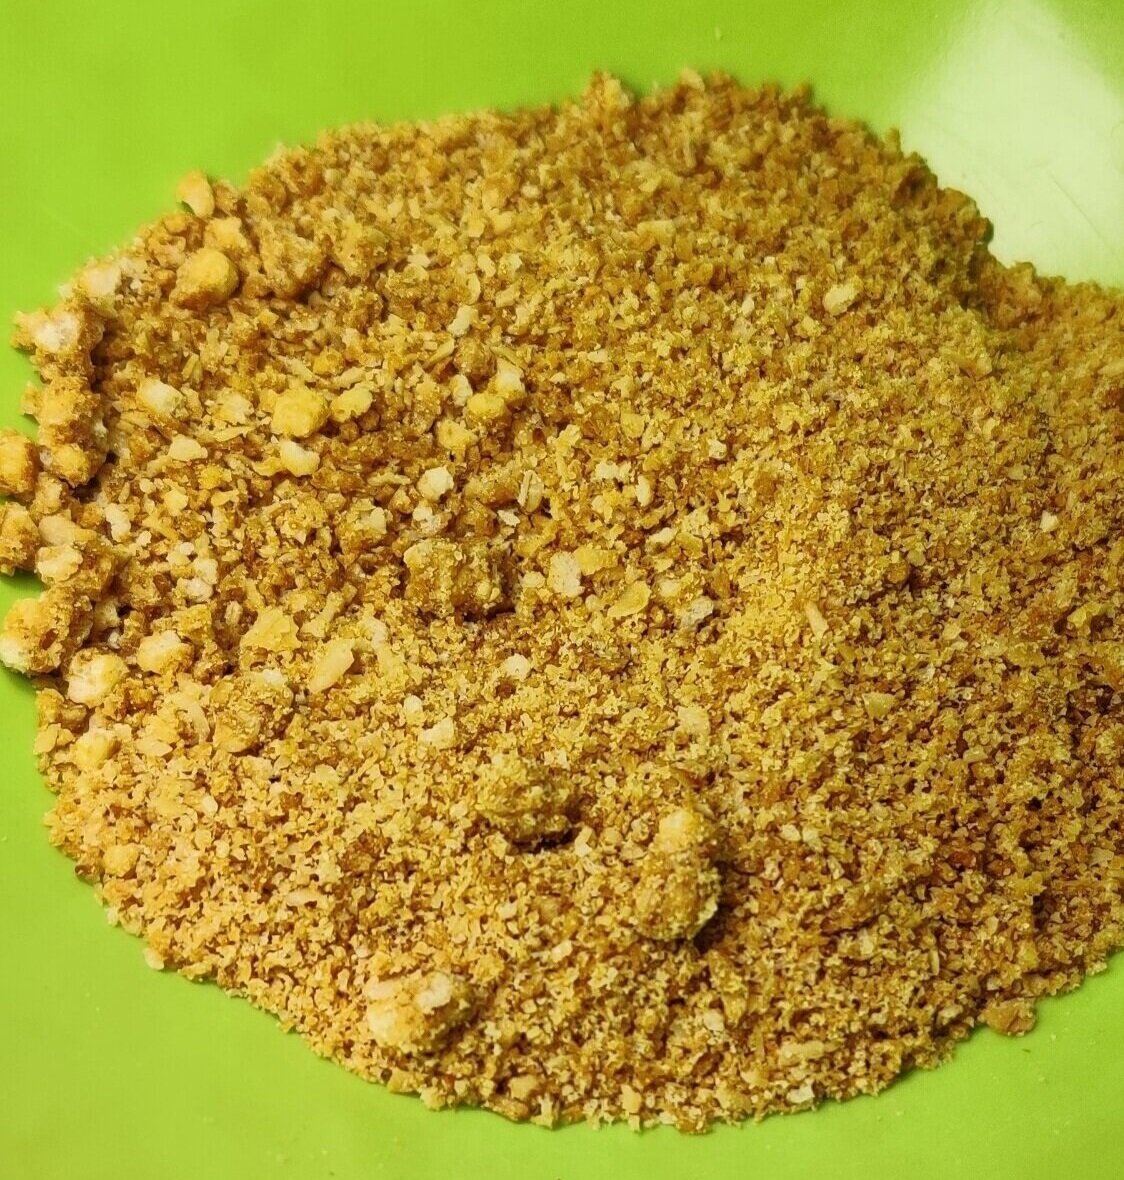
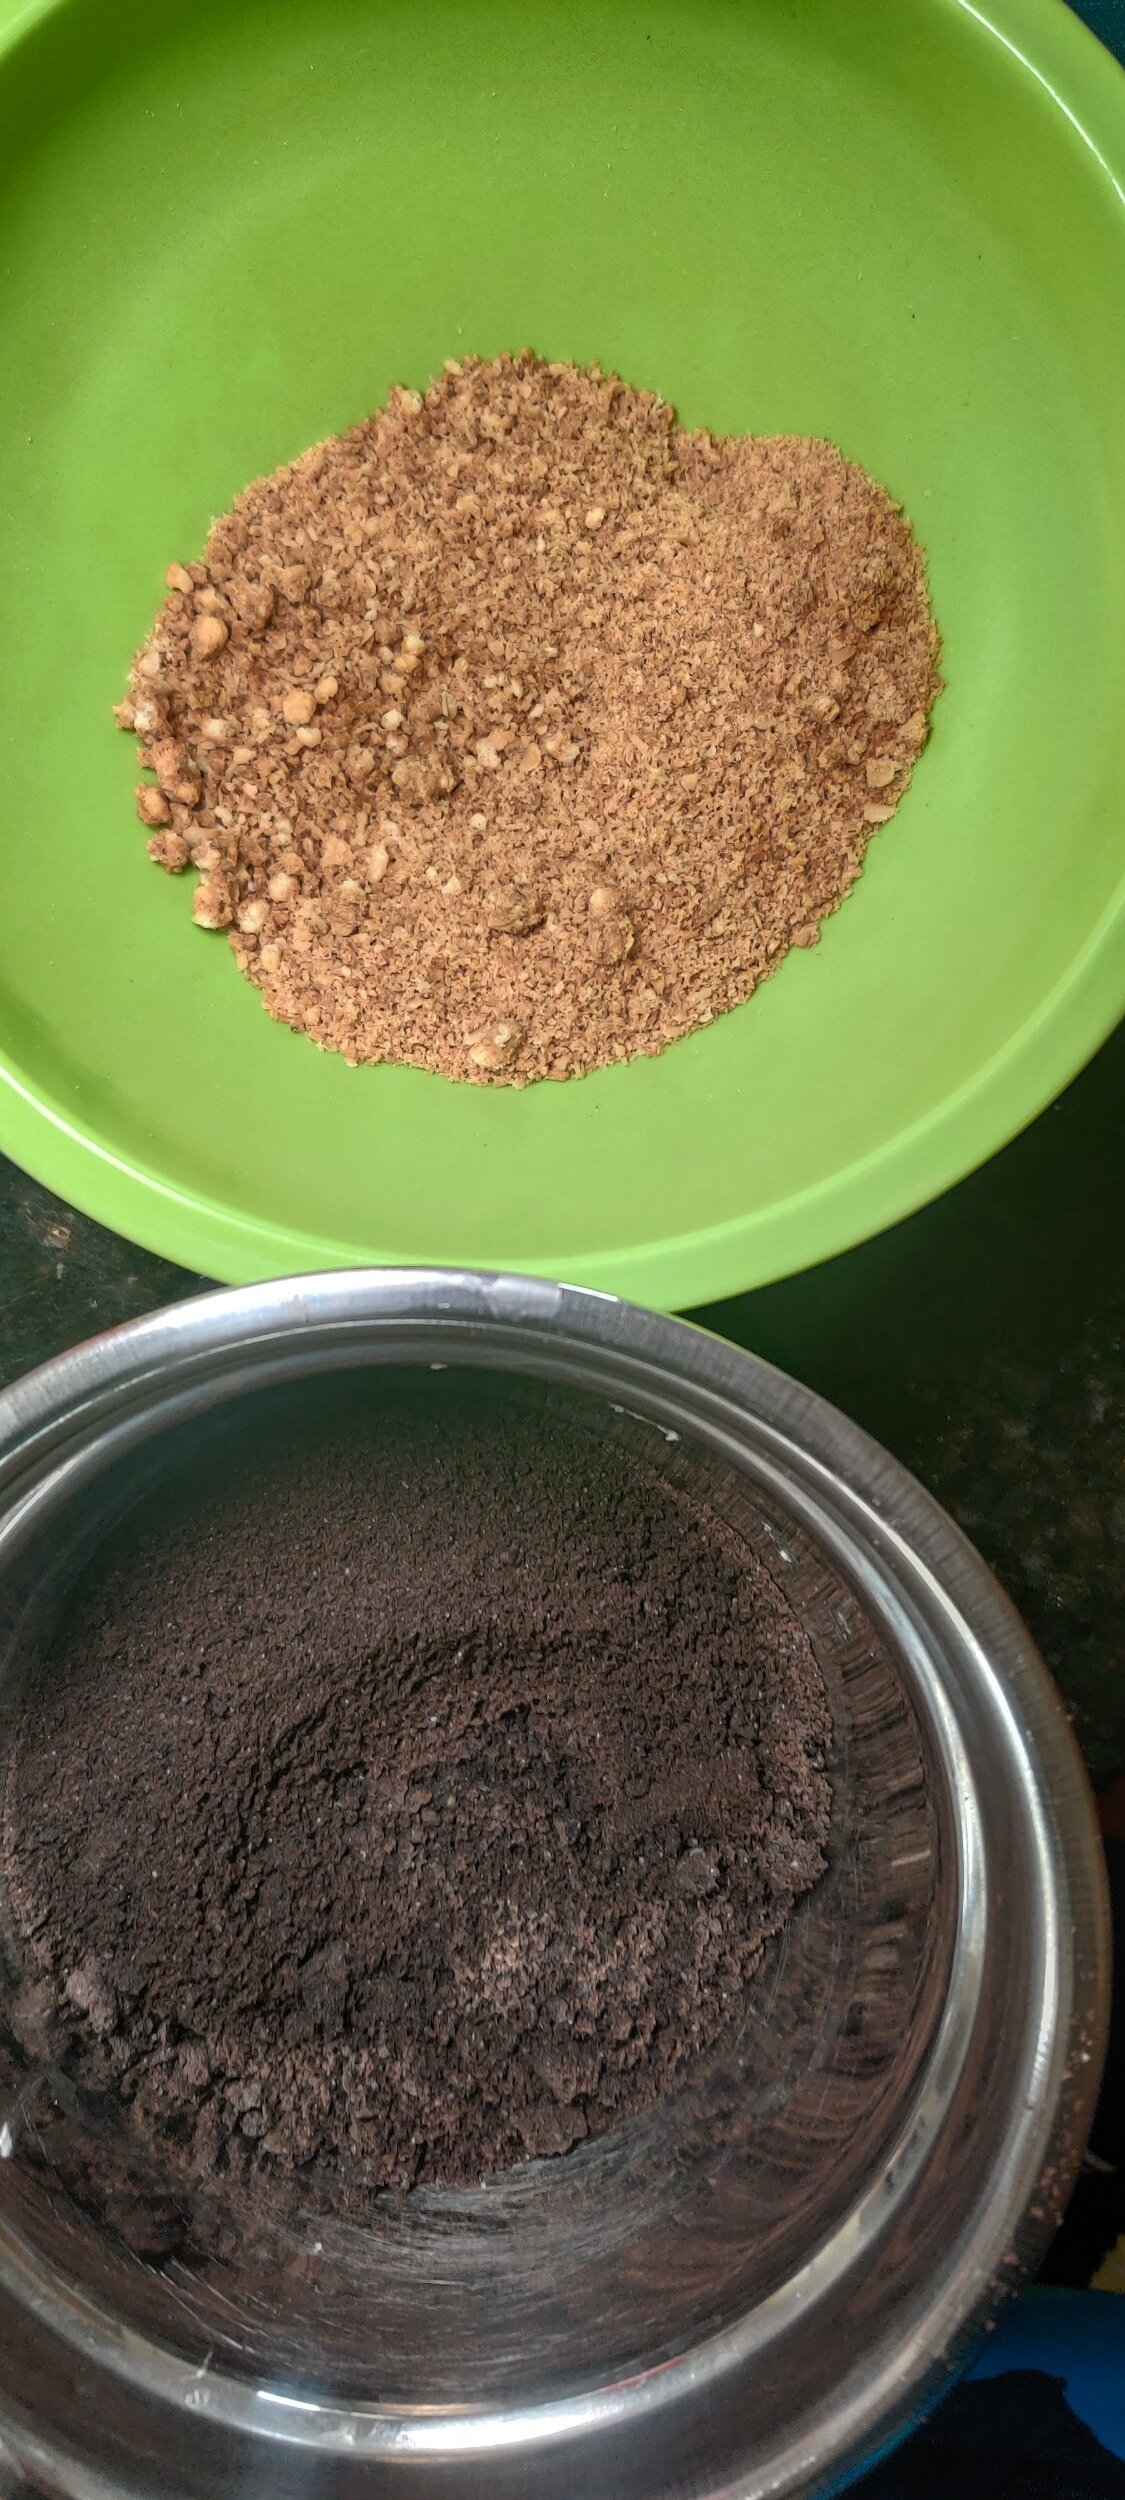
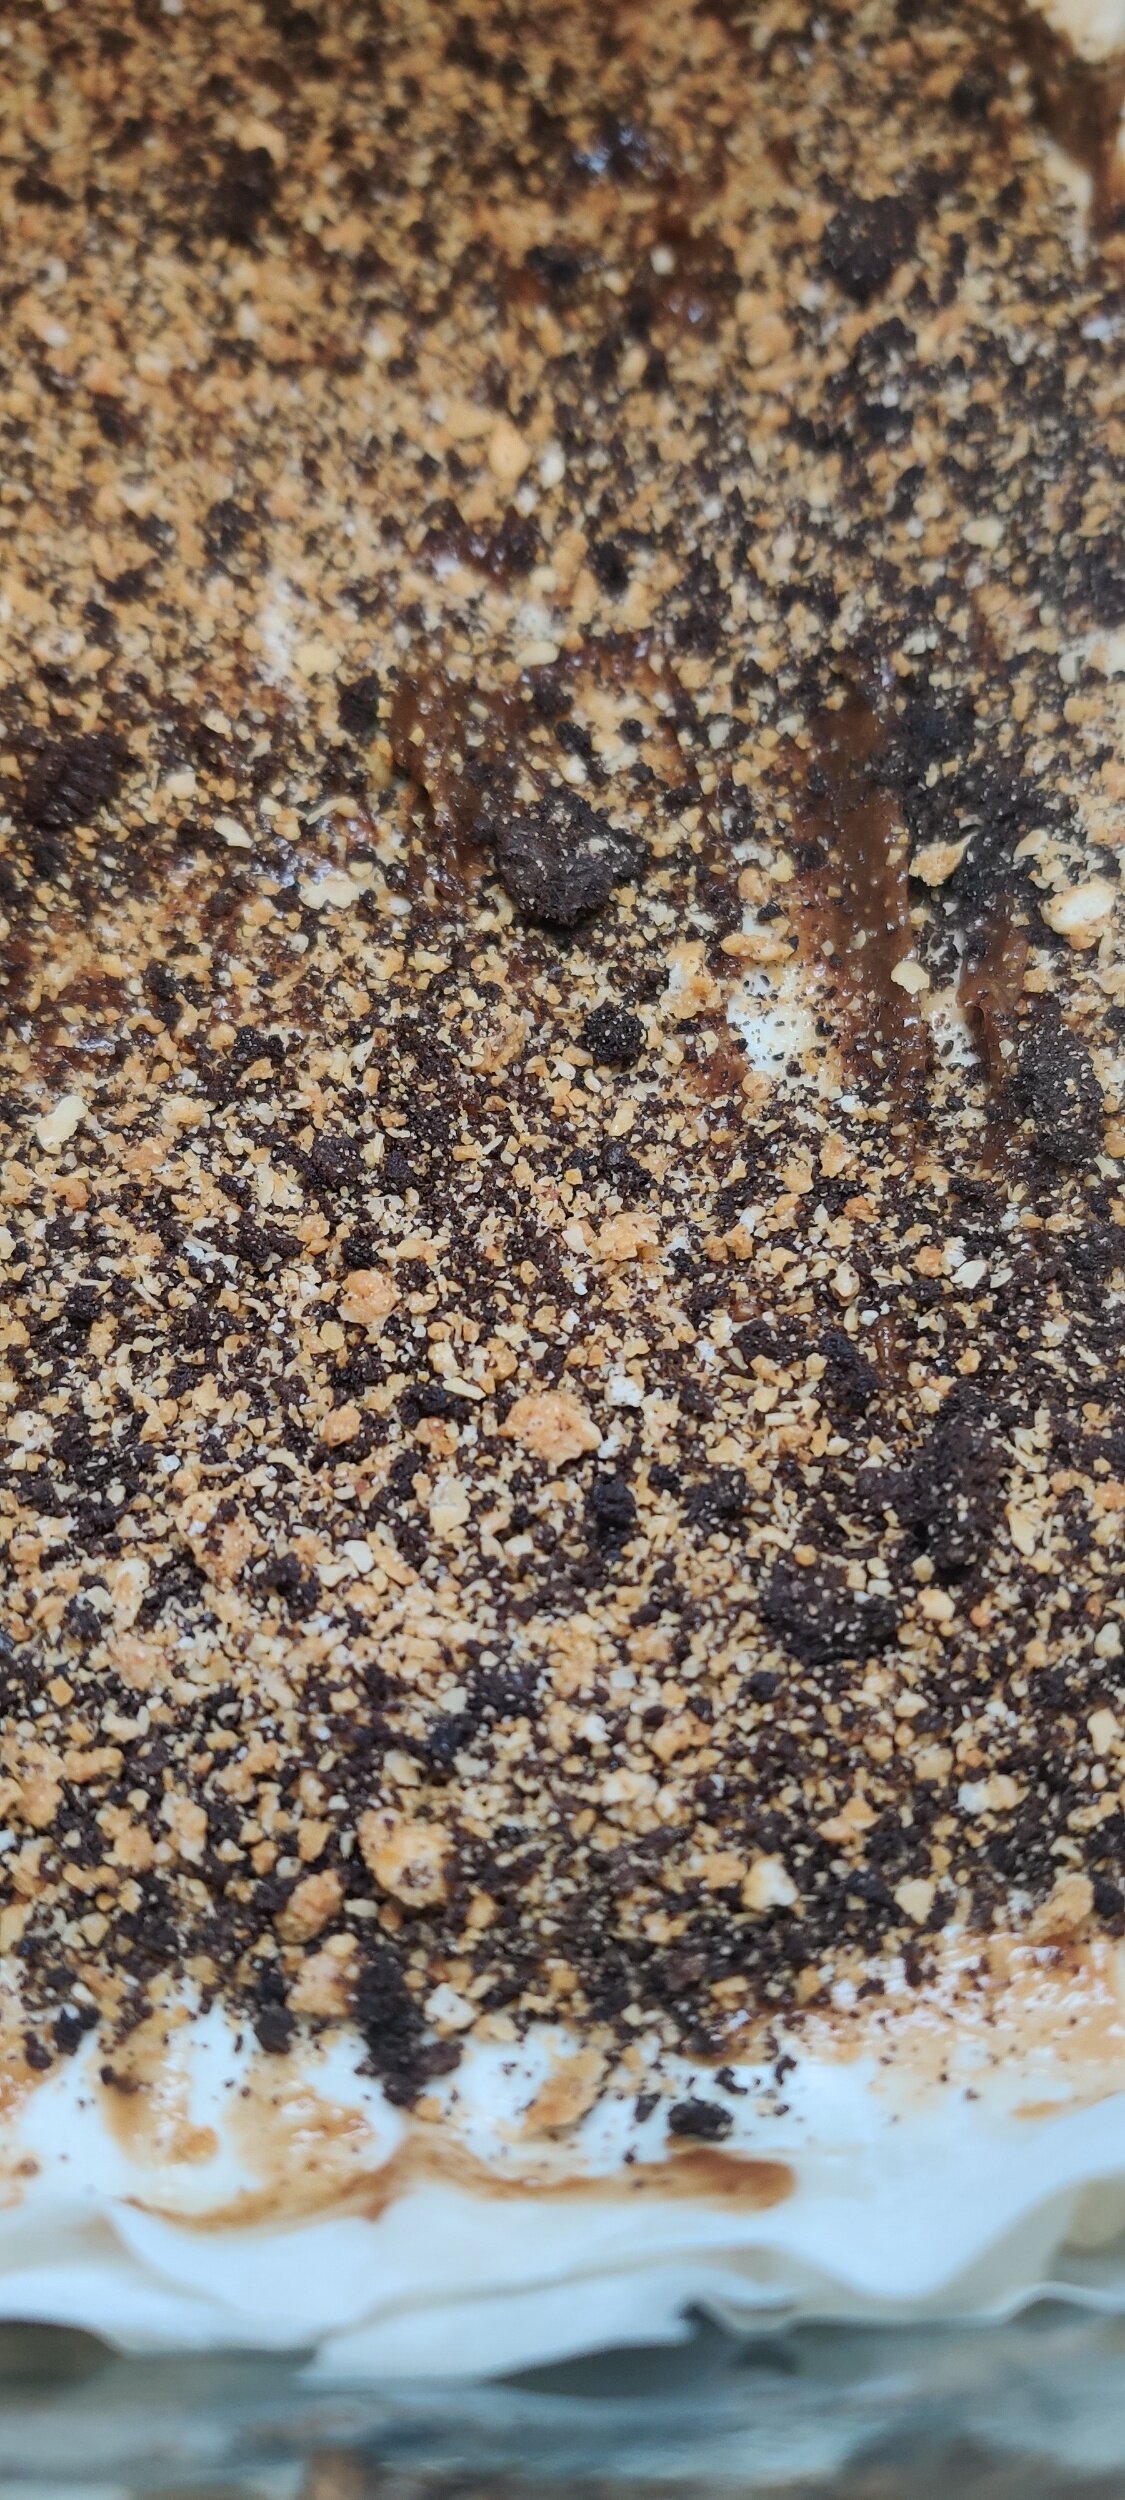
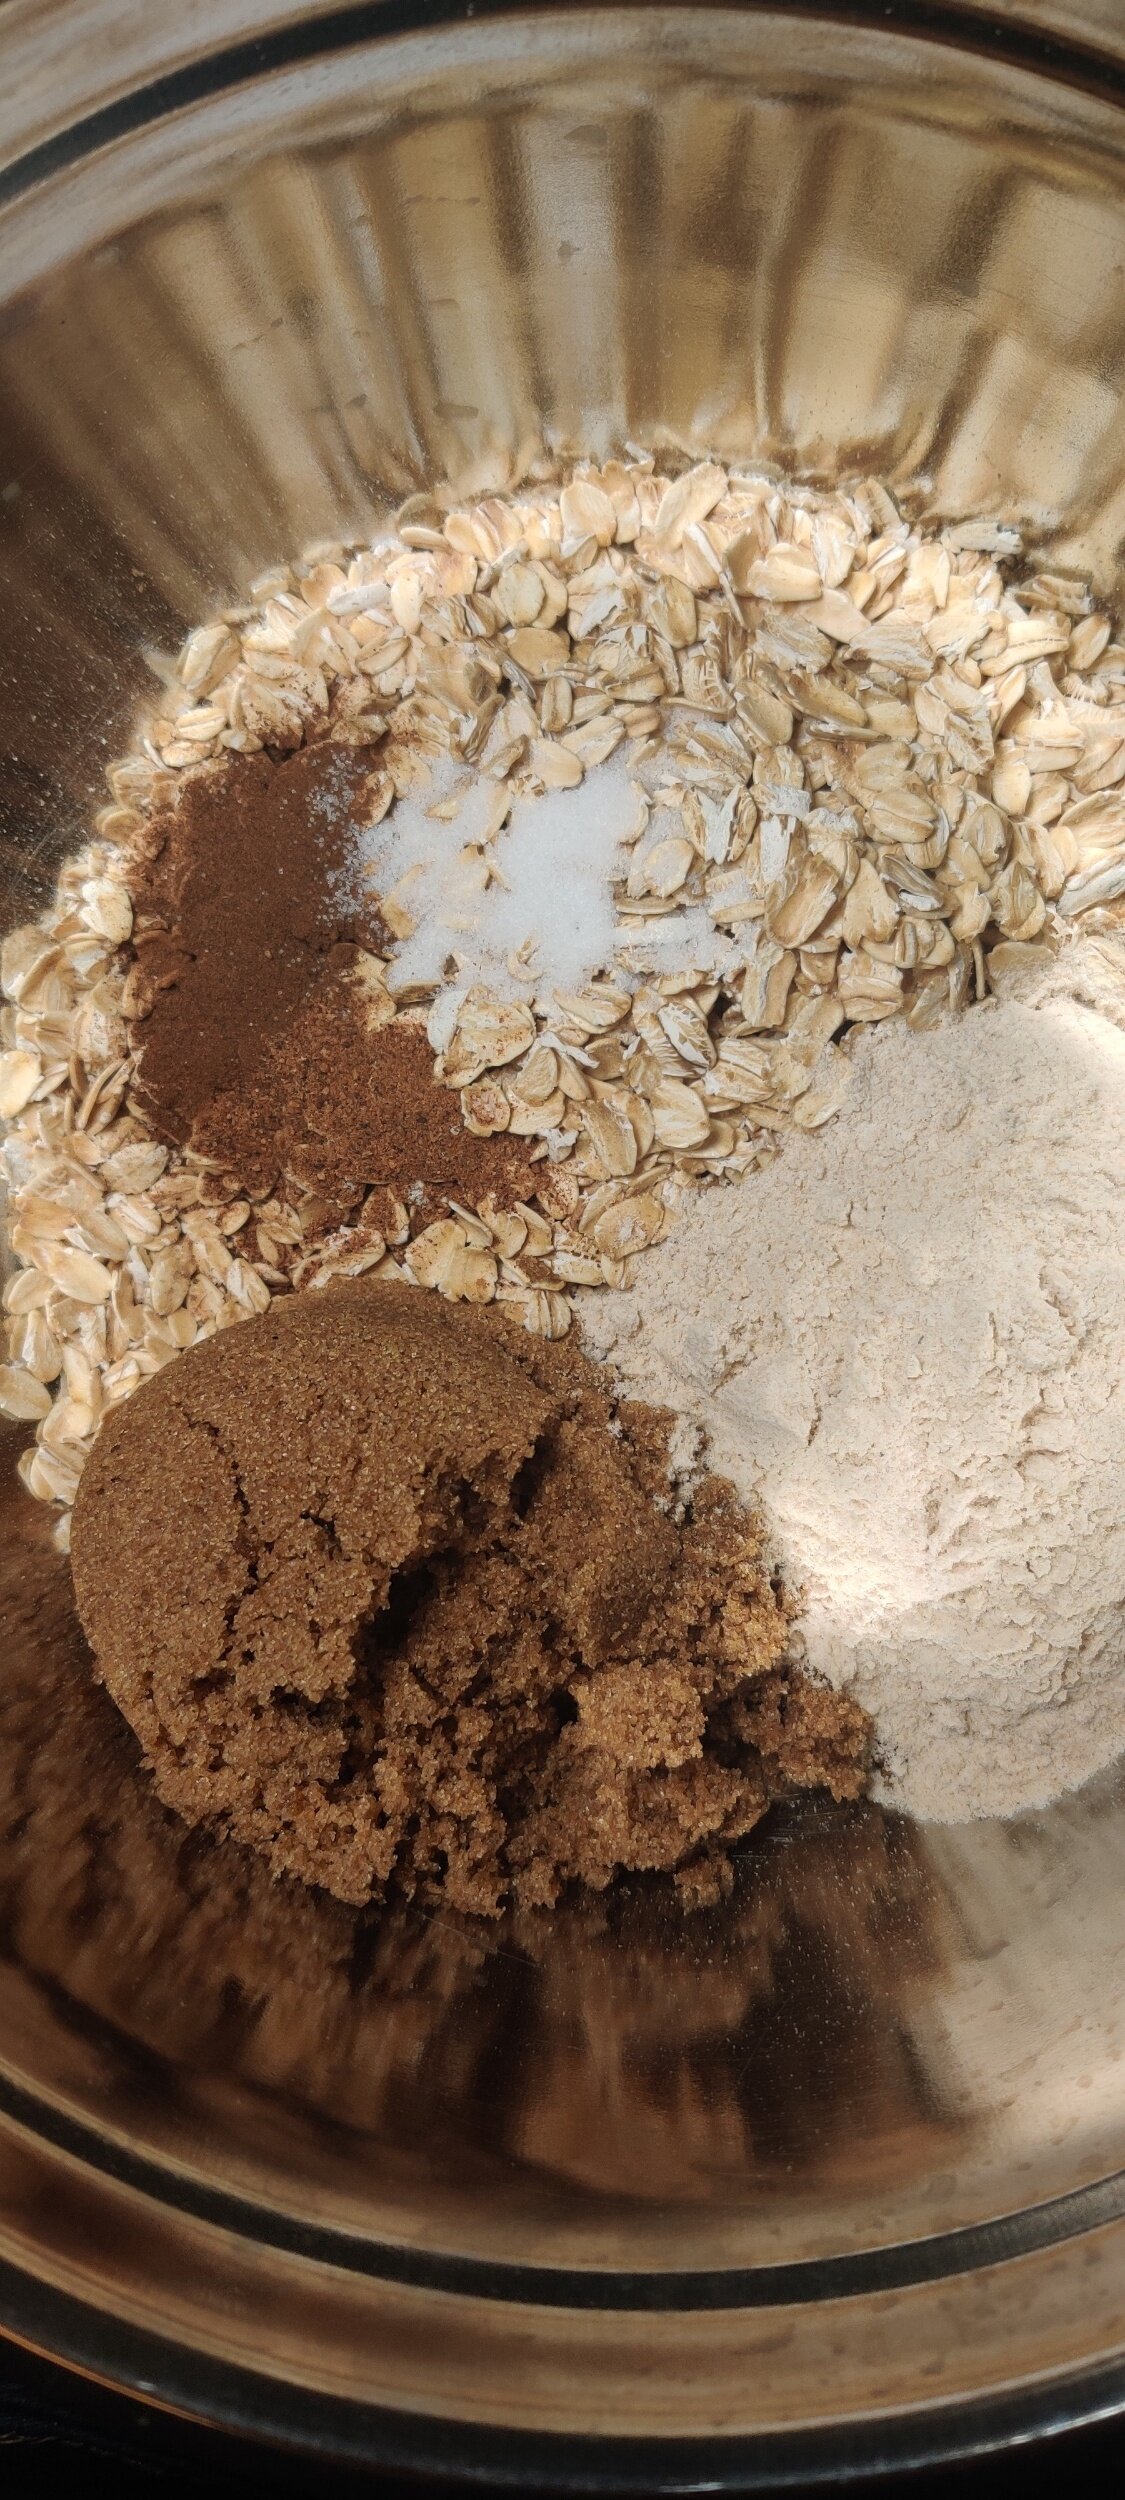
Melt the butter, set aside to cool. Remove the cream from the Oreos and place in a food processor or blender. Add the granola bar and pulse until fine crumbs form. Set aside some crumbs to top the baklava.
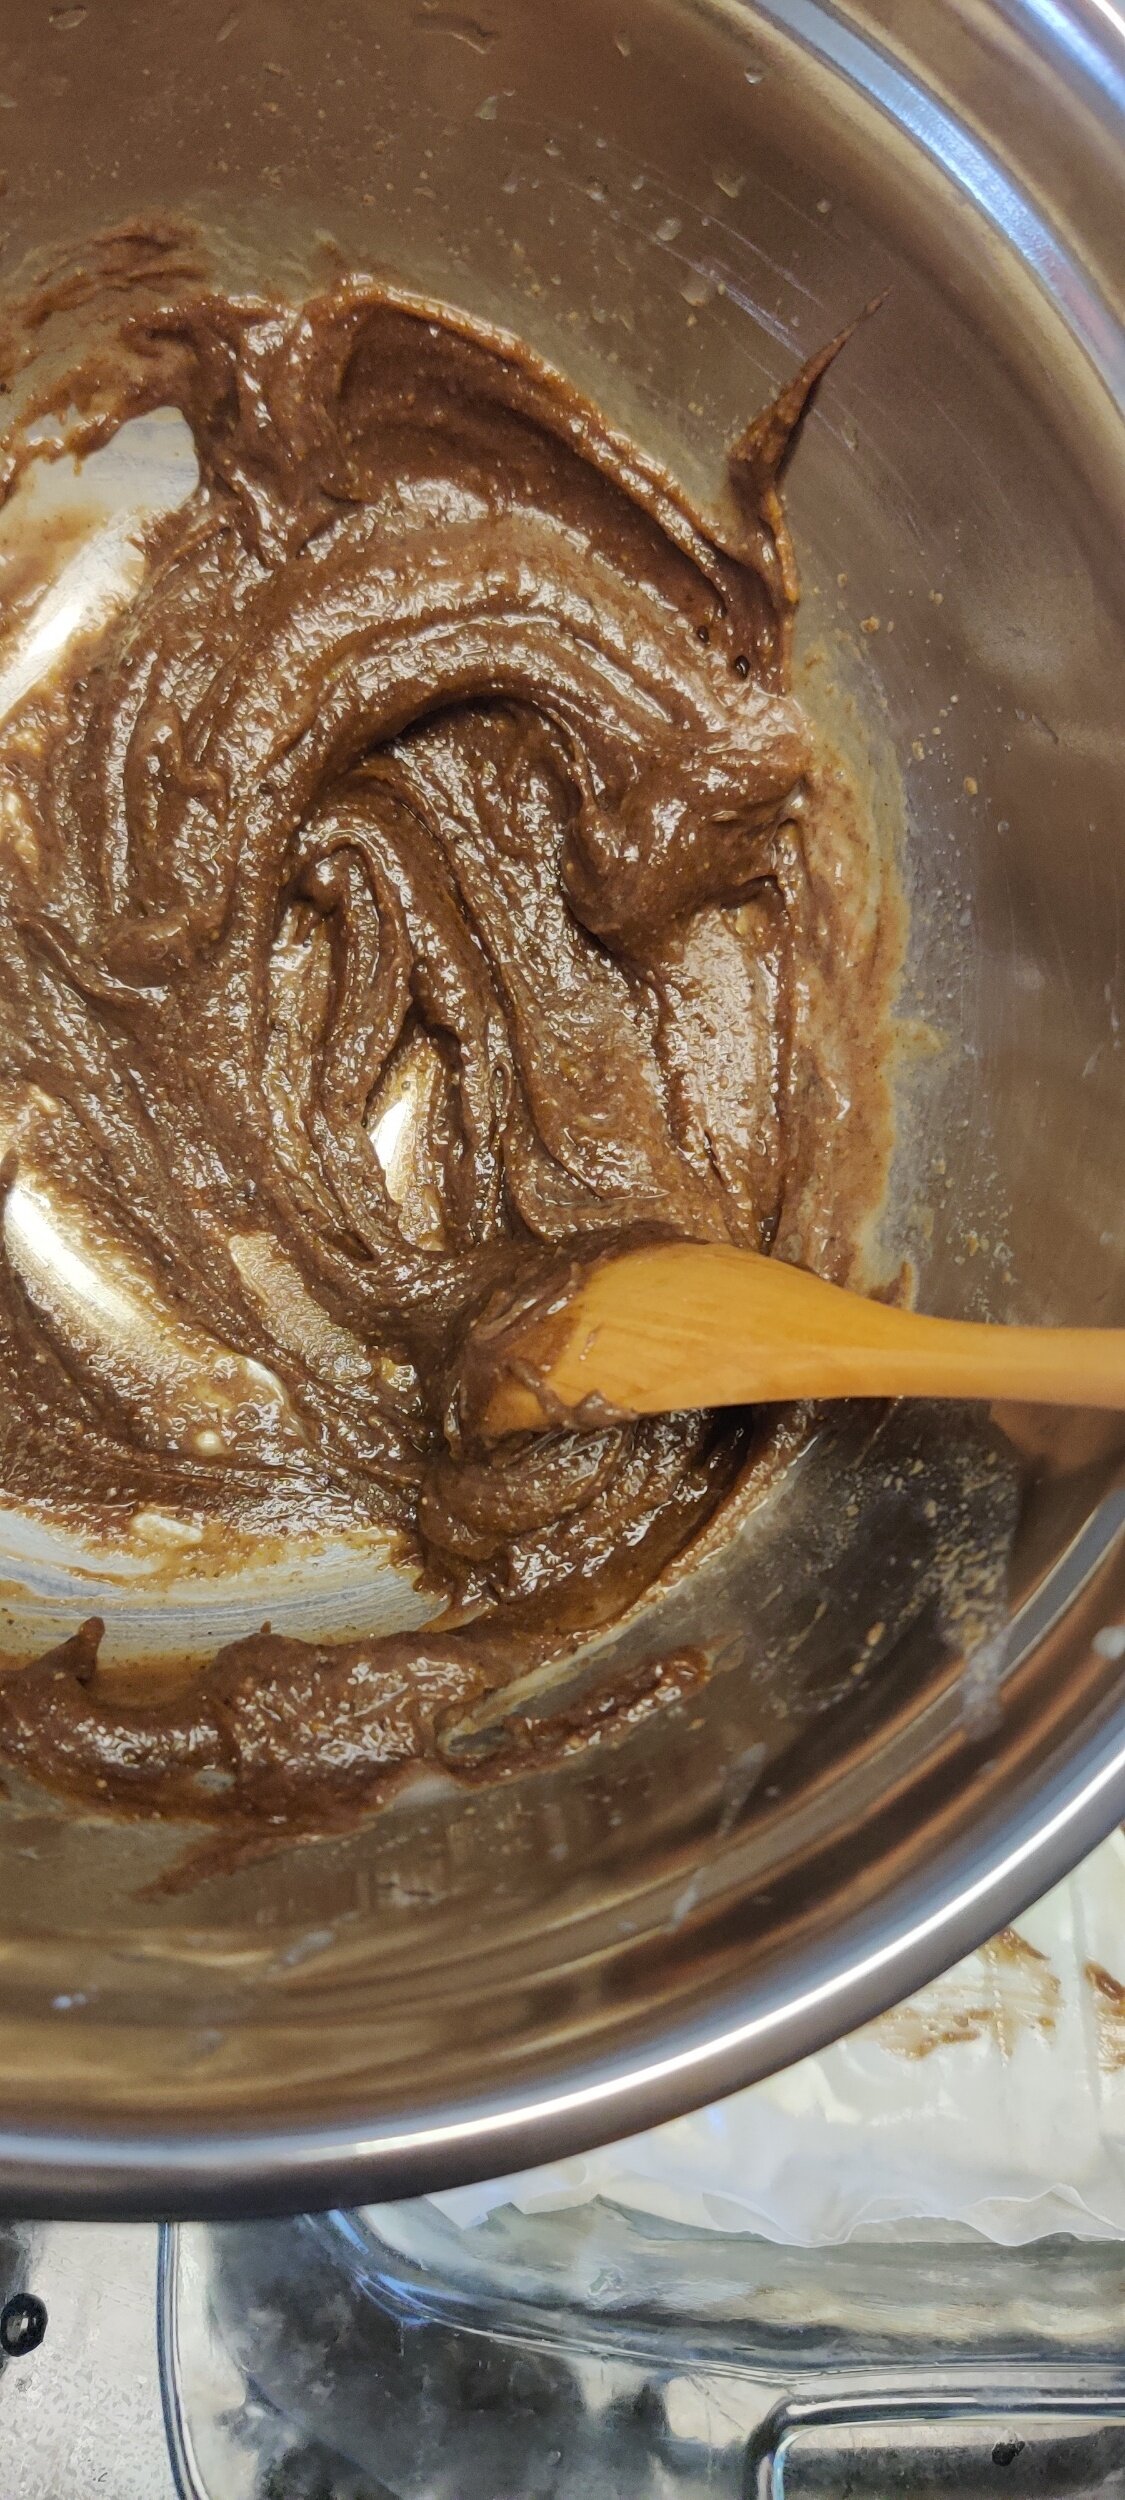
In a small bowl, mix the chocolate butter with 2 tablespoons of water and 1 tablespoon of honey until the butter smoothens and thins out slightly, set aside.
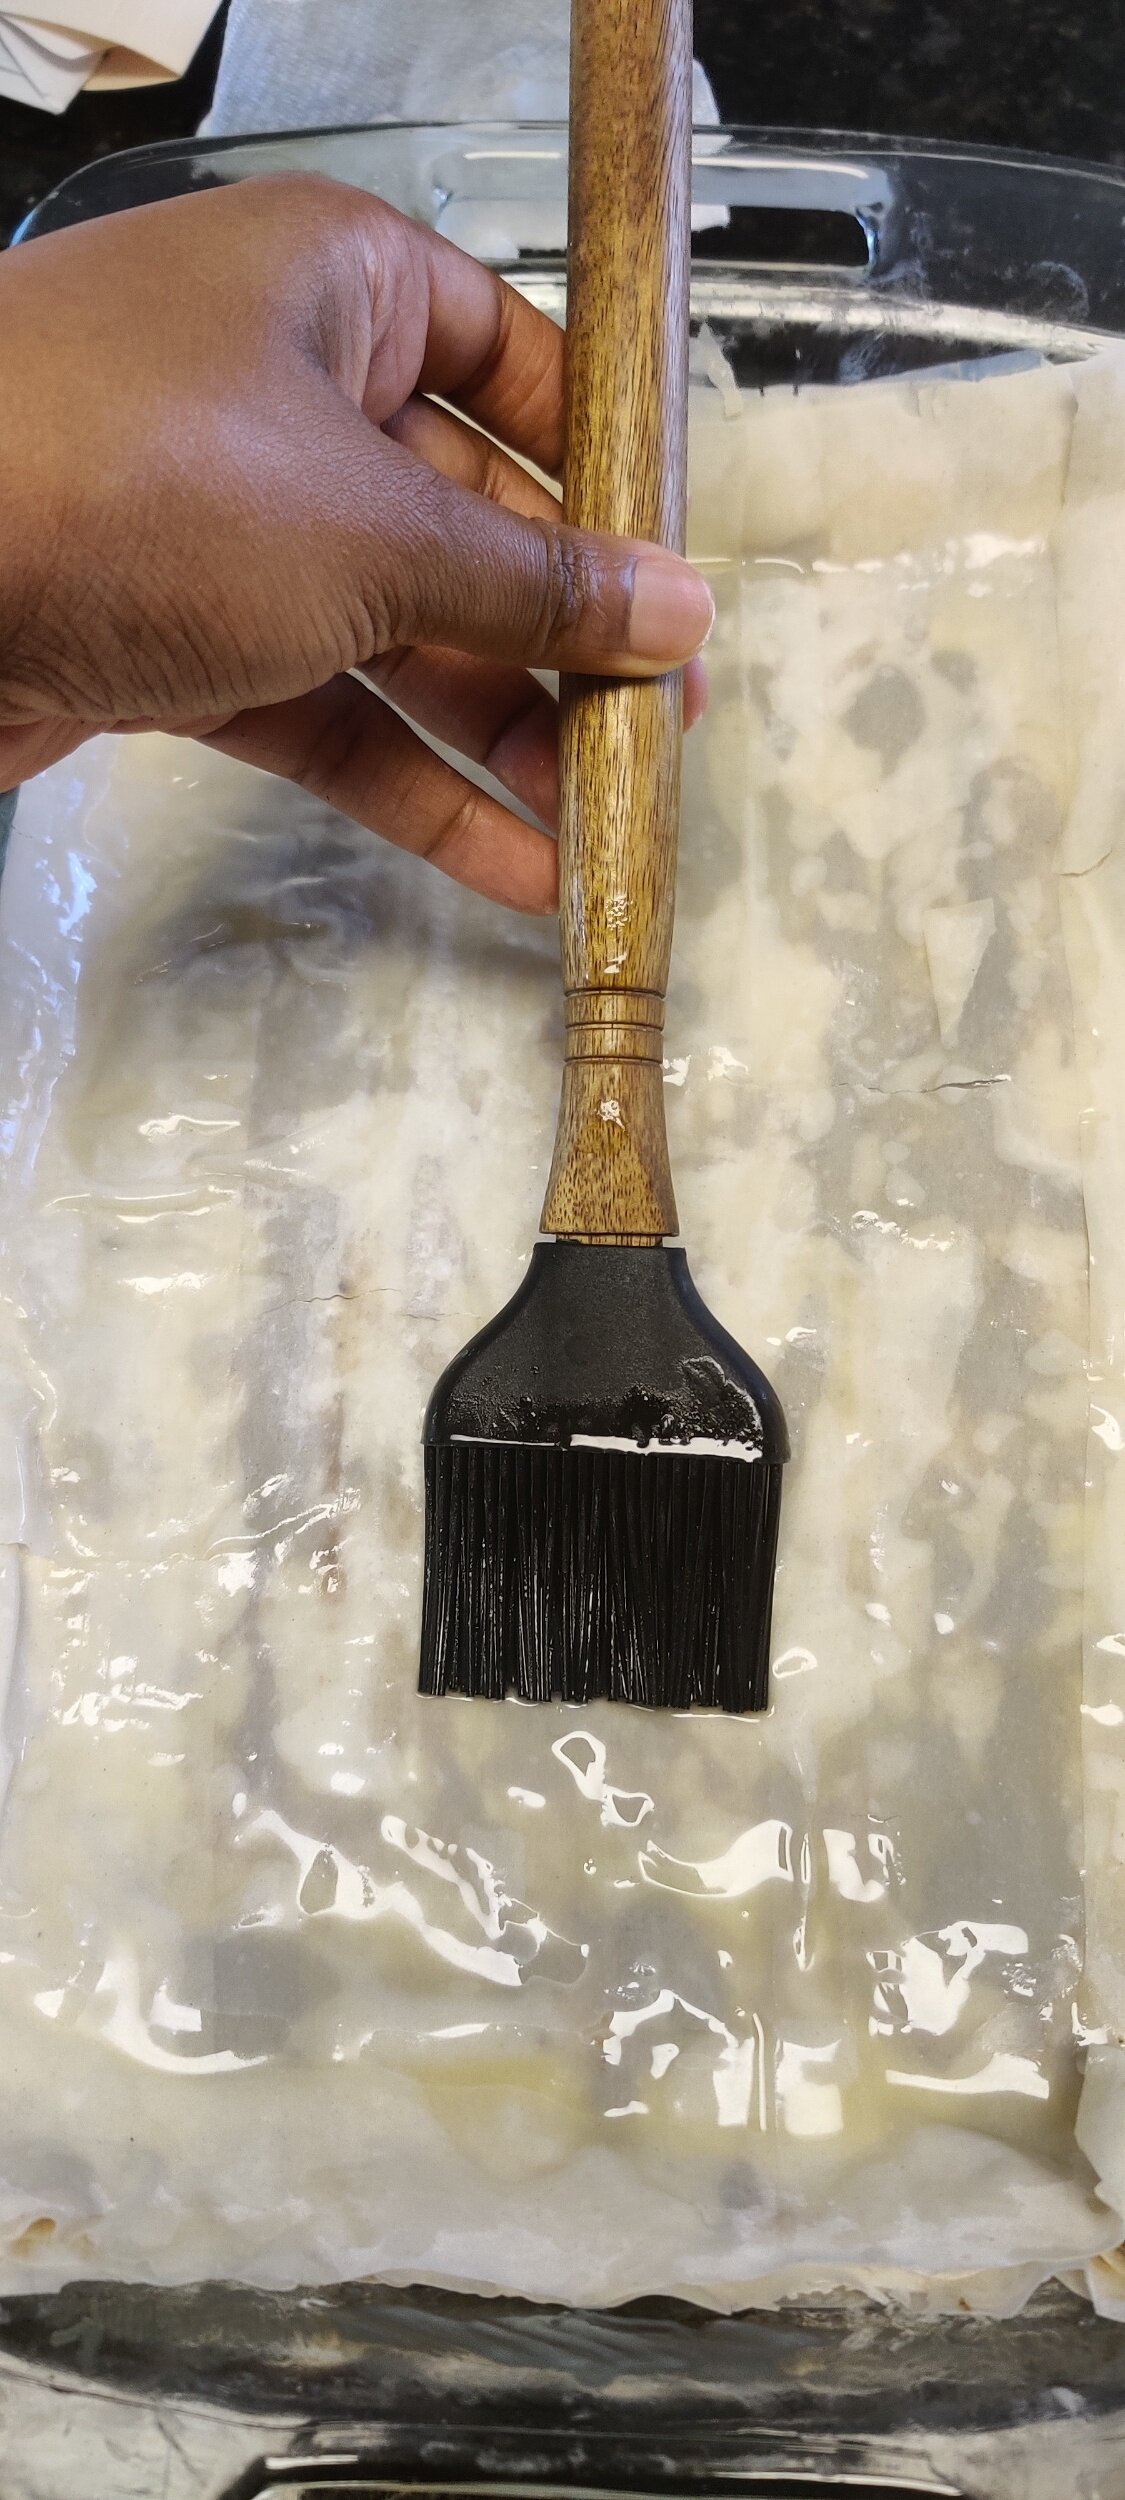
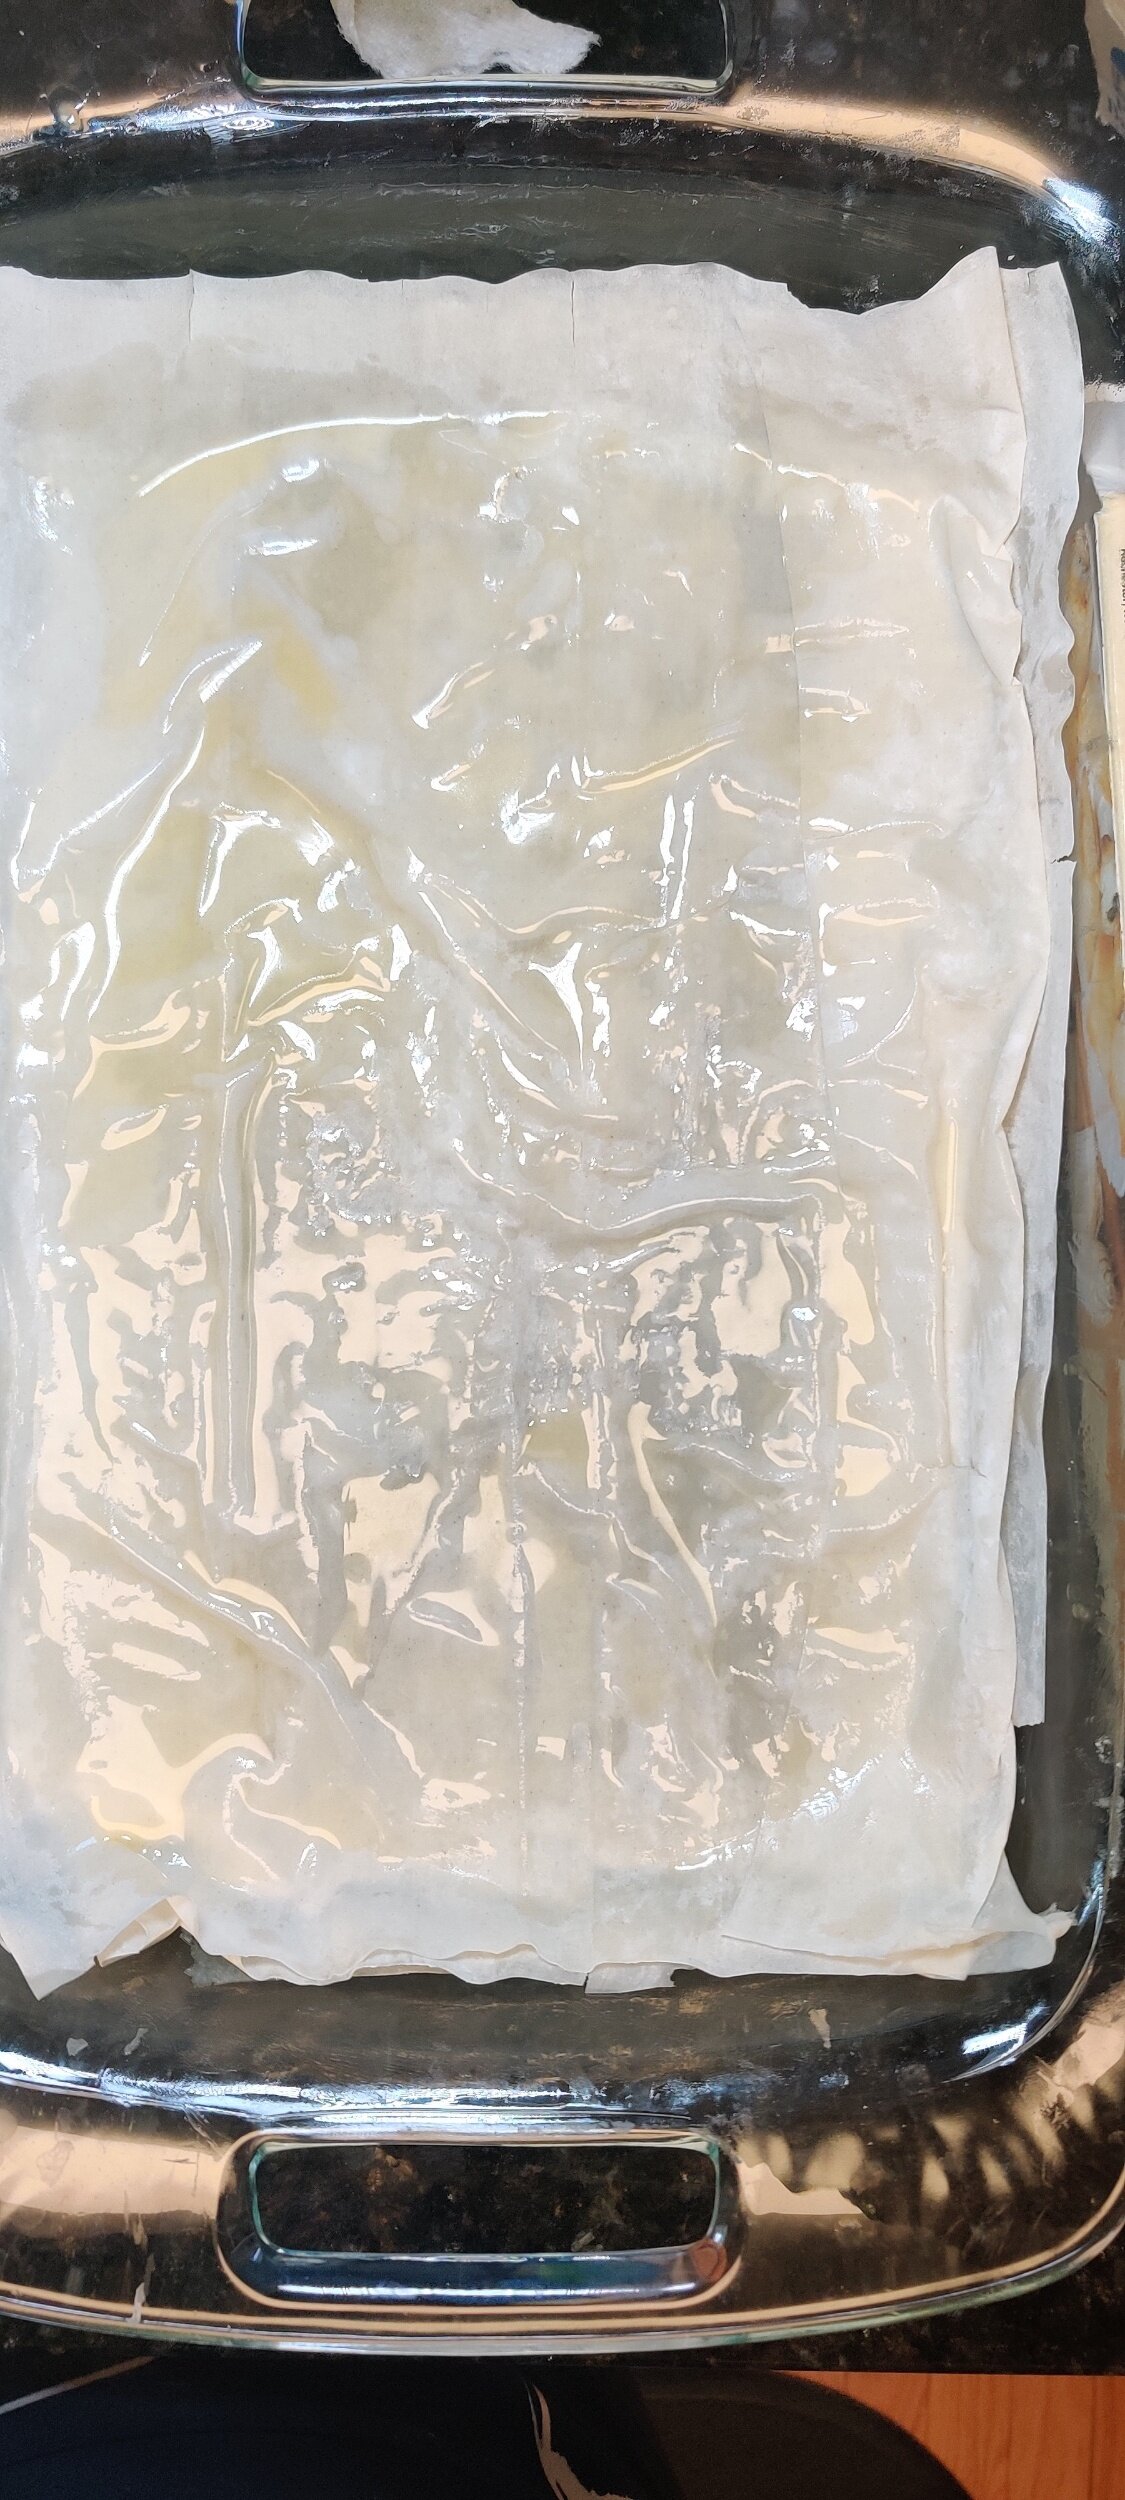
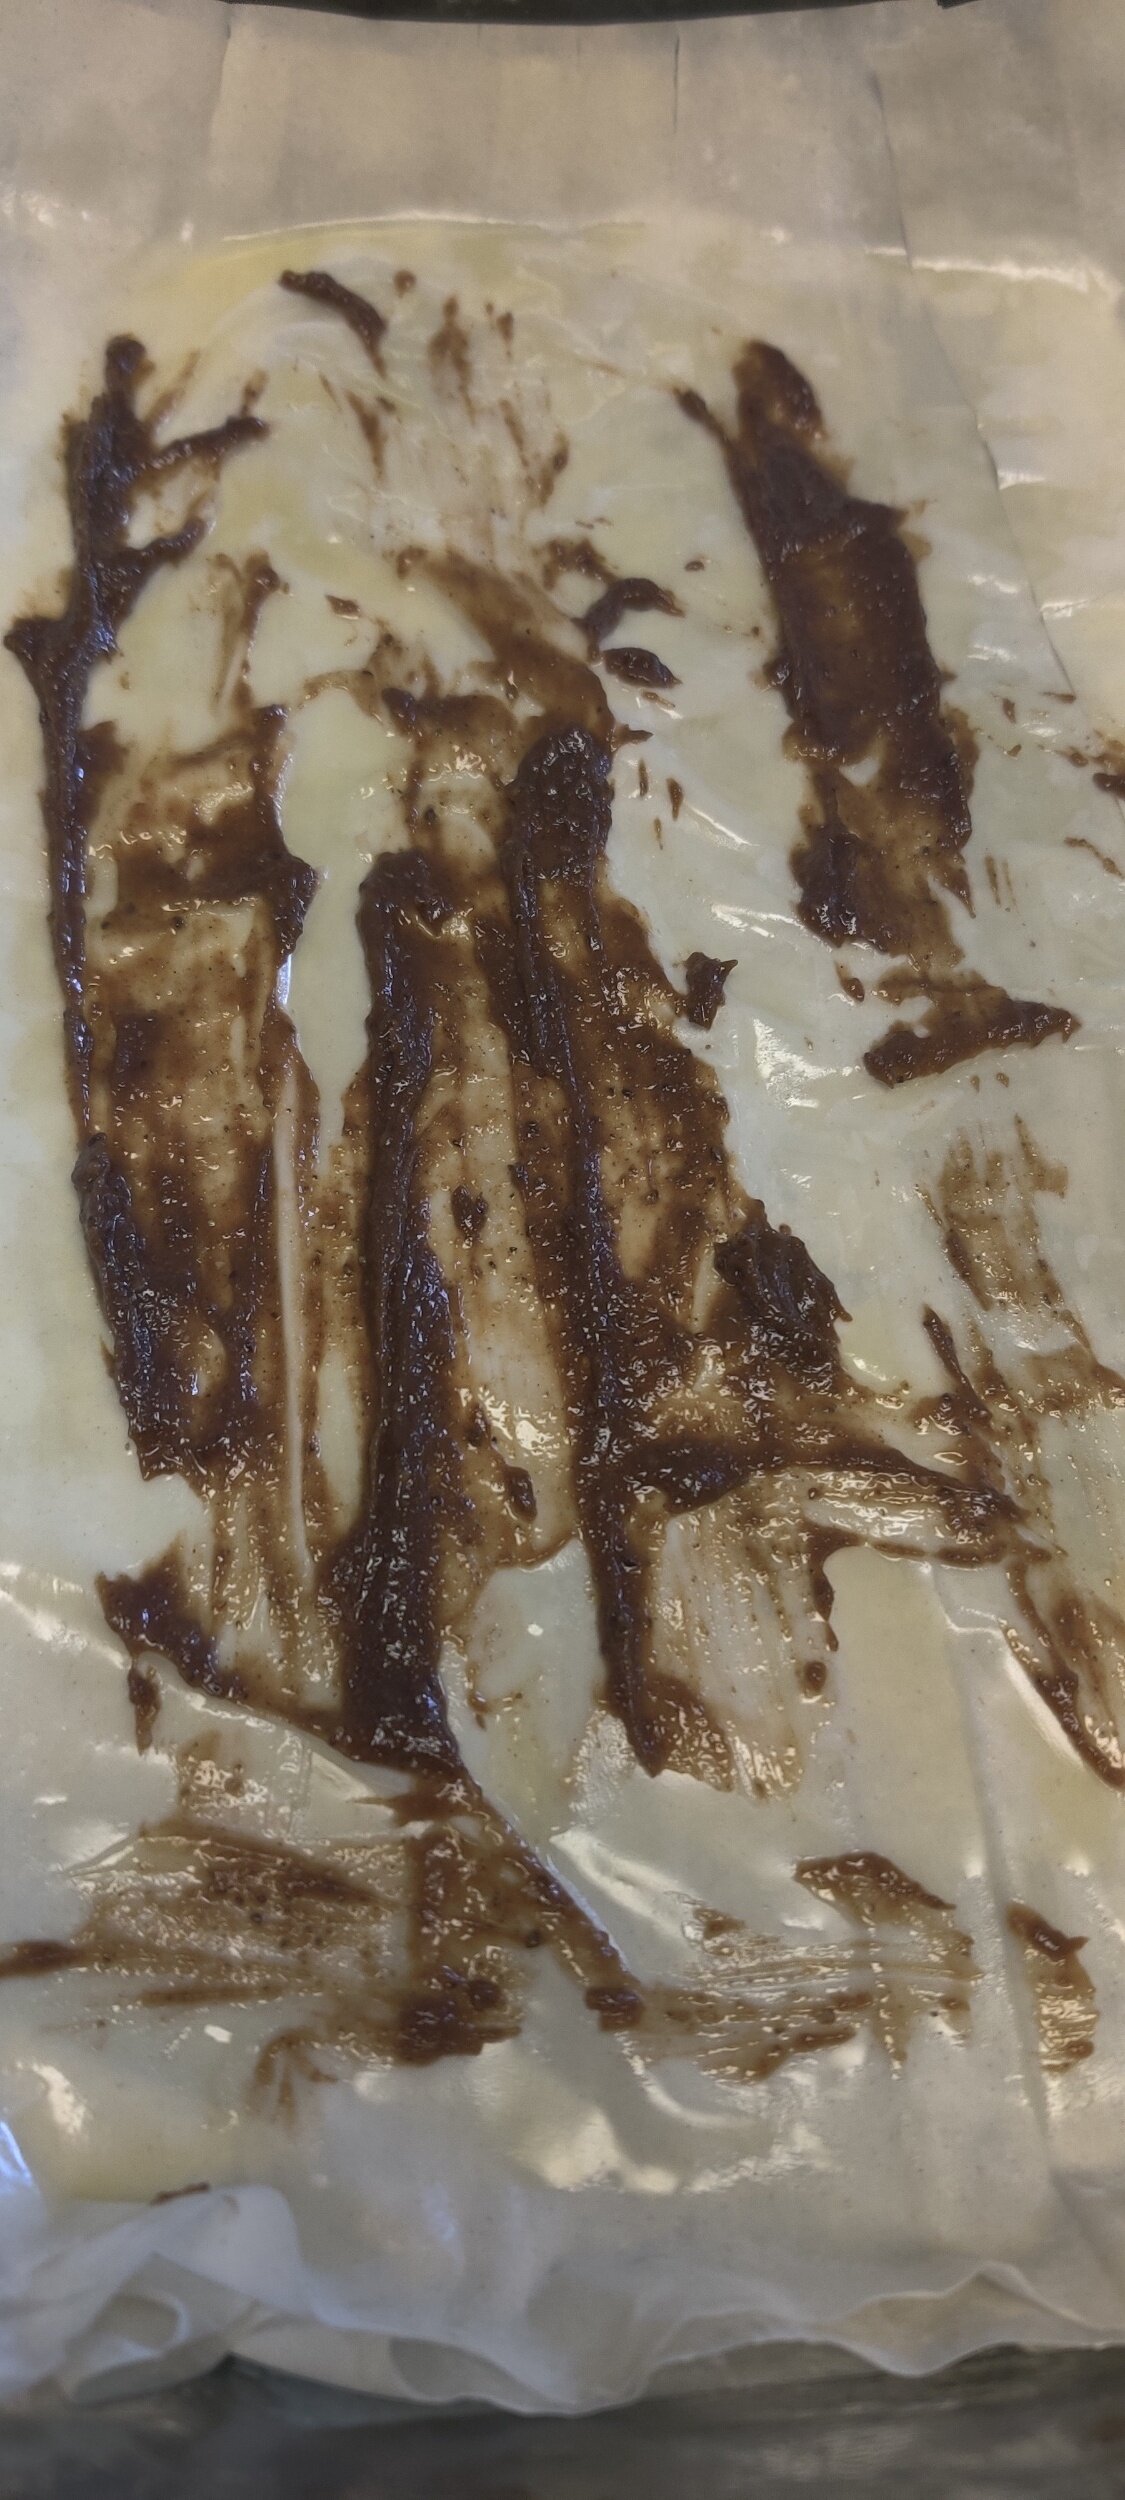
Lay each phyllo dough sheet in a greased baking dish and brush evenly with the butter. After every three sheets spoon about a teaspoon of the chocolate seed butter on top and spread thinly with the back of a spoon.
Sprinkle the Oreo and granola mix on top of the chocolate-buttered sheet, cover with another three buttered phyllo sheets and repeat until they are finished. The top sheet will not require filling.
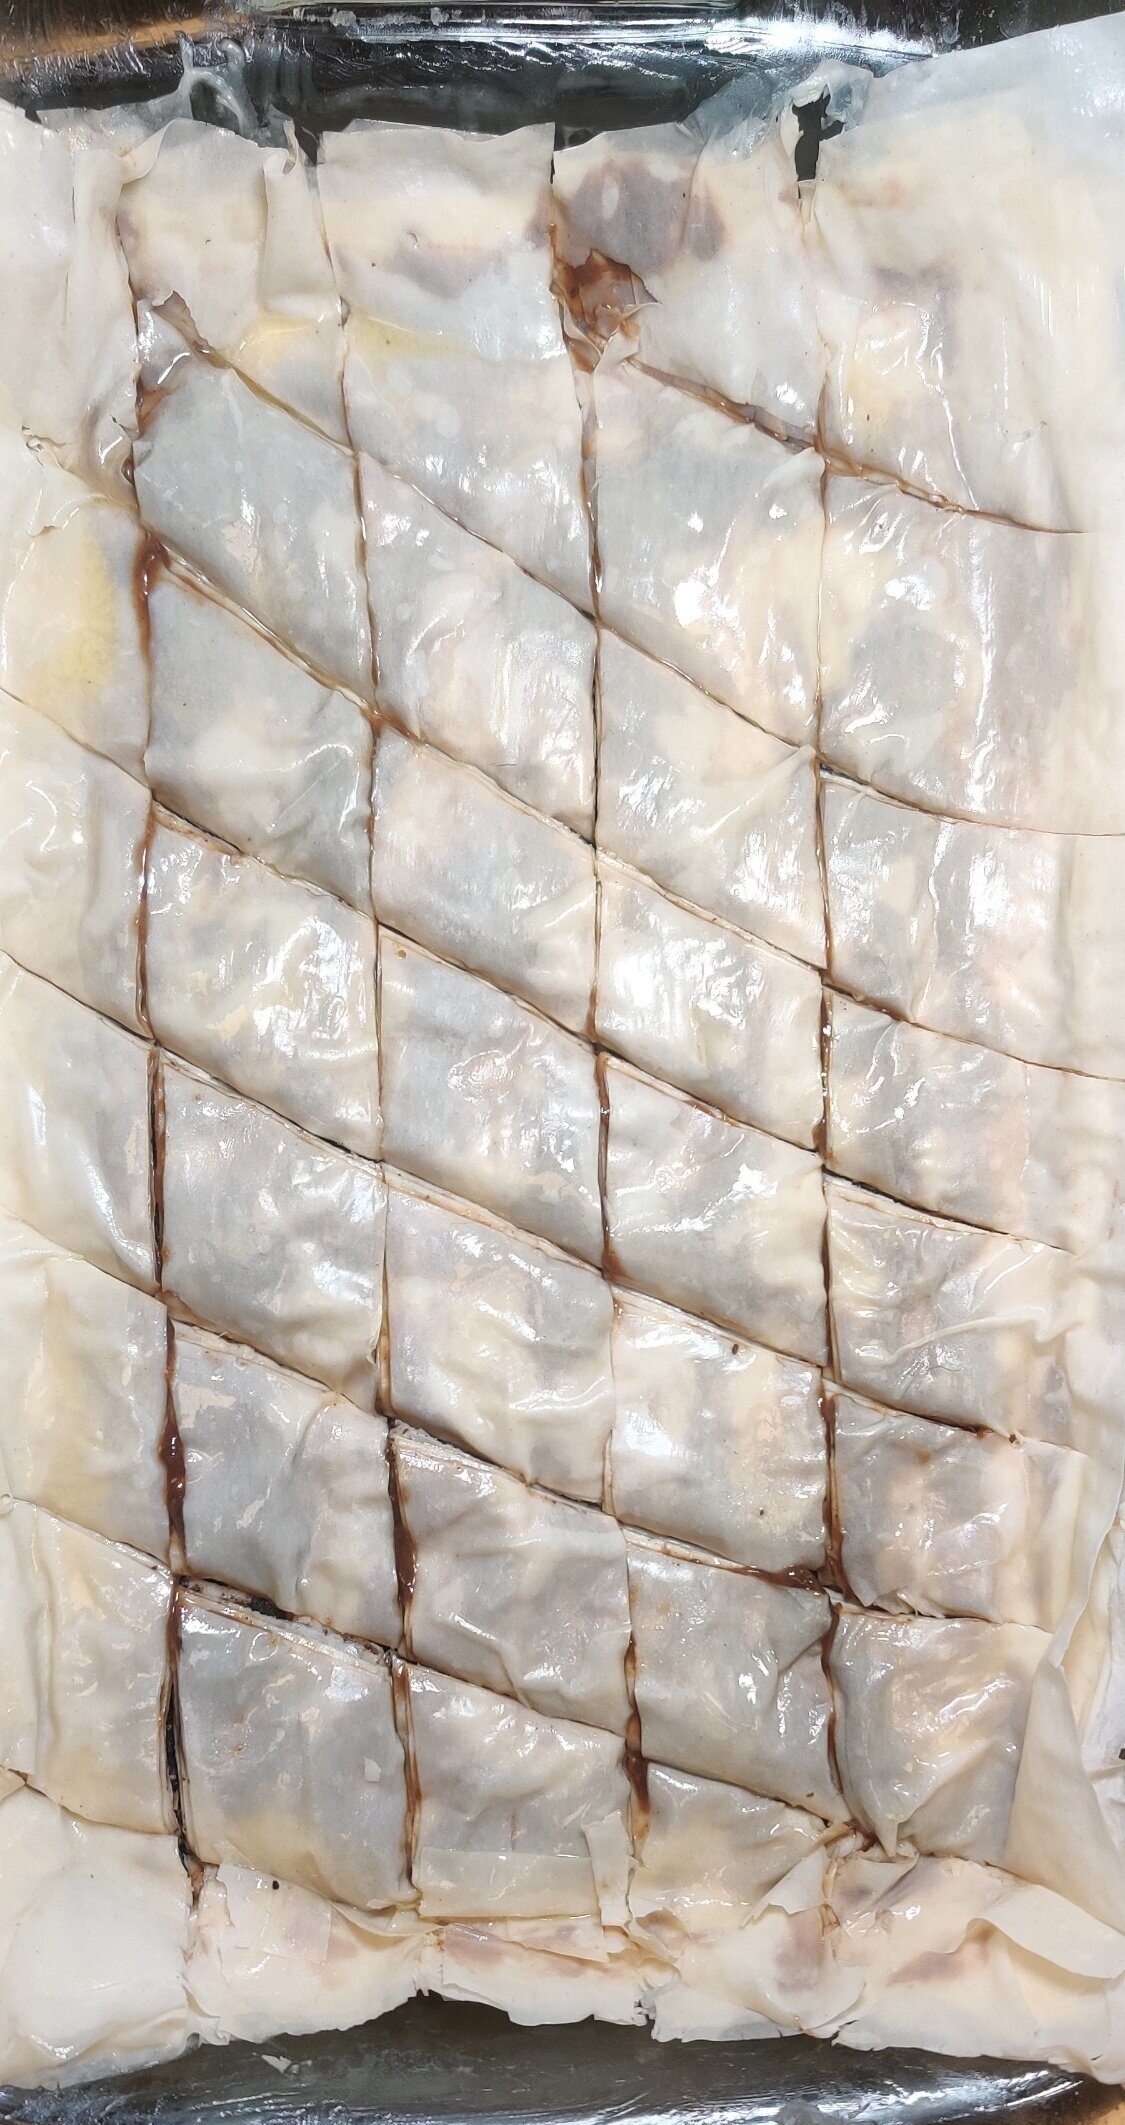
Carefully slice the phyllo dough lengthwise then diagonally. Brush the top with one more coat of melted butter - be sure to get all the corners and be generous with all the sheets!
Bake at 350F for about 25-30 minutes - the edge of the dough should start to brown and crispen.
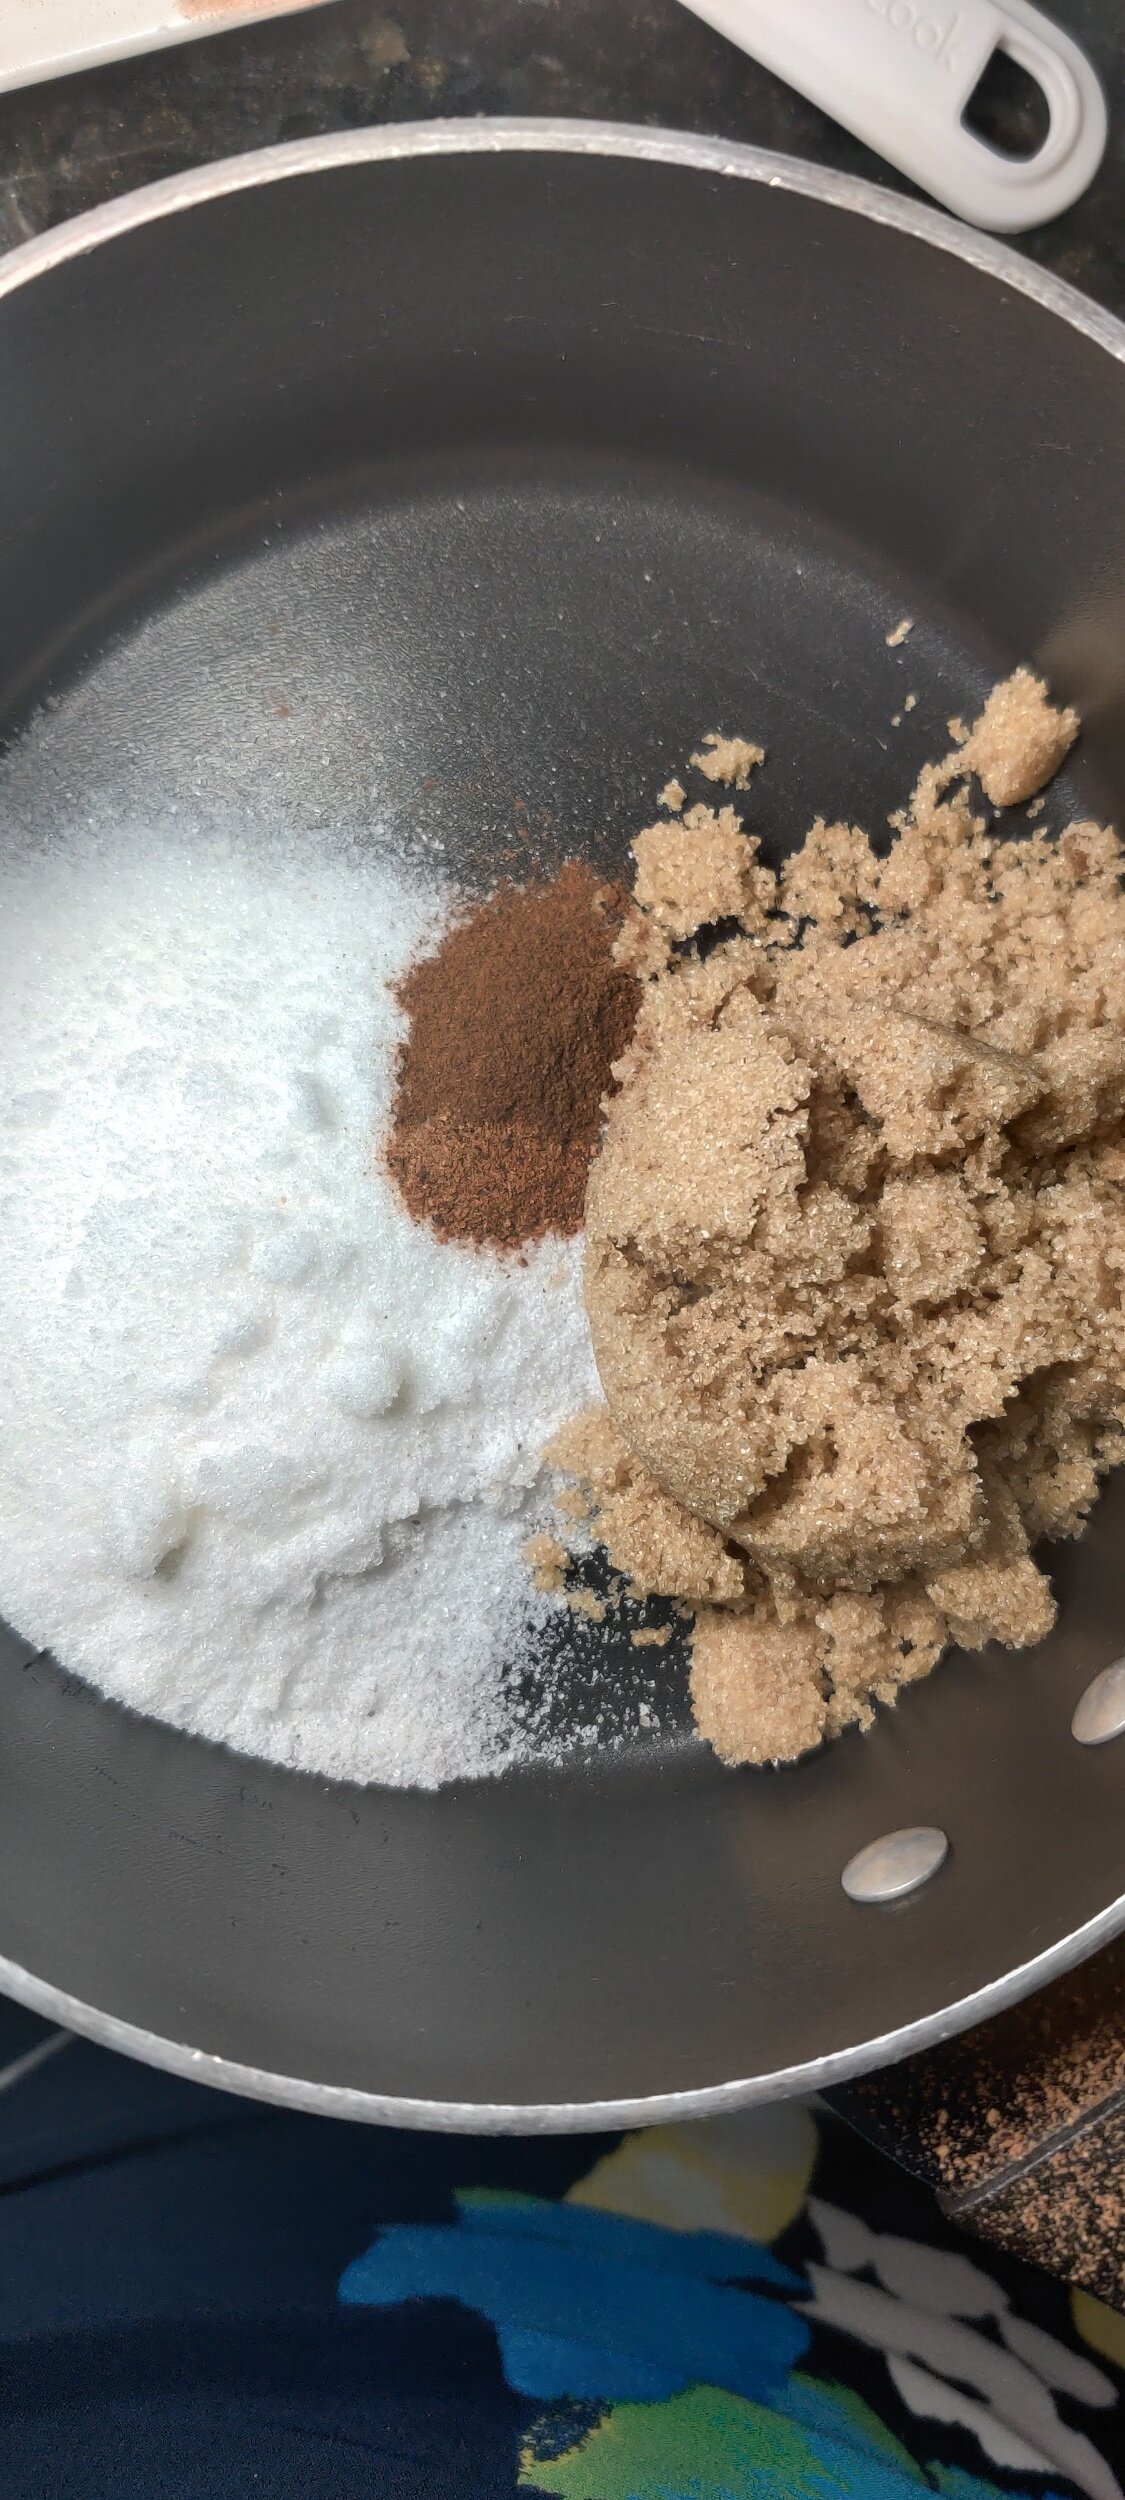
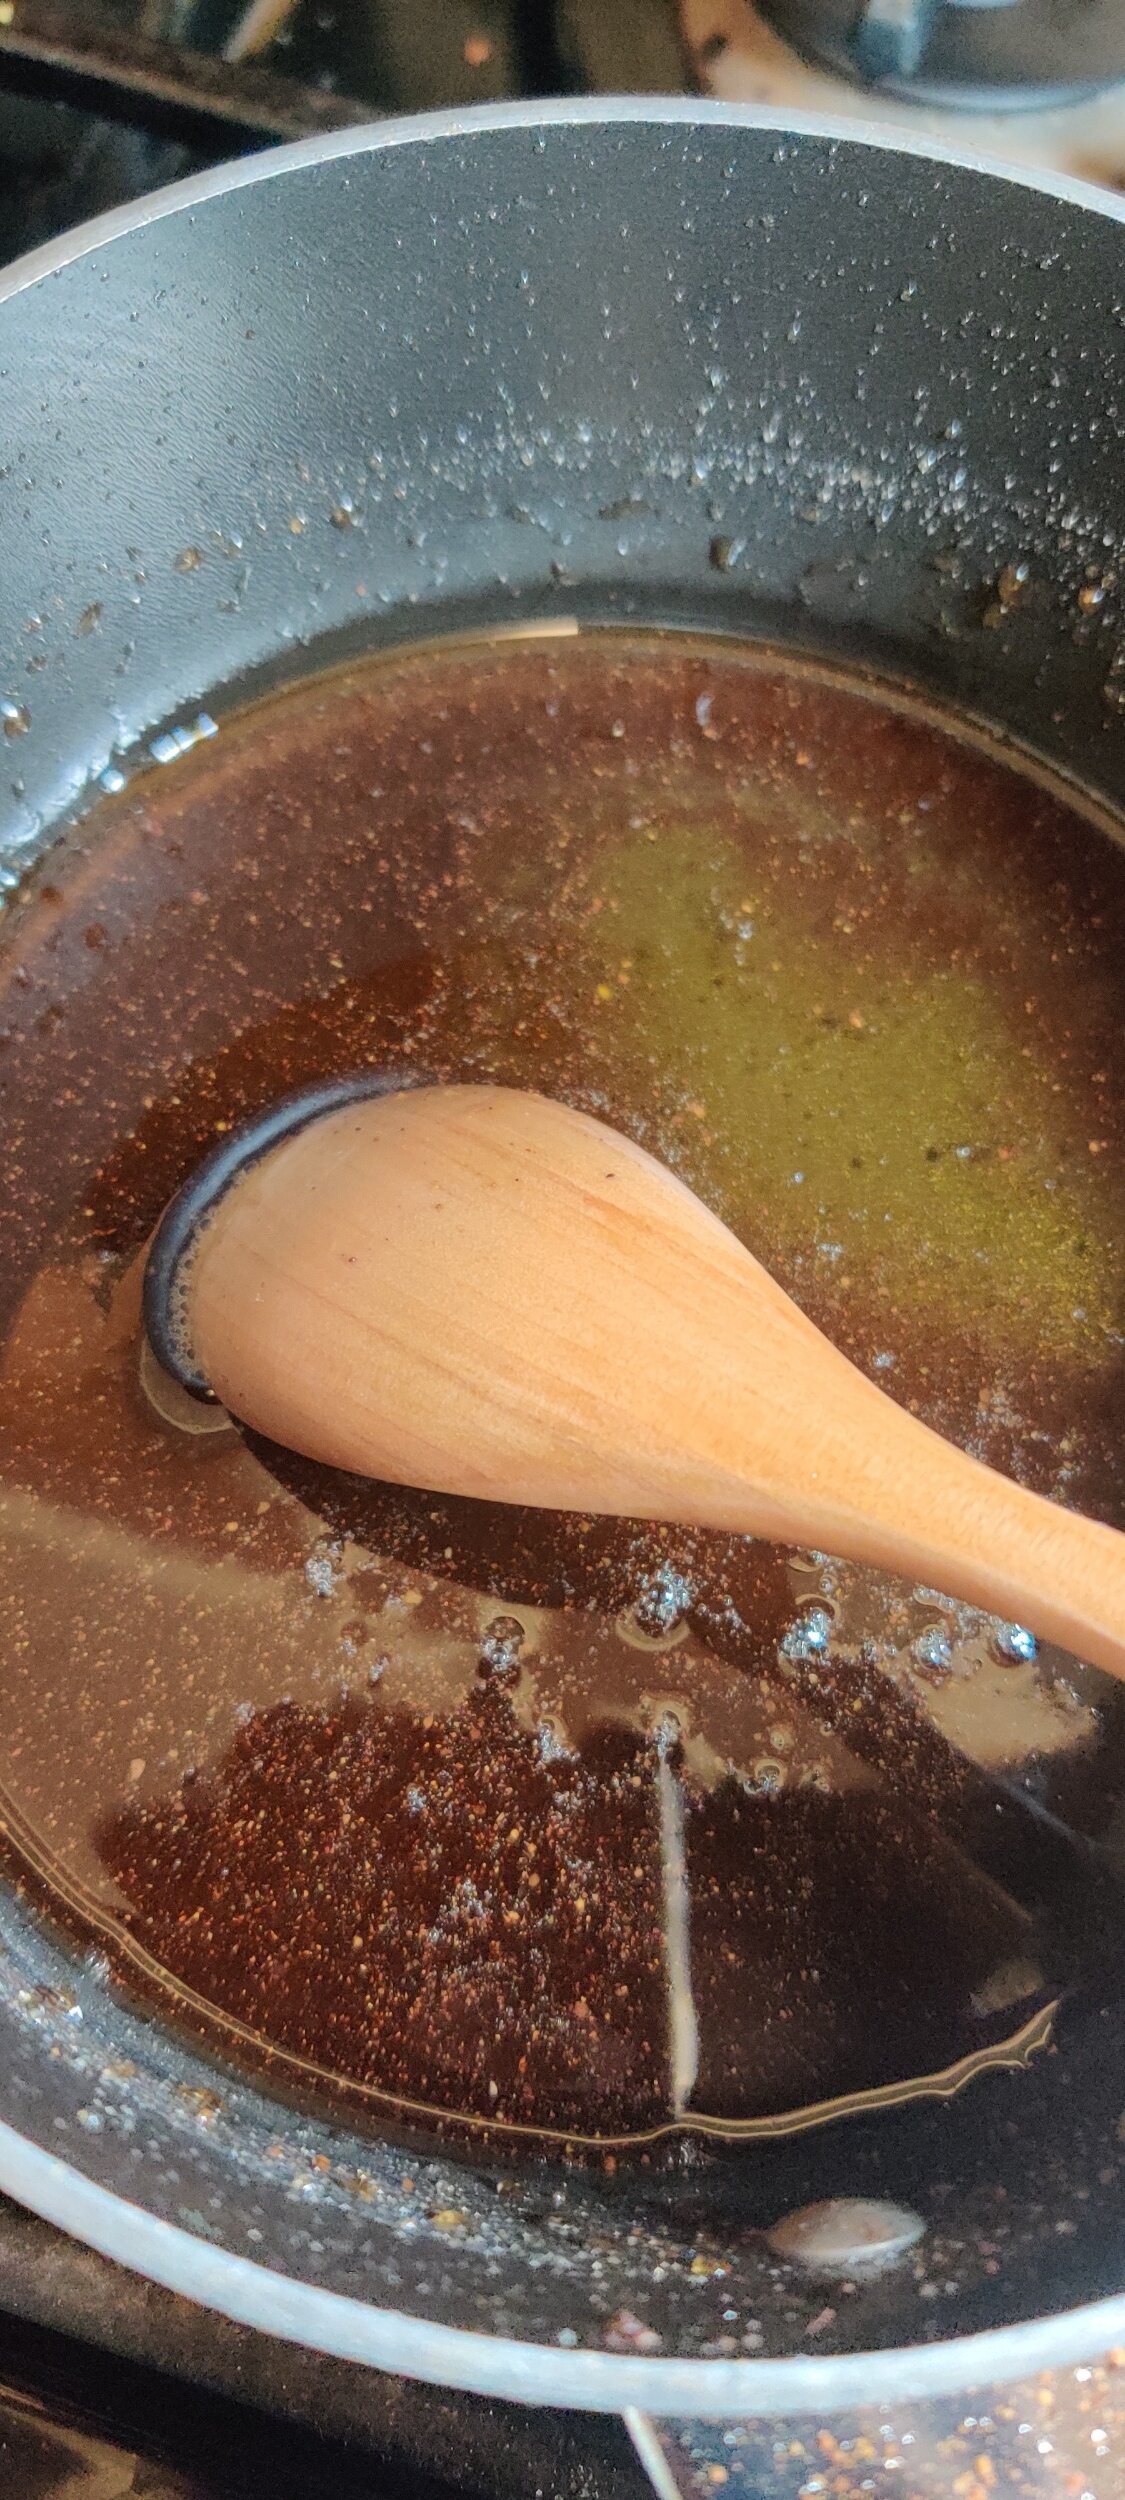
While the baklava is baking, prepare the honey syrup. Bring the sugars, 1/4 cup water, lemon juice, cinnamon, and nutmeg to a boil. Reduce the heat and simmer for about 5 minutes. Remove from the heat and mix in the 1/3 cup of honey, set aside.
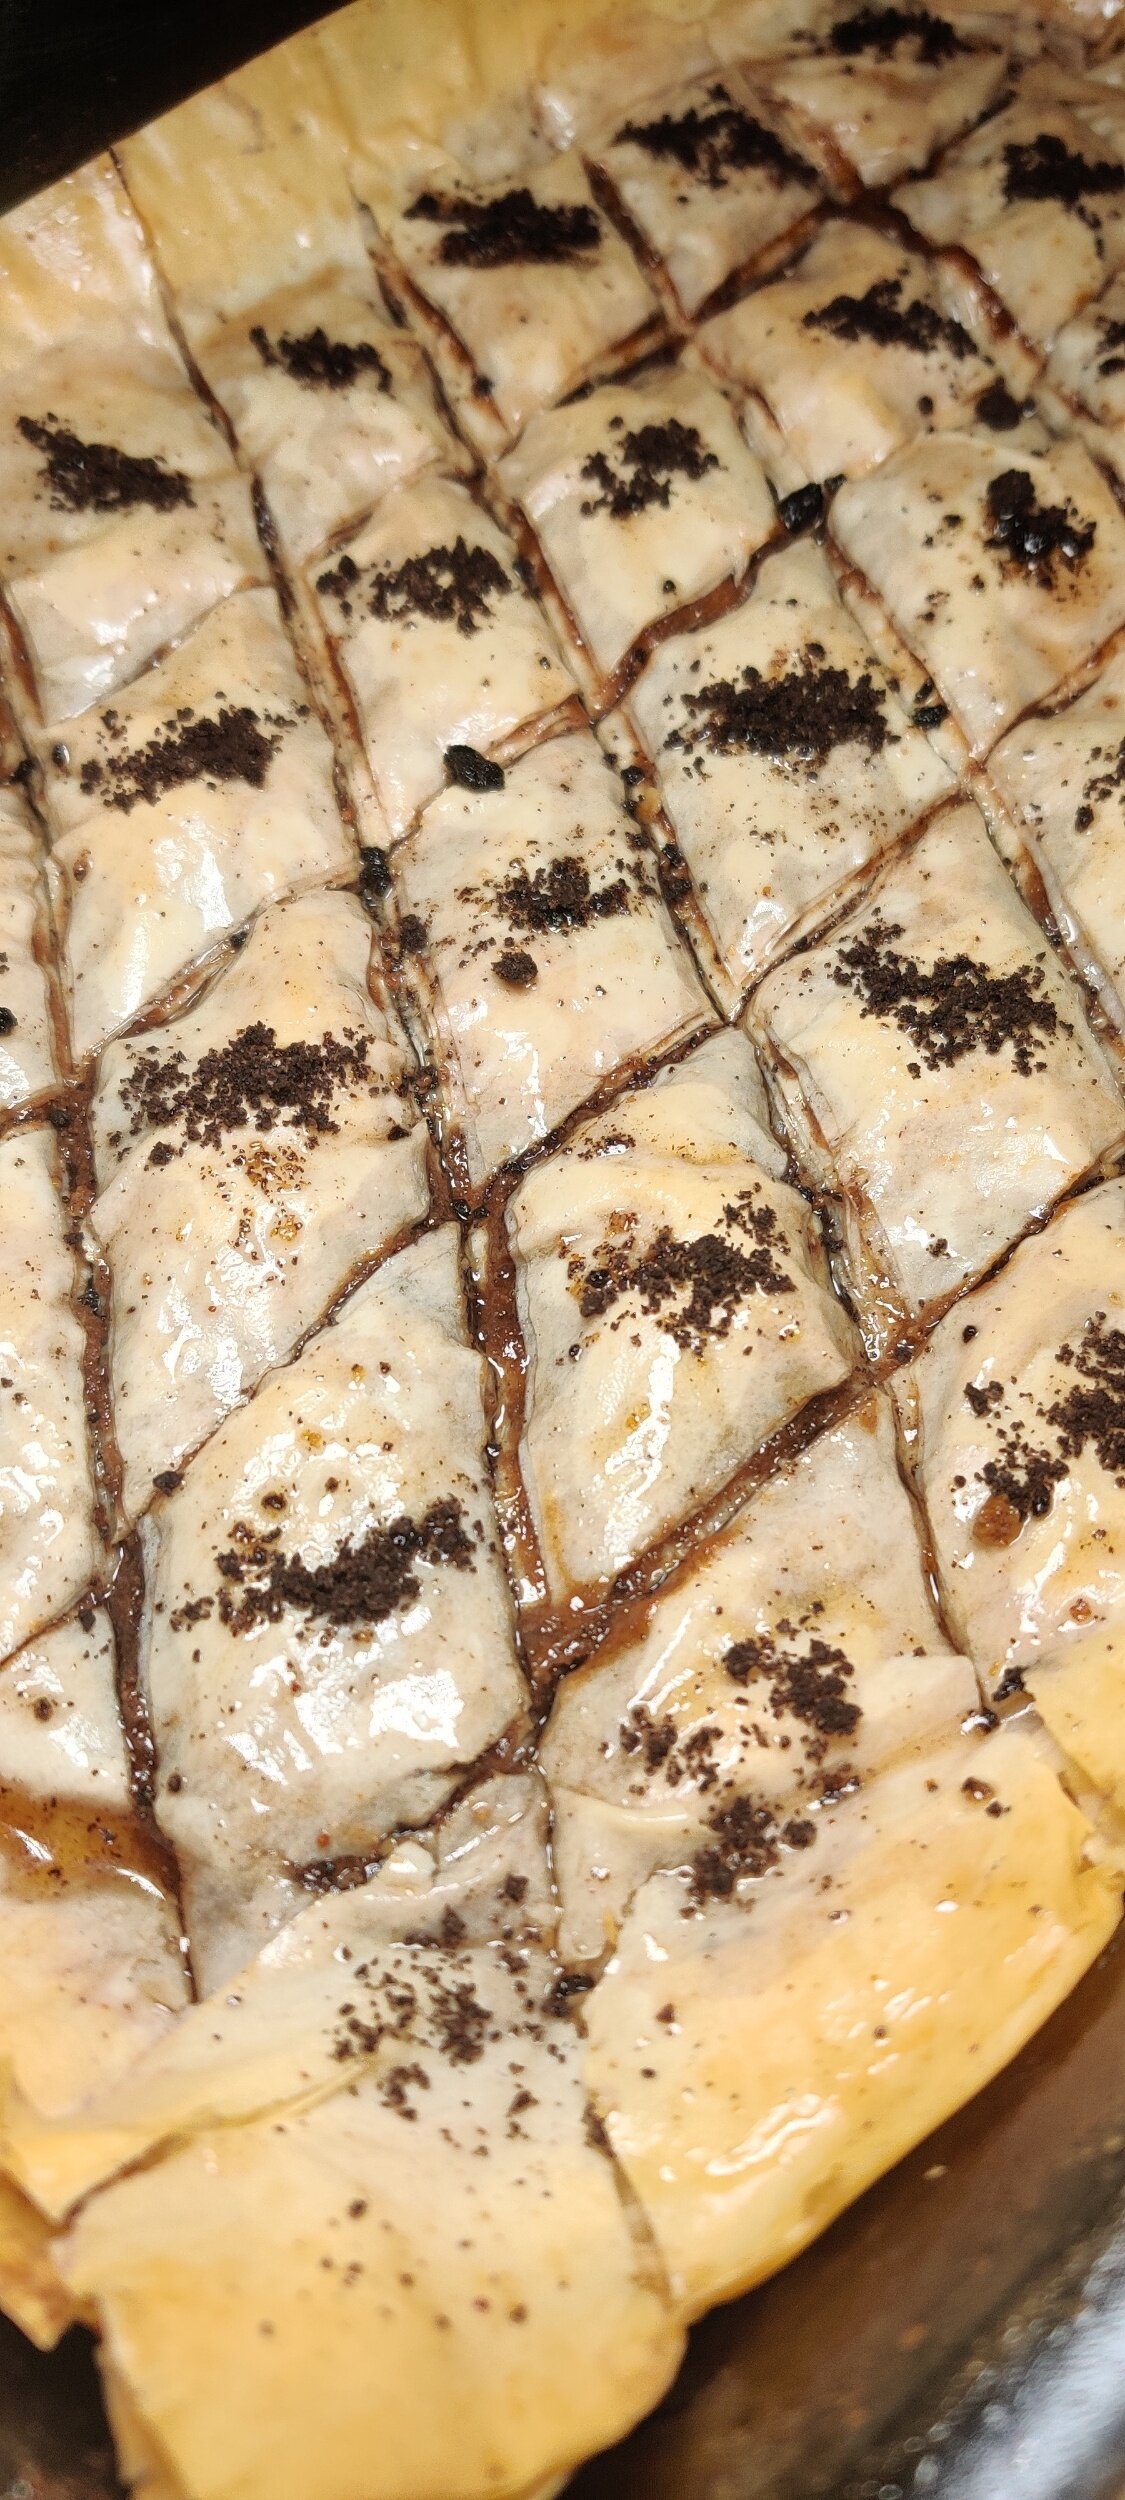
Once the baklava has baked, remove from the oven and pour the honey syrup on top, then brush on what remains. Sprinkle extra crumbs to garnish and allow to cool for 15 minutes.
Tip: If you leave the honey syrup and it starts to caramelize, reheat or add a little more water so it’s not too thick to pour over the baklava.


