Holiday "Christmas Crack" Toffee with Pretzels and Coconut
One of my favorite sweets is English toffee! Hard or soft, this candy (made of butter and caramelized sugar) is a treat many people find irresistible, hence the surging demand around the holidays when people are gathering and looking to satisfy their sweet tooth. Toffee also makes a great gift and is ideal for late-night snacking!
Traditional English toffee doesn't typically come with nuts, though the American version is often topped with crushed almonds.
The fun thing about toffee for the holidays? You can pretty much add whatever toppings you want. In this case, I add some pretzels for extra crunch and saltiness and make up for the saltine crackers many people use for the bottom layer. The coconut adds another dimension of sweetness, but much more subtle than the sugar, of course! Although almonds tend to be the most popular nuts, as I mentioned, I'm a huge fan of toasted pecans and walnuts all the same.
What's the most important part about making toffee? If you want that perfect crunch, not chewy, but a light, brittle crunch that still melts in your mouth (too solid, and your teeth might shatter!), you'll need to heat the butter and sugar mix to 285-300F before pouring it onto a solid, nonstick surface before chilling.

Holiday "Christmas Crack" Toffee with Pretzels and Coconut
Ingredients
- 2 cups butter
- 2 cups granulated sugar
- 1/4 teaspoon salt
- 1/4 cup unsalted chopped pecans
- 1/4 cup unsalted chopped walnuts
- 1/4 cup desiccated coconut
- 1 teaspoon sea salt (optional)
- 1/2 cup thin pretzels
Instructions
- Roughly chop the pecans and walnuts, place them on a baking sheet in an oven at 400F and toast for 12-15 minutes until crispy; remove from the oven.
- In a medium-sized pot, melt the butter and stir in the sugar occasionally to dissolve it. Bring to a gentle boil on medium-low heat (depending on your stove) until it turns amber in colour and the temperature reaches 285F.
- Remove from heat and pour onto a foil-lined baking tray. Allow the toffee to set for about 1 minute, then sprinkle with chocolate chips evenly. Spread with a spatula and allow the chocolate to melt.
- Sprinkle the nuts, coconut, sea salt, and crushed pretzels, and gently press the toppings into the toffee with the spatula. Move to the fridge and chill until hardened. Enjoy!
Nutrition Facts
Calories
298Fat (grams)
22.5 gCarbs (grams)
25.6 gSugar (grams)
20.4 gProtein (grams)
1.4 gI am not a certified nutritionist and any nutritional information on dontmissmyplate.com should only be used as a general guideline.
Caramel Peanut Butter Blossoms
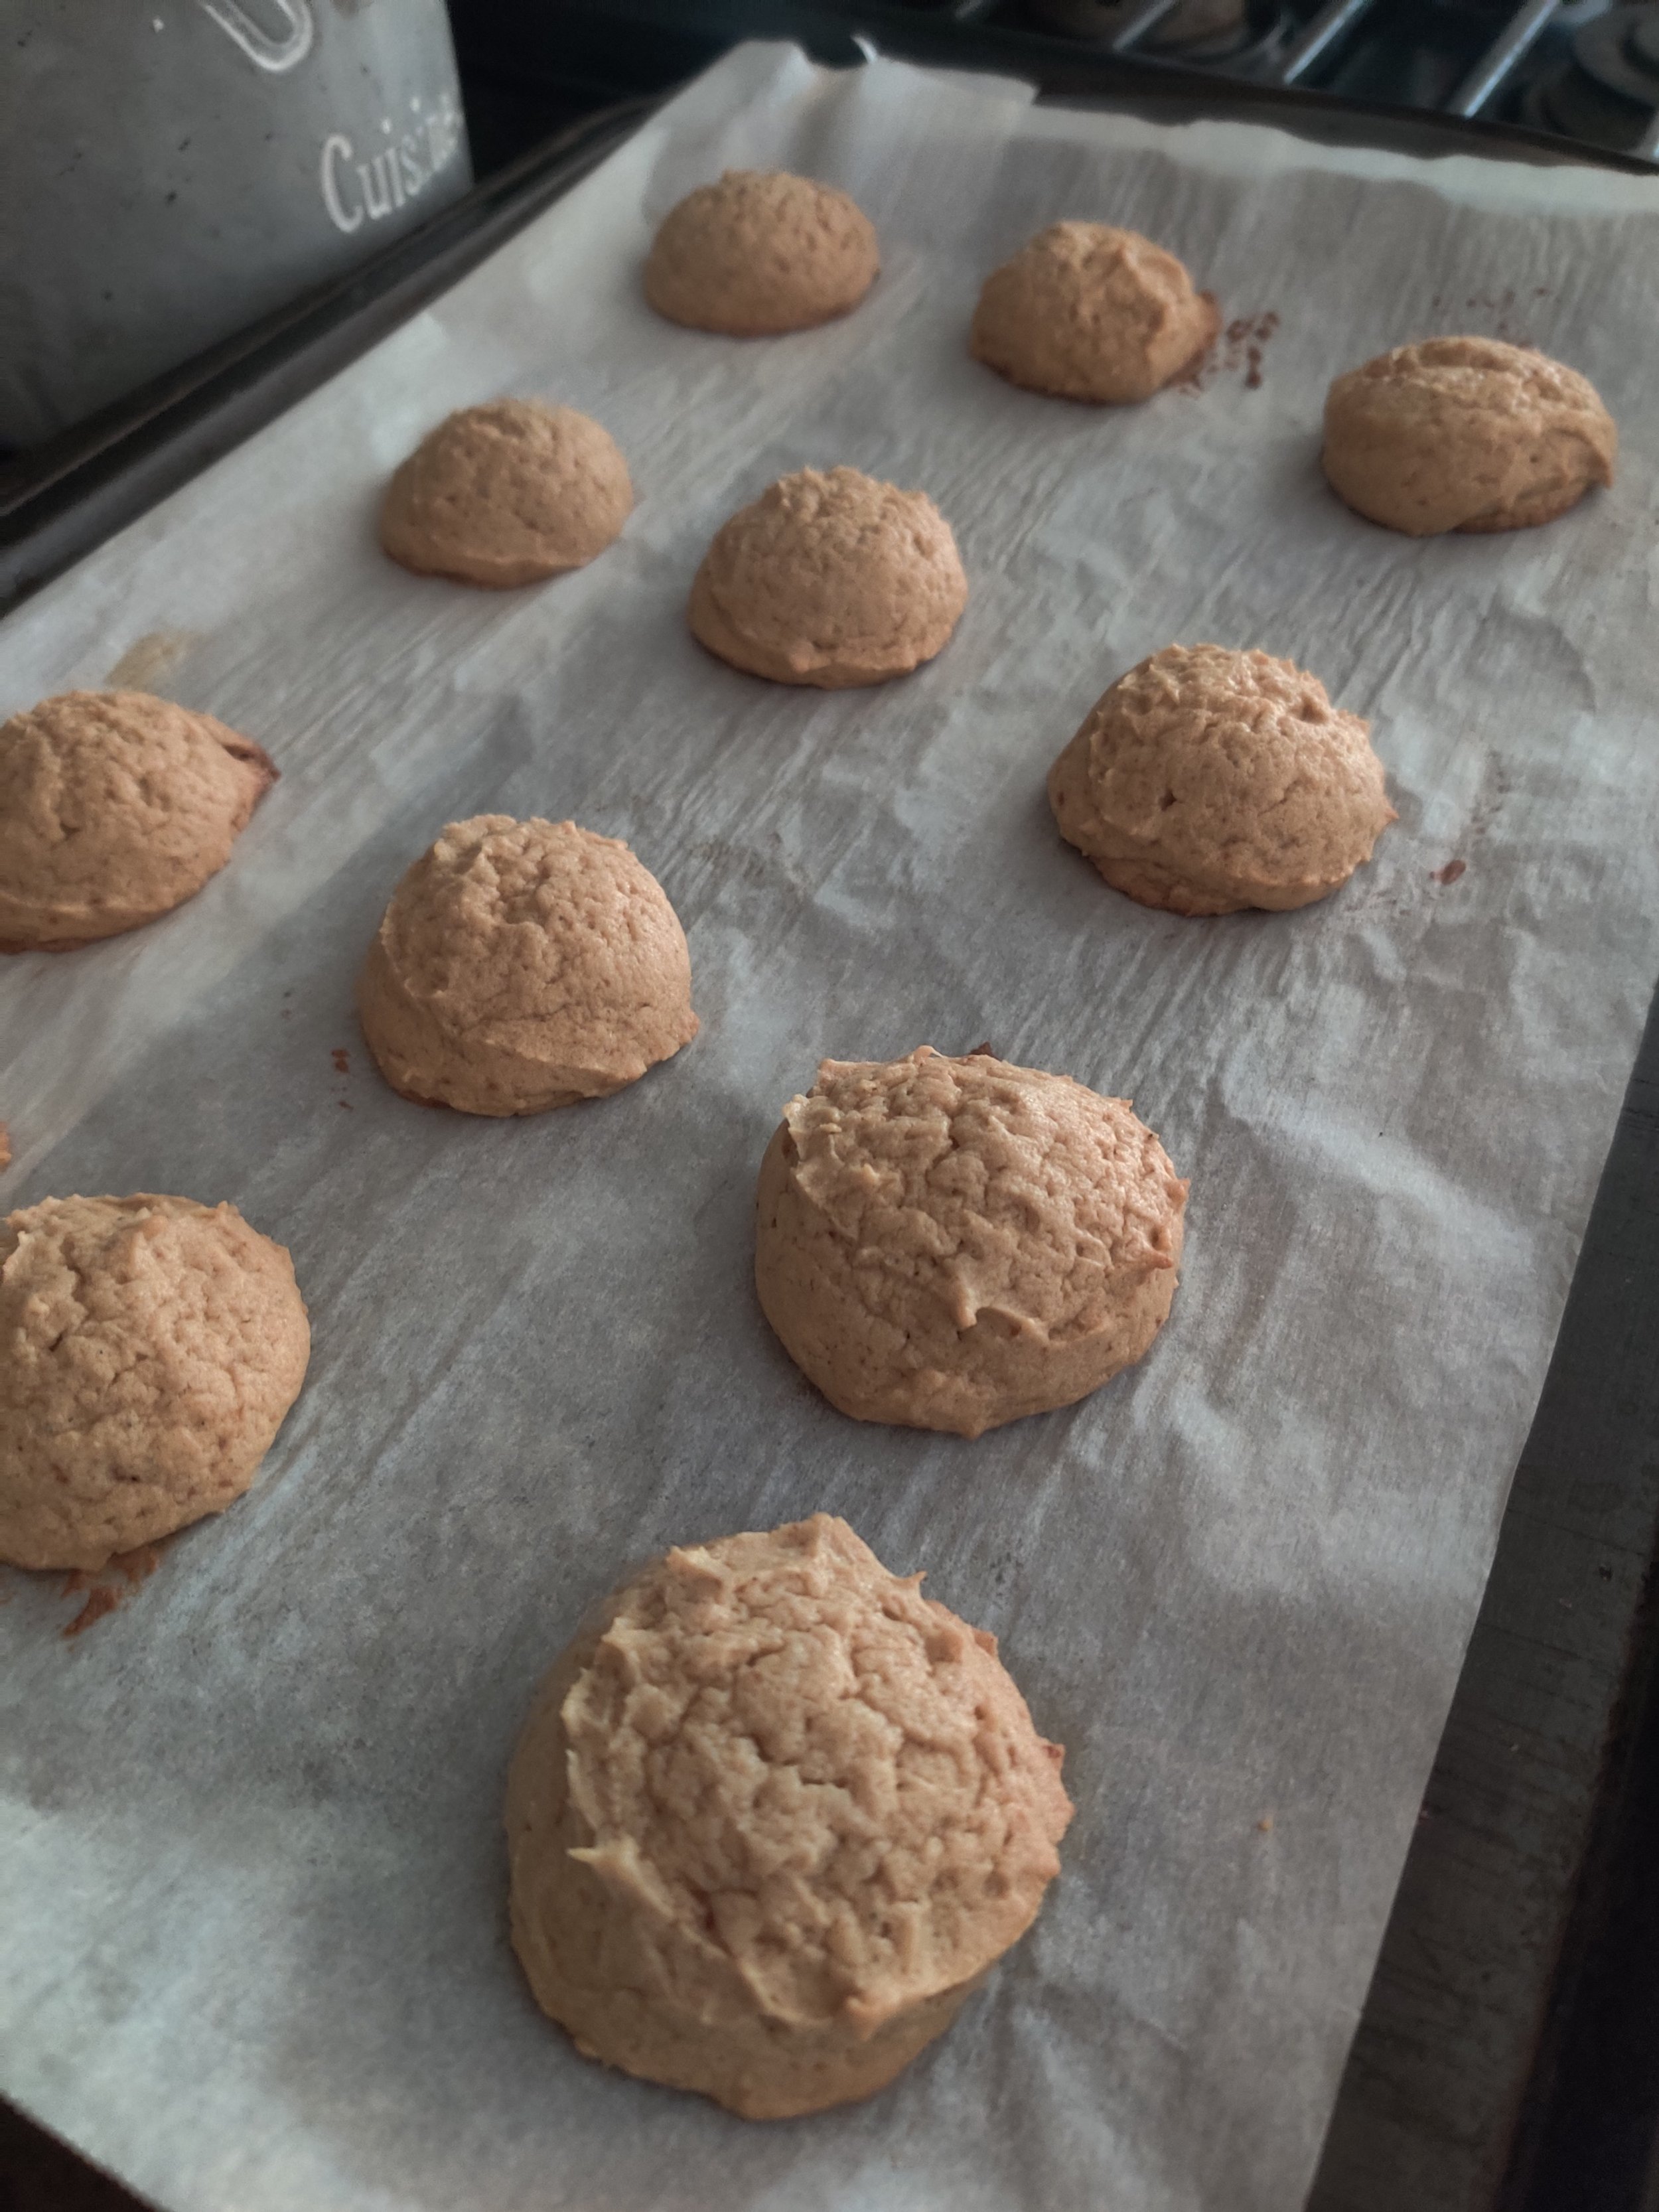
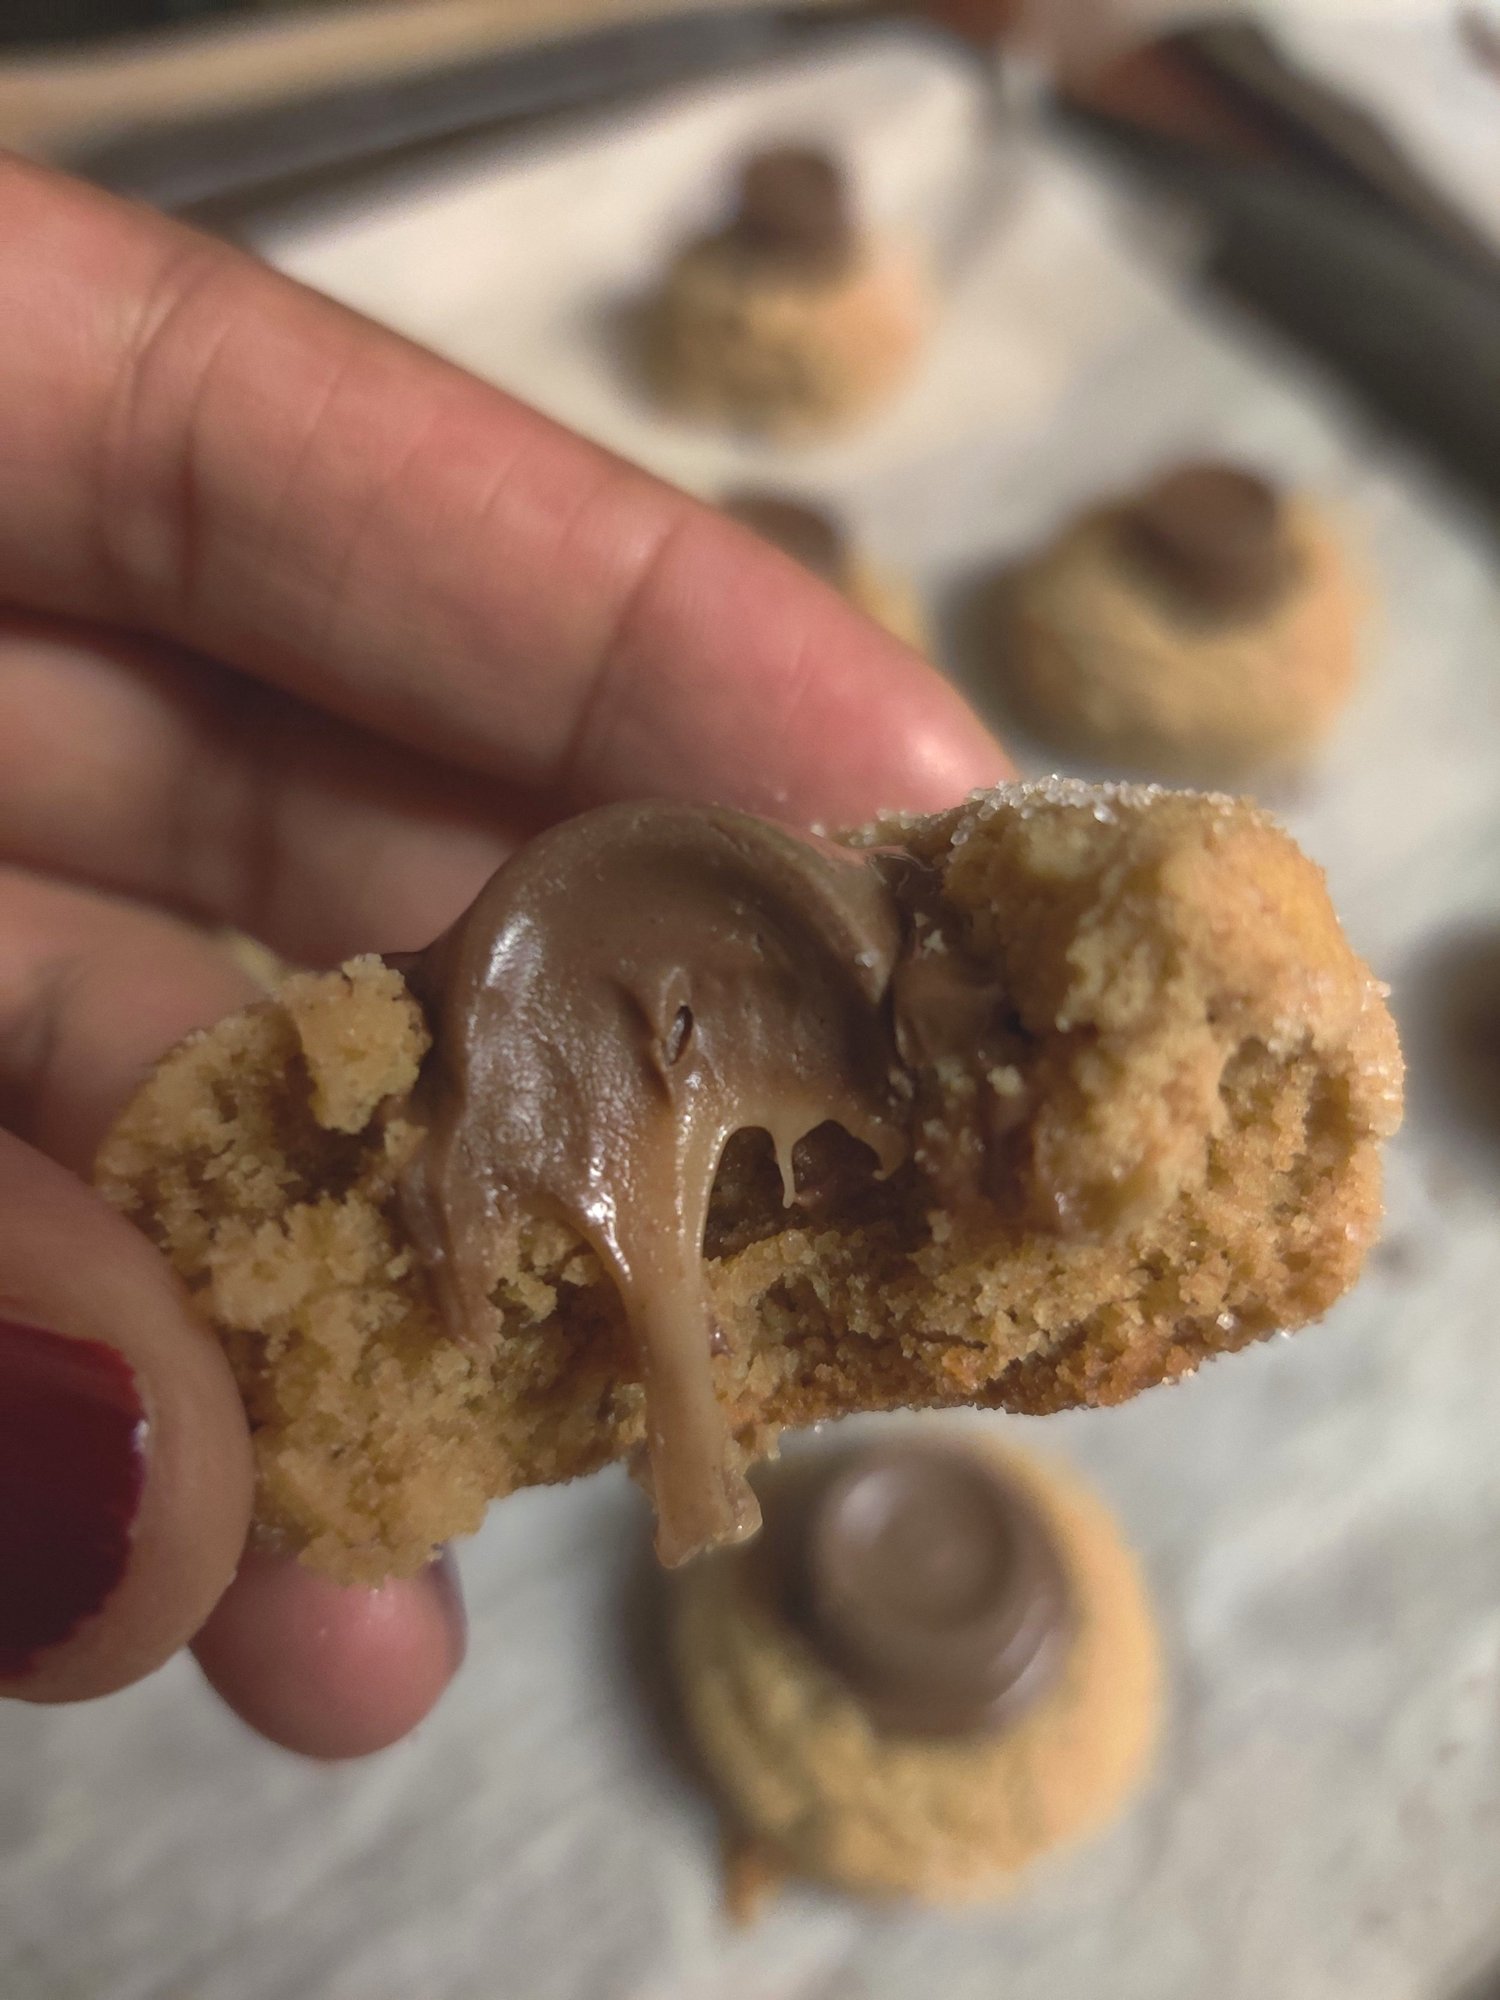
If you're a sucker for caramel, peanut butter or chocolate, you'll love peanut butter blossoms. These cookies are best served soon after baking or within 2-3 days and are certainly a must for any holiday gift boxes you may be putting together.
Typically peanut butter blossoms are topped with regular Hershey Kisses, but I love caramel and personally think the addition in this recipe, a slight change, makes a huge difference!
The tricky thing about the cookies is their propensity to dry out a bit. The key is not to overbake them and be wary of the amount of flour or other dry ingredients added. However, there will be natural splits and crinkles.
Side note about these iconic cookies (courtesy of a 1957 Pillsbury Bake-Off contest). If you are loyal to Hershey, there are caramel-stuffed Kisses you can use. It's up to you! In my case, Rolos were available.
Caramel Peanut Butter Blossoms
Ingredients
- 1/4 cup butter
- 1/4 cup peanut butter
- 1/4 cup light brown sugar
- 1 teaspoon vanilla extract
- 1/2 beaten egg
- 1/2 cup all-purpose flour
- 1/4 cup + 2 tablespoons whole wheat white flour
- 1/2 teaspoon baking soda
- 1/4 teaspoon salt
- 1/4 cup white sugar
- 12 Rolos or Caramel Hershey kisses
Instructions
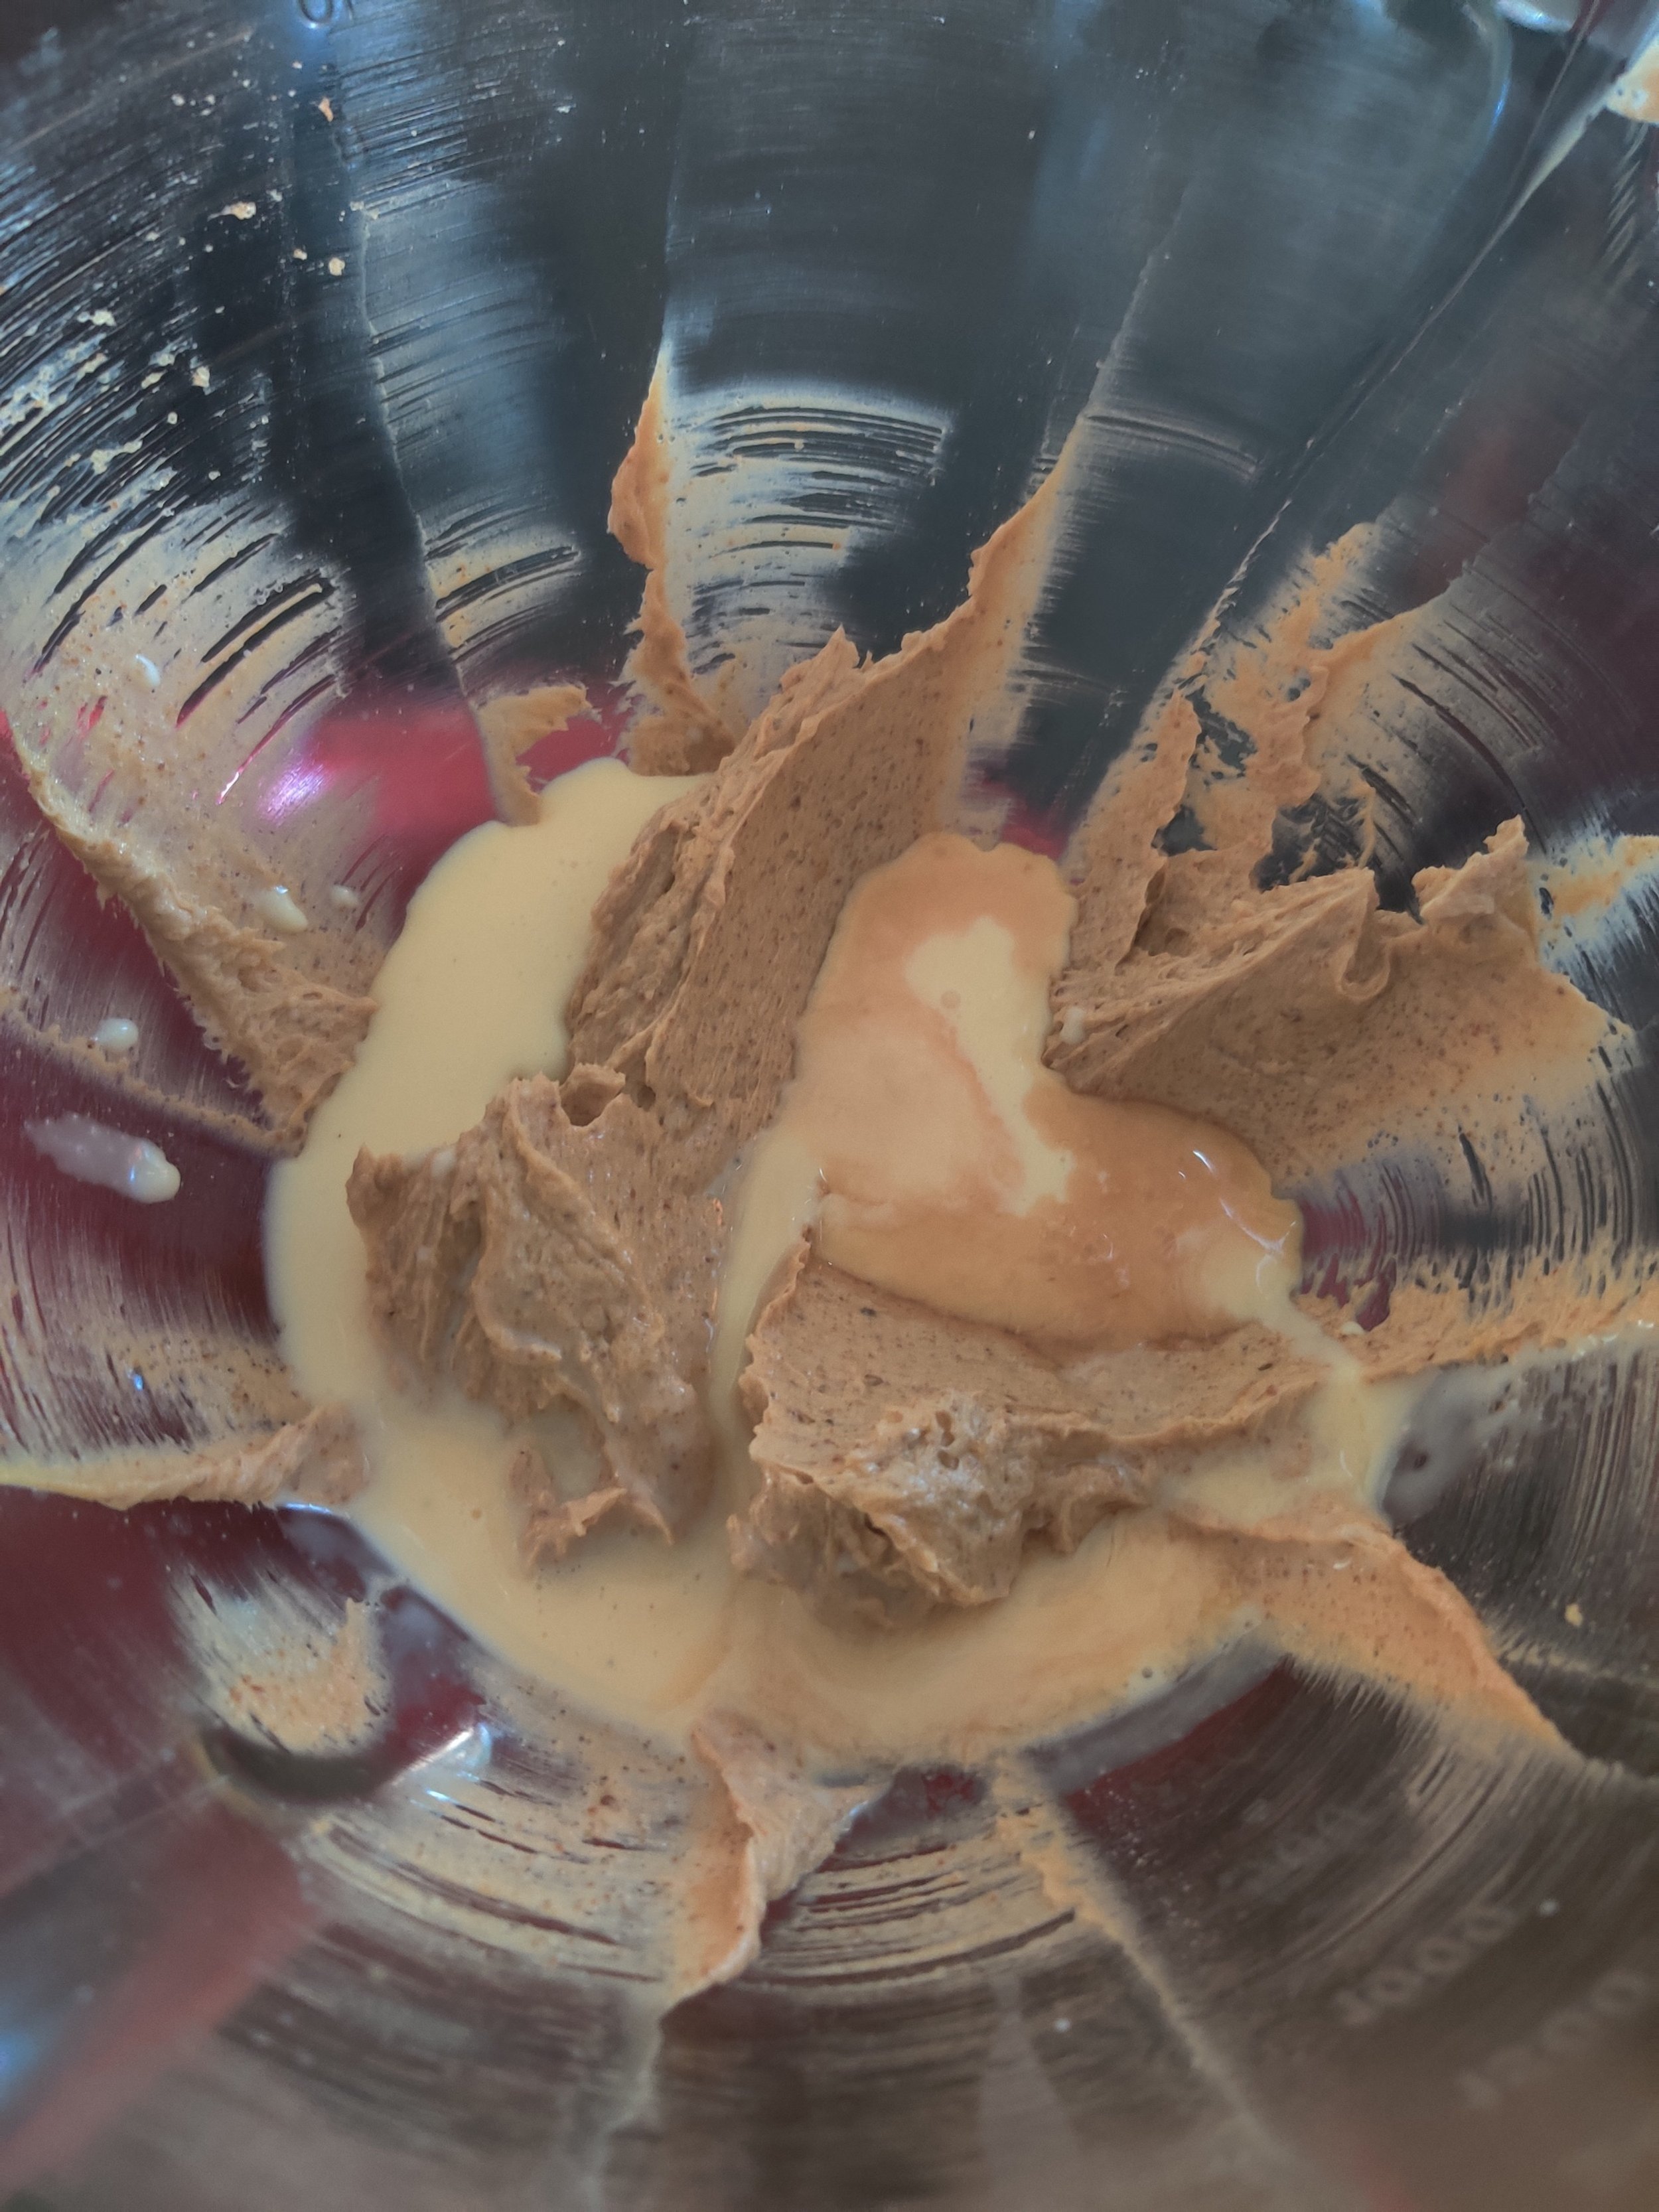
- Cream the peanut butter, butter and sugars until light and fluffy in a stand mixer or electric hand mixer.
- Sift and whisk the flours, baking soda, and salt in a separate bowl.
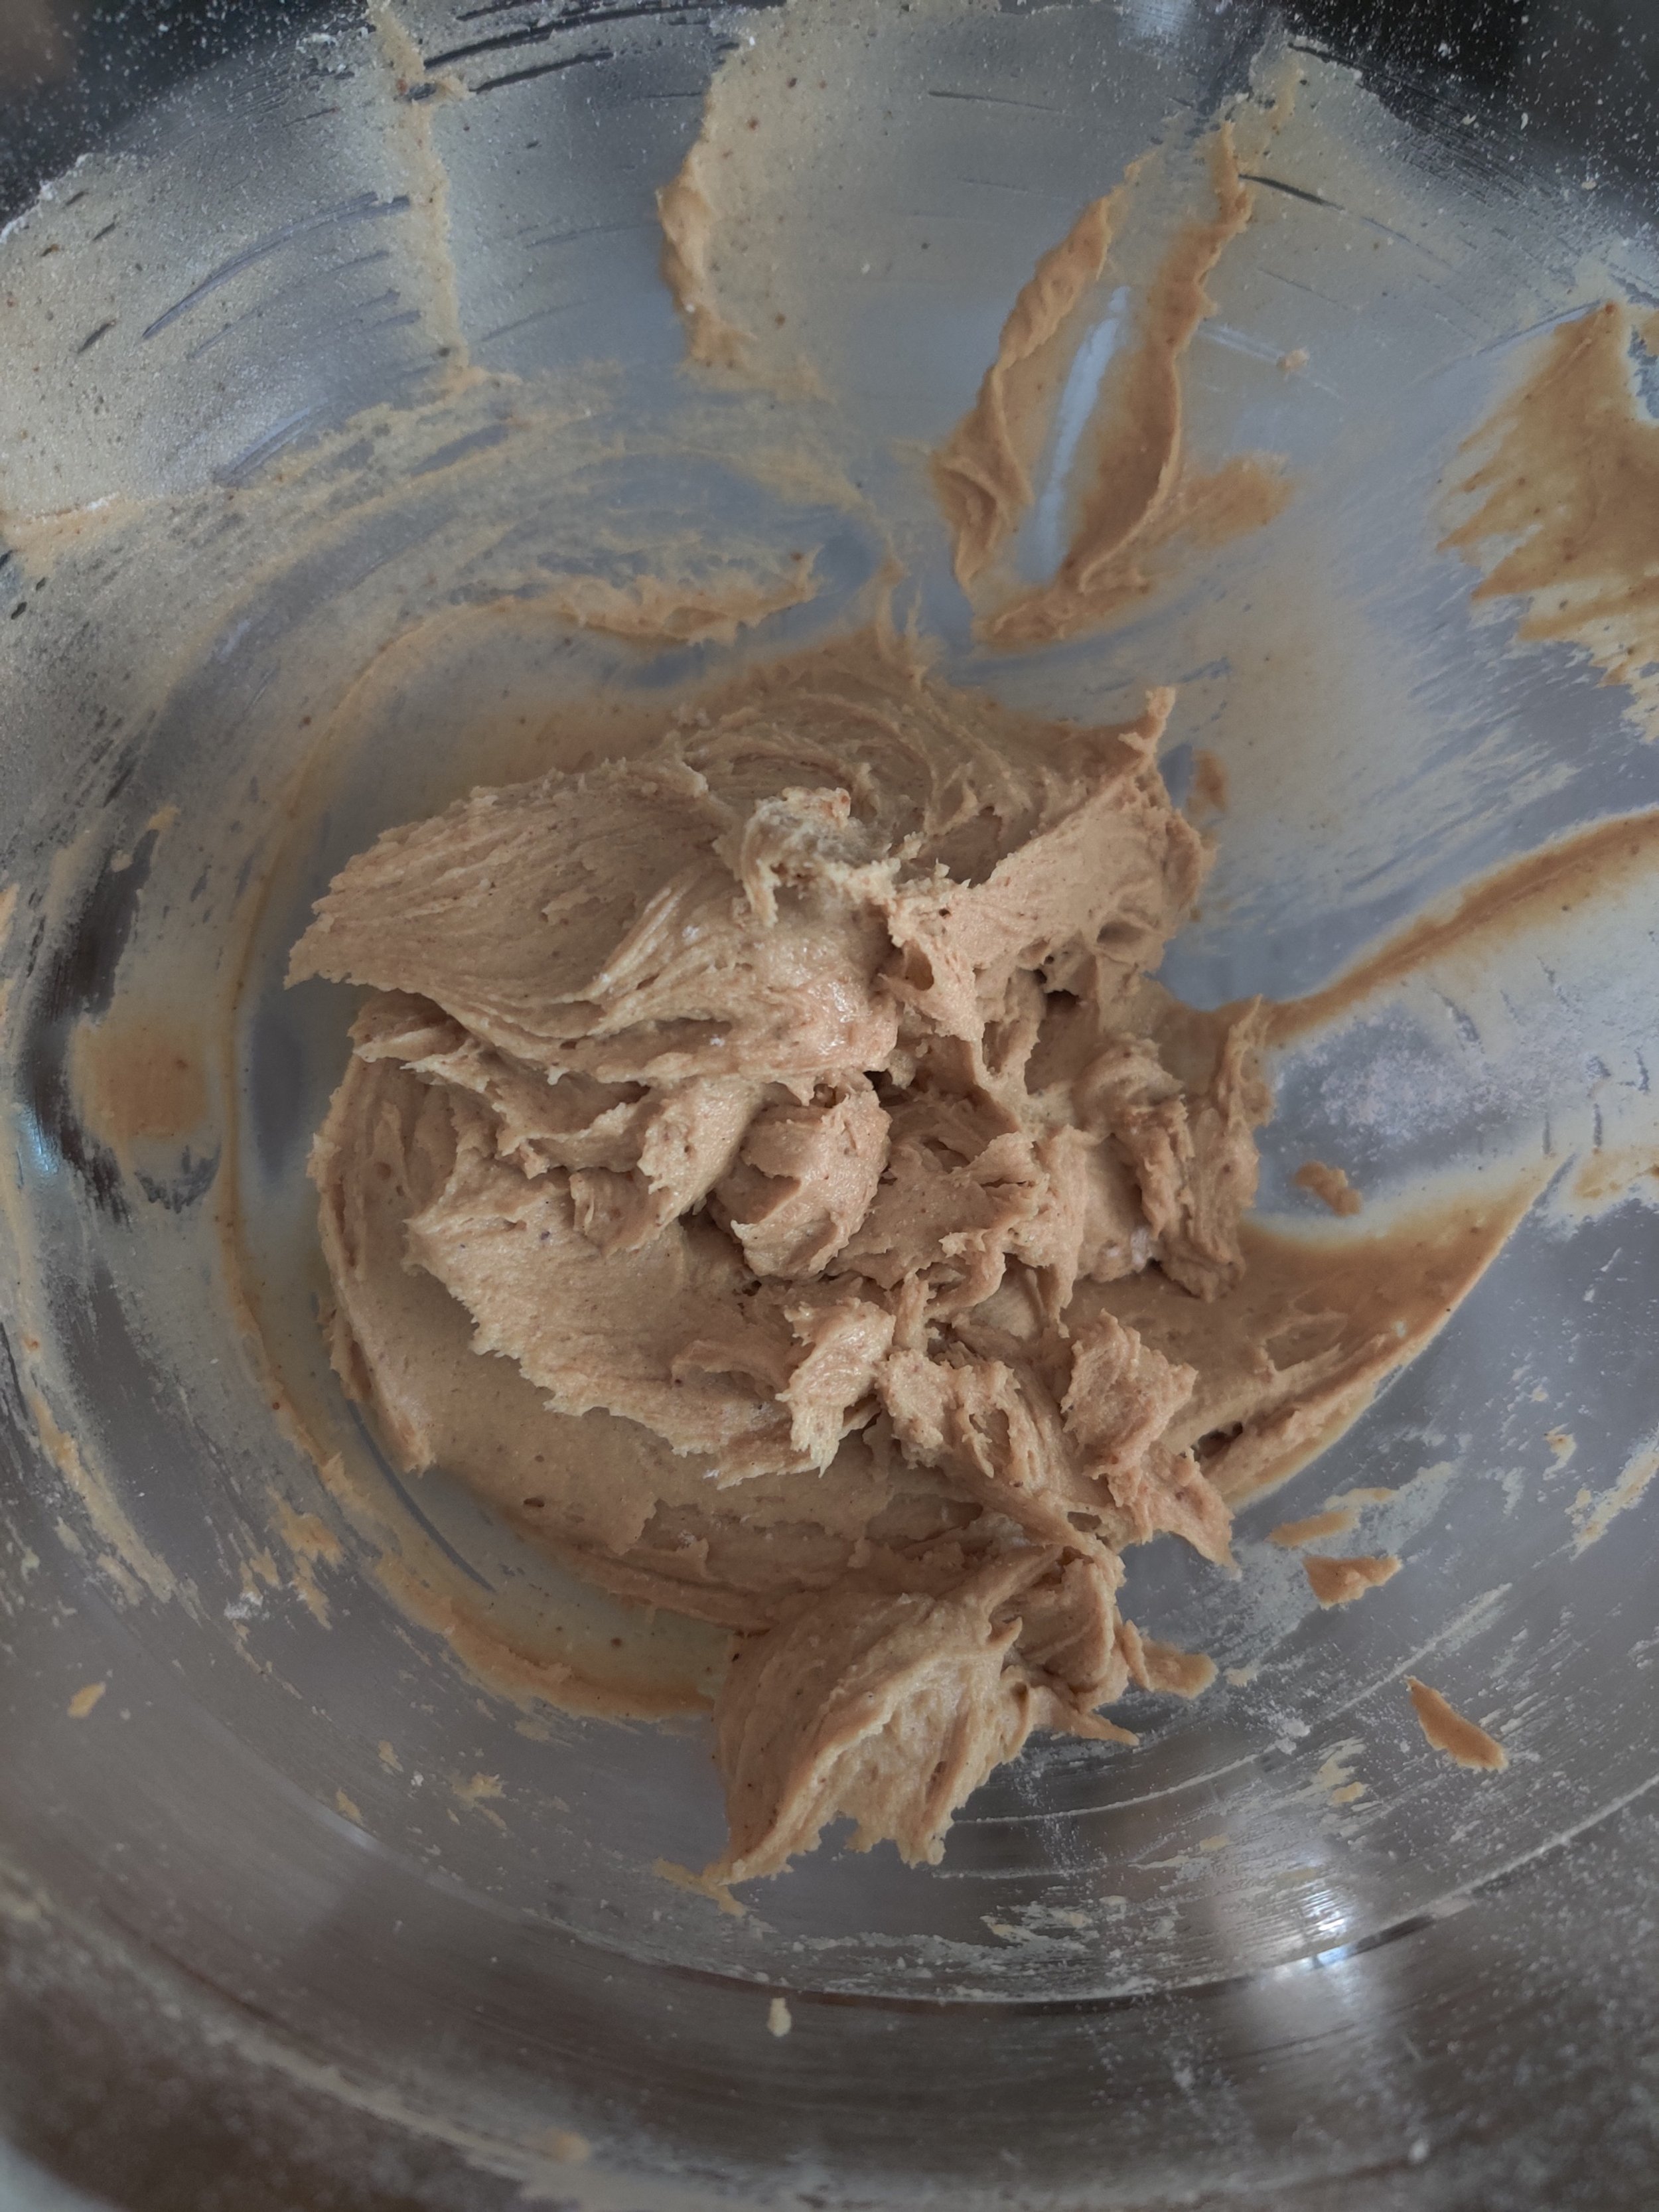
- Beat the egg and vanilla together, then mix into the creamed mixture (with the paddle attachment) until just combined. Don't overmix mix!
- Slowly add the flour and mix until just incorporated and soft dough forms.
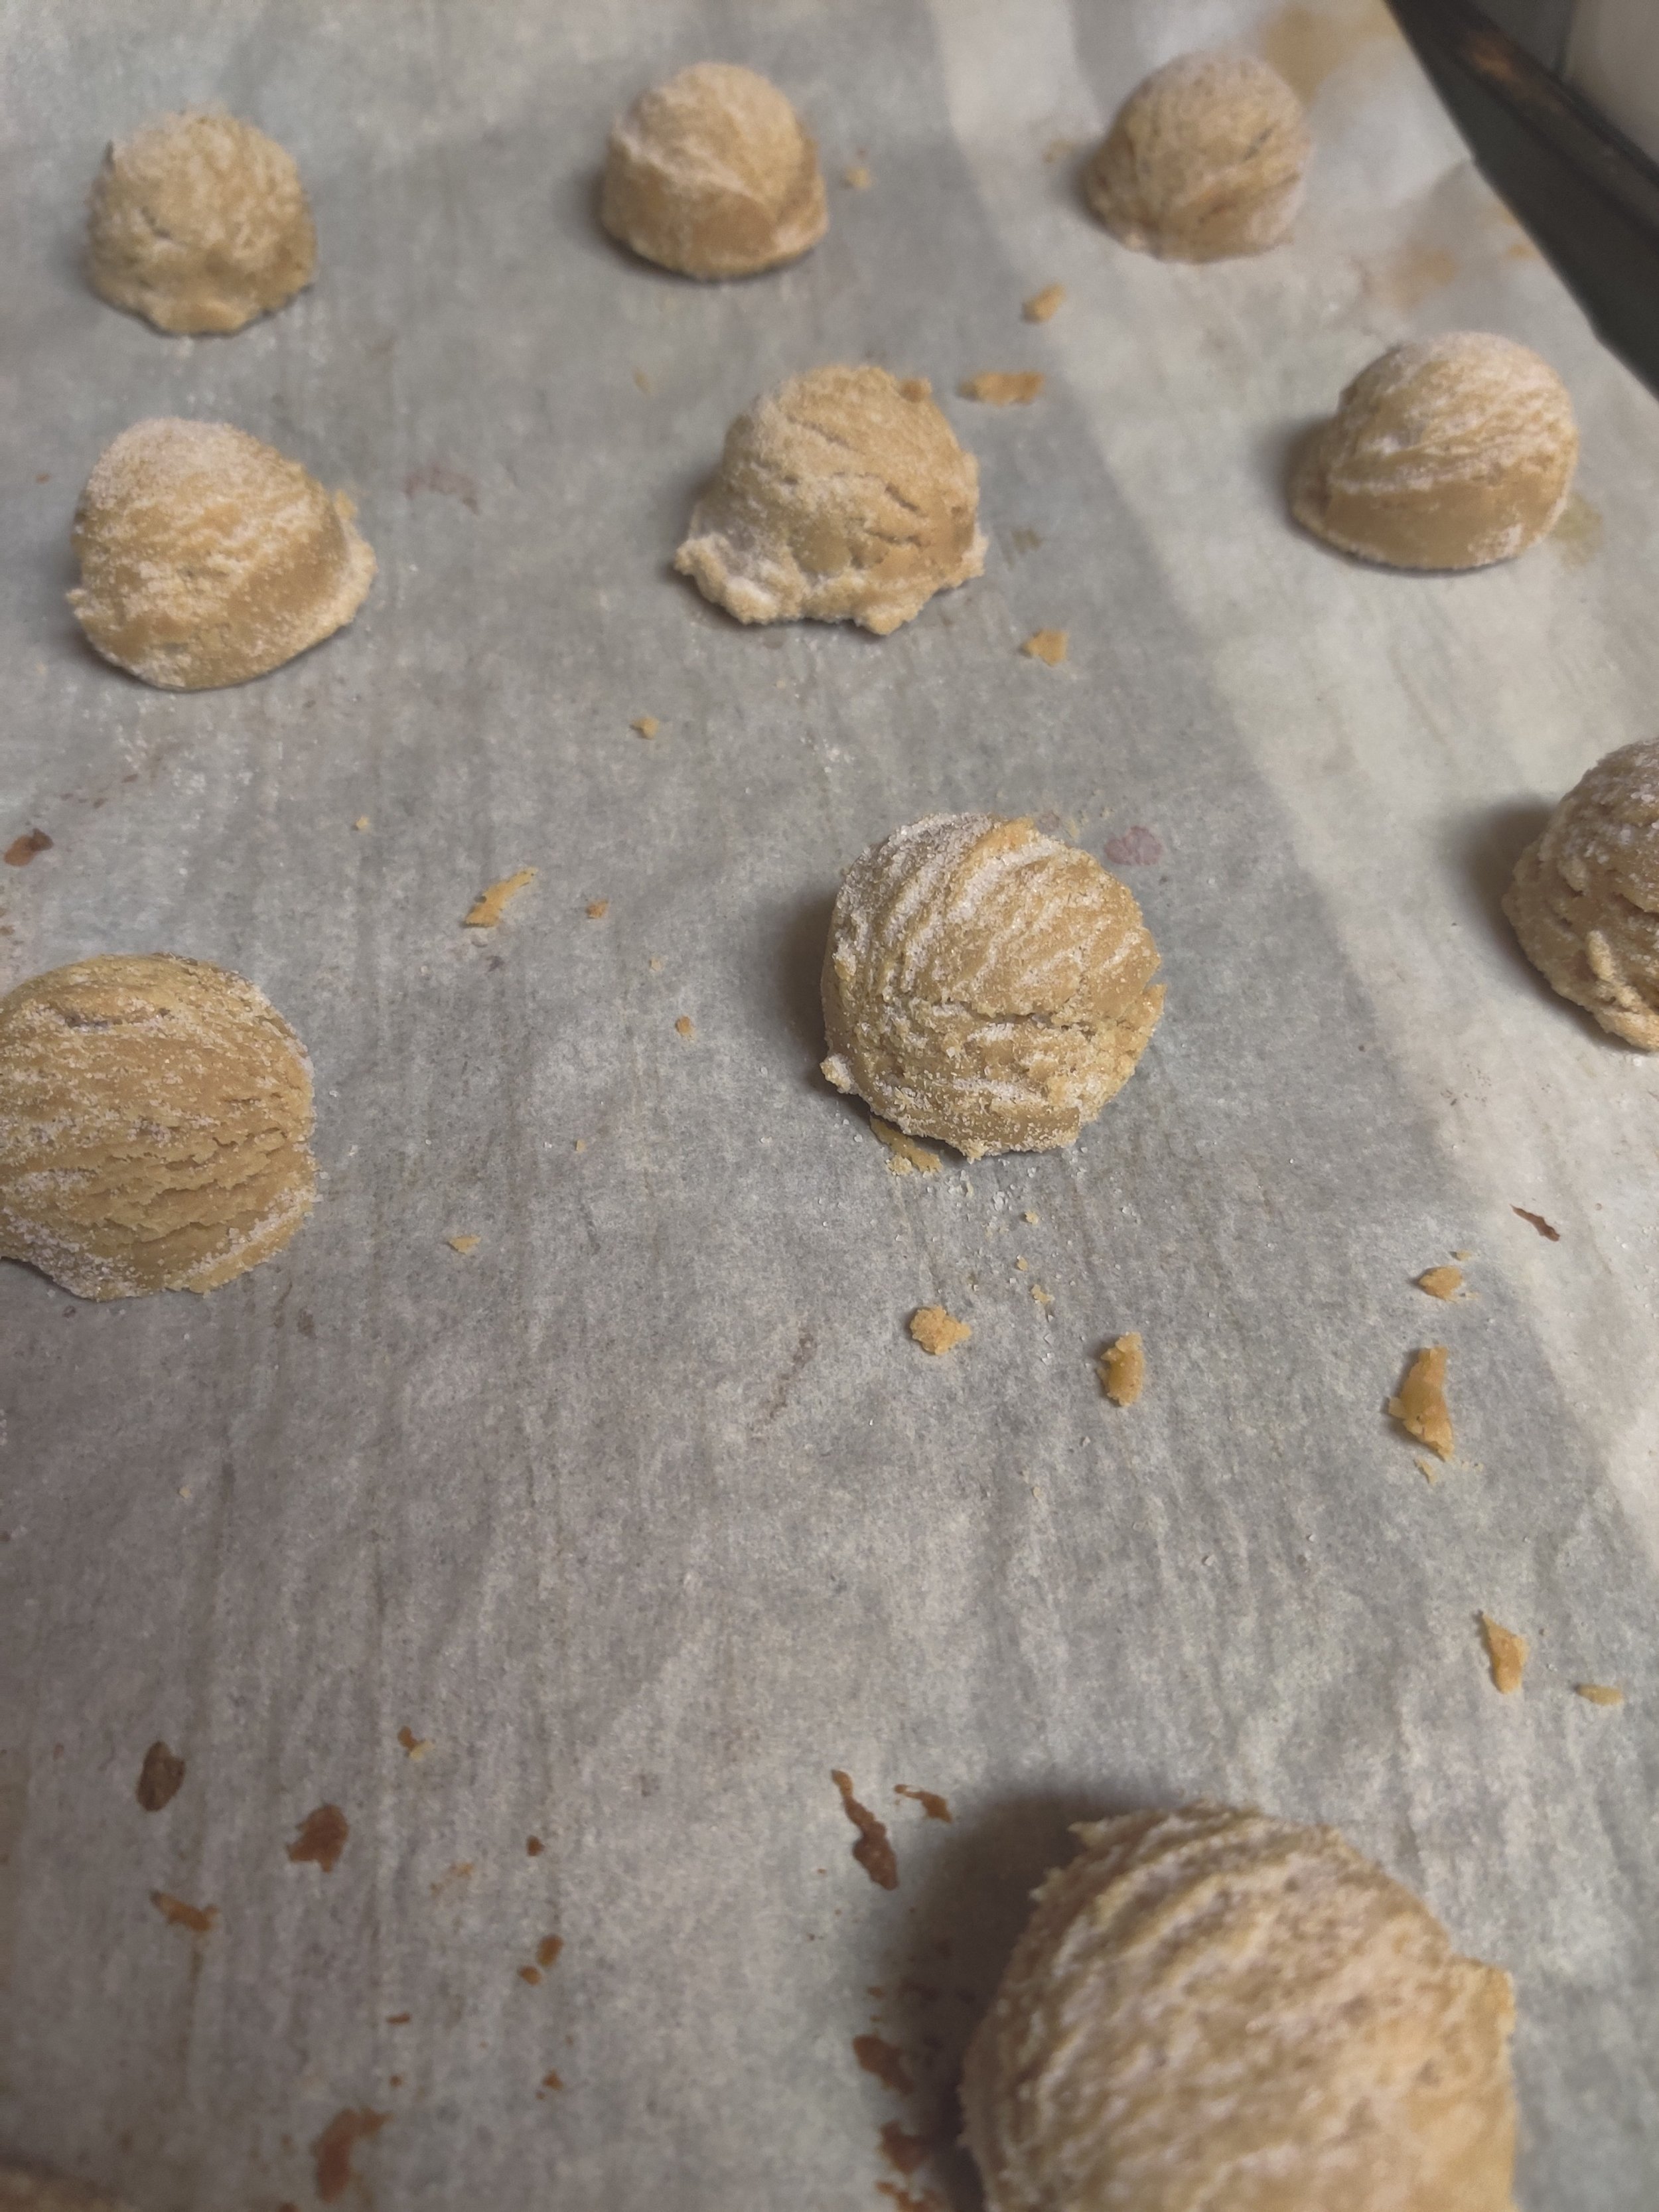
- Scoop the dough with a cookie scoop on a parchment-lined baking tray spaced utu about 2-inches, then chill for 30 minutes in the fridge.
Nutrition Facts
Calories
253Fat (grams)
12.5 gCarbs (grams)
33 gSugar (grams)
27.6 gI am not a certified nutritionist and any nutritional information on dontmissmyplate.com should only be used as a general guideline.
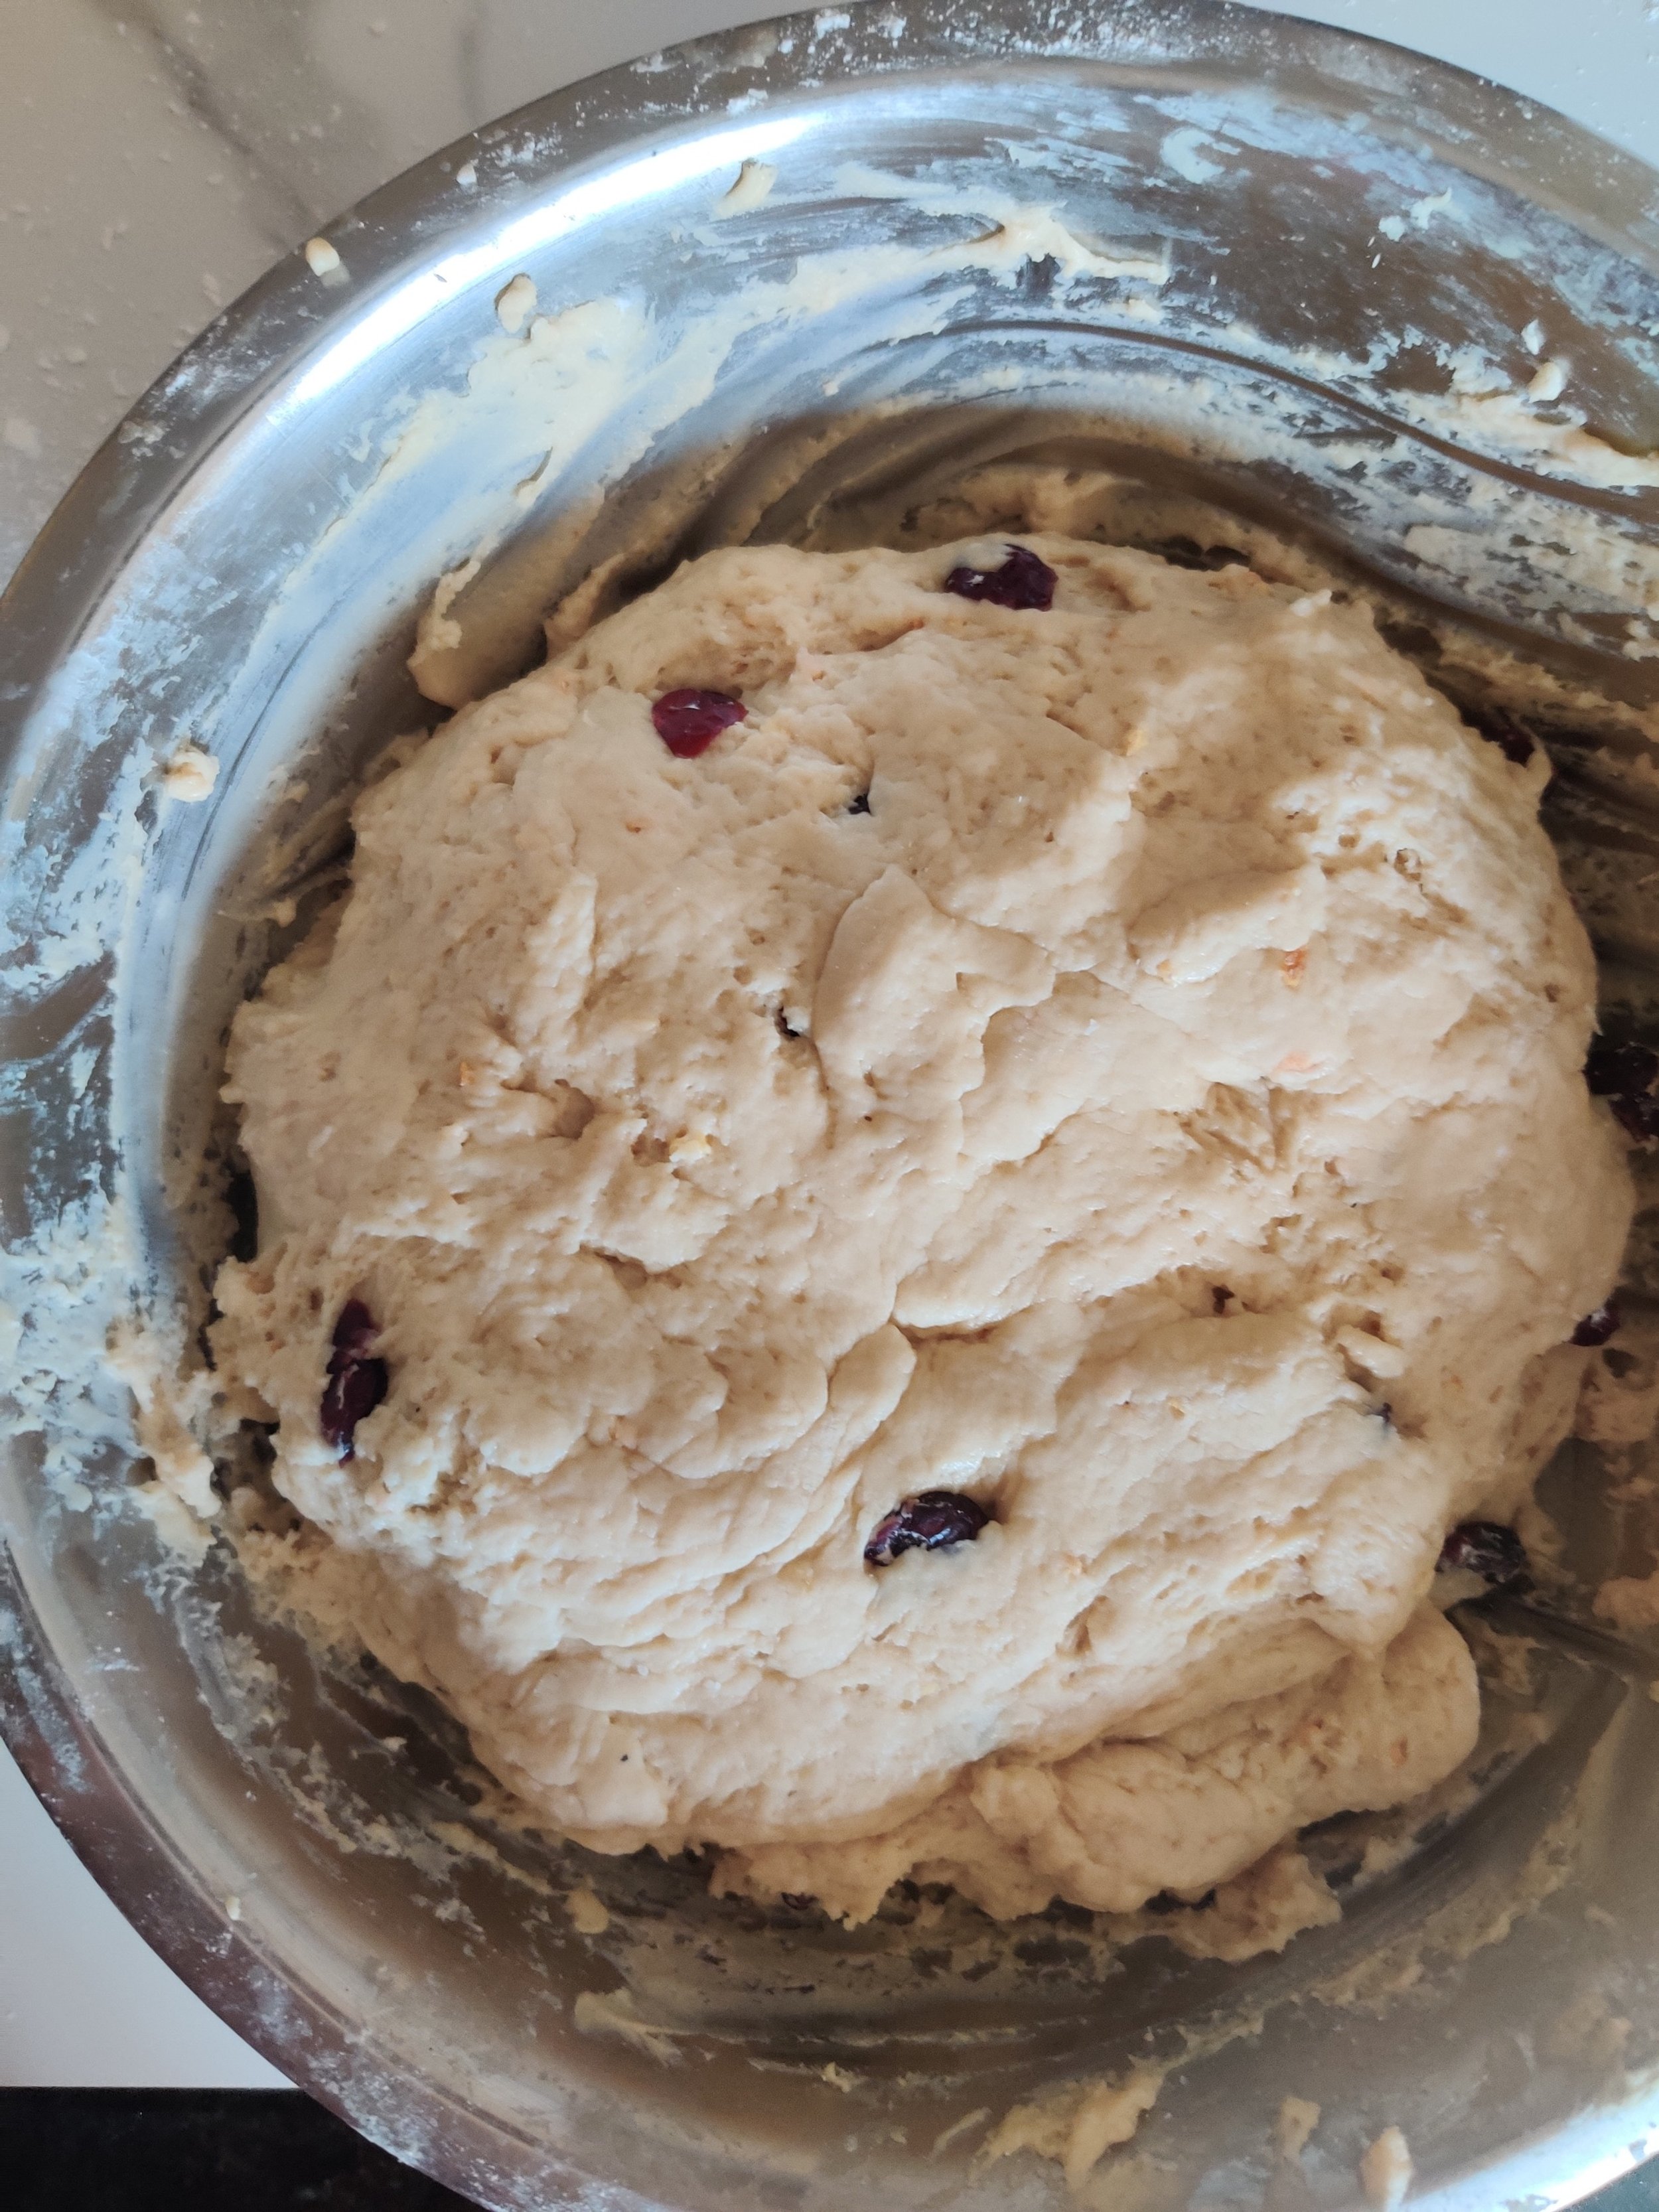
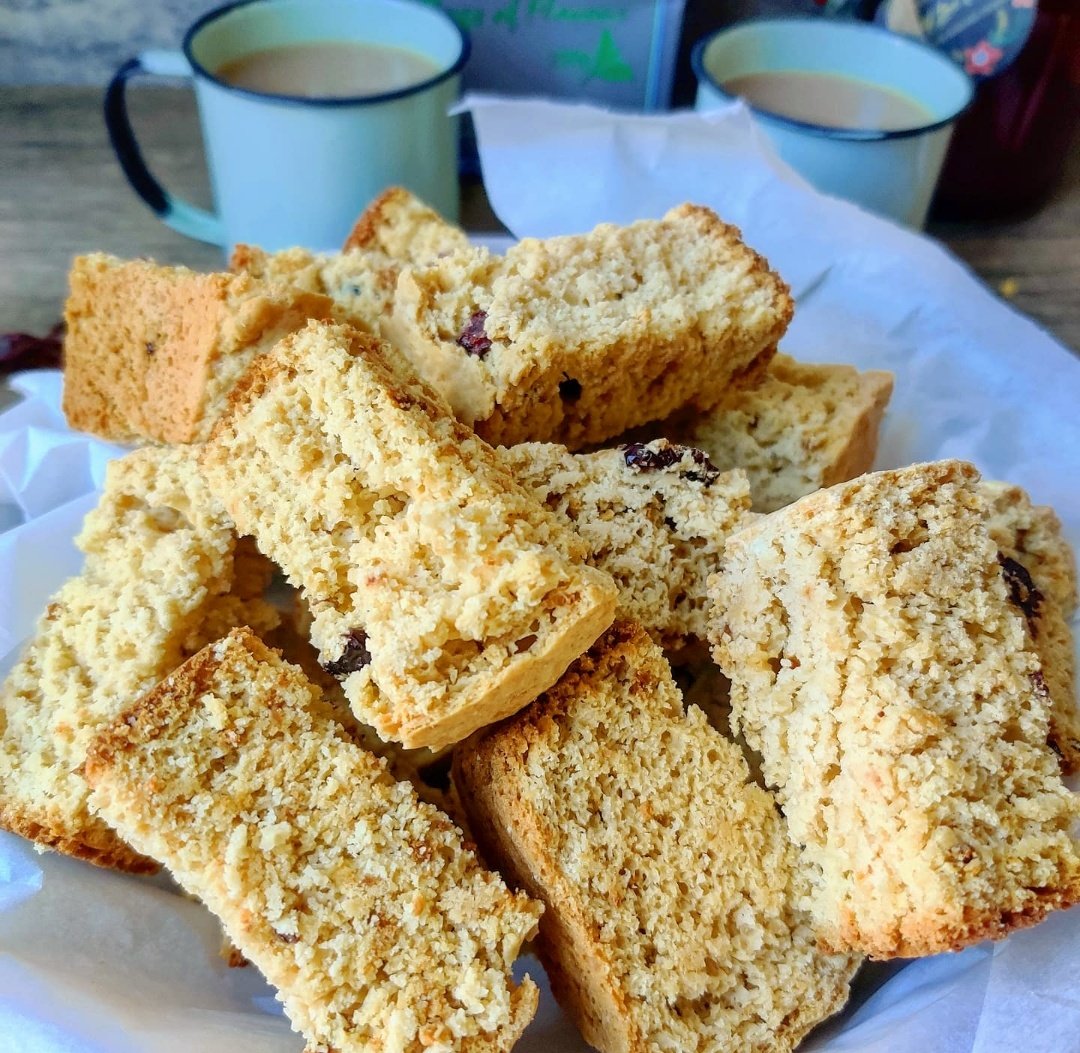
Cranberry Orange Rusks
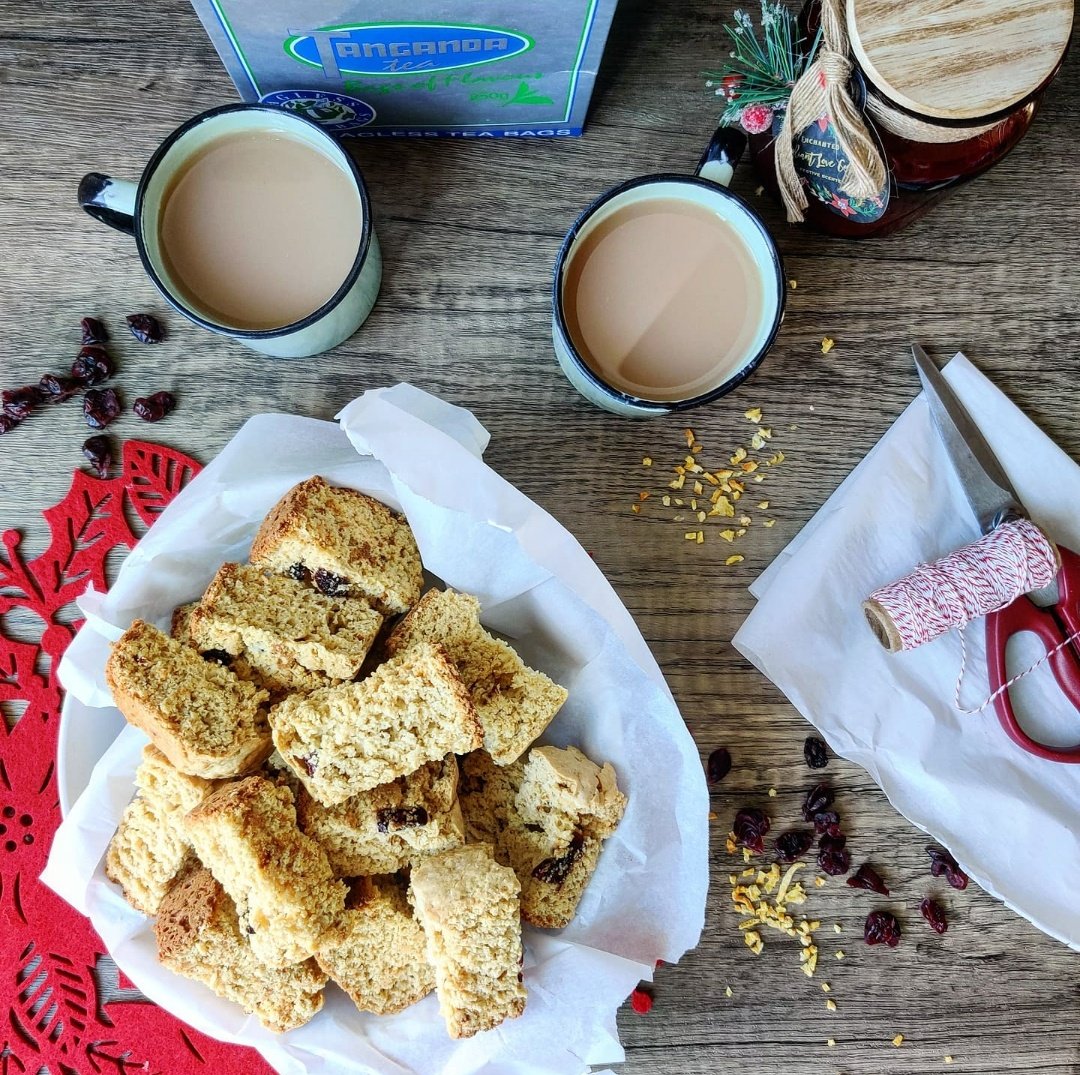
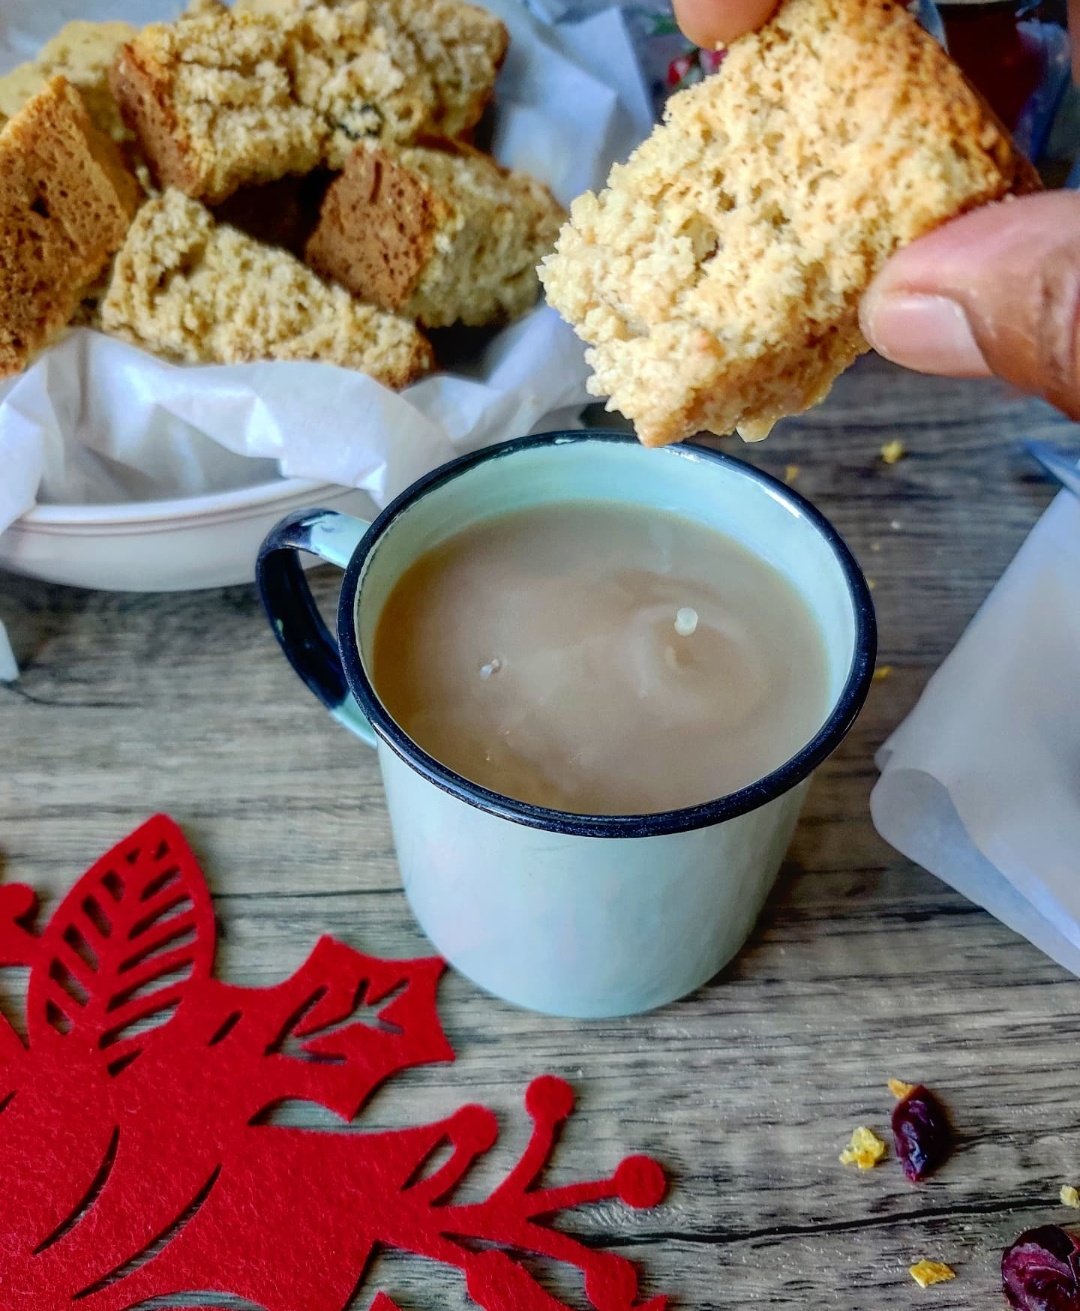
Rusks, are a tradition in various parts of southern Africa. Credit for this version goes to the Afrikaaners of South Africa, who needed to preserve bread for long treks, hence the double baking preparation process. Also known as beskuit or cake rusks, these crunchy, semi-sweet treats make great gifts, and you can add raisins, sesame seeds, pumpkin seeds, or whatever else you like to the mix. They are perfect for dunking at tea time or on your coffee break, whether at 10 am before lunch or 4 pm before dinner.
One essential component when making rusks is buttermilk. The acid helps soften the bread/cake dough, and the cultures add a tang that isn't overwhelming.
I added cranberries and orange peel for this recipe to give them a festive, holiday season flare. The cranberries littered throughout the rusks offer a sweet, tangy bite white the orange provides a citrusy undertone, and we already know orange and cranberry pair well!
There is no need to get rusks at the store; you can make them at home on your own.
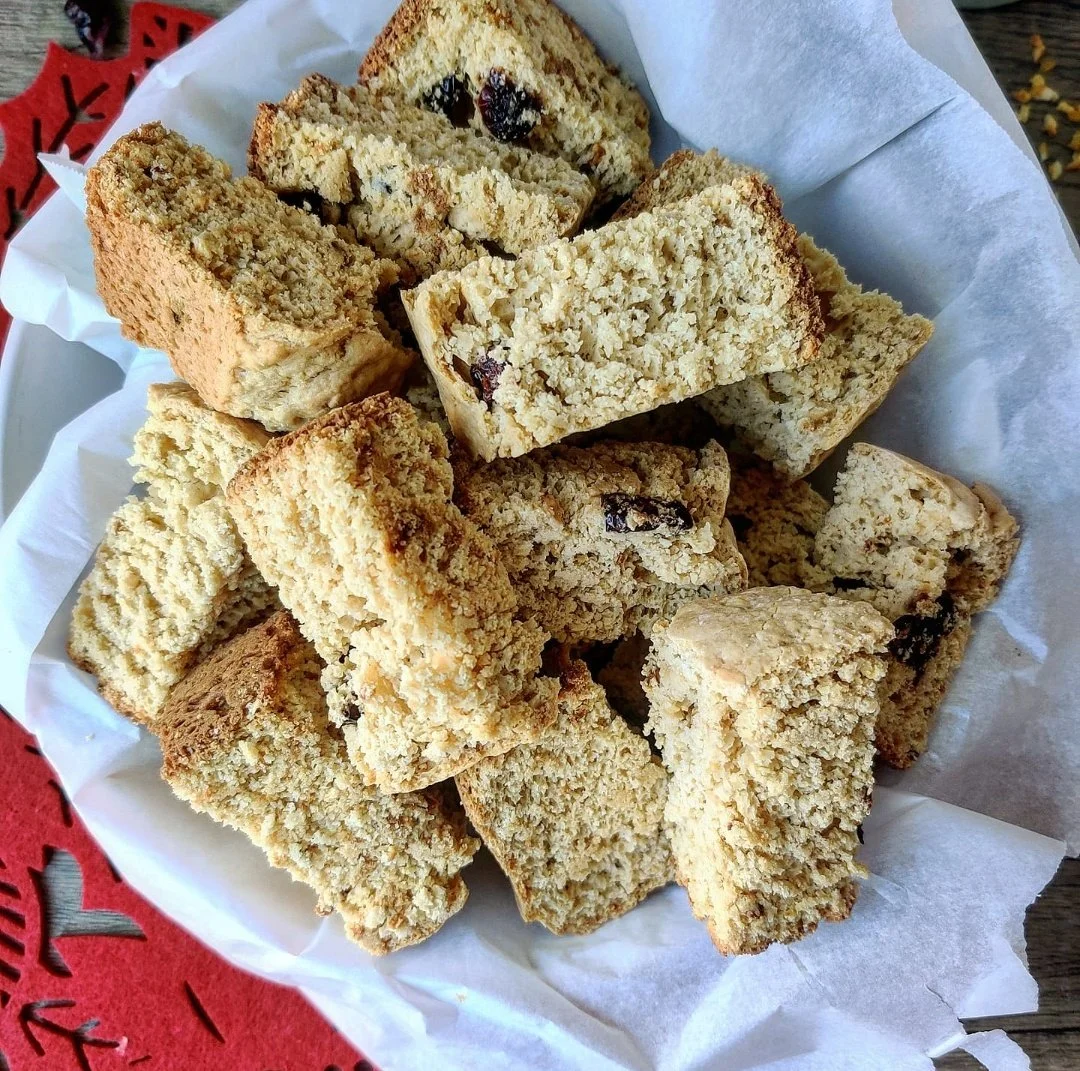
Cranberry Orange Rusks
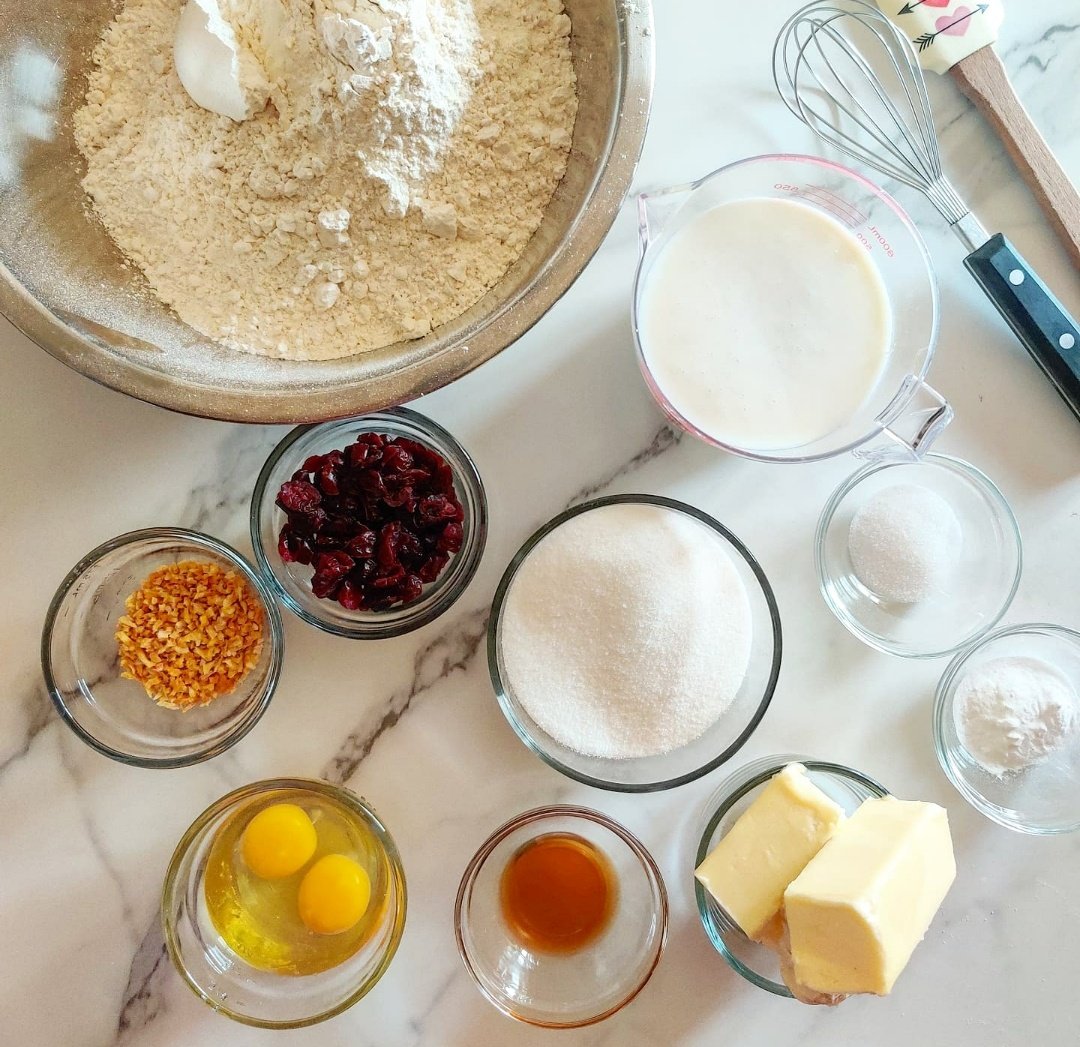
Ingredients
- 8 cups self-raising flour
- 1 stick + 2 tablespoons butter
- 1 cup granulated sugar
- 1/2 cup coconut sugar
- 2 tablespoons vanilla extract
- 1/2 teaspoon almond extract
- 3/4 cup dried cranberries
- 3 tablespoons orange peel
- 2 cups buttermilk
- 2 teaspoons salt
- 2 teaspoons baking soda
Instructions
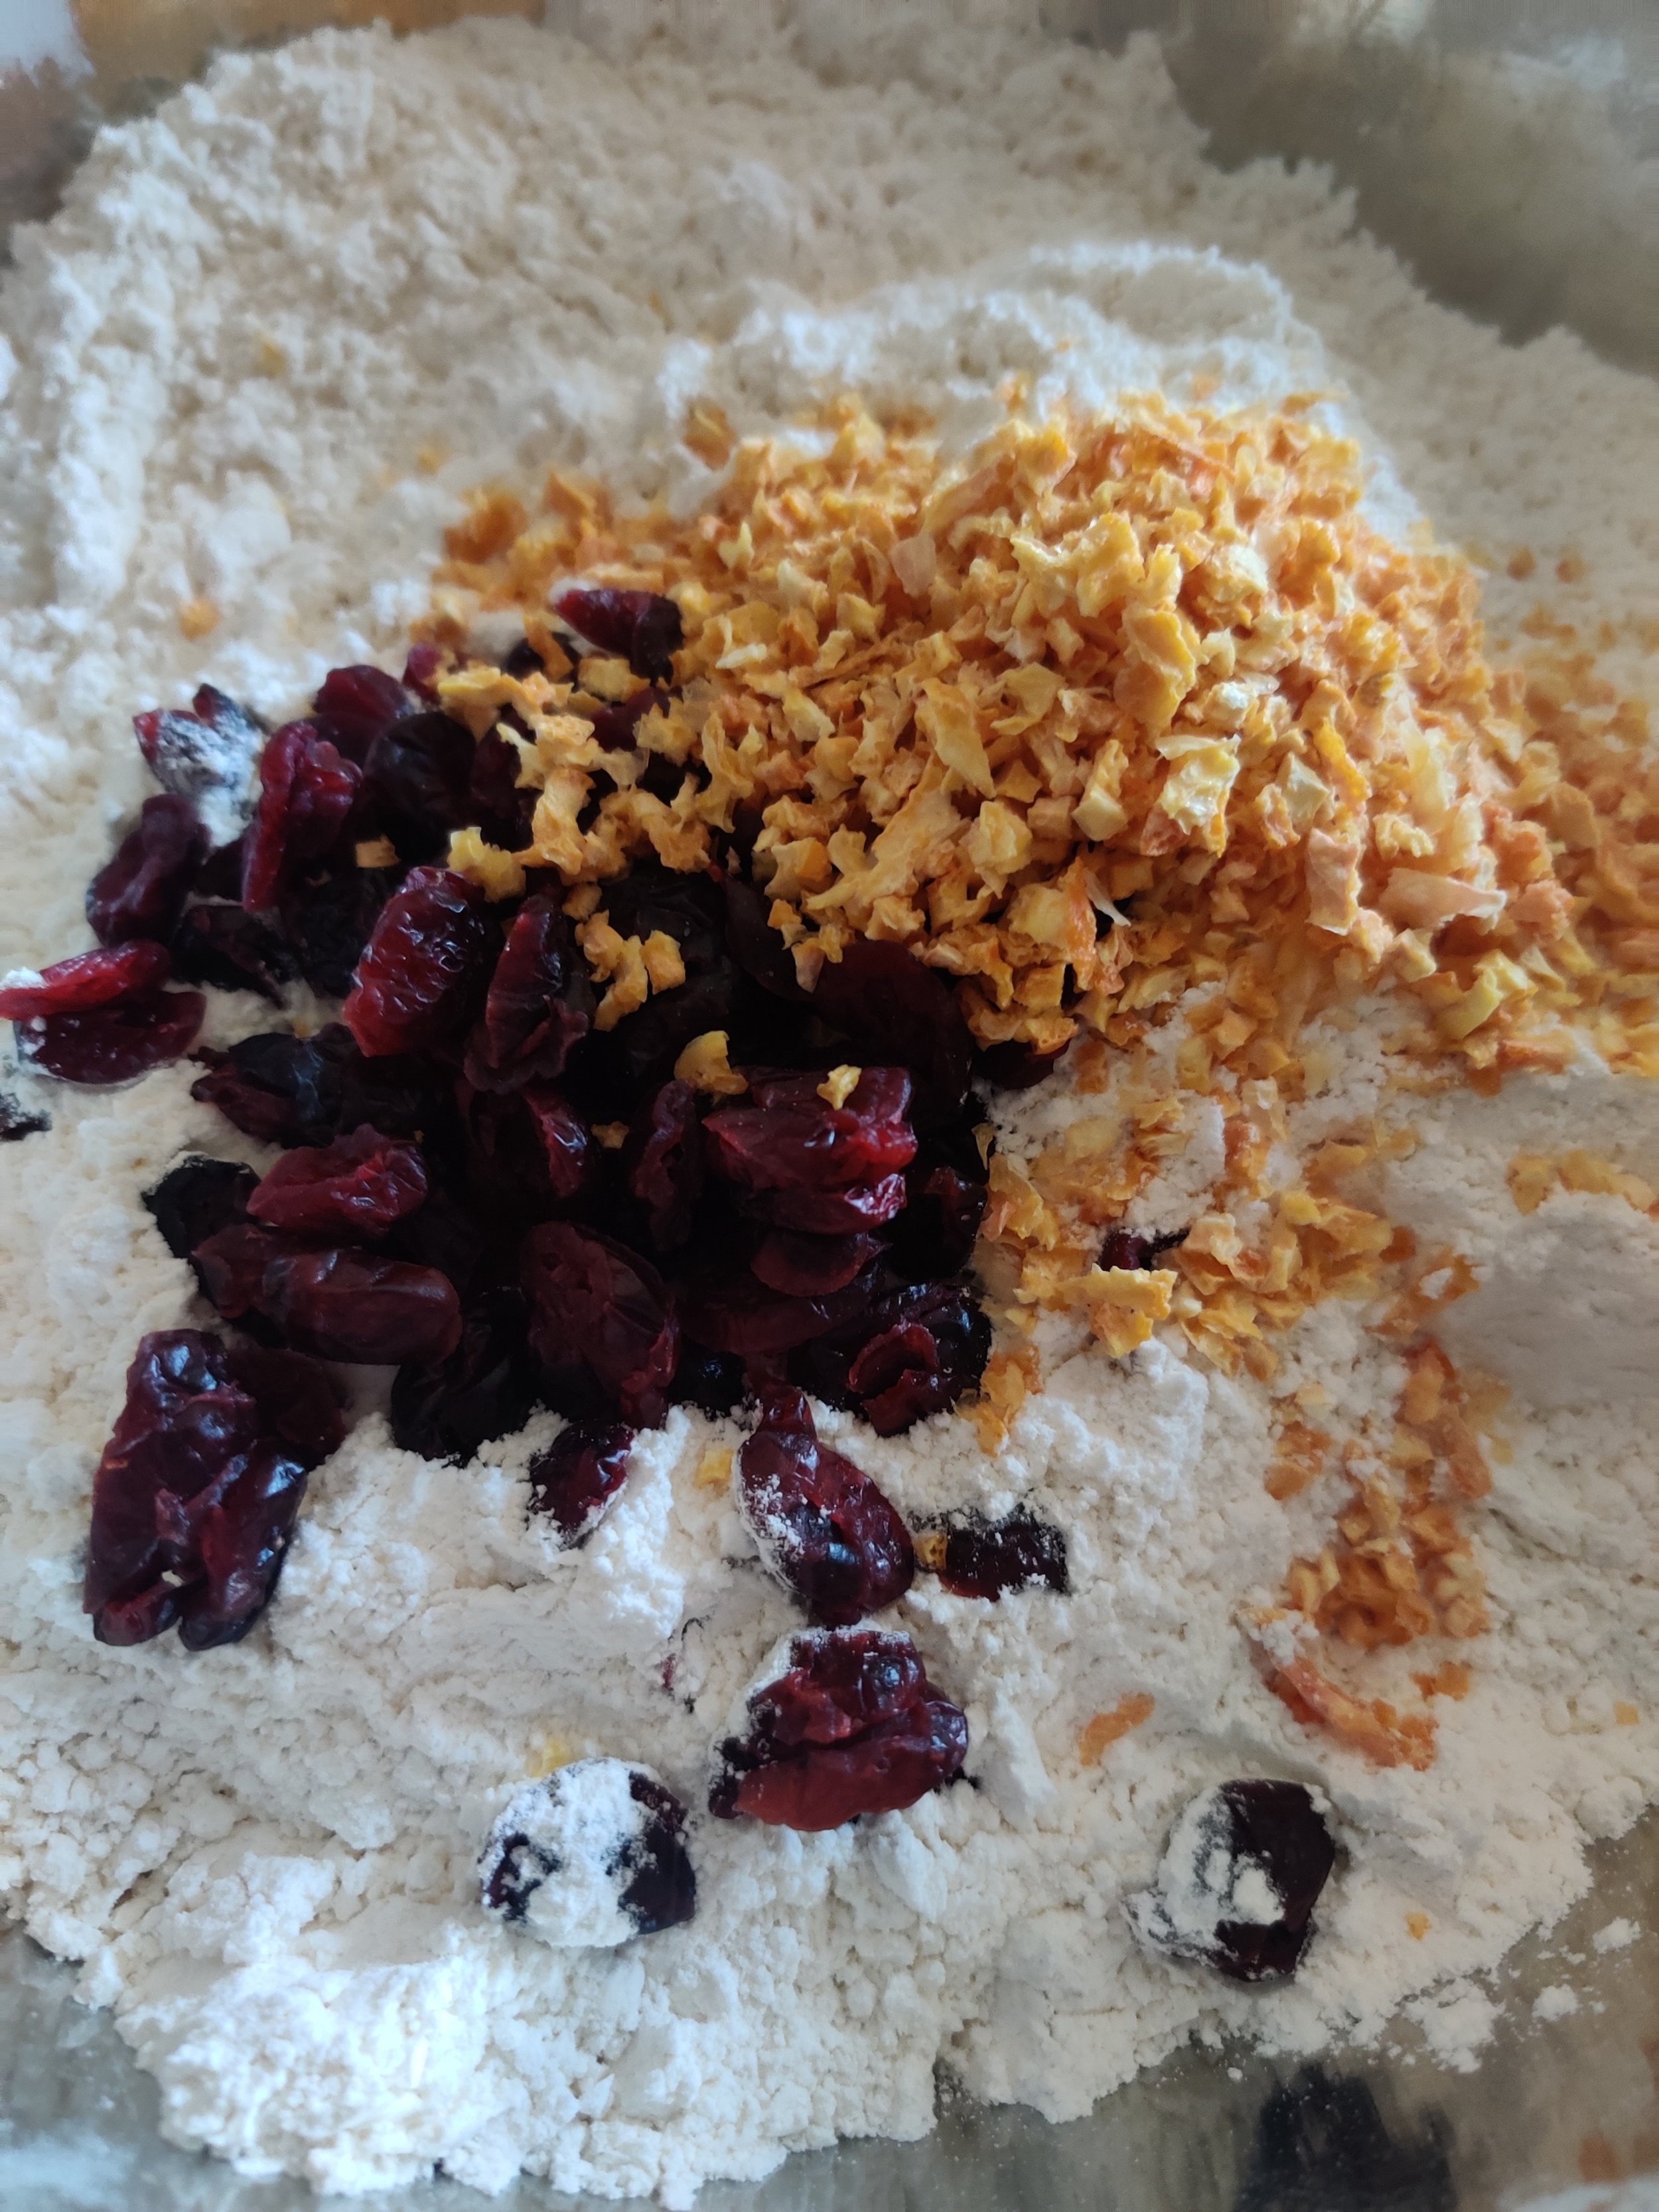
- In a large bowl whisk the flour, baking soda and salt well. Follow this with the cranberries and orange peel.
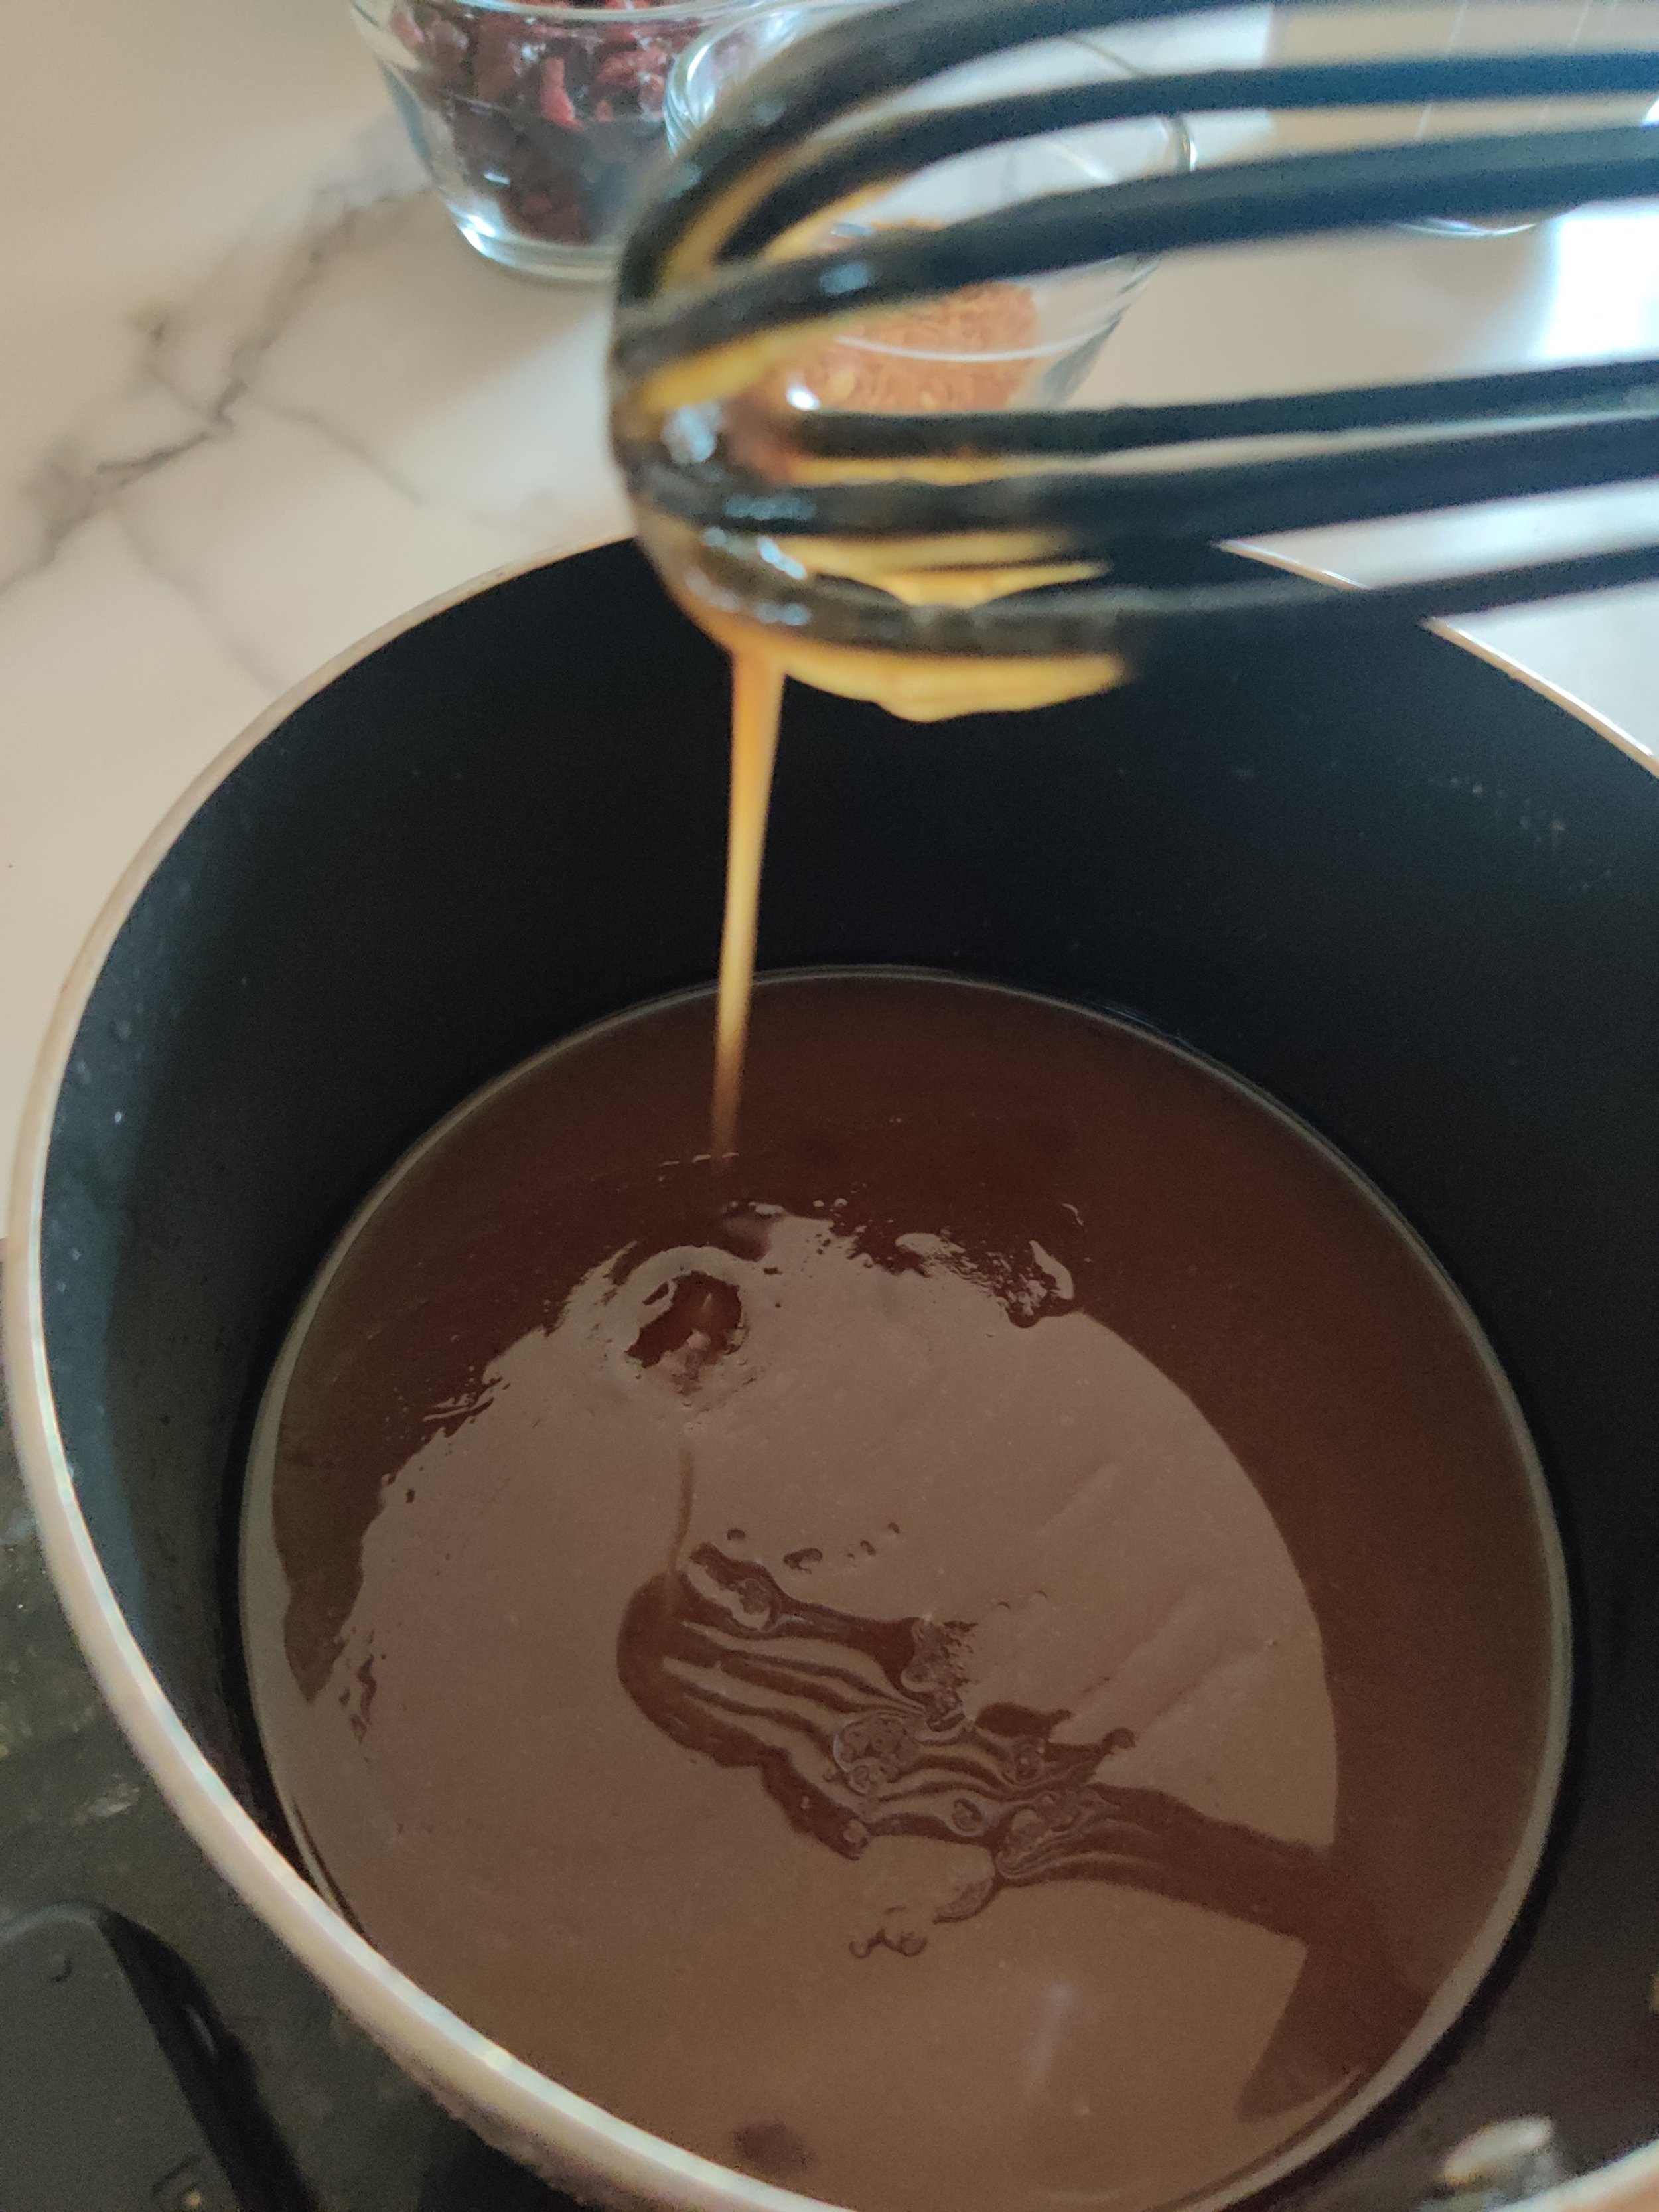
- Melt the butter in a small pot then add the sugar and whisk until the sugar has dissolved, remove from heat. Don't boil! You aren't trying to make caramel.
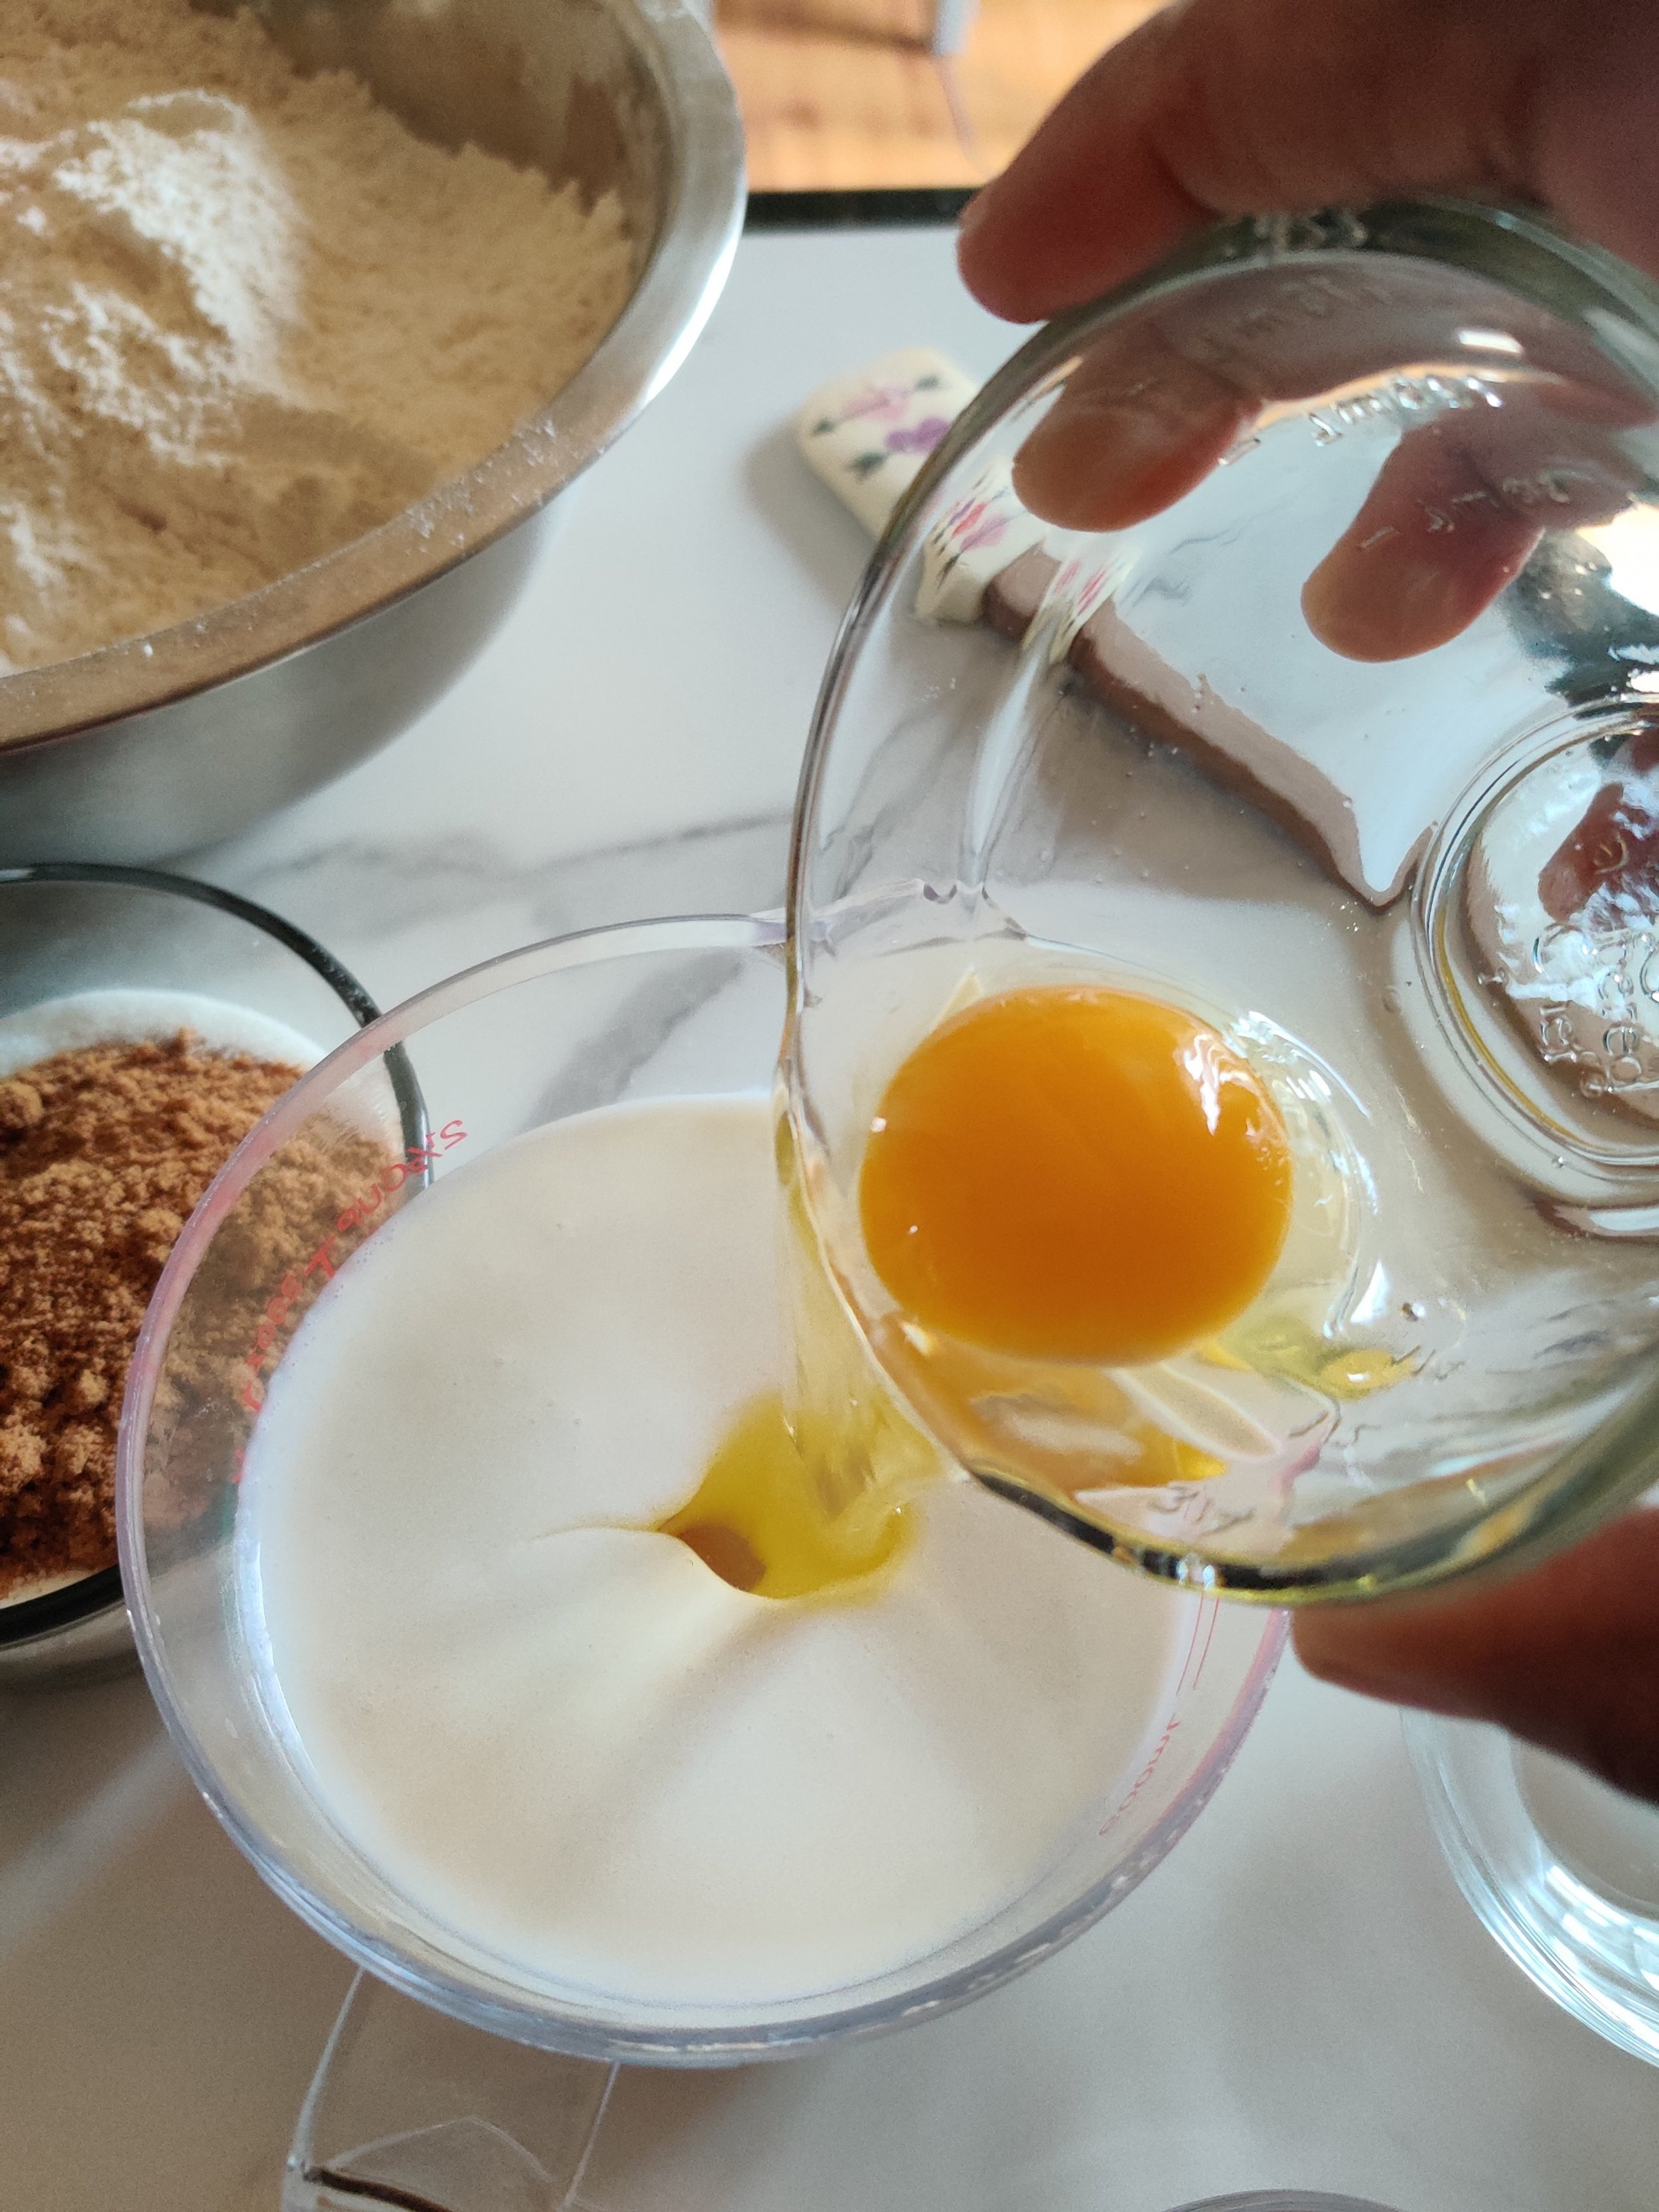
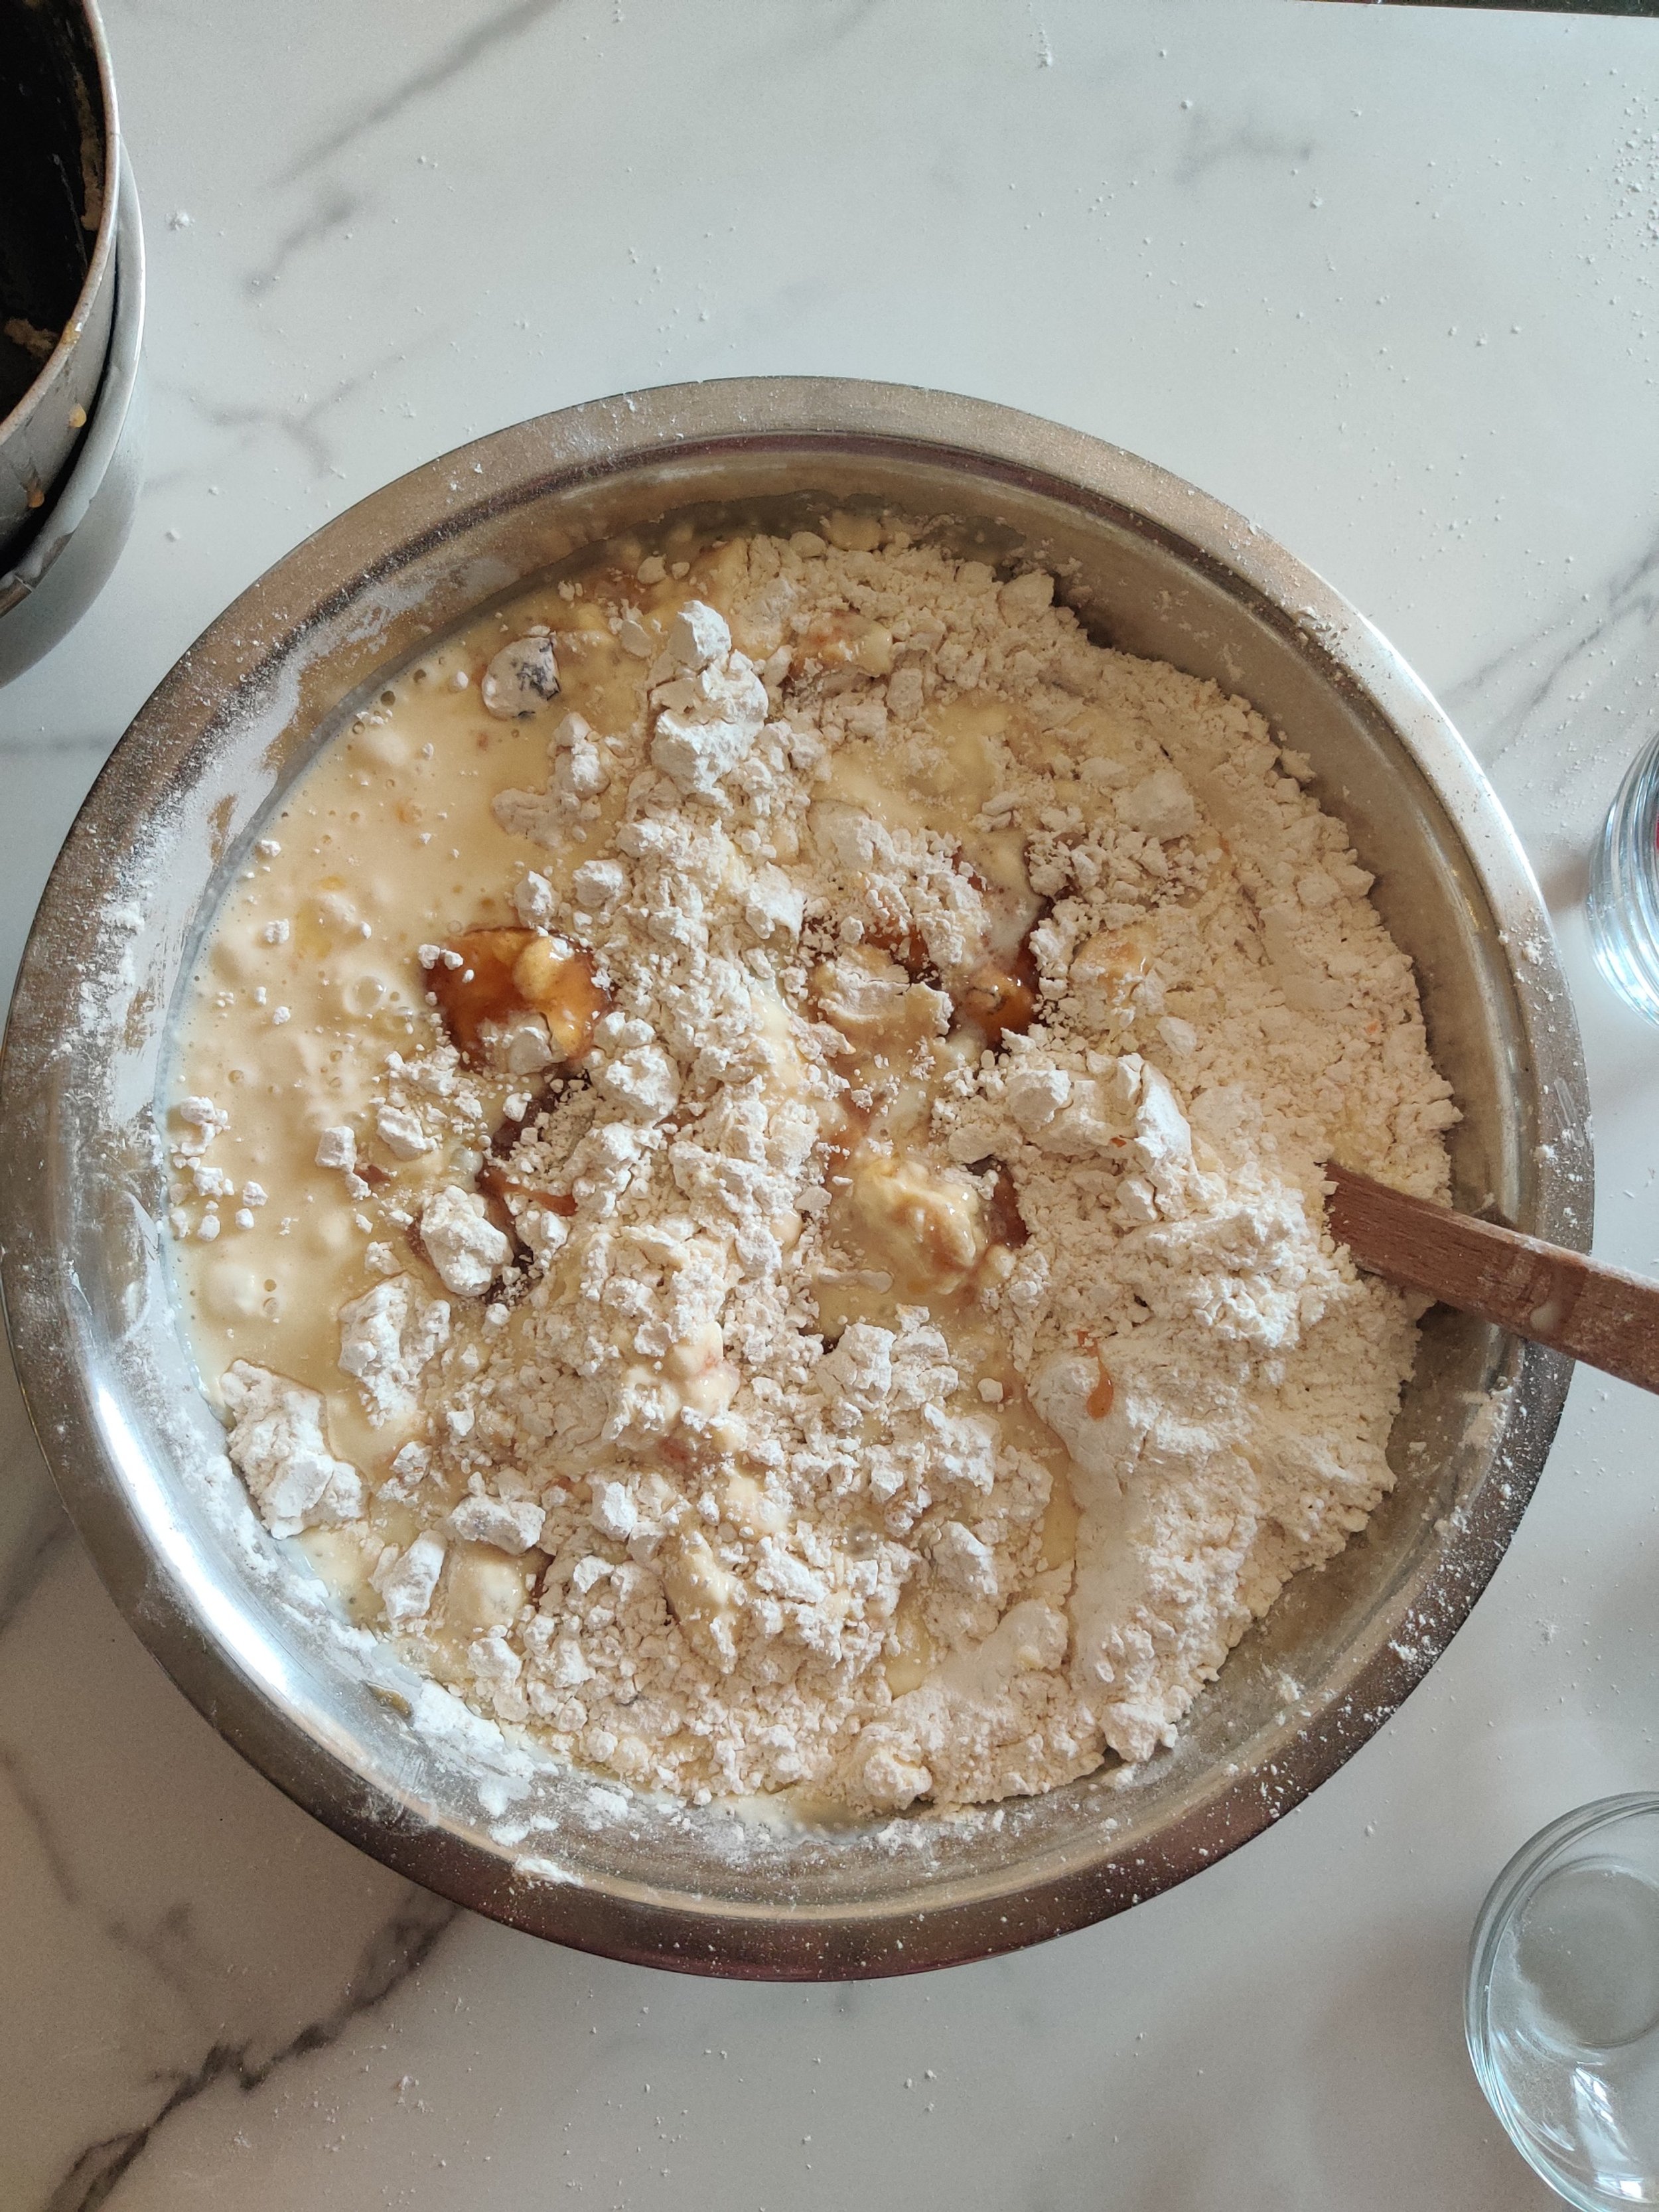
- Beat the egg, vanilla and almond into the buttermilk. Add both sets of liquid to the flour bowl and mix with a nonstick spatula until well combined.
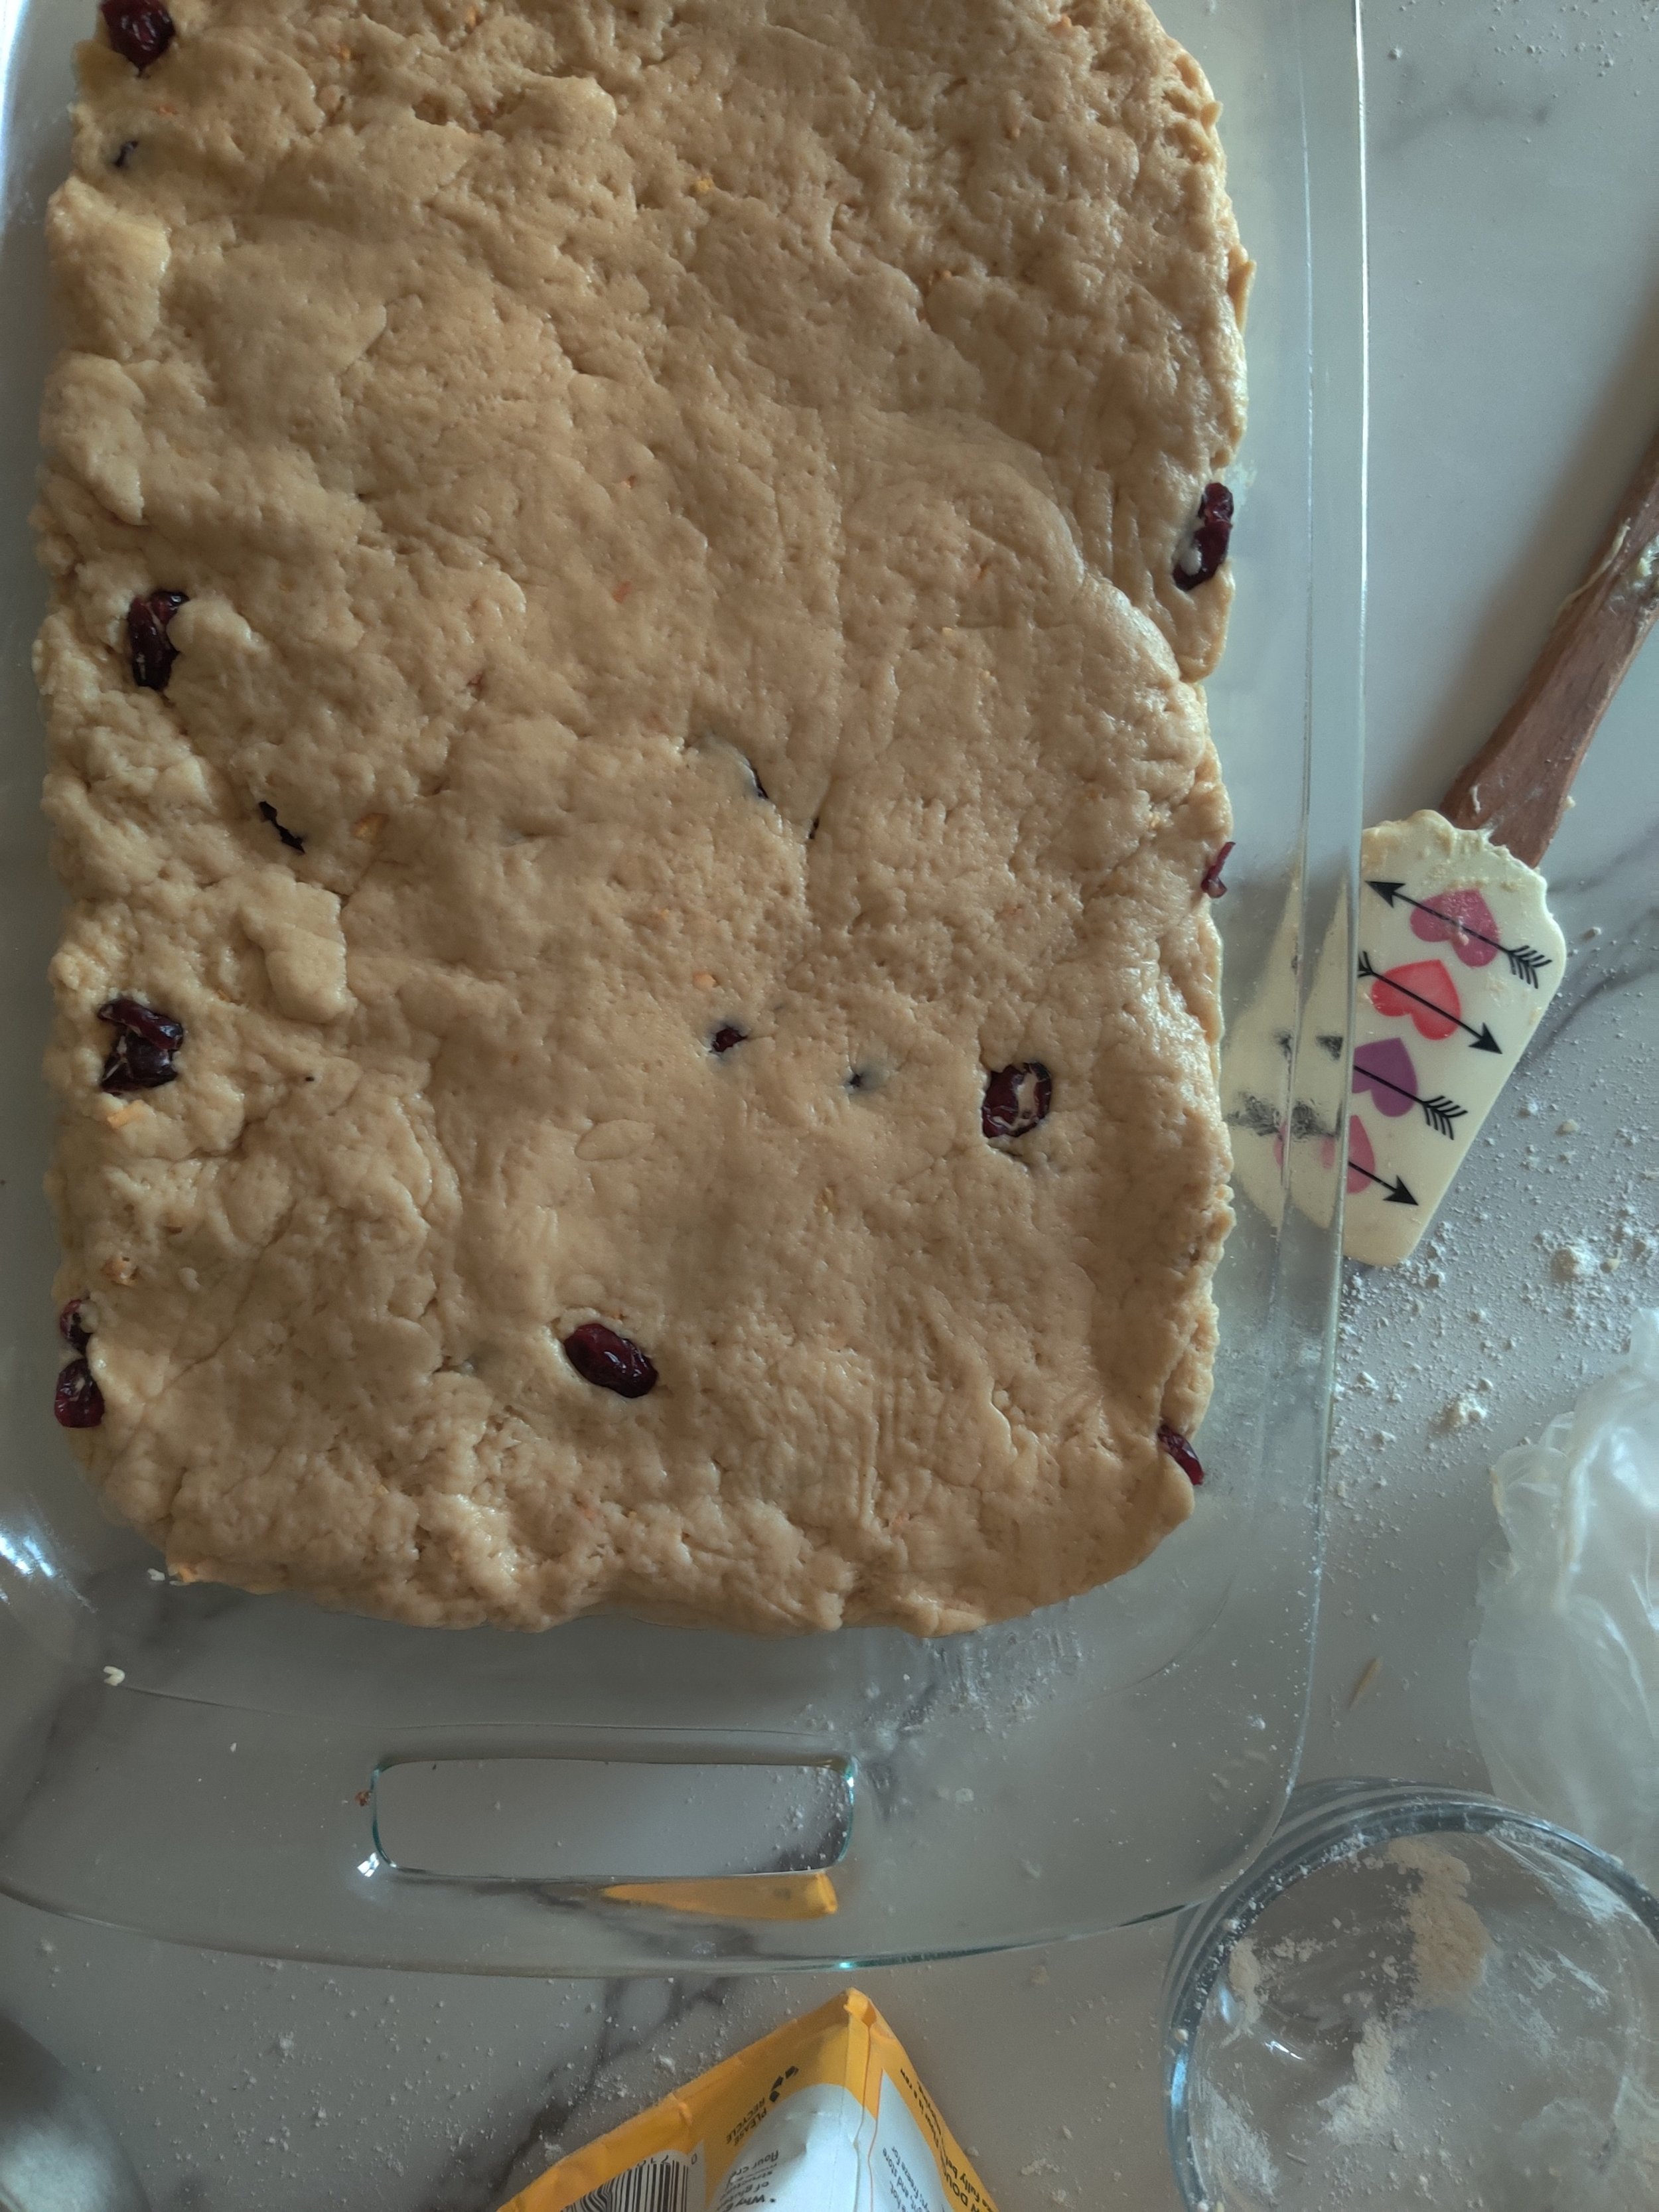
- Transfer the mix to a greased baking dish and use the spatula to flatten in preparation for baking.
- Bake at 350F for 45 minutes. The cake rusk should have risen and a toothpick should come out clean from the center once it is done. Remove from the oven to cool.
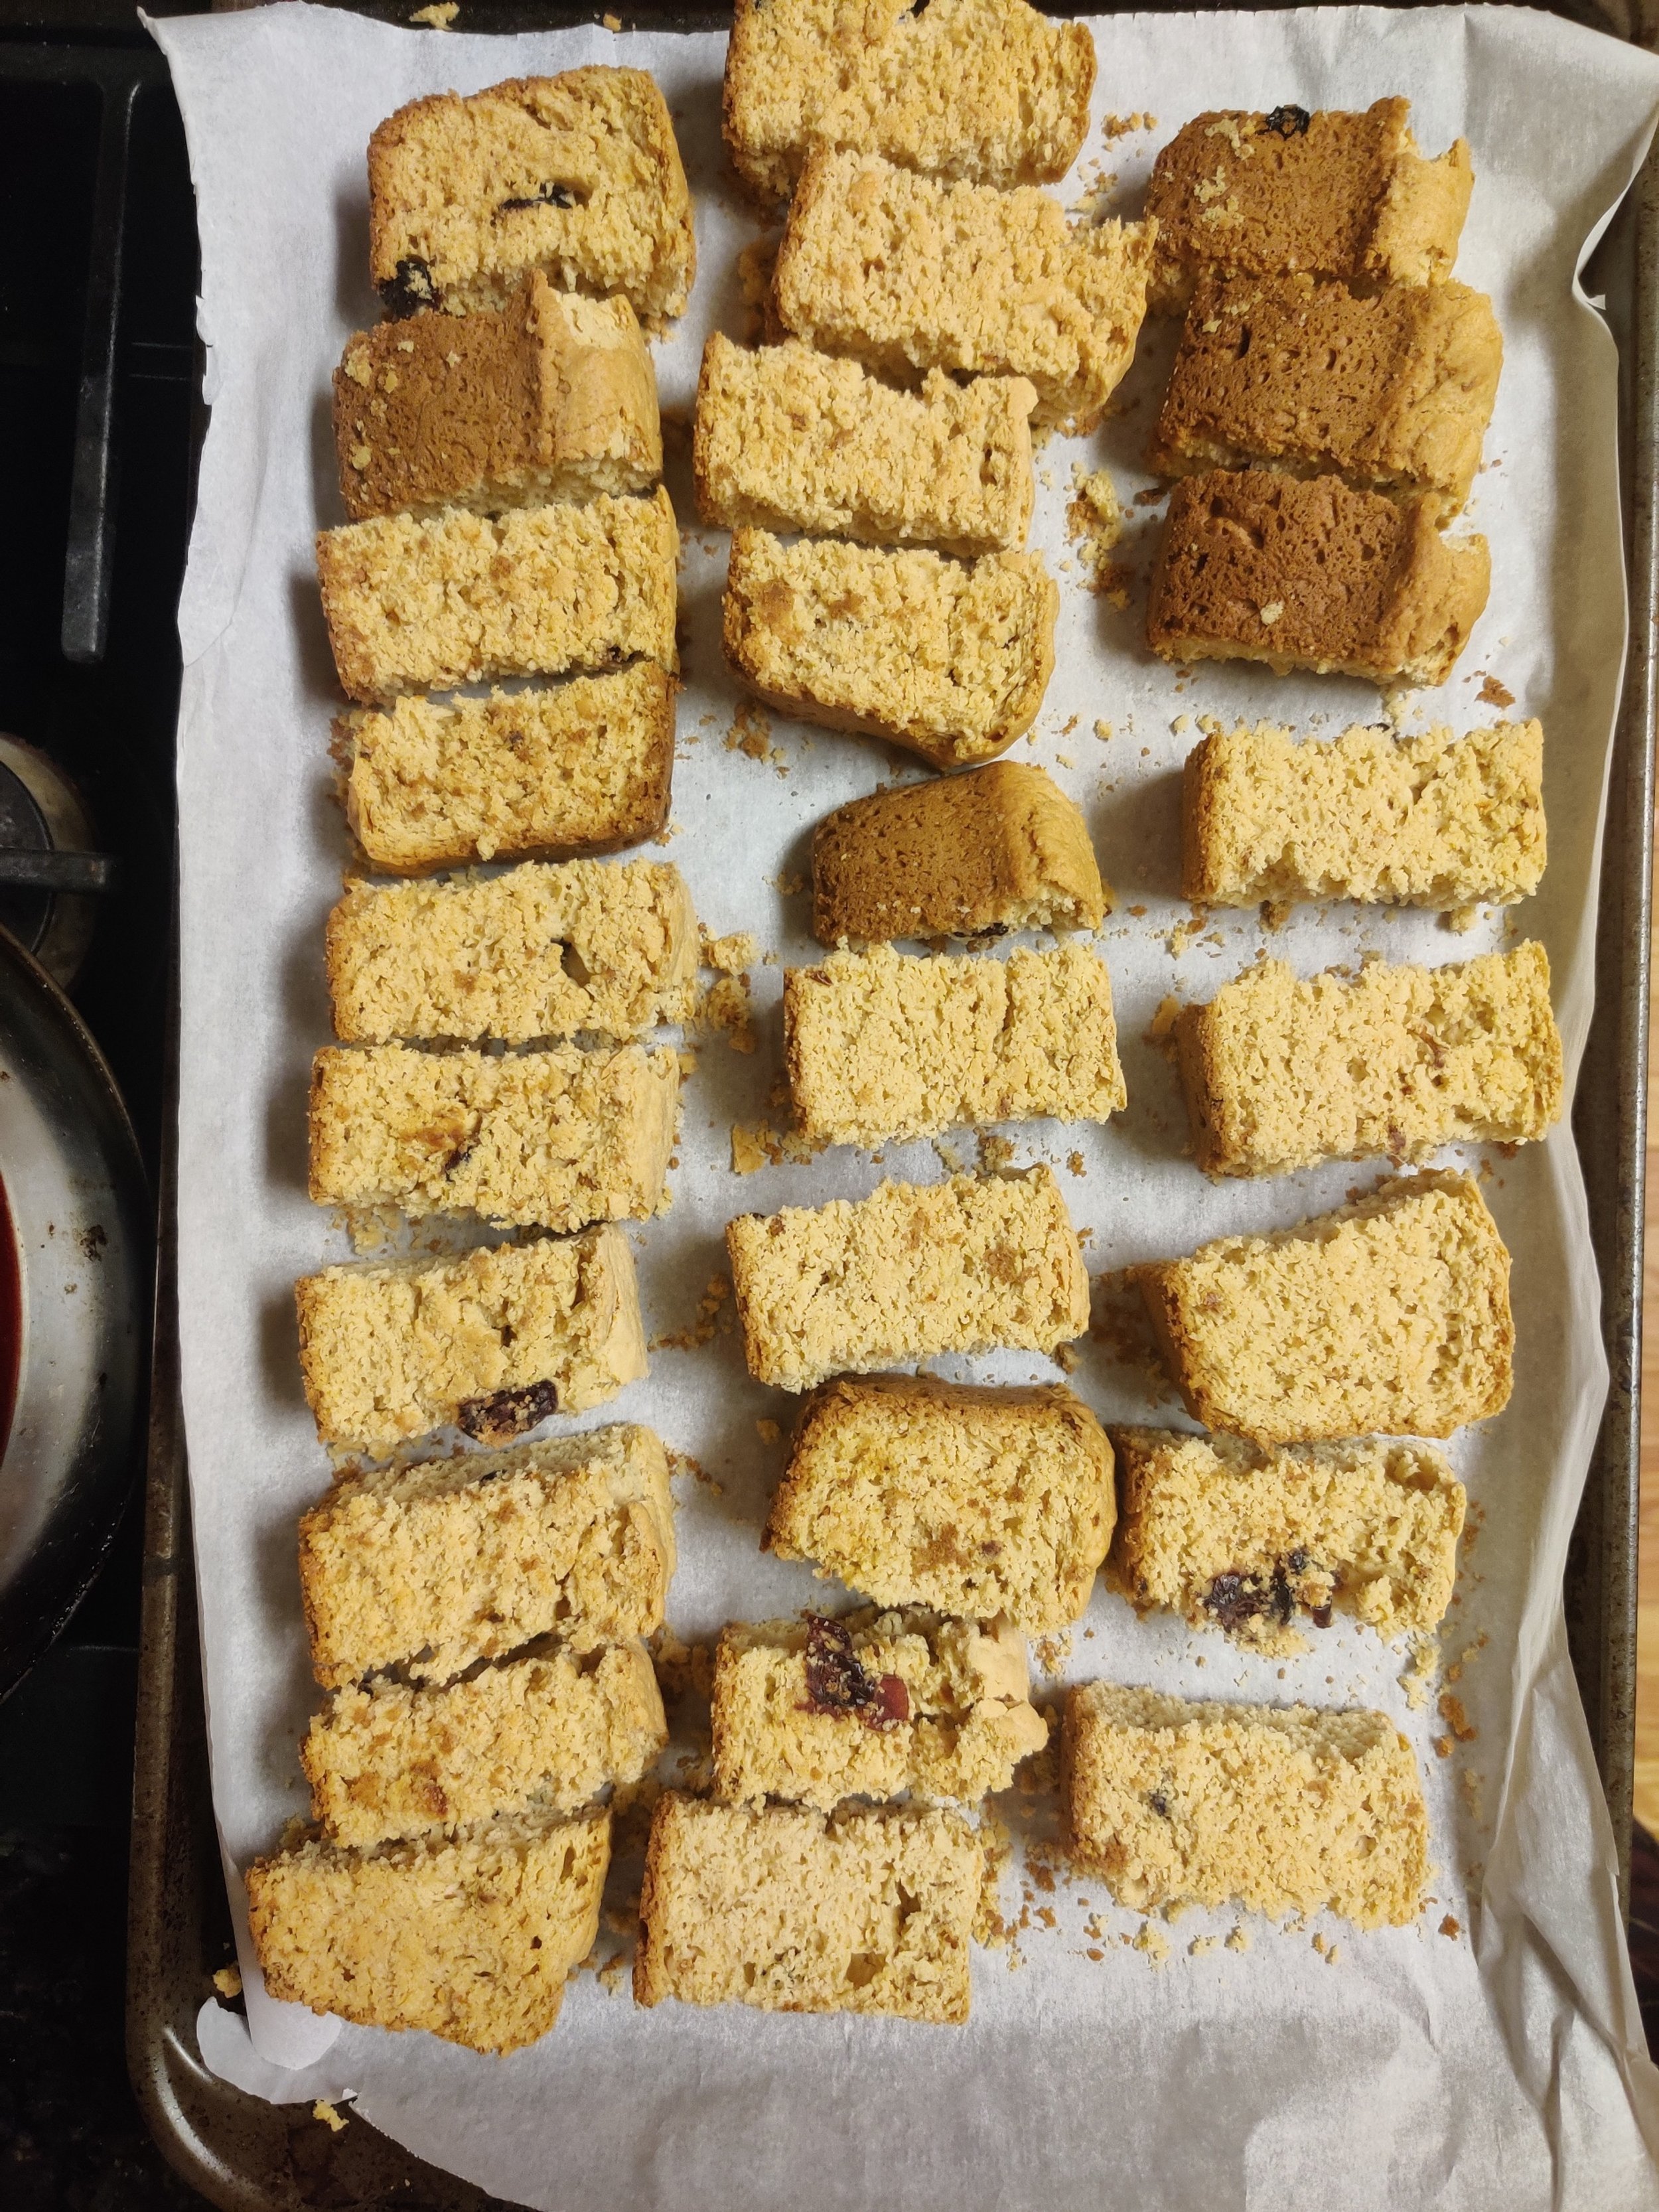
- Once cooled, slice into 2.5cm L x 1.5cm W pieces. Depending on how thick you cut them, you’ll get about 50 rusks.
- Lay them on parchment-lined baking trays evenly spaced, and return to the oven but reduce the heat to 200F/93C. Dry them out or another 2 1/2 hours and check every 30 minutes until a cookie/biscuit texture.
- Keep in airtight containers for up to 3 months.
Nutrition Facts
Calories
122Fat (grams)
2.6Carbs (grams)
22Sugar (grams)
6.6Protein (grams)
2.4I am not a certified nutritionist and any nutritional information on dontmissmyplate.com should only be used as a general guideline.
Cinnamon and Pear Shortbread Biscuits
Introduction to Shortbread Cookies: Simple, Buttery Perfection
Few treats embody the beauty of simplicity quite like shortbread cookies. With just a handful of ingredients—butter, sugar, and flour—these classic cookies deliver a melt-in-your-mouth texture and rich, buttery flavor that's truly irresistible. Strictly by Scottish standards, "one part white sugar, two parts butter, and three to four parts plain wheat flour". The one thing that makes the small number of ingredients scrutinized is the quality, so find the best you can.
Honesty, I can eat these all day long, even though shortbread biscuits are associated with the holidays.
Shortbread cookies have a long history, originating in Scotland and cherished worldwide for their crumbly texture and delicate sweetness. As I noted, they are a staple during holidays, tea time, and special occasions, but their versatility makes them perfect for any time of year. Whether shaped into rounds, fingers, or festive designs, shortbread cookies are as beautiful as they are delicious.
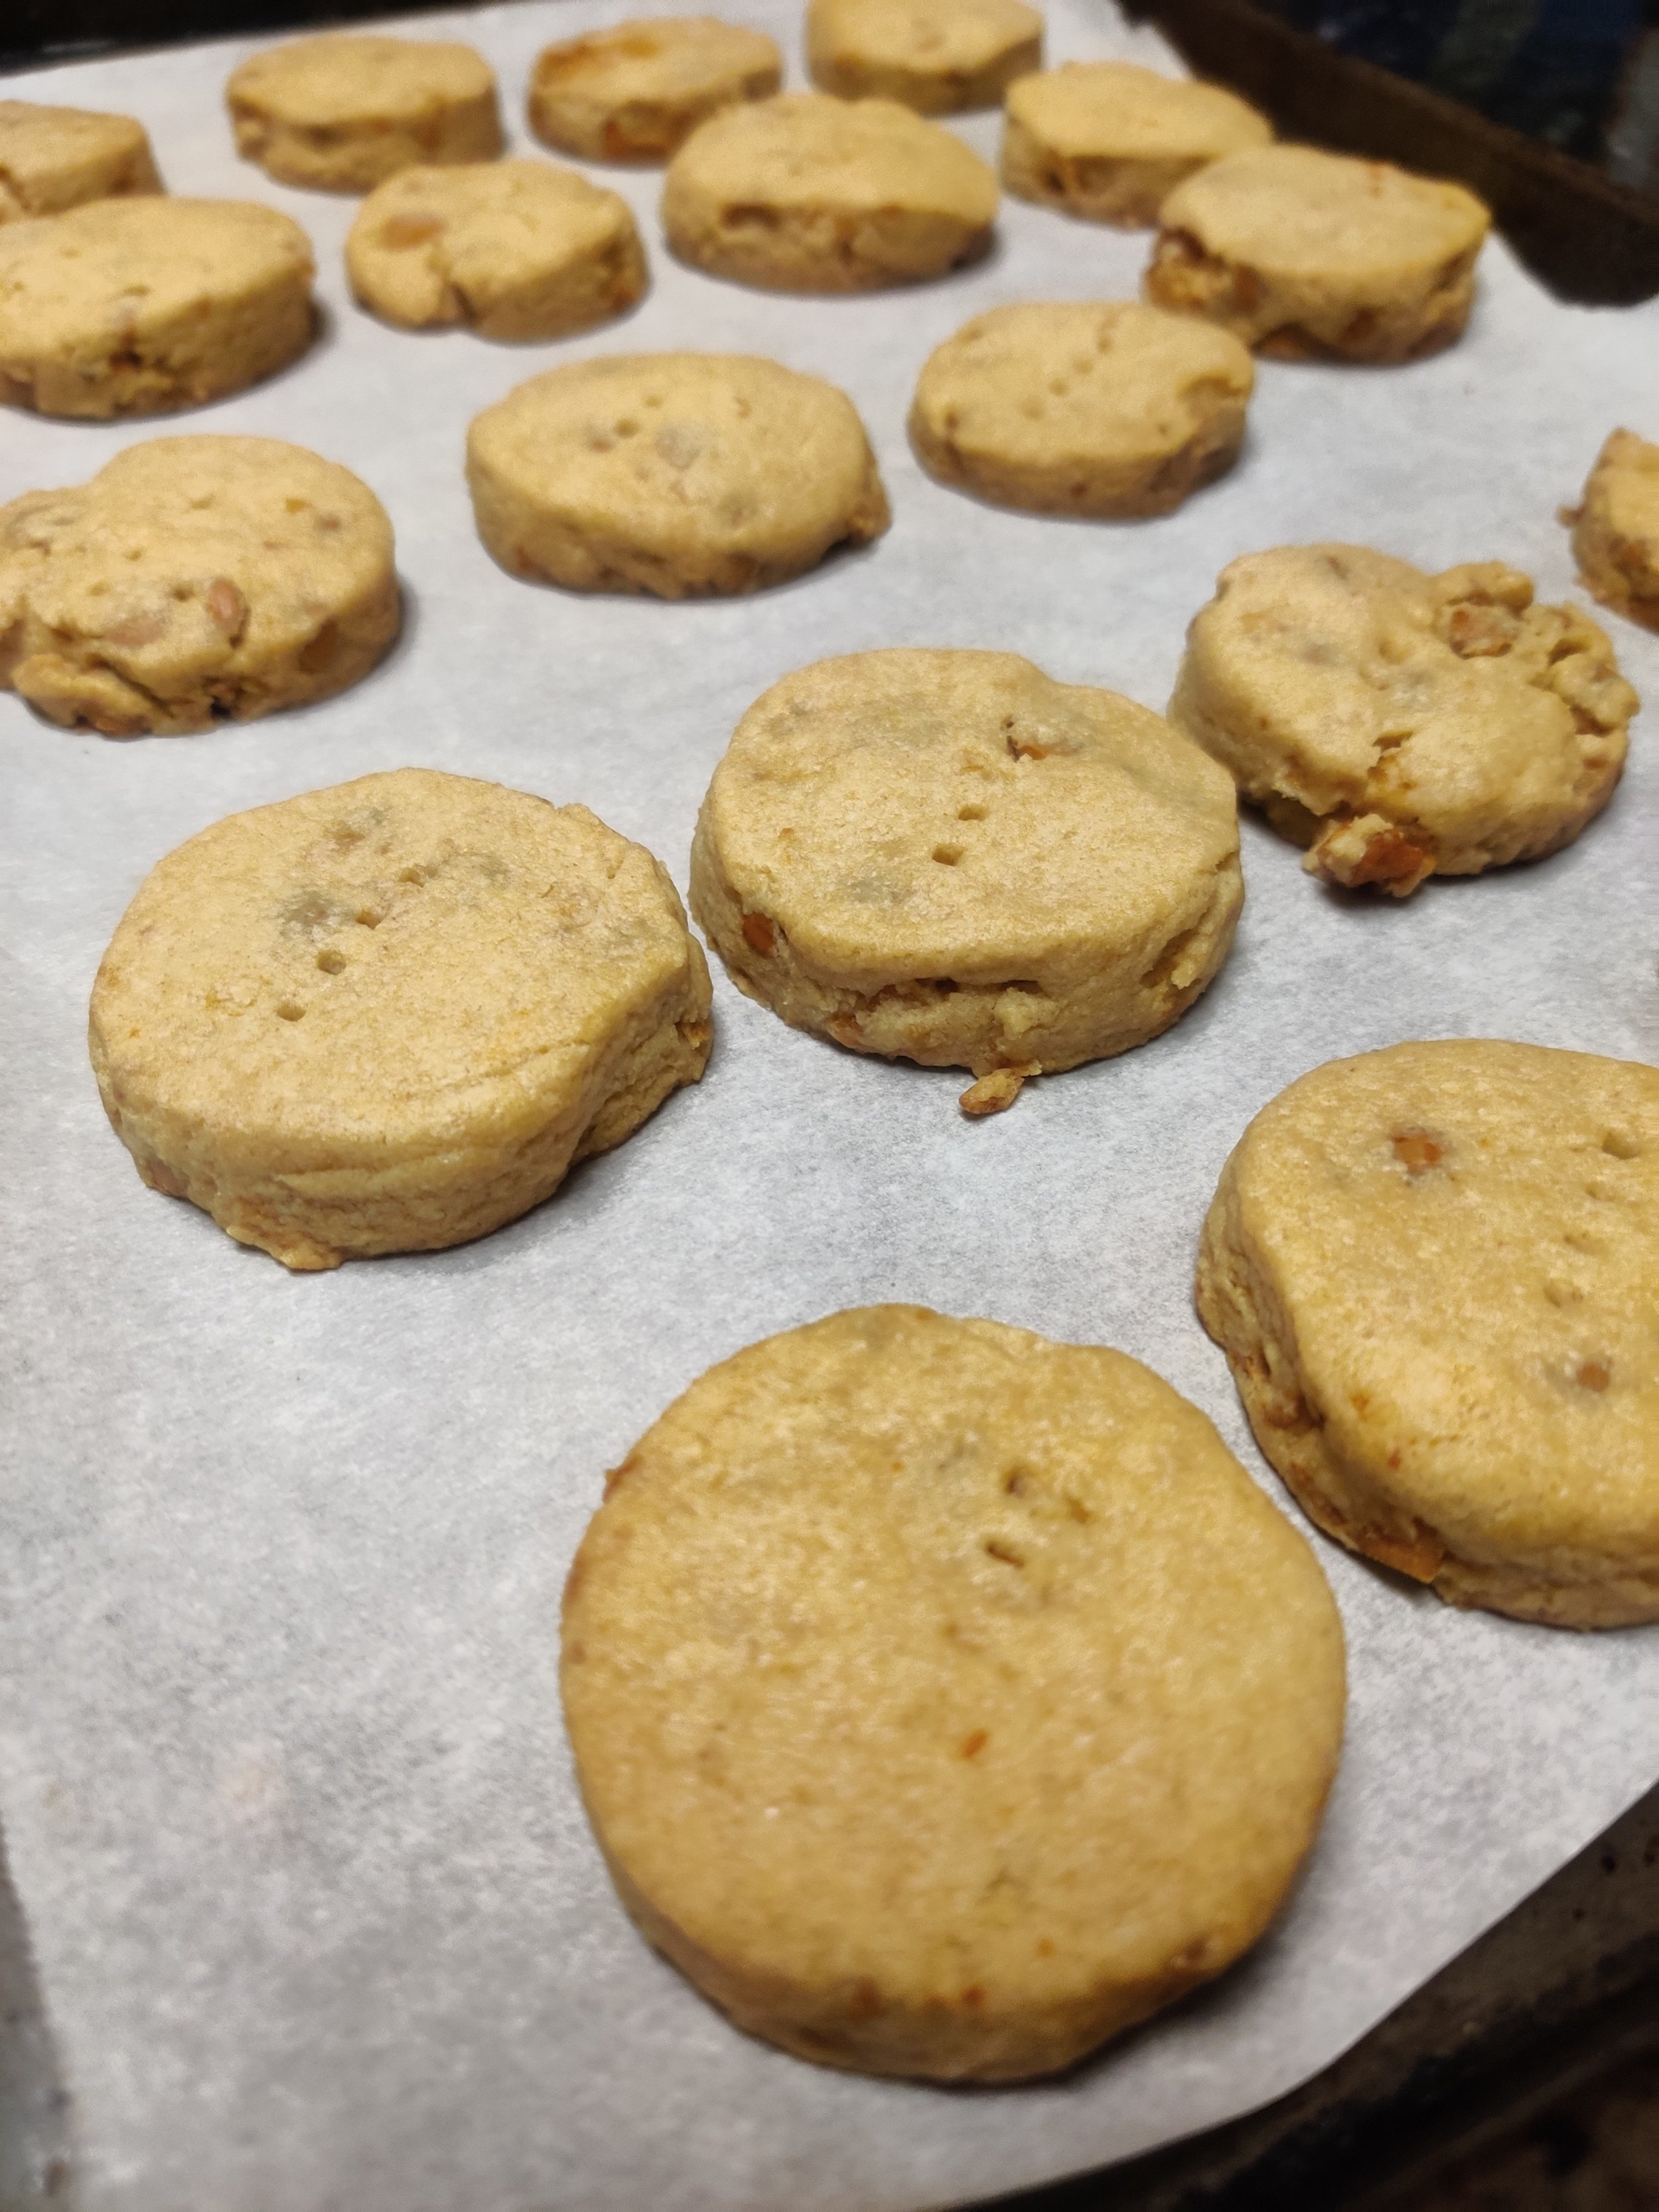
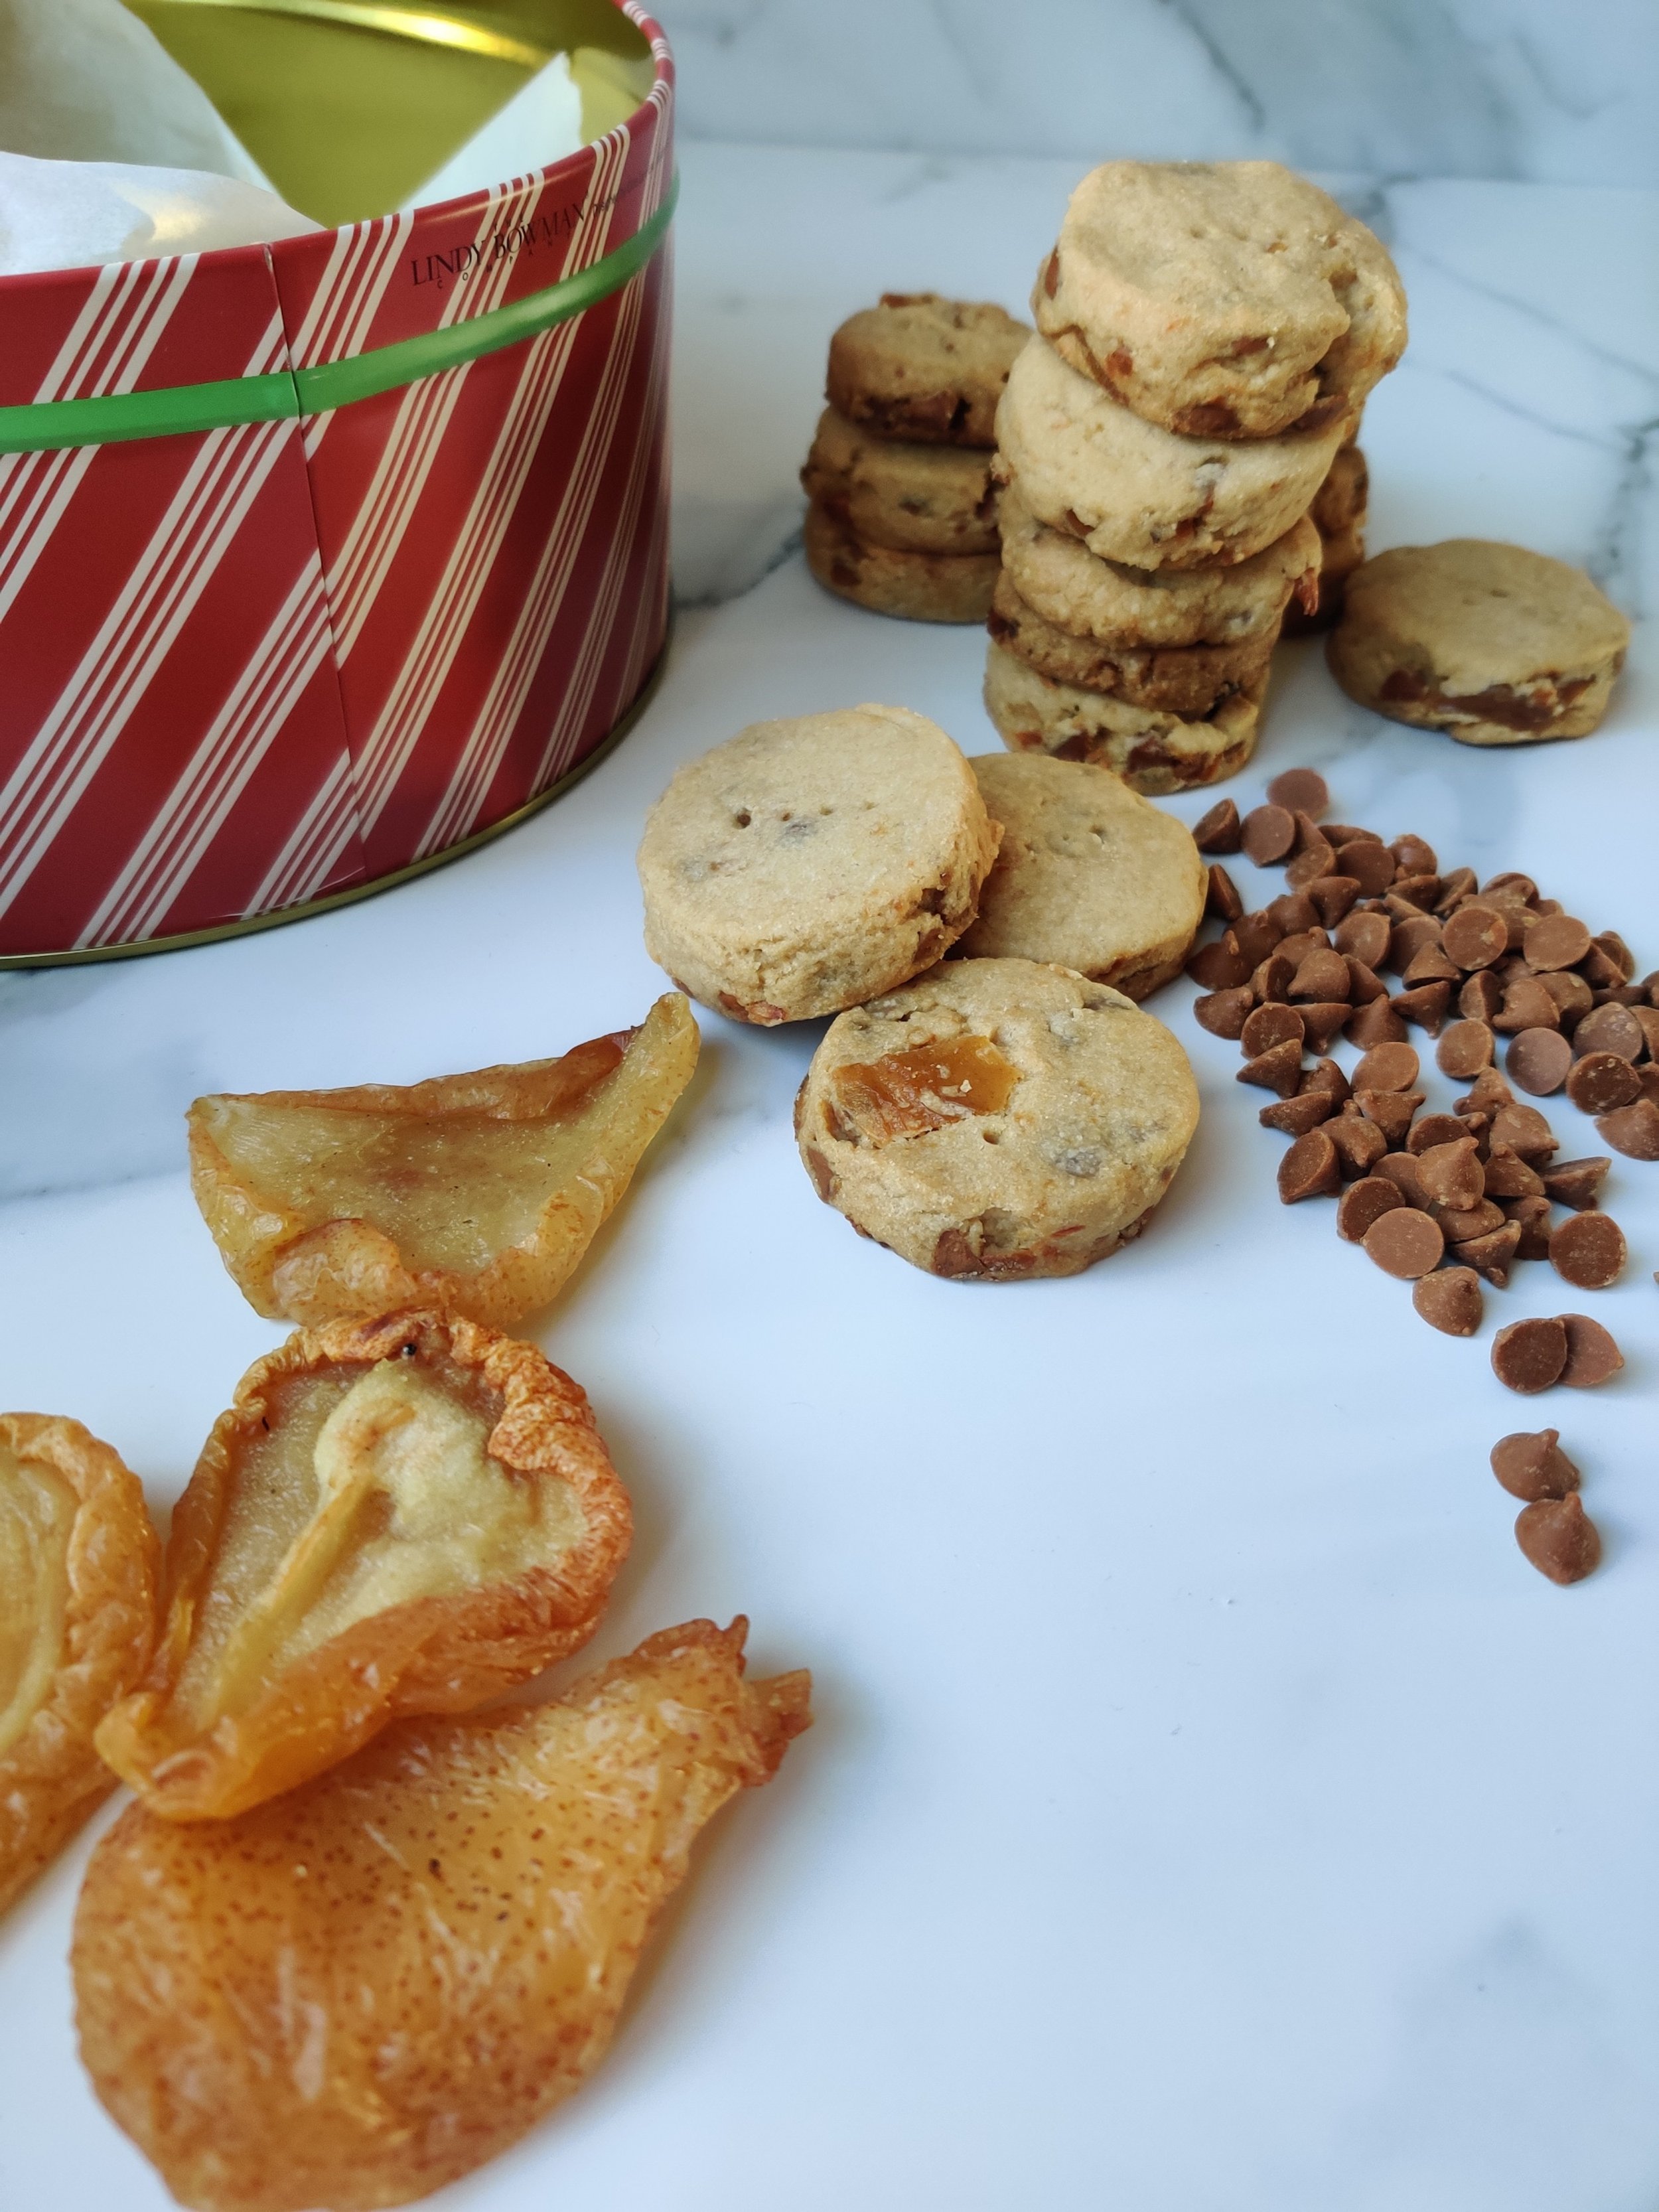
I decided to spruce the cookies up with pear and cinnamon. Both are essential winter flavours, mainly in the dessert department. We tend to turn to dried cranberries, but dried pears offer the same texture and a great taste that pairs wonderfully with cinnamon. Who needs a poached pear with mulled wine spices when you have these crunchy treats that melt in your mouth?
As for the cinnamon chips, you can also turn them into toffee bits and omit the dried fruit altogether.
Here are some practical tips for making perfect shortbread:
1. Use High-Quality Butter
Butter is the star ingredient in shortbread, so choose a good-quality, unsalted butter for the best flavor. The better the butter, the better the cookie.
2. Keep Ingredients Simple
Stick to the traditional trio of butter, sugar, and flour. If you’re adding flavors (like vanilla or citrus zest), keep them subtle to maintain the classic shortbread taste.
3. Measure Accurately
Use a kitchen scale for precise measurements, especially for flour. Too much flour can make the cookies dense instead of light and crumbly.
4. Don’t Overmix
Mix the dough just until it comes together. Overmixing can develop gluten, leading to tough shortbread instead of the tender, crumbly texture you want.
5. Chill the Dough
Let the dough rest in the fridge for at least 30 minutes before rolling or shaping. This helps the butter firm up and prevents spreading during baking.
6. Roll Evenly
For consistently baked cookies, roll the dough to an even thickness. Use rolling pin guides or evenly spaced dowels to achieve this.
7. Prick the Dough
If making traditional shortbread, prick the surface of the dough with a fork before baking. This allows steam to escape and helps maintain the cookie’s shape.
8. Bake Low and Slow
Shortbread is best baked at a lower temperature (around 300–325°F or 150–165°C) to prevent browning. The cookies should stay pale with just a hint of golden edges.
9. Use a Sharp Cutter
If using cookie cutters, make sure they’re sharp to create clean edges. Re-roll scraps sparingly to avoid overworking the dough.
10. Let Cool Completely
Allow the shortbread to cool fully on a wire rack before handling. They’ll firm up as they cool, making them easier to store and serve.
11. Store Properly
Store shortbread in an airtight container at room temperature for up to two weeks. Their flavor and texture often improve after a day or two.
12. Experiment with Add-Ins
While classic shortbread is delightful on its own, you can try variations like adding chocolate chips, nuts, or spices, or even dipping the finished cookies in melted chocolate.
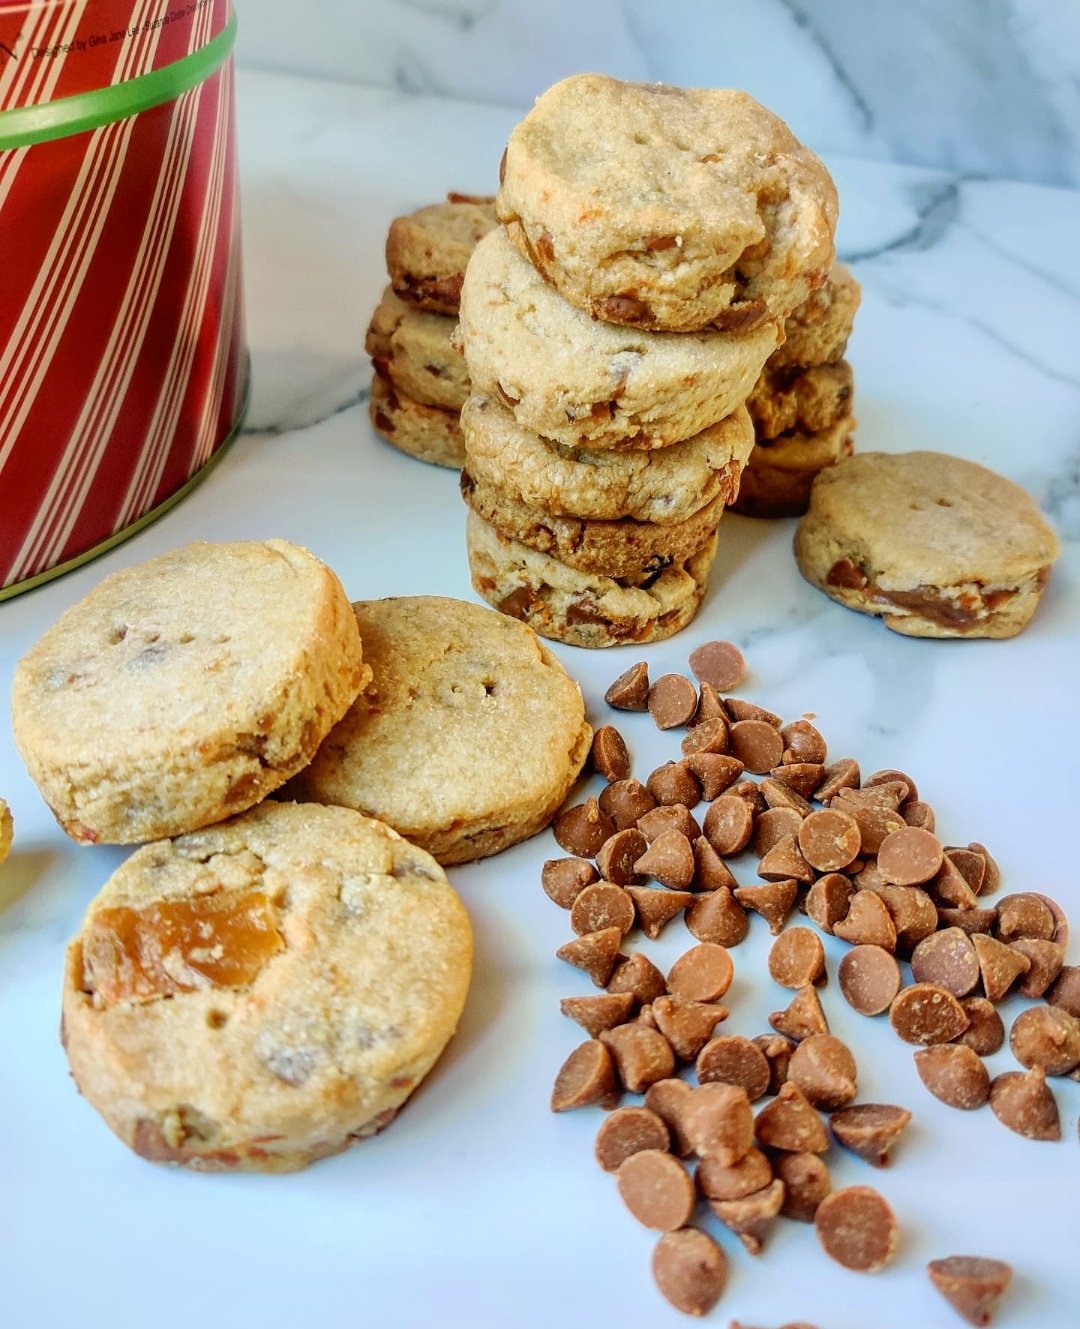
Cinnamon and Pear Shortbread Biscuits
Ingredients
- 3 cups white whole wheat or all-purpose flour + extra for dusting
- 1/2 cup + 2 tablespoons granulated sugar
- 1/2 teaspoon salt
- 2/3 cups dried pears
- 2/3 cups cinnamon chips or toffee bits
- 1 cup butter
- 1 teaspoon vanilla extract
- 2-3 tablespoons water
- Optional: 2-3 tablespoons heavy cream
Instructions
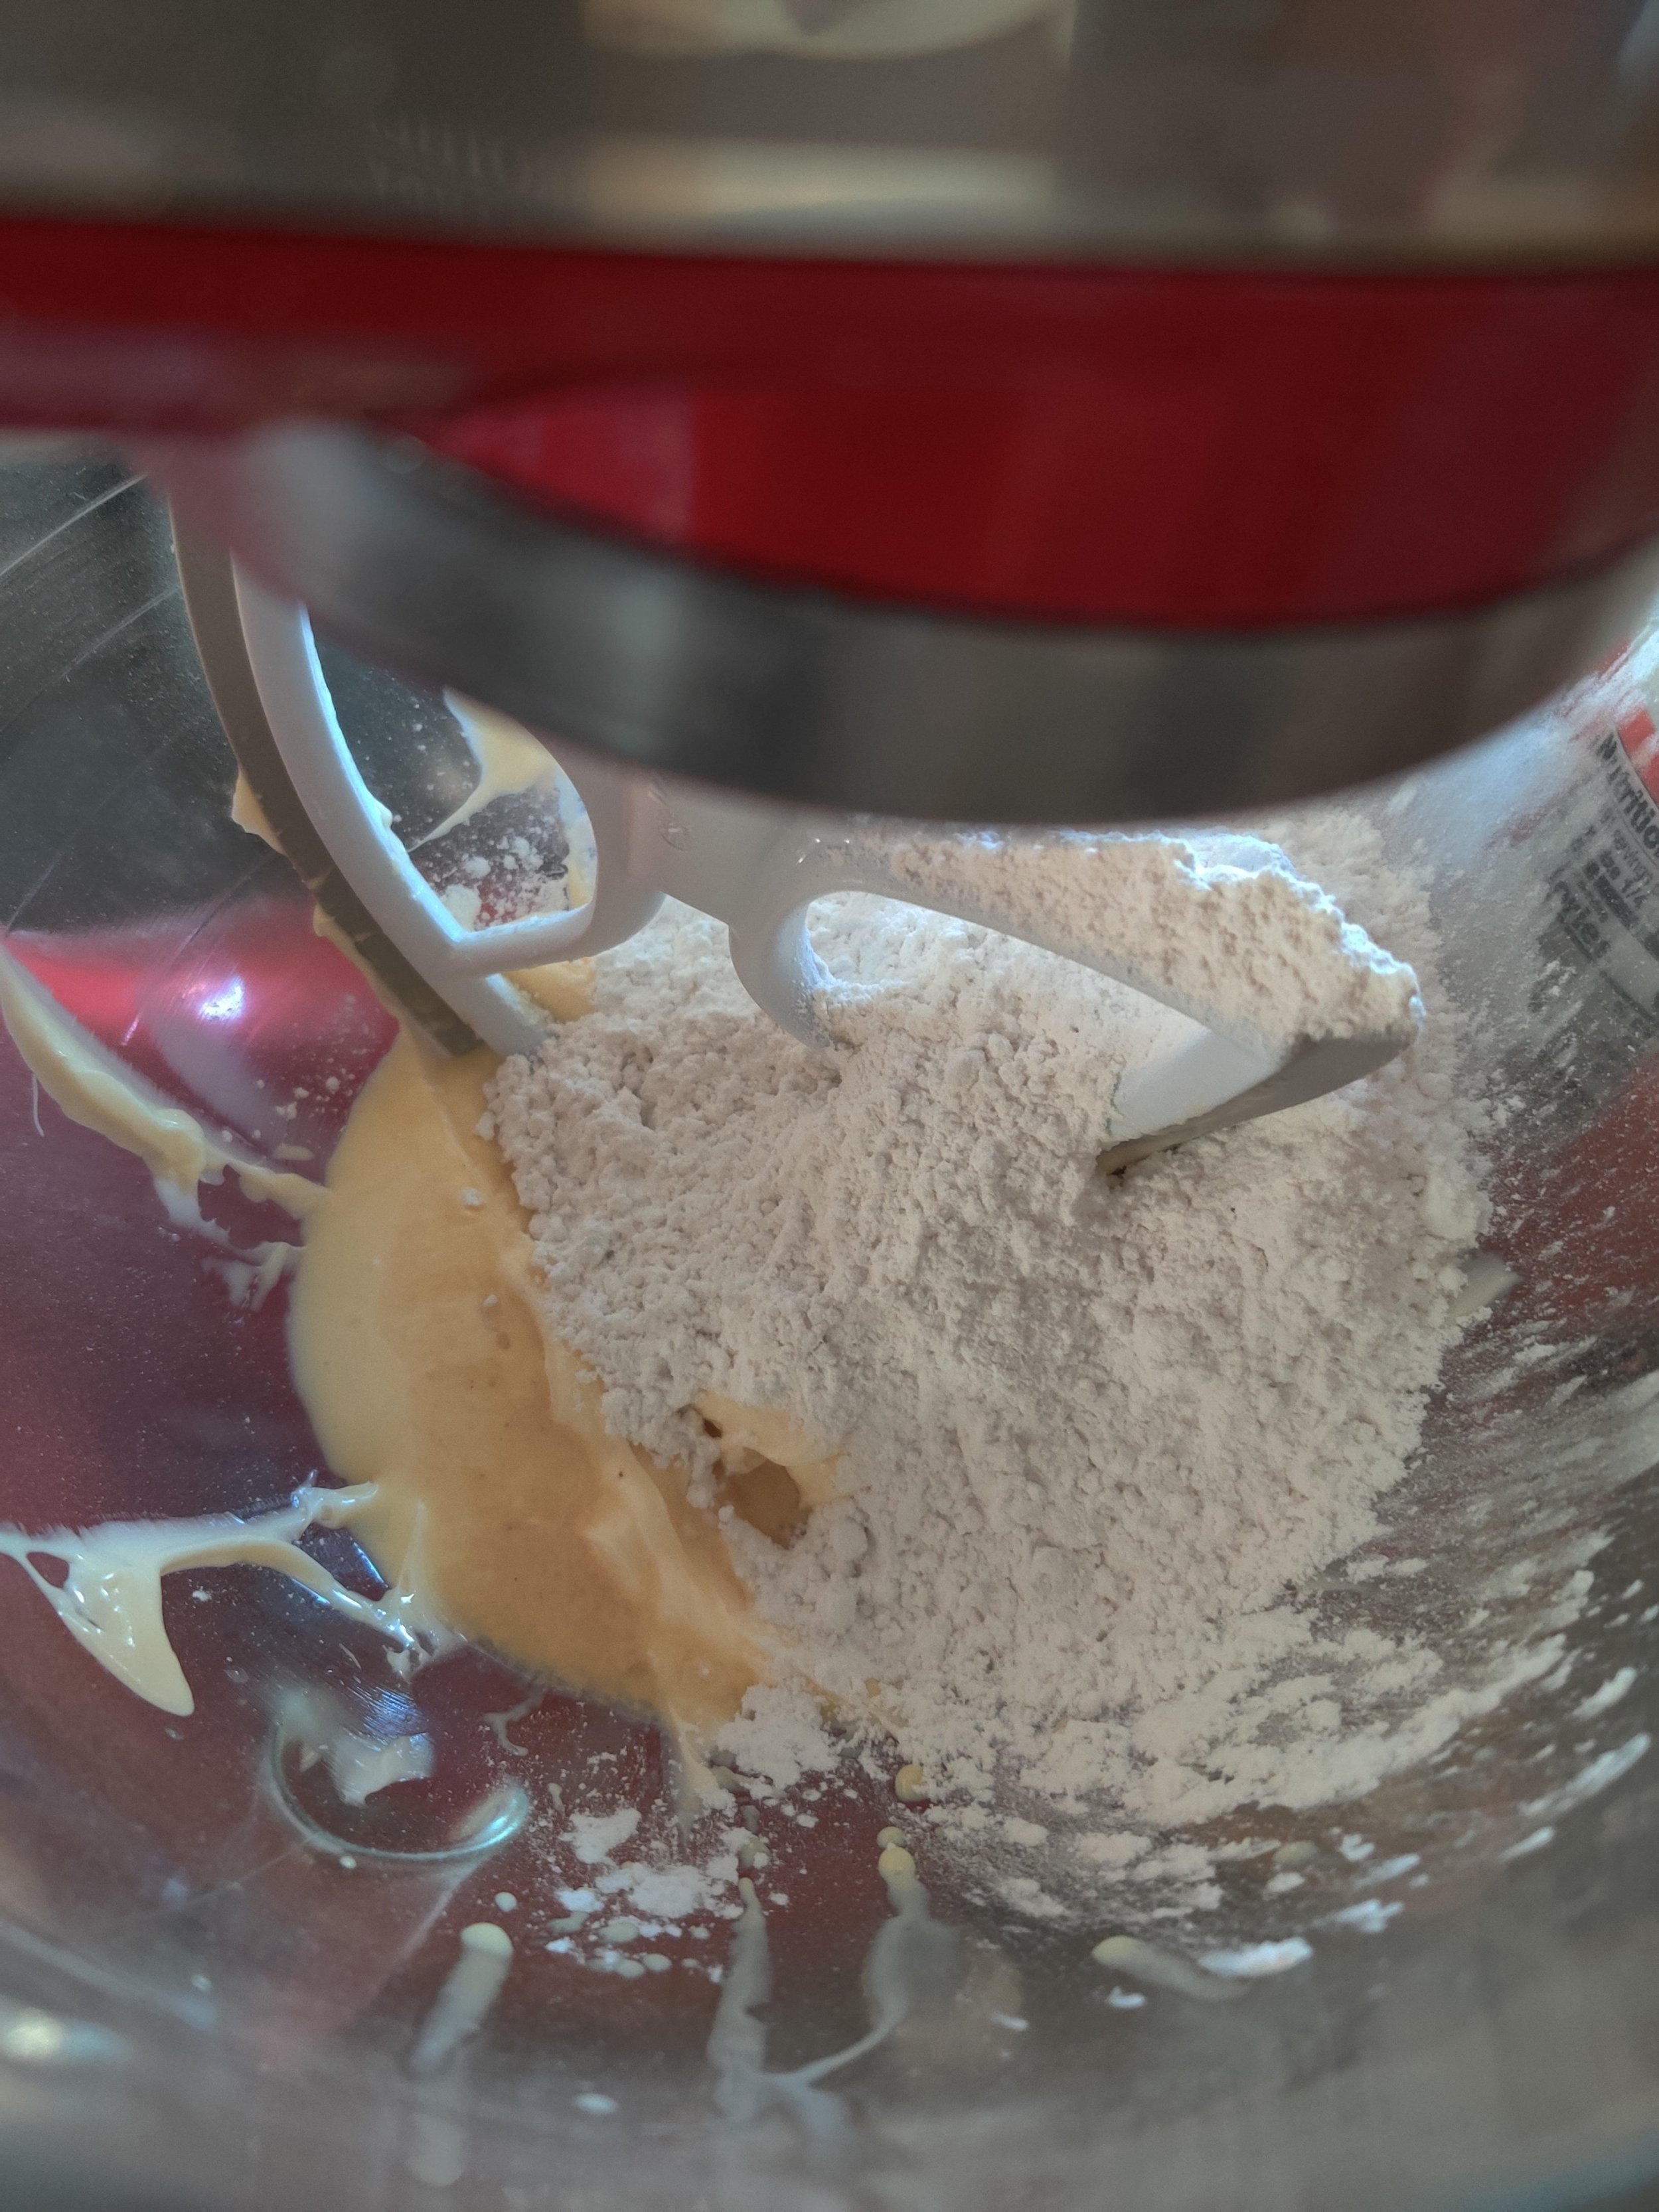
- In a stand mixer bowl on medium speed with a paddle attachment, beat the softened butter and sugar until incorporated, fluffy and light.
- Gradually add in the flour and salt at low speed until a dough begins to form. Initially, it will appear dry and won't create a dough that sticks together.
- Add the finely diced pears (you can also pulse in a food processor) and cinnamon chips and mix until evenly distributed and mix in with a spatula.
- Add the vanilla, and activate the gluten formation by adding the water and check a small amount with your fingers before bringing the dough together with your hands. Add more water and/or cream as needed to get the dough to stick together but don't put too much liquid! Only enough to work it into a slab.
- Transfer the dough to a lightly floured surface and use a rolling pin with cling film on top to flatten the dough about a 1/2 inch. Use a cookie cutter or knife to shape the individual cookies.
- Lay them out on parchment-lined baking trays and pierce with a fork (to ensure the heat gets in the middle during bake time) before chilling for at least 30 minutes.
- Bake at 350F for 30 minutes, then remove from oven and cool. Enjoy!
Notes
If you use white whole wheat flour, you will likely need to add 2-3 tablespoons of heavy cream when activating the gluten since there is less of it. You can also use all-purpose flour when dusting the surface to shape the dough.
Nutrition Facts
Calories
92Fat (grams)
5.2 gCarbs (grams)
10.3 gSugar (grams)
4.9 gProtein (grams)
1.4 gI am not a certified nutritionist and any nutritional information on dontmissmyplate.com should only be used as a general guideline.
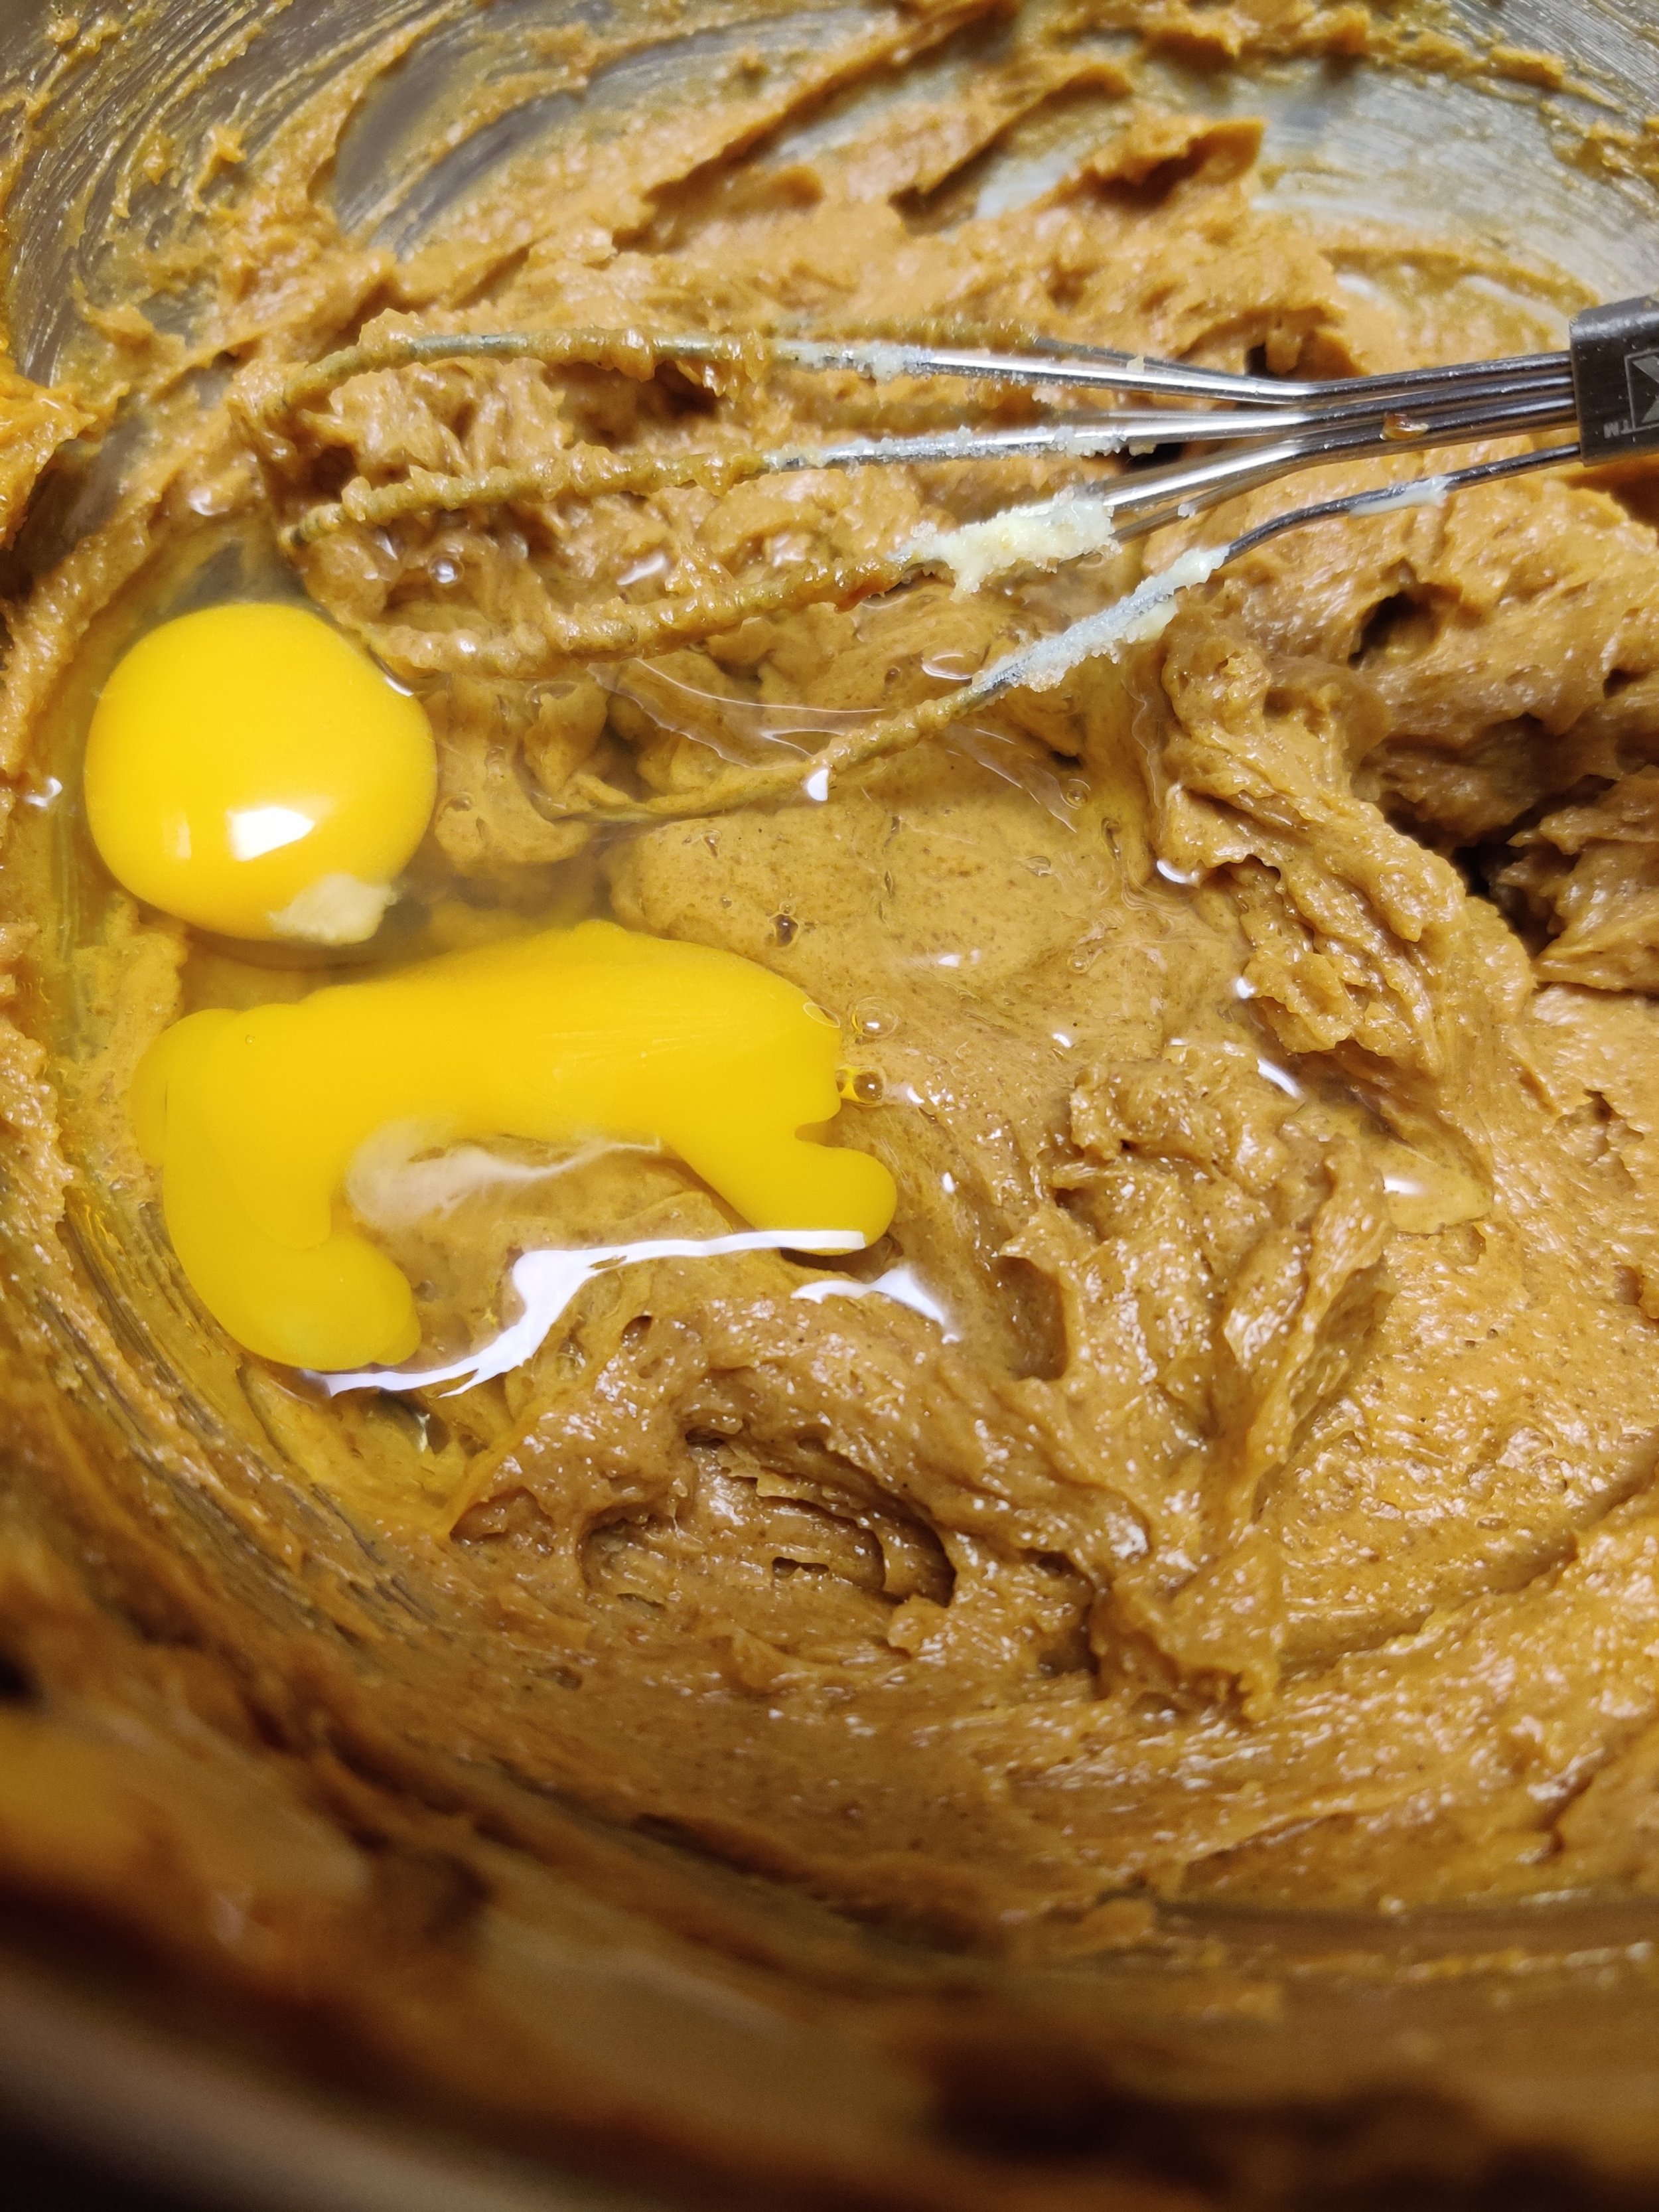
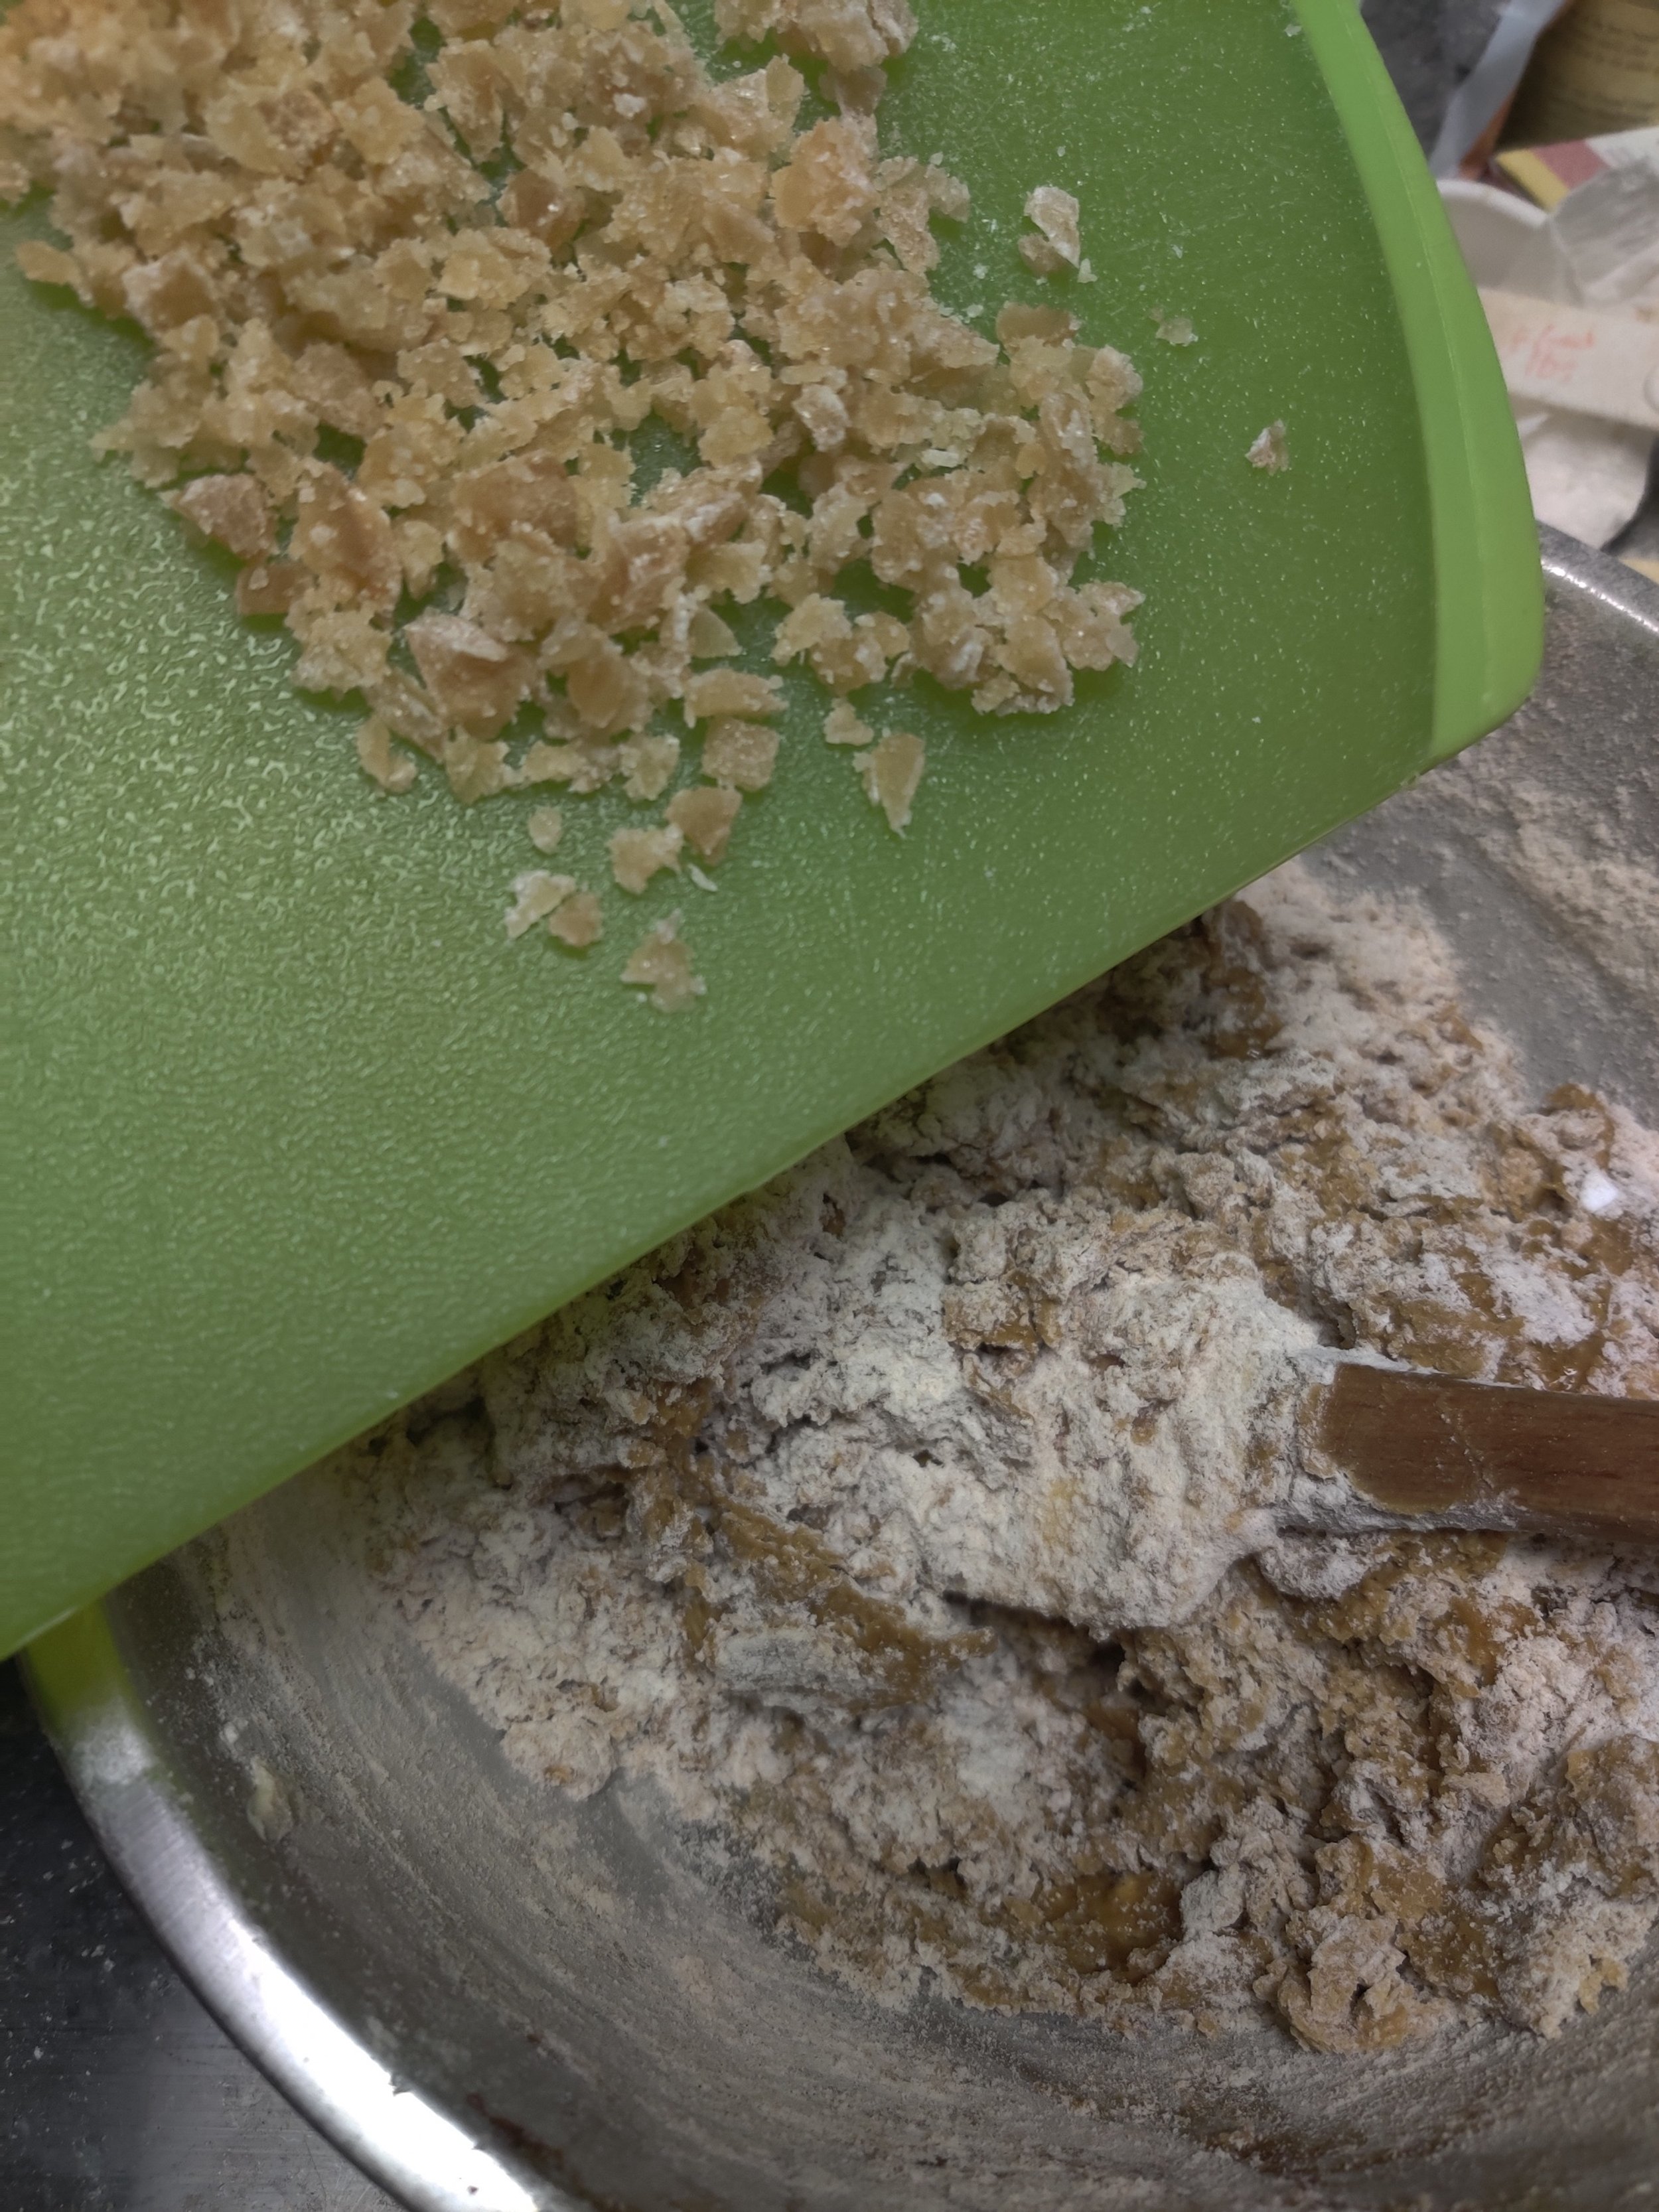
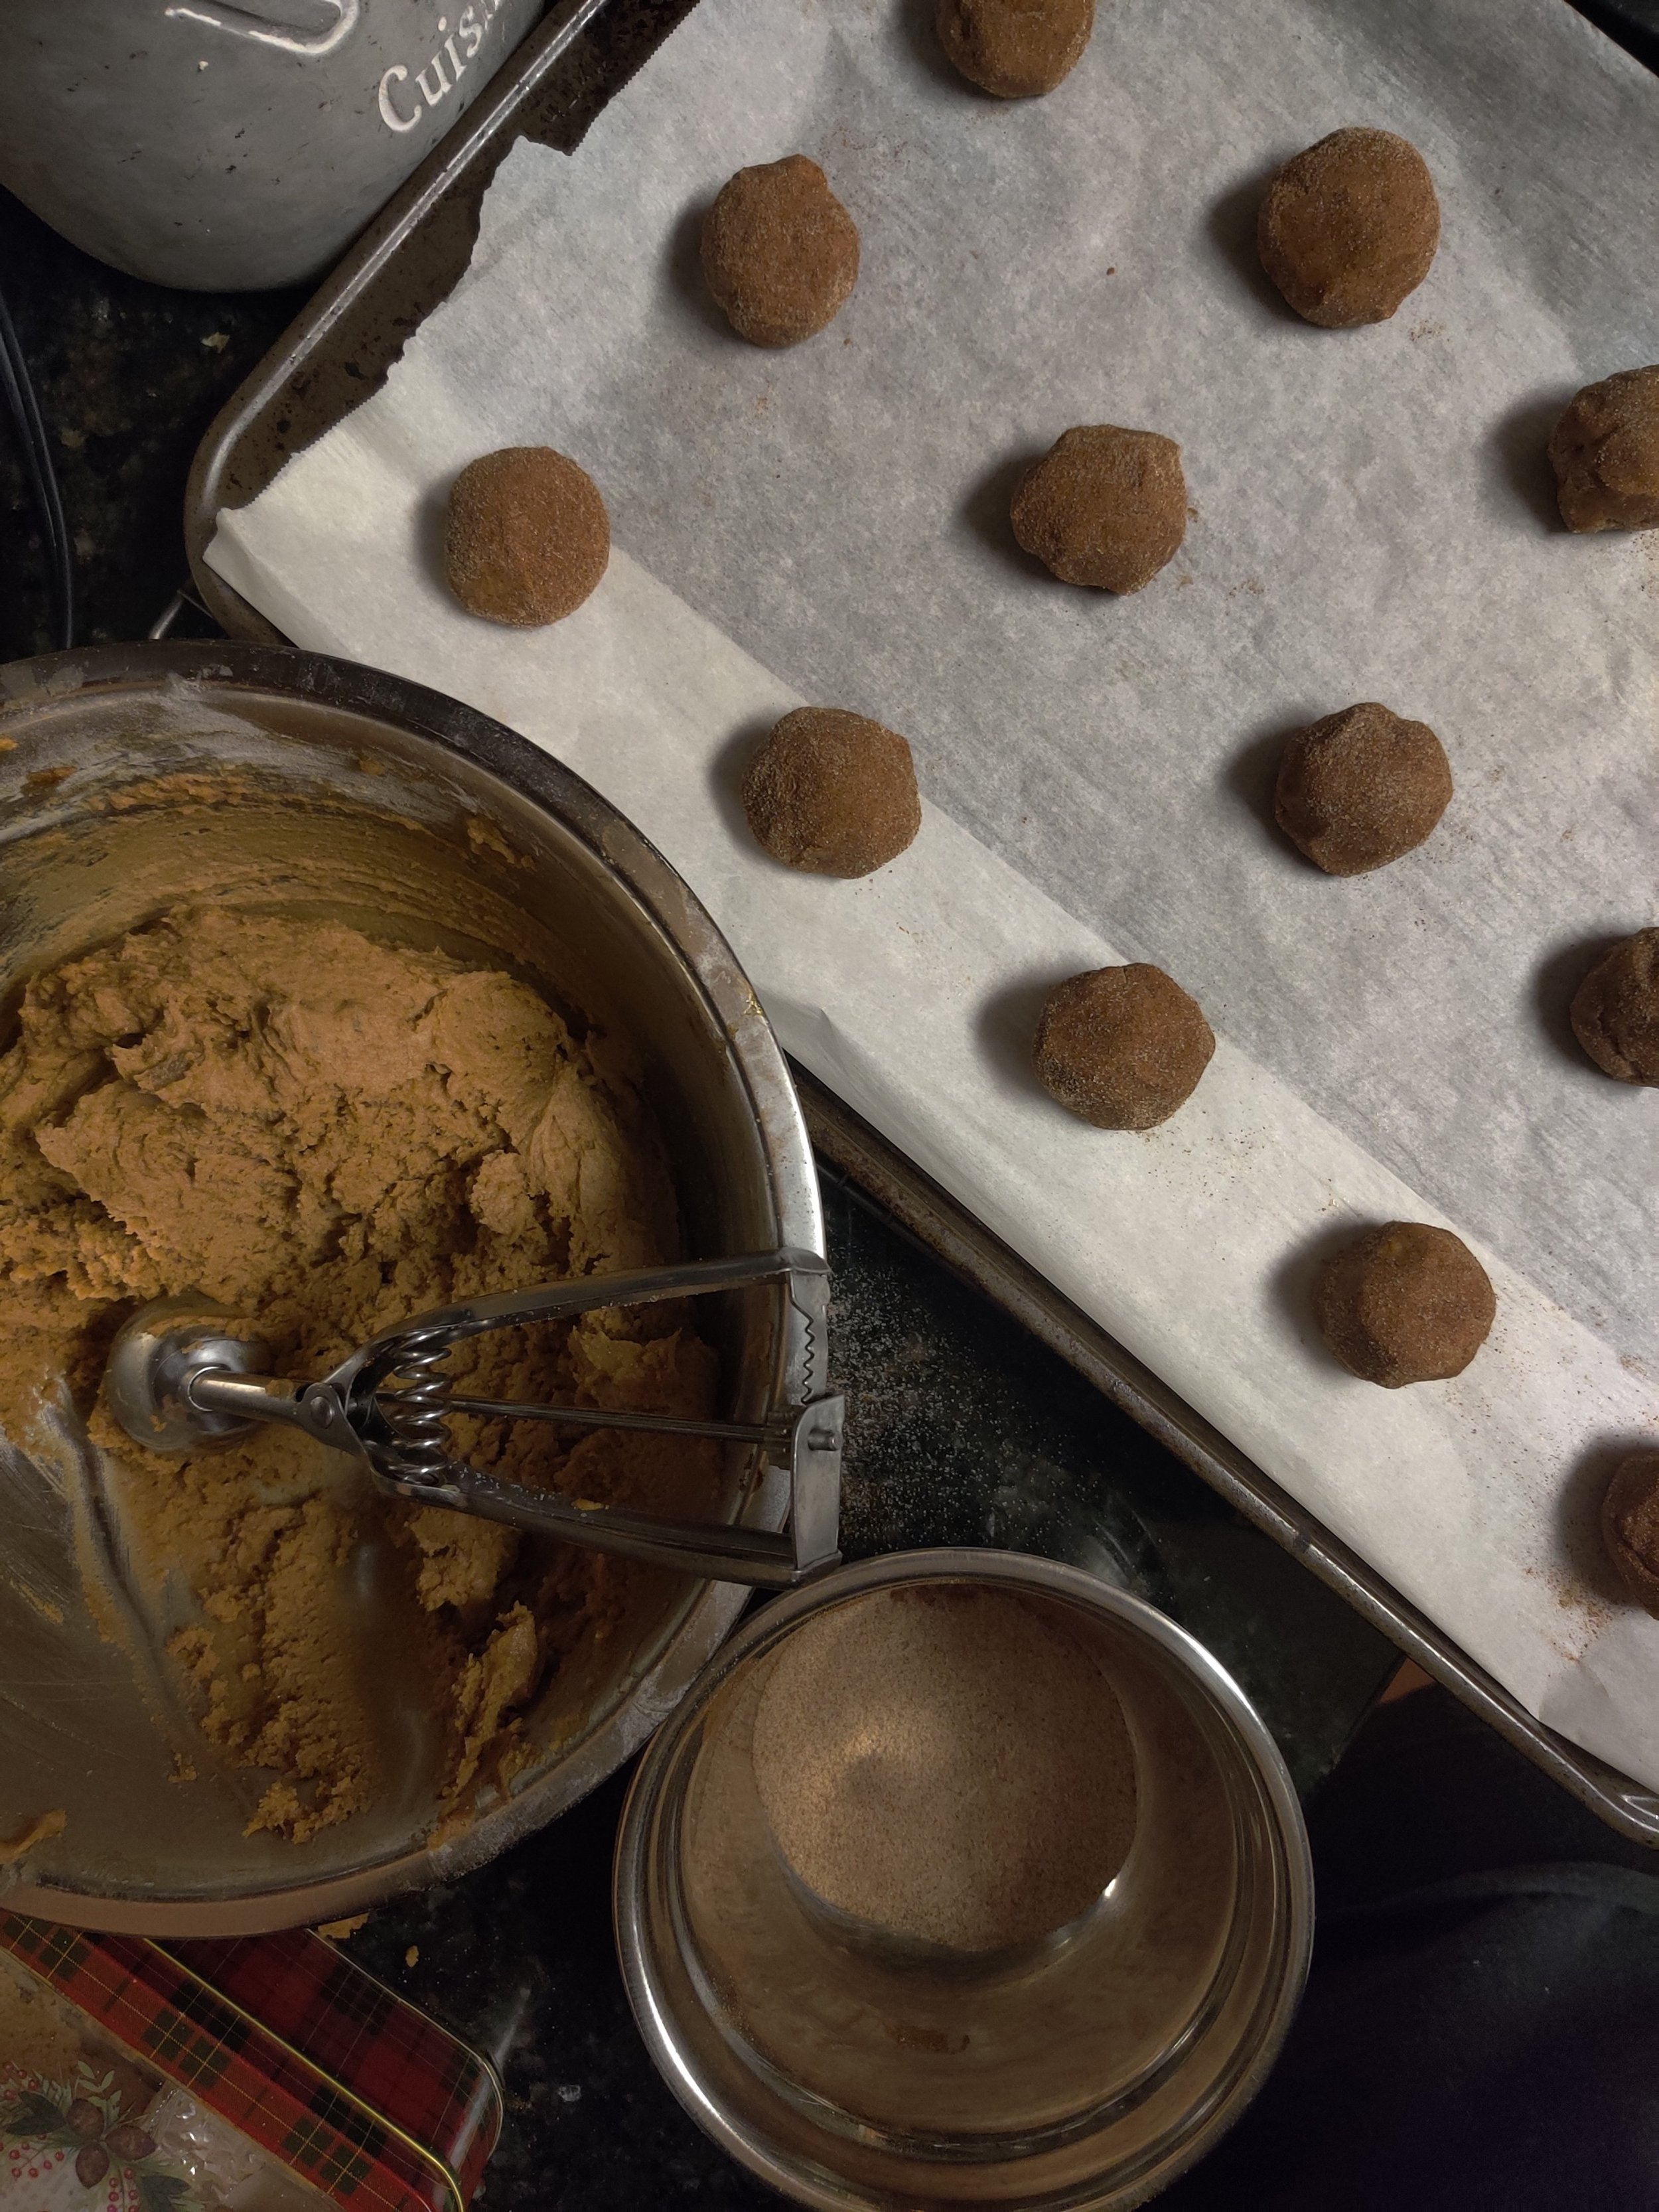
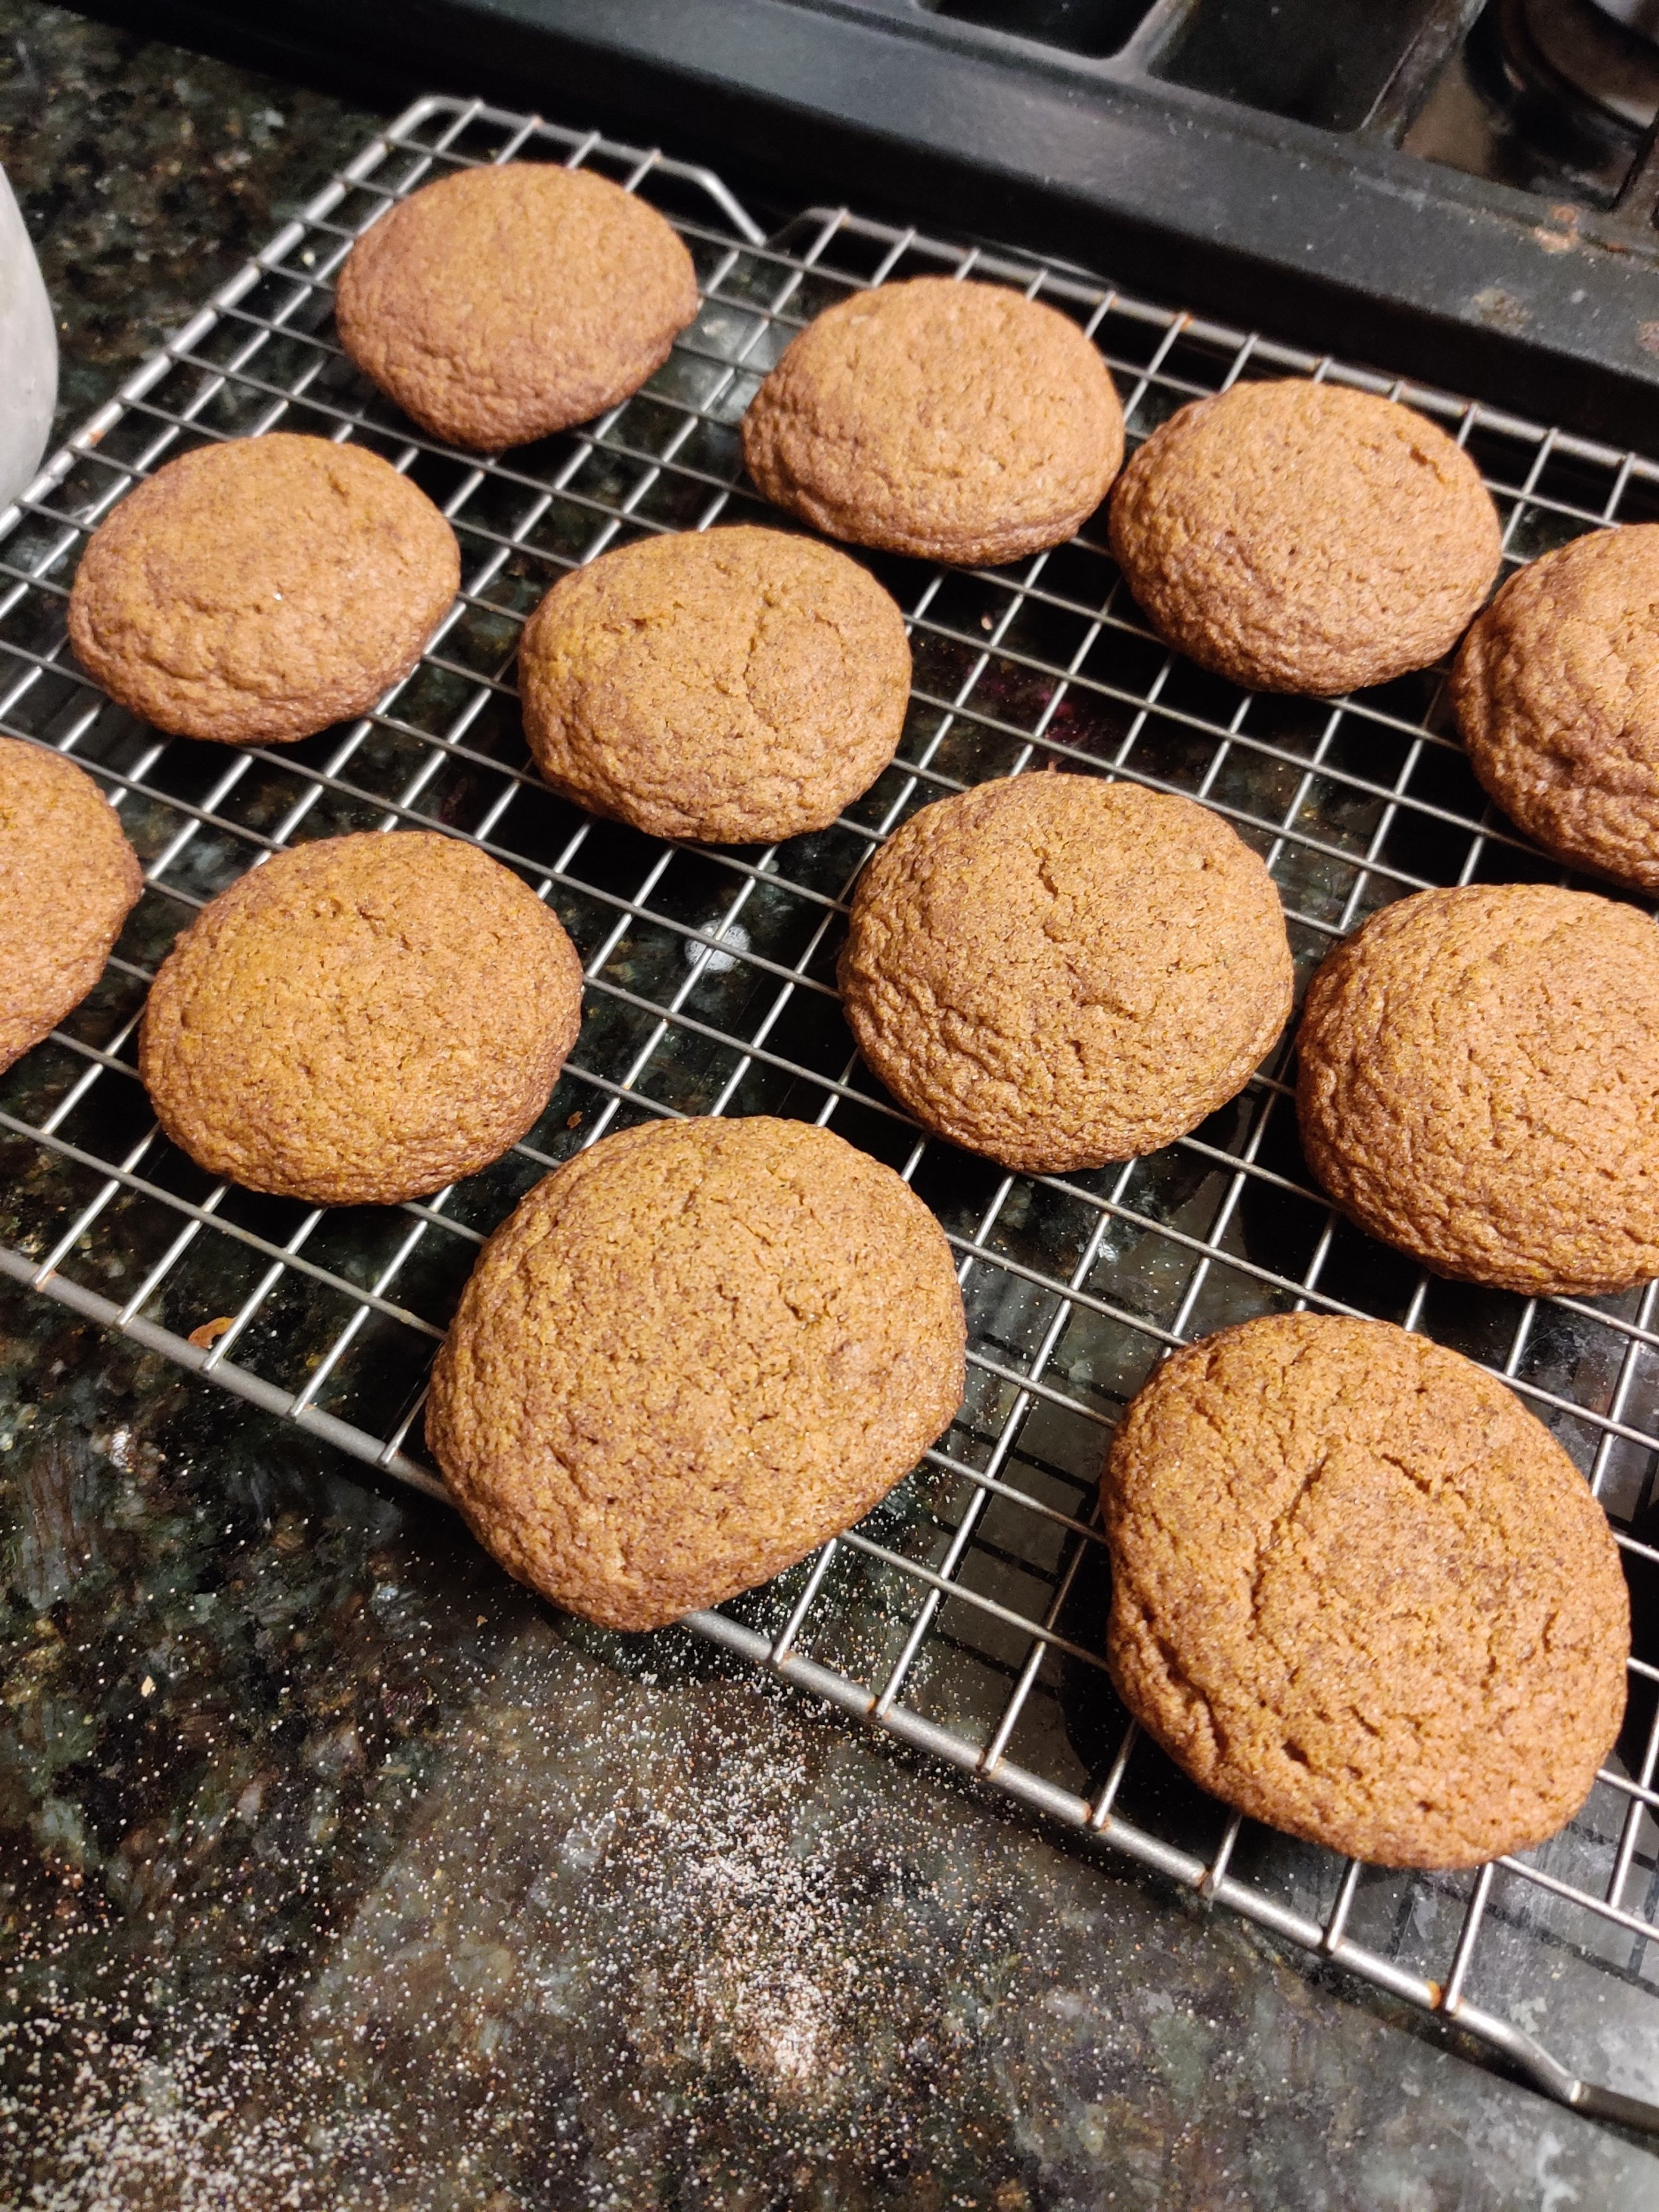
Ginger Biscuit Snickerdoodles
Ginger biscuits hold such a clear, dear memory in my mind. My grandmother always kept a tin of biscuits at her home, and when my siblings and I visited as children, we knew to expect a nibble. The collection included some crunchy ginger biscuits (or gingerbread biscuits, gingersnap, ginger nut, whatever you prefer!
Molasses, brown sugar and a combination of nutmeg, cinnamon, and cloves make these cookies unique. I also added in some crystallized ginger to intensify the flavour. Thanks to Primal Palate Gingersnap Spice (a holiday baking necessity), there won't be any confusion about what you're eating!
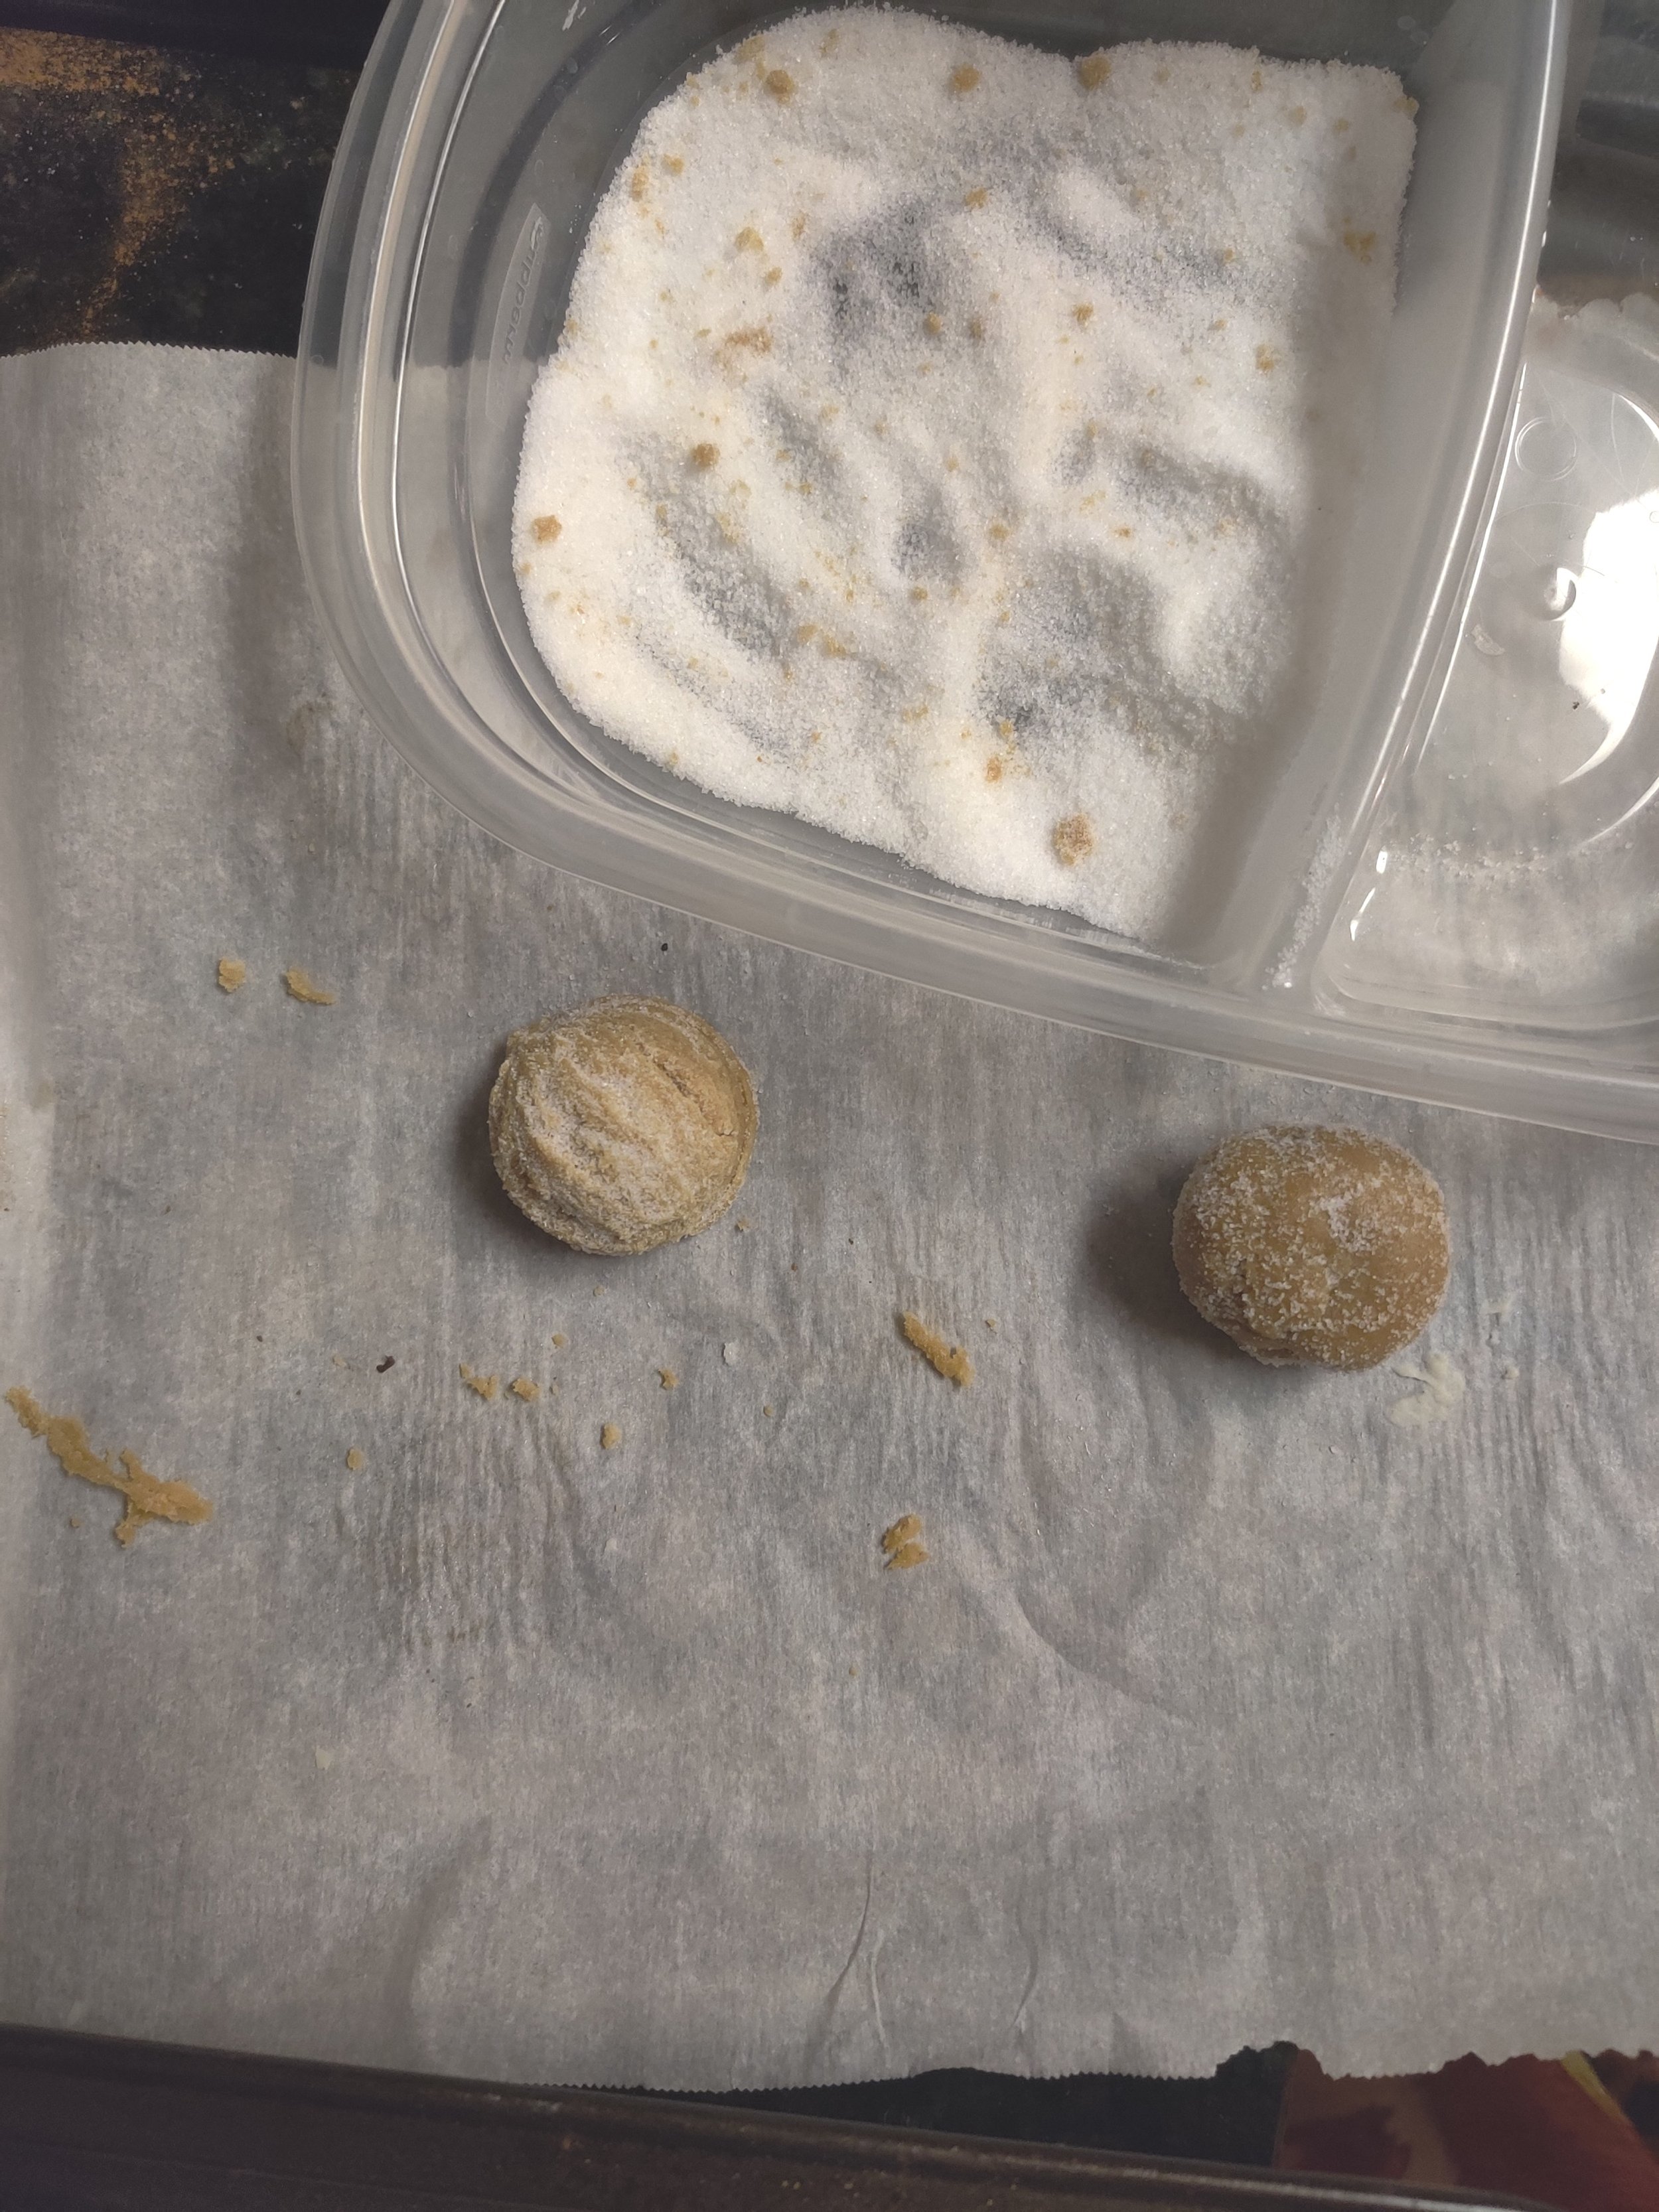
What about the snickerdoodle part of this recipe? Well, these New England treats are simple but a fan favourite, and I'm one of them! A soft (or crisp) cookie rolled in cinnamon sugar; this combination is seamless.
If you are looker for a recipe for Gingerbread Man Biscuits, look no more! Click here.
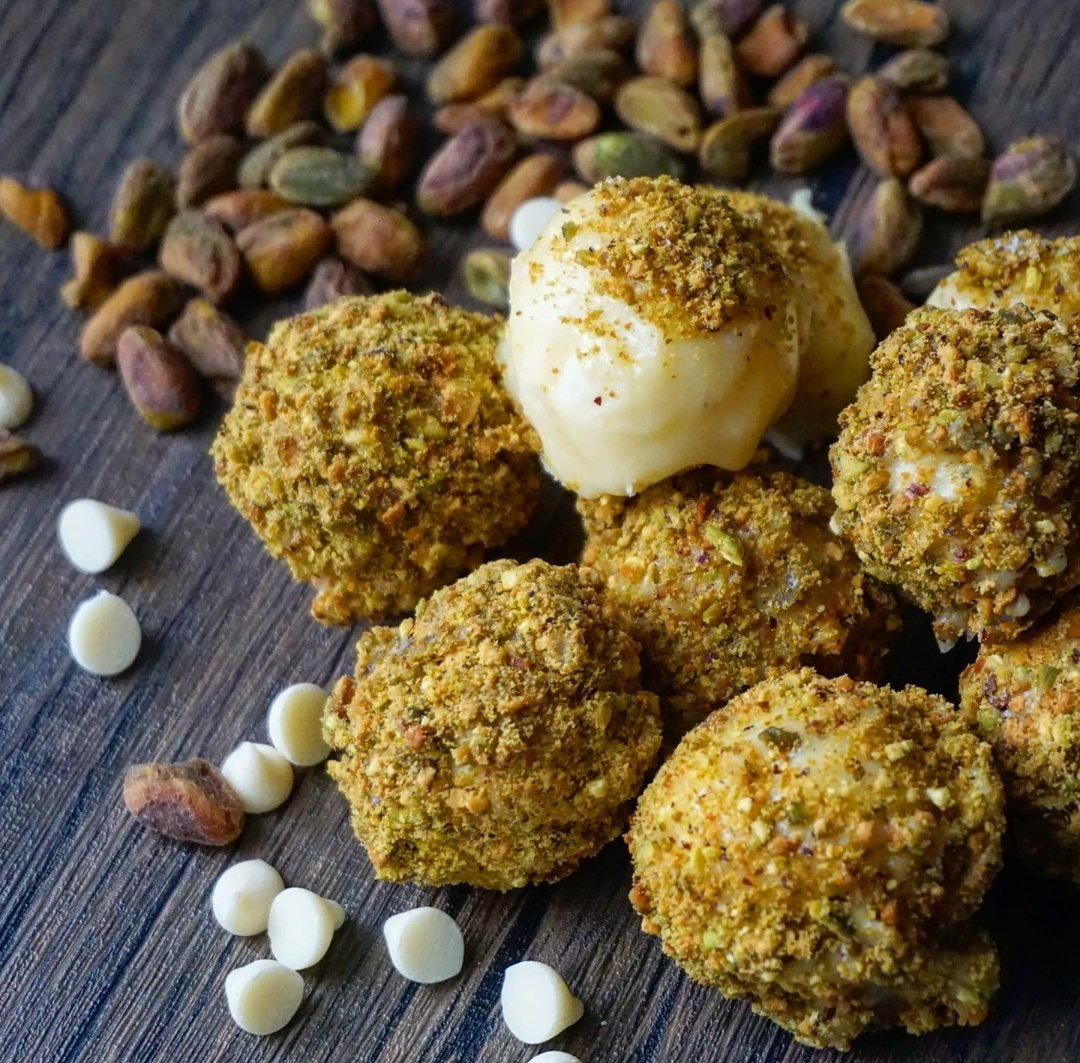
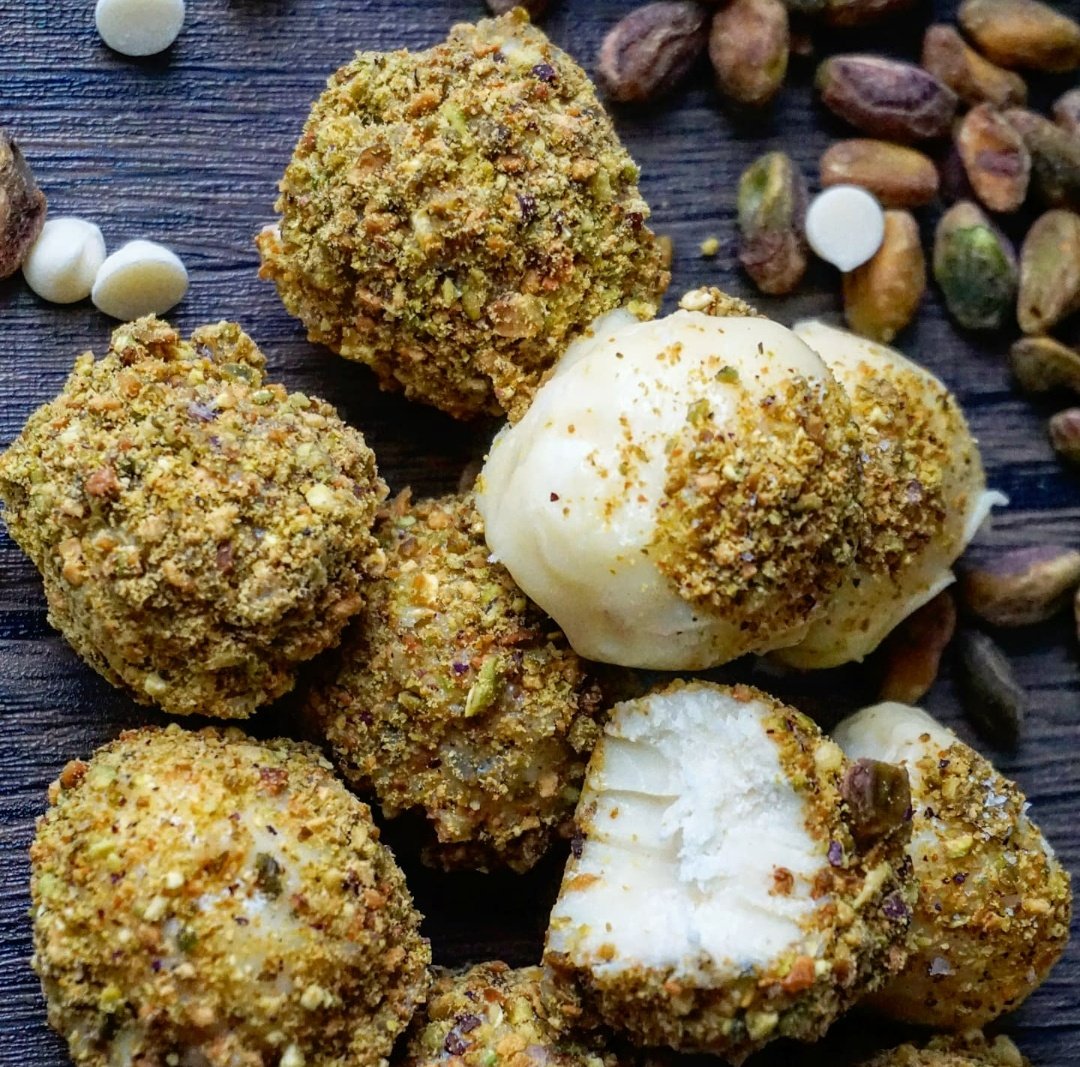
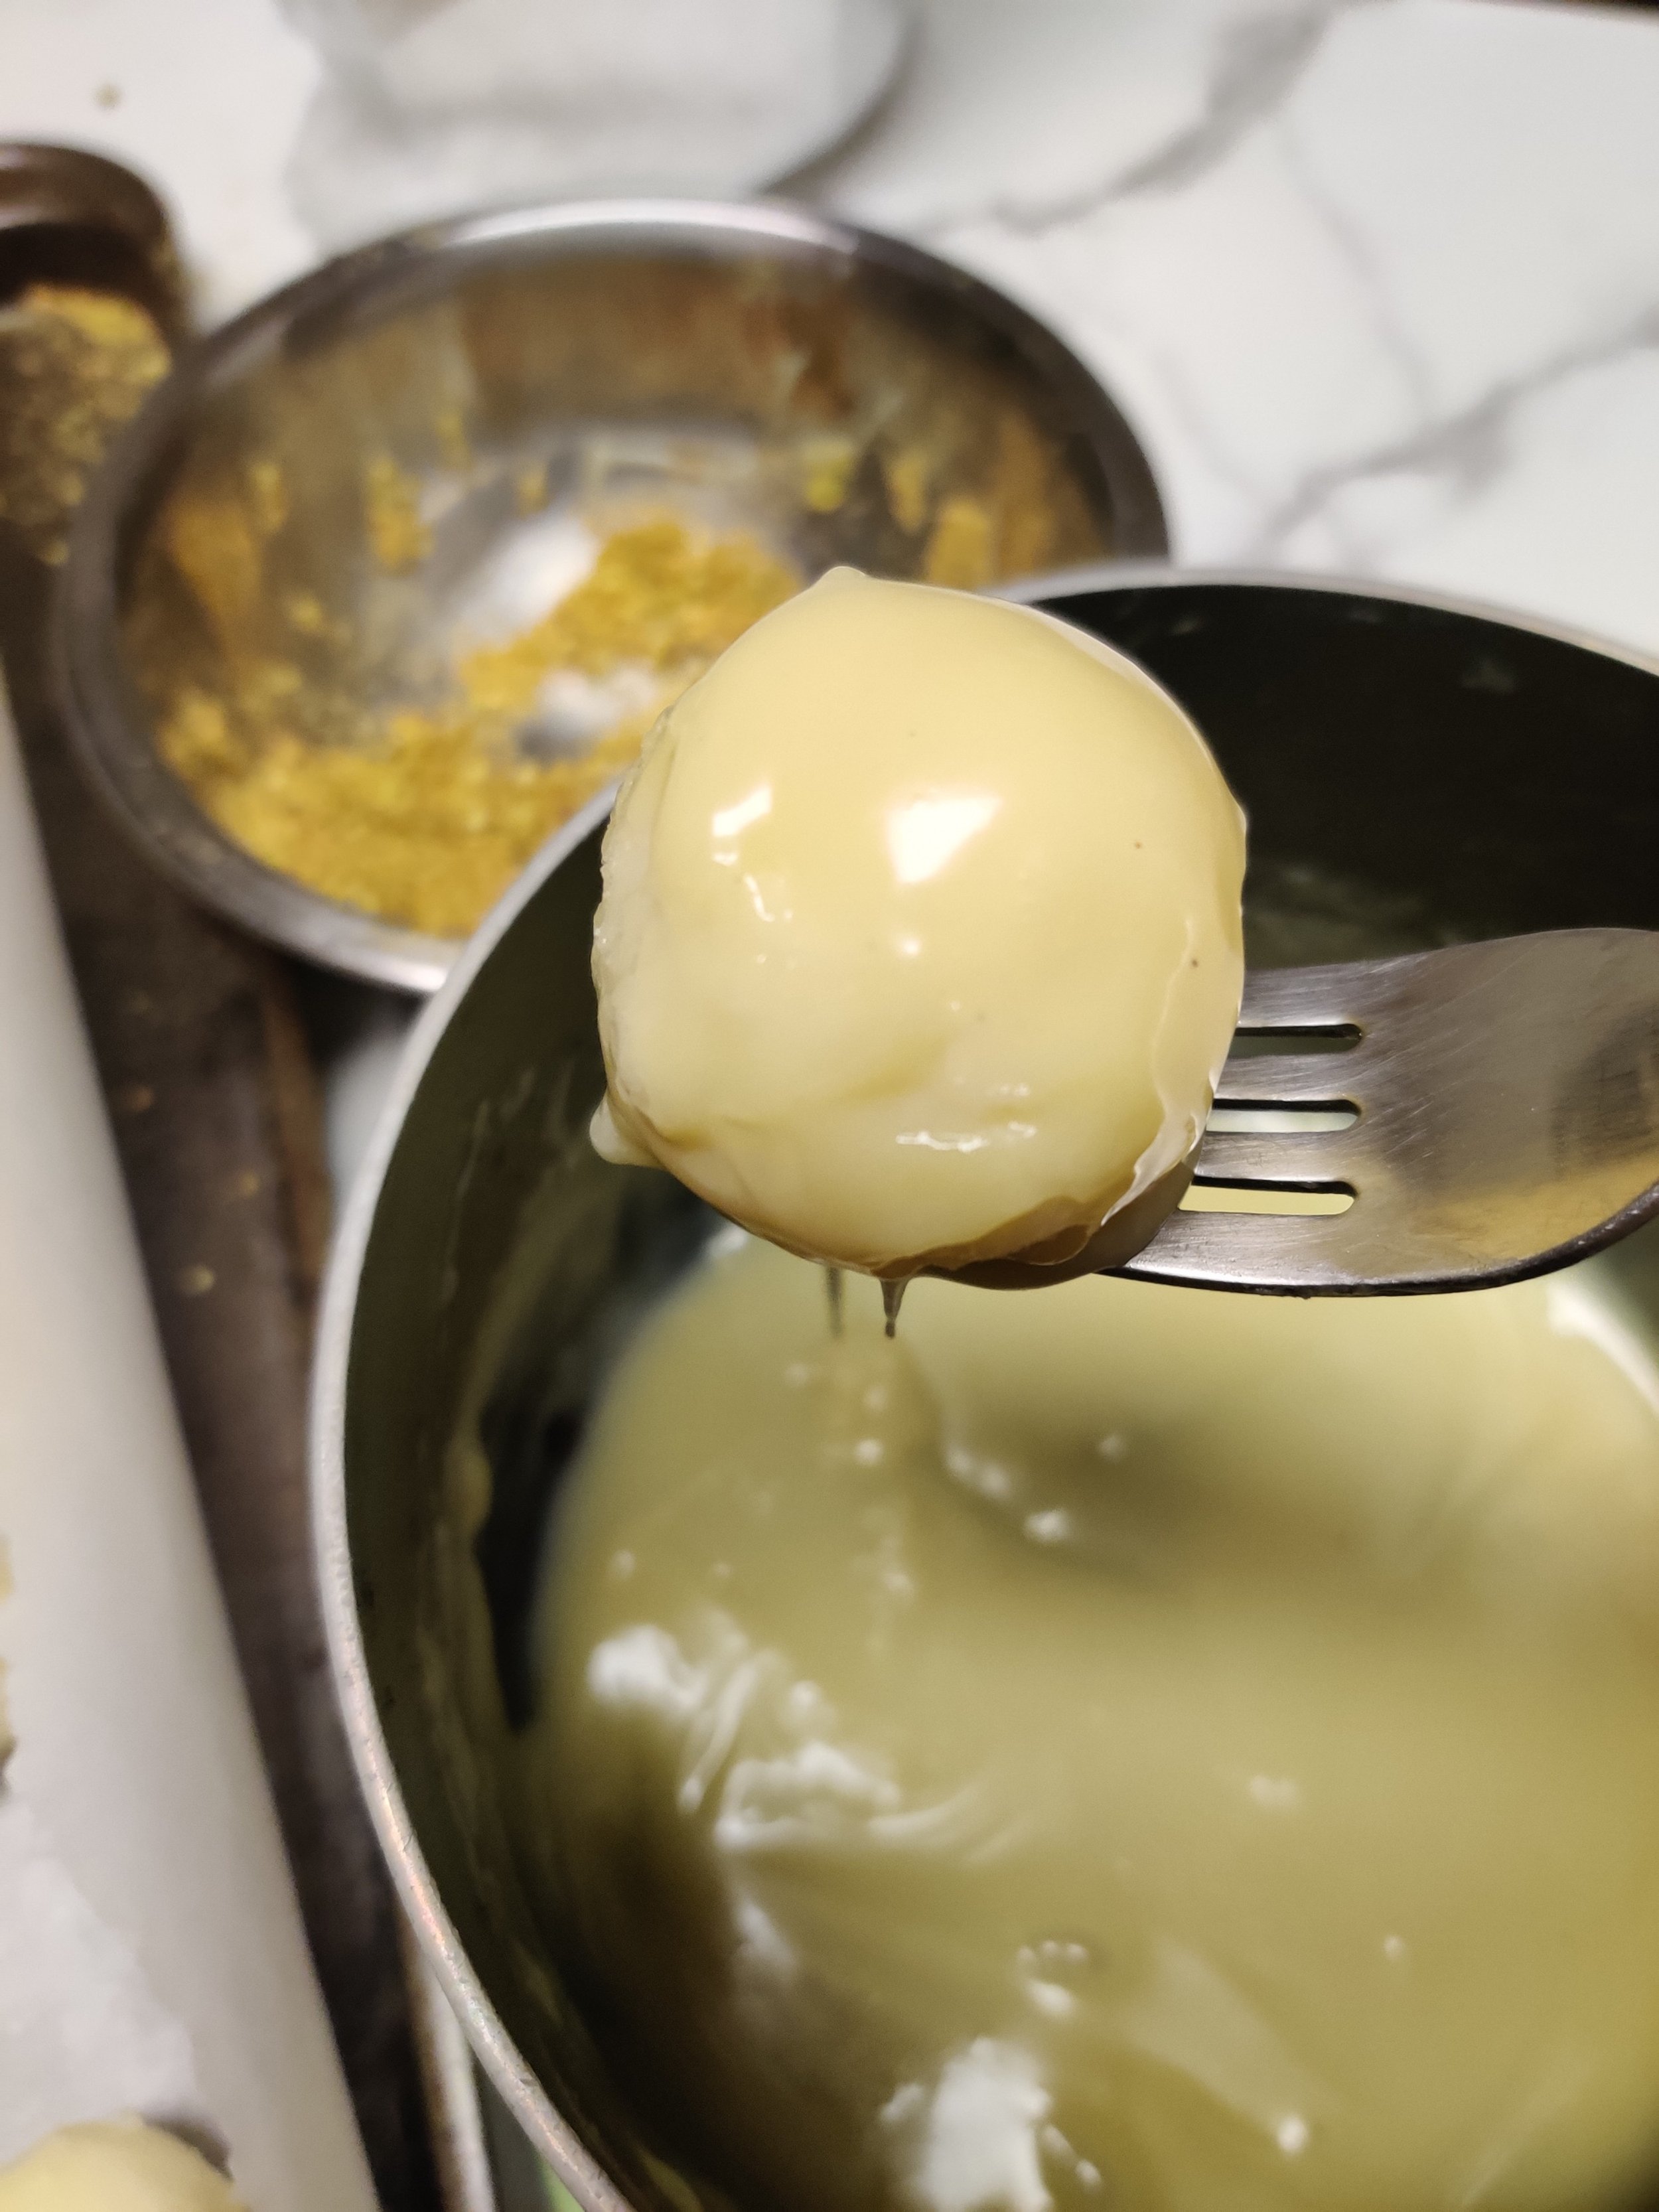
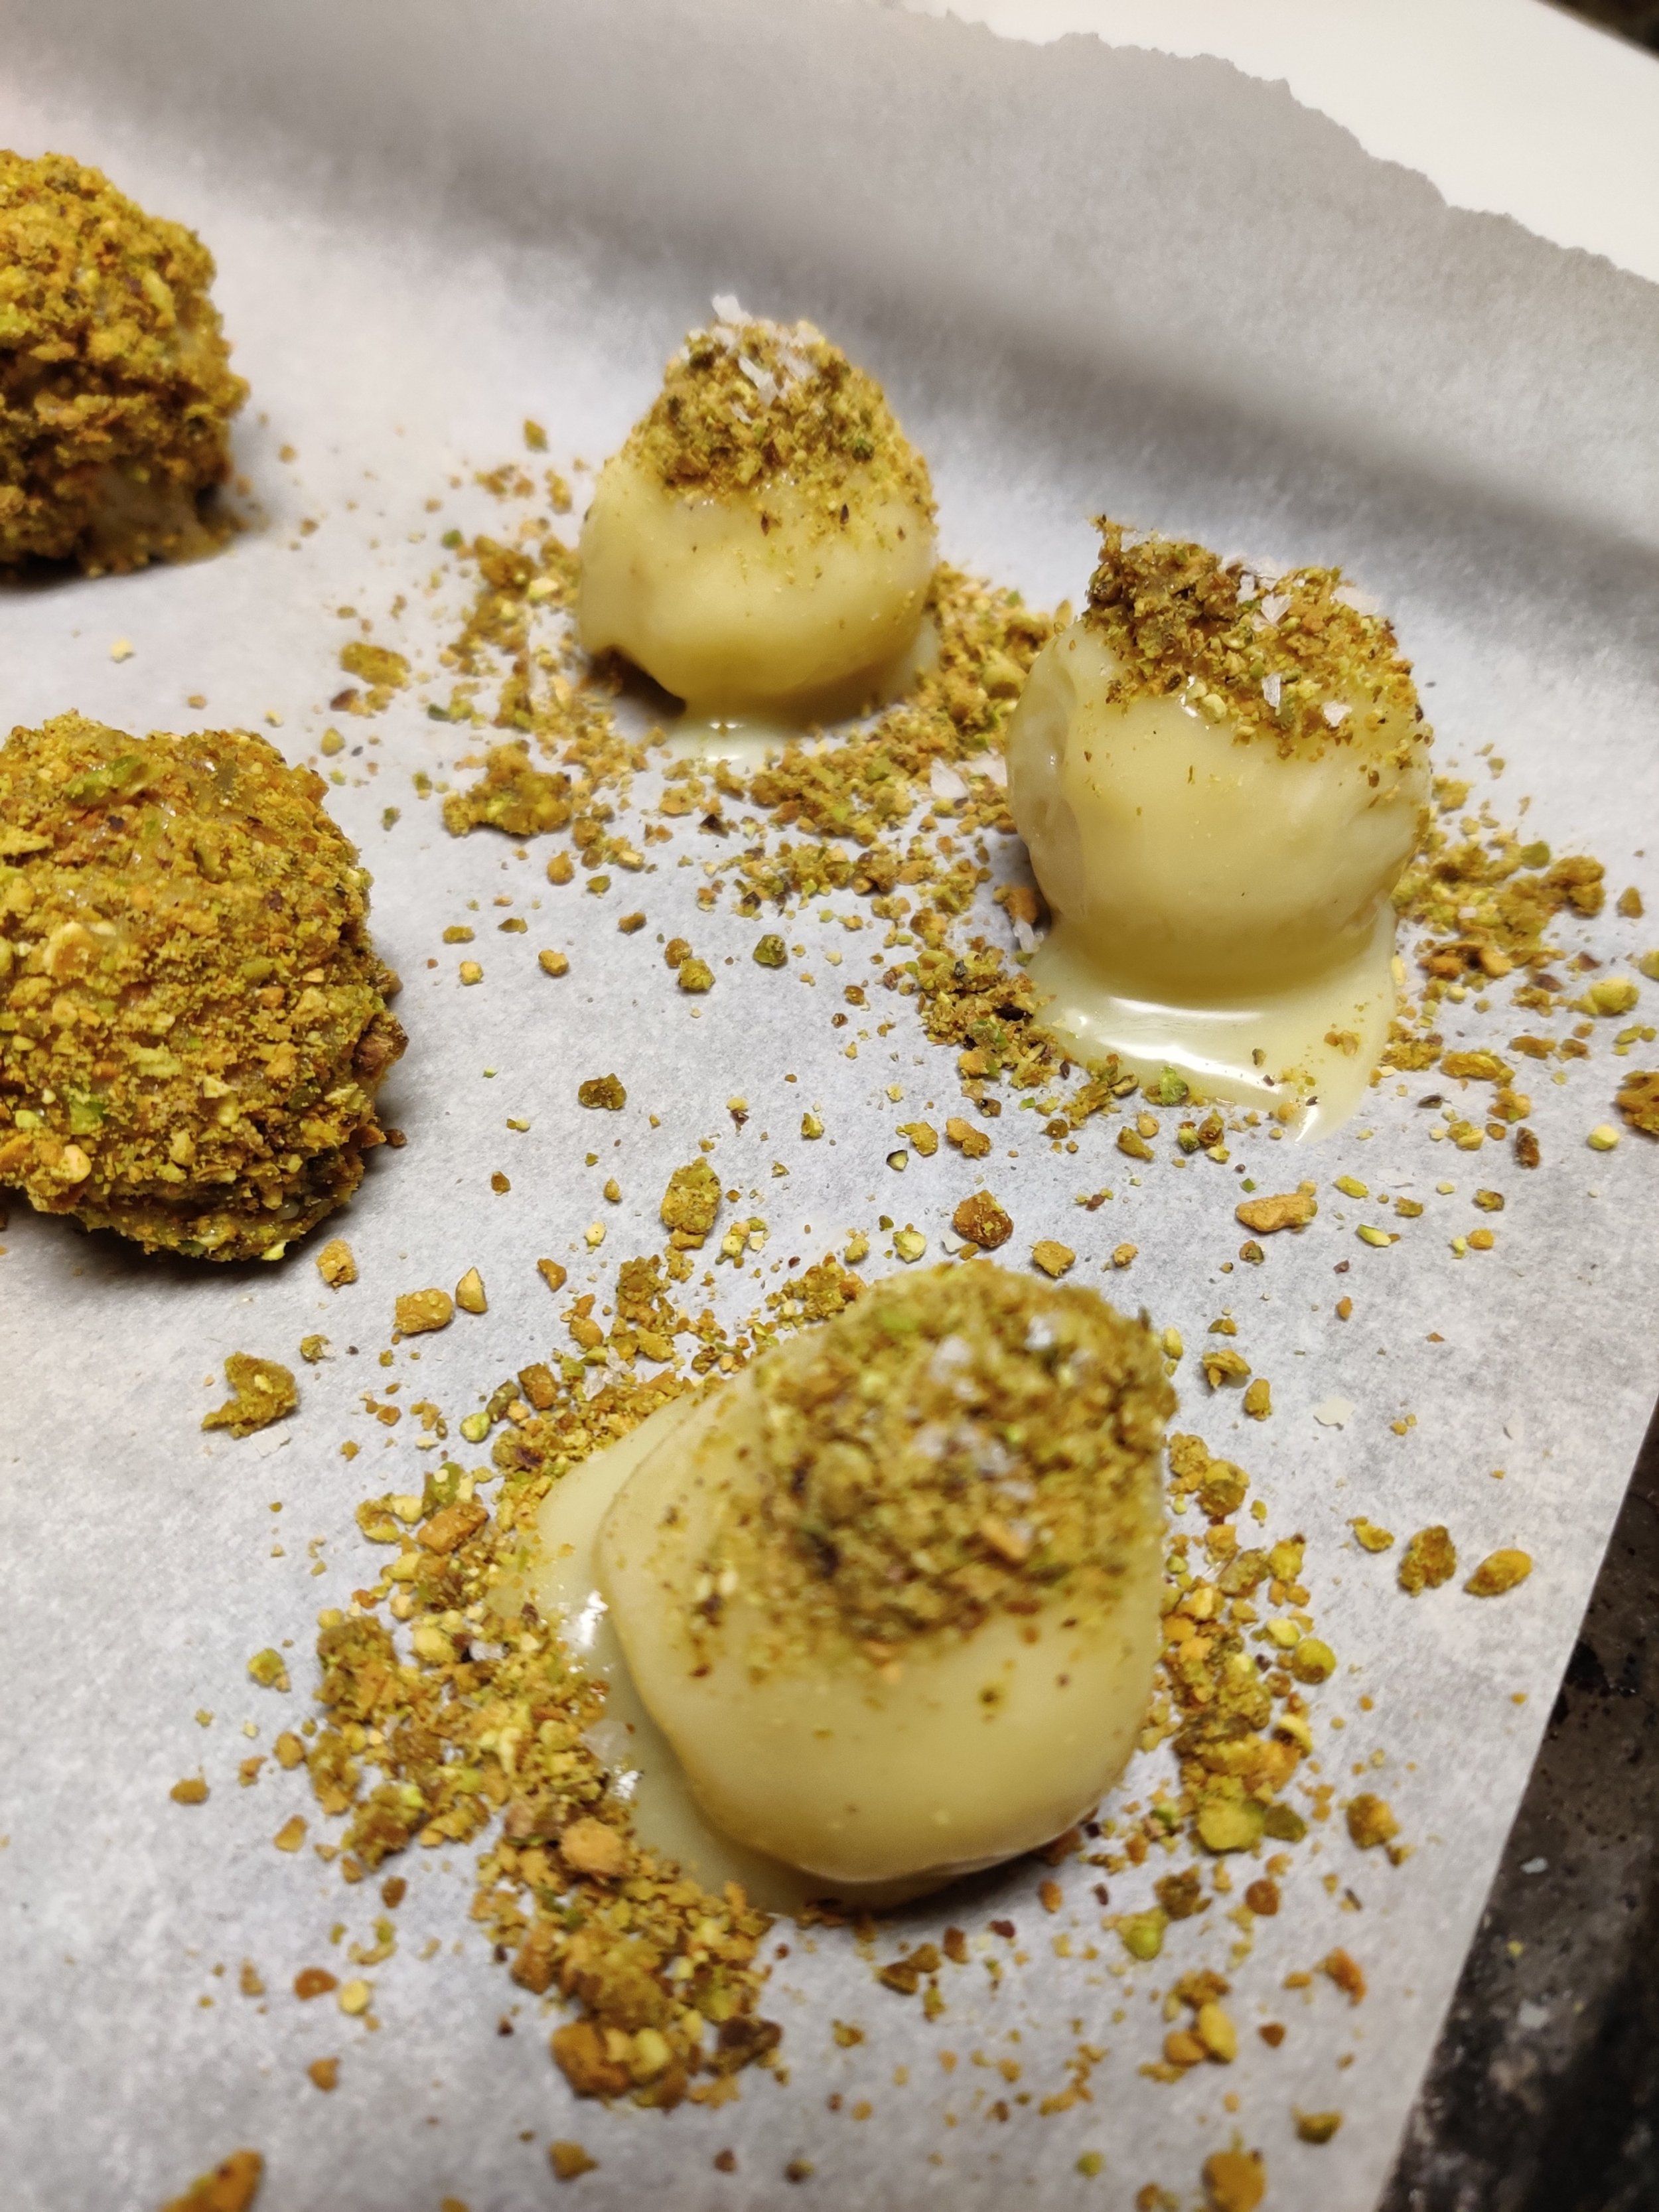
White Chocolate, Rum and Pistachio Truffles
Not sure about you, but I don't make chocolate truffles enough. Yes, they are loaded with sugar, but everything should be consumed in moderation anyway! Truffles are customizable and effortlessly sophisticated. They can serve as a crowd-pleaser, ideal sweet treat or gift, and best of all, a must for the holidays.
Customizable means, well, anything! Although the direction you select typically falls into a category, French vs Spanish truffles, for example.
Along with English toffee, chocolate chip cookies, Linzer cookies, sugar cookies, gingerbread biscuits, peanut butter blossoms, rusks, and Romany creams, you can make the perfect holiday platter, and the truffles can be the cherry on top!
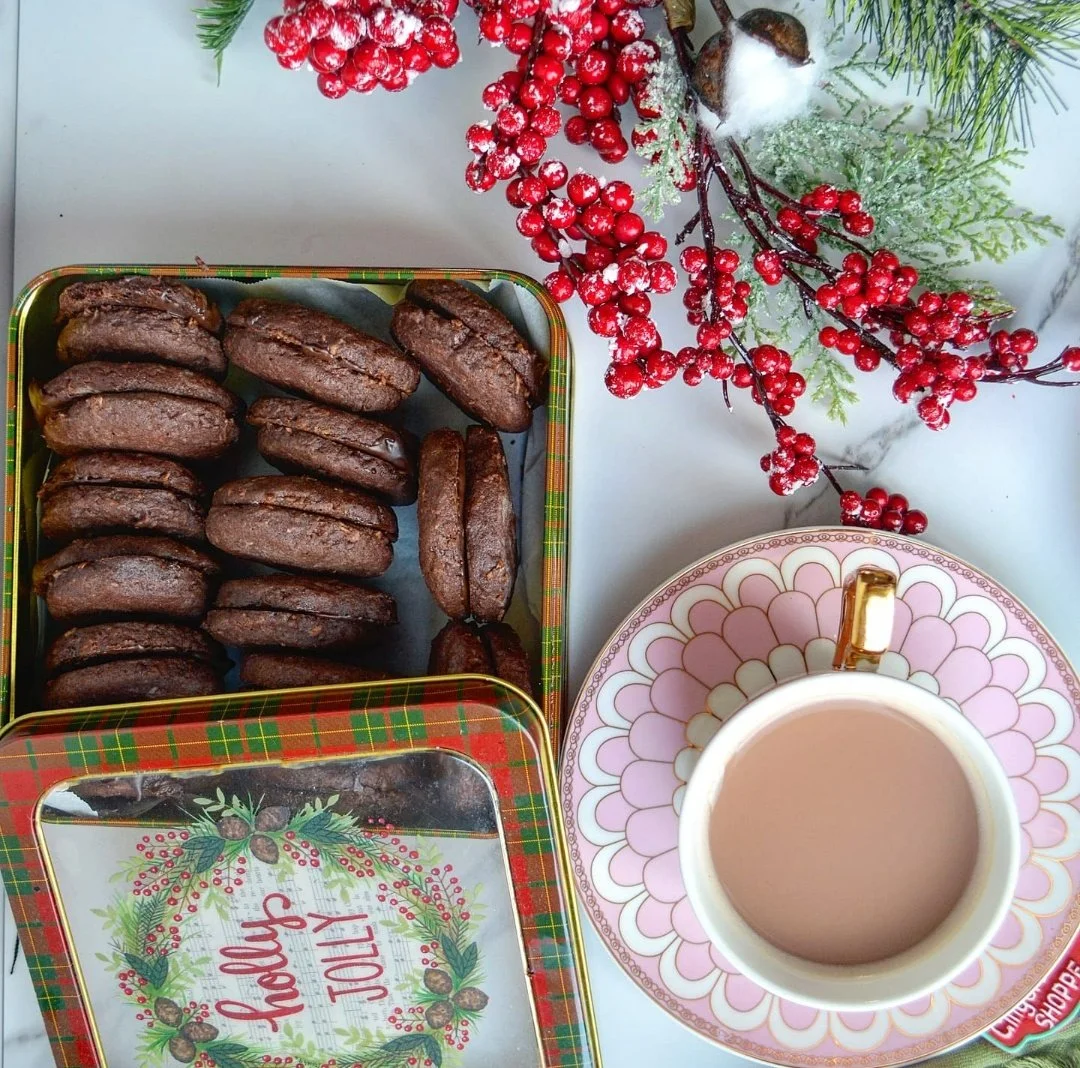
Chocolate Coconut Cookies (Homemade Romany Cream Biscuits)
Introduction to “Romany Creams”: A Timeless Treat
If there's one biscuit that holds a special place in the hearts of Southern Africans, it's the iconic Romany Cream. Known for their rich chocolate flavor, perfectly crispy texture, and creamy center, these decadent treats have been a staple in households for generations. Whether paired with a hot cup of coffee, as a mid-afternoon snack, or shared during celebrations, Romany Creams are as versatile as they are delicious.
This recipe was inspired by Romany Creams (one of my favourite biscuits/cookies of all time). Make this batch first if you've never tried them, then taste the originals and let me know what you think!
My understanding is that Romany Creams were originally developed from Gipsy Creams (a reference to a recipe of custard cream biscuits from the nomadic people of Romany/other parts of Europe). Introduced in the UK, sales fell flat, but the recipe was revitalised in South Africa, where the biscuits are still produced today. I won't go too deep into the history here, but look it up when you get the chance.
I recommend making Romany Creams throughout the year, but with a few sprinkles, everyone will want you over in the holiday season.
A note on preparing the dough: using a stand mixer will save you some time, and the dough hook makes the kneading easier, giving you a more consistent result. However, you can use your hands throughout the process.
Here are some helpful tips for making perfect Romany Creams at home:
1. Choose Quality Ingredients
Use high-quality cocoa powder and chocolate for the best flavor. The richness of the biscuit depends on the quality of these key ingredients.
2. Cream Butter and Sugar Thoroughly
Creaming the butter and sugar until light and fluffy ensures the biscuits have the perfect texture—crisp yet tender.
3. Sift Your Dry Ingredients
Sifting the dry ingredients (like flour, cocoa powder, and baking powder) helps avoid lumps and ensures an even distribution for a smooth dough.
4. Don’t Overwork the Dough
Mix the ingredients until just combined. Overworking the dough can make the biscuits tough instead of light and crisp.
5. Shape Consistently
Roll the dough into evenly sized balls or logs to ensure the biscuits bake uniformly. If you’re pressing them with a fork, try to make the grooves consistent for an even texture.
6. Chill Before Baking
Letting the shaped dough rest in the fridge for 15–20 minutes before baking helps the biscuits hold their shape better in the oven.
7. Bake with Care
Keep an eye on the baking time. The biscuits should be firm but not overly browned to retain their chocolaty flavor.
8. Choose the Right Filling
Traditional Romany Creams are filled with chocolate ganache or melted chocolate. Ensure the filling has cooled slightly before sandwiching the biscuits to avoid making them soggy.
9. Allow Cooling Before Filling
Always let the biscuits cool completely before adding the filling to prevent the chocolate from melting unevenly.
10. Store Properly
Once assembled, store your Romany Creams in an airtight container to keep them fresh and crispy. They can last up to a week (if you can resist eating them sooner!).
With these tips in mind, you'll be well on your way to creating Romany Creams that rival store-bought versions—if not better! I try to abide by some of these tips for the most part.

Holiday Homemade Romany Creams
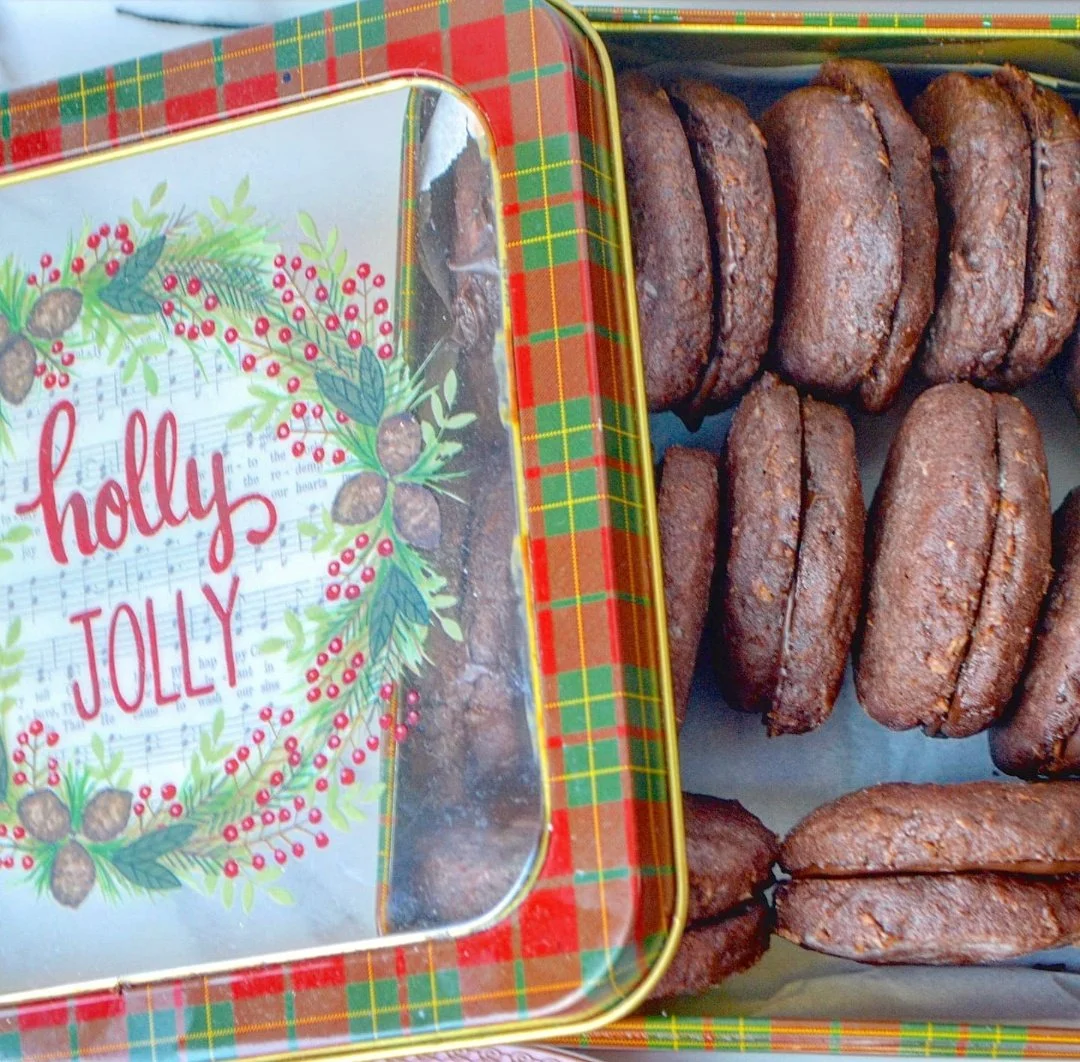
This is a homemade version of the chocolate Romany Creams, sandwich cookies with melted chocolate in between and coconut (sometimes oats) incorporated into the dough. The addition makes them extra crunchy and hard to put down.
Ingredients
- 1/2 cup coconut sugar
- 1/2 cup granulated sugar
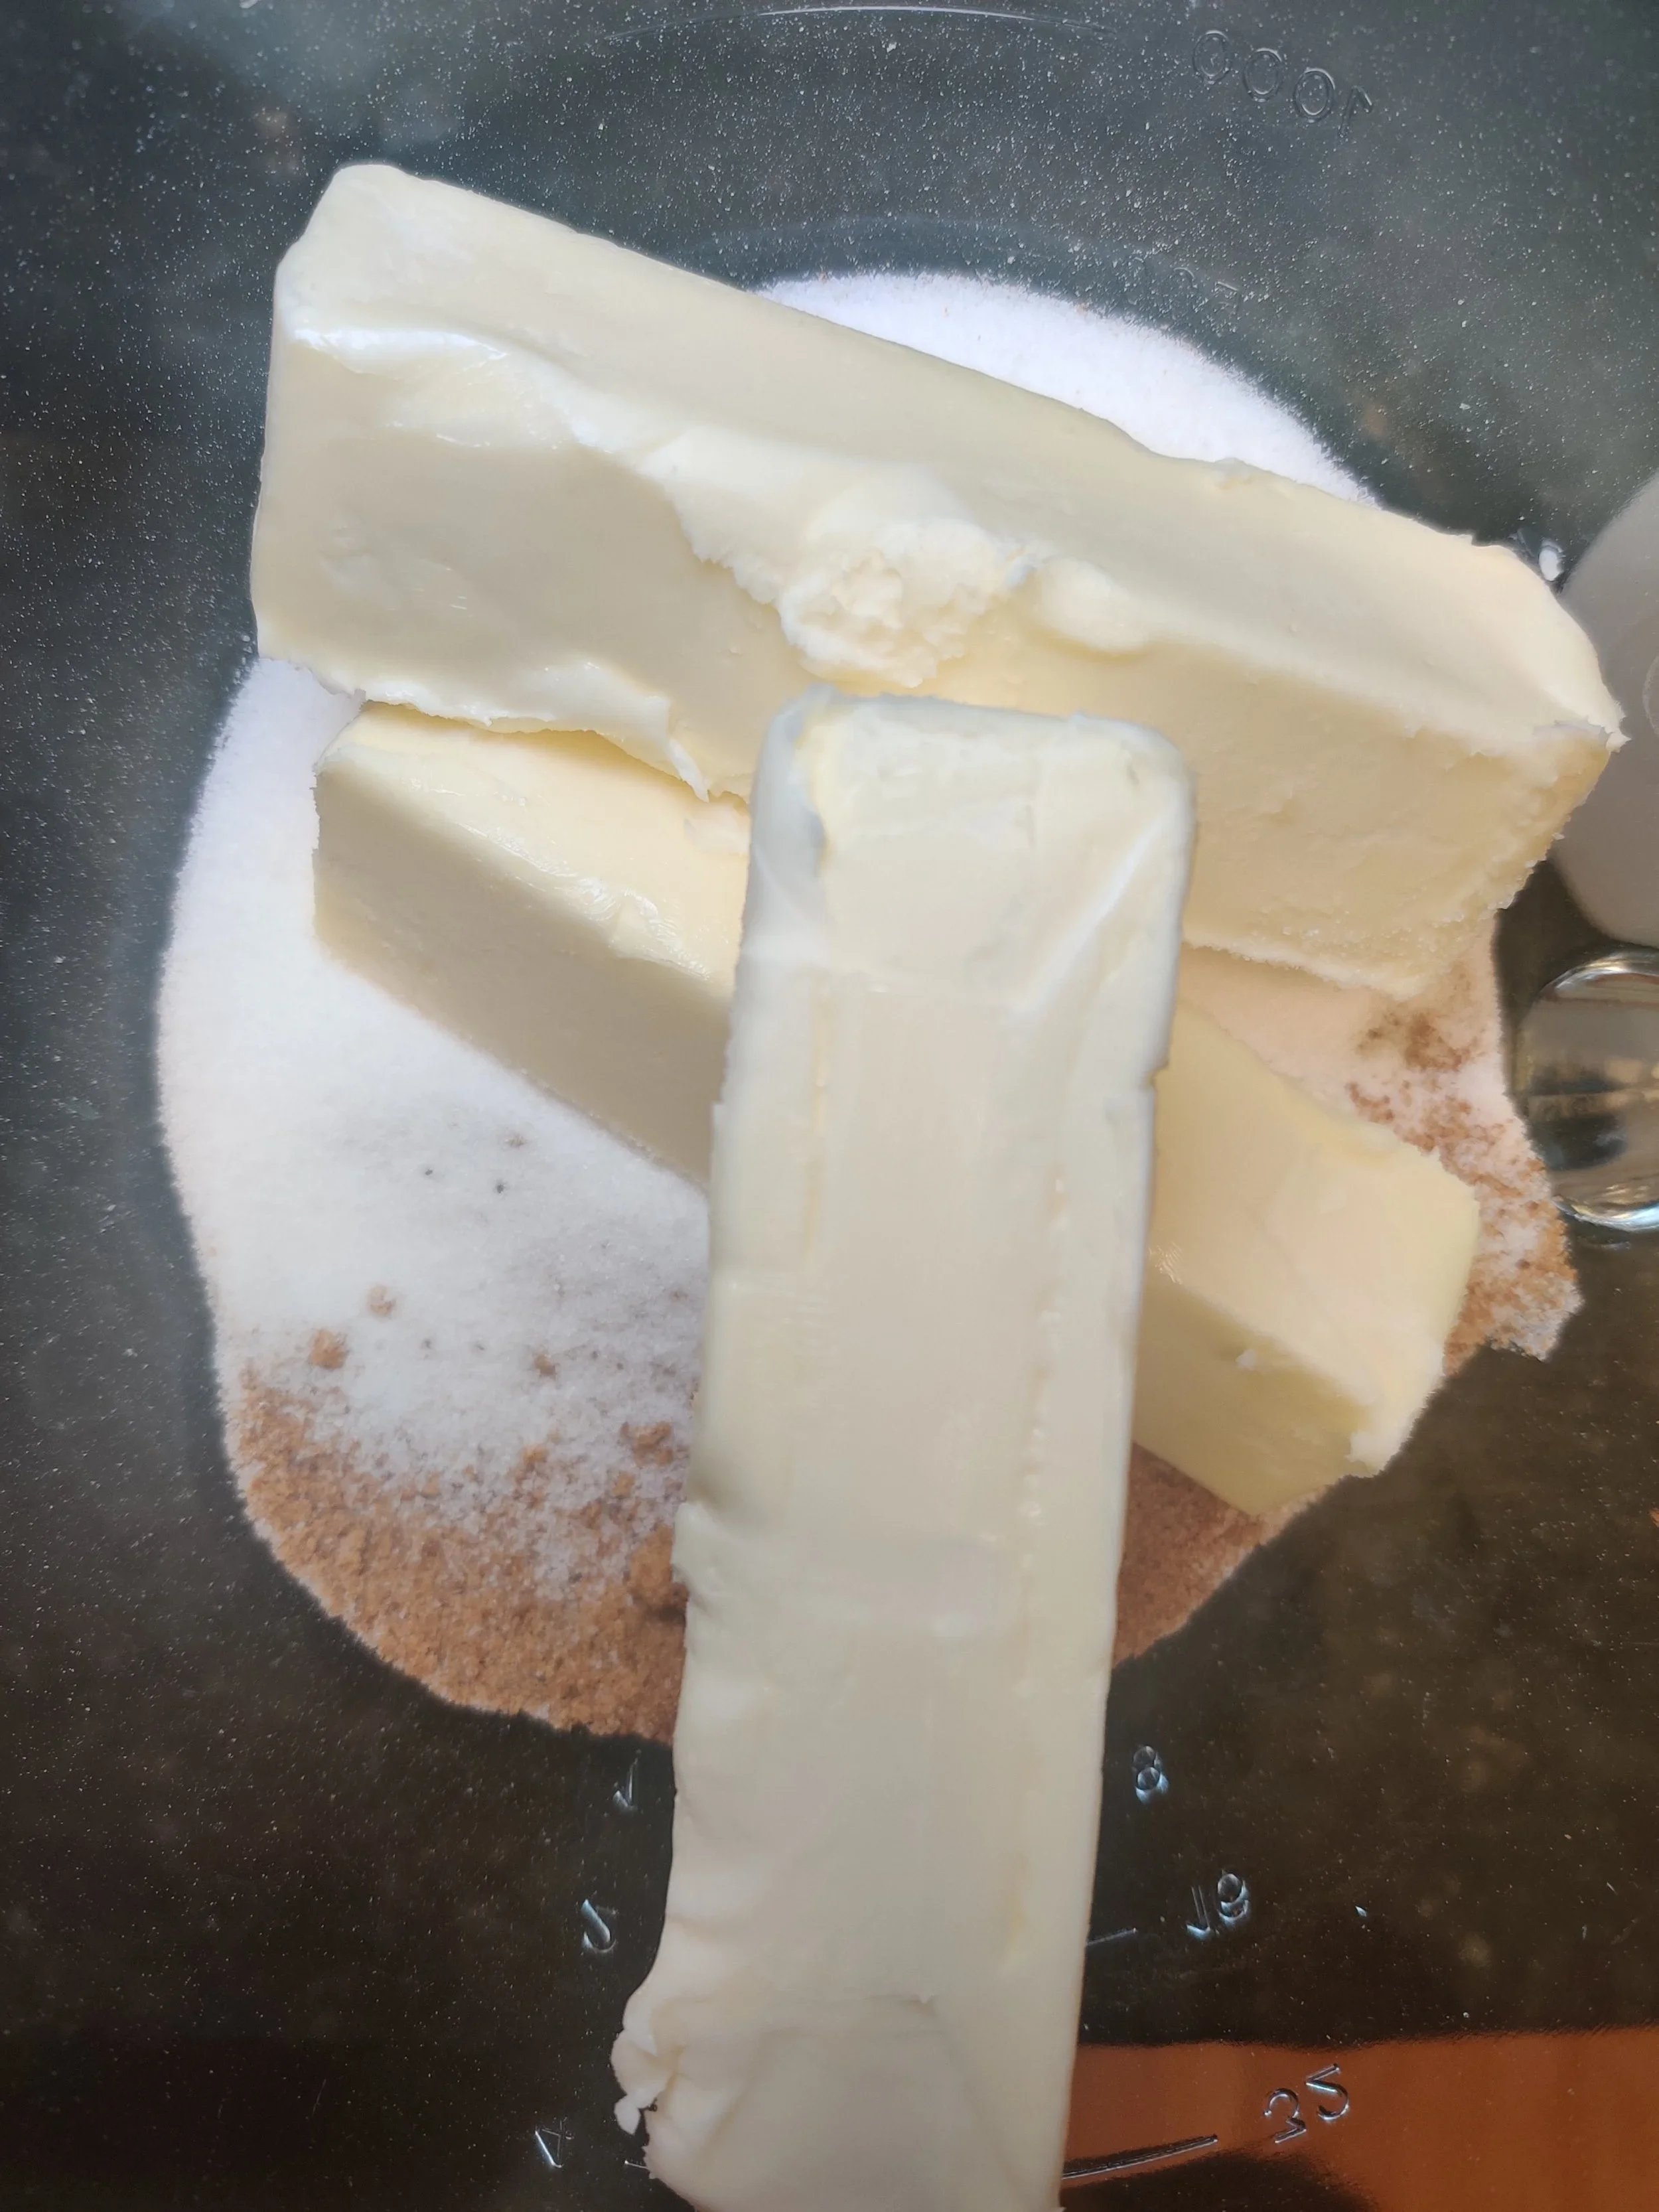
- 2 sticks butter
- 1 teaspoons vanilla extract
- 1 egg
- 3 tablespoons coconut oil, melted and cooled
- 2 1/2 cups all-purpose flour (optional: substitute 1/2 cup with coarsely ground rolled oats)
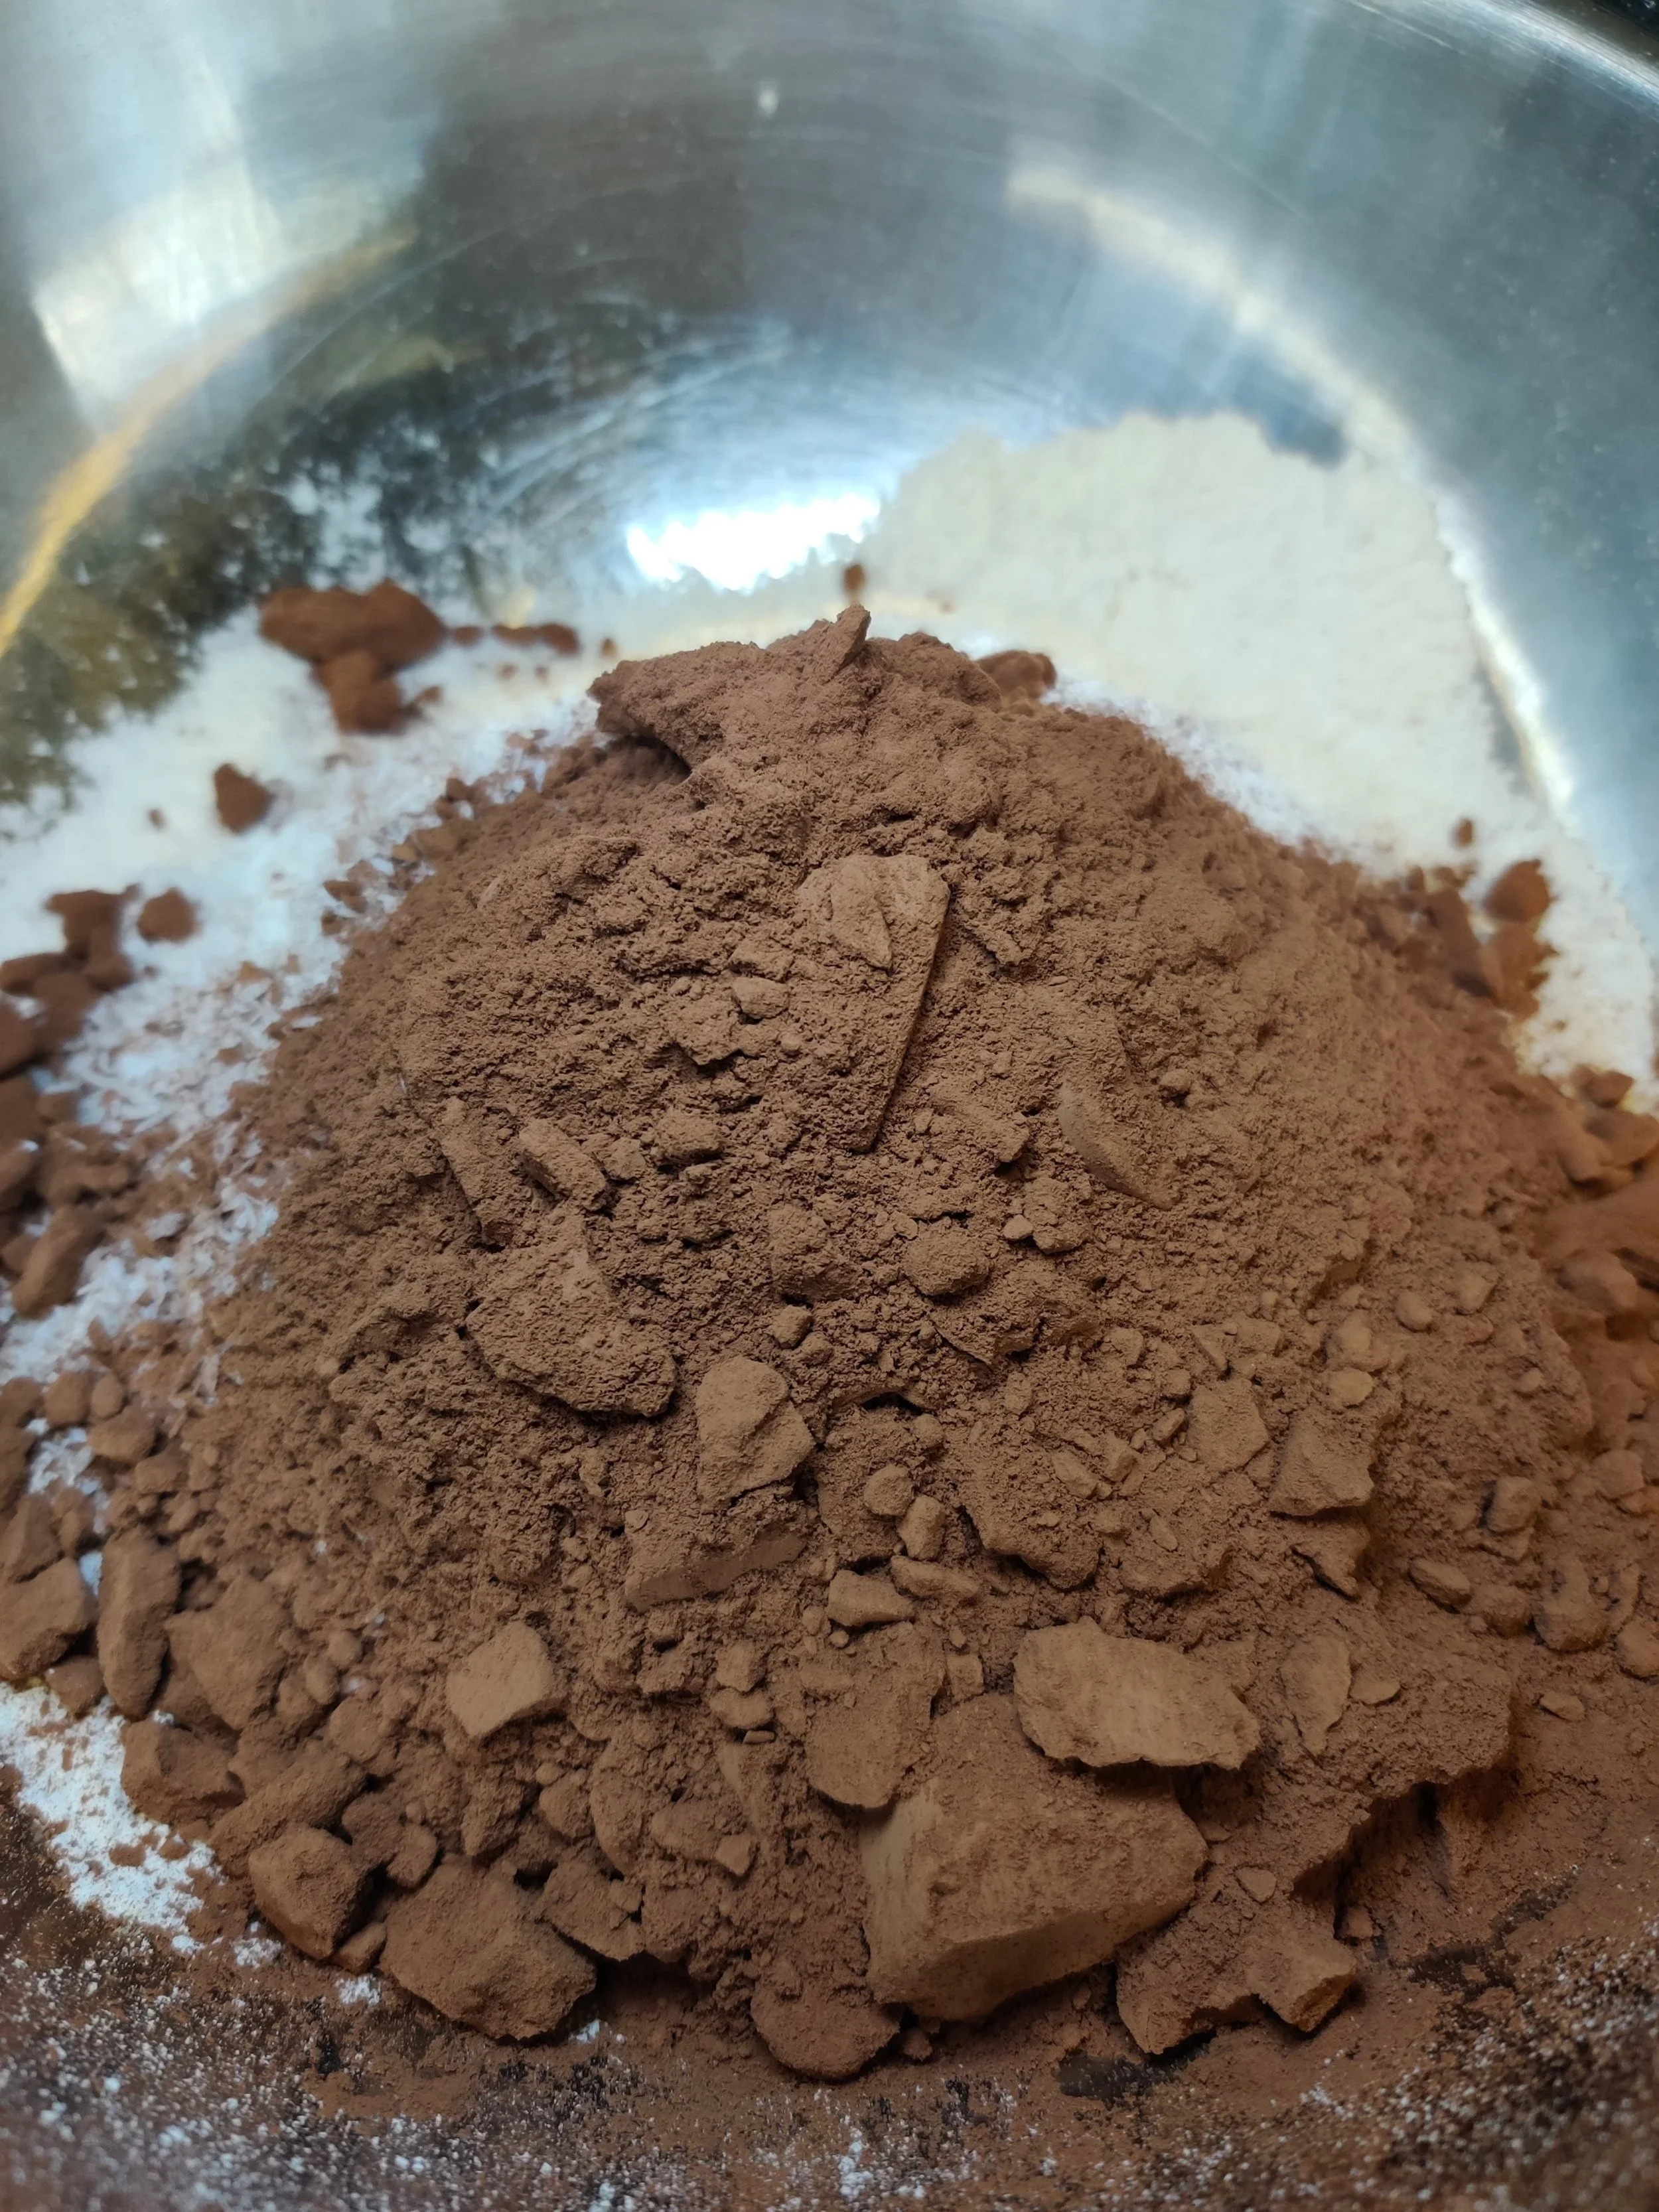
- 3/4 cup Dutch process or unsweetened natural cocoa powder
- 1 teaspoon baking powder
- 1 teaspoon salt
- 1 1/2 cups desiccated coconut
- 200g chocolate (milk and dark Cadbury or semi-sweet baking)
- Holiday sprinkles (optional)
Instructions
- Beat the sugars and butter until a creamy texture develops in a stand mixer. Add in the egg, oil and vanilla, and combine until smooth.
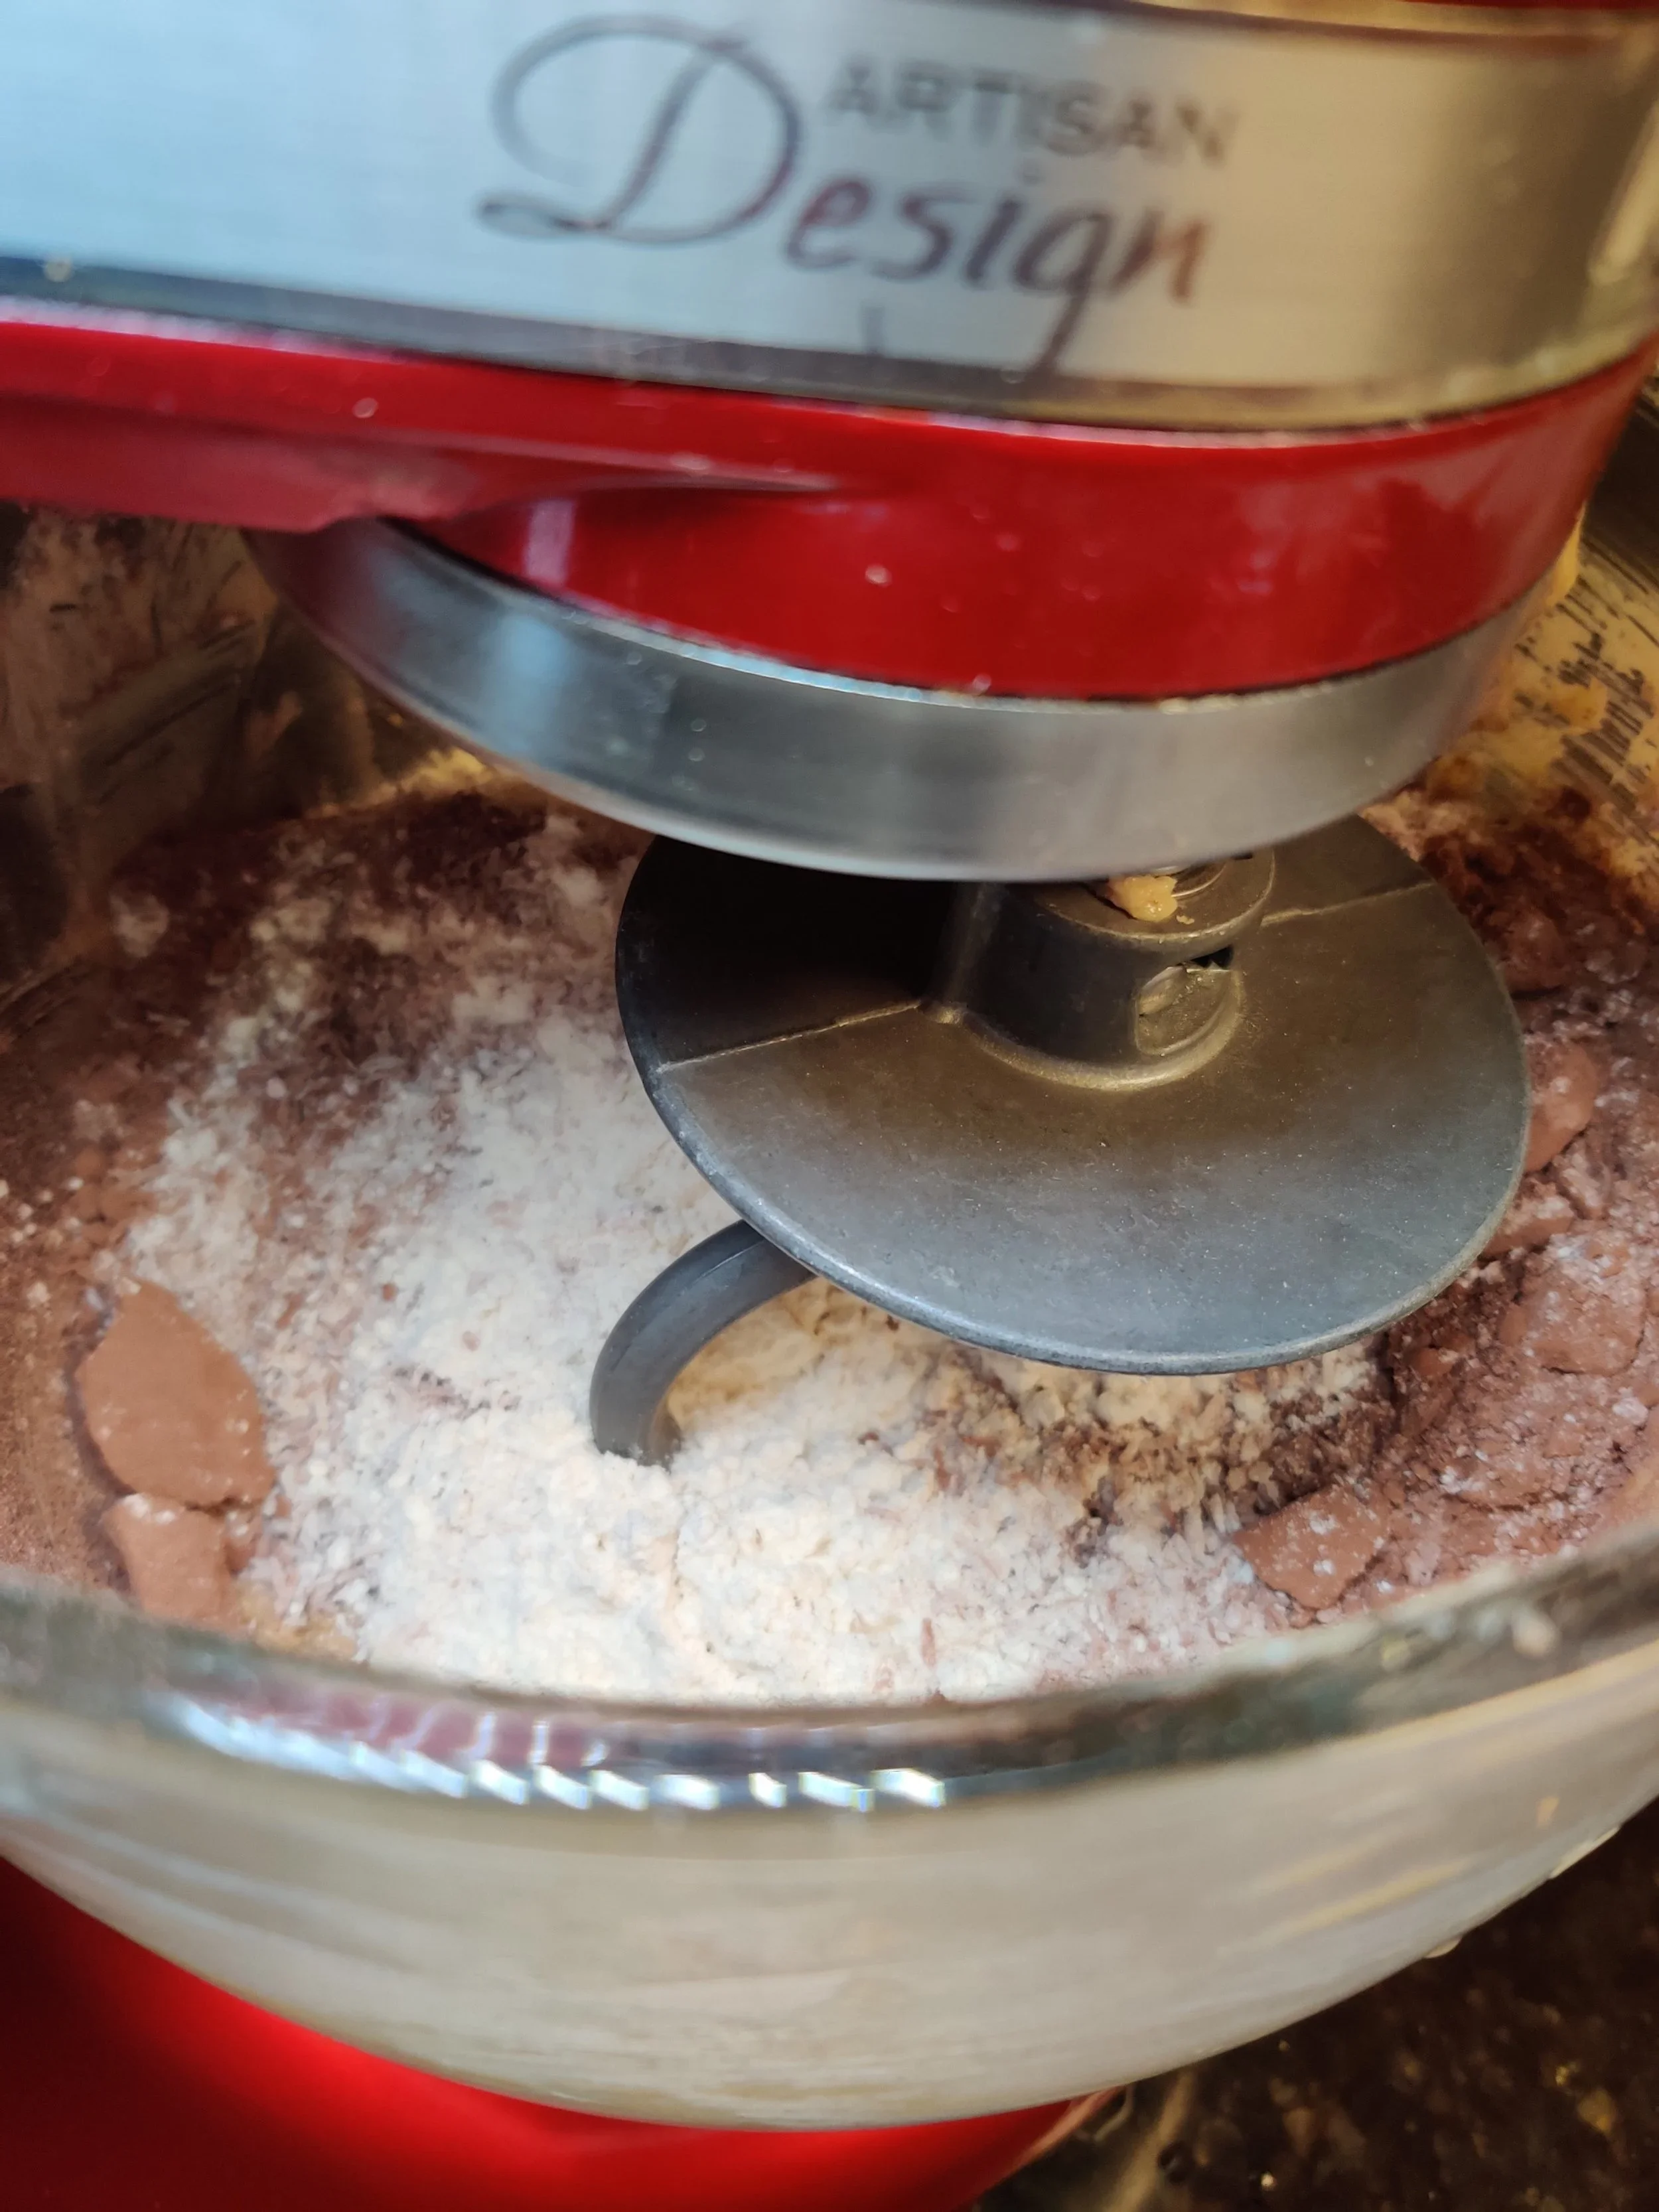
- Mix the other dry ingredients in a separate bowl, then add to the stand mixer bowl. Change the attachment to a kneading hook and mix quickly until a soft dough forms.
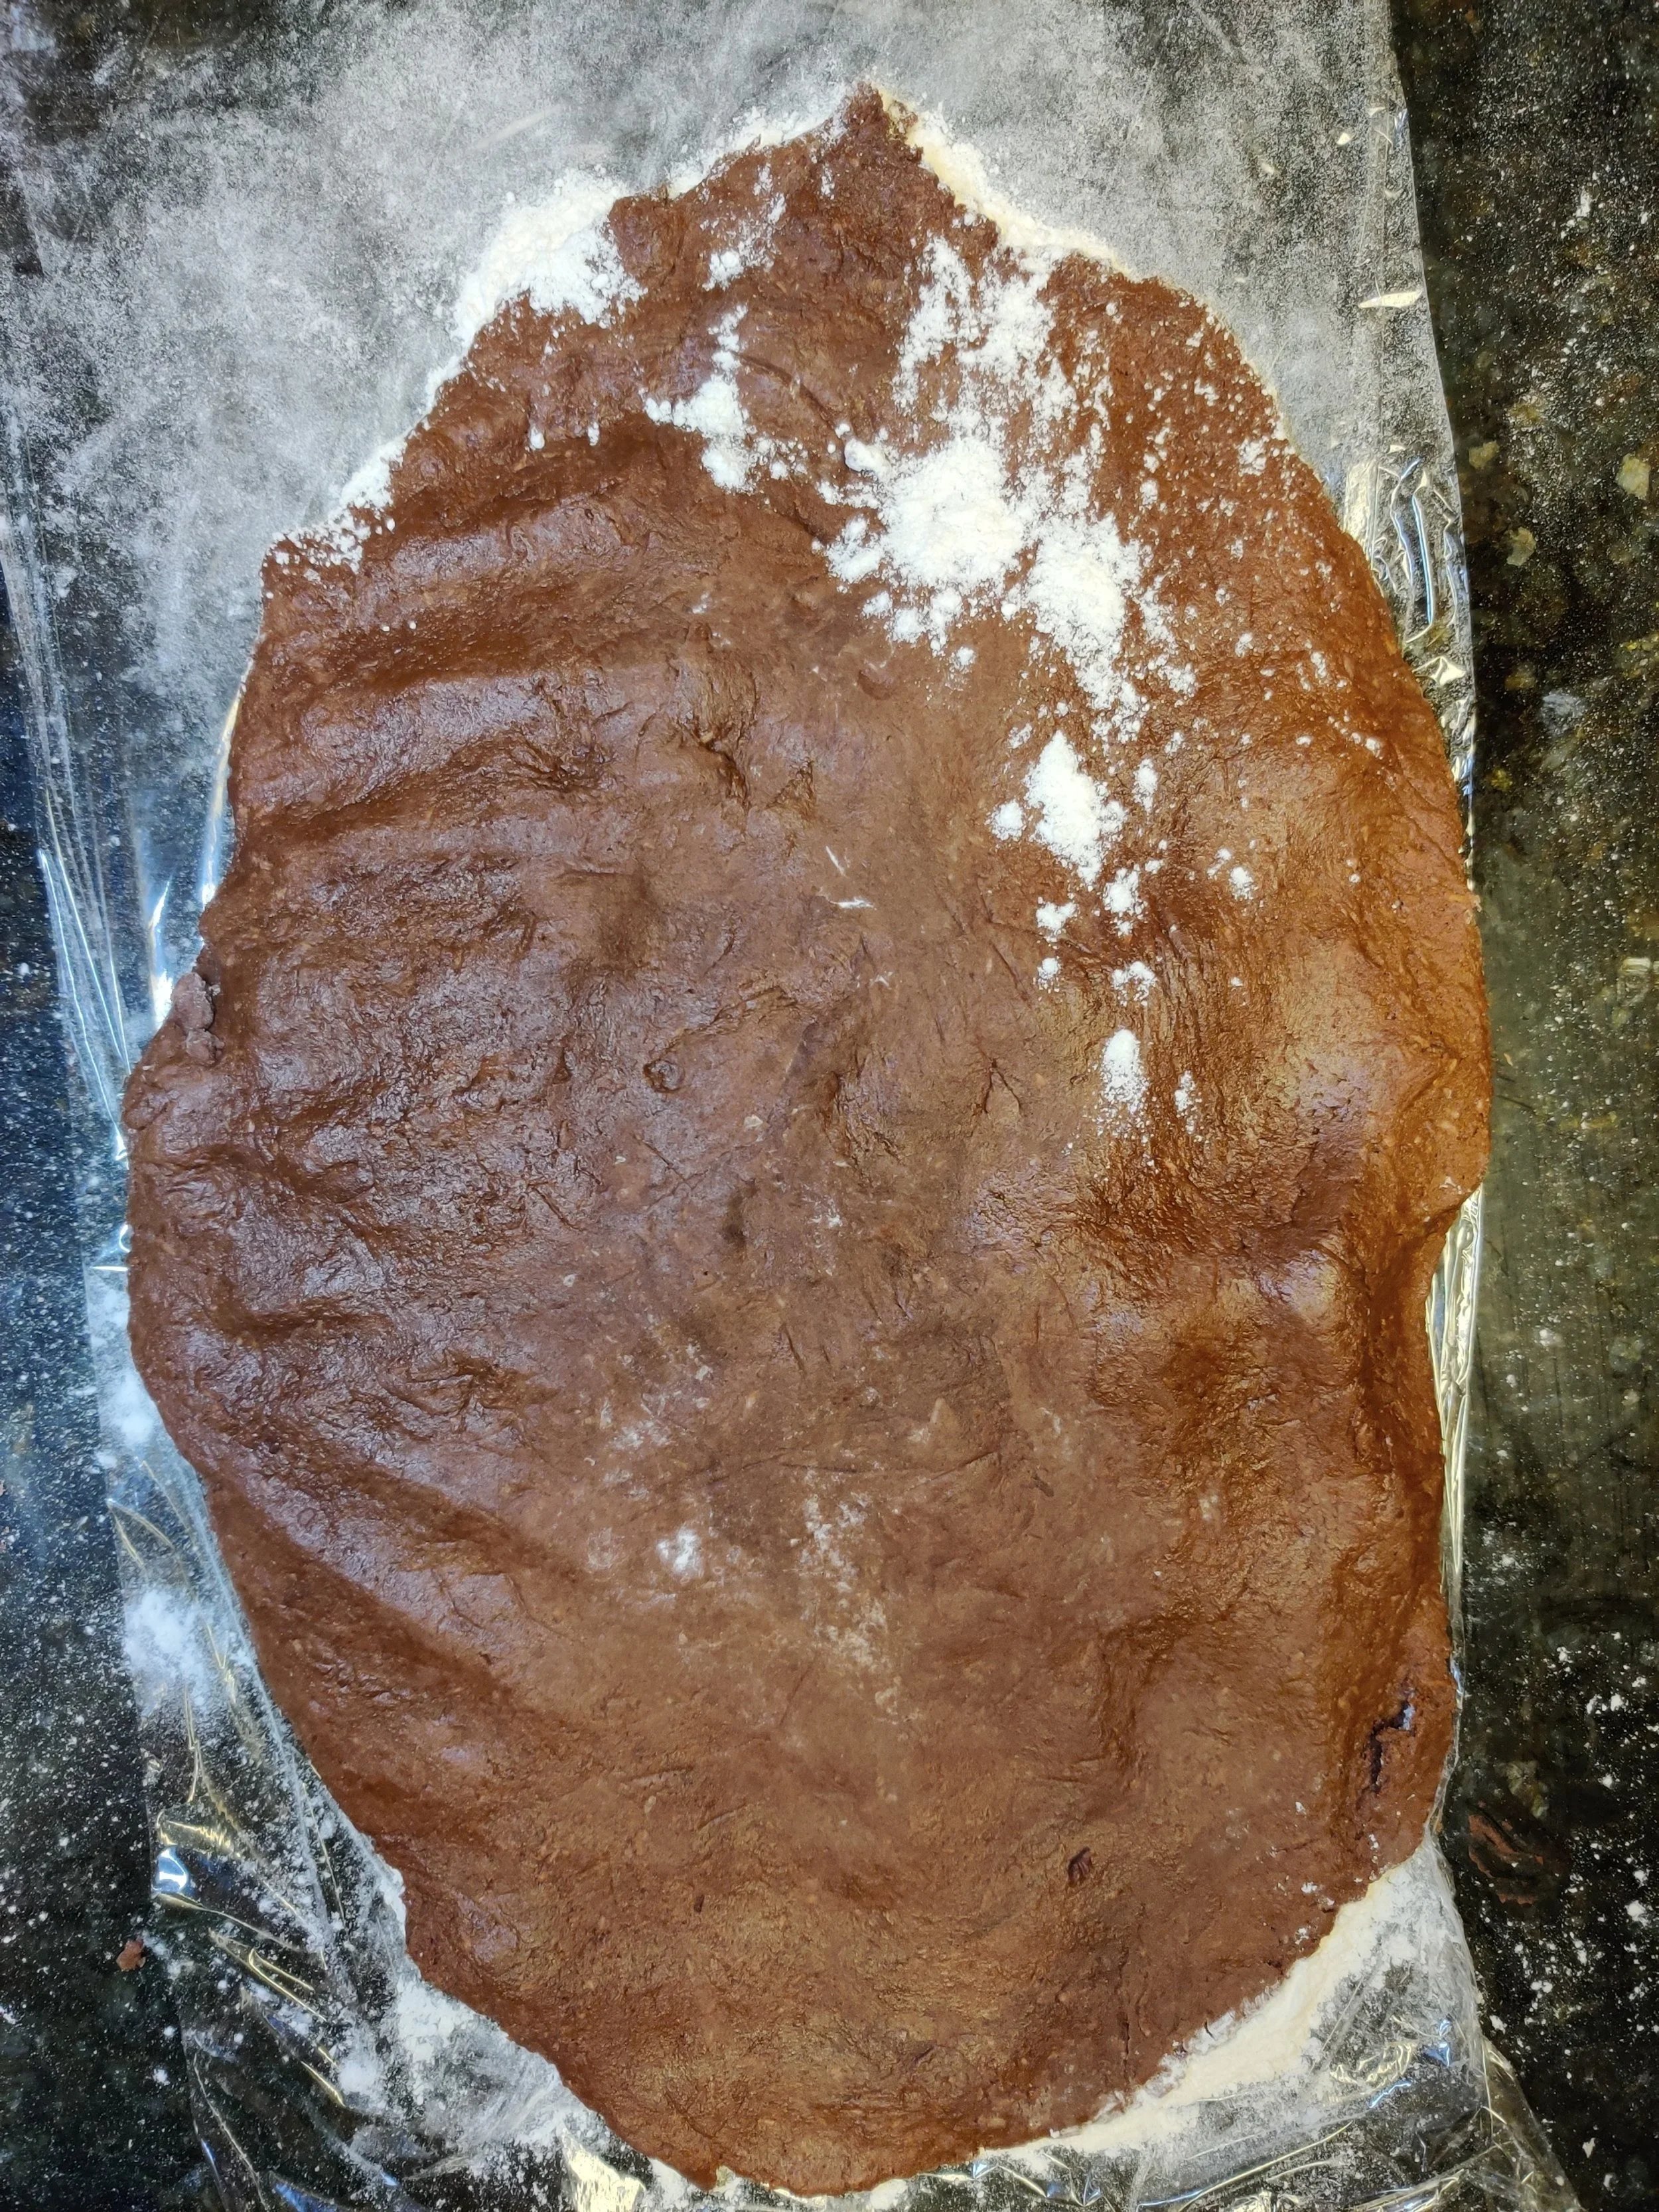
- Transfer the dough to a large floured piece of cling film. Cover with another piece, then roll out the dough to about an inch in thickness.
- Use a cookie cutter of the desired size and transfer the dough pieces to parchment-lined baking sheets - you'll probably have to do it in batches. If you are short on time, you can cover the dough with cling wrap and bake the next day.
- Optional: Use a fork to make cross lines and create a texture on the top biscuit. You can also add seasonal sprinkles on the top side of each cookie before baking.
- Chill the biscuits in the fridge covered for at least 10 minutes and bake for 10-11 minutes at 350F, watch for burning. Set aside to cool.
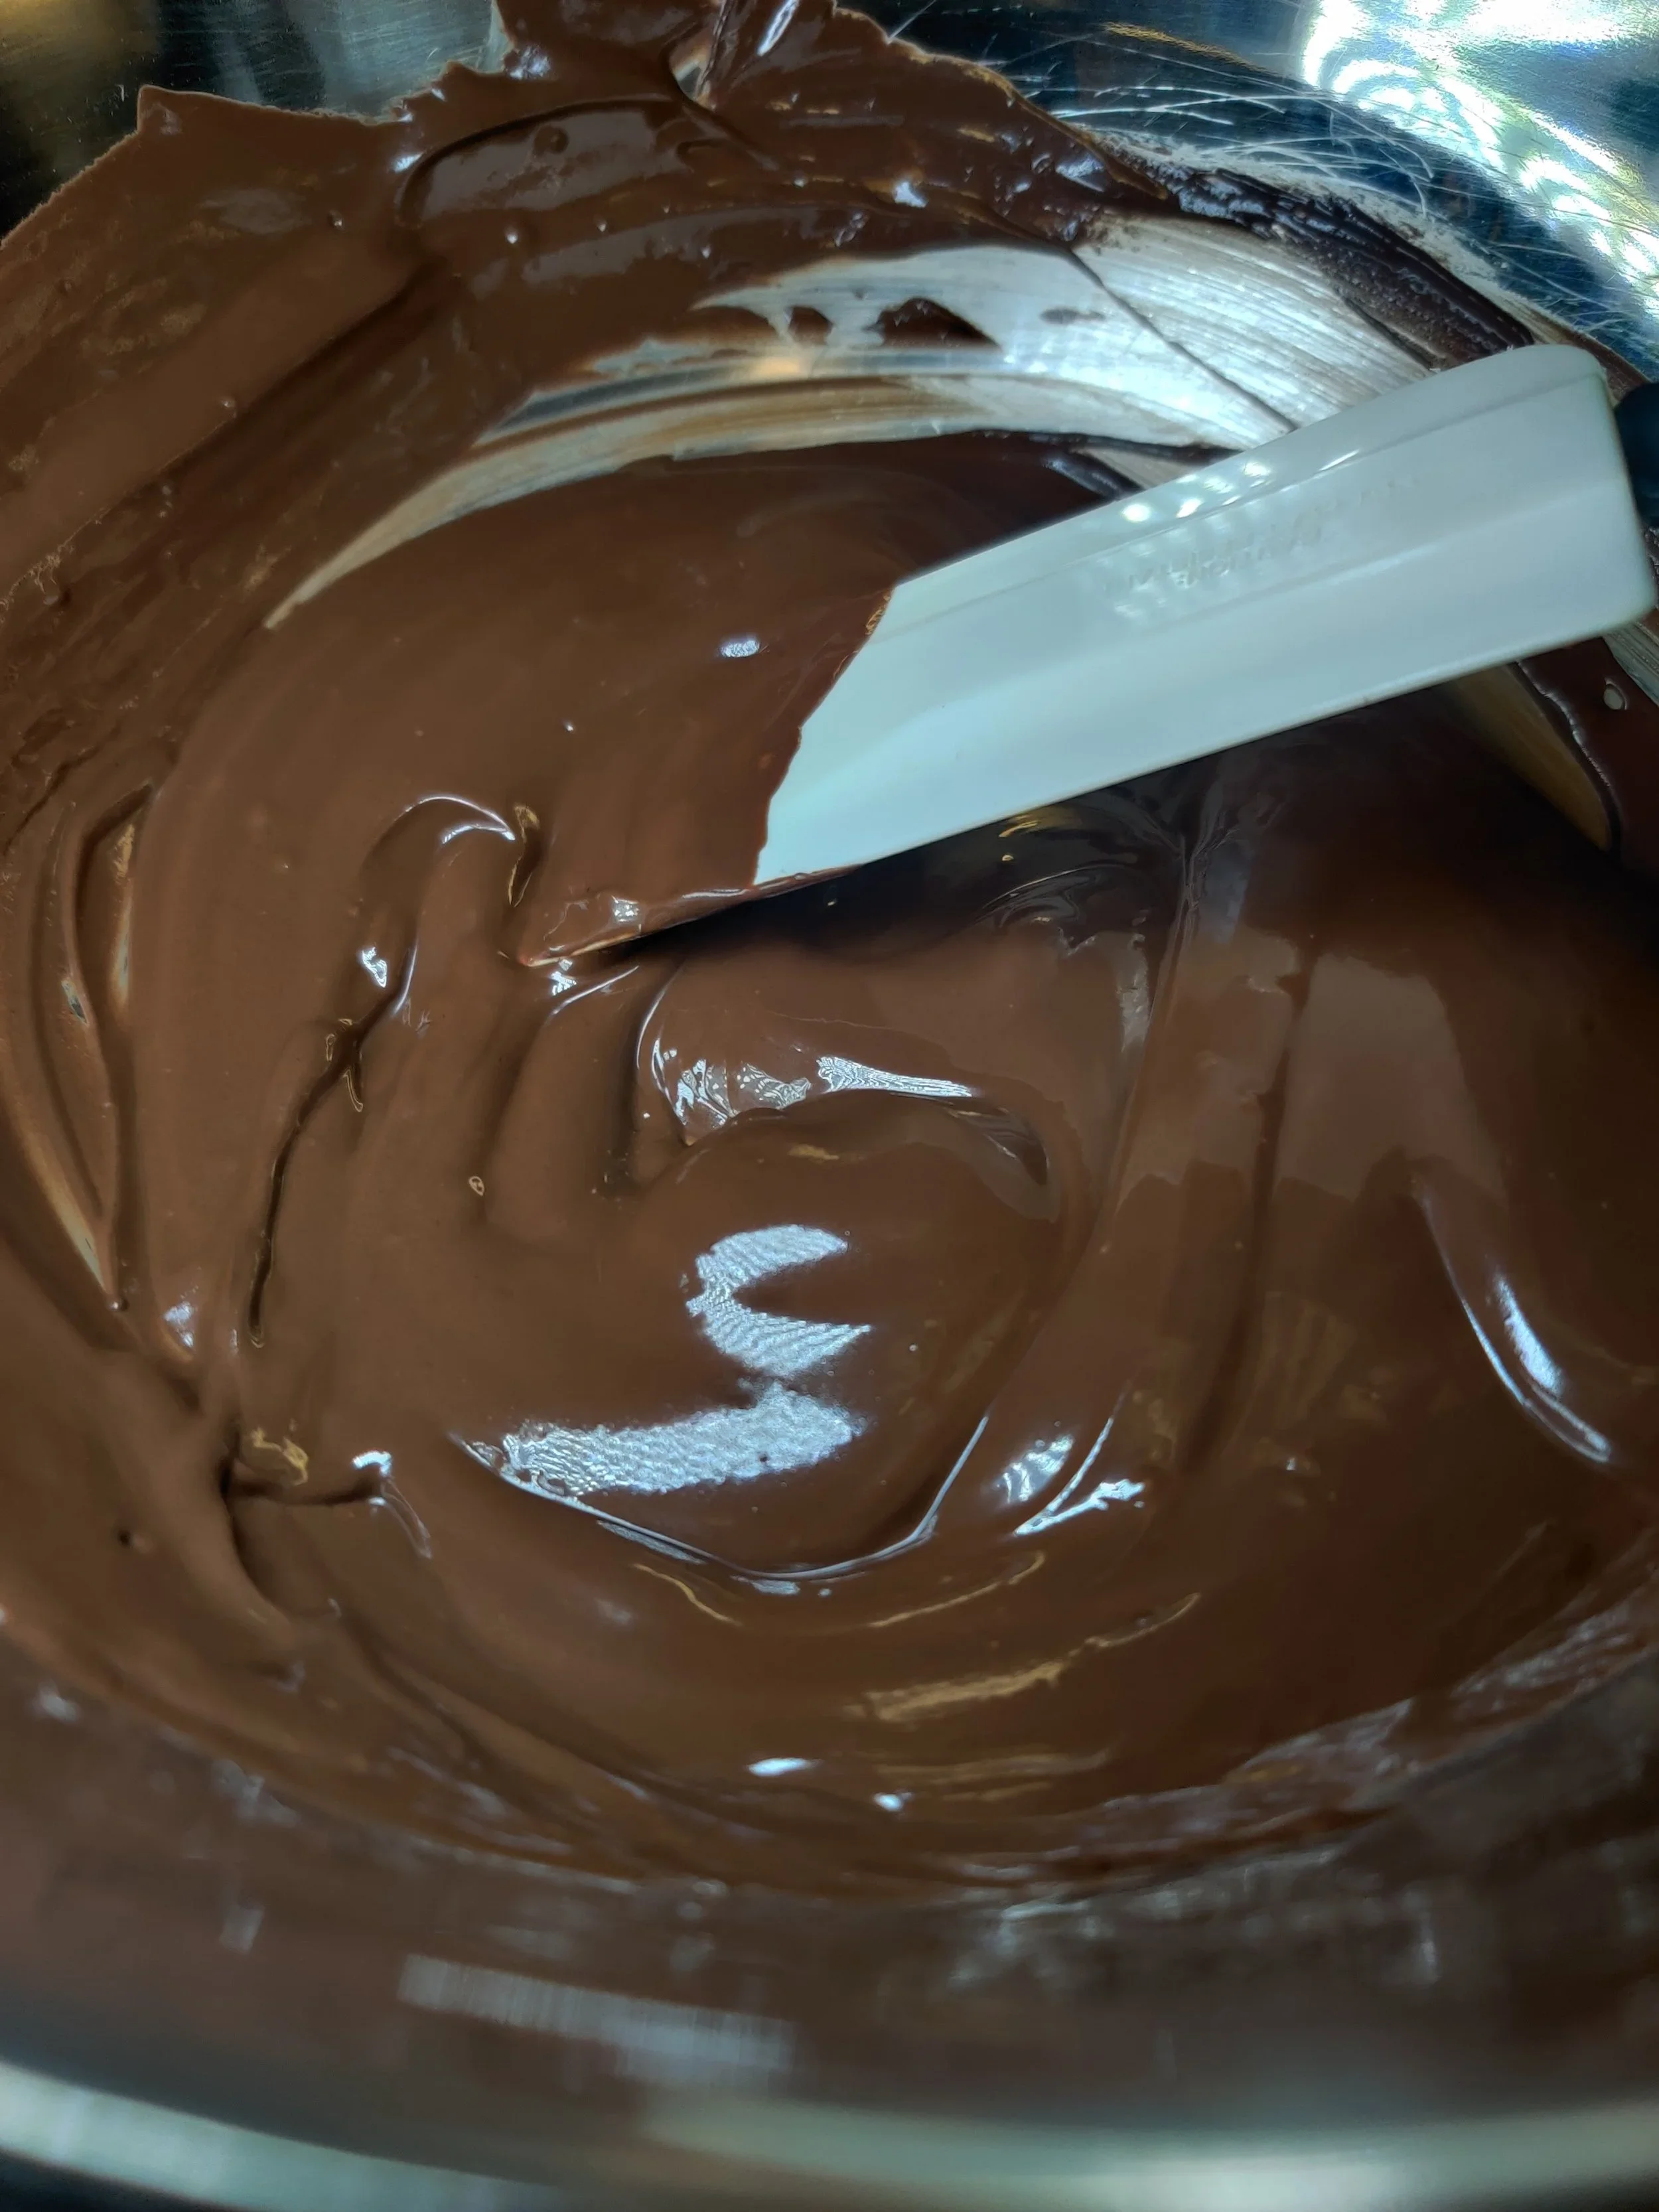
- While the first few batches bake, boil some water on medium-low and place a heat-resistant bowl on top. Add the chocolate to the bowl and heat until melted, stirring until smooth.
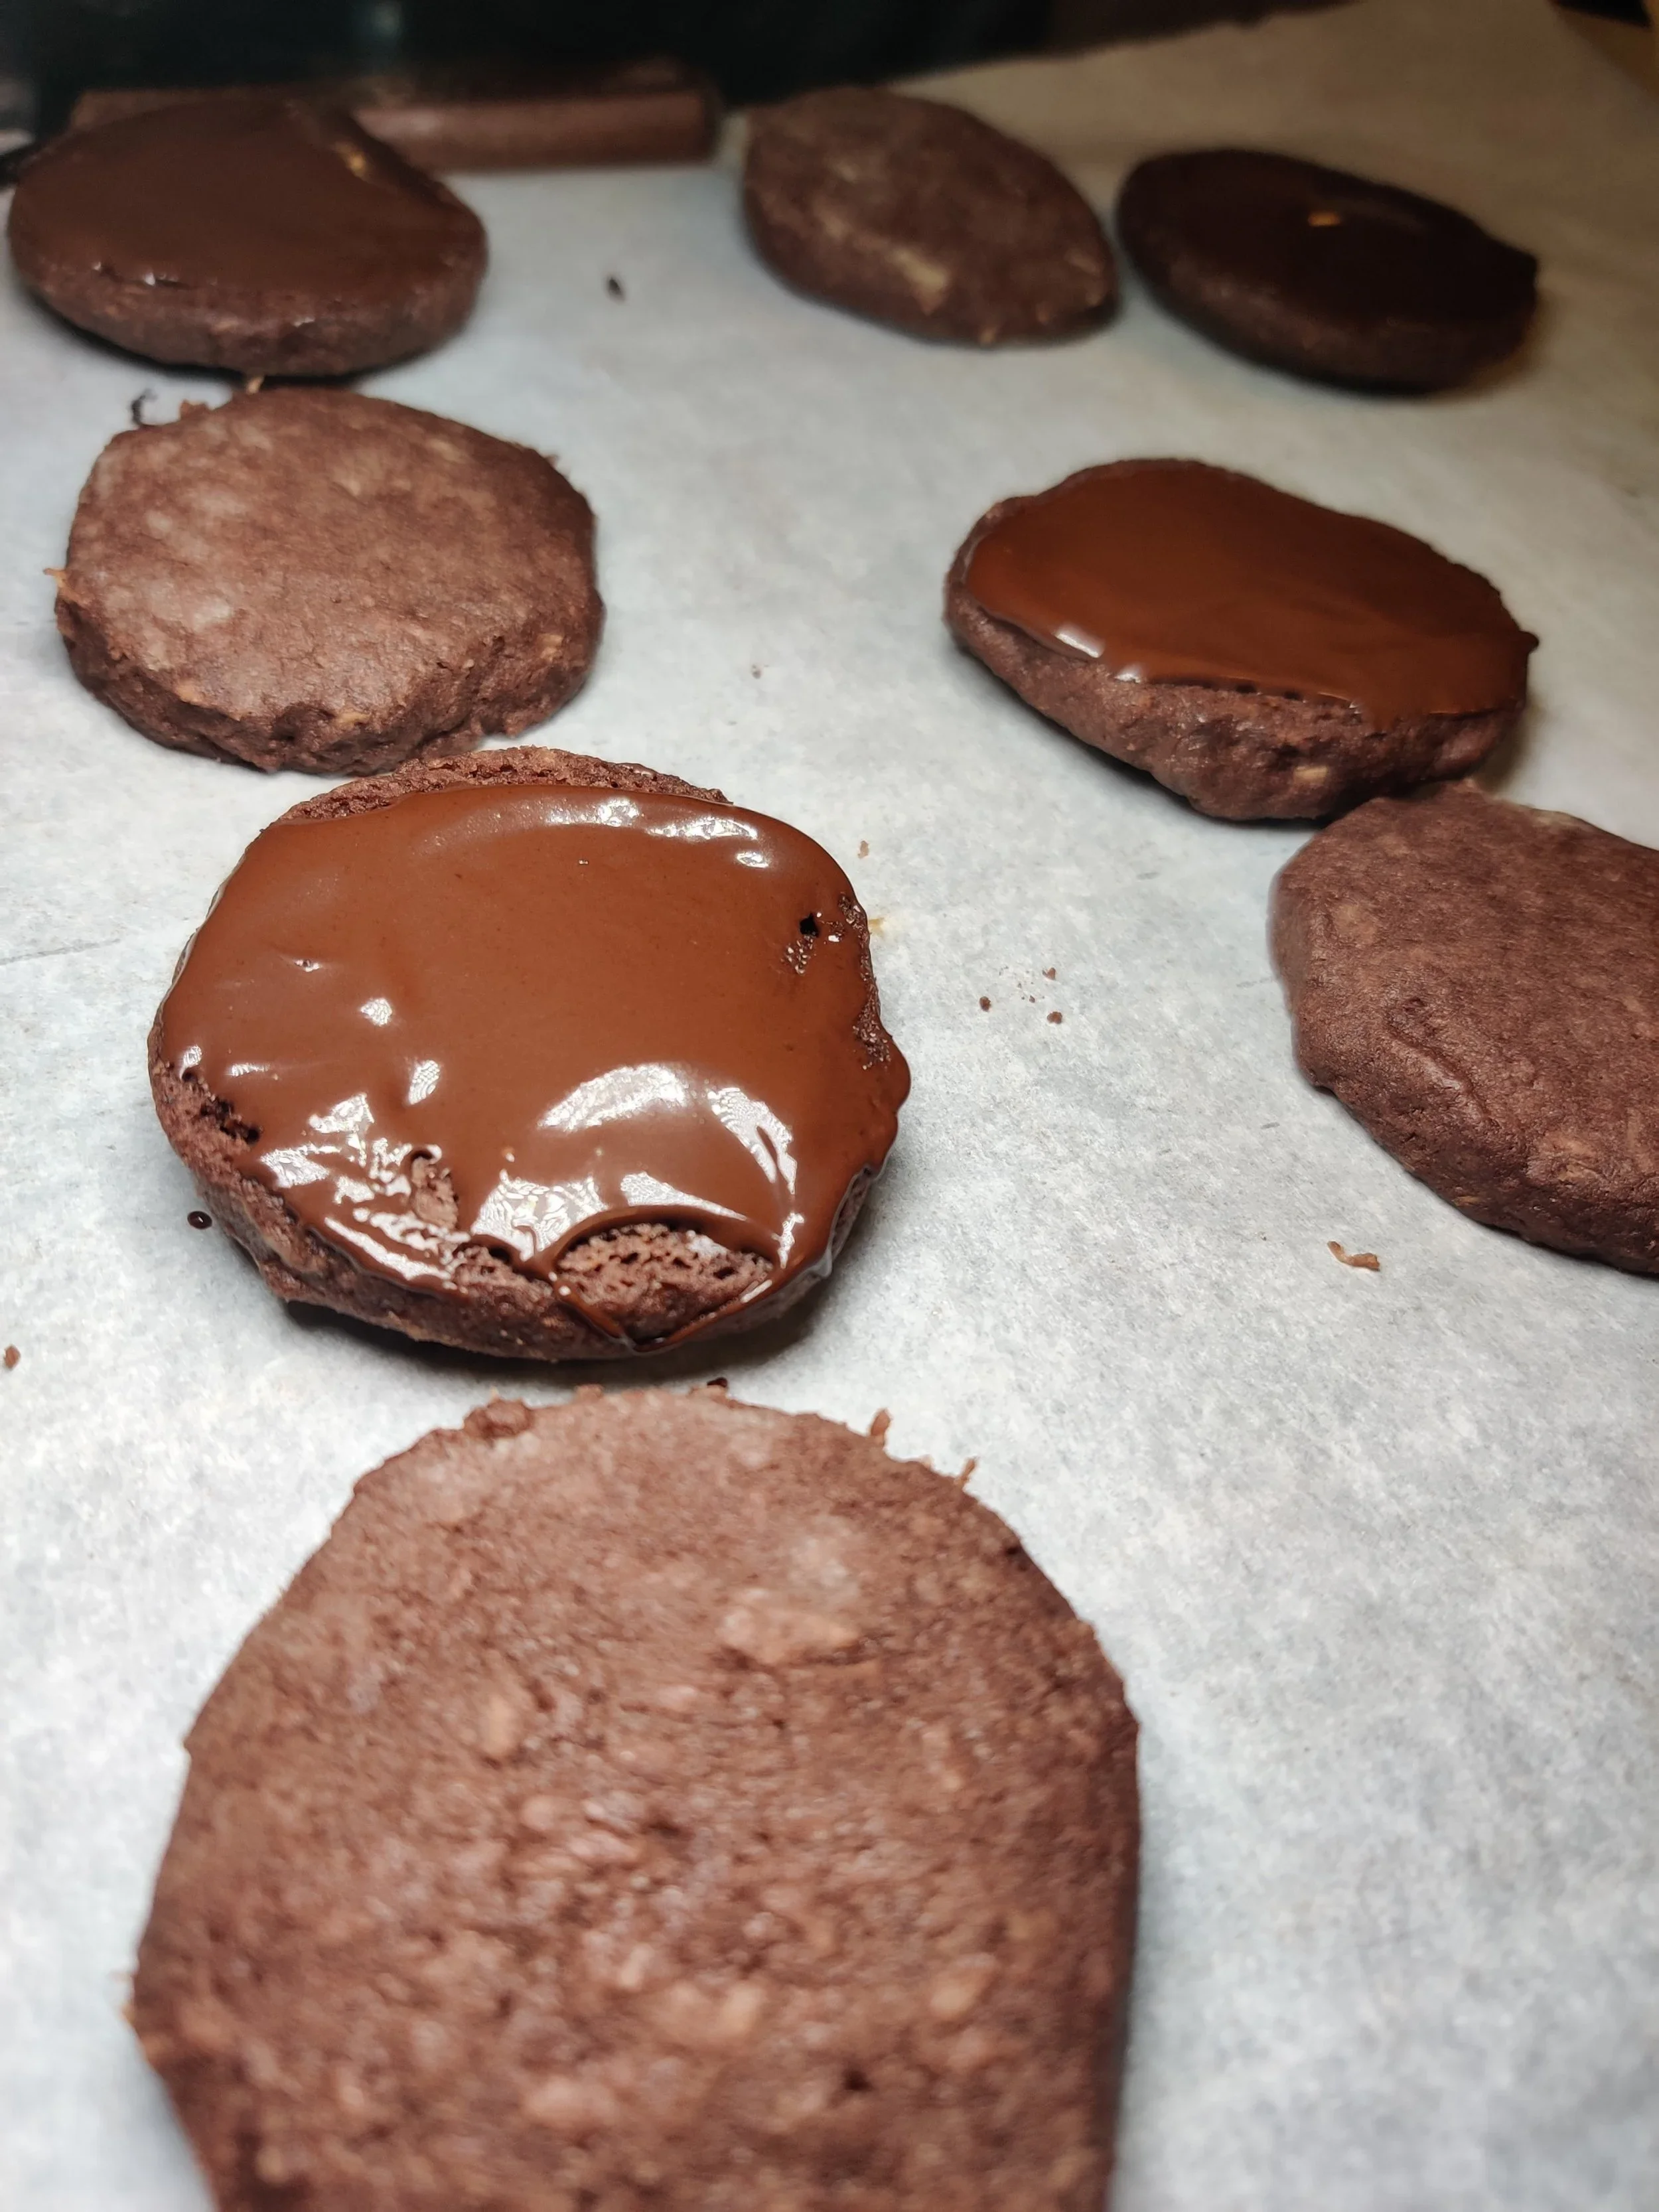
- Once everything has cooled, place a dollop of the melted chocolate inside one side of each biscuit, then close. And allow cooling further on a rack. Place in an airtight container and enjoy over five days for optimum taste.
Notes
You can also freeze the dough or cookie cut outs to bake in the future.
Nutrition Facts
Calories
118Fat (grams)
8.7 gCarbs (grams)
10 gSugar (grams)
4.3 gProtein (grams)
1 gI am not a certified nutritionist and any nutritional information on dontmissmyplate.com should only be used as a general guideline.
White Chocolate, Dried Cranberry and Roasted Pistachio Bark
Chocolate bark is often associated with hampers and gift-giving, so what's a better time to whip up a batch than the holidays?
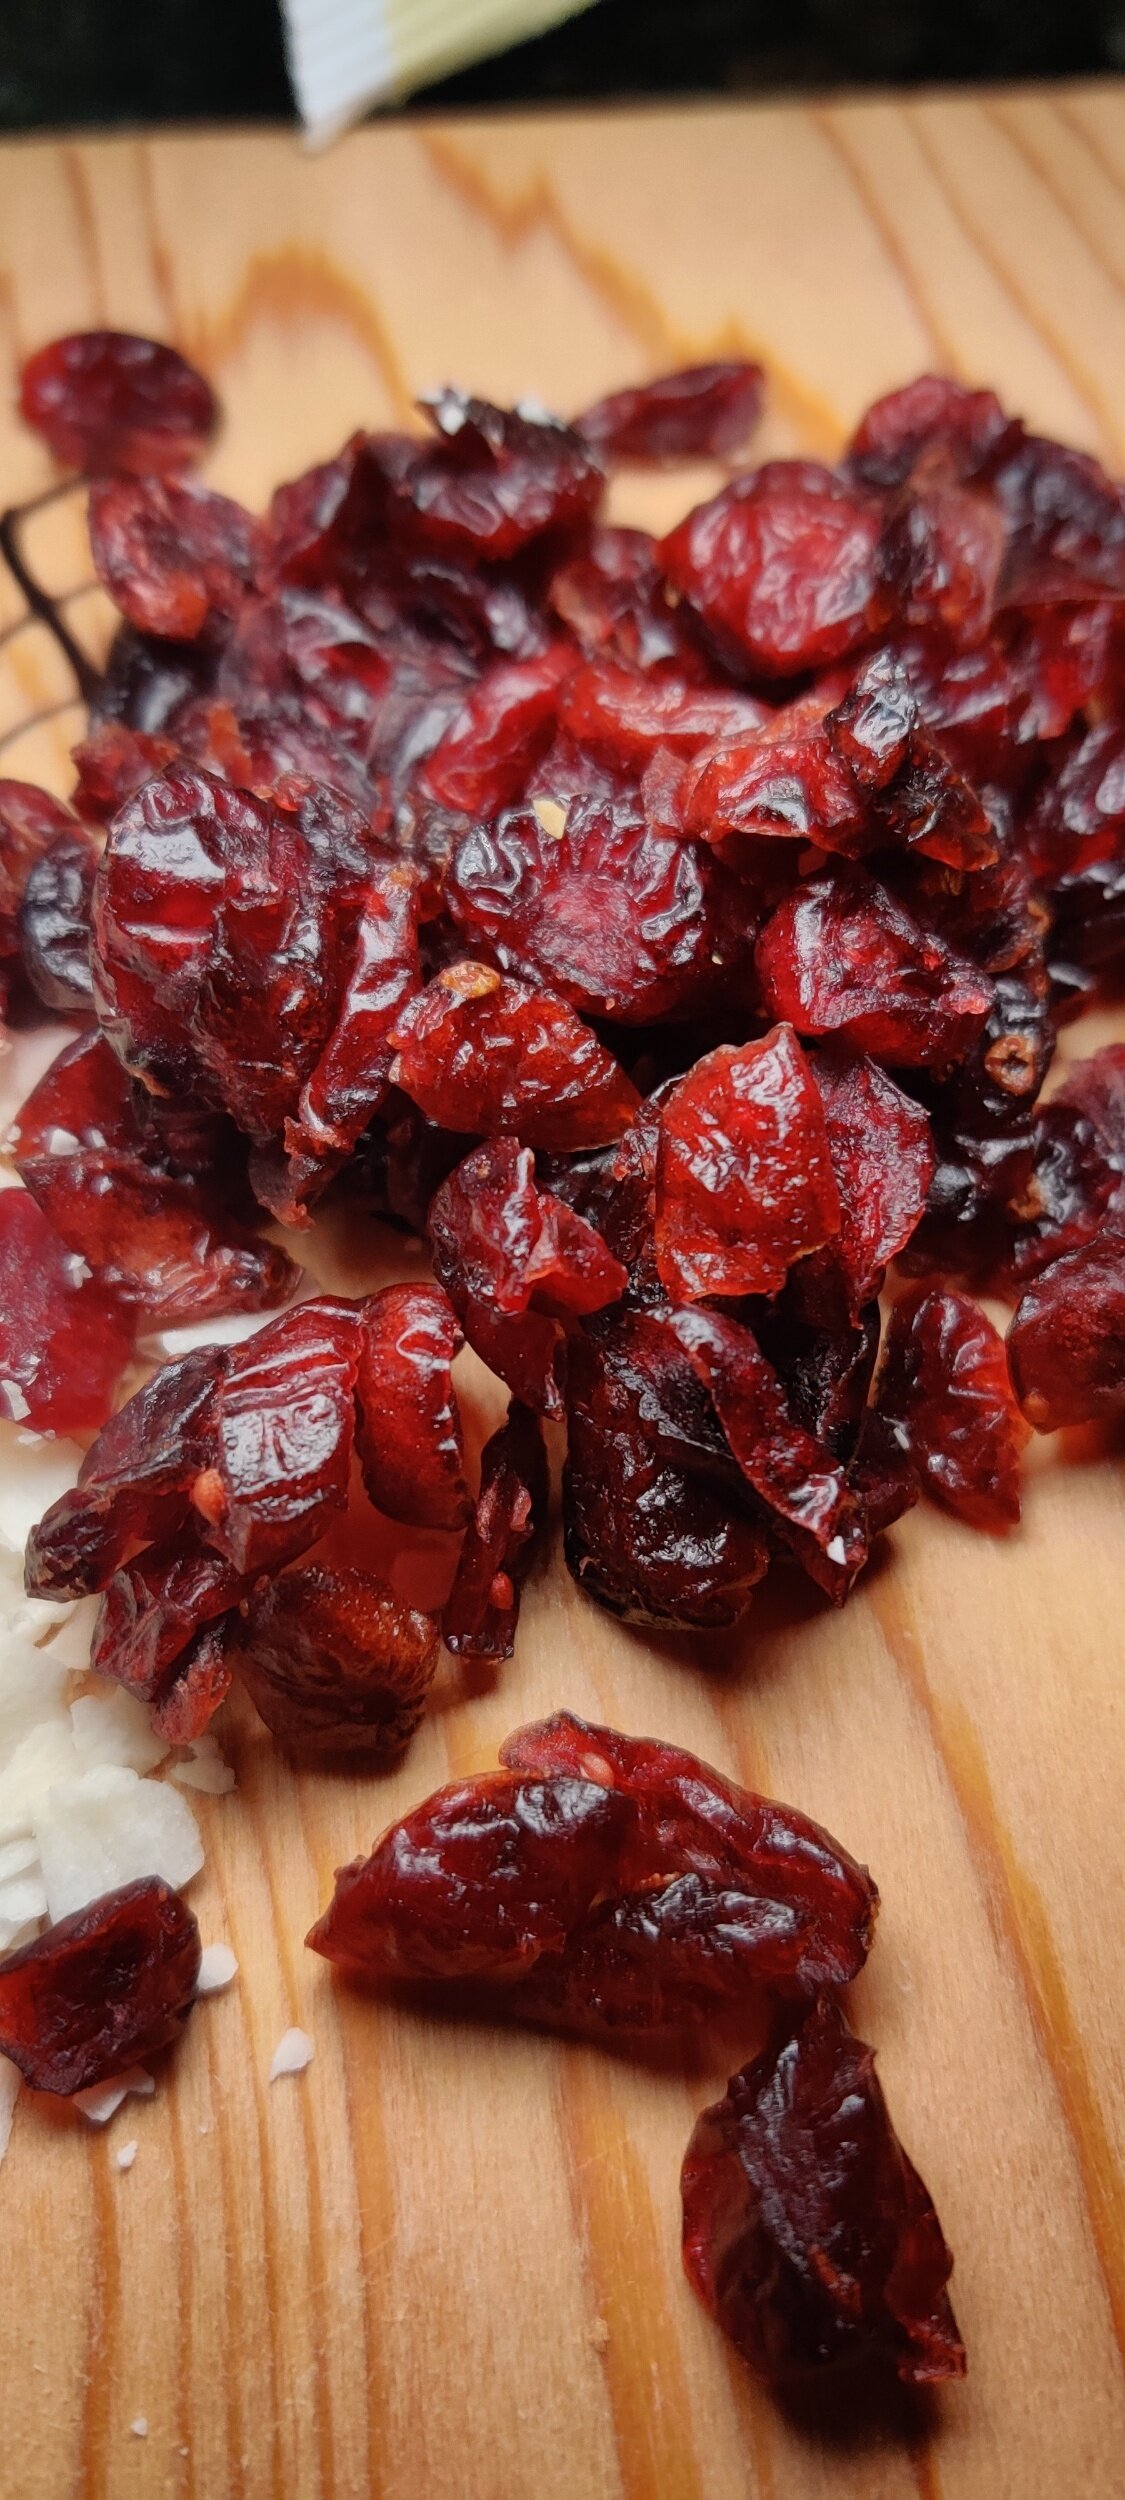
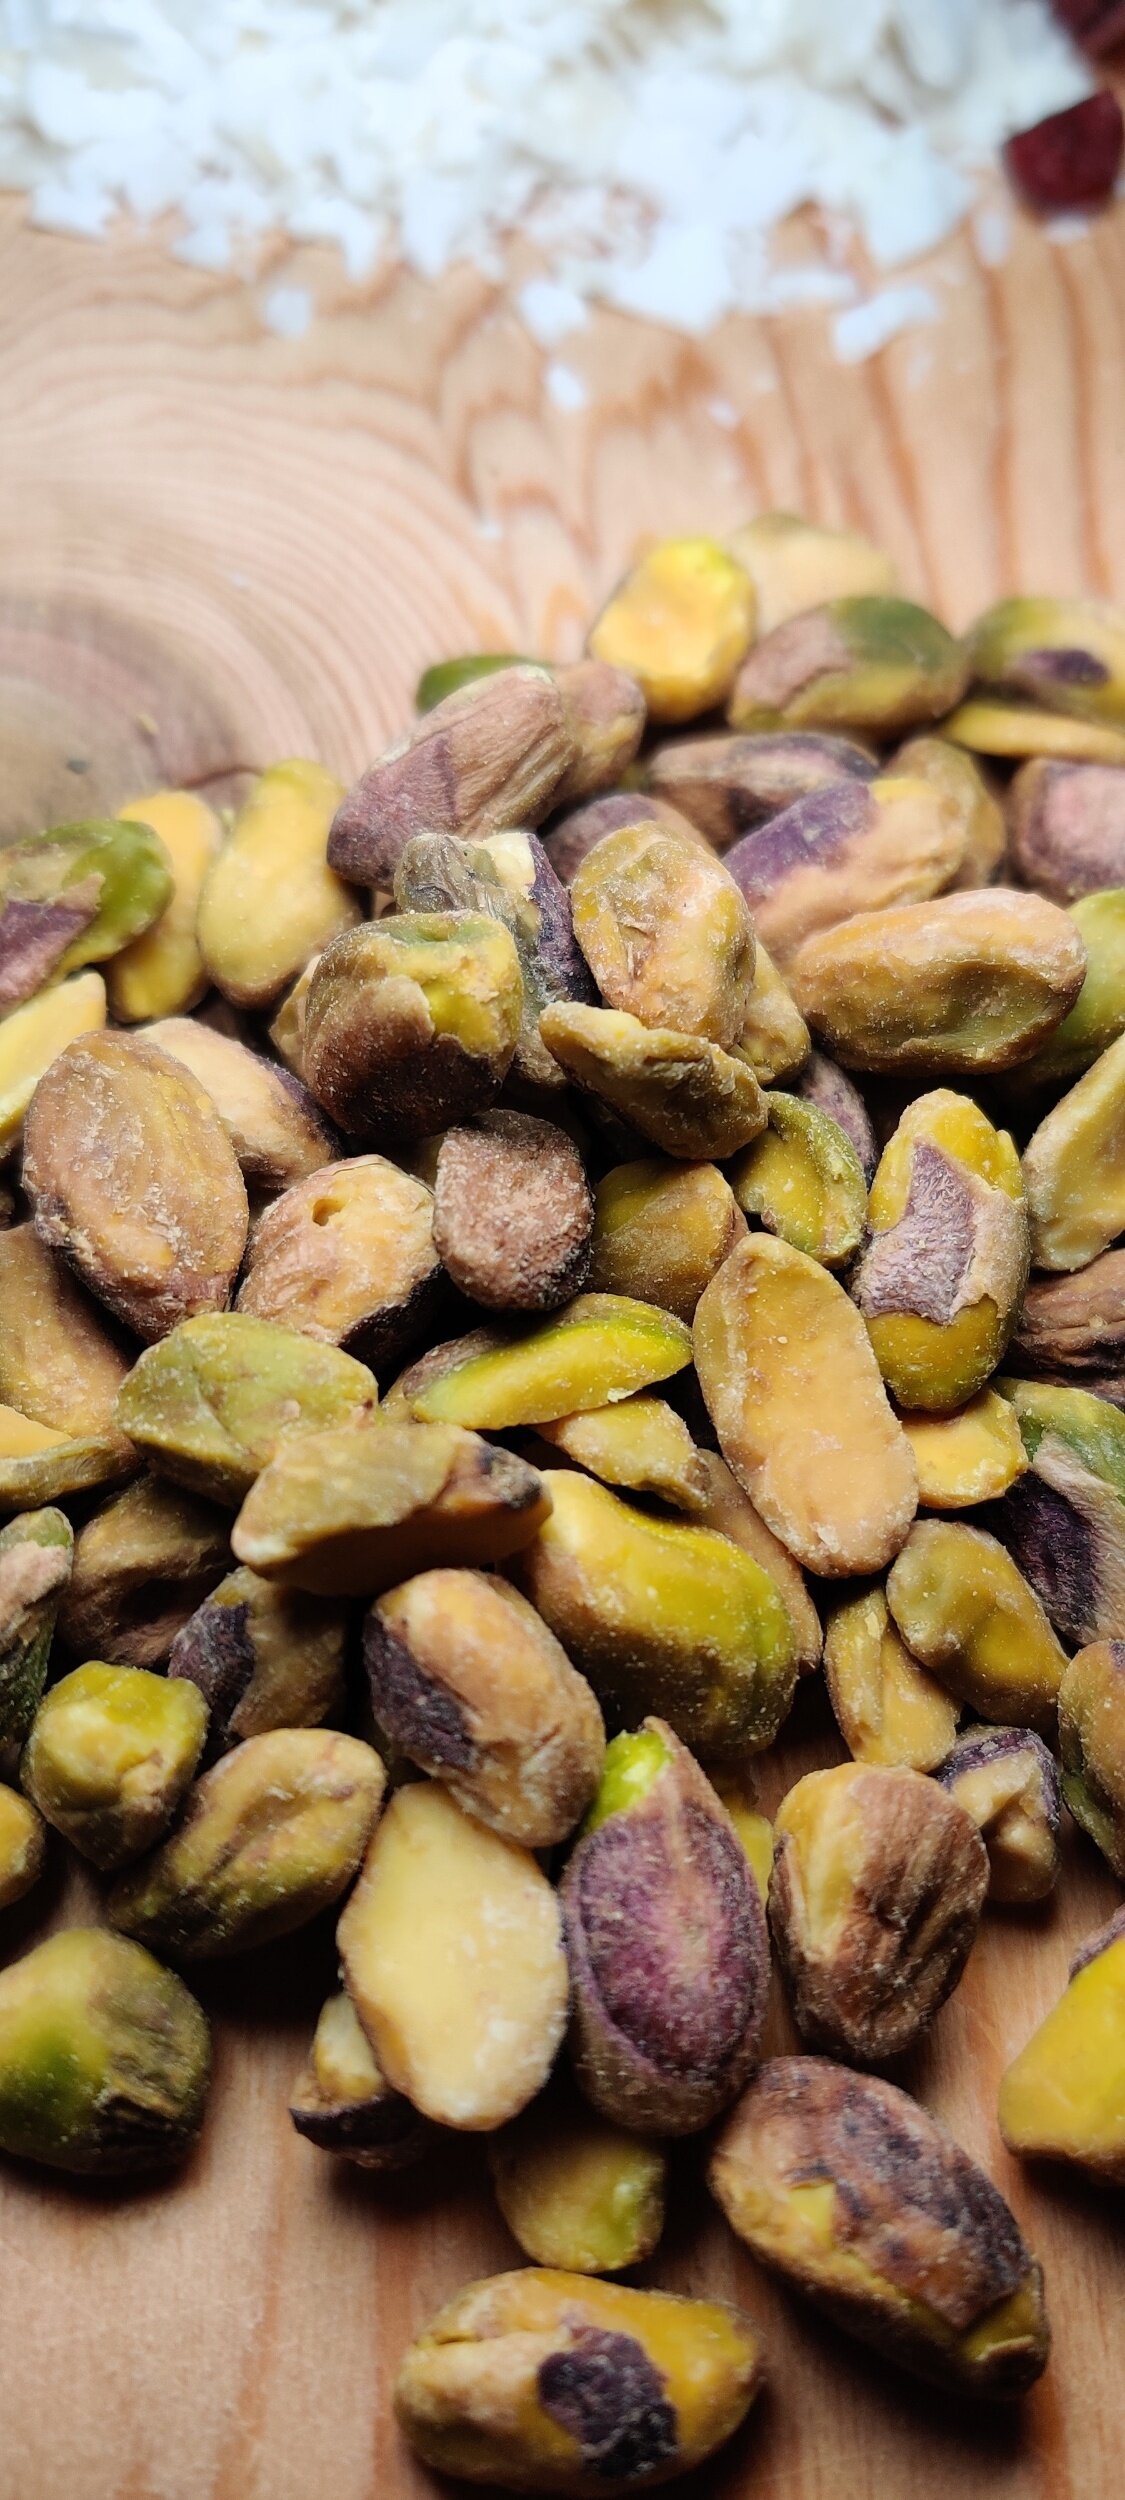
I recently made two recipes this season with fresh cranberries here and here, but let's not forget dried cranberries which you can do a lot with as well! They pair well with the same ingredients used in savoury dishes when used for sweet or baked goods, like pistachios!
Share this recipe as a gift, or put it together for those who want a sweet bite but not necessarily a slice of pie after indulging in an array of comfort food entrees!
What about the day after dining festivities? Many people set up their Christmas trees around this time after family meals. Play some Christmas music, sip on some hot chocolate and marshmallows, and nibble on some of this bark. That's what I did!
Since this isn't hardened sugar, it's easier on the teeth. The kids will love it, the colour and texture of the toppings give it a festive feel, and you can customize to your liking! I combined some ingredients that compliment the white chocolate and the cranberries, but it's up to you.
If you are looking for a milk or dark chocolate bark recipe, check out my masala tea bark, which I was inspired to make after a trip to Zanzibar!
Ingredients
5 drops almond extract
1 teaspoon coconut oil
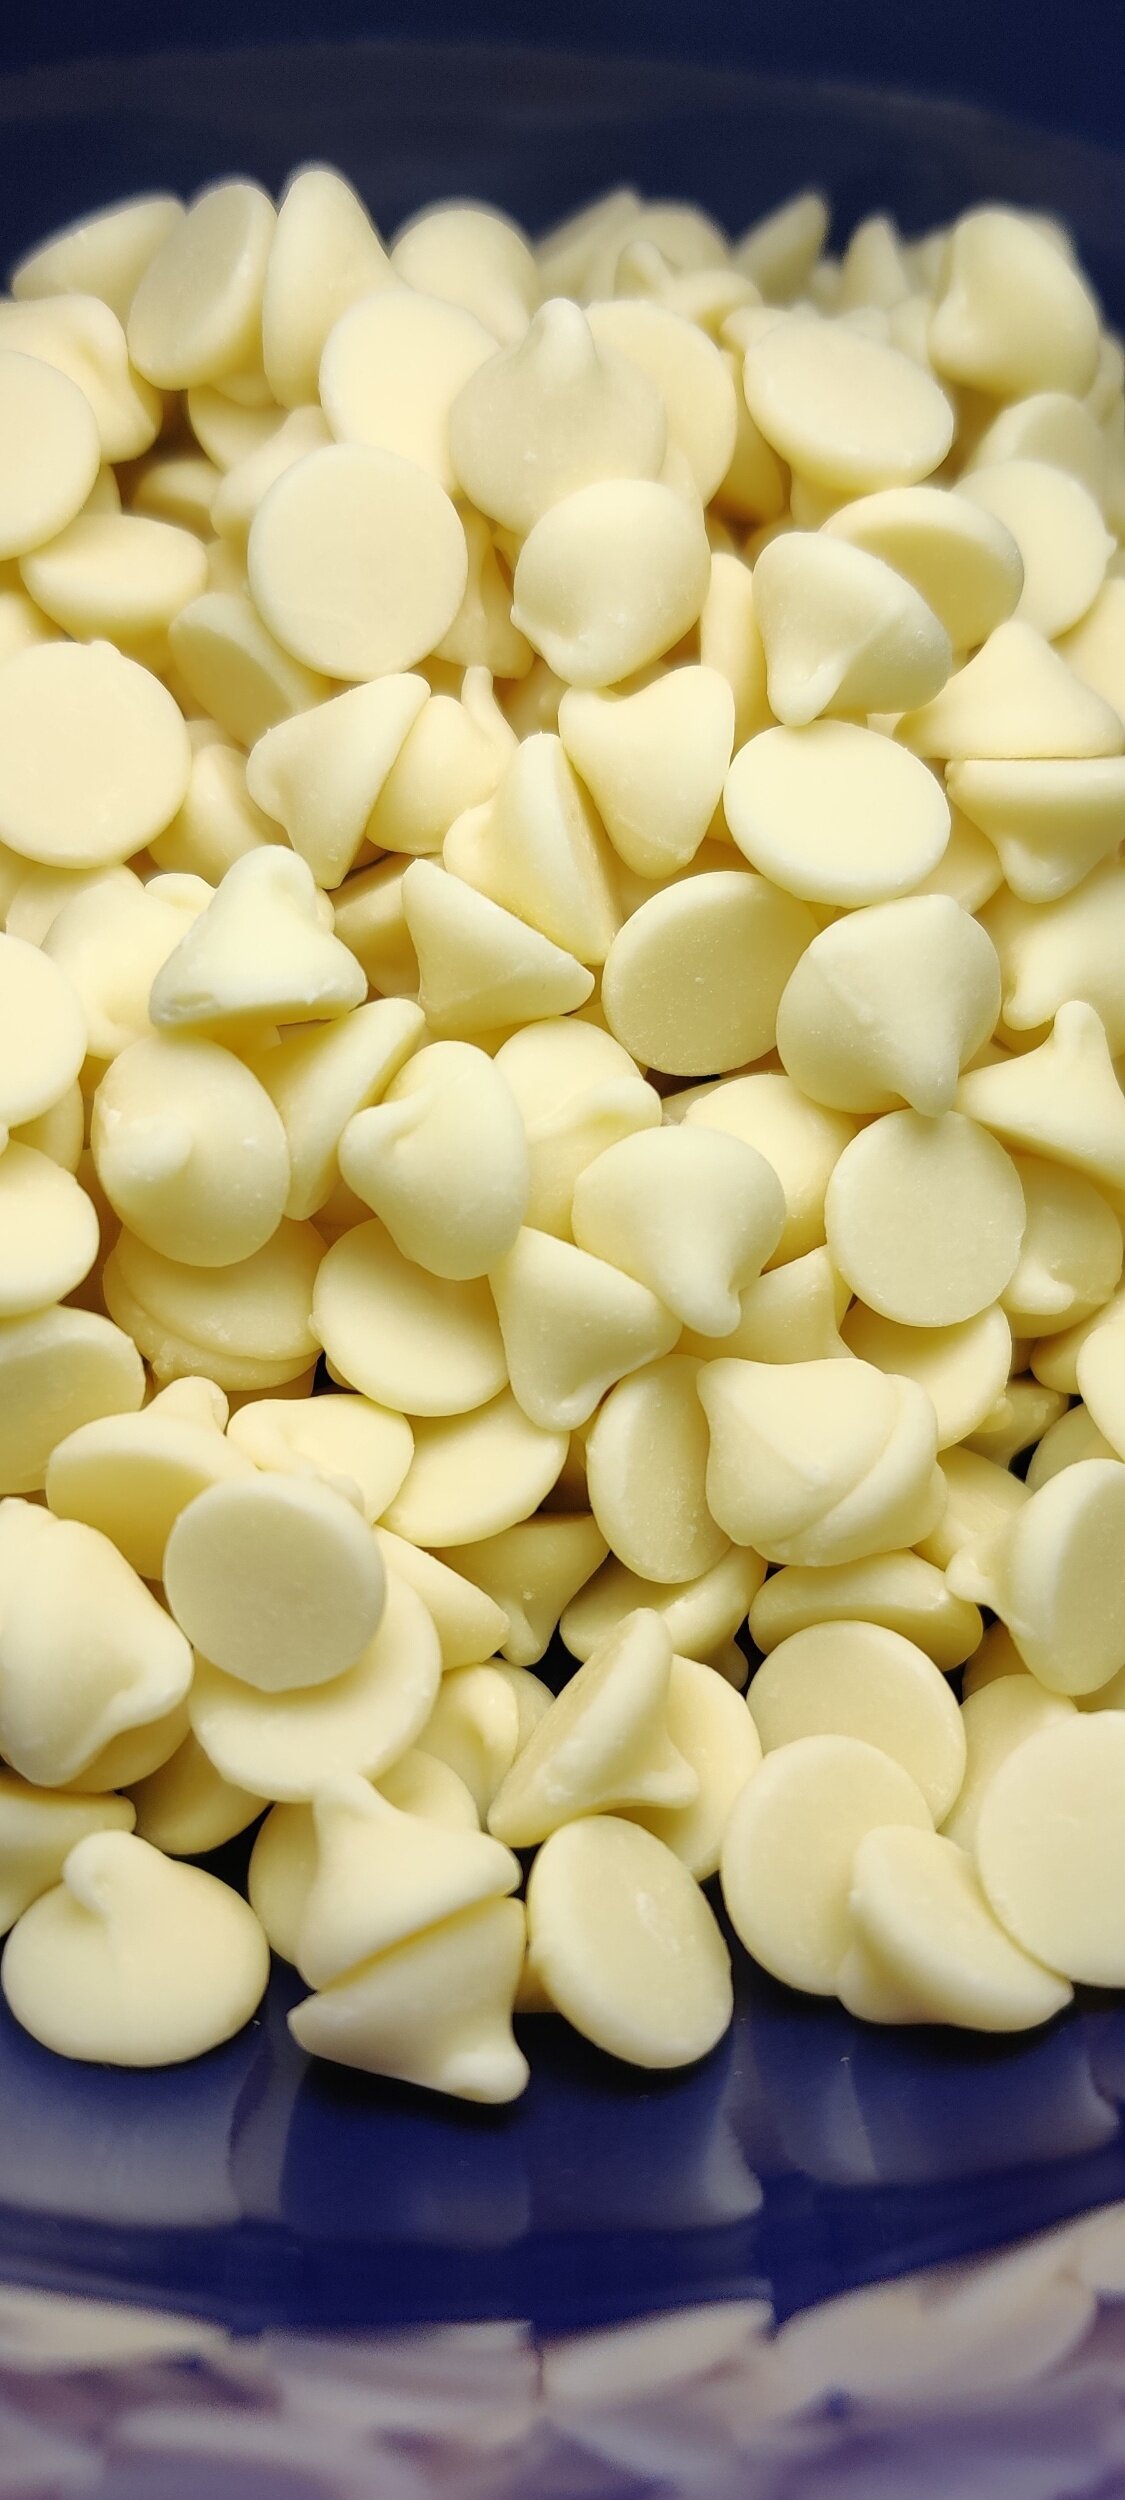
2 cups white chocolate chips
1/3 cup pistachios
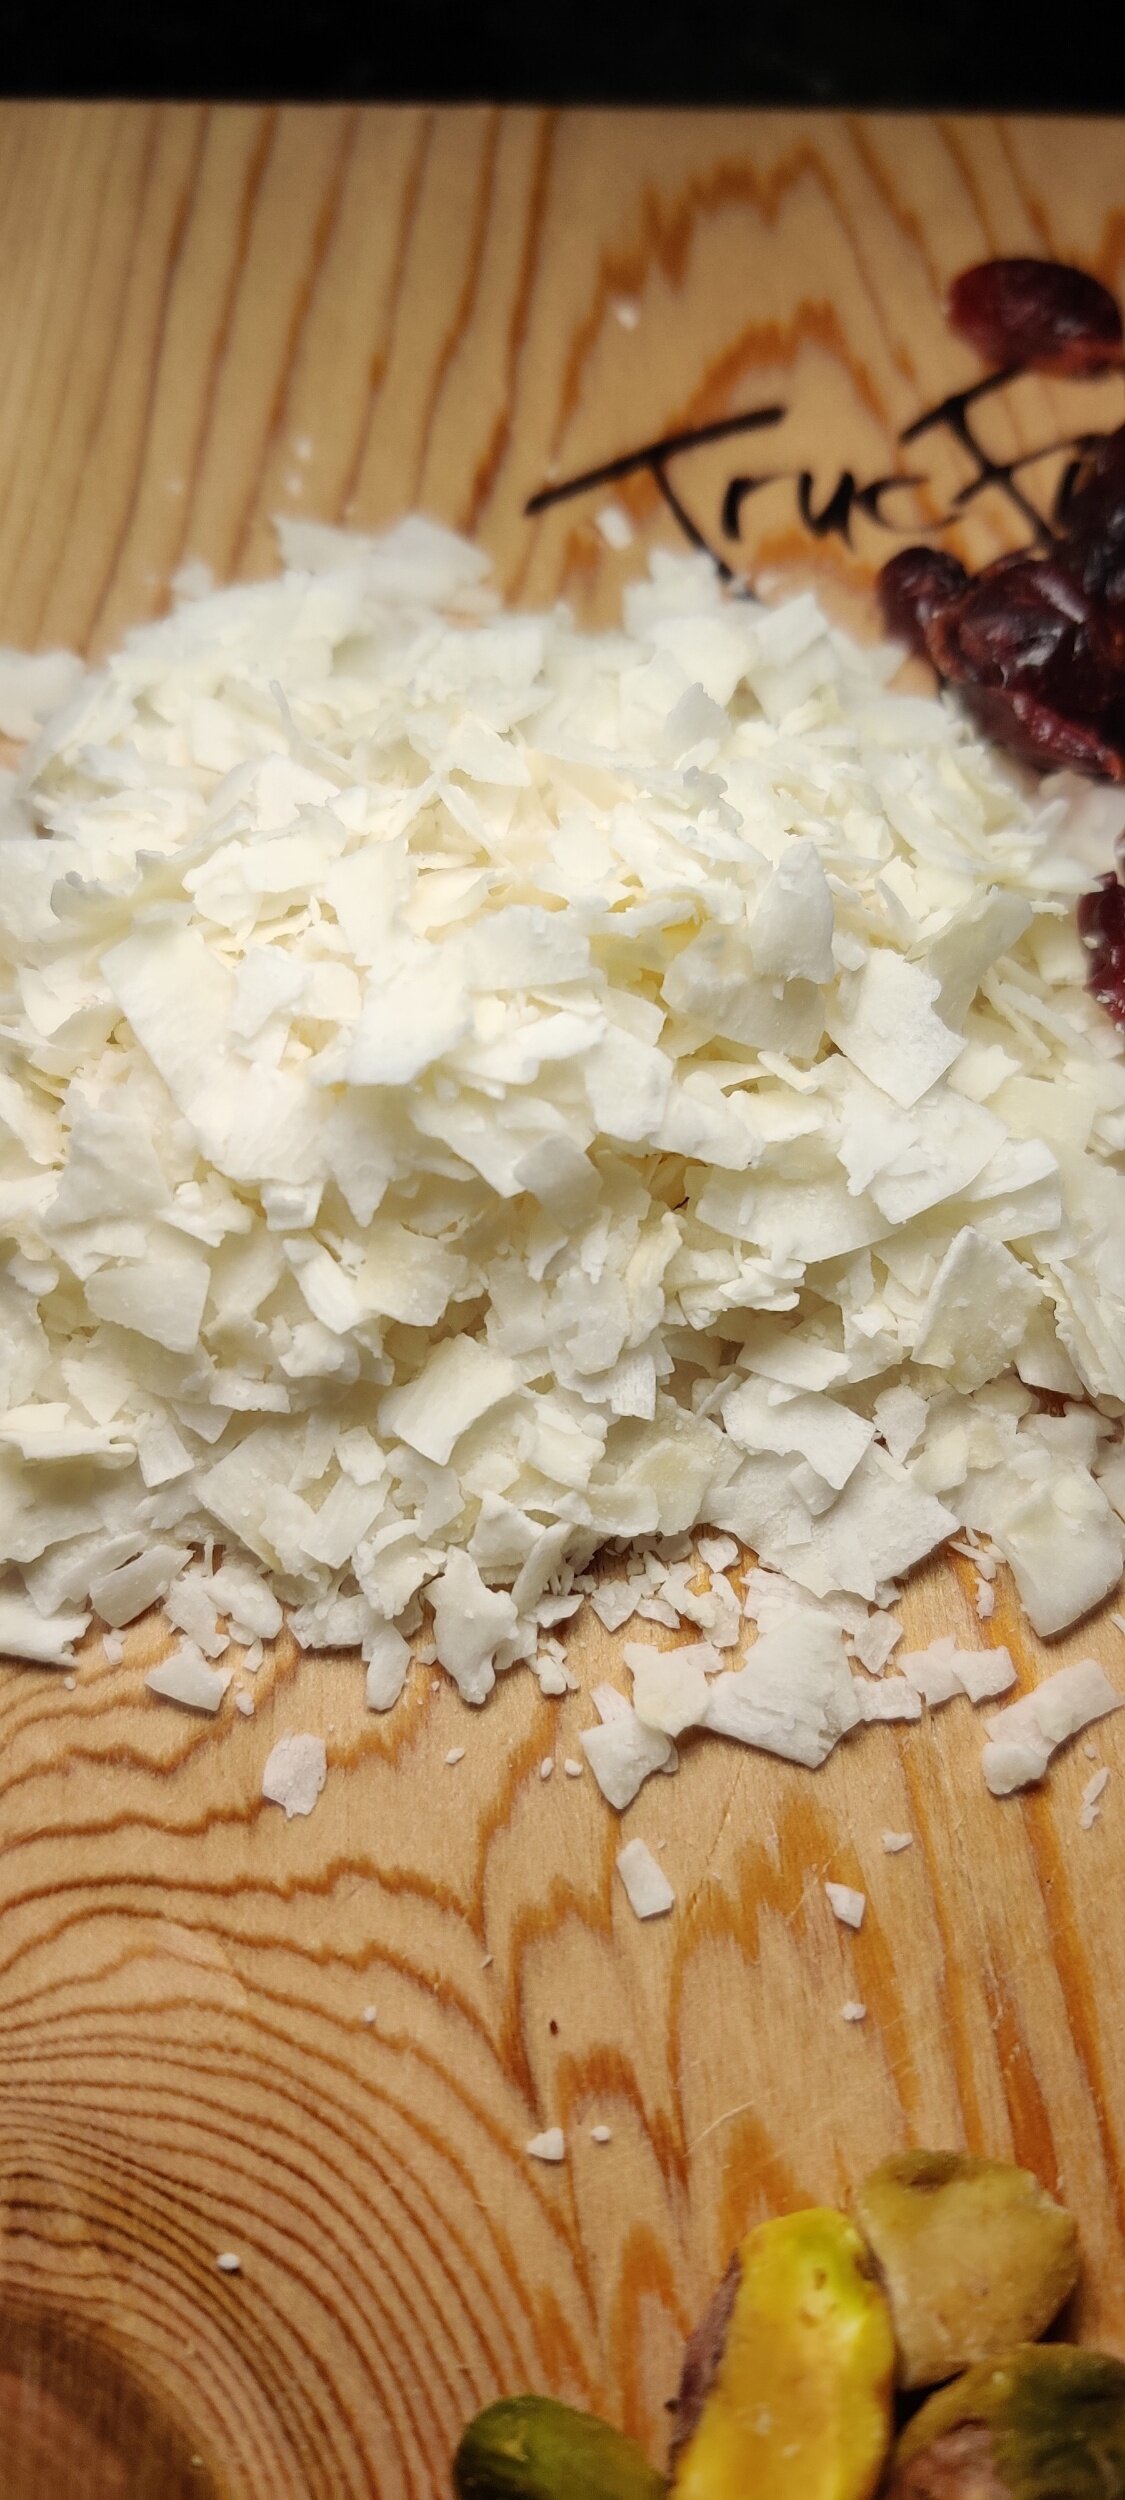
1/3 cup shredded coconut
1/3 dried cranberries
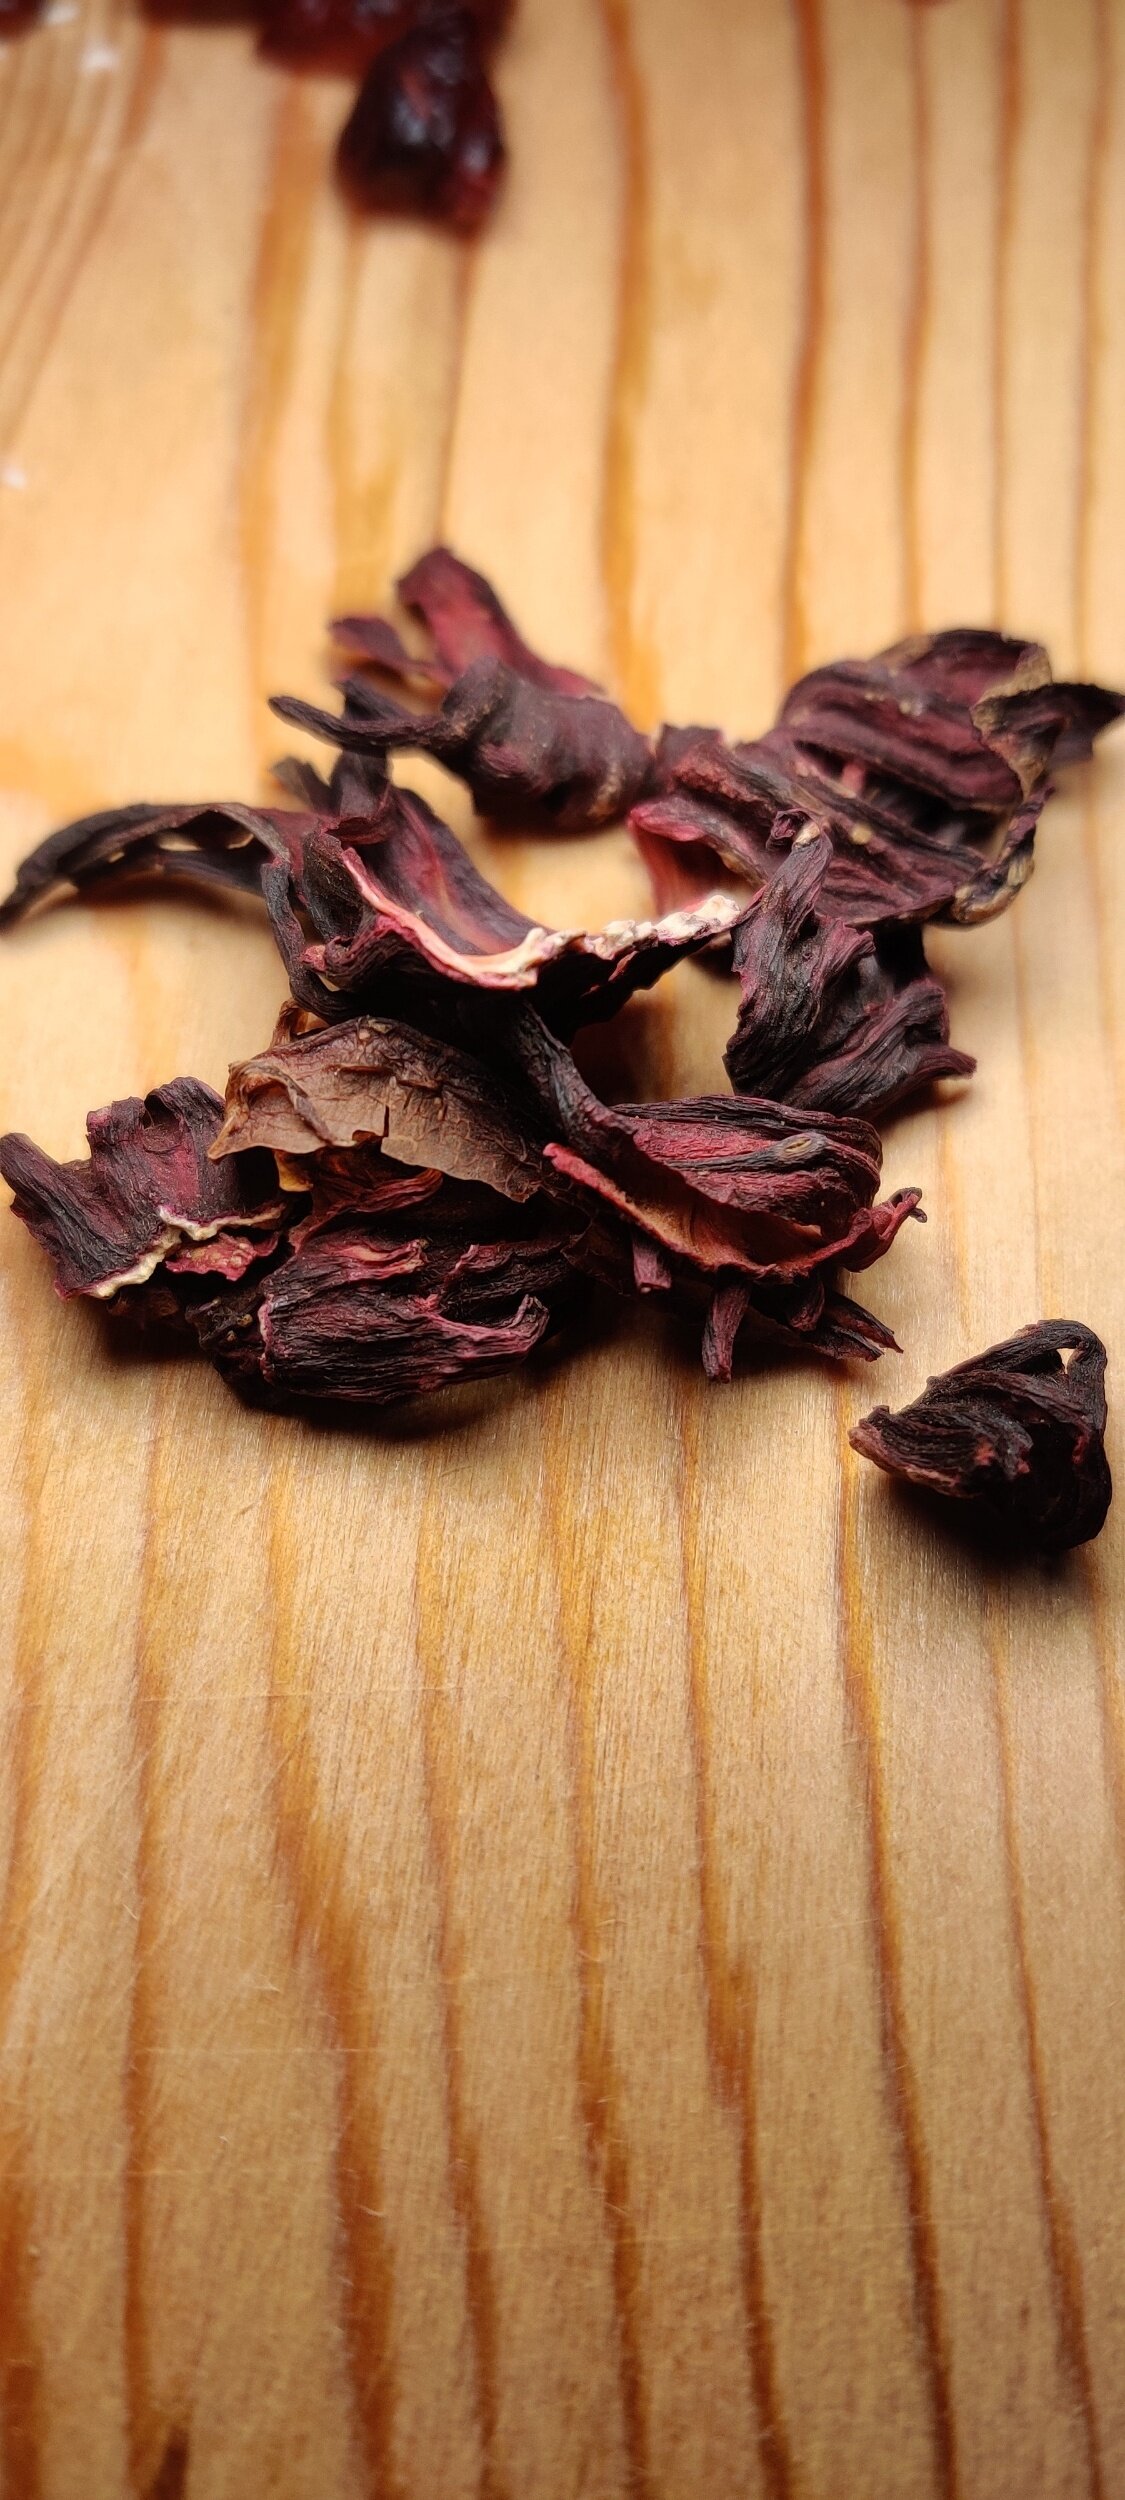
1 tablespoon dried roselle
Instructions
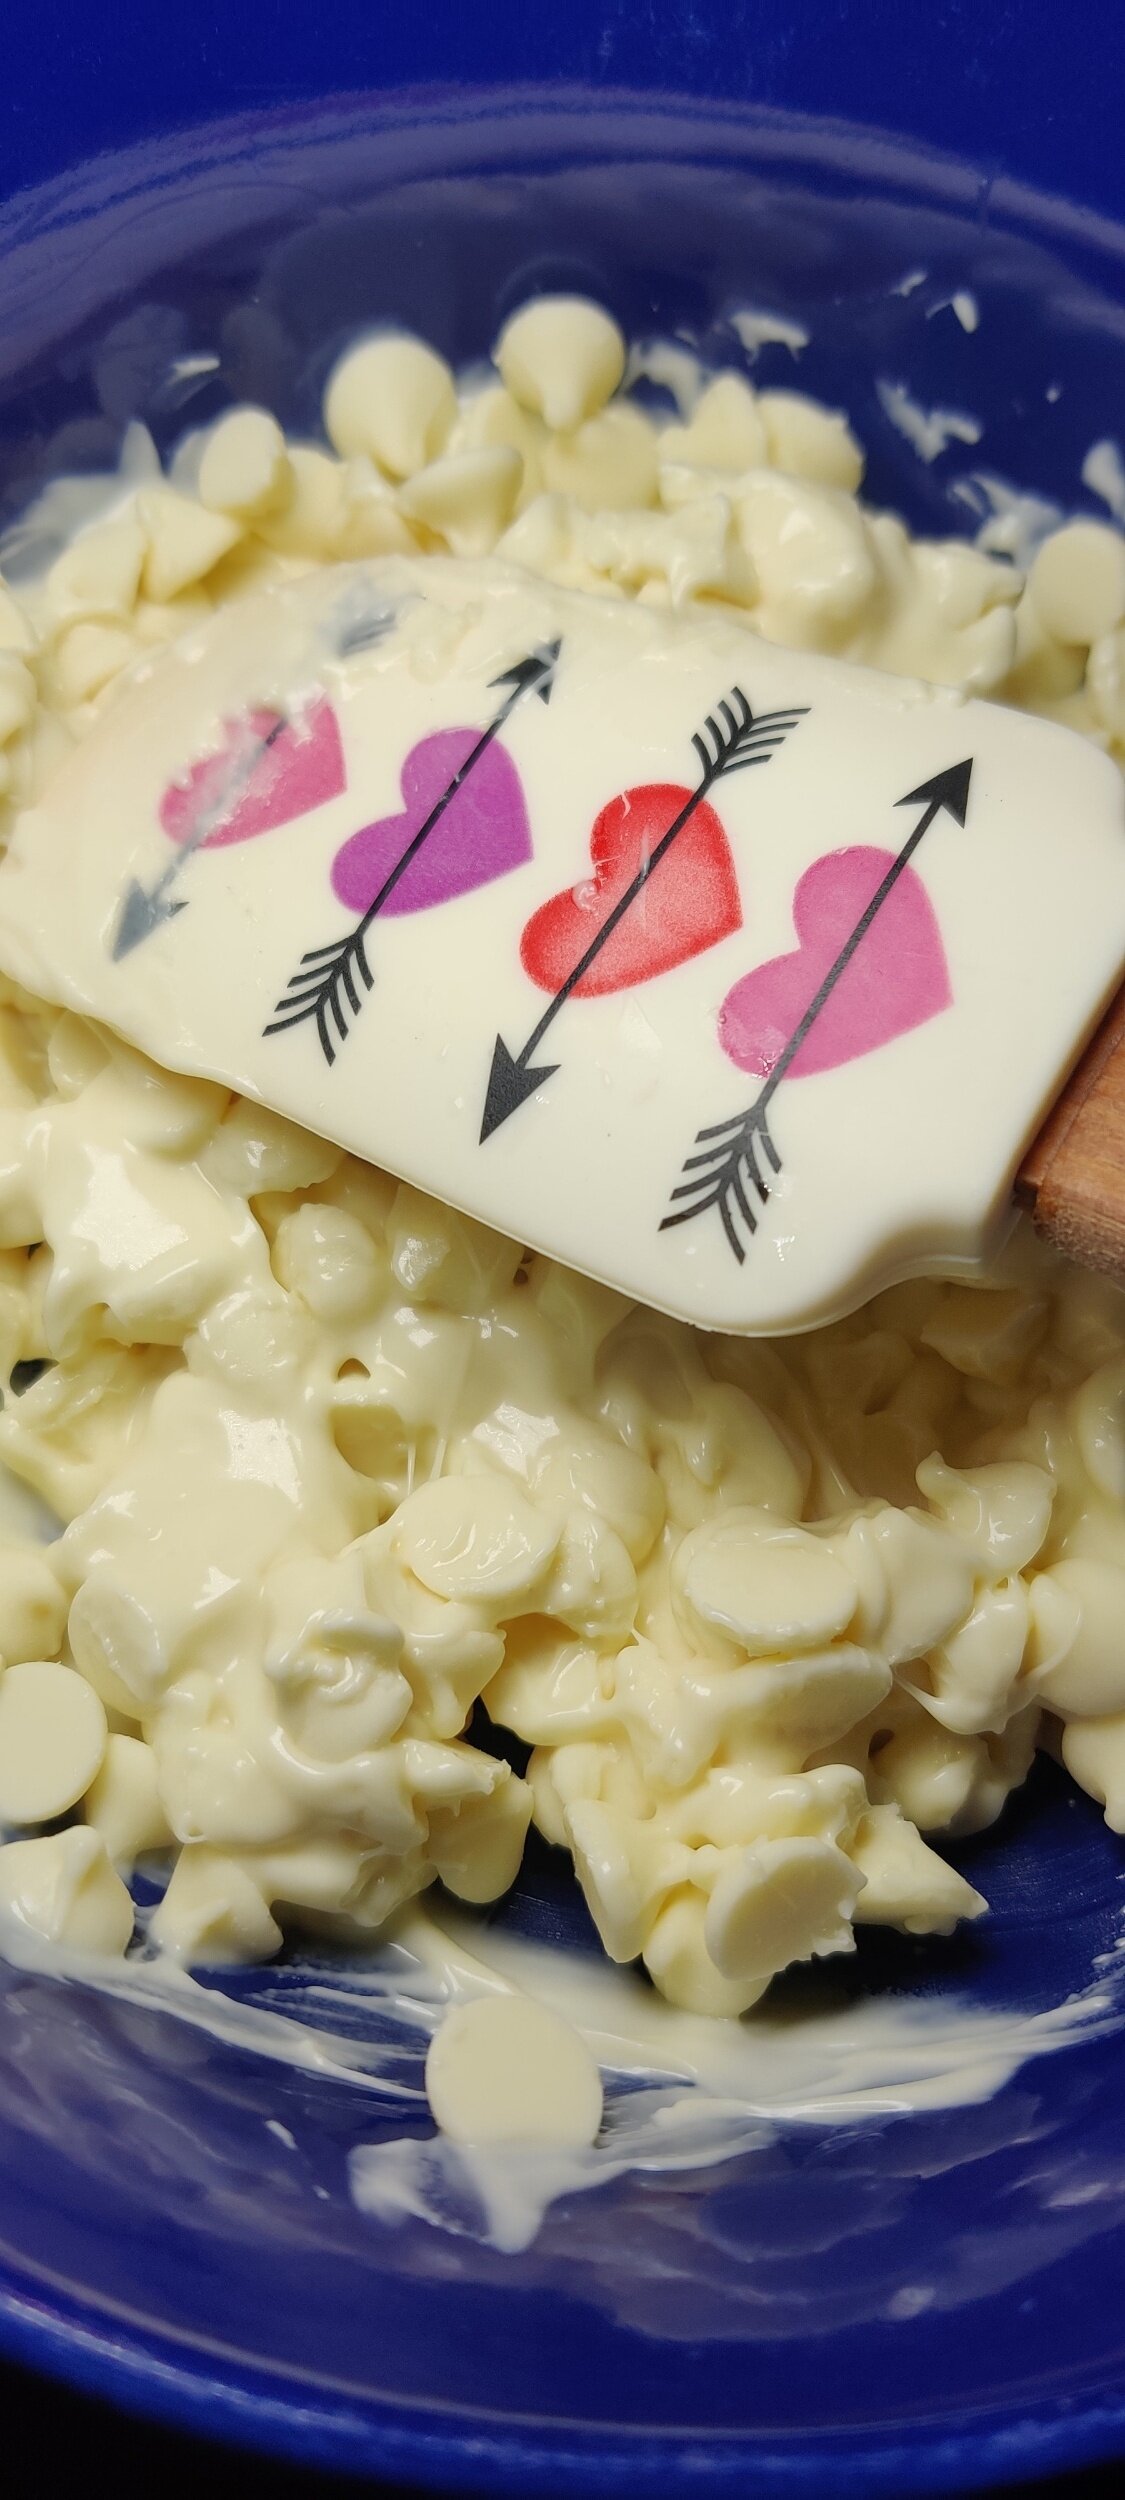
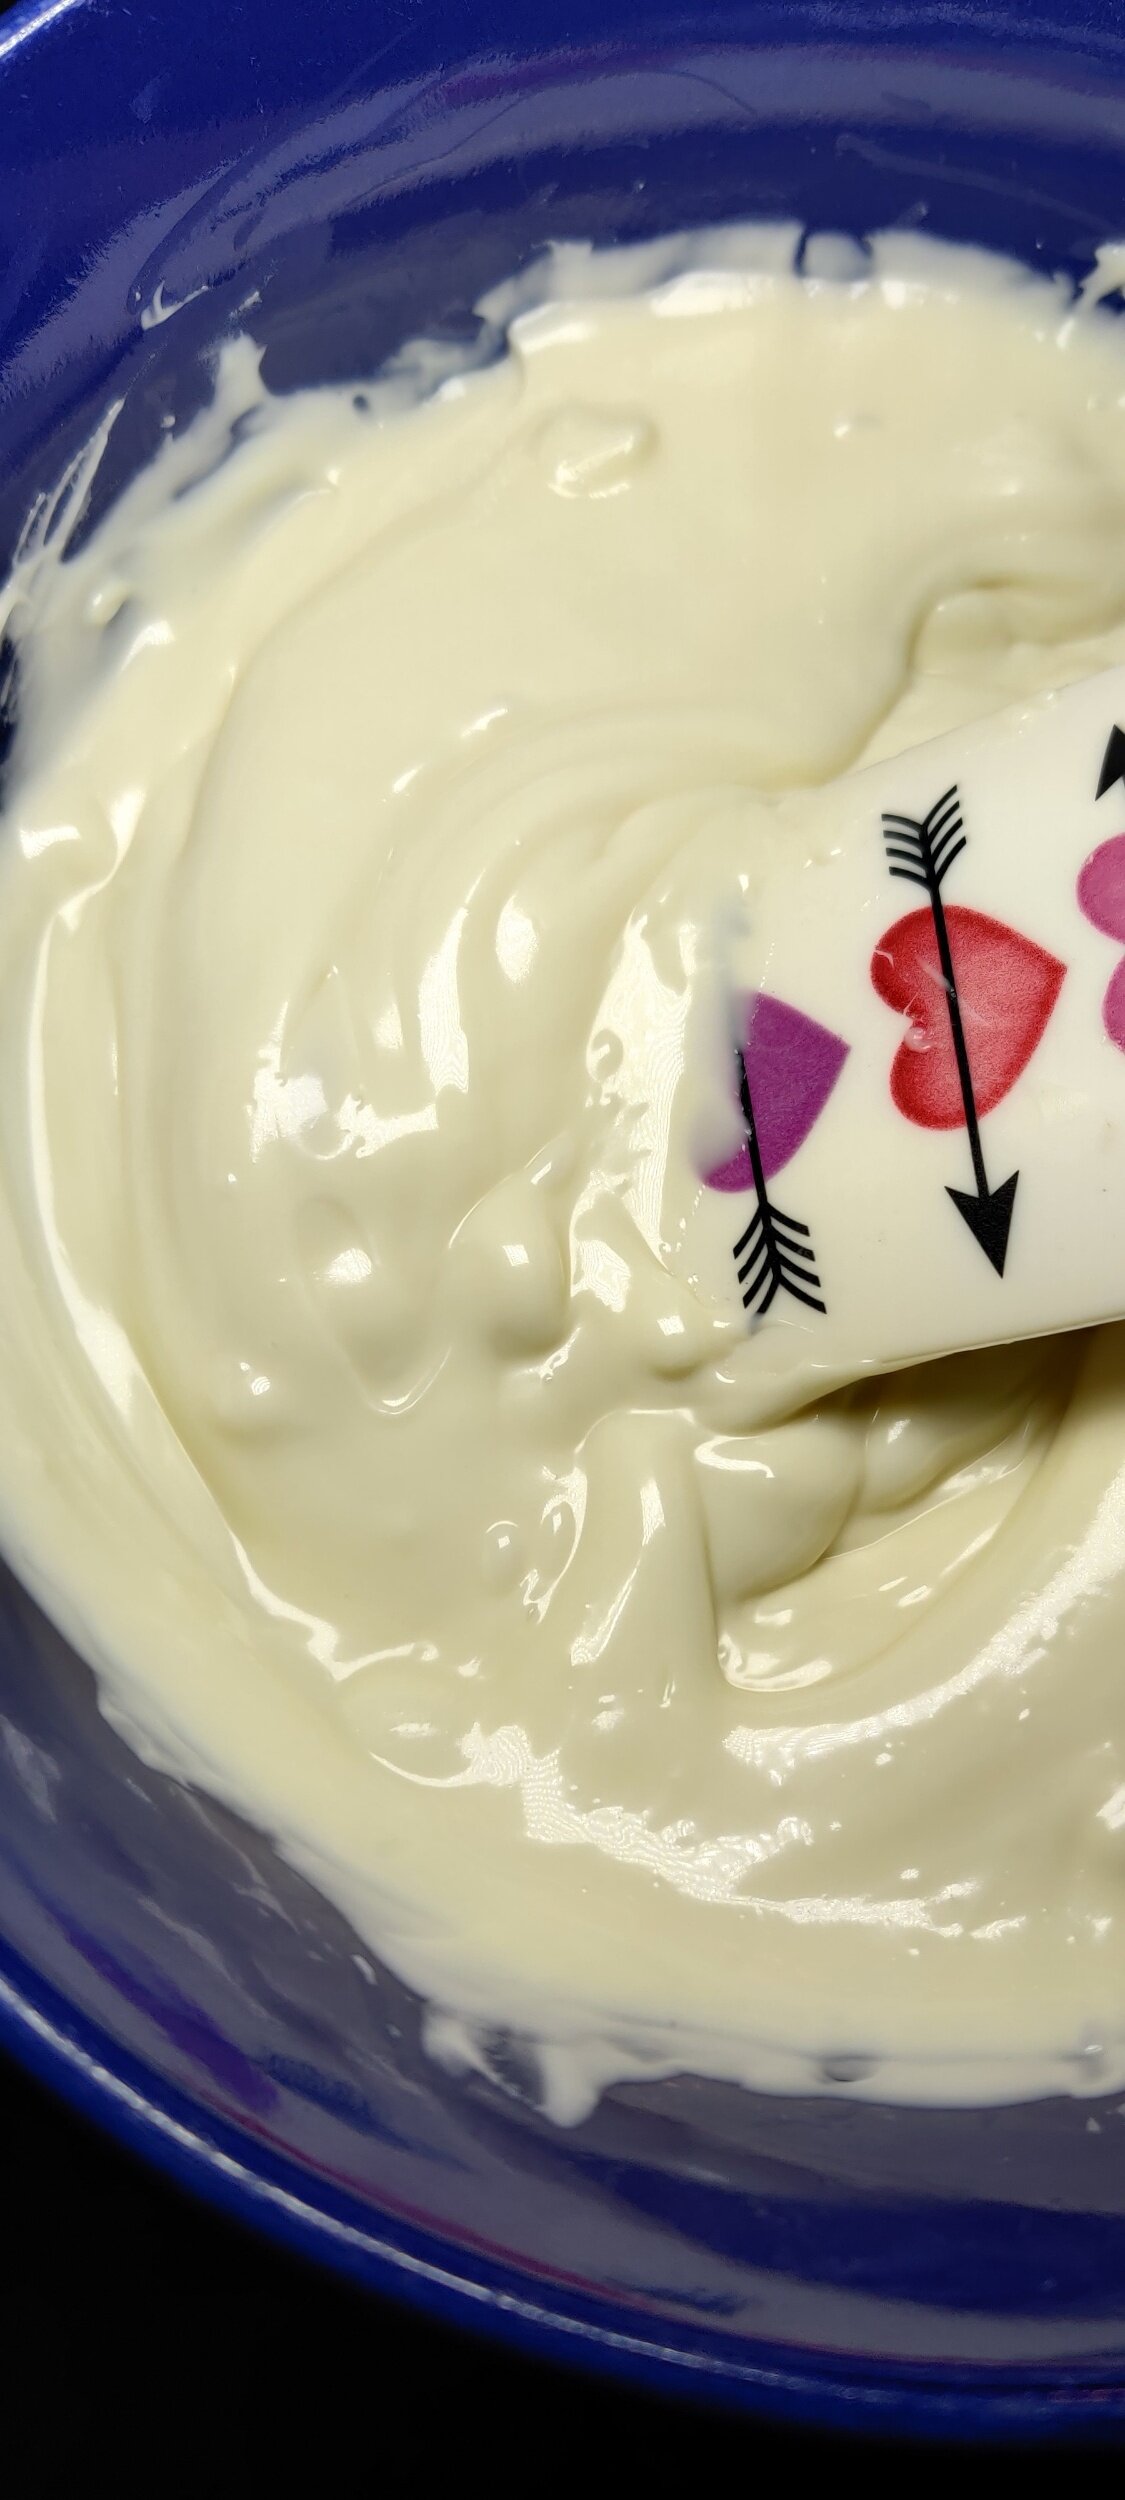
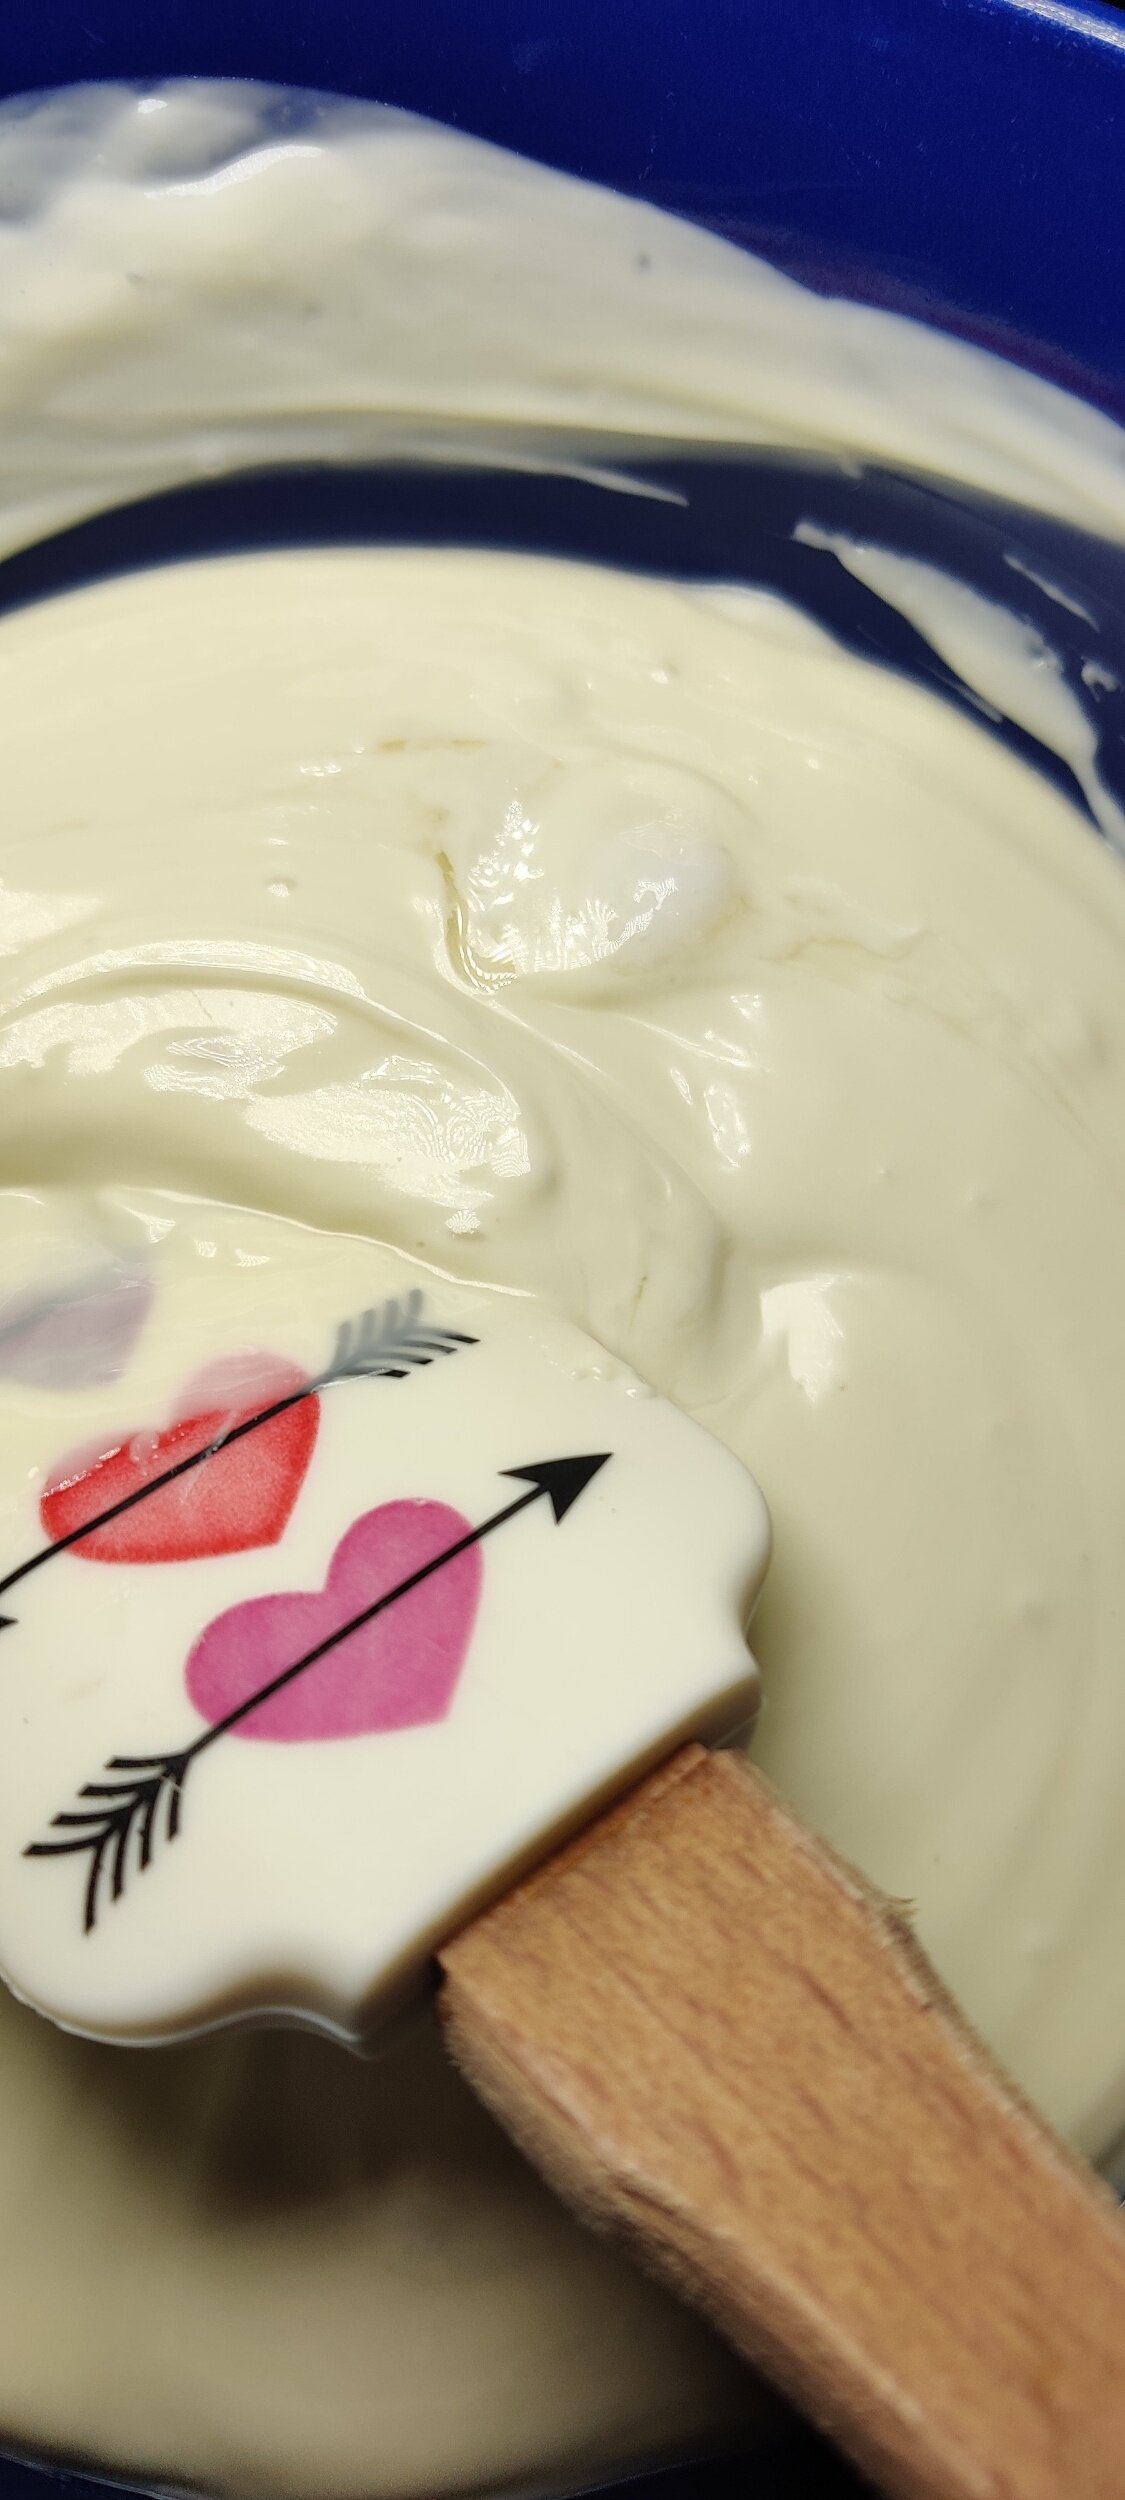
Melt the chocolate chips in the microwave for 2 minutes, stirring every 30 seconds. When you have 30 seconds left, stir in the coconut oil. Once all the chocolate has melted, stir in the almond extract. Make sure all the large lumps are gone.
Quickly spread the melted chocolate evenly (to your desired thickness) over a prepared baking tray lined with parchment paper.
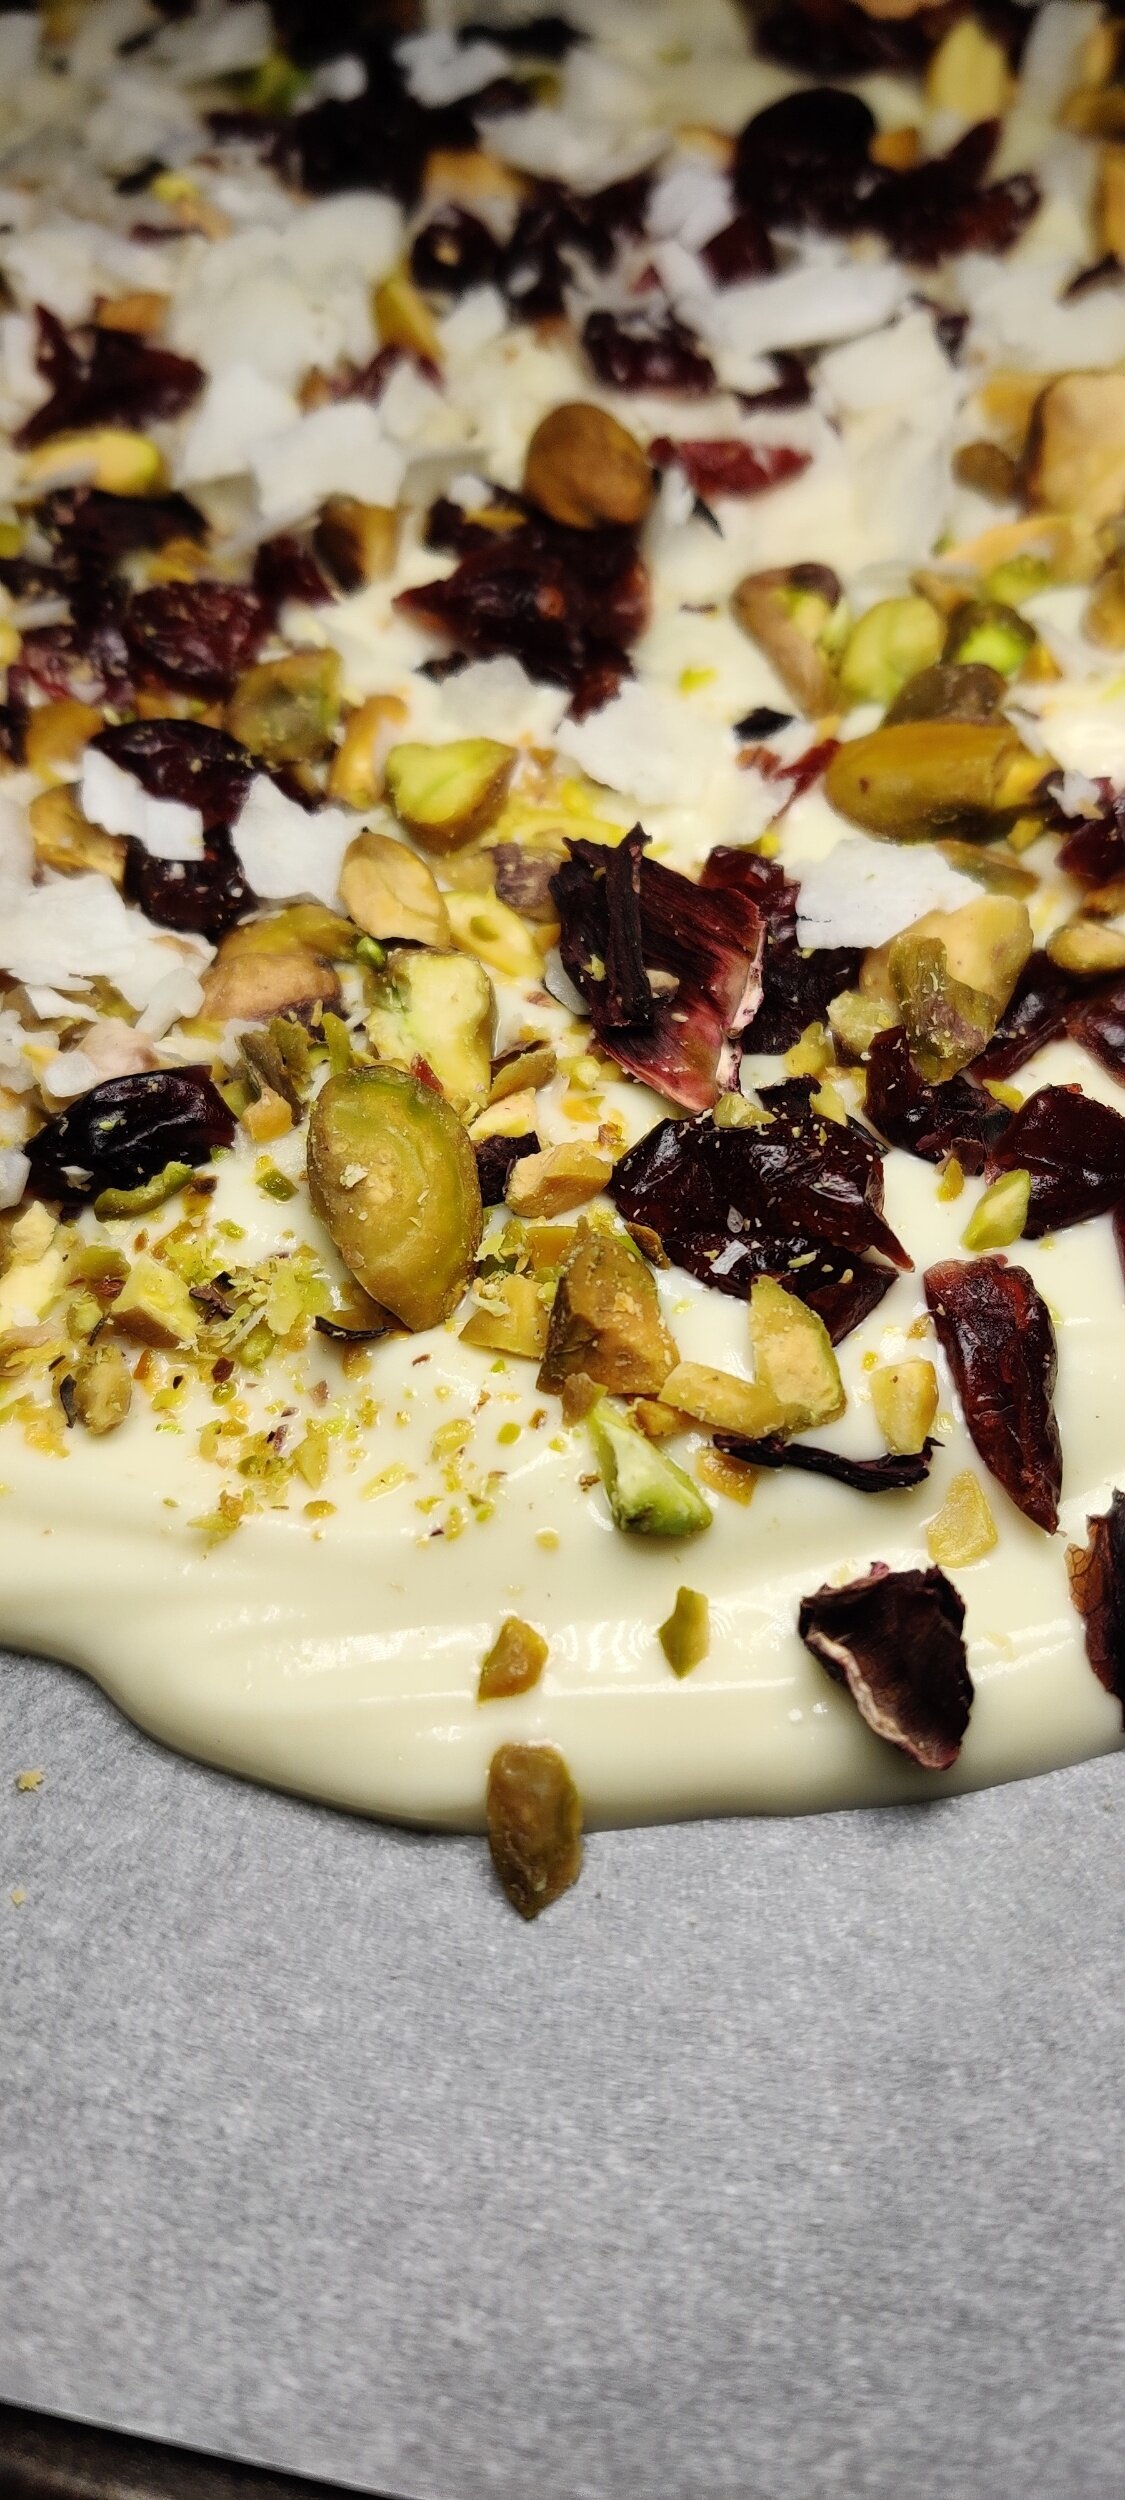
Sprinkle the pistachios, cranberries, coconut, and roselle petals on top.
Chill in the freezer for 1 hour, then break apart with a knife into squares or shards. Wrap up in parchment paper and a zip lock bag and refrigerate.


