
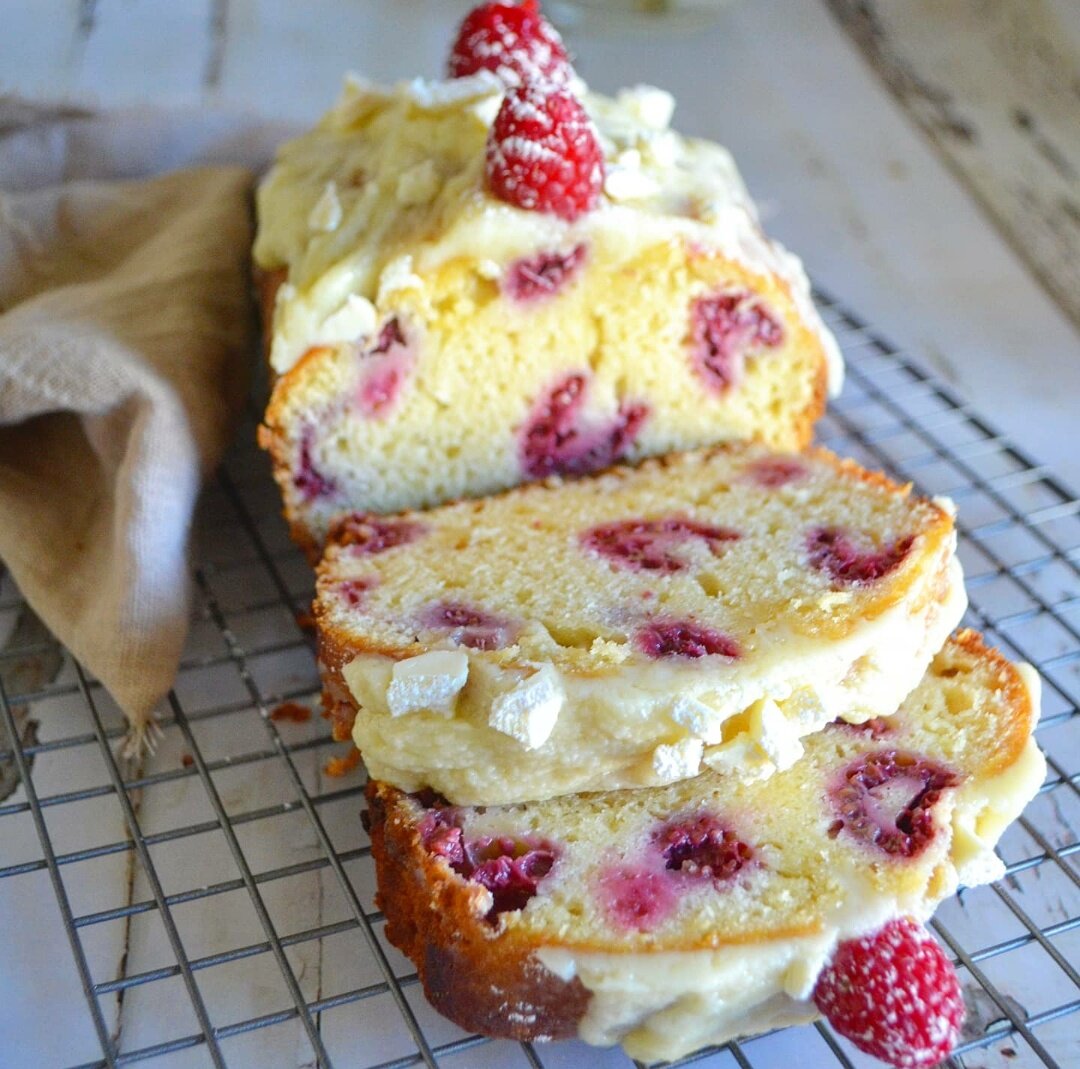
Raspberry Loaf with White Chocolate and Marscapone
It's not a secret that raspberries and white chocolate go together. If you're looking for a solid sweet loaf (not literally but as in guaranteed deliciousness) this is it!
You've got the acidity and tartness from the berries and the sweet, creaminess from the white chocolate and mascarpone cheese.
This loaf cake is also not overly rich. Some people find pound cakes to be overwhelming, but this doesn't have as much sugar as you might think to taste. You can also omit the icing, and it will still be right proper.
The loaf is on the filling side, so you'll want to save up space in your belly for when you eat it and freeze the rest. I recommend consuming within 3 days for the freshest taste!
Ingredients
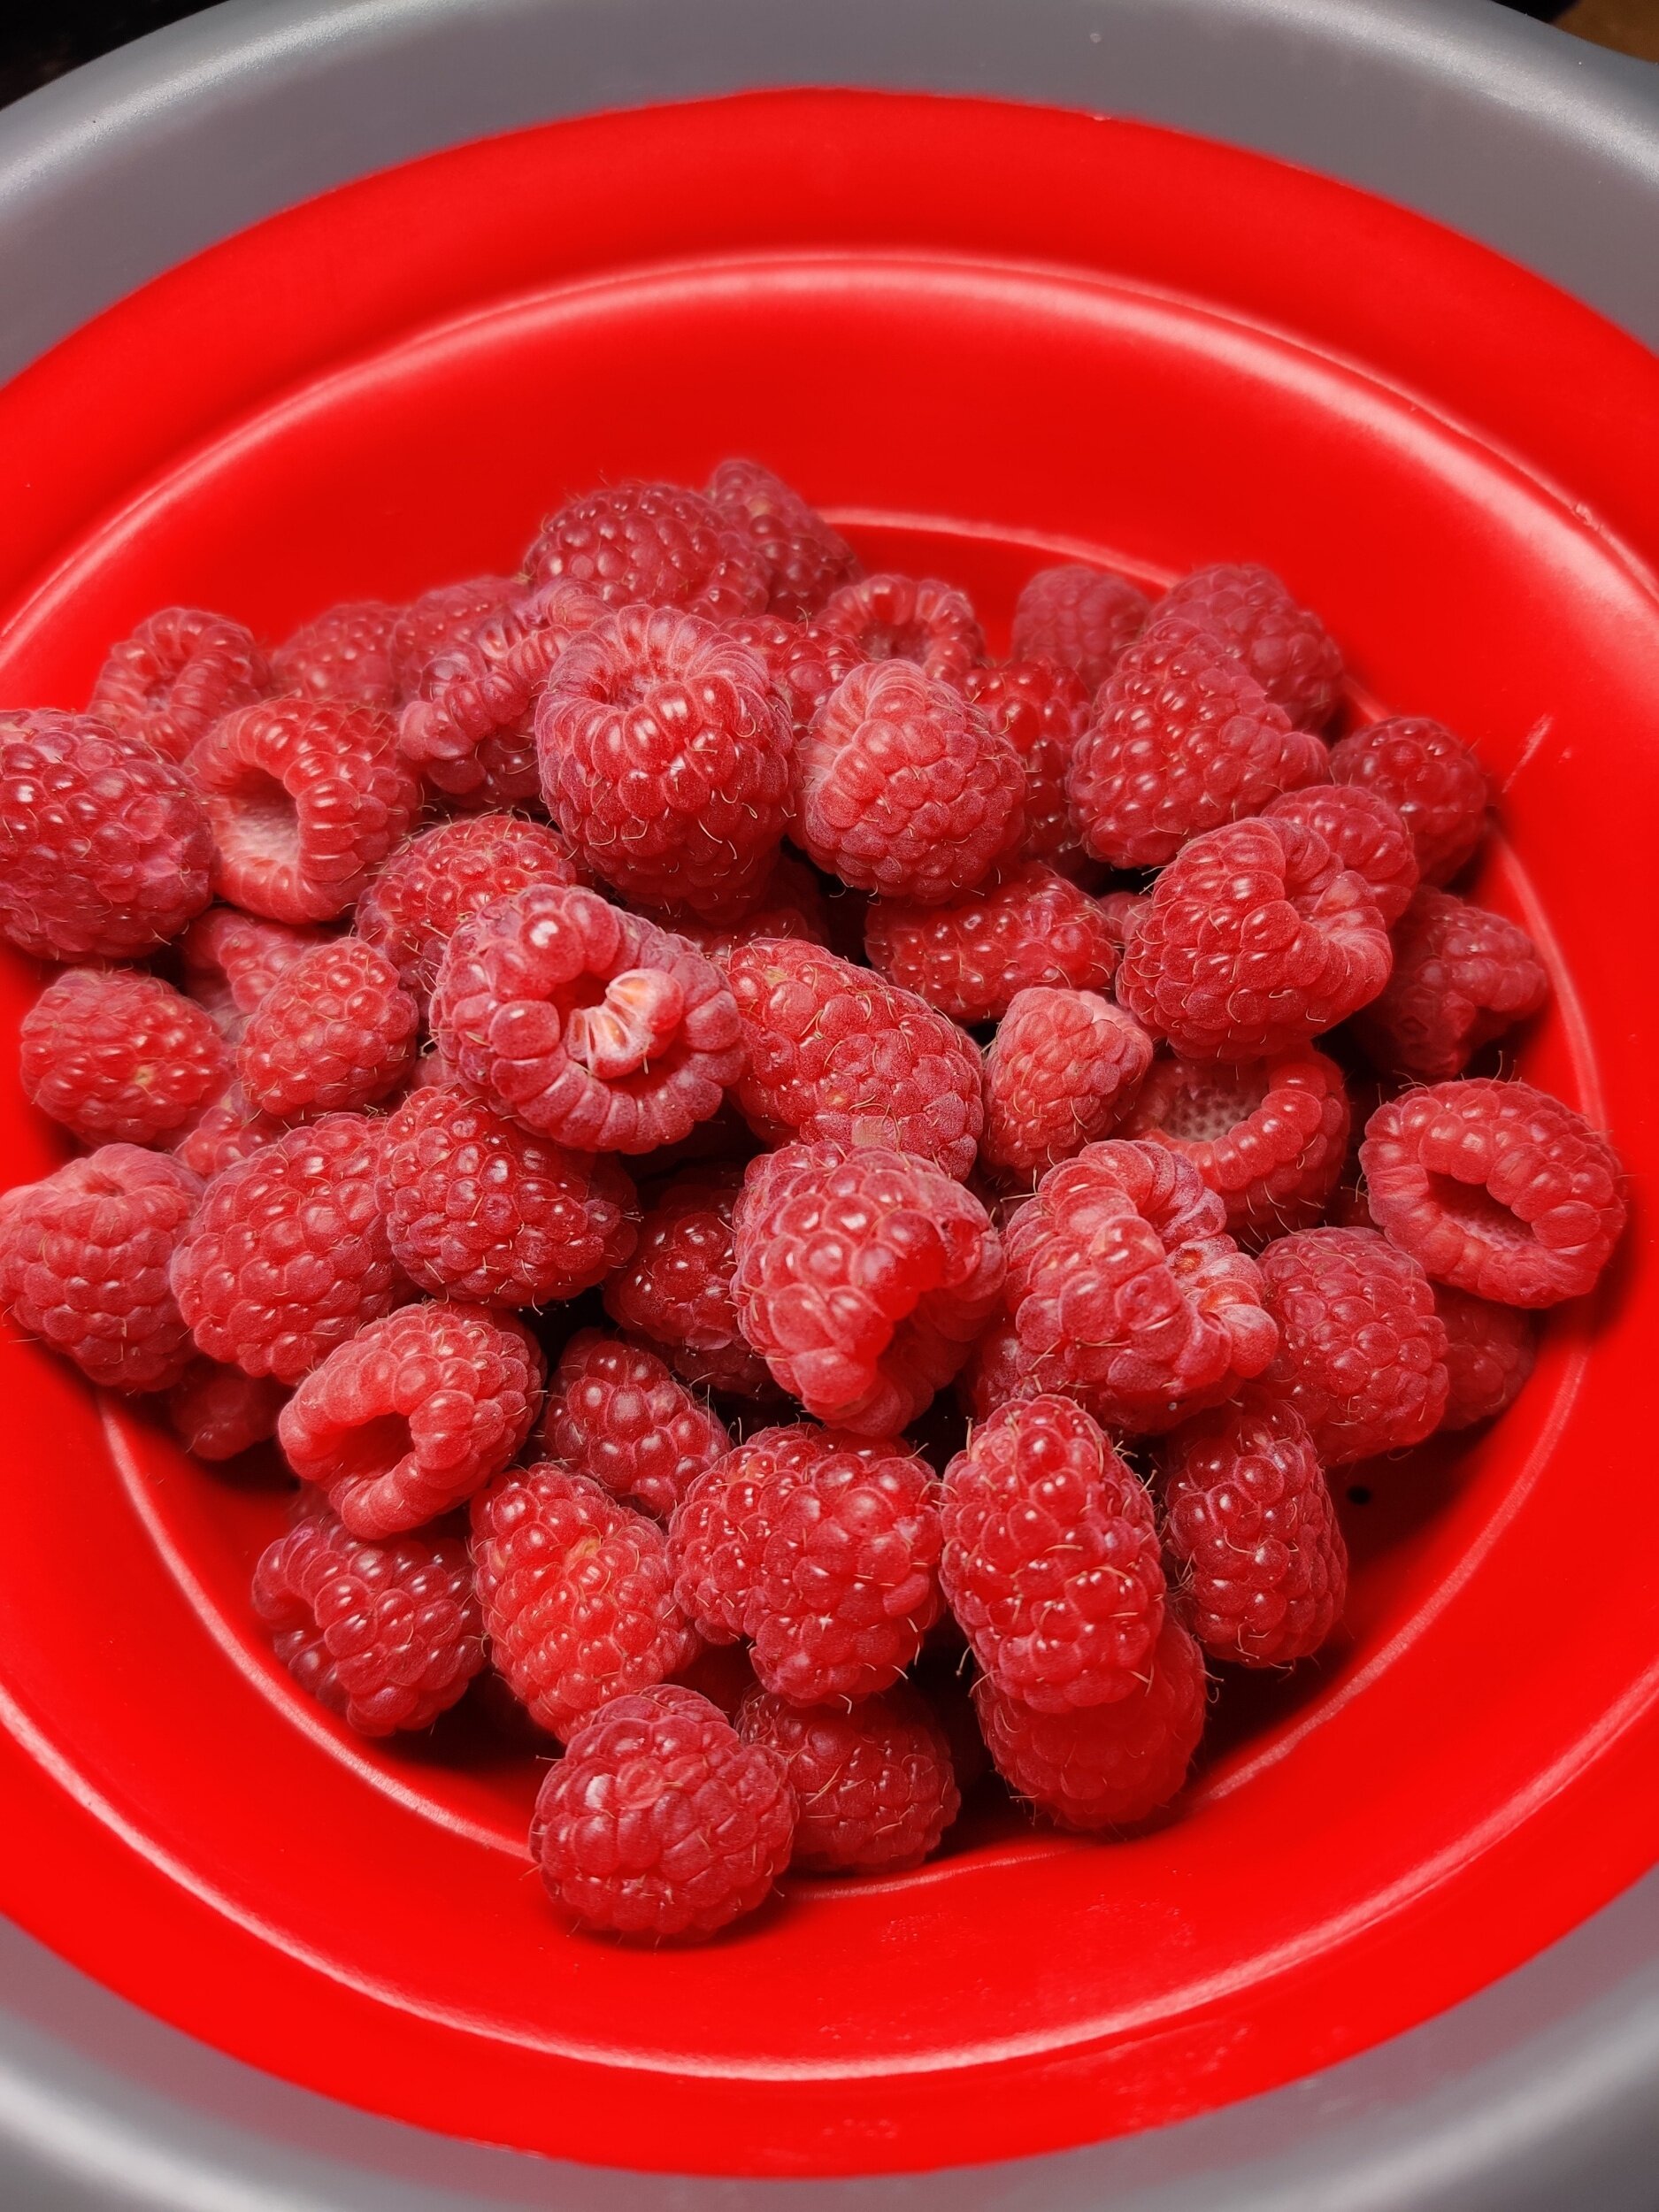
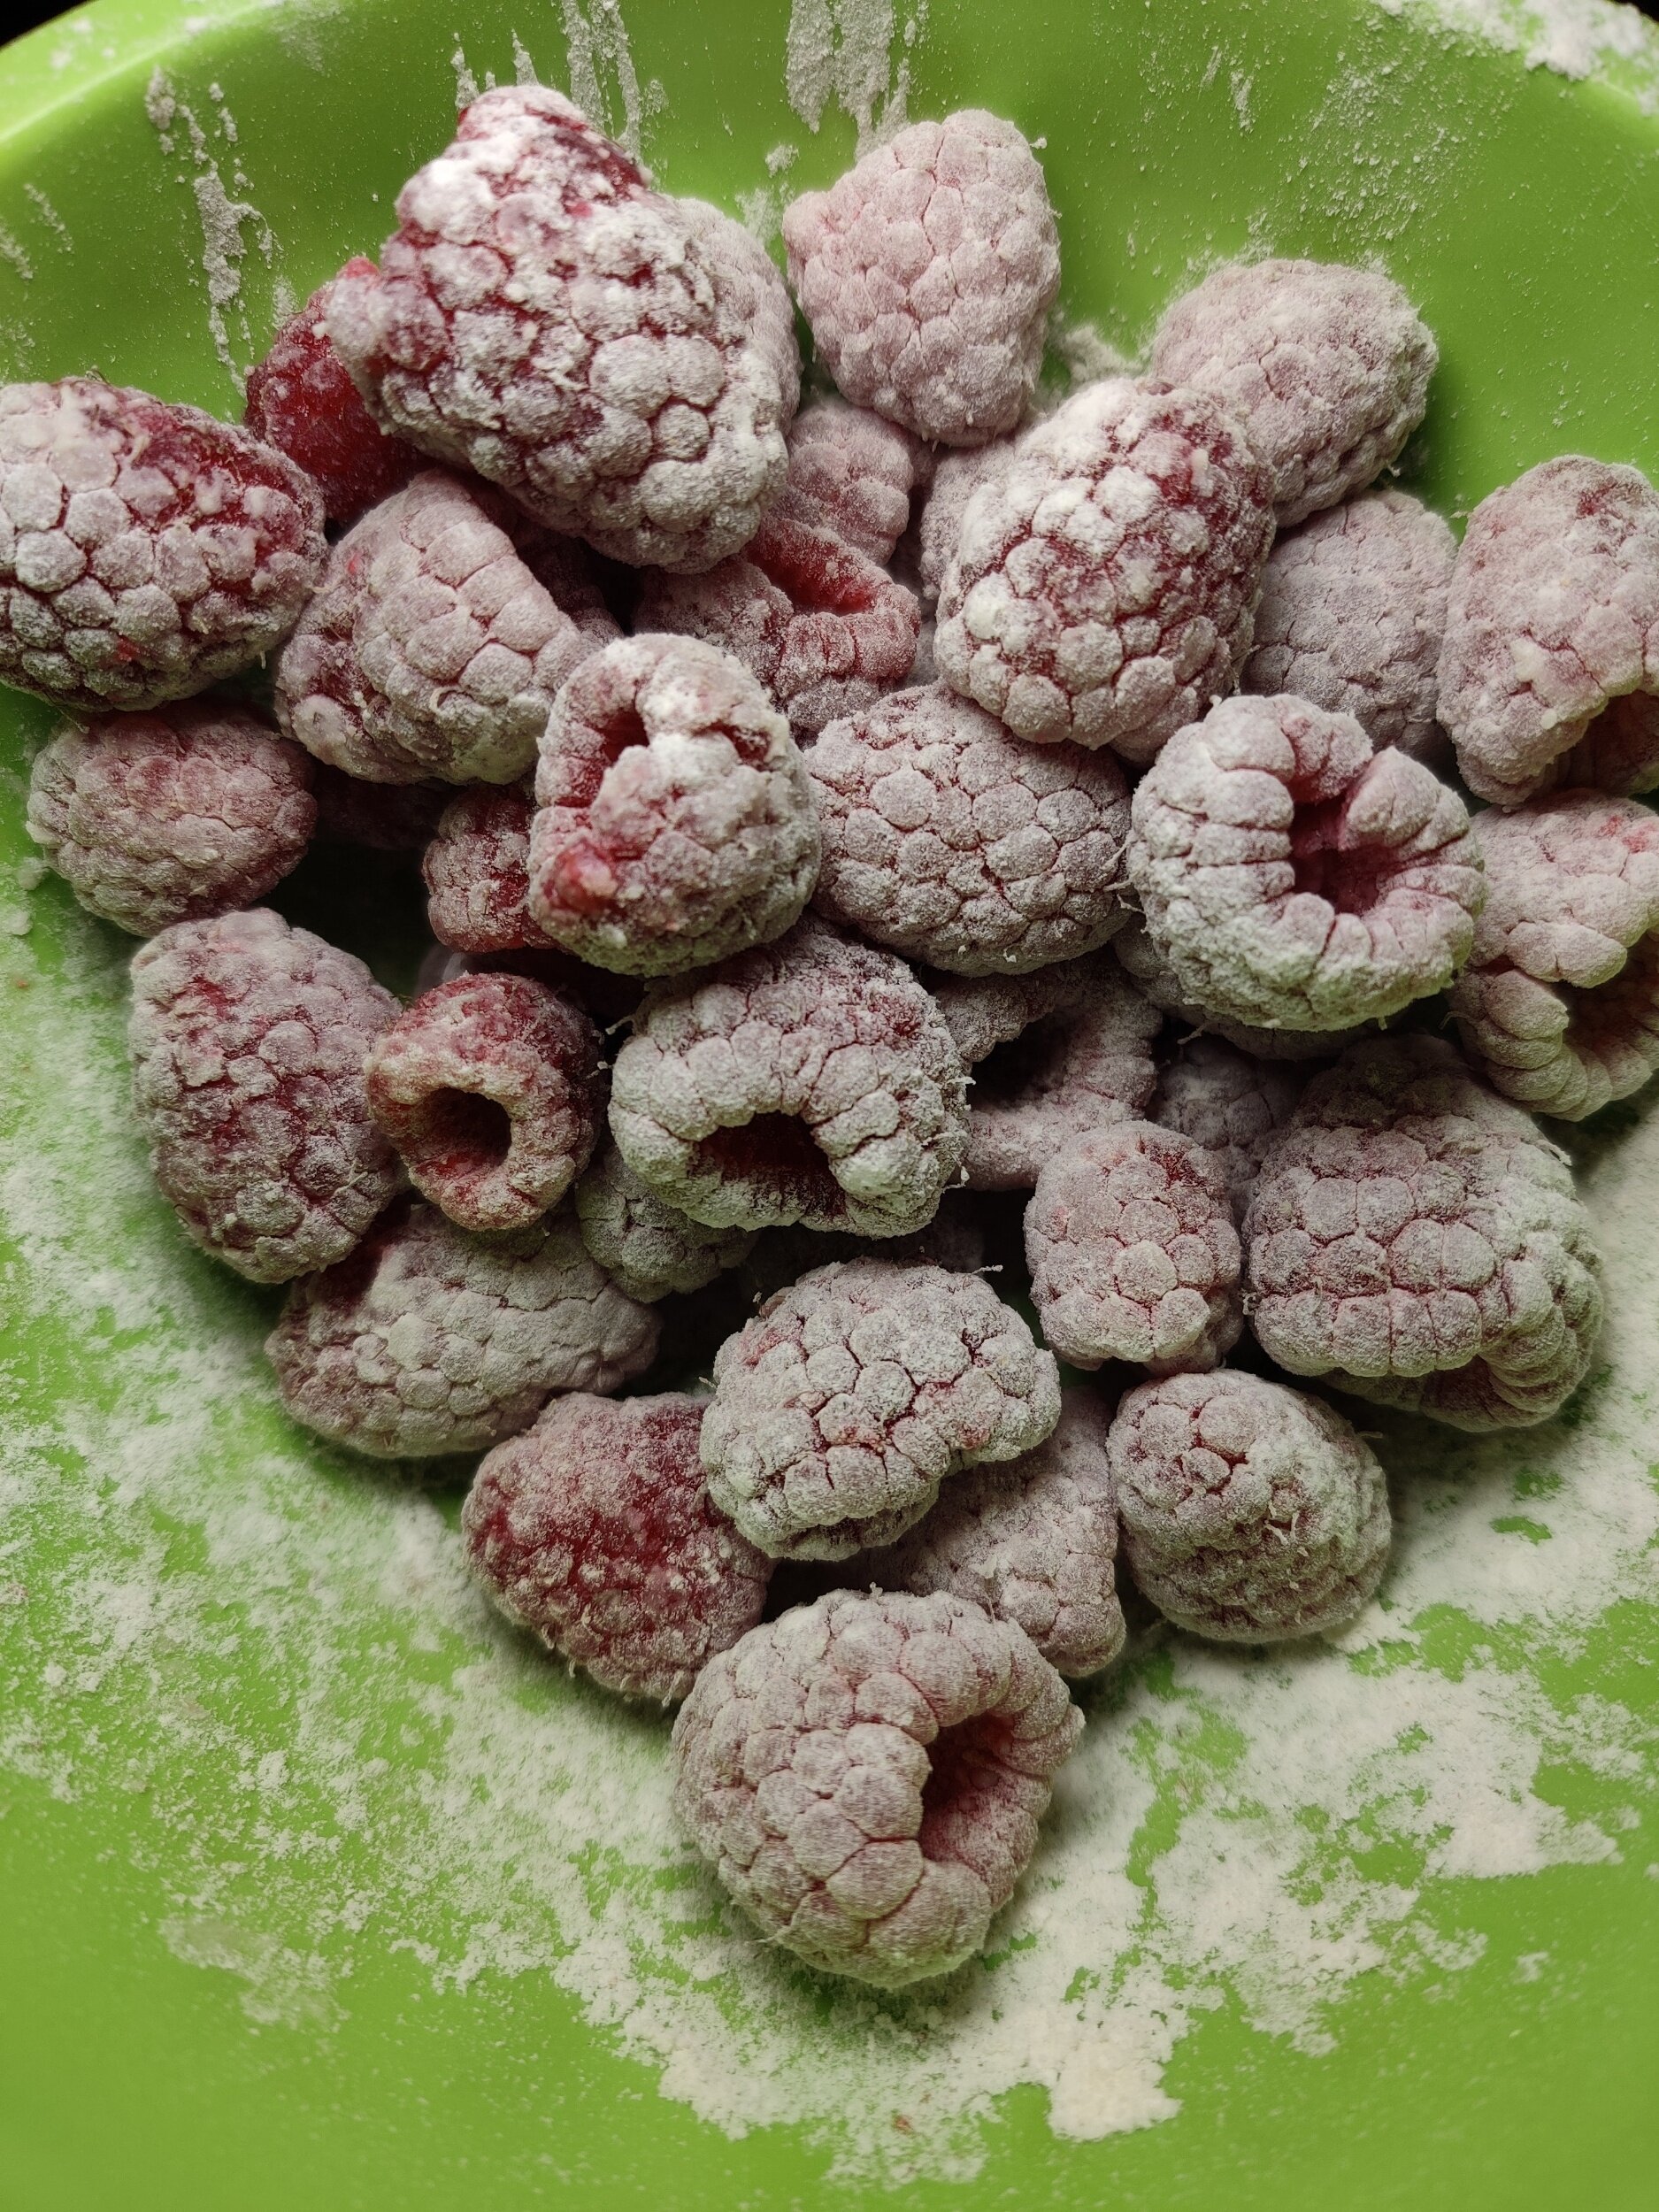
1 cup raspberries + extra to garnish
1/2 cup white chocolate chips
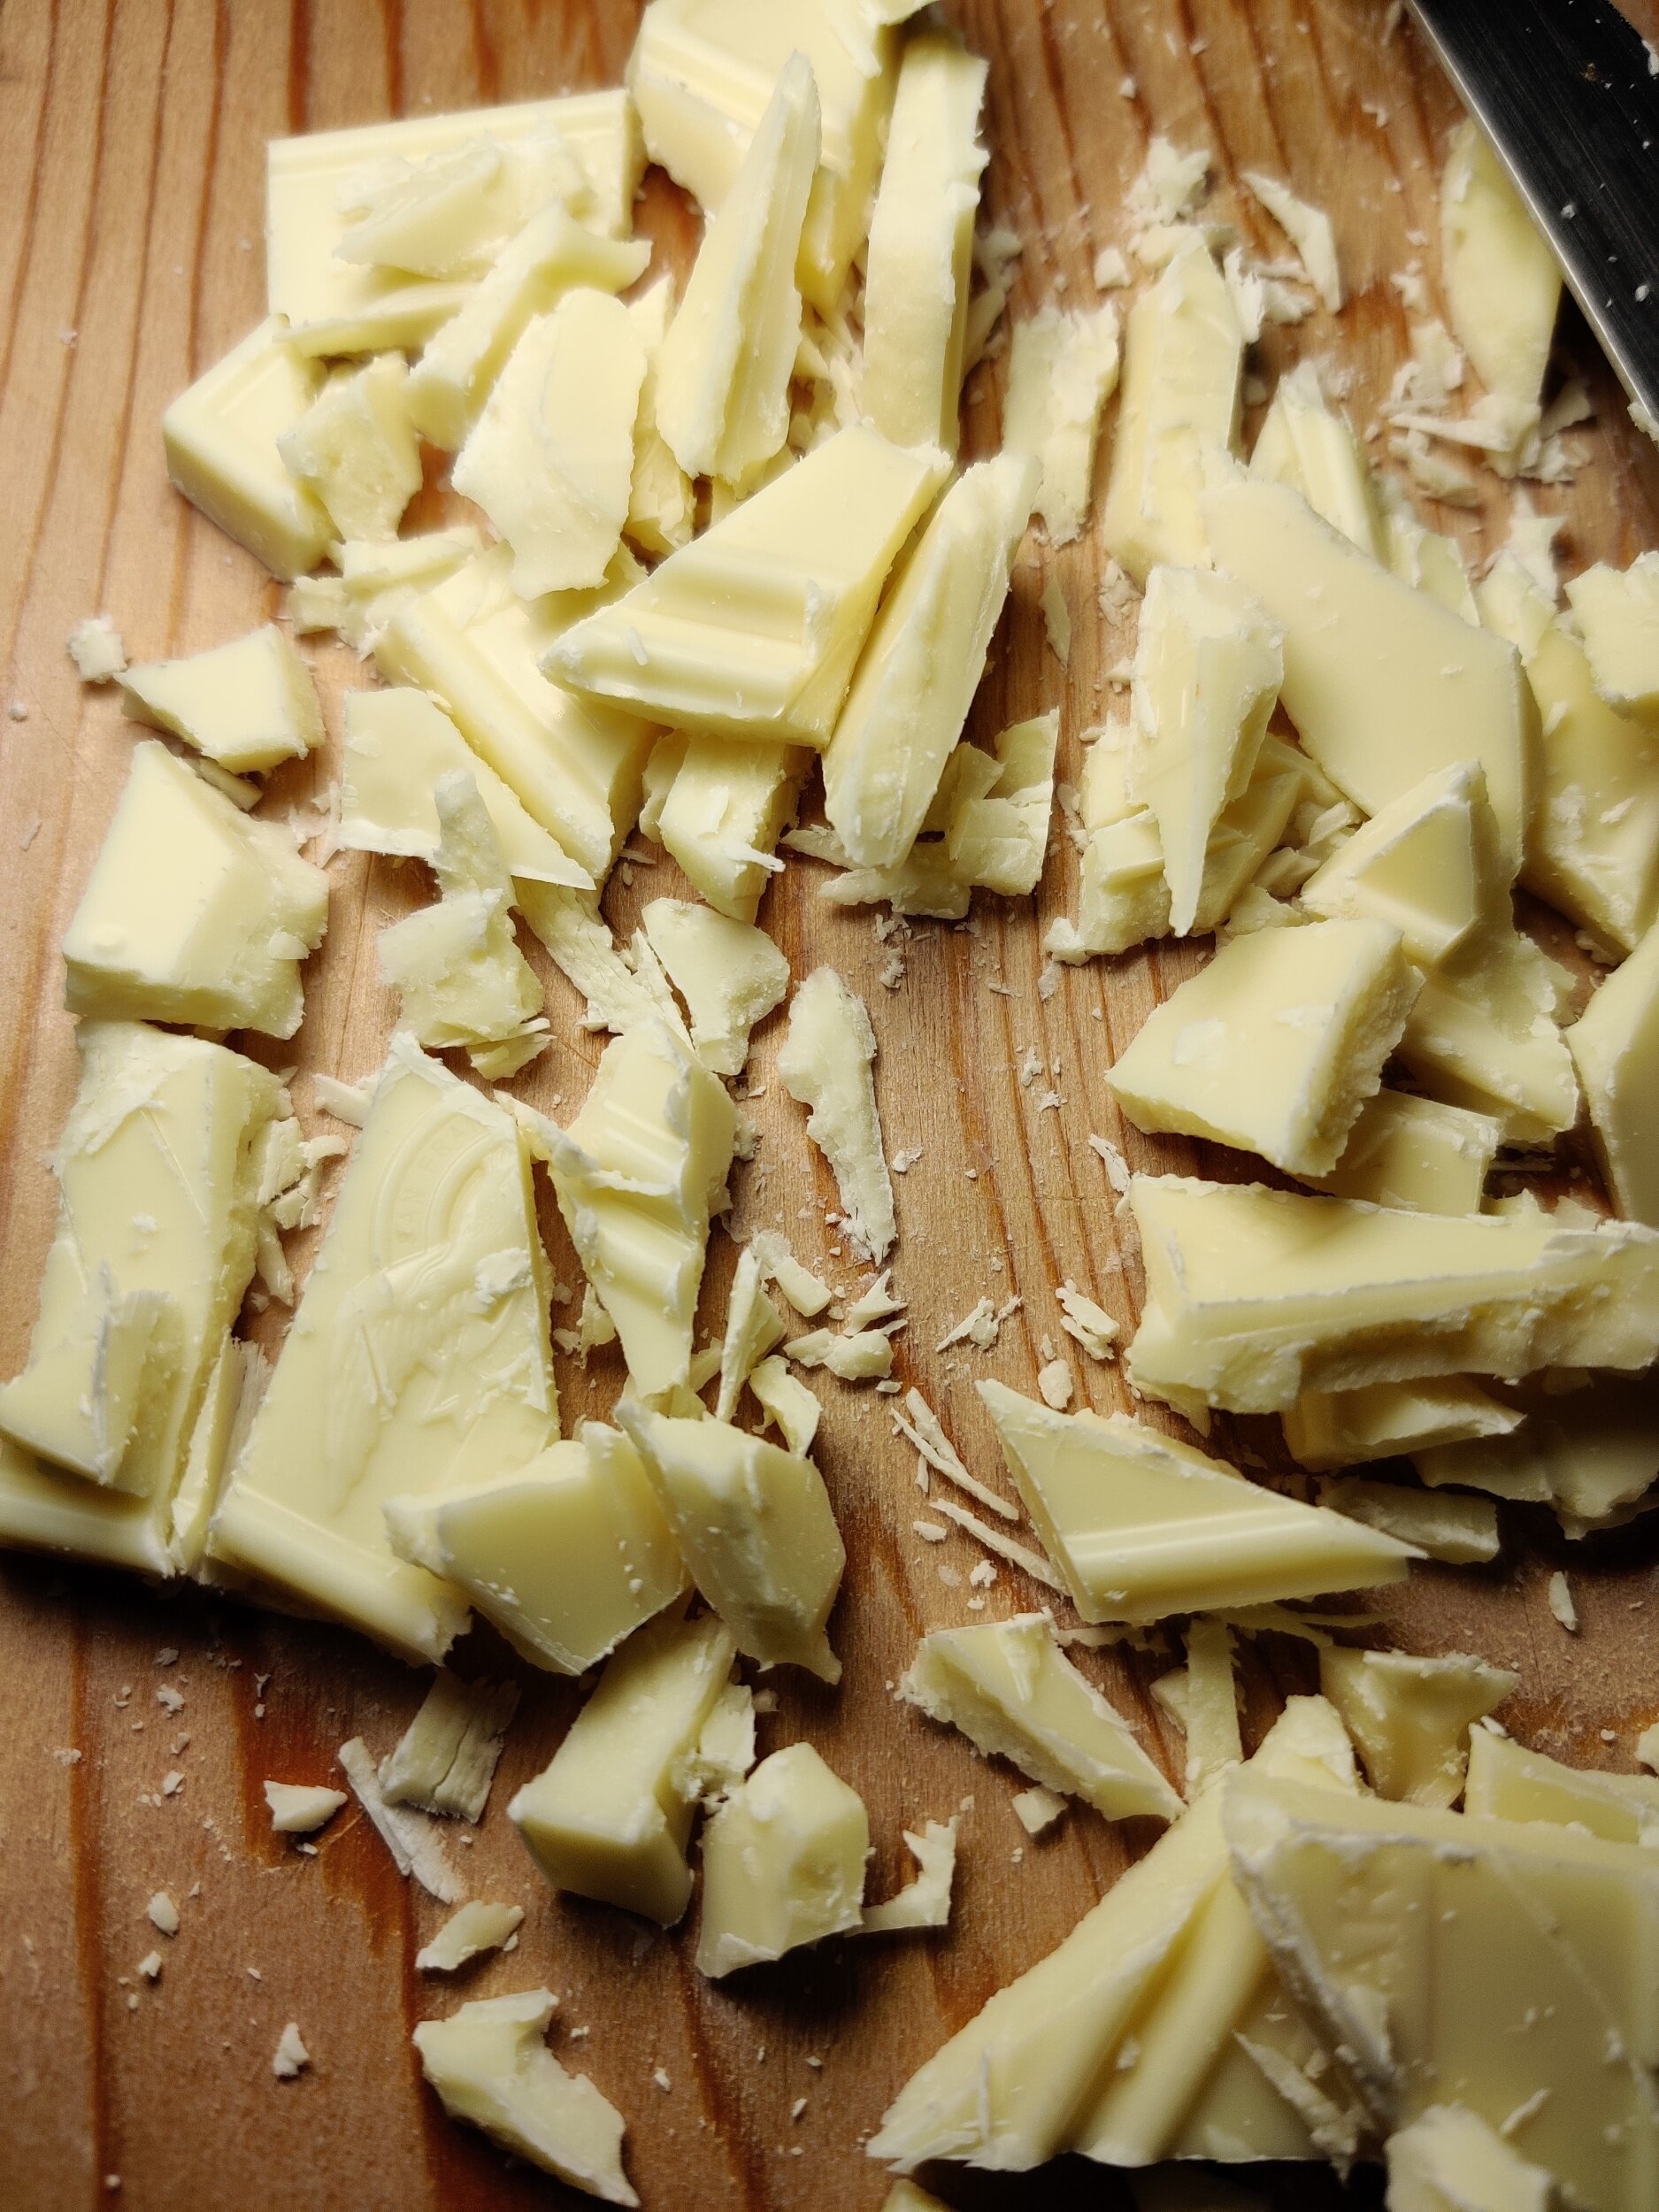
1/4 cup white chocolate, chopped
1/3 cup vegetable oil
1 teaspoon vanilla
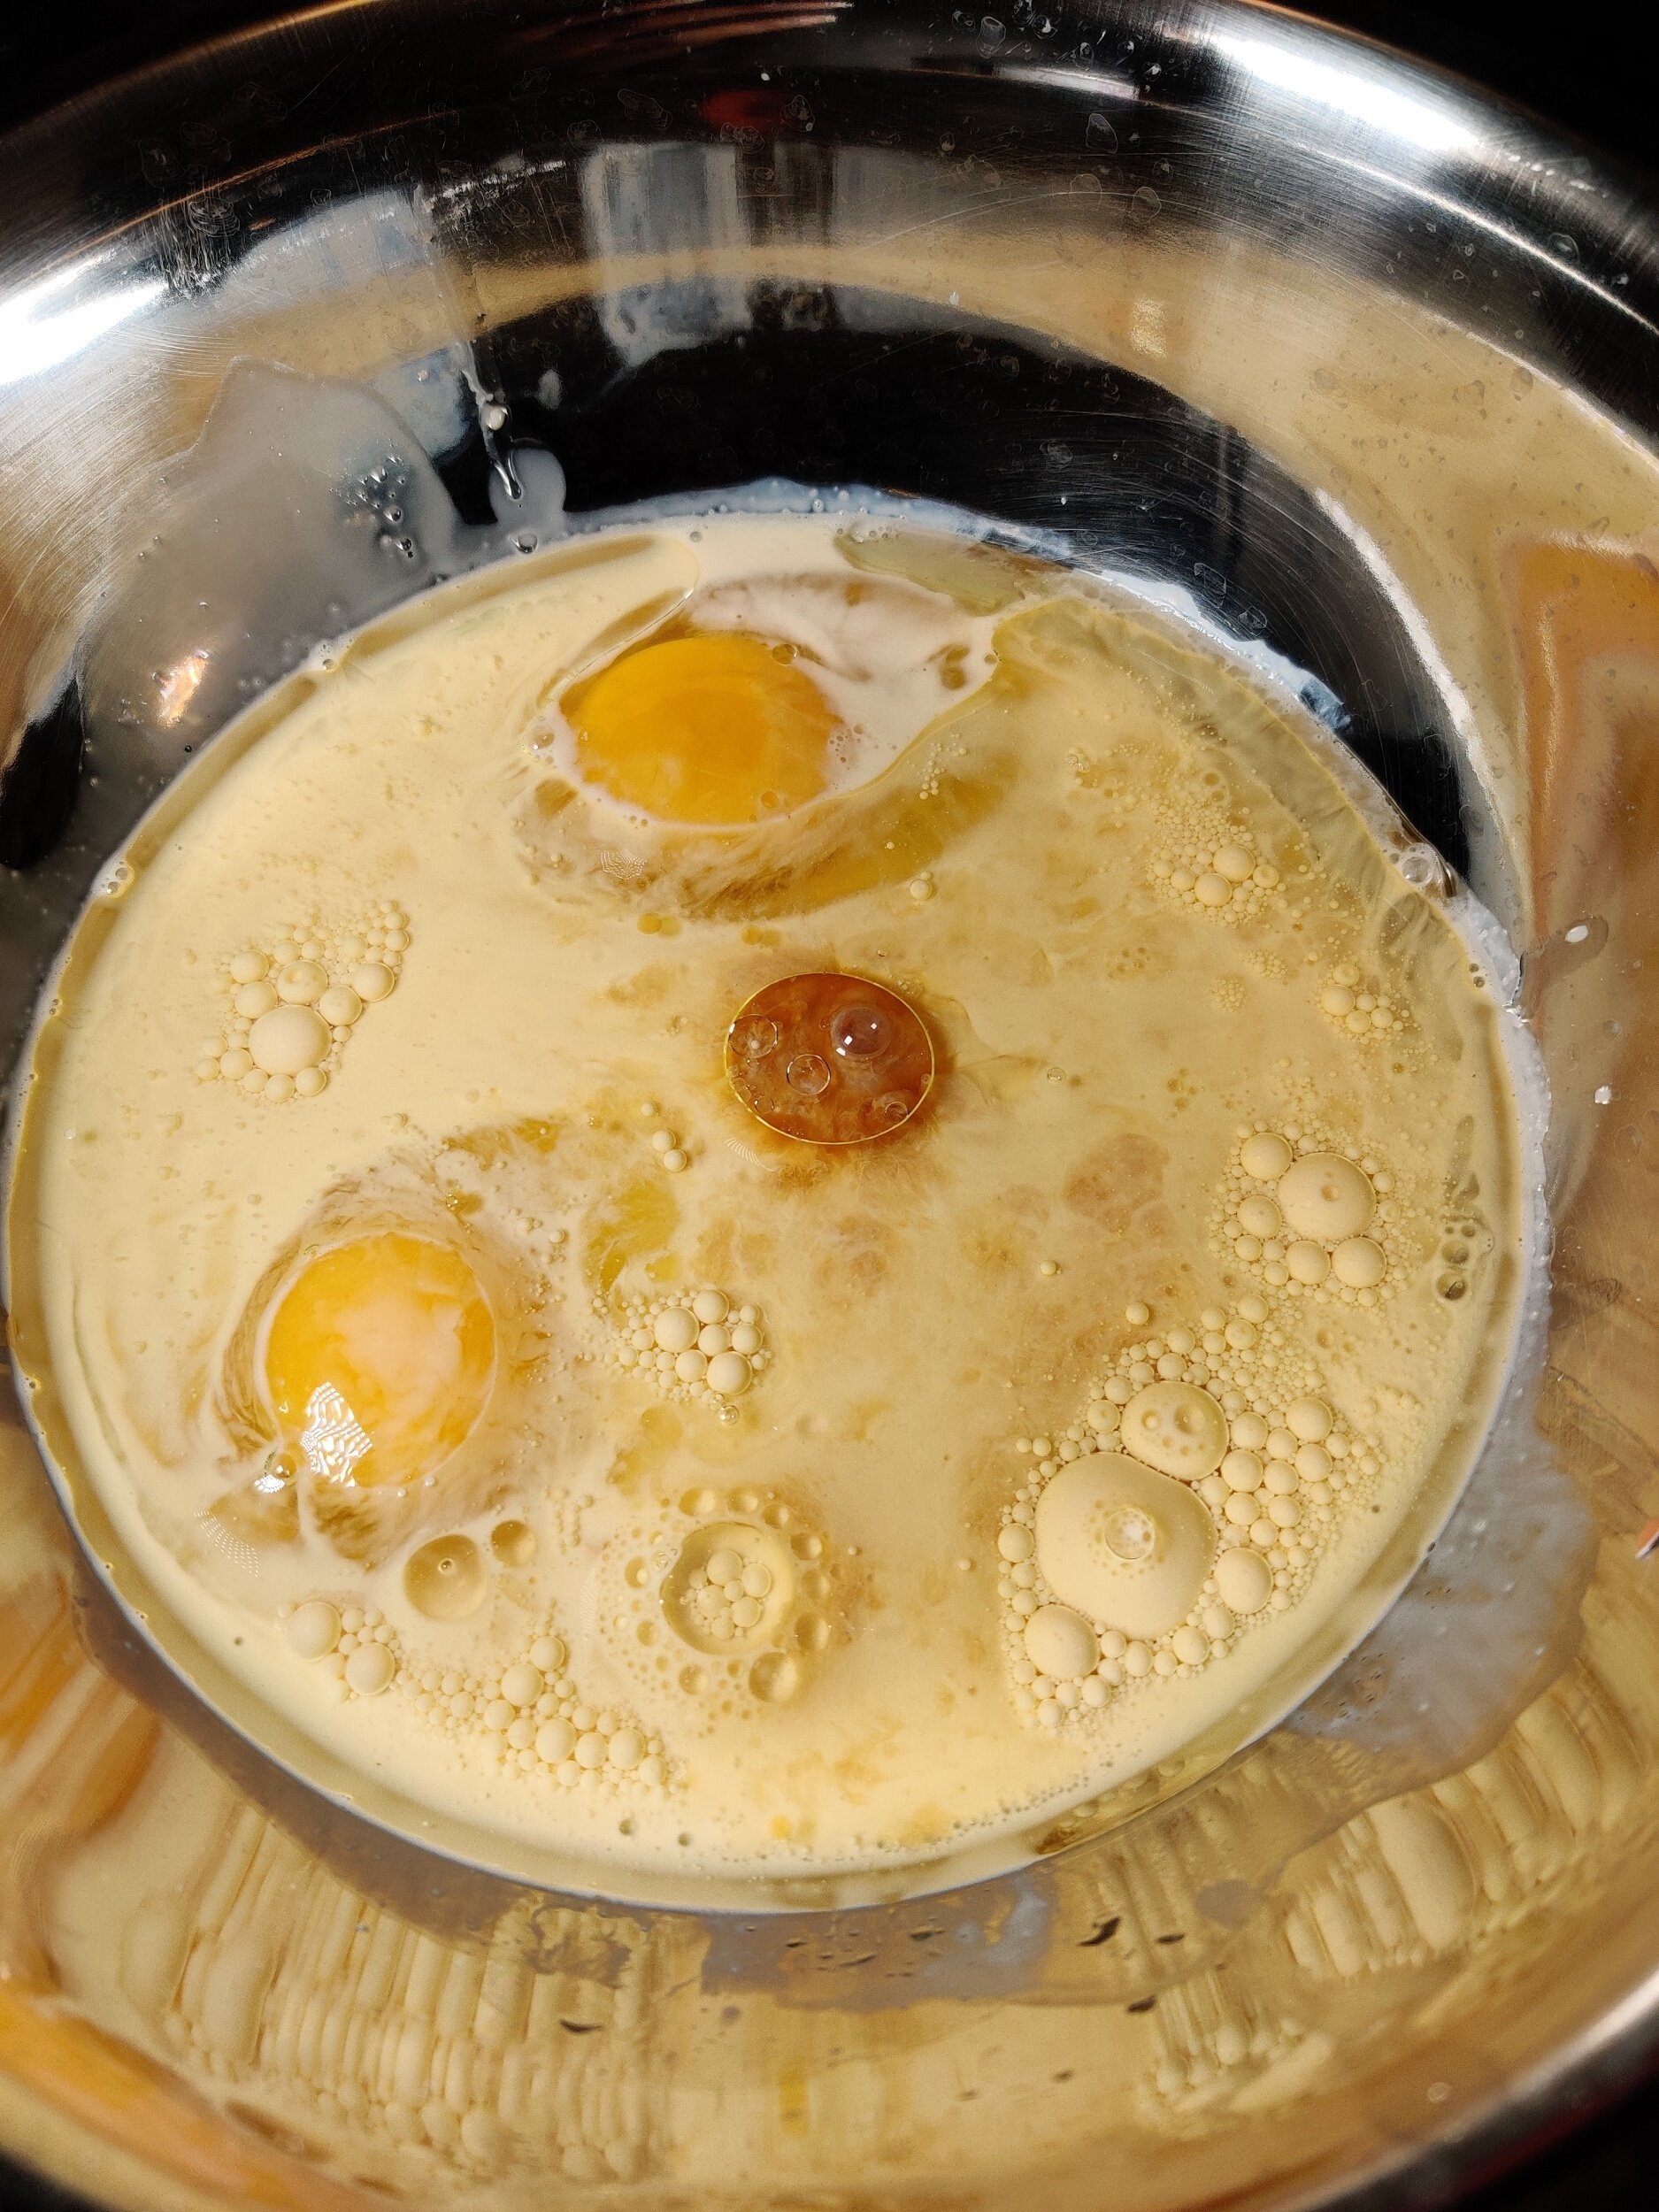
2 eggs
1 1/2 cup pastry flour
1/2 teaspoon lemon juice
1/2 teaspoon almond extract
1/2 teaspoon salt
1 teaspoon baking powder
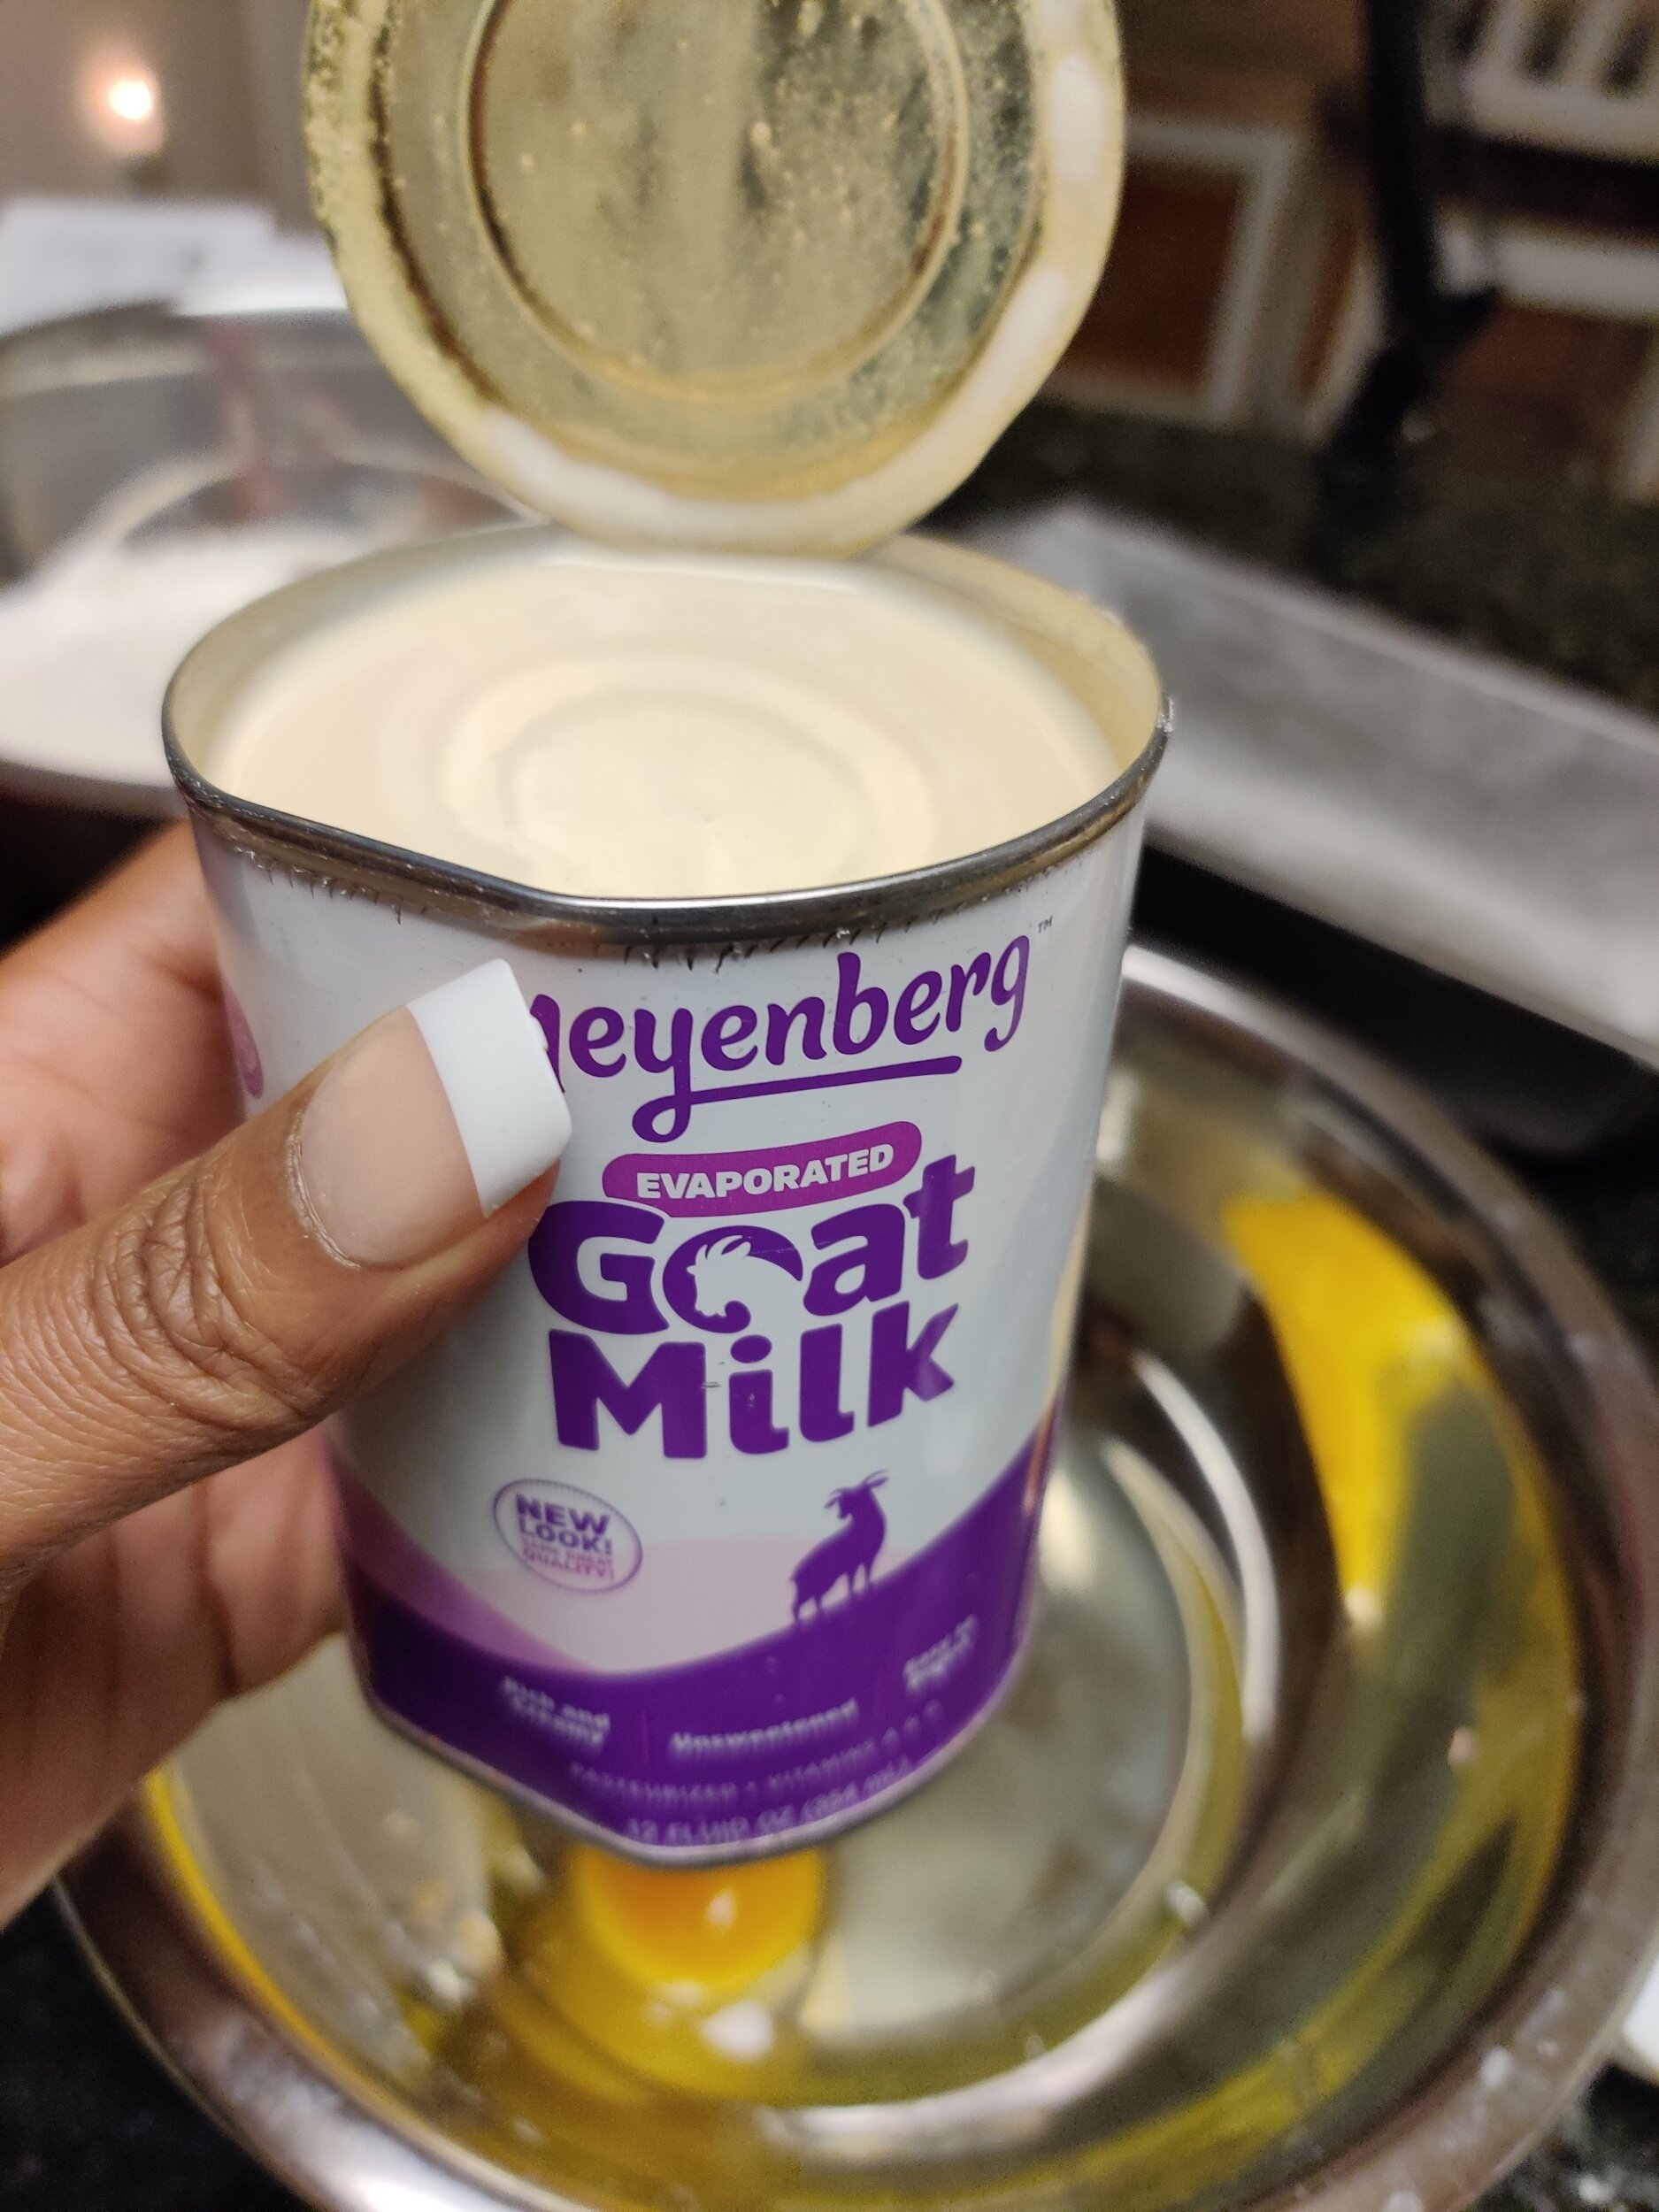
1/4 cup goat milk
1 cup white sugar
1/4 cup mascarpone cheese, room temperature (don't leave our for more than 4 hours)

Instructions
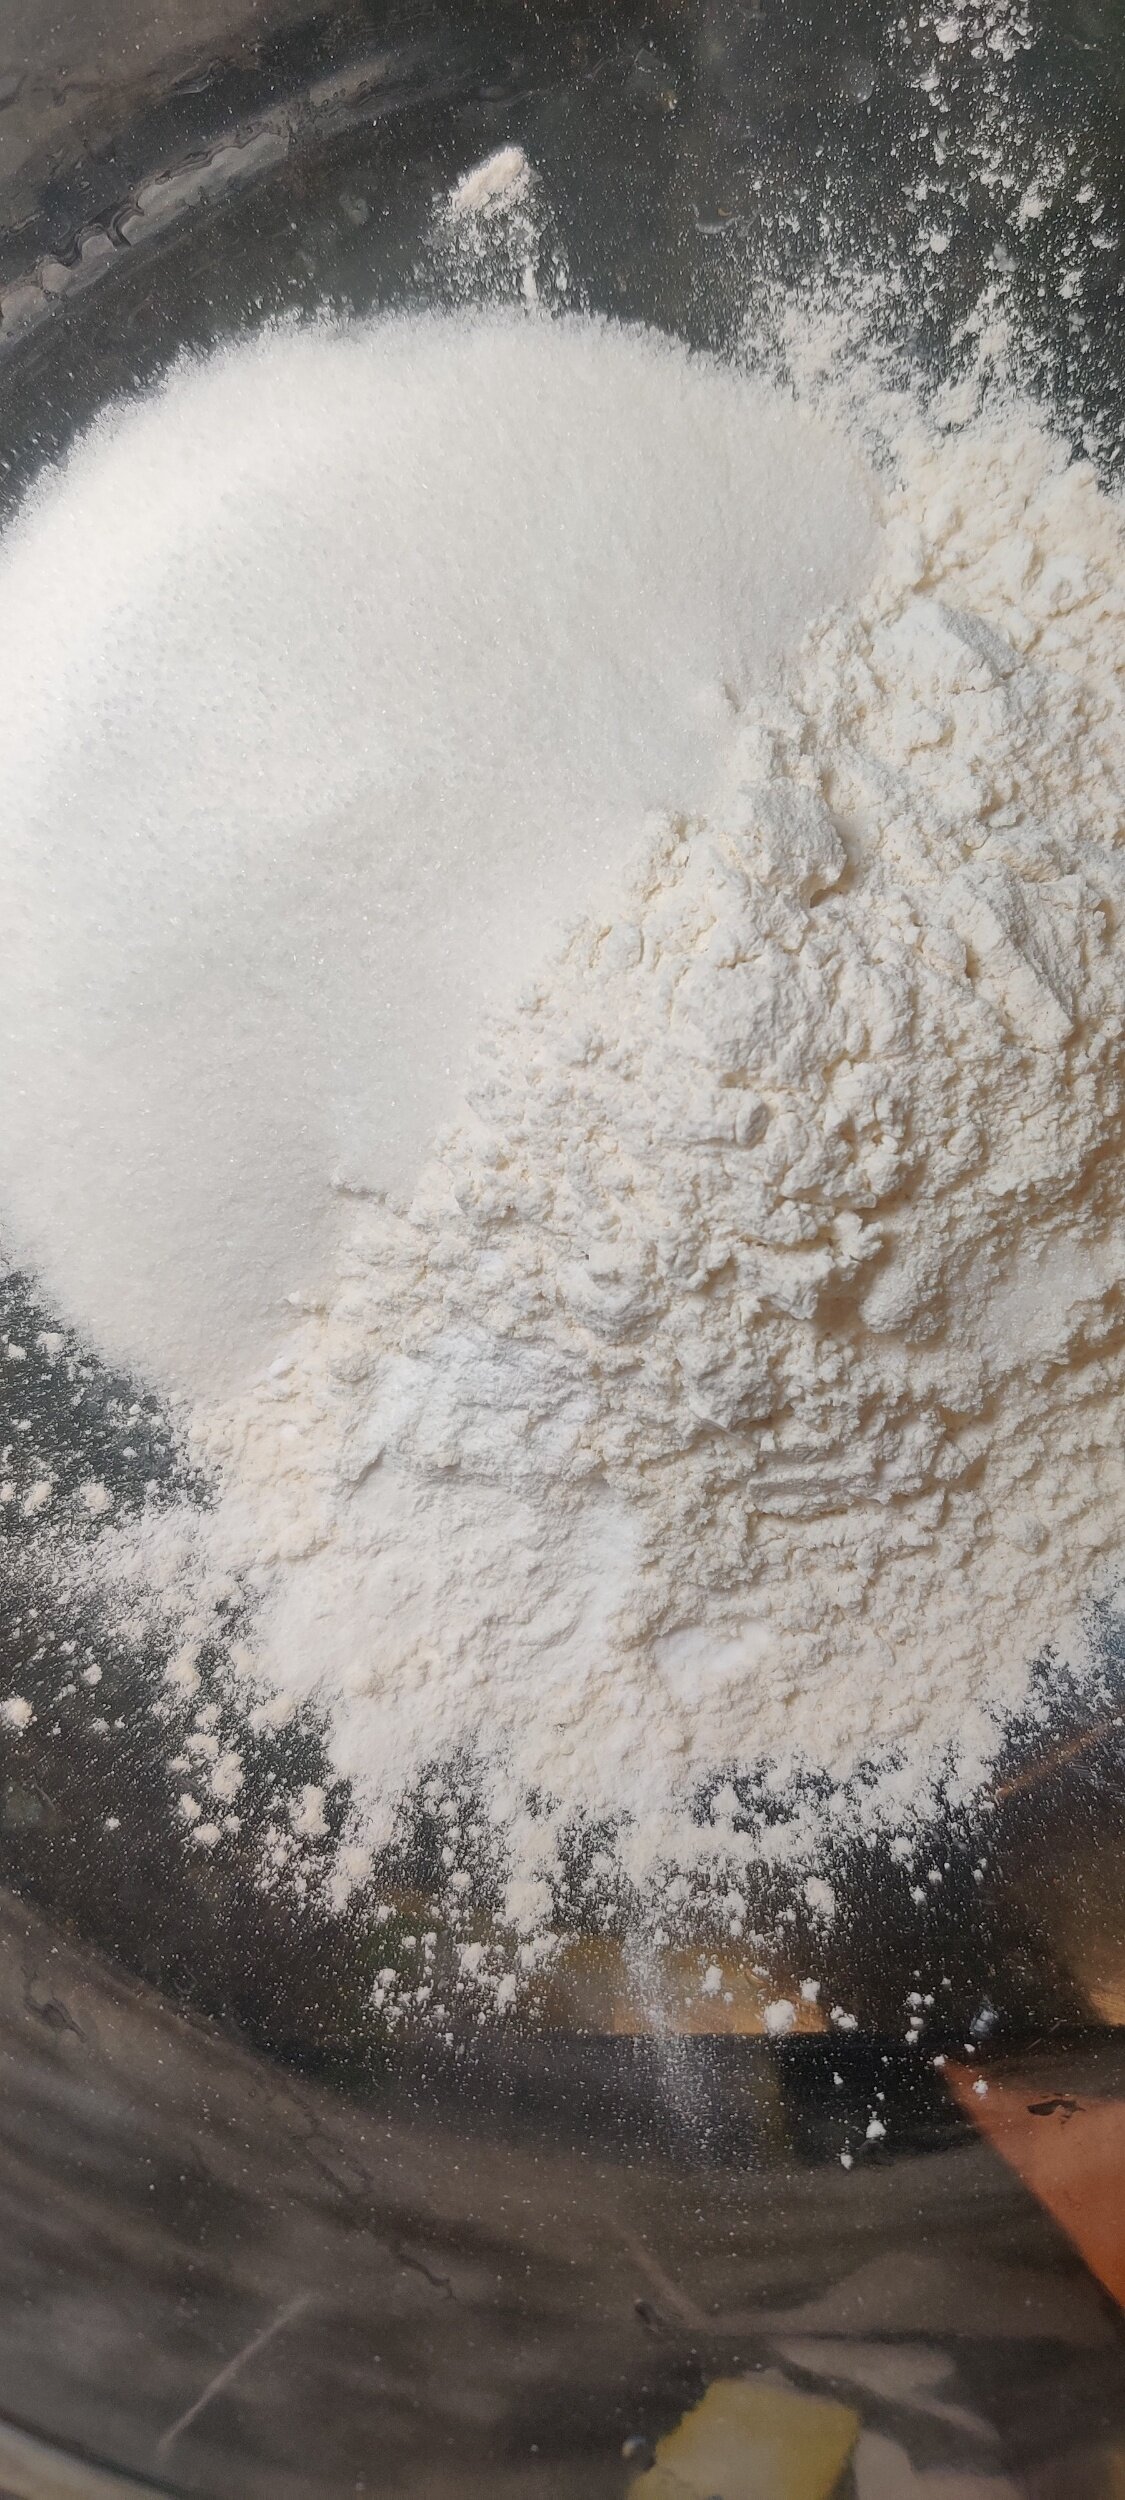
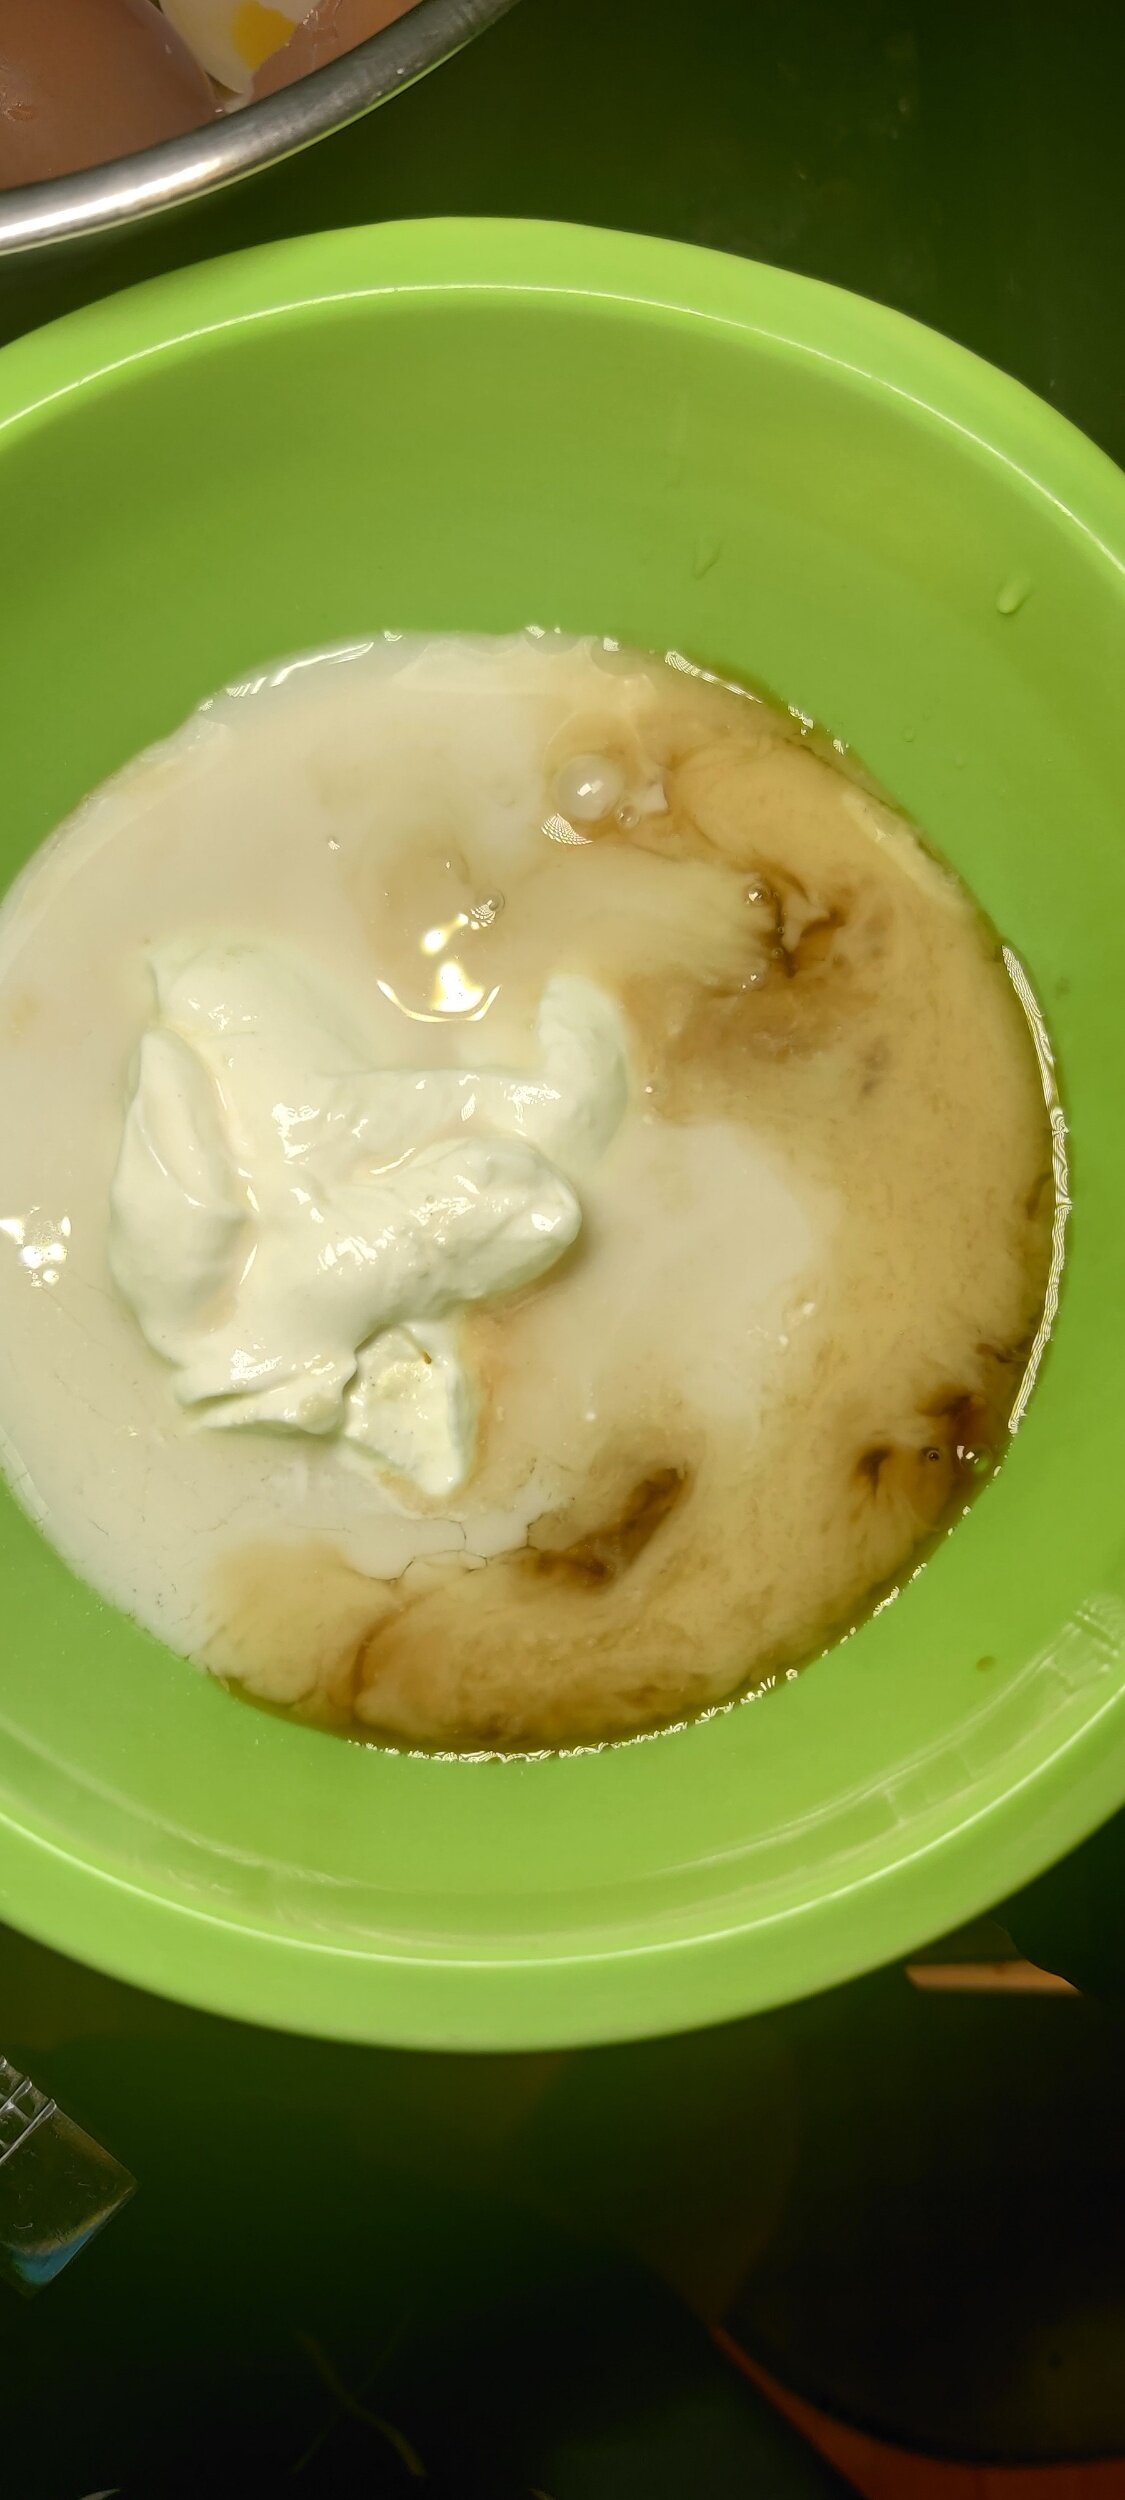
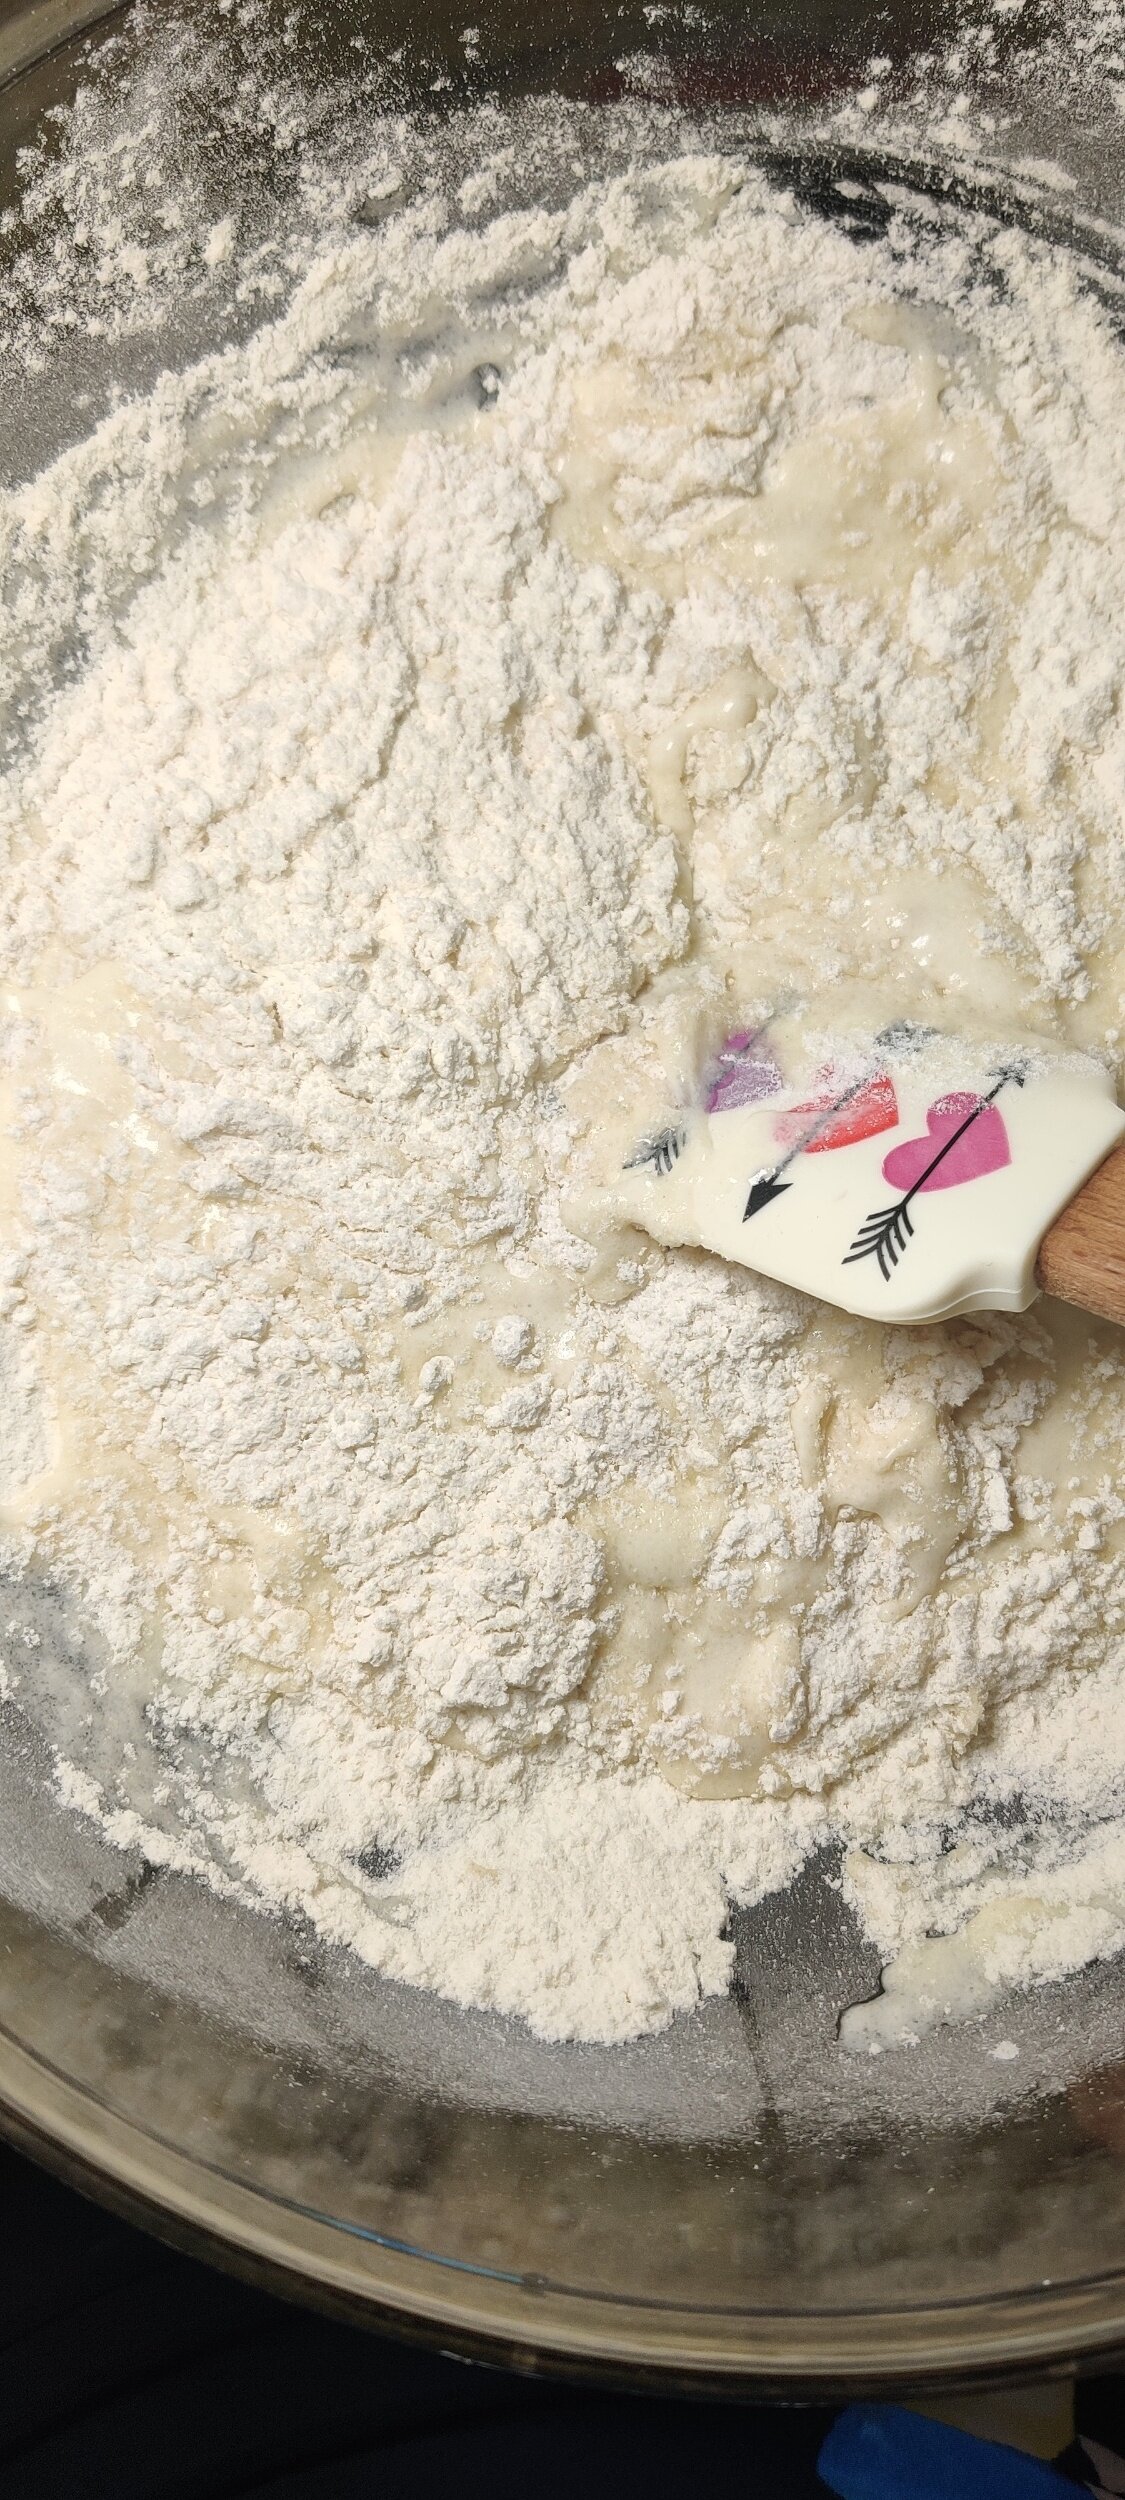
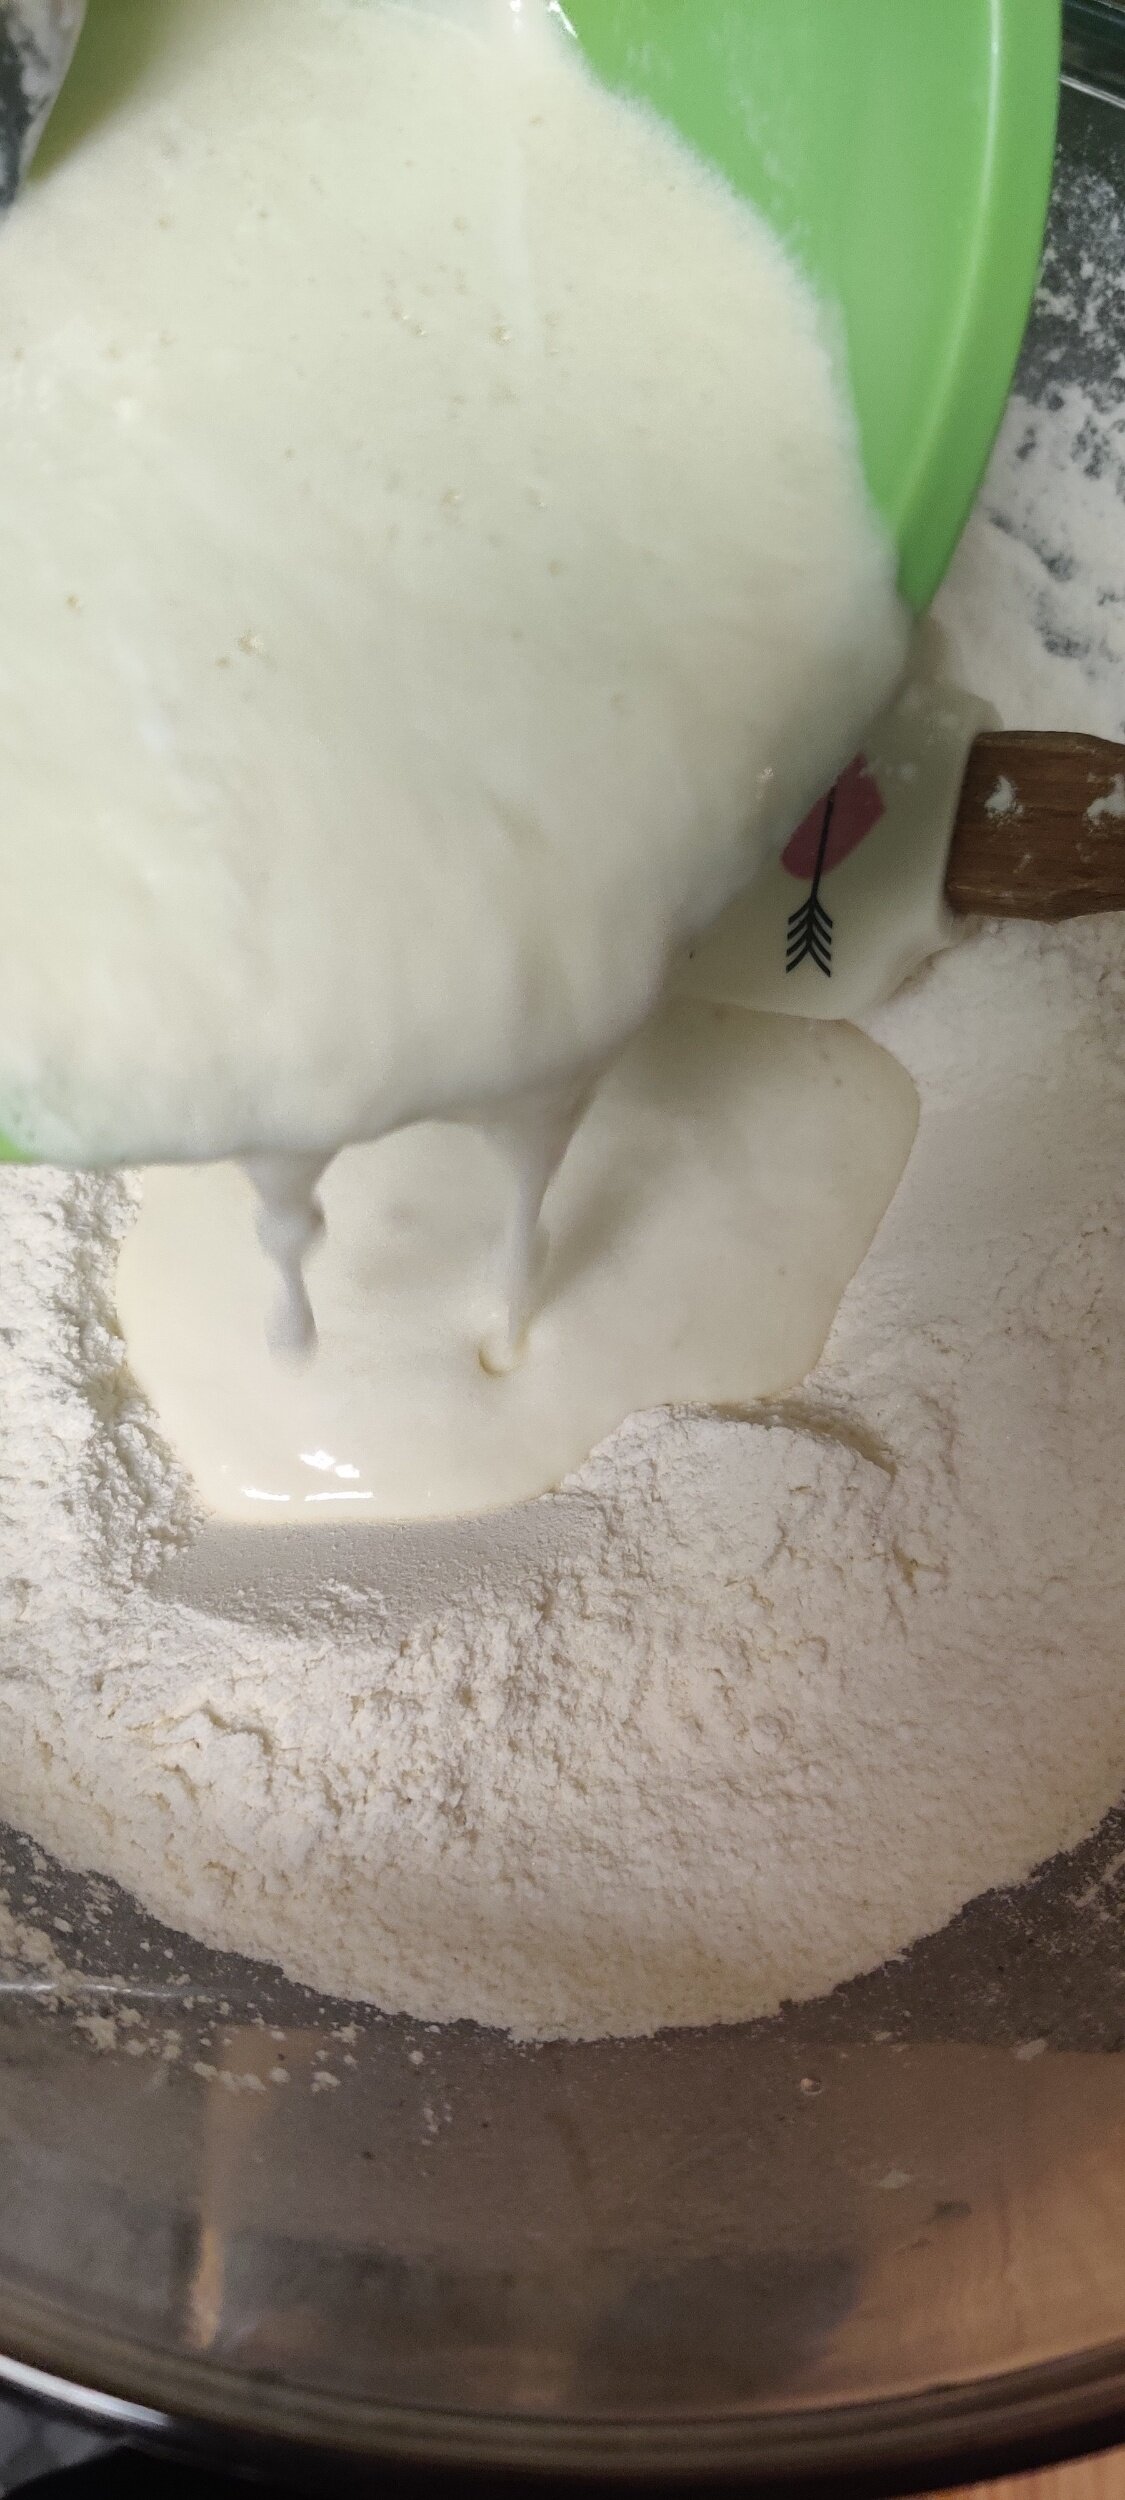
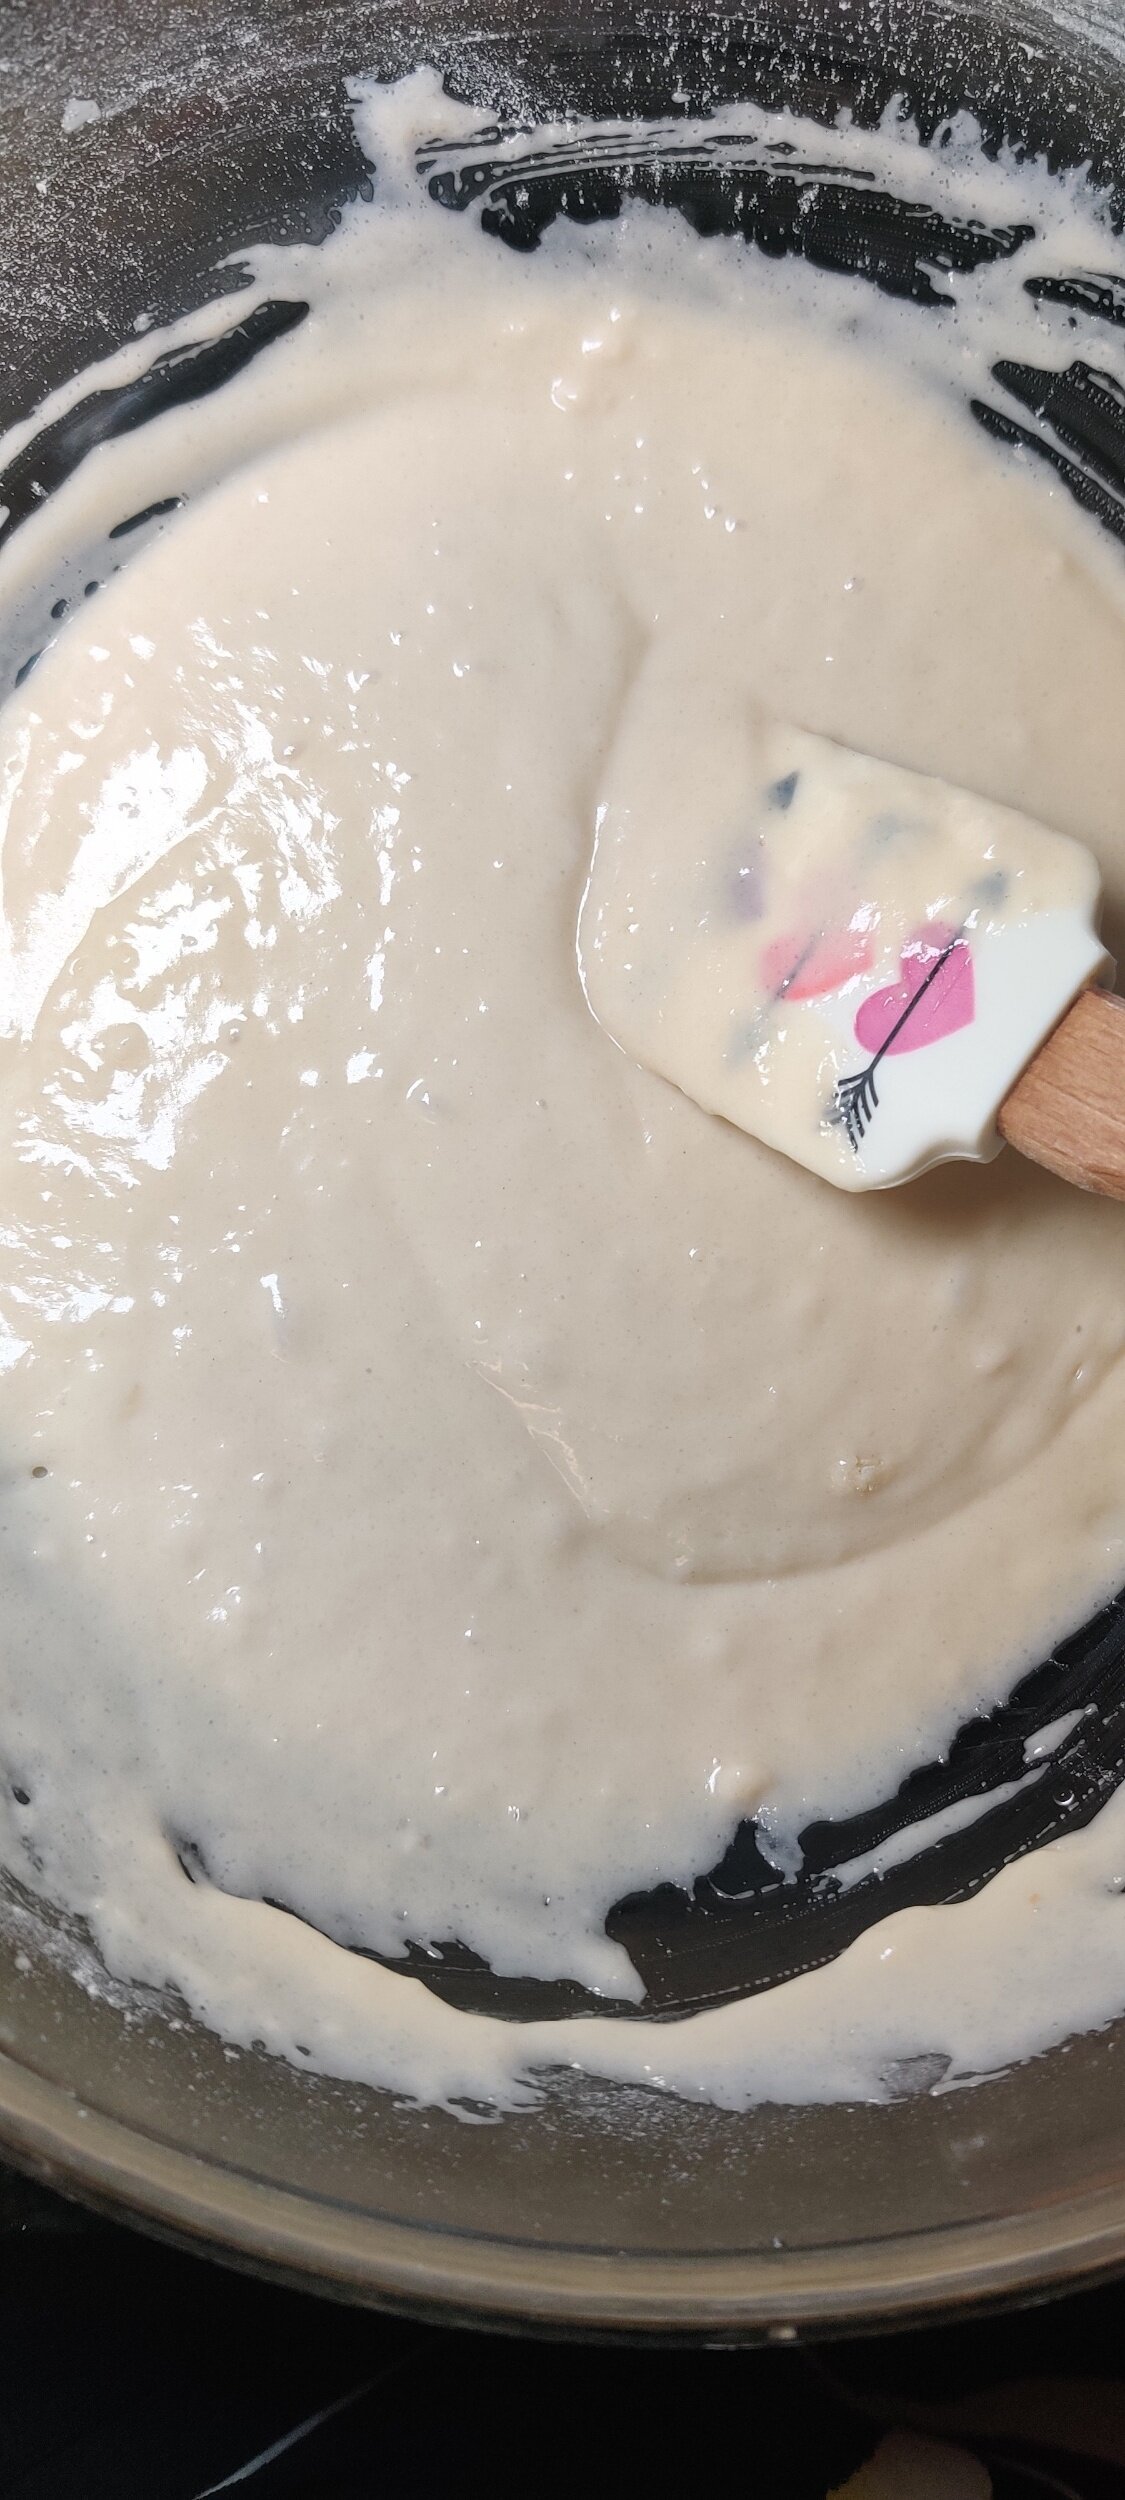
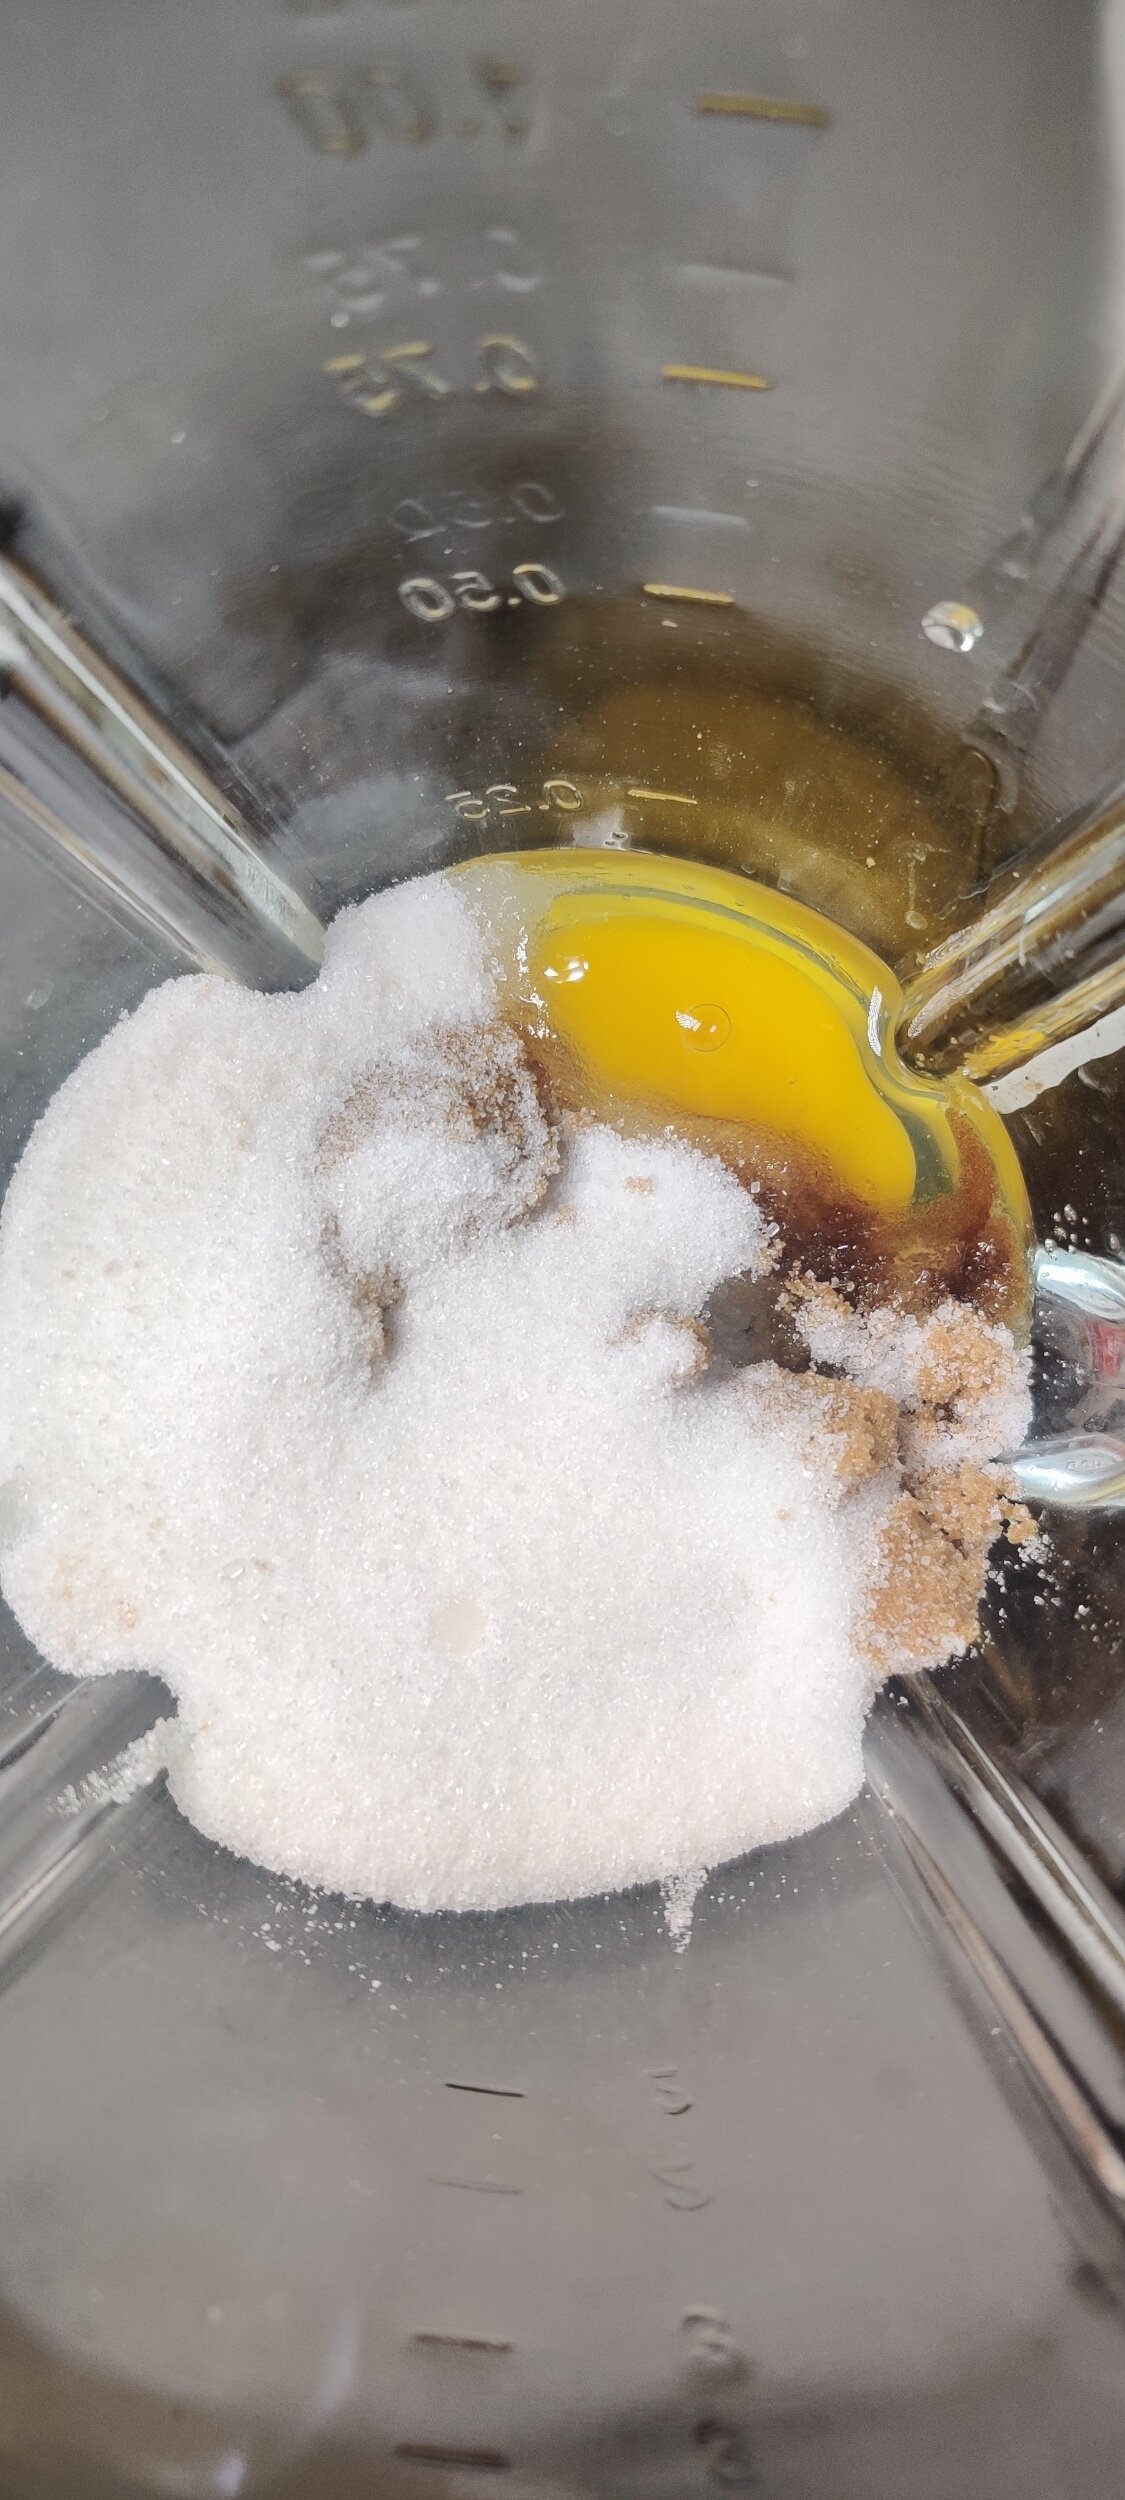
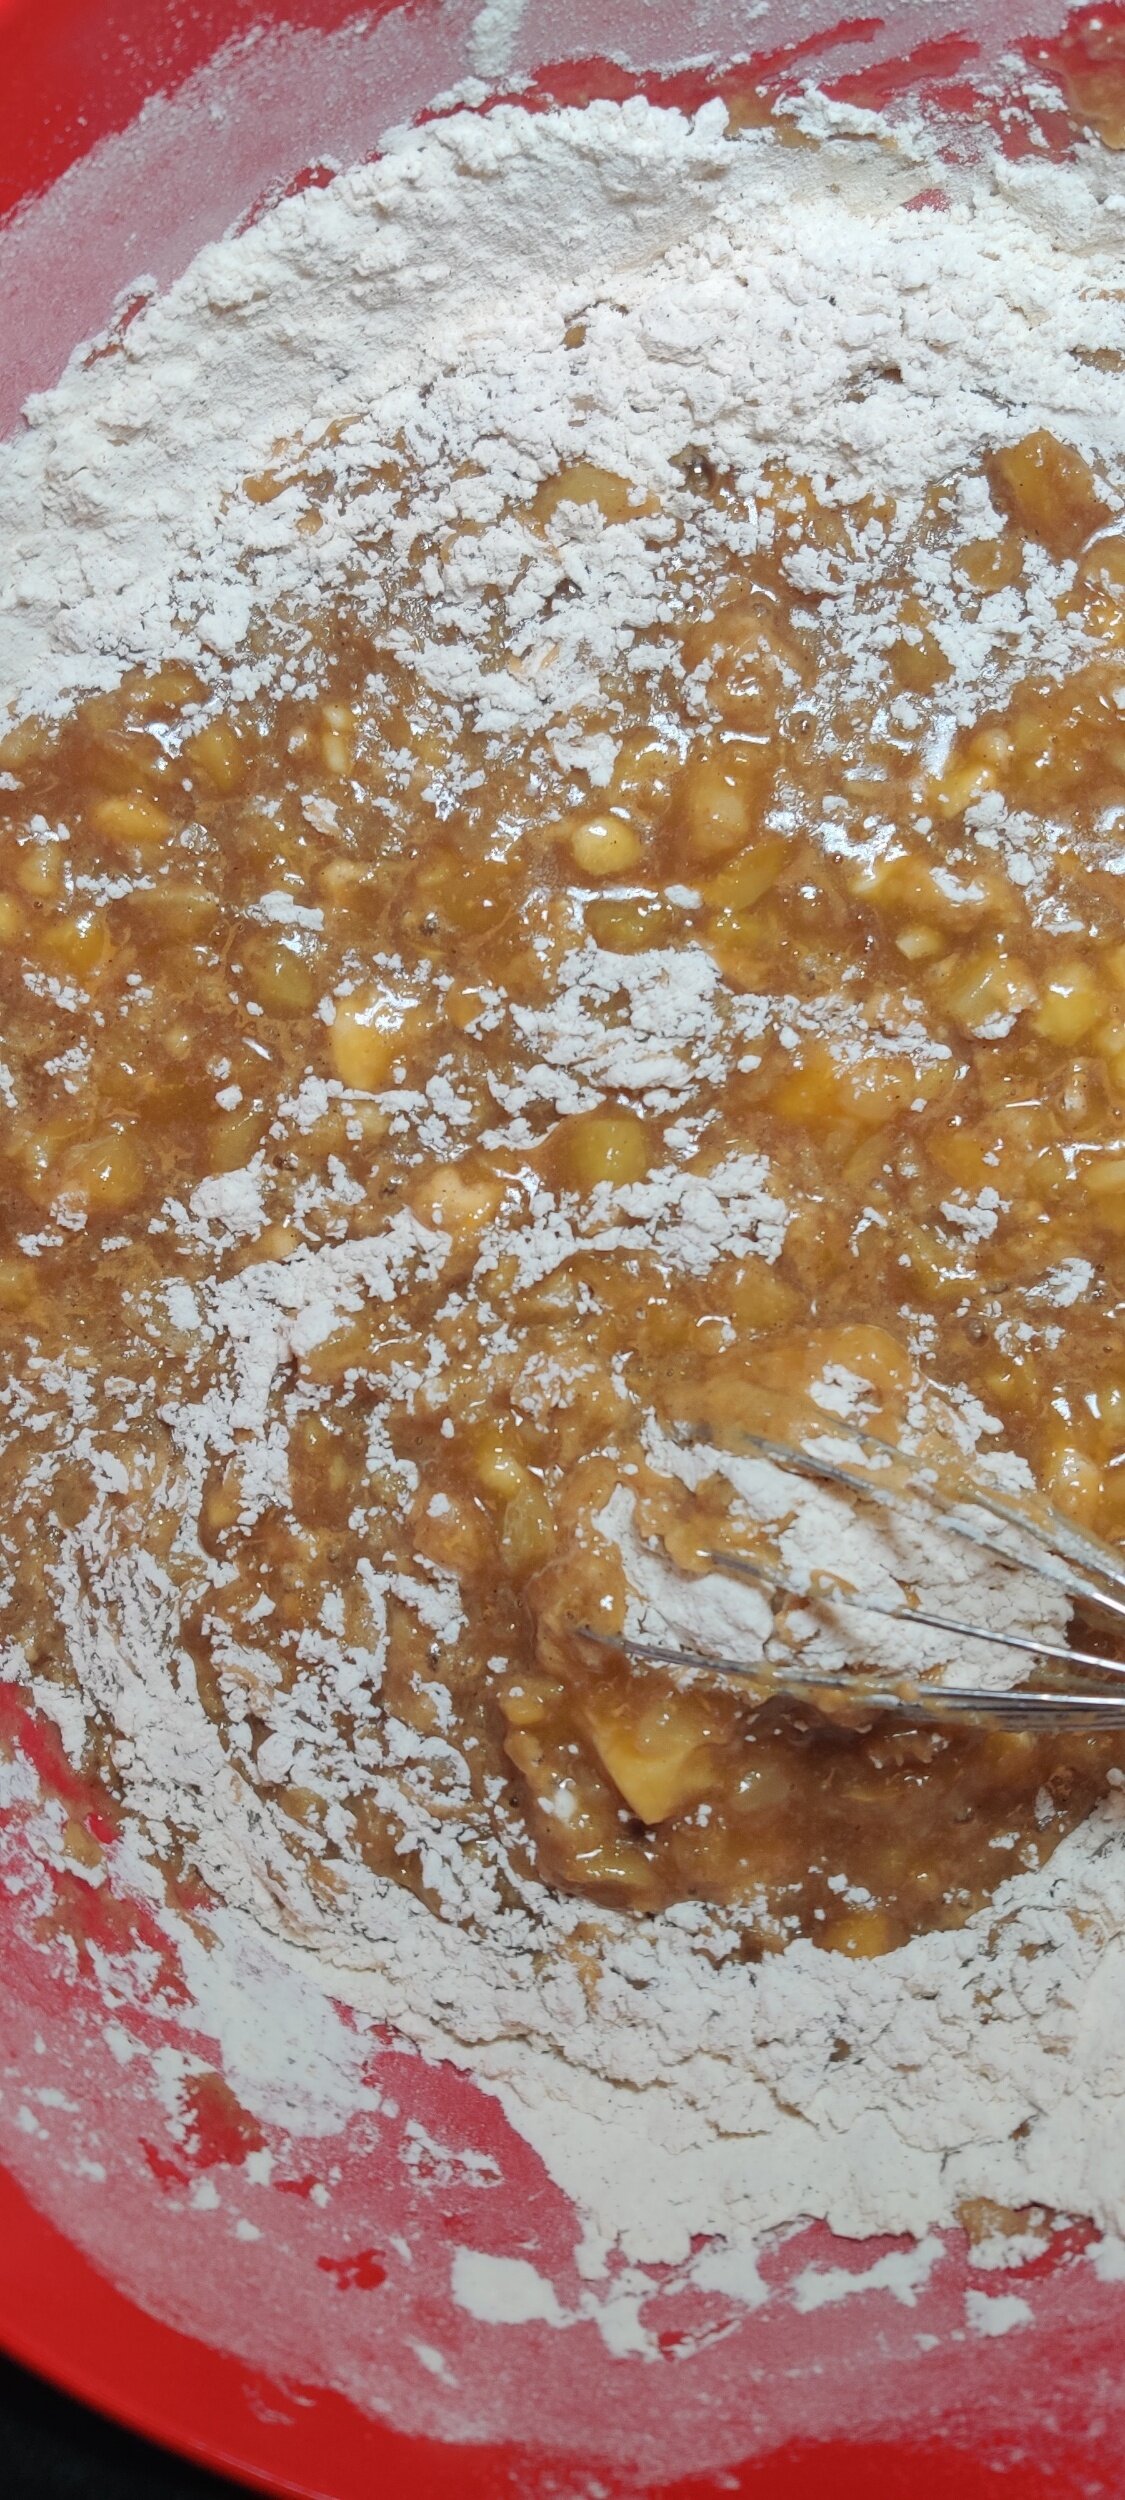
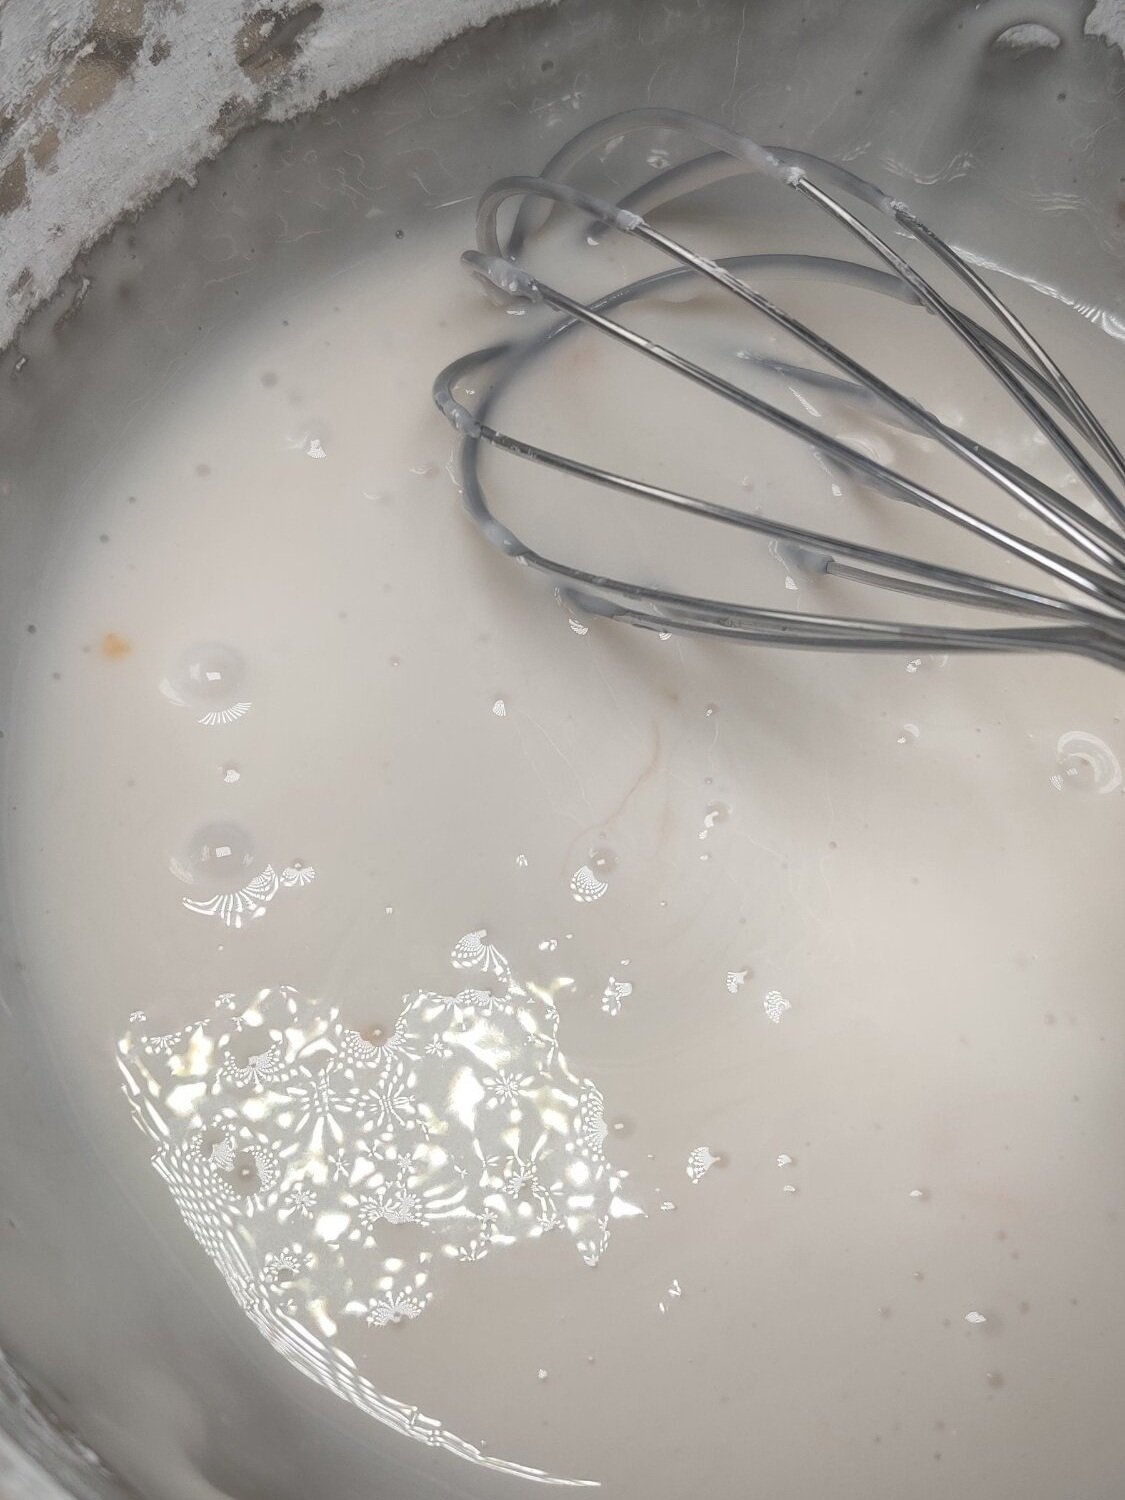
In a large bowl, whisk the flour, salt, baking powder, and sugar.
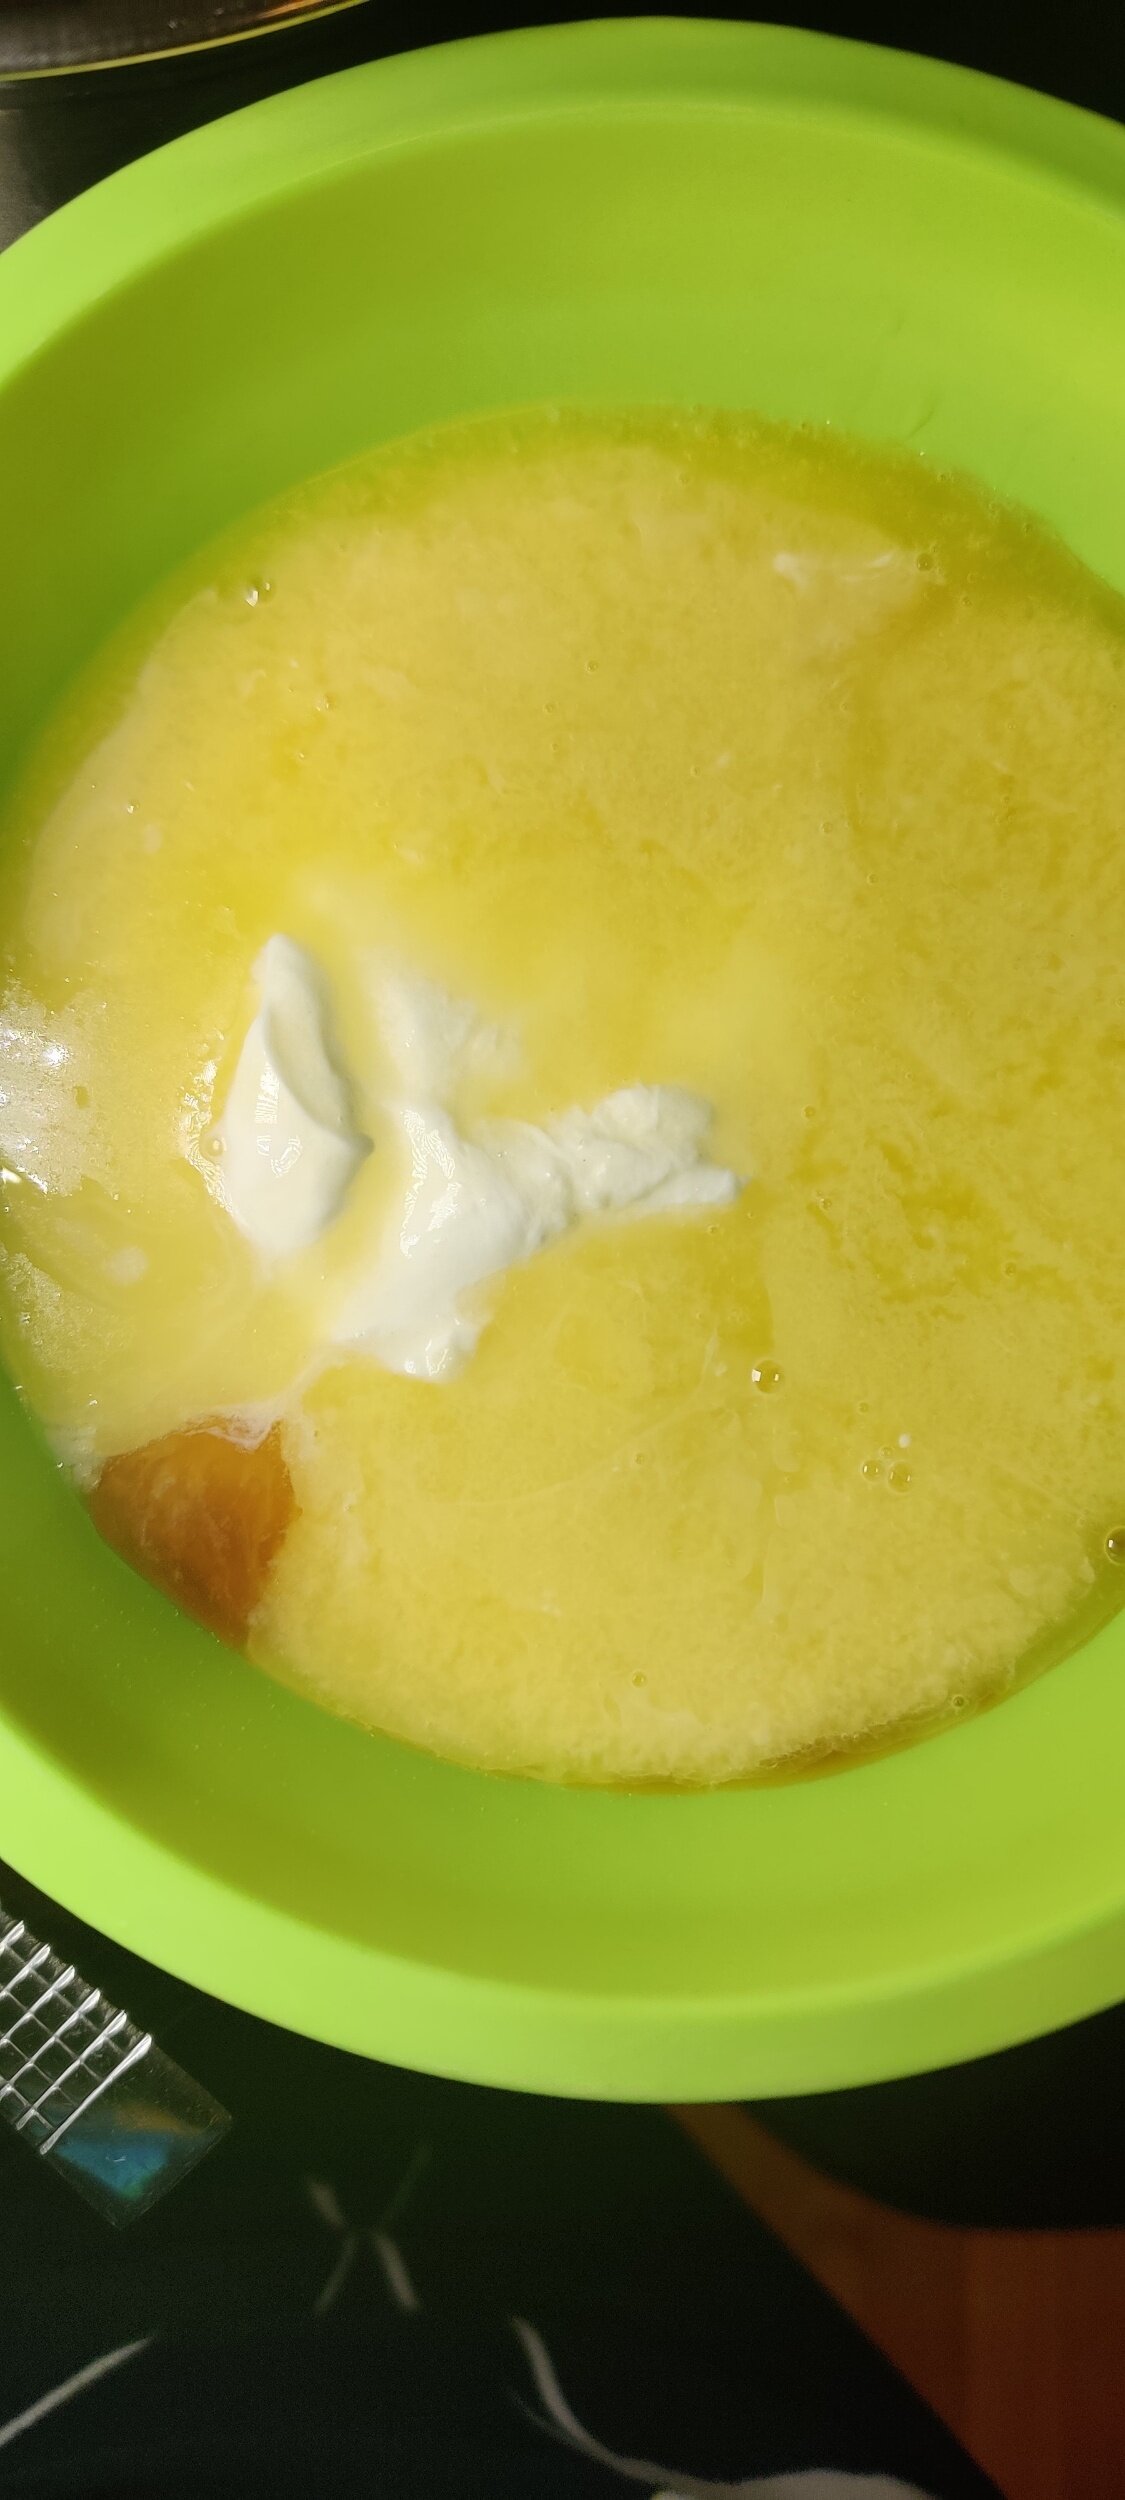
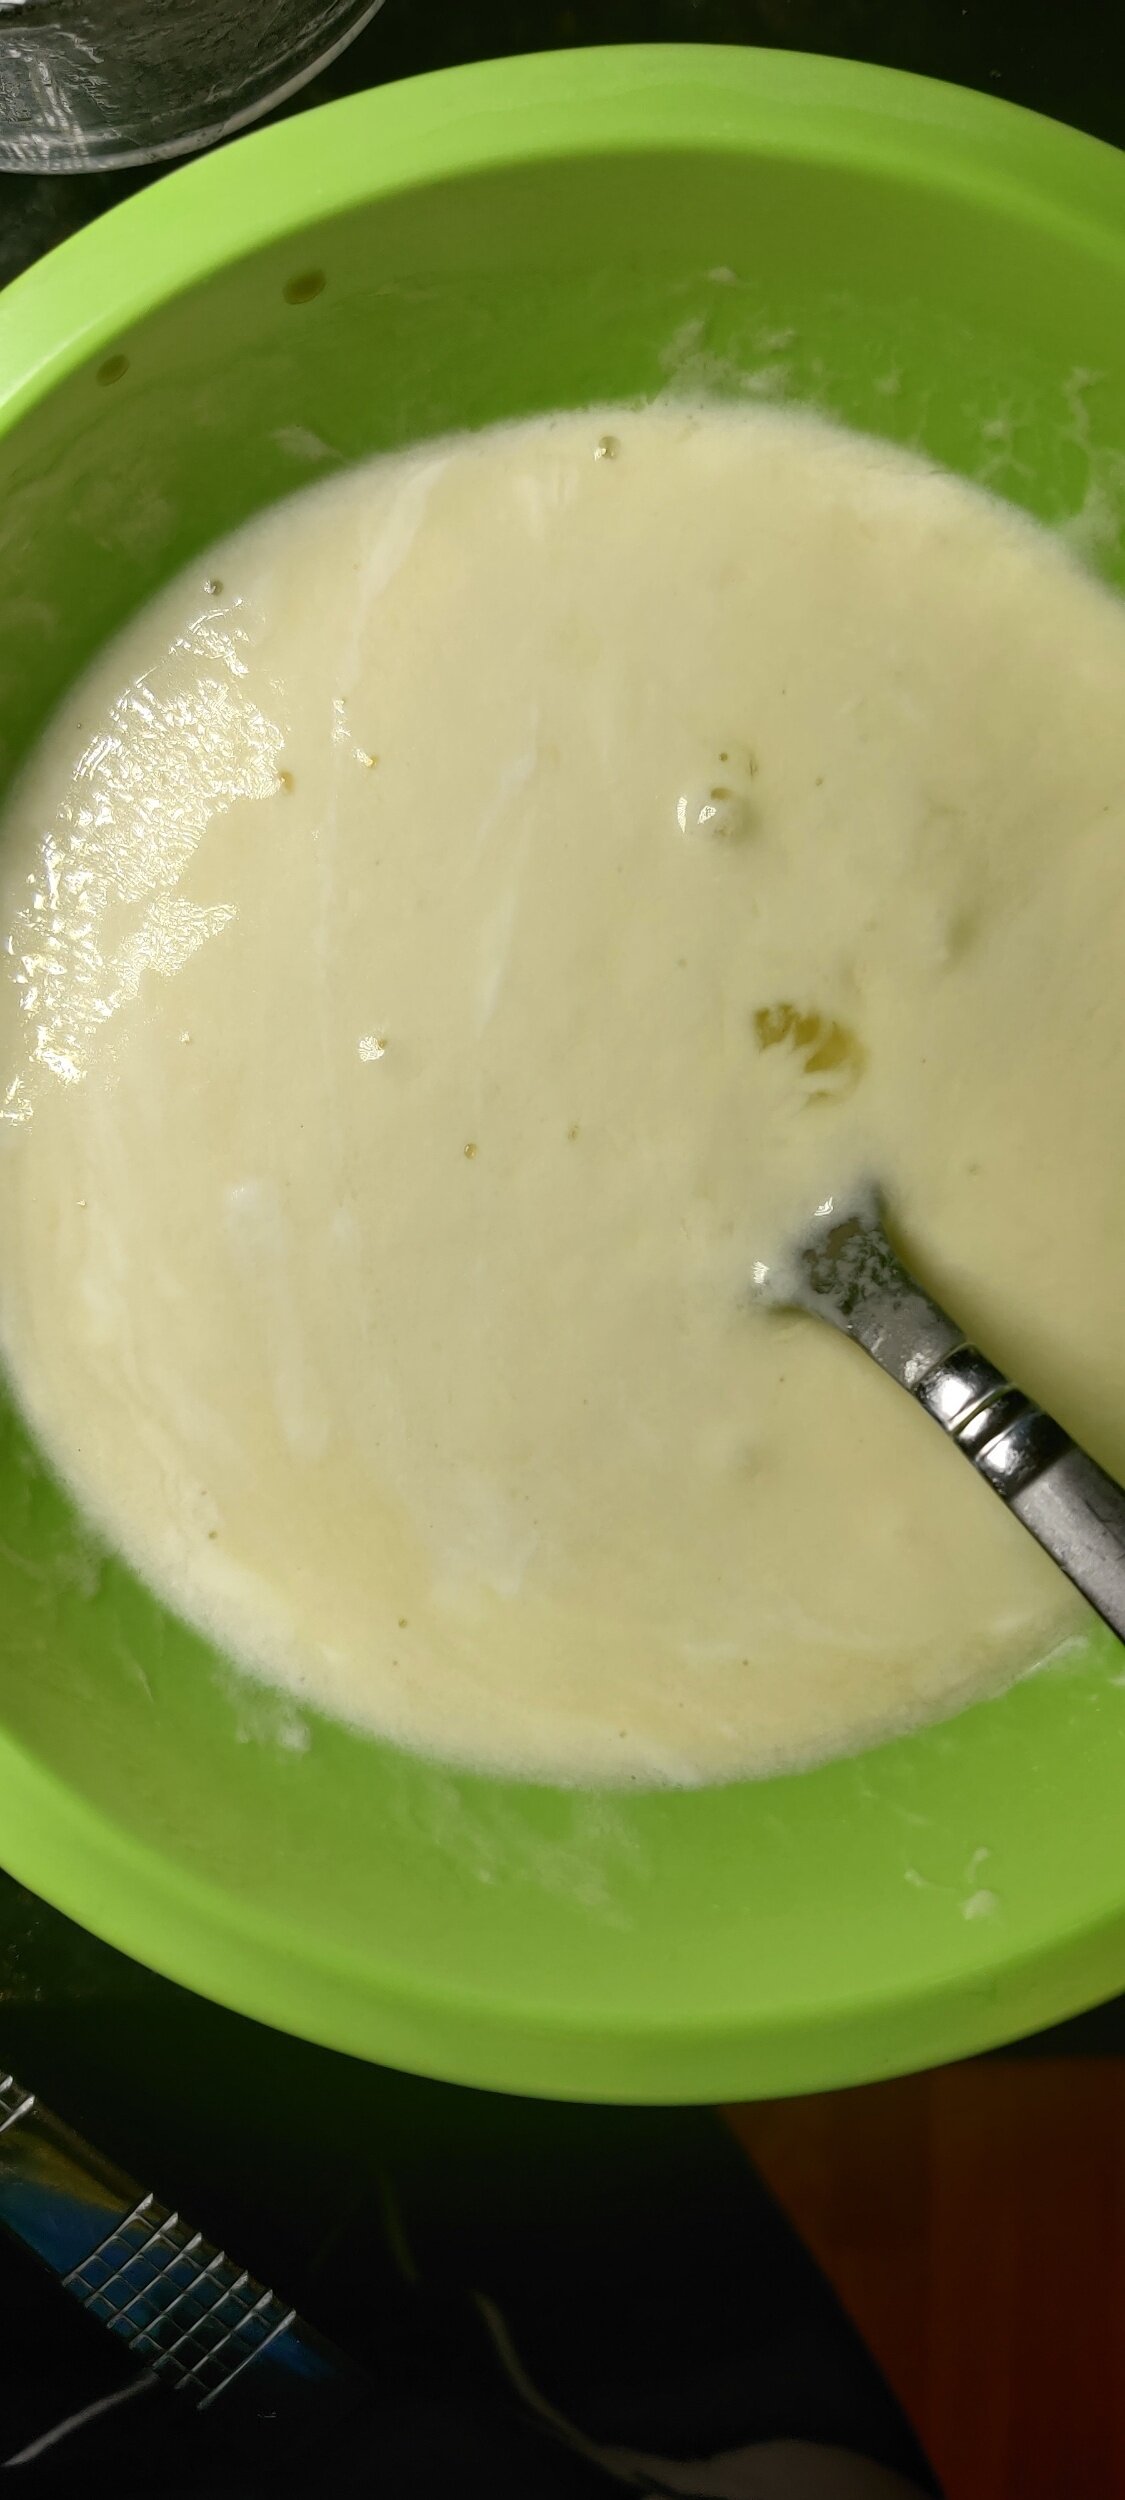
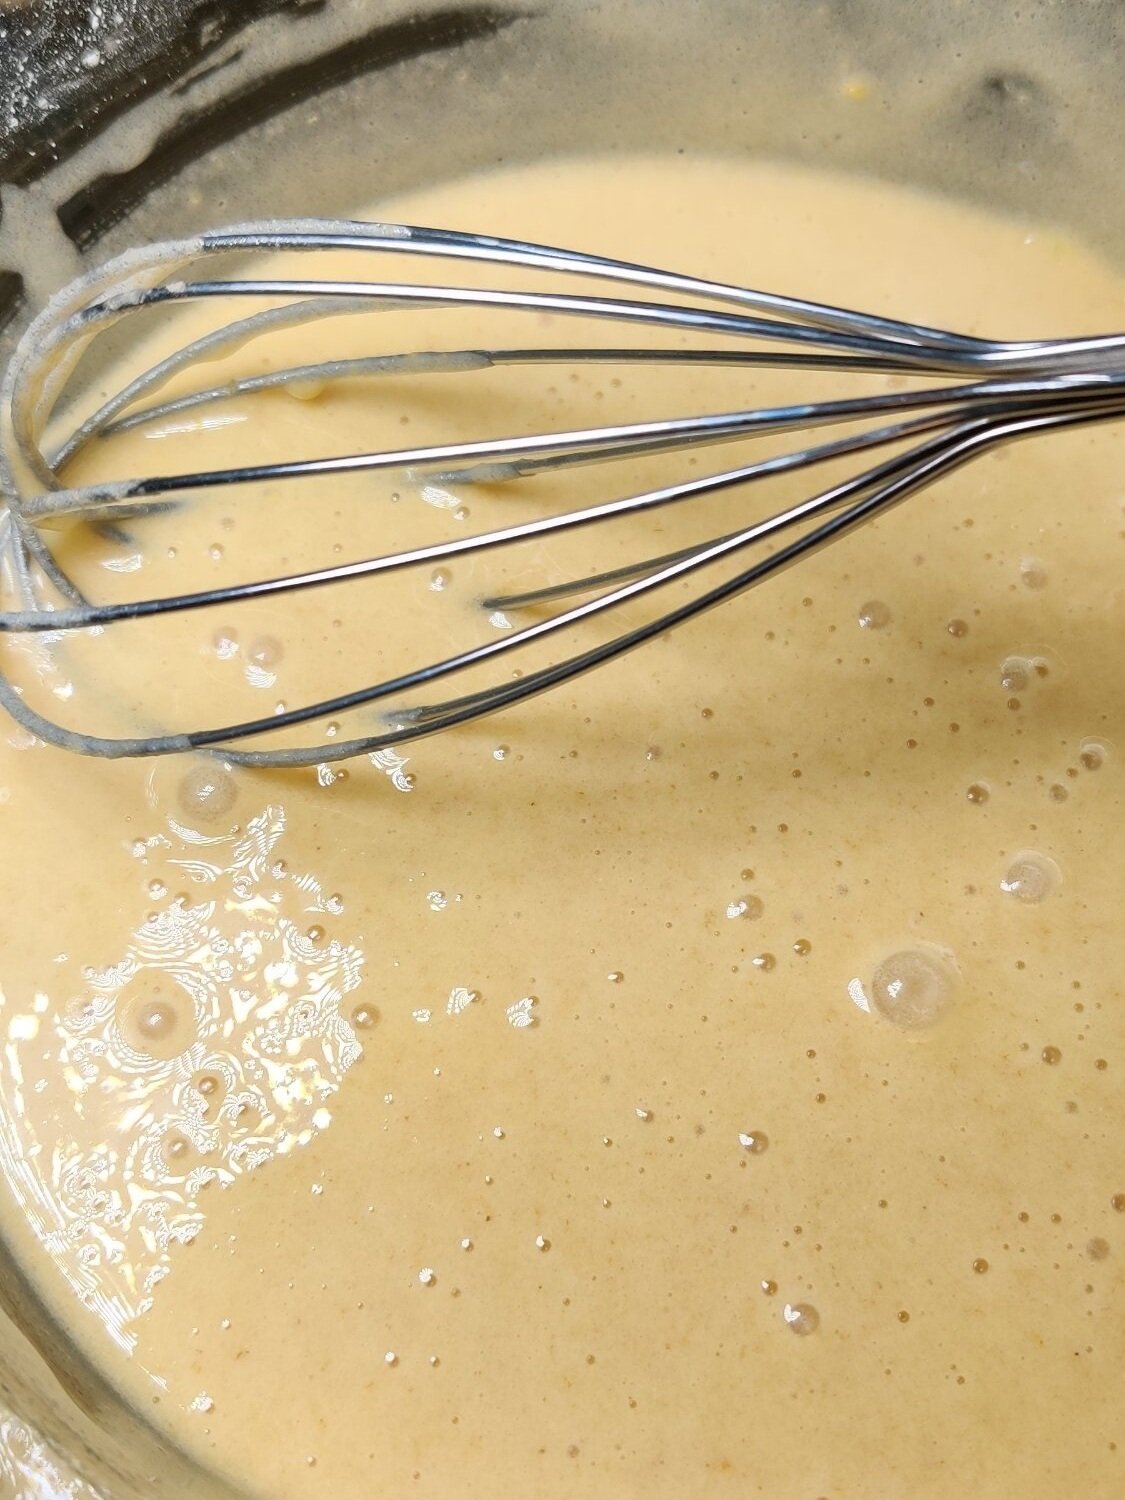
In a medium bowl, whisk the eggs, vanilla, almond, lemon, milk, and oil.
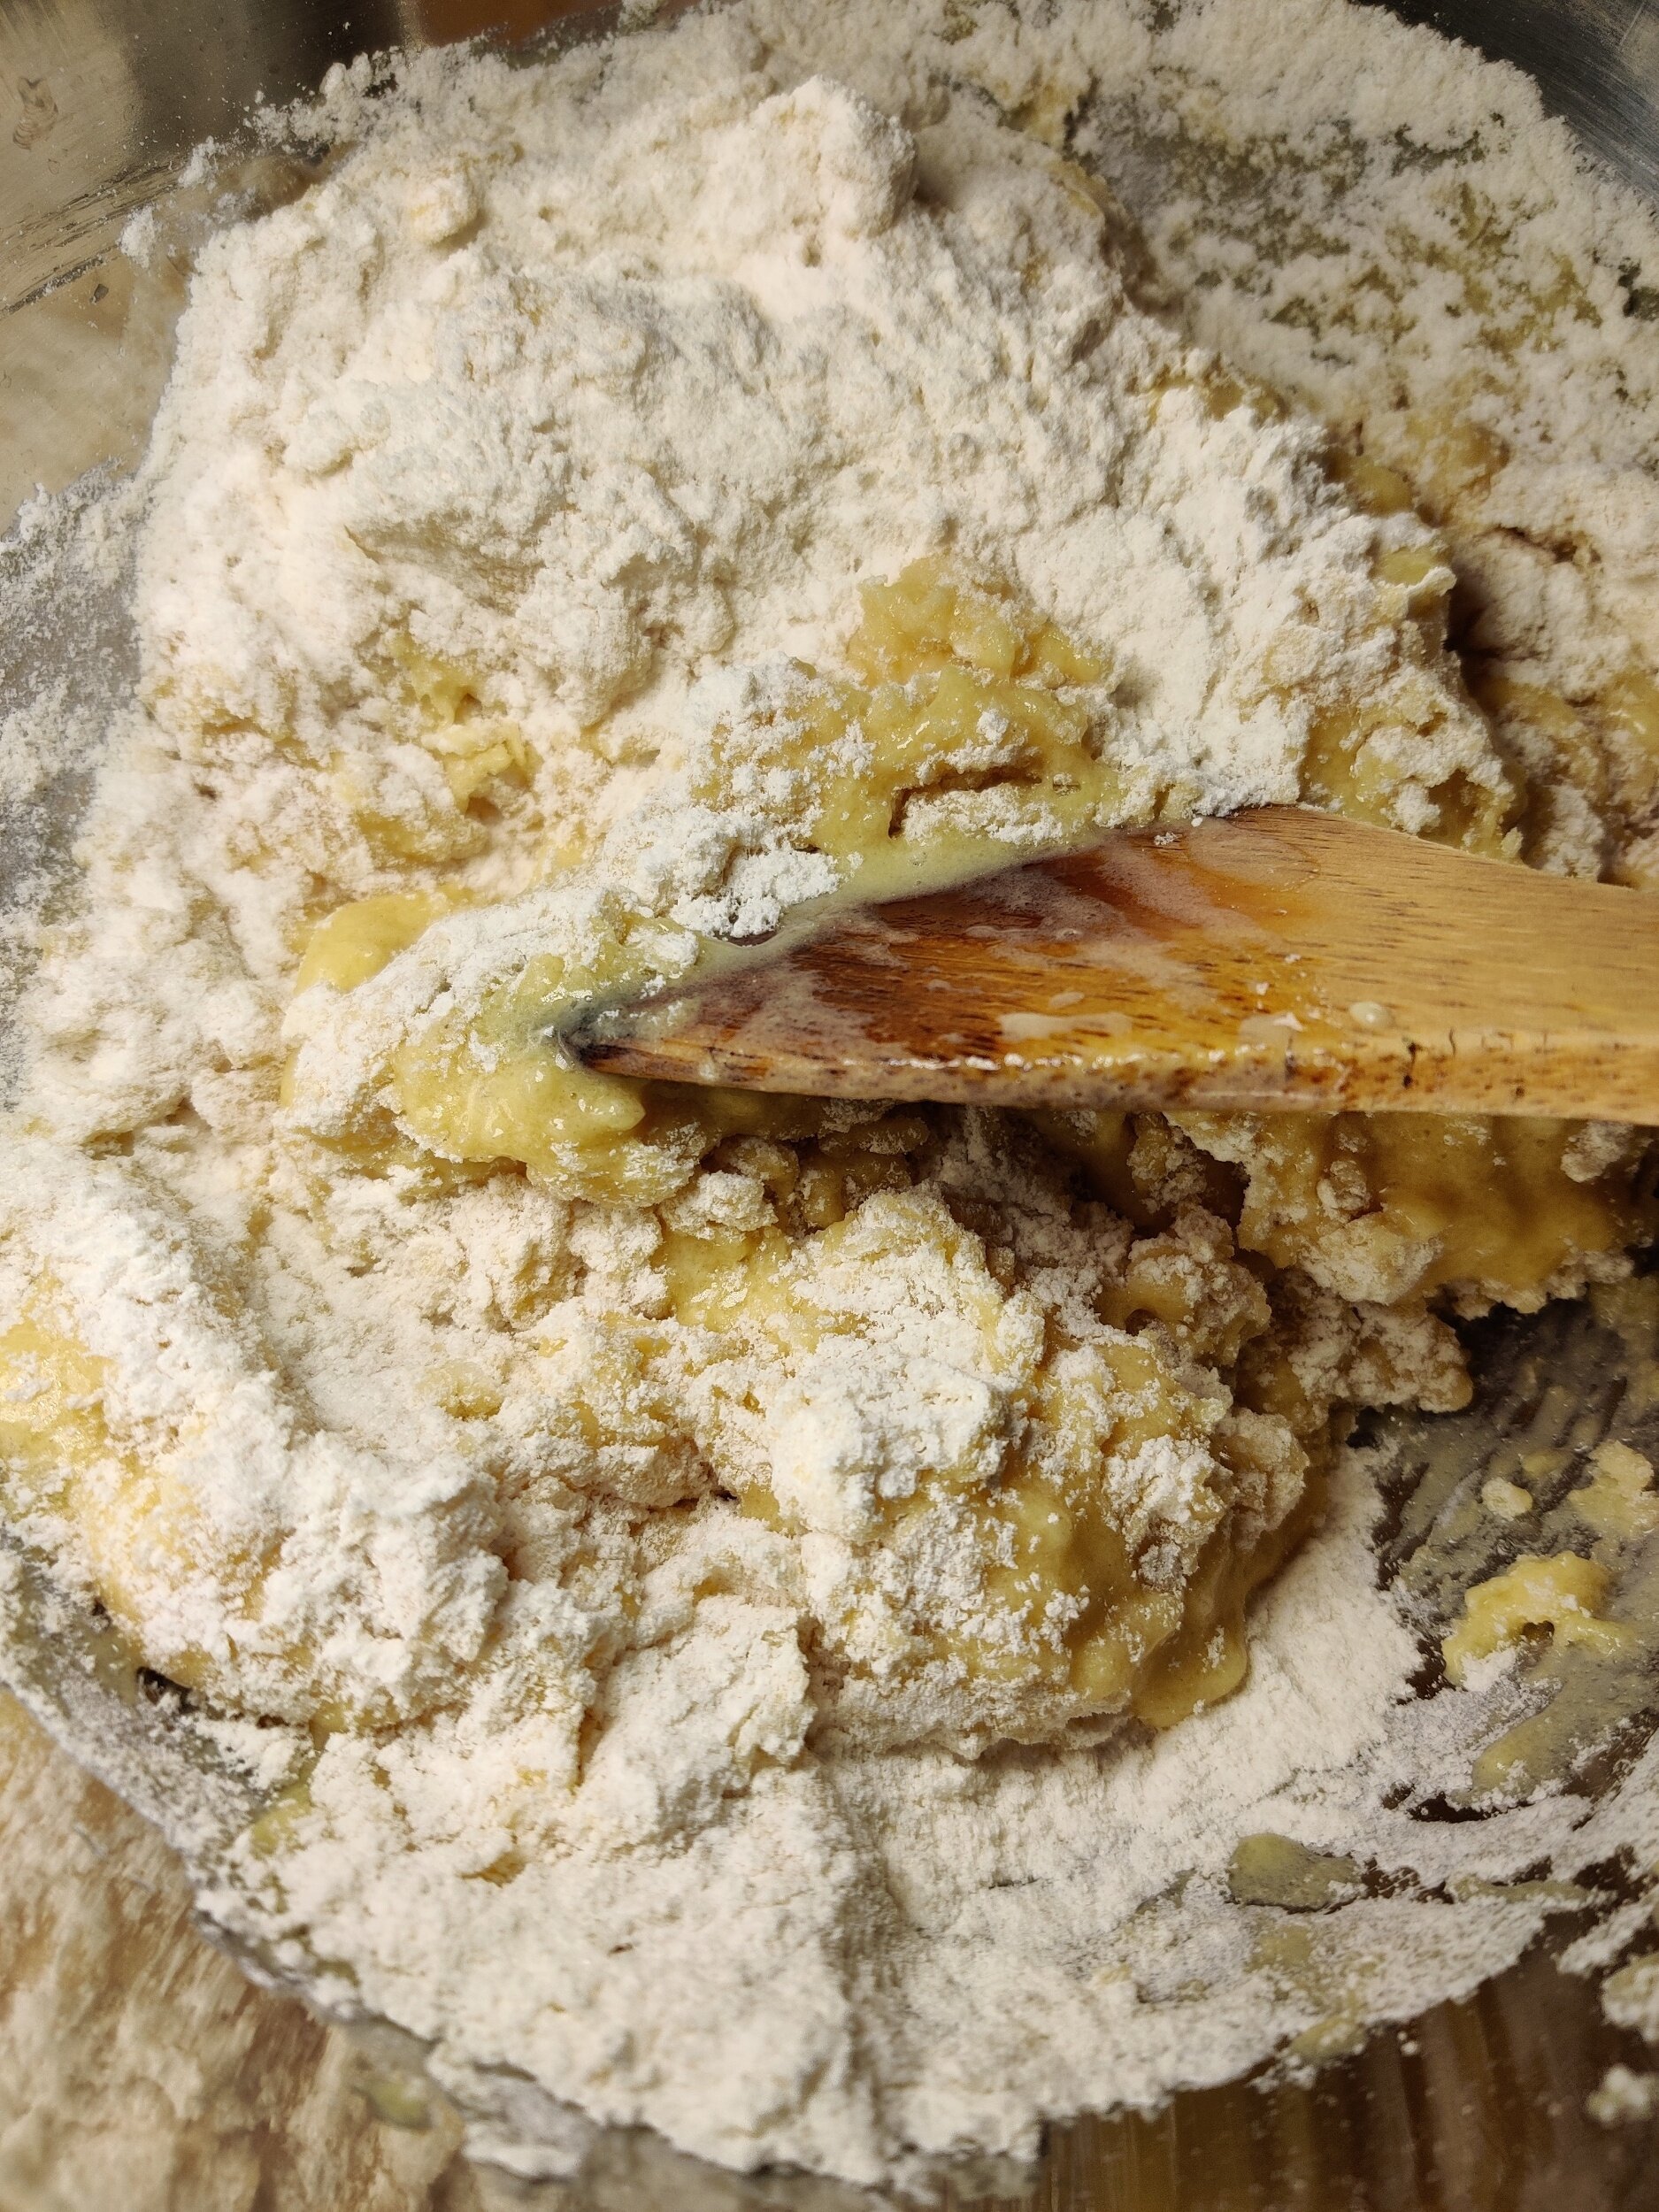
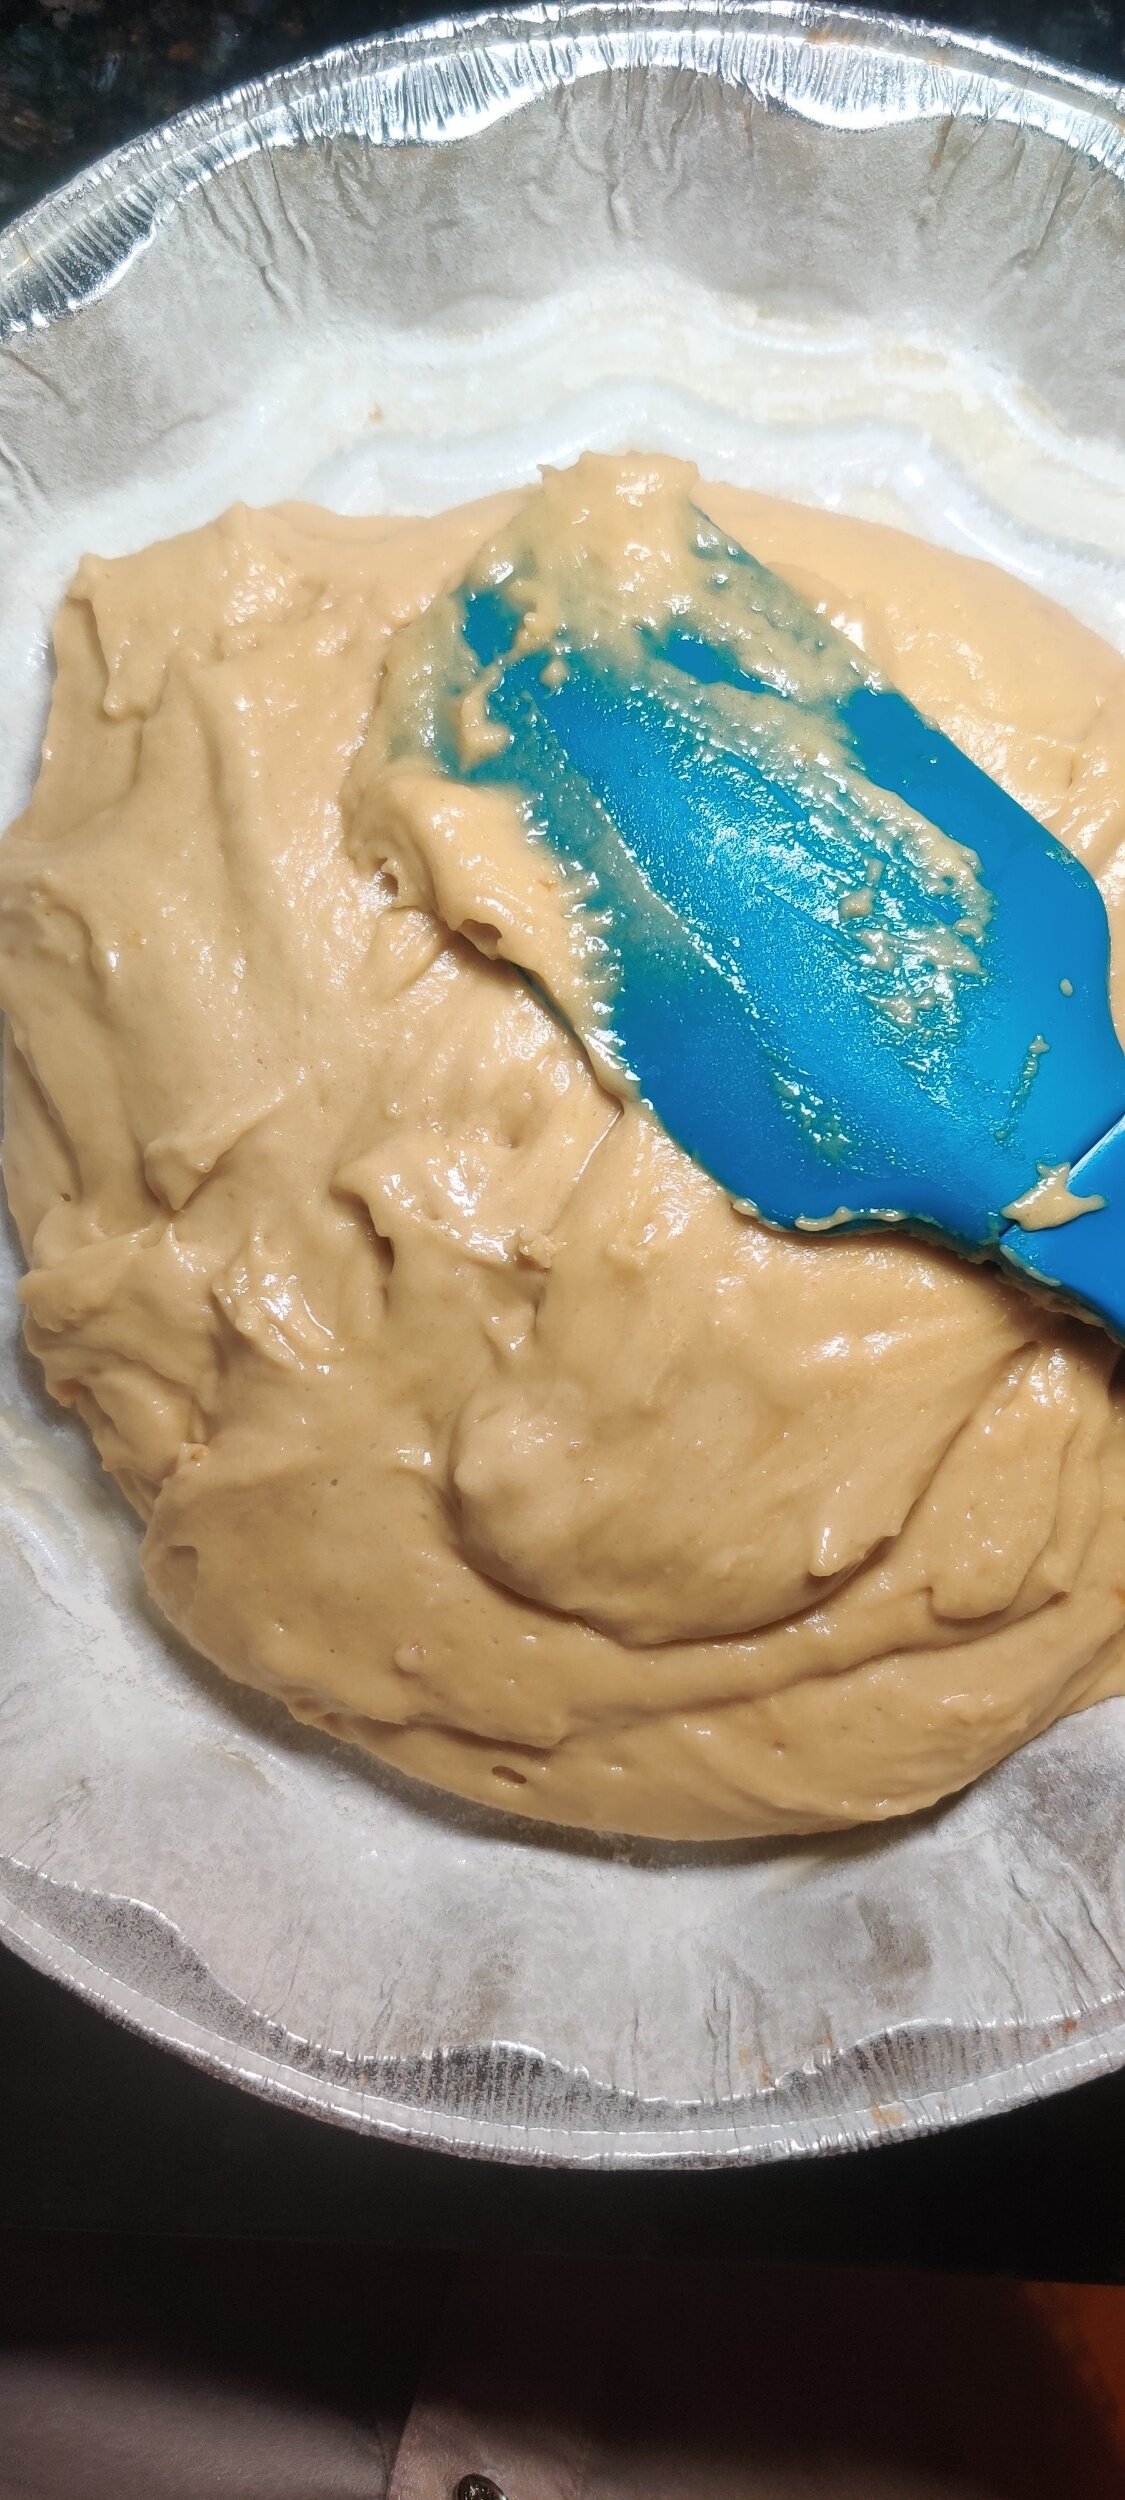
Make a well in the dry mix and fold in the wet ingredients until
just combined - don't over mix!
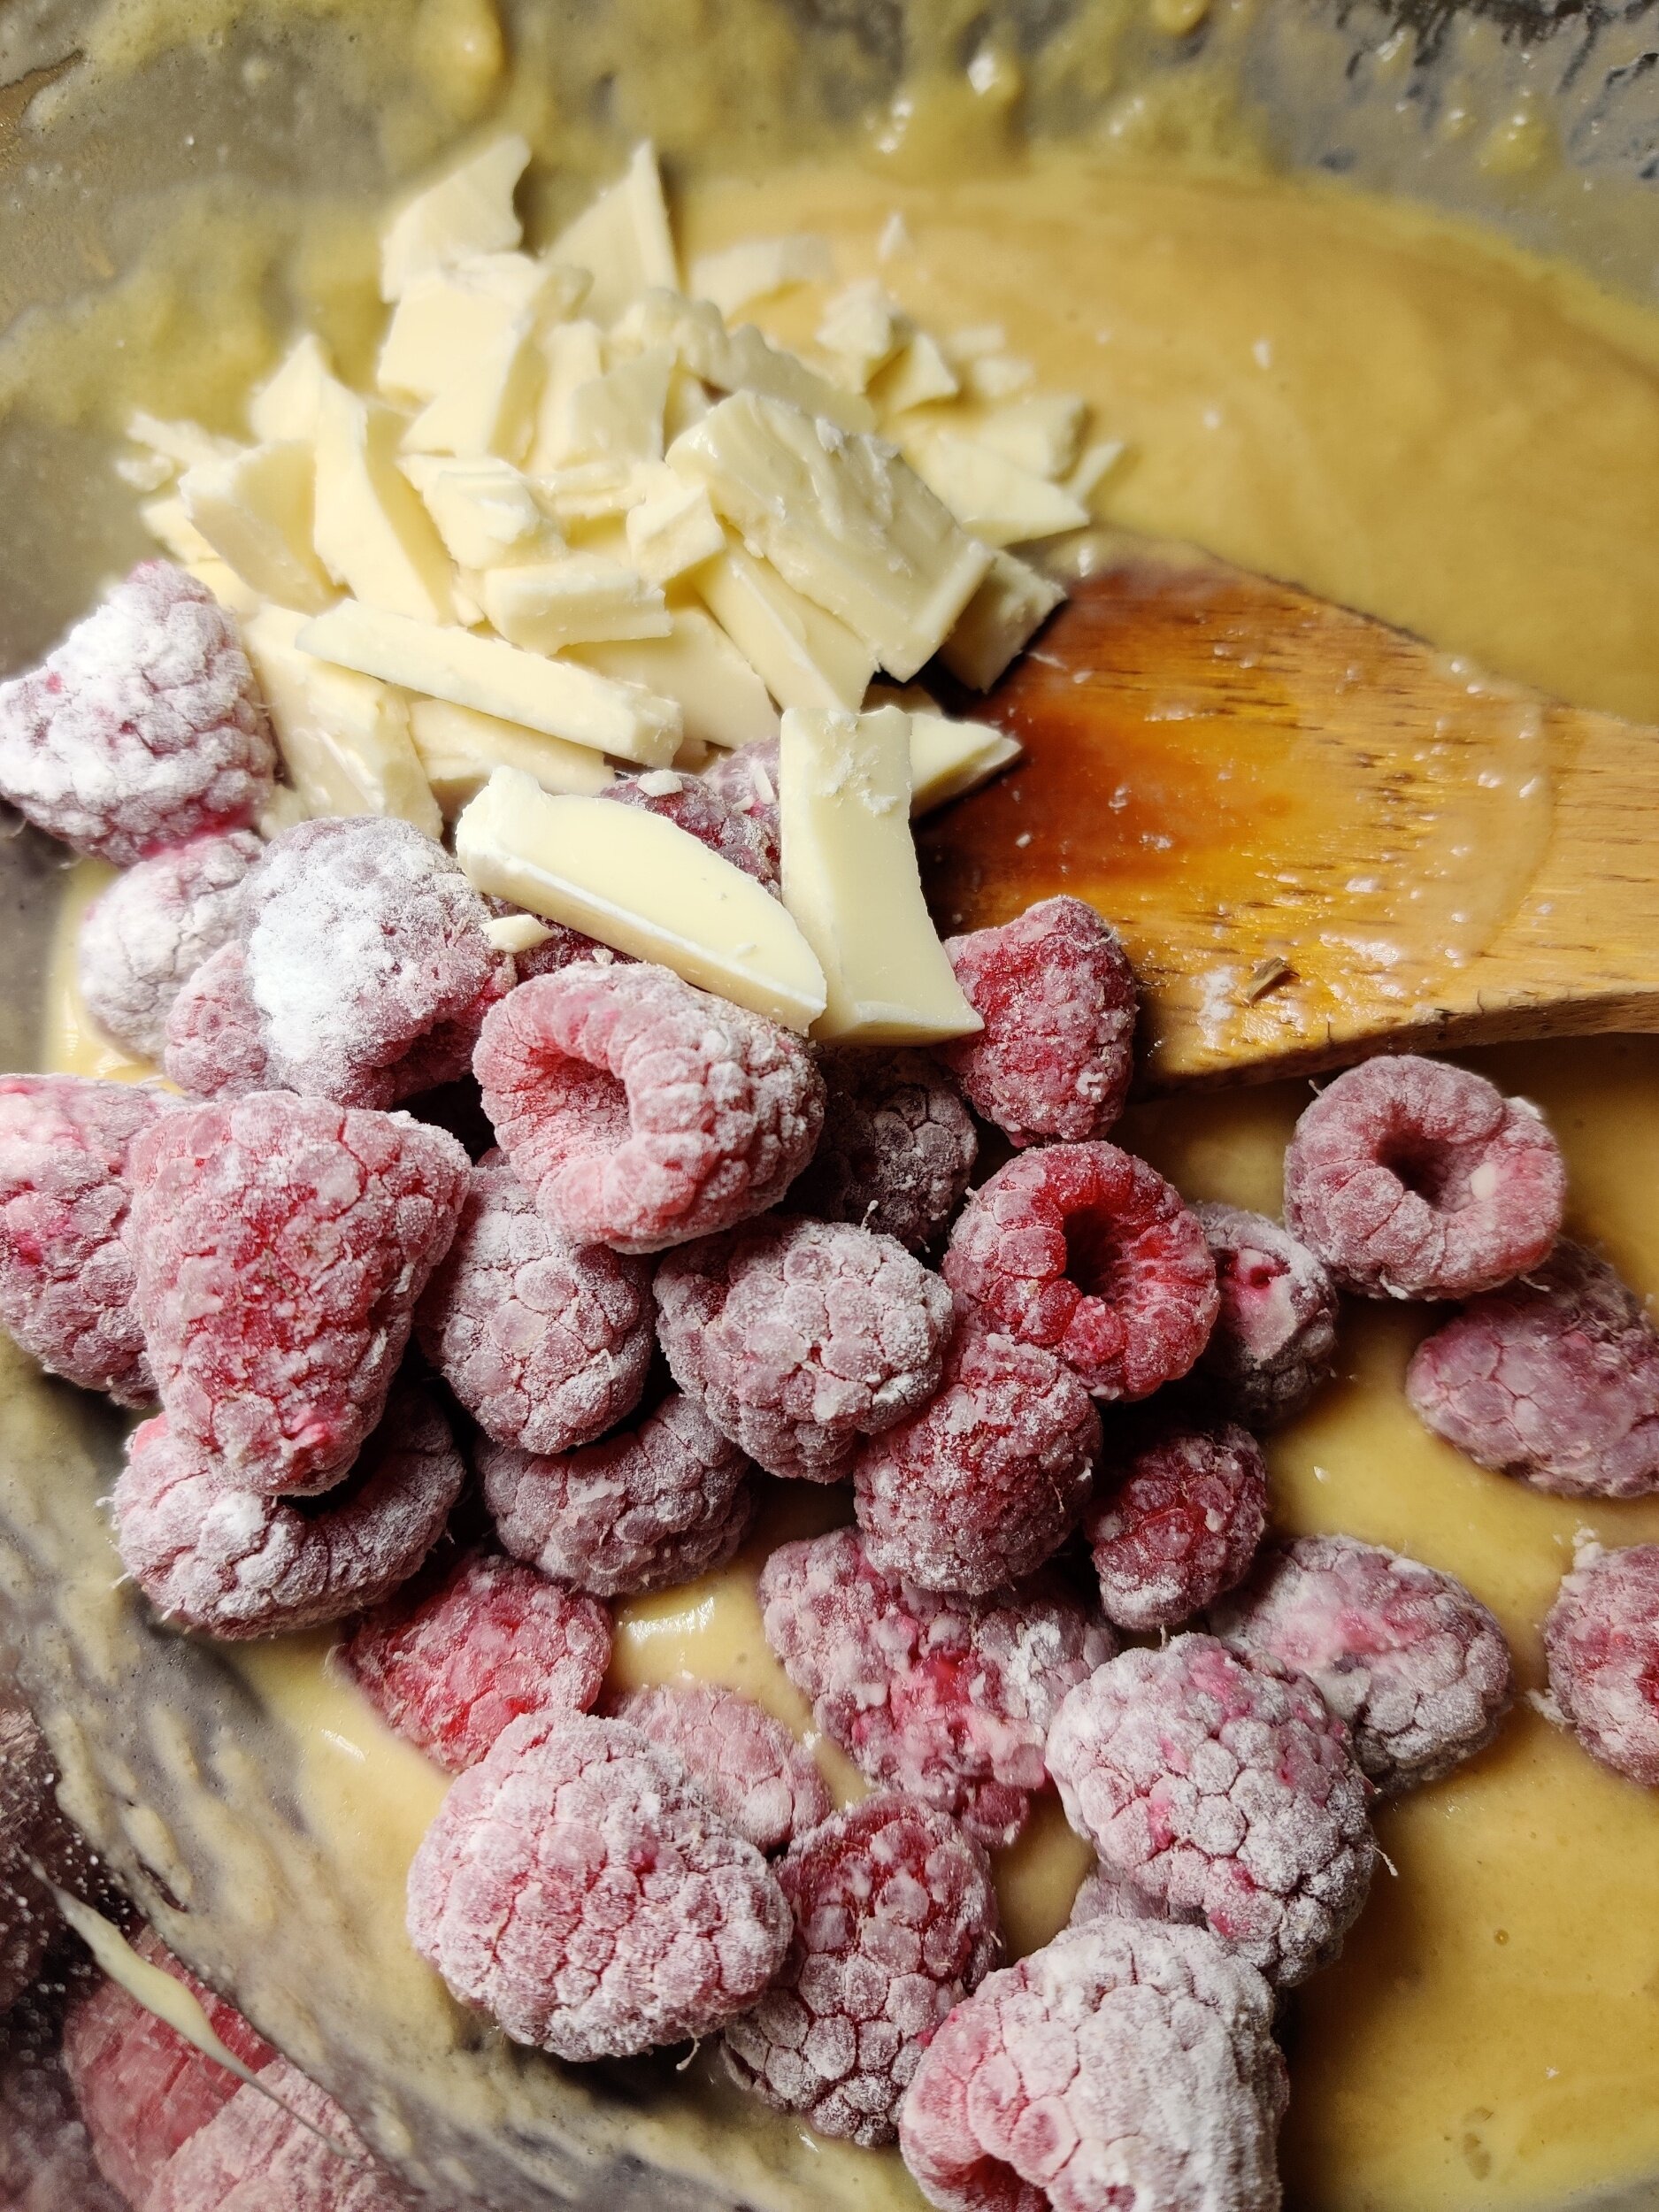
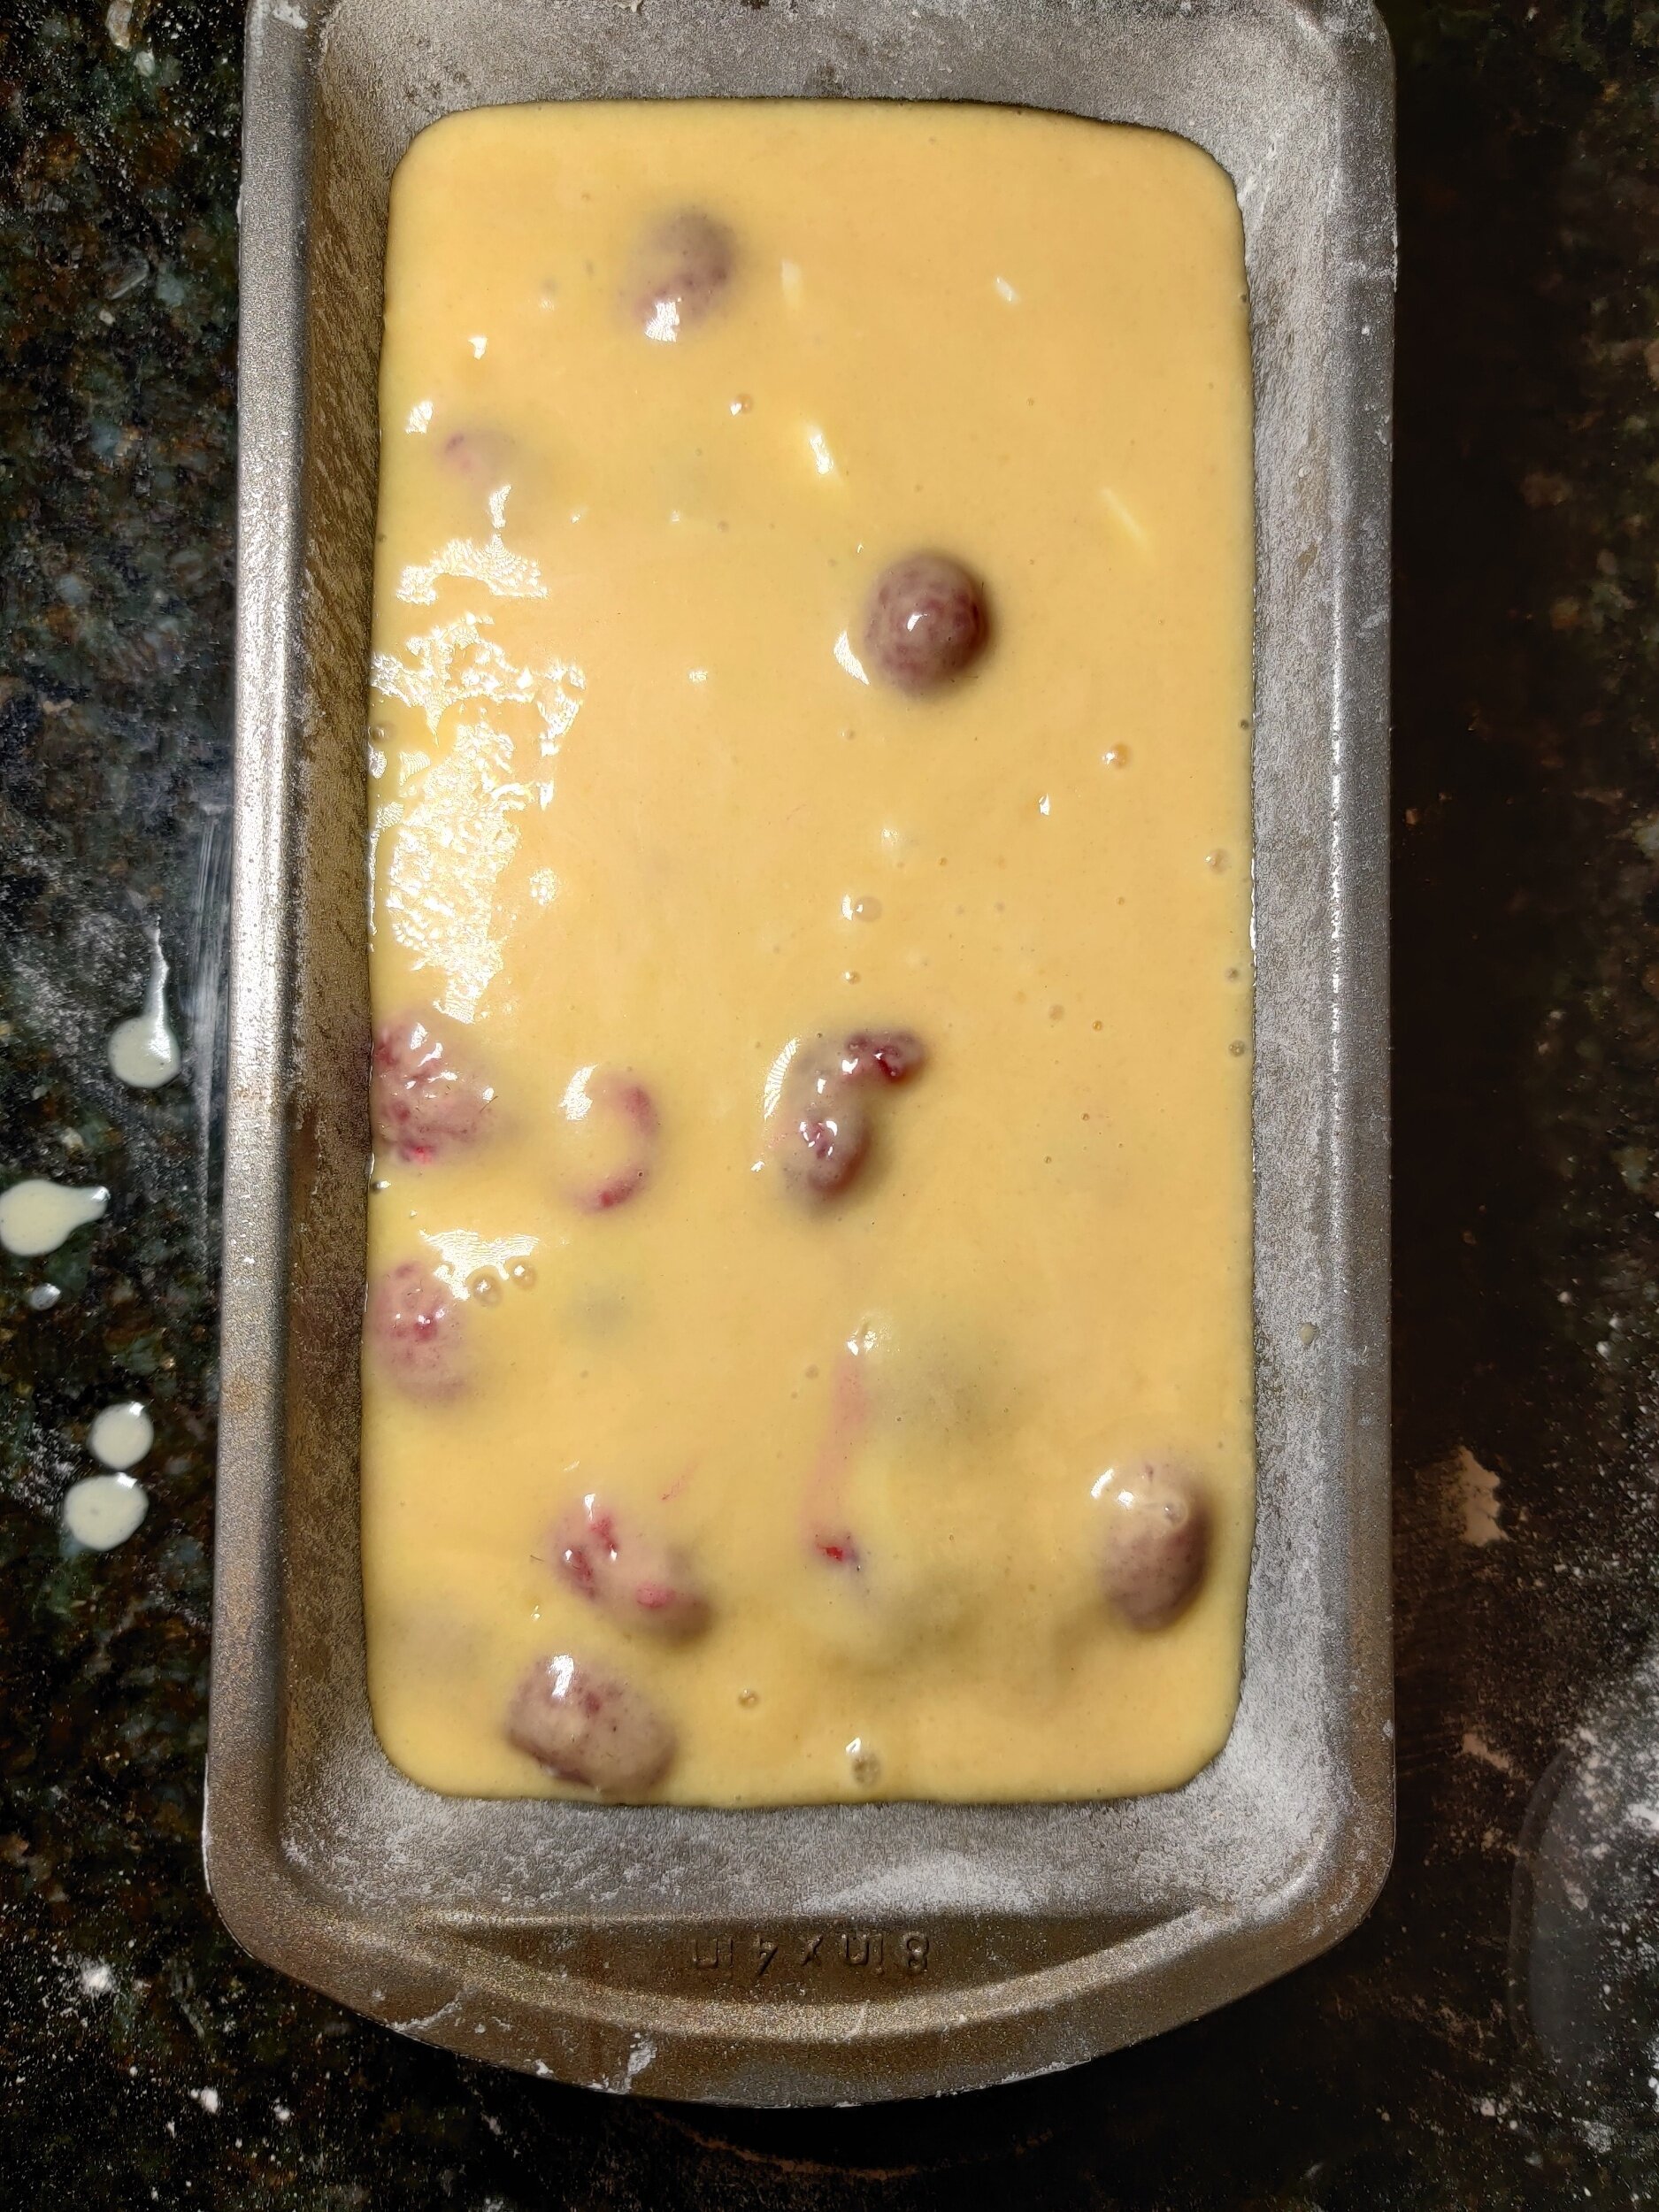
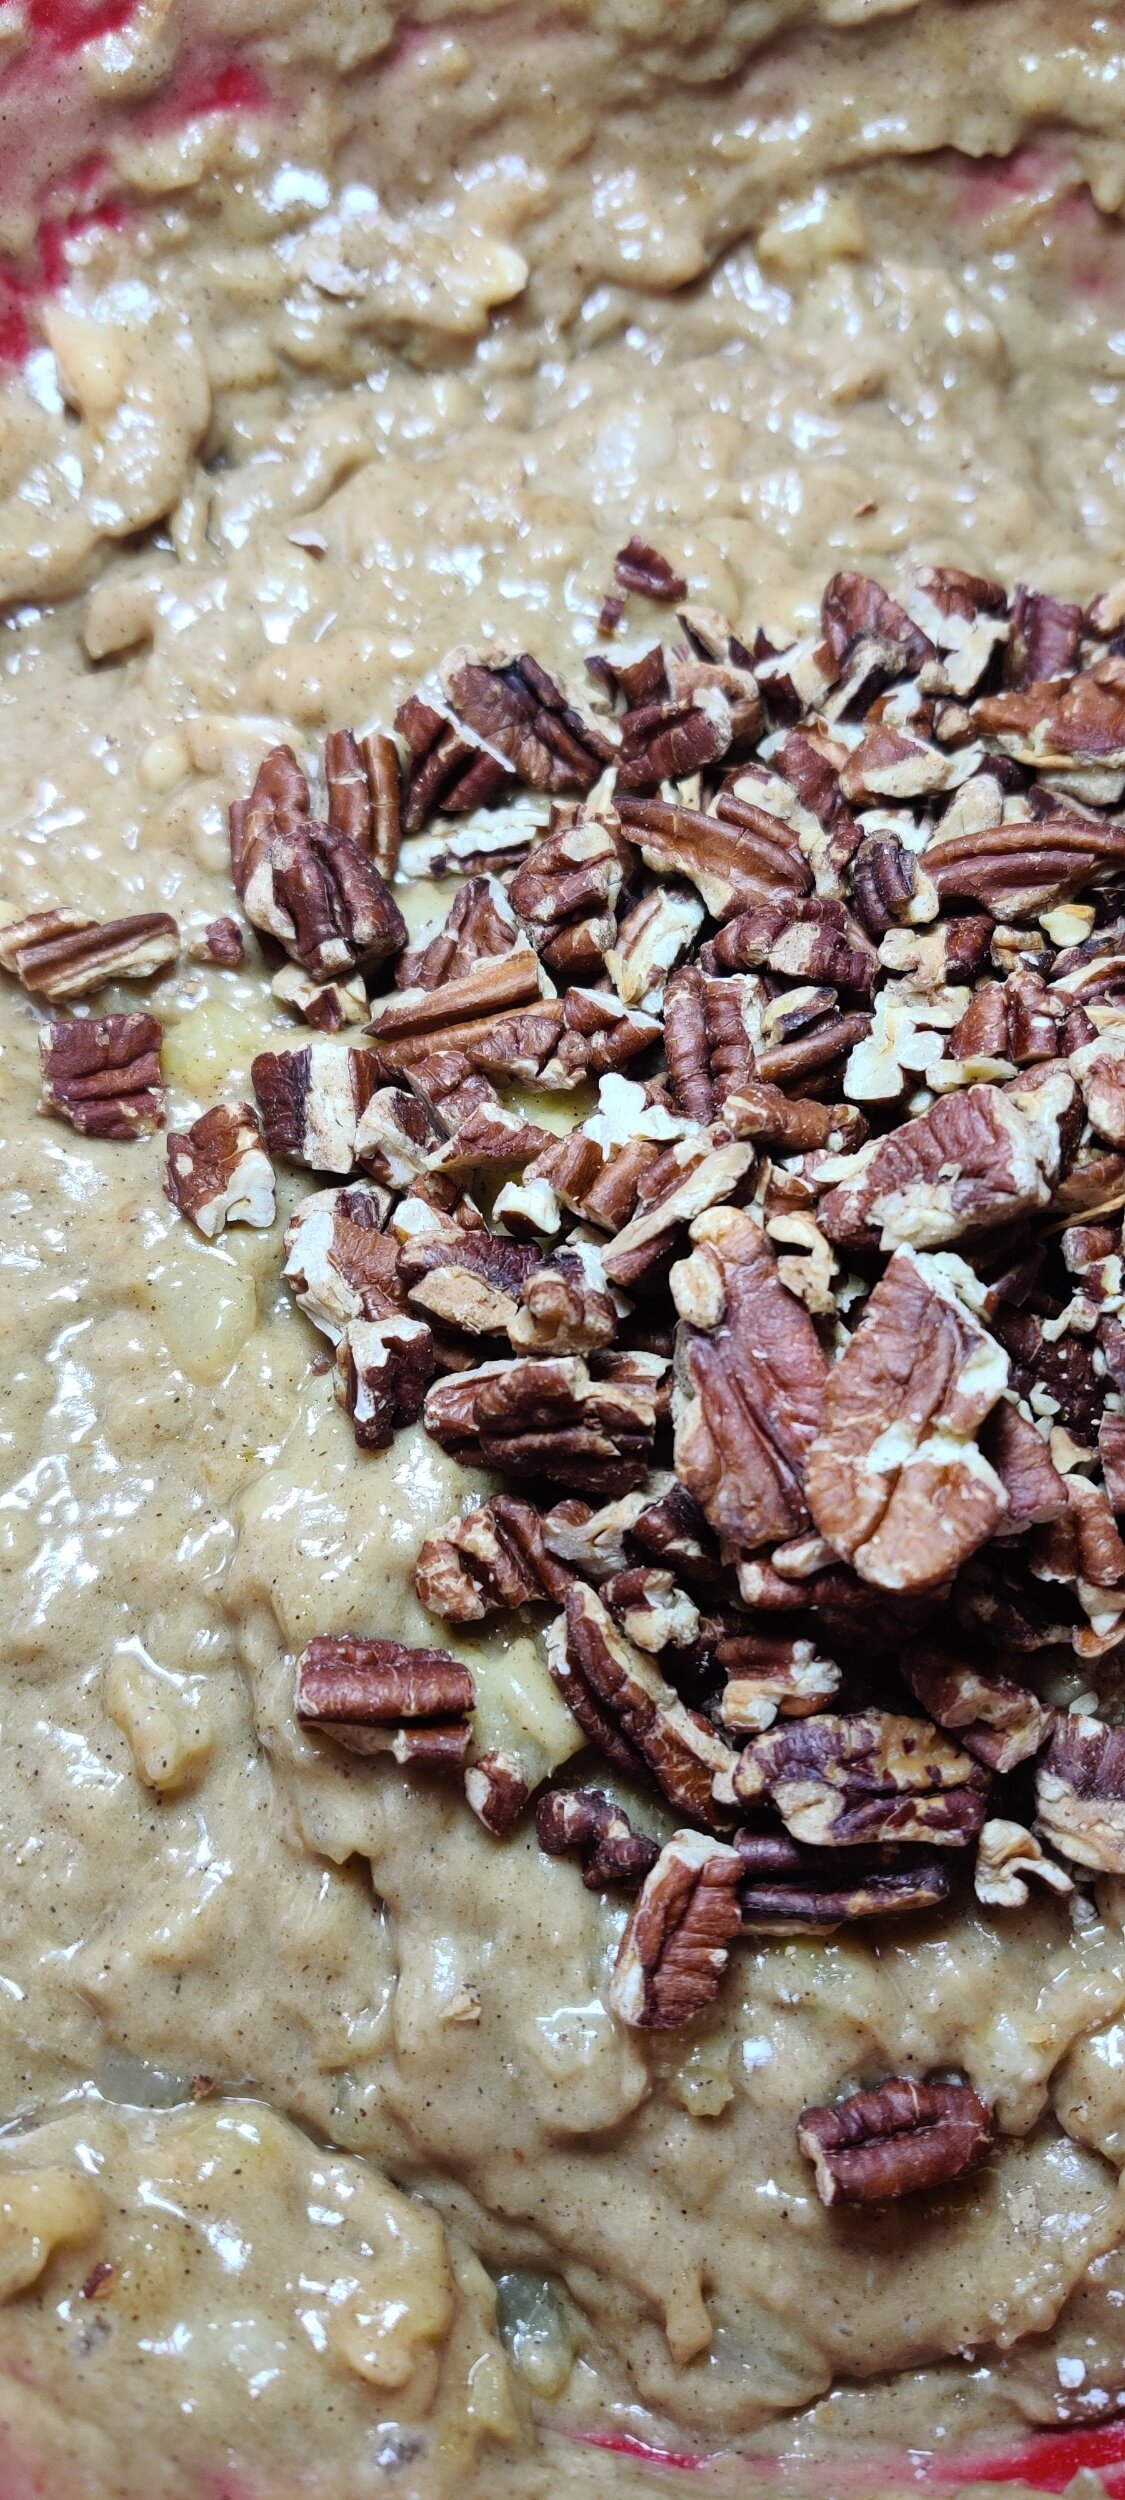
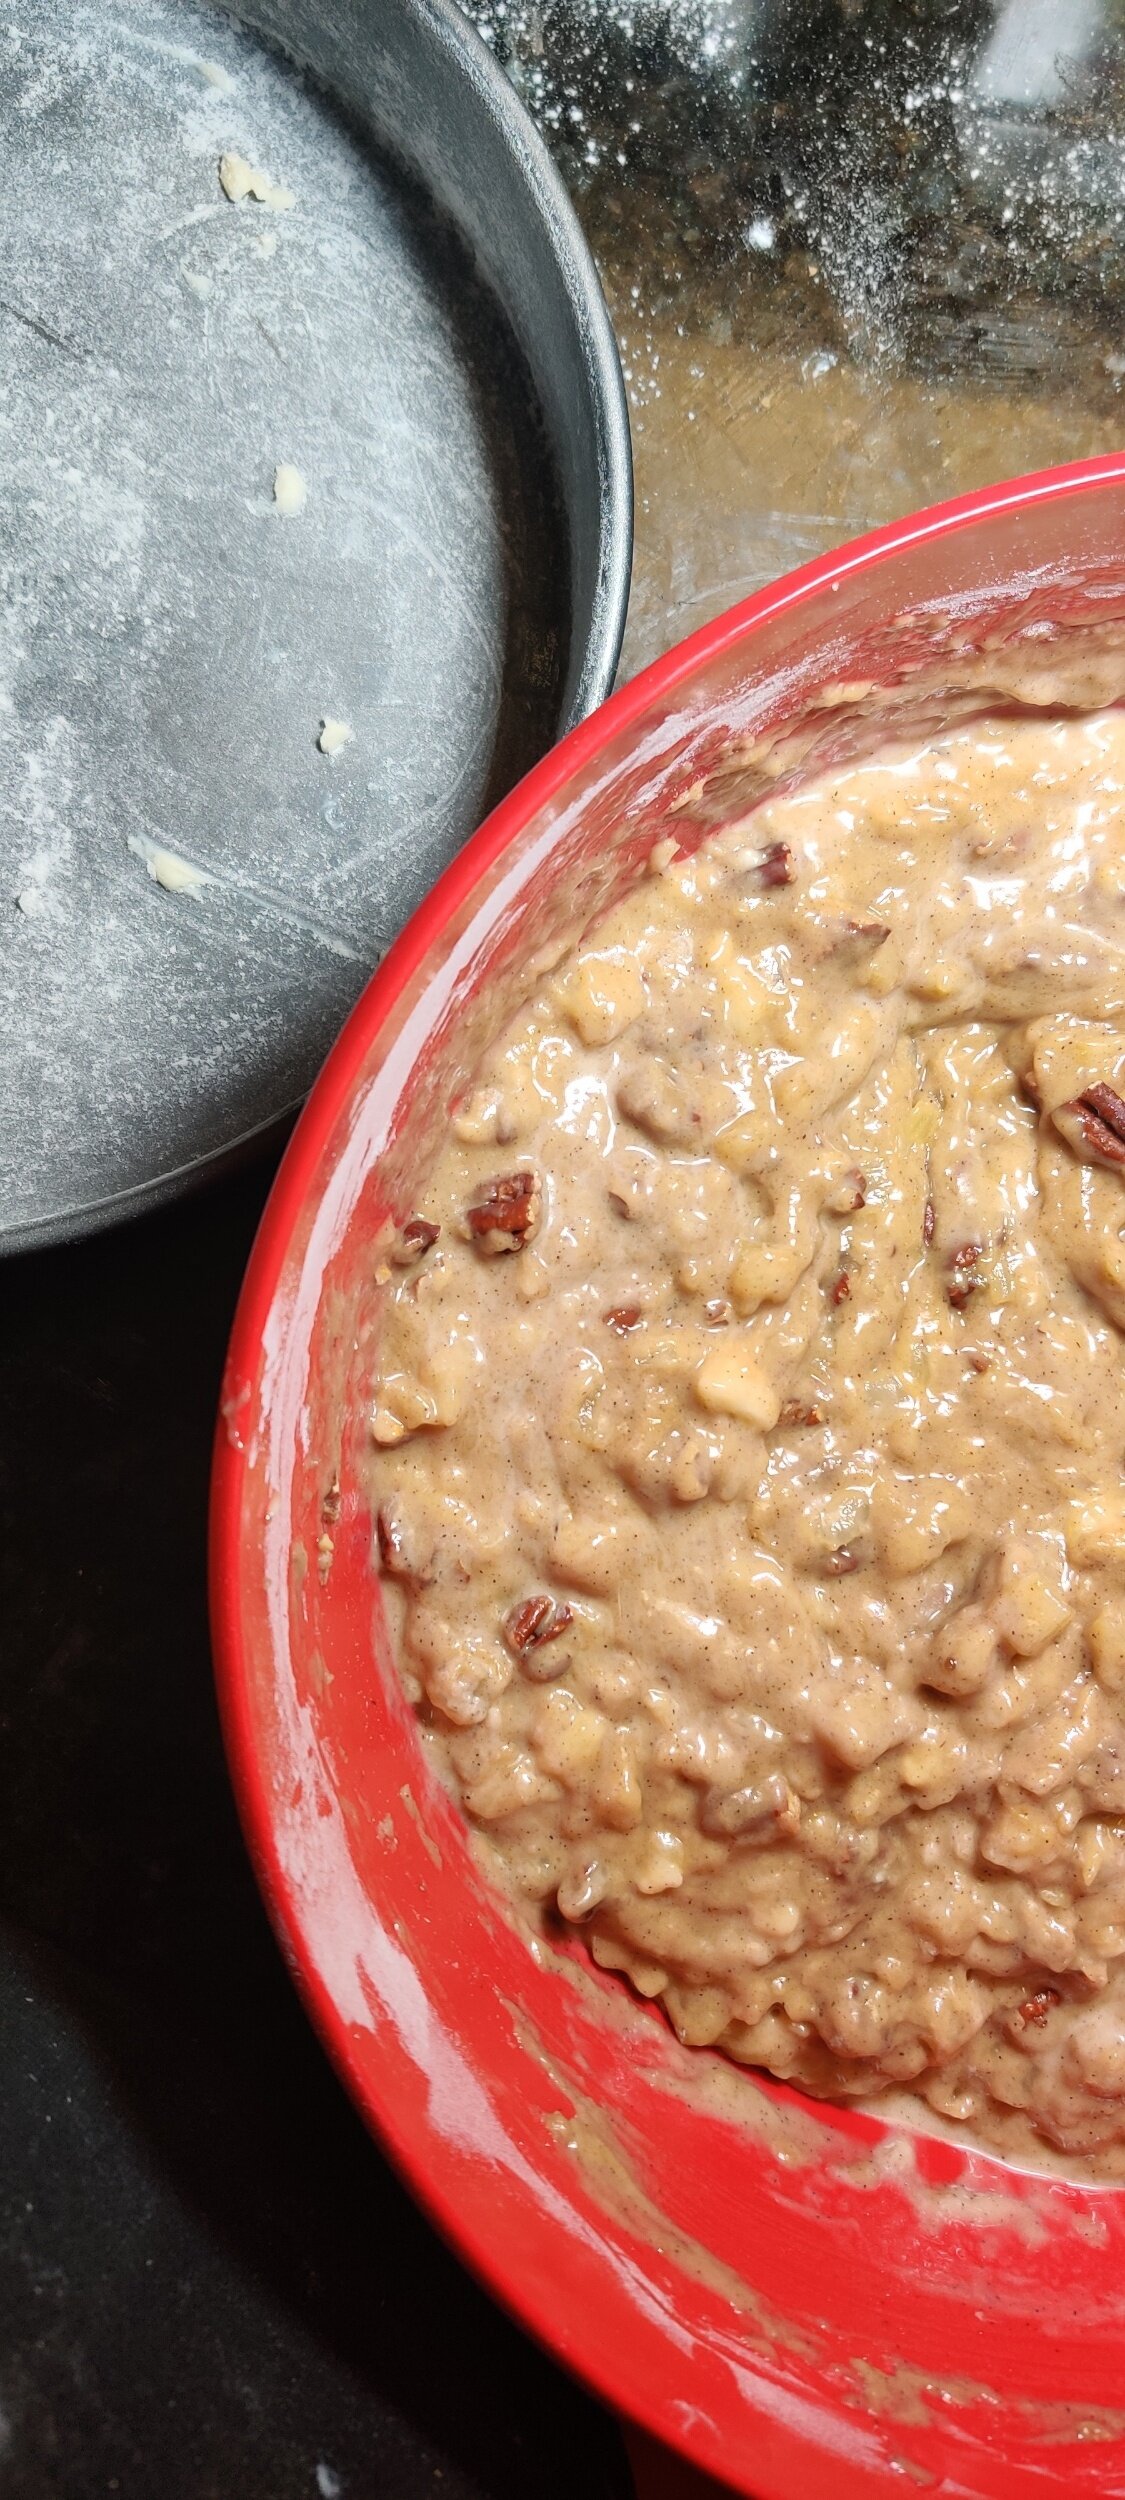
Toss the raspberries in a bit of flour - this will help prevent them from totally sinking or disintegrating in the batter. Gently fold in them with the chopped white chocolate shards into the batter.
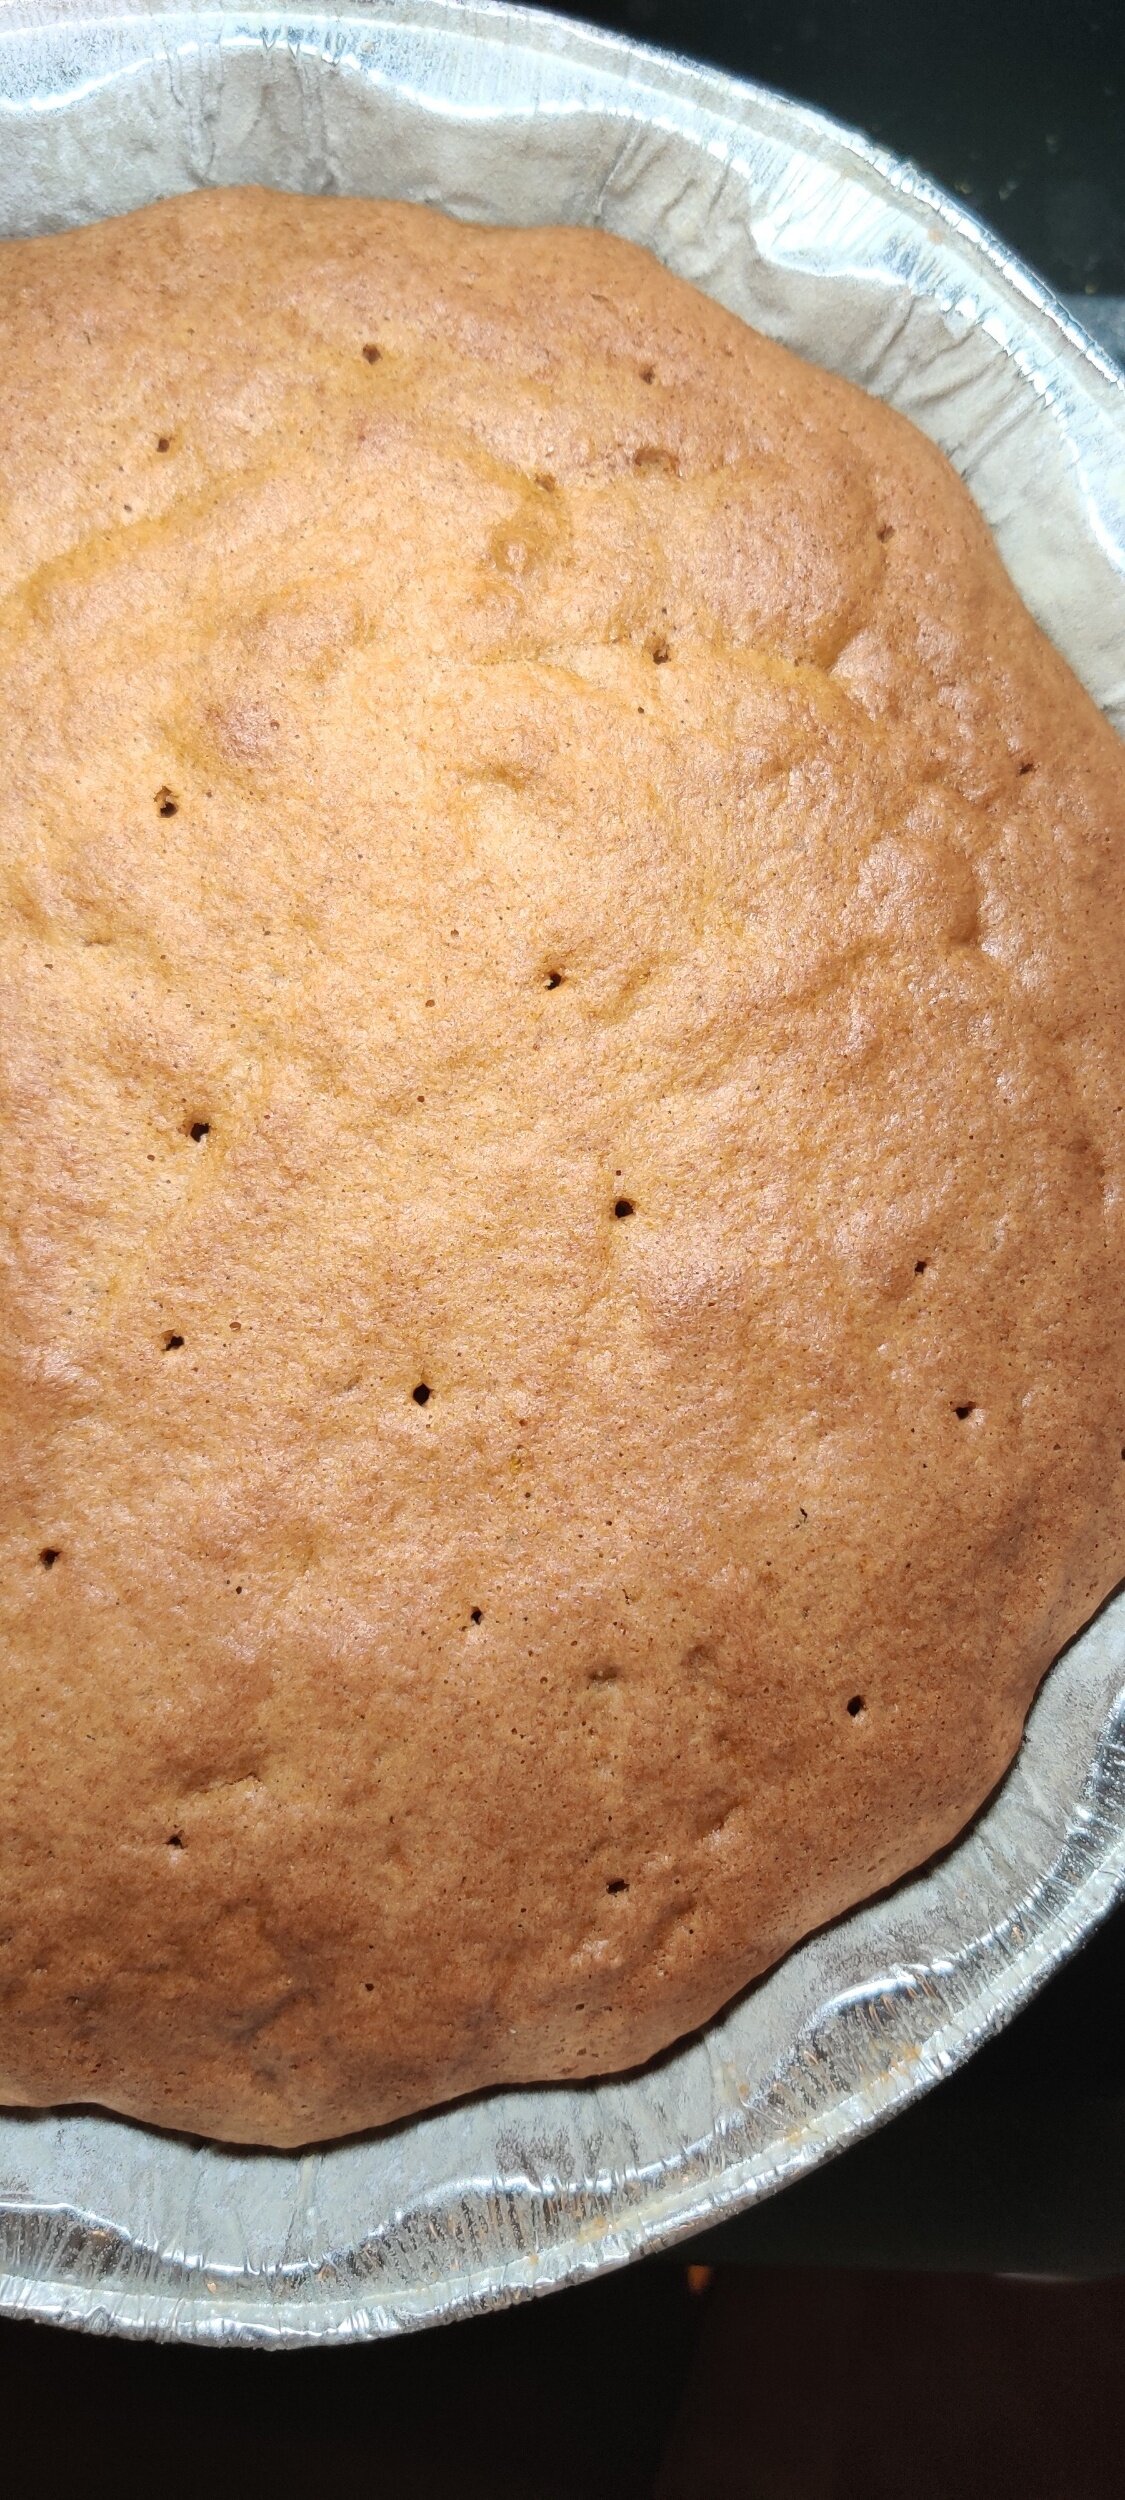
Pour the batter into an 8-inch by 5-inch loaf pan and bake at 350F for 1 hour. Set aside to cool. Loosen the cake loaf from the pan, then continue to cool on a wire rack.
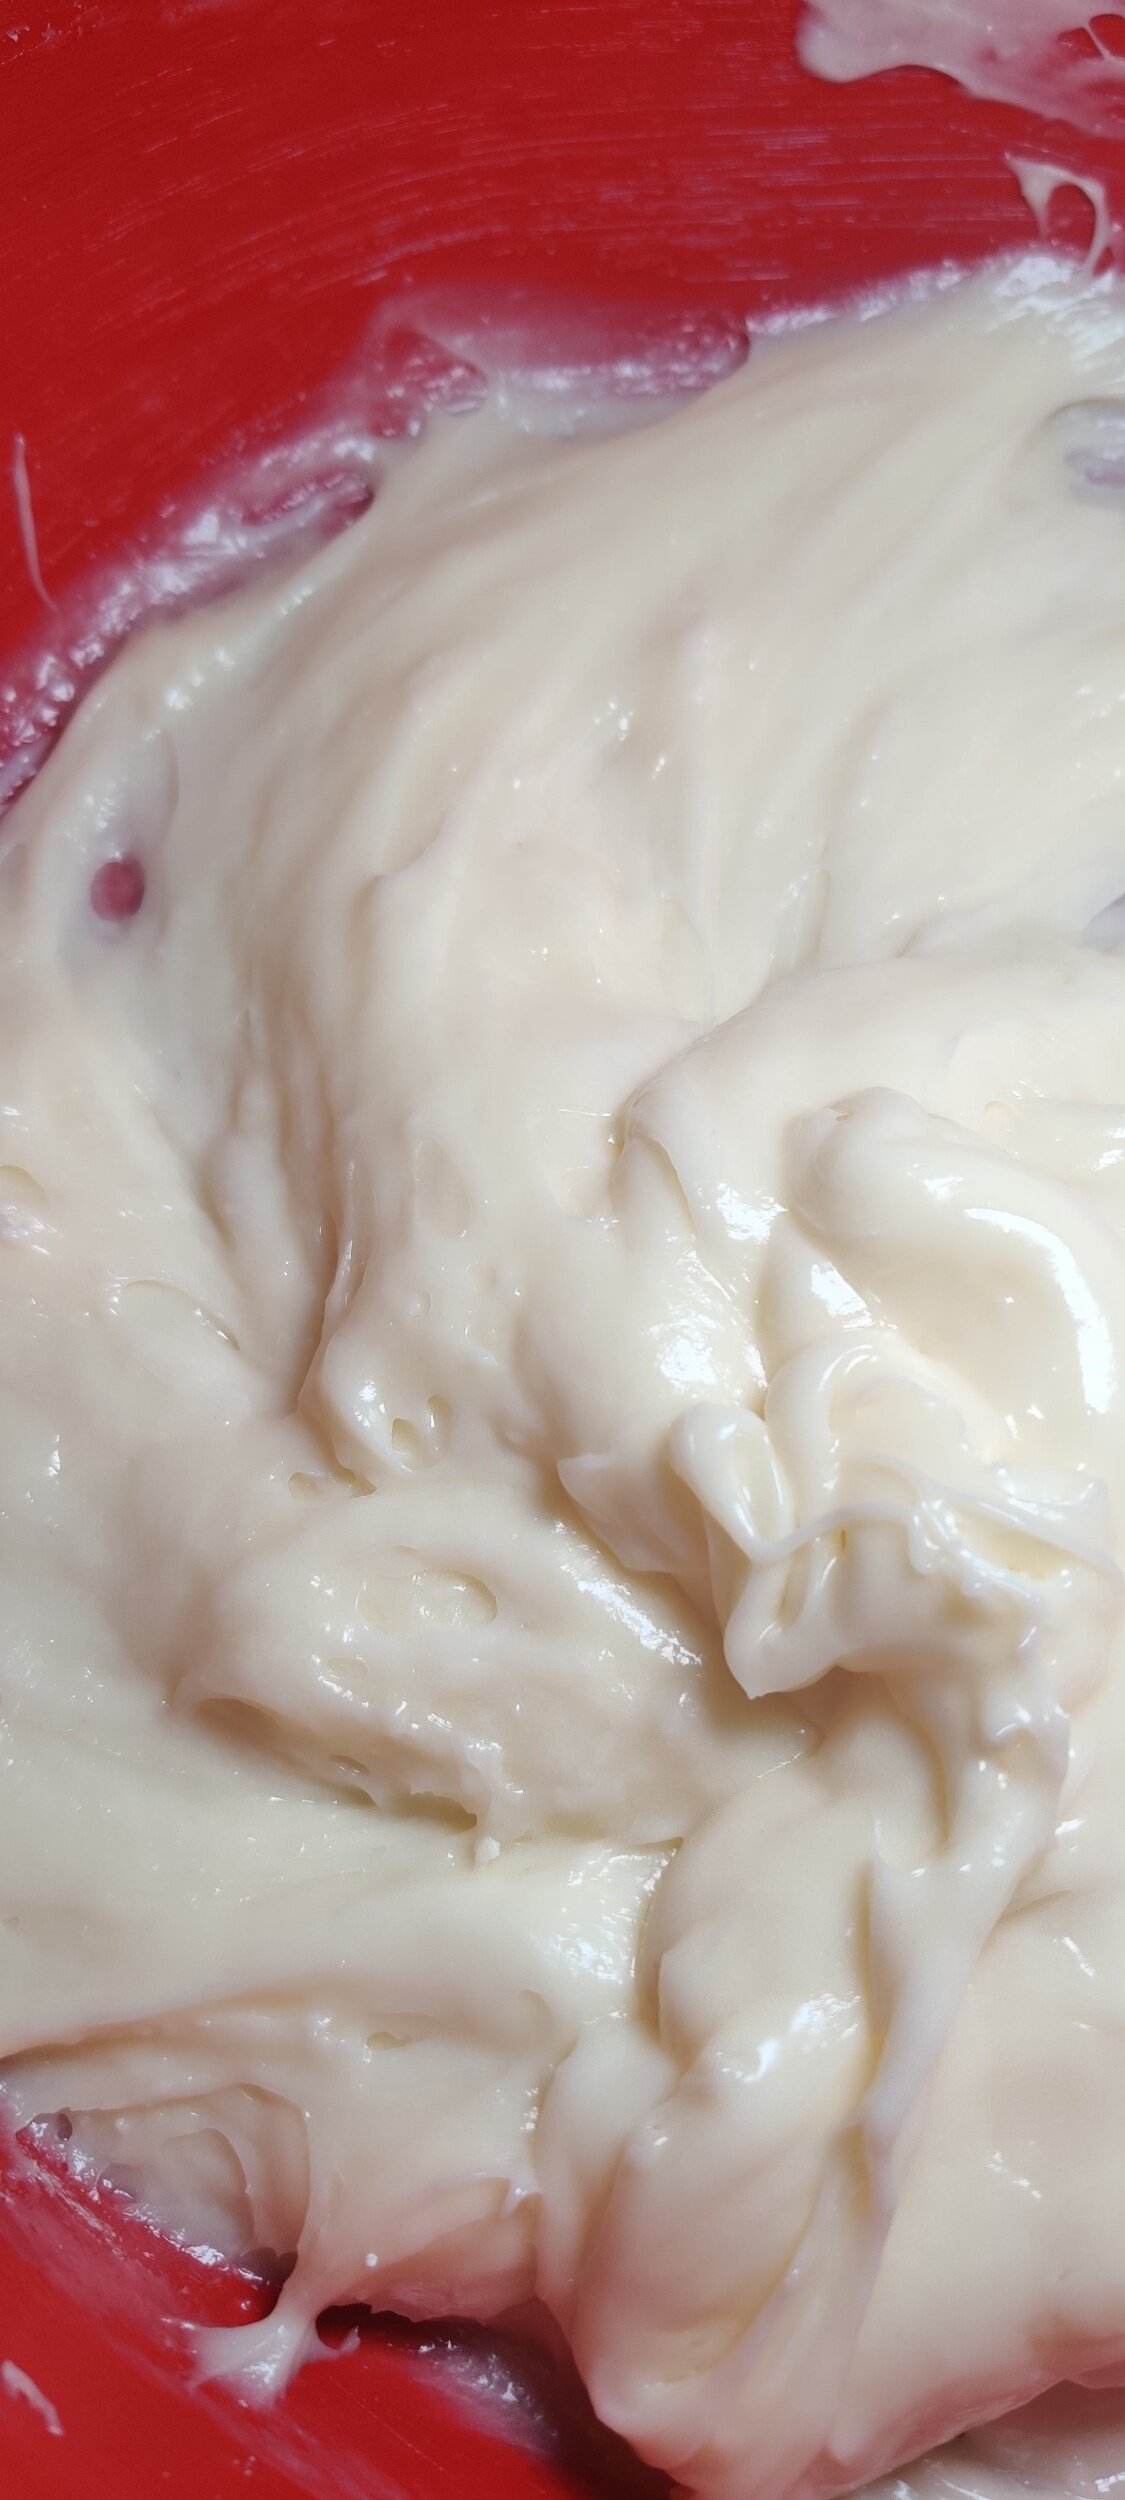
In a separate bowl, melt the chocolate chips for 30 seconds in the microwave. Stir in the mascarpone. If it seems a little thick, microwave the mixture for 10-20 seconds (10 seconds at a time, keep checking) and stir to the desired consistency.
Spread over the cake loaf and garnish with white chocolate shards, raspberries, and icing sugar. Enjoy with tea or coffee!
Chocolate Witch Hat and Little Monster Vanilla Cupcakes
It's that time of the year! Halloween is perfect for some kid-friendly, easy, fun baking. Cupcakes lend themselves well to this, so I whipped up a tray of 12 you can make with the family.
We all know there is a split down the middle when it comes to vanilla and chocolate, so I made both! If you want two dozen, double the recipe and have one tray for each.
The main thing I prioritize with each - vanilla cupcakes should be moist, and sour cream helps that. Egg whites also help add some fluffiness and soften the batter. I also used parts of cake flour to help ensure soften cakes even more. For chocolate cupcakes, I always add expresso powder, this enhances the intensity of the chocolate flavour.
I hope you enjoy these and have fun decorating! They are moist and delicious, just like how cupcakes should be.
Ingredients
Vanilla cupcakes:
1/3 cup cake flour
1/2 cup all-purpose flour
Pinch of salt
Pinch of baking soda
1 teaspoon baking powder
1 1/2 egg whites
1/4 cup milk
6 tablespoons butter, melted
1/4 cup sour cream
1 teaspoon vanilla
Black icing
White icing
Red icing
(I used Wilton's Icing pouches since I needed several colours and didn't need that much icing. You can also make a batch of vanilla buttercream icing then use the pouches for decorative accents).
Chocolate cupcakes:
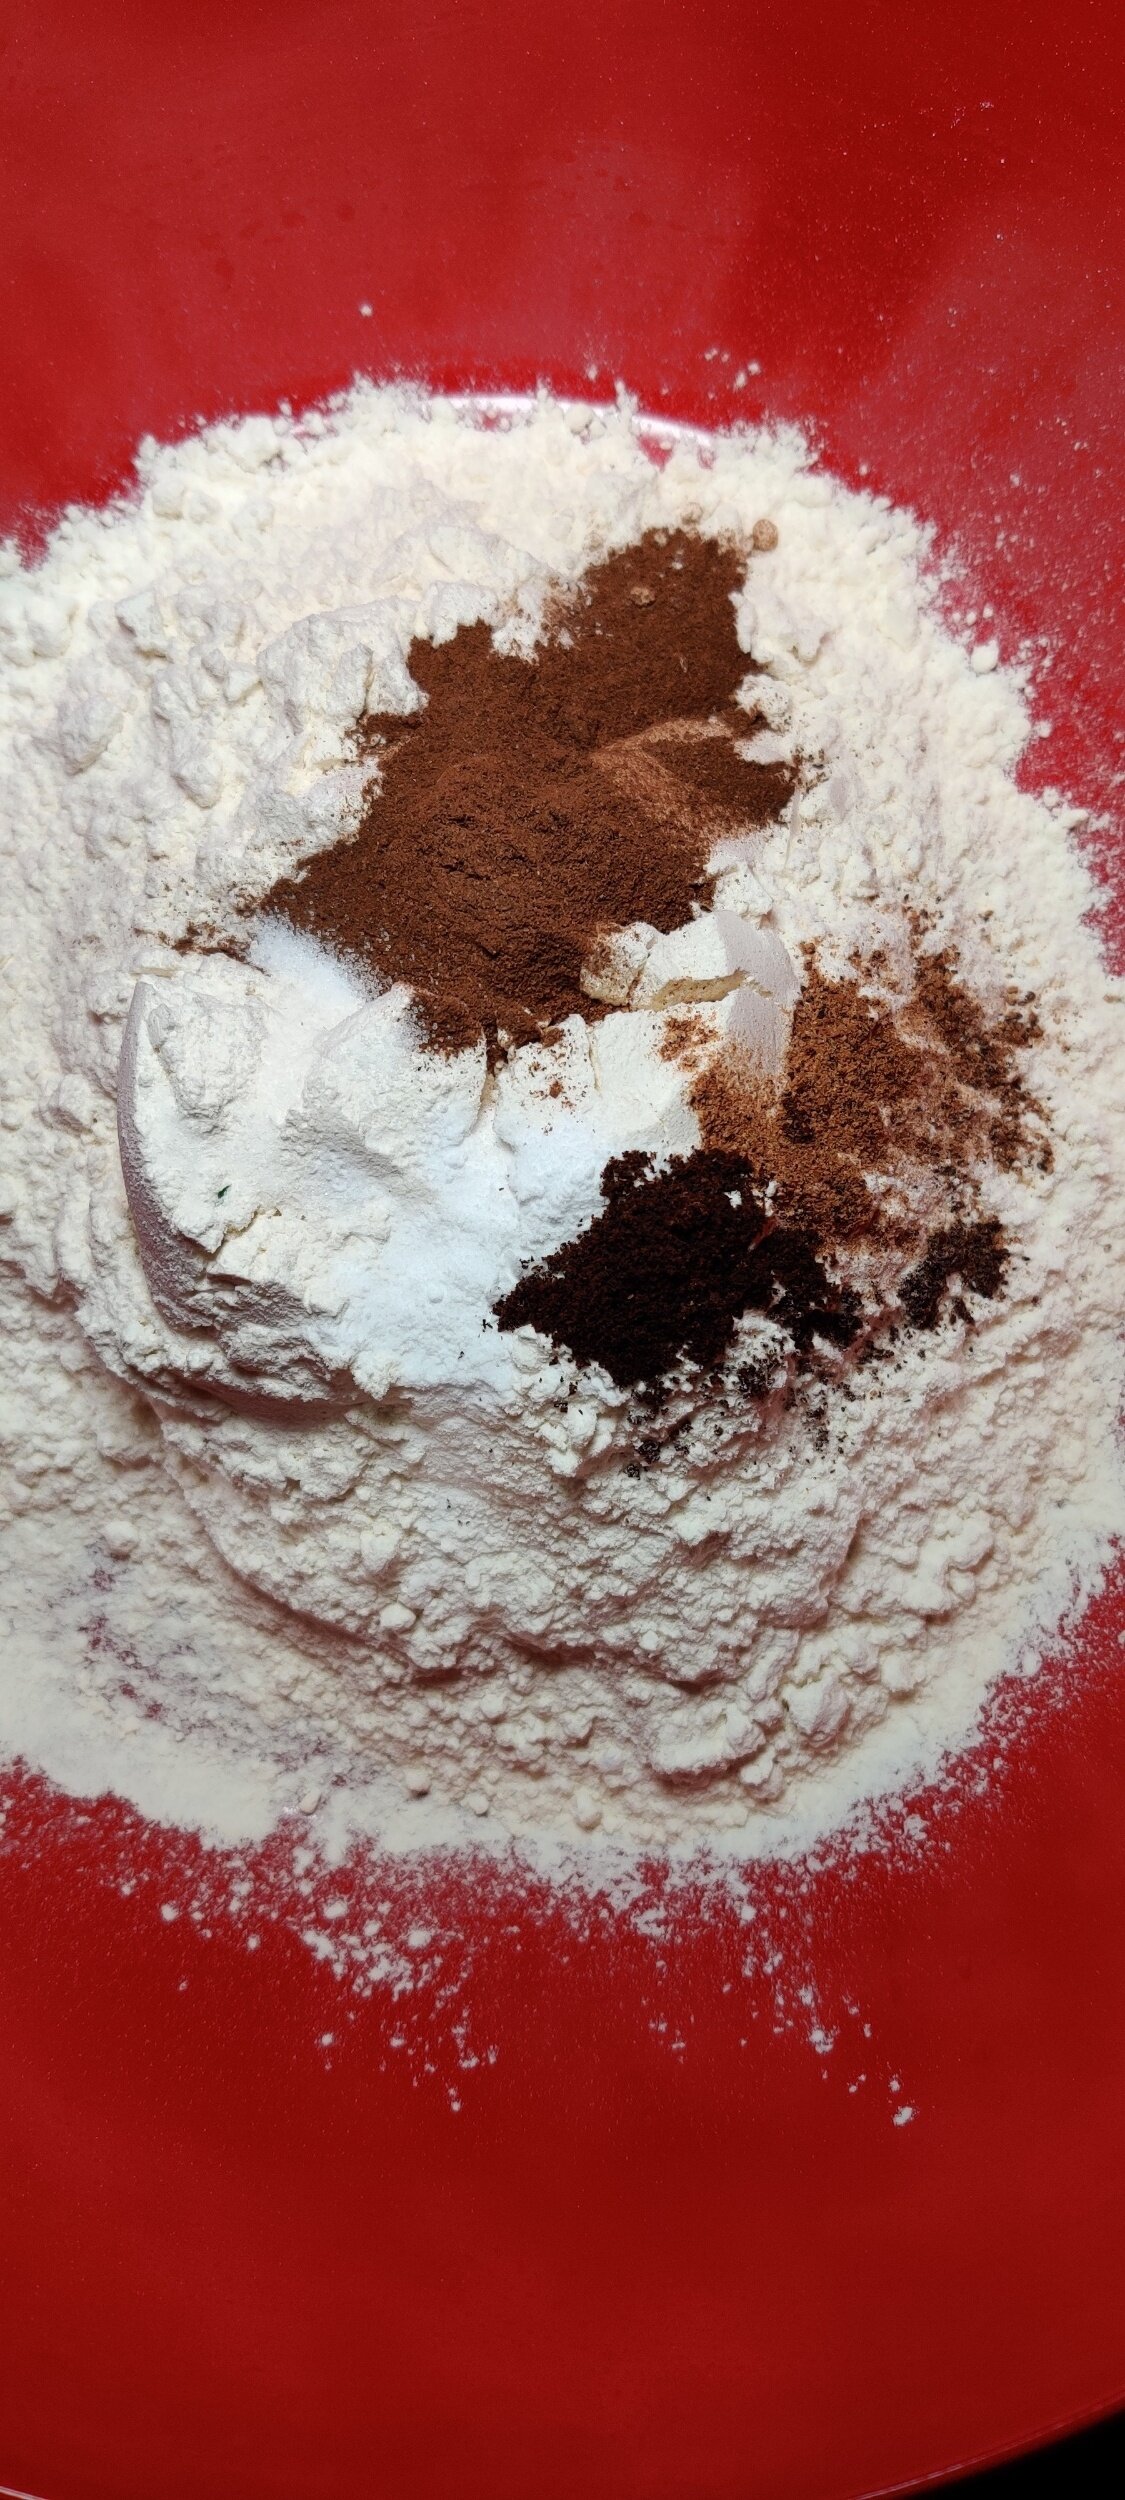
2 tablespoons cake flour
4 tablespoons all-purpose flour
1/4, cup cocoa powder (I used Hershey's Cocoa special dark)
1 teaspoon espresso powder
Pinch of salt
1/2 teaspoon baking powder
Baking soda
1/4 cup light brown sugar
1/4 cup white sugar
1 egg
1/4 teaspoon baking soda
1 teaspoon vanilla extract
1/4 cup milk
2 tablespoons + 2 teaspoons vegetable oil
6 Oreo thins ( 1side cookie only, remove the cream)
6 Hershey kisses
Green icing
Red icing
Pistachios (optional)
Instructions
Get four bowls for each mix - two small and two large.
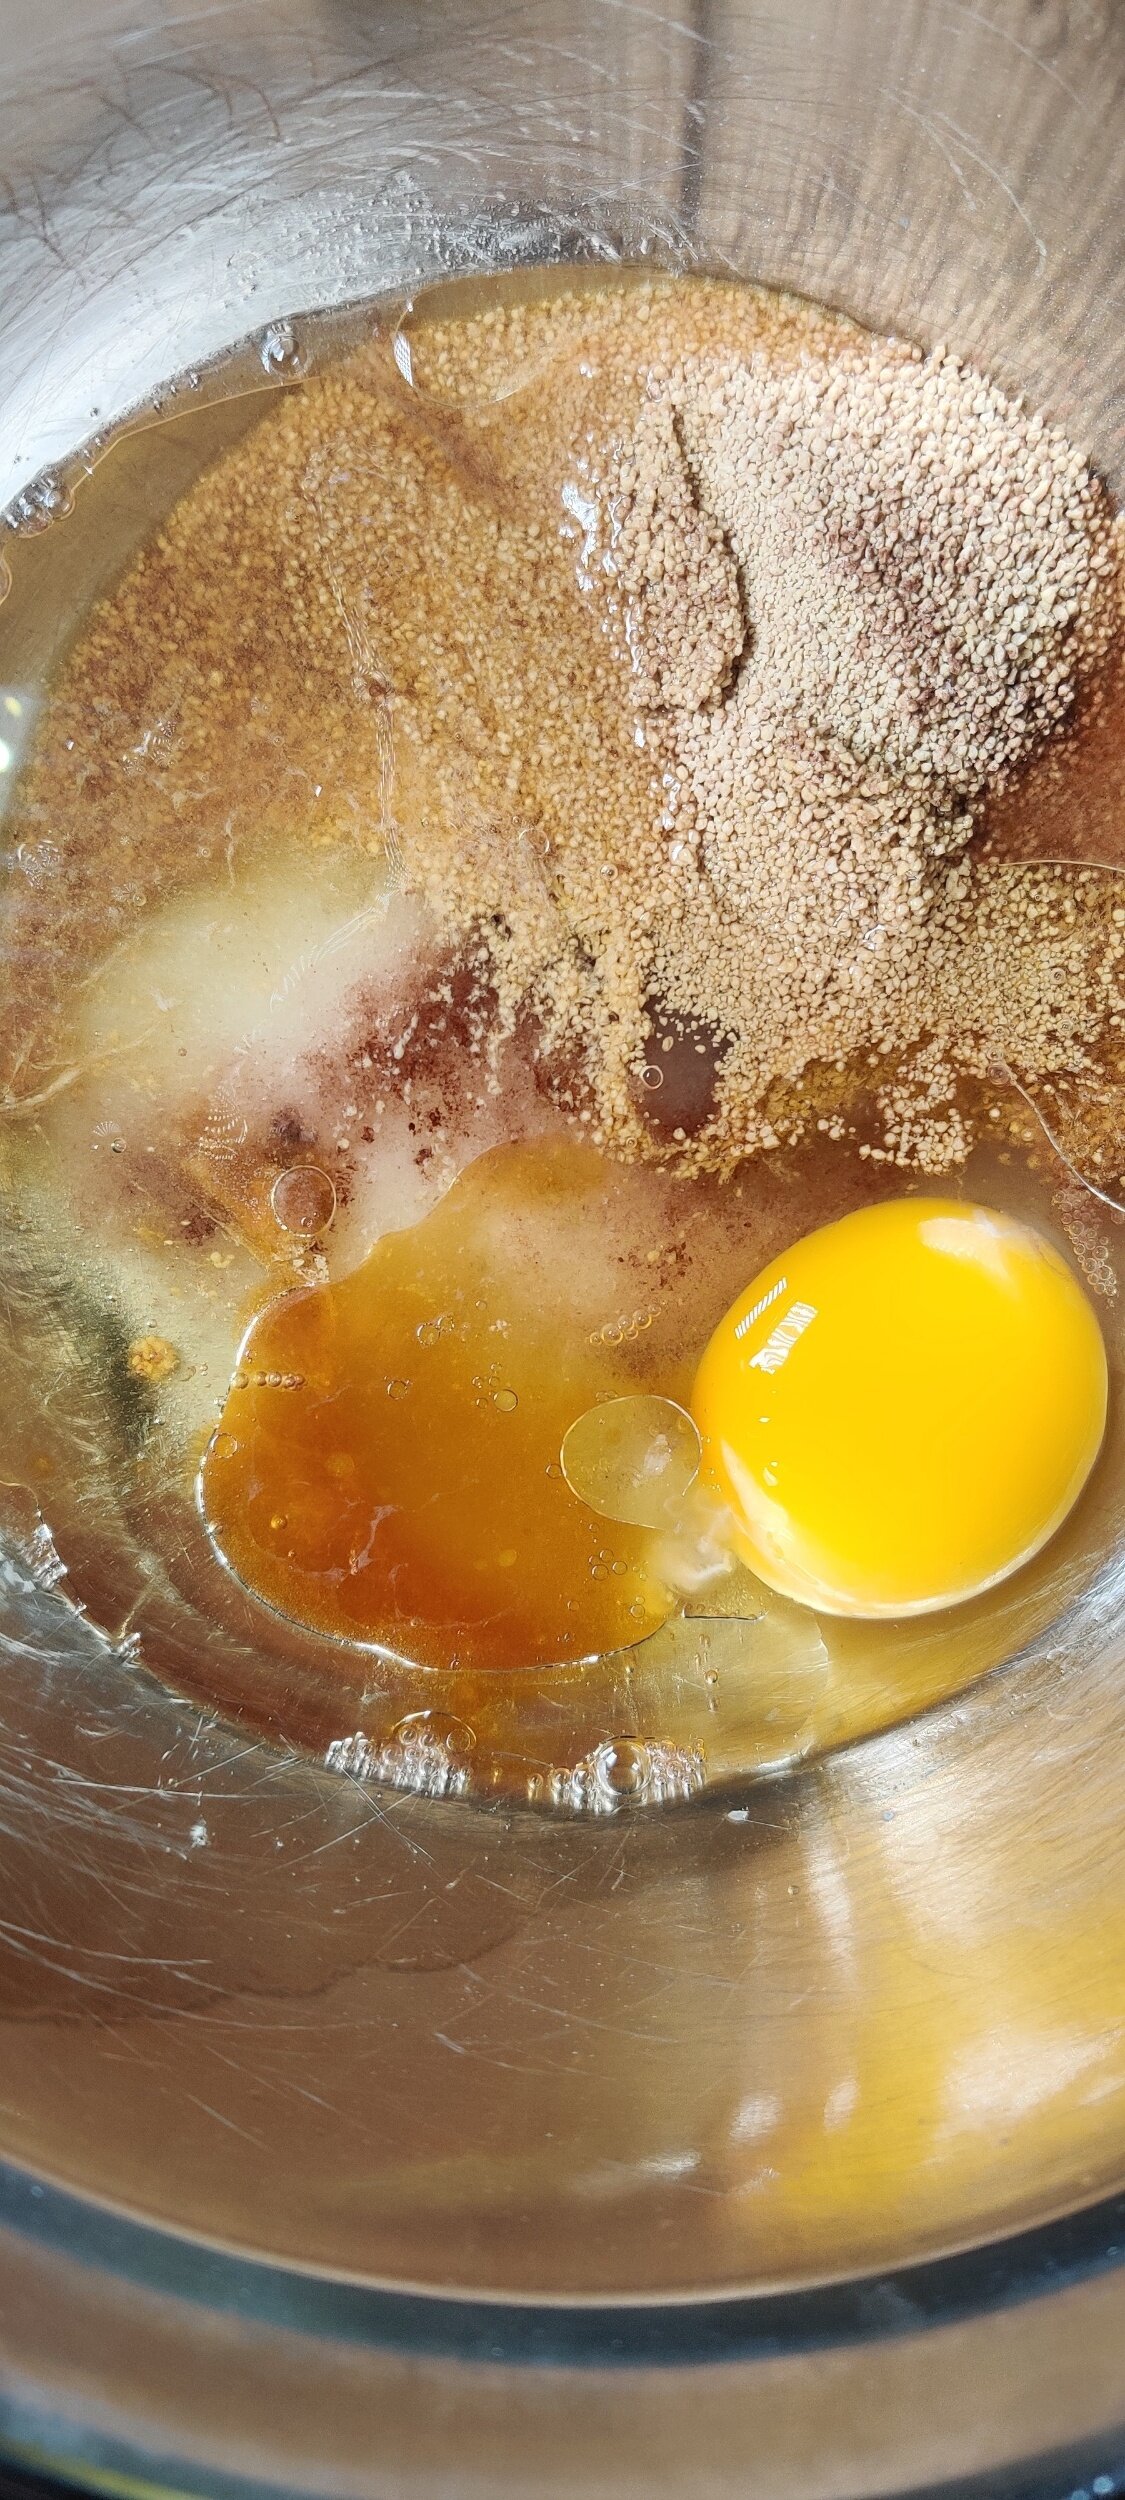
For the vanilla cupcake batter, whisk the flour, salt, baking powder, salt, and baking soda.
In the small bowl, combine the eggs, vanilla, milk, butter, and sour cream. Pour the mixture into the dry ingredients bowl and mix until combined, set aside.
For the chocolate cupcakes batter.
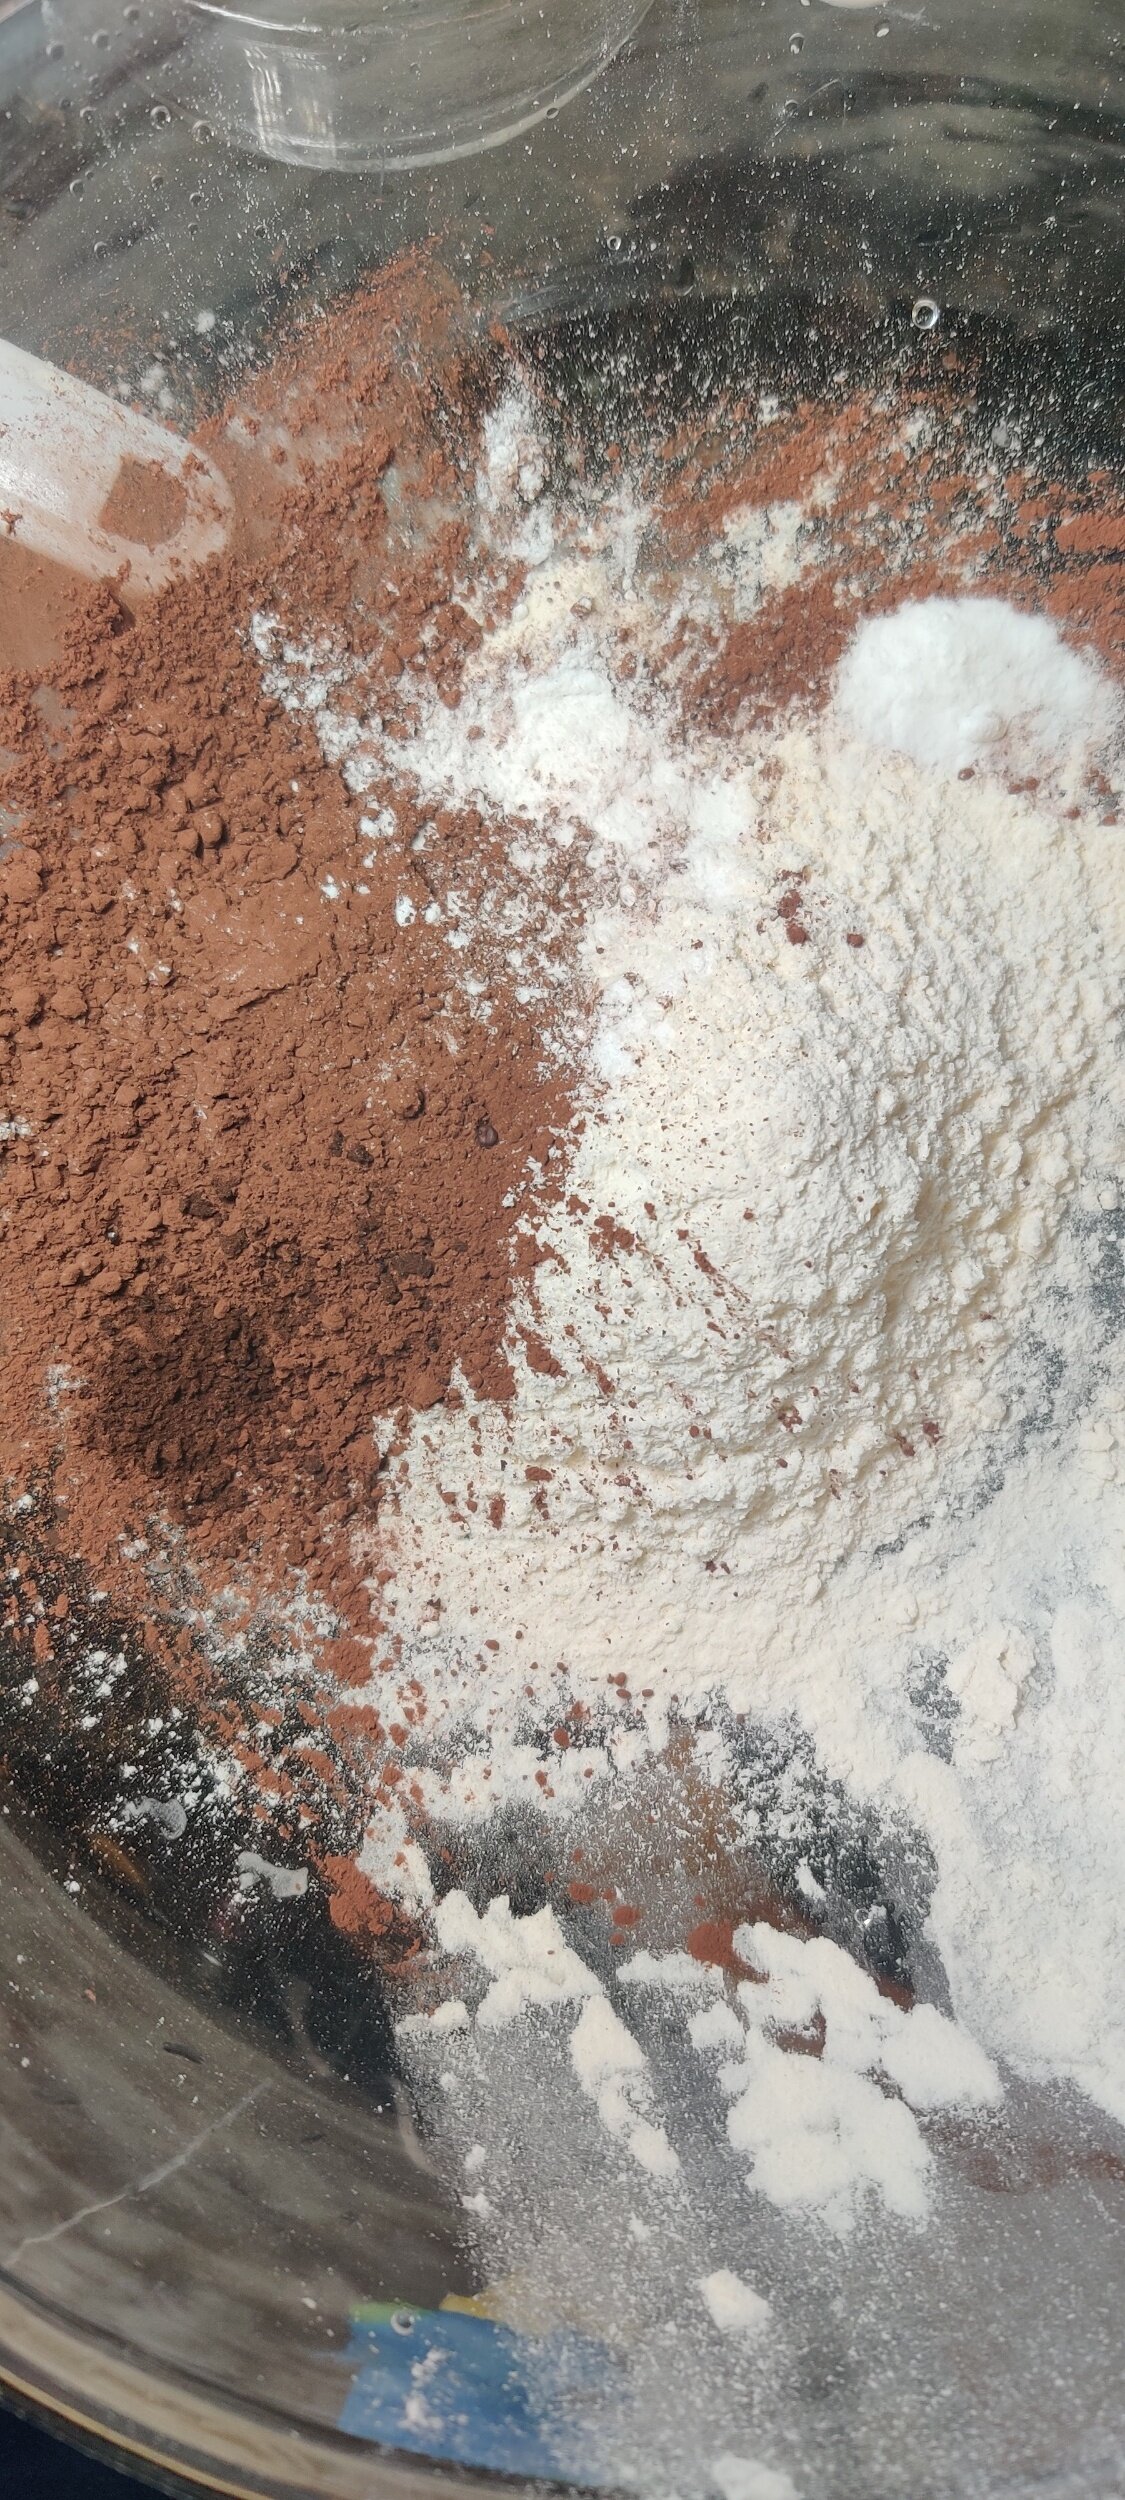
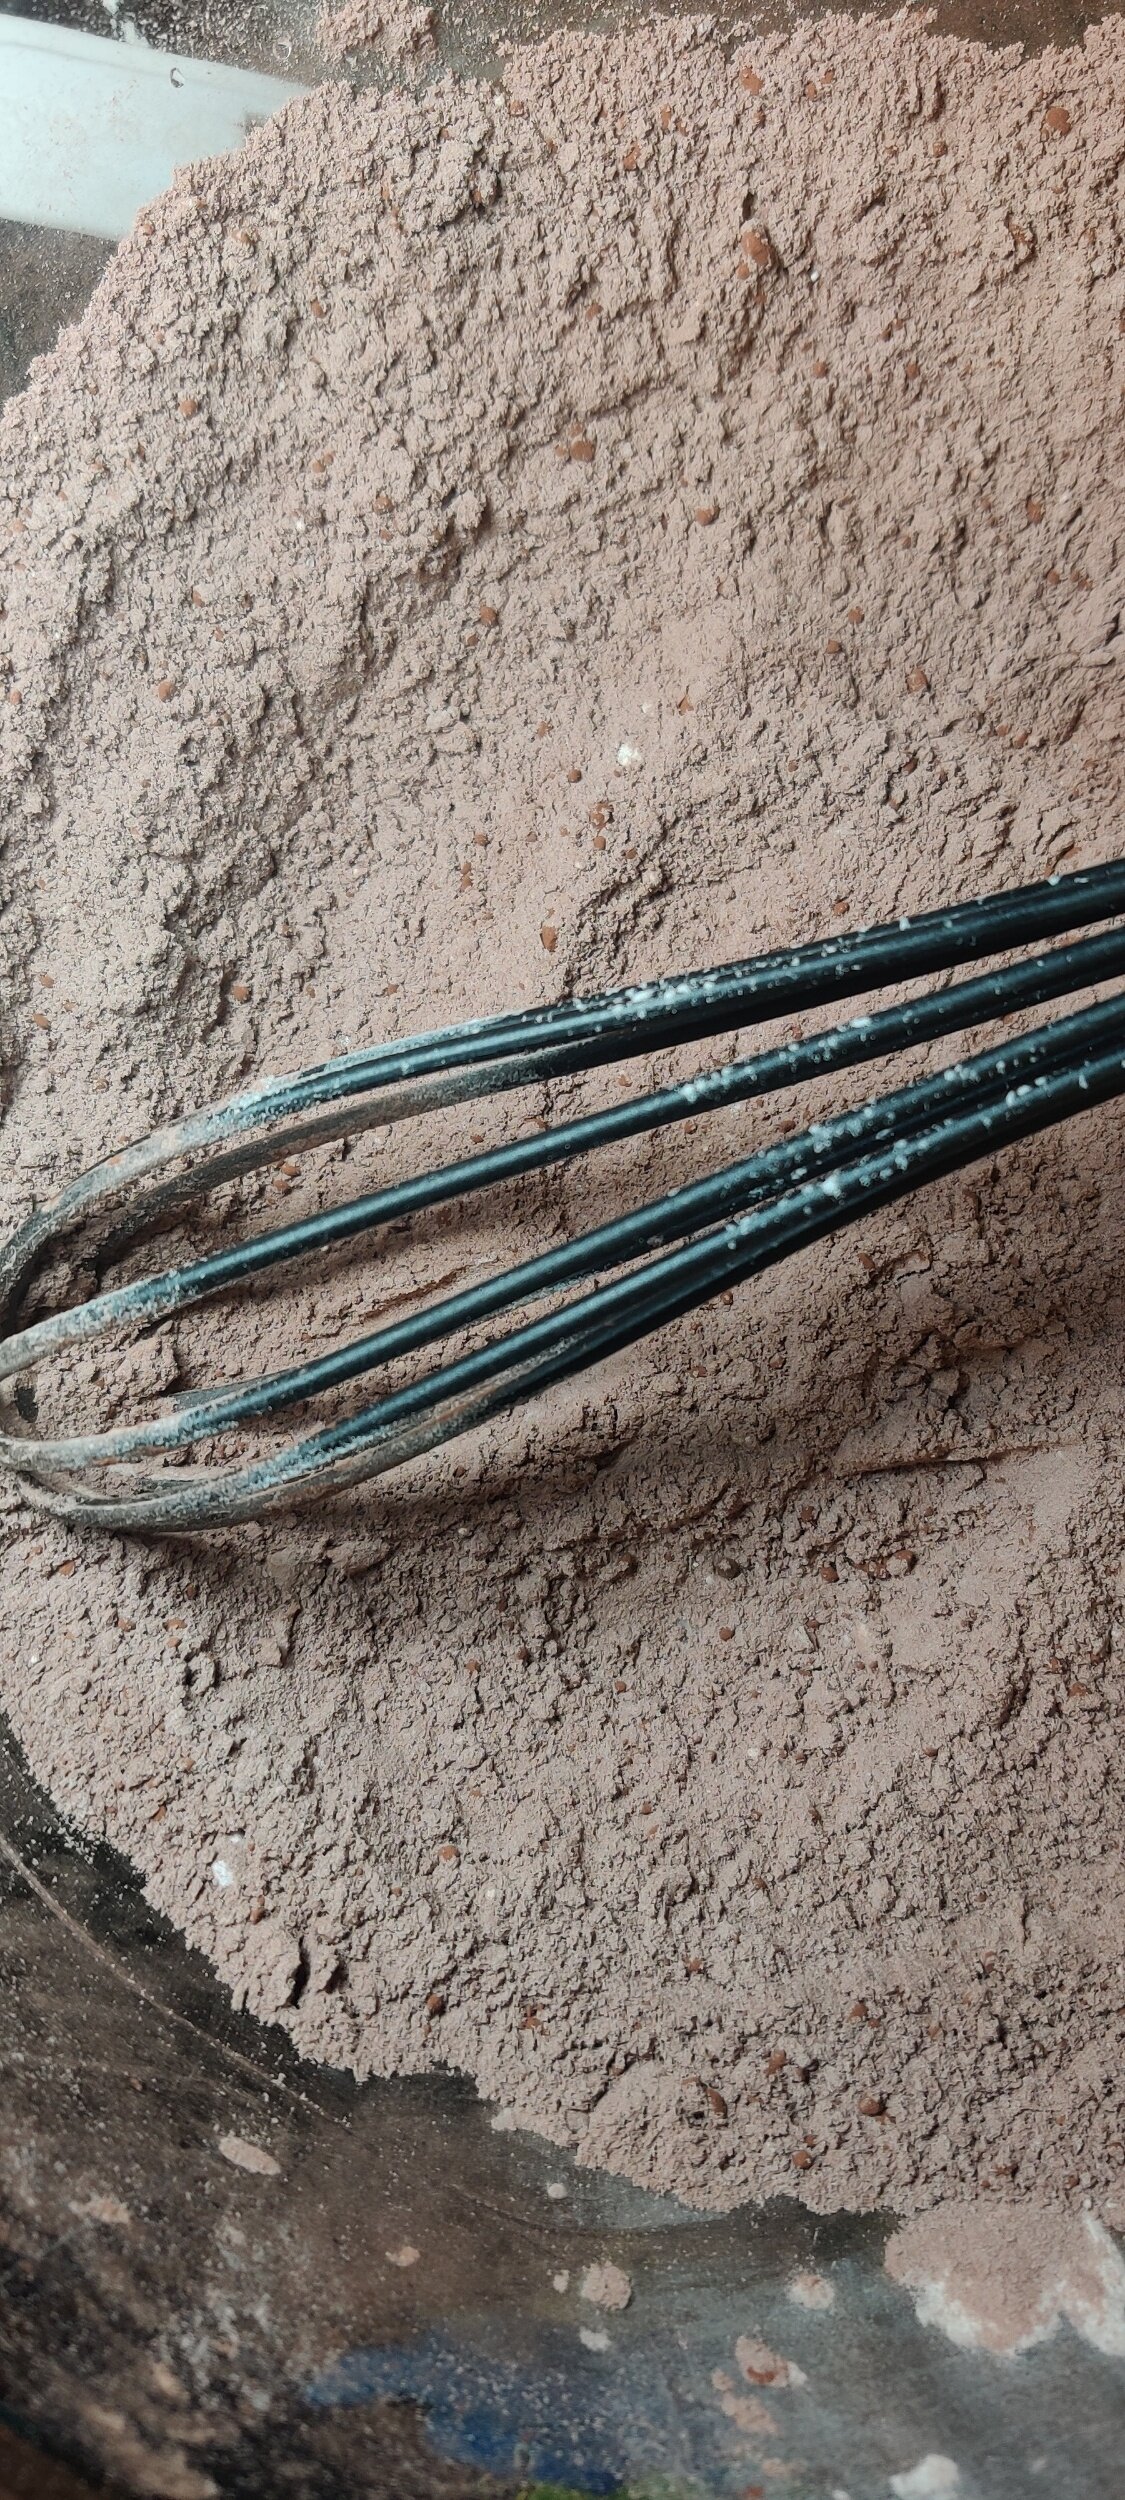
Whisk the flour, baking soda, baking powder, espresso, cocoa powder, and salt.
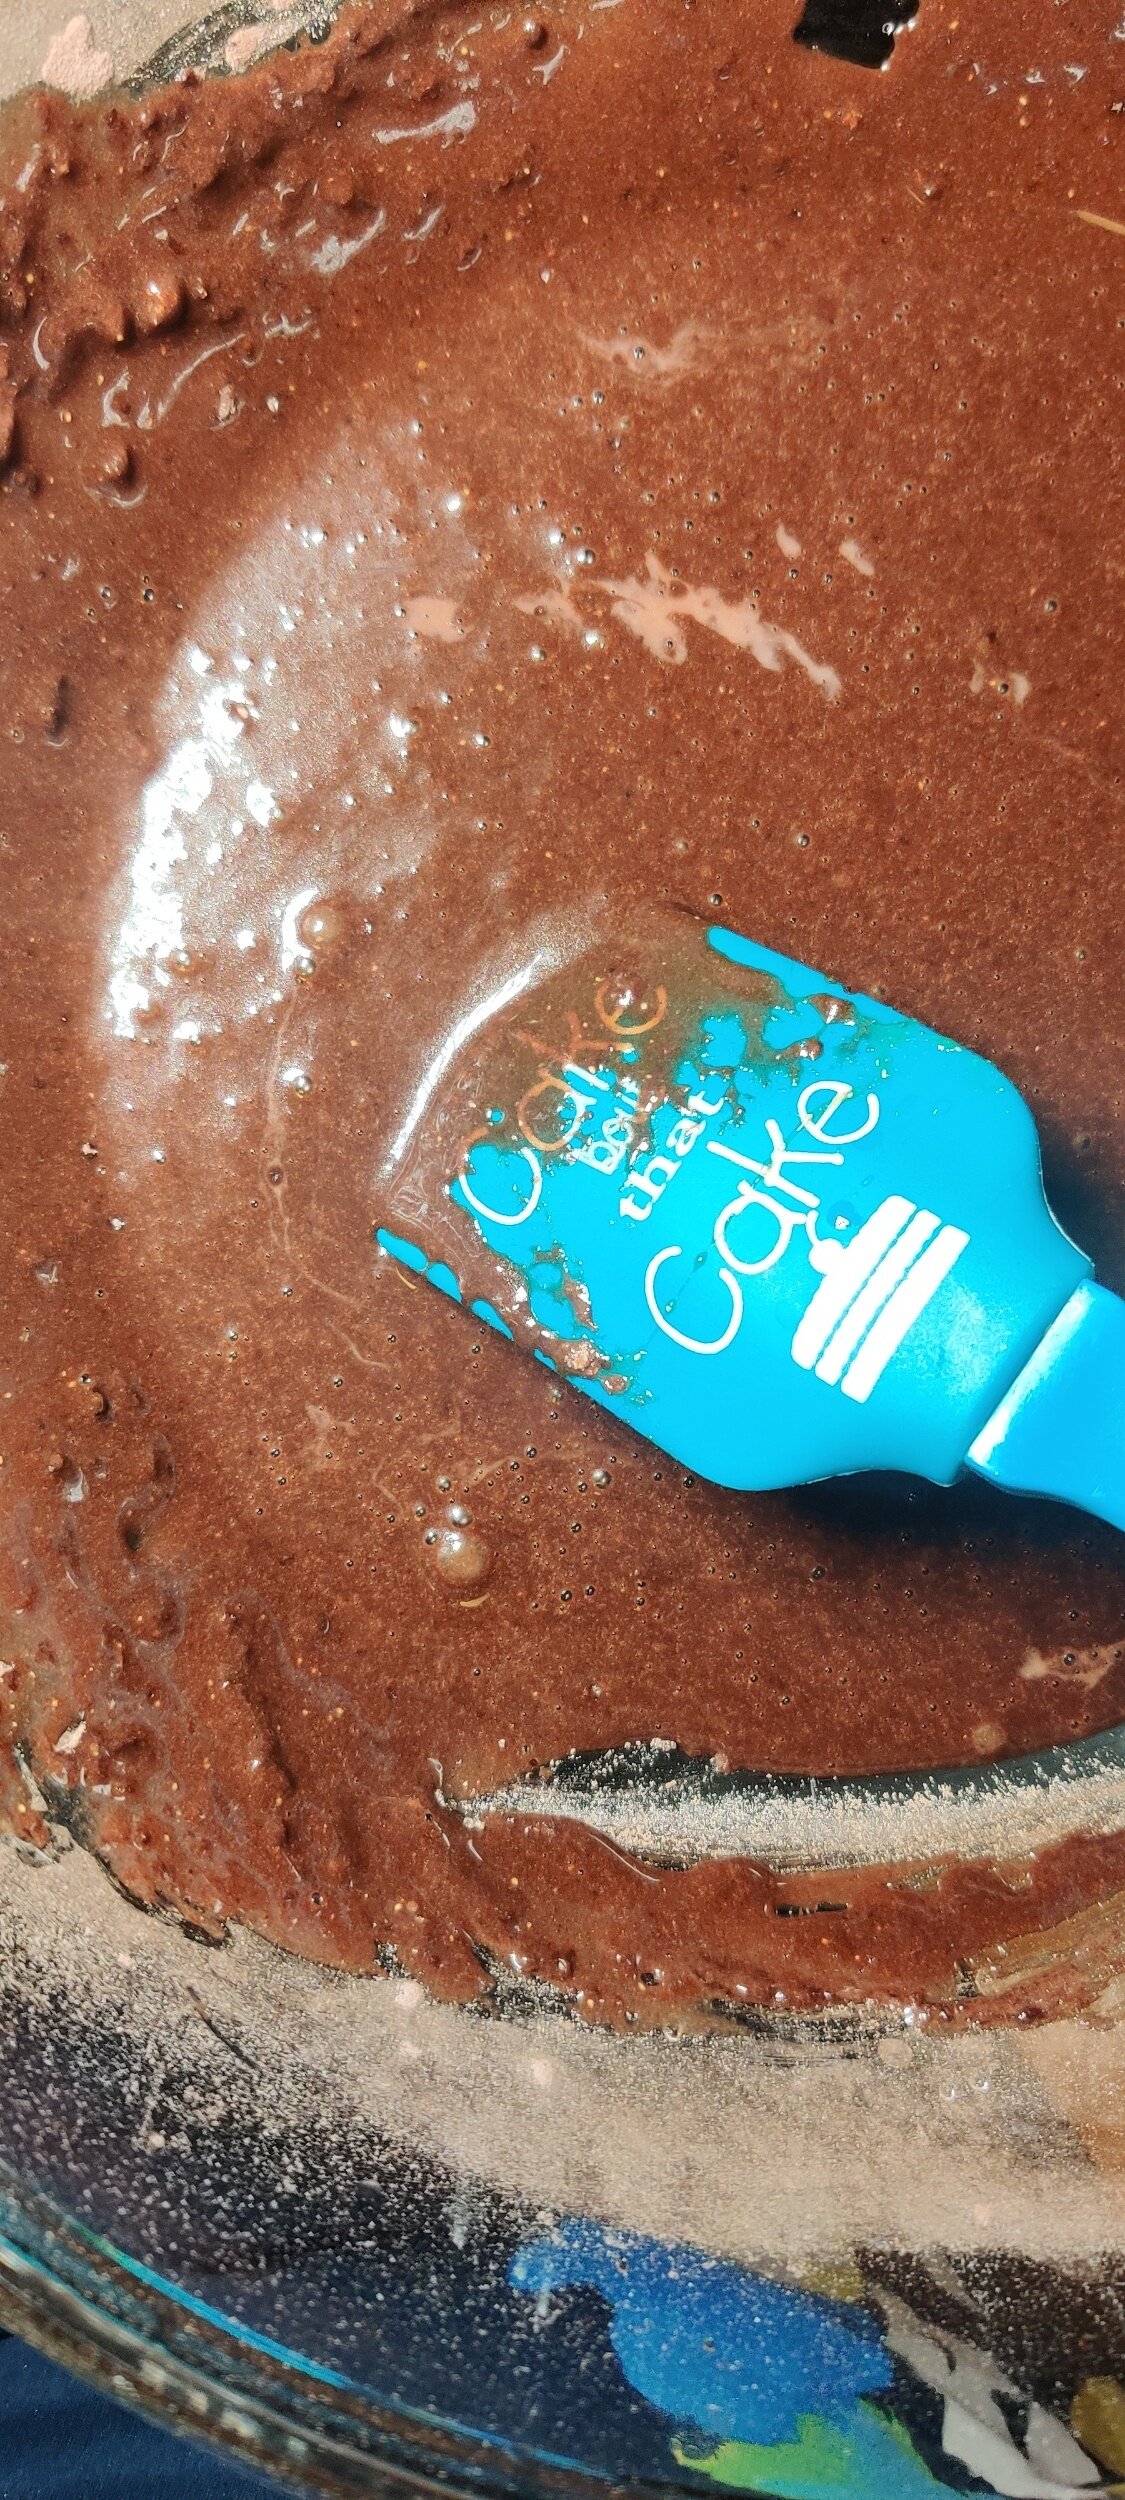
In a small bowl, whisk the egg, sugar, vanilla, and butter. Combine the wet ingredients with the dry ingredients, don't overmix.
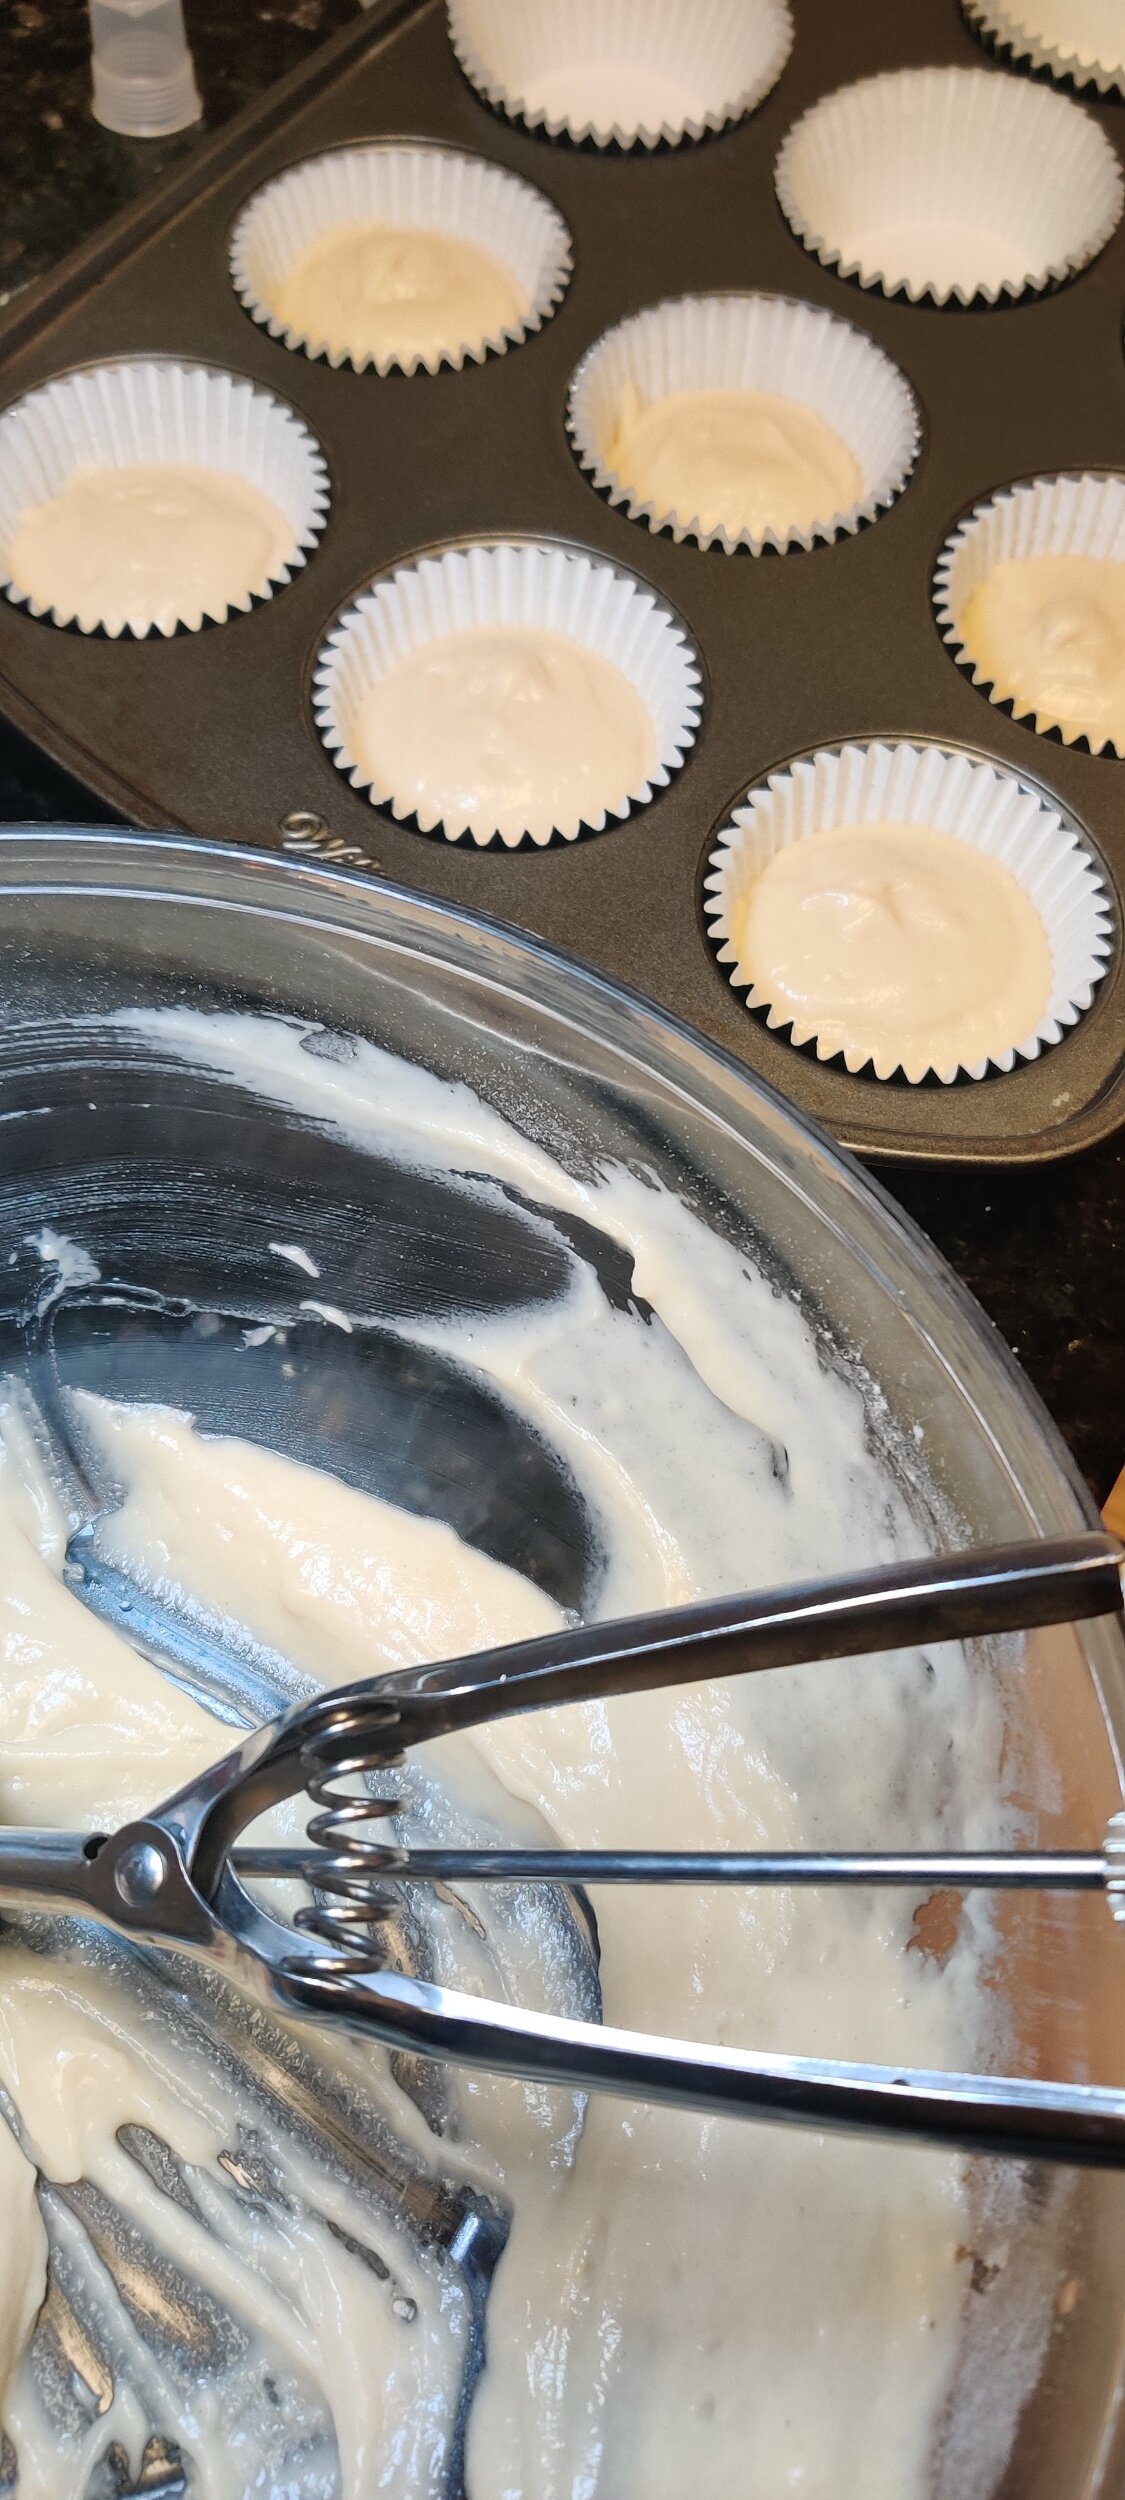
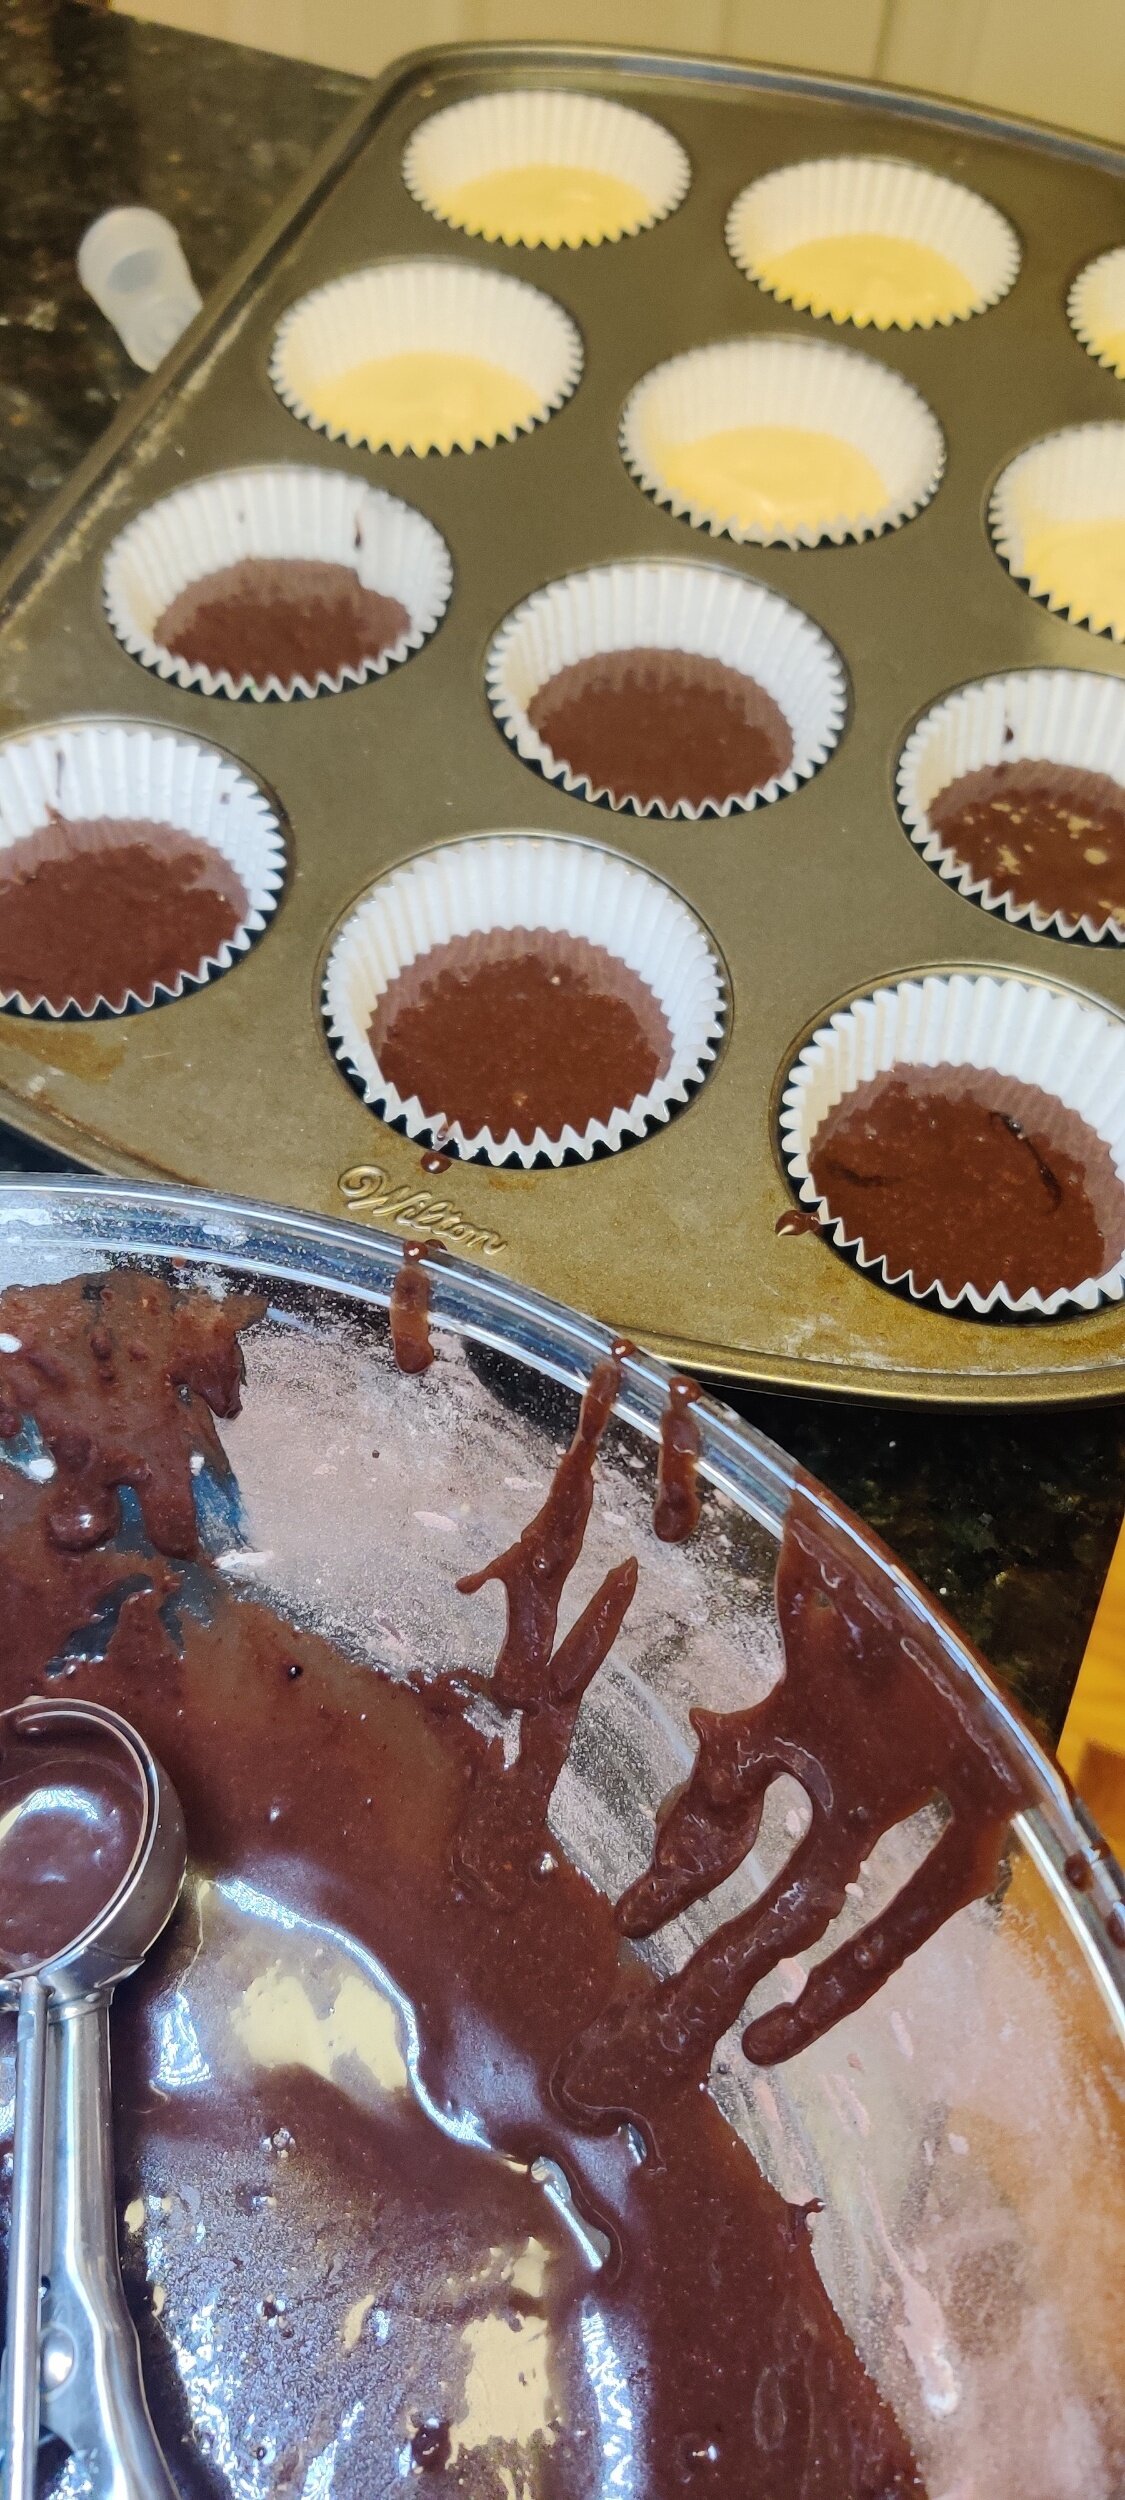
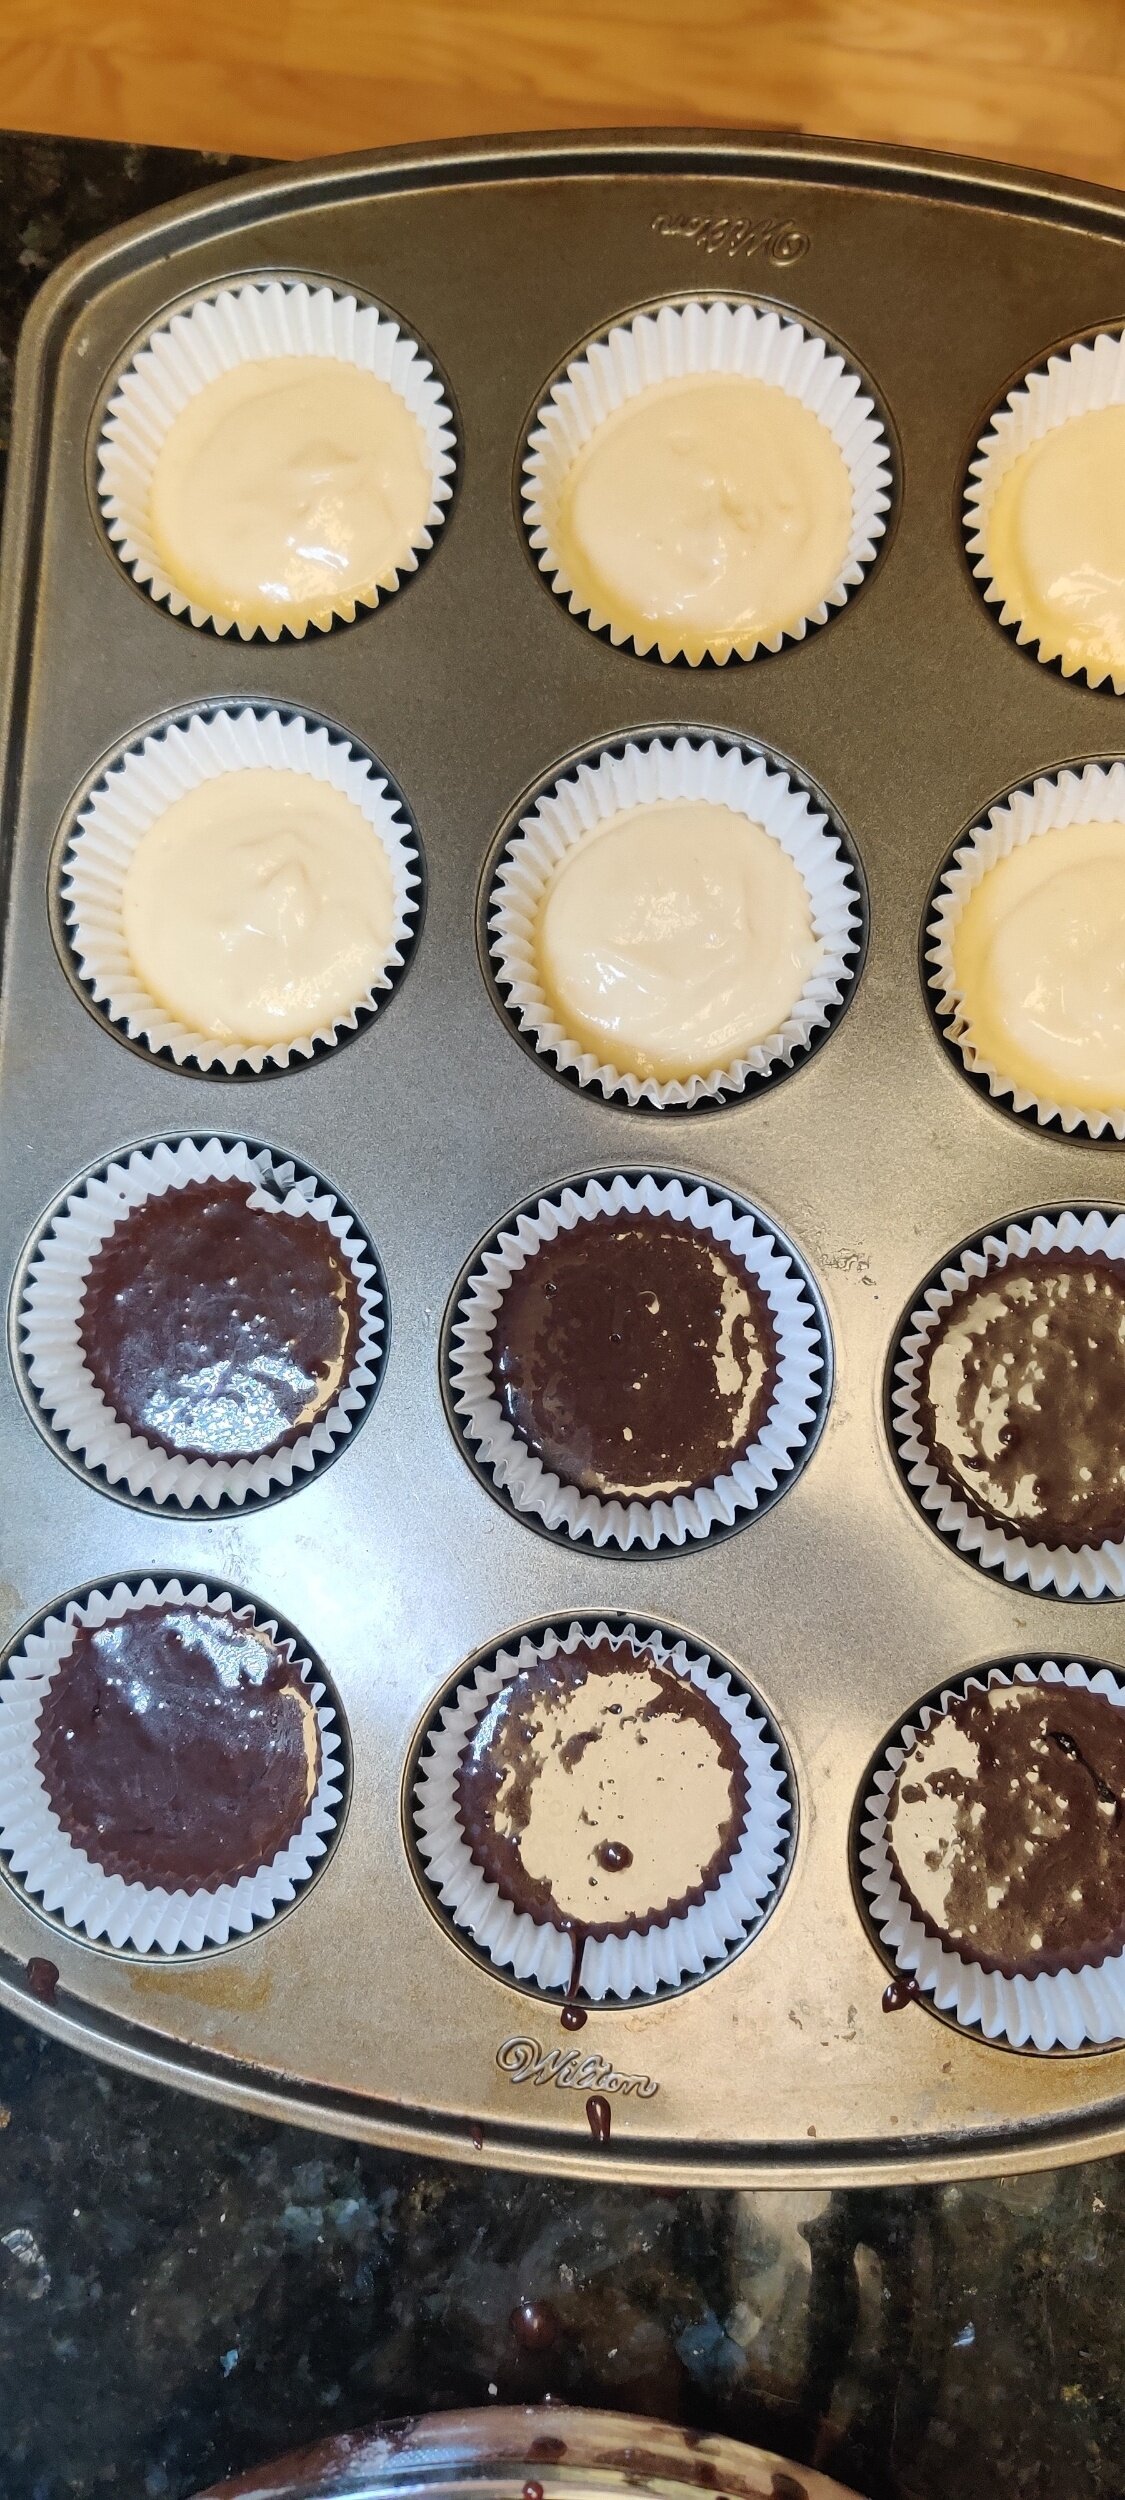
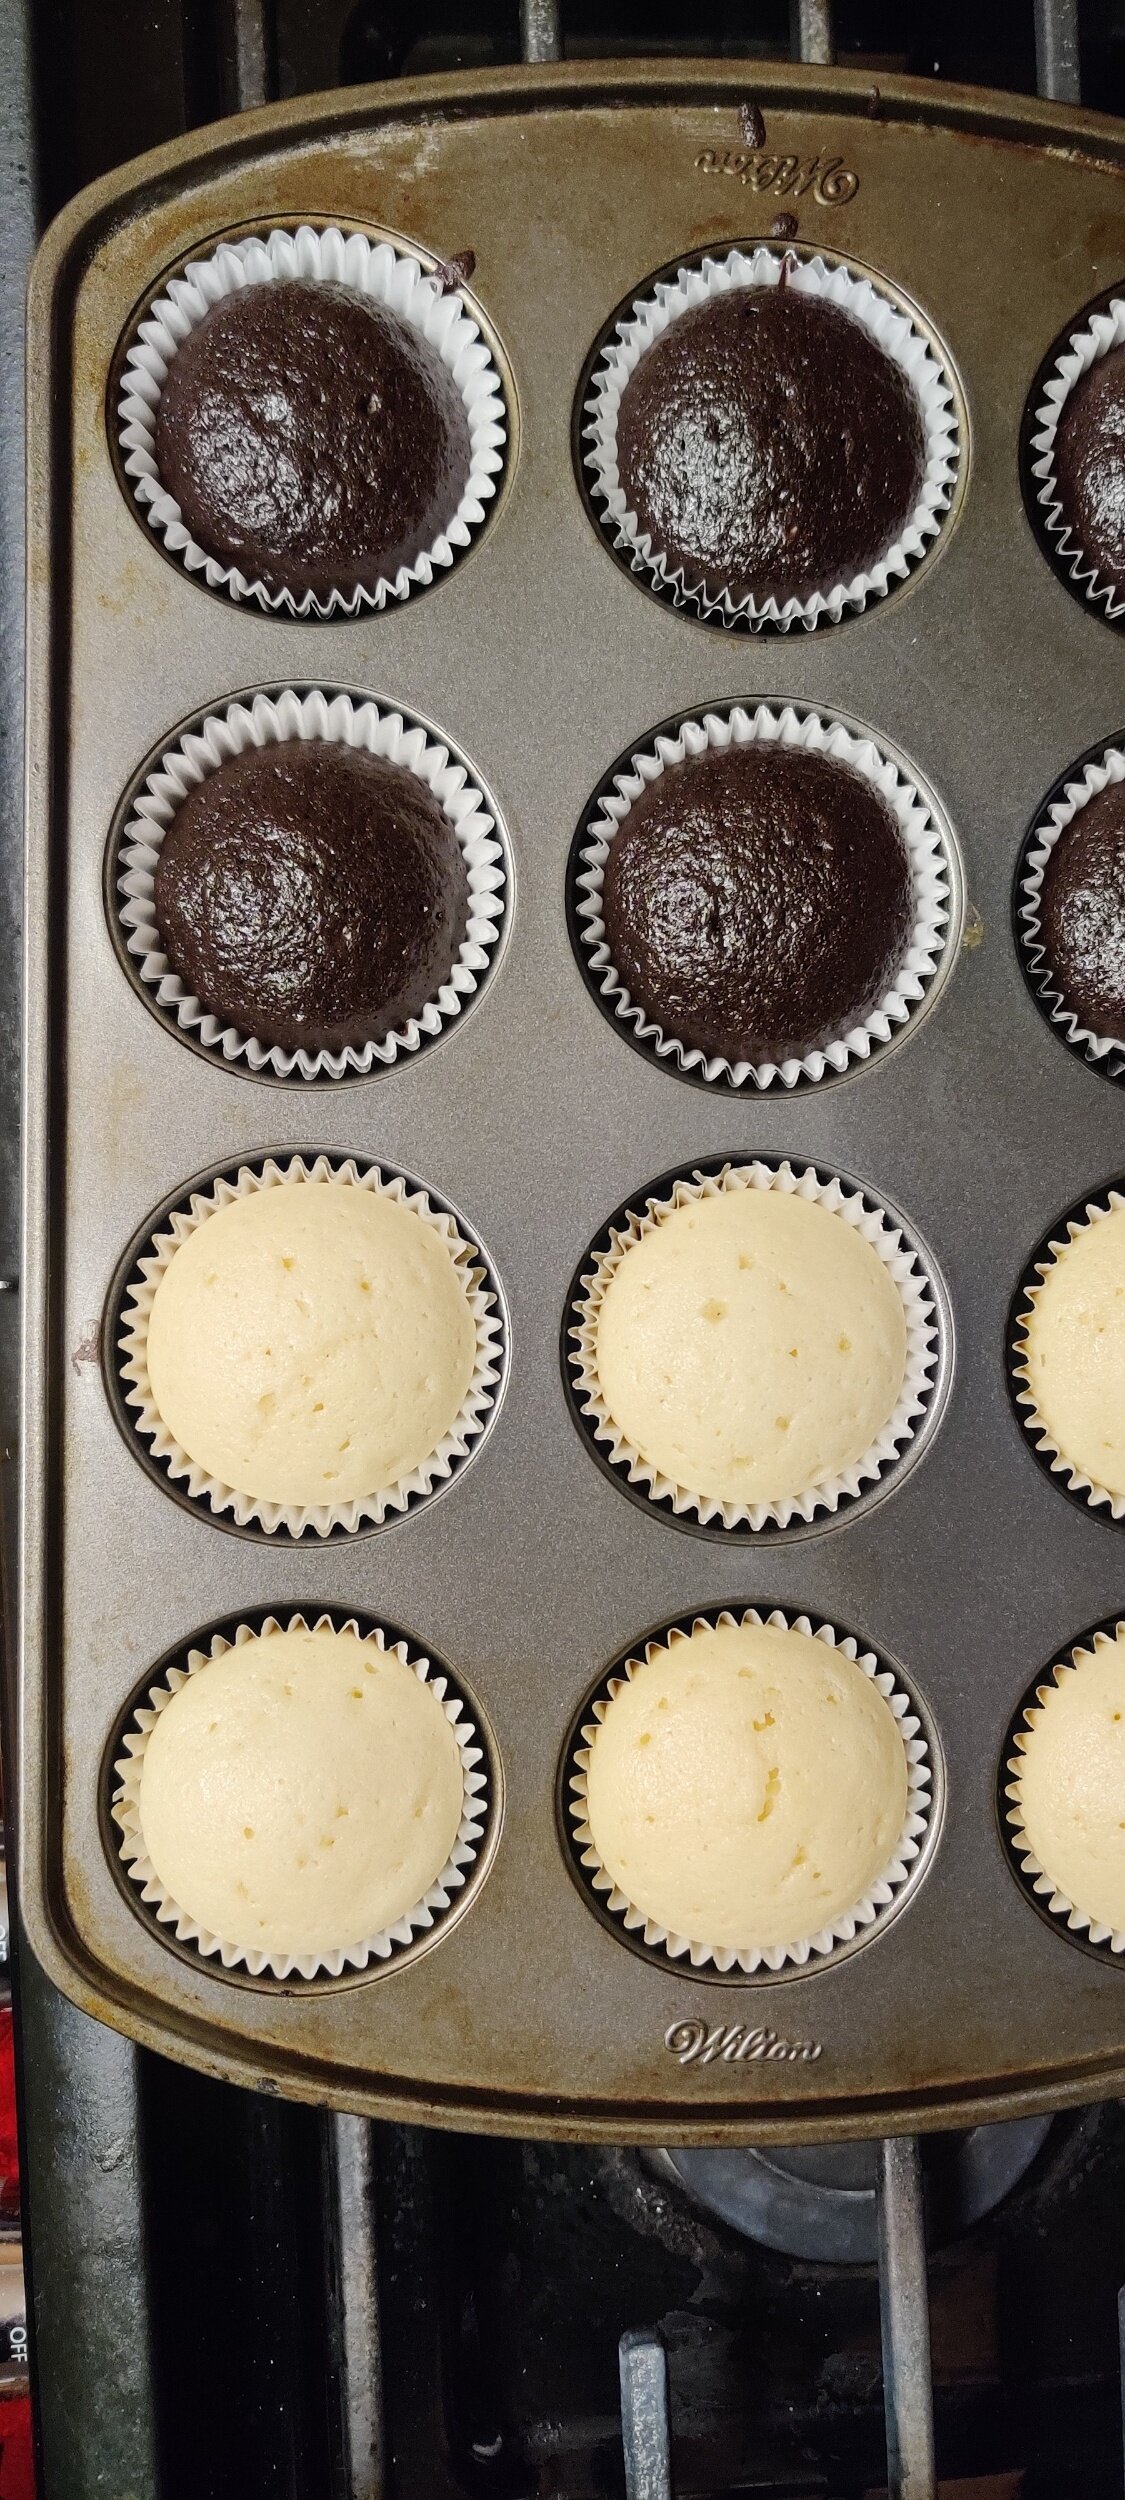
Place double-lined cupcake cases in a muffin tray and turn your oven to 350F.
Using a cookie dough scoop or tablespoon, fill the vanilla cupcakes 2/3rds and the chocolate 1/2 full.
Bake for 18 minutes then remove from the oven. Cool for at least 10 minutes so the icing doesn't melt when you decorate.
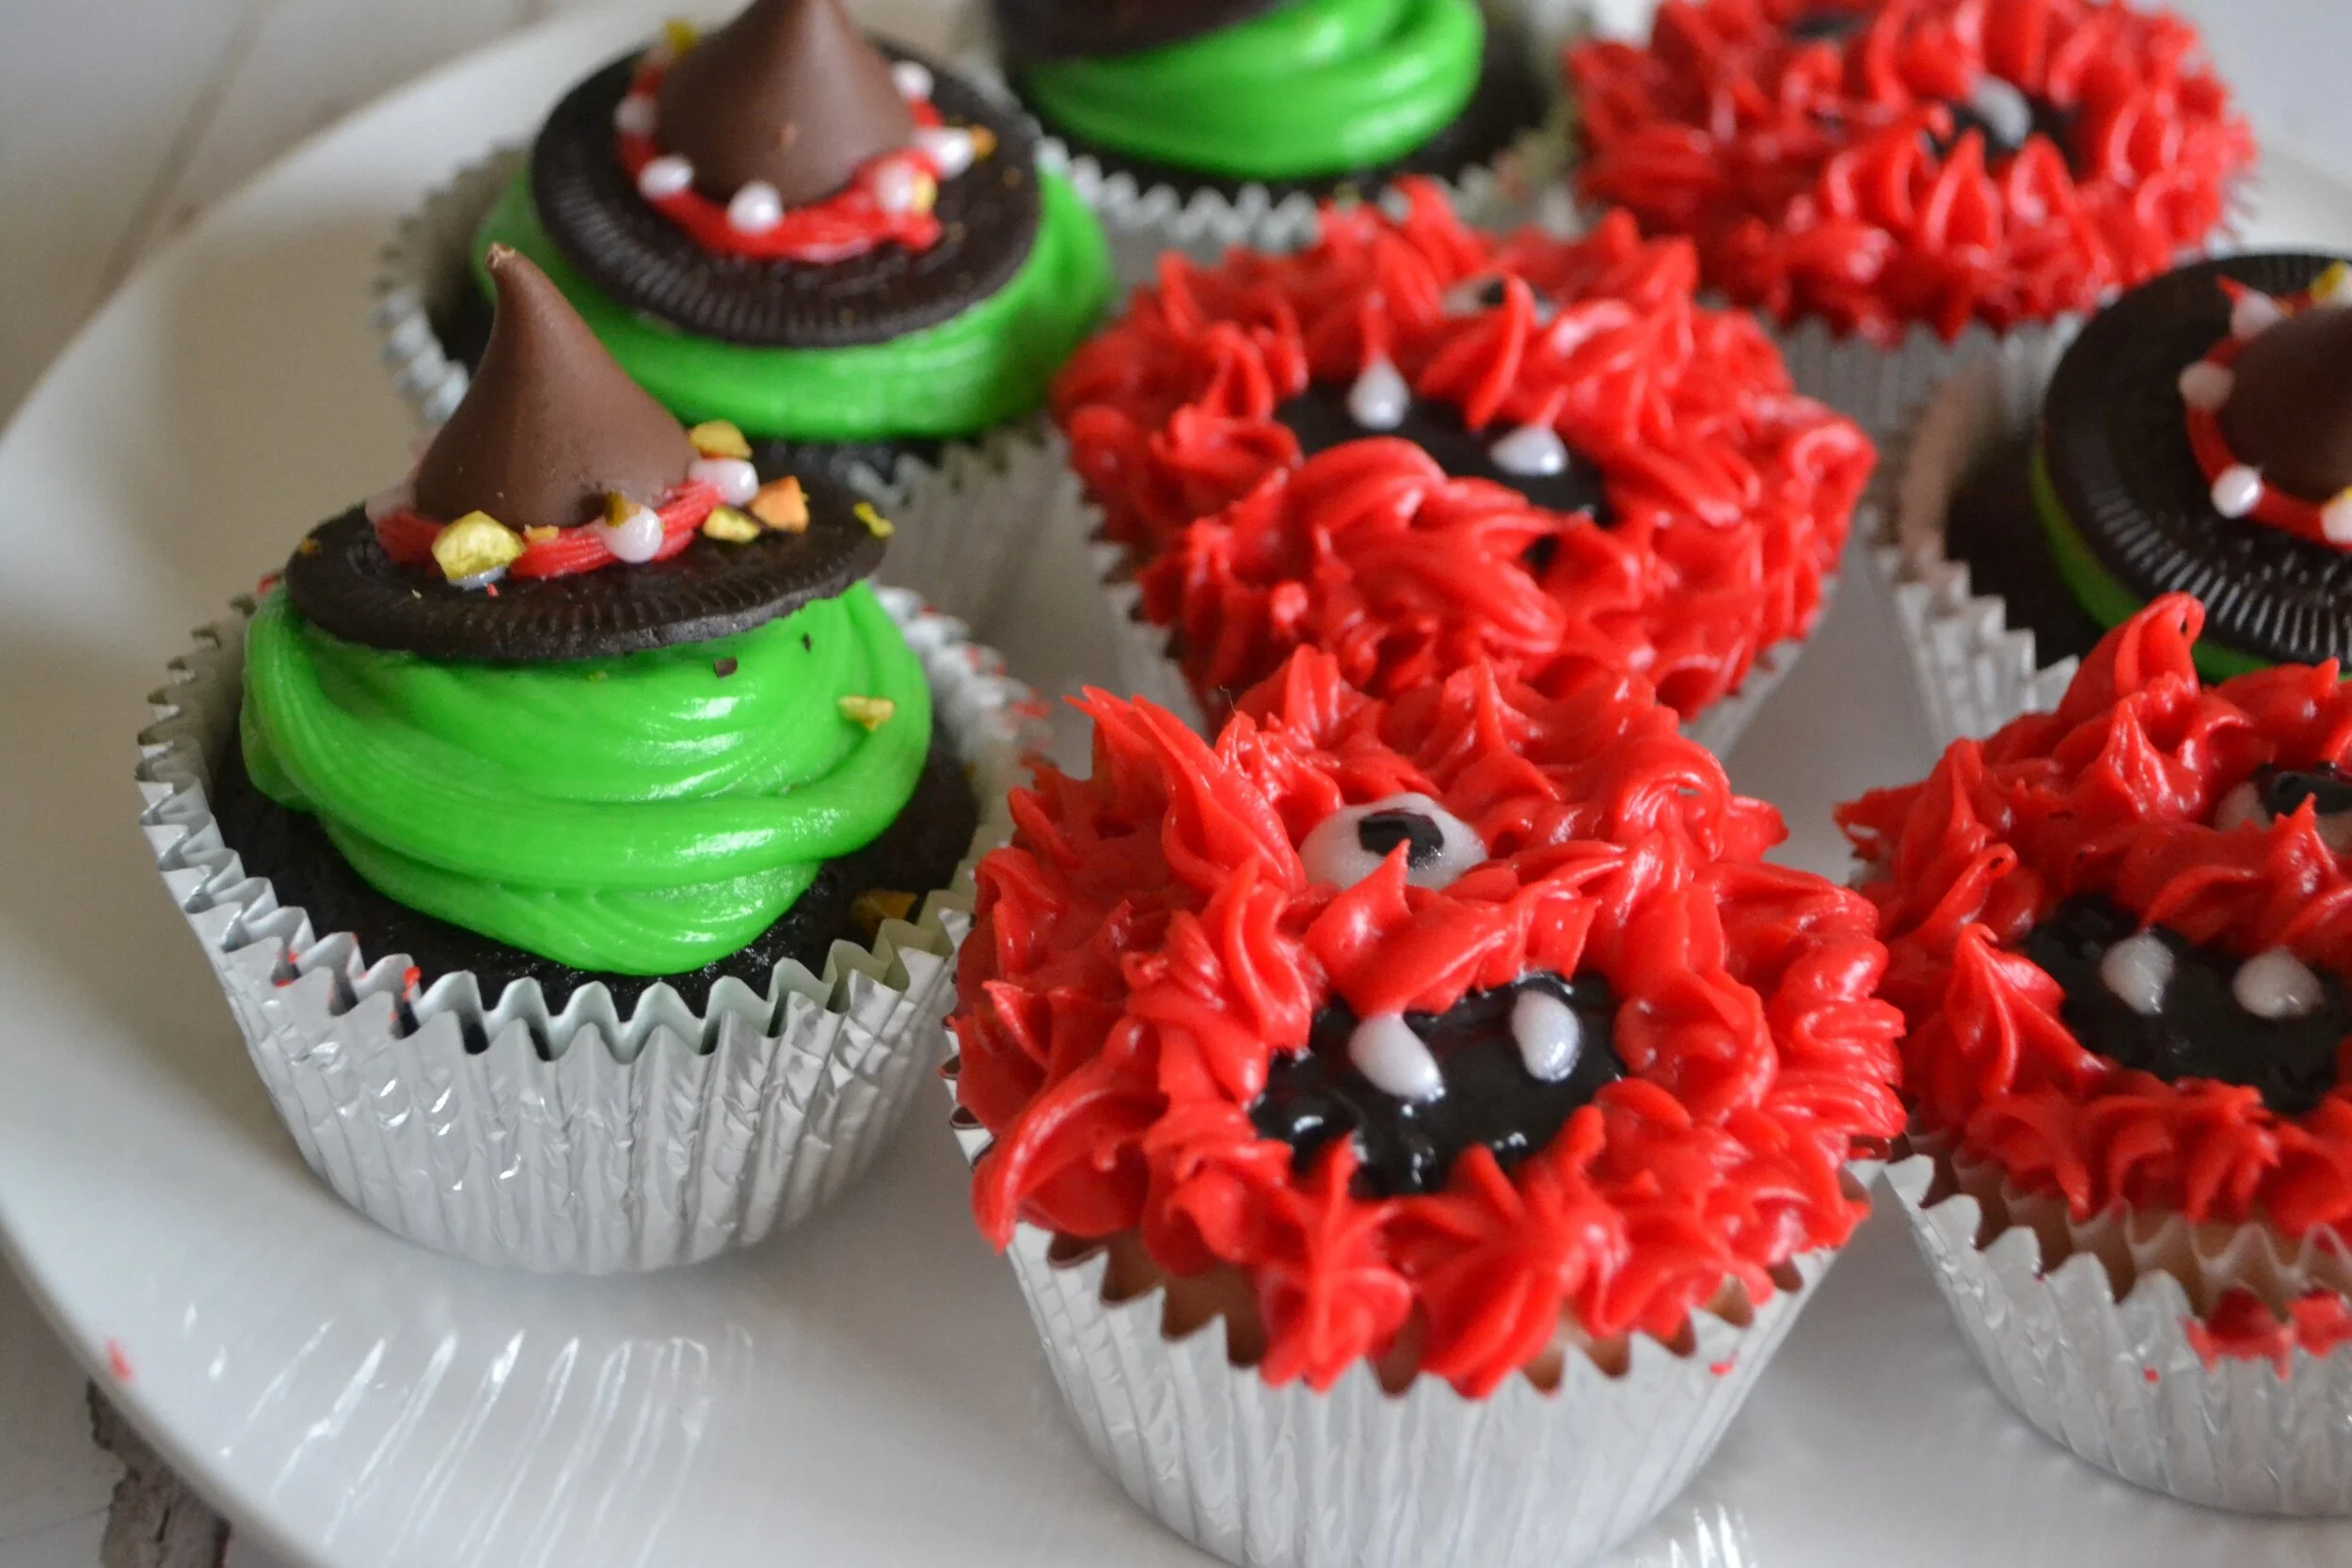
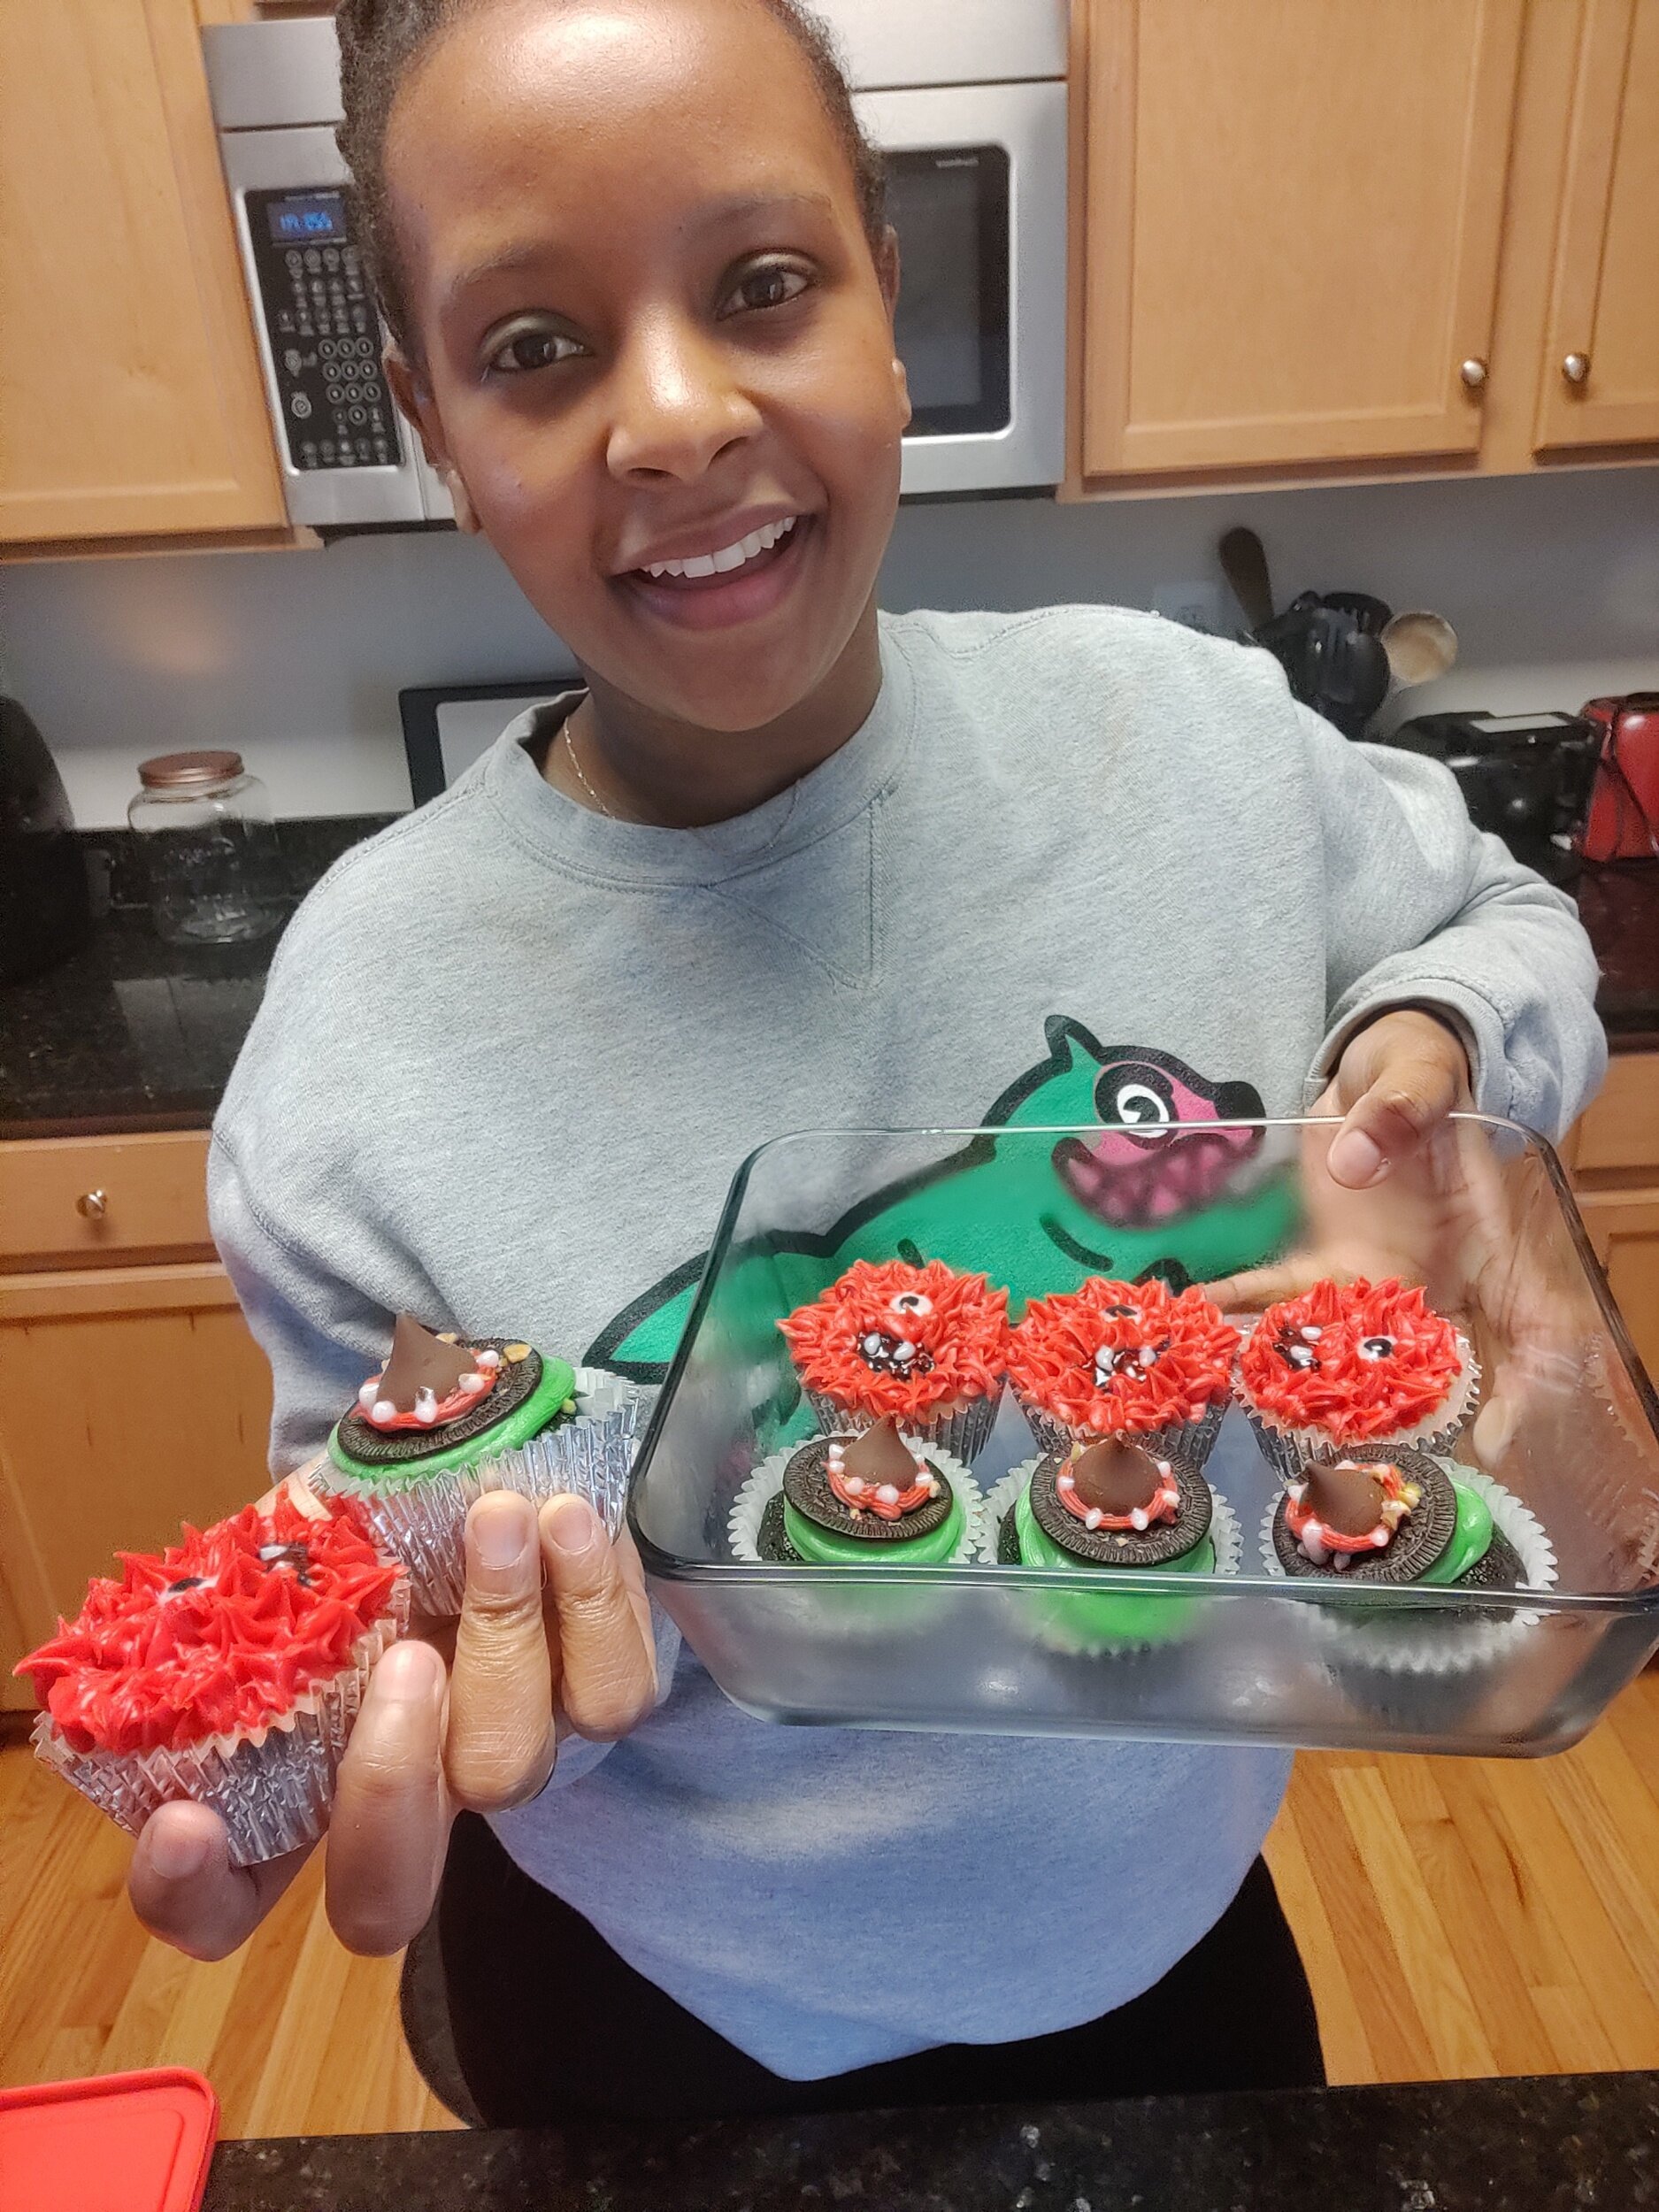
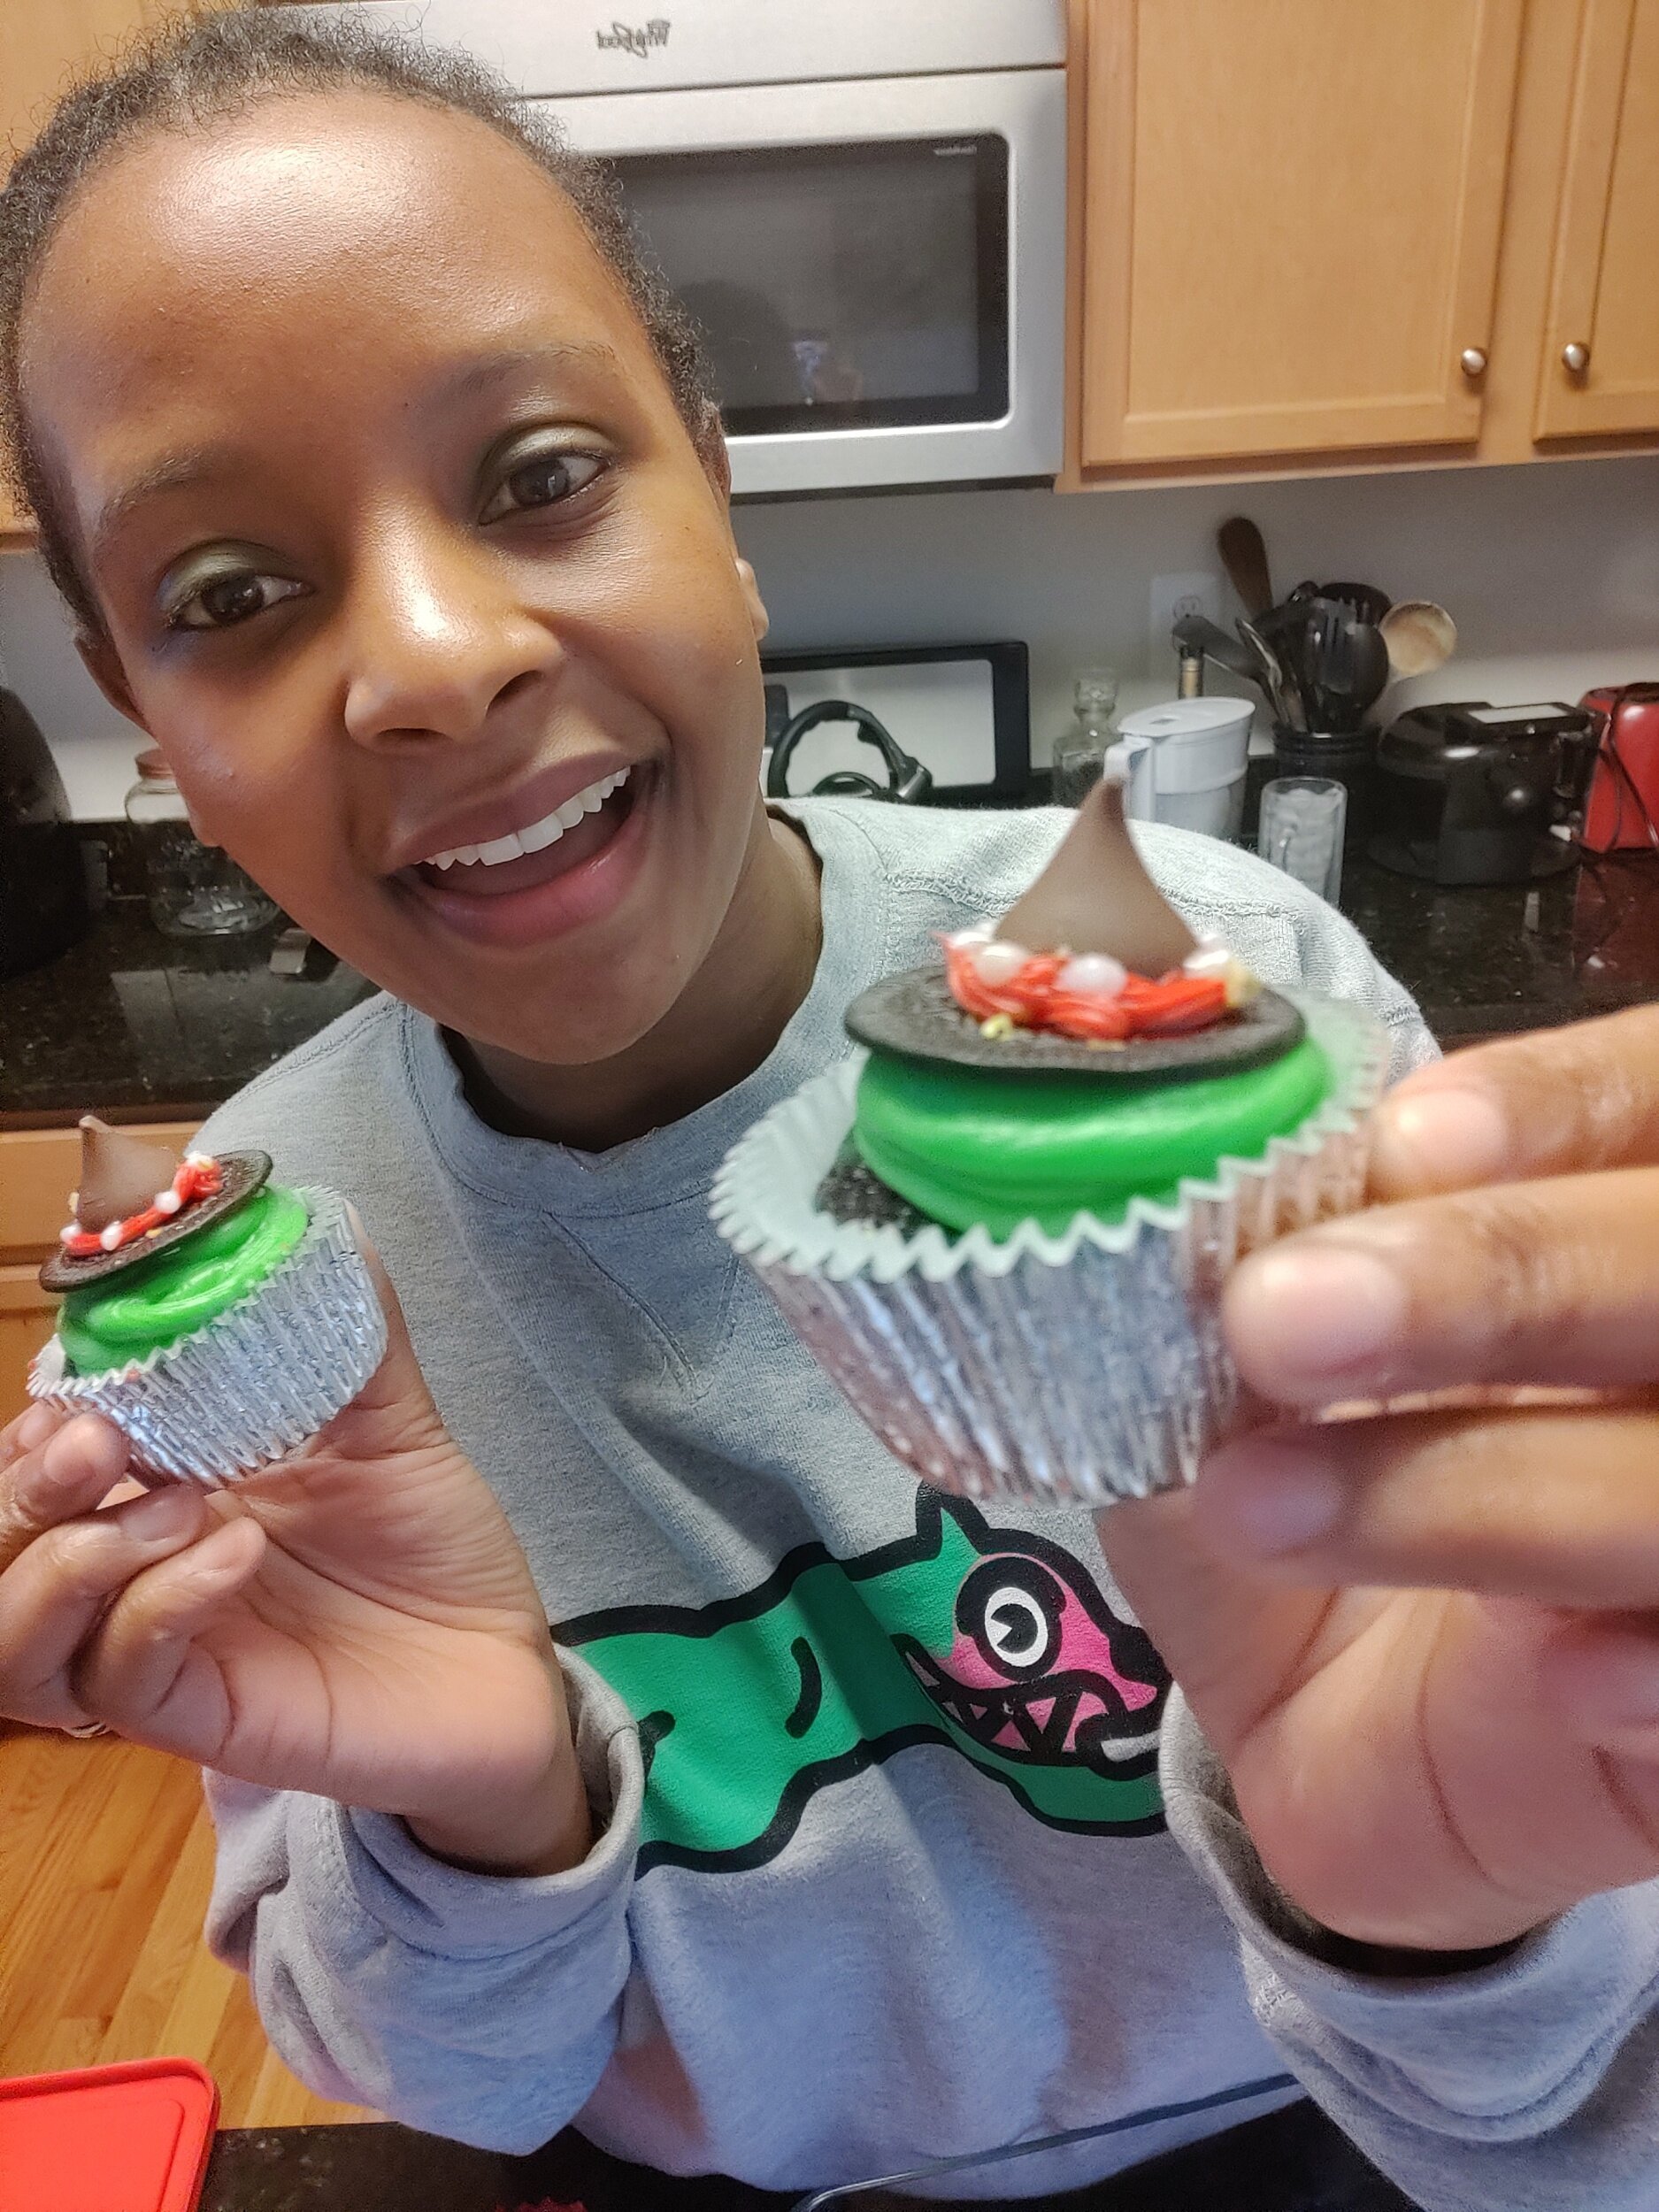
For the witches! Add the green icing in a cone shape to the chocolate cupcakes, place an Oreo thin on top, then the Hershey kiss. Decorate as you please with the red icing and pistachios.
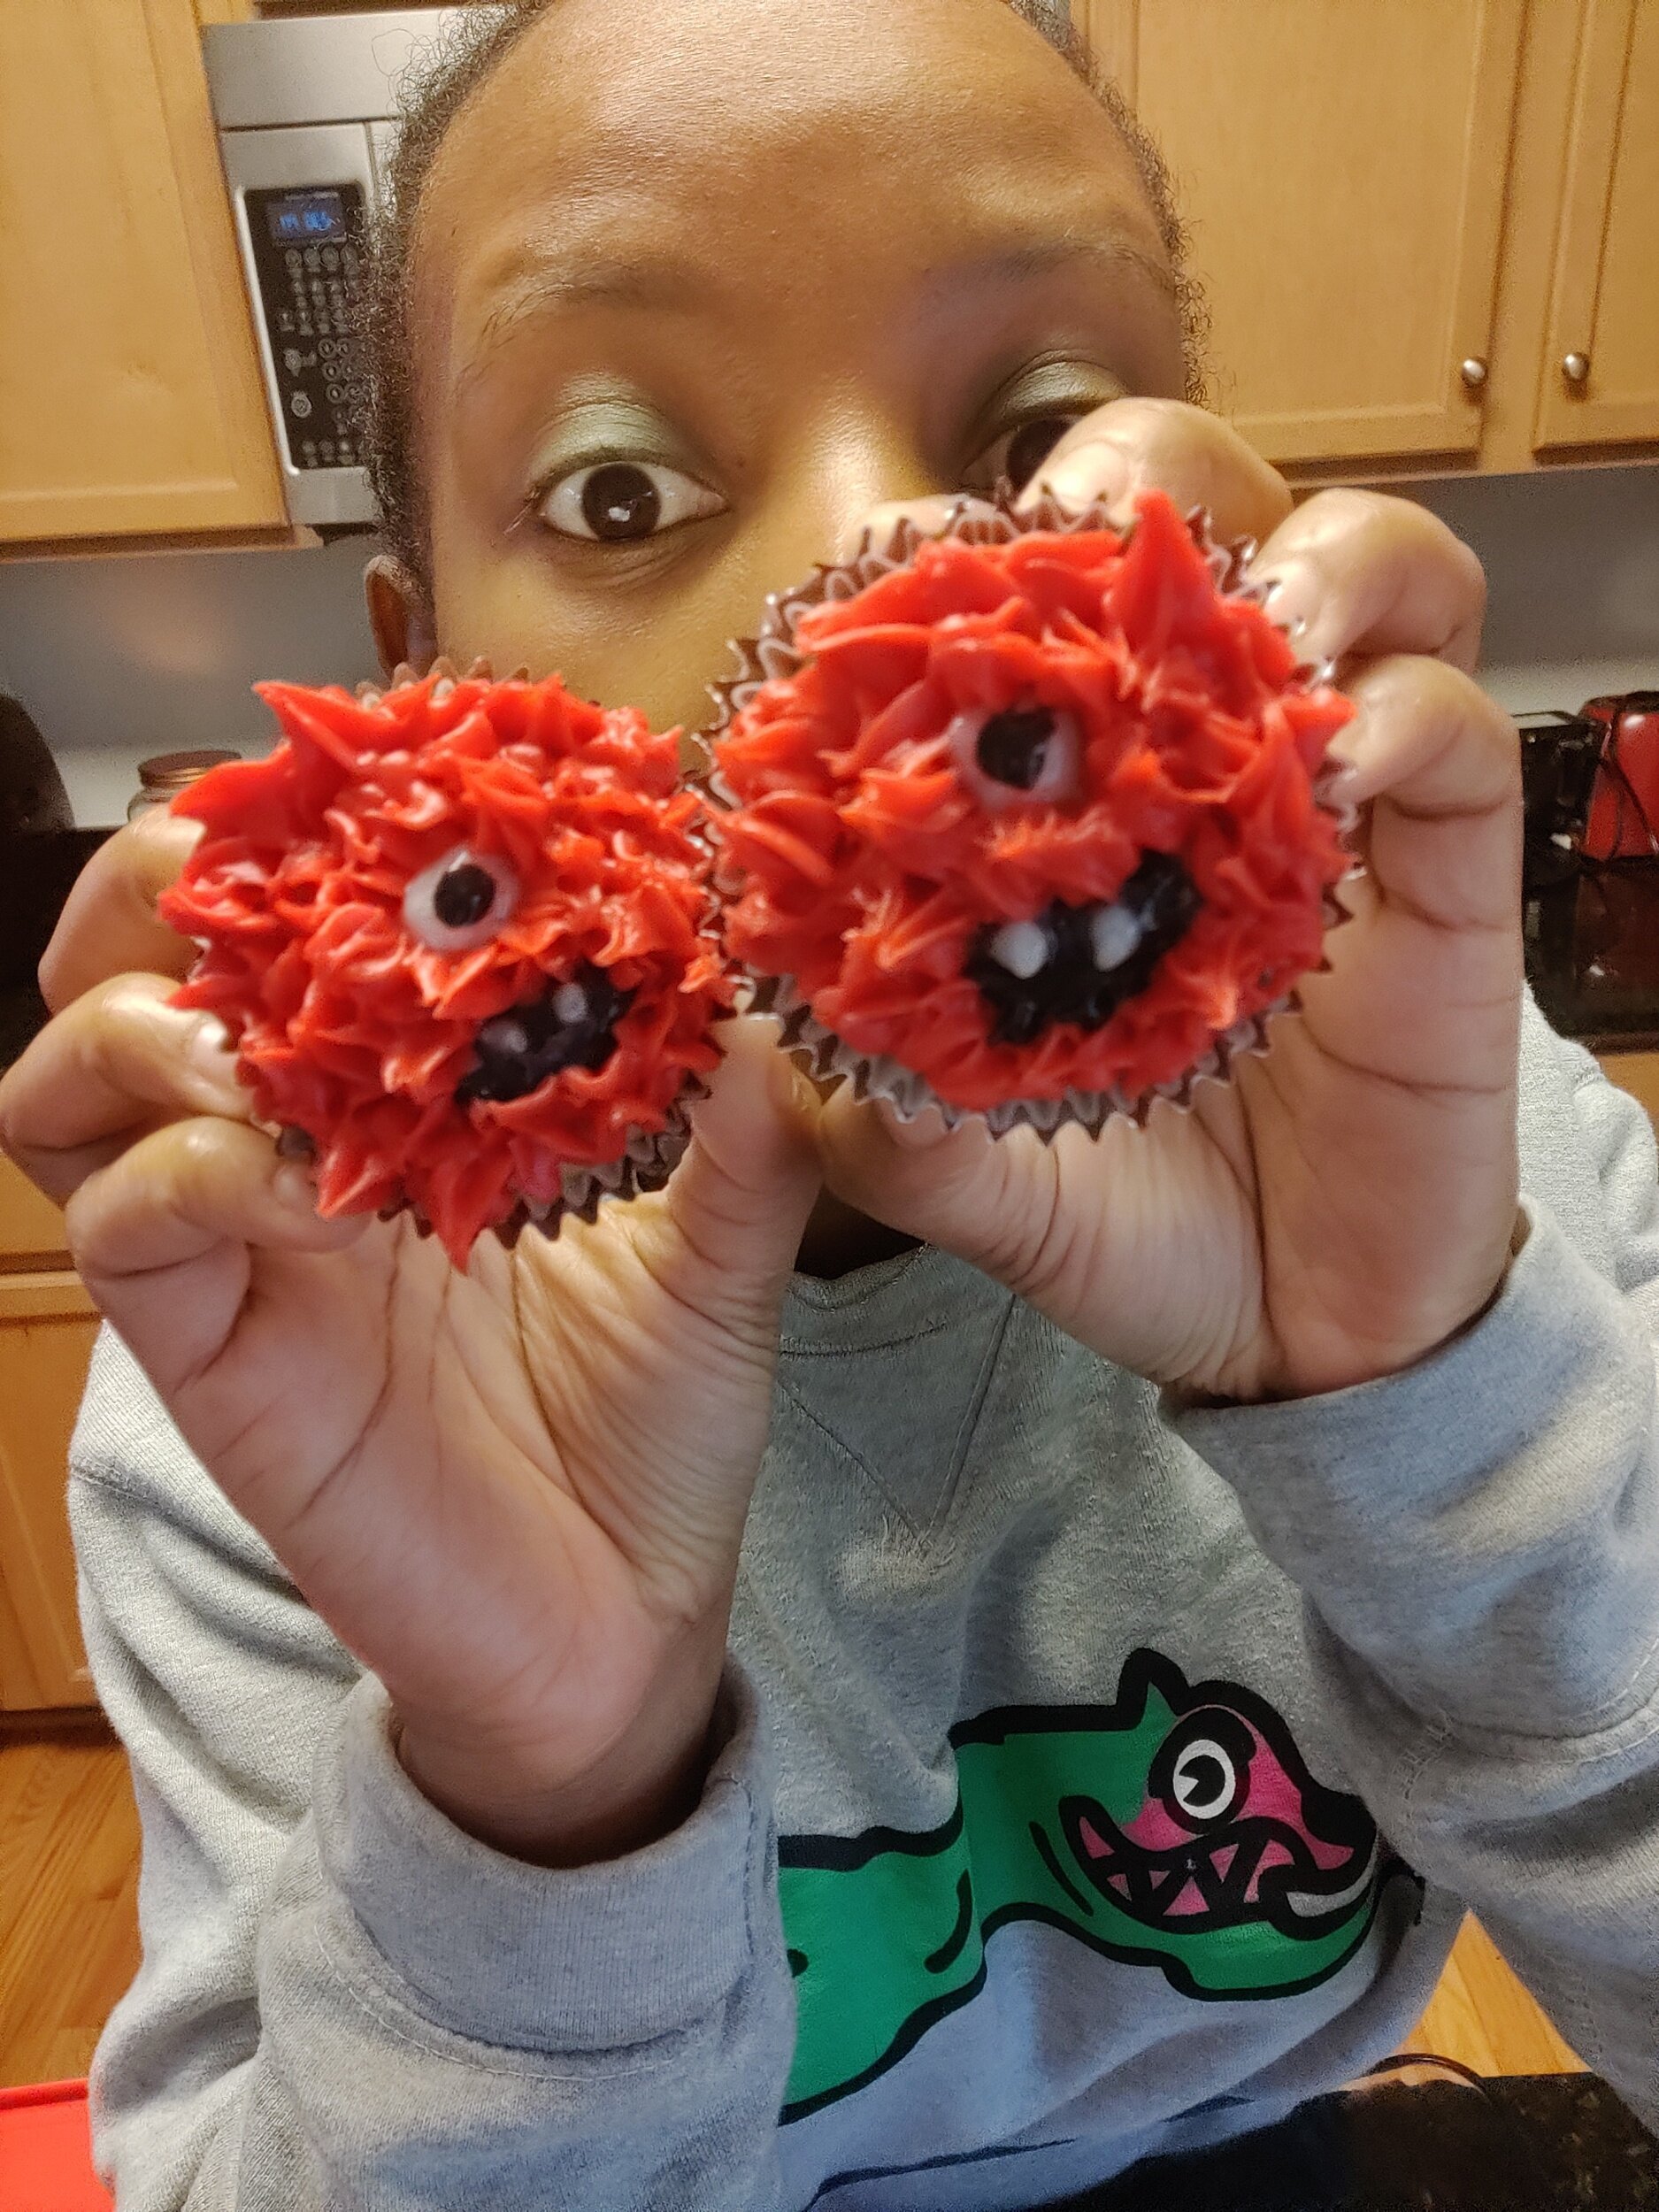
For the little monsters, draw the eyes and mouth with the white and black icing. Using an appropriate icing tip, pipe the fur for the monsters to your liking. Enjoy!

Apple and Guava Crisp
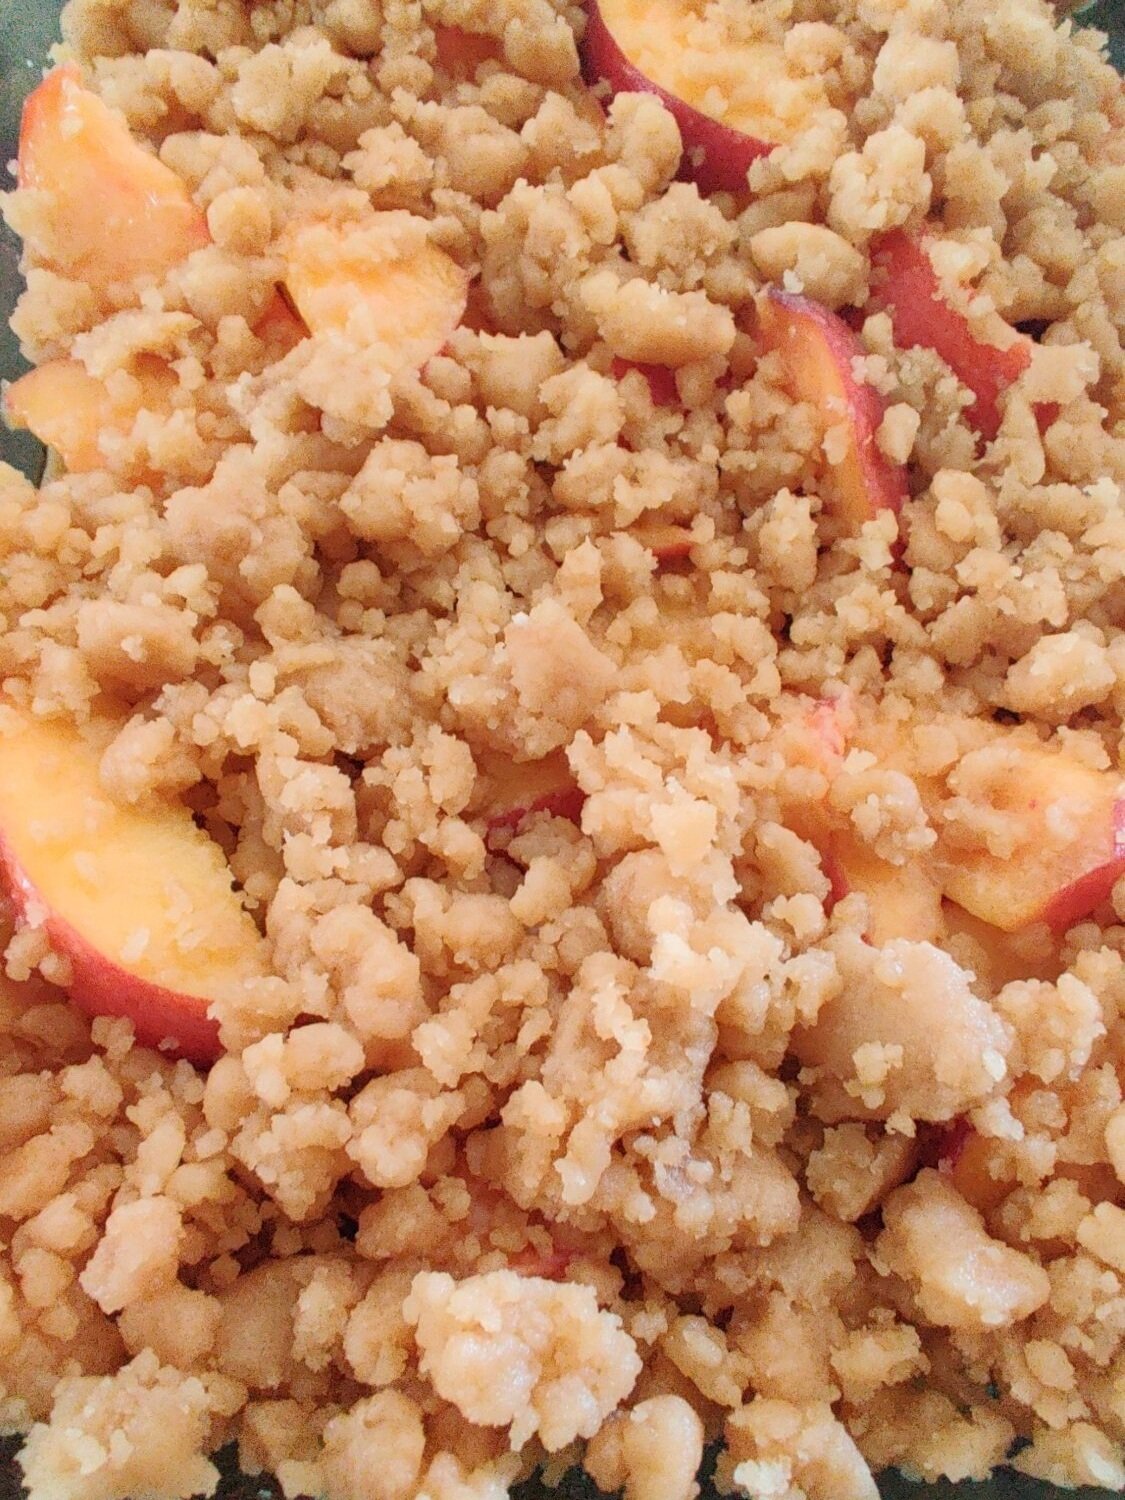
It’s the season for apple crumble, or crisp rather. Is there a difference? The addition of oatmeal I would be the key difference - crumble has more of a streusel on top. I made a peach crumble to celebrate the summer when the fruit was at its peak. Now, make way for the apple! I’ve used apples to purposely on dontmissmyplate, and apple crisp needs to have its place. You can use any kind of apple you like, but I would recommend something on the sweeter side, and sturdy. Sweet red and gala apples are good for this, but it depends where you get your apples! Do some research, you’ll learn something new!
The big difference with this recipe and others you’ll come across or be familiar with si the addition of the rich, tropical tang and sweetness given by the guava paste. I grew up eating guava we had a tree in the family garden! Hard to believe it now, but’ it's true. I spent a great deal of time contemplating my life as best a teenage girl could sitting in there.
Guavas have a unique taste and lend themselves well to jams, which is the consistency of the paste I used. When it bakes with the apple it bring outs all the flavour and balances the tartness.
I hope you find this quick and easy!
Ingredients
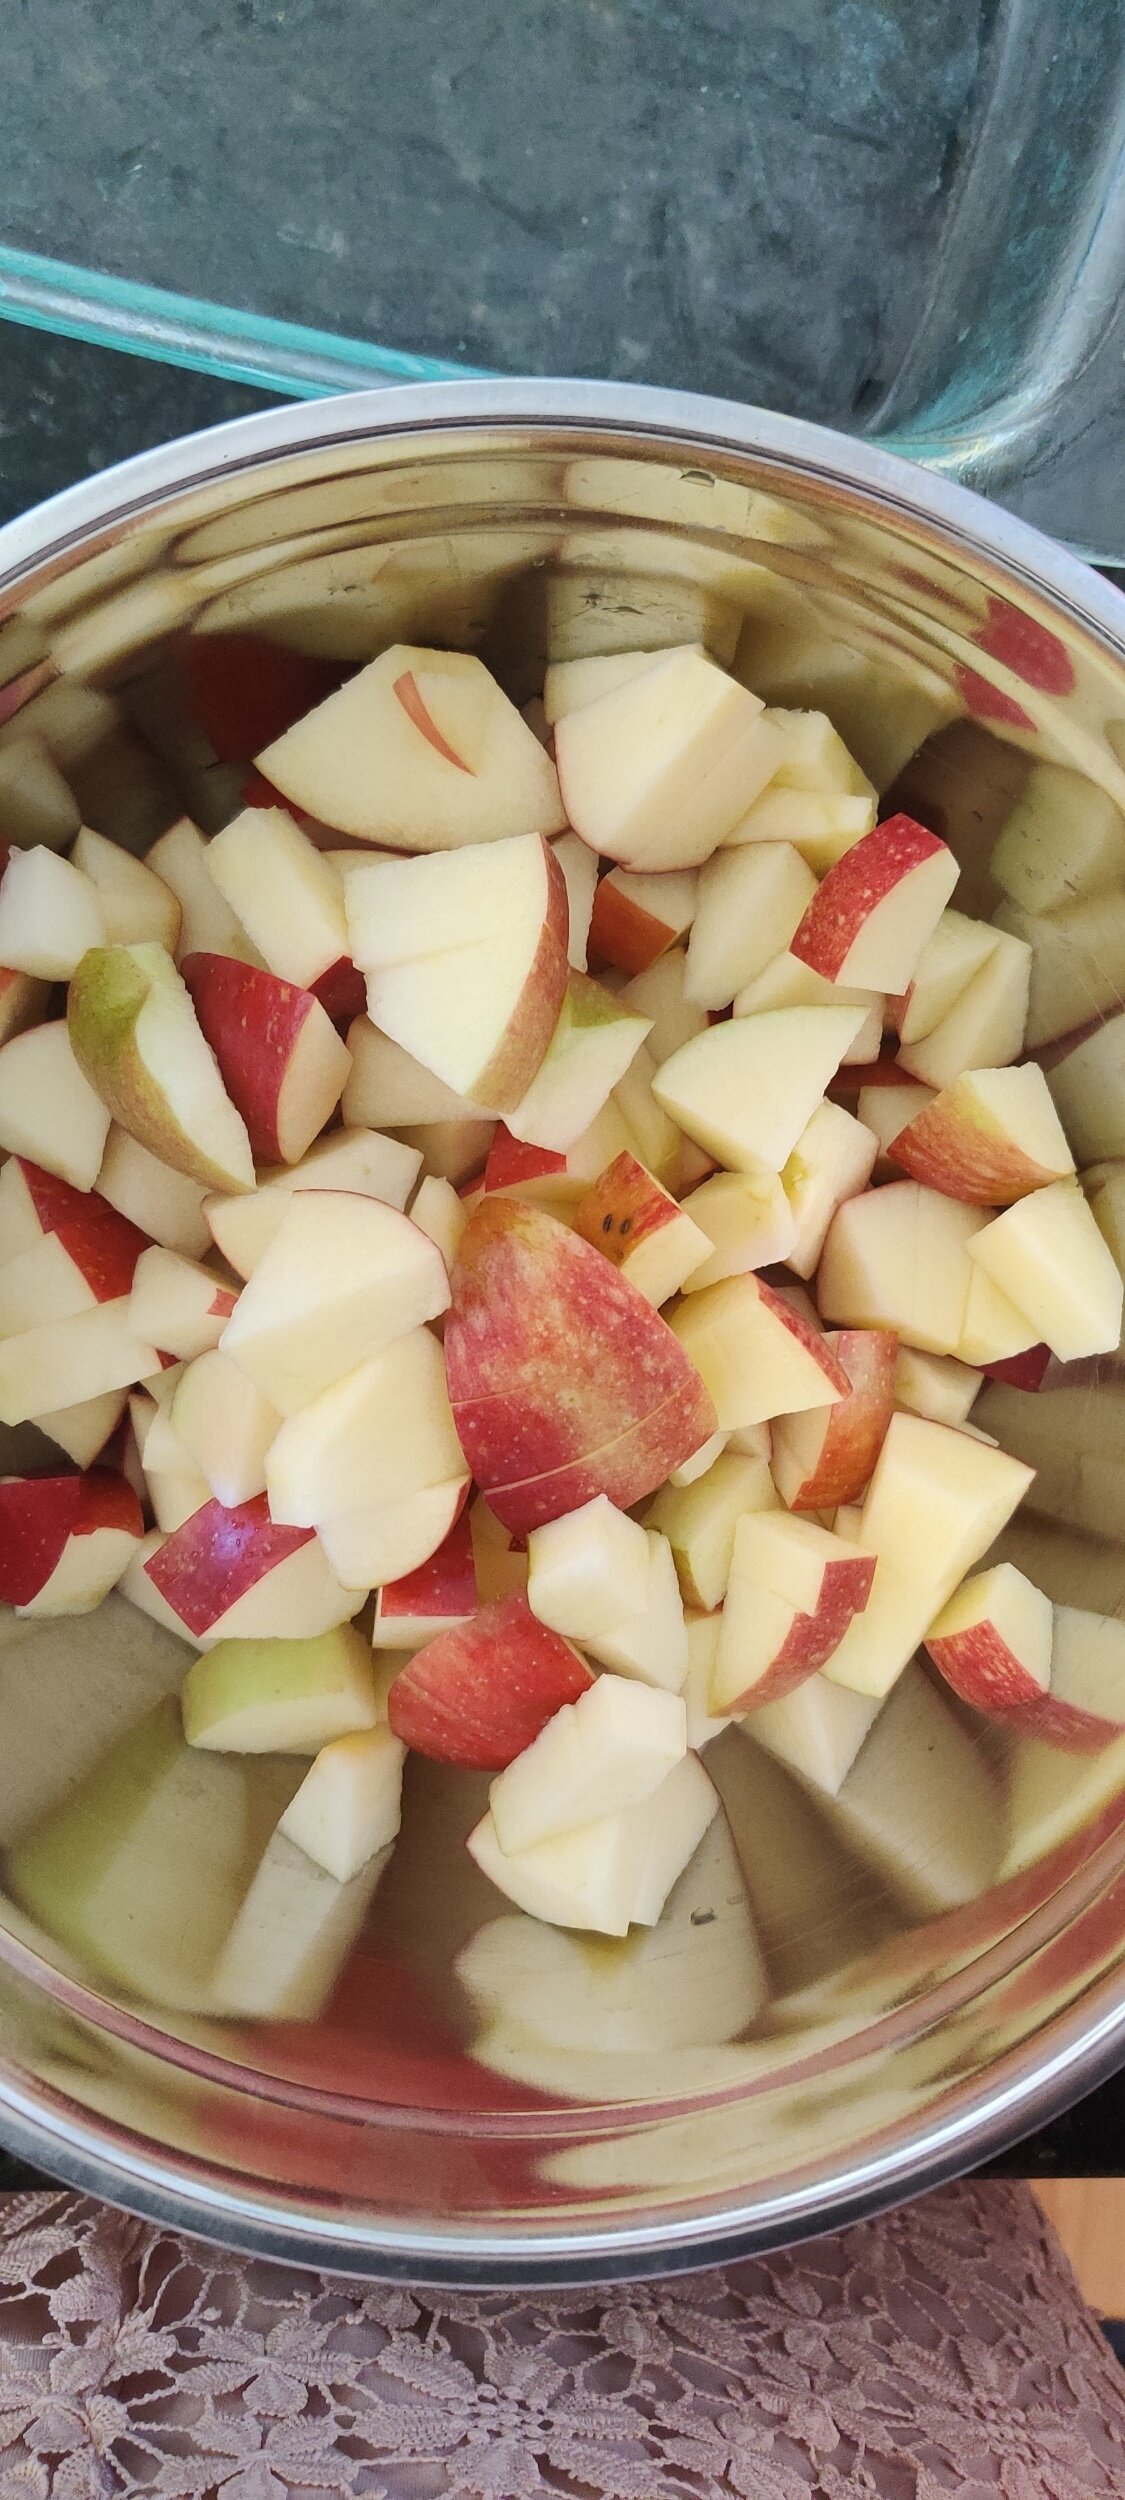
4 apples, decored and diced
2 tablespoons cornstarch
1 teaspoon cinnamon
1/4 teaspoon nutmeg
1/4 teaspoon cloves
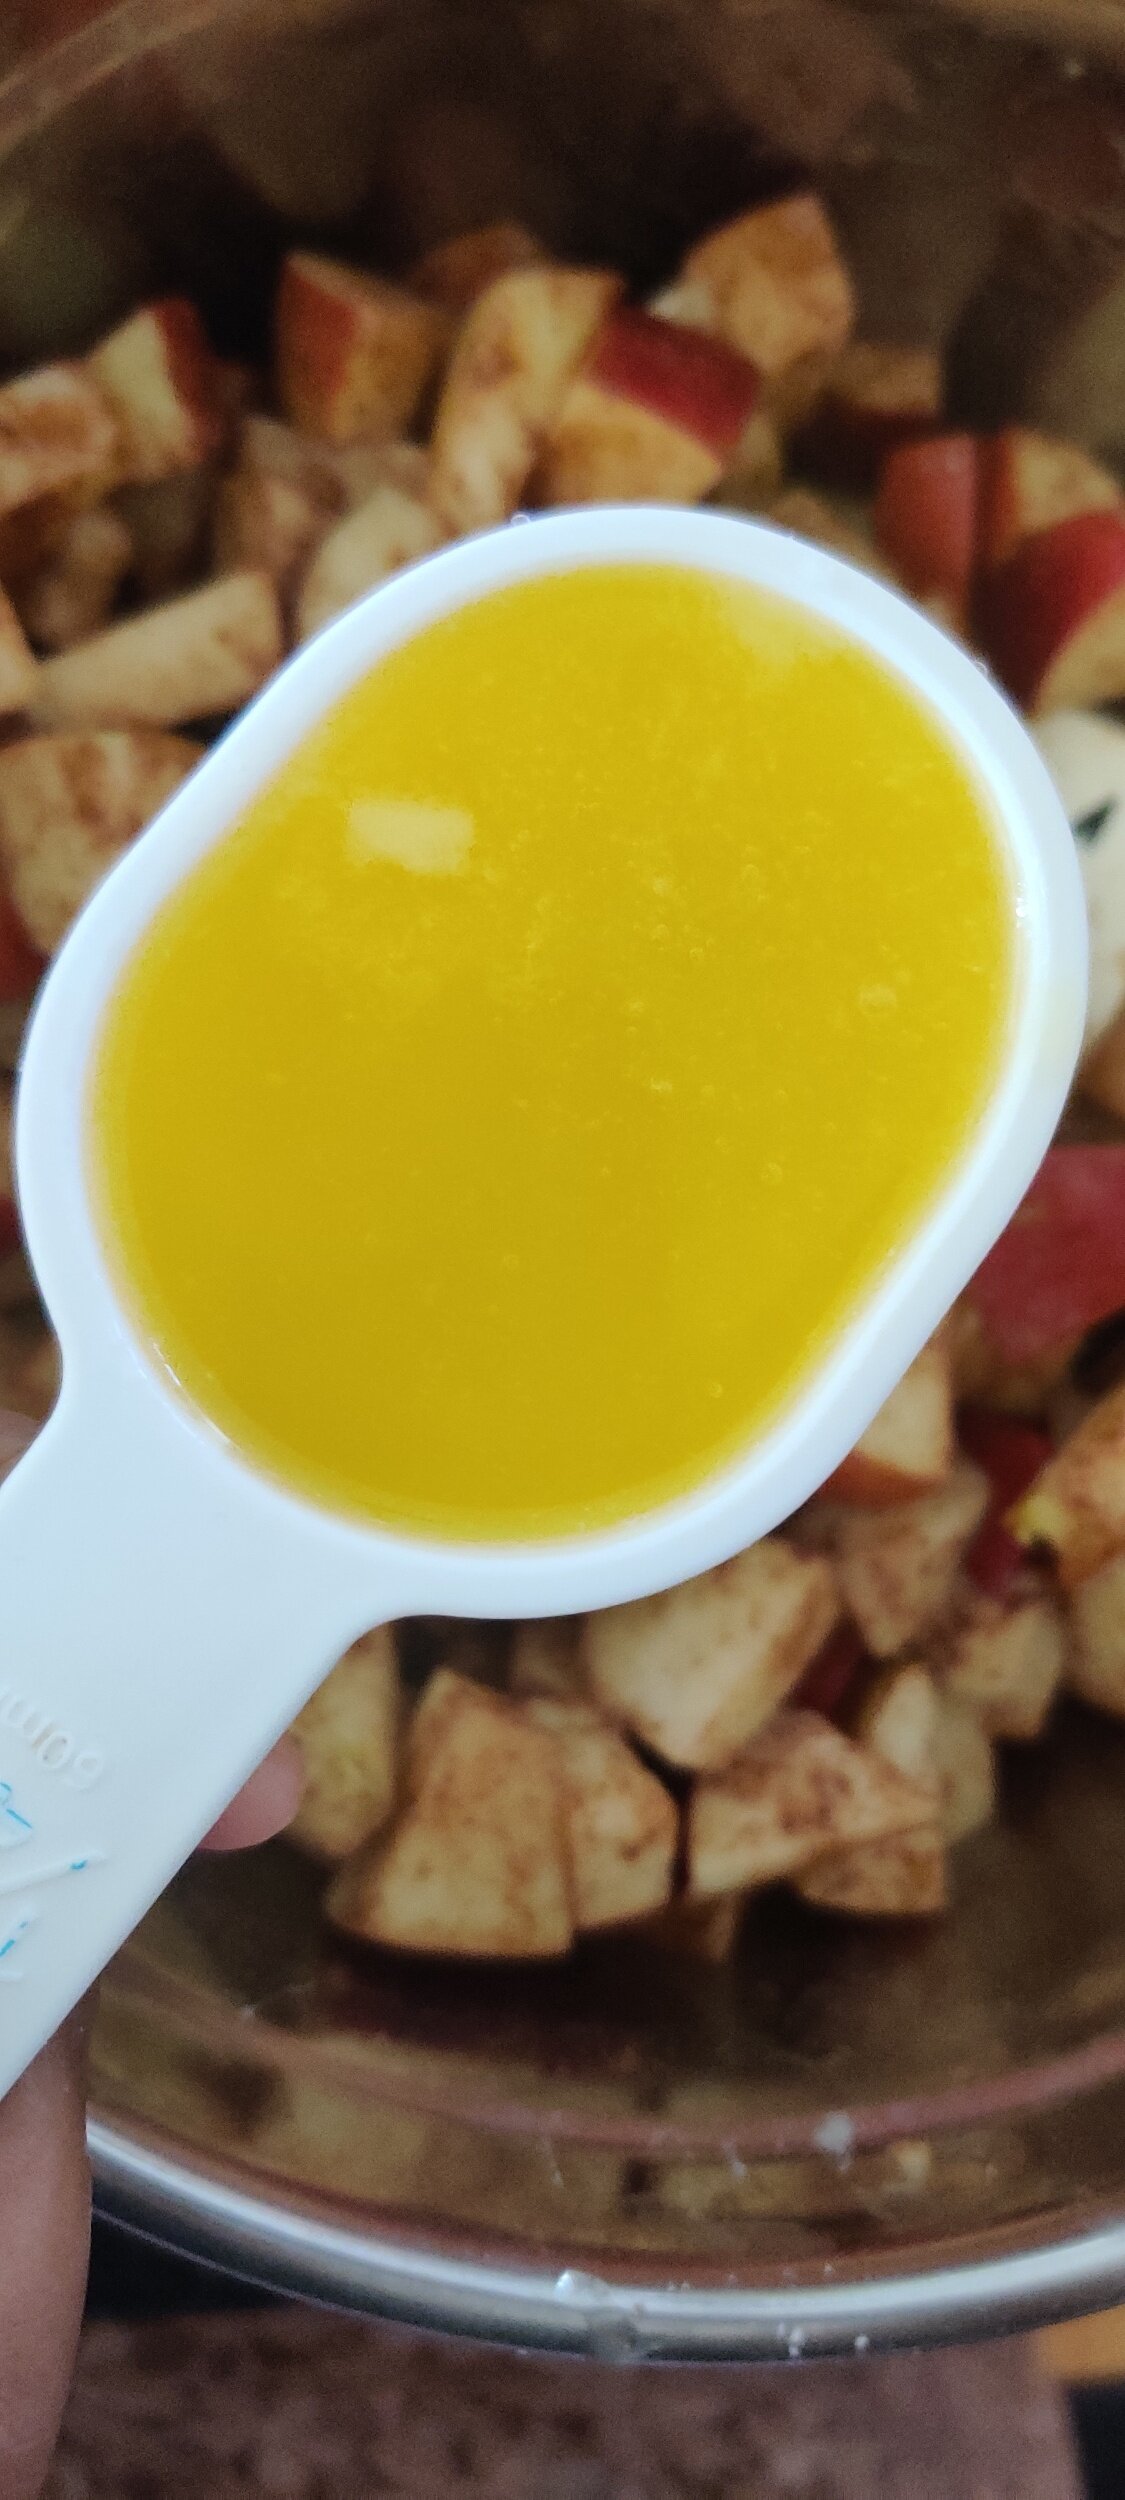
1/4 cup butter, melted
2 tablespoons brown sugar
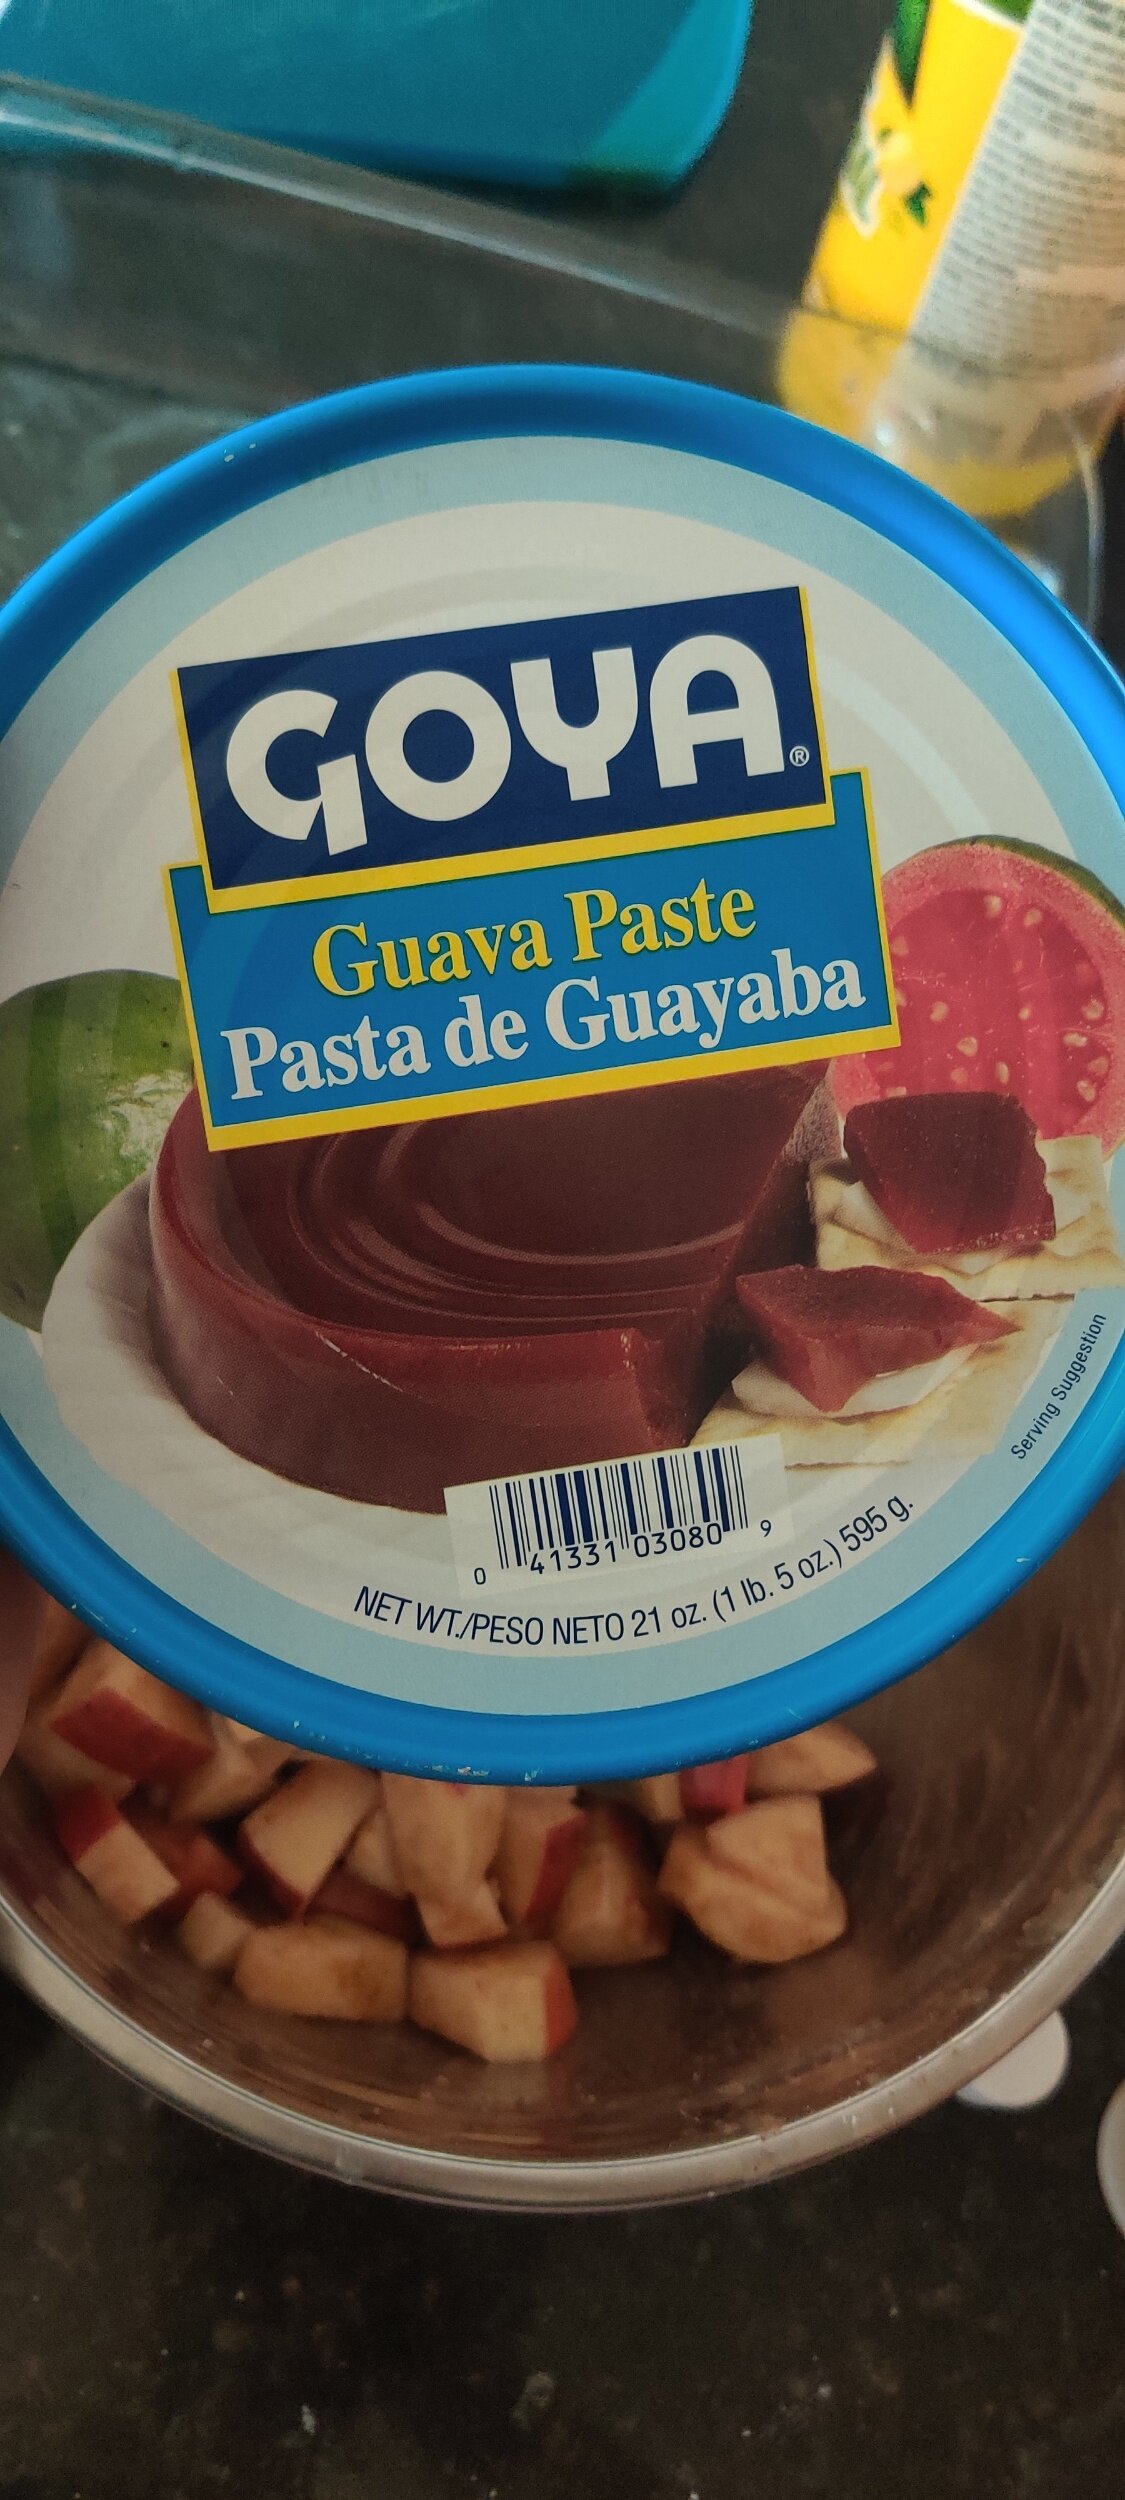
1/4 cup guava paste (I used Goya’s)
1 teaspoon vanilla
1/4 teaspoon almond extract
Pinch of salt
Crisp:
1/2 cup flour
1/2 cup rolled oats
1/4 cup butter, melted
Pinch of salt
1/2 teaspoon cinnamon
1/4 nutmeg
1/4 cloves
1/2 teaspoon baking powder
1 tablespoon guava paste
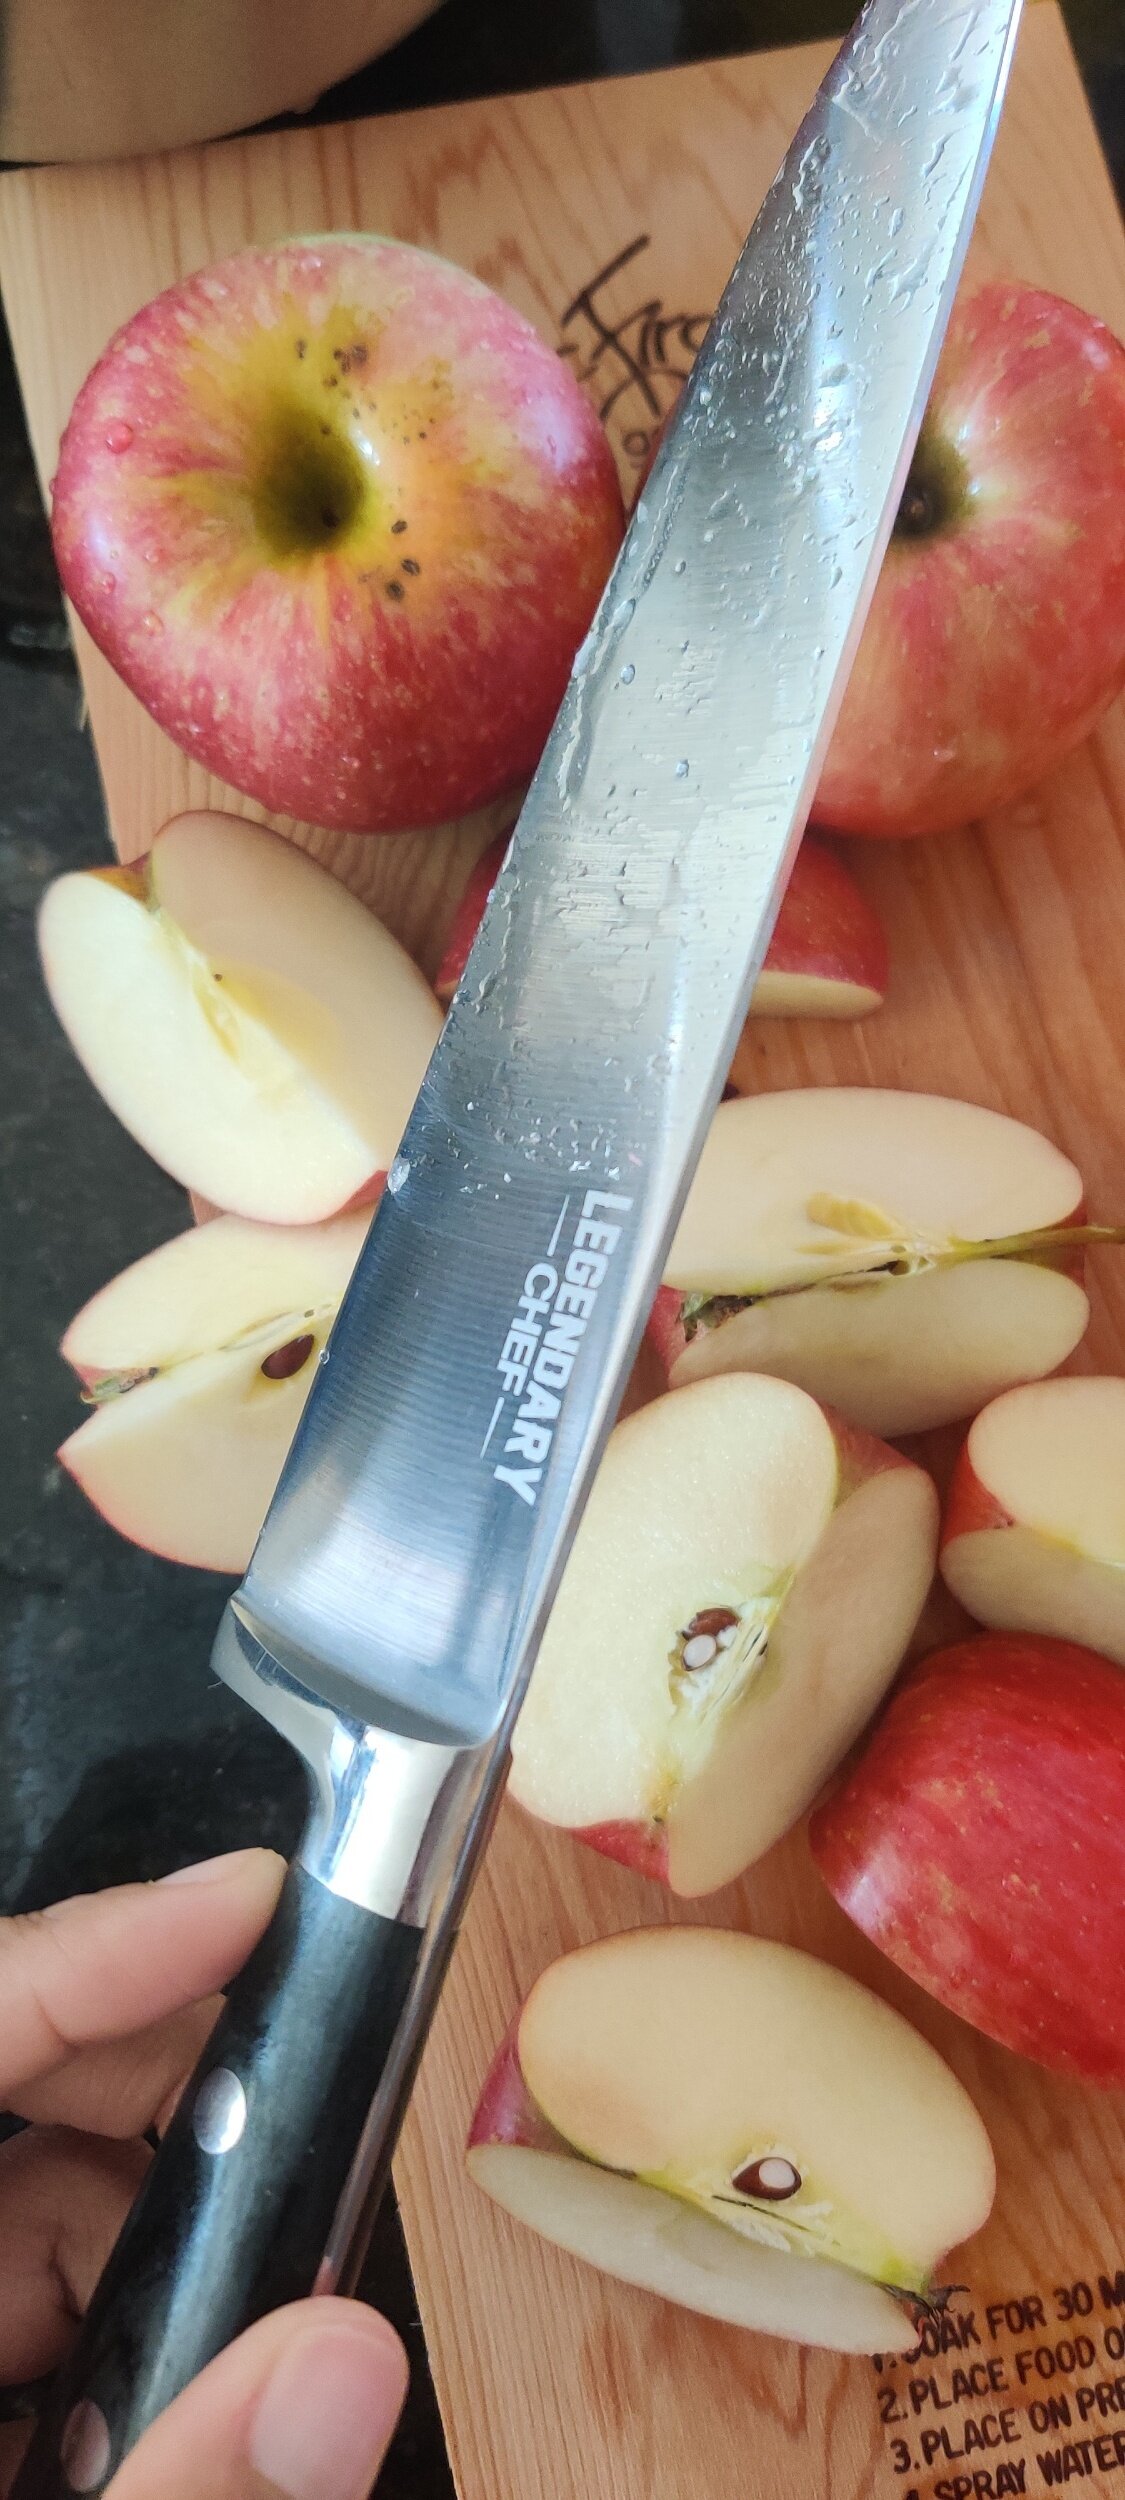
“If there is anything I’ve learnt this fall, whether you are dicing apples or cutting open a sugar pumpkin, you’re going to need a good knife!”

15% off
Use the code LEGENDARY15 on Amazon. Expires 12/31.
Instructions
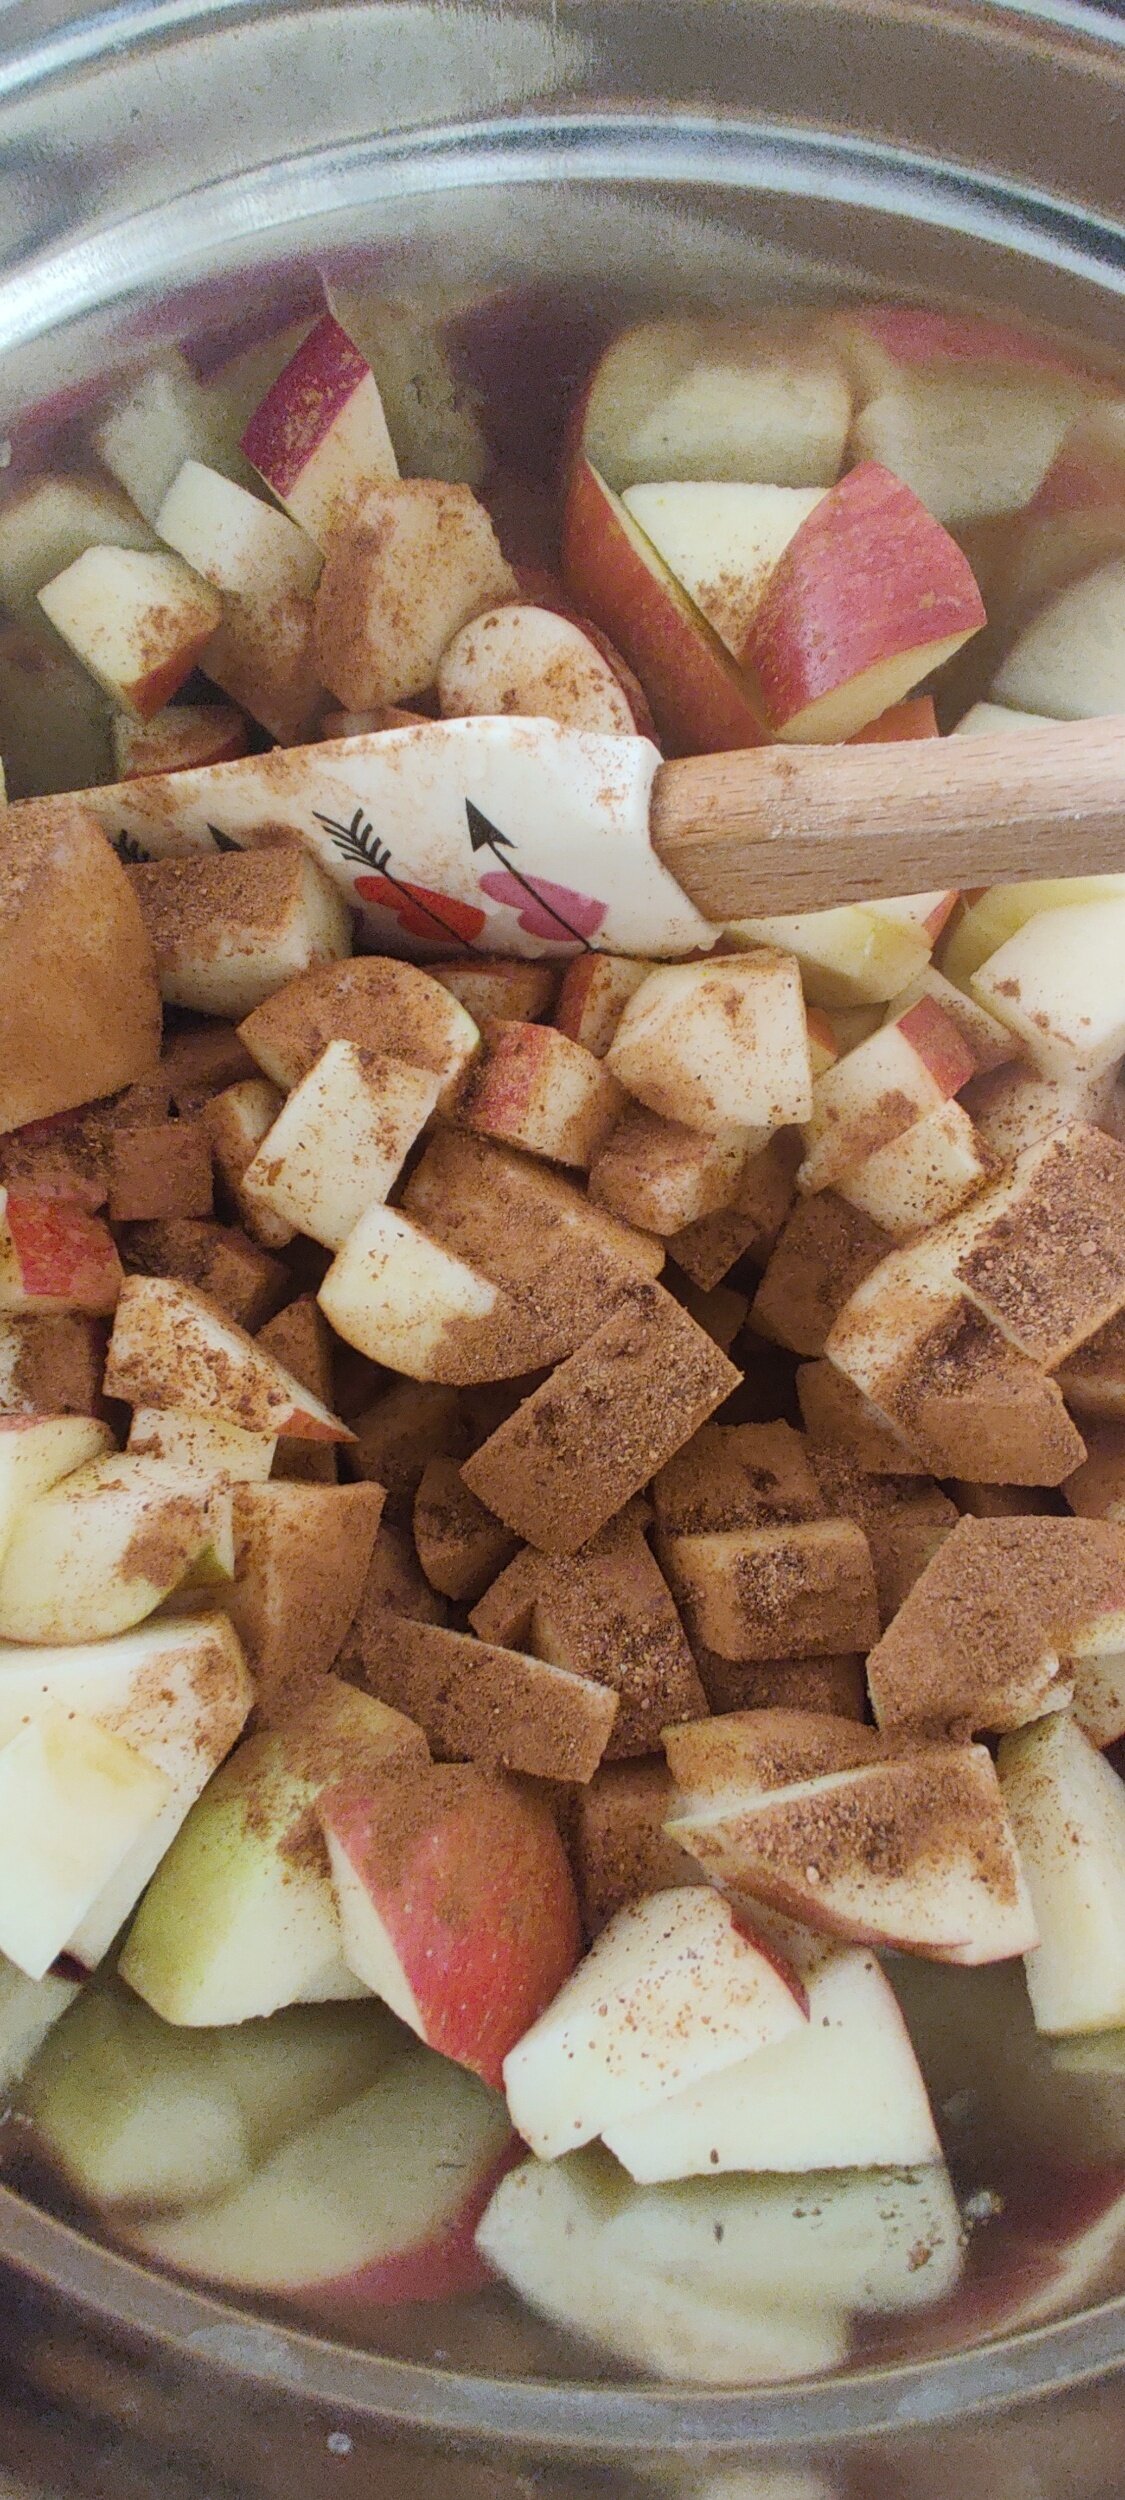
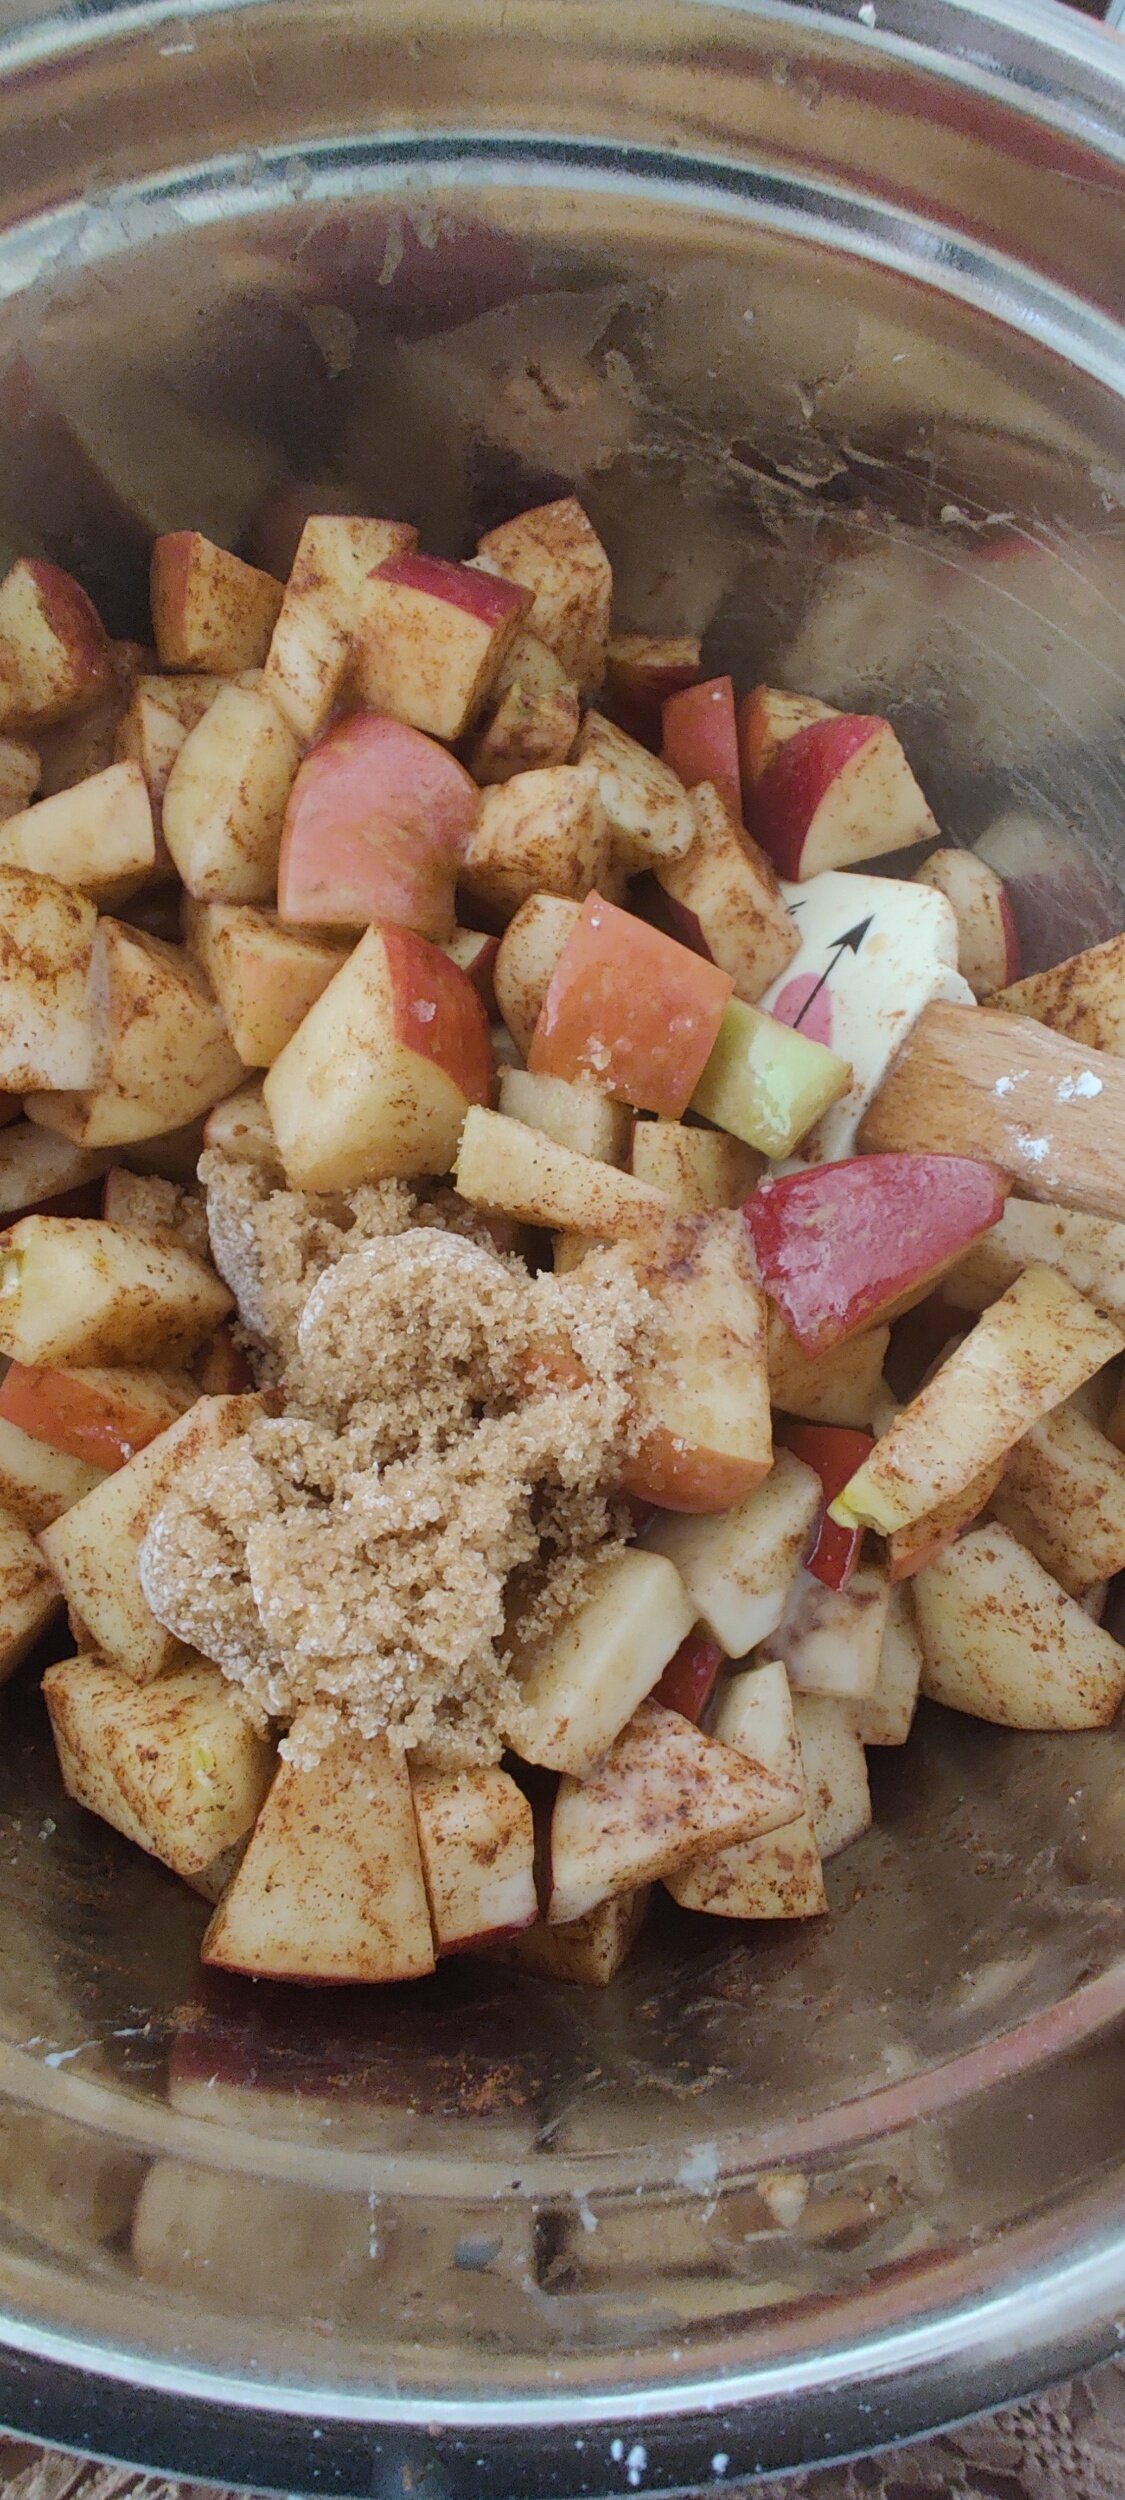
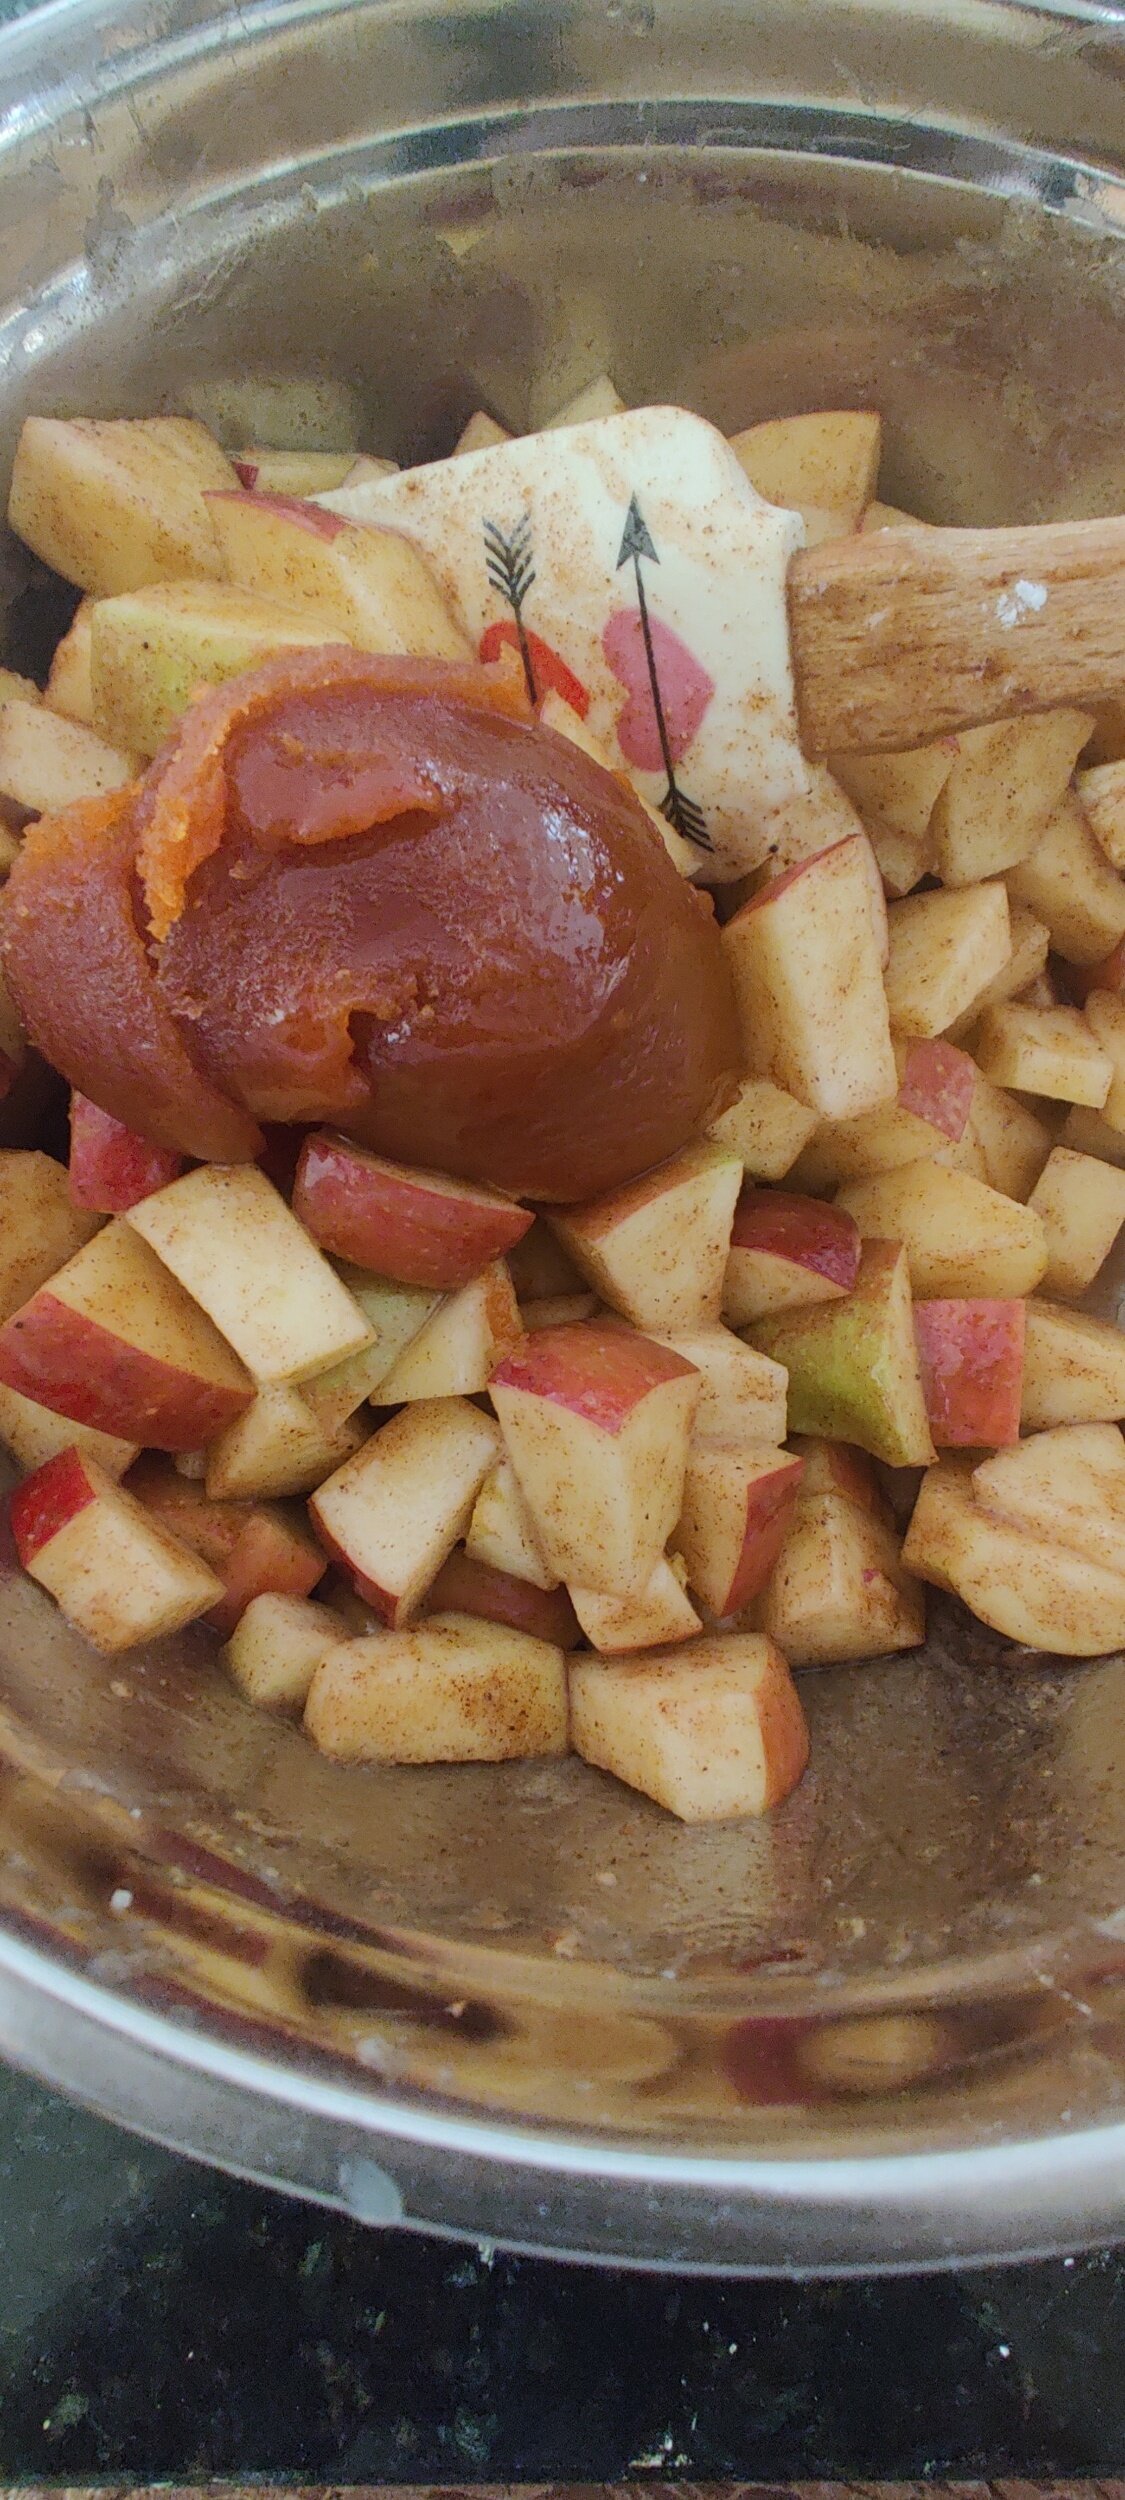
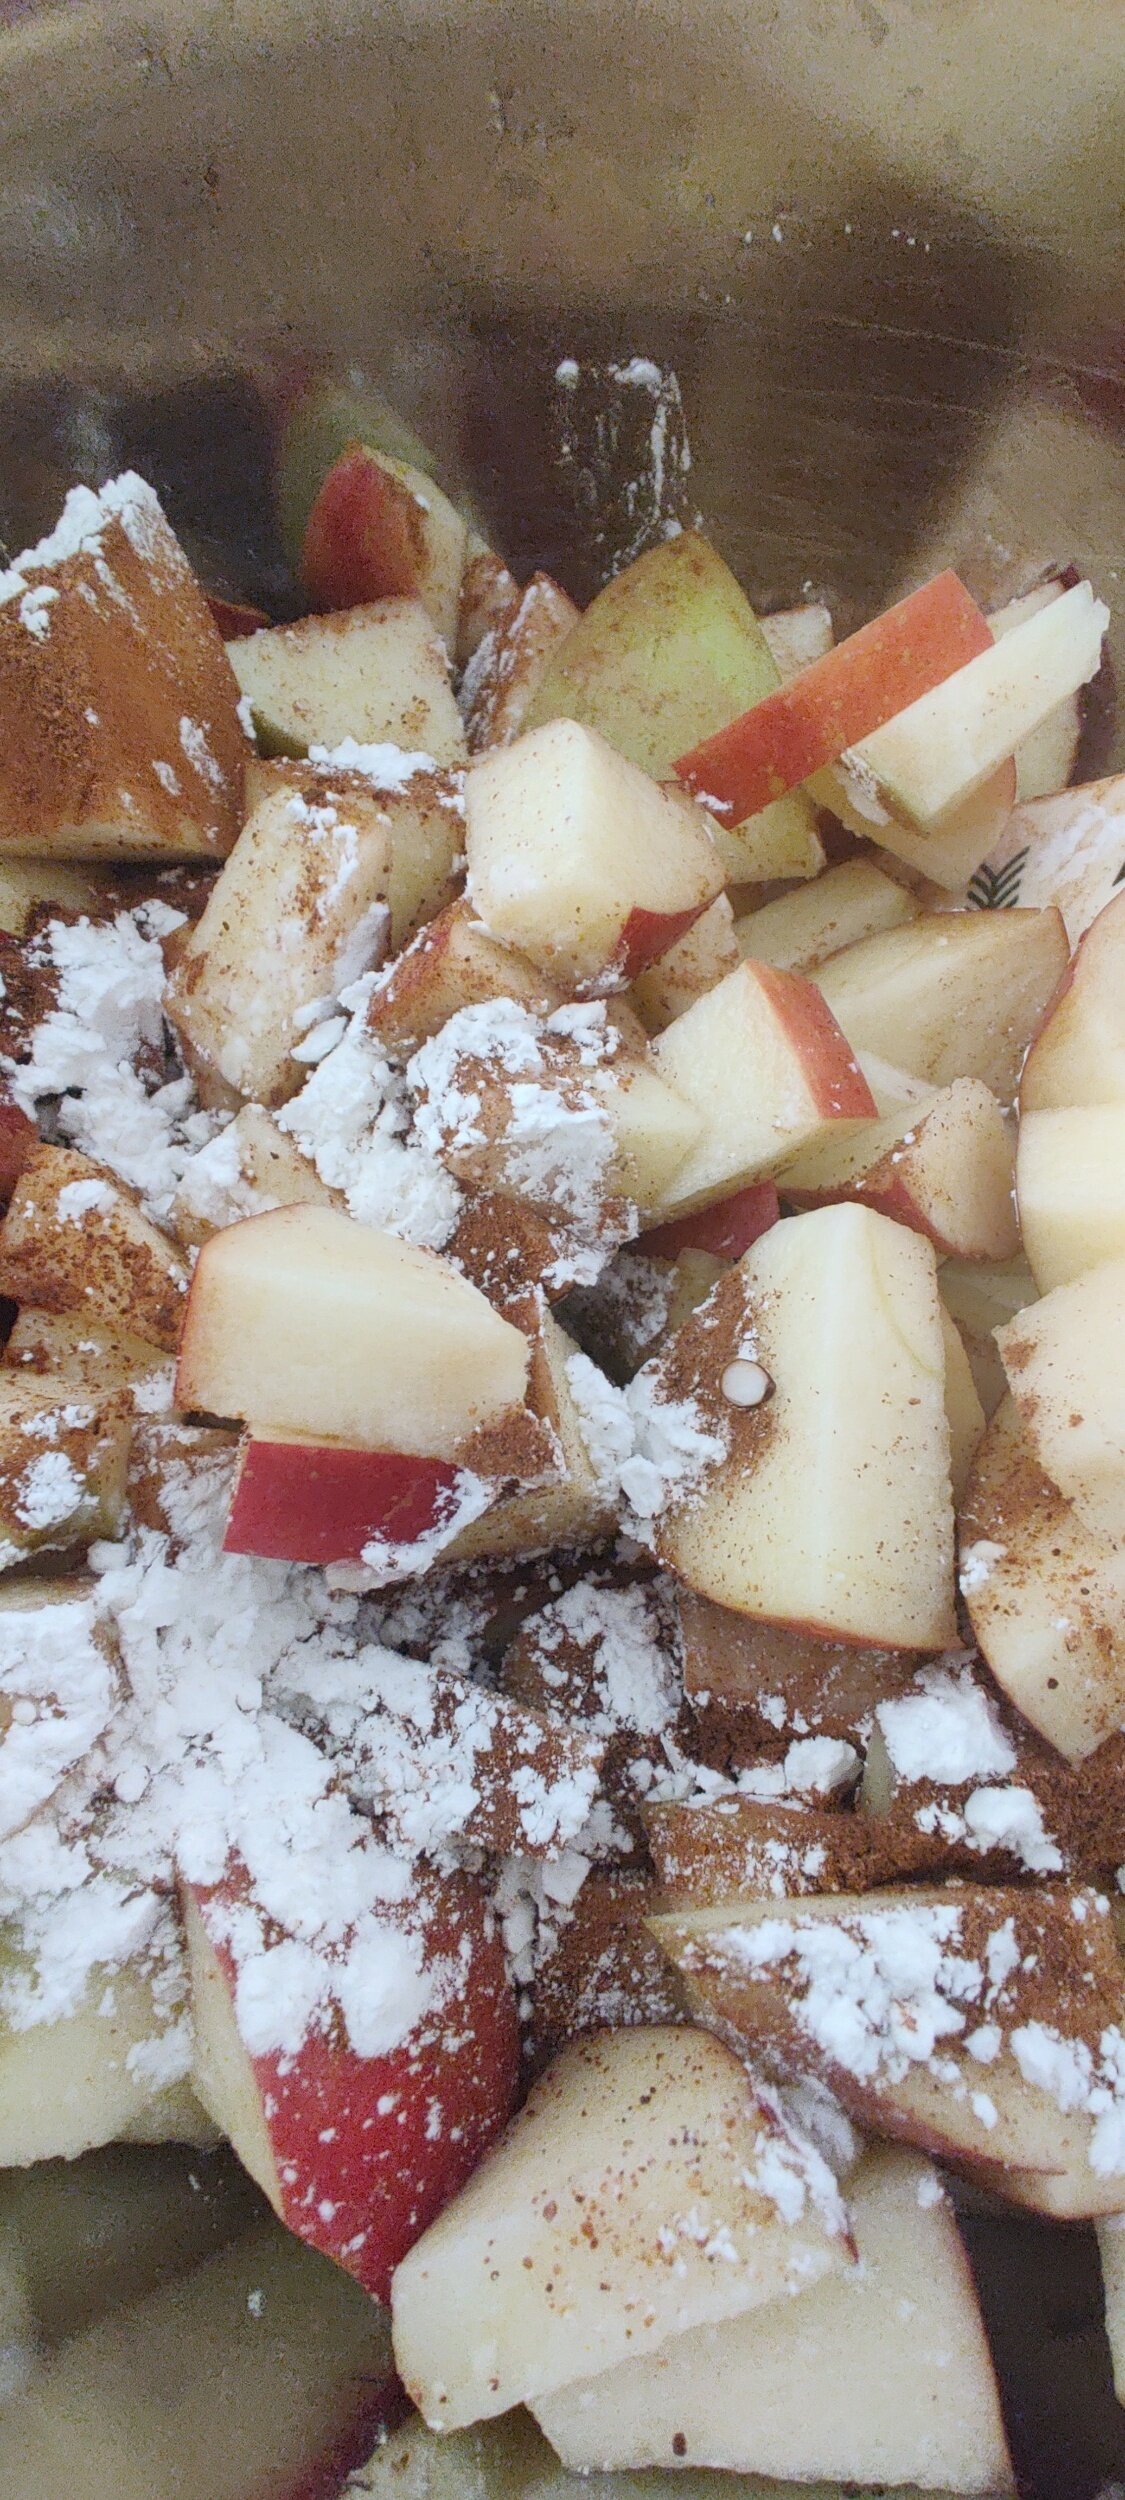
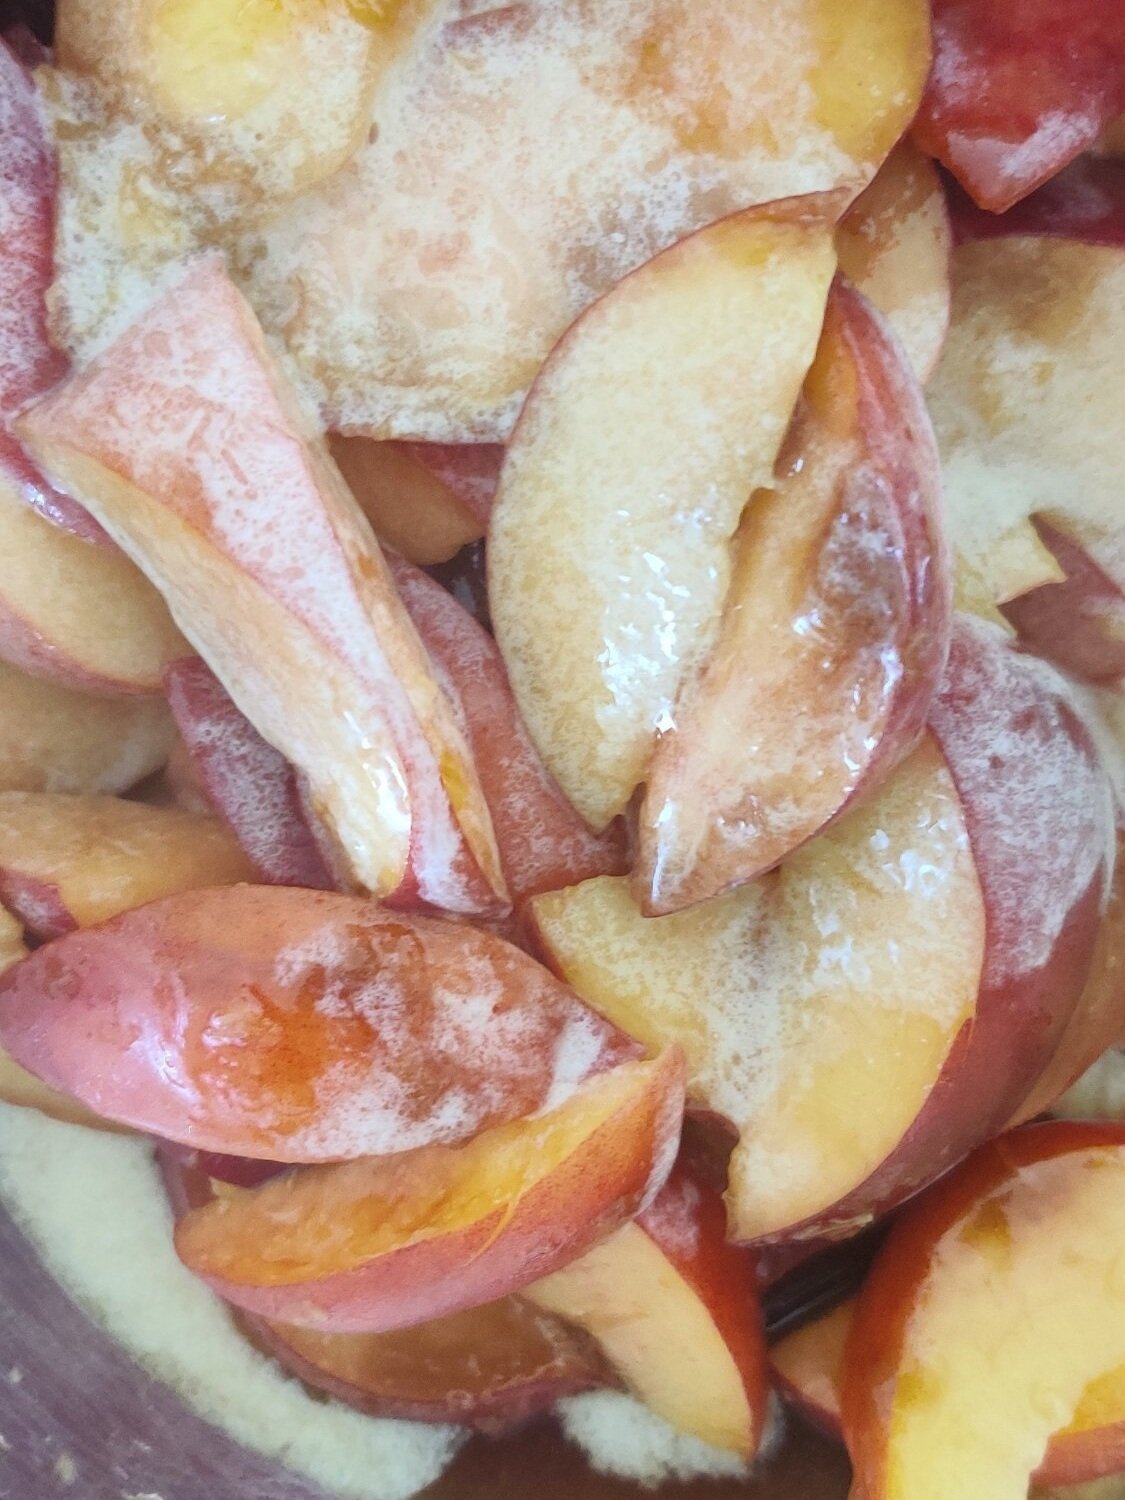
Dice the apples and place in a large bowl. Add the nutmeg, cinnamon and cloves and mix to coat evenly.
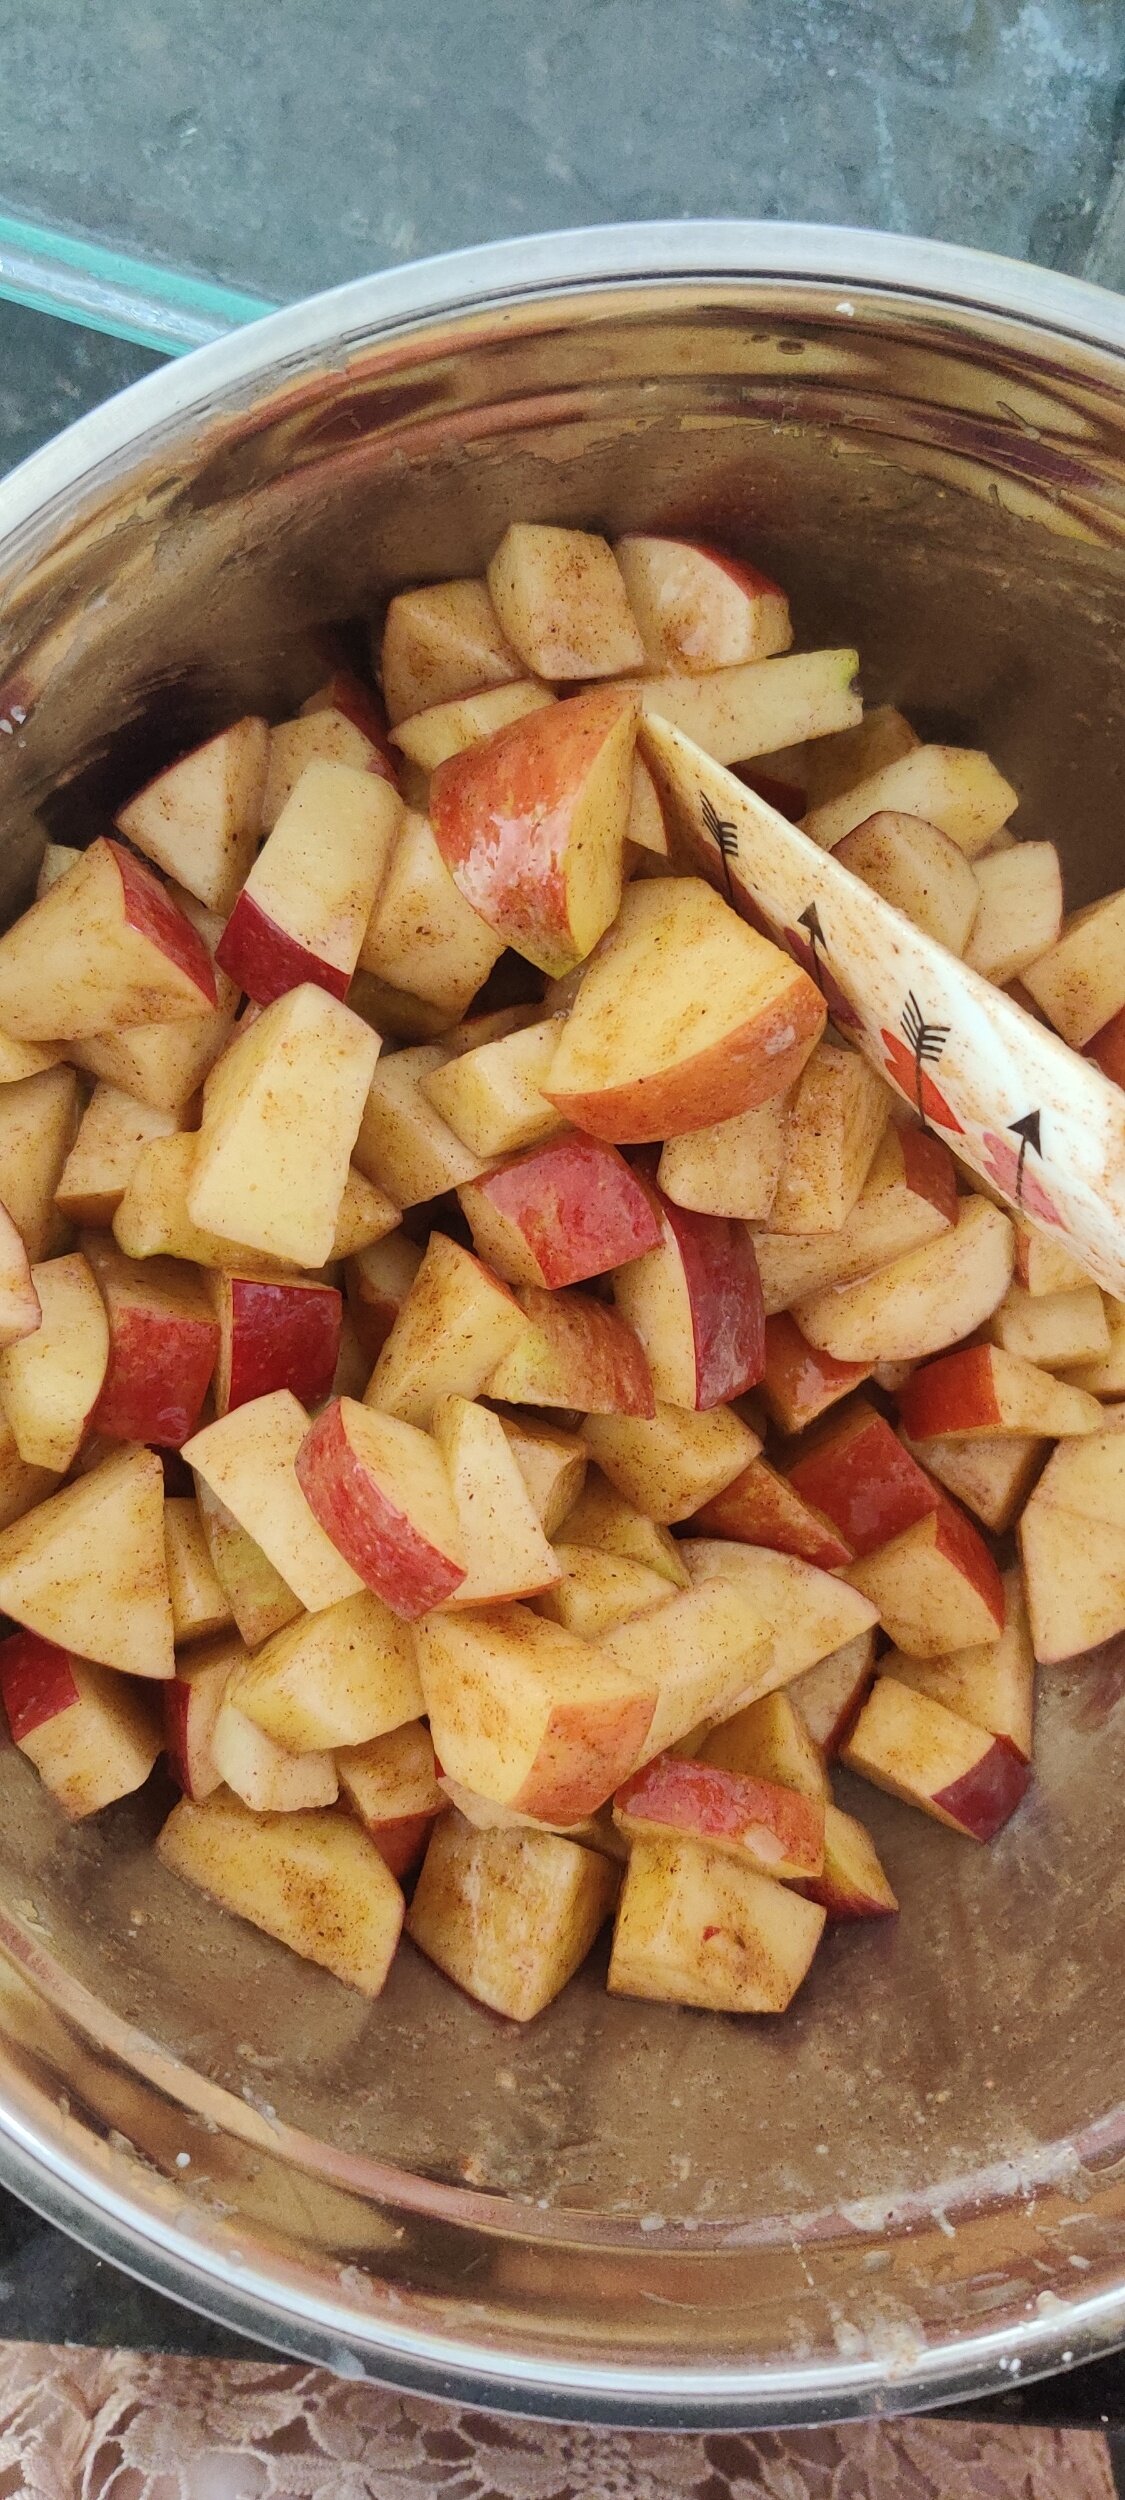
Add the sugar, guava paste, vanilla, almond extract, salt and melted butter, stir again to coat. Then add the cornstarch and make sure all the apple cubes are covered.
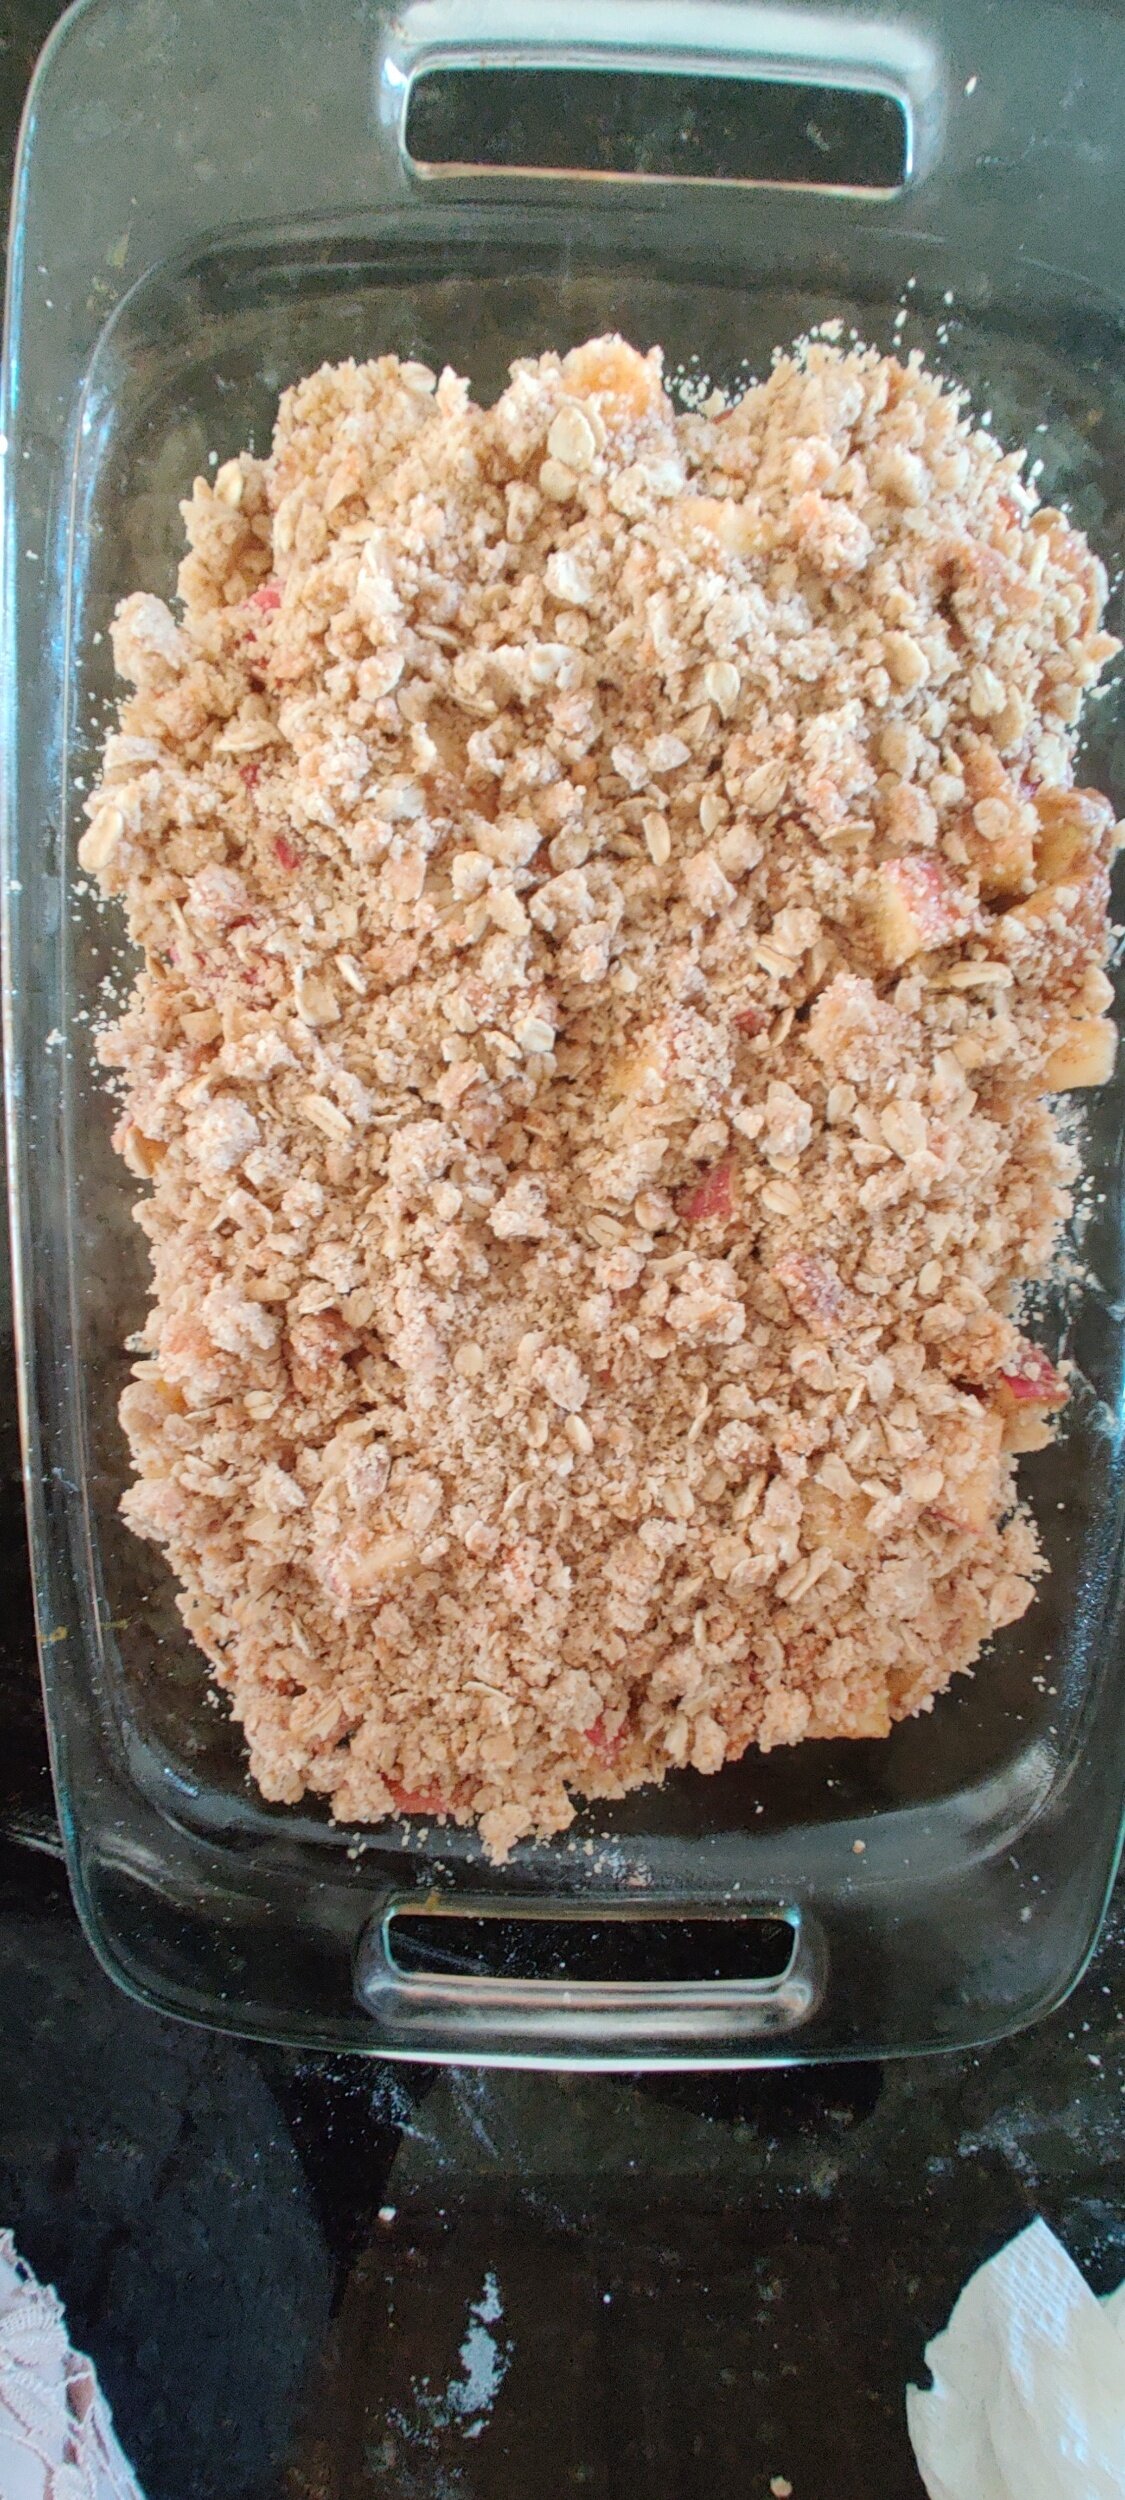
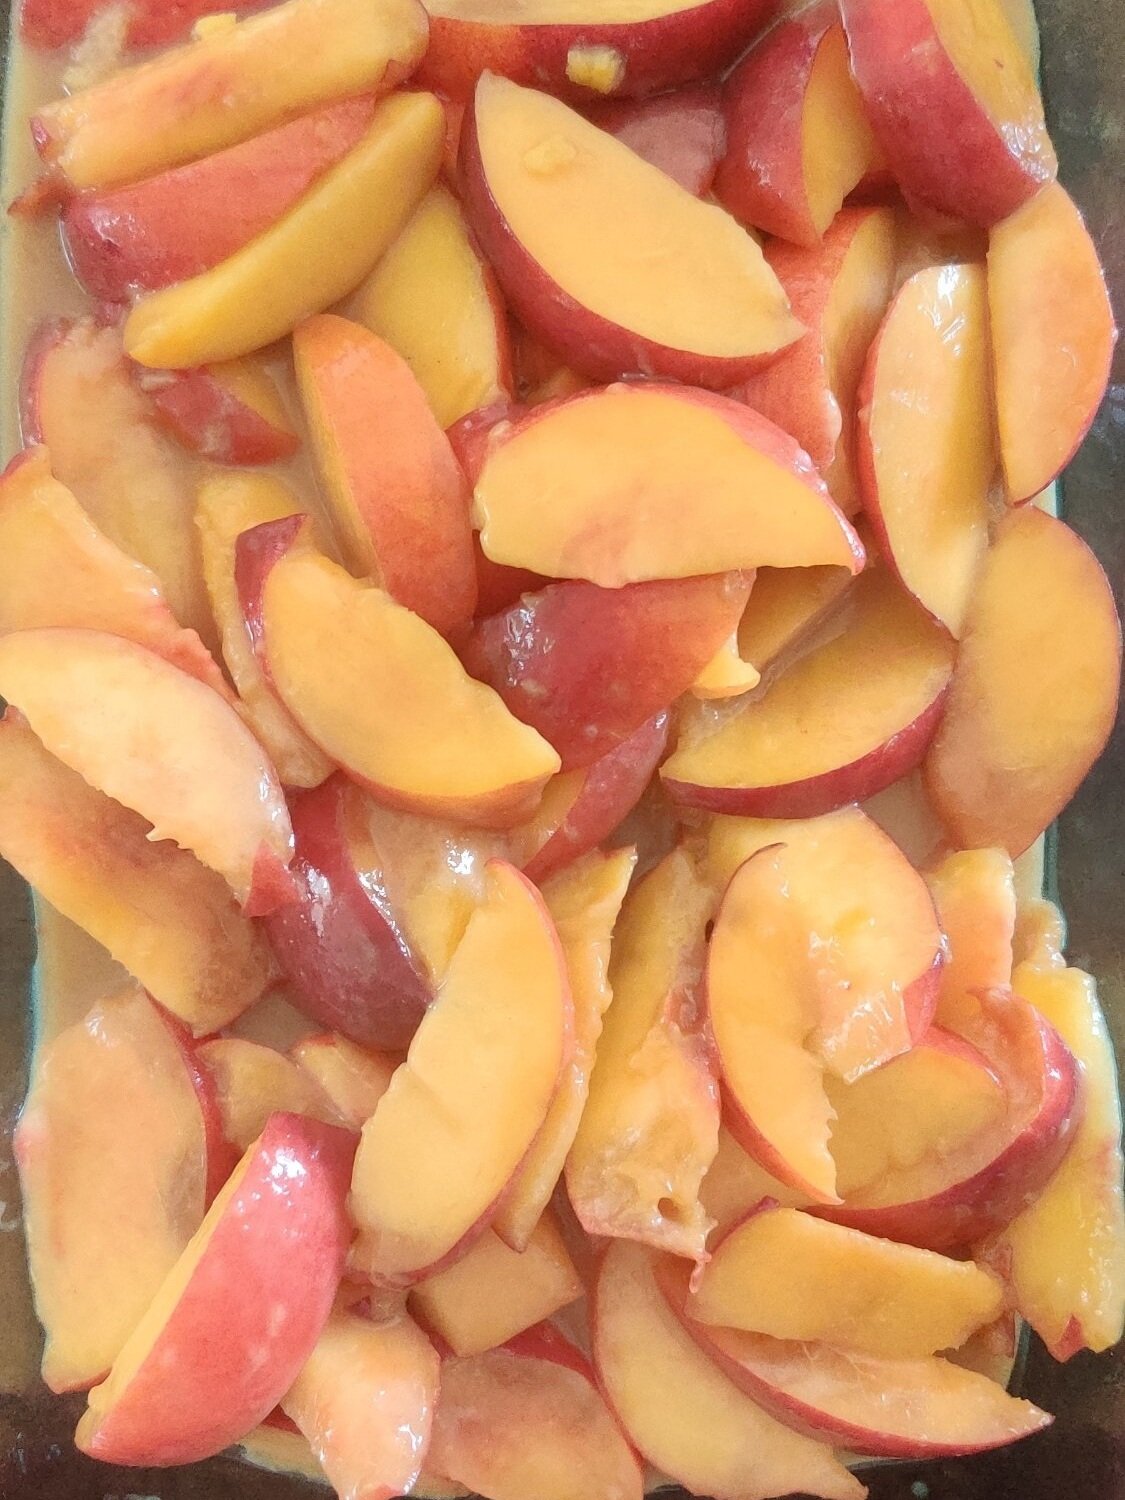
Transfer to a baking dish sprayed with a bit of cooking spray.
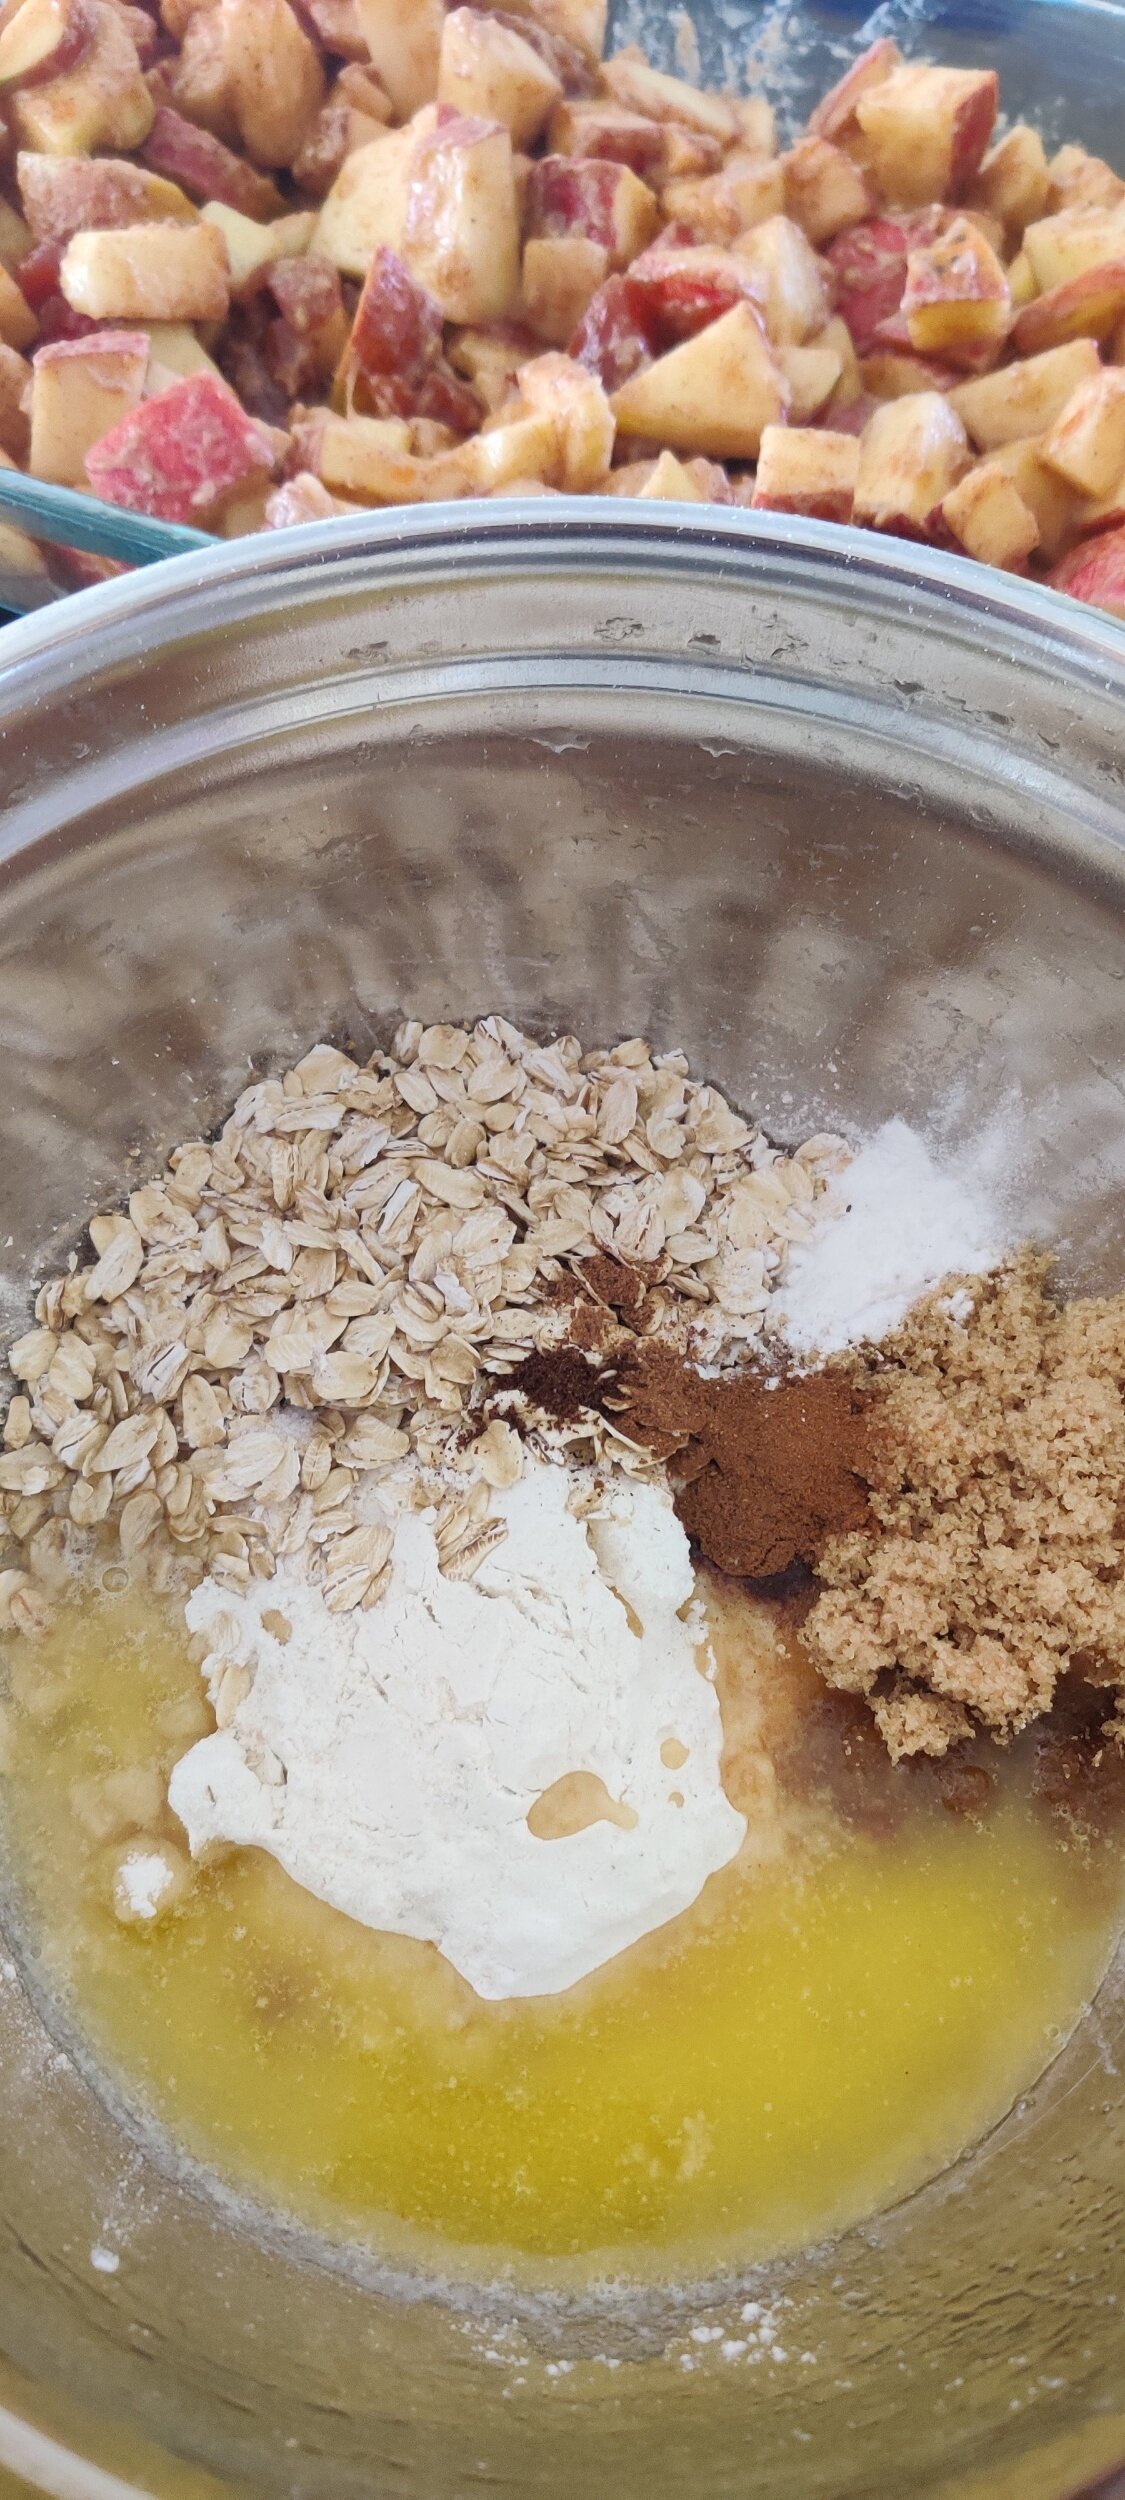
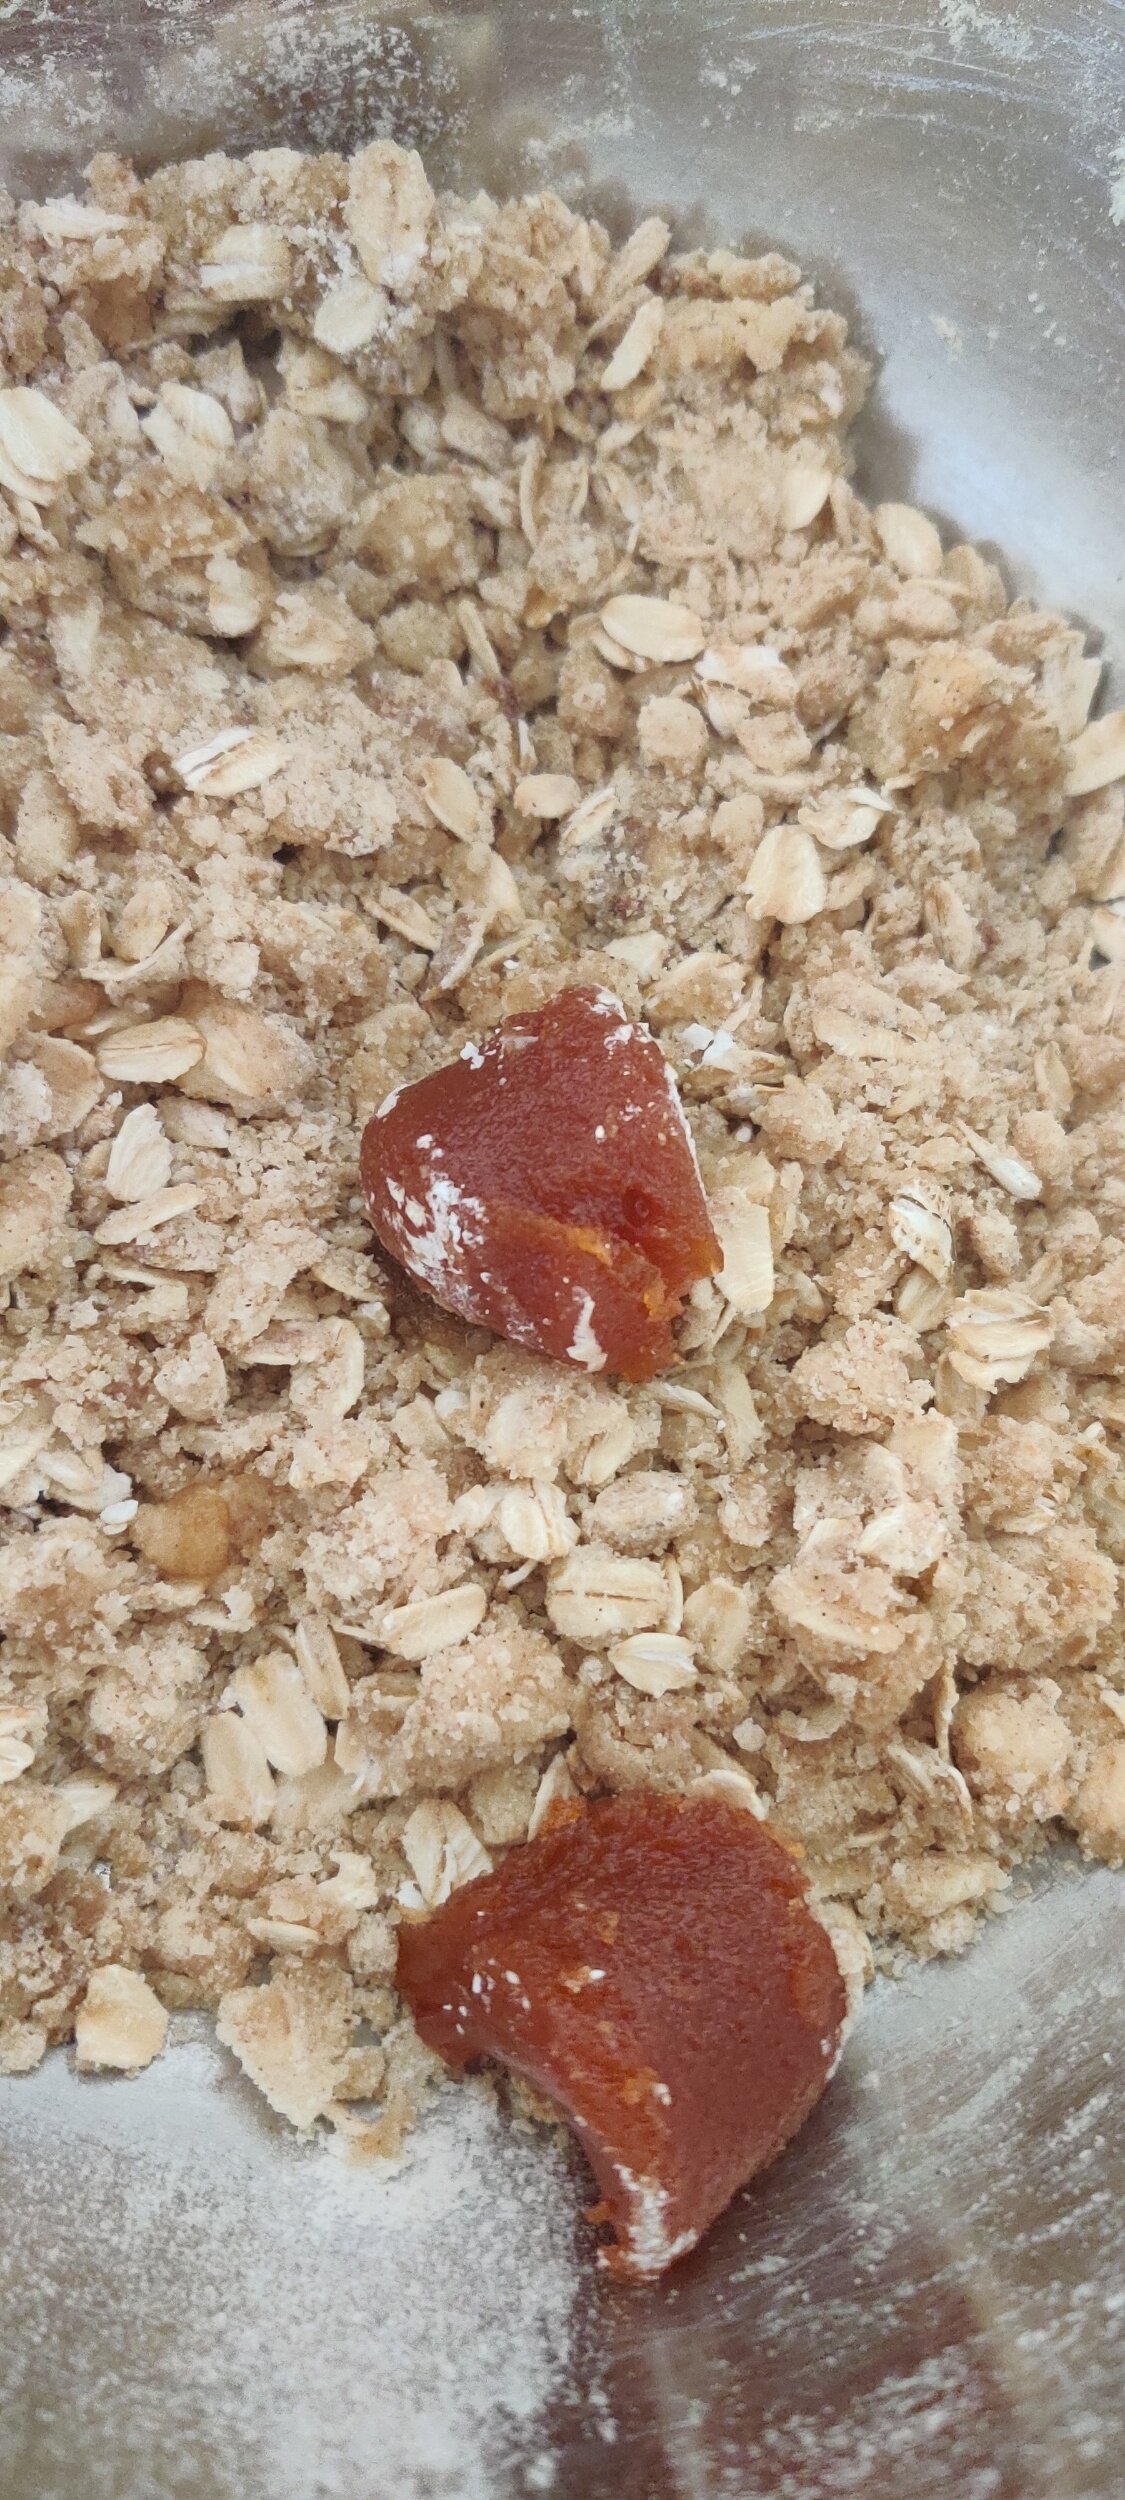
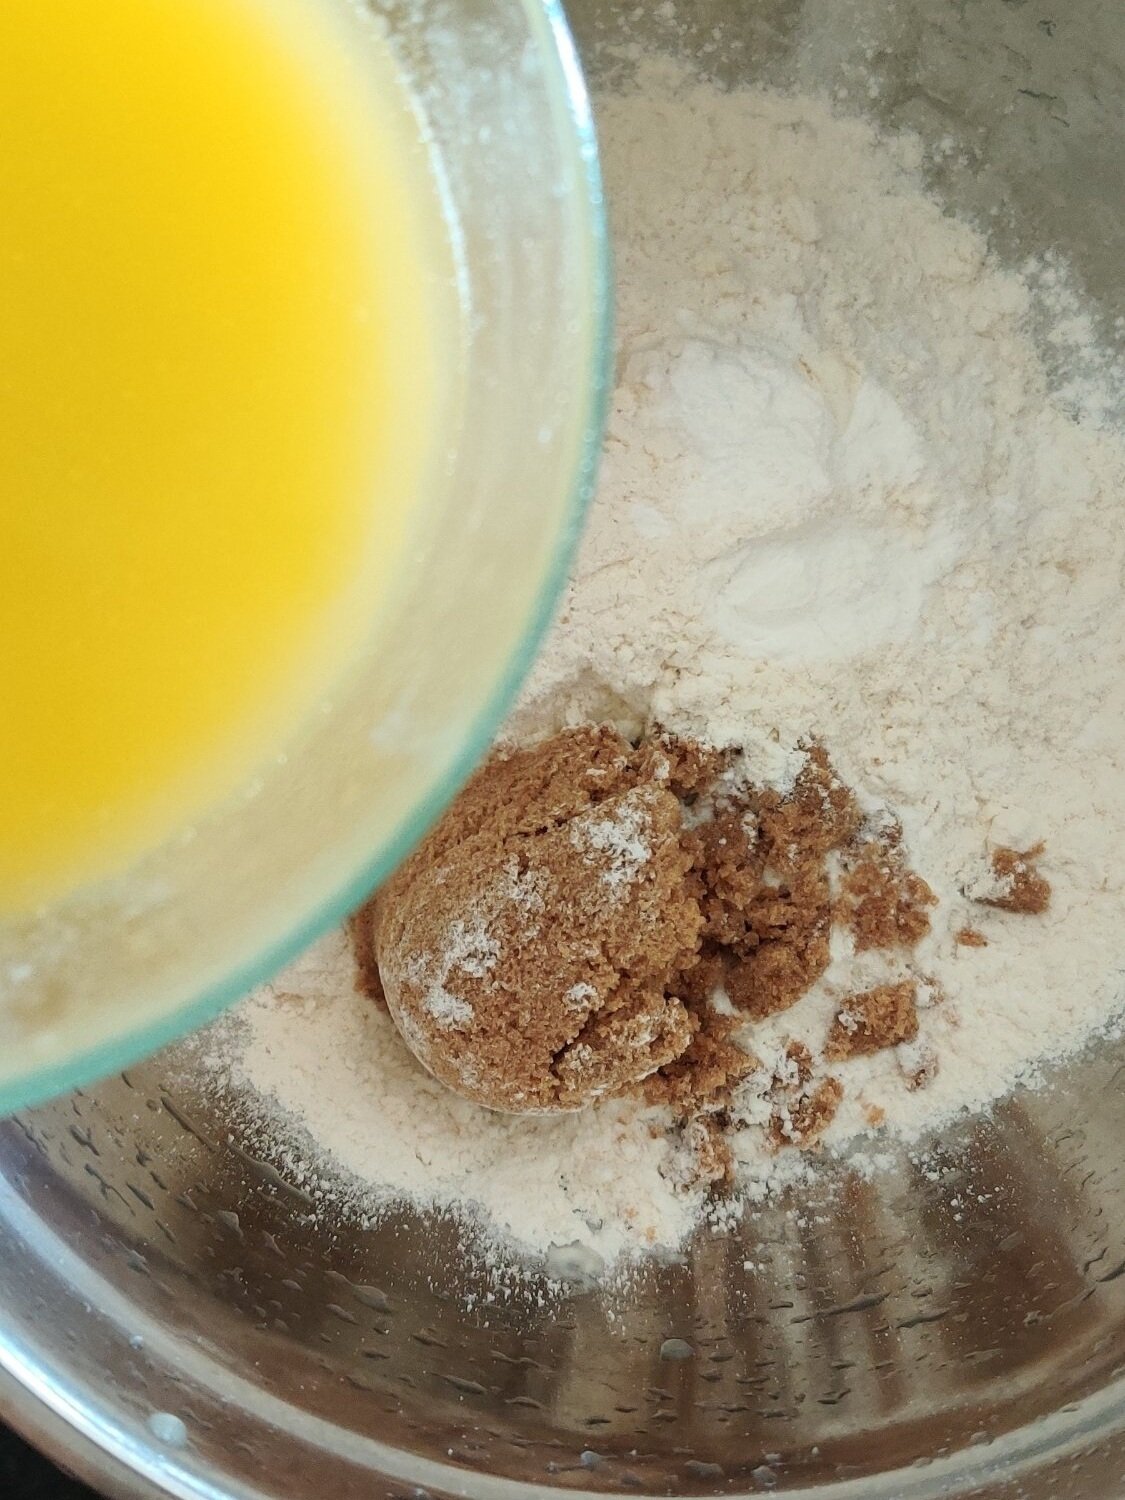
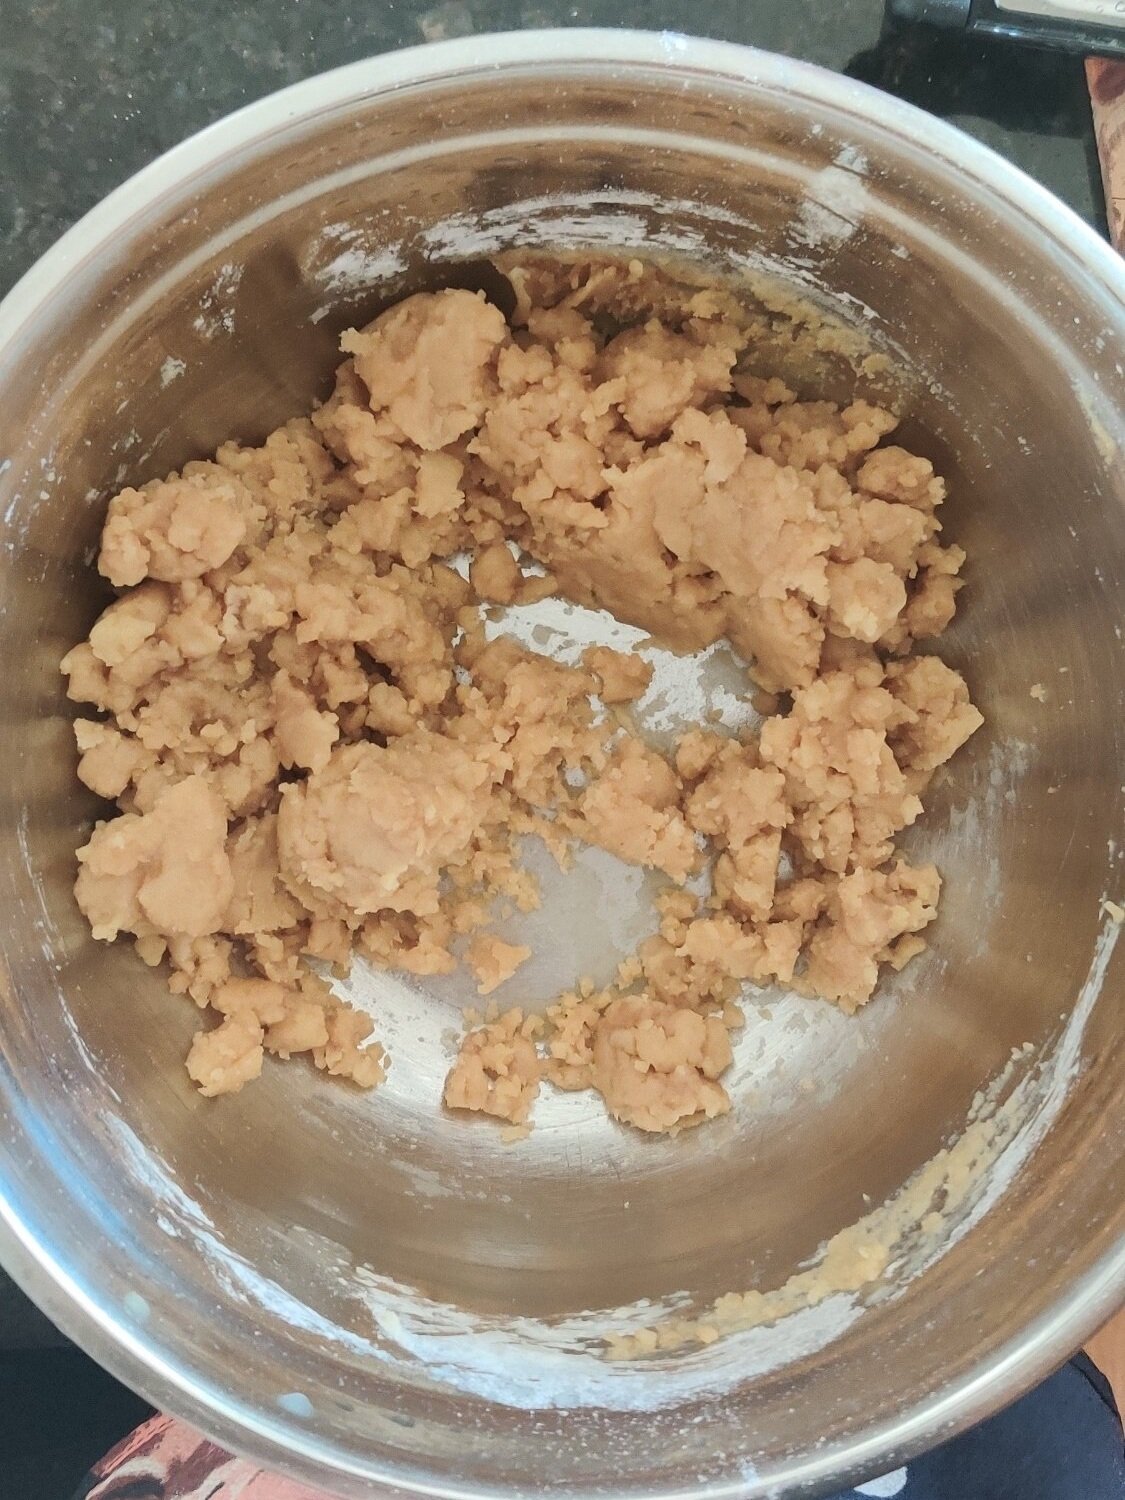
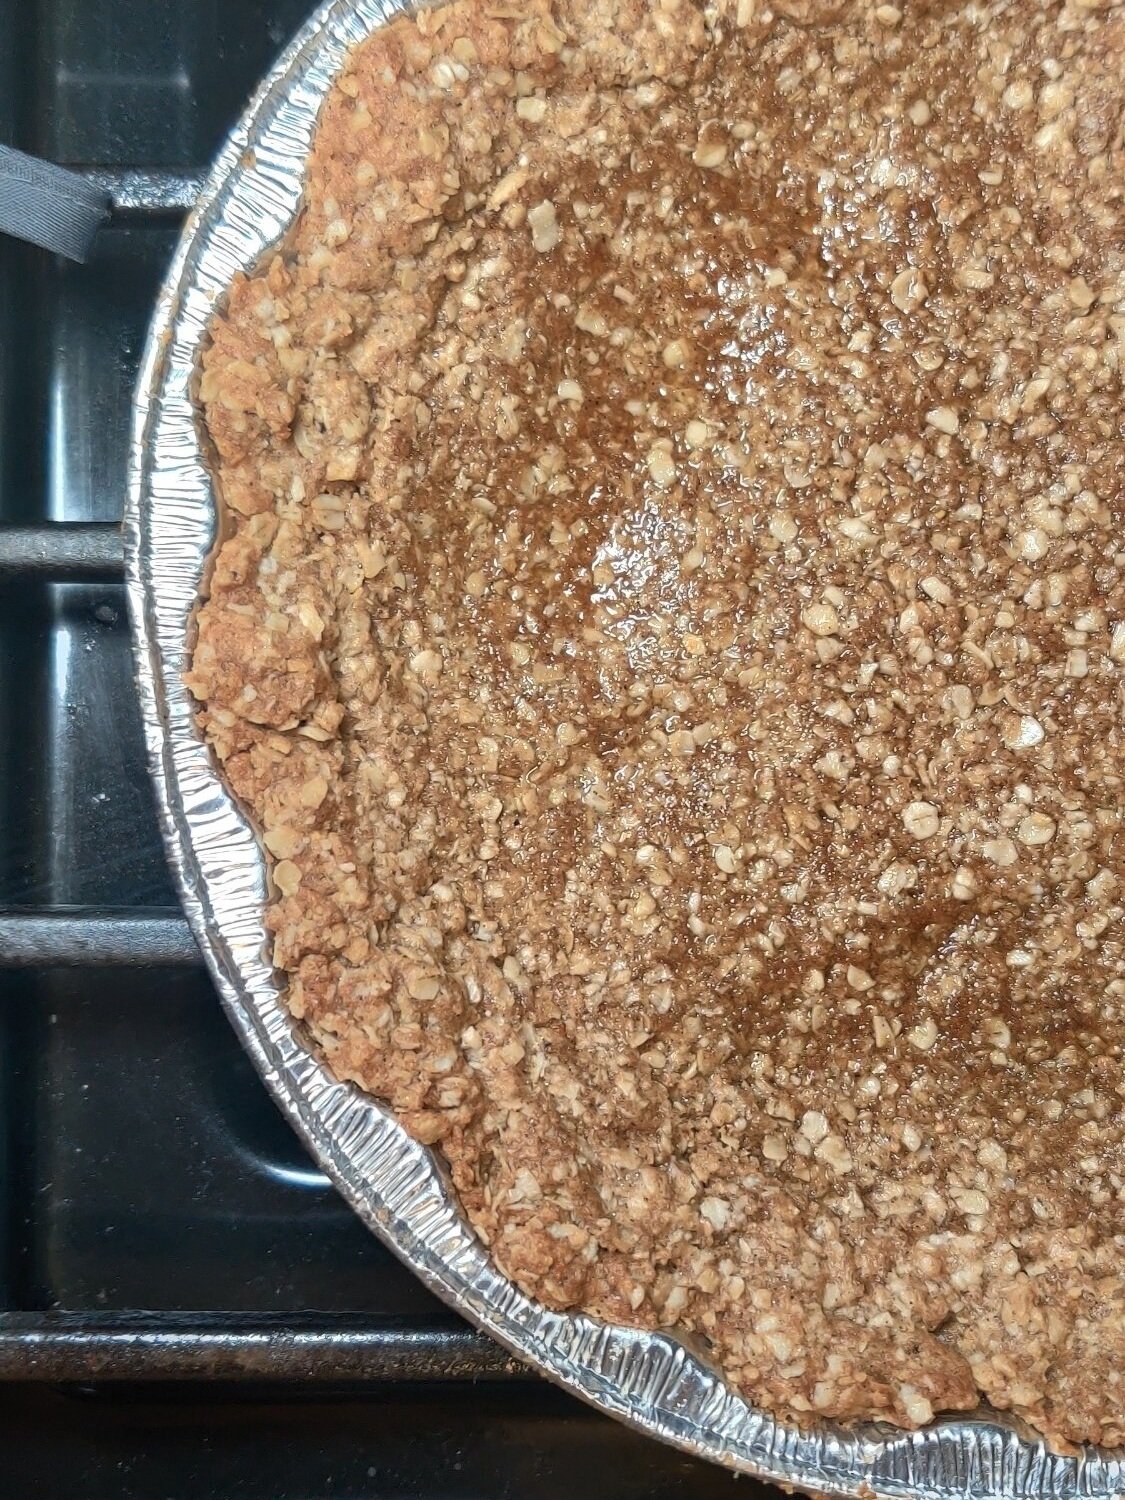
In a separate bowl, mix the oats, flour, spices, butter, baking powder, guava paste, salt and flour. Mix until it starts to resemble coarse sand. You can use your fingers to make sure everything is even and have you a nice topping that will be your crisp.
Bake at 350F for 50 minutes. Remove from heat and cool for about 10 minutes. Serve warm with a scoop of ice cream!

Chocolate (5-Seed Butter) and Oreo Baklava
The devil is in the details. I think that applies to this recipe! Finally, some Baklava that should make you feel a little less guilty.
Ever since we met in New York in 2010 I've been in love. Baklava was always my dessert after falafel on St Marks Place in Manhattan. I was always intimidated when it came to making it myself and I think many of you may have felt the same way before, but it isn't that bad! Think of it like making lasagna.
What about the origins? I find that this information is always an important factor for my process and appreciation! I believe credit goes to the Ottoman Turks but I'm pretty sure those versed in Greek food history may beg to differ. Either way, I'm grateful.
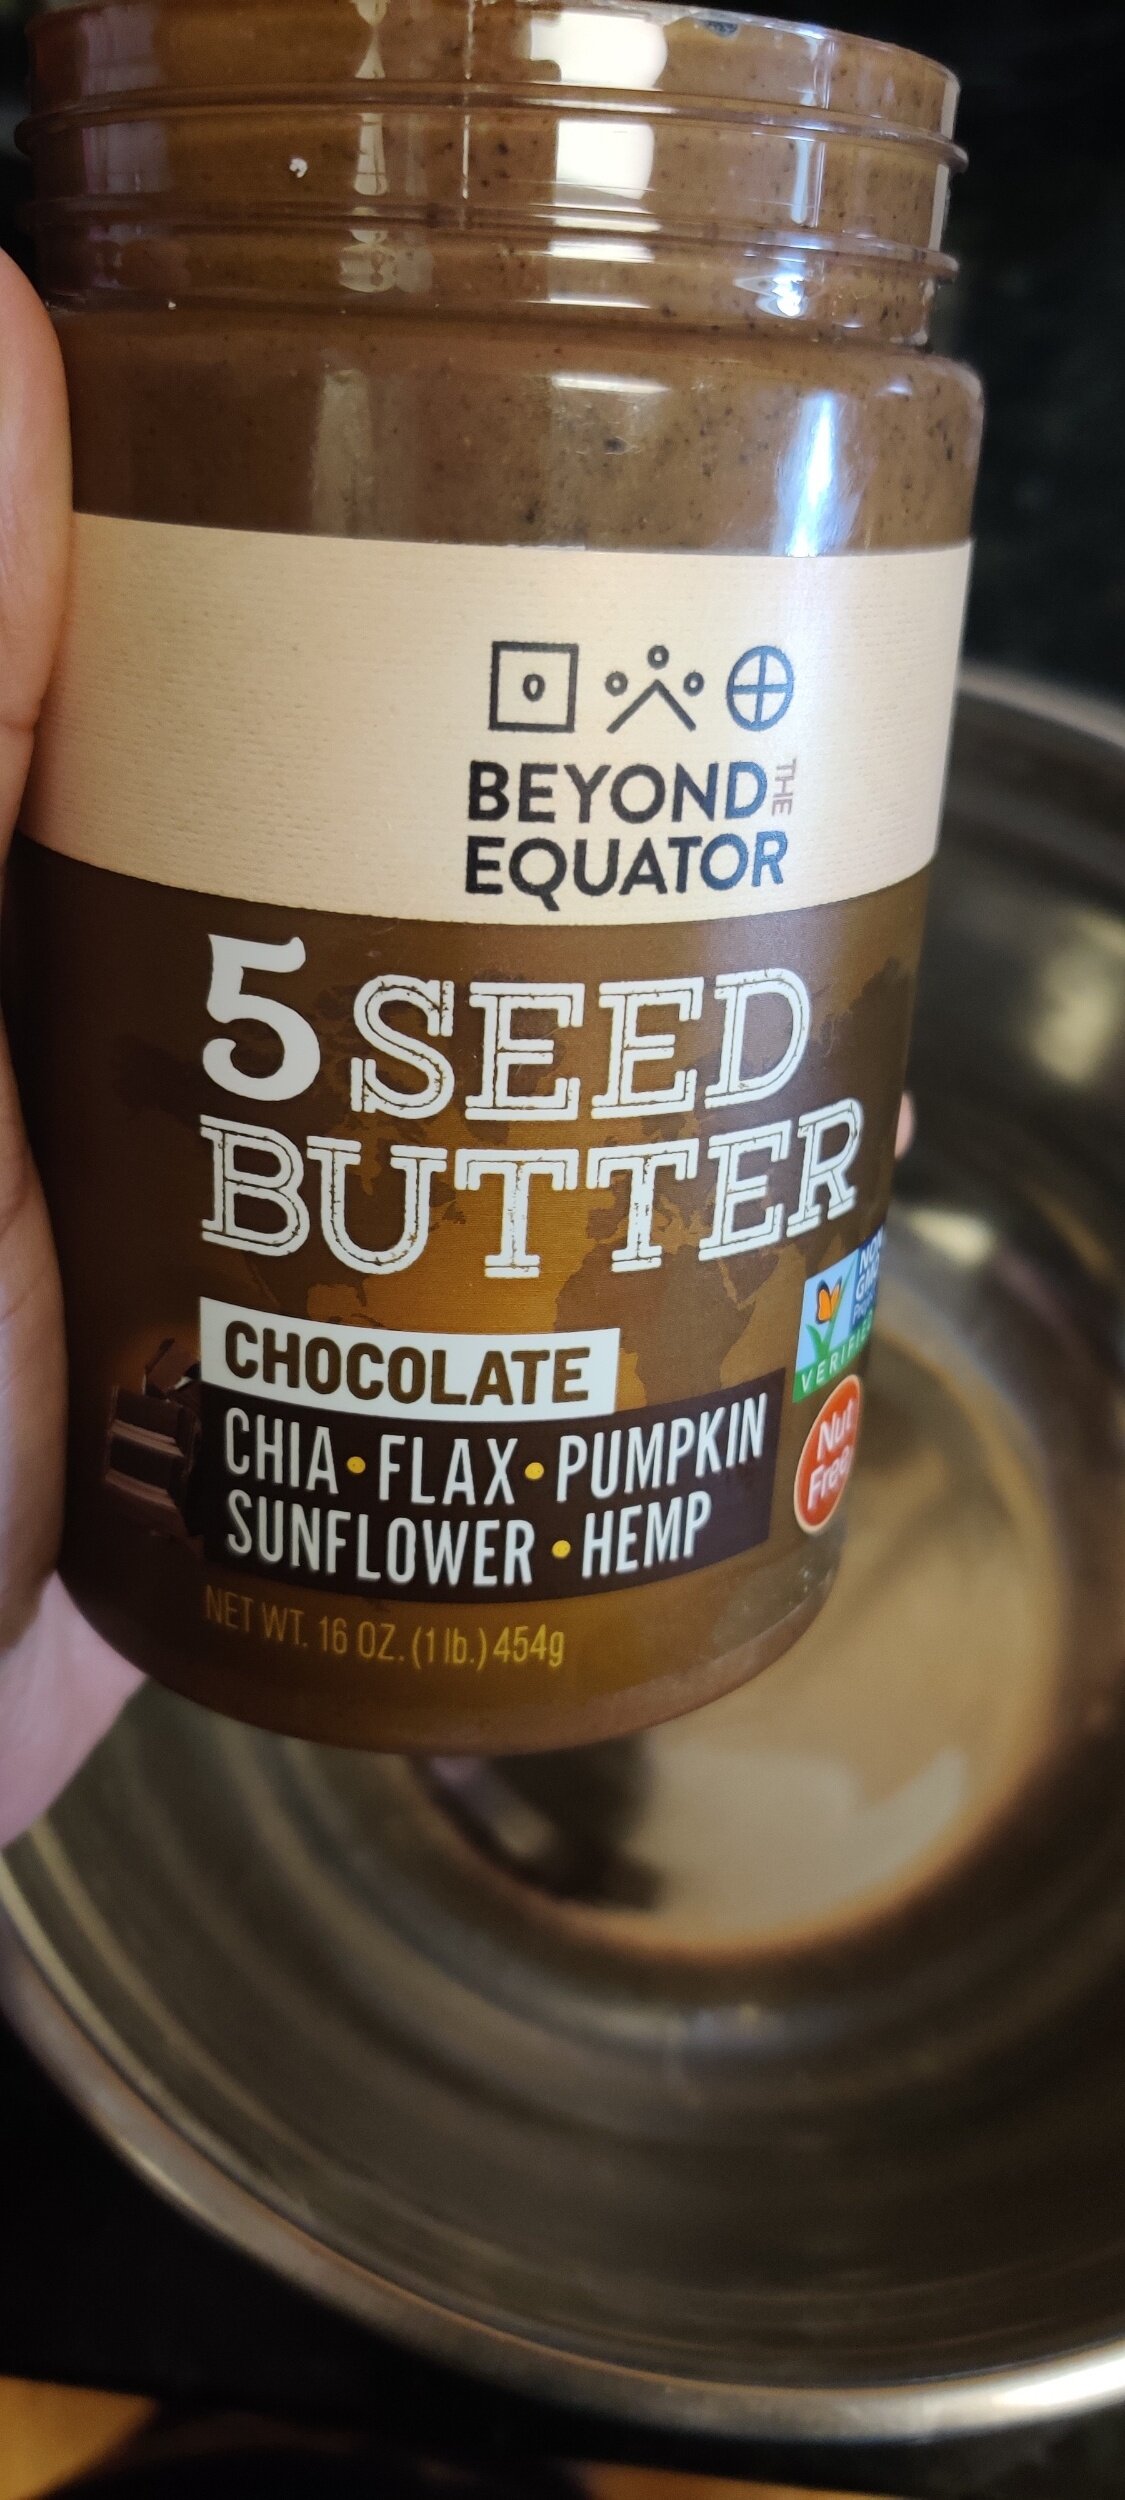
One of the most well-known versions consists of layers of chopped pistachios and honey in between the paper-thin dough sheets. I put in a chocolate twist with a dose of 5 superfoods - namely hemp, sunflower seeds, pumpkin seeds, flax and chia. I used a 5-seed butter with cocoa butter from Beyond the Equator.
Even though this recipe does call for added sugar from the Oreos, honey, sugar and granola, it is still way less sugar-packed. Regular chocolate spreads such as Nutella have way more (75% to be exact!) or extreme amounts of honey. The product is also made sustainably, calling for up to 80% less water than another comparable option - almond butter. To top that off, it's dairy-free, nut-free. and doesn't contain eggs! It's lower in carbs so you won't feel as bad about the phyllo dough either. I put a bit of emphasis on using something like this because the texture helps hold the baklava together and the nutty taste adds flavour.
Ingredients
8 - 10 Oreos
1/3 cup 5-seed chocolate butter (I used the one from Beyond the Equator)
1/4 cup + 1 tablespoon honey
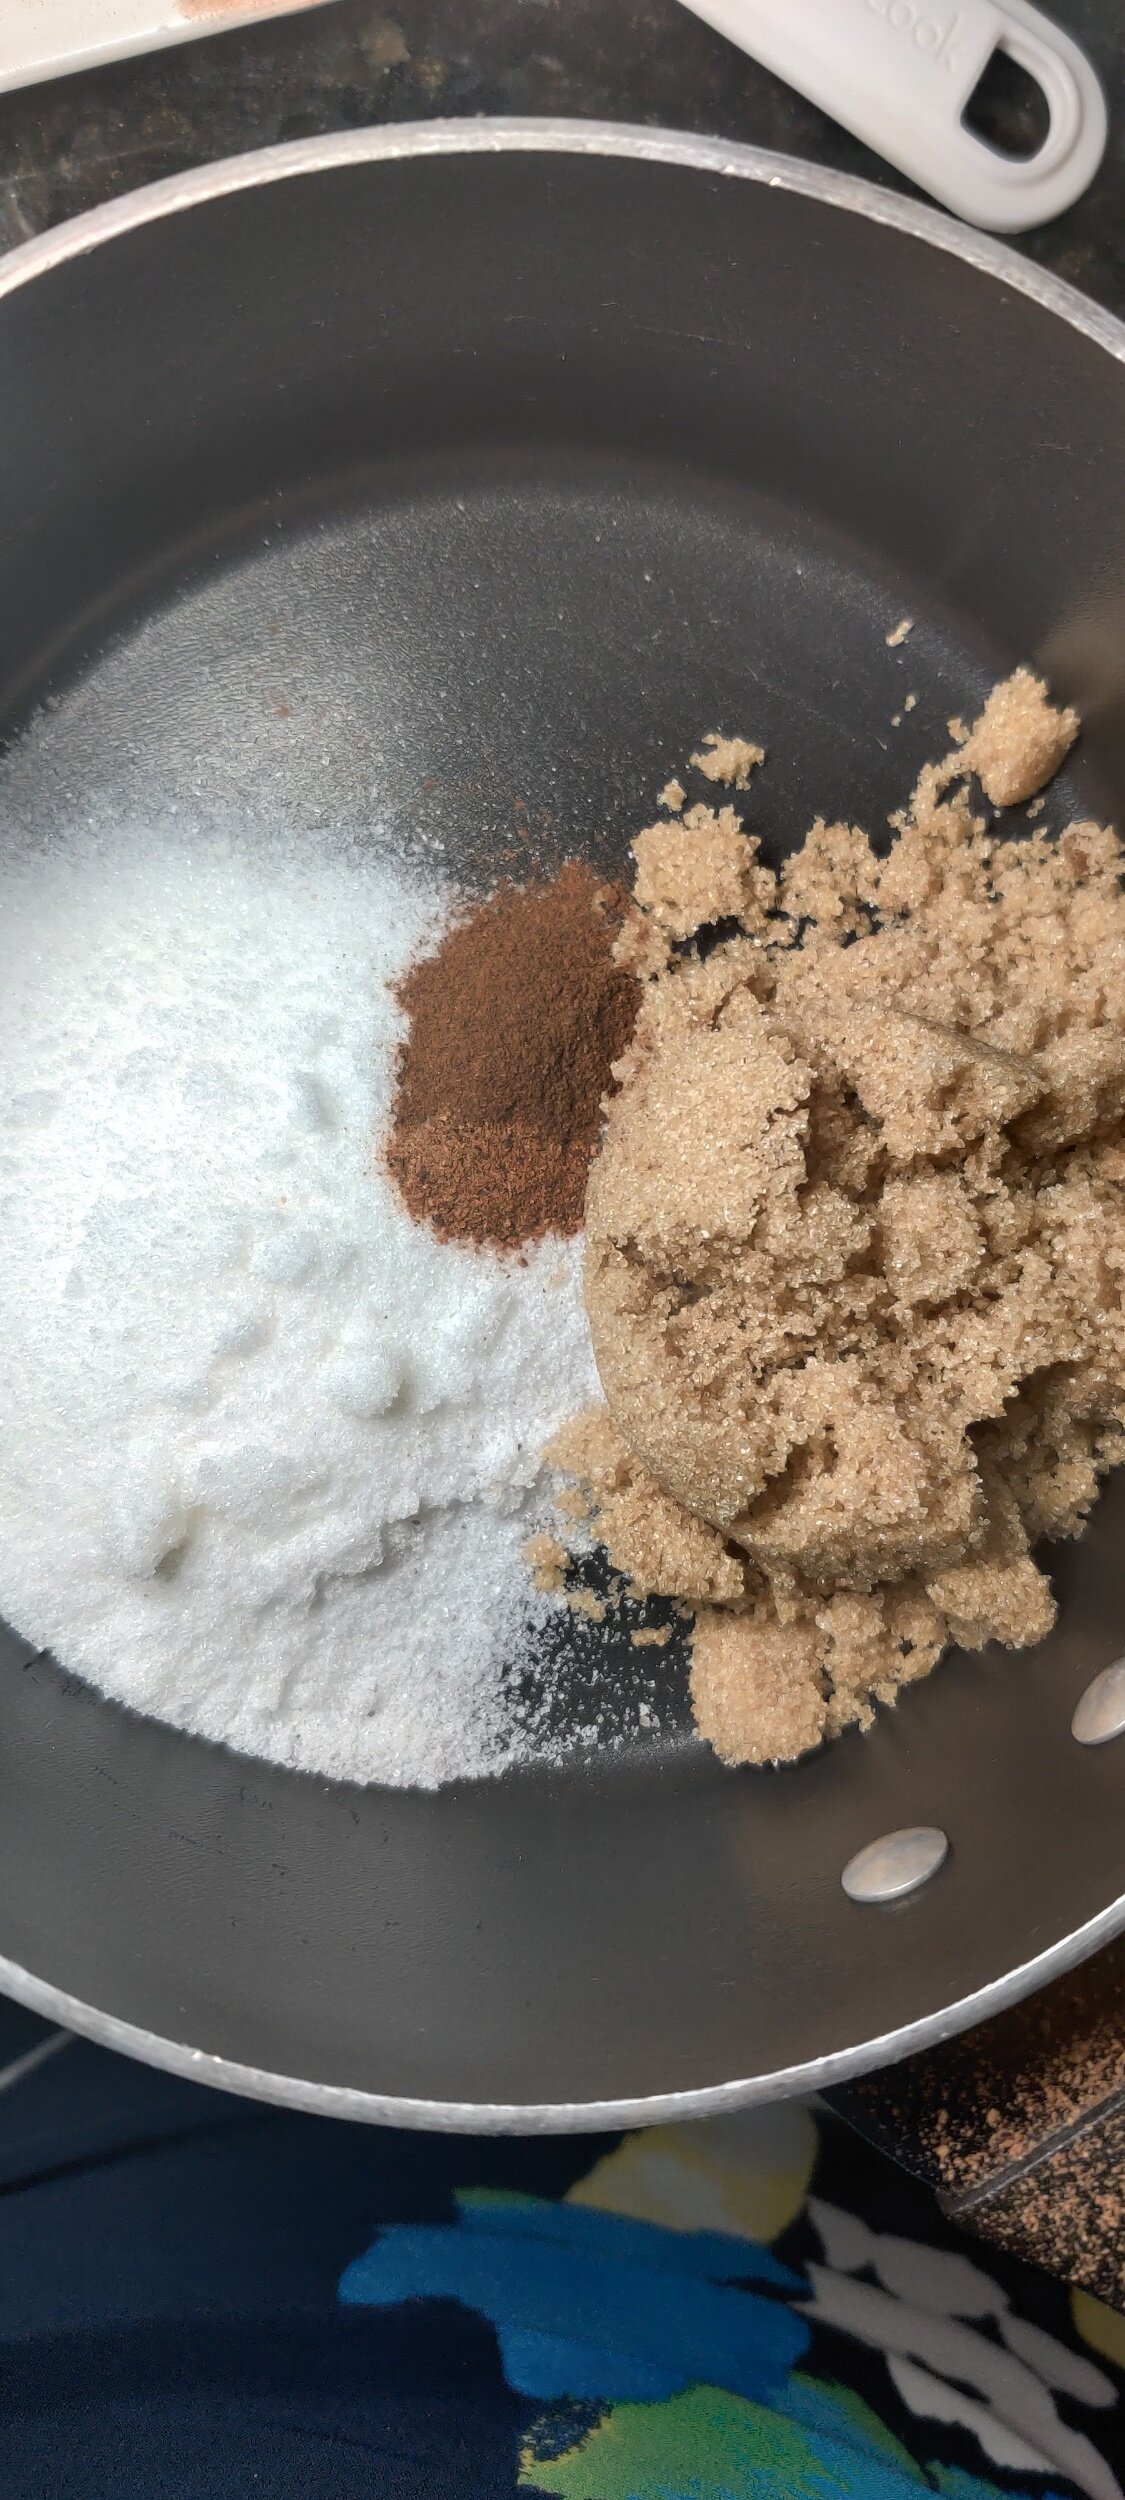
1/4 cup white sugar
1/4 cup light brown sugar
2 tablespoons lemon juice
1/4 teaspoon cinnamon
1/8 teaspoon nutmeg
1 1/2 sticks plant-based butter
1 granola bar (two singles)
15 phyllo dough sheets (about 1 packet thawed to room temperature)
1/3 cup + 2 tablespoons water


Instructions
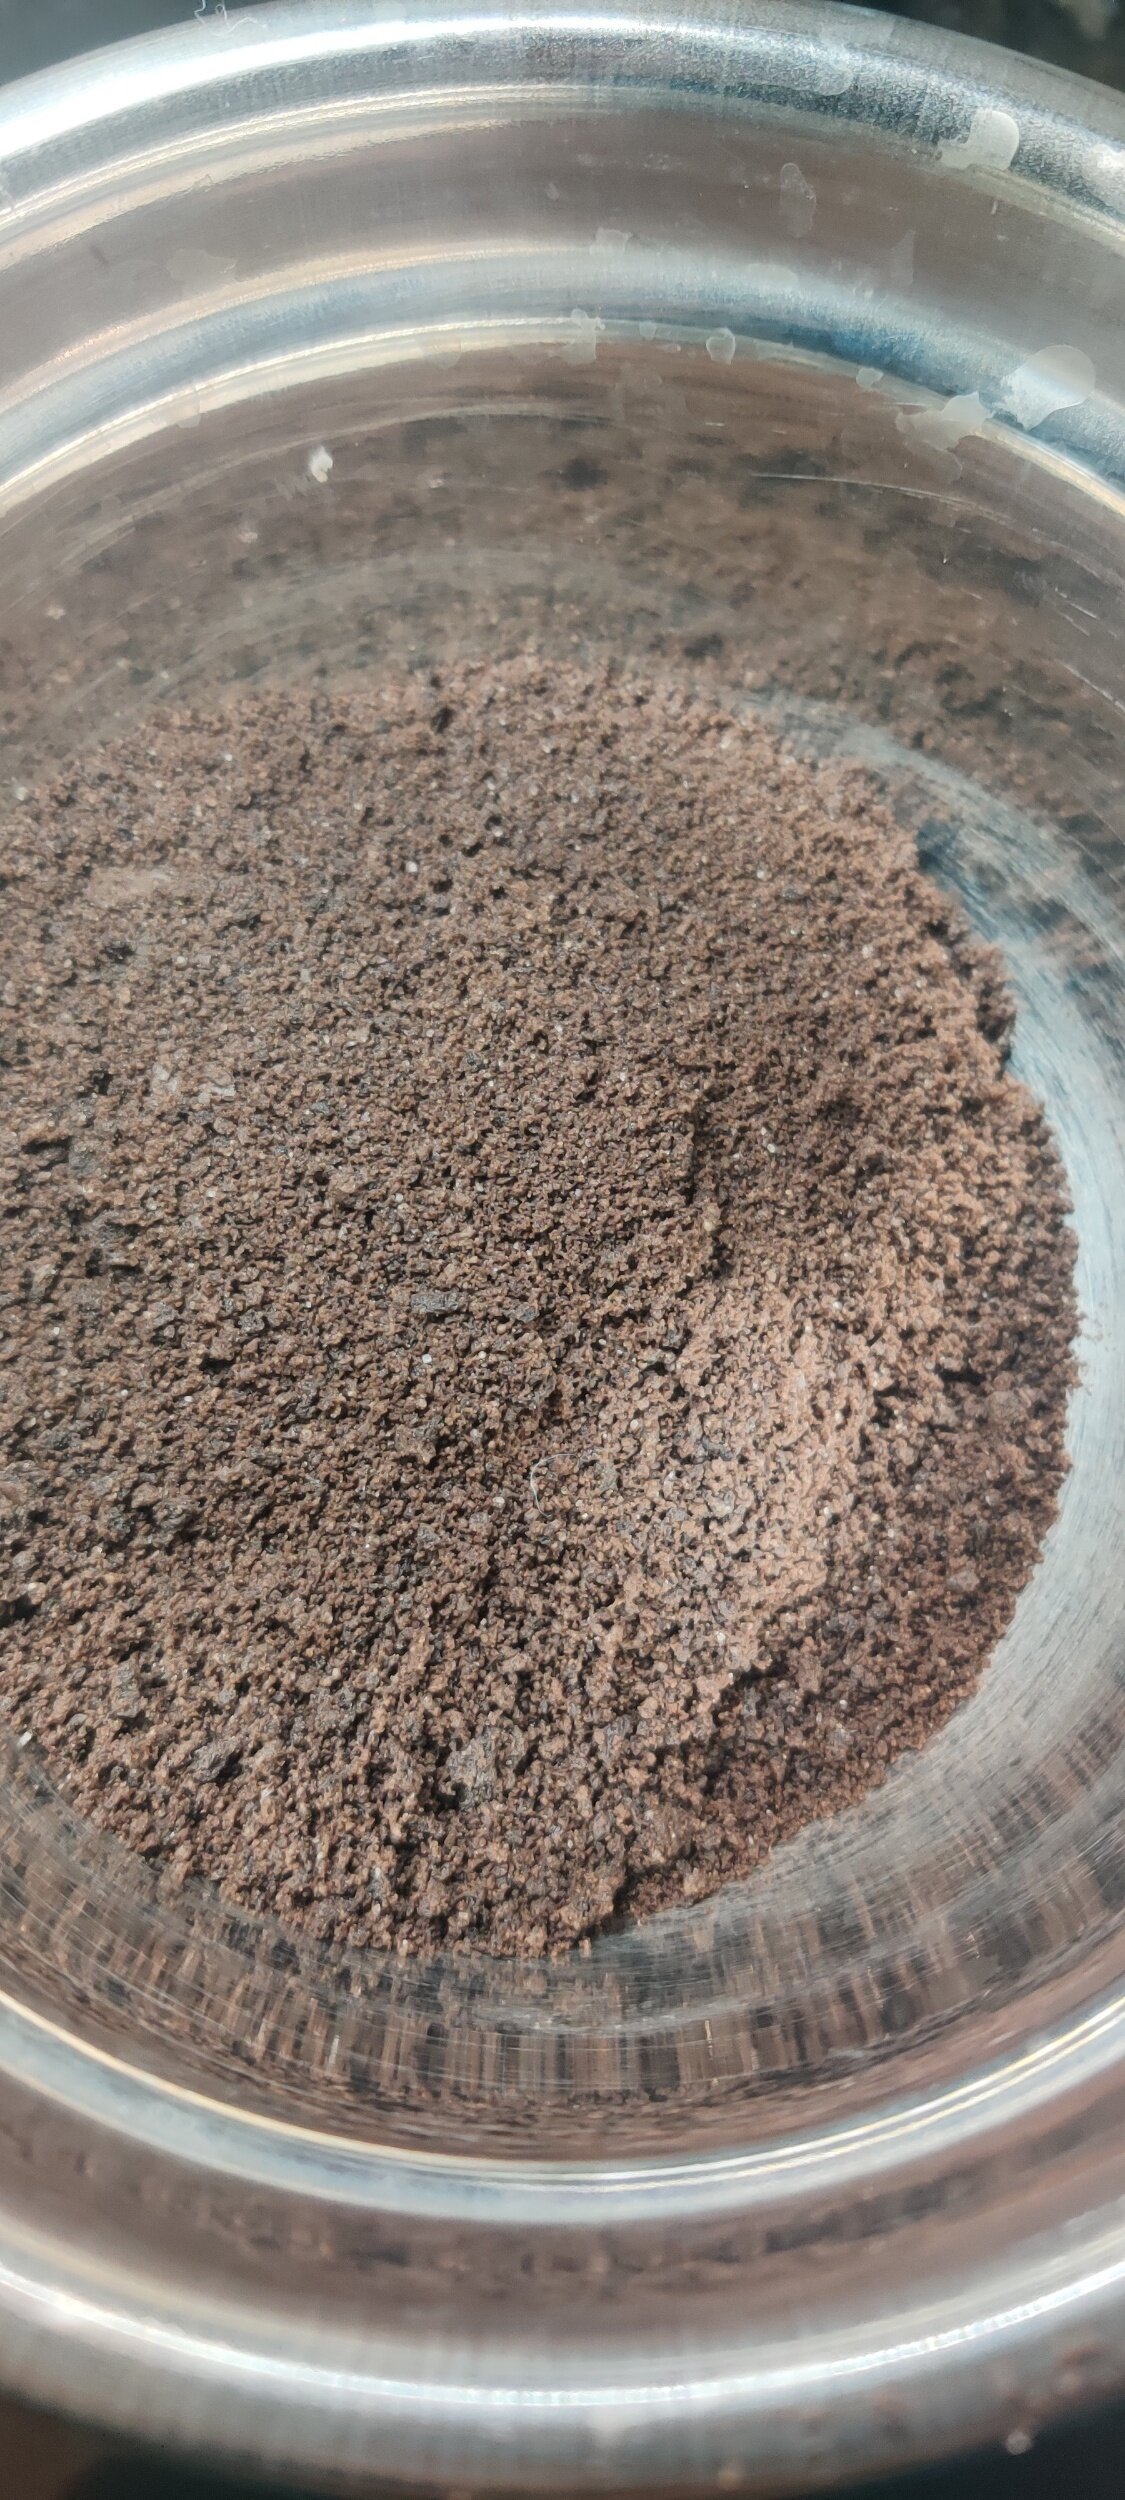
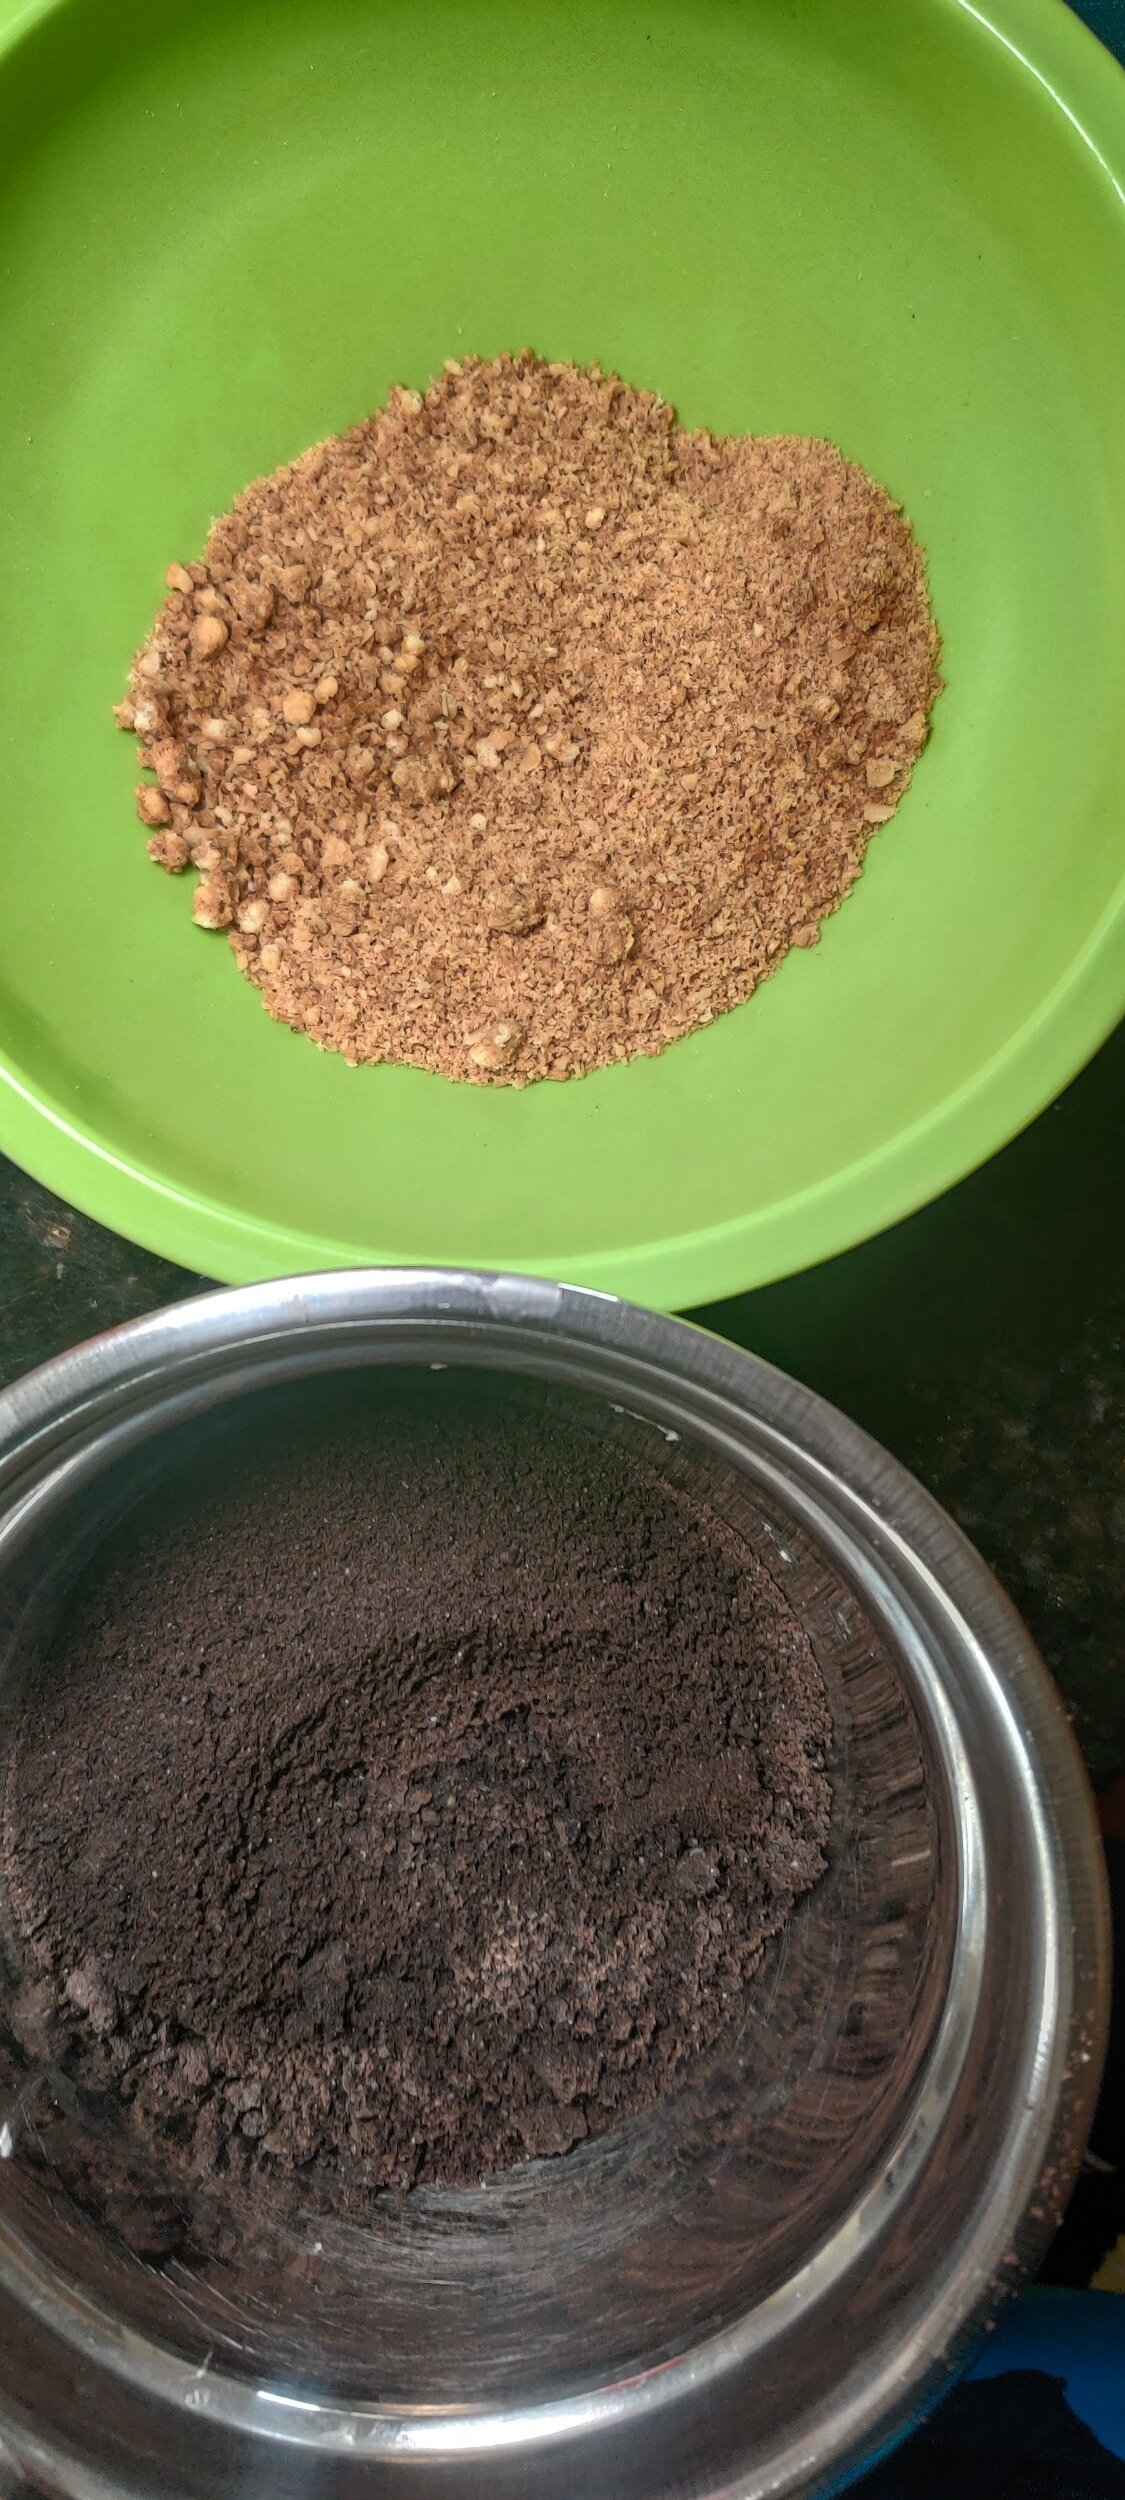
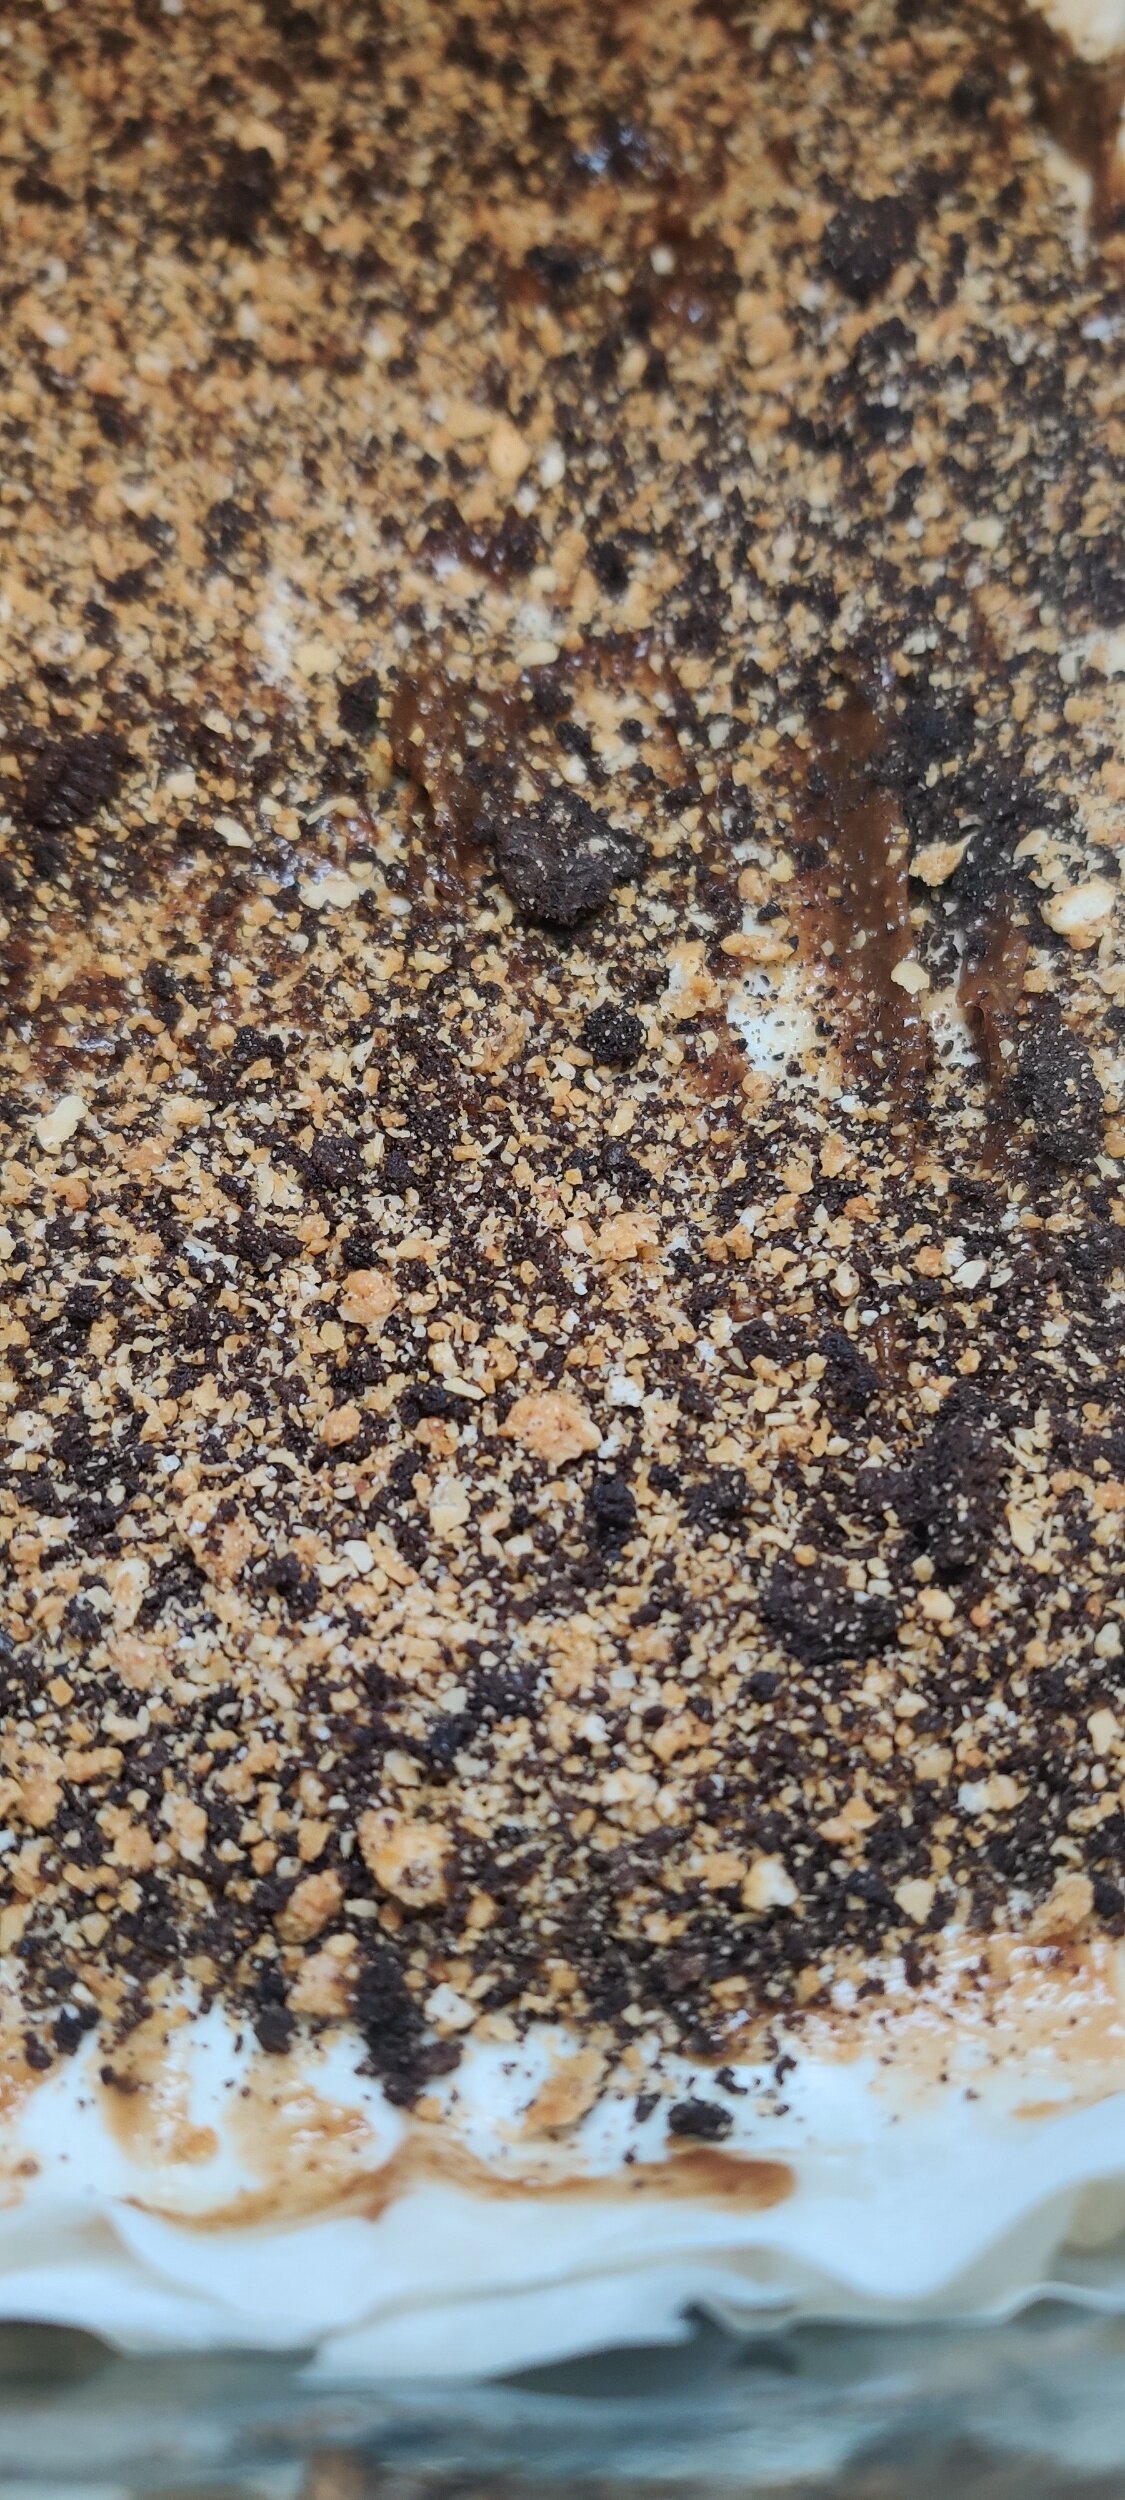
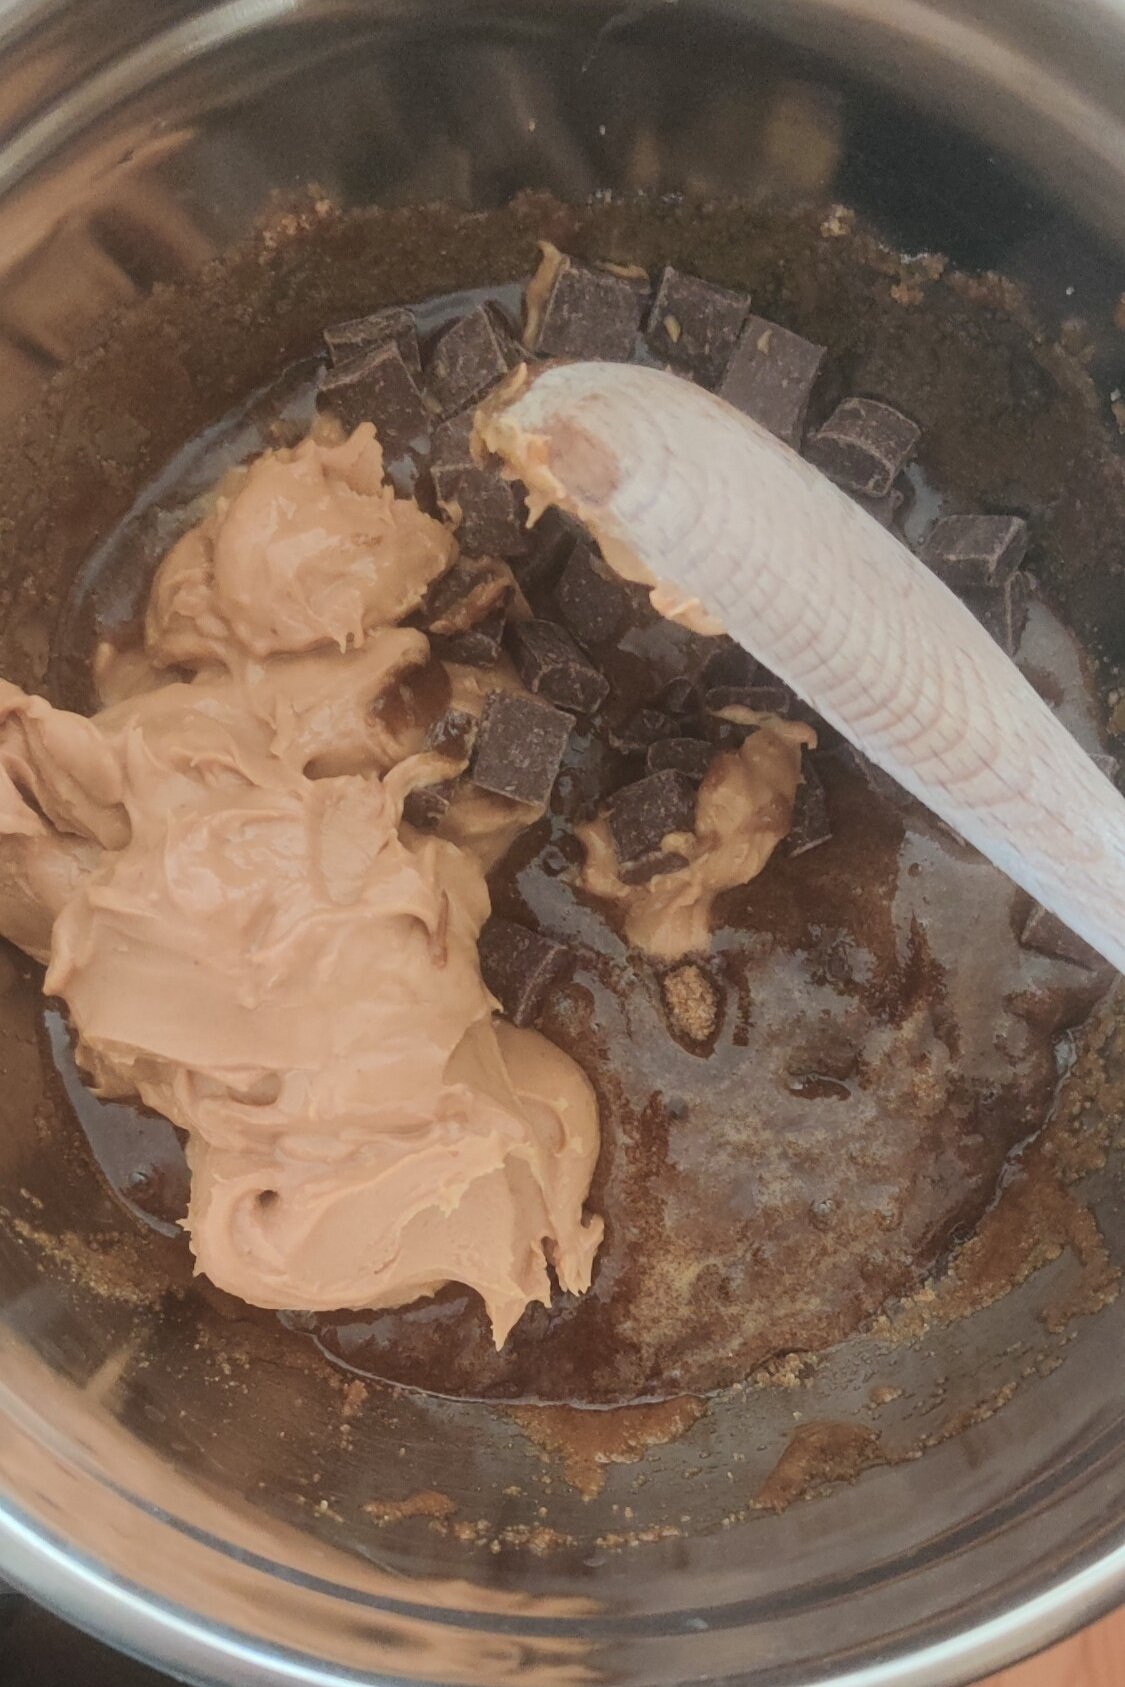
Melt the butter, set aside to cool. Remove the cream from the Oreos and place in a food processor or blender. Add the granola bar and pulse until fine crumbs form. Set aside some crumbs to top the baklava.
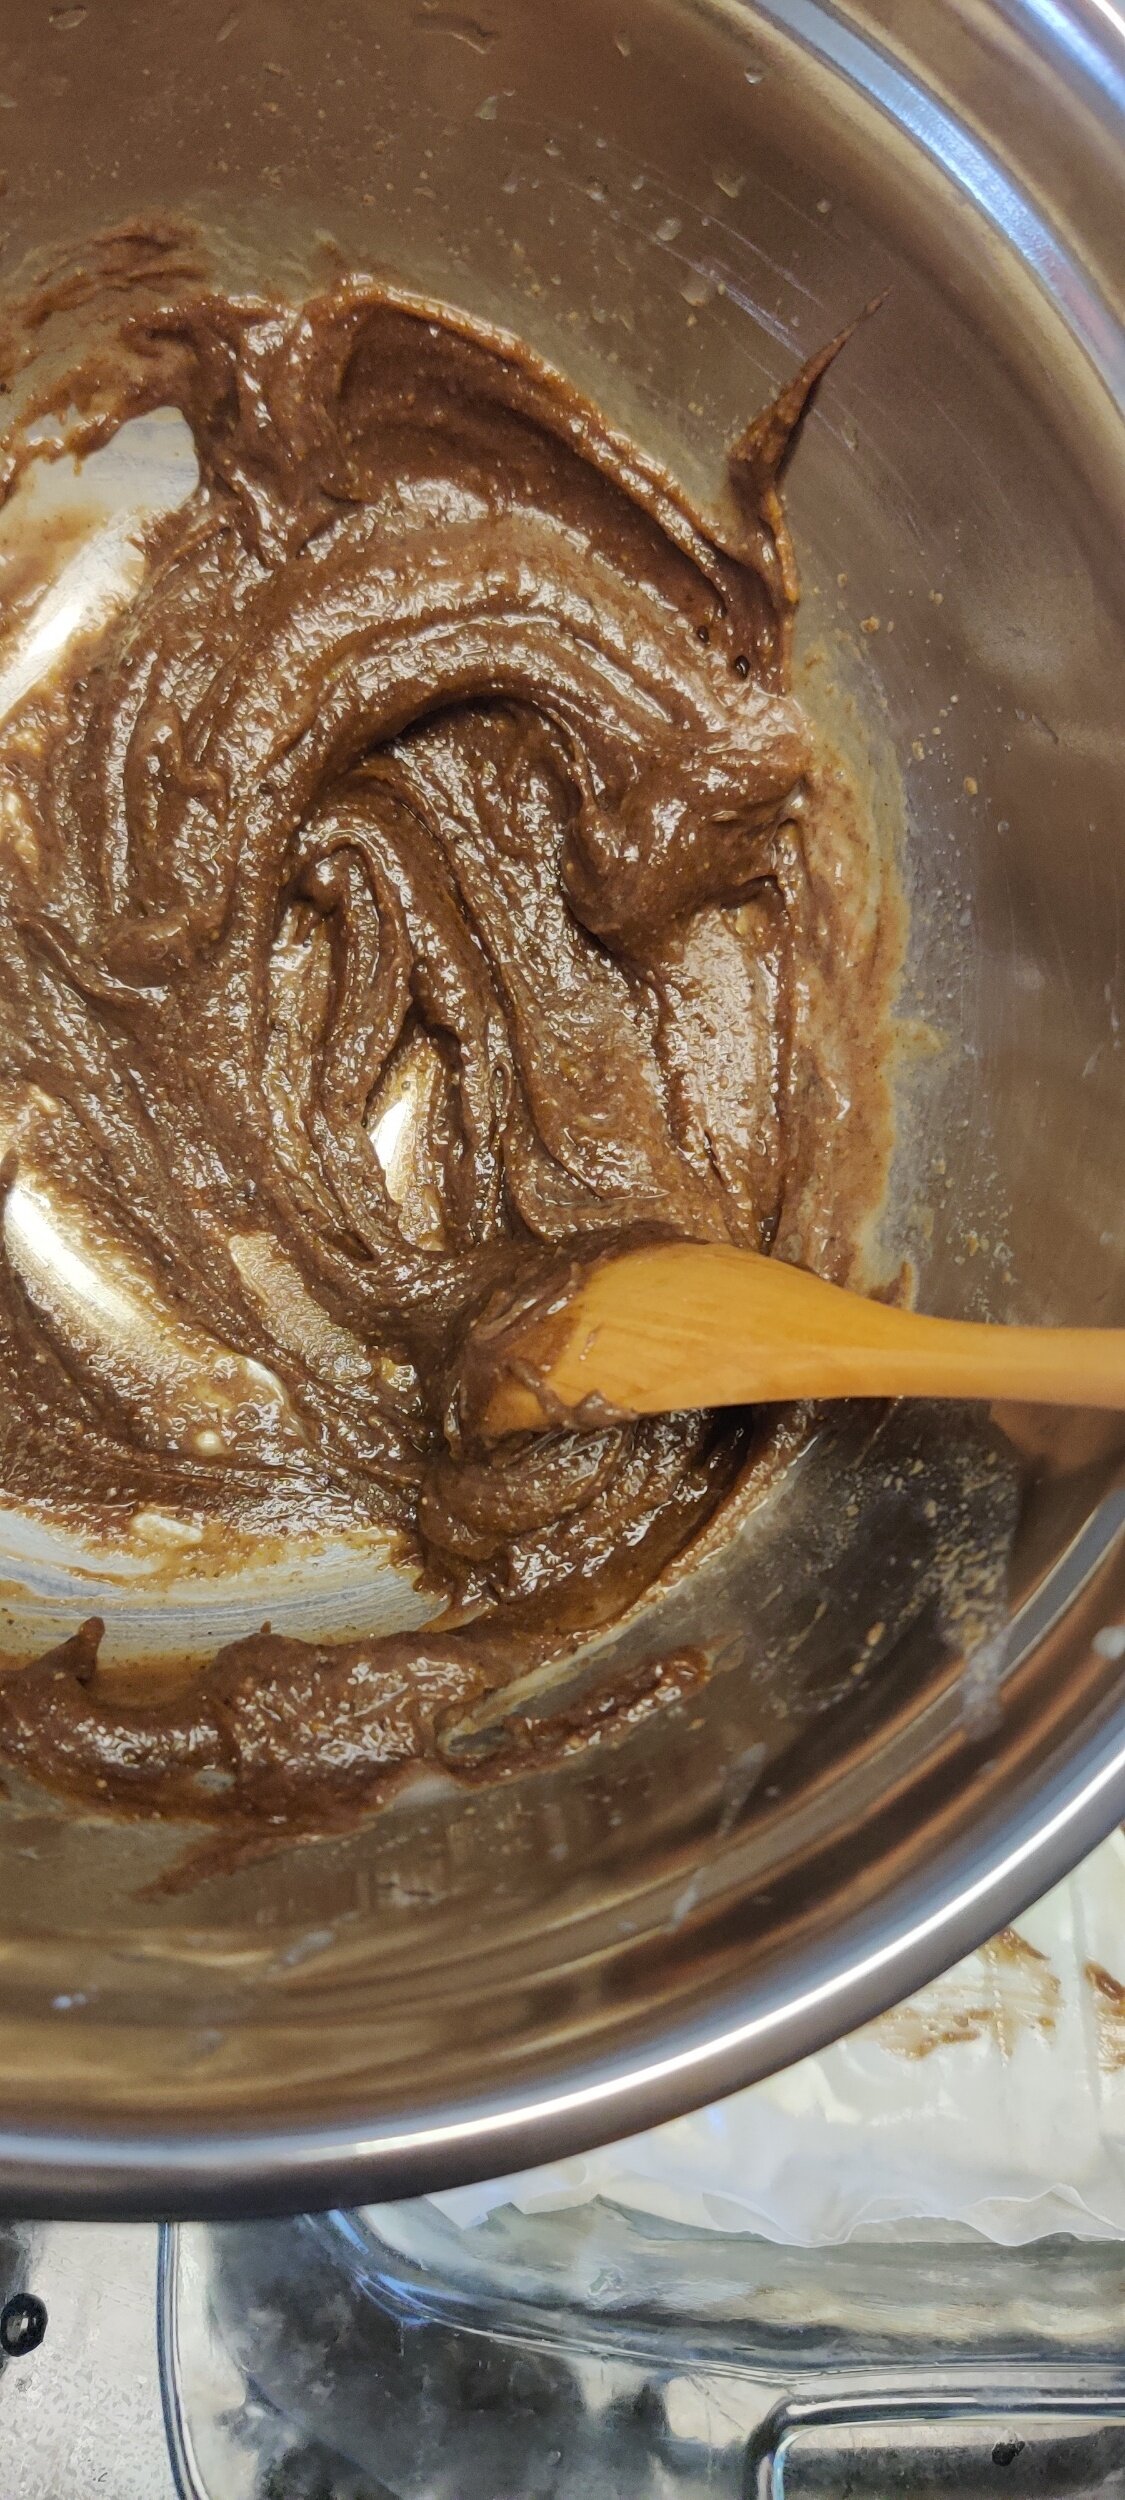
In a small bowl, mix the chocolate butter with 2 tablespoons of water and 1 tablespoon of honey until the butter smoothens and thins out slightly, set aside.
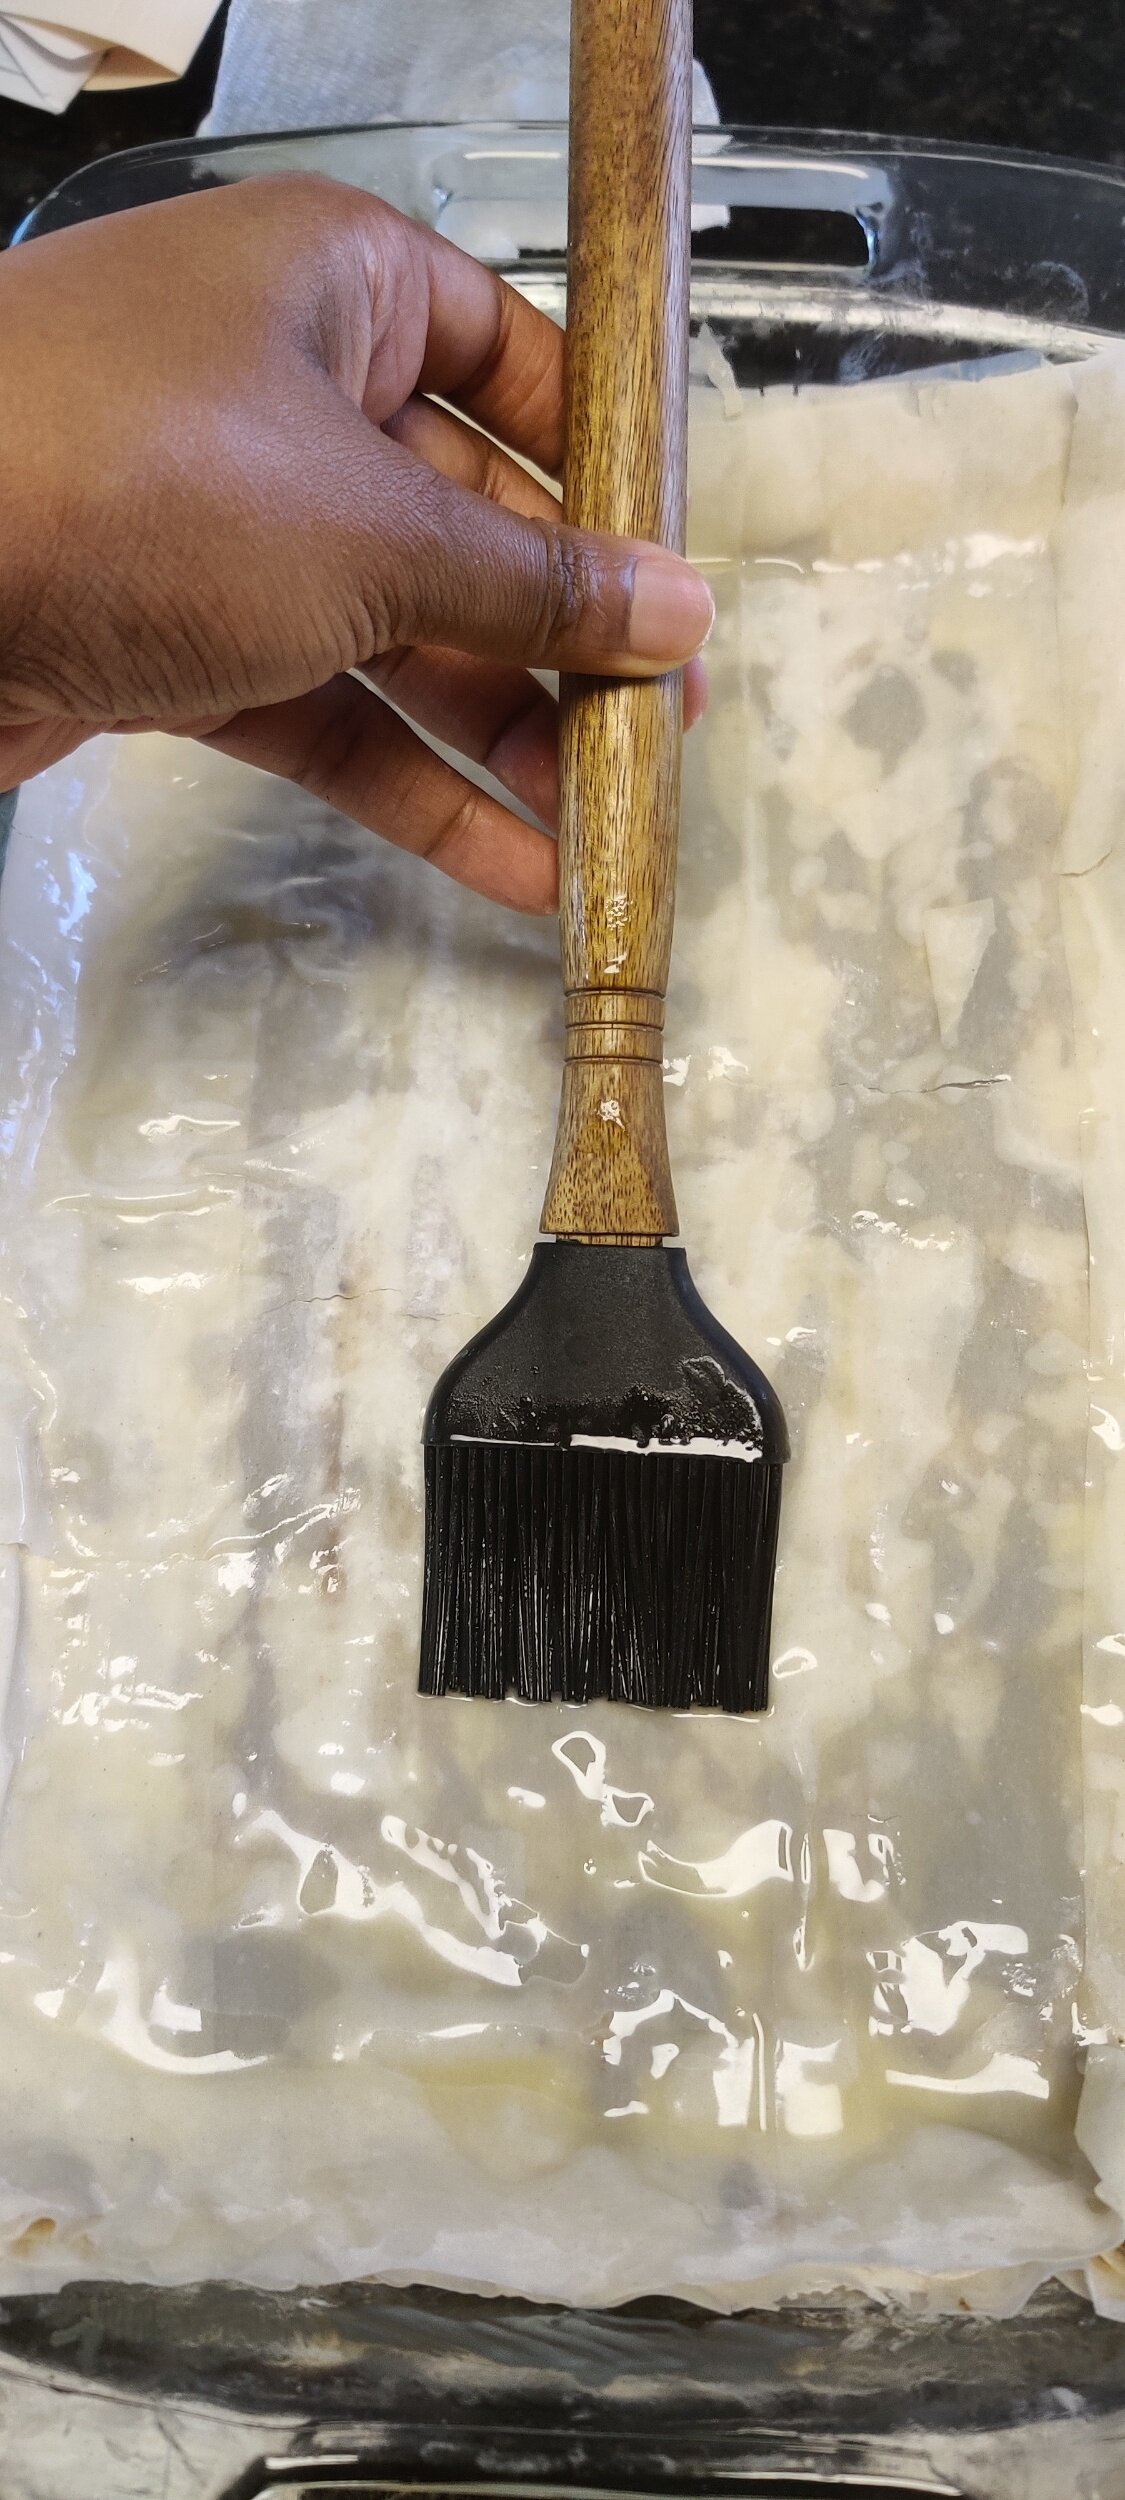
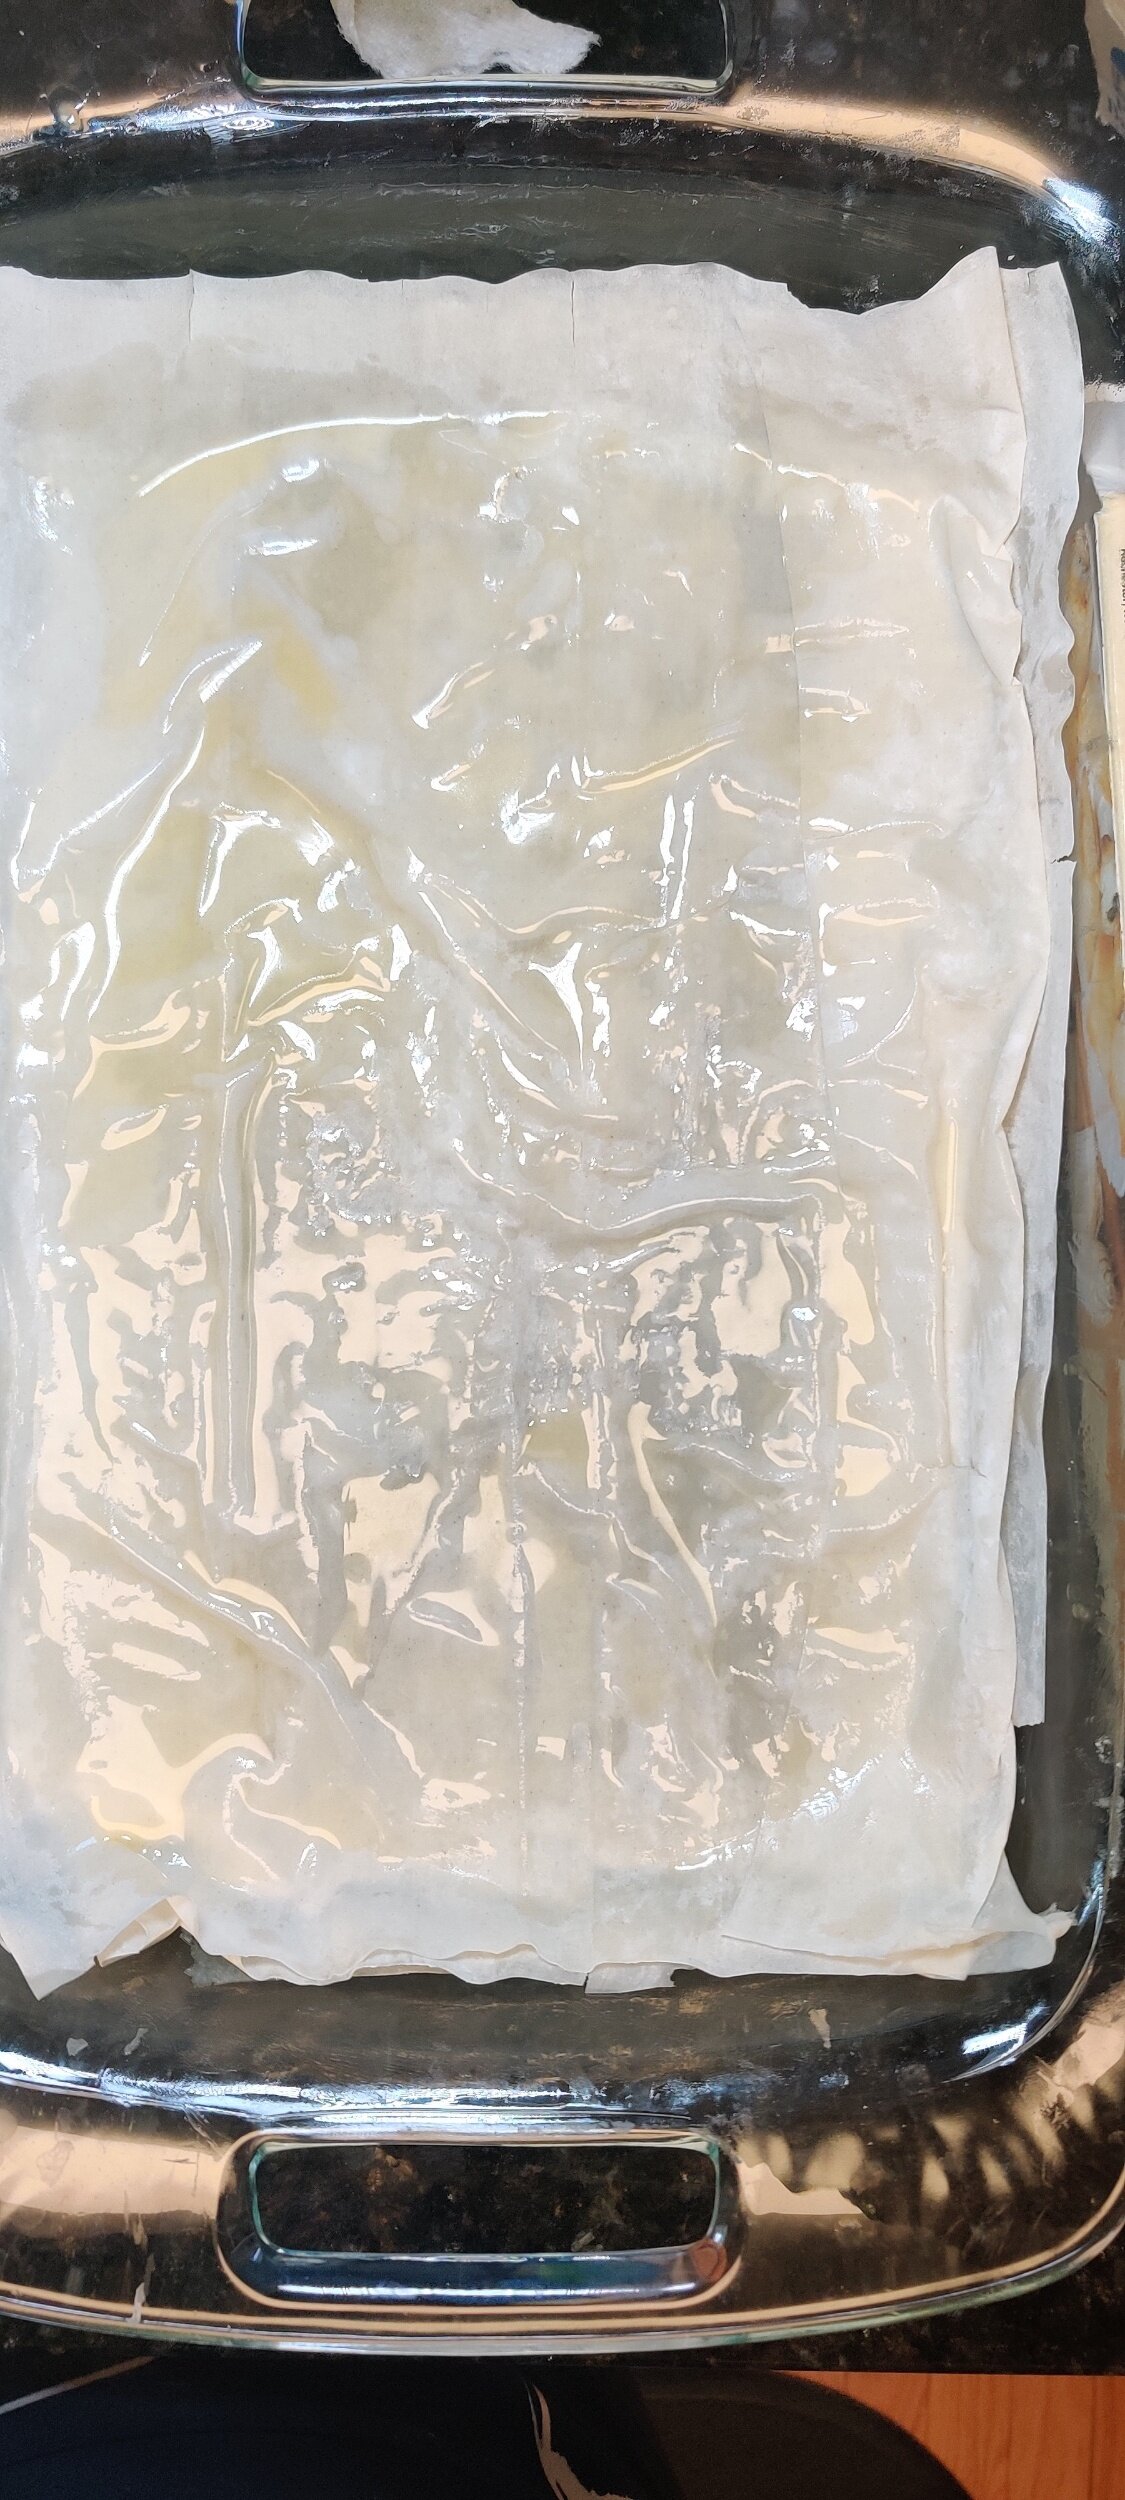
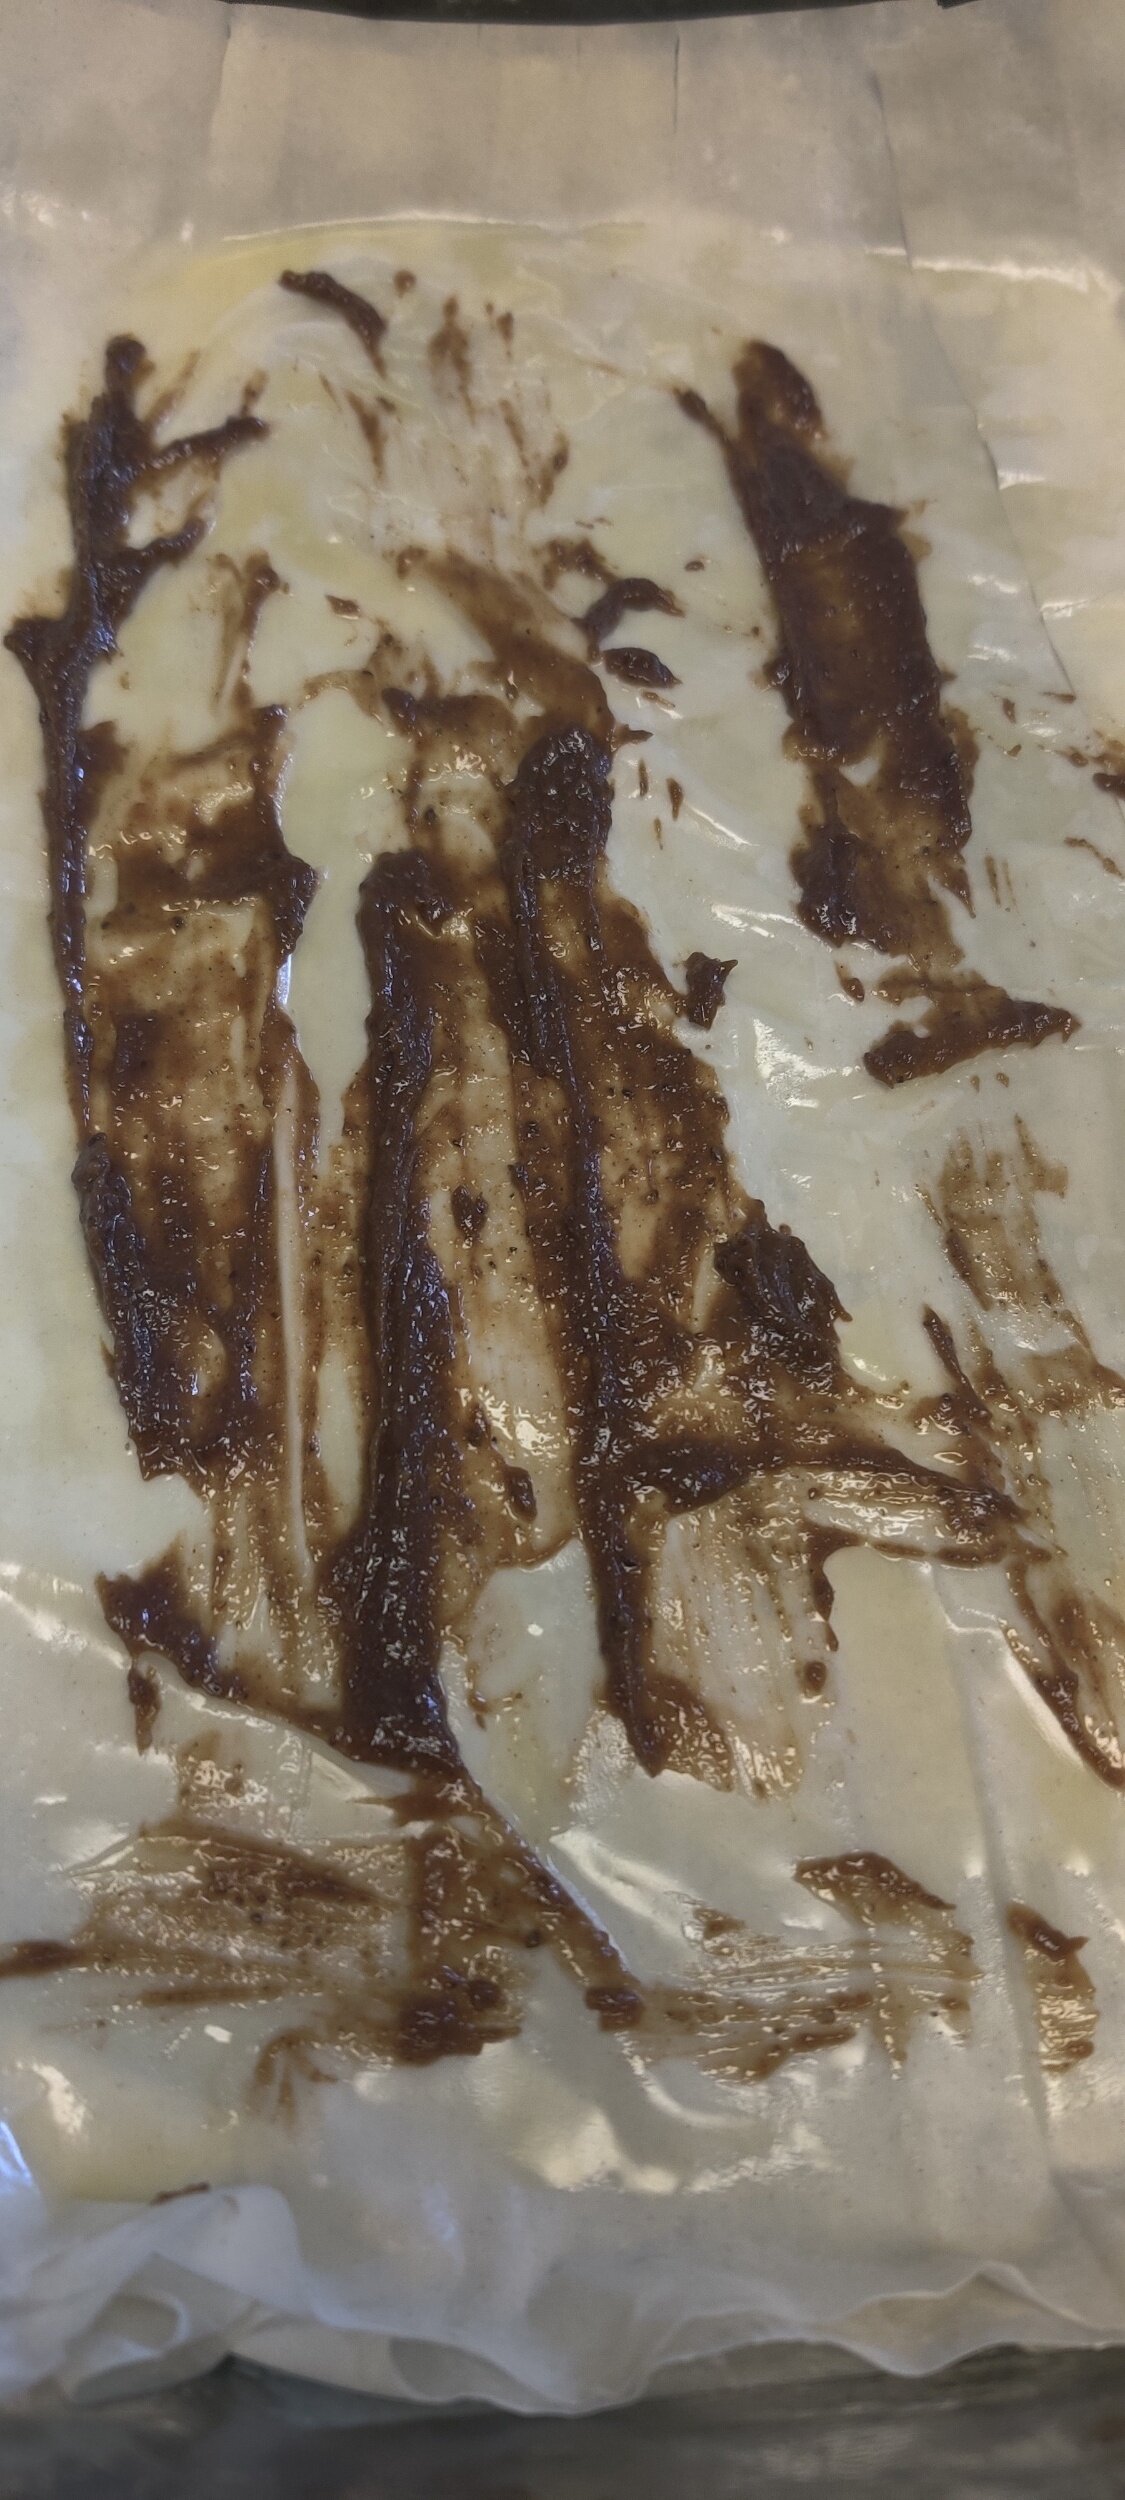
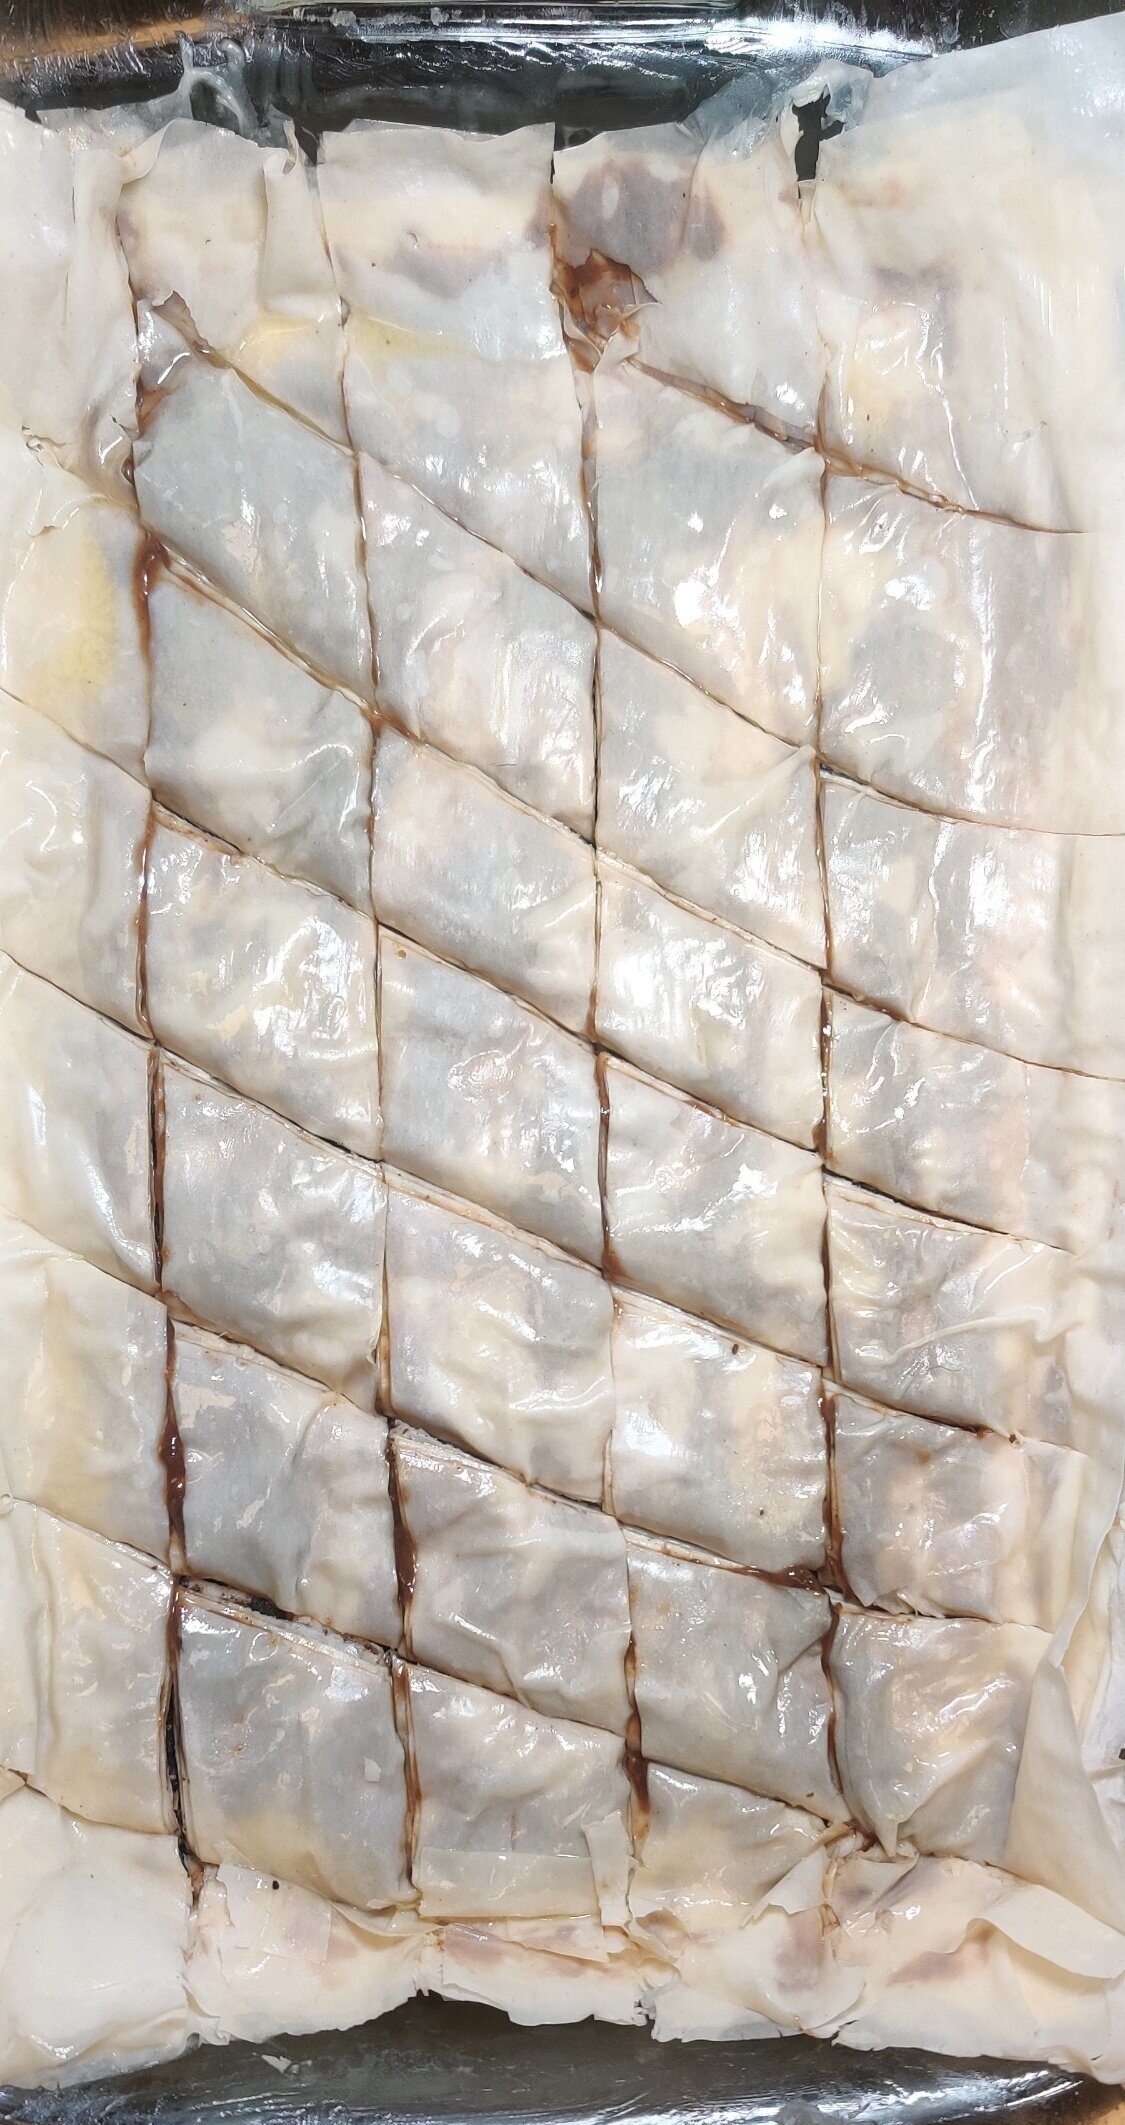
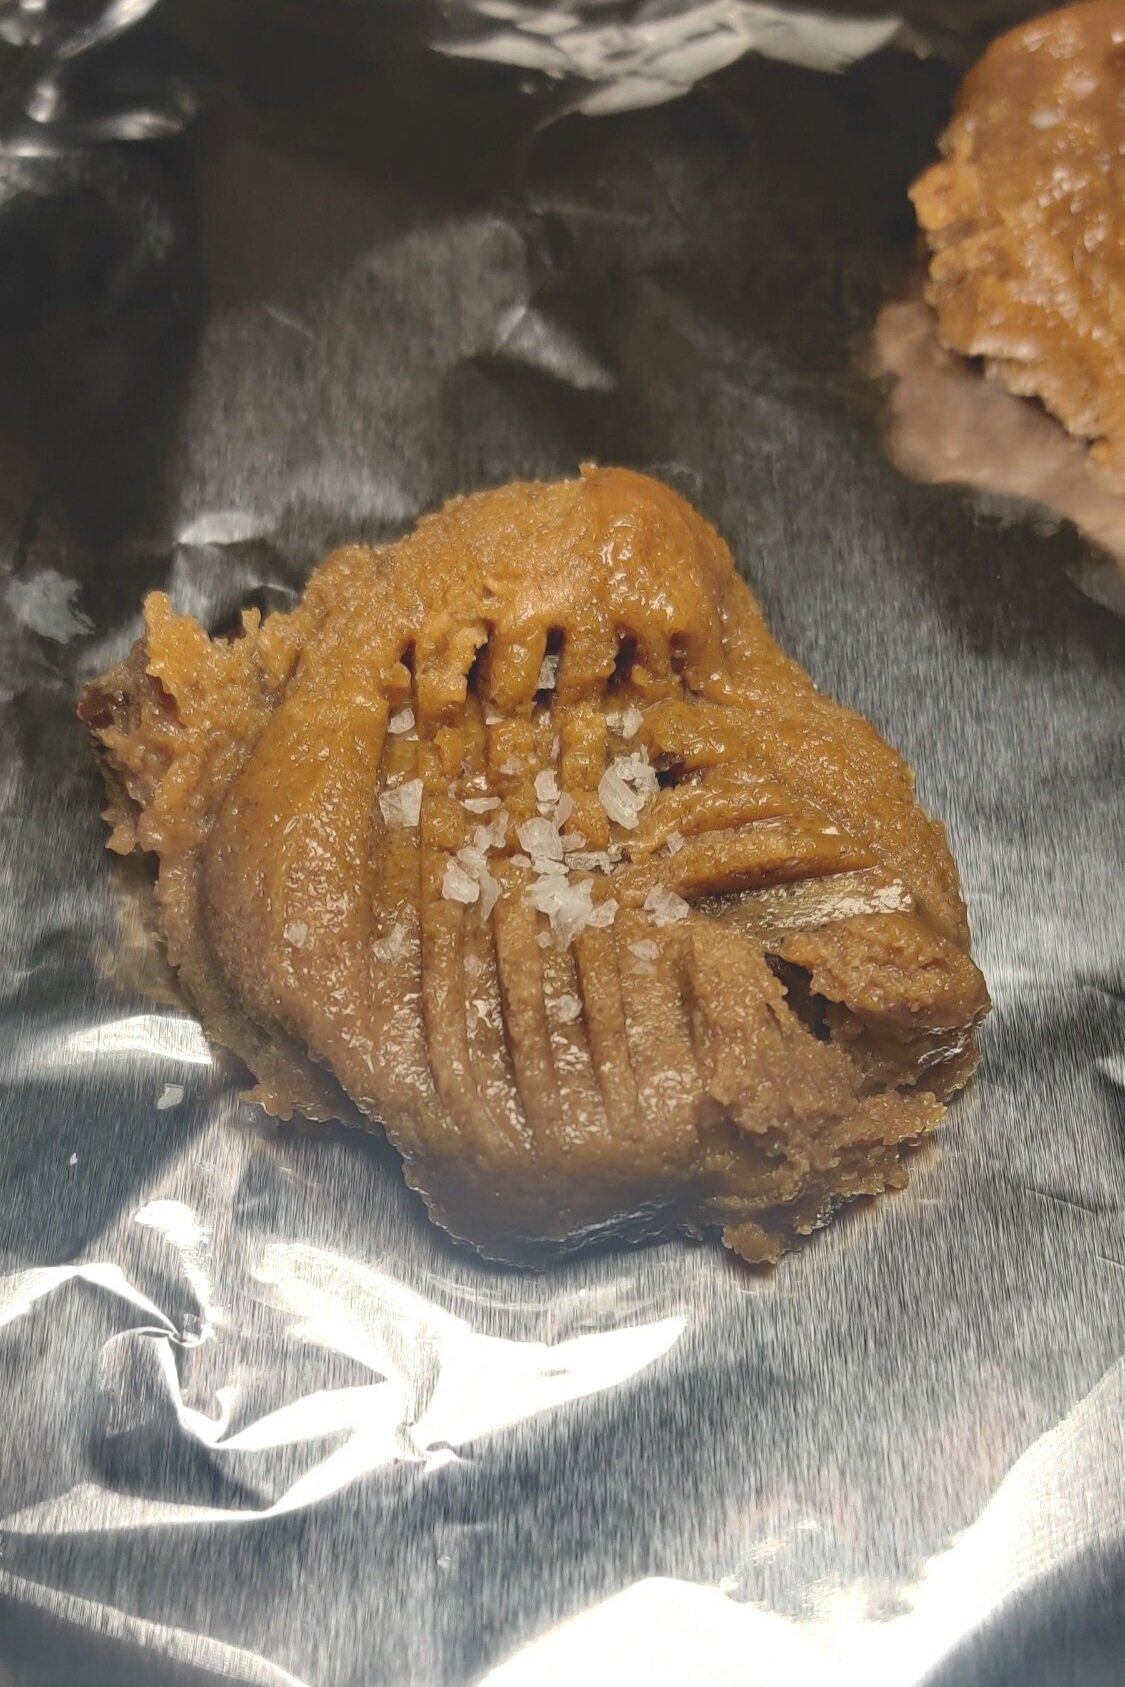
Lay each phyllo dough sheet in a greased baking dish and brush evenly with the butter. After every three sheets spoon about a teaspoon of the chocolate seed butter on top and spread thinly with the back of a spoon.
Sprinkle the Oreo and granola mix on top of the chocolate-buttered sheet, cover with another three buttered phyllo sheets and repeat until they are finished. The top sheet will not require filling.
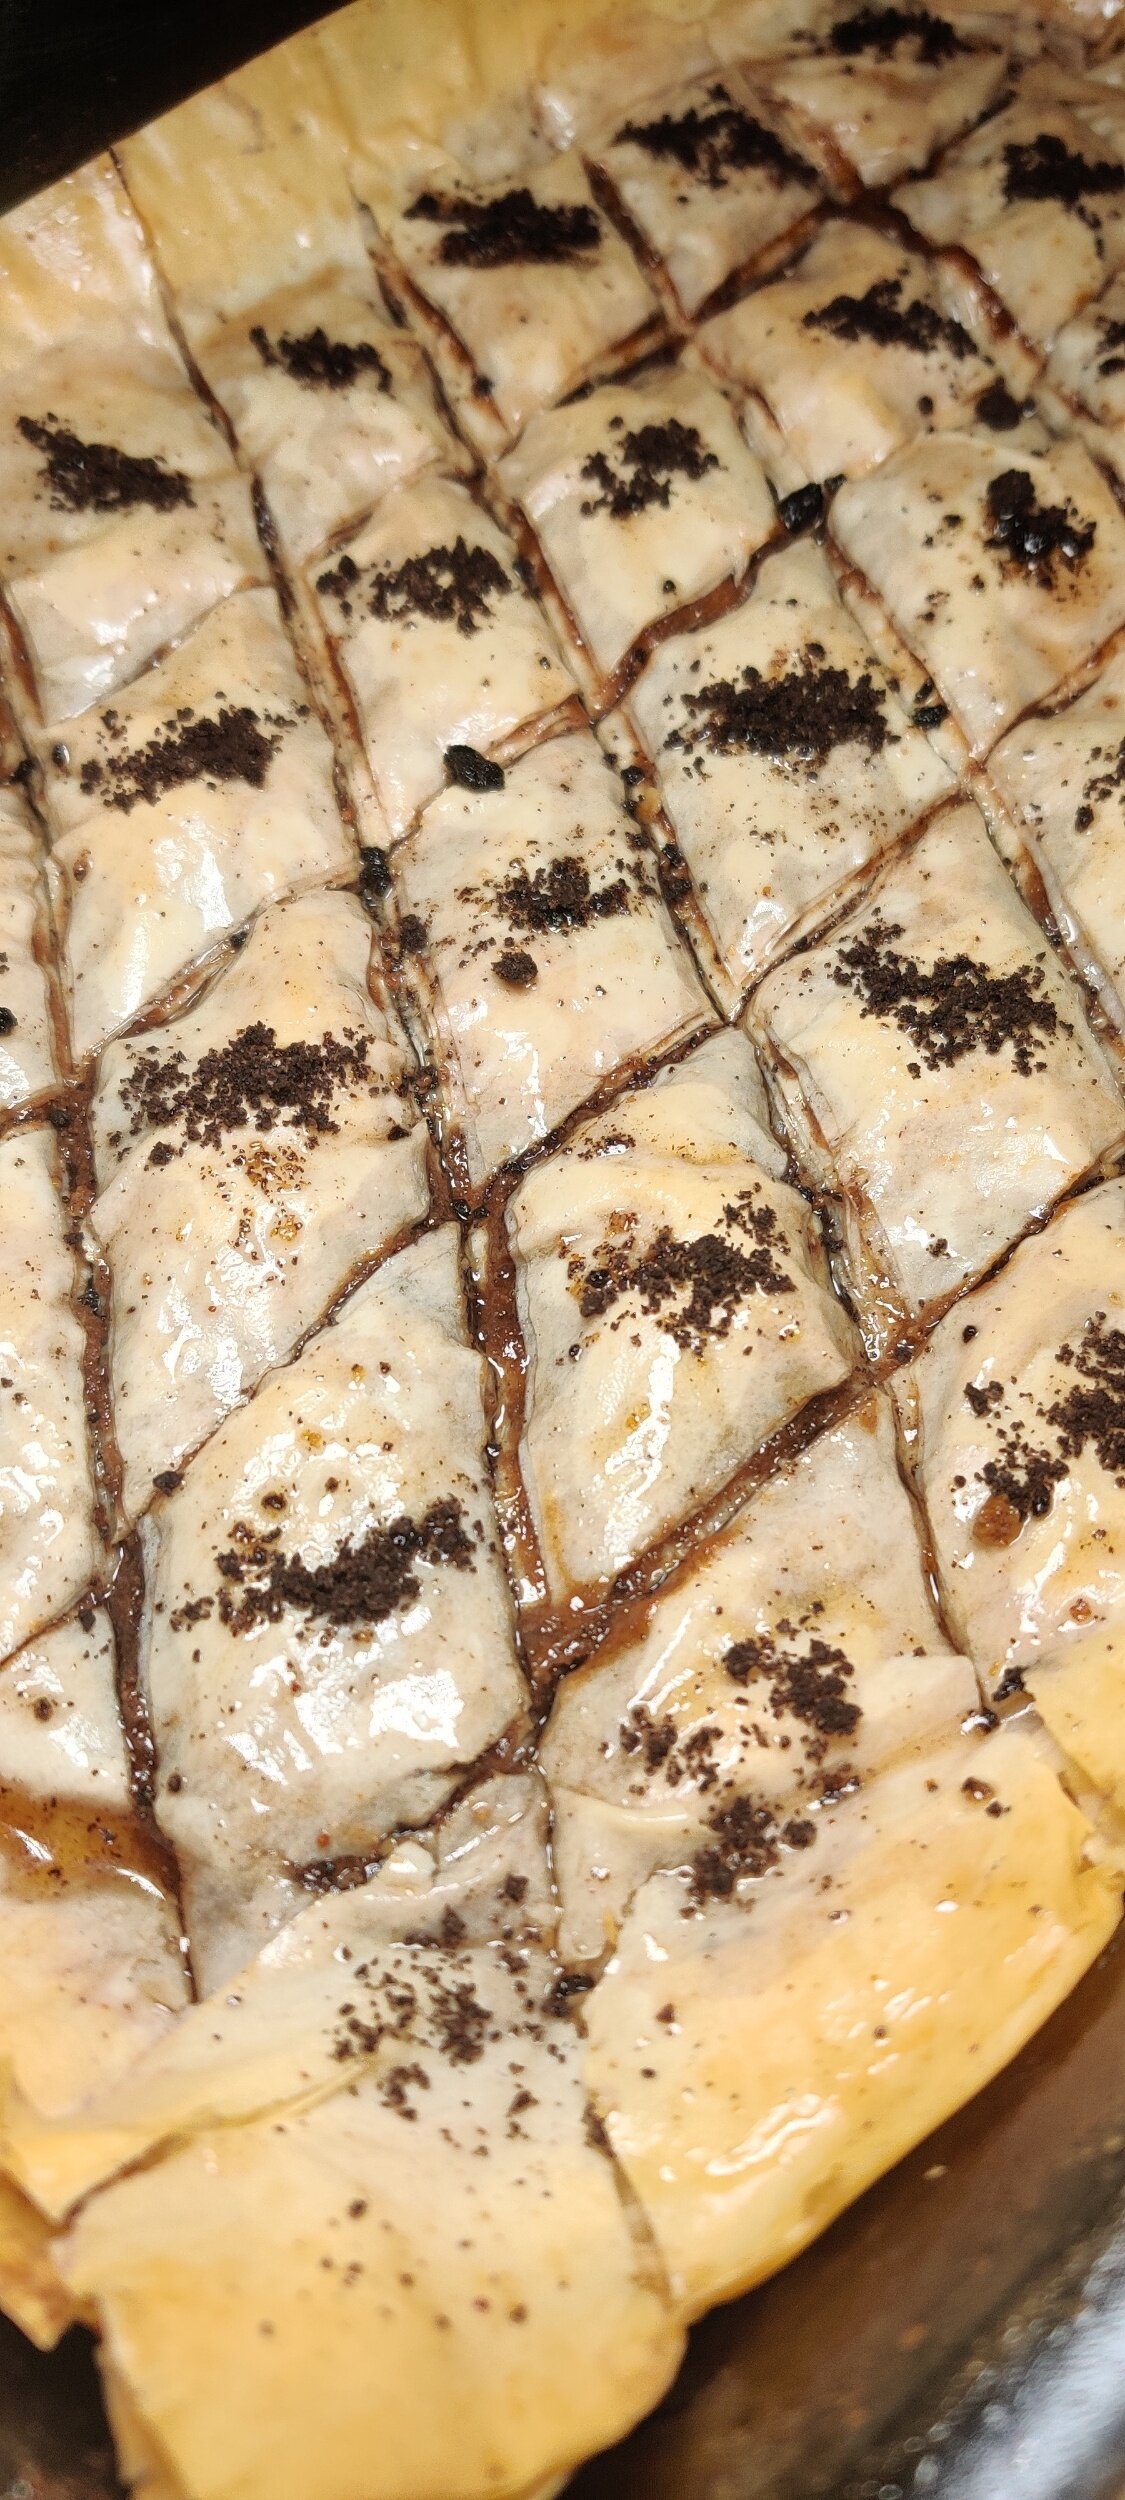
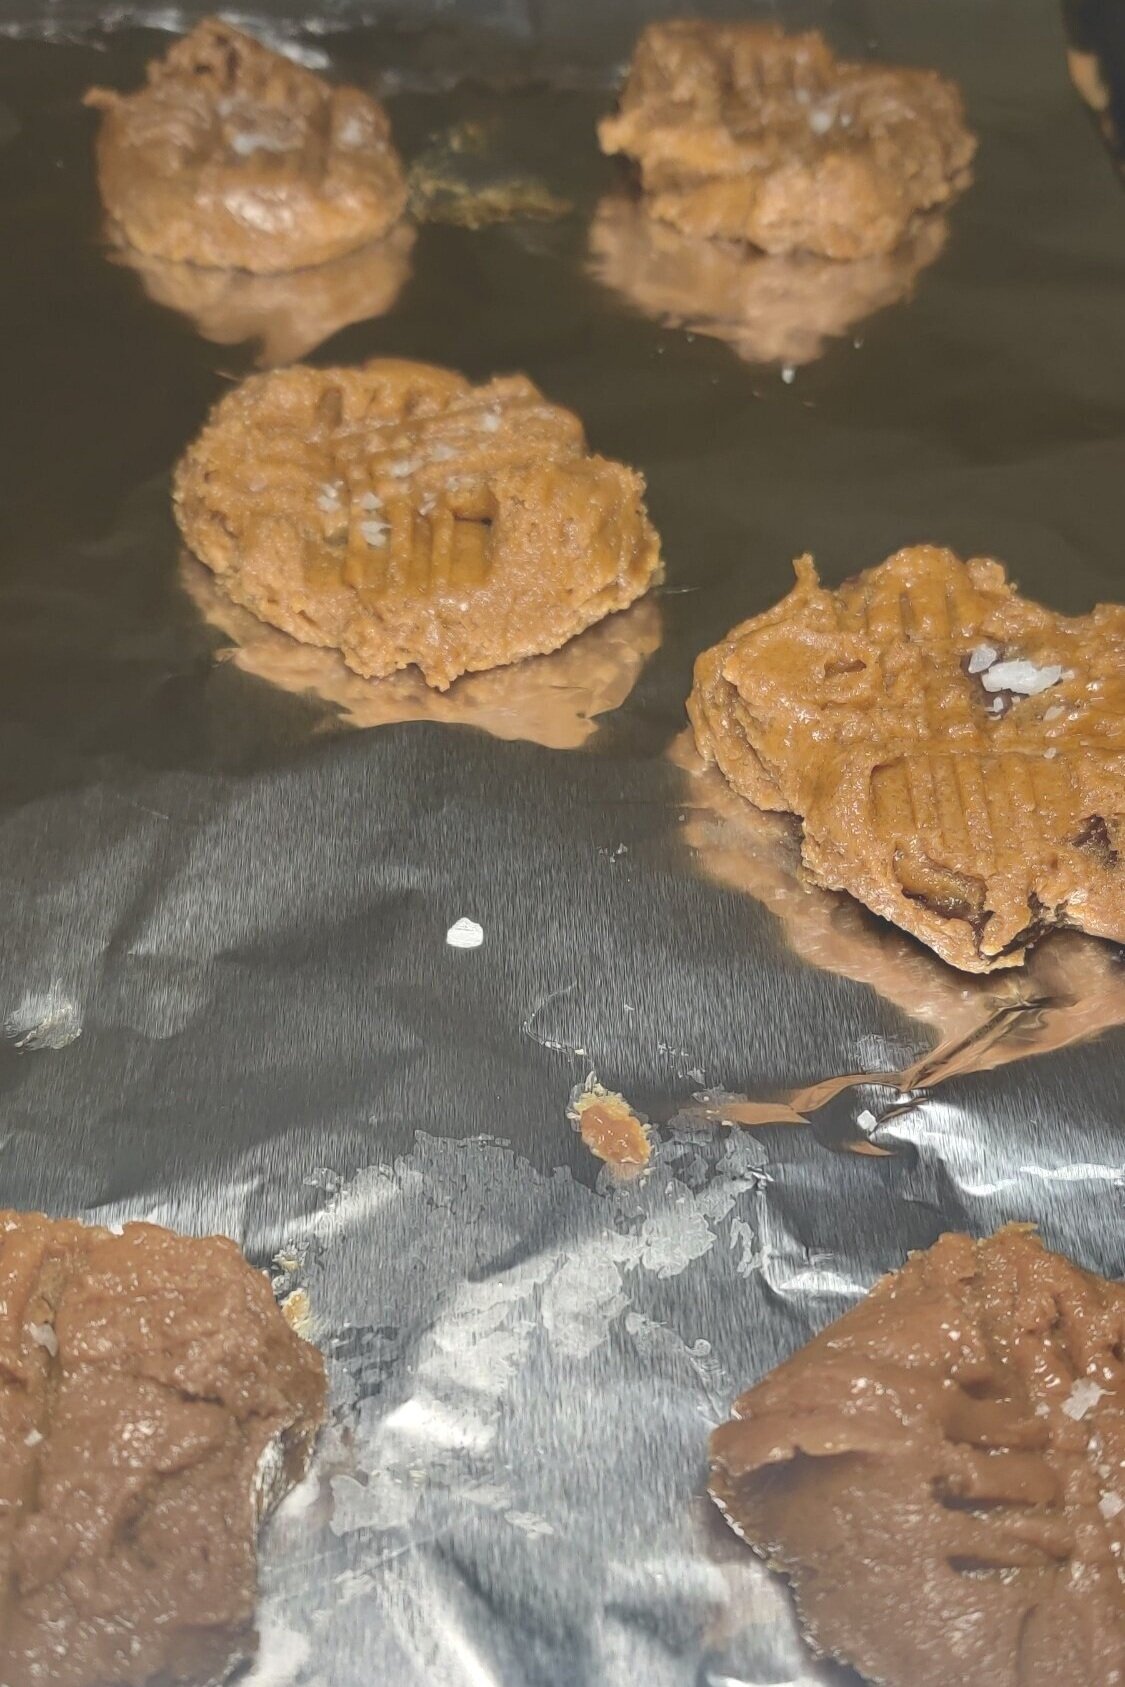
Carefully slice the phyllo dough lengthwise then diagonally. Brush the top with one more coat of melted butter - be sure to get all the corners and be generous with all the sheets!
Bake at 350F for about 25-30 minutes - the edge of the dough should start to brown and crispen.
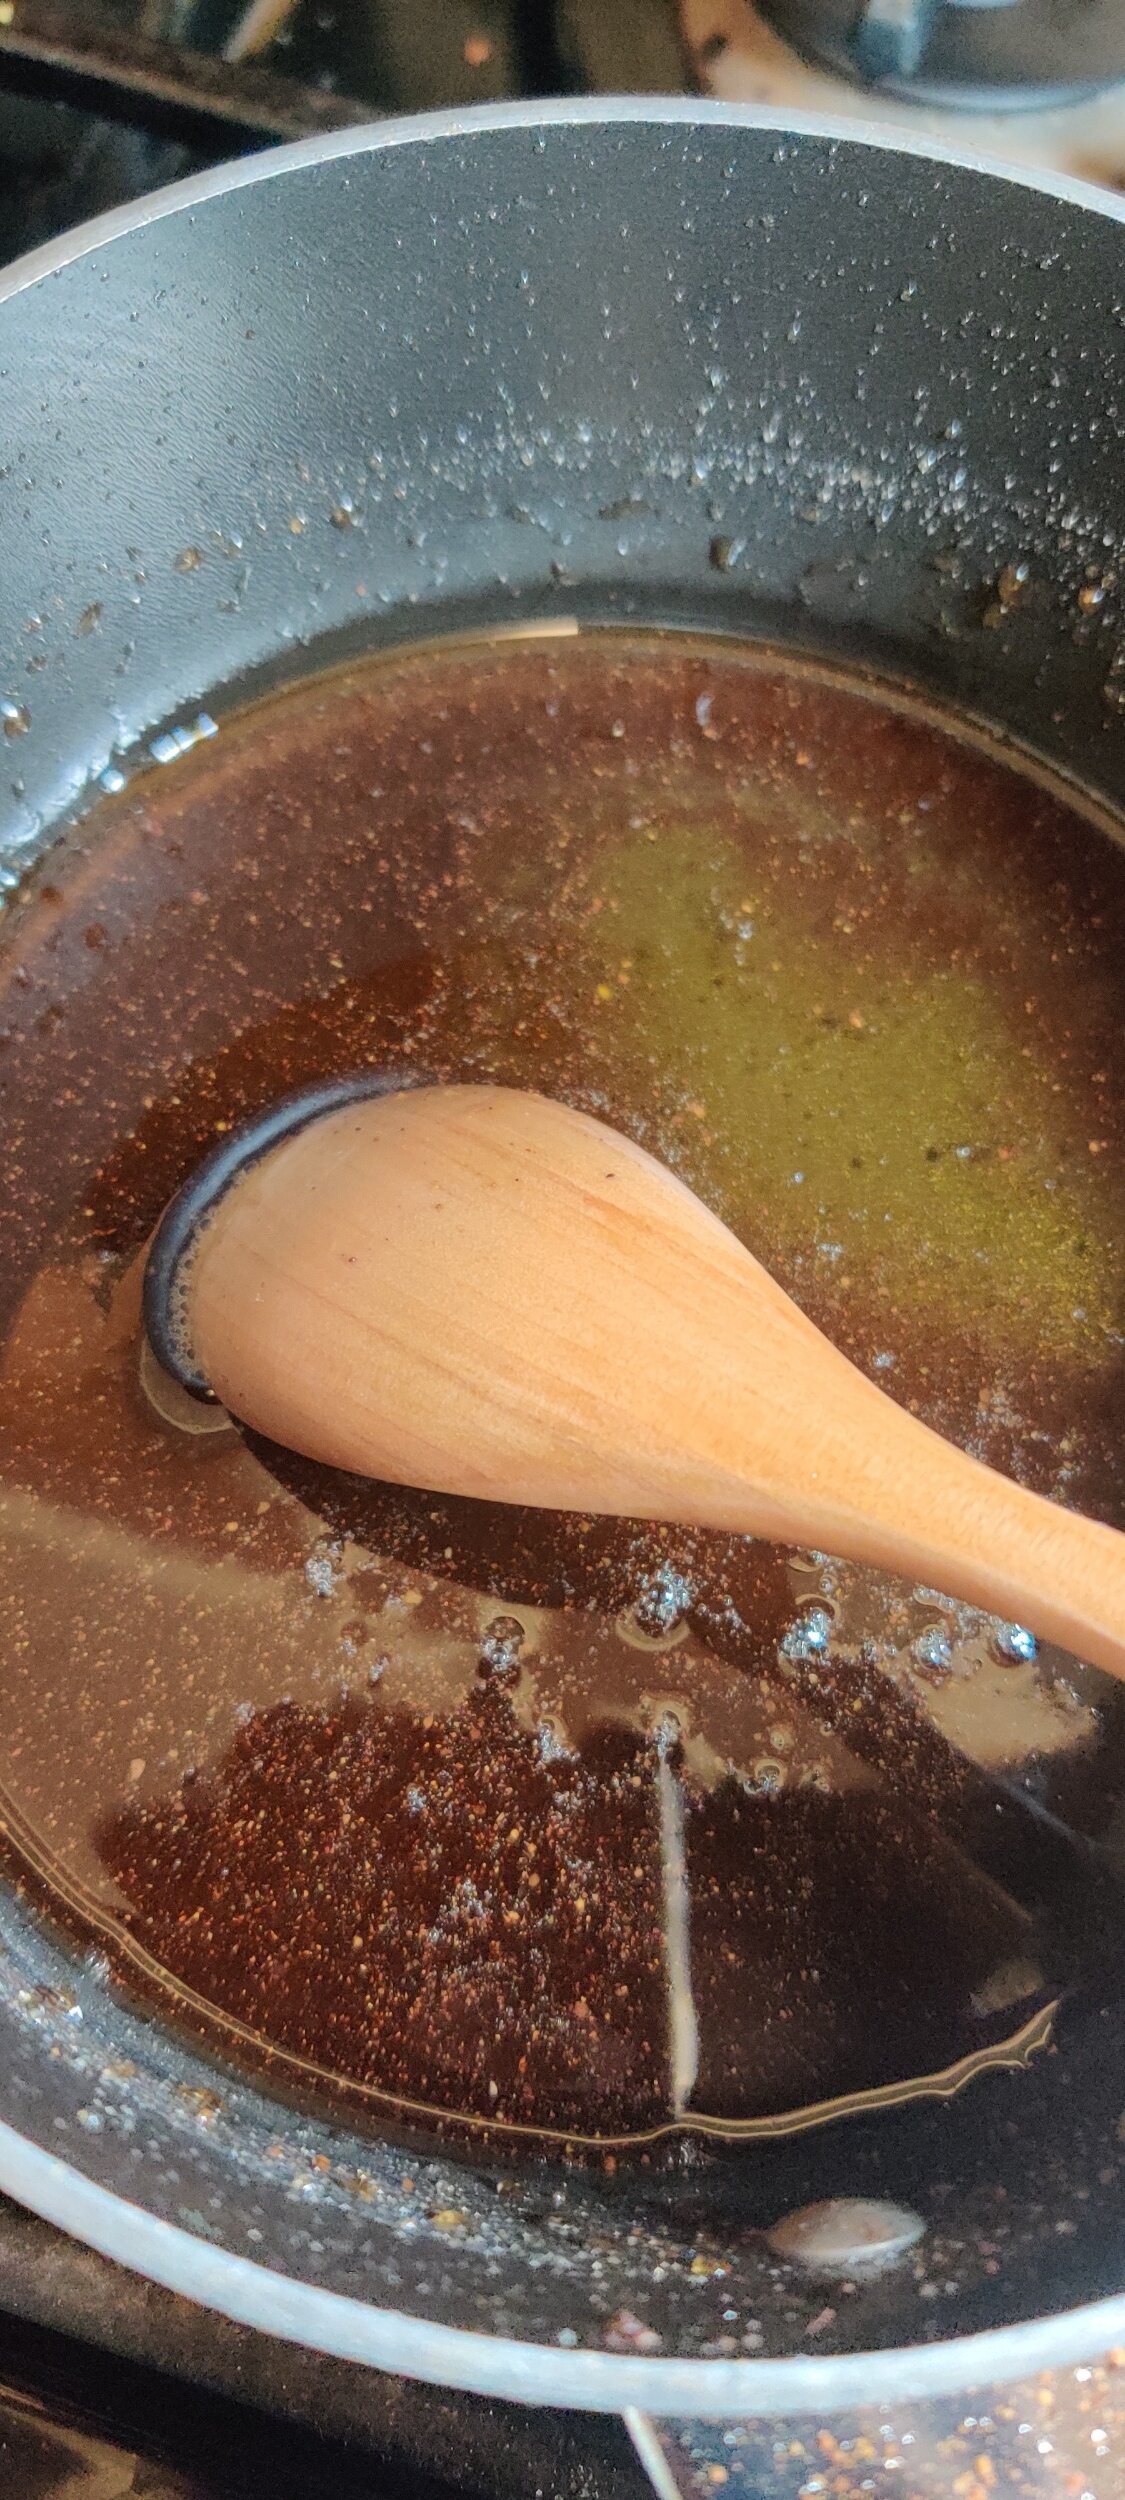
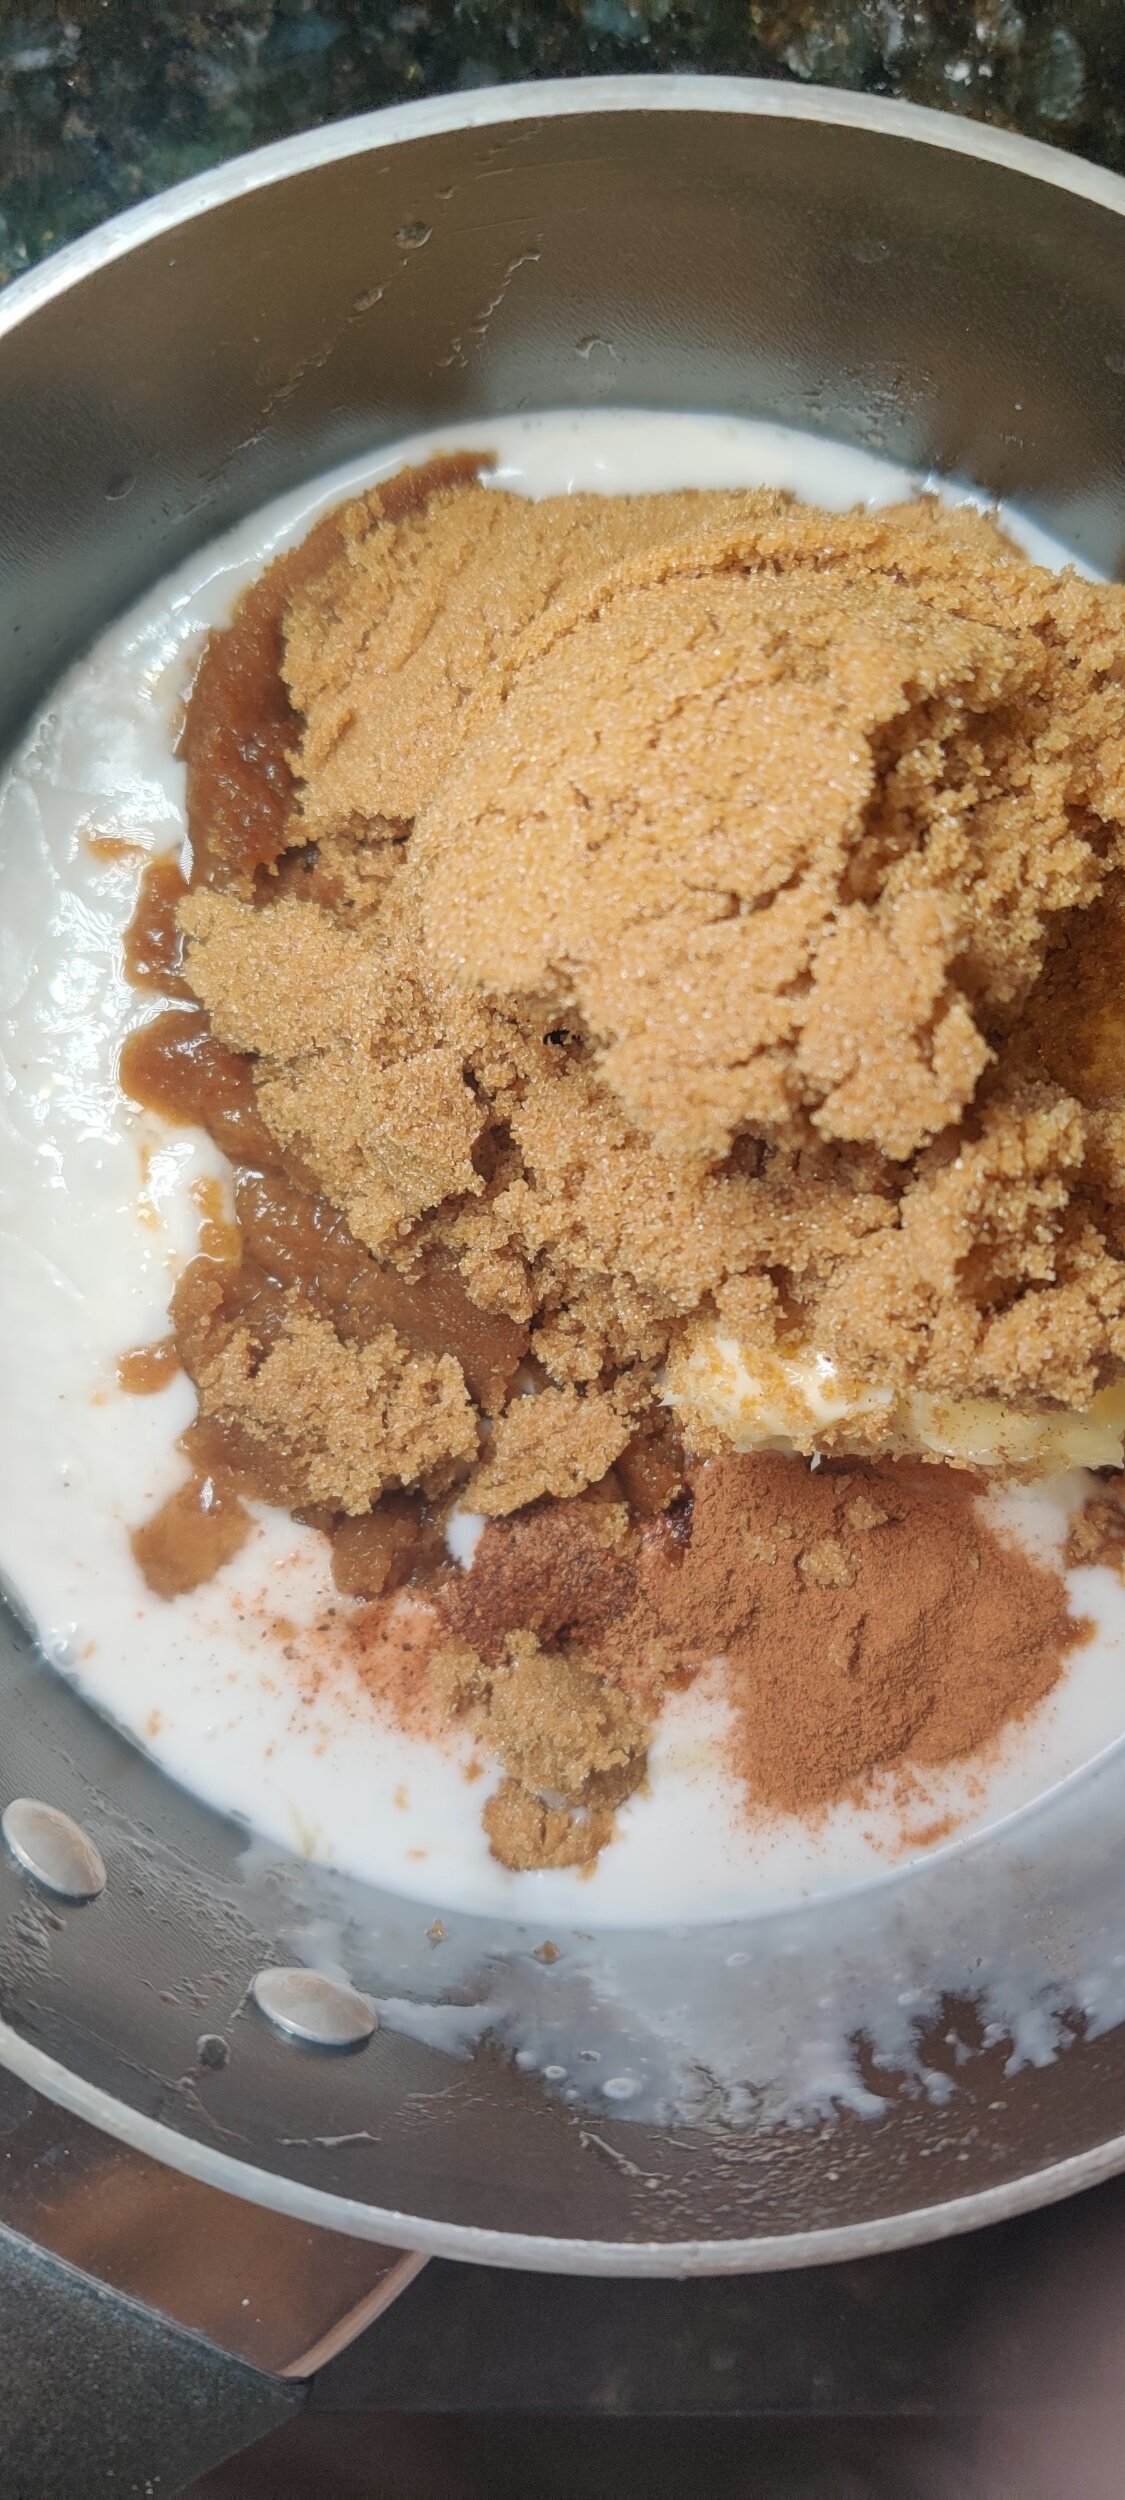
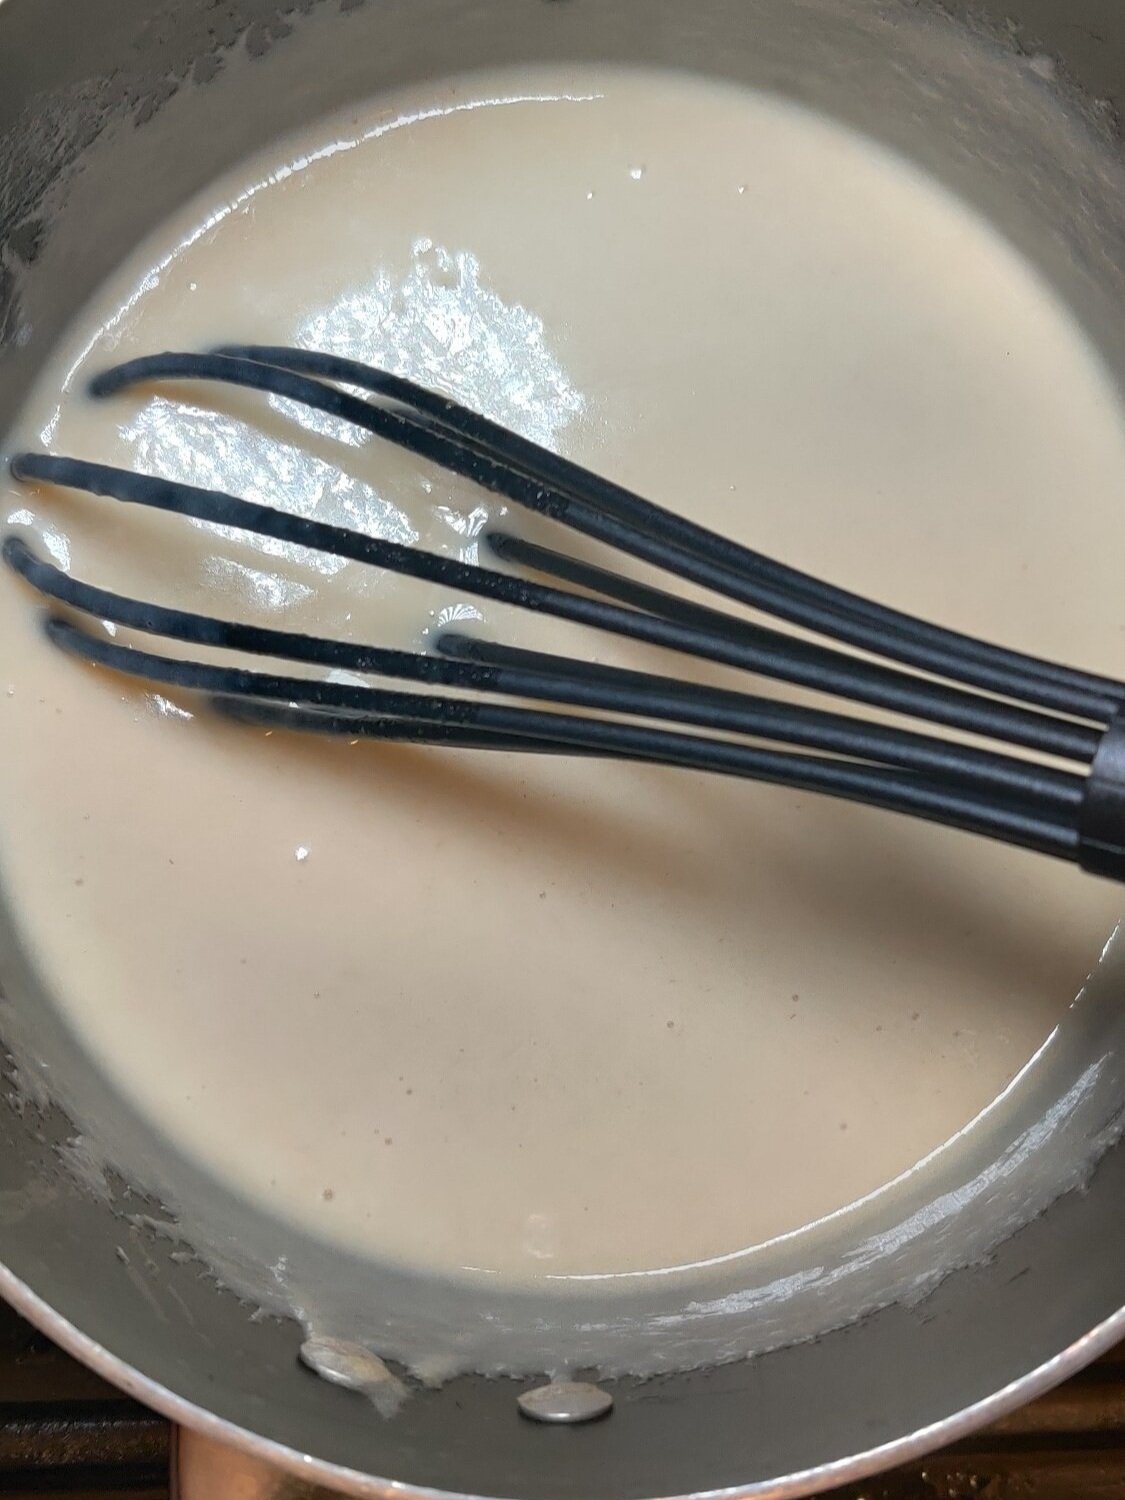
While the baklava is baking, prepare the honey syrup. Bring the sugars, 1/4 cup water, lemon juice, cinnamon, and nutmeg to a boil. Reduce the heat and simmer for about 5 minutes. Remove from the heat and mix in the 1/3 cup of honey, set aside.
Once the baklava has baked, remove from the oven and pour the honey syrup on top, then brush on what remains. Sprinkle extra crumbs to garnish and allow to cool for 15 minutes.
Tip: If you leave the honey syrup and it starts to caramelize, reheat or add a little more water so it’s not too thick to pour over the baklava.

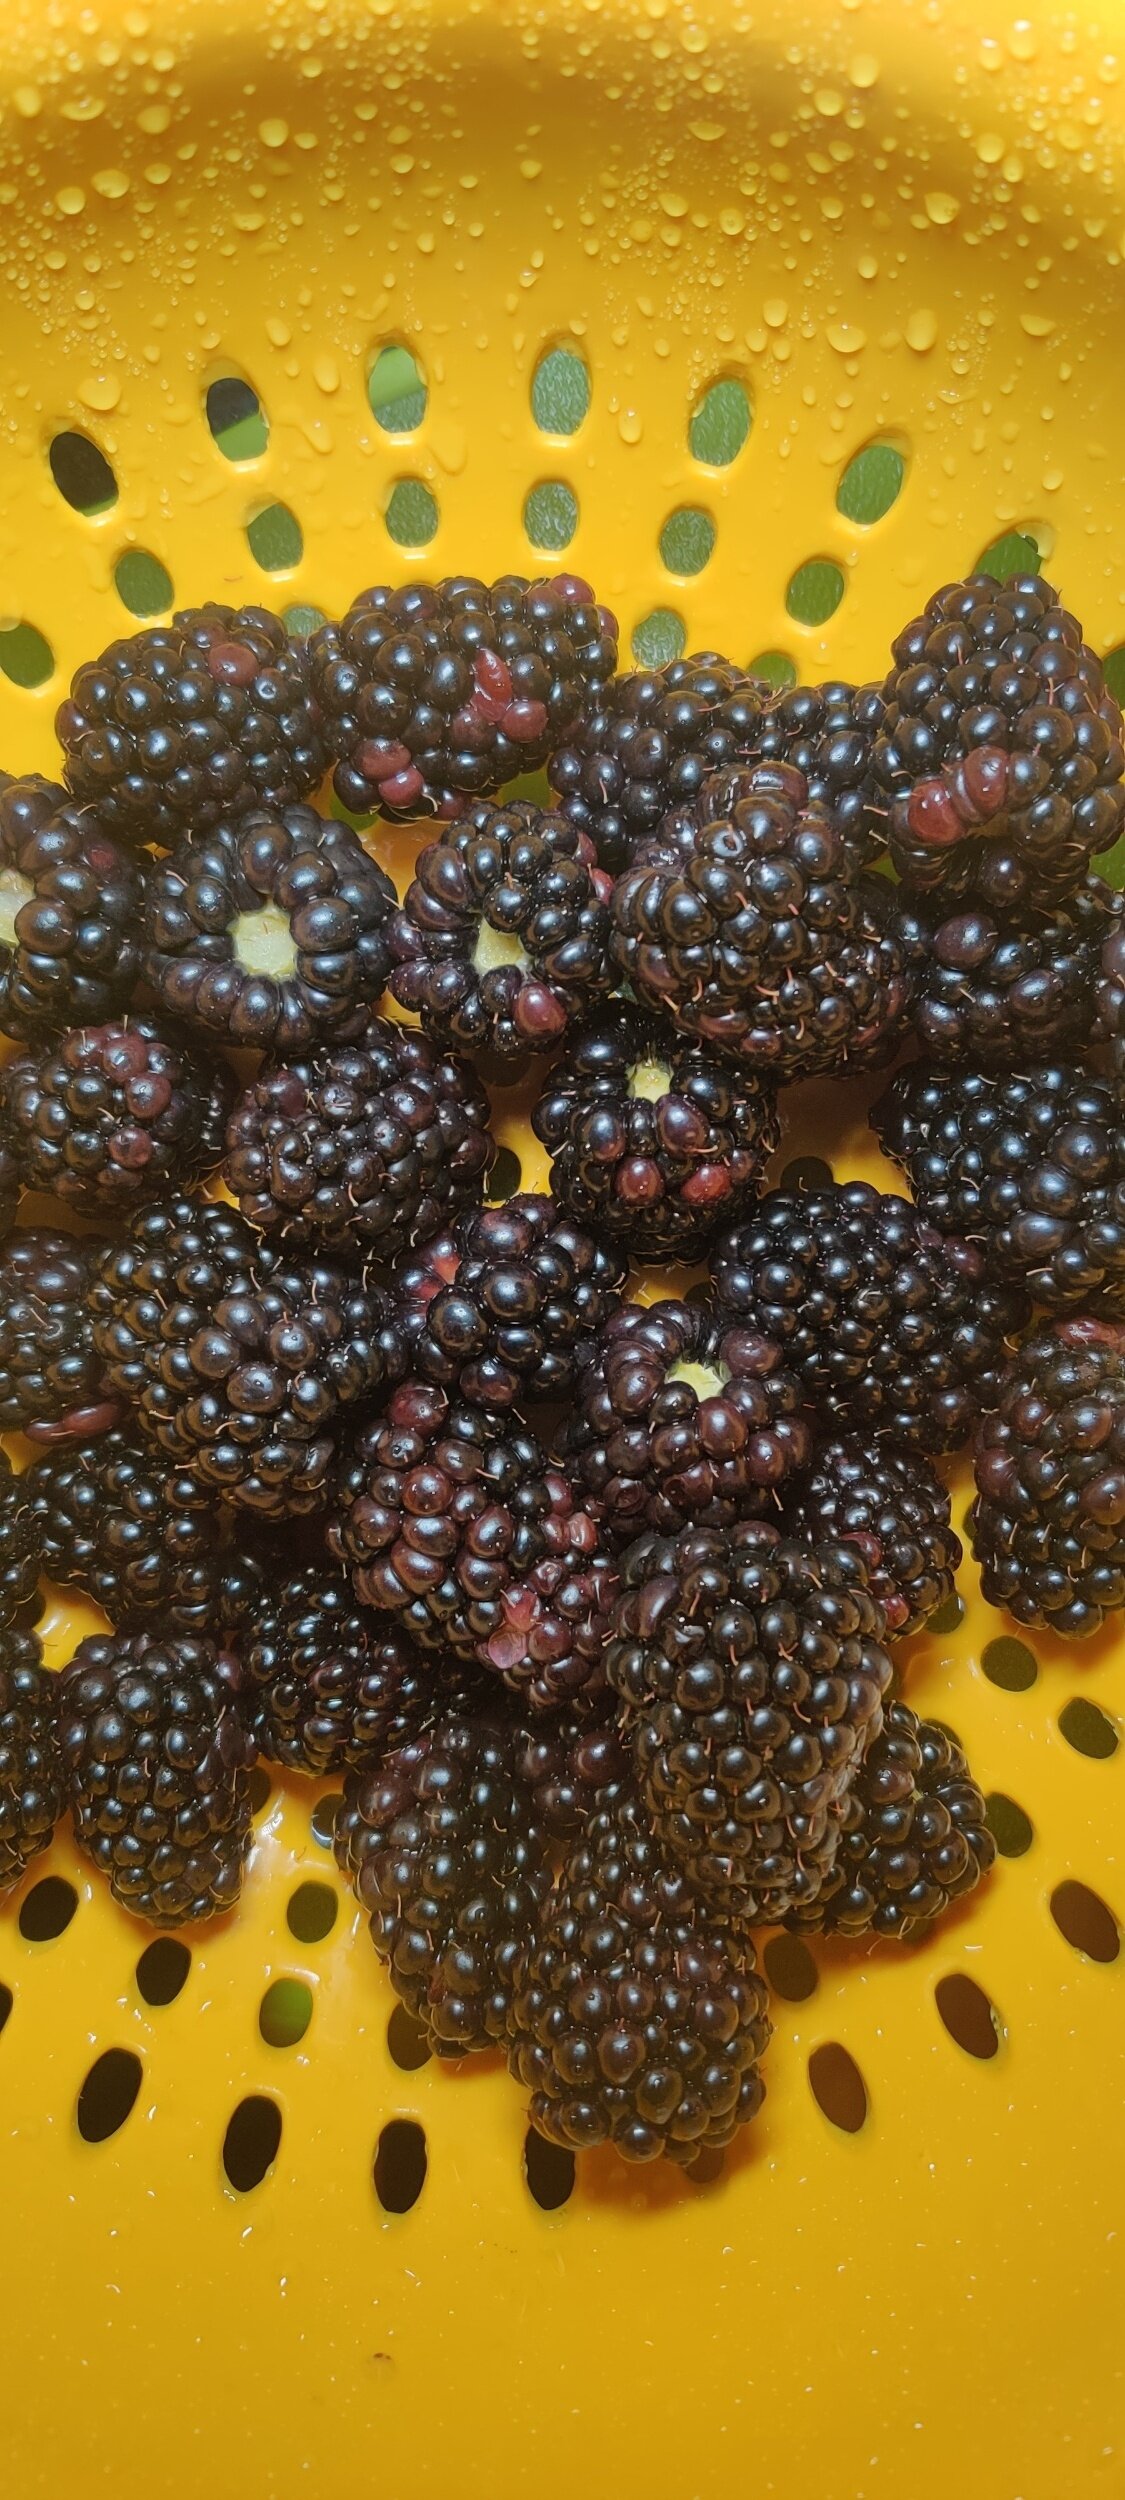
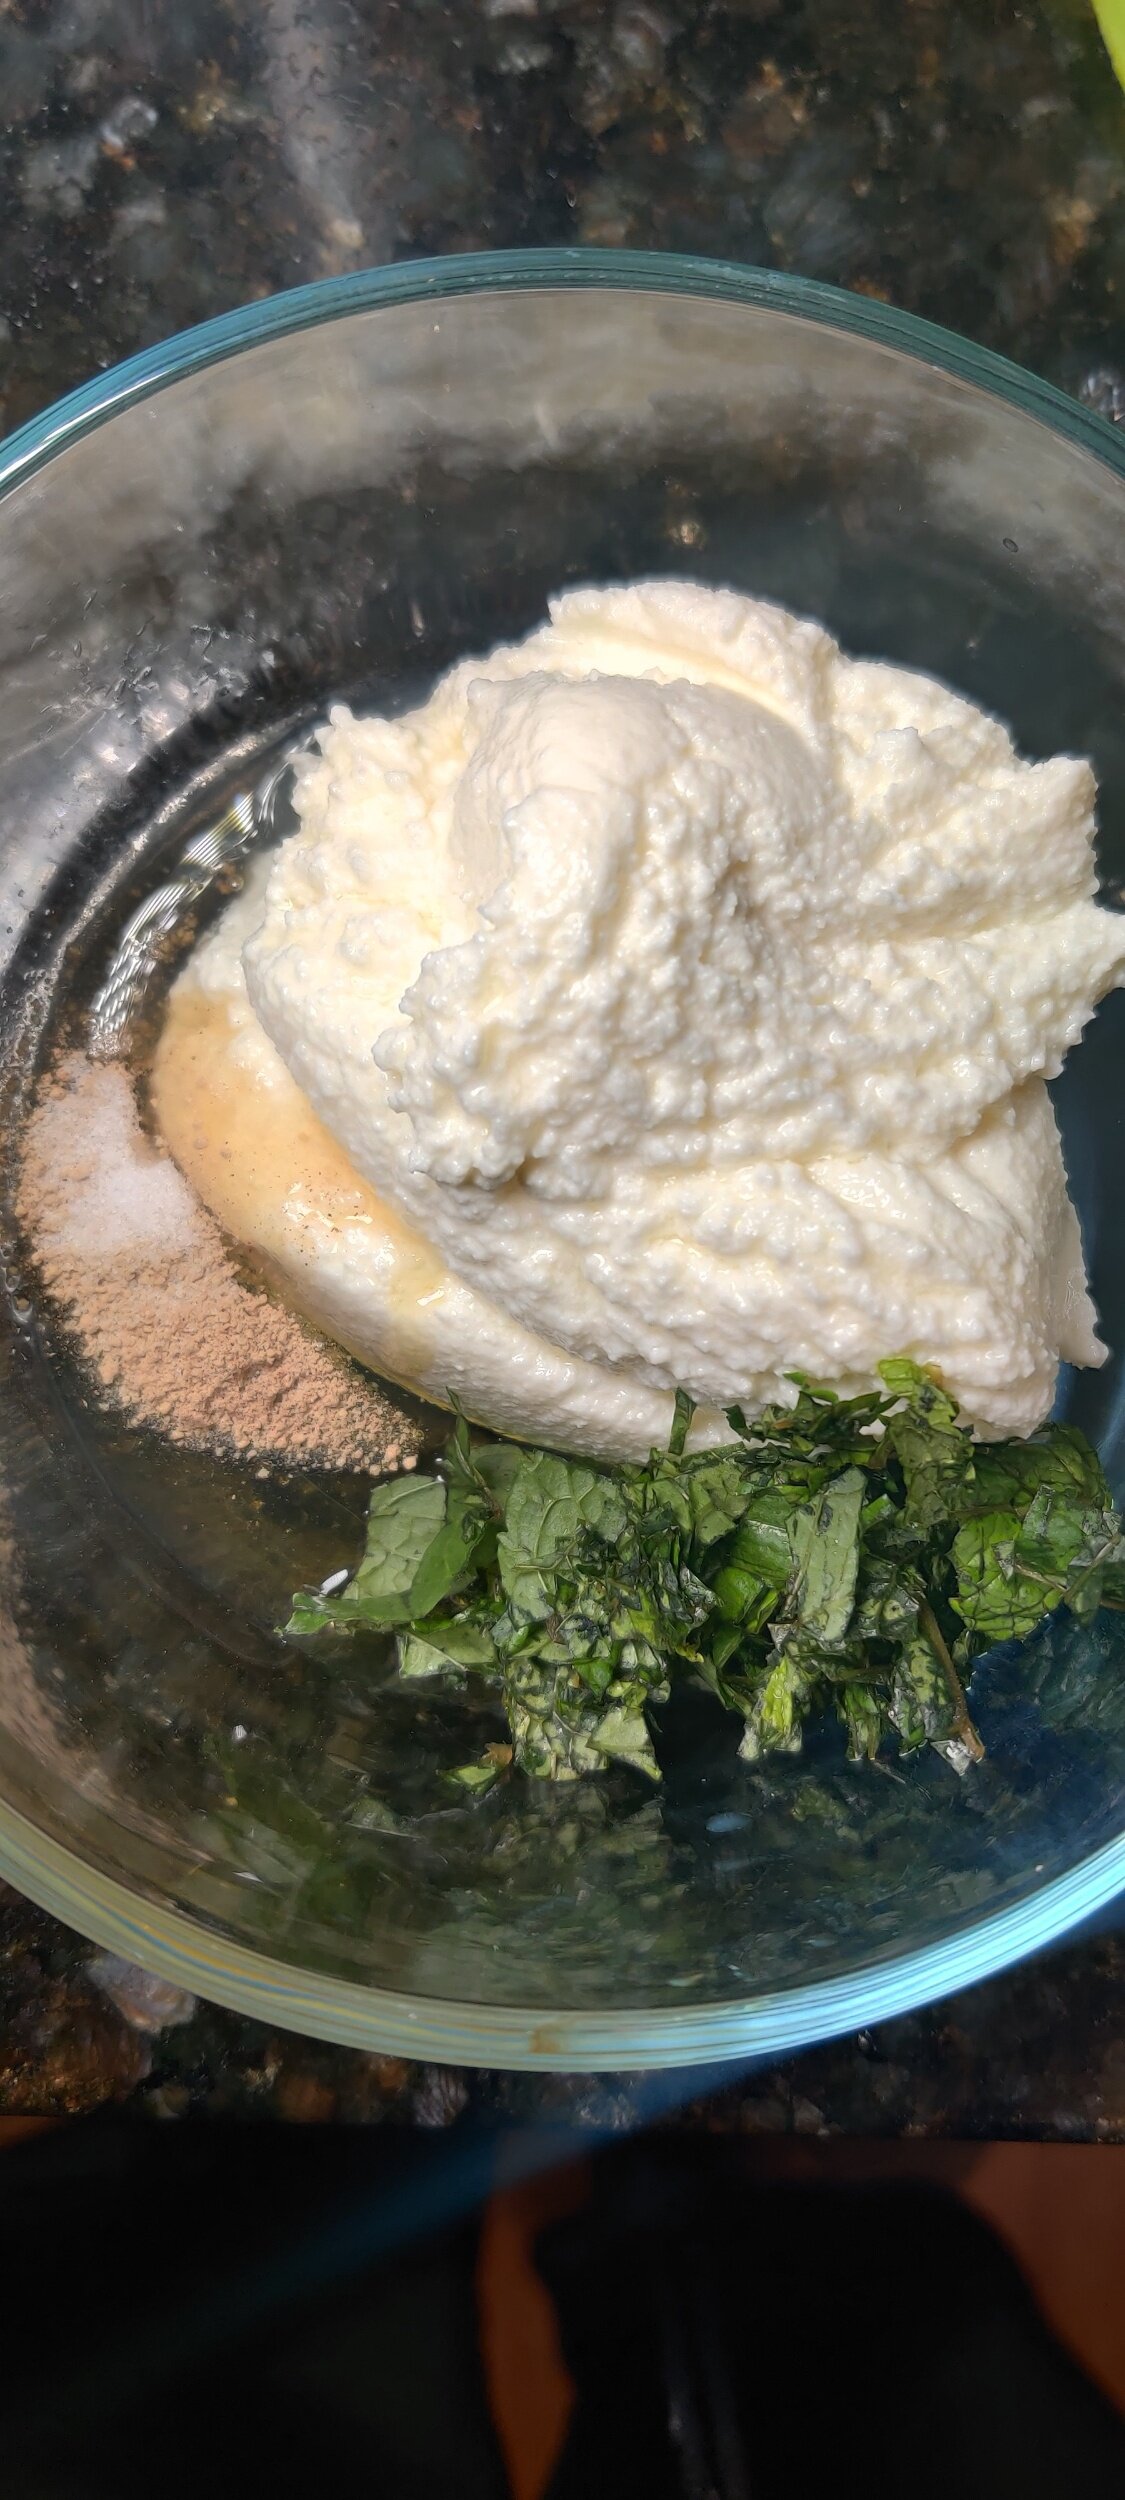
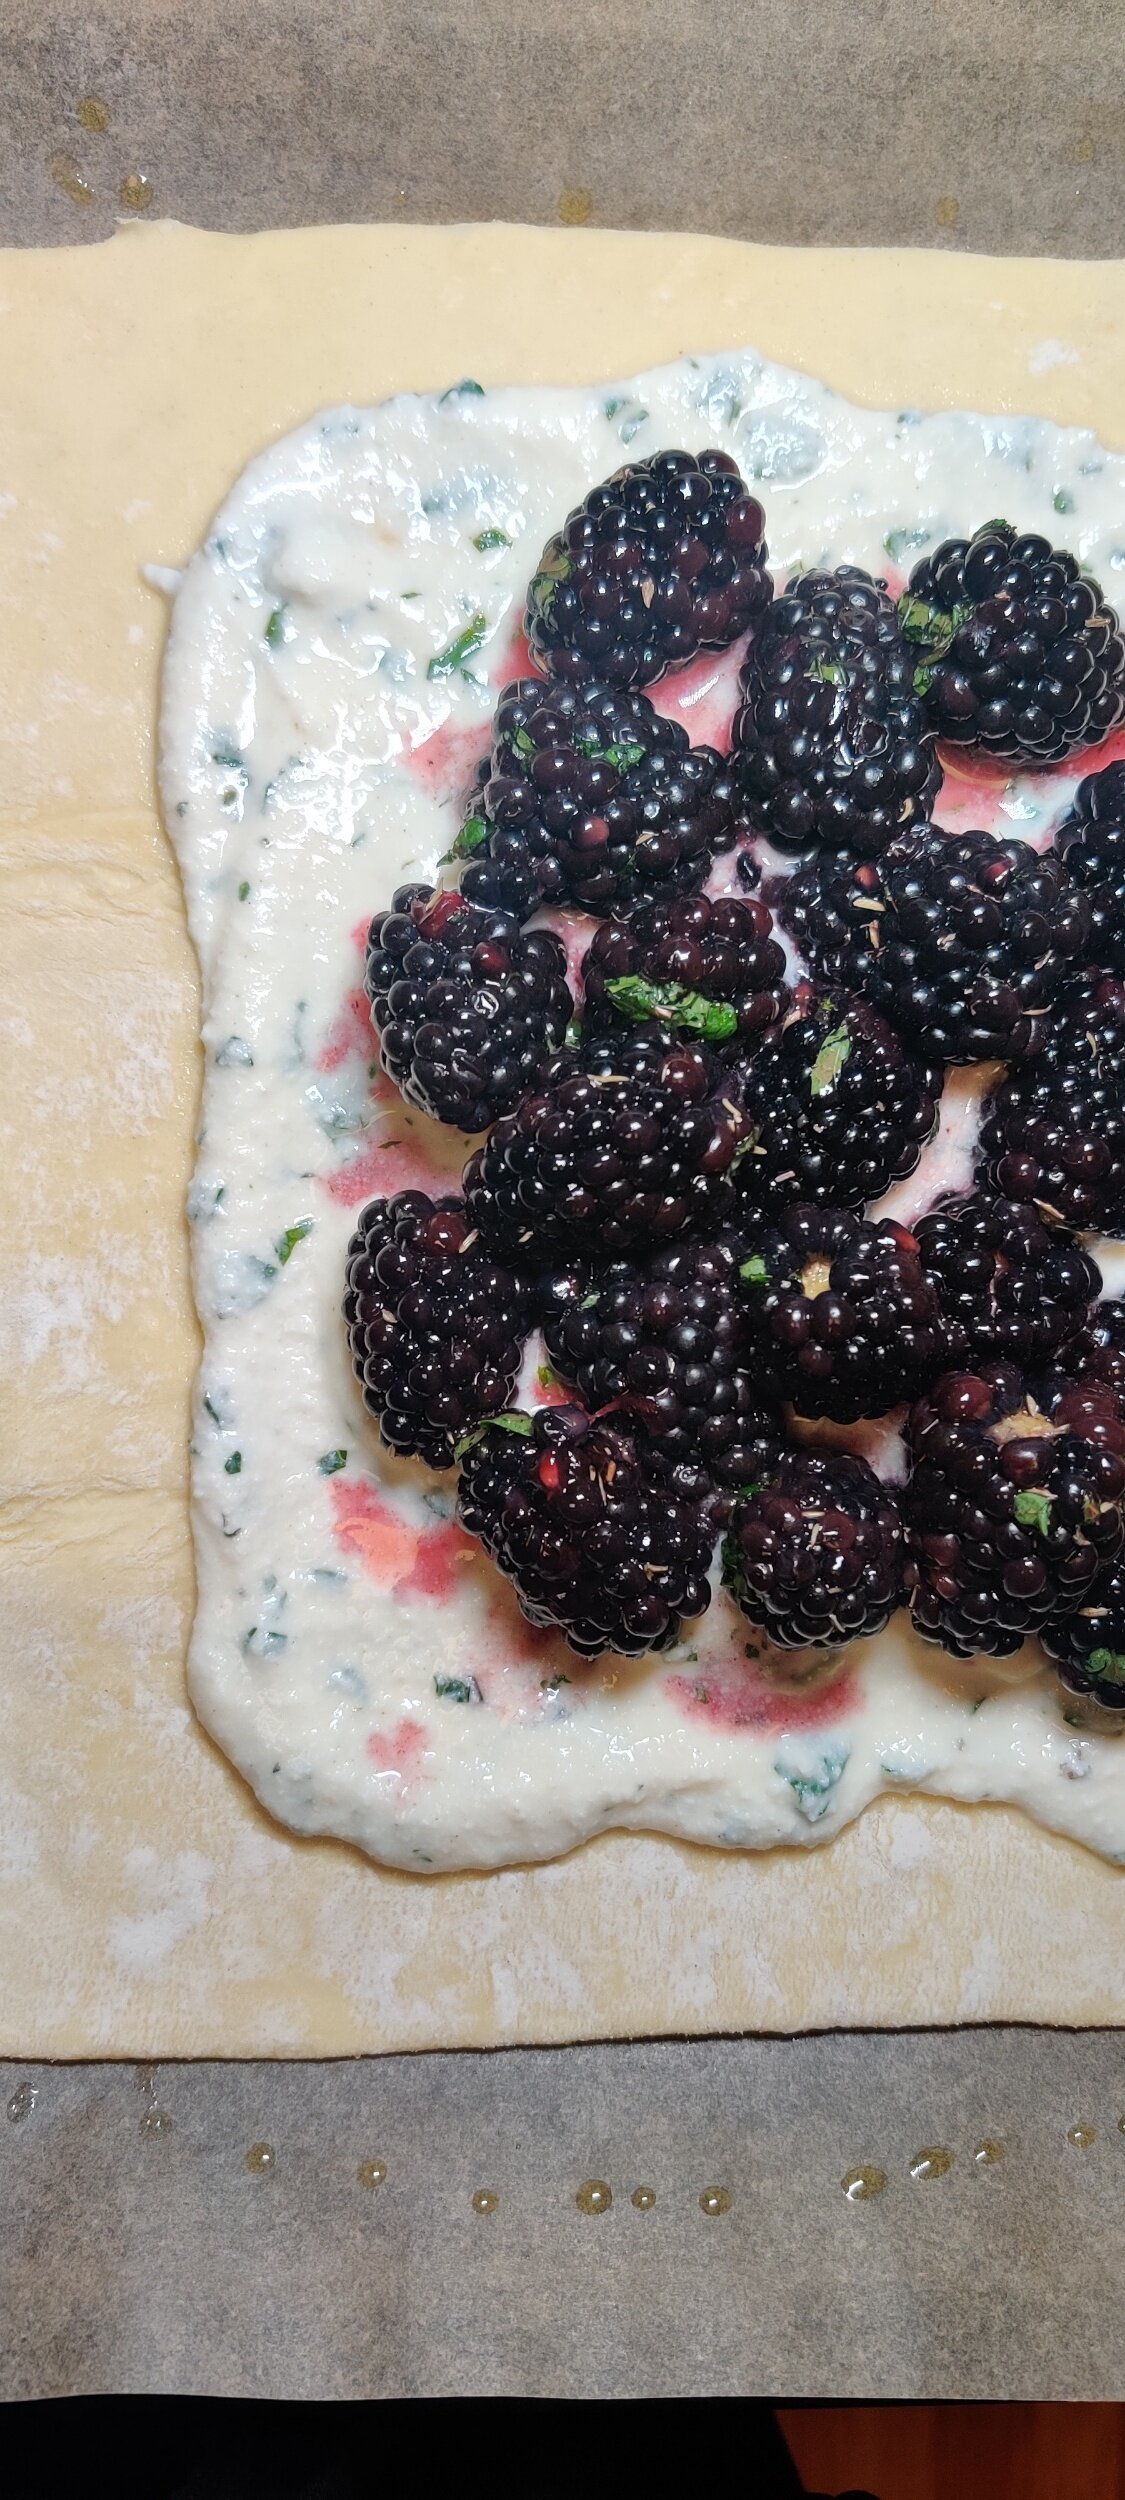
Blackberry, Mint and Ricotta Galette
Recently I shared a recipe for a savoury galette choke-full with juicy tomatoes and a creamy cheese mixture. If you haven’t checked it out, it’s here. That was probably one of my favourite meals this season, and it was super simple to make. I should have been putting these free form pastries together long ago and more often!
Speaking of which, I like to cook with what is fresh and in season. Not only do you get better quality and cheaper goods, but there are likely fewer pesticides used on fruits and vegetables consumed at their peak.
I knew I wanted to do something with berries, and the galette inspired me - a sweeter type anyway!
This version is muddled with mint leaves to give it some freshness and compliment the berries, sweetened with honey, sugar, with a bed of ricotta cheese underneath. You can serve this galette for brunch, or after lunch or dinner. This will impress your guests for sure!

Originally I wanted to use mulberries for this recipe, which are native to Africa, Asia, and Europe. I grew up eating these berries, partly because we had two trees in my back garden to pick from! I made mulberry jam quite often or took them to school to share with my classmates who had silkworms (they love mulberry leaves). However, I never made any sort of pasty for some odd reason (not that I made this puff pastry sheet from scratch).
One recurring memory I have when it comes to mulberries is the grave warnings I would receive about getting them all over my clothes and risk losing them forever! Mulberries STAIN like crazy.
Some people may think they are the same as blackberries but they are two entirely different plants. Close enough for this recipe though. Blackberries are rounder in shape and grow on thorny bushes, mulberries are long and grow in trees. Both have great health benefits and are supple and delicious as most berries are. They are loaded with antioxidants, fibre, and help with inflammation.
Ingredients
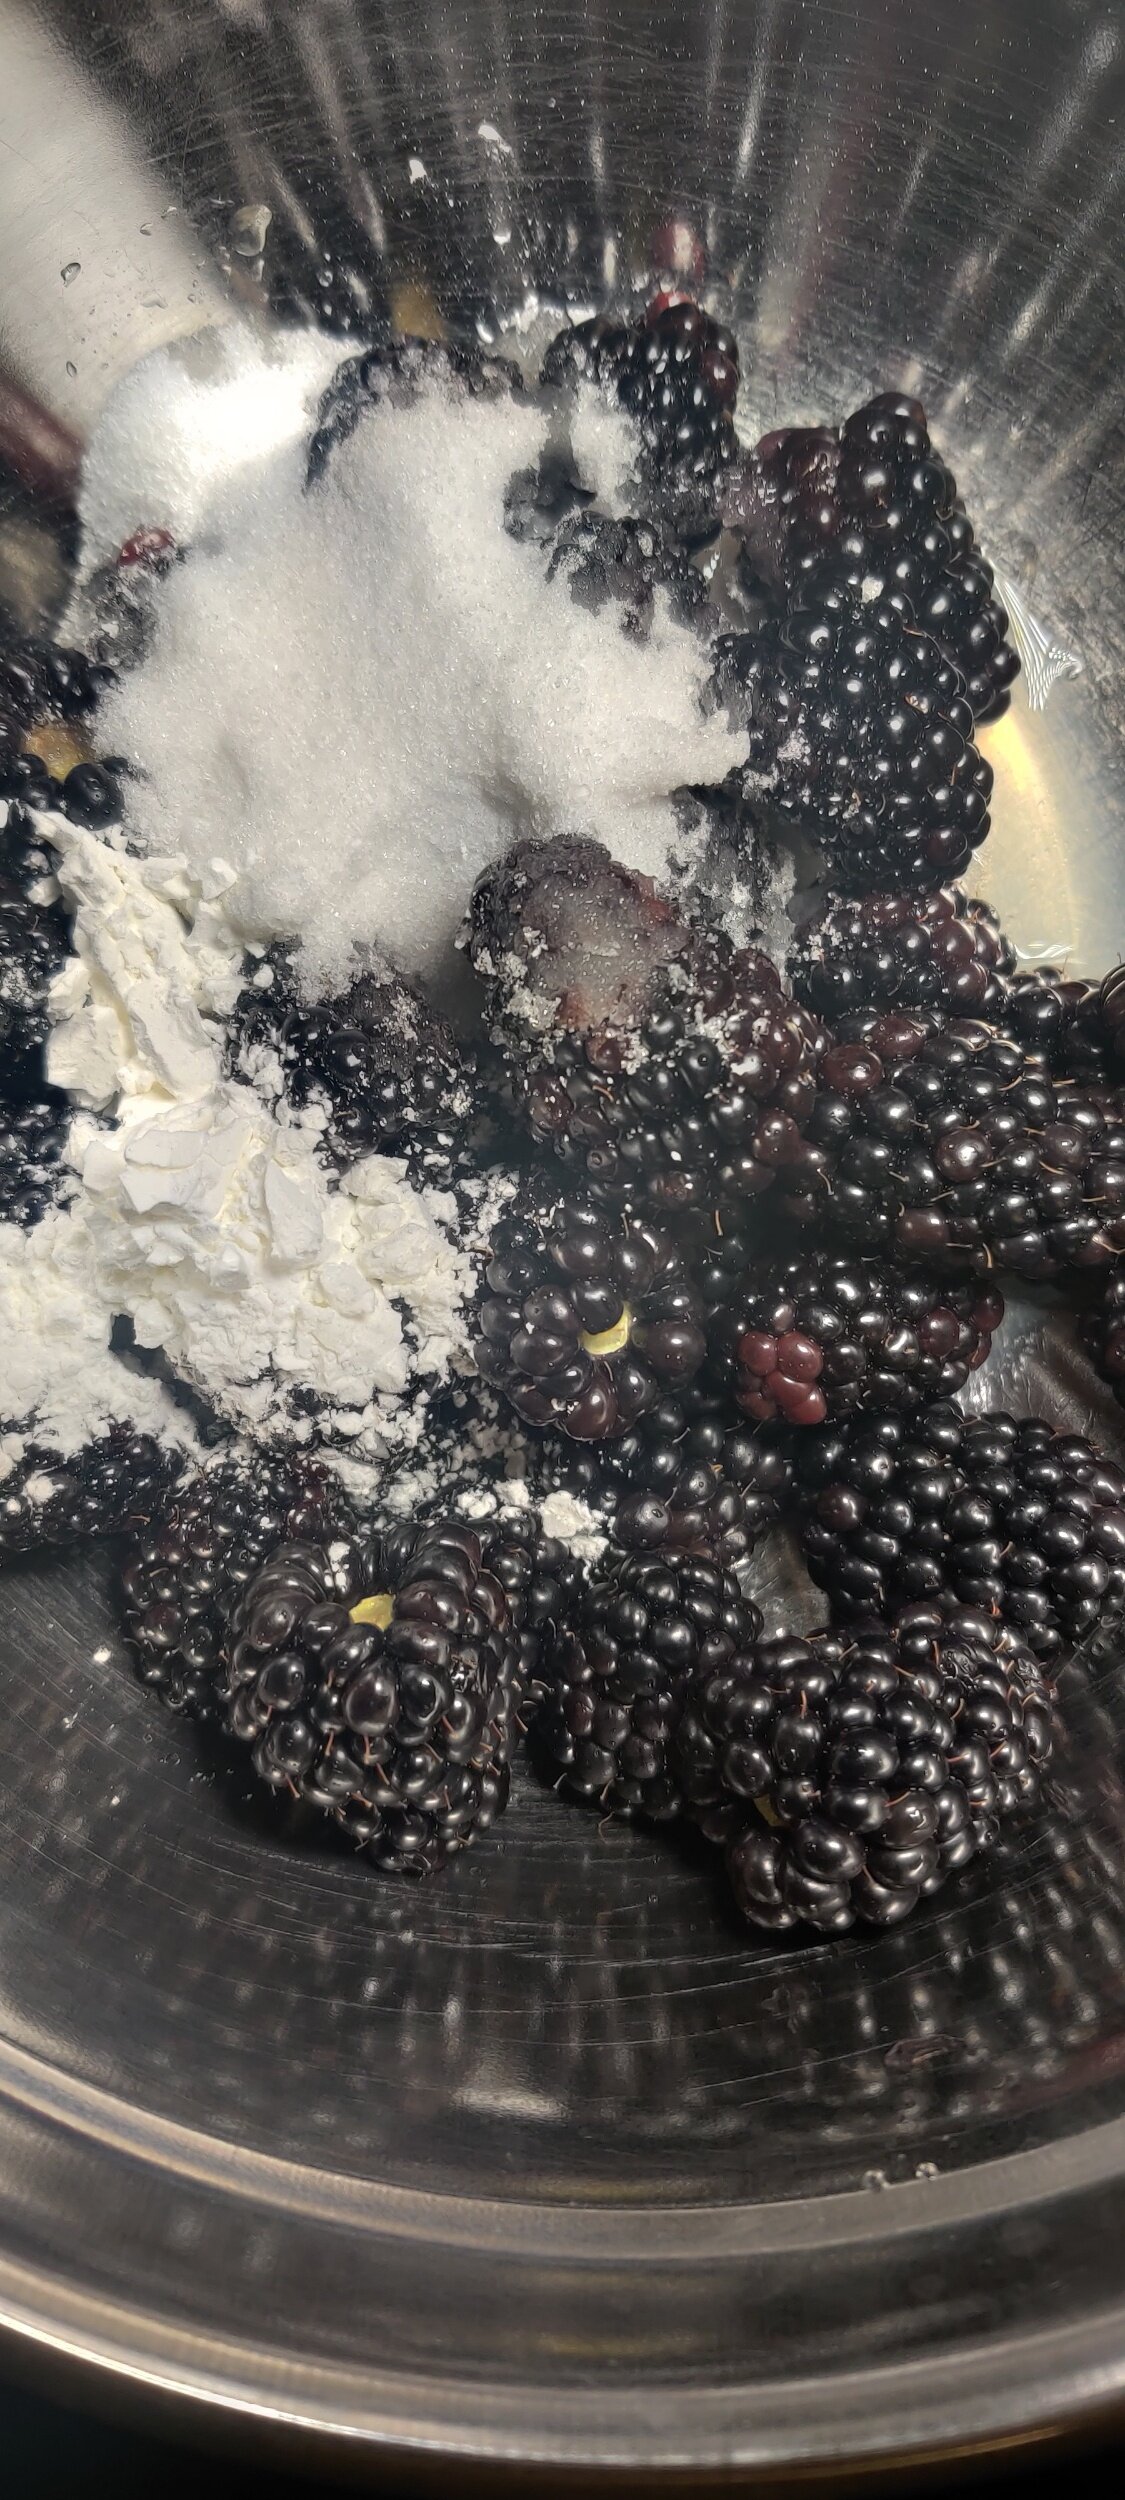
1/4 cup white sugar
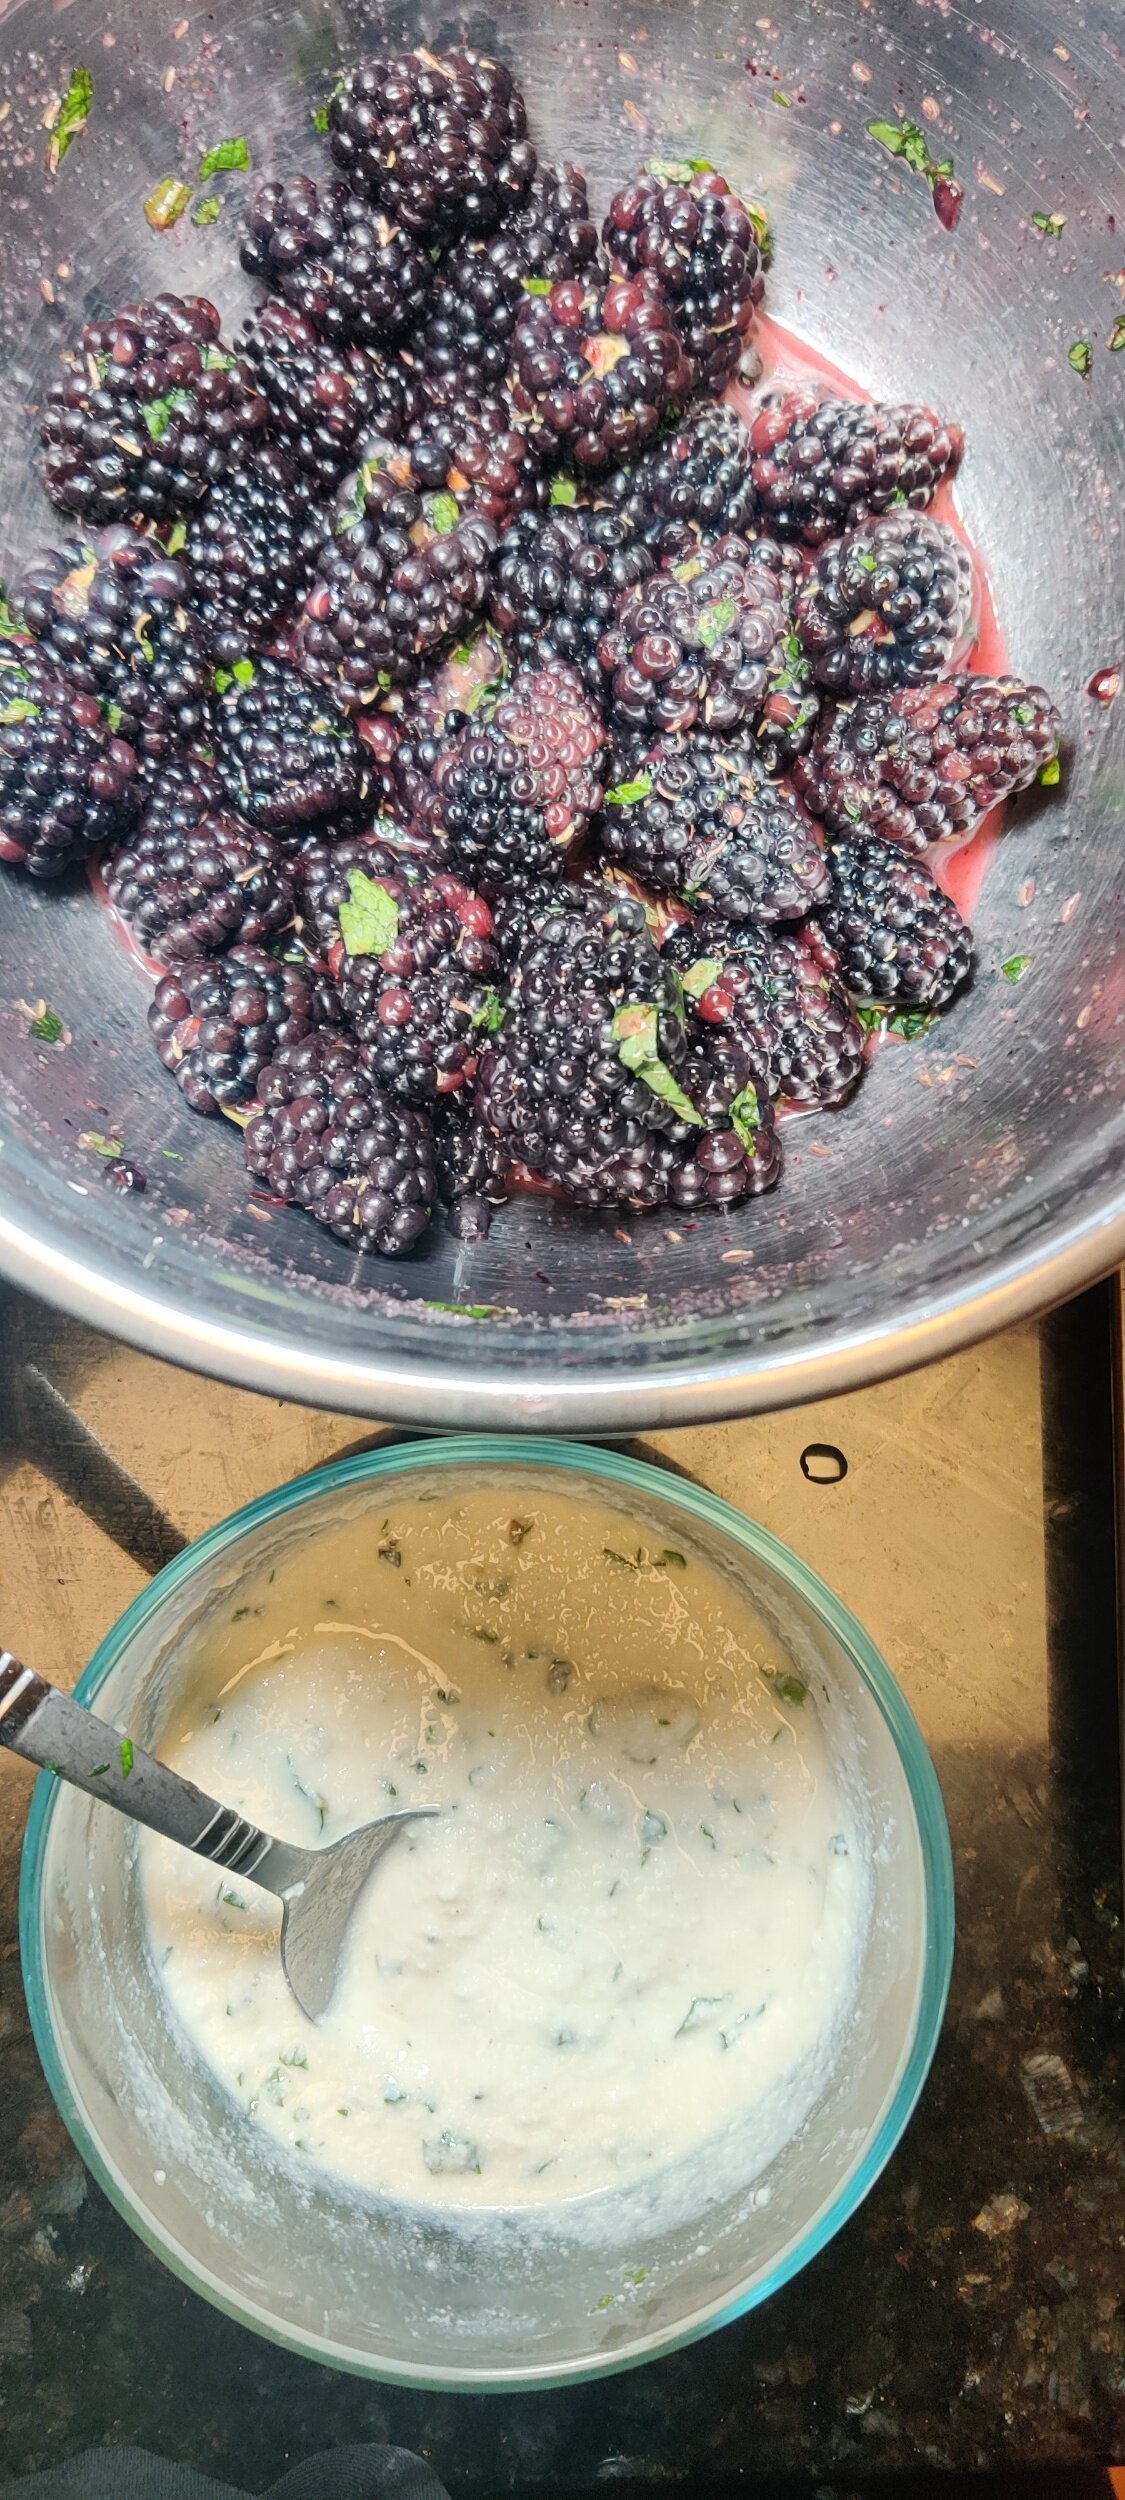
12 ounces blackberries, rinsed
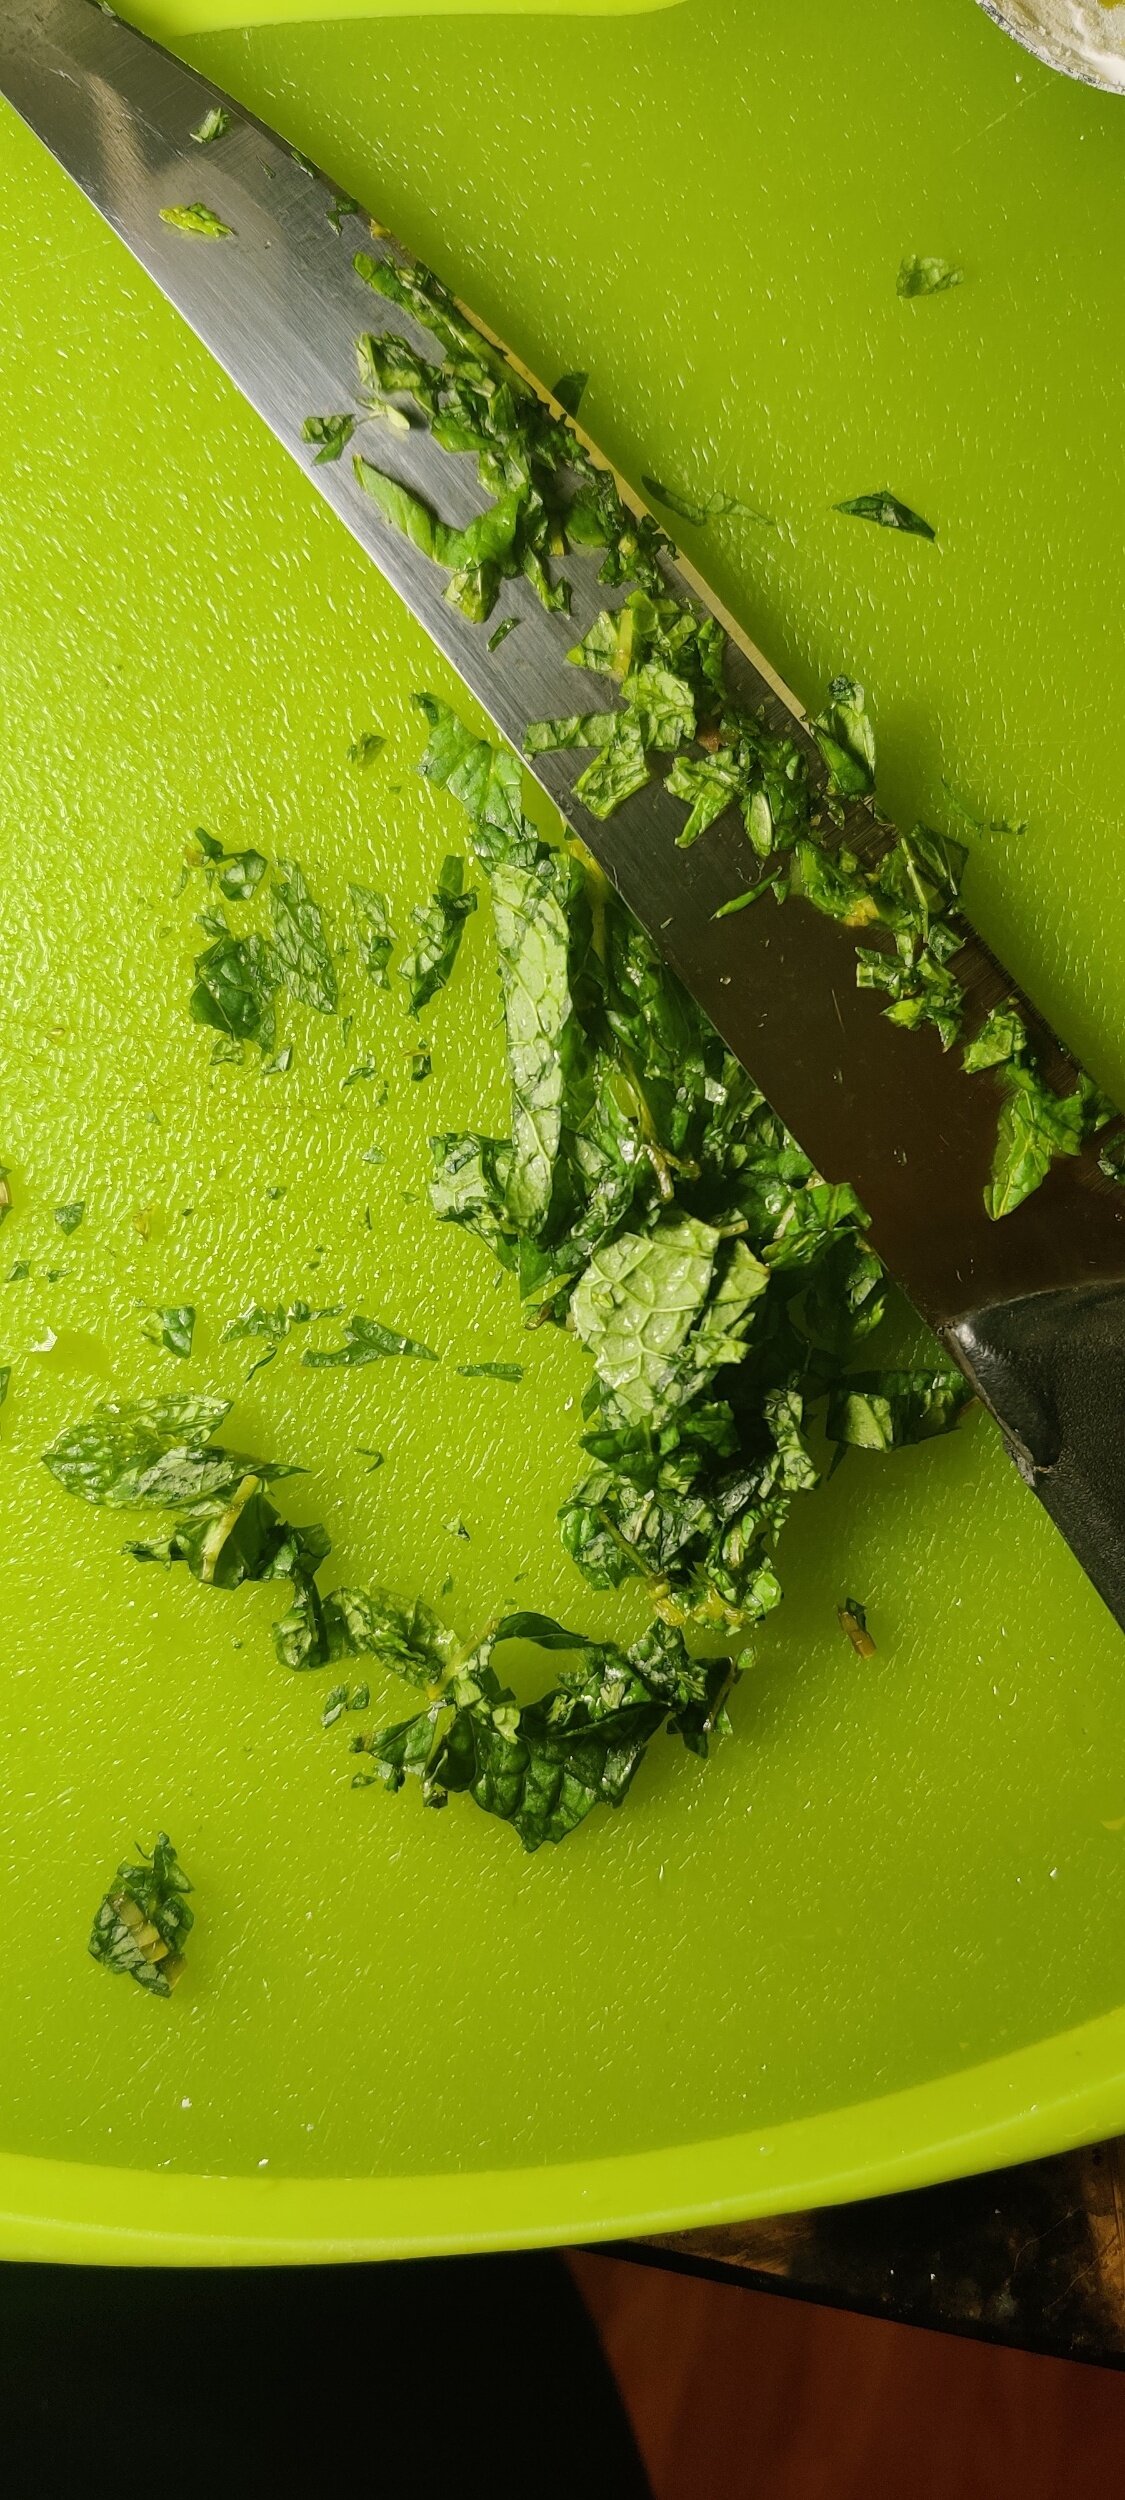
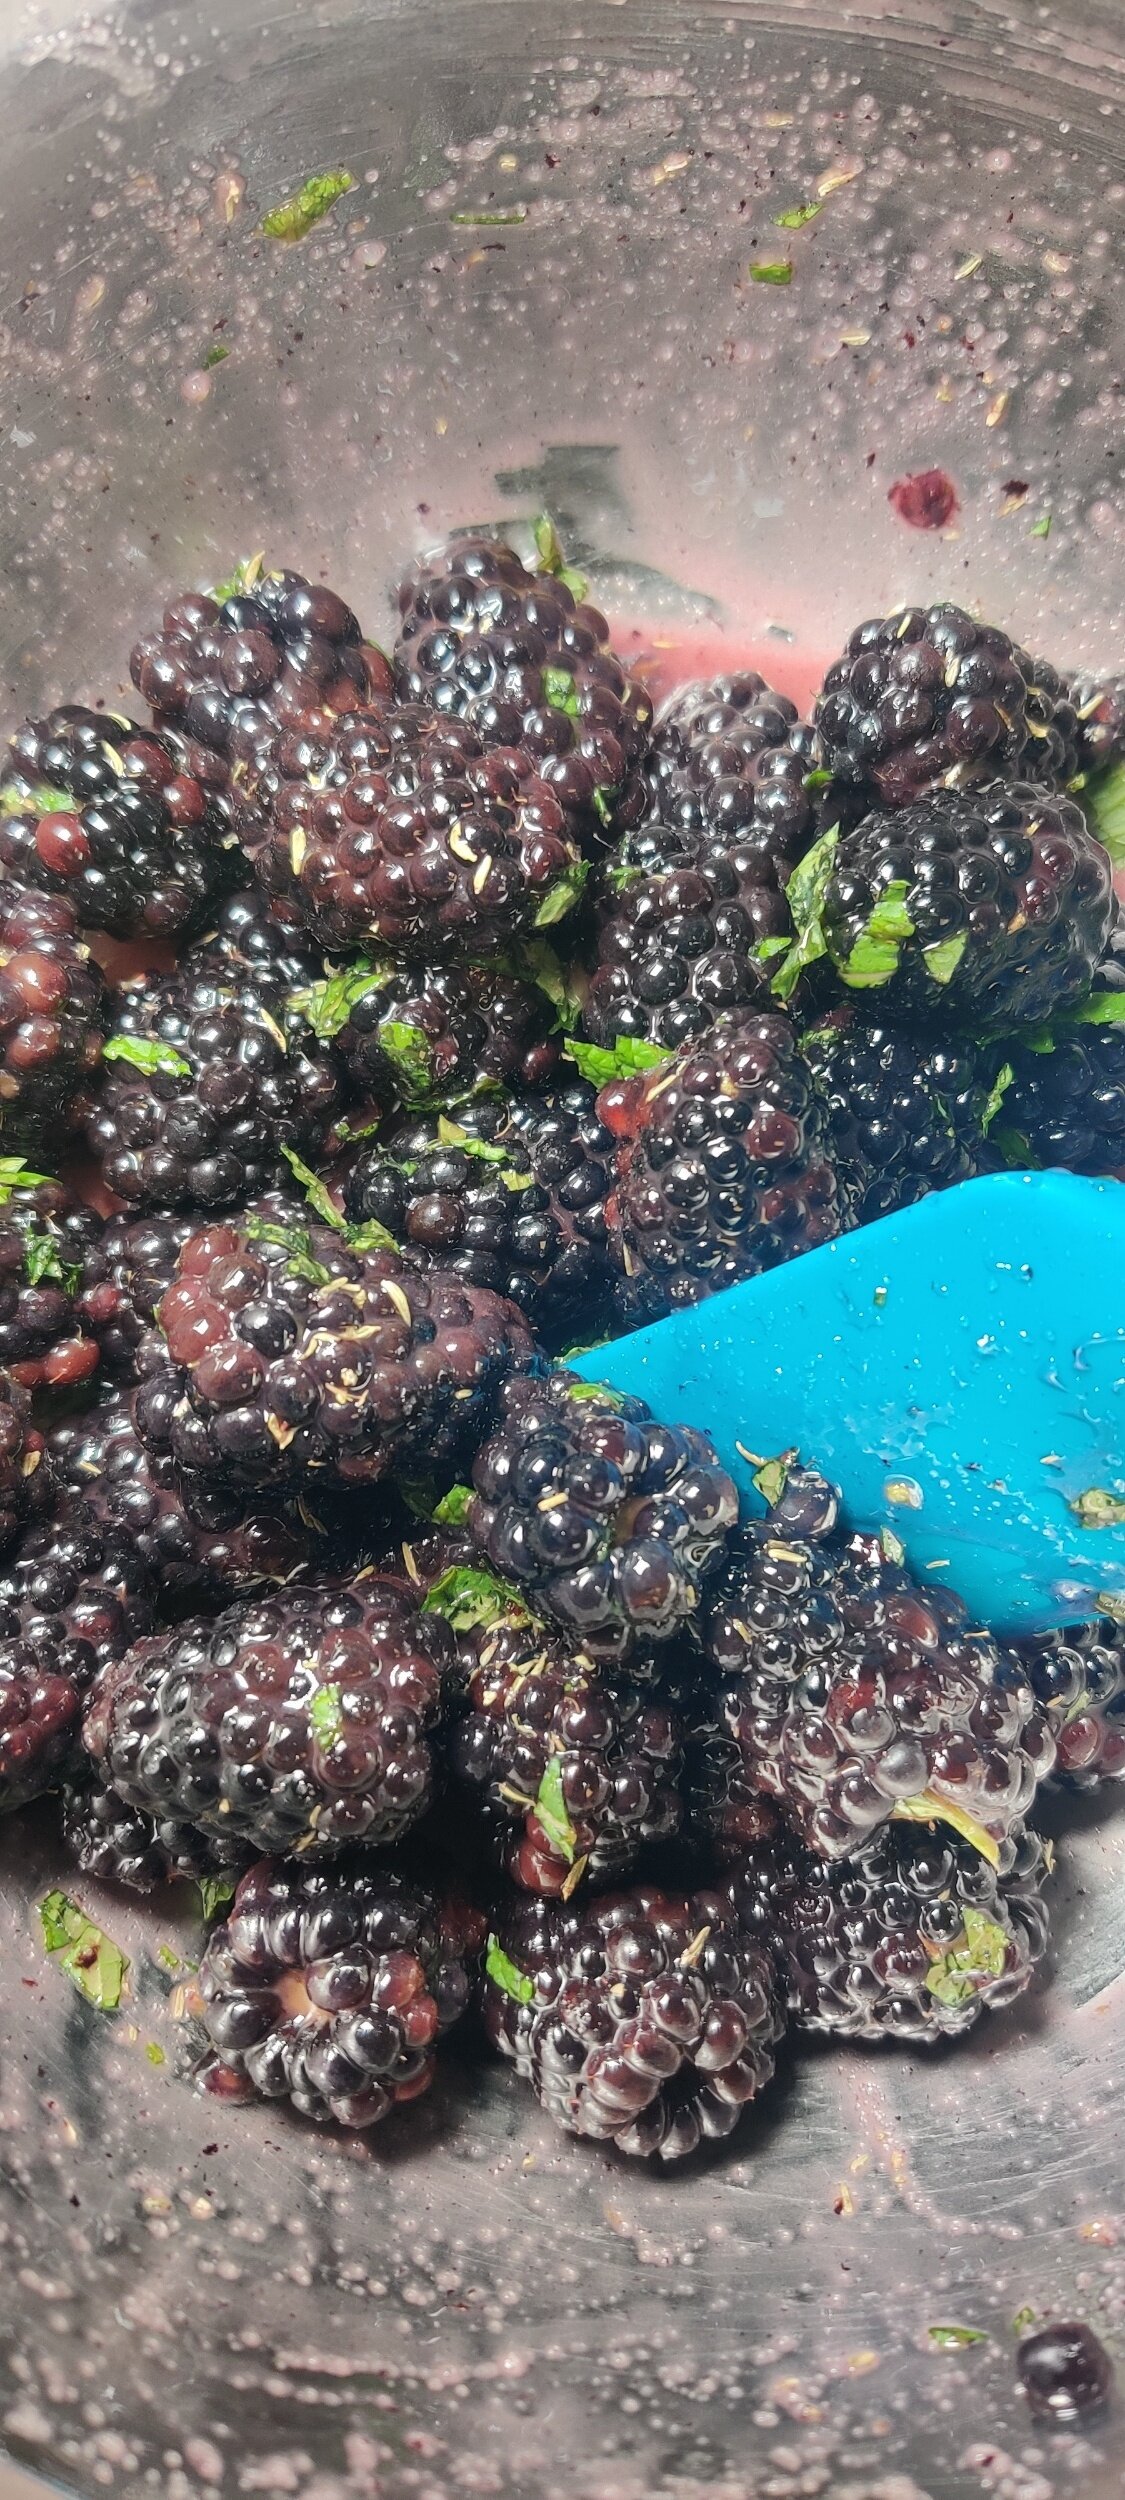
4 tablespoons fresh mint, finely chopped
1 teaspoon fresh thyme
1 tablespoon + 1 teaspoon lemon juice
1/3 cup ricotta cheese
2 tablespoons honey + extra for brushing
1 teaspoon salt
1/2 teaspoon vanilla extract
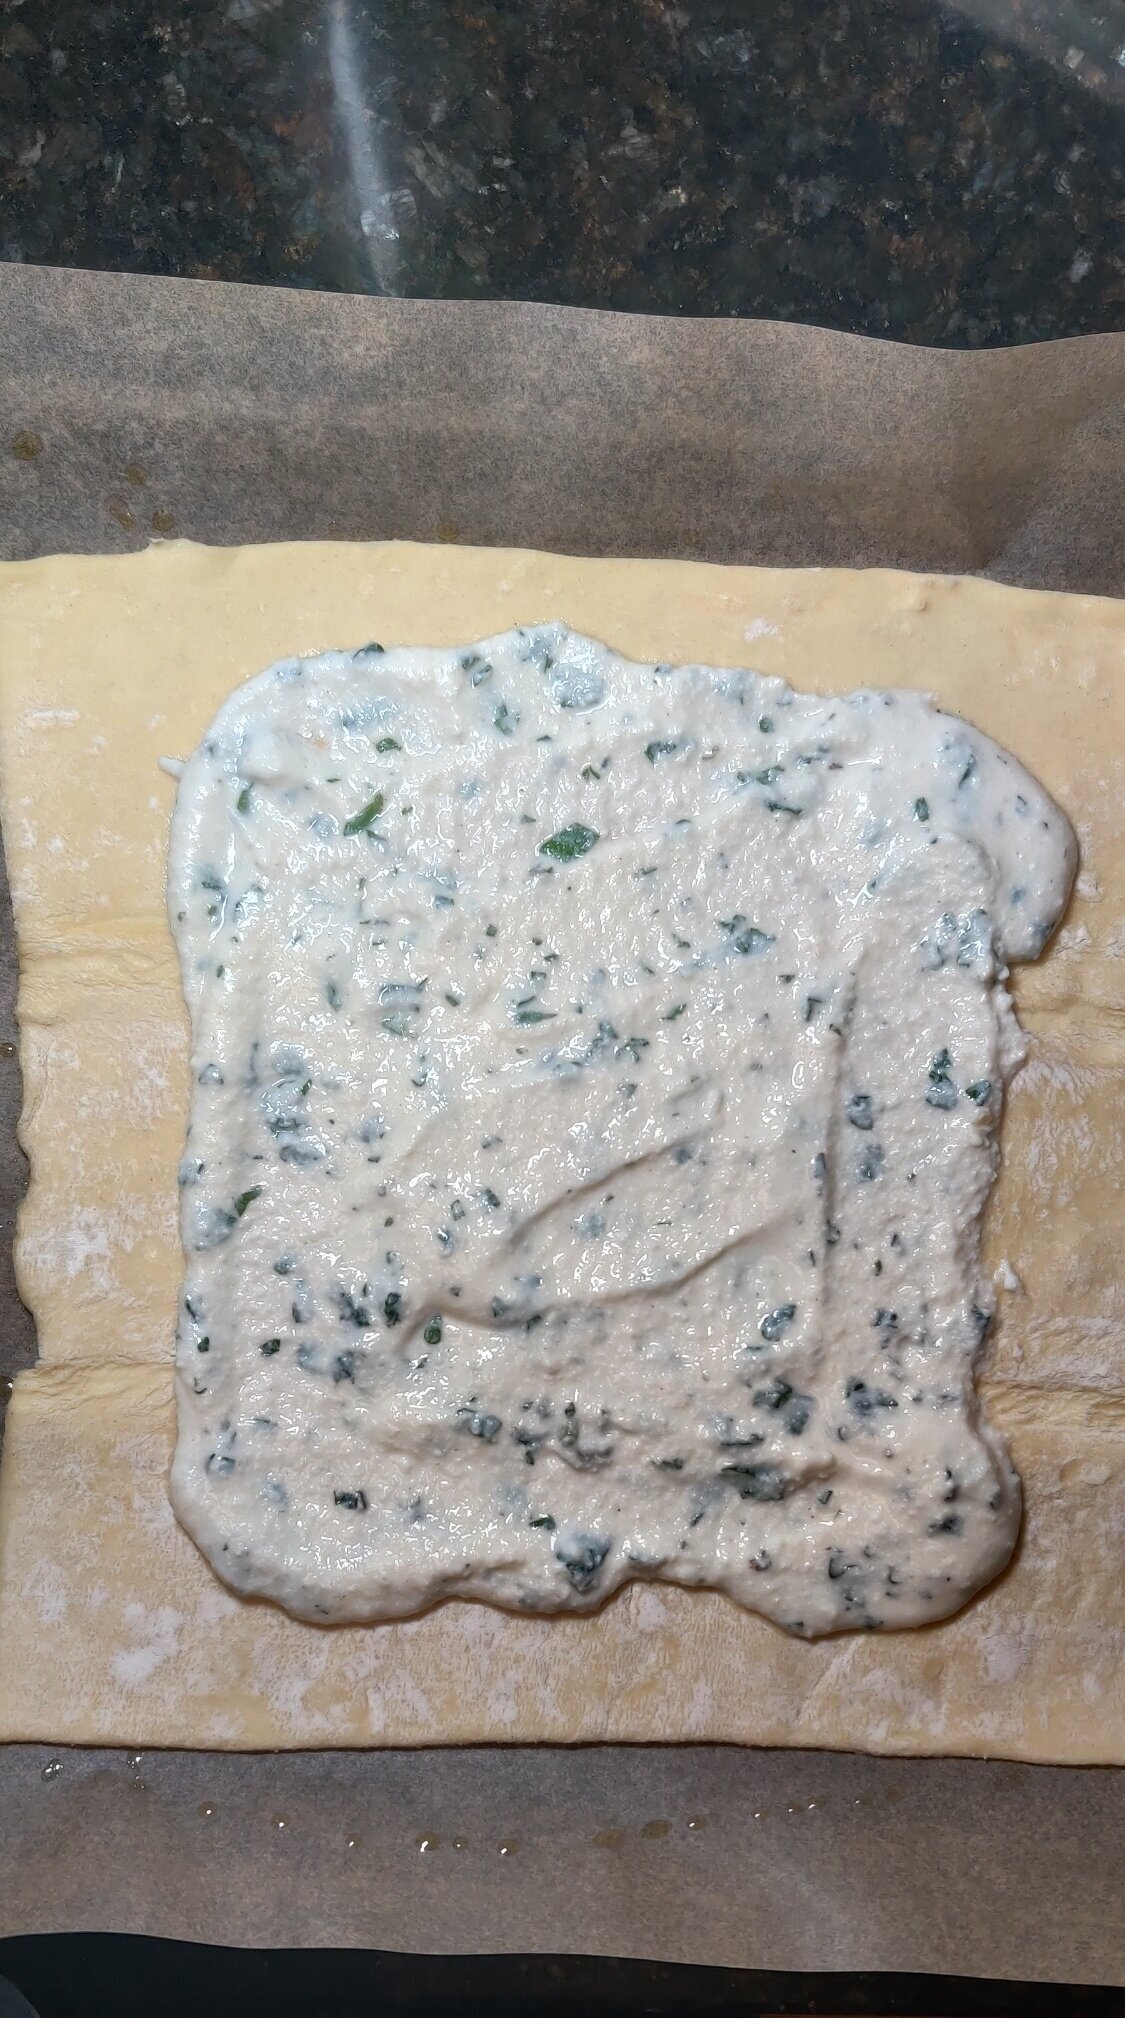
1 sheet puff pasty or pie crust, thawed at room temperature
2 teaspoons cinnamon sugar
1/2 teaspoon sea salt crystals
1 heaped teaspoon cornstarch
Instructions
Rinse the berries and pat dry, transfer to a large bowl.
Add the sugar, 1 tablespoon lemon juice, 2 tablespoons mint, 1/2 teaspoon salt, thyme, and the cornstarch. Mix until the berries are evenly coated.
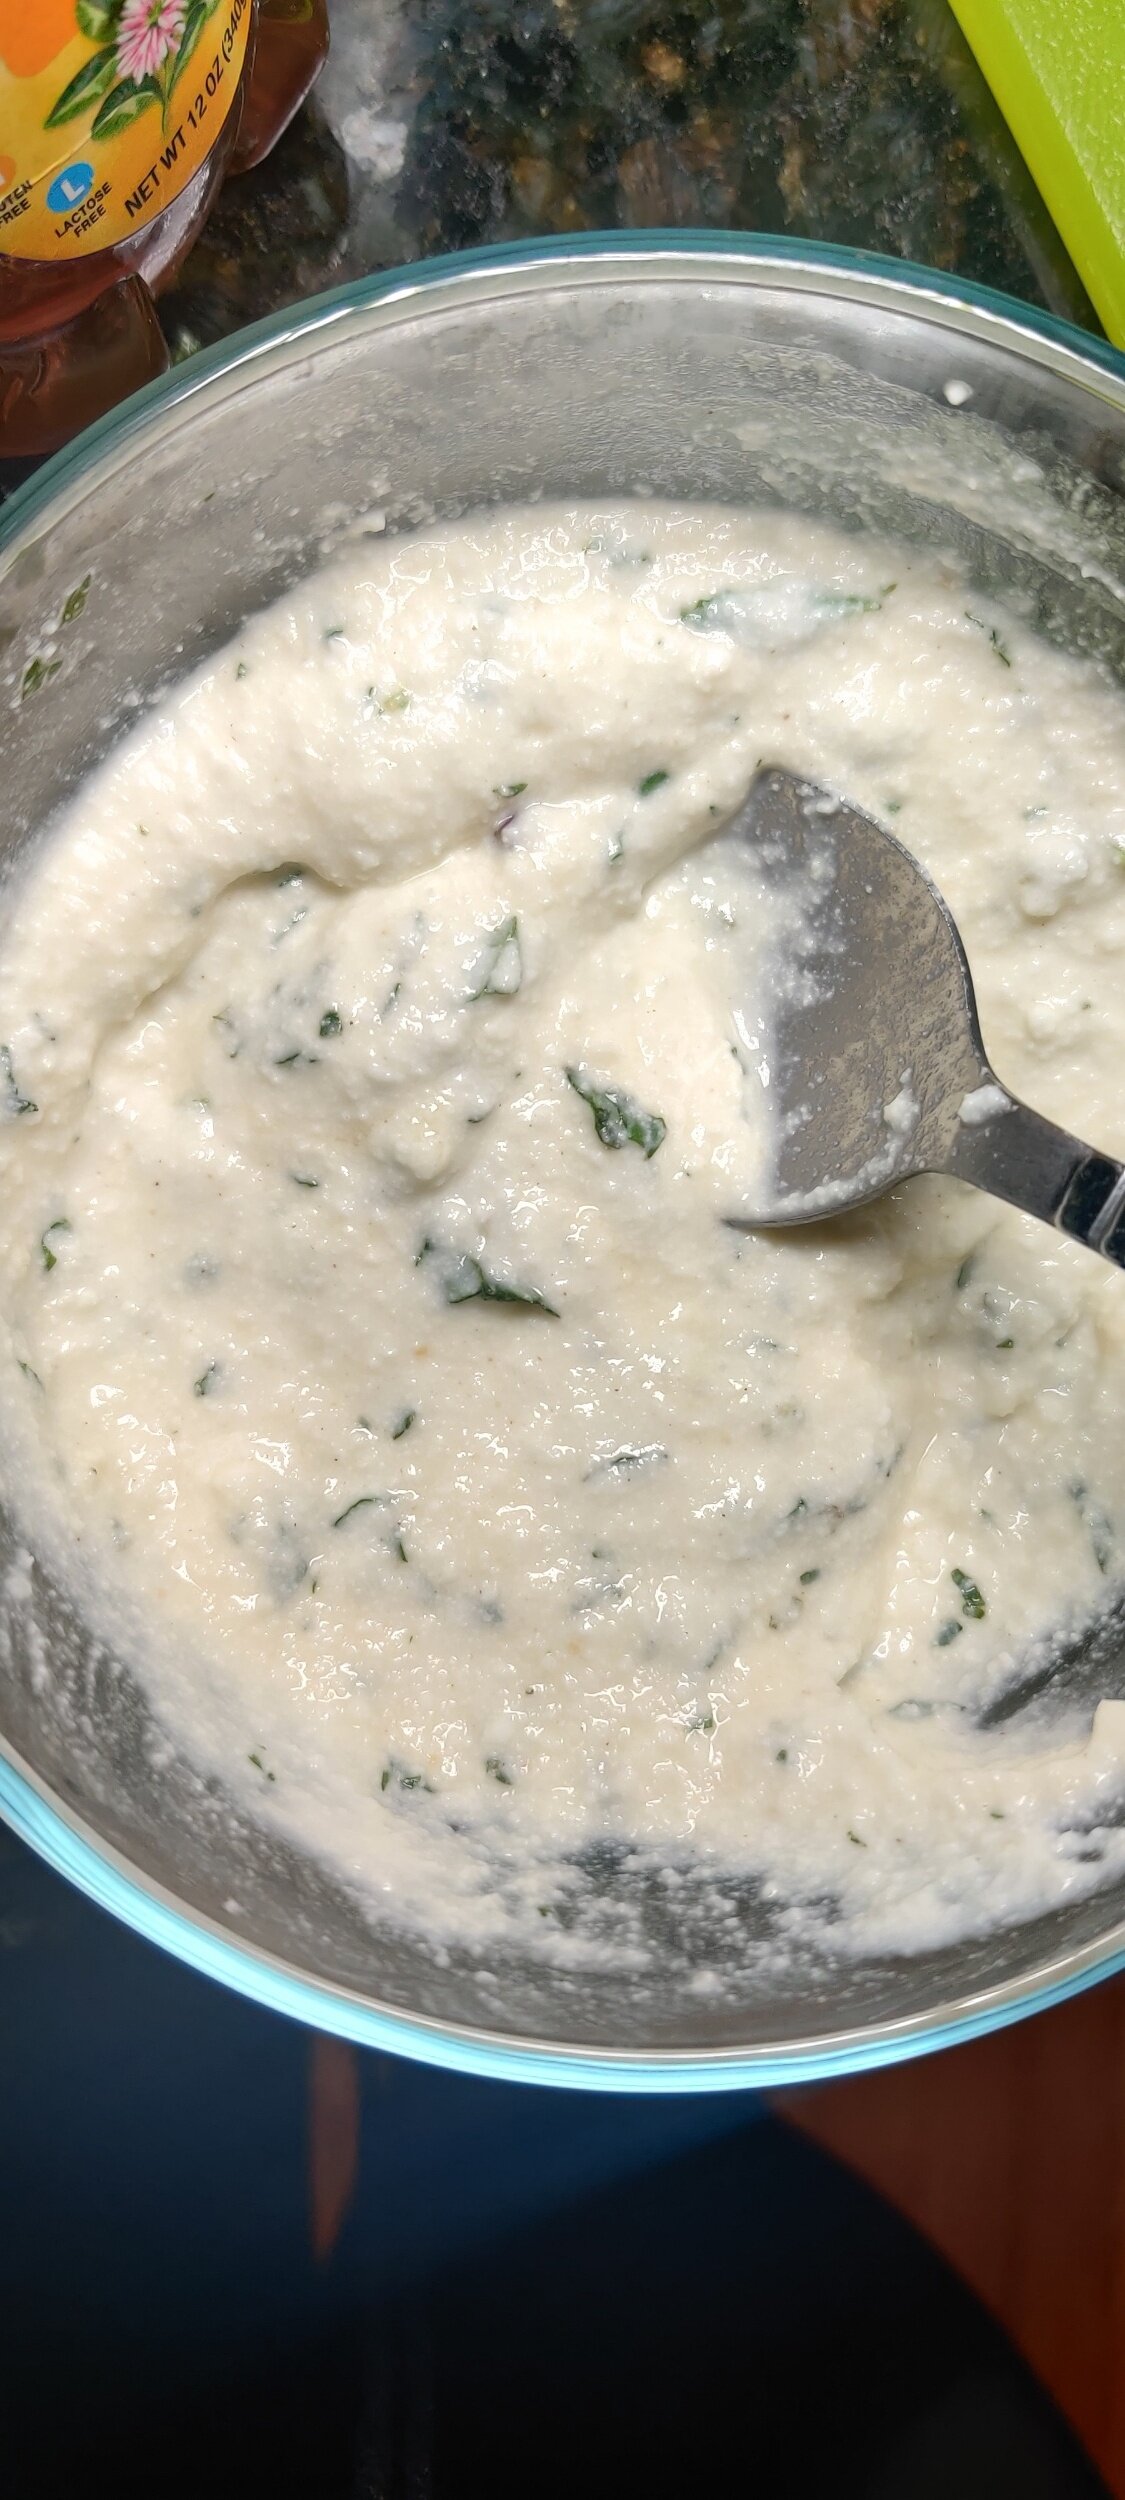
In a smaller bowl, add the ricotta cheese, remaining mint leaves and 1/2 teaspoon salt, honey, 1 teaspoon cinnamon sugar, and 1 teaspoon of lemon juice, mix well.
Spoon the ricotta mixture over the centre of the puff pastry sheet, leaving about an inch of a border around the edges. Top with the berries, leaving any liquid residue in the bowl.
Fold and crimp the edges over the outside berries to create your galette. Brush the edges with some honey, then top with the rest of the cinnamon sugar and sprinkle some sea salt crystals. Pierce a few tiny holes with a fork to help the pastry breathe as it bakes.
Bake in a 400F oven for about 30 minutes, checking to make sure the puff pastry has baked and browned.
Garnish with icing sugar and mint leaves. Serve as it is, with fresh cream or ice cream!

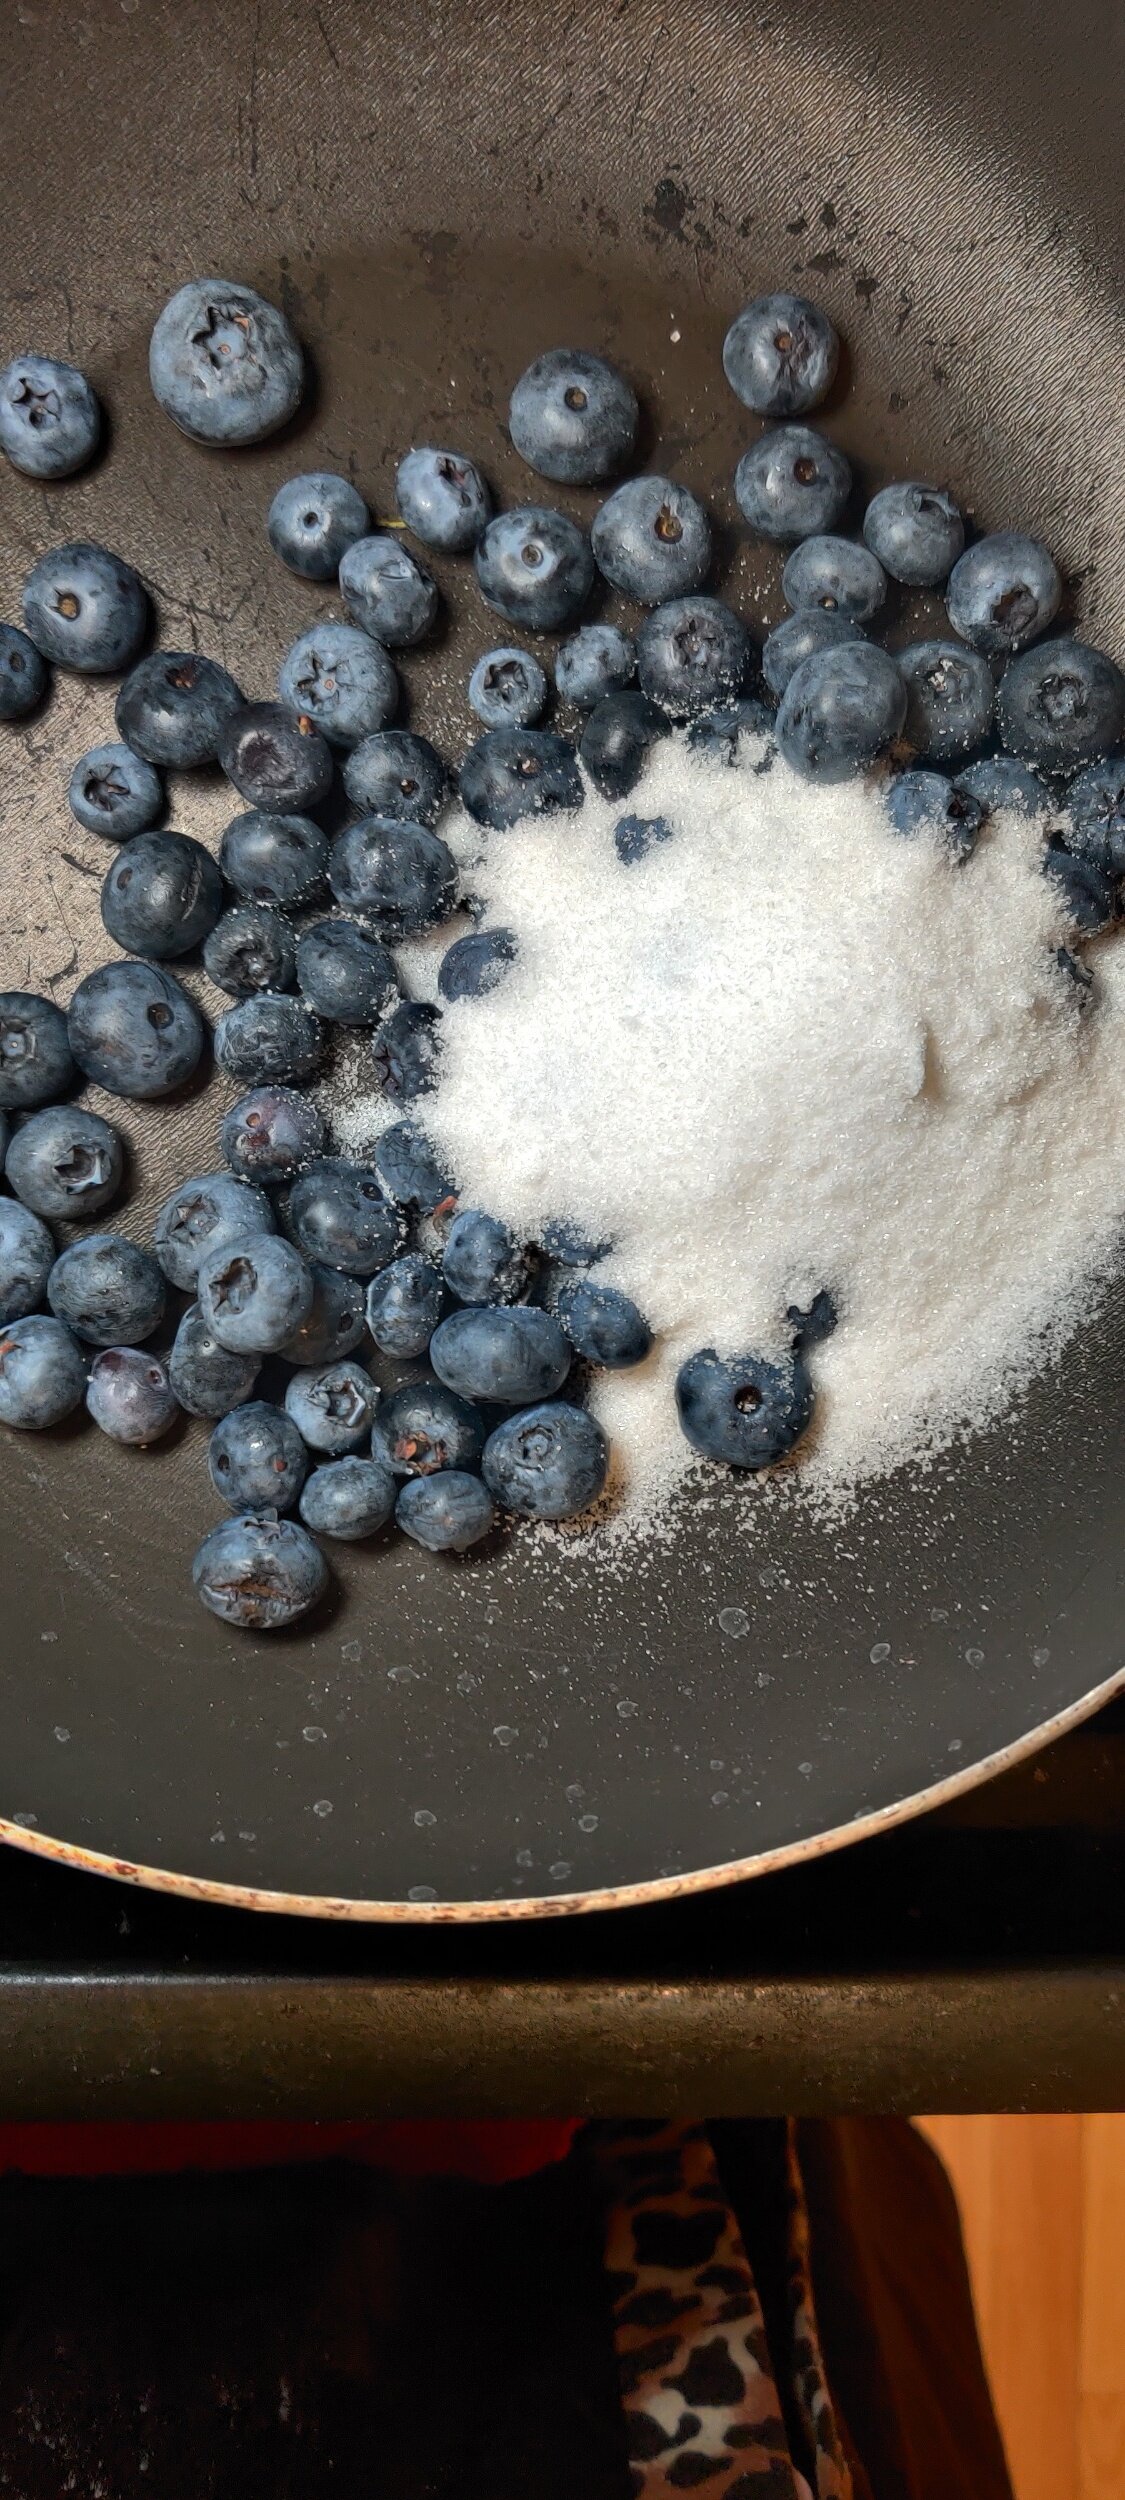
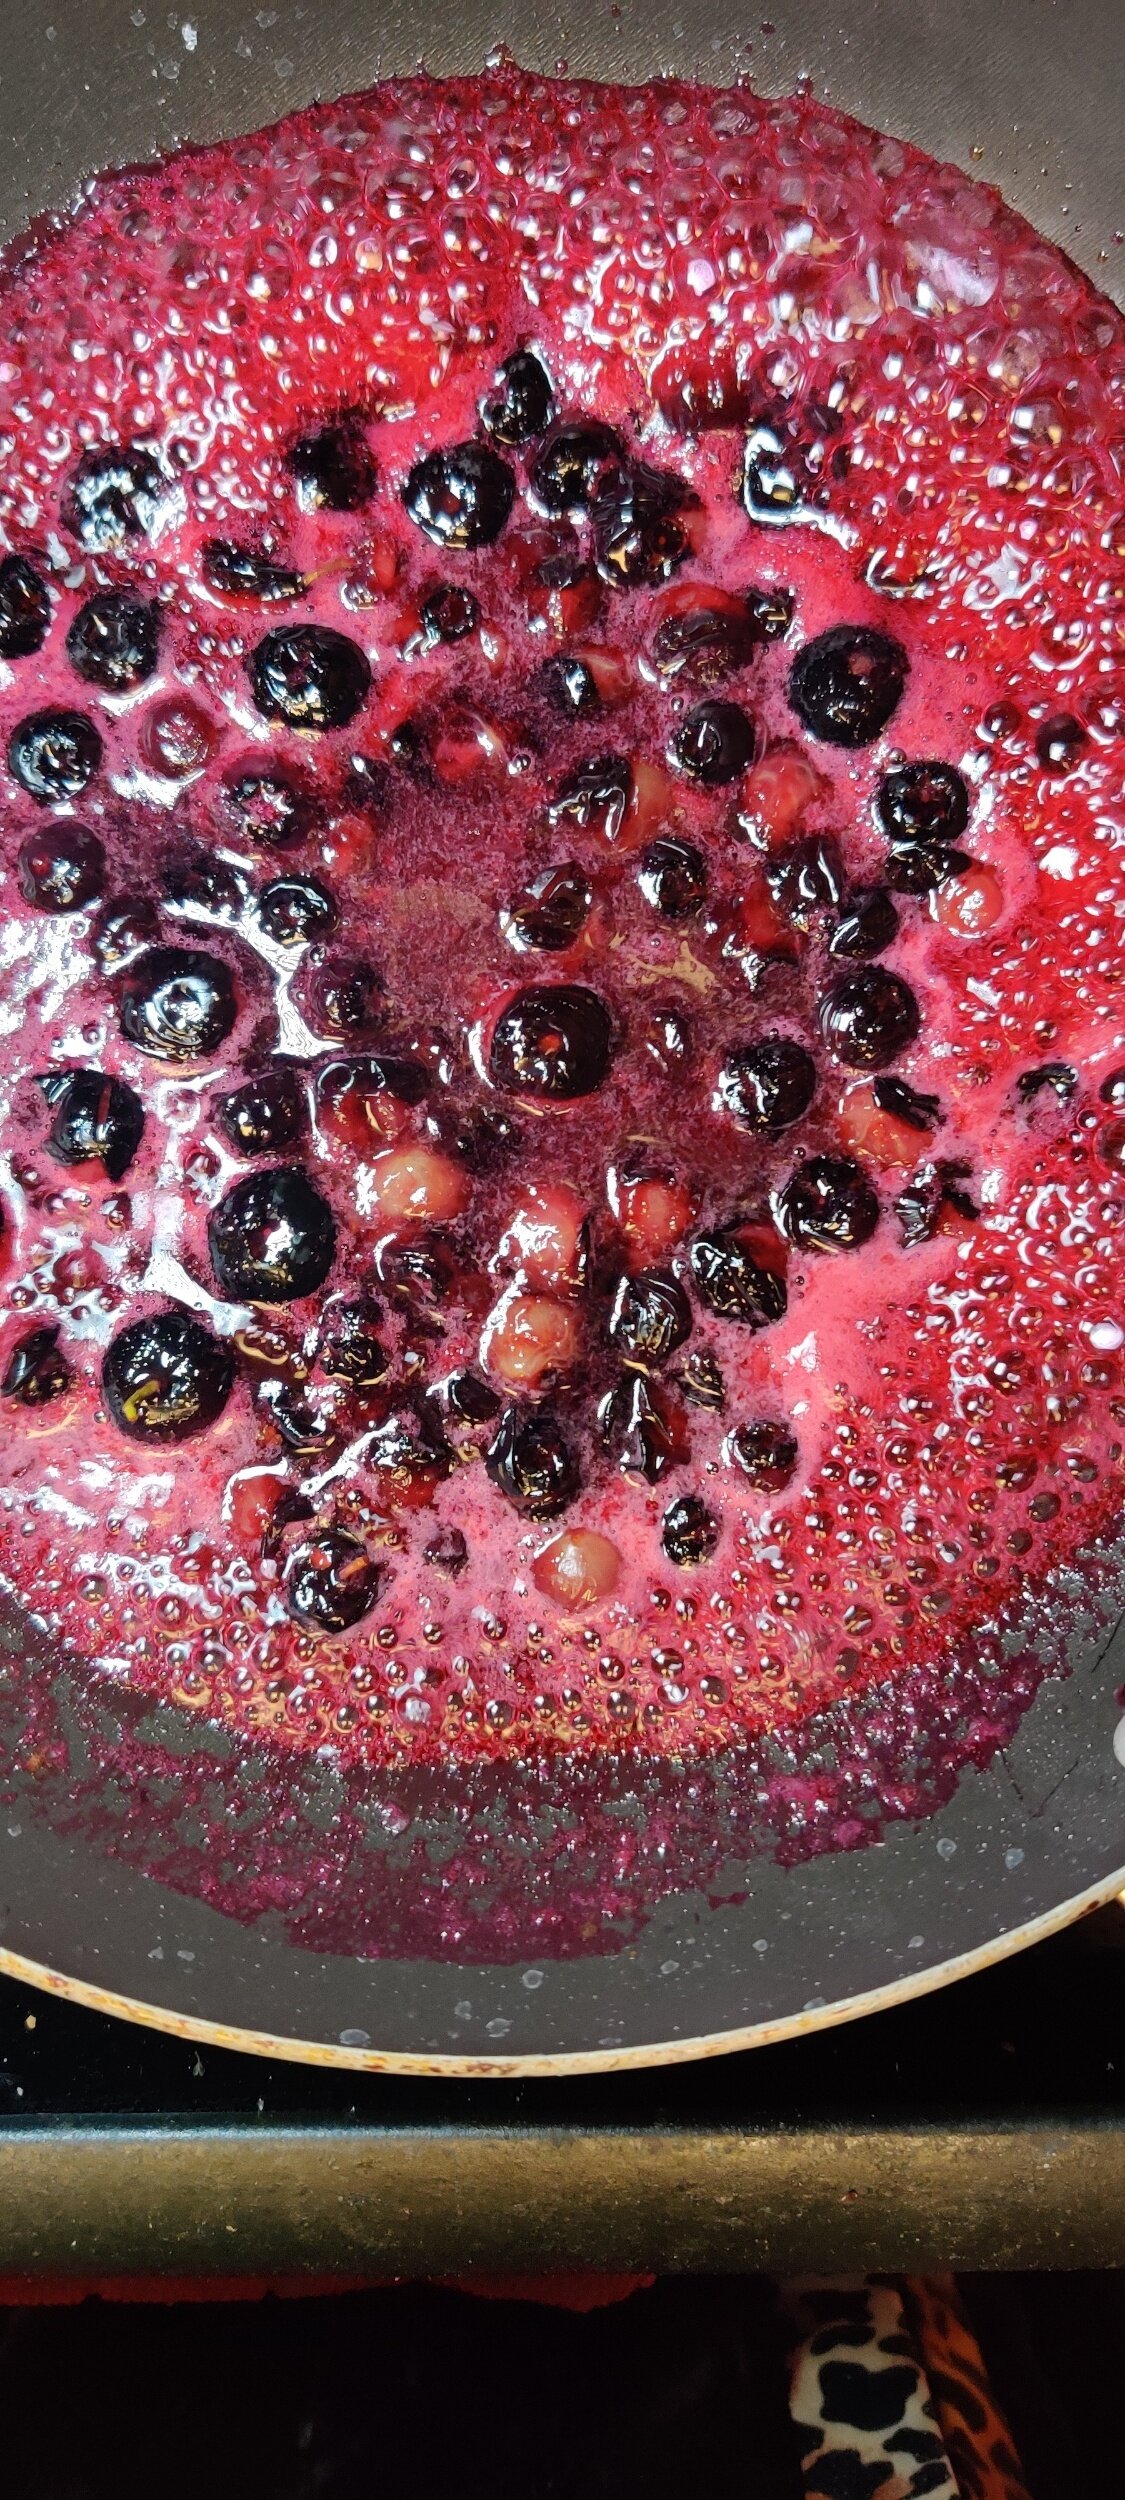
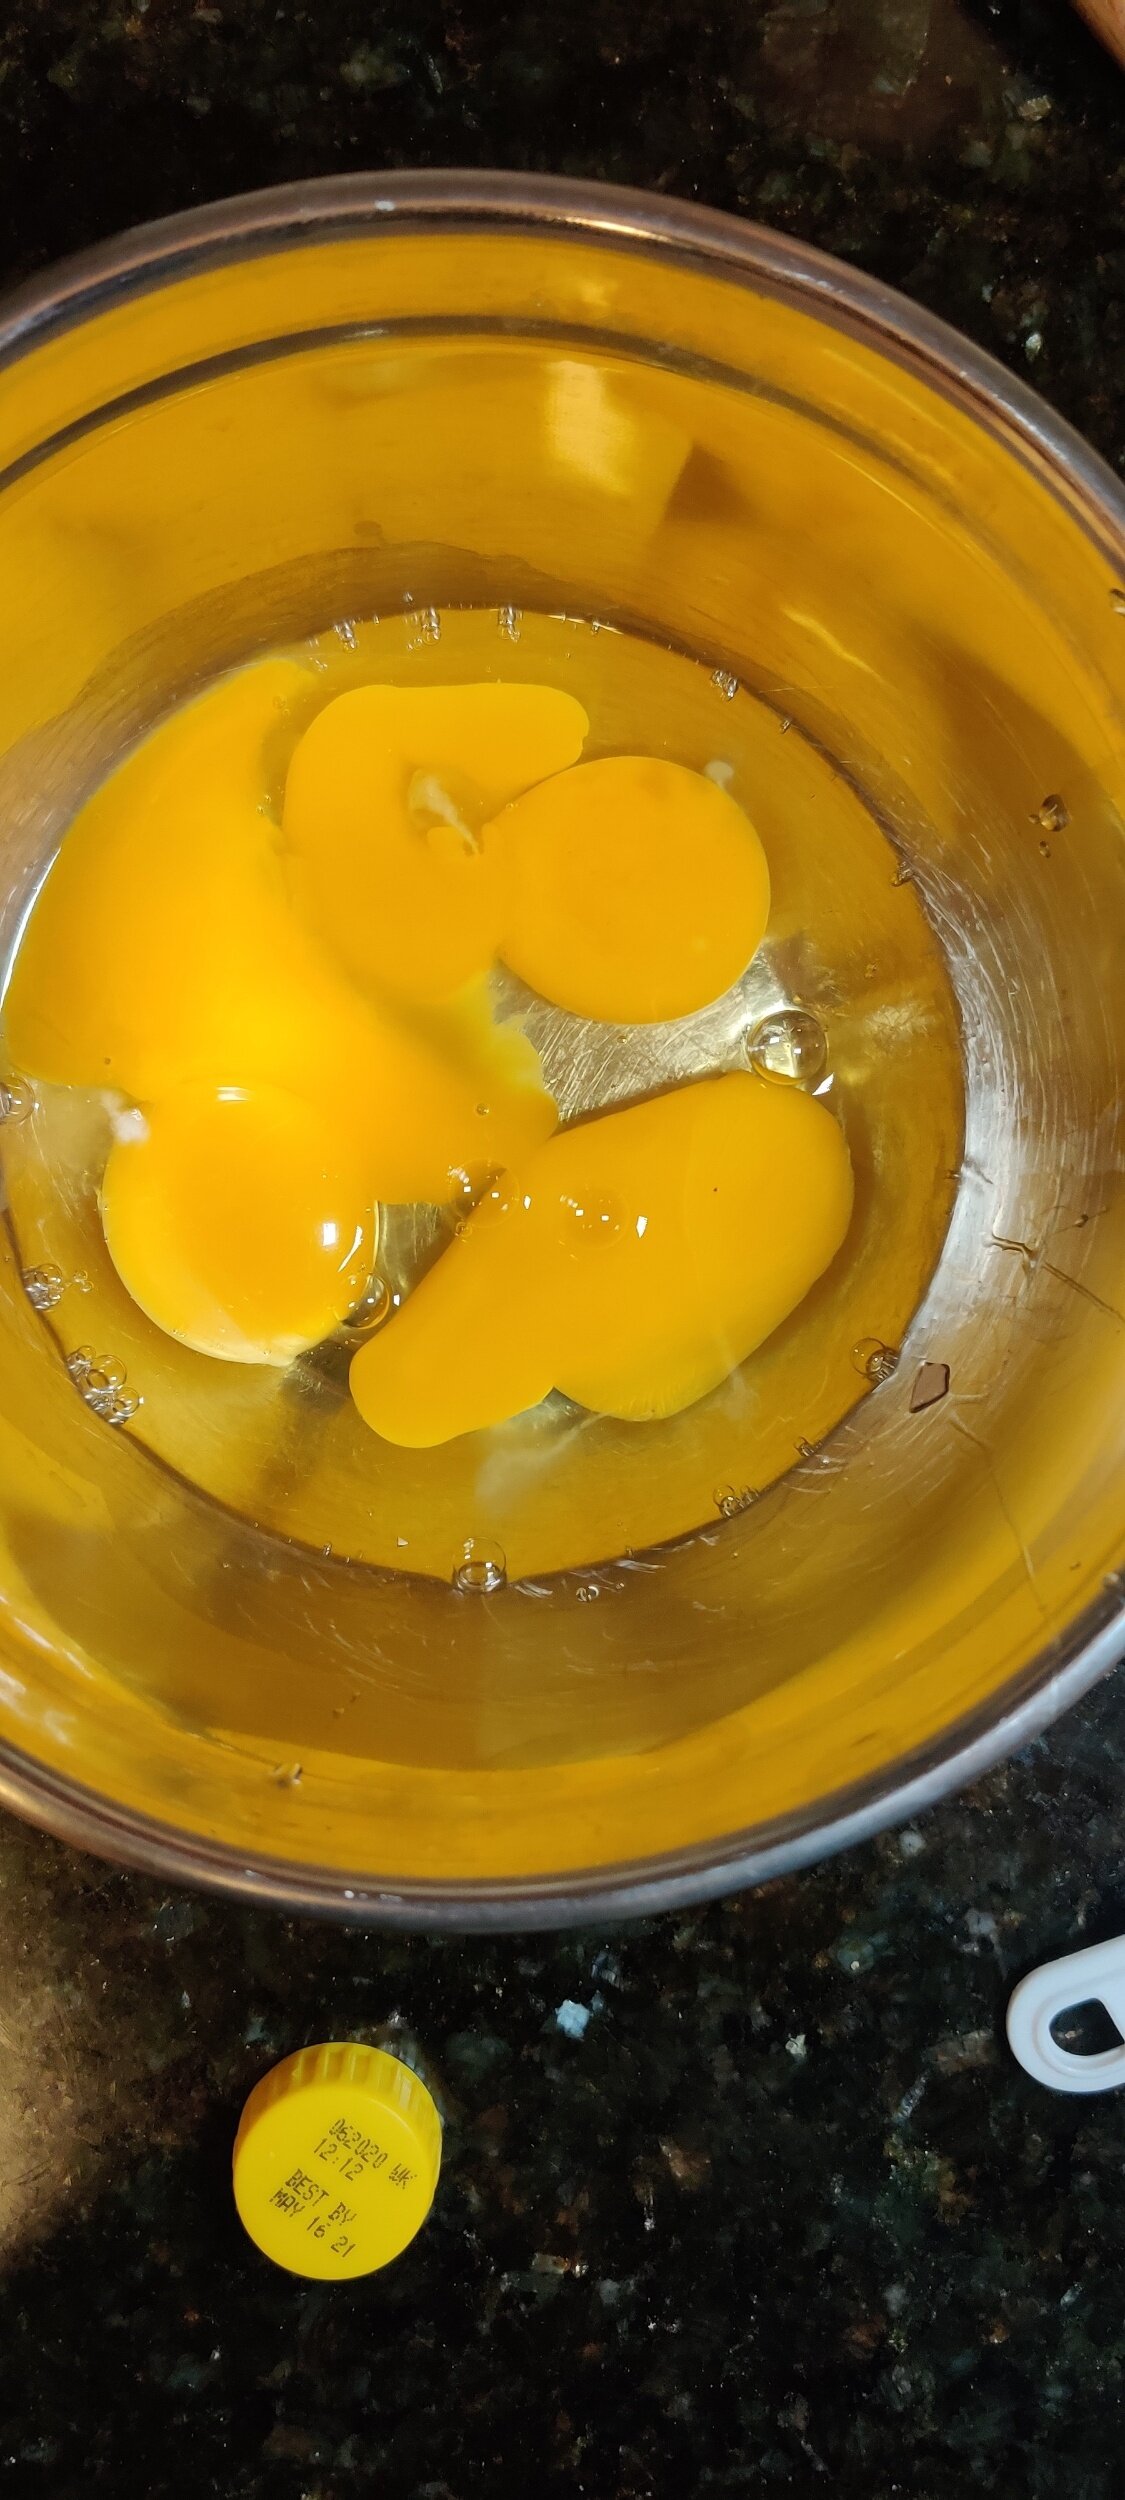
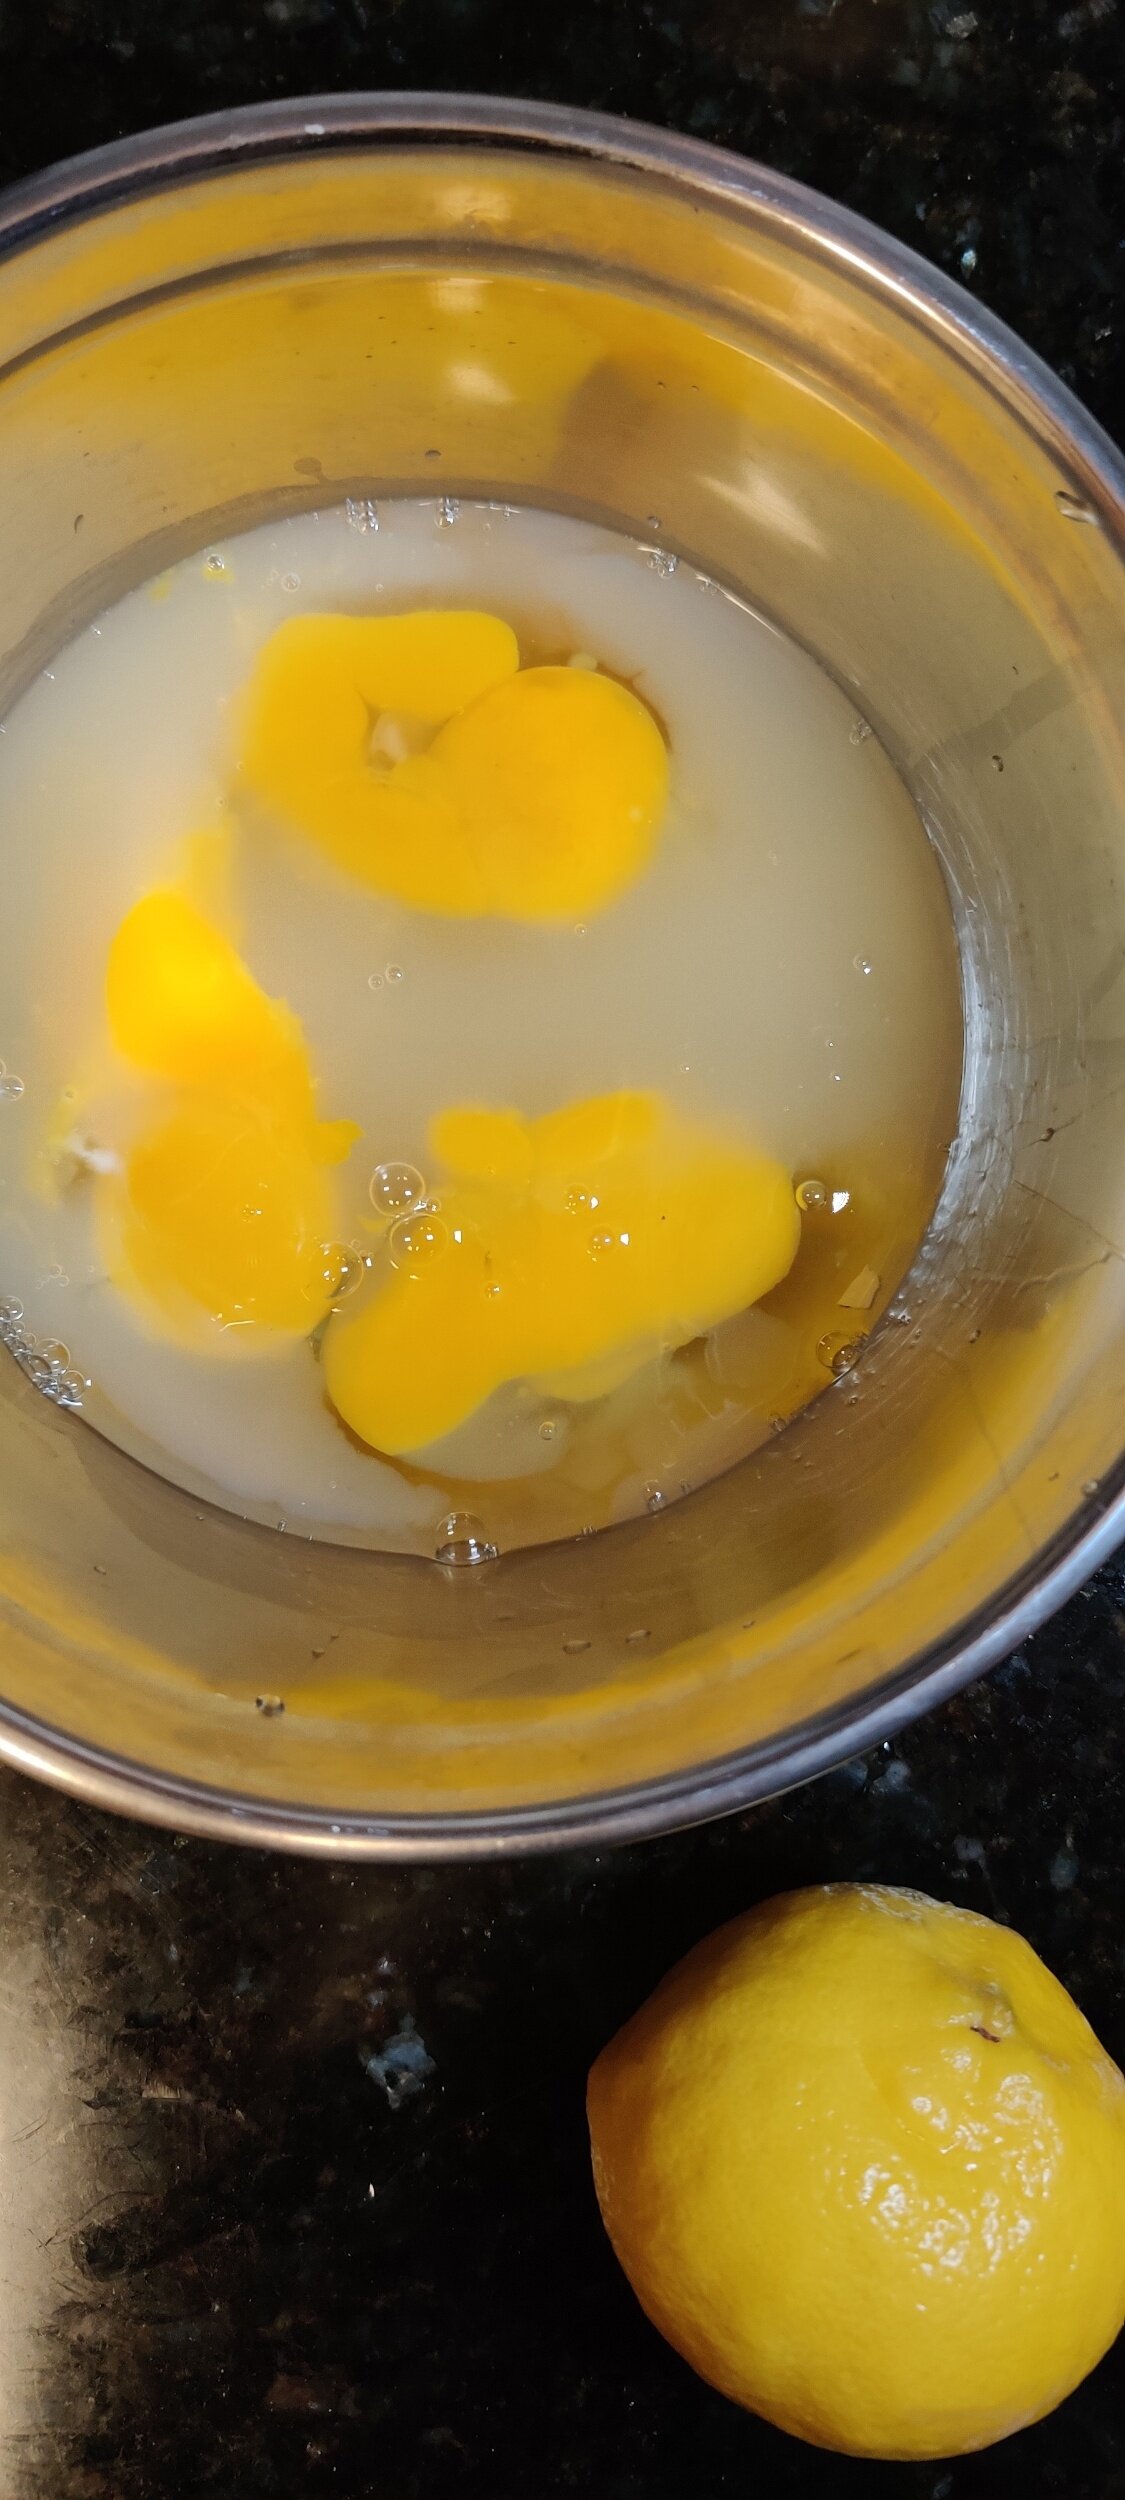
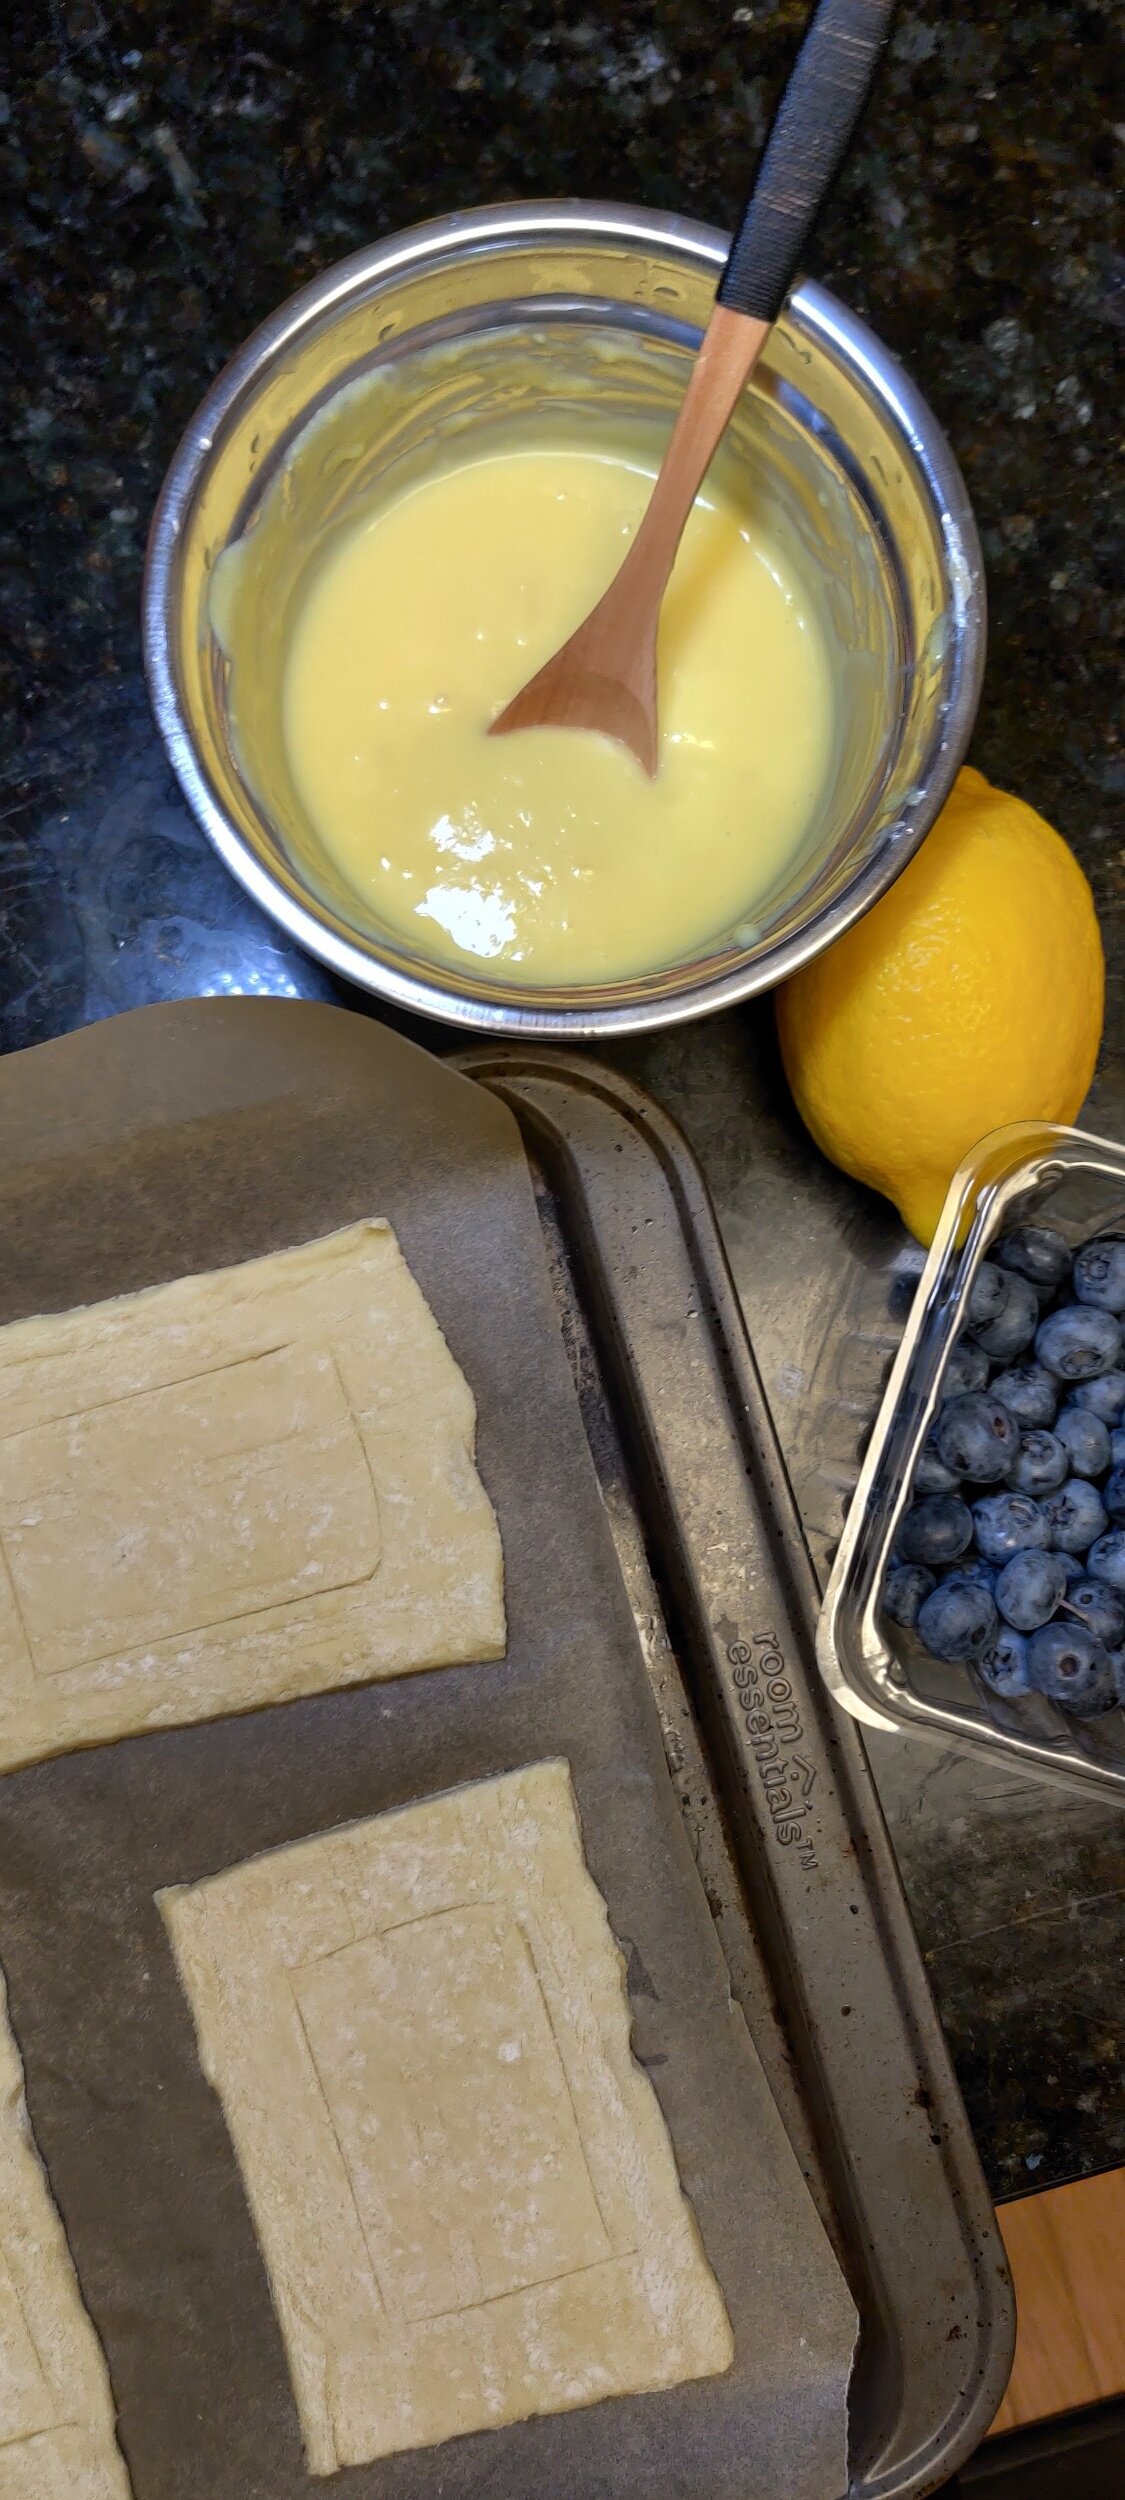
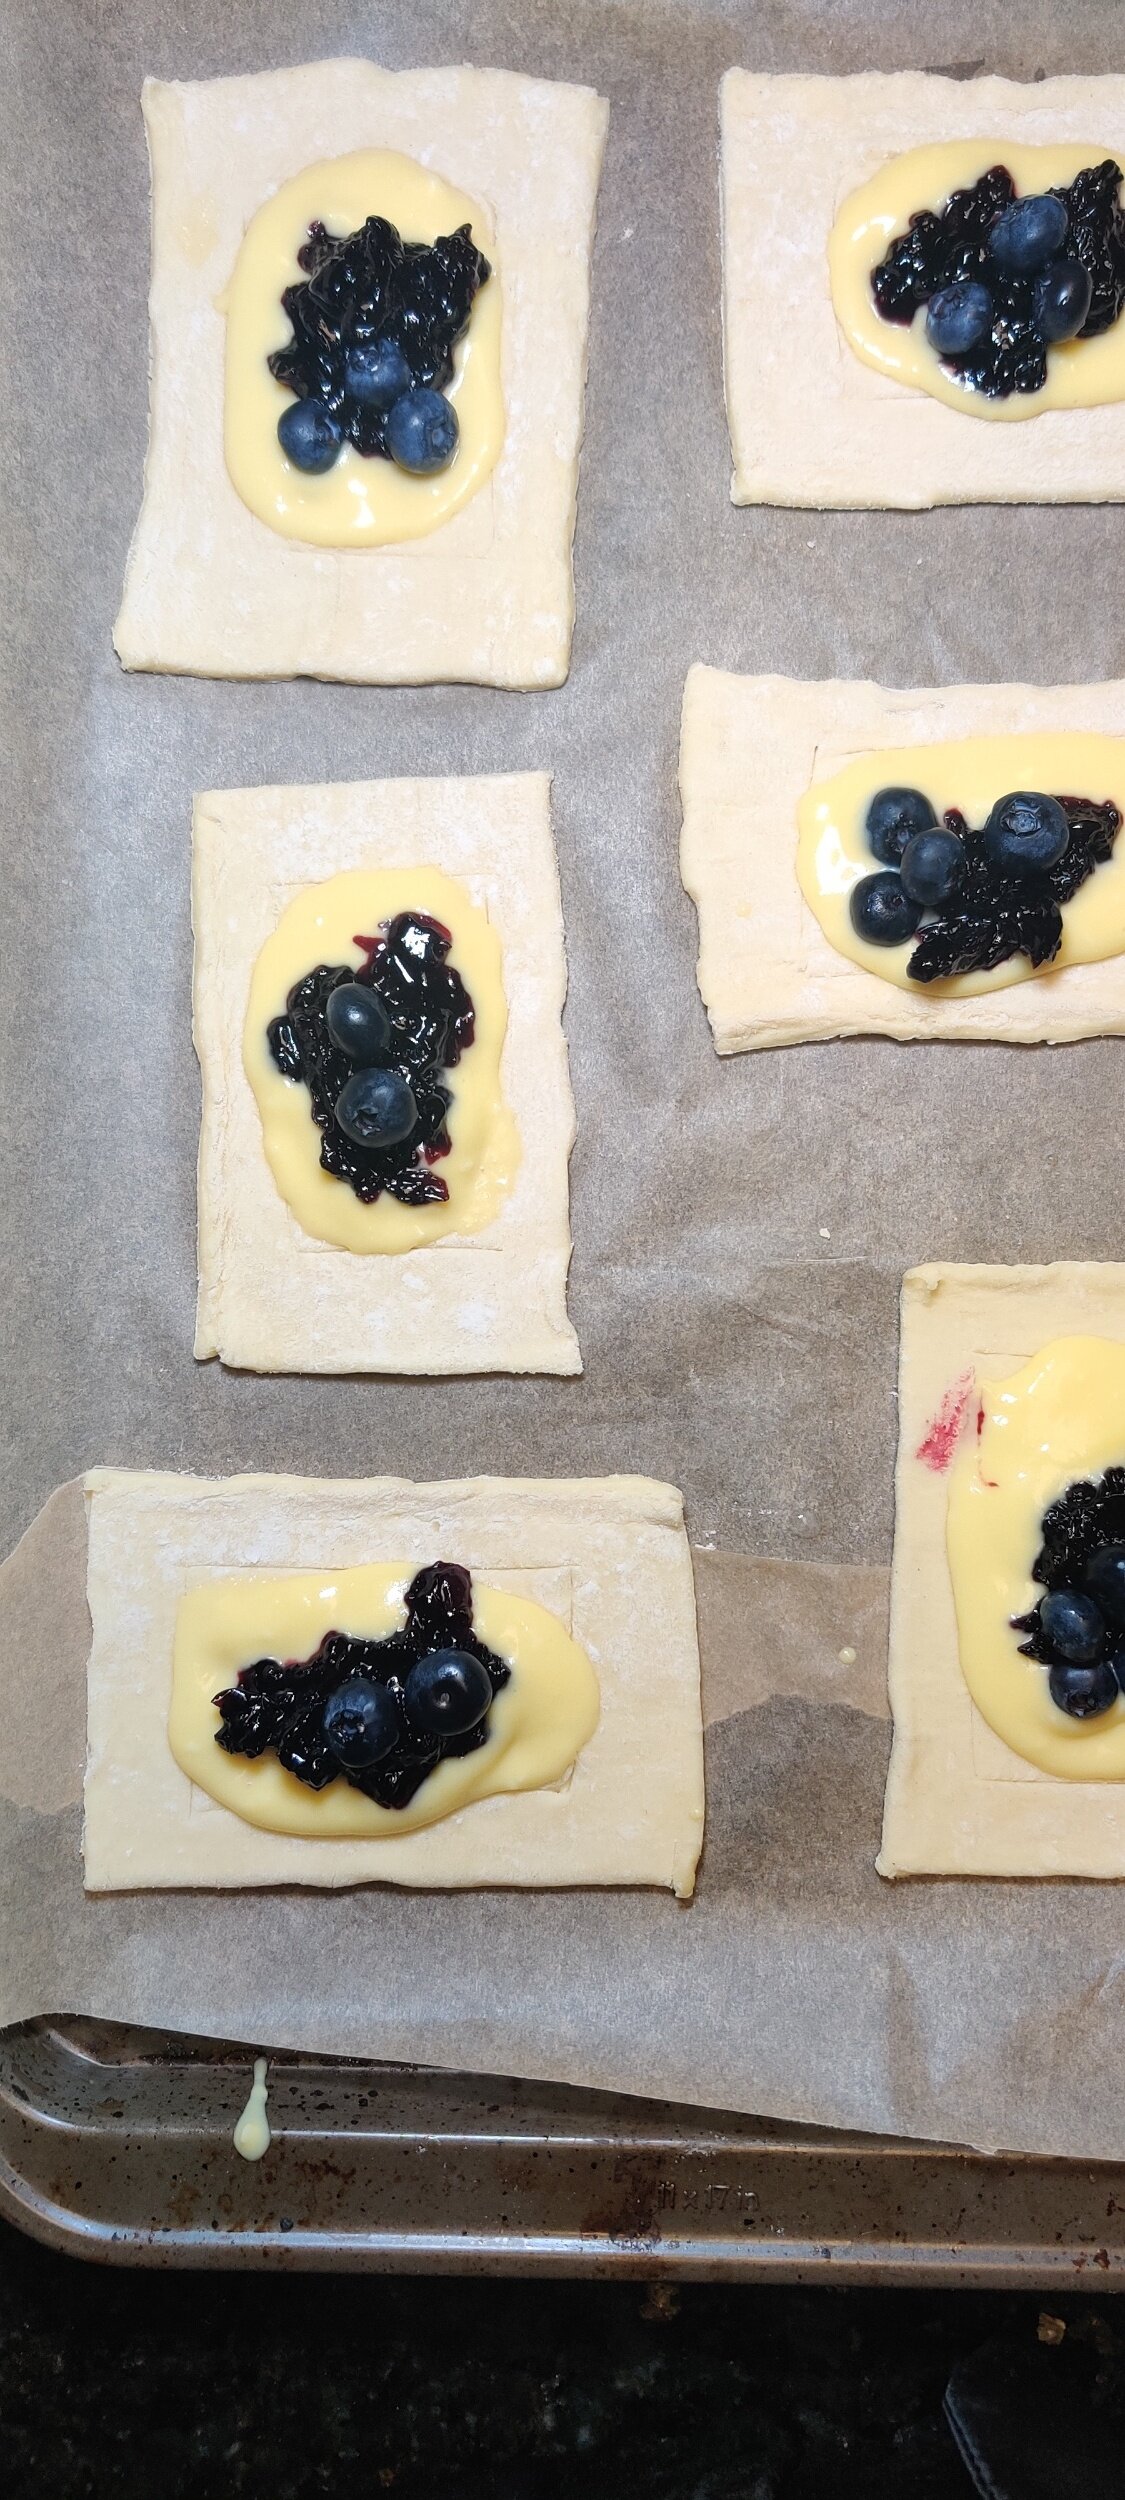
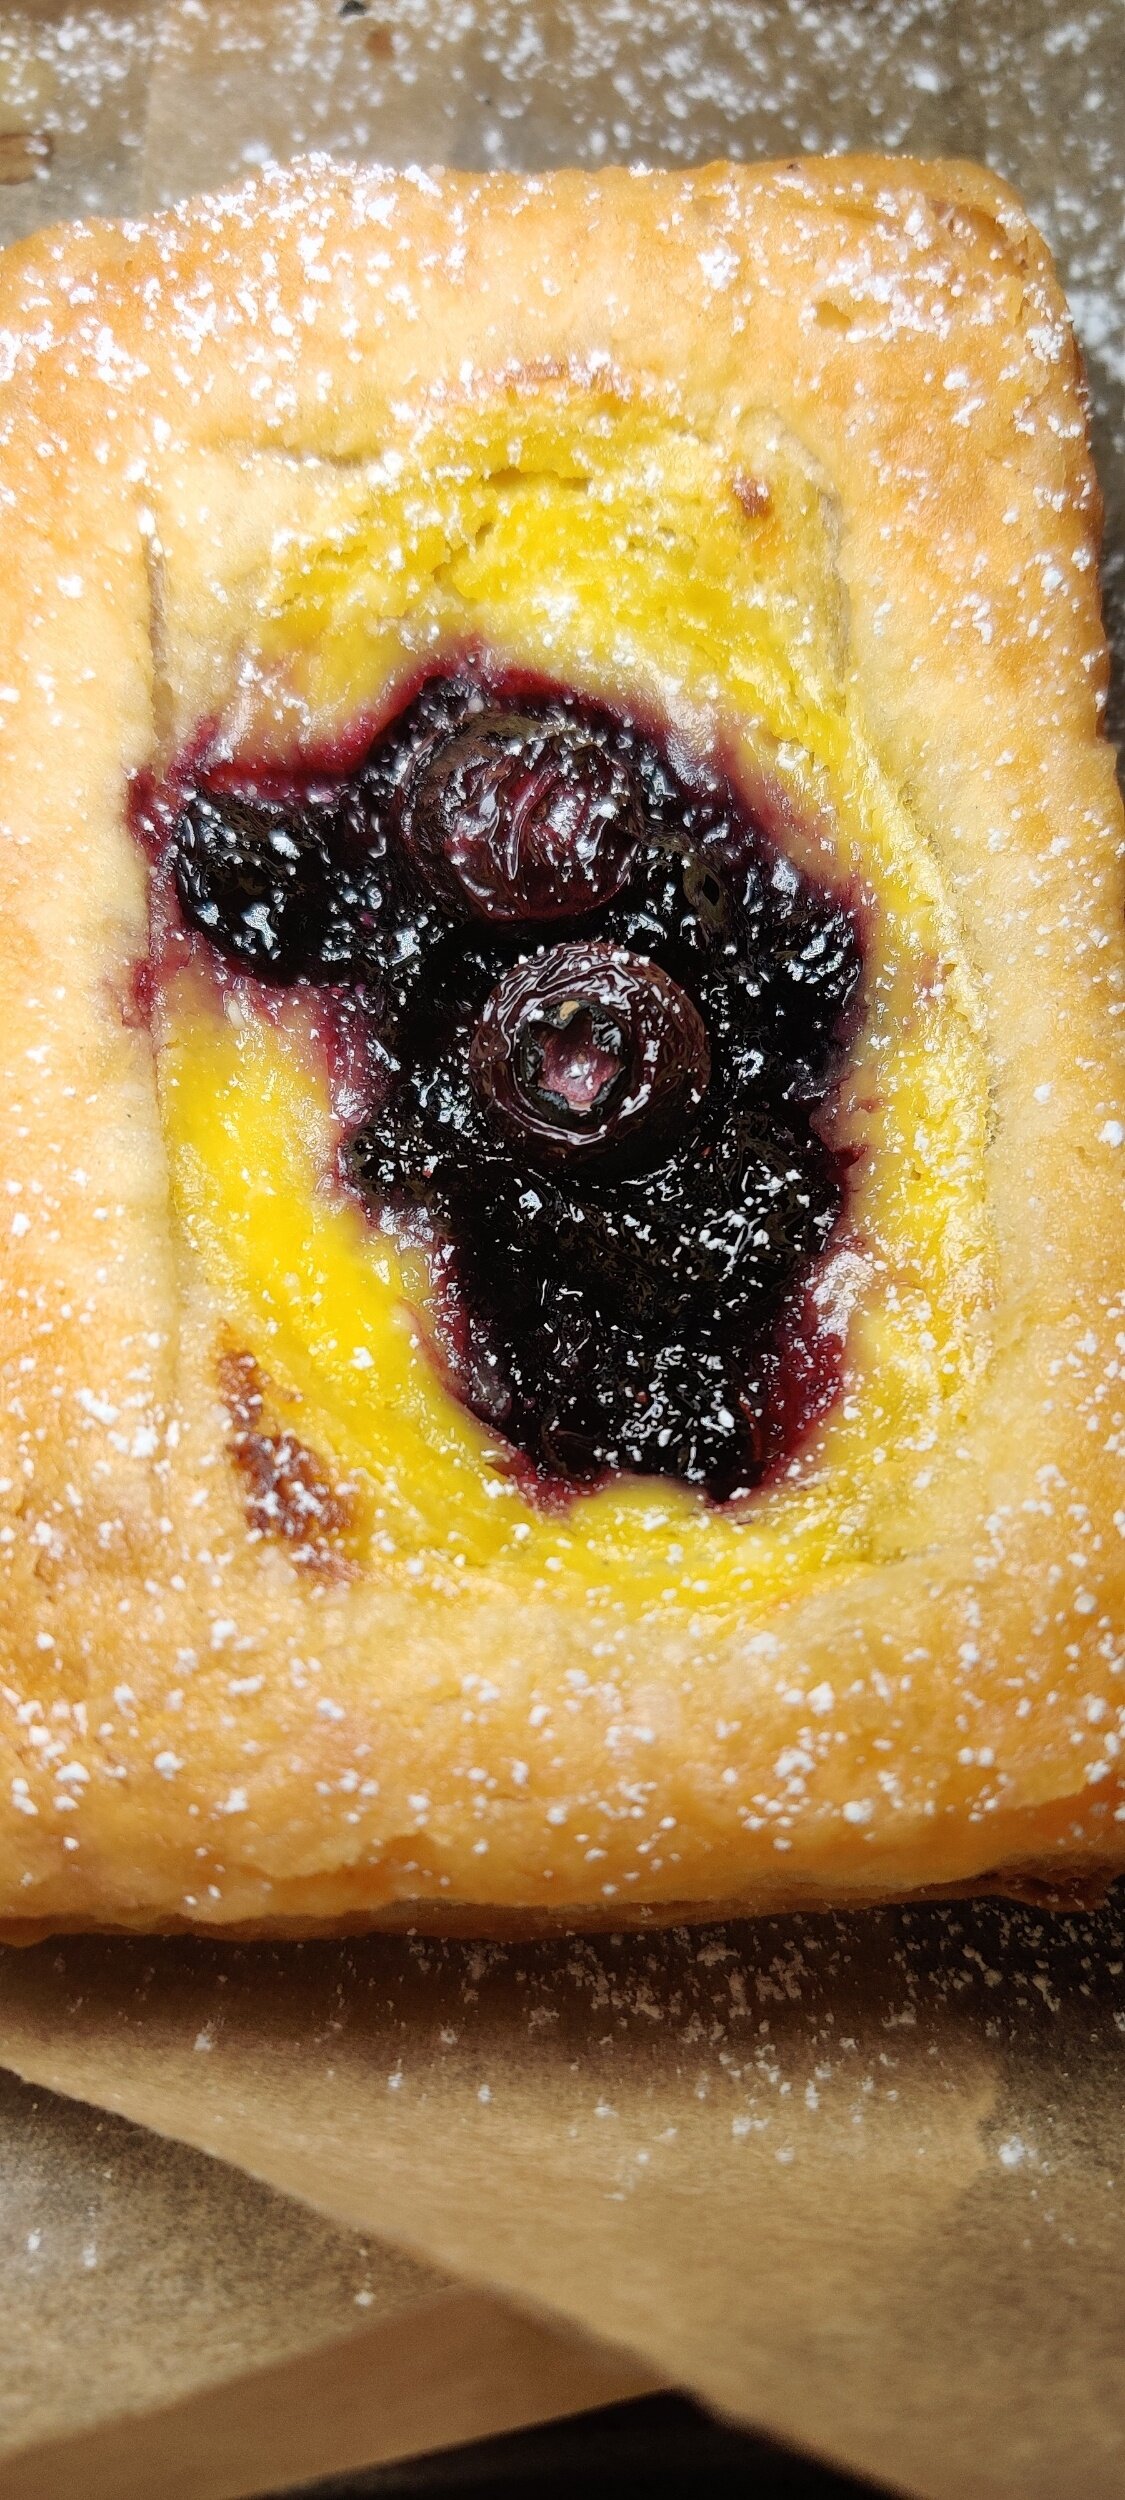
Blueberry and Lemon Curd Mascarpone Tarts
The lemons bring out the blueberry flavours and I think this is one of those cases were 'two tangs make a right'!
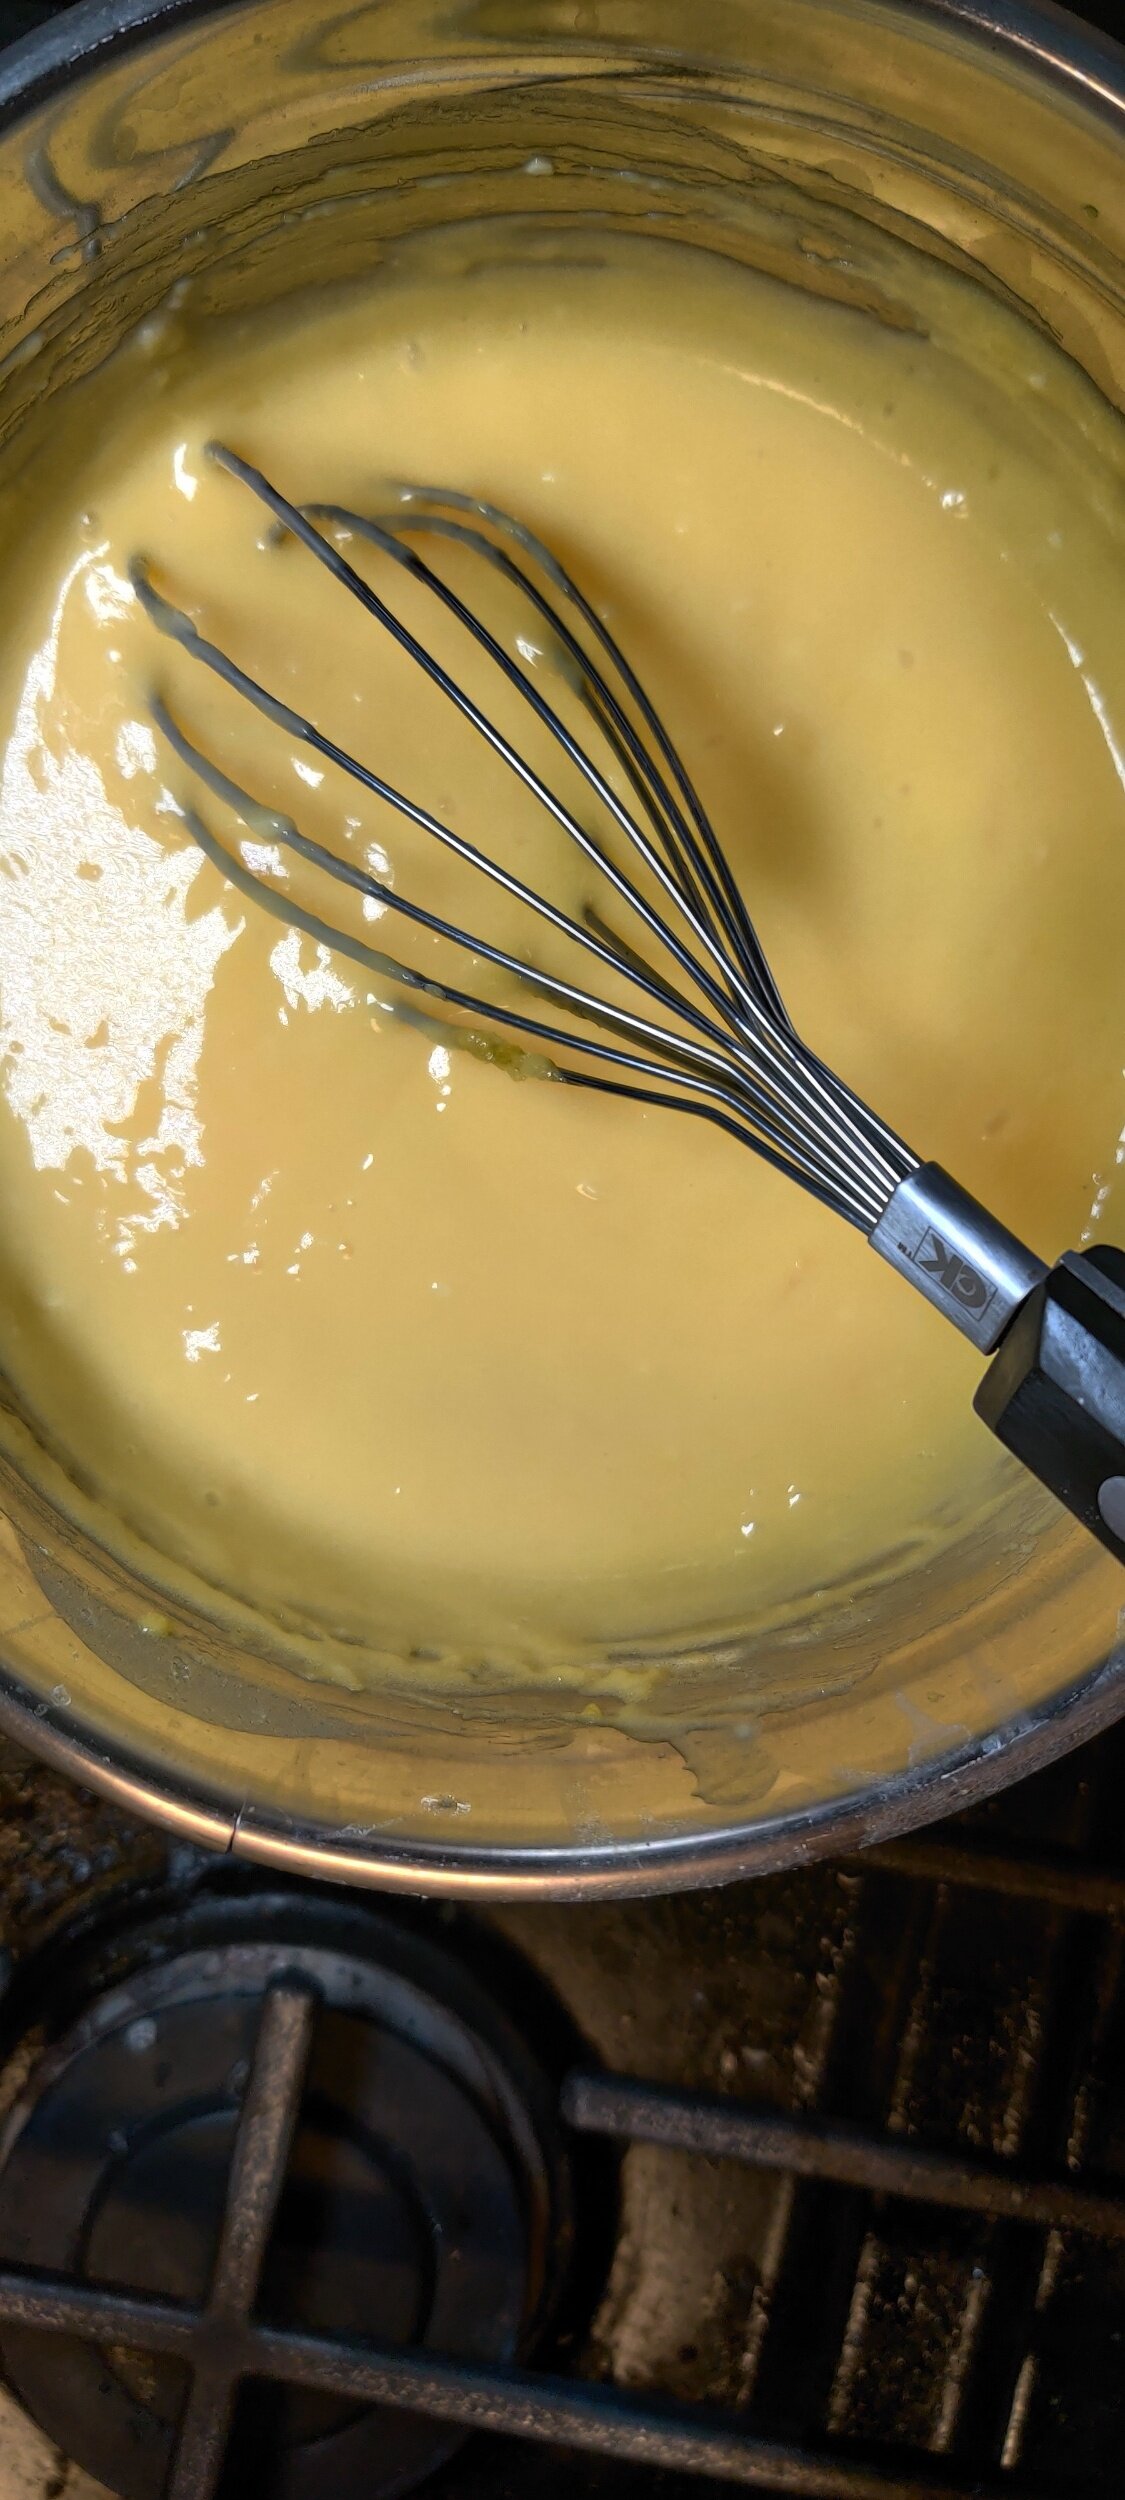
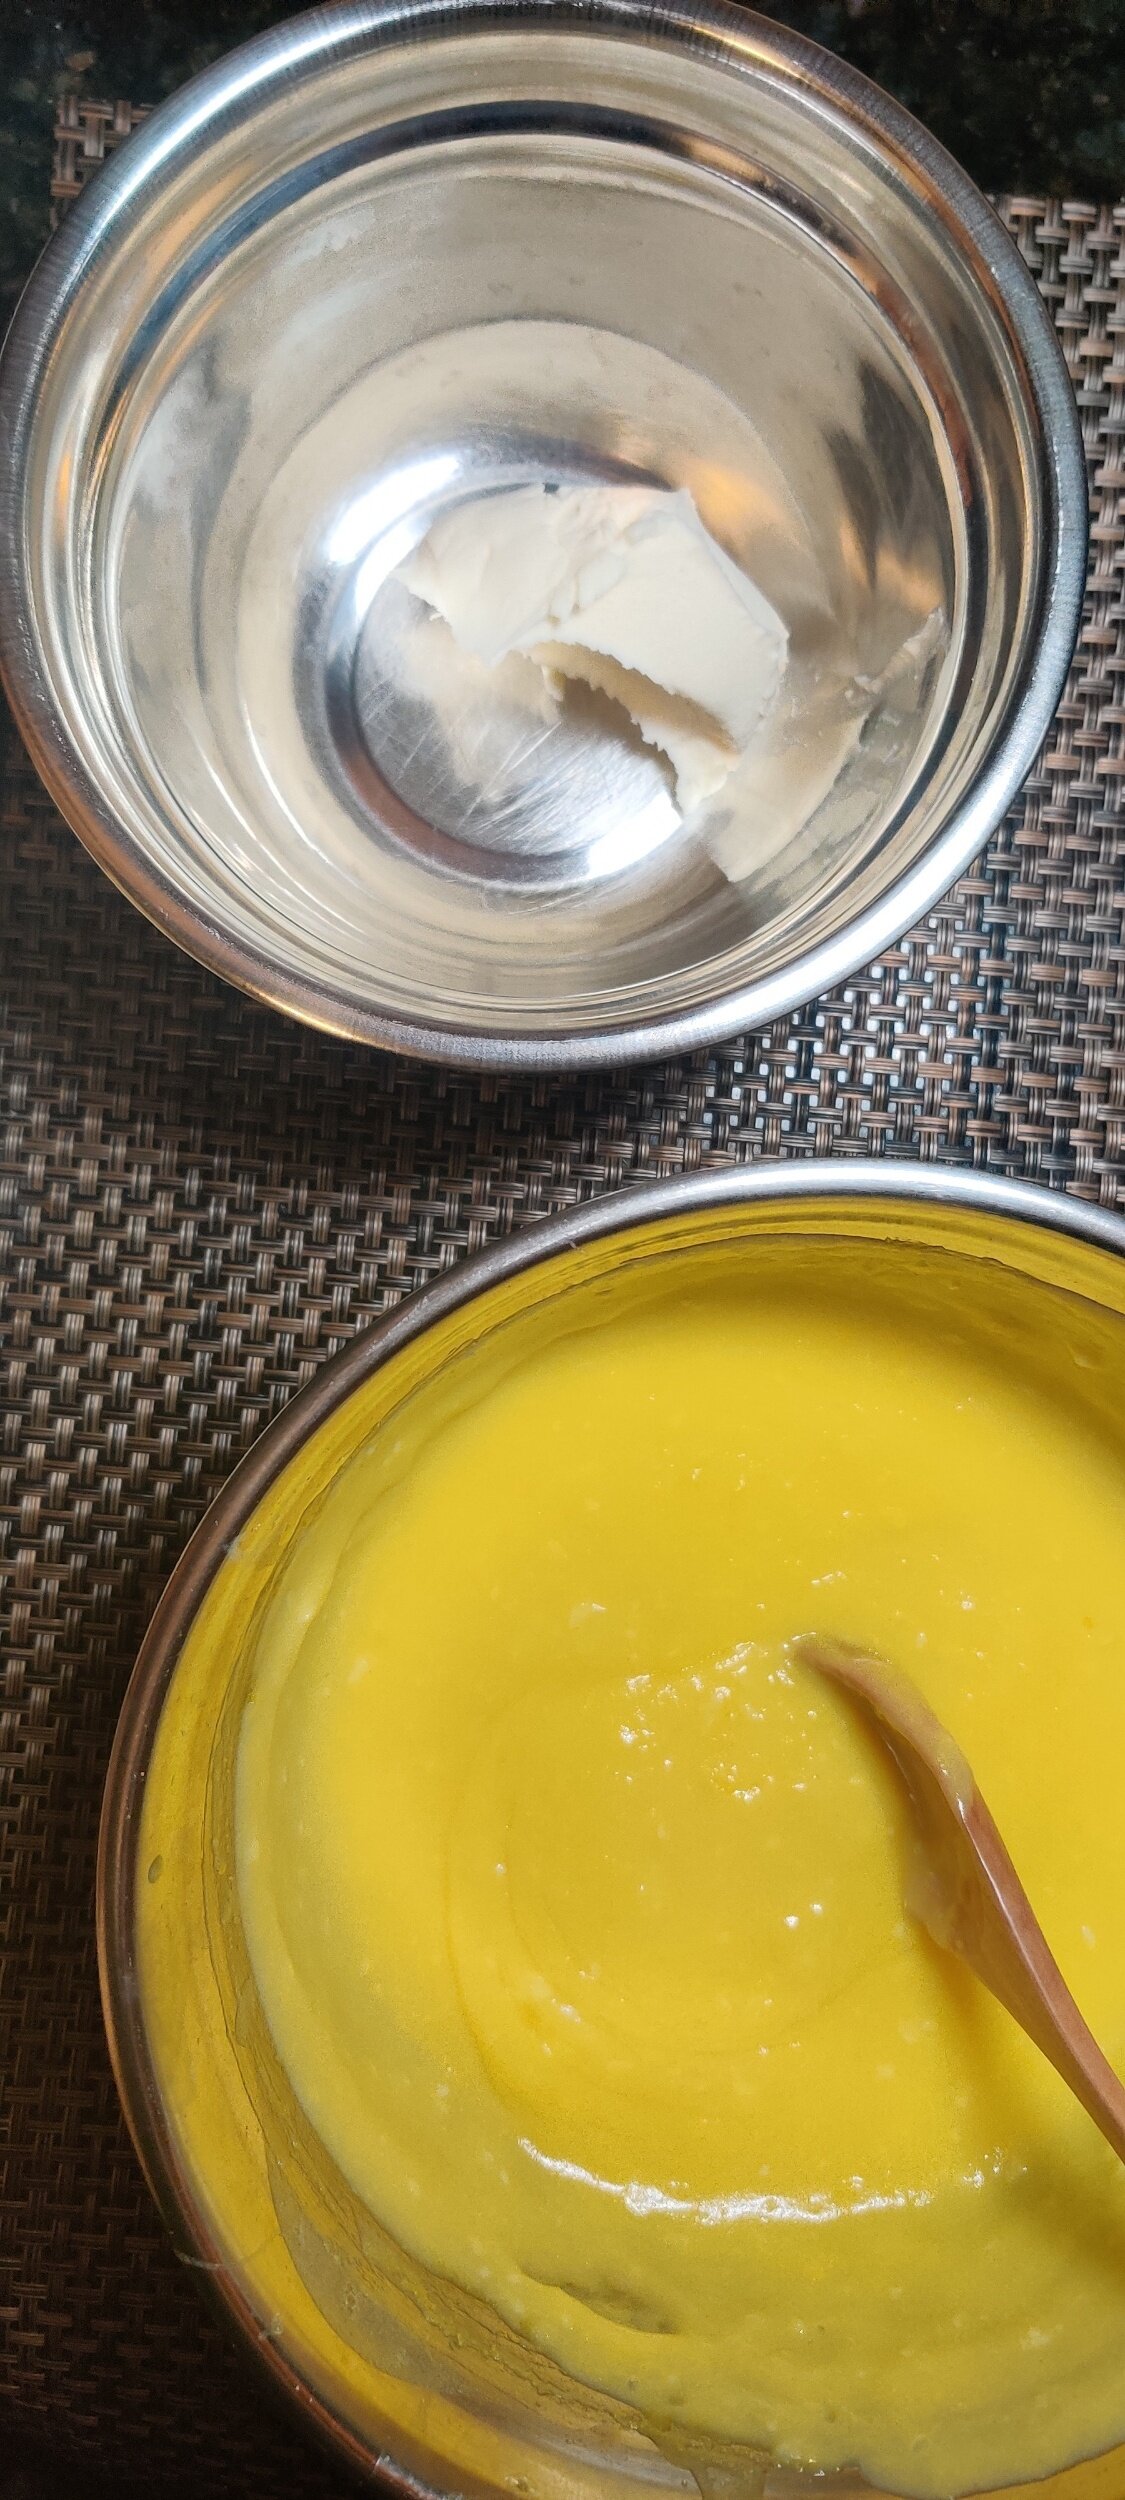
In this recipe, I made lemon curd, a rich custard-like mixture courtesy of the English. It can get pretty expensive when store-bought but it’s quite easy to make on your own! You can use it for a range of desserts and pastries, or serve it traditionally with scones.
I took an extra step to make this tart delicious by adding mascarpone. Think of it like thick whipping cream.
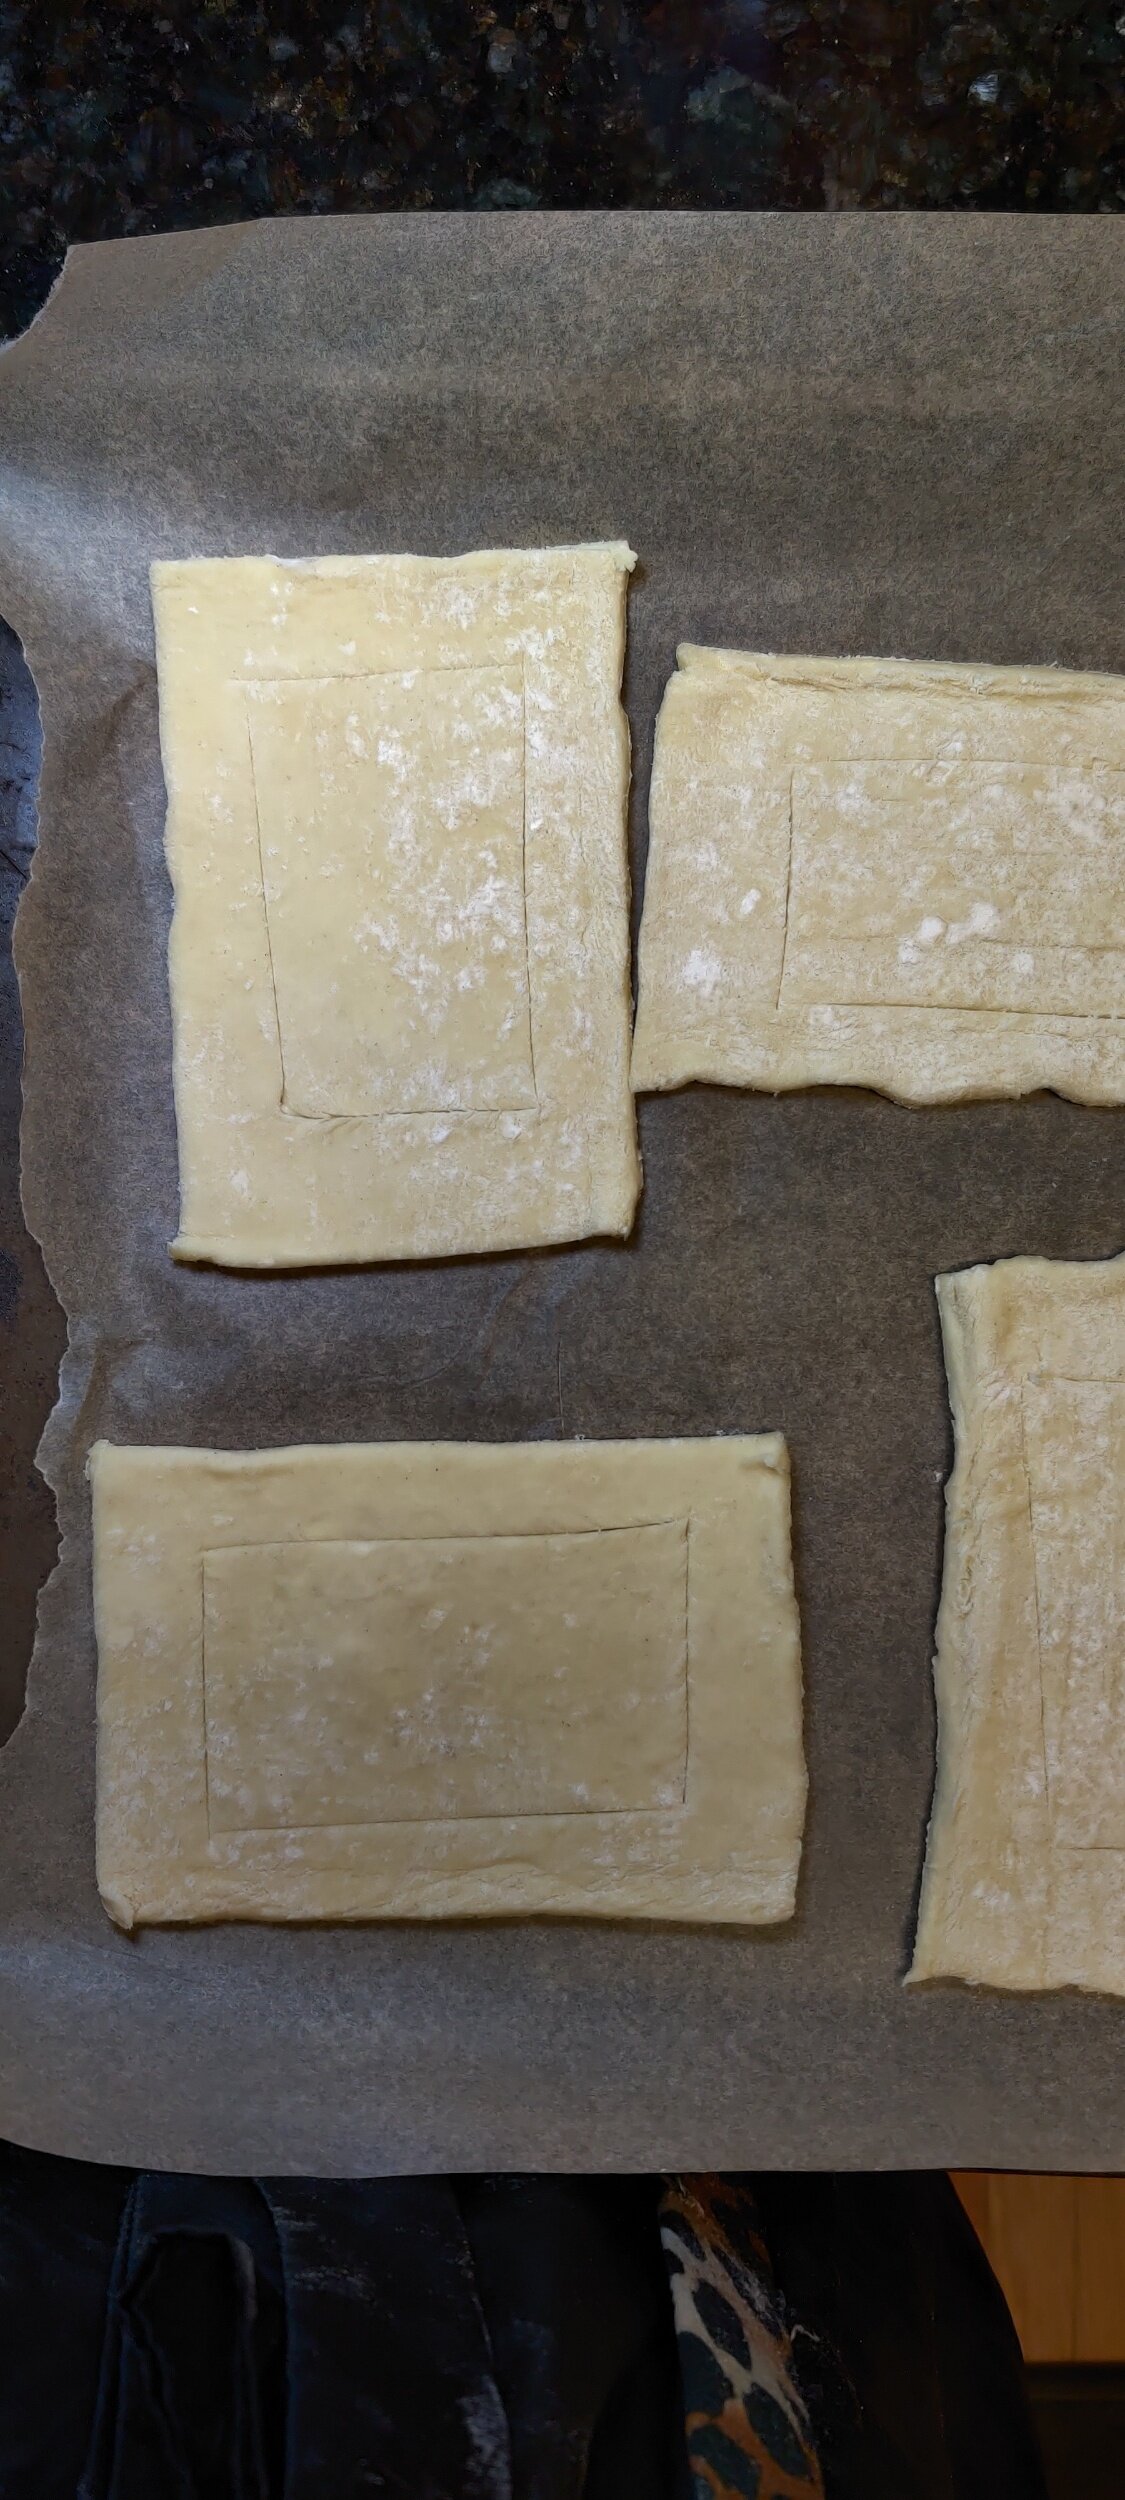
For the pastry, you could use regular pie dough, however, the puff pastry will give you that flakey texture which is perfect for small tarts like this. These are great for breakfast pastries, tea time, or dessert, and they scream summertime.


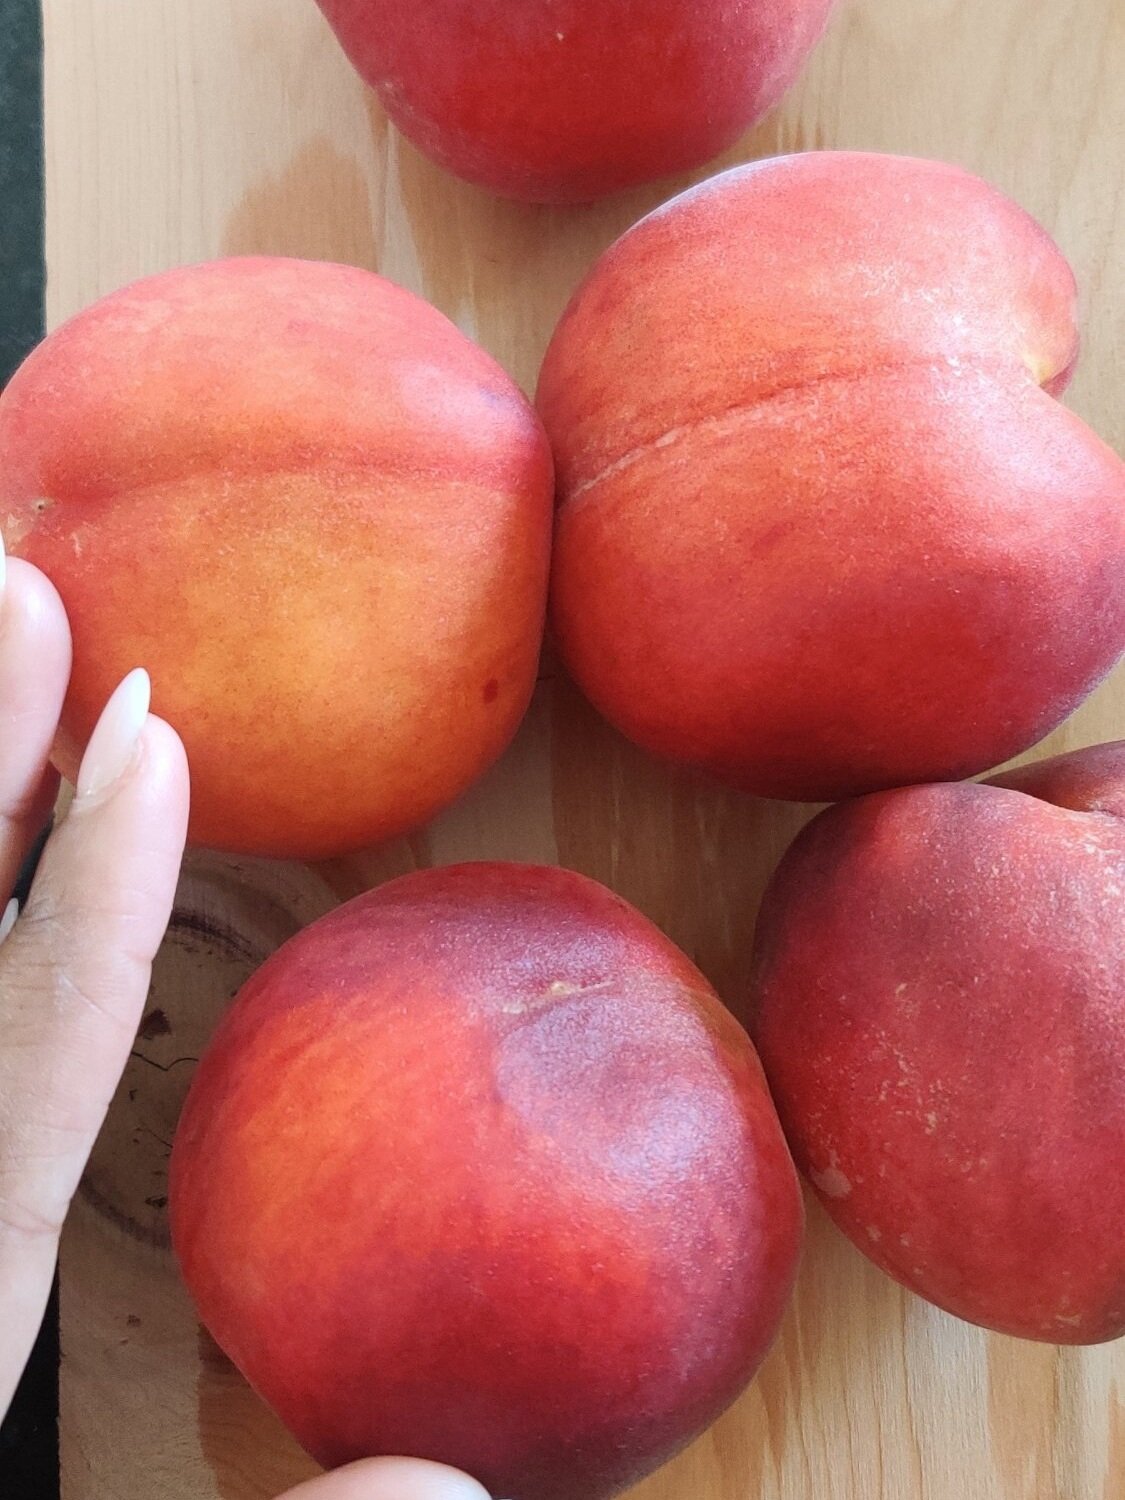
Easy Bourbon Peach Crumble
I love crumble, but I don't eat them enough. When I do, it usually has apple, but peaches are for the win too! During the summer, peach crumbles offer a subtle tartness, sweetness and crunch many of us appreciate in a light dessert. Served warm with ice cream or whipped cream, the spiced, caramelized peaches paired with a crunchy, buttery crumble melt together to make a sinfully good combination.
Add in some bourbon to enhance everything, and you have a fail-safe people pleaser!
As most people know, this dessert a variation of or considered interchangeable peach cobbler. I say crumble because of the way I prepared the pastry, crumbling the cookie-like dough versus having thicker, large pieces on top. Essentially it is the same as the classic out of the American South. Depends on how serious you take all the nuances!
You can convert this into another simple, delicious dessert. Check out my no-churn Bourbon Peach Crumble Ice Cream which you will love, here.

Malva Pudding with Coconut Rum Sauce
Malva pudding has already been featured on this blog but in the form of a cake. This time around, my remix is inspired by the rum cake, popular across the Caribbean from where it originates, baked for the holiday season especially.
I swapped out regular cream in the complimentary sauce with coconut cream, add some coconut flour to the batter, and add rum to the cake batter as well as the sauce.
It's absolutely delightful! You can serve it with ice cream, custard, or just use the rum sauce in this case!
If you don’t have rum, rum extract will do.


Quick Cornbread
This is a basic and quick recipe you can whip up if you need a side for your weeknight stew or soup. You can adjust things slightly to suit your preferences and still get good results.

Quick Cornbread
Ingredients
- 1 cup all-purpose flour
- 1 1/2 teaspoons baking powder
- 1 1/2 cups buttermilk
- 1/3 cup butter, melted
- 1 1/2 cups cornmeal, coarsely ground
- 1/2 cup corn kernels (optional)
- 1 teaspoon salt
- 1 egg
- 2 tablespoons sugar
- 1/2 teaspoon baking soda
- 1 teaspoon vanilla extract
Instructions
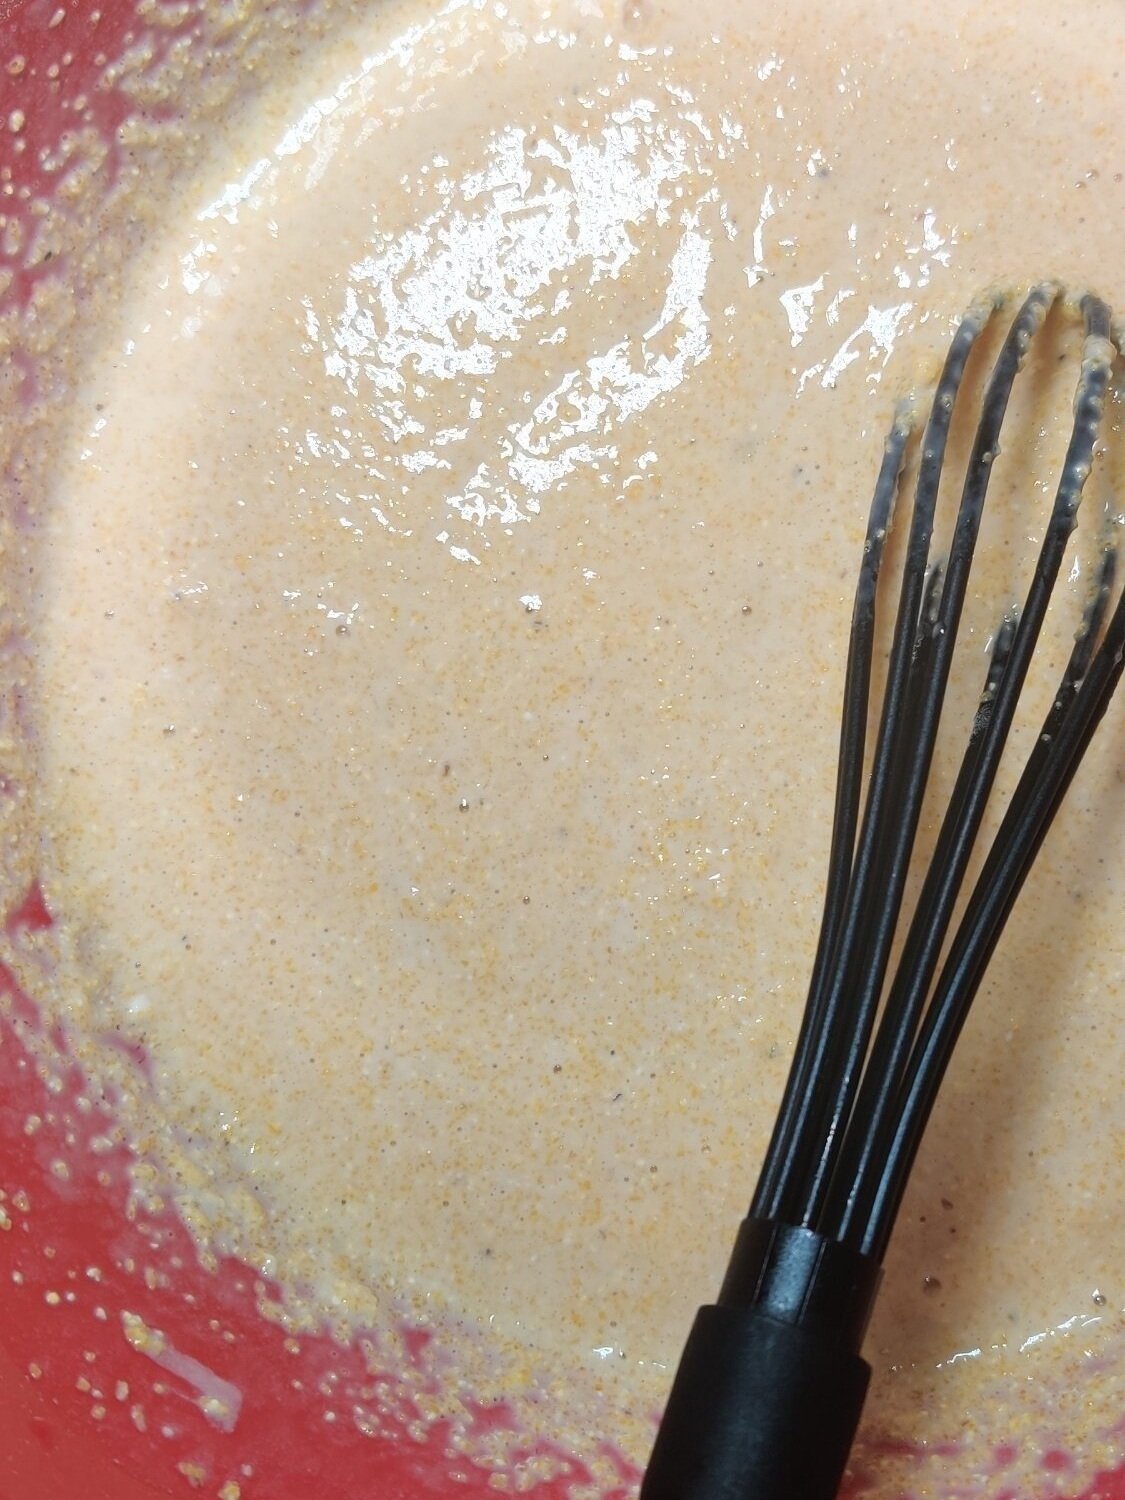
- In a large bowl, whisk the flour, baking powder, cornmeal, salt, sugar, and baking soda together until evenly mixed.
- In a separate bowl, beat the egg with the milk and vanilla, add to the dry ingredients. Mix until the batter is smooth.
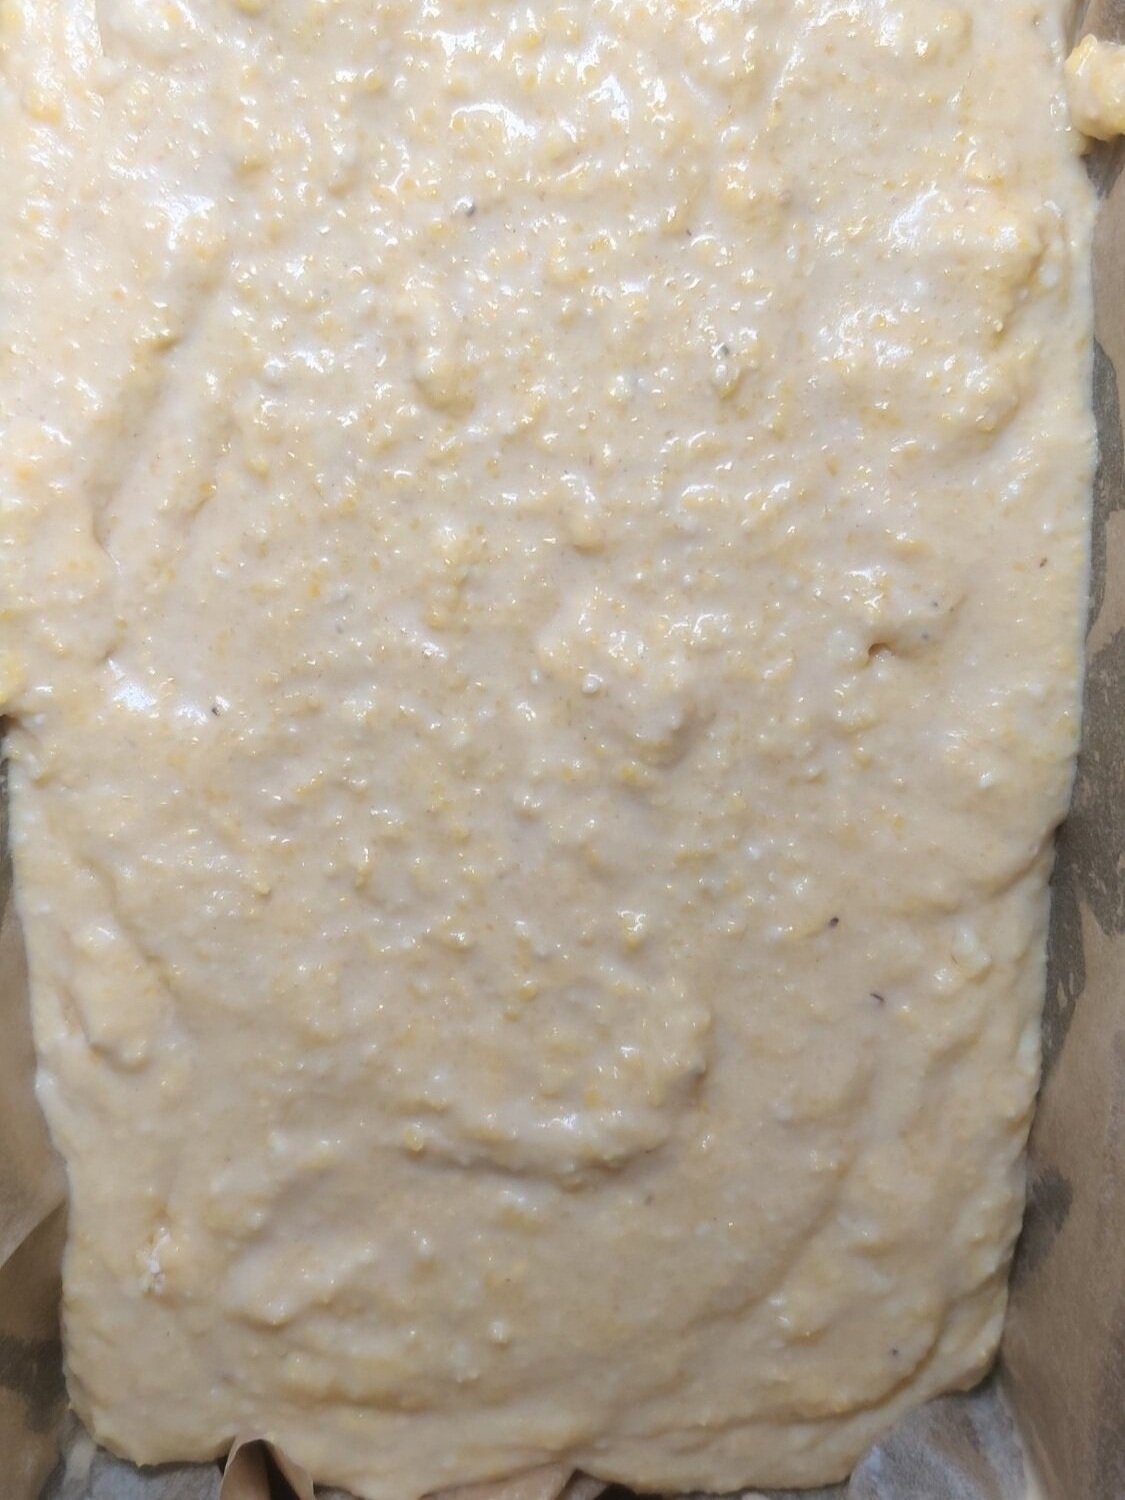
- Add the butter and corn kernels or creamed corn, mix until well incorporated.
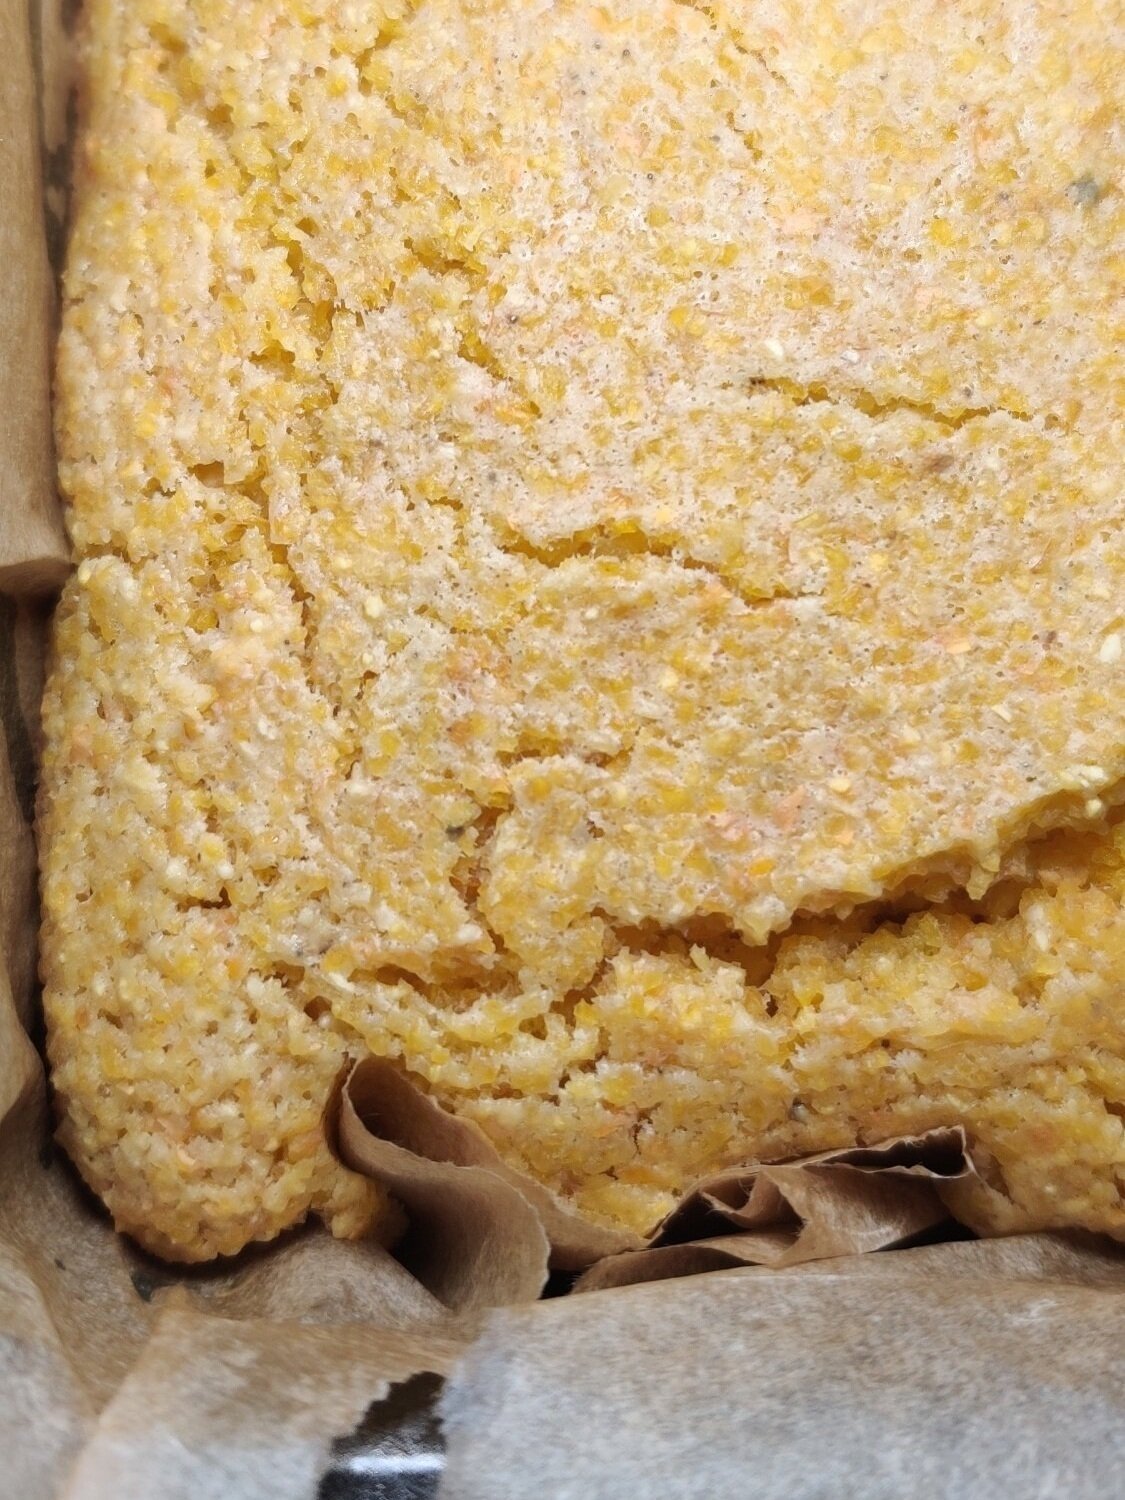
- Bake at 400F for 30 minutes or until a toothpick comes out clean in the center - you may need an extra 5-10 minutes. Set aside to cool before slicing.
- Serve warm with butter and honey.
Nutrition Facts
Calories
205Fat (grams)
7.8 gCarbs (grams)
29.7 gSugar (grams)
4.6 gProtein (grams)
4.9 gI am not a certified nutritionist and any nutritional information on dontmissmyplate.com should only be used as a general guideline.
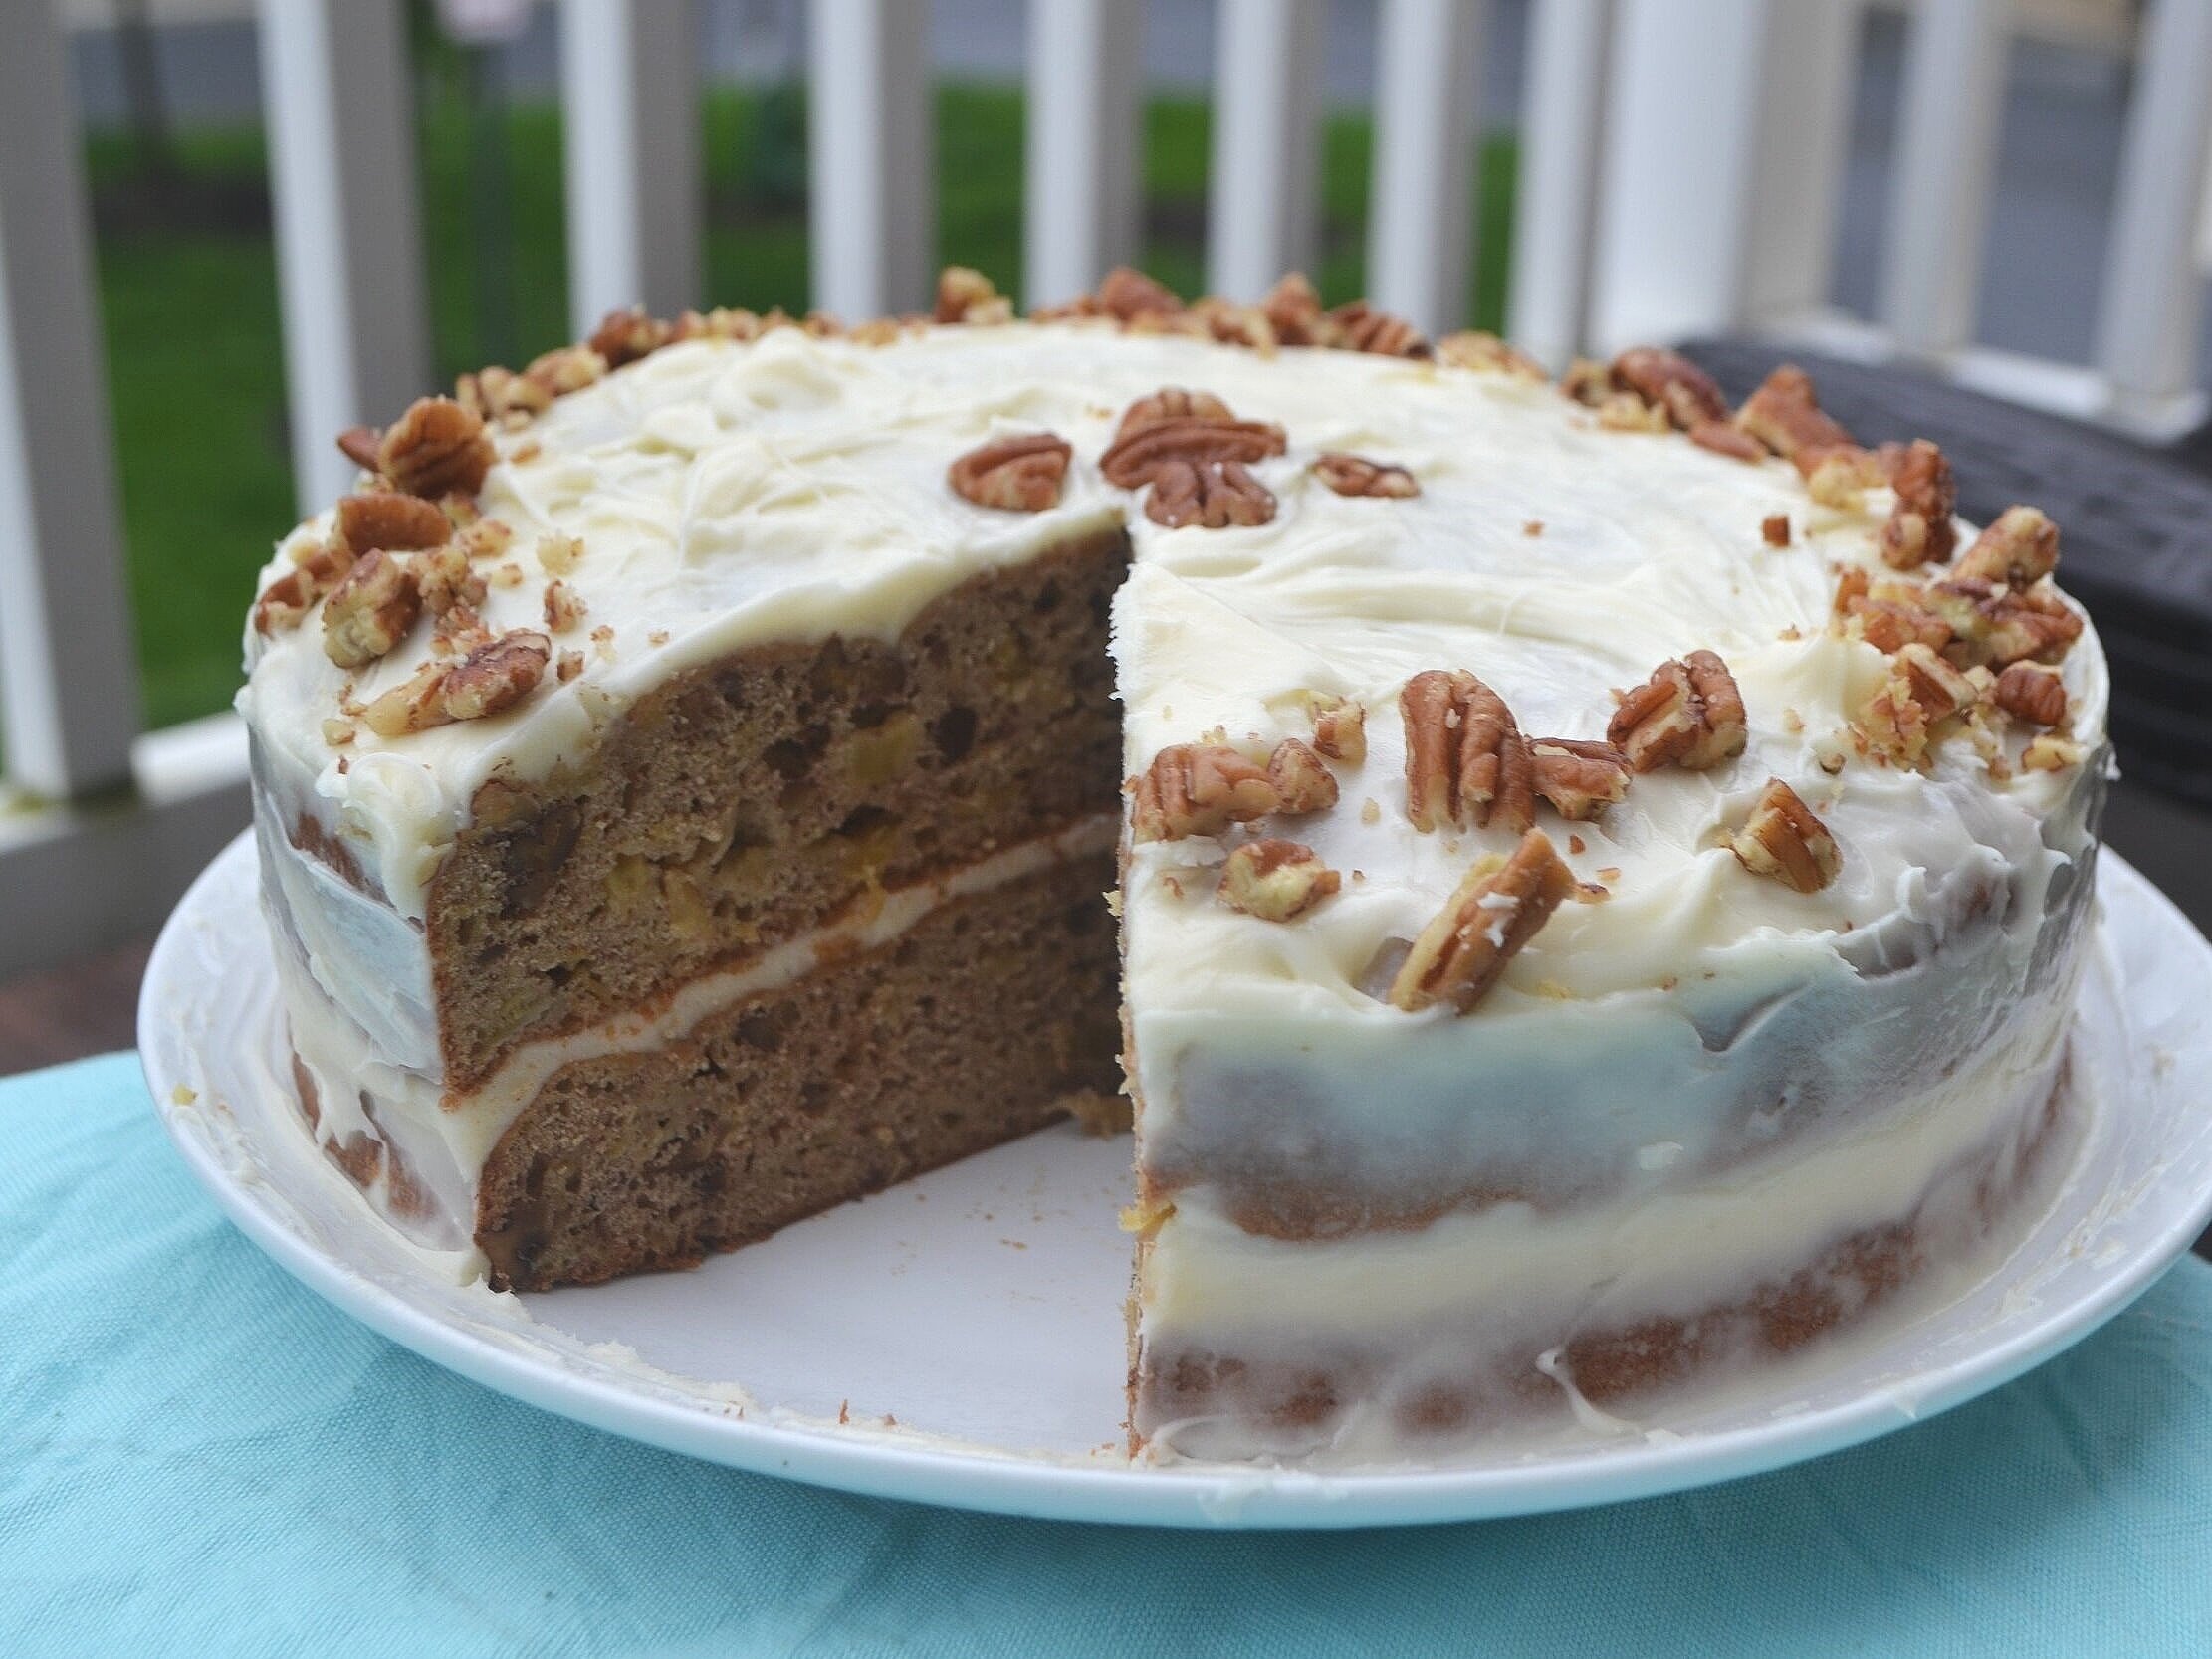
Hummingbird Cake
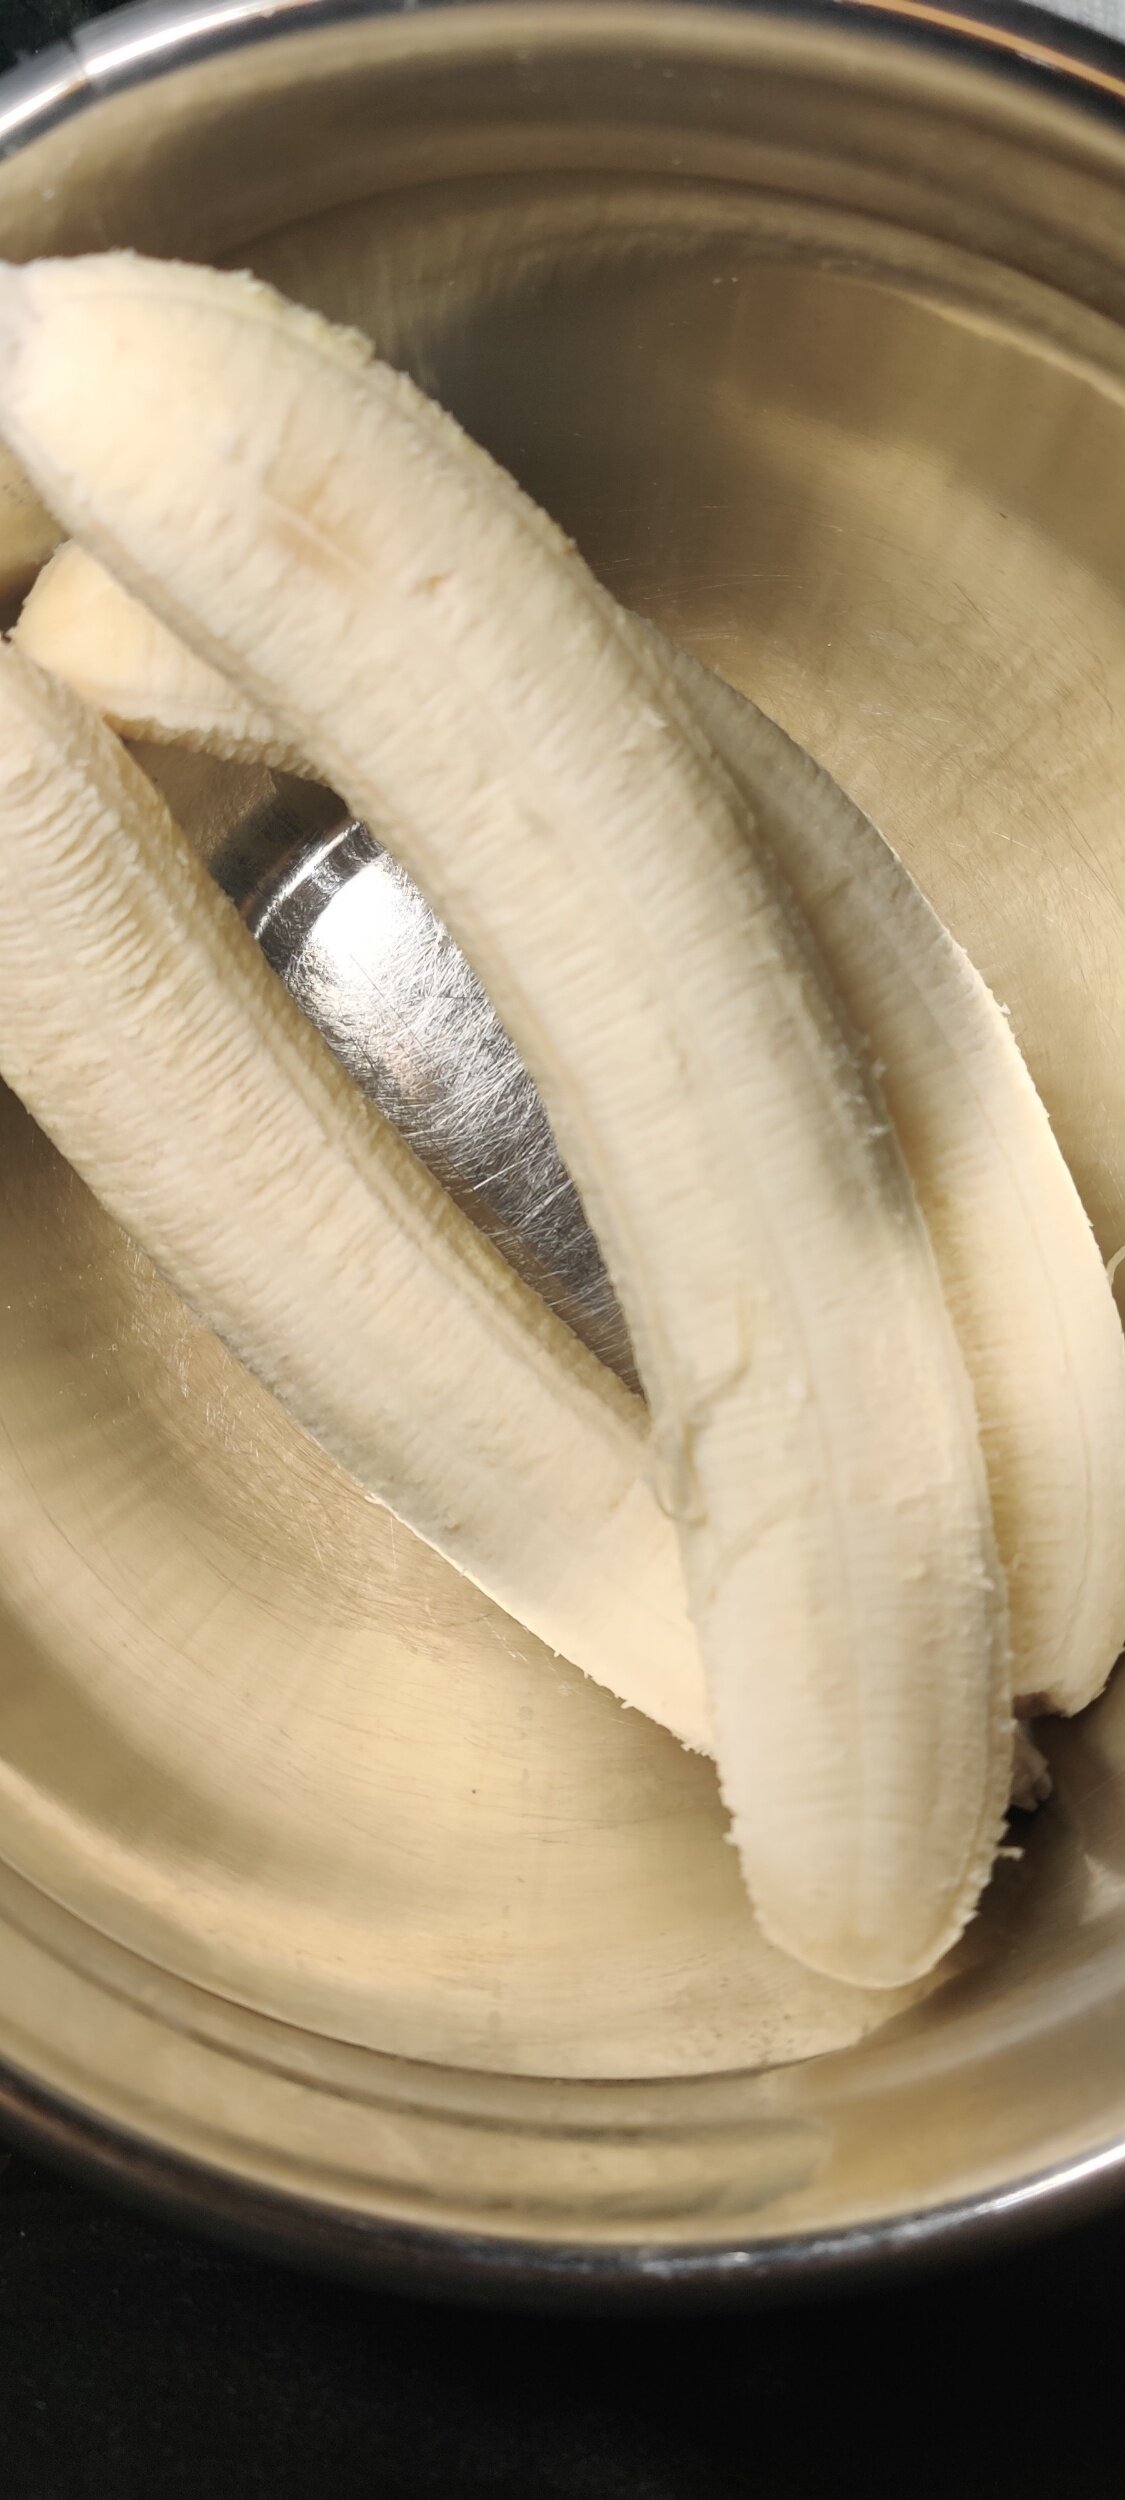
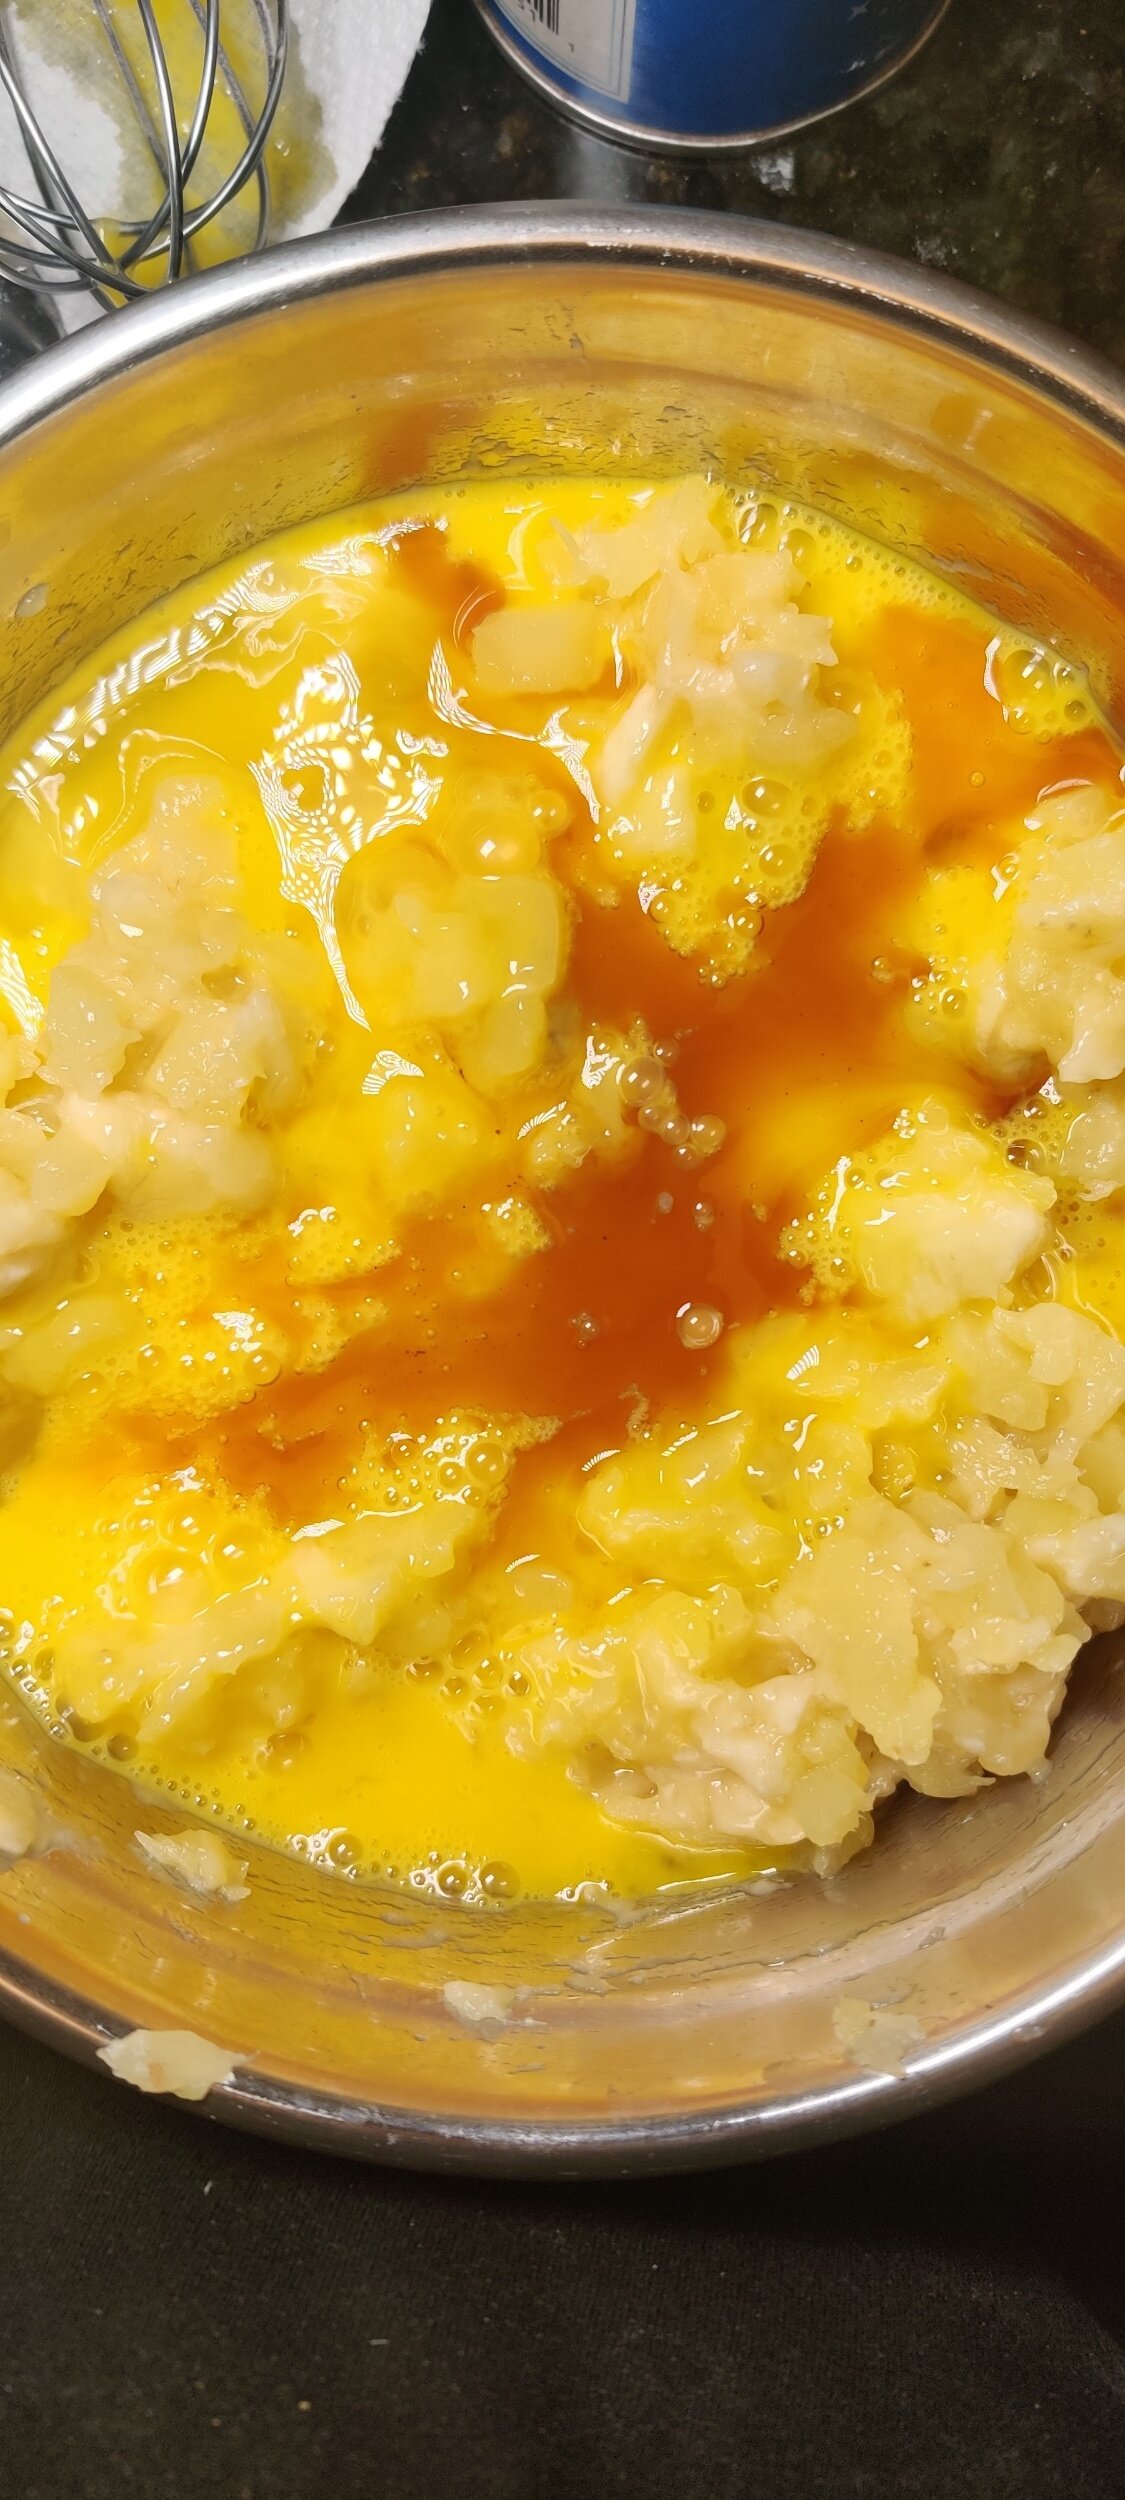
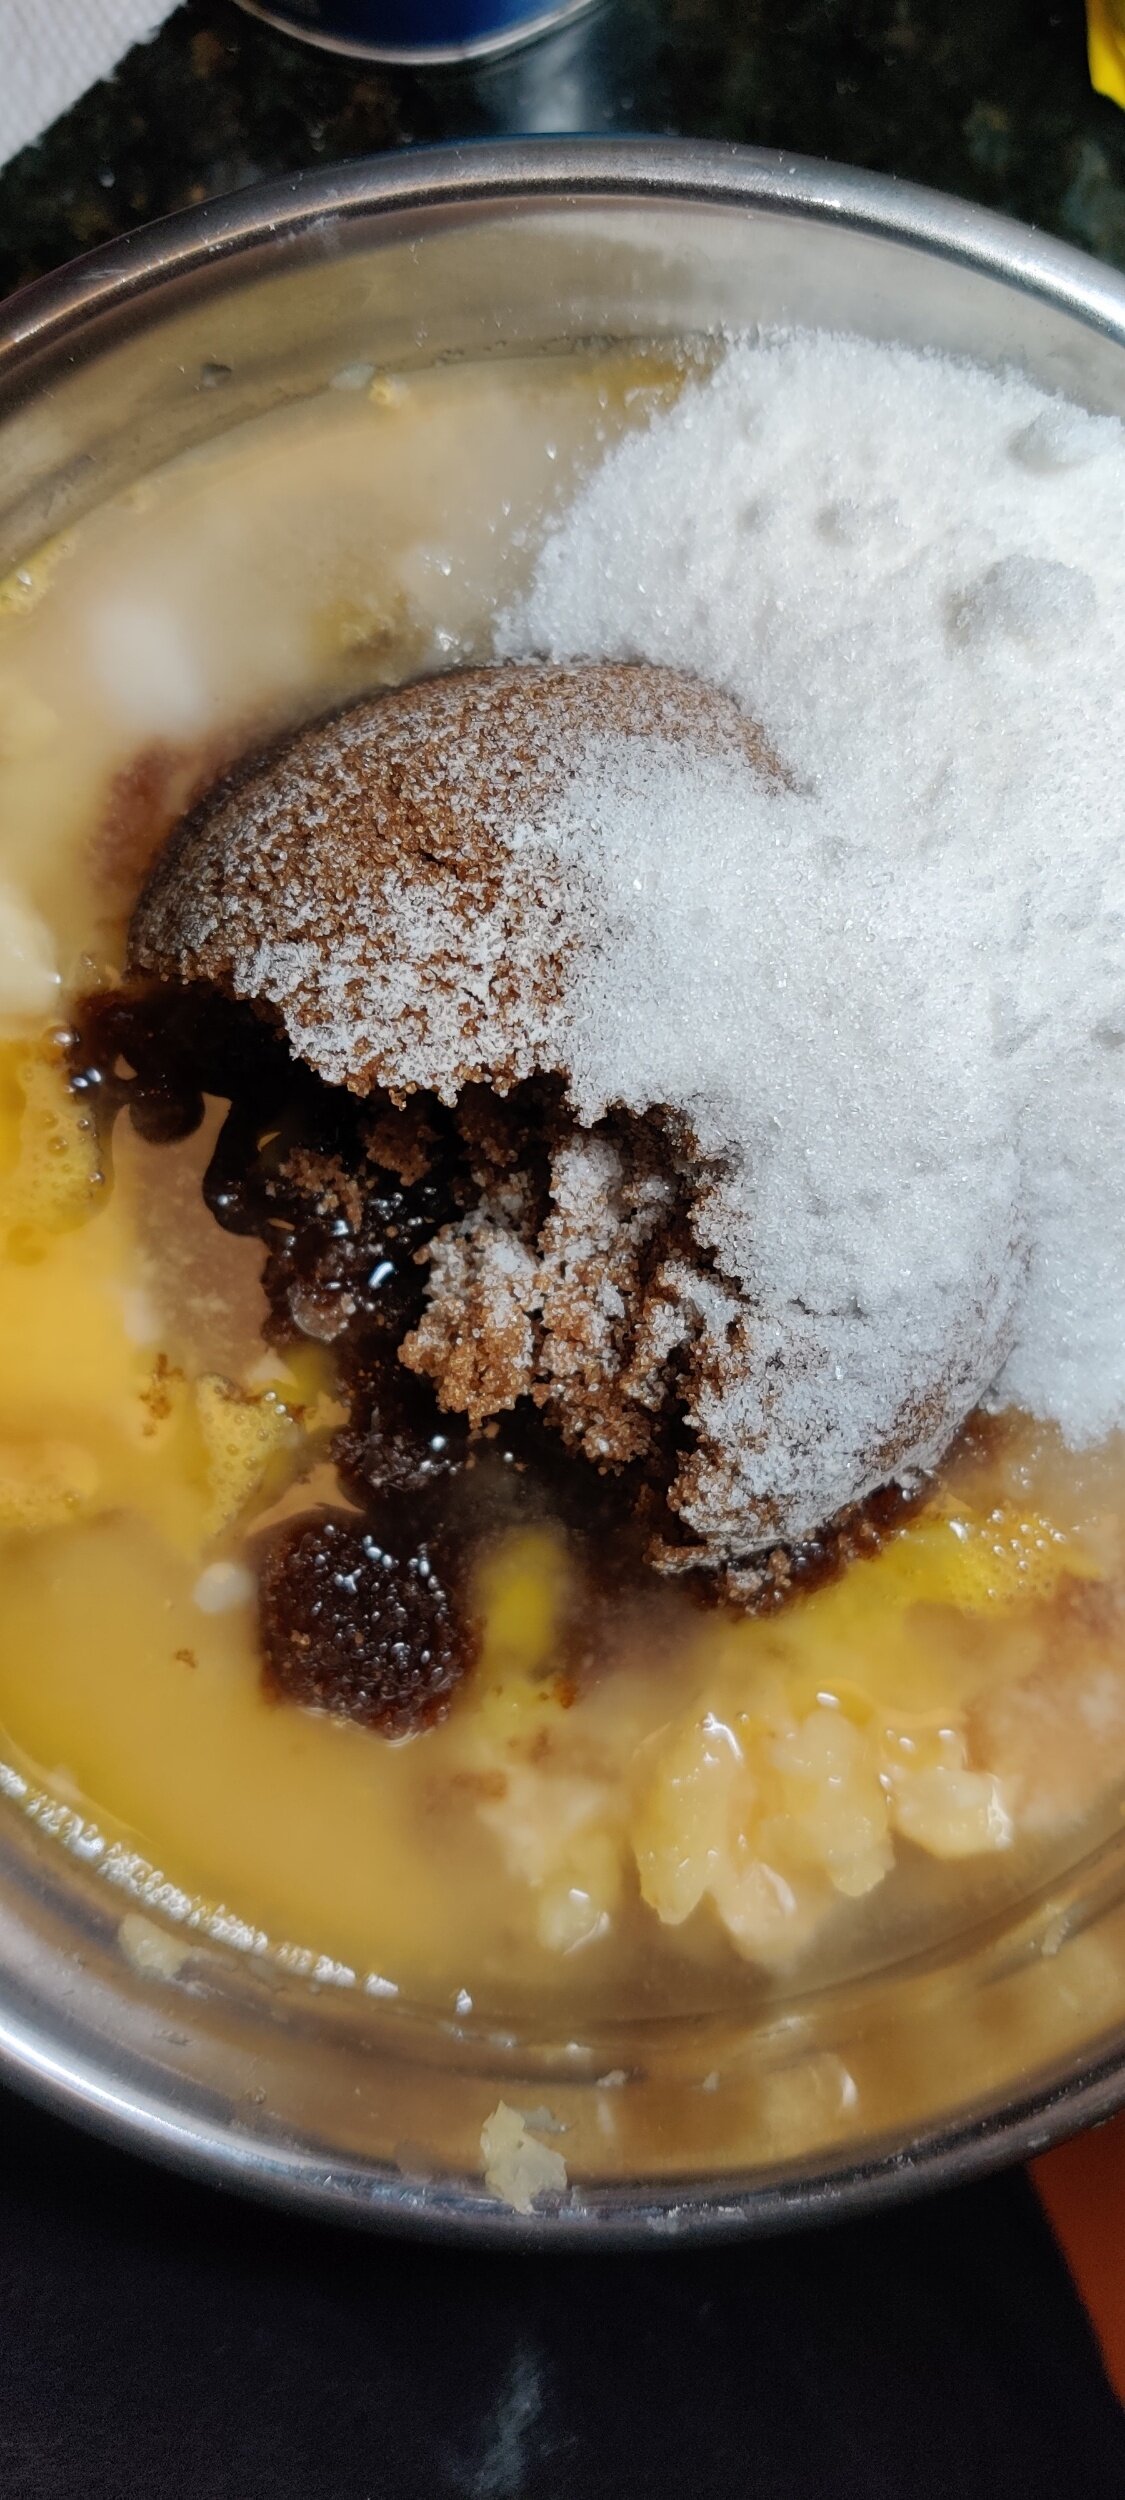
The cake was initially used to promote tourism to the Caribbean. I love food that has a story, but what drew me to exploring the recipe was its likeness to my go-to carrot cake recipe. Also, who doesn’t love pineapples and bananas? It’s a delicious, moist cake that pairs wonderfully with coffee or tea! Plus, it's easy to make.


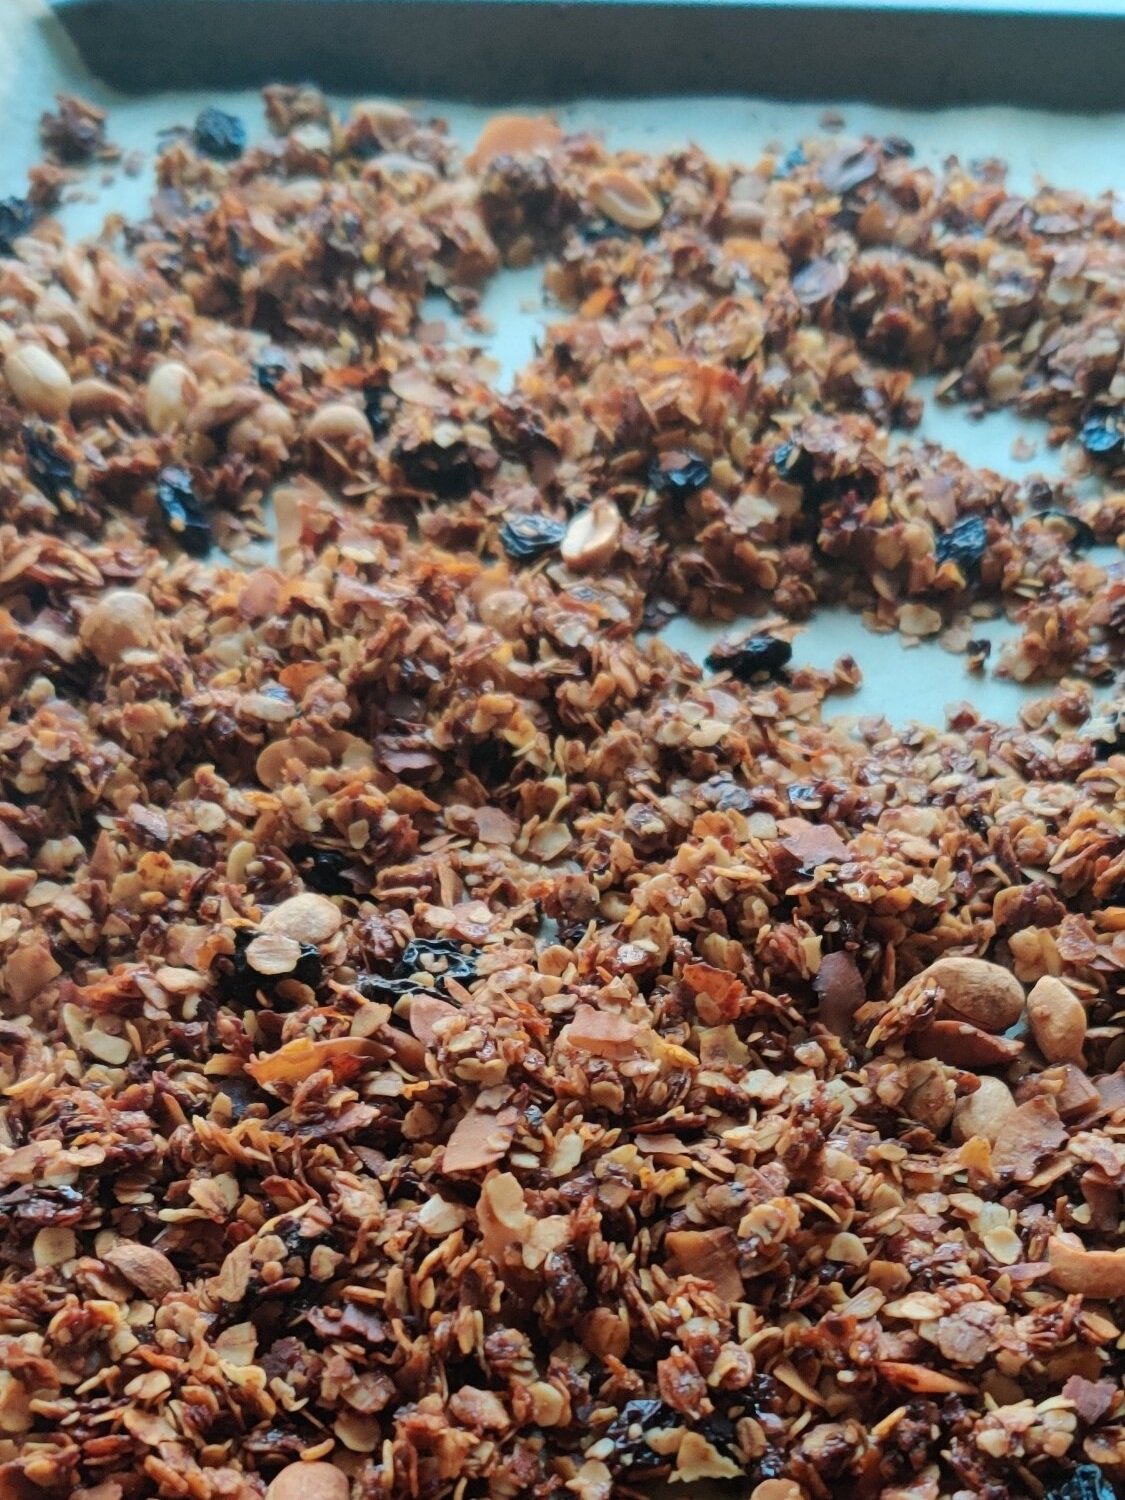
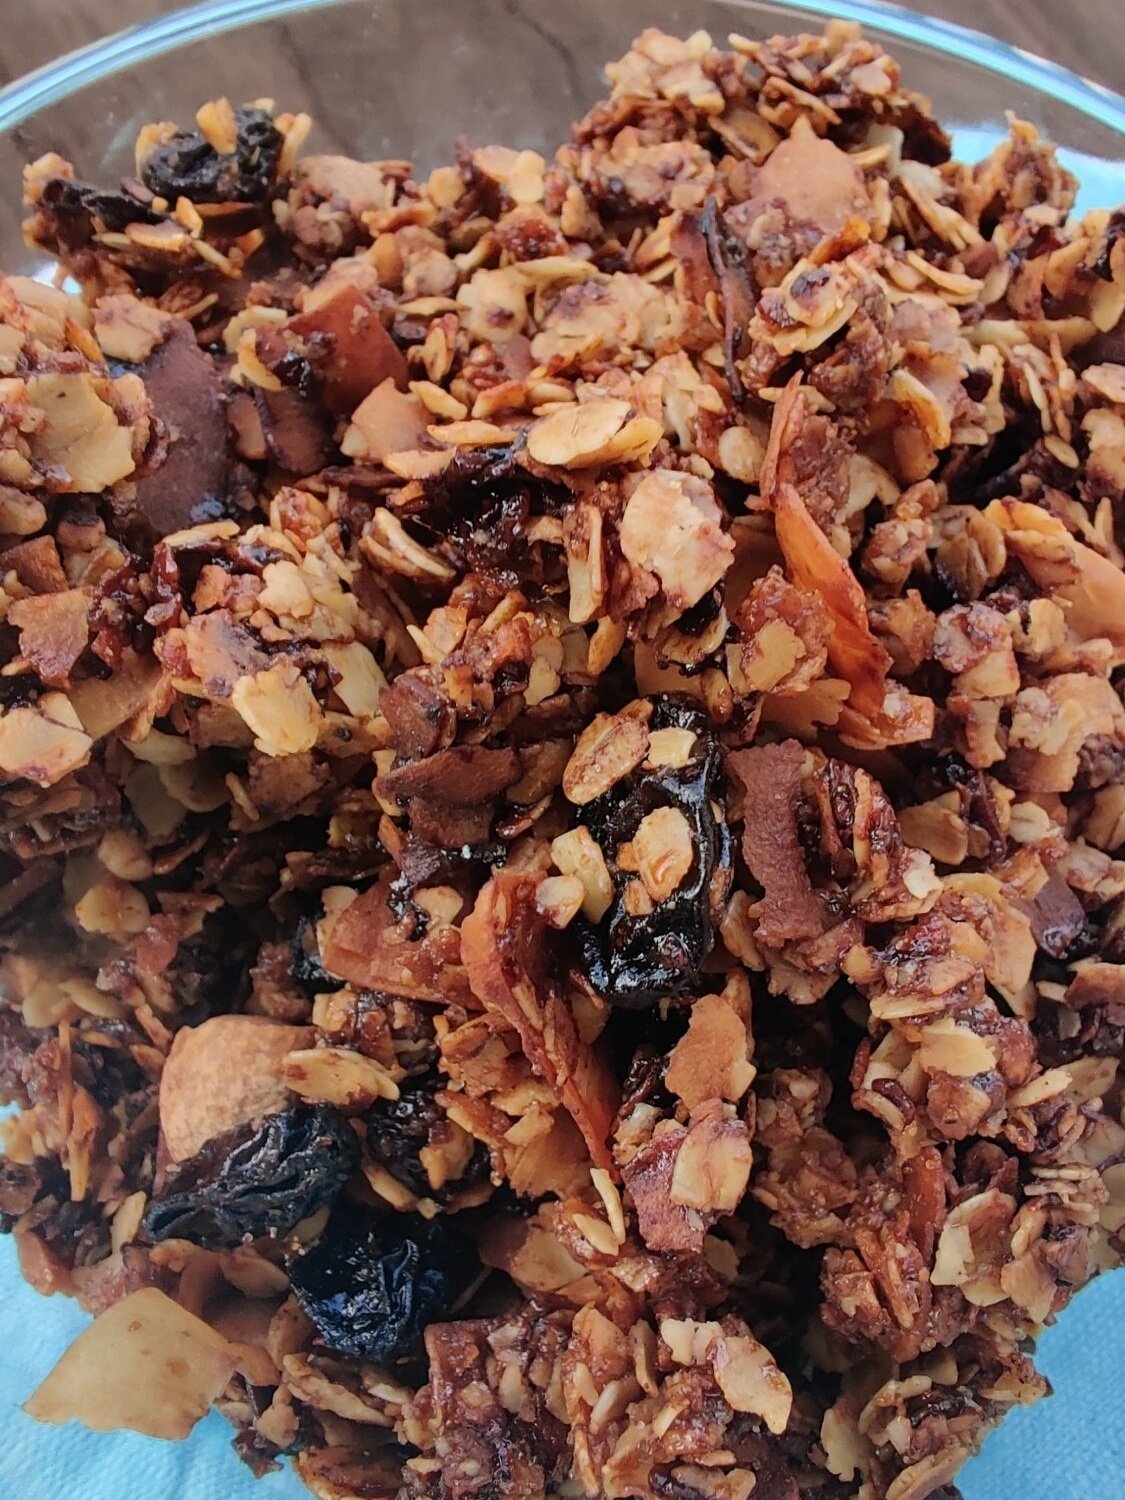
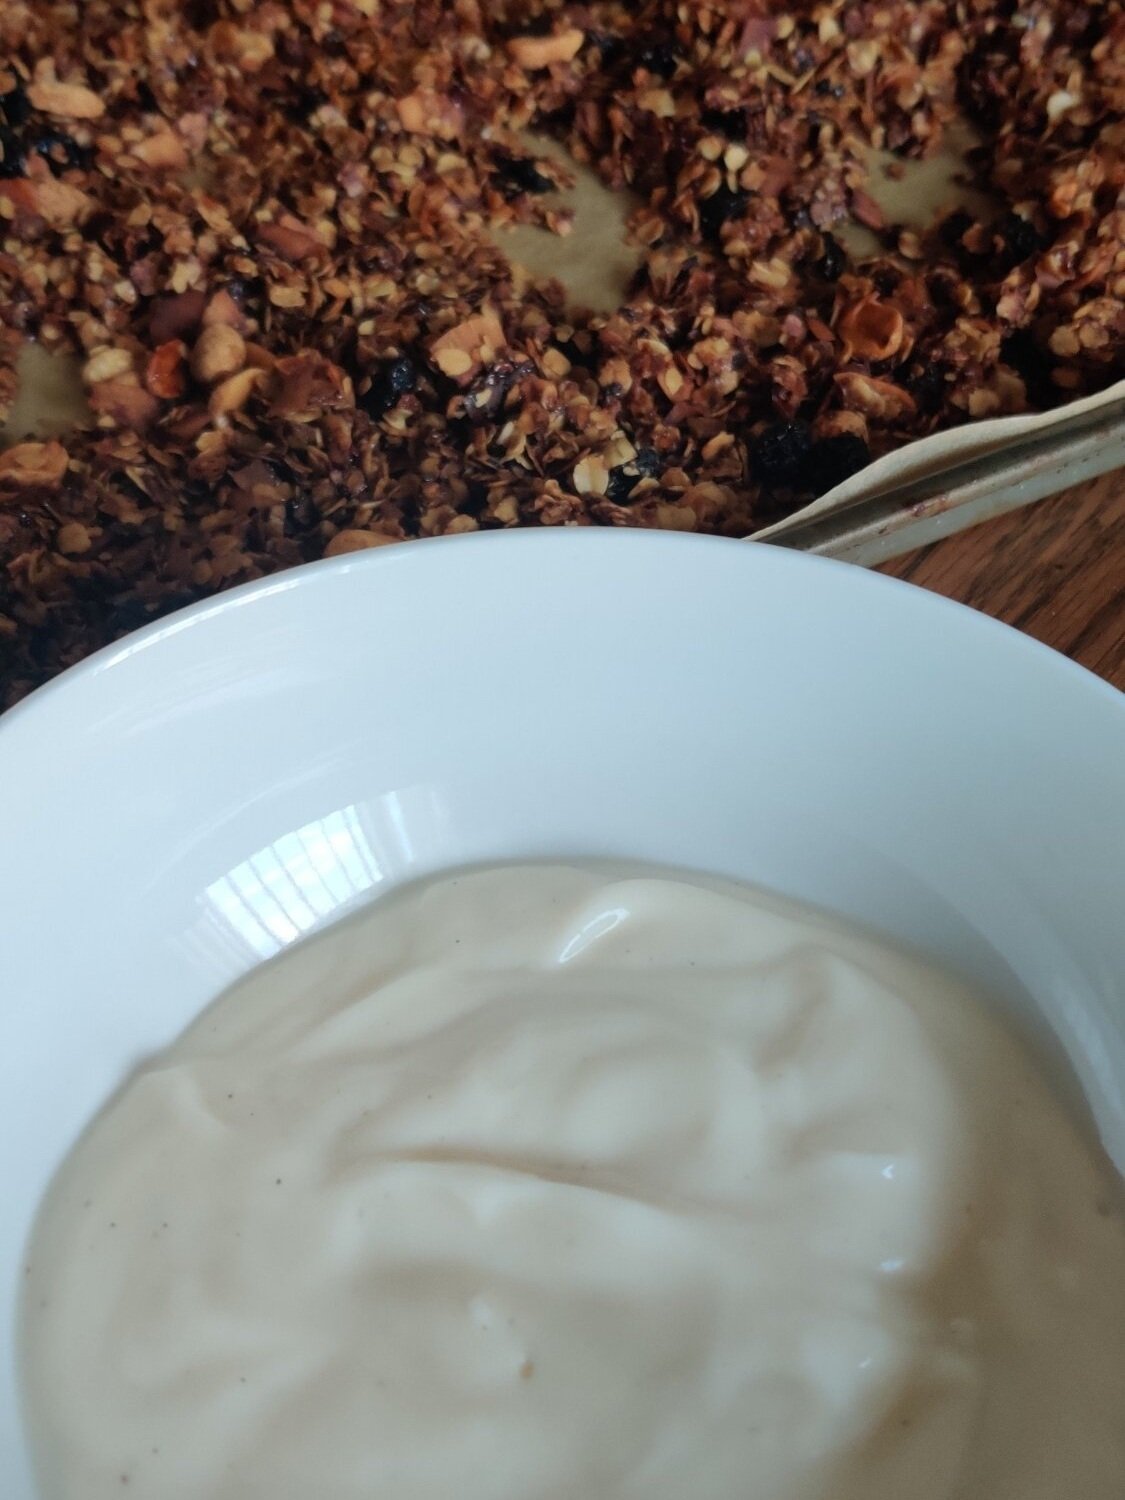
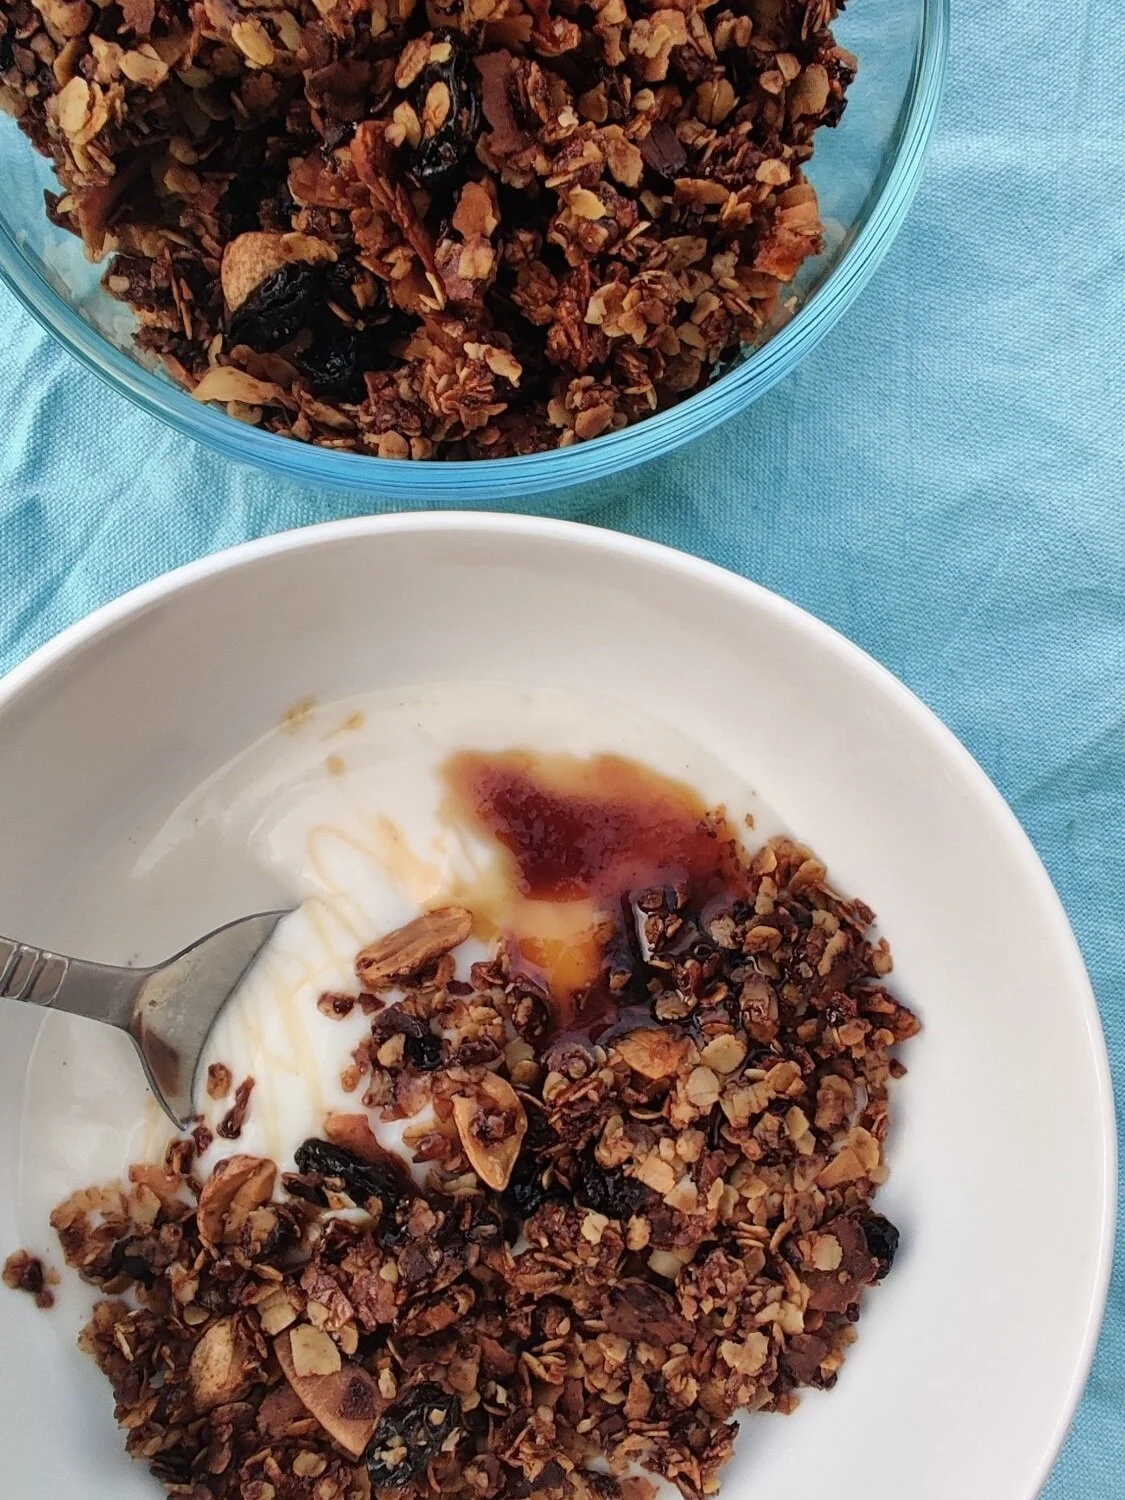
Homemade Crunchy Granola
Do you like peanuts? Have a taste for almonds? Addicted to cranberries? Throw them in! This, like many of my other recipes, is merely a guideline. When you are low on ingredients, the key element is the rolled oats. You should probably have those stocked somewhere anyway! They are a great source of fiber.

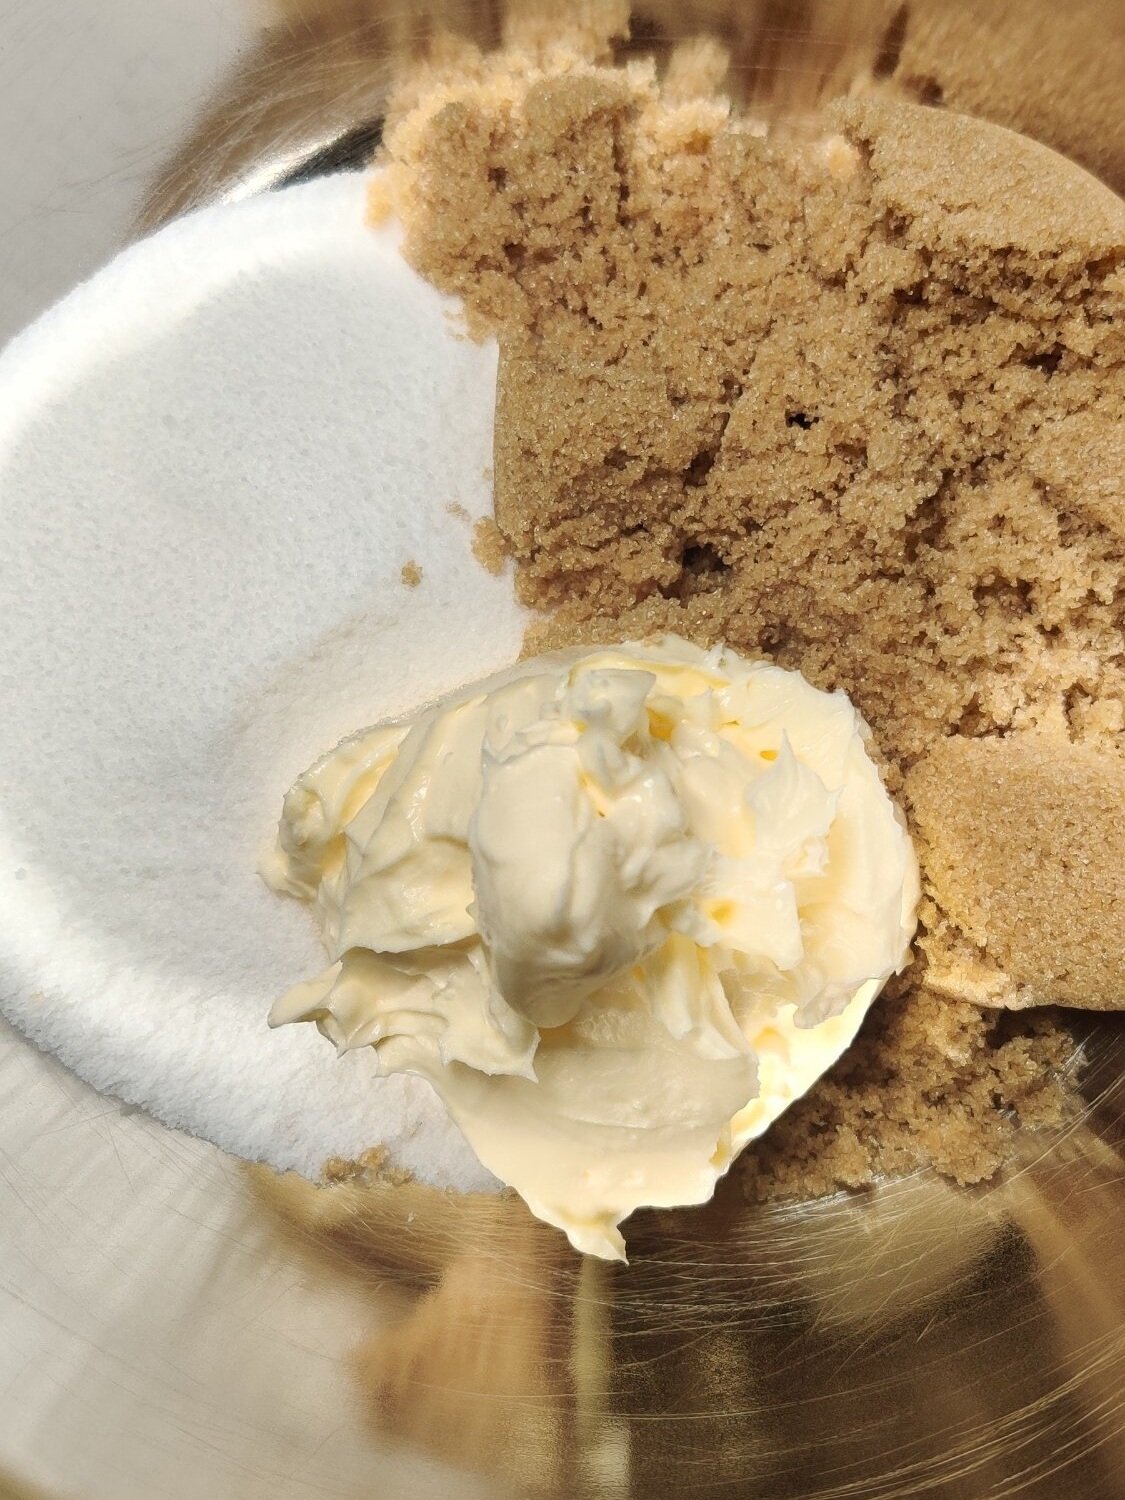
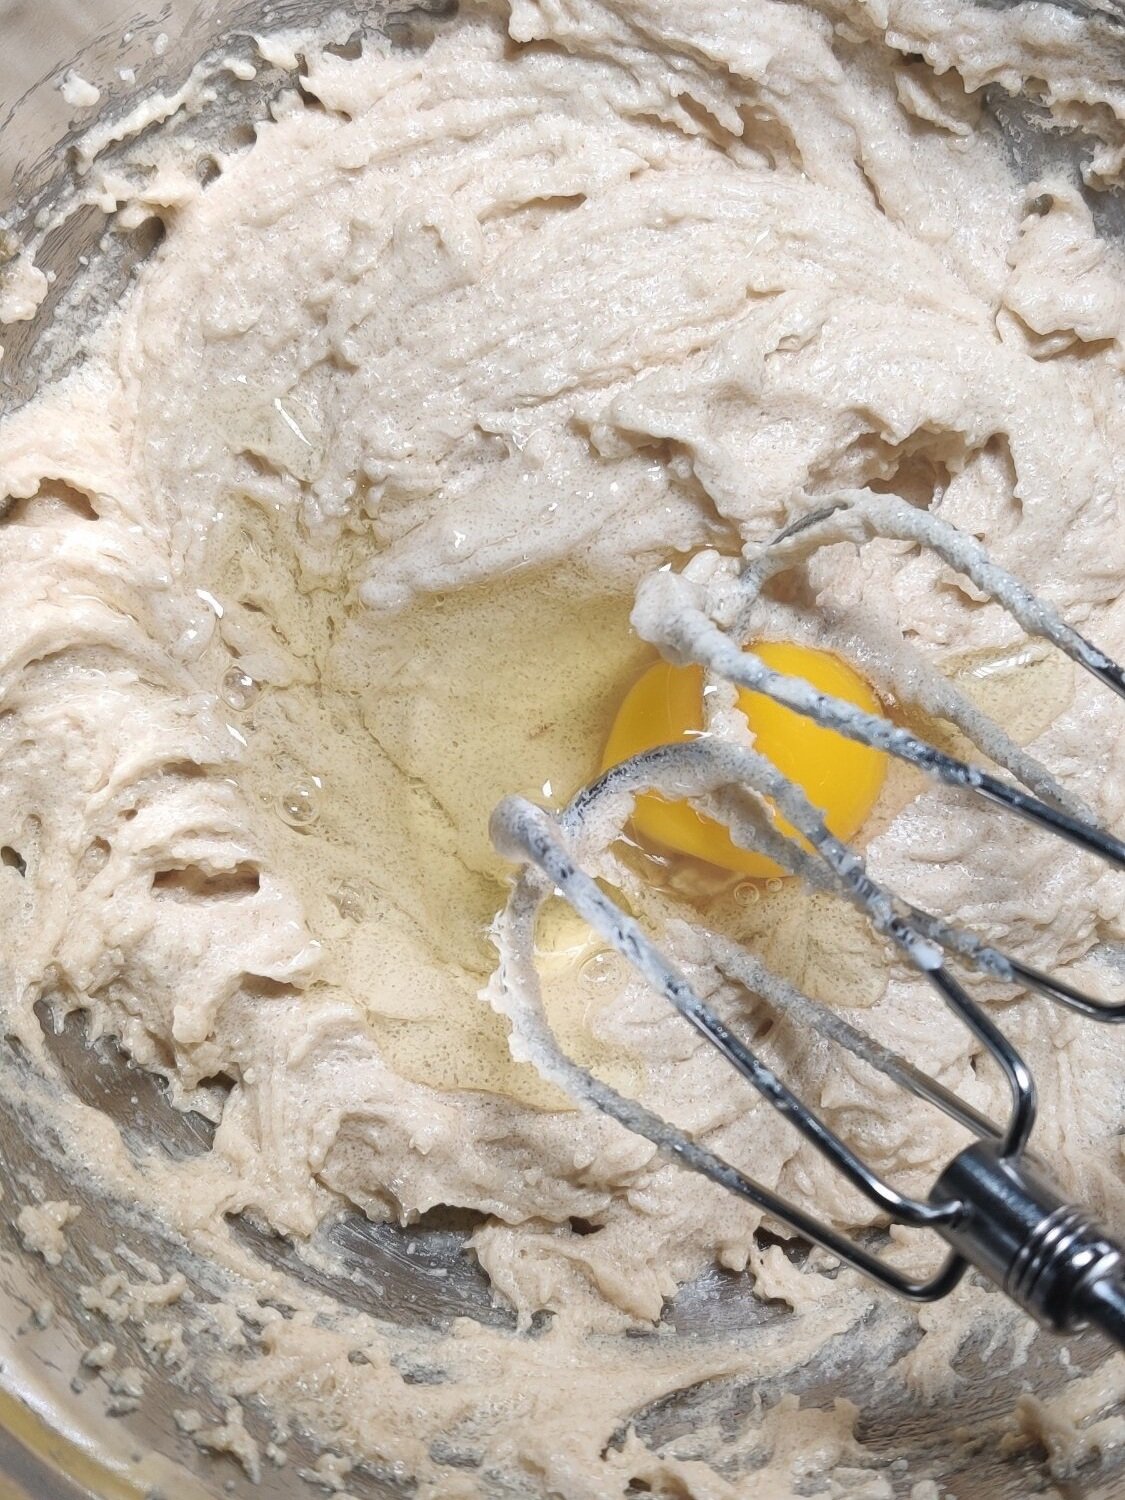
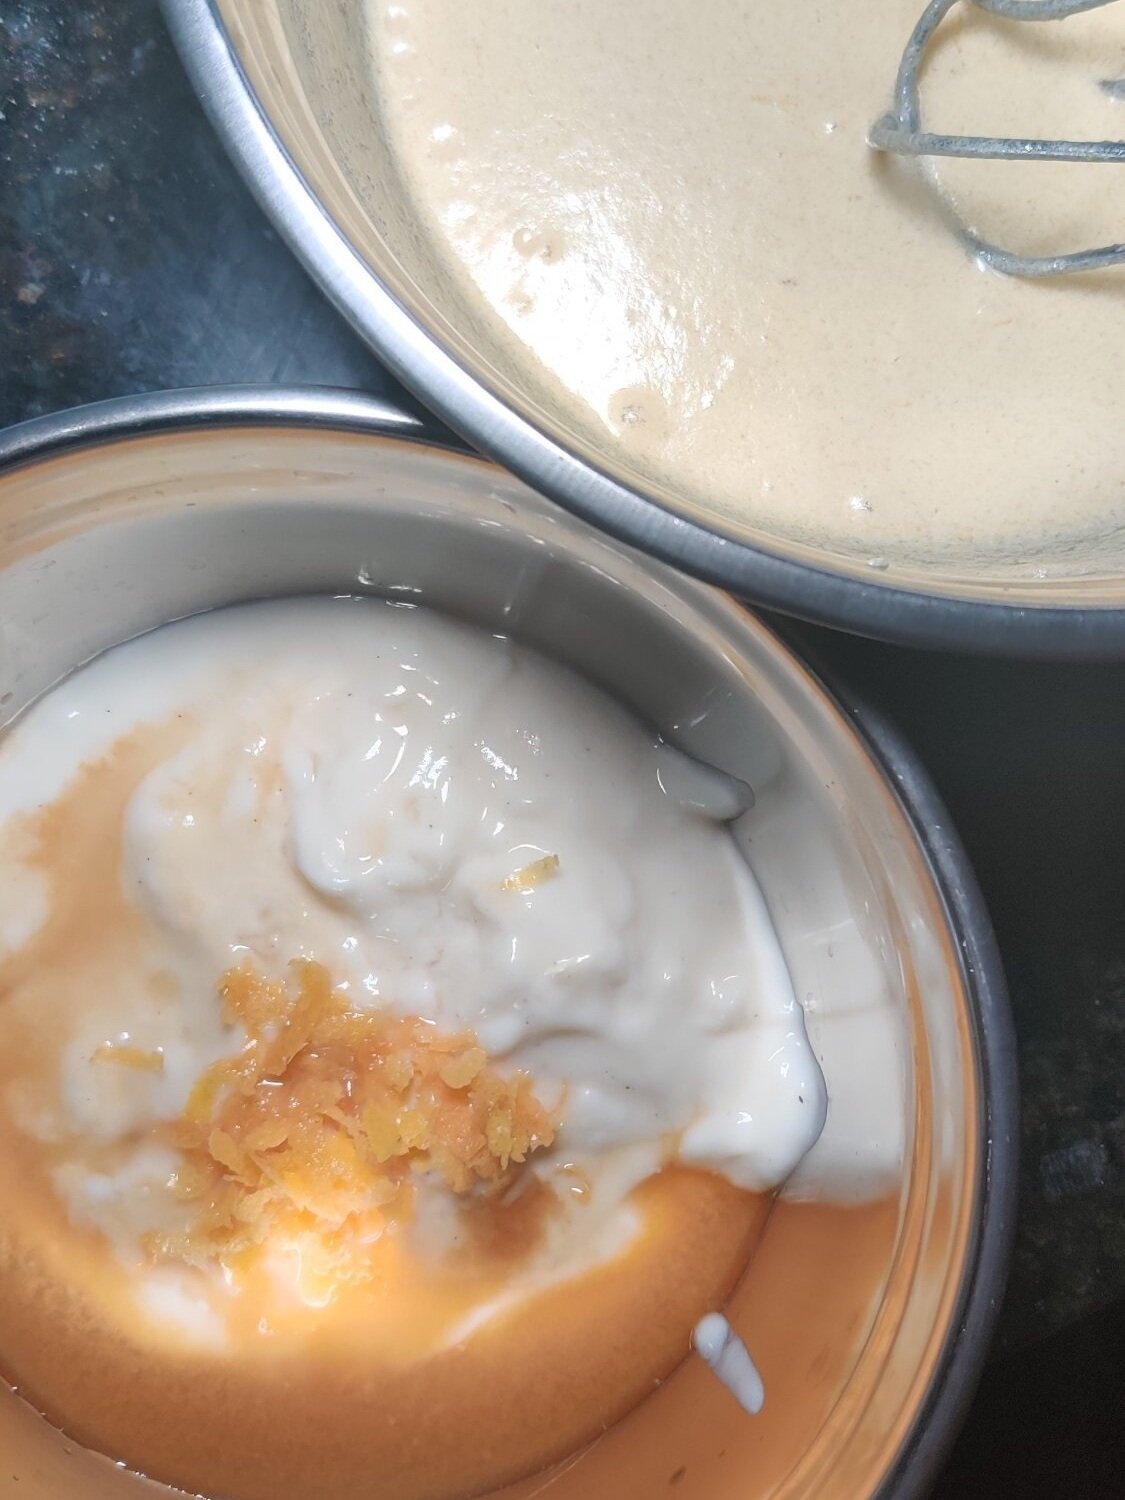
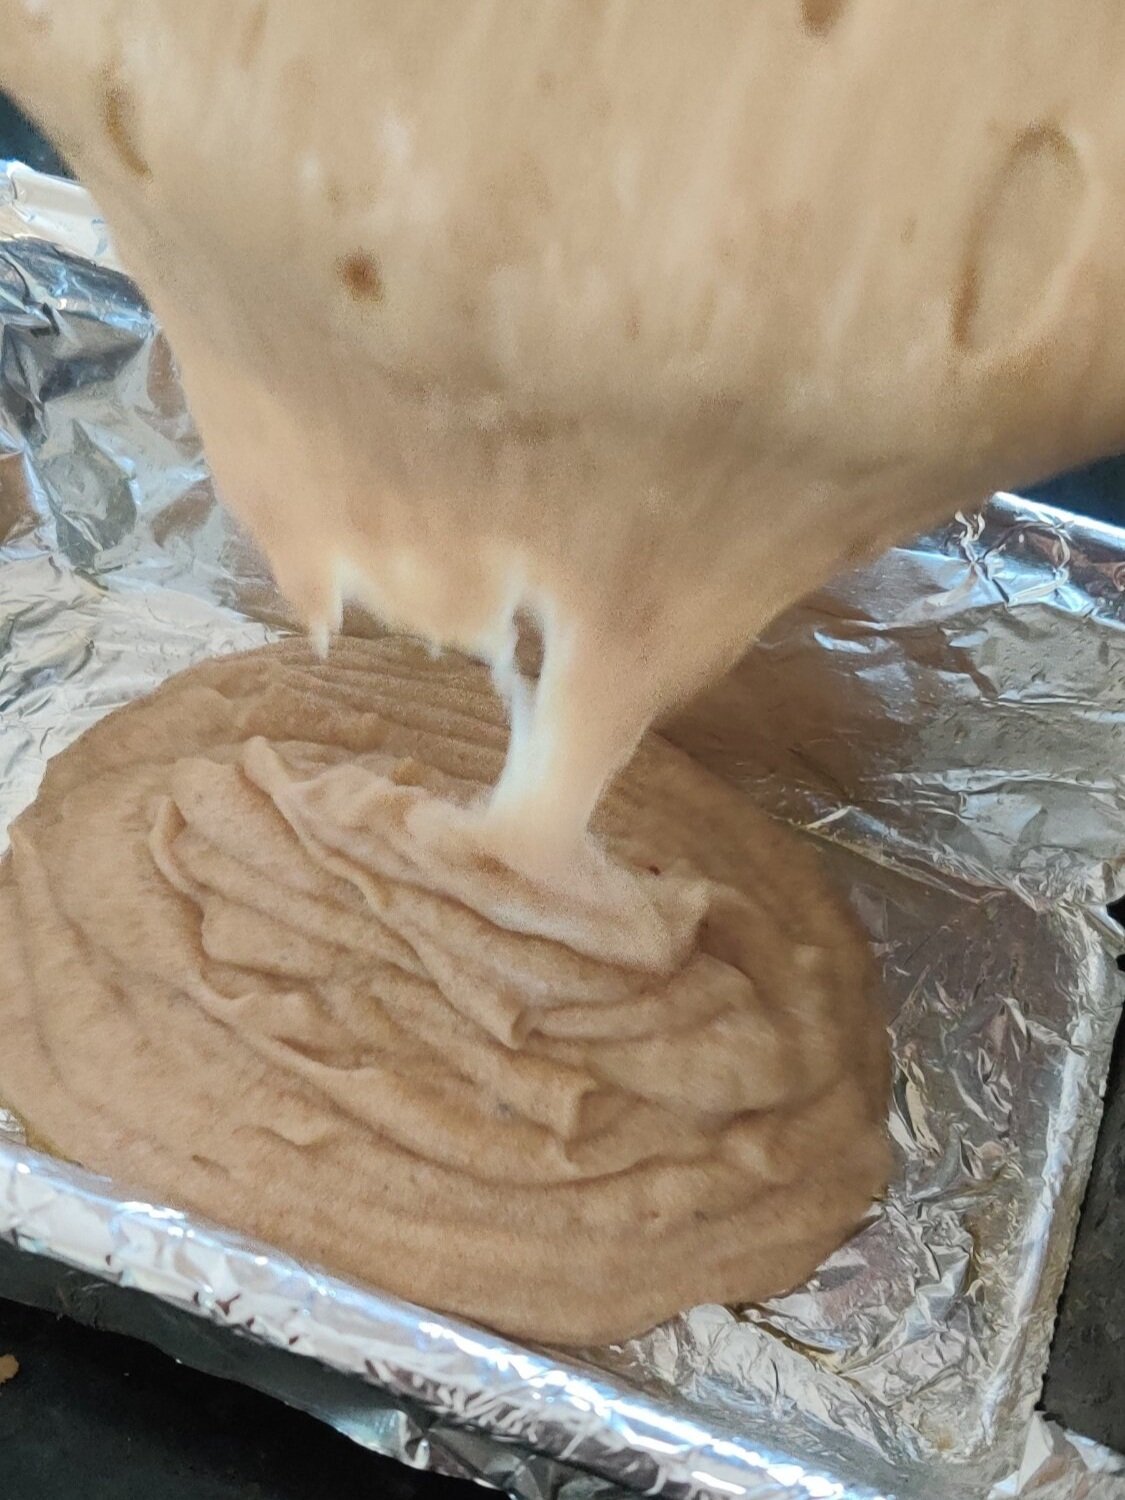
Super Moist Grapefruit Pound Cake
I thoroughly enjoy pound cake for tea time or in the morning with some coffee, it always hits the spot. Marble or lemon pound cake is often my default, the latter in the warmer months like springtime. However, that isn’t the only citrus fruit you can use to add a fresh tang to your loaf!


Lemon Glaze (for cakes, doughnuts, etc.)
Lemon. It took me a while to grow fond of the flavor outside of drinks, but it’s refreshing, tart, and pairs well with creamy textures, seafood, and on pastries, cakes, and doughnuts.