

Dulce de Leche Linzer Biscuits (Pink)
Linzer Biscuits: A Delightful Blend of Elegance and Flavor
These iconic treats perfectly match beauty and taste, combining buttery, crumbly cookies with a sweet, tangy jam filling. Inspired by the classic Austrian Linzer Torte, they are a feast for the eyes and the palate. With their signature cut-out center revealing a layer of jam, Linzer biscuits are as visually stunning as they are delicious.
Traditionally made with ground nuts like almonds or hazelnuts, these cookies boast a delicate, nutty flavour that pairs wonderfully with fruity jams like raspberry or apricot. They're perfect for holidays, tea parties, or any time you want to impress with a little extra flair.
Even if you haven't tried Linzer biscuits, you've probably seen them at the very least, particularly during the holidays. They are considered classic Christmas cookies, and I love them.
I went unconventional with this recipe, still maintaining the buttery goodness and nutty undertones from the almond flour (though you can use gluten-free flour as well) and extract, but adding red sugar sprinkles for a pink hue and using dulce de leche as my filling. I was inspired by the Argentian Alfajores cookies, which are sandwiched with dulce de leche in the middle. I first encountered them at a Christmas market in Washington, D.C.
Add this to your slew of end-of-year sweet treats or Christmas cookie trays, and you won't be disappointed.


Dulce de Leche Linzer Biscuits (Pink)
Ingredients
- 1 cup all-purpose flour
- 1 cup almond or gluten-free flour
- 3 tablespoon red sprinkles (optional)
- 1 teaspoon vanilla
- 1/2 teaspoon almond extract
- 1/4 teaspoon salt
- 1 egg
- 1/2 cup granulated sugar
- 1/4 teaspoon cinnamon
- Pinch of cloves
- 1 stick butter (8-10 tablespoons)
- 1/2 teaspoon lemon zest
- 3/4 cup dulce de leche
- Icing sugar for dusting
Instructions
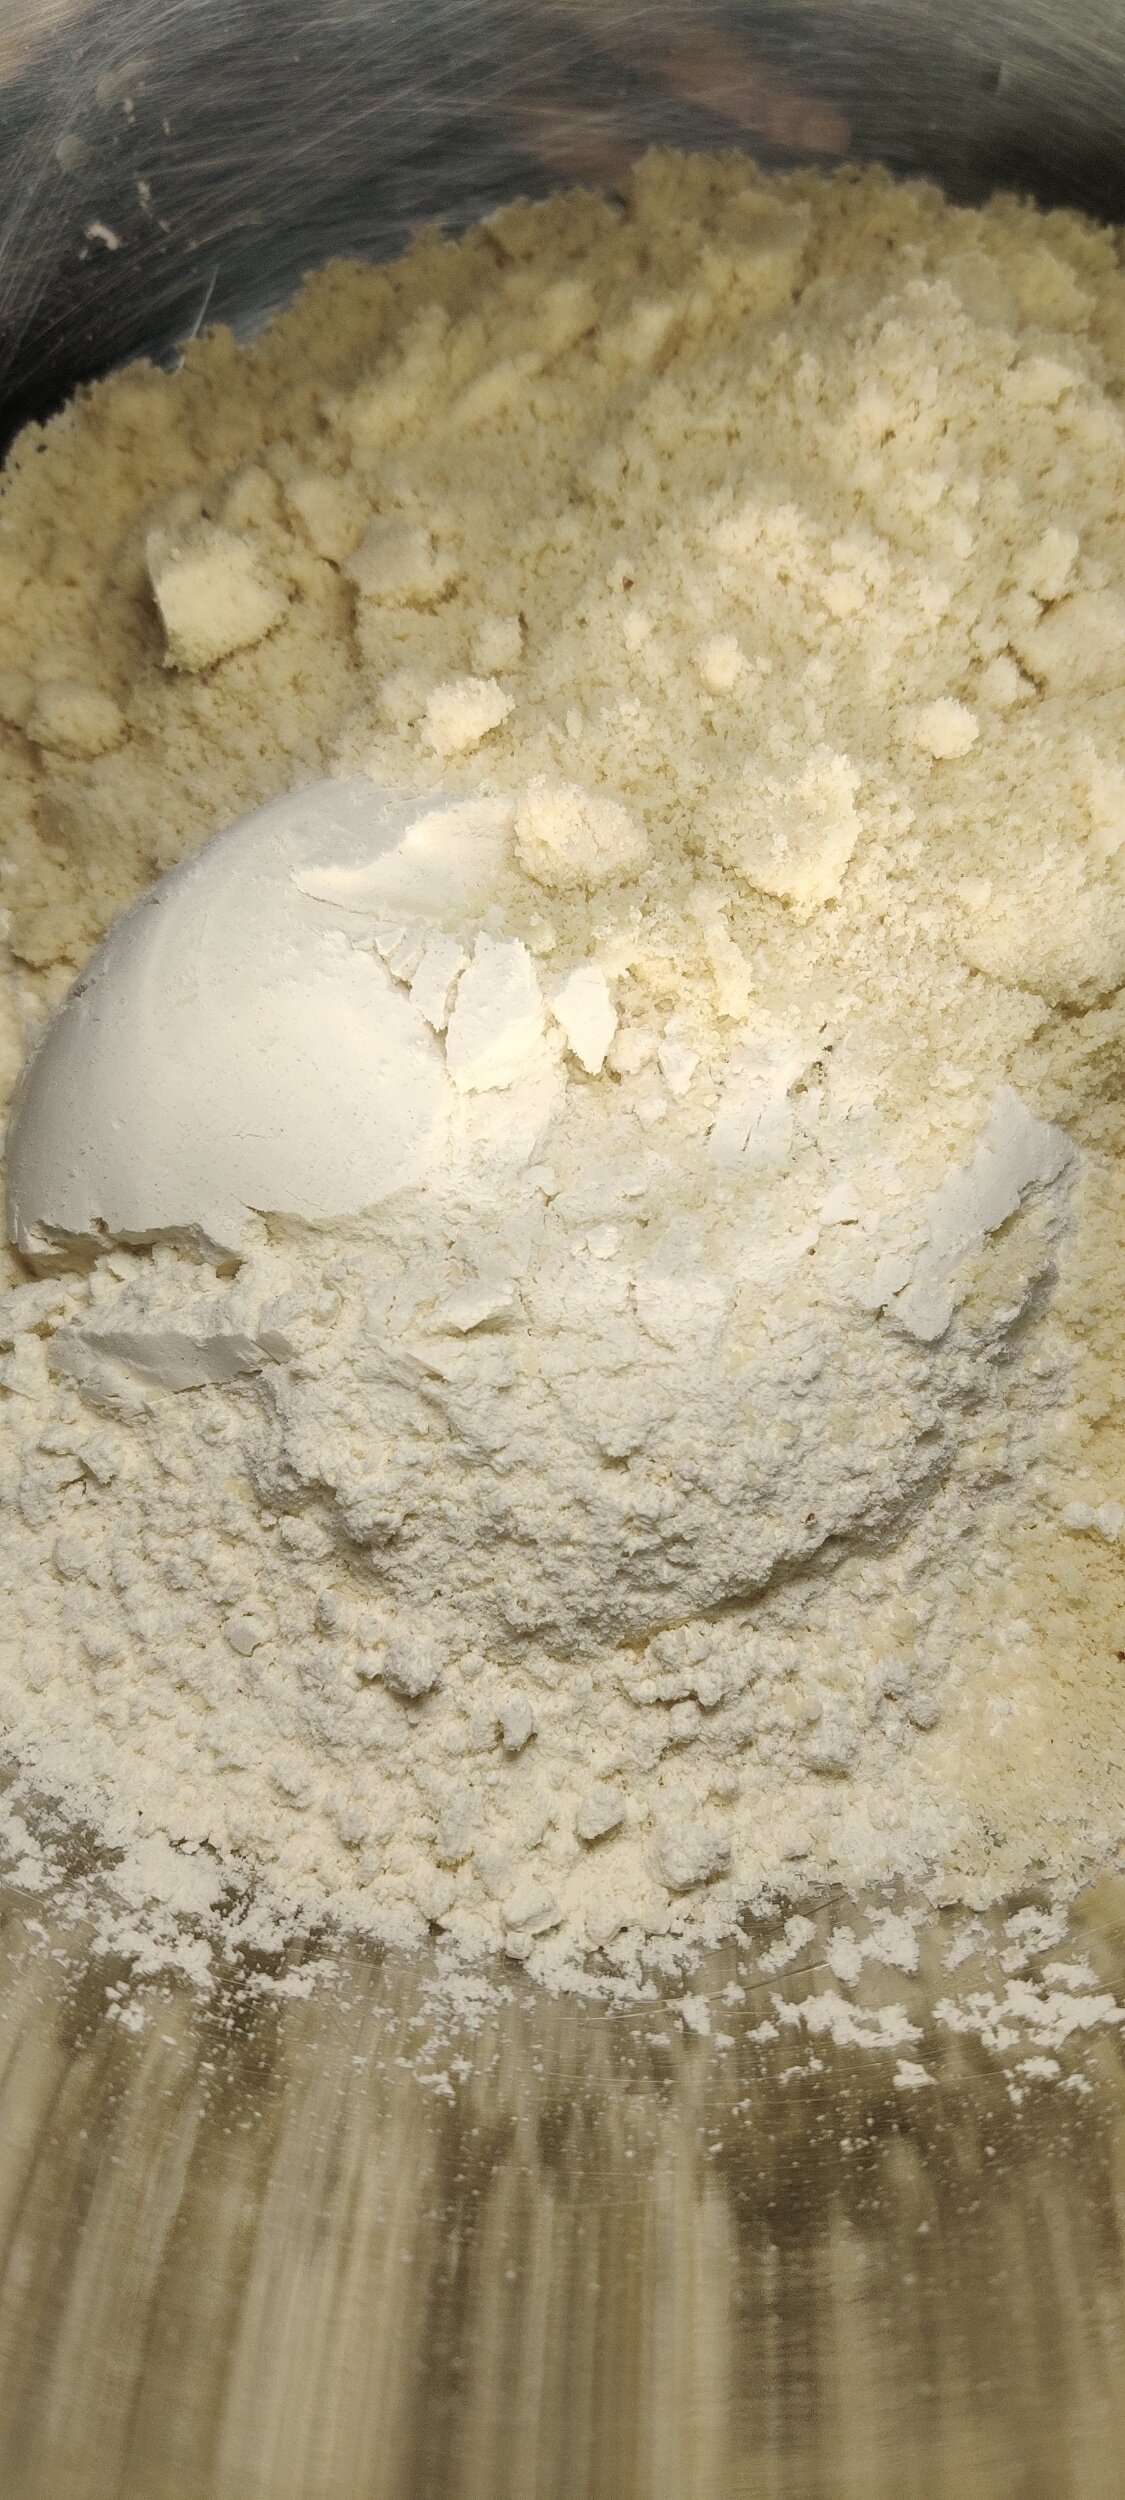
- In a medium-sized bowl, mix the almond flour and all-purpose flour, set aside.
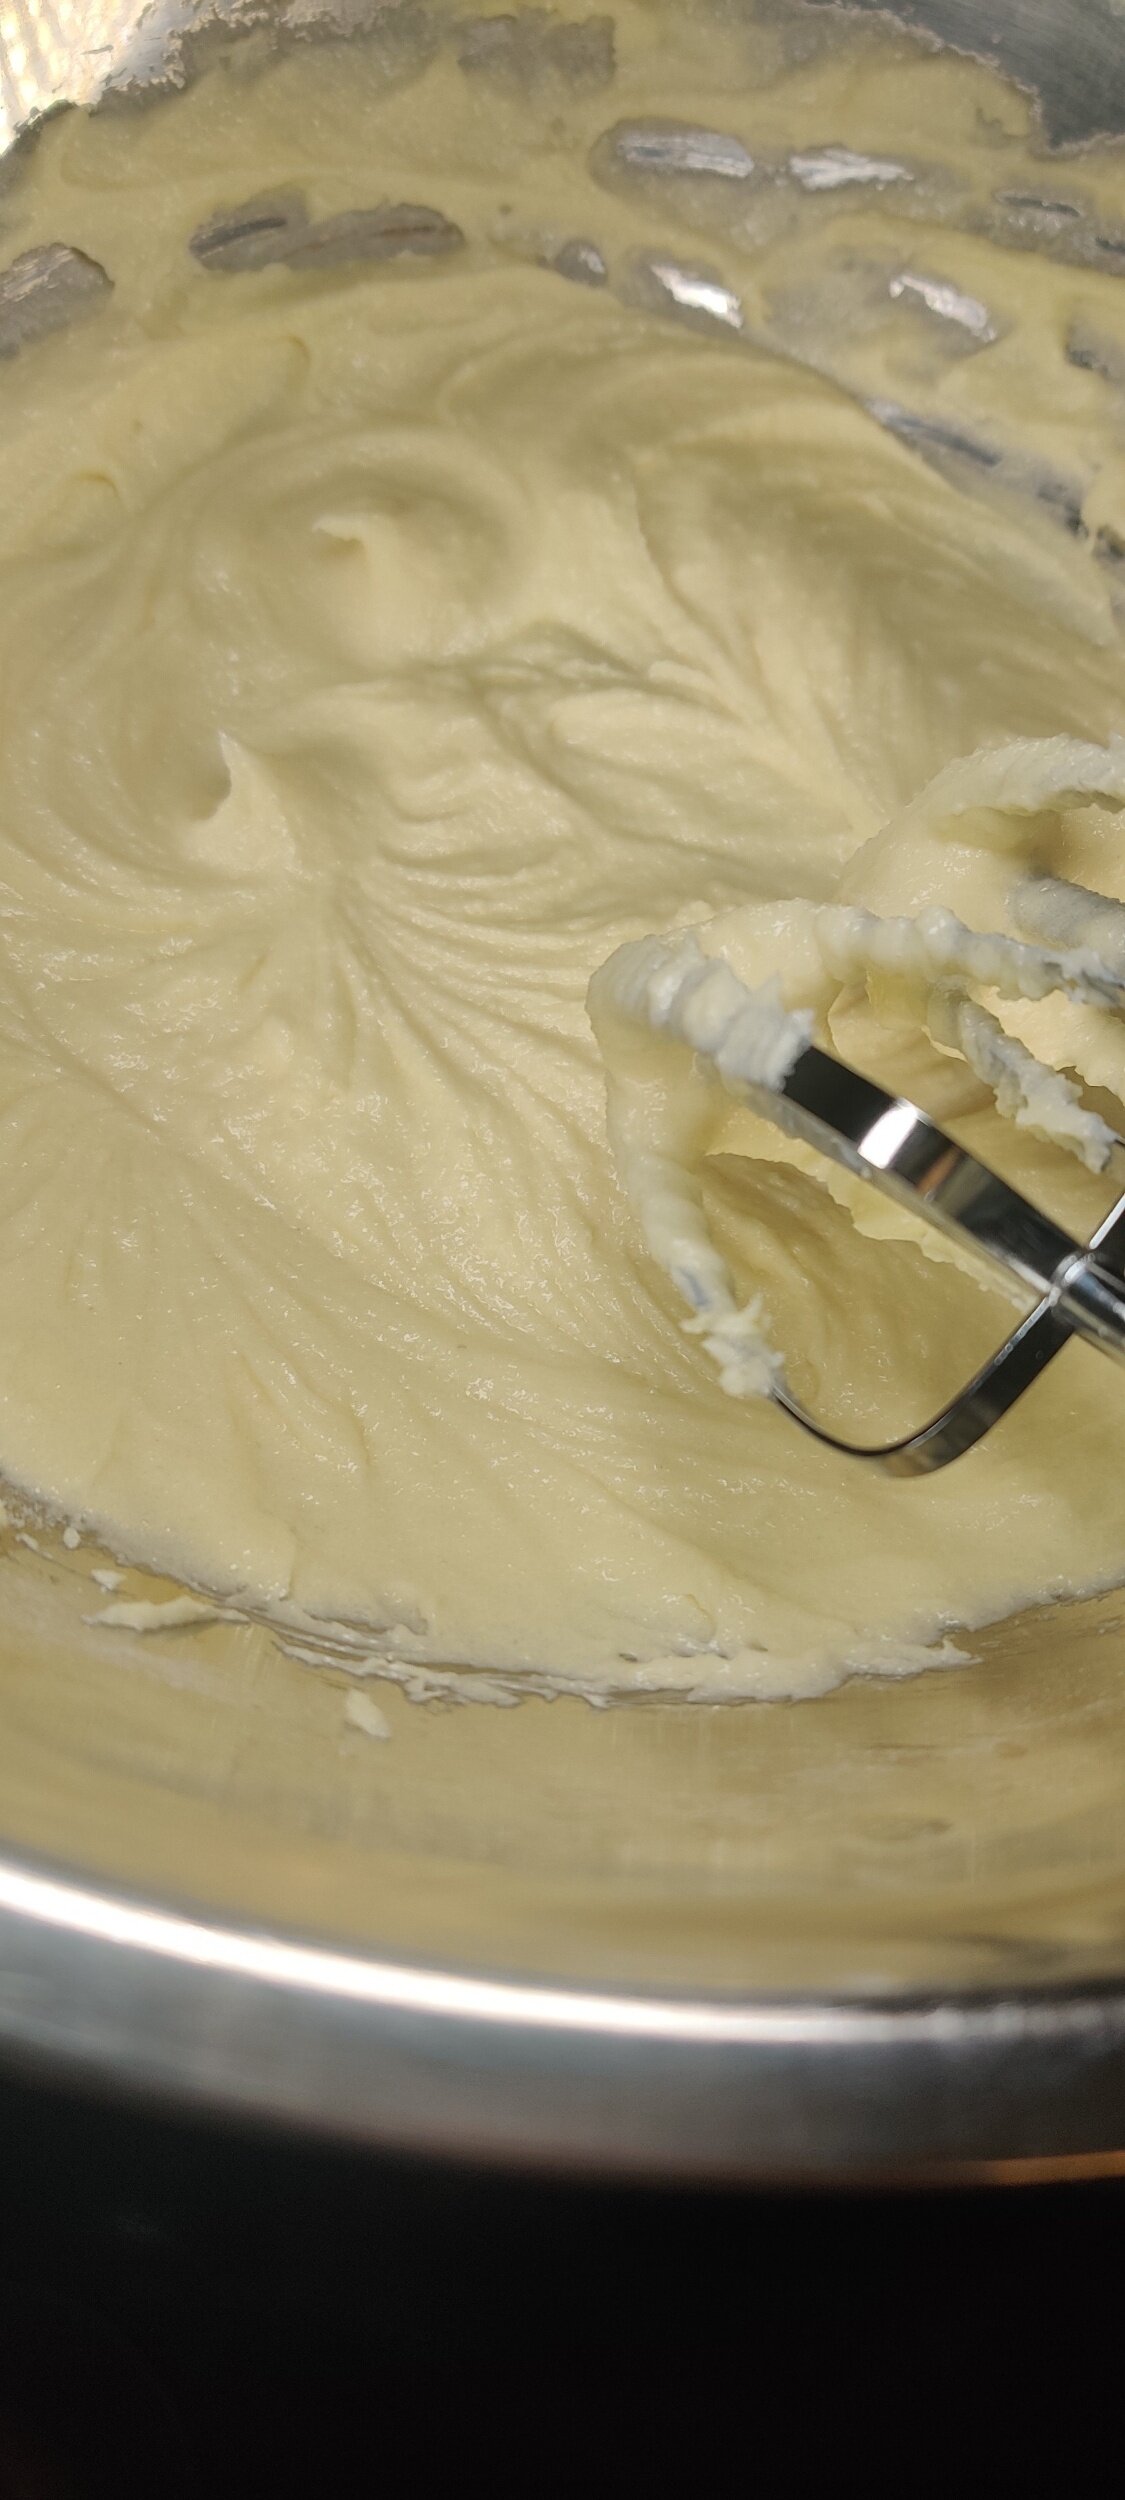
- In a large bowl, cream the butter and sugar for about 3 minutes with an electric mixer on high speed. Add the vanilla, almond, cinnamon, cloves, lemon zest, and salt for another 1-2 minutes until creamy and fluffy.
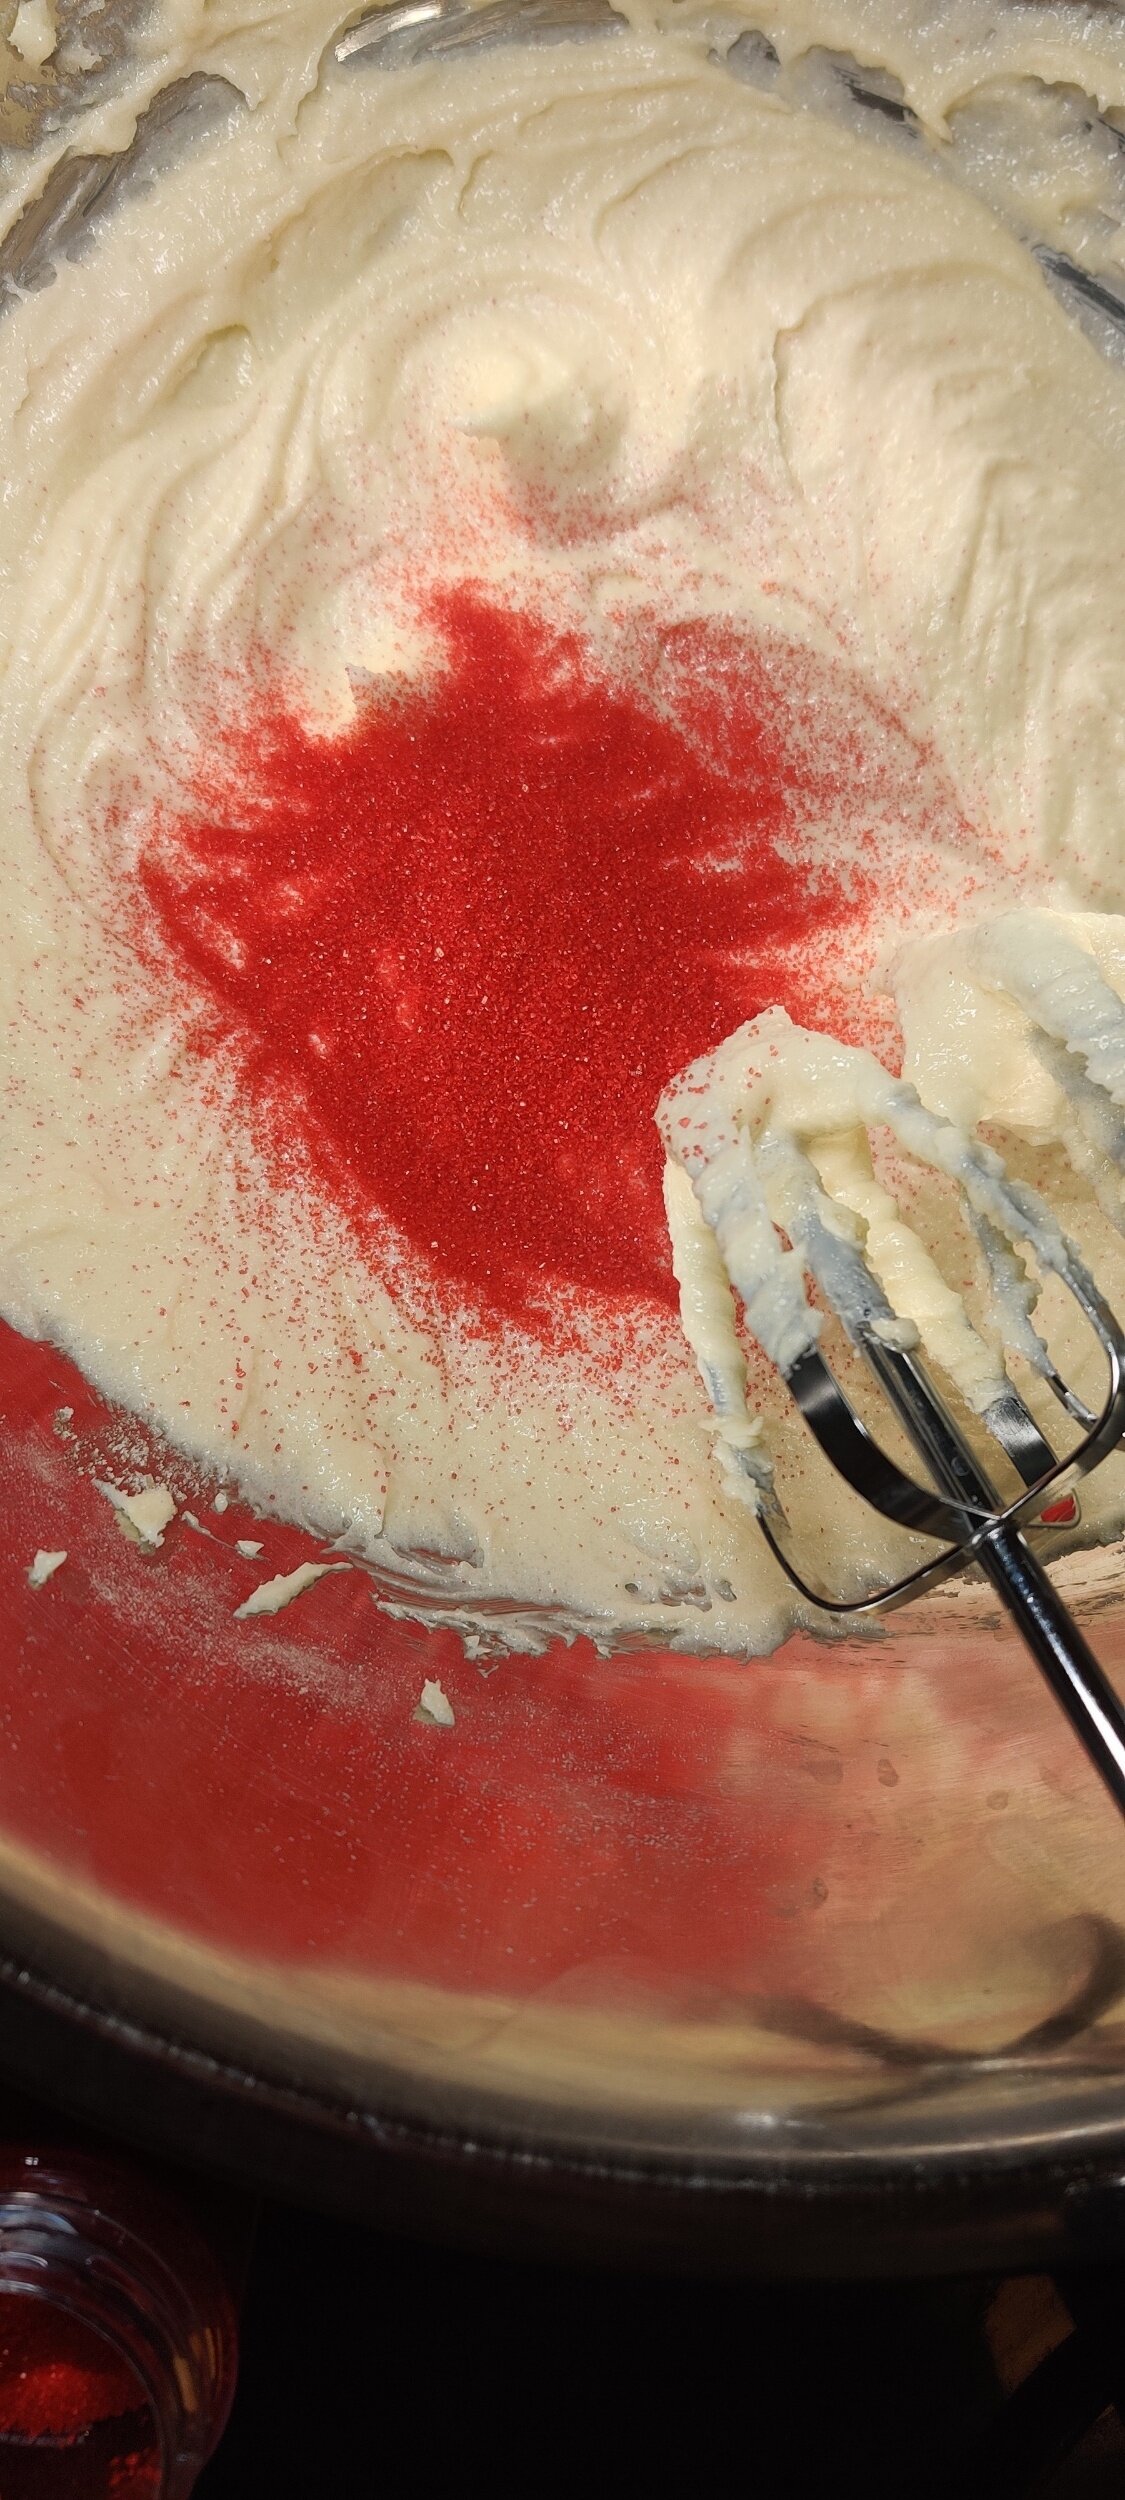
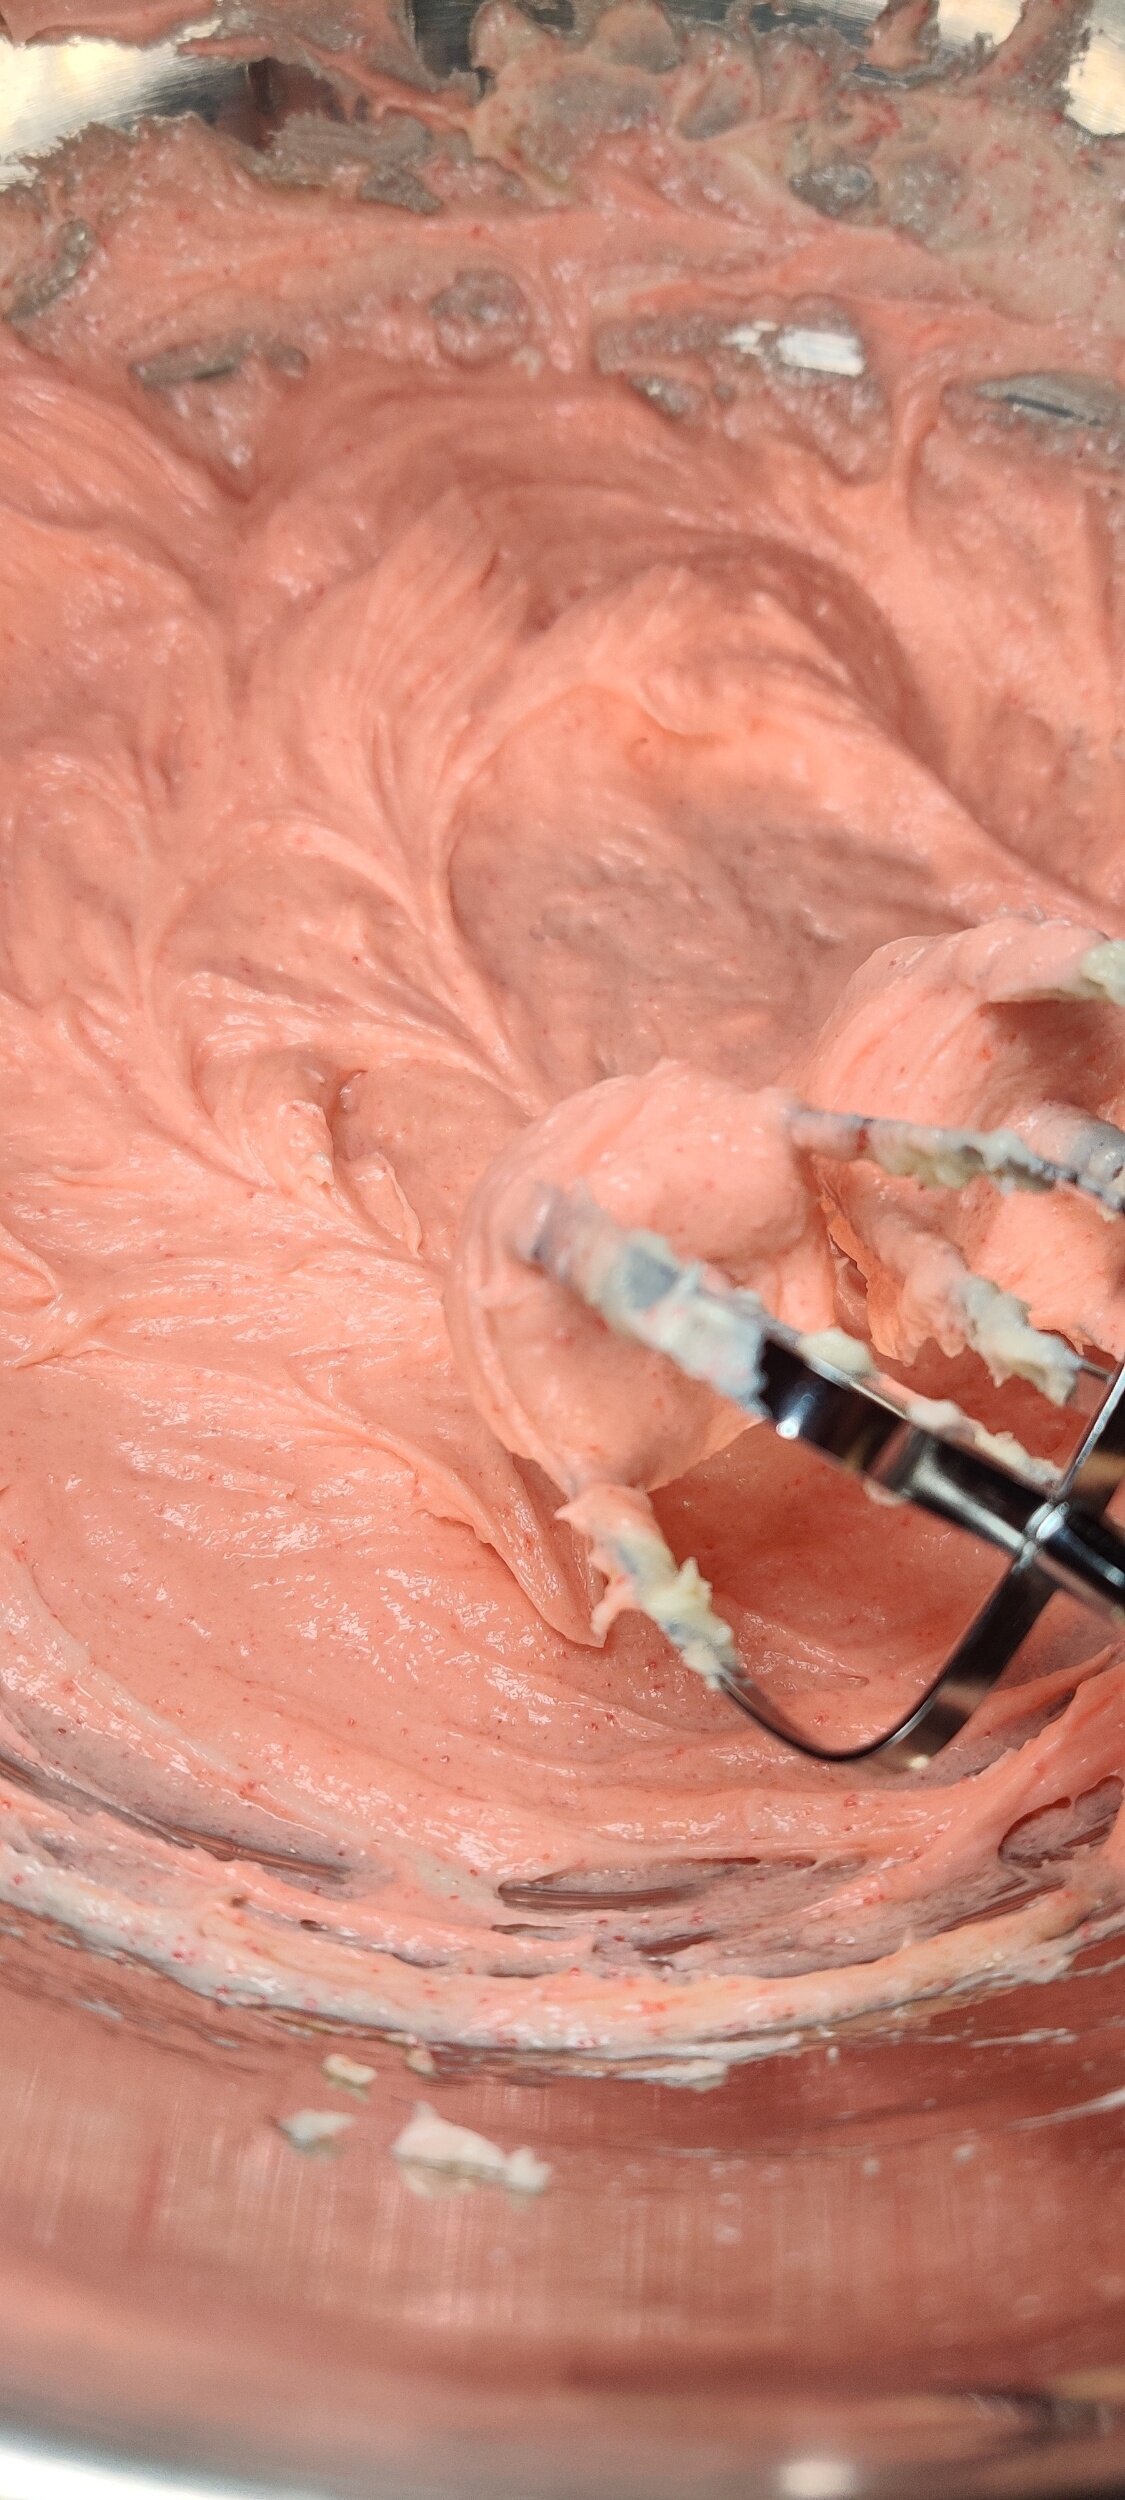
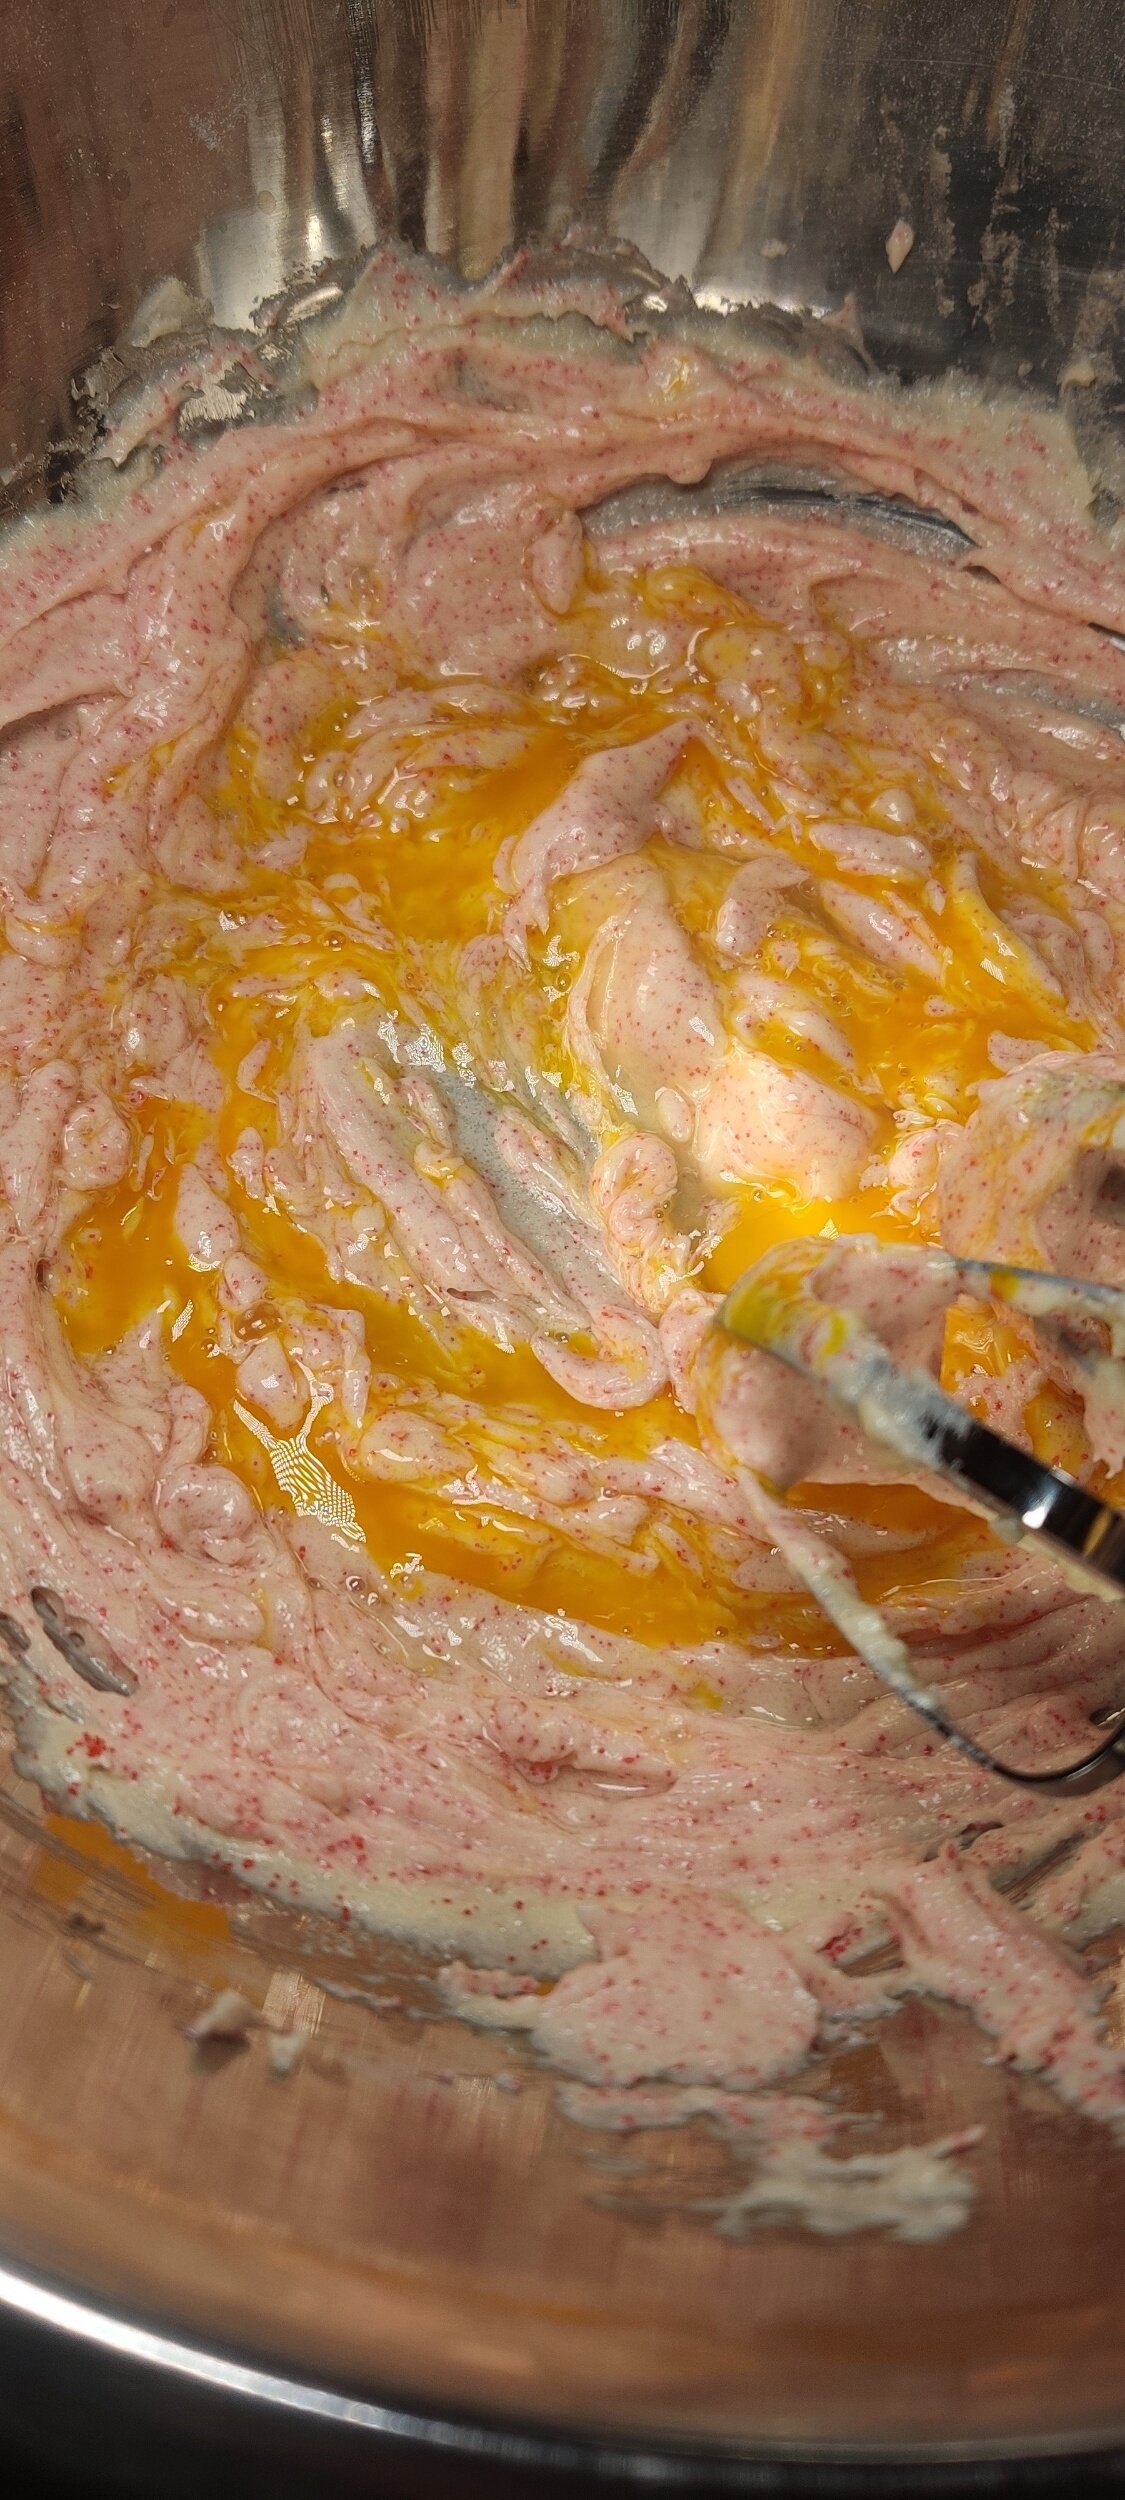
- Whisk in the red sprinkles, followed by the egg. The mixture will turn pink.
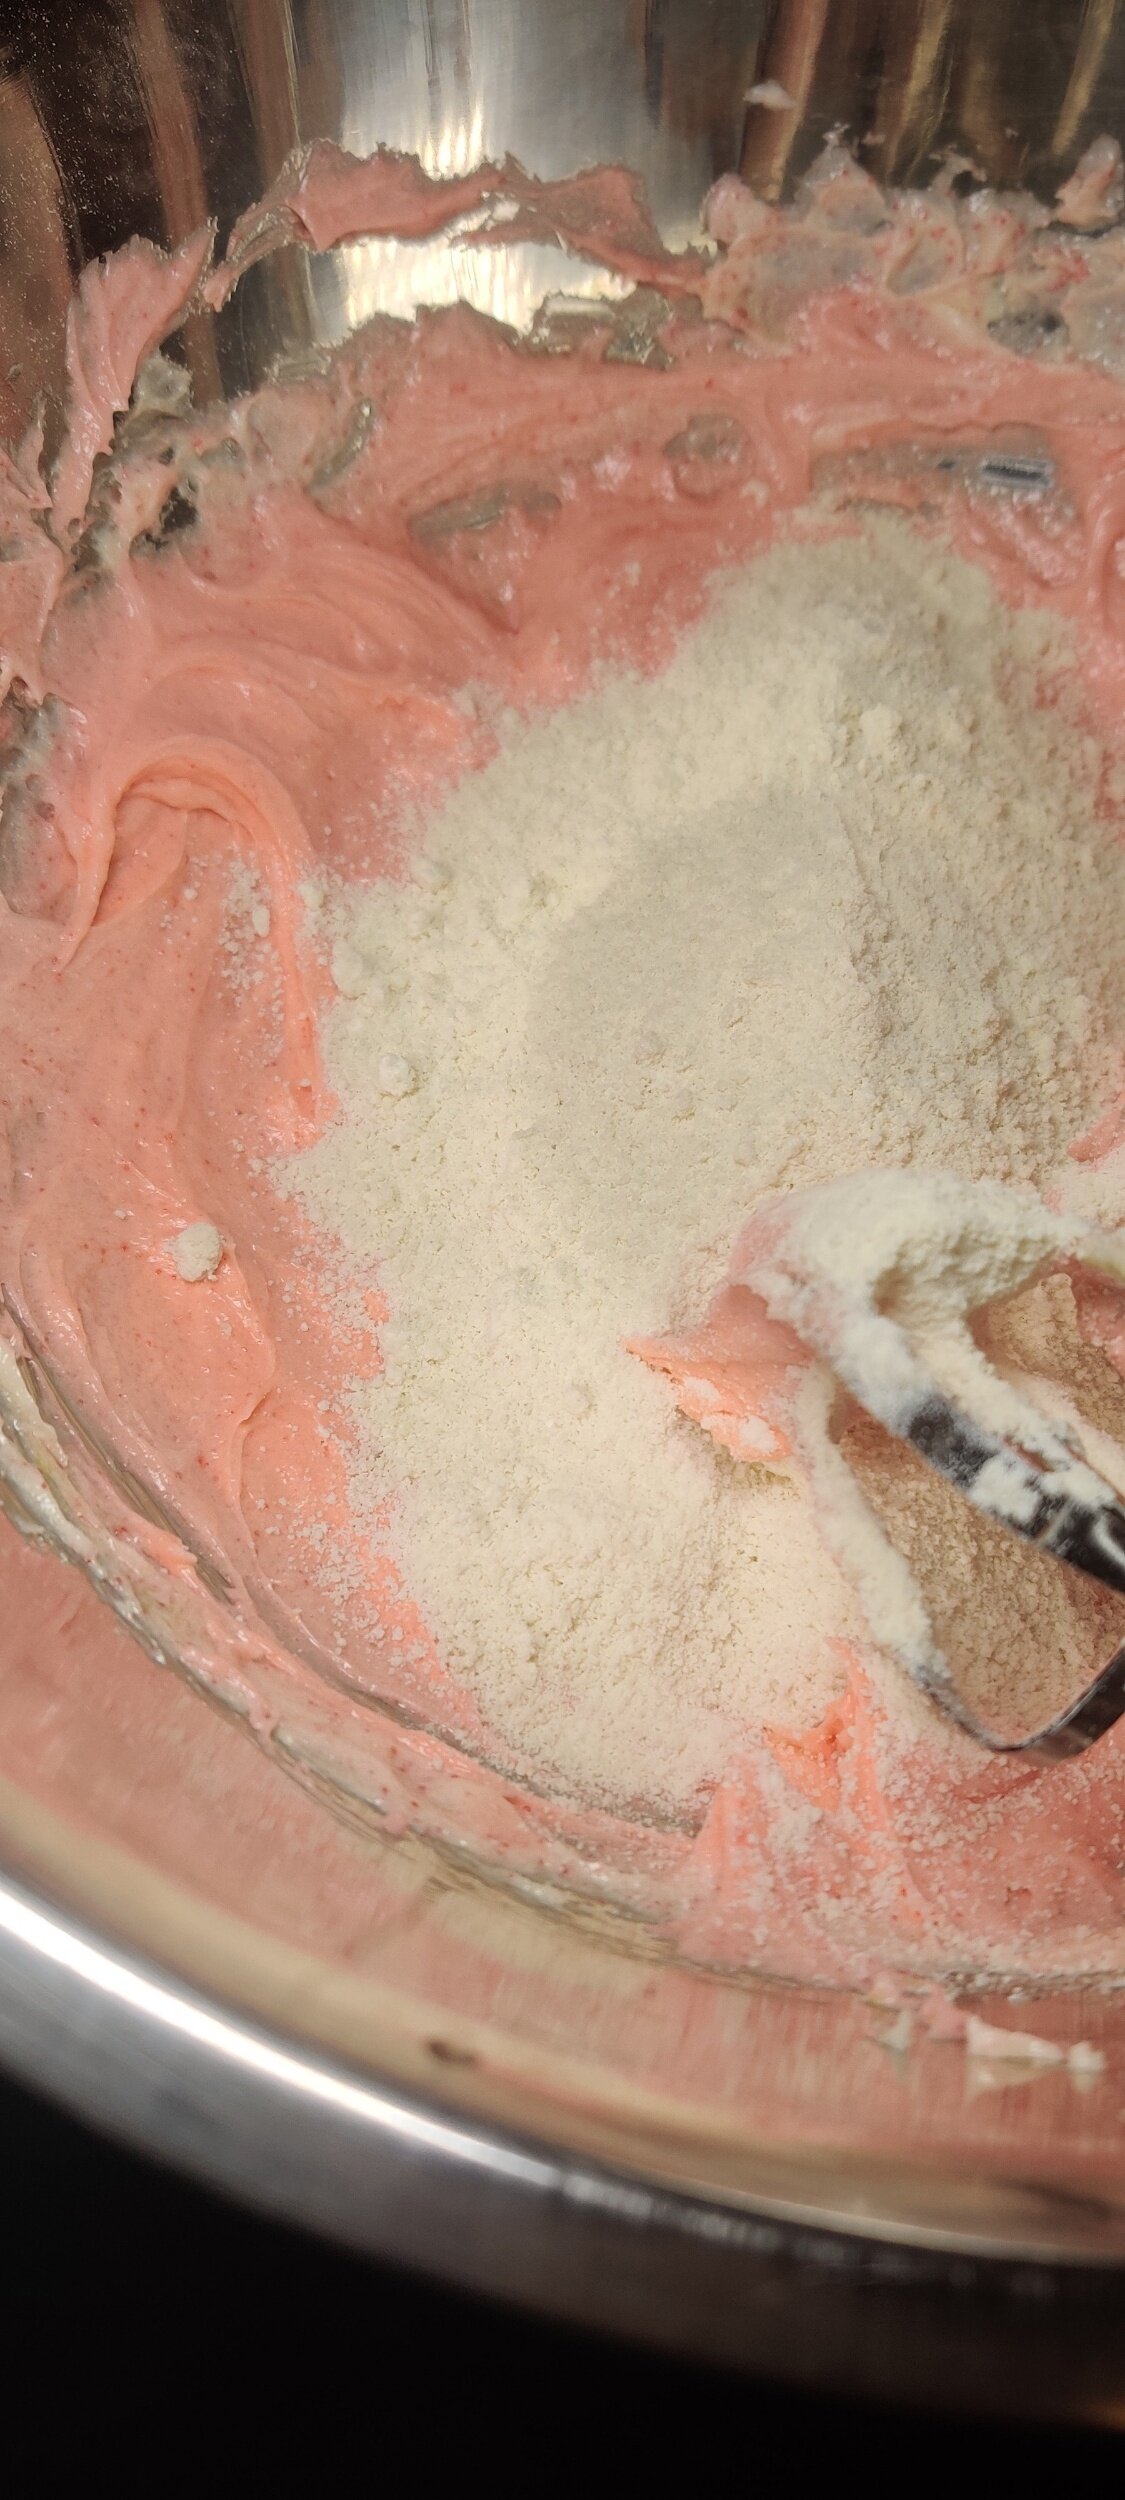
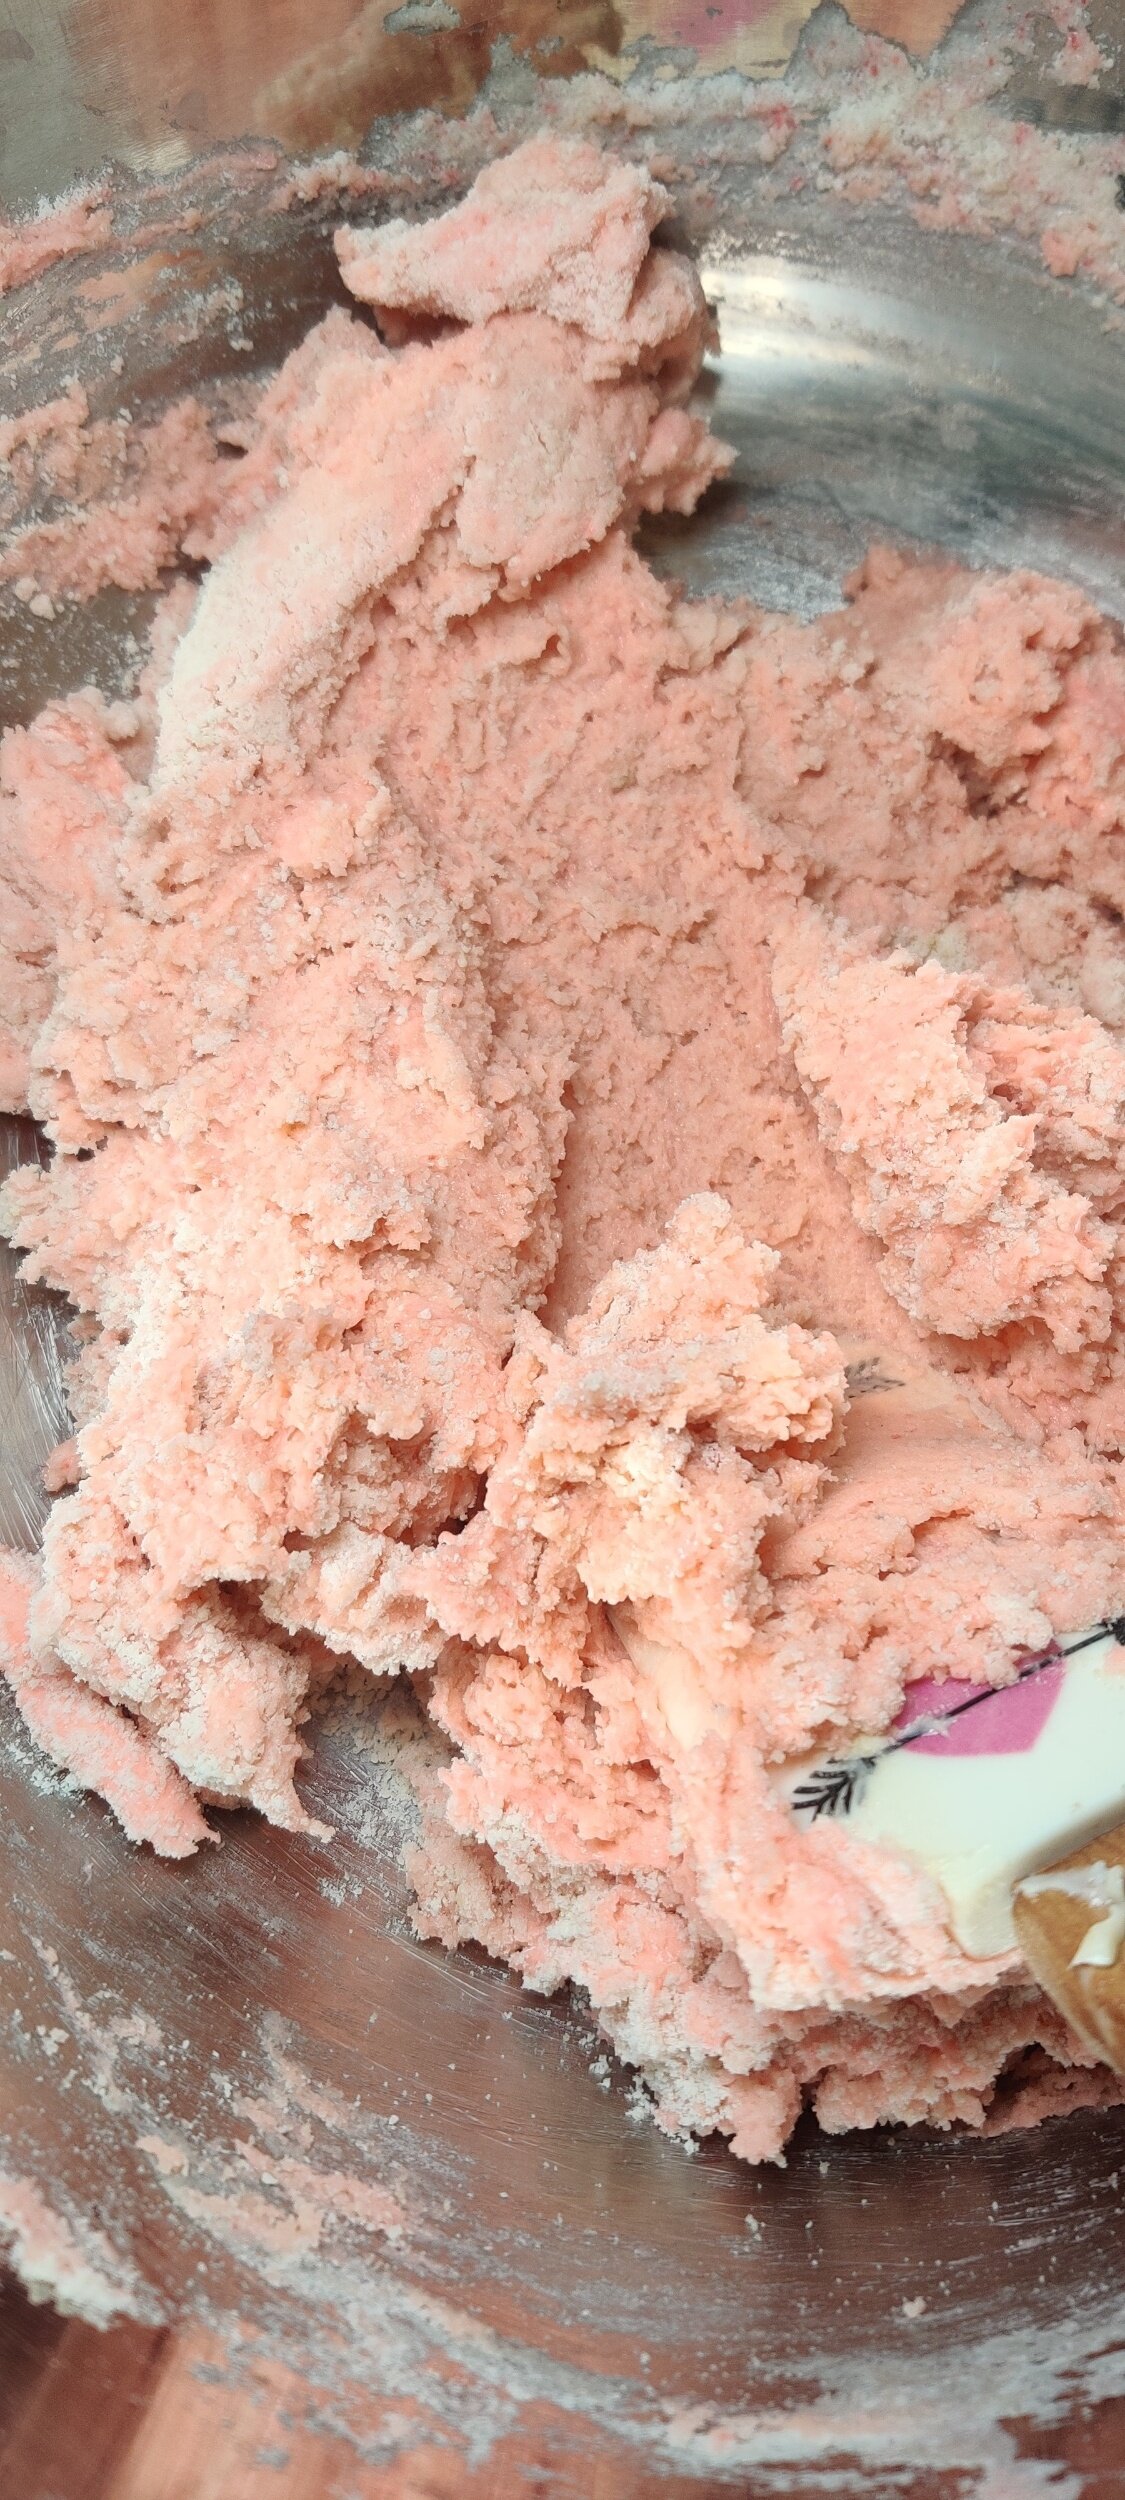
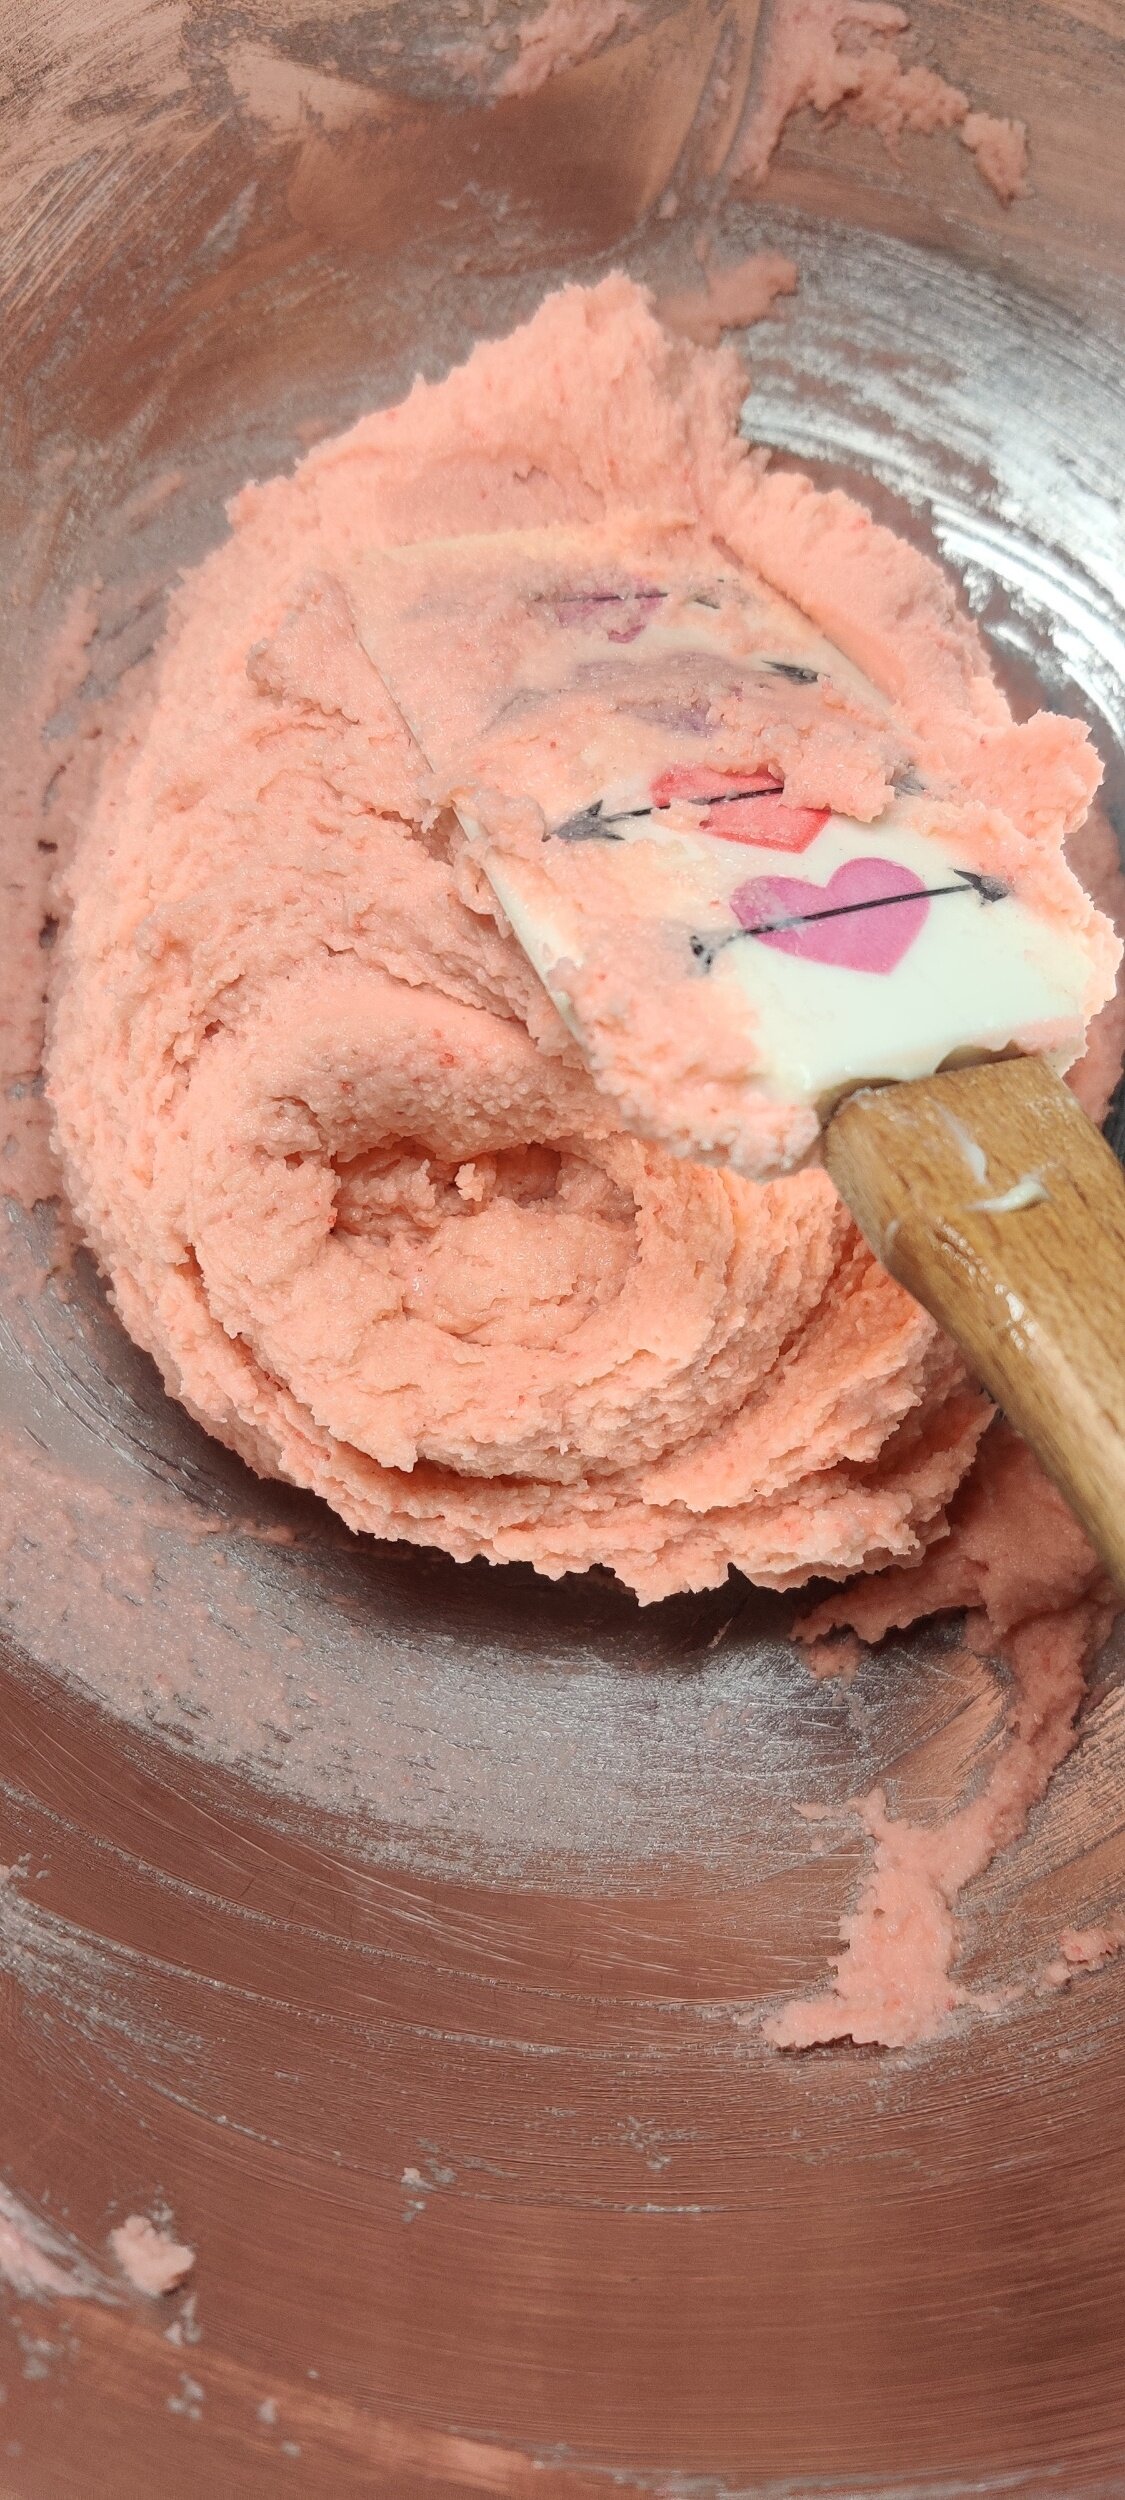
- Add the flour mixture to the large bowl, mix into a soft dough with a spatula. All the flour should be wet/mixed in well.
- Transfer the dough to a large piece of cling wrap, then wrap into a flat-like disc. Chill for 1-2 hours.
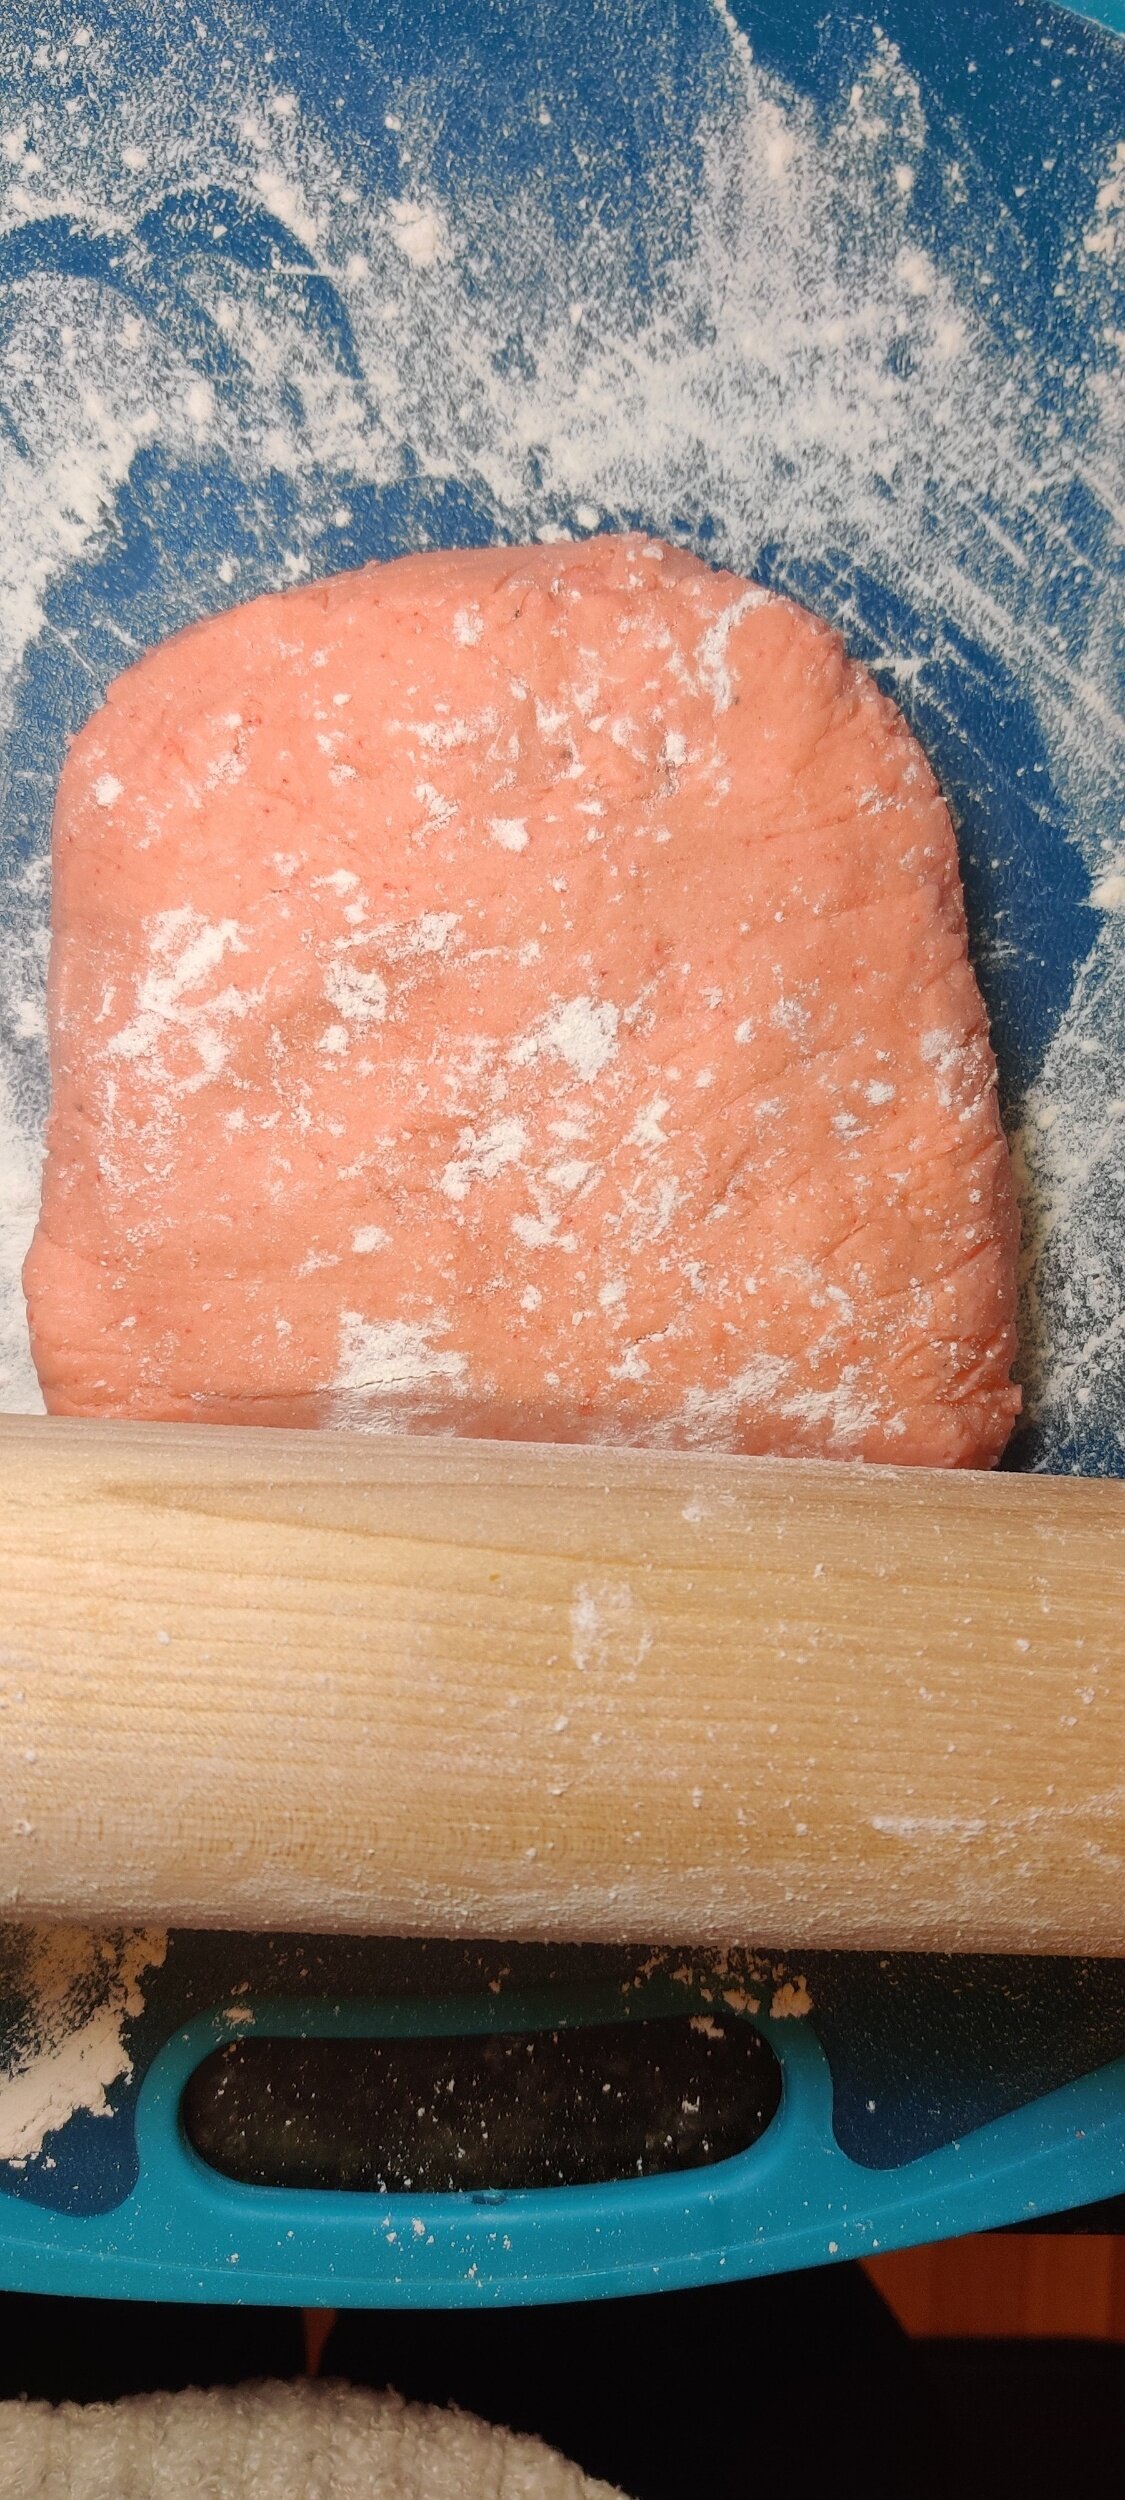
- On a lightly floured surface, roll out the dough to about a 1/2 inch. Be gentle! The dough is quite delicate.
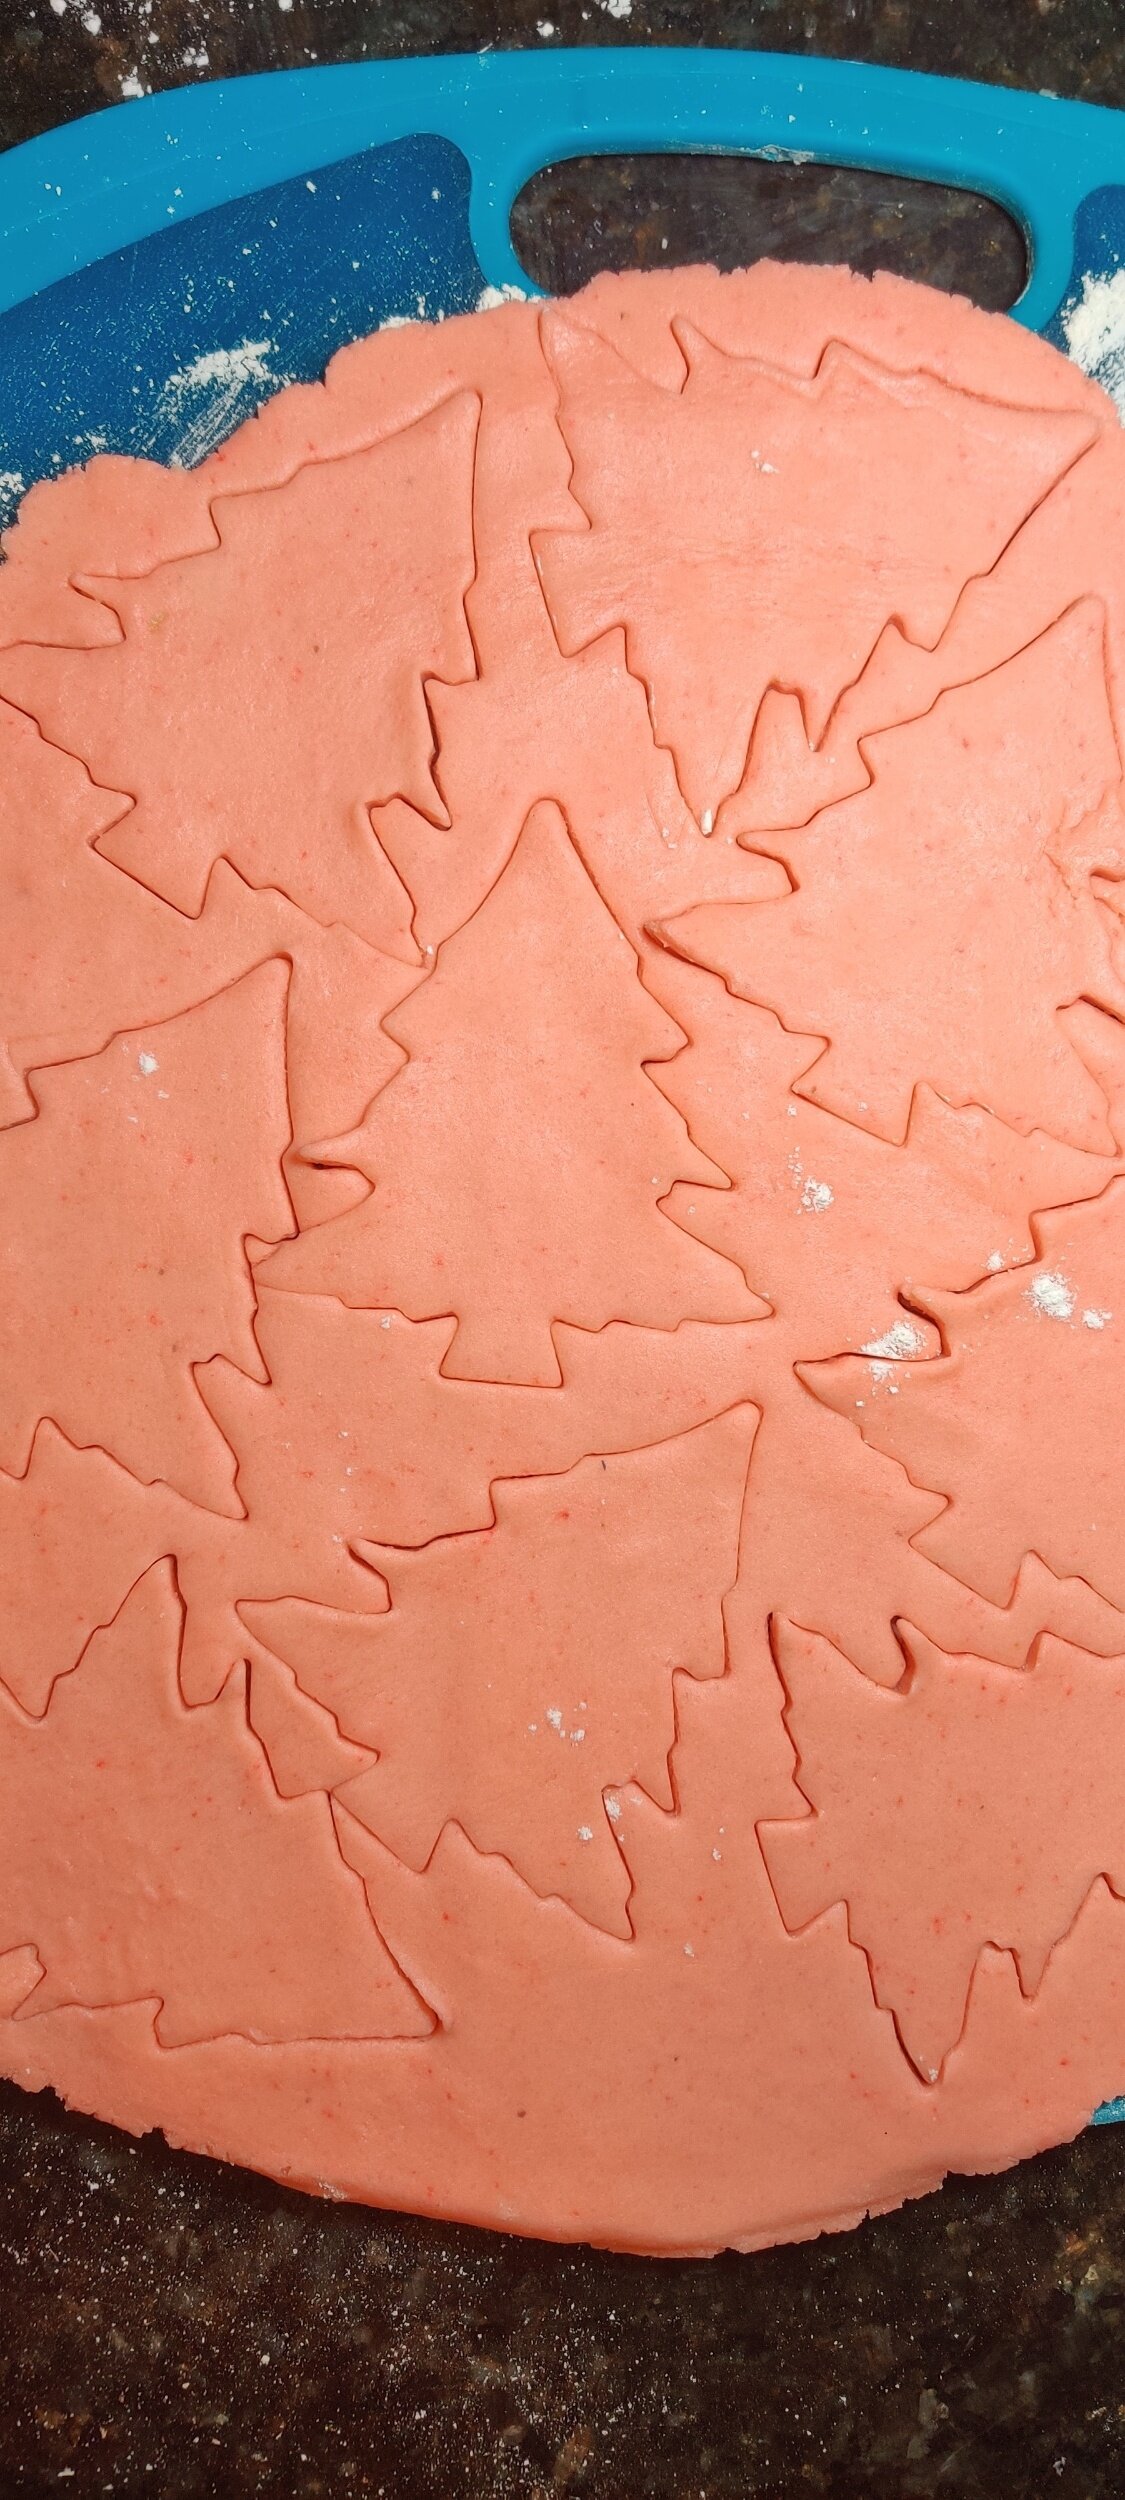
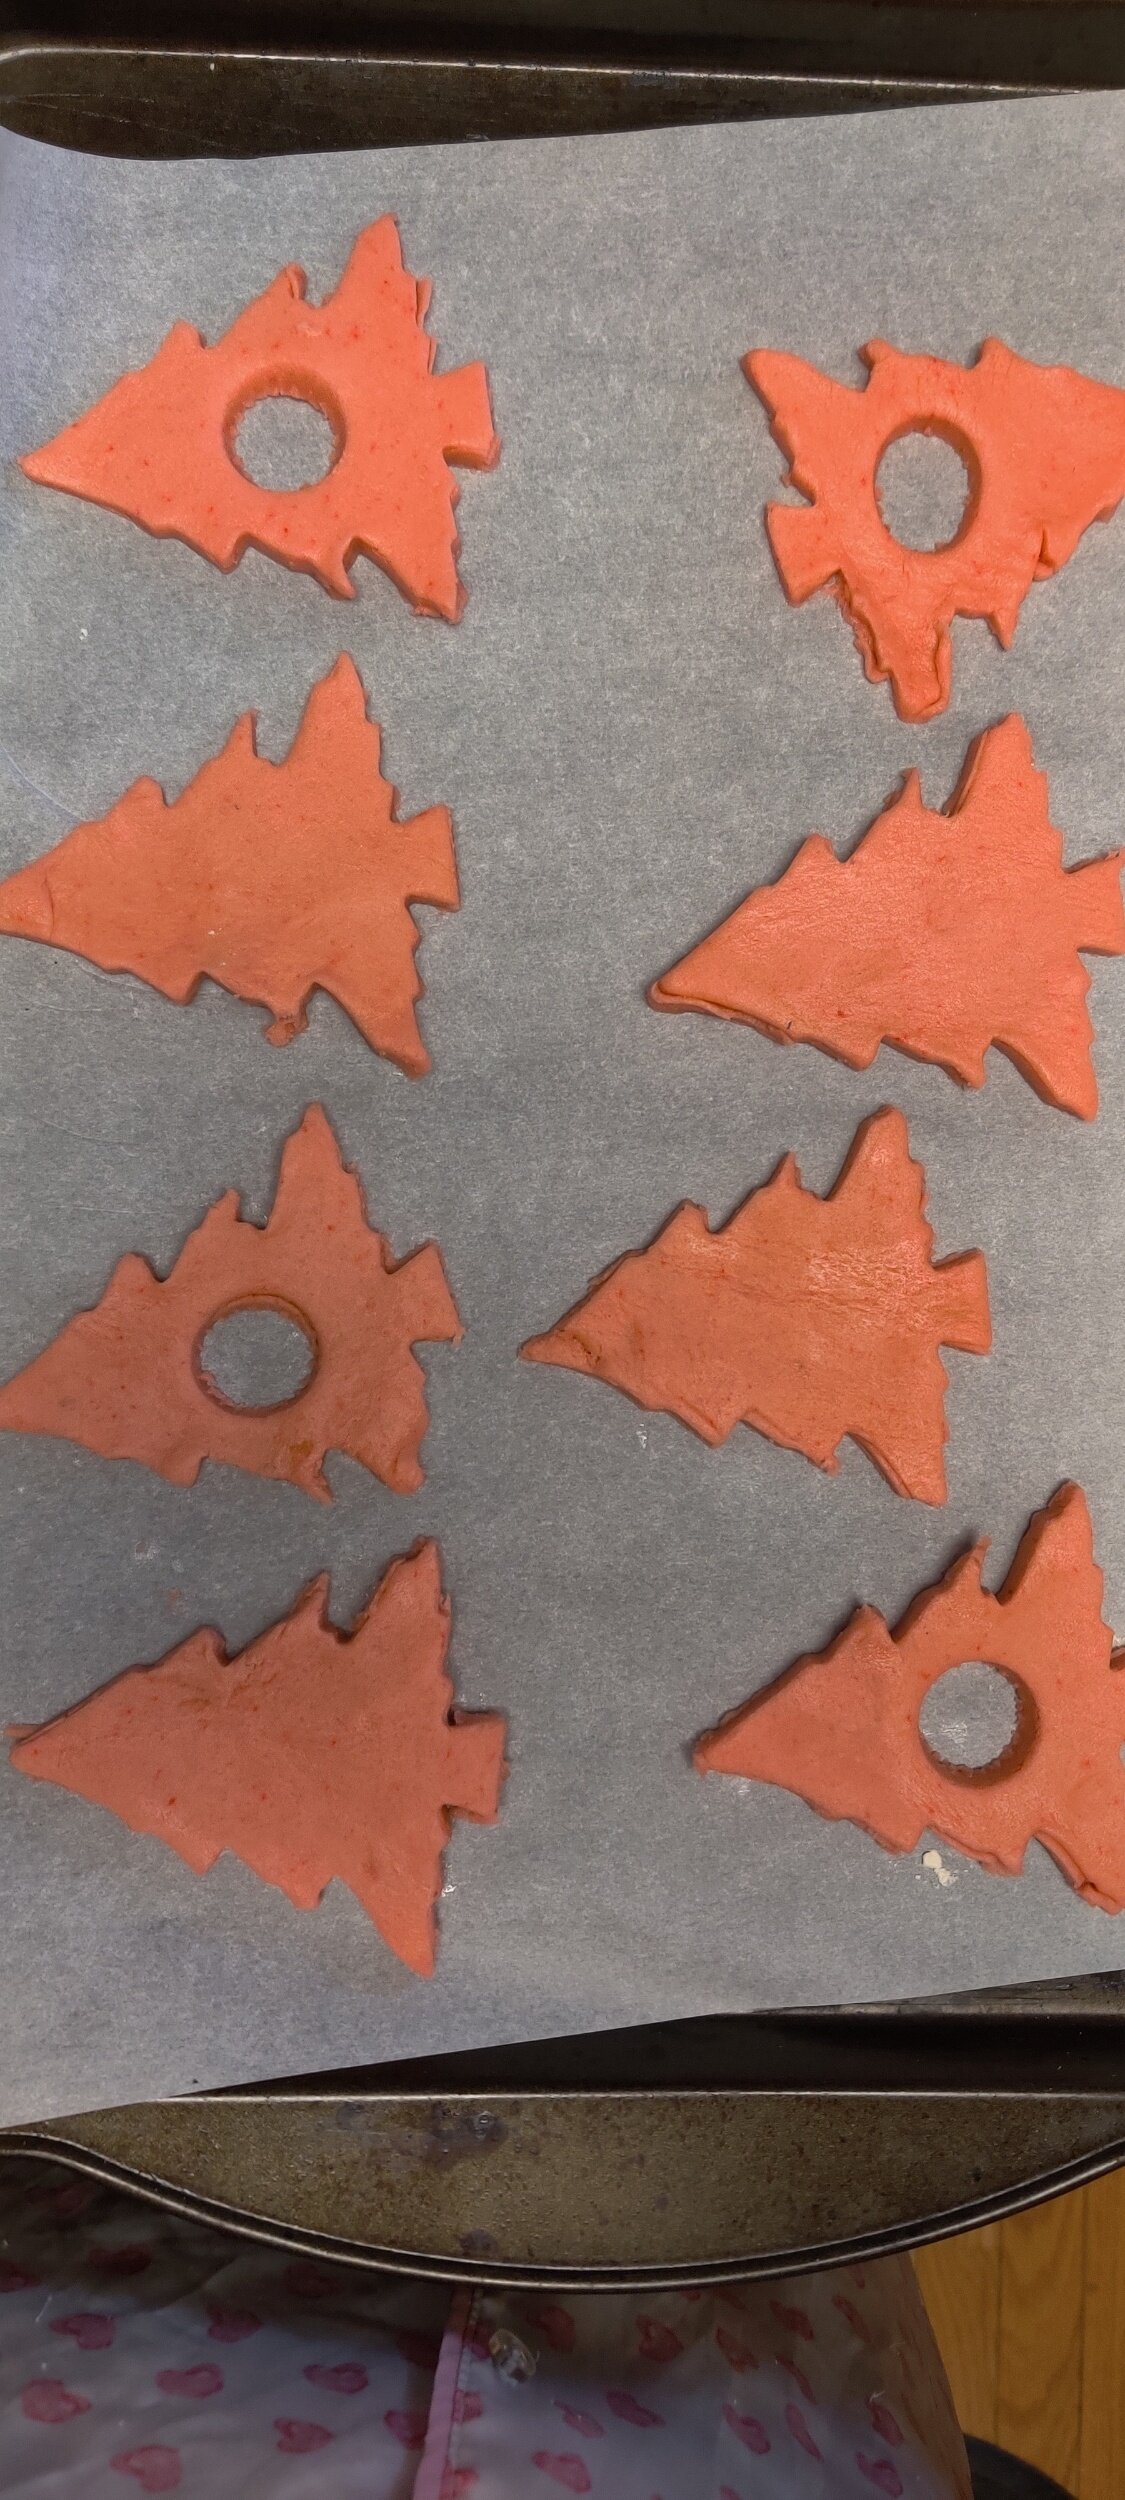
- Use a cookie cutter of your choice, and make an incision in the middle of every other cookie. Remember, you will be making little sandwiches.
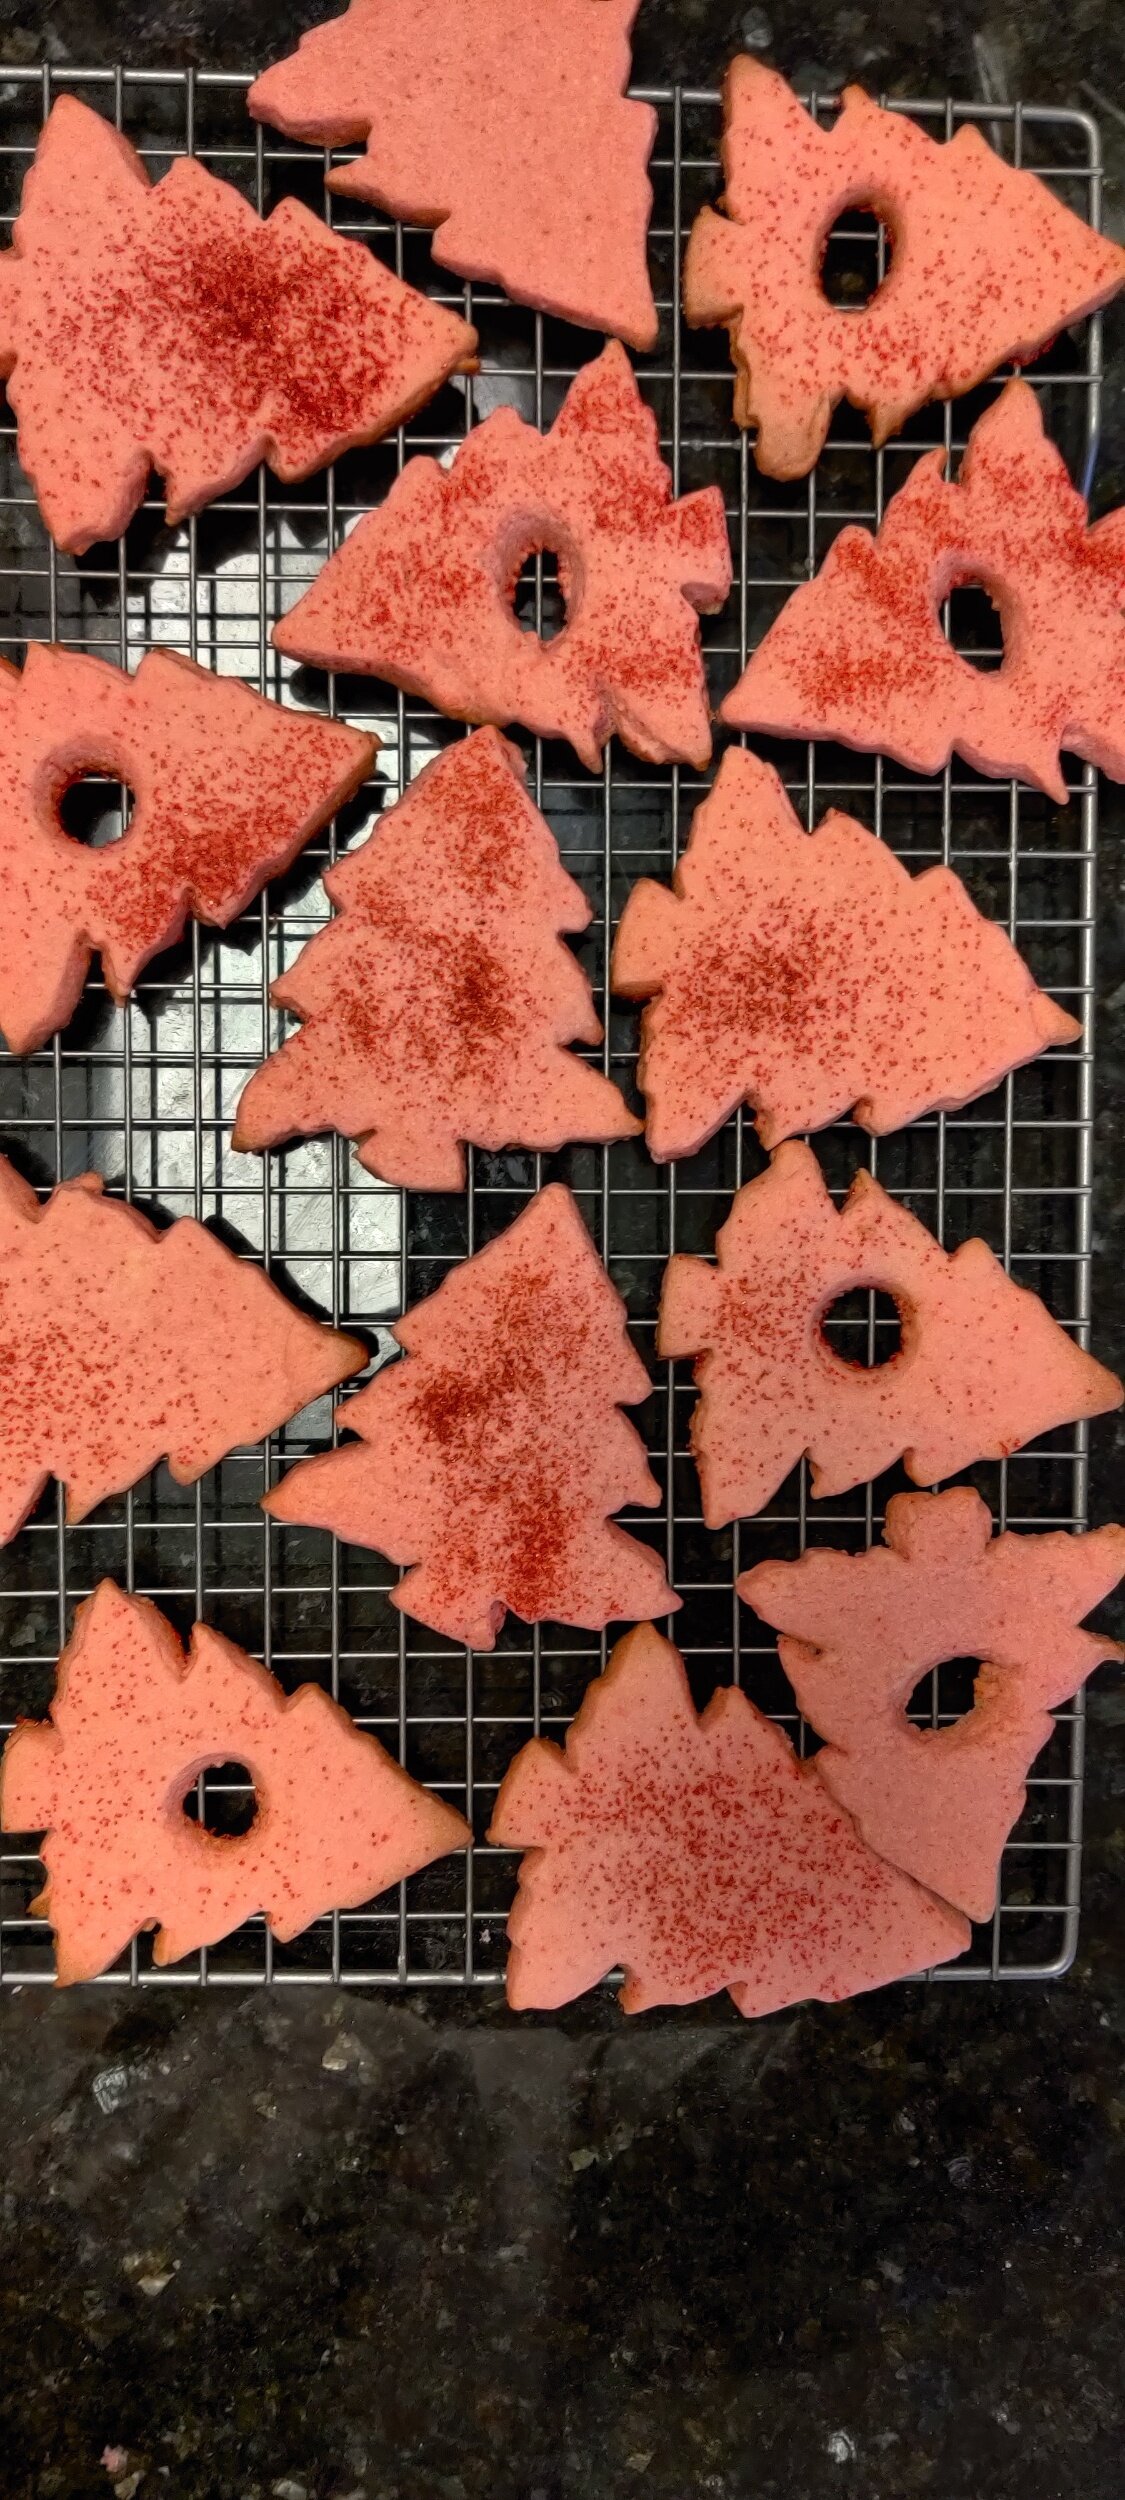
- Lay them on a baking tray with parchment paper and bake for 350F for 10 minutes in batches. If you need to, you can chill for at least 10 minutes before baking. Set aside to cool.
- Place a dollop of the dulce de leche in the middle of the whole side, and smear or pipe a dollop in the middle before or after closing each cookie. Dust with icing sugar and serve.
Nutrition Facts
Calories
191Fat (grams)
6.6 gCarbs (grams)
31.7 gFiber (grams)
2.8 gSugar (grams)
15.7 gProtein (grams)
3.5 gI am not a certified nutritionist and any nutritional information on dontmissmyplate.com should only be used as a general guideline.
Here are some helpful tips for making perfect Linzer biscuits:
1. Use Fresh, High-Quality Ingredients
The flavor of Linzer biscuits depends on the quality of ingredients, especially the butter, ground nuts, and jam. Choose unsalted butter, finely ground almonds or hazelnuts, and a high-quality jam for the best results.
2. Chill the Dough
Linzer dough can be delicate because of the high butter content. Chill the dough for at least 30 minutes (or longer) to make it easier to roll out and cut.
3. Roll Dough Between Cling Film or Parchment Paper
To prevent sticking and tearing, roll the dough between two sheets of parchment paper. This also makes transferring the rolled-out dough to the refrigerator for chilling much easier.
6. Handle with Care
Linzer biscuits can be fragile, especially after cutting. Use an offset spatula or knife to gently transfer them to the baking sheet.
7. Bake Evenly
Arrange cookies on the baking sheet with enough space to prevent overcrowding. Rotate the baking sheet halfway through to ensure even baking.
8. Don’t Overbake
The cookies should be light golden at the edges and not browned. Overbaking can make them dry and too brittle.
9. Let Cool Completely
Allow the cookies to cool fully on a wire rack before assembling. Warm cookies are more likely to break when handled.
11. Lightly Dust with Powdered Sugar
Dust the tops of the cookies with powdered sugar before assembling to keep the jam filling clean and vibrant.
12. Assemble Carefully
Spread a thin, even layer of jam (or whichever filing) on the base cookie. Avoid overfilling to prevent it from oozing out when the top cookie is pressed down.
13. Store Properly
Store assembled cookies in an airtight container at room temperature or in the fridge, separating layers with parchment paper to avoid sticking. They often taste better the next day as the flavors meld.
14. Customize the Look
Experiment with different shapes for the cut-out center (stars, hearts, flowers) to match the occasion or season.
15. Be Patient
Linzer biscuits are a labor of love, but the effort is worth it for their beautiful appearance and delicious taste. Take your time with each step to achieve stunning results.

Gingerbread Man Biscuits
A Sweet Tradition of Gingerbread Biscuits
There’s something magical about the aroma of gingerbread biscuits wafting through the kitchen. These spiced delights have been a beloved part of holiday traditions for centuries, bringing warmth, joy, and a touch of nostalgia to gatherings around the world. With their perfect balance of sweetness and spice, gingerbread biscuits are not just a treat—they’re an experience.
Whether you’re crafting elaborate gingerbread houses, decorating whimsical cookie shapes, or simply enjoying a cozy moment with a cup of tea, these biscuits are as versatile as they are delicious.
Keep this recipe on deck during the holidays or for any occasion. Lightly spiced and flavourful they are a treat for tea time or dunking in some hot chocolate.
It took me a while to truly appreciate what ginger and spices can do as an adult, but when it came to gingerbread or ‘gingersnap’ biscuits, my grandmother built the love by offering them to me as a child alongside a cup of tea. There was something about the medley of spices, brown sugar and honey (or molasses), and that oh so slightly bitter taste from the ginger root.
If you want a different take on these, try my Ginger Biscuit Snickerdoodles.
Gingerbread biscuits hold a special place in my heart because my grandmother always had a tin full when my siblings and I would visit.
You'll want to store these in an airtight container and eat them within 3-4 days to preserve their freshness.
Tips to Consider While Making Your Gingerbread Biscuits!
Chill the Dough
Refrigerate your dough for at least 30 minutes before rolling it out. This helps the dough firm up, making it easier to handle and less likely to stick to your rolling pin or work surface.Roll Evenly
Use rolling pin guides or two wooden dowels of equal thickness on either side of the dough to ensure an even roll. This guarantees evenly baked biscuits with consistent texture.Use Parchment Paper or a Silicone Mat
Roll out your dough between two sheets of parchment paper or on a silicone baking mat. This prevents sticking and makes transferring the cut shapes to the baking tray easier.Don’t Overmix the Dough
Mix the dough just until the ingredients are combined. Overmixing can lead to tough biscuits as it activates too much gluten in the flour.Choose the Right Spices
Use fresh, high-quality spices like ginger, cinnamon, nutmeg, and cloves for the best flavor. Grinding whole spices yourself will make the flavor even more vibrant.Plan for Cookie Spread
Space your biscuits at least an inch apart on the baking sheet to prevent them from sticking together as they bake.Monitor Baking Time
Keep a close eye on your biscuits in the oven. They can quickly go from perfectly baked to overdone. Take them out when the edges are firm but the centers are still slightly soft—they’ll firm up as they cool.Cool Completely Before Decorating
Let your biscuits cool completely before adding icing or decorations. Warm biscuits can cause the icing to melt and ruin your designs.Customize Texture
For softer biscuits, bake slightly less and store in an airtight container with a slice of bread to retain moisture. For crispier biscuits, bake a little longer and let them cool completely on a wire rack.Get Creative with Decorations
Use royal icing, colored sugar, sprinkles, or edible glitter to personalize your gingerbread biscuits. Let kids join the fun—it’s a perfect family activity!
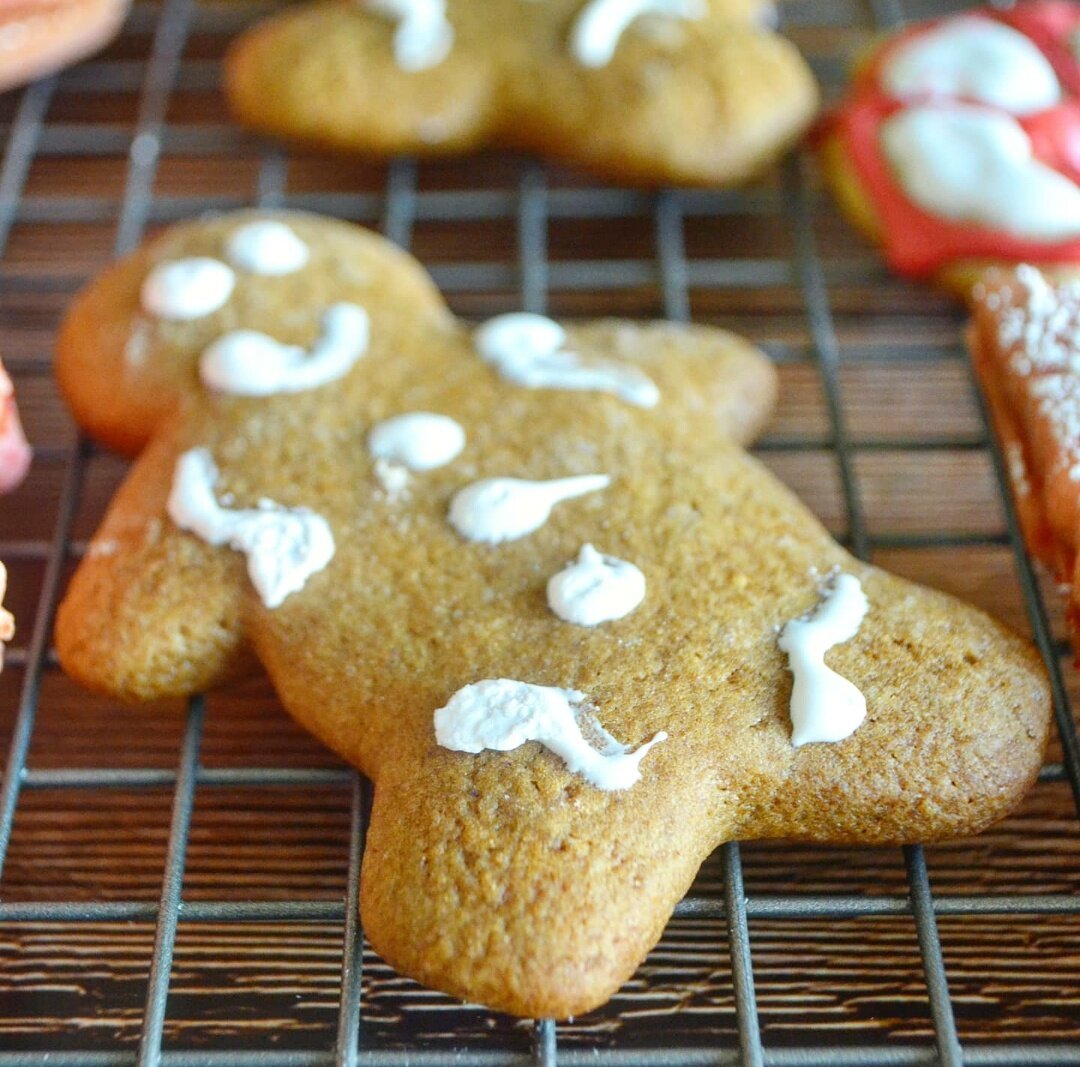
Gingerbread Man Biscuits
Ingredients
- 3 cups whole wheat white or all-purpose flour
- 1/2 cup honey or molasses
- 1 1/2 teaspoons ginger, ground
- 1 tablespoon cinnamon, ground
- 1/2 teaspoon cloves, ground
- 1/2 teaspoon nutmeg, ground
- 1 teaspoon salt
- 1 teaspoon vanilla extract
- 1/2 teaspoon almond extract
- 3/4 cup light brown sugar
- 1 egg
- 3/4 cup butter, melted
- 1 teaspoon baking soda
- 1/2 cup water
Instructions
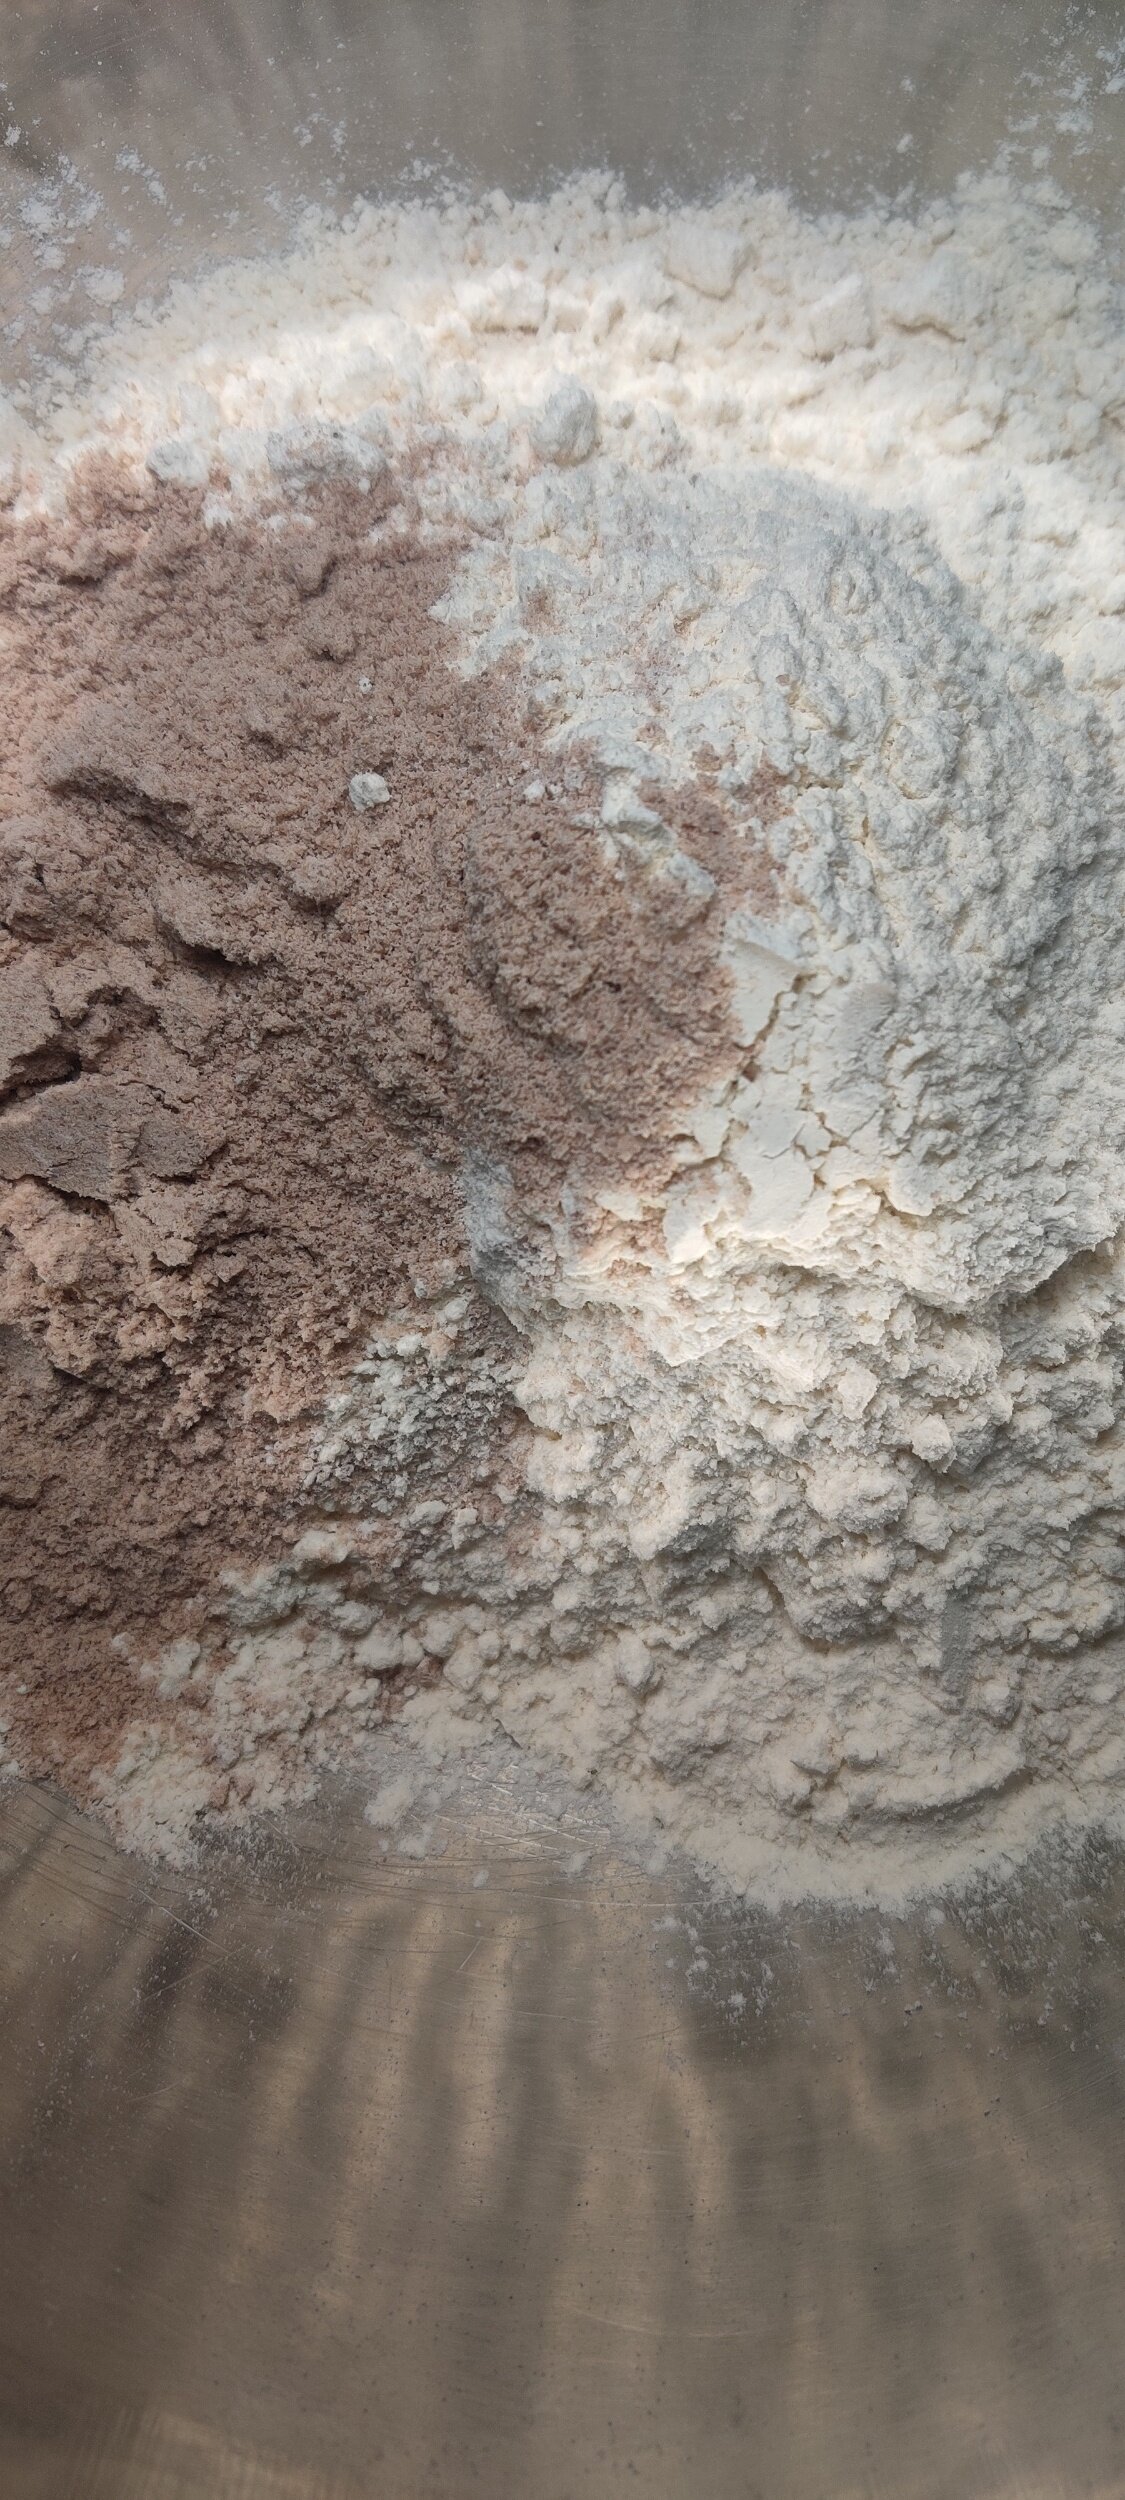
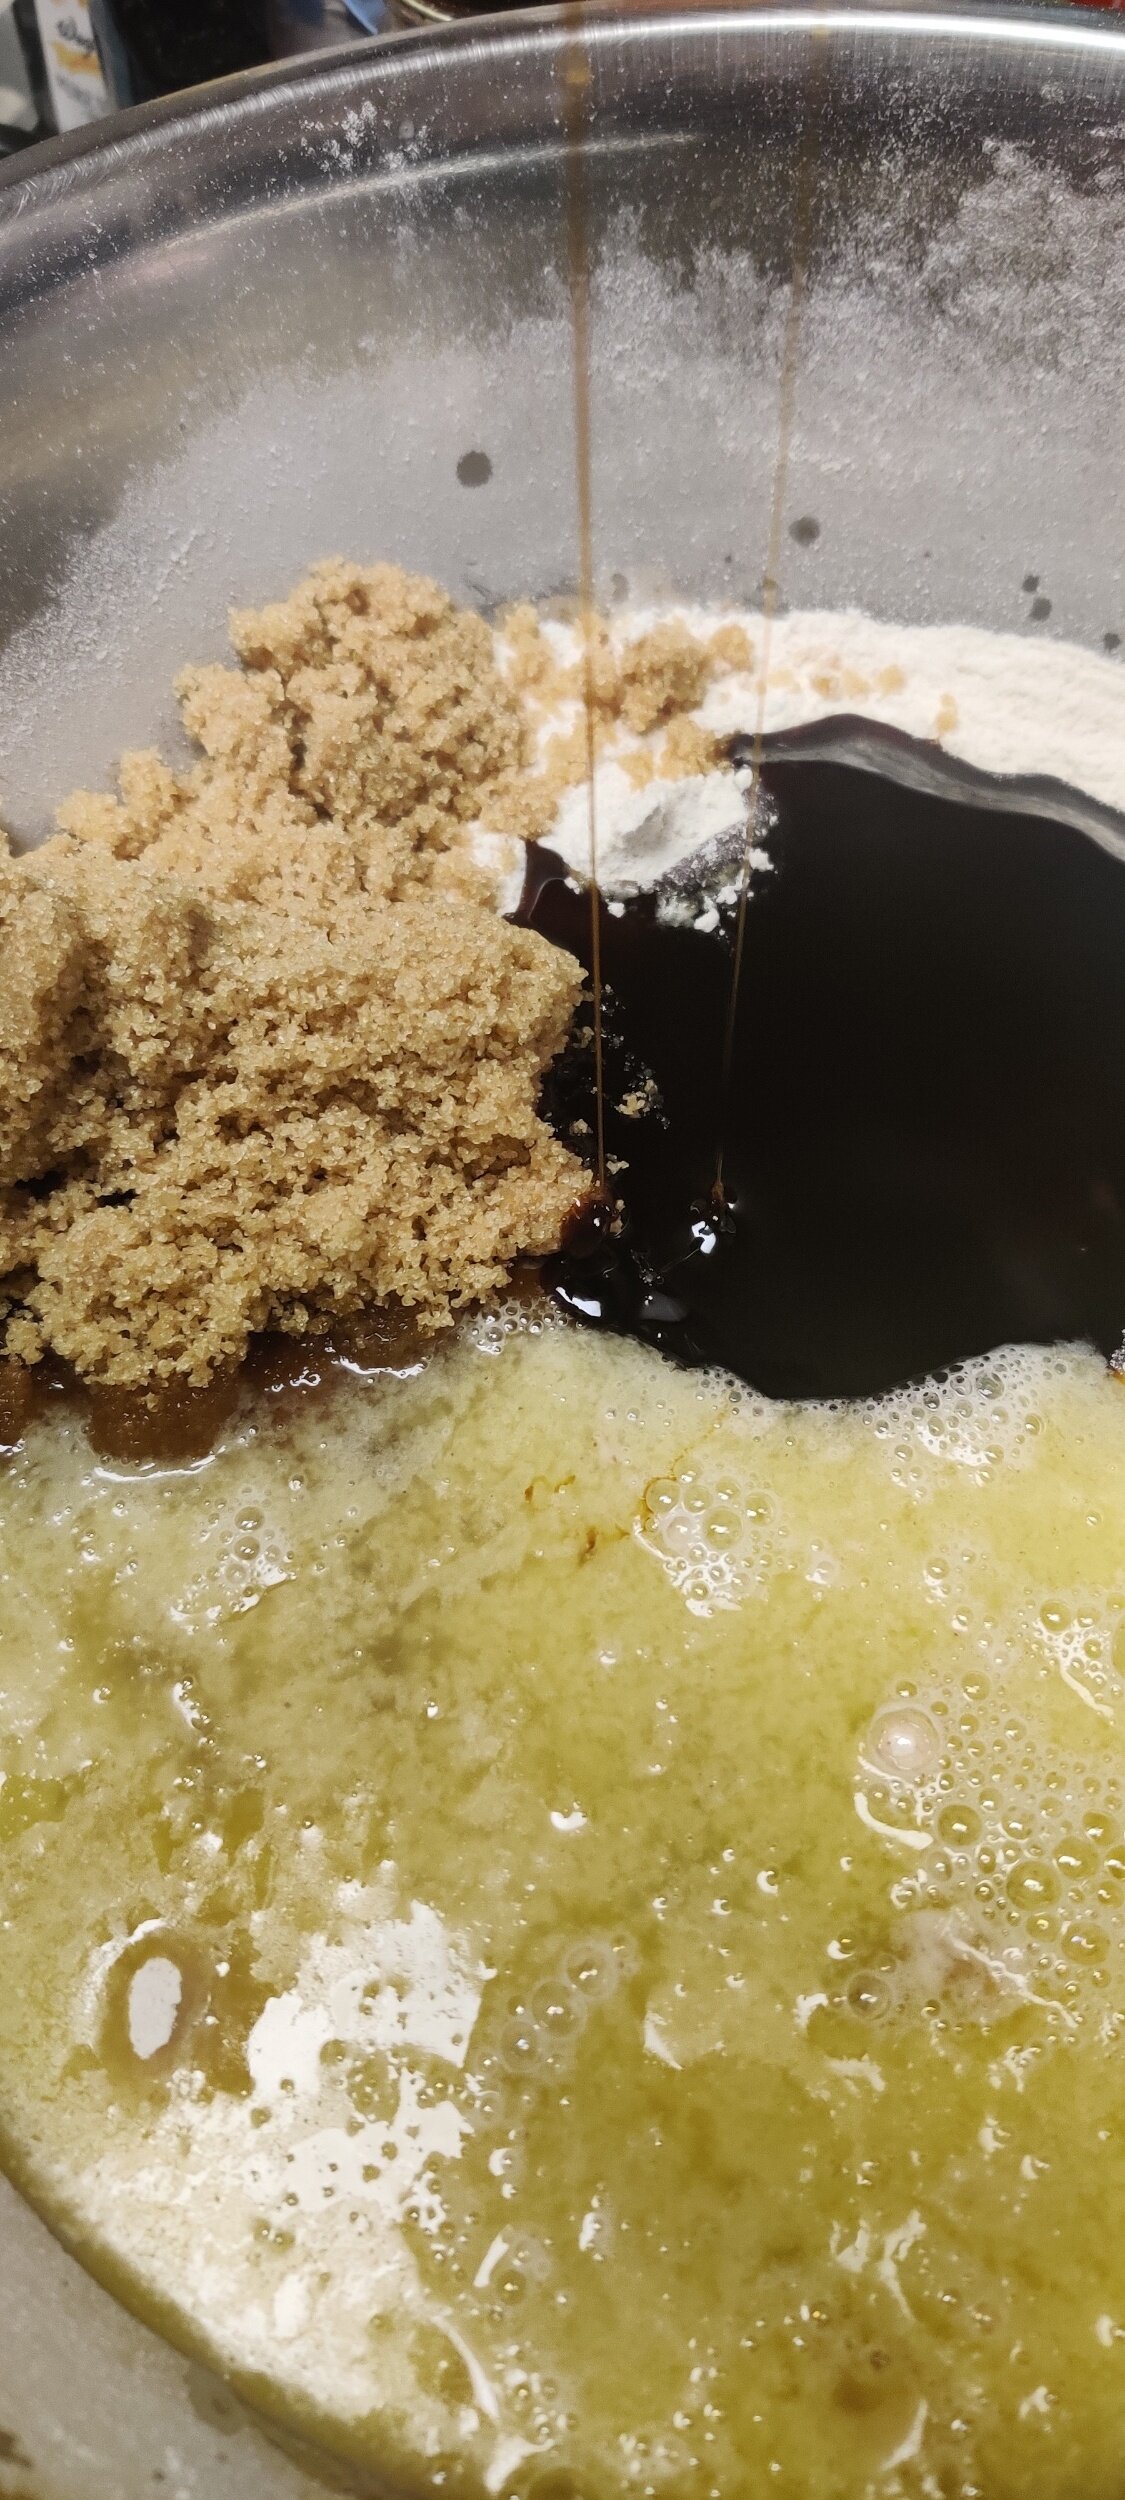
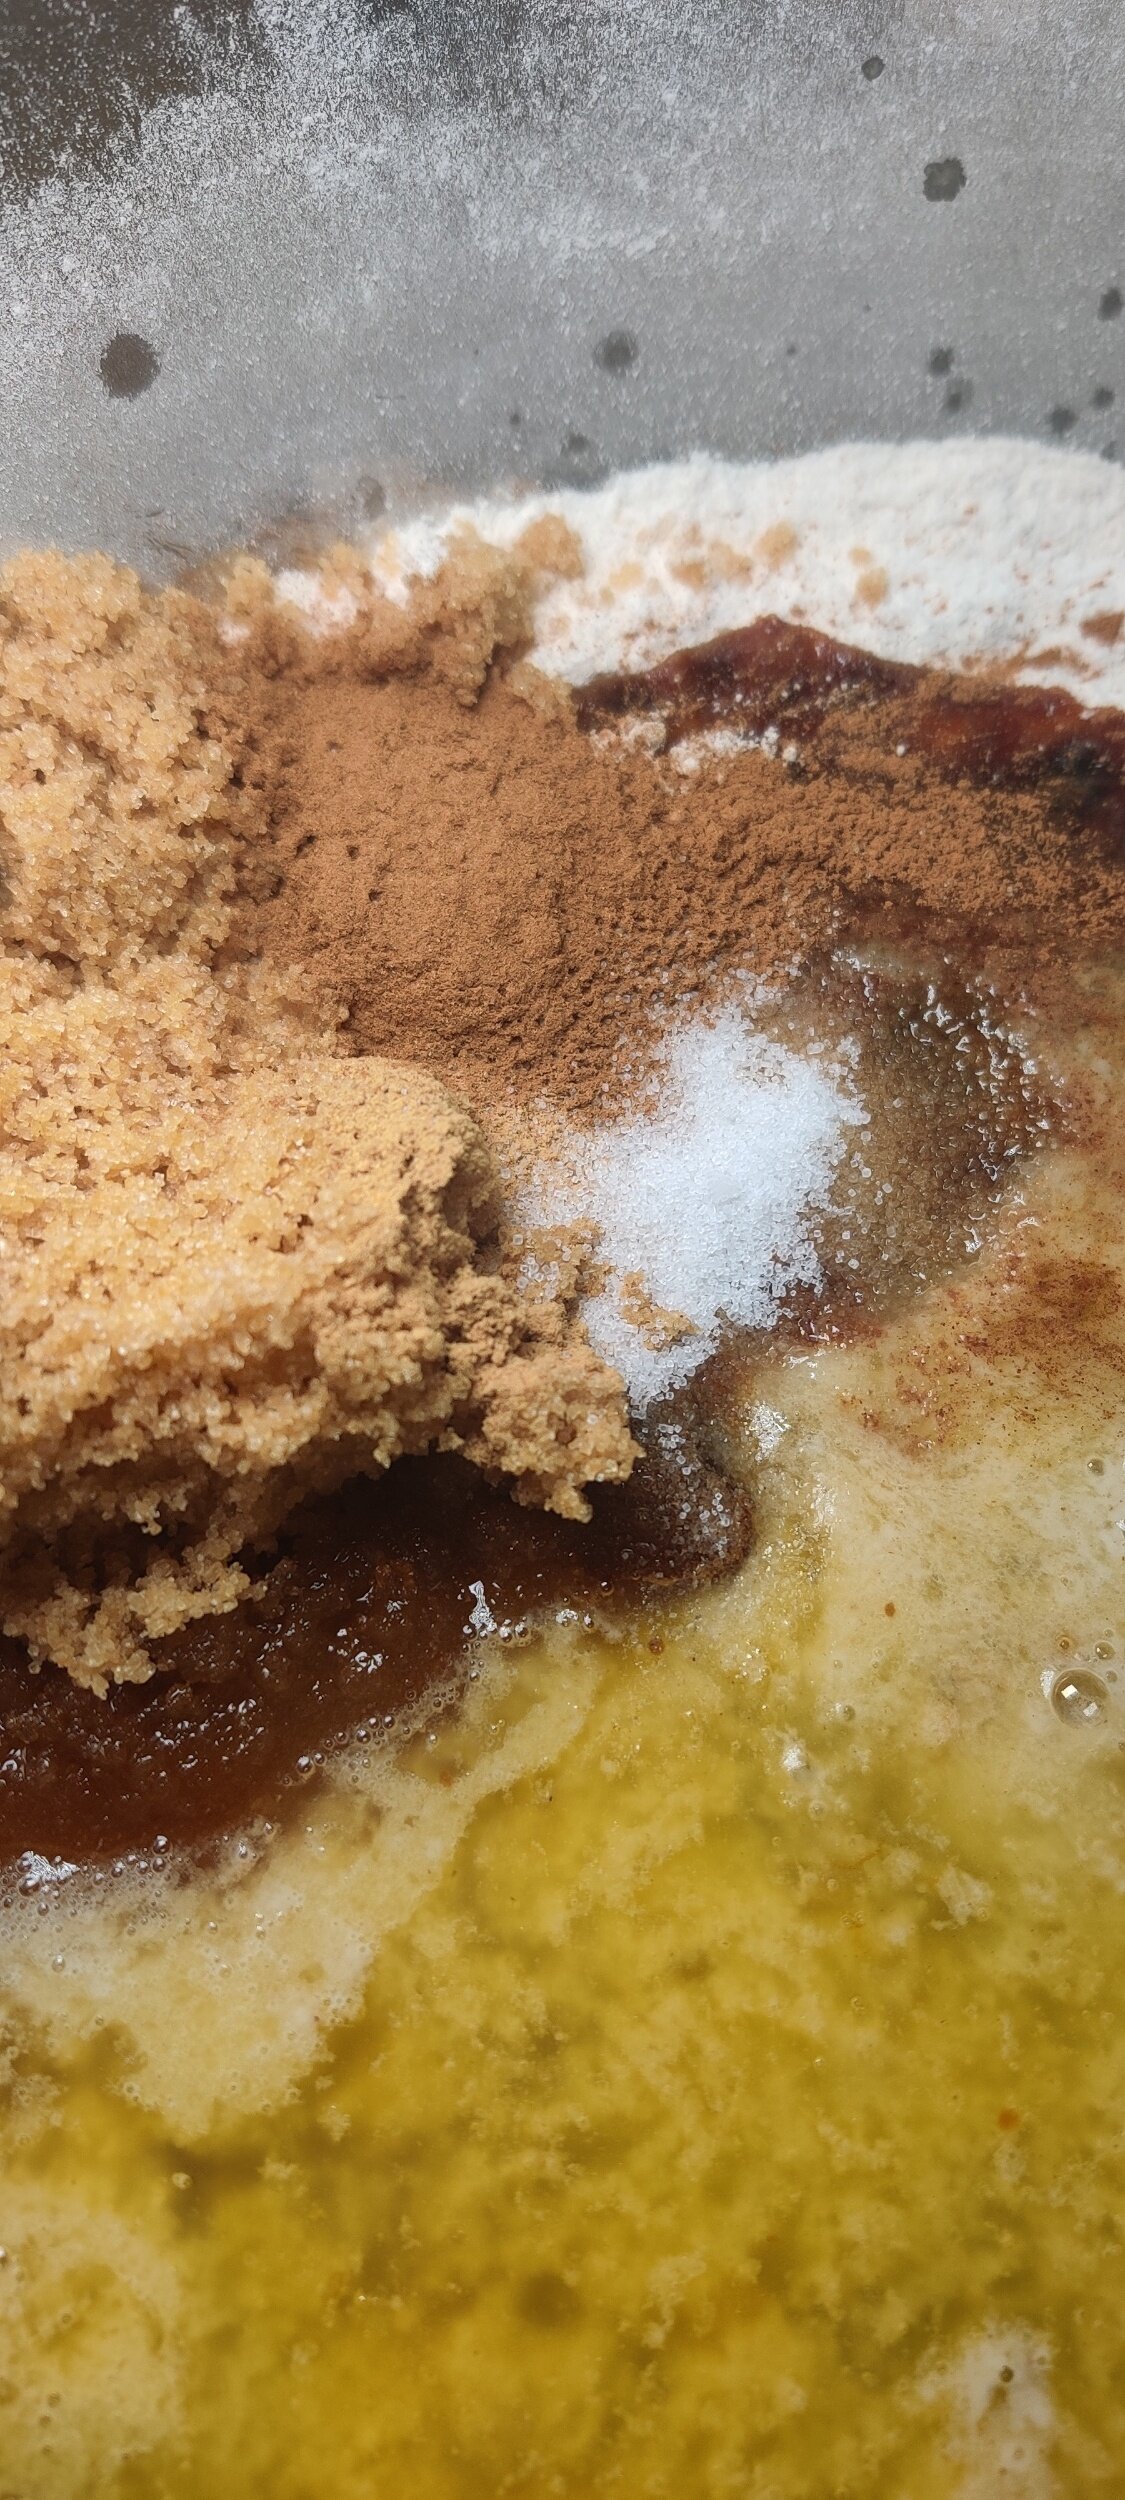
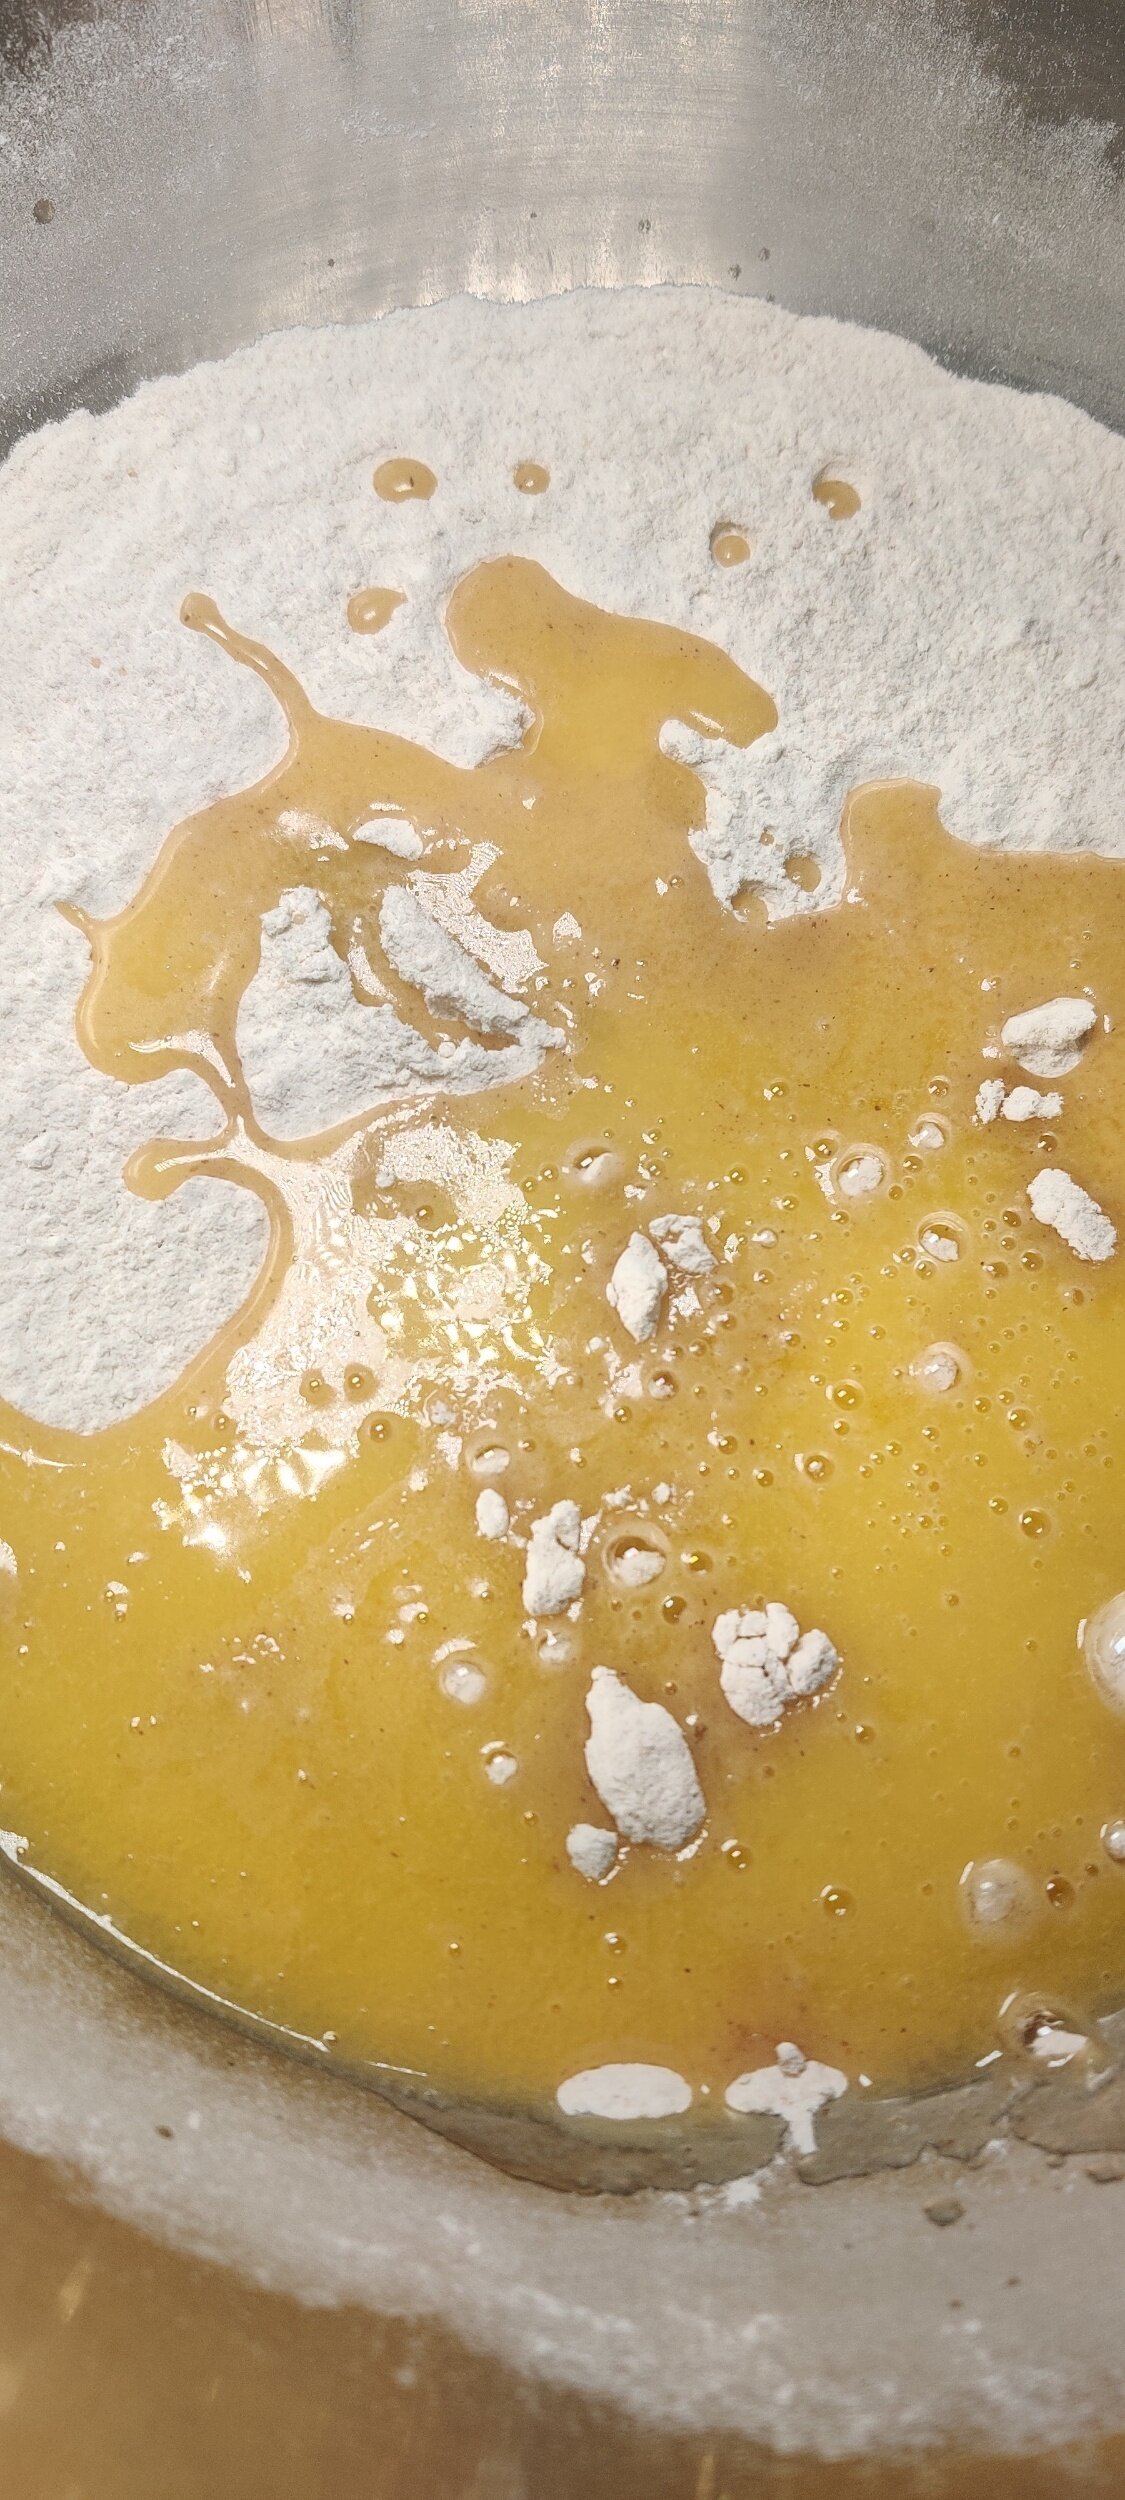
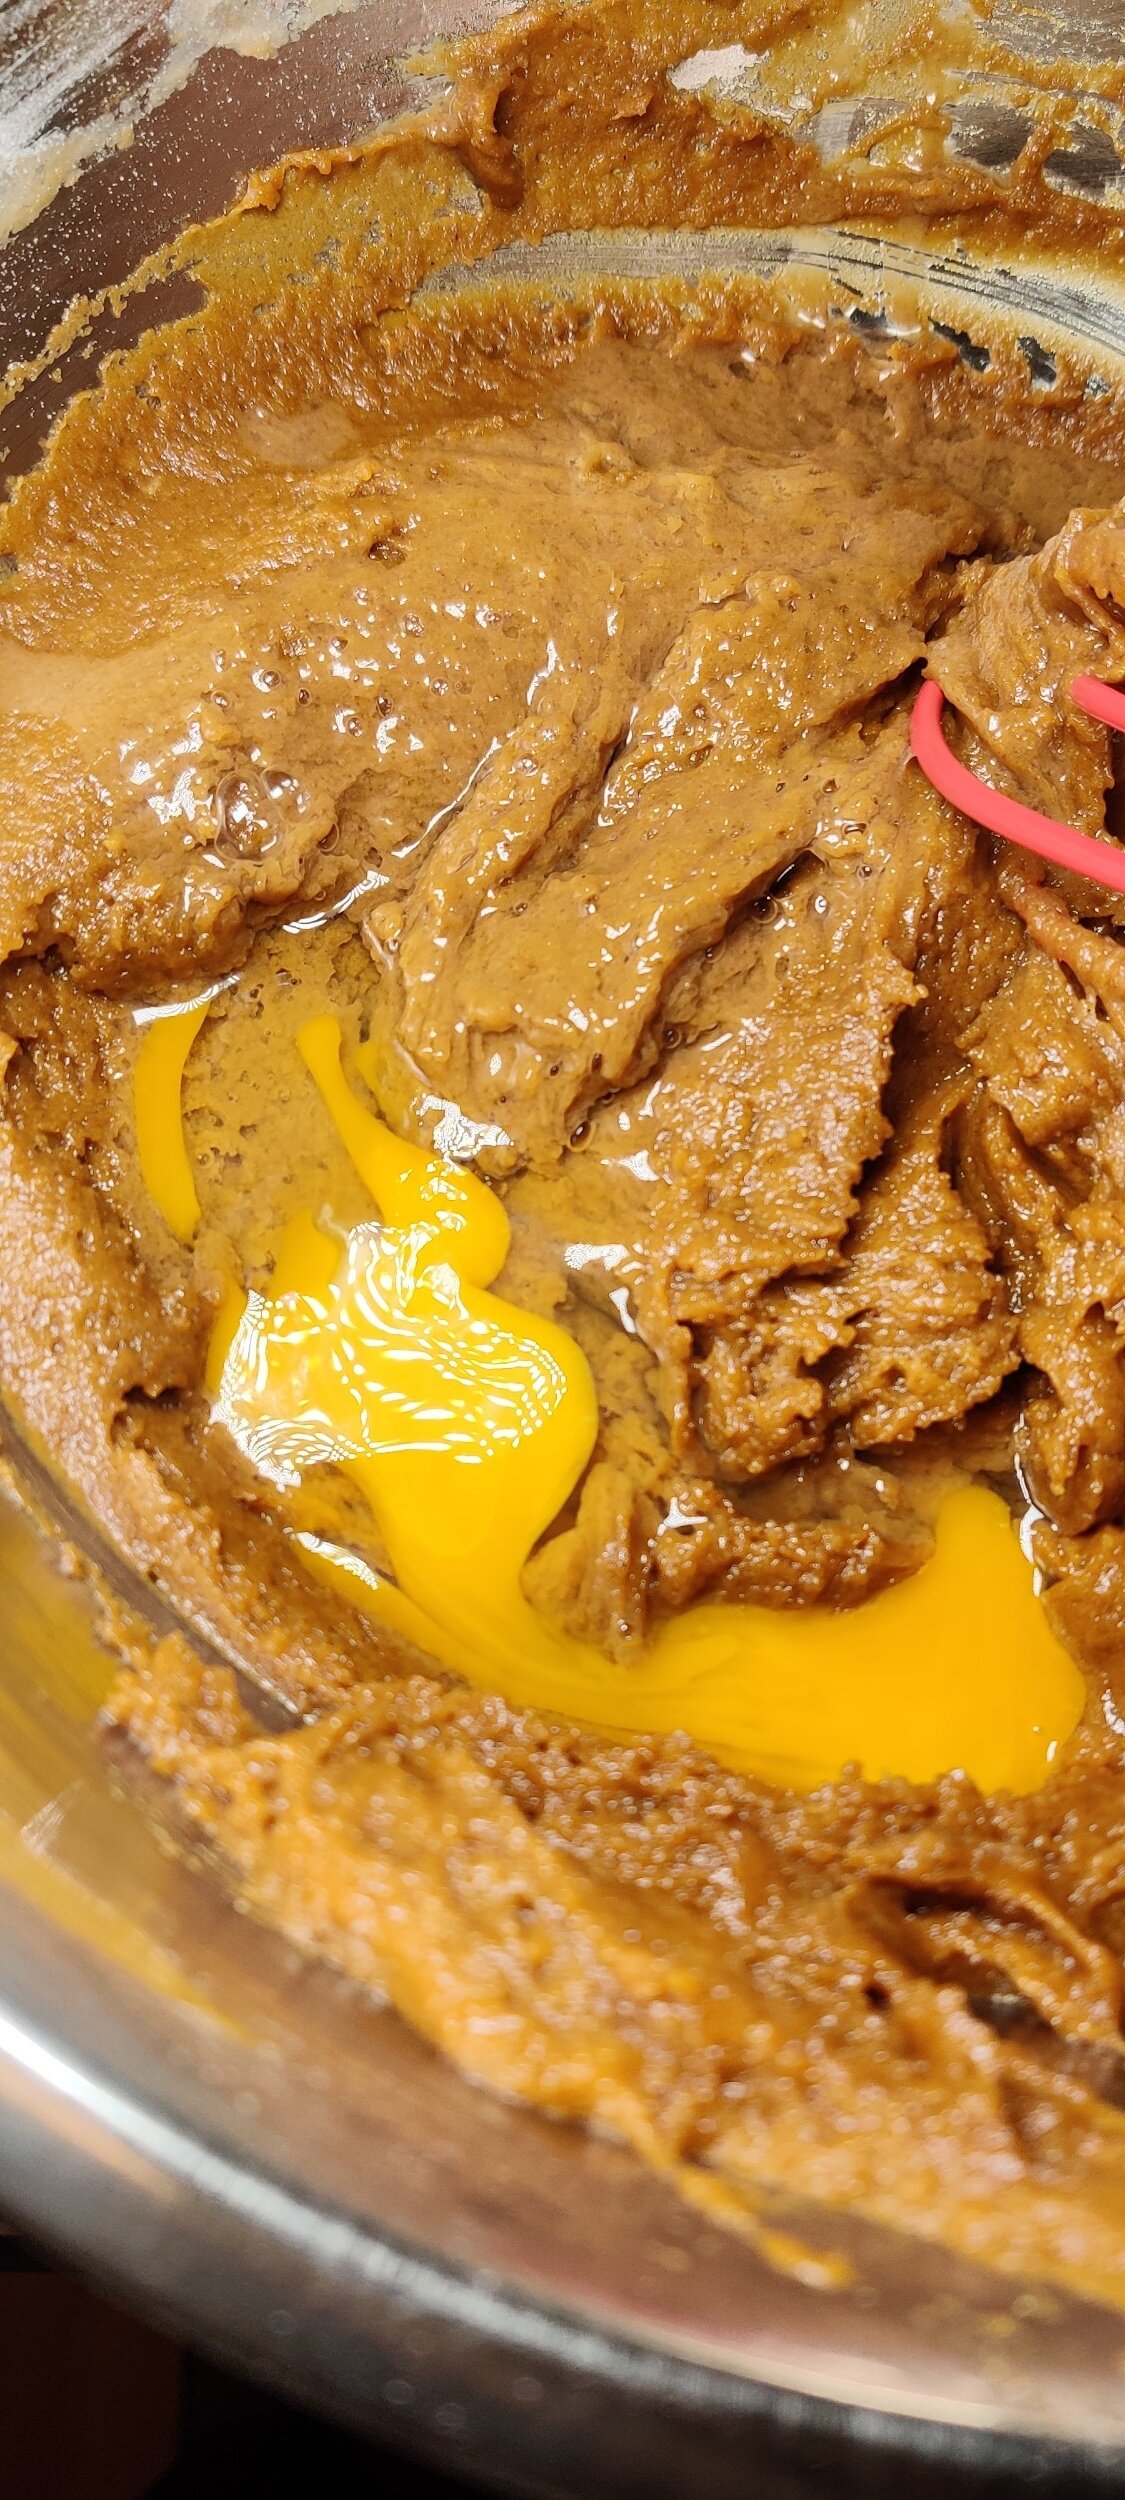
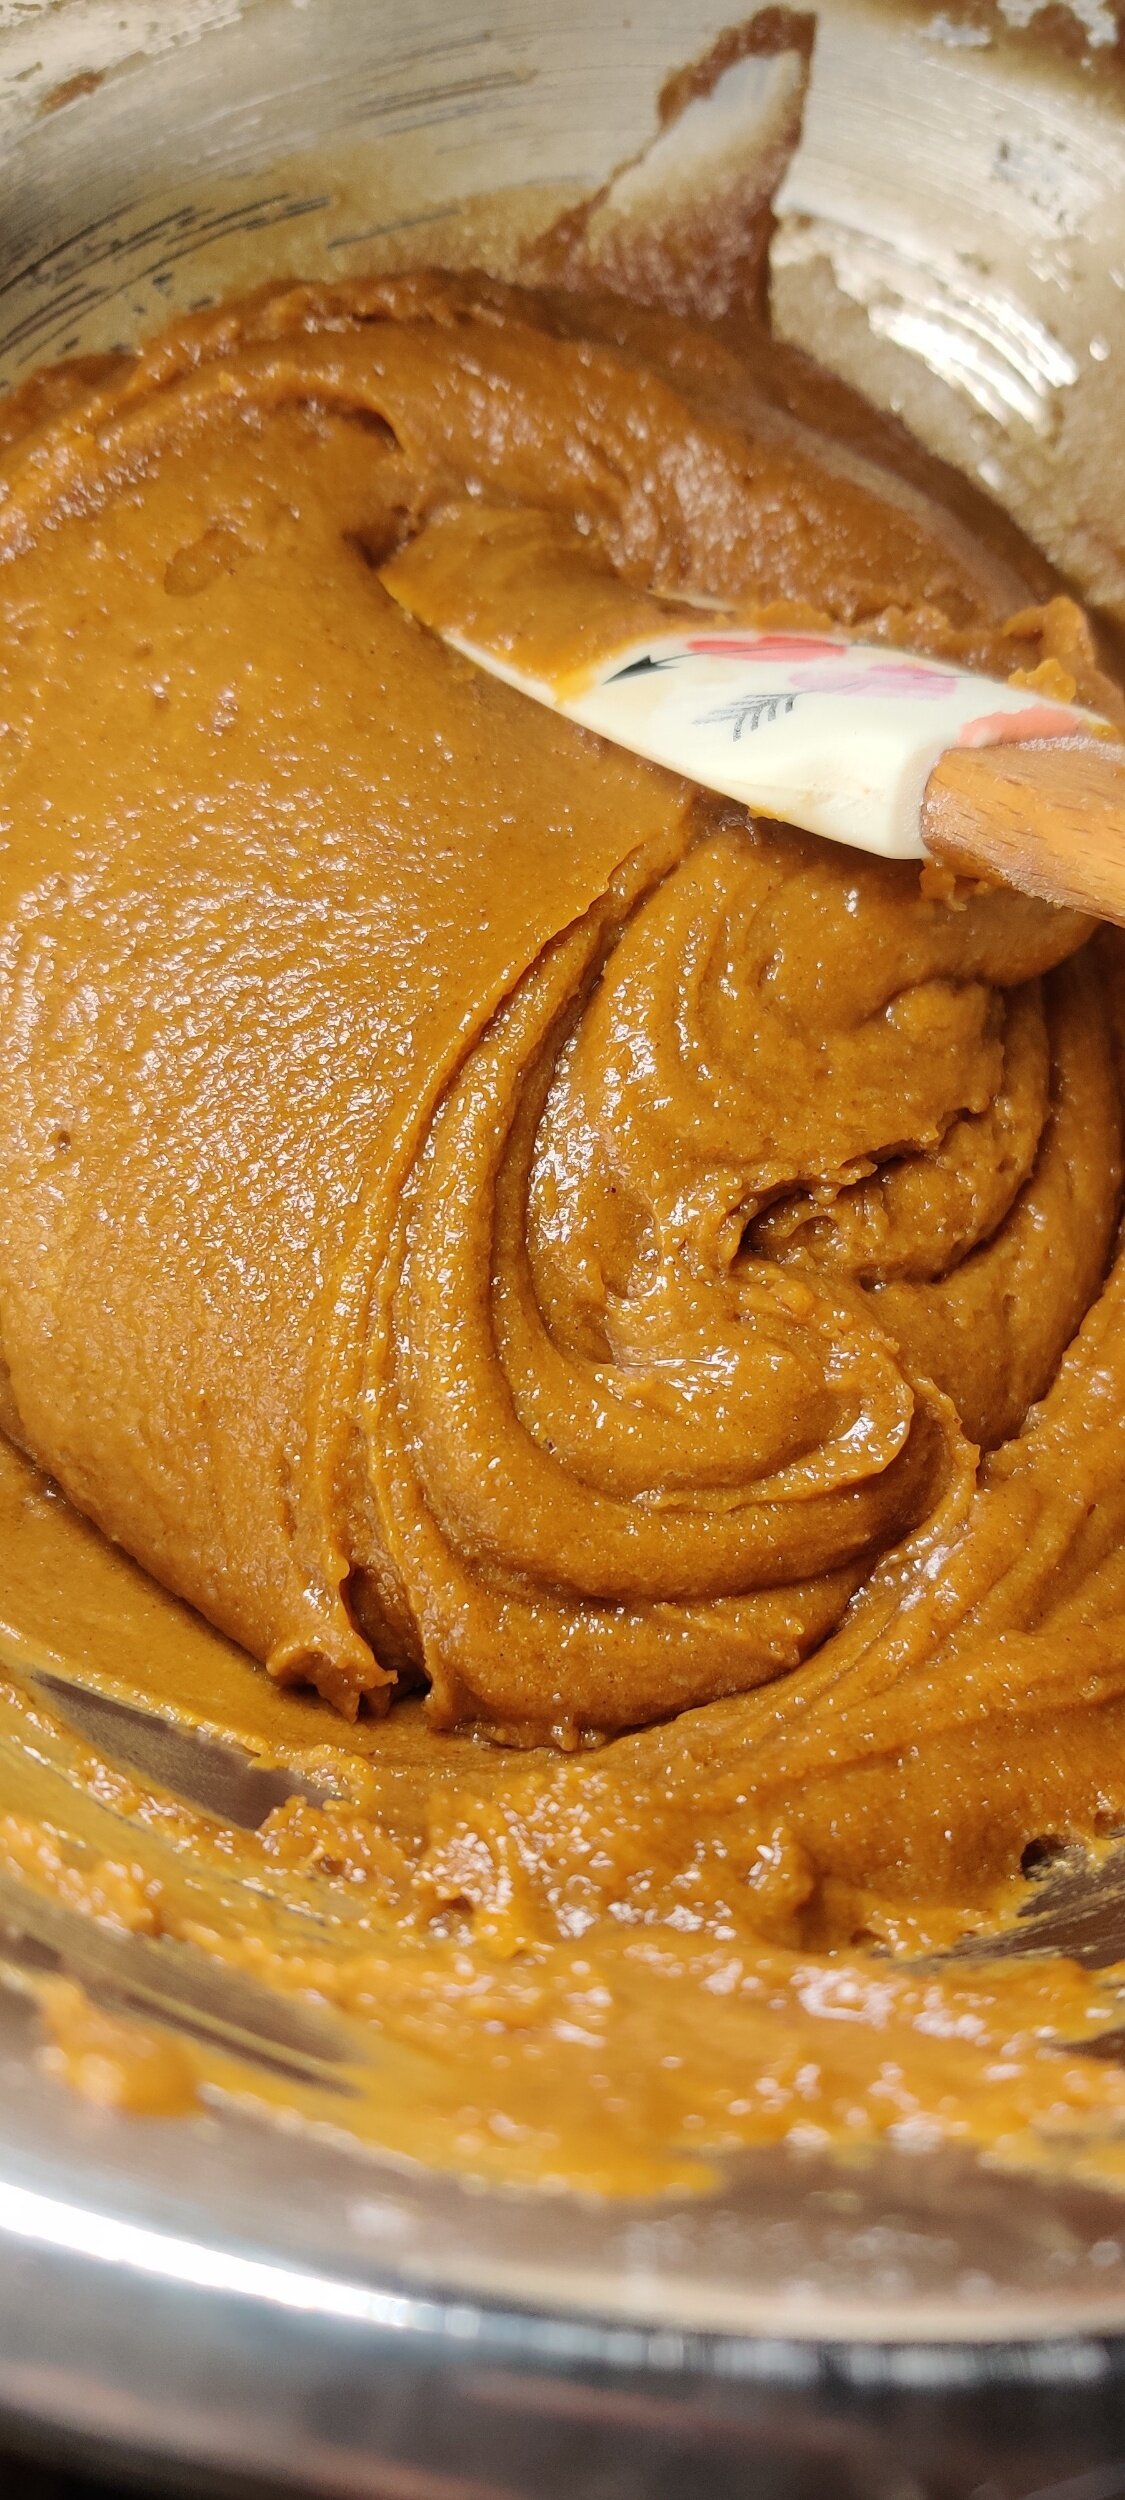
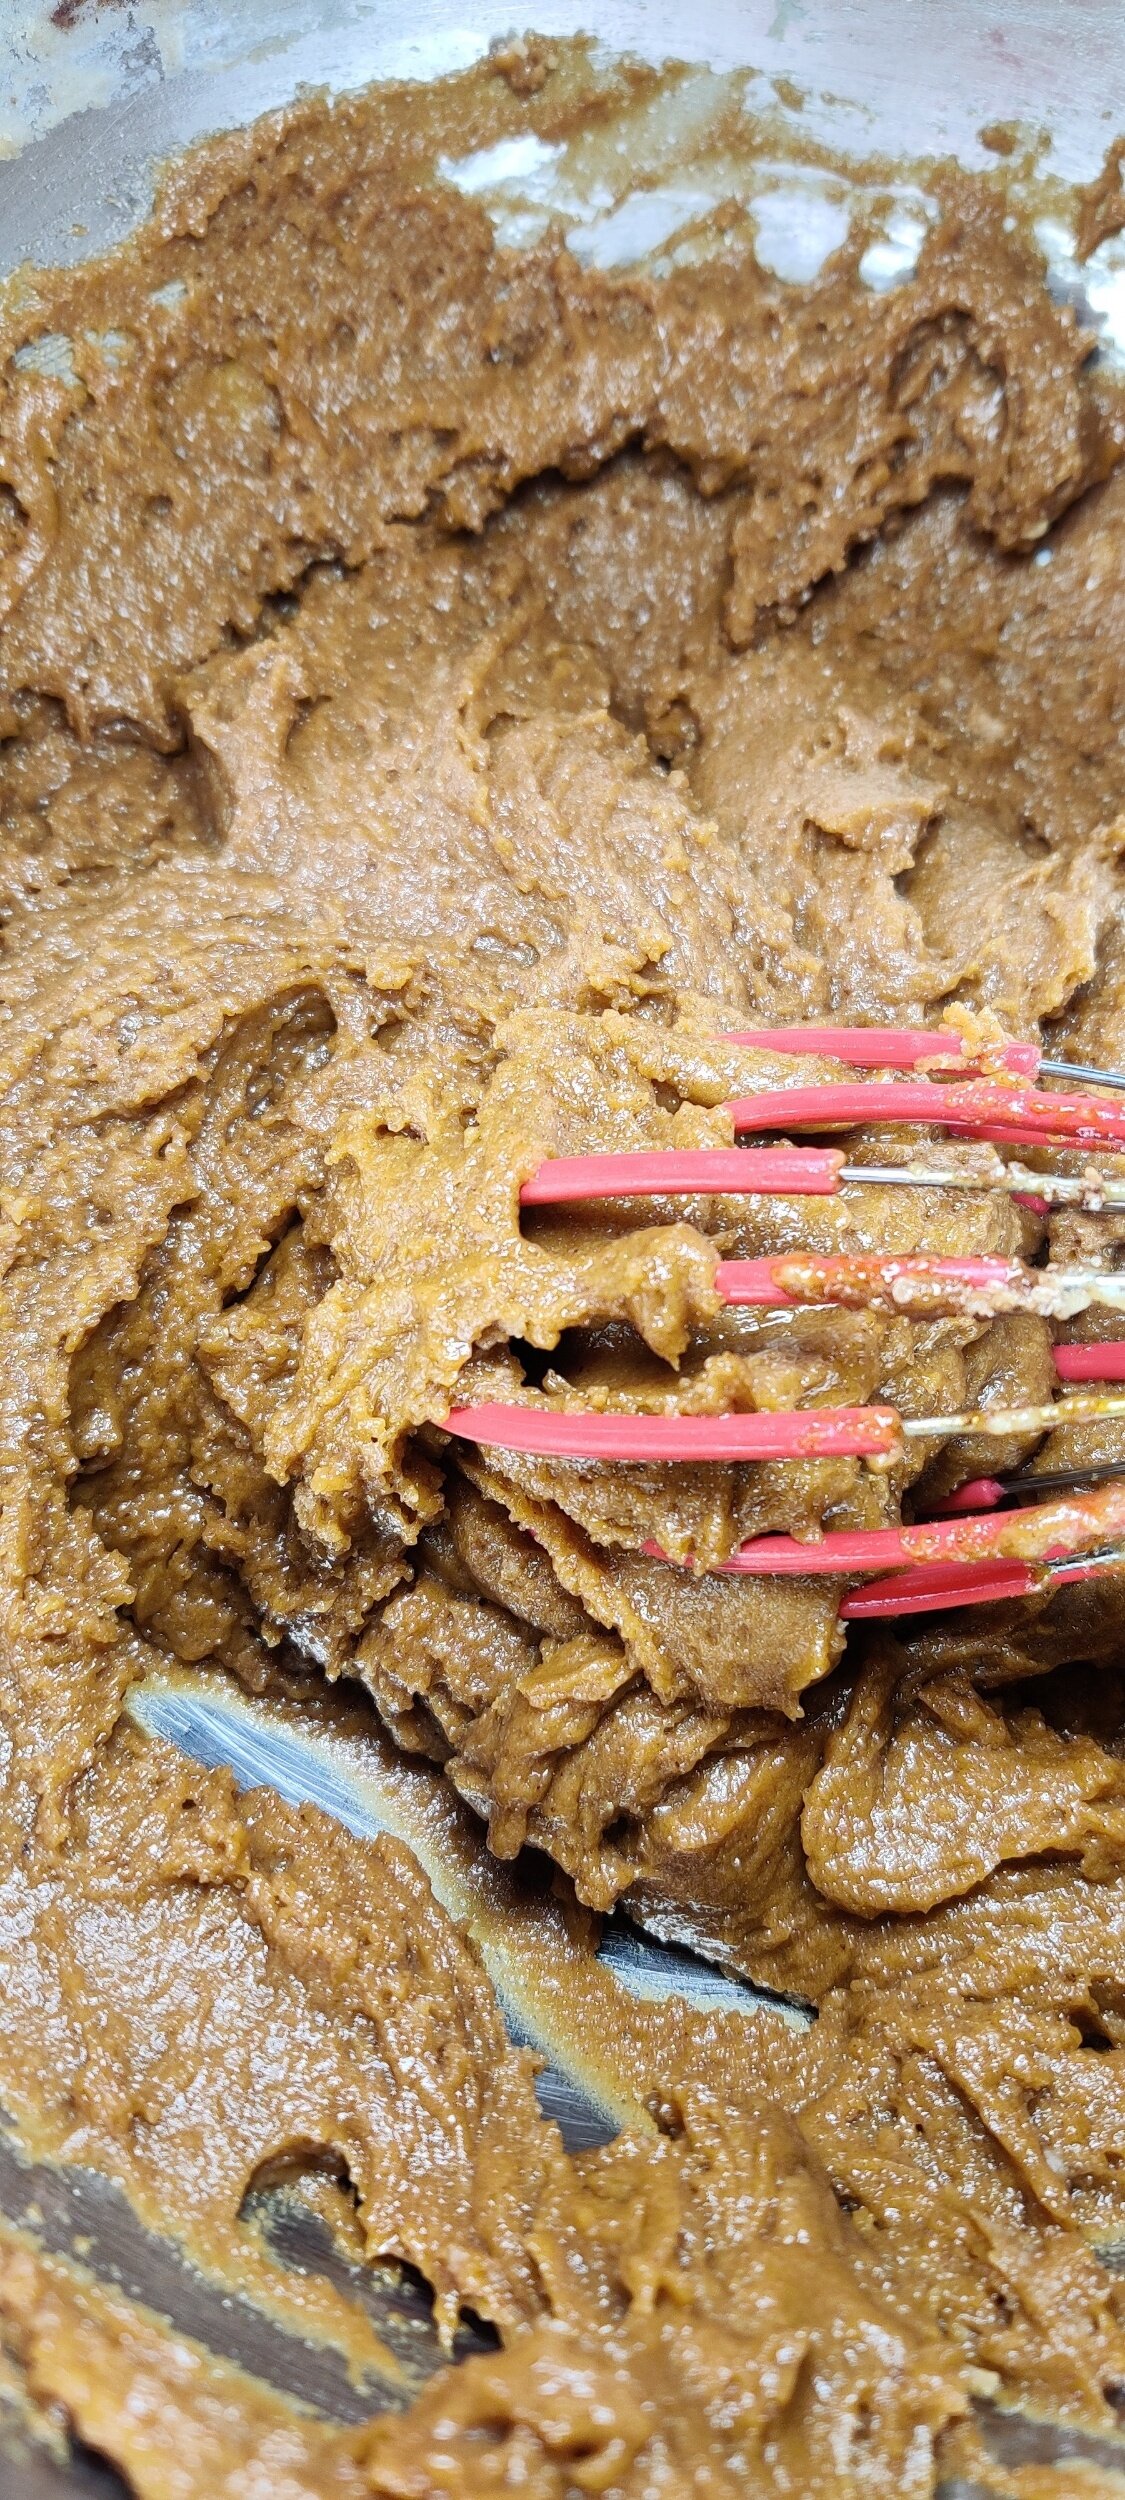
- In a large bowl, whisk the flour, sugar, salt, cinnamon, cloves, ginger, nutmeg, and baking soda. Add the butter, honey, egg, vanilla, almond, and water, and mix until it is evenly incorporated and a soft dough forms.
- Dust the dough and a clean surface with a bit of flour to prevent stickiness, and divide the dough into four parts (to make it easier to handle when you roll it out later).
- Shape into discs and cover with cling wrap airtight overnight or for at least 4 hours.
- Roll out each piece of dough with a rolling pin at least a 1/4 inch on a lightly covered surface.
- Using a gingerbread man cutter, shape your cookies and place them on a piece of parchment paper.
- Bake at 350F for 8-10 minutes.
Nutrition Facts
Calories
172Fat (grams)
6.6 gCarbs (grams)
25.4 gFiber (grams)
3.4 gSugar (grams)
7.6 gI am not a certified nutritionist and any nutritional information on dontmissmyplate.com should only be used as a general guideline.
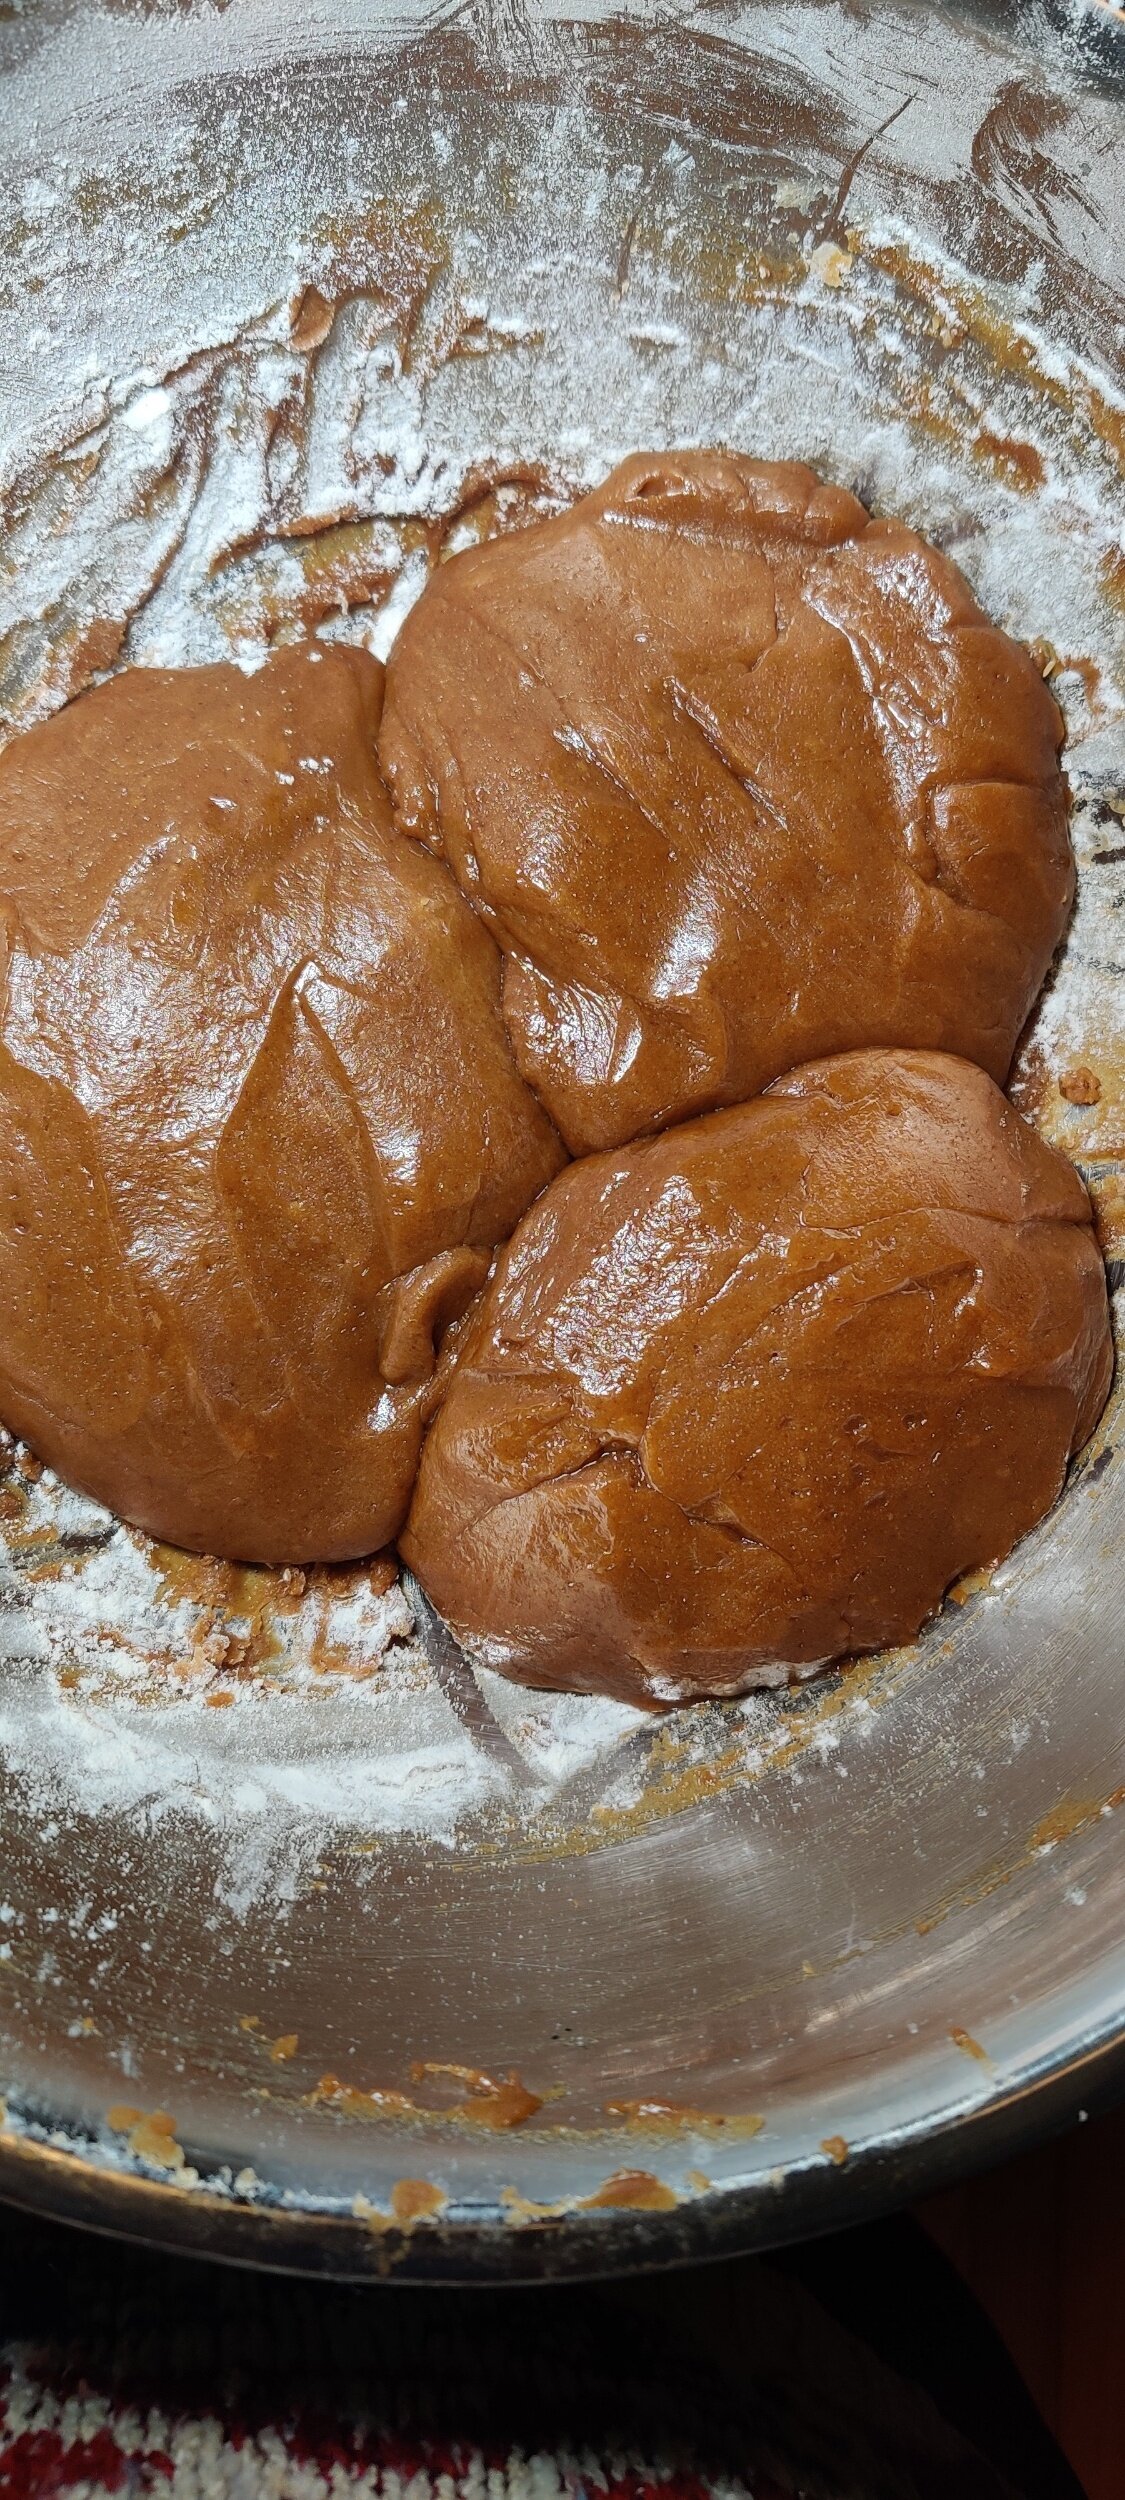


White Chocolate, Dried Cranberry and Roasted Pistachio Bark
Chocolate bark is often associated with hampers and gift-giving, so what's a better time to whip up a batch than the holidays?
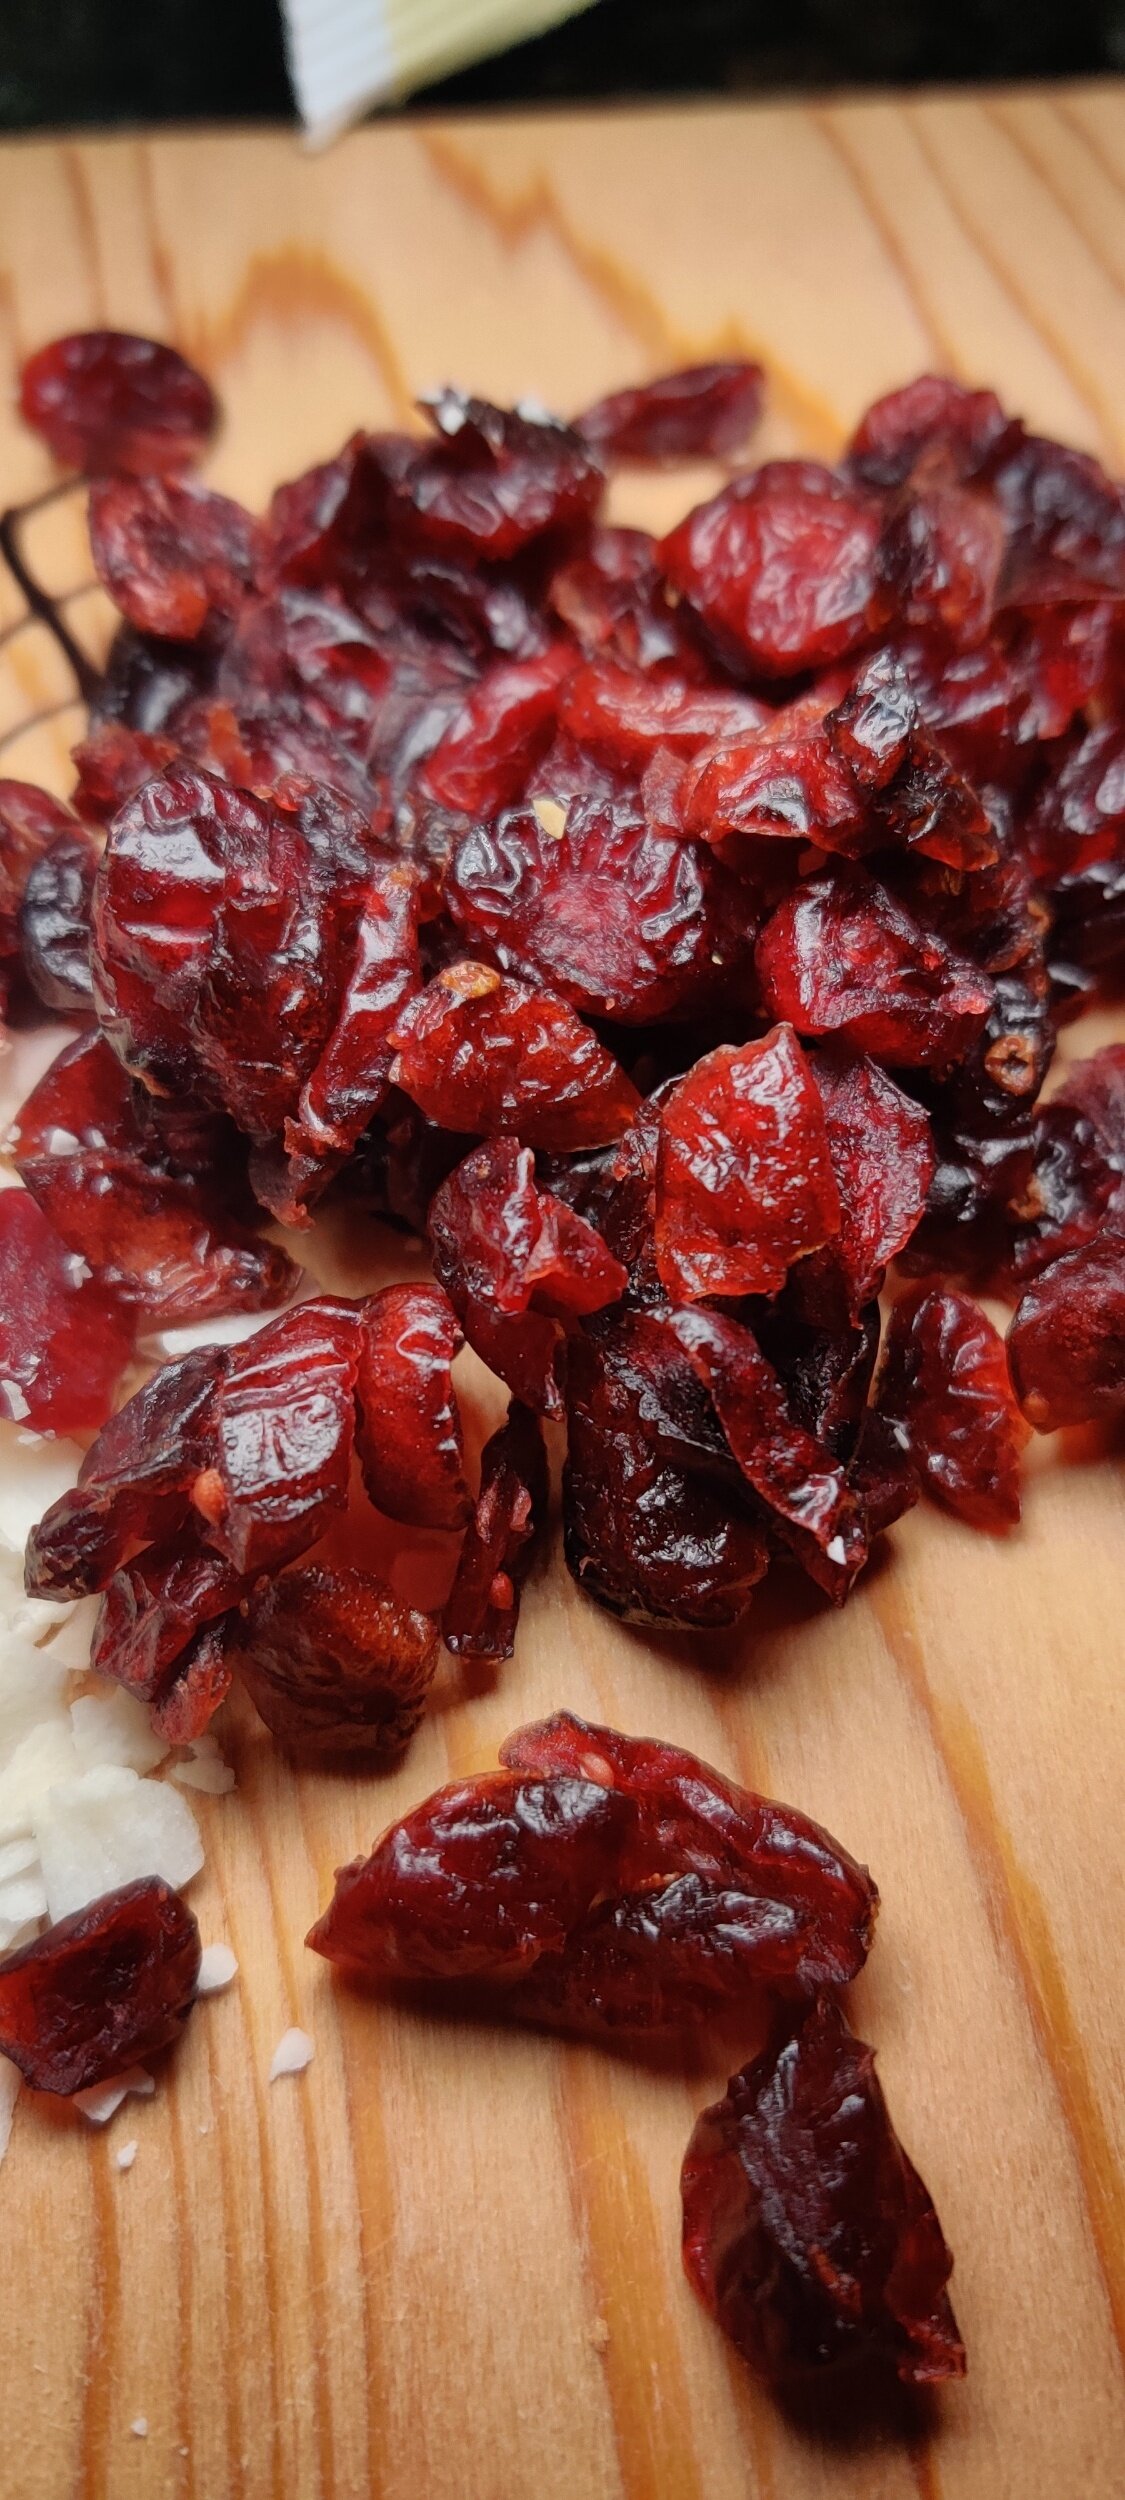
I recently made two recipes this season with fresh cranberries here and here, but let's not forget dried cranberries which you can do a lot with as well! They pair well with the same ingredients used in savoury dishes when used for sweet or baked goods, like pistachios!
Share this recipe as a gift, or put it together for those who want a sweet bite but not necessarily a slice of pie after indulging in an array of comfort food entrees!
What about the day after dining festivities? Many people set up their Christmas trees around this time after family meals. Play some Christmas music, sip on some hot chocolate and marshmallows, and nibble on some of this bark. That's what I did!
Since this isn't hardened sugar, it's easier on the teeth. The kids will love it, the colour and texture of the toppings give it a festive feel, and you can customize to your liking! I combined some ingredients that compliment the white chocolate and the cranberries, but it's up to you.
If you are looking for a milk or dark chocolate bark recipe, check out my masala tea bark, which I was inspired to make after a trip to Zanzibar!
Ingredients
5 drops almond extract
1 teaspoon coconut oil
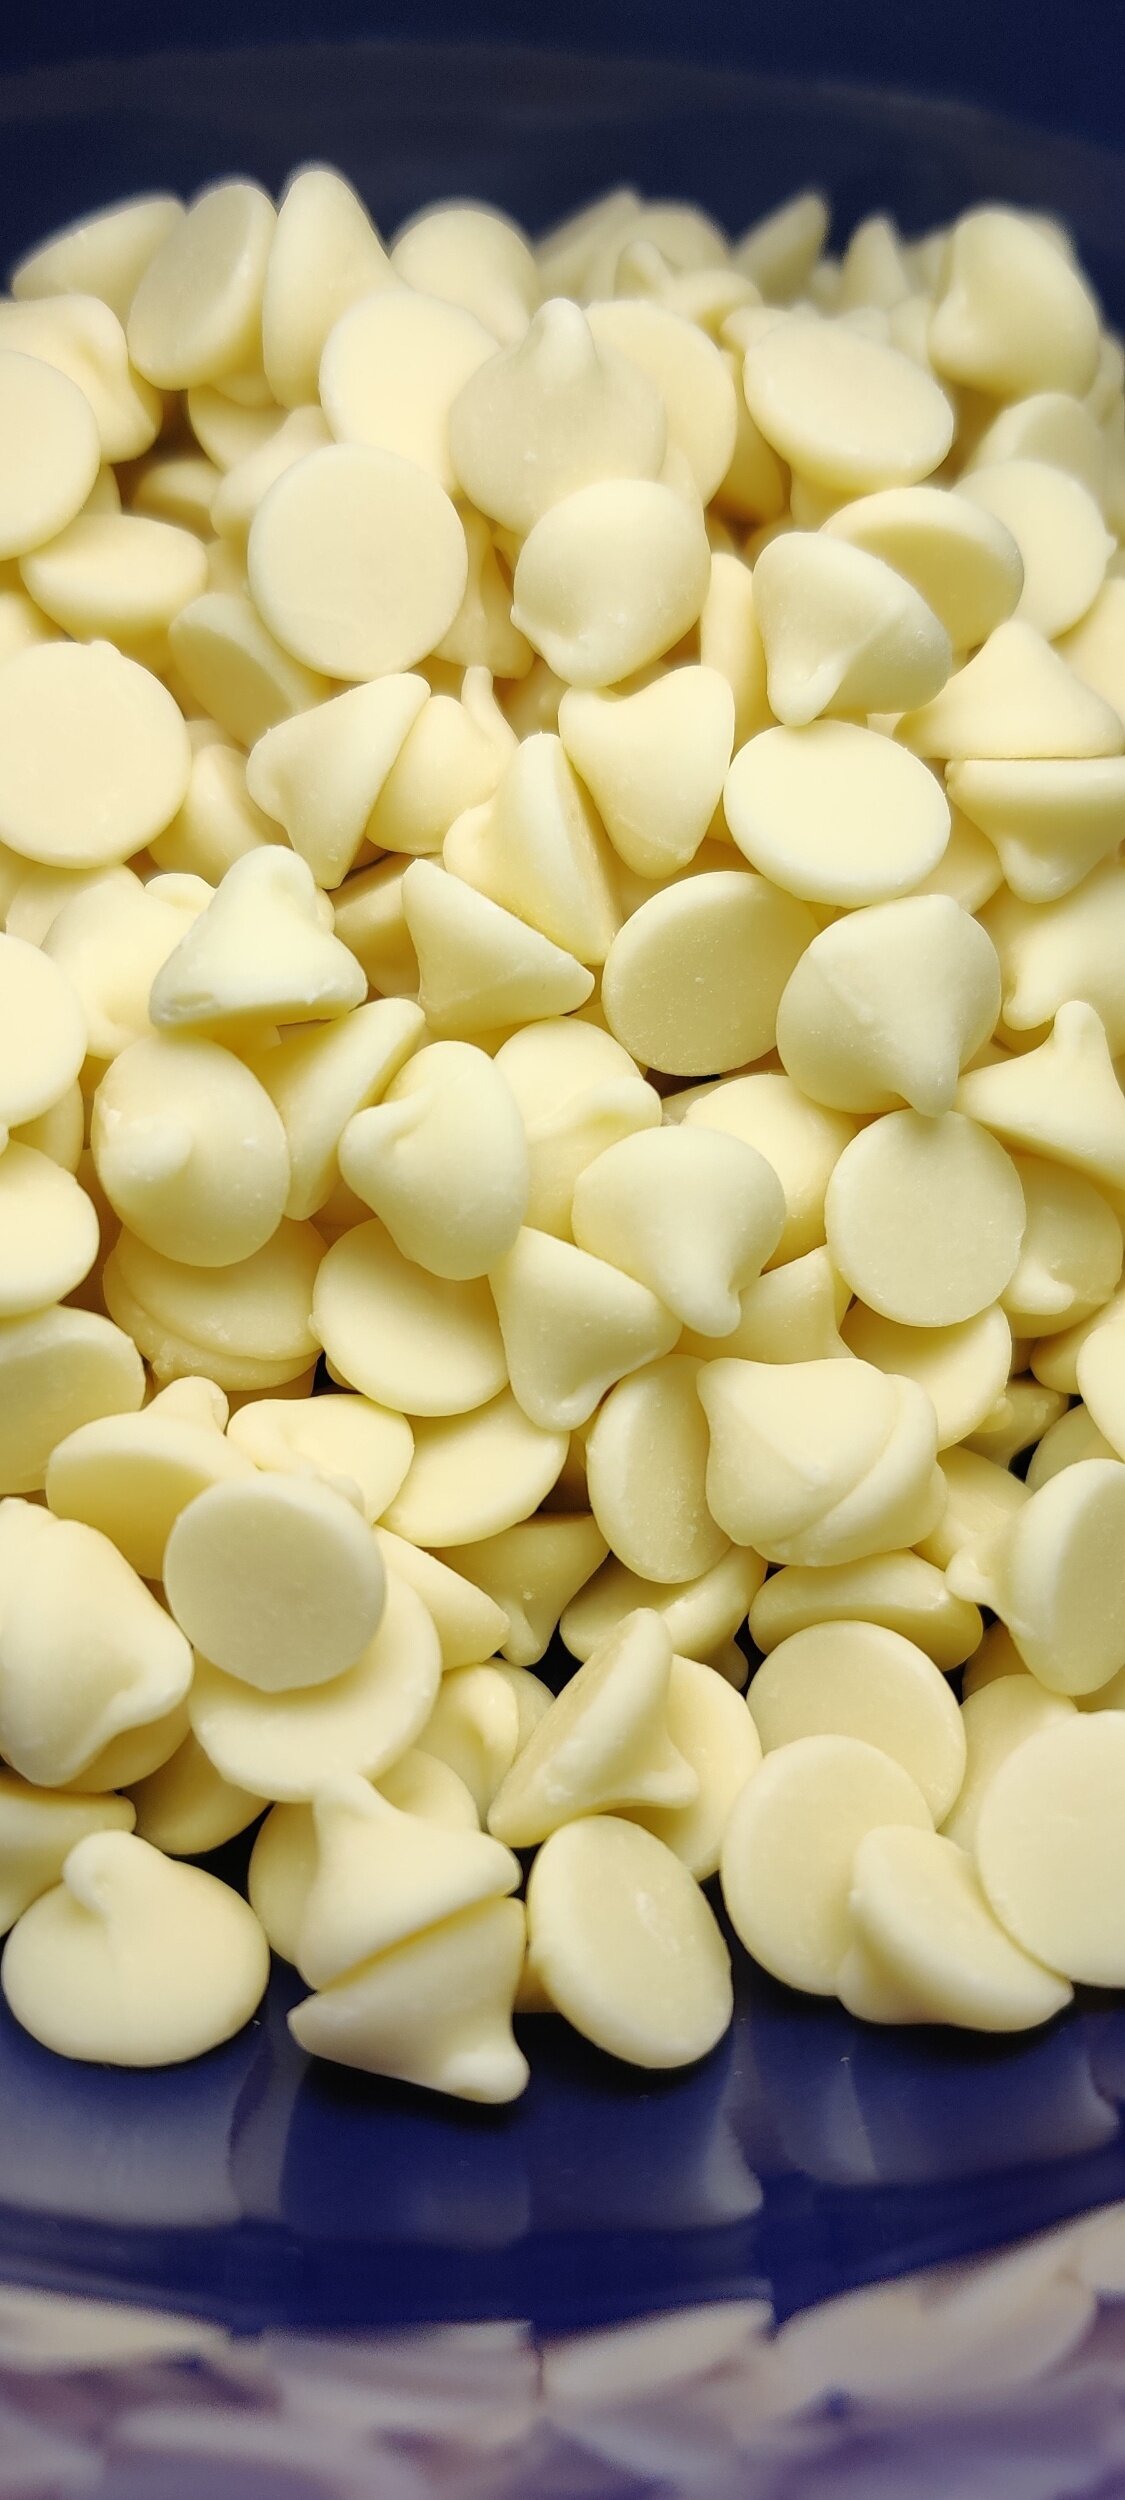
2 cups white chocolate chips
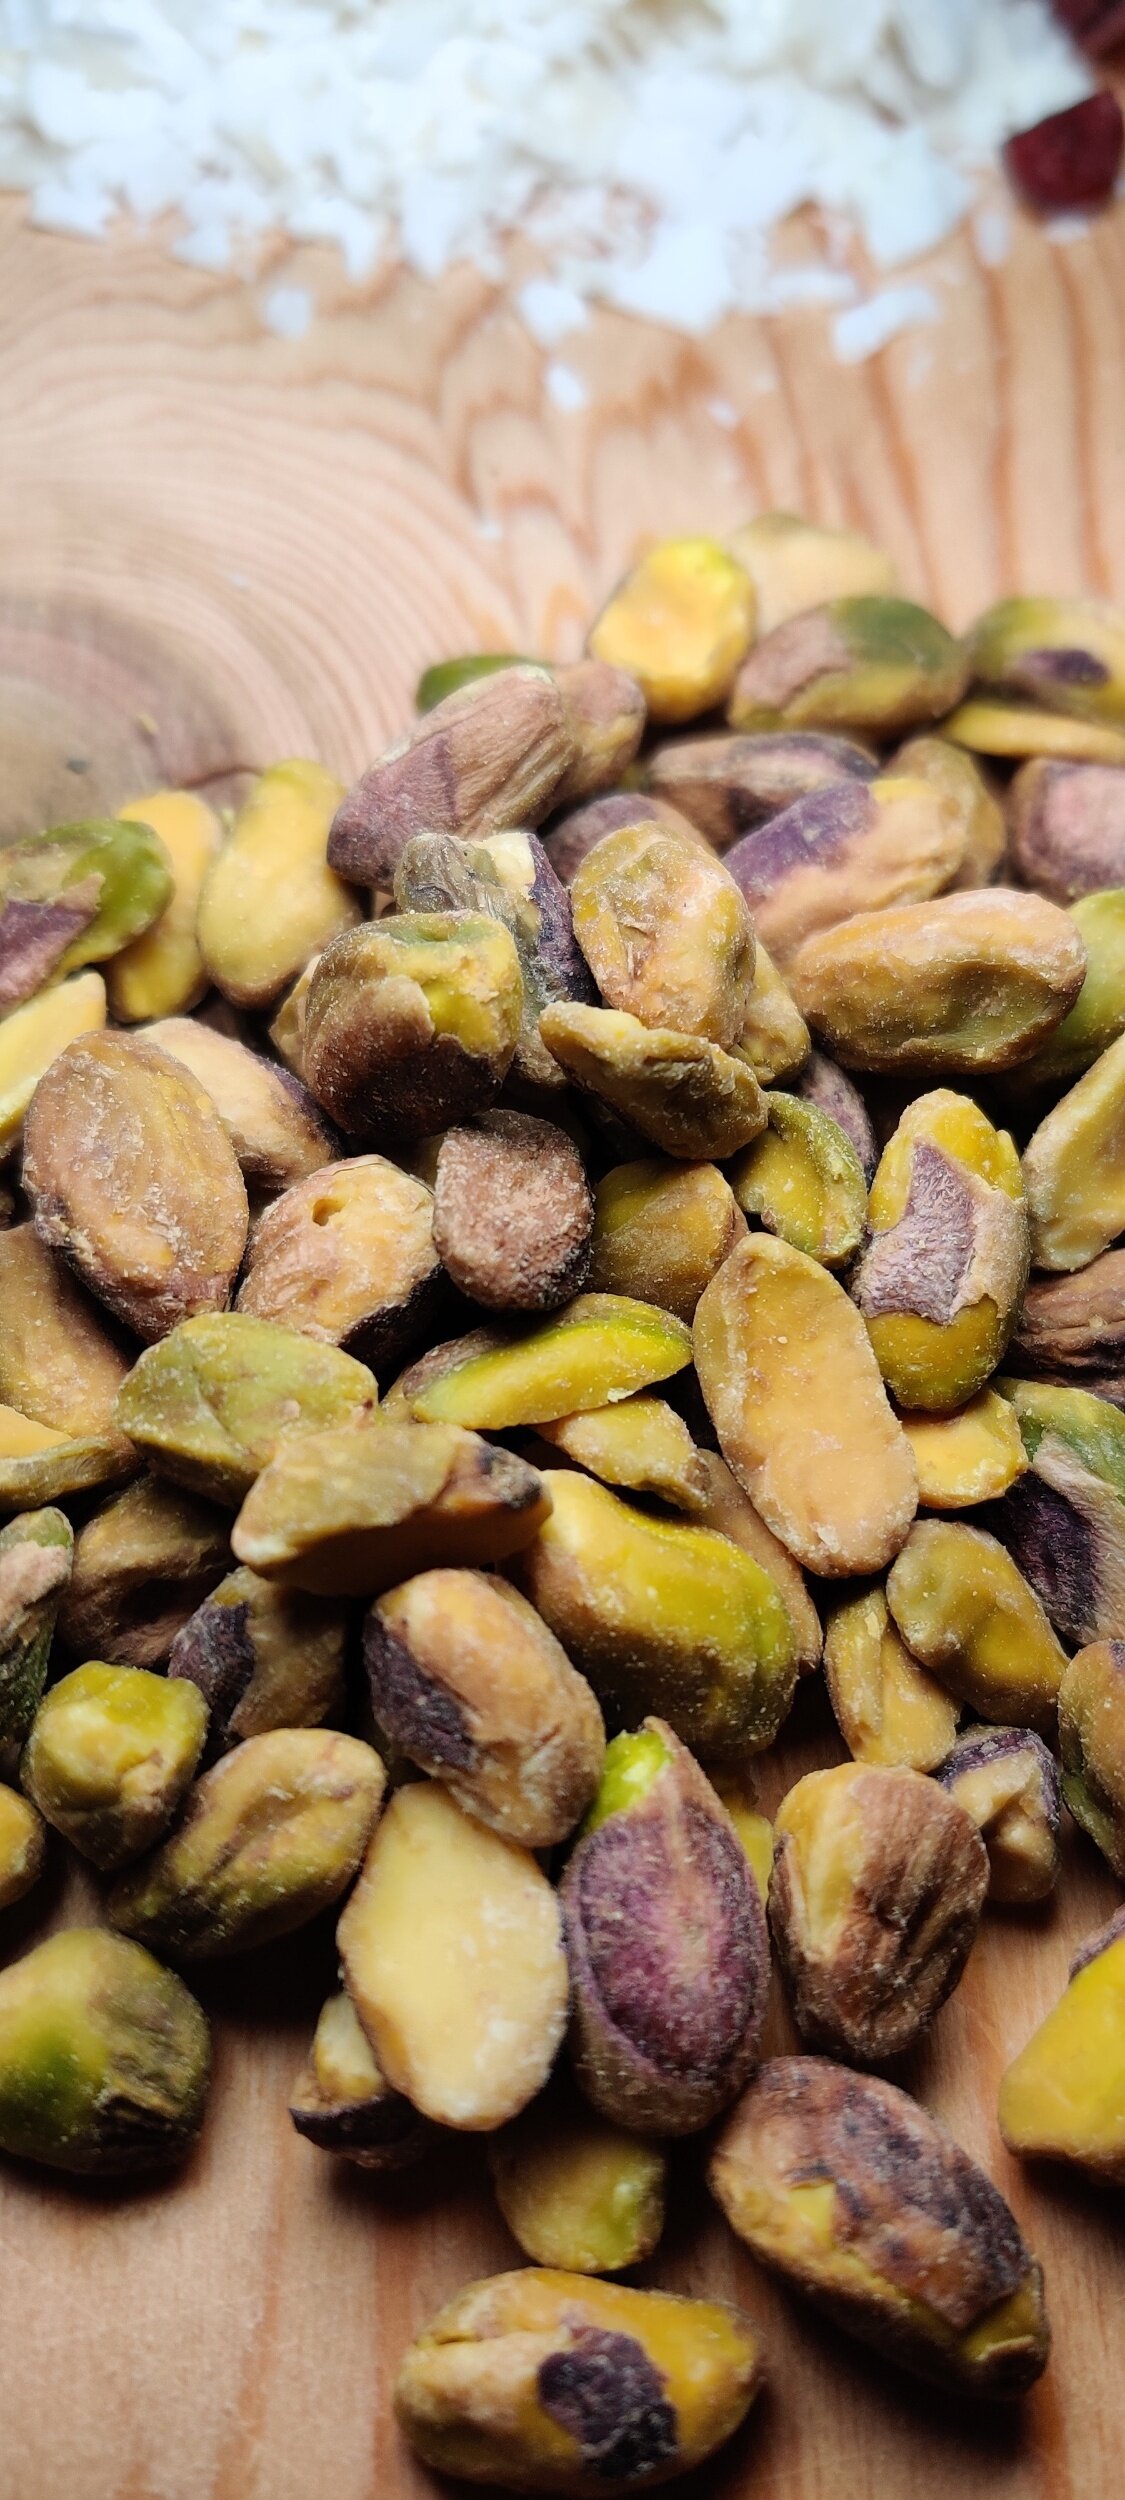
1/3 cup pistachios
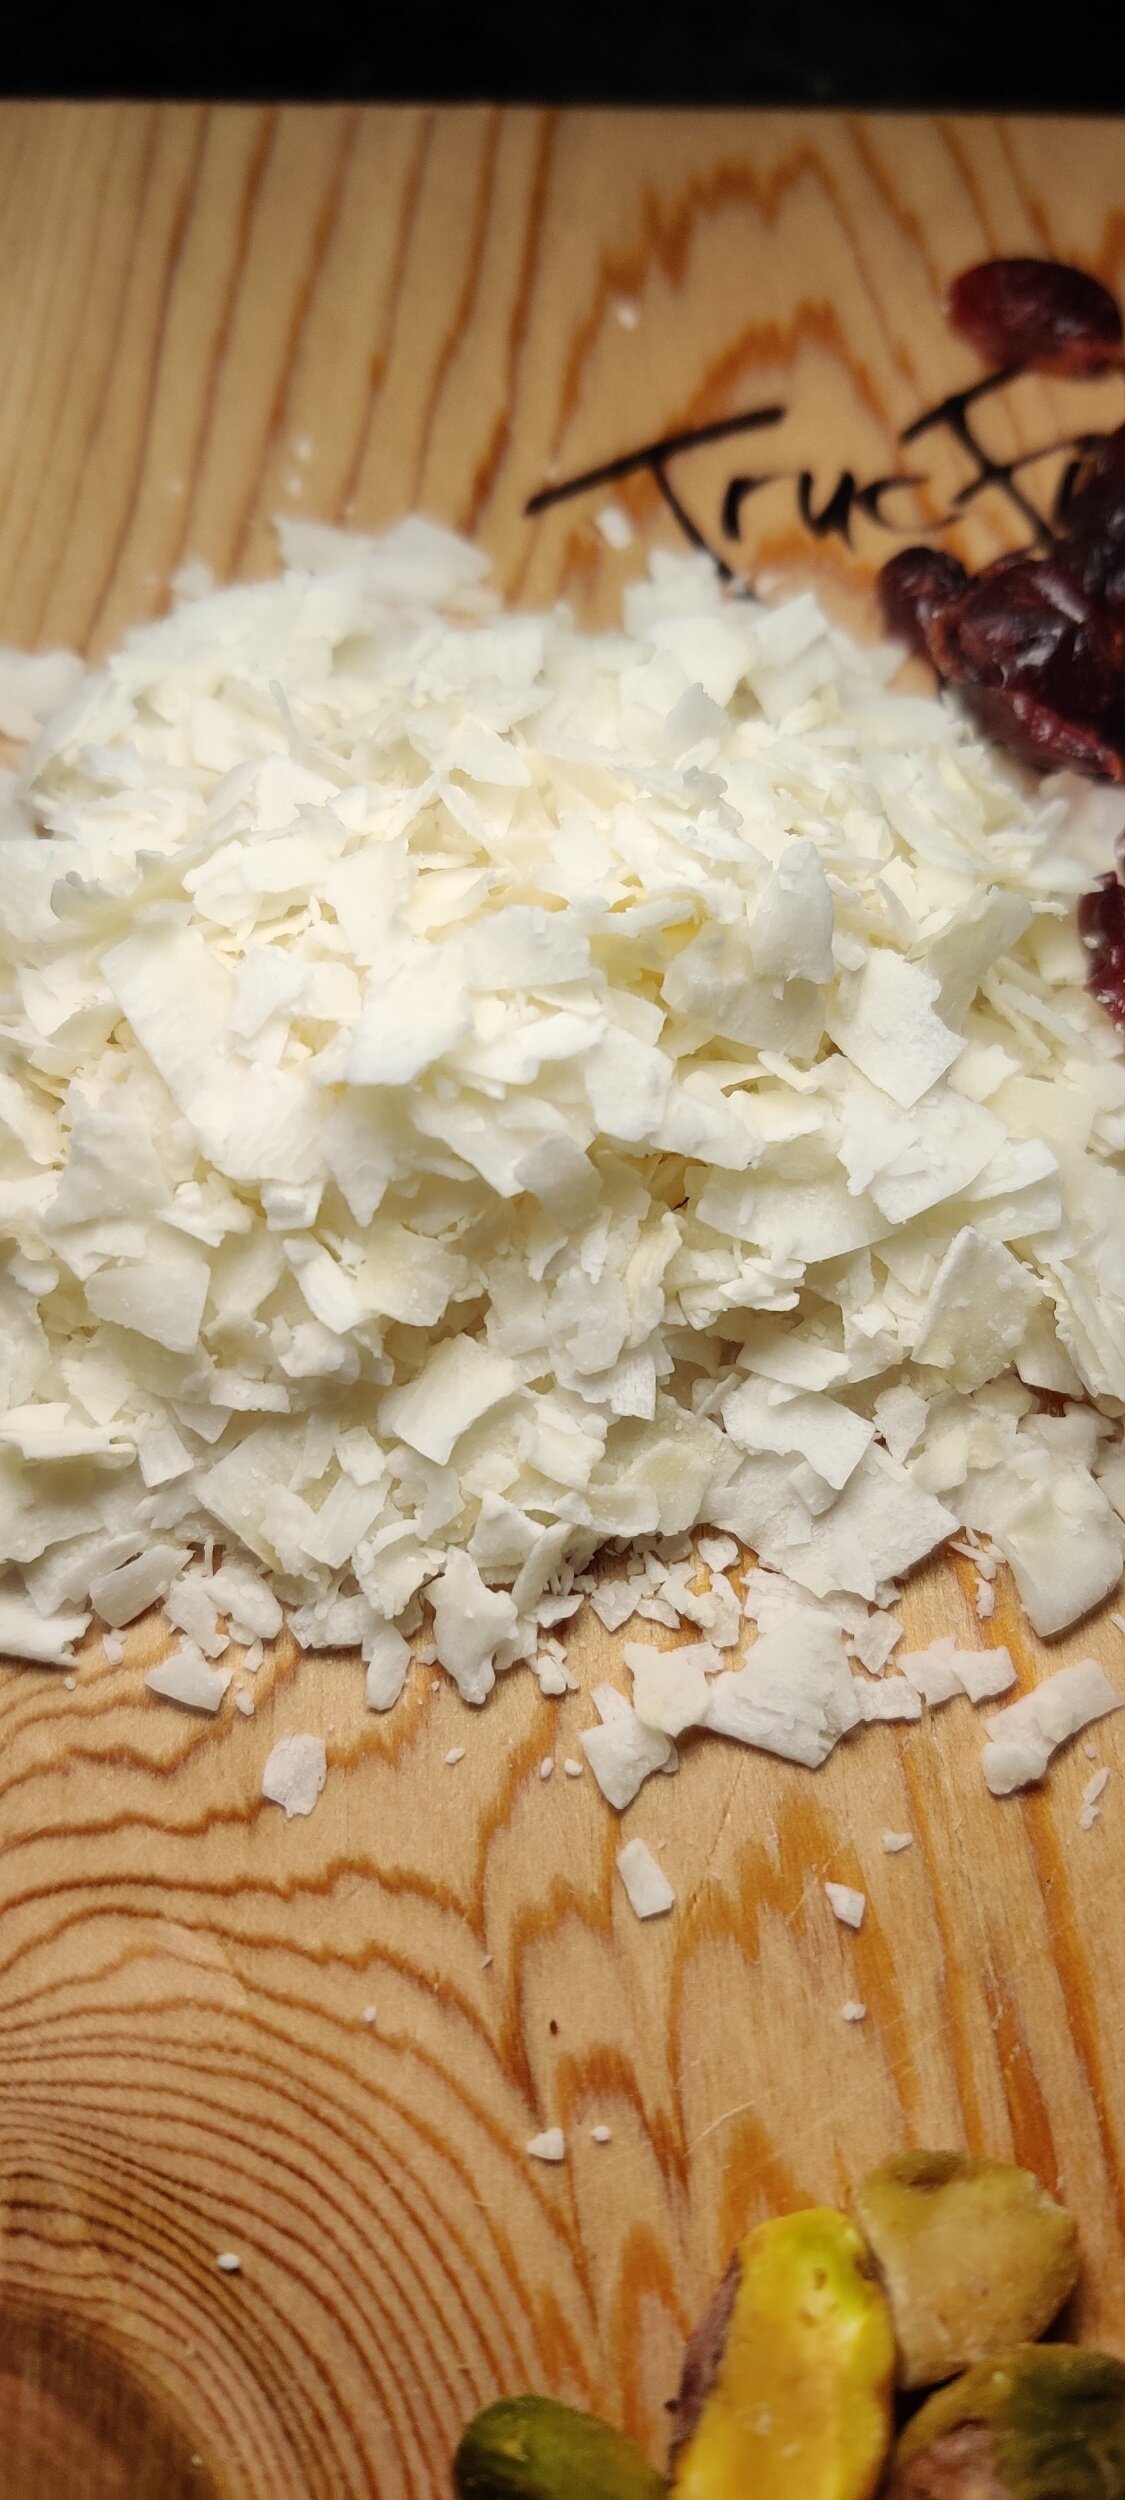
1/3 cup shredded coconut
1/3 dried cranberries
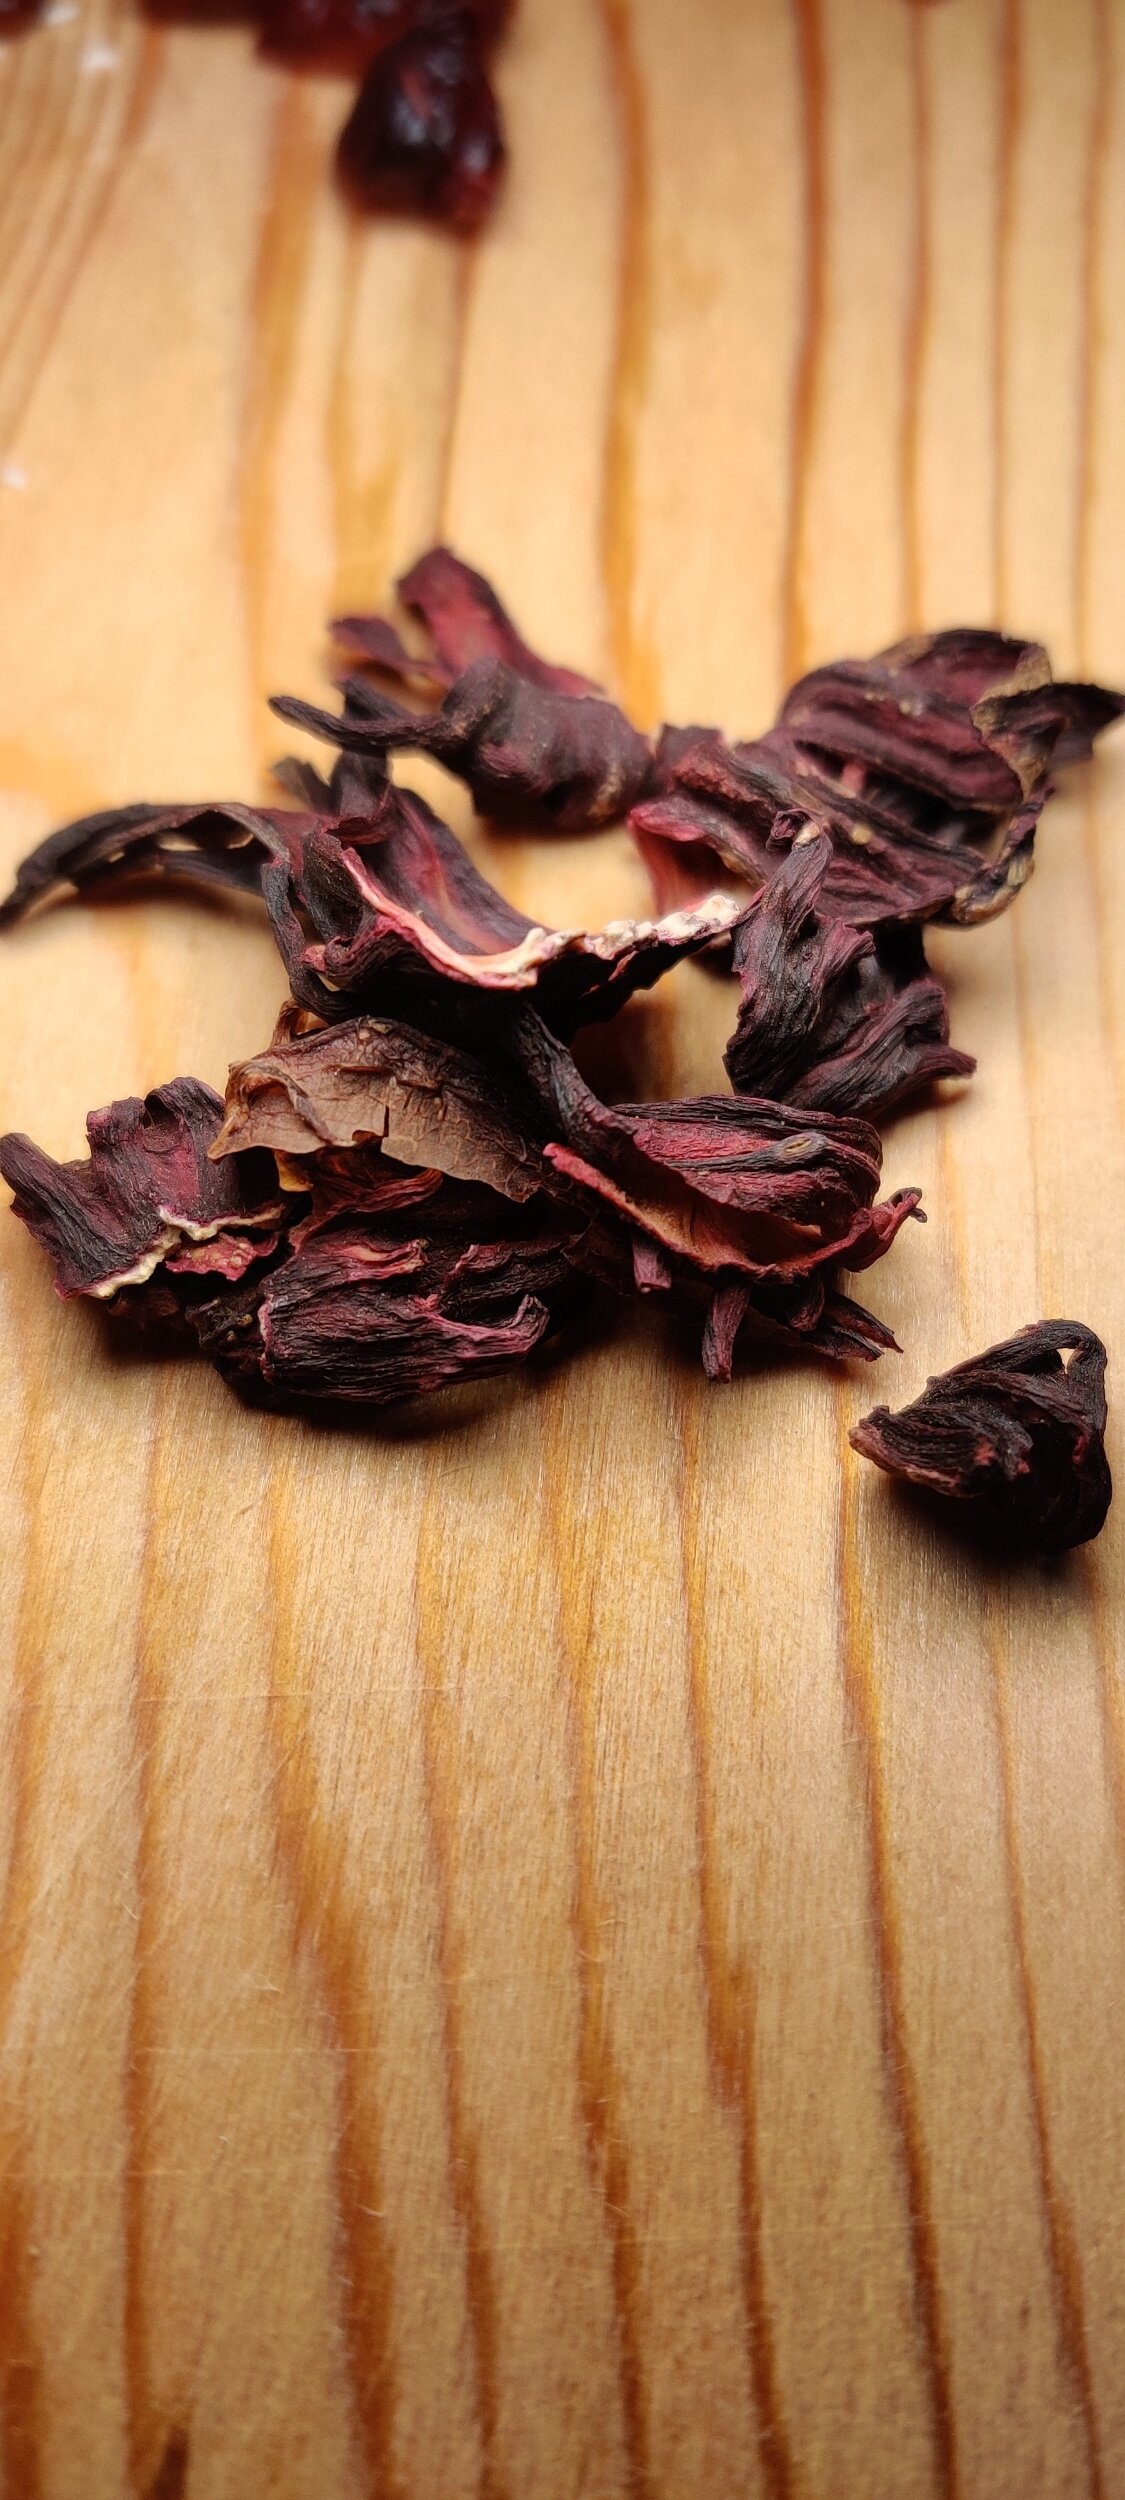
1 tablespoon dried roselle
Instructions
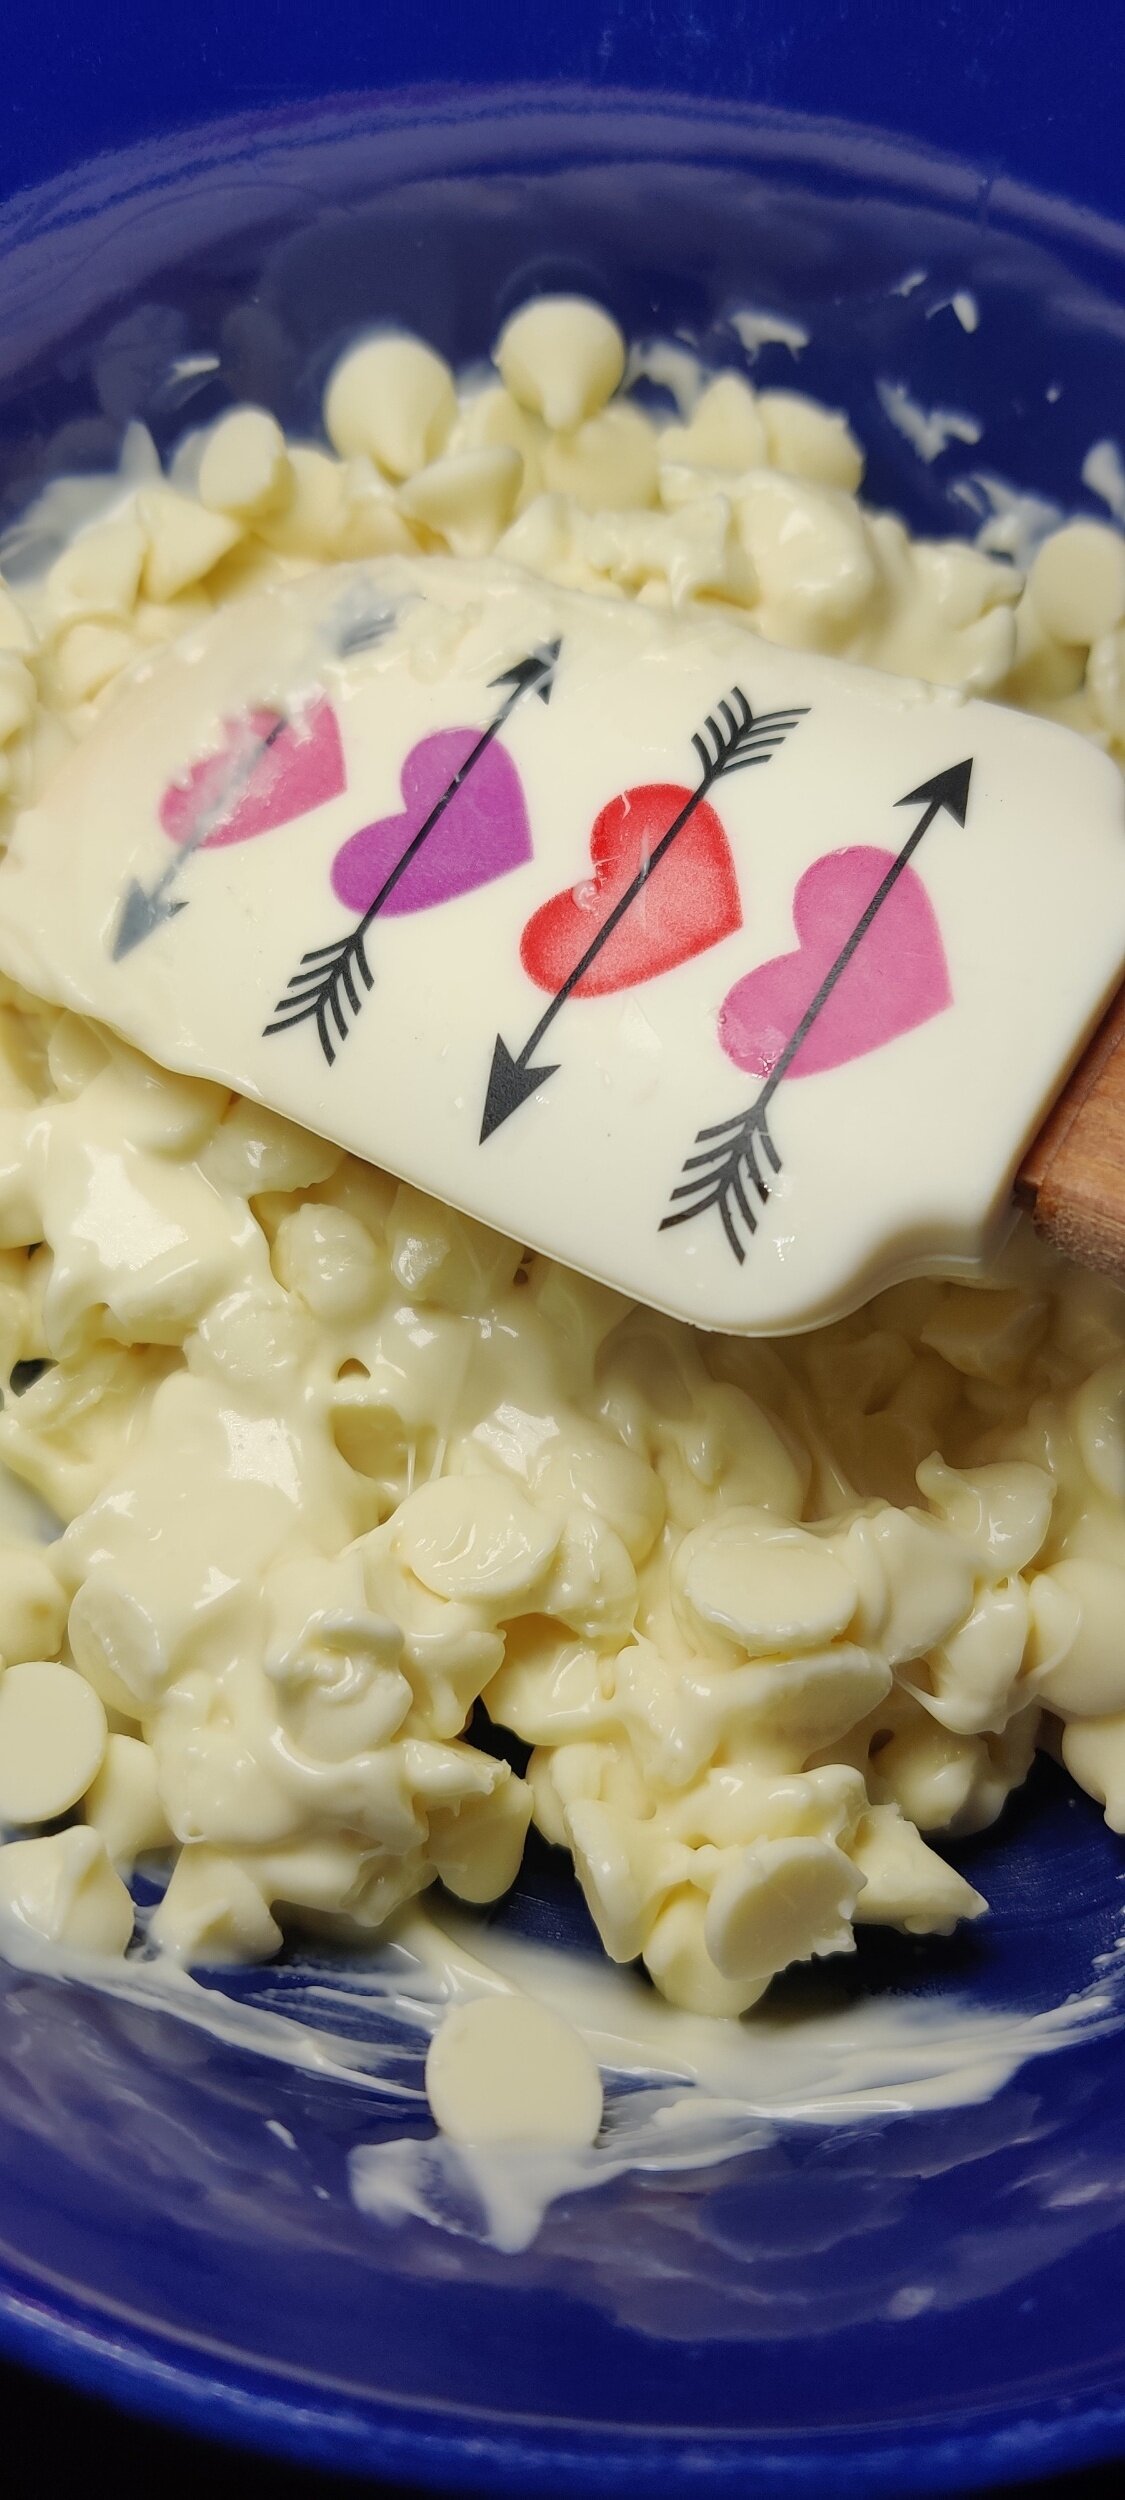
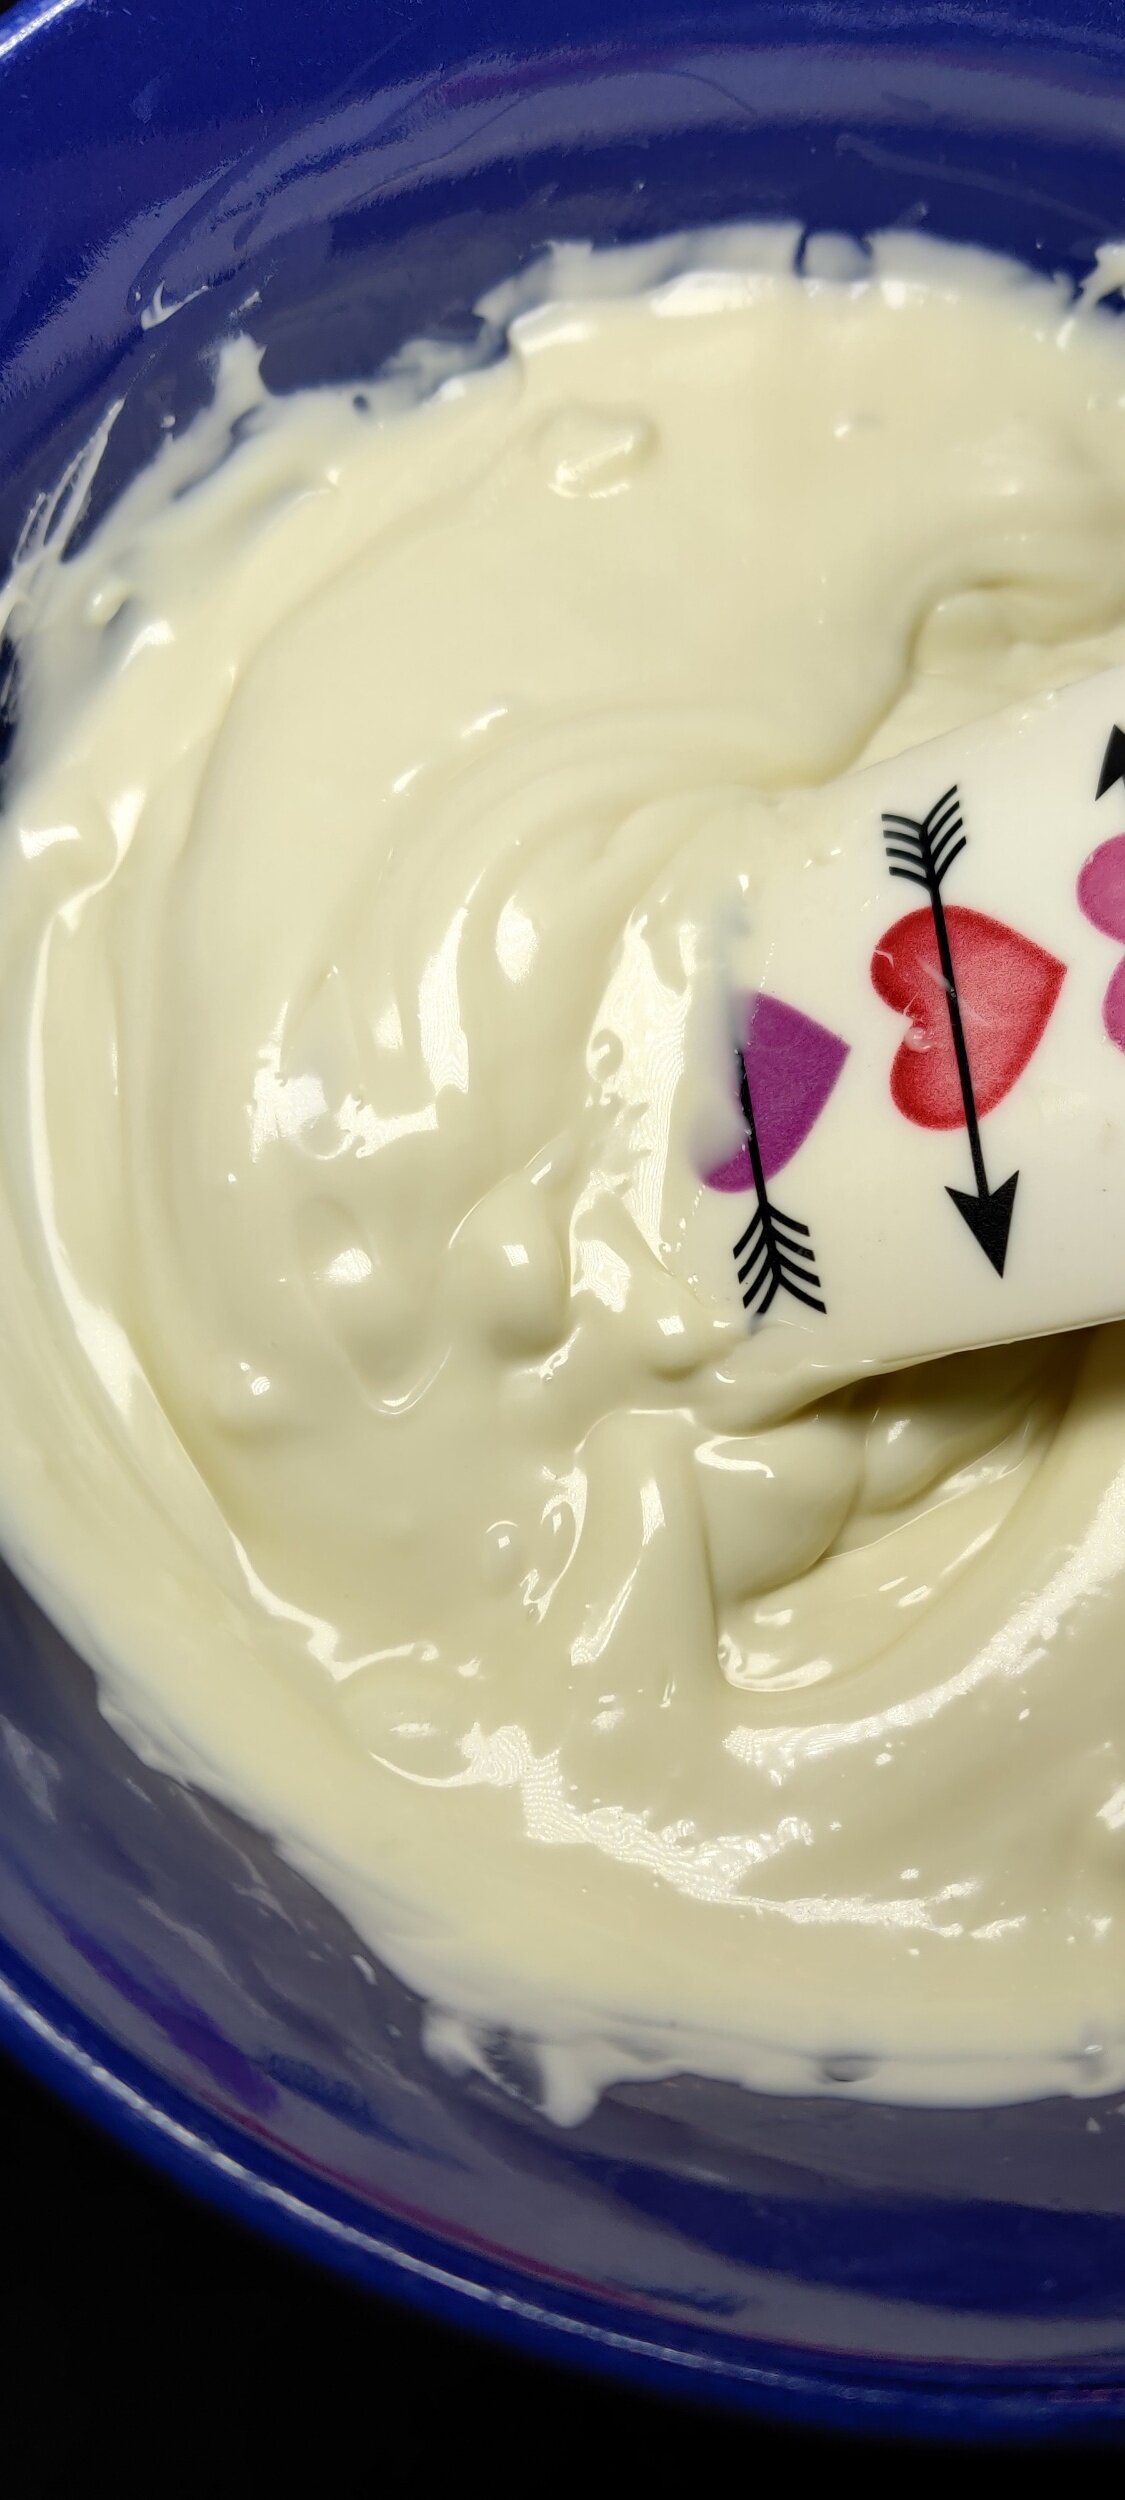
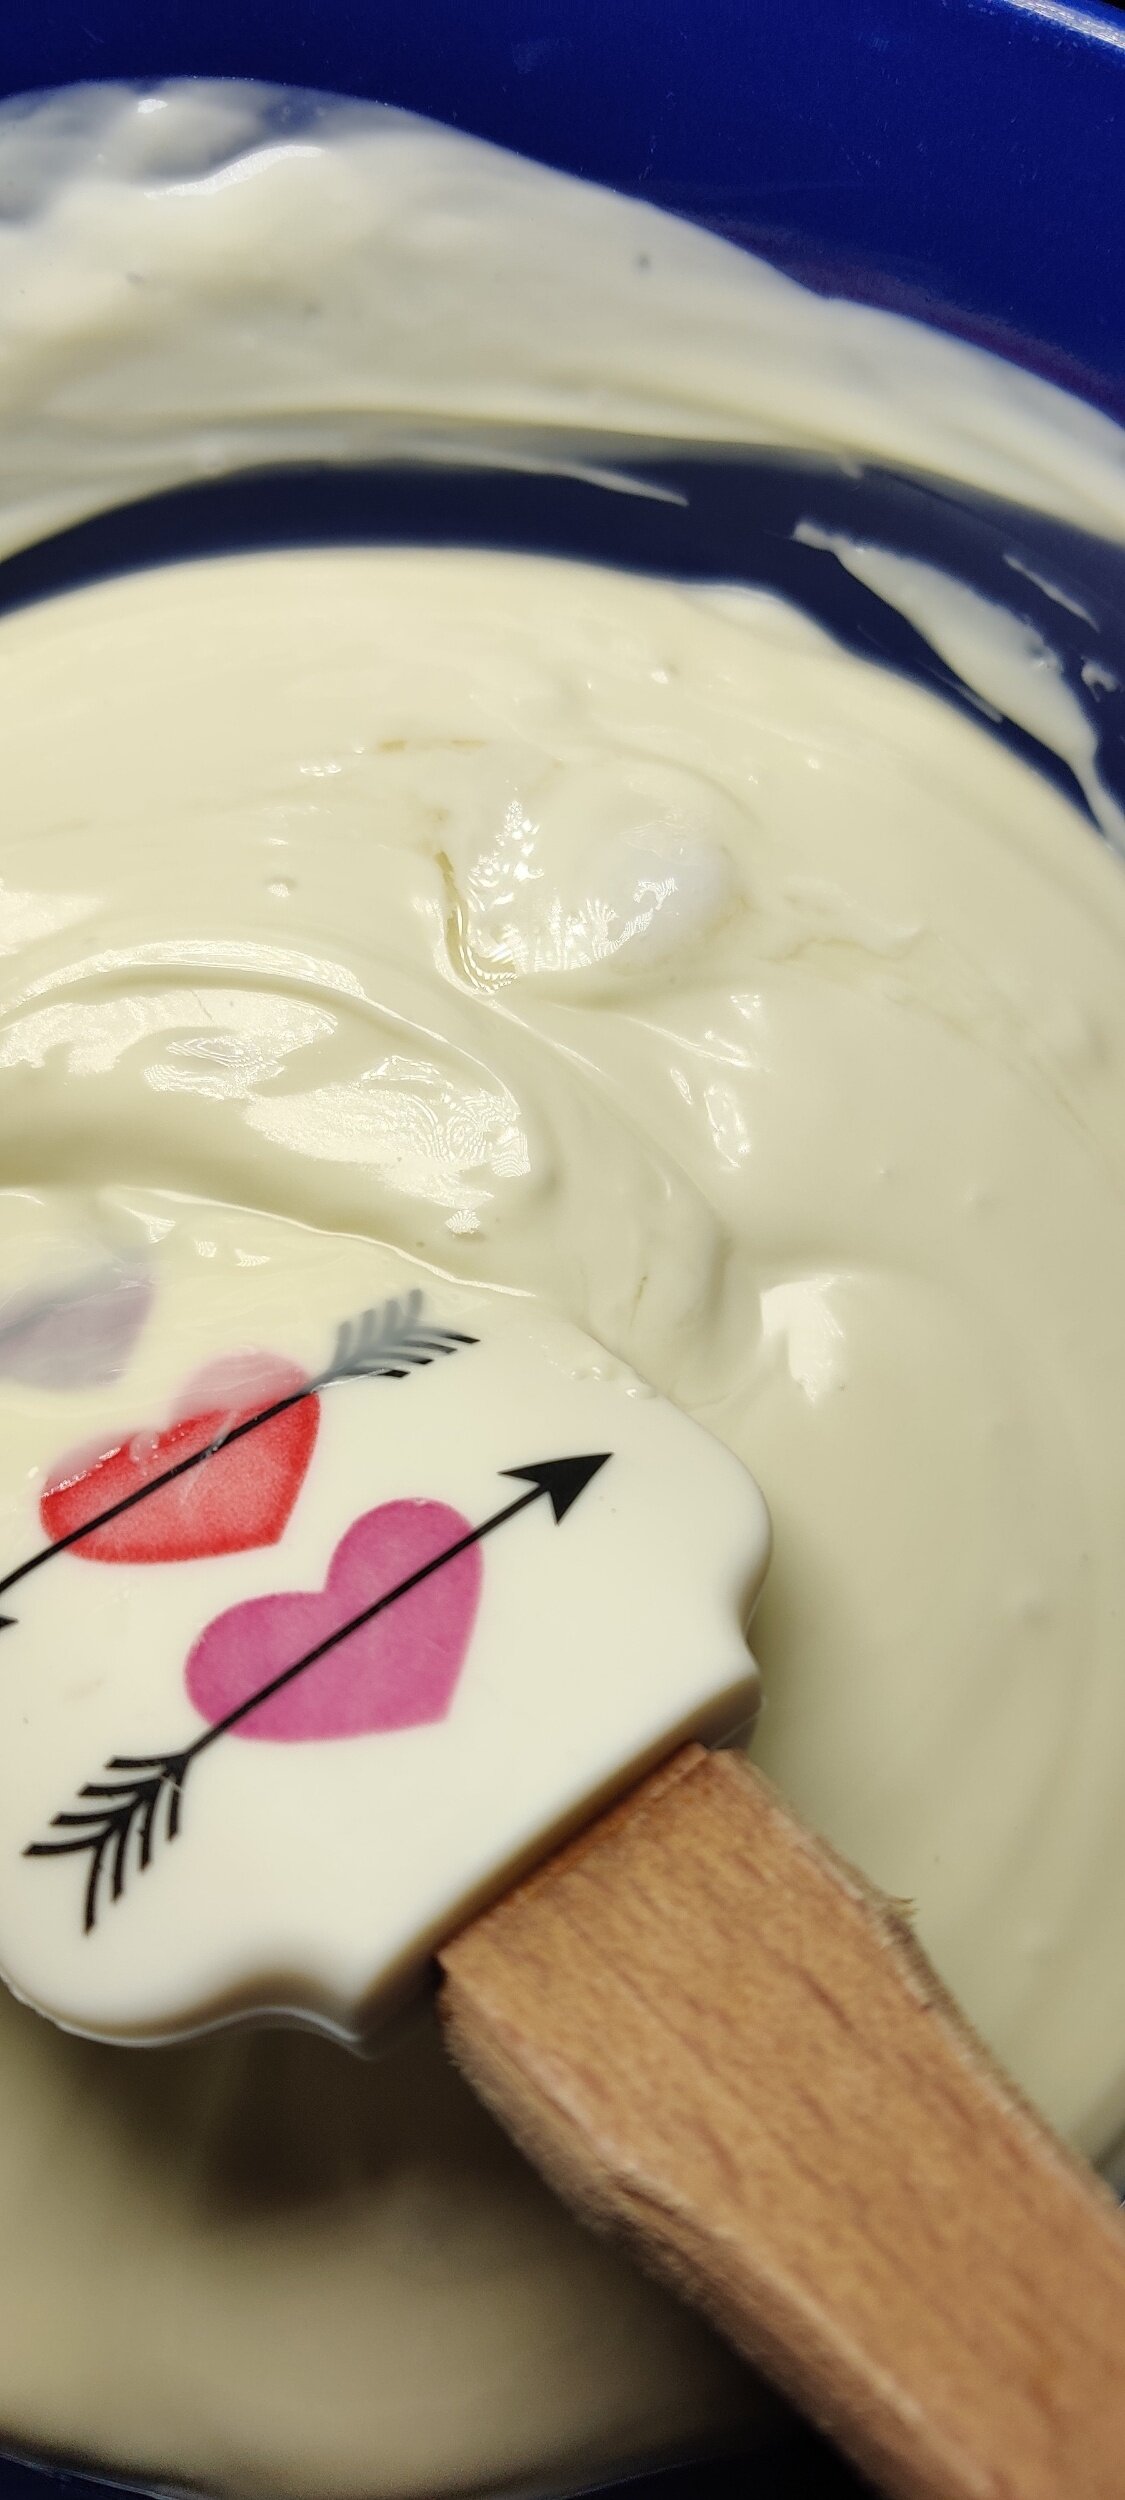
Melt the chocolate chips in the microwave for 2 minutes, stirring every 30 seconds. When you have 30 seconds left, stir in the coconut oil. Once all the chocolate has melted, stir in the almond extract. Make sure all the large lumps are gone.
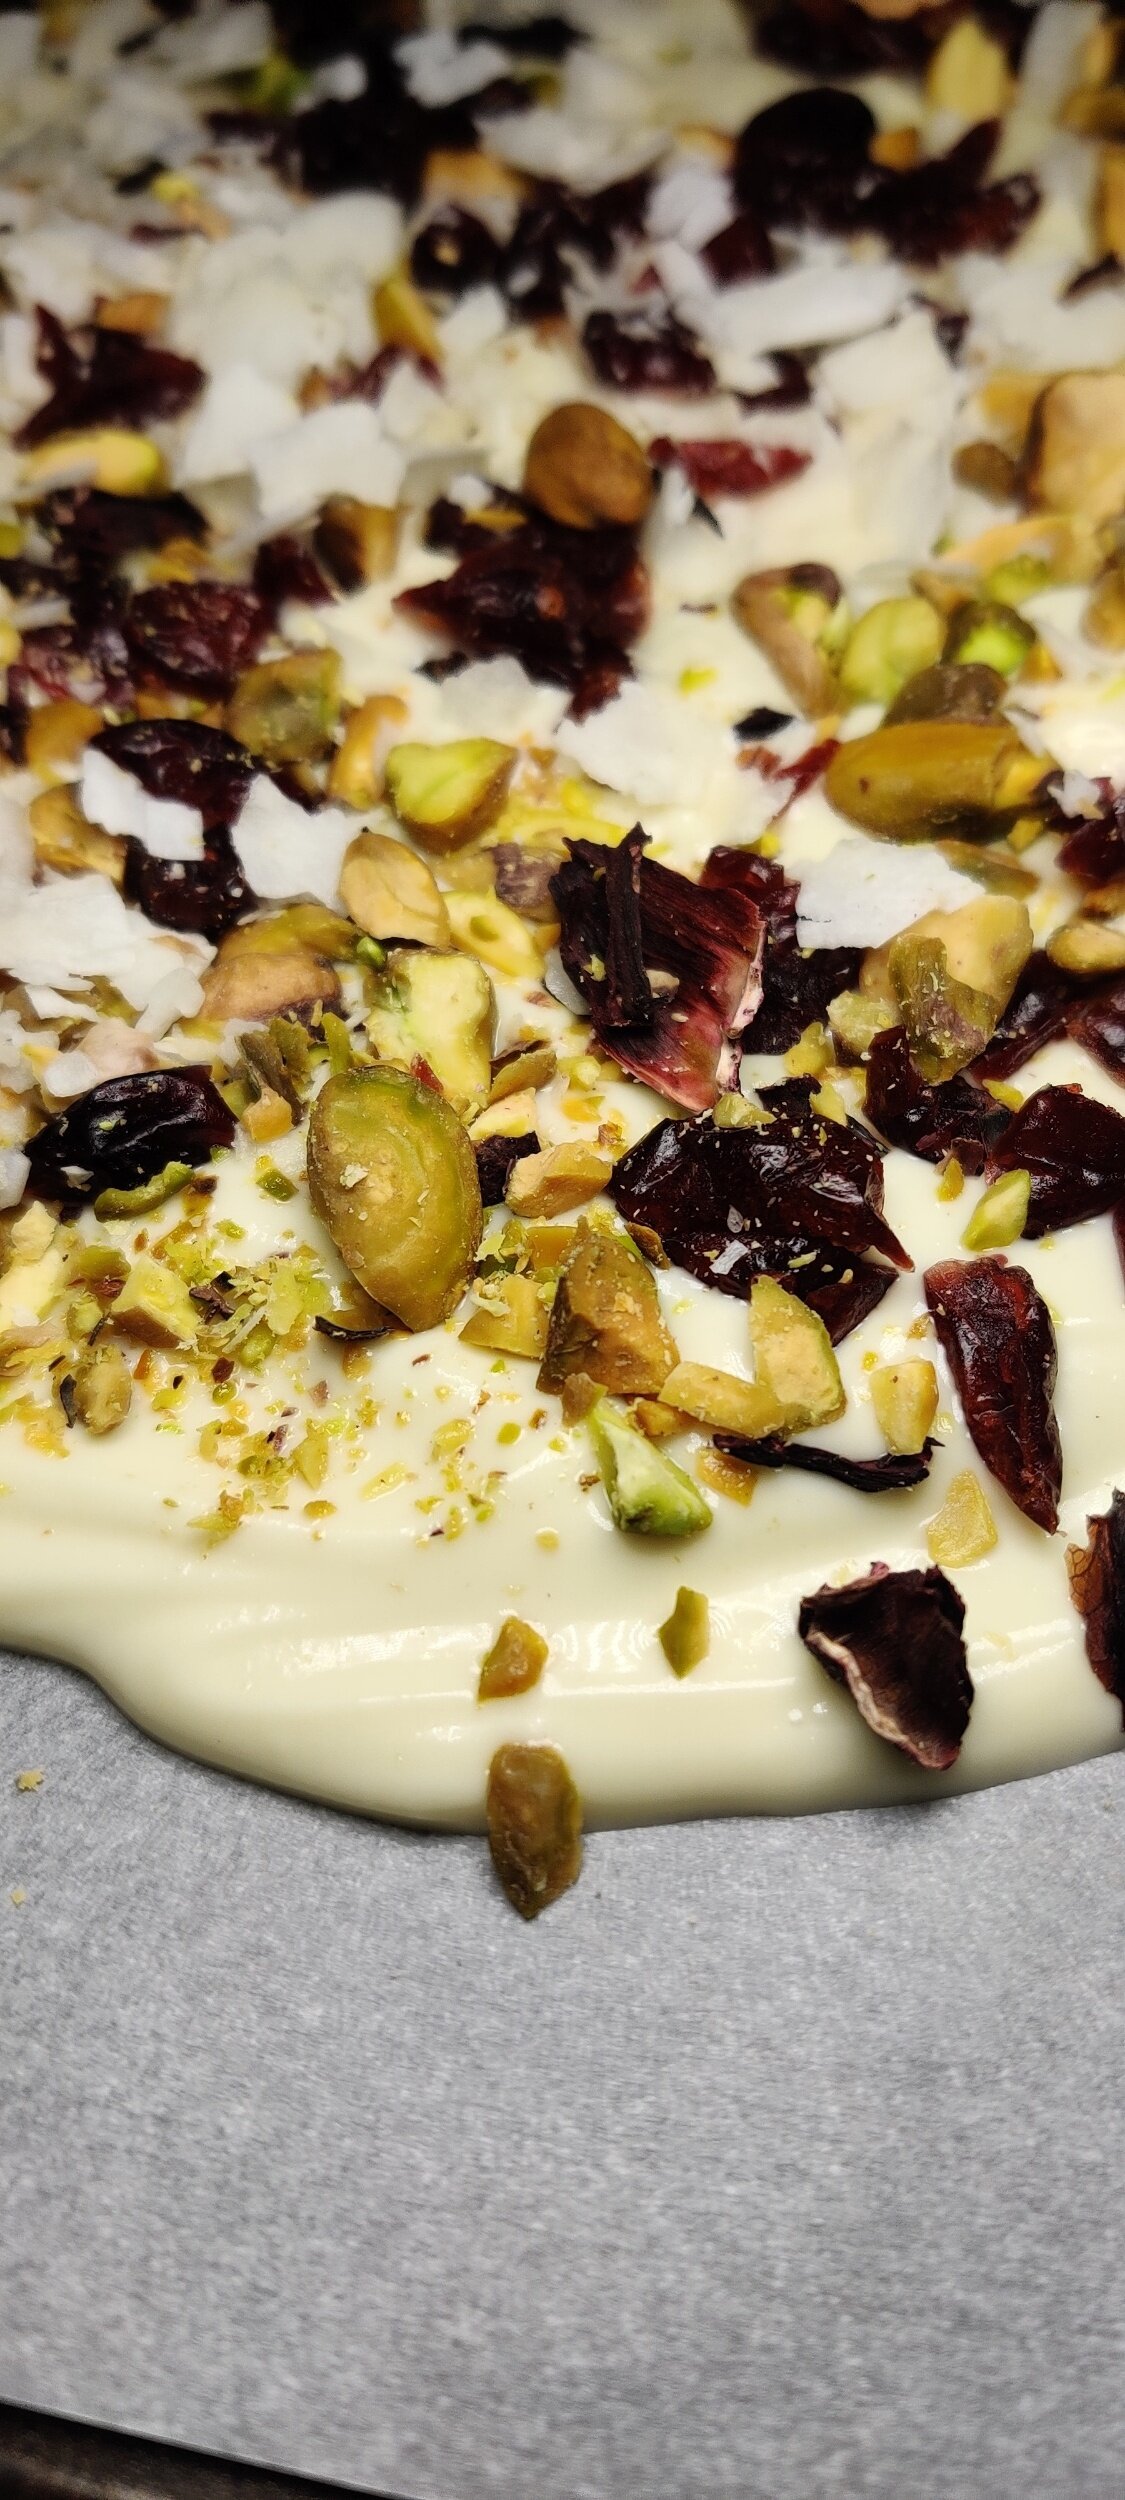
Quickly spread the melted chocolate evenly (to your desired thickness) over a prepared baking tray lined with parchment paper.
Sprinkle the pistachios, cranberries, coconut, and roselle petals on top.
Chill in the freezer for 1 hour, then break apart with a knife into squares or shards. Wrap up in parchment paper and a zip lock bag and refrigerate.

Cranberry Tart with Brie and Pistachio
We all know cranberries and brie go together! Well, okay we don’t all know but I’m telling you now based on what I know and have experienced.
I was going to make this a white chocolate and cranberry tart, but will reserve that for another treat! Something savory had to do. Since I already served the cranberry coq au vin style with the mushrooms and polenta in this recipe, I wanted rich, simple, and quick to make appetizer folks could customize.
Also, you don't have to use cranberries! You could use apples or anything else that compliments brie.
This is a great appetizer before the main Thanksgiving or holiday family meal is served. Or, during the days after when you want to snack on something familiar and have leftover cranberry sauce! It's super classy and will impress your guests.
Ingredients
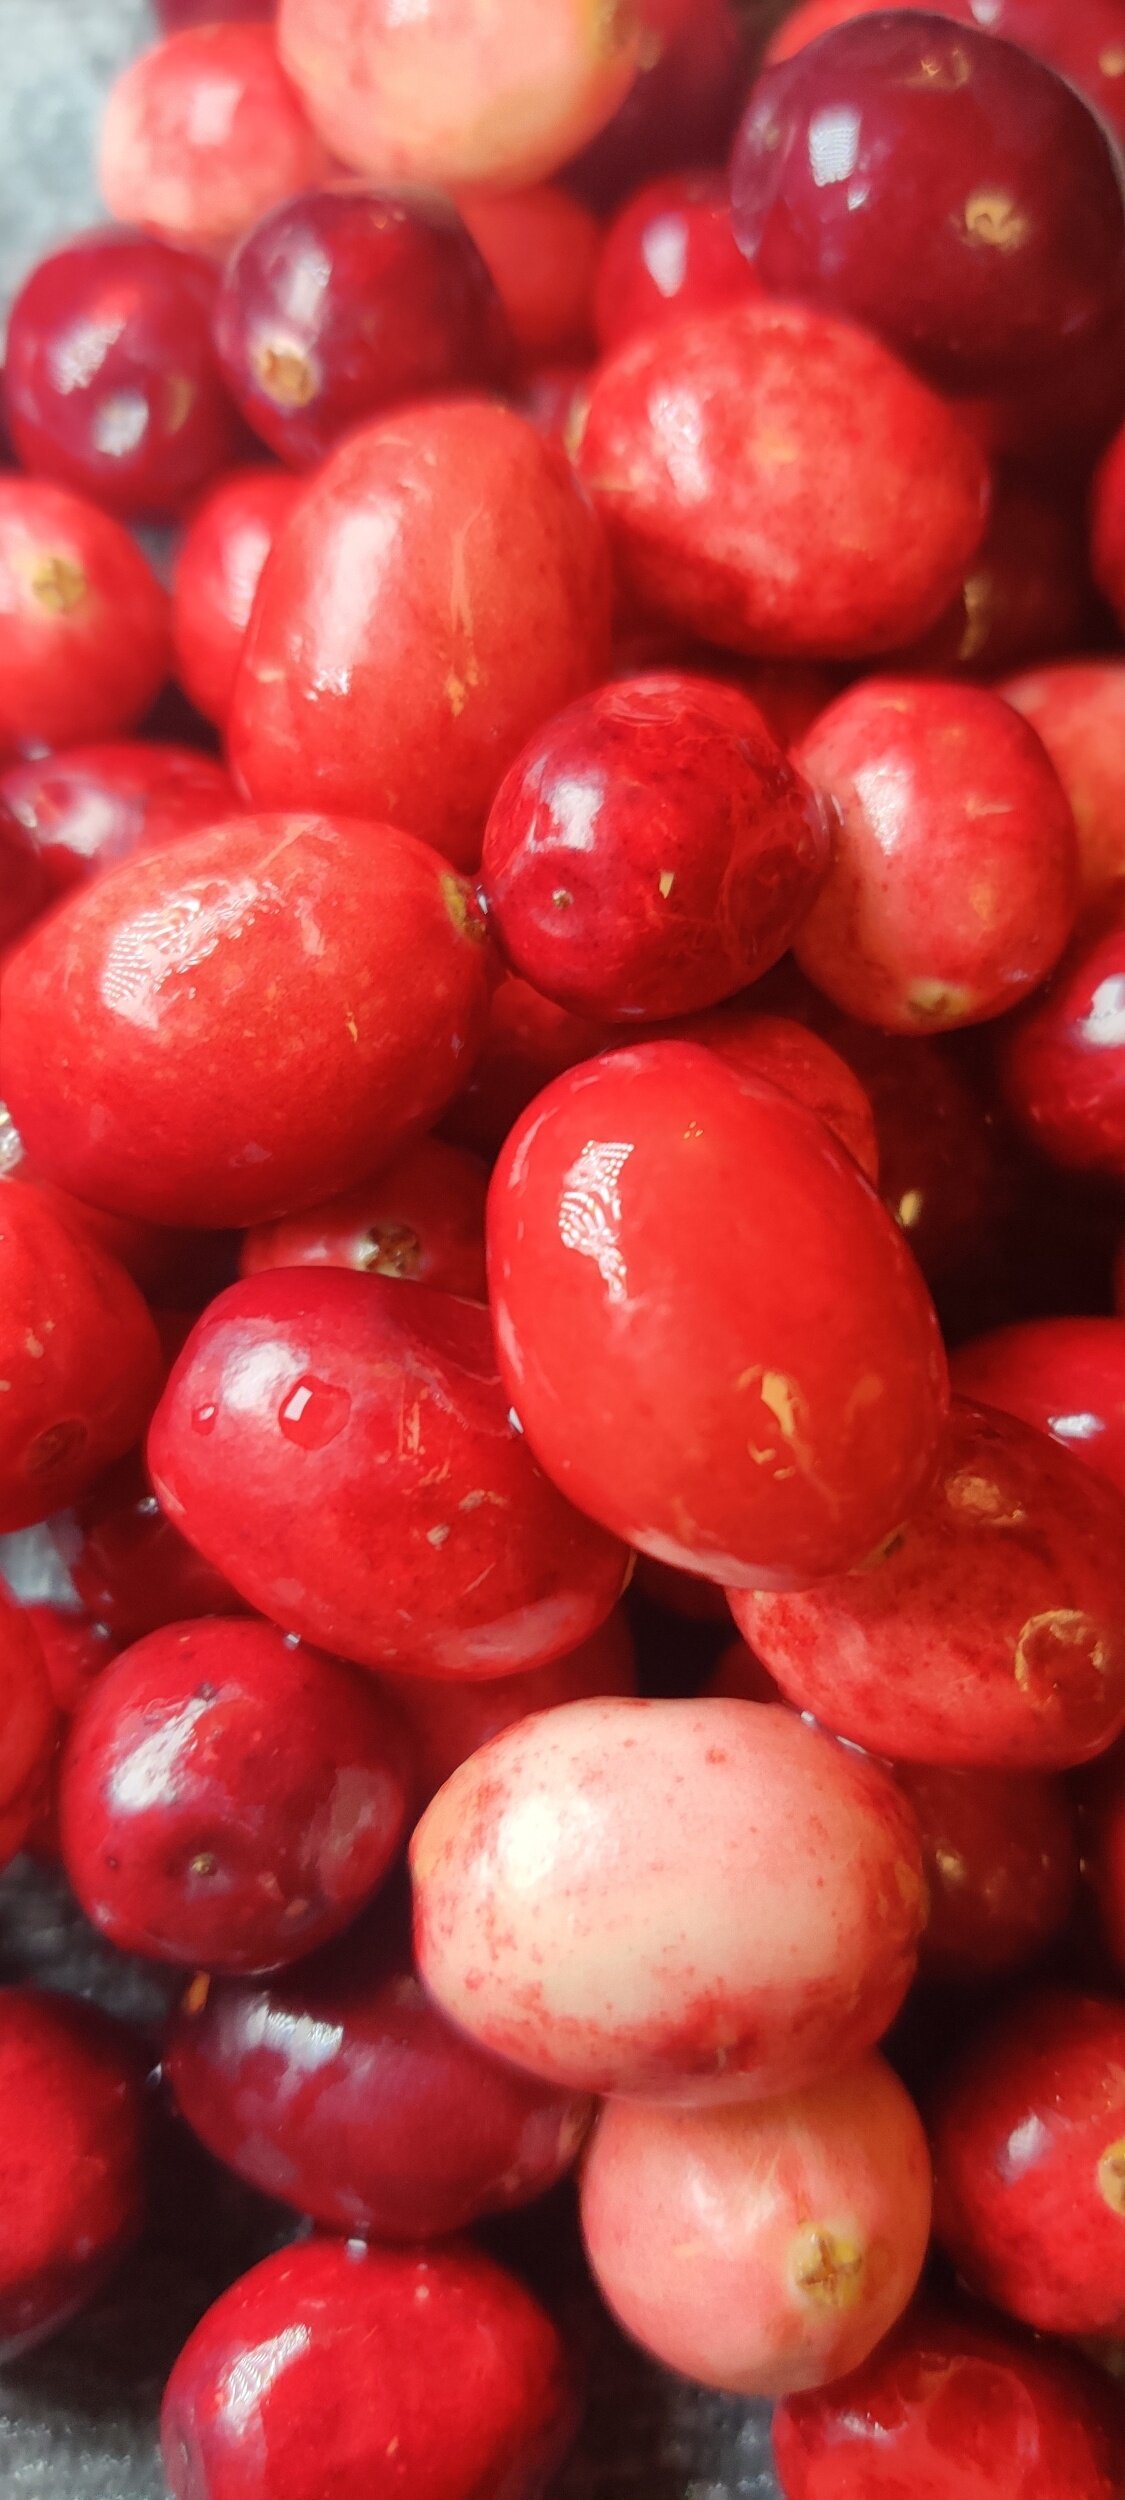
1/2 cup fresh cranberries
1/2 cup orange juice
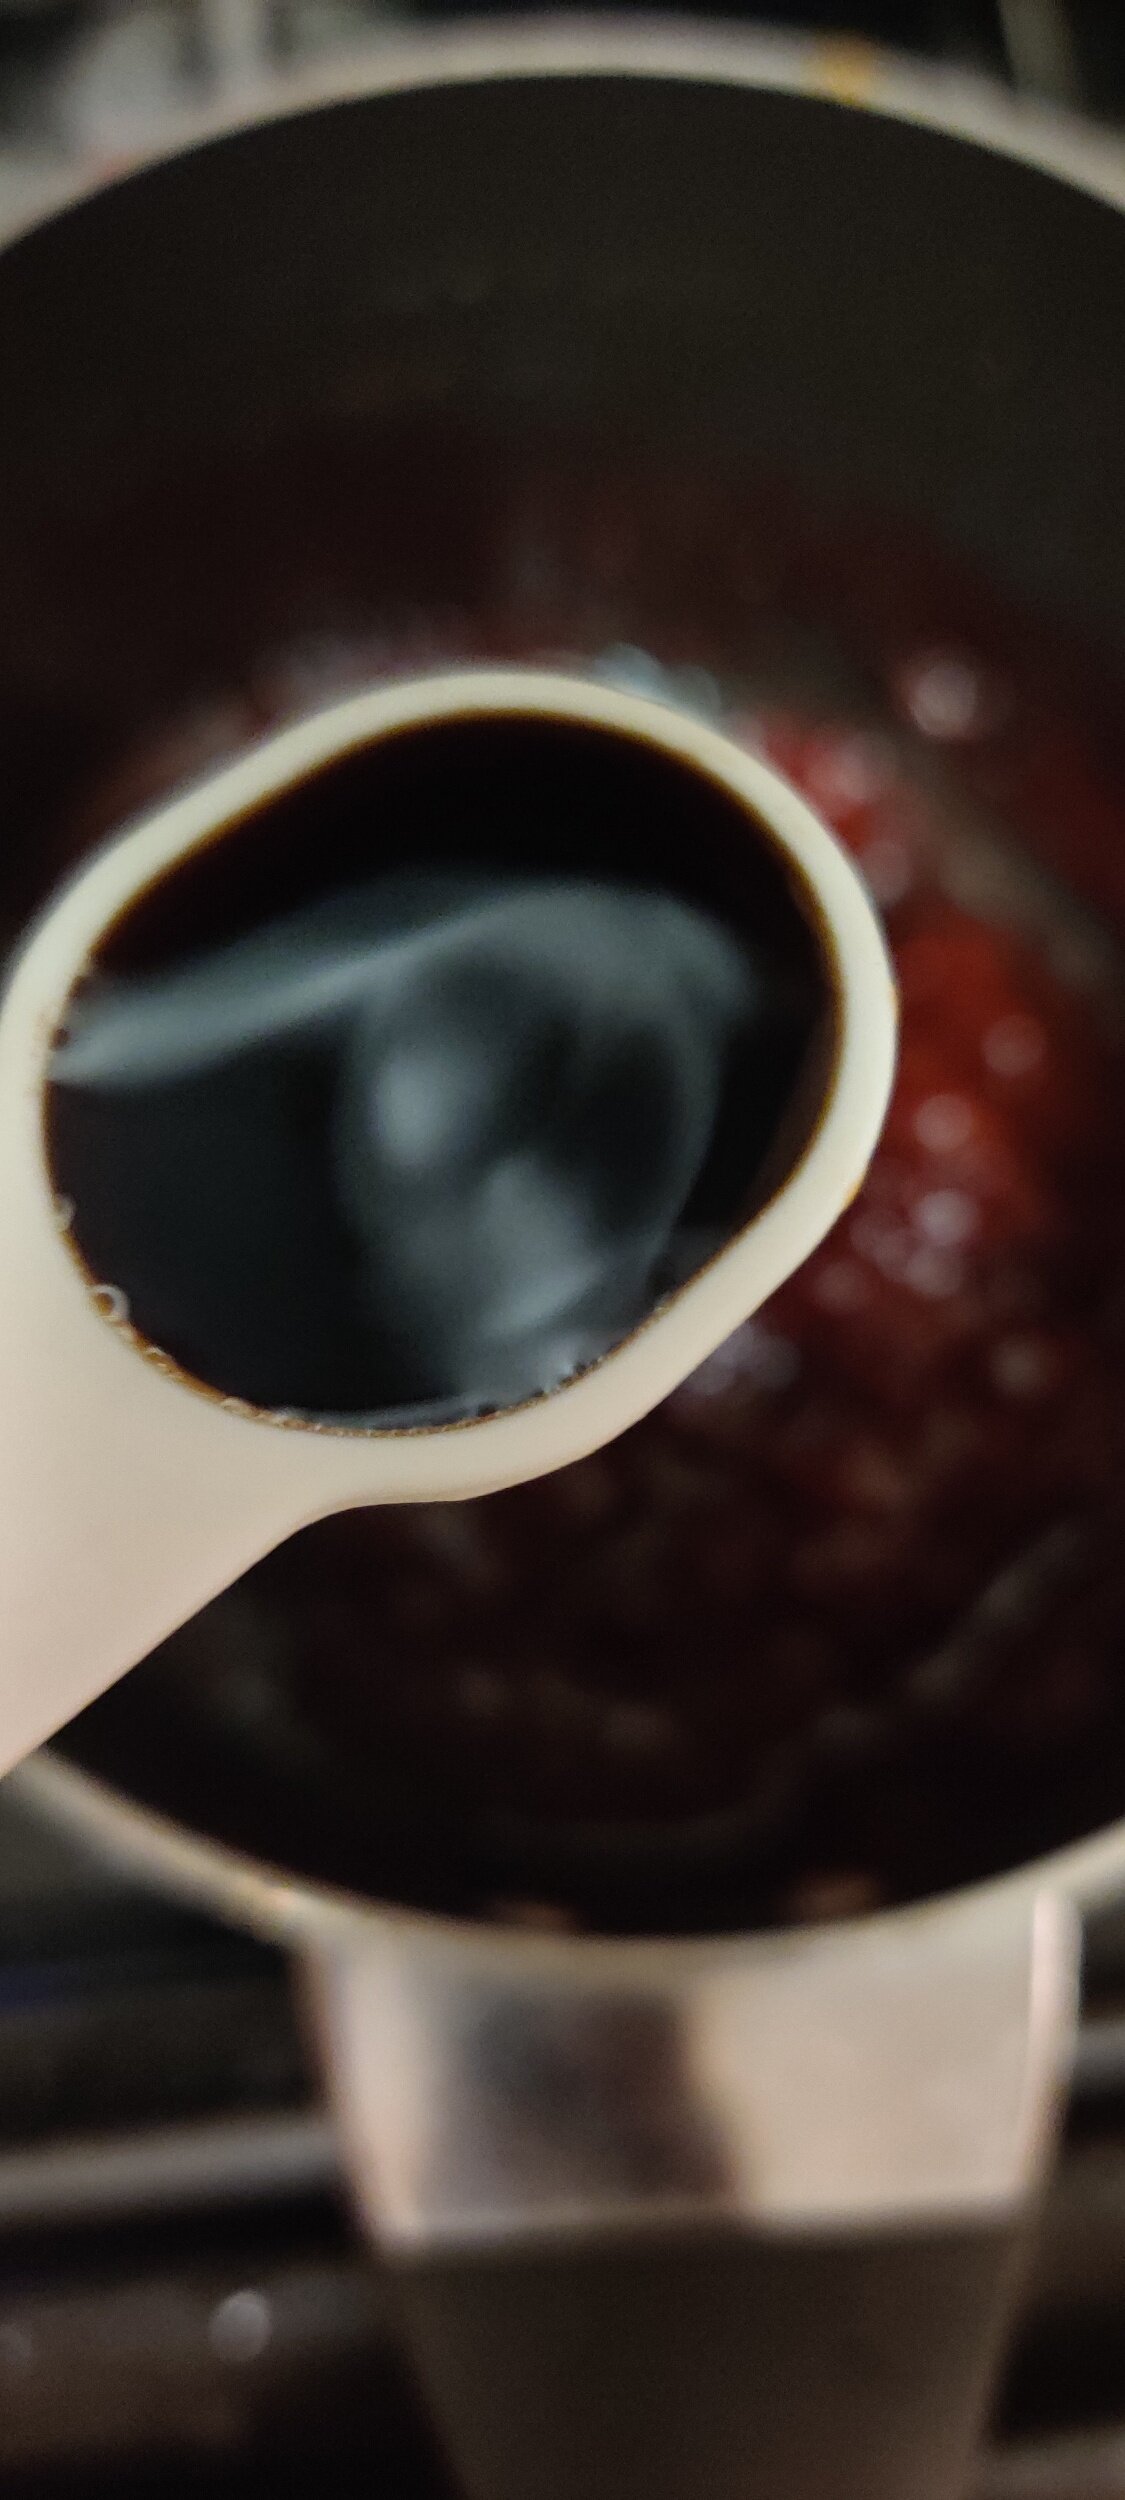
1 teaspoon balsamic
1/2 cup white sugar
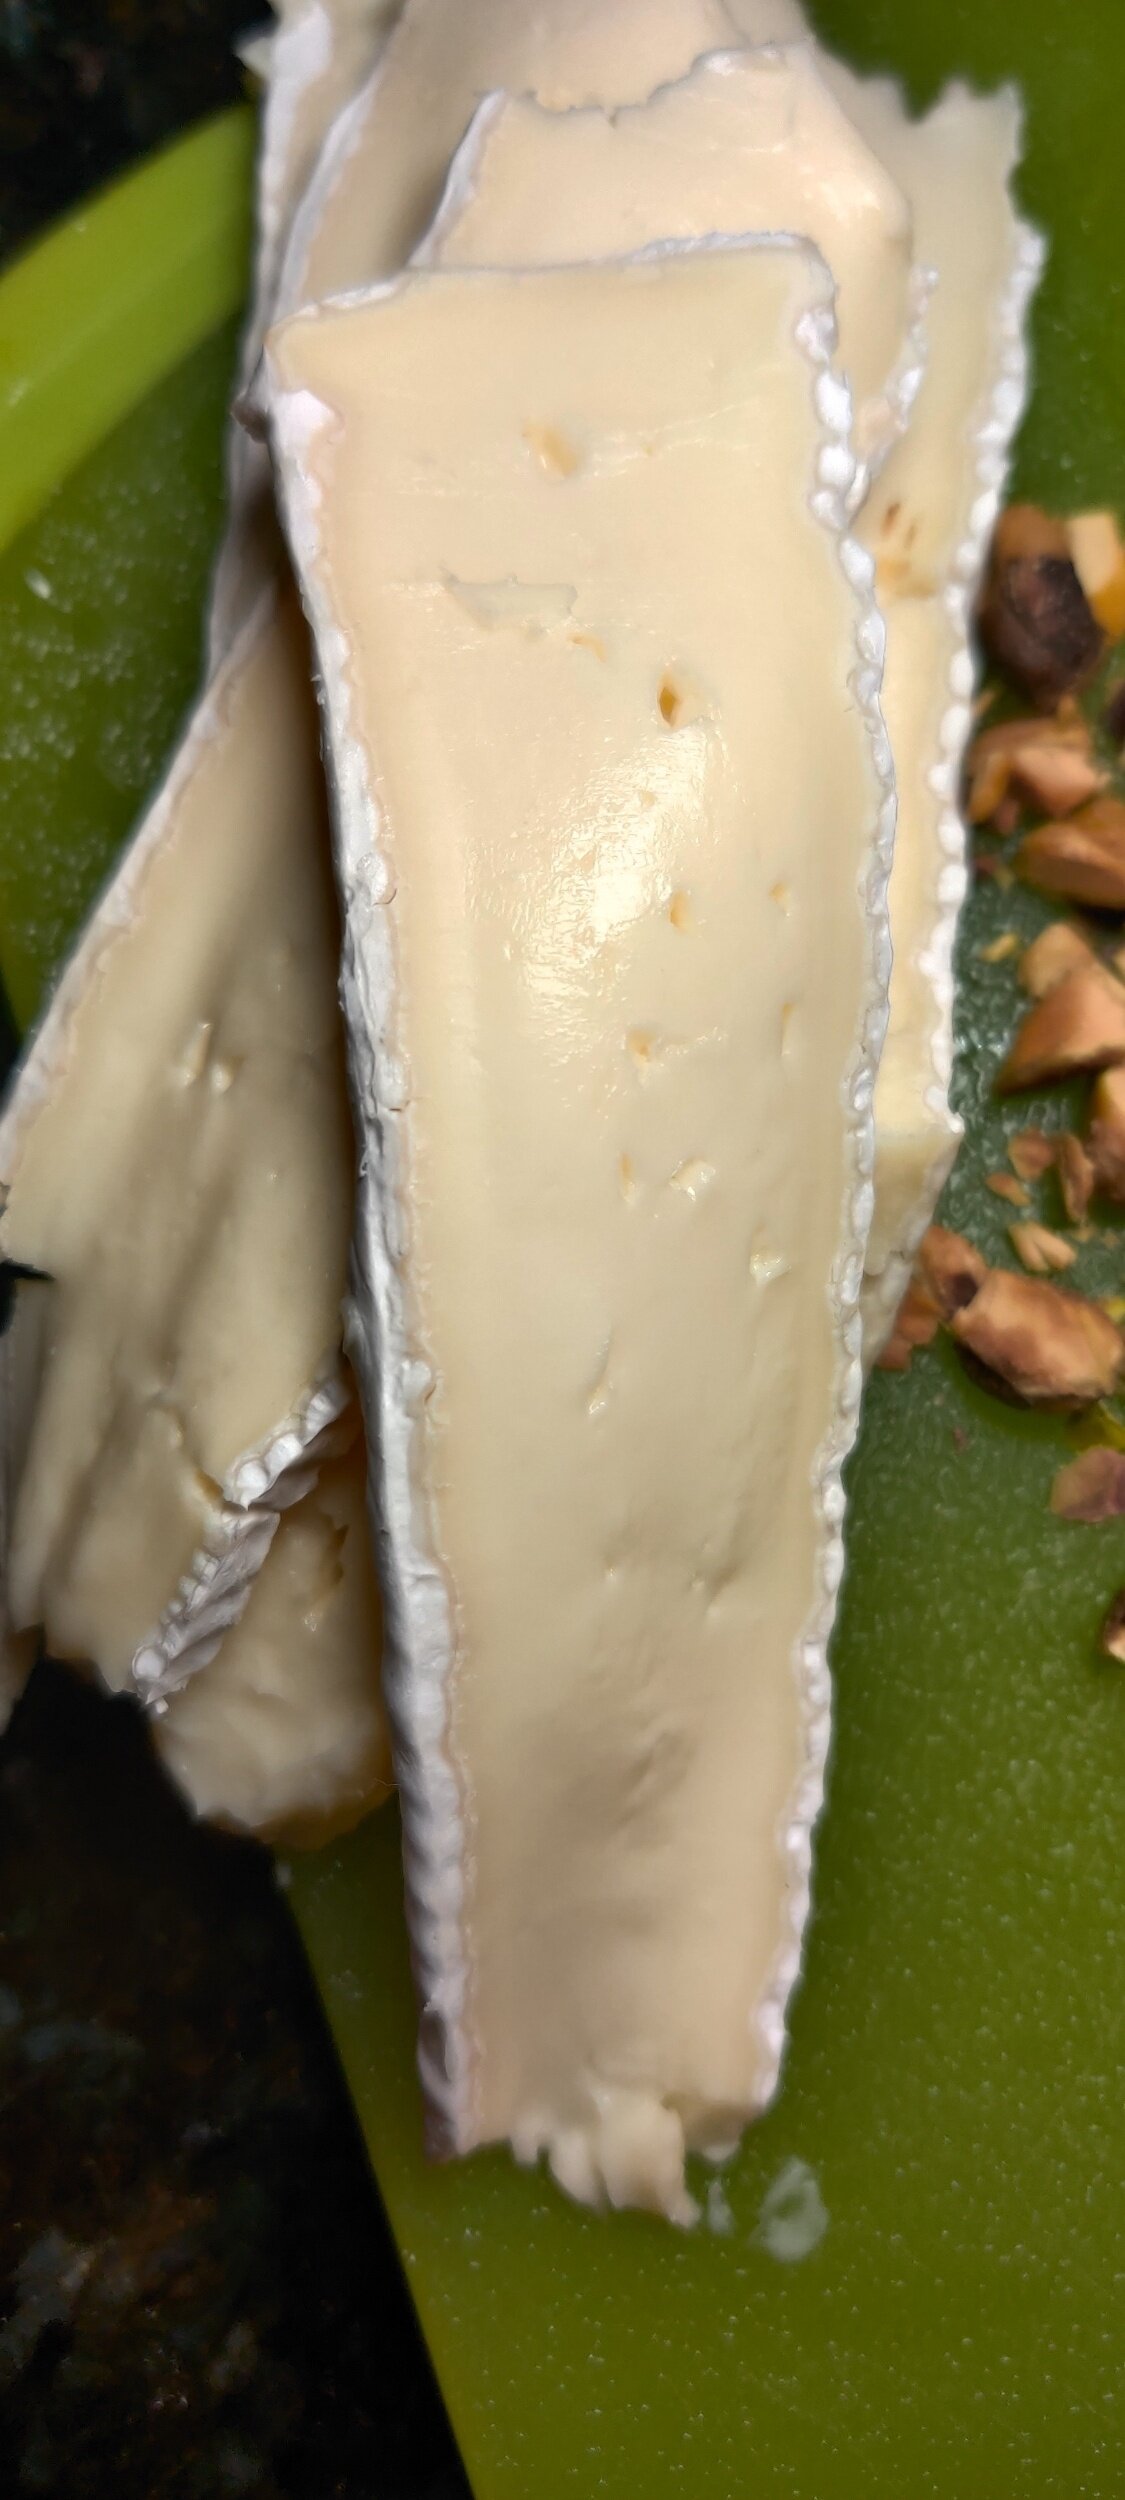
4 ounces medium or intense brie (half a regular wedge or more depending on how cheesy you want the tart)
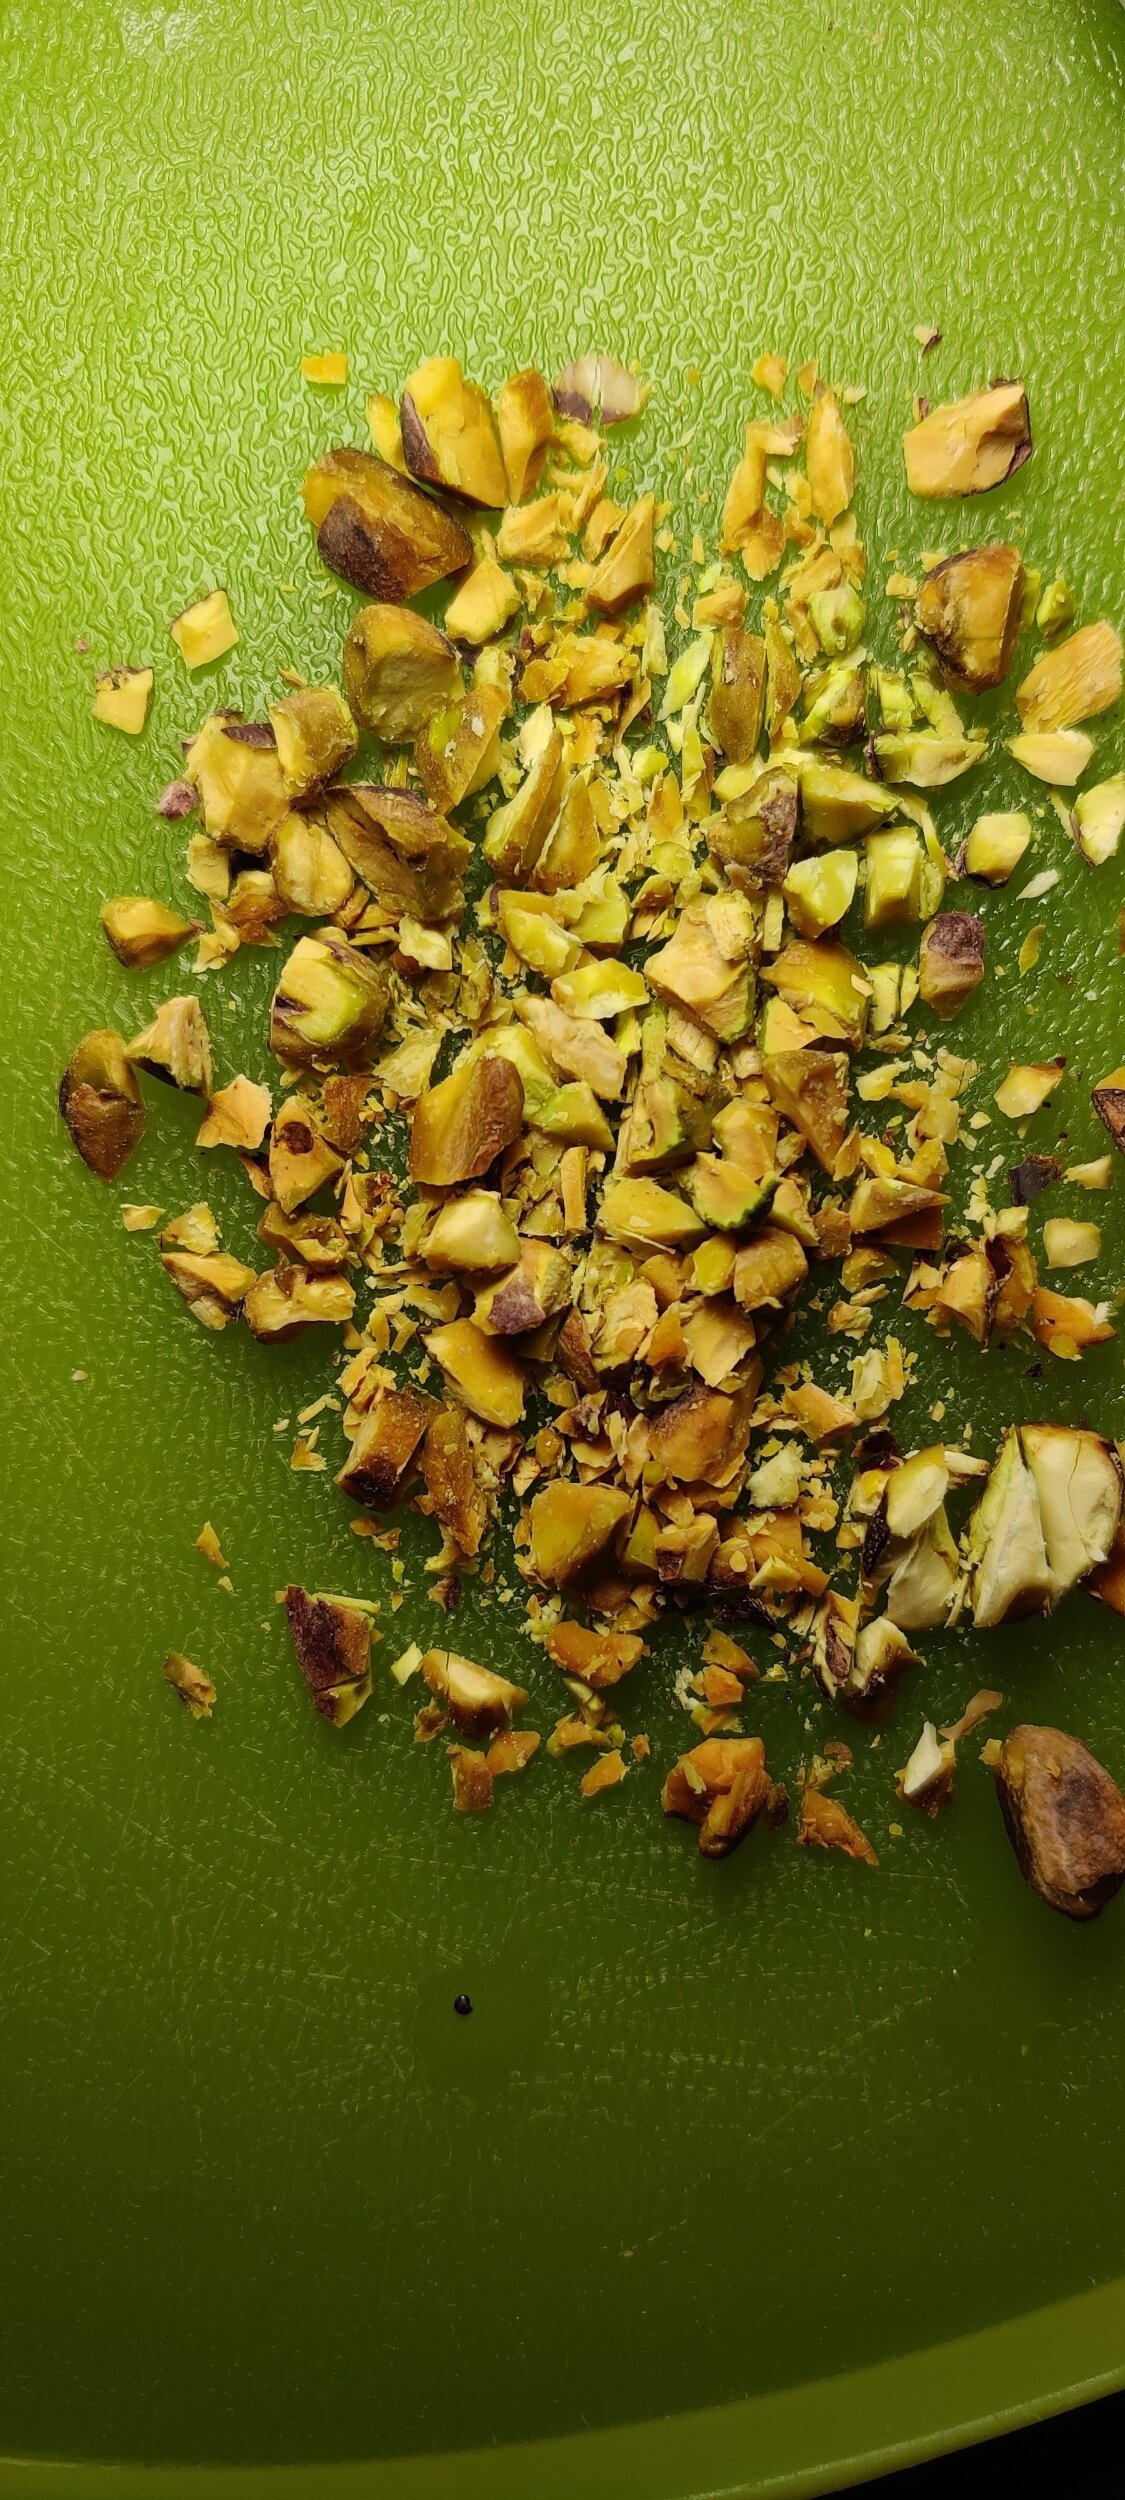
2 tablespoons pistachios
Fresh thyme sprigs
Salt and pepper or steak seasoning
1 sheet puff pastry, thawed
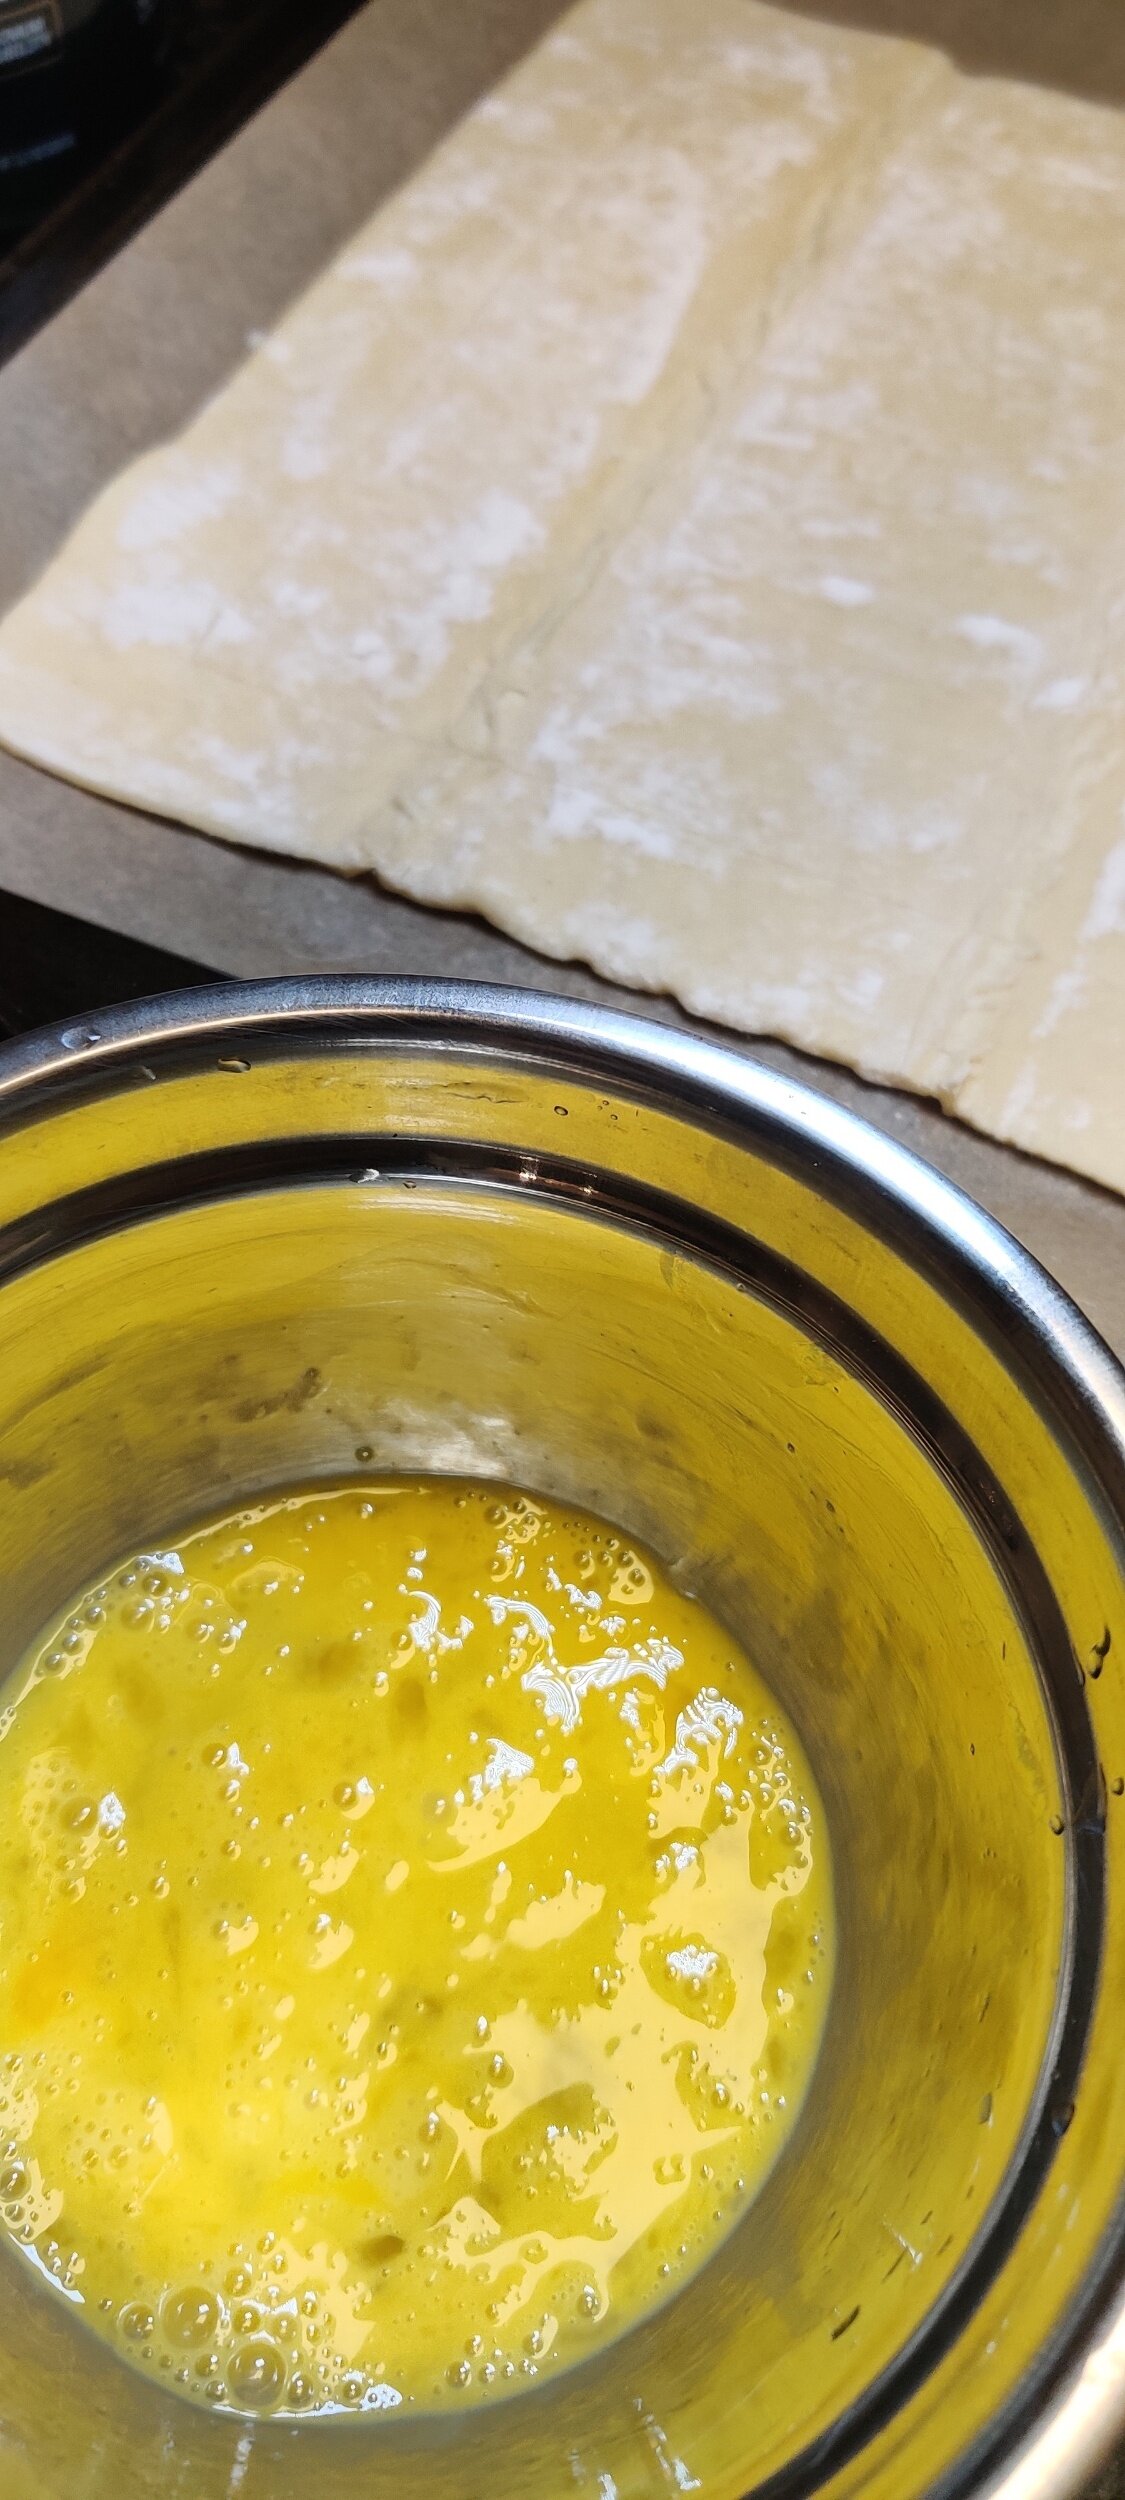
1 egg
Honey
Instructions
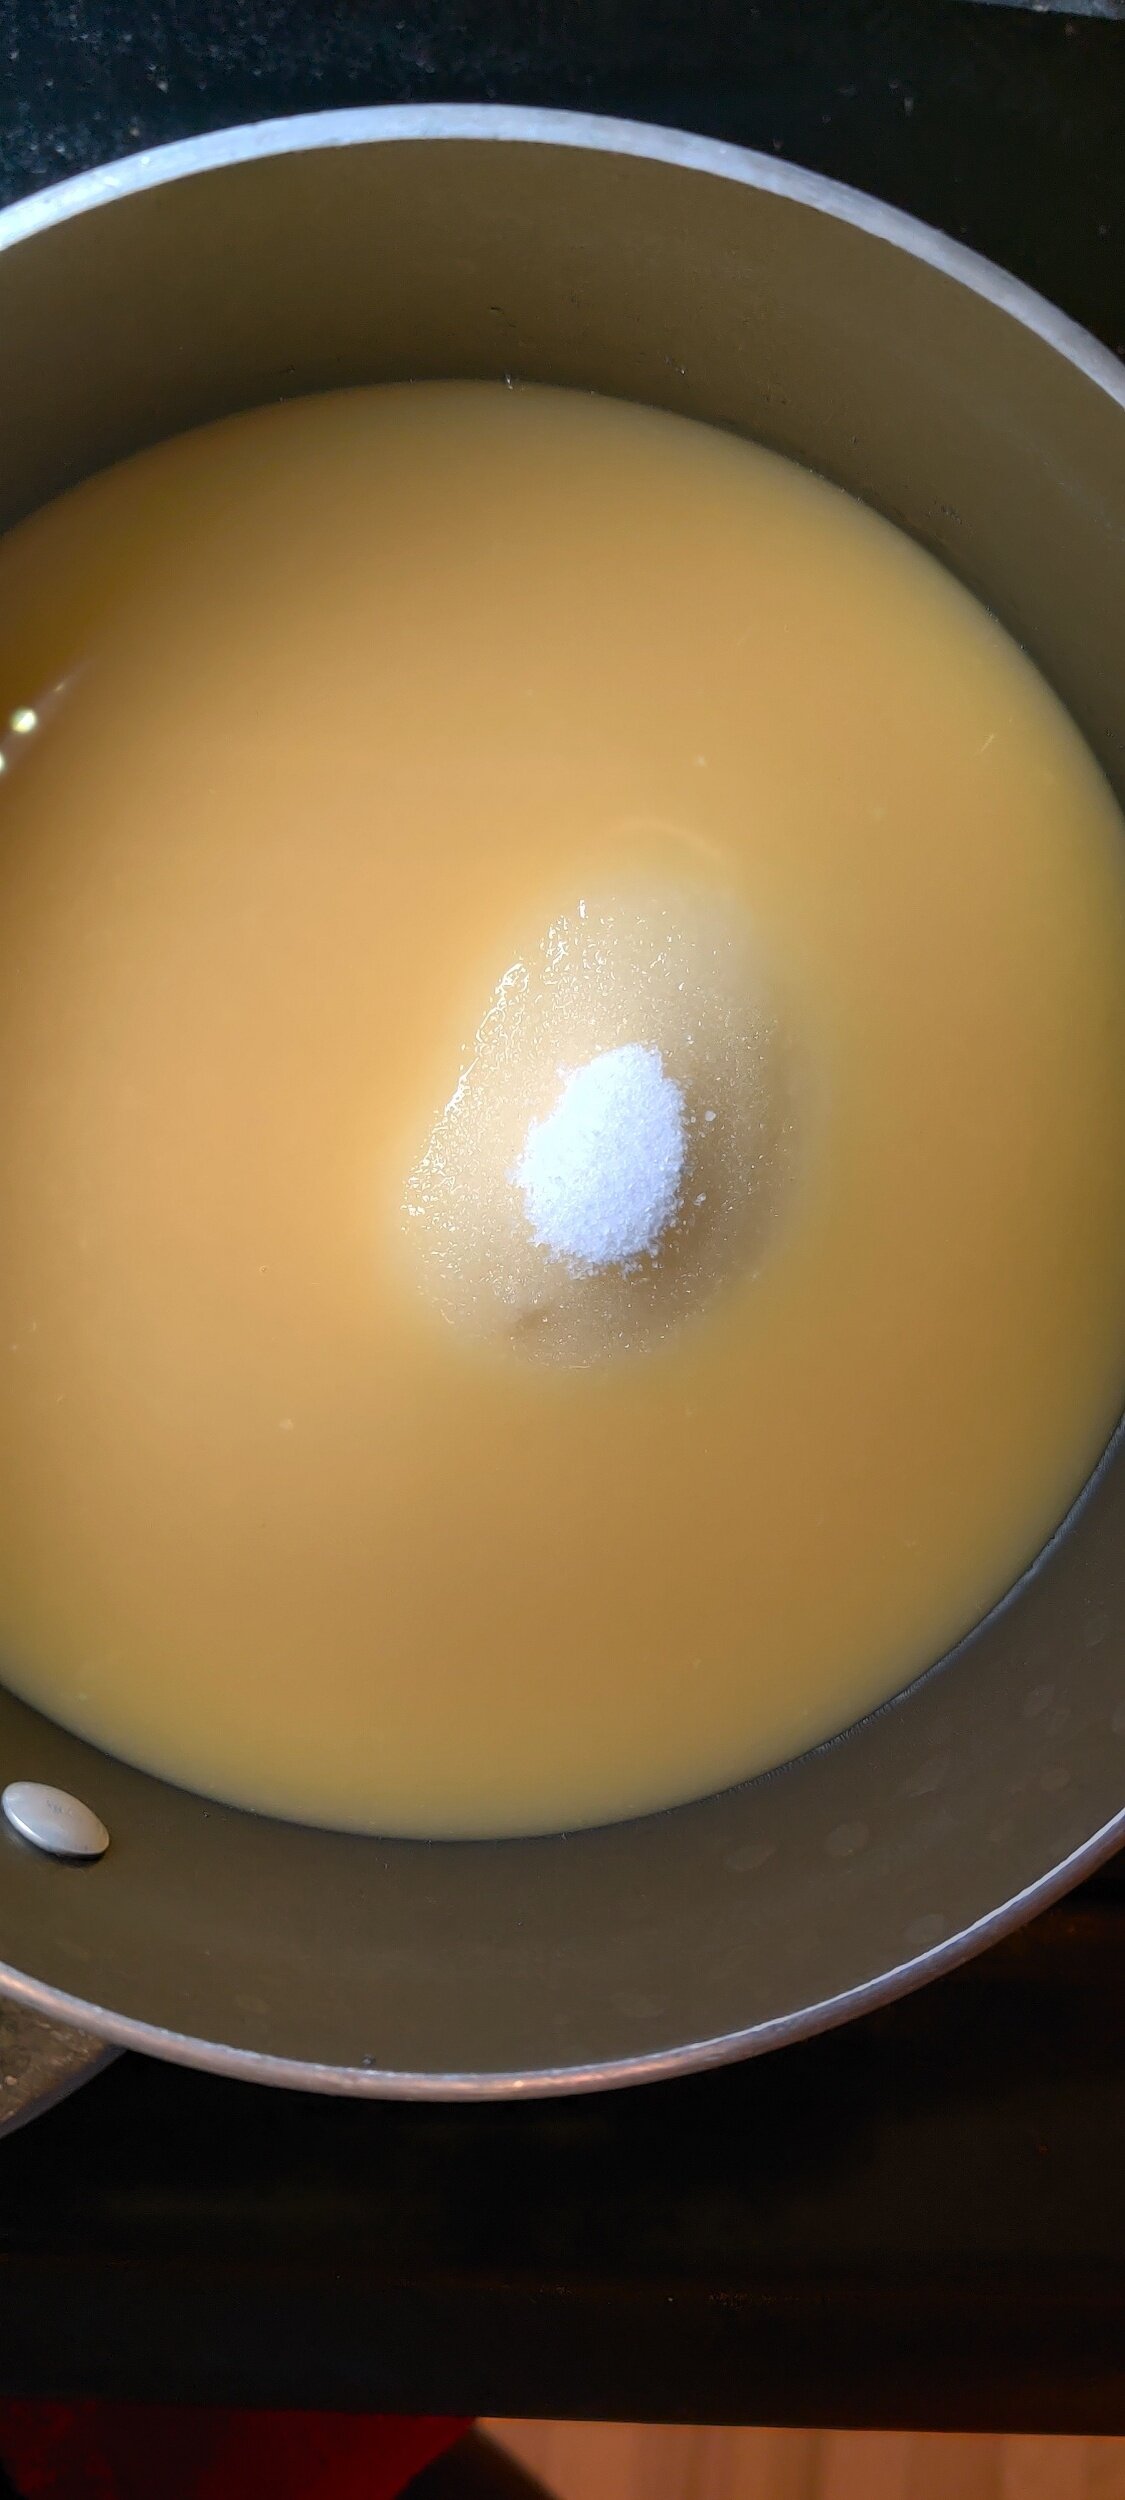
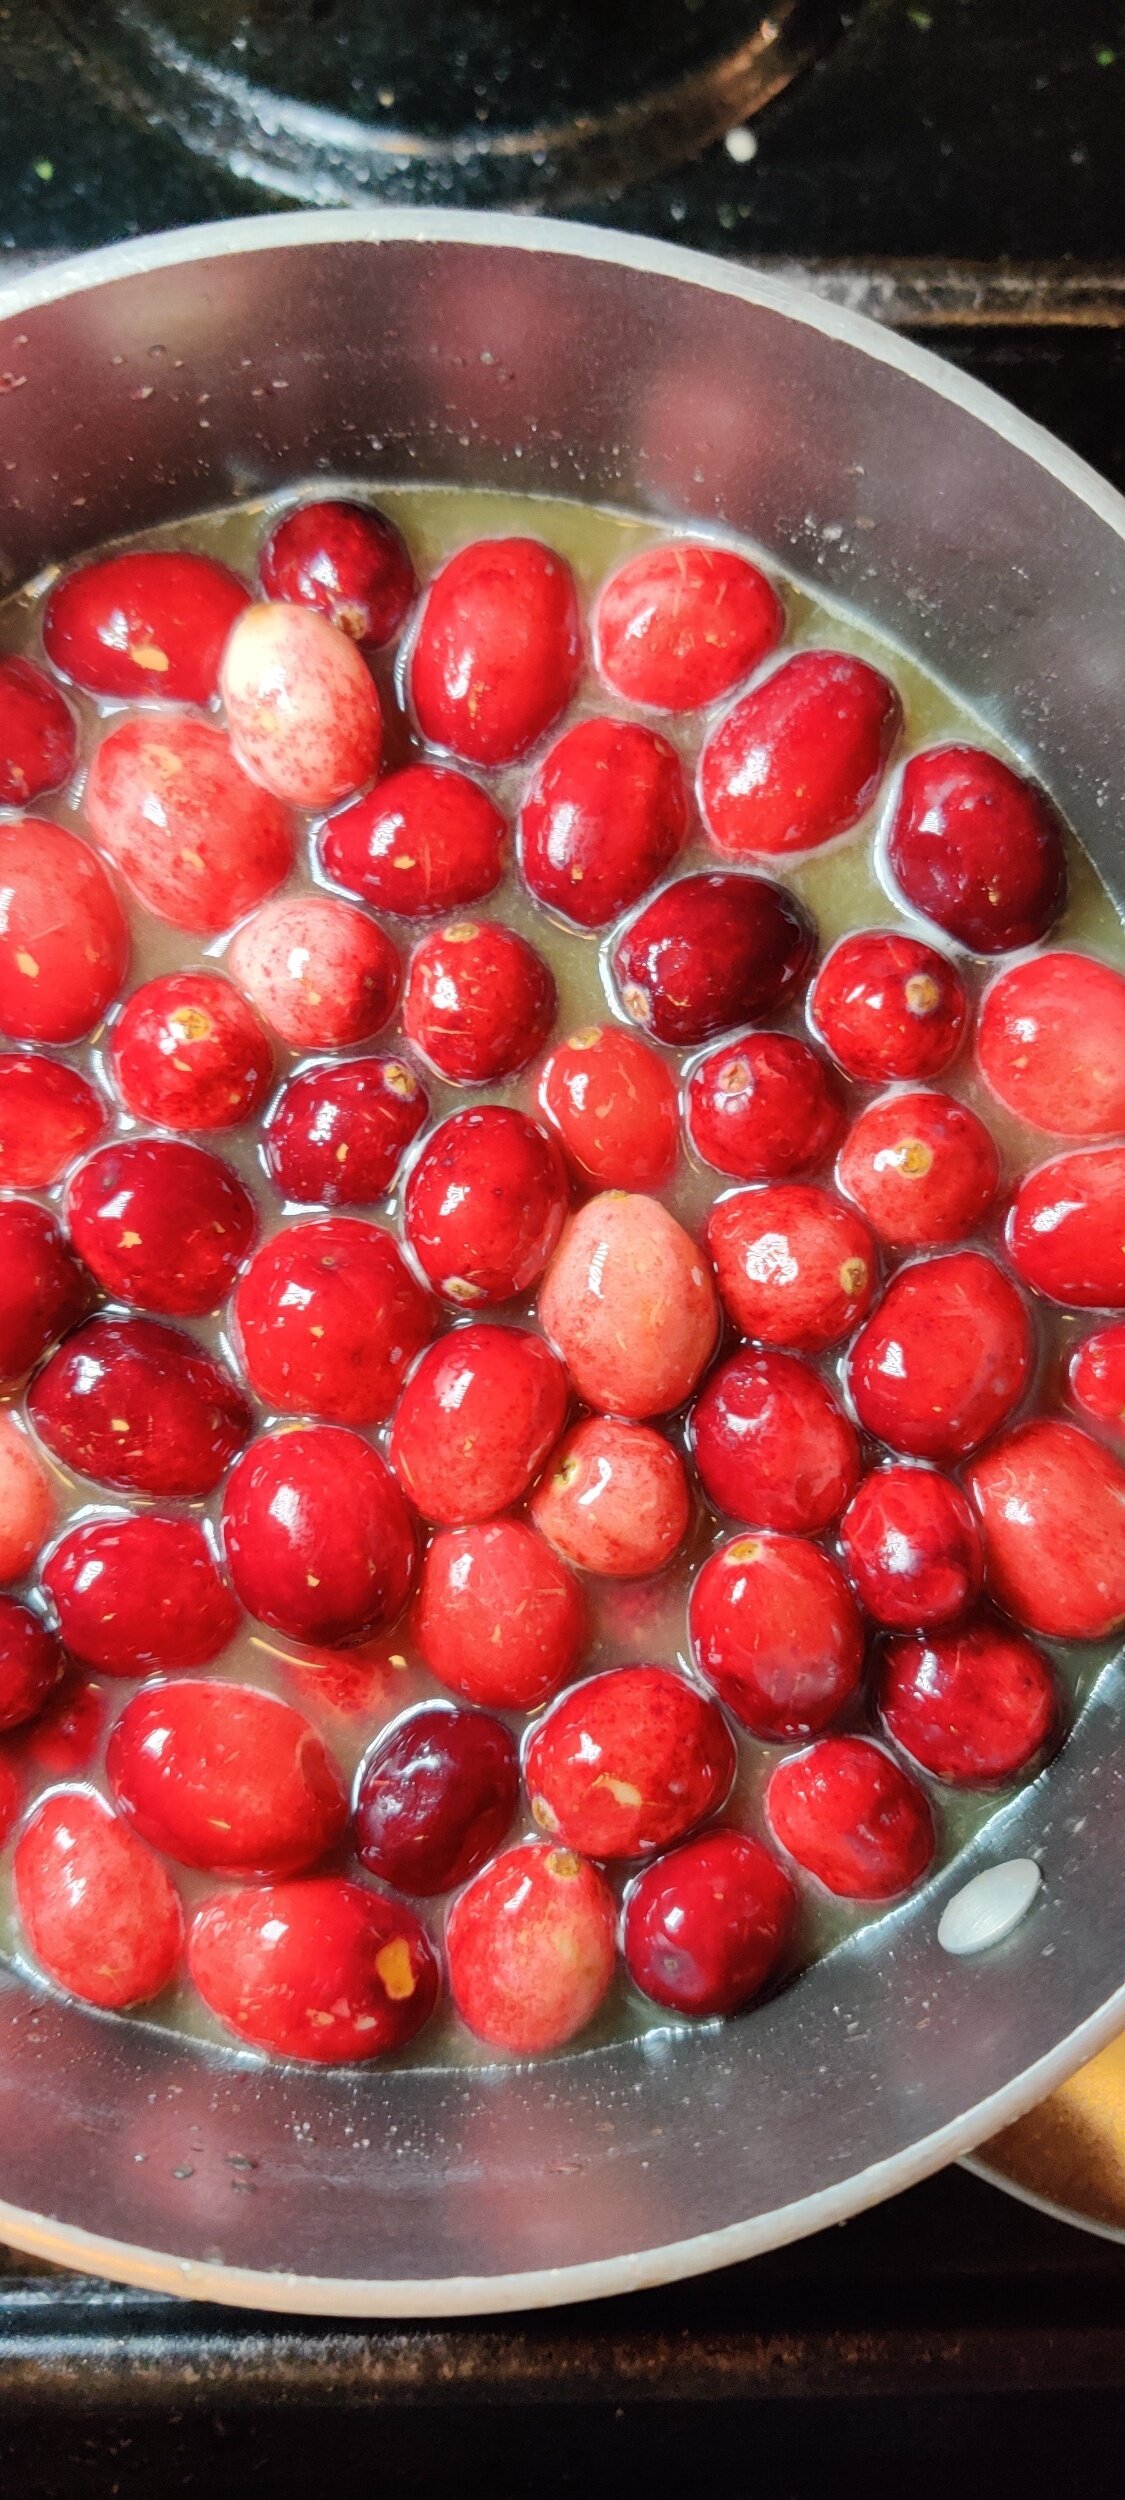
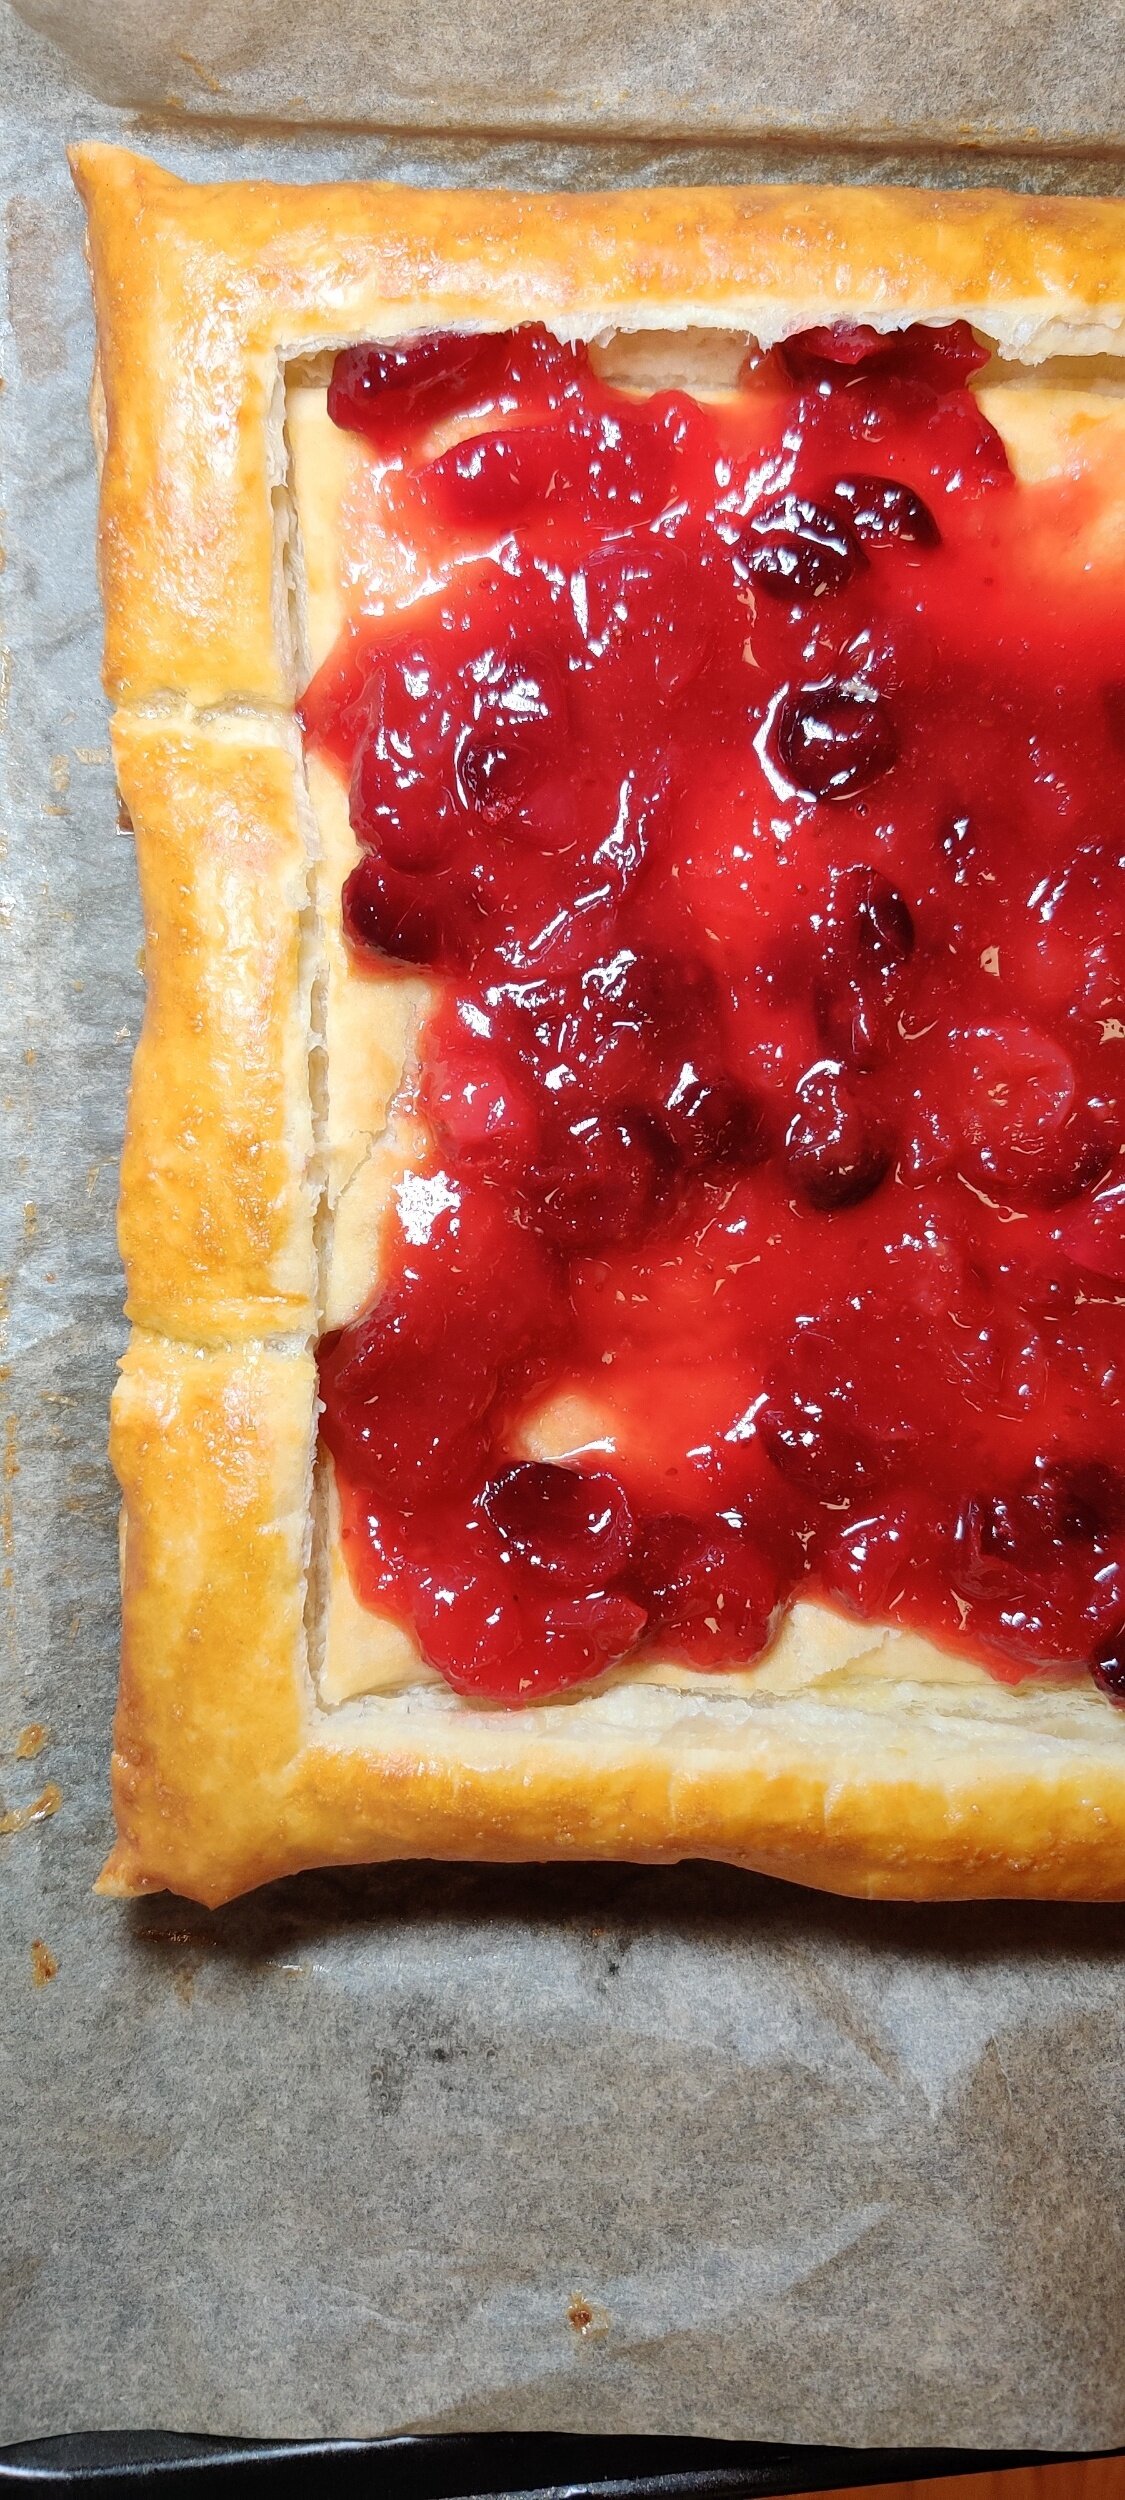
Make the cranberry sauce. On medium-low heat, dissolve the sugar in the orange juice.
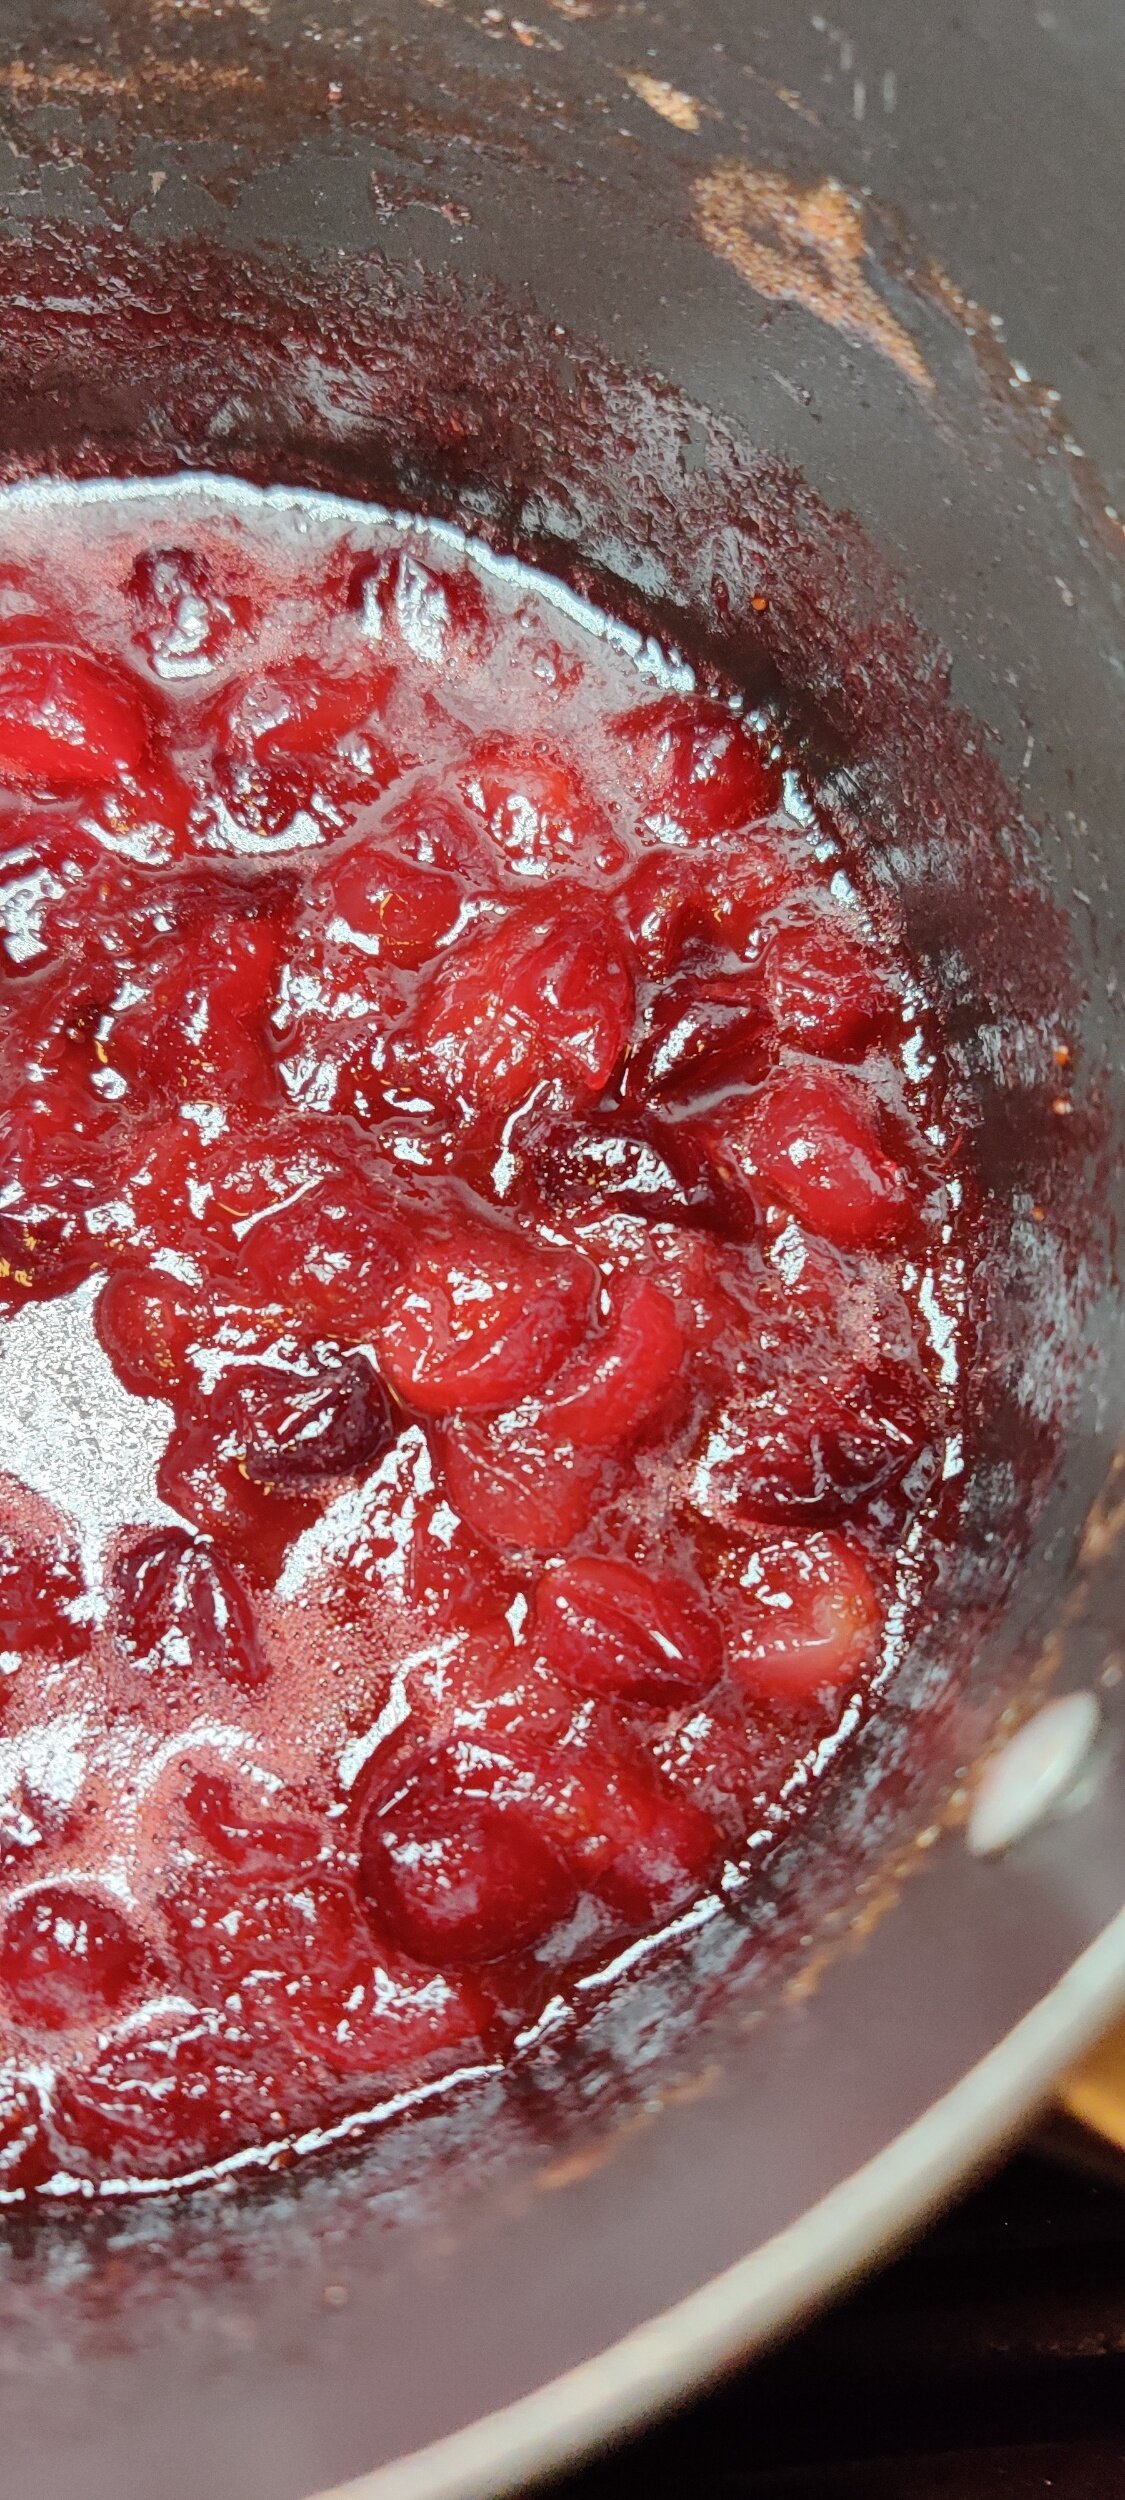
Add the washed and drained cranberries and simmer on low heat for about 10 minutes until a thick sauce begins to form - the cranberries will break down and darken. Remove from heat and set aside.
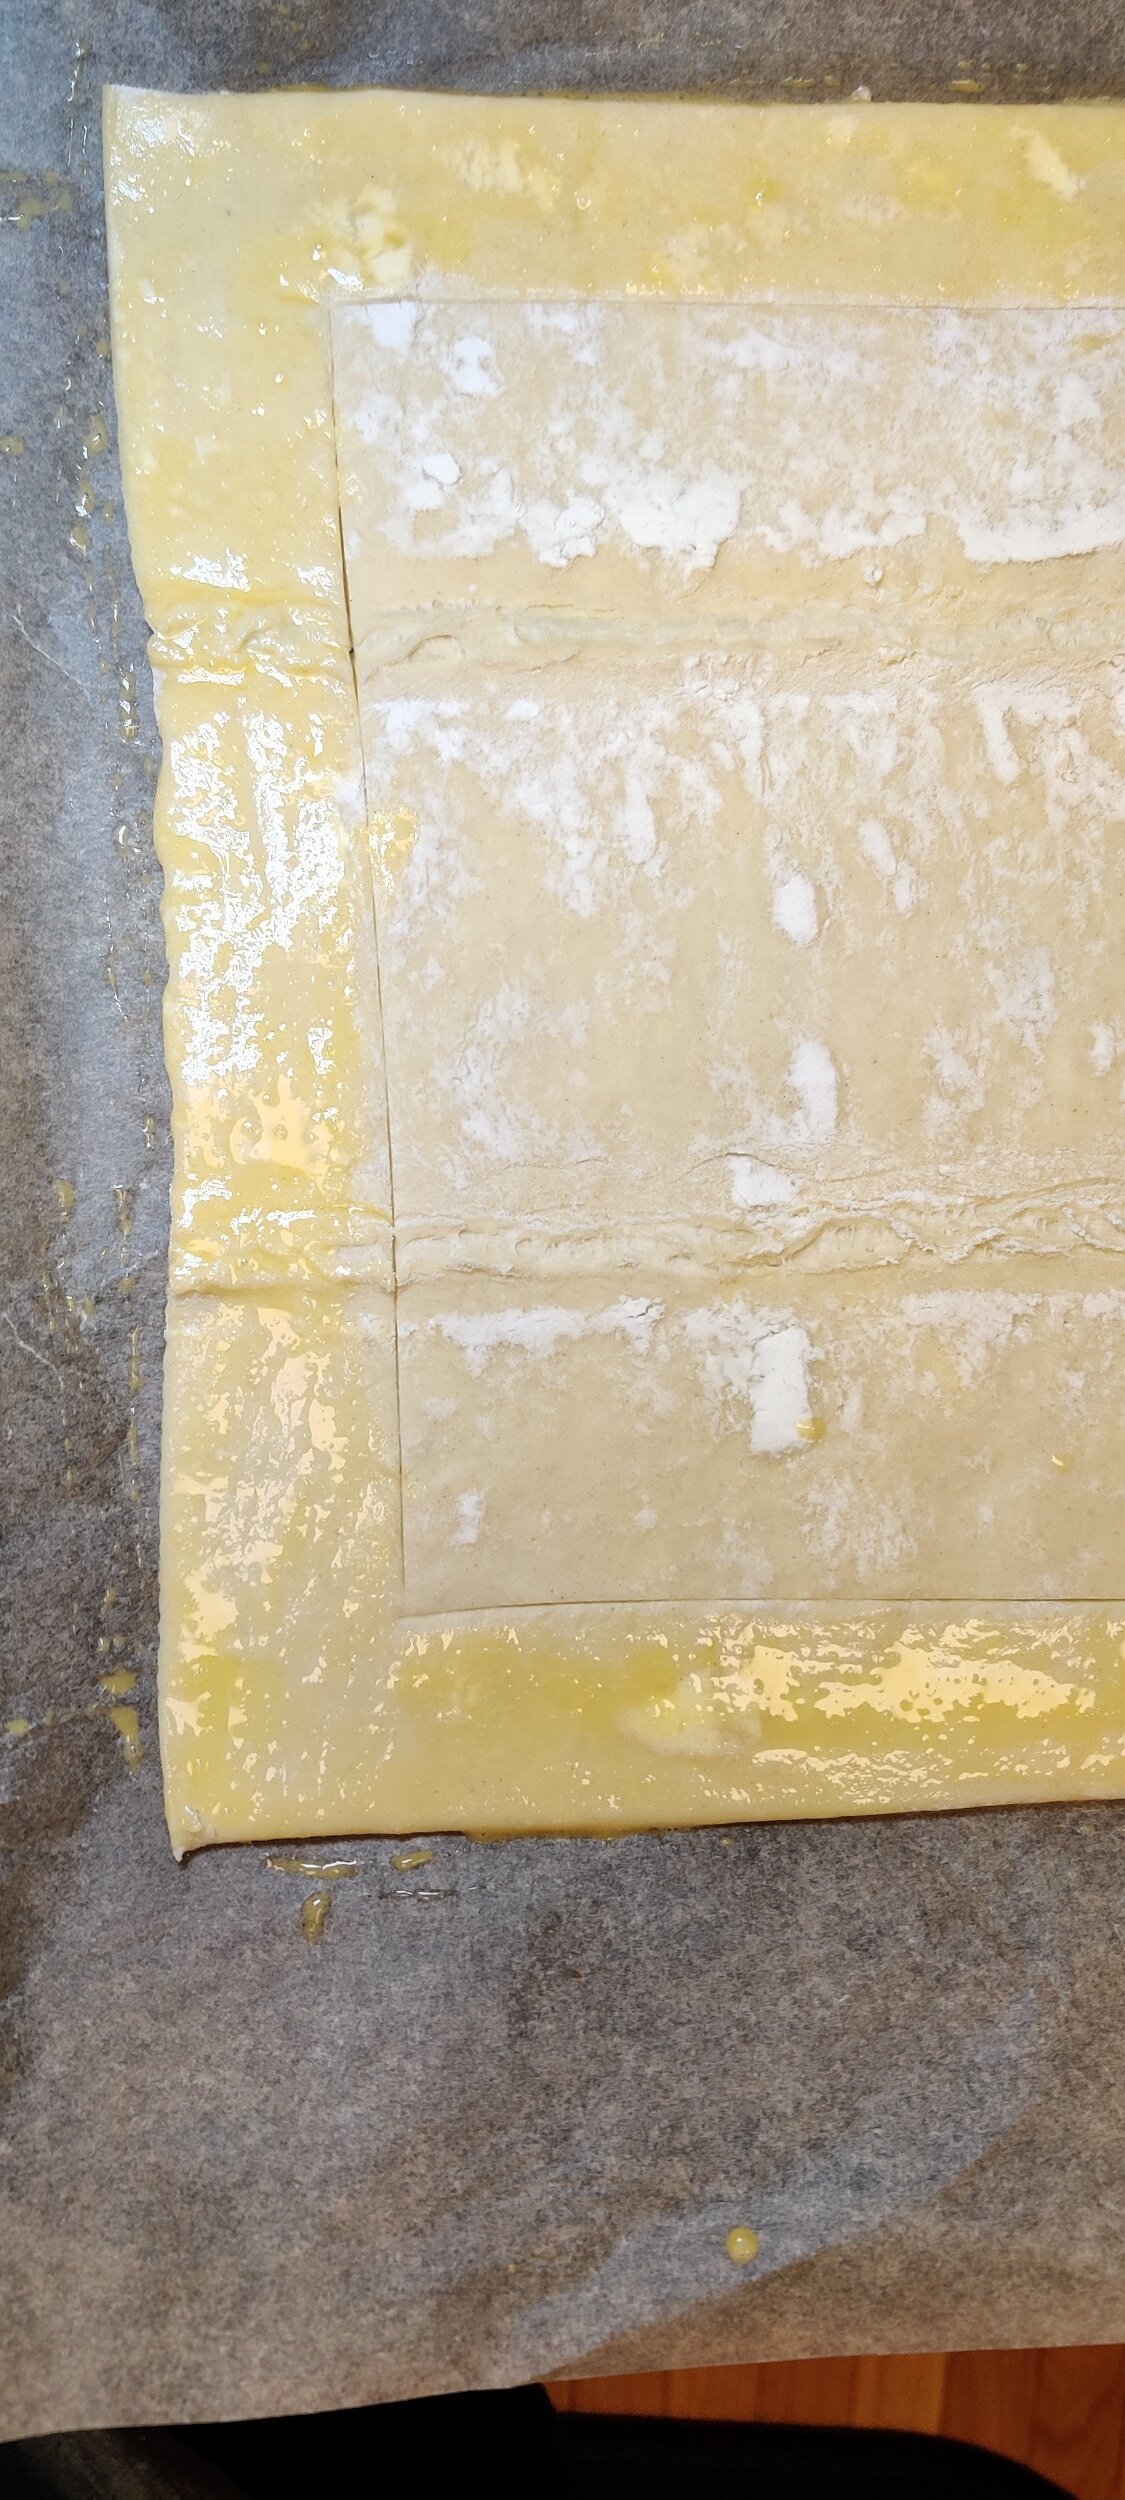
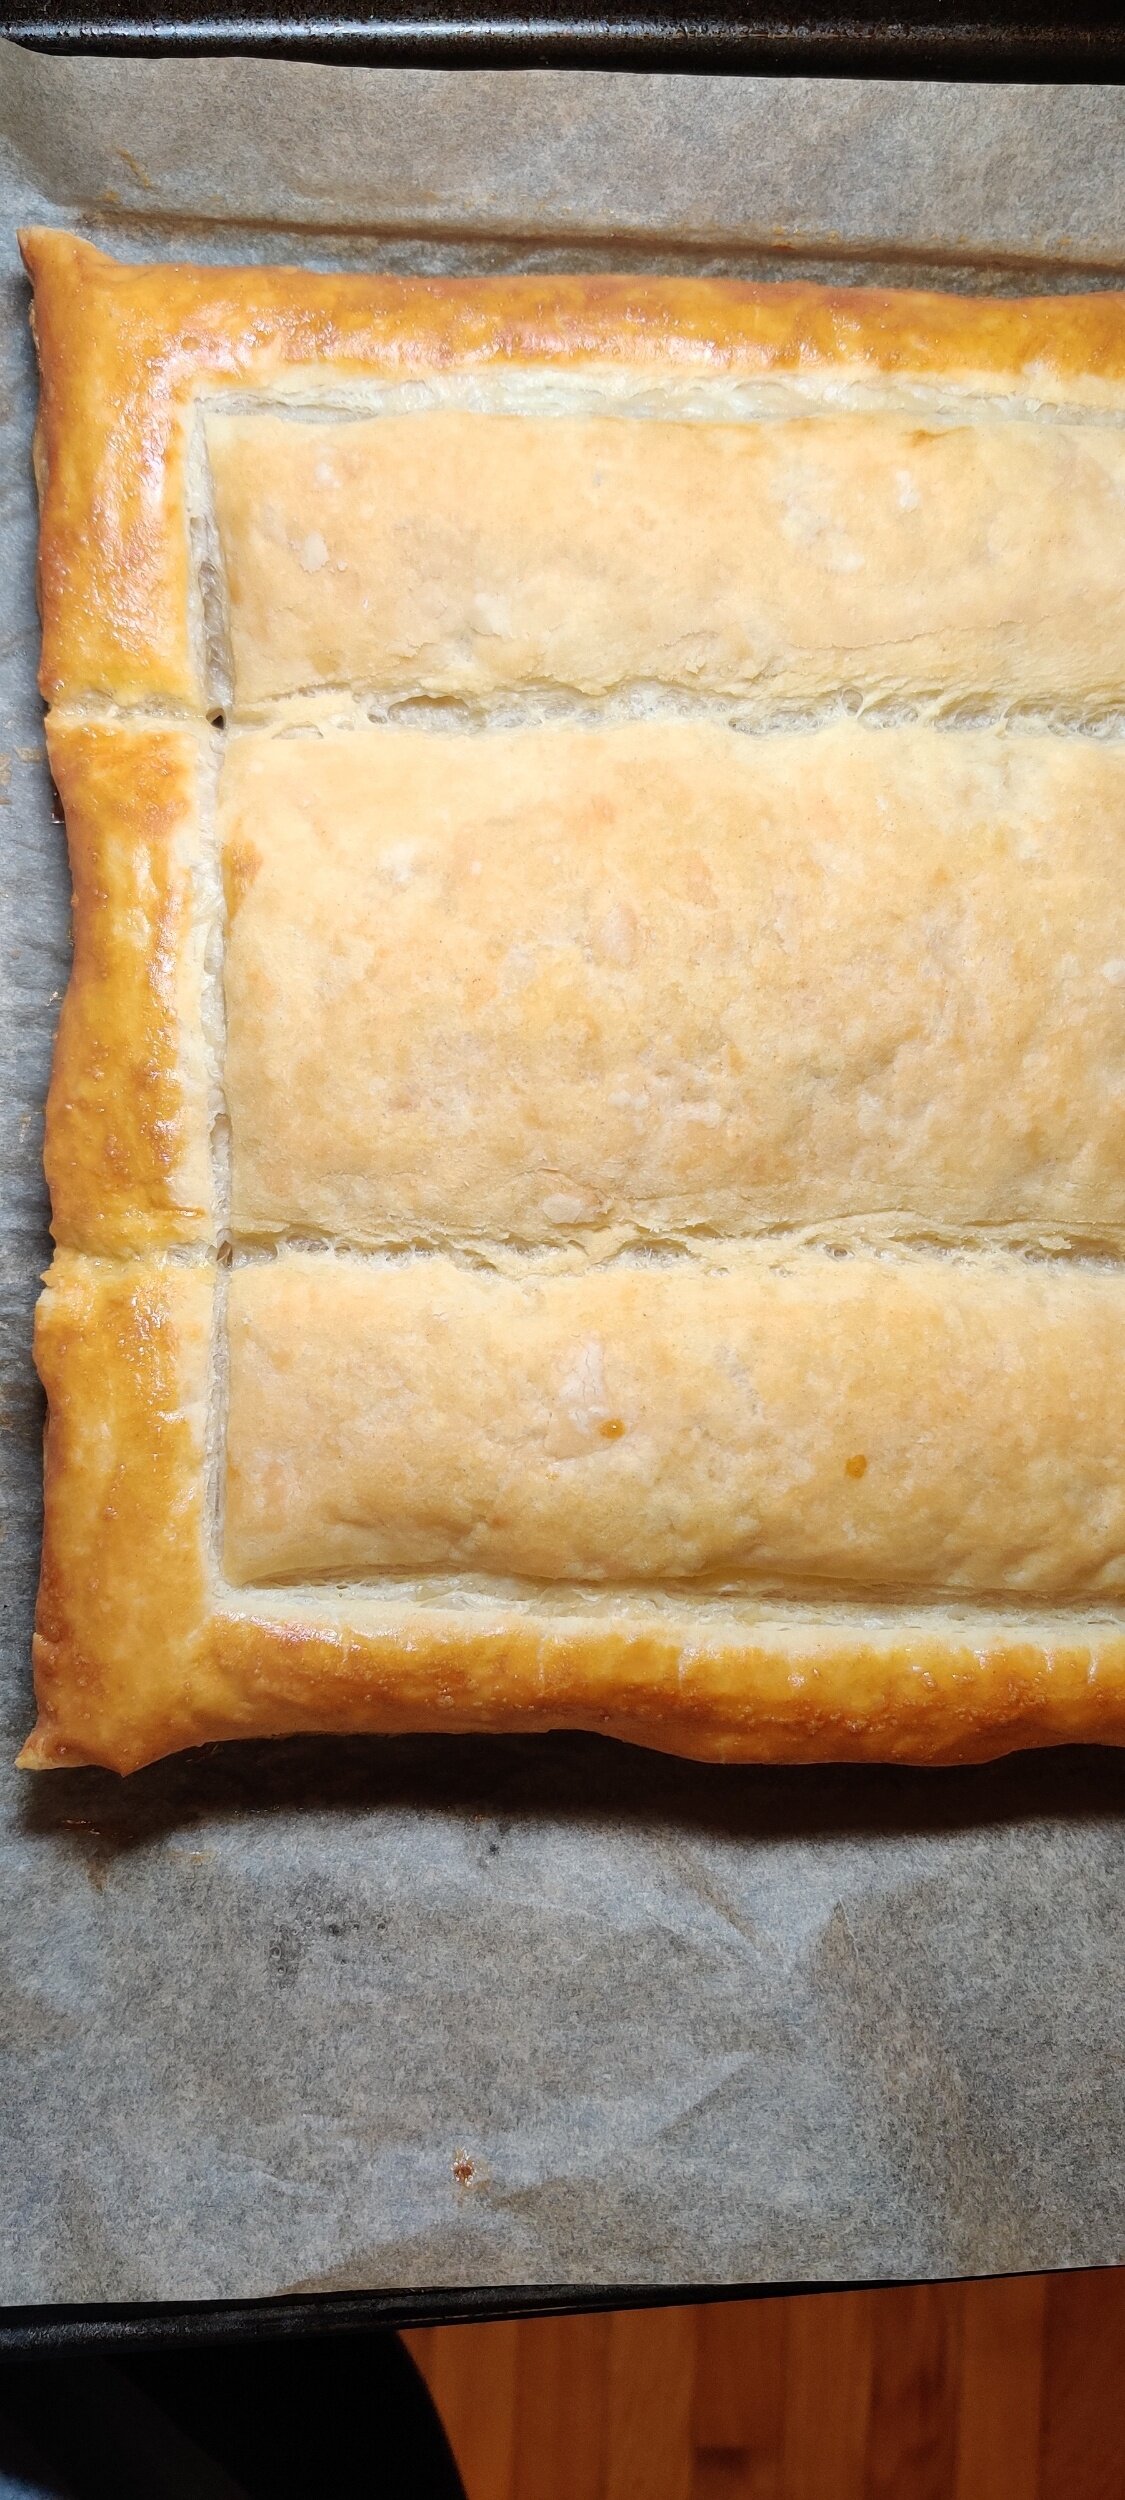
Score the puff pastry about an inch and a half of a border - take care not to cut all the way through! Gently mark with the knife so you can see the outline. Brush that area with egg wash and bake for 15 minutes in a 375F.
While baking, roughly chop the pistachios and slice the brie into thickly.
Remove the pastry from the oven, and gently press the inflated part/centre down with a spoon - take care not to crack it.
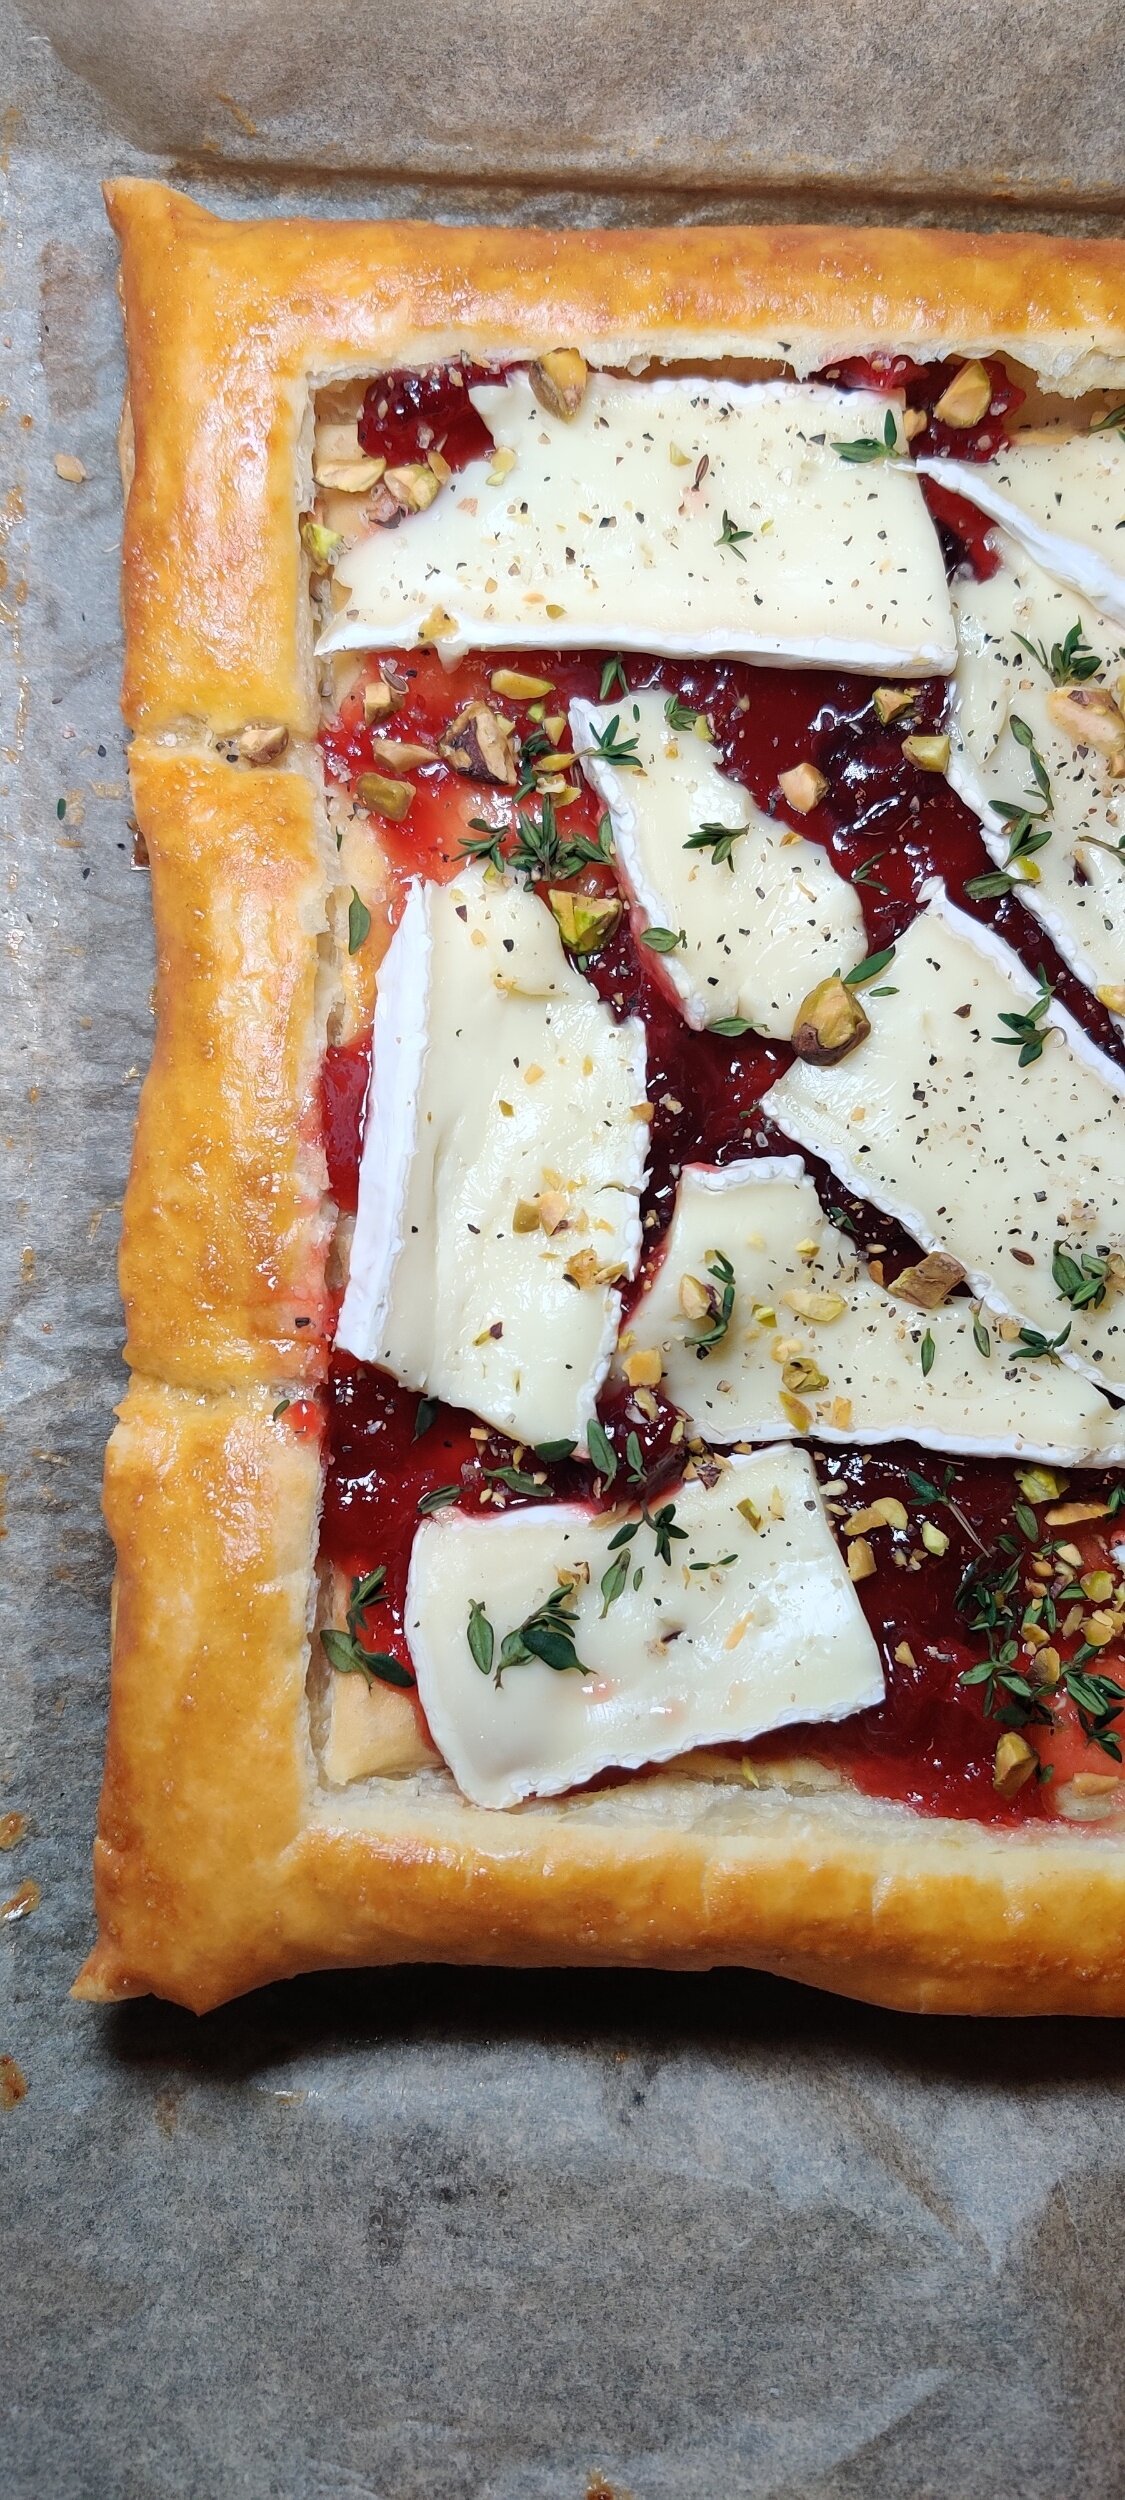
Smother most of the cranberry sauce over the pastry, then overlay with the cheese slices, then add dollops of the remaining cranberry sauce.
Add some fresh thyme (removed from the stalk) and sprinkle about 1 tablespoon of the pistachios.
Bake for another 15 minutes or until the cheese has melted to your liking.
Serve warm and drizzle with honey and extra pistachios!
Note: go easy on the cranberry if you don't want it too tangy!

Apple Butter Babka
Babka is one of those recipes that feels steeped in history and comfort. Originating in Eastern European Jewish communities, it was traditionally made as a sweet, enriched bread filled with chocolate, cinnamon, or fruit preserves, then braided and baked to golden perfection. Over time, babka has become a global favorite, loved for its rich layers, beautiful swirls, and irresistible aroma as it bakes. It’s the kind of recipe that invites you to slow down, get a little messy, and truly enjoy the process.
The first time I tried to make babka at home, it was a bit of a disaster—as is often the case with first-time bread makers! The dough wasn’t baked through, and the braiding process completely tripped me up. That’s the tricky part about babka: you’re working with soft, buttery dough logs filled with something sticky and delicious, then slicing and twisting them into a presentable shape. It’s a little chaotic, but also deeply satisfying once you get the hang of it. And honestly, it doesn’t need to be perfect. I prefer a more free-form approach, often shaping mine on a baking sheet instead of a loaf pan. It gives me room to play, and I never stress about creating a flawless wreath—though I do encourage you to try if you’re up for the challenge!
This version takes a seasonal twist with an apple butter filling instead of the traditional chocolate or cinnamon. I came up with it one autumn after apple picking, surrounded by more apples than I could possibly eat. Apple butter is one of my favorite ways to transform excess apples—it’s smooth, spiced, and naturally sweet, cooked down until caramelized and deeply flavorful. (You can find my homemade apple butter recipe separately on the site.) Swirled through tender, buttery babka dough, it creates a fragrant loaf that tastes like fall in every bite.
Whether you’re a seasoned baker or just starting out, this Apple Butter Babka is a wonderful project for a cool day. It’s cozy, aromatic, and endlessly rewarding—the kind of bake that makes your whole home smell like cinnamon and comfort.




Apple Butter Babka
I discovered this sweet braided bread when I moved to New York City in 2010. It was one of my favourite treats after one of those tough college days. There are loaves in Trader Joe's where I regularly shopped as well, but the best in the city, in my opinion, was from Moishe's, a Jewish bakery not too far from St Mark's Place. I was obsessed.
Ingredients
- 1/4 cup light brown sugar
- 1 teaspoon apple cider vinegar
- 1 teaspoon lemon juice
- 1 cup orange or apple juice
- 4 apples (I used a mix of tart and sweet)
- Pinch of salt
- 1/2 teaspoon cinnamon
- 1/4 teaspoon nutmeg
- 1/4 teaspoon cloves
- 2/3 cups water
- 2 egg yolks + 1 egg, beaten (halve this mixture)
- 1/2 cup milk, warmed (I used almond milk)
- 1 1/8 teaspoons active yeast
- 2 cups flour
- 1/2 teaspoon salt
- 5 tablespoons butter, softened
- 1/4 teaspoon almond extract
- 1/2 teaspoon vanilla
- 2 tablespoons maple syrup
- 2 tablespoons white sugar
- Egg wash
- Cinnamon sugar, chopped pecans, and turbinado sugar to garnish
- 2 tablespoons white sugar
- 2 tablespoons light brown sugar
- 2 tablespoons freshly squeezed orange or grapefruit juice or zest
- 1 tablespoon light corn syrup (optional)
- 1/4 cup water
Instructions
- Peel, decore, and dice the apples, place them in a large nonstick pot. Add the juice and spices then bring to a boil.
- Add the water and close with a lid, reduce to simmer for about 2 hours and stir regularly to make sure the apples don't burn!
- Add more water if your apples need more time, you want them to soften to the point that they mash easily.
- Remove from heat and cool completely or rest overnight.
- Transfer the apples to a blender or food processor and pulse until a thick apple sauce-like texture forms.
- Store for up to 3 weeks in an airtight container!
- In a small bowl, mix the yeast into the warm milk and set aside for 5 minutes.
- In a large bowl, add the egg mix, sugar, maple syrup, almond extract, vanilla, and yeast mix, then whisk. Add the flour in two parts, and mix until incorporated.
- Add the butter gradually, and bring the dough together. Cover with a towel for 30 minutes.
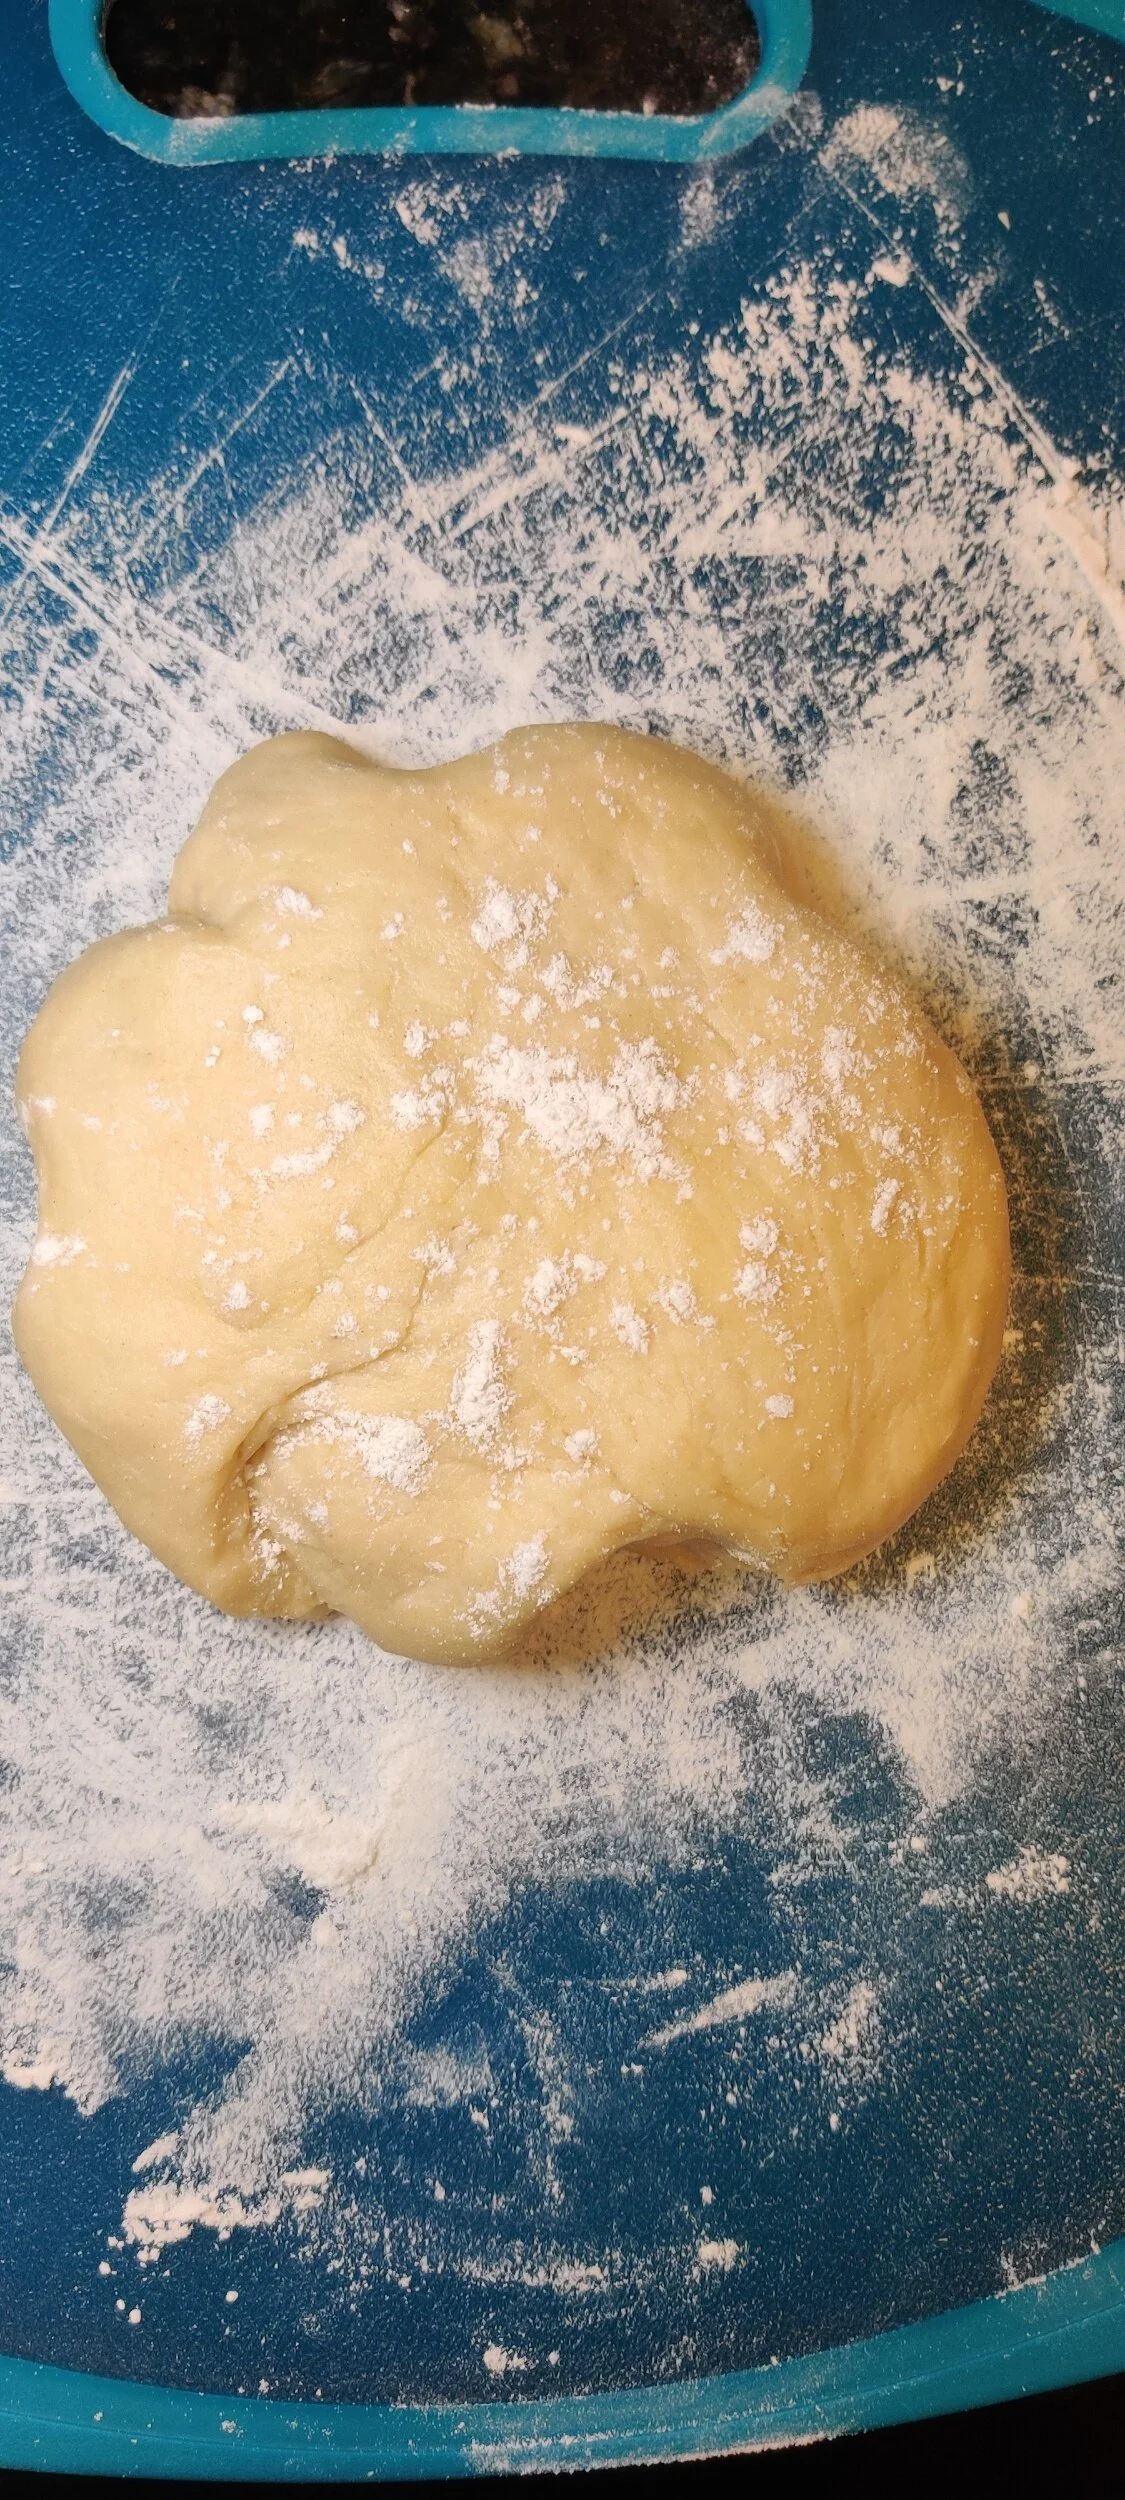
- On a floured surface, knead the dough until smooth, then halve into two equal pieces. Place both in bowls and clover with cling wrap, set aside for 2 hours at room temperature. Your dough will increase in size.
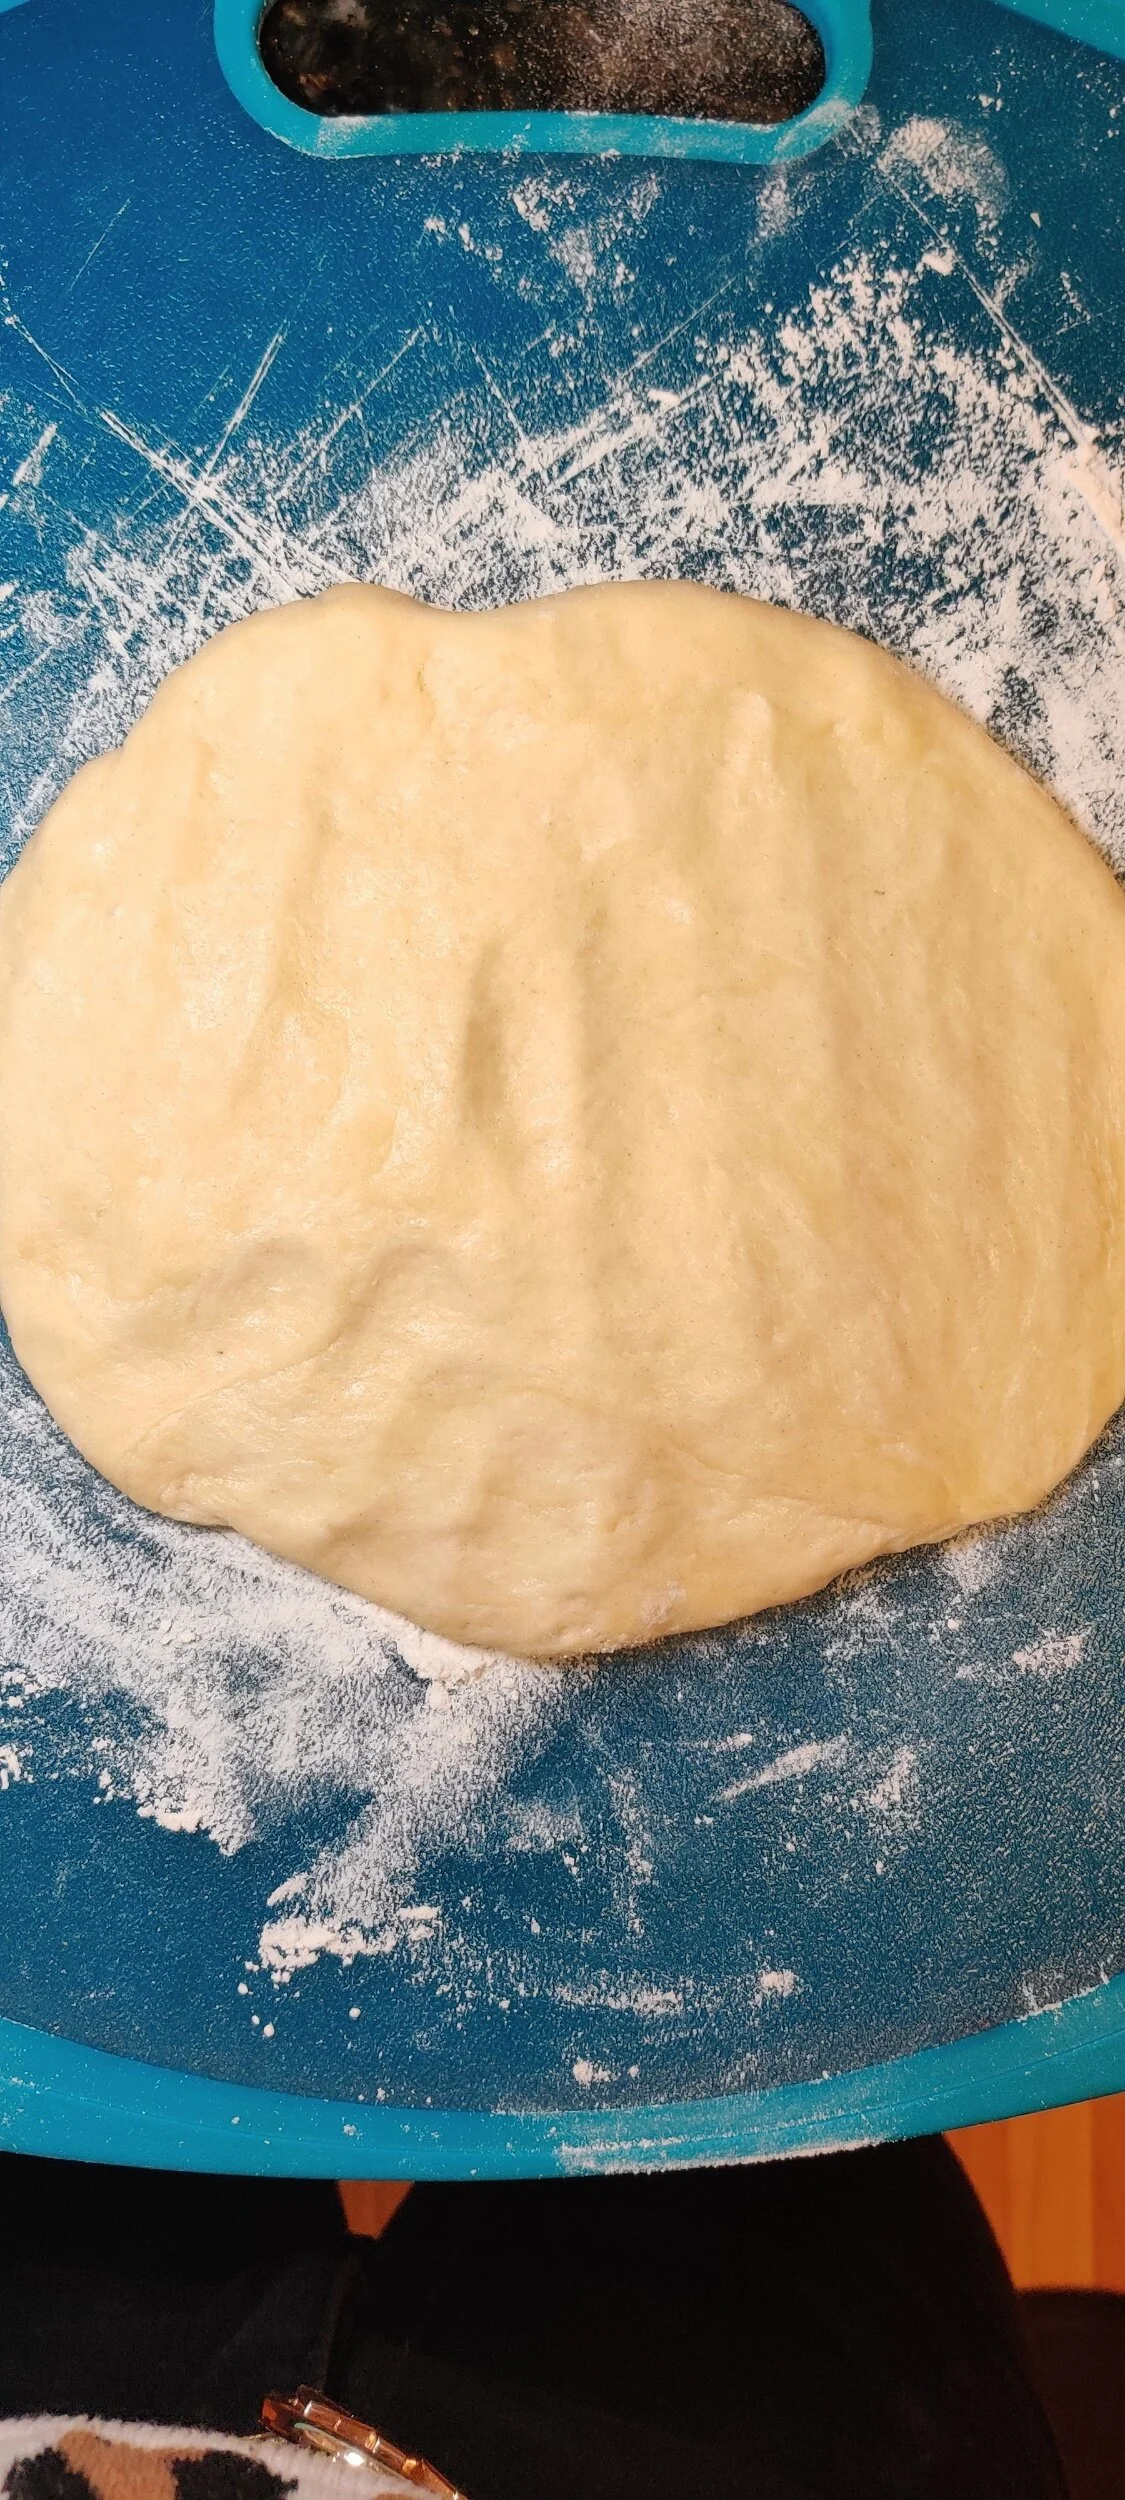
- Move onto a floured surface and roll out the dough into a rectangle shape, not too thin!
- Spread the apple butter evenly across the rectangle, leaving about an inch around the border, then carefully roll lengthwise into a log (seam face down). Repeat for the second piece of dough.
- Carefully slice each log vertically (seam face down). Braid the four pieces into your desired shape, and tuck in the ends underneath. Carefully transfer to a baking sheet - I used two spatulas!
- Cover with a towel and rest for 30 minutes.
- Brush the babka with egg wash and garnish with cinnamon sugar, pecans, and turbinado sugar.
- Bake at 375F for 35-40 minutes or until golden brown and cooked through, keep a close eye.
- While the babka is baking, make the simple syrup. Bring the water and sugar to a boil, then add the citrus and corn syrup. Simmer for another minute on low heat, then remove from stovetop.
- Brush hot babka with the syrup then set aside to cool. Enjoy!
Nutrition Facts
Calories
356Fat (grams)
84.78 gCarbs (grams)
464.38 gProtein (grams)
50.2 gI am not a certified nutritionist and any nutritional information on dontmissmyplate.com should only be used as a general guideline.


Pumpkin and Gingersnap Swiss Roll
The swiss roll. This was one of my late father’s favourite cakes, and I don’t blame him! Although, he had a preference for the traditional flavour with jam in the middle, occasionally chocolate. I thought I would go seasonal and use pumpkin flavour with a gingersnap cream cheese filling, it turned out to be delicious. Gingersnap was one of my grandmother's favourite biscuits and she had them ready for us as children when we would visit. This is just the kind of sweet treat you'll want at the table for dessert, and it's very fitting for autumn.
It may seem intimidating, but you can make it work for you! The most important thing is to be careful when you handle the cake. You don’t want it to crack or break to the point that it is unsalvageable.
Ingredients
Cake:
3 eggs
1/2 cup brown sugar
1/2 cup white sugar
2/3 cups pumpkin puree
1 teaspoon vanilla
1/4 teaspoon almond extract
3/4 cups flour
1/2 teaspoon baking soda
1/2 teaspoon baking powder
1 teaspoon cinnamon
1 tablespoon pumpkin spice
1 teaspoon gingersnap spice (I used Primal Palate’s Gingersnap)
1/4 teaspoon ginger
1 teaspoon salt
Filling:
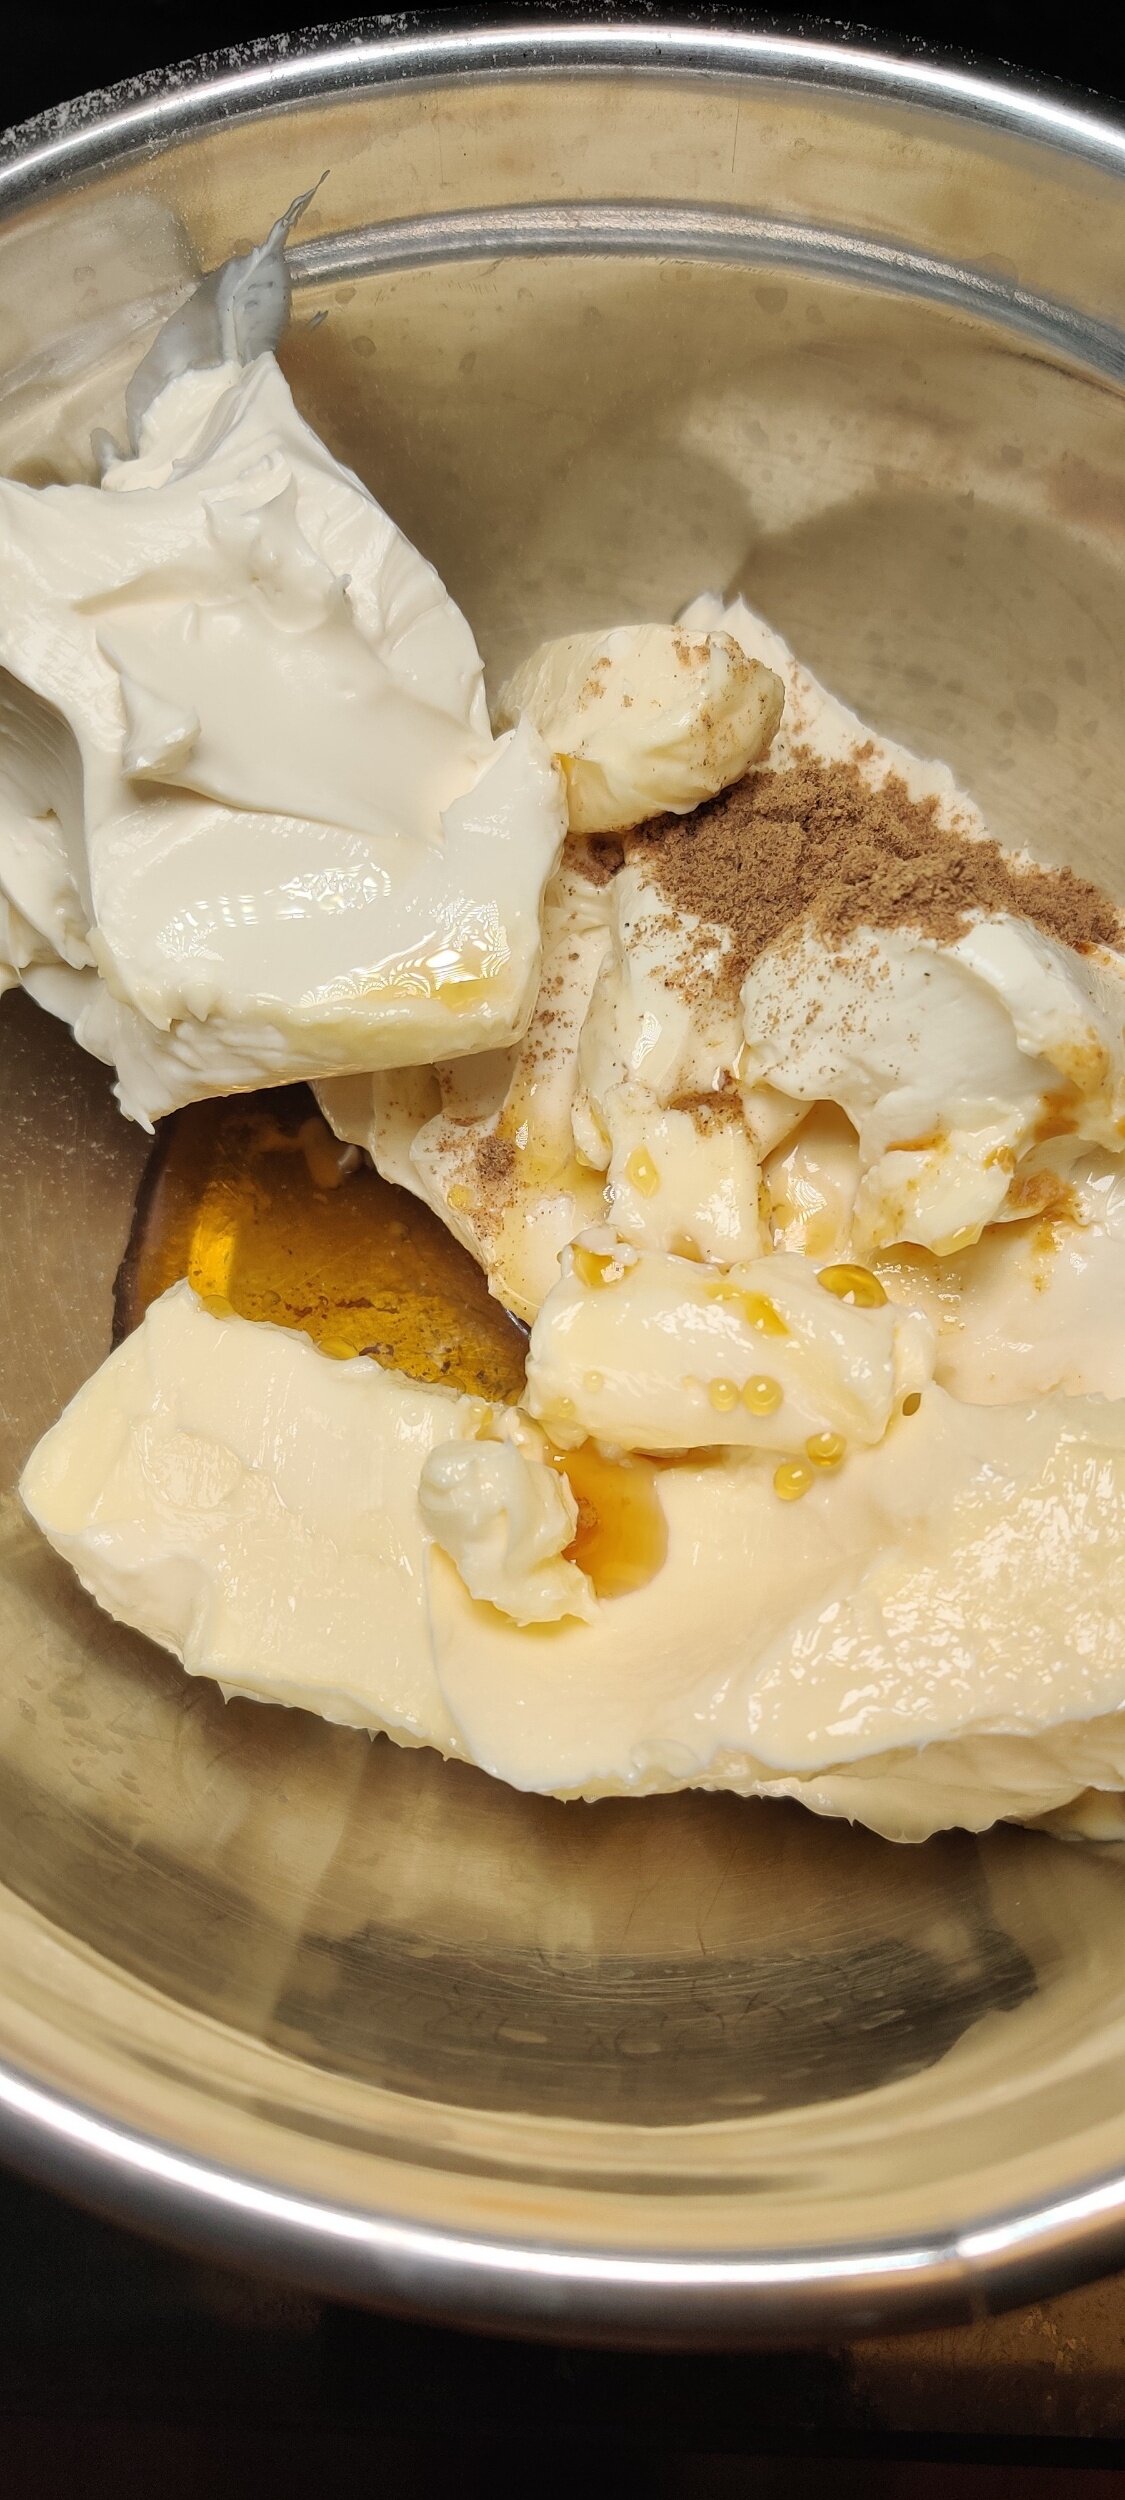
8-ounces Greek yogurt and cream cheese, room temperature
1 teaspoon pumpkin spice
1/2 teaspoon cinnamon
1/2 teaspoon salt
8 tablespoon butter, room temperature
4 tablespoons maple syrup
1 1/2 cups icing sugar + extra
1 teaspoon gingersnap spice + extra
Instructions
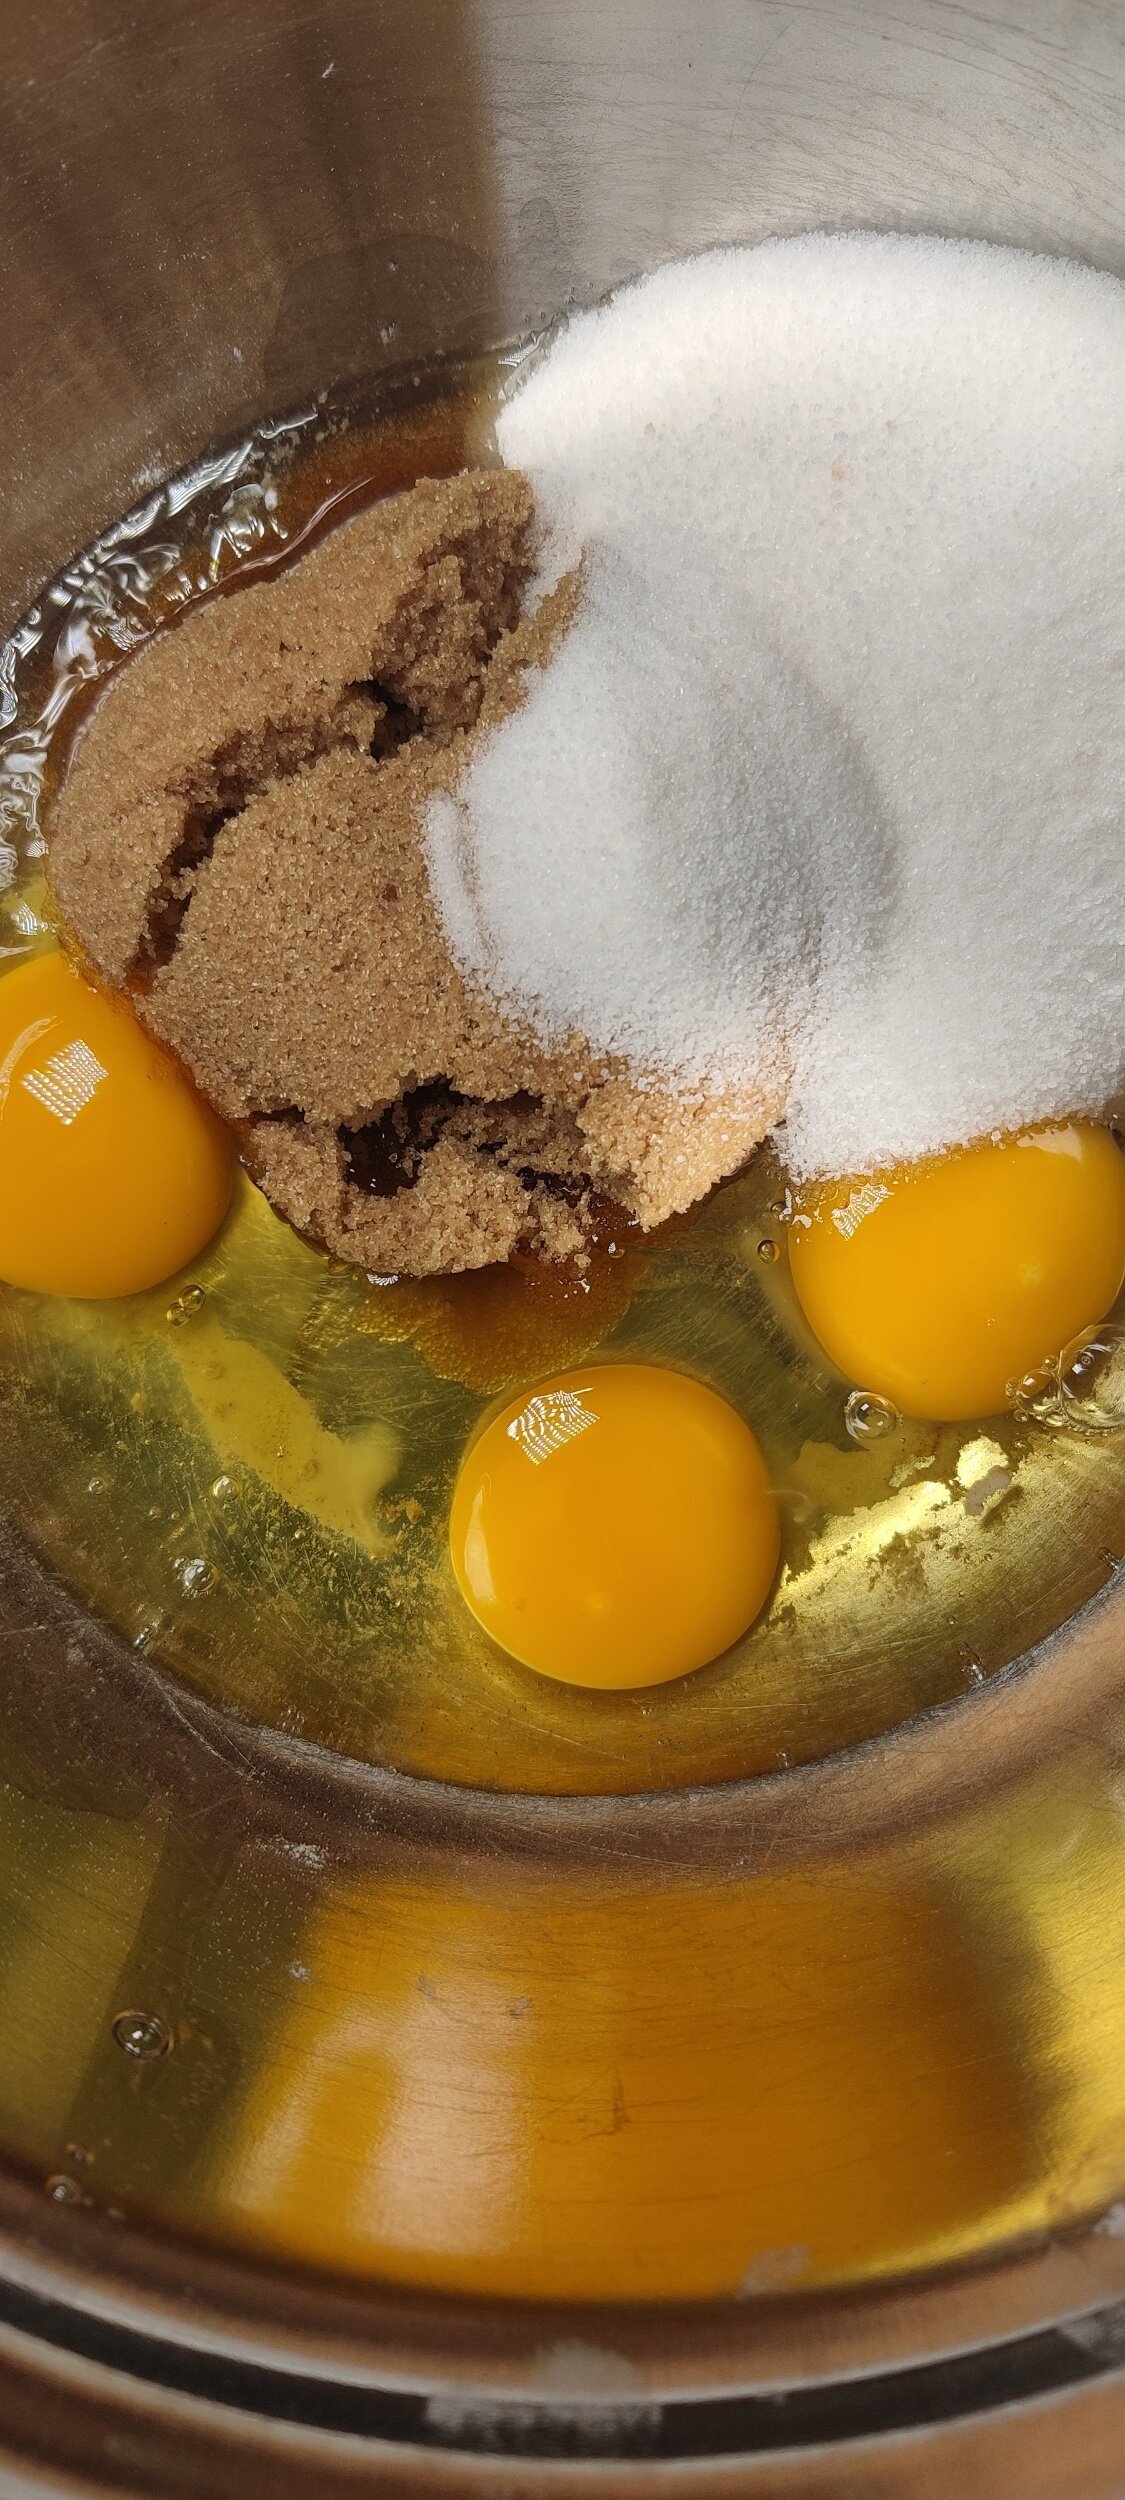
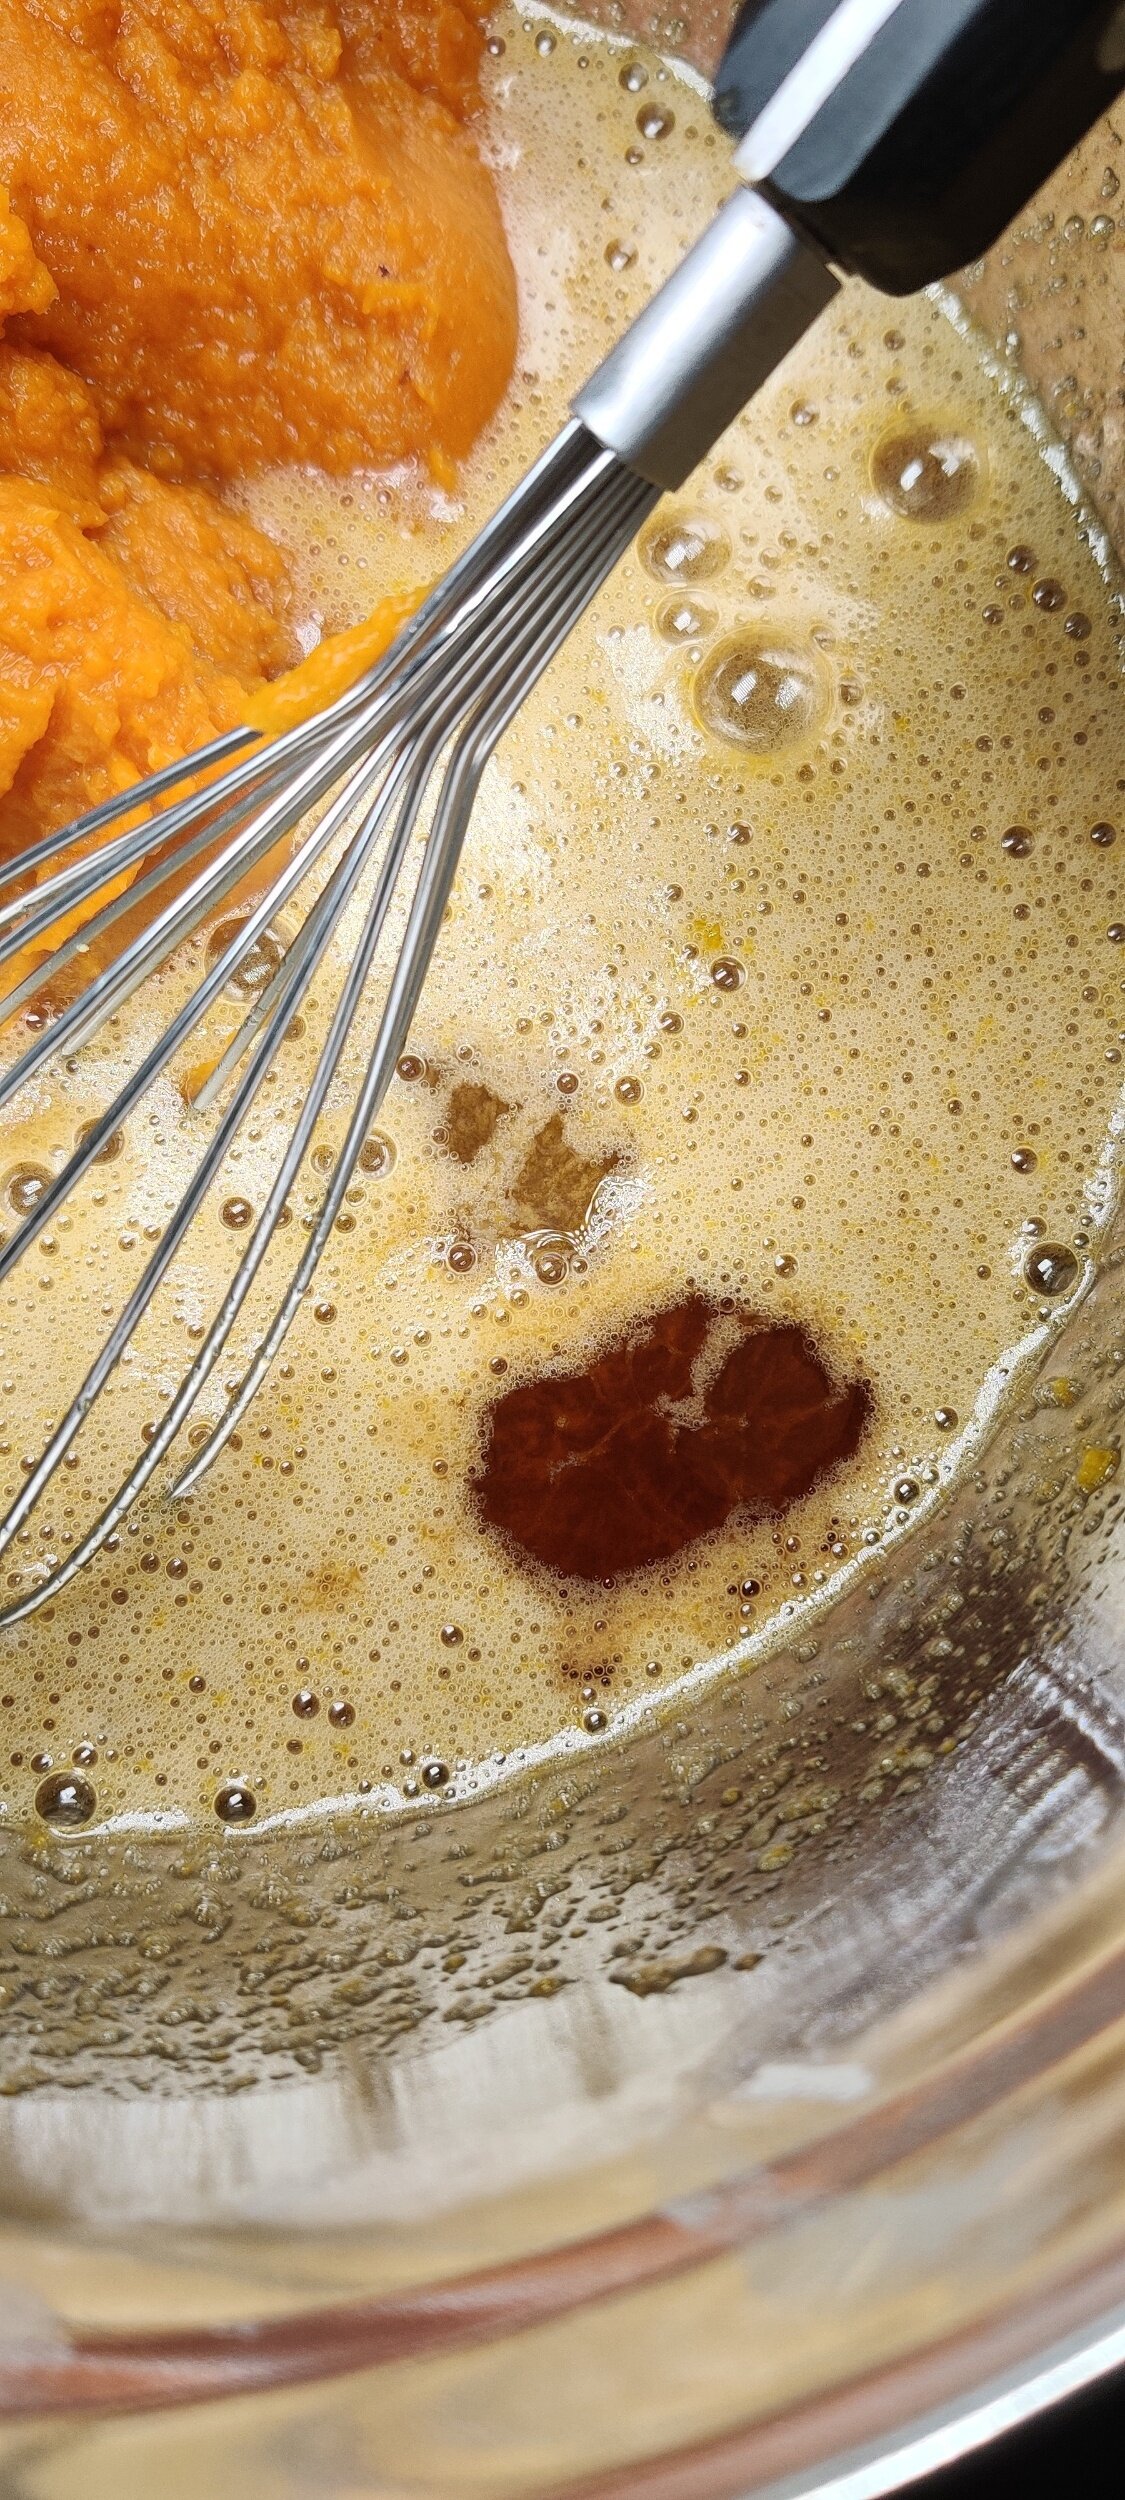
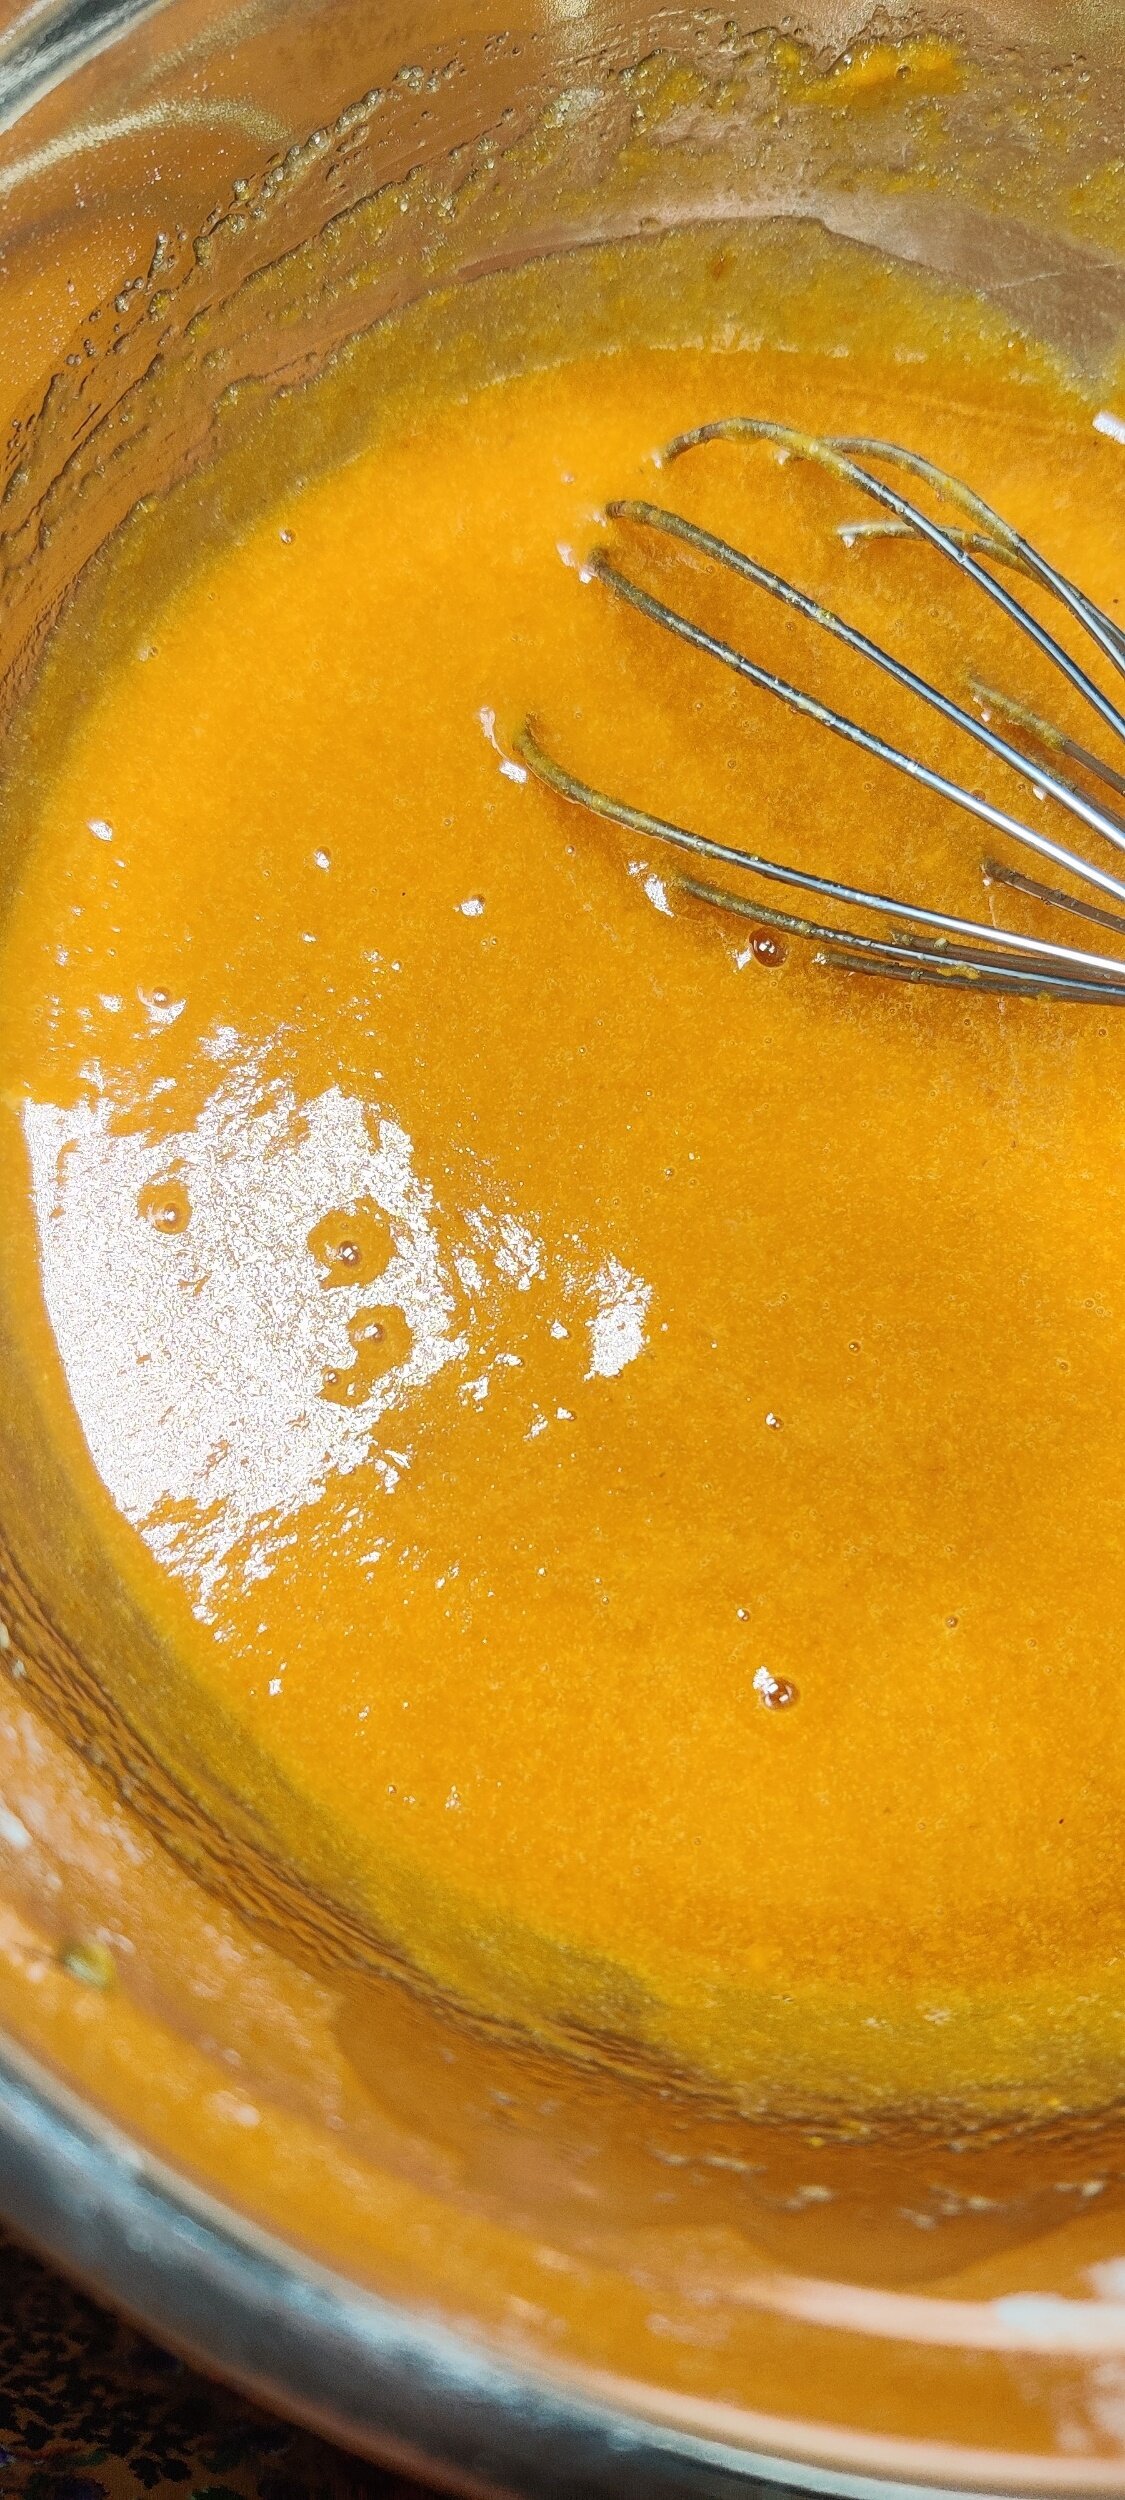
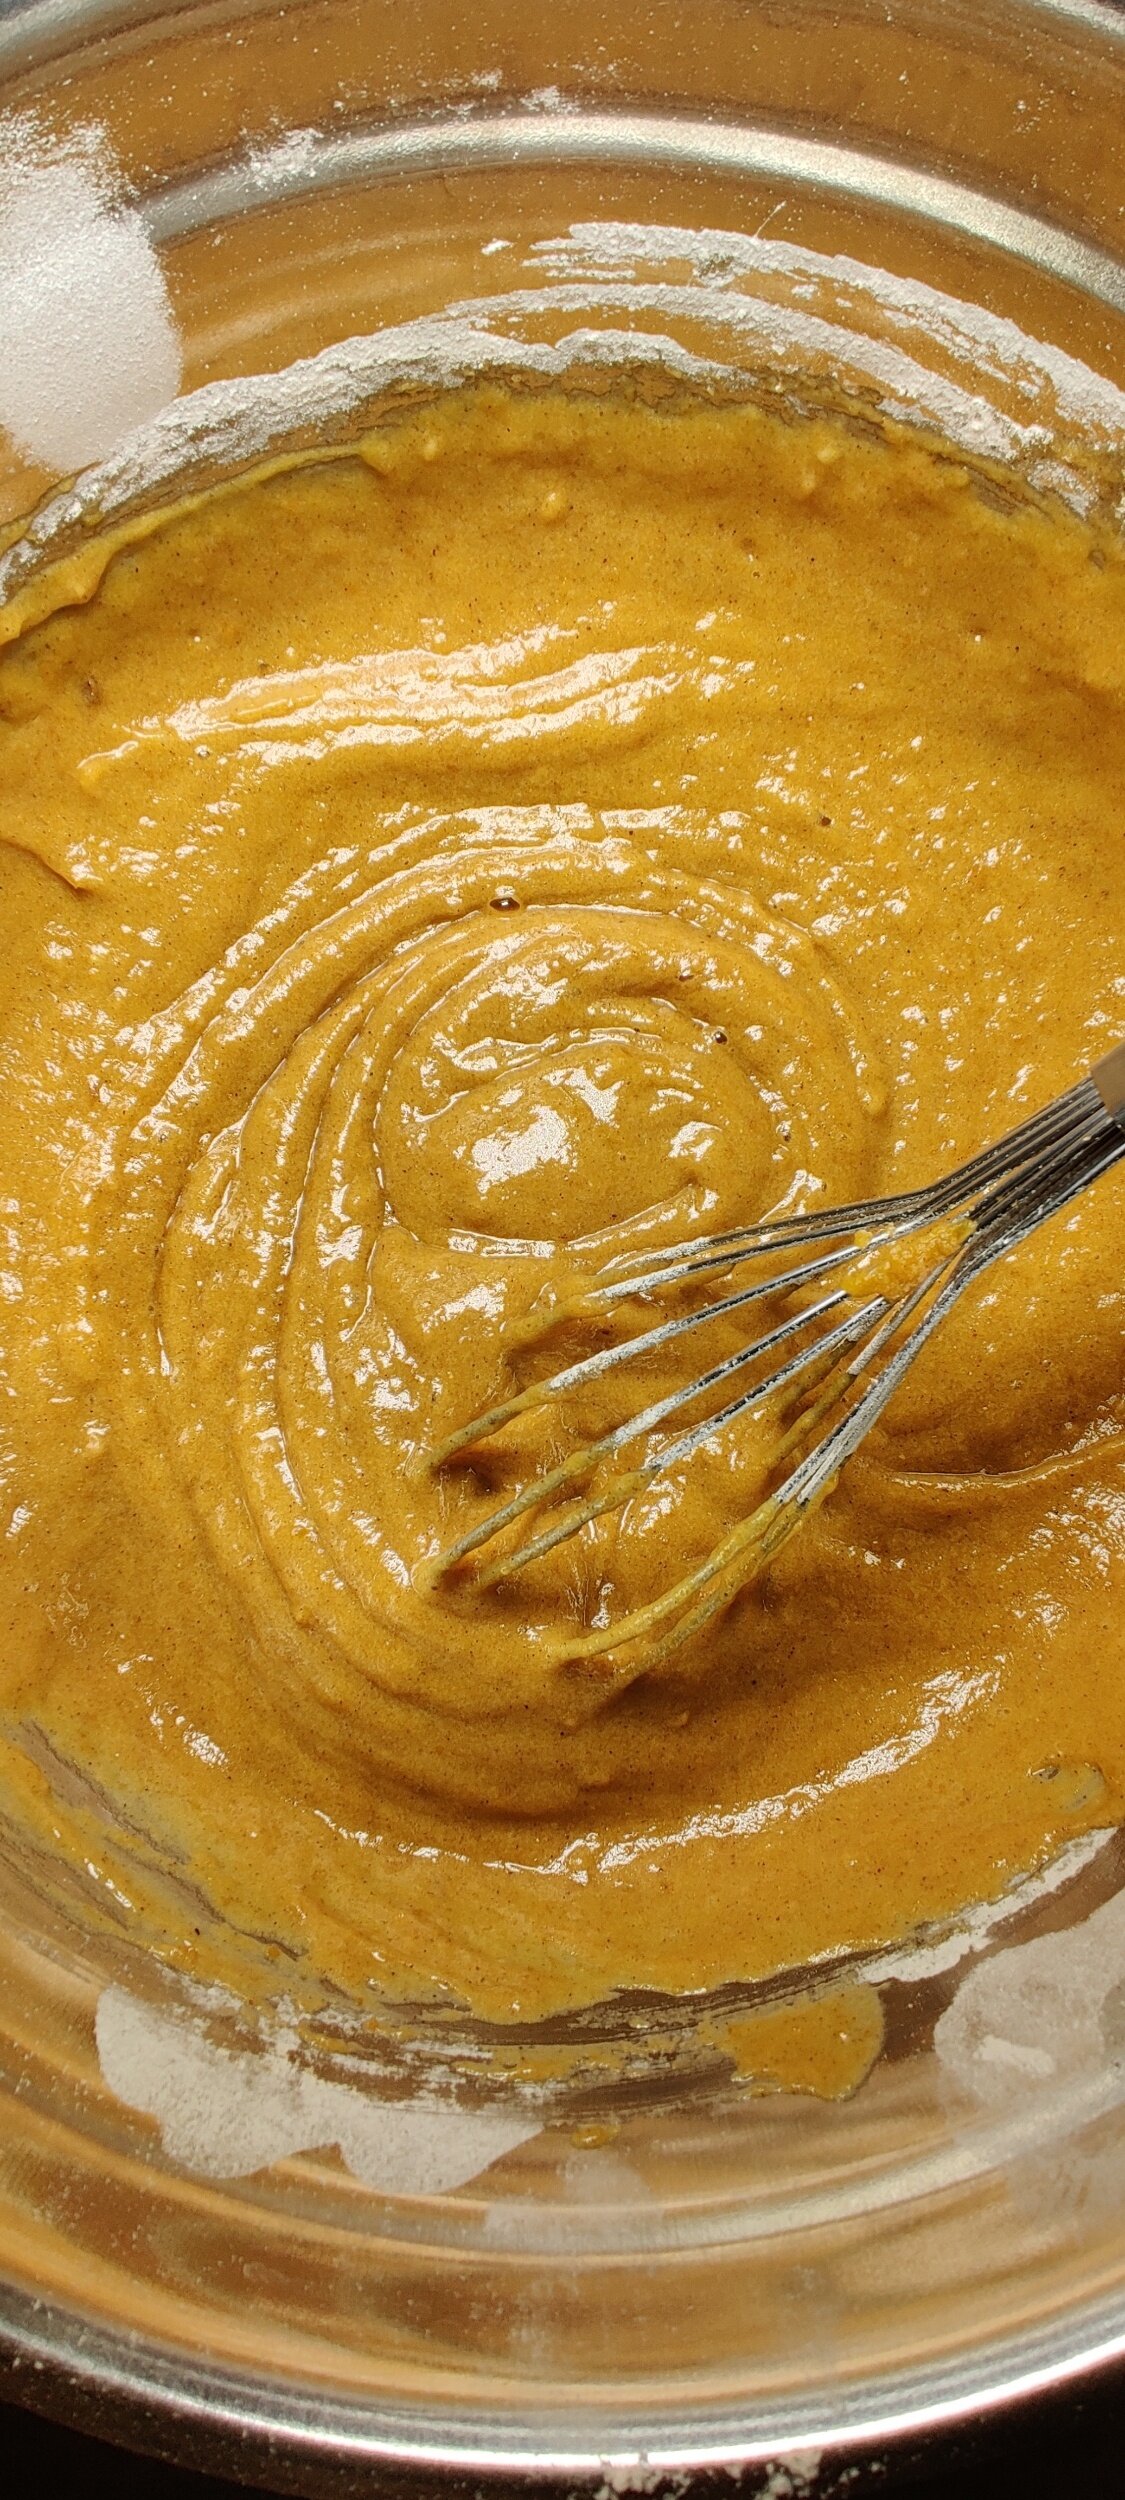
Beat the eggs, sugar, vanilla, almond extract, and pumpkin.
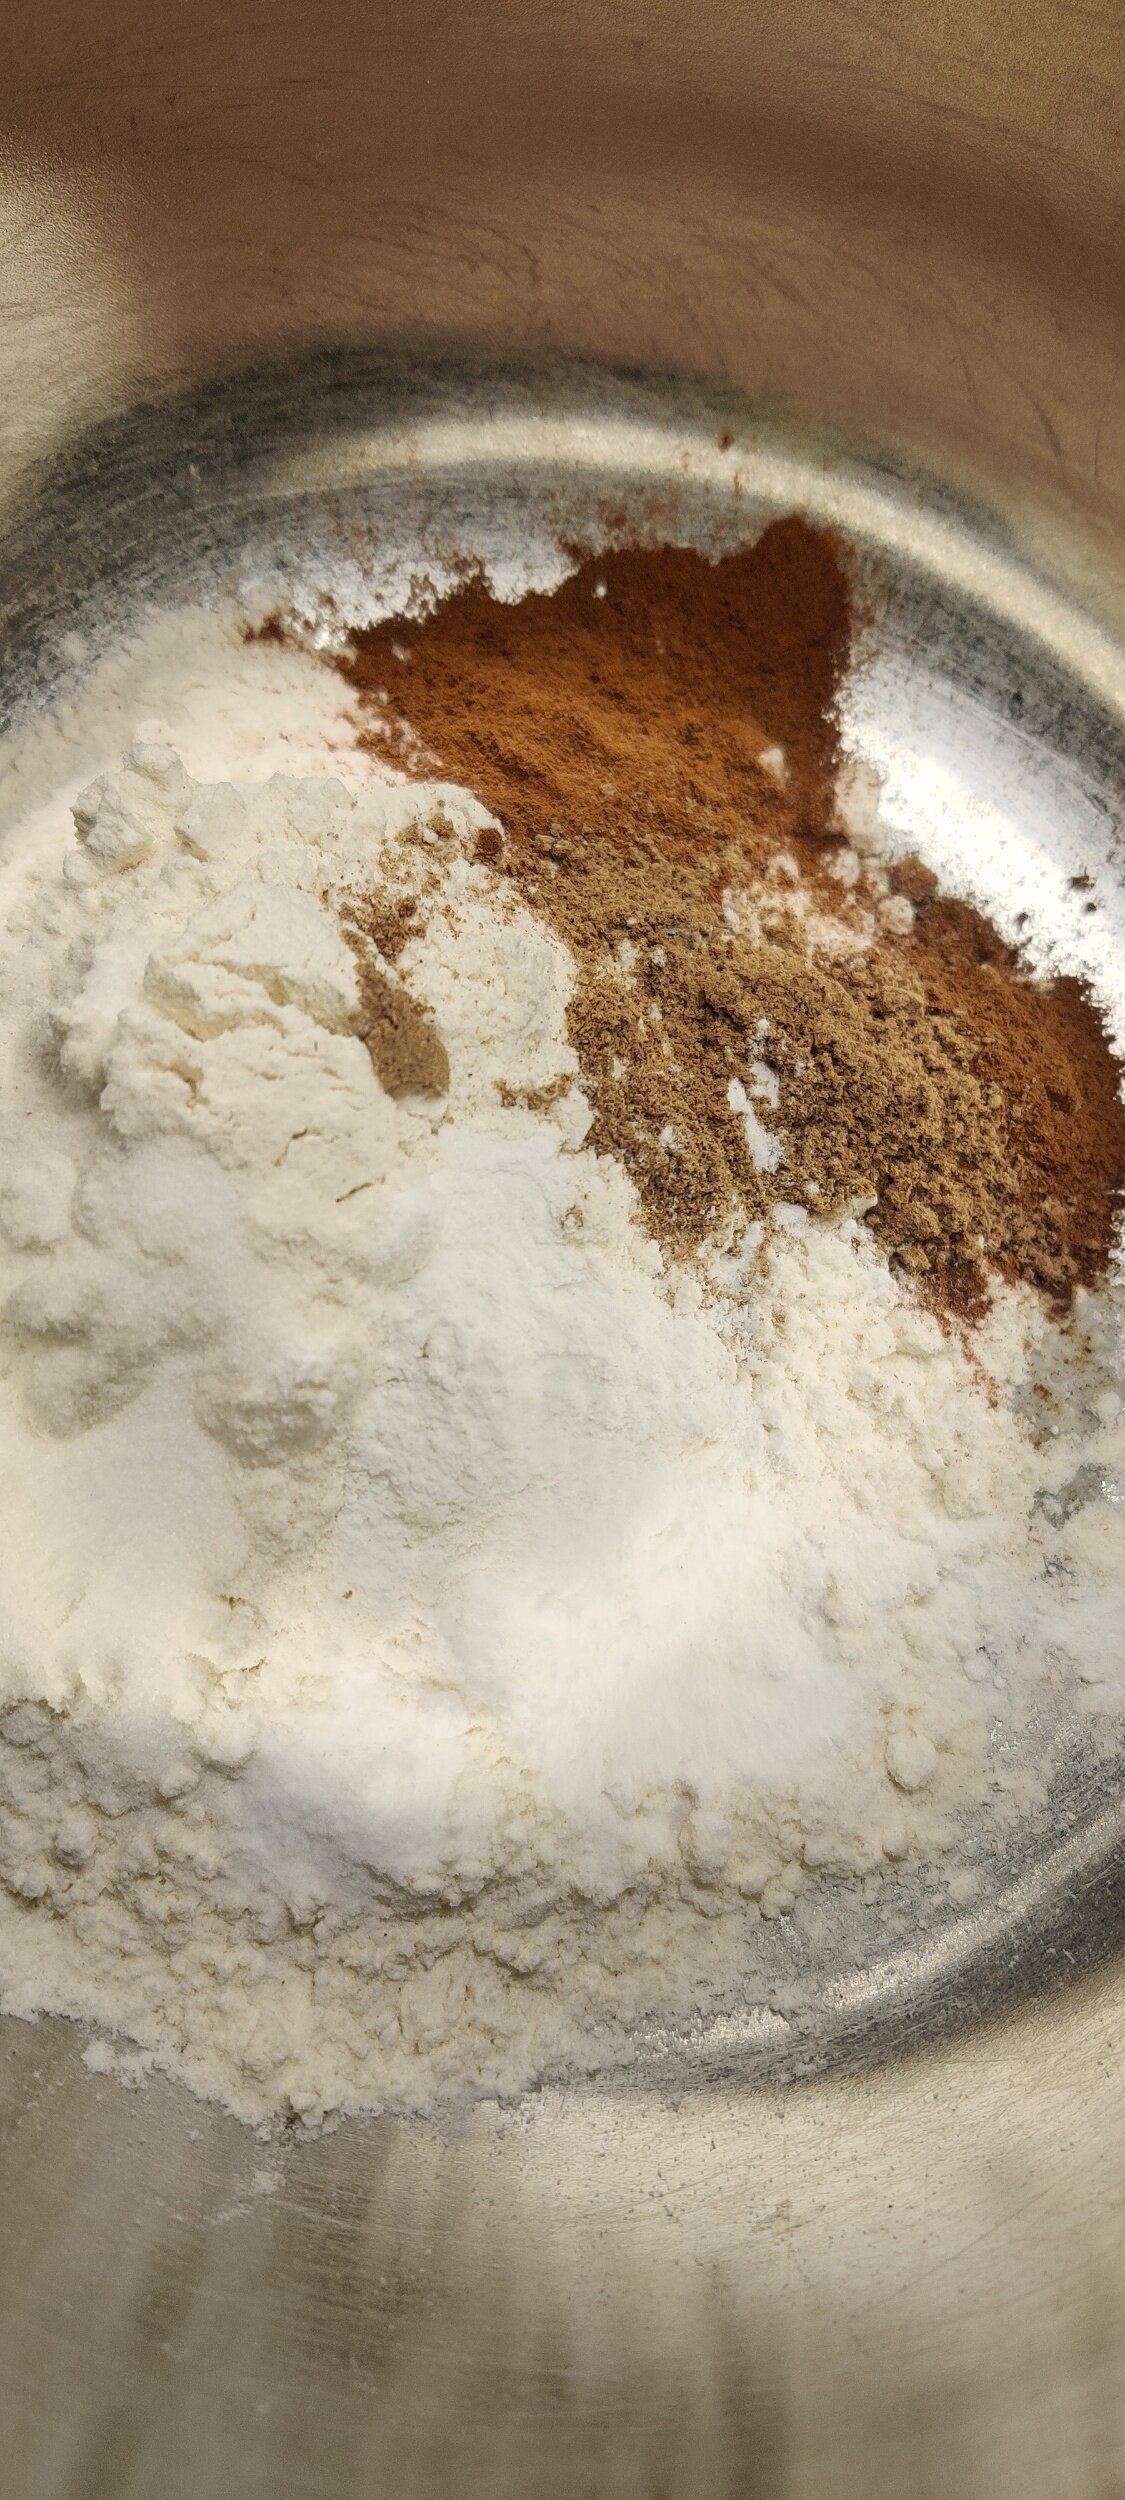
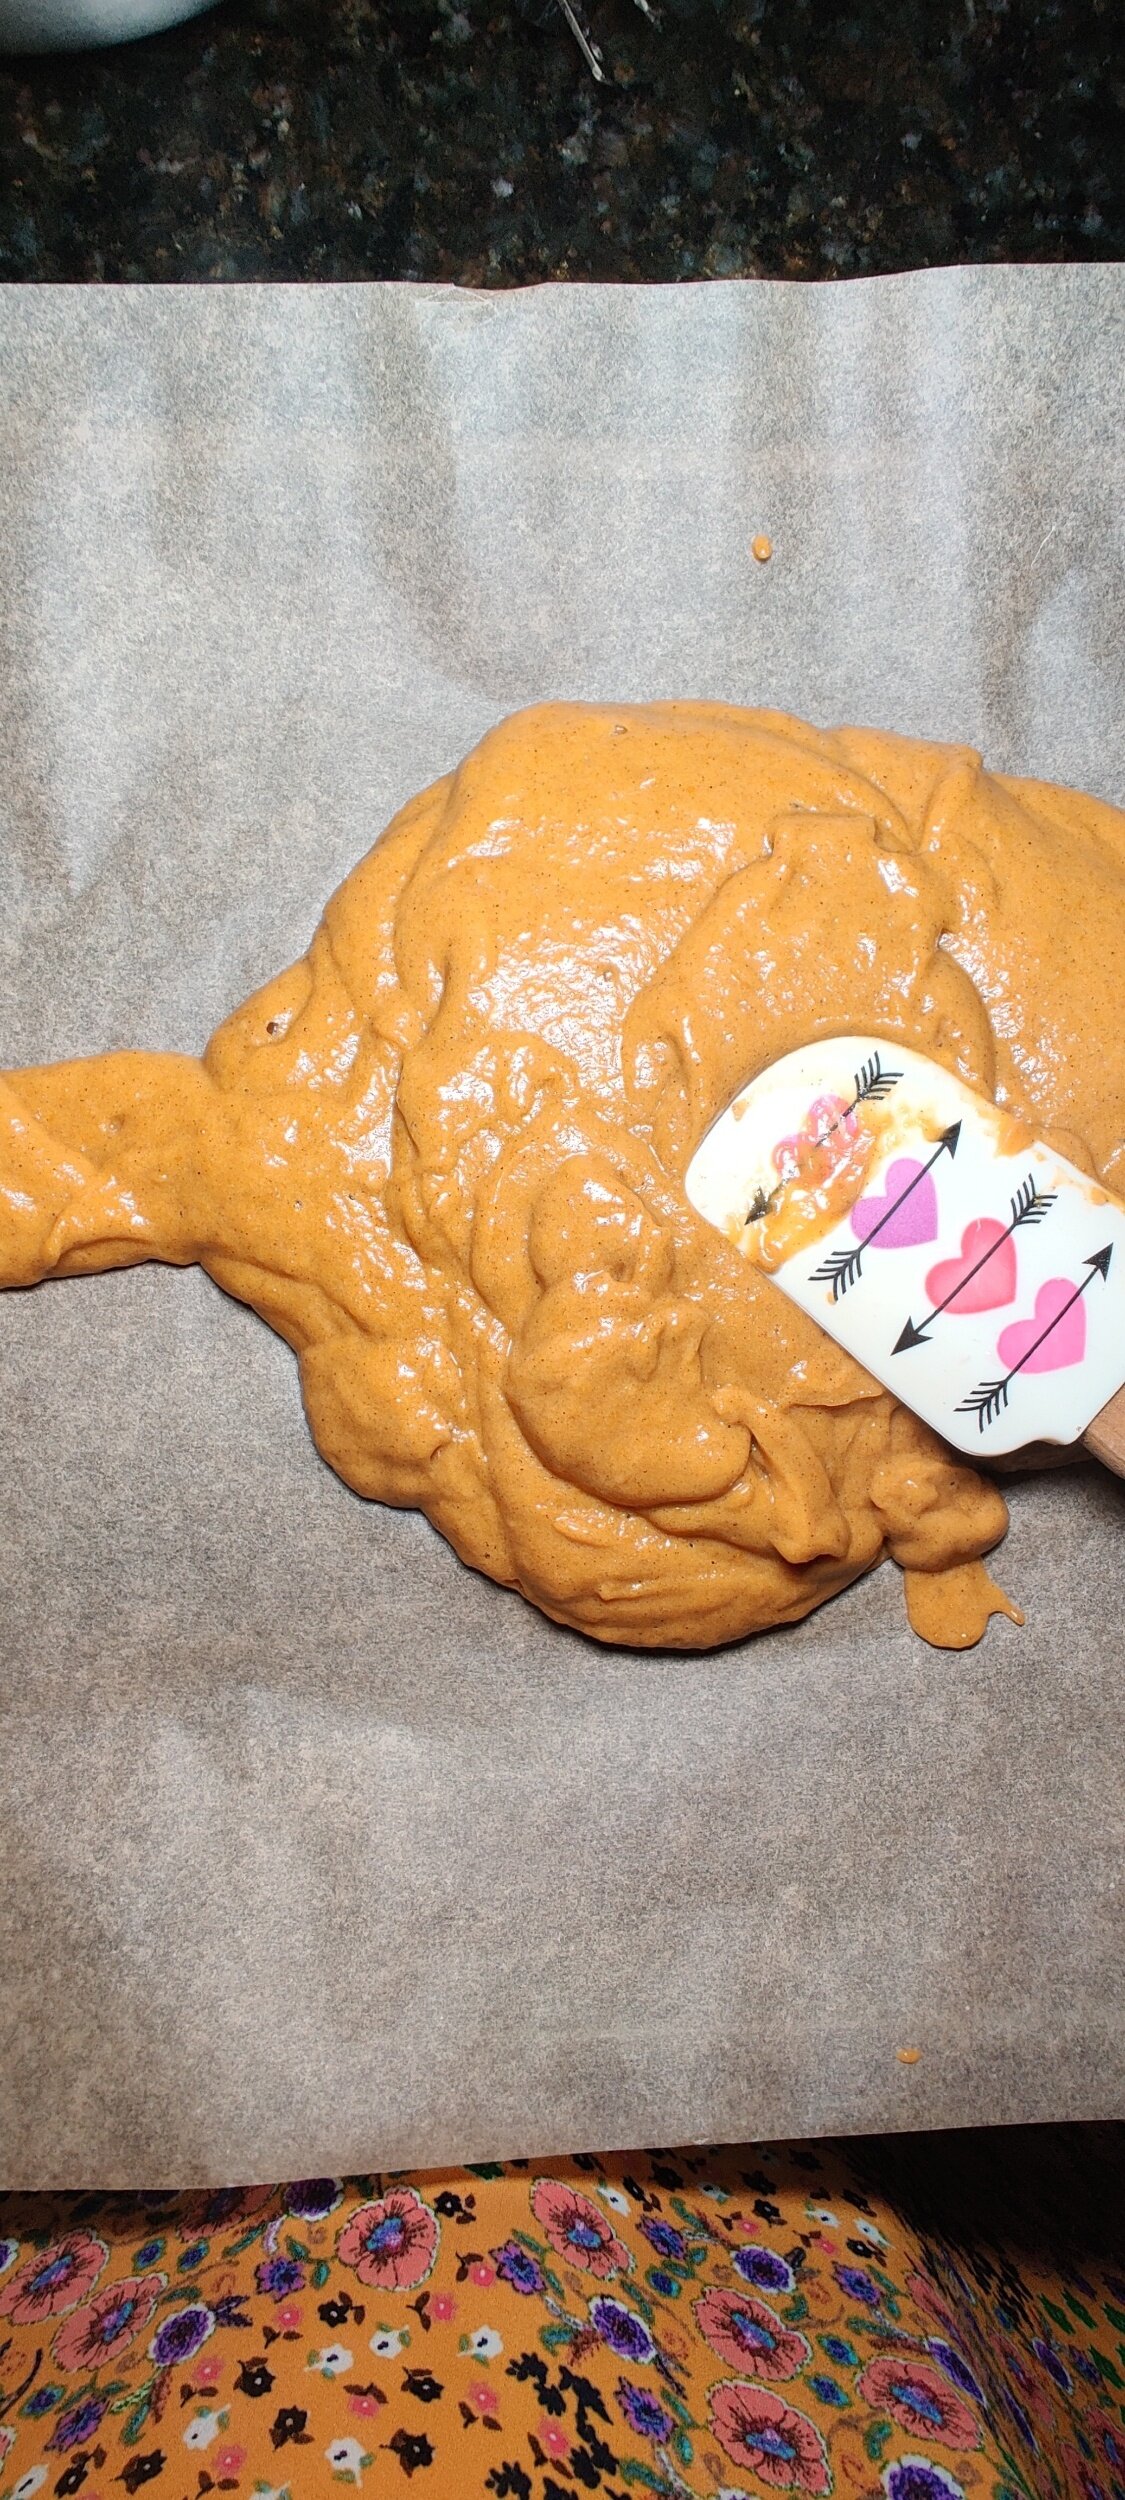
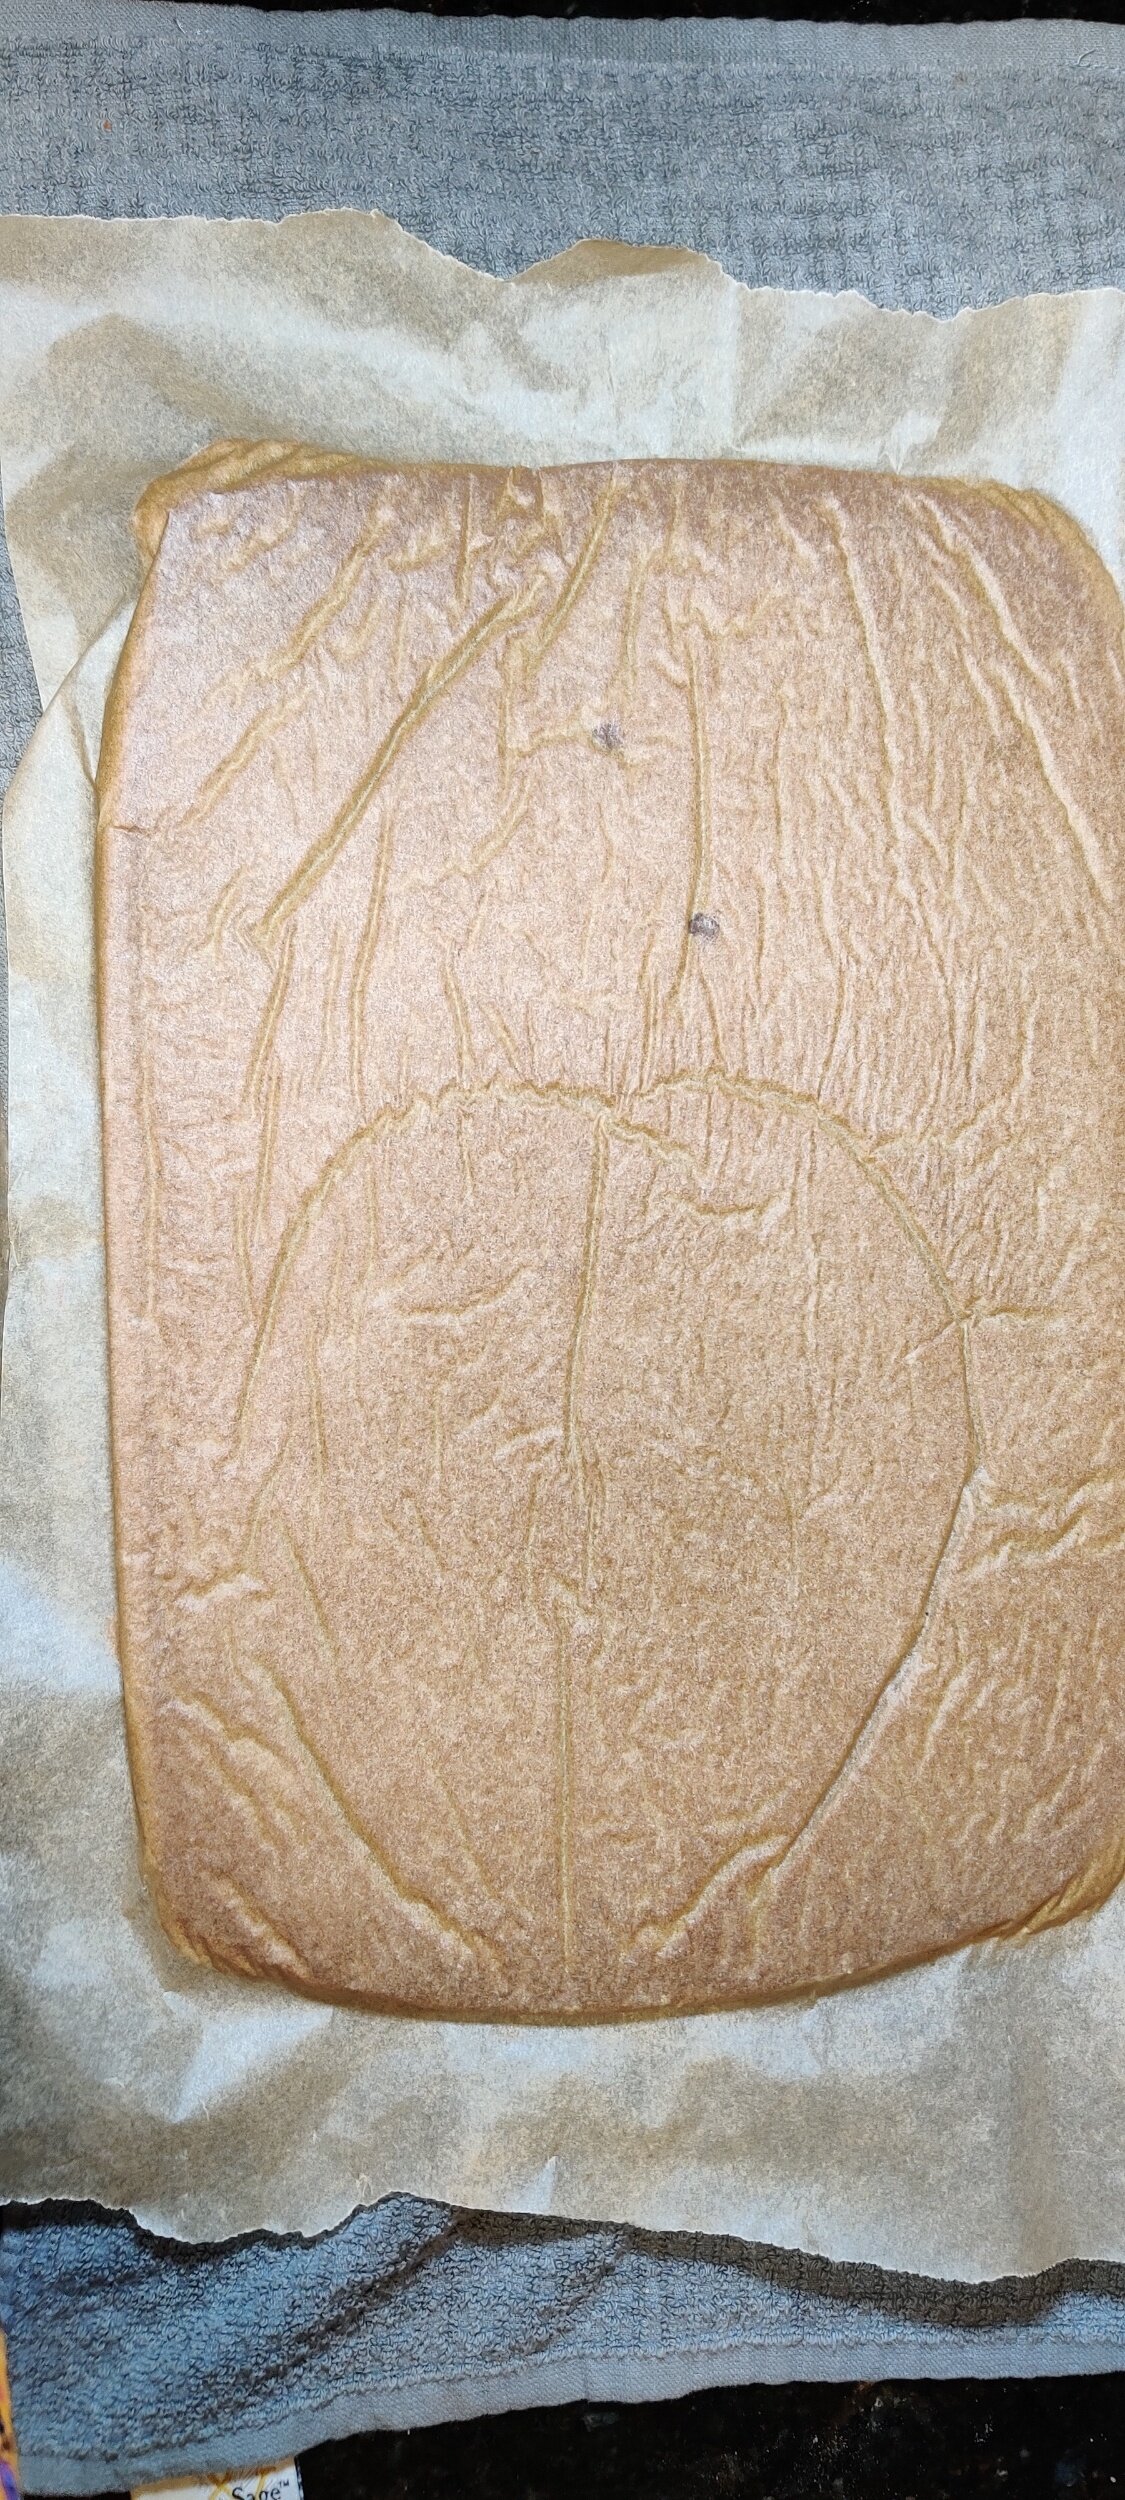
In a separate bowl, whisk the flour, salt, baking soda, baking powder, ginger, cinnamon, pumpkin spice, and gingersnap. Mix the spiced flour into the pumpkin mixture. Pour the batter into a baking tray lined with parchment paper (I used a 13 by 20 tray) and spread evenly with a spatula - it doesn’t have to fill the entire pan.
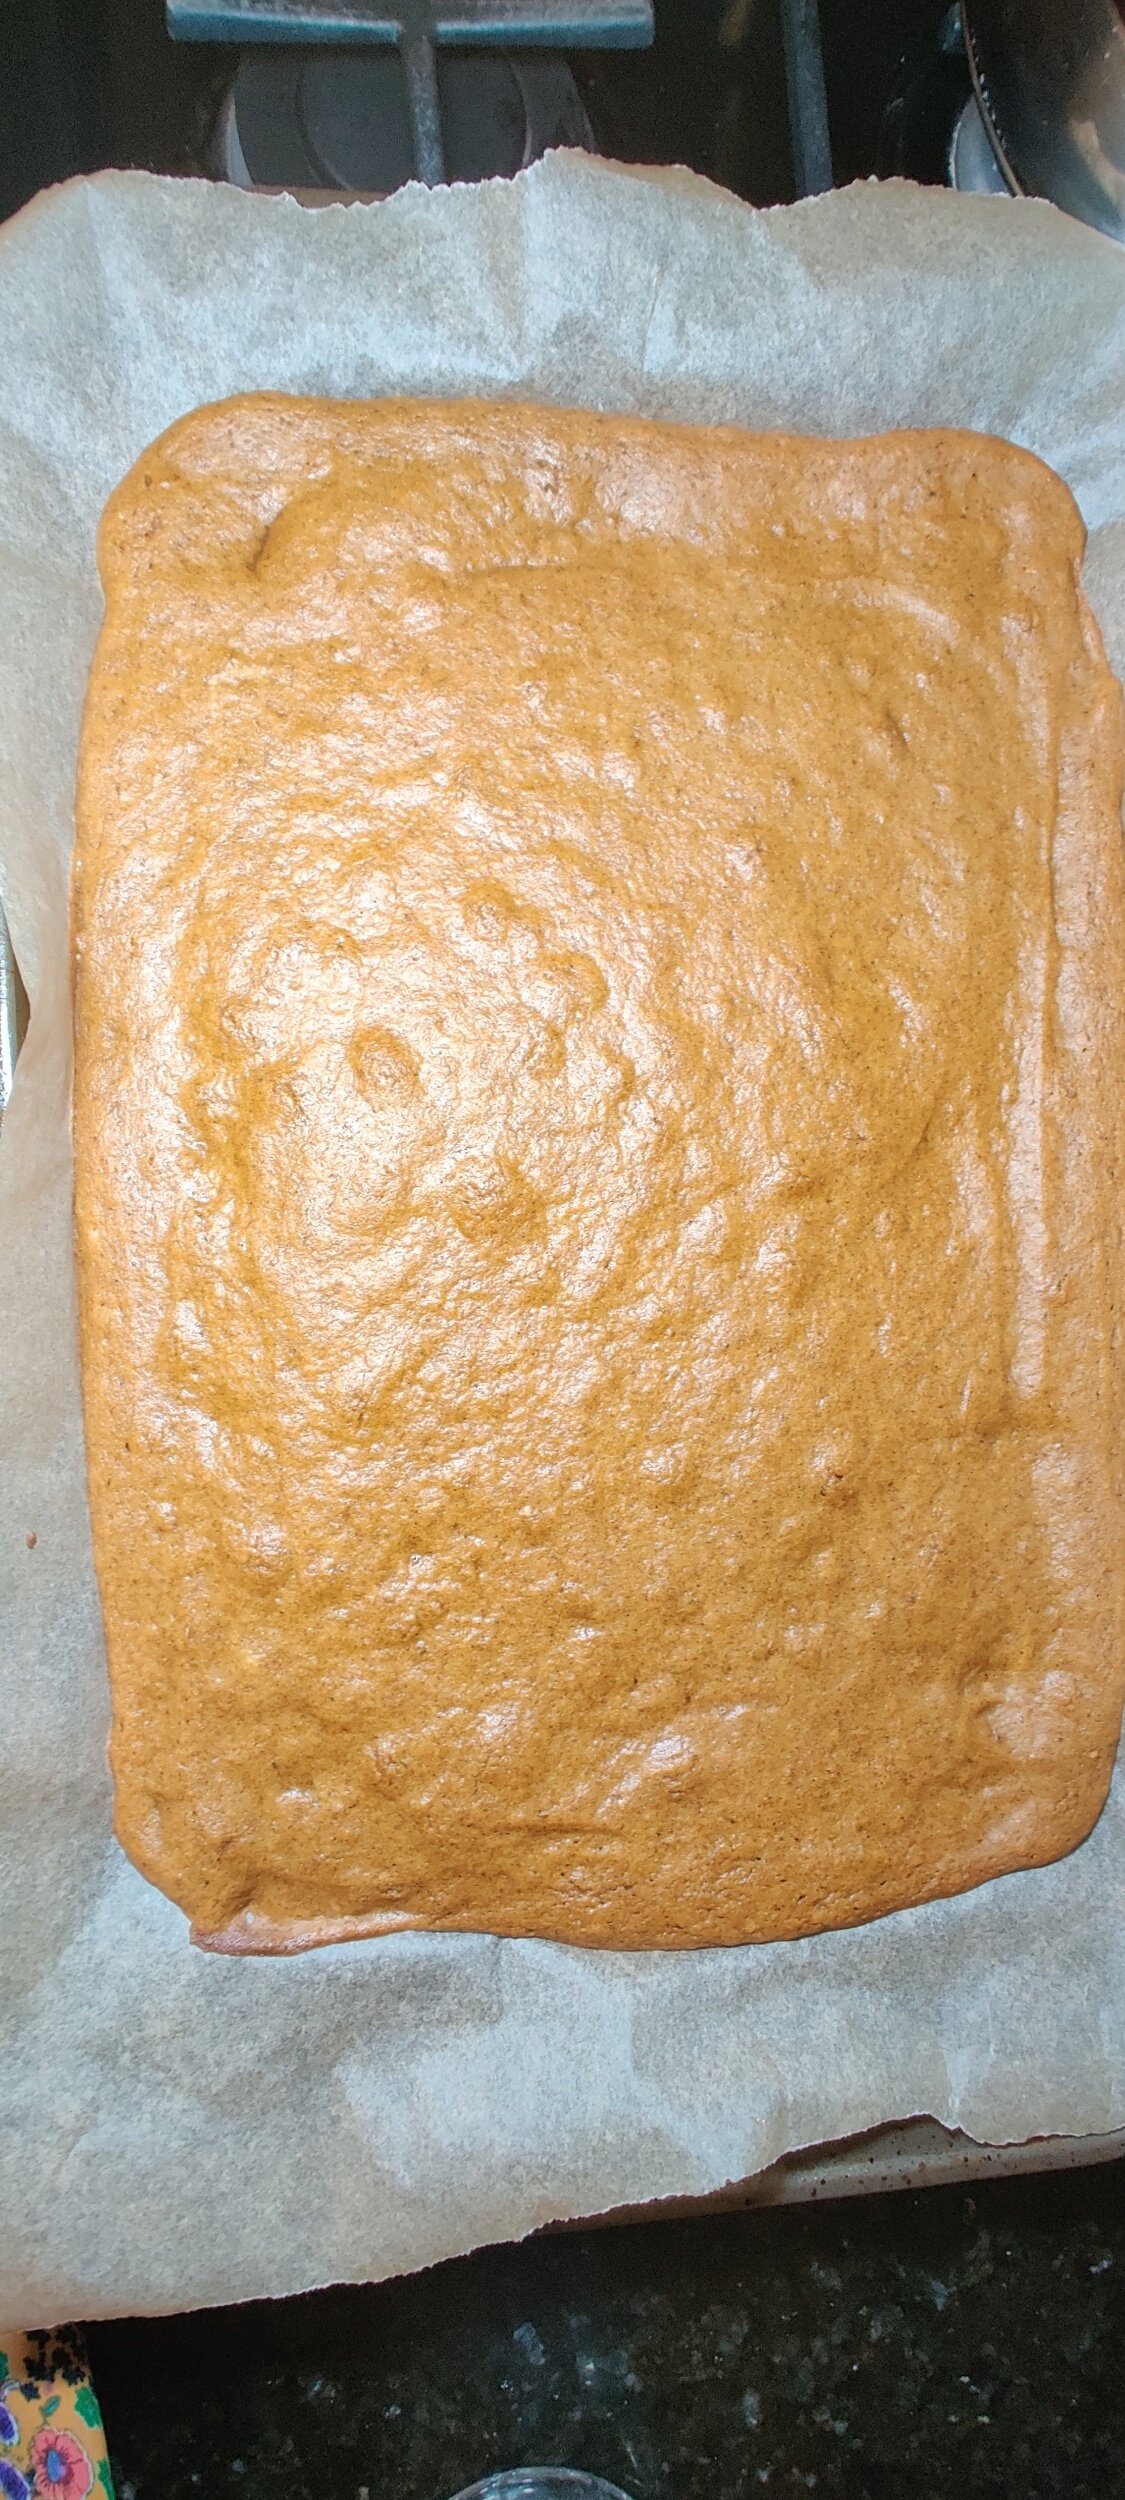
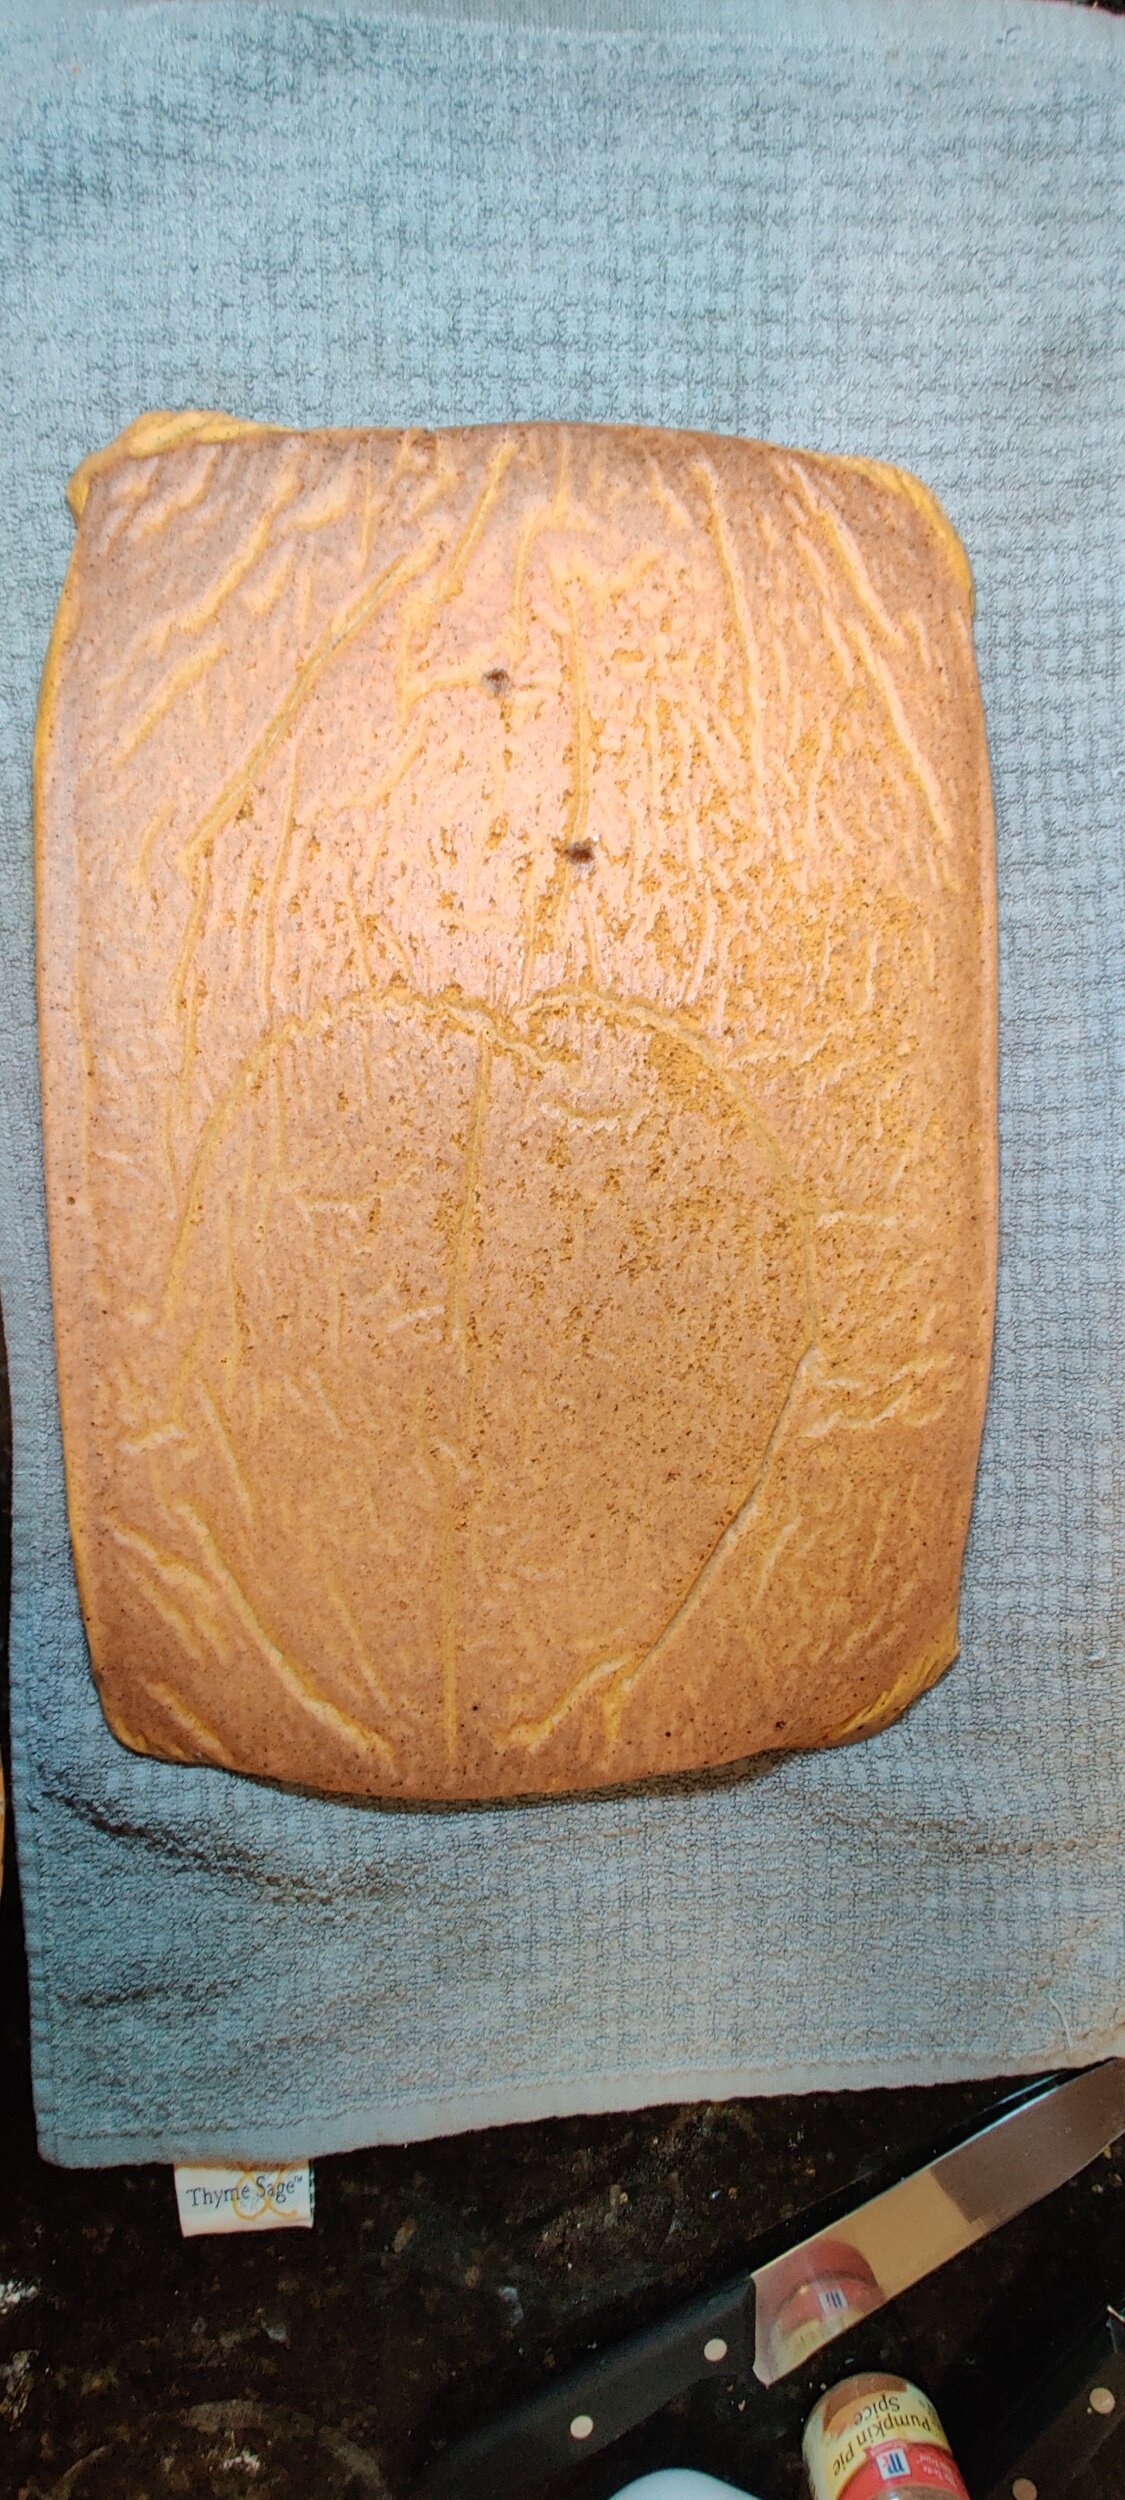
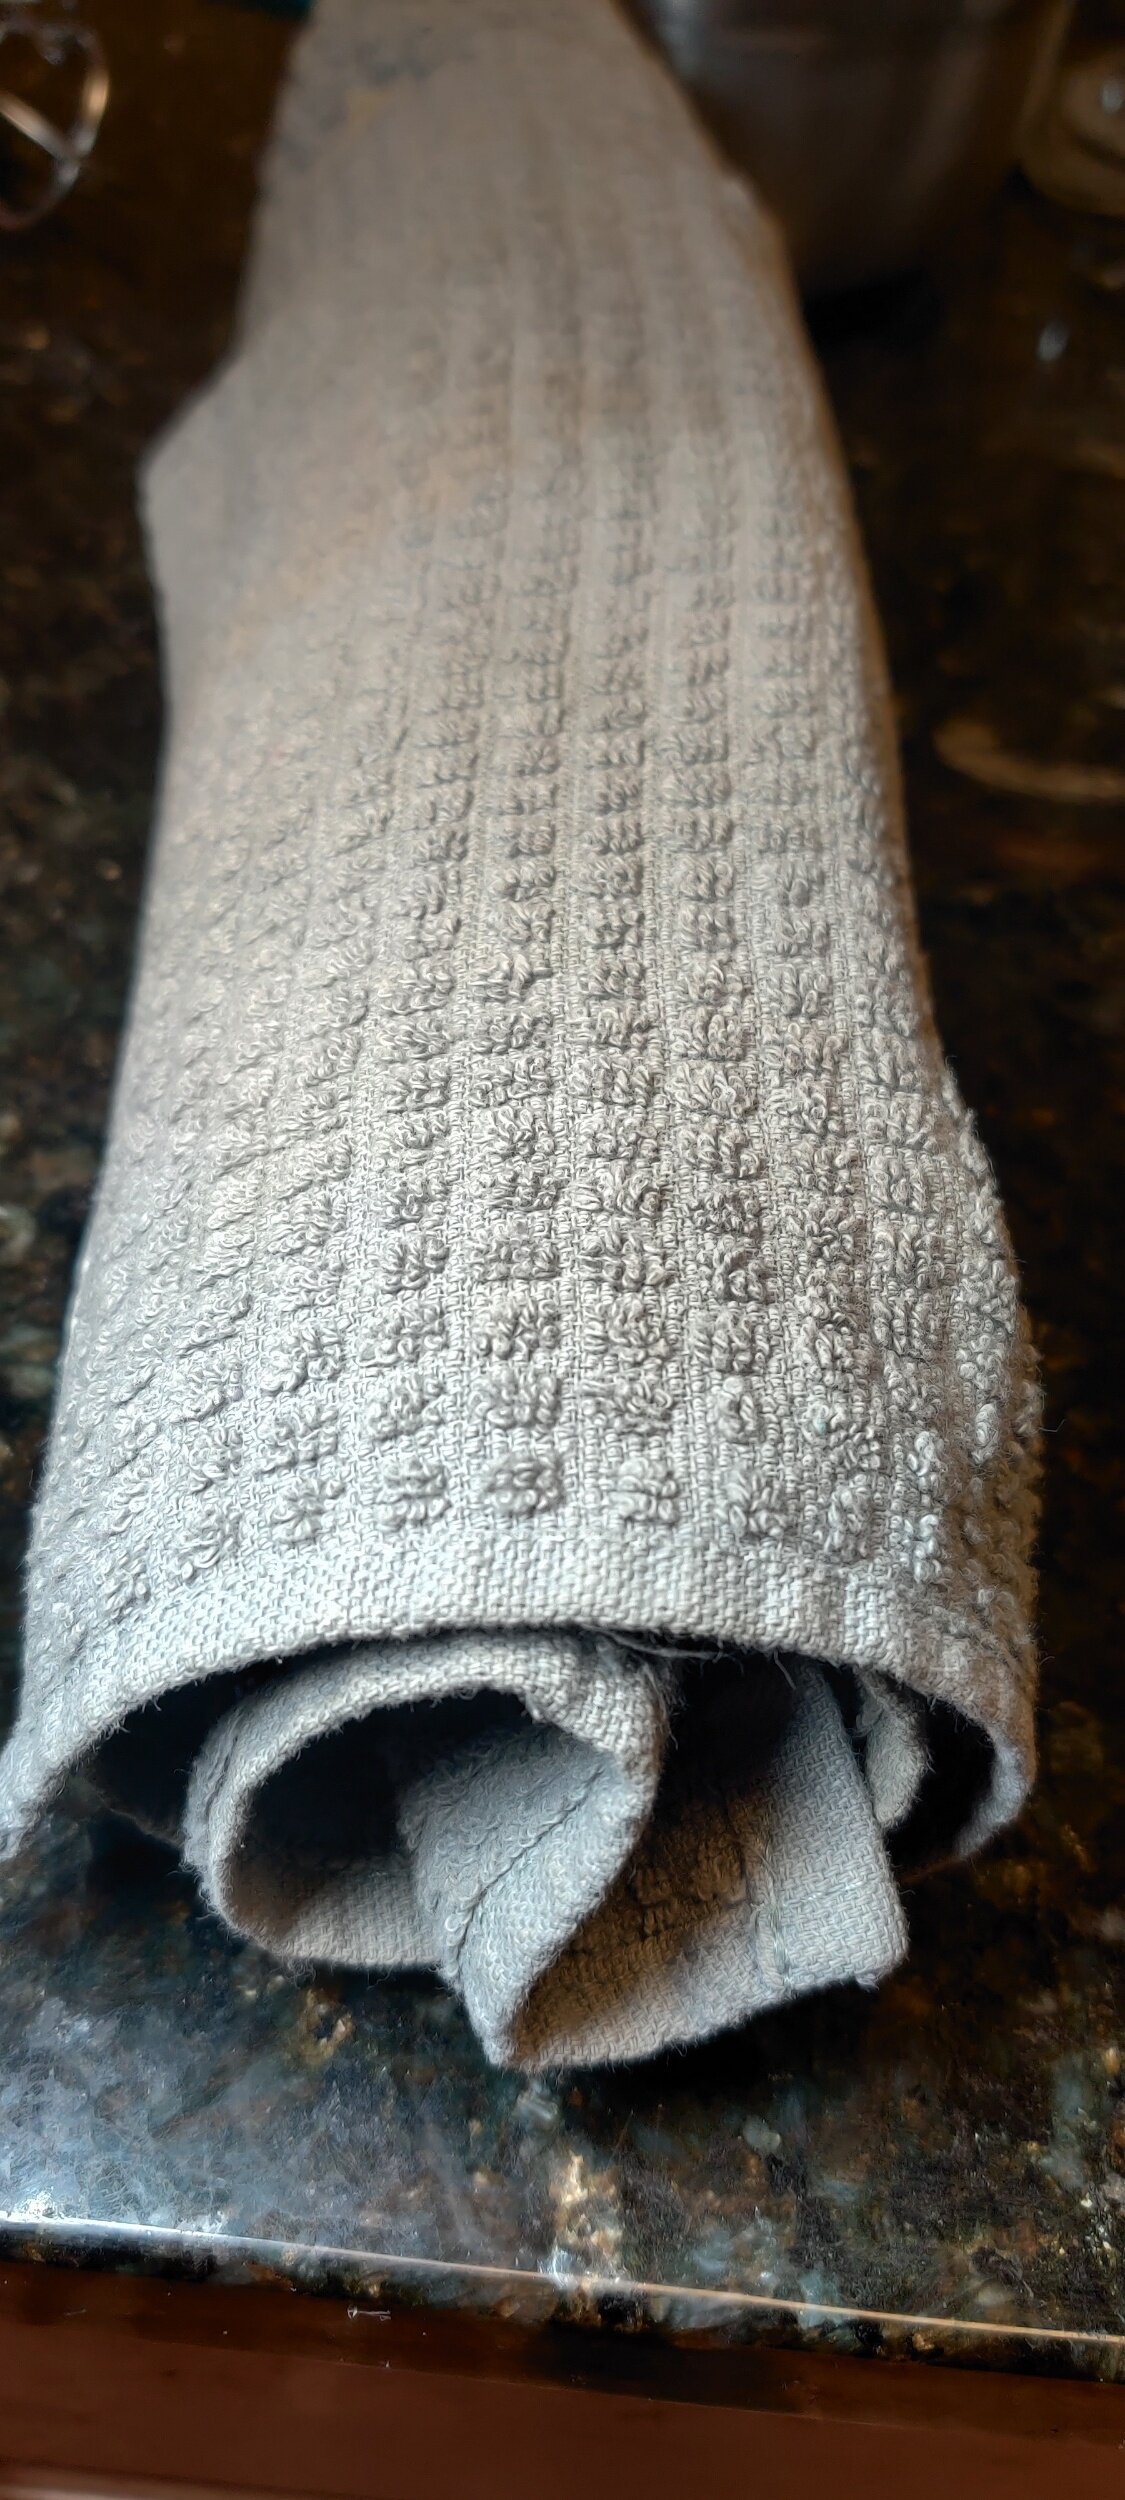
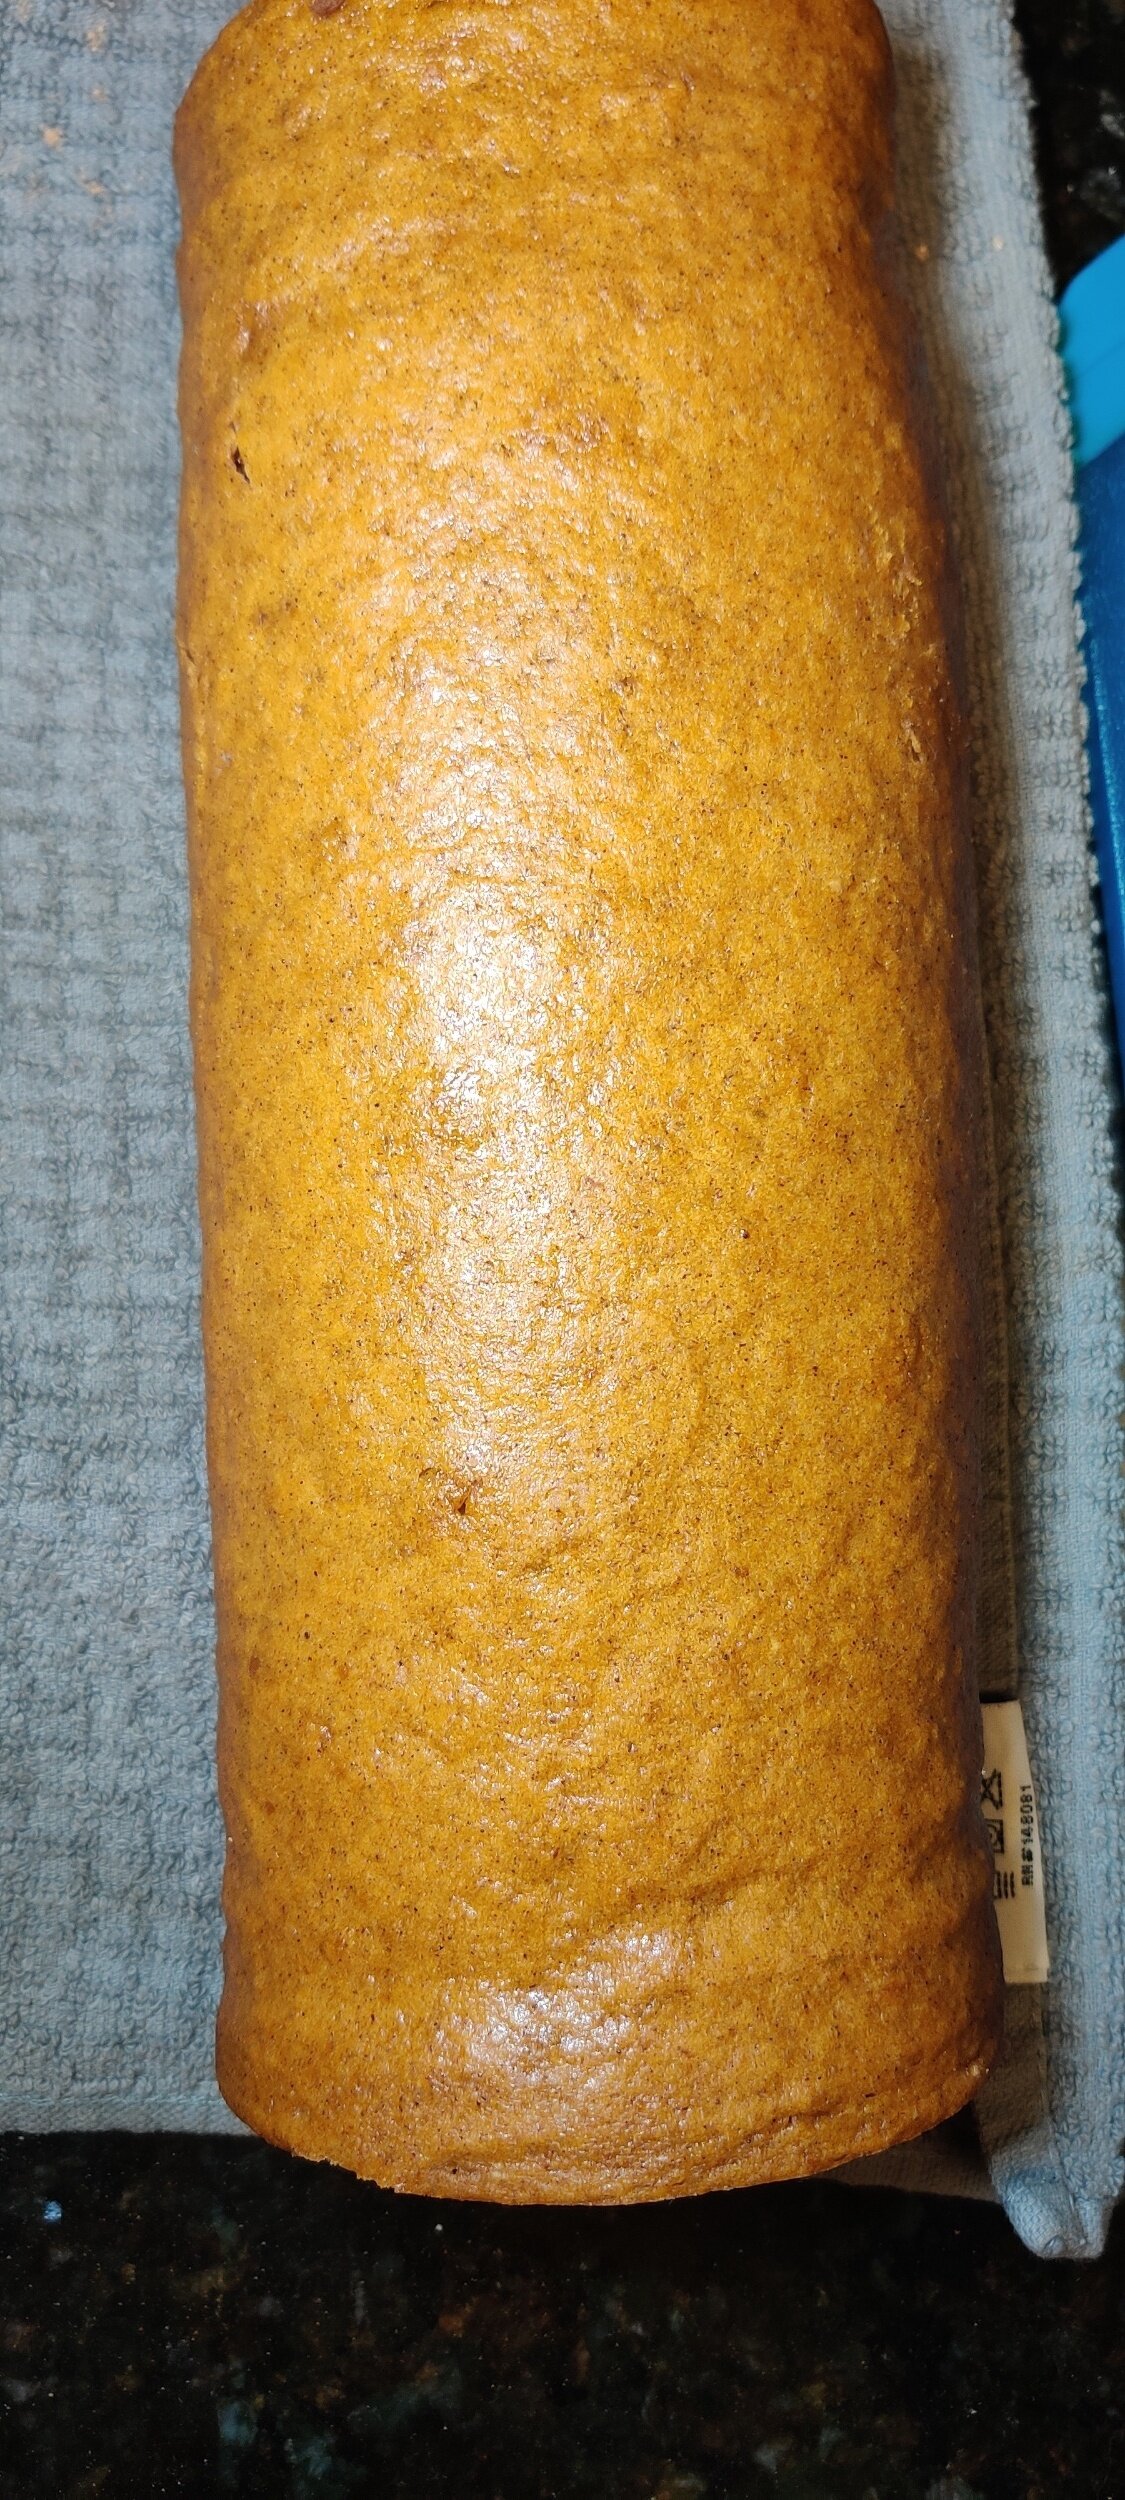
Bake at 375F for 12 minutes. Remove the cake from the oven and allow to cool slightly. Holding the tray and the one side of the cake, place carefully on a dish towel and a cutting board to flip over. Remove the parchment paper from the back carefully, then roll the cake in the towel and set the log aside.
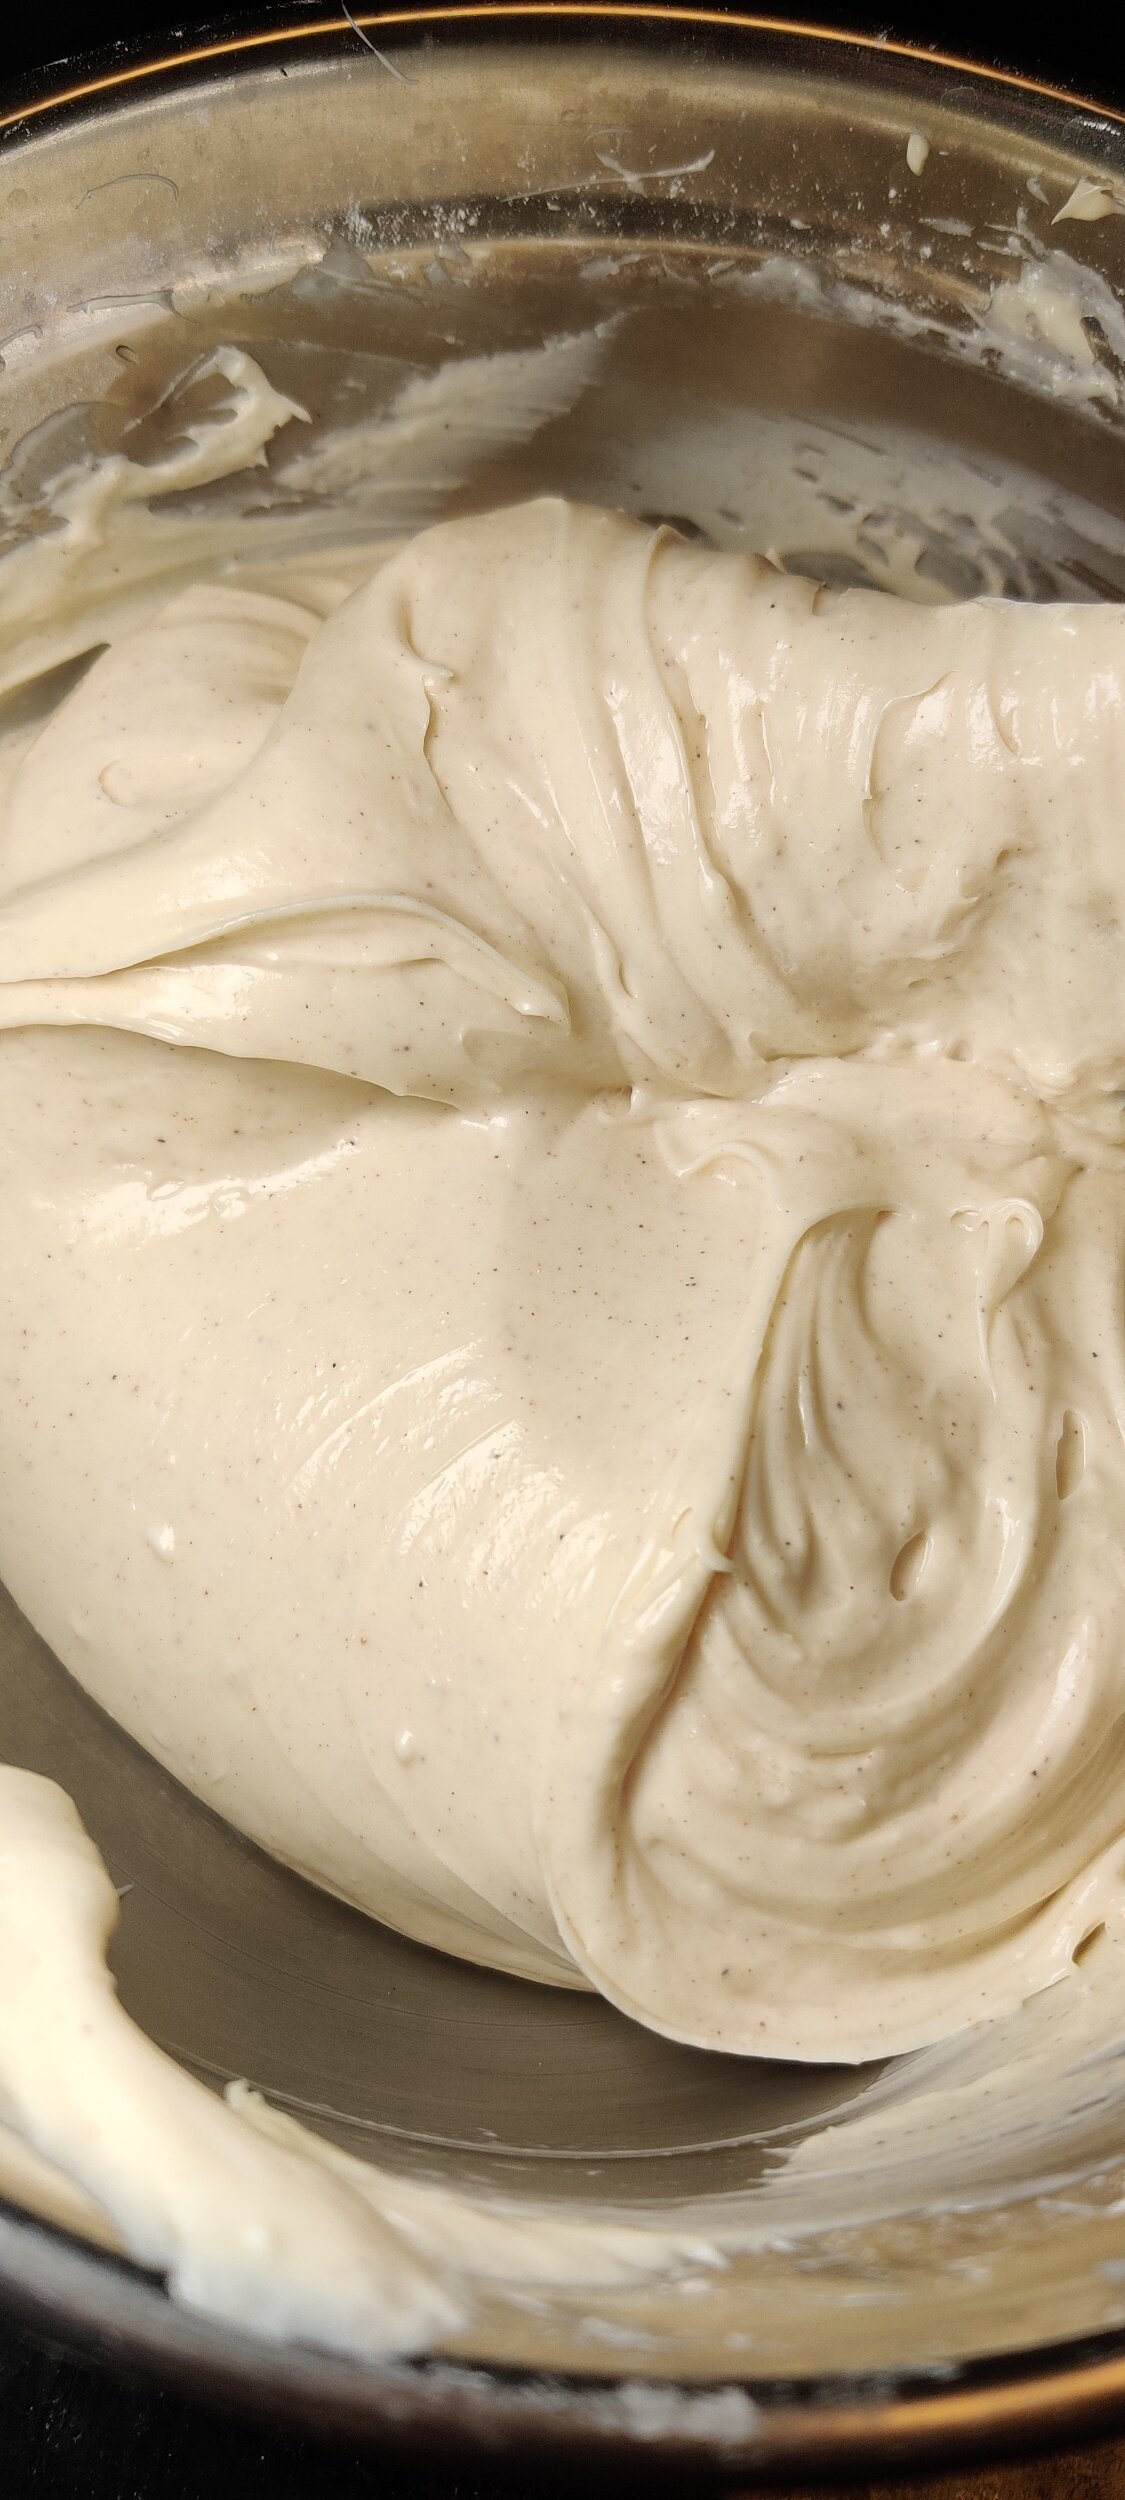
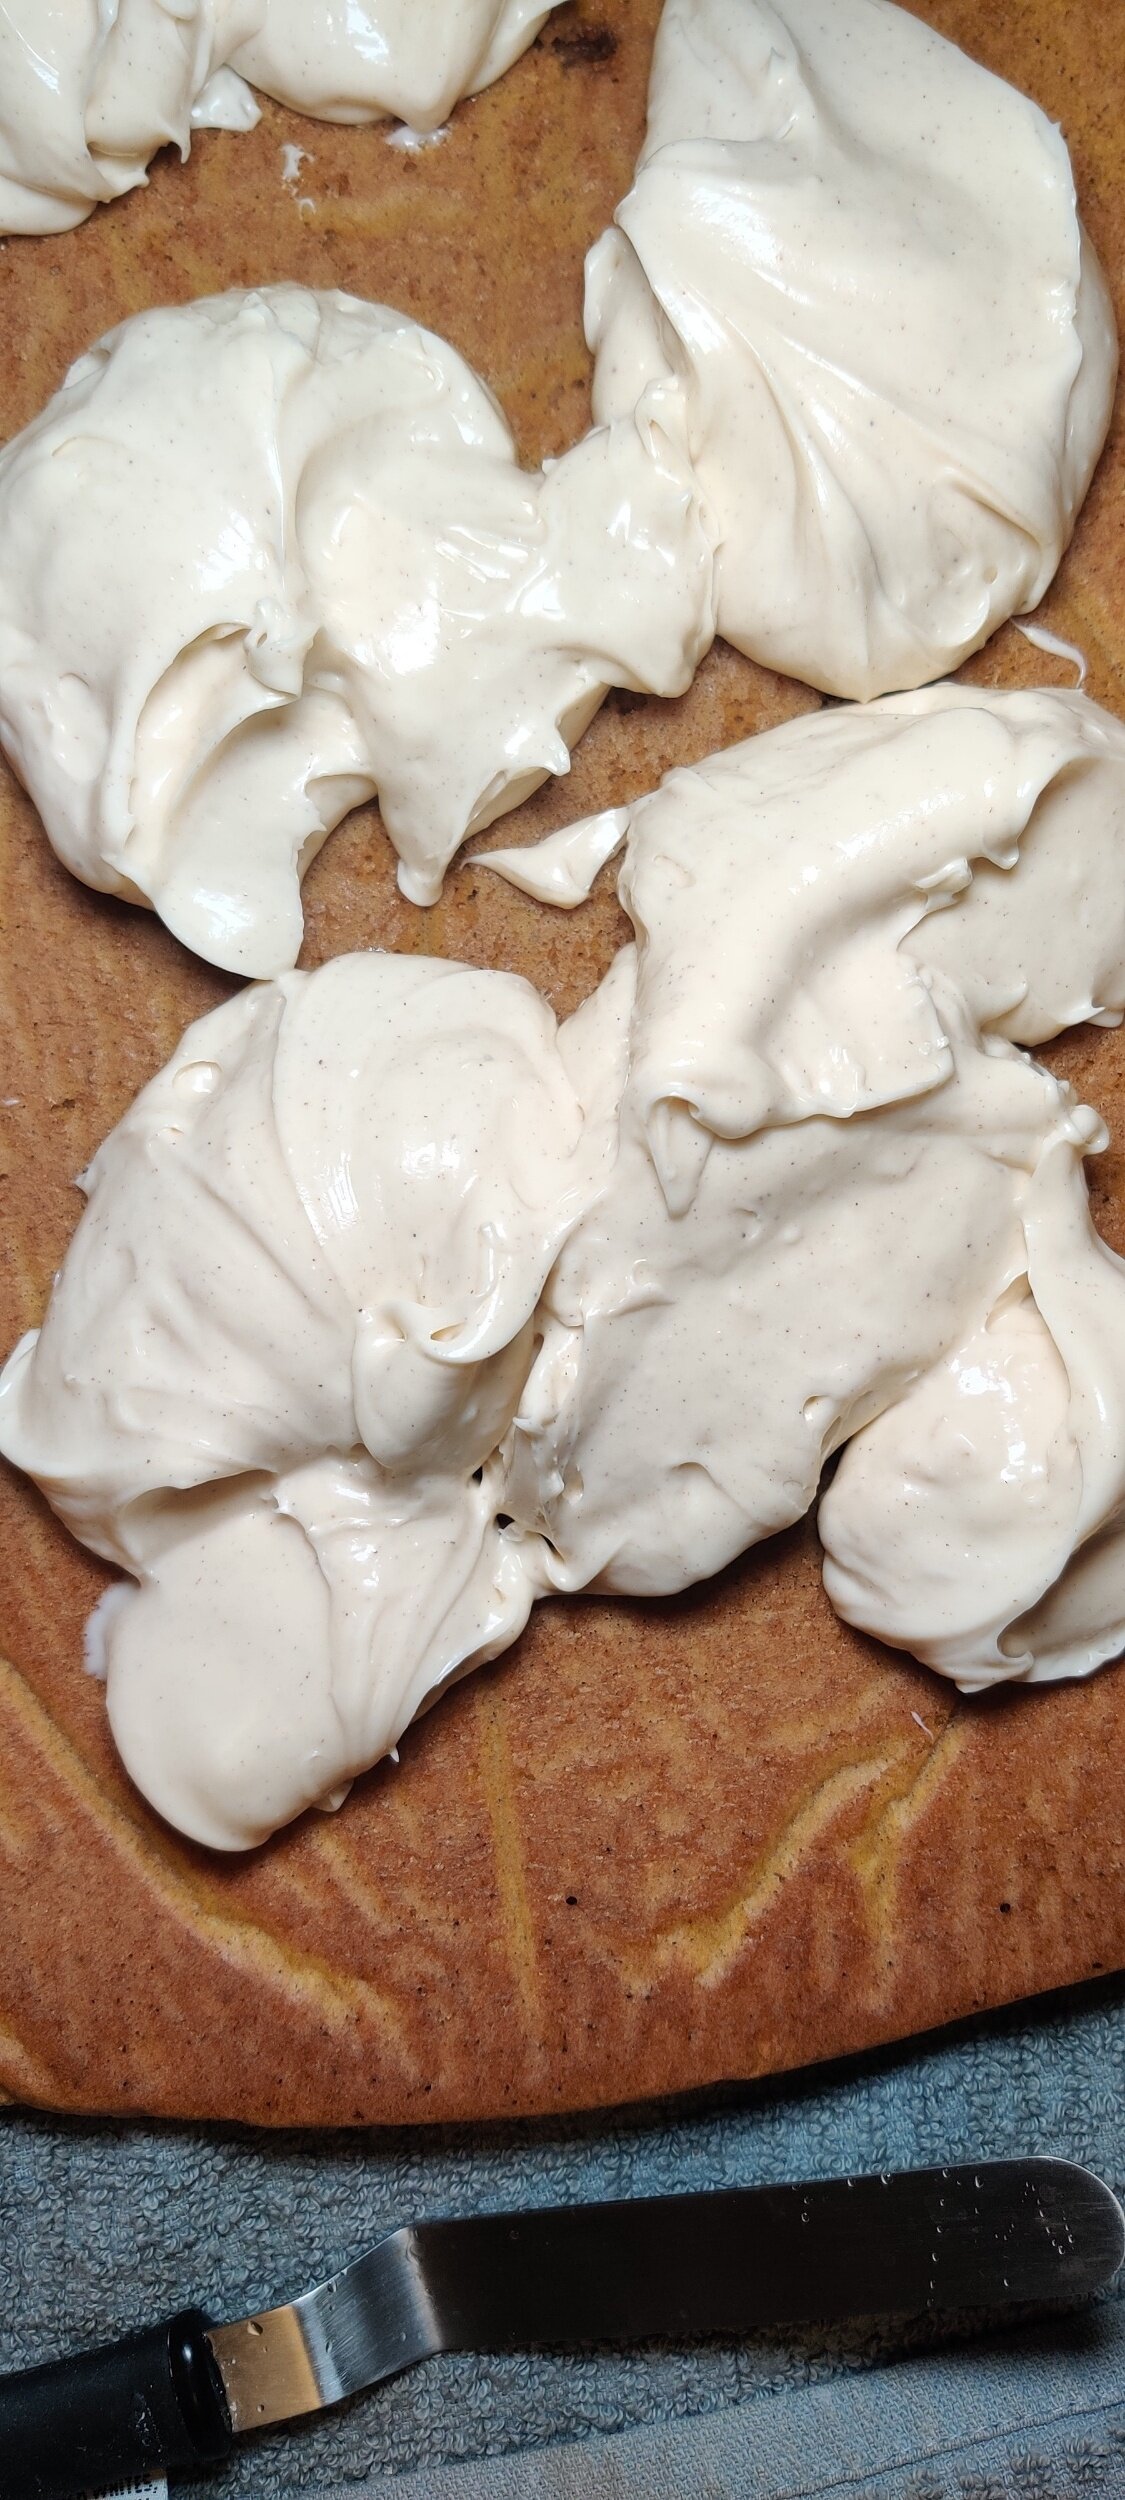
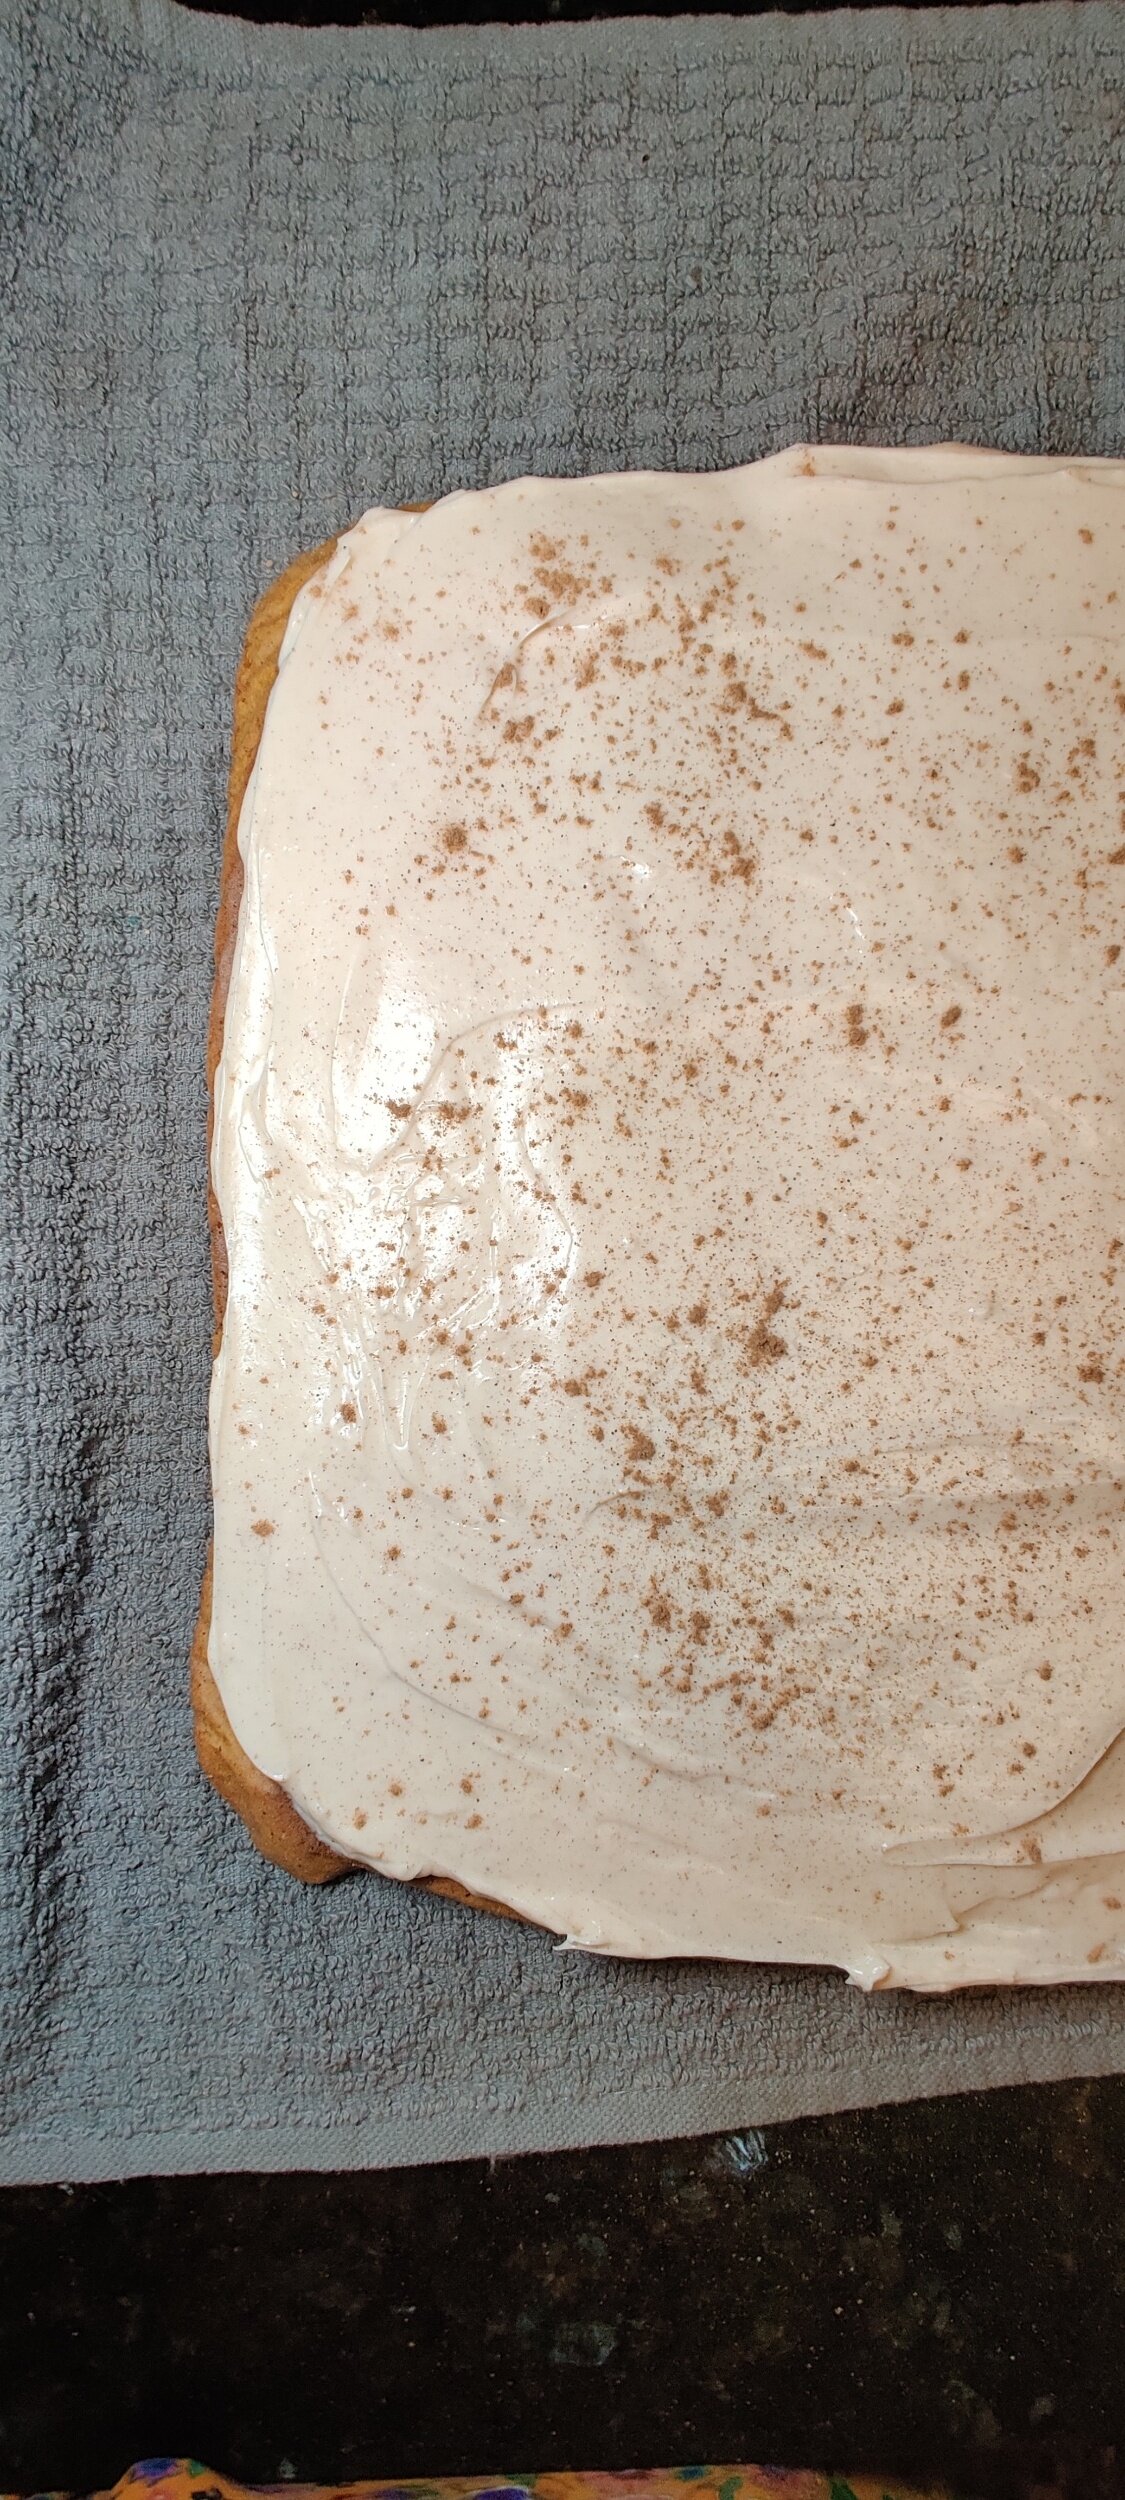
In a separate bowl, whisk the cream cheese, butter, vanilla, salt, pumpkin spice, ginger, gingersnap, icing sugar, and cinnamon until well incorporated. Unroll the cake, then use a spatula to spread the cream filling evenly to your desired thickness. Sprinkle with the extra gingersnap.
Now for the tricky part! Using the towel, roll the cake back into a log as tightly as you can without breaking it then refrigerate overnight or for at least 3-4 hours.
Sprinkle with extra icing sugar, slice and serve.

Salted Caramel Apple Dutch Baby
Across the US where apples are plentiful, the return of autumn brings with it an abundance or spike in popularity of the fruit. It’s the season for picking, and many people indulge in the activity for some family fun. What to do with all your produce?
If you’re someone like me who doesn’t eat 'an apple a day', you’ll want to create some recipes to make use of them!
Apples are great in that not only do they offer a lot of nutrients, but they are versatile and can be used for both sweet and savoury dishes, for any meal of the day. For example, check out my apple muffins and my pork chops and apple skillet.
This recipe is a seasonal update of another on the website suited better for the summer - the Dutch baby! A giant pancake baked in a cast-iron skillet that is an absolute delight to eat. The addition of the apples makes it extra hearty and the perfect addition to the brunch table.
For some additional moisture and more of an apple flavour, substitute one of the eggs for 1/4 cup of apple sauce. Be sure not to leave out the spices, they compliment the apples and truly make it a brunch dish for the fall.
Ingredients
3/4 cup all-purpose flour
3 eggs
2 1/2 tablespoons light brown sugar
1 tablespoon melted butter
5 tablespoons butter
1/2 cup warm almond milk
1 teaspoon vanilla extract
Pinch of salt
1/2 teaspoon cinnamon (2)
1/4 teaspoon nutmeg (2)
1/4 teaspoon cloves (2)
1 scoop crème brûlée ice cream (or whipped cream)
1 teaspoon lemon juice
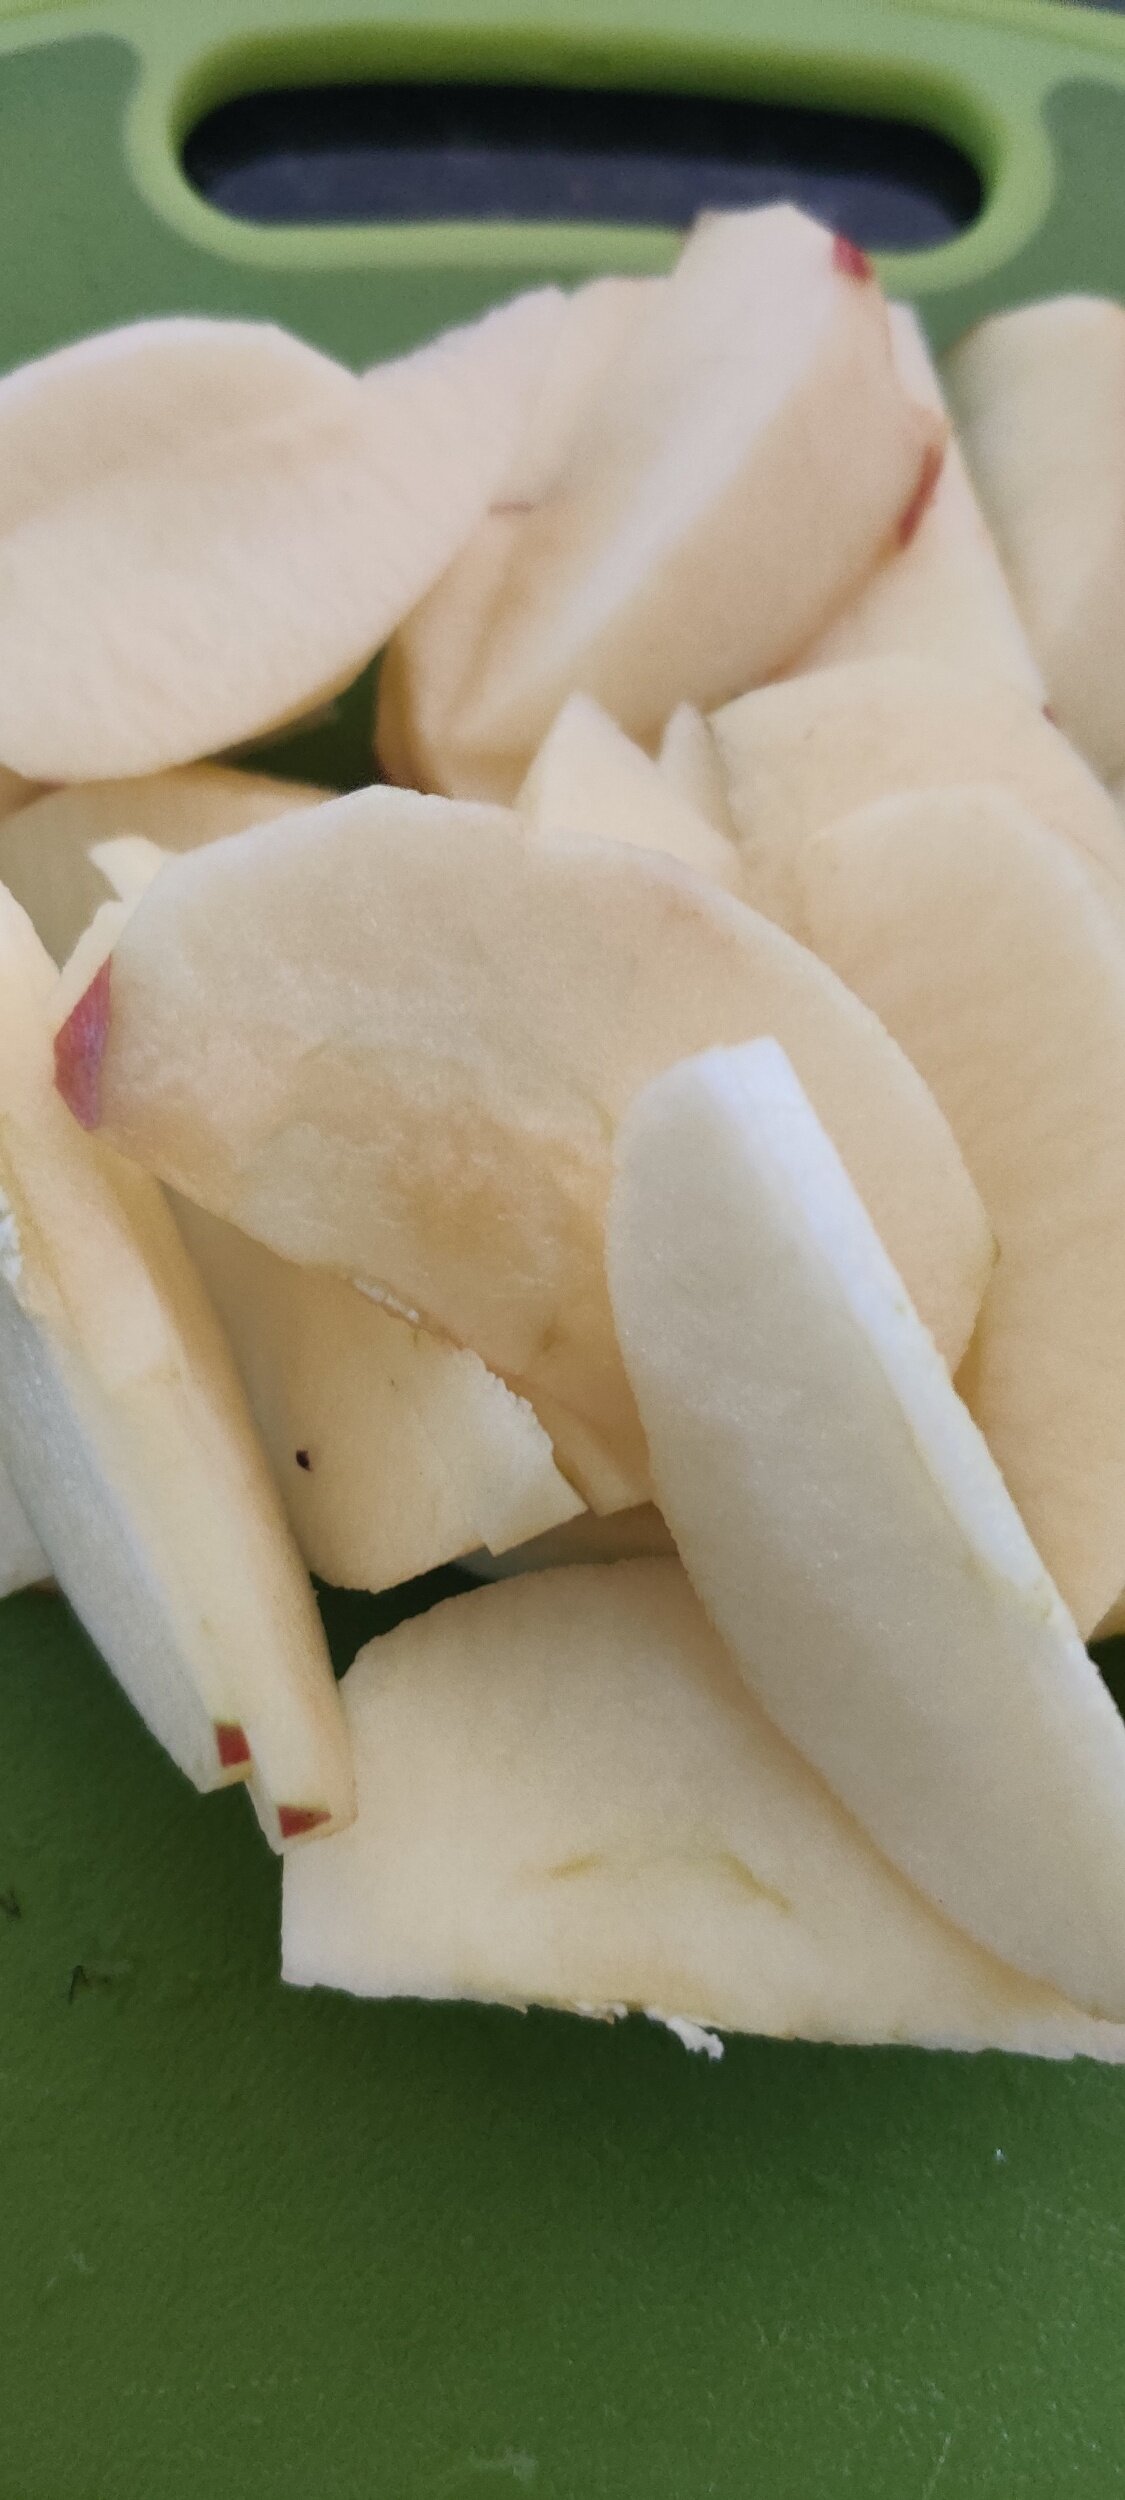
1 apple, peeled, quartered, decored, and sliced
1/3 cup apple cider vinegar
2 tablespoons dark brown sugar
Pecans (optional)
Icing sugar
Salted caramel:
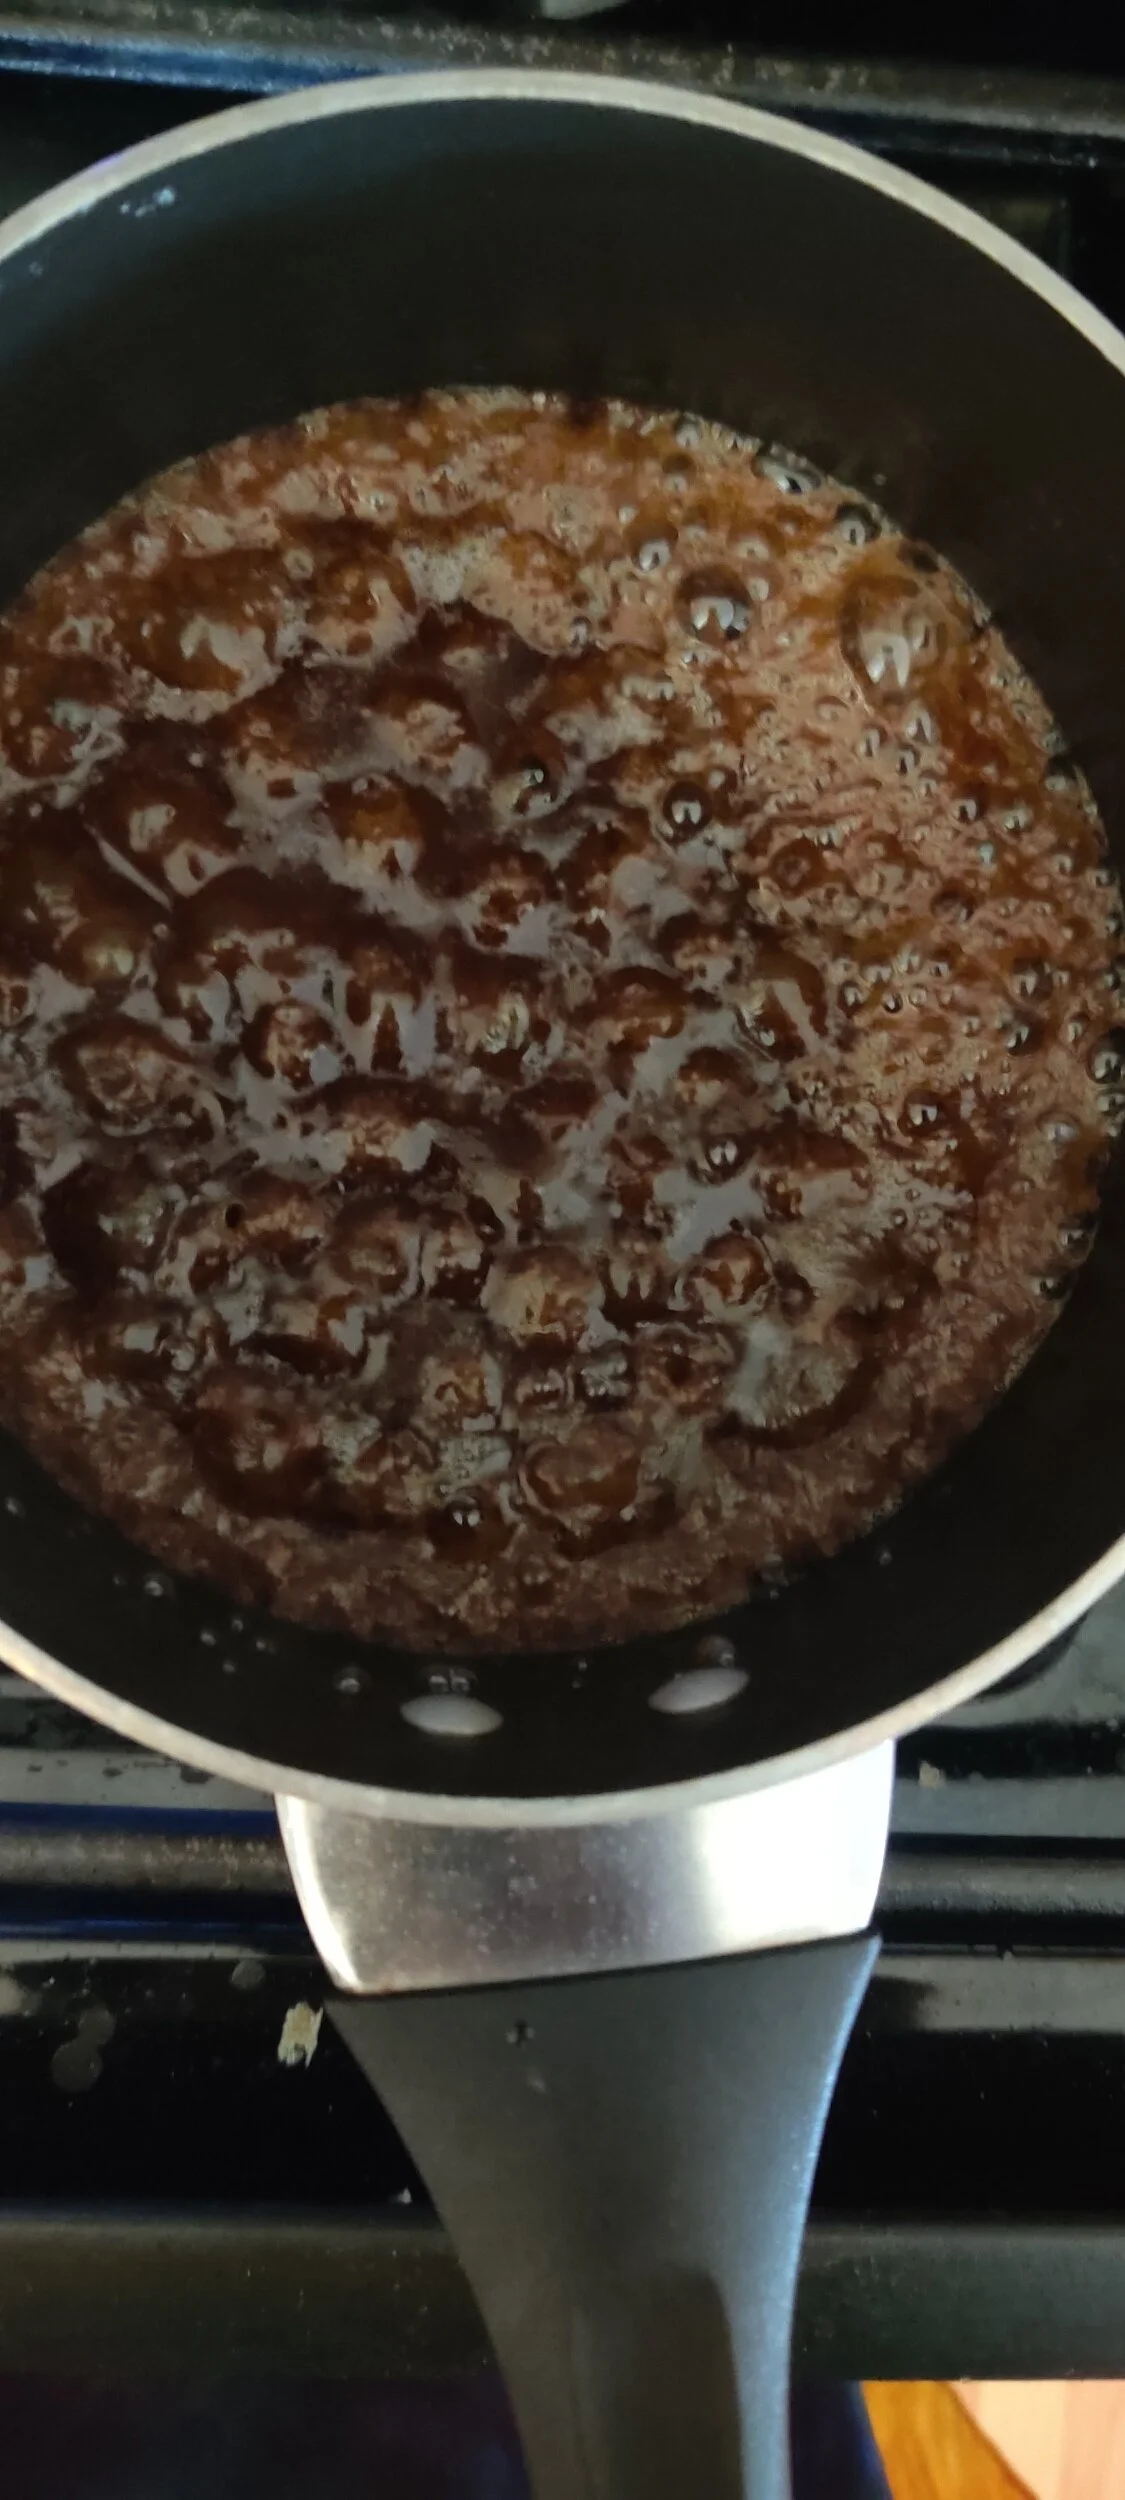
3/4 cup brown sugar
3 tablespoons butter
Pinch of salt crystals
1/4 cup milk or cream (I used almond)
1/2 teaspoon baking soda




Instructions
Prepare the apples. Toss them in 2 tablespoons of butter, the apple cider vinegar, one serving of the cinnamon, nutmeg, and cloves, and the brown sugar. Simmer for about 10 minutes or until the apples begin to soften. Remove from heat.
Add the flour, vanilla, salt, milk, light brown sugar, eggs, the remaining cinnamon, nutmeg, and cloves, and 1 tablespoon of melted butter to a blender and blend until smooth.
Spray a cast-iron skillet with cooking oil spray and add two tablespoons of butter over medium heat until melted.
Pour the batter into the skillet, and gently place apple slices on top - you may have a few remaining you can use later. Bake in a 400F oven for 30 minutes.
While the pancake is baking, make the caramel. Melt the butter and sugar and mix until the sugar has dissolved, for about 2 minutes. Stir in the milk and salt. Remove from heat and add the vanilla and baking soda.
Once the Dutch baby is done, let it cool for about 5 minutes. You will notice that the pancake will be puffed up at first, some of that will go down which is normal!
Serve the Dutch baby warm with ice cream or whipped cream.

Strawberry Dutch Baby
Pancakes! Who doesn't love them for breakfast or brunch?
It's always interesting to divert from the classic and try something different. If you've never had a Dutch baby or 'German pancake' you're missing out. They are soufflé-like and delicious - soft with a slight crunch on the outside. I don't believe you have to drench them on tons of syrup and butter either. Adding fruit and dusting on a little icing sugar is the necessary cherry on top!
This recipe is an ode to strawberries and cream, often touted as an English dessert. Who doesn't love the combination? It works wonderfully in any form.
Ingredients
3/4 cups flour
2 eggs
2 1/2 tablespoons granulated sugar
1/2 cup warm almond milk
1/4 cup apple sauce
1/2 teaspoon almond extract
Pinch of salt
1 rosemary sprig
1 scoop vanilla almond ice cream (or whipped cream)
1 teaspoon lemon juice
Icing sugar
1/3 cup strawberries, sliced
2 tablespoons berry maple syrup
1 tablespoon melted butter + 2 tablespoons butter


Instructions
Add the flour, almond extract, salt, butter, milk, 1 1/2 tablespoons sugar, eggs, and apple sauce to a blender and blend until smooth.
Spray a cast-iron skillet with cooking oil spray and add two tablespoons of butter over medium-heat until melted.
Pour the batter into the skillet and place in a 400F oven, bake for 30 minutes.
While the pancake is baking, toss the strawberries in 1 tablespoon sugar, the lemon juice and a rosemary sprig in a small saucepan over medium-heat until a thick sauce begins to form.
Remove from the heat and allow to cool for about 5 minutes.
Serve the dutch baby with the sugared strawberries and ice cream or whipped cream.

Spicy Apple Muffins with a Cider Glaze
Oh yes, the forever fruit. I think the only season I don't associate apples with is winter!
There is nothing like hot, fresh, fluffy muffins in the morning. Or, even as a snack. You don't have to wait for the fall to enjoy these low-calorie treats, especially if you like apples. They are, however, an incentive for the fruit season picking, something to look forward to. The smell, in particular, is reminiscent of the fall and I love it. Think of all of those spicy apples scented candles you see!
I spiced these muffins up with spicy apple chutney from Camella's Kitchen and topped them with an apple cider glaze infused with the same.
The banana takes on the job of eggs and adds moisture without adding an overpowering taste, resulting in some soft muffins. The vegetable oil and apple sauce serve the same purpose, so there is no need to worry about dry textured anything!
Why coat the chunks of apples? This step ensures they don't sink to the bottom when you scoop your batter in the muffin pan.
If you have a spare apple lying around and need a snack of something on the breakfast table, I recommend this recipe.
Ingredients
1 honey crisp or fuji apple
2 tablespoons spicy apple chutney (Camella’s Kitchen)
1 large banana
3/4 cup light brown sugar
Walnuts
2 tablespoons apple sauce
1/2 cup plant milk
1 tablespoon + 1 teaspoon cinnamon
1 tablespoon vanilla essence
1 teaspoon + 1/2 teaspoon nutmeg
1/2 teaspoon + 1/2 teaspoon cloves
Pinch of salt
1 tablespoon baking powder
1 cup + 2 tablespoons all-purpose flour
2 tablespoons vegetable or coconut oil
Glaze:
2 tablespoons spicy apple chutney
2 tablespoon brown sugar
2 tablespoons butter
1/4 cup apple cider or apple cider vinegar
1/2 teaspoon cinnamon
Pinch of salt


Instructions
Dice the apple then toss in a medium bowl with 2 tablespoons flour and 1 teaspoon cinnamon, 1/2 teaspoon cloves and 1/2 teaspoon nutmeg.
In a large bowl mash the banana, then add the sugar, oil, milk, nutmeg, cinnamon, cloves, chutney, apple sauce and whisk.
Sift in the flour, then add the baking powder and salt and mix until just combined - do not overmix. If too thick, add a tiny bit of milk to your batter.
Fold in the coated apples and any dry flour.
Scoop the batter into each cavity until each is about 3/4 full. The muffin tin should be greased and floured. Sprinkle with walnuts or topping of your choice.
Bake at 400F for 20 minutes.
Prepare the glaze. Bring the apple cider and sugar to a boil, then mix in the butter, chutney, salt and cinnamon. Reduce to simmer and mix frequently until the glaze begins to thicken. Set aside.
Rest the muffins for 10-15 minutes before serving, drizzle with the glaze.

Easy Bourbon Peach Crumble
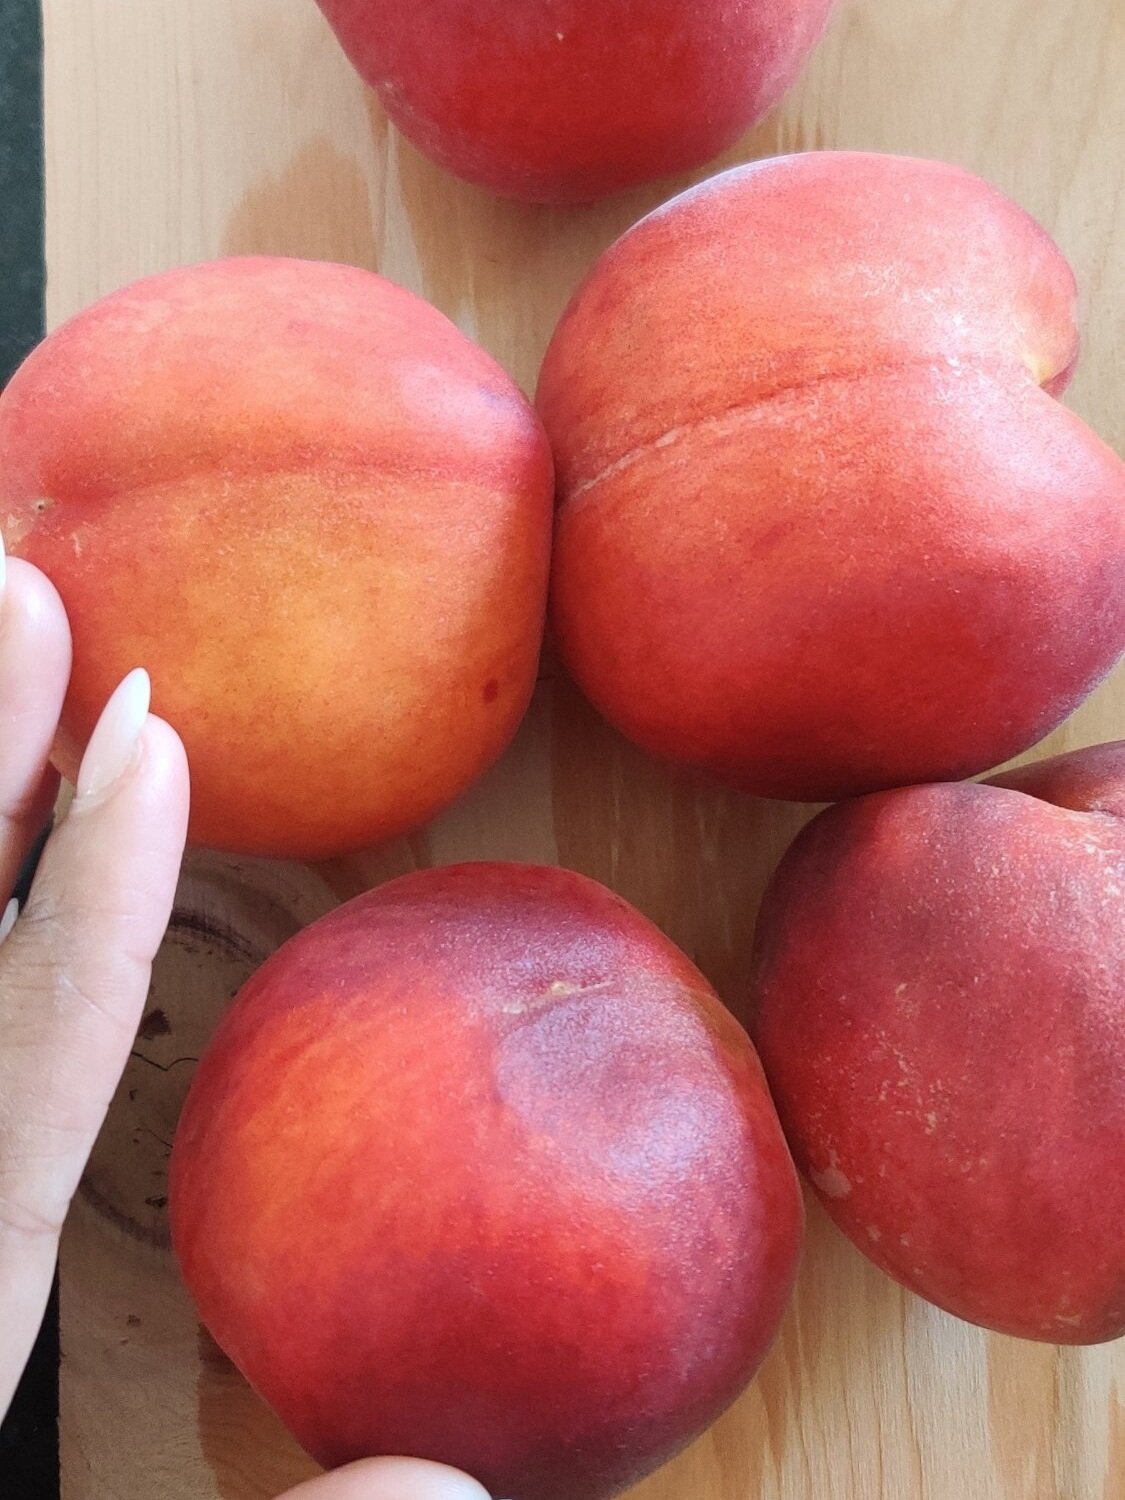
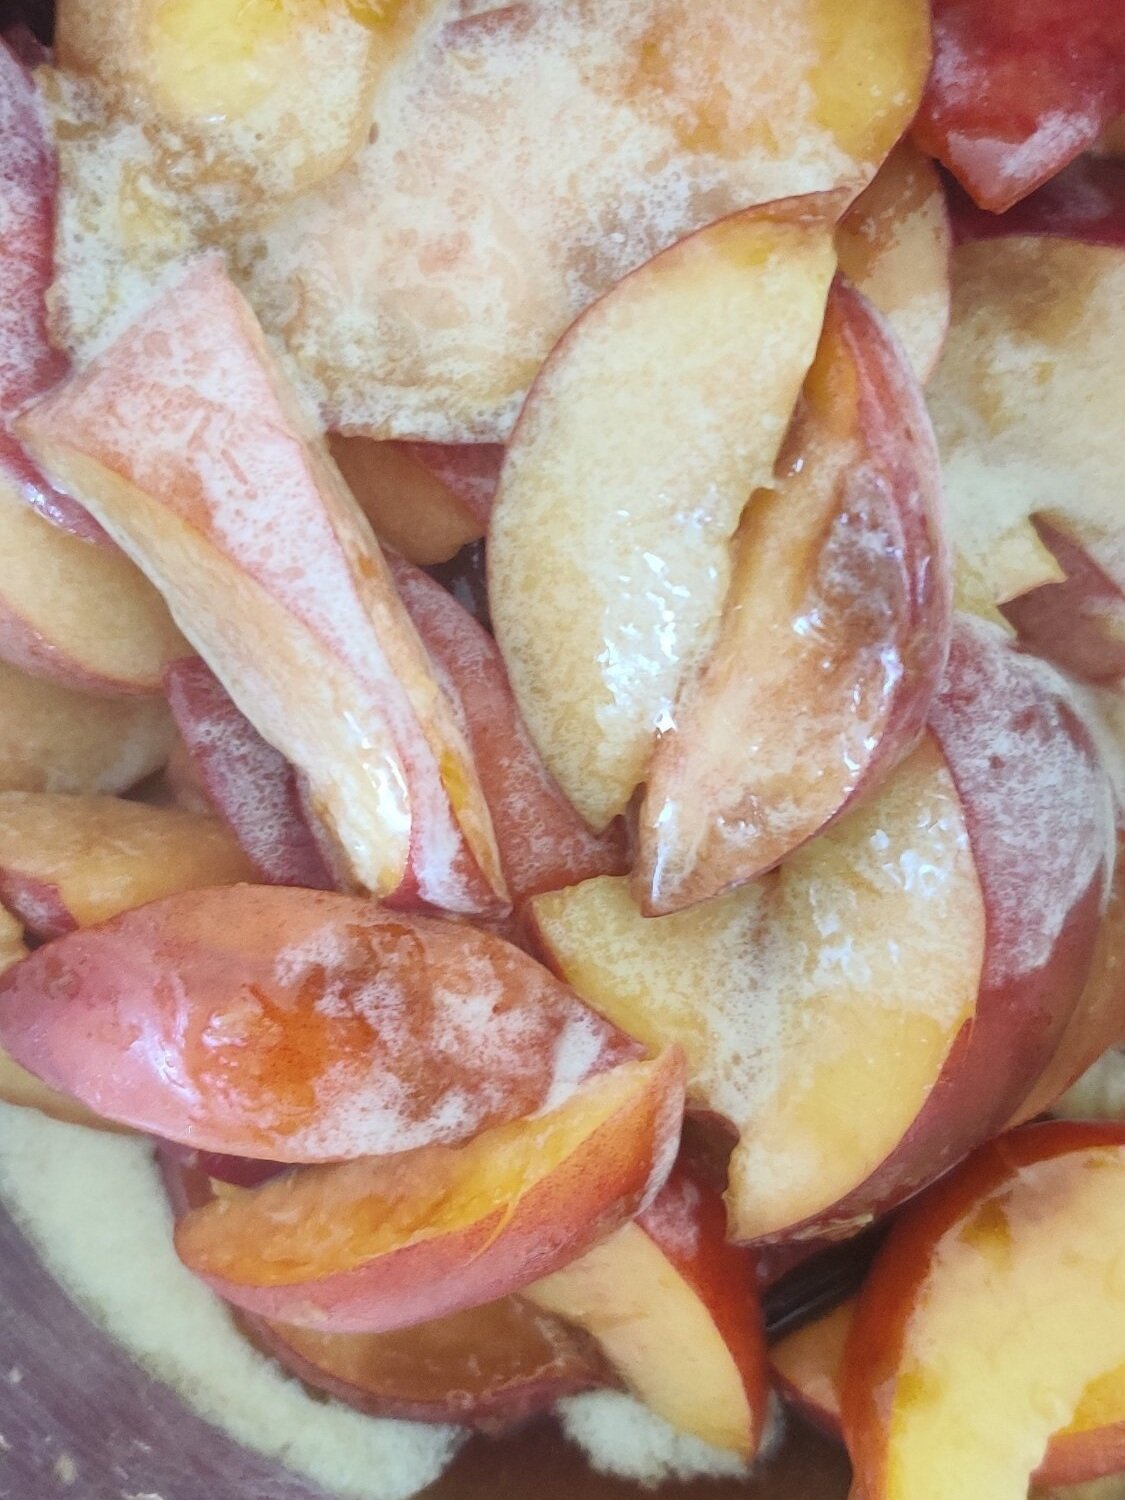
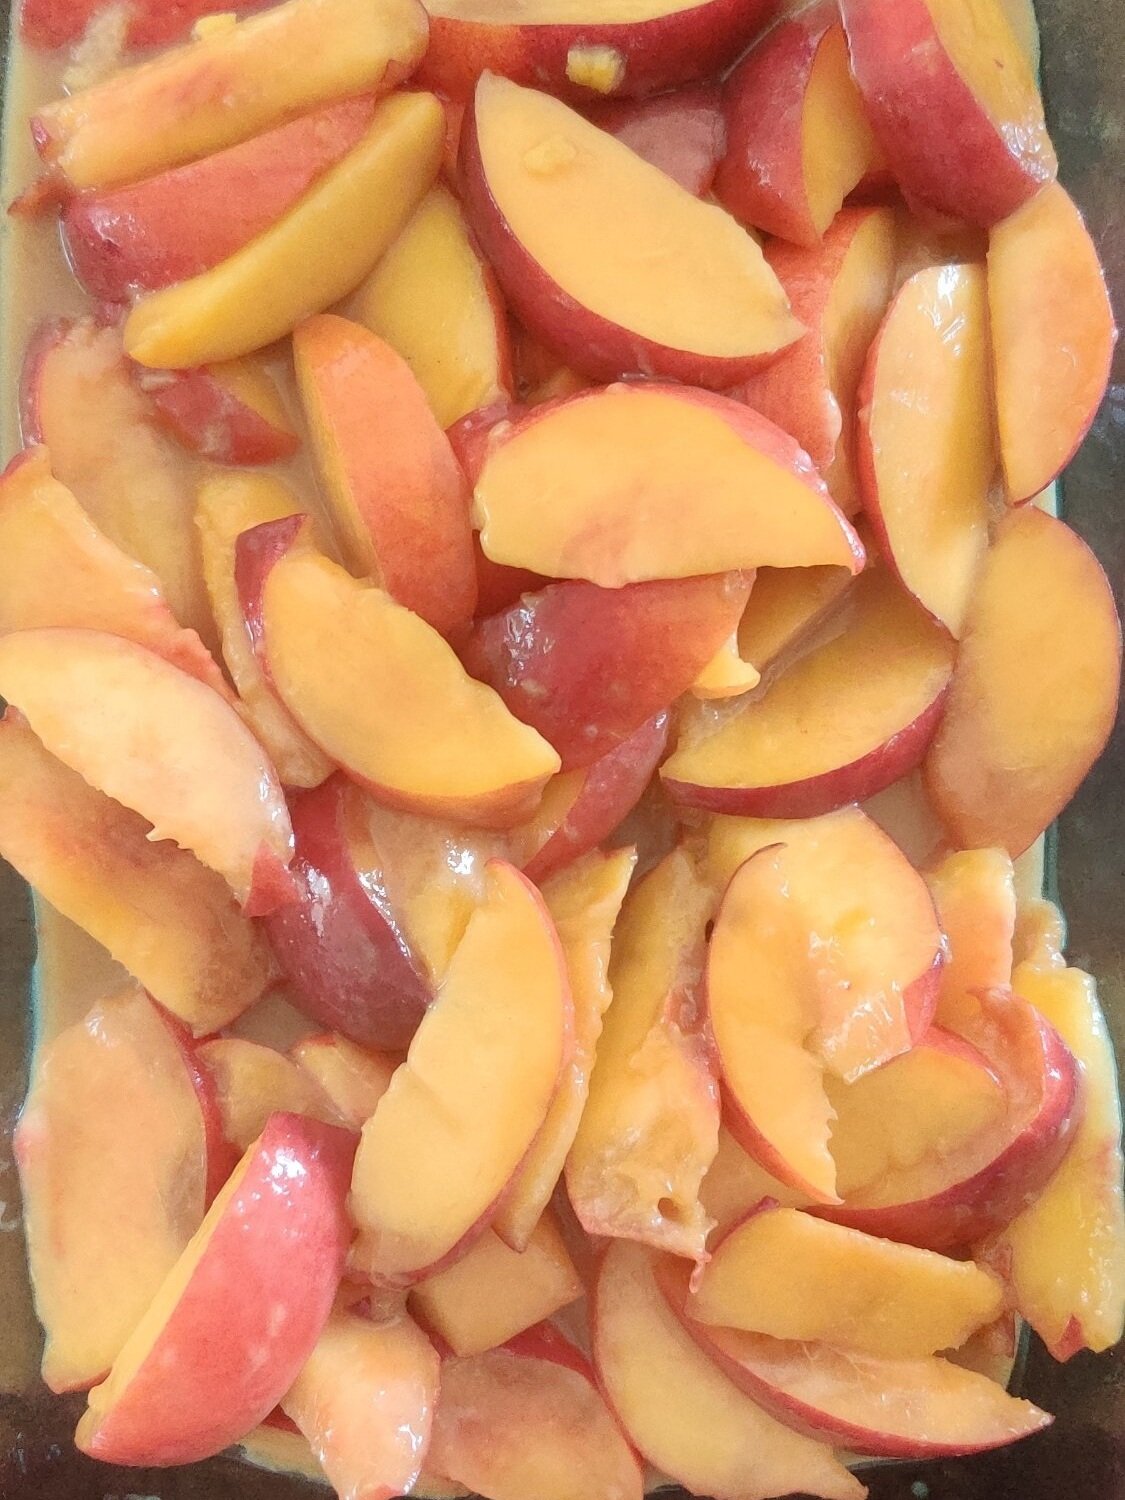
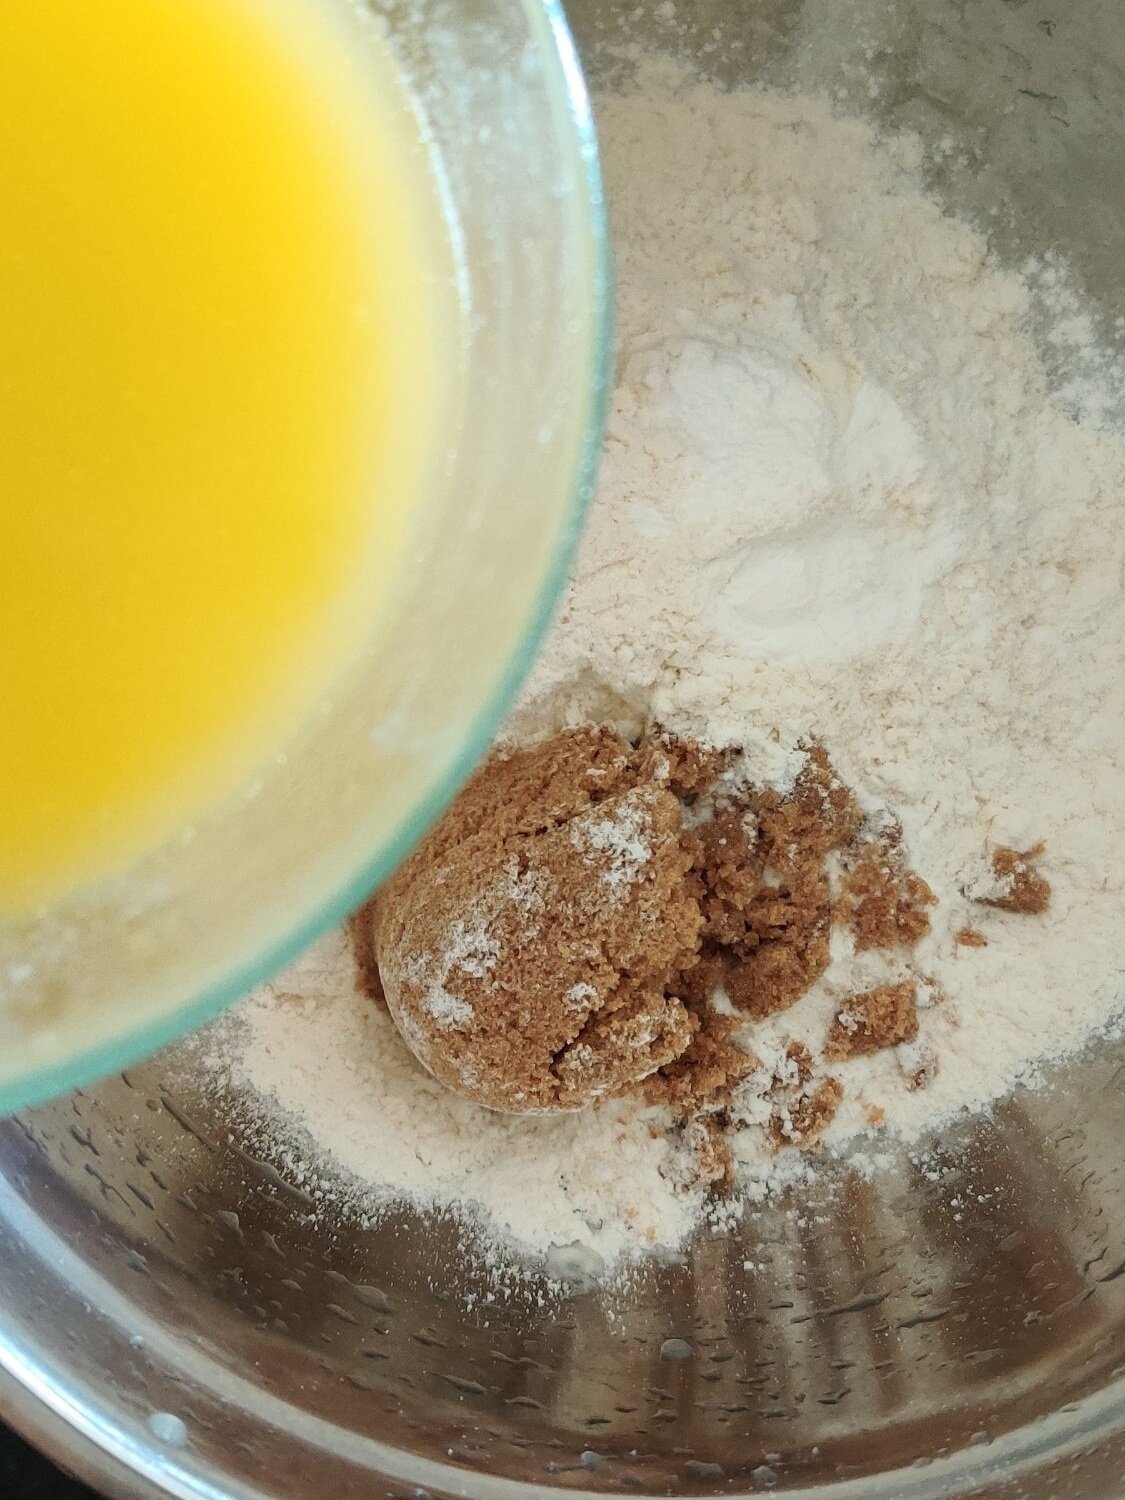
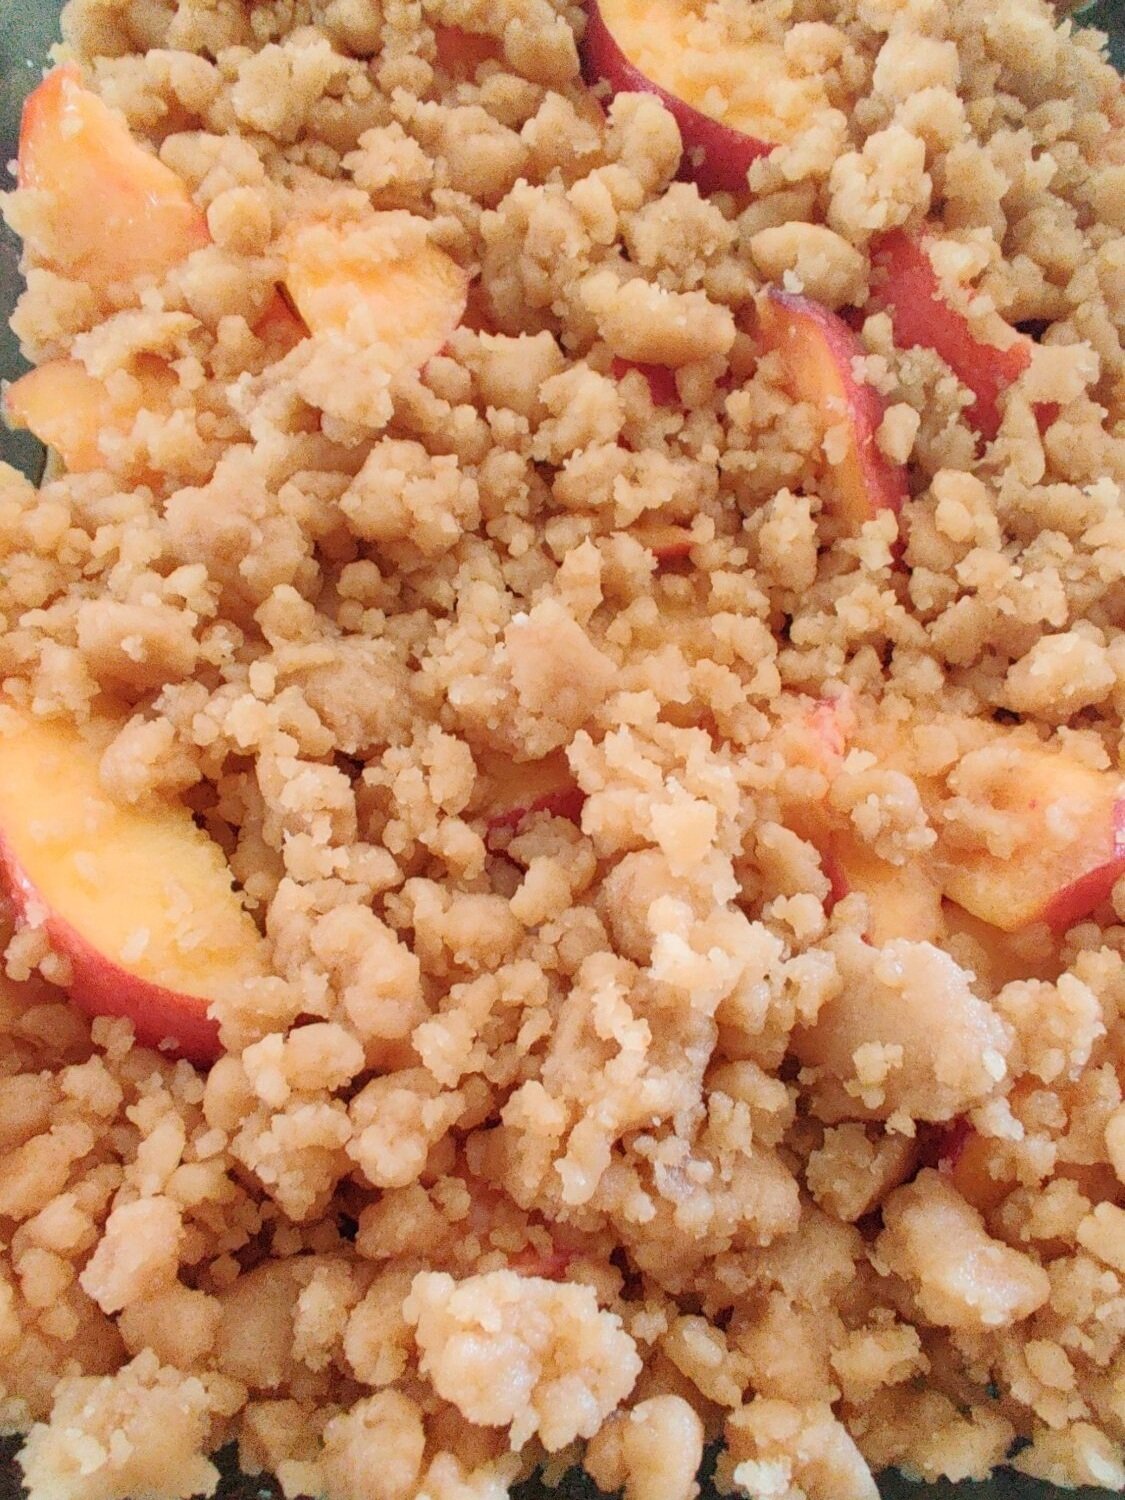
I love crumble, but I don't eat them enough. When I do, it usually has apple, but peaches are for the win too! During the summer, peach crumbles offer a subtle tartness, sweetness and crunch many of us appreciate in a light dessert. Served warm with ice cream or whipped cream, the spiced, caramelized peaches paired with a crunchy, buttery crumble melt together to make a sinfully good combination.
Add in some bourbon to enhance everything, and you have a fail-safe people pleaser!
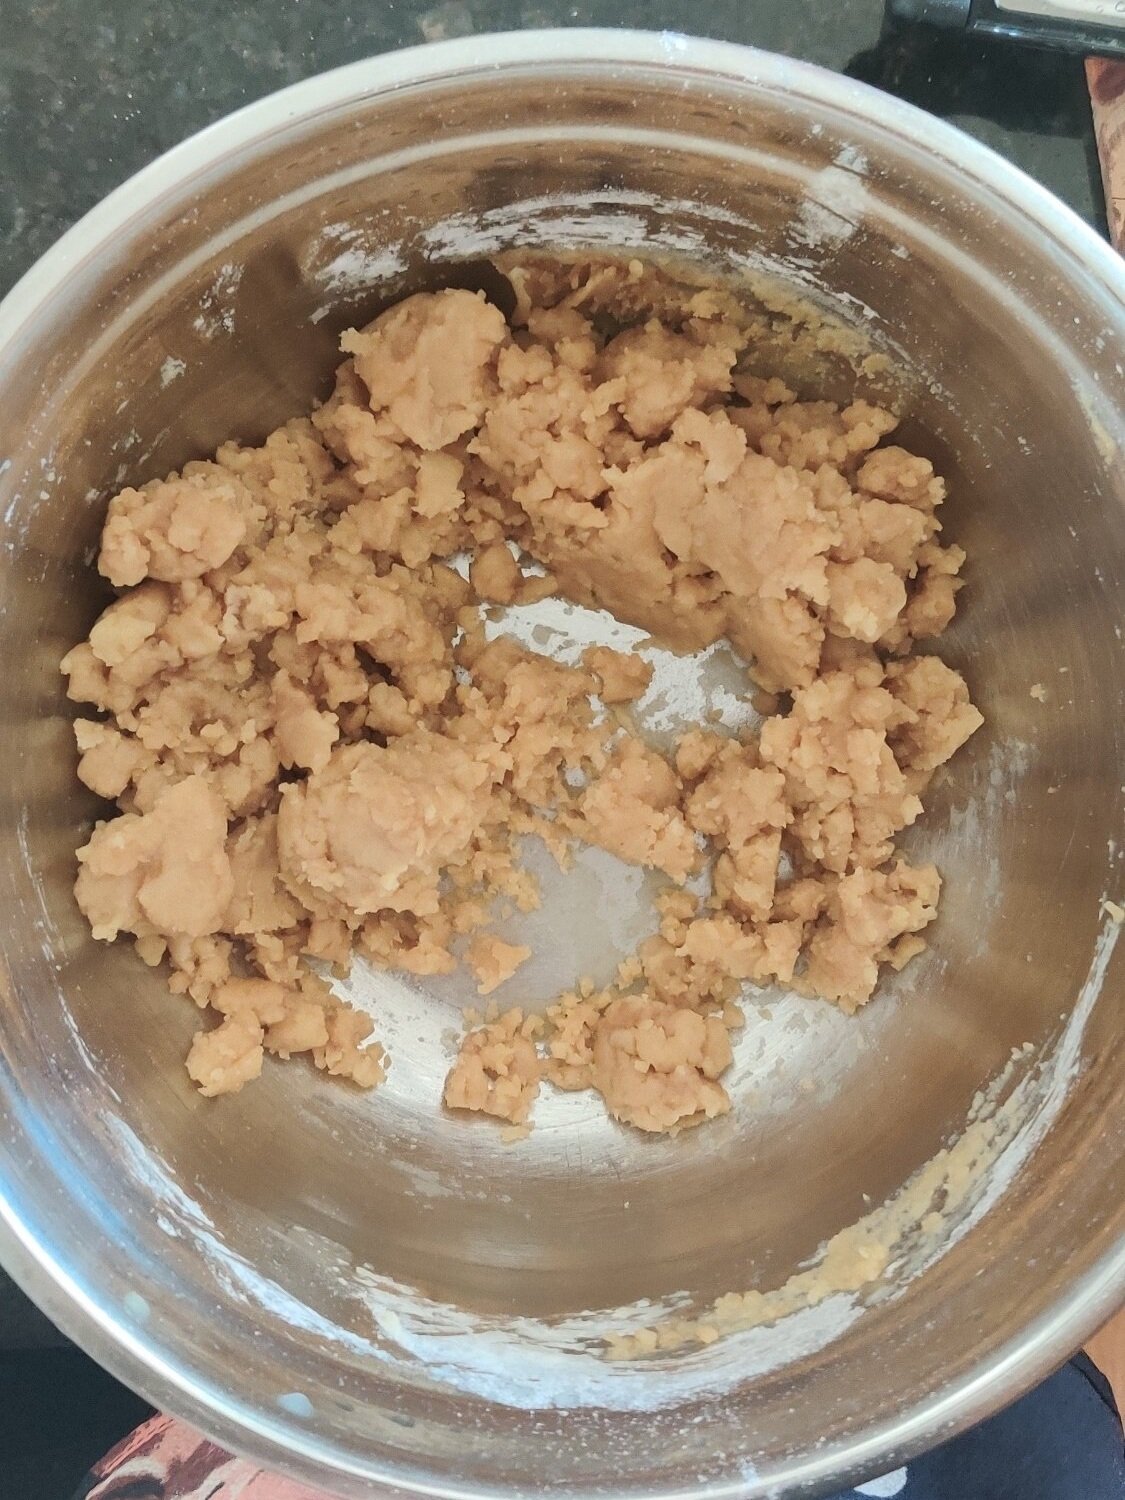
As most people know, this dessert a variation of or considered interchangeable peach cobbler. I say crumble because of the way I prepared the pastry, crumbling the cookie-like dough versus having thicker, large pieces on top. Essentially it is the same as the classic out of the American South. Depends on how serious you take all the nuances!
You can convert this into another simple, delicious dessert. Check out my no-churn Bourbon Peach Crumble Ice Cream which you will love, here.

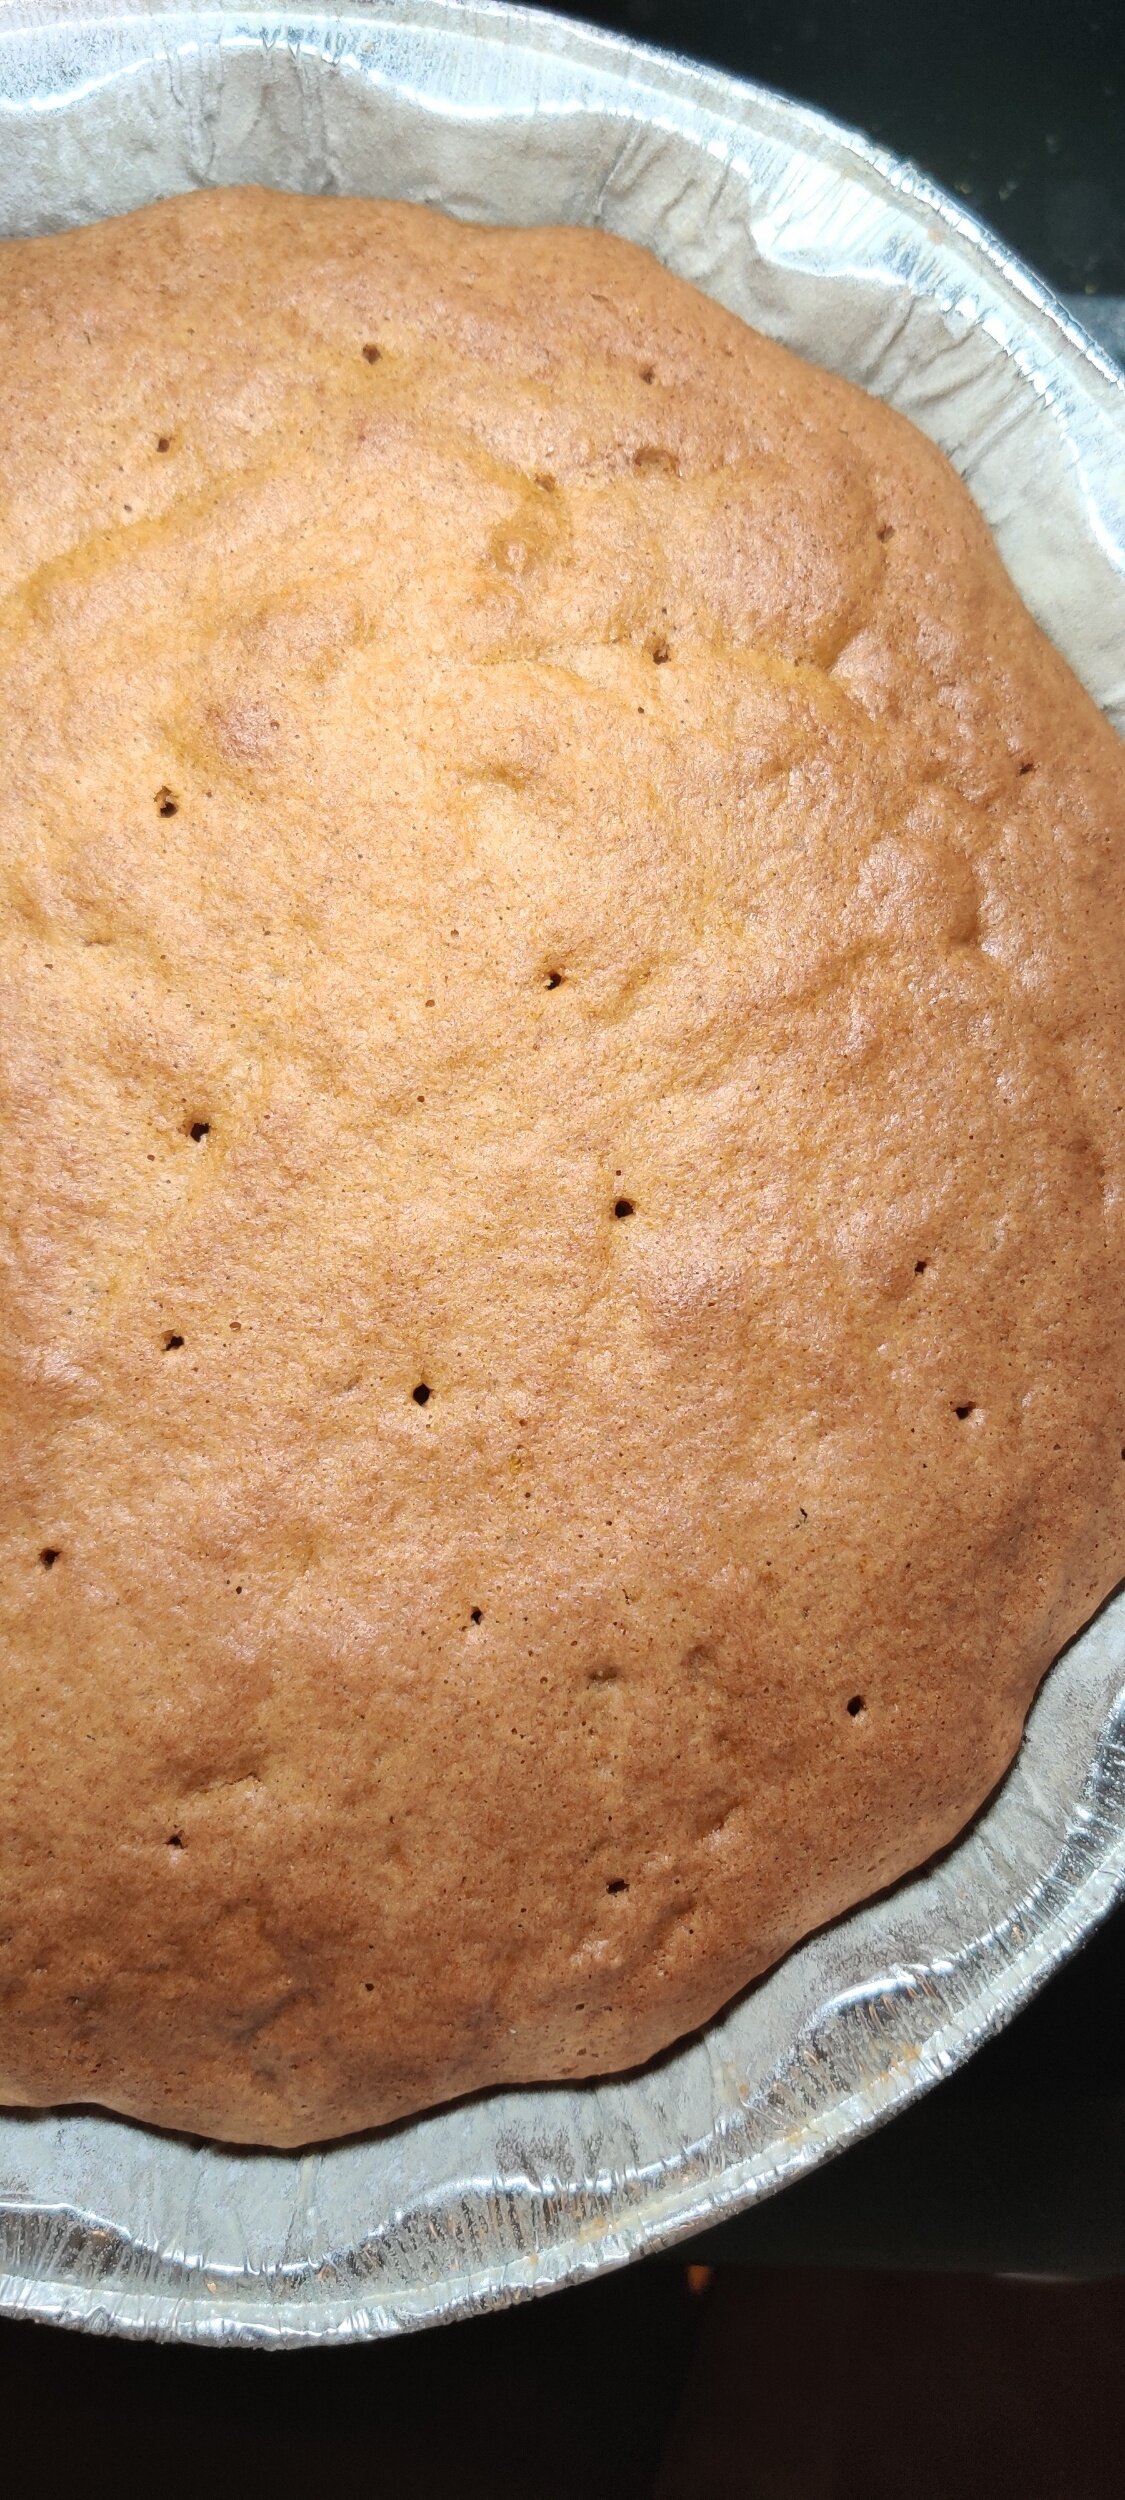
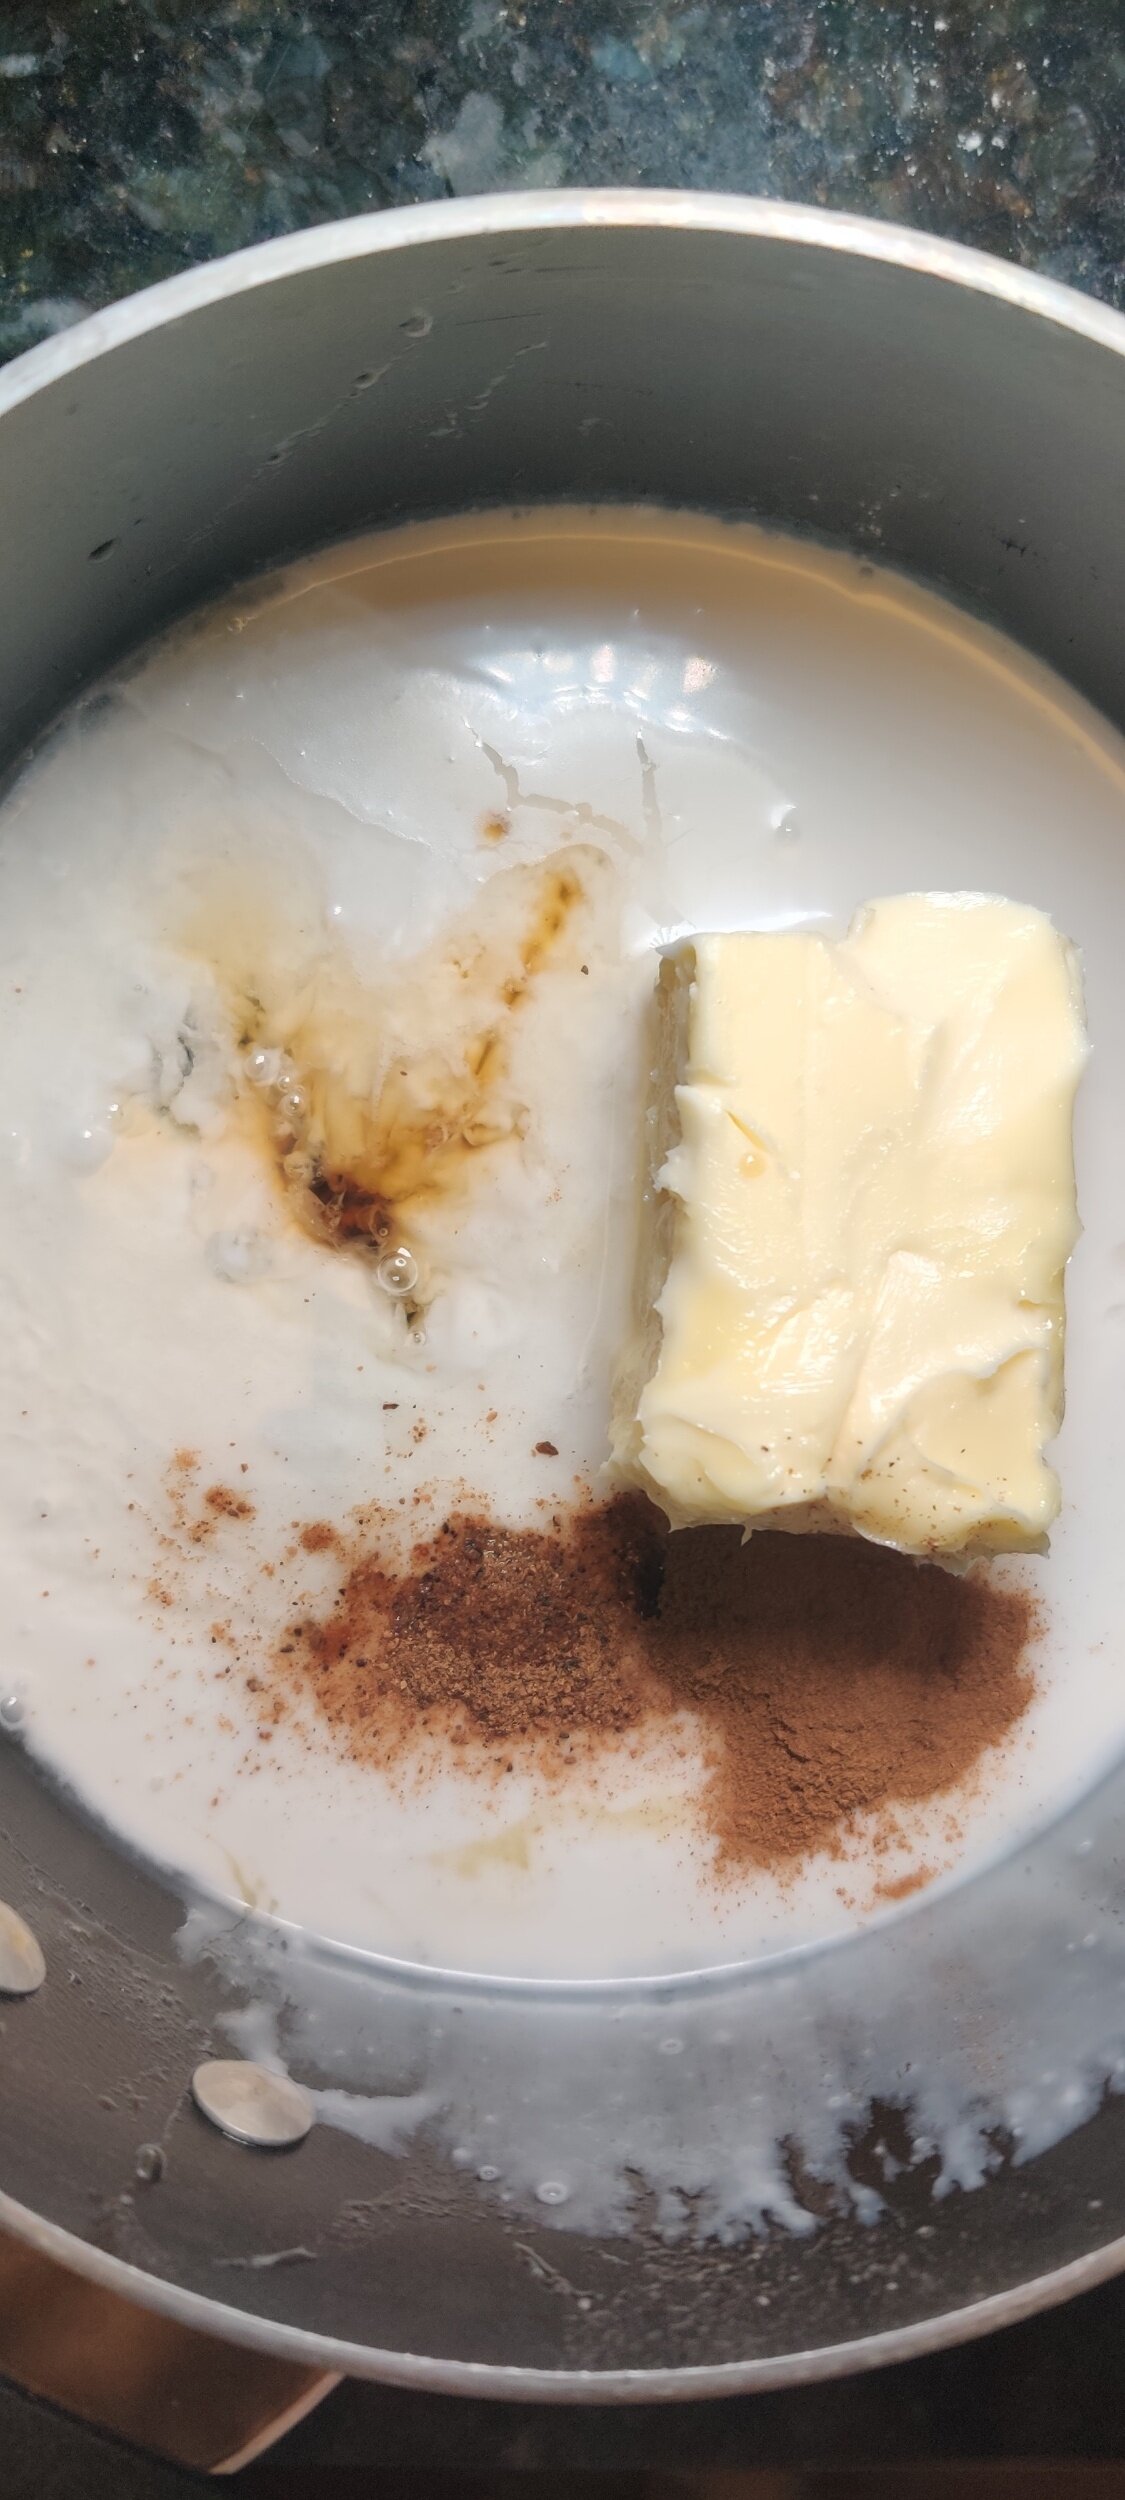
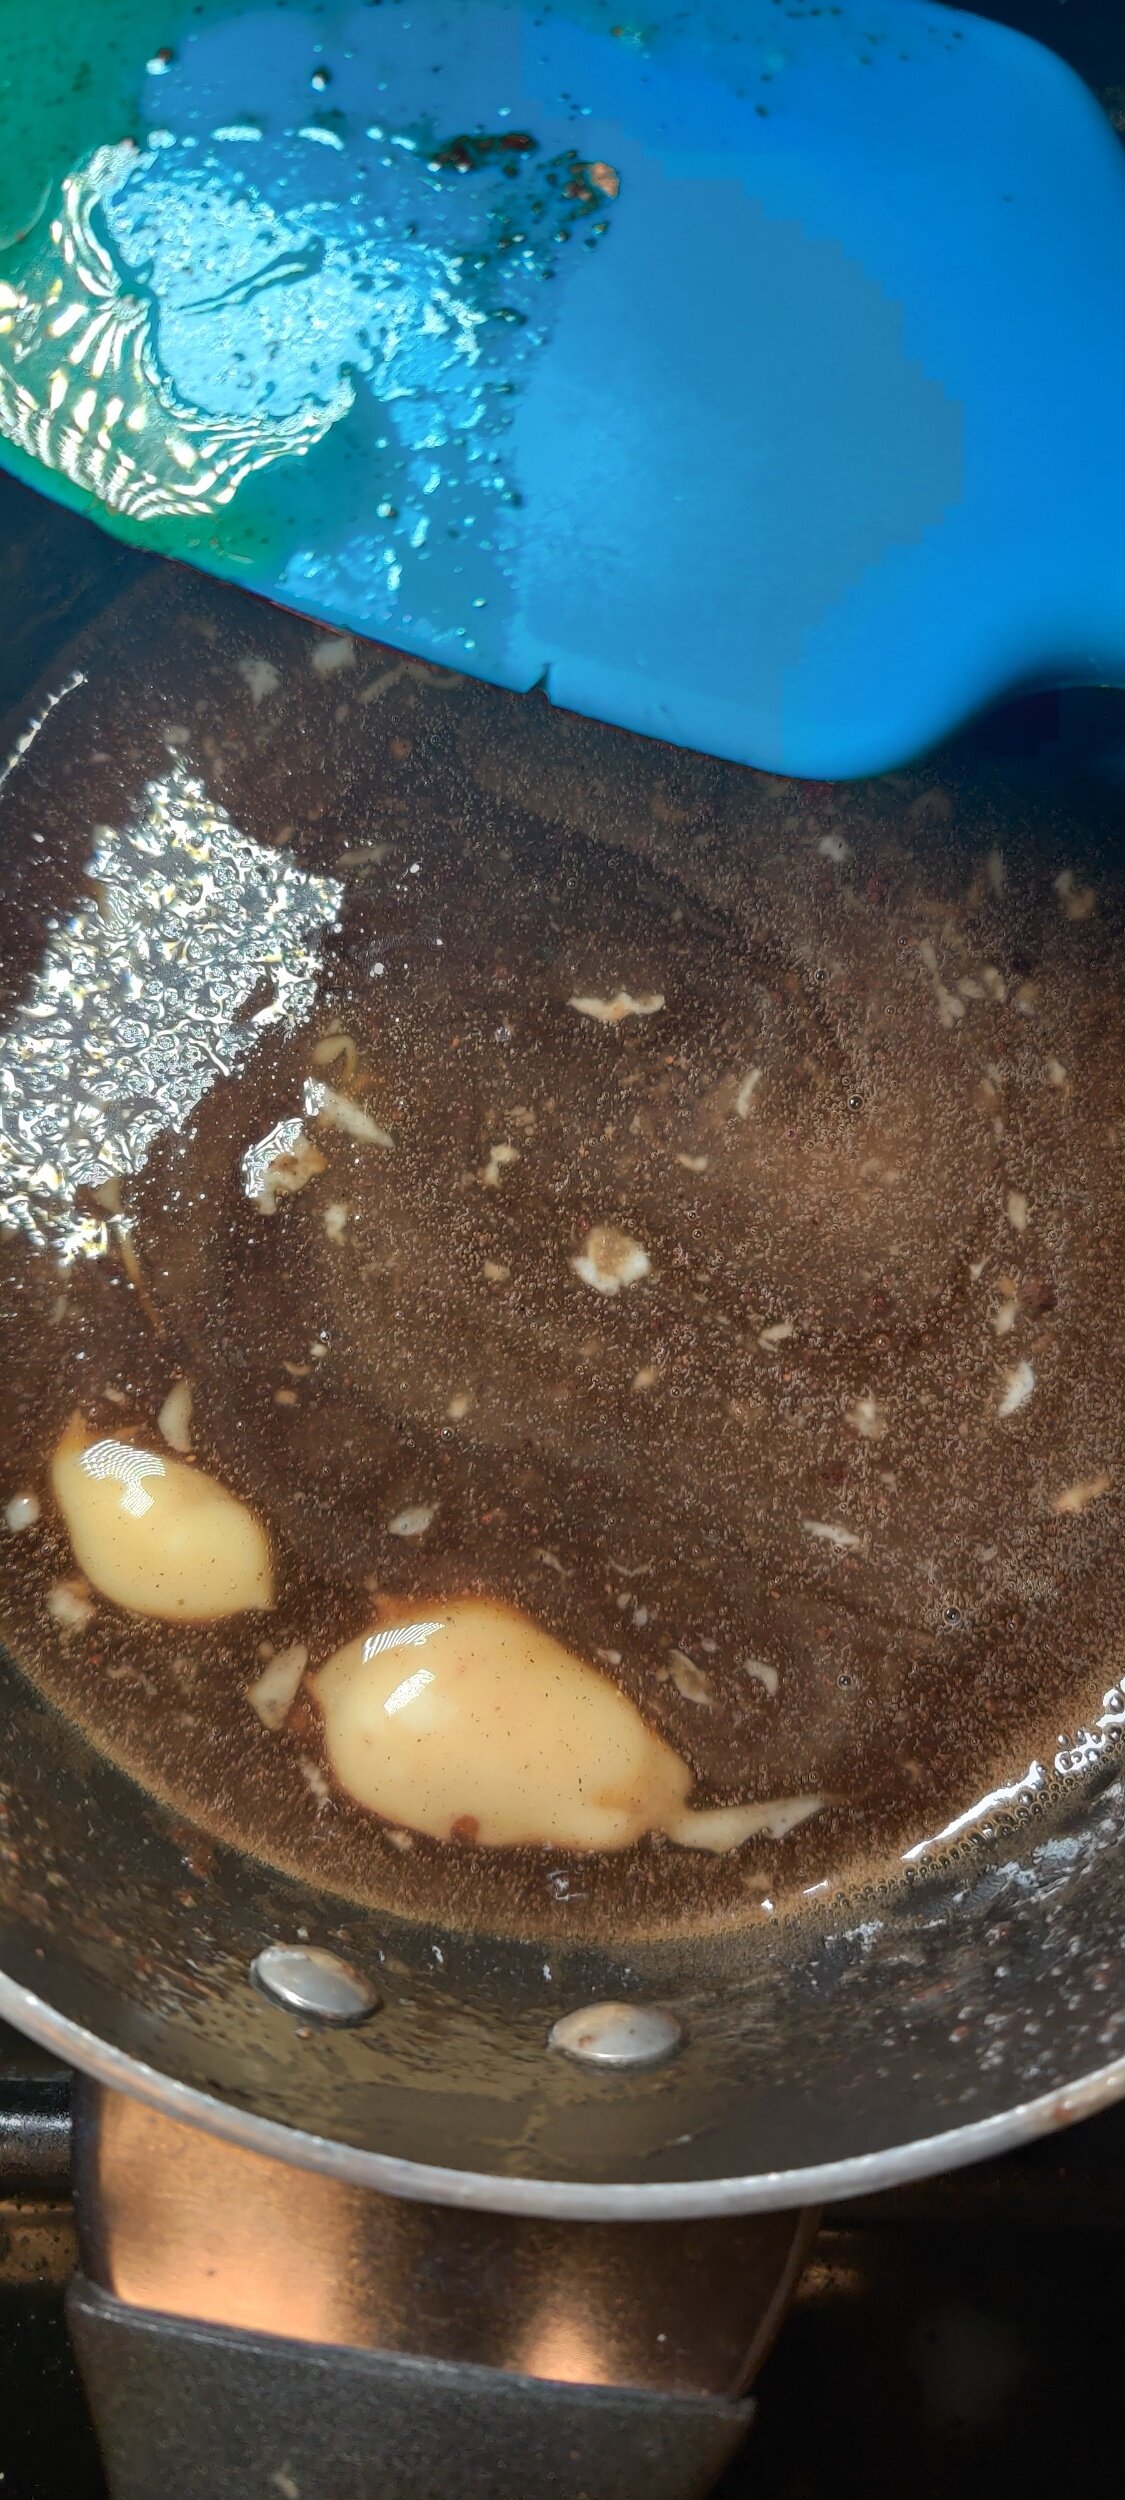
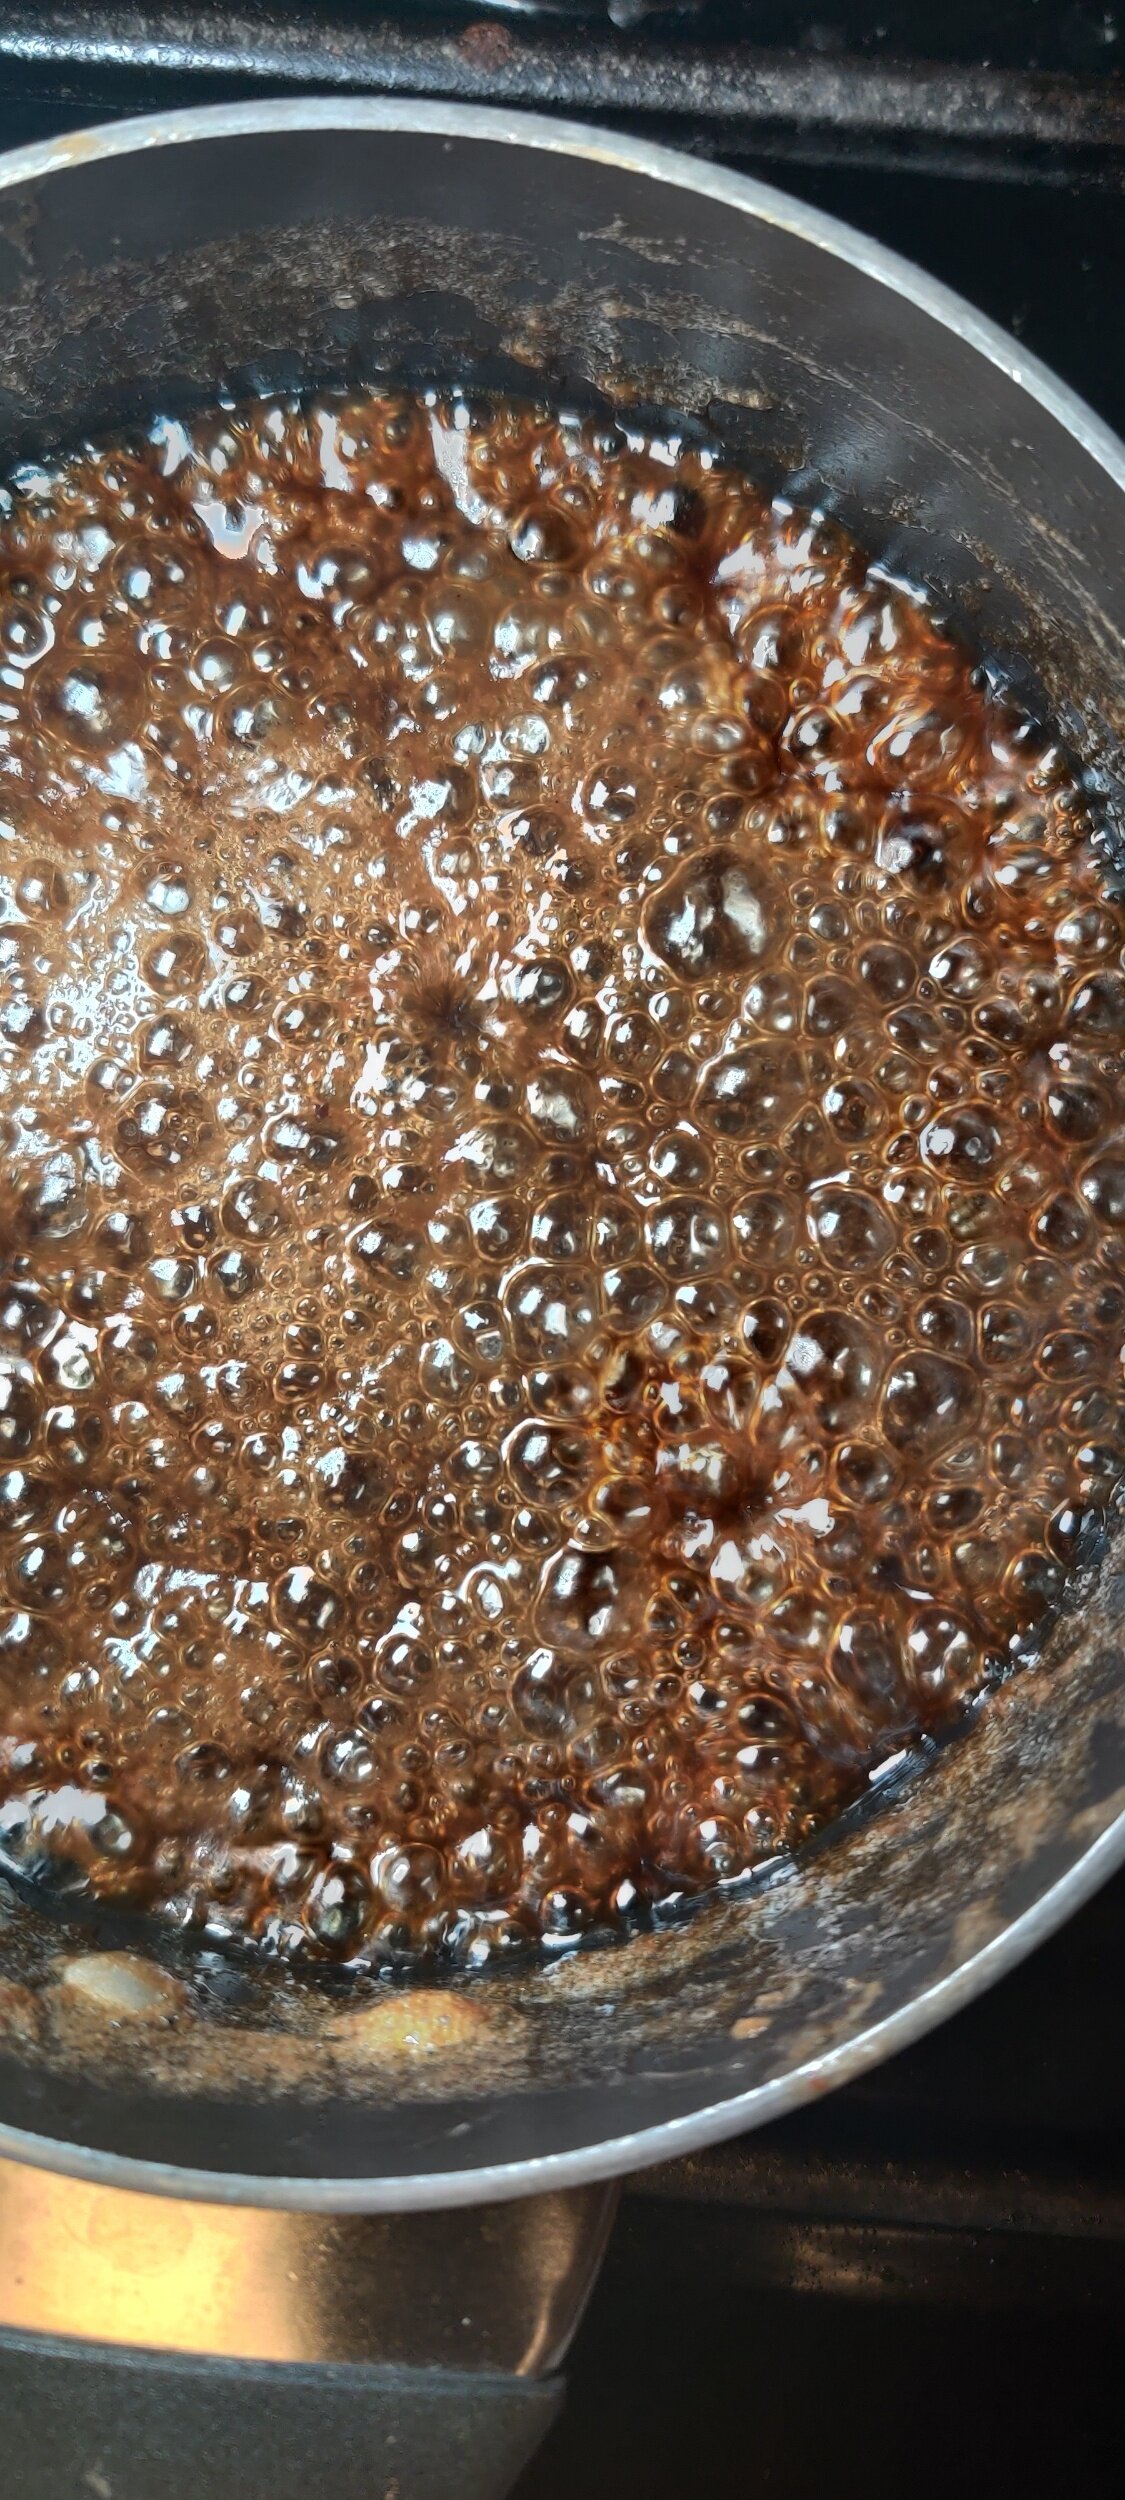
Malva Pudding with Coconut Rum Sauce
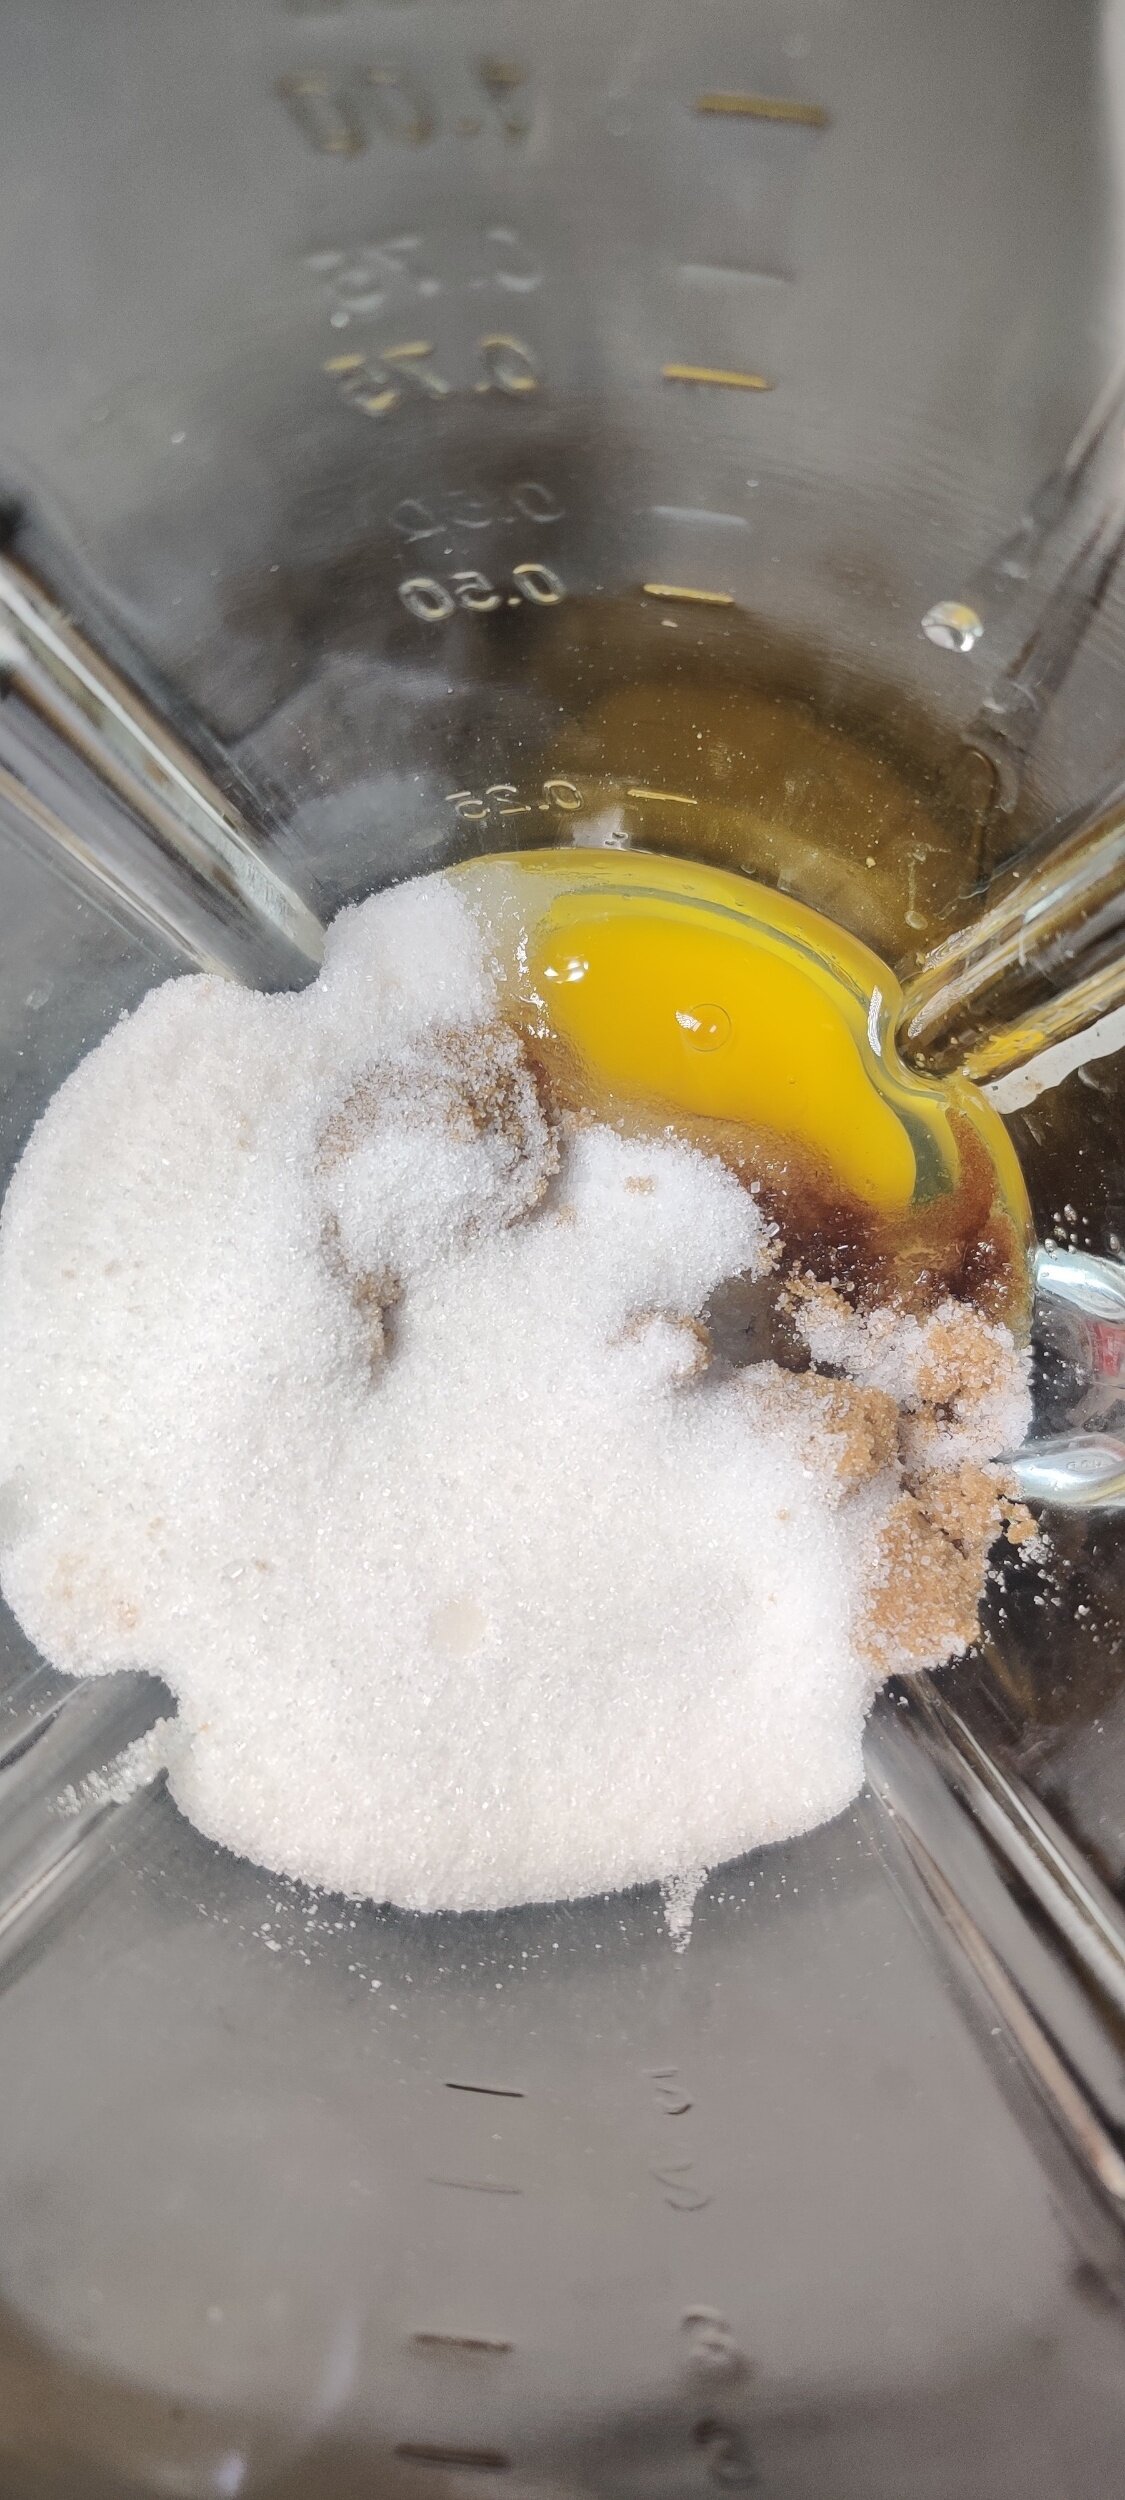
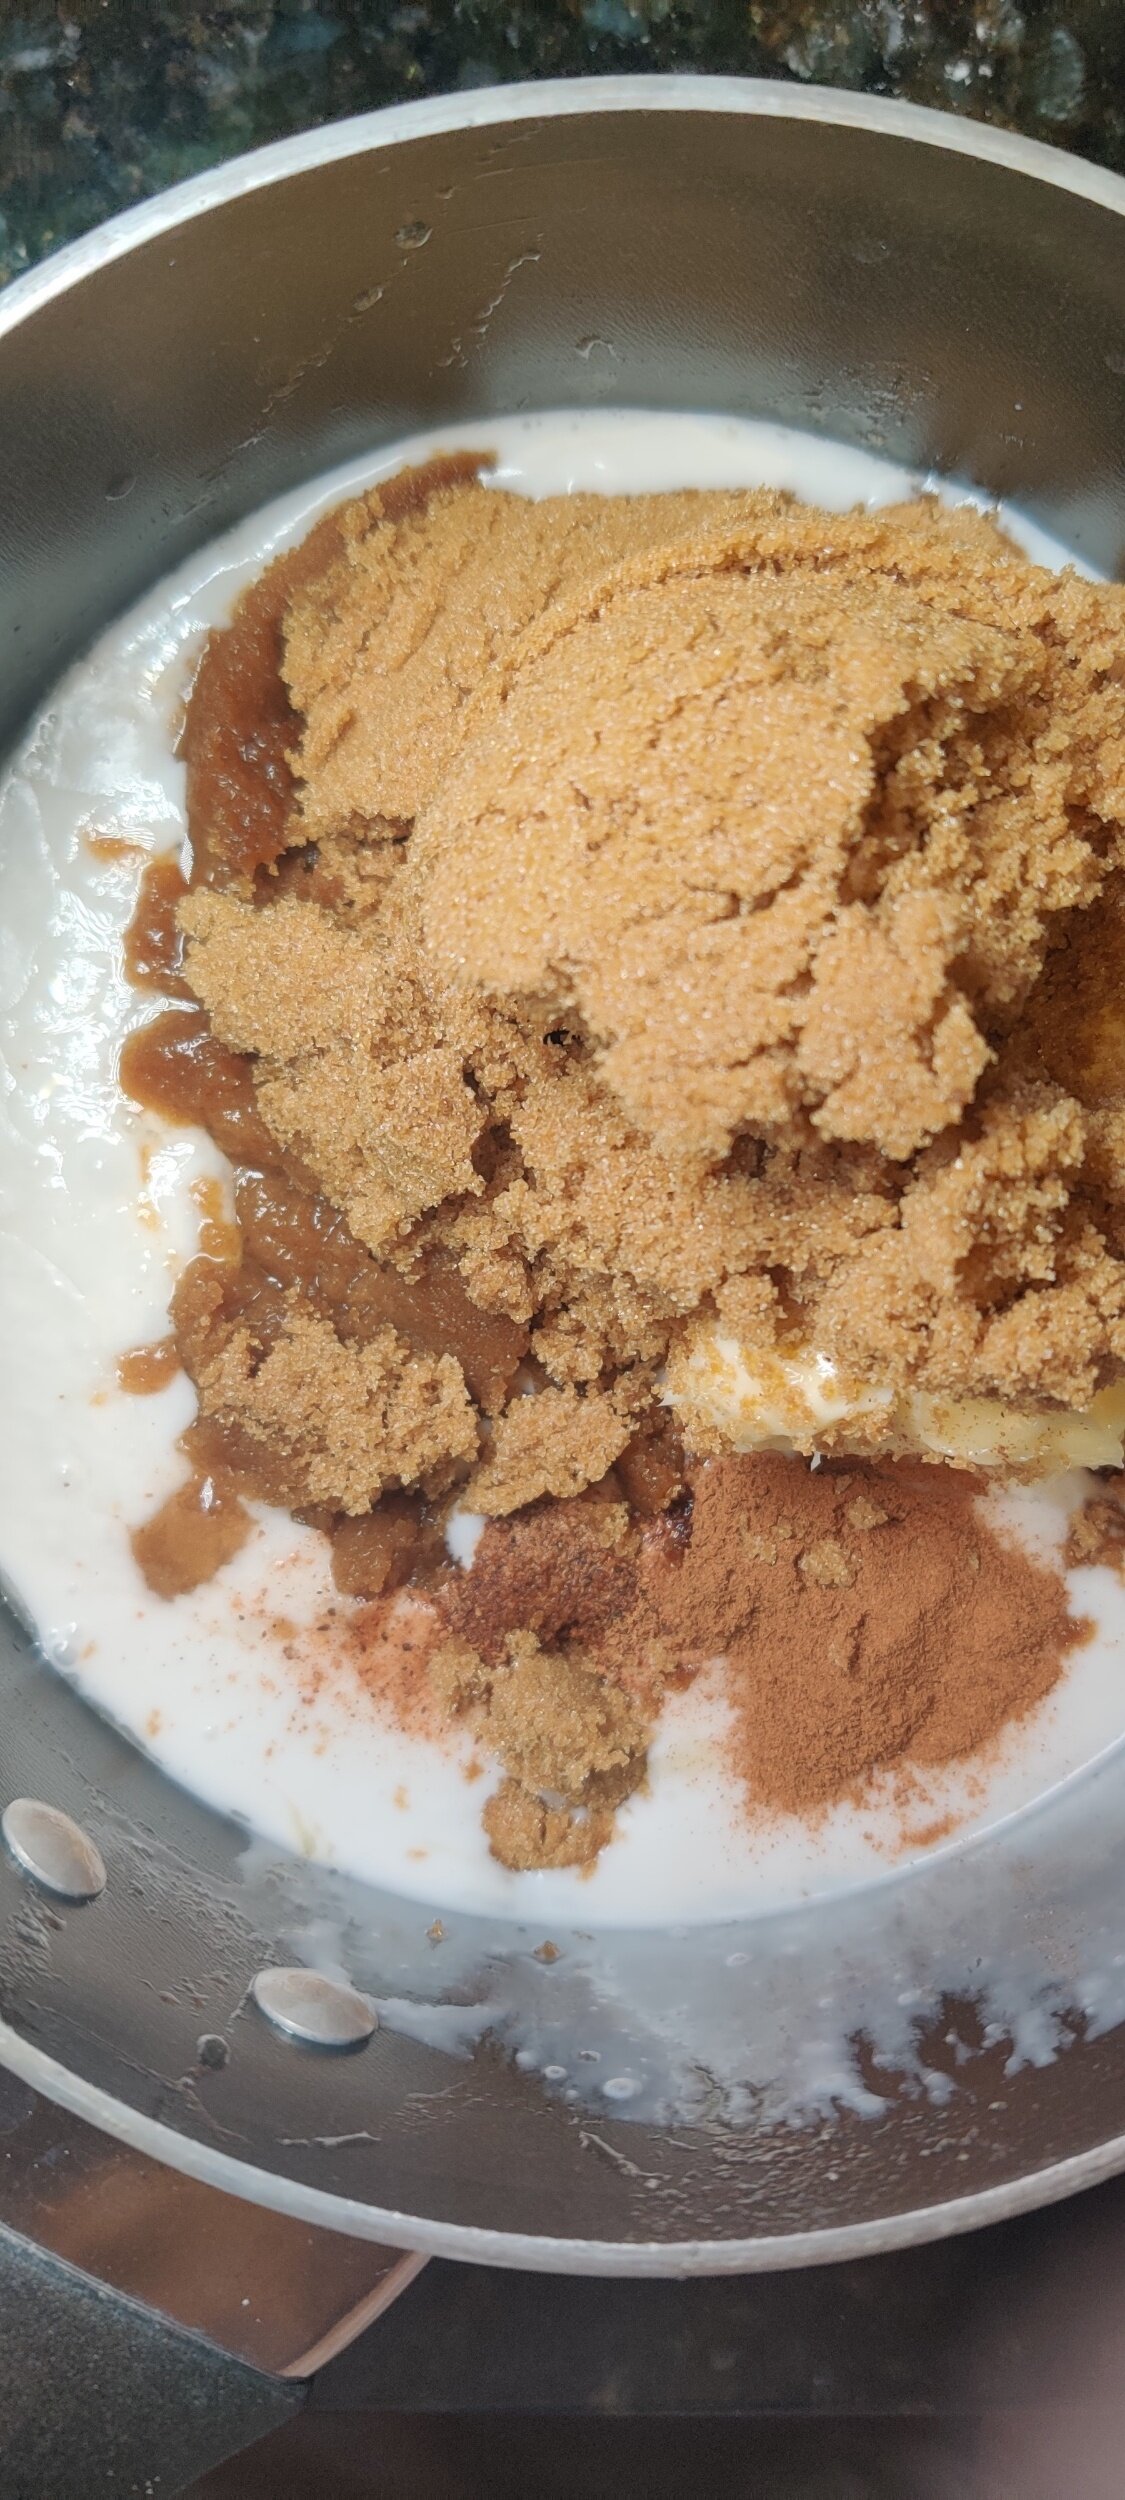
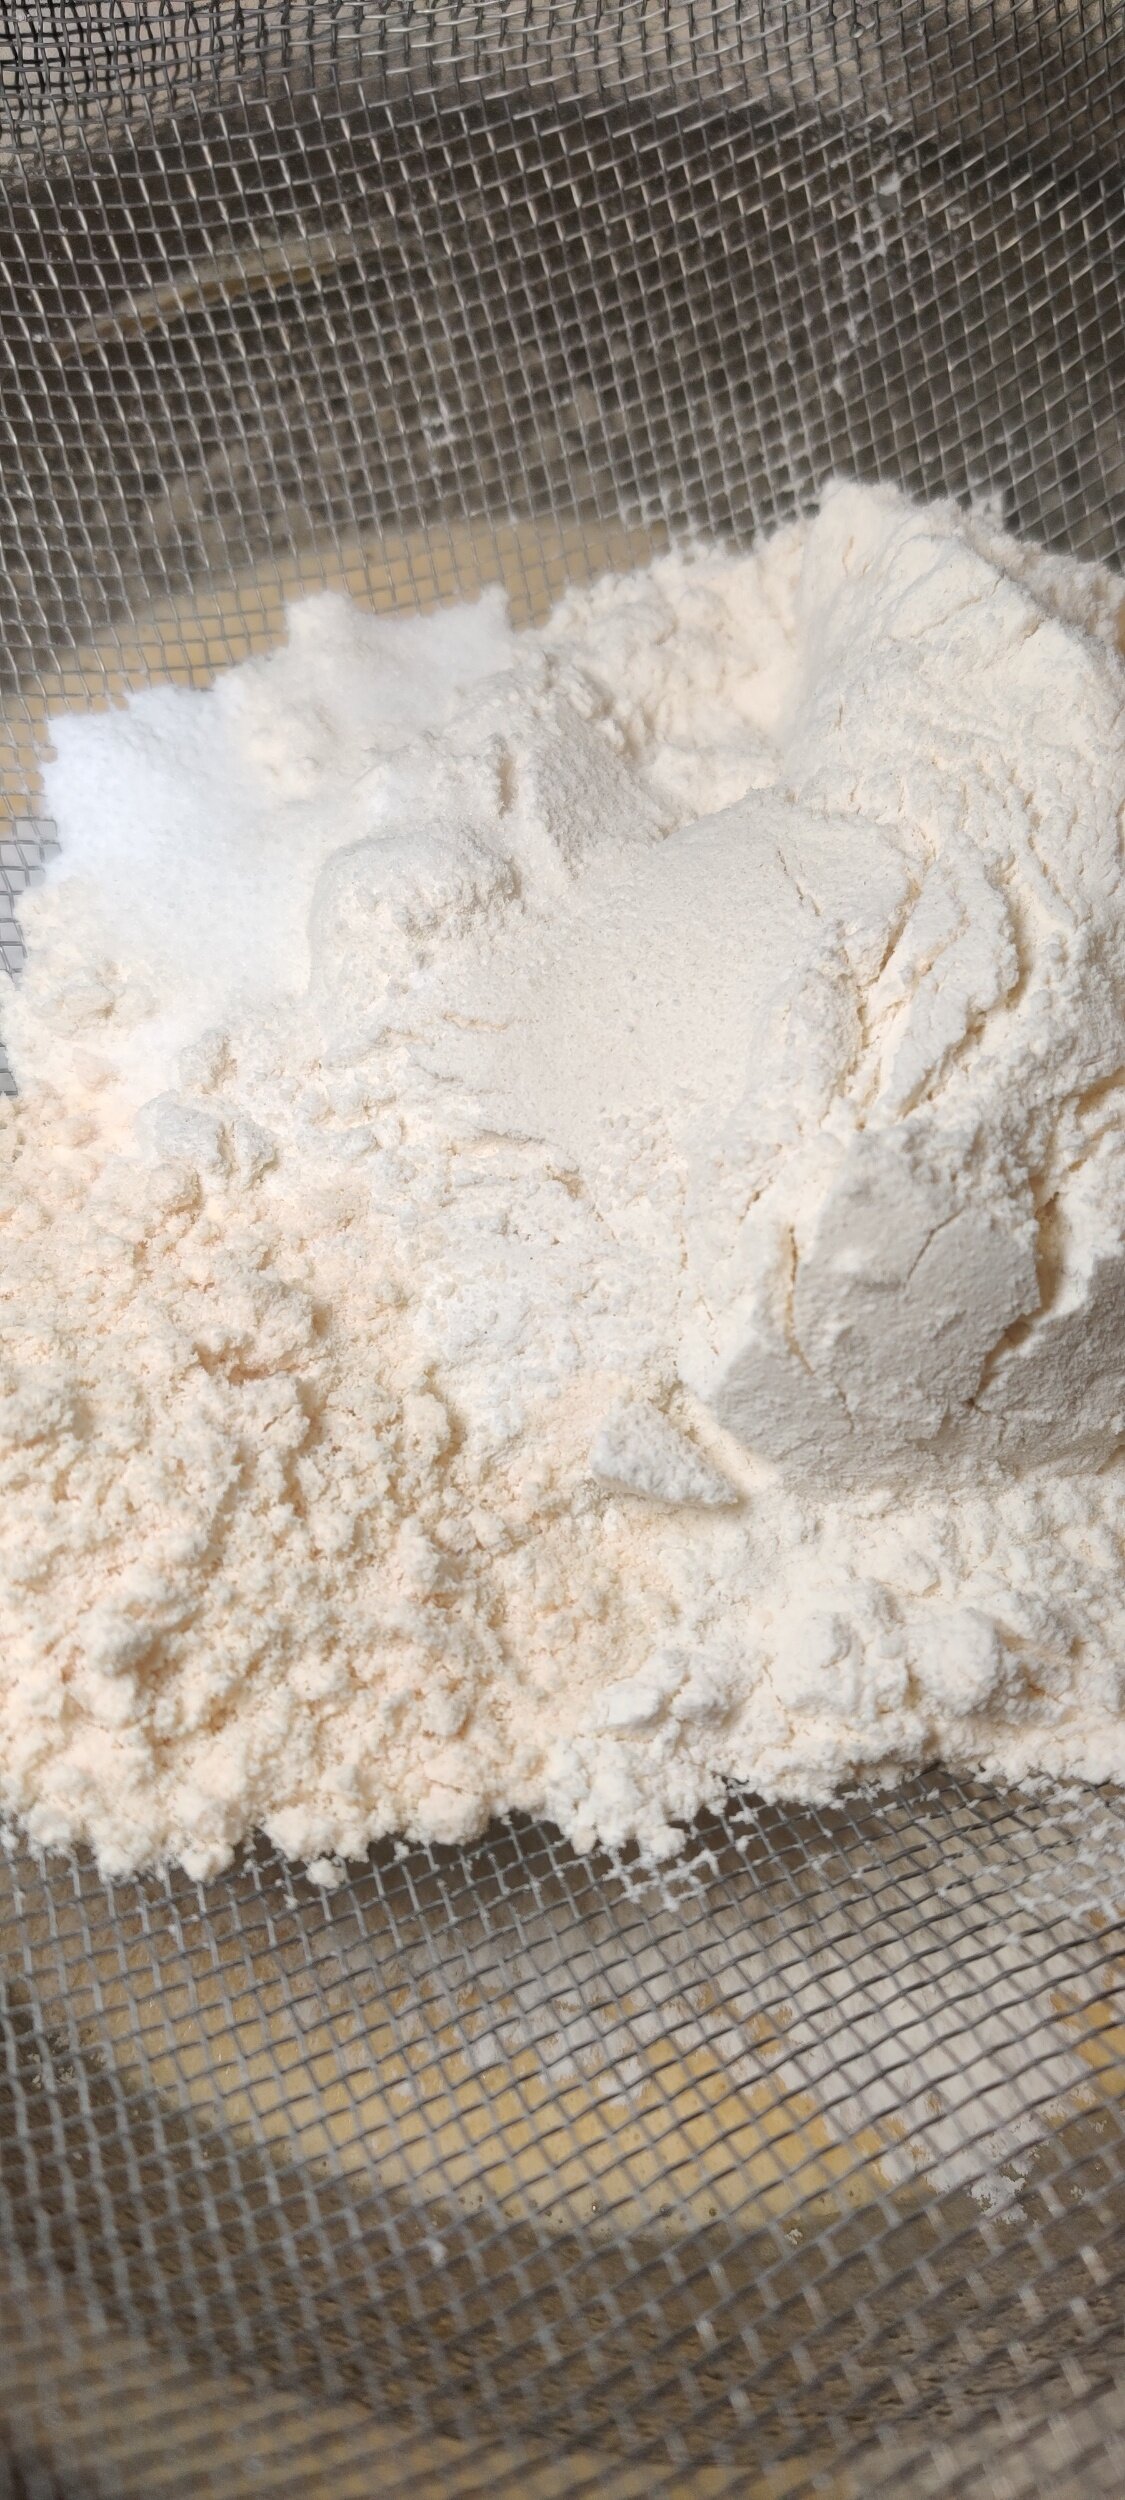
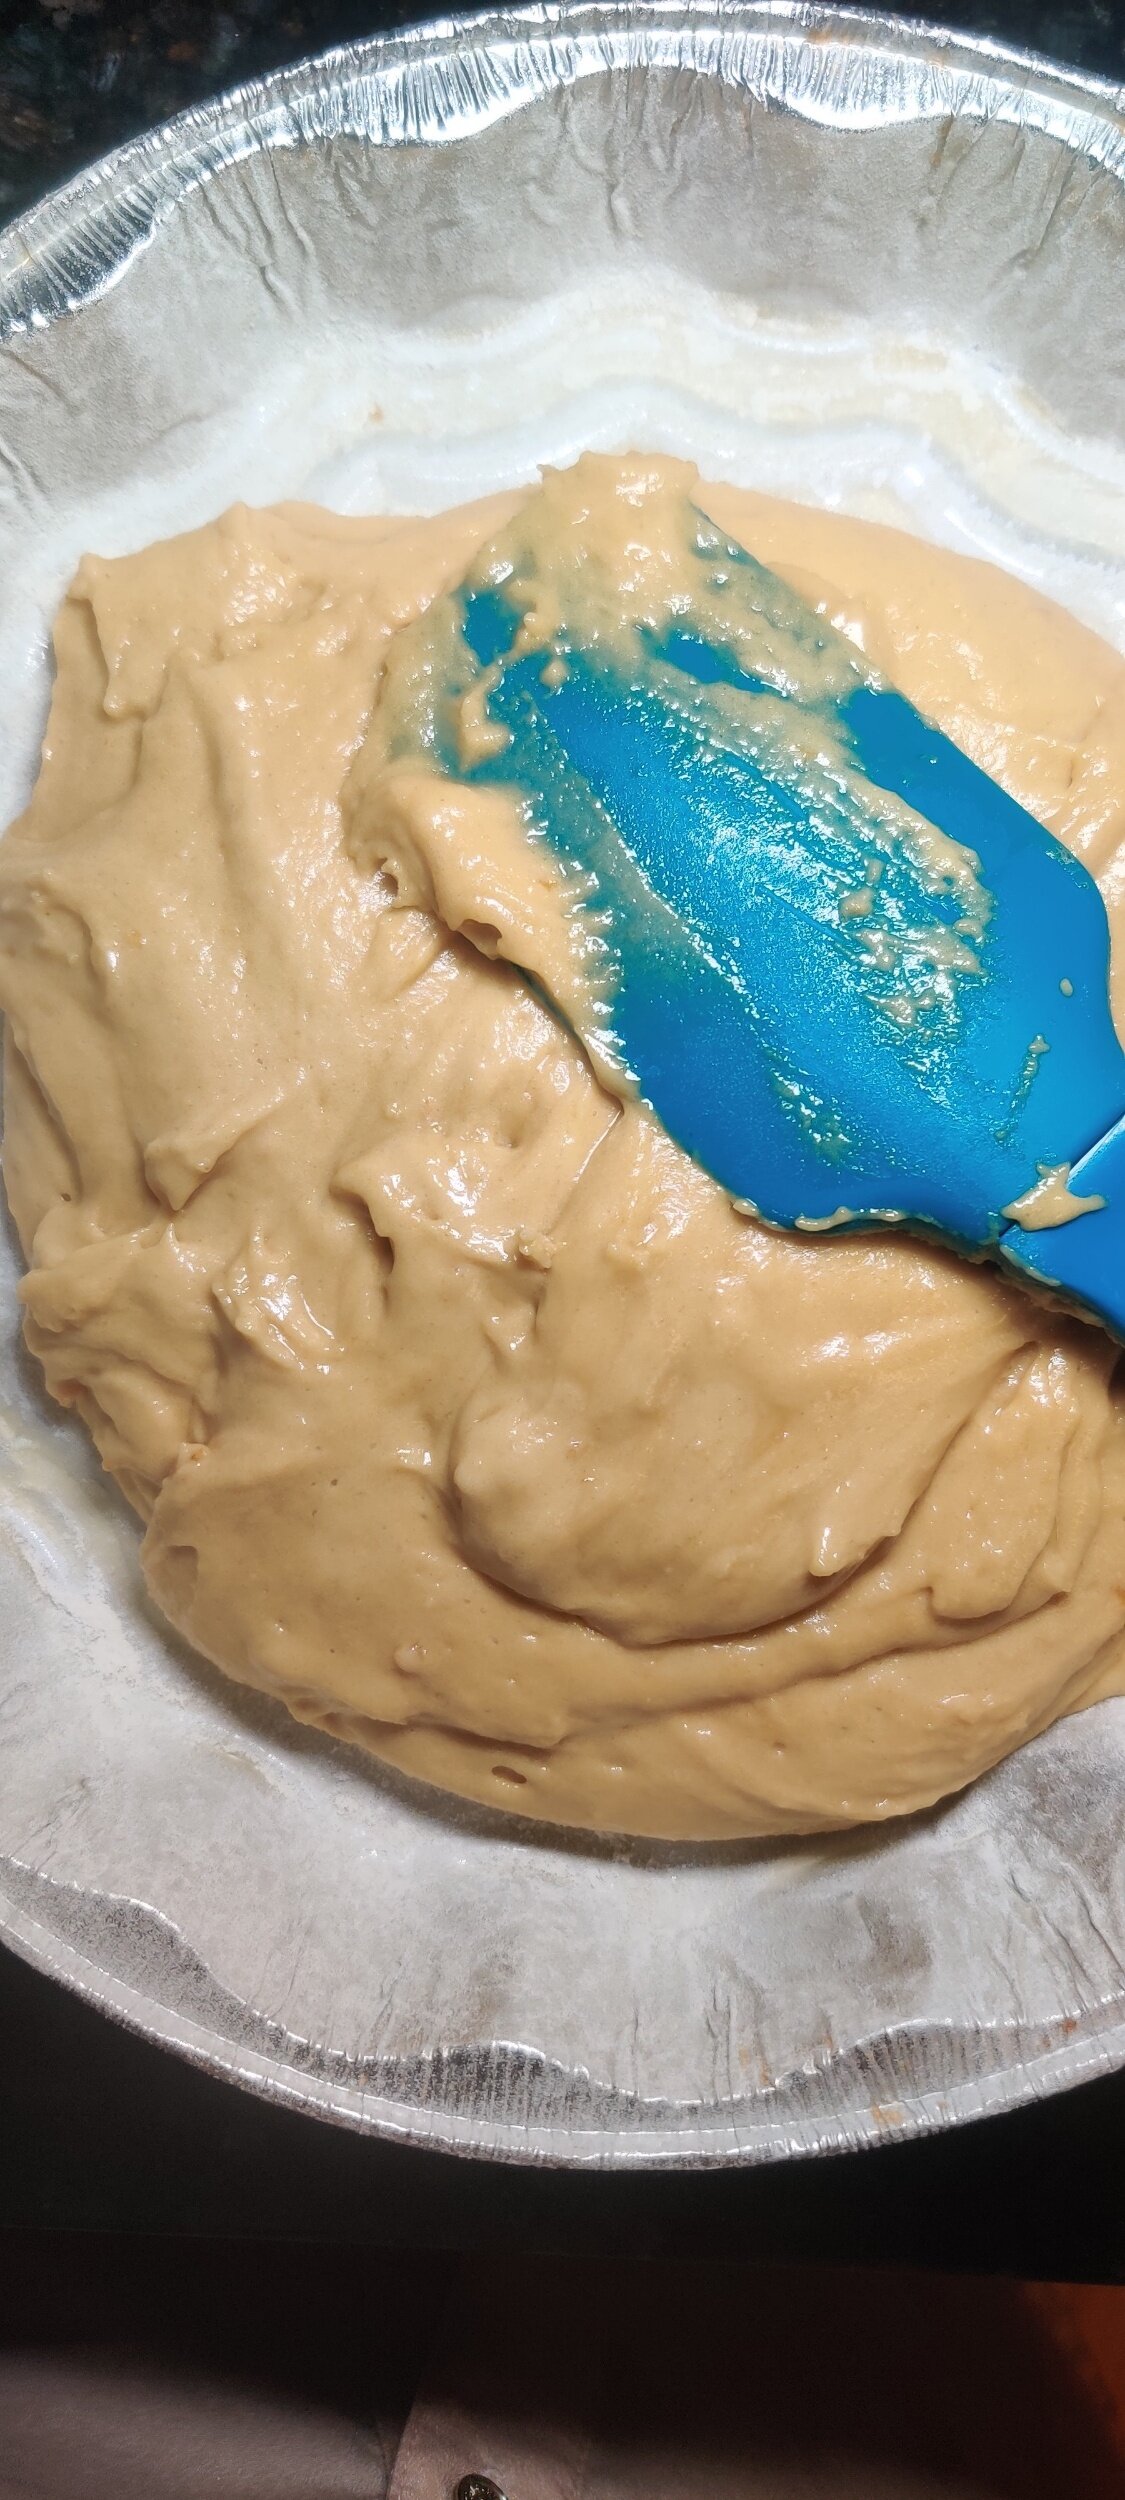
Malva pudding has already been featured on this blog but in the form of a cake. This time around, my remix is inspired by the rum cake, popular across the Caribbean from where it originates, baked for the holiday season especially.
I swapped out regular cream in the complimentary sauce with coconut cream, add some coconut flour to the batter, and add rum to the cake batter as well as the sauce.
It's absolutely delightful! You can serve it with ice cream, custard, or just use the rum sauce in this case!
If you don’t have rum, rum extract will do.
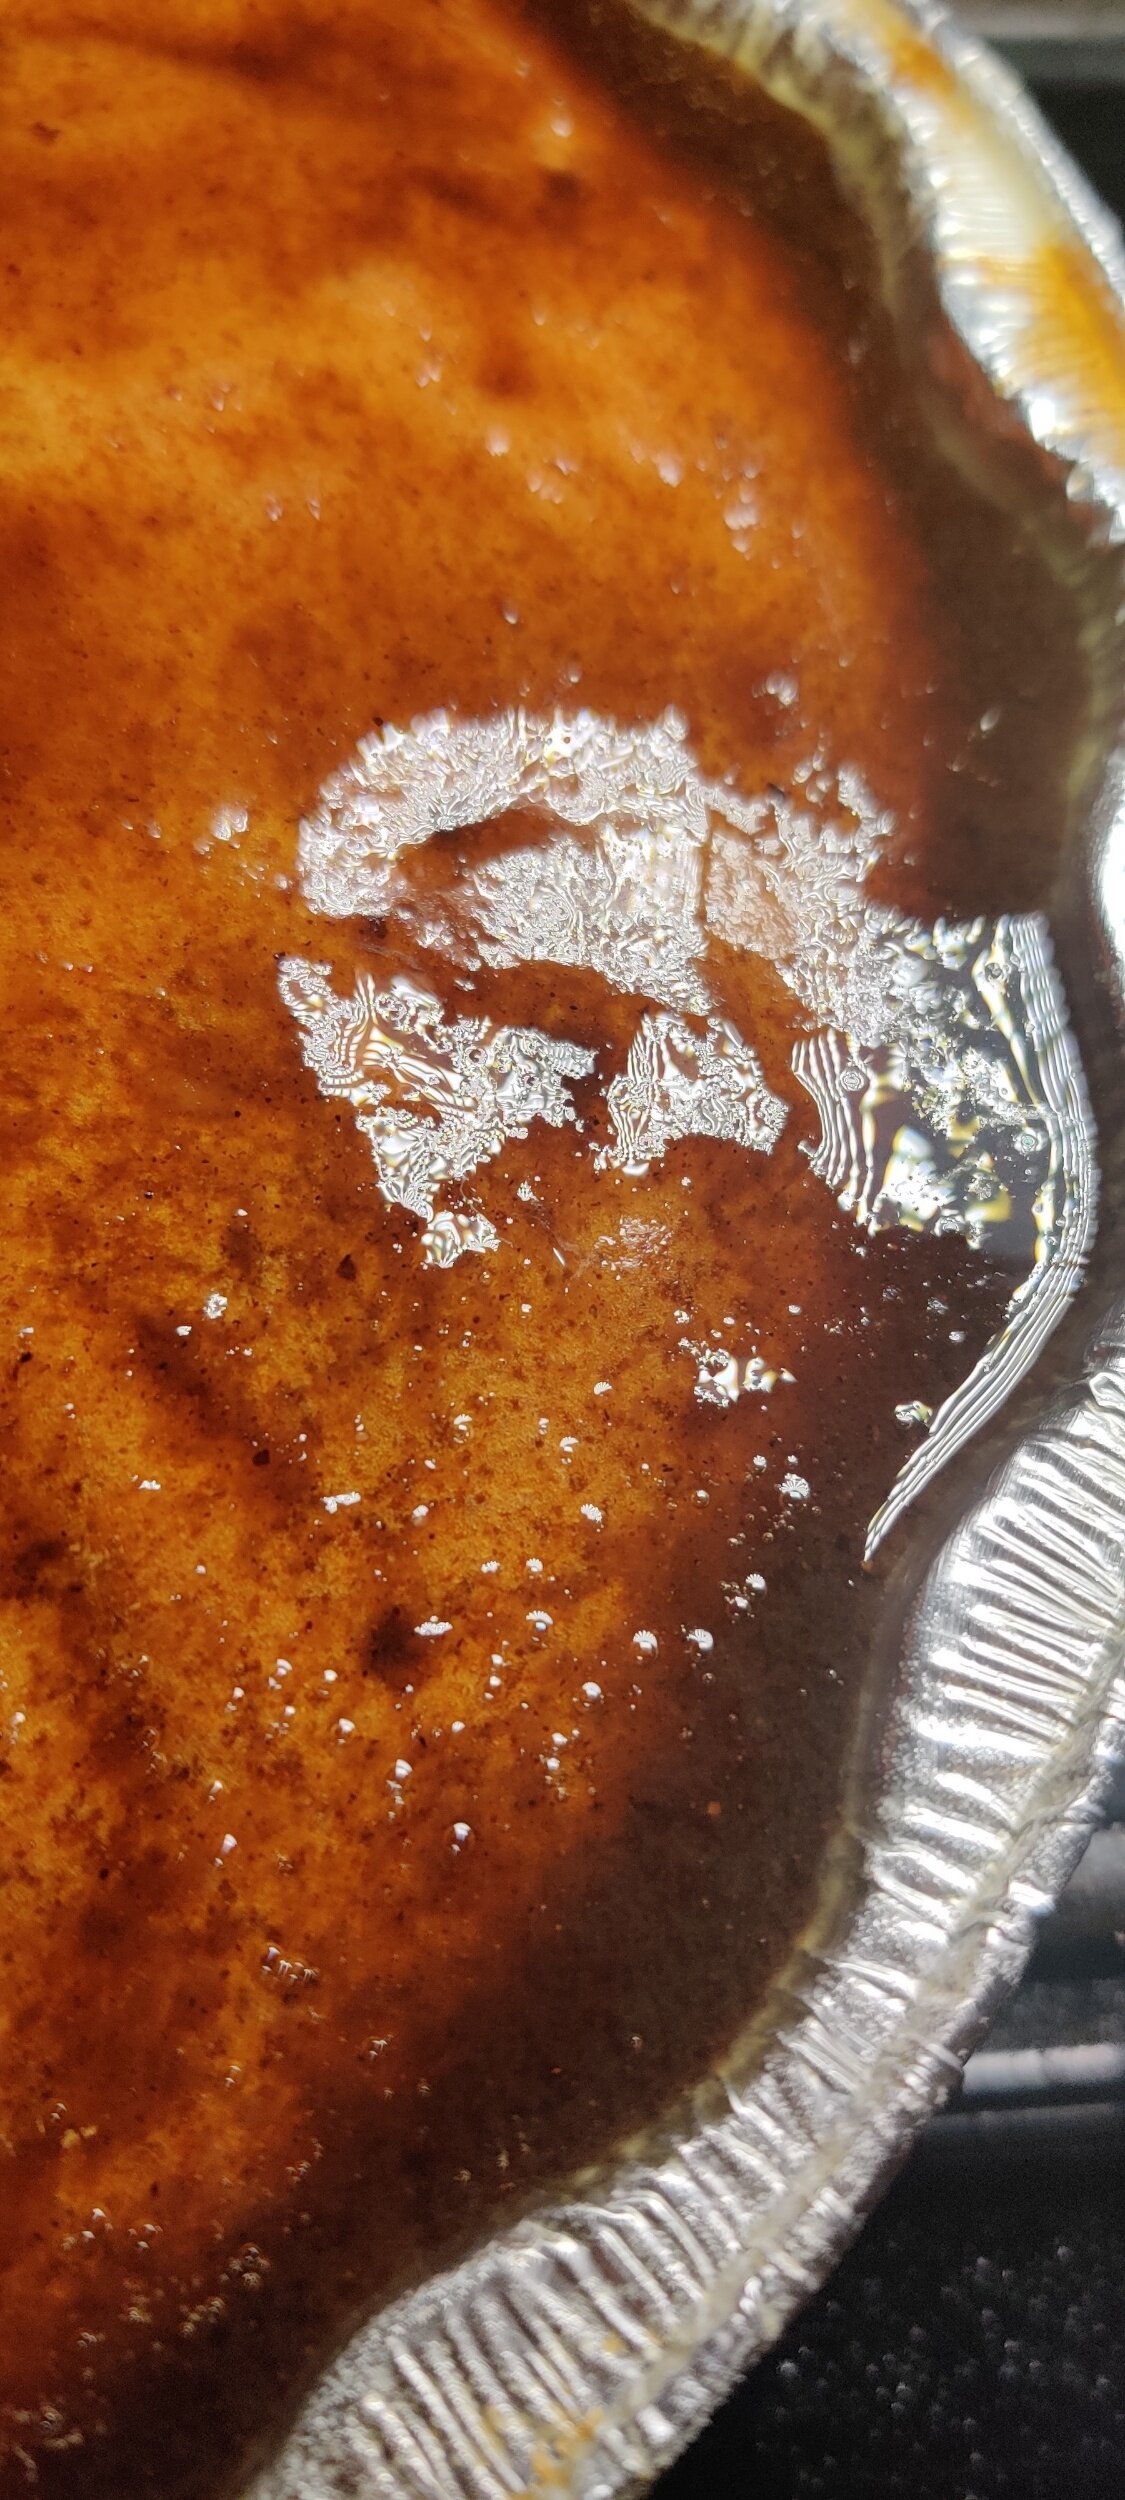

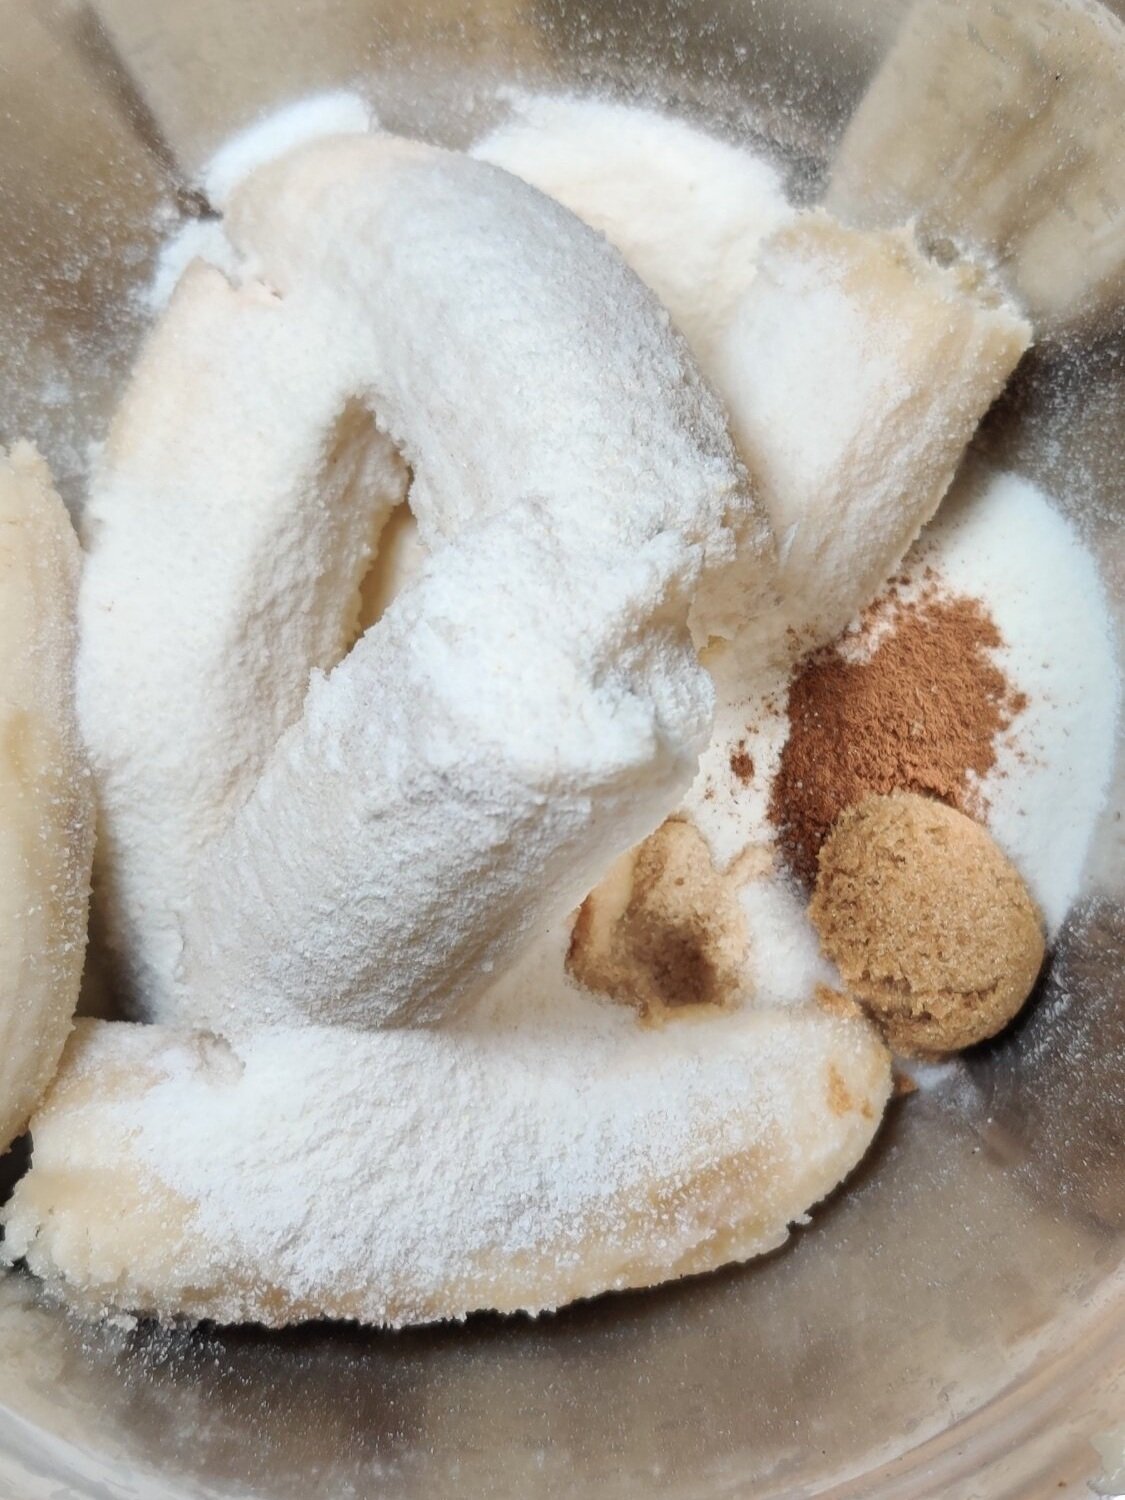
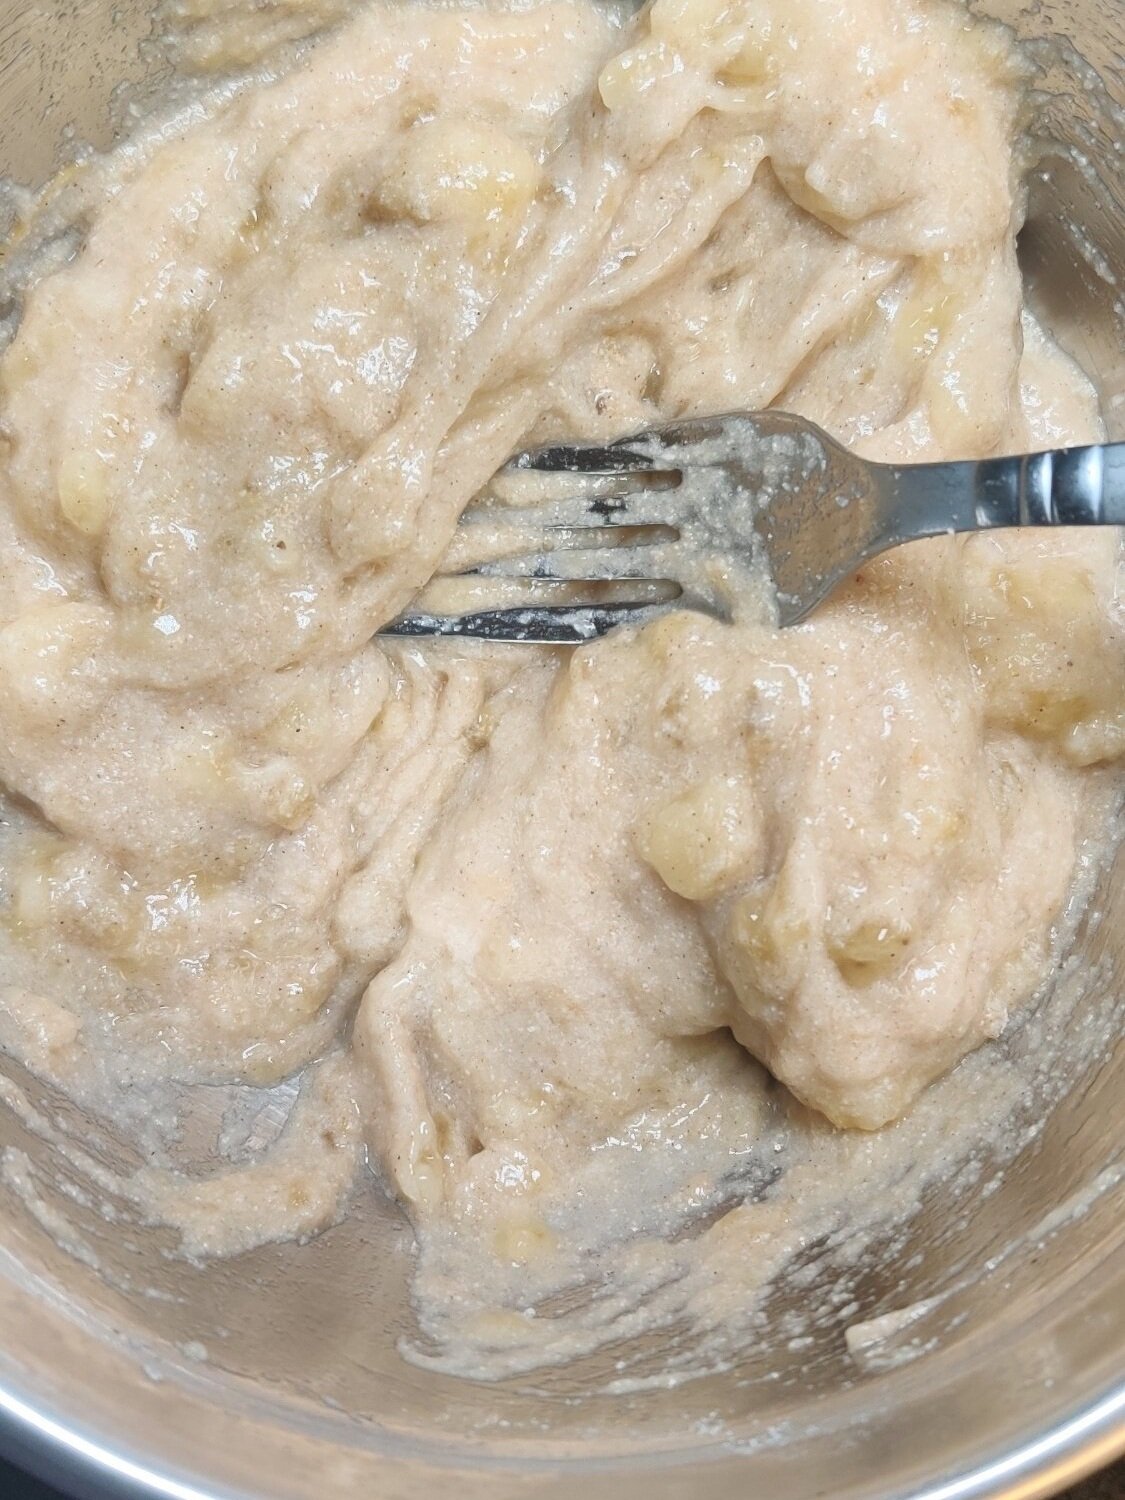
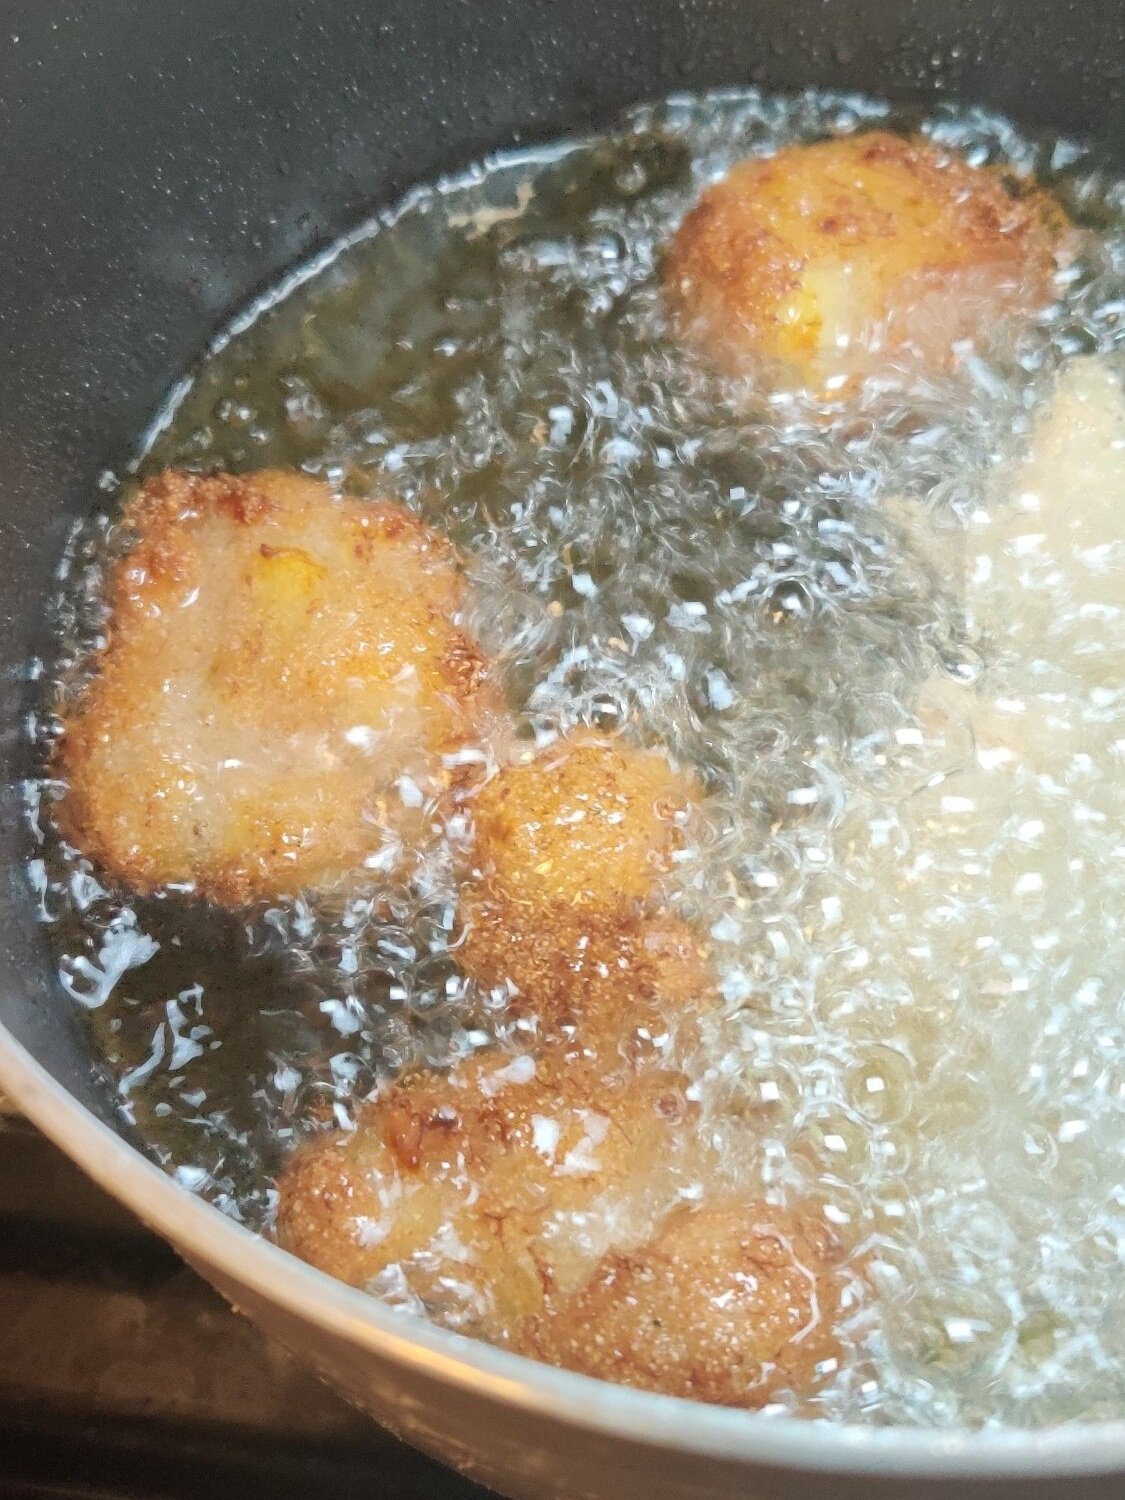
Cinnamon Sugar Banana Fritters
My memory of banana fritters is from when dessert was rolled out, typically on Friday afternoon, if I was staying late at junior school. You had the option to ladle them with warm custard or smother them with jam.
Banana fritters are eaten across the African continent and the Caribbean with a variation in ingredients, as well as other cultures. Given that bananas make the top 5 most eaten fruits in the world, like dough, it is no wonder everyone found a way to fry them up!
If you have kids, consider serving these fritters up with ice cream!

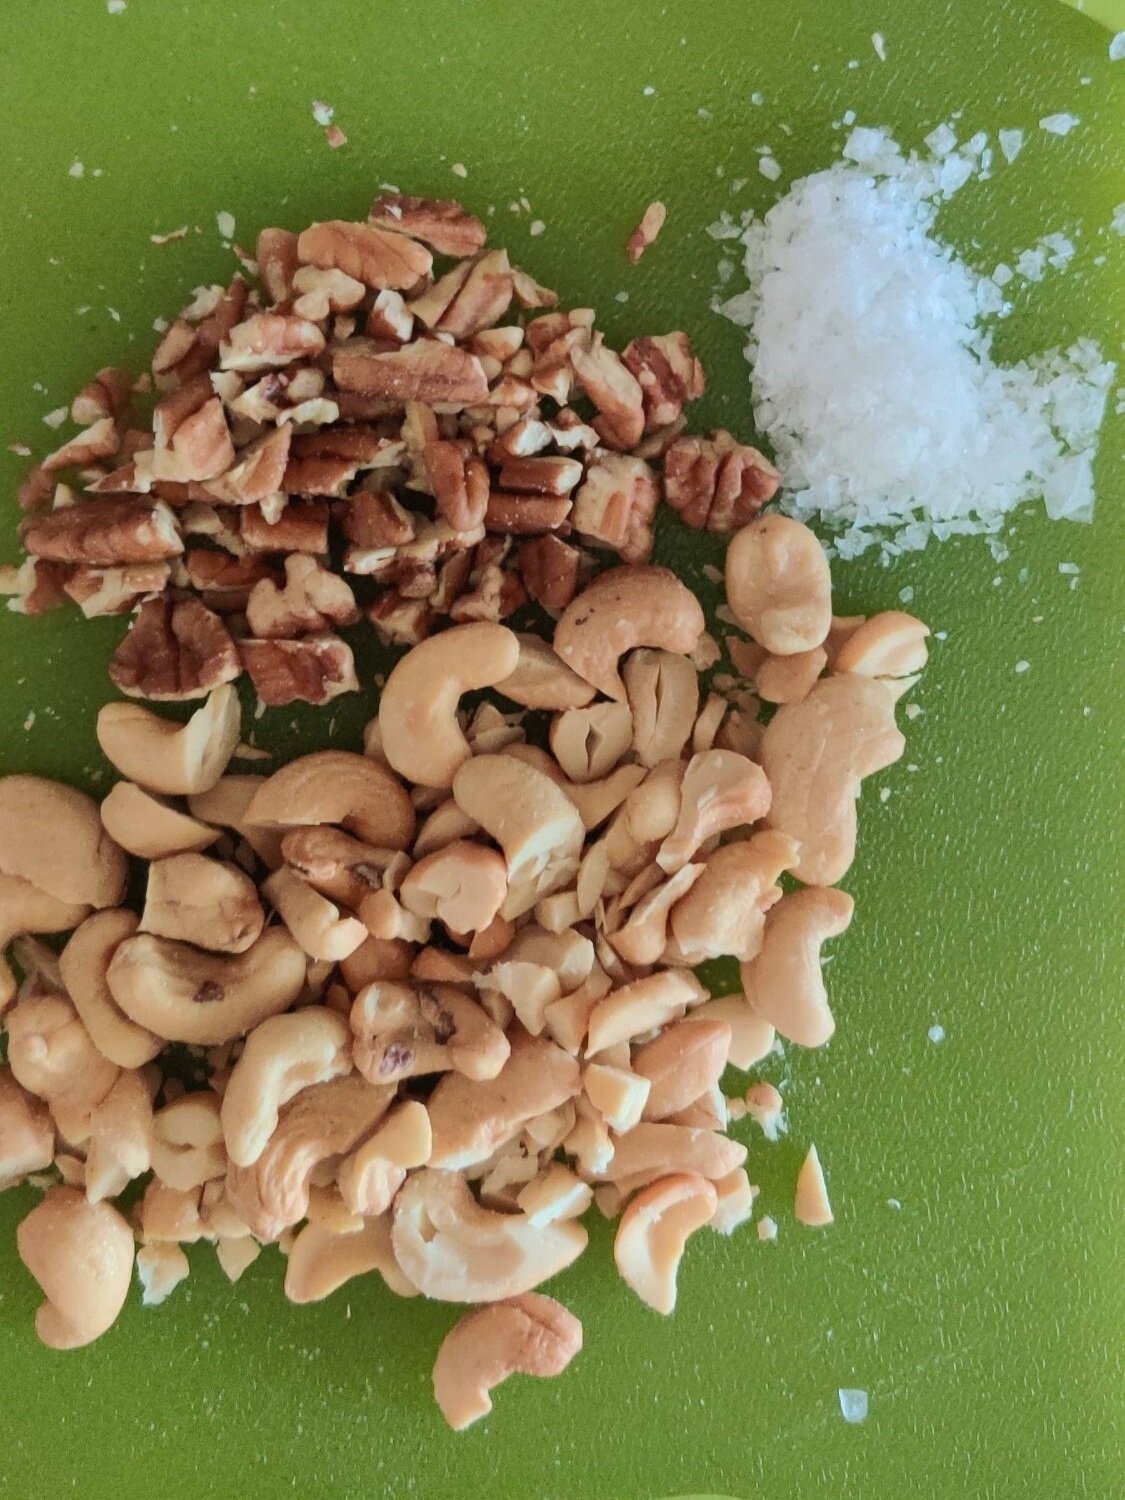
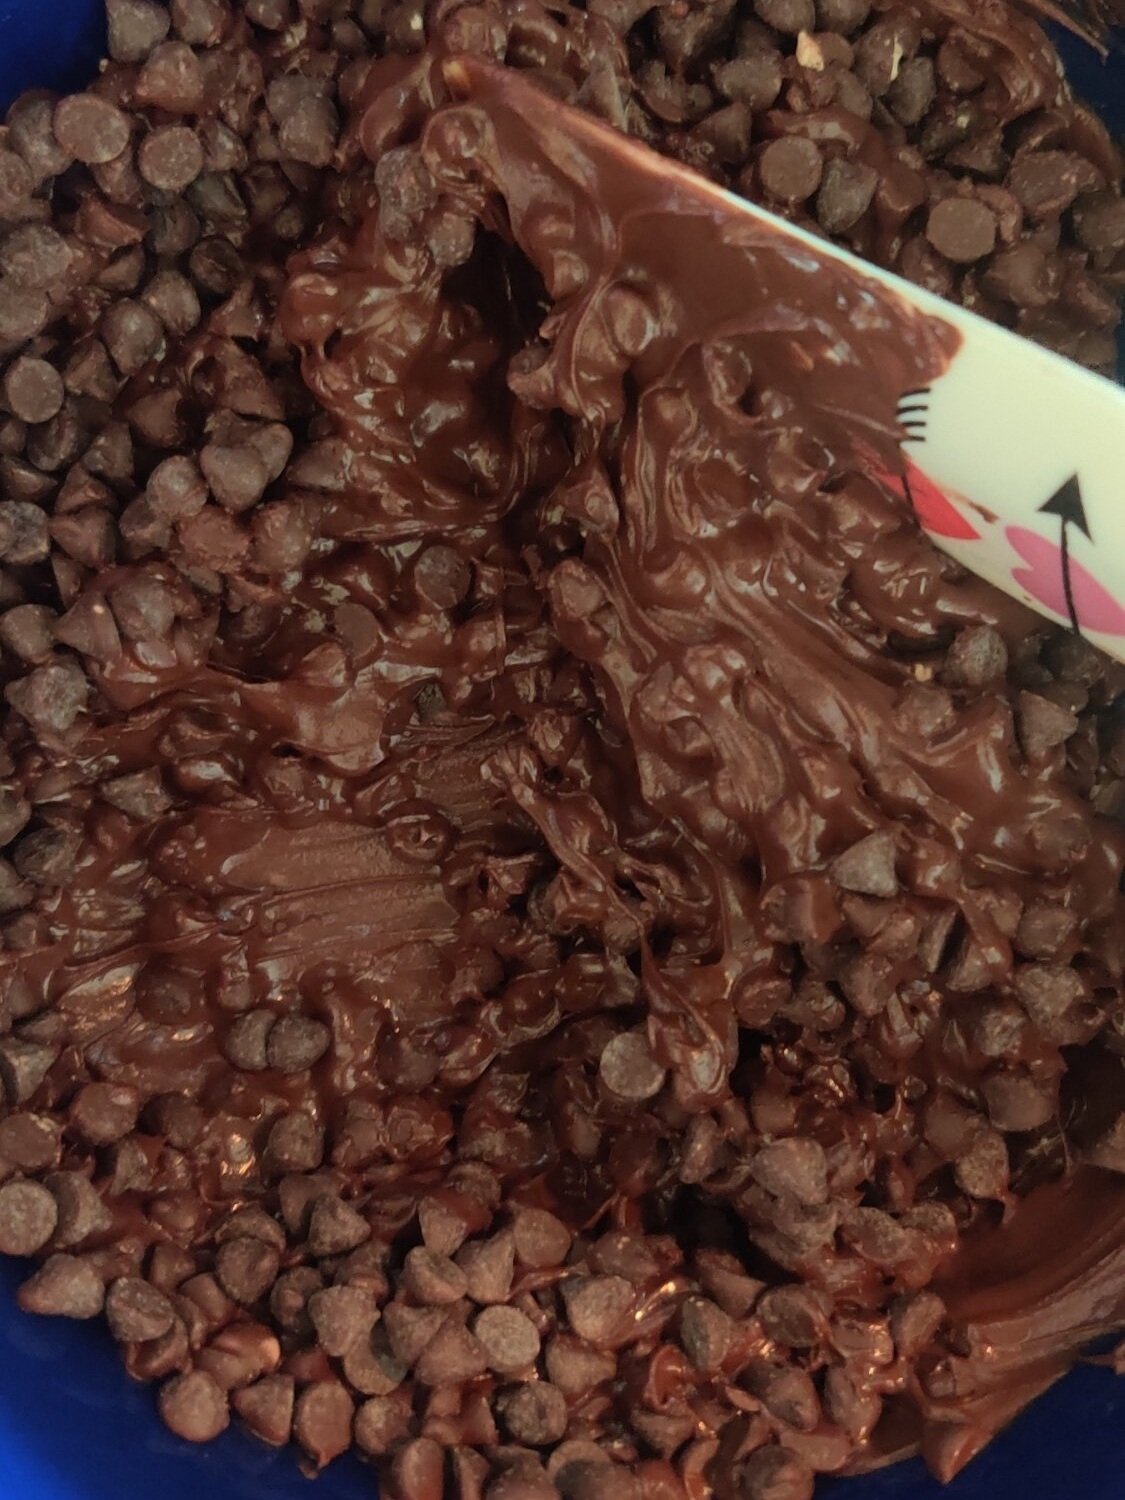
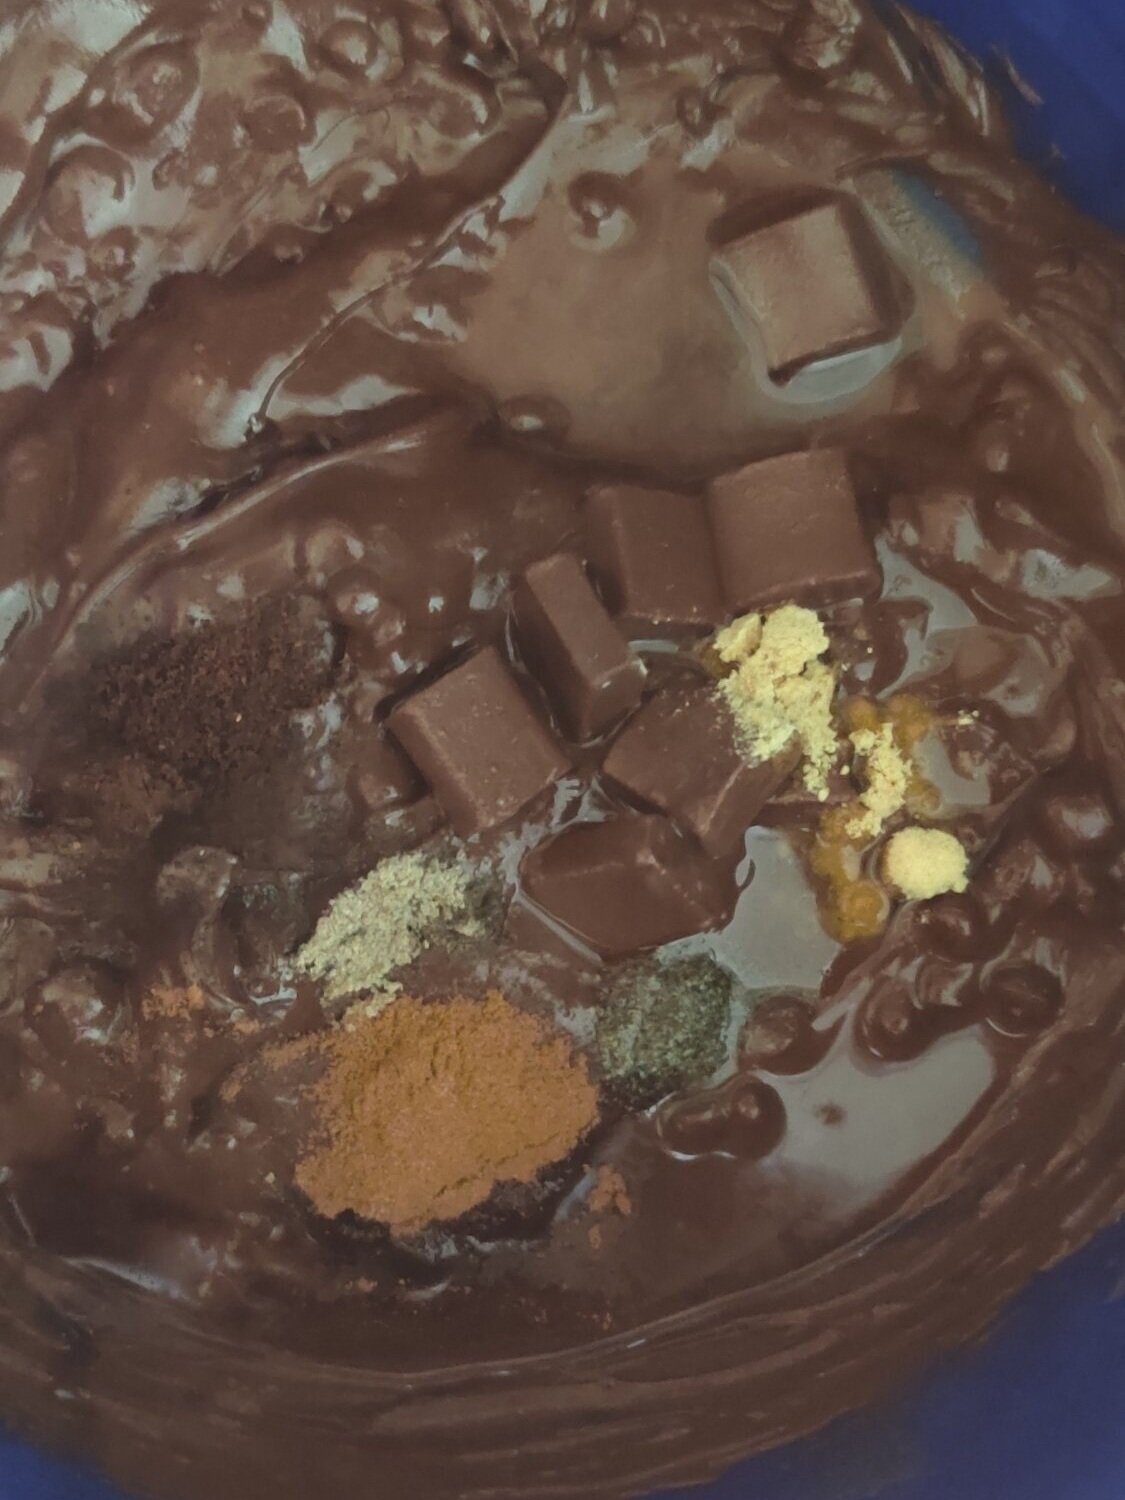
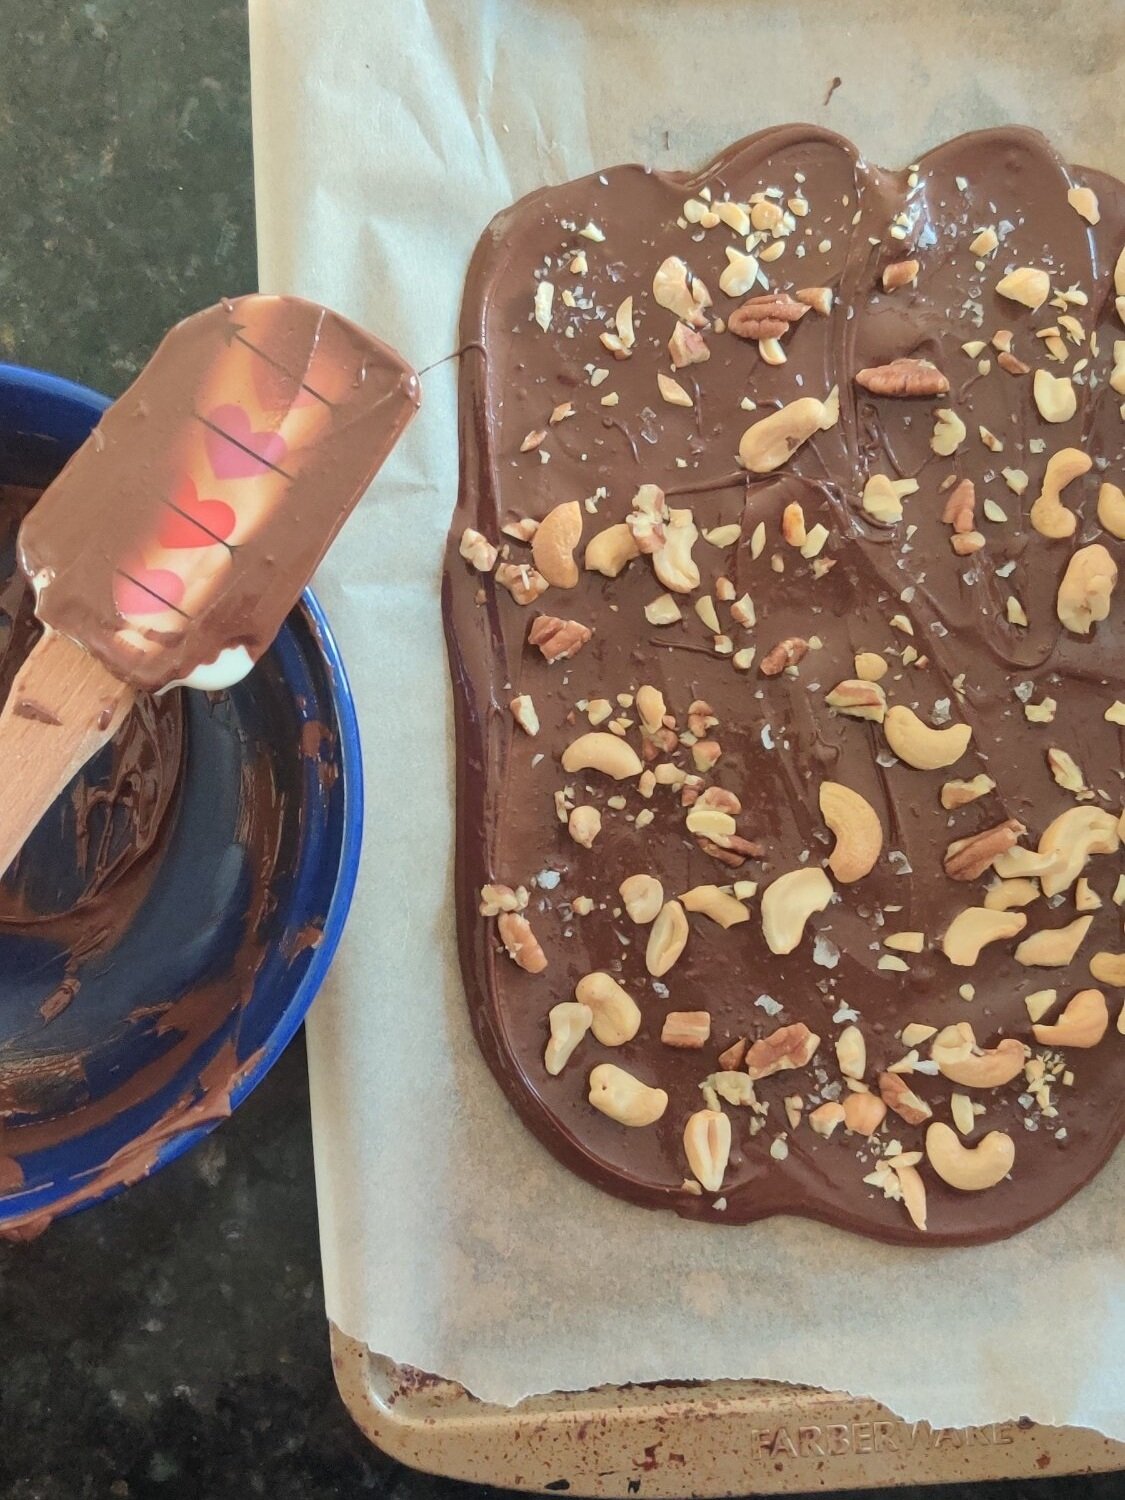
Masala Chai Cashew Bark
This recipe was inspired by my 2018 trip to Zanzibar. Two of the many things I found thrilling were the relatively cheap cashew nuts and the plethora of spices infused in almost everything. It is after all referred to as the spice island for a reason!
I also had some of the best most authentic tasting chai I've ever had. The tea was rich, deep in flavour, and delicious, I couldn't get enough.
Let's make some masala chai chocolate bark tea lovers!

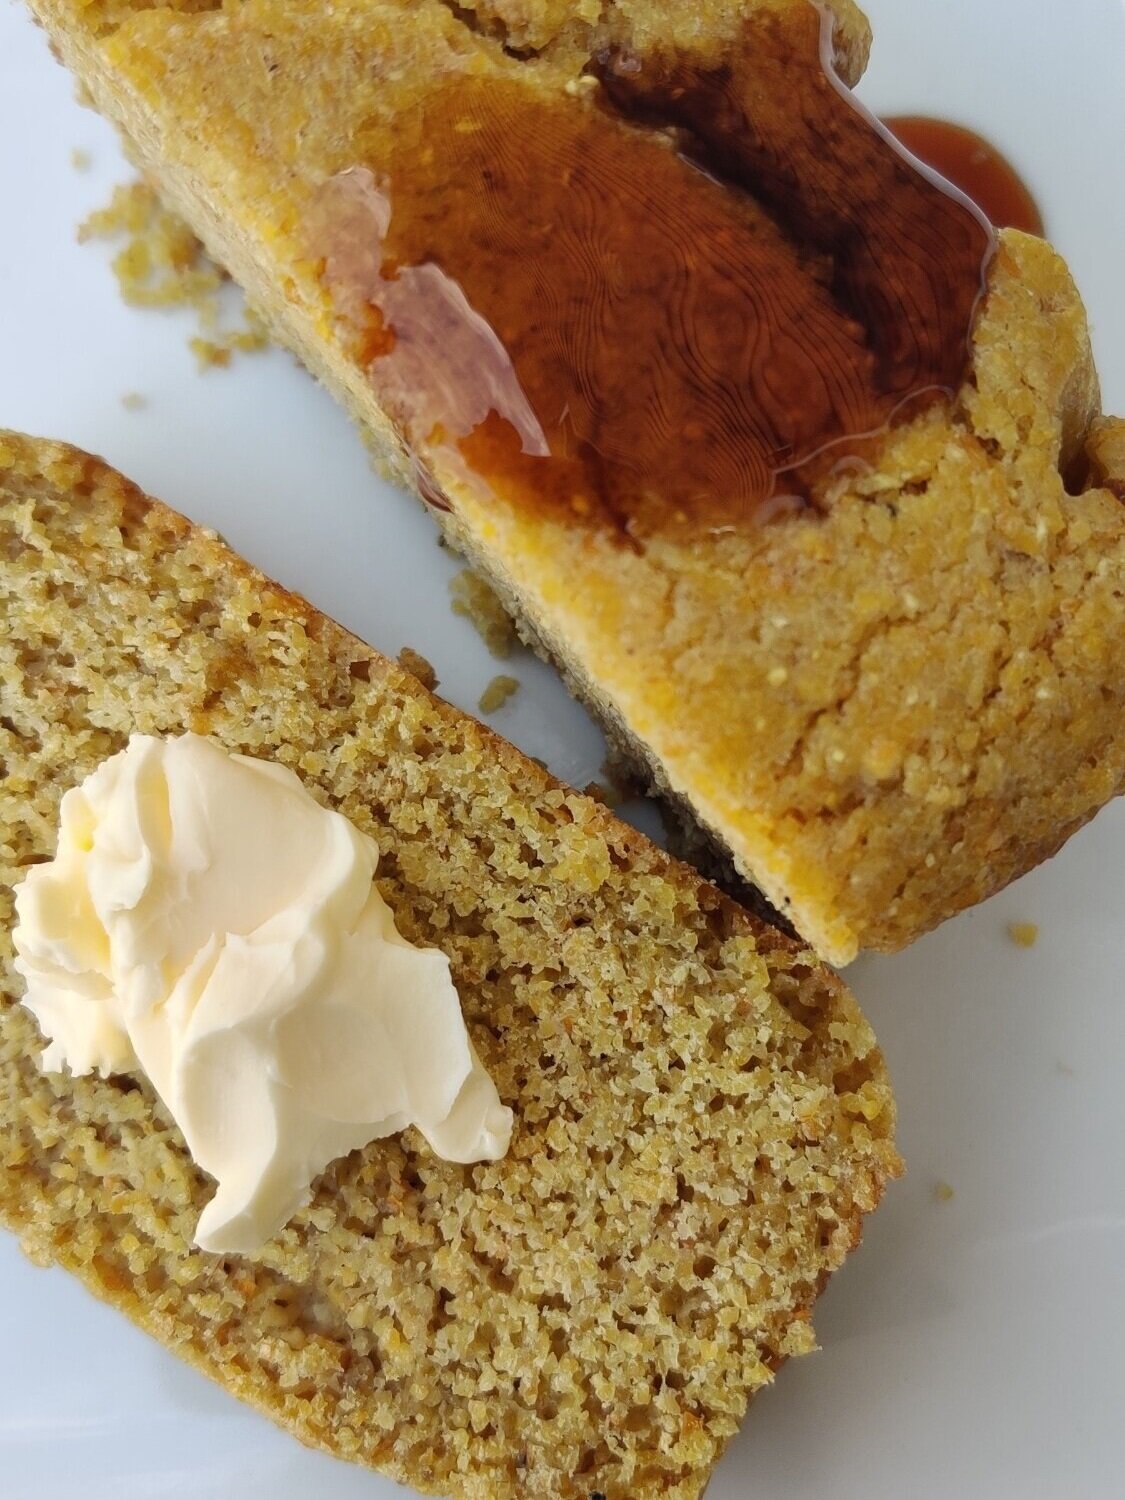
Quick Cornbread
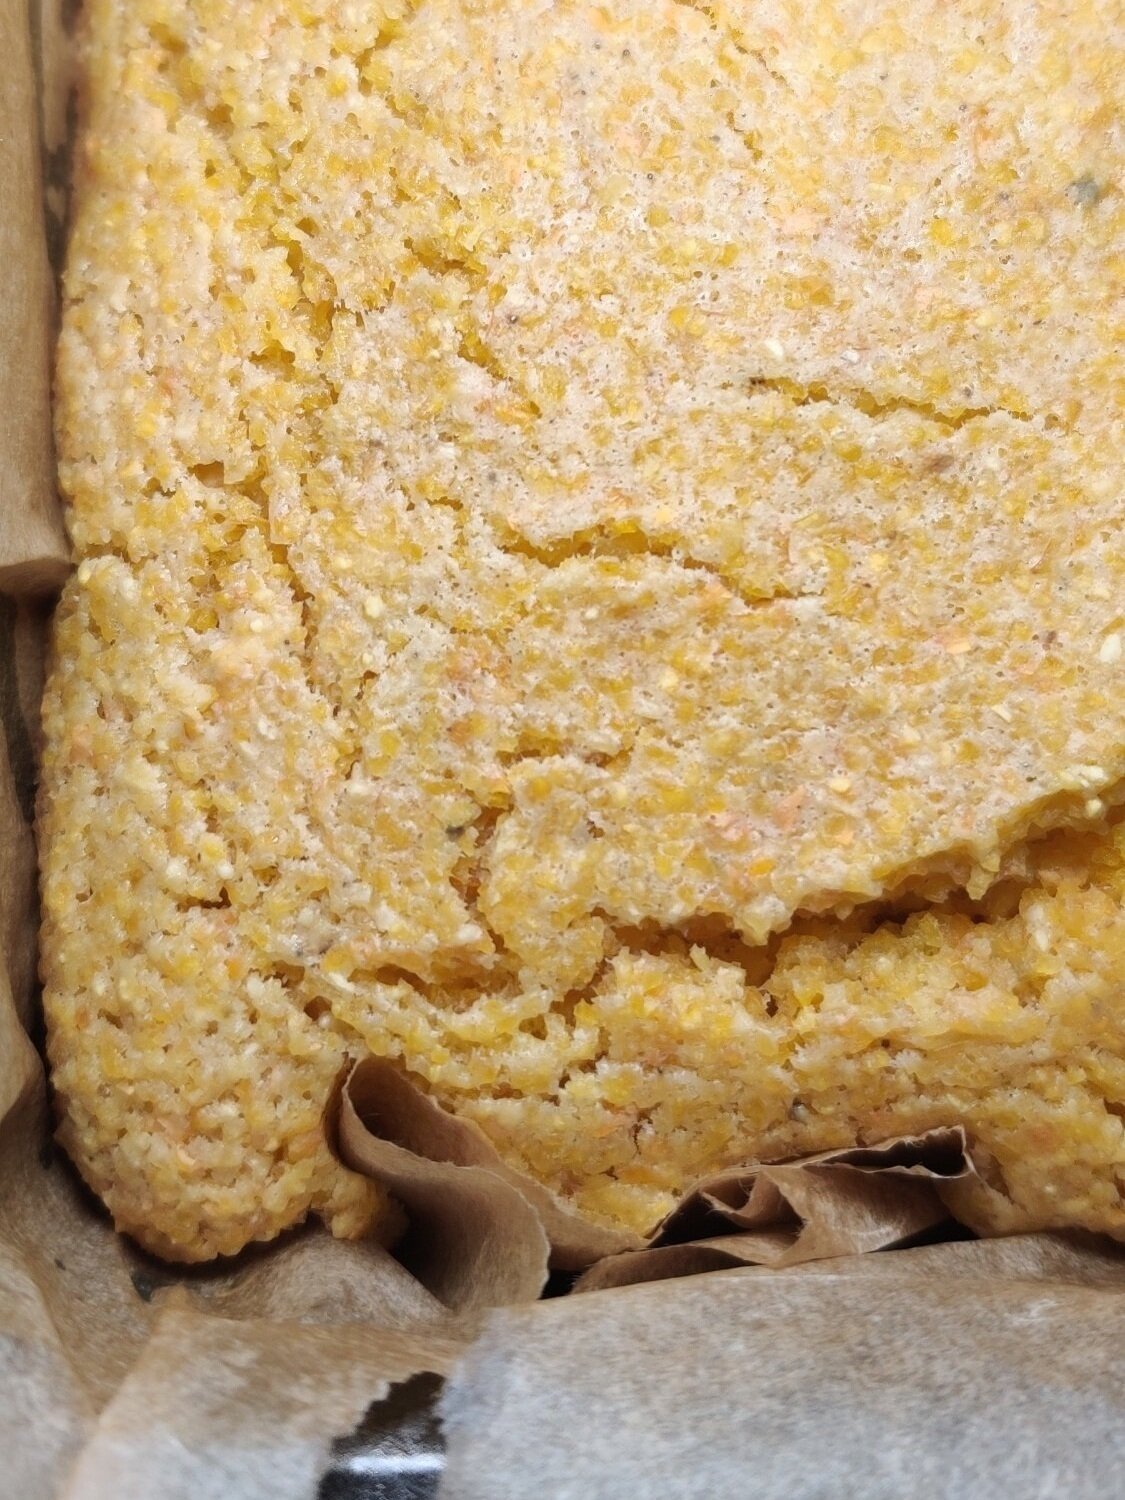
This is a basic and quick recipe you can whip up if you need a side for your weeknight stew or soup. You can adjust things slightly to suit your preferences and still get good results.
Quick Cornbread
Ingredients
- 1 cup all-purpose flour
- 1 1/2 teaspoons baking powder
- 1 1/2 cups buttermilk
- 1/3 cup butter, melted
- 1 1/2 cups cornmeal, coarsely ground
- 1/2 cup corn kernels (optional)
- 1 teaspoon salt
- 1 egg
- 2 tablespoons sugar
- 1/2 teaspoon baking soda
- 1 teaspoon vanilla extract
Instructions
- In a large bowl, whisk the flour, baking powder, cornmeal, salt, sugar, and baking soda together until evenly mixed.
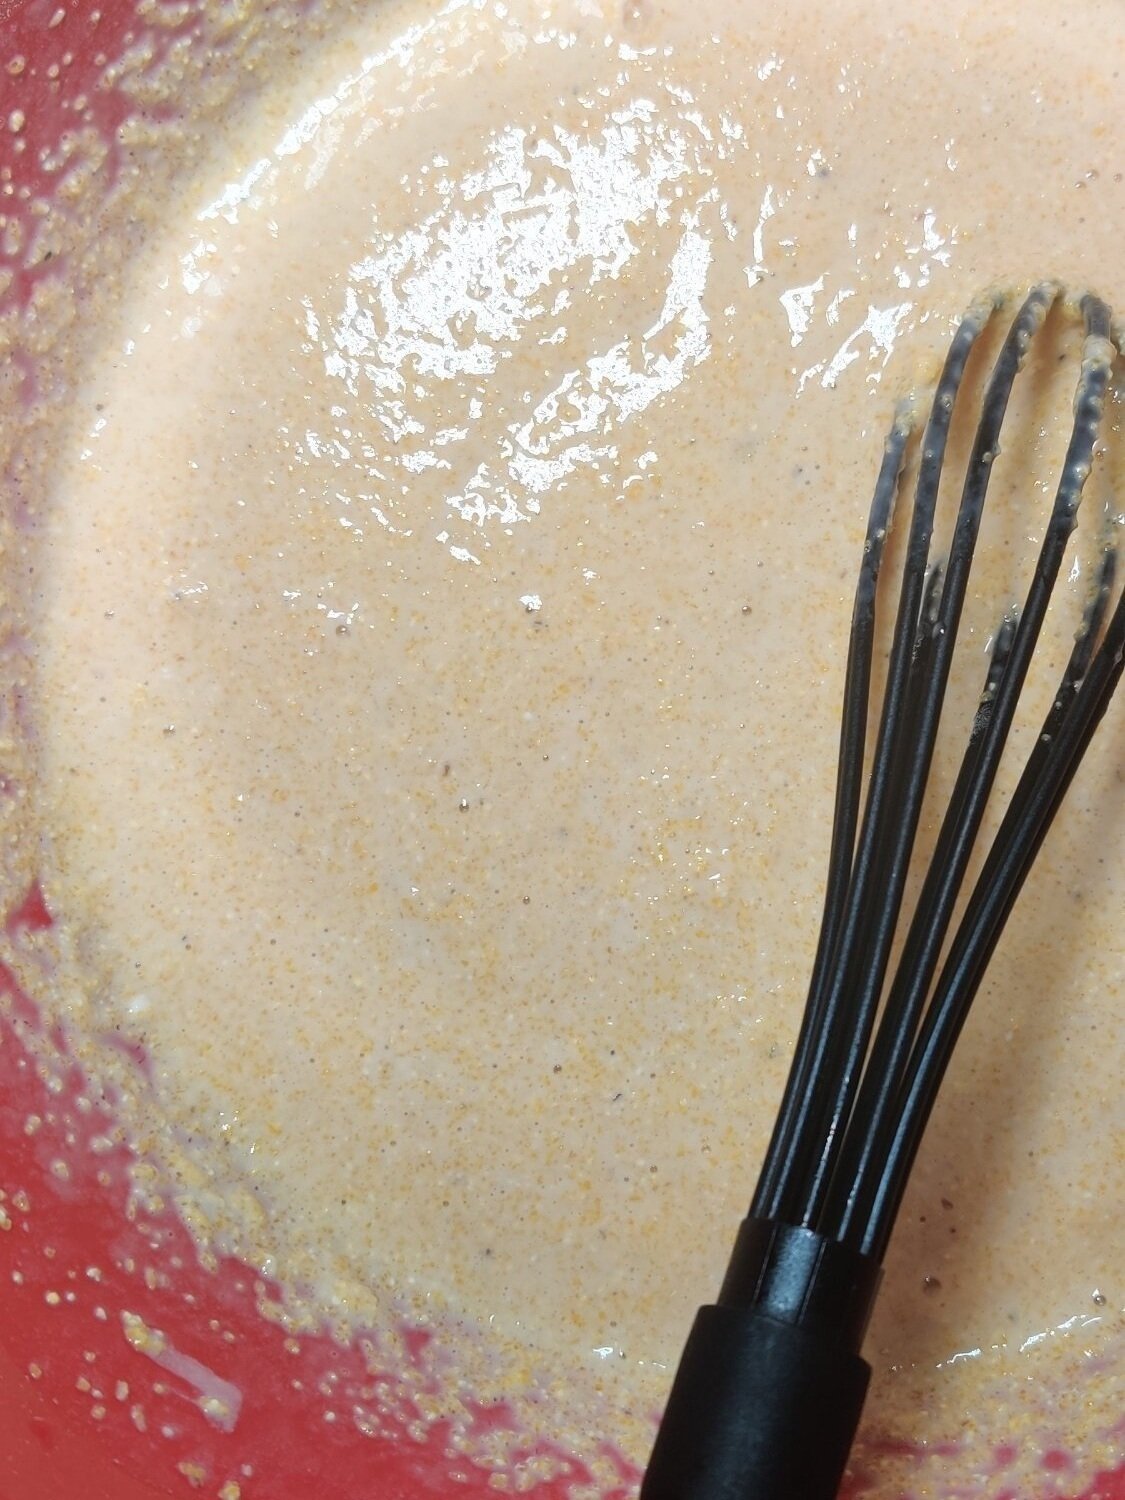
- In a separate bowl, beat the egg with the milk and vanilla, add to the dry ingredients. Mix until the batter is smooth.
- Add the butter and corn kernels or creamed corn, mix until well incorporated.
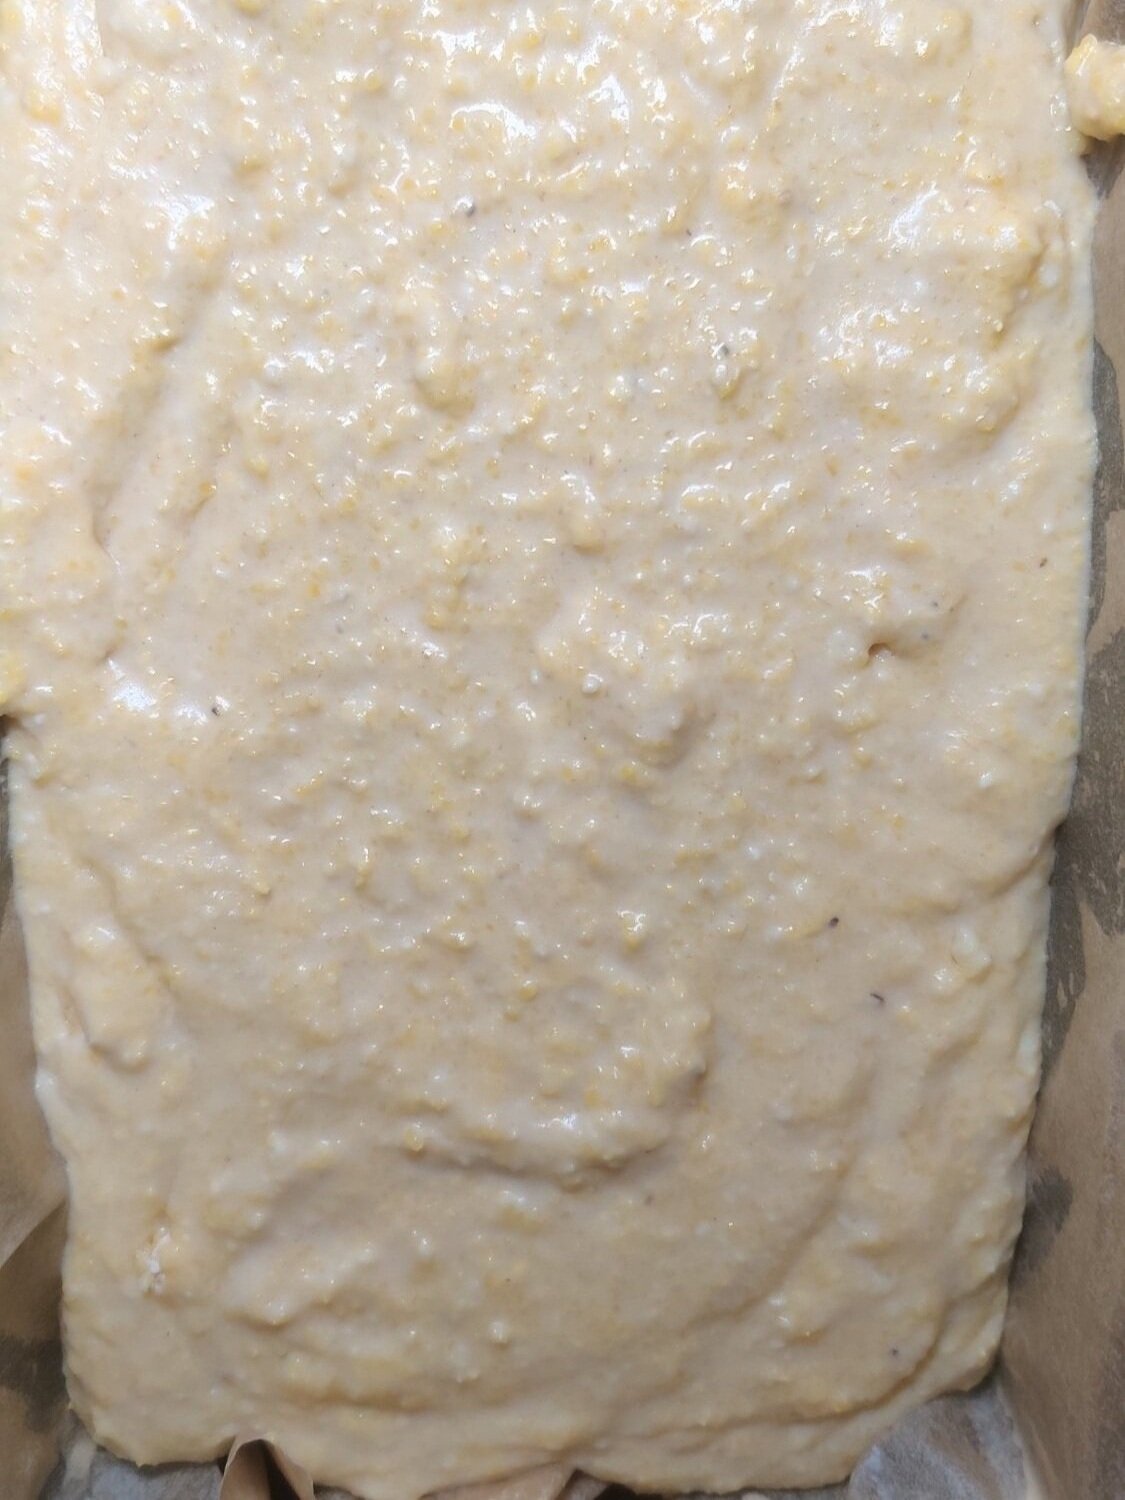
- Bake at 400F for 30 minutes or until a toothpick comes out clean in the center - you may need an extra 5-10 minutes. Set aside to cool before slicing.
- Serve warm with butter and honey.
Nutrition Facts
Calories
205Fat (grams)
7.8 gCarbs (grams)
29.7 gSugar (grams)
4.6 gProtein (grams)
4.9 gI am not a certified nutritionist and any nutritional information on dontmissmyplate.com should only be used as a general guideline.

Coconut Pecan Tarts
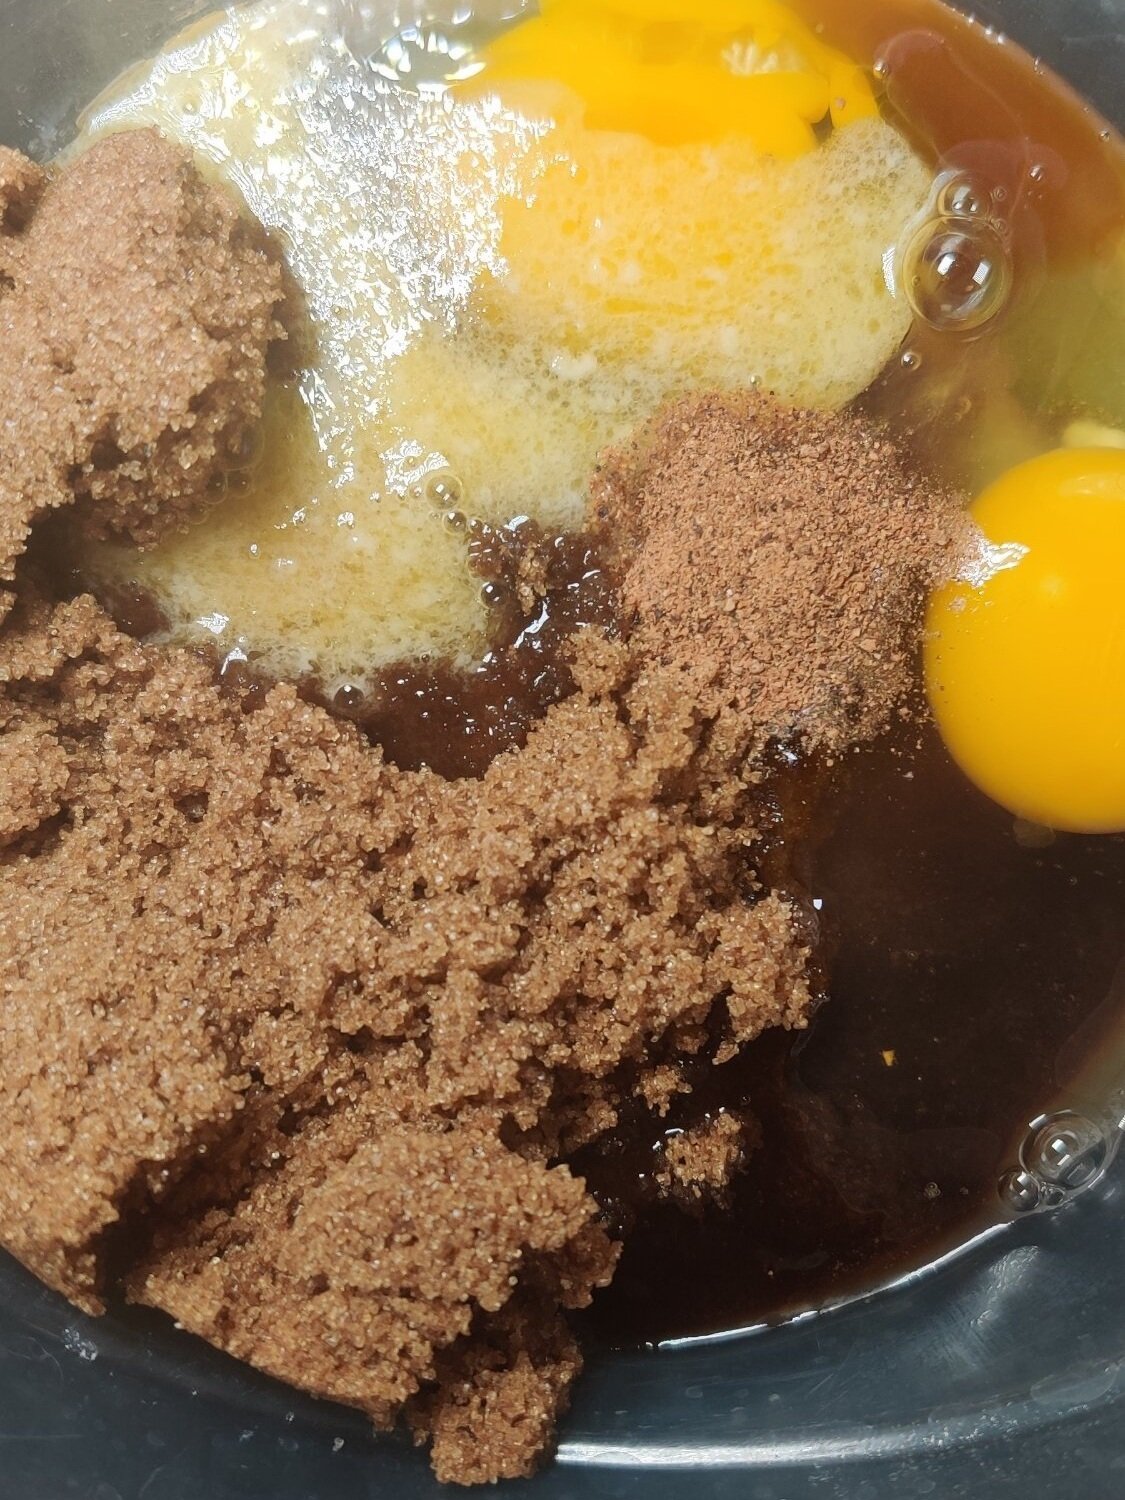
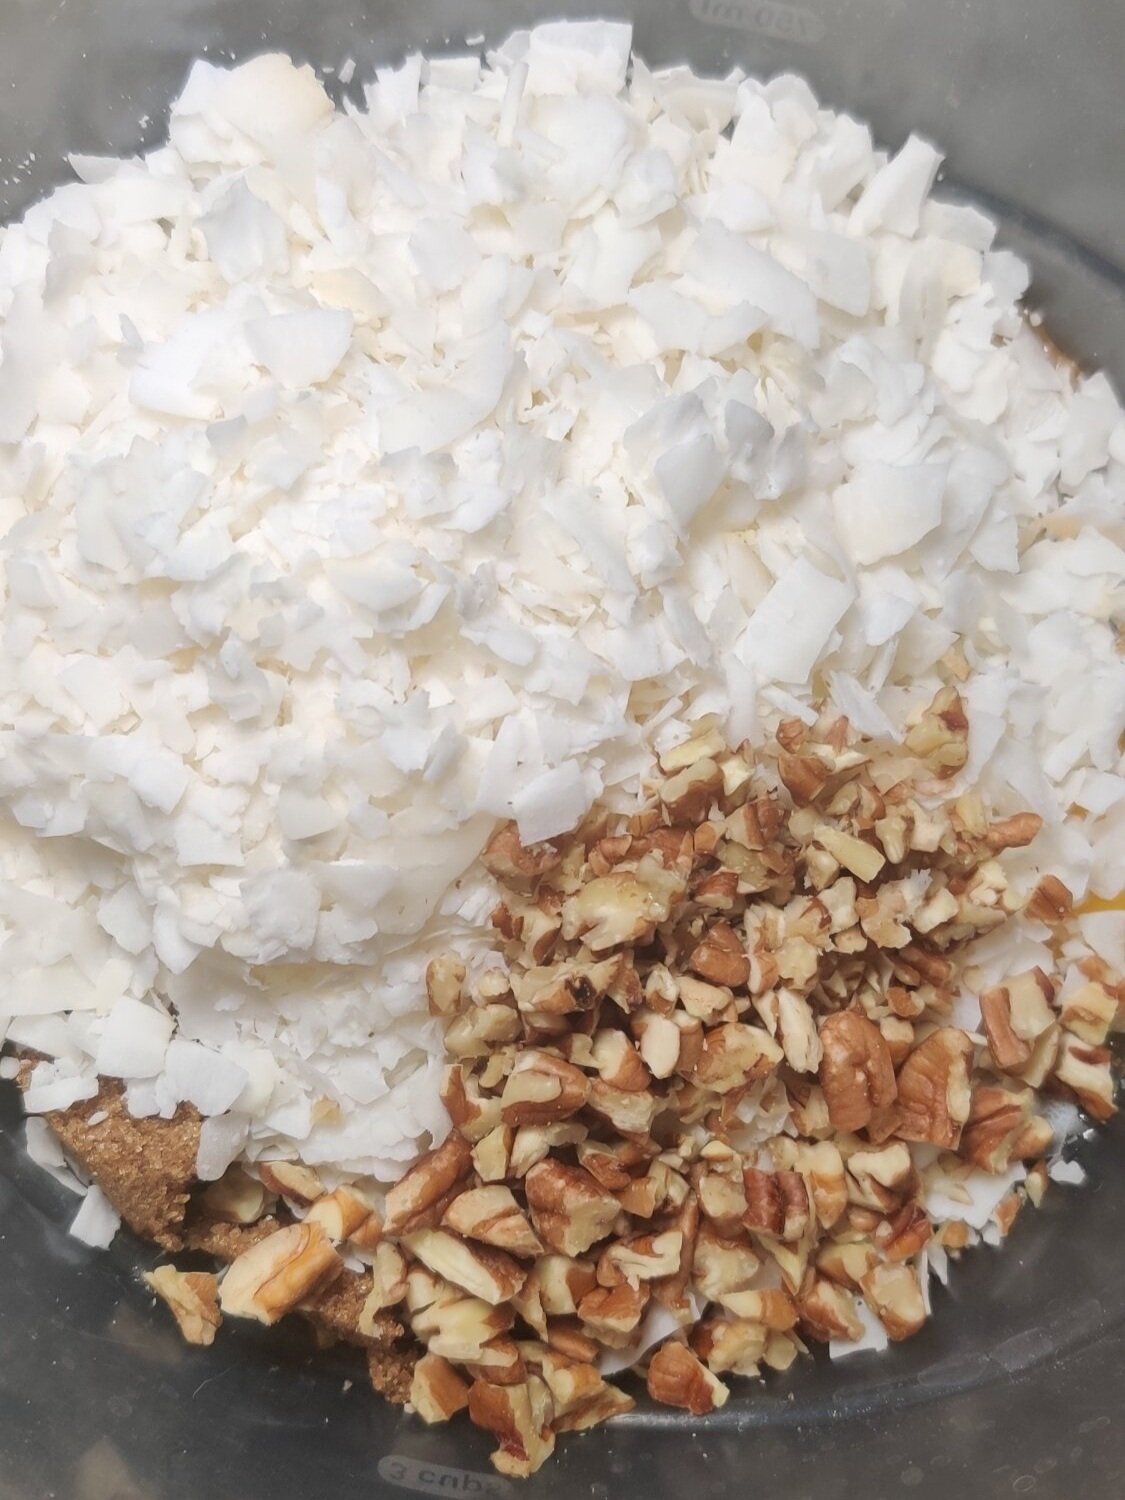
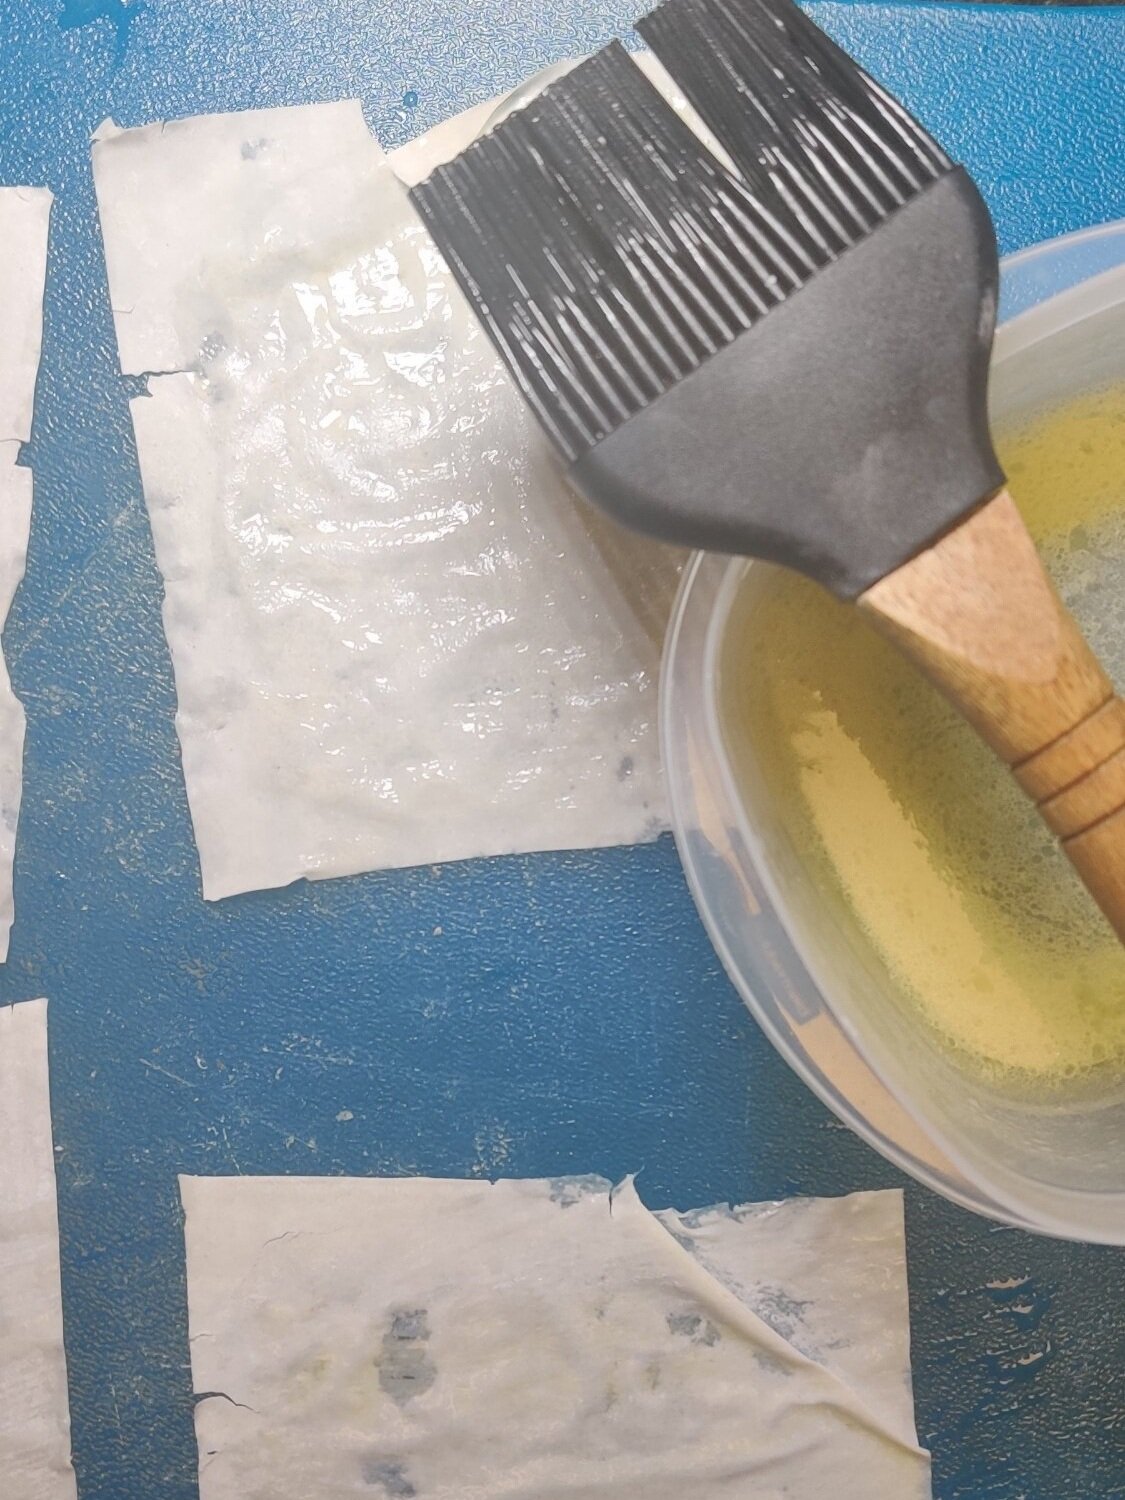
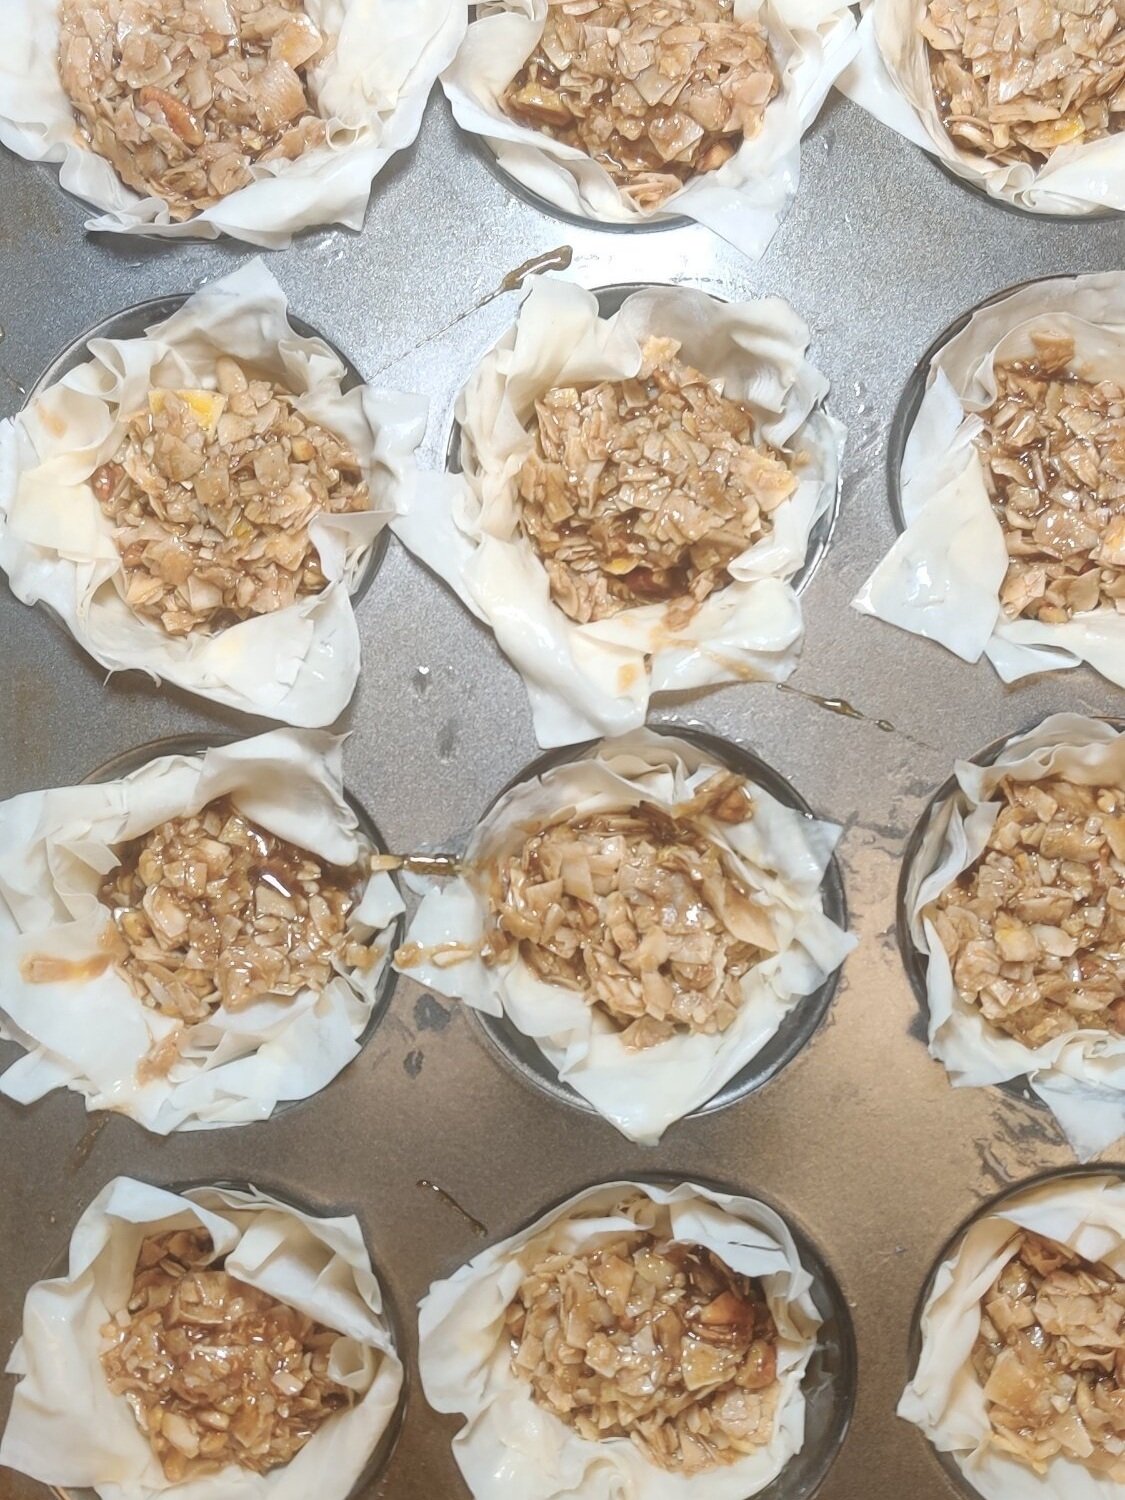
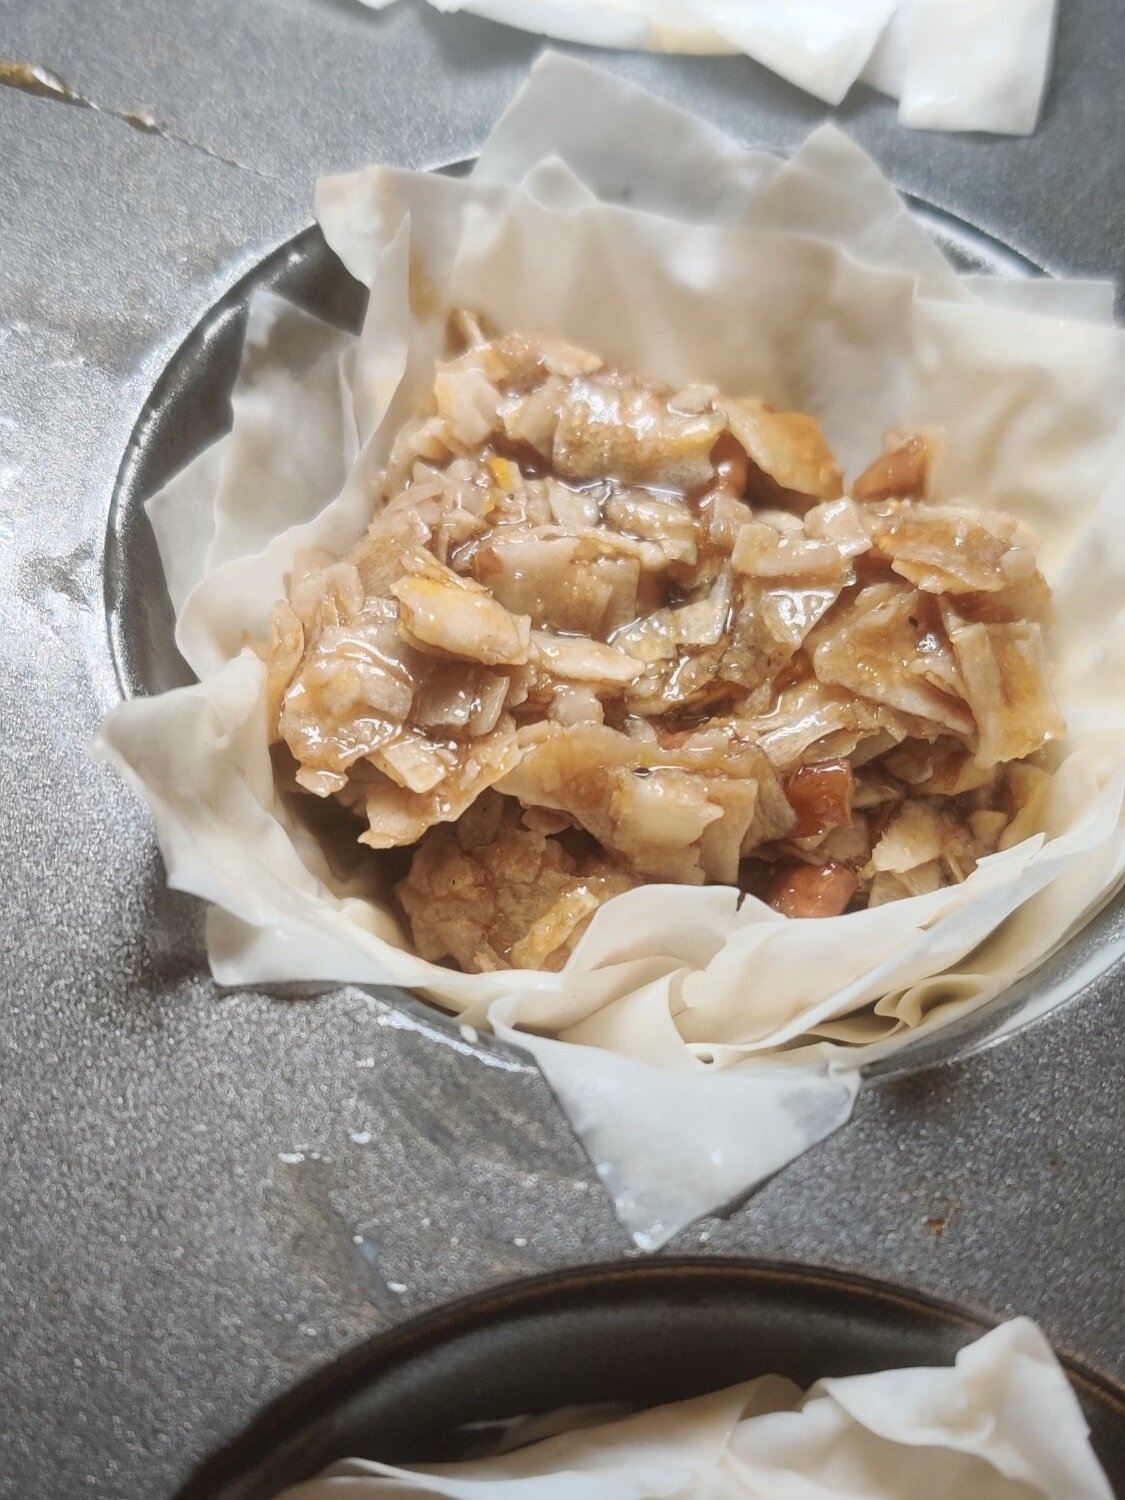
With coconuts being plentiful it makes sense that these tartlets are a sweet snack enjoyed on the island. They're spiced with a bit of nutmeg and sweetened with brown sugar. I add the pecans for crunch and to give them the pecan pie taste loved by so many. Gizzadas usually come in regular pastry that is pinched on the sides. The other crunch element comes from the phyllo dough, which is also meant to mimic the pinched pattern. I think it adds some more life and the cups hold just fine, enjoy!


Hummingbird Cake
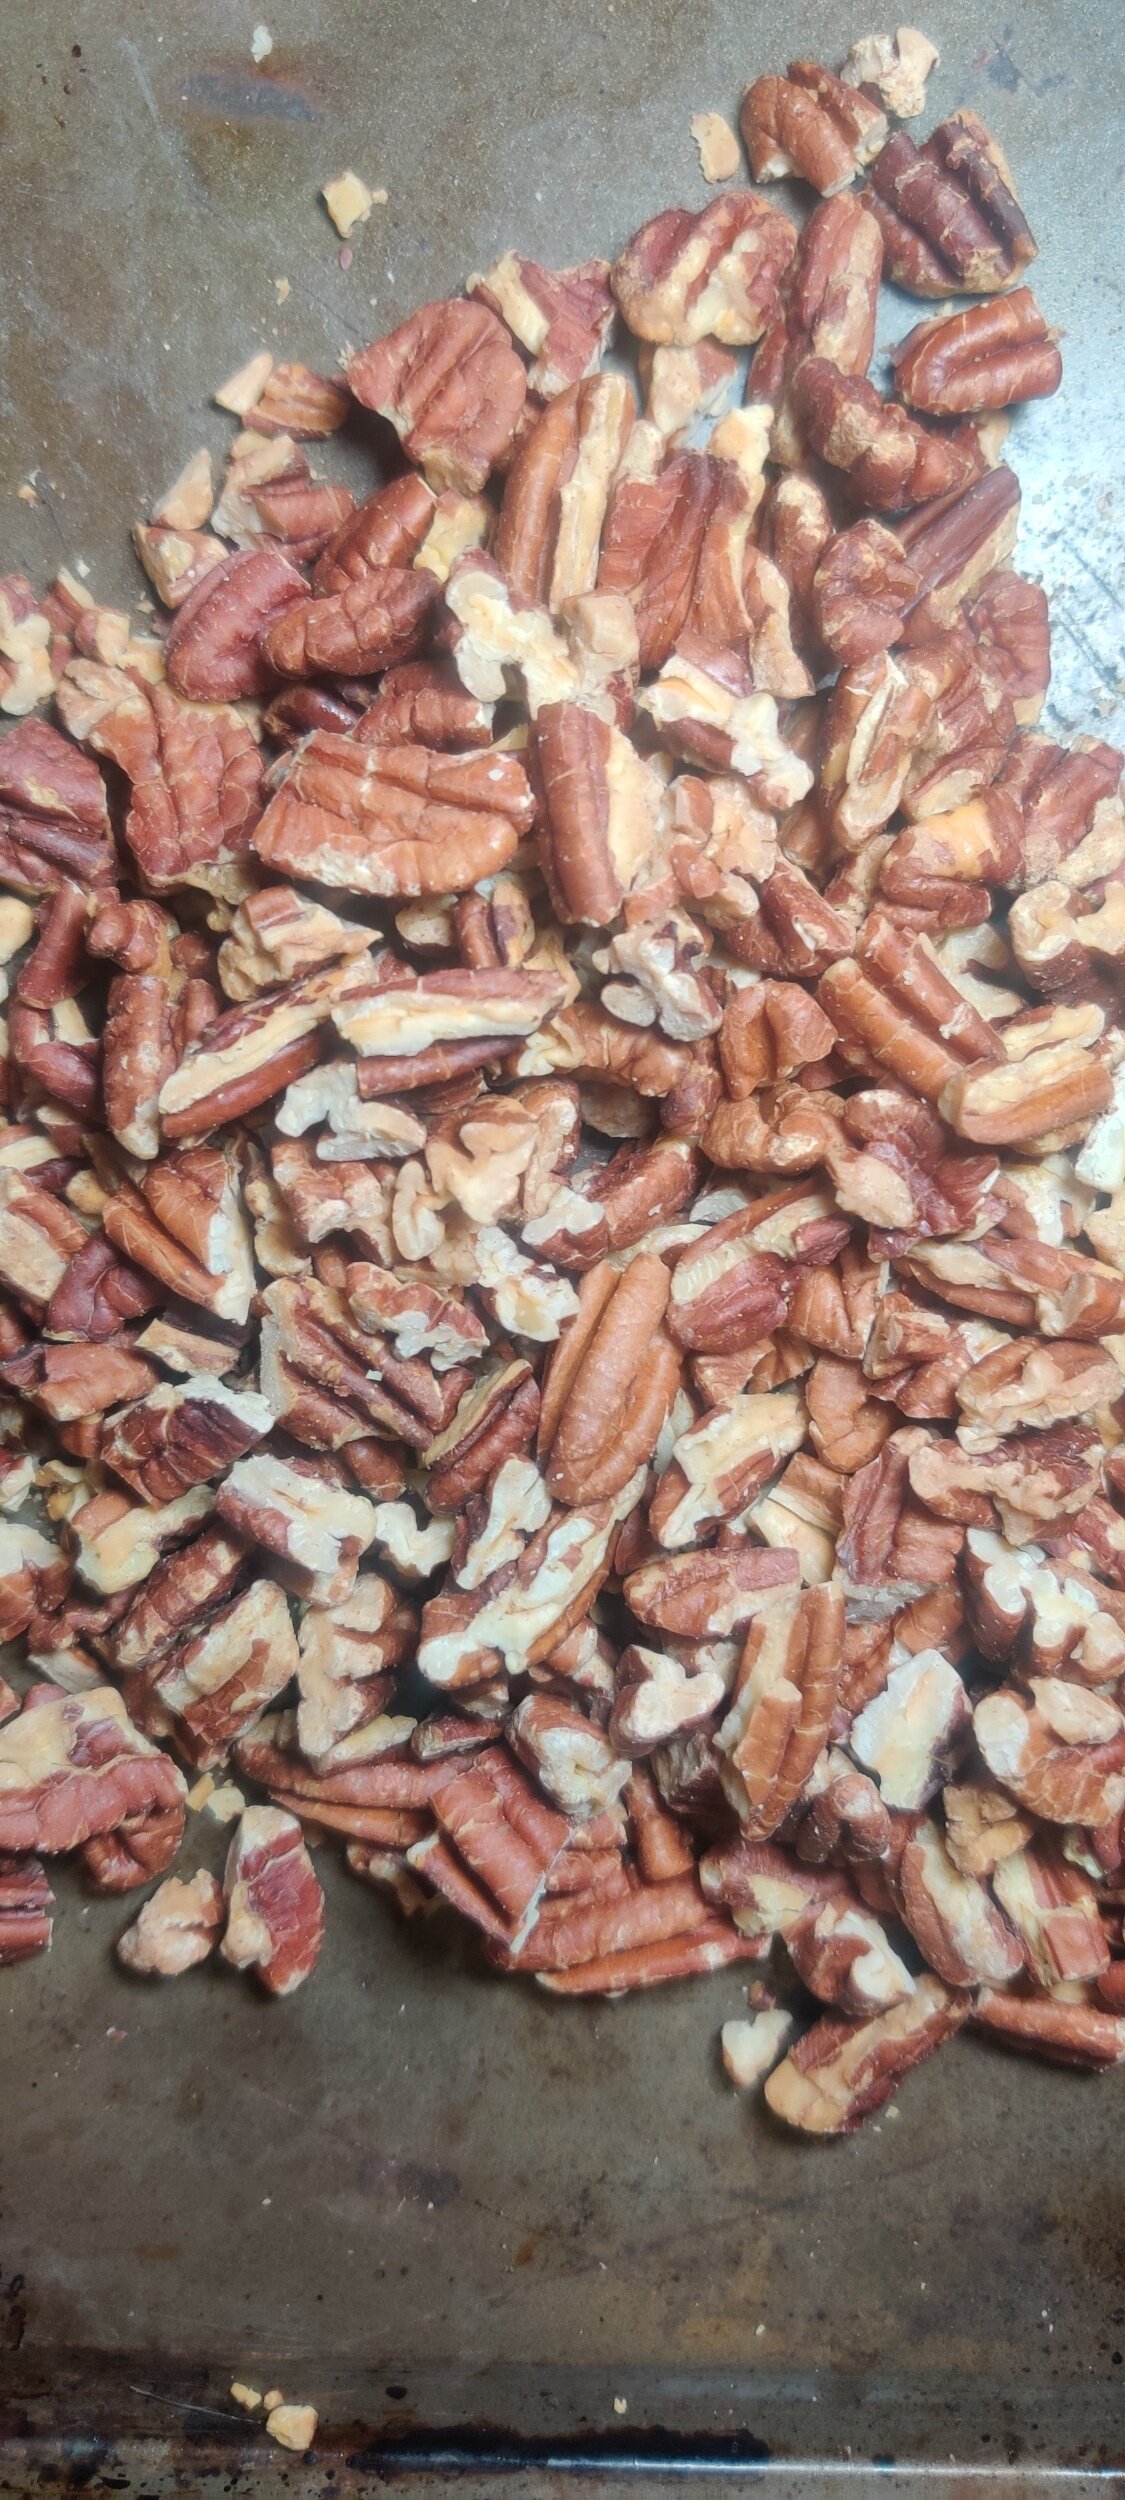
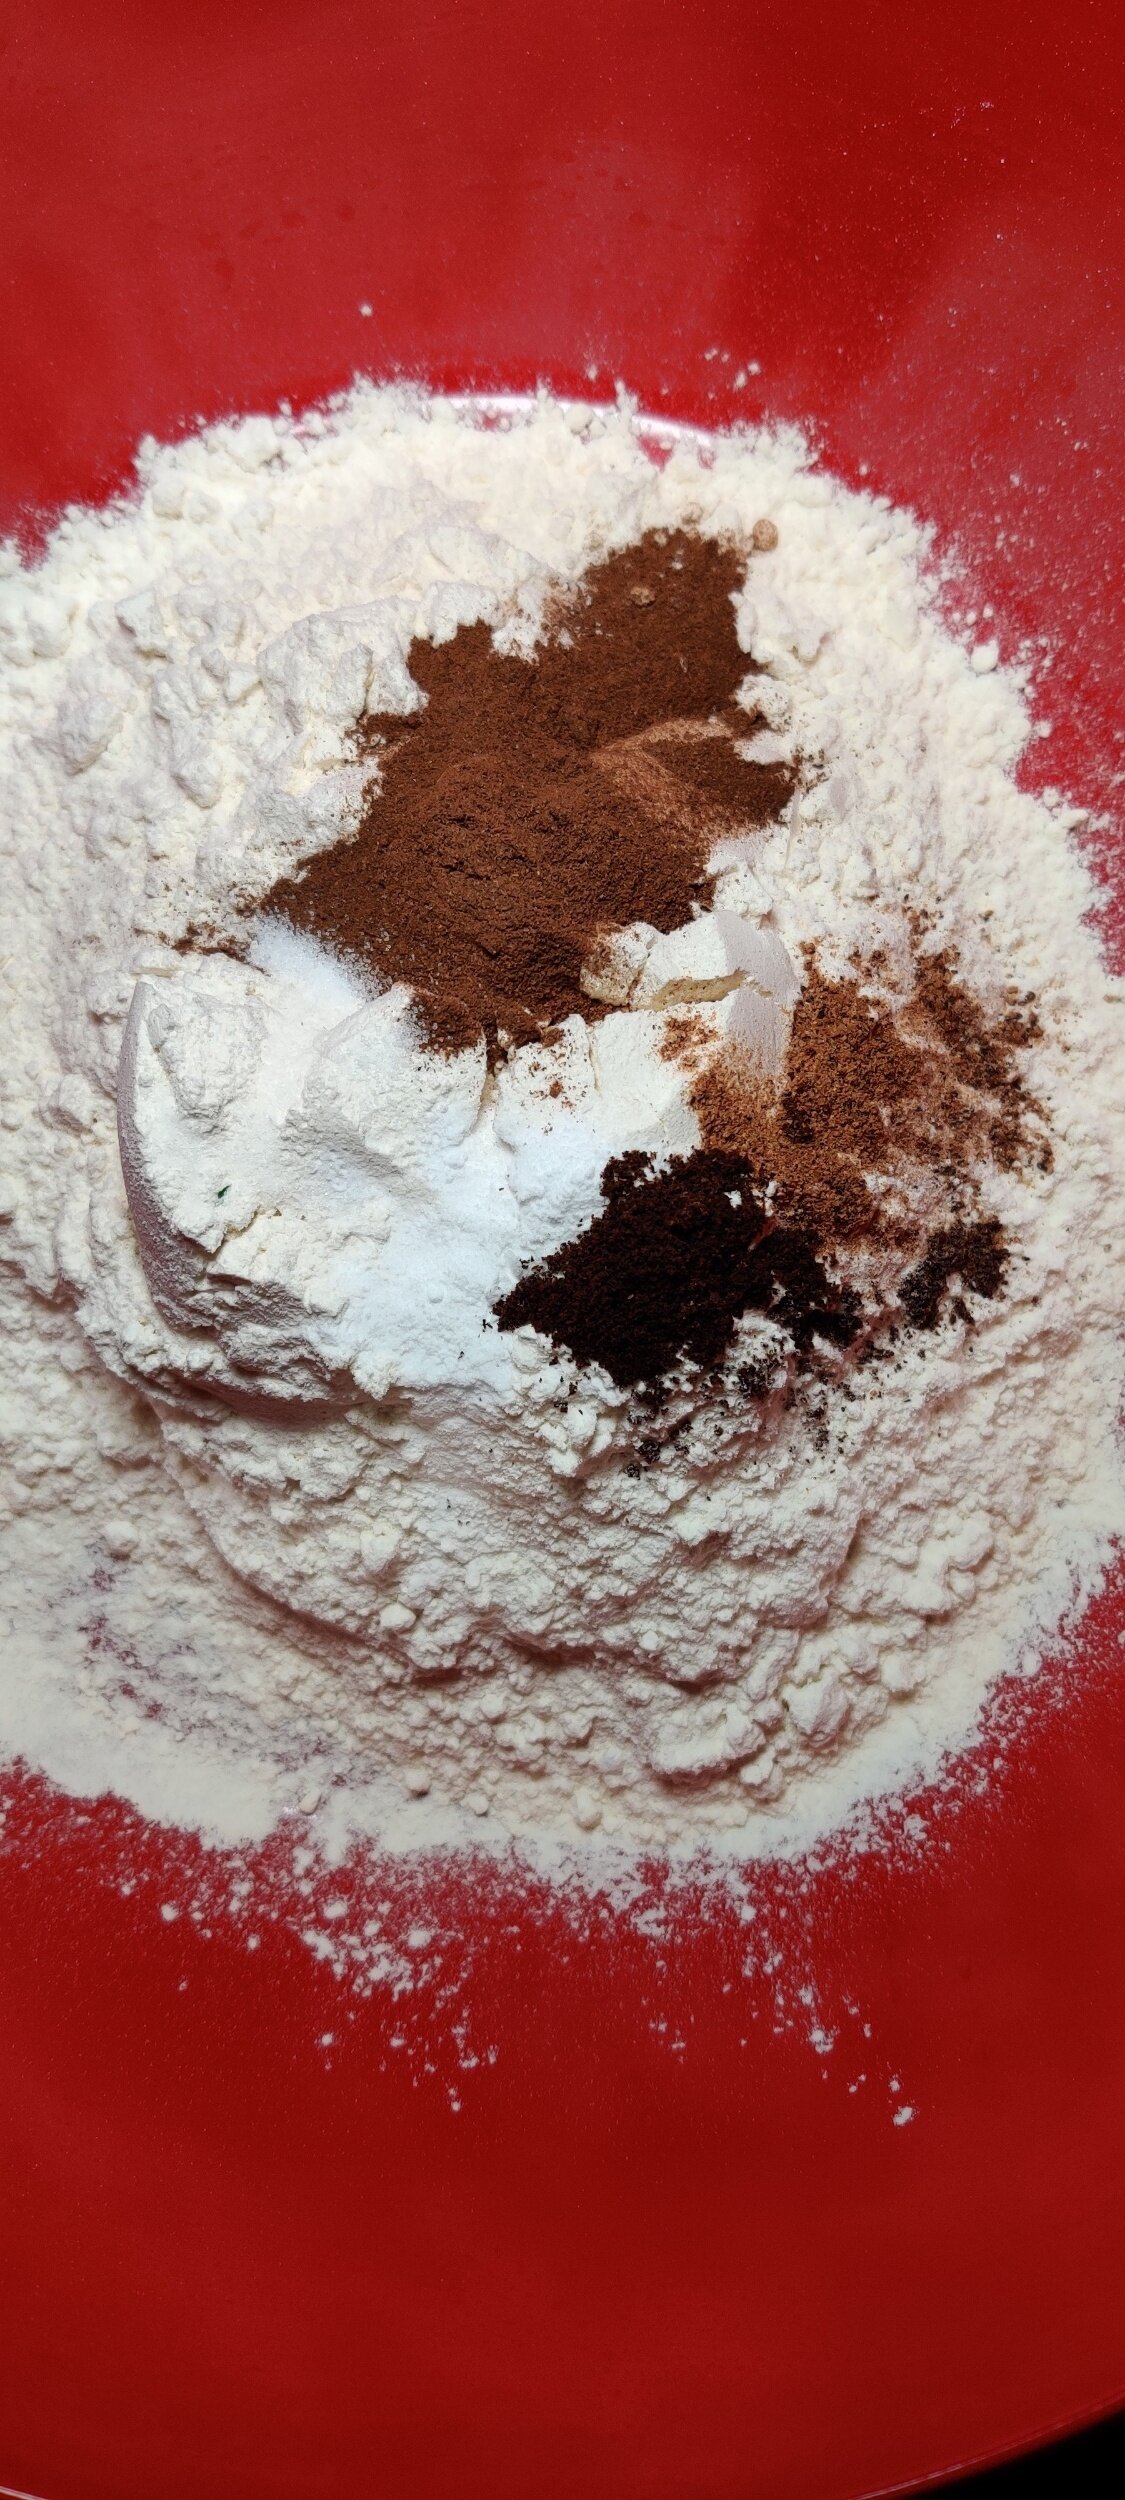
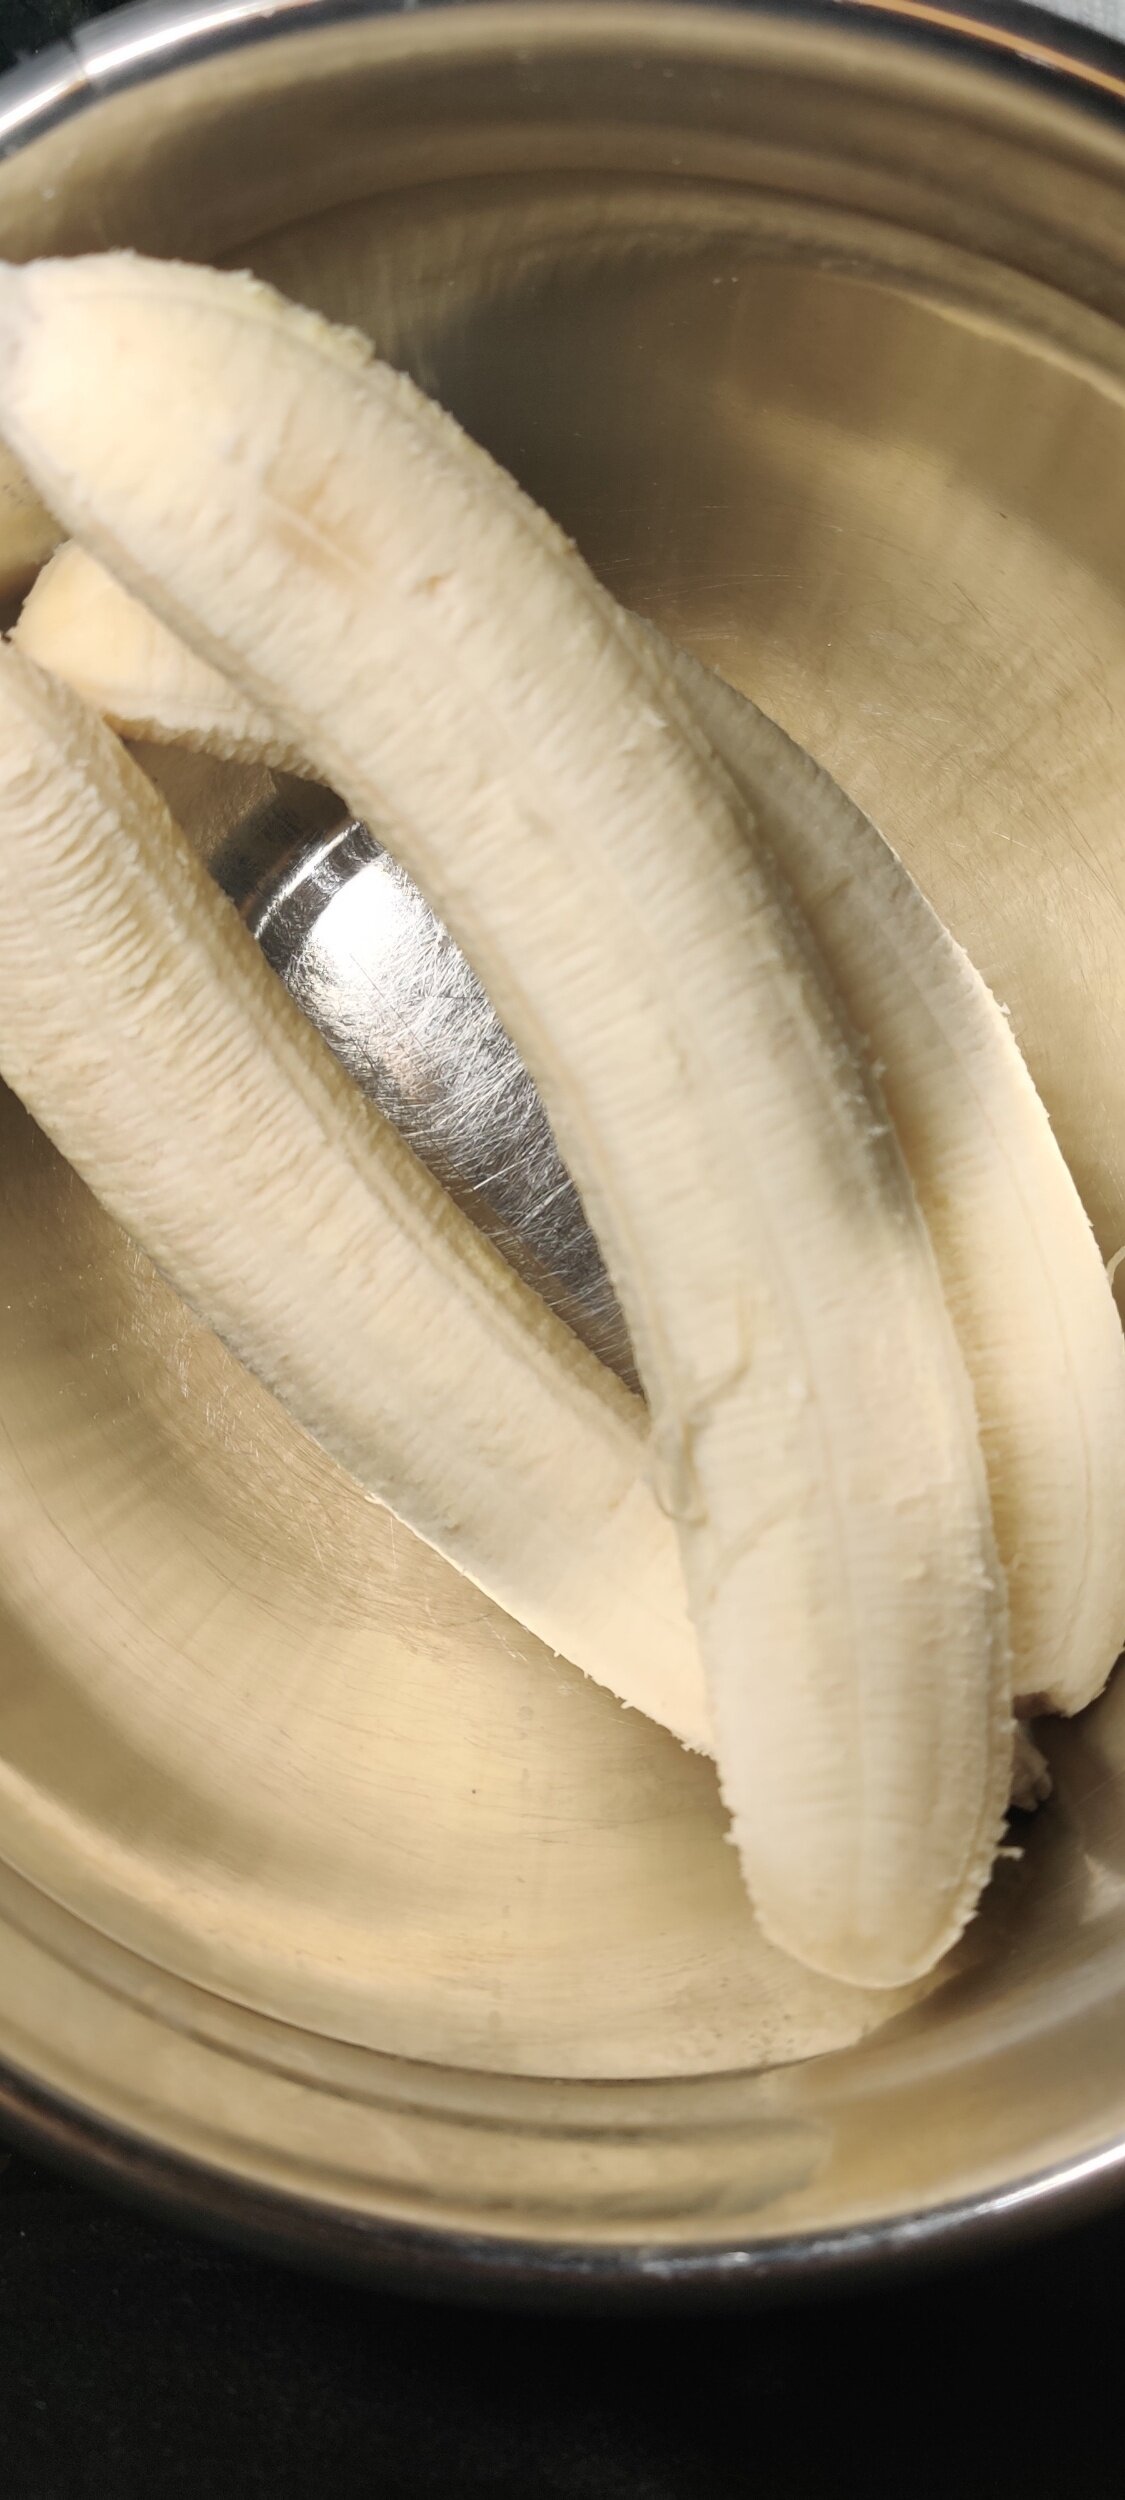
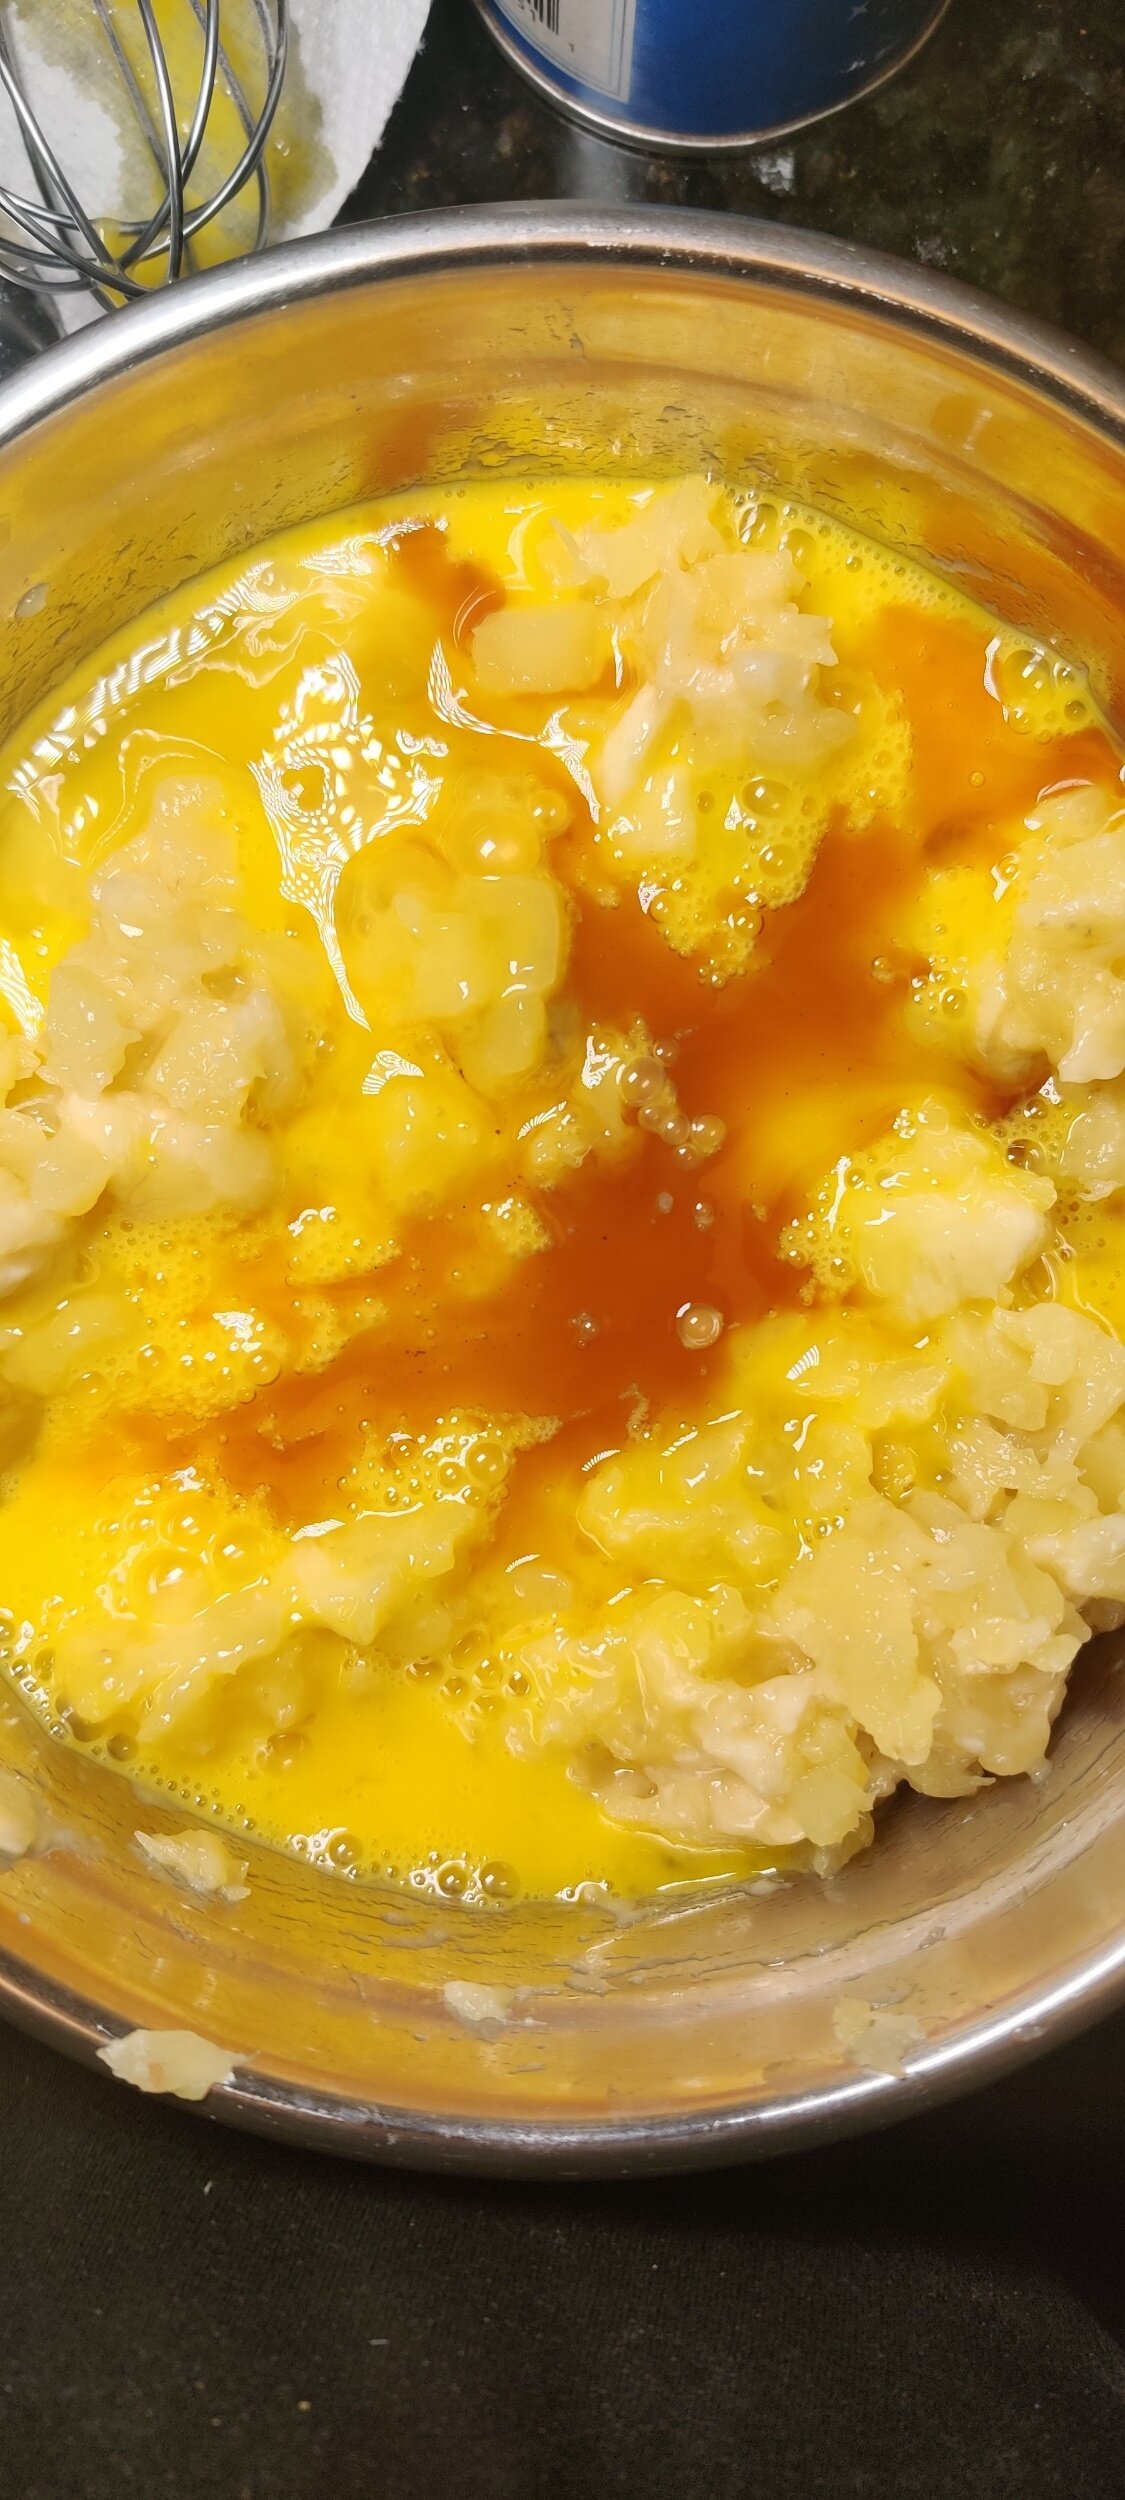
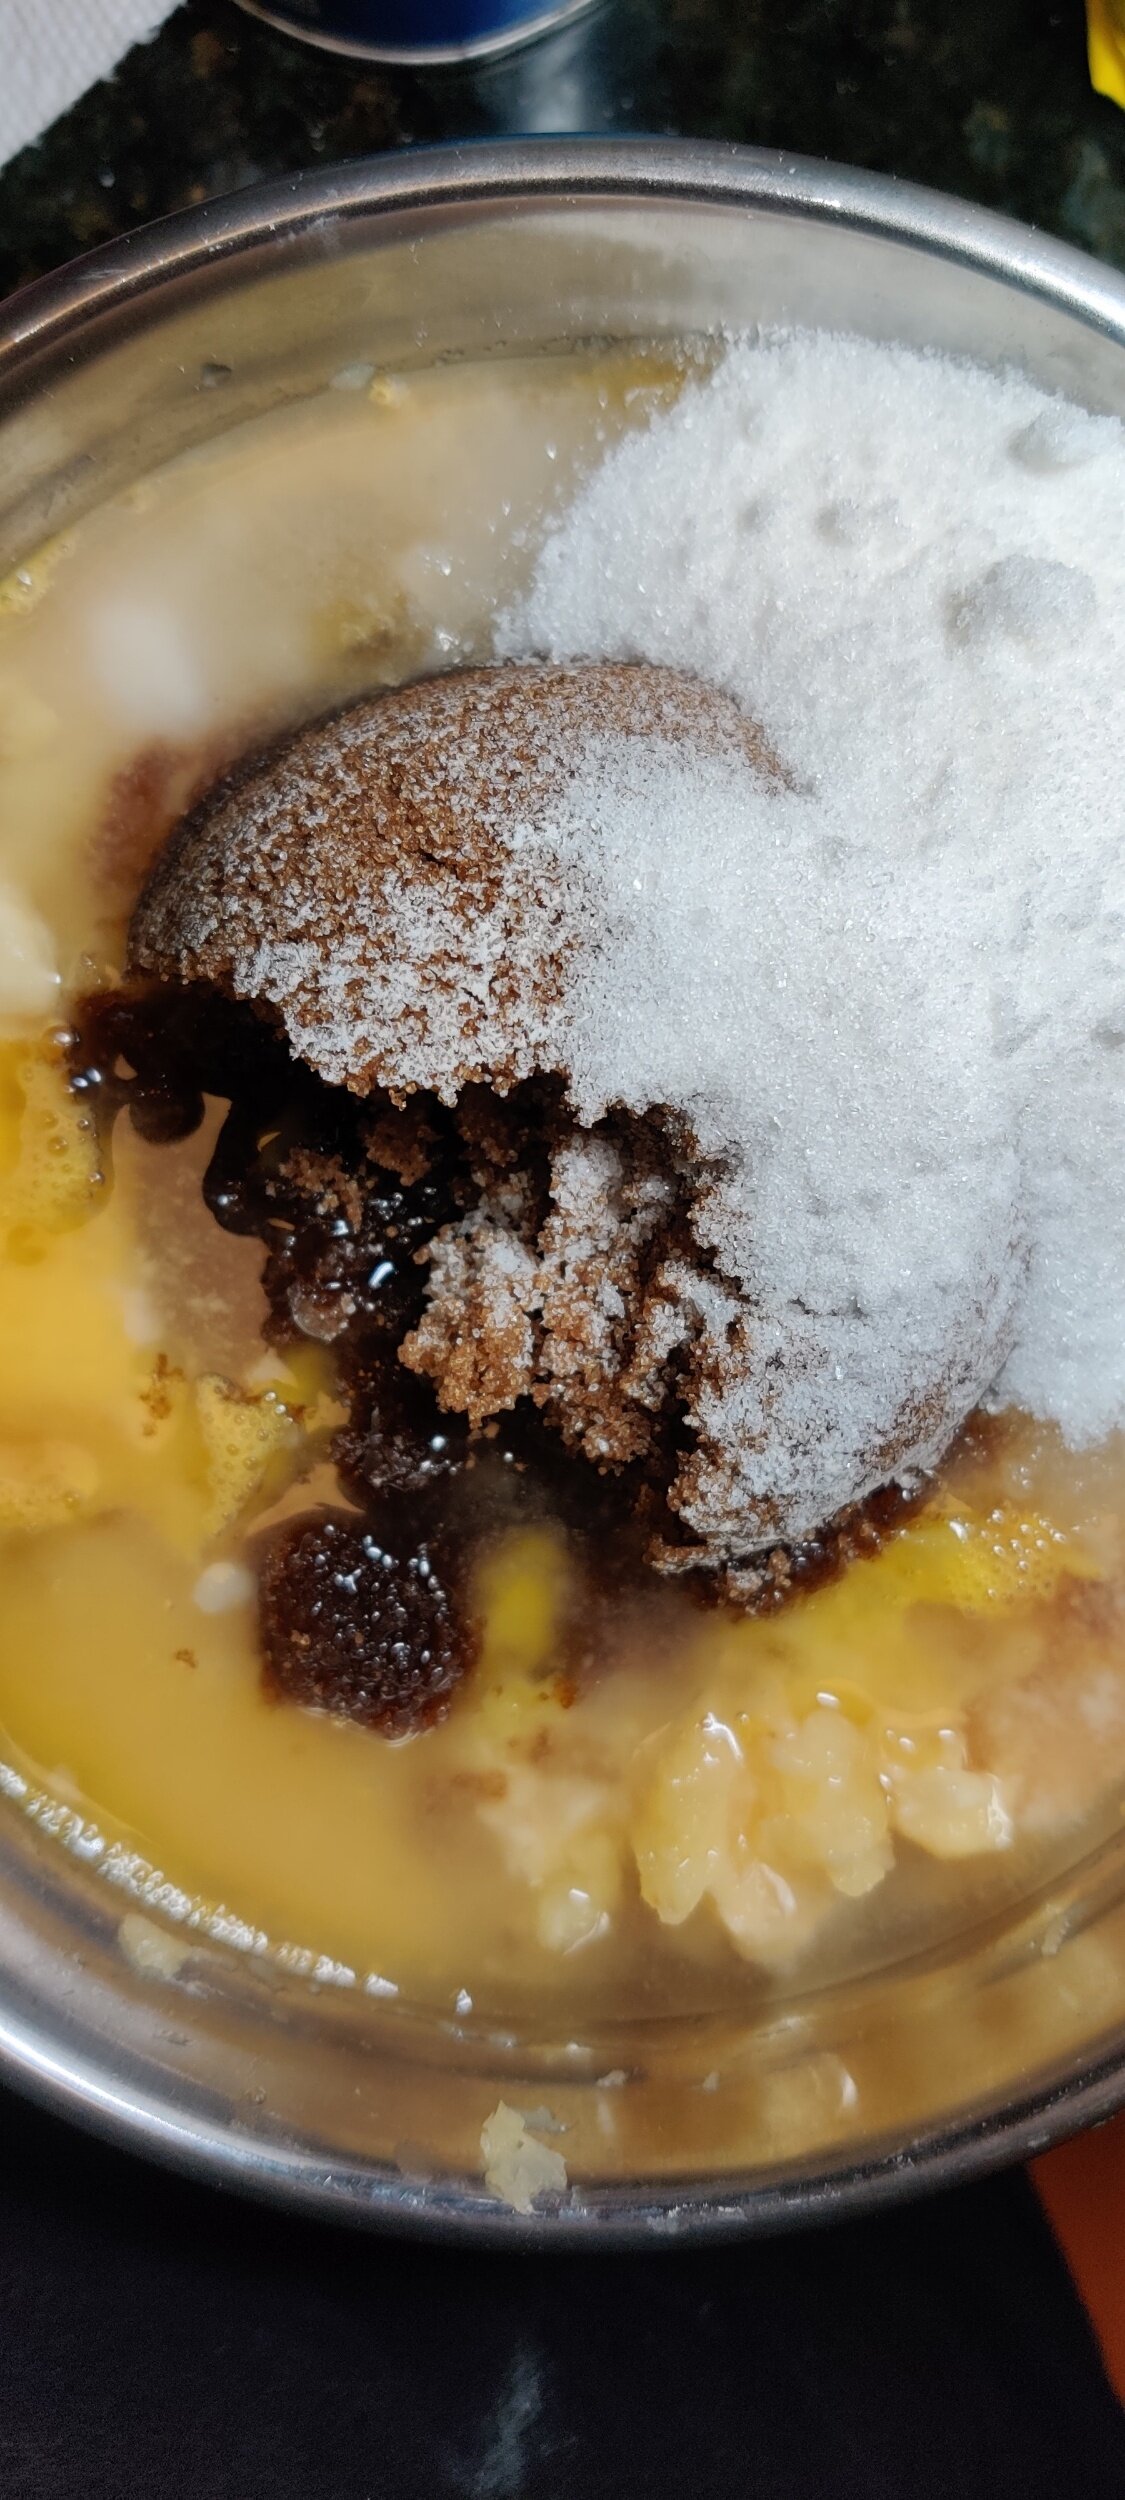
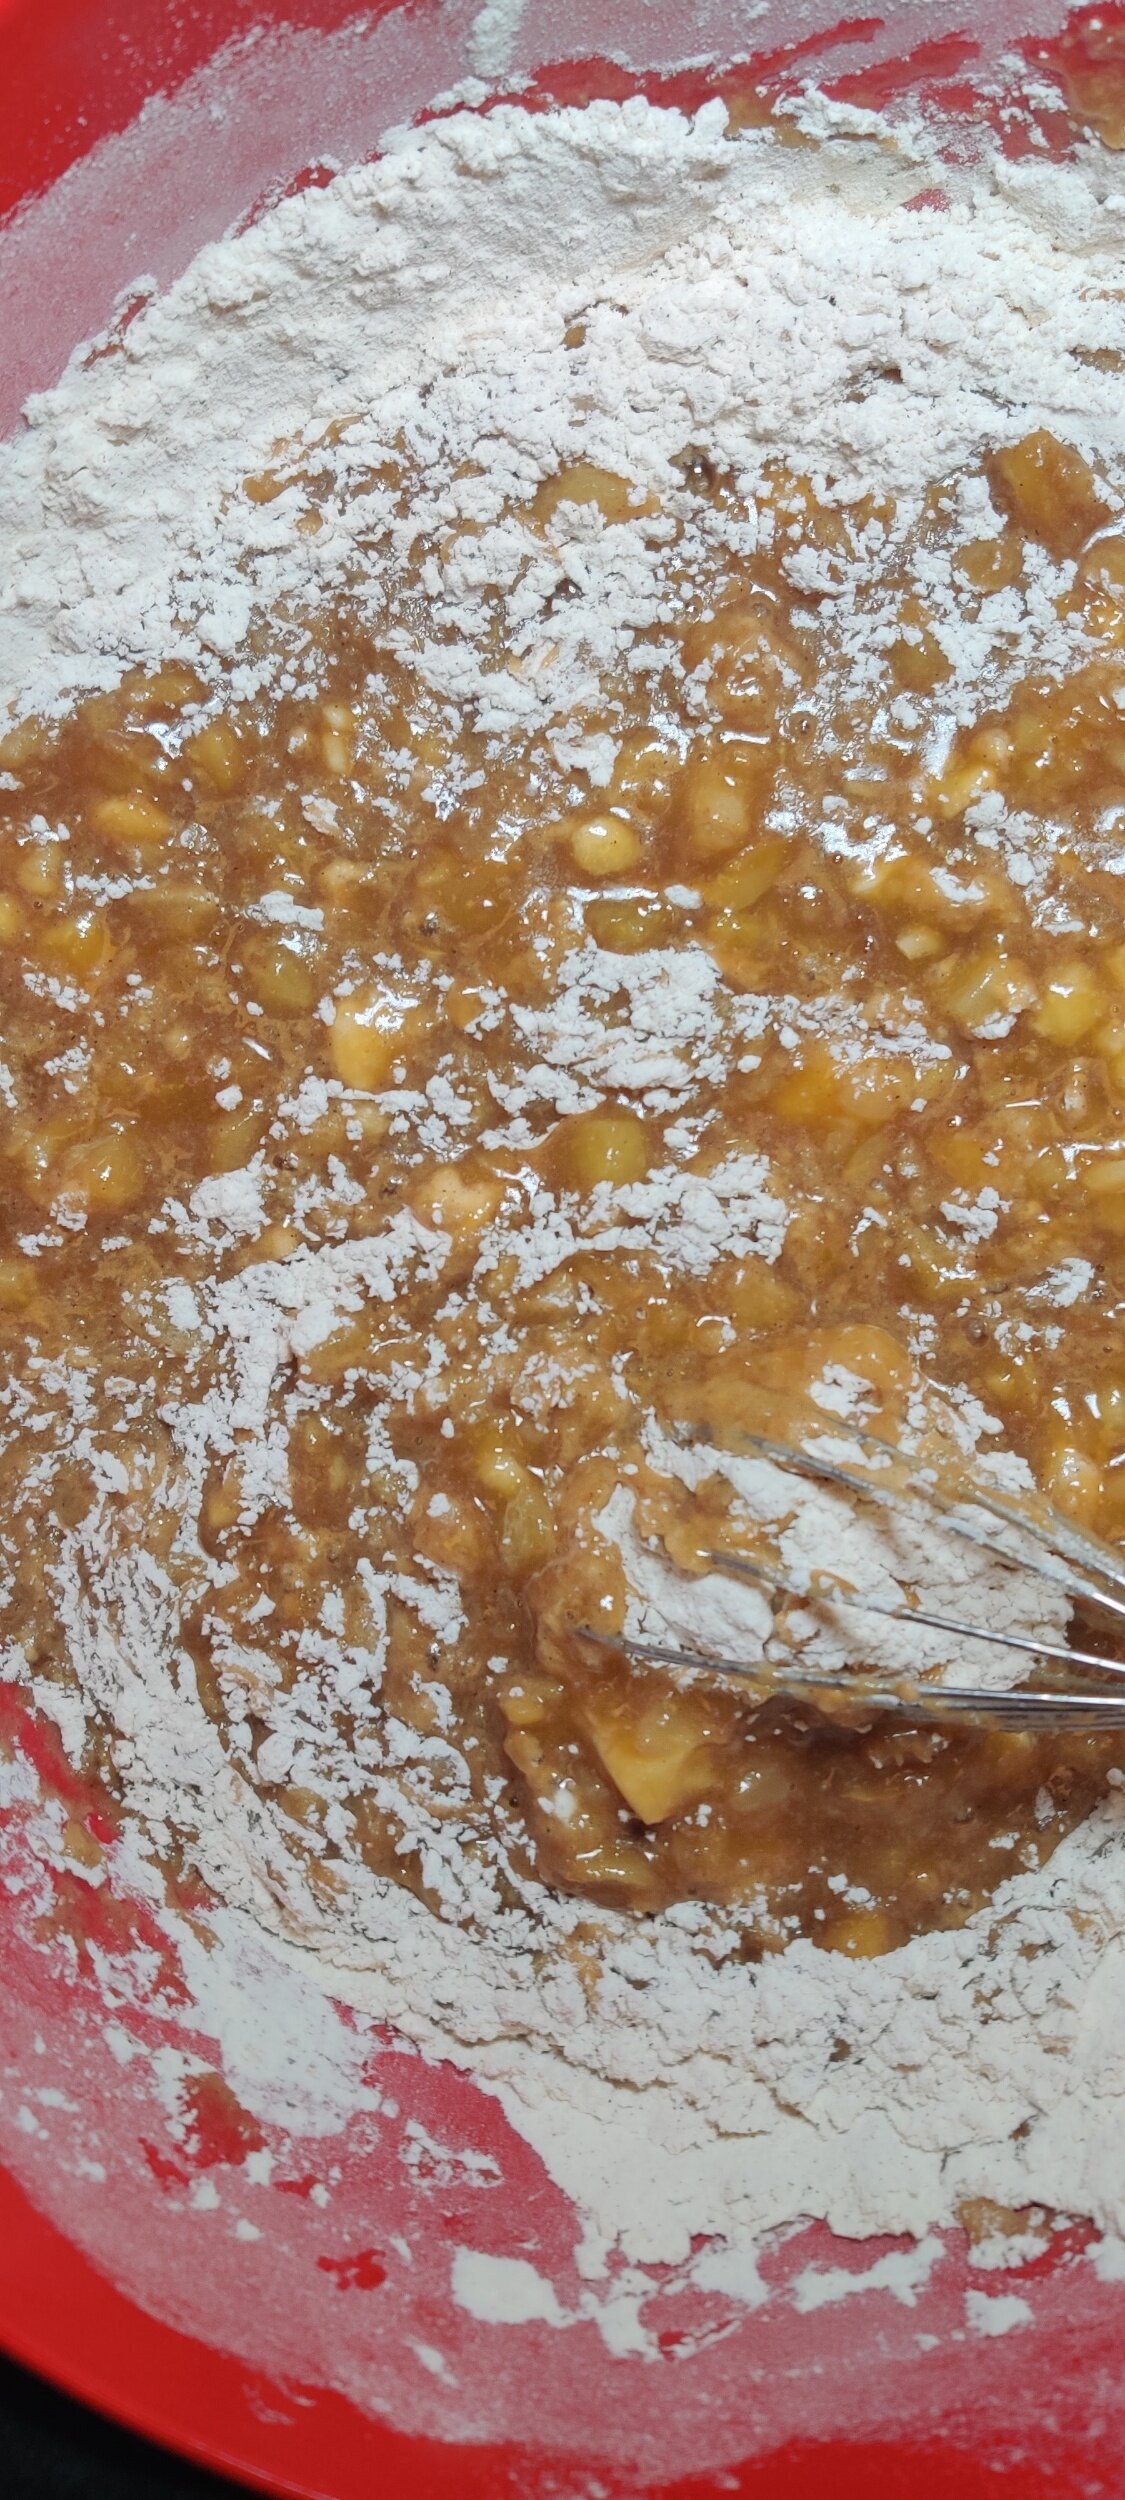
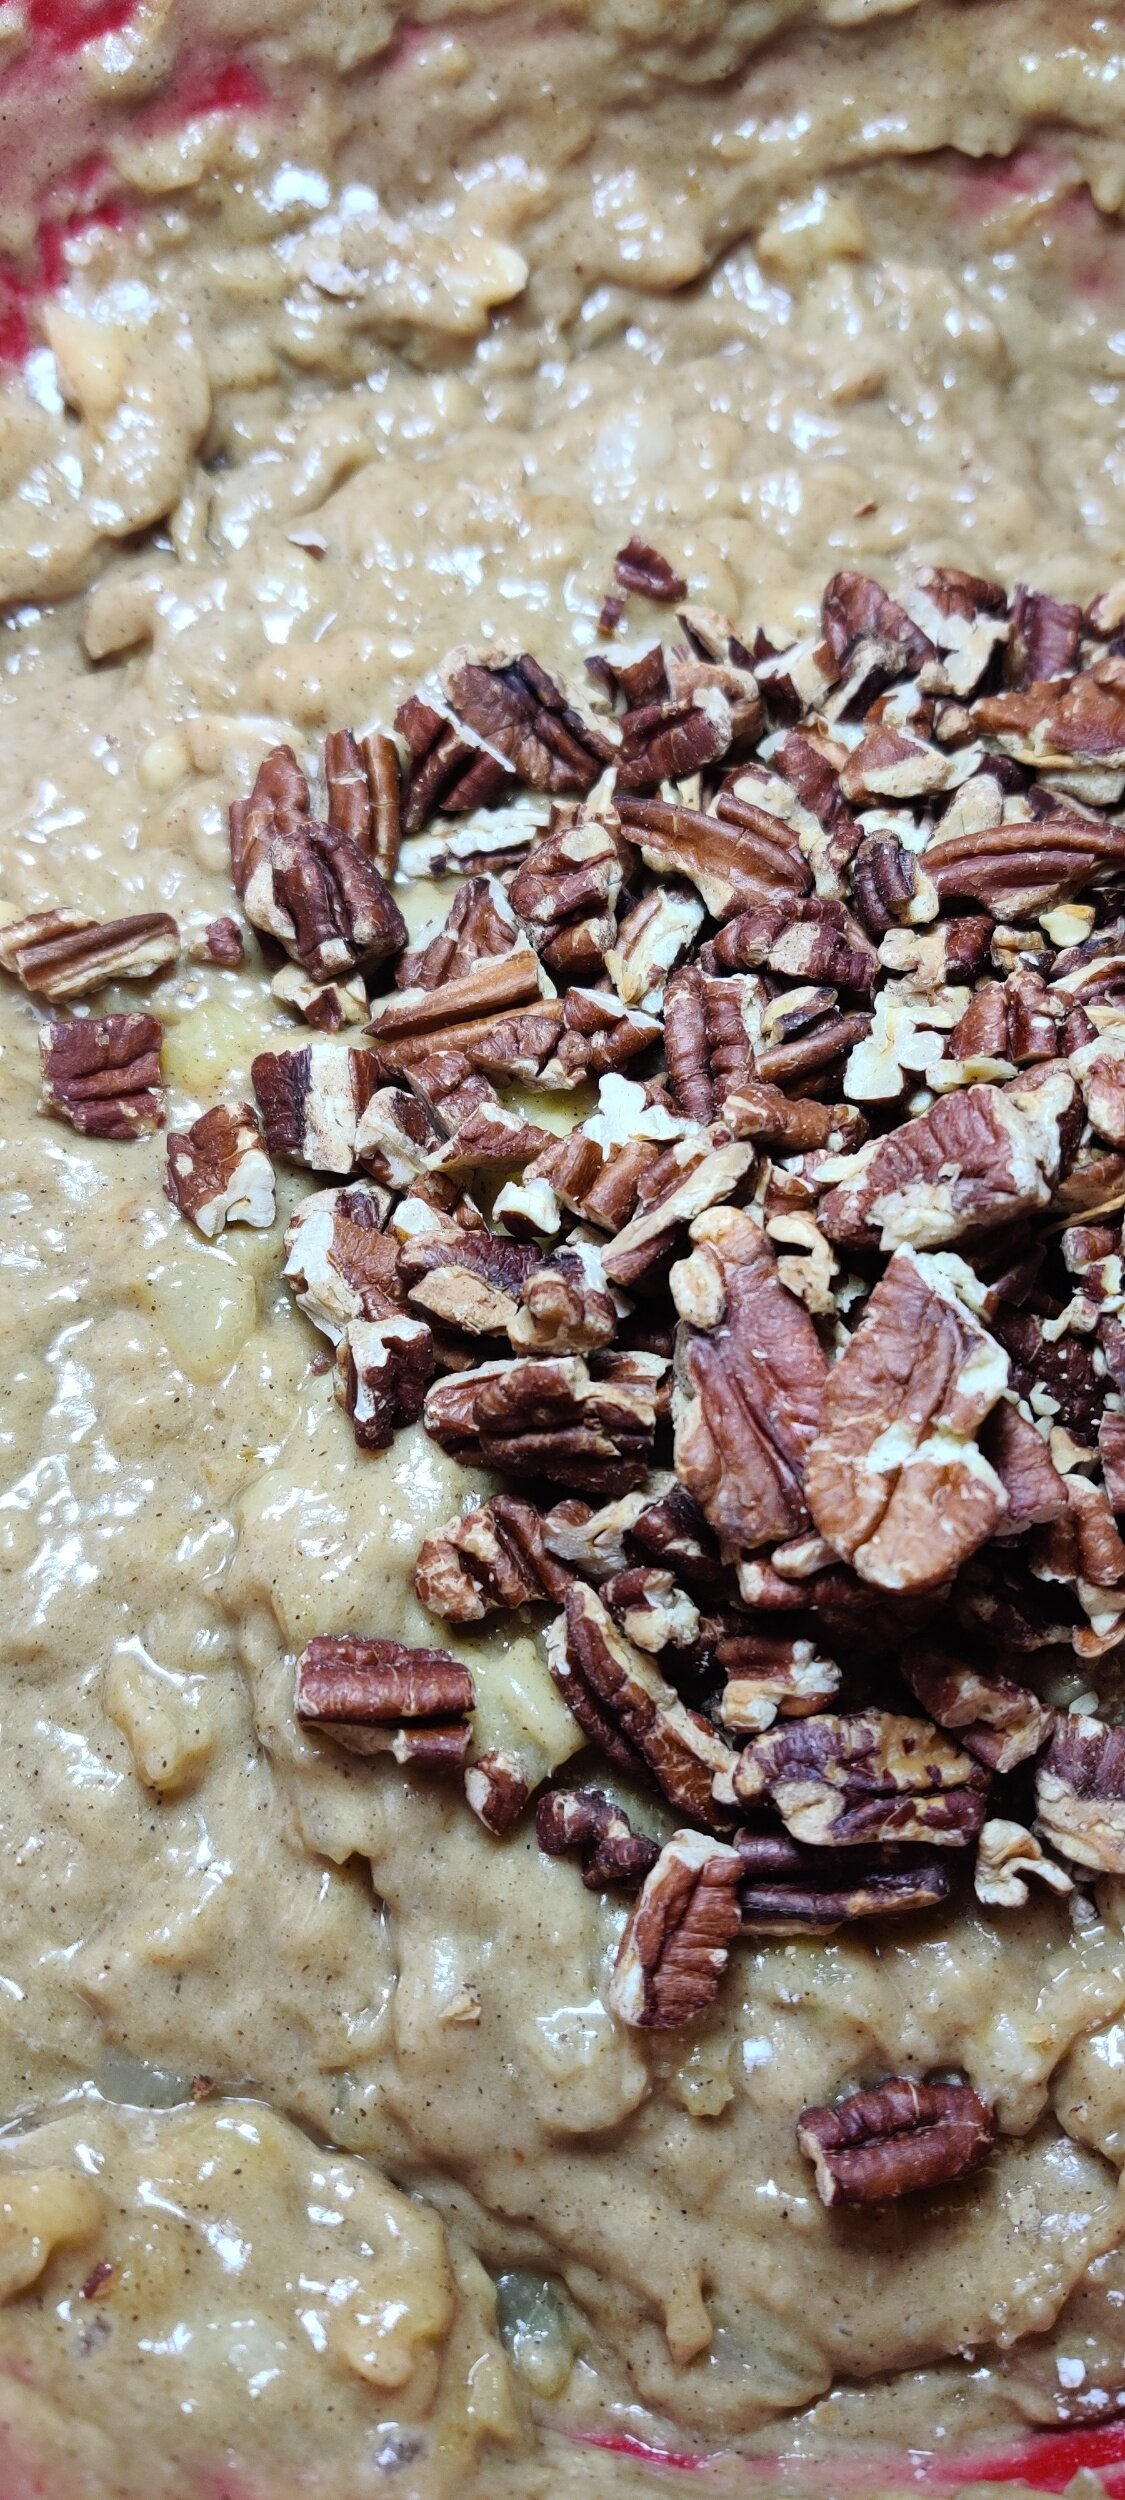
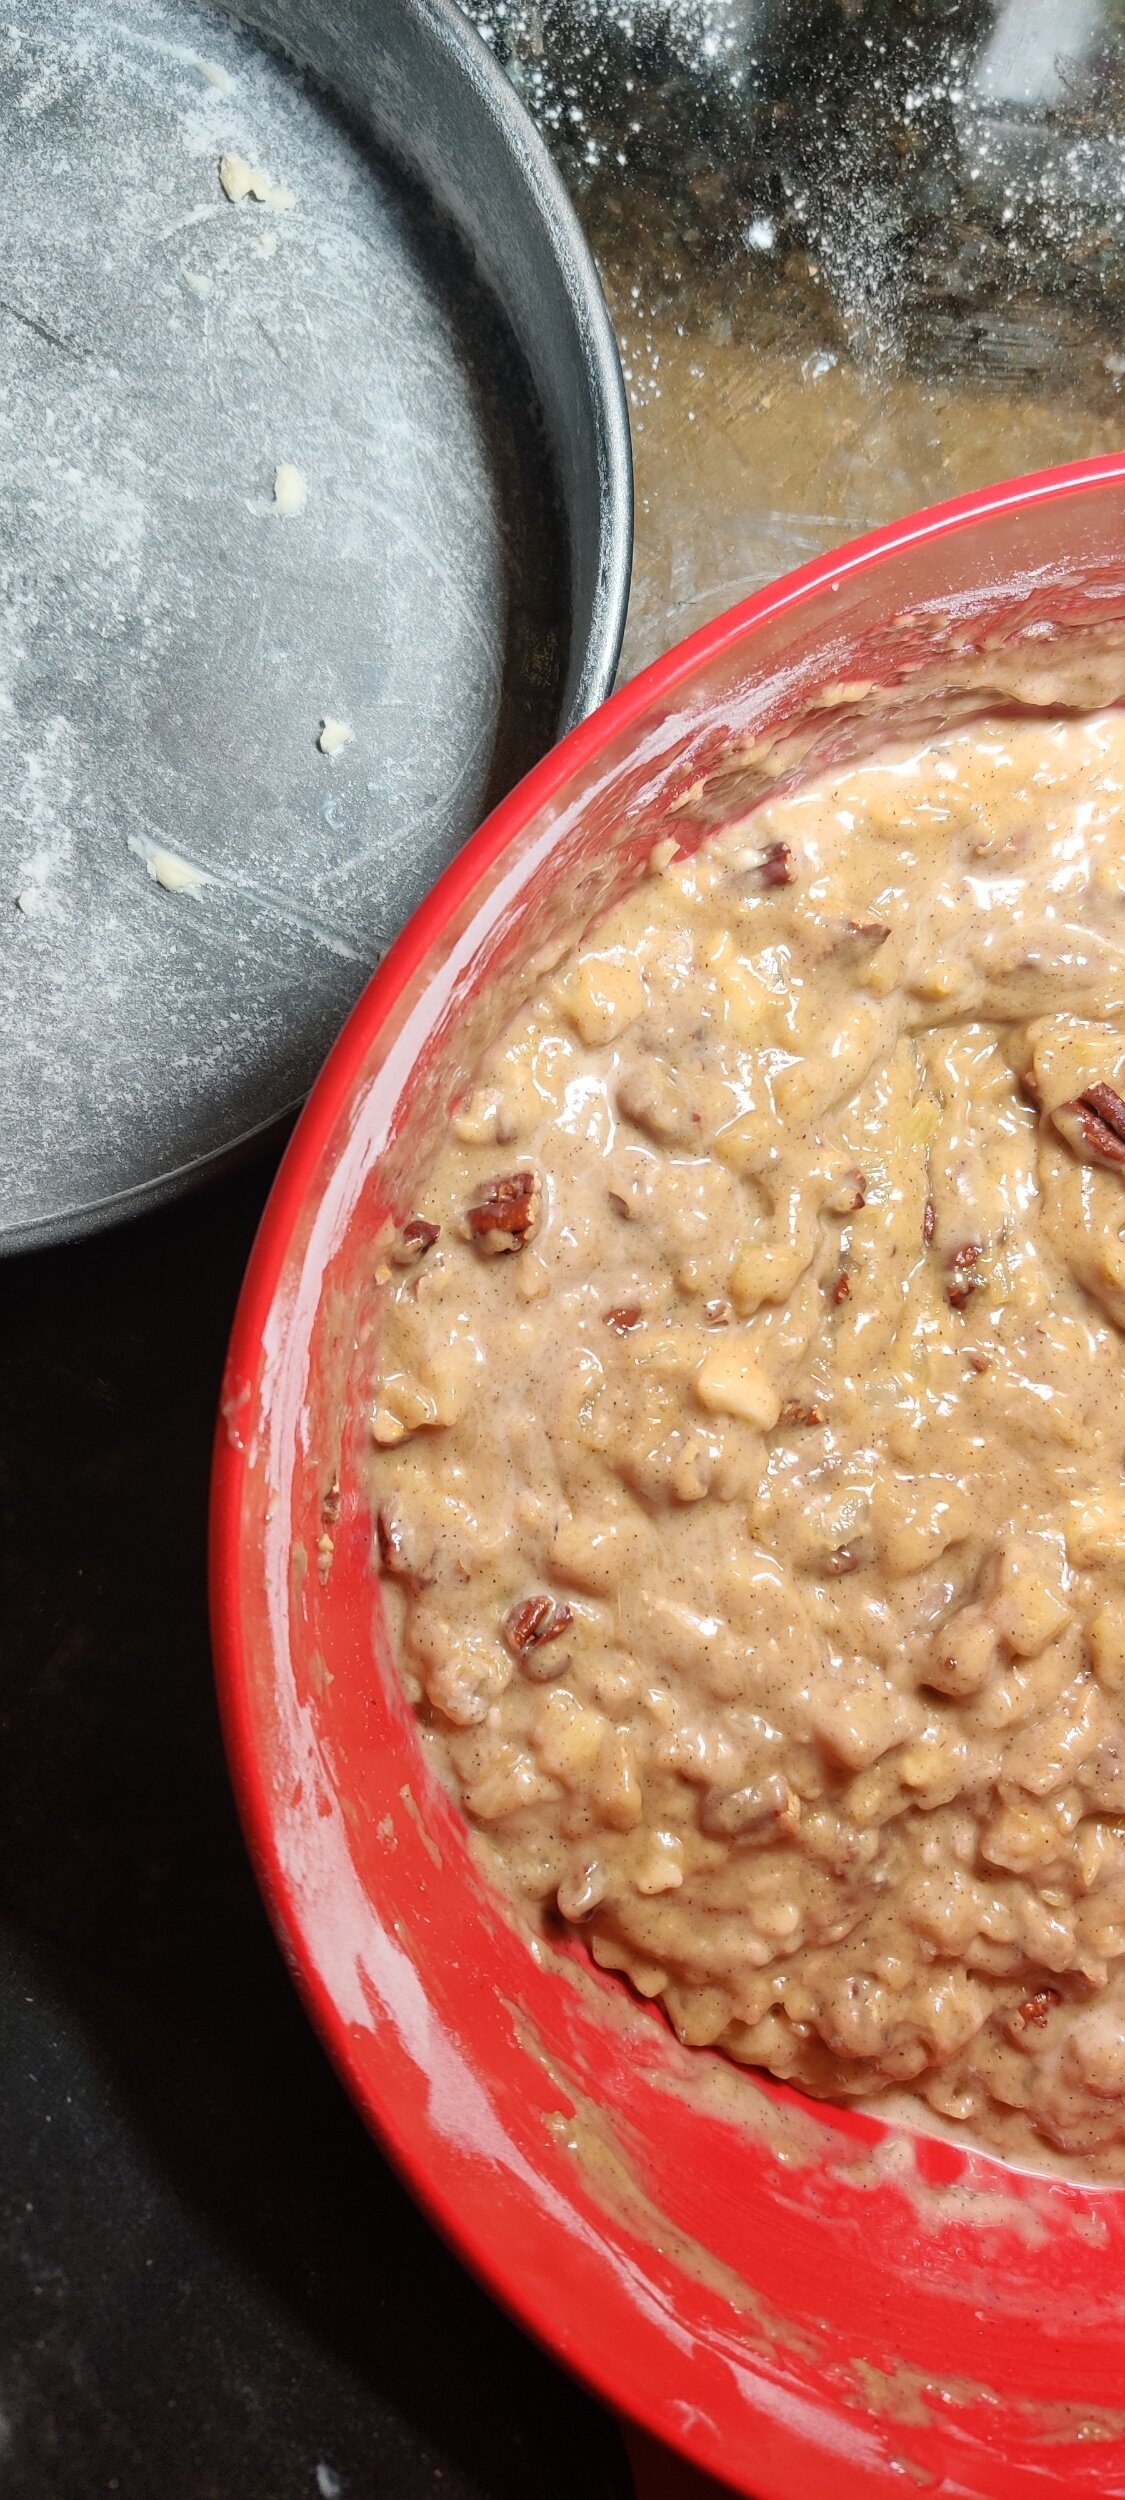
The cake was initially used to promote tourism to the Caribbean. I love food that has a story, but what drew me to exploring the recipe was its likeness to my go-to carrot cake recipe. Also, who doesn’t love pineapples and bananas? It’s a delicious, moist cake that pairs wonderfully with coffee or tea! Plus, it's easy to make.


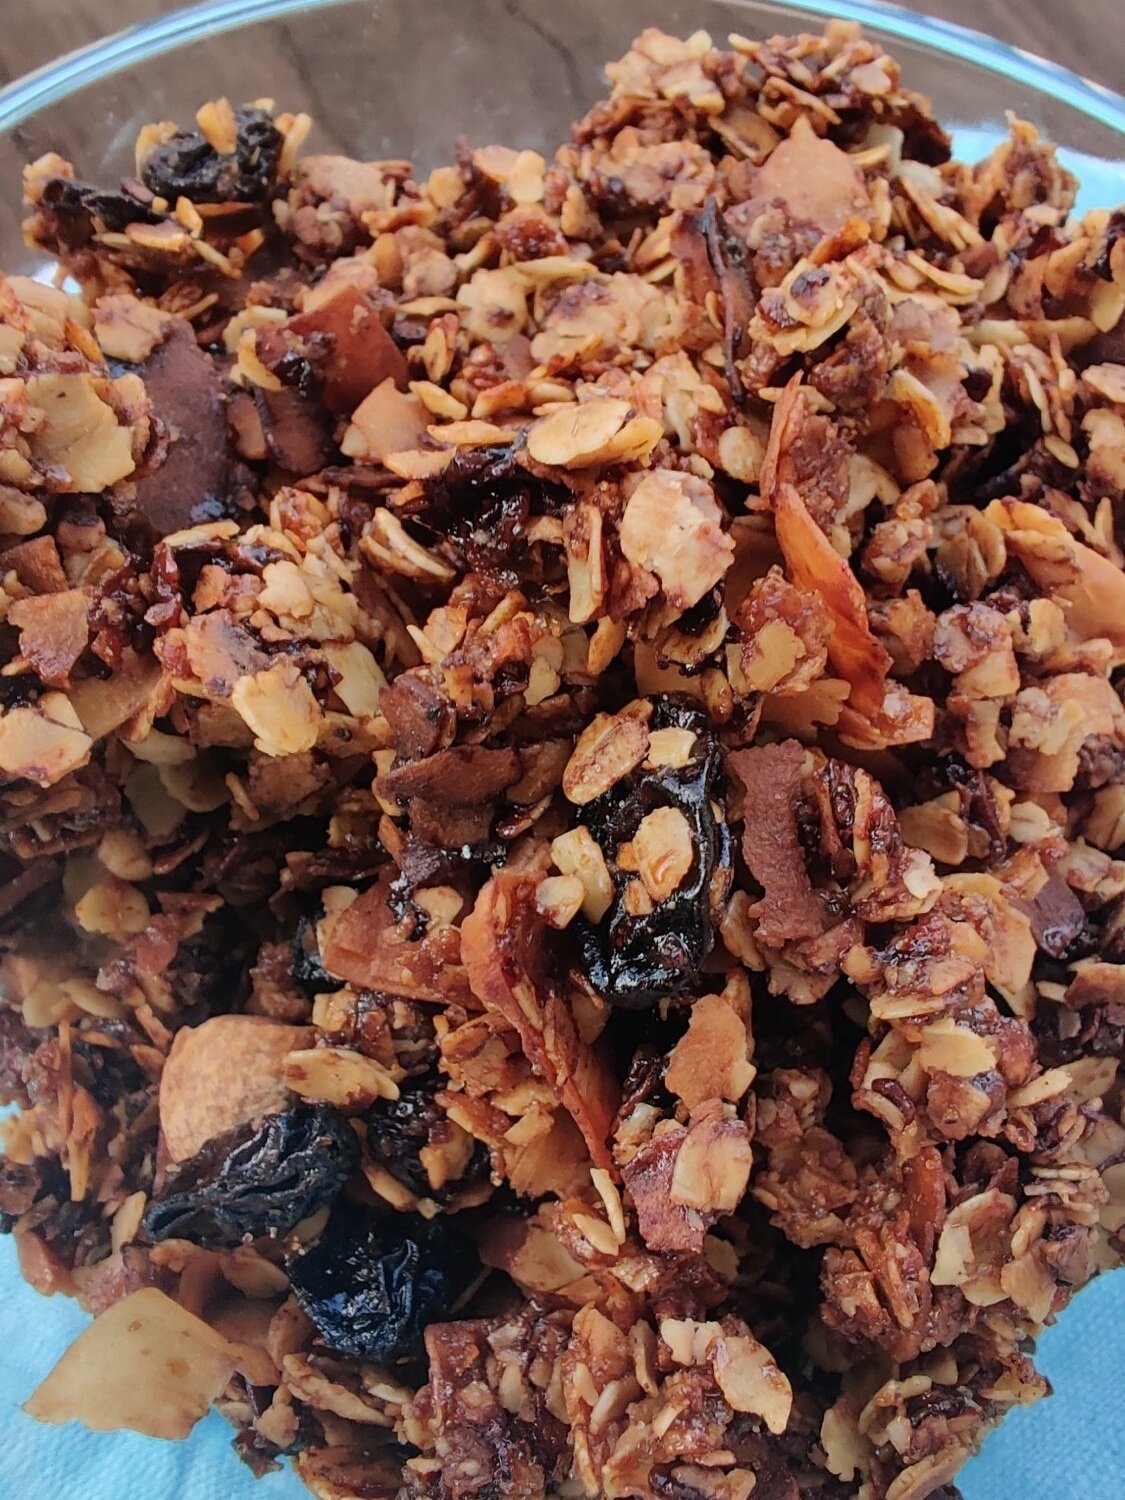
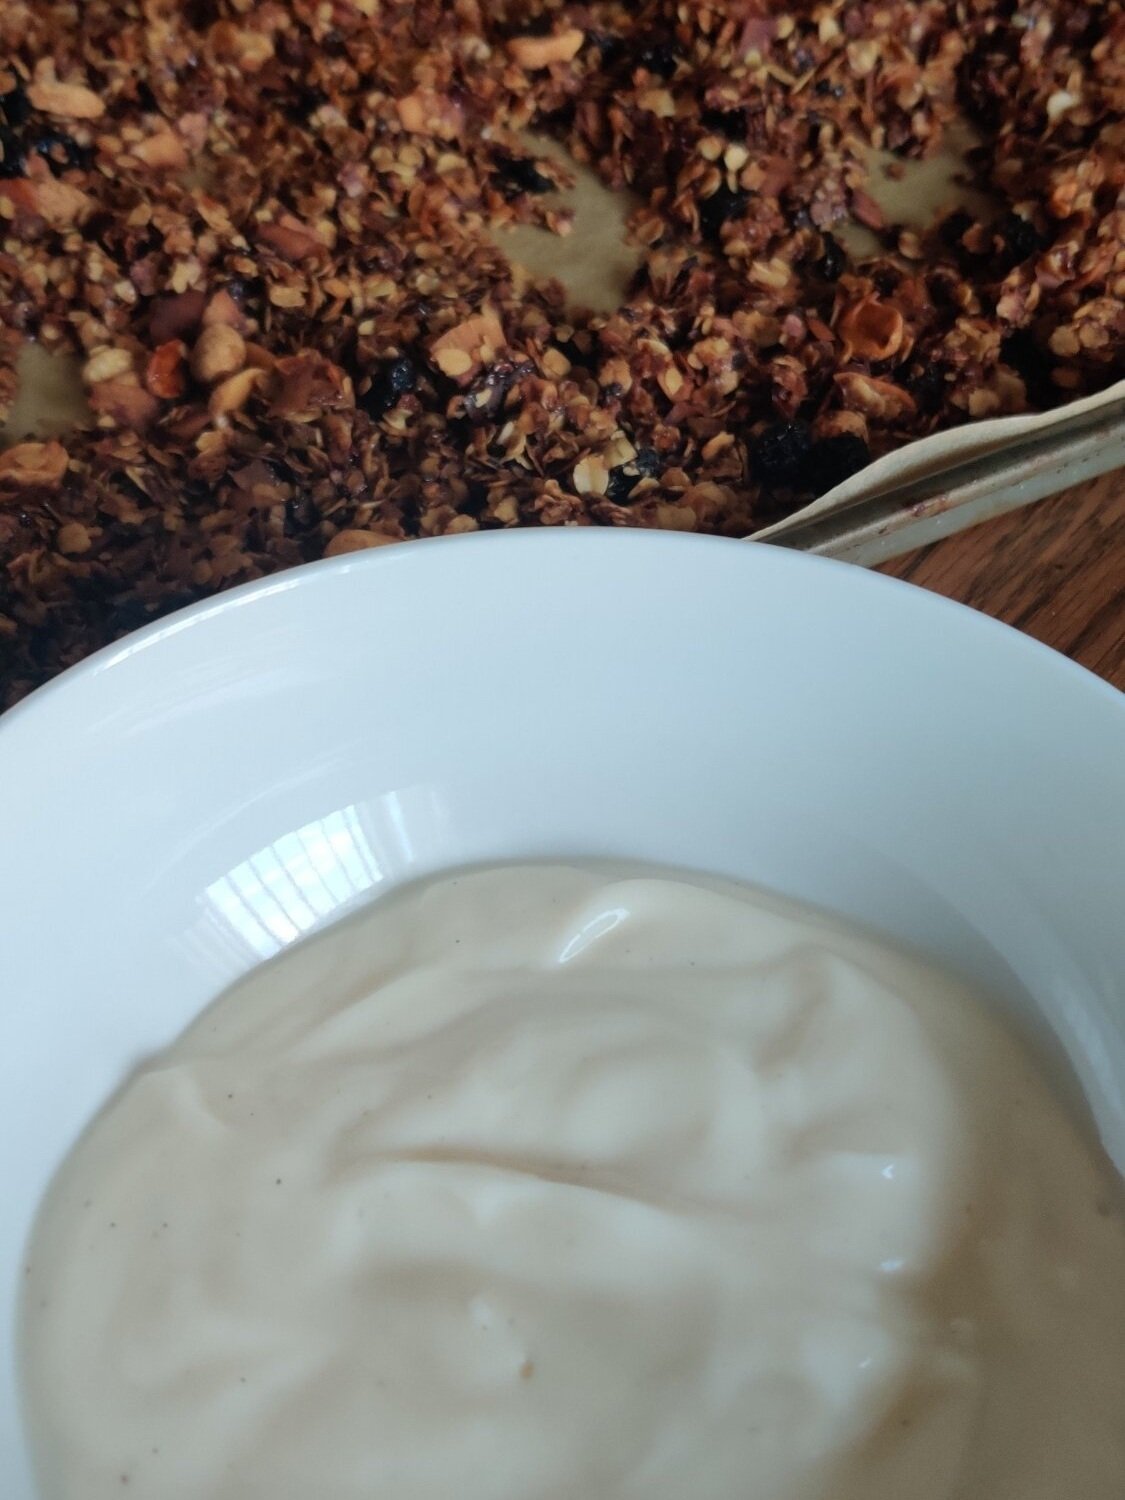
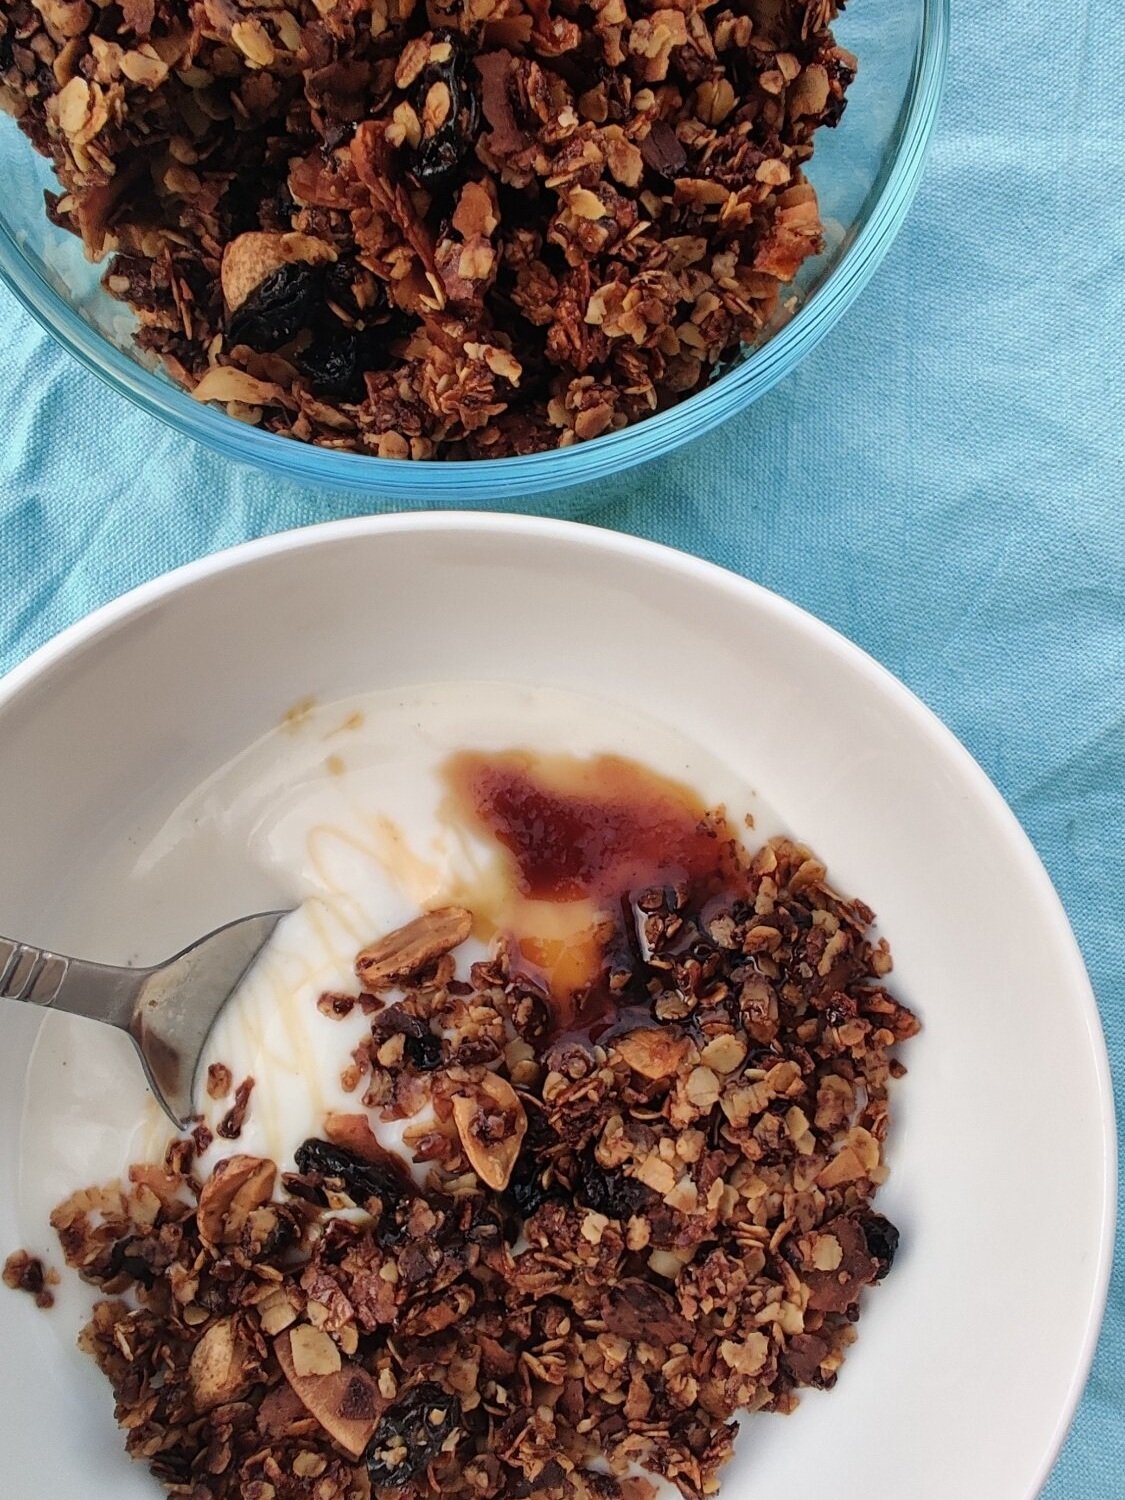
Homemade Crunchy Granola
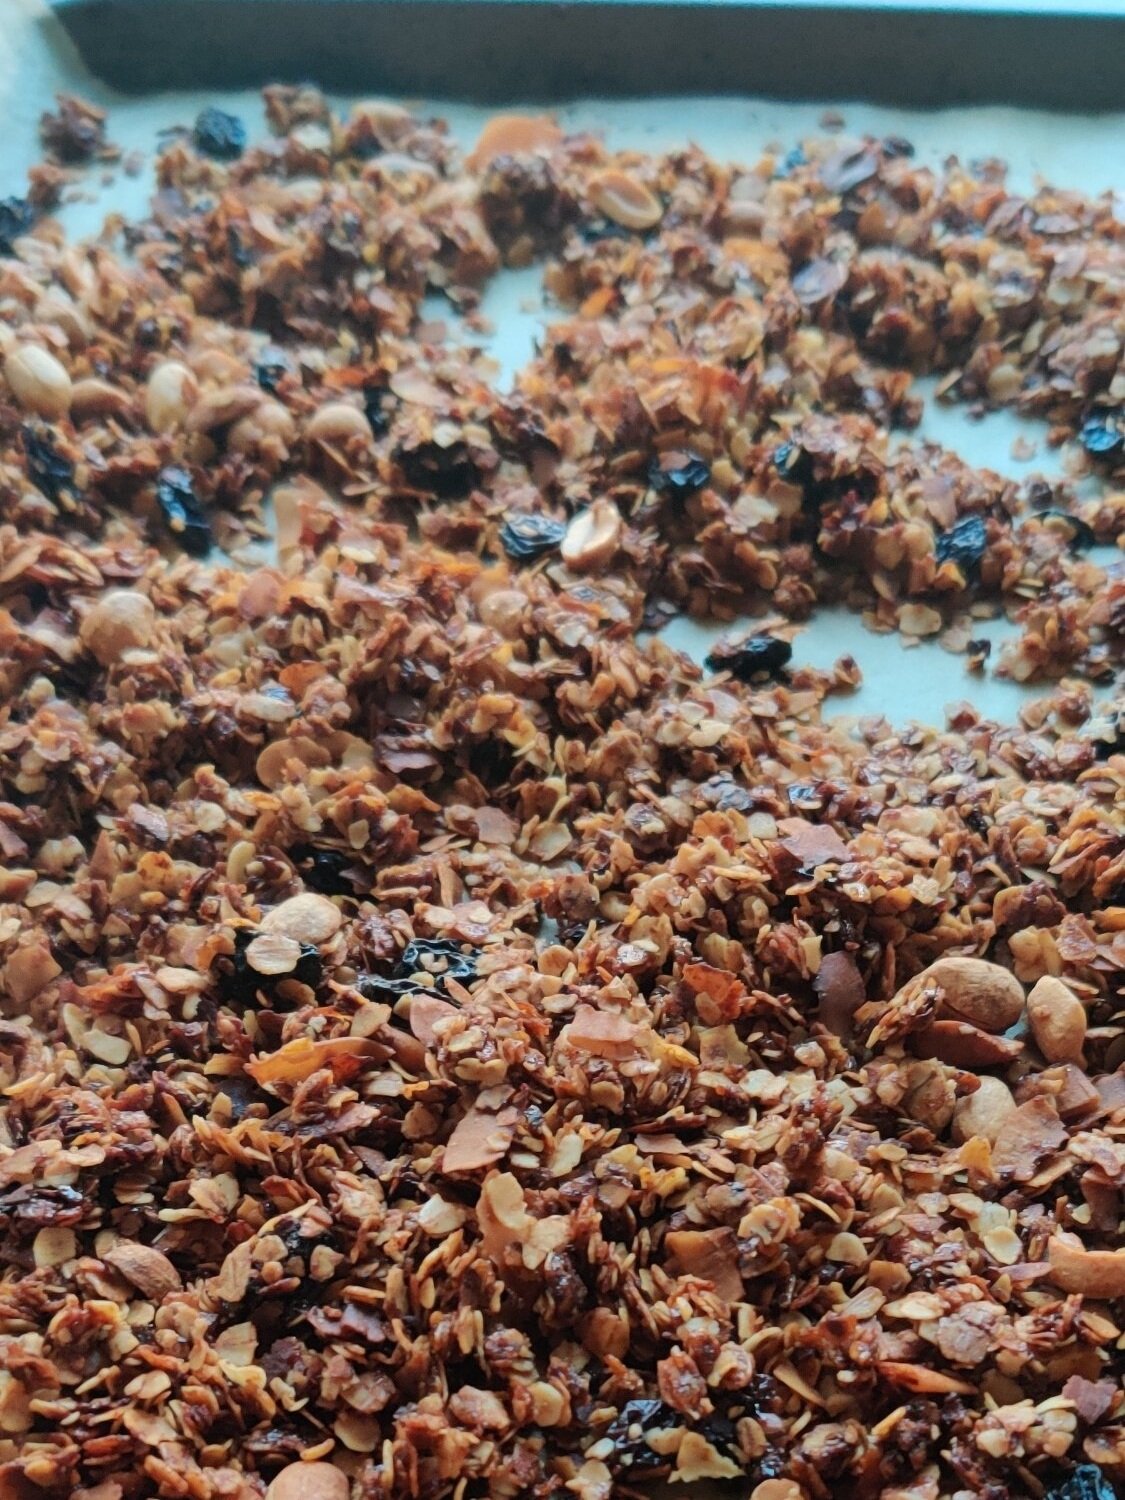
Do you like peanuts? Have a taste for almonds? Addicted to cranberries? Throw them in! This, like many of my other recipes, is merely a guideline. When you are low on ingredients, the key element is the rolled oats. You should probably have those stocked somewhere anyway! They are a great source of fiber.

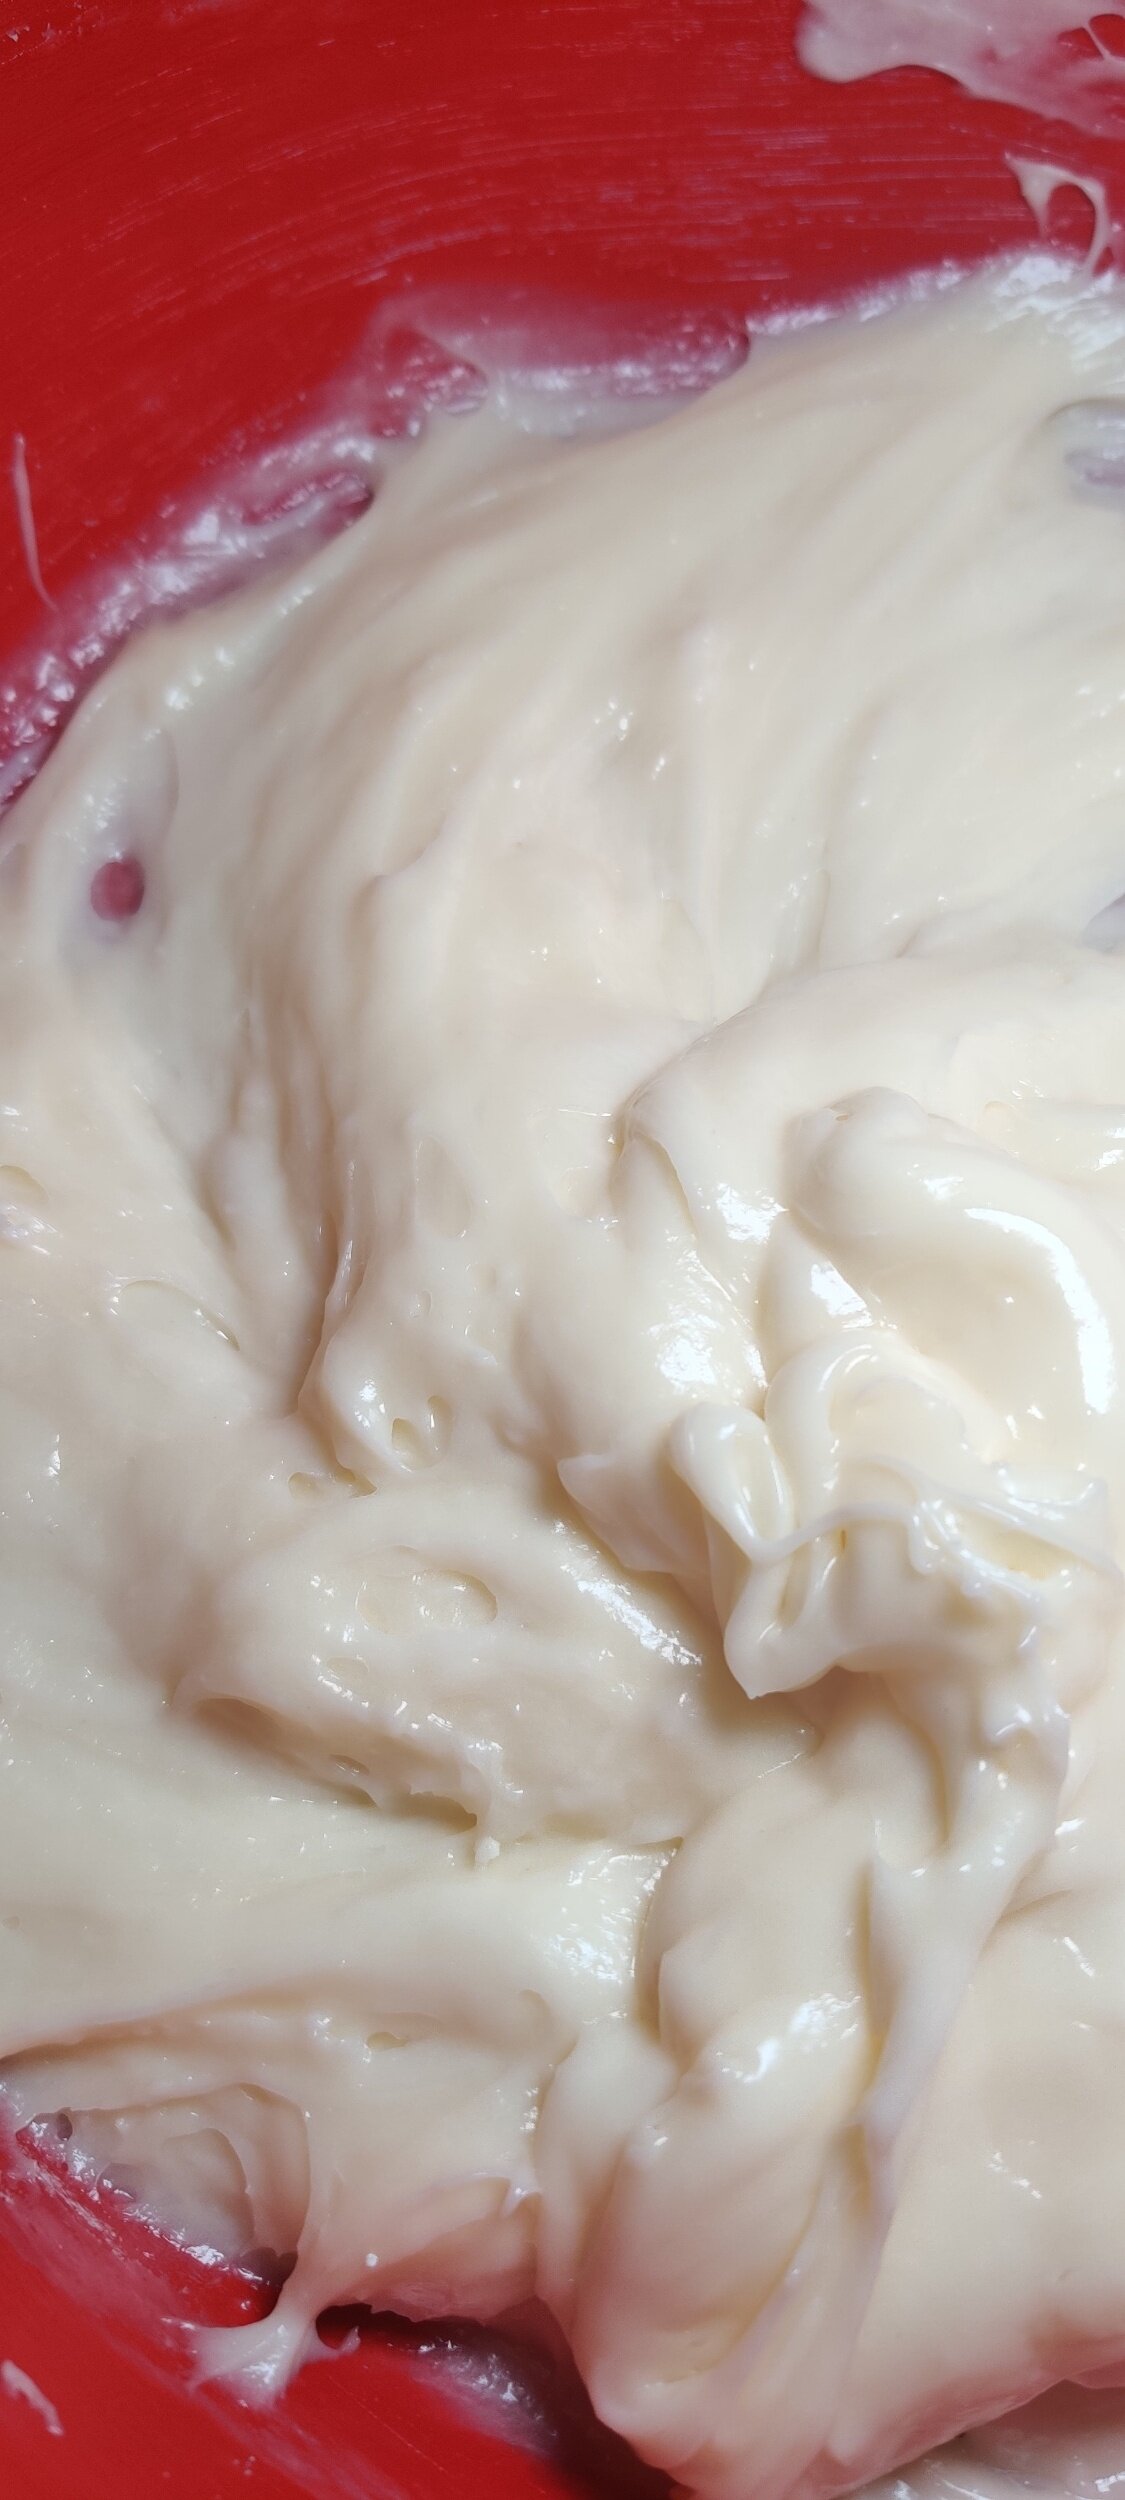
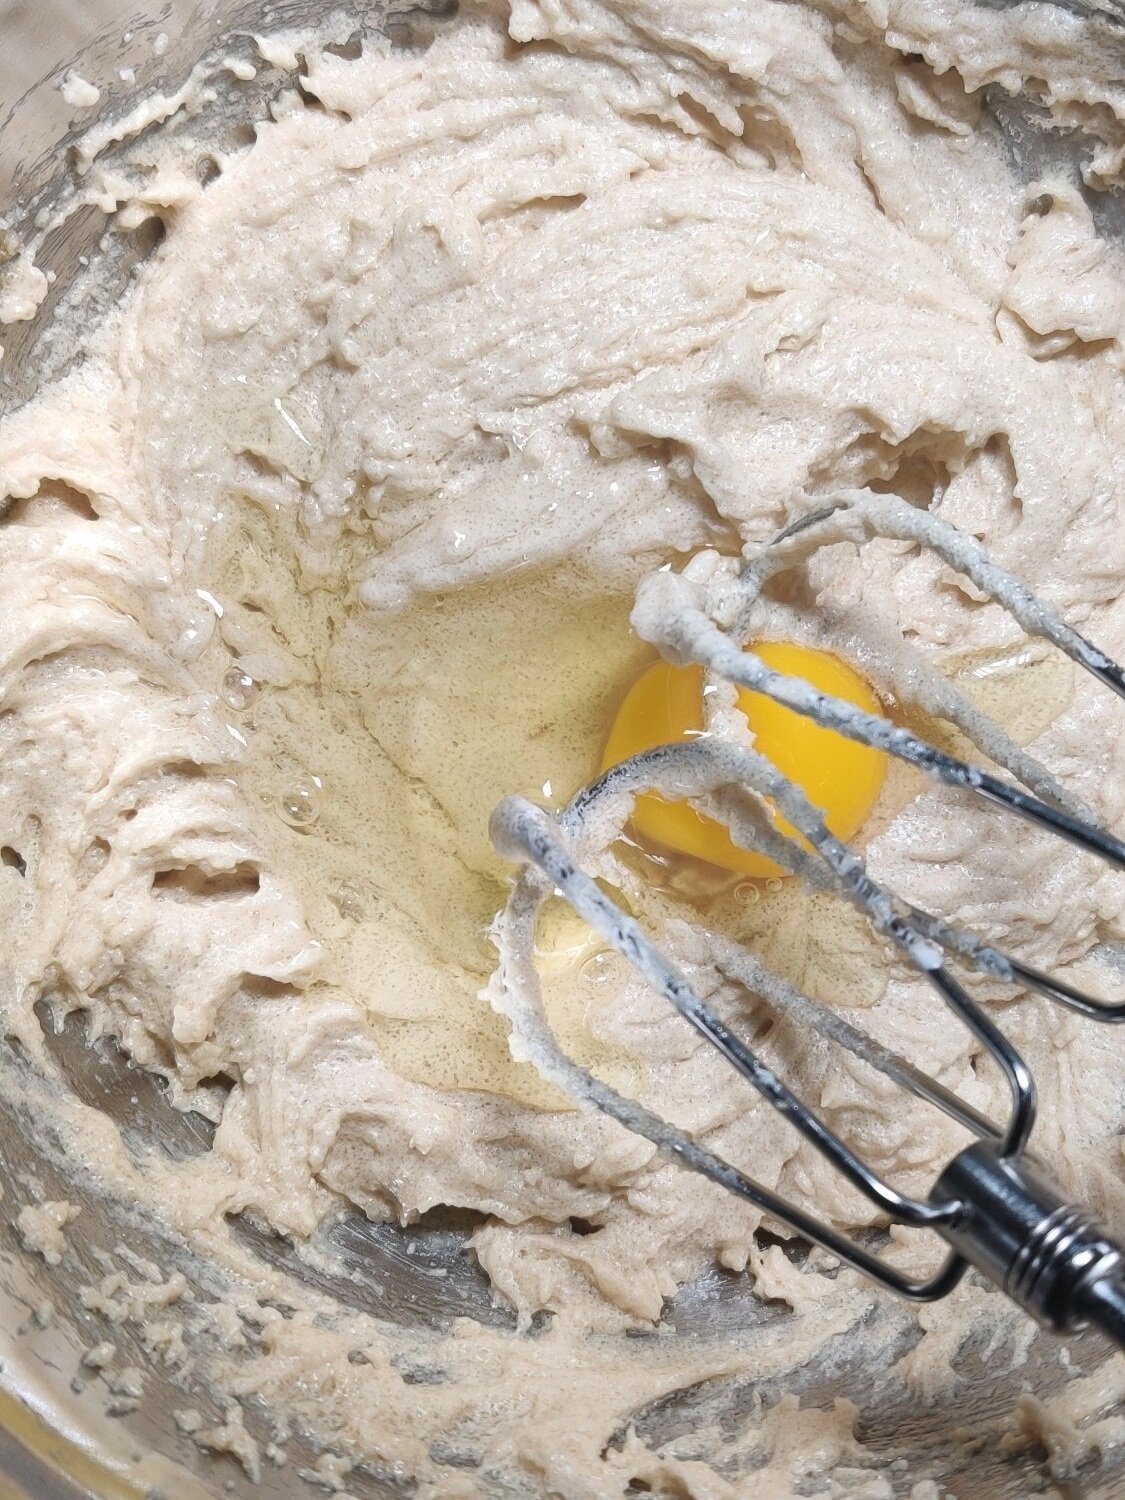
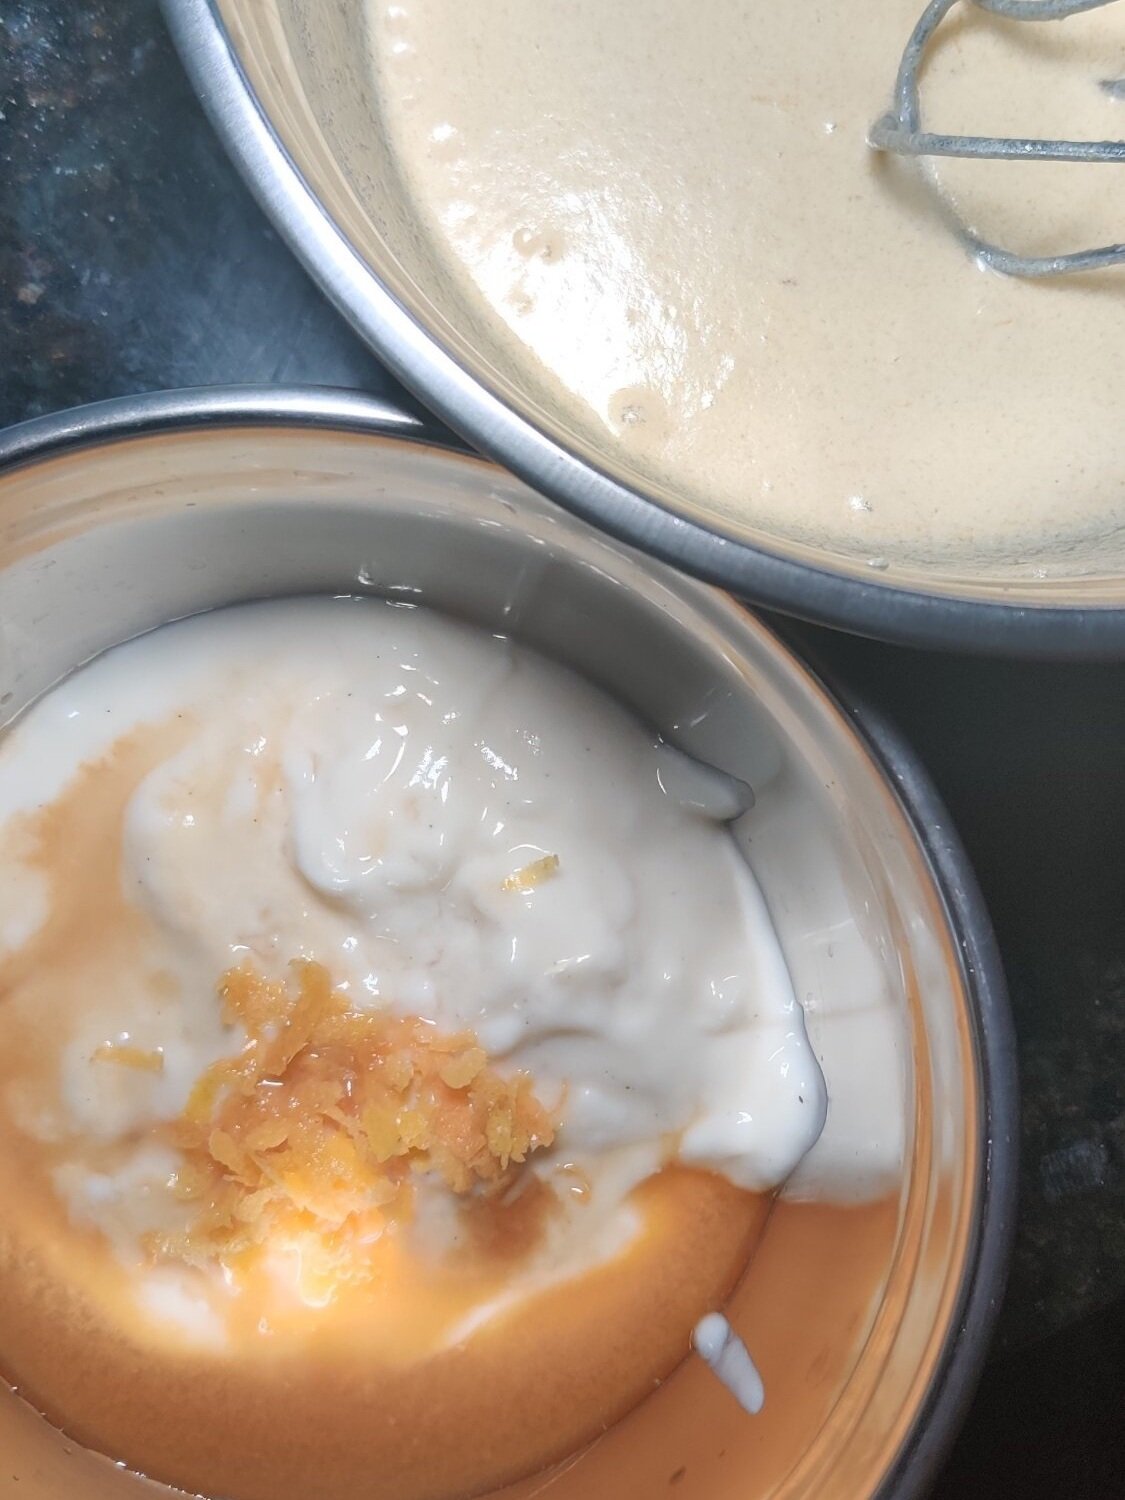
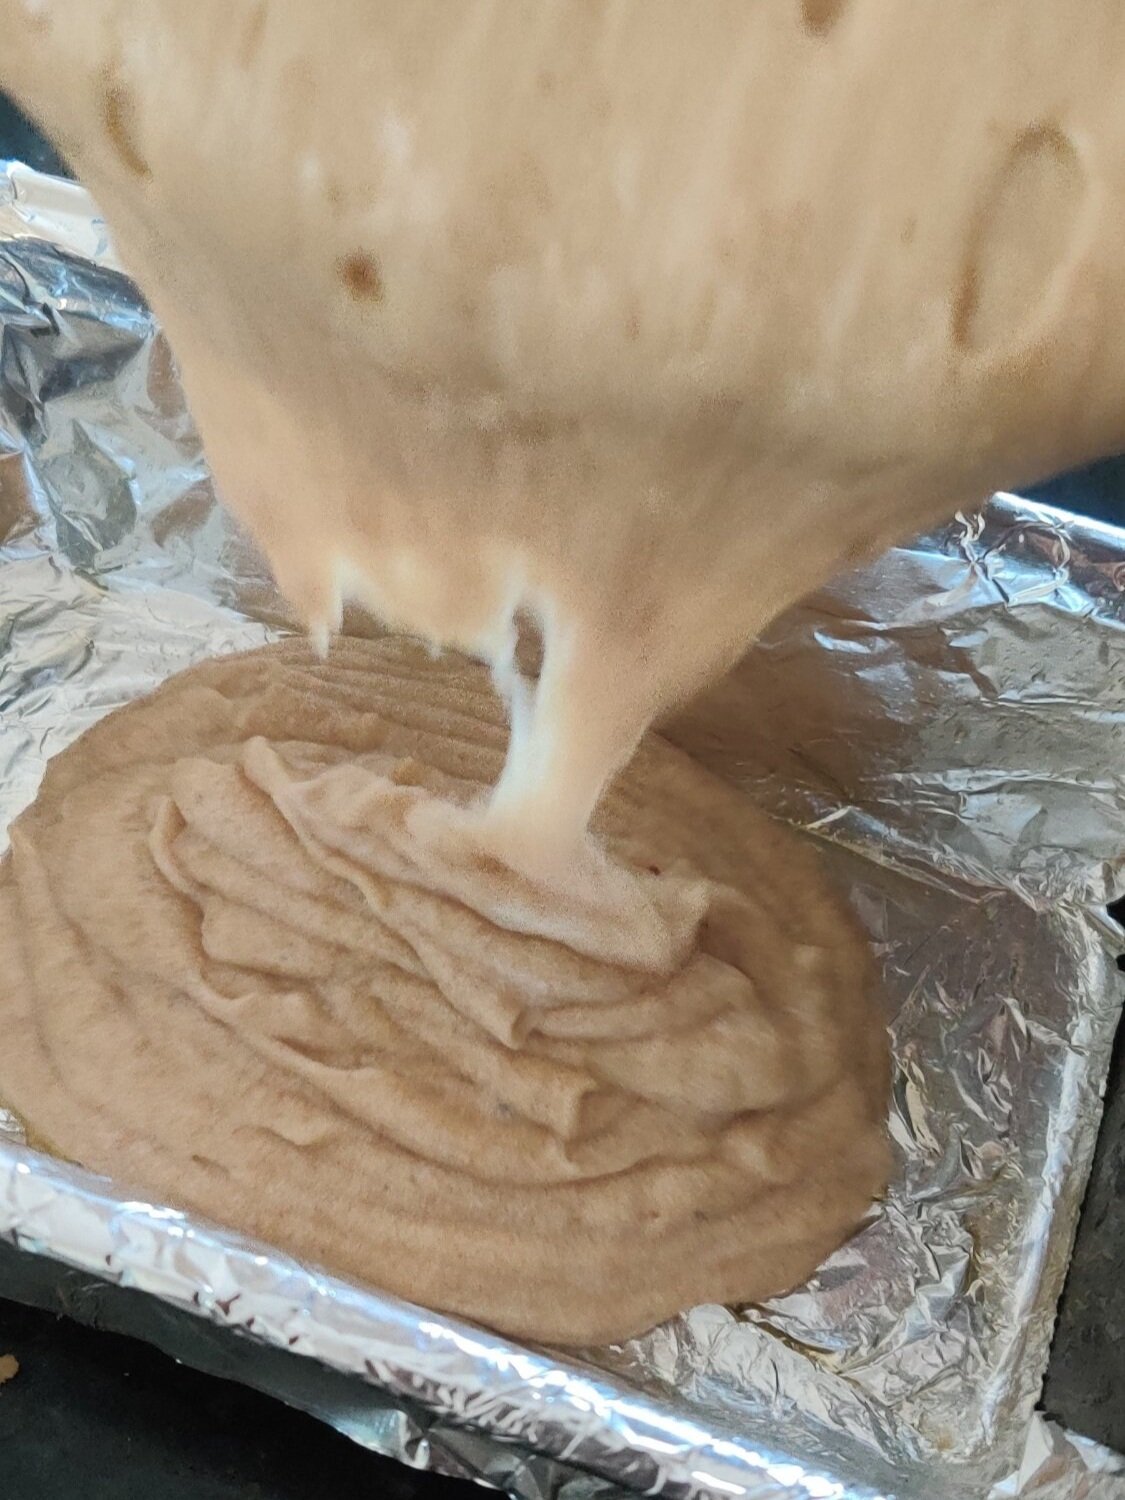
Super Moist Grapefruit Pound Cake
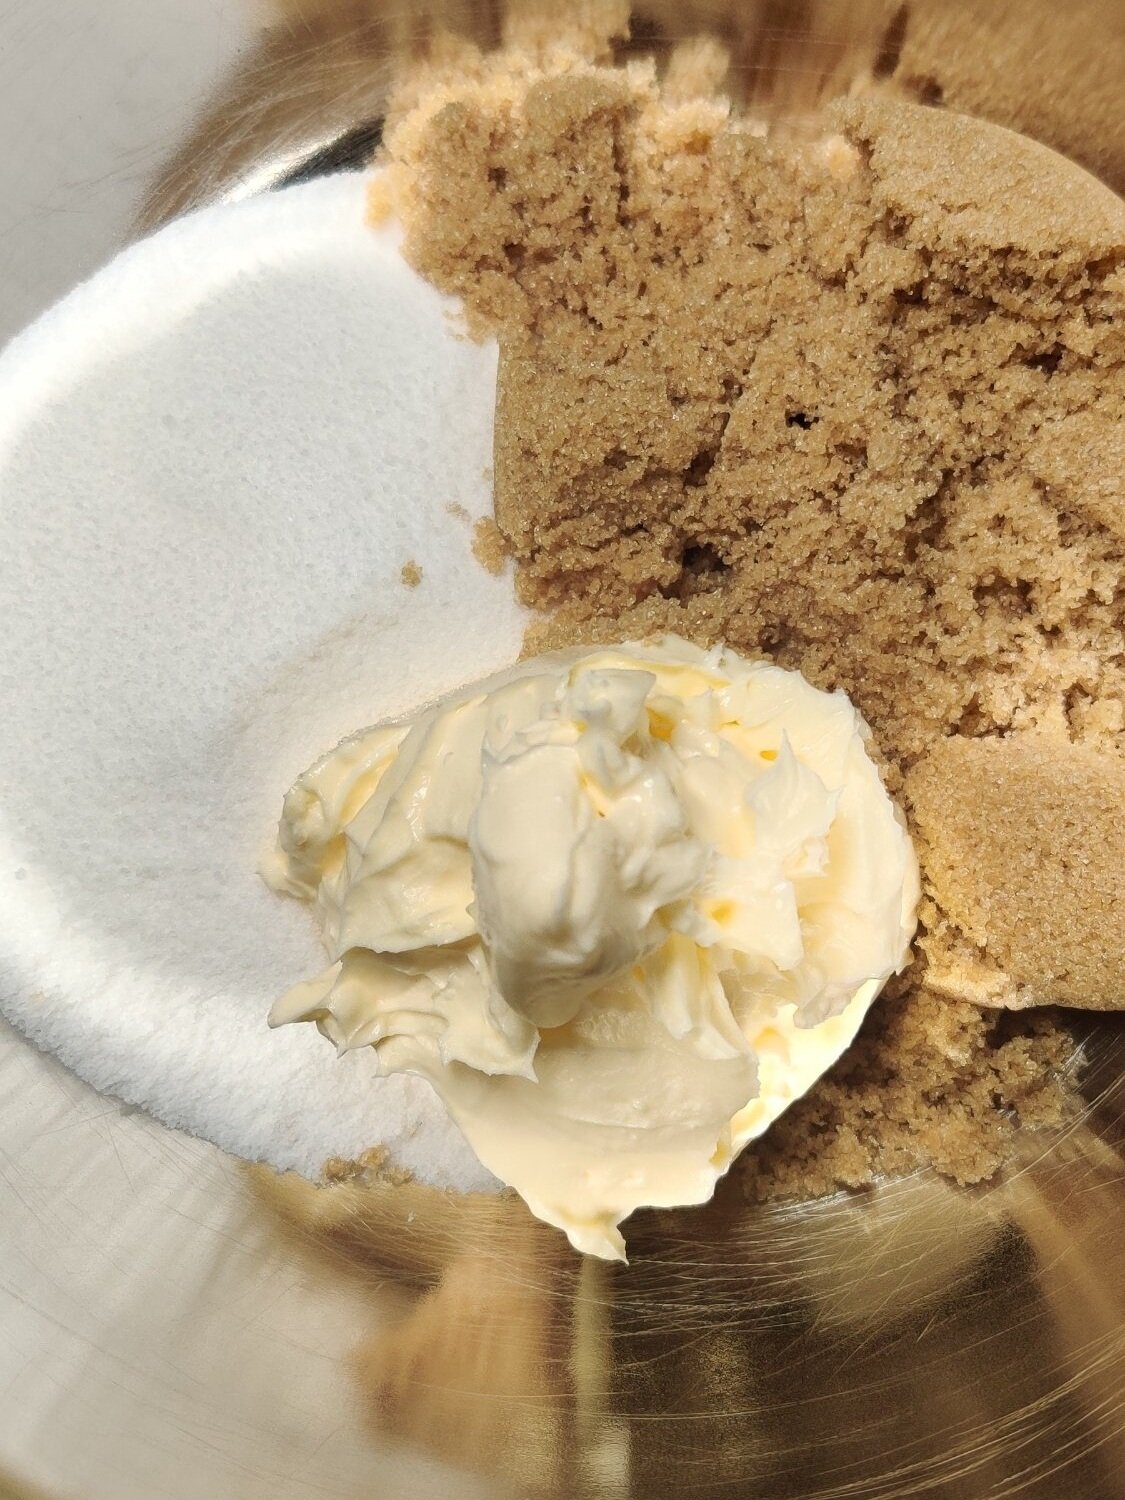
I thoroughly enjoy pound cake for tea time or in the morning with some coffee, it always hits the spot. Marble or lemon pound cake is often my default, the latter in the warmer months like springtime. However, that isn’t the only citrus fruit you can use to add a fresh tang to your loaf!


Creamy Coconut Milk Tart (Melktart)
Milk tart, or melktert, is one of my all-time favorite desserts. It brings back so many memories of my mom in the kitchen, making silky custard, pudding, jelly, and cakes while I watched and learned. As a child, custard (packaged!) in particular was one of the first desserts I ever started making on my own, so it was no surprise that milk tart quickly became a comfort food I could never pass up. The buttery crust, creamy filling, and cinnamon (sometimes stronger, sometimes lighter) are simple but so satisfying.
For these versions, I’ve added a twist by using coconut milk in the filling (and toasted coconut flakes in the crust in the first version) for a subtle, unique flavor that enhances the sweet, nutty, tropical notes of the milk tart. I also made the custard slightly richer and creamier than the traditional version, so slices may be a touch softer than the classic, but the indulgent texture is intentional and totally worth it. In the second option, I swapped the traditional pastry for my favorite oatmeal crust to give it extra texture, thickness, and heartiness. Whether you’re a lifelong custard lover or just discovering this South African-inspired classic, it’s worth every bite.


Creamy Coconut Milk Tart
Classic South African milk tart (melktert) with a creamy coconut custard and an optional oatmeal crust for added texture. Sweet, comforting, and custard-forward—perfect for dessert lovers. This version is slightly richer and creamier than traditional milk tart, which may make slices less “perfectly set” than older recipes, but it delivers extra indulgence and flavor.
Ingredients
- 1 ½ cups coconut tennis biscuits (18–20 biscuits)
- 3 tbsp toasted coconut flakes
- 1 tbsp granulated sugar
- Pinch of salt
- ½ cup butter, melted (add more 1 tbsp at a time if needed)
- 1 ¼ cups whole milk
- ¾ cup coconut milk
- ½ cup condensed milk
- 2 tbsp granulated sugar
- 3 tbsp cornstarch
- 2 eggs
- 1 tbsp butter
- 1 tsp vanilla extract
- ¾ tsp cinnamon
- Pinch of nutmeg
- Pinch of cardamom
- 1¾ cups rolled or quick-cook oats
- 2½ sticks cold butter, cubed
- ²⁄₃ cup flour
- ²⁄₃ cup brown sugar
- 1 tsp salt
- 1 tsp cinnamon
Instructions
- Preheat oven to 325°F (160°C).
- Set aside the toasted coconut flakes.
- Pulse the biscuits in a food processor until they resemble coarse sand. Alternatively, crush them in a ziplock bag with a rolling pin.
- Add the toasted coconut and give the mixture a few more pulses (or a good mix) to integrate everything.
- Transfer the crushed biscuits to a bowl and mix in the sugar, salt, and melted butter until the mixture resembles damp sand and holds together when pinched. Add more butter 1 tbsp at a time if needed. It should not be too wet or too dry.
- Press the mixture evenly into a pie dish, using a cup to press the base and your fingers to shape the sides.
- Chill in the fridge for 10–15 minutes, then bake for 10–12 minutes. Cool while preparing the filling.
- In a small saucepan, heat the whole milk and coconut milk over low heat until steaming. Do not boil. Remove from the heat.
- In a separate bowl, whisk together the eggs, condensed milk, sugar, and cornstarch until smooth.
- Slowly whisk the warm milk mixture into the egg mixture a little at a time to temper it. Tempering means gradually warming the eggs so they don’t scramble when exposed to heat.
- Return the combined mixture to the saucepan and cook over low heat, stirring constantly for 5–8 minutes, or until it thickens and coats the back of a spoon.
- Remove from the heat and stir in the butter, vanilla, cinnamon, nutmeg, and cardamom.
- Pour the filling into the baked crust and bake for 15 minutes.
- Cool at room temperature for 1 hour, then chill overnight (or at least 2–4 hours if you are short on time).
- Preheat oven to 350°F (175°C).
- In a large bowl, combine oats, flour, brown sugar, salt, and cinnamon. Cut in the cold butter with a pastry cutter until the mixture resembles large breadcrumbs. (Optional: pulse the dry ingredients with butter a few times in a food processor, but keep some texture—don’t over-process into a fine powder.)
- Press the mixture evenly into a greased 9-inch pie tin using the bottom of a measuring cup to compact the base and the sides.
- Bake for 15–20 minutes, until the crust is lightly browned and slightly crispy.
- Optional: To prevent shrinking or puffing, weigh down the crust with dried beans or pie weights on a piece of parchment paper while baking. If the crust does puff or shrink slightly, press it back into place gently while still warm.
- Let the crust cool completely before adding the filling.
Notes
For the oatmeal crust:
- Make sure butter is cold, this helps create that tender, crumbly texture.
- Pressing the crust evenly and firmly is key; uneven thickness can cause it to bake inconsistently.
- Using rolled oats gives a chewier, more textured crust, while quick-cook oats yield a slightly softer crust.
For 'classic' milk tart:
- Custard consistency: Make sure to whisk the cornstarch and eggs thoroughly before combining with warm milk to avoid lumps. The custard should coat the back of a spoon when fully cooked.
- Baking the tart: Keep an eye on the tart while baking—the filling should set but remain slightly wobbly in the center; it will firm as it cools.
- Crust options: You can use a traditional shortcrust pastry or swap in an oatmeal crust for extra texture and heartiness.
- Coconut twist: Using coconut milk adds a subtle tropical flavor, but you can substitute with regular milk if preferred.
- Serving: For neat slices, use a warm knife. Dust with cinnamon just before serving for a beautiful presentation.
- Storage: Store in the fridge, covered, for up to 3 days. Best served chilled or at room temperature.
Nutrition Facts
Calories
320Fat (grams)
18 gCarbs (grams)
36 gSugar (grams)
20 gProtein (grams)
6 gI am not a certified nutritionist and any nutritional information on dontmissmyplate.com should only be used as a general guideline.