

Sweet Potato, Pecan and Maple Dutch Baby
When fall arrives there are so many ways to get baking and that includes in the morning when you rise and shine! What's a better to celebrate the season than a Dutch Baby?
Pumpkins gets all the attention, but I don't sleep on sweet potatoes. You don’t need to wait until Thanksgiving and to enjoy this legume. This version of pancake was inspired by the southern sweet potato casserole, covered in marshmallows and sometimes pecans.
Not only is sweet potato a superfood, but the subtle, warm, sweet flavour lends itself to a lot of recipes outside of eating it as it is, especially when spices like xinnmat and nutmeg are involved.
Ingredients
3/4 cups whole wheat flour
3 eggs
2 tablespoons vanilla
2 teaspoons pumpkin pie spice
2 tablespoons coconut sugar
1/4 heaped cup sweet potato puree
Generous pinch of salt
3/4 cups heavy cream
1 melted tablespoon + 2 tablespoons butter
1/3 cup pecans
Marshmallows
Maple syrup
Instructions
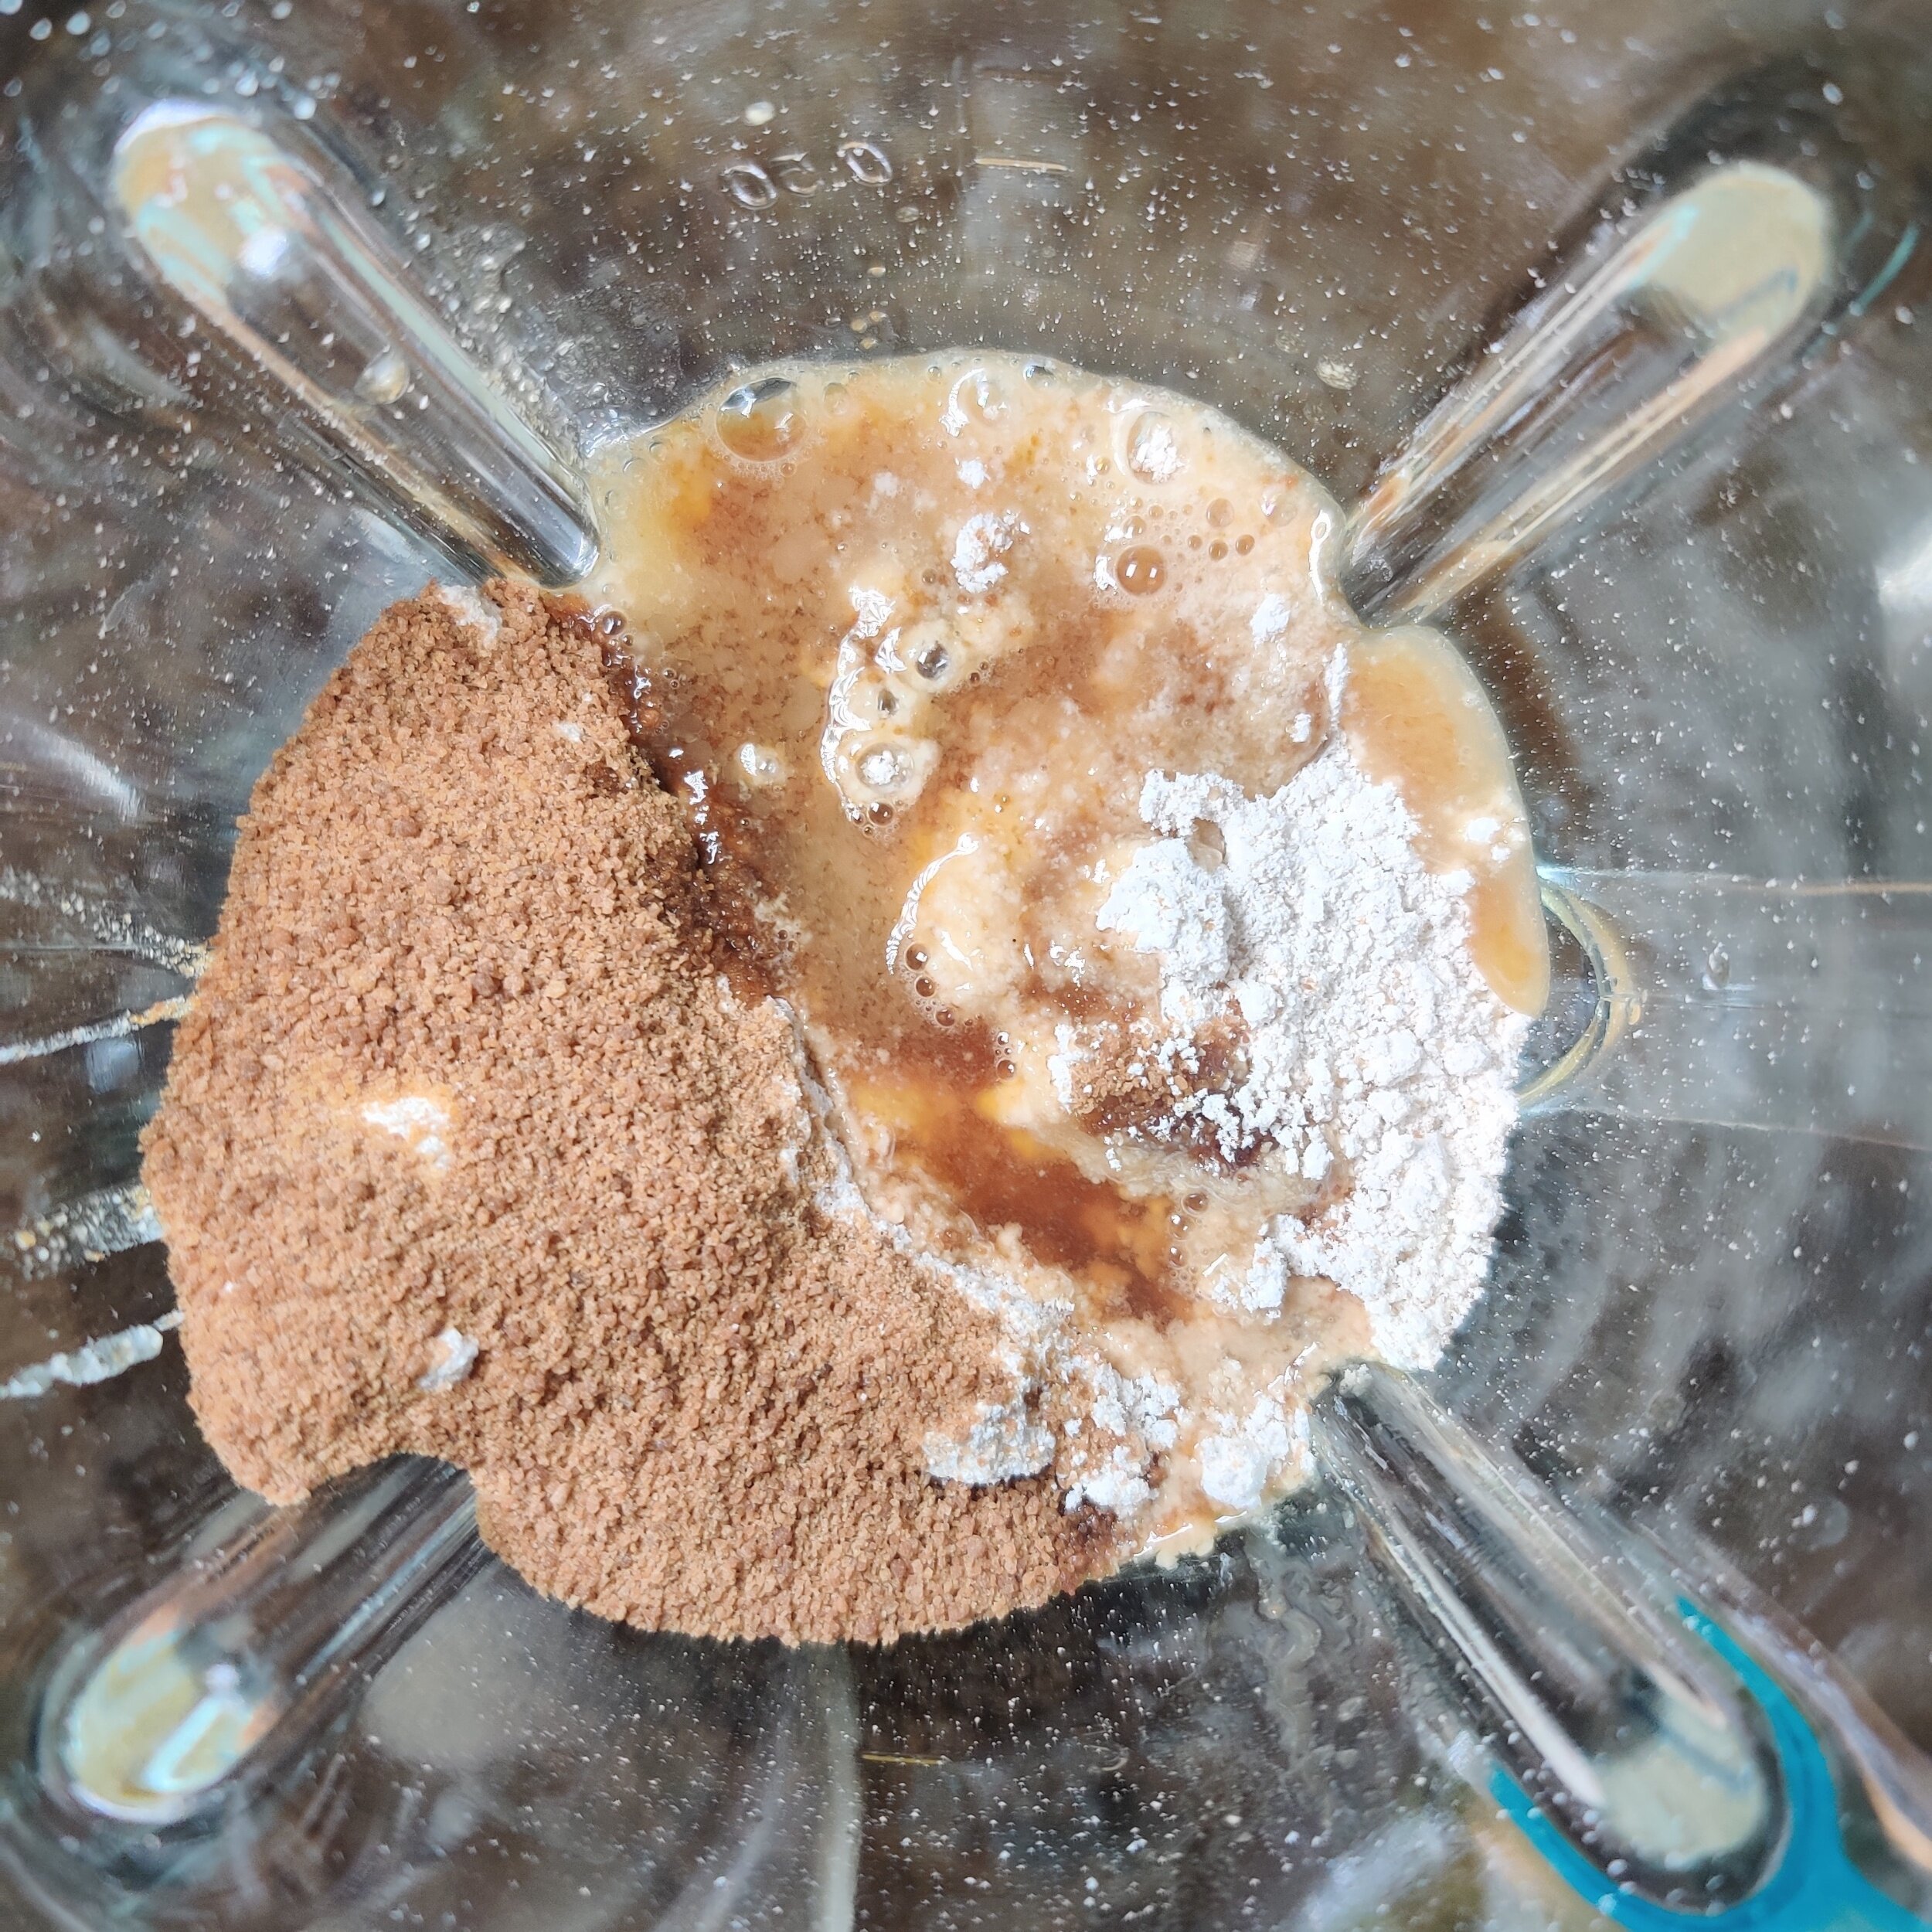
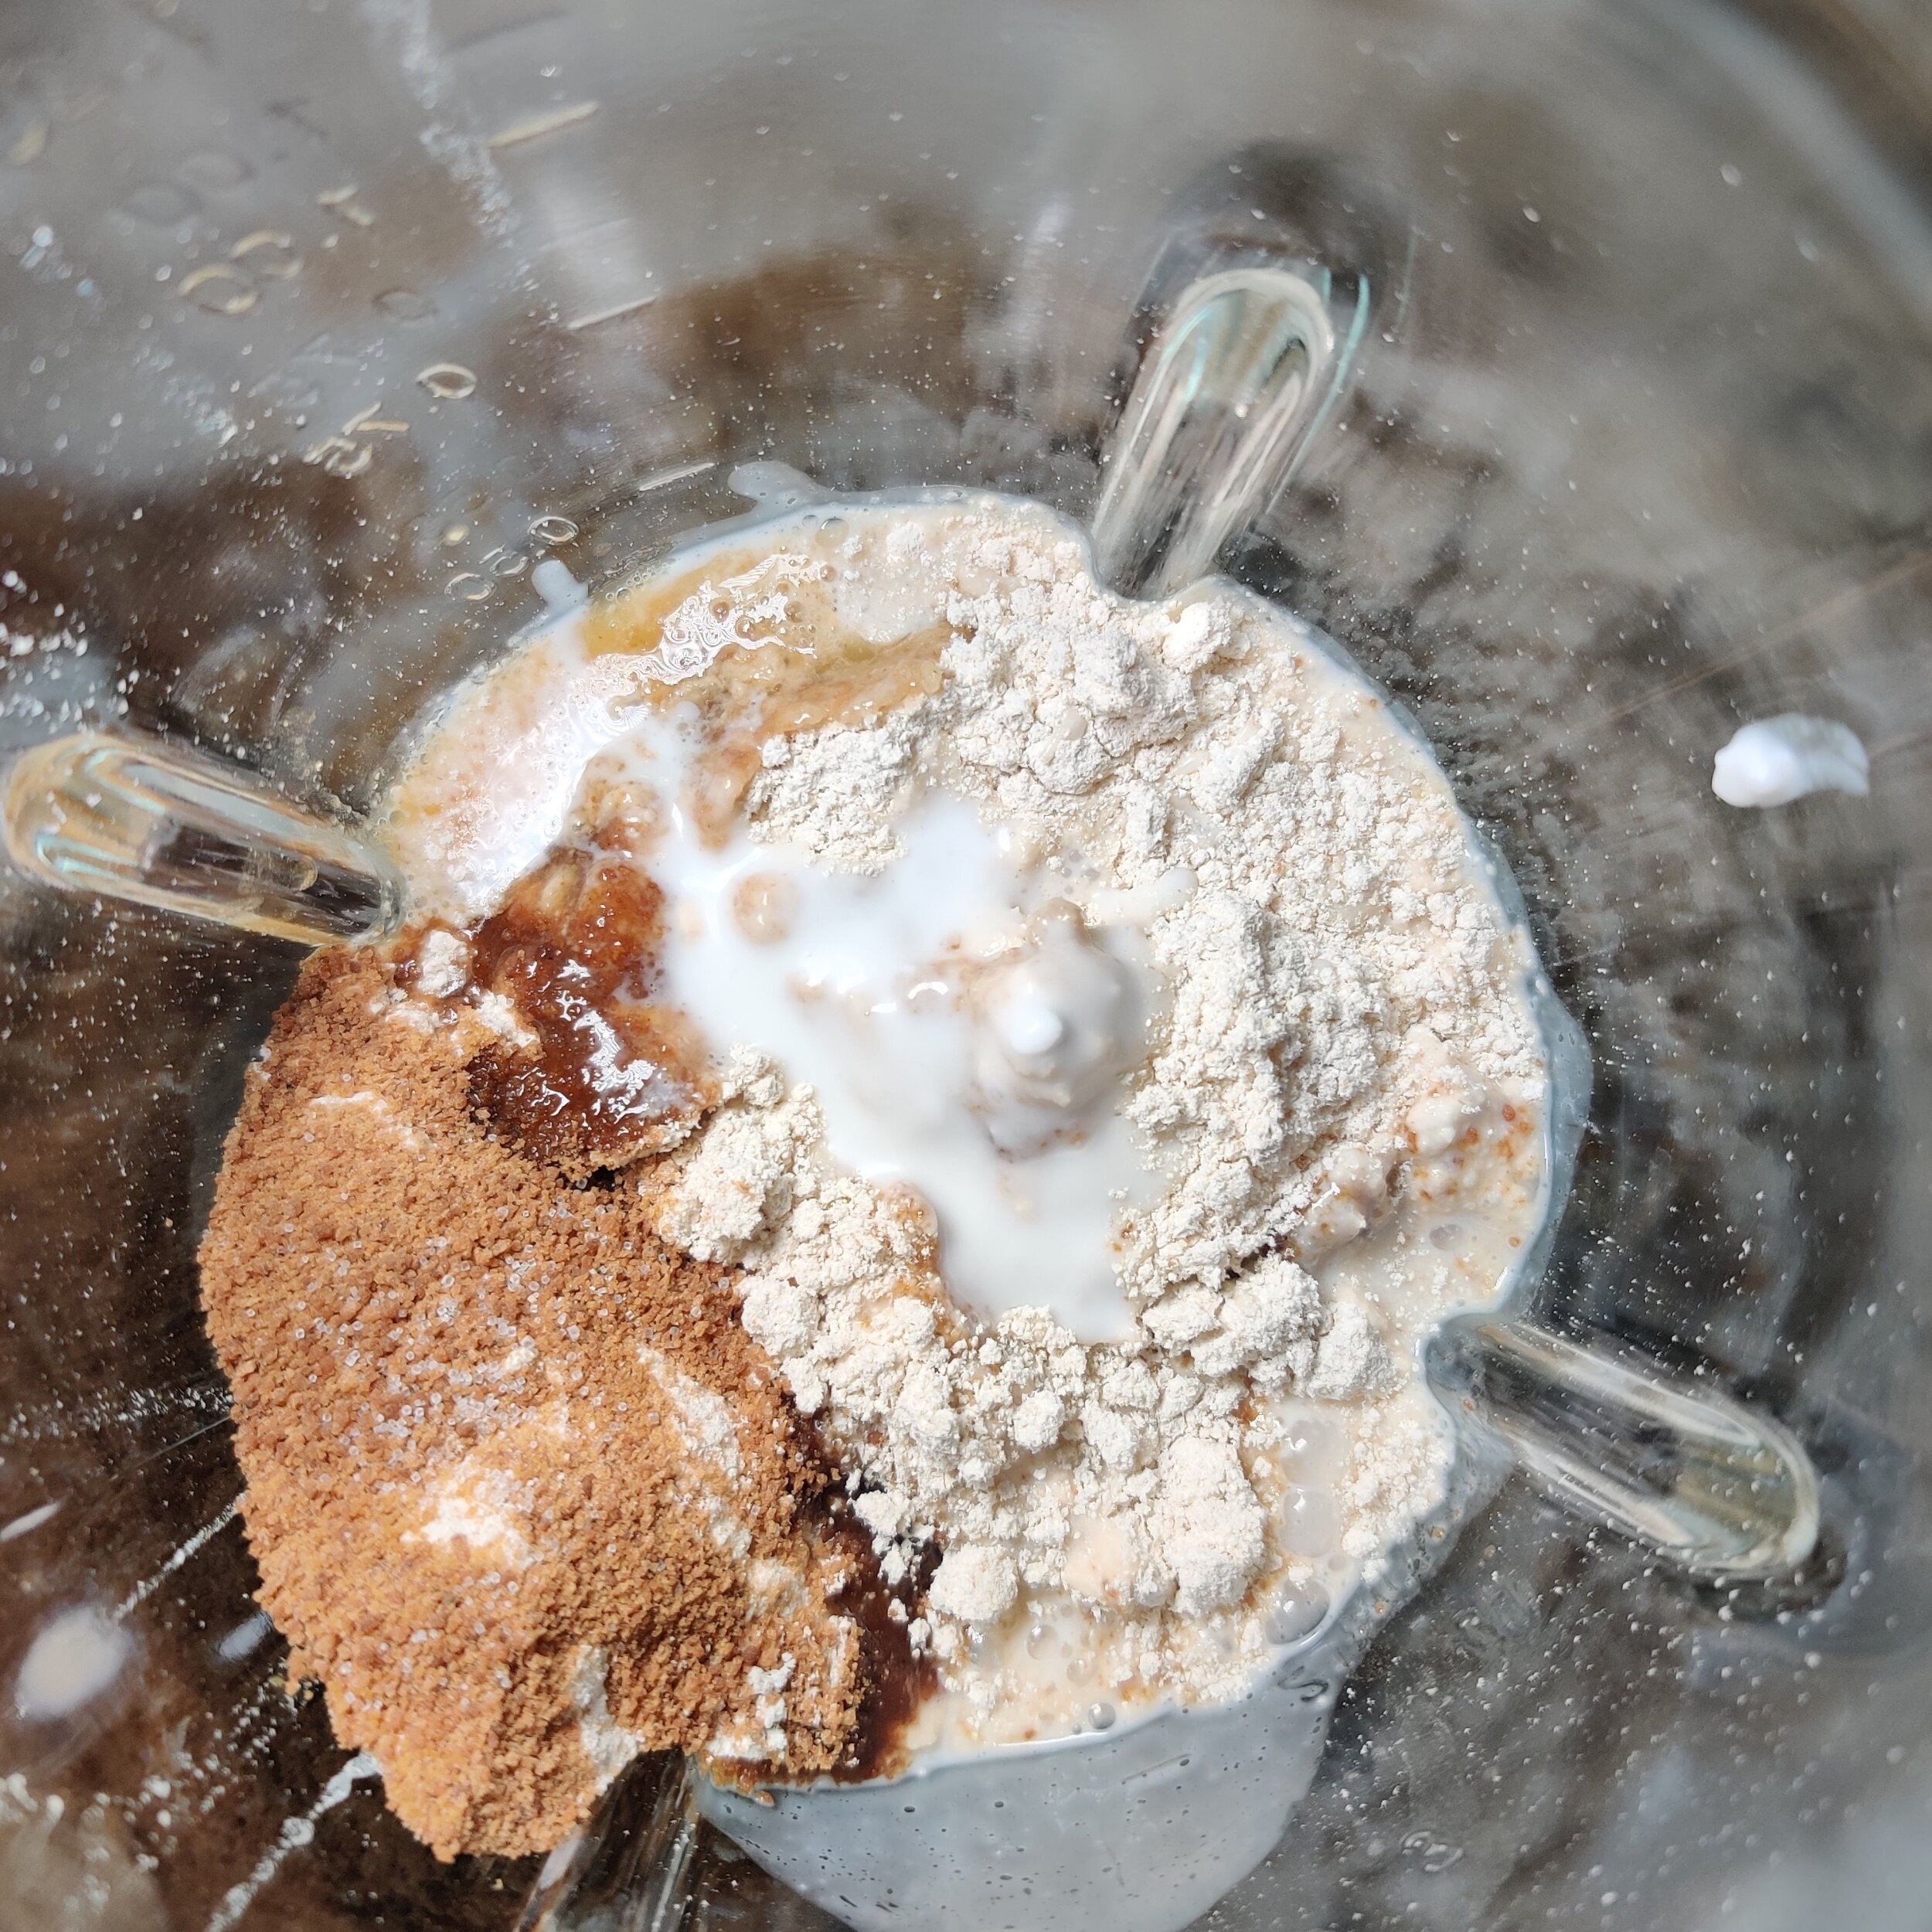
In a blender, add all the ingredients except the marshallows, pecans, and 2 tablespoons of butter. Beat until smooth.
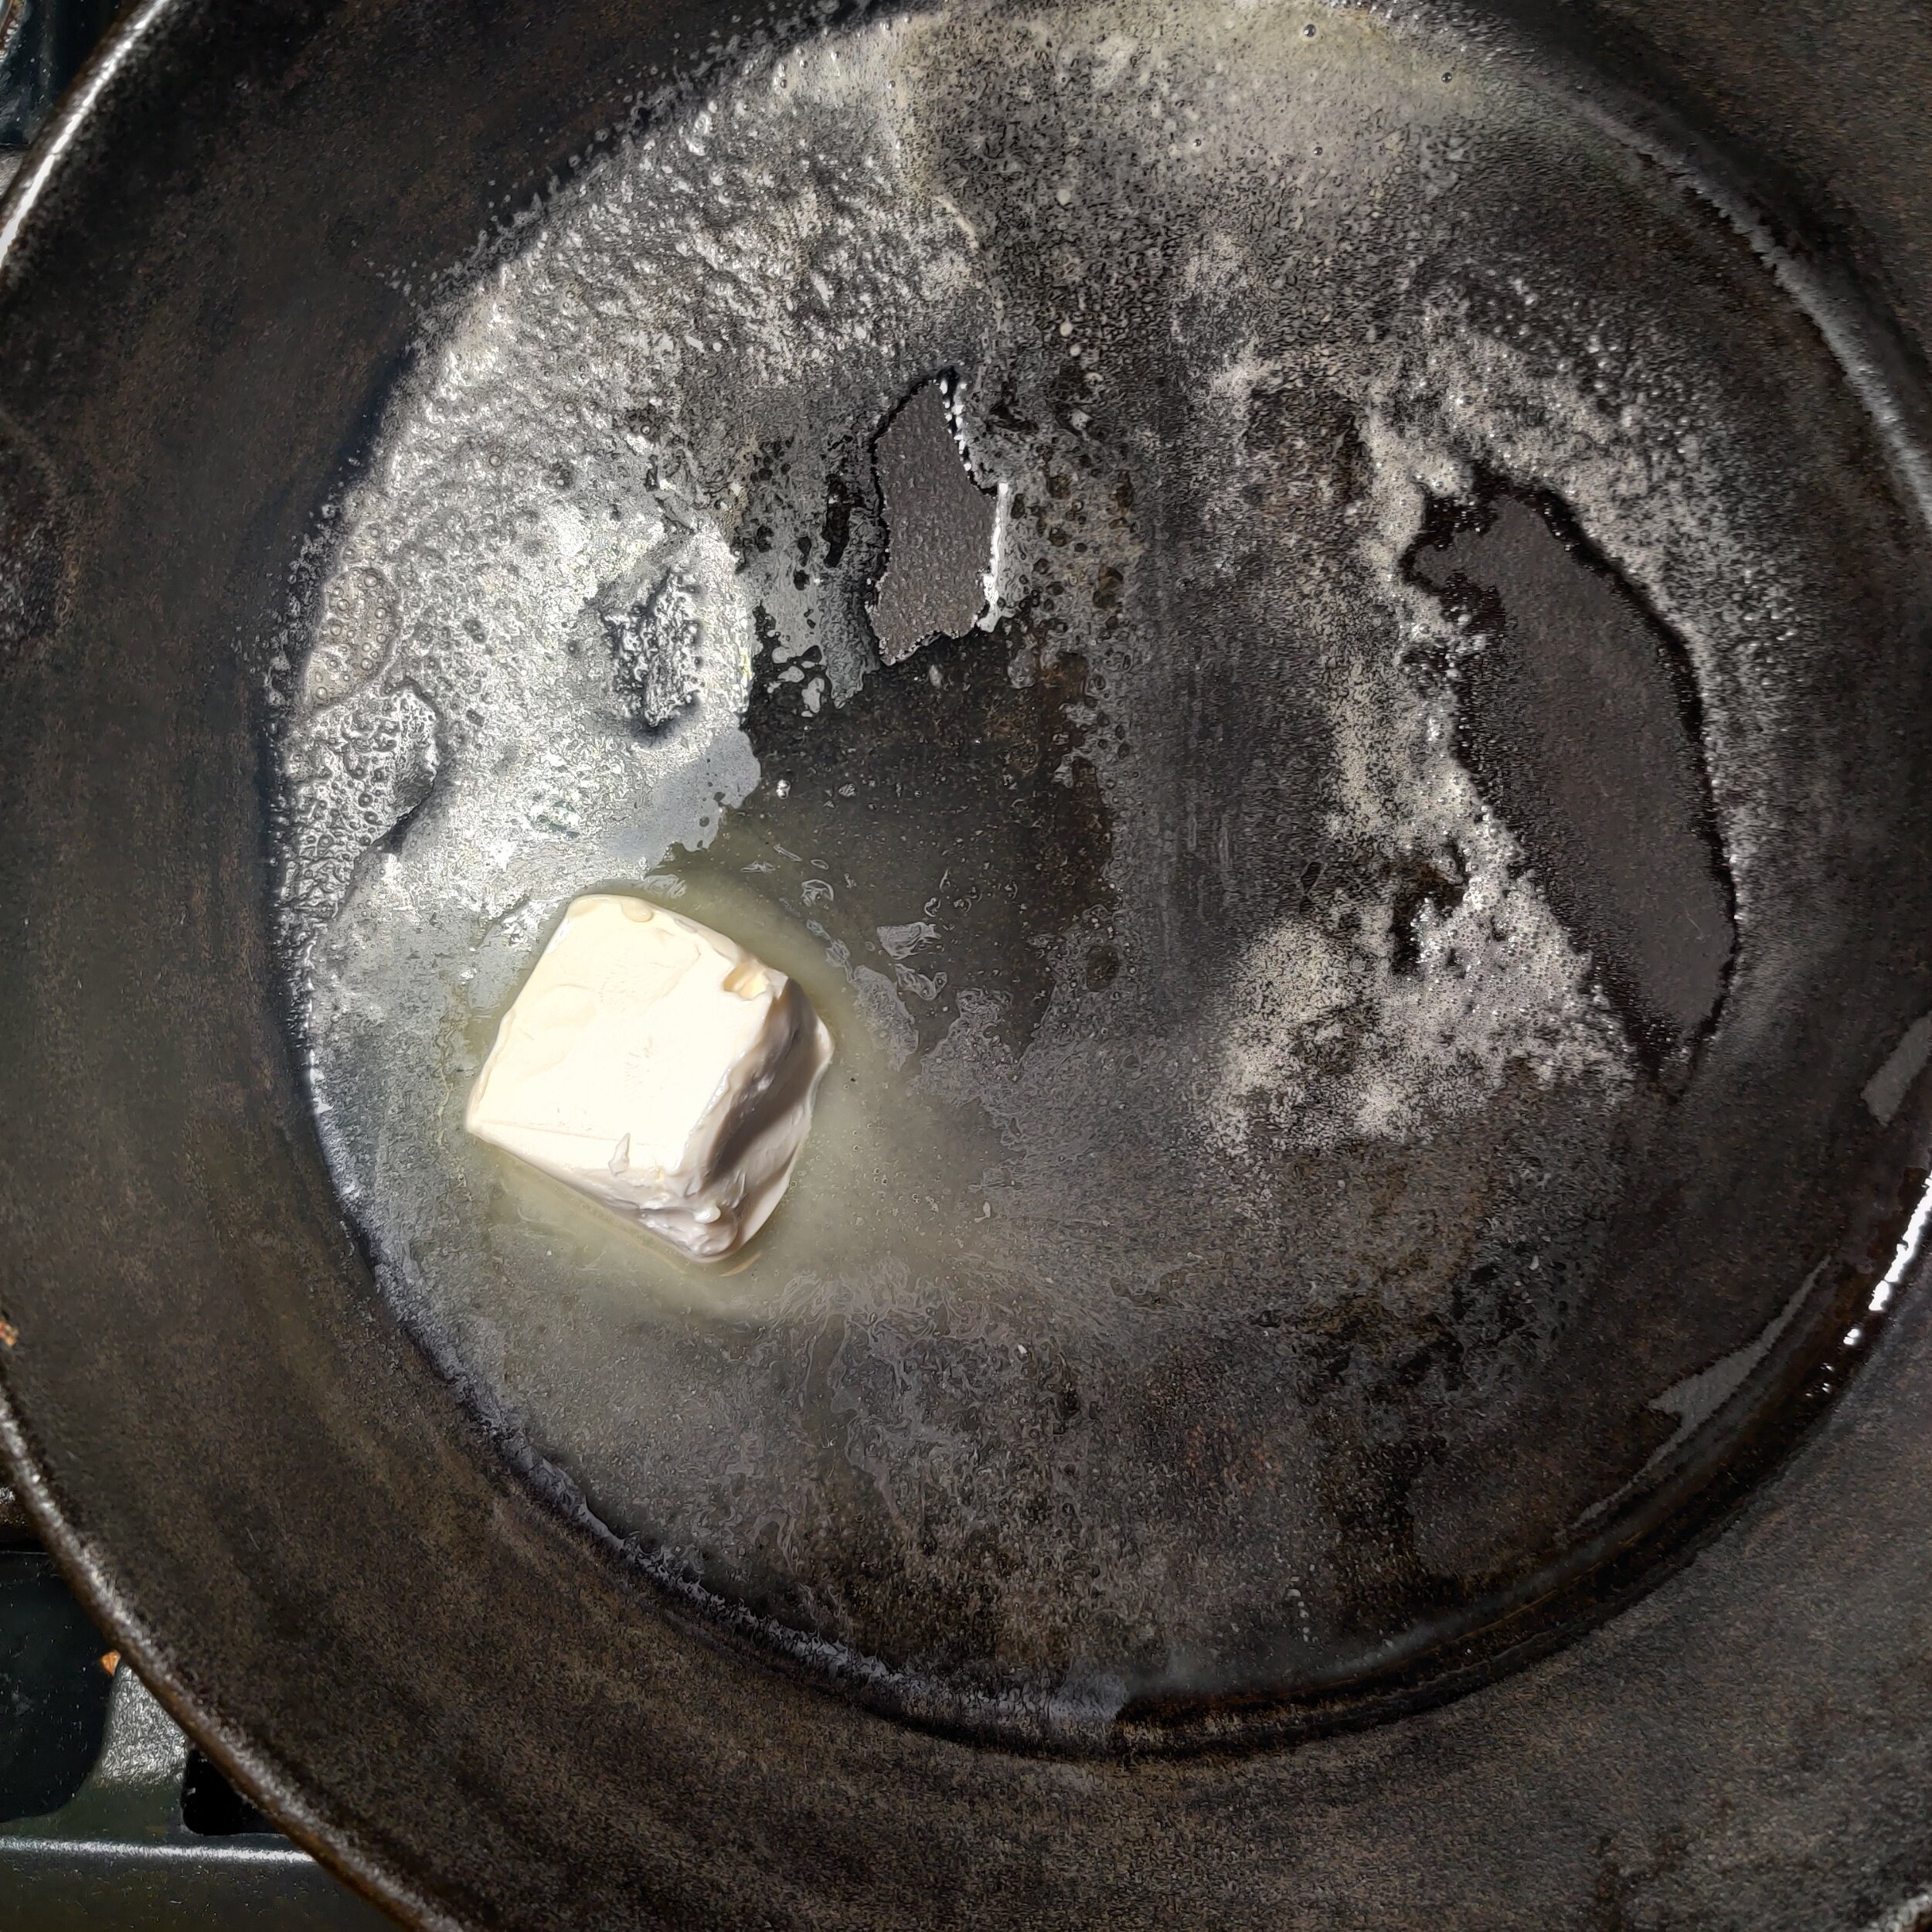
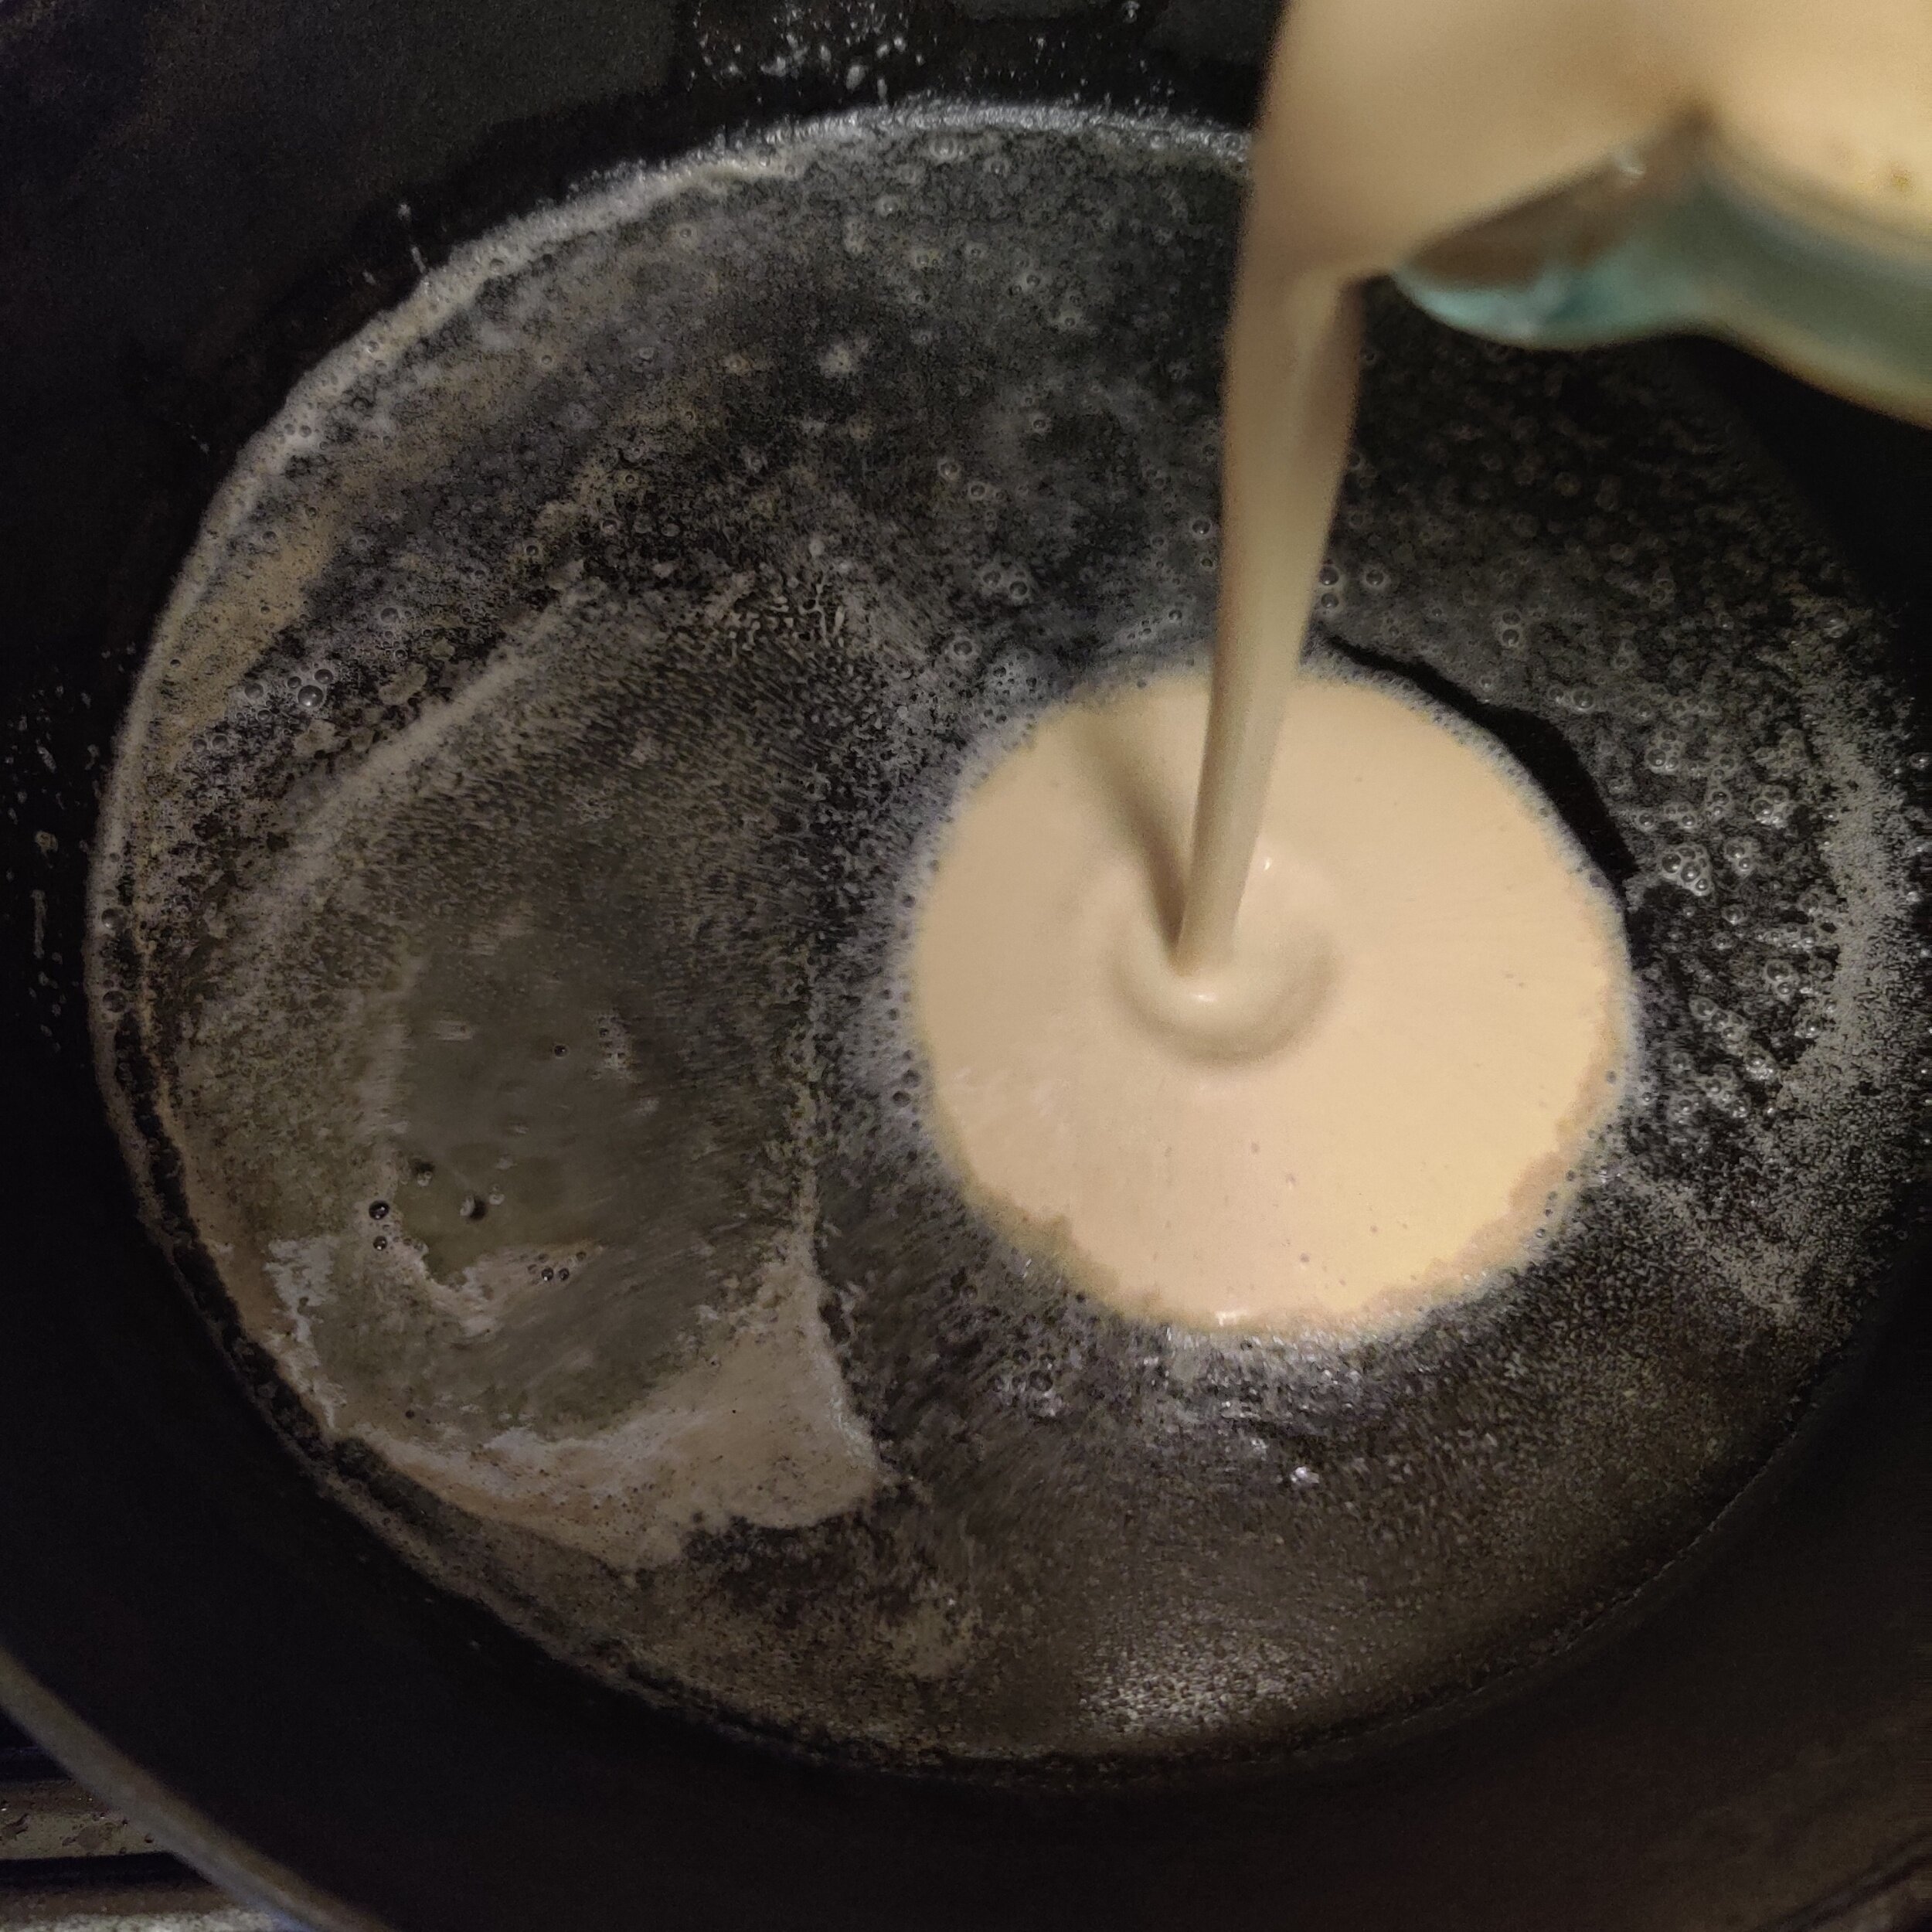
In a skillet, add 2 tablespoons of butter and melt over medium high heat. Pour in the batter evenly coating the skillet then sprinkle a few pecans and marshallows on top.
Place in a 350F oven and bake for 30 minutes. The eggs will help the pancake to puff up as it cooks, but this effect will deflate once it starts to cool — more of a visual aspect that won't compromise the taste! Drizzle and sprinkle with maple syrup, pecans and marshallows and serve hot.
Give it a try! German pancakes have crunchy exteriors and swift interiors and you can top them with whatever you like given the surface area. Explore other recipes here.

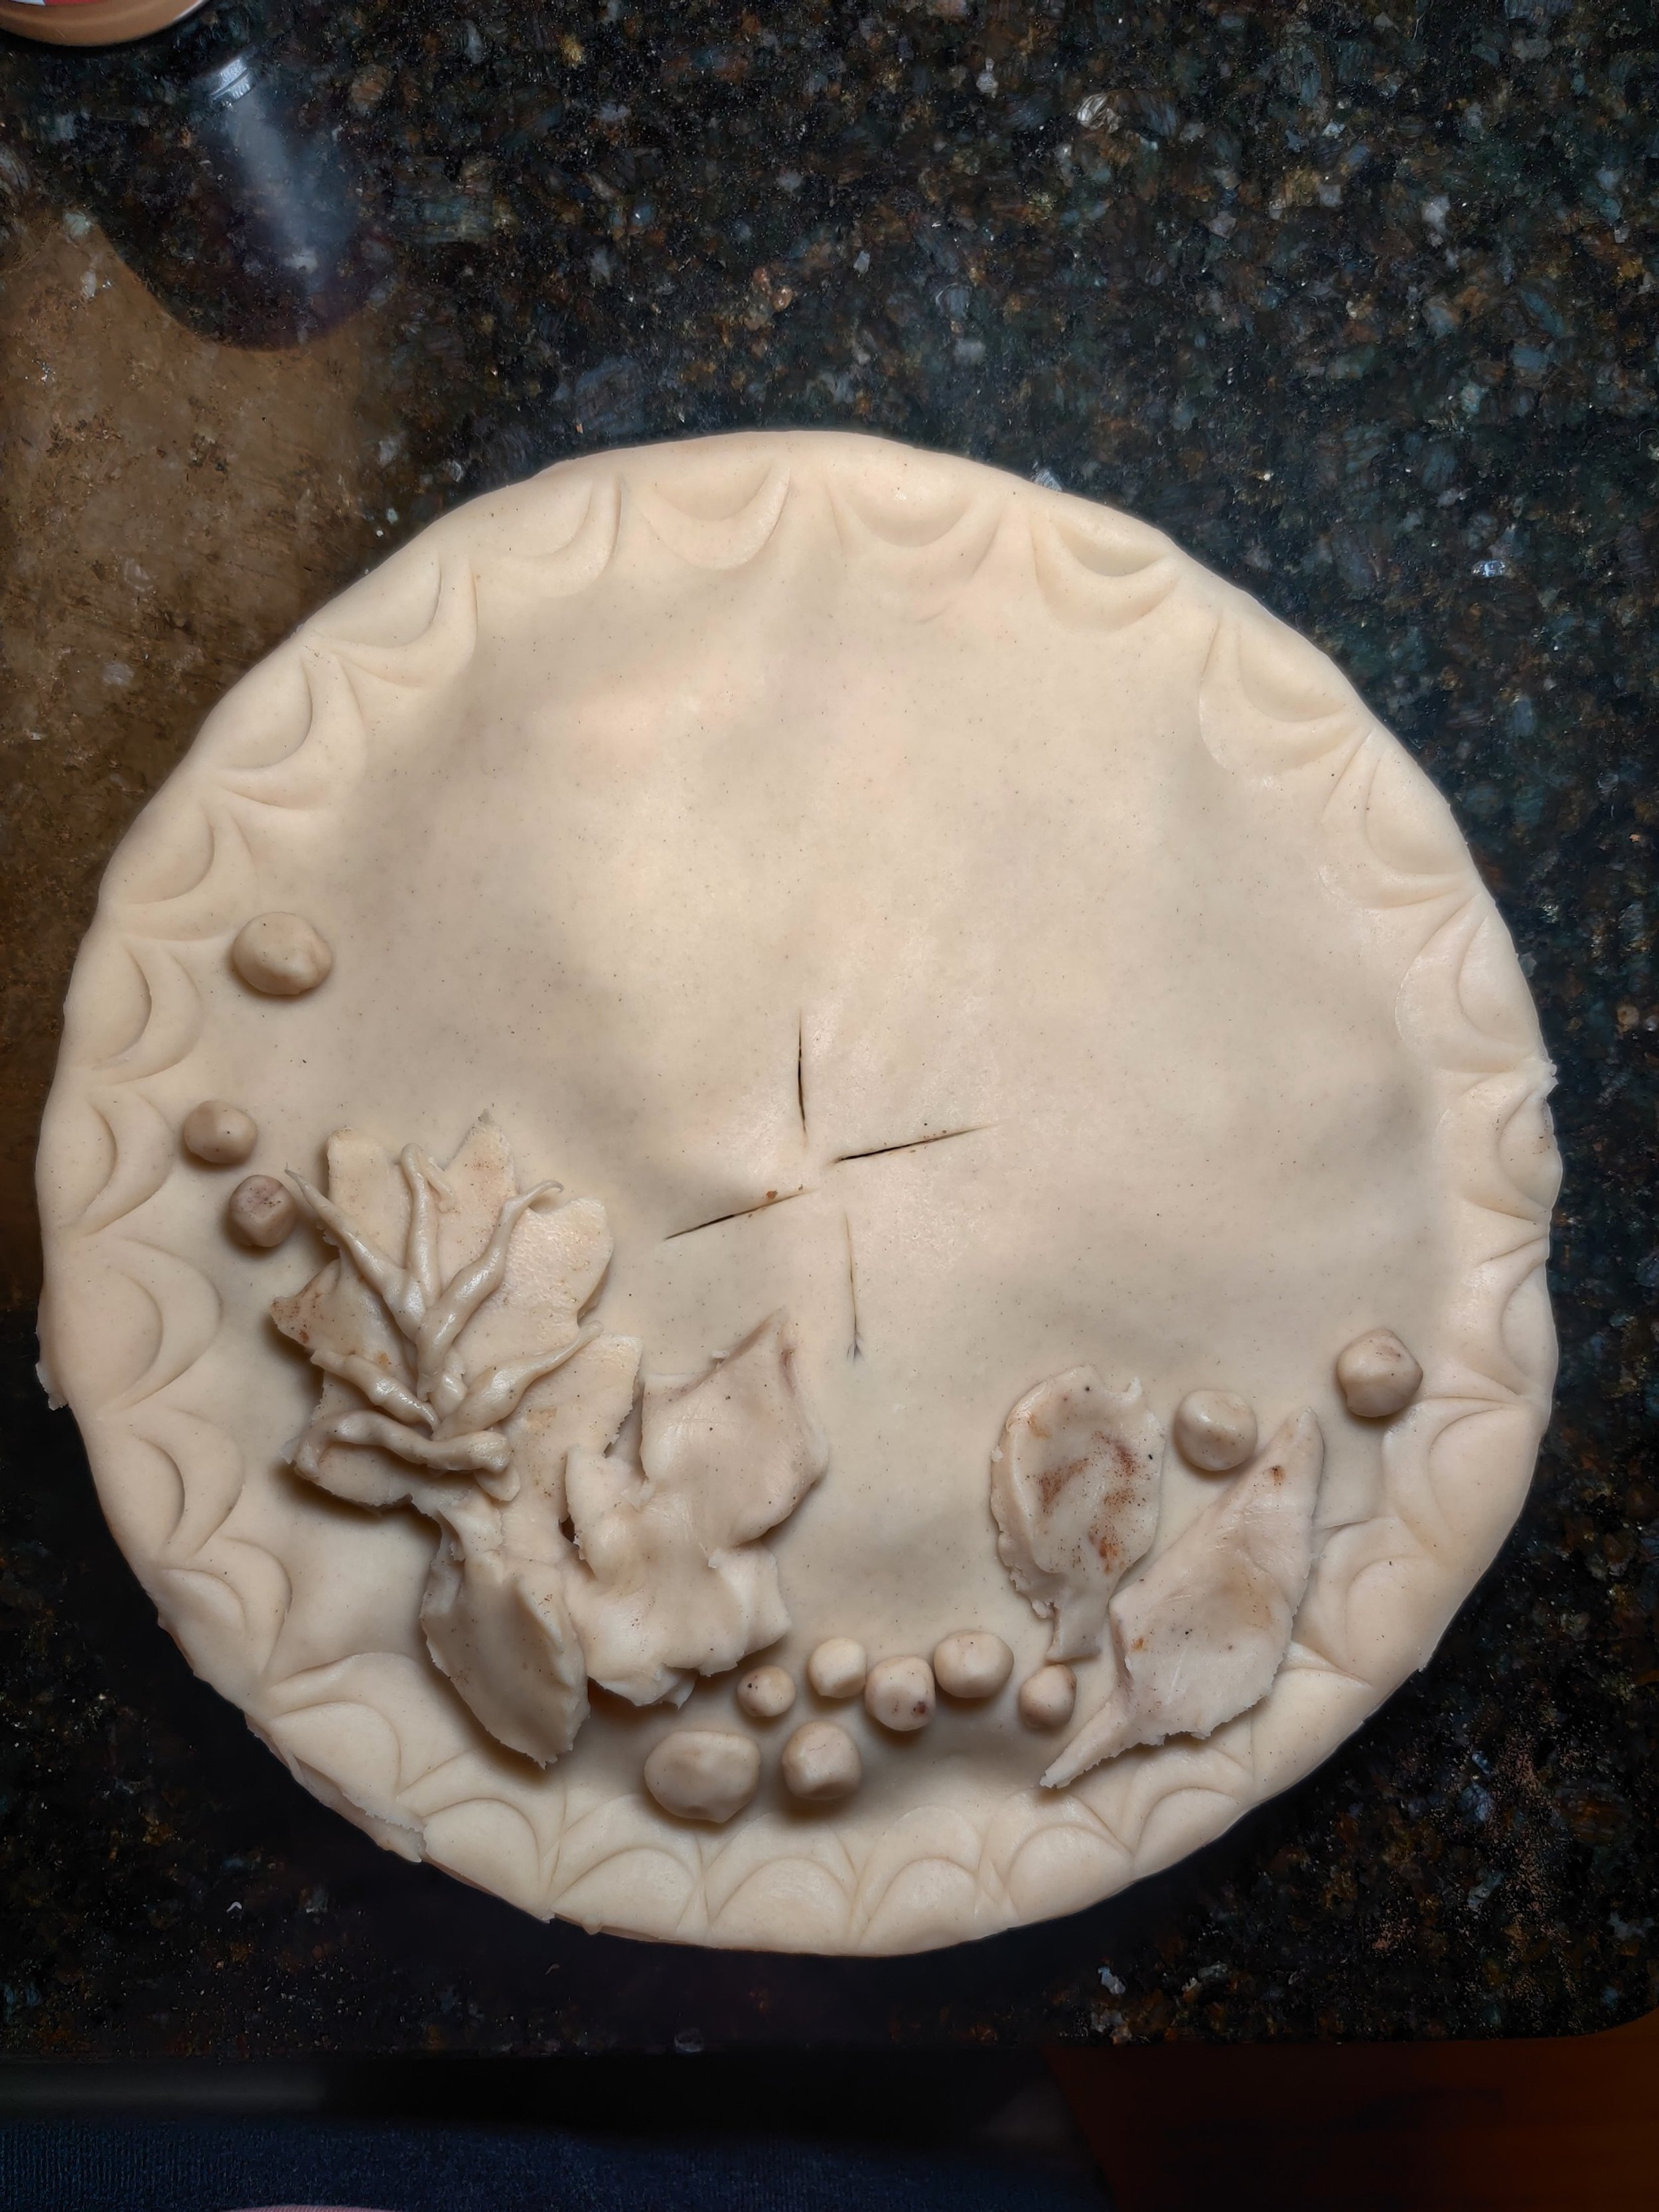
Biscoff Apple Pie
Apple pie is honestly hard to resist. But so is biscoff! If you’re a fan of both, check out this Biscoff and Toffee Apple Bread Pudding recipe here.
Biscoff isn't too sweet, spiced with warm, fall flavours. Topping an apple pie, the thick layer of smooth warm melted cookie adds great texture and lends the undertones of caramel, brown sugar, cinnamon, nutmeg, and cloves.
Ingredients
5 apples, diced
6 biscoff cookies, crushed (save 1 + 1 tablespoon for garnish)
1/2 cup coconut sugar
2-3 tablespoons lemon juice
1/4 cup flour
1/3 cup biscoff
1 teaspoon cinnamon
1/2 cup heavy cream
1/4 teaspoon cloves
1/2 teaspoon nutmeg
2 pie dough crusts, thawed
1 egg (egg wash)
1 tablespoon vanilla extract
Sea salt (optional)
Vanilla ice cream

Instructions
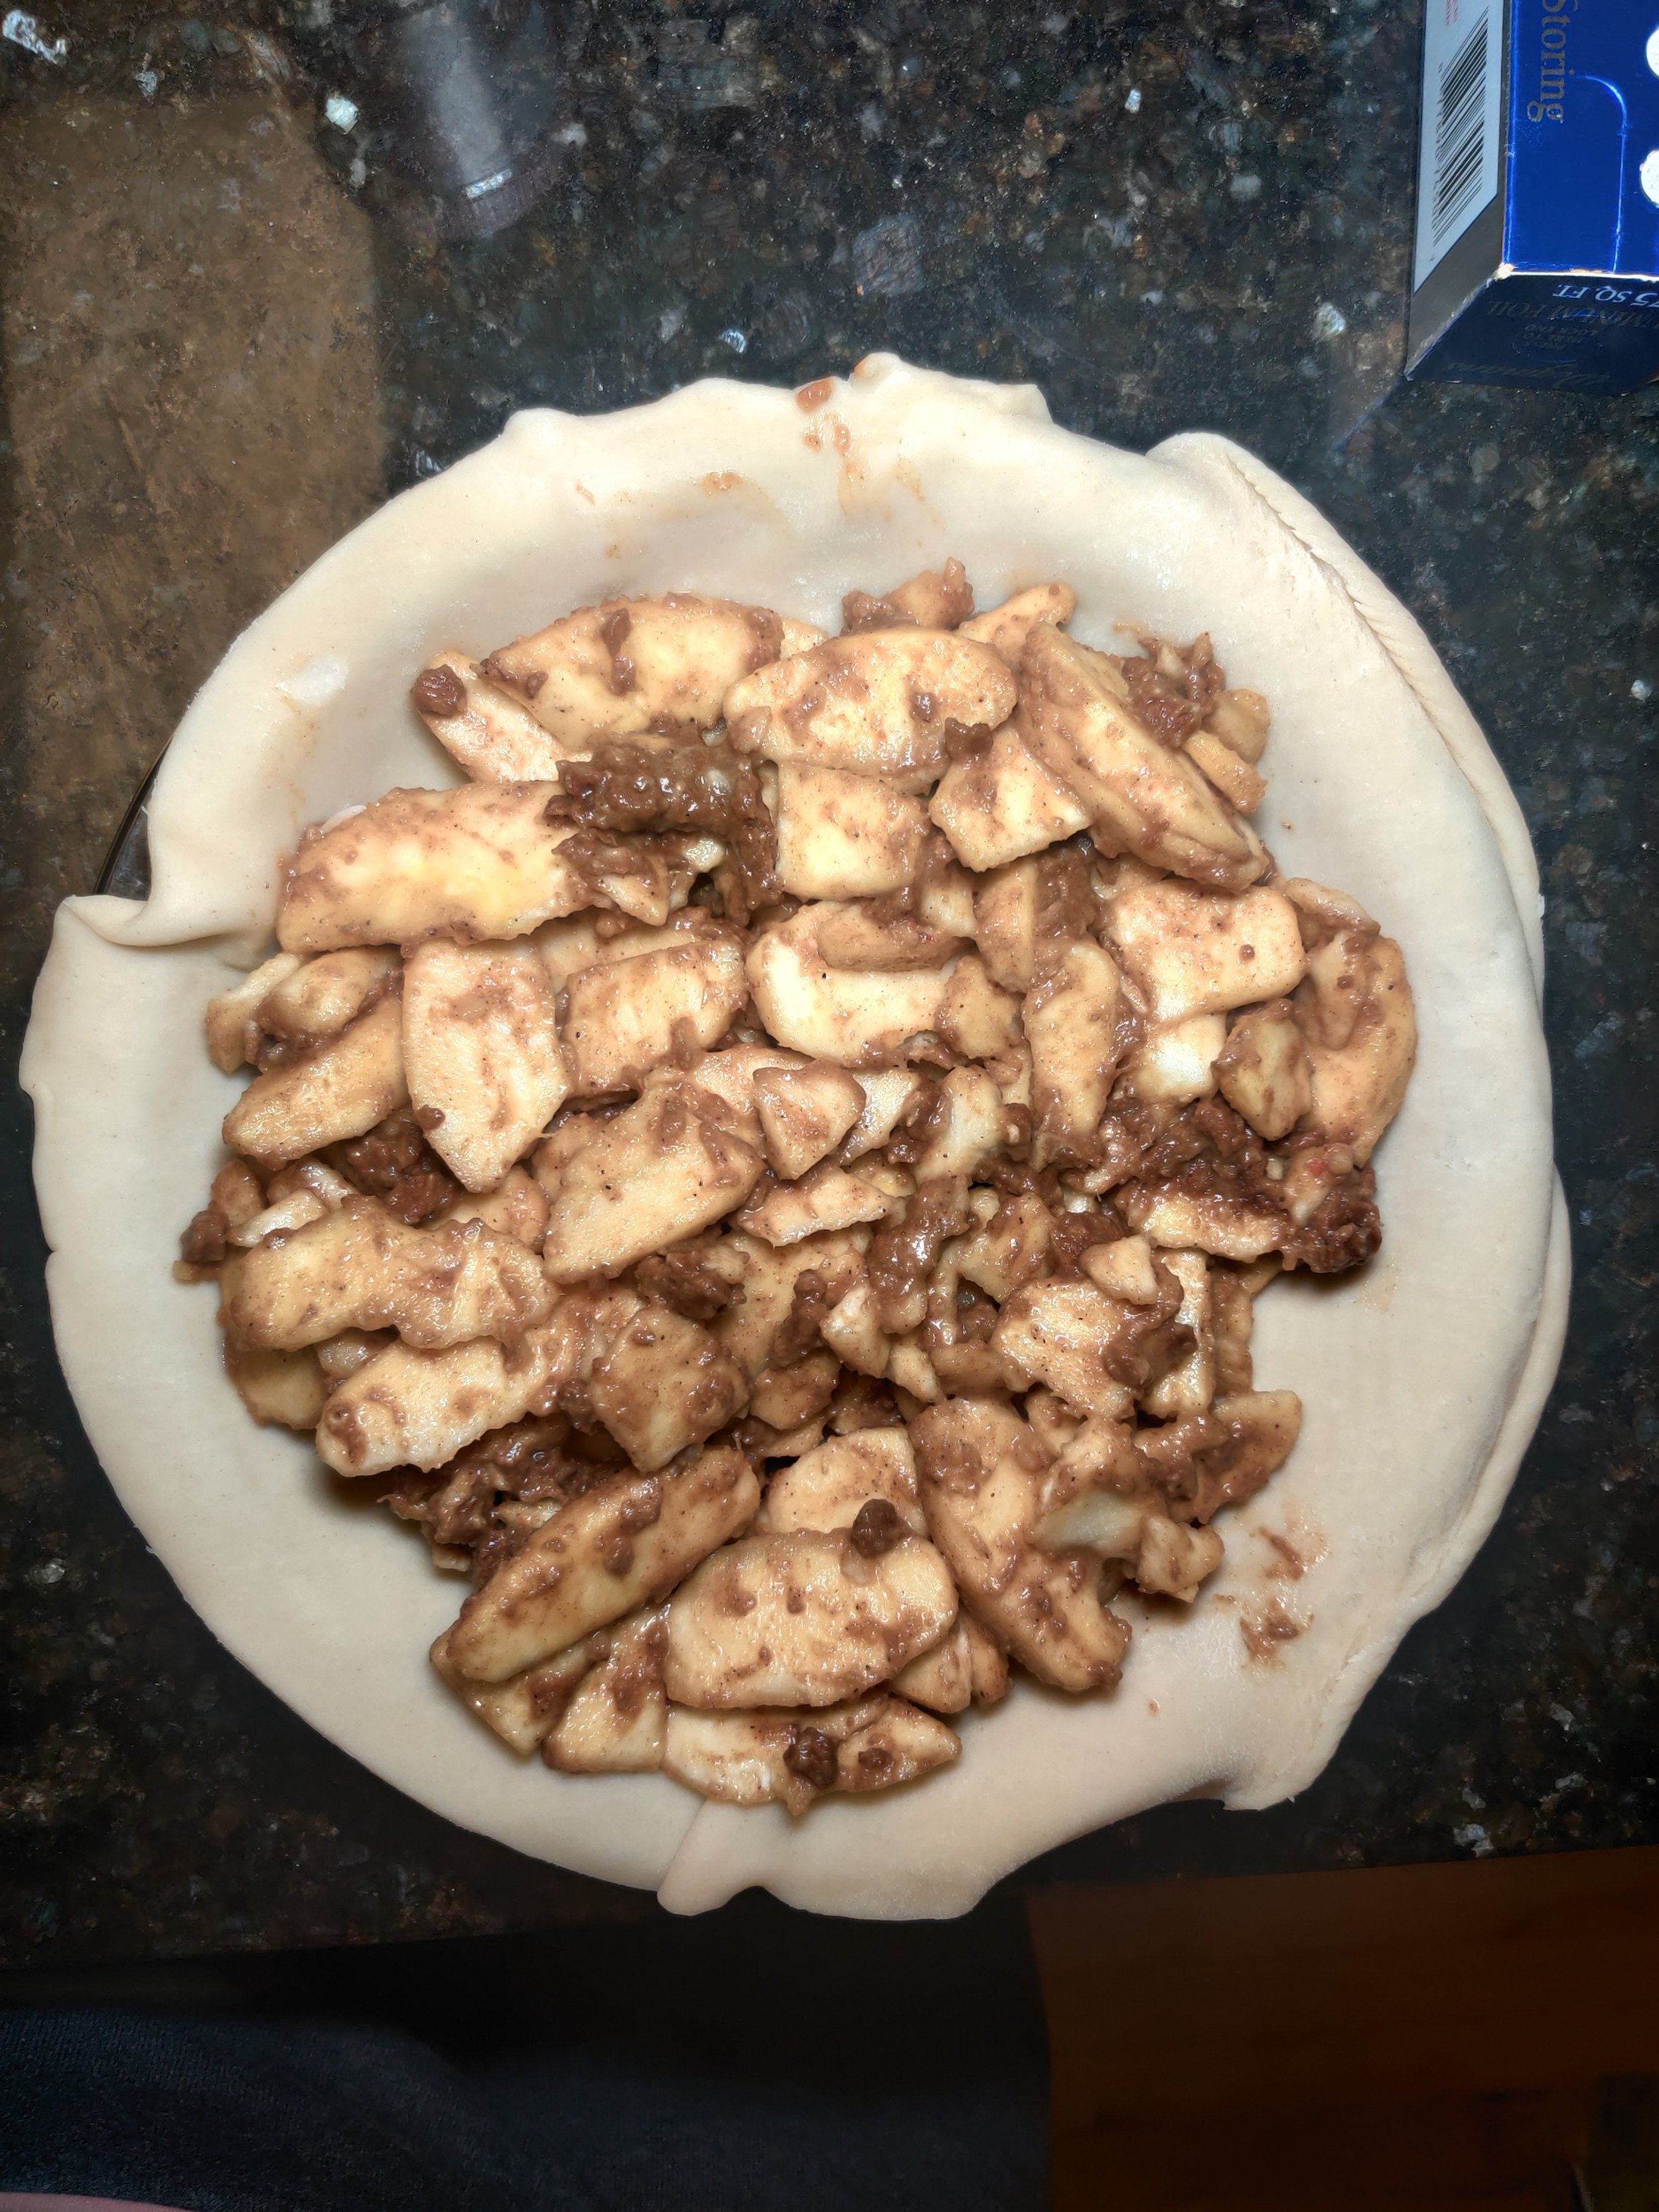
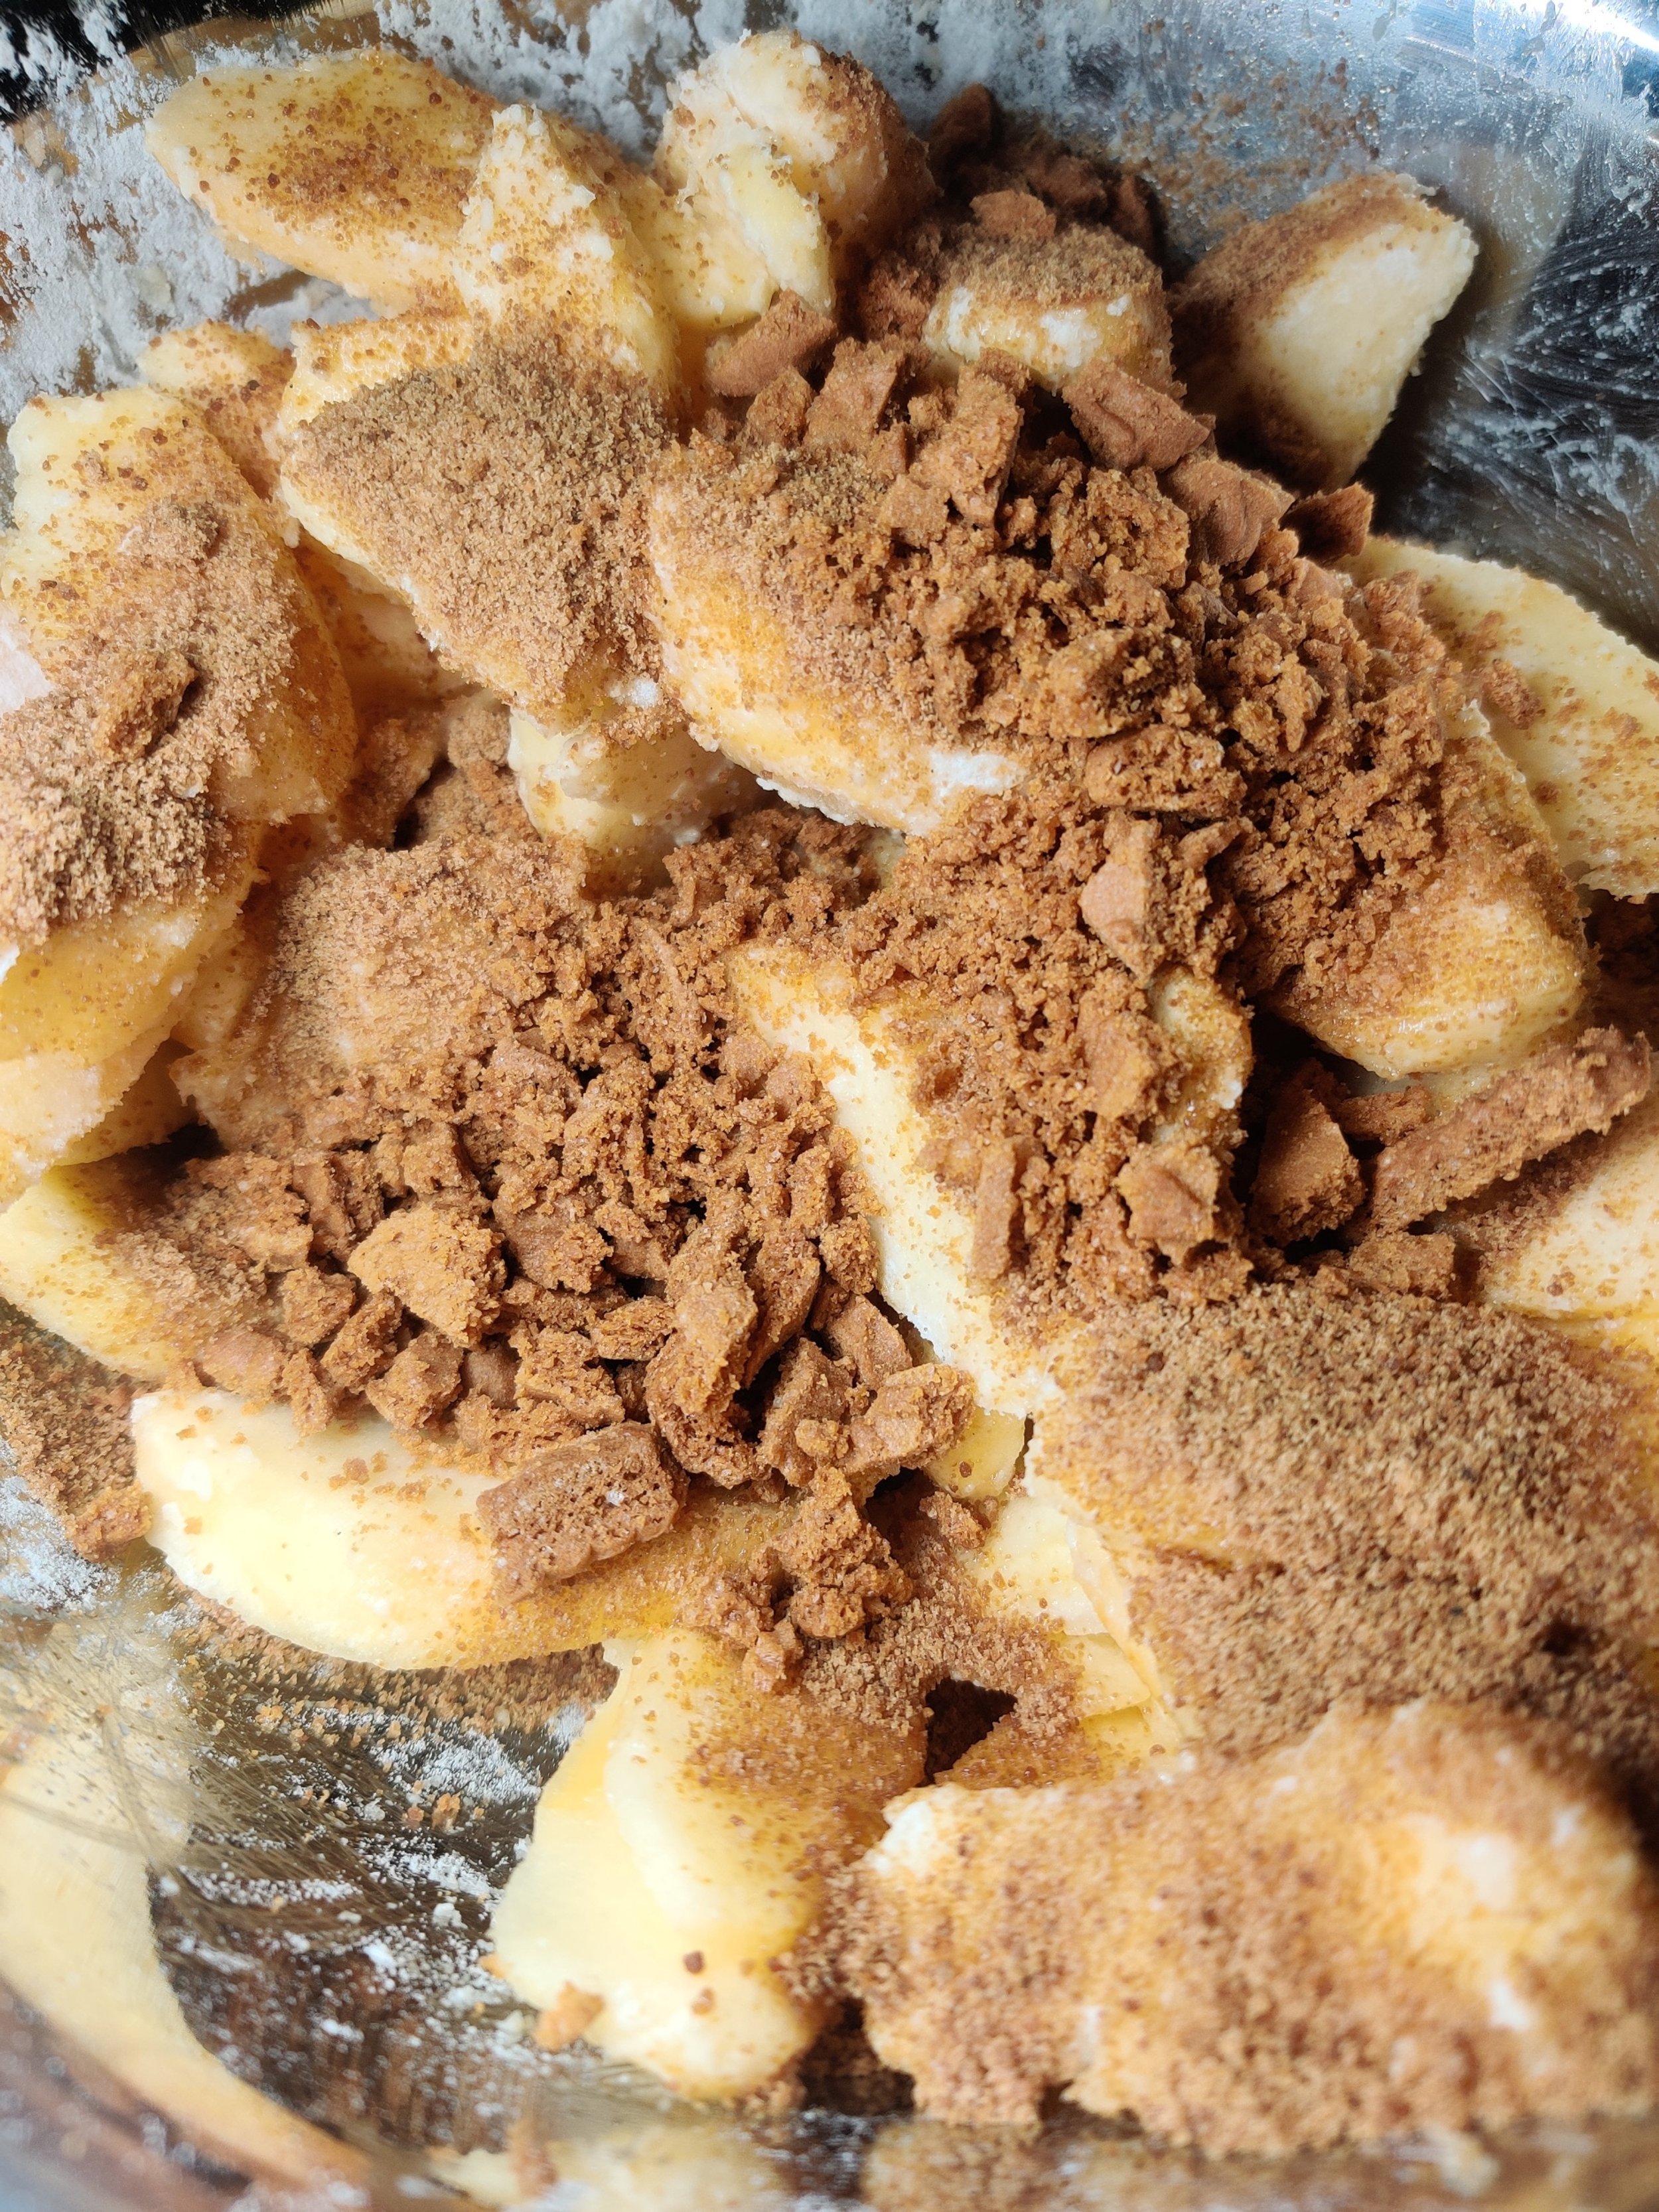
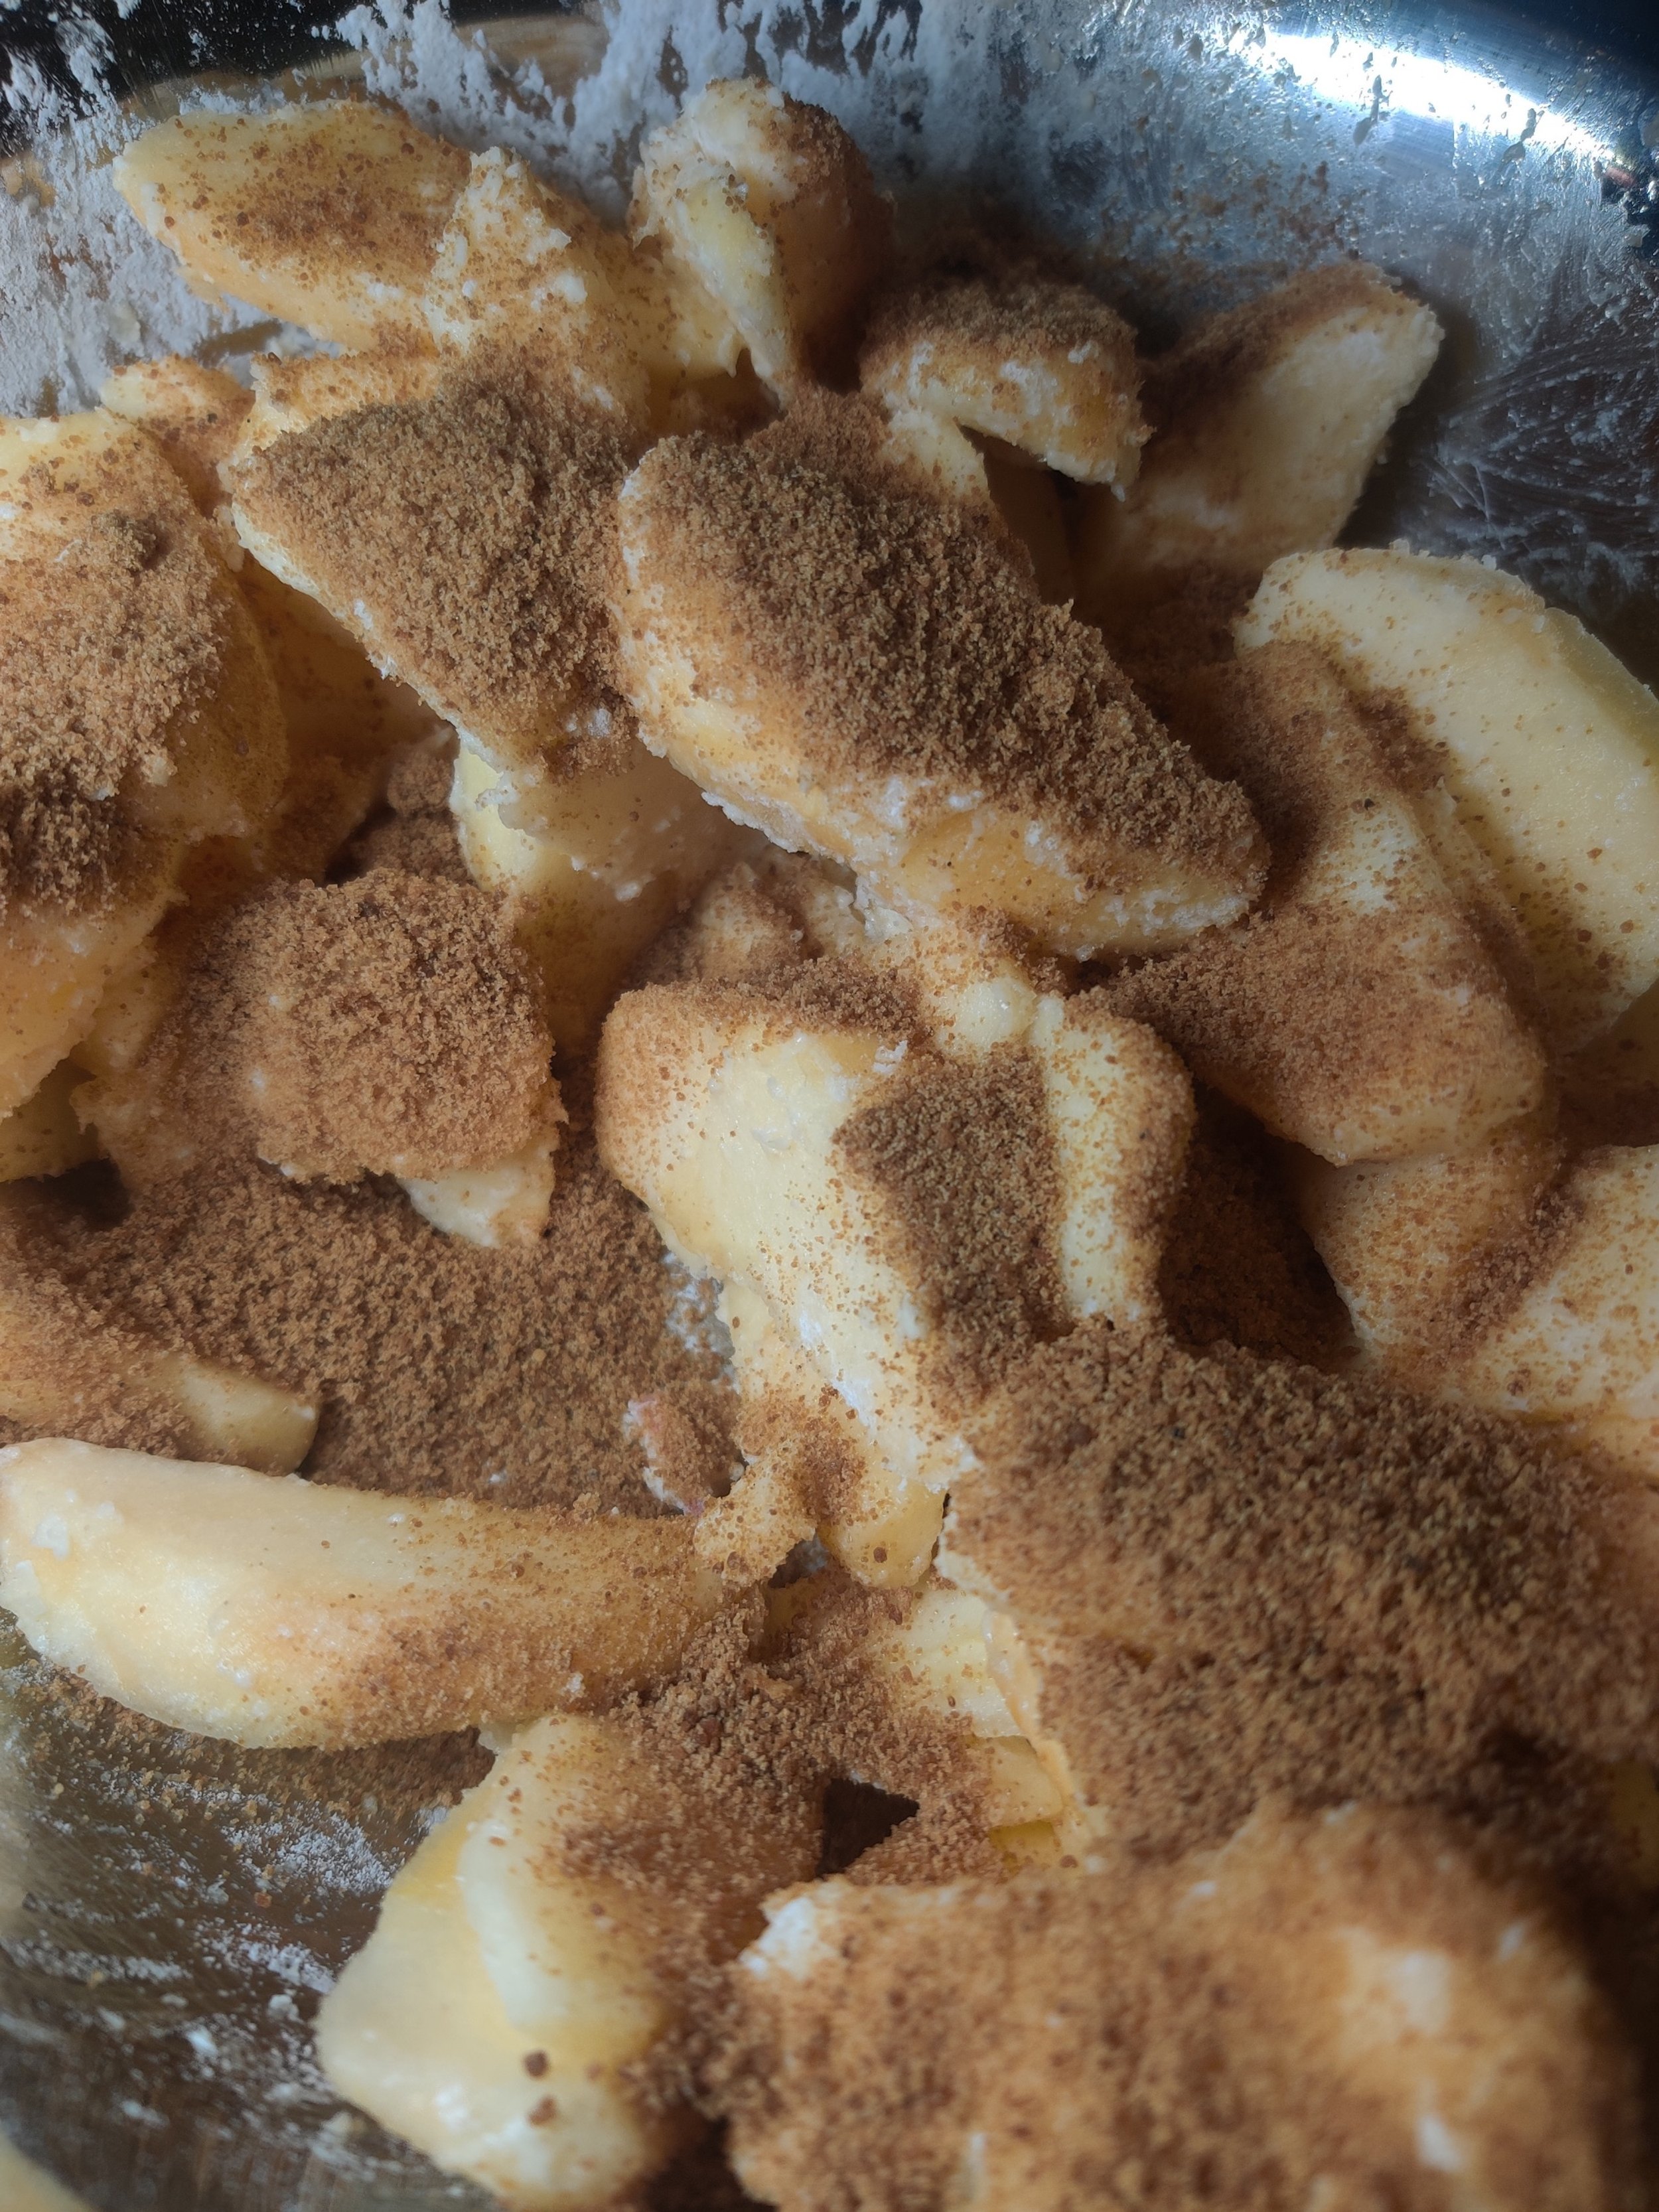
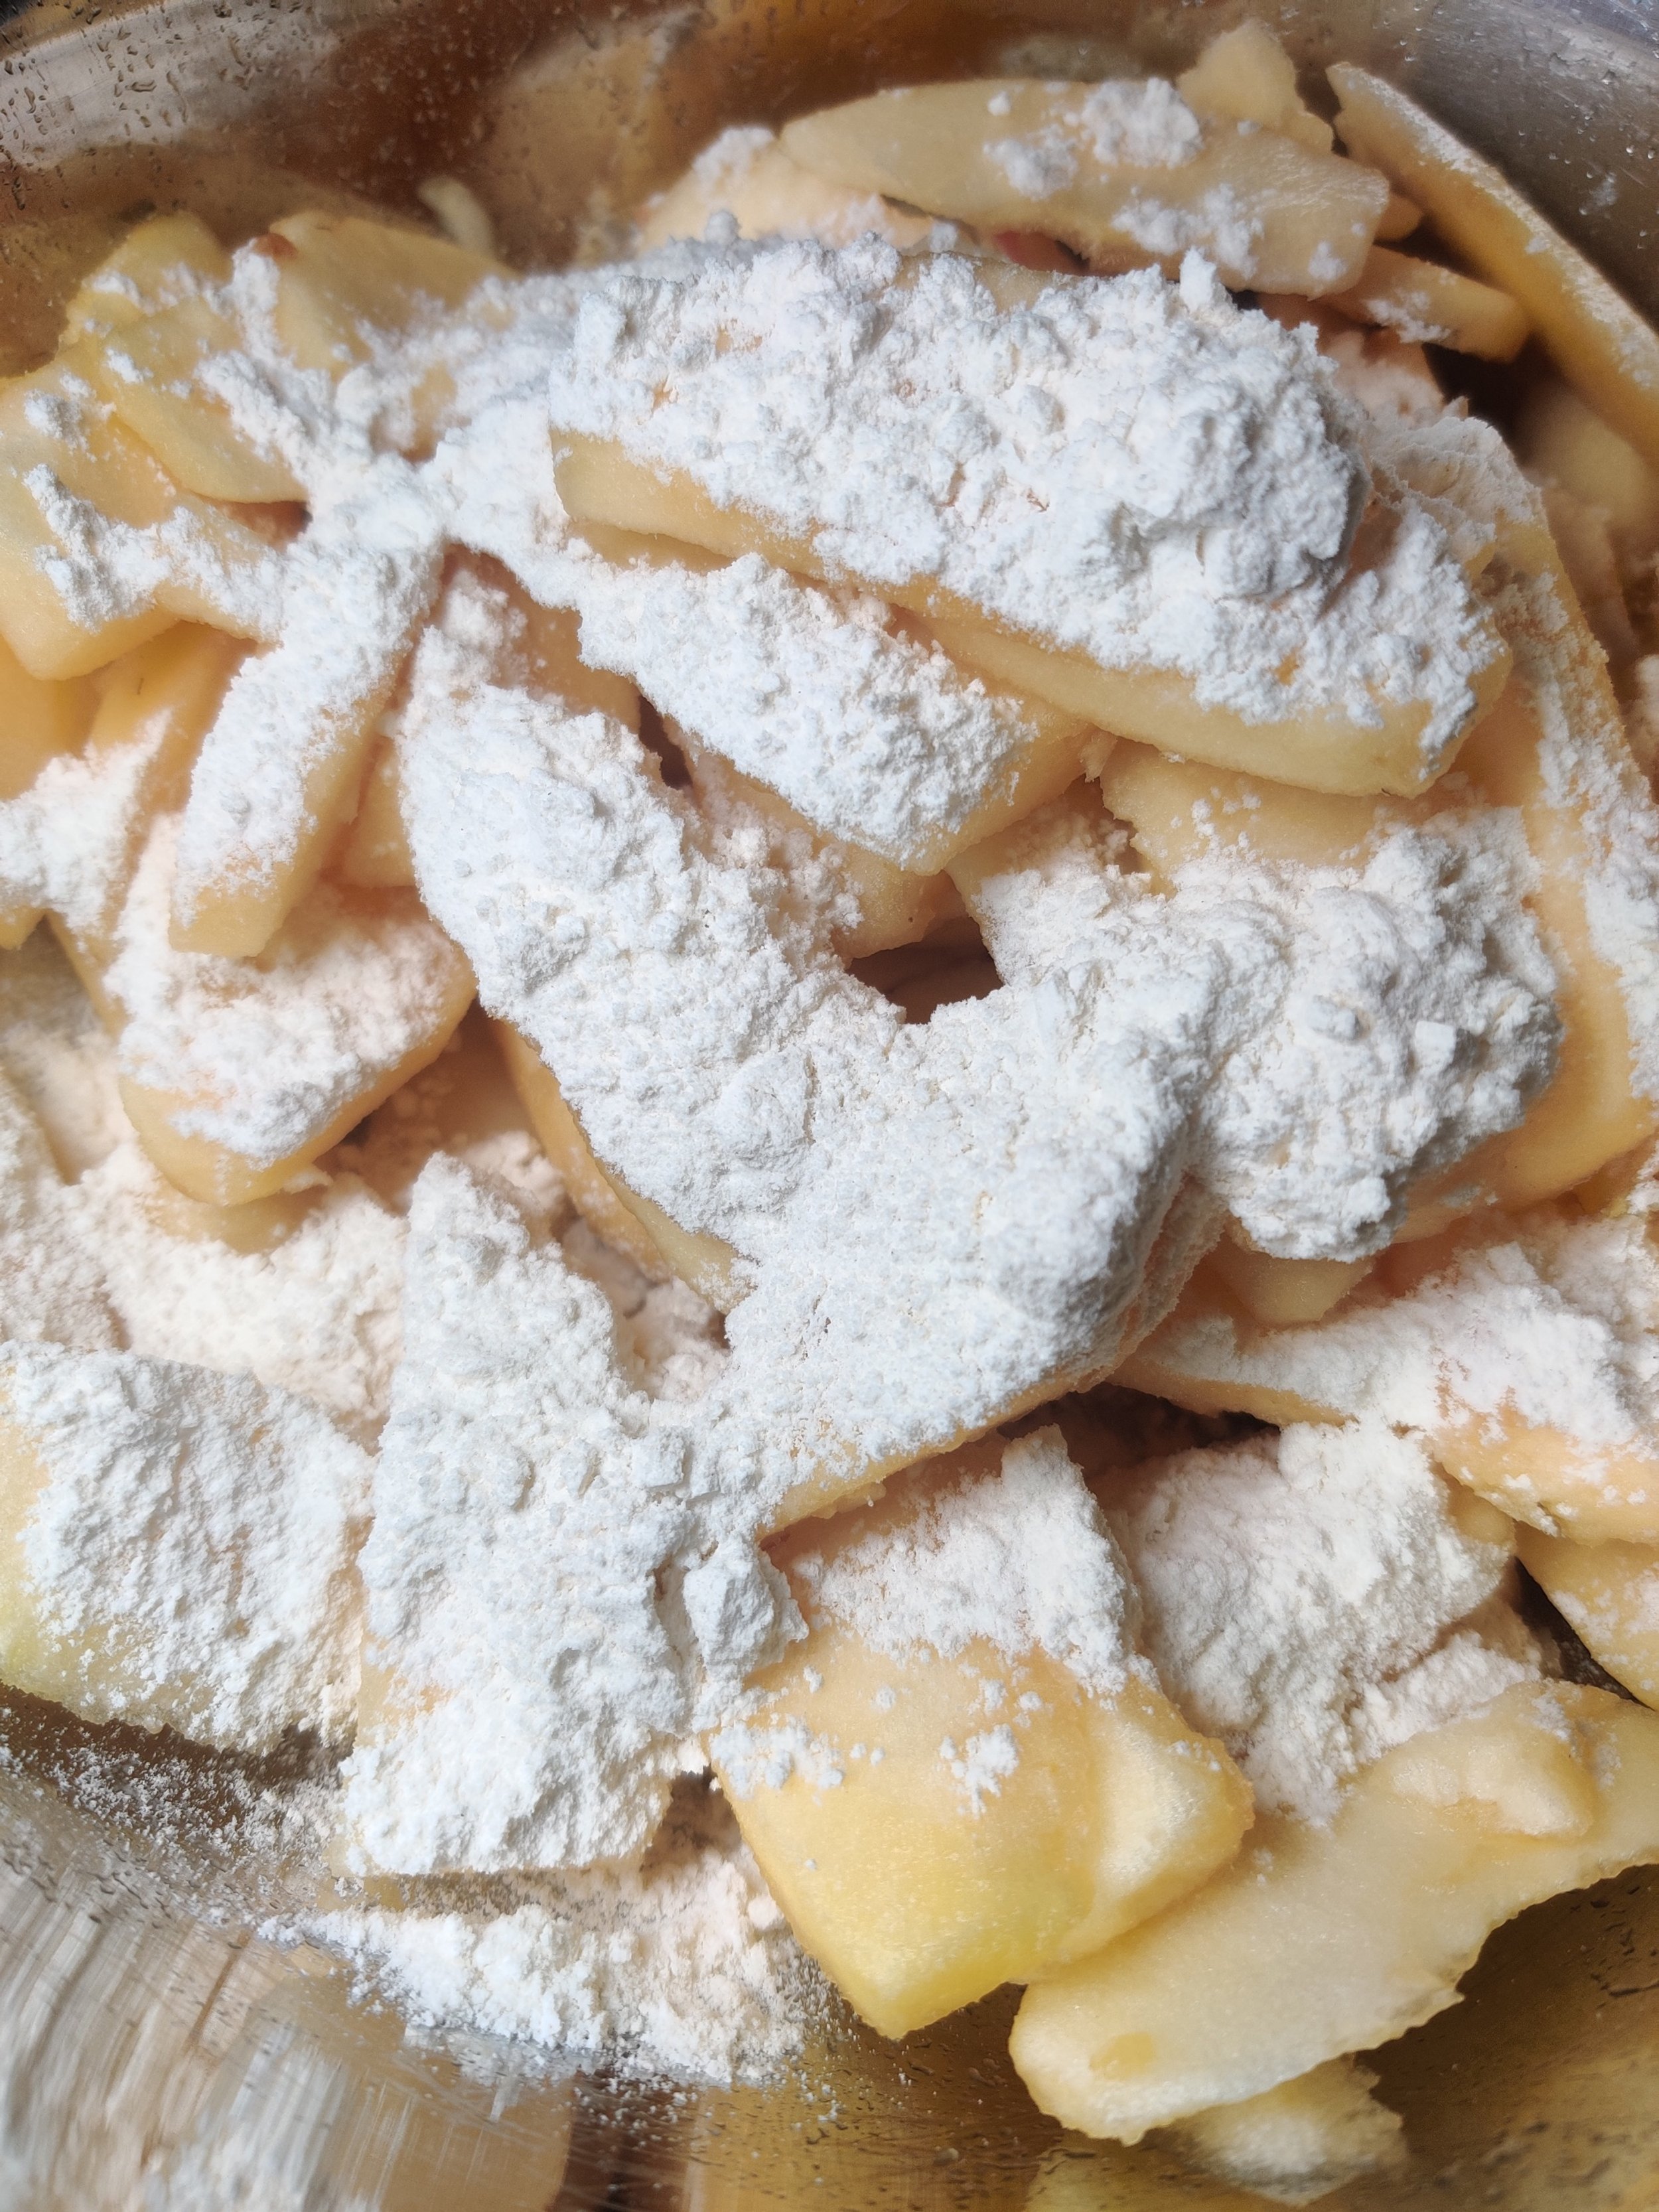
Peel, quarter and thinly slice the apples, then add to a large bowl. Coat with the lemon juice and toss.
Add the flour, crushed biscoff cookies, and spices; evenly coat, stirring with a spoon.
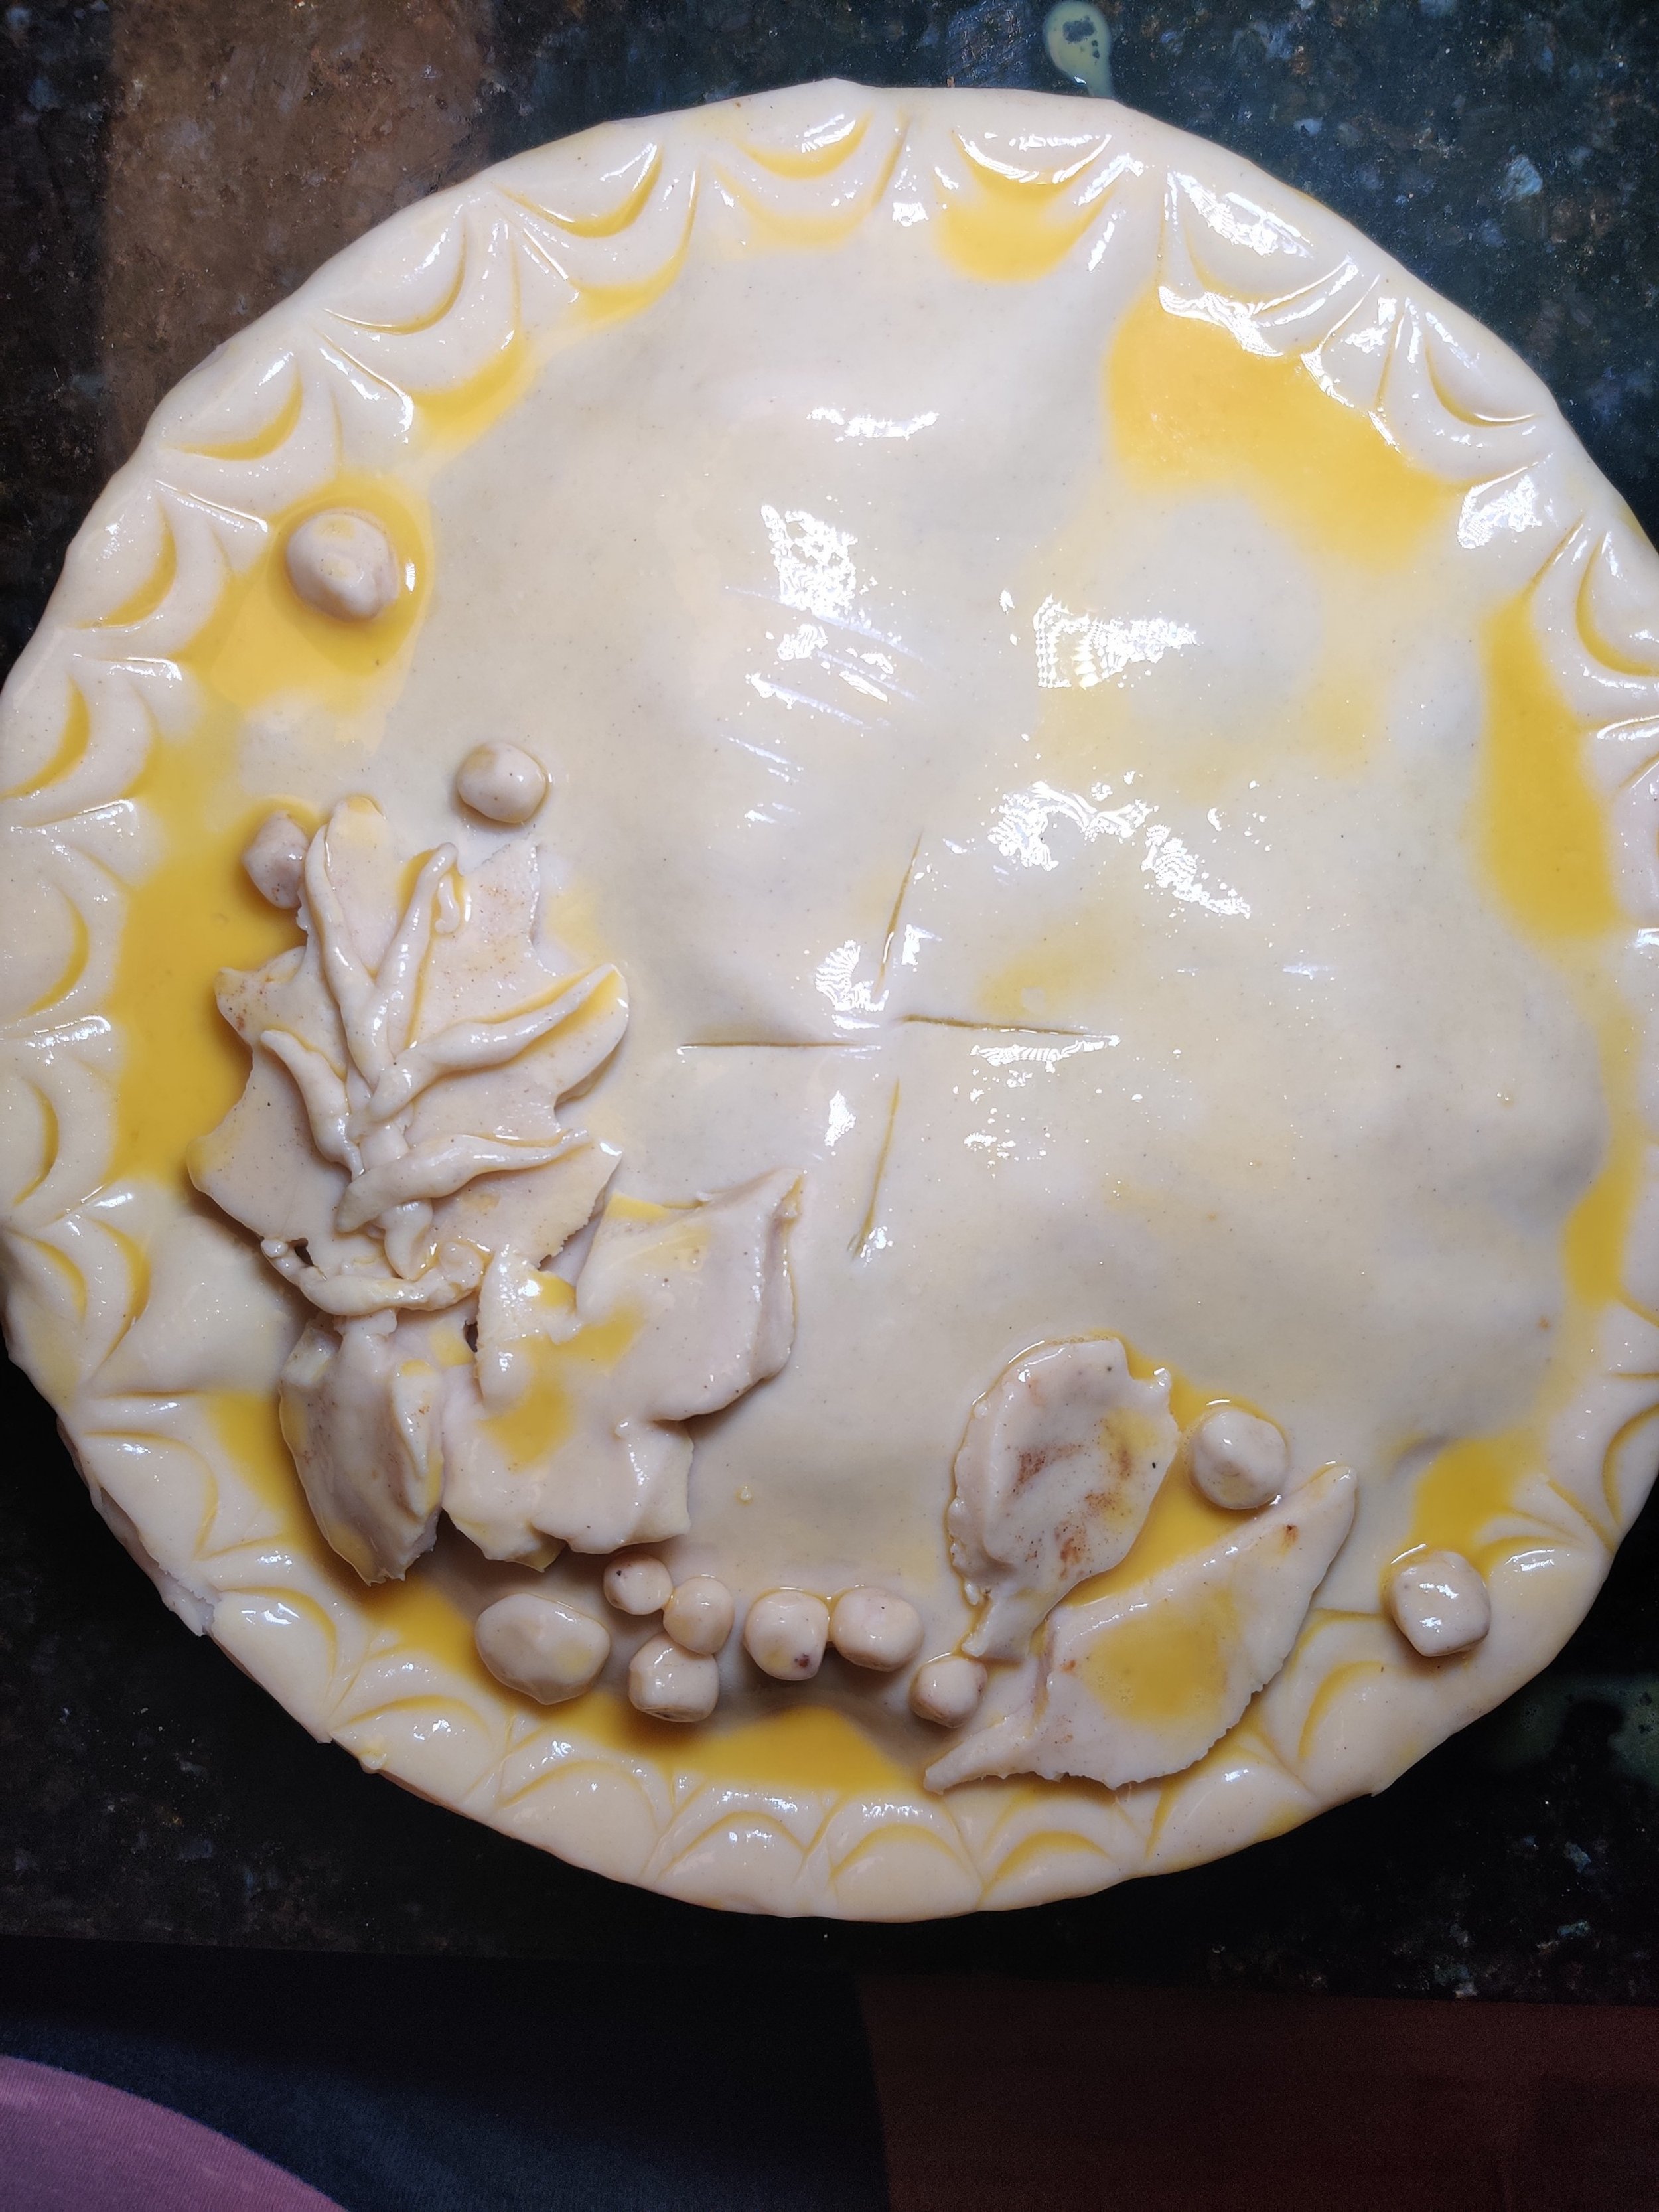
Unroll one pie crust into a pie tin and press down slightly to ensure there aren't any pockets of air on the sides. Pour the apples over.
Roll over the second pie crust on top then use scissors to cut away excess dough. Use a spoon or fork to press and seal the edges, and then make four incisions in the center of the pie. Brush with egg wash then bake for 30 minutes at 350F.
Remove from oven and cool for 2 minutes while melting biscoff in the microwave for about 35 seconds or until melted. Pour over the hot pie.
Sprinkle the crushed biscoff cookies, sea salt, and serve warm with vanilla ice cream.


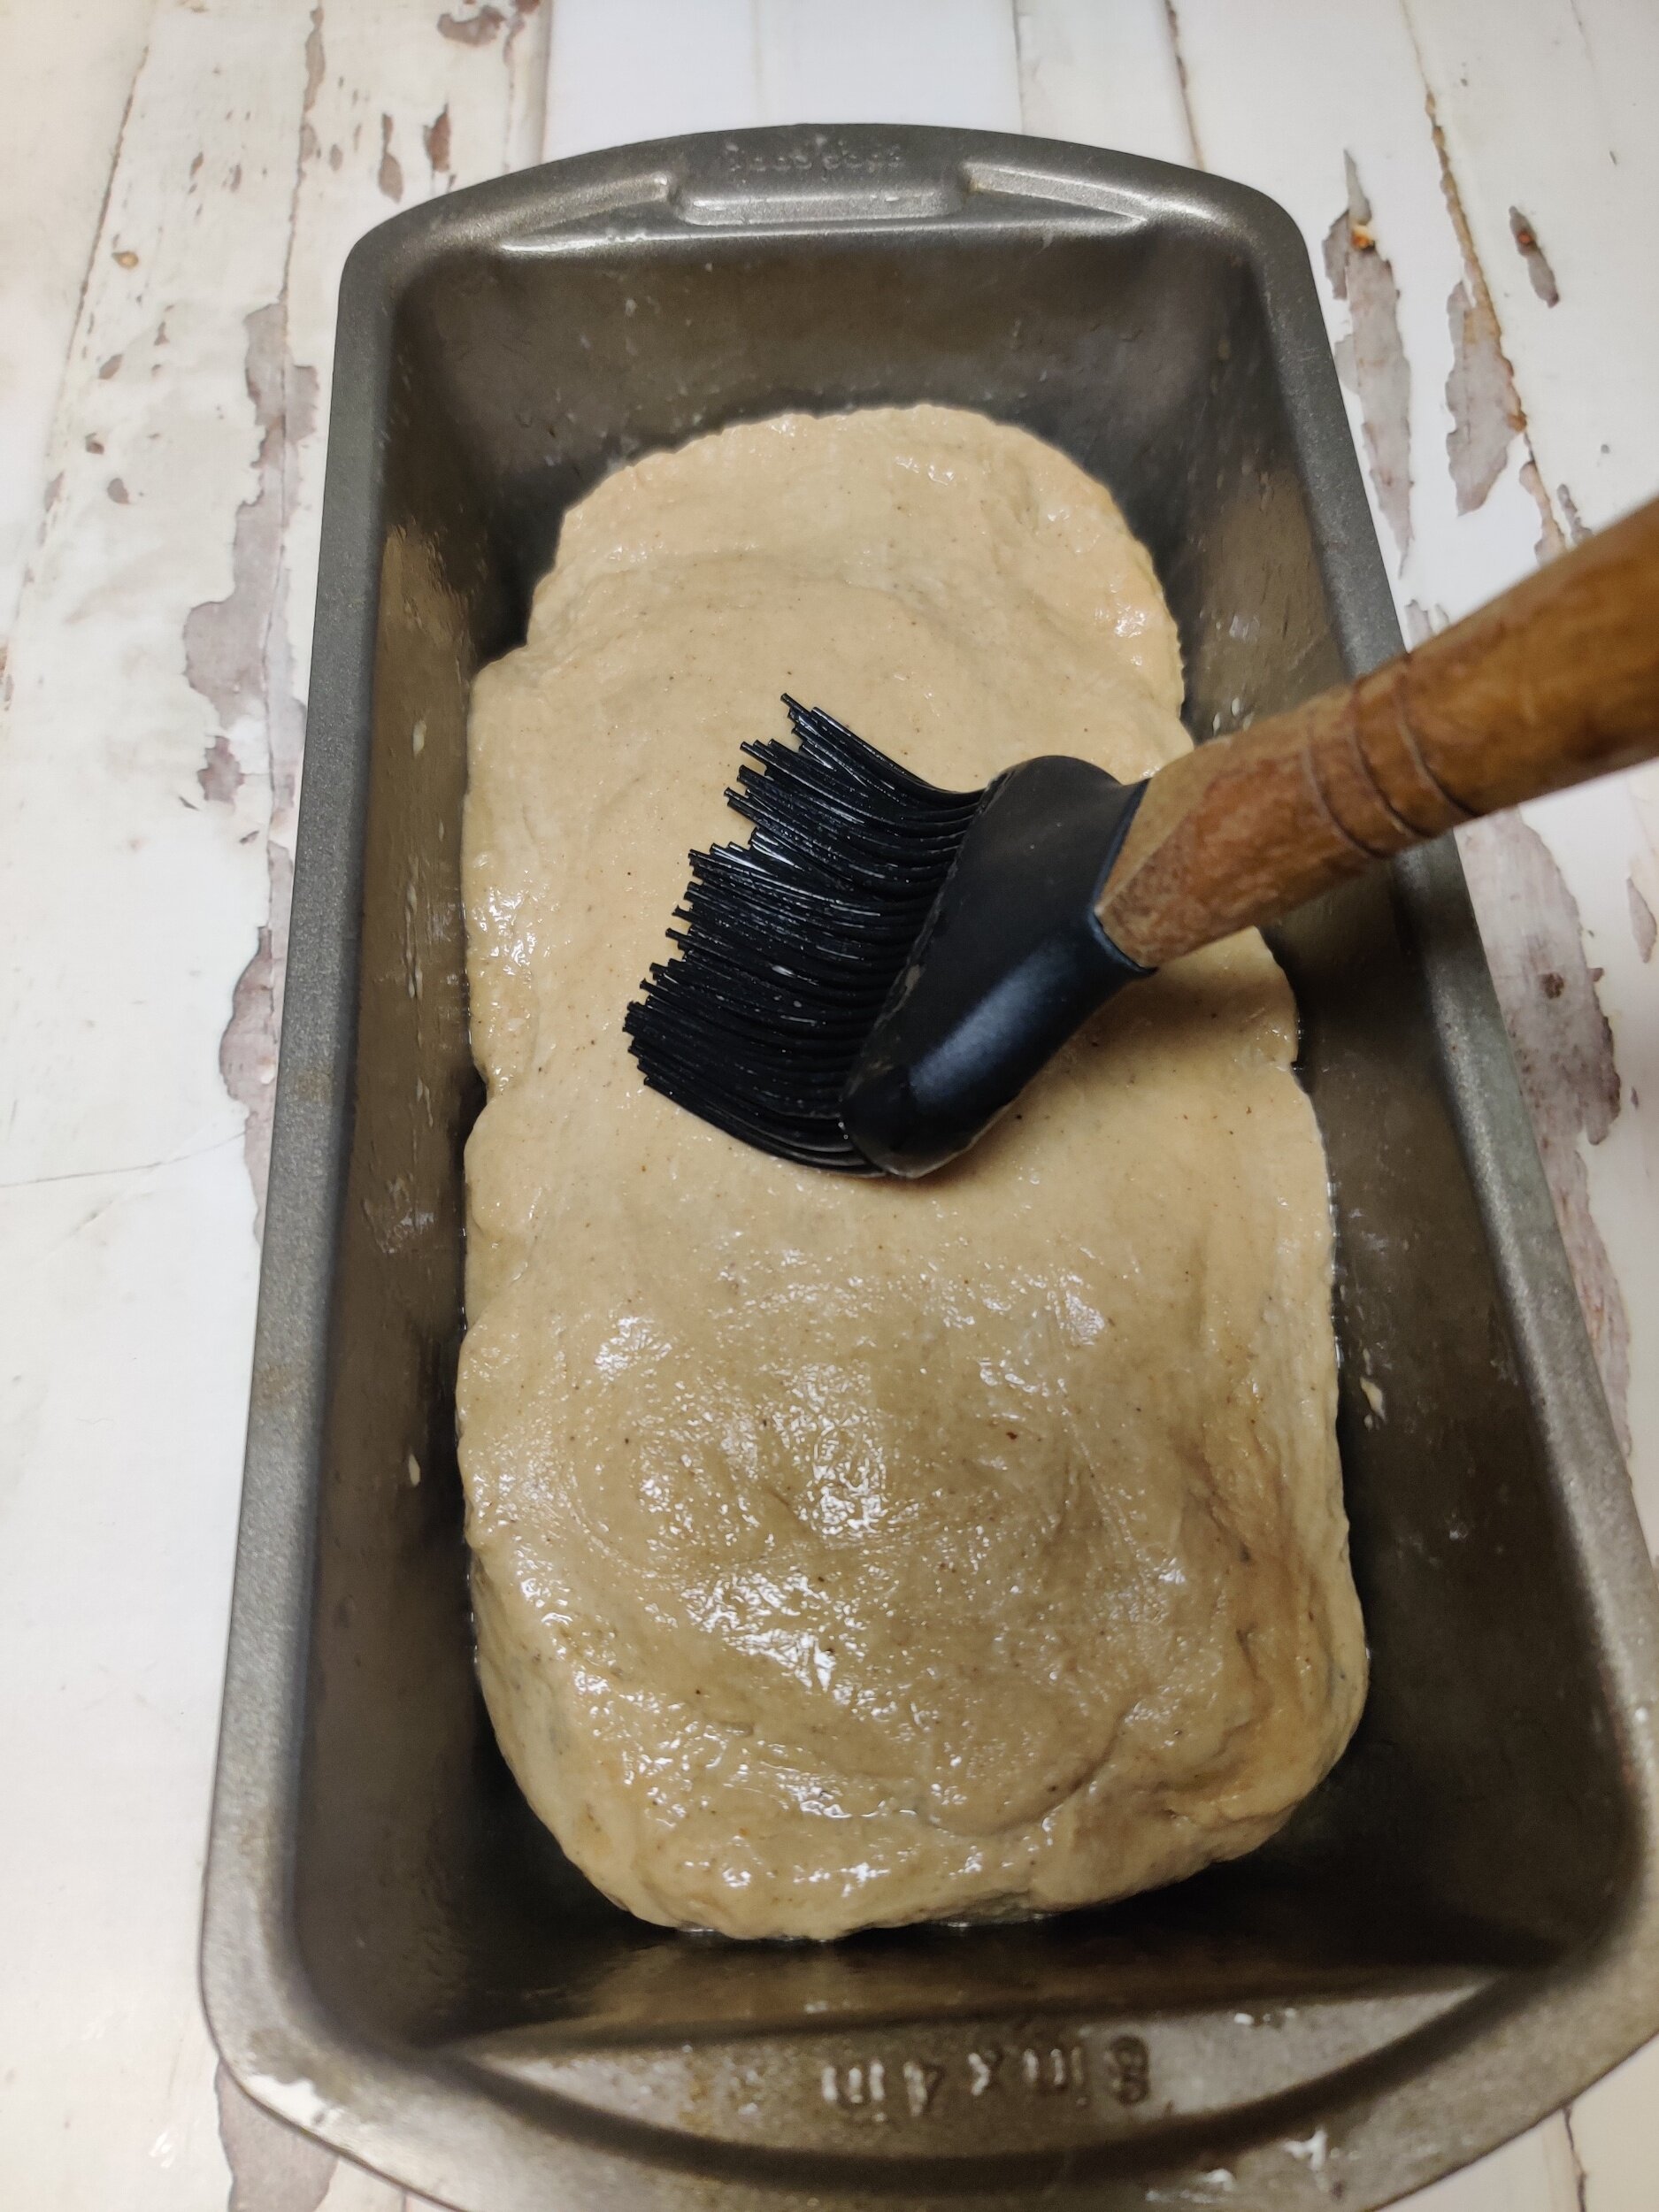
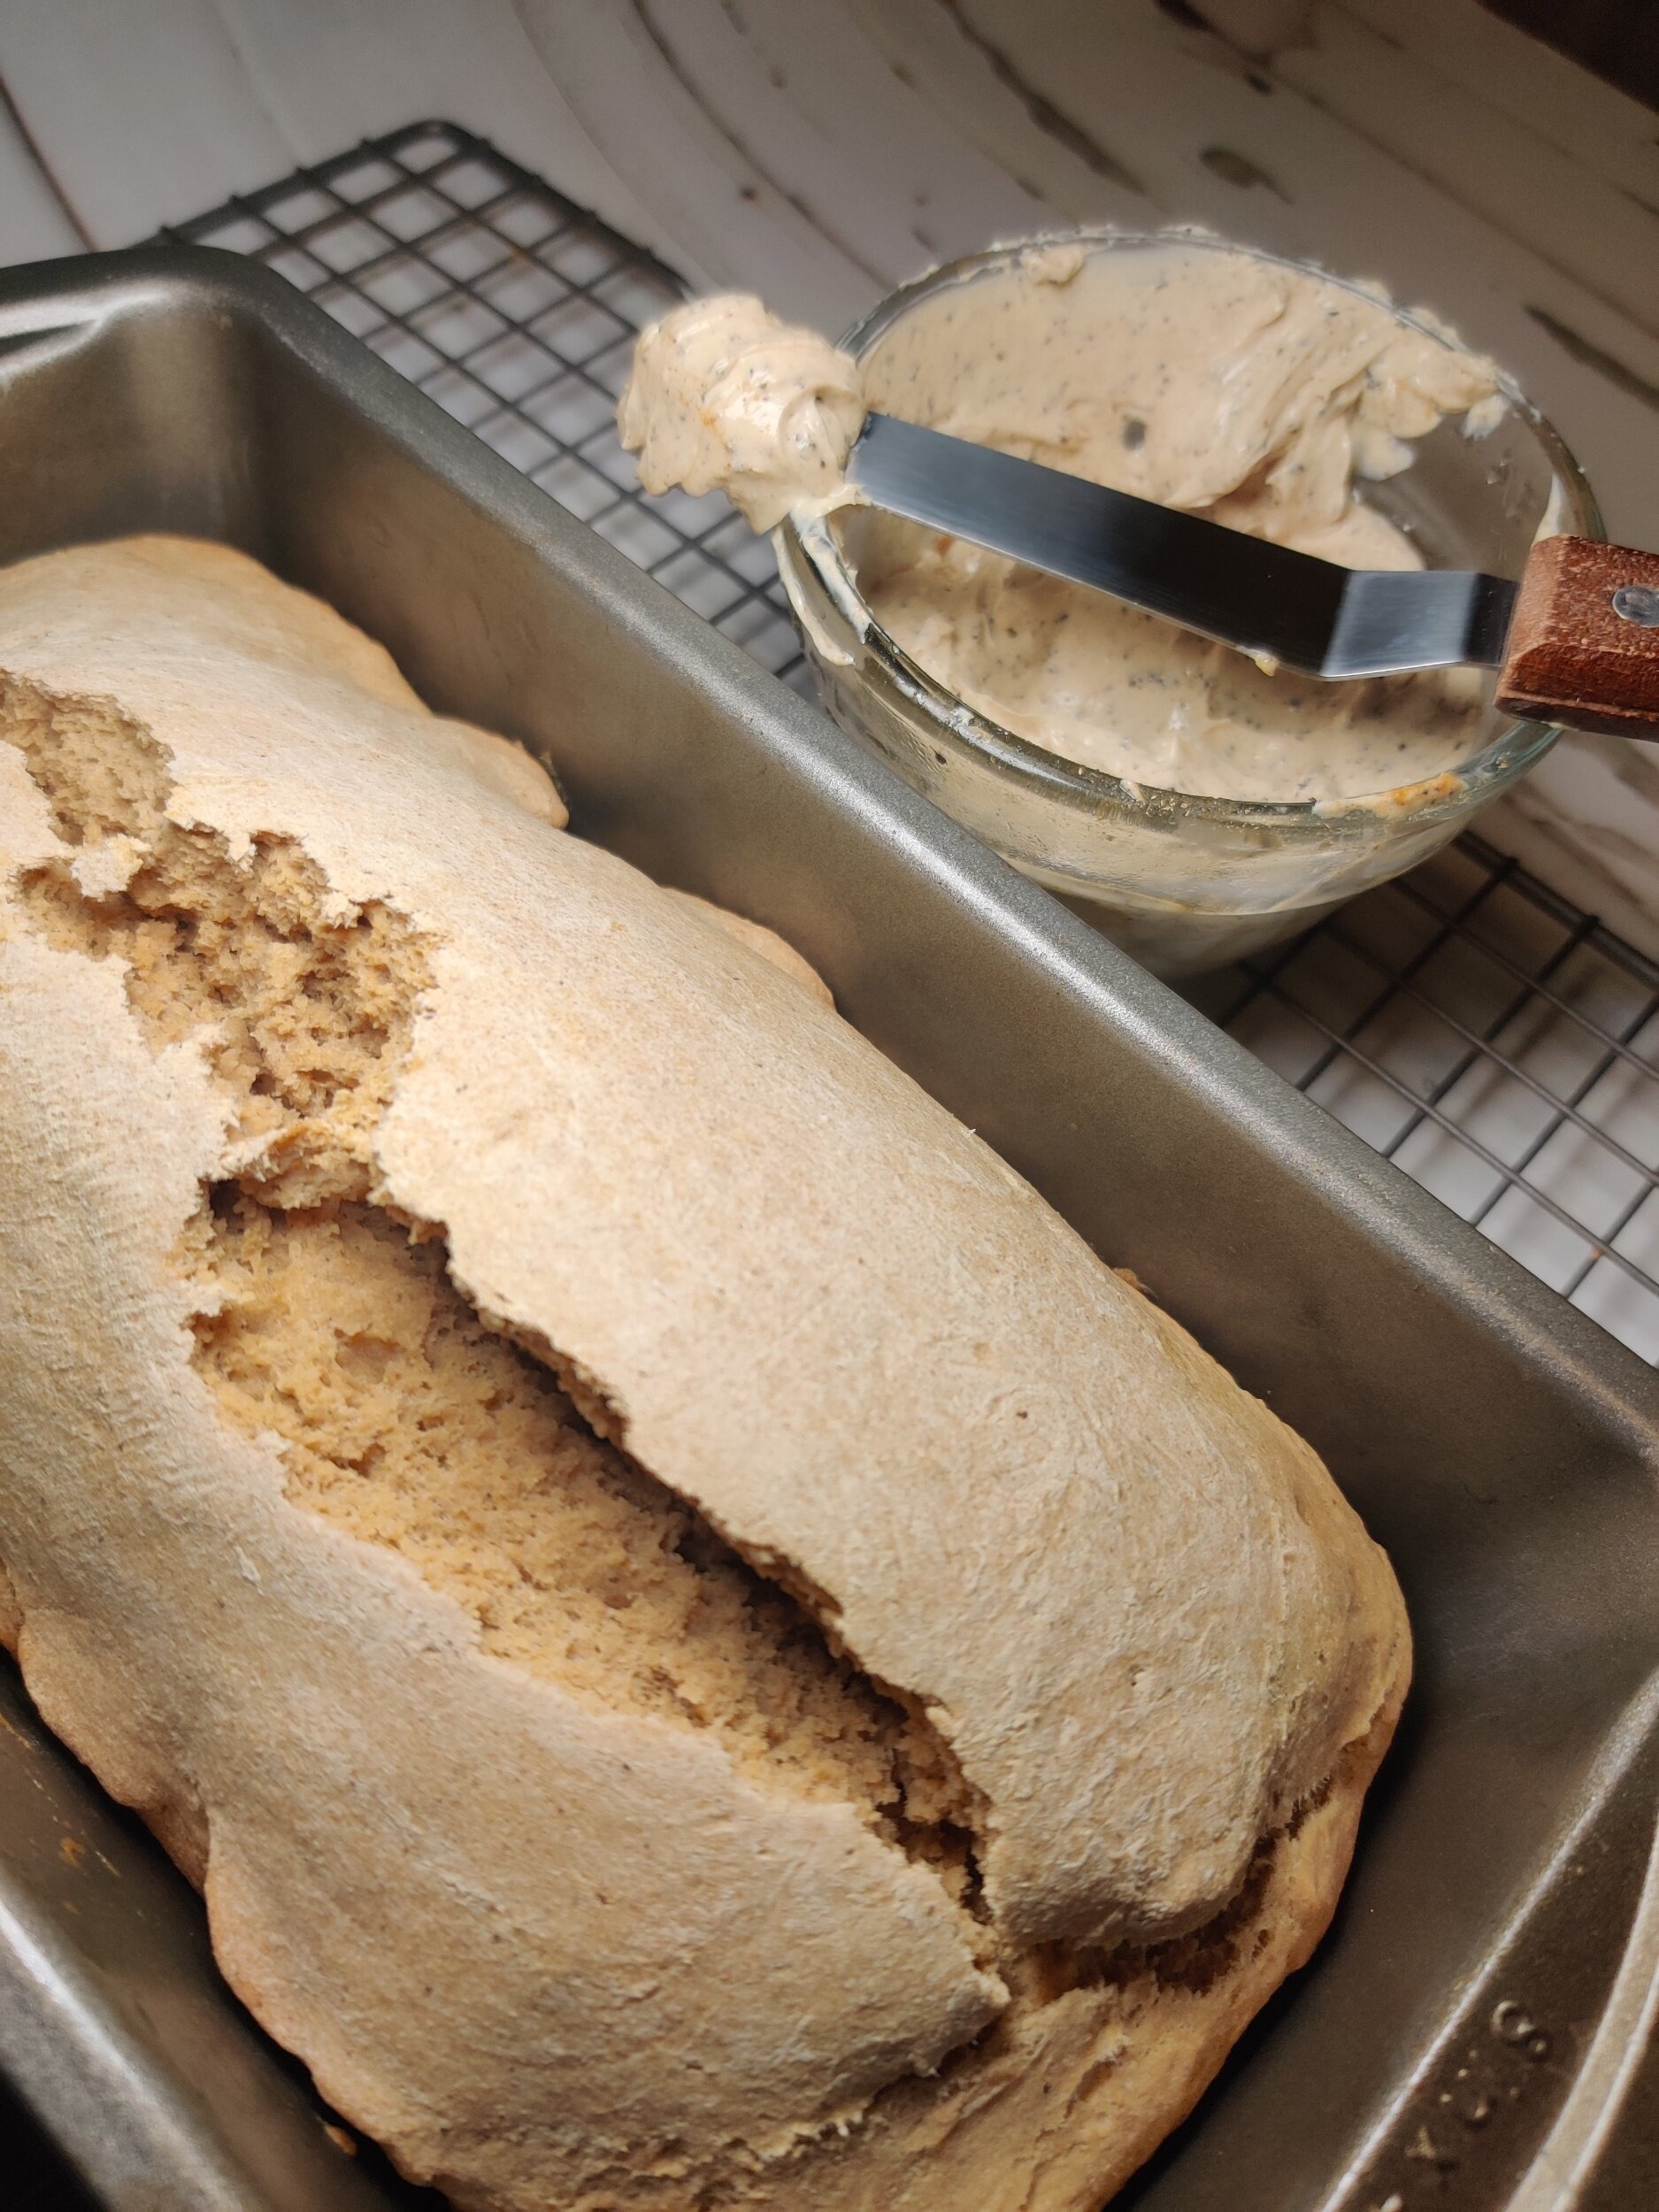
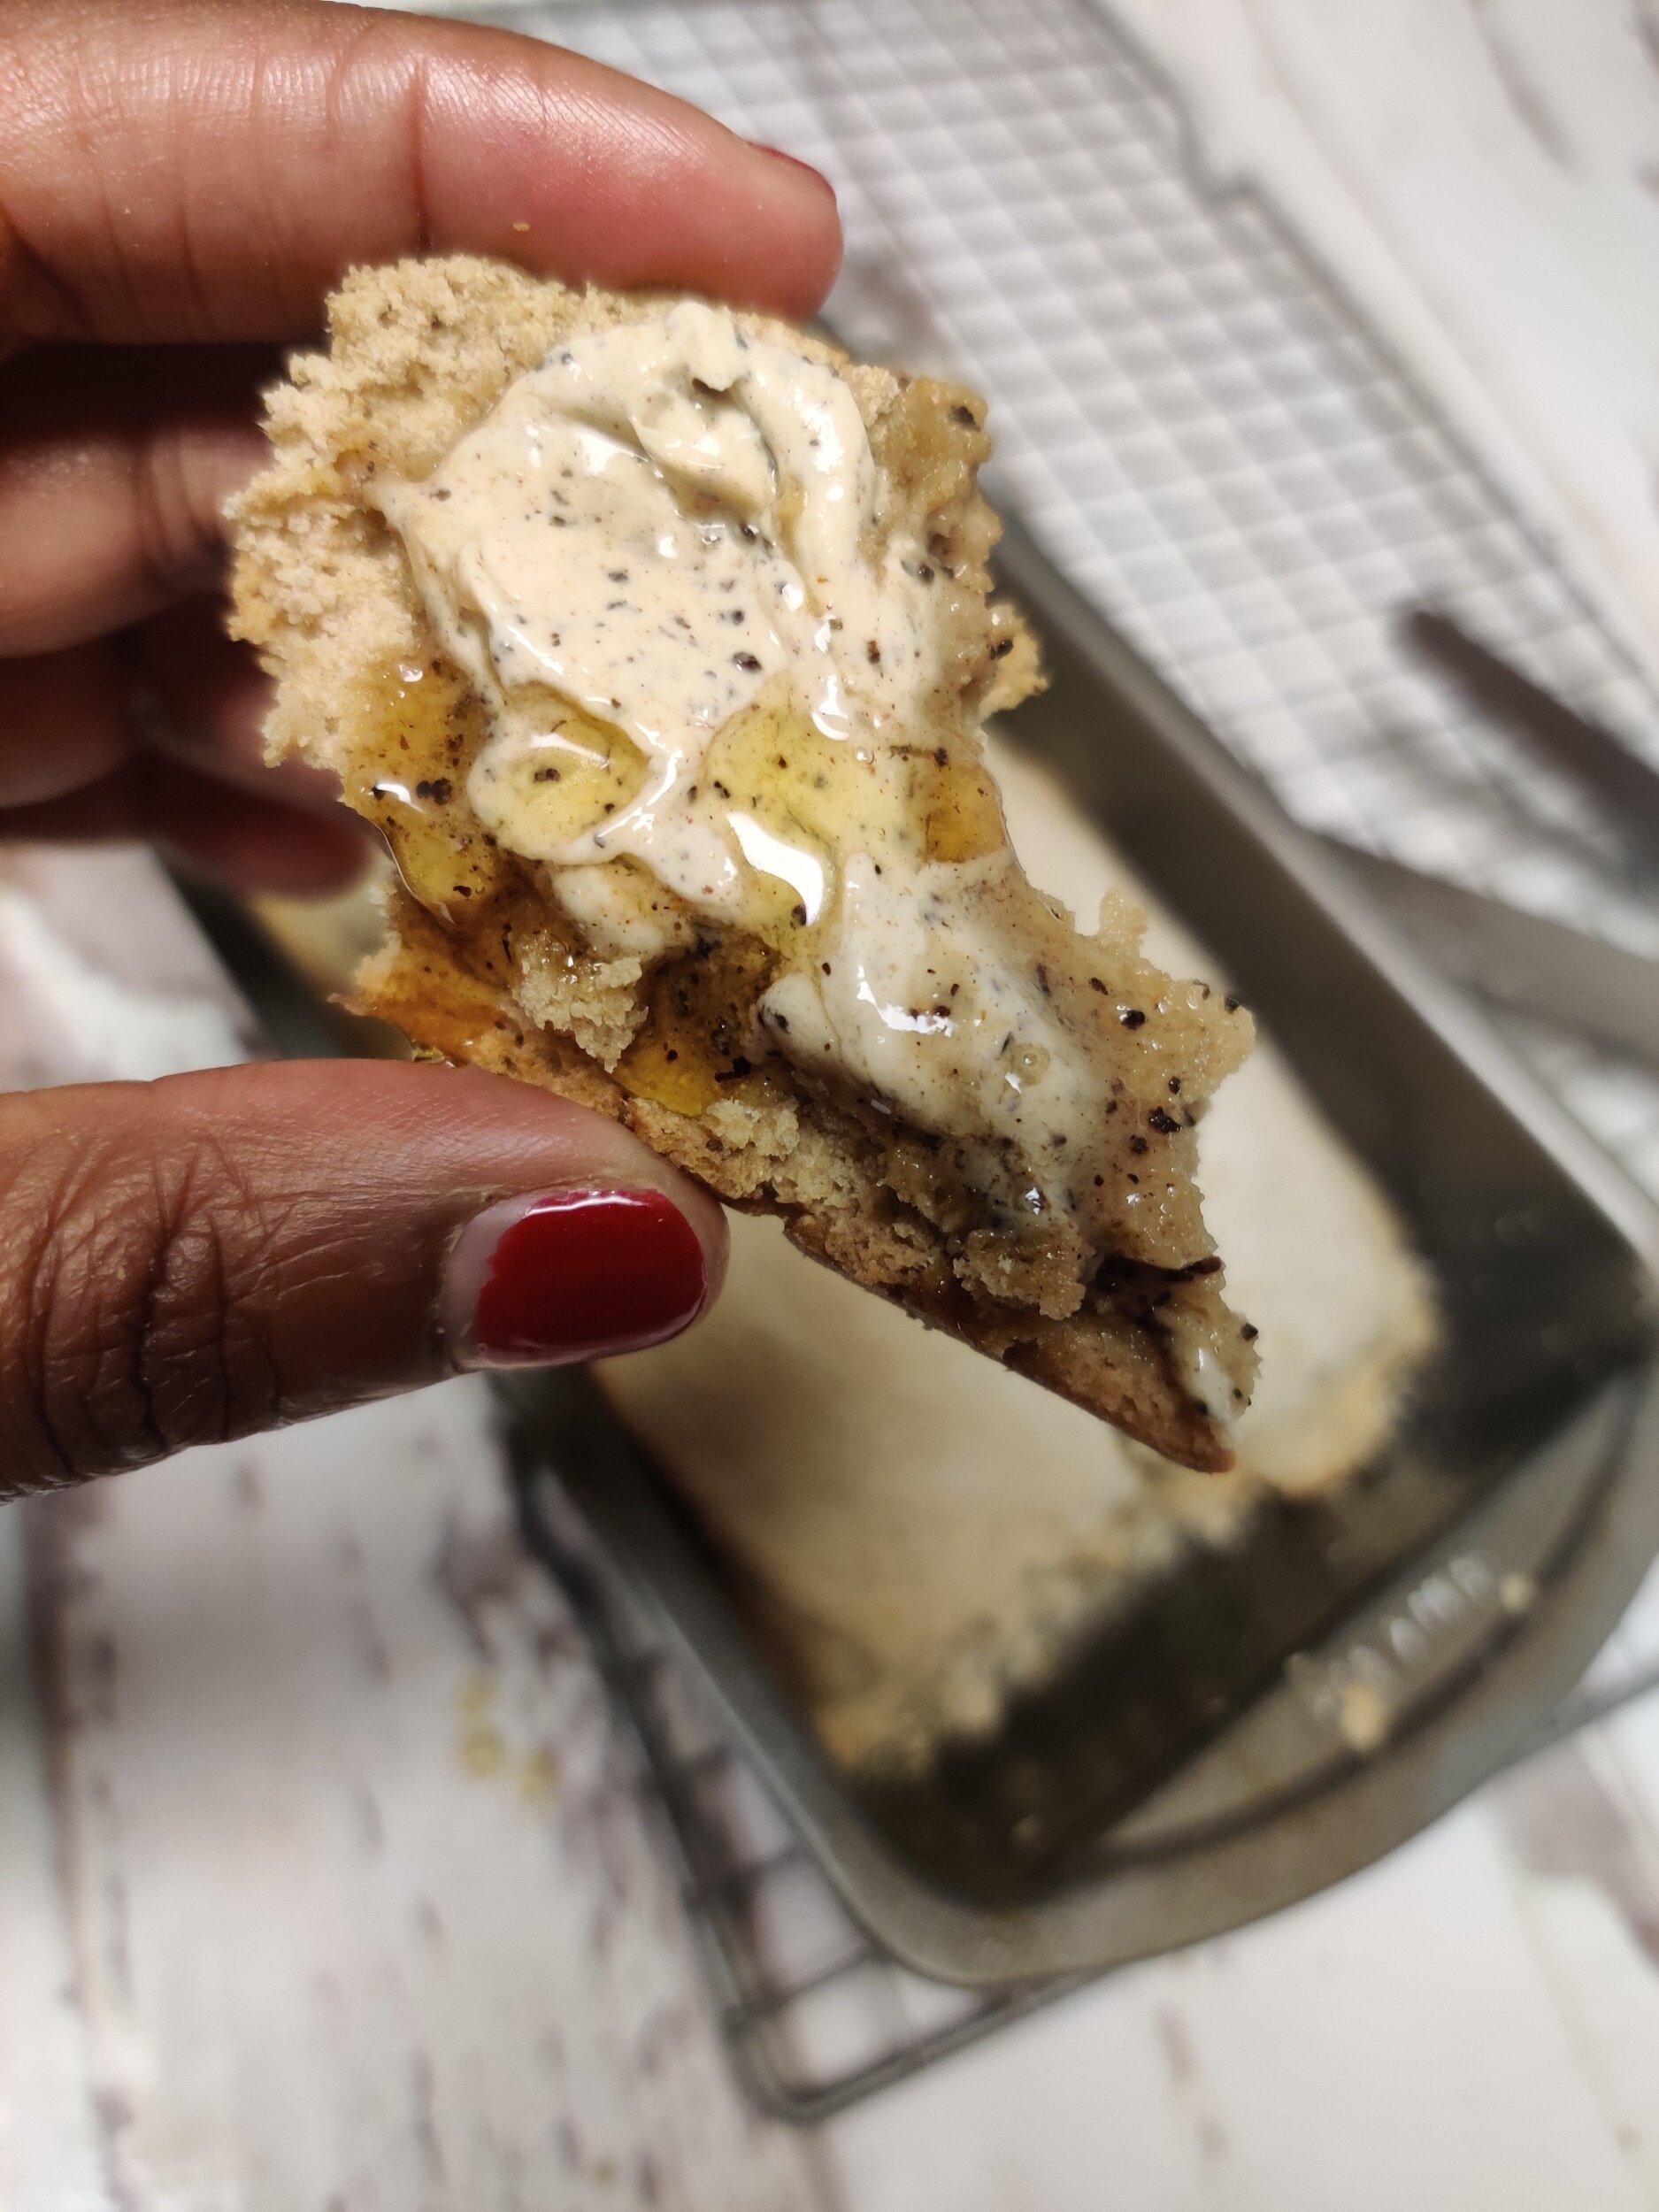
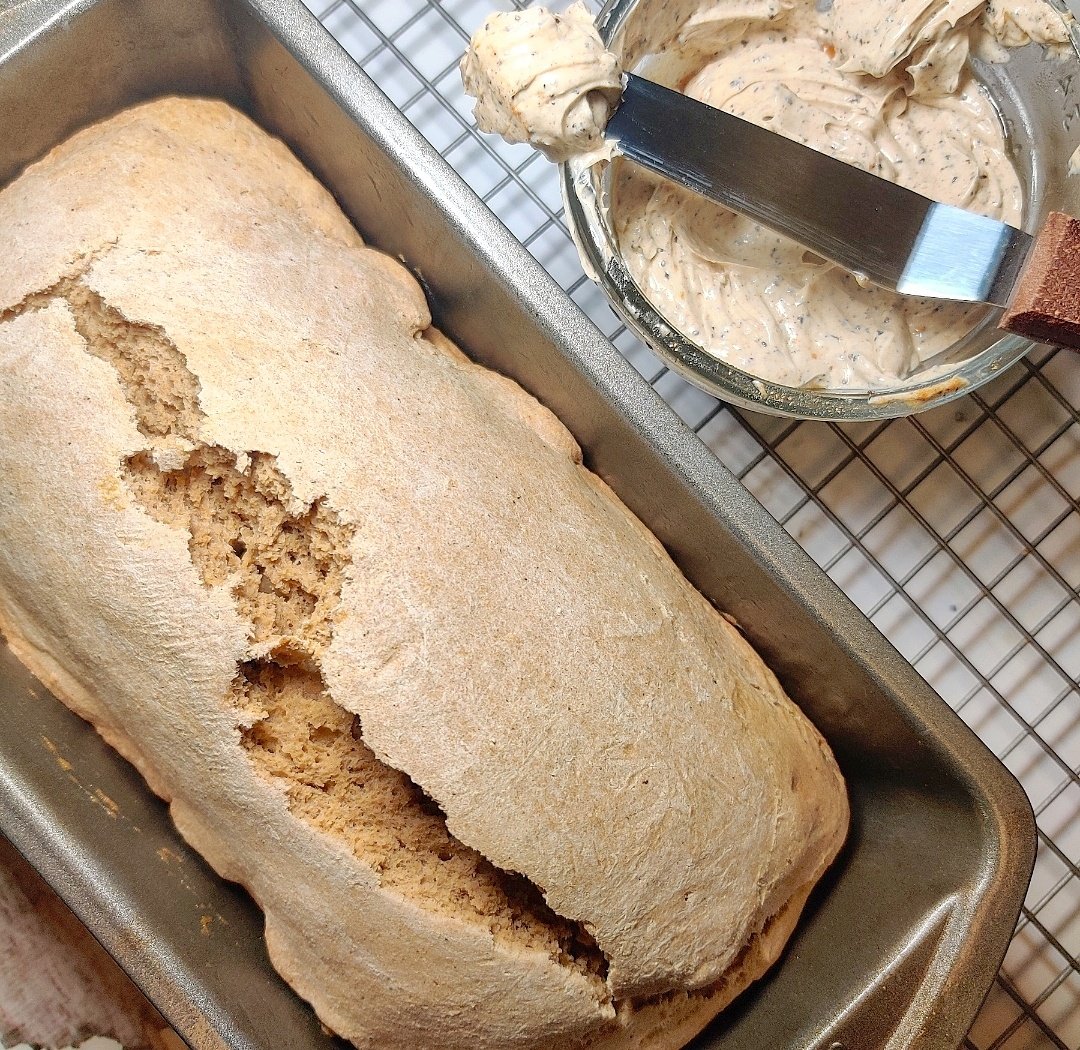
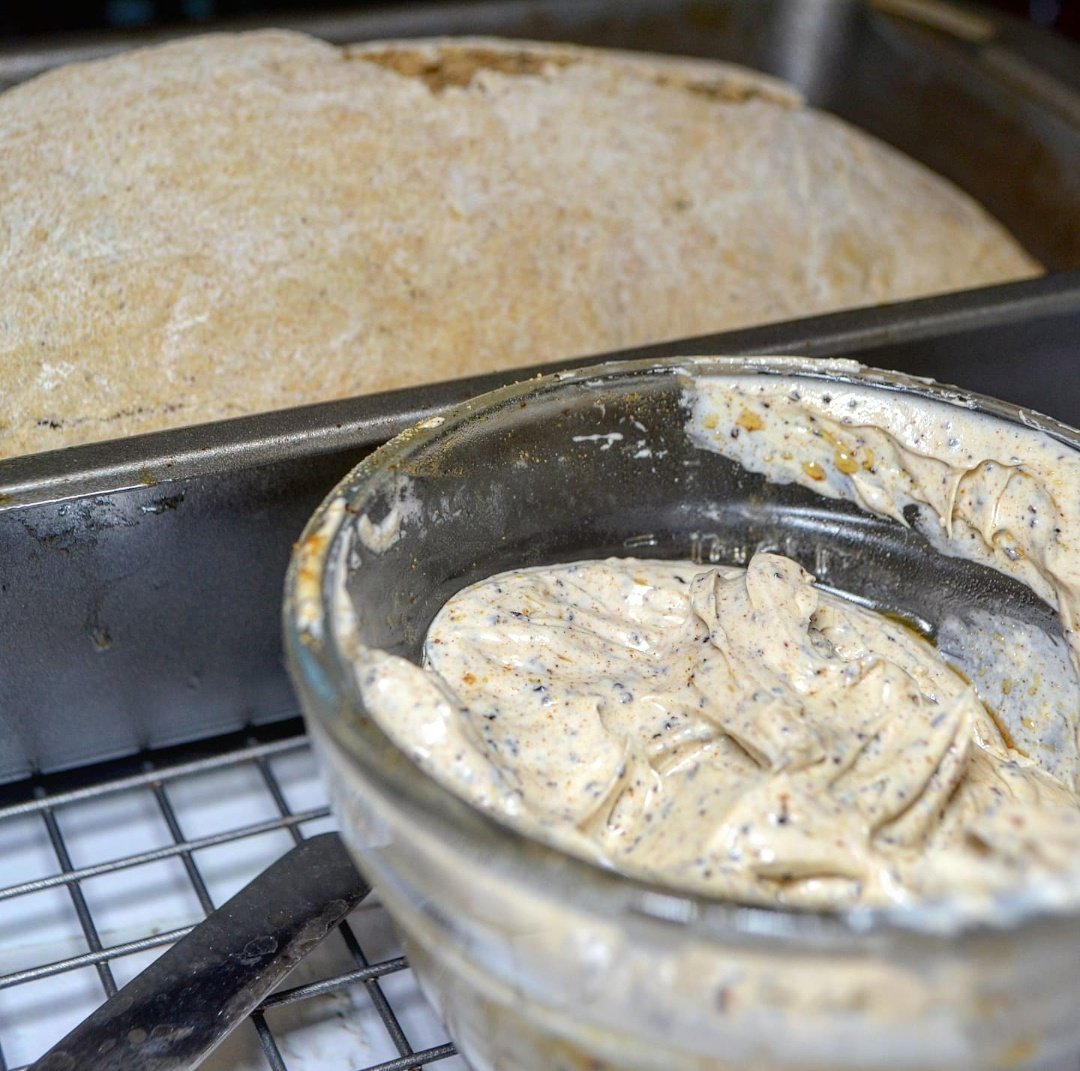
Veldt Bread with Masala Chai Tea Butter
There is nothing like warm, freshly made homemade bread!
Luckily, almost every culture and cuisine has a version of one of the oldest foods we know.
Since the dough is typically spiced, I made sure to use ingredients found in masala chai tea to give the bread some character with an Indian flavour profile. Also, instead of serving with regular butter, it made sense to spice that too, to complement and enhance the bread. Initially, I was going to make a chai buttercream drizzle, but butter really helps moisten the bread and gives it that buttery goodness!


Tip: Best consumed within 3-5 days. Heat for 20 seconds or toast and add butter.
This recipe was adapted from Paul DeLancey.

Veldt Bread with Masala Chai Tea Butter
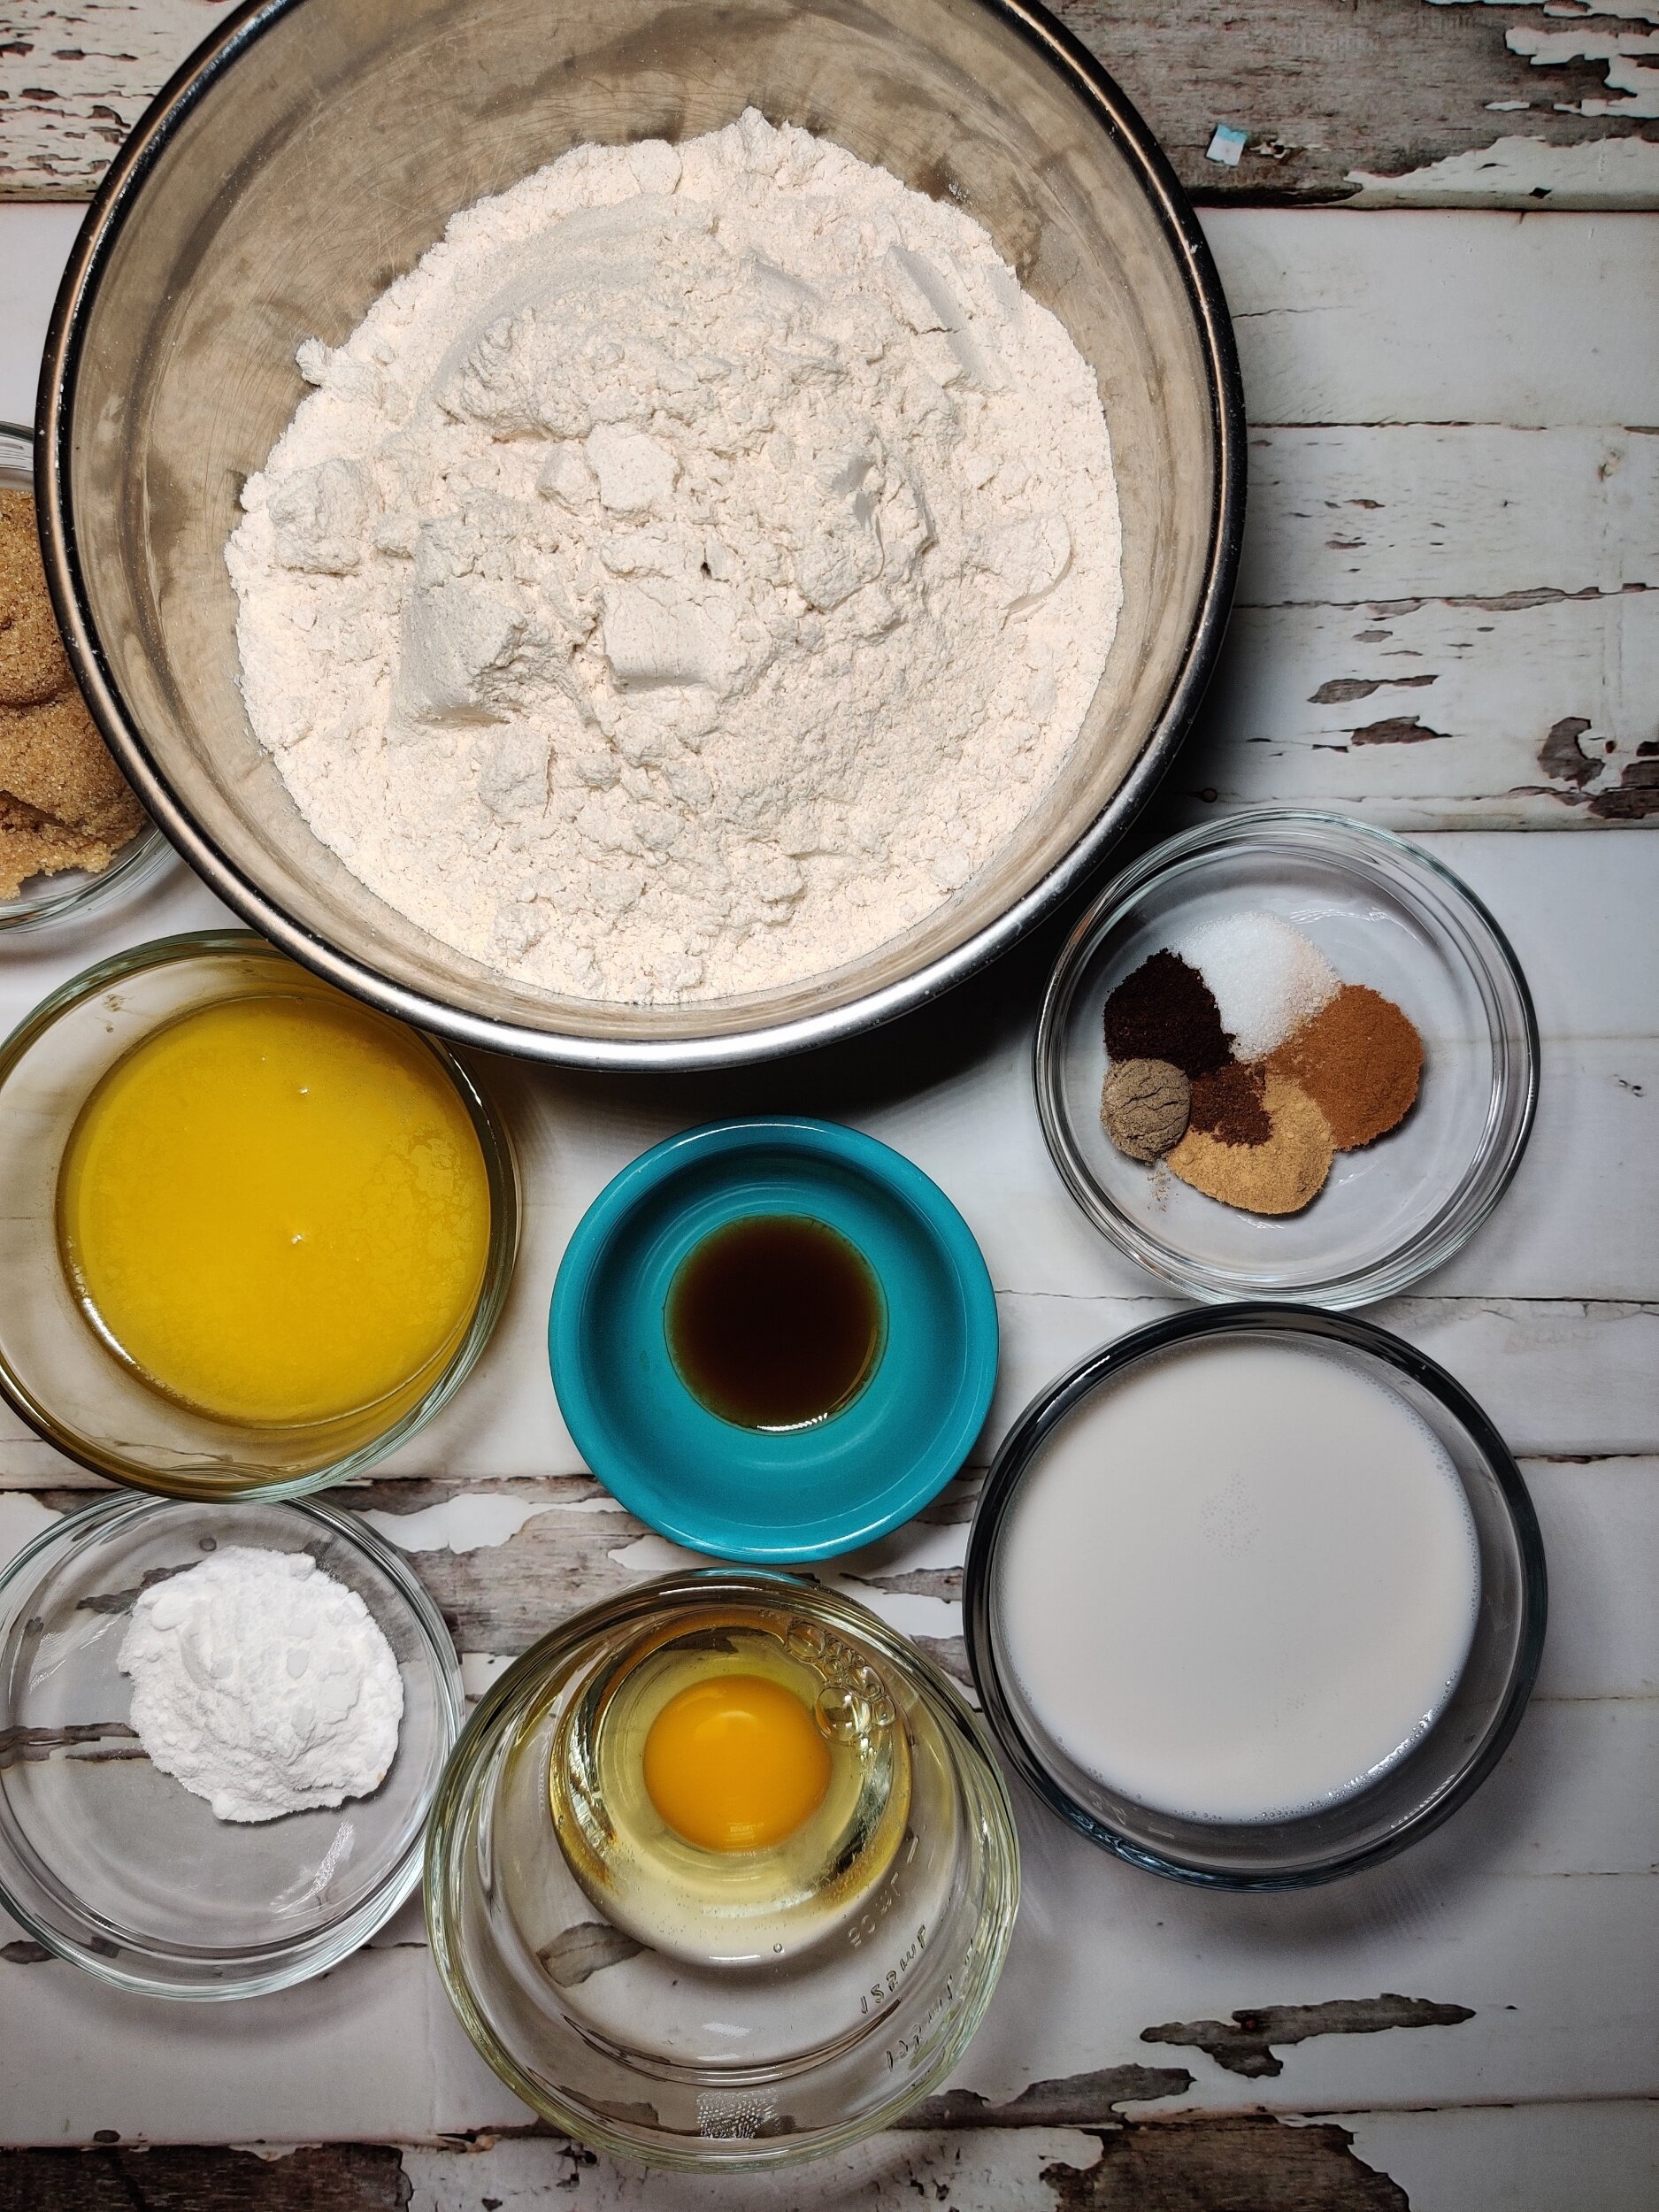
Ingredients
- 3 1/2 cups whole wheat flour
- 3 tablespoons light brown sugar
- 1 tablespoon baking powder
- 1/4 teaspoon ground nutmeg
- 1/2 teaspoon ground cinnamon
- 1/4 teaspoon ground cloves
- 1/4 teaspoon ground ginger
- 1/4 teaspoon ground cardamom
- 1 tablespoon vanilla extract
- 1/2 teaspoon salt
- 4 tablespoons butter
- 1 egg
- 2/3 cups vanilla almond milk
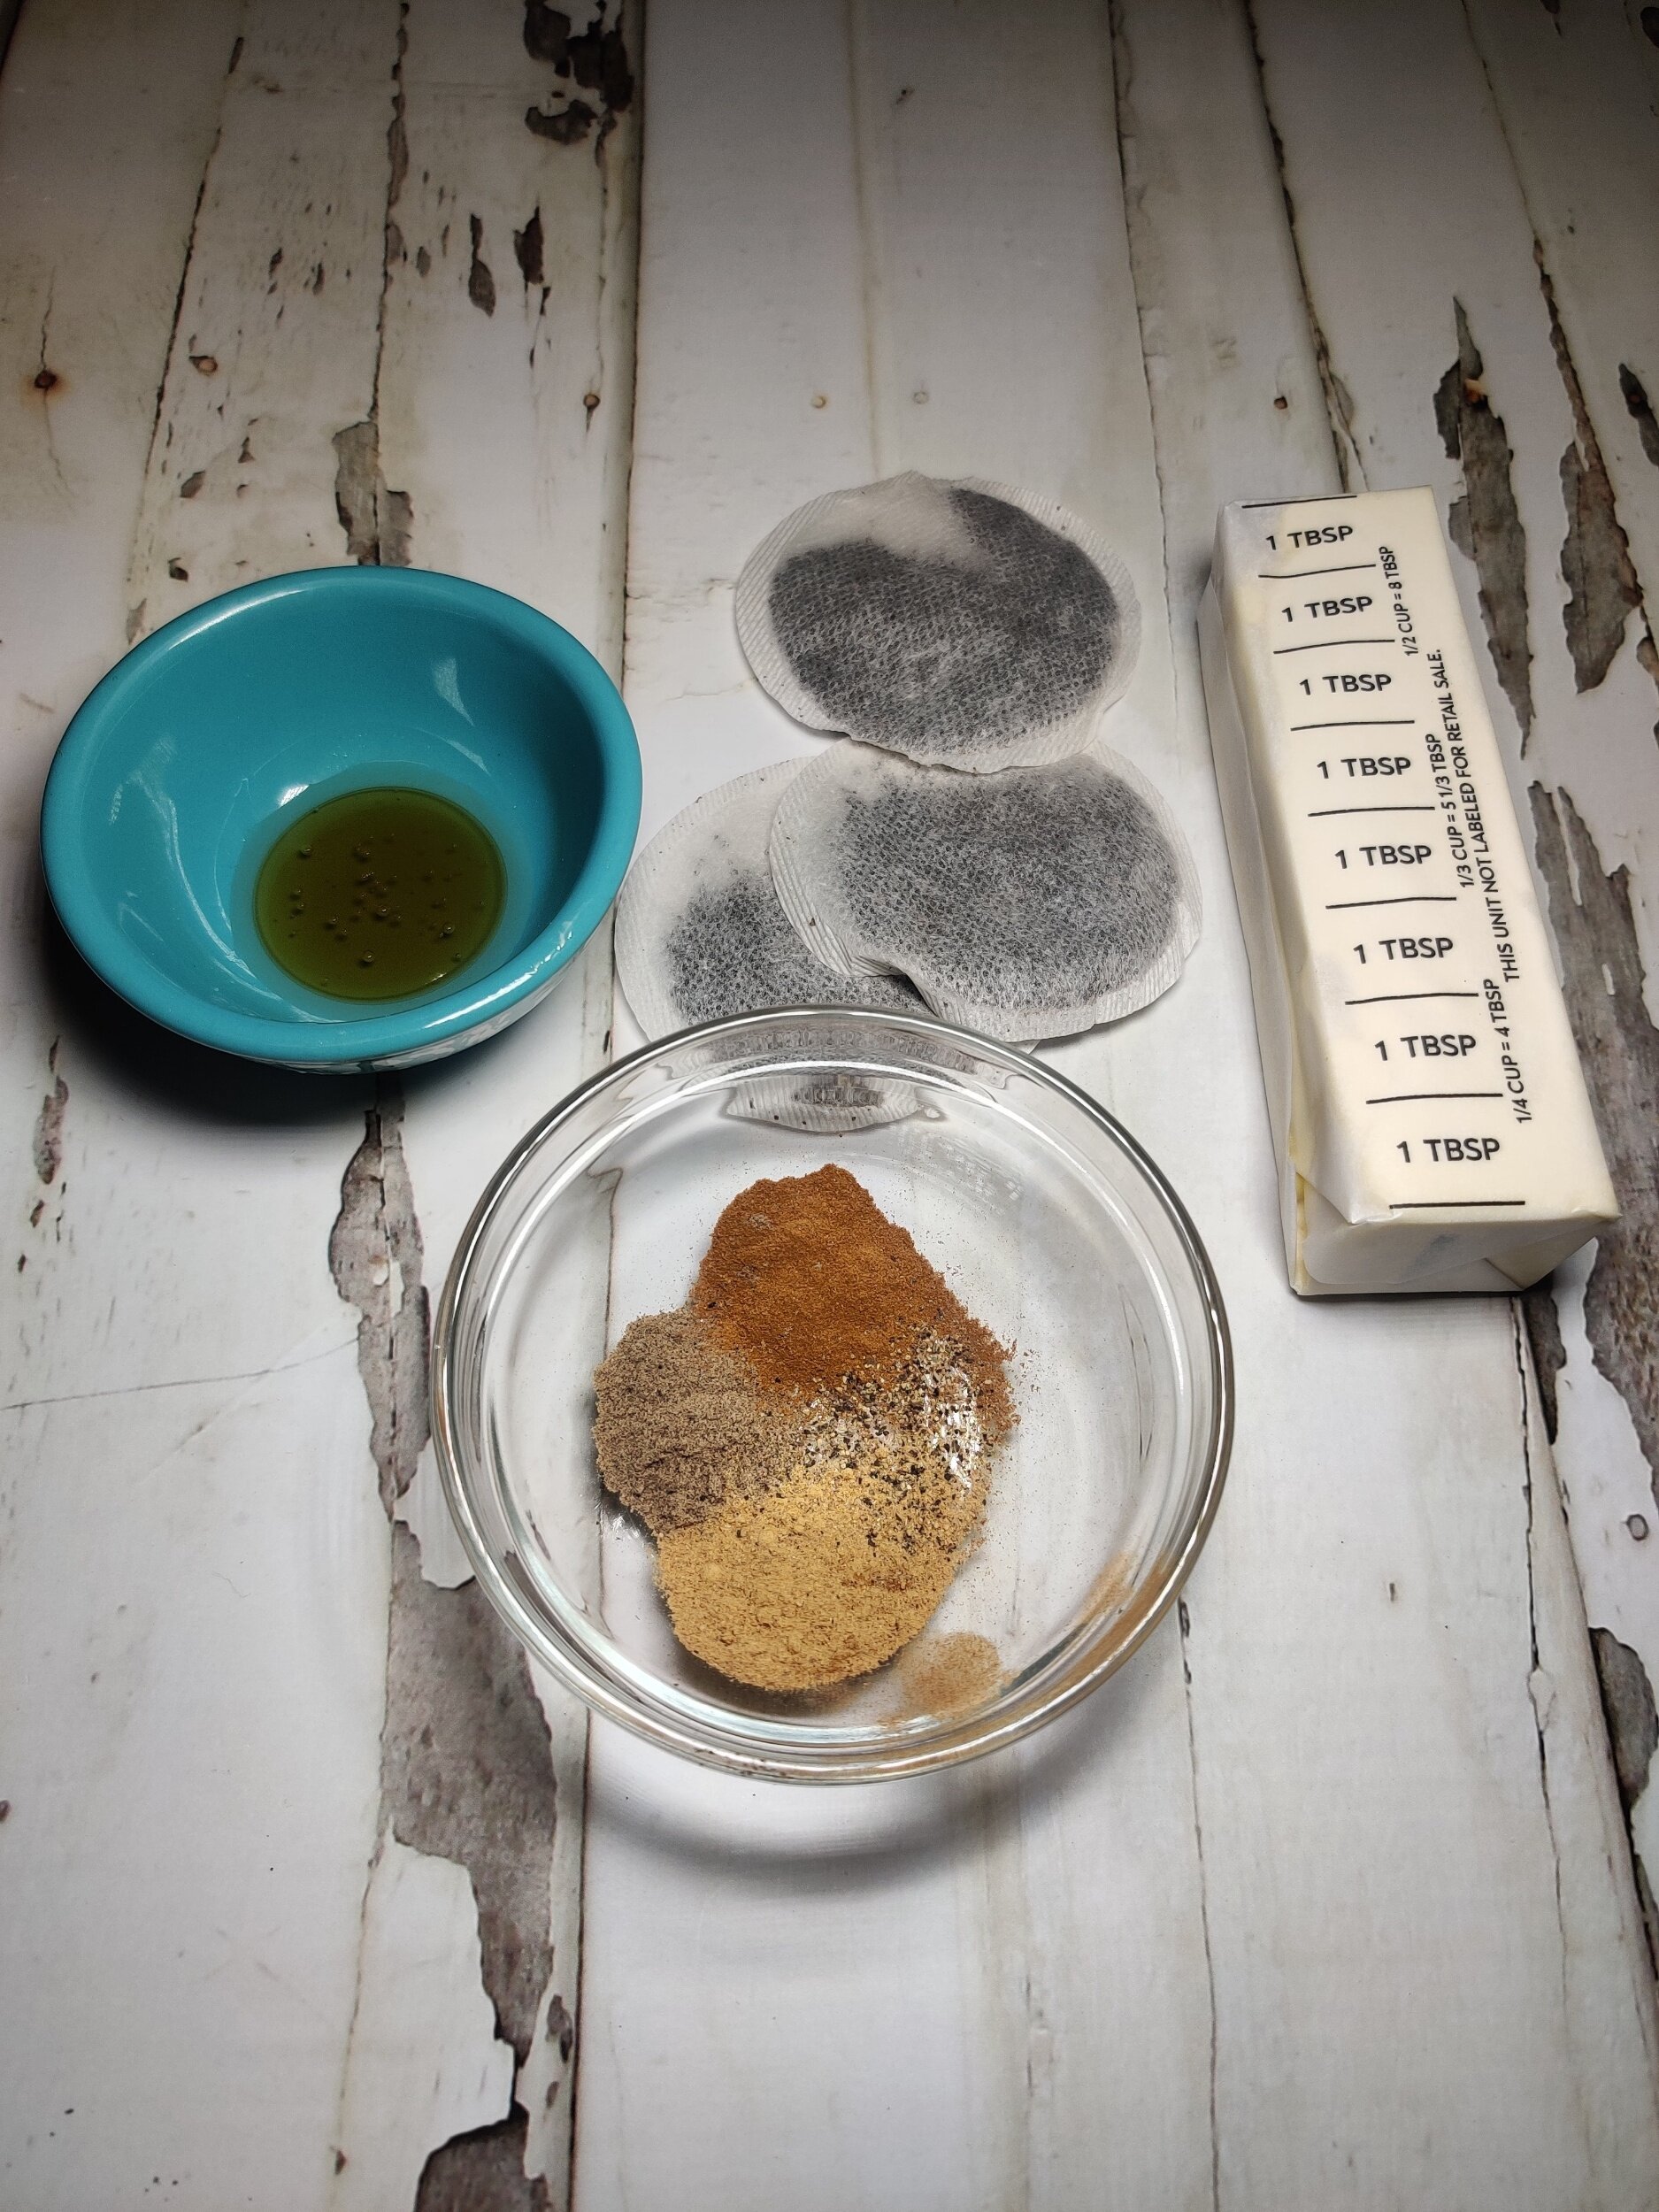
- 8 tablespoons butter
- 1 teaspoon maple syrup or honey
- 2-3 black tea bags (I used English breakfast)
- 3/4 cups water
- 1/2 teaspoon cinnamon
- 1/2 teaspoon nutmeg
- 1/2 teaspoon ground cardamom
- 1/2 teaspoon ground ginger
- 1 star anise
- Pinch of salt
- 1/4 teaspoon black pepper
Instructions
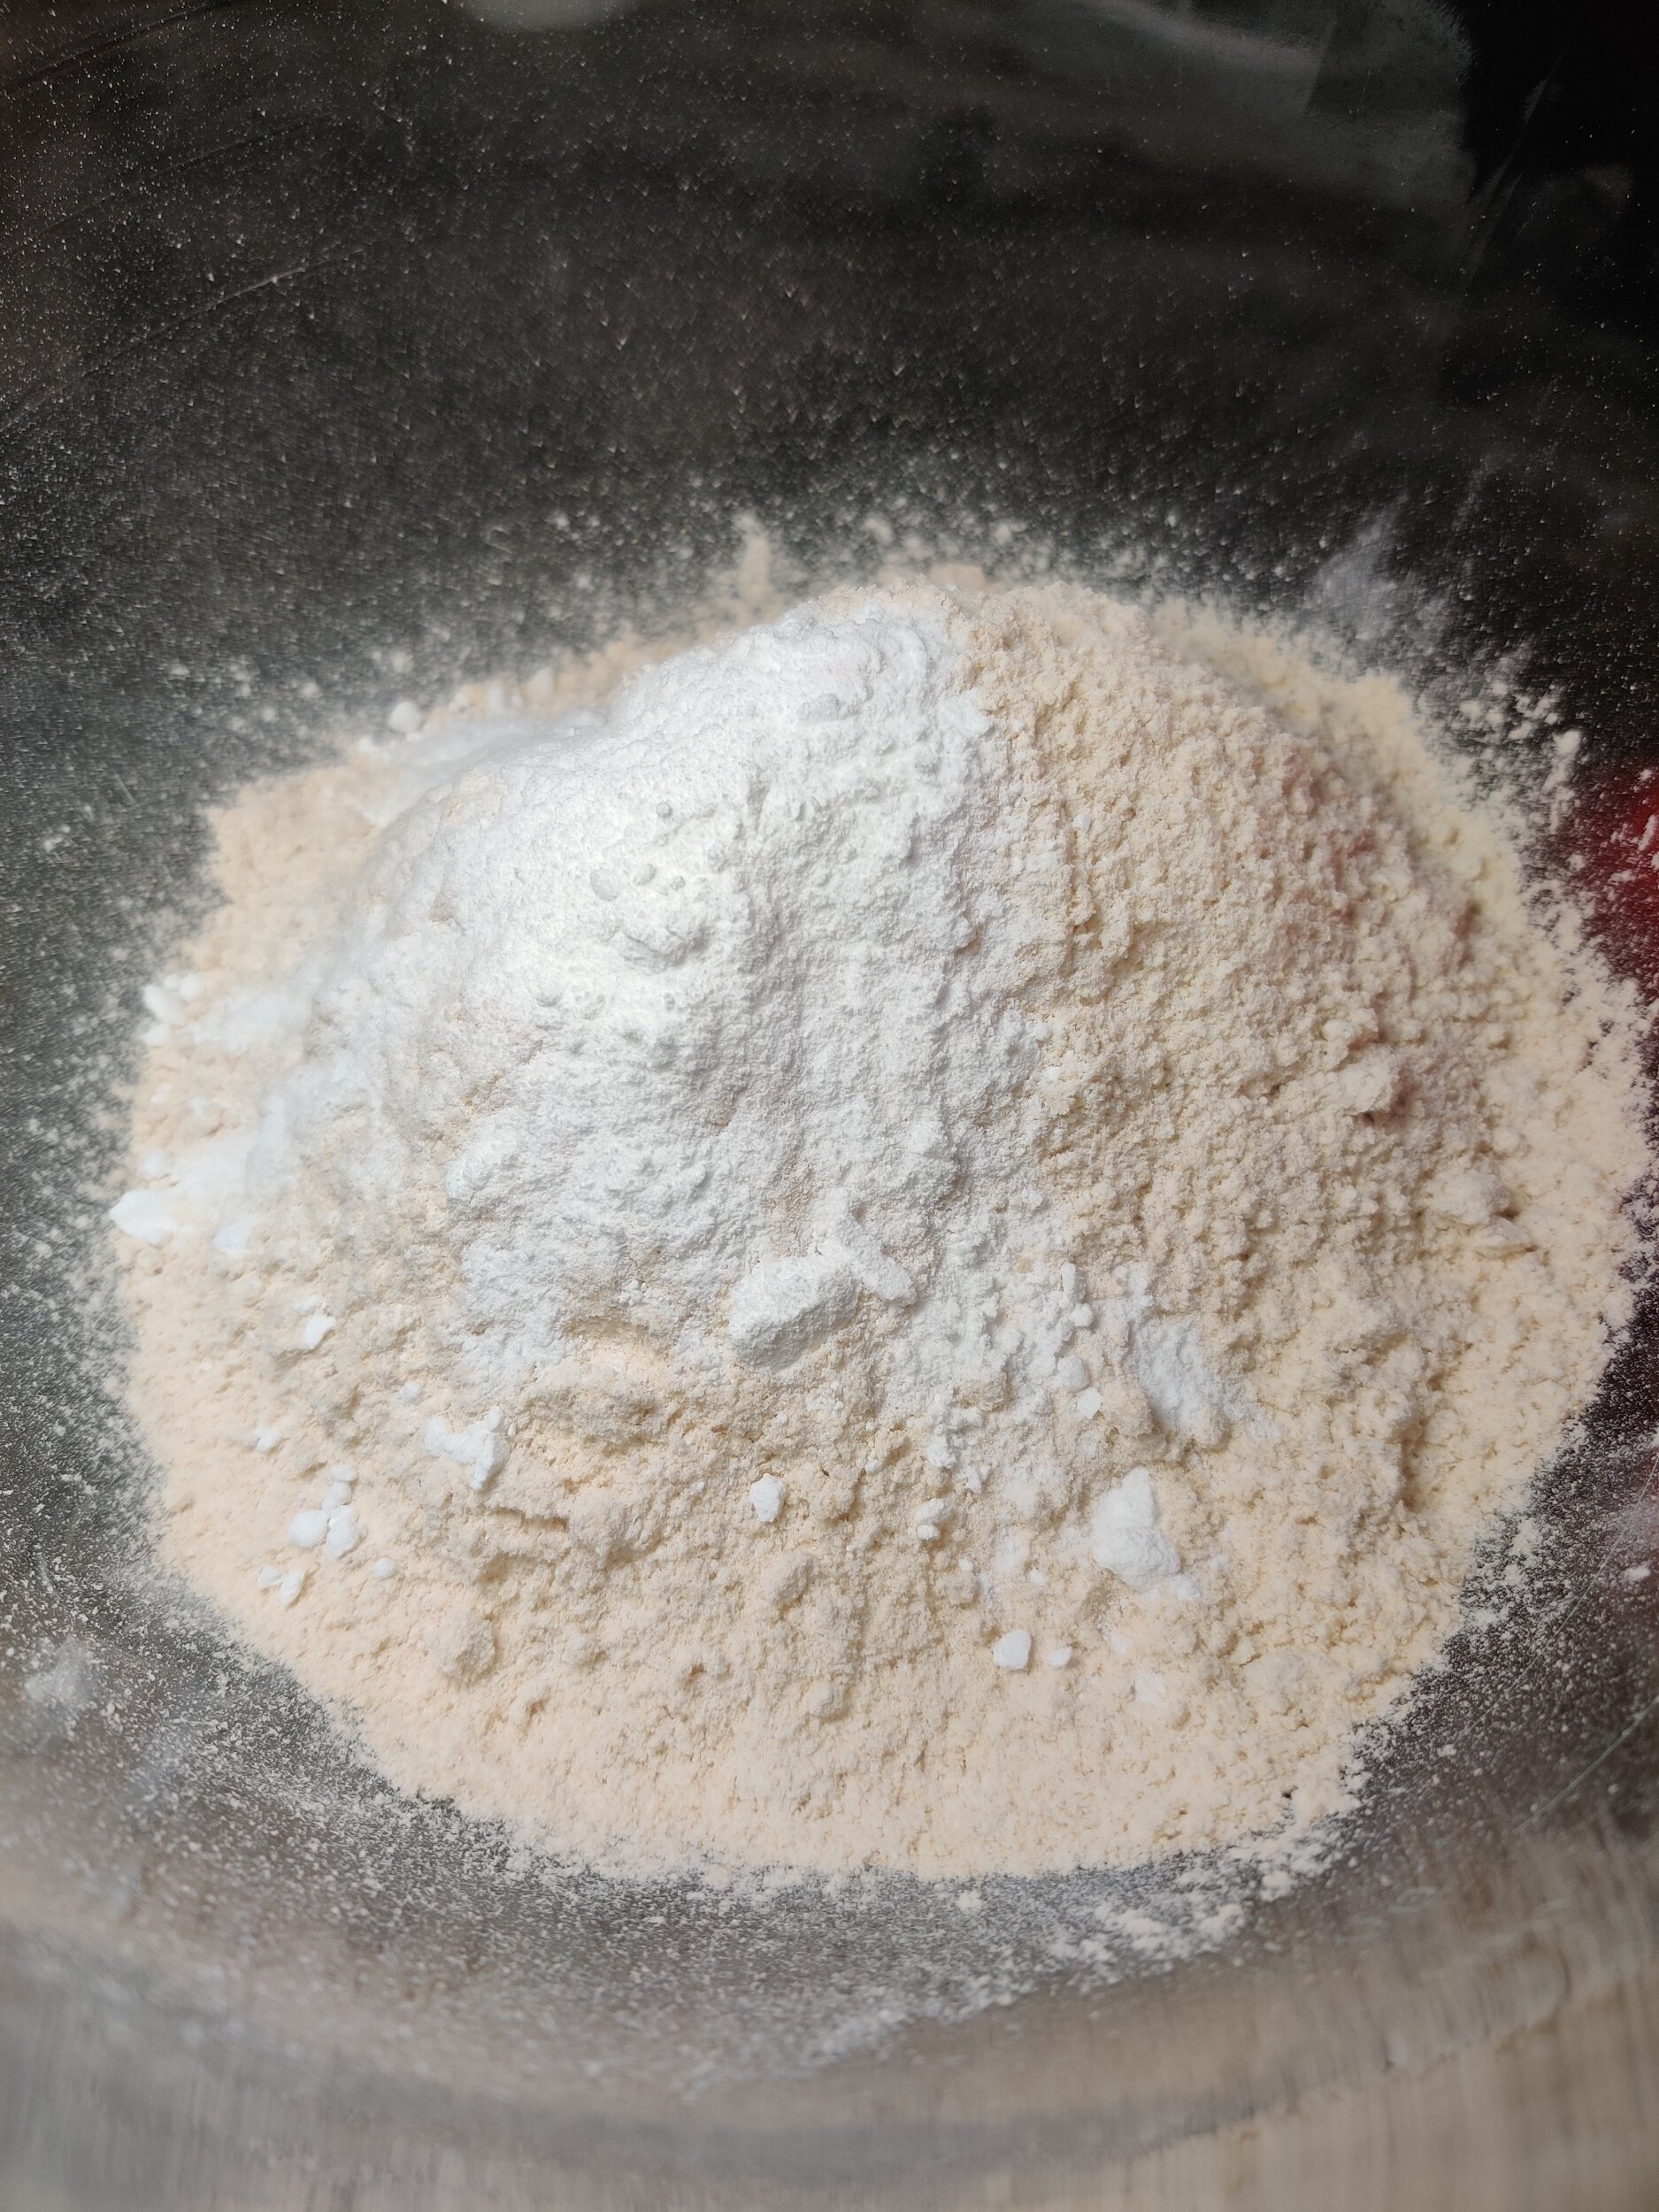
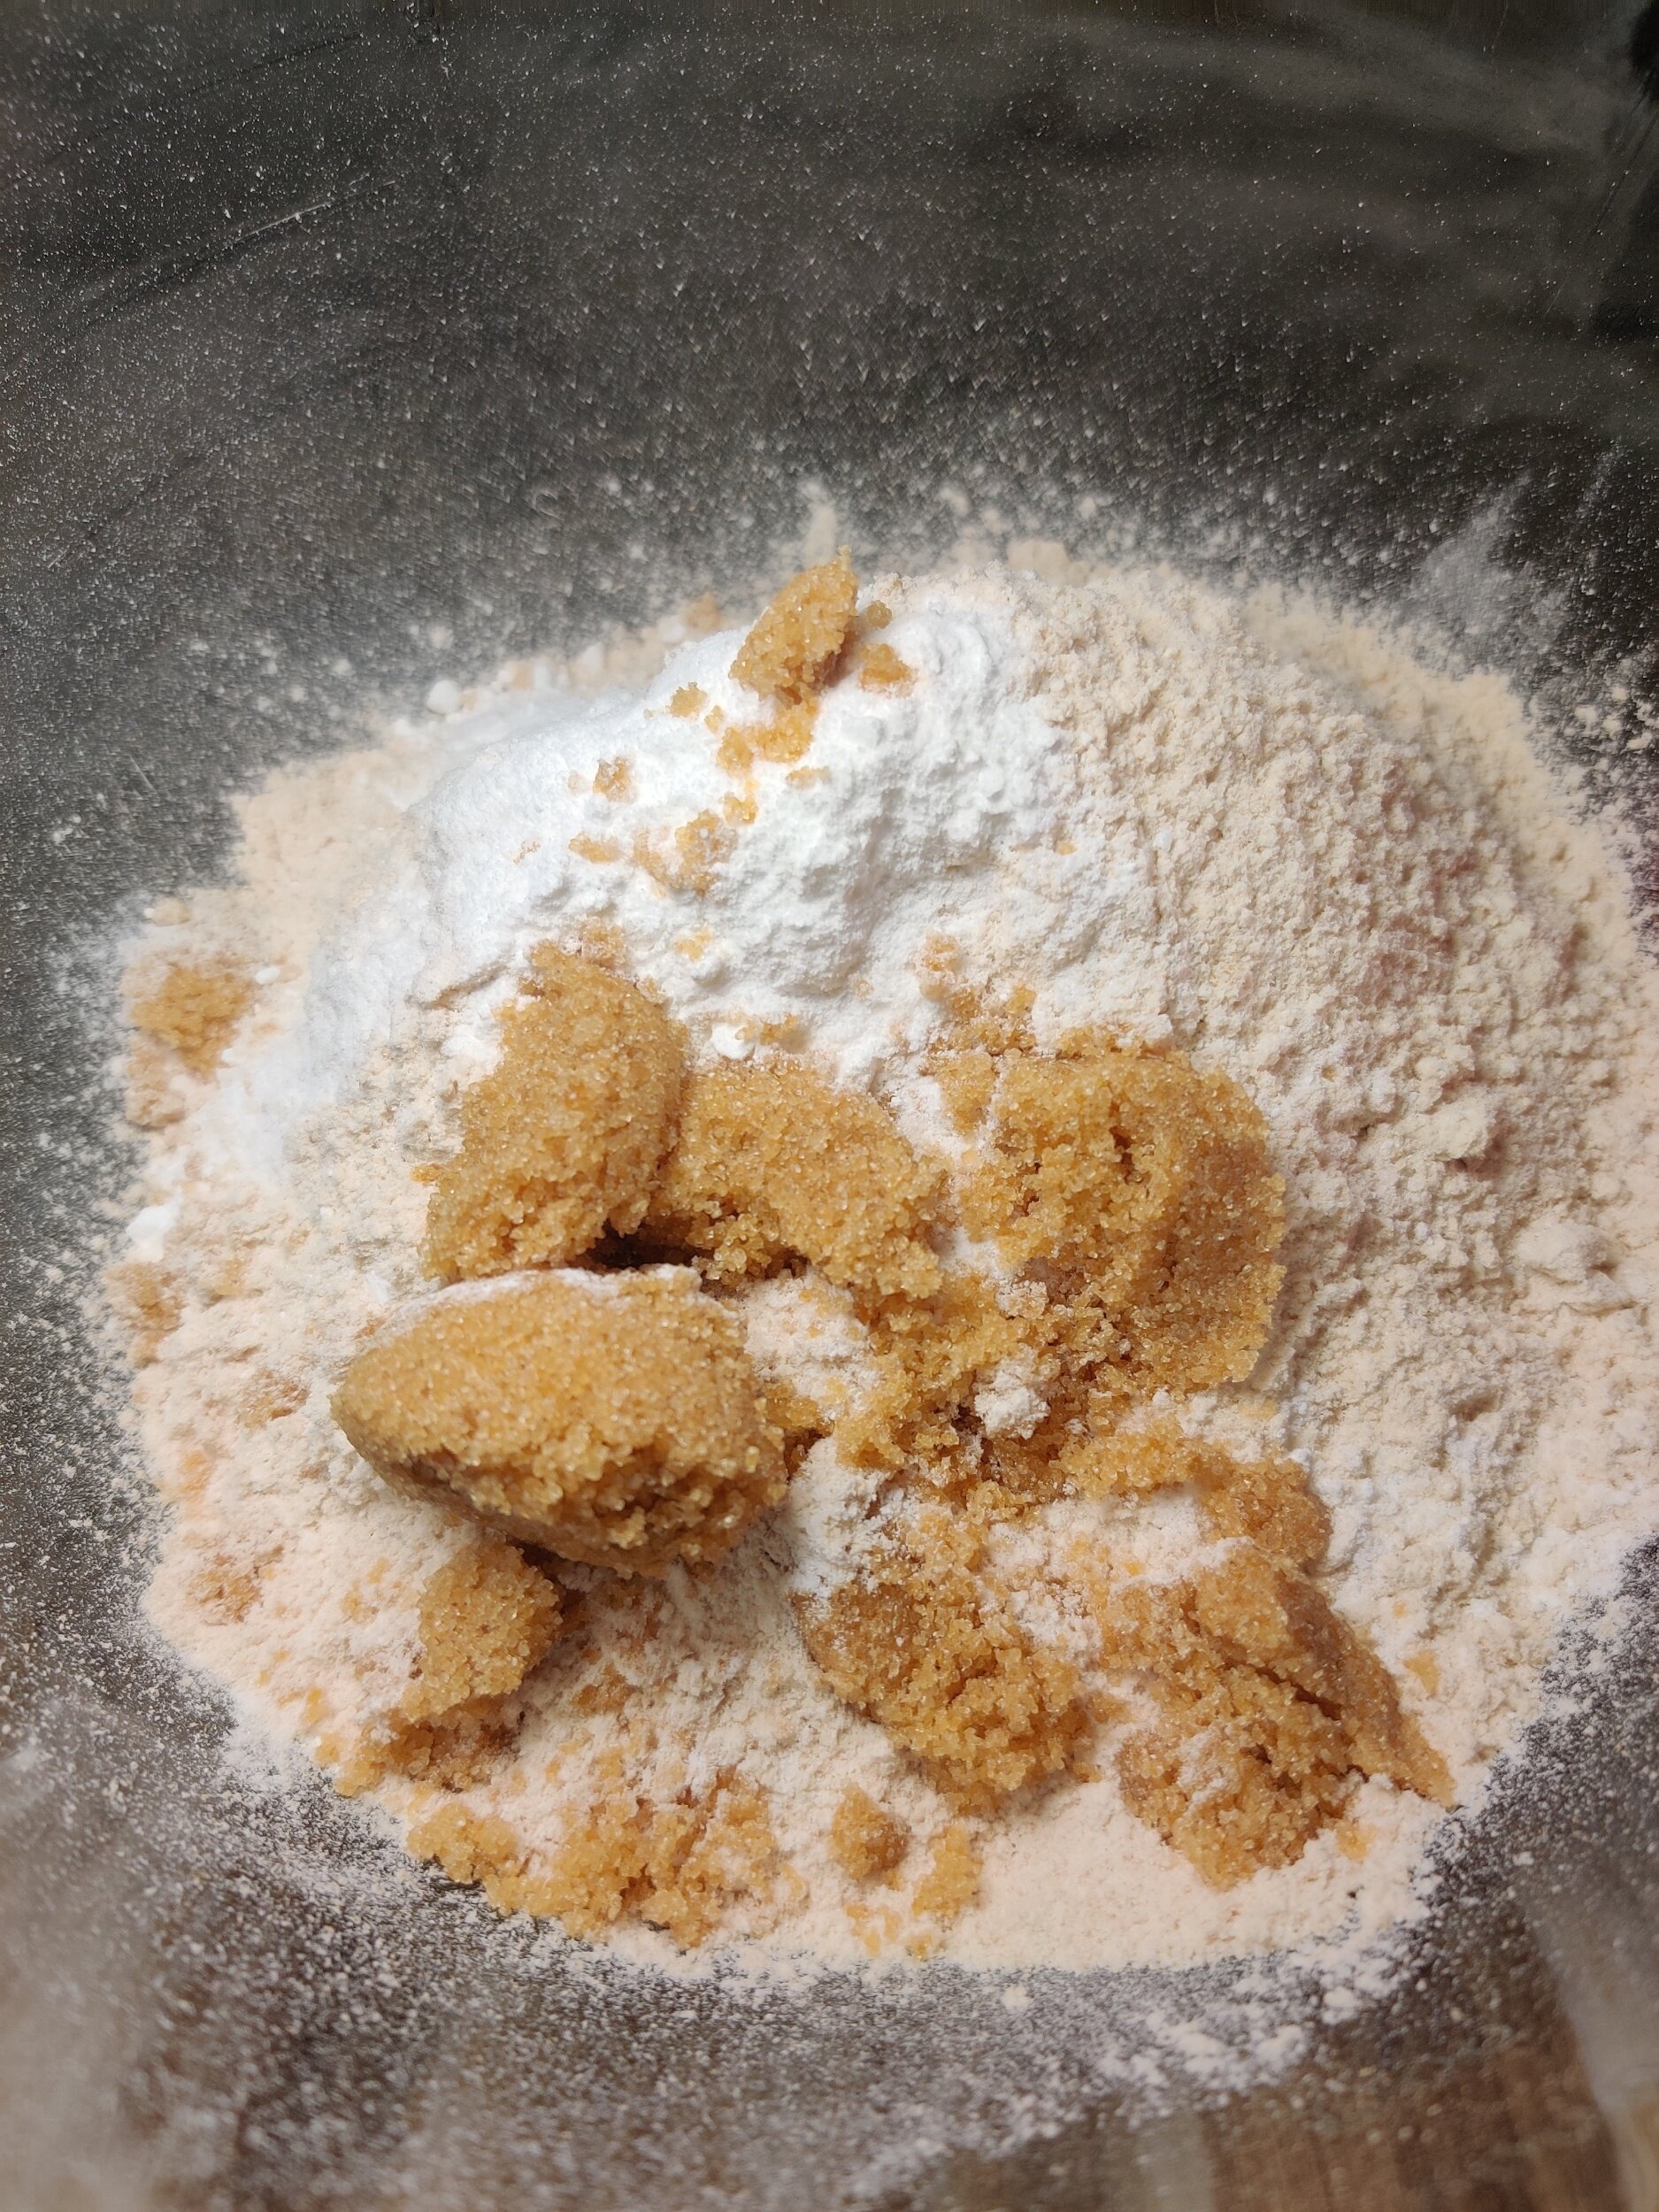
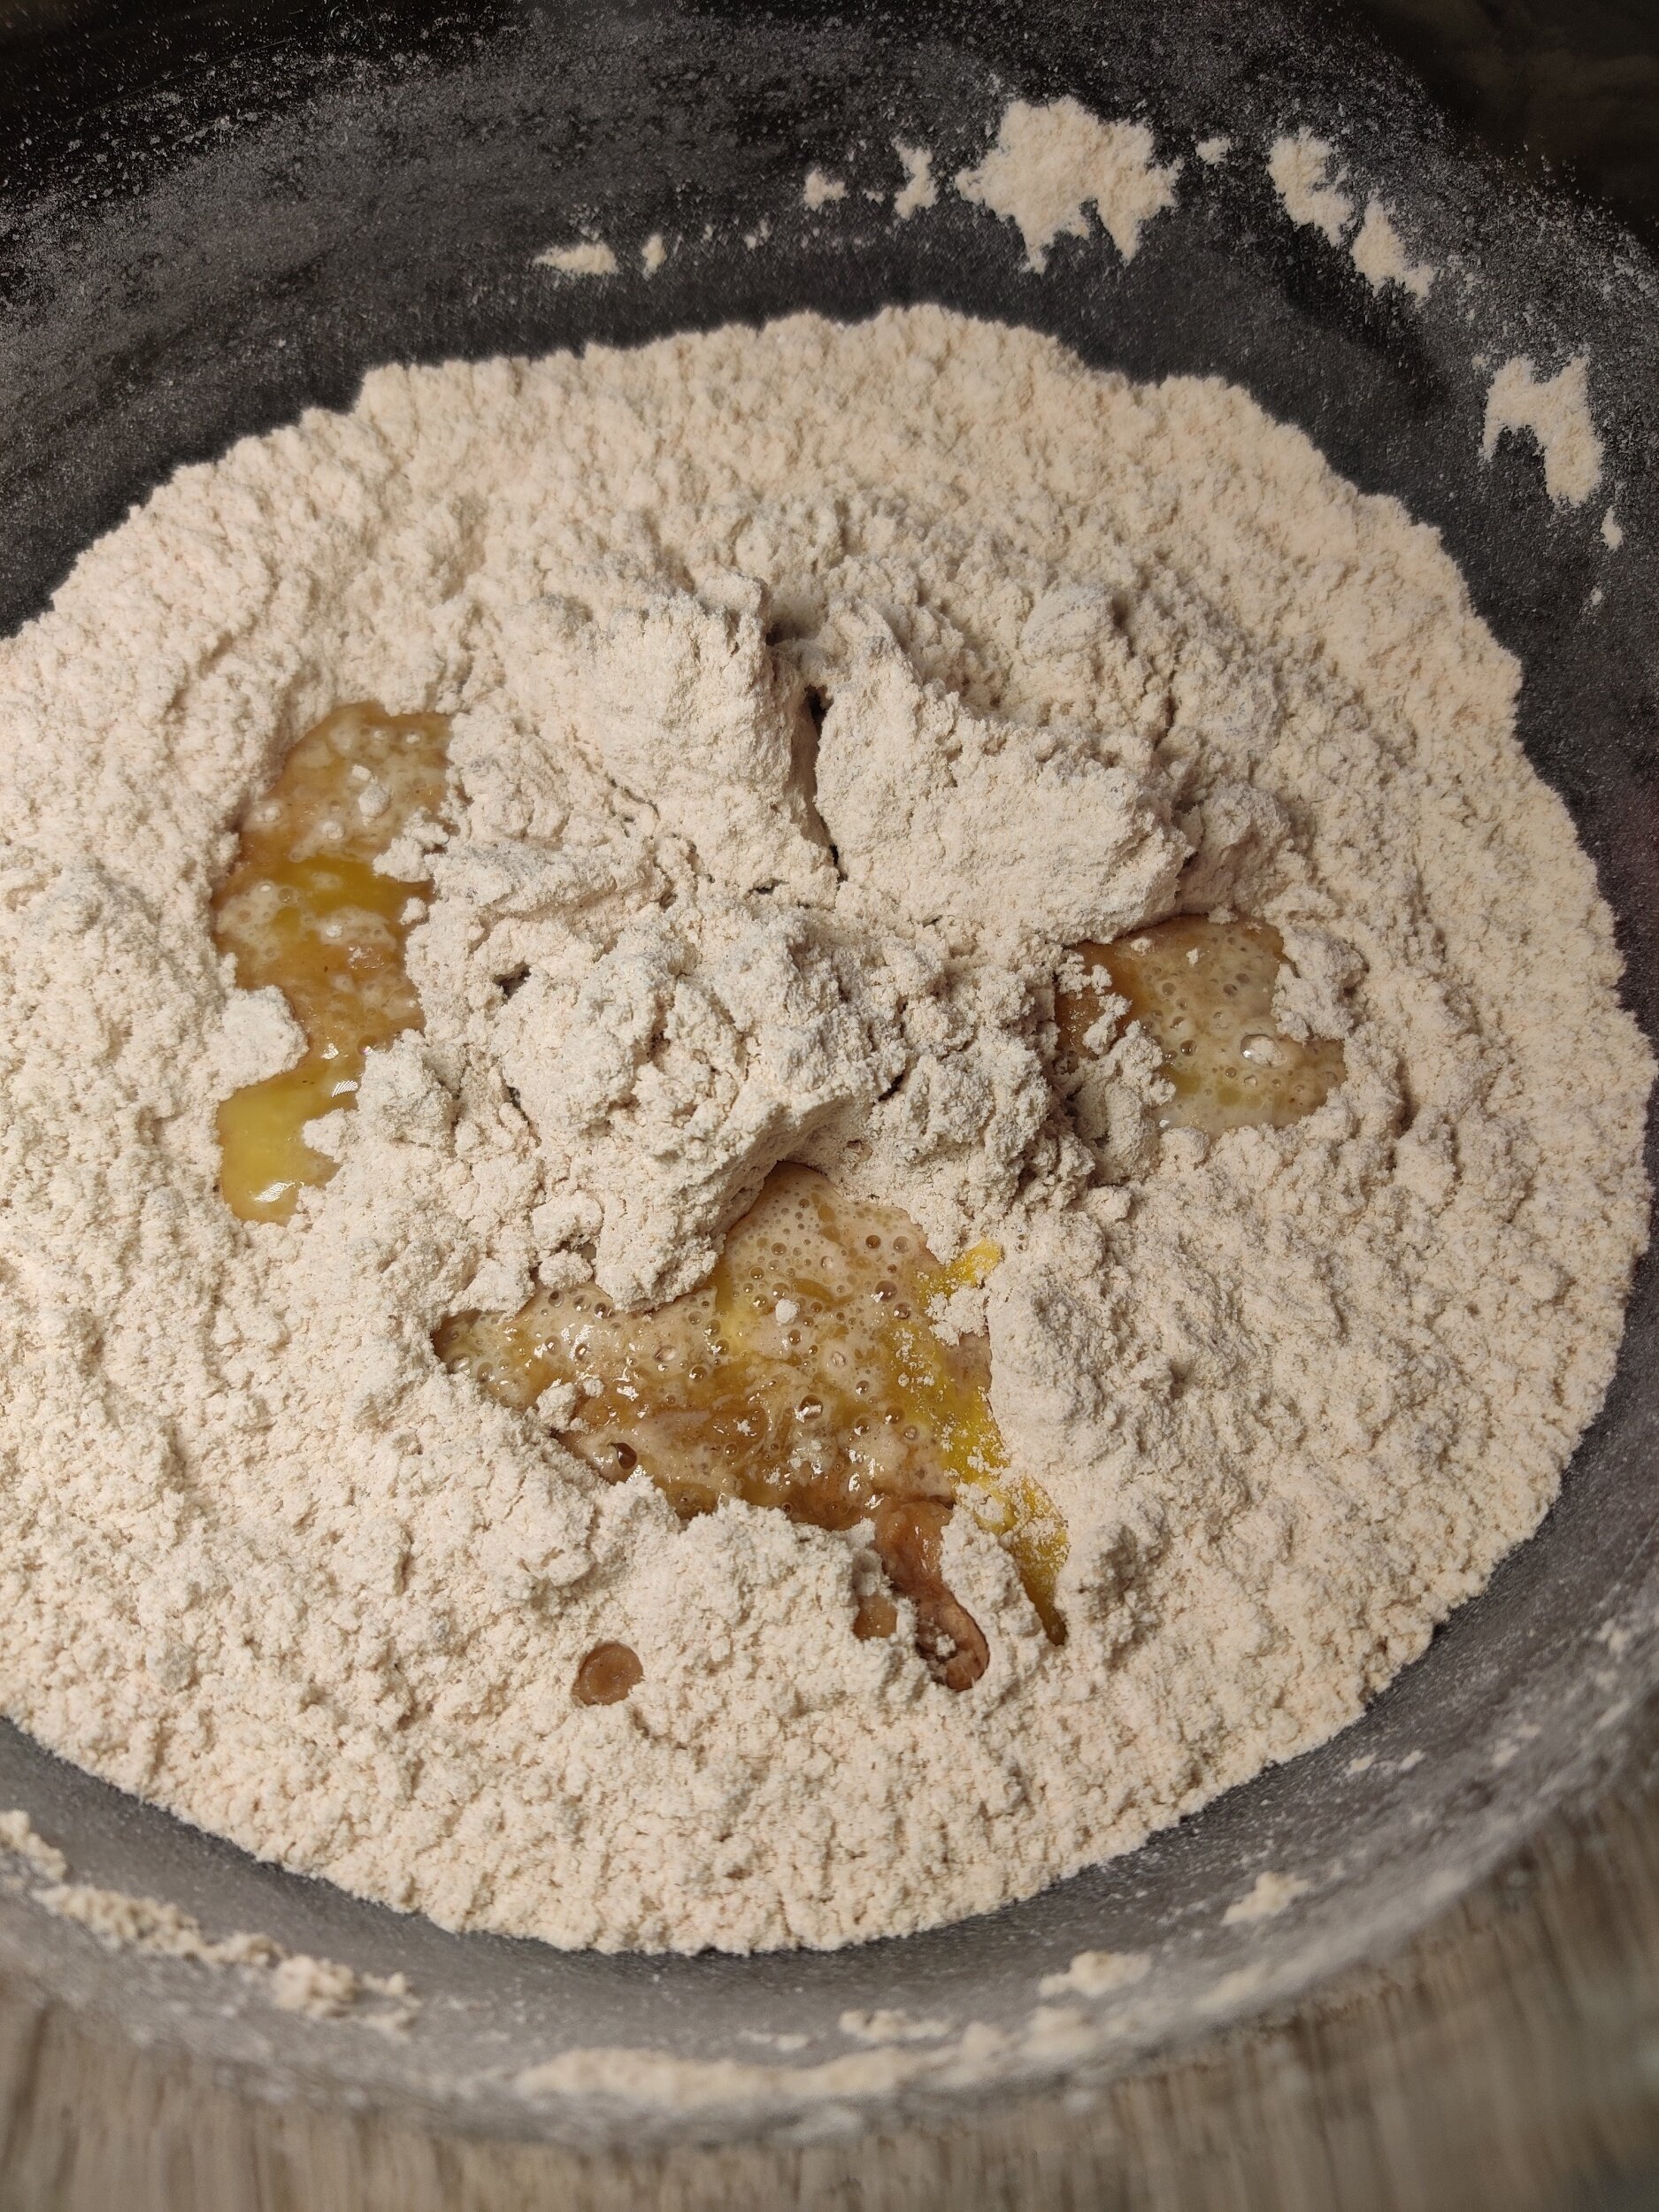
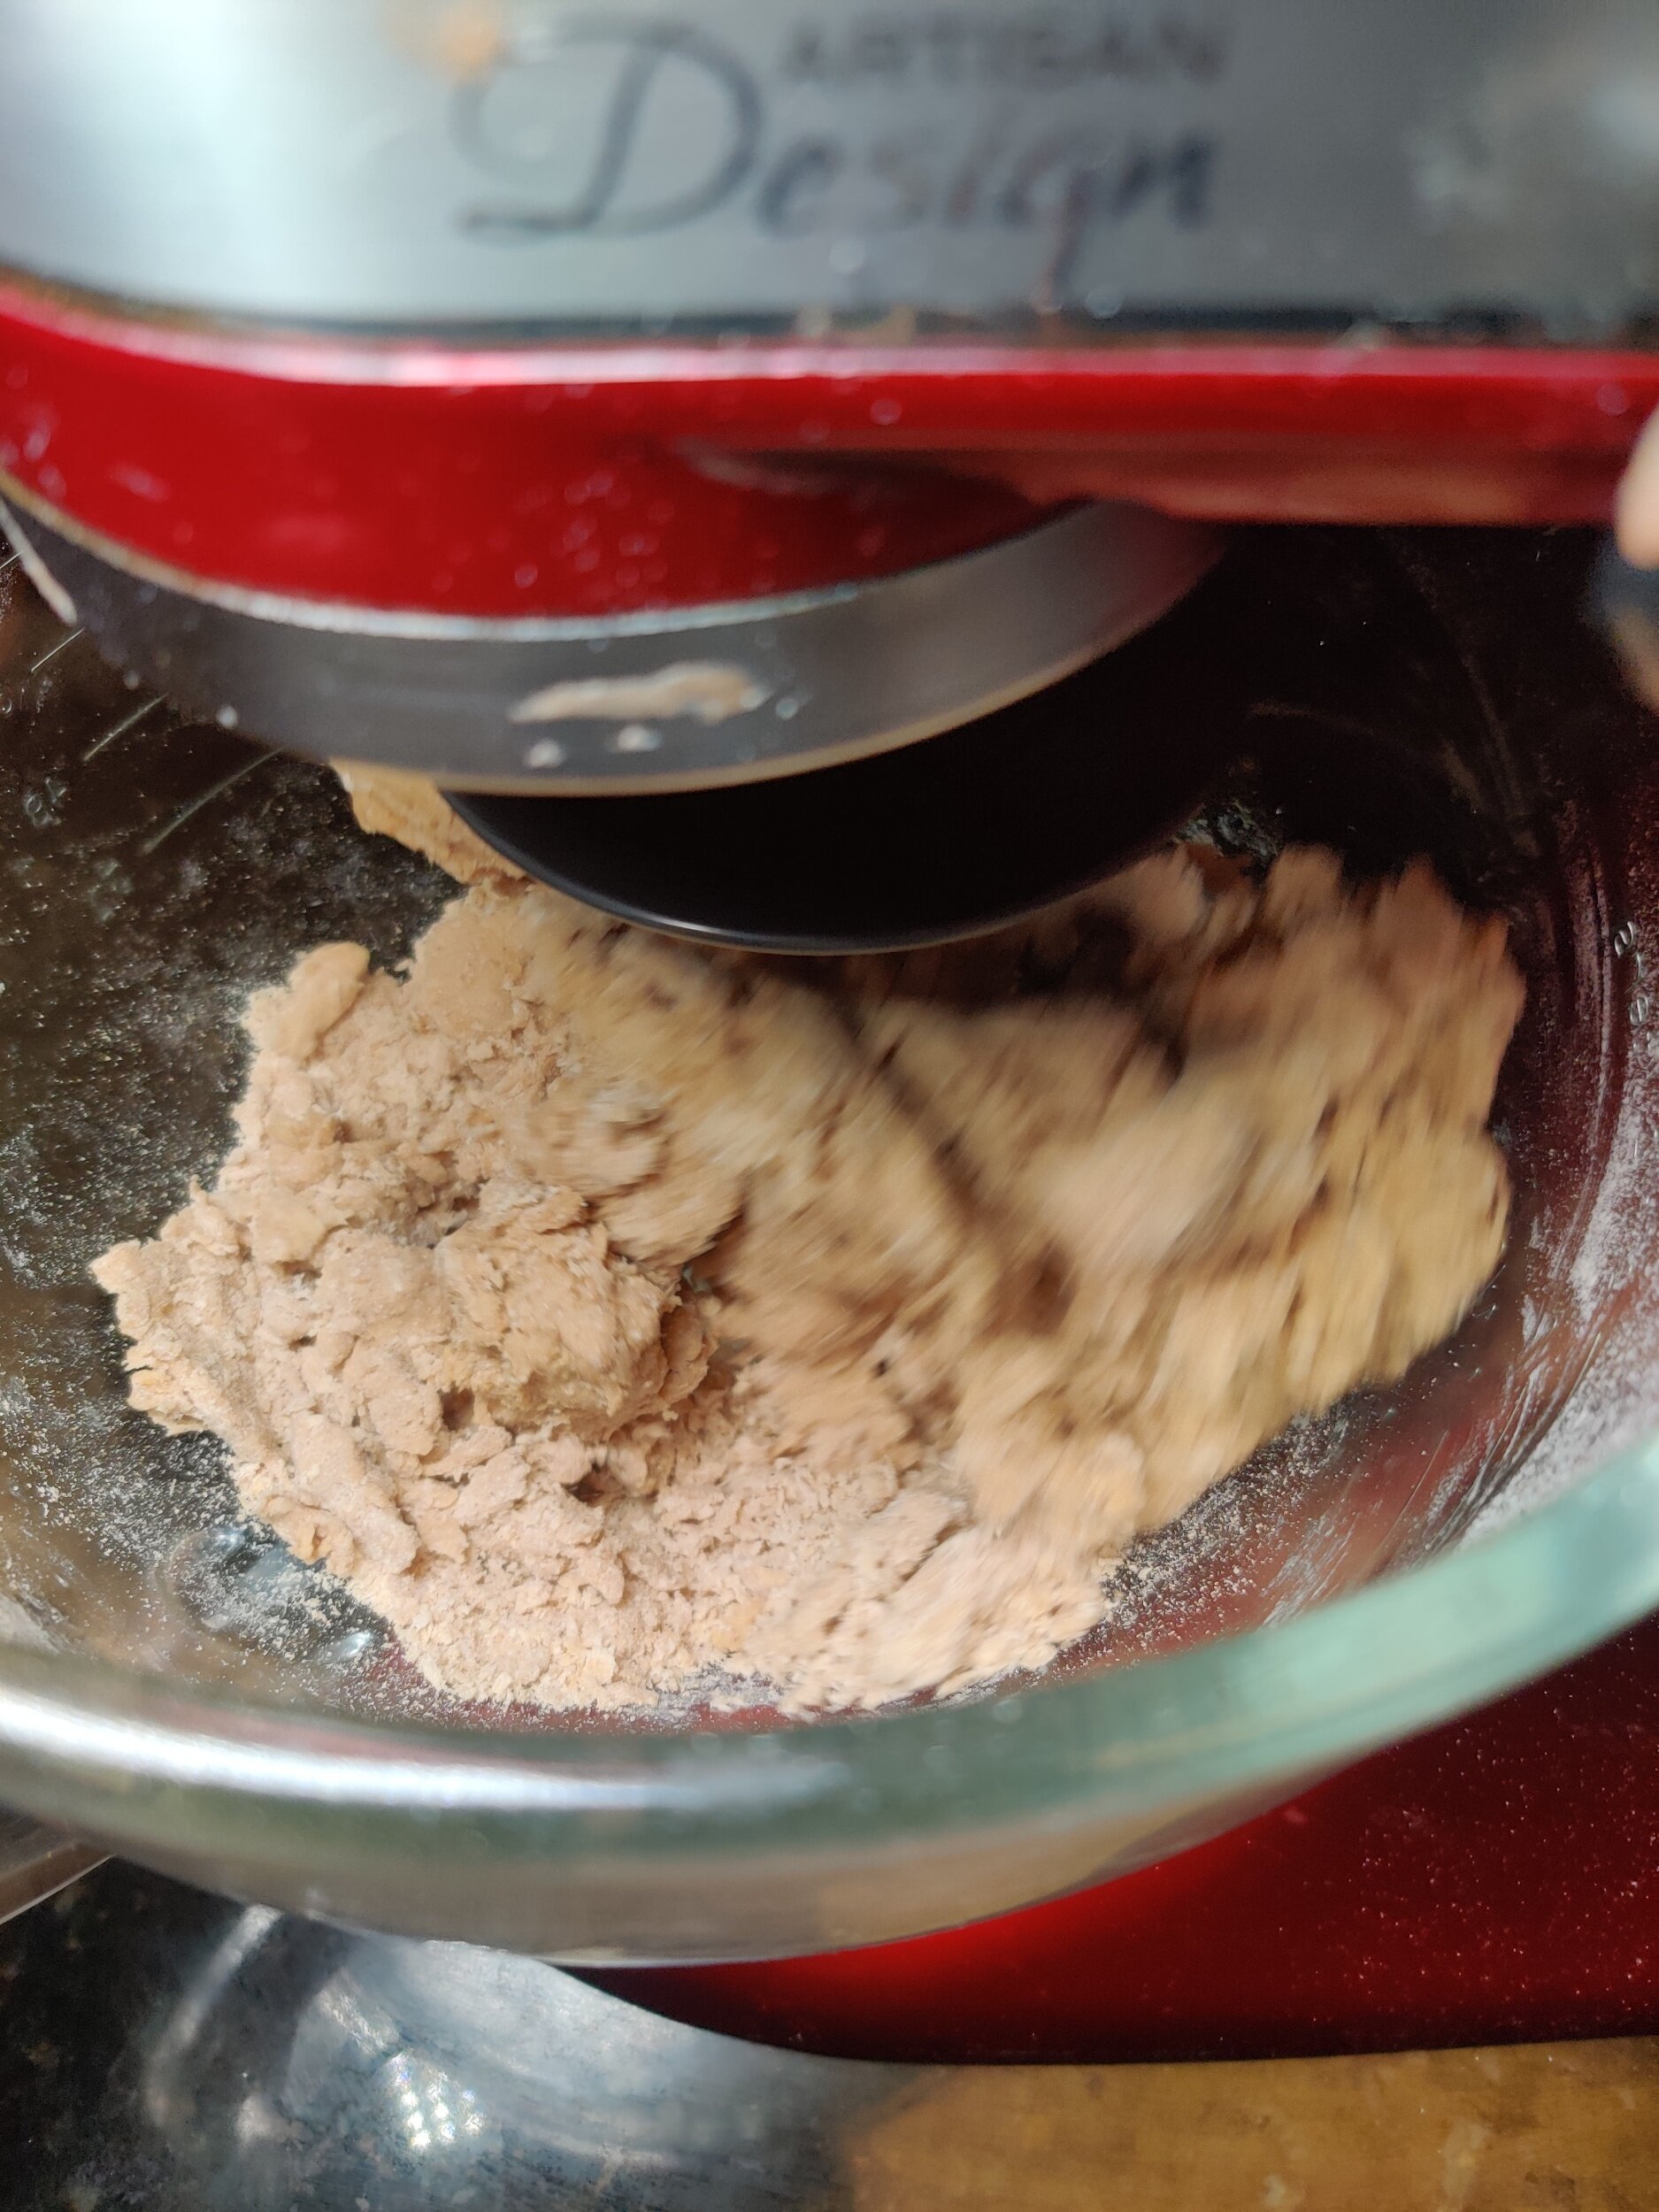
- In a large bowl whisk the flour, baking powder, sugar, and spices. Add the 4 tablespoons butter, milk, vanilla, and egg. In a mixing bowl with a kneading attachment, beat at a low speed for 5 minutes. If you do this by hand, mix to combine then turnover onto a surface and knead until smooth.
- Grease a loaf pan with butter and transfer the dough (you can also line with parchment paper). Smoothen with hands or a spatula and bake at 350F for 40-45 minutes and until a tooth pick comes out clean from the center. Your loaf will be pale white and dense.
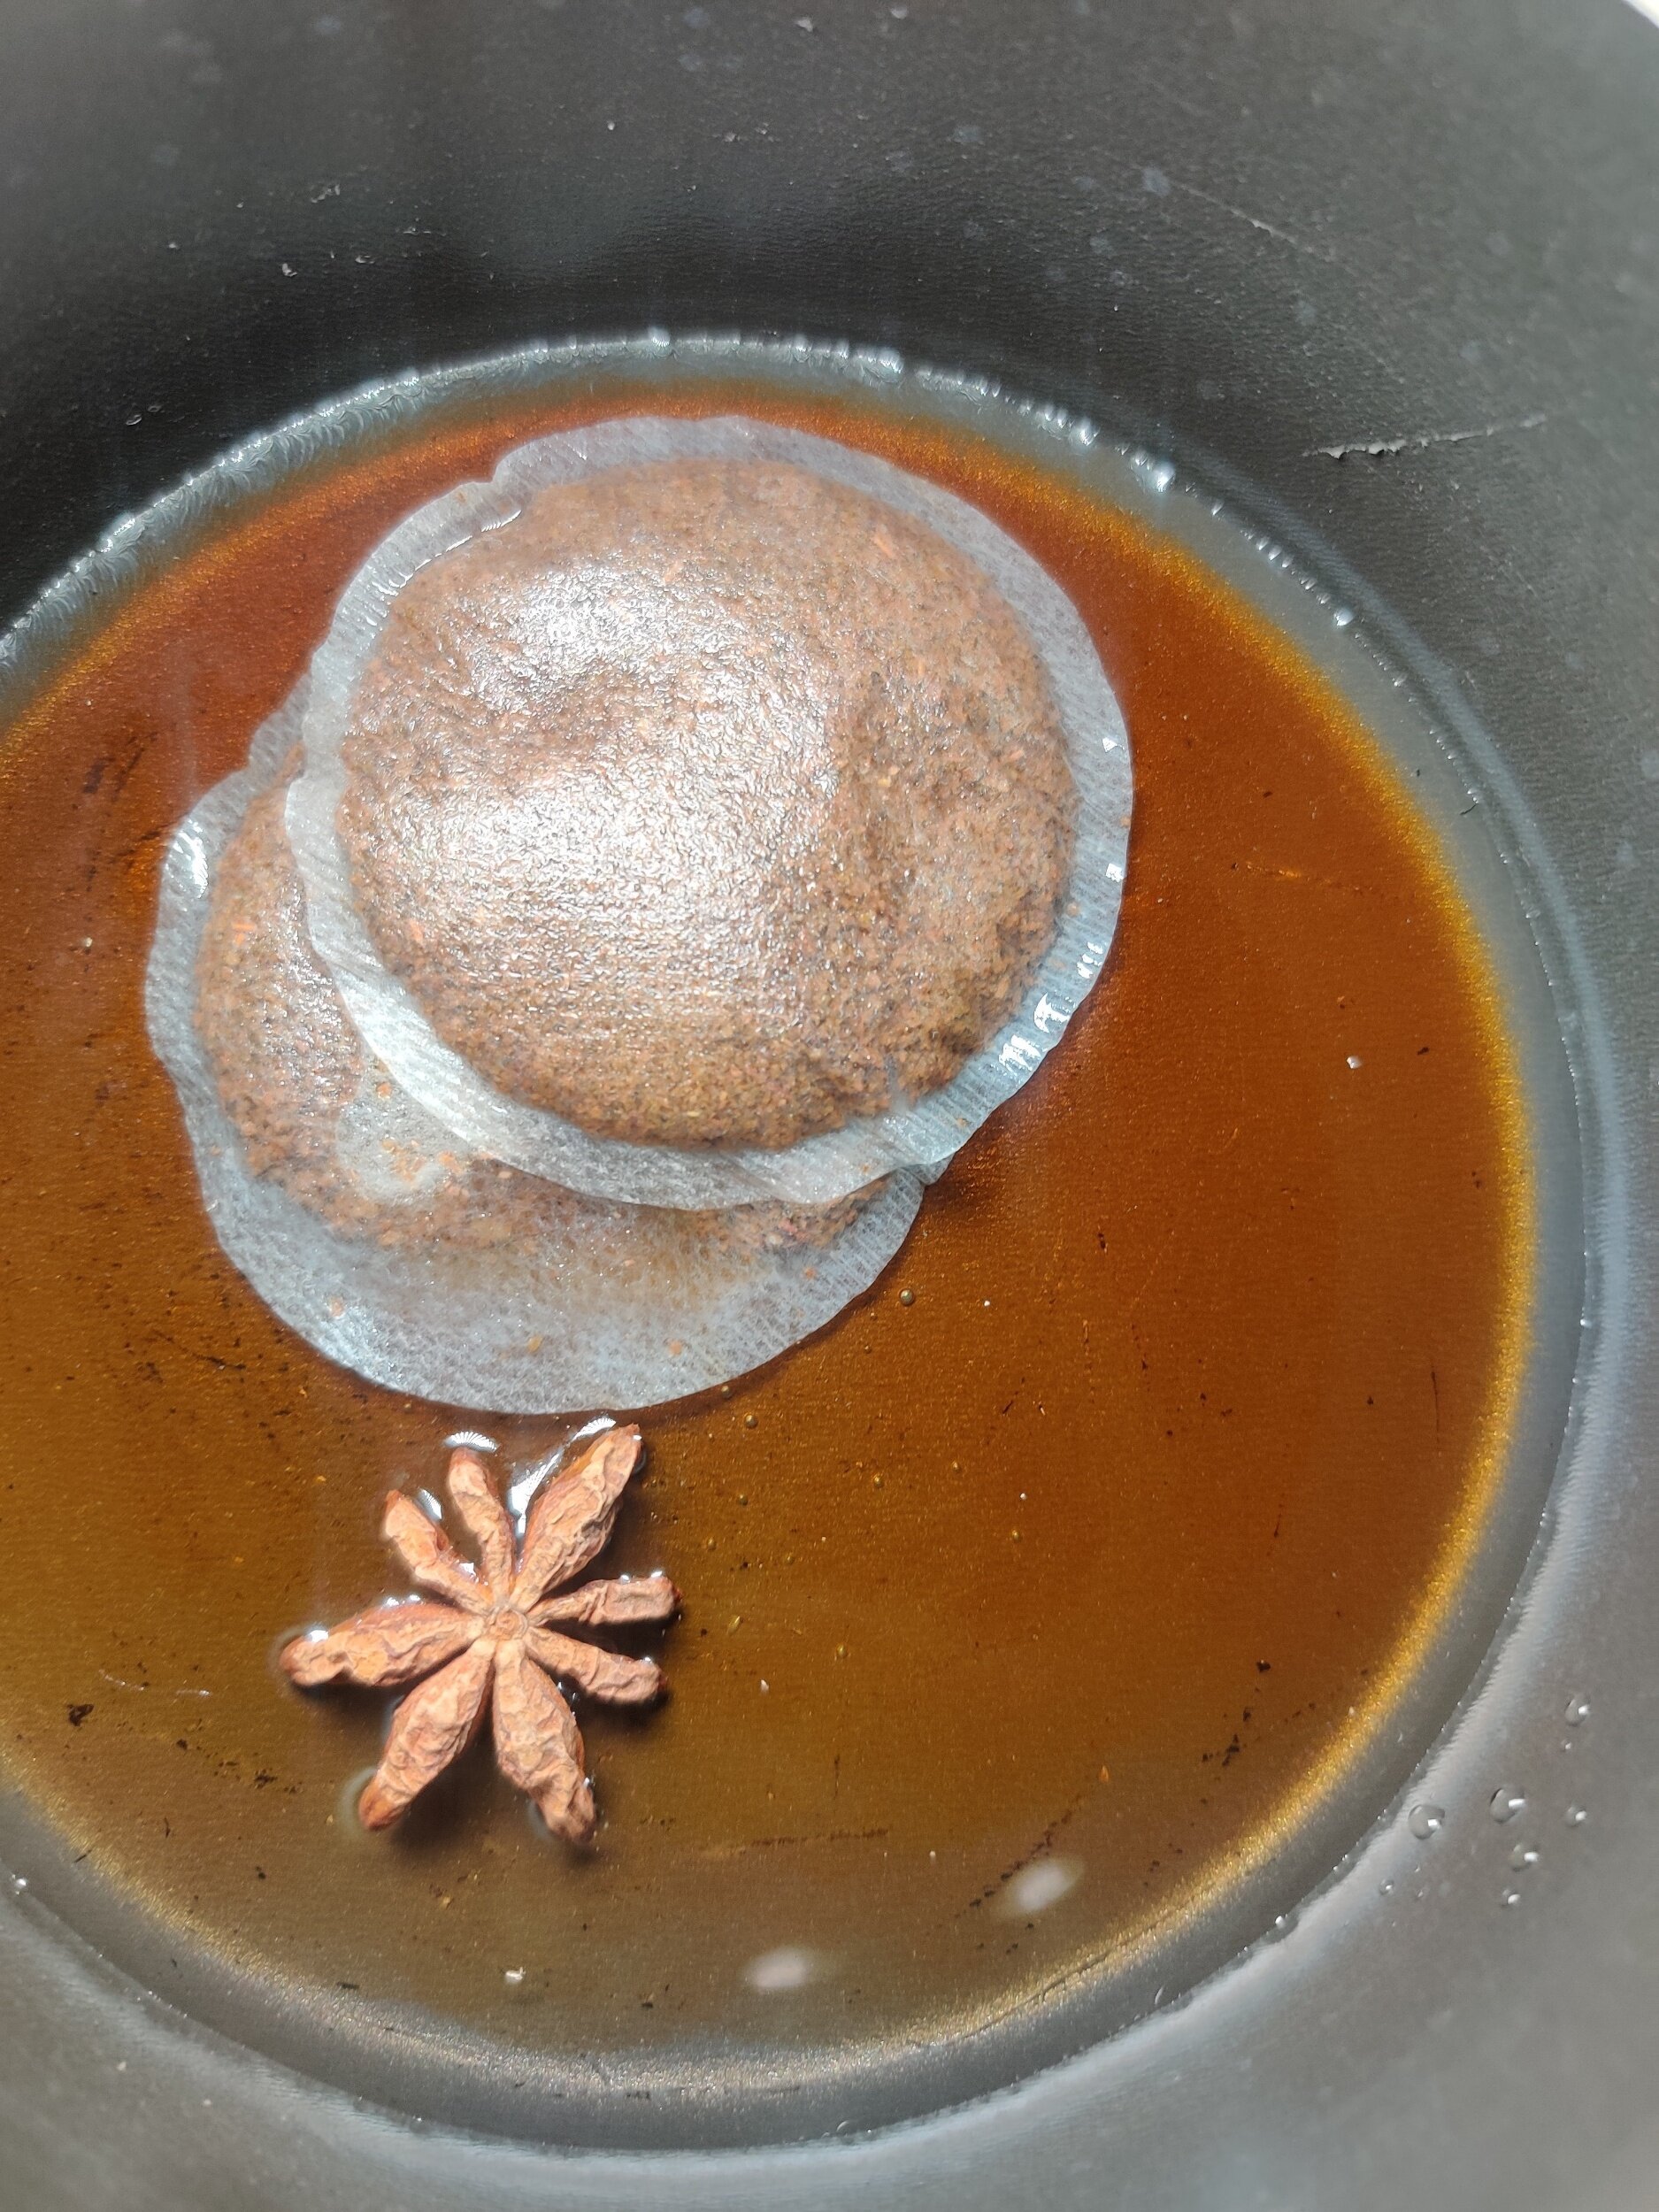
- While the bread bakes, make your chai butter. Boil the water and add 2 tea bags with star anise. Remove from heat and steep for 10 minutes covered.
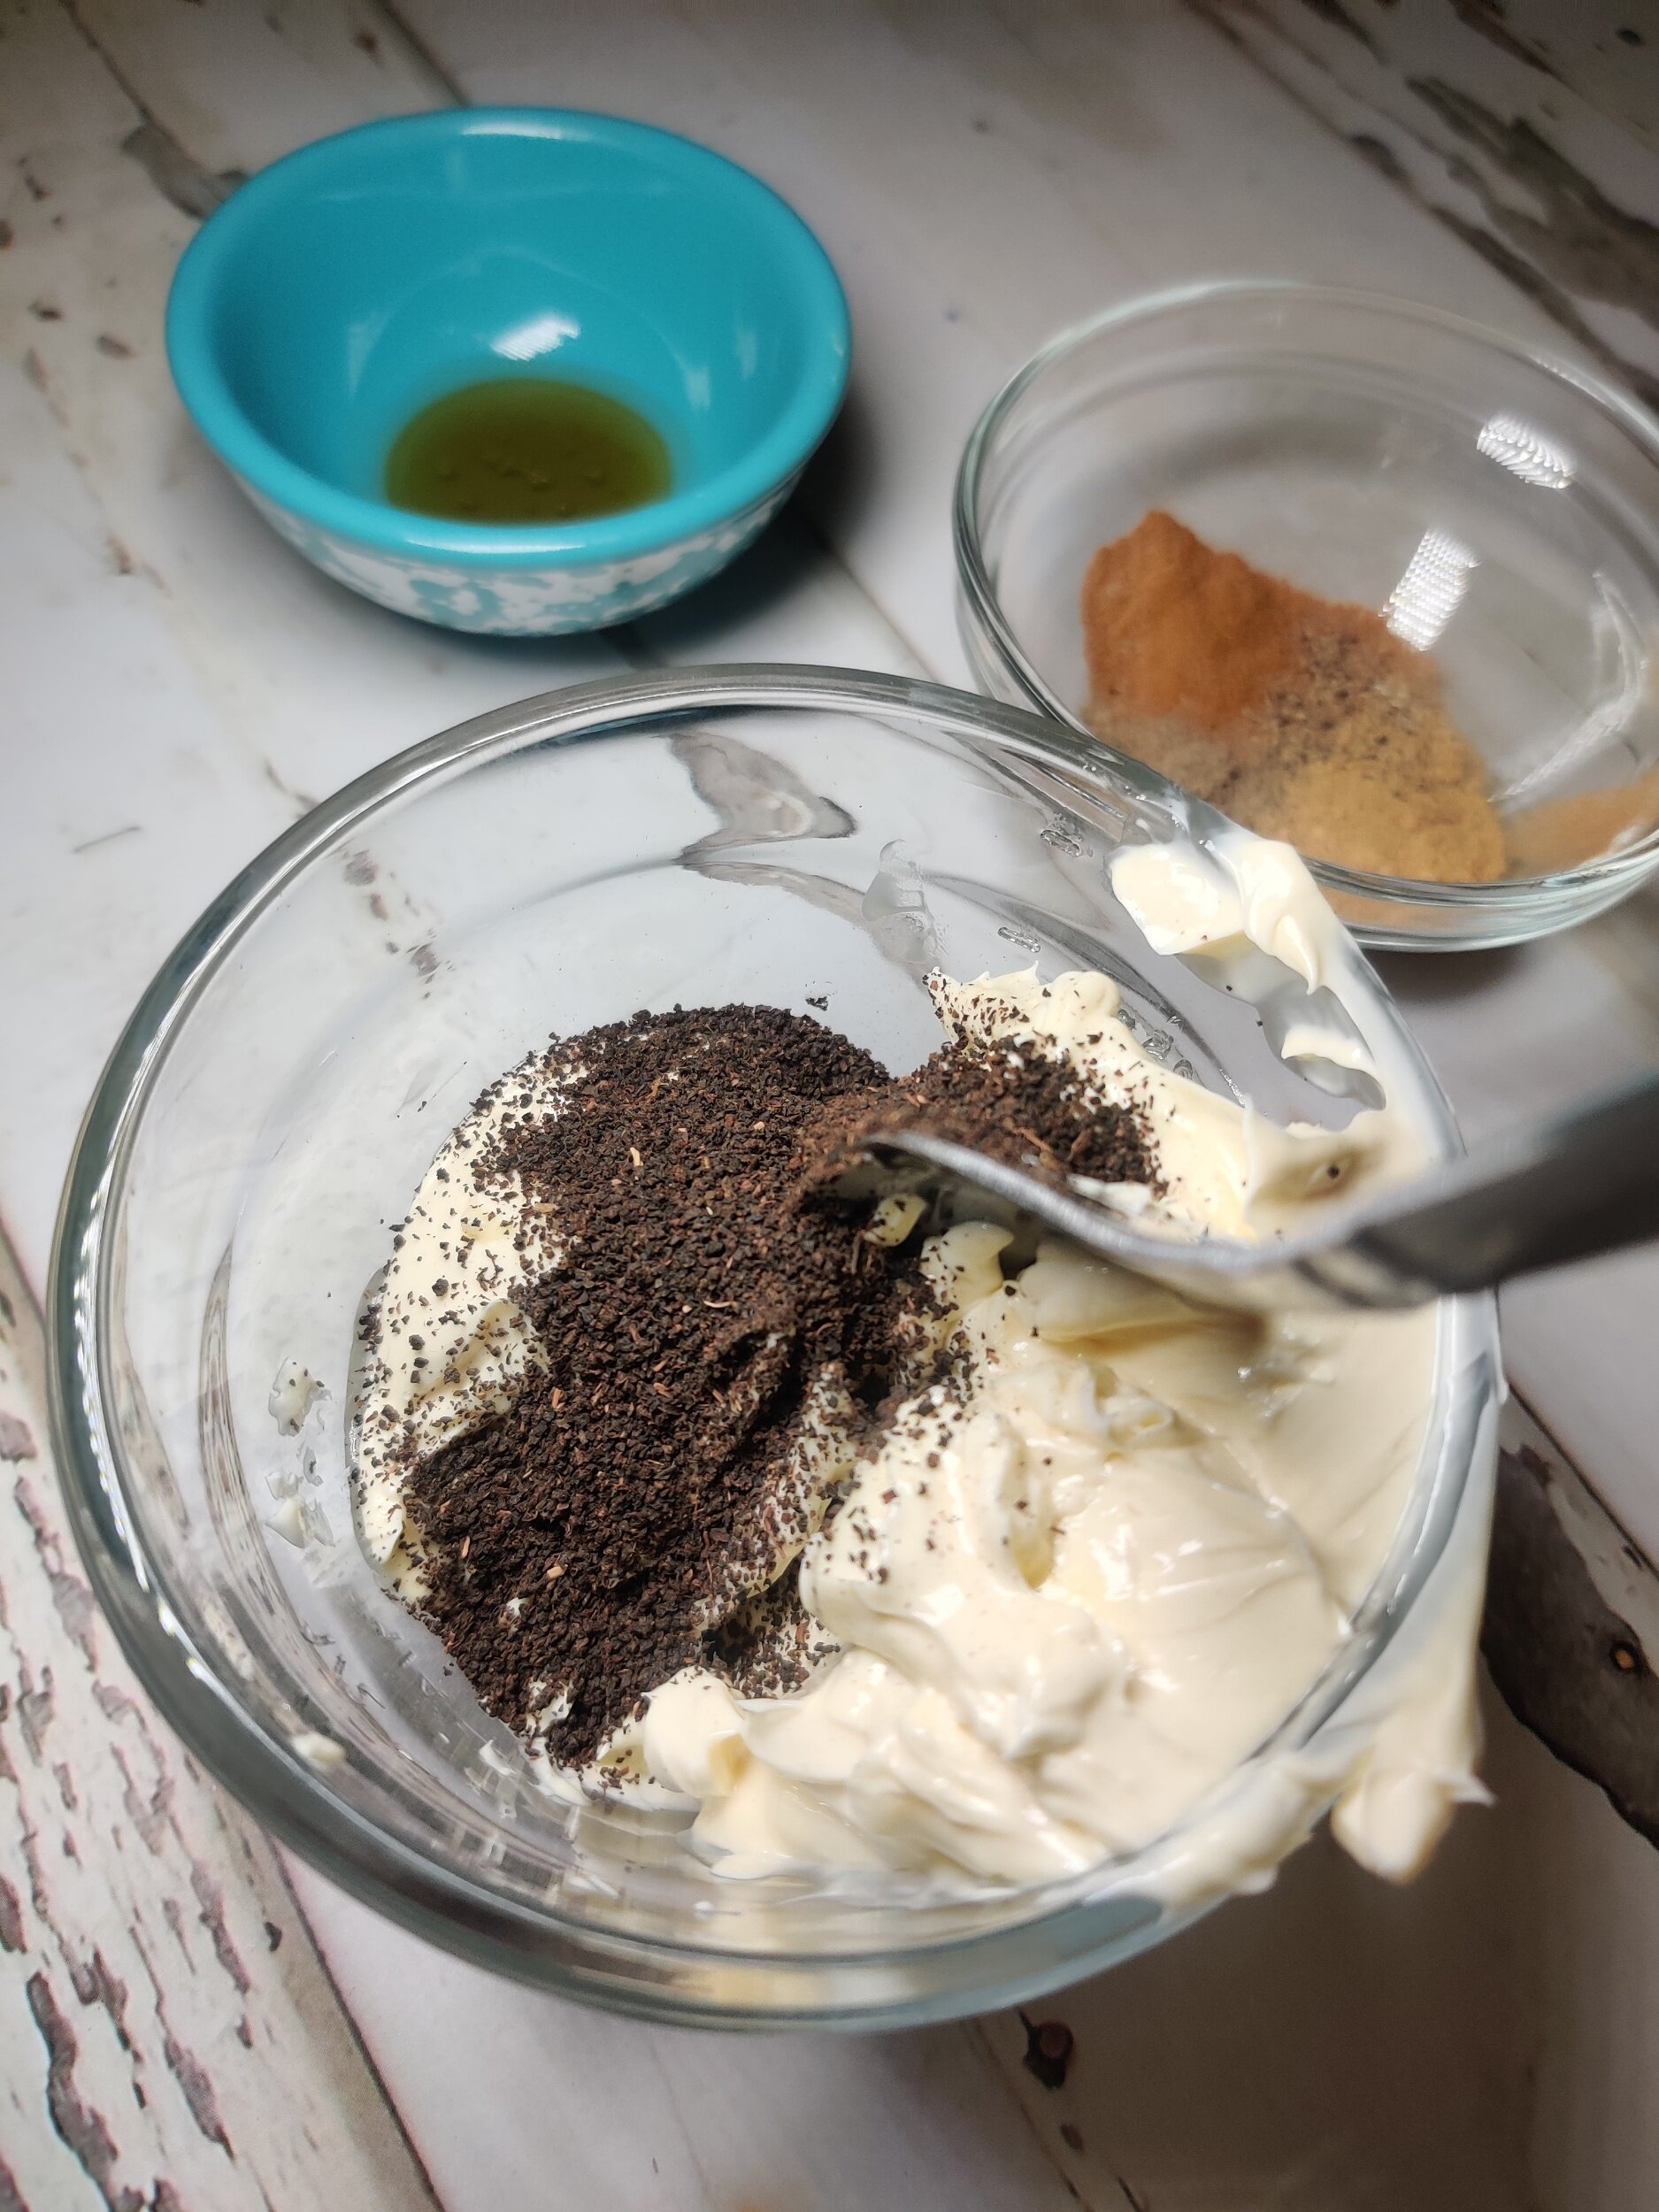
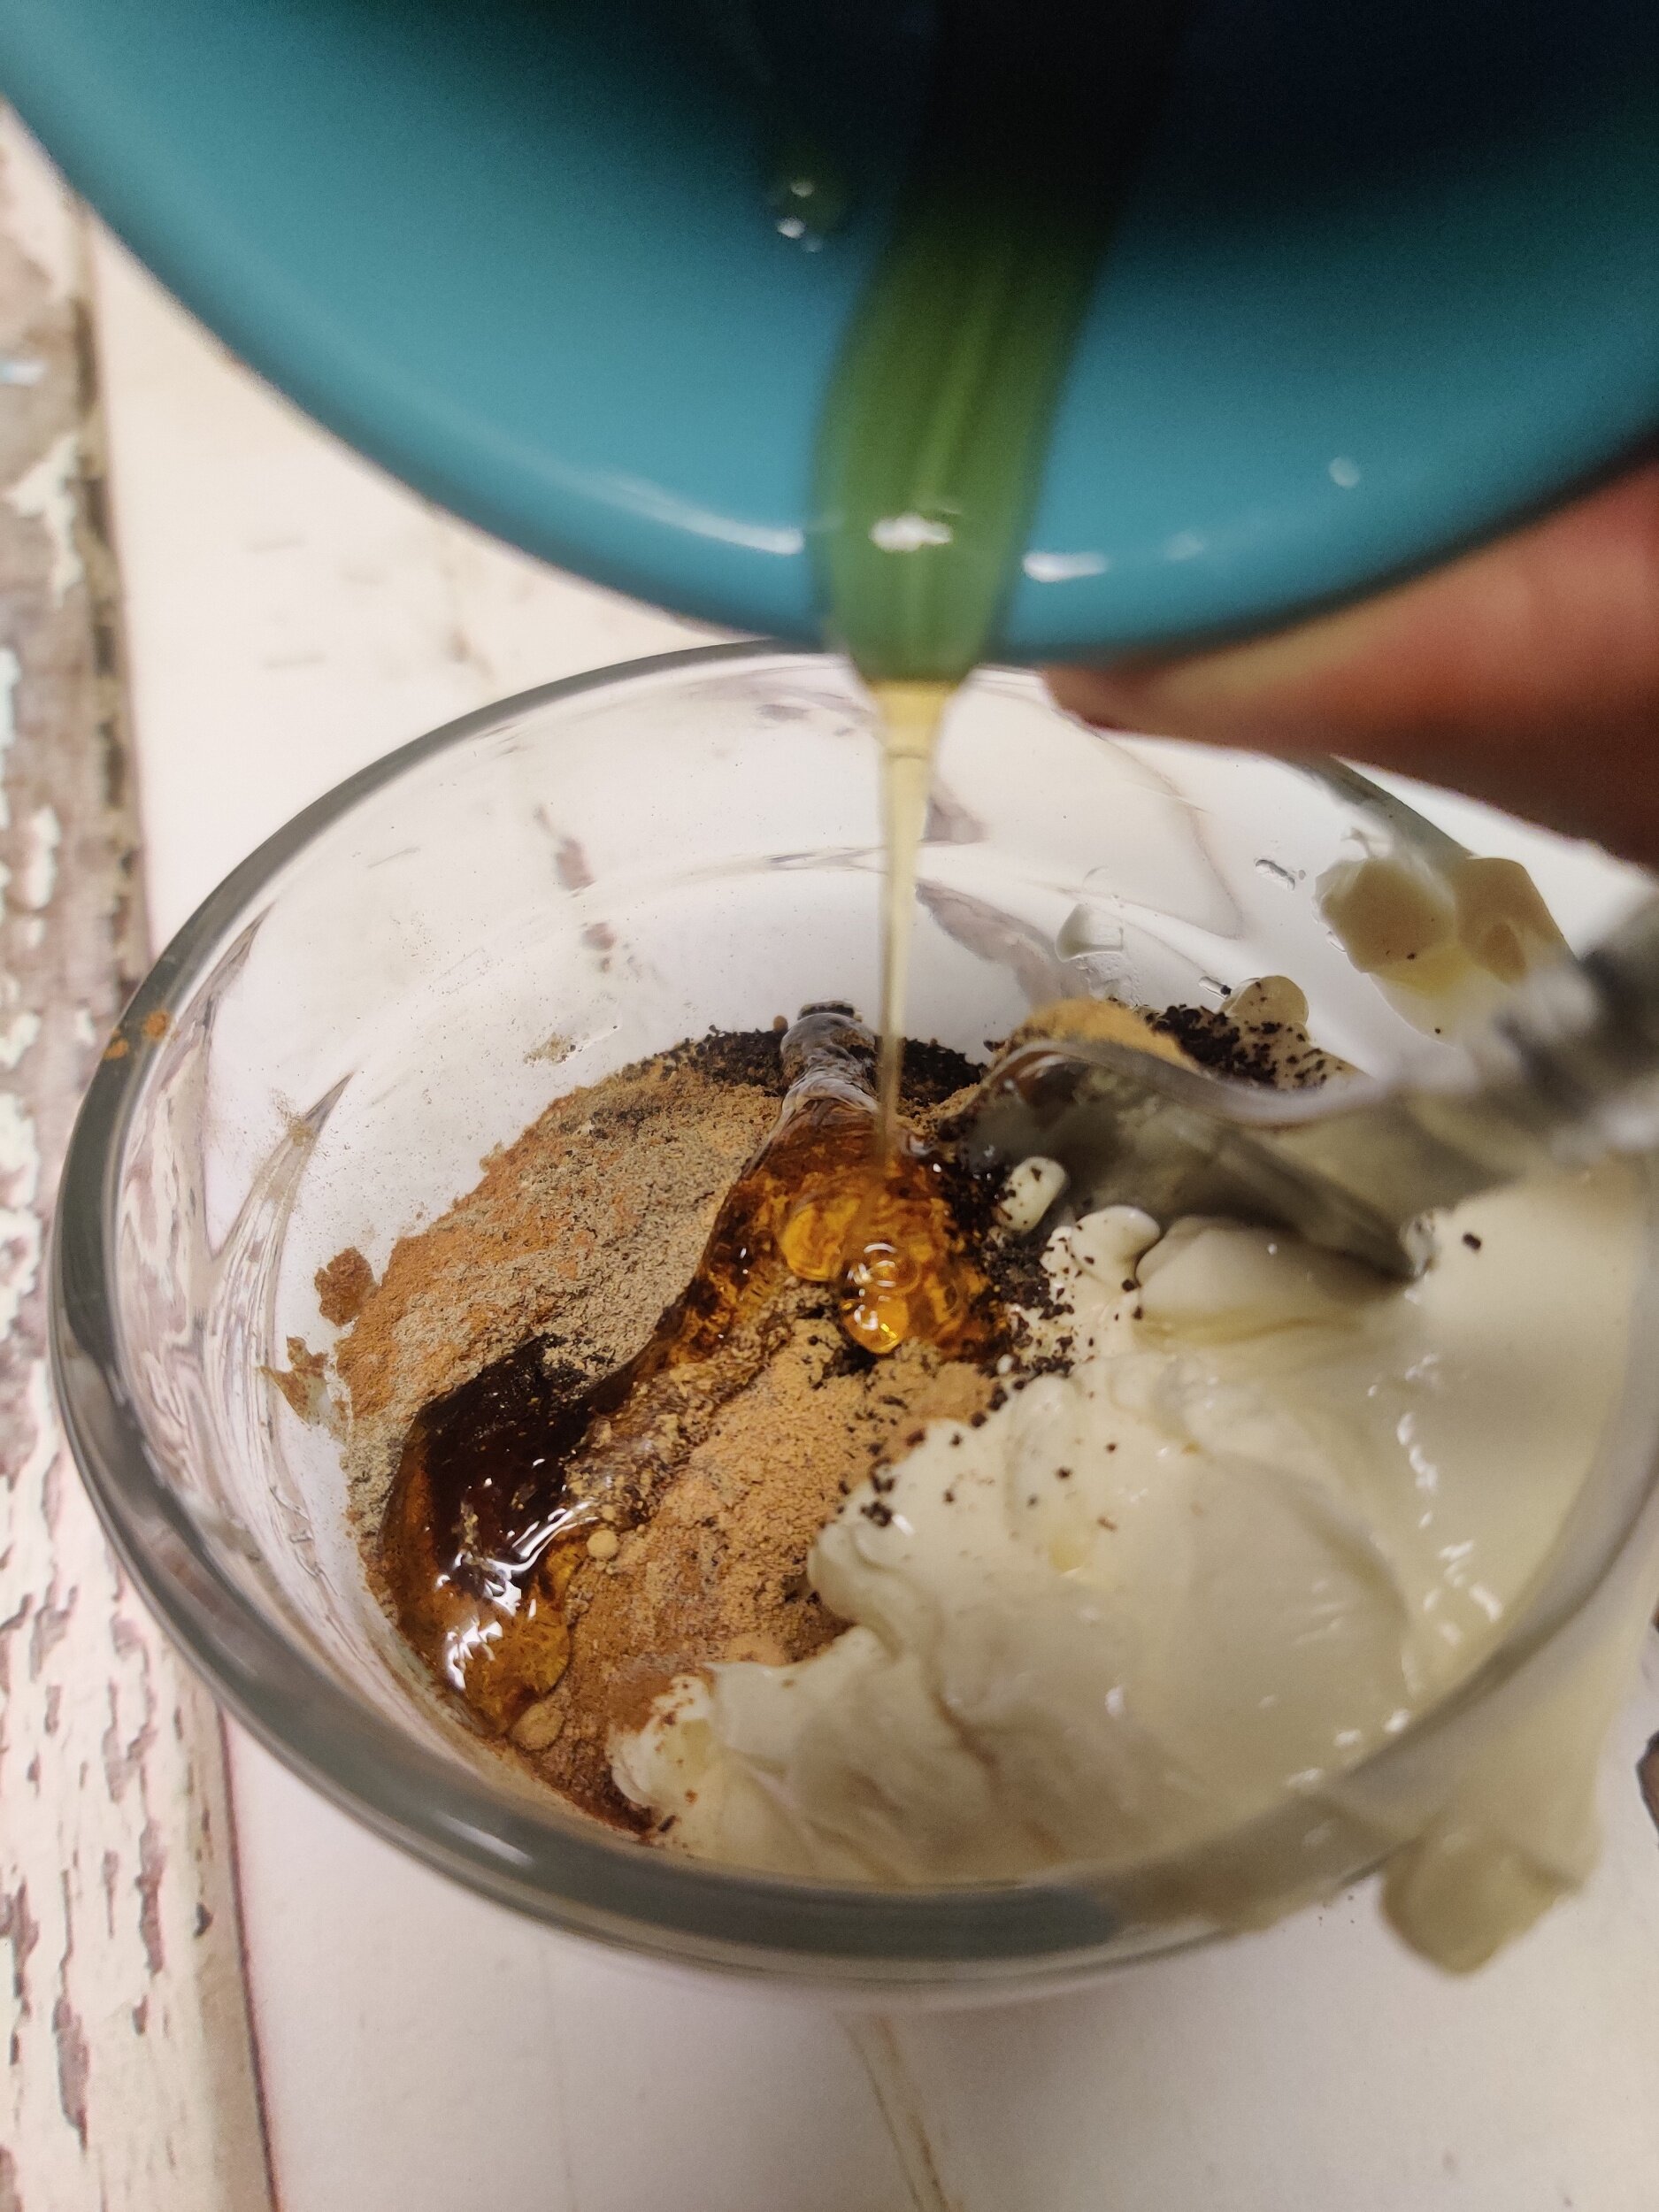
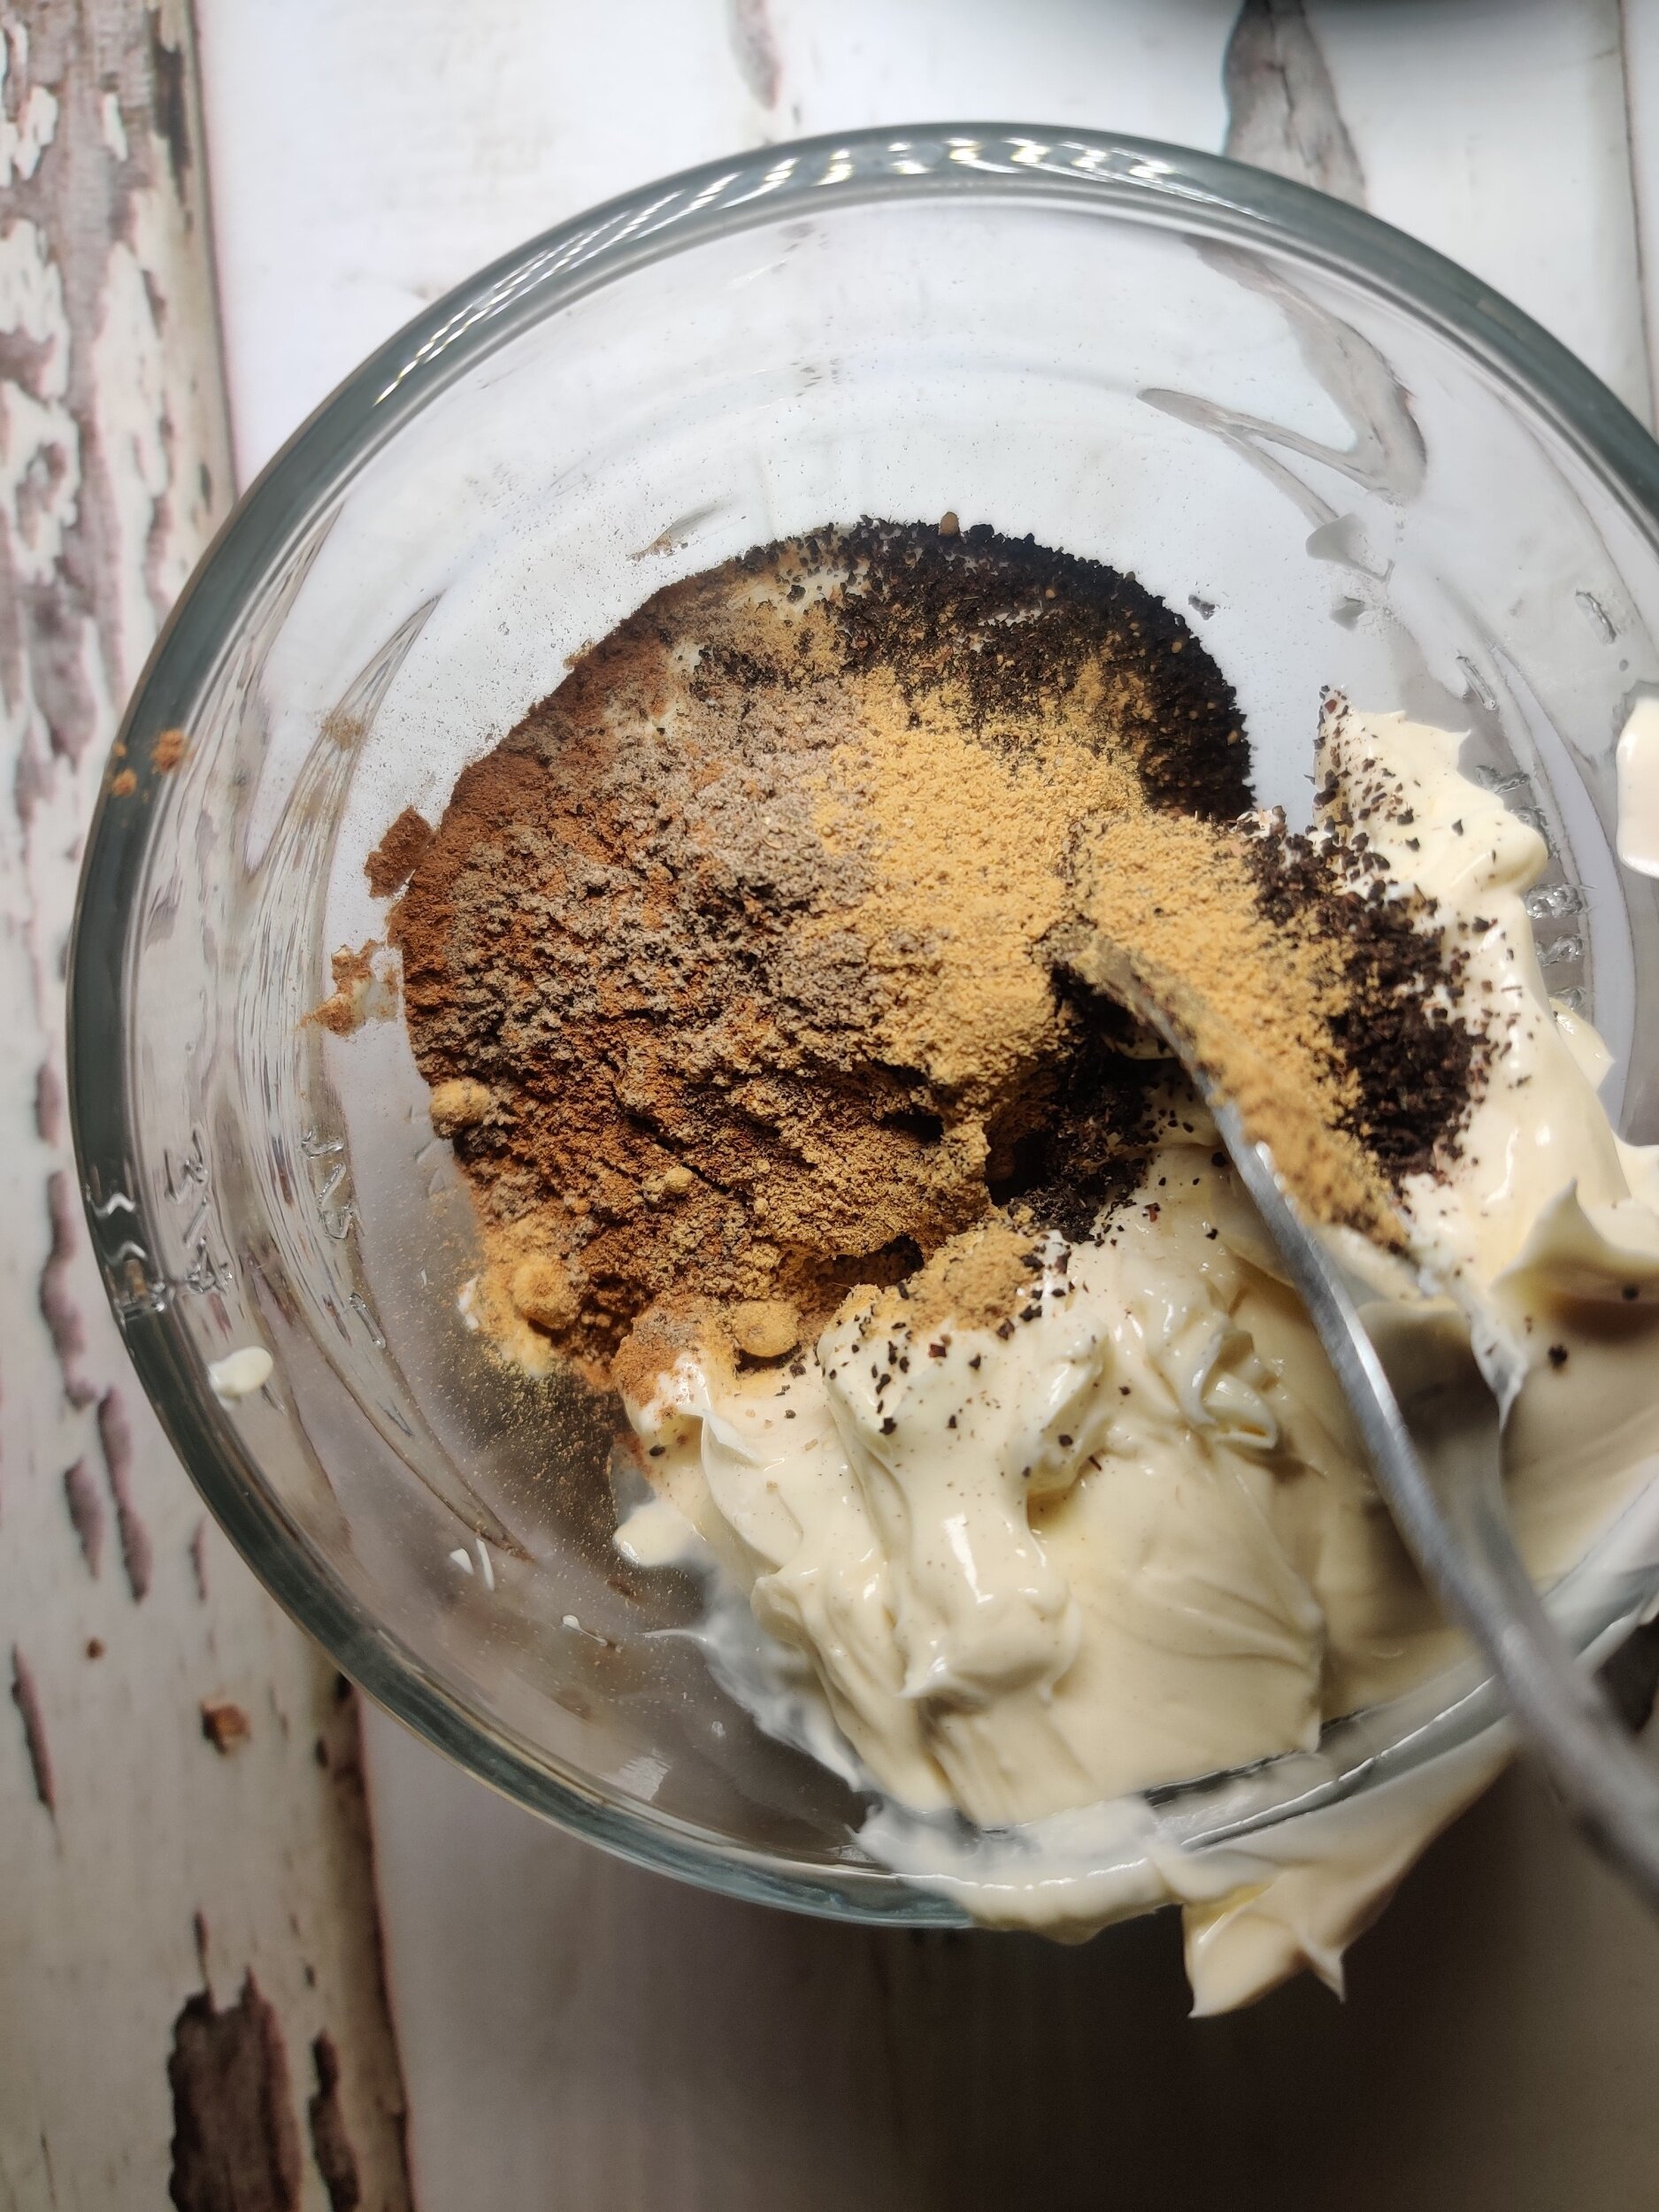
- Using a fork or small whisk mix the butter with 1 tea bag’s contents and the spices, then add 1.5 teaspoons brewed tea. Refrigerate until ready to use.
- Allow the bread to cook for 10 minutes before removing from the pan. Serve HOT (it just tastes so much better this way!) with butter and extra maple syrup/honey.


Rustic Peach and Guava Turnovers
Peach season (or any fruit you want) is always an excuse to inject flavour and bring out the inherent subtle tastes. In this case, the whiskey will deepen the natural flavour of the peaches, as will the cinnamon, nutmeg and lemon. The guava jam adds to the sweetness (because, well, peaches are not THAT sweet, but that's okay!). They also give the turnovers a tropical flavour profile, and guavas have a unique taste and floral undertones as peaches do.
Like most recipes on this blog, you can tweak this one to your liking, but the result will be something quick and tasty.


Rustic Peach and Guava Turnovers
Ingredients
- 4 fresh peaches
- 2 tablespoons guava jam
- 1/4 cup bourbon or whiskey
- 1 1/2 tablespoons cinnamon sugar
- 1 teaspoon nutmeg
- 2 tablespoons lemon juice
- 1 teaspoon vanilla paste
- 2 pastry dough sheets
- 1/2 teaspoon sea salt
- 1/2 teaspoon table salt
- Fresh cream
- 2 tablespoons +
- 2 tablespoons butter + 1 tablespoon heavy cream OR 1 beaten egg (for wash)
- Whipped cream (optional)
- Turbinado sugar (optional)
- Icing sugar (optional)
Instructions
- Wash, pit, and dice the peaches, place in a large bowl. Transfer to a large pot, add 2 tablespoons butter, cinnamon sugar, nutmeg, salt, vanilla, jam, and whiskey. Cook down until all the ingredients are melted and combined and the sauce thickens., simmer for about 10-12 minutes on medium low heat, stirring frequently.
- Prep your pastry sheets (one at a time, keep them in the fridge until ready to use). Cut into the shapes you wish to form the turnovers. You can cut rectangles then fold the opposing corners to create a loose triangular shape.
- Fill with 1 teaspoon of filling (or more if you roll out the dough or cut into larger pieces). Seal the edges with a fork, then pierce the centre lightly to create an outlet for the hot air while the pastries bake.
- Brush the pastries with a mix of 2 tablespoons butter and the heavy cream or beaten egg. Sprinkle a pinch of sugar over each of the pastries.
- Bake at 375F for 12 minutes (follow the instructions on the packaging) - cook each sheet with filling one at a time.
- Broil for 1-2 minutes until light golden brown colour forms, cool for 5 minutes, then serve warm (optional: with whipped cream).
Nutrition Facts
Calories
99Fat (grams)
2.2Carbs (grams)
15.9Protein (grams)
1.2
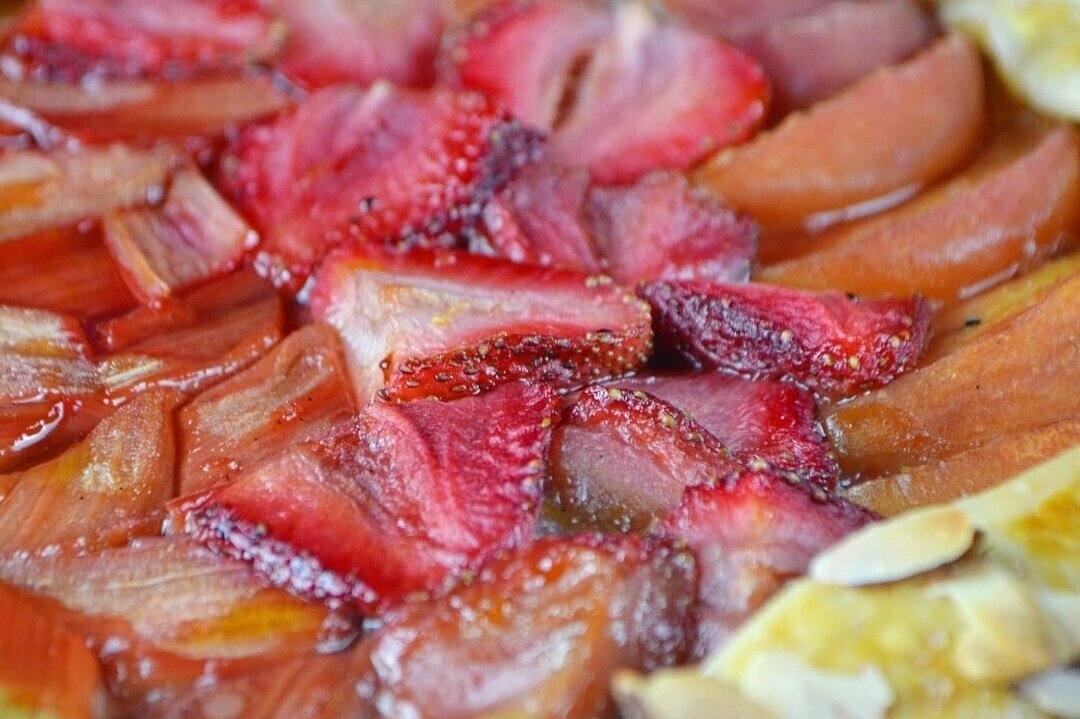
Peach, Strawberry, and Rhubarb Crostata
Summer is the season of fresh, bountiful produce and finding creative ways to celebrate and enjoy the warm weather. I suggest using the crostata or galette as a vehicle to make use of your fruits and vegetables. This can help reduce waste, make room in the fridge, and whip together a quick meal if you have the pastry ready to go. You can apply this to both sweet and savoury - check out some galette recipes on the website, including Tomato, Thyme and Cheese, Pumpkin, Caramelized Onion, Blackberry, Mint and Ricotta, Cheesy Mushroom Galette with Ricotta and Gruyere, and Asparagus, Snap Pea, and Blue Cheese Galette.
In case you were wondering, “crostata” is essentially the Italian version of a (French) galette, not much of a difference, if any!
I decided to use three in-season fruits/vegetables. Namely, strawberries, peaches and rhubarb! They are a great balance of tartness and sweetness. The lemon, passion fruit, cinnamon, and other spices in the poaching liquid for this recipe will infuse complementary flavours into your filling. You can adjust the sugar depending on your sweetness tolerance; as well as the layering of the filling - you may want to add a few extra pieces on top of each other. This is the number one reasons why I love crostatas, these free form, open face pies are super customizable.

Ingredients
1 large peach, sliced into segments
1 large rhubarb stalk, cut lengthwise then into diagonal diamond-like shapes
1/3 cup strawberries, sliced in half, tops removed
4 cups passionfruit cocktail or fruit nectar (enough to cover the
2 lemon slices
3-4 tablespoons mirin
1 teaspoon lemon zest
1/2 teaspoon almond extract
1 teaspoon vanilla paste or extract
2 cinnamon sticks
2 anise stars
1 teaspoon balsamic vinegar
1/3 cup coconut sugar
1/3 cup cane sugar
2 tablespoons fresh ginger
1 tablespoon sliced almonds
1 pie crust of your making/choice
Egg wash (1 egg + cream)
Turbinado sugar
Ice cream

Instructions
Start by simmering the poaching liquid in a pot deep enough to submerge the fruits/vegetables. Add the passion fruit cocktail, ginger, lemon slices, zest, vanilla extract, almond extract, balsamic, cinnamon and anise on low heat.
Add the sugars and mirin. Once the sugar dissolves, add the fruits and heat for about five minutes. Don't overcook! Remove from the pot, eat and strain — keep the liquid. You can cook it down with butter and make a drizzling sauce.
Arrange the rhubarb, peaches and strawberries in the center of the pie crust, leaving the outside rim of at least 1-2 inches. Fold them over, then brush with egg wash. Sprinkle some almonds and sugar, then bake at 400F for or until the crust is golden brown.
Serve warm with ice cream and eat immediately.


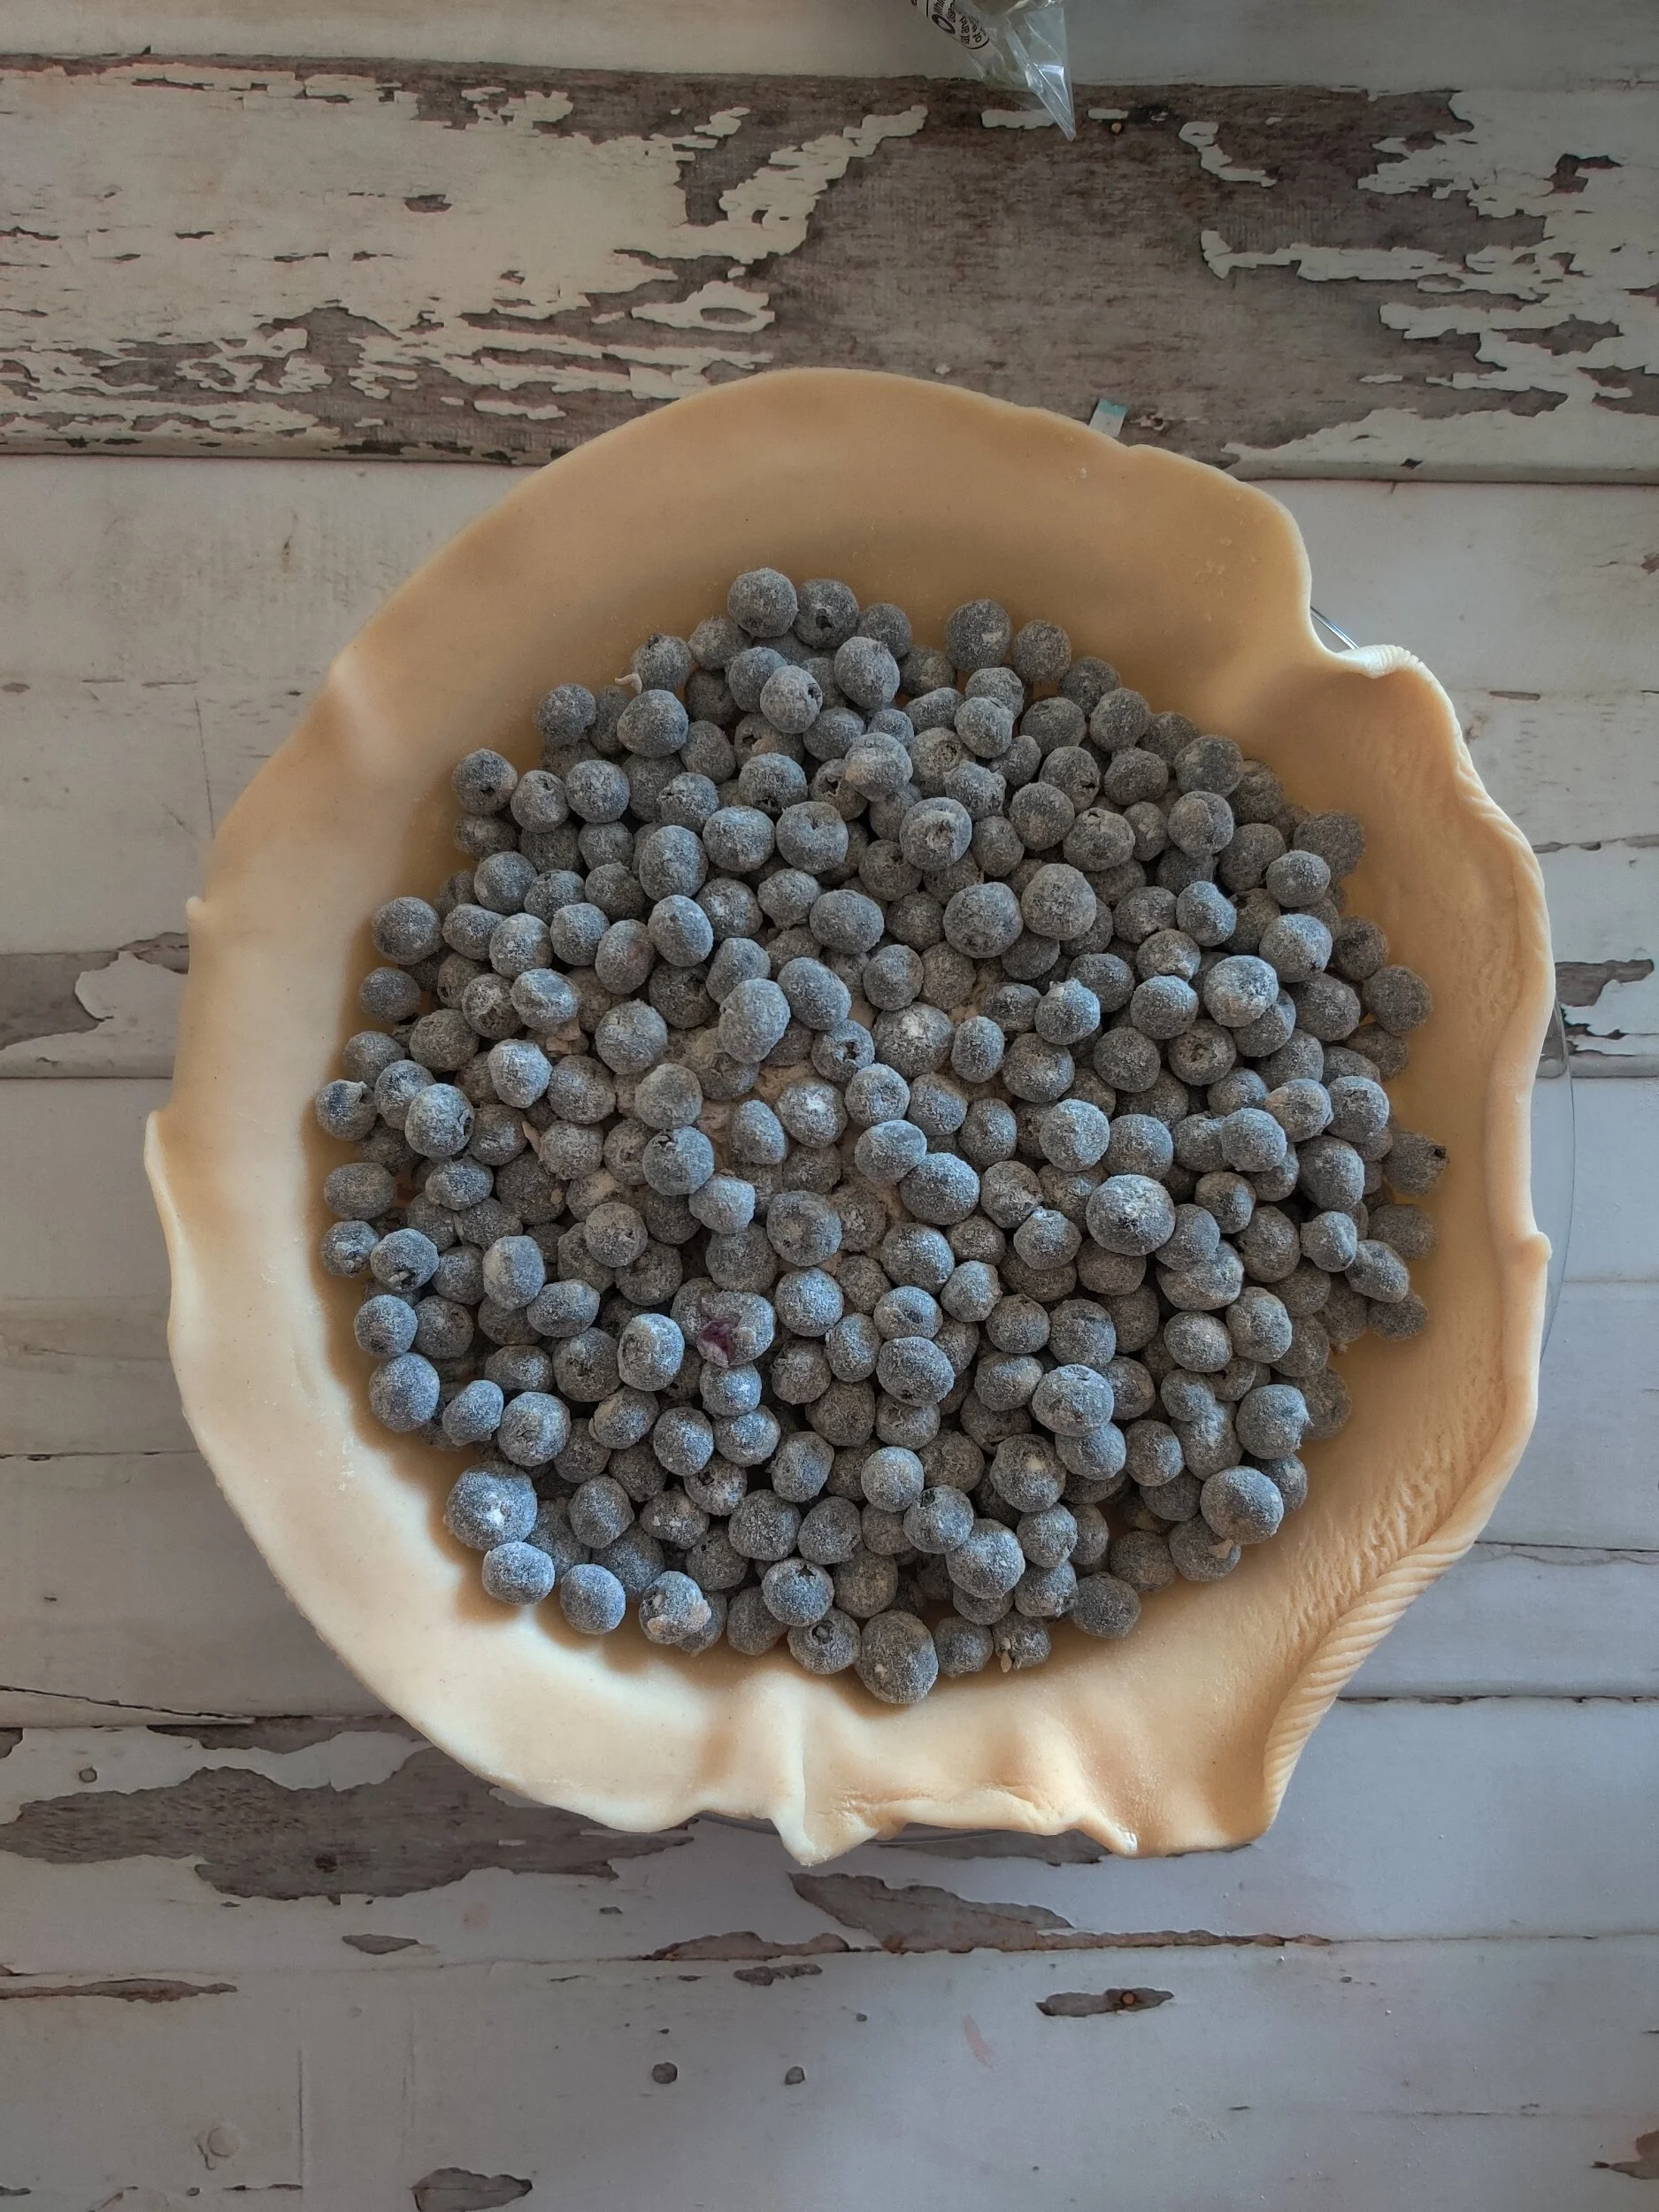
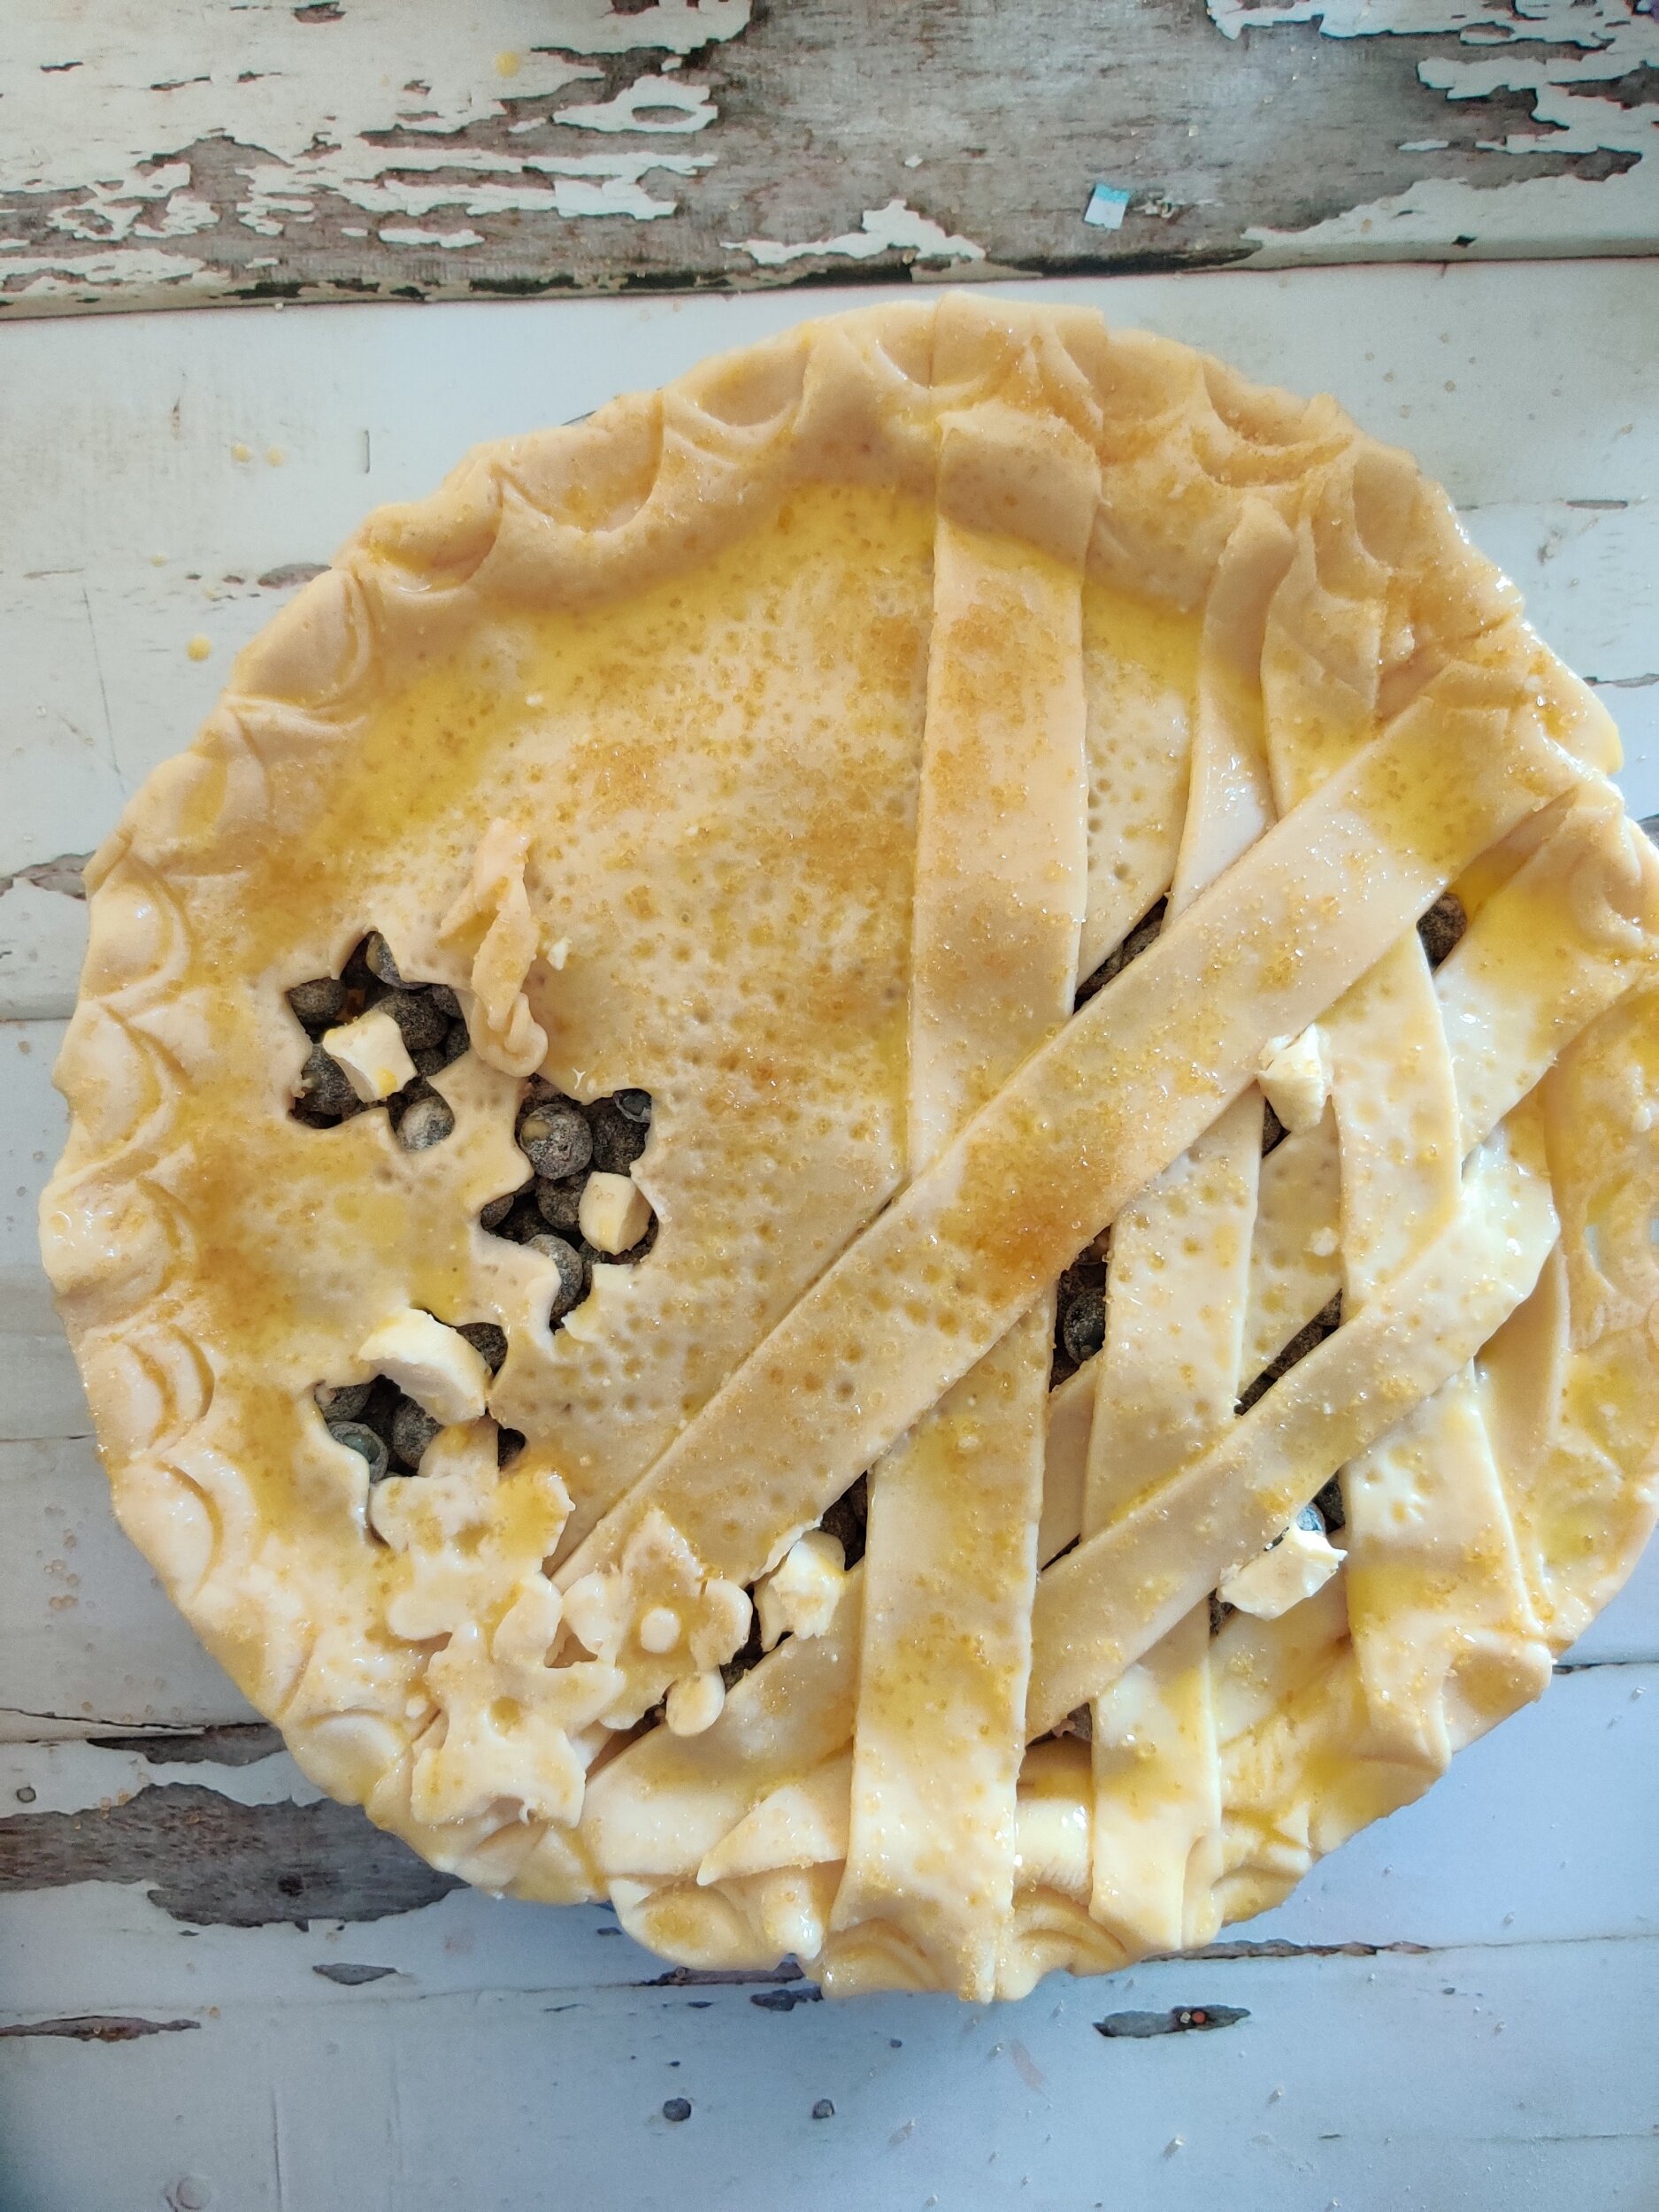
Peach-Infused Blueberry Pie
A recent trip to Portland, ME, reminded me how special wild blueberries can be. While I didn’t get a chance to try an authentic Maine dessert, it inspired me to make this Peach-Infused Blueberry Pie, a familiar favorite with a little twist.
The blueberries are macerated overnight with peach nectar, lemon, and a touch of cinnamon to enhance their natural sweetness. This extra step ensures that every bite is juicy, flavorful, and perfectly balanced with just a hint of citrus.
For the filling, you can choose whether to add a thickener. Some prefer a looser, syrupy pie, while others like a sturdier filling that holds its shape. I’ve opted for a small amount of flour or cornstarch, which keeps the pie sliceable while letting the blueberries shine.
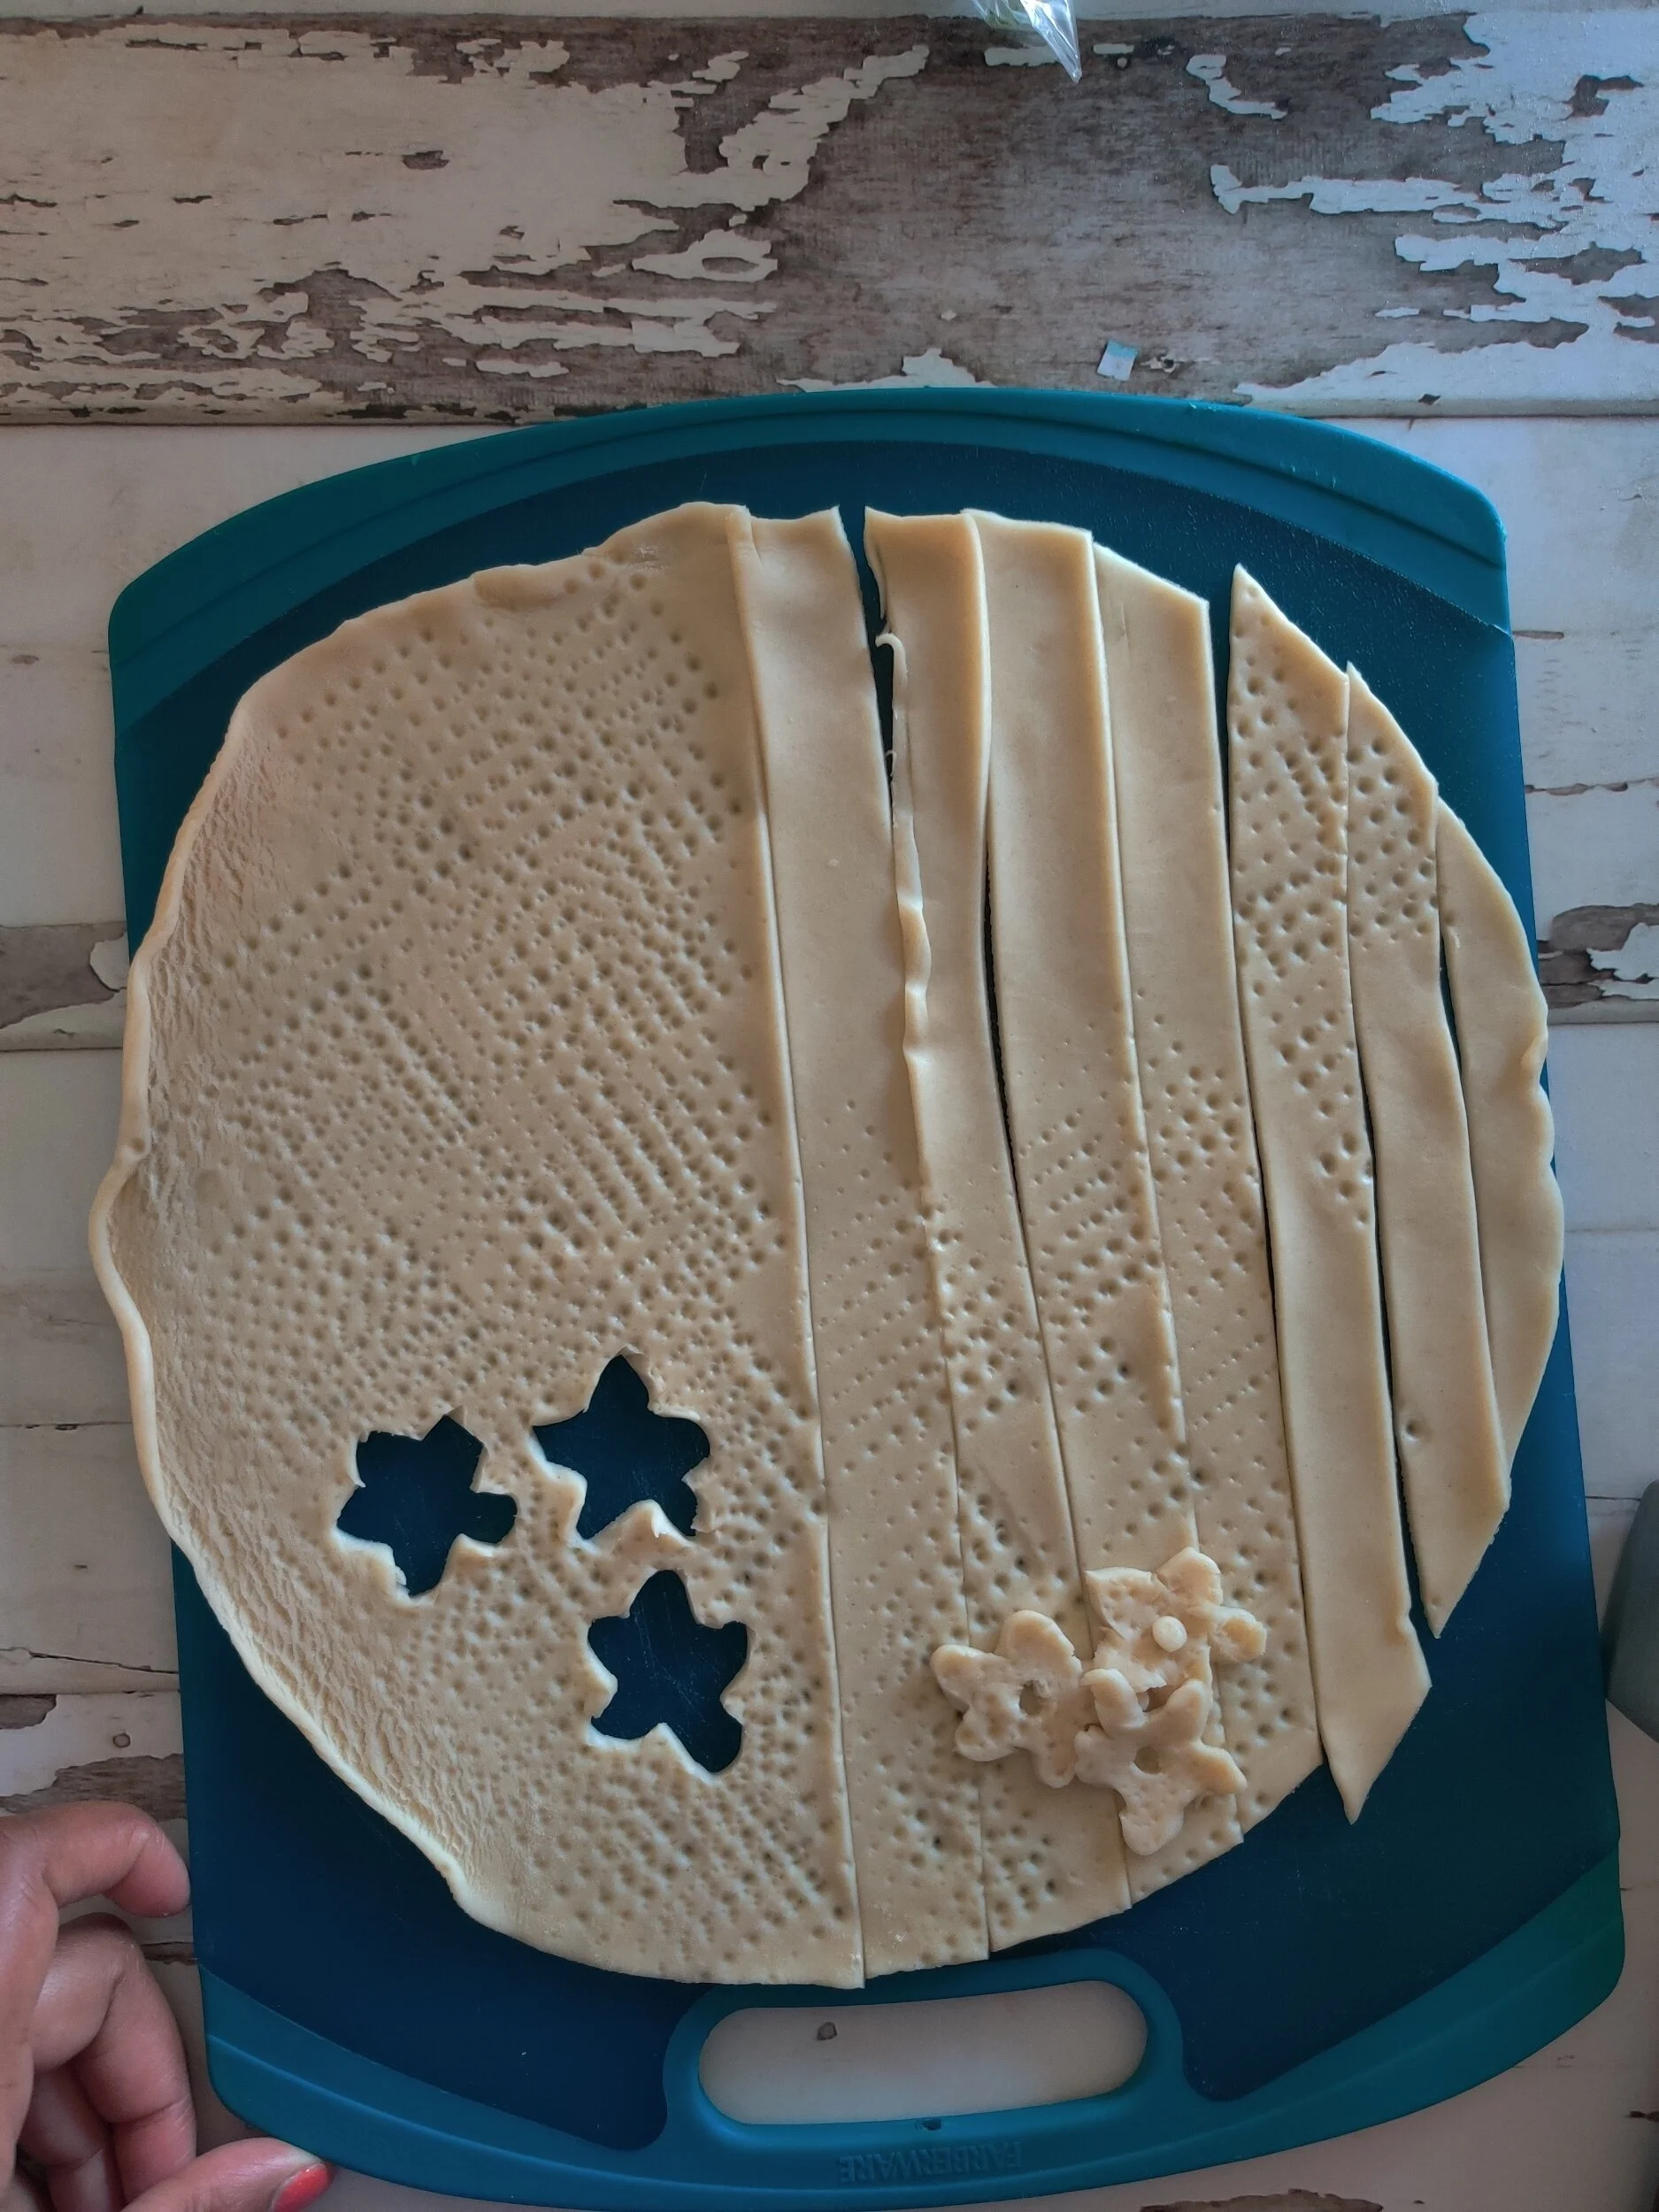
The pie crust can be traditional or latticed, giving you the freedom to make it visually stunning. Top with small cubes of butter before baking to prevent spillage and add richness. Serve warm with whipped mascarpone or ice cream for a dessert that feels like summer in every bite.
Whether you’re a blueberry lover, a pie enthusiast, or just looking for a show-stopping dessert, this pie is approachable, flavorful, and a little playful with the peach infusion.

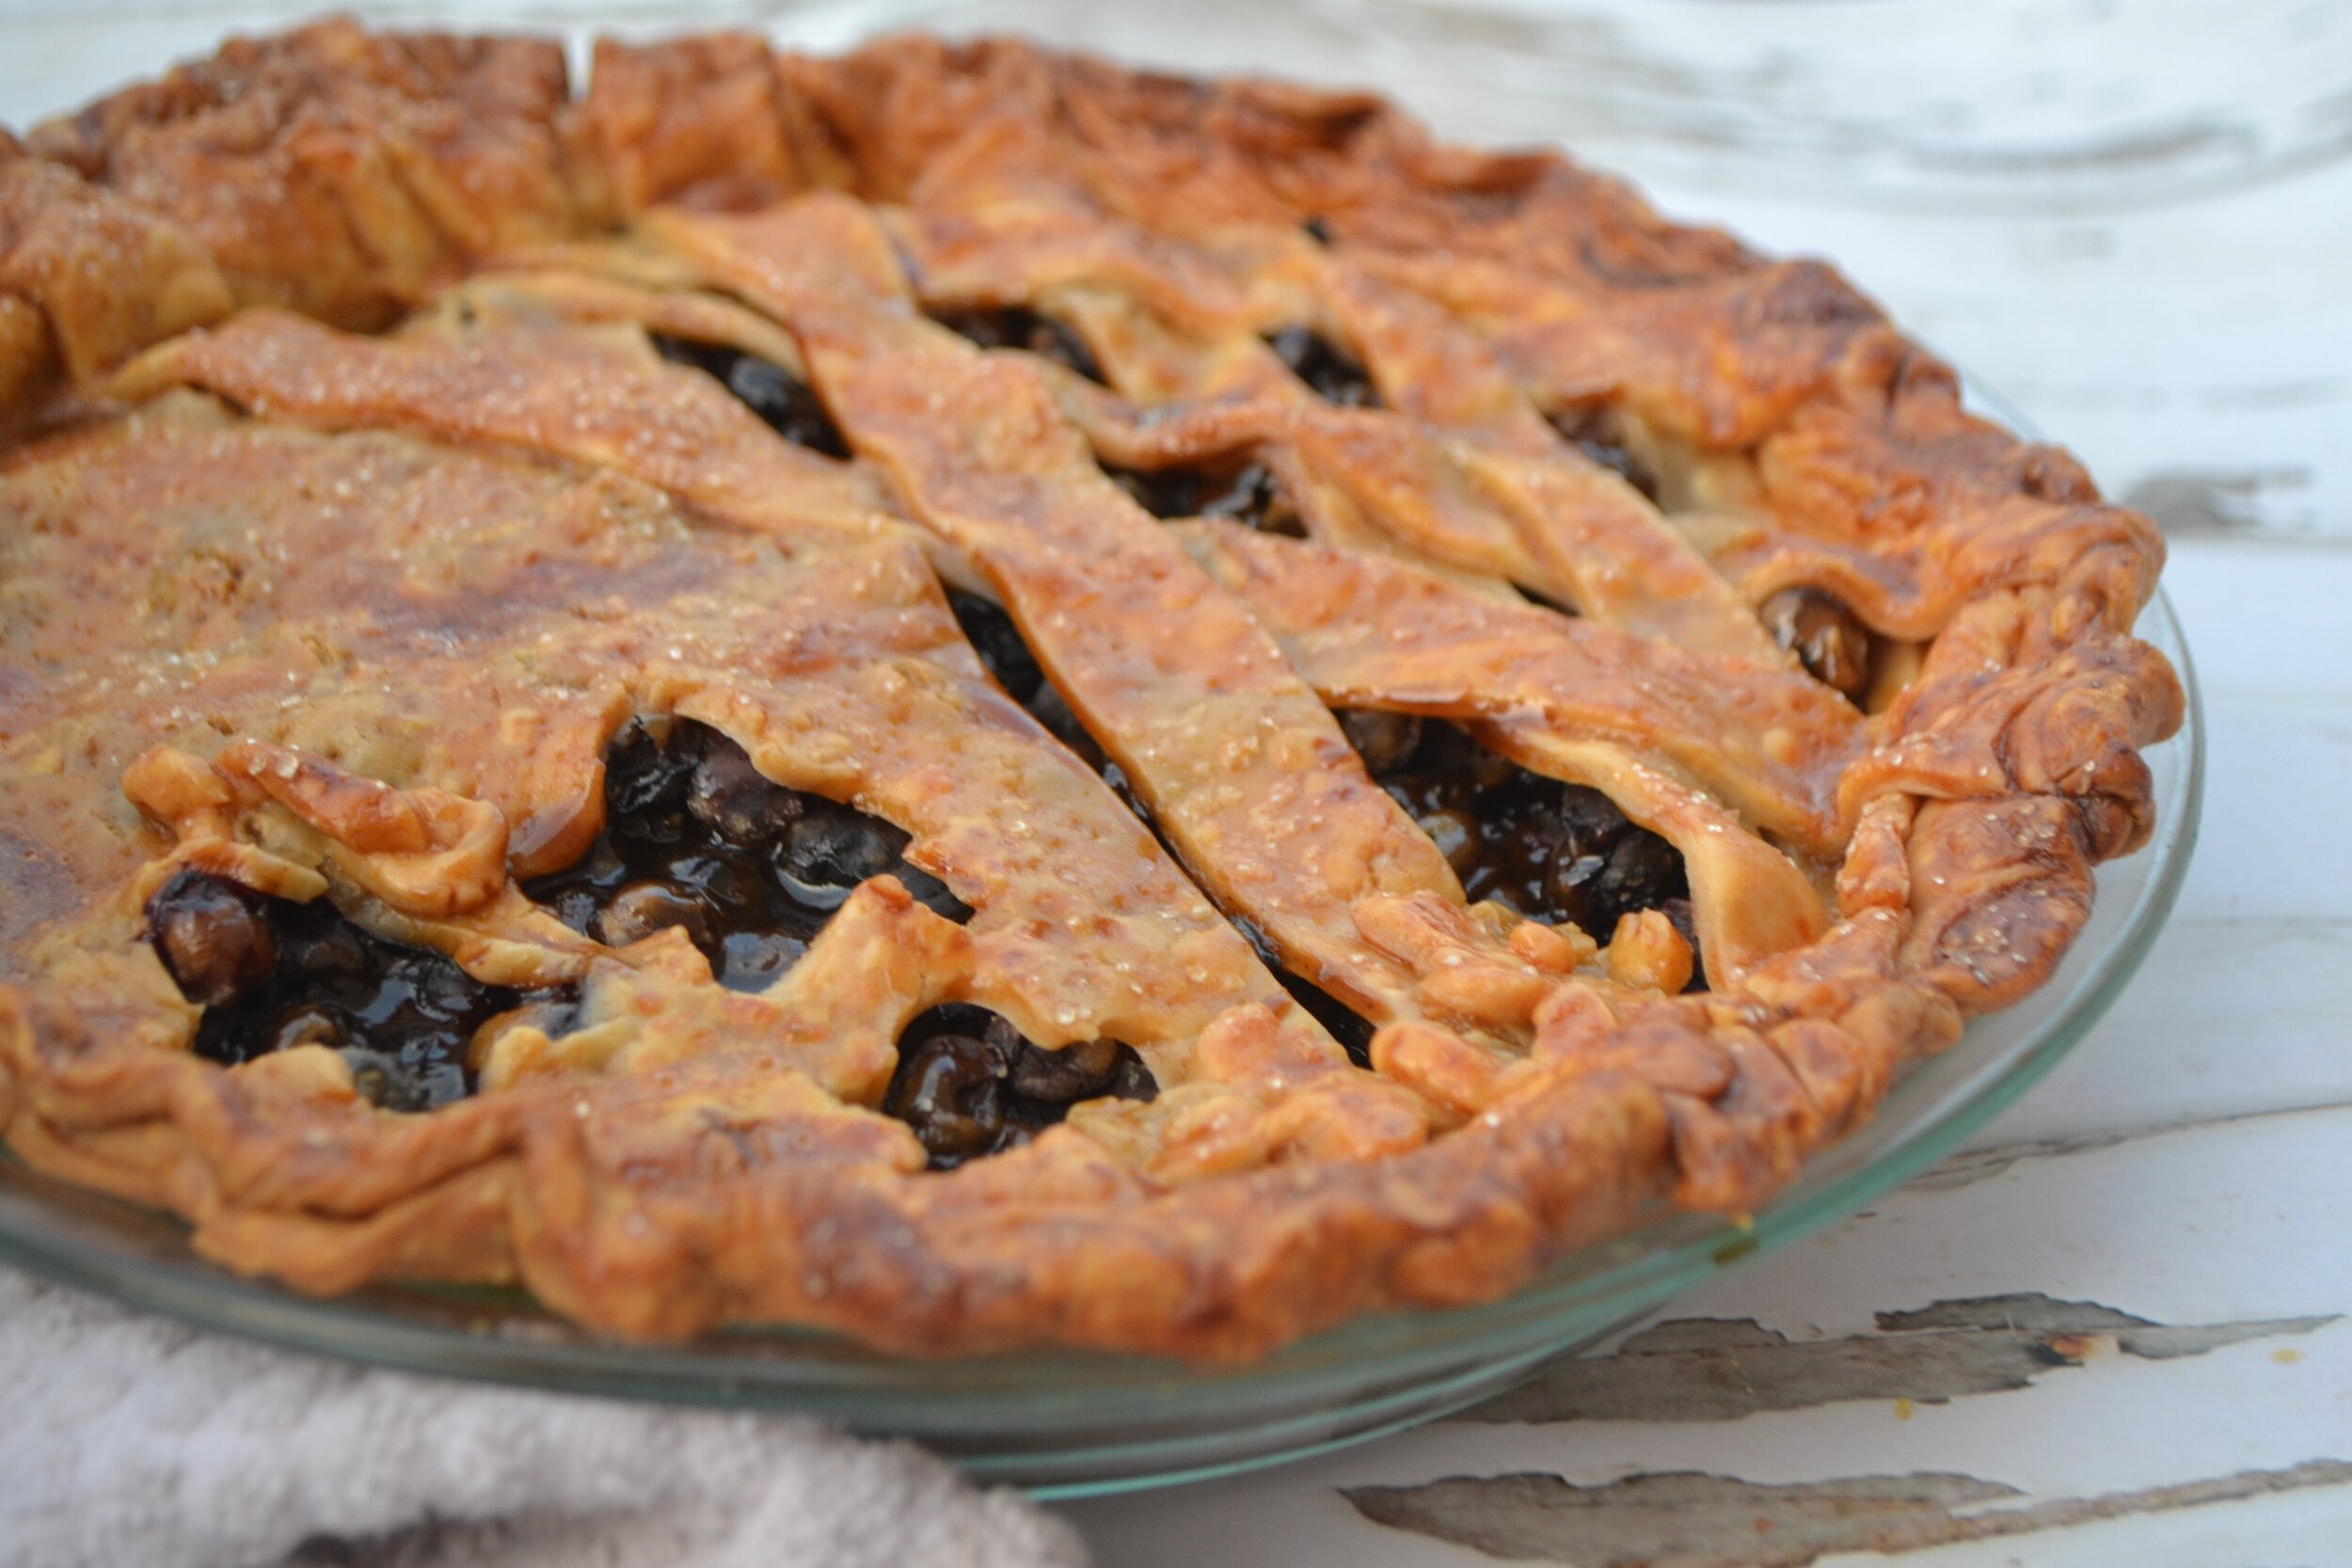
Maine-Inspired Blueberry Pie with Peach Nectar
A summer blueberry pie inspired by Maine’s famous wild blueberries. Fresh berries are macerated with peach nectar, lemon, and warm cinnamon, then baked in a golden lattice crust for a bright, jammy filling with balanced sweetness and depth.
Ingredients
- 1 lb fresh blueberries
- ½ cup coconut sugar
- ½ cup cane sugar (adjust to taste)
- 1 tbsp lemon zest
- 1 tsp lemon juice
- 1 tsp vanilla extract
- ½ tsp salt
- 5–6 fresh mint leaves
- ⅓ cup peach nectar
- 1 tsp cinnamon
- 2–3 cinnamon sticks
- 2 tbsp butter
- 2 pie crusts, room temperature
- 1 egg + 1 tbsp coconut cream (egg wash)
- ½ cup flour or ¼ cup cornstarch/potato starch/arrowroot
- Small cubes of butter (for topping)
- Turbinado sugar (for topping)
- Mascarpone cream or ice cream, for serving
Instructions
- In a large bowl, combine the blueberries, peach nectar, lemon juice and zest, sugars, cinnamon, cinnamon sticks, mint leaves, and salt. Cover and refrigerate overnight or at least 4 hours.
- The next day, stir the mixture and strain, reserving the juice. Remove the cinnamon sticks and mint leaves.
- Transfer the berries to a bowl and toss with your chosen thickener until evenly coated.
- Roll out one pie crust and fit it into your pie dish. Add the blueberry filling and refrigerate while preparing the top crust.
- Roll out the second crust and create a lattice or decorative top. Place it over the filling, trim excess dough, seal the edges, and crimp.
- Dot the top with small butter cubes, brush with egg wash, and sprinkle with turbinado sugar.
- Place the assembled pie in the refrigerator for 15–20 minutes to help the crust hold its shape.
- Bake at 400°F (200°C) for 20 minutes, then reduce heat to 350°F (175°C) and continue baking 45–55 minutes, until the crust is golden and the filling bubbles.
- Cover crust edges with foil during the second half of baking if they brown too quickly.
- While the pie bakes, simmer the reserved peach nectar with a little butter in a small saucepan until slightly thickened.
- Remove the pie from the oven and drizzle the peach glaze over the lattice. Allow the pie to rest 10 minutes before slicing.
- Serve warm with mascarpone cream or ice cream.
I am not a certified nutritionist and any nutritional information on dontmissmyplate.com should only be used as a general guideline.


Grilled Apricots with Honey and Walnuts
When it comes to summertime fruits, we often think of them as something to toss into a salad or arrange on a cheese board. But in my opinion, they deserve the spotlight — especially when dessert rolls around.
Sure, strawberry pies and peach cobblers have their place (don’t miss my no-churn peach crumble ice cream recipe), but grilling fruit takes things to another level, especially when paired with ice cream.
That’s exactly what I did with this simple and spectacular summer recipe, featuring the often-overlooked apricot.
Why Apricots?
Apricots are bold little things. Their tangy-sweet flavor can hold its own next to a peach any day. I’ve had a soft spot for them ever since I was a kid, thanks to the apricot tree in our backyard. And if you love apricot jam, this warm, caramelized version is going to be your new favorite. How do they taste? I always say something between a plum and a peach.
There’s something about the way apricots caramelize on the grill that feels a little luxurious, almost like you’re getting away with something fancy without trying too hard. The edges char just enough to give contrast, the centers turn syrupy, and every bite feels like a reward for keeping it simple. It’s the kind of dessert that feels both nostalgic and new.
This dessert is everything you want in summer: juicy, warm fruit, cold creamy ice cream, the crunch of nuts, and a drizzle of golden honey. It's elegant enough for guests, but simple enough for a weeknight treat. Apricots, take your well-earned bow.
I hope you enjoy the recipe! I made it by chance because I wanted to take a break from peaches, and now you can enjoy it too.

Grilled Apricots with Honey and Walnuts
This simple grilled apricot recipe brings bold summer flavor to your dessert plate. Juicy apricots are caramelized on the grill, then topped with toasted walnuts, a drizzle of raw honey, and a scoop of your favorite ice cream (crème brûlée is divine!). Ready in under 15 minutes, it's the perfect quick dessert for summer nights — especially with a hint of fresh mint on top.
Ingredients
- 6 ripe apricots, halved and pitted
- 1 tablespoon olive oil
- 1 teaspoon cinnamon
- ½ teaspoon ground ginger
- 1 teaspoon brown sugar
- Pinch of sea salt
- 3 tablespoons raw honey
- Handful of toasted walnuts
- 6 scoops crème brûlée ice cream (or vanilla)
- Optional: fresh mint for garnish
Instructions
- Preheat and generously grease a grill pan with cooking spray. Heat over medium.
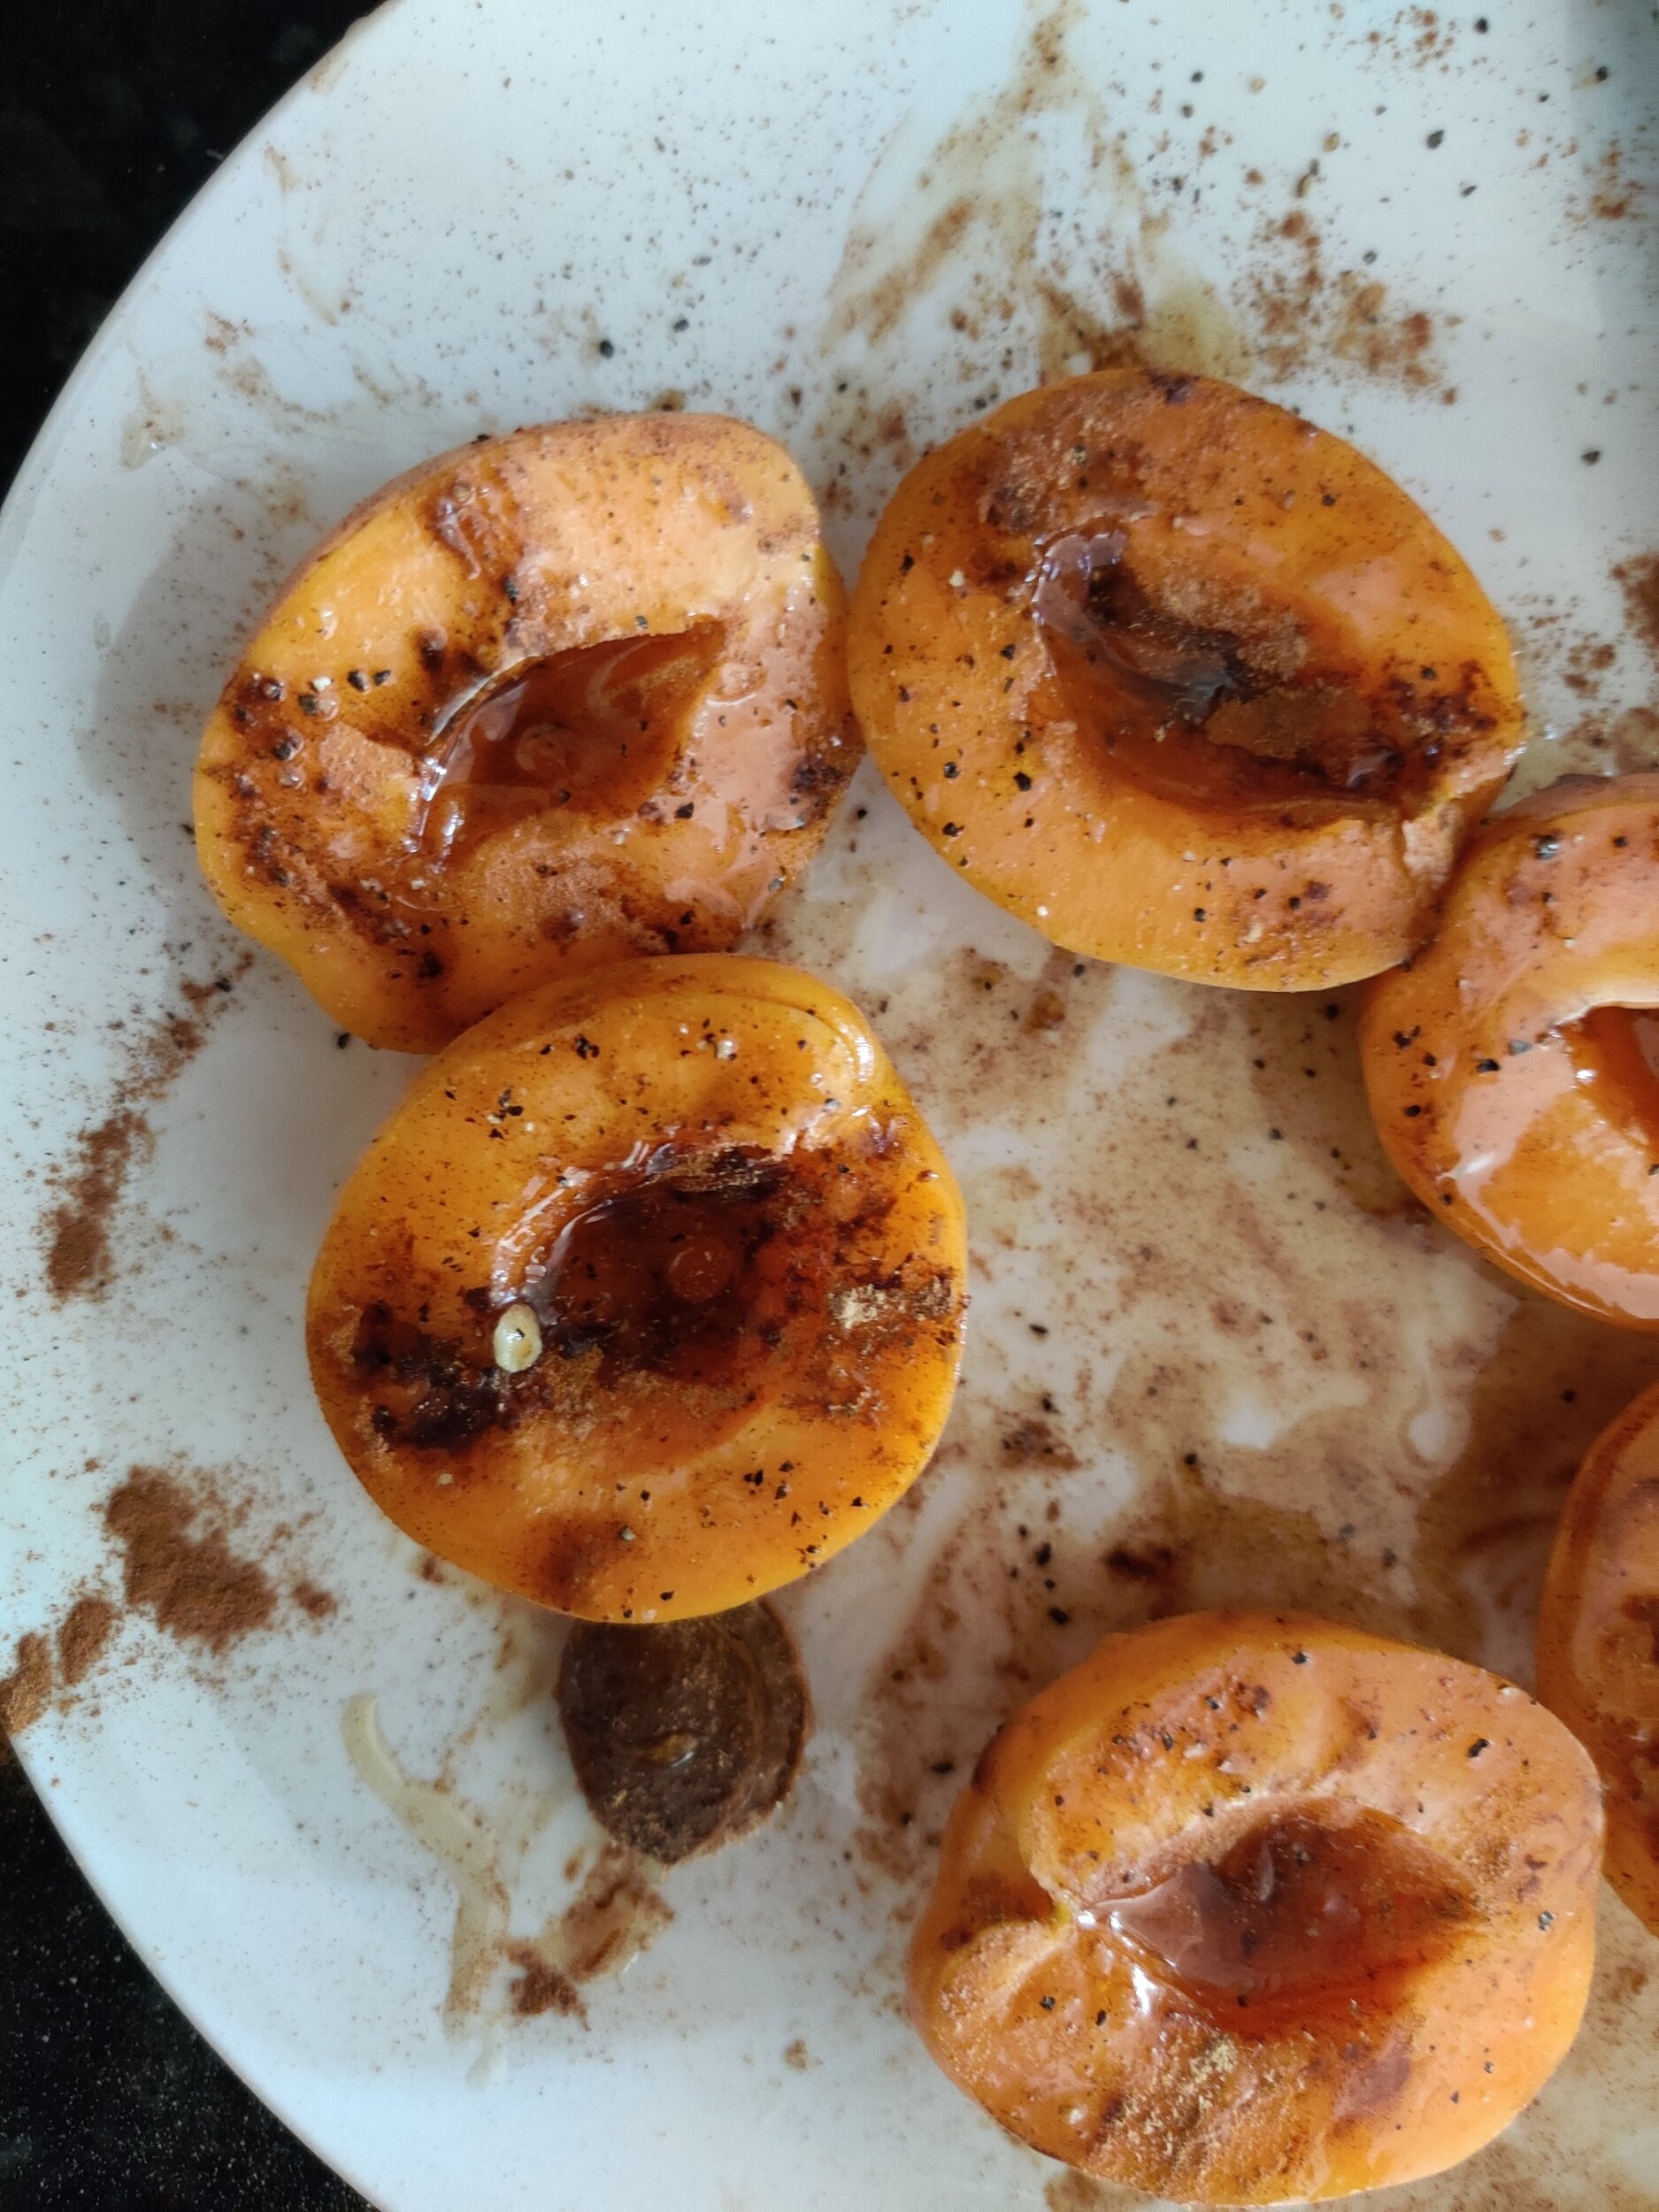
- Slice the apricots and remove the pits. Toss them in a bowl with the olive oil, making sure each side of each apricot is well coated. Add the brown sugar, cinnamon, ginger, salt, and about half of the honey. Mix gently to coat.
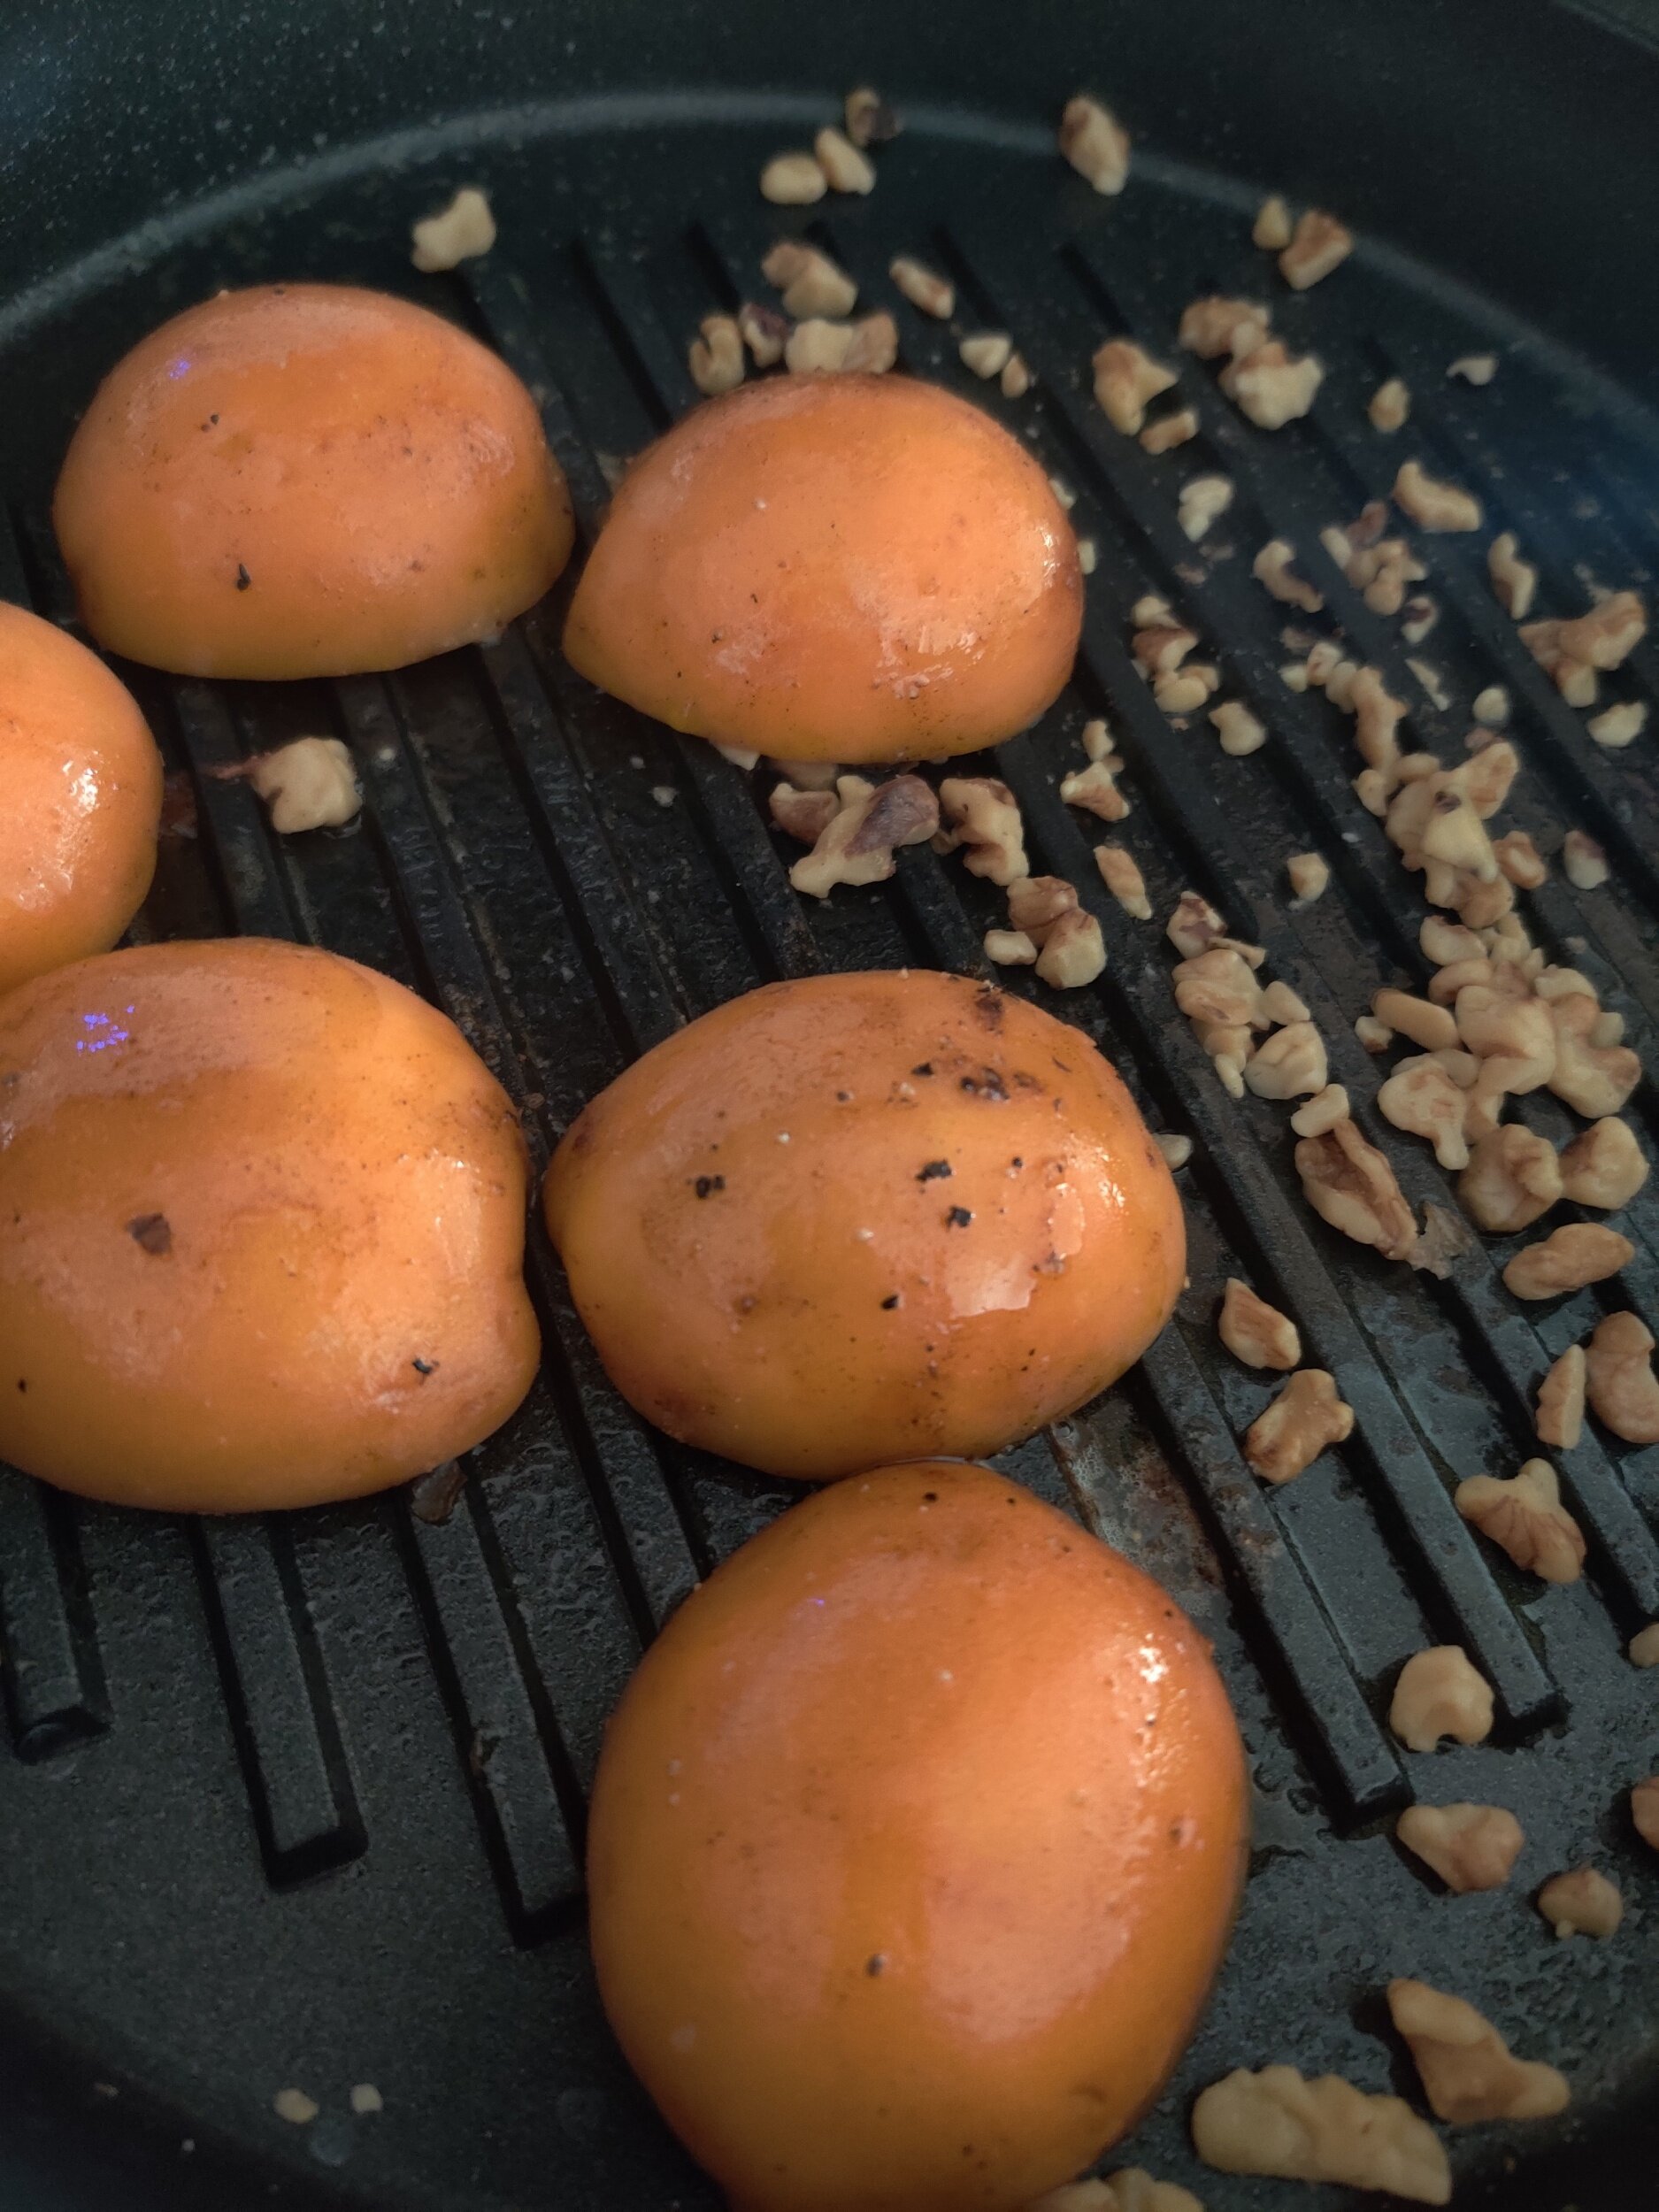
- Place the apricots cut-side down on the hot grill pan. Grill for 5–7 minutes, until grill marks appear and the fruit begins to soften. Check occasionally to prevent burning.
- On the other side of the grill pan, add the walnuts. Toast them for 4–5 minutes, stirring occasionally, then remove and set aside. (You can also broil them in the oven if you prefer.)
- Flip the apricots and grill the skin side for another few minutes. Reduce the heat to low, then close the lid of the grill pan and let them steam for about 5 minutes. This helps the apricots cook through without falling apart. Keep an eye on them—they should be tender but still hold their shape.
- Serve the apricots warm, topped with 2–3 scoops of ice cream. Drizzle with the remaining honey and sprinkle with the toasted walnuts. Add fresh mint leaves for a bright, refreshing finish, if desired.
I am not a certified nutritionist and any nutritional information on dontmissmyplate.com should only be used as a general guideline.


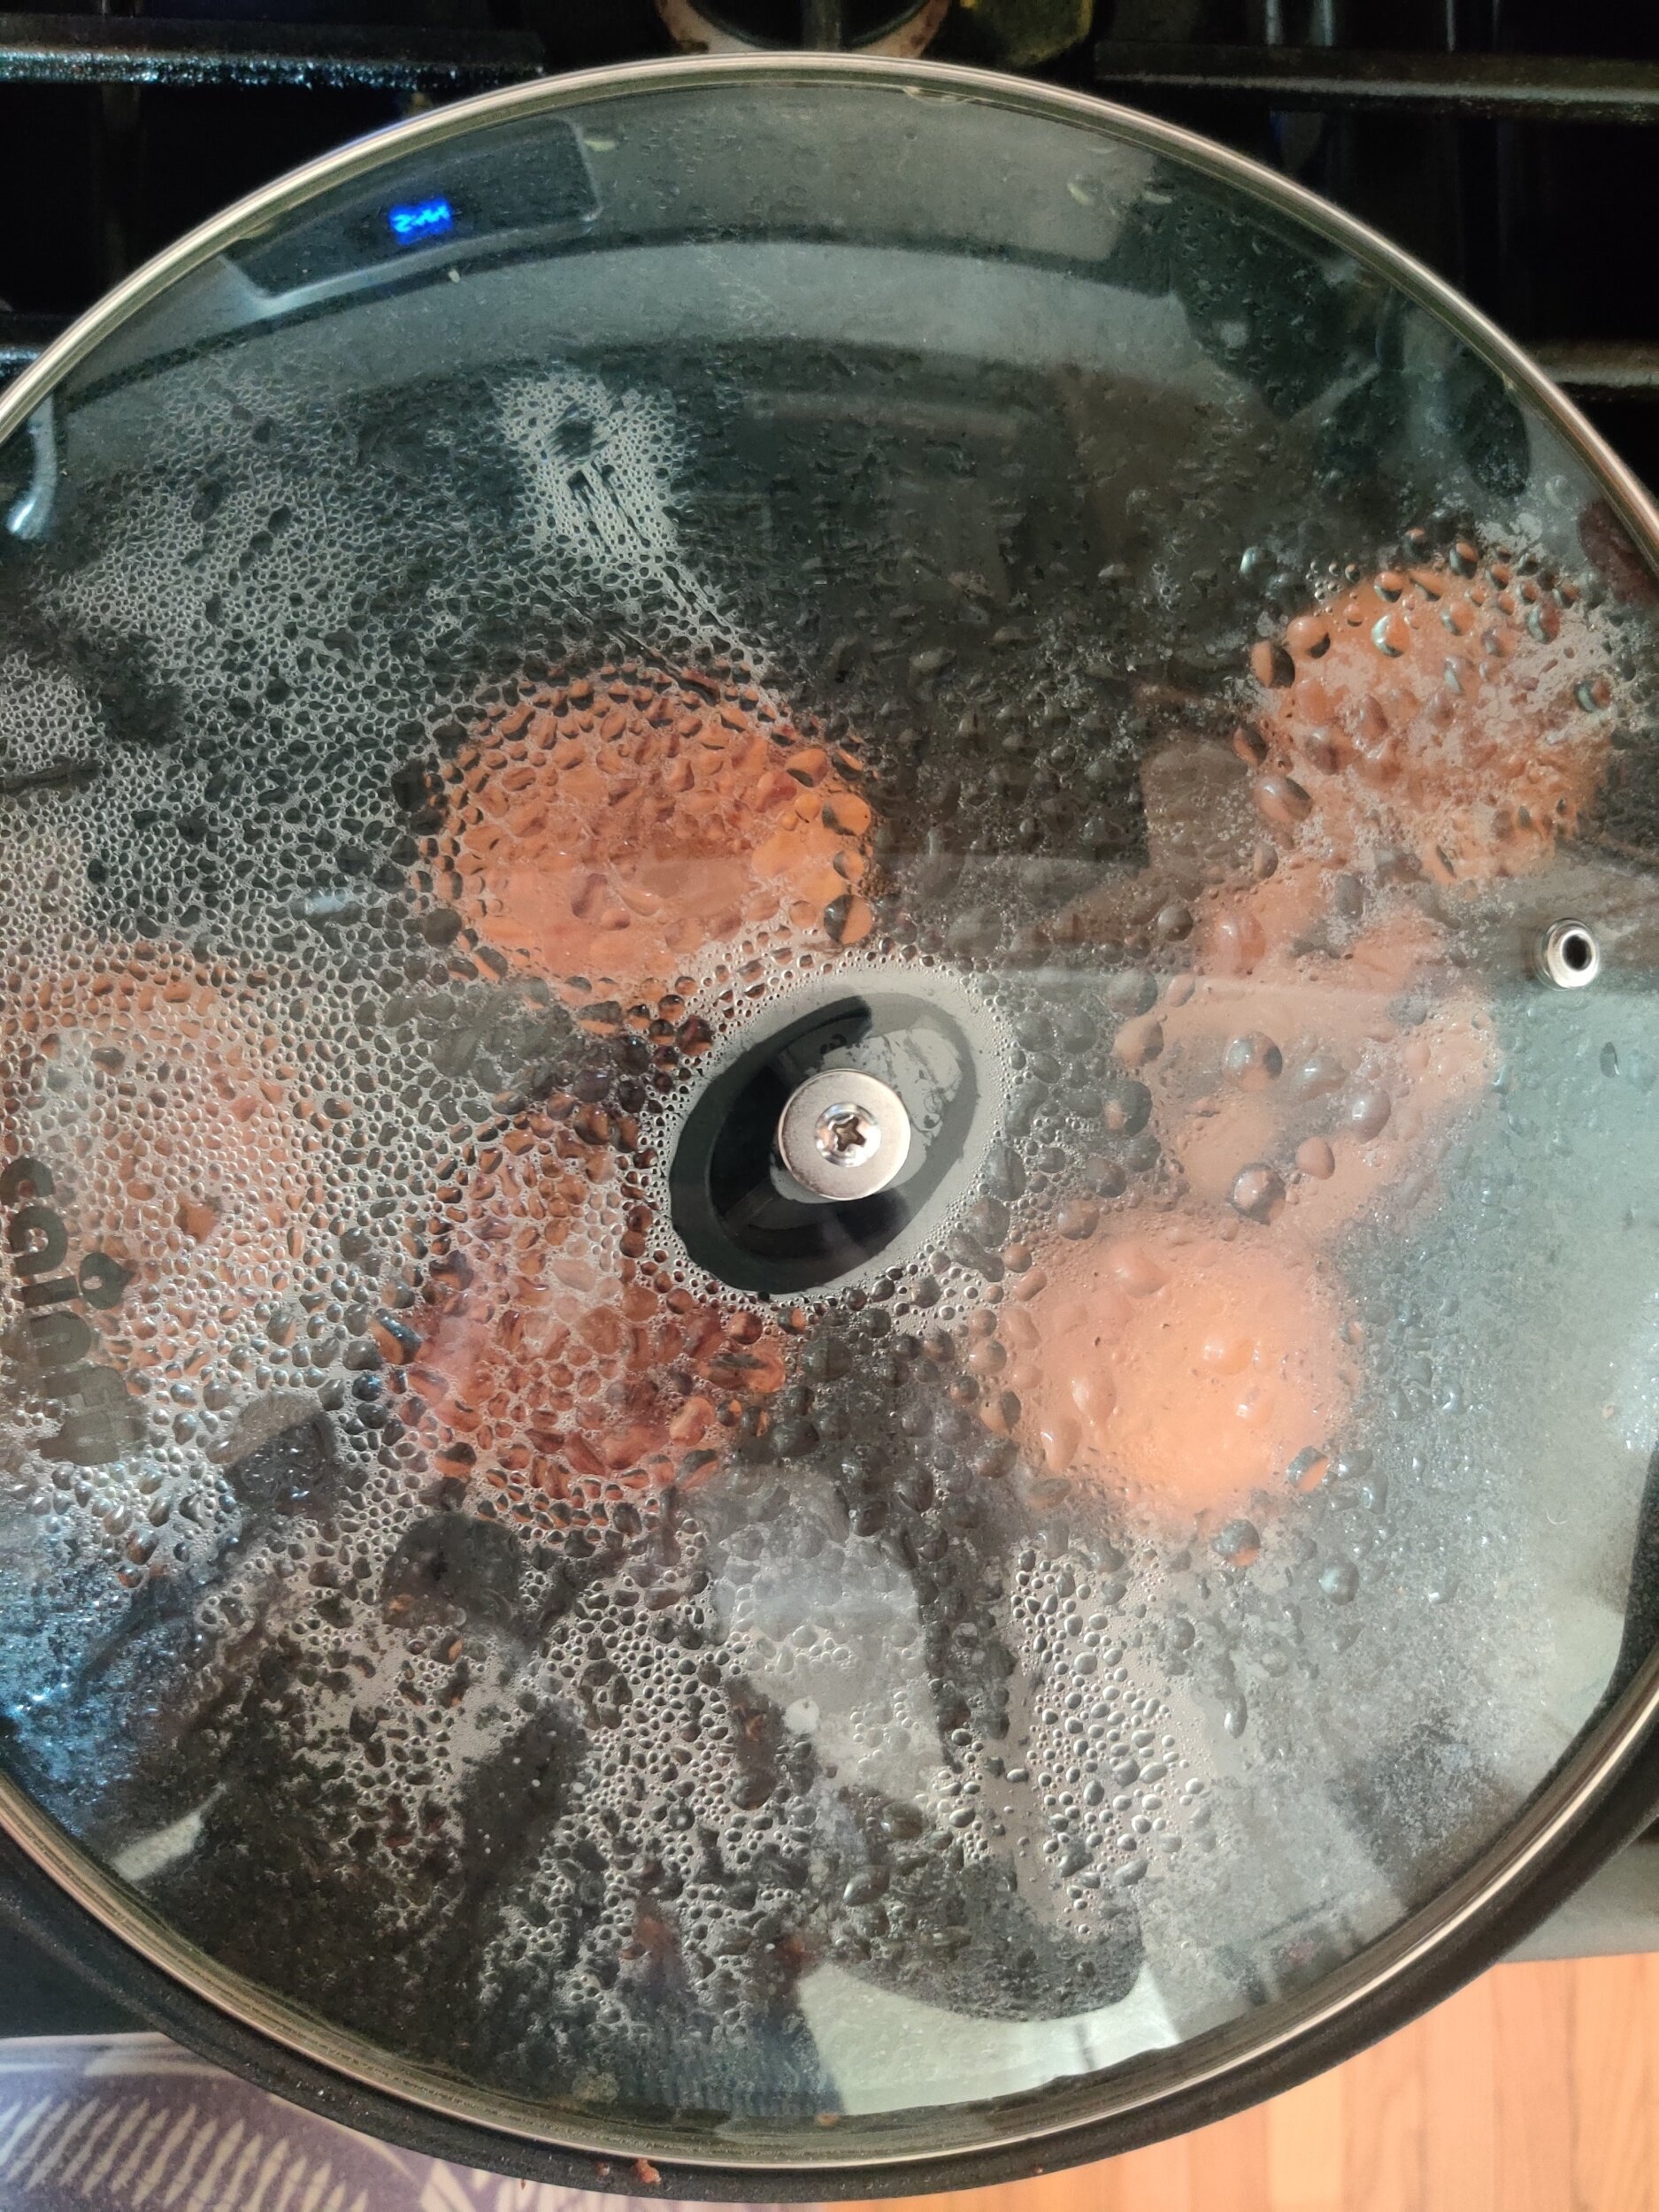
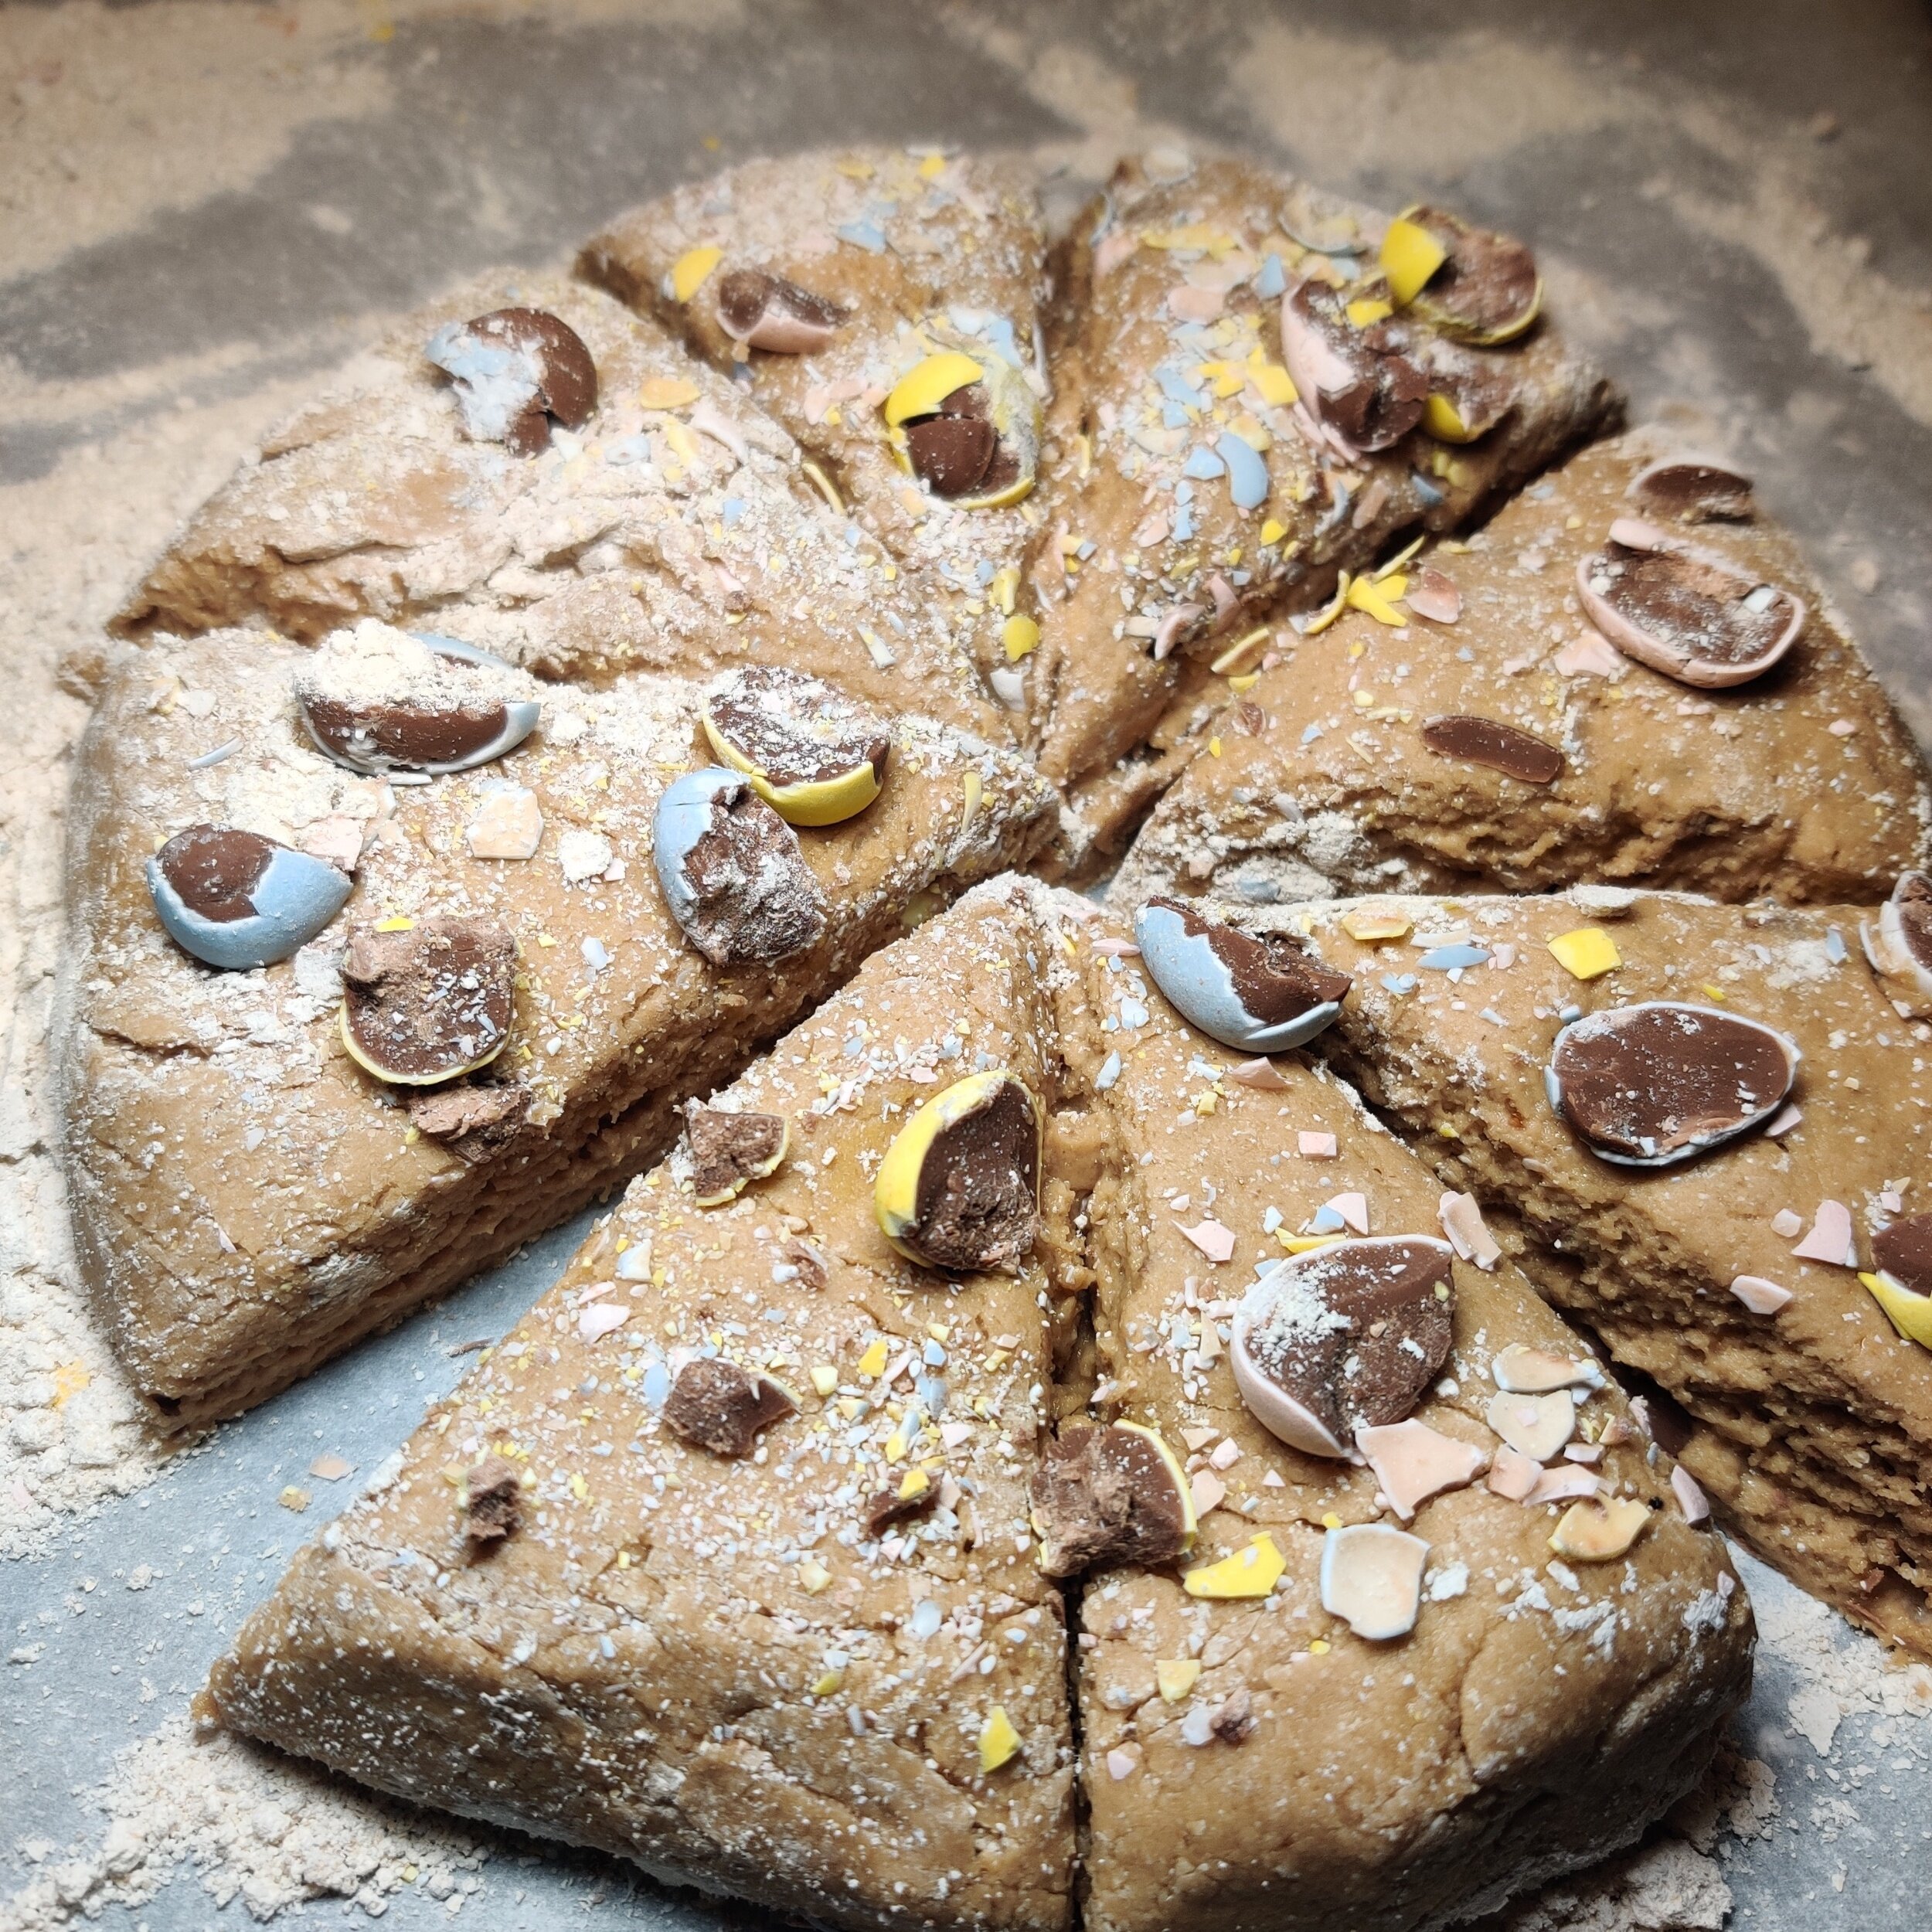
Mini Easter Egg Scones
This recipe is part of a six course brunch.
Scones are a must for the brunch table, I think. You can enjoy these semi-sweet baked goods with milk, tea, or coffee. The great thing is after brunch; you can continue to enjoy them--and even freeze--as a quick morning snack in the following weeks.
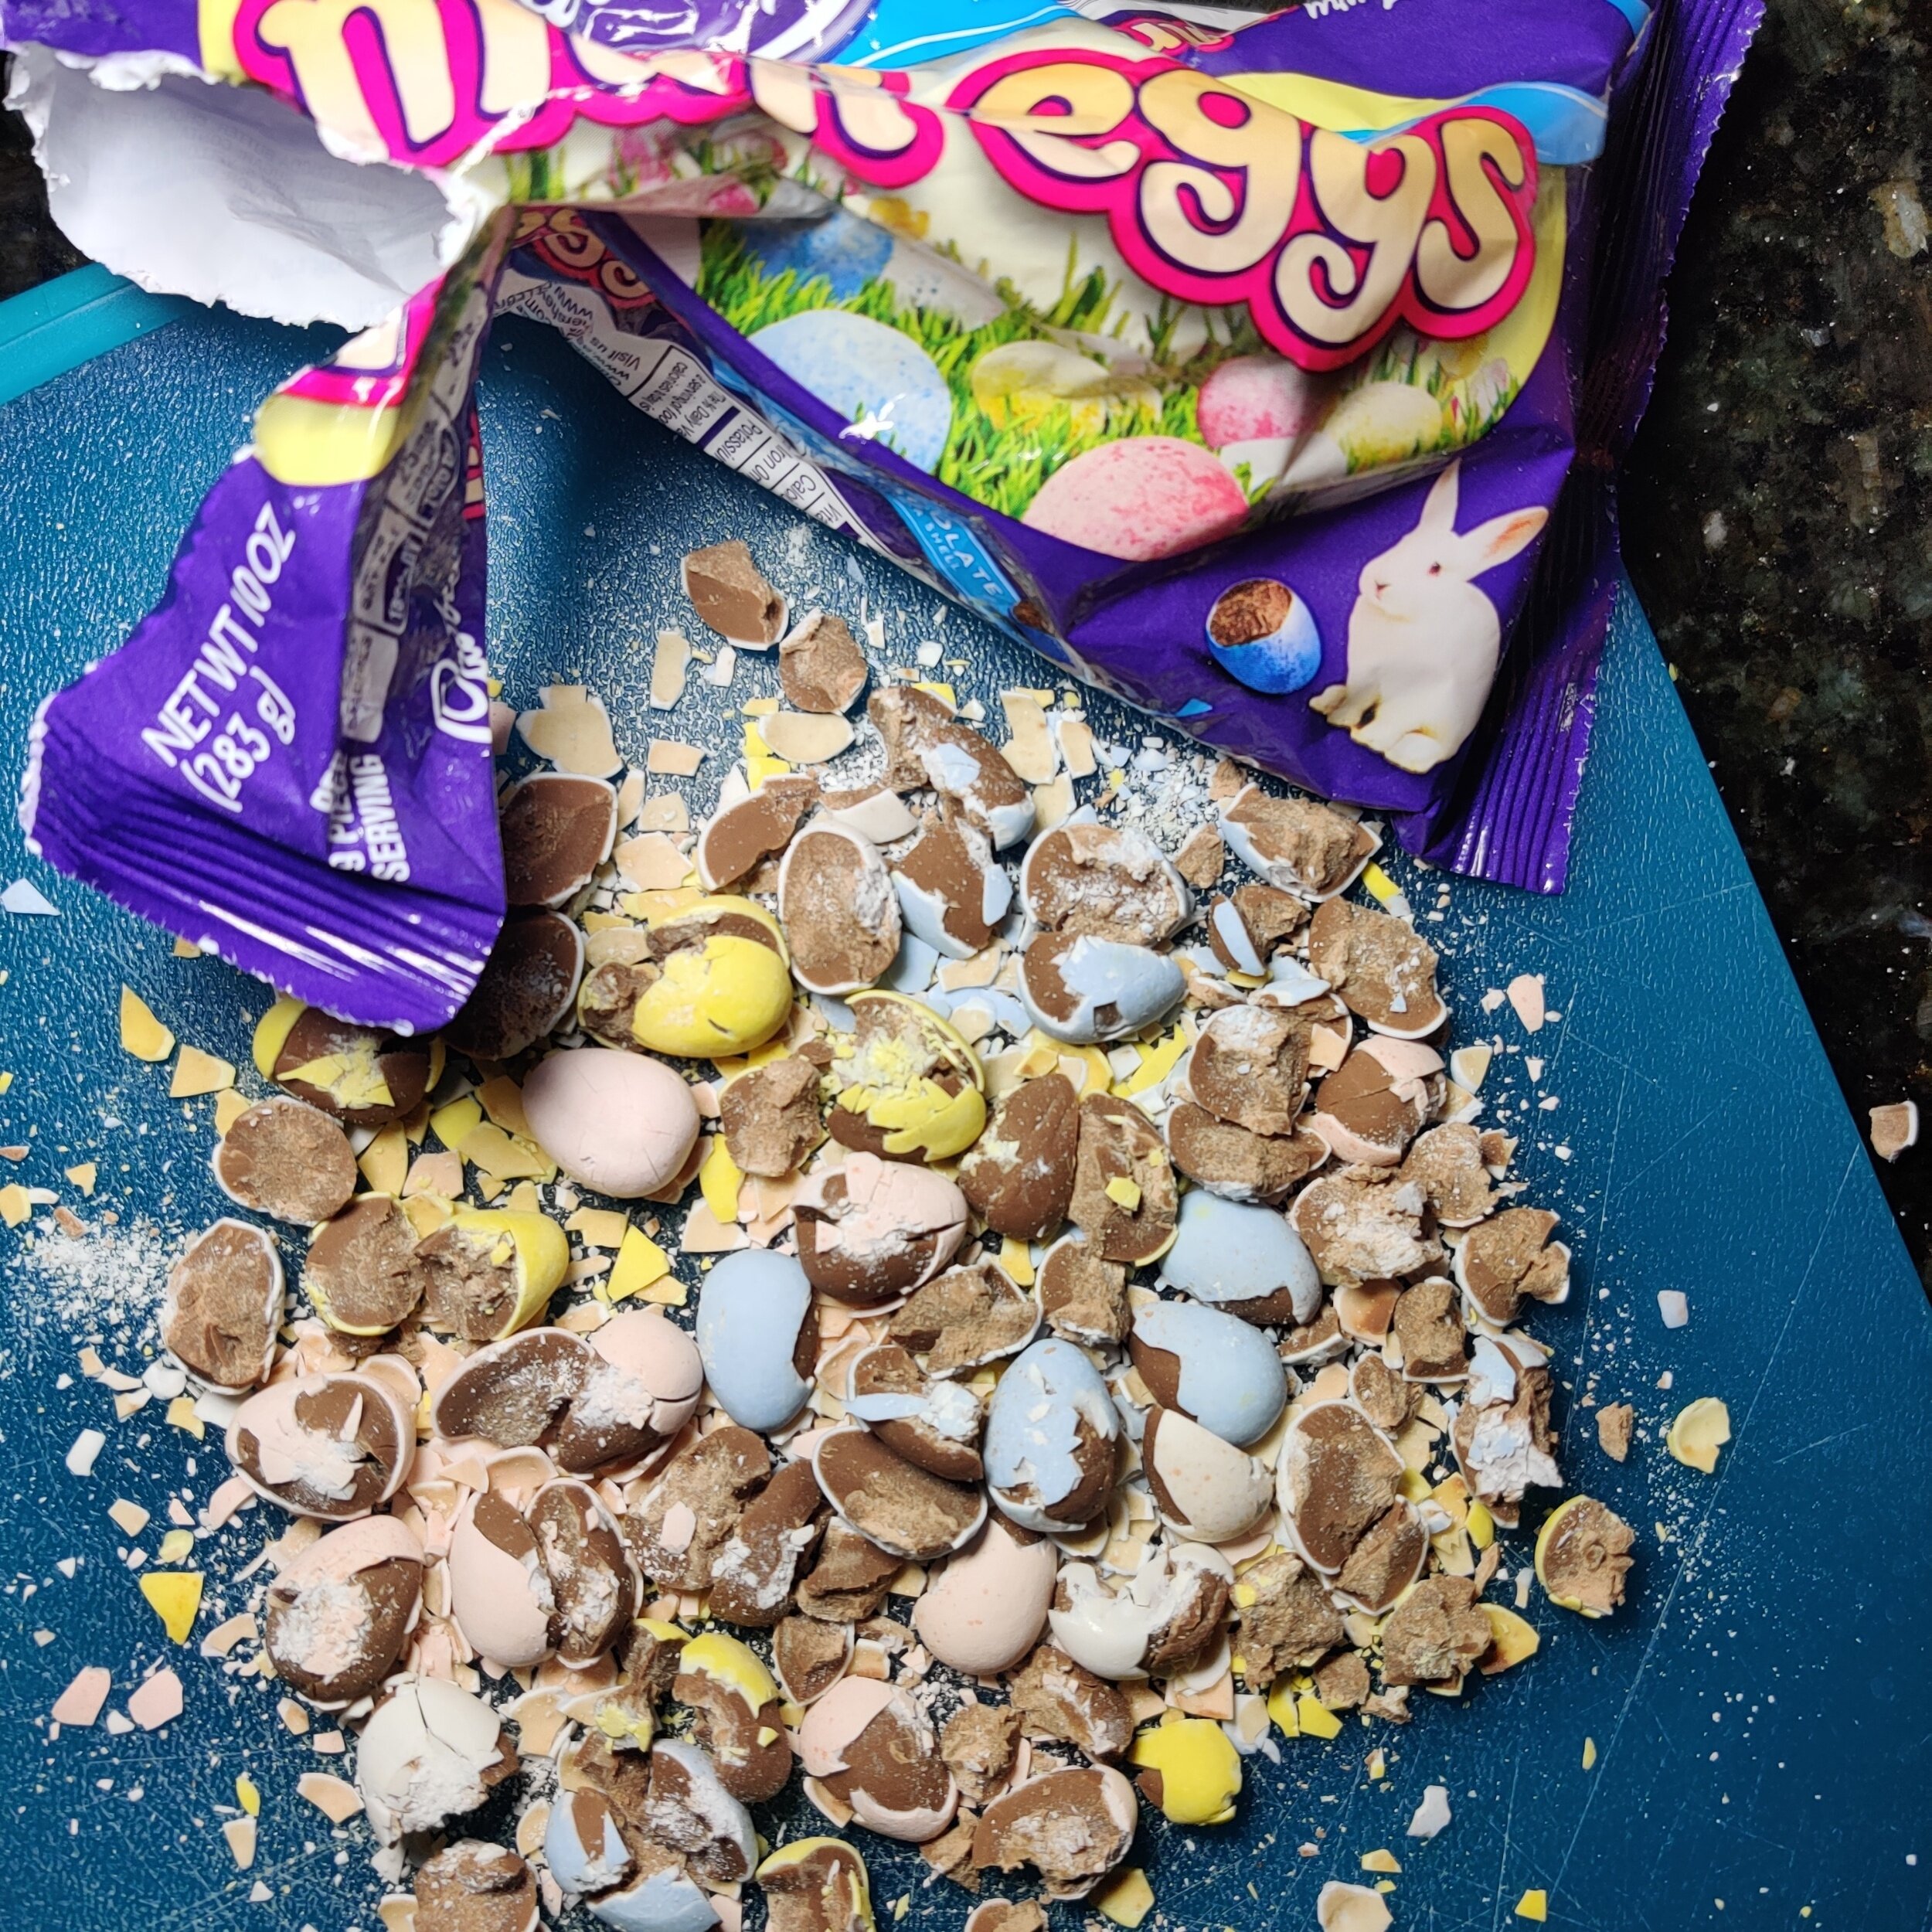
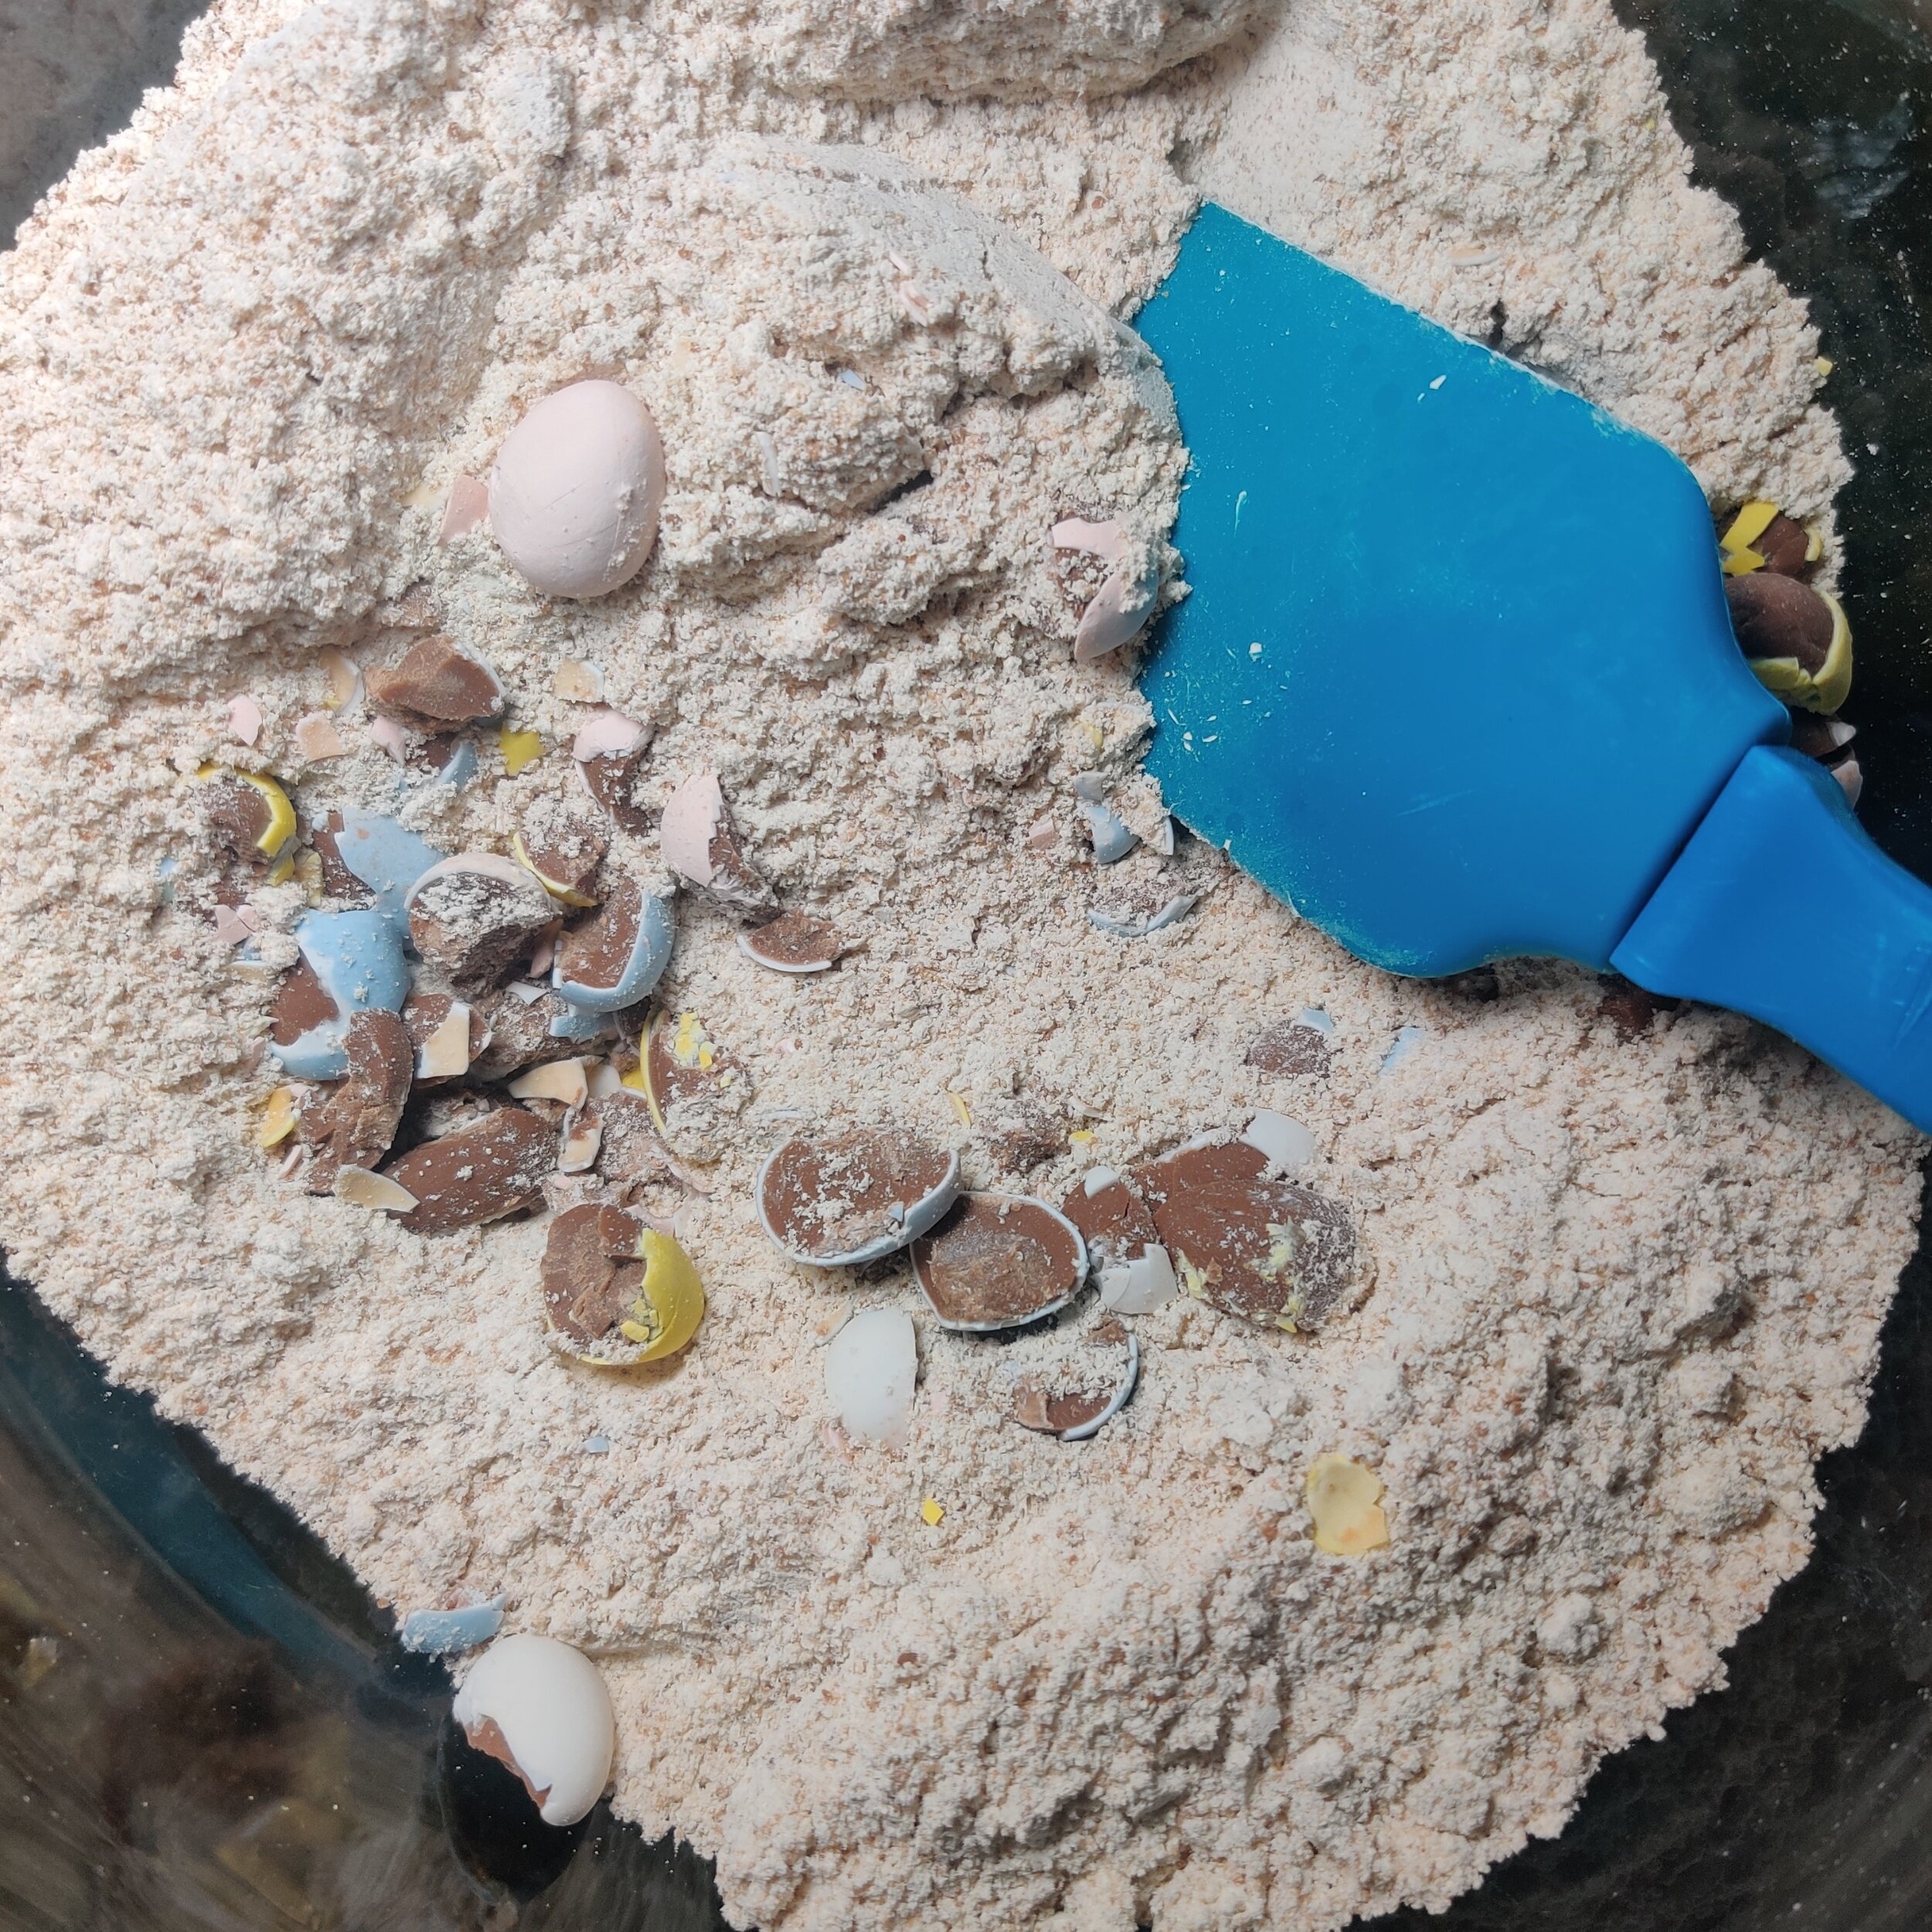
To add some texture and make them festive, I use some Cadbury Mini Easter eggs, probably the only candy I enjoy this time of the year. If you have children, they too will likely enjoy the bits of chocolate encased with the coloured hard shell in between the warm, crumbly scone, smothered in jam or cream.
If you need a visual step-by-step, check out my video on how to make Pecan and Biscoff Scones.
Here's what you need.
Ingredients
2 1/4 cups all-purpose or pastry flour + a little extra for dusting (you can use oat flour, but that can change the texture of the scones a little bit)
1/2 cup cold butter, cubed (I used plant-based)
1/2 teaspoon salt
1 tablespoon baking powder
1/2 cup coconut sugar
1 cup Cadbury mini eggs, crushed
1/2 cup coconut or almond milk + 1 teaspoon lemon juice (or buttermilk)
1 teaspoon vanilla extract
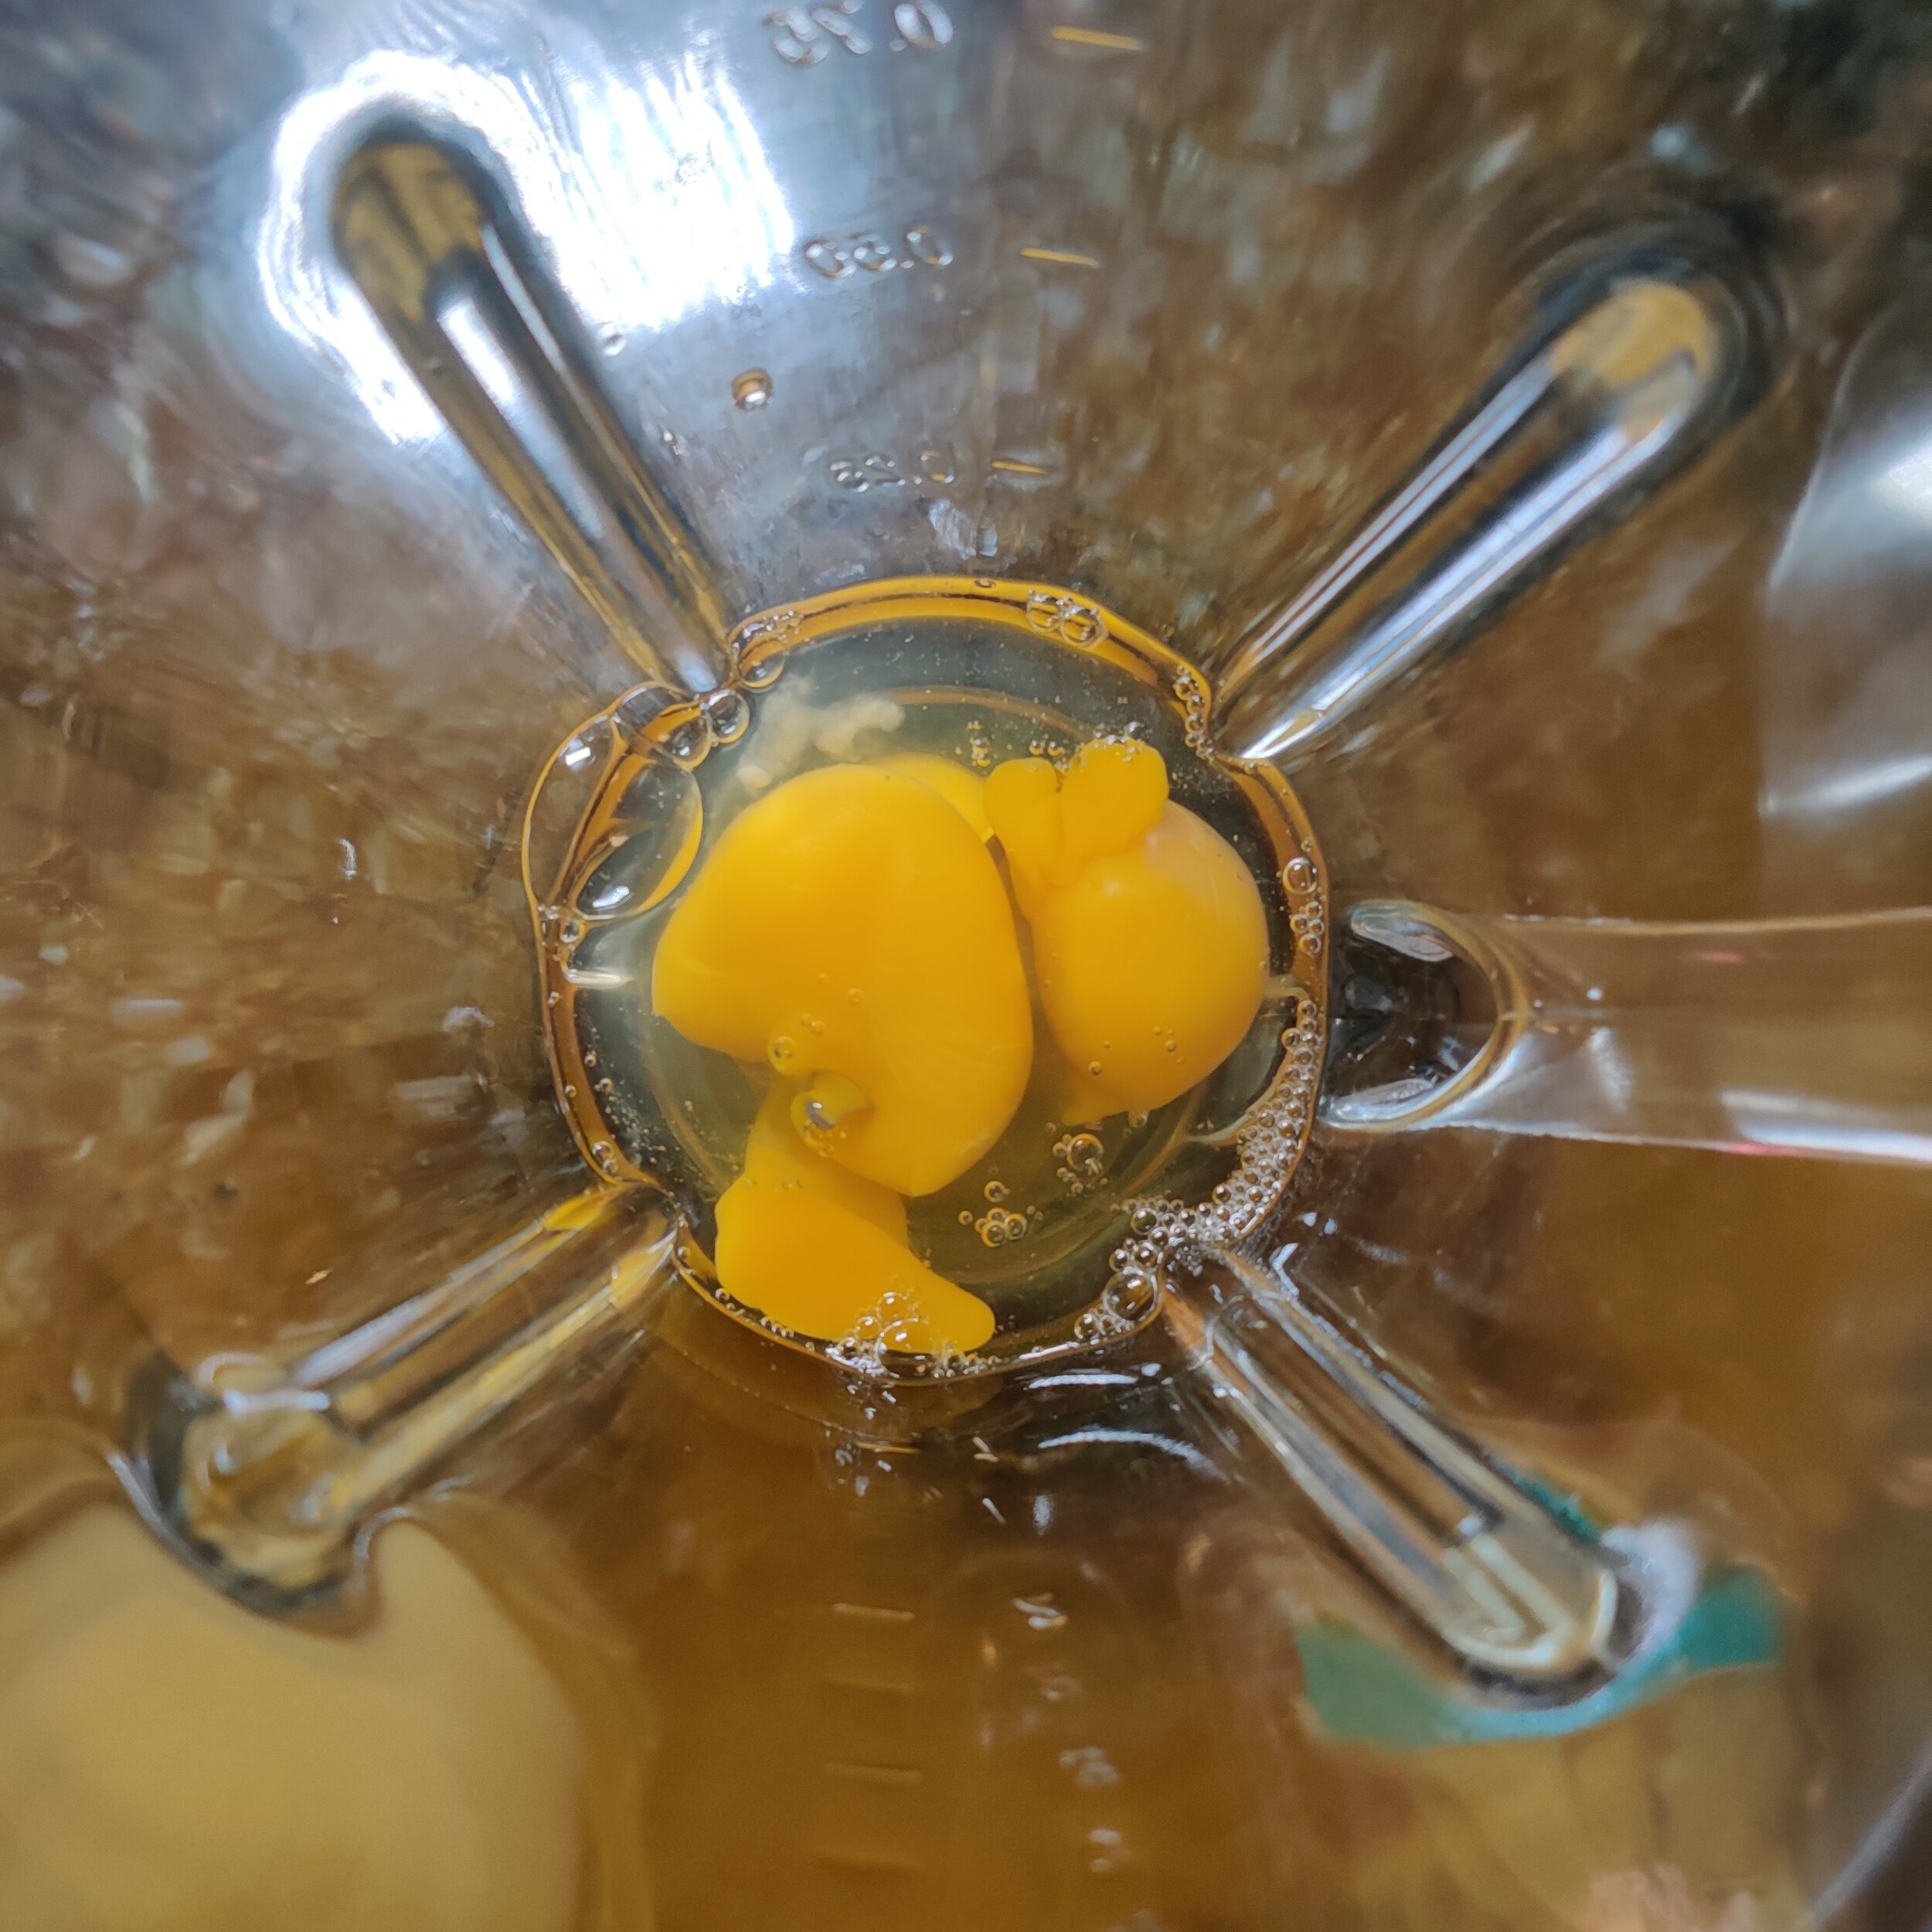
1 egg, beaten
Instructions
Add the lemon juice to the coconut or almond milk and set it aside to curdle--no need if you're already using buttermilk, that means your milk is already curdled.
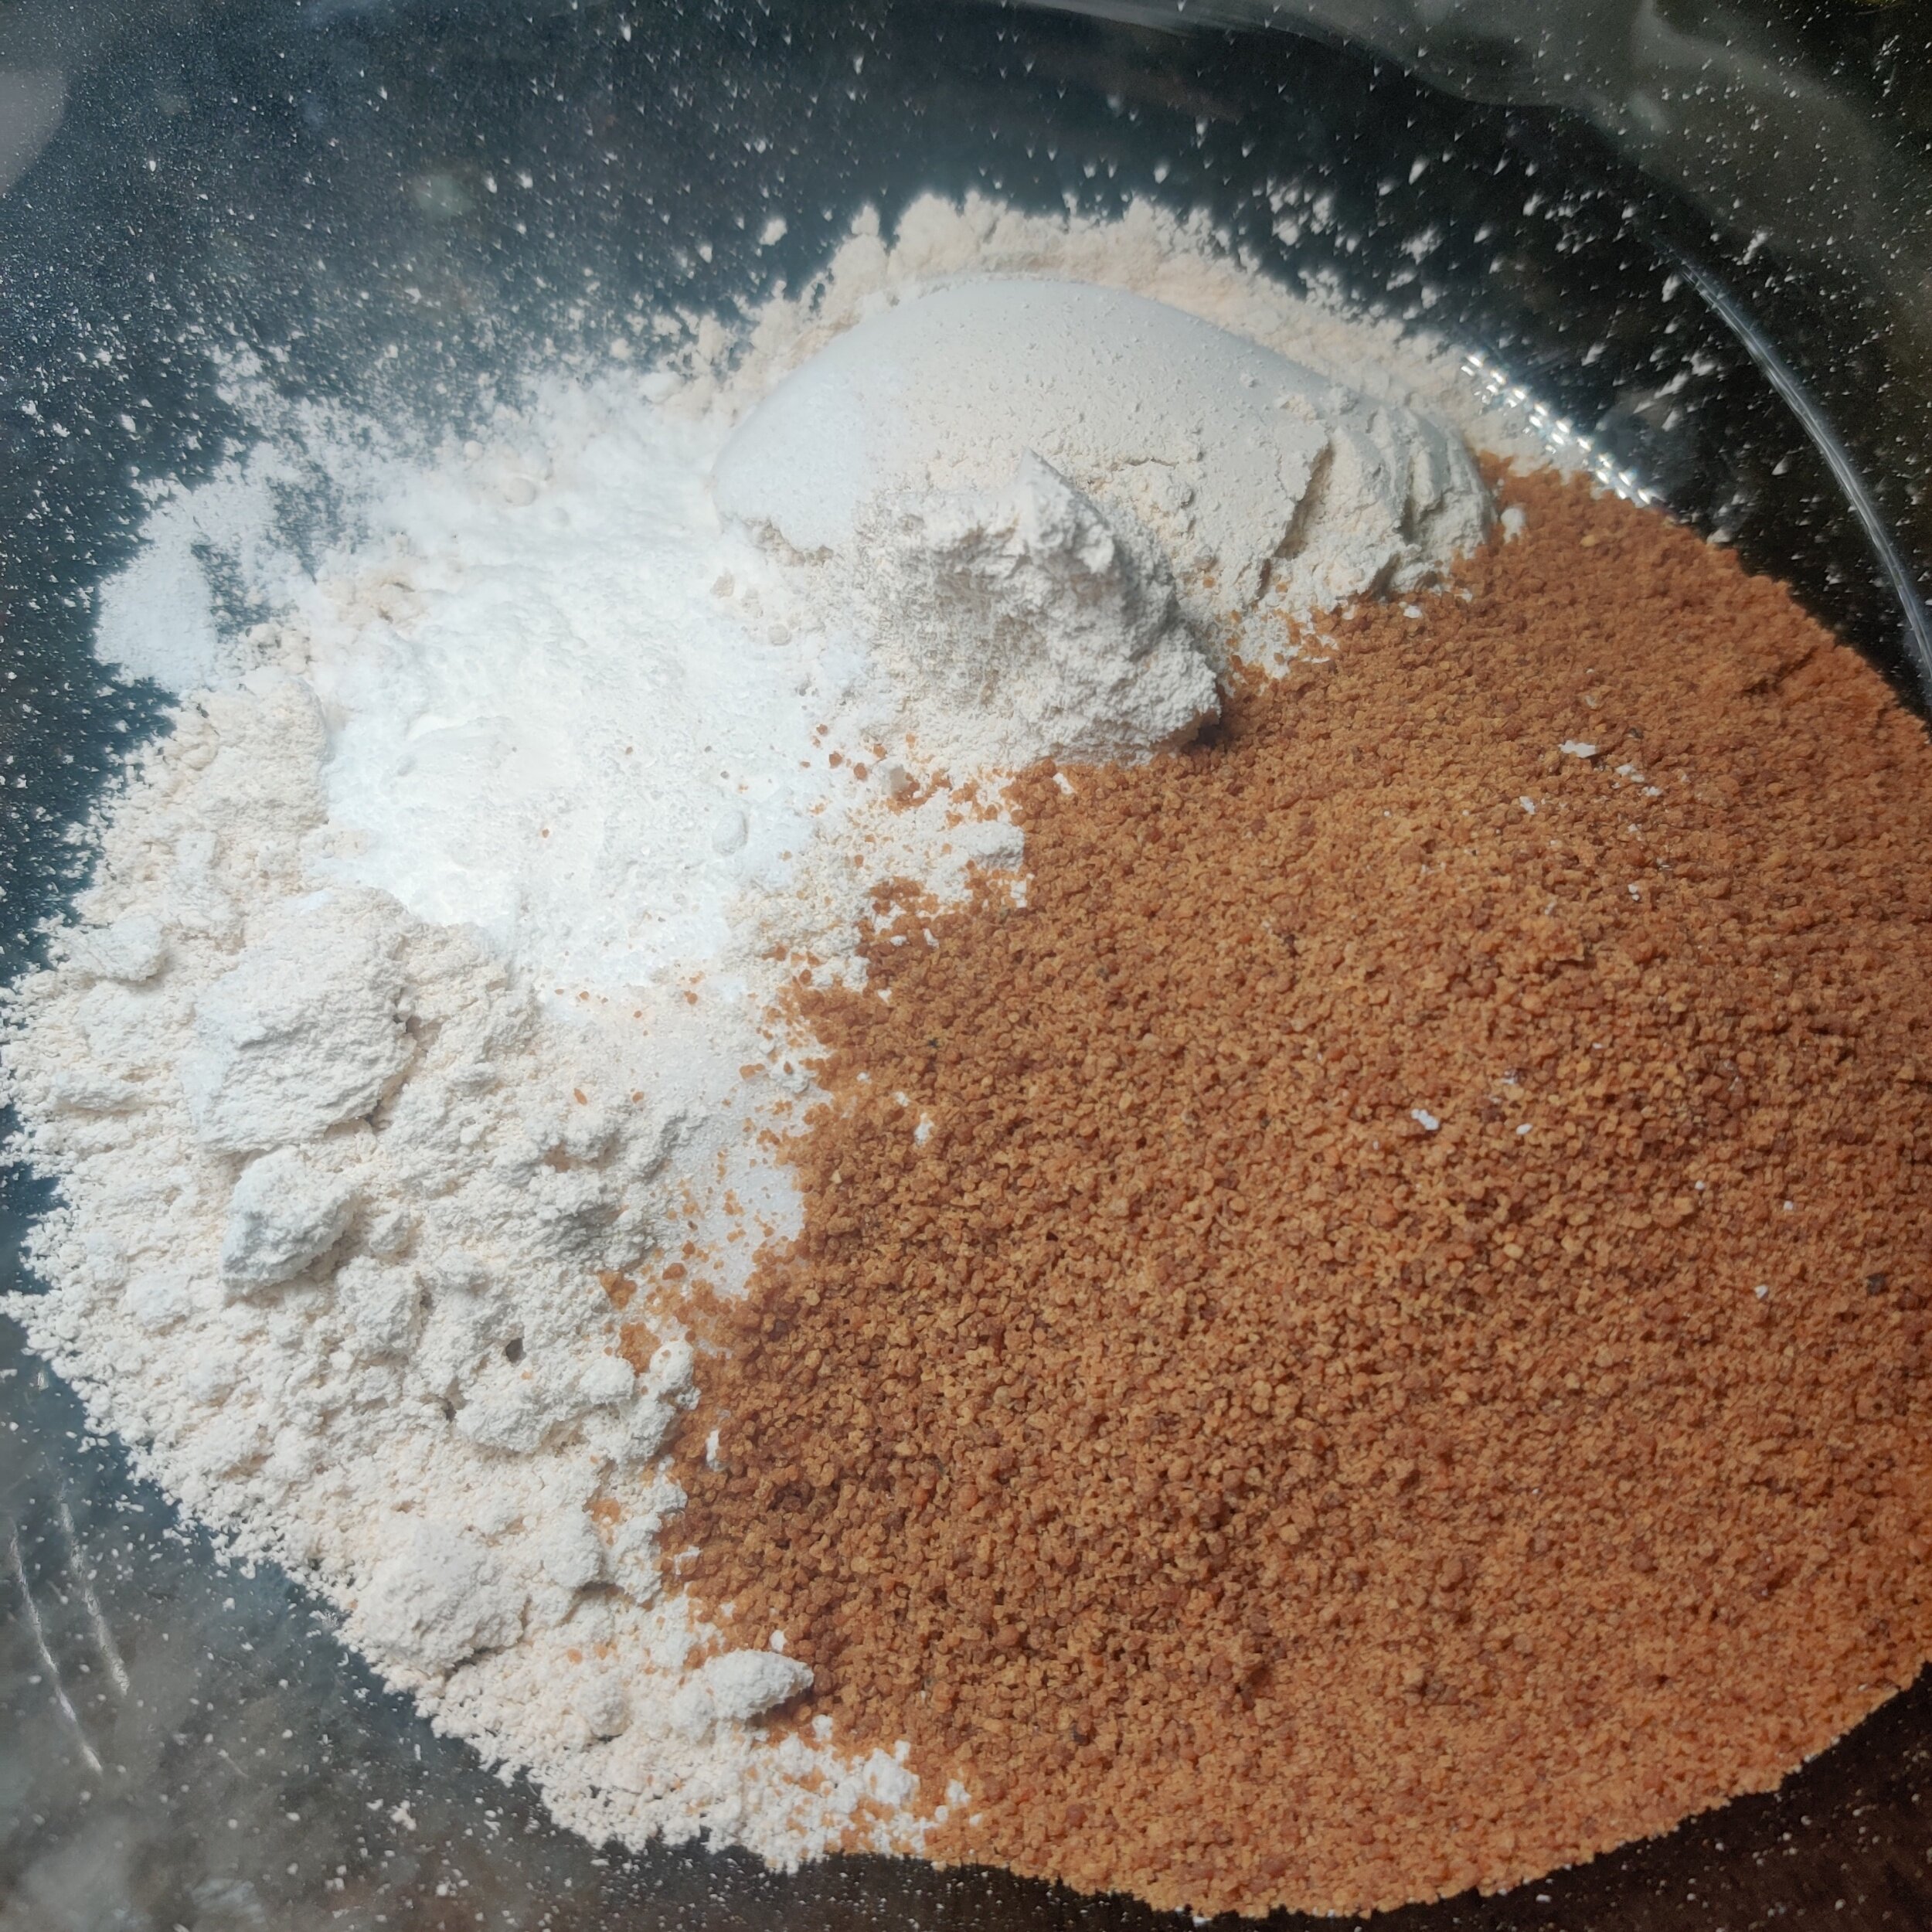
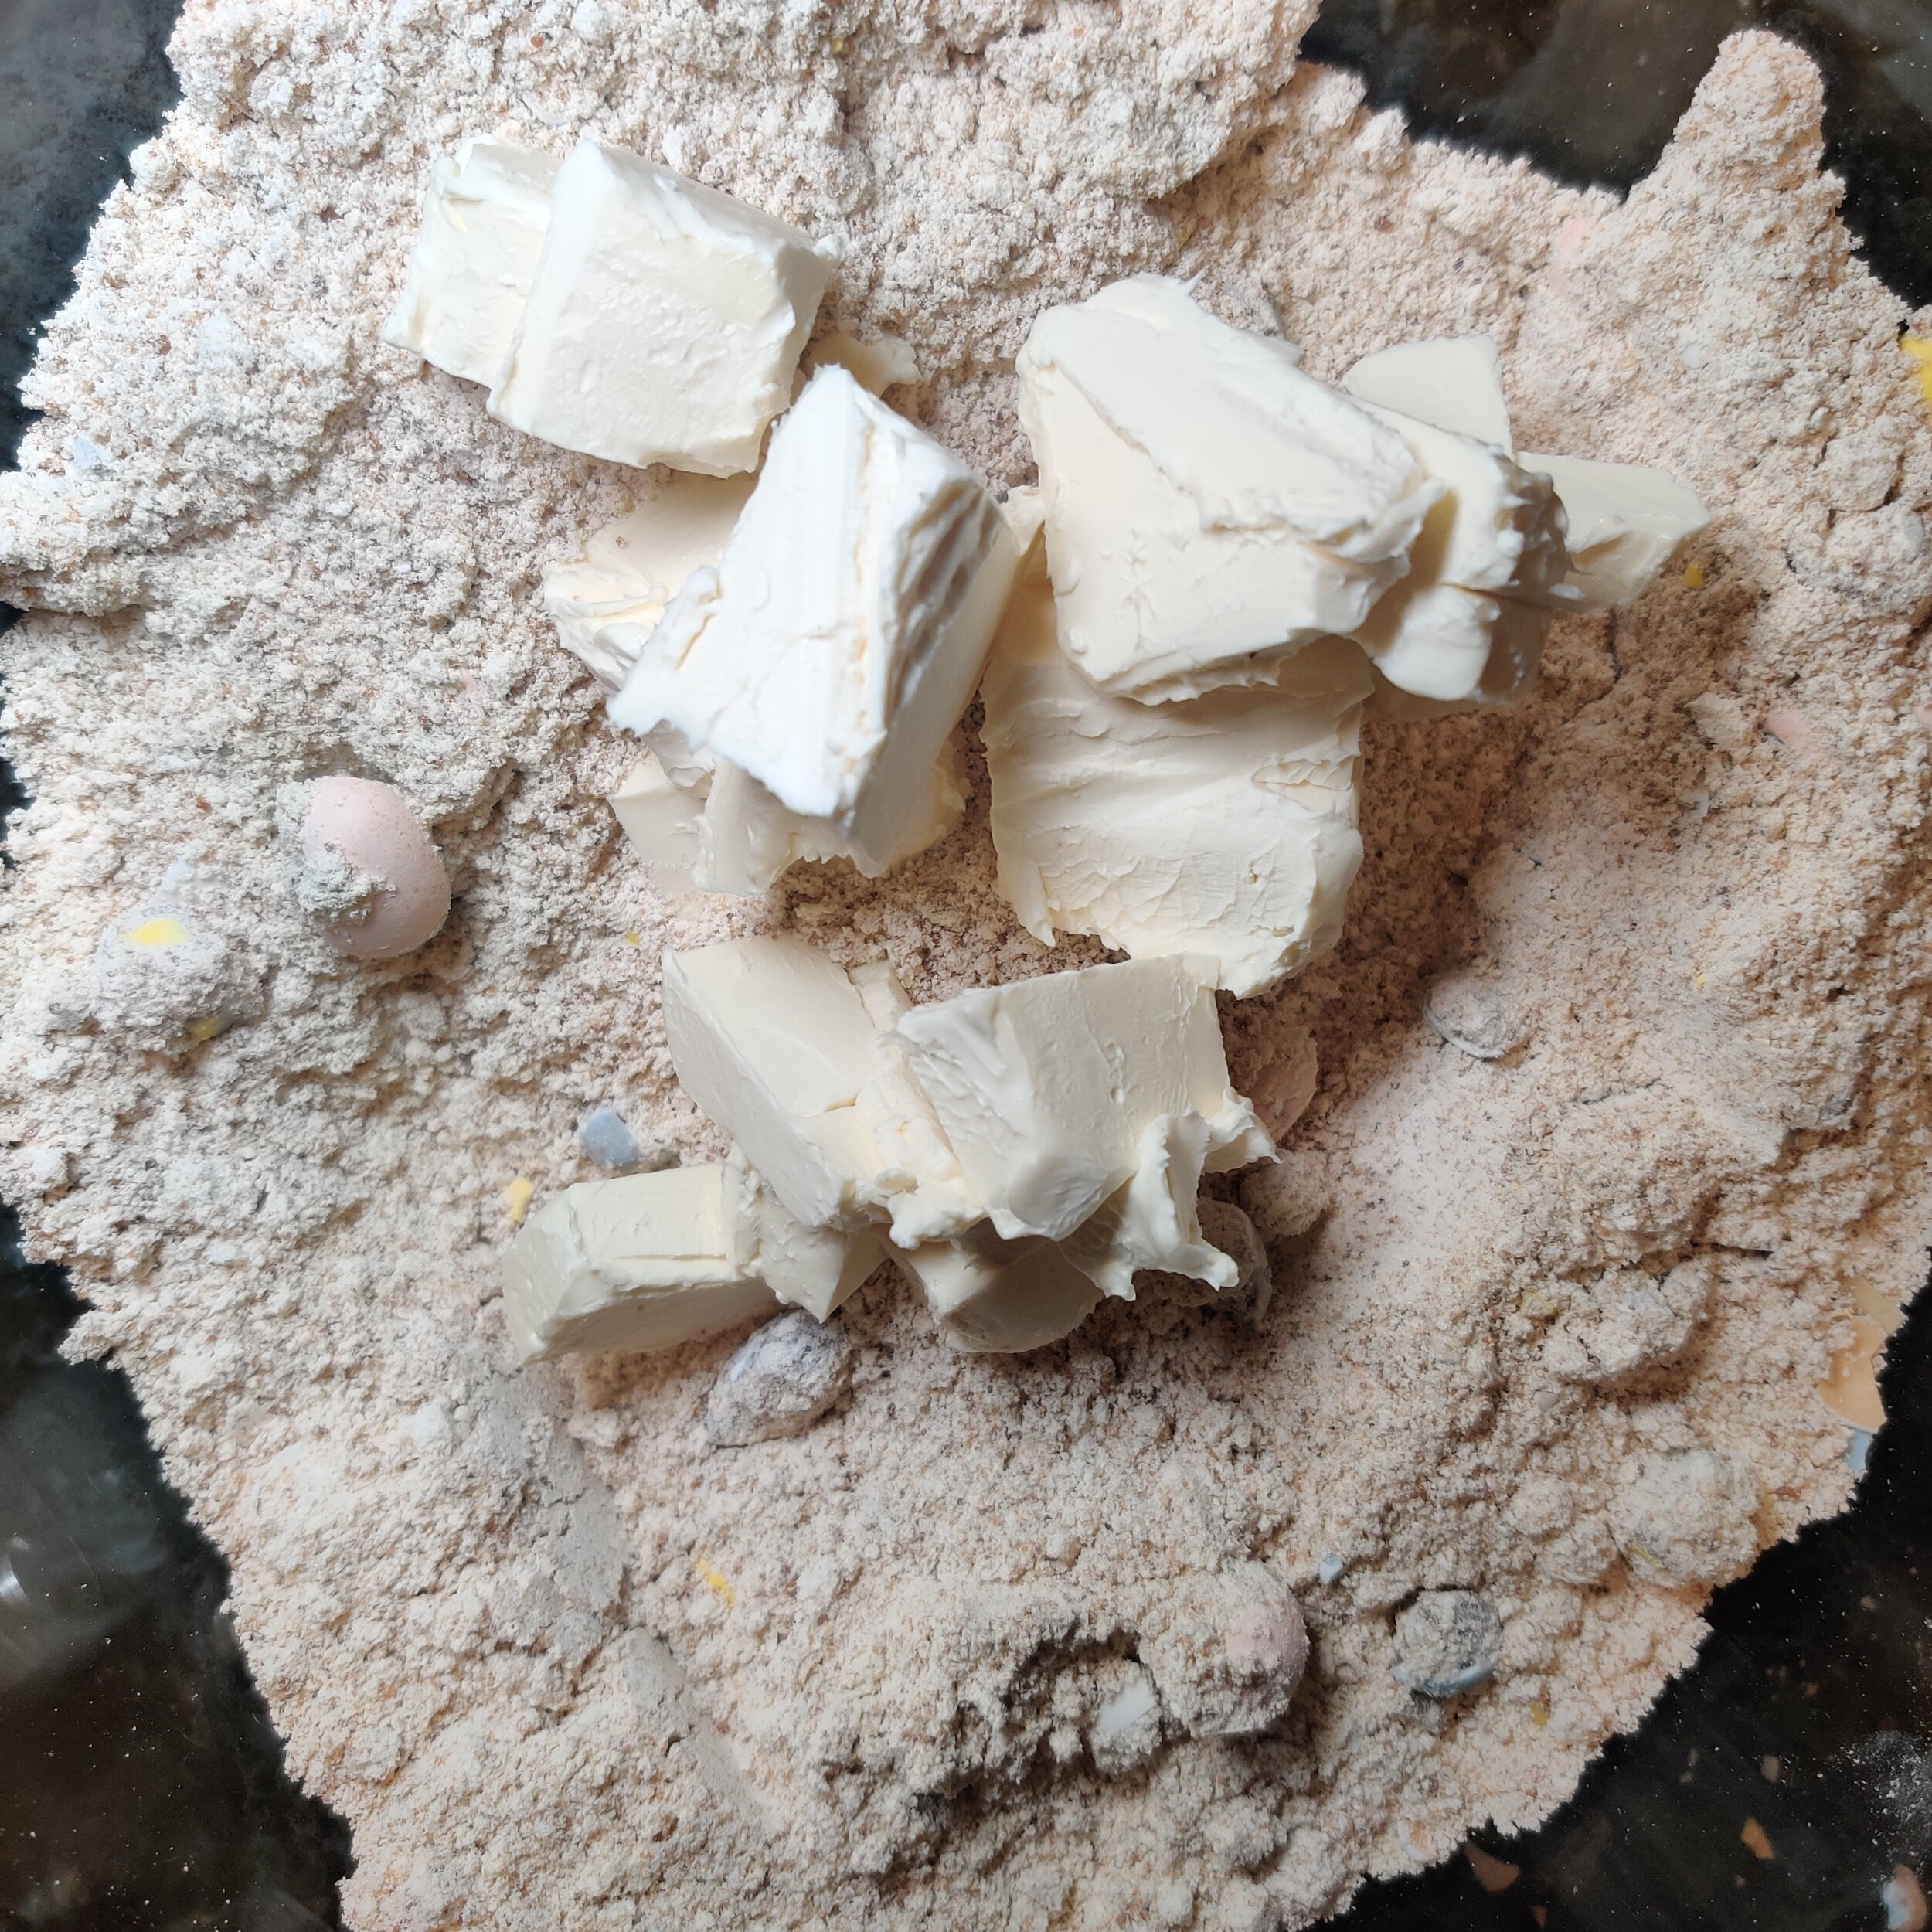
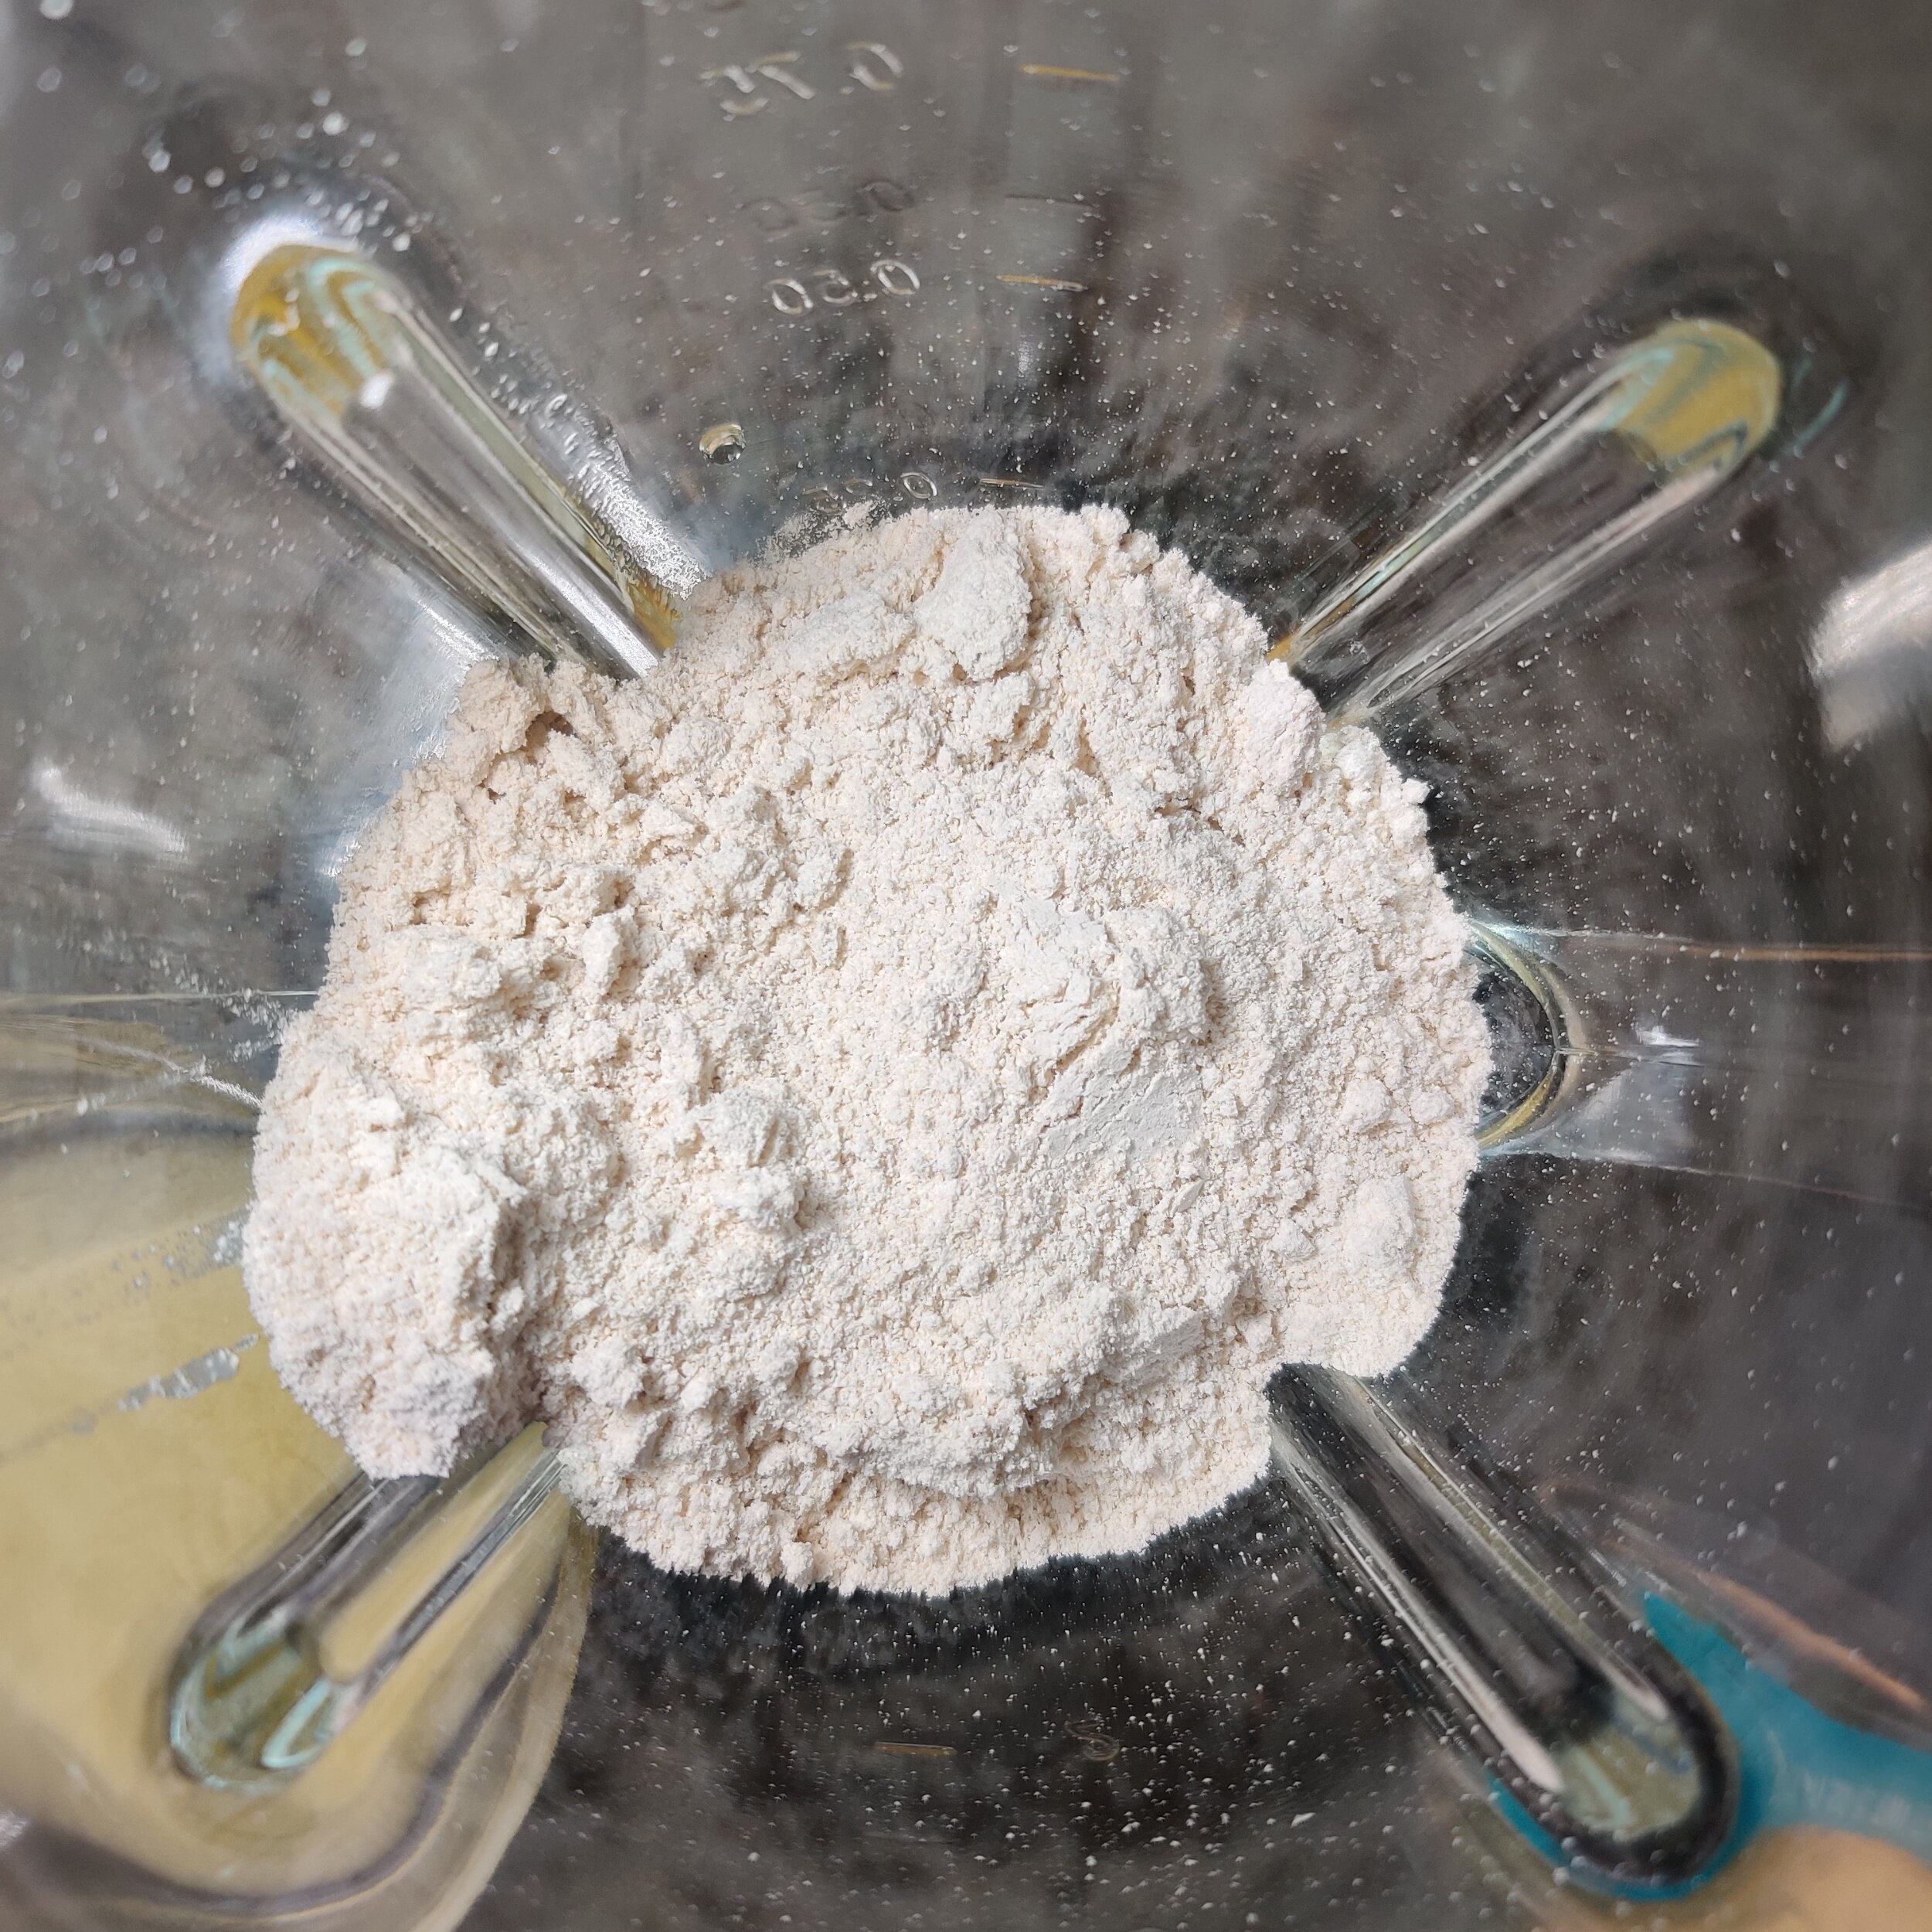
In a large bowl, whisk the flour, baking powder, salt, and crushed mini eggs until evenly mixed. Add the cold butter (the colder, the better!), and use a pastry knife or two sharp knives to chop the butter into the flour mix. Use your fingers until it resembles bread crumbs, but don't overmix.
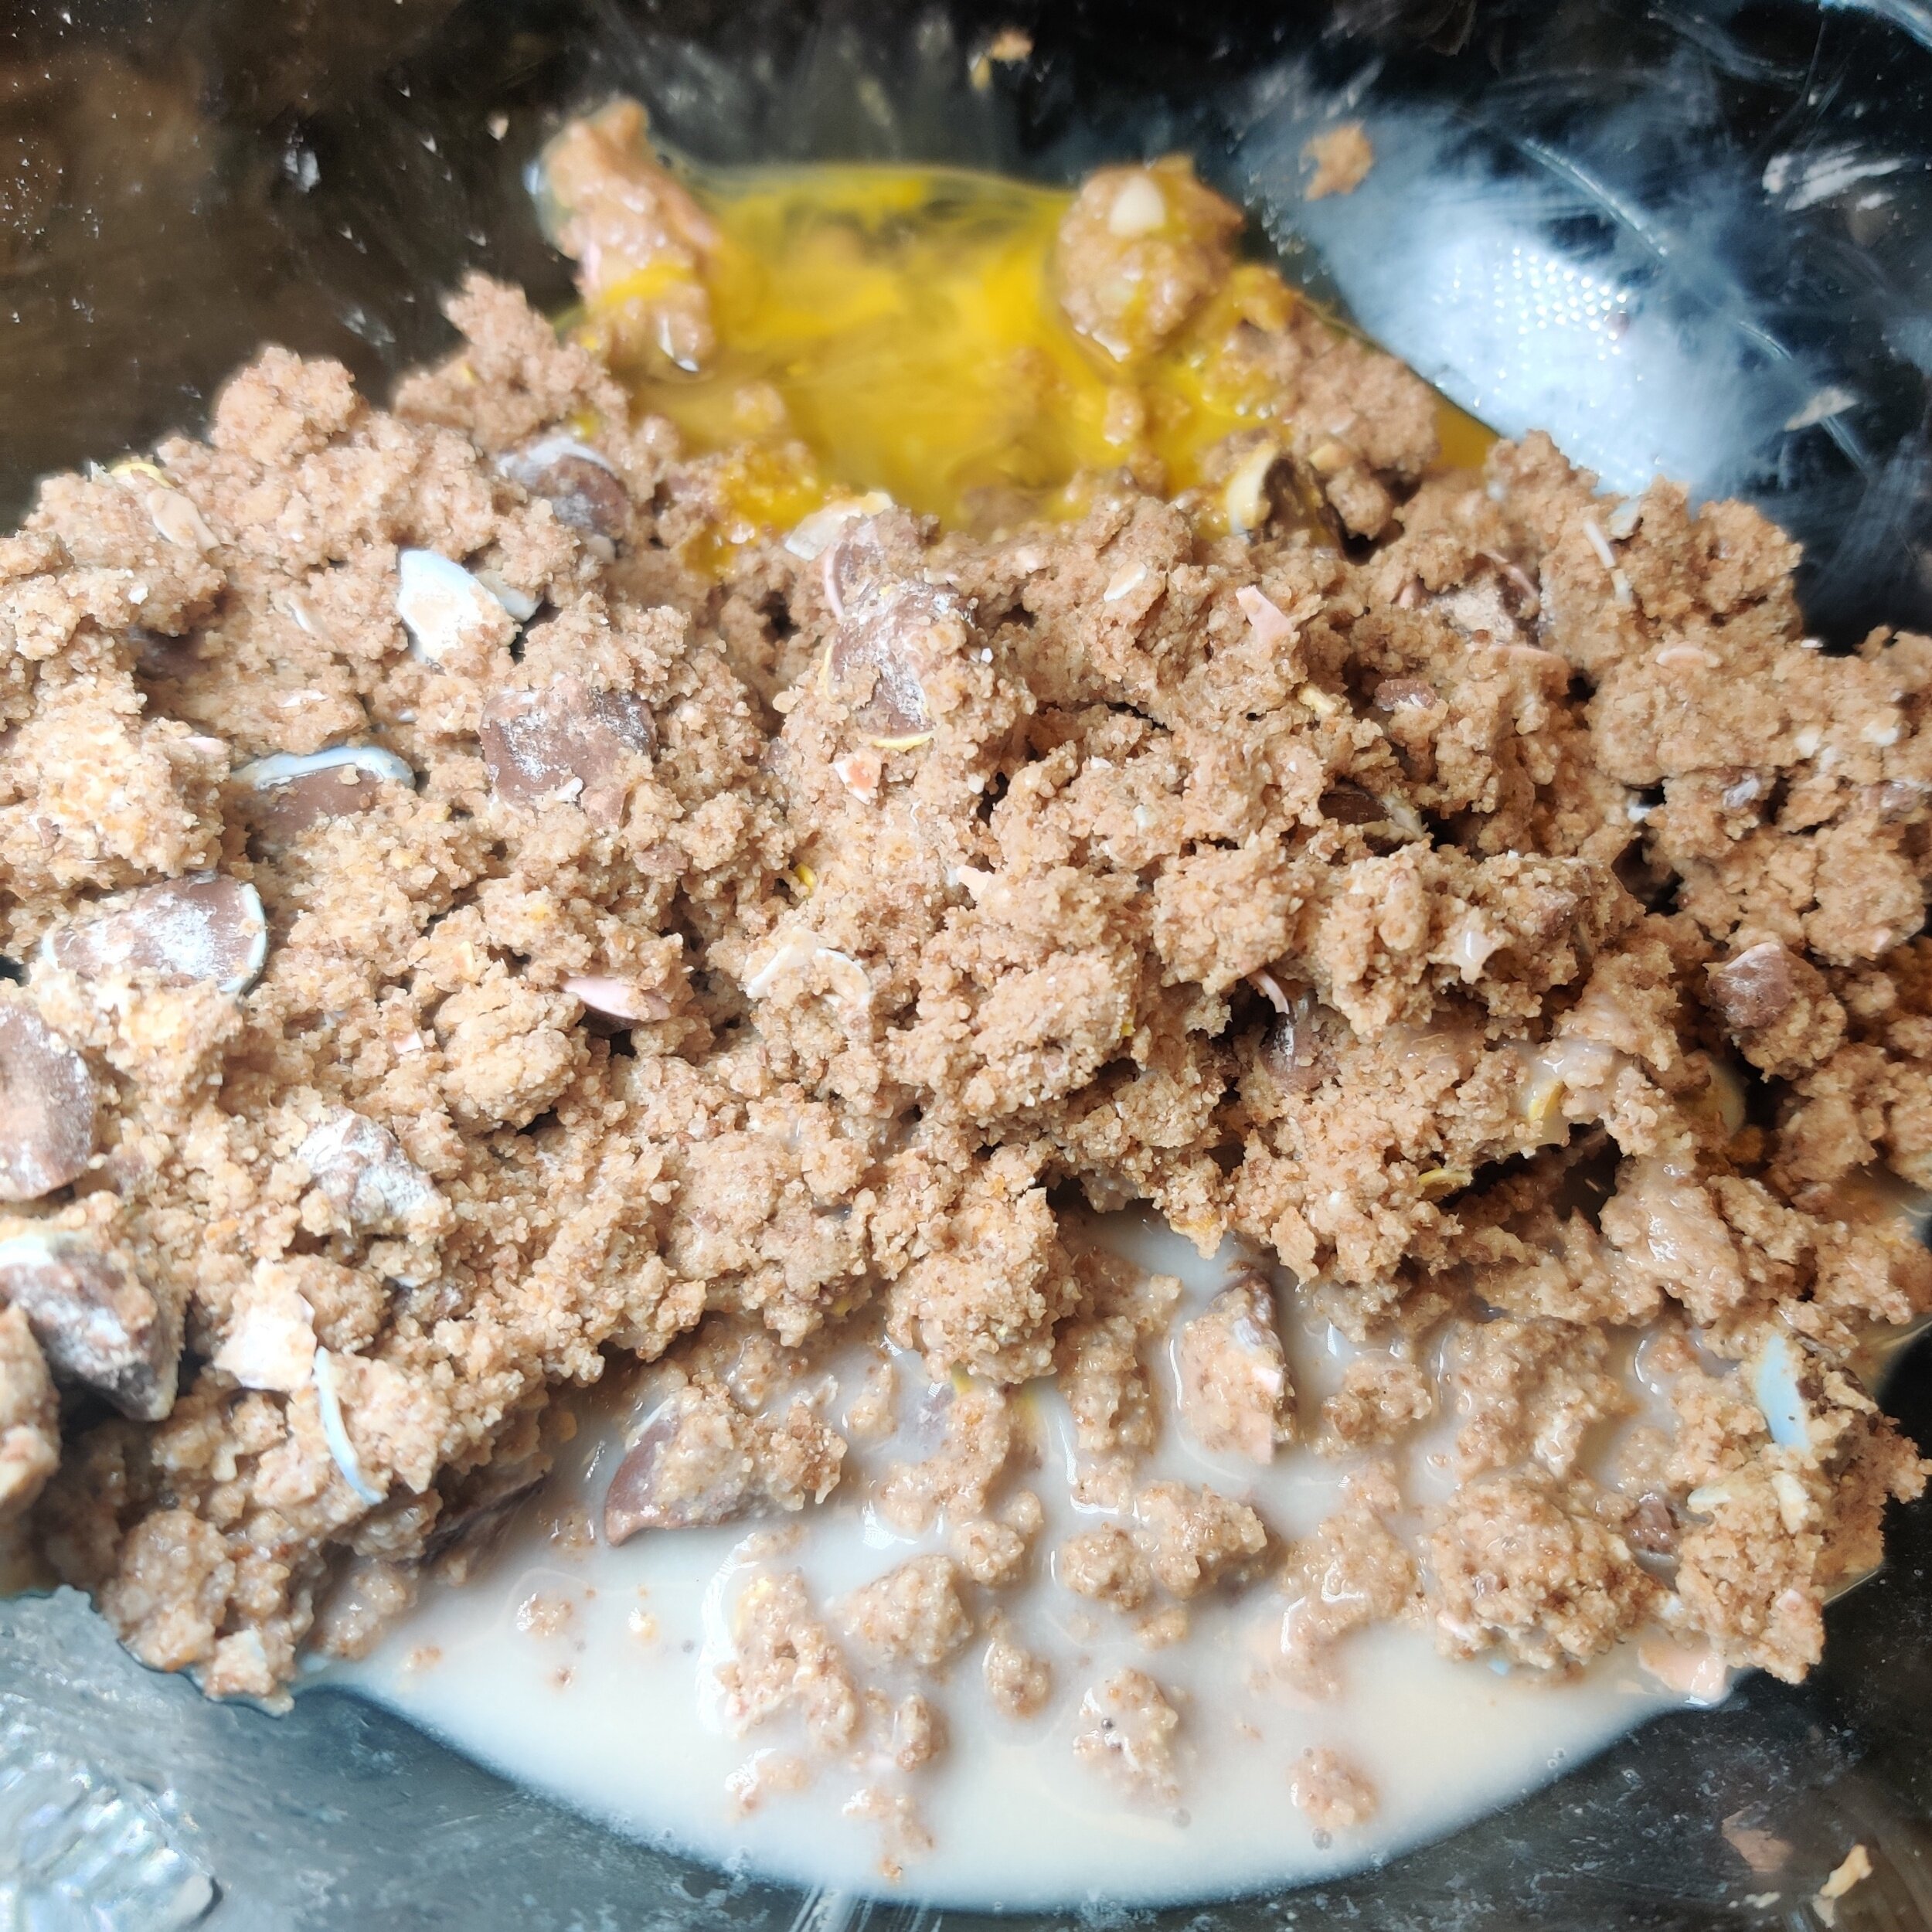
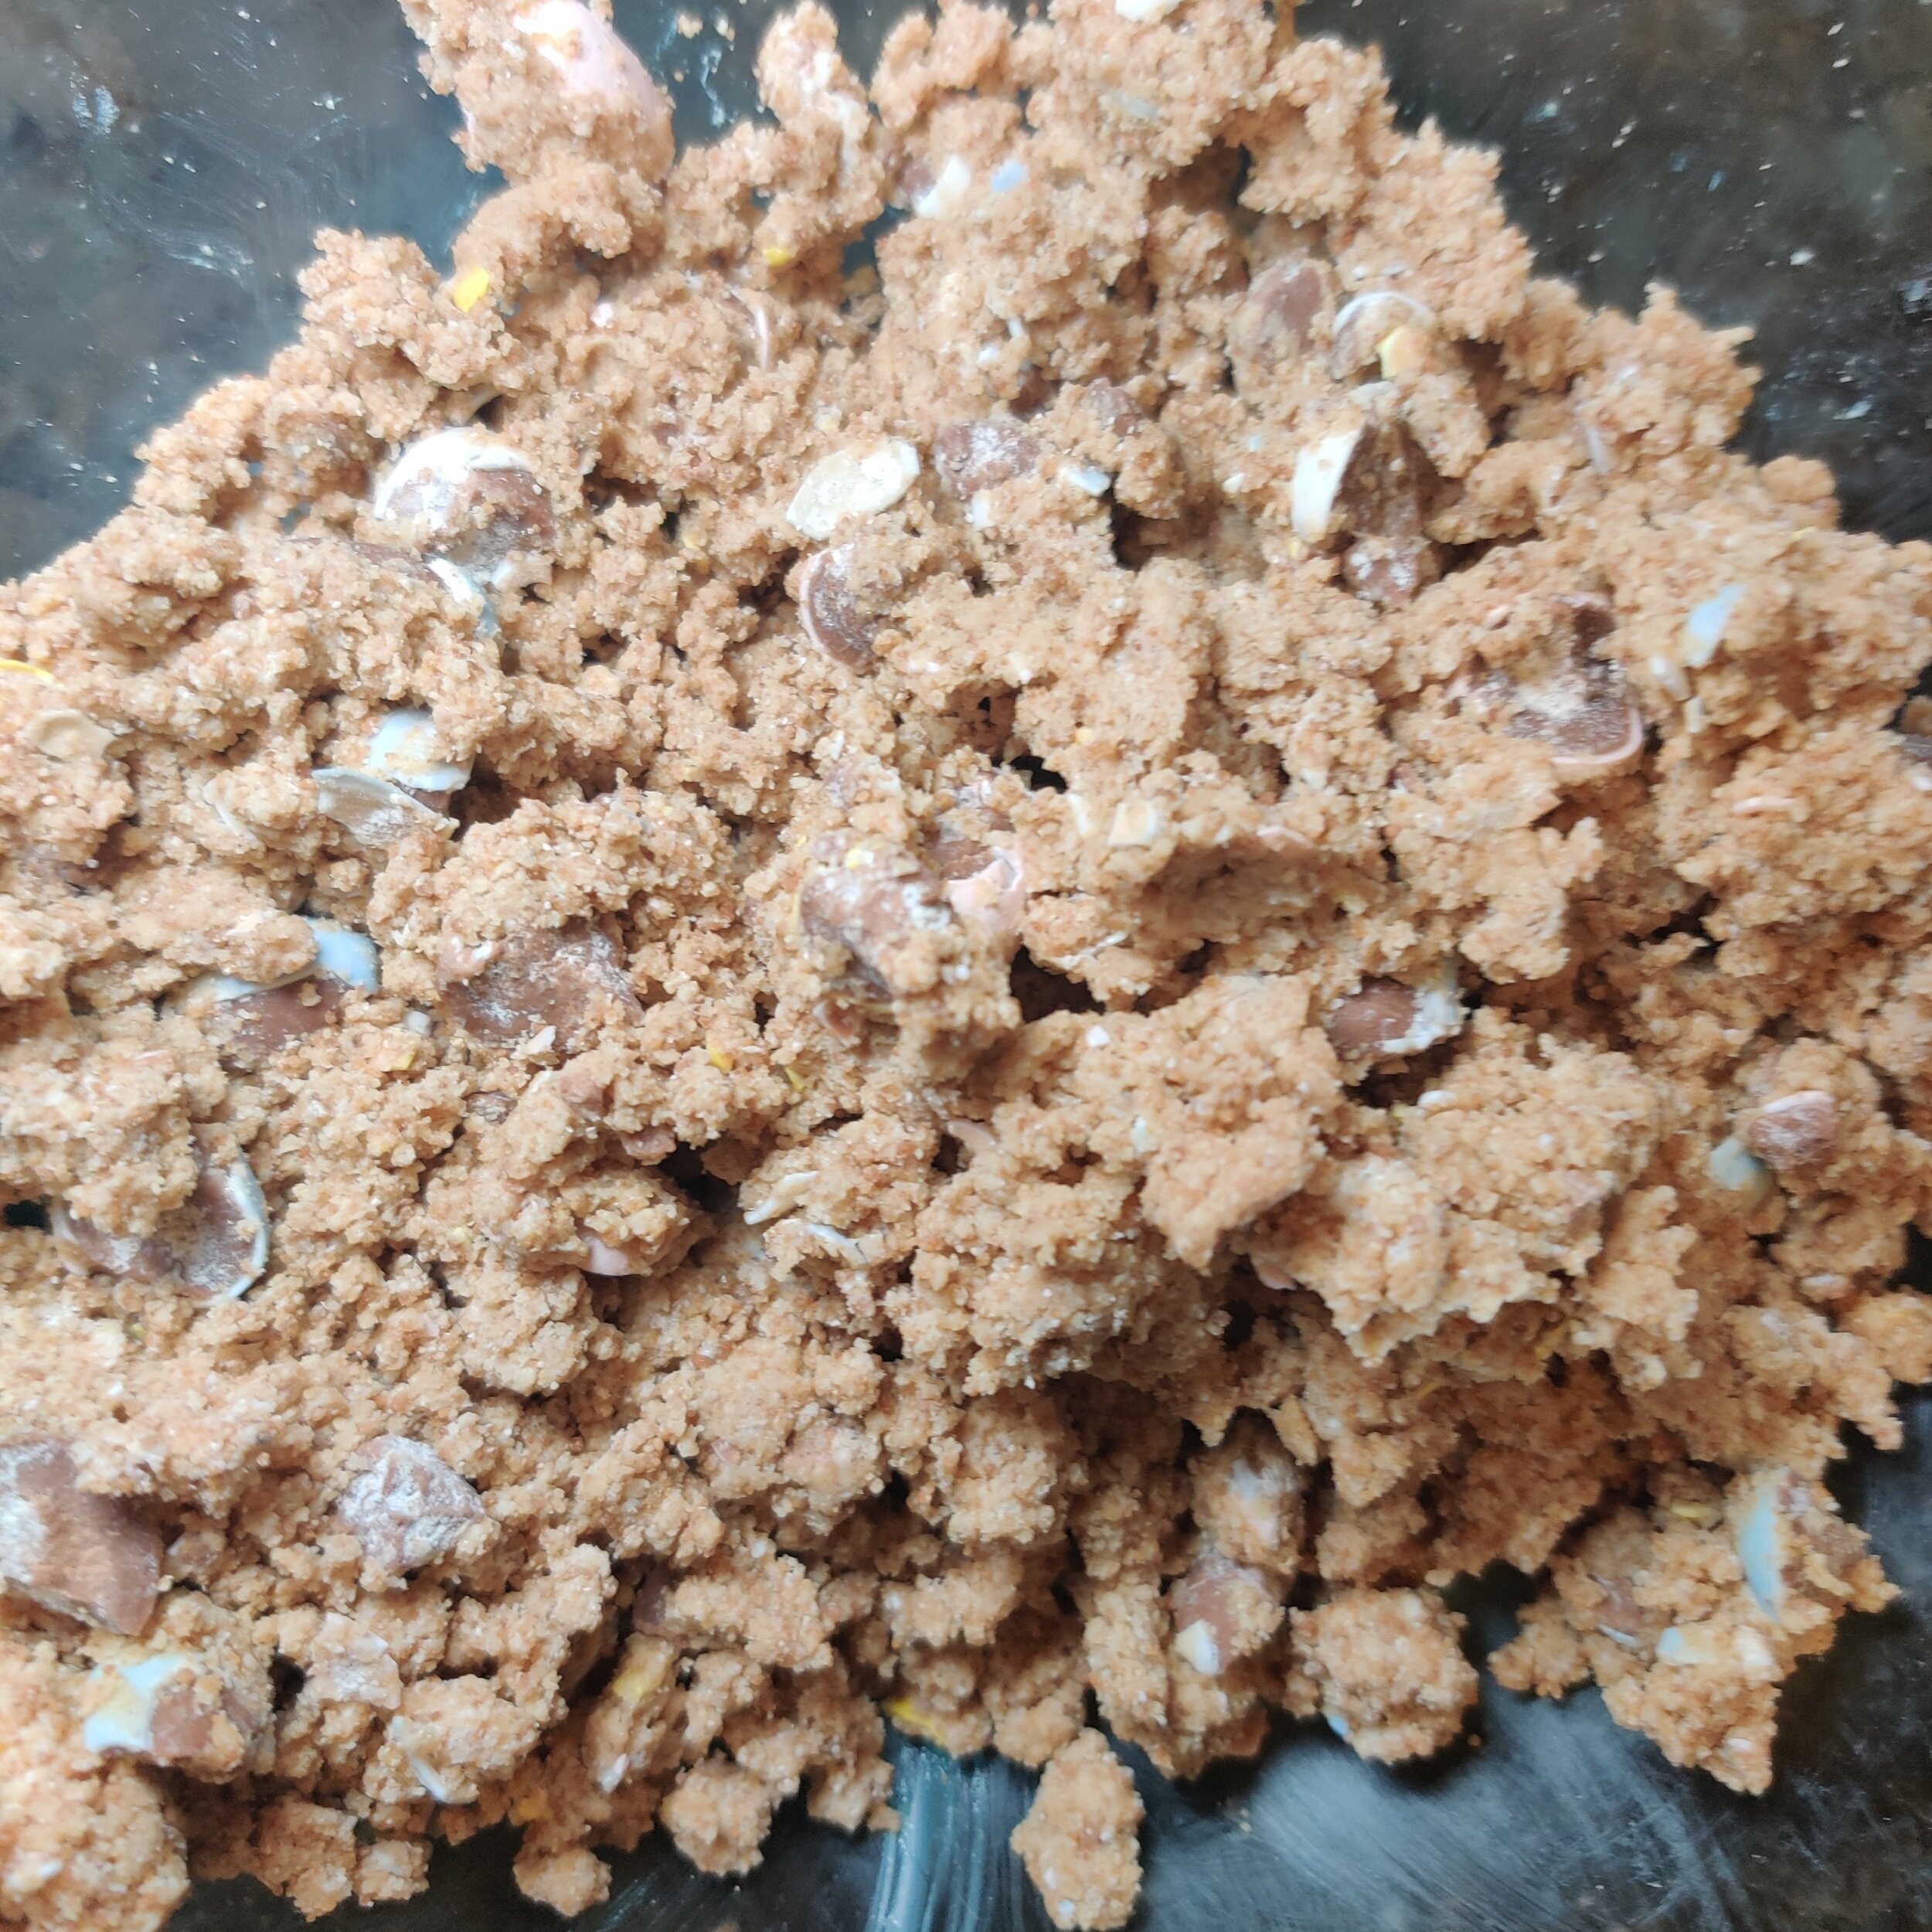
Add egg, mix evenly into the dry batter, then add the milk and mix into a soft dough.
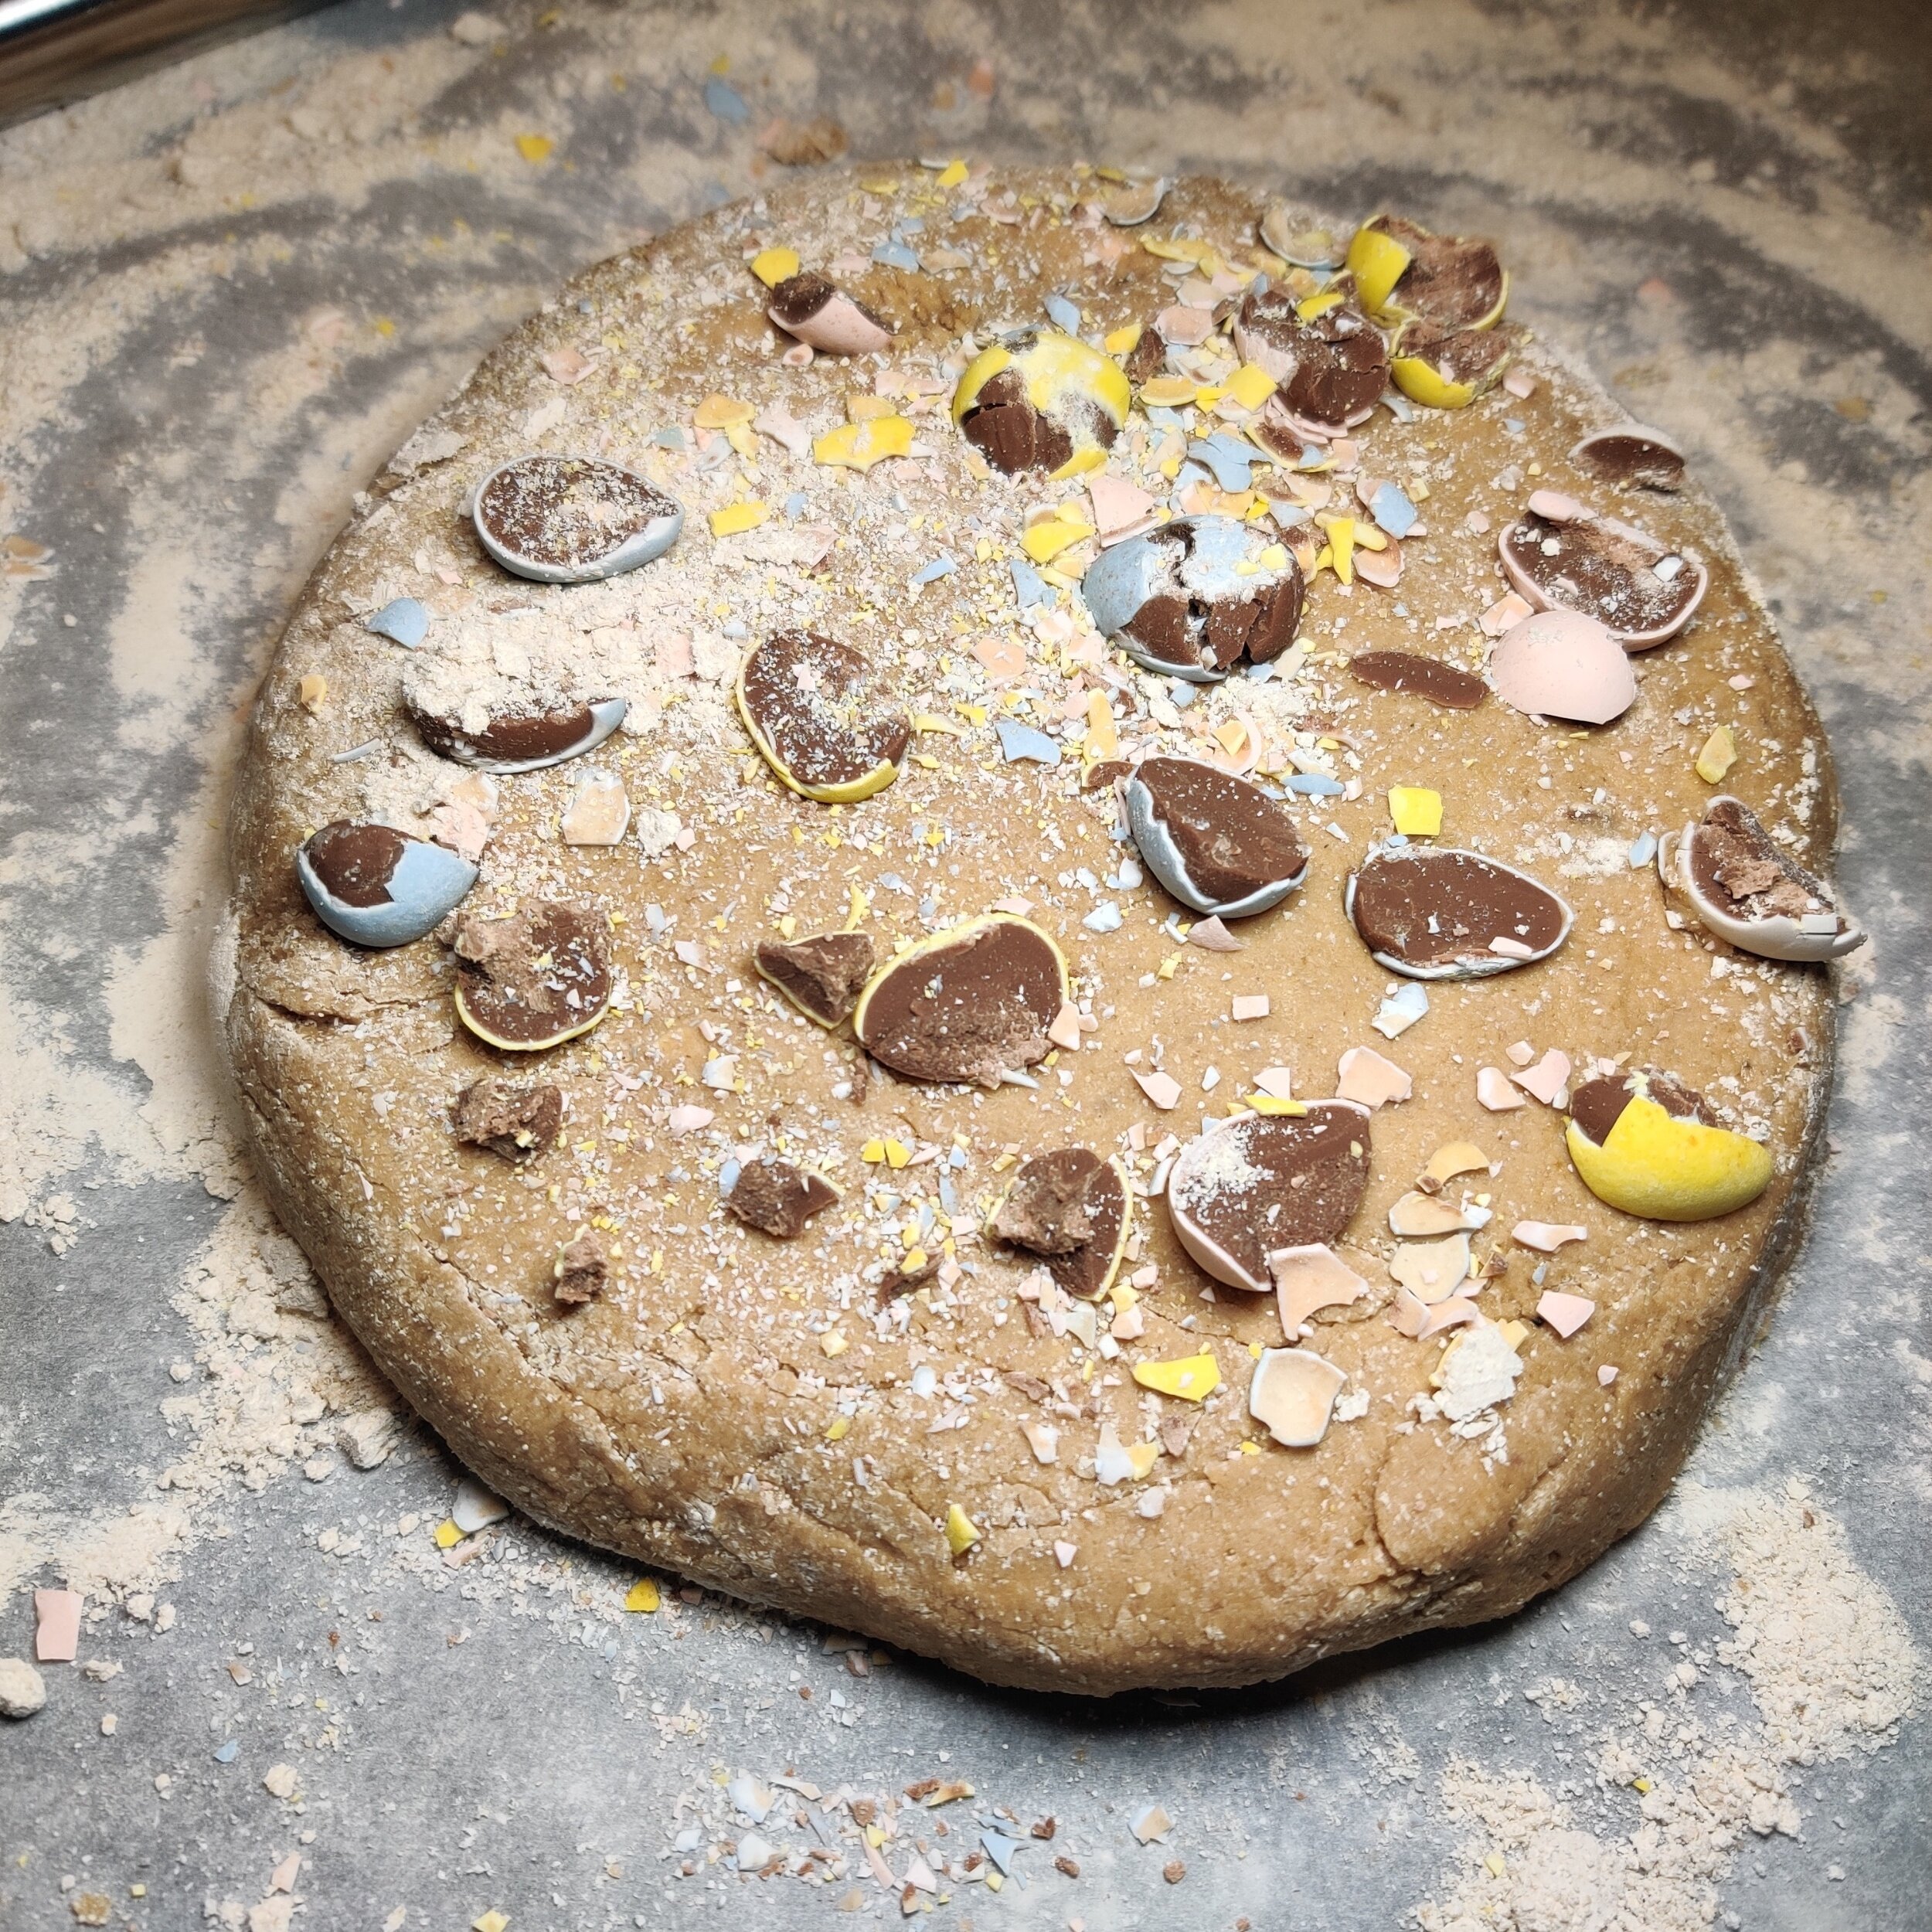
Transfer to a floured surface and knead for about 2-3 minutes, shaping into a round dome (if you find the dough too soft and sticky, use the kneading process to add a bit more but not too much to avoid overly dry scones).
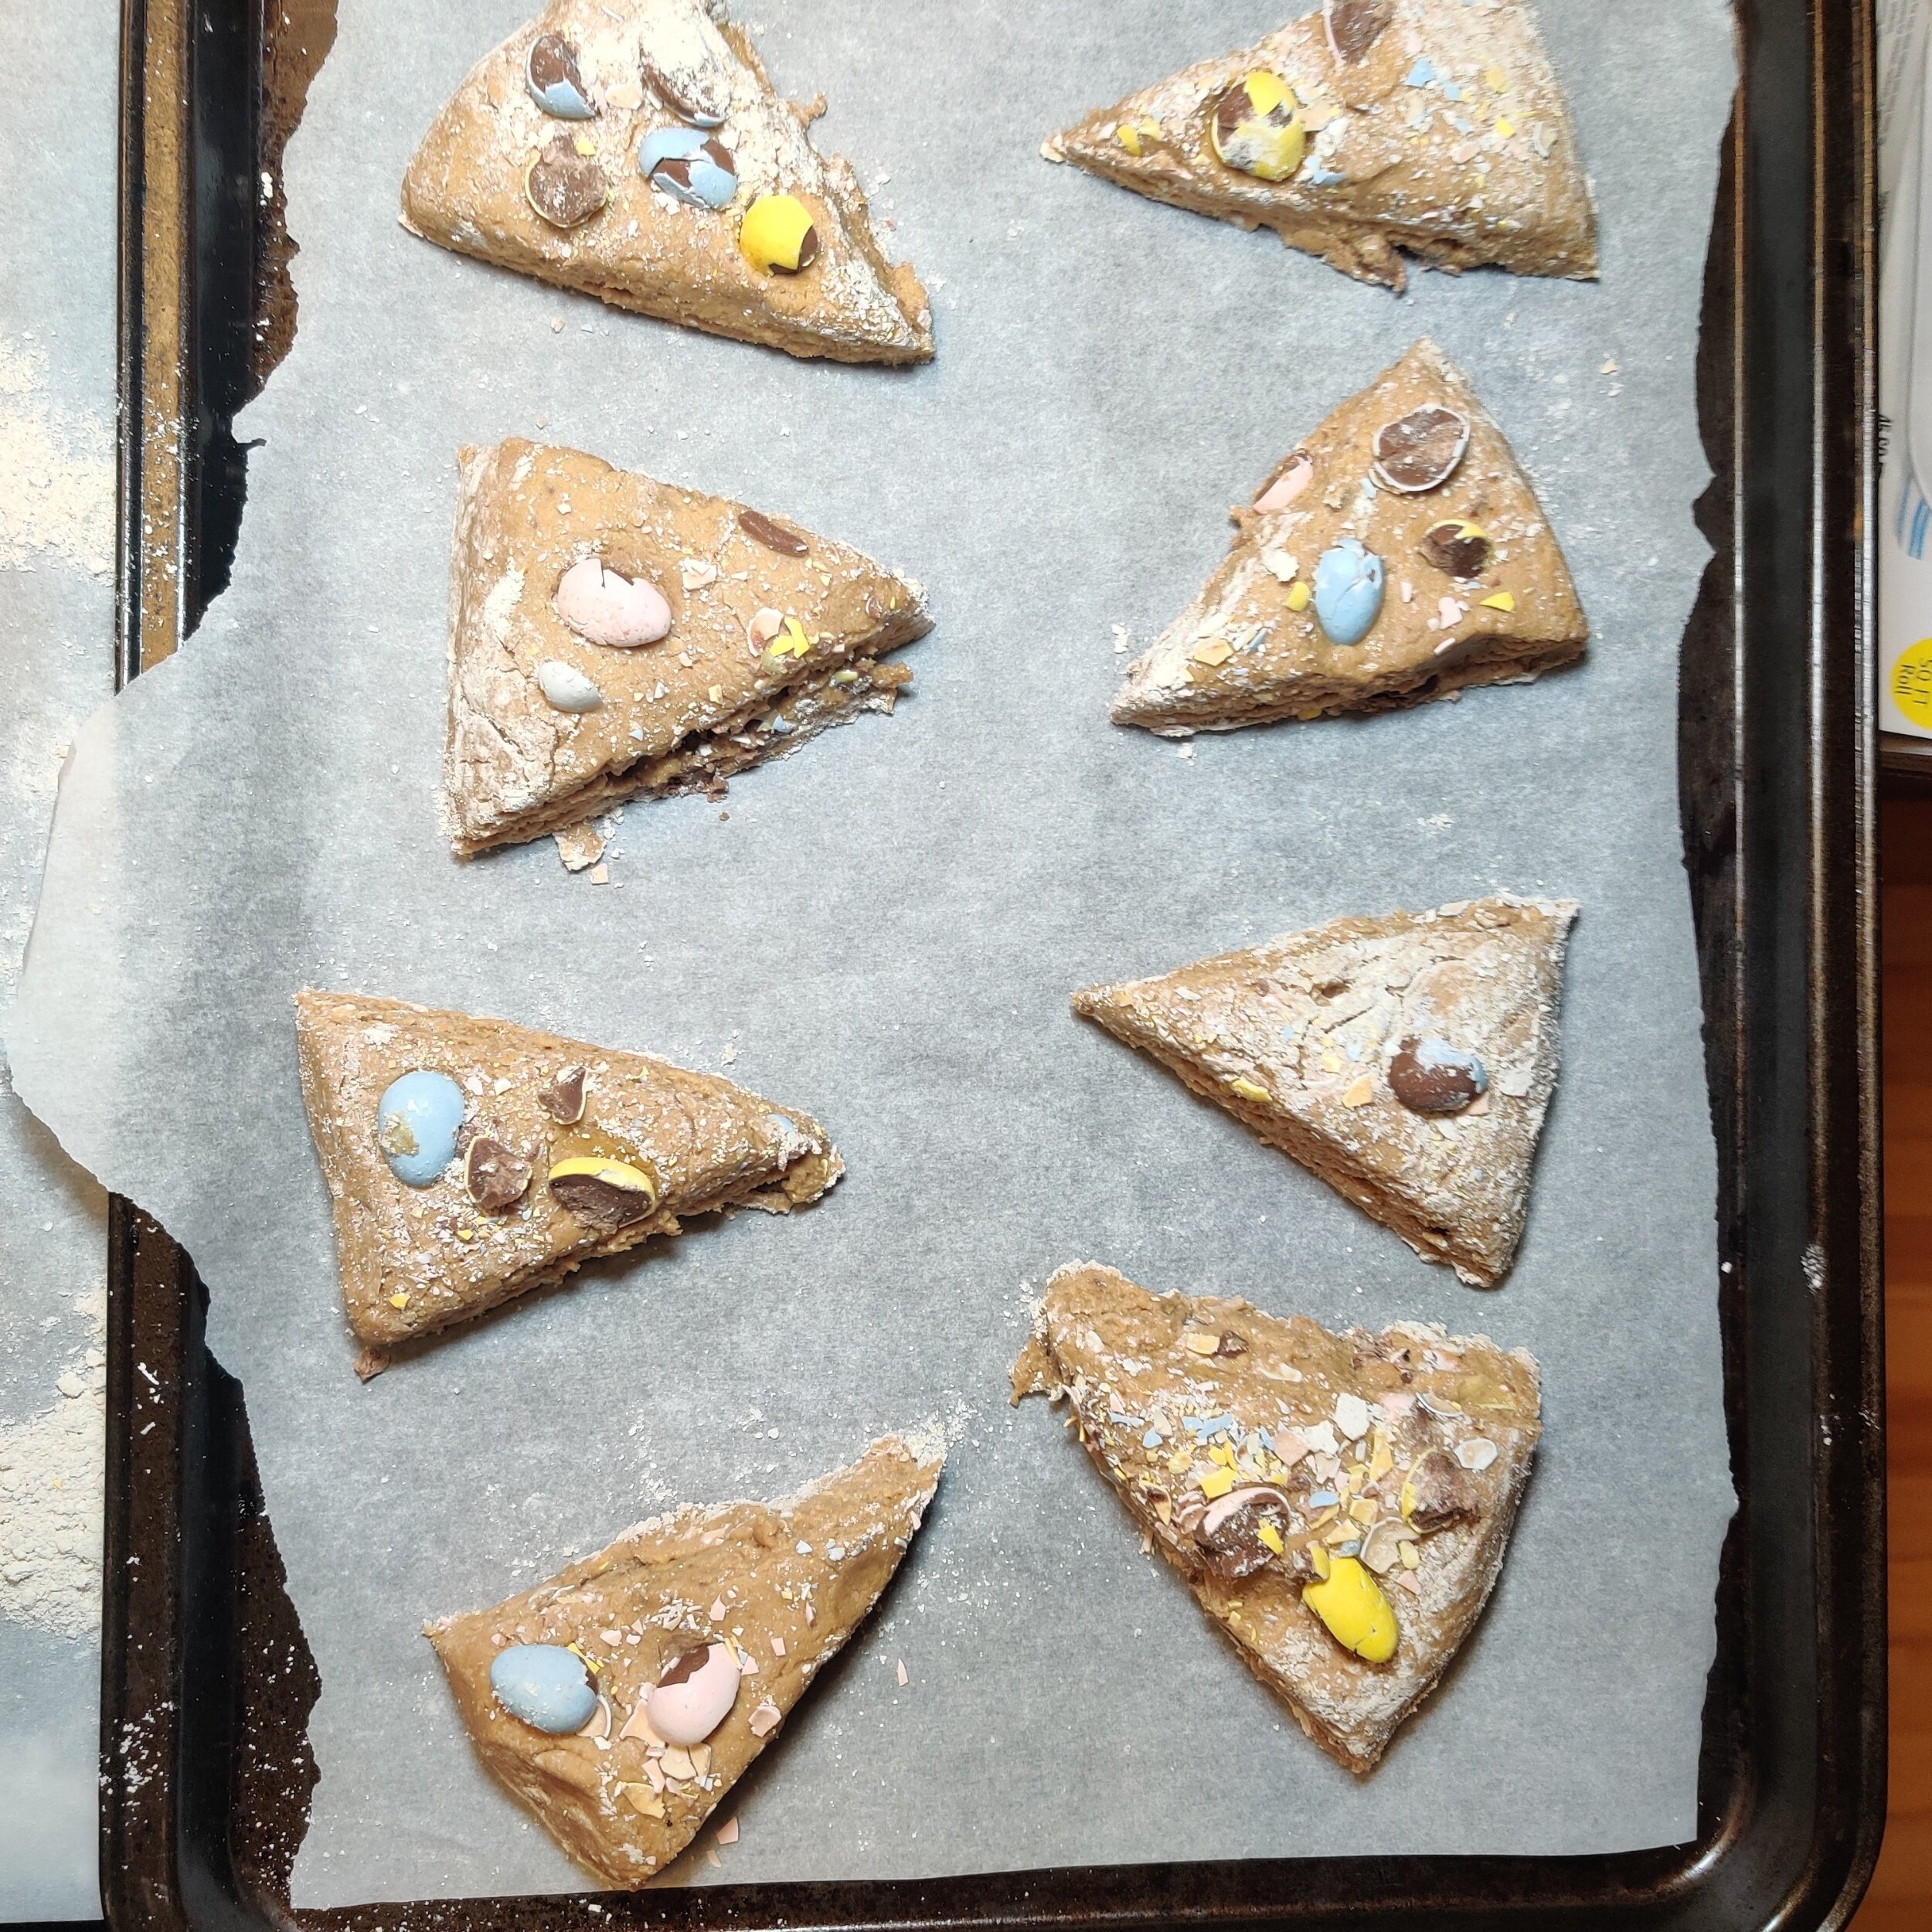
Use a kitchen scraper to slice the dough into eight pieces. Try to make them roughly the same size. Press some extra bits of the crushed mini eggs for the top of the scones.
Bake at 350F for 22-25 minutes, remove from the oven and cool. You can serve them, but they are meant to go with jam and clotted cream.


Very Berry Dutch Baby
It's not that Dutch baby pancakes can't be eaten all year round, but springtime calls for a version that involves fresh berries and lemon!
This recipe celebrates blueberries and strawberries, not different from the strawberry version you can find on the website. If you prefer apples as your fruit of choice, try this one, with salted caramel instead.
As I've stated before, this one of my favourite ways to enjoy pancakes. Like galettes, the free form cakes offer a lot of flexibility to customize and effortlessly appear sophisticated. It's hard not to impress upon serving!
This one is gluten-free; I used oat flour and coconut milk--which adds a delicious flavour tweak to the mix. I also add a bit of coconut sugar, lemon juice, and lemon zest when reducing the fruits to err on the healthy side and enhance the berries natural sweetness and tartness.
Ingredients
3/4 cup oat flour
3 eggs
1 1/2 tablespoons coconut sugar
1 tablespoons melted + 2 tablespoons plant-based butter
3/4 cup warm coconut milk + 1/2 teaspoon lemon juice
2 teaspoons vanilla extract
Pinch of salt
Icing sugar (optional)
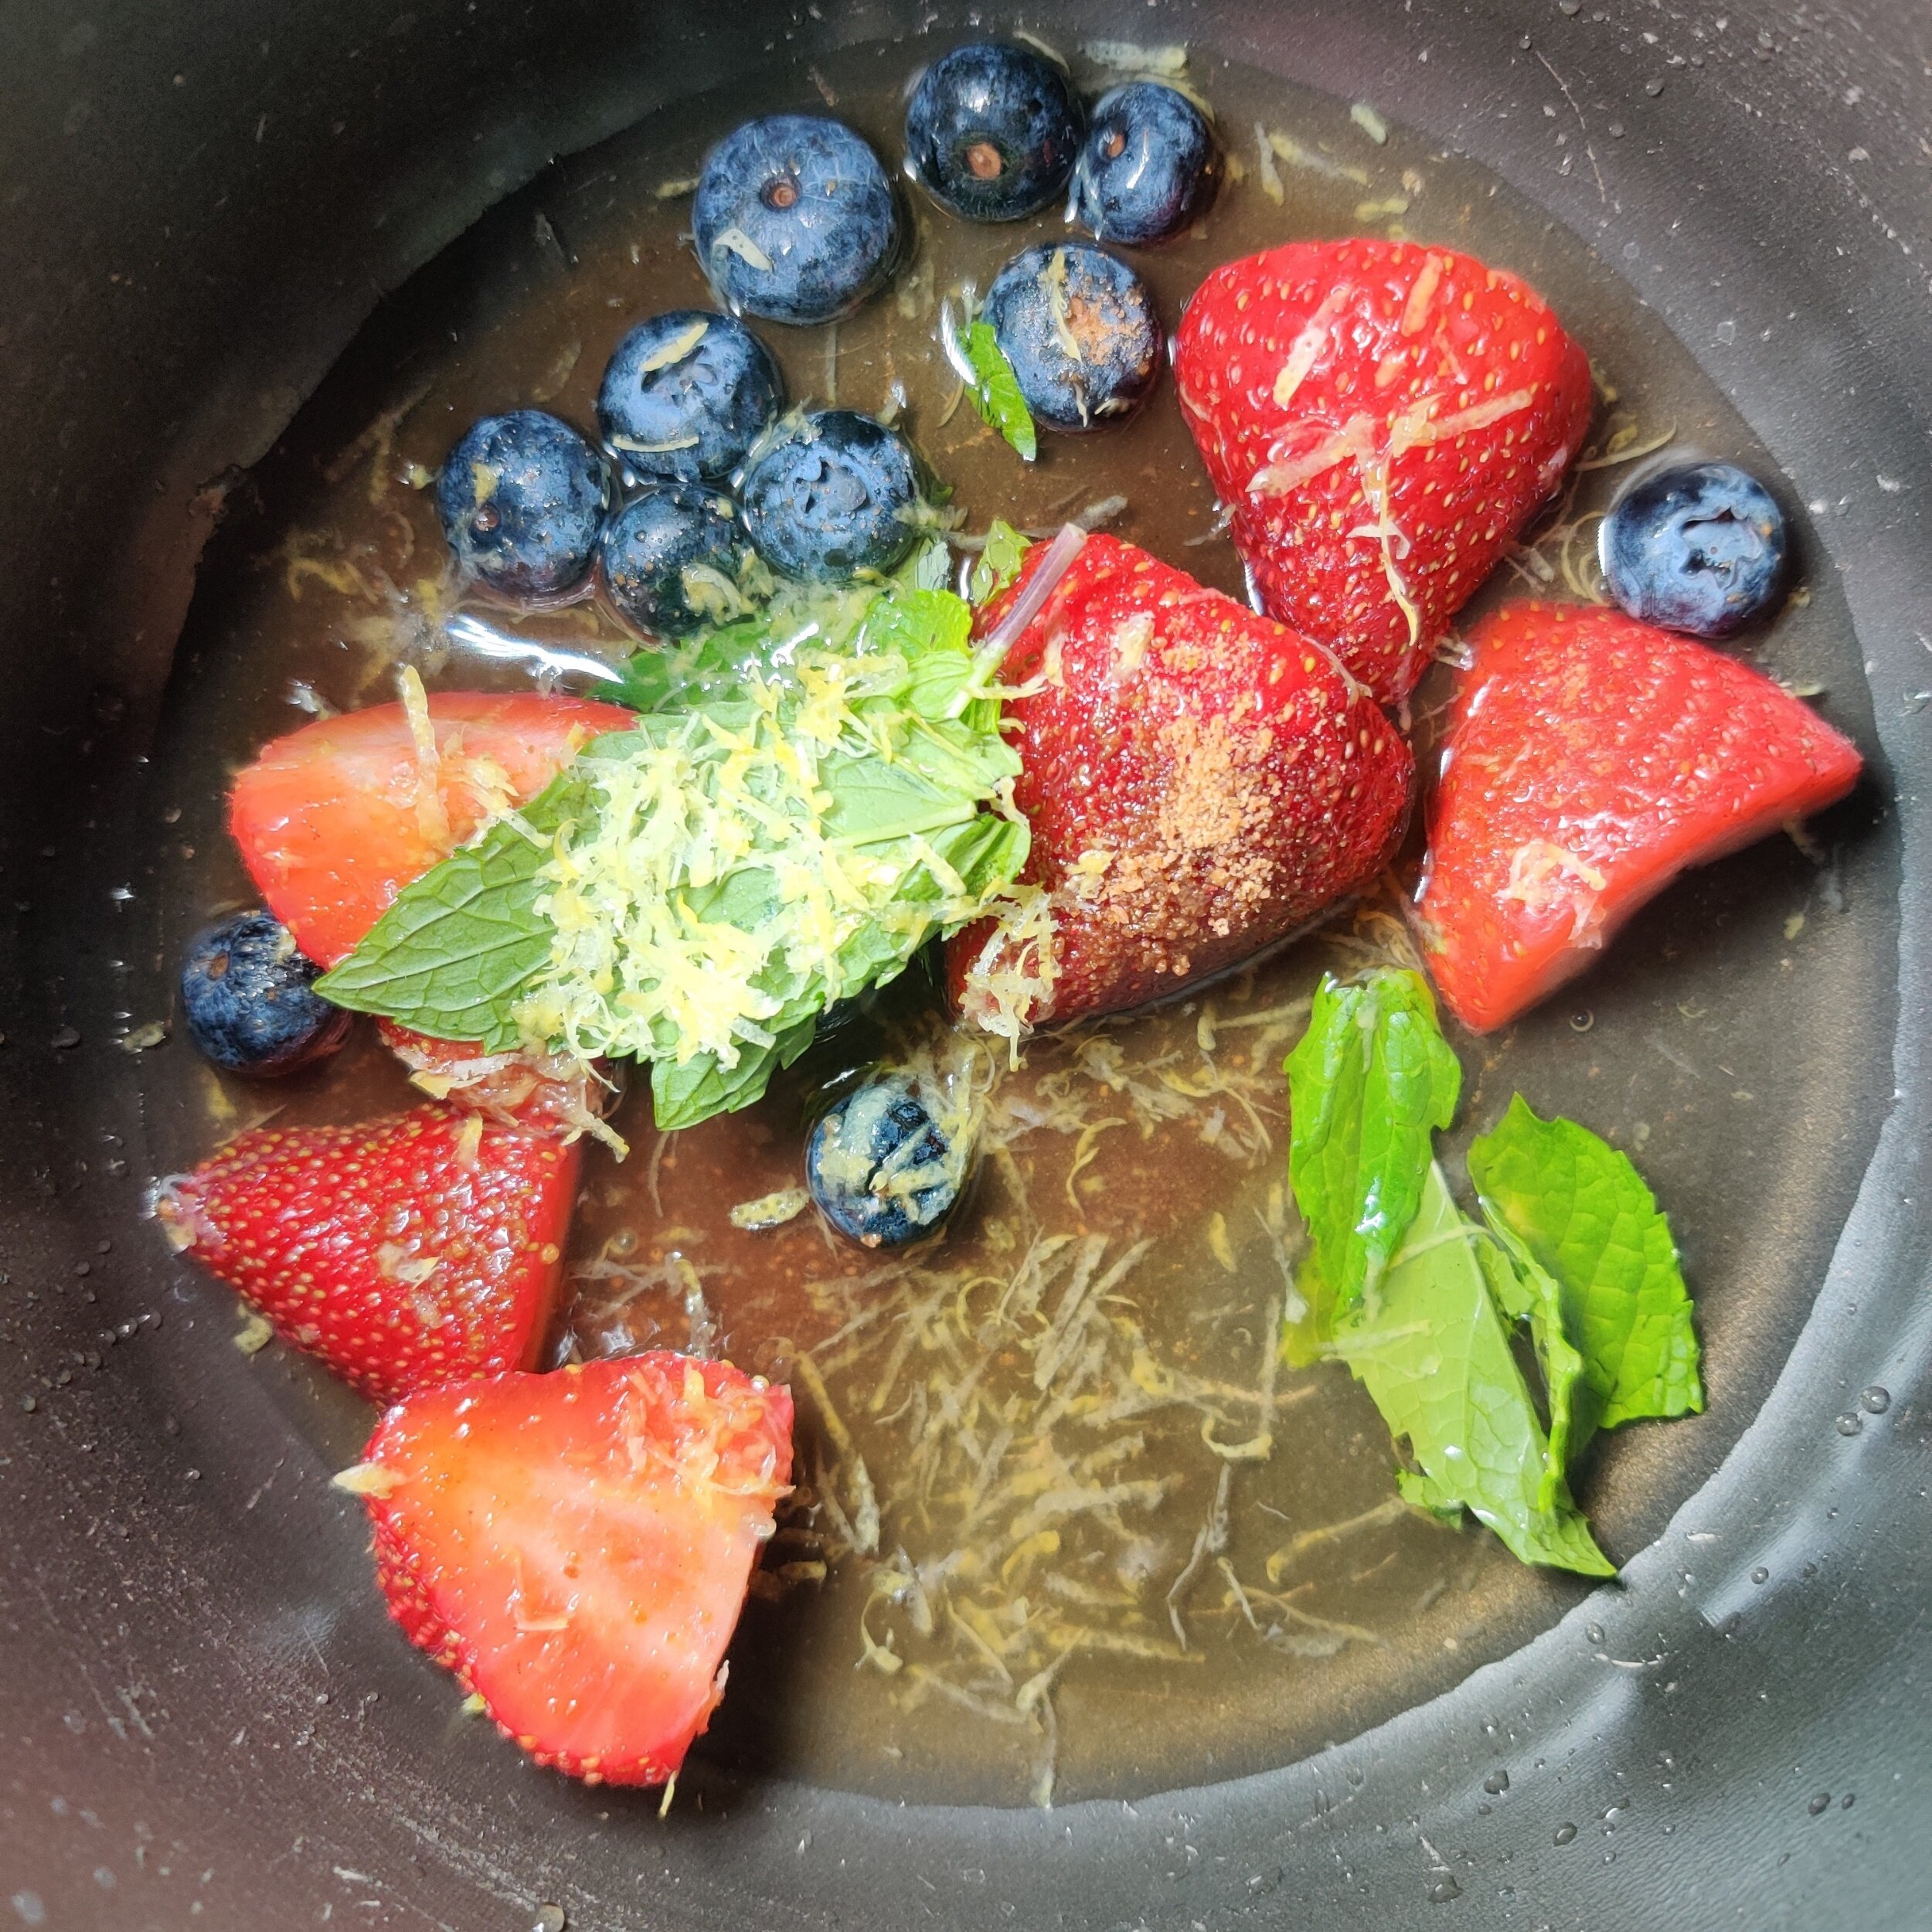
Fruit reduction:
1 teaspoon lemon juice
1 teaspoon lemon zest
Mint leaves
1 tablespoon coconut sugar
1/2 cup mixed berries + extra to garnish
1/4 cup water


Instructions
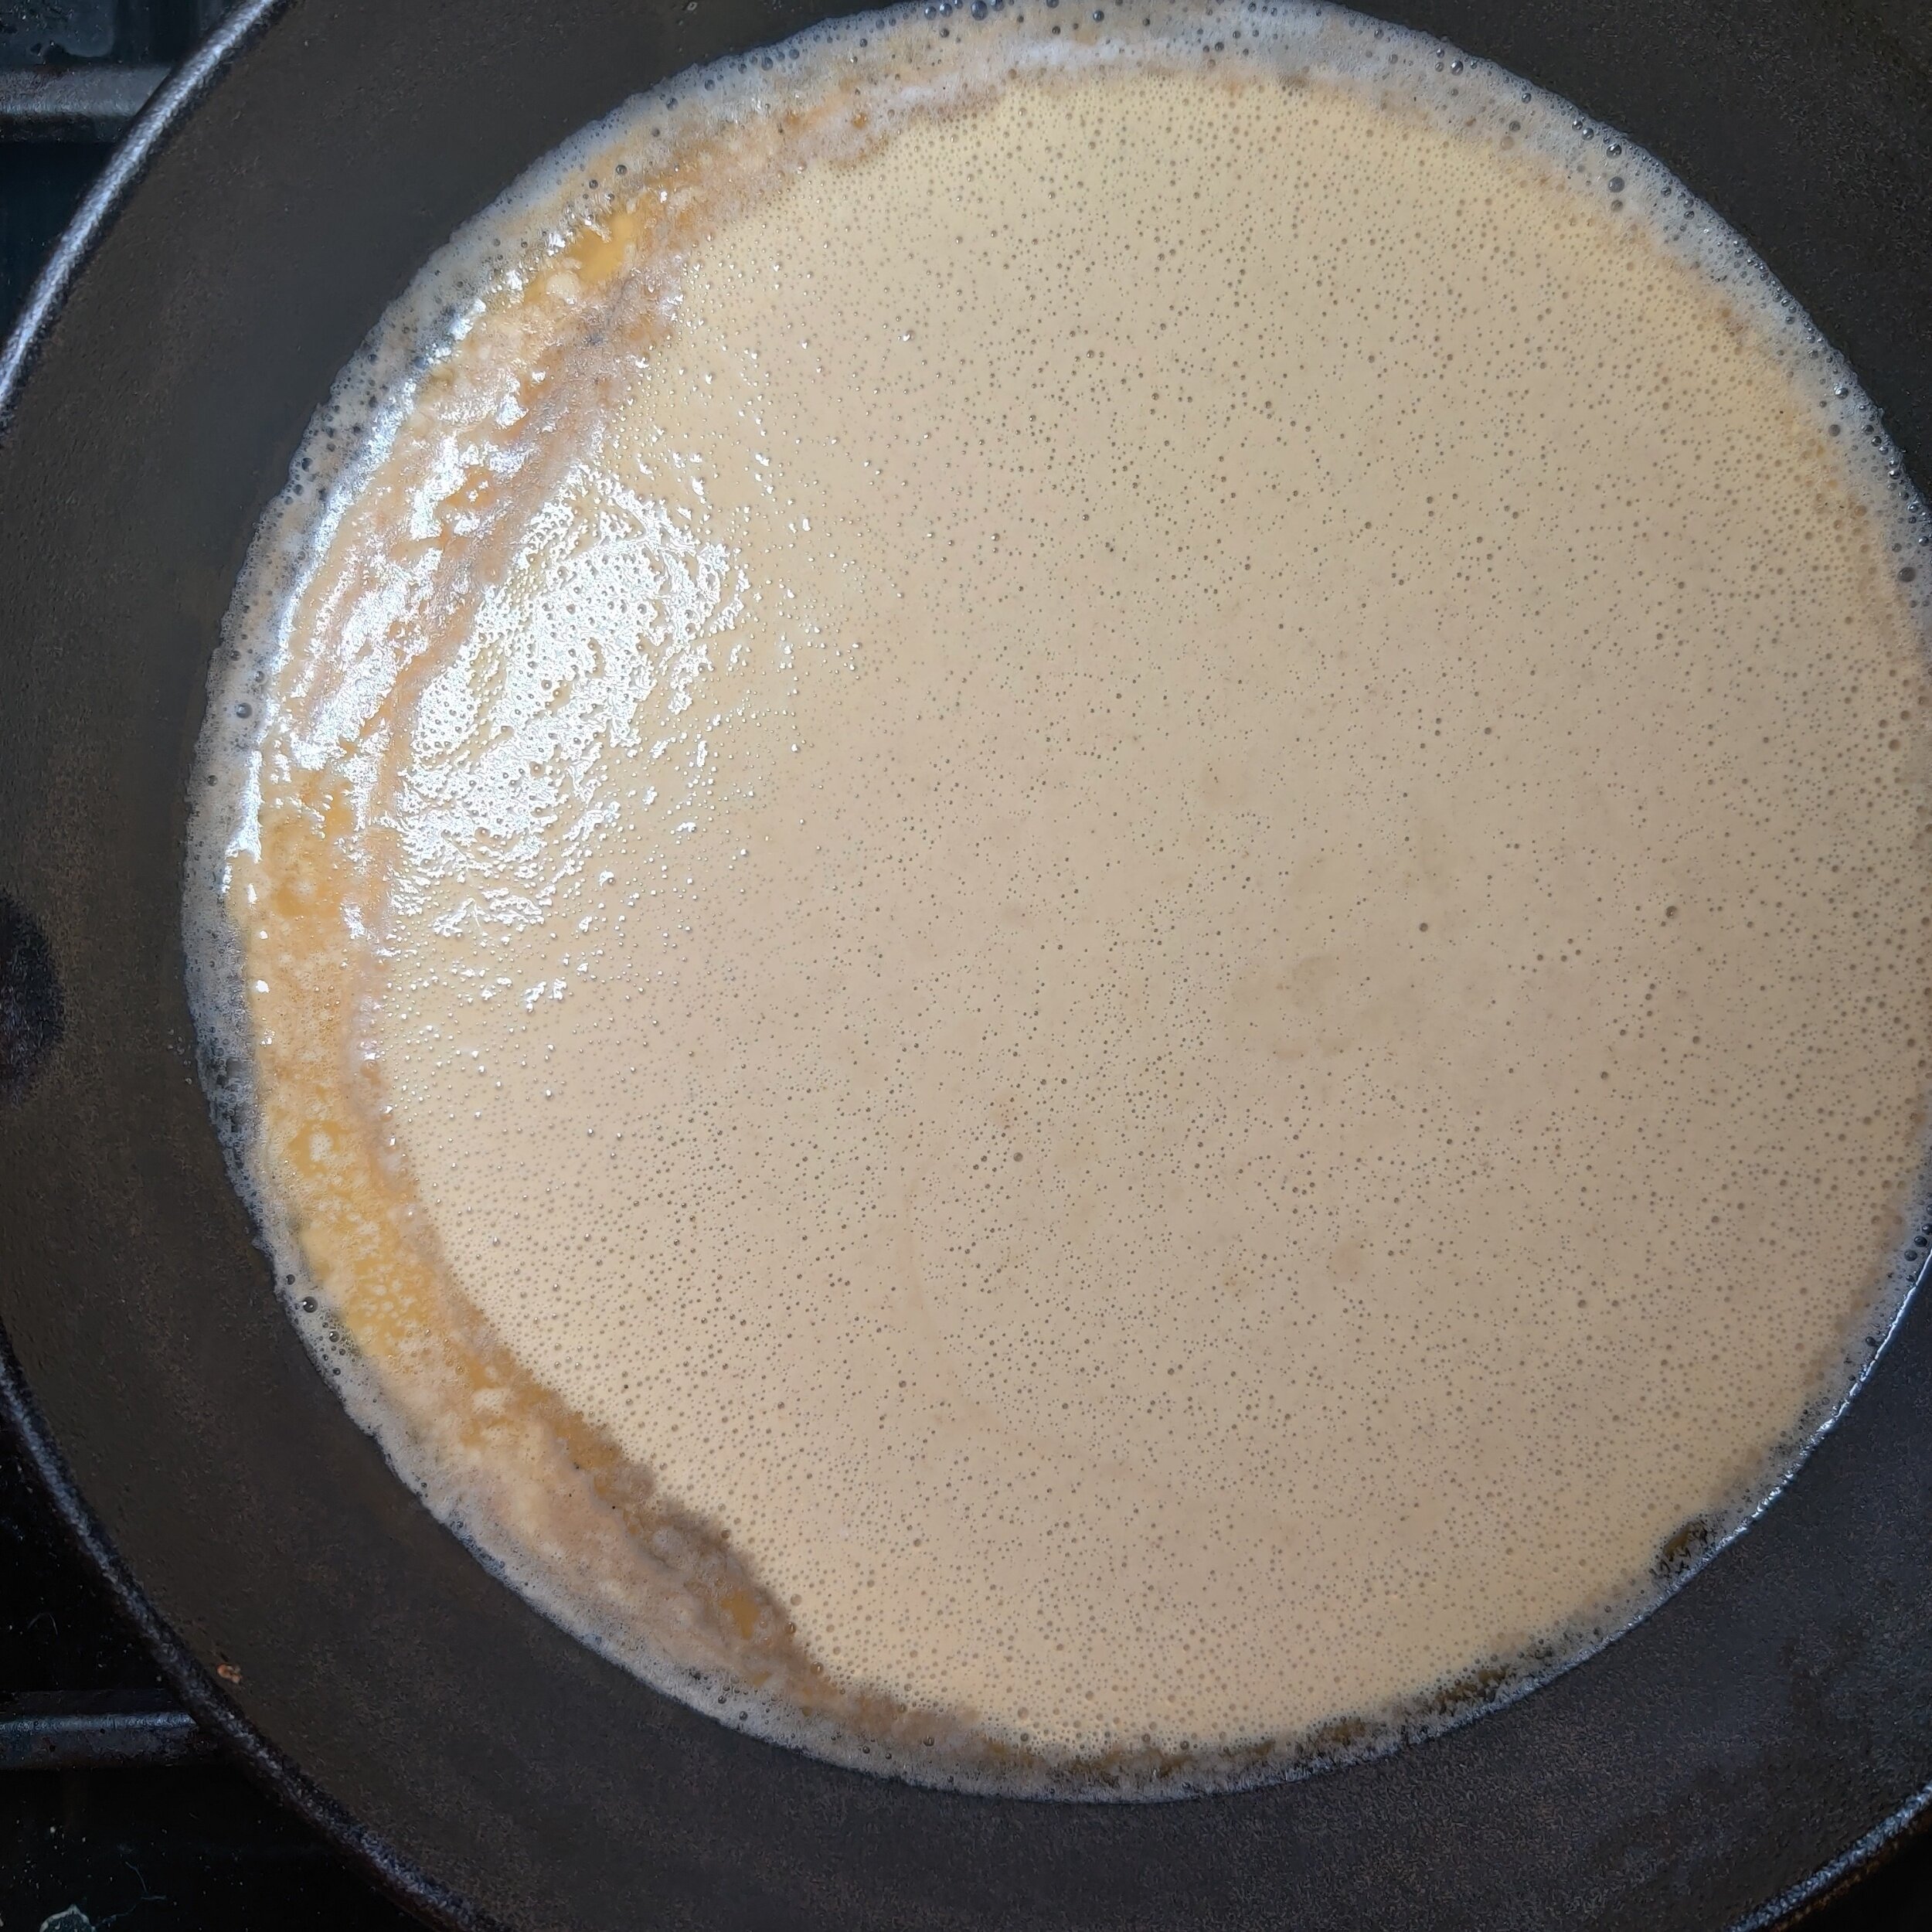
Add the pancake batter ingredients (using the melted butter) to a blender, beat until smooth.
Add the 2 tablespoons of butter to a cast-iron pan over and melt before pouring in the batter.
Bake at 400F oven for 30 minutes.
Prepare the berry reduction. In a saucepan, add the ingredients and heat on low until the mixture begins to thicken and the berries break down, occasionally stirring to prevent the contents from burning. Remove from heat.
Take the Dutch baby out of the oven, allow it to cool for 5 minutes.
Spoon the reduction on top, garnish with fresh fruit, then dust with icing sugar.
Serve with syrup, ice cream, maple syrup, or almond whipped cream.


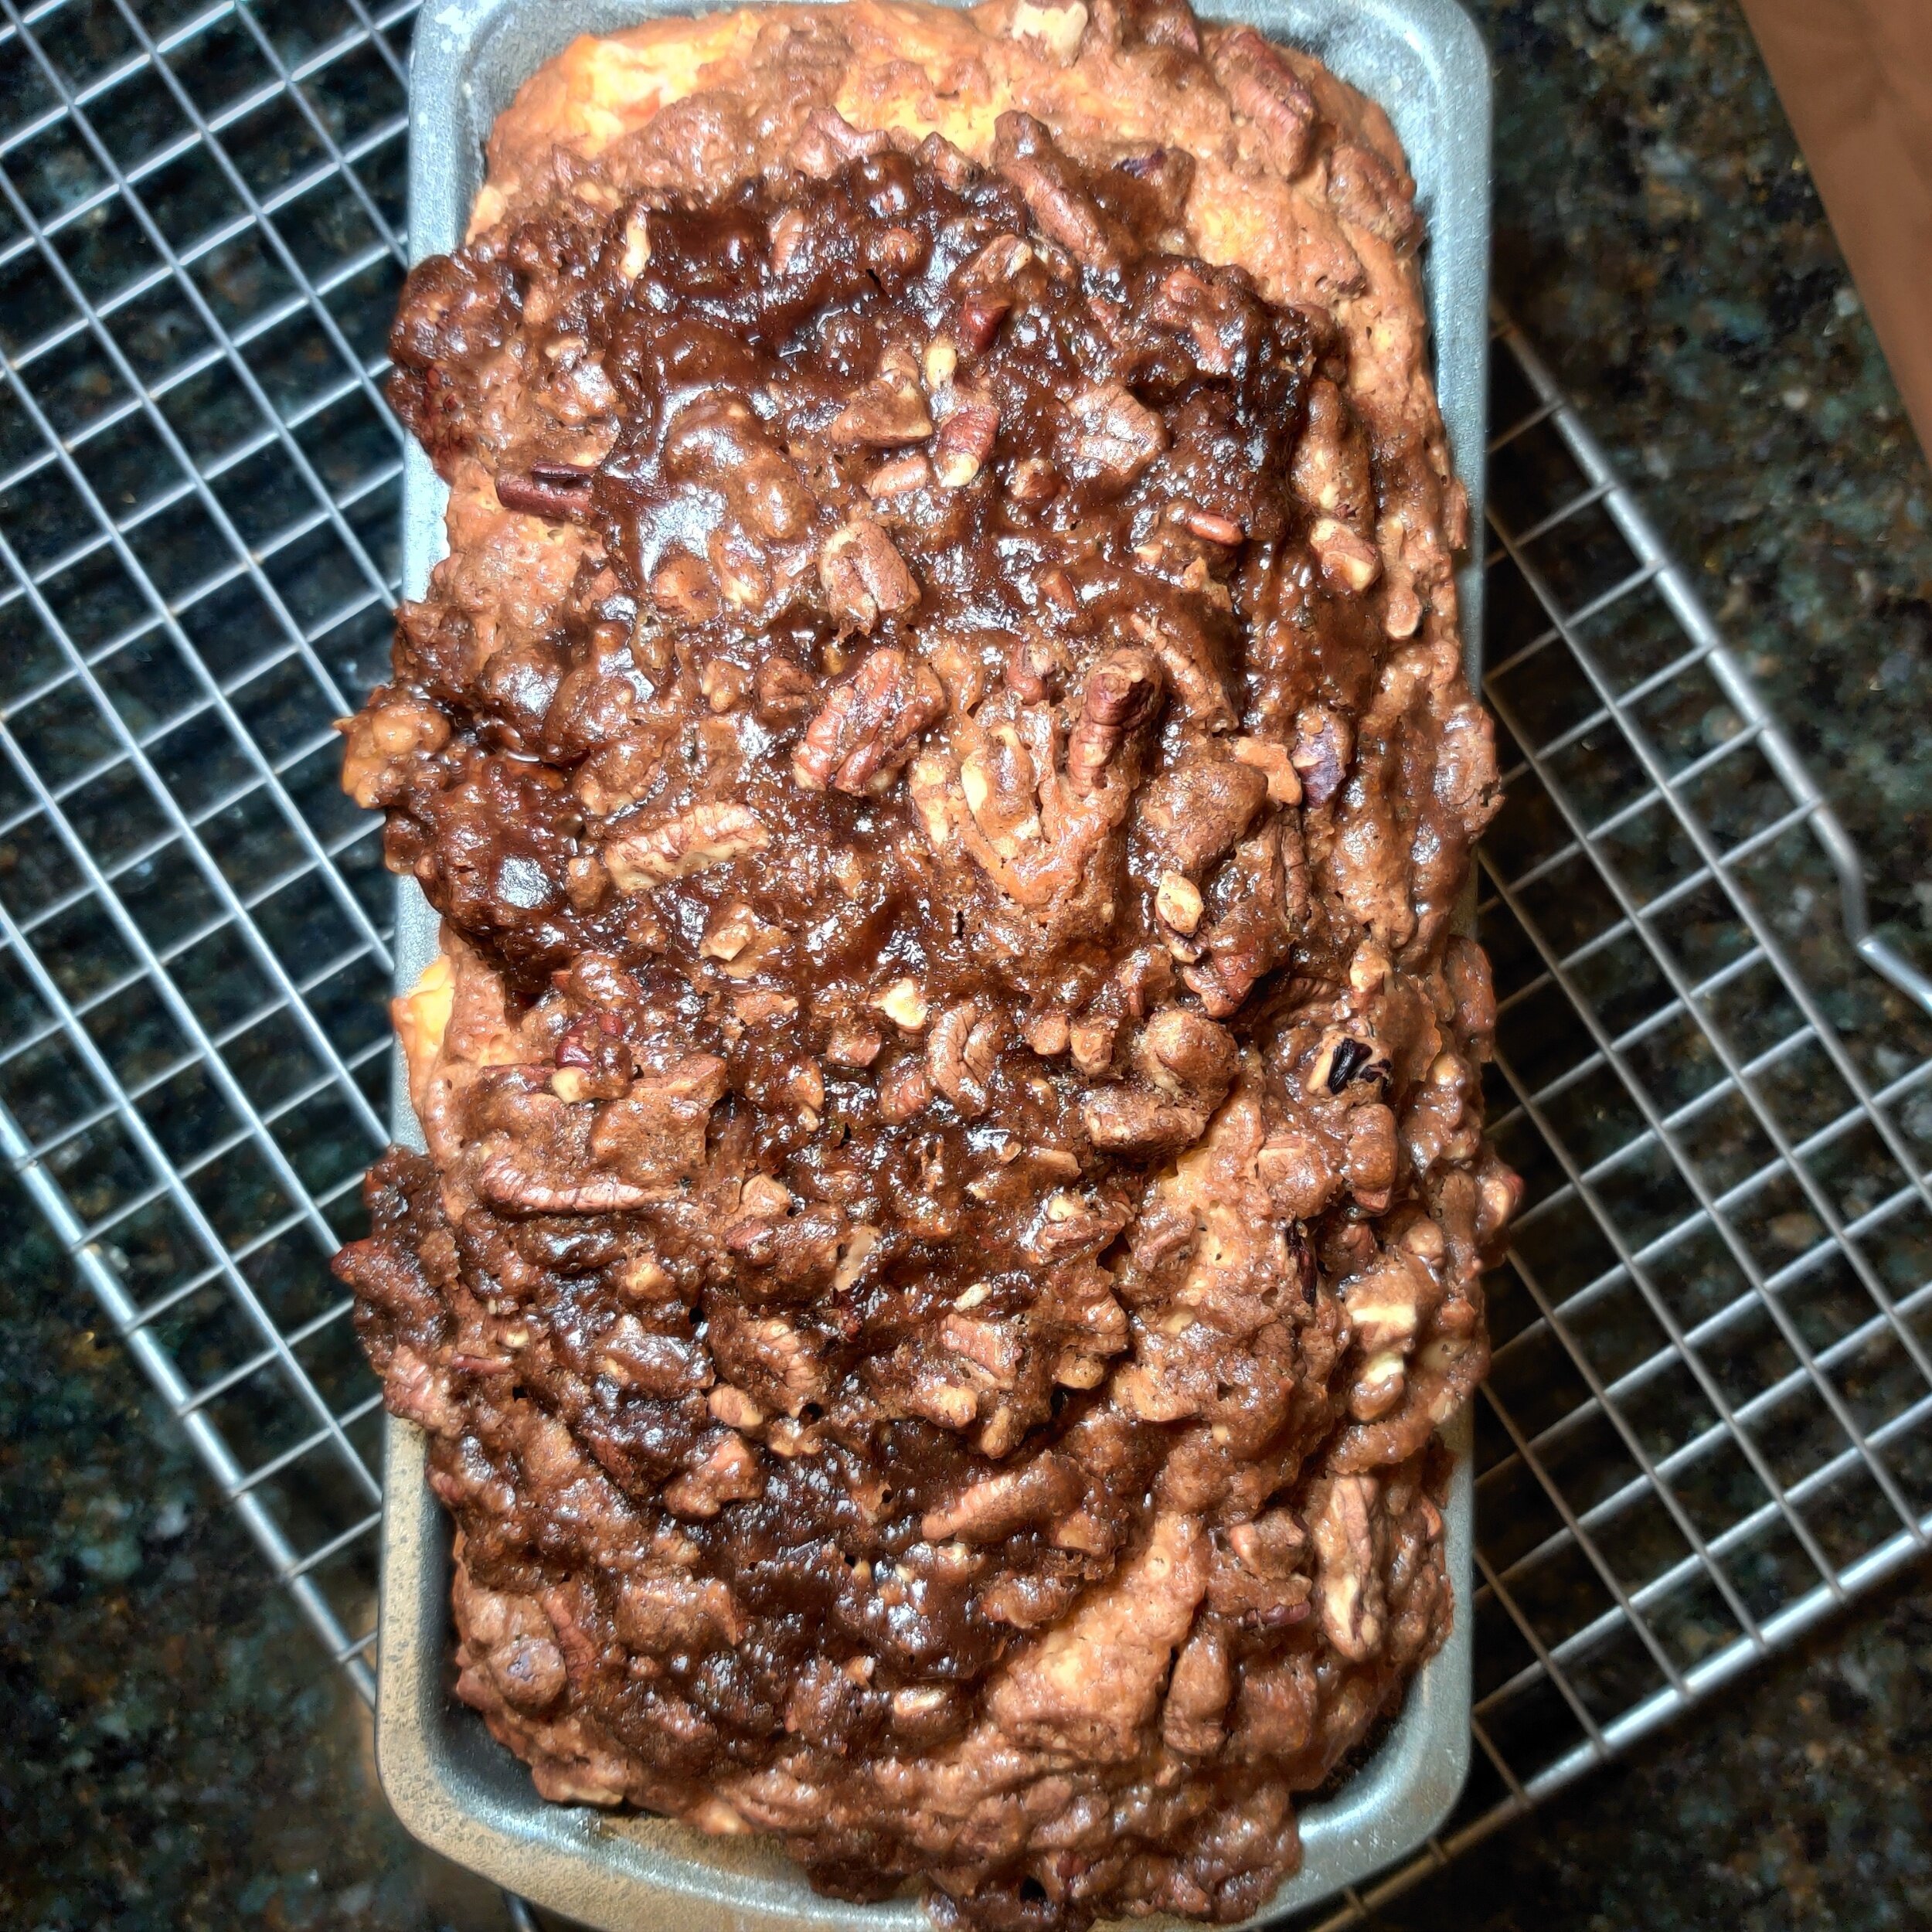
Banana Papaya Bread with Pecan Streusel
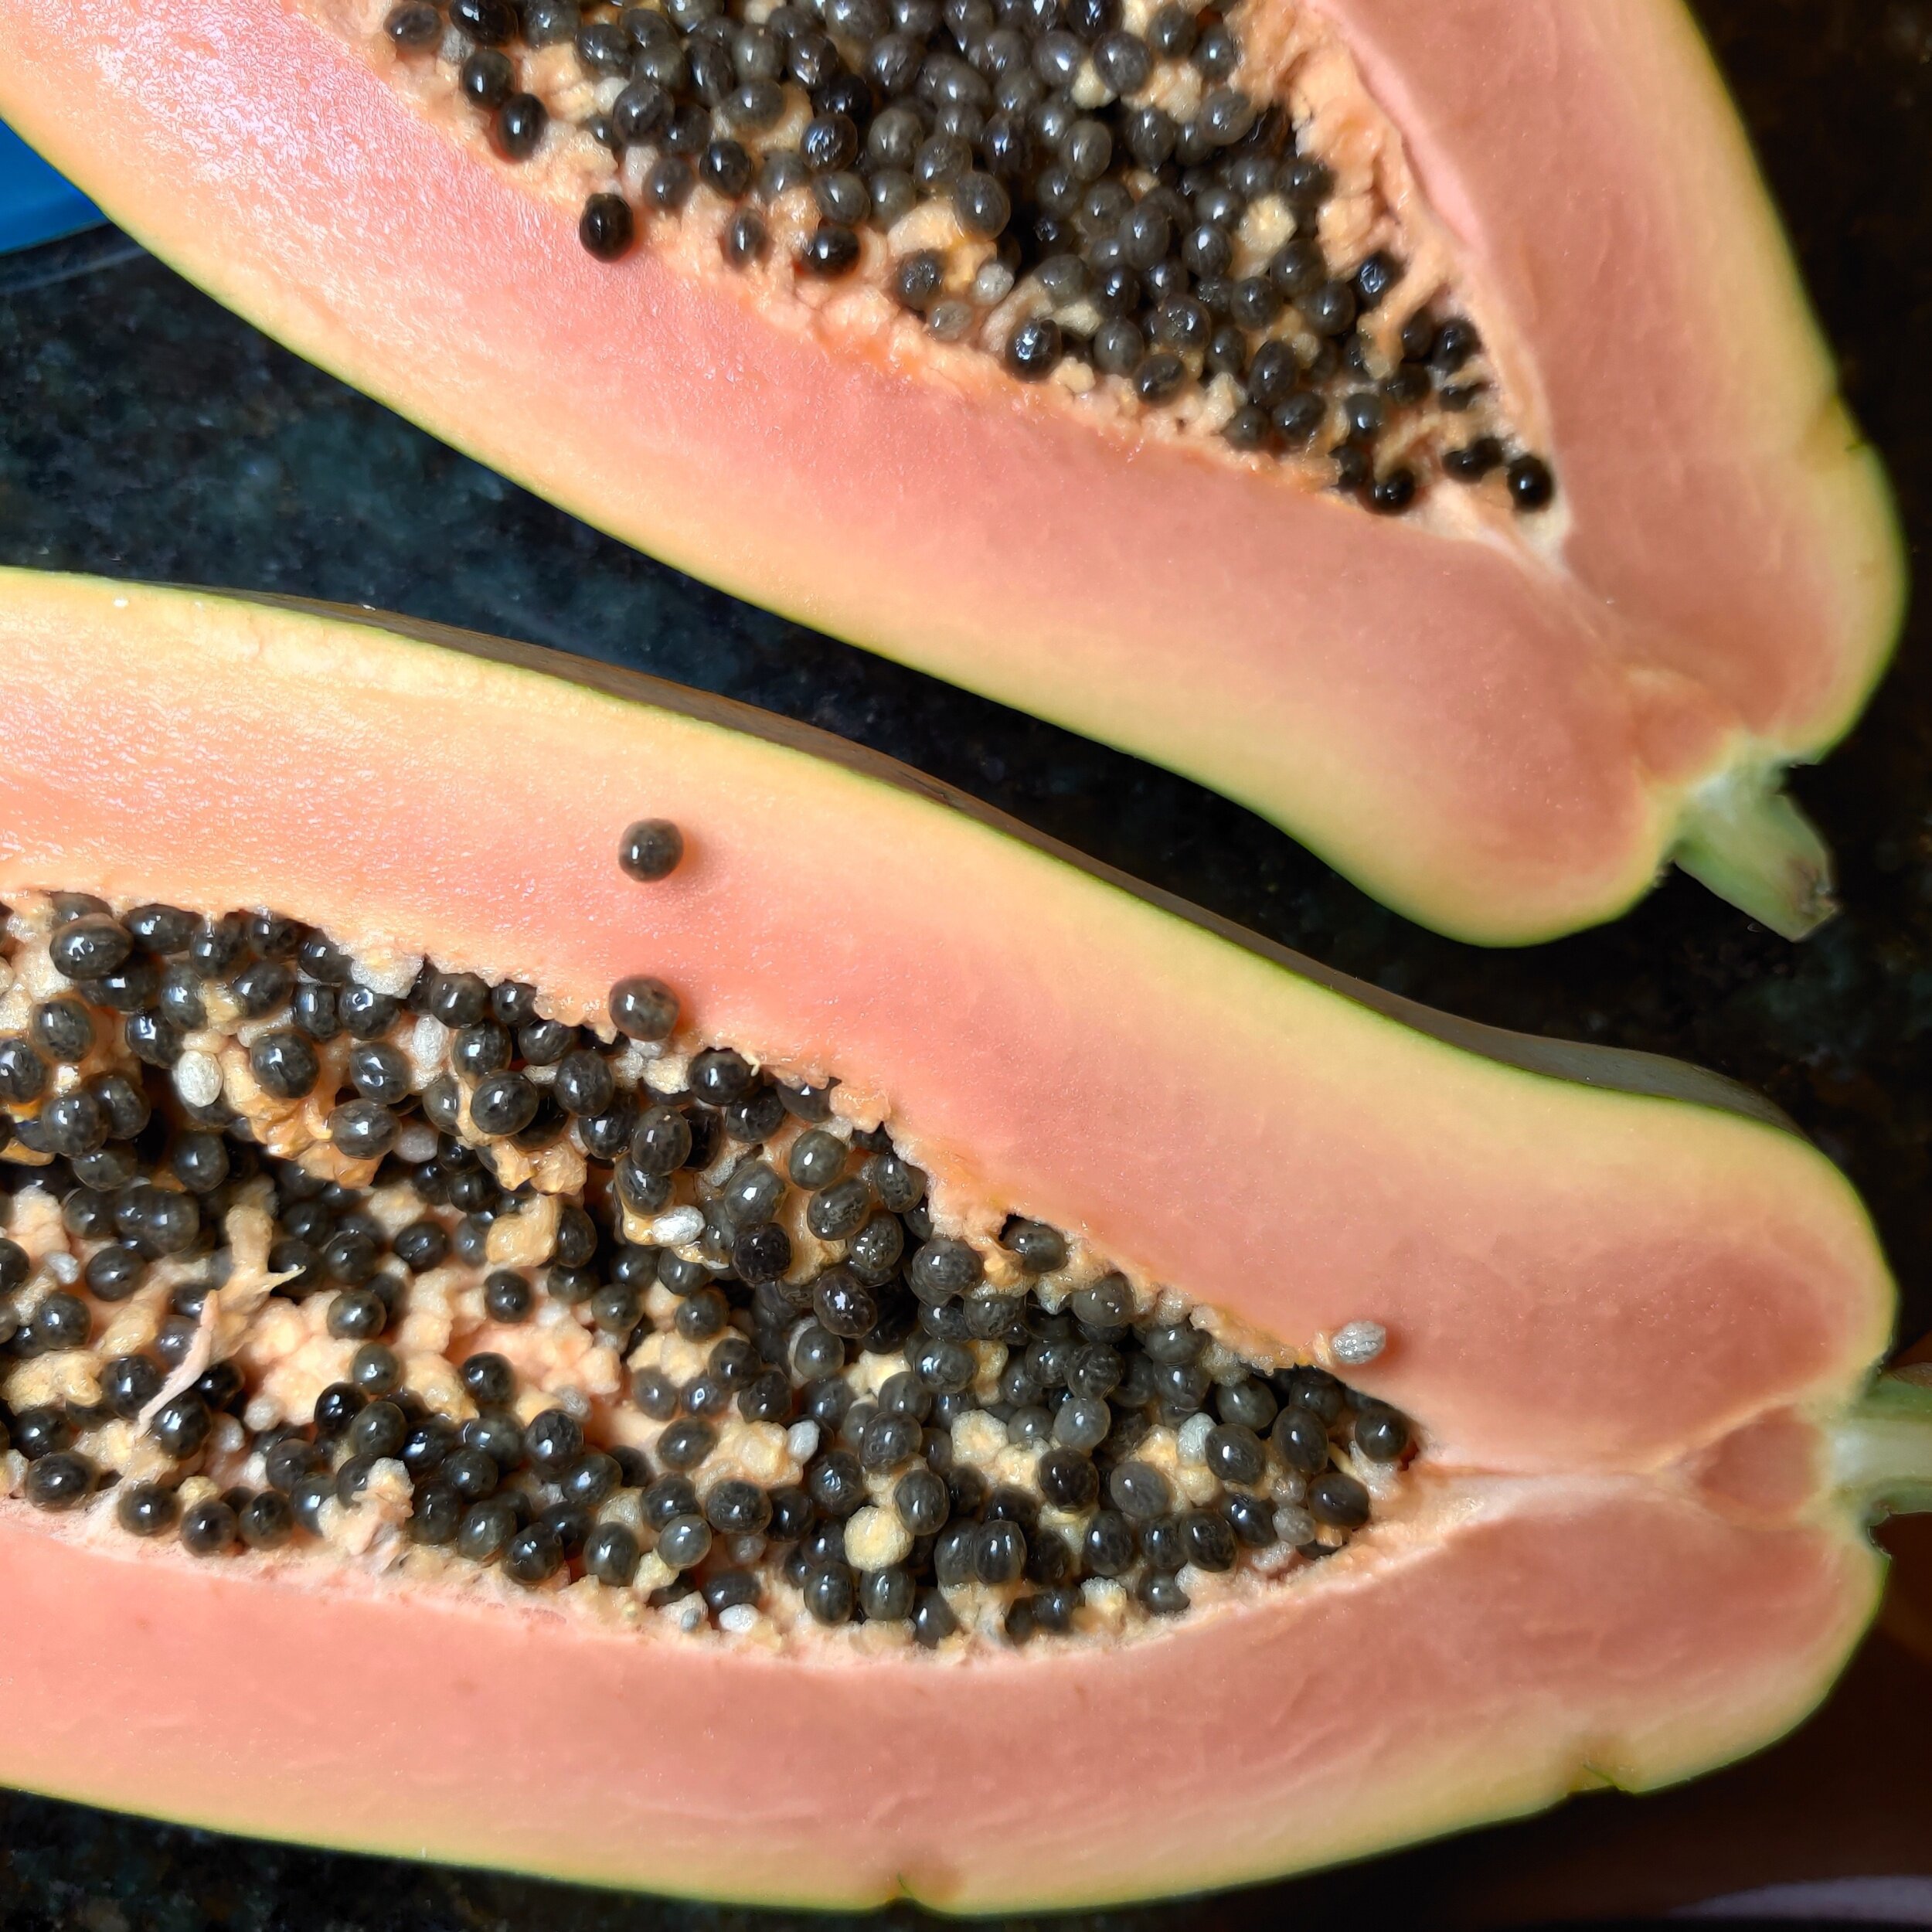
How I love pawpaw's, or papayas — honestly not sure what the more common name is! I'm not quite sure how the tropical fruit made its way to Zimbabwe, but it's a beloved fruit over there. I think at one point; my family has a tree in the garden. I love papaya because it's highly refreshing and inherently sweet but in a subtle way. The water content is also pretty high, so that's good for you. Pawpaws (yes, I will use them interchangeably!) are a lot more versatile than I think people give it credit for; hence why I decided to pair them with banana and am so glad I did!
Banana bread is popular throughout the year. It became one of the most baked and searched for recipes during the quarantine, and with spring coming along this side of the hemisphere, there's no end in sight, and it's making a resurgence.
I decided to combine the classic banana bread, something I've always loved, with pawpaw -- one of my favourite fruits.
It's delicious great with a cup of tea or coffee, or you put a scoop of ice cream over it too or eat it as it is, maybe with a little bit of butter or whipped cream whatever your preference is, it's excellent.
I think the cherry on top for this recipe is the pecan streusel. The buttery, caramelized taste of the pecans mixed with dark brown sugar is to die for, and in some ways, similar to coffee cake. Regardless of what you eat it with, you will enjoy it!
Ingredients
1/2 large papaya mashed + 1/2 cup chopped (1 whole fruit should suffice)
1 1/4 sticks butter (10 tablespoons), melted
2 cups self-raising flour
2 eggs
1 teaspoon vanilla extract
1 large banana, mashed
1/2 cup pecans, toasted and roughly chopped
1 teaspoon baking powder
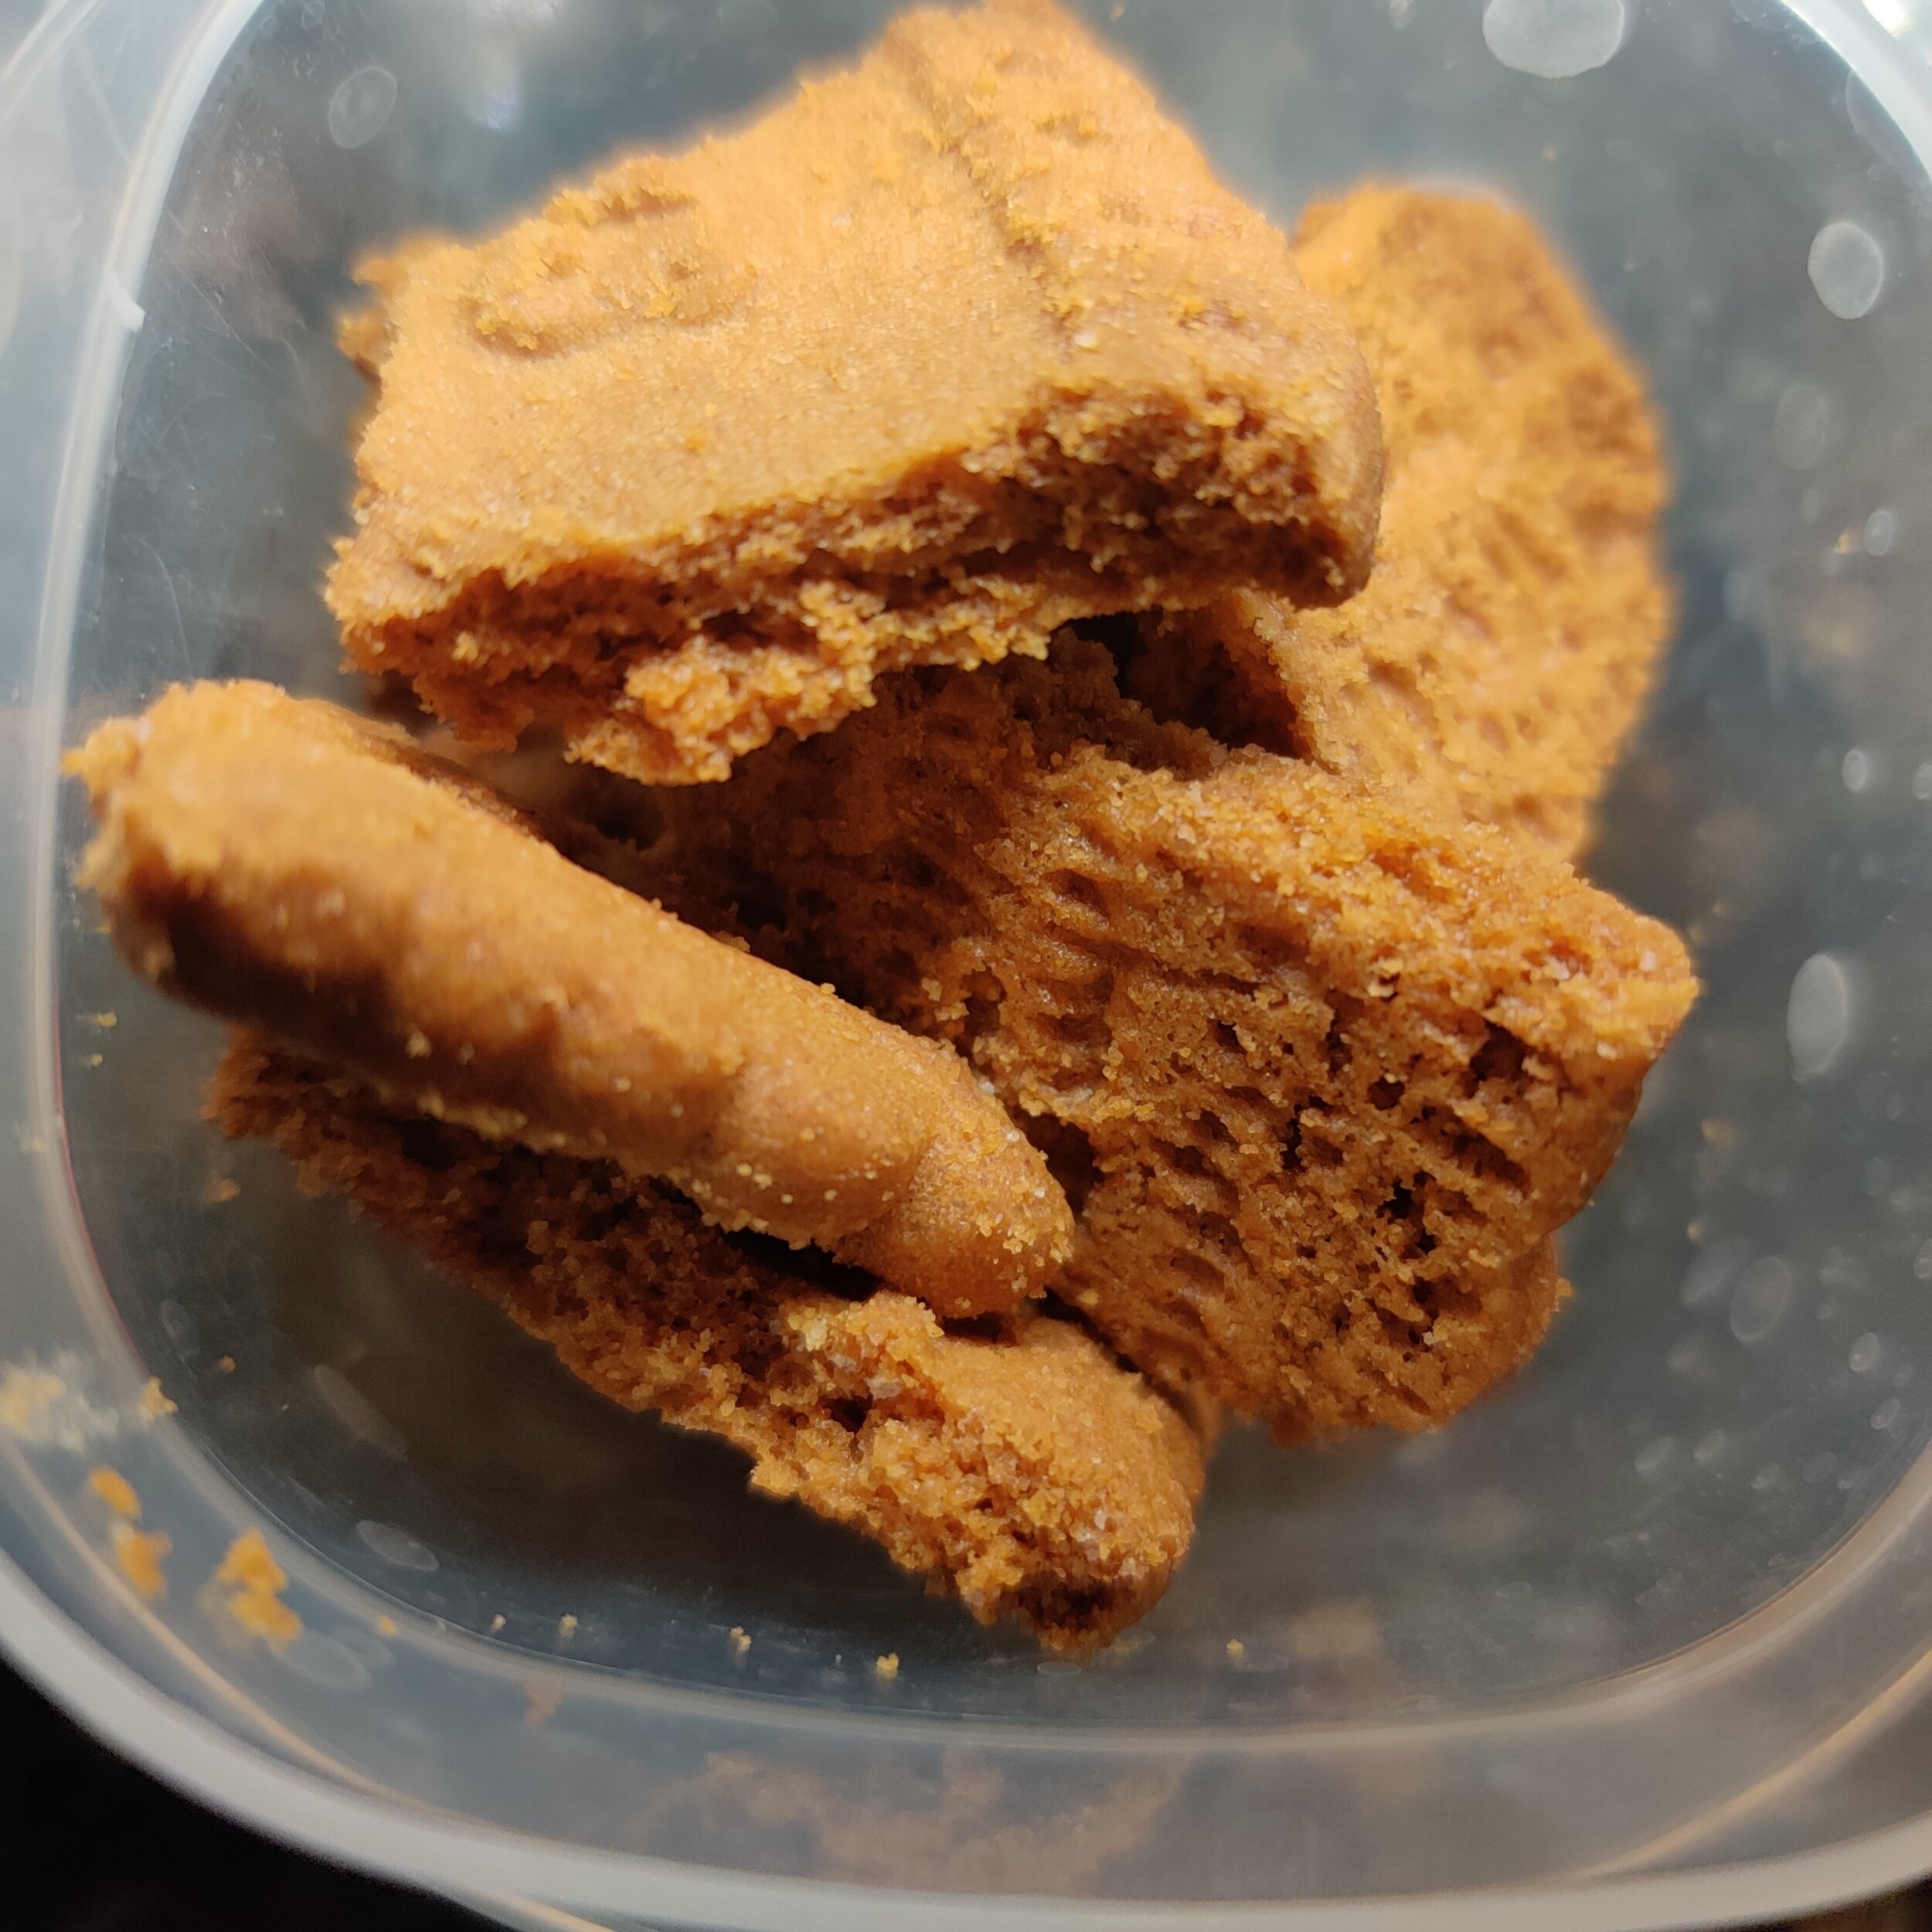
1/2 cup light brown sugar
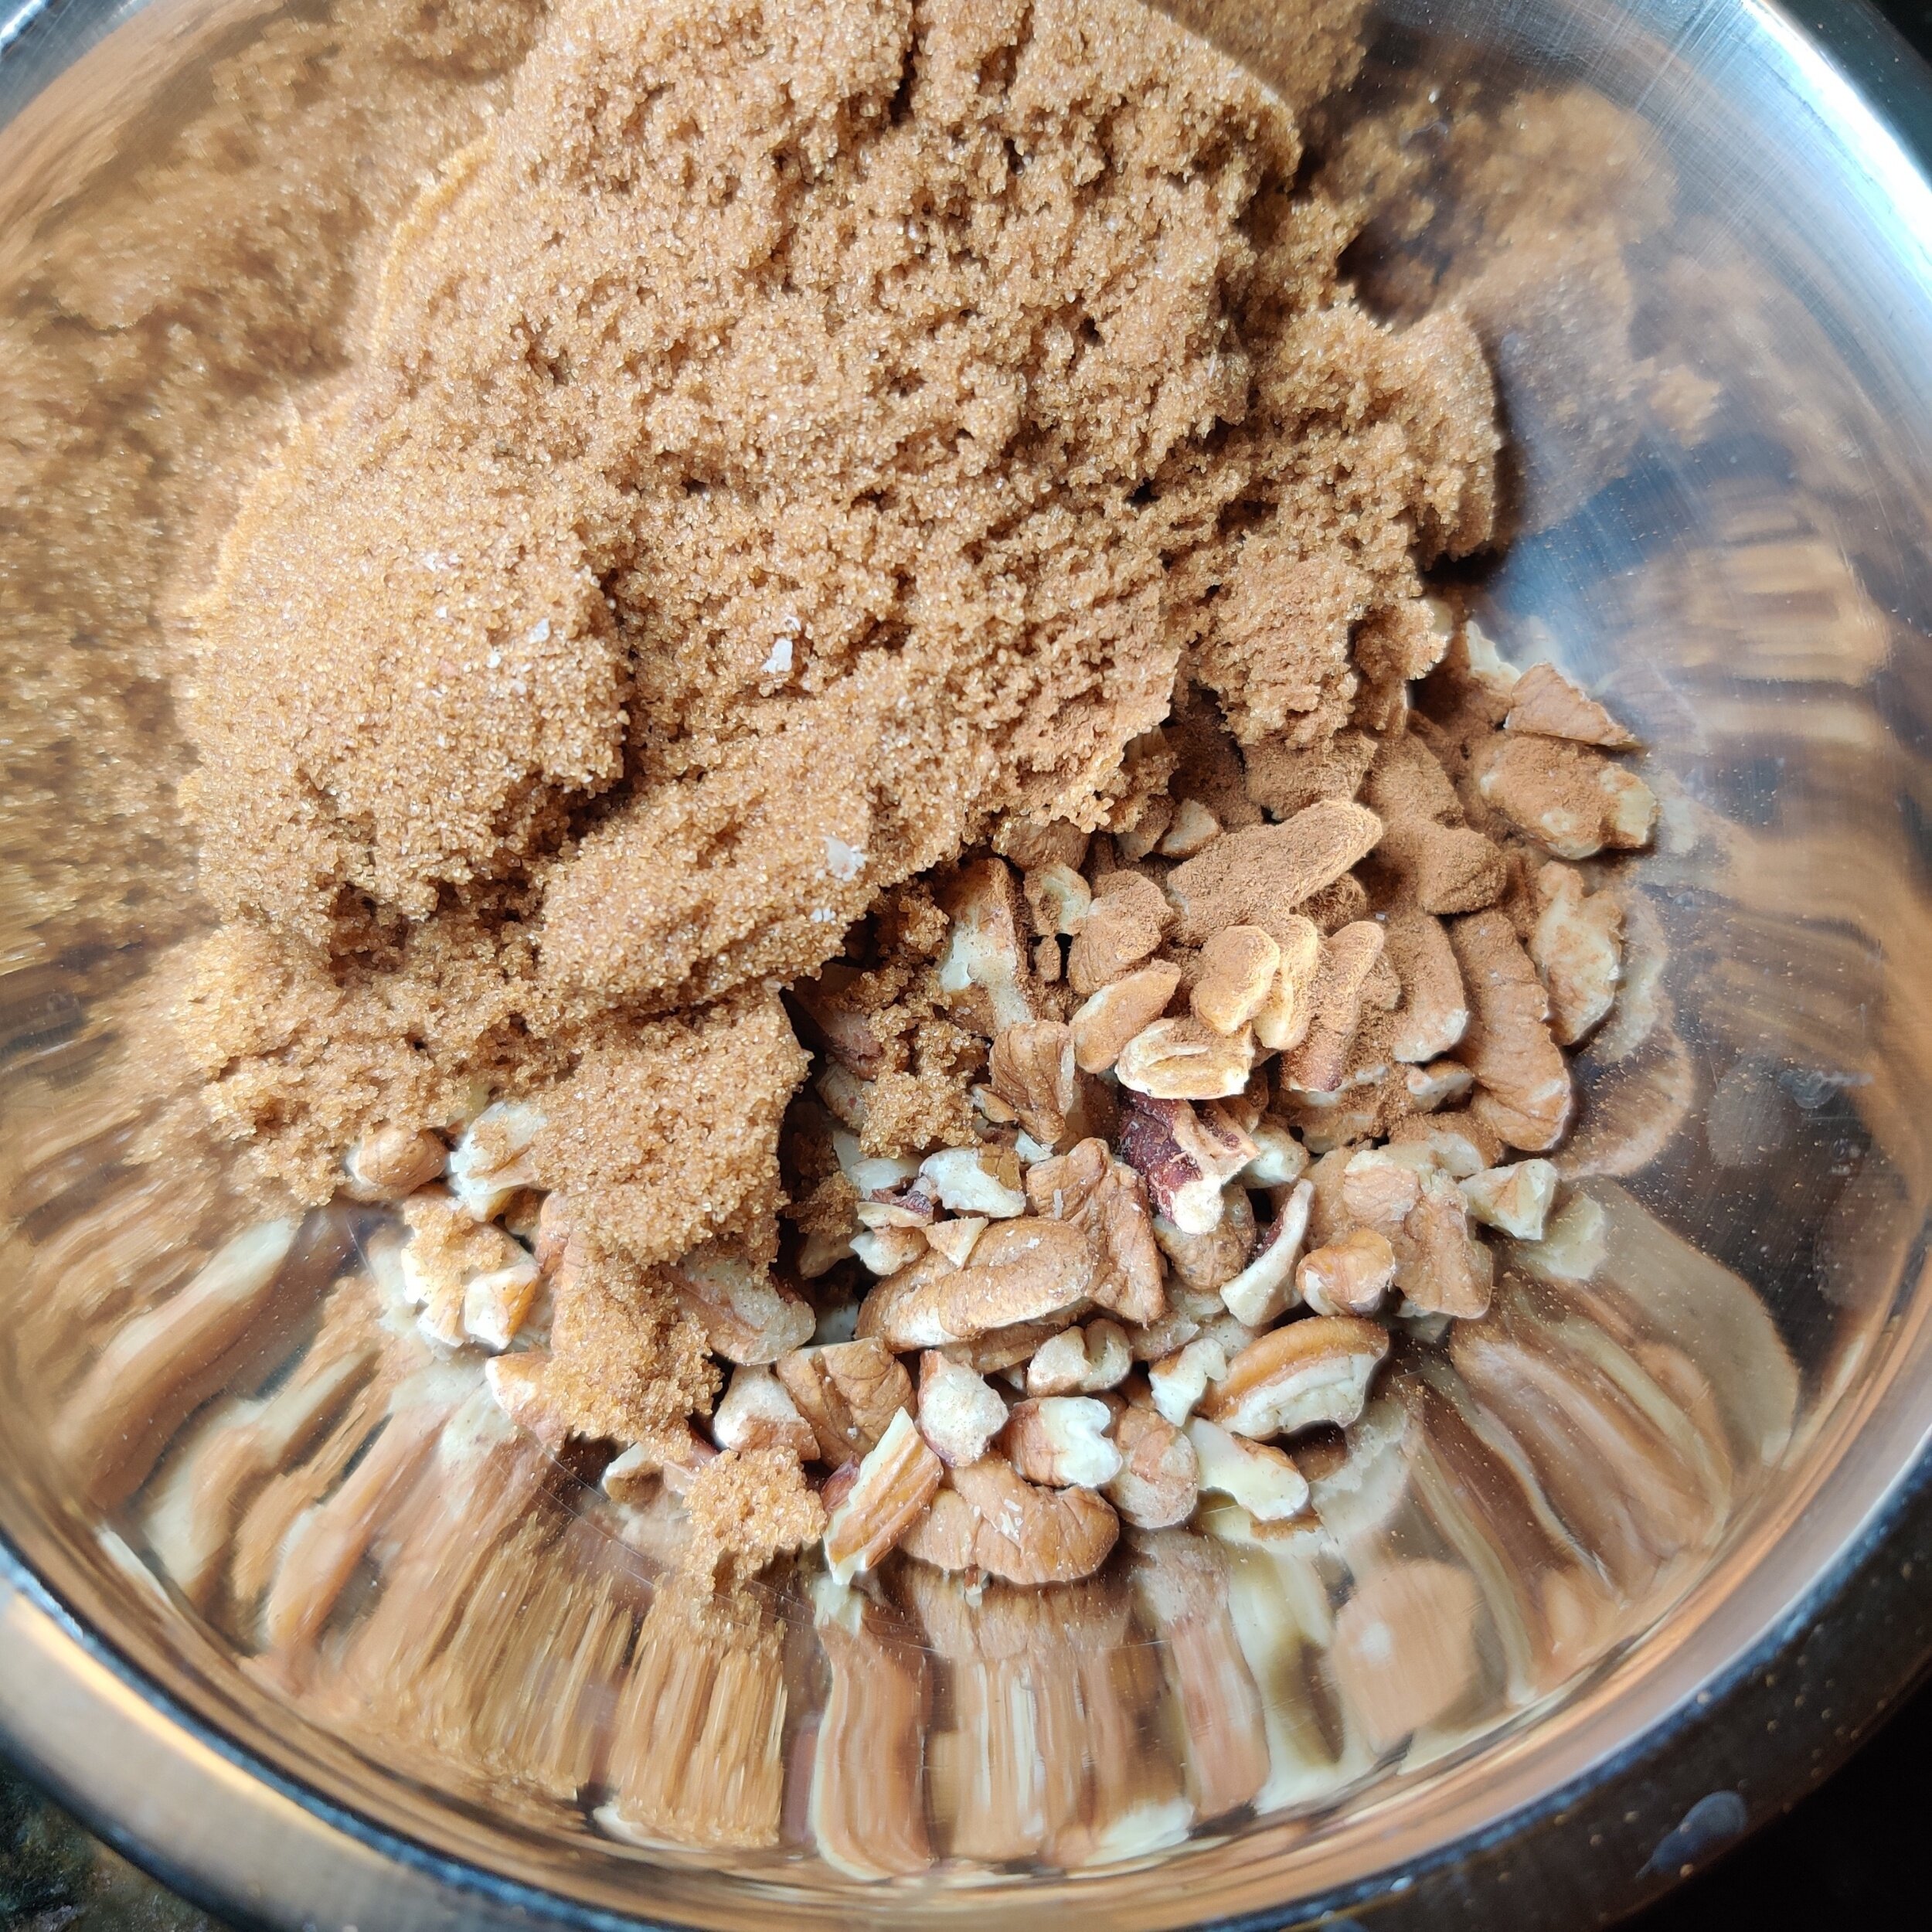
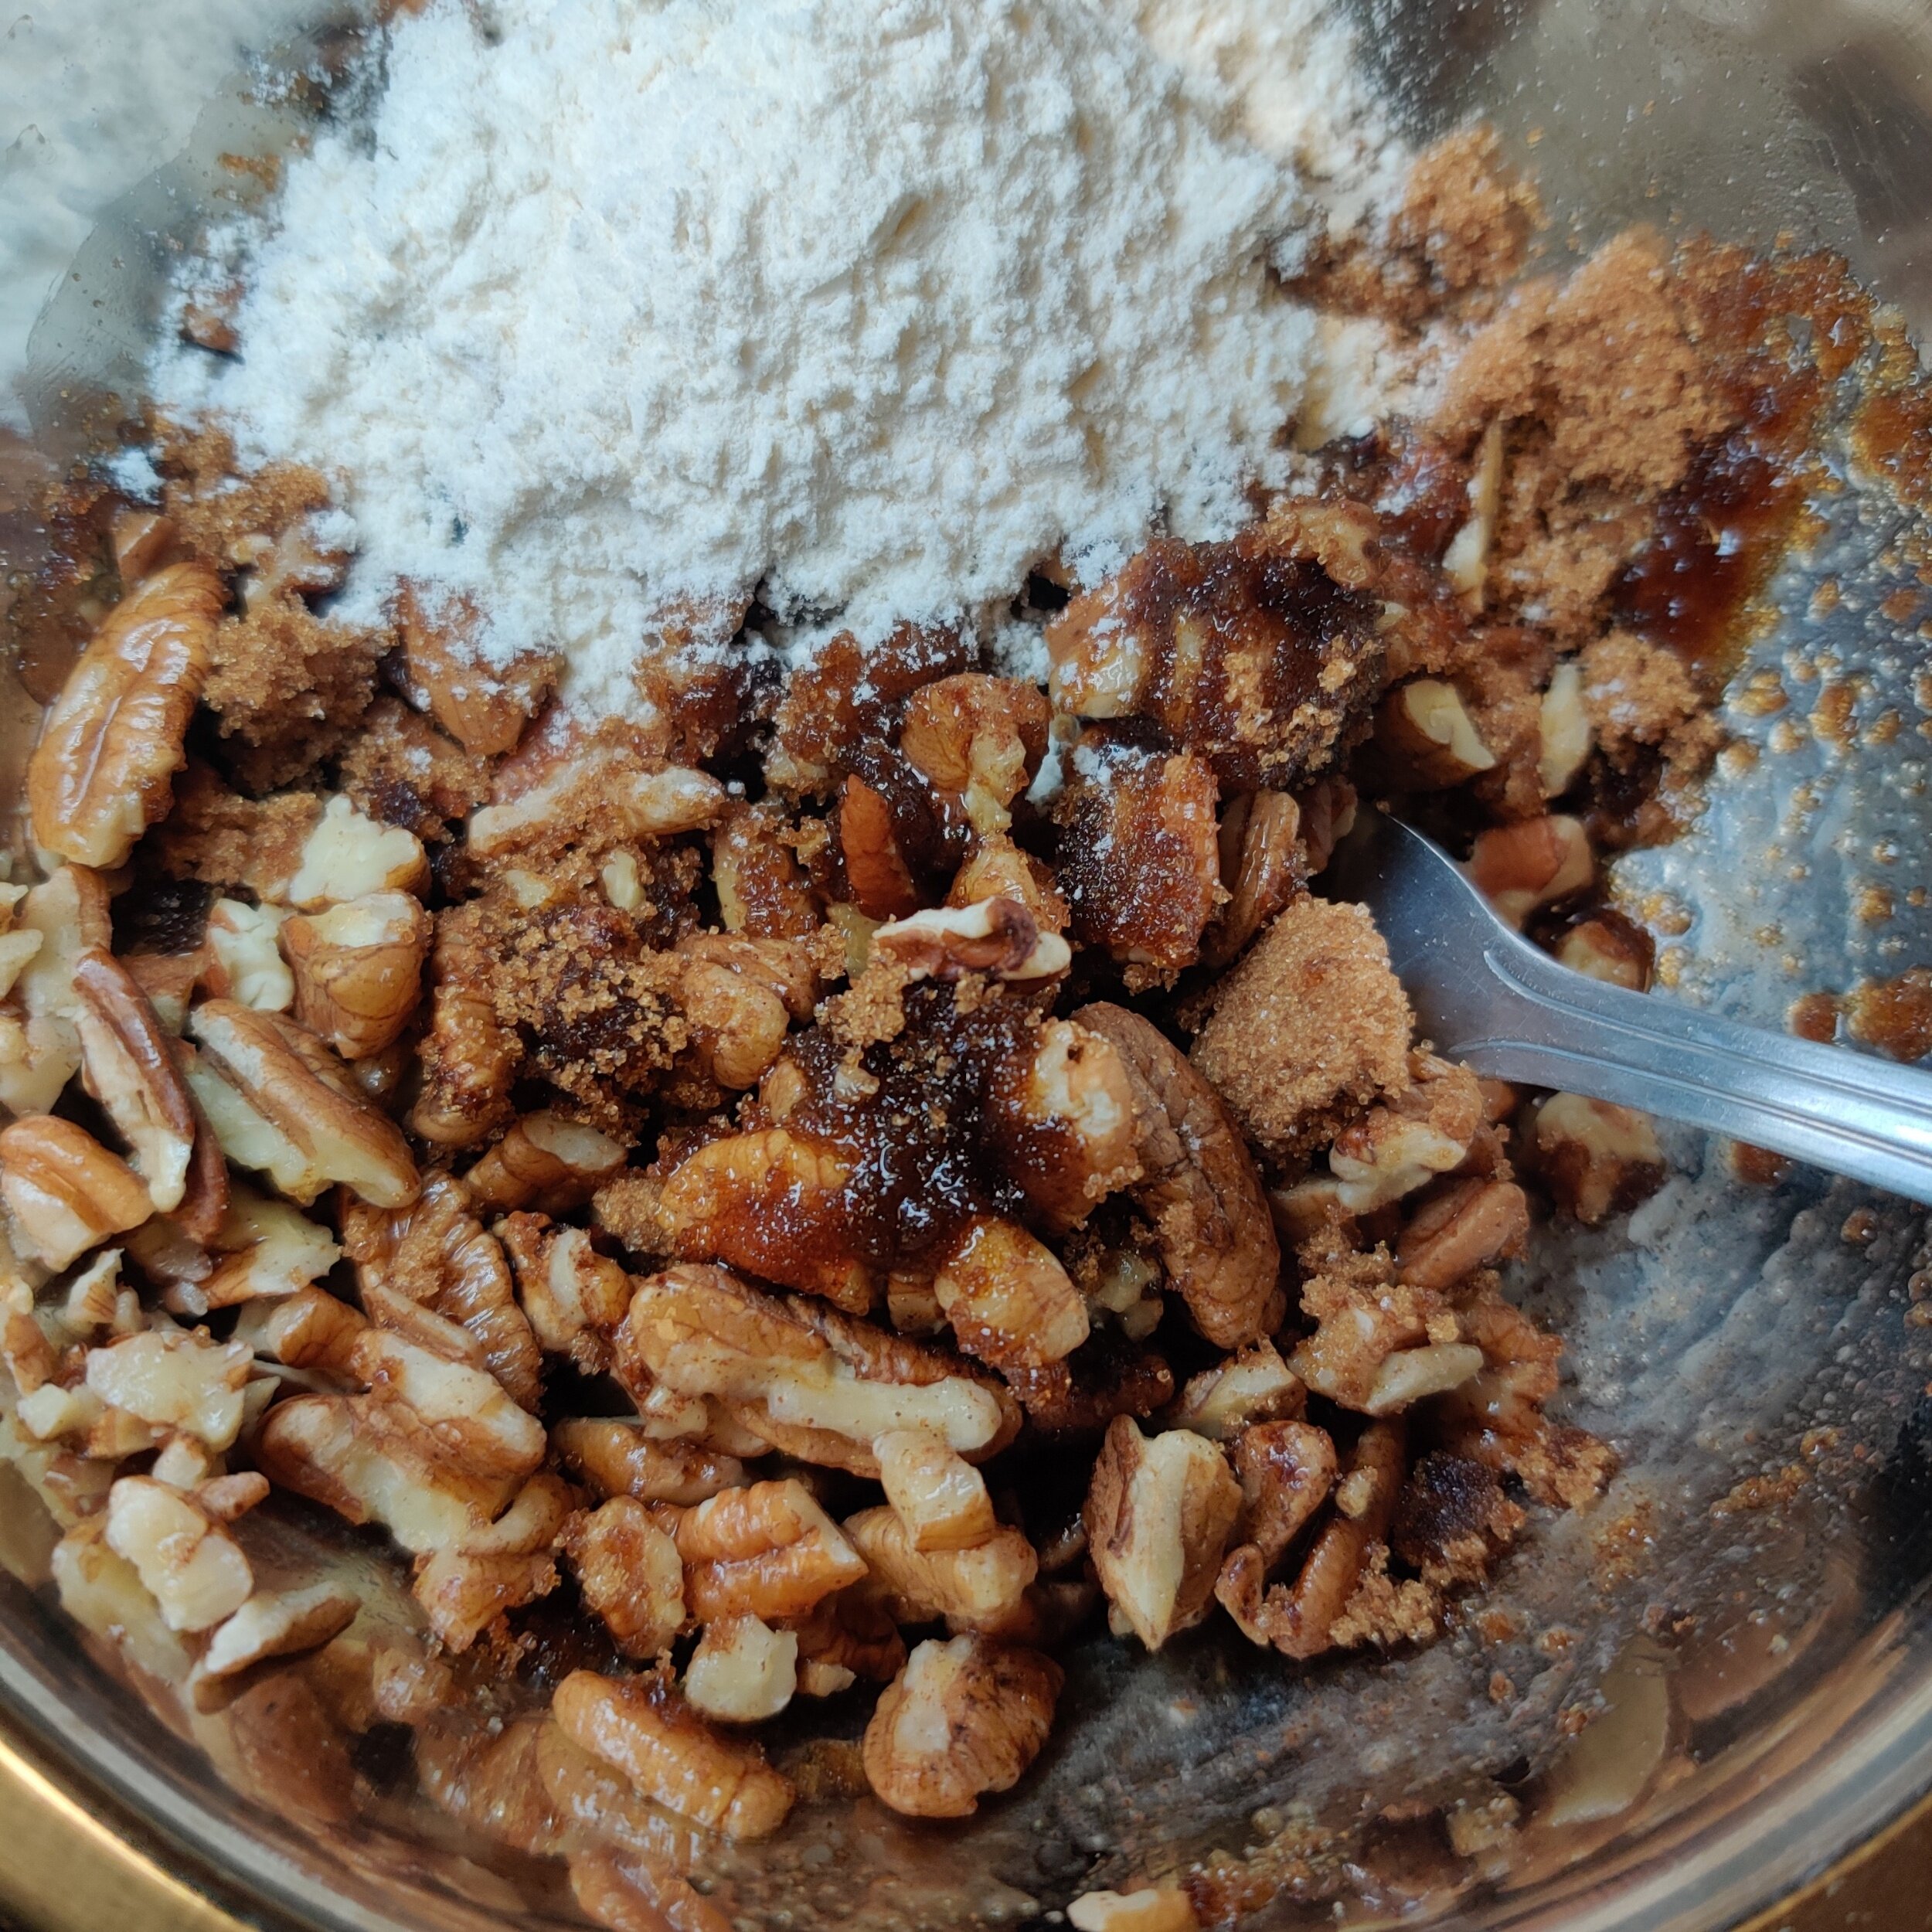
Streusel:
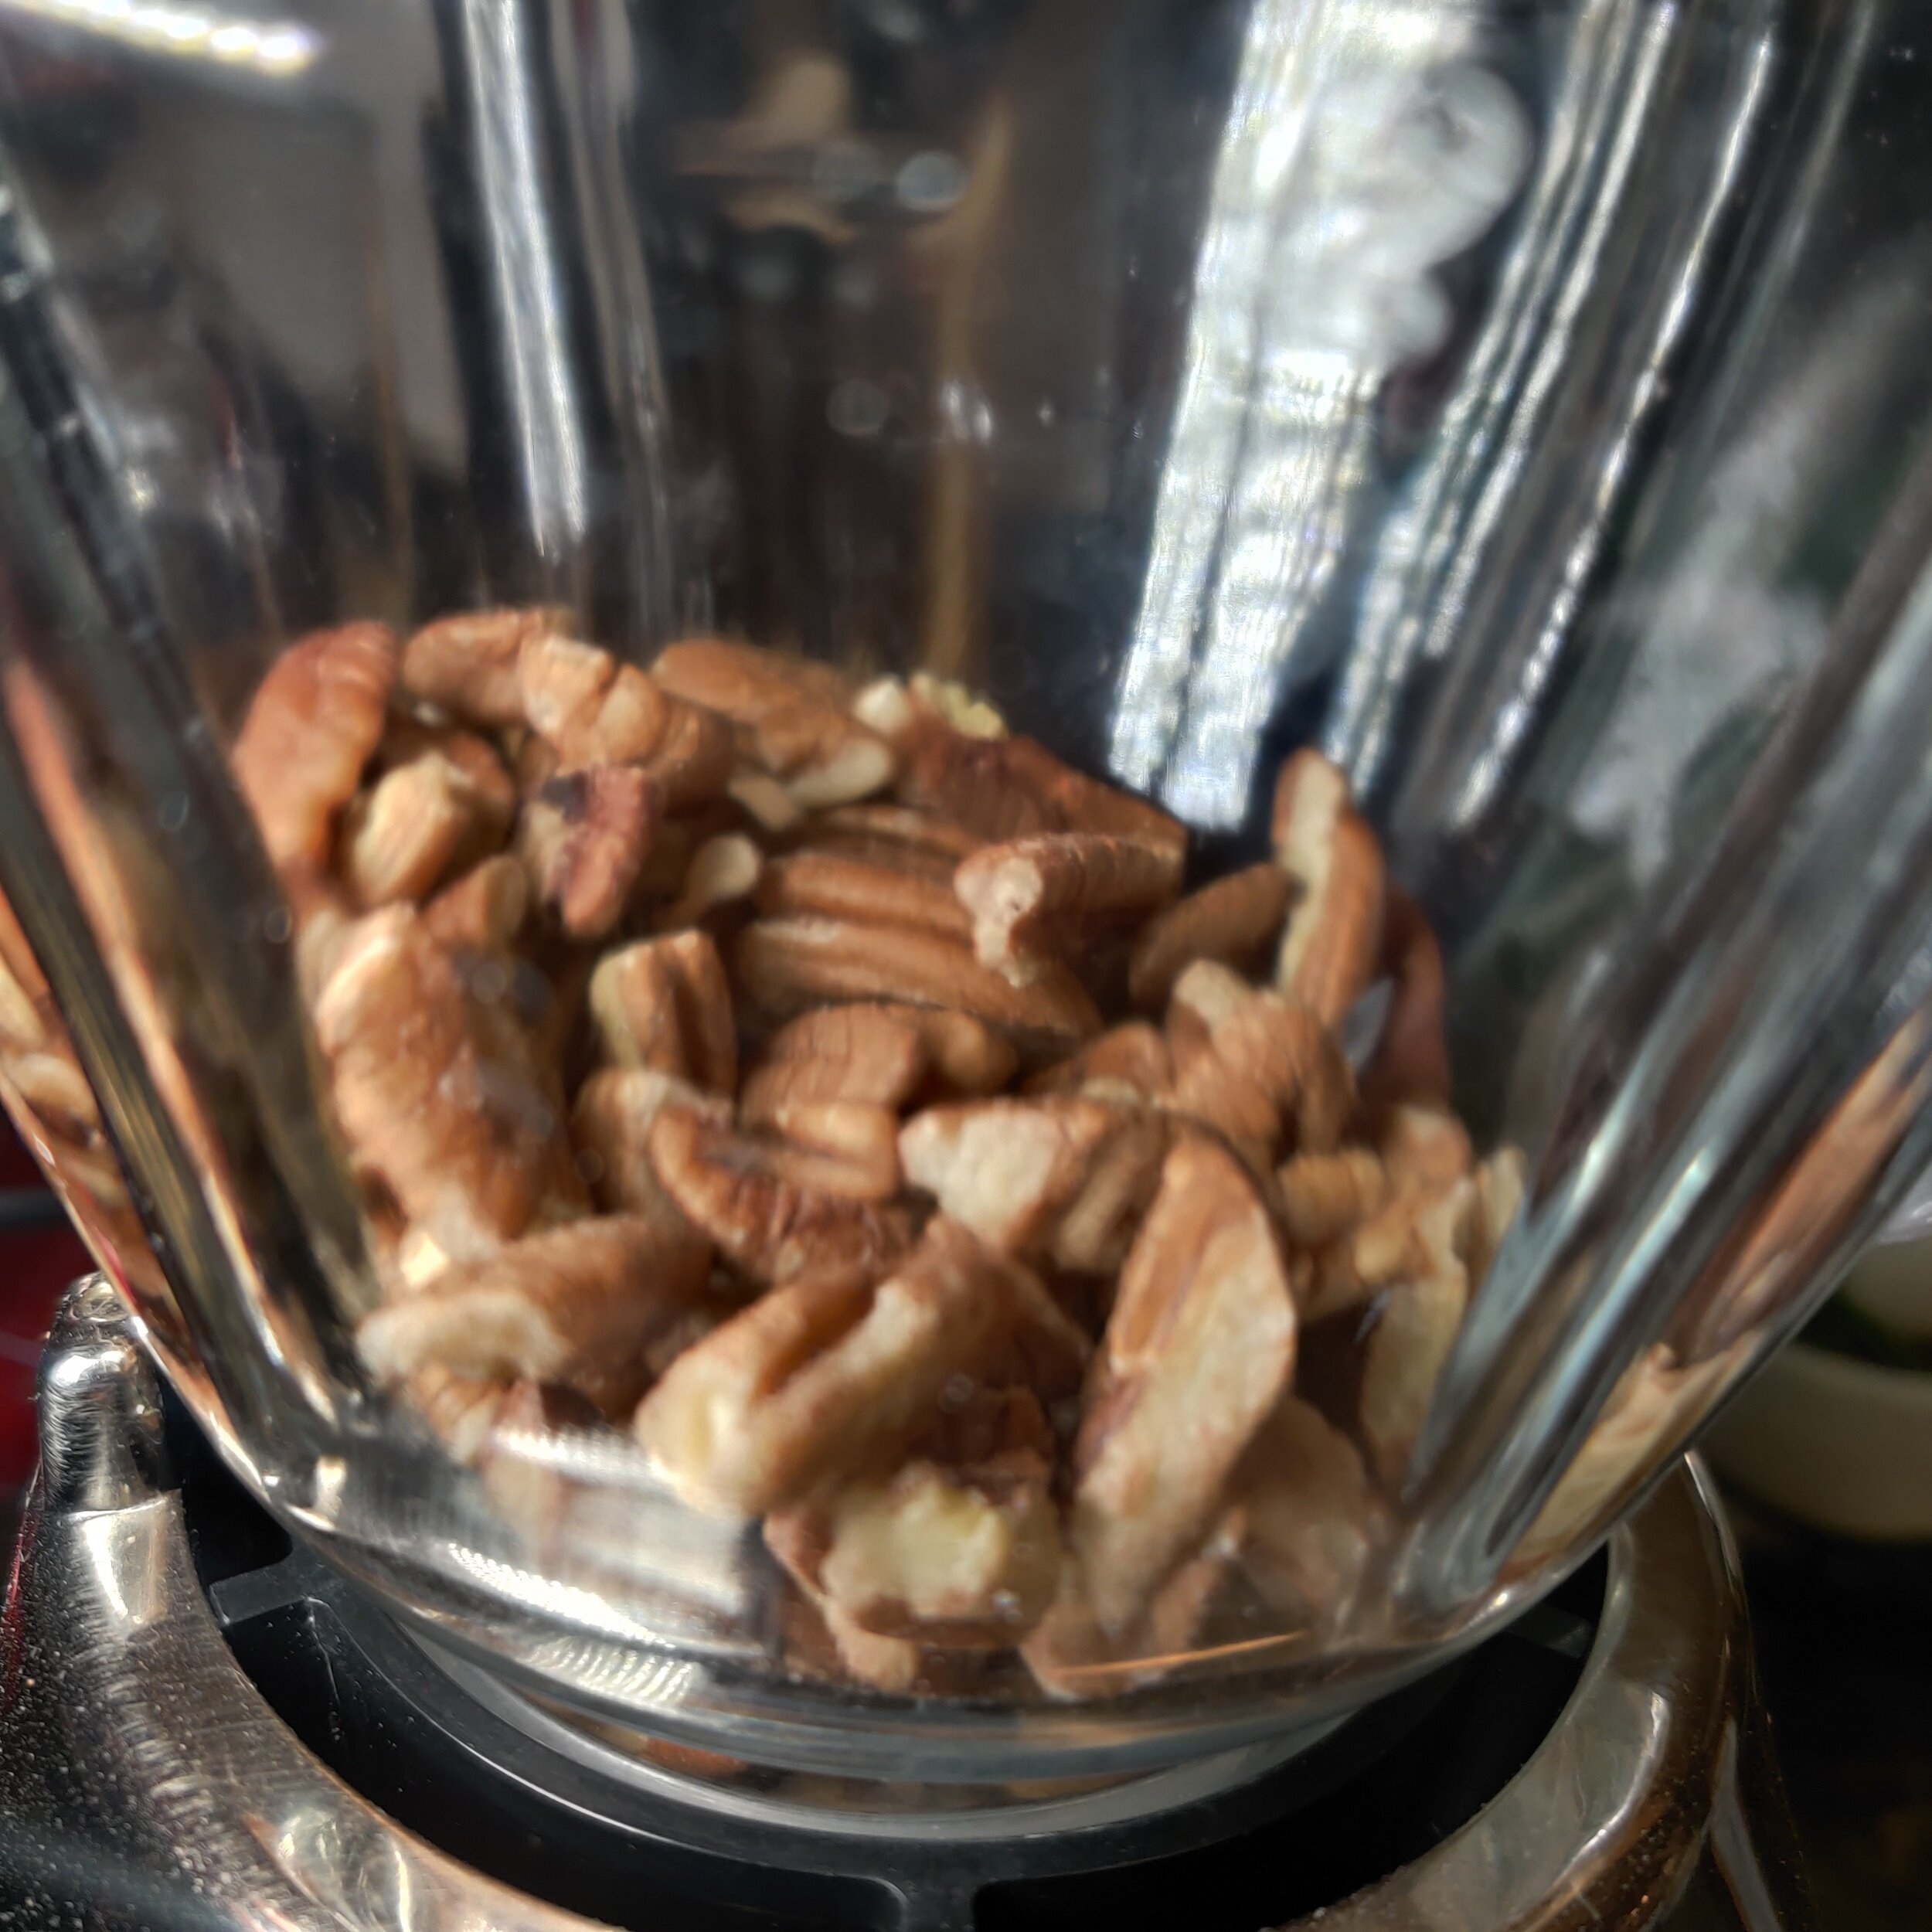
3/4 cup pecans, roughly chopped
1 tablespoon all-purpose flour
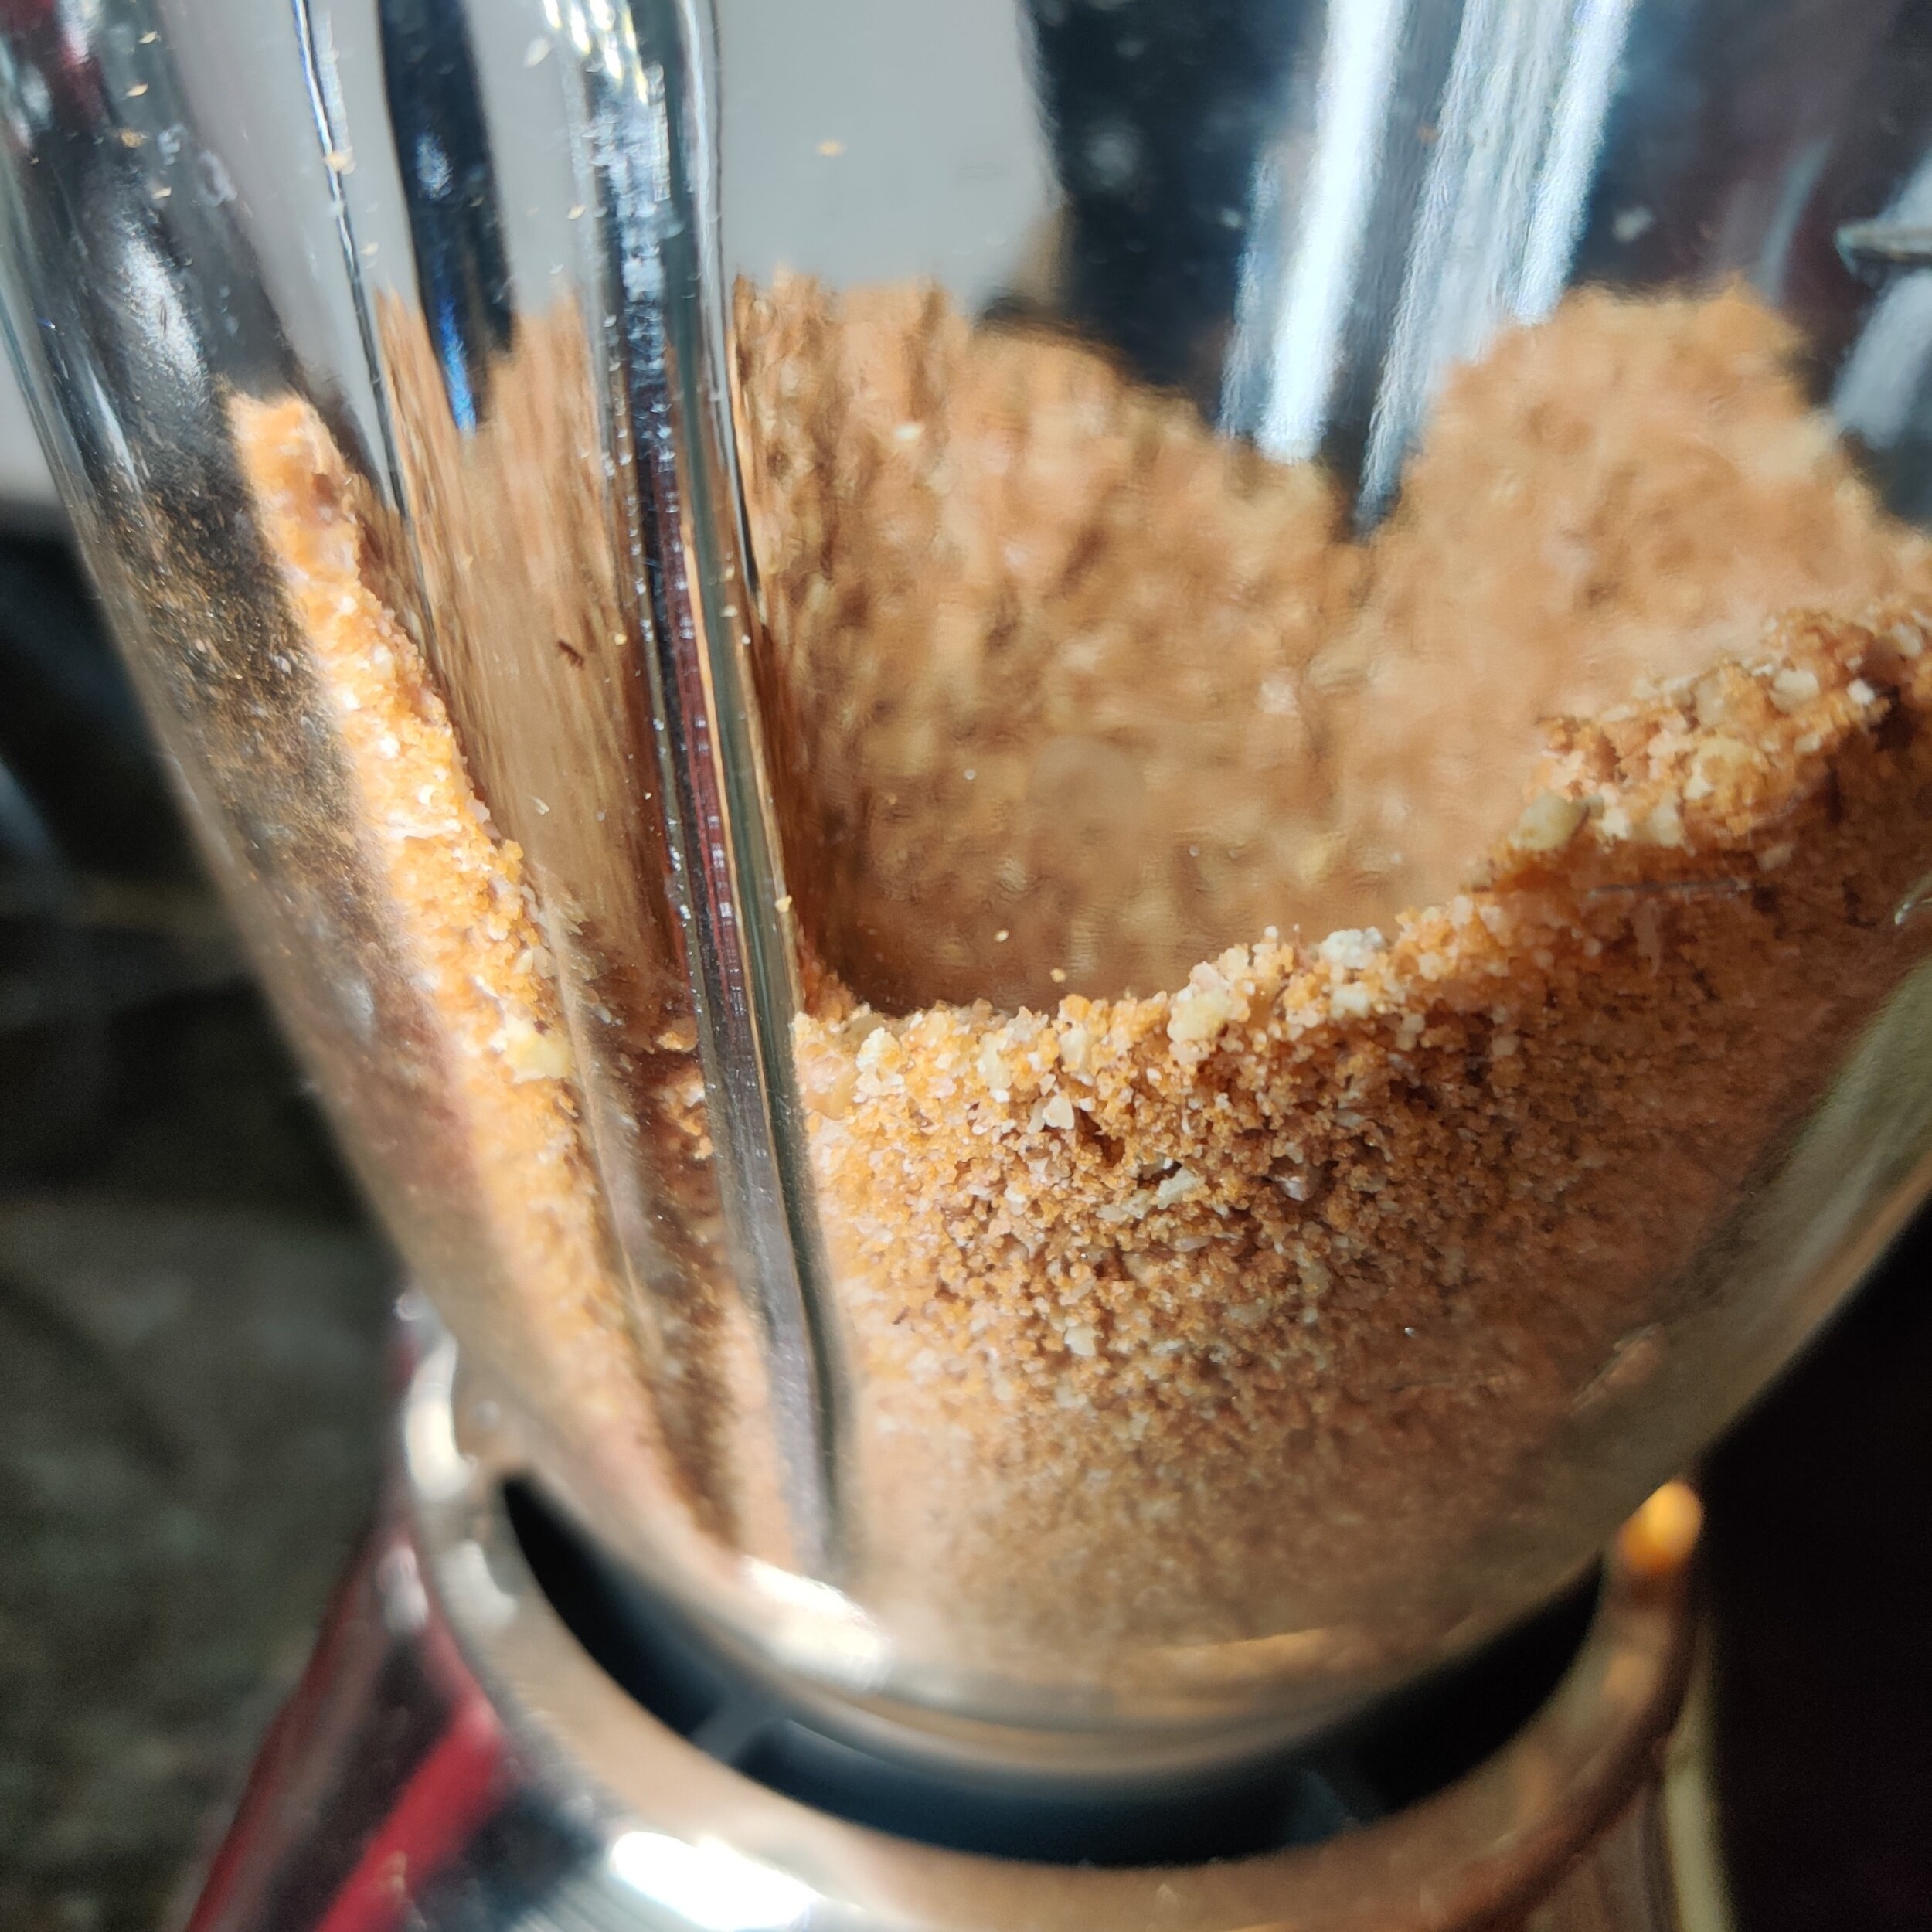
1/4 cup dark brown sugar
1 tablespoon cinnamon
2 tablespoons butter
Instructions
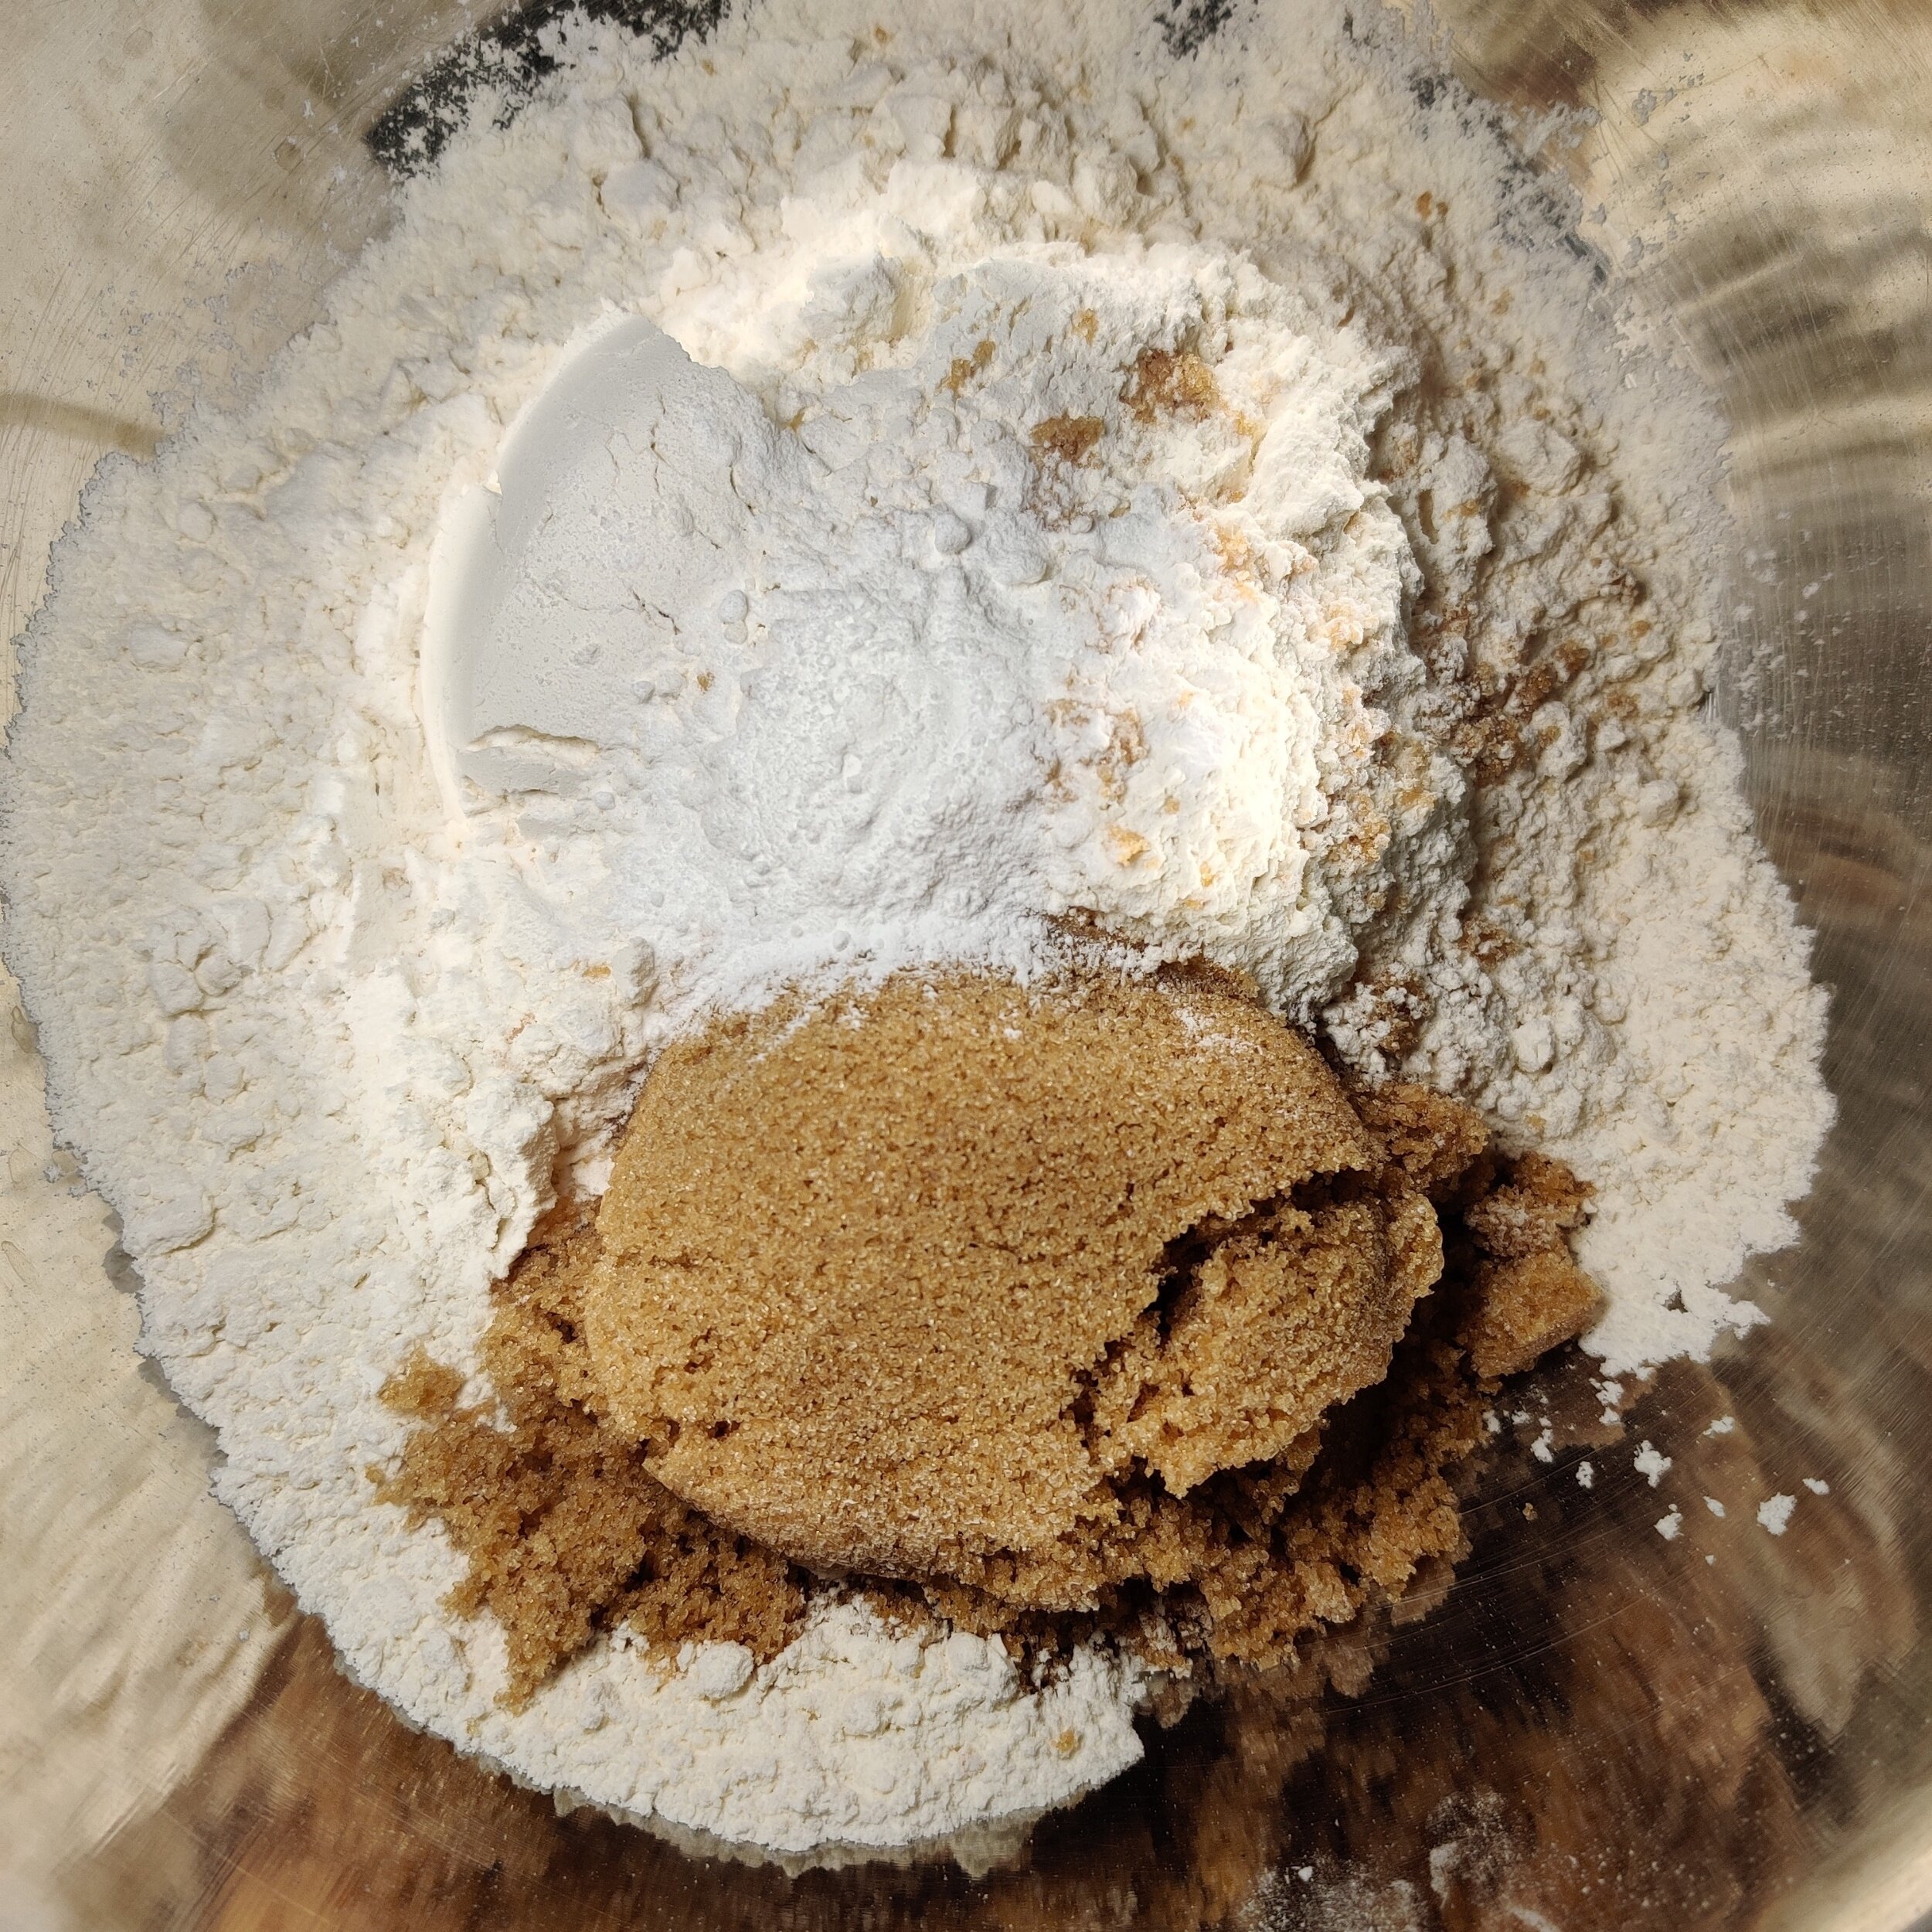
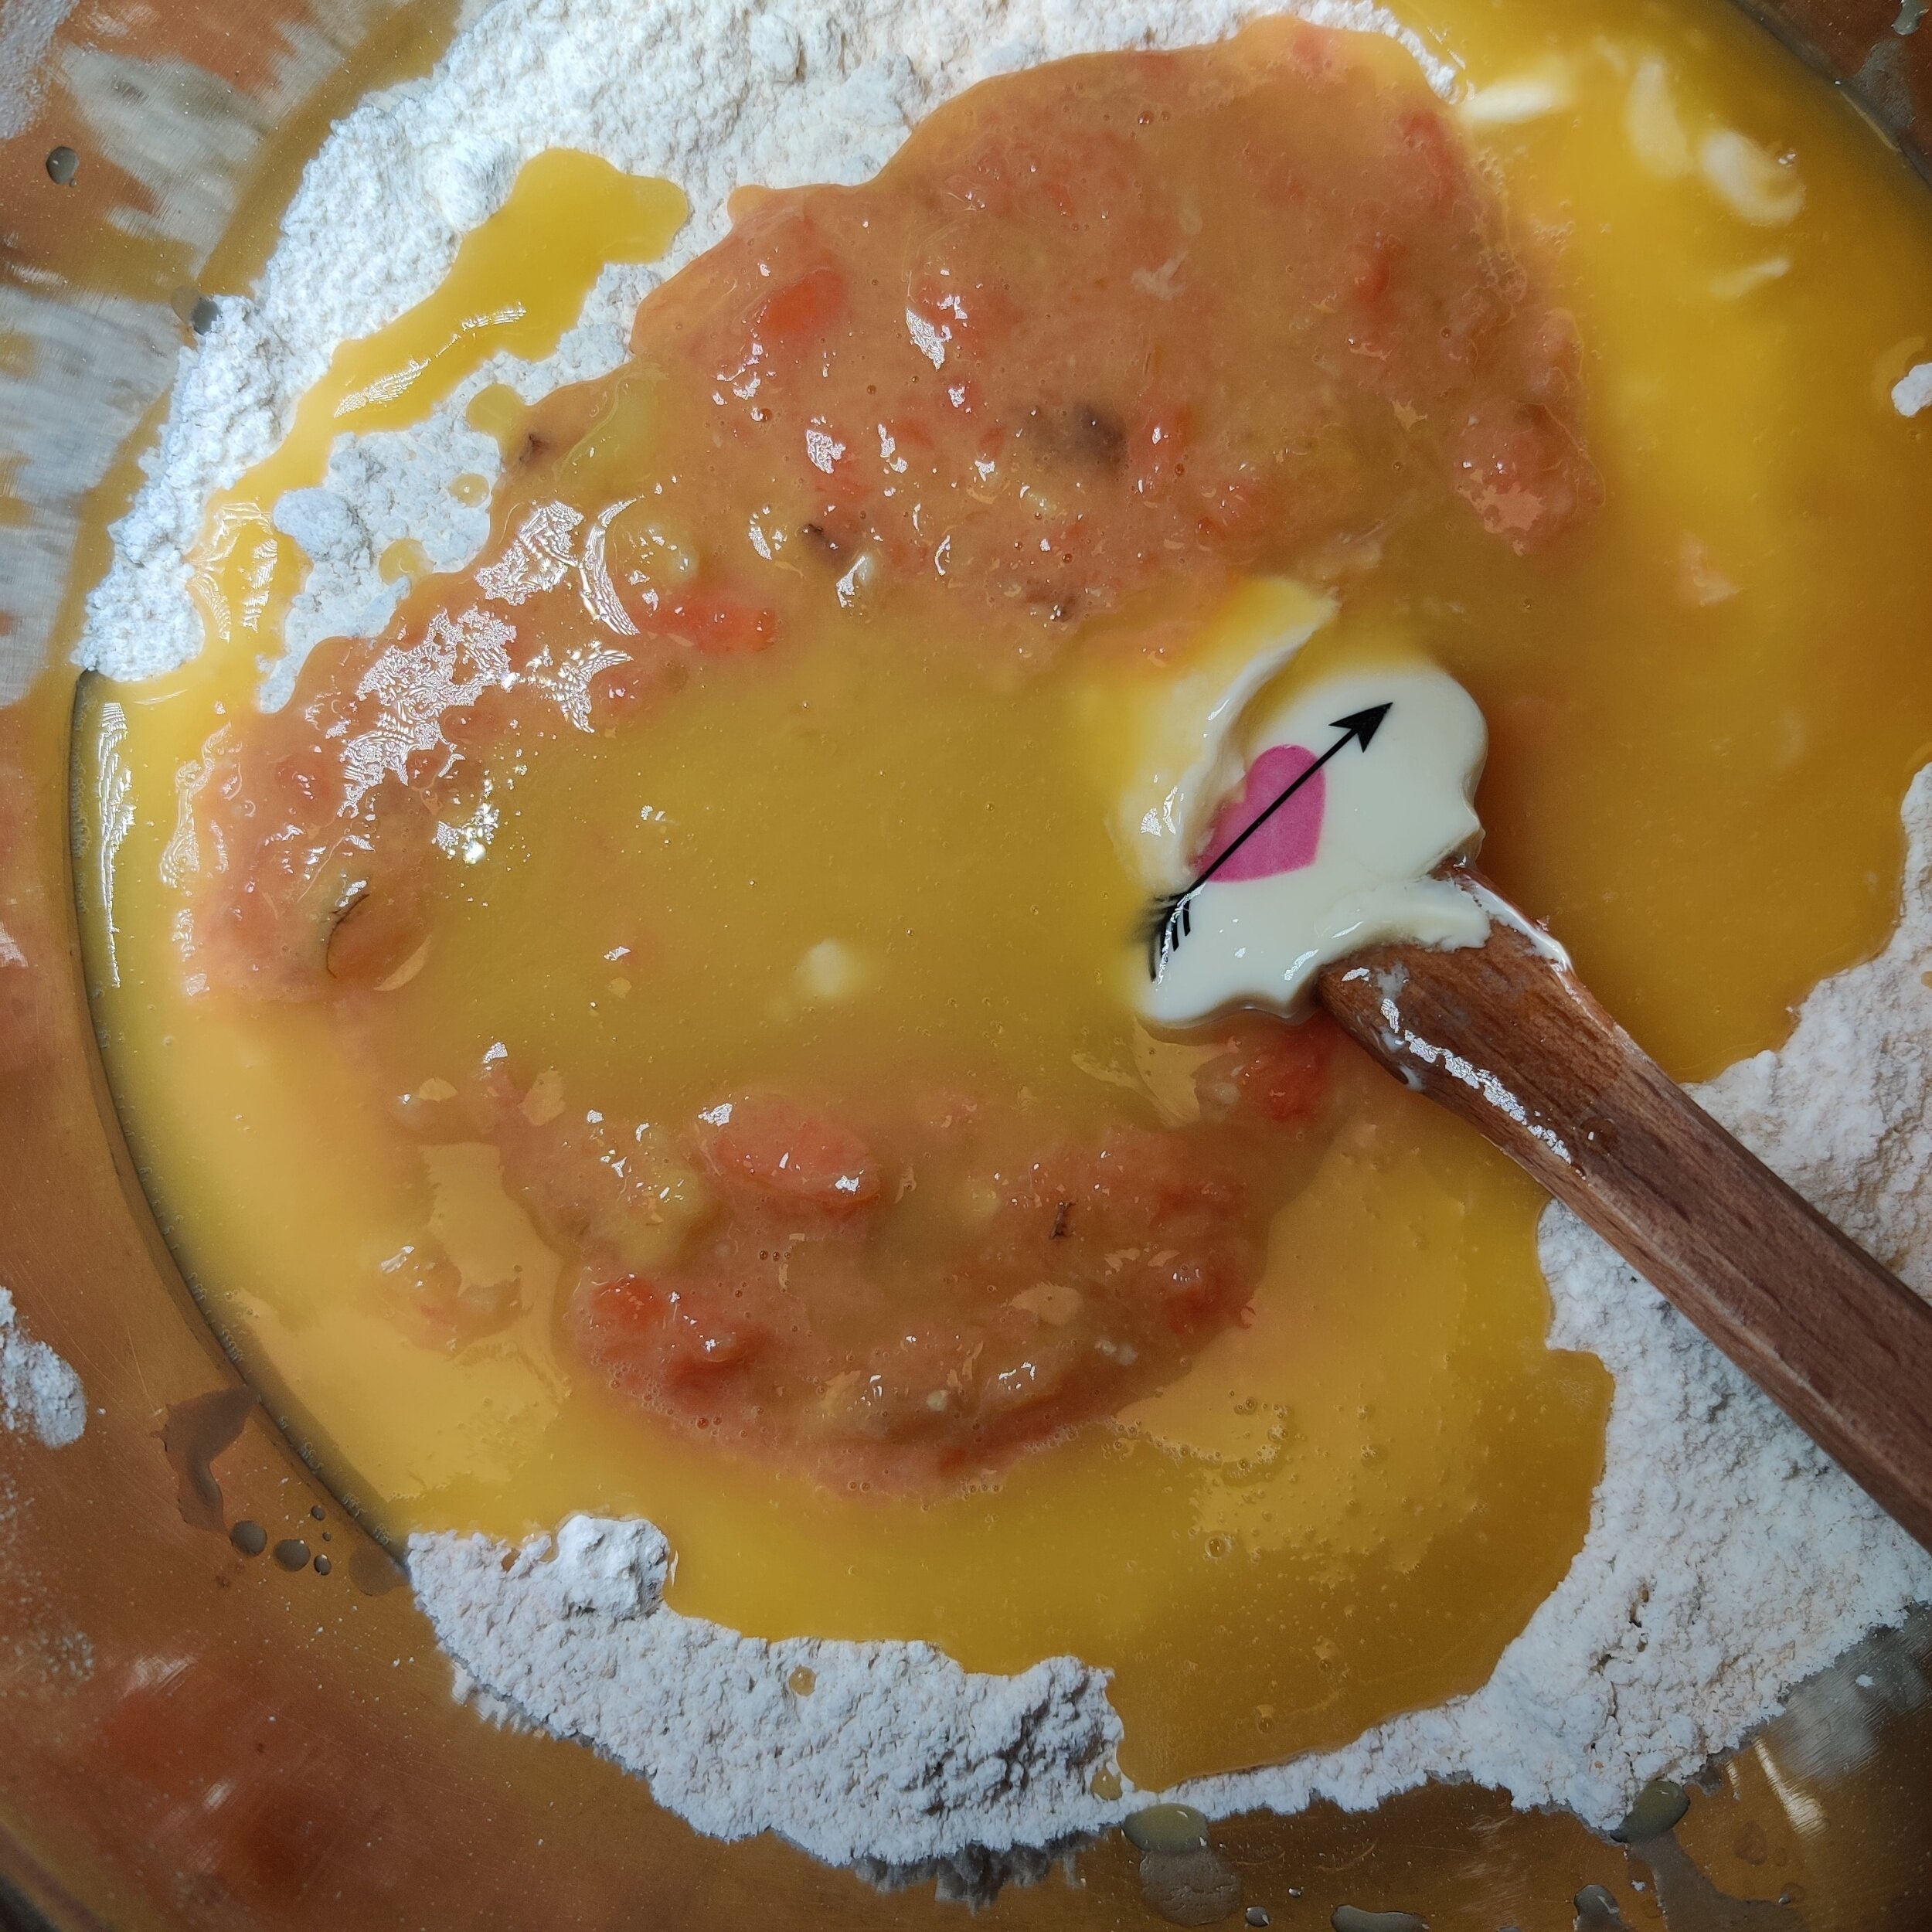
In a large bowl, whisk the flour, baking powder and light brown sugar, set aside.
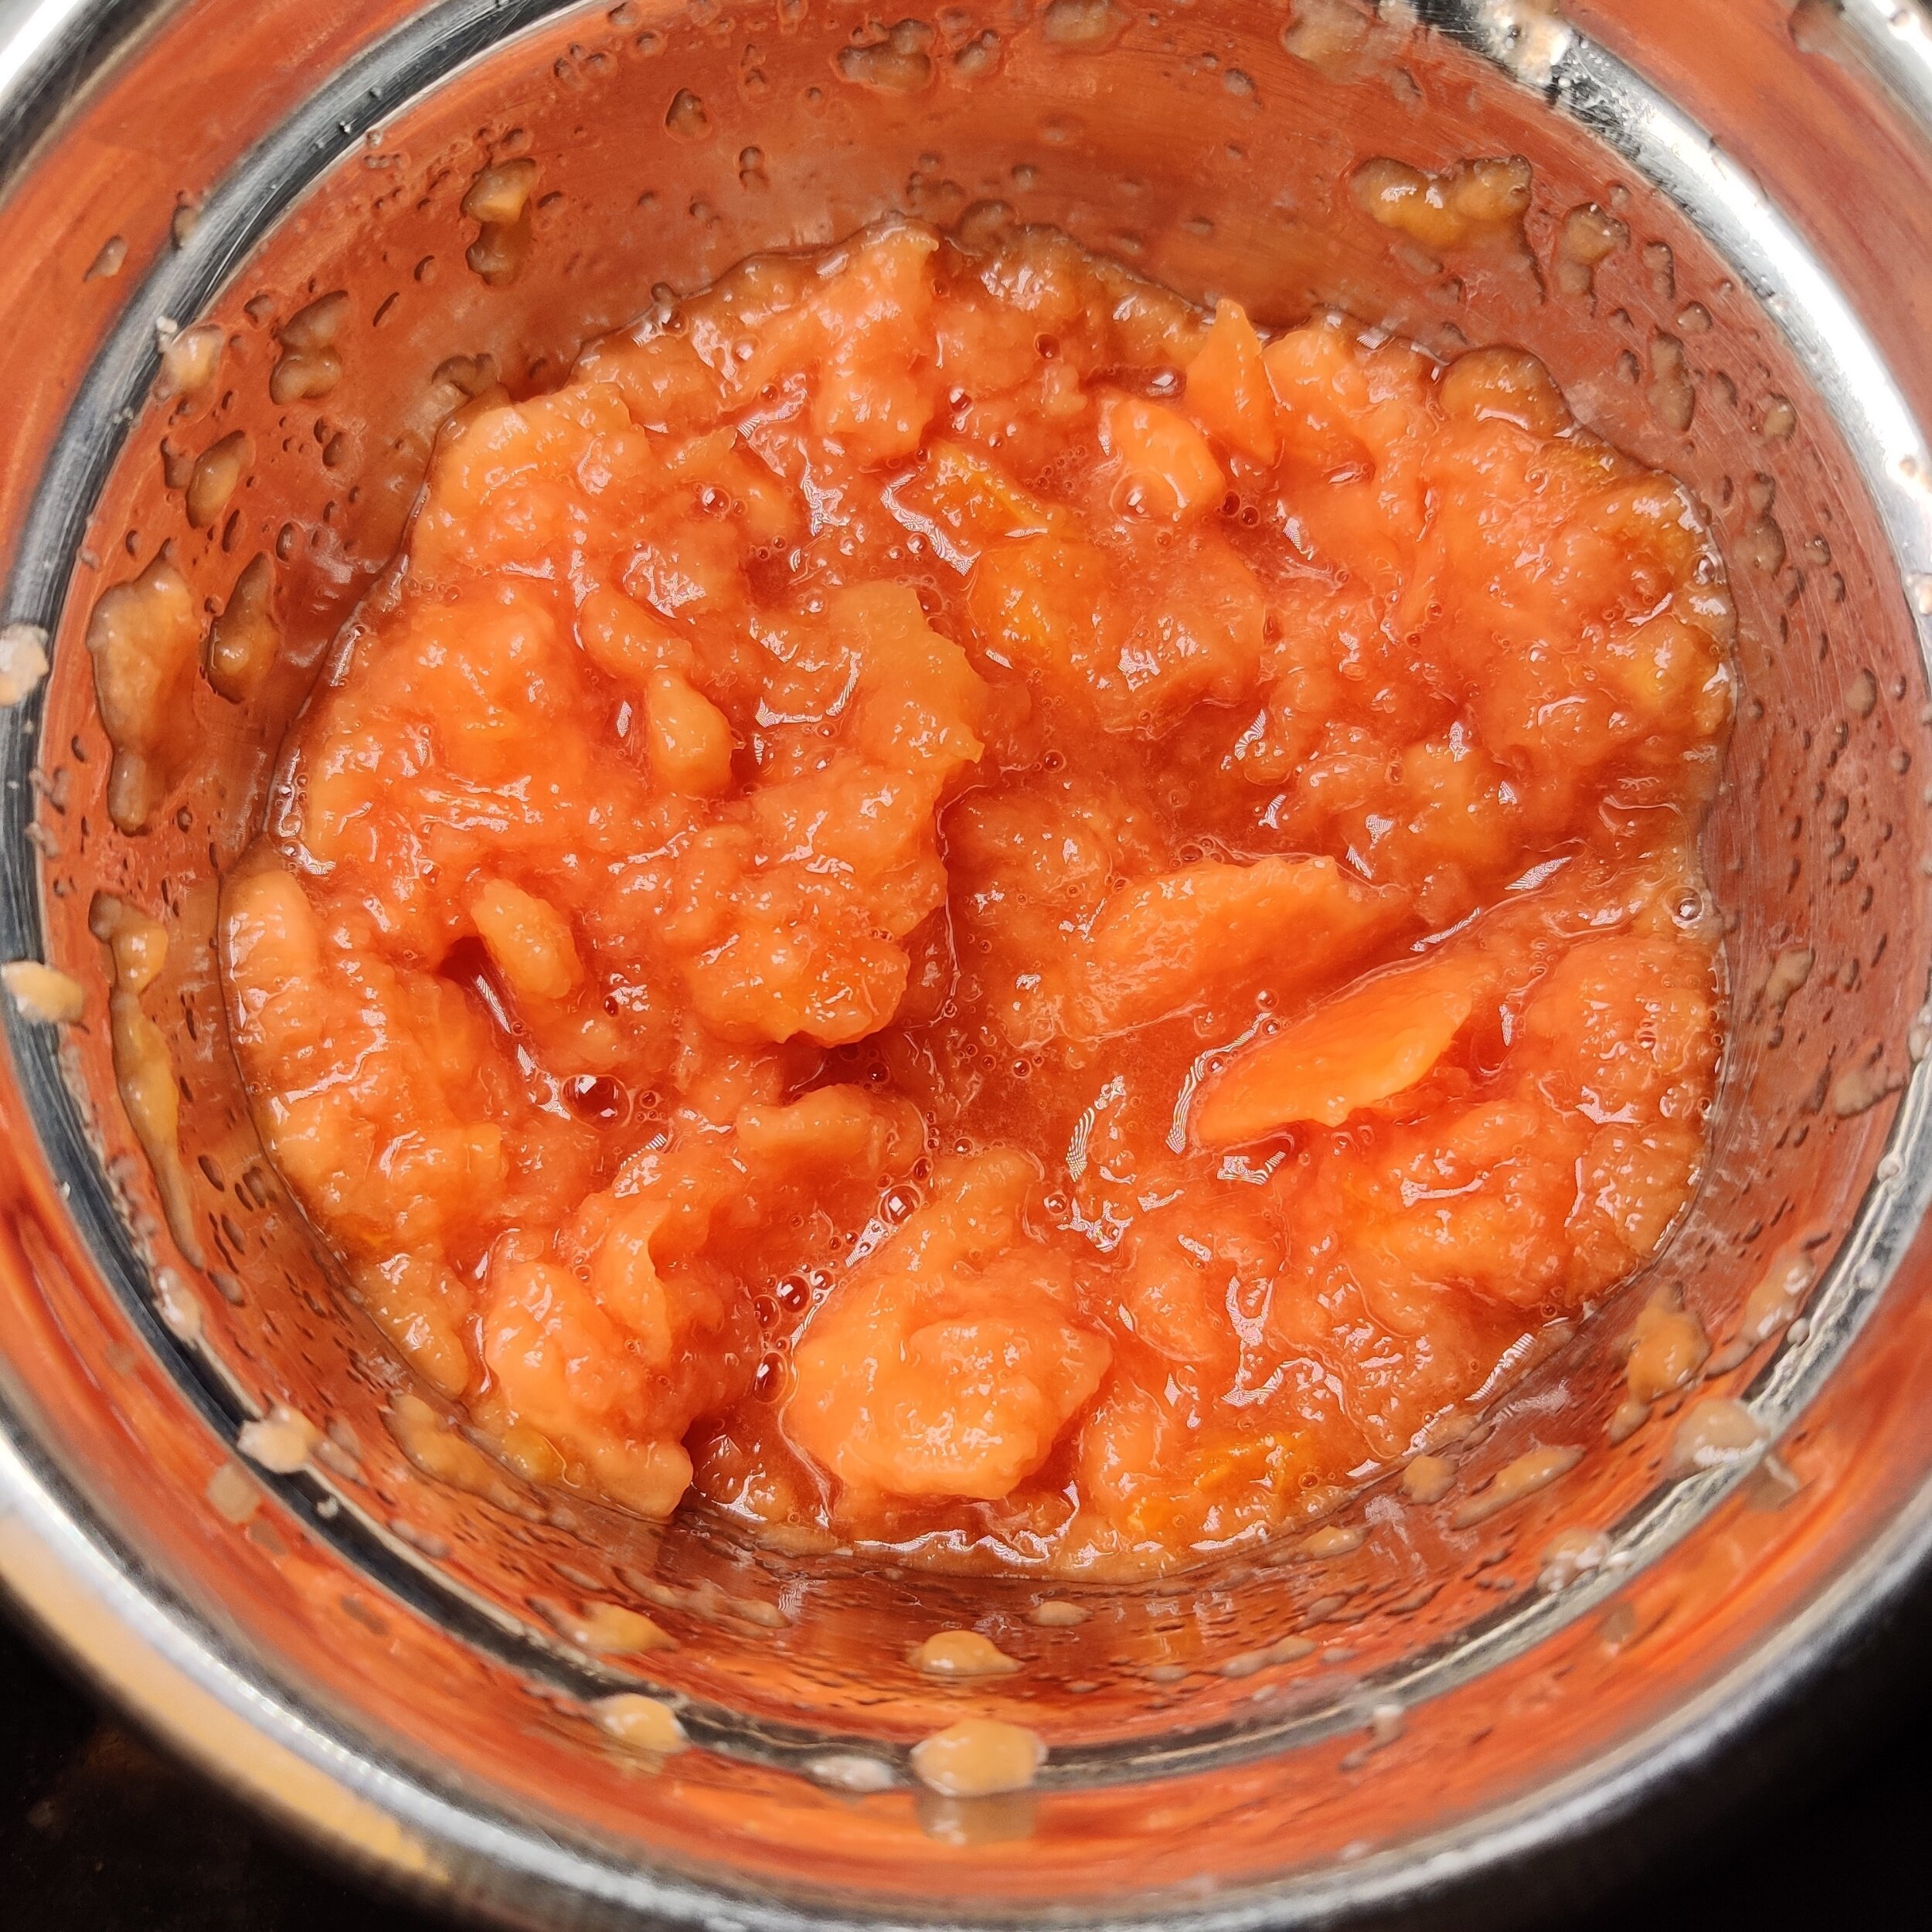
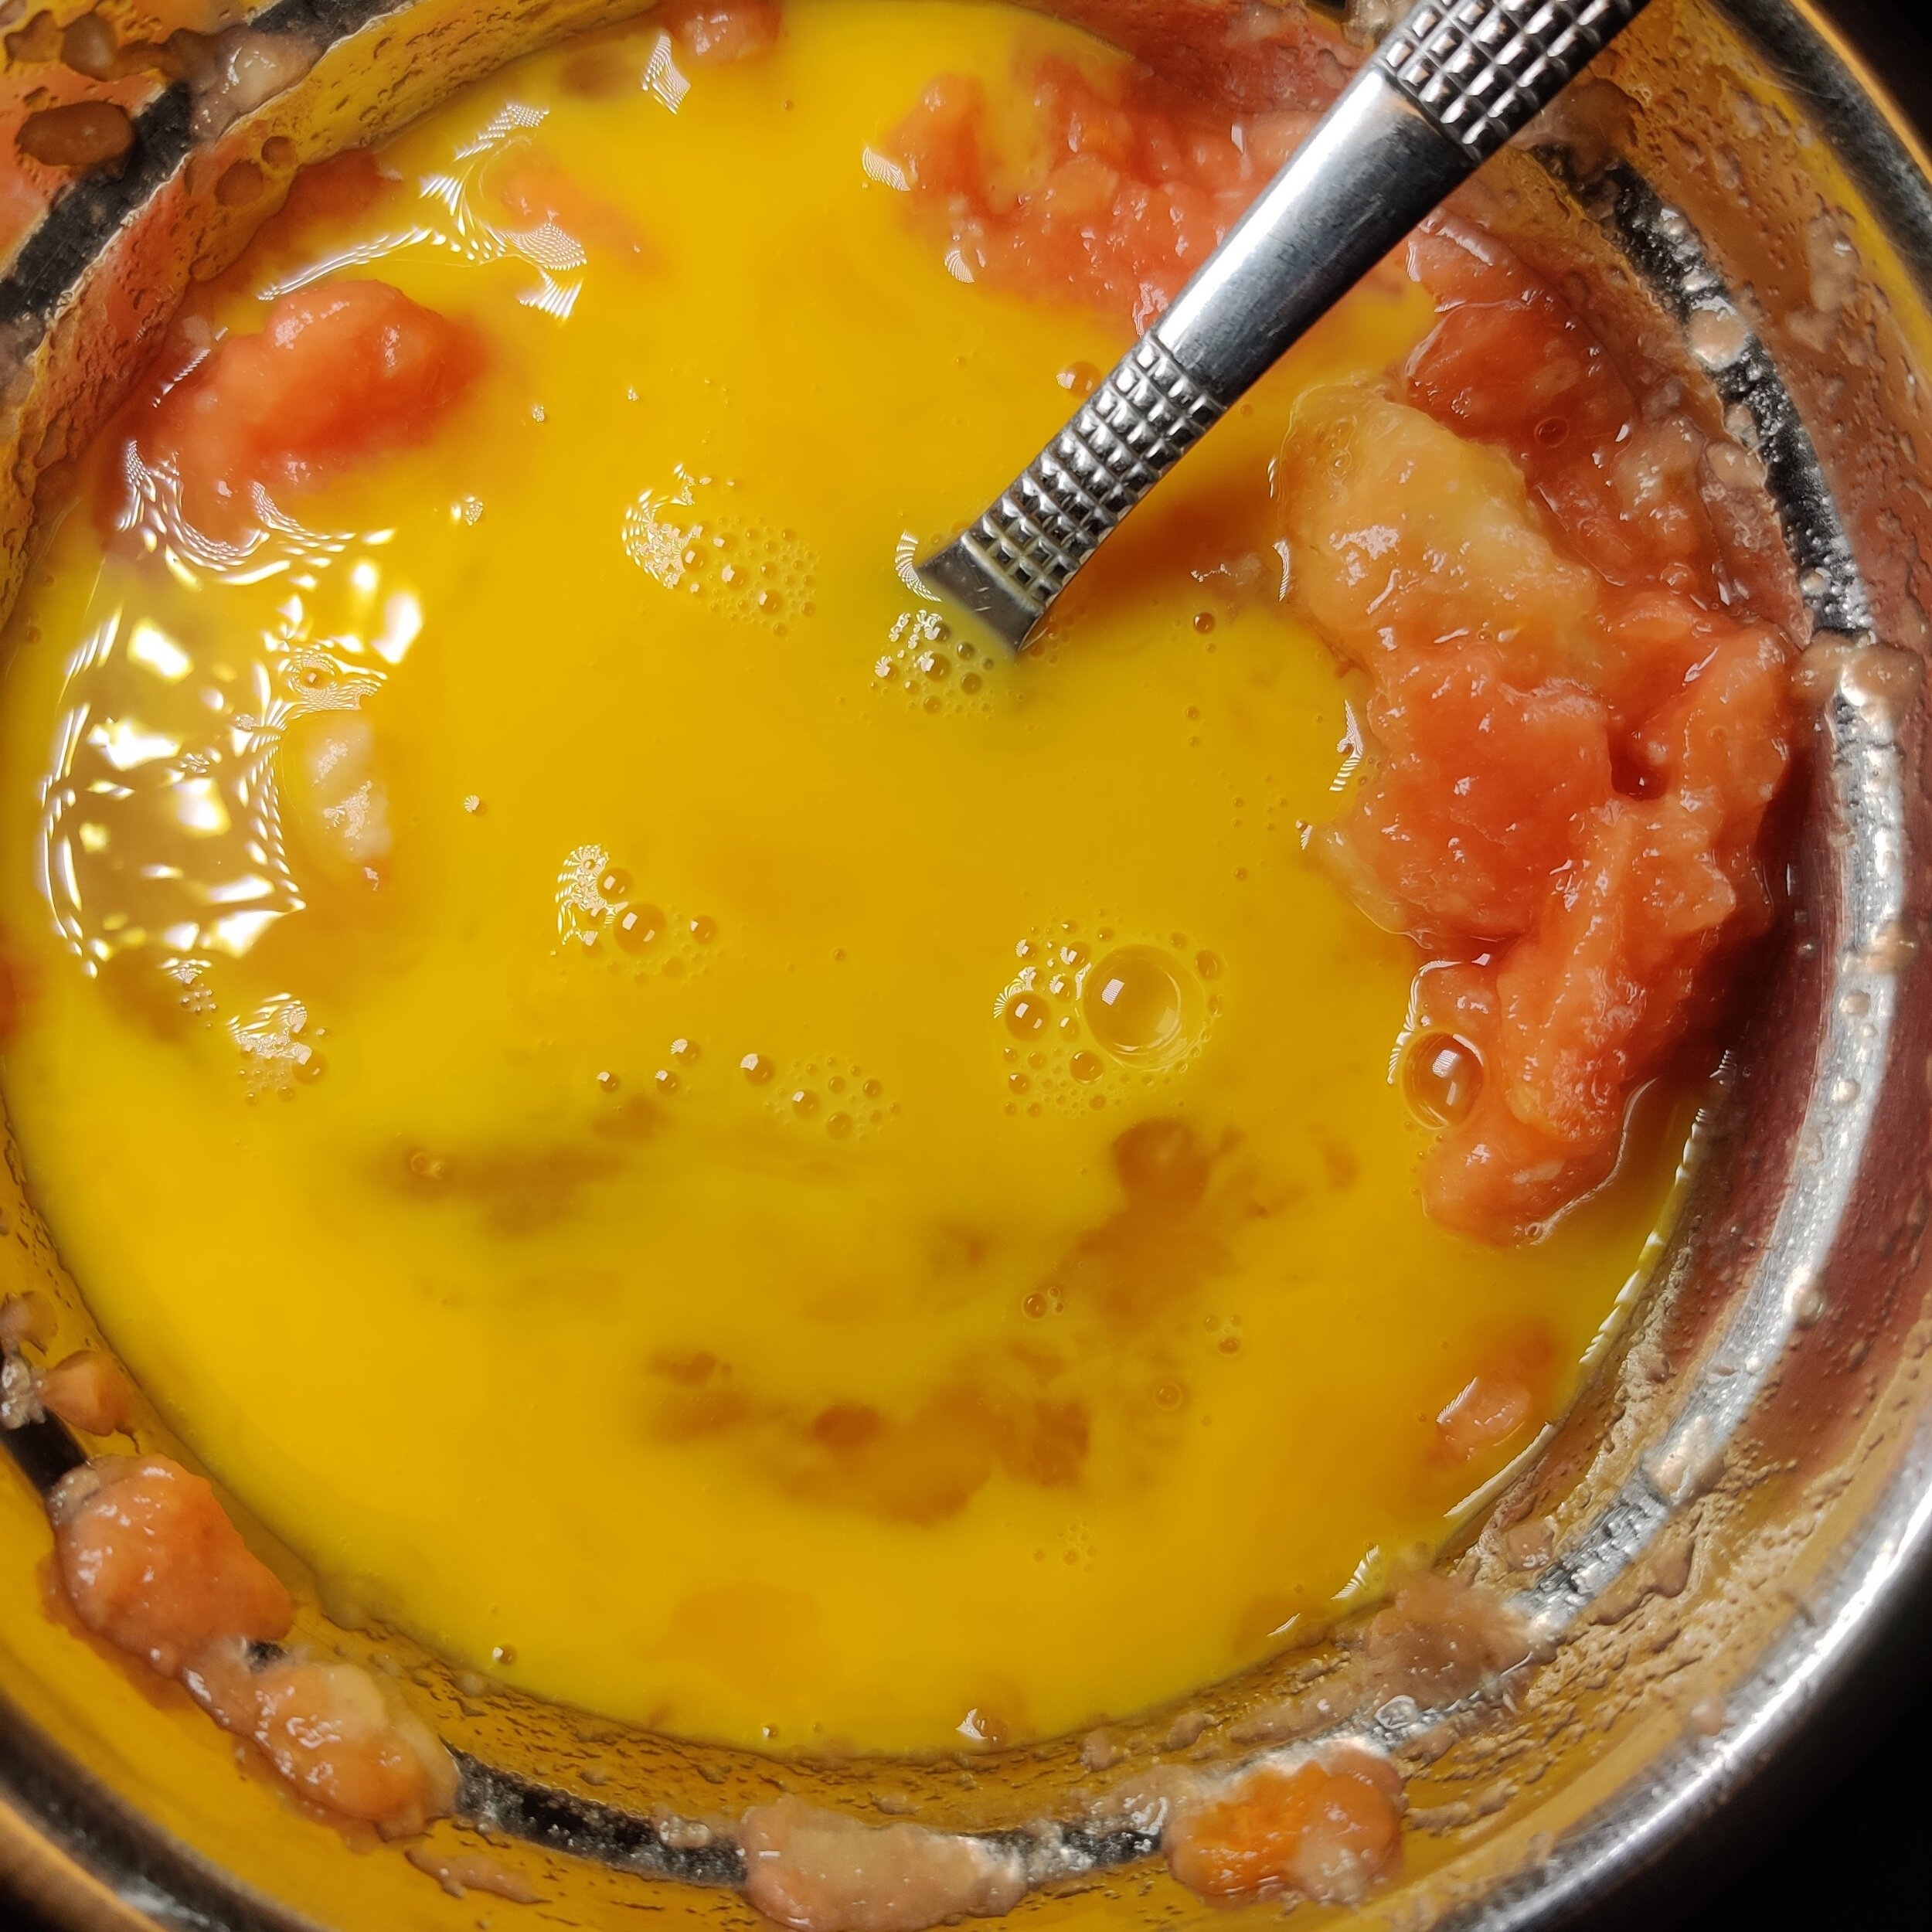
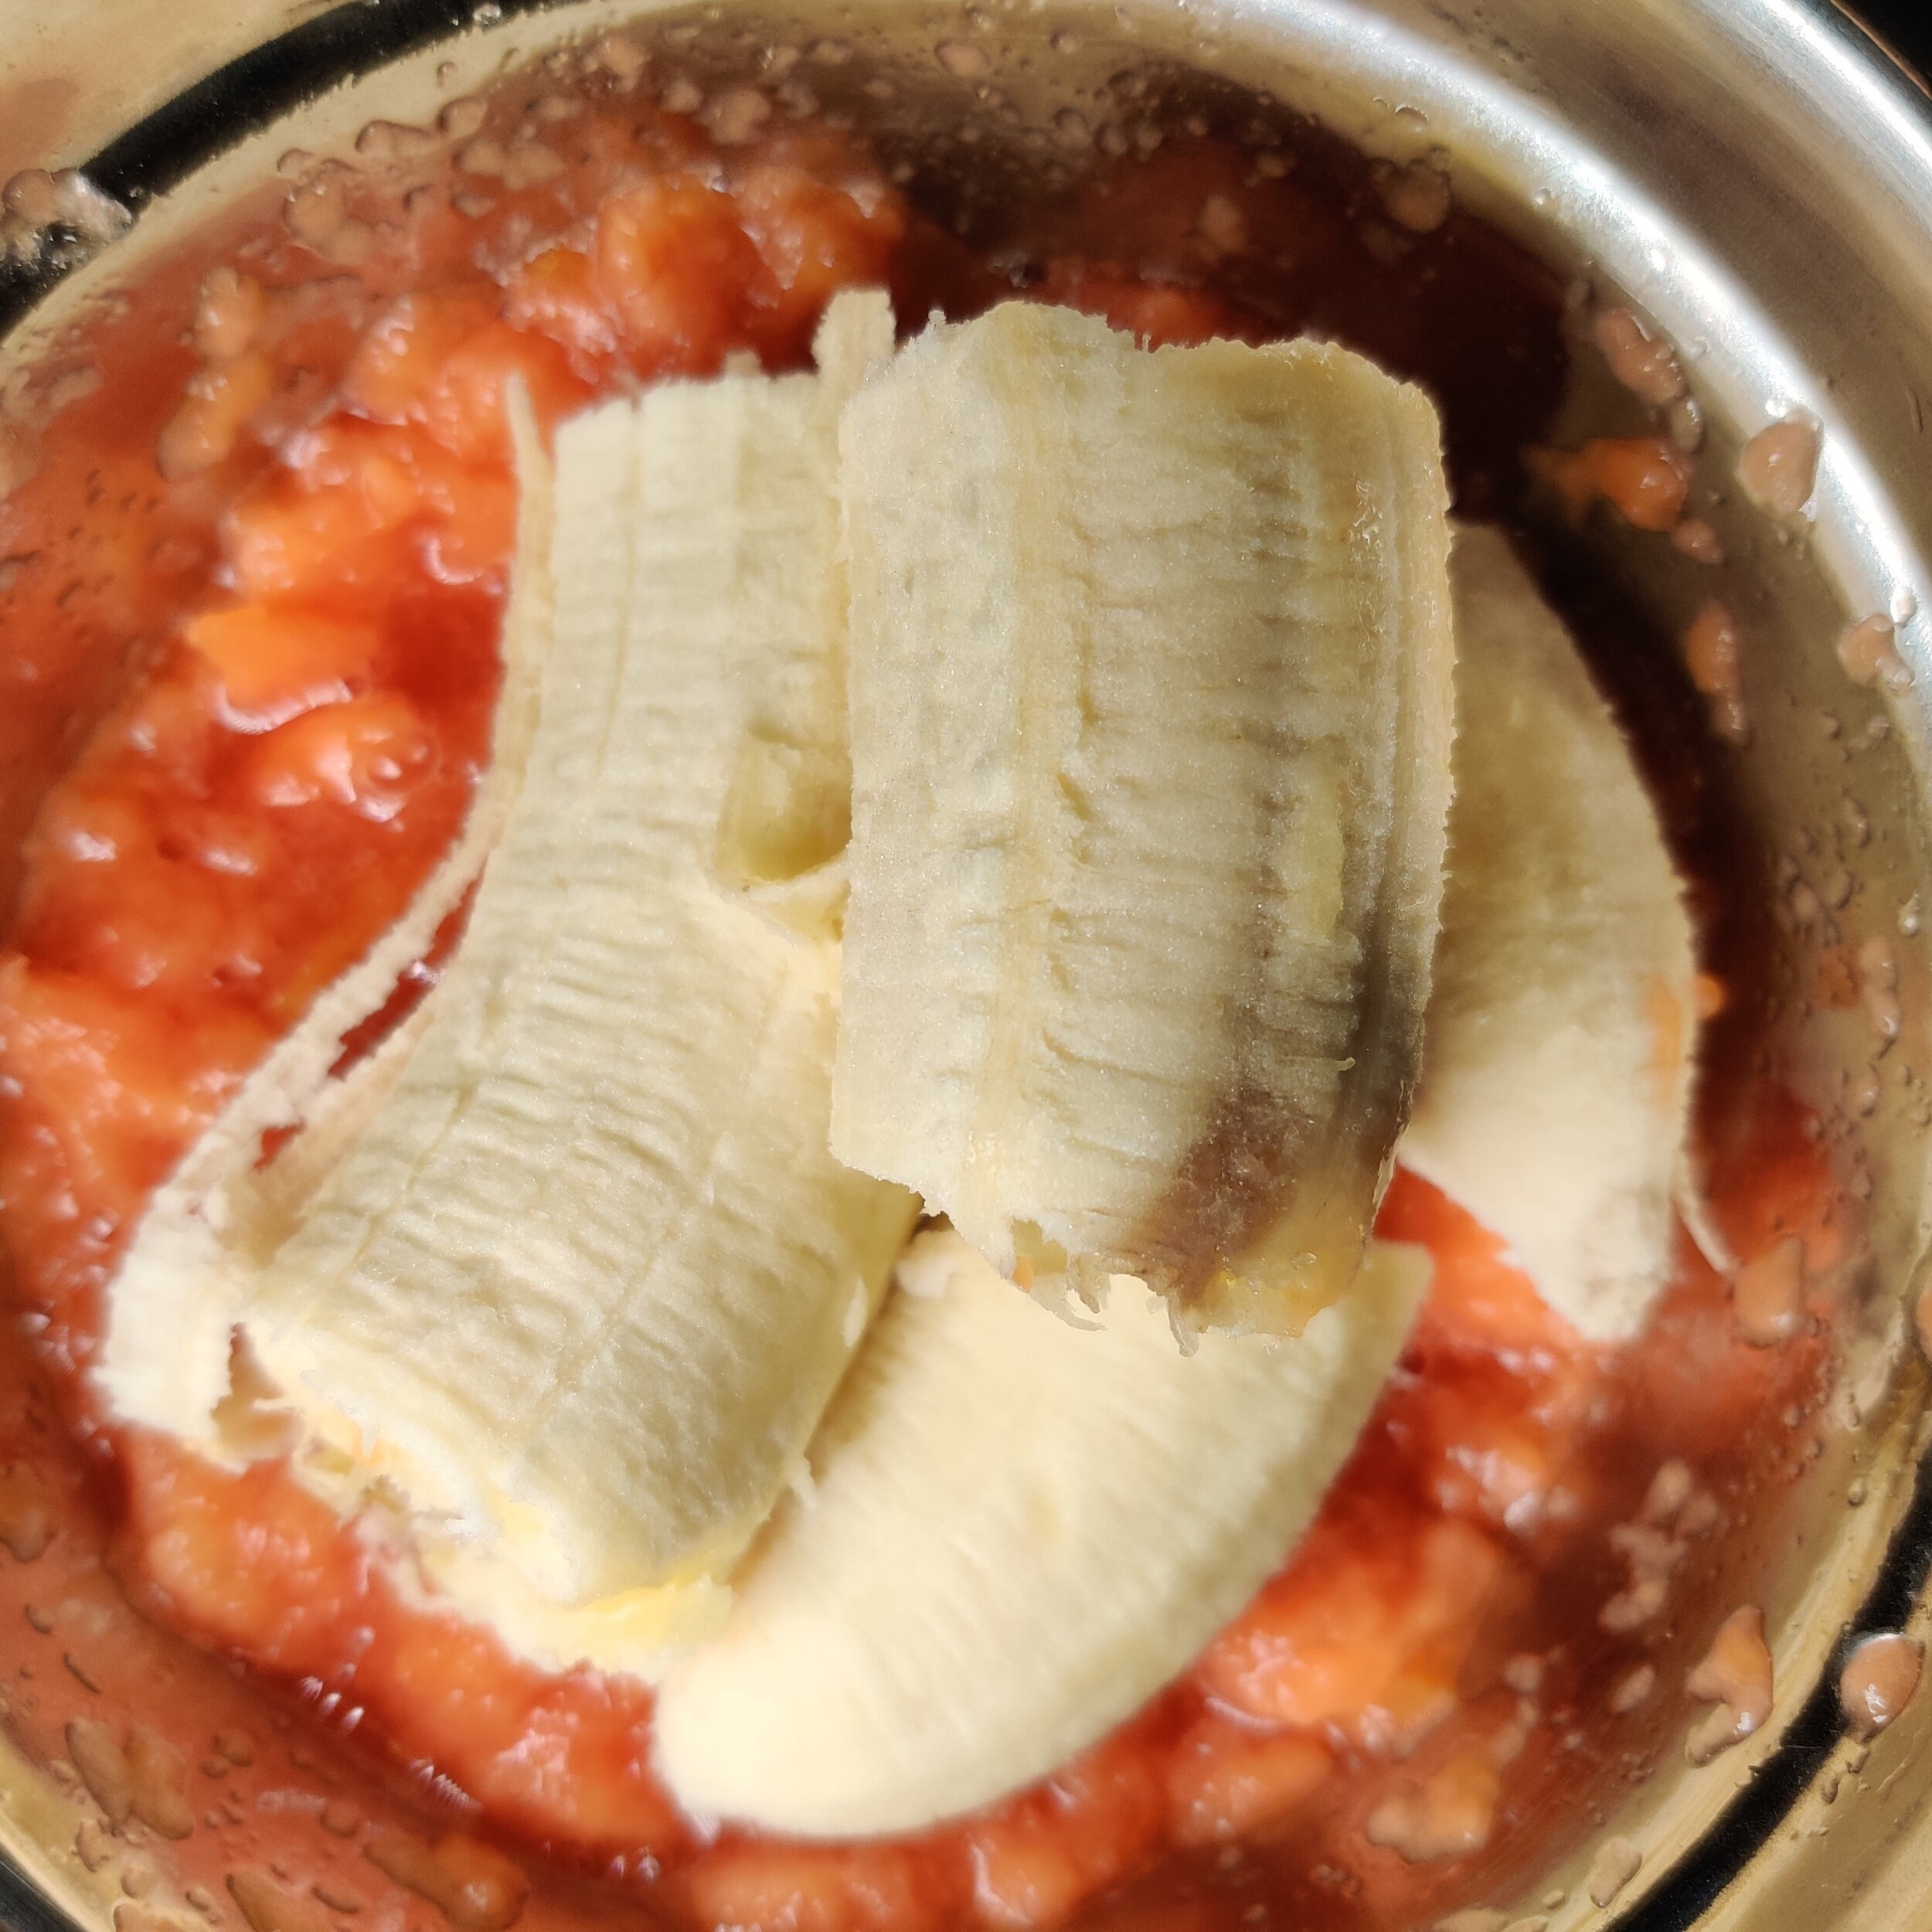
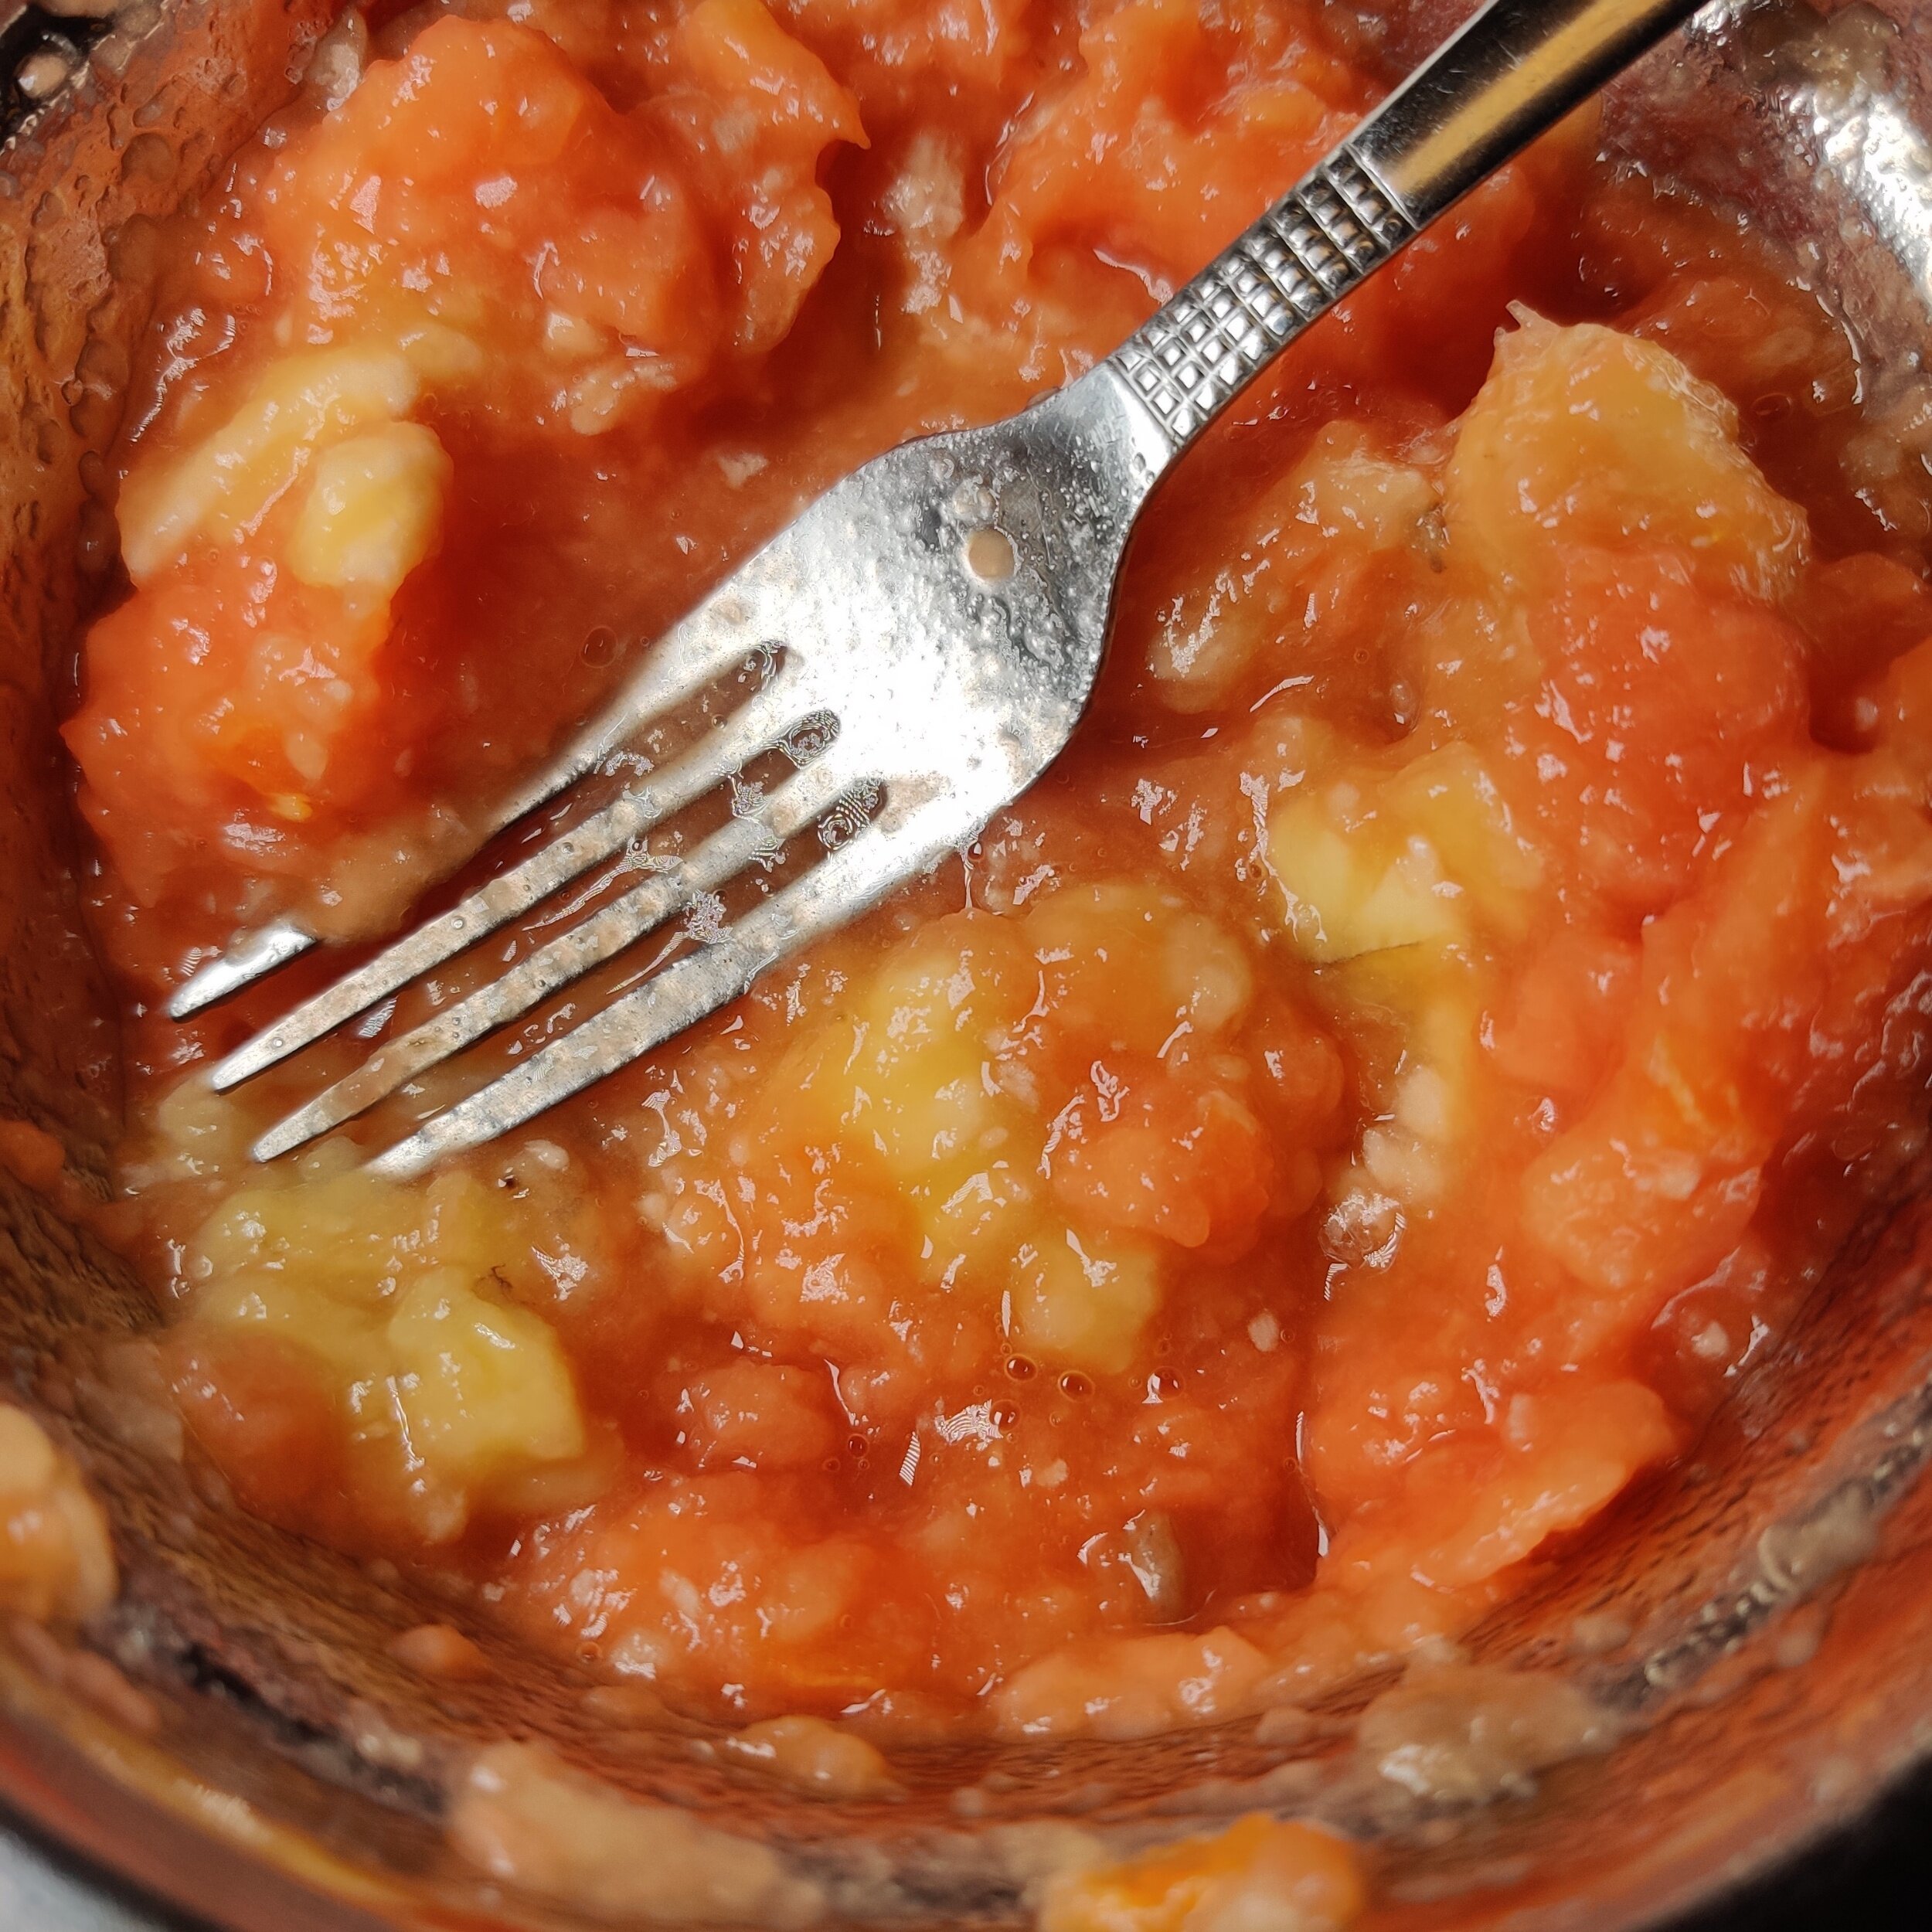
In a small bowl, mash and mix the half portion of the pawpaw, the banana, the vanilla, and the beaten eggs.
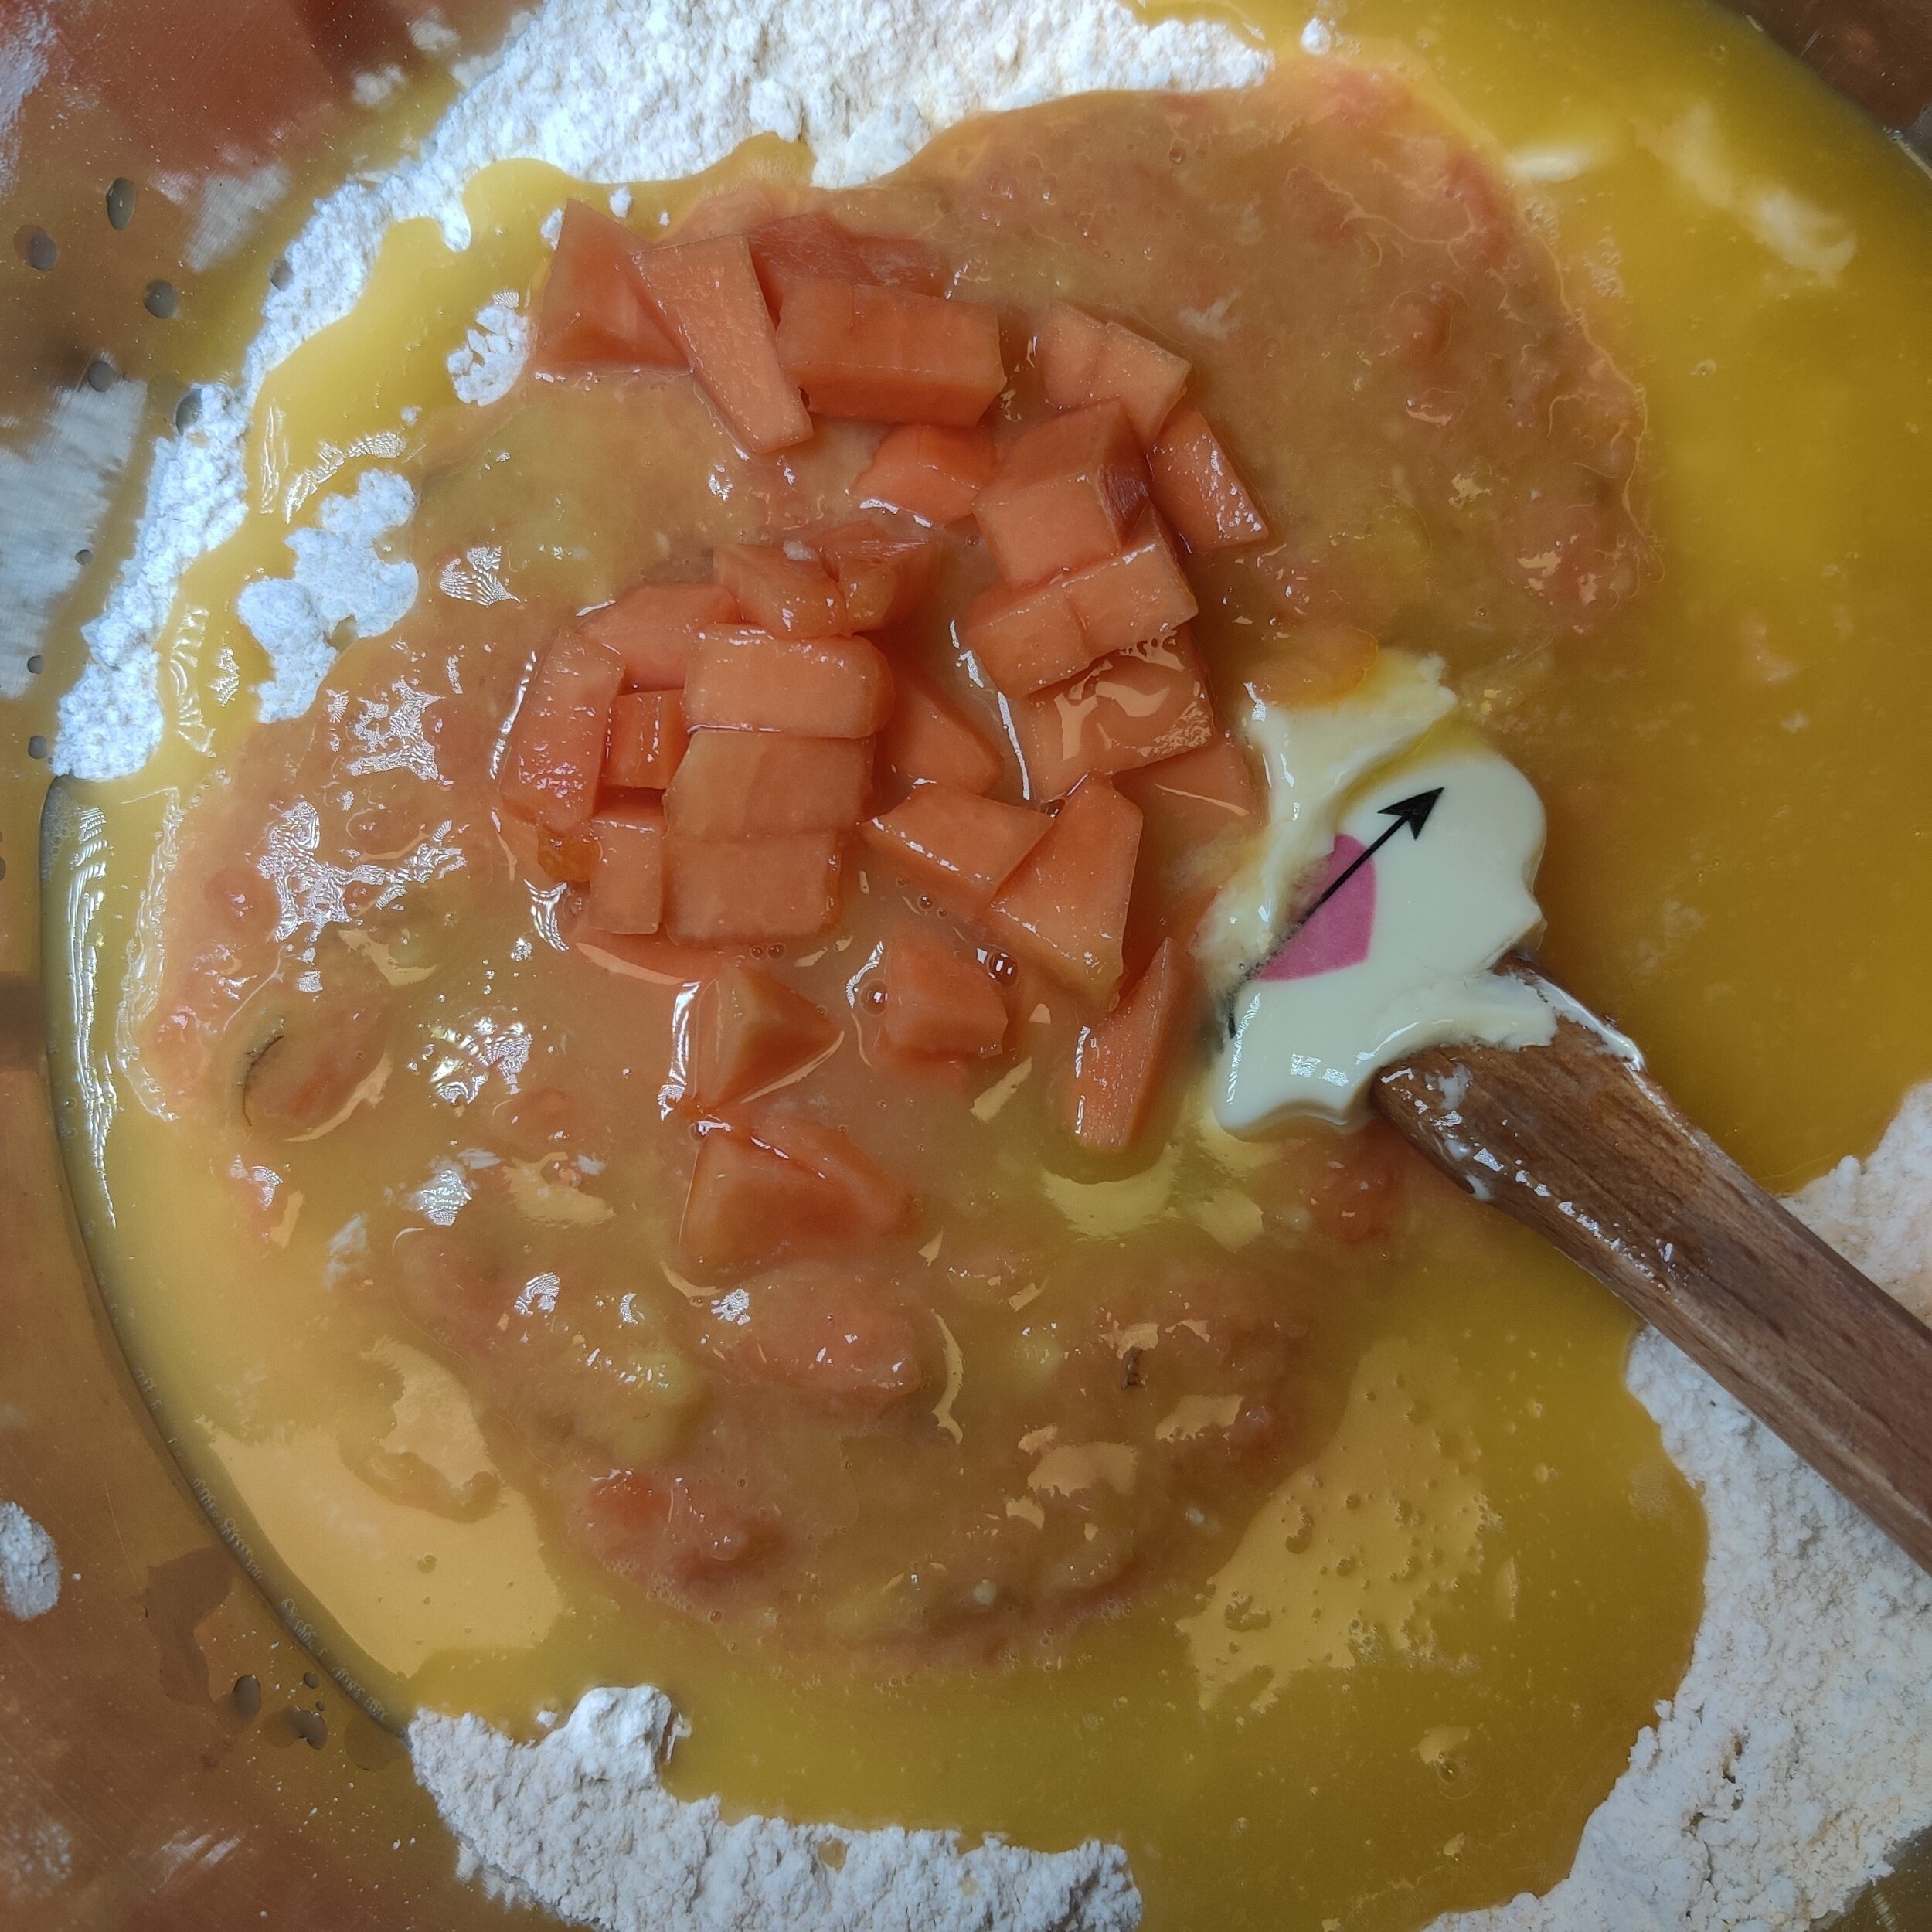
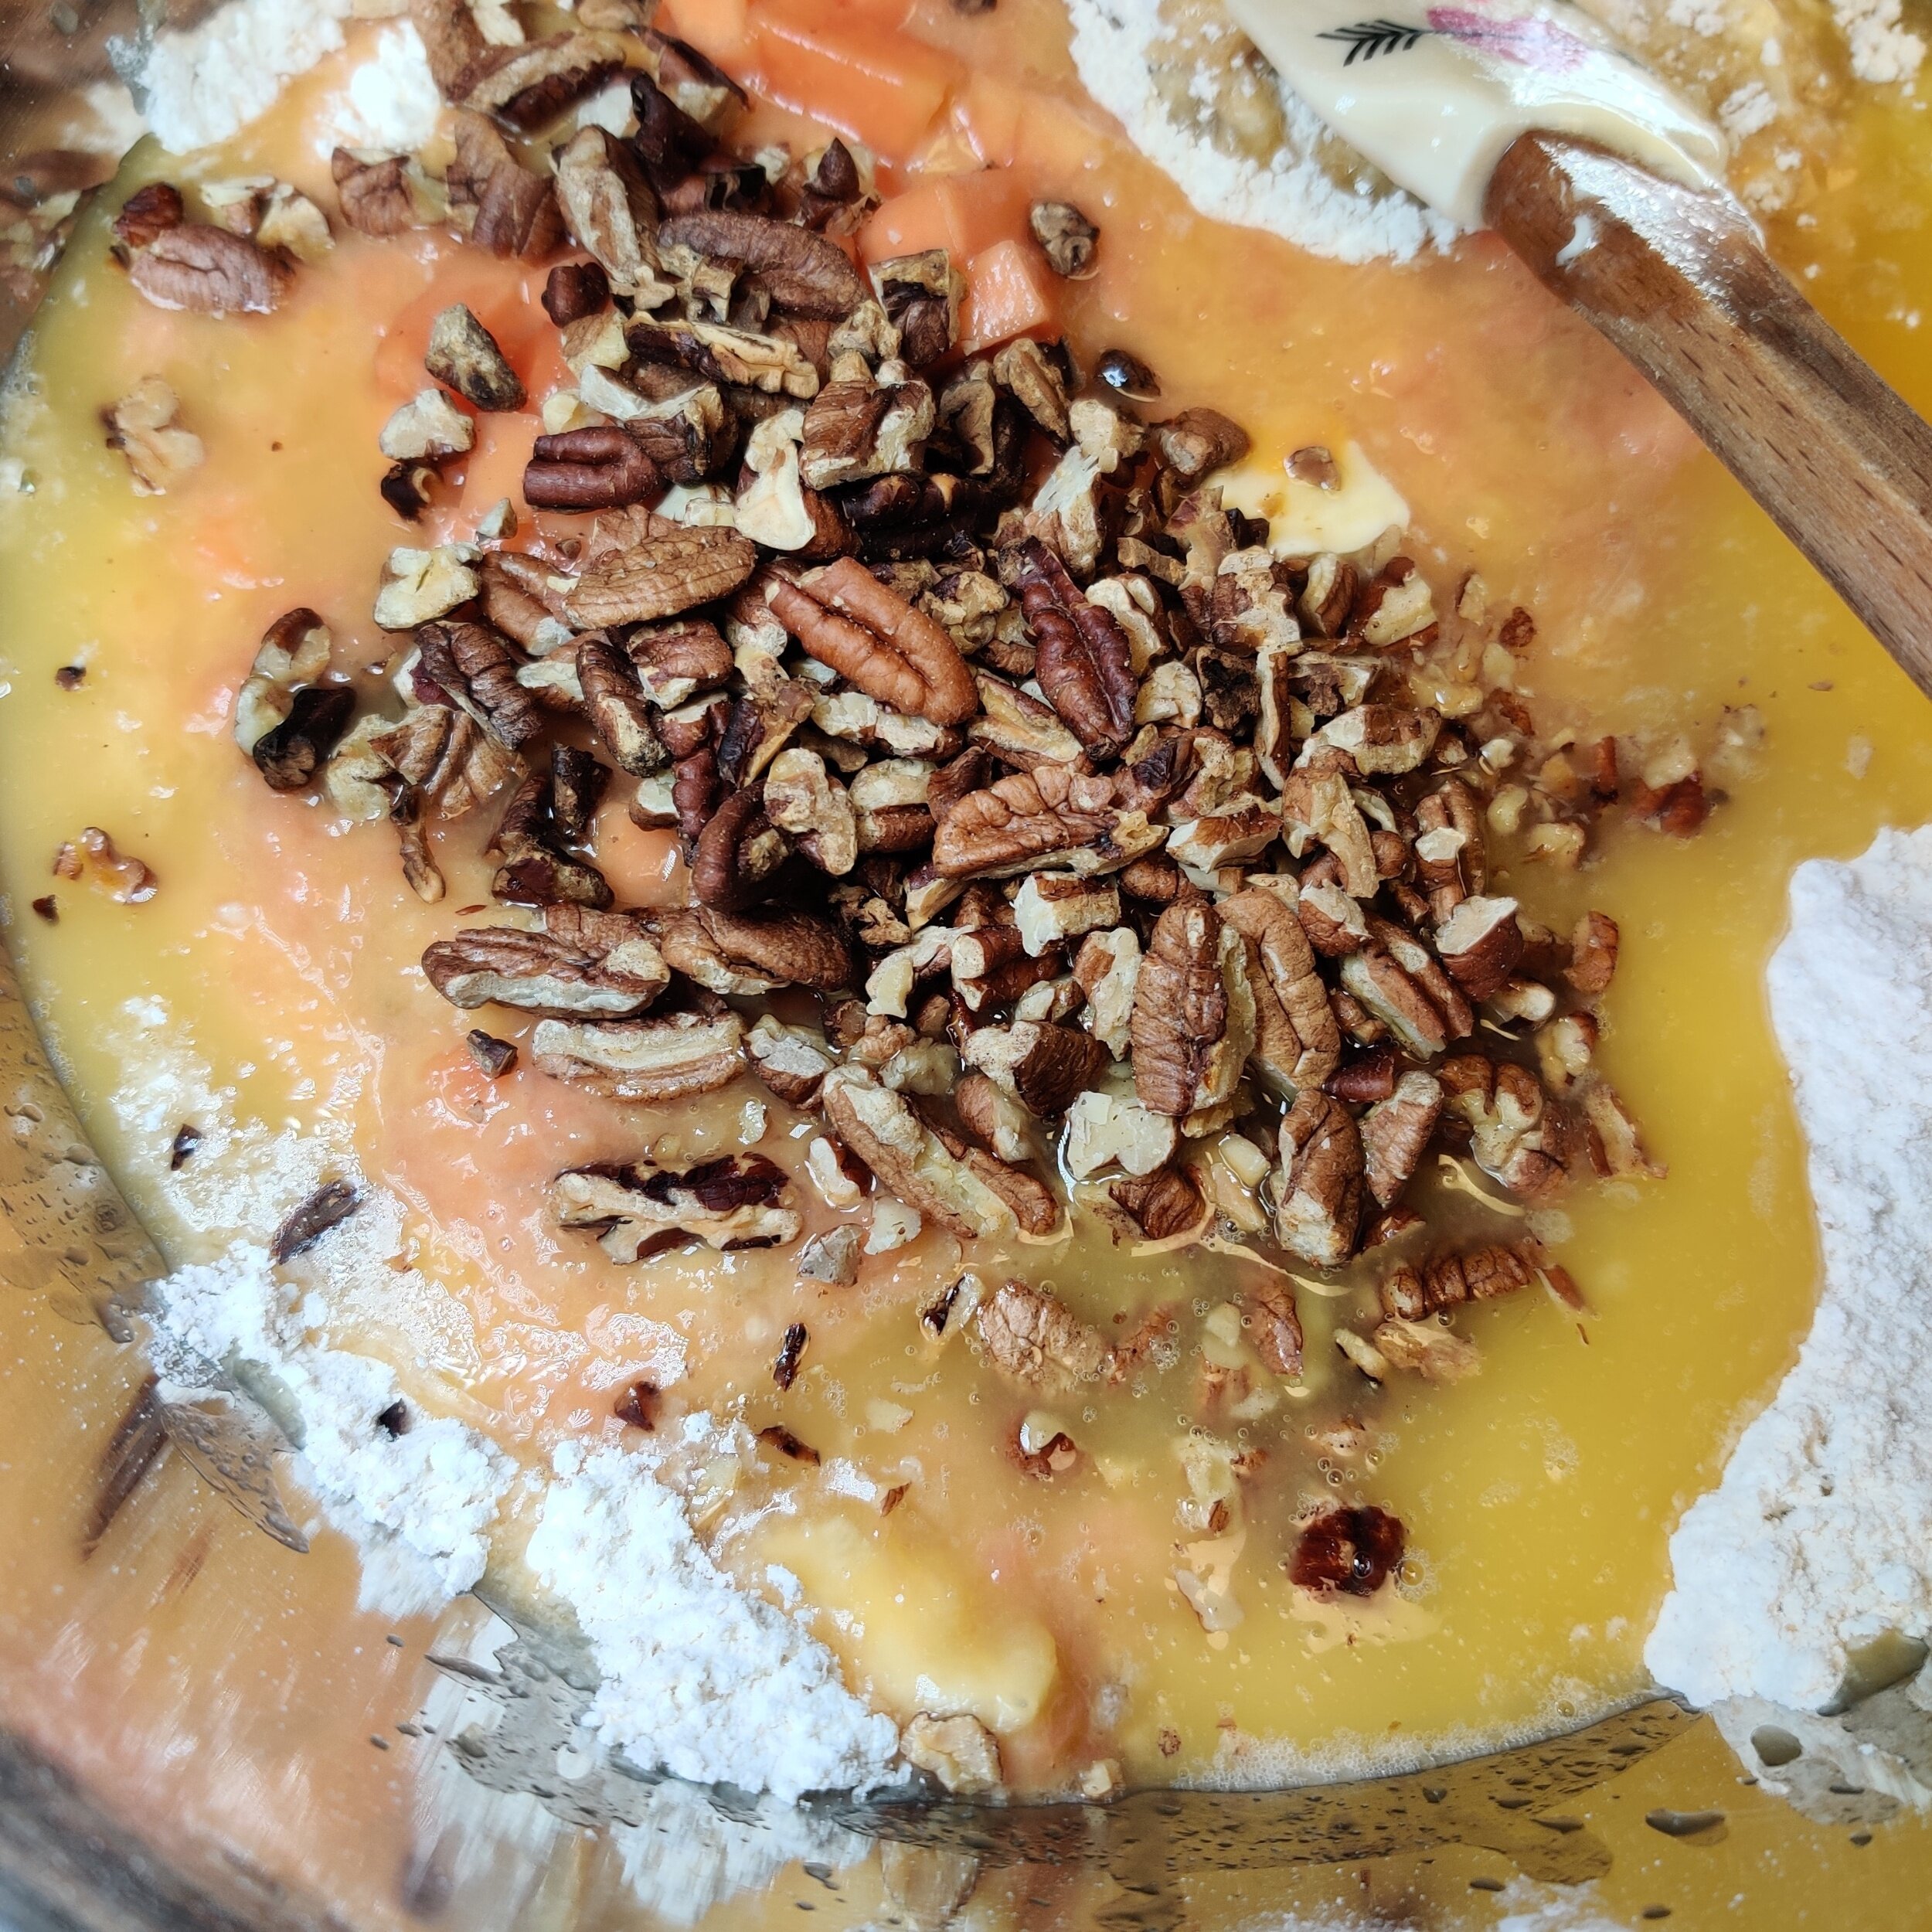
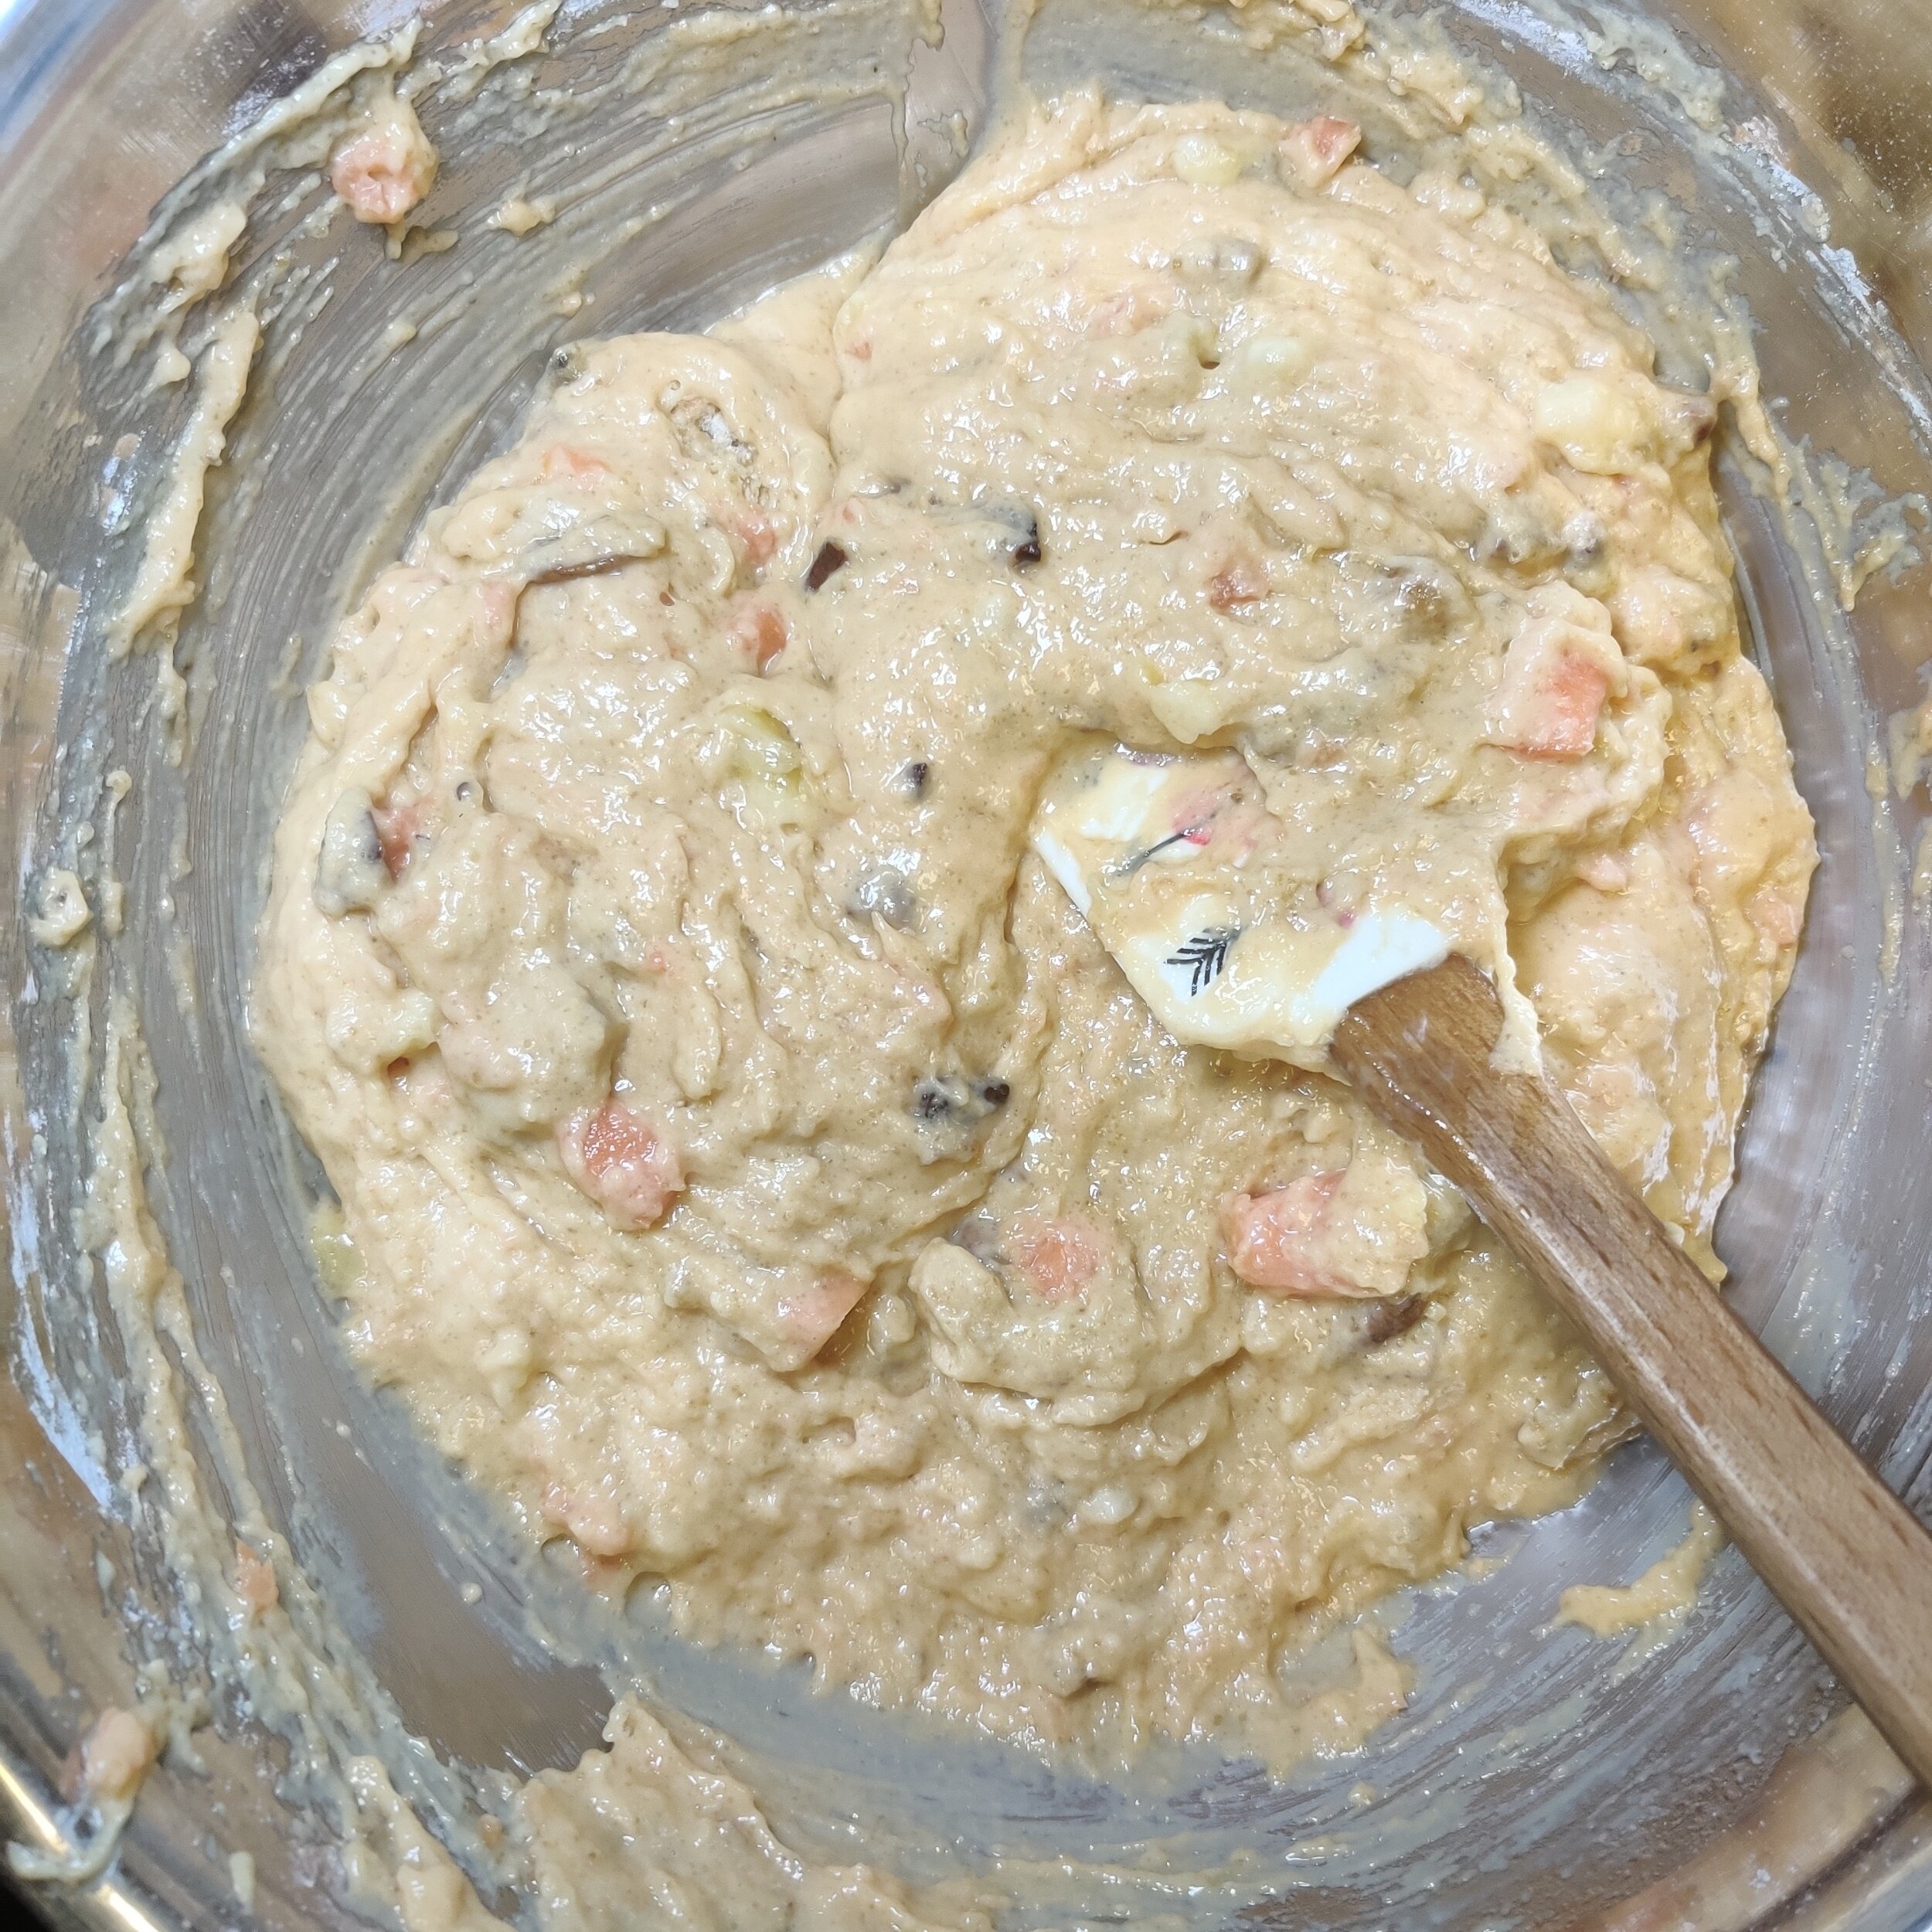
Toast and chop the pecans if they are not ready-to-go, mix them into the flour bowl with the chopped papaya, butter (10 tablespoons), and egg mixture. Combine well with a spatula.
While your batter rests for a few minutes, prepare your streusel. Mix the second batch of pecans with dark brown sugar, cinnamon, flour, and two tablespoons of butter.
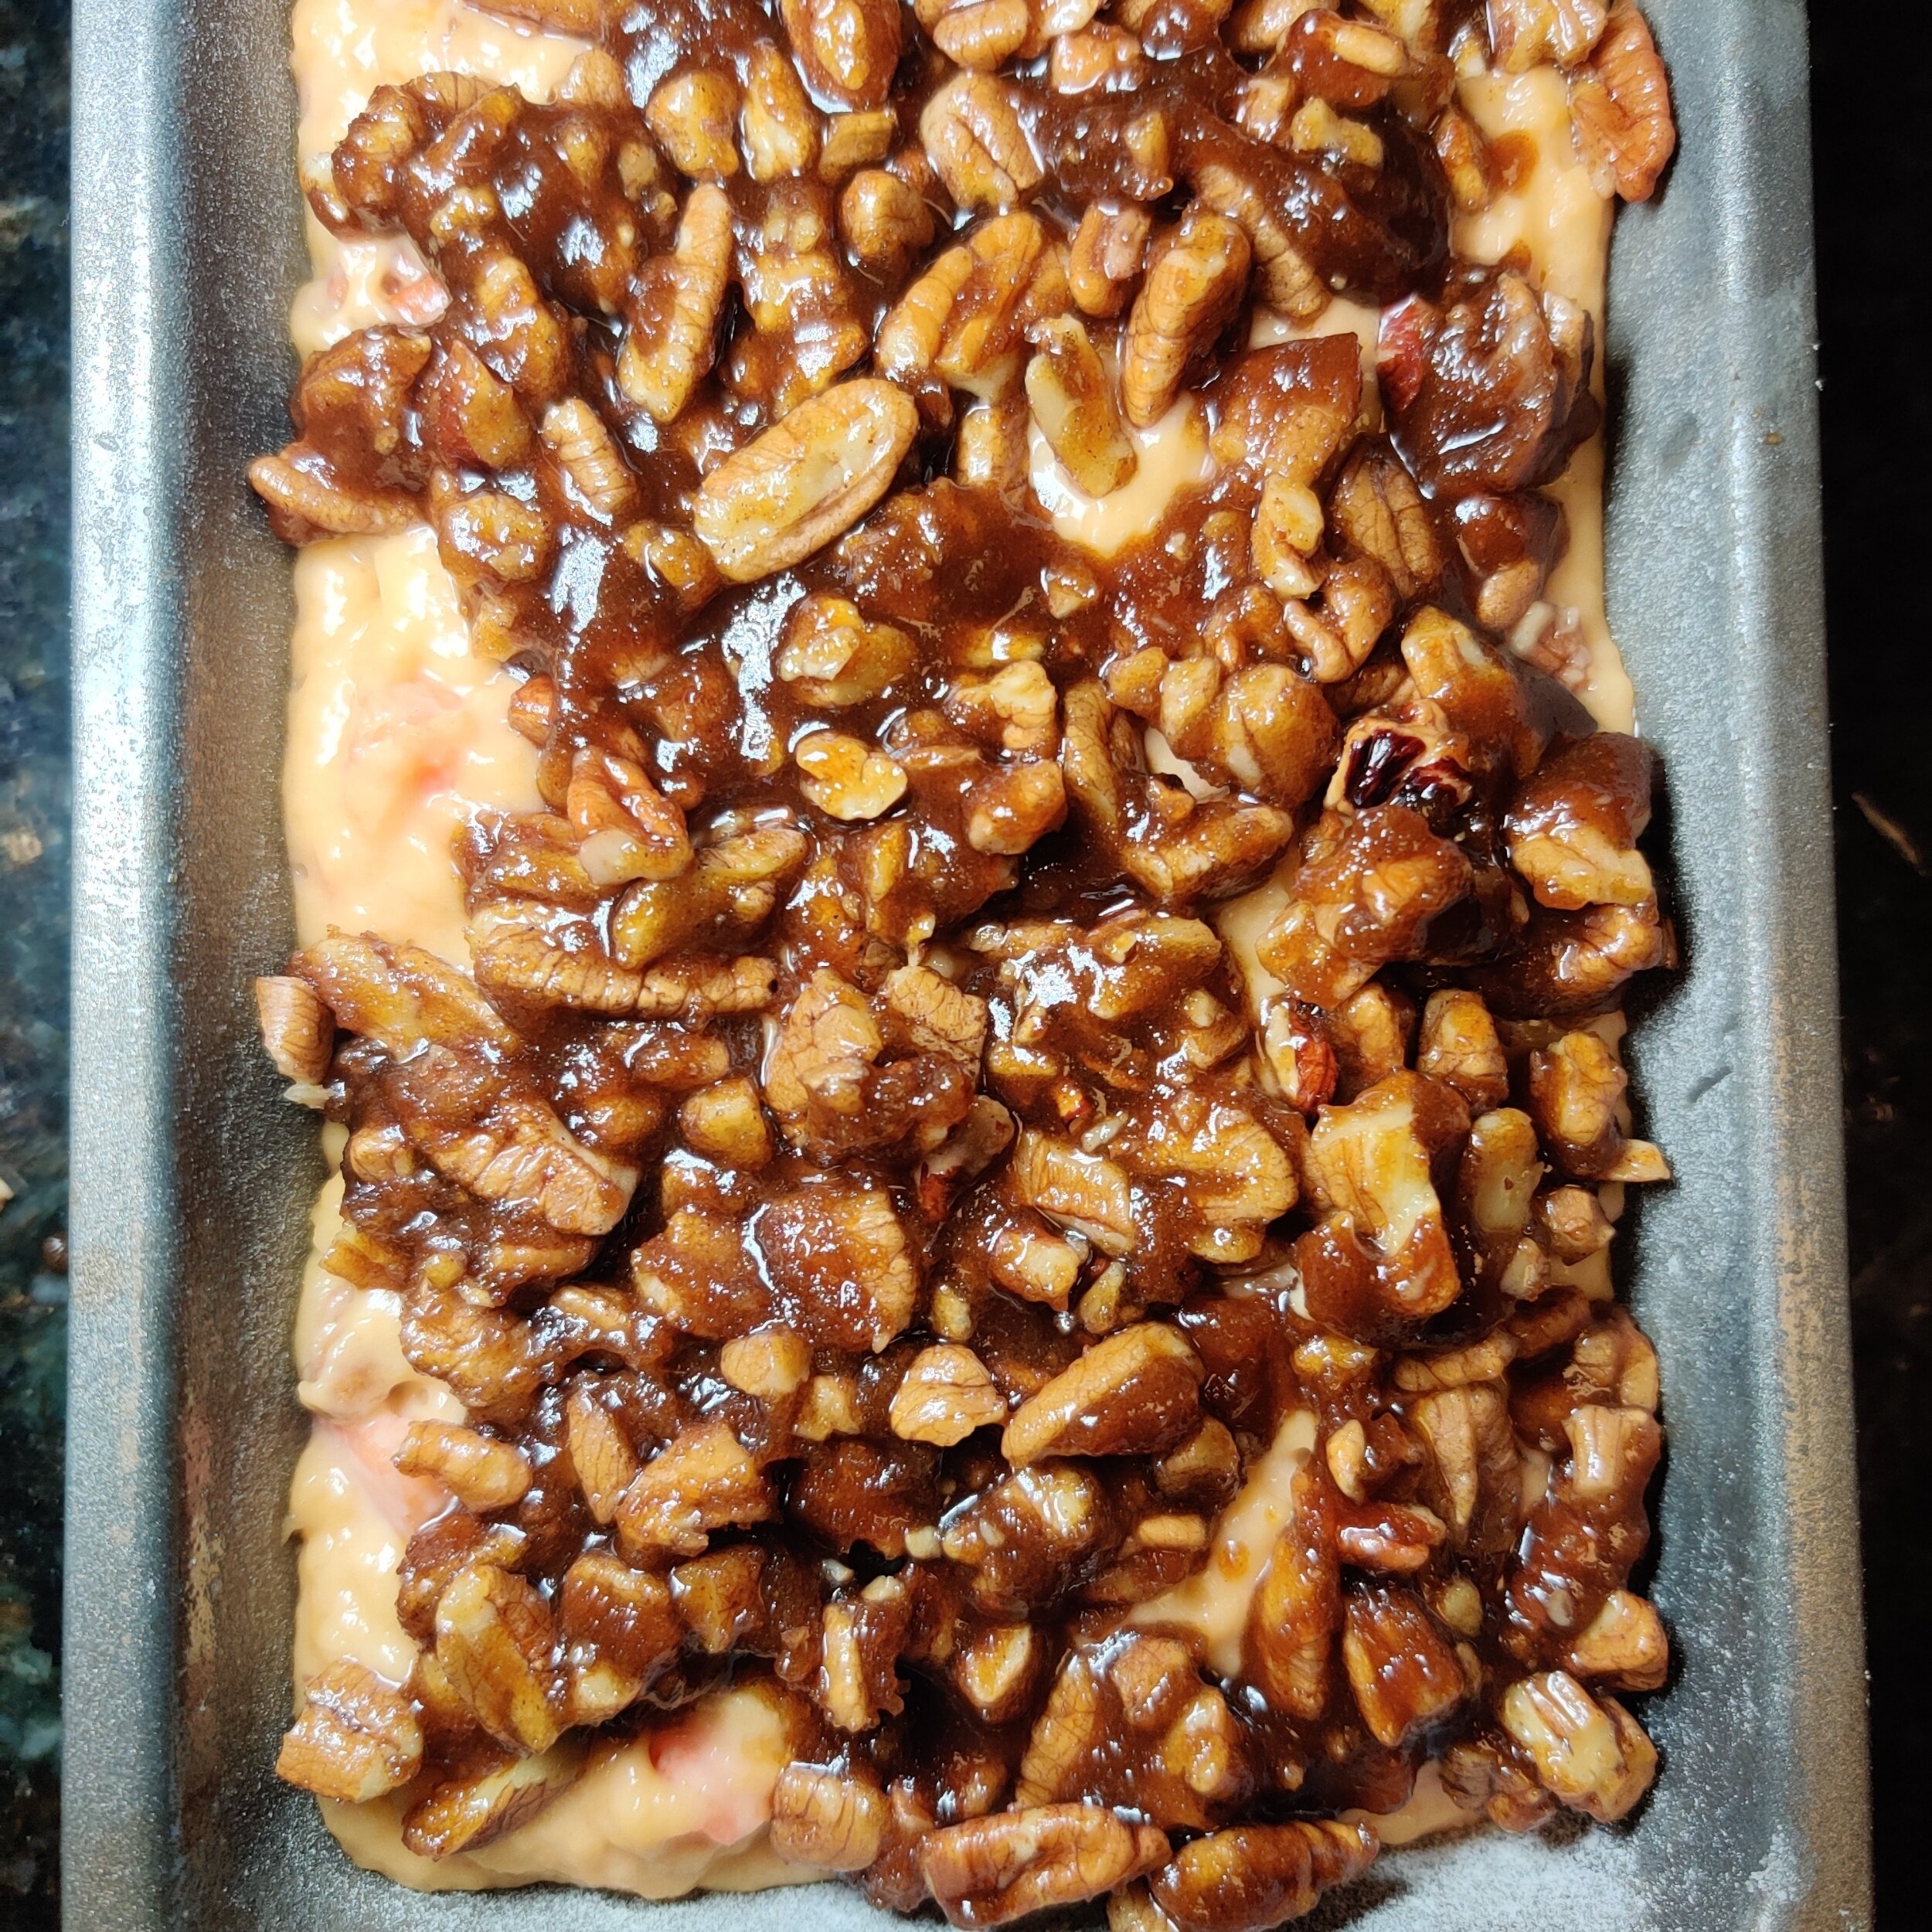
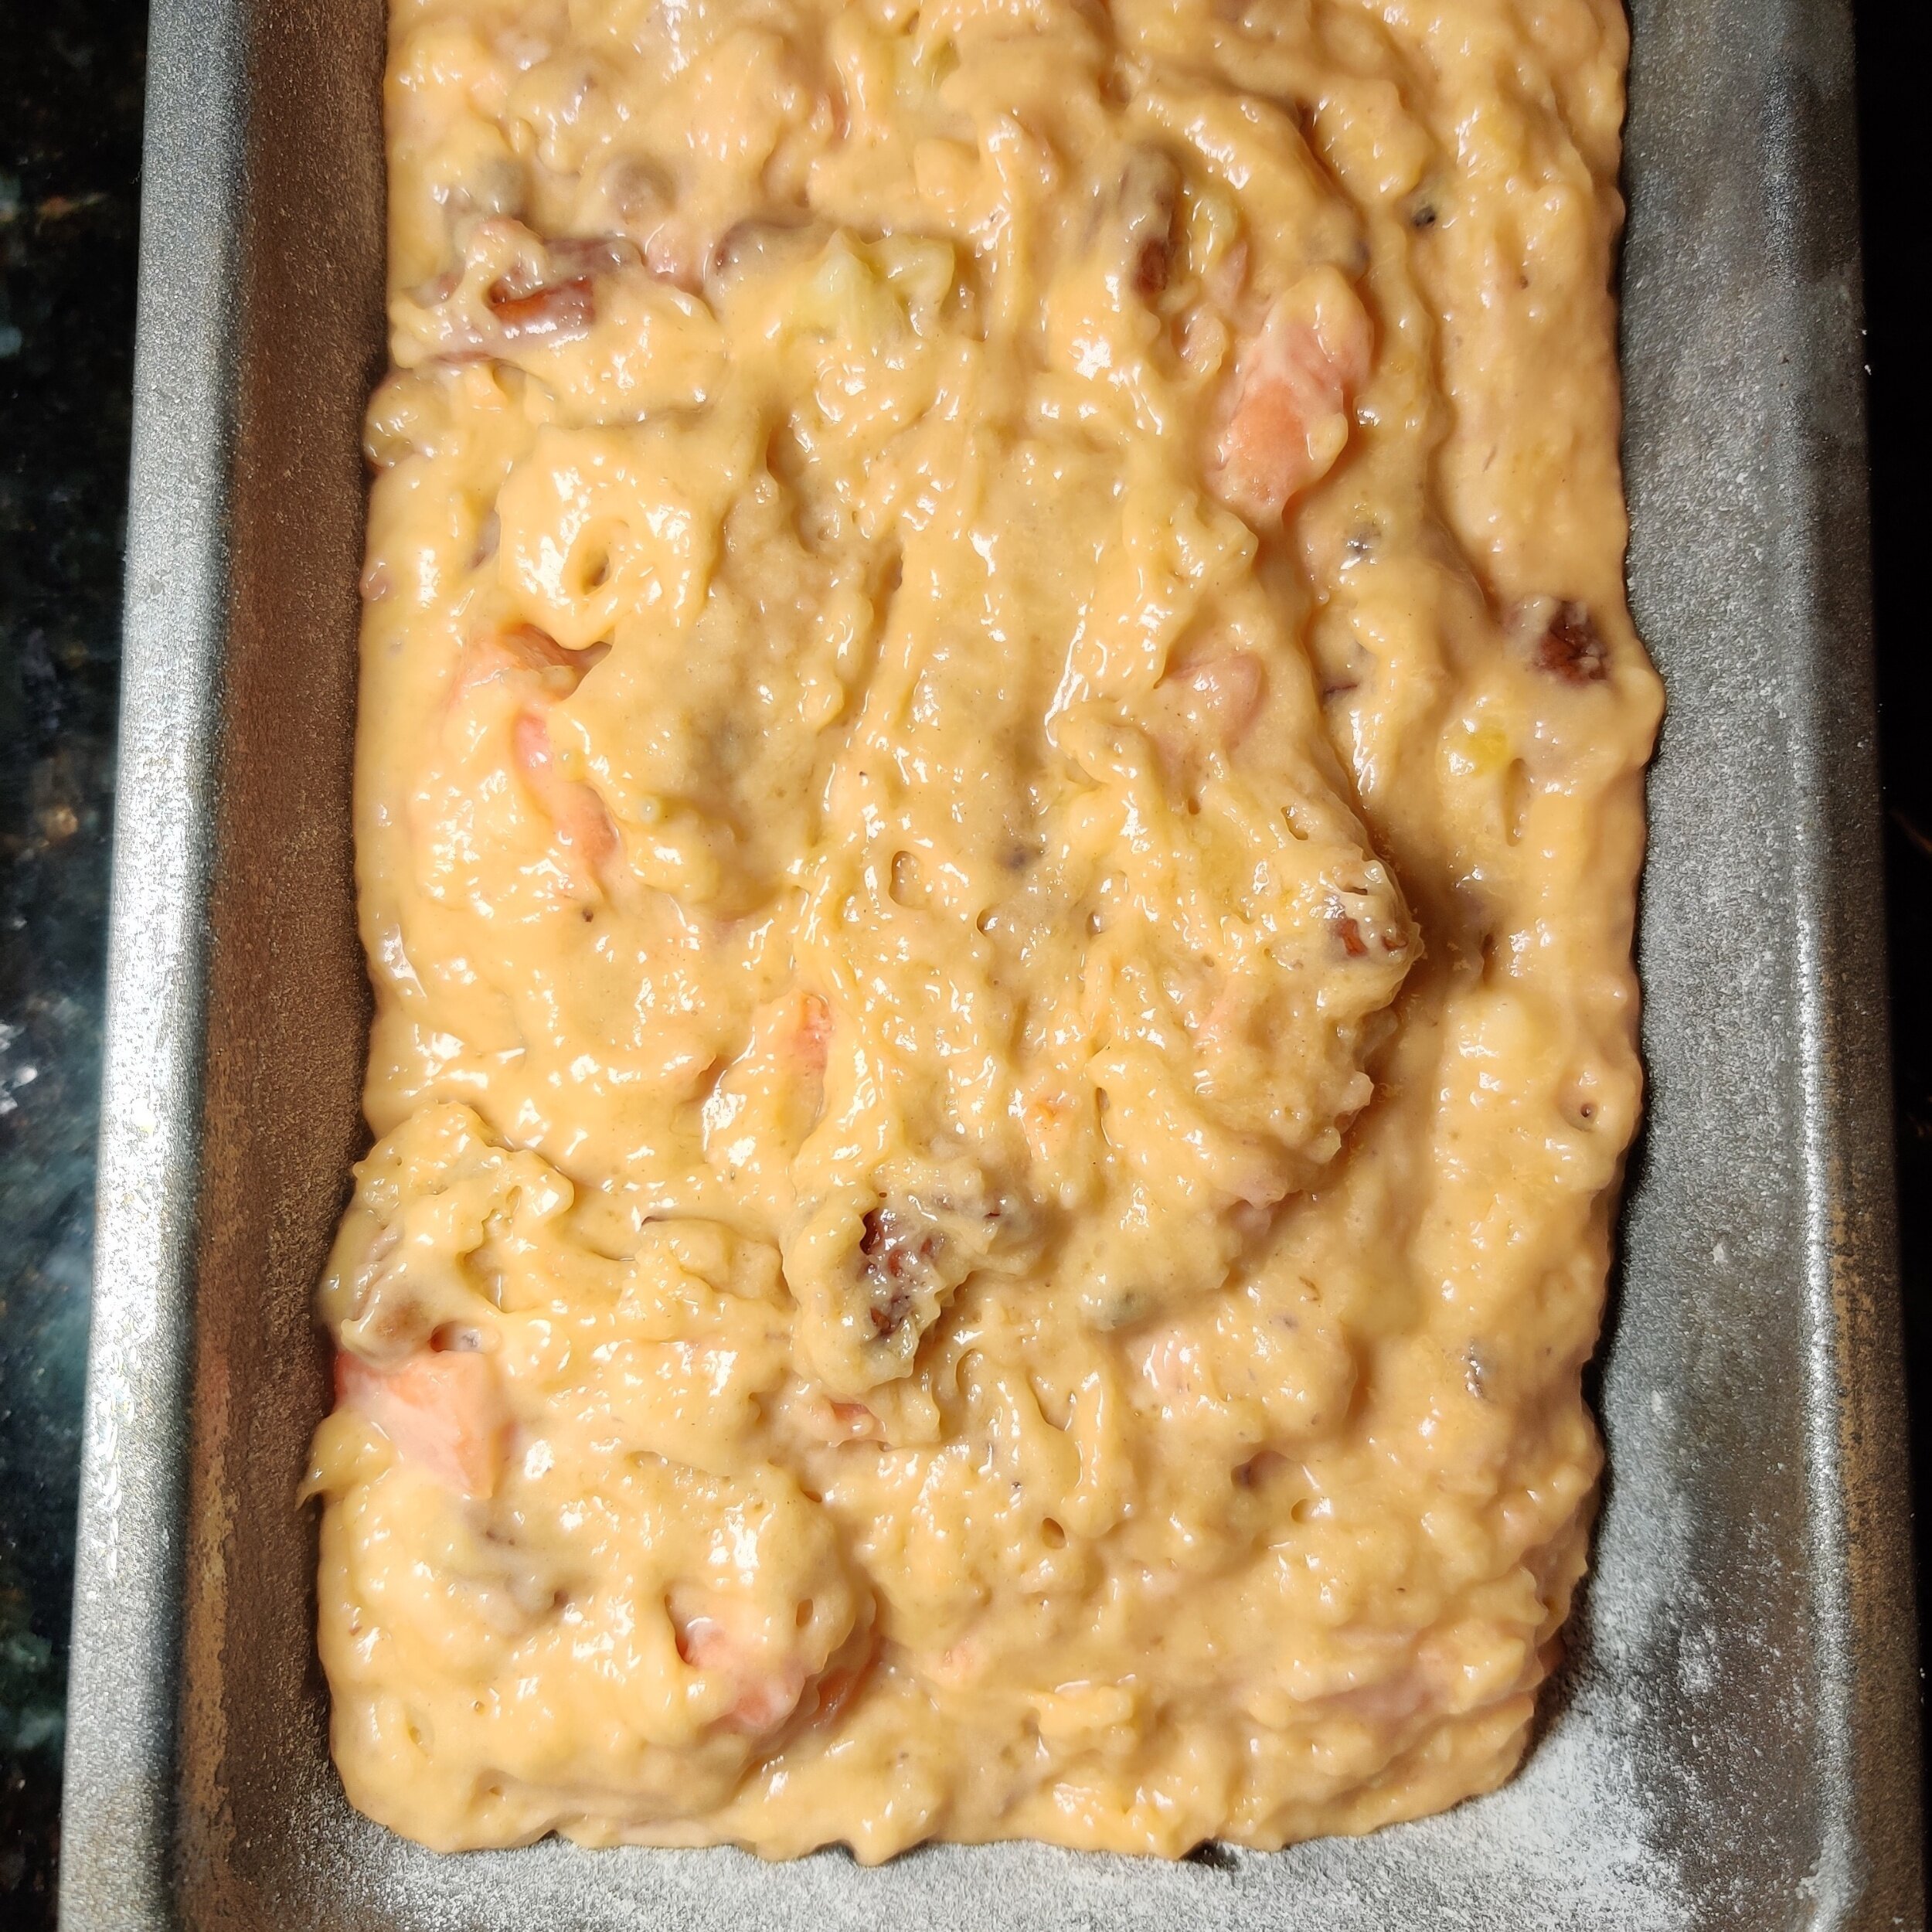
Spray a loaf tin (9 inches by 4 inches - if you have the 8-inch tin, there will be leftover batter—you don’t want to fill it to be brim as the bread is going to rise and expand).
Spoon and spread your streusel on top of the batter. Try to distribute this evenly, then place the loaf pan on a baking tray (this will catch any spillage that may occur).
Bake for 60 minutes at 400F, checking periodically after at least 30 minutes have passed.
Remove from the oven and set aside to cool. Serve warm with tea or coffee, and enjoy! Consume in 3-4 days or freeze airtight or wrapped in clear film for up to a month.


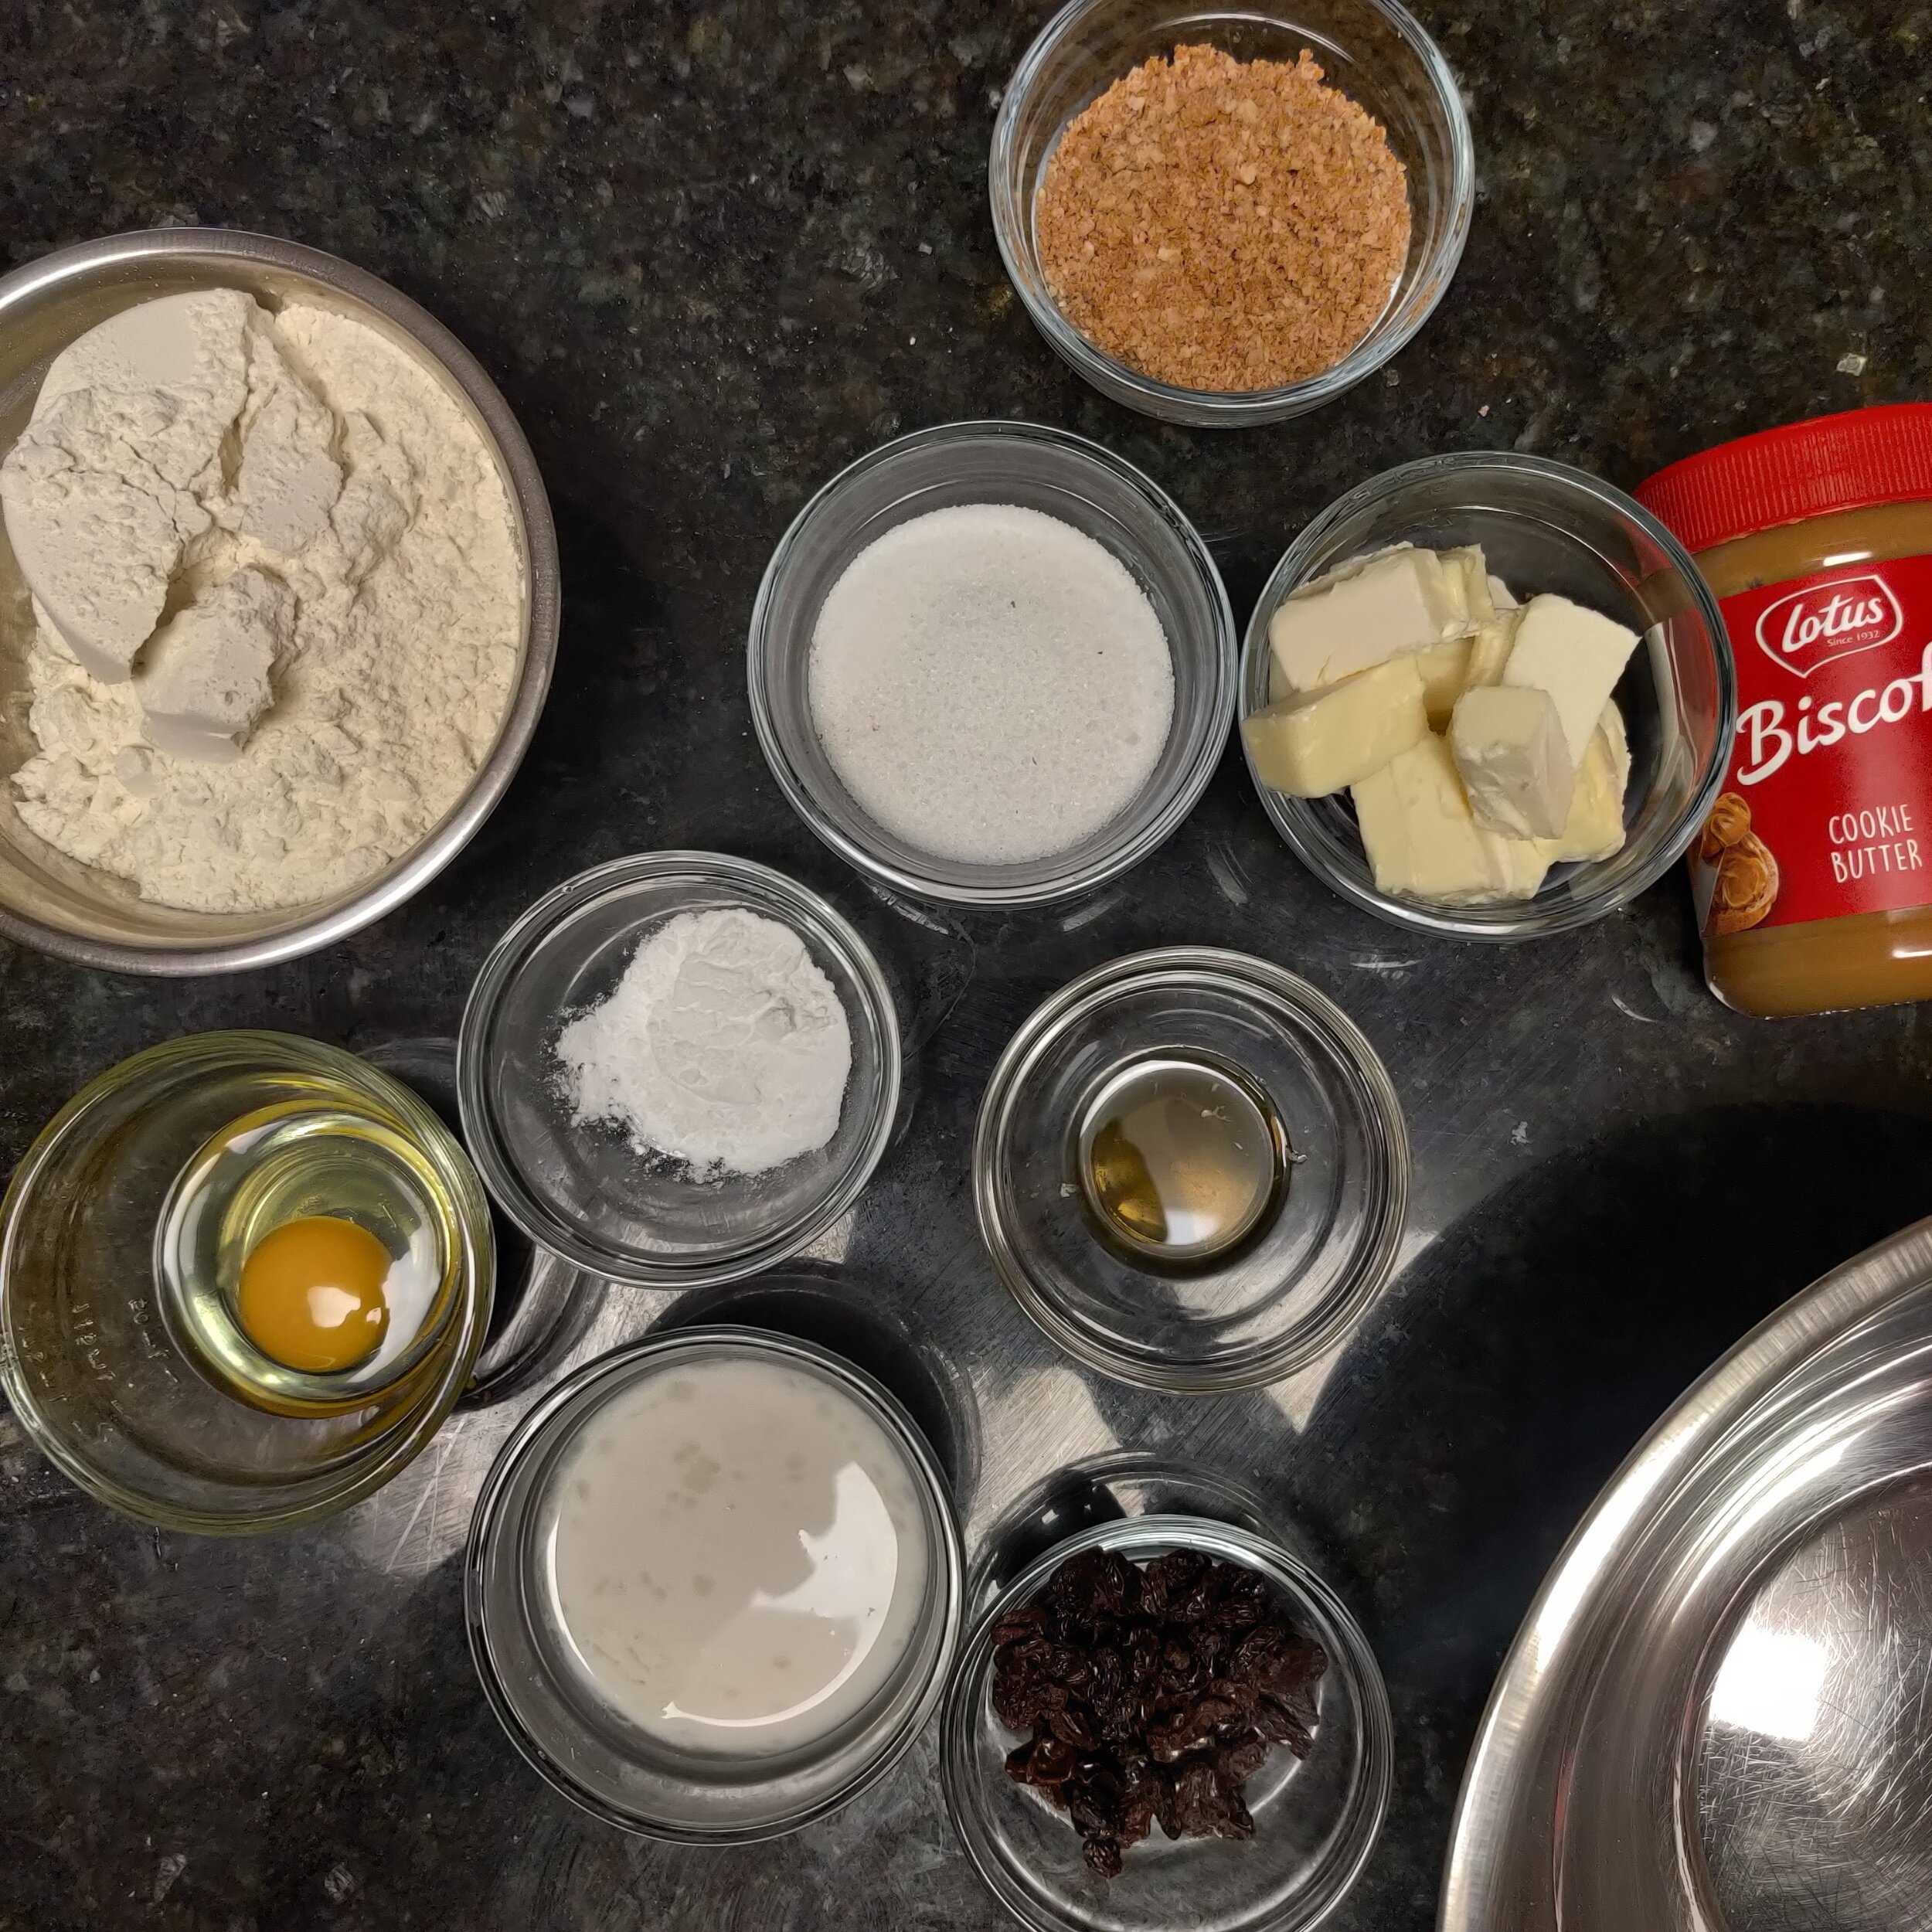
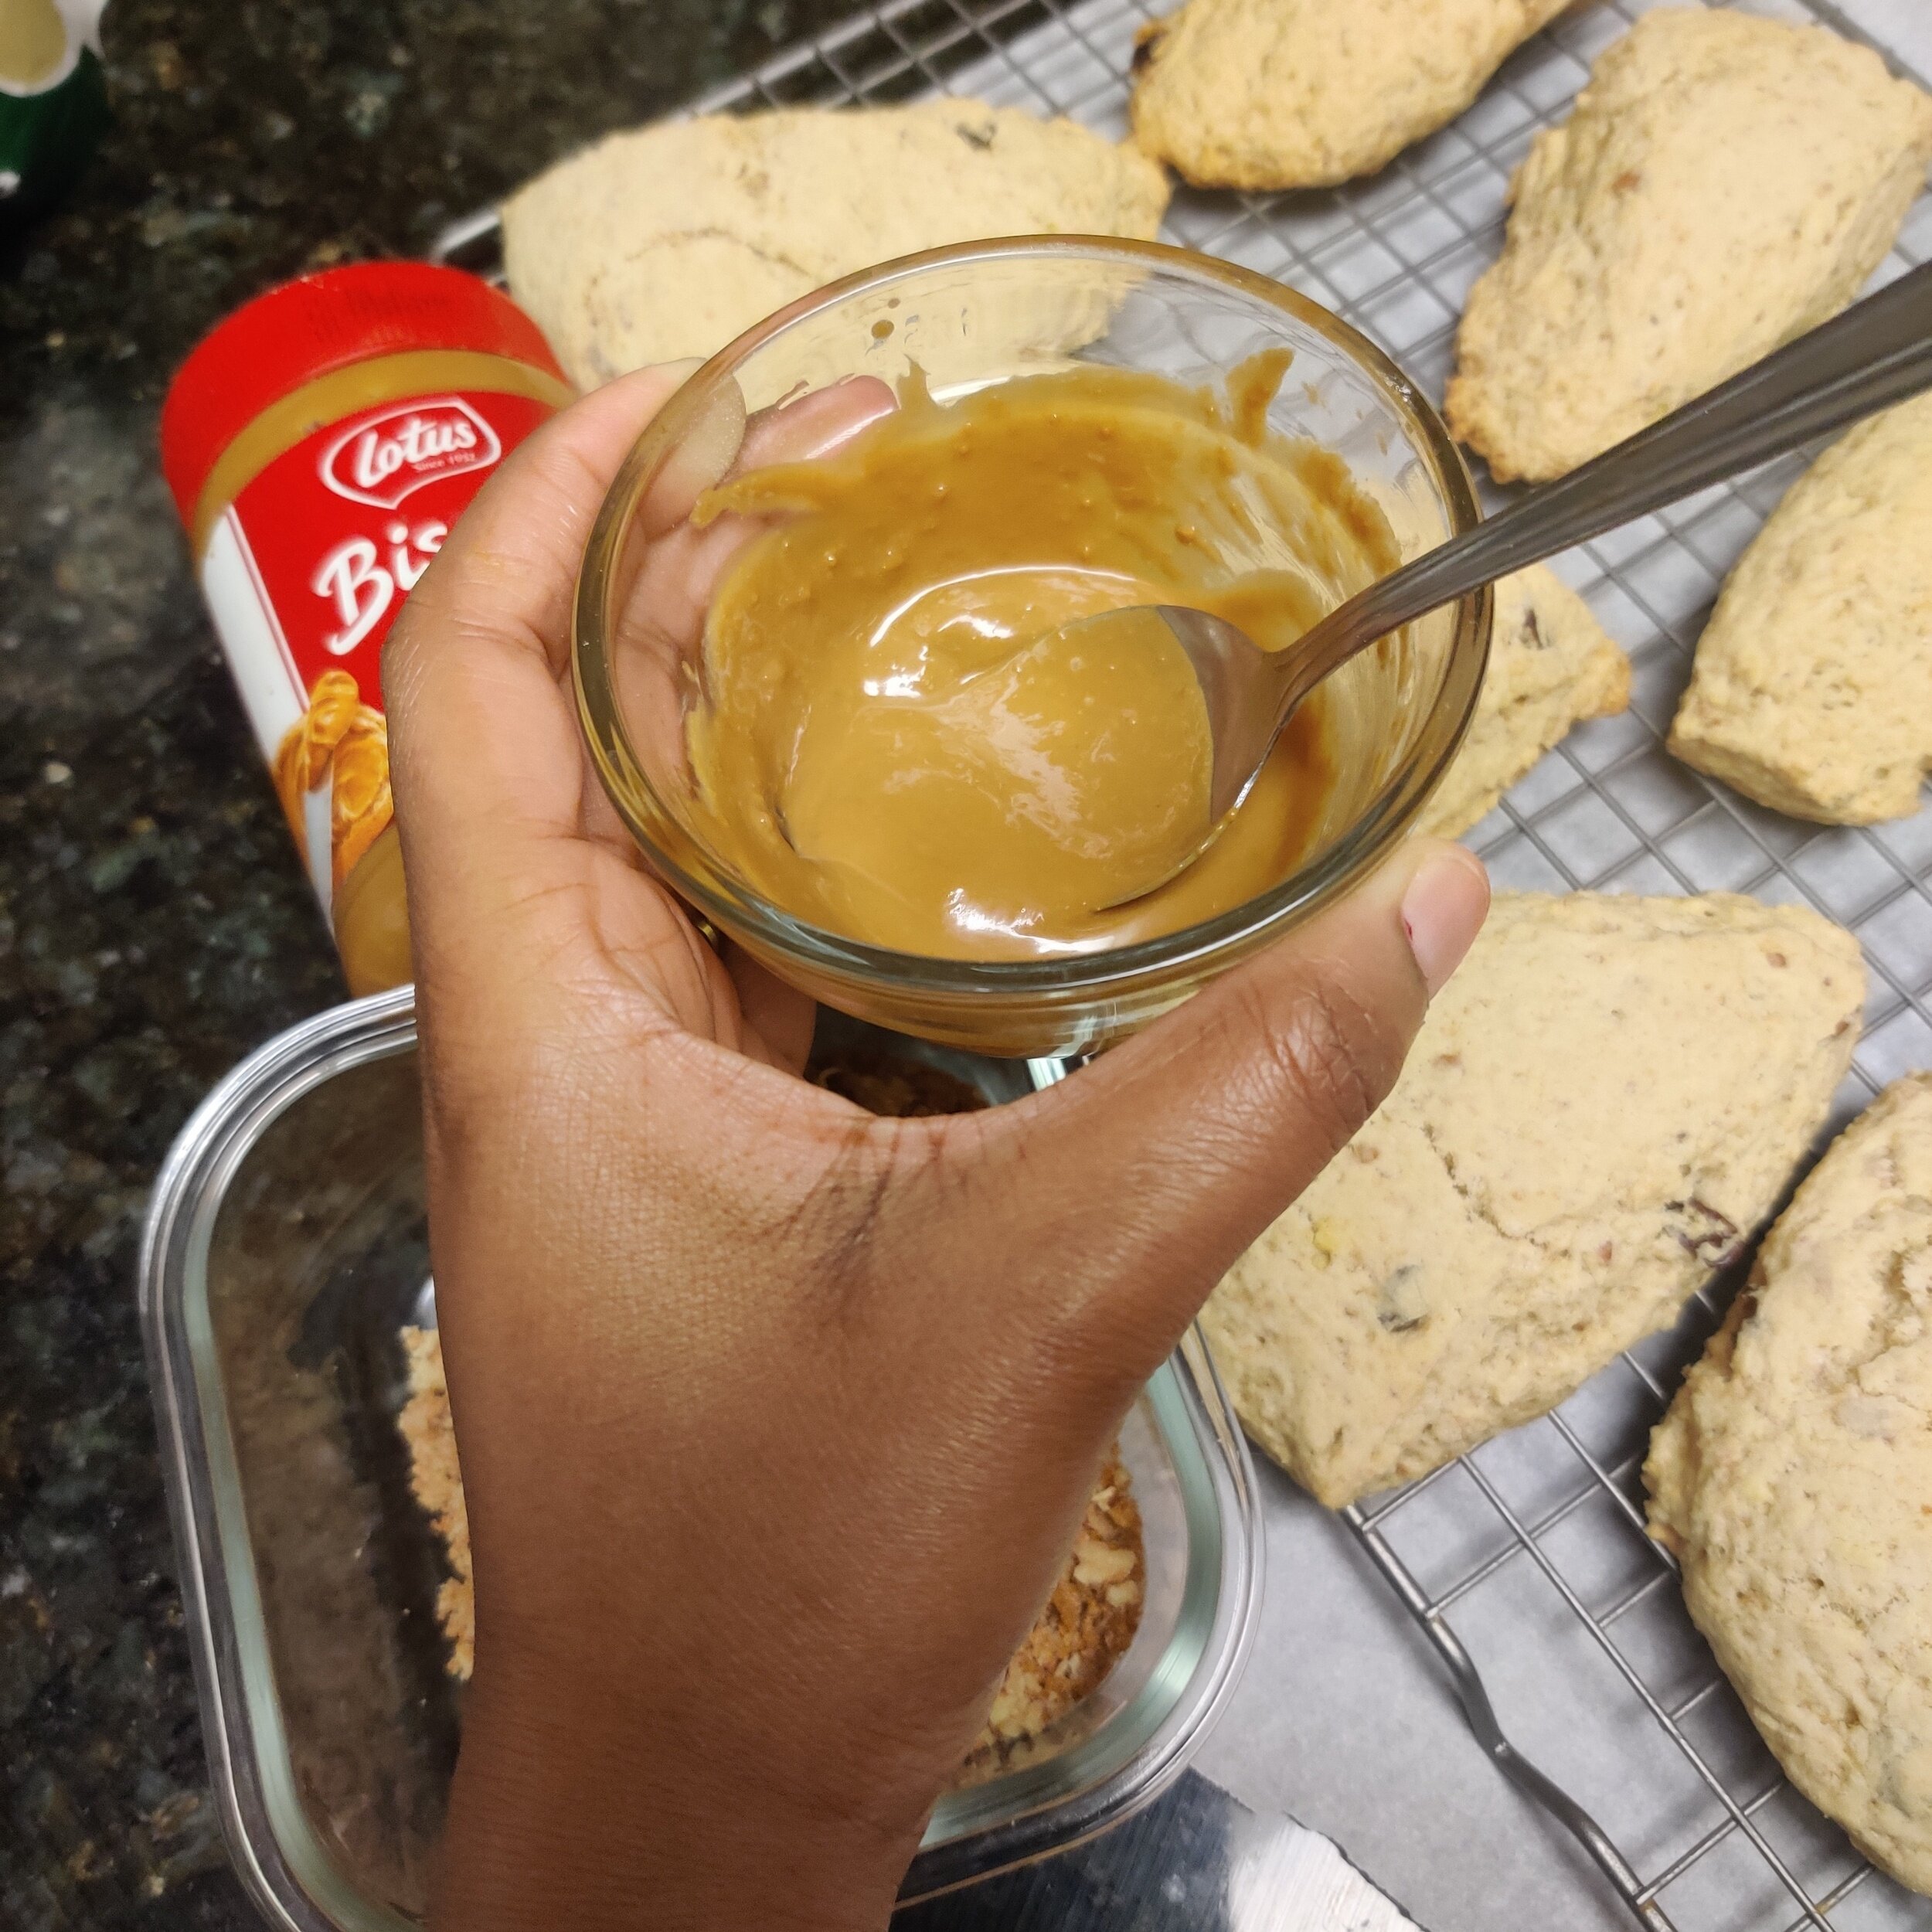
Glazed Pecan and Biscoff Scones
Scones. Who doesn't love them? Not sure if I should thank the Irish or the British, but at this point, they belong to everyone, and I'm here for it.
These baked goods were a mainstay for me growing up -- the traditional plain ones with raisins, finished with an egg wash and circular (unlike the triangles Americans typically serve up). There's nothing like the smell of freshly baked scones served with hot milk tea, clotted cream and jam when called for. I also can't imagine the 'perfect brunch' without them either.
I combined two flavours that pair well for texture and taste for this recipe - pecans and Biscoff, aka cookie butter (well, in this case, the cookies themselves too)! Pecans have a subtle, buttery taste which makes them a seamless addition to most baked goods, but you can also make them sing. As for the biscuits, the spicy undertones of cloves, cinnamon and nutmeg, and notes of caramel, are always a treat. Note: when pulsing these ingredients, make them as coarse (or fine) as you like.
Scones are not as difficult to make as people might believe, ideal not just for brunch but also for a light breakfast or afternoon break.
Watch the video below for a step-by-step to see just how simple it is to make them, and you'll regularly have fresh scones in your home!

Ingredients
2 1/4 cups all-purpose flour + a little extra for dusting
1/2 cup granulated sugar
1/2 cup cold butter, cubed (I used plant-based) or coconut oil
1/2 cup almond milk + 1 teaspoon lemon juice (or buttermilk)
1 teaspoon vanilla extract
1/2 teaspoon salt
1 tablespoon baking powder
10 Biscoff biscuits
1/4 cup Biscoff cookie butter (for the glaze)
1/4 cup raisins
Handful of pecans
1 egg
Instructions
If you are not using regular buttermilk, add the lemon juice to the almond milk and set it aside to curdle.
Next, add the pecan nuts and cookies to a food processor or blender, and pulse to your desired consistency.
In a large bowl, whisk the flour, baking powder, salt, and blitzed pecans and Biscoff cookies until evenly mixed.
Add the cold butter, and use a pastry knife or two sharp knives to chop the butter into the flour mix. Finish off with your fingers until it resembles bread crumbs.
Add the raisins and the egg, mix evenly into the dry batter.
Follow this with buttermilk, and mix with a spatula into soft dough forms.
Transfer to a floured surface and knead for about 2-3 minutes, shaping into a round dome. (If you find the dough too soft and sticky, use the kneading process to add a bit more but not too much to avoid dry and rough scones).
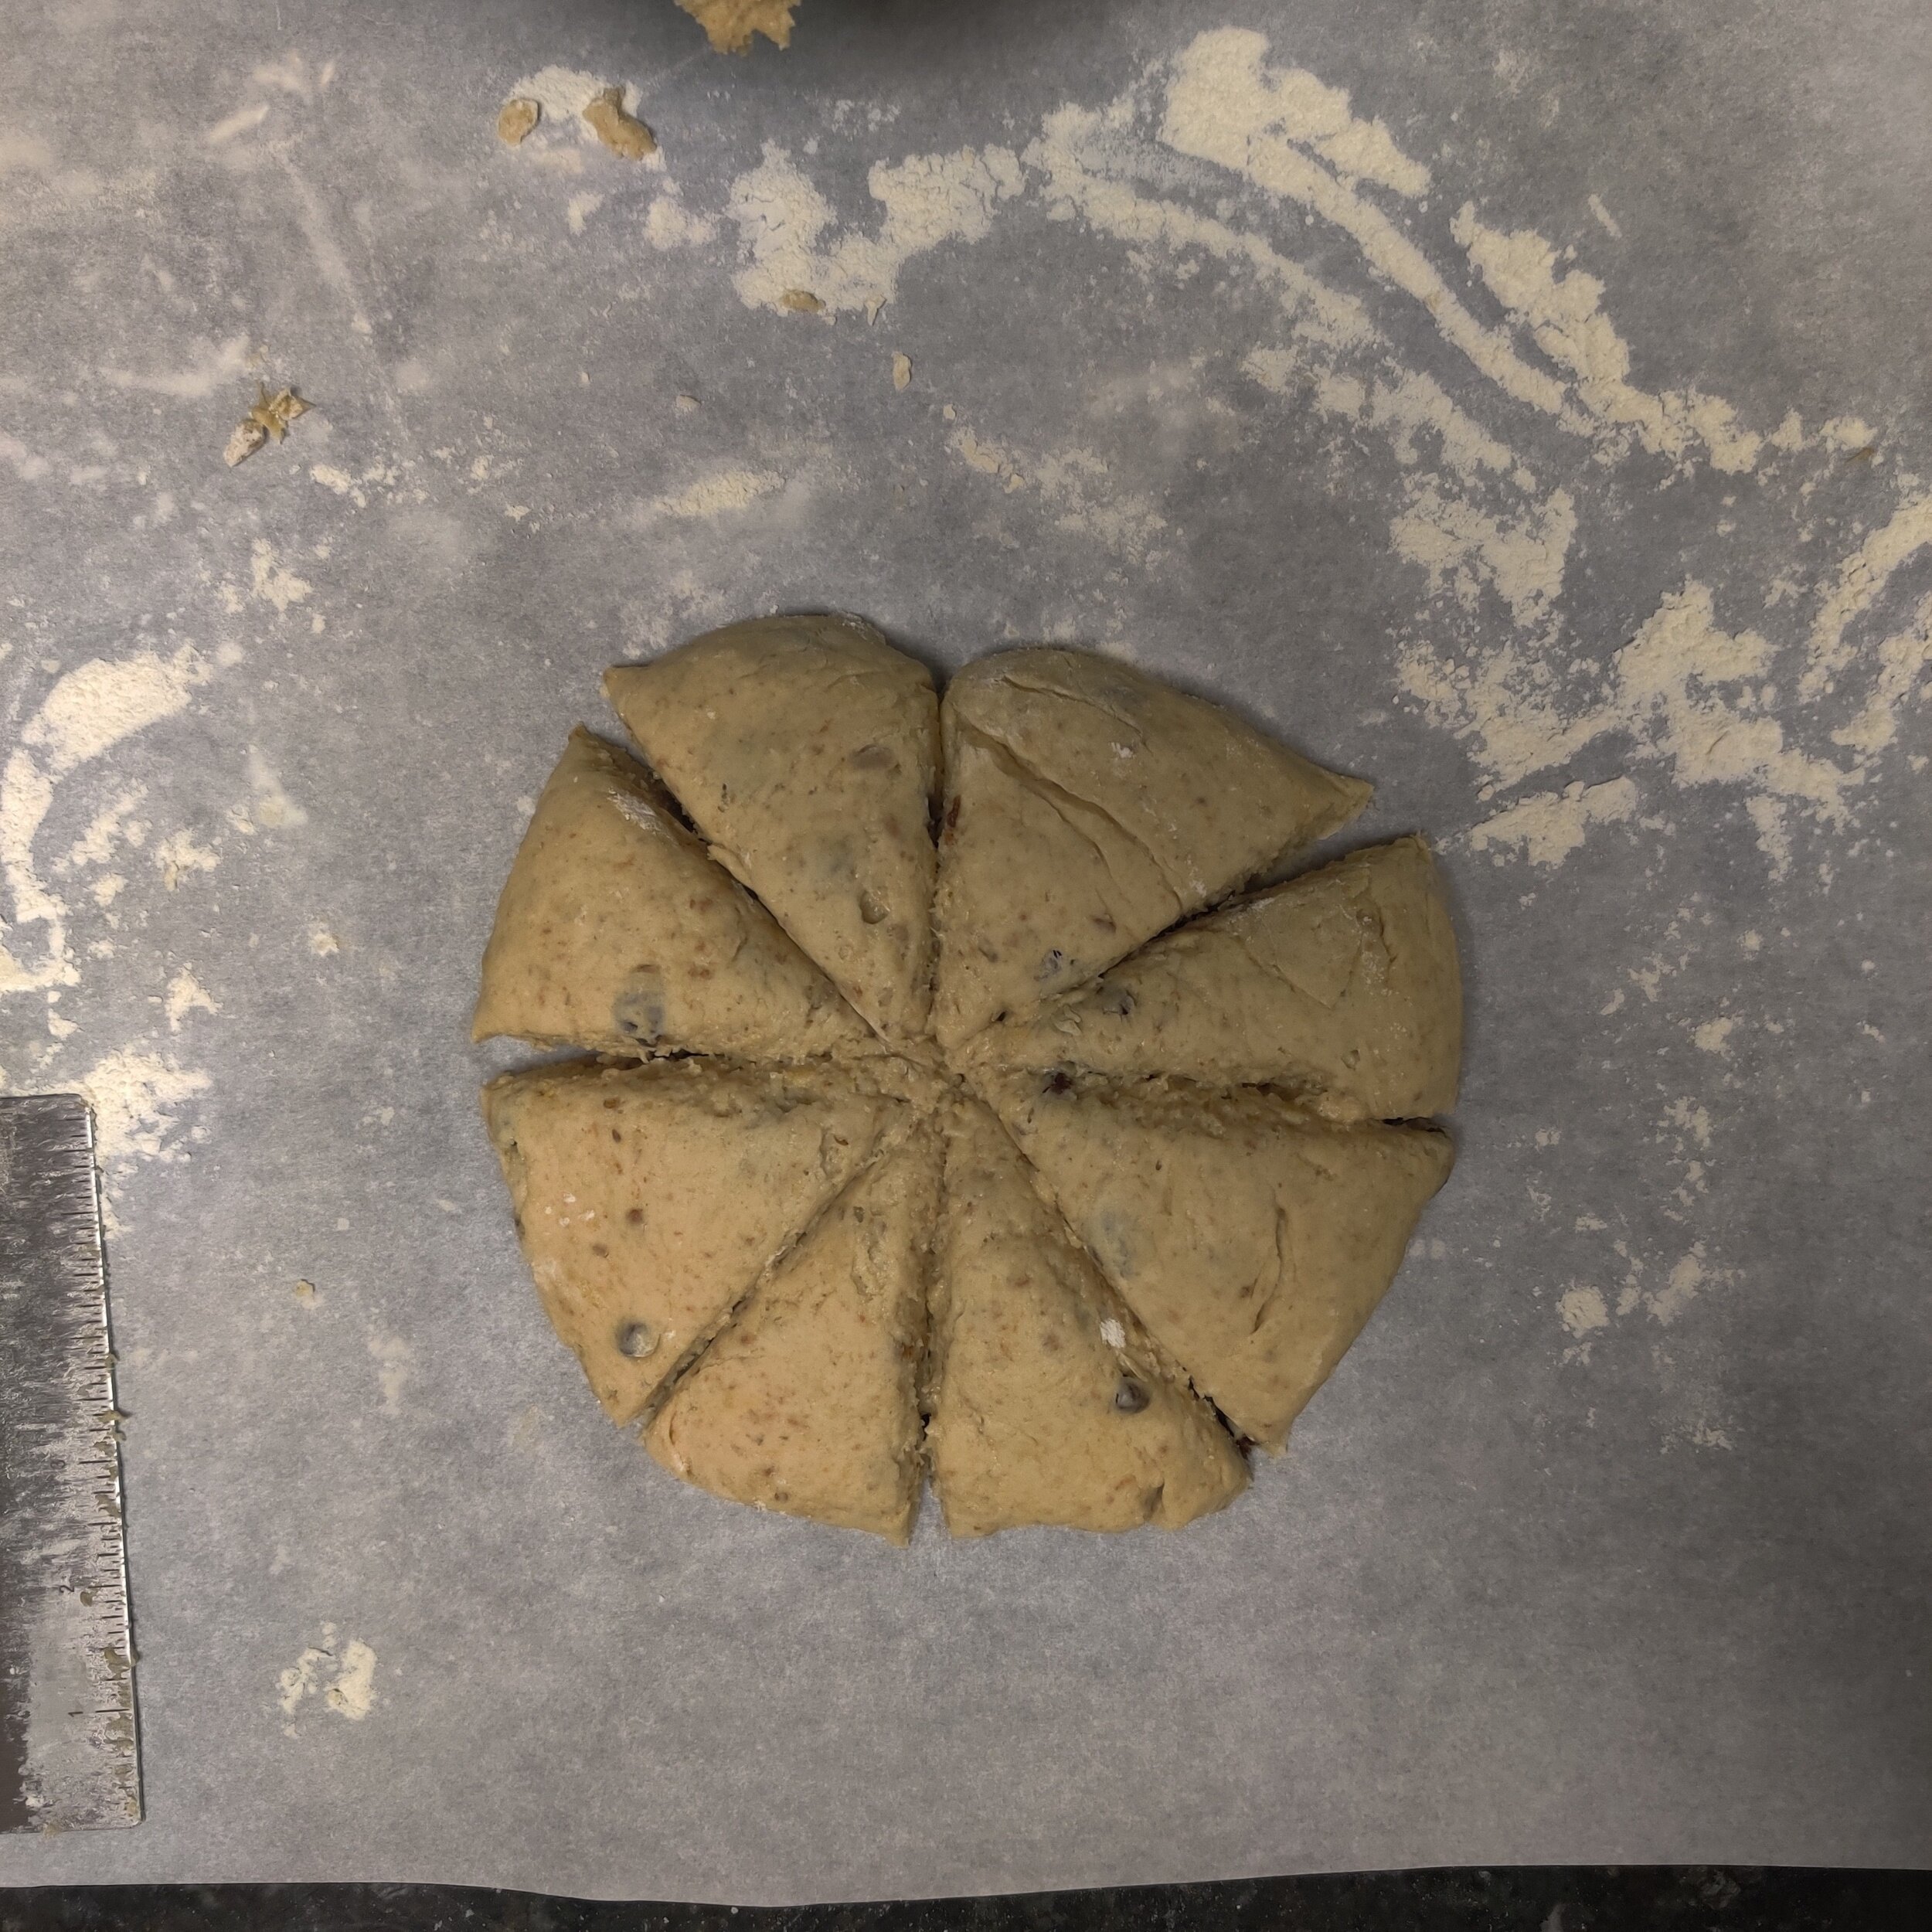
Using a kitchen scraper or sharp knife, slice the dough into eight pieces. Try to make them as even as possible. You may need to dust it with flour to prevent it from sticking.
Bake at 350F for 22 minutes, then remove from oven and set aside to cool.
Melt the cookie butter in a microwave-proof container for about 30 seconds, then use a spoon to glaze the scones.
Serve with tea and clotted cream!


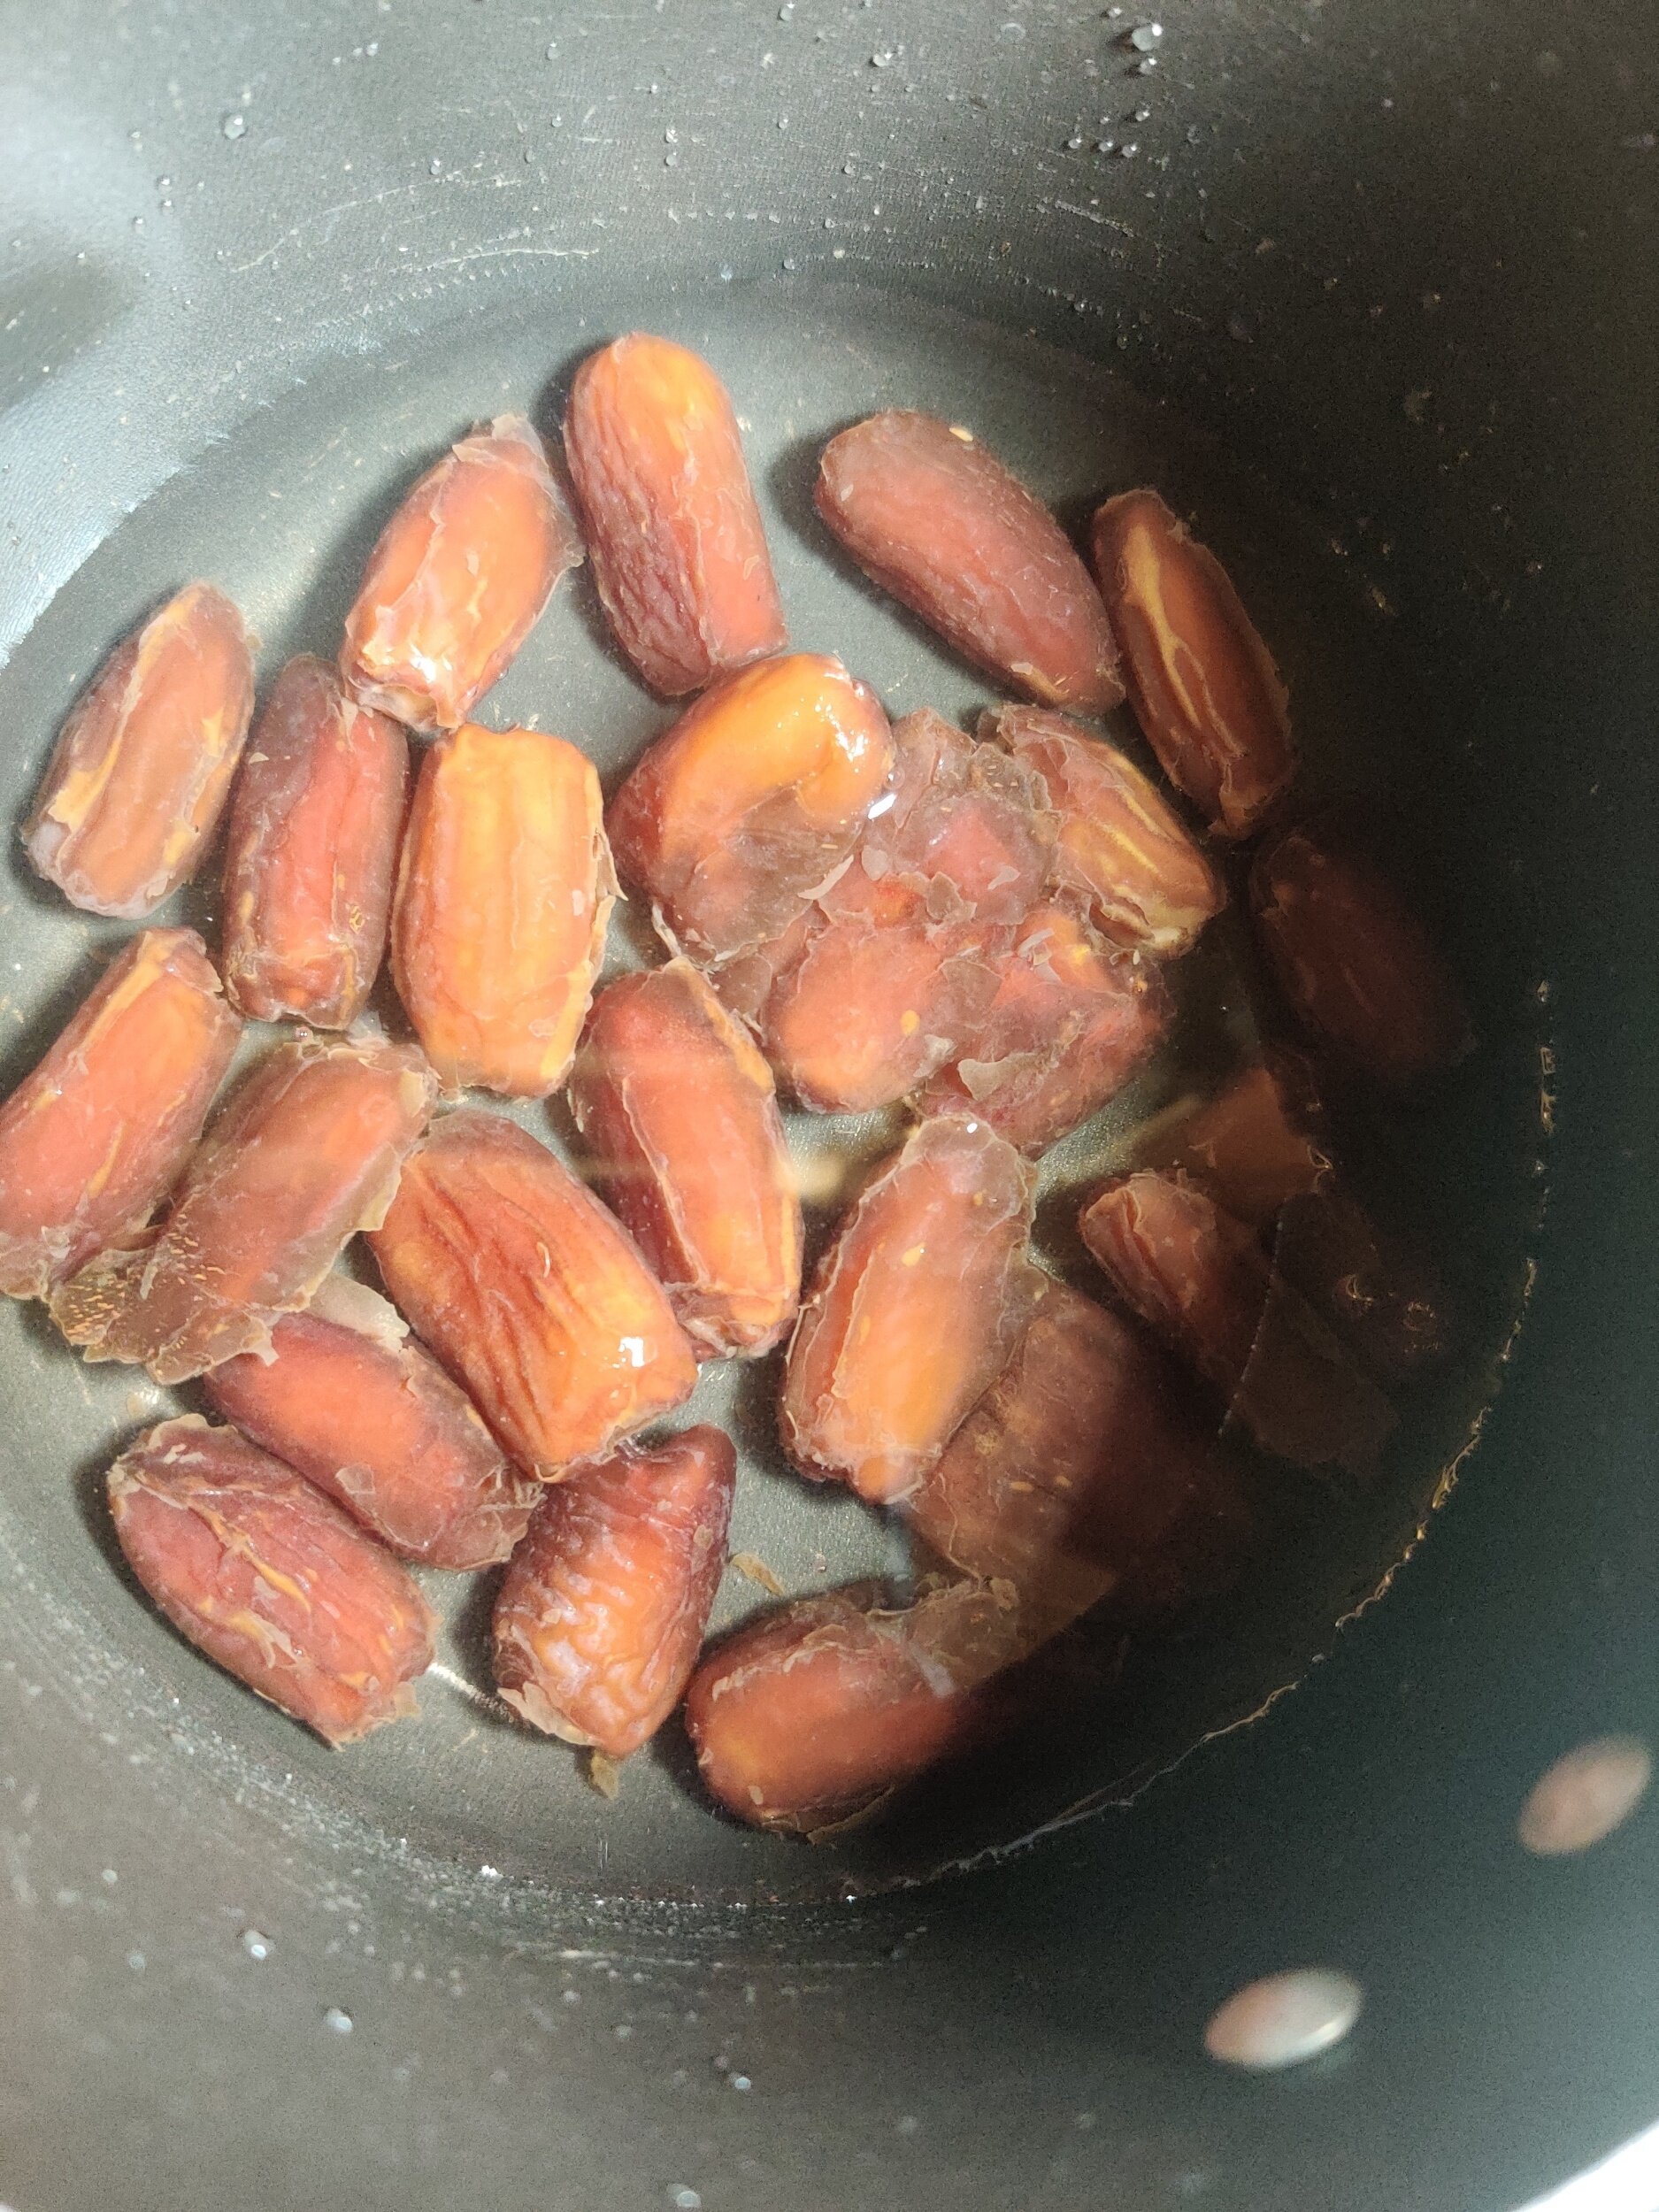
Sticky Toffee Date Pudding
This recipe is part of a two-part 3-course meal menu. Start with this Creamy Tomato Beet Soup., followed by an Eggplant Lasagna with Mushroom Ragu, served with a Kale and Brussels Sprouts Salad.
I've made a pudding similar to this, which has become a South African quintessential dessert - Malva Pudding with Rum Sauce. Sticky toffee date pudding is the English or Australian version, a cake made from flour, eggs, sugar, butter and well, of course, dates!
What makes this dessert is the moist texture of the cake and the sauces you serve it with since it acts like a sponge. The "sticky" in sticky date pudding gets its name from the creamy brown sugar-based toffee sauce that goes on top.
Sticky toffee pudding is also often served with custard, ice cream, or whipped cream. In this case, like my previous dessert, I used my signature Amarula Custard.
Ingredients
Cake:
1 1/4 cups all-purpose flour
1 1/4 cups dark brown sugar
6 tablespoons butter
3 eggs
2 teaspoons baking powder
3/4 cup or 6-7 ounces dates, pitted (I used Medjool)
1 teaspoon vanilla extract
1 teaspoon baking soda
Toffee sauce:
6 tablespoons dark brown sugar
1/2 cup butter
1/2 cup + 2 tablespoons light brown sugar
1/4 teaspoon salt
1/2 teaspoon vanilla
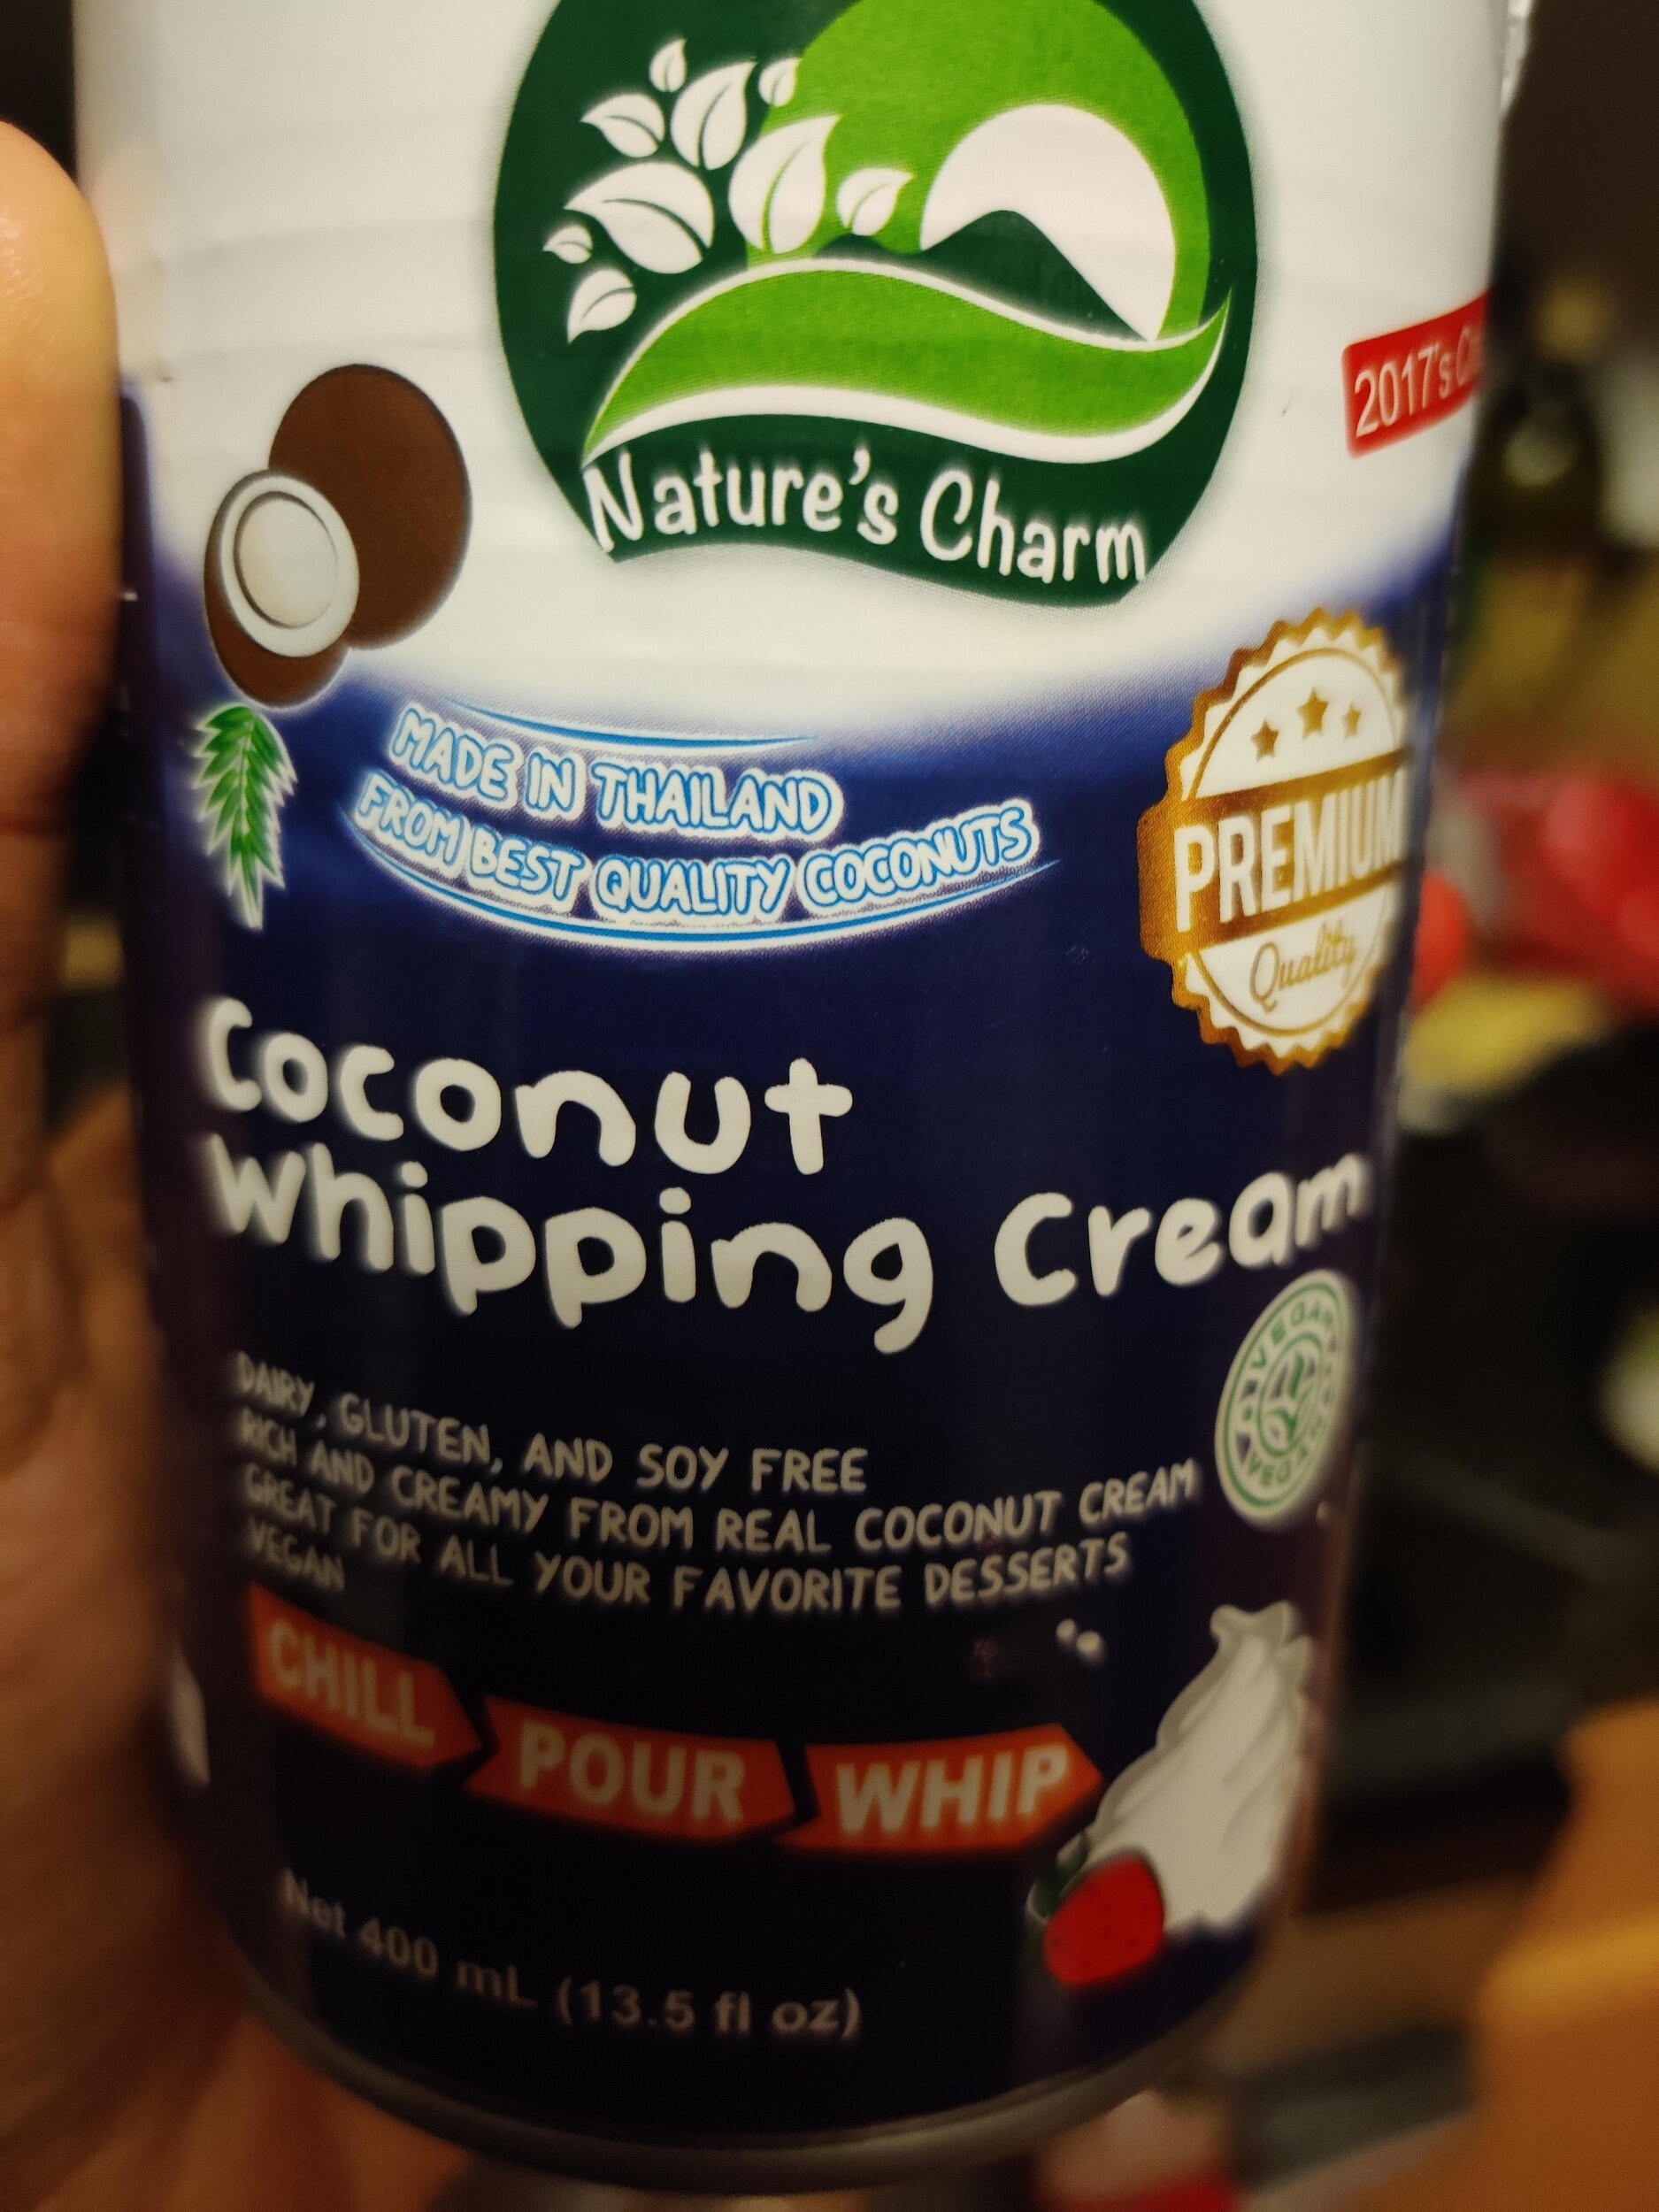
15-ounce (400ml) can coconut whipping cream
1/2 cup milk (I used plant-based for this)
Instructions
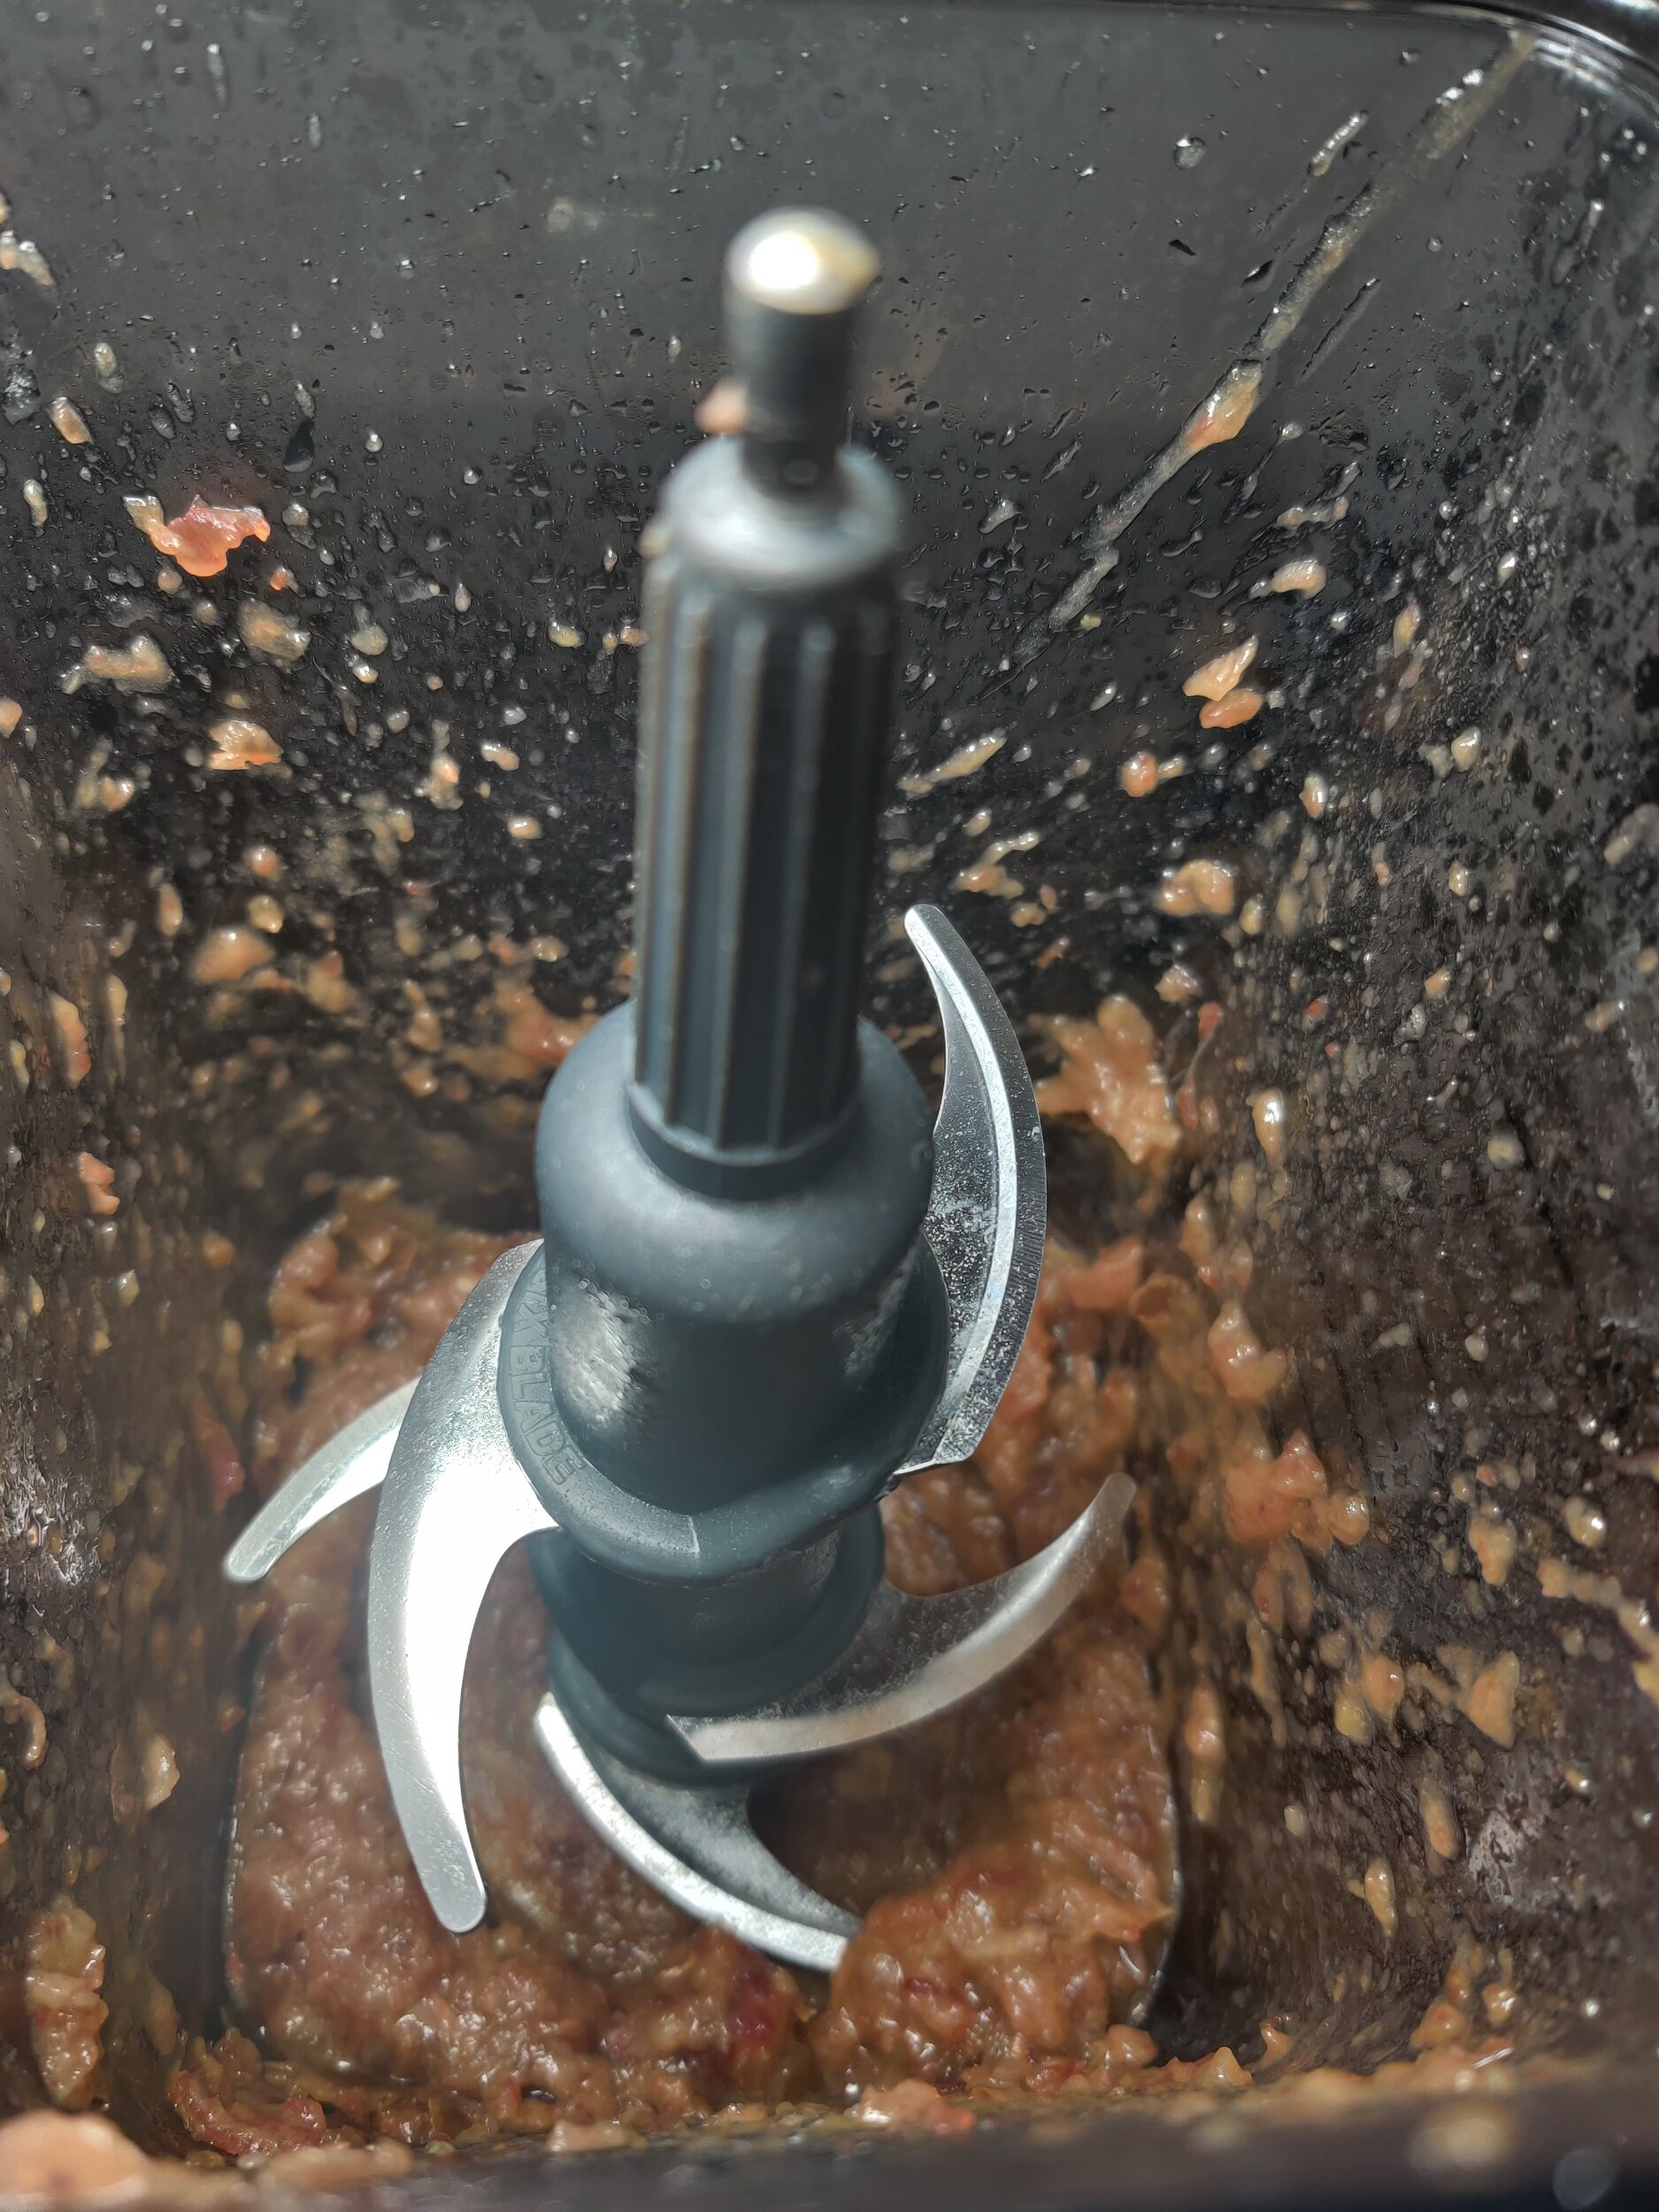
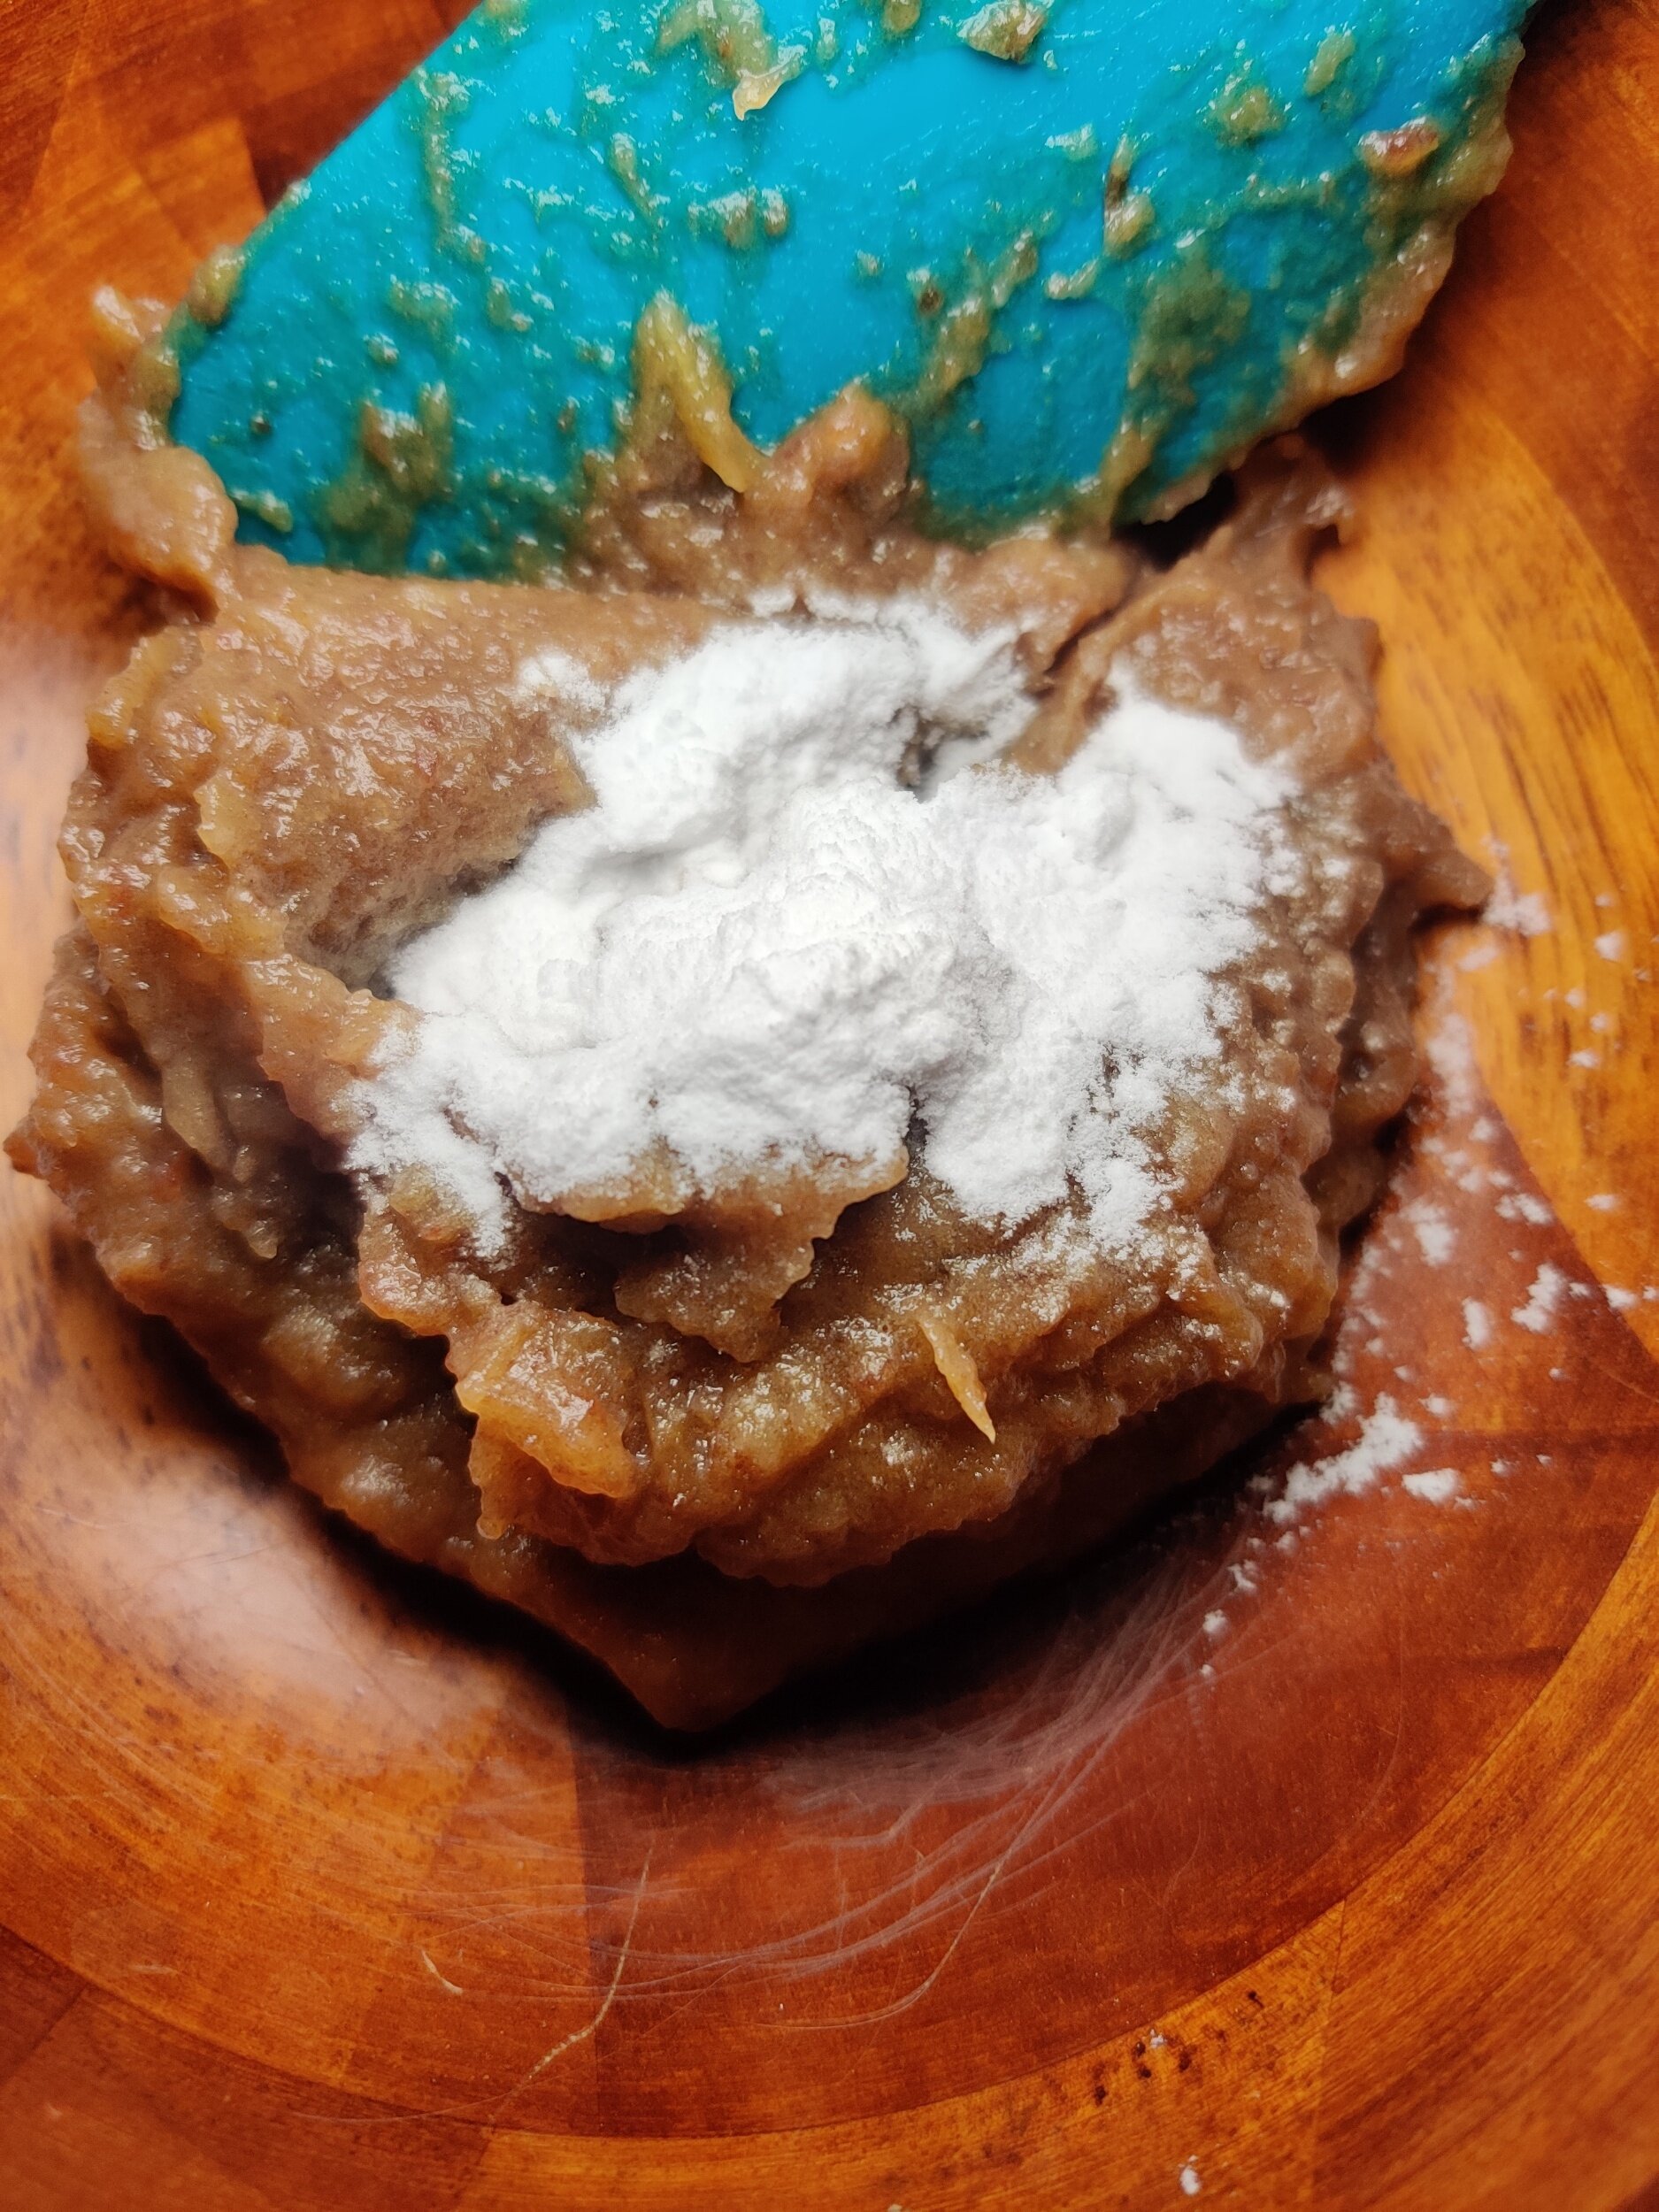
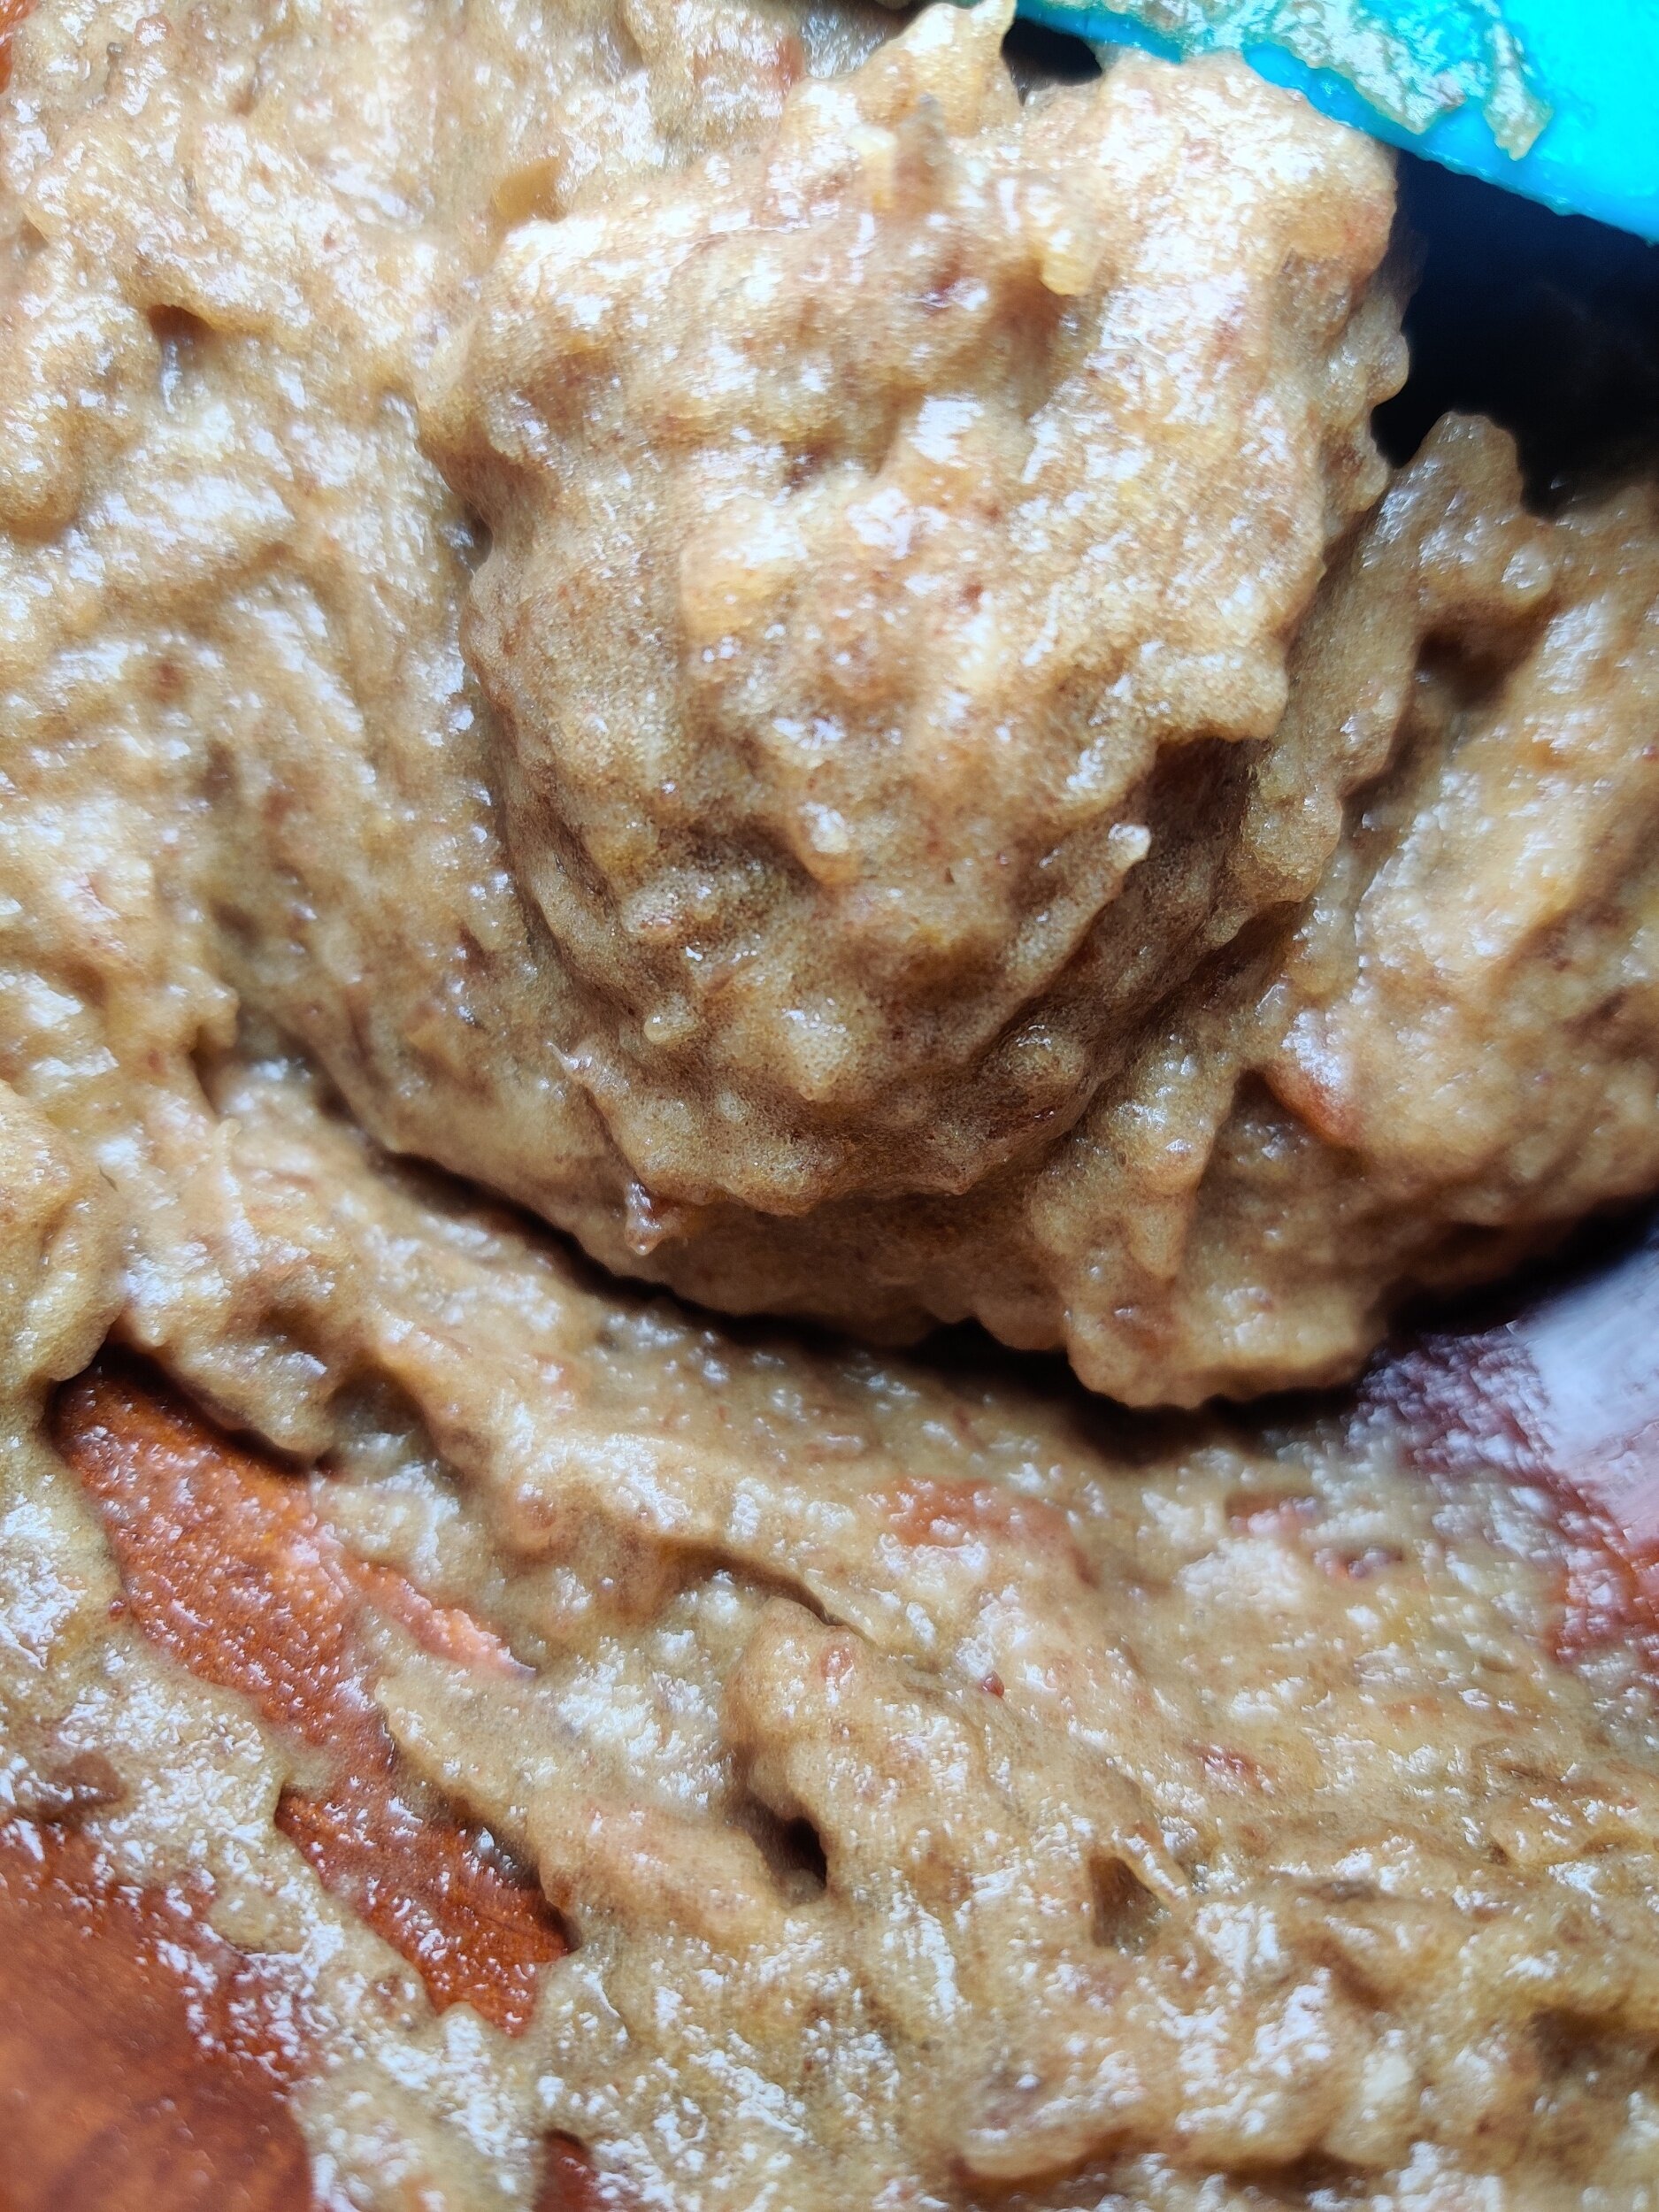
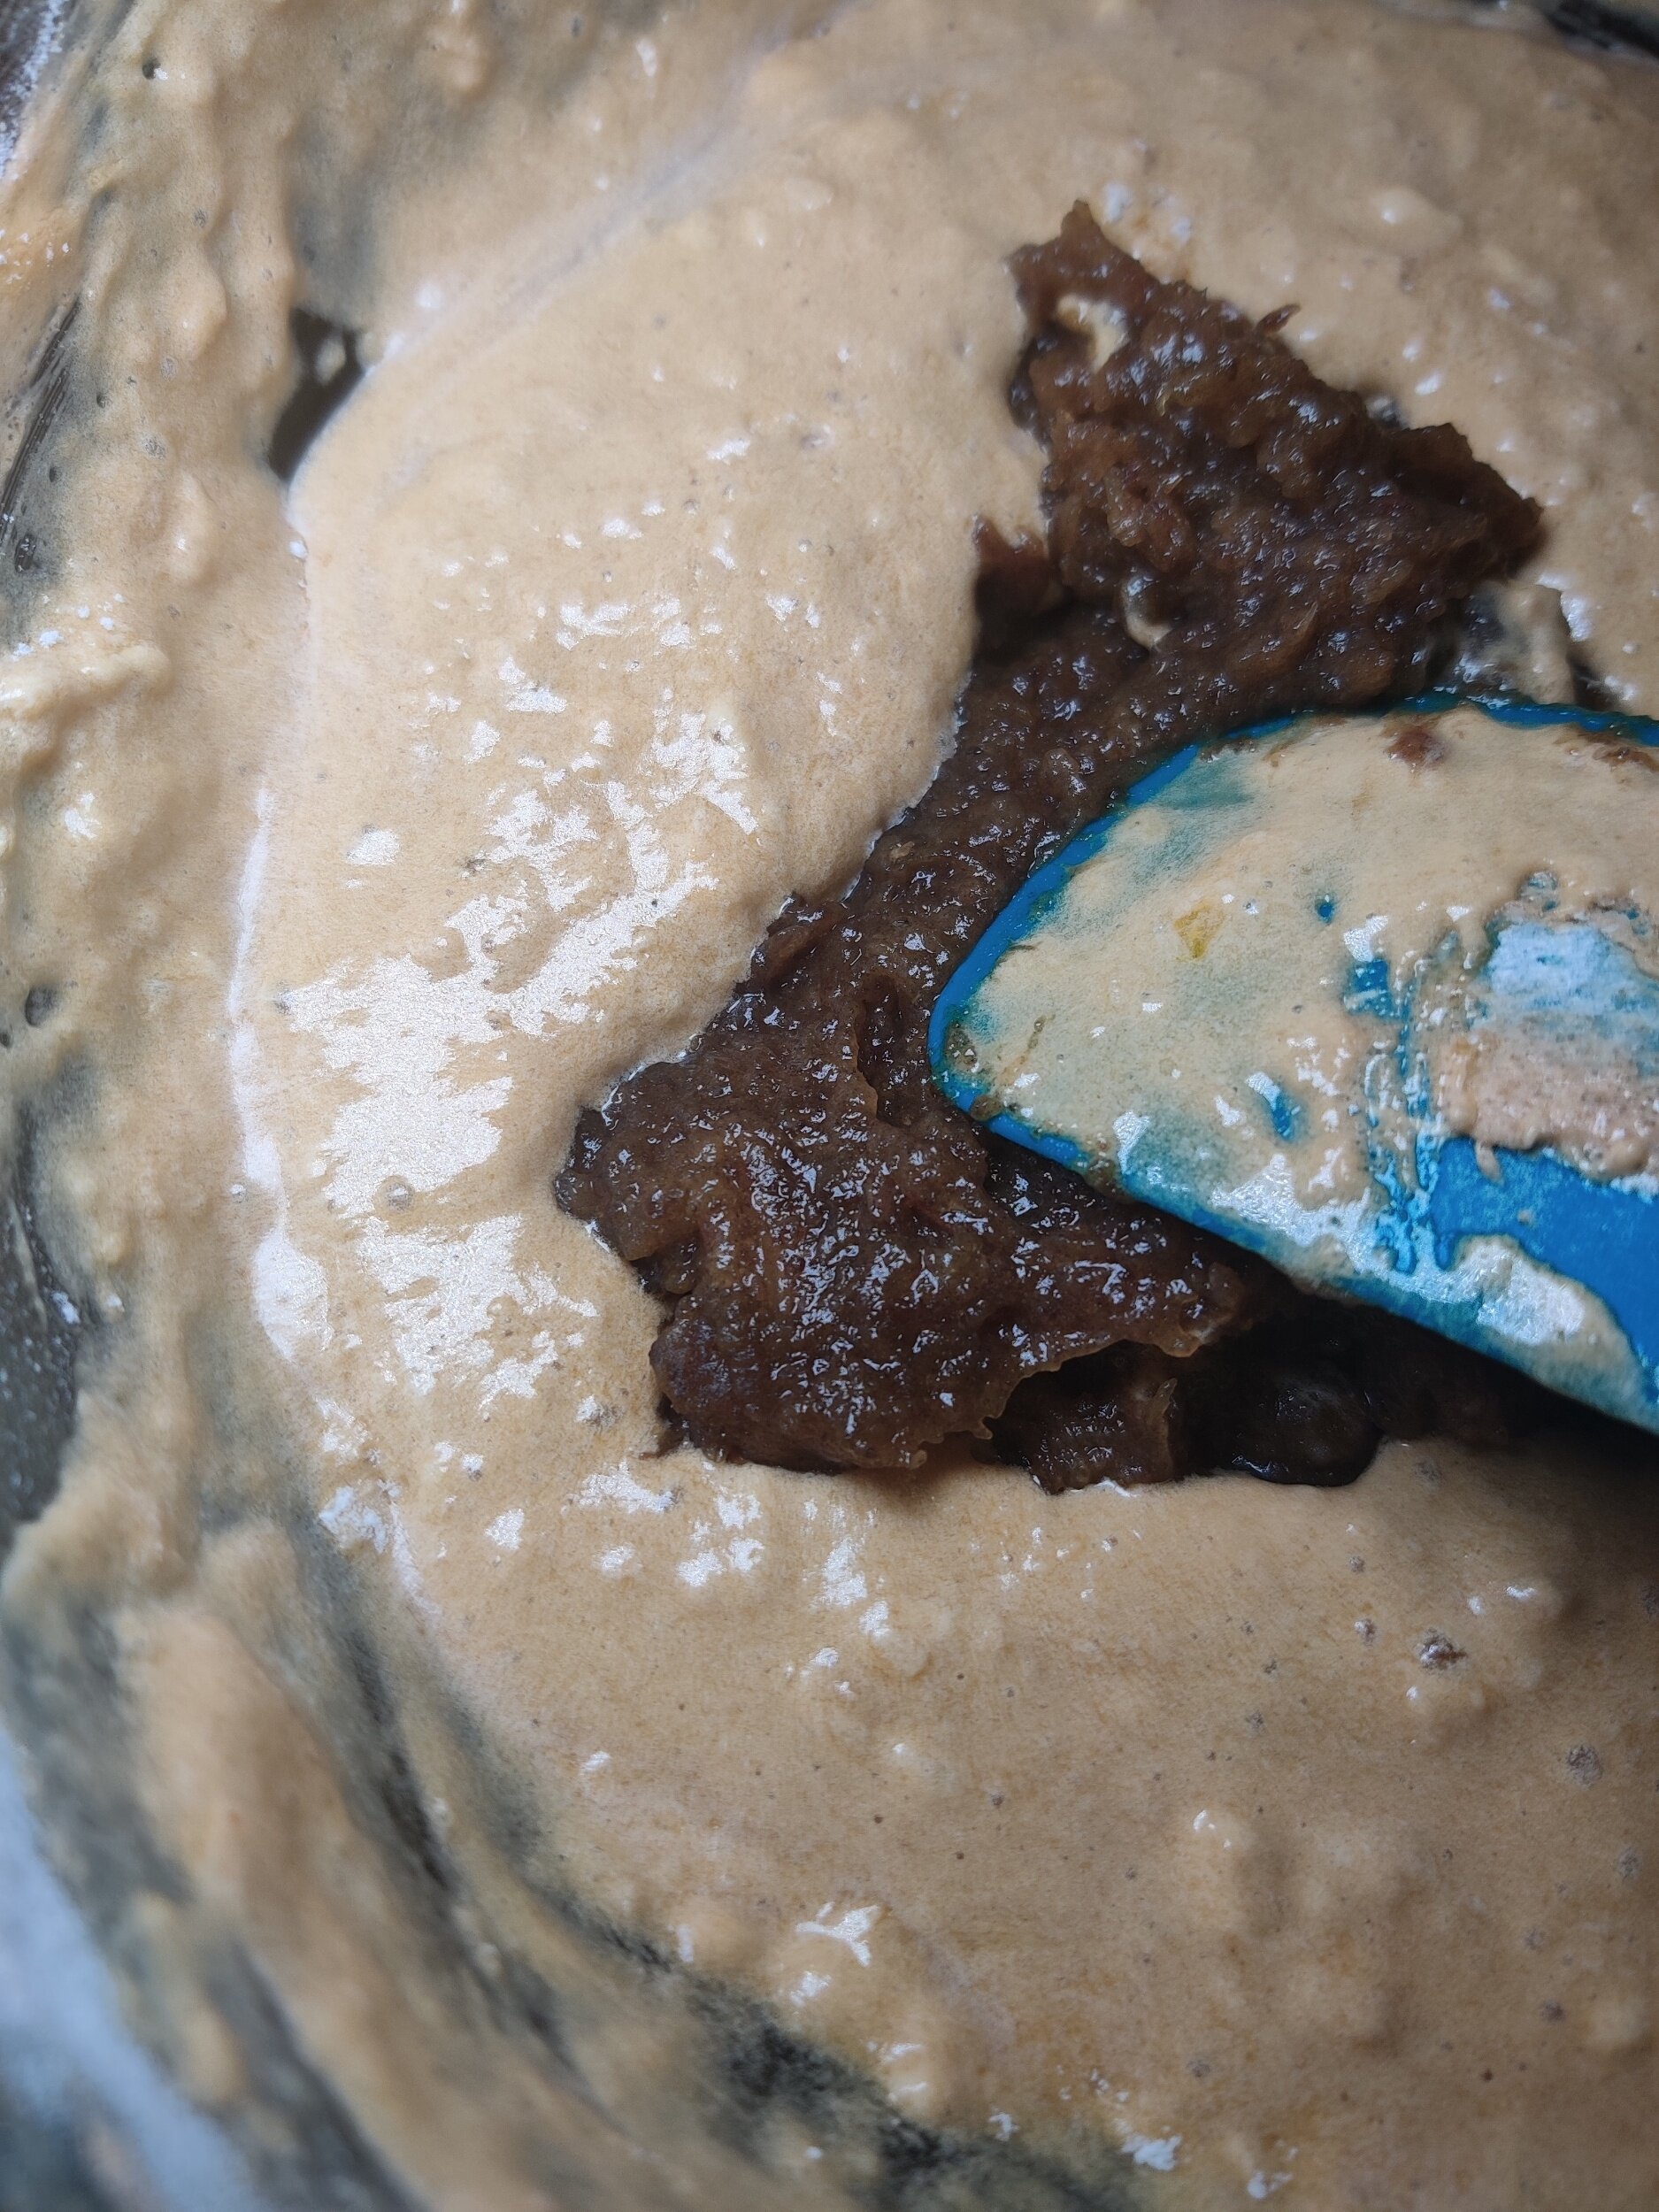
In a small saucepan, submerge and simmer the dates for about 5 minutes or until they begin to break down. Cool, strain, and pulse into a paste in a blender or food processor. Mix with the baking soda and set aside.
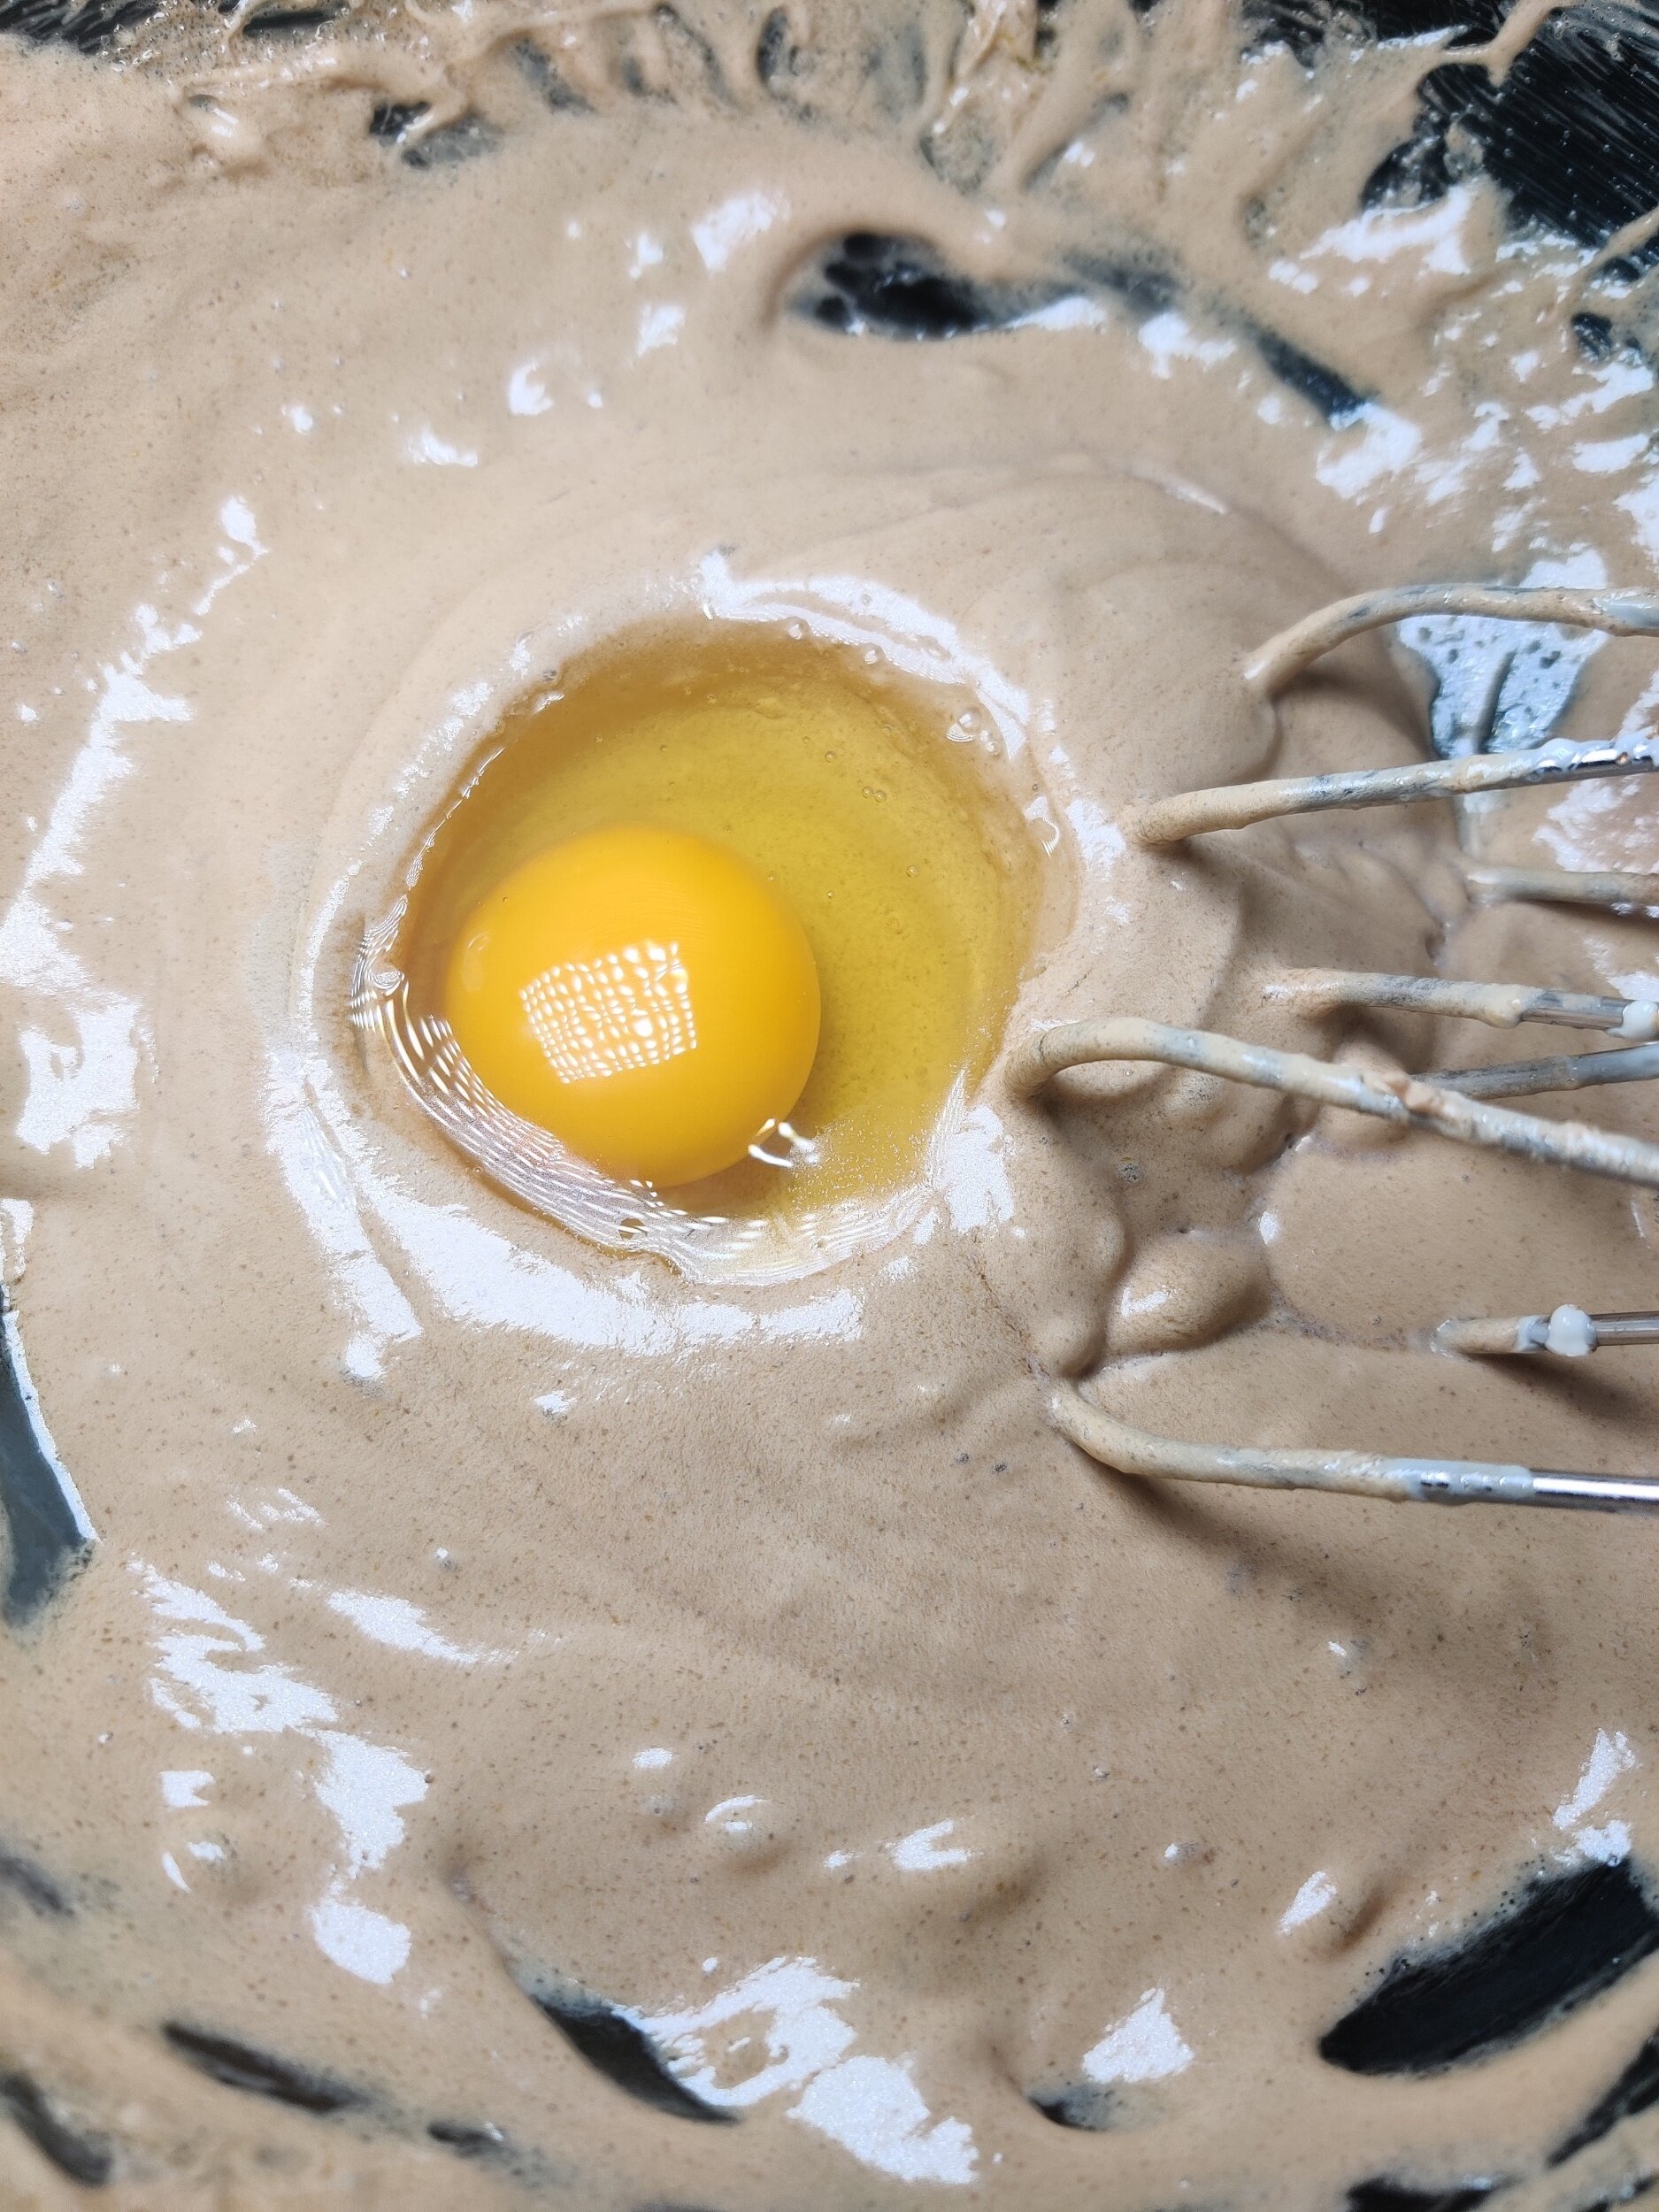
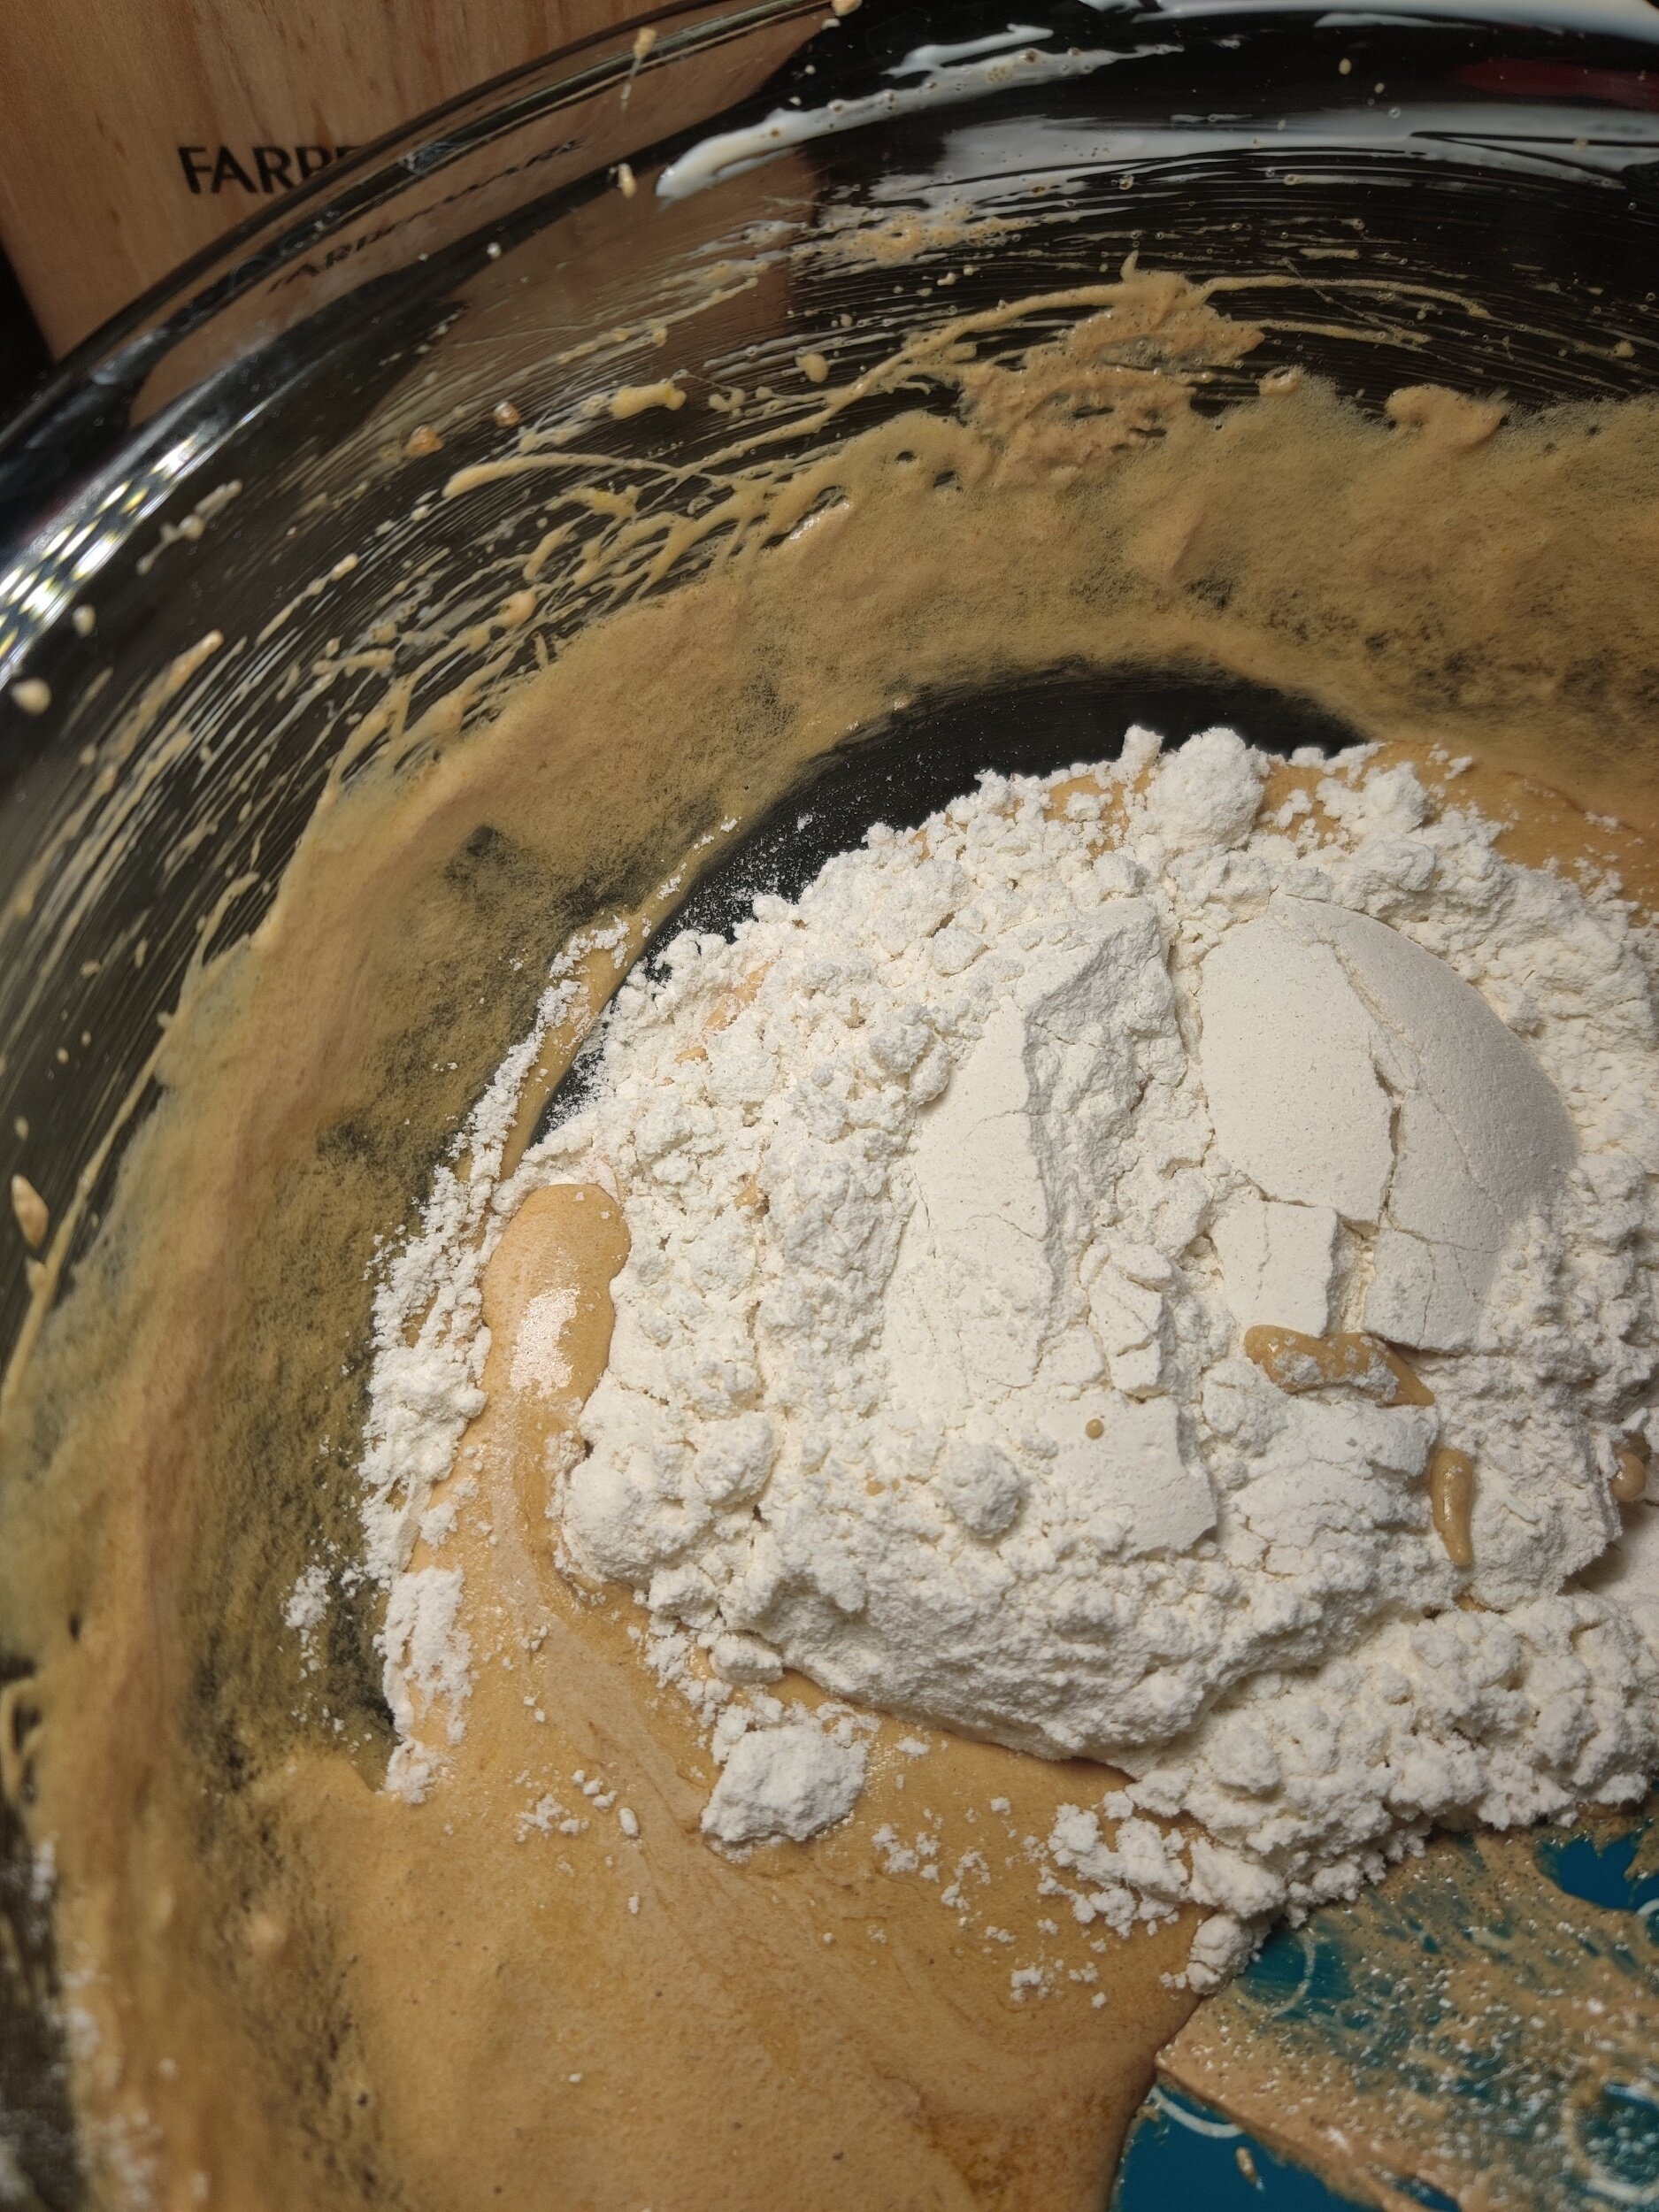
Cream the dark brown sugar and butter with an electric mixer on high speed until fluffy and creamy in a large bowl. Beat in the eggs one at a time, then gently fold in the flour, baking powder, and the date mix - you’ll notice it would have lightened and up a bit and become airy in texture.
Pour the batter into a greased and/or parchment-lined cake tin (I used one 8 inches by 8 inches) and bake at 350F for about 50-60 minutes (depending on your oven). The centre must come out clean with a toothpick or skewer to check the doneness.
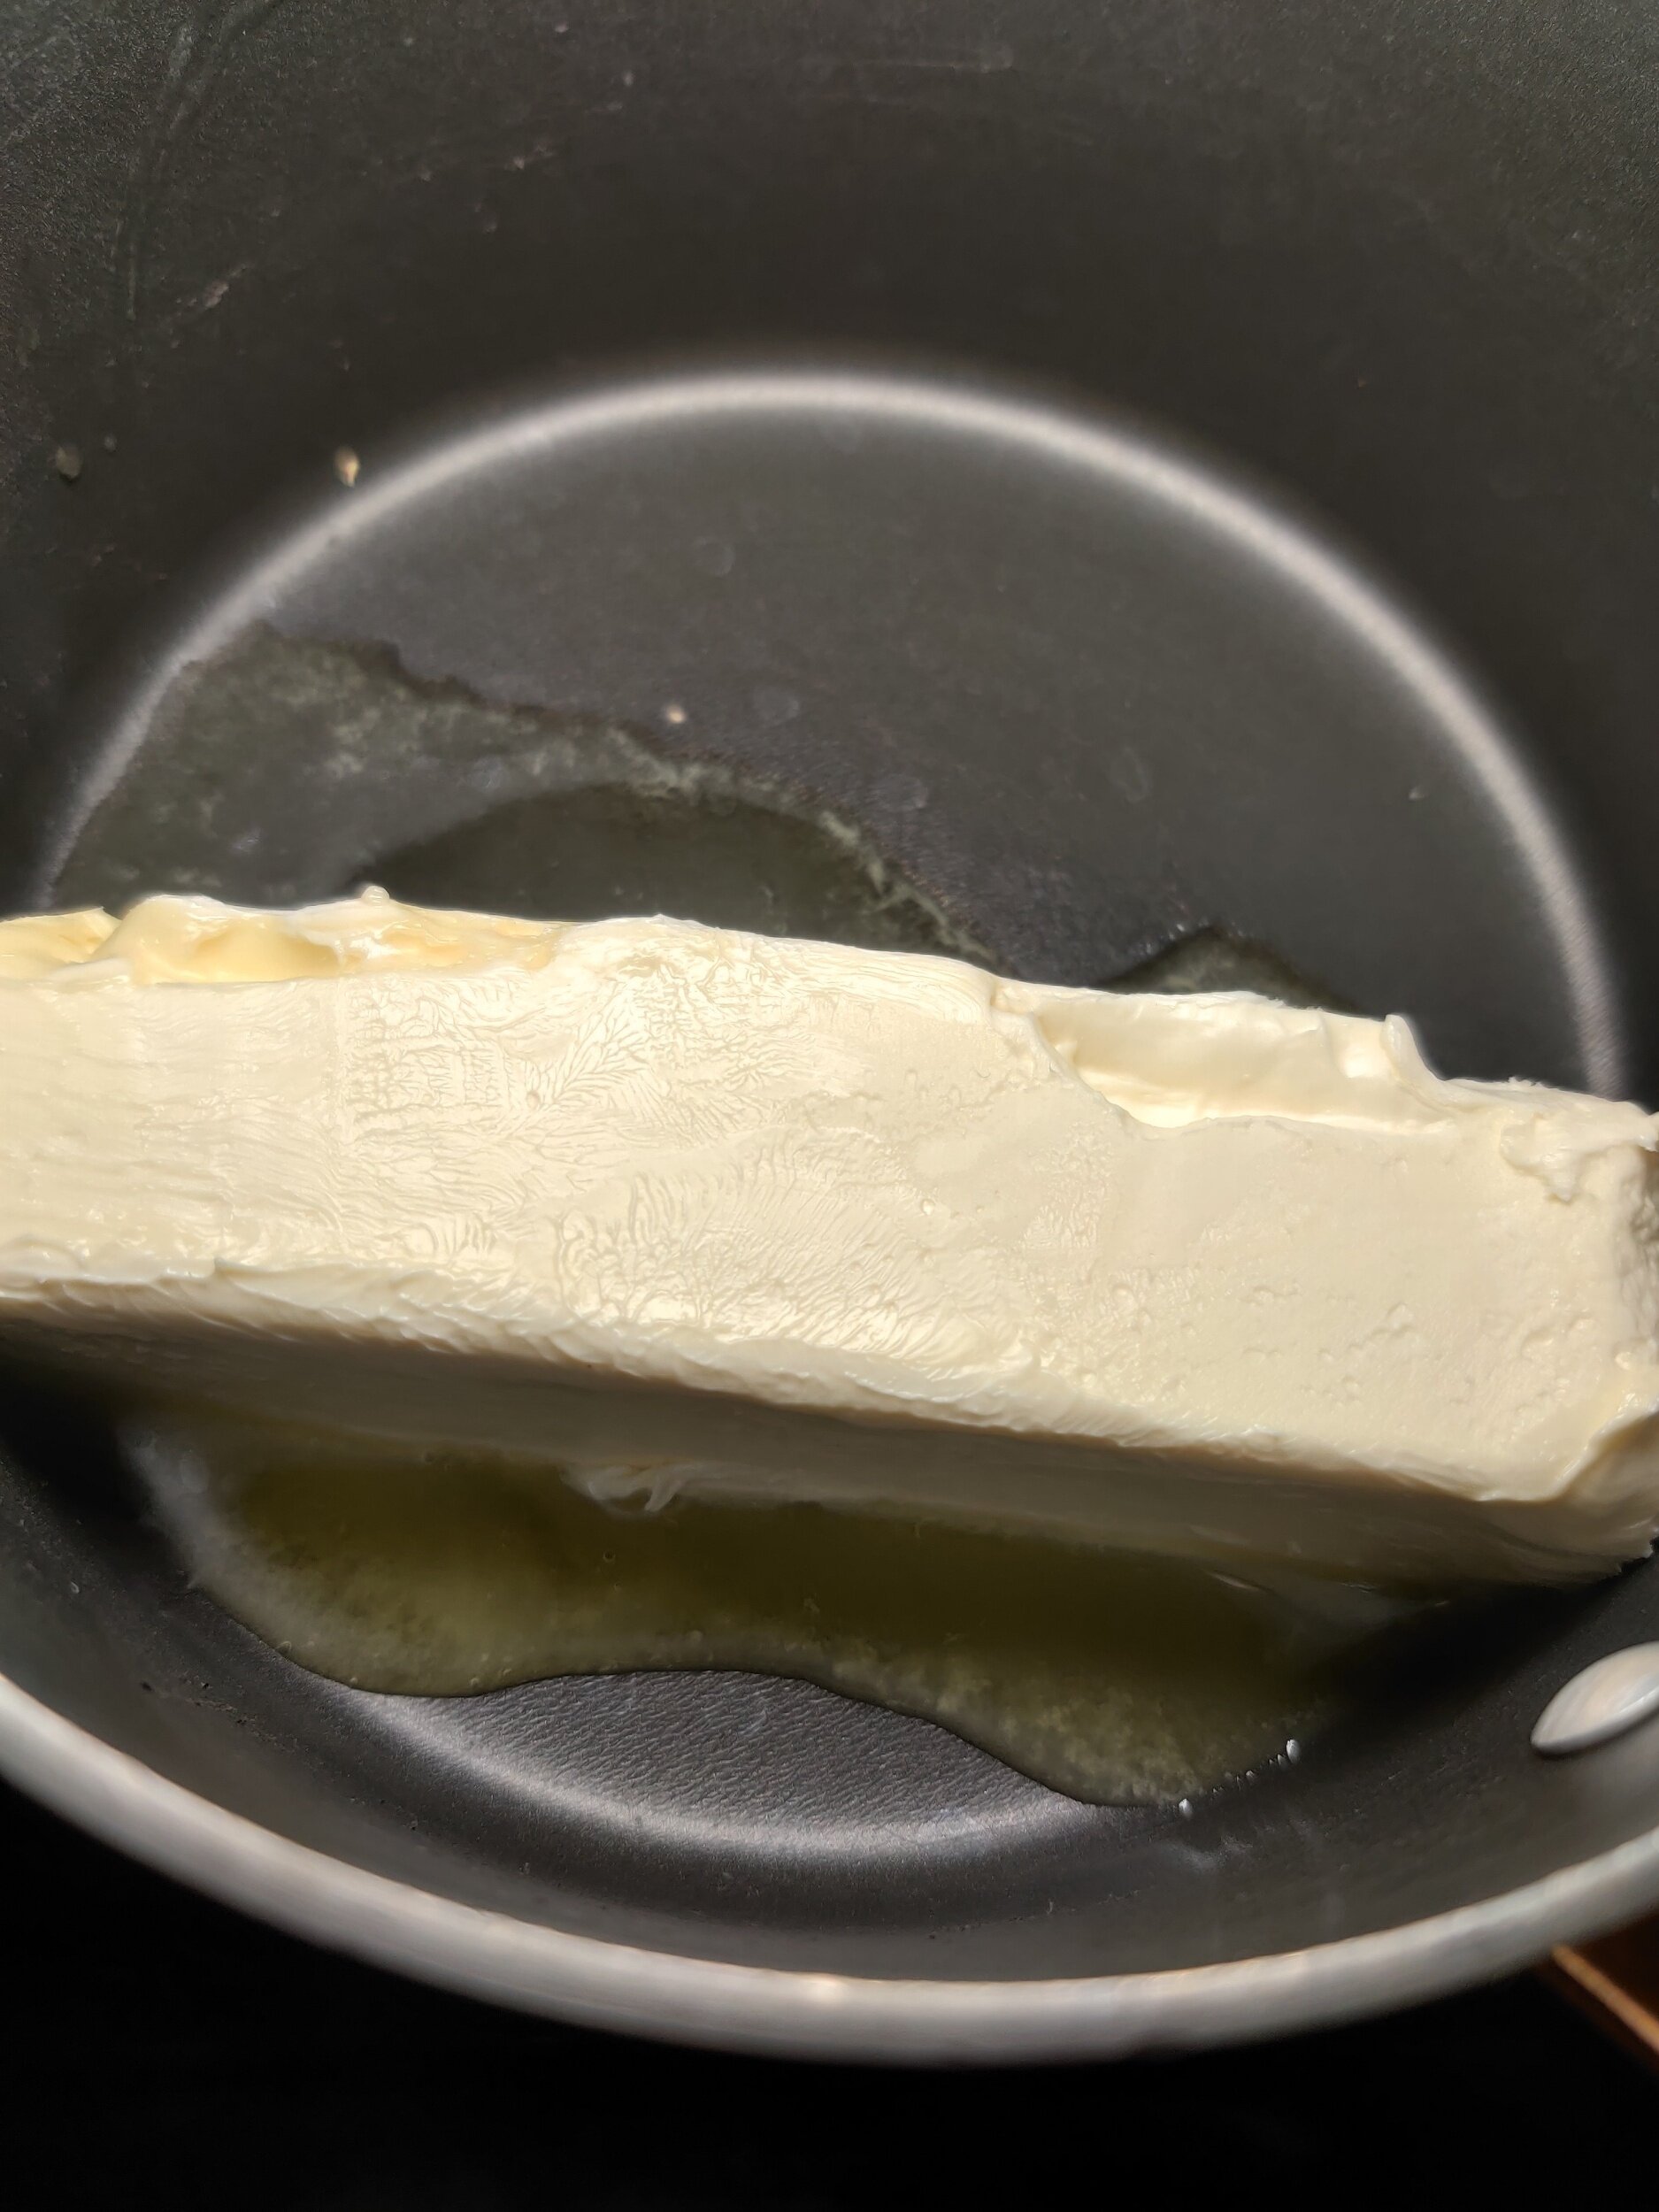
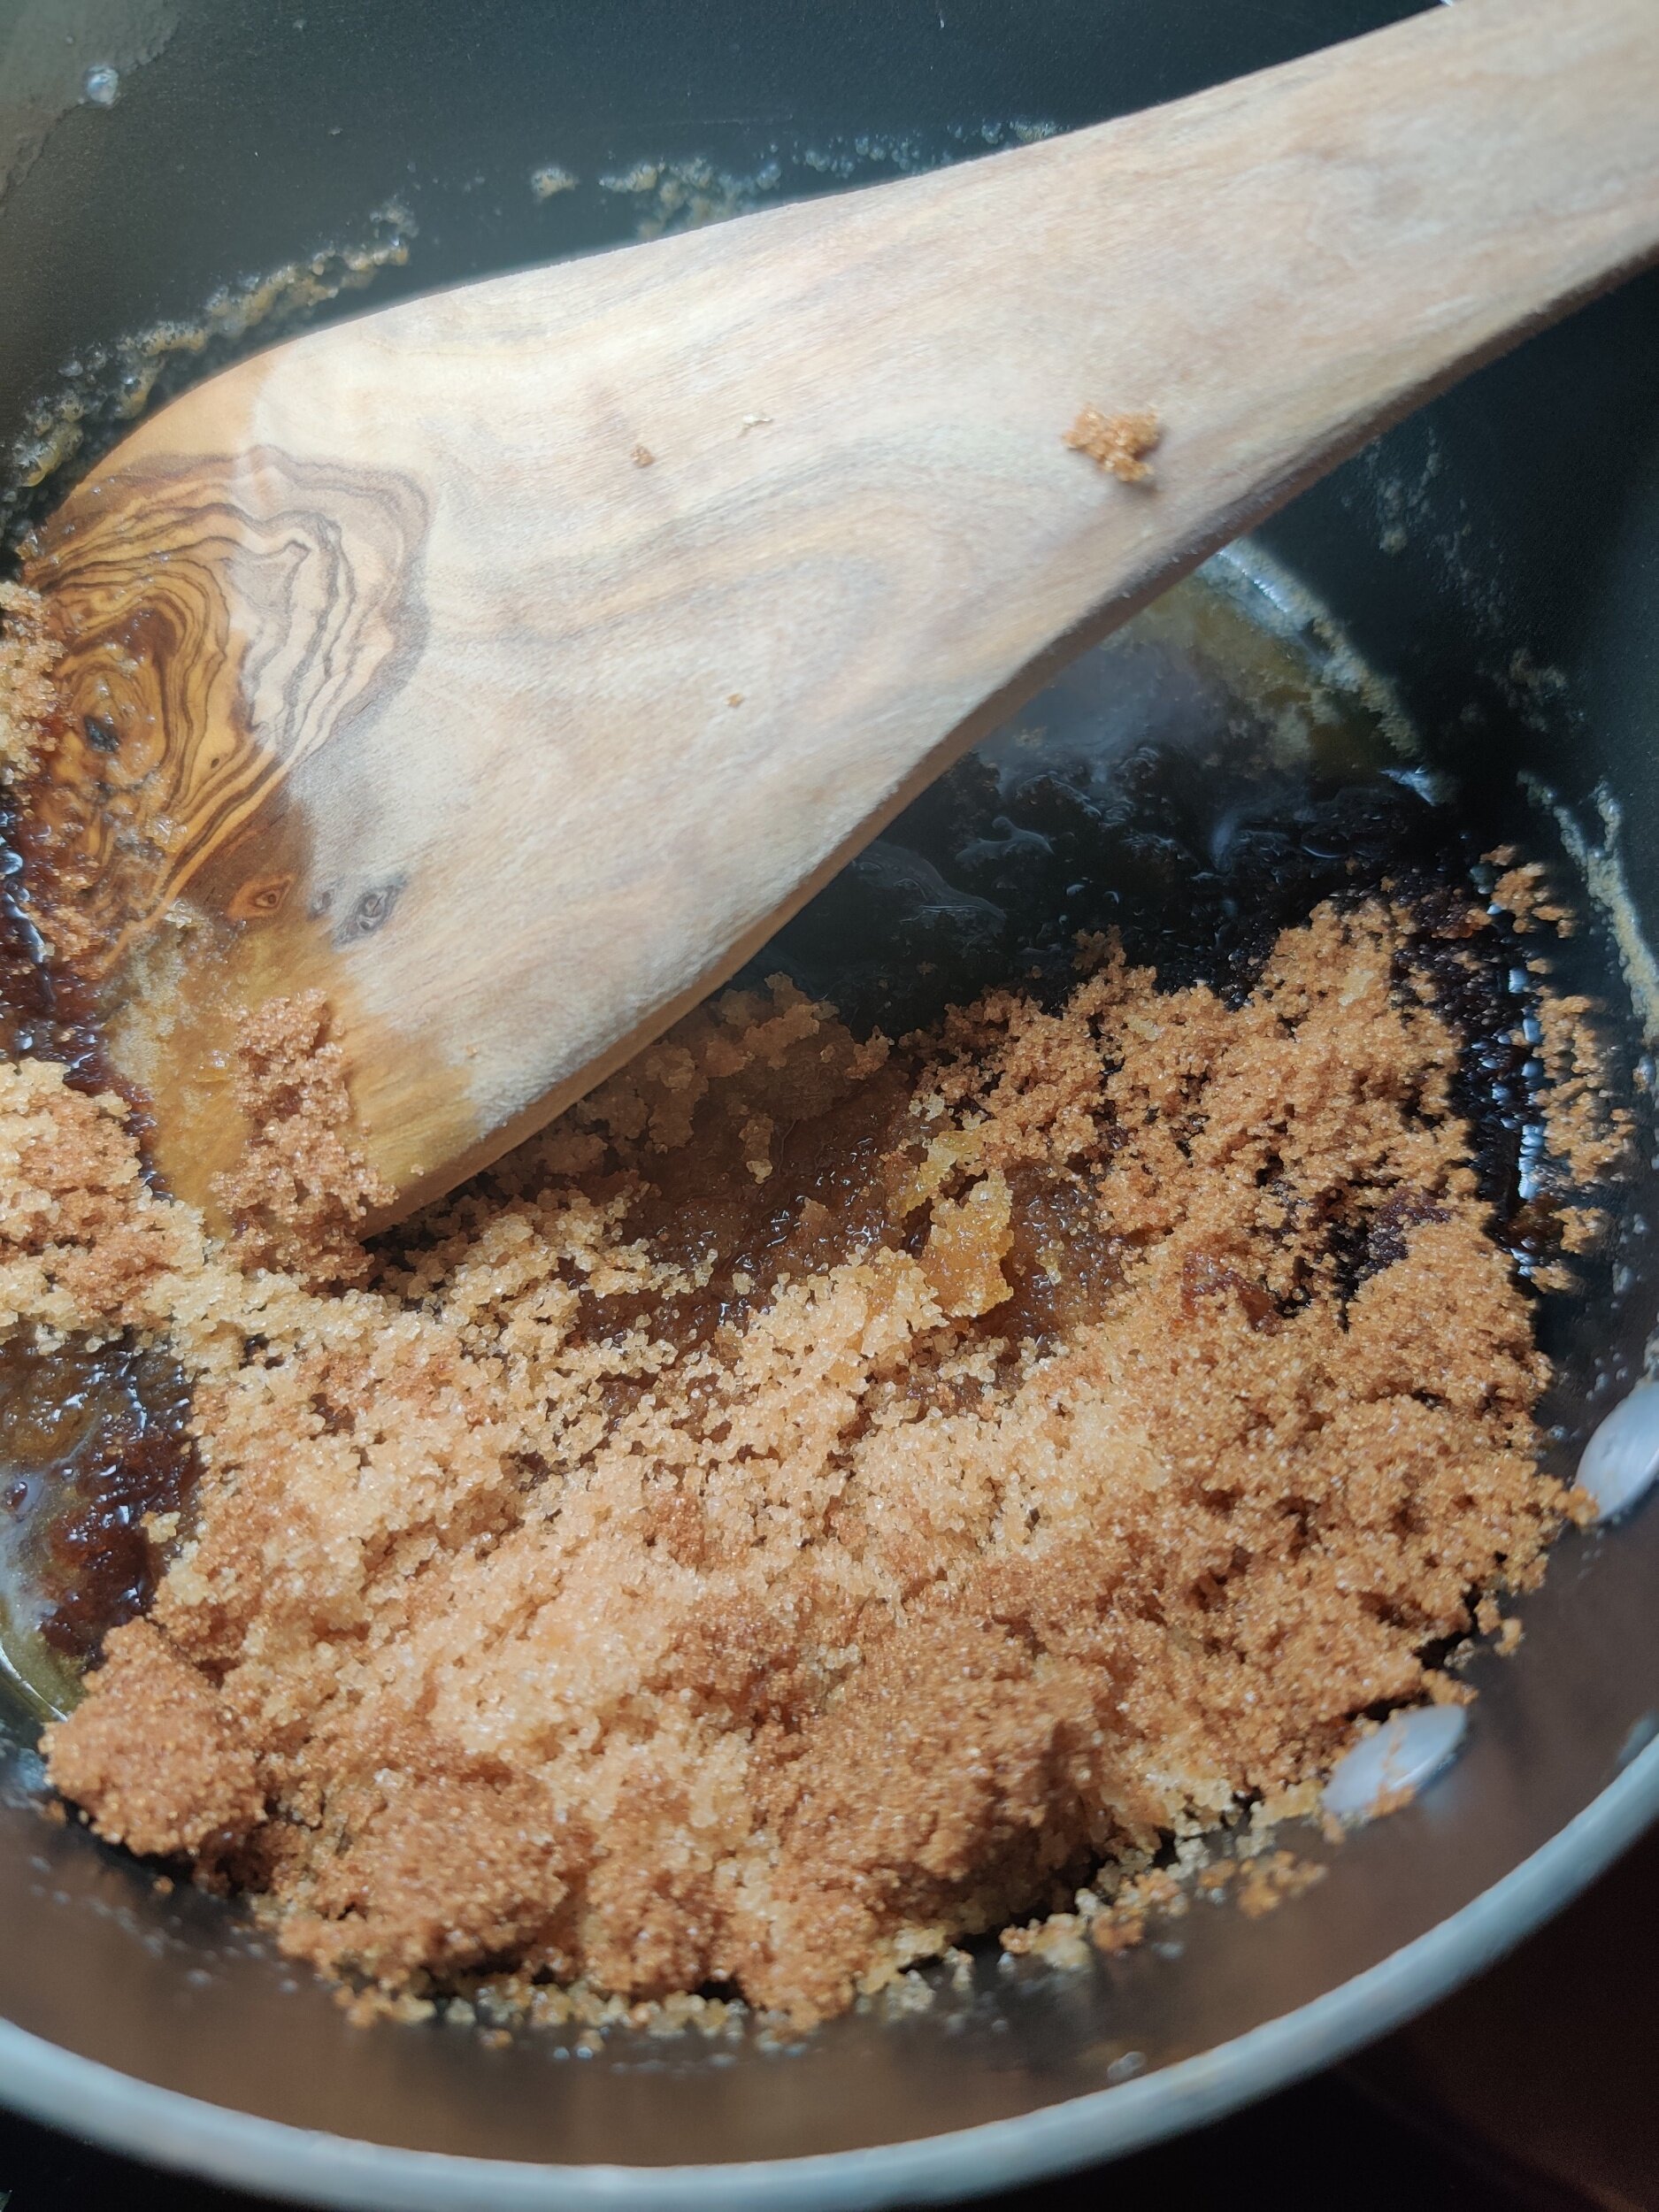
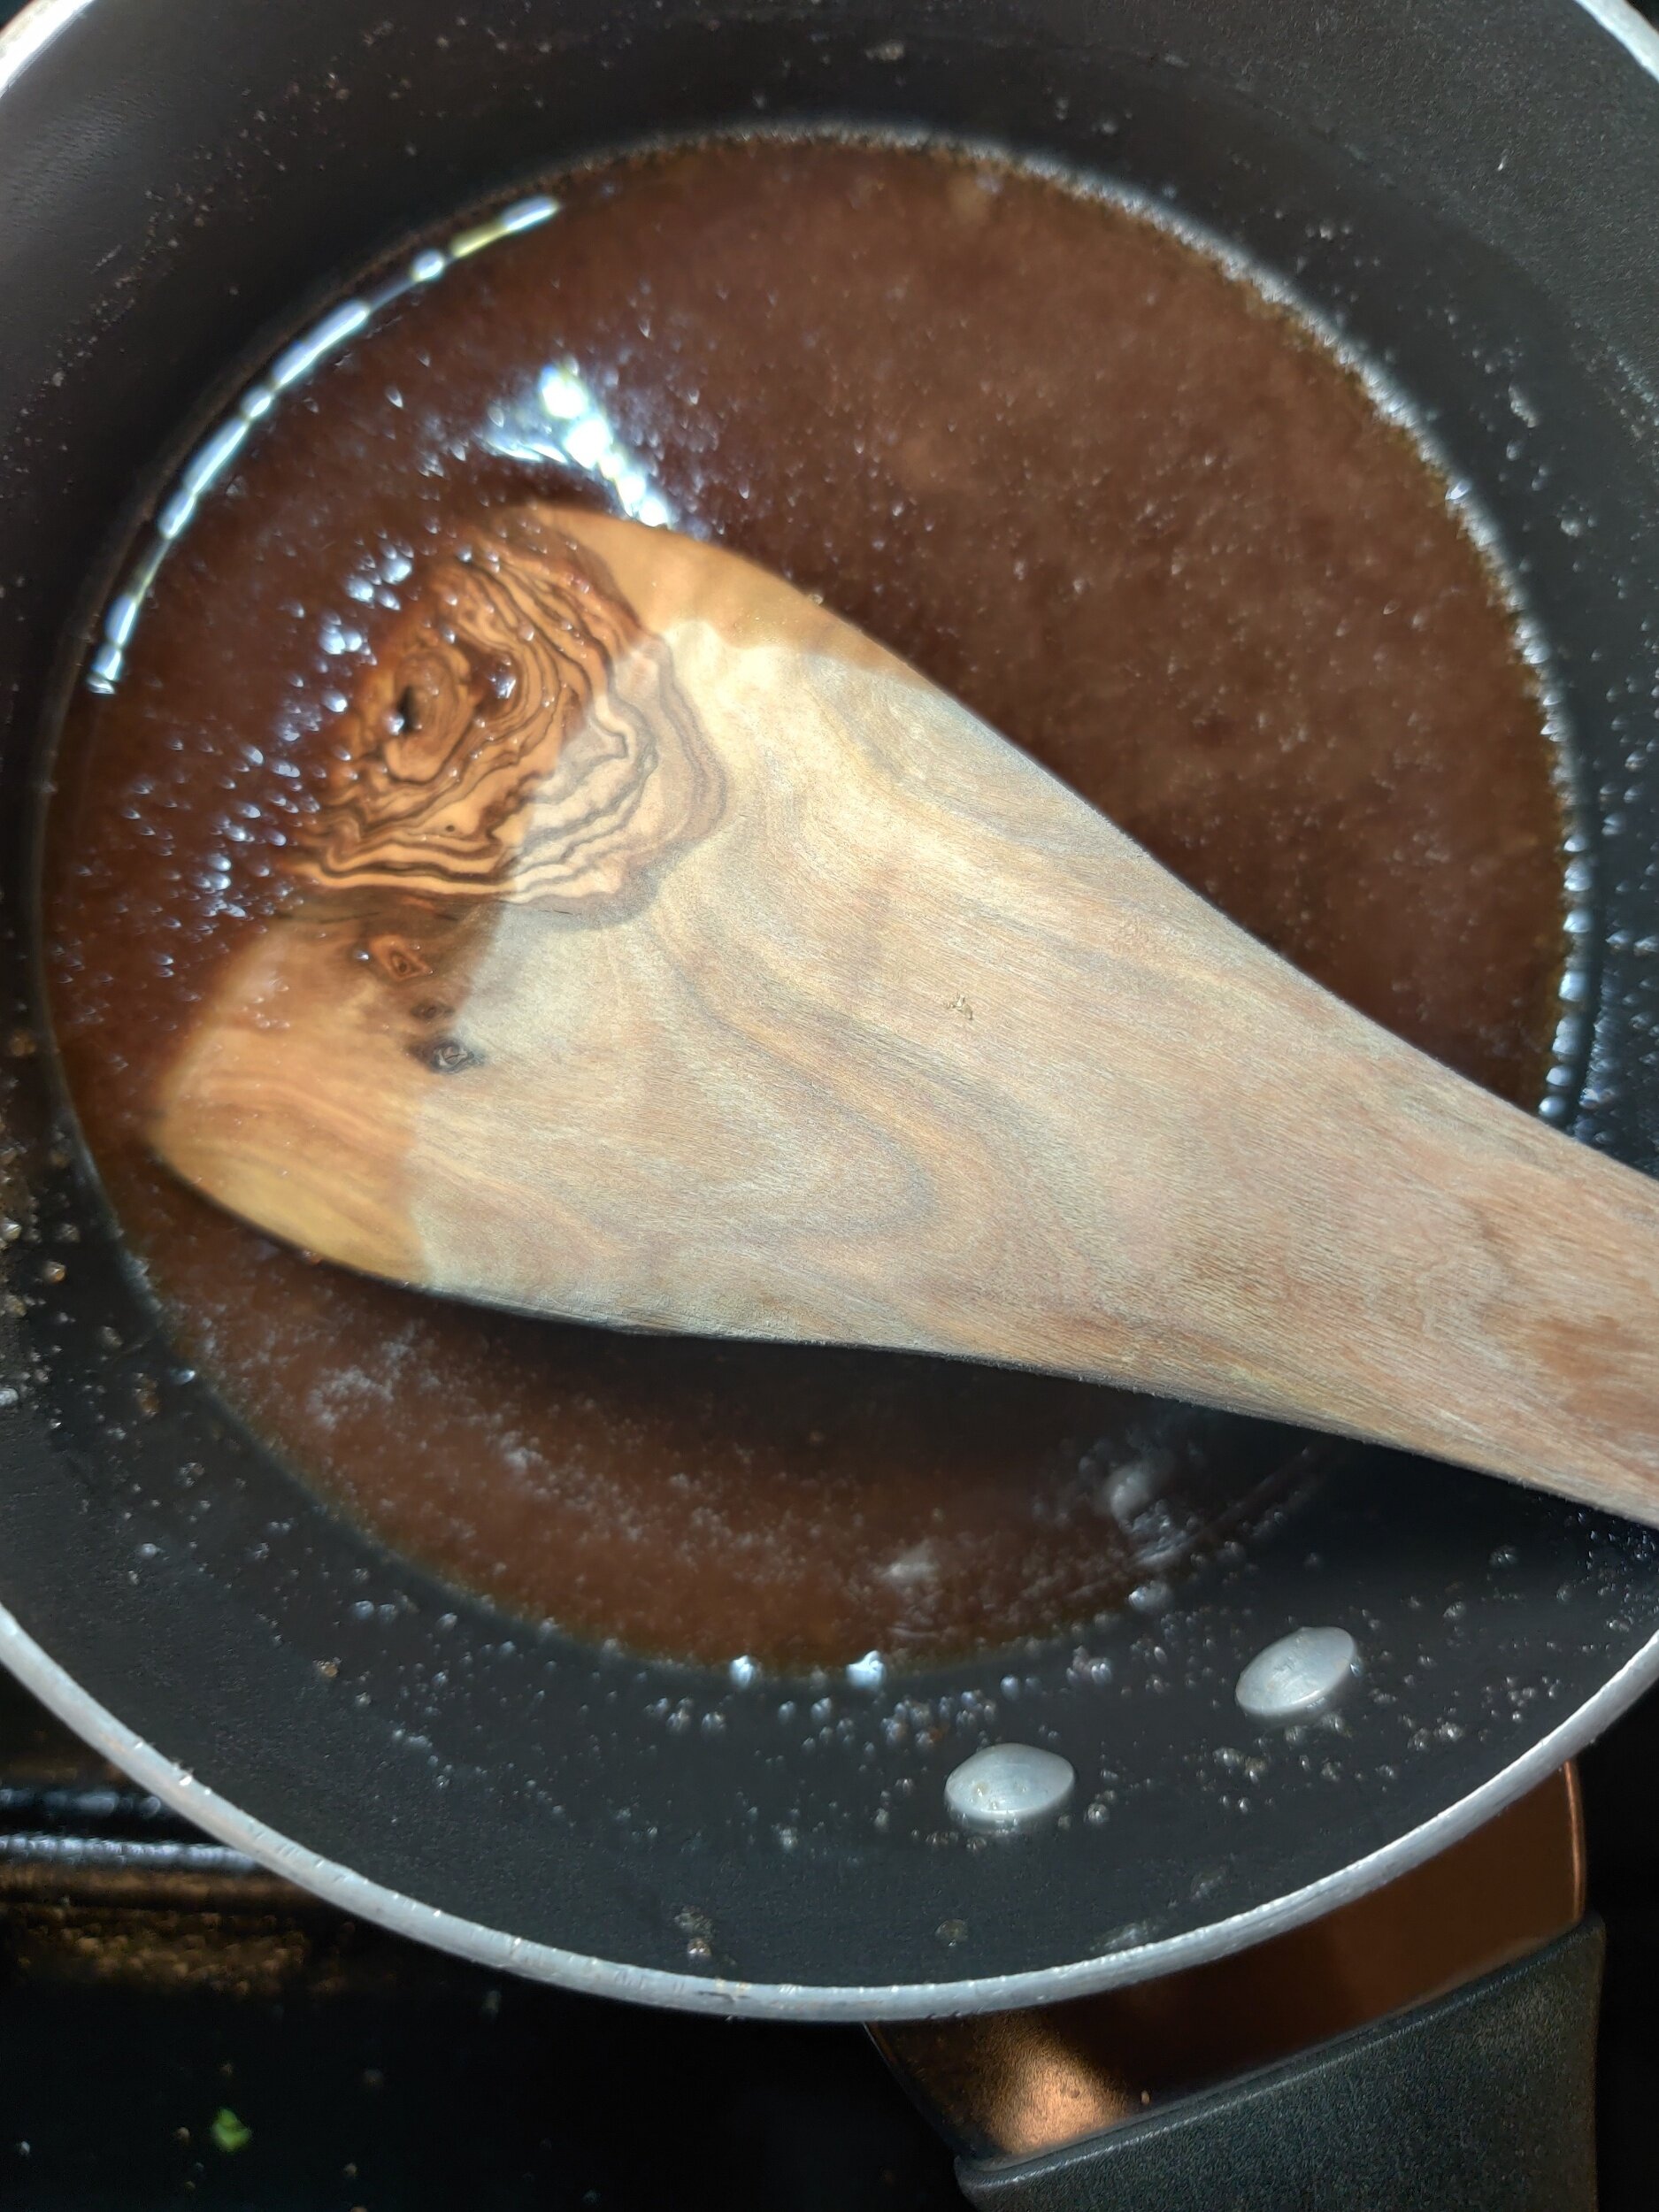
While this is baking, make your toffee sauce. Melt the butter in a saucepan. Add the two sugars and mix until dissolved. Stir in the cream and milk, then simmer for about 3-4 minutes. Remove from heat, and stir in the vanilla, set aside.
If you plan to serve this with custard, at this time, you can make my Amarula Custard.
Once your cake is done, set aside to cool before serving. Cut into squares, then assemble!
For each serving, spoon a bit of the custard in a bowl. Place your date cake on top, then drizzle the toffee sauce on top. Serve hot!
Store each item separately in airtight containers, consume in 3-4 days.
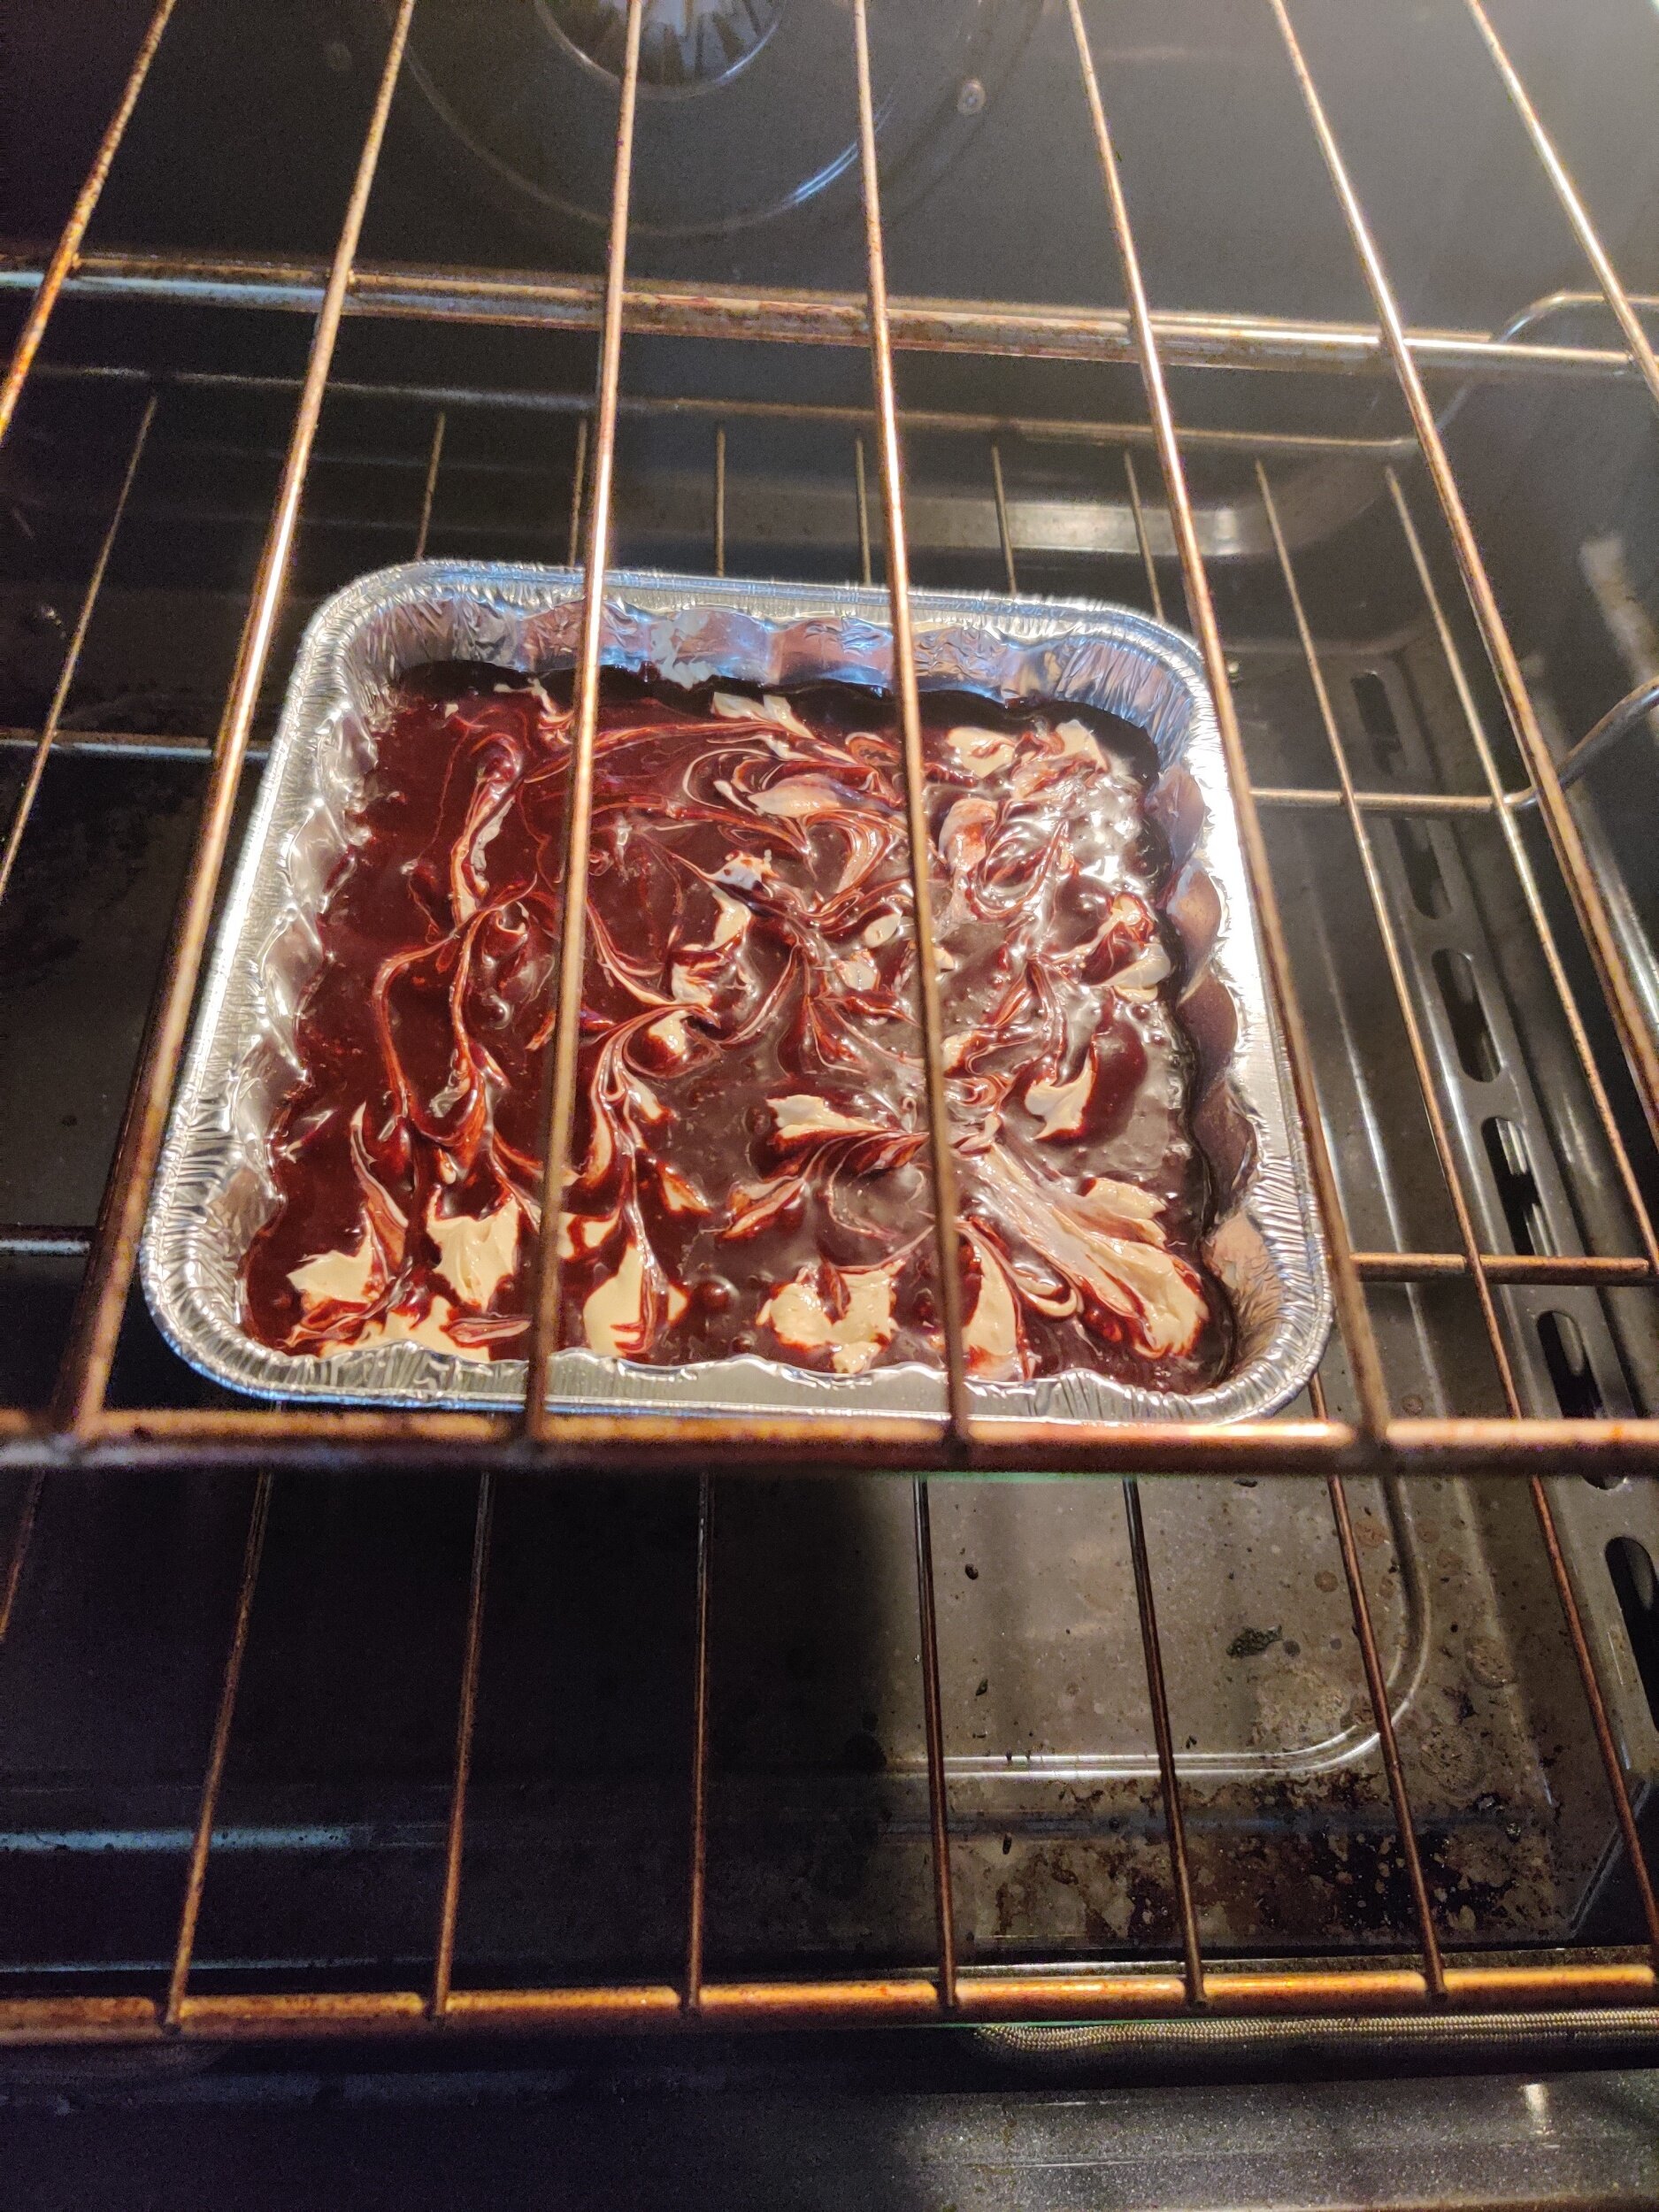
Red Velvet Cream Cheese Swirl Brownies
This recipe is part of a two-part 3-course meal menu. Start with this Avocado and Strawberry Salad, followed by a Roasted Veggie Sheet Pan with Pan Seared Salmon.
Are you a brownie fan? Do you like red velvet? Enjoy the occasional spread of cream cheese? Pairing red velvet and cream cheese is one of the dream teams in the realm of desserts and sweet things.
I have done this numerous times with pumpkin bread, and often favour brownie's' with creamy swirls when I see them in coffees shops. For a social occasion or to treat yourself, you can do it at home!
All you have to do it make your batter and the cream cheese mix - which will add some texture and another flavour element - to your red velvet, chocolate, pumpkin, or whatever goodness you are baking. The cream cheese will also make the brownies moist, which is great for those of us who like our brownies a little sturdy but not dry!
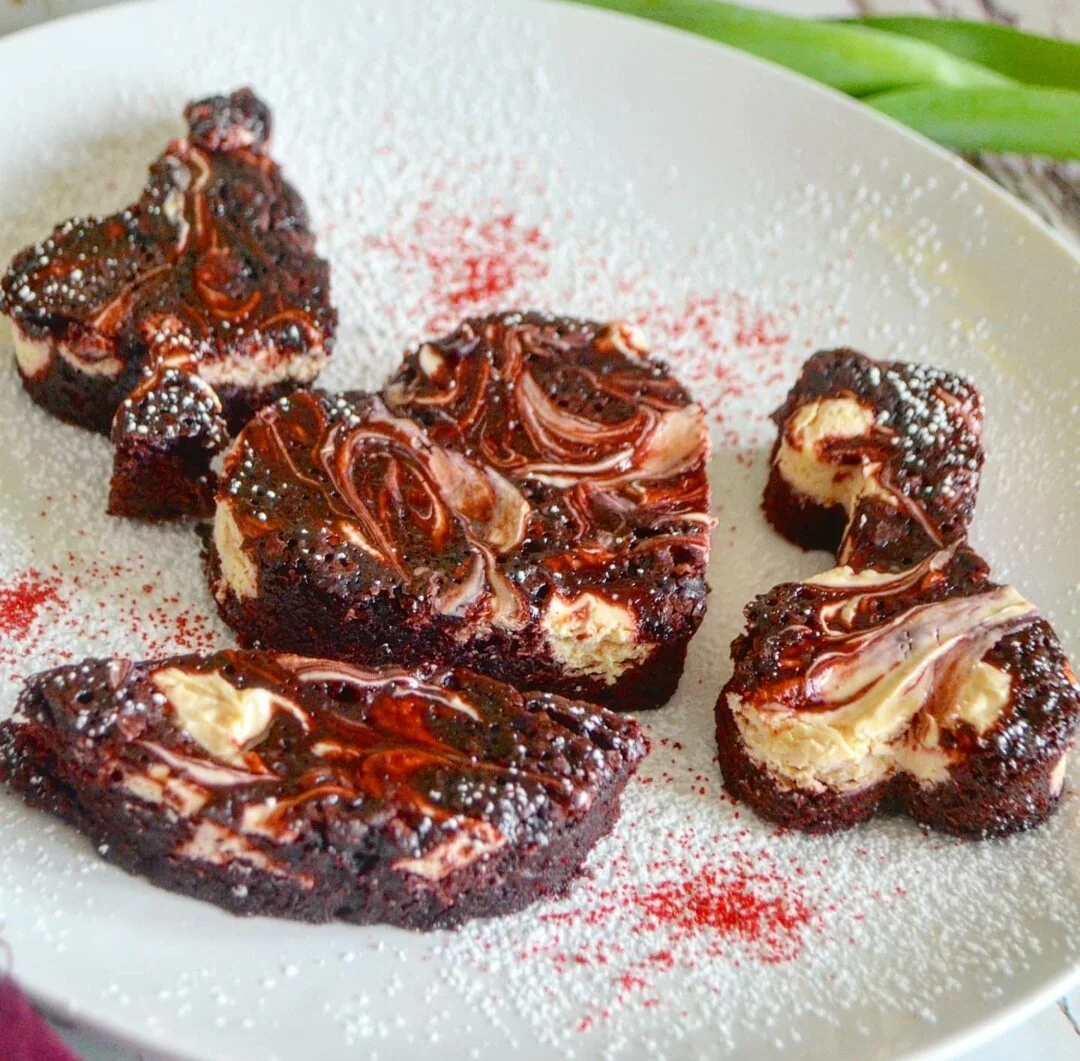
Since these were for a special occasion i.e. Valentine’s’ Day, I used cookie cutter shapes, but you can just cut them into squares once cooled!
Ingredients
3/4 cup all-purpose flour
1/4 cup unsweetened cocoa powder
1/2 teaspoon almond extract
1 1/2 teaspoons vanilla extract
1 cup white granulated sugar
2 eggs
1/2 cup butter
Pinch of salt
Powdered sugar (optional)
Cream cheese mixture:
1 (8-ounce) packet Greek yogurt cream cheese
1 egg yolk
Splash of lemon juice
1/4 cup white granulated sugar
2-3 drops red food coloring
1/4 teaspoon almond extract
1/2 teaspoon vanilla extract
Instructions
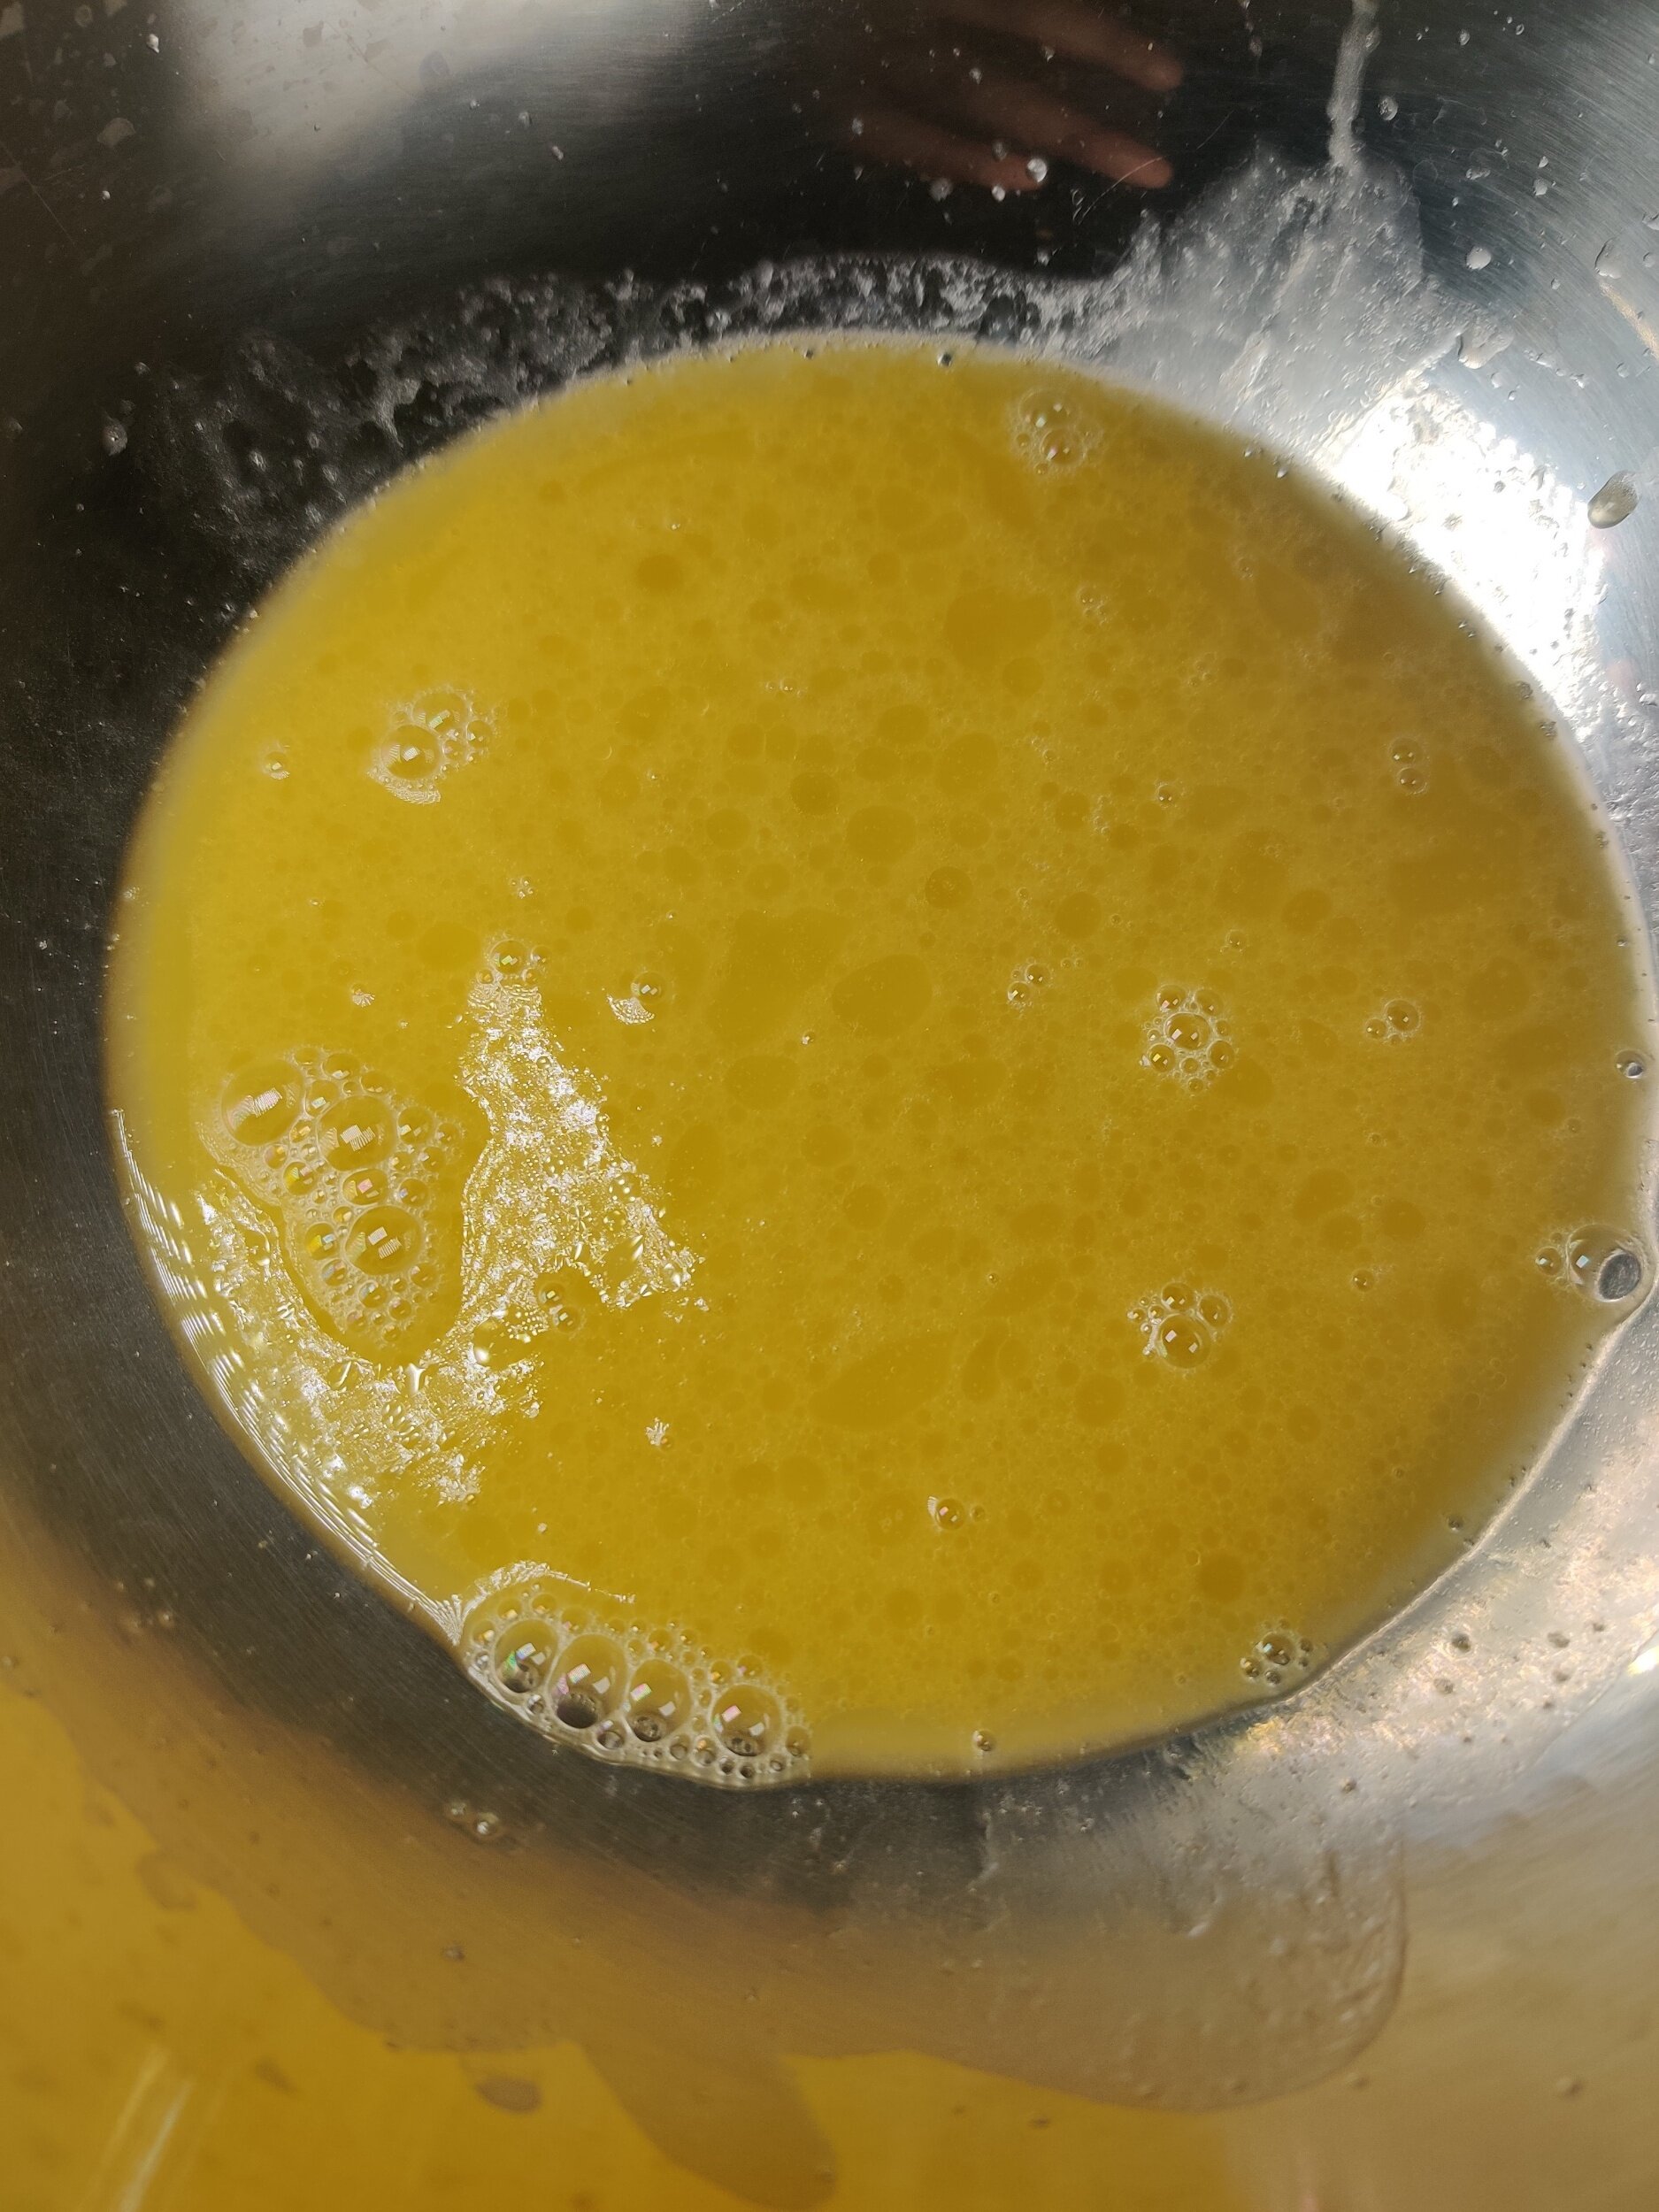
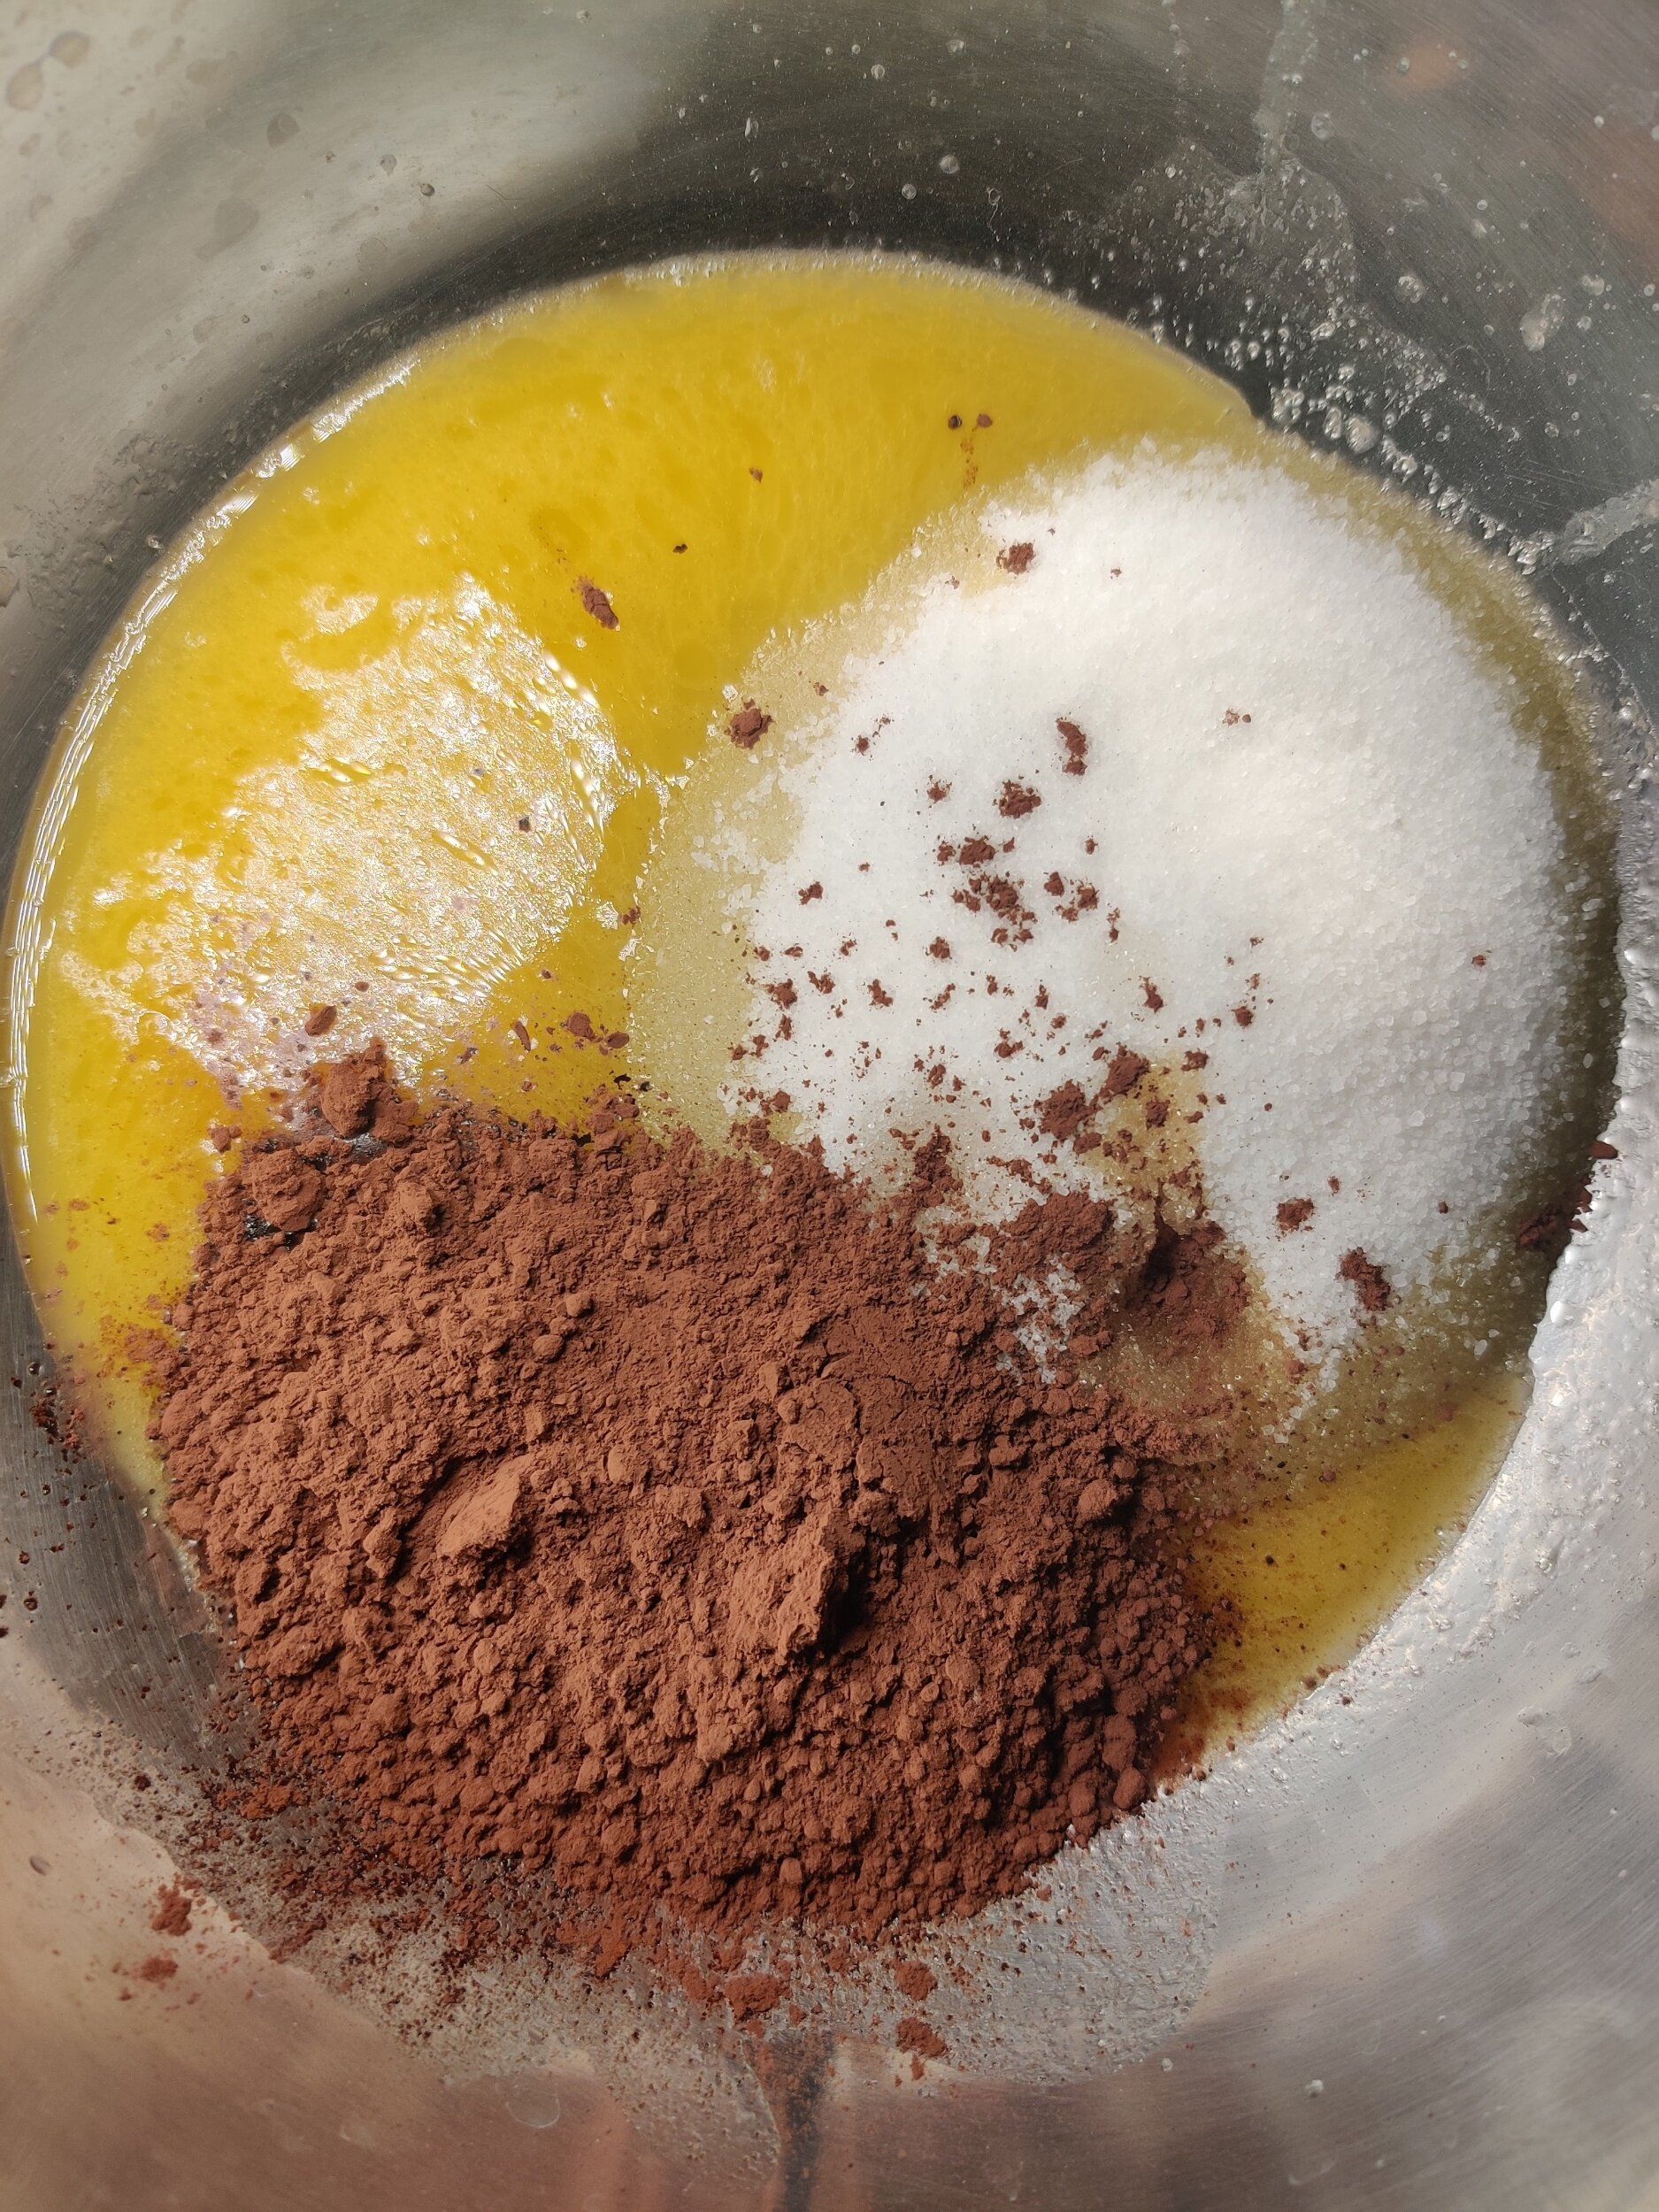
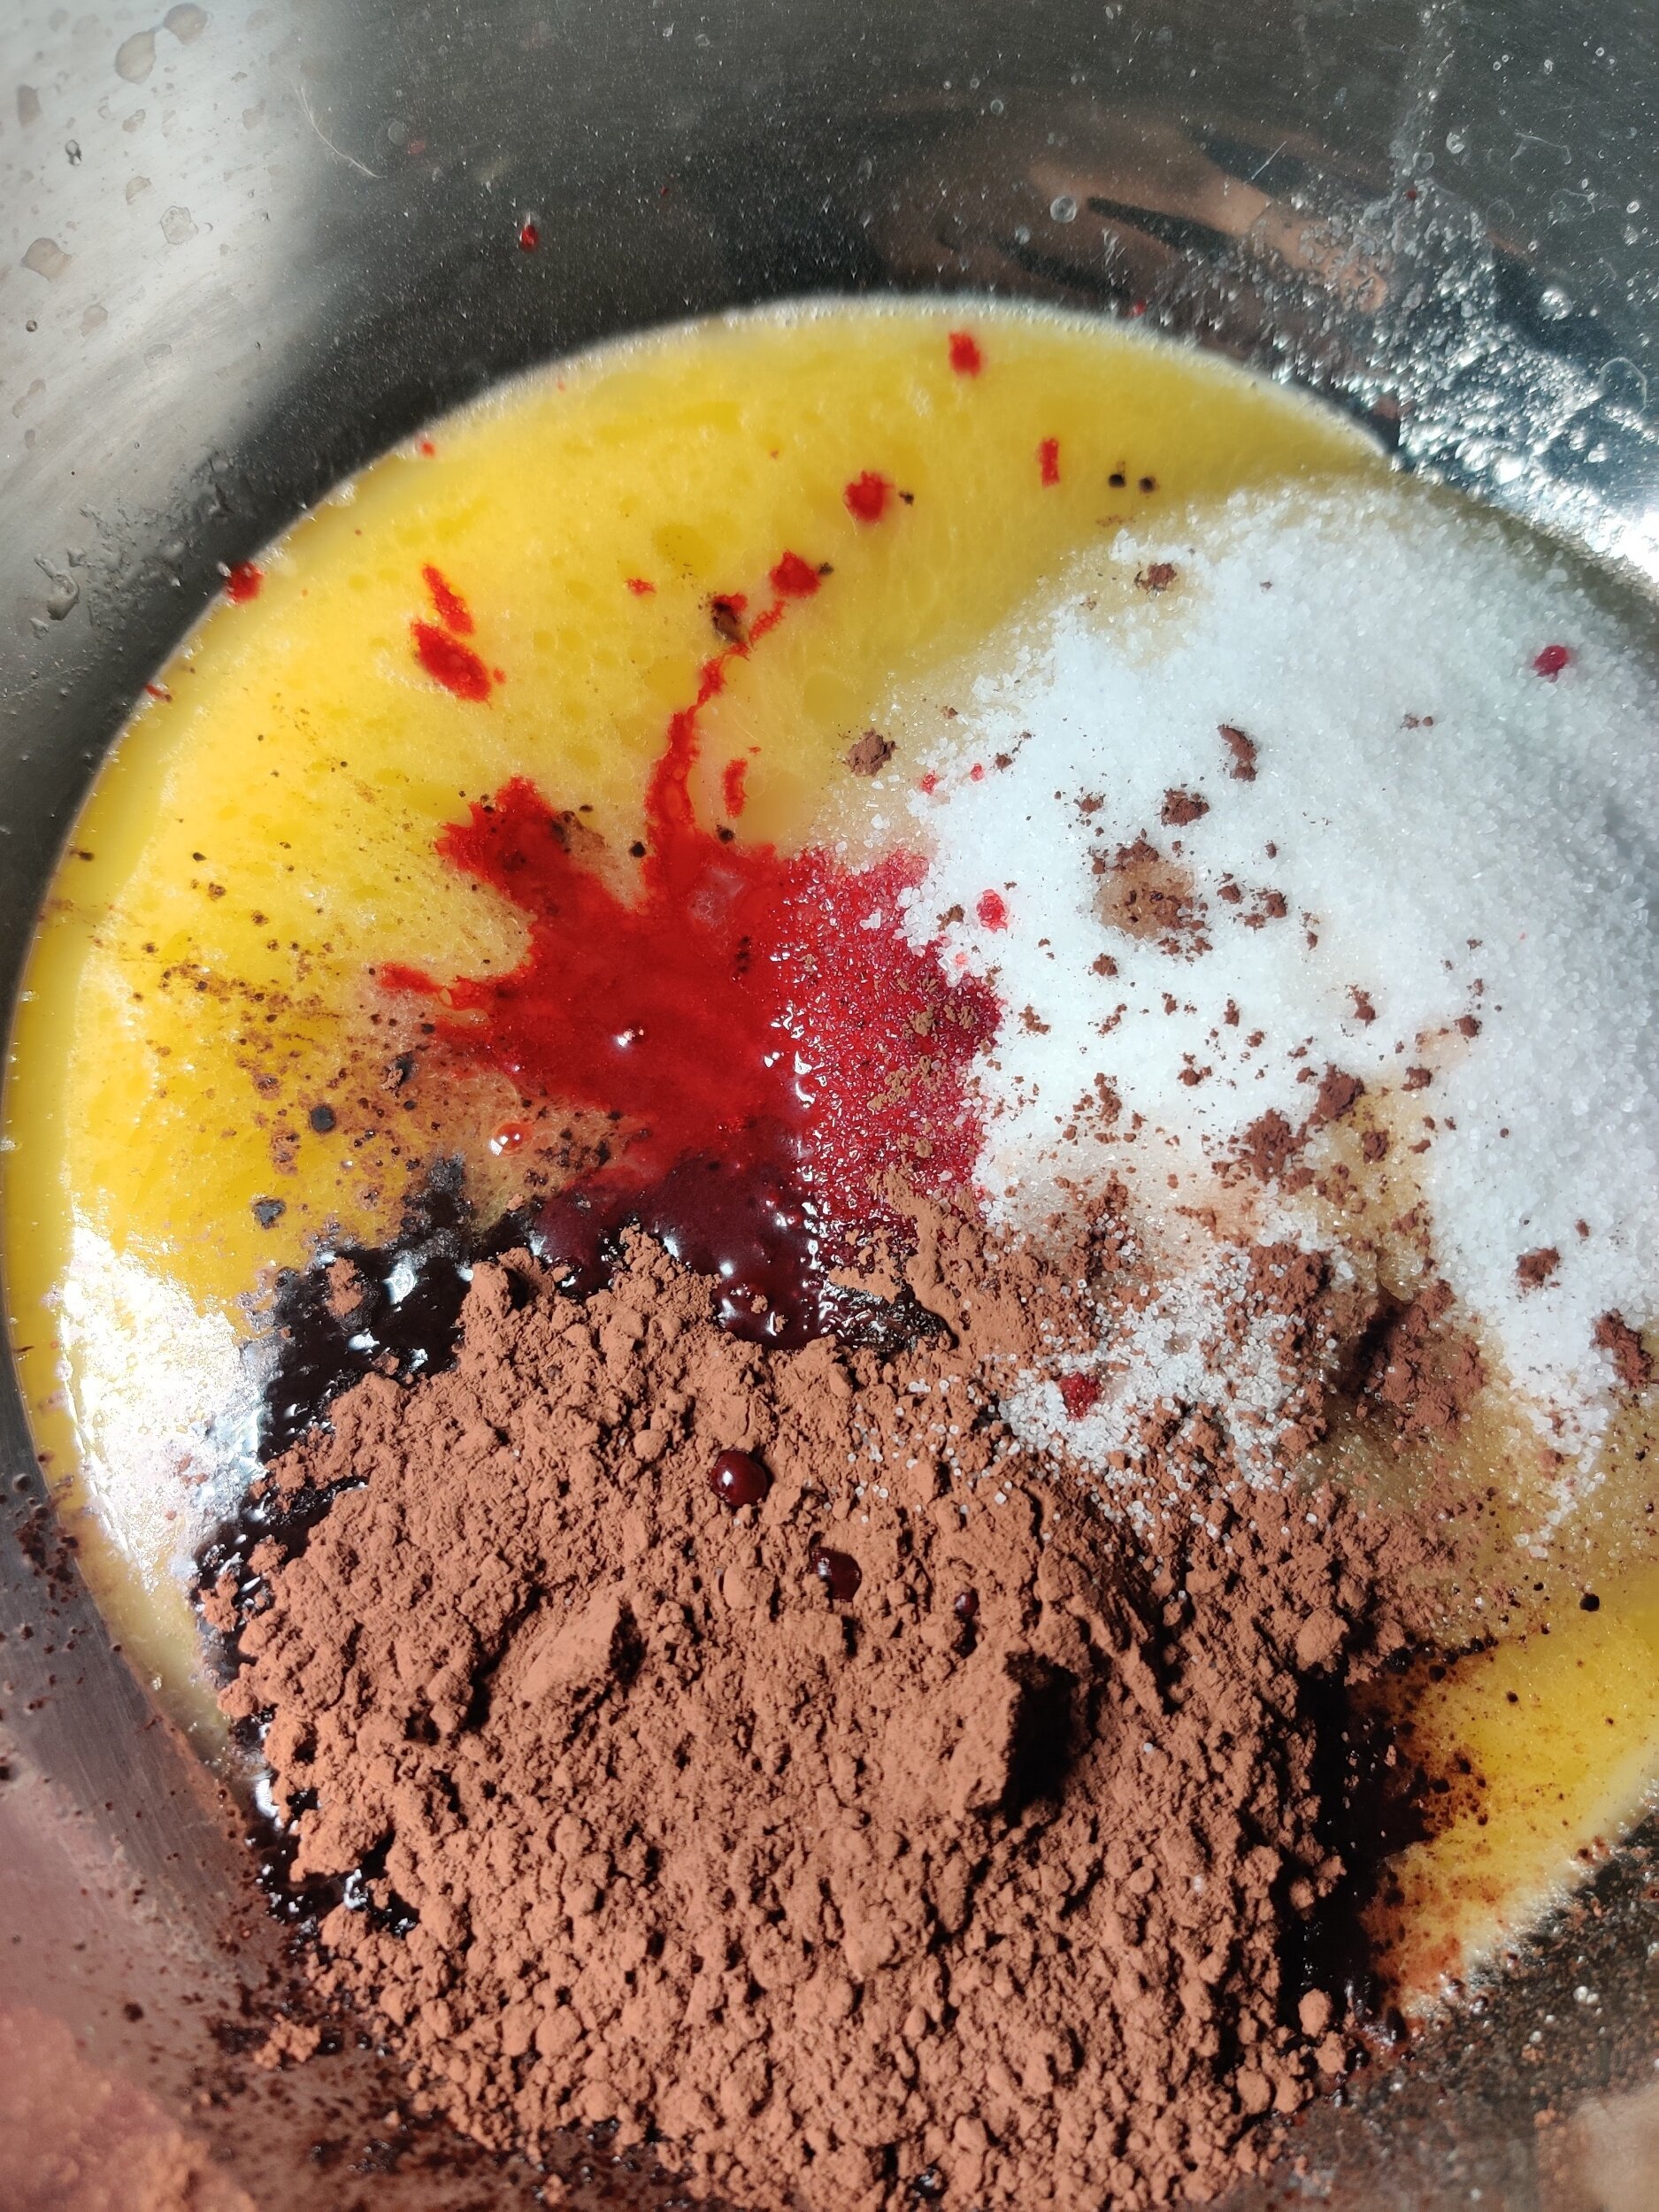
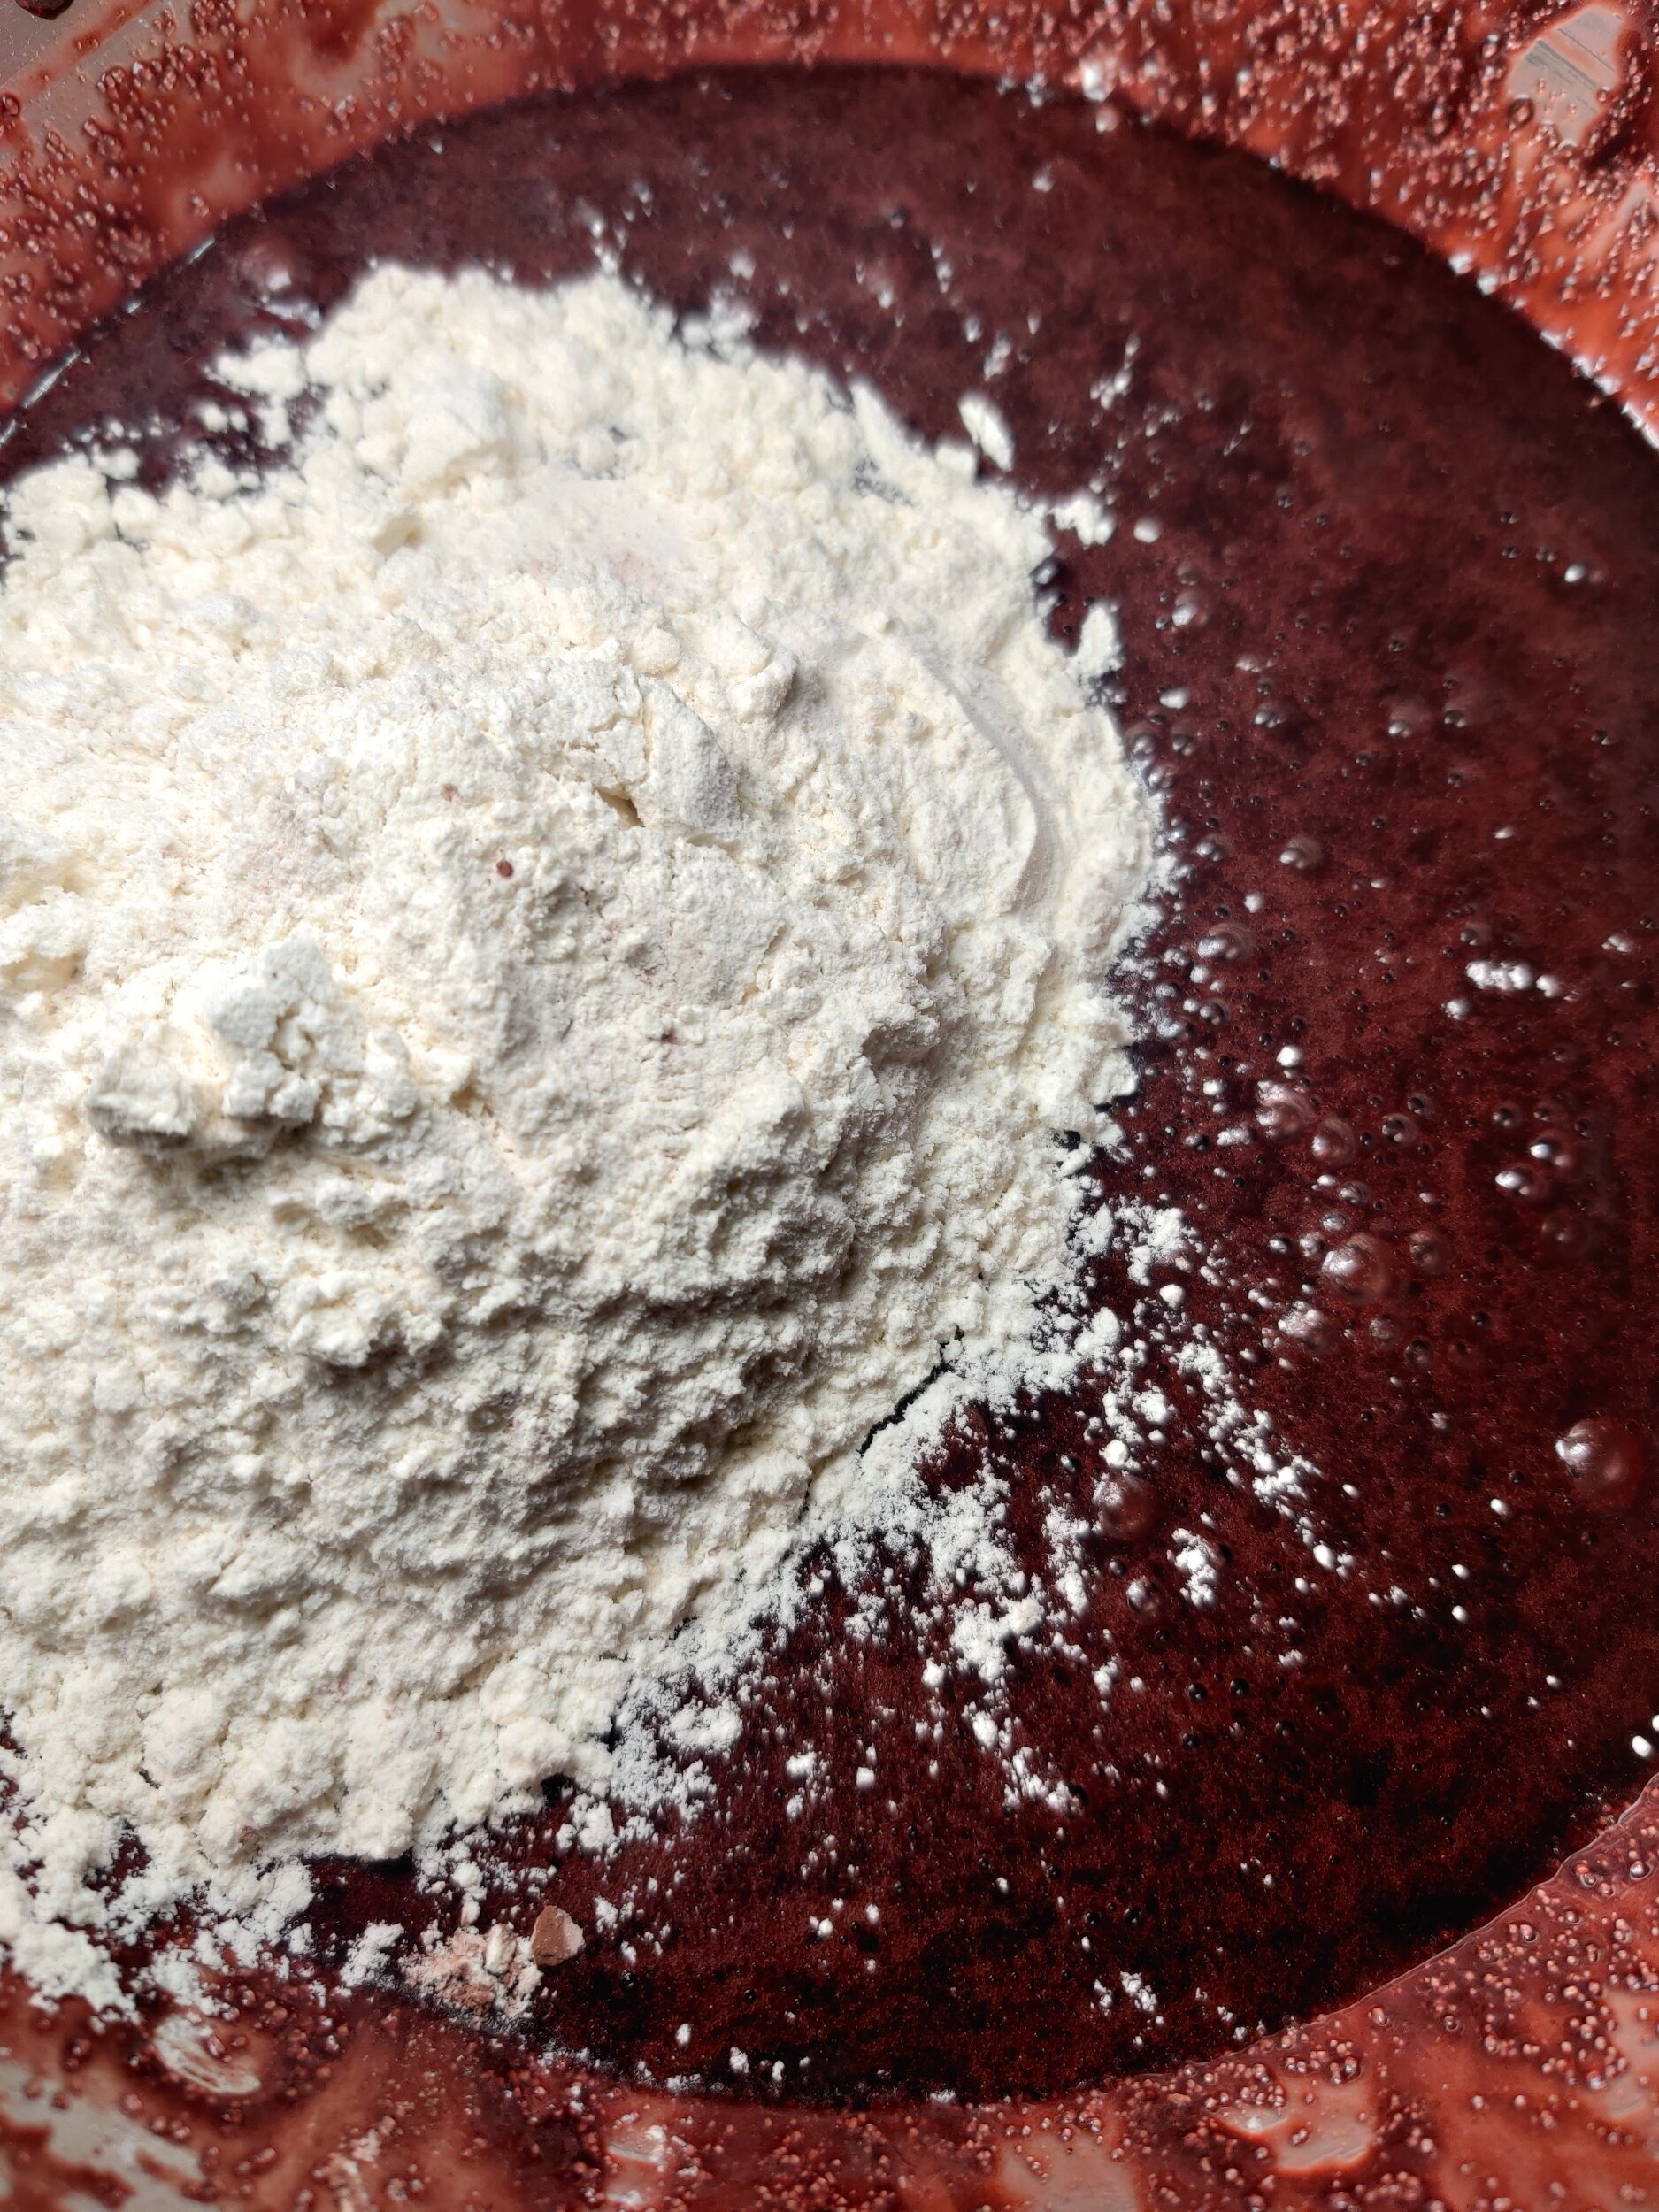
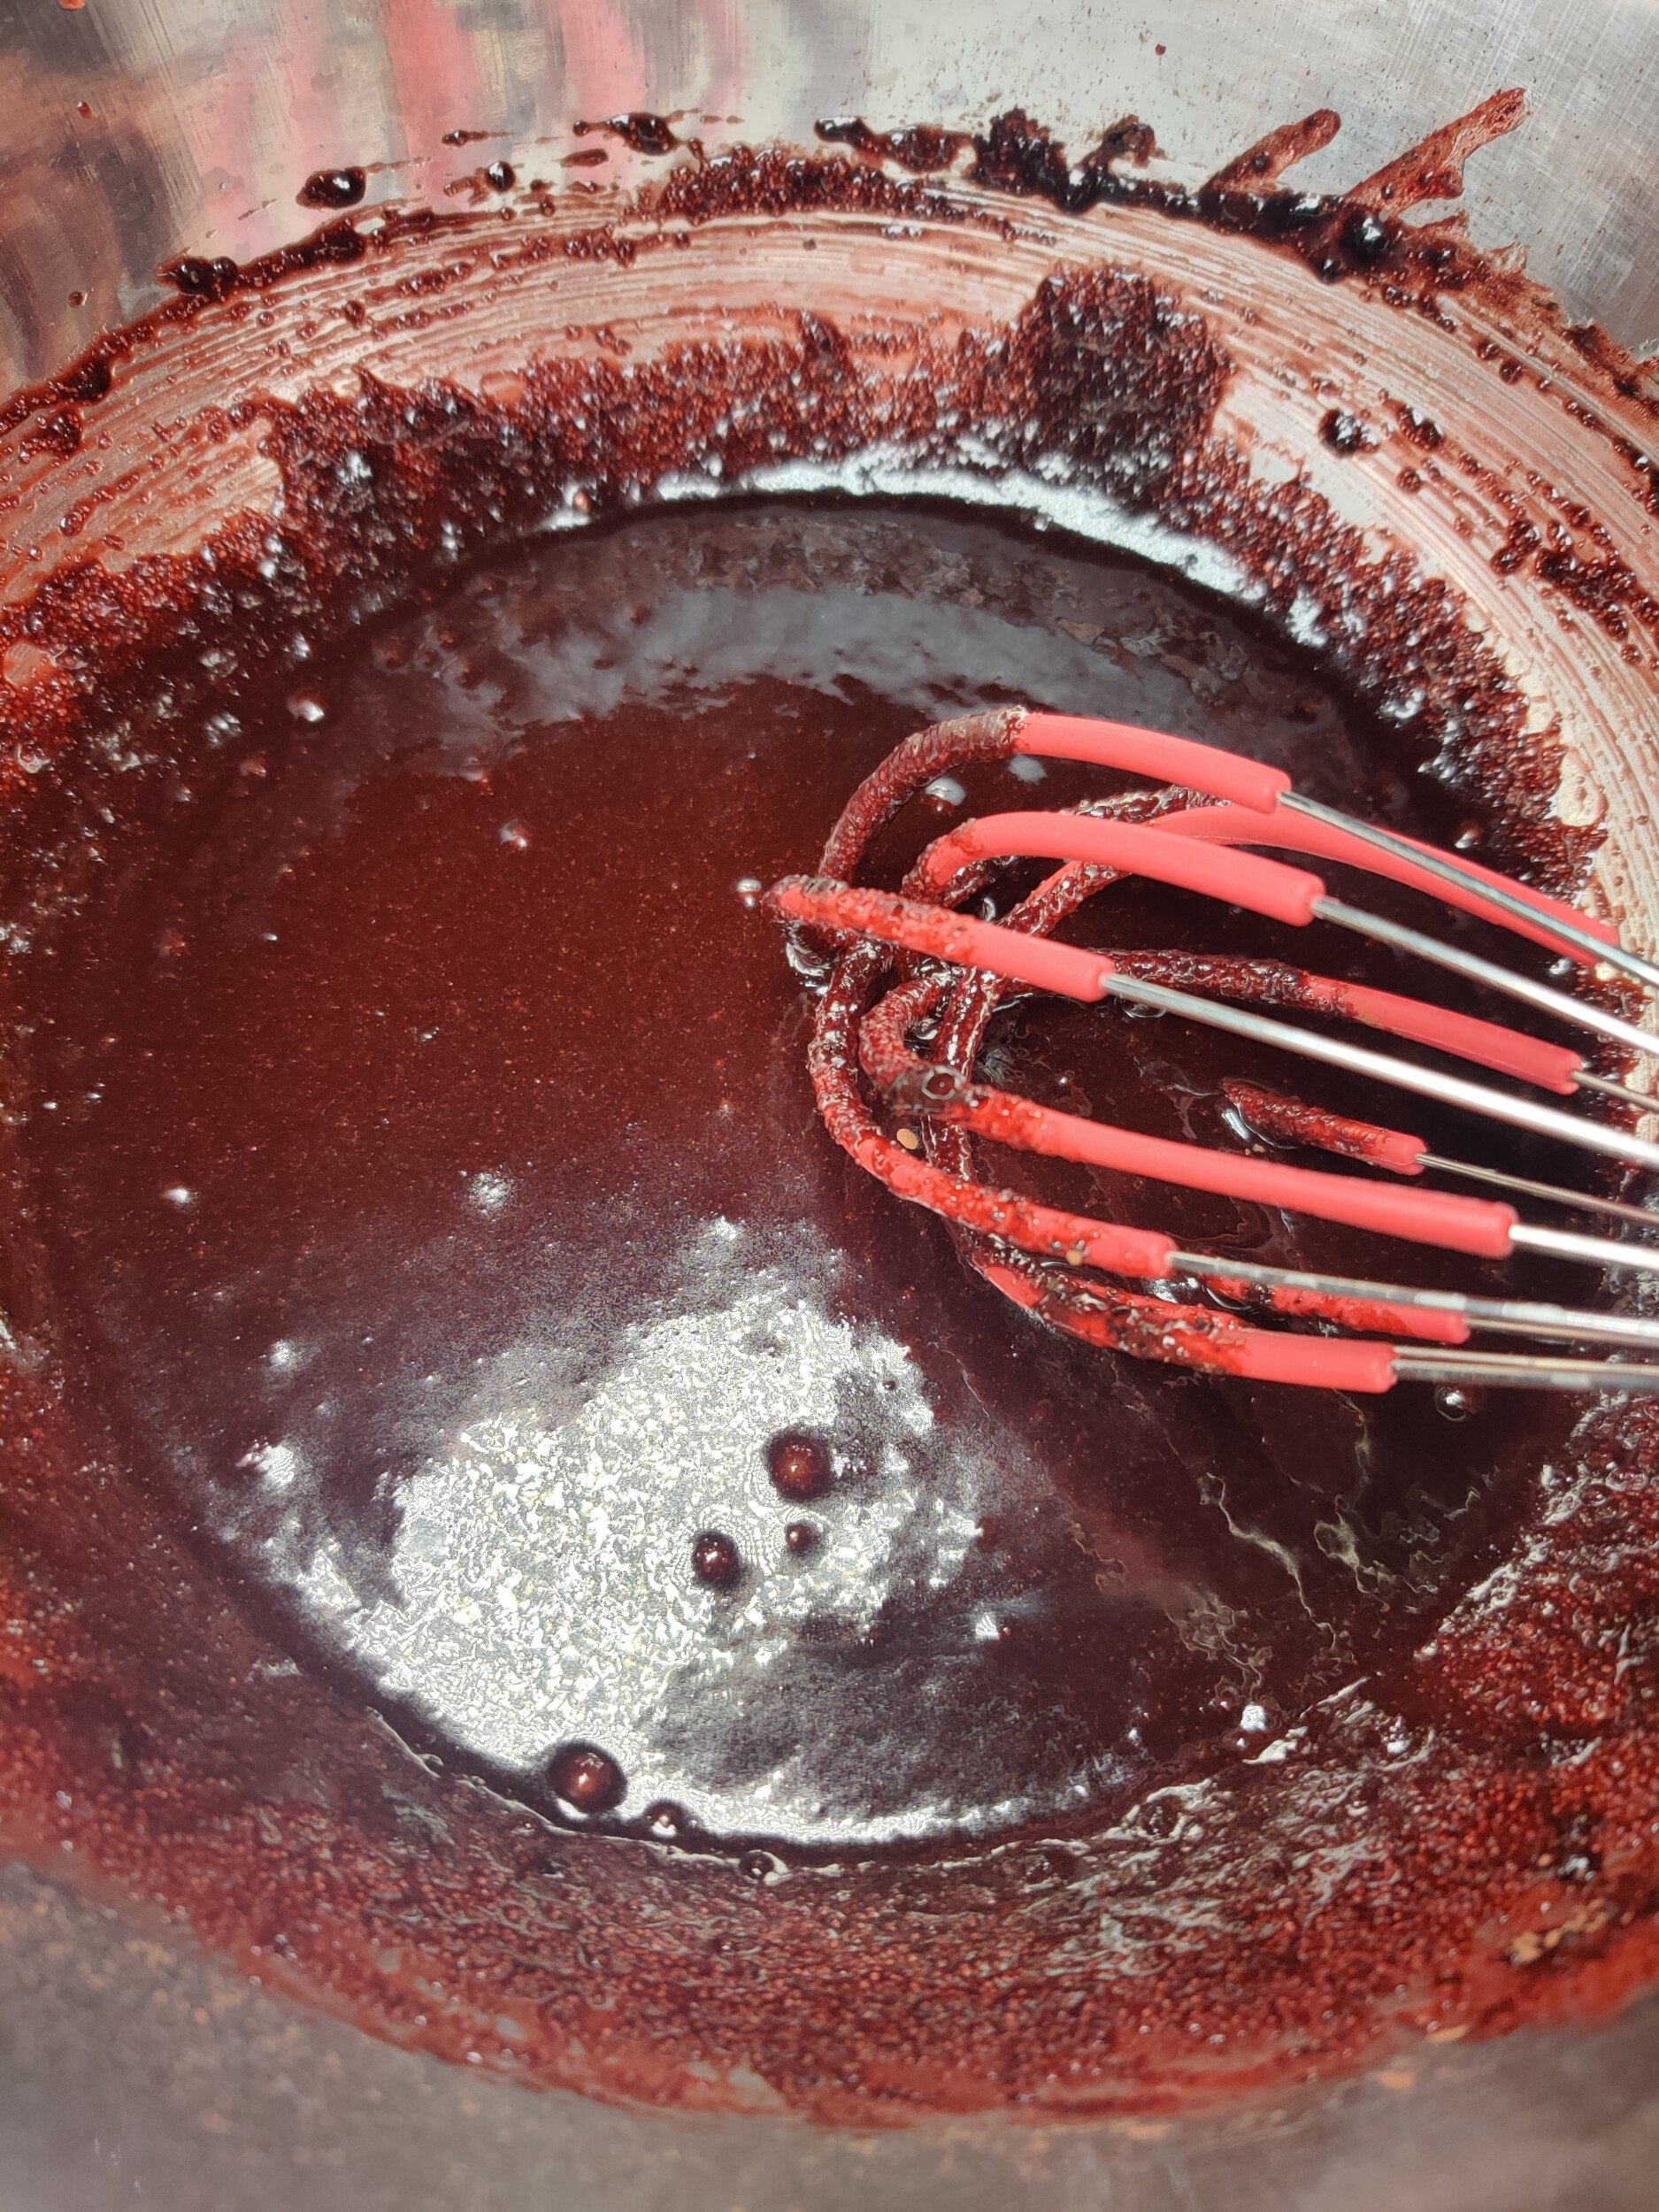
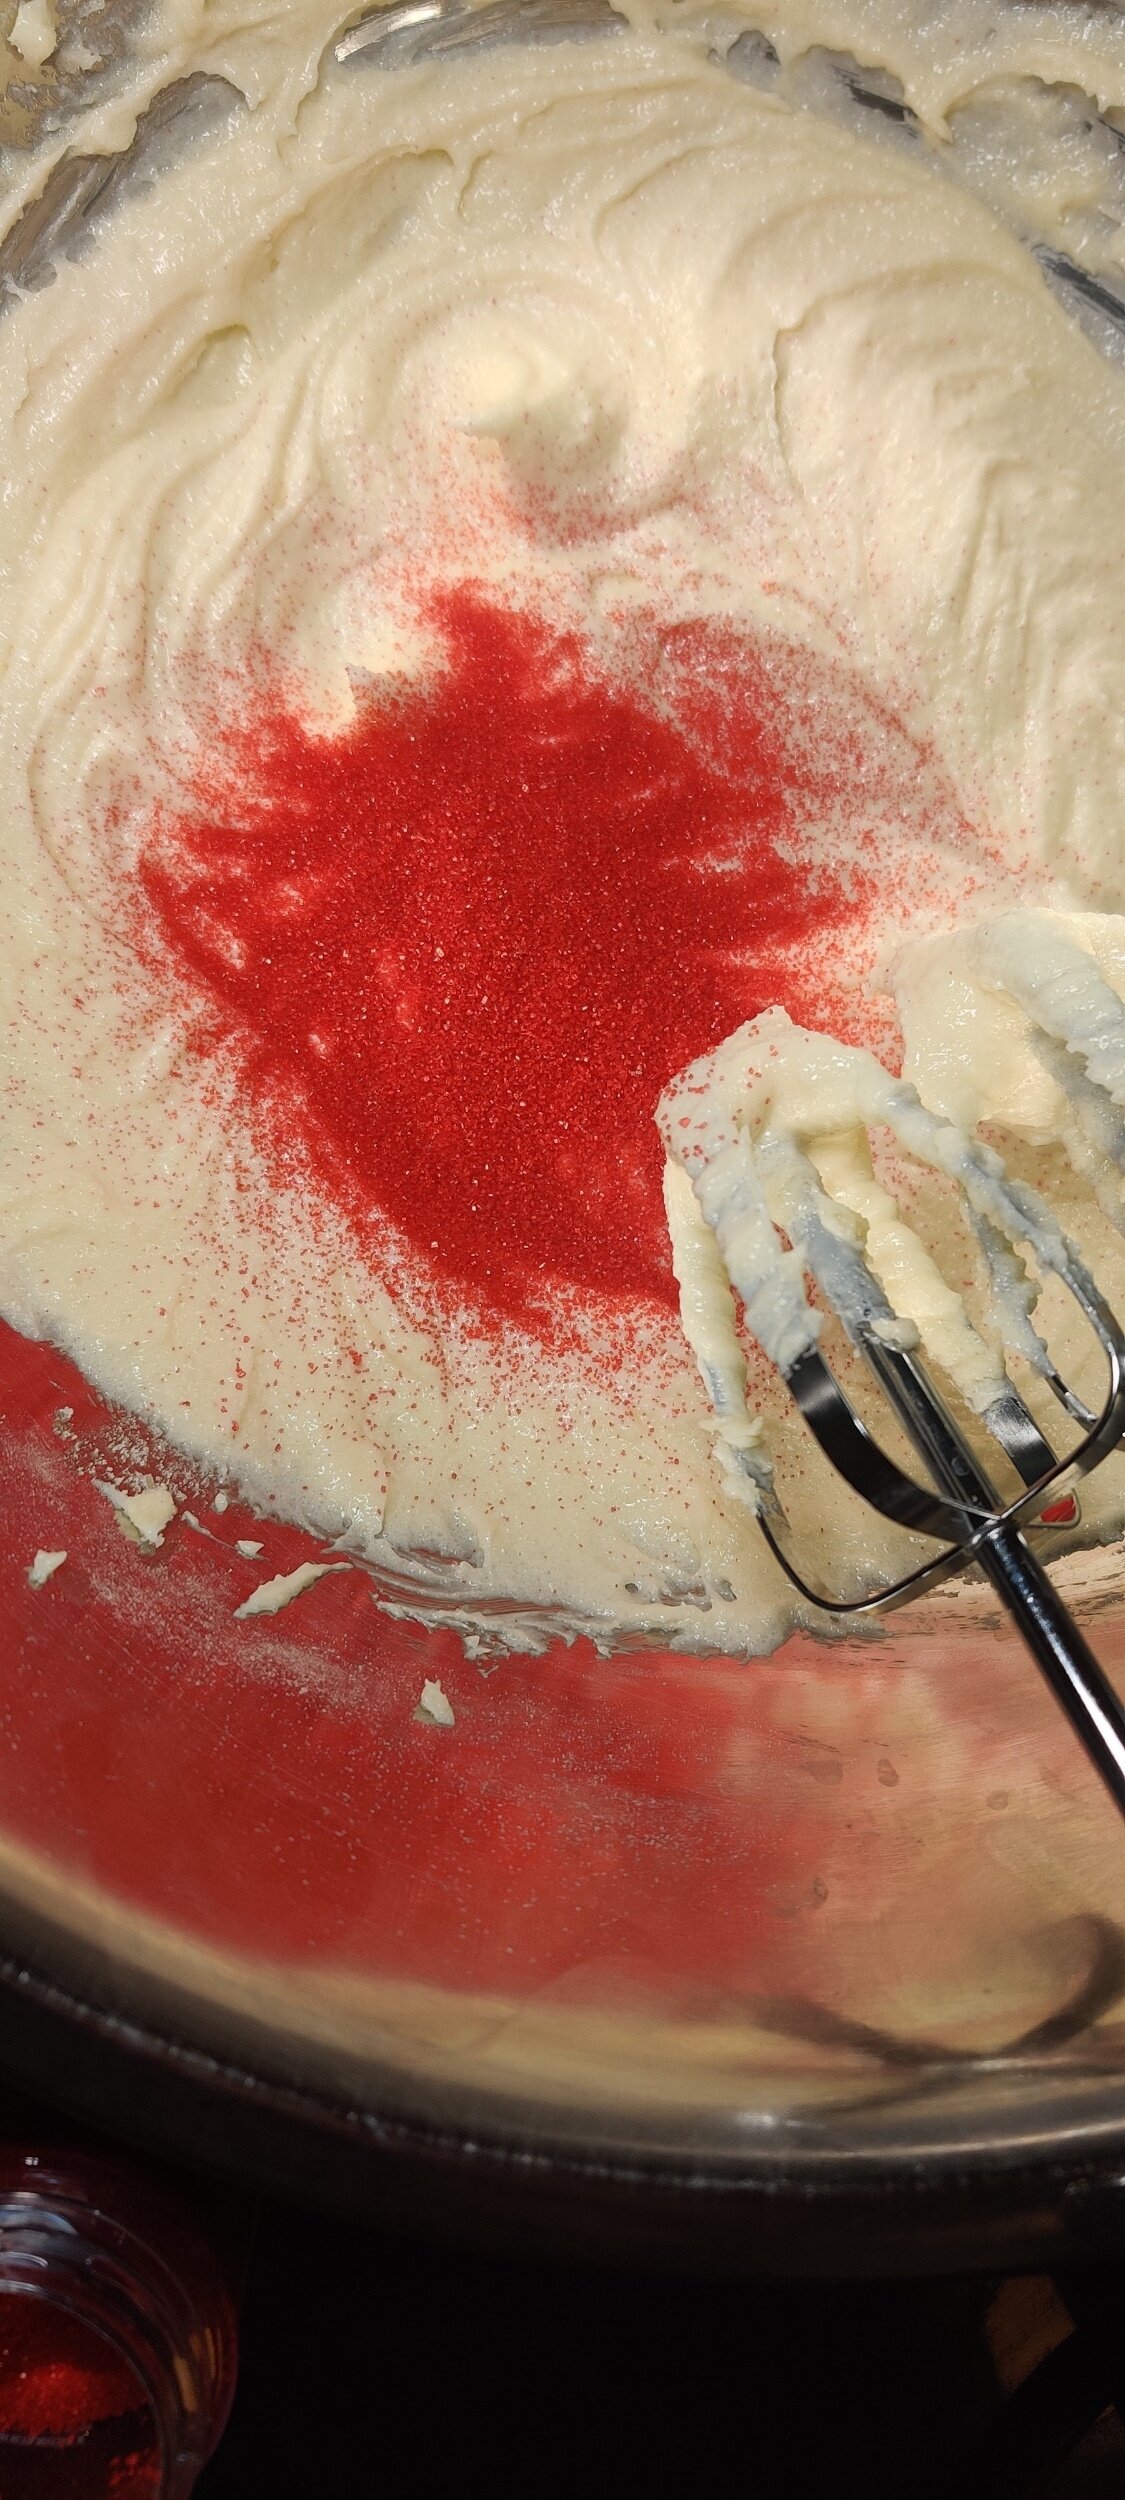
In a small microwavable bowl, melt the butter - about half a minutes should do. You can also do it quickly over high heat in a saucepan. Transfer to a large bowl, then add the salt, baking powder, sugar, salt, cocoa powder, vanilla and almond extract, and red colouring. Mix until combined but don't over mix.
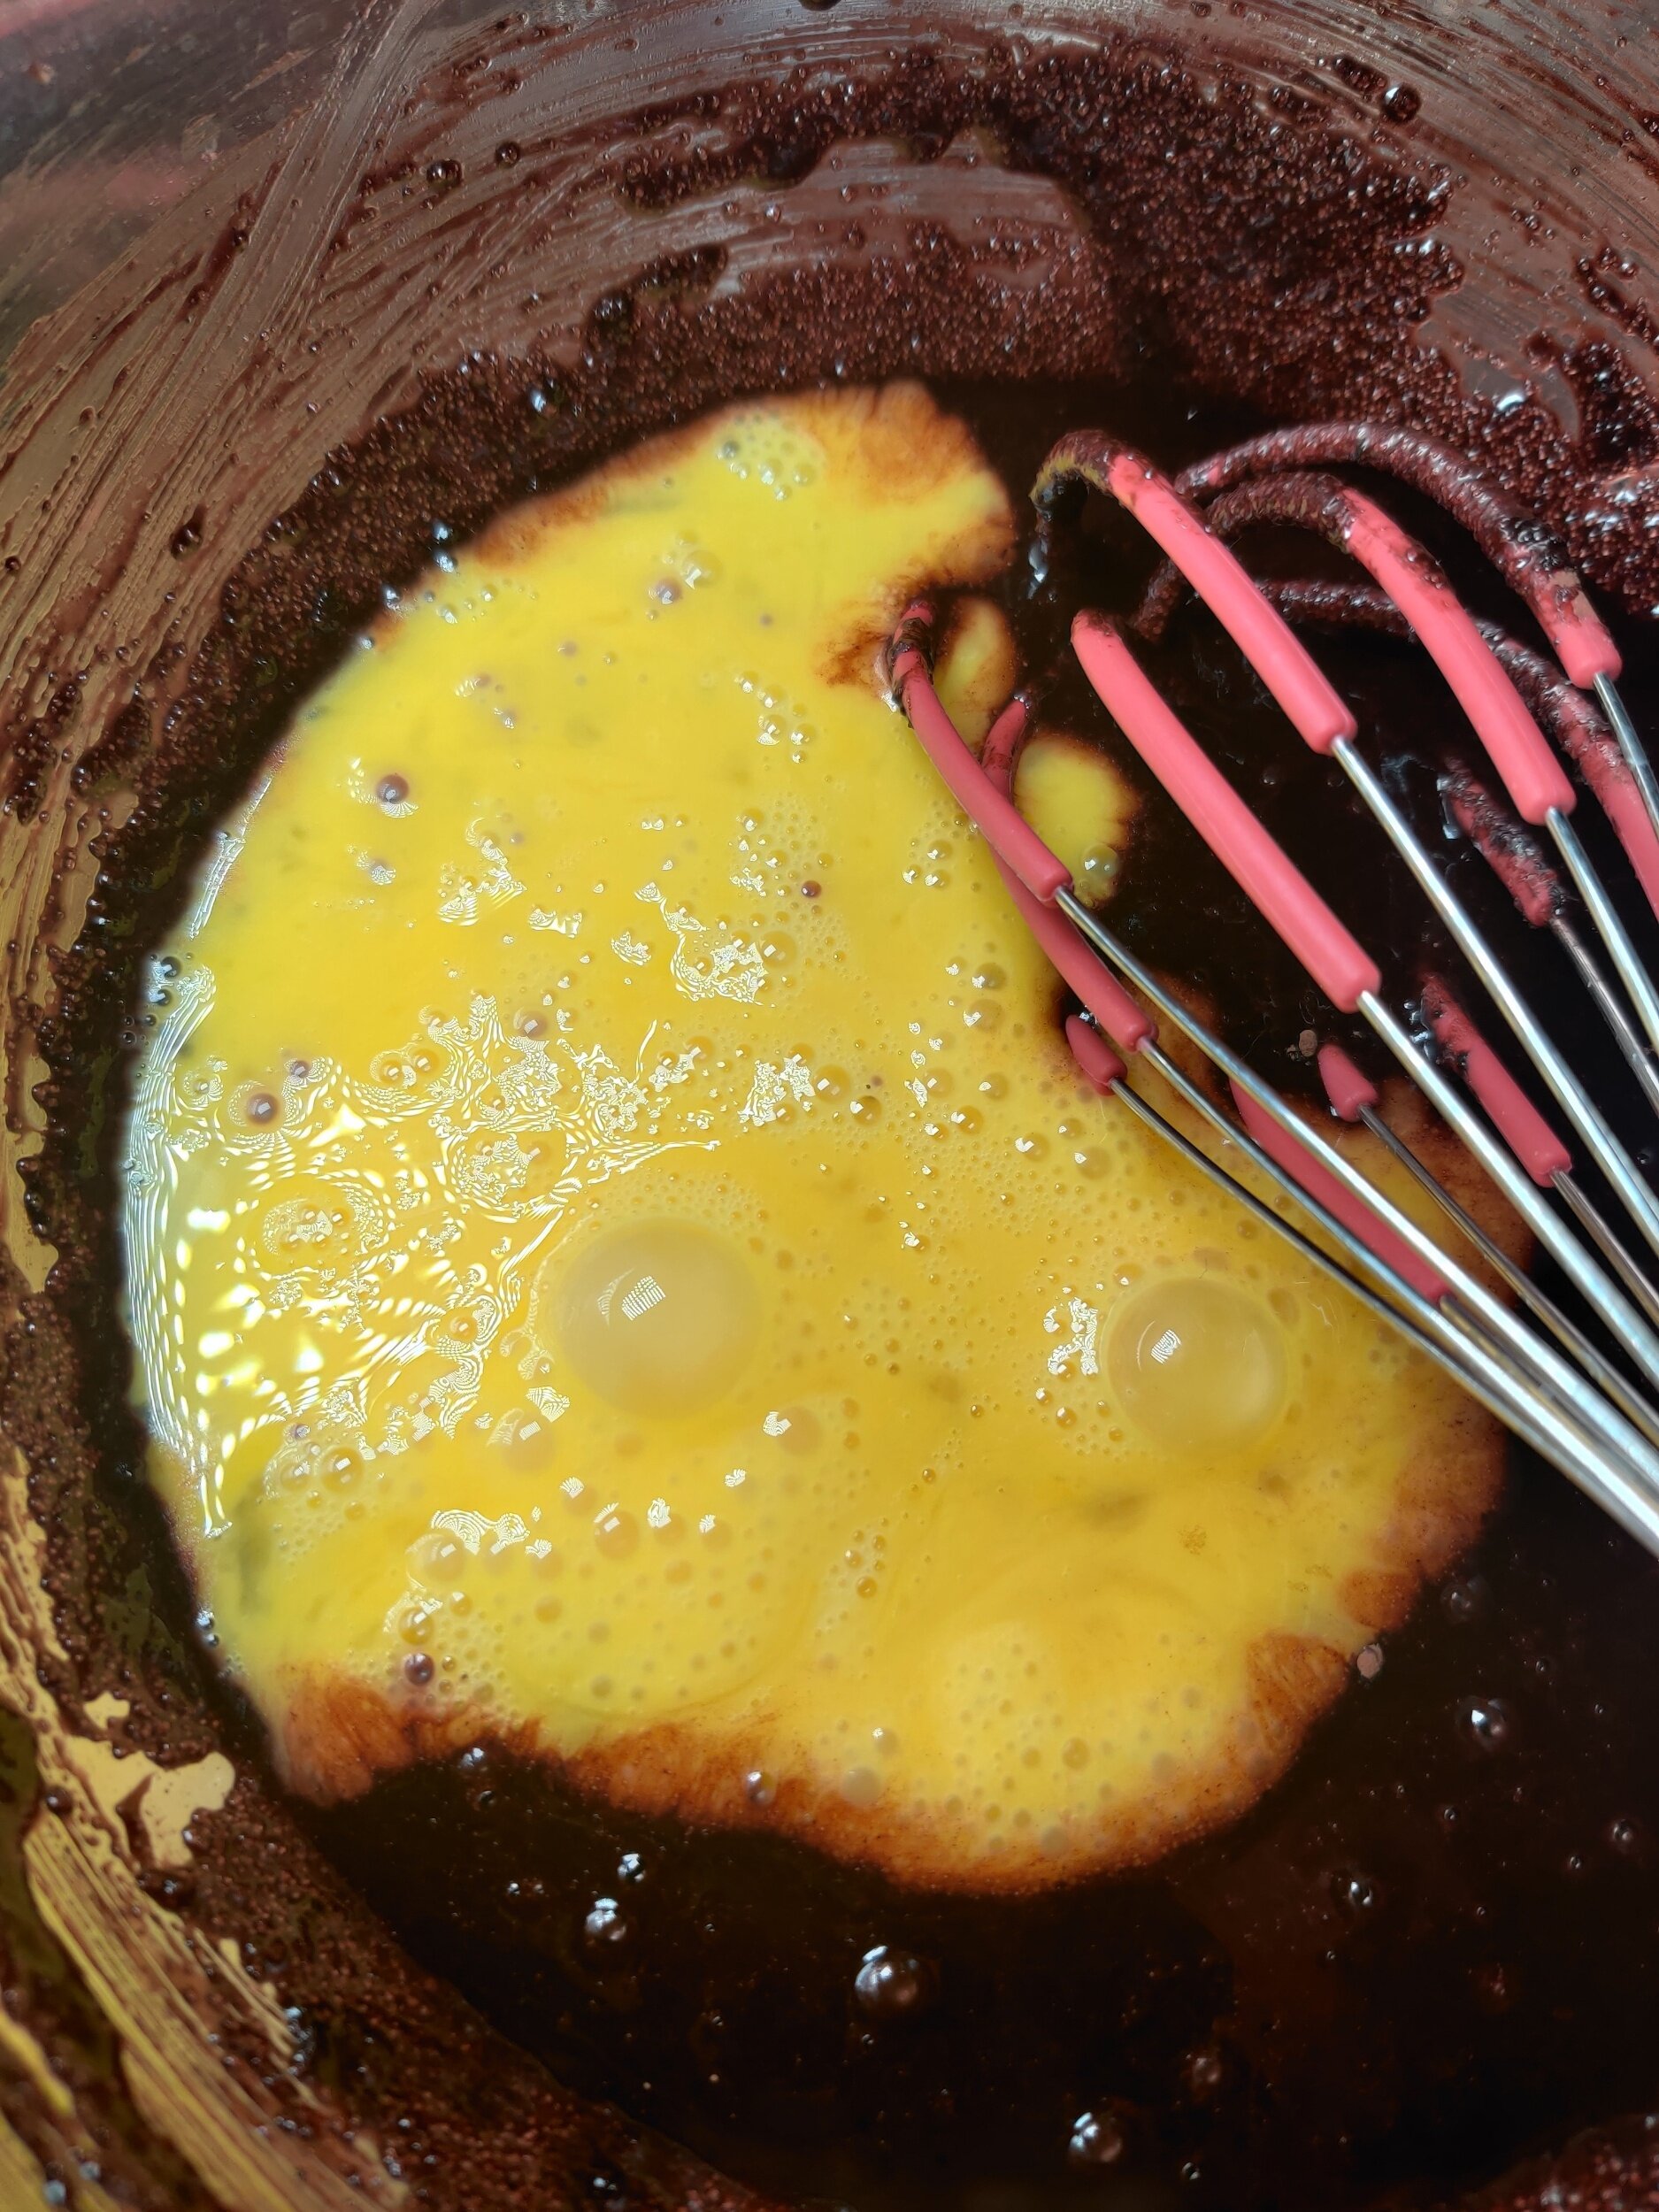
In another small bowl beat the eggs, whisk them into the main batter, and then gently fold into the flour until fully incorporated - you don't want lumps of dry flour!
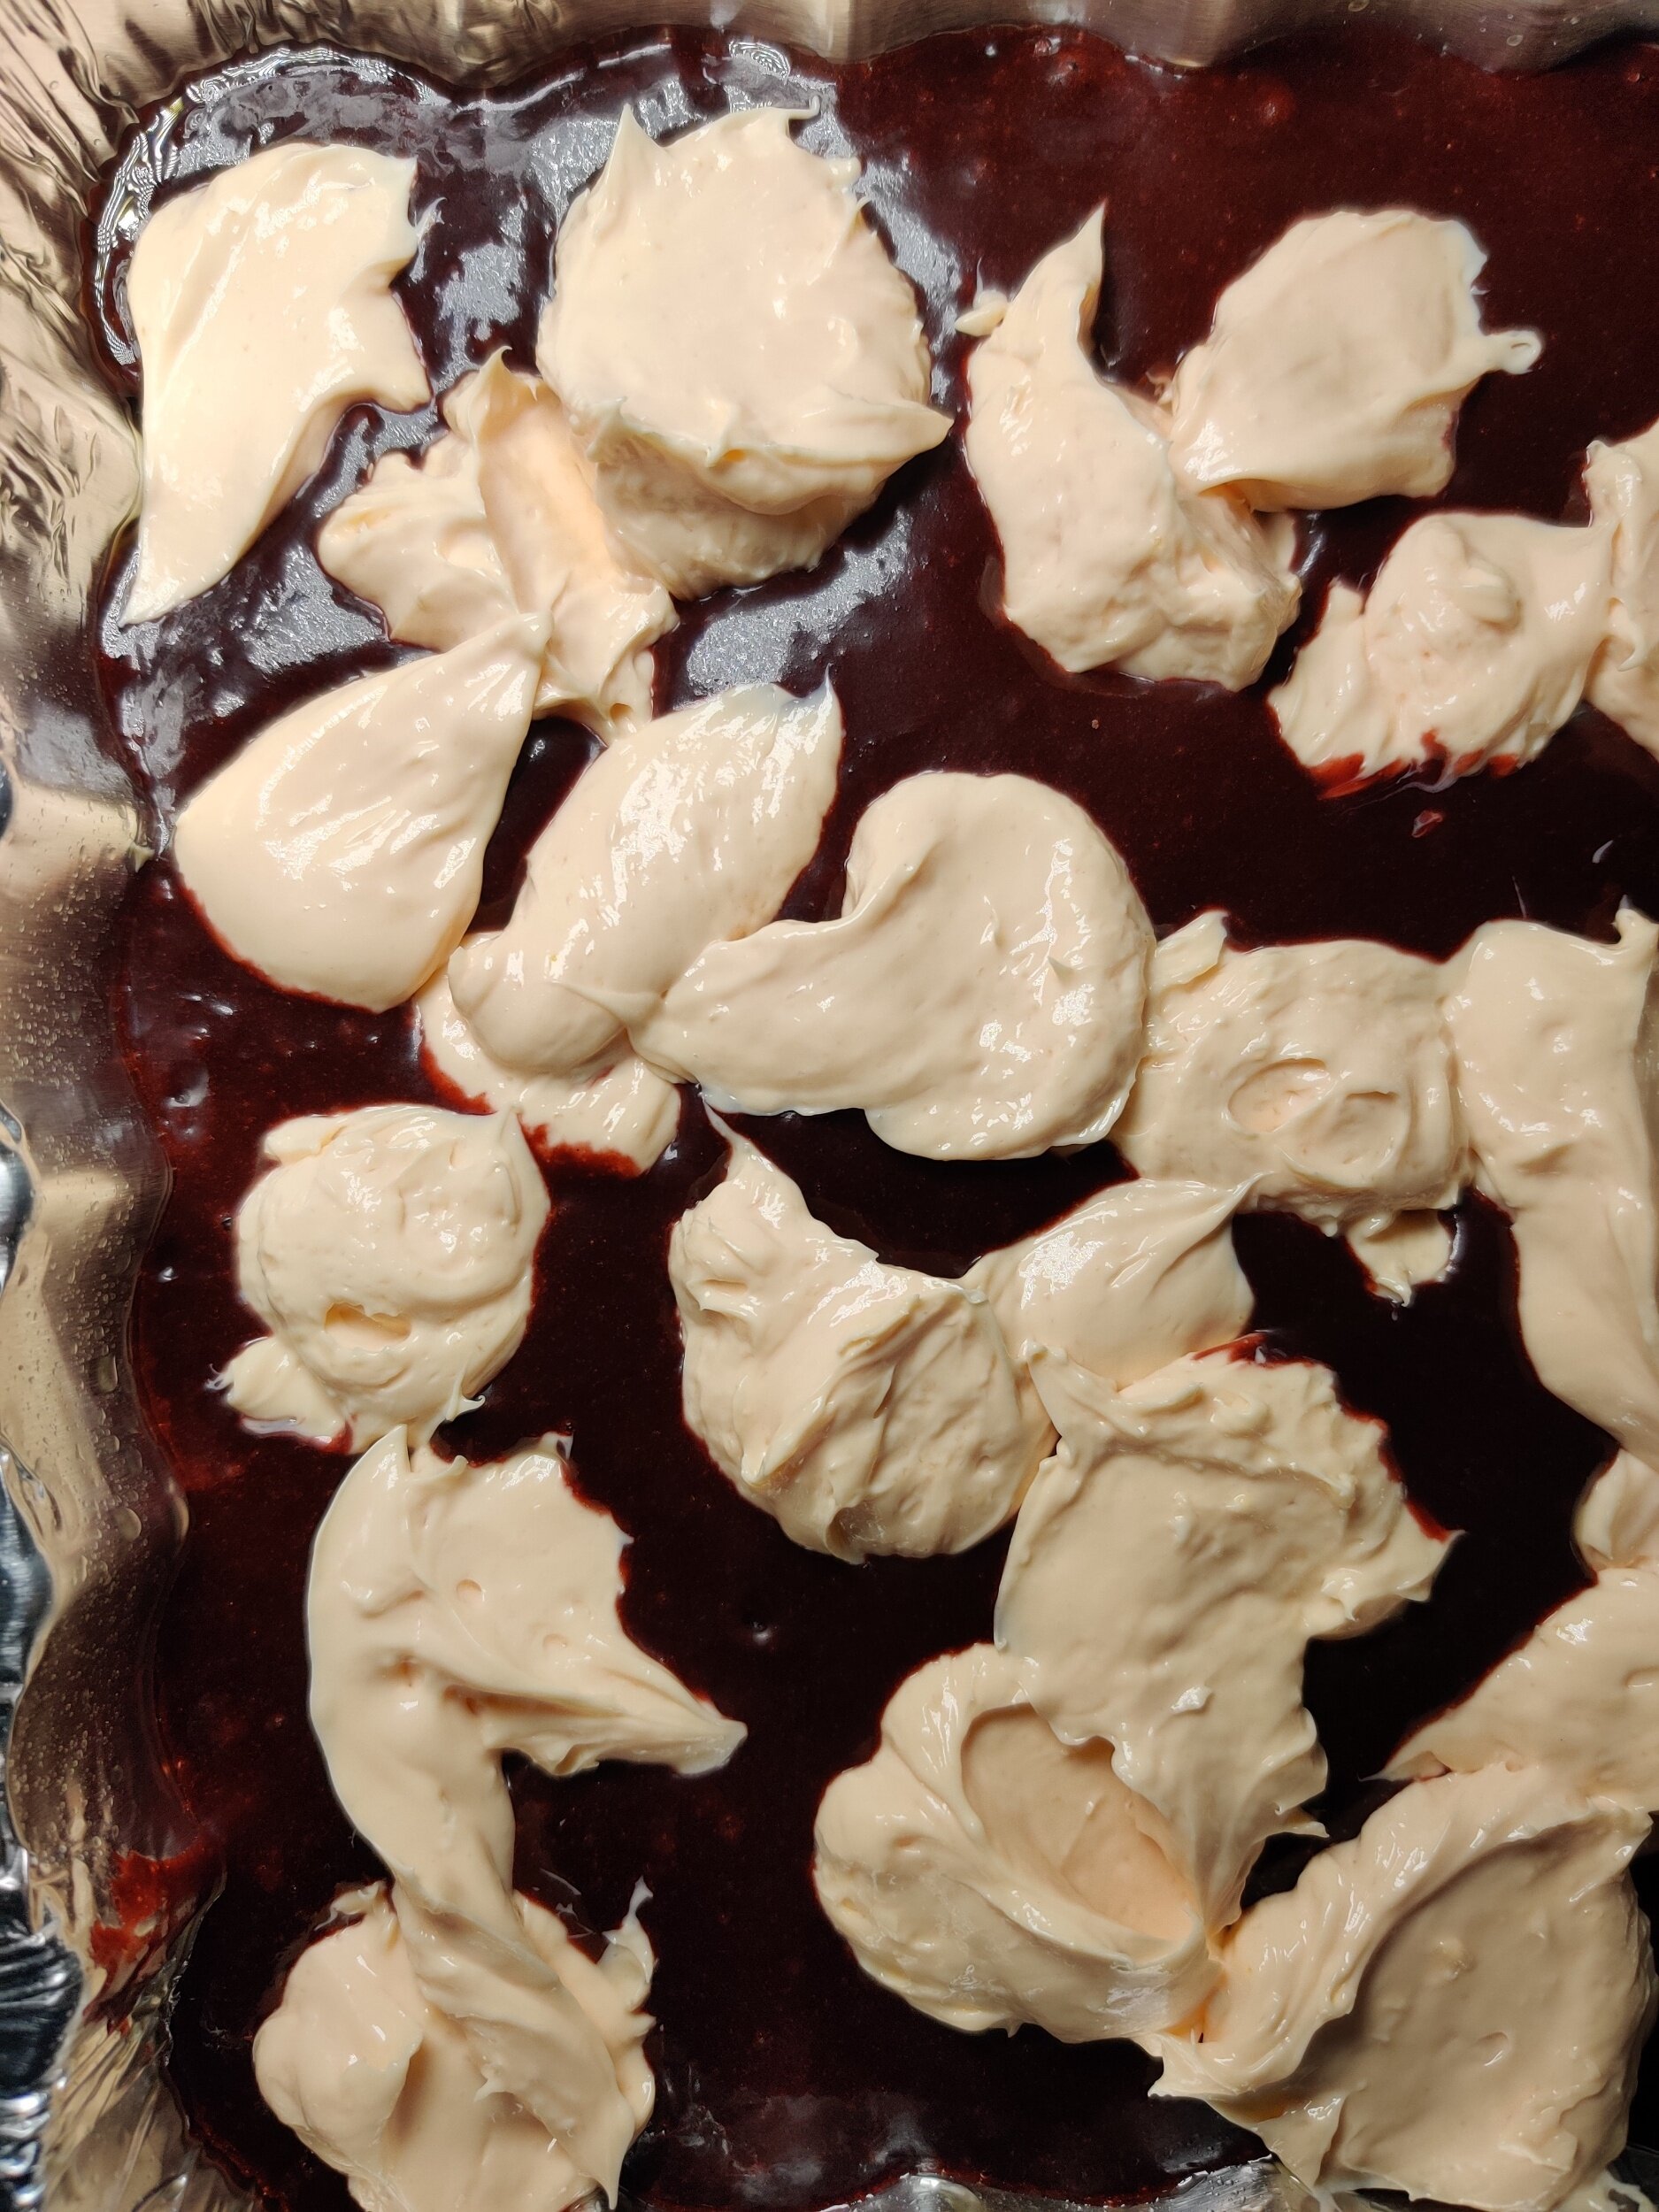
Pour your brownie mix into a parchment-lined, lightly oil sprayed baking pan (I used one 8 inches by 8 inches). Use a spatula to even out your batter. You can set aside 2-4 tablespoons to drizzle on top of the cream cheese, depending on how much of it you want visible once baked.
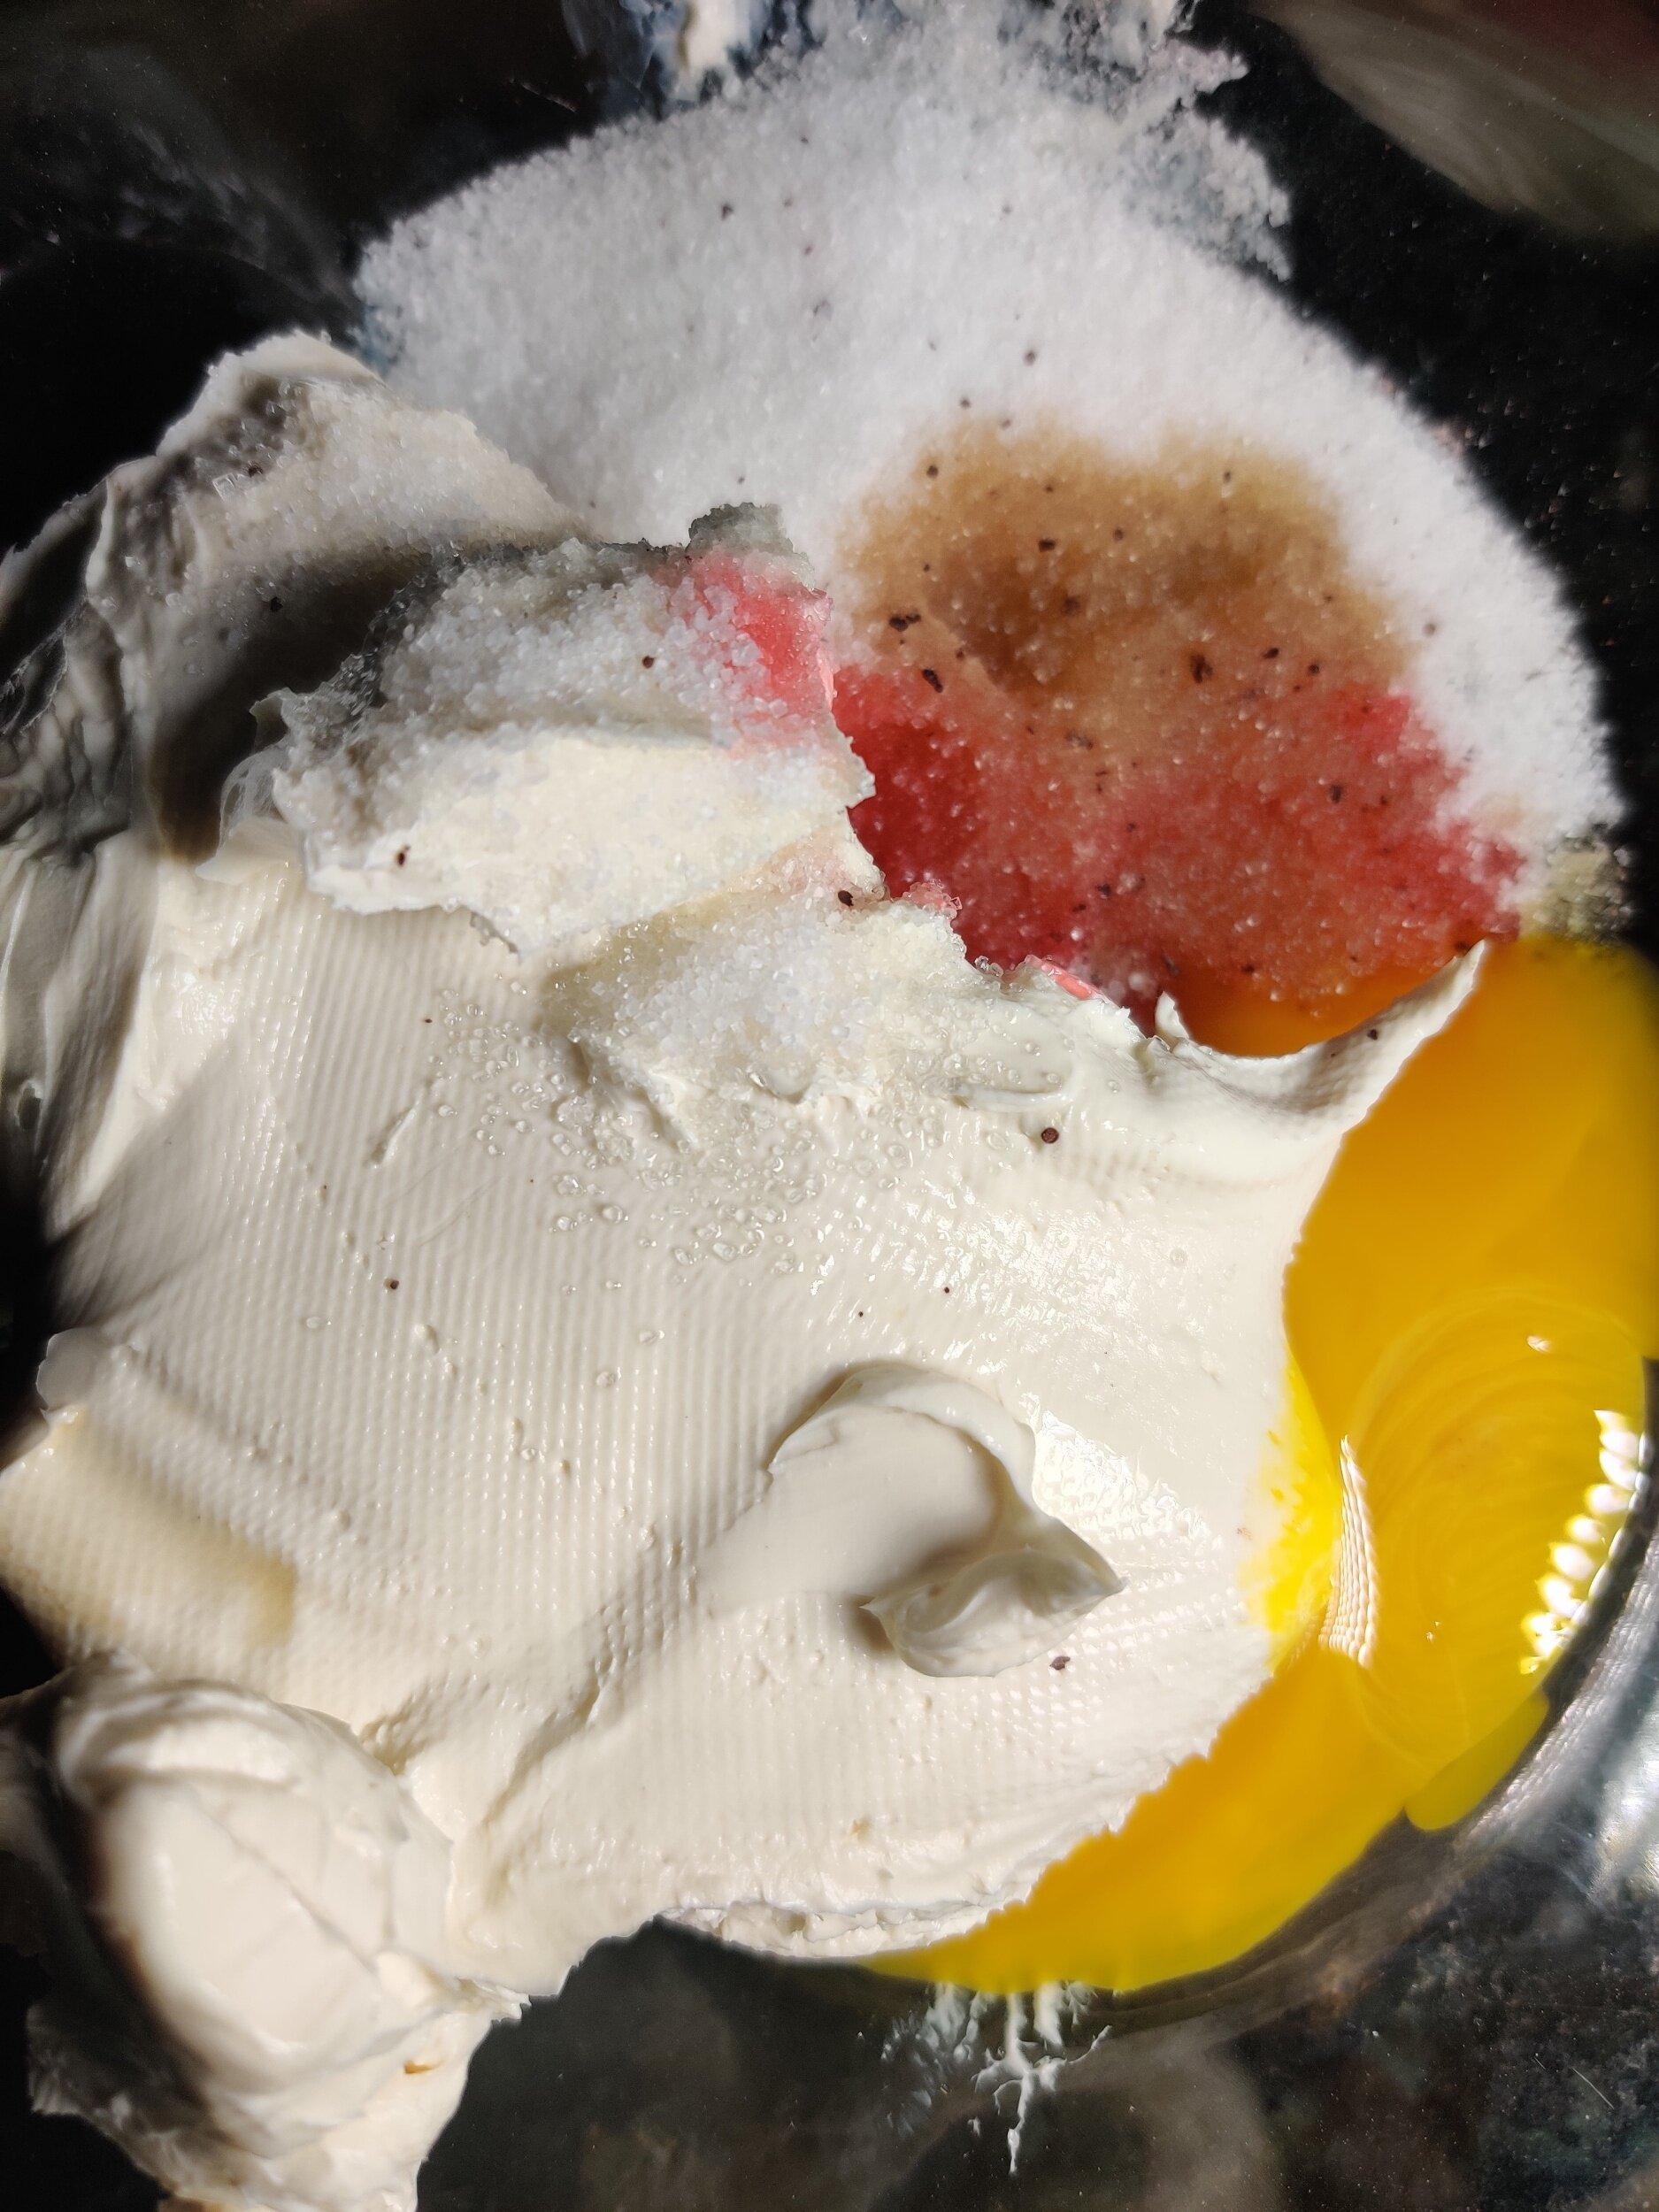
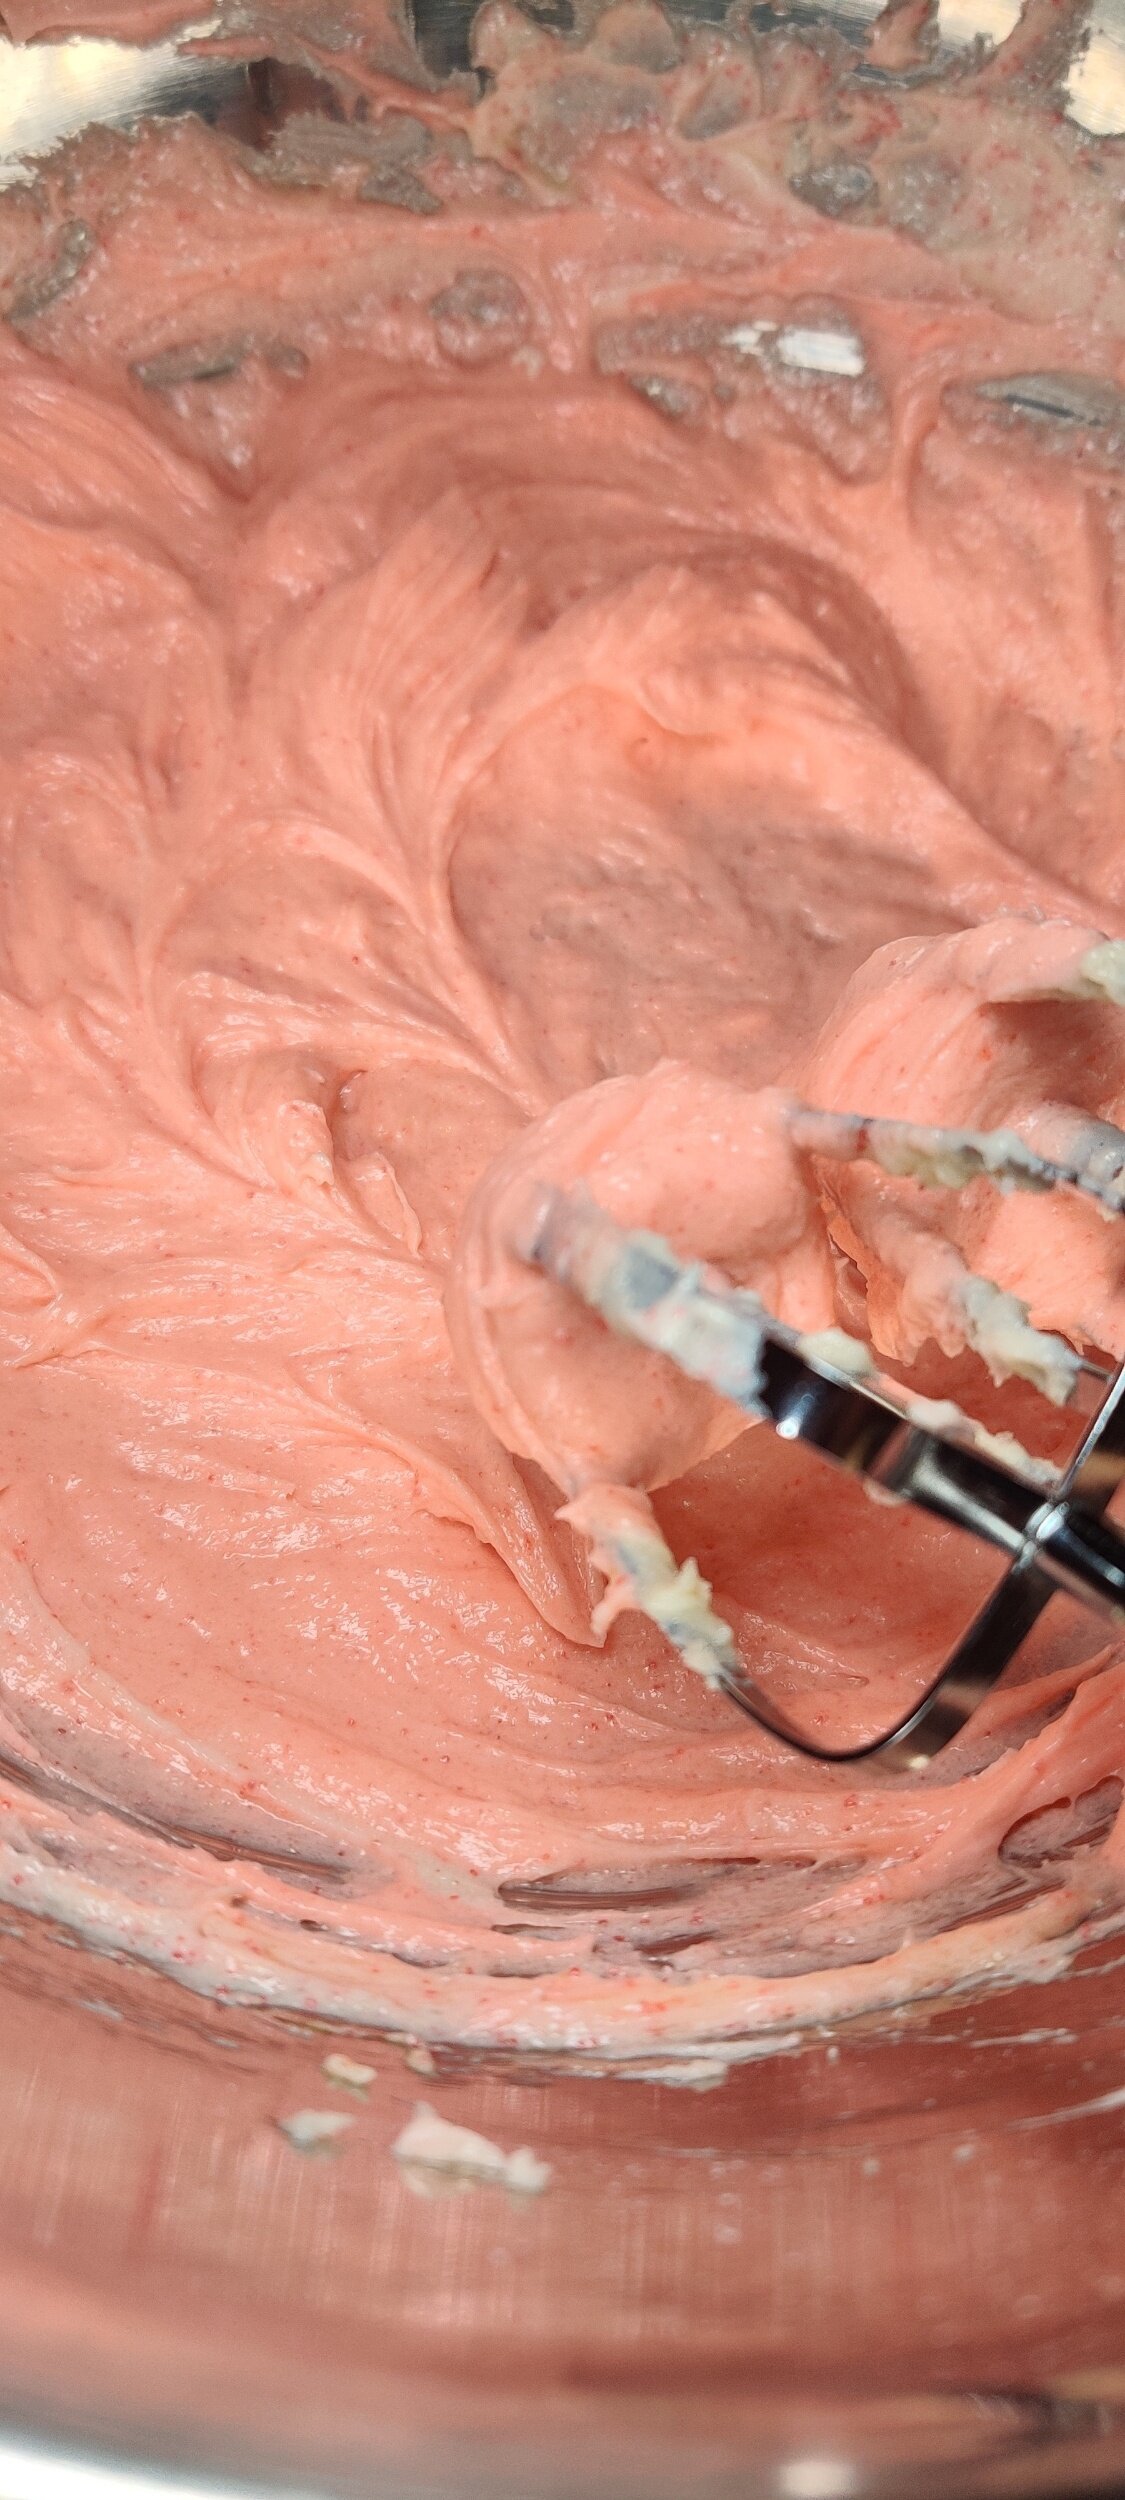
Now make your cream cheese mix. In a medium-sized bowl add the cream cheese, egg yolk, vanilla, a few drops of colouring, lemon, almond extract, and sugar. Beat with an electric mixer until smooth.
Spoon dollops of the cream mixture on top all over the top, then add your remaining brownie batter. Use a fork or knife and move it along the batter and cream cheese layers to create the swirl effect in an 'S' motion.
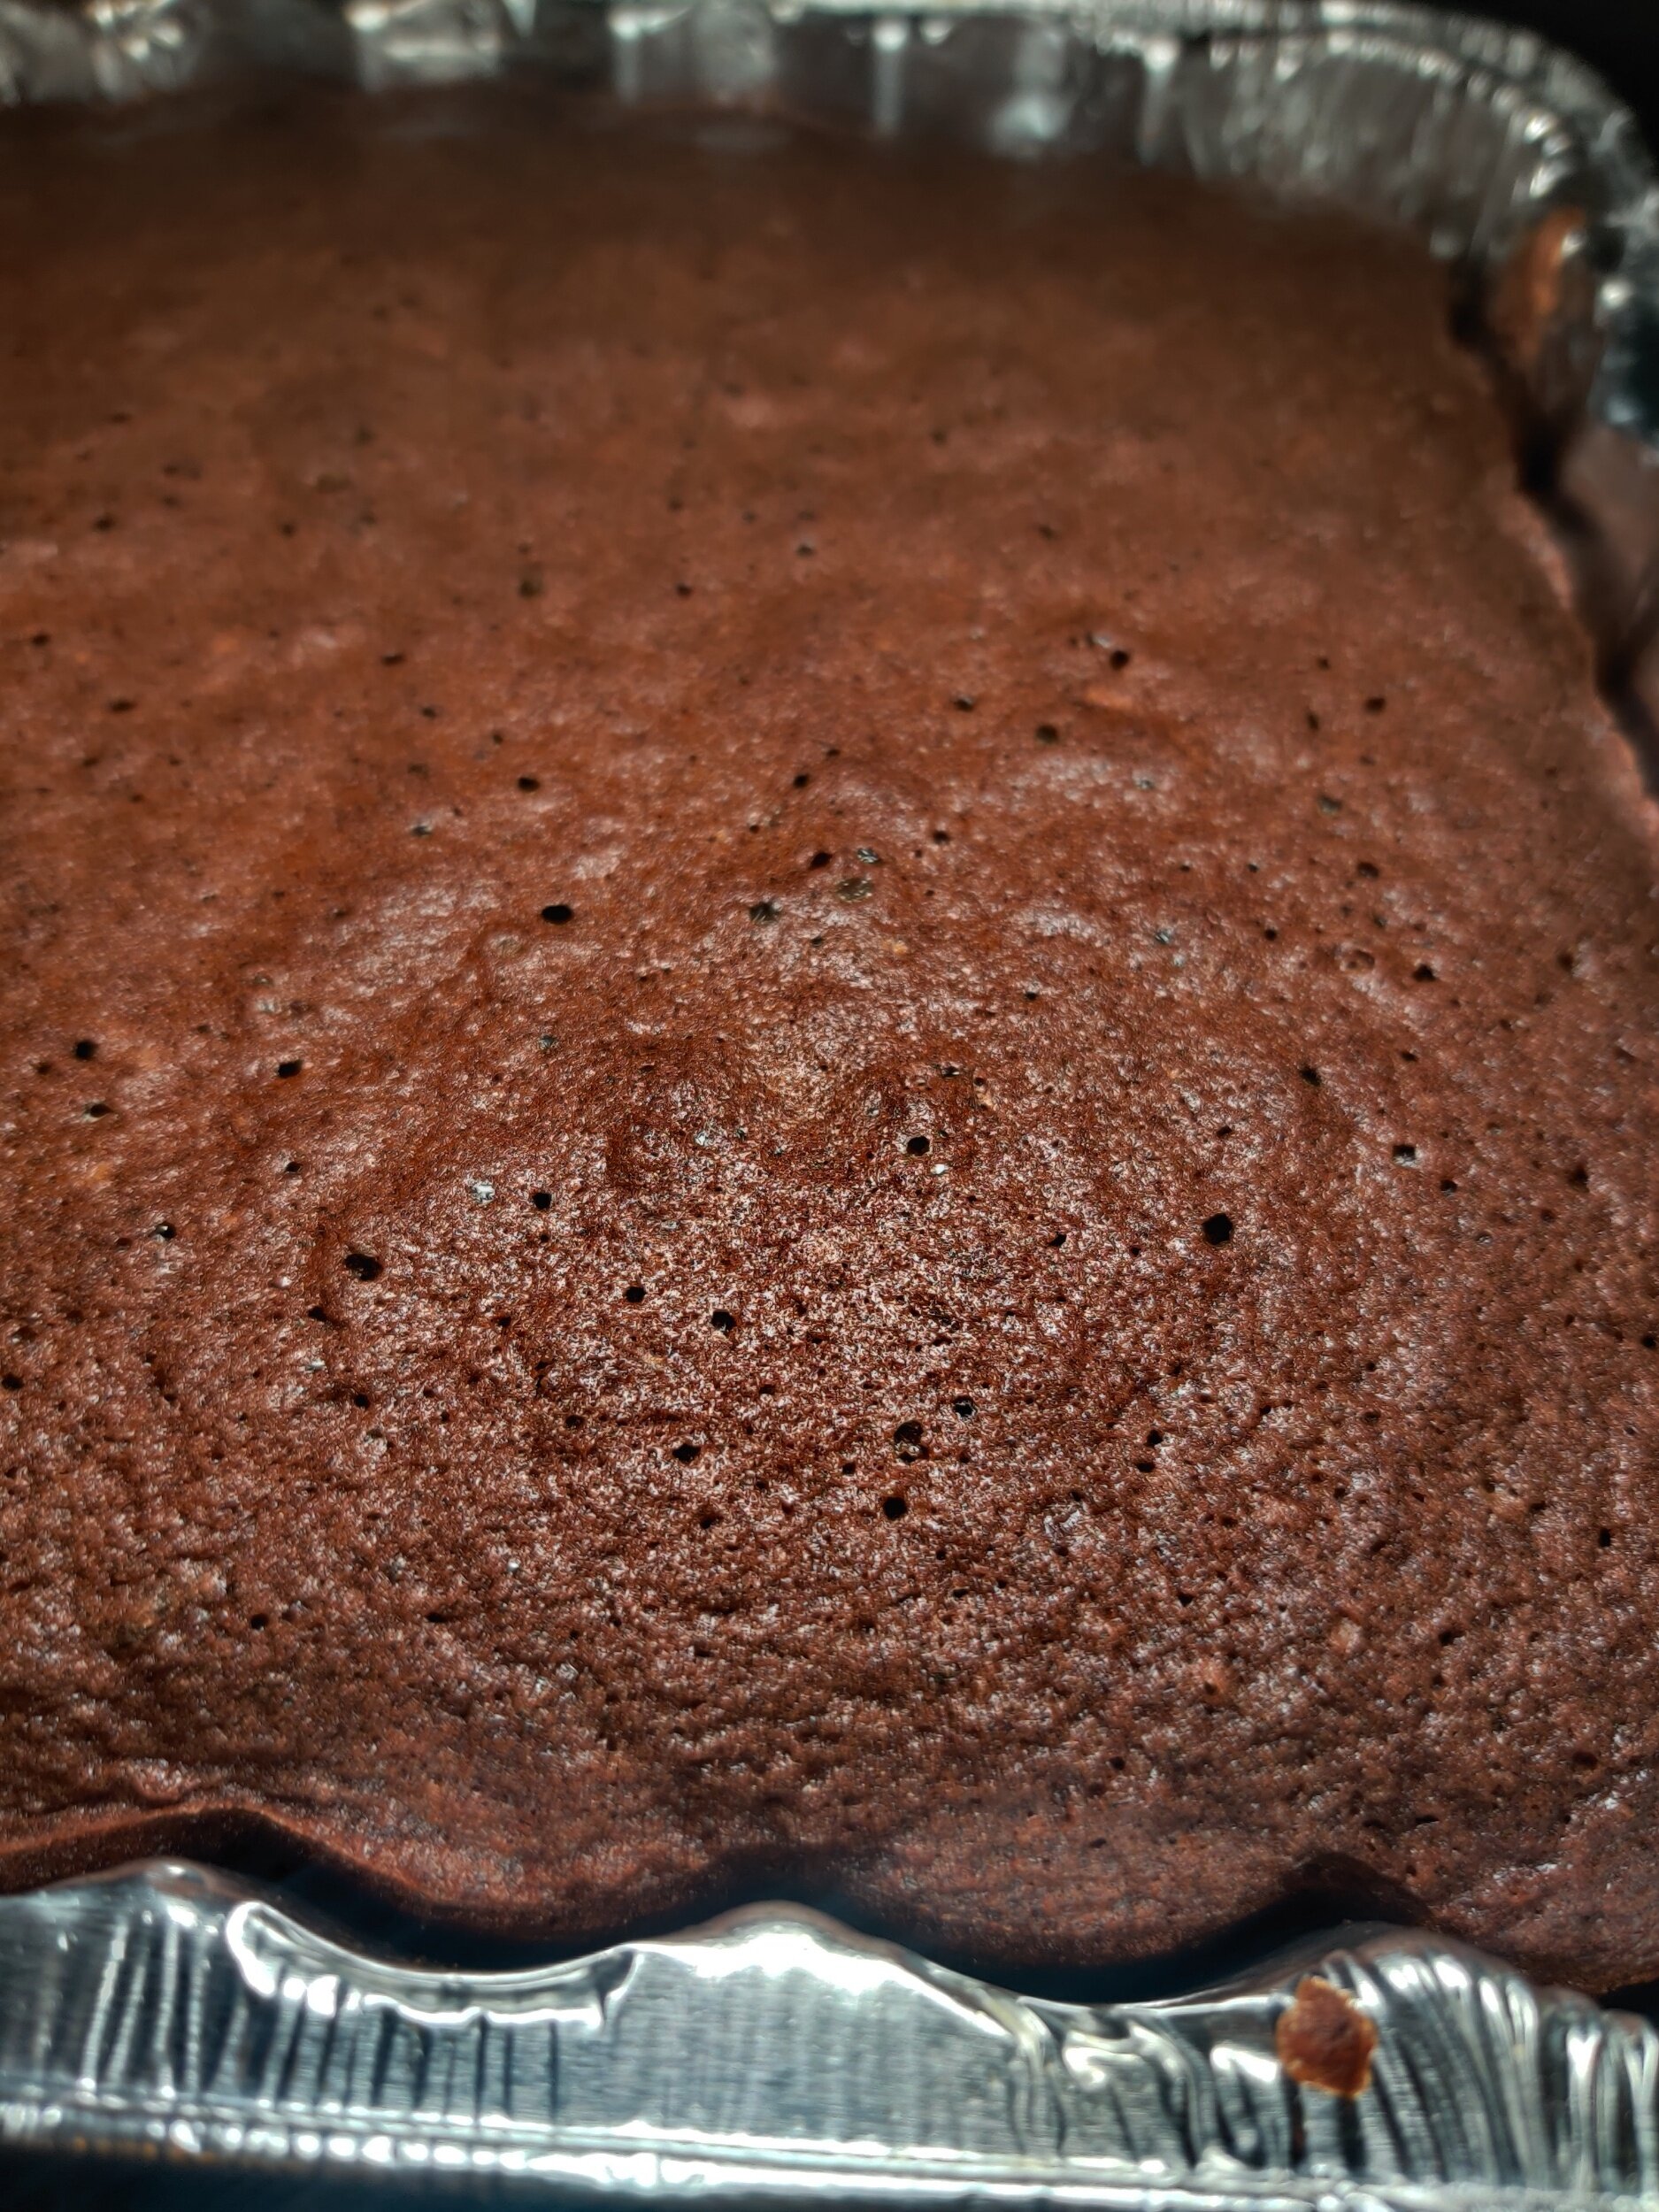
Bake at 400F for about 35 minutes, and make sure the centre comes out clean with a toothpick to check the doneness.
Set aside to cool before cutting, then sprinkle with a little powdered sugar and enjoy!
Store in the fridge in an airtight container and consume in 3-5 days!


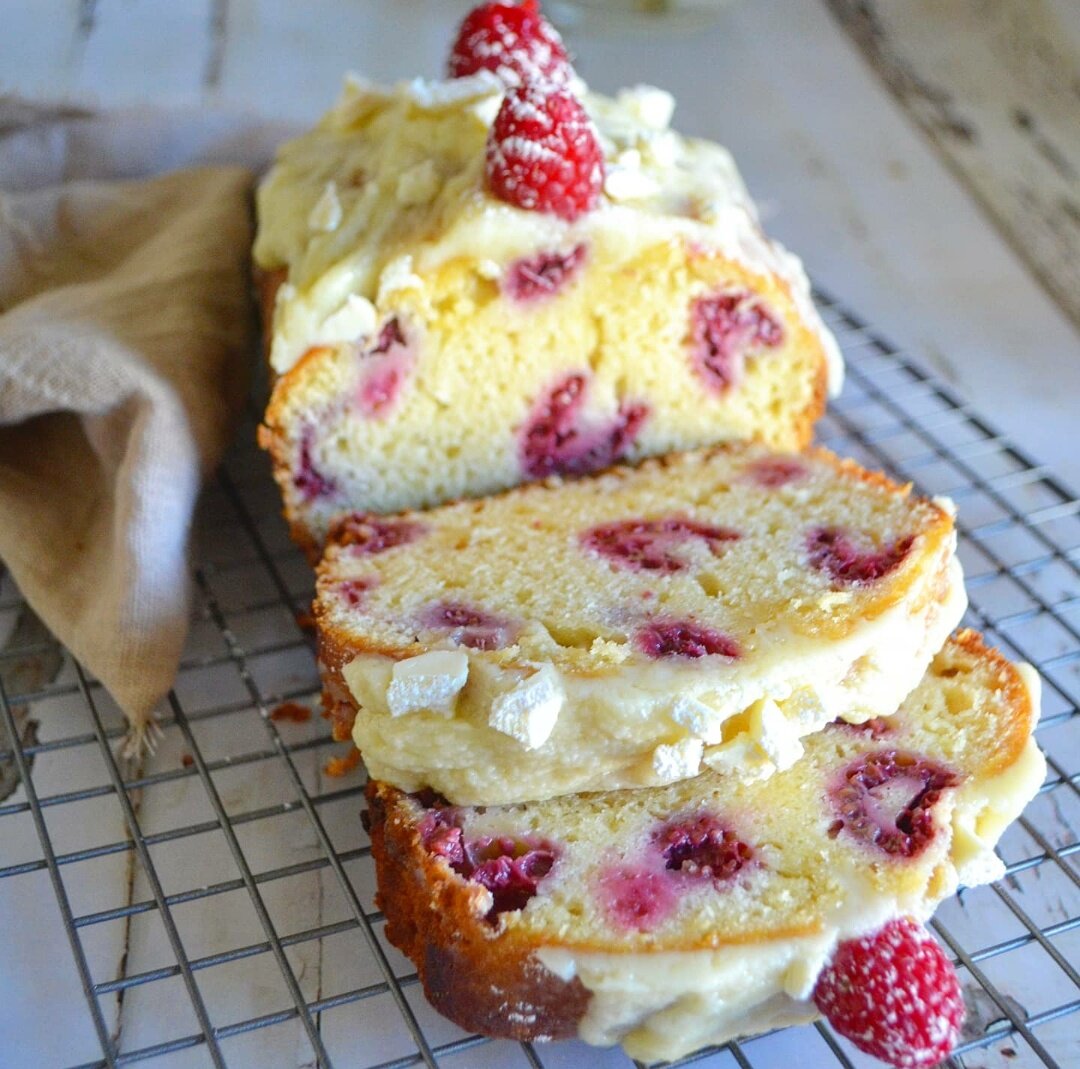
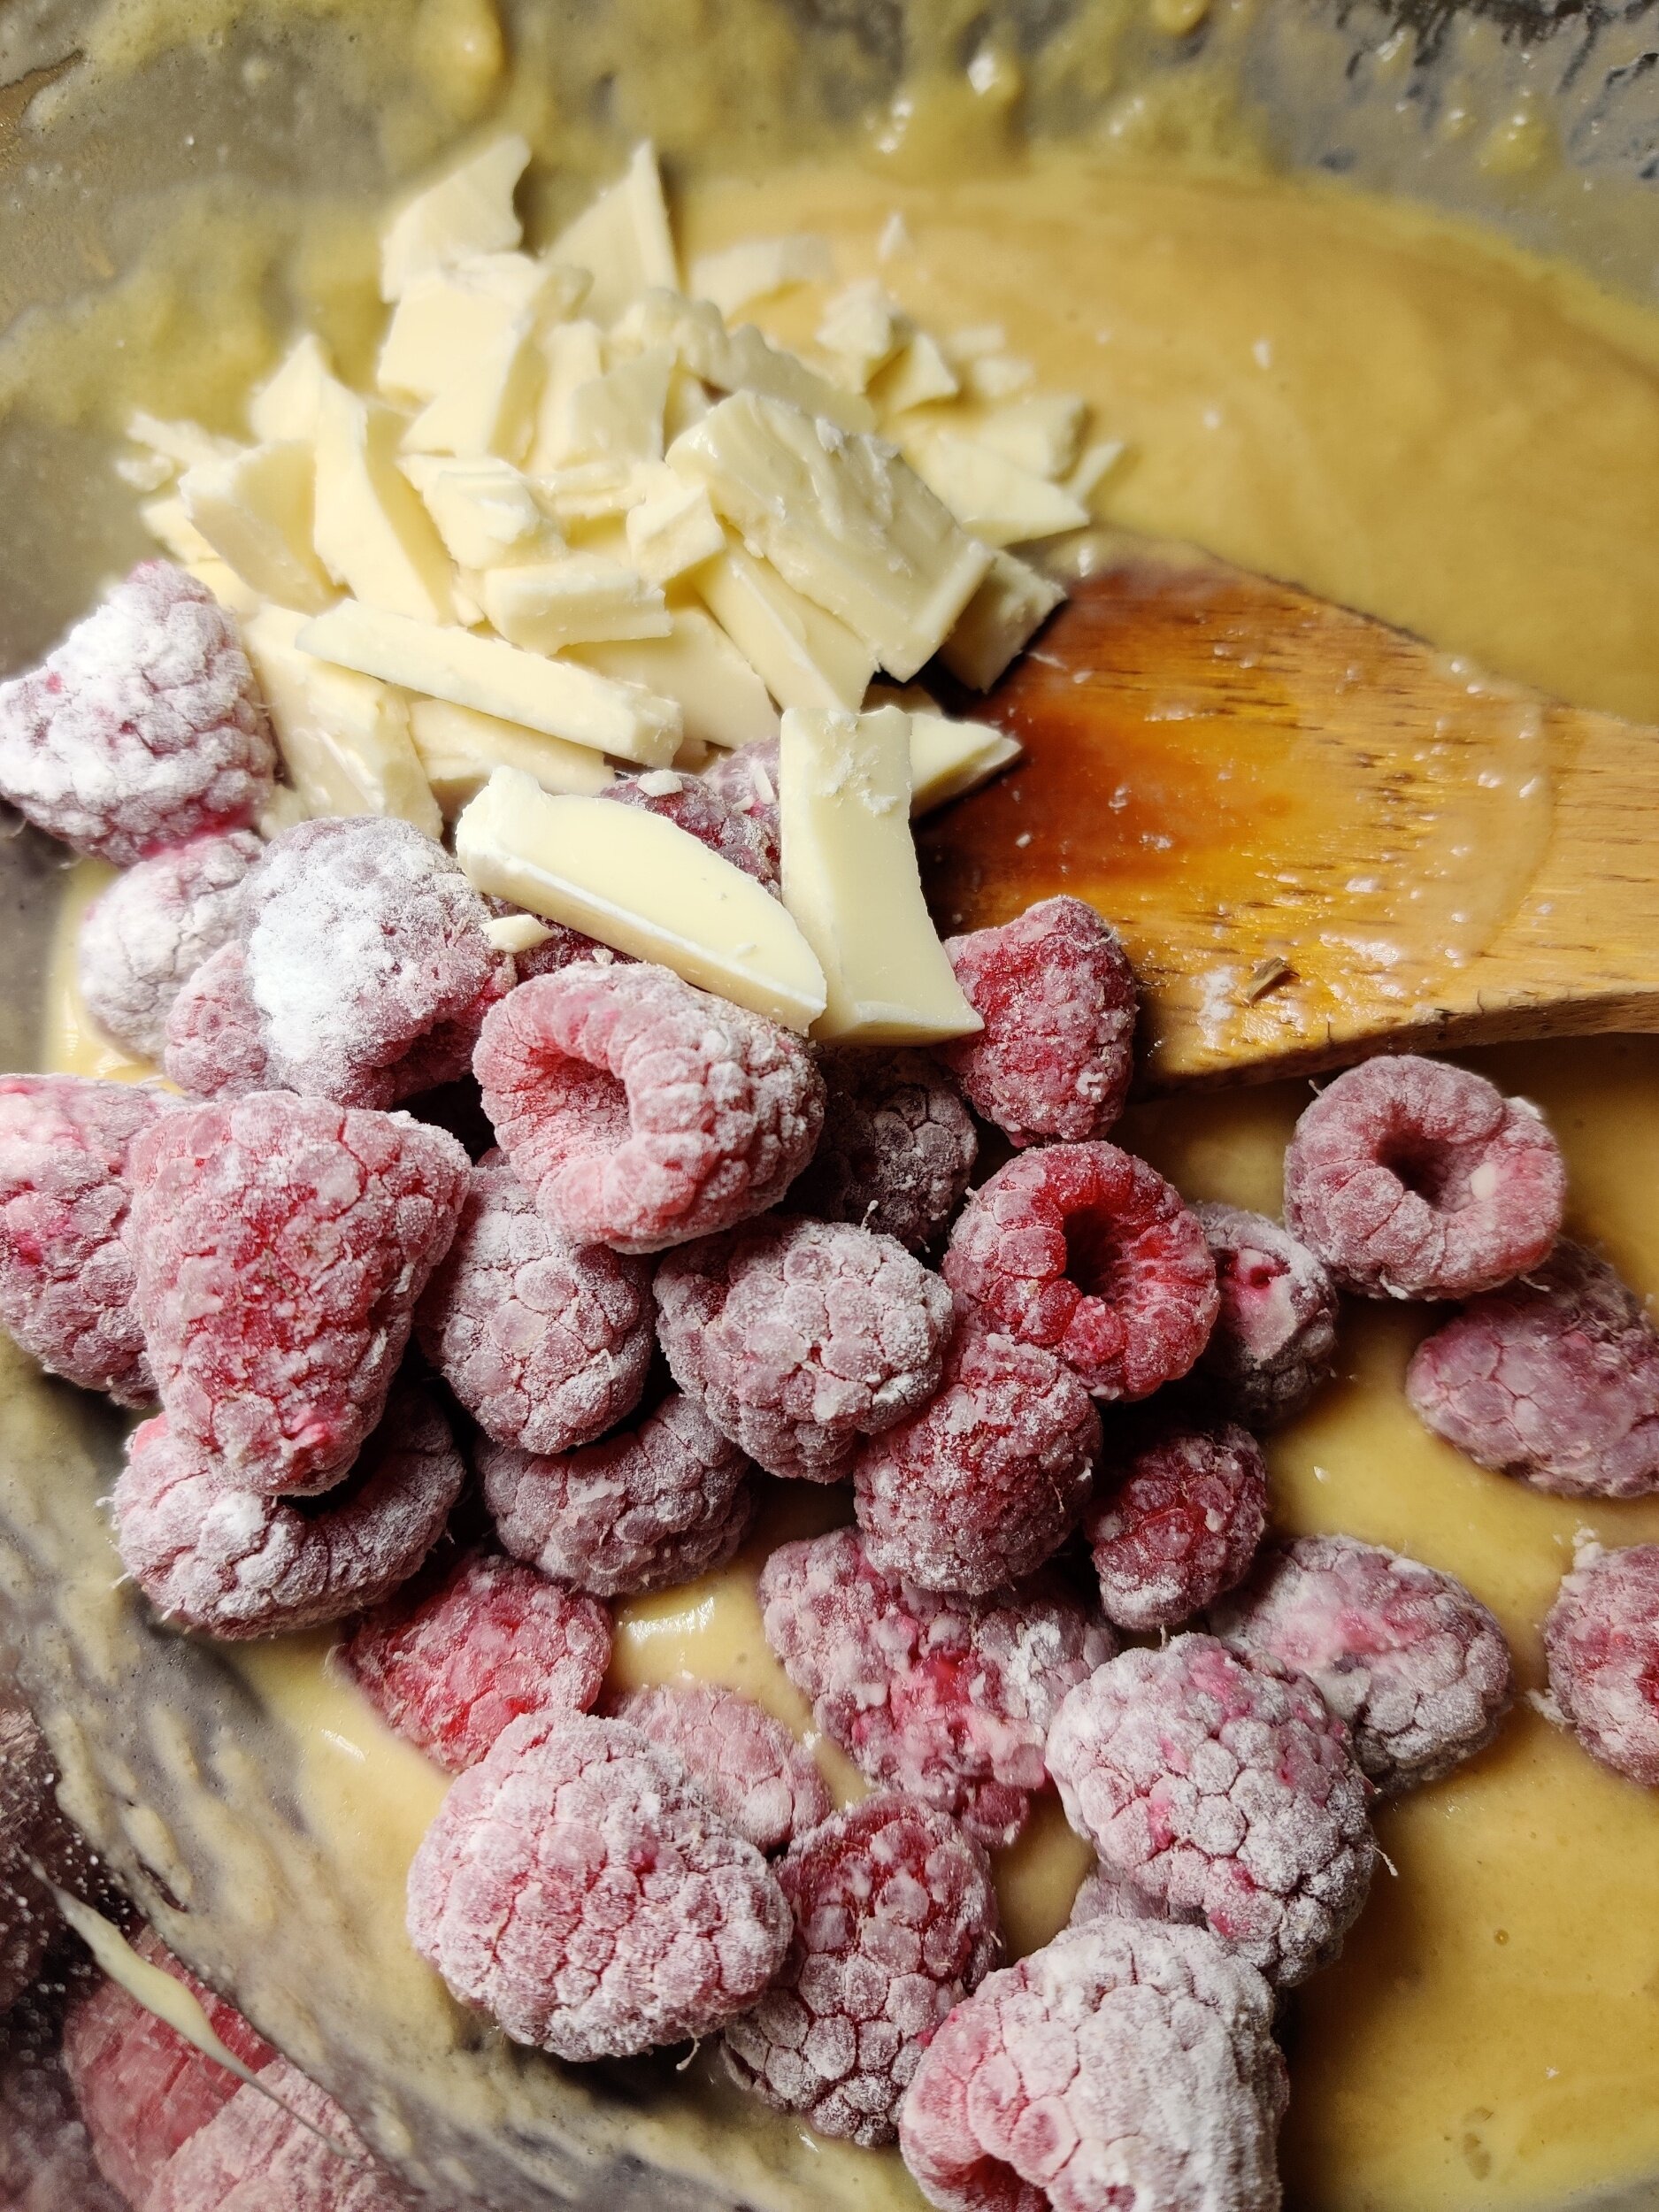
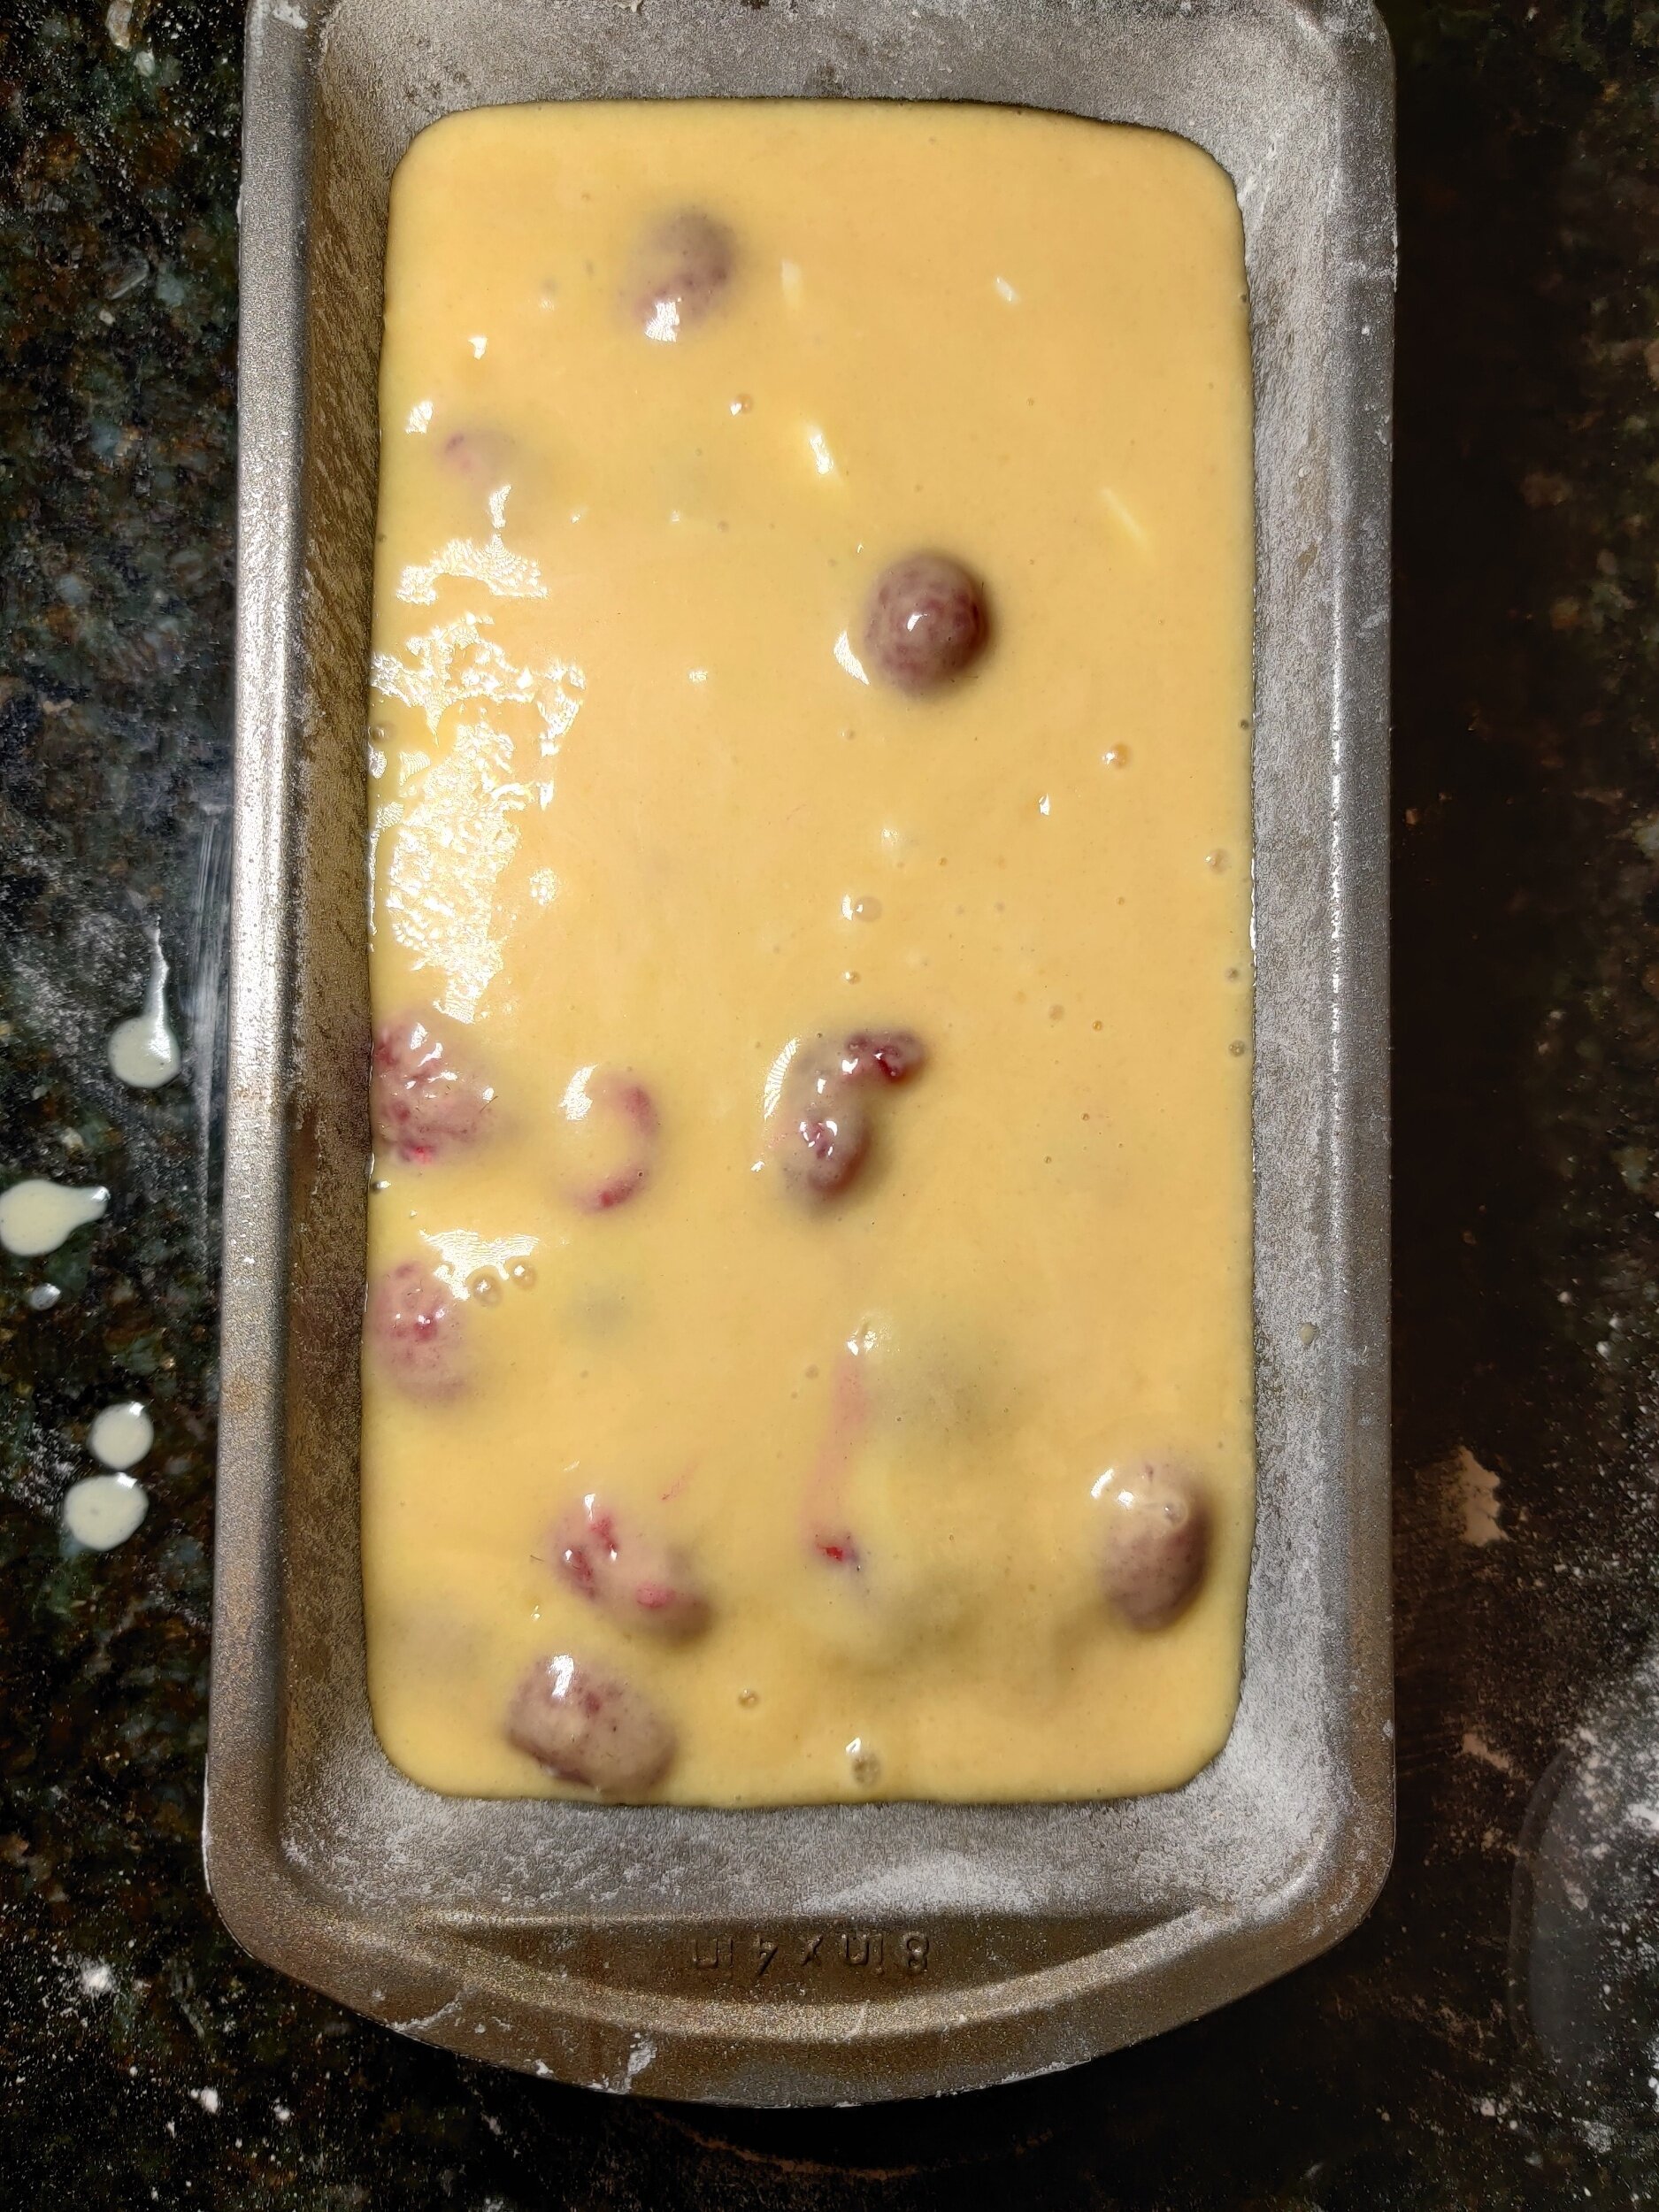
Raspberry Loaf with White Chocolate and Marscapone
It's not a secret that raspberries and white chocolate go together. If you're looking for a solid sweet loaf (not literally but as in guaranteed deliciousness) this is it!
You've got the acidity and tartness from the berries and the sweet, creaminess from the white chocolate and mascarpone cheese.
This loaf cake is also not overly rich. Some people find pound cakes to be overwhelming, but this doesn't have as much sugar as you might think to taste. You can also omit the icing, and it will still be right proper.
The loaf is on the filling side, so you'll want to save up space in your belly for when you eat it and freeze the rest. I recommend consuming within 3 days for the freshest taste!
Ingredients
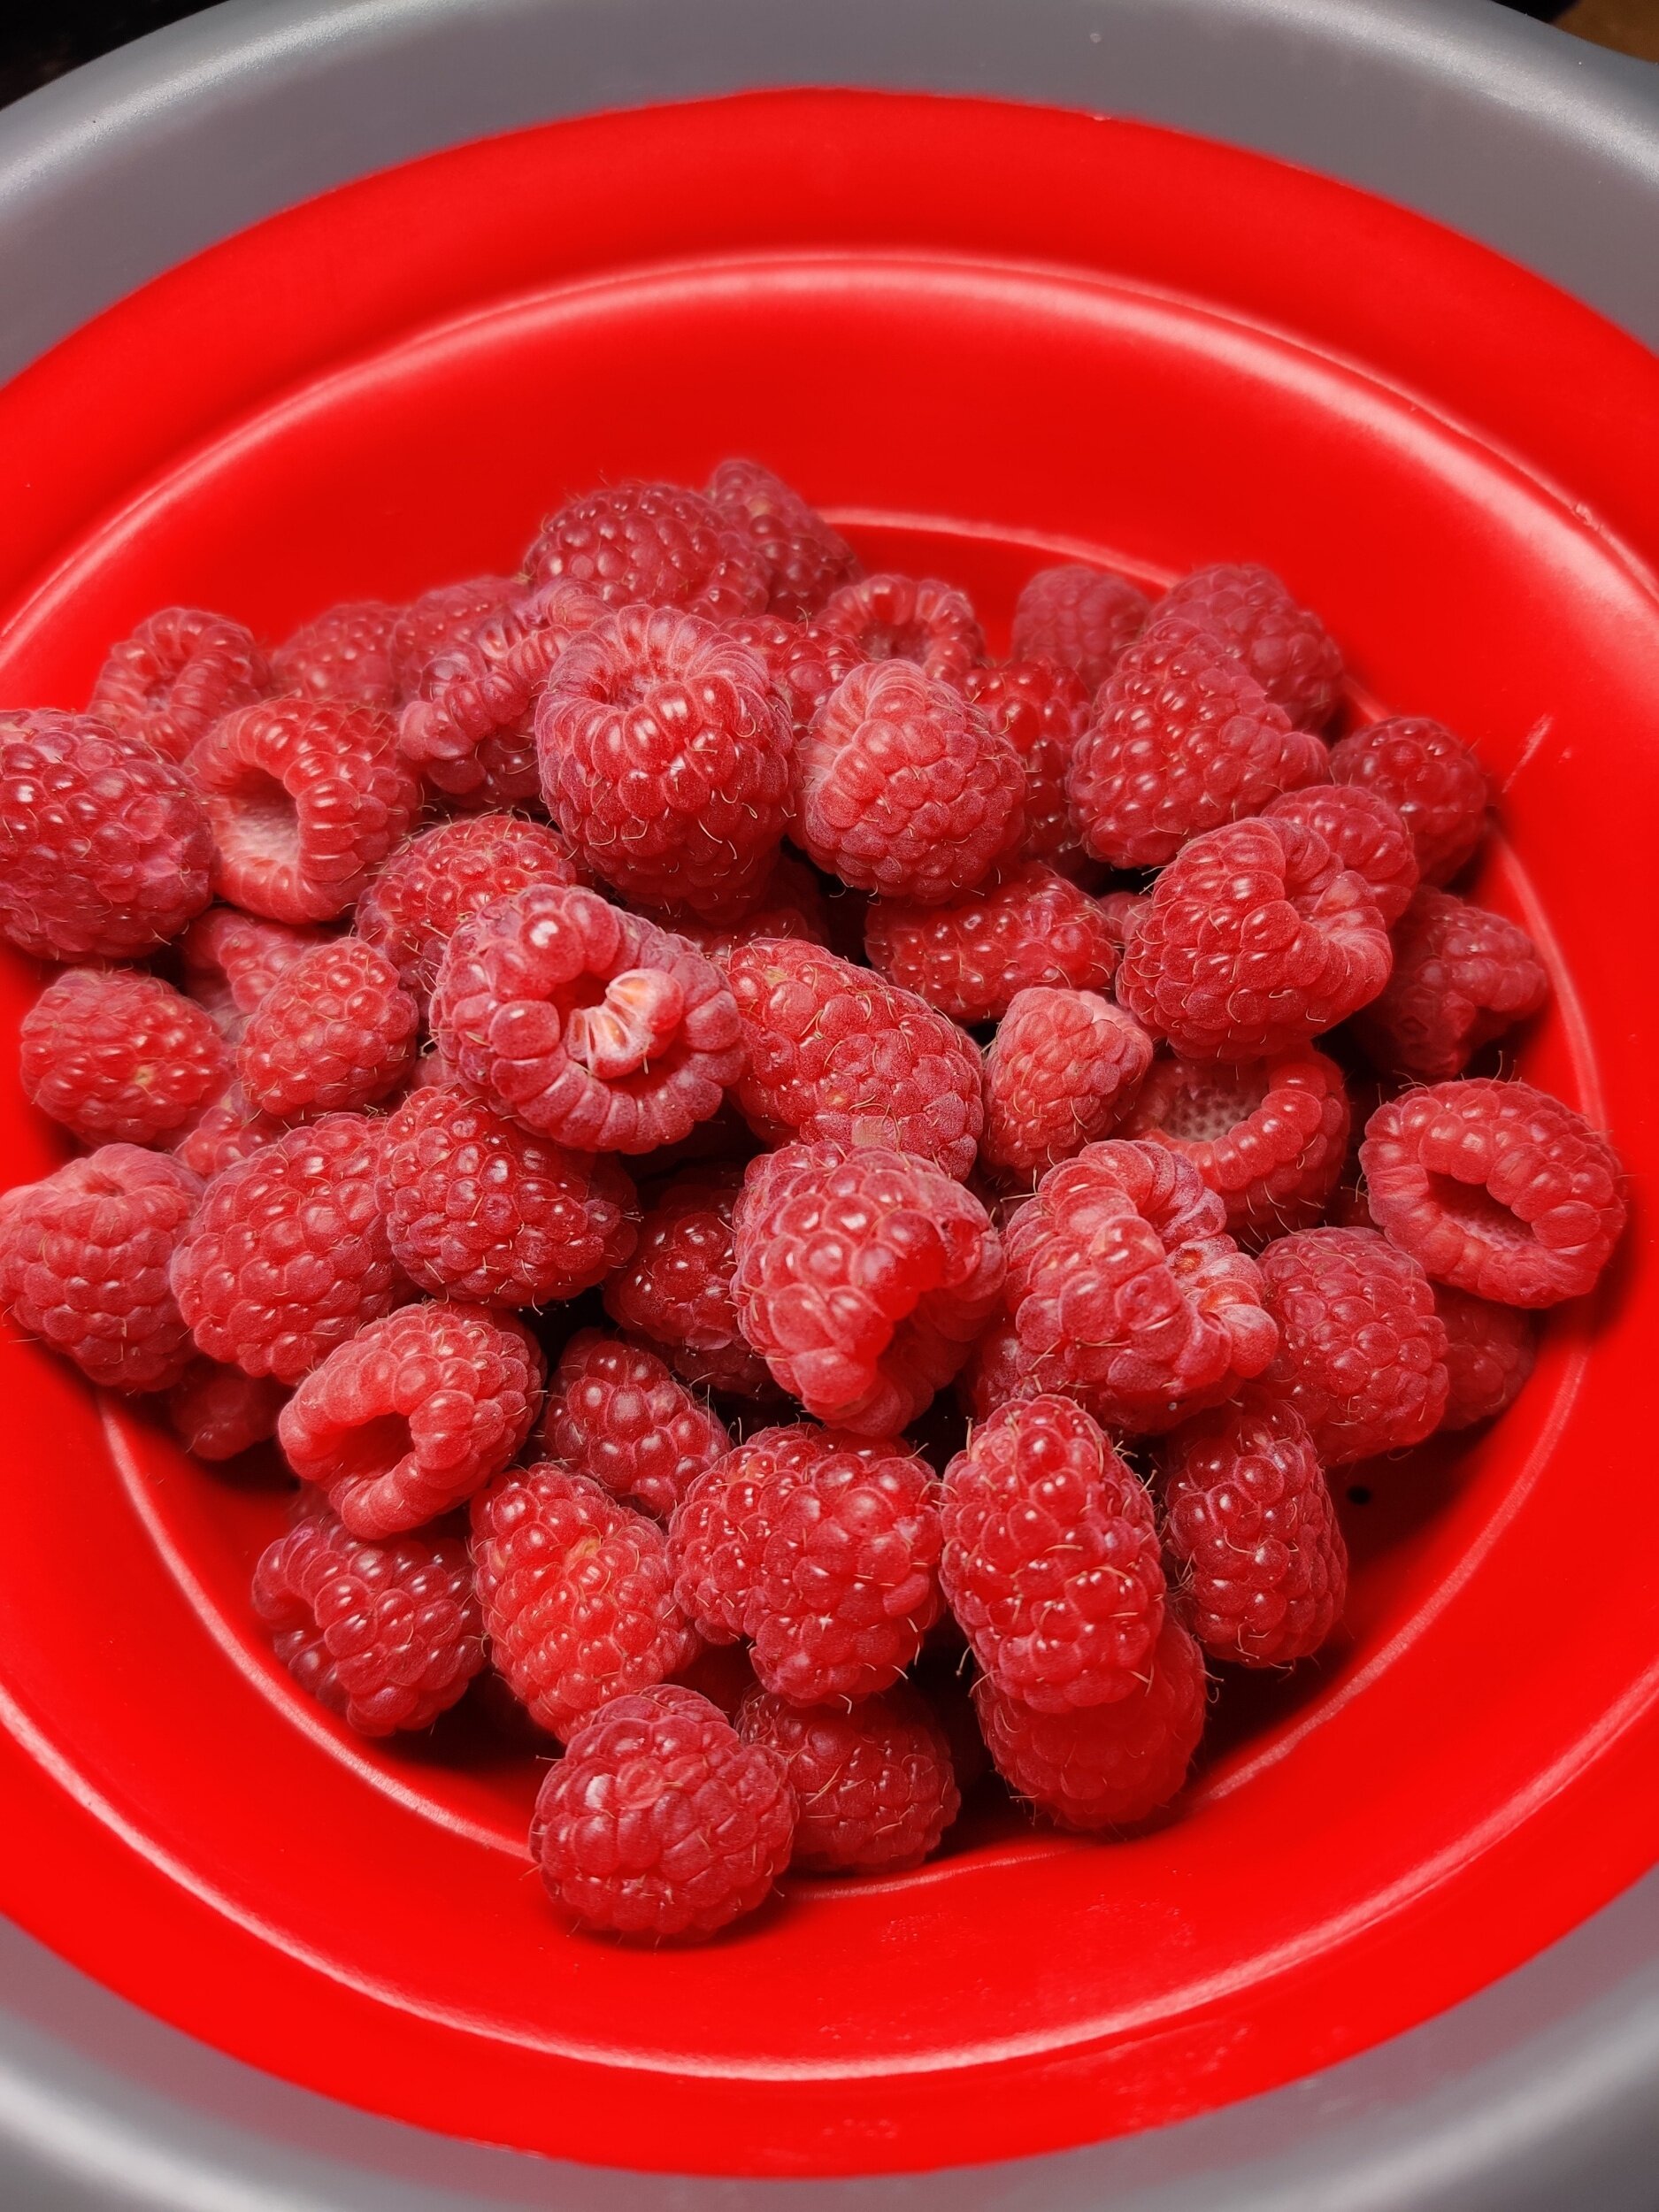
1 cup raspberries + extra to garnish
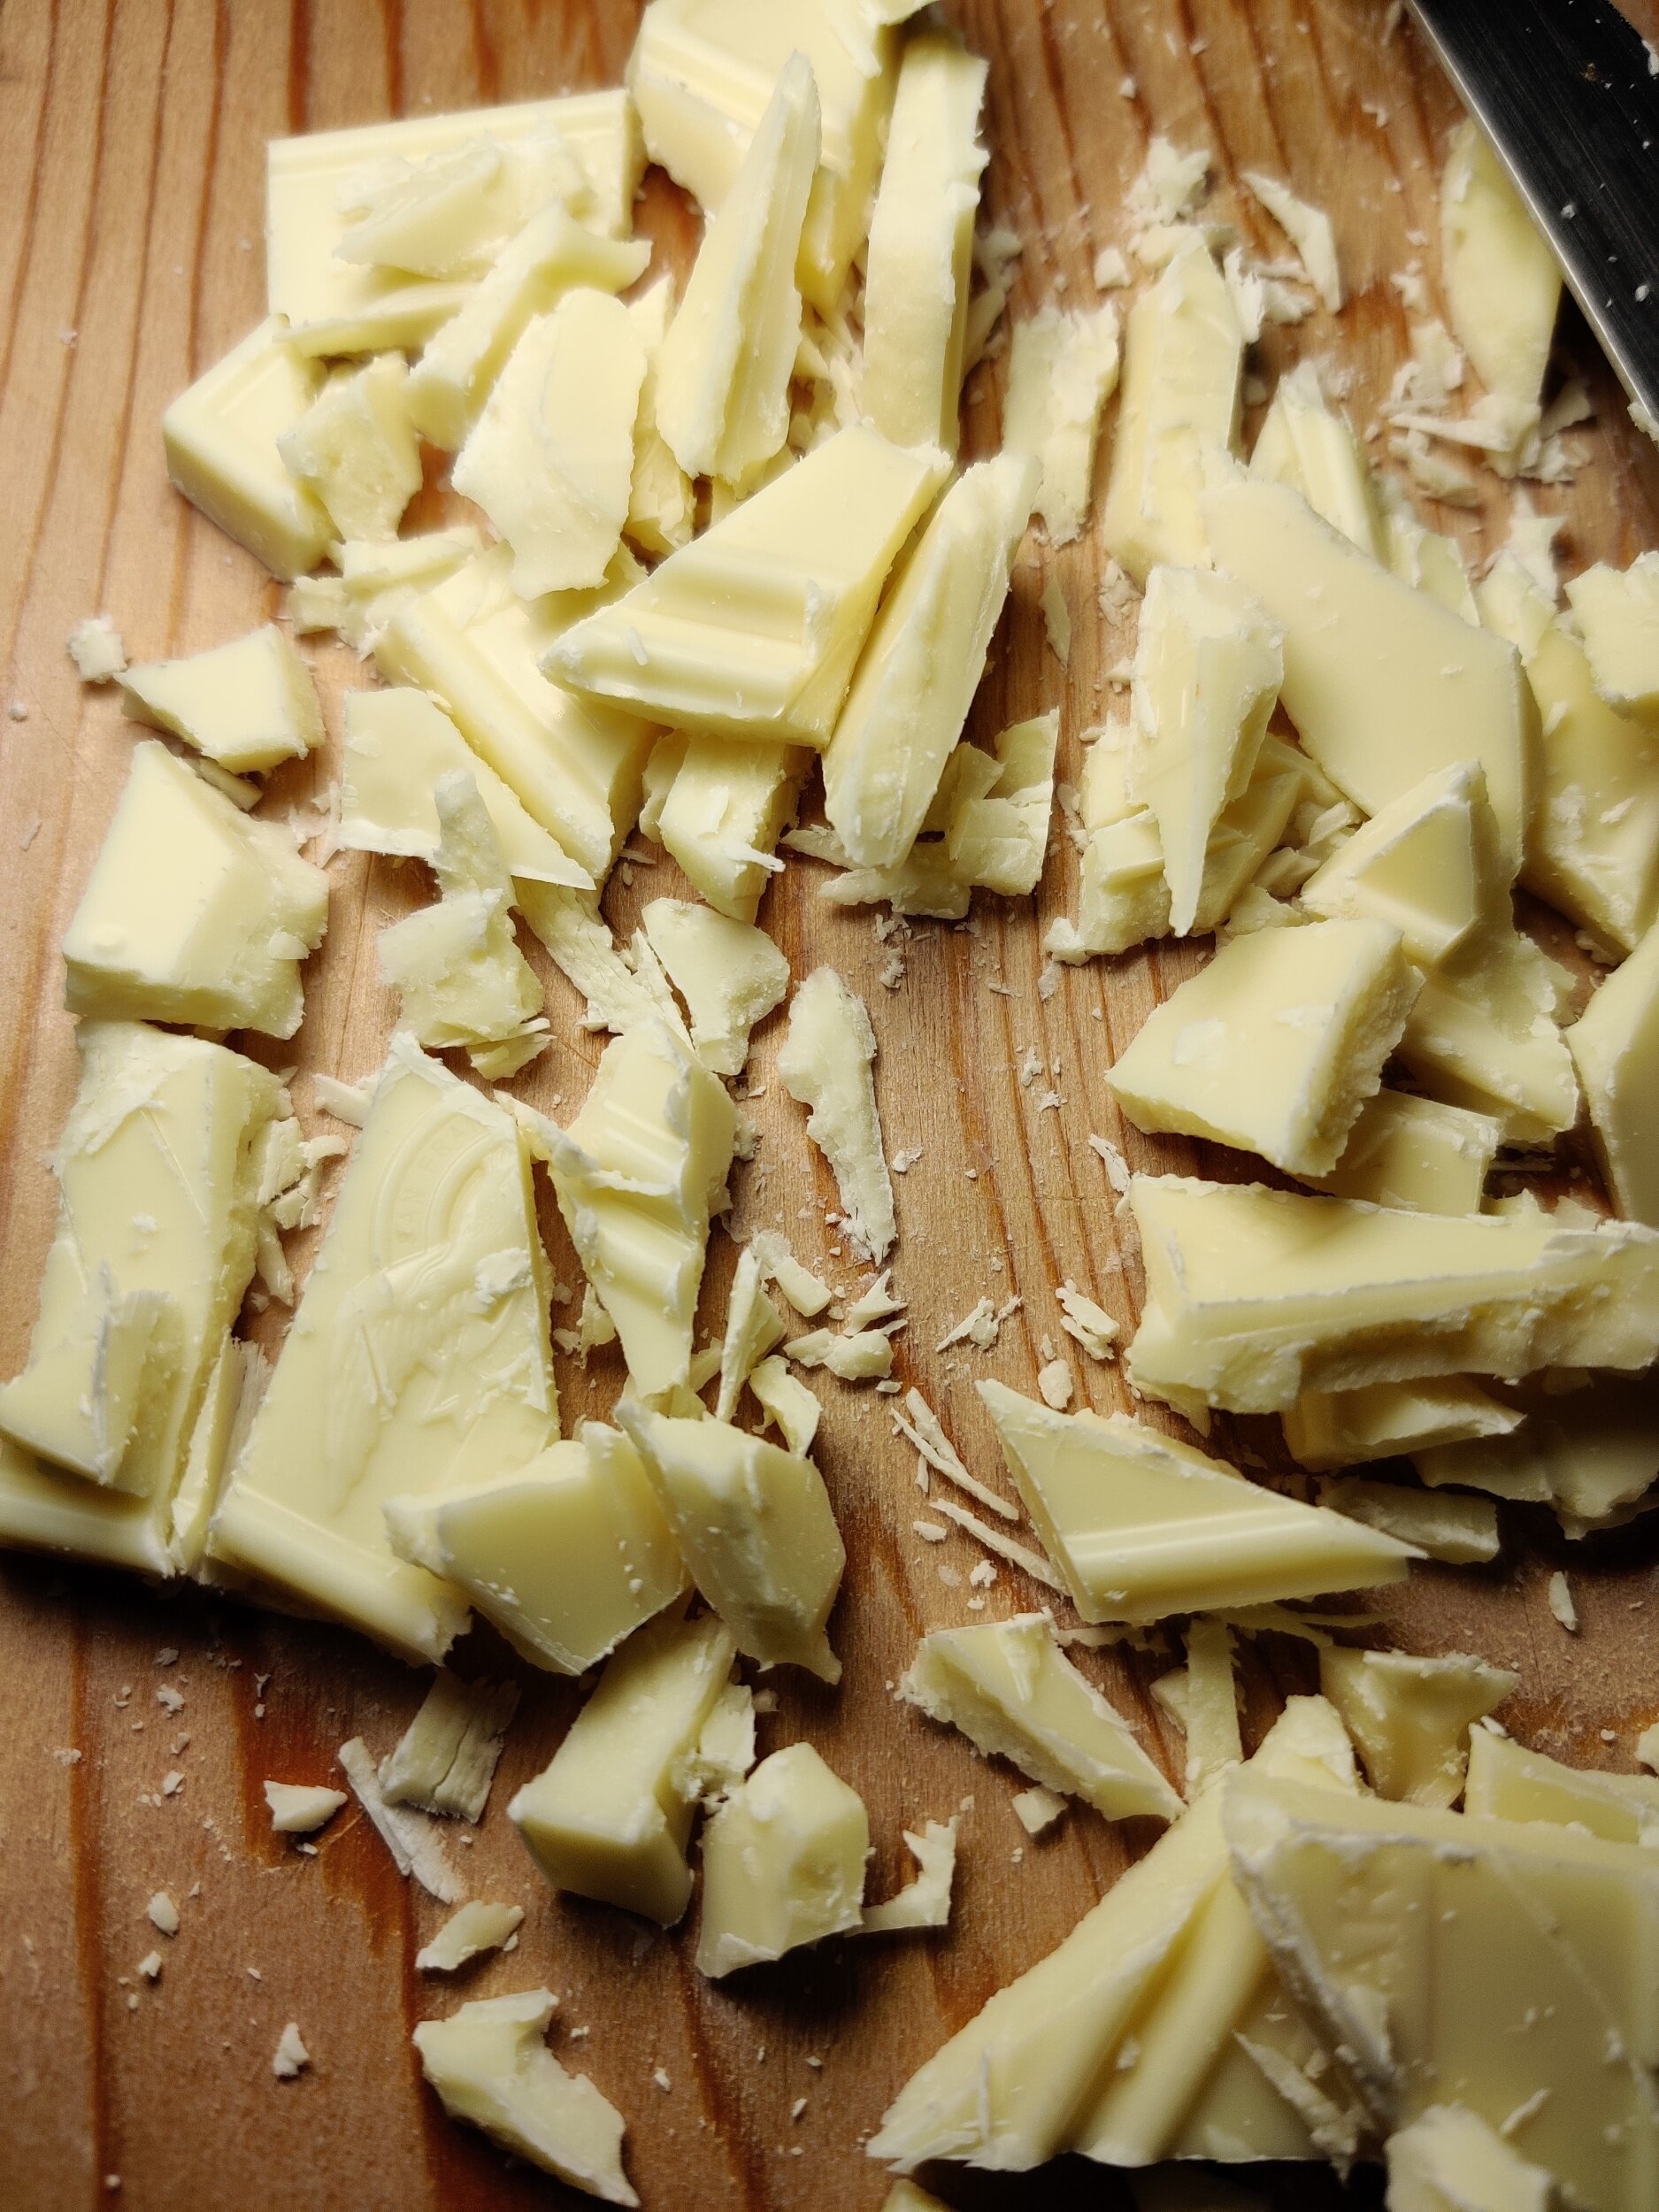
1/2 cup white chocolate chips
1/4 cup white chocolate, chopped
1/3 cup vegetable oil
1 teaspoon vanilla
2 eggs
1 1/2 cup pastry flour
1/2 teaspoon lemon juice
1/2 teaspoon almond extract
1/2 teaspoon salt
1 teaspoon baking powder
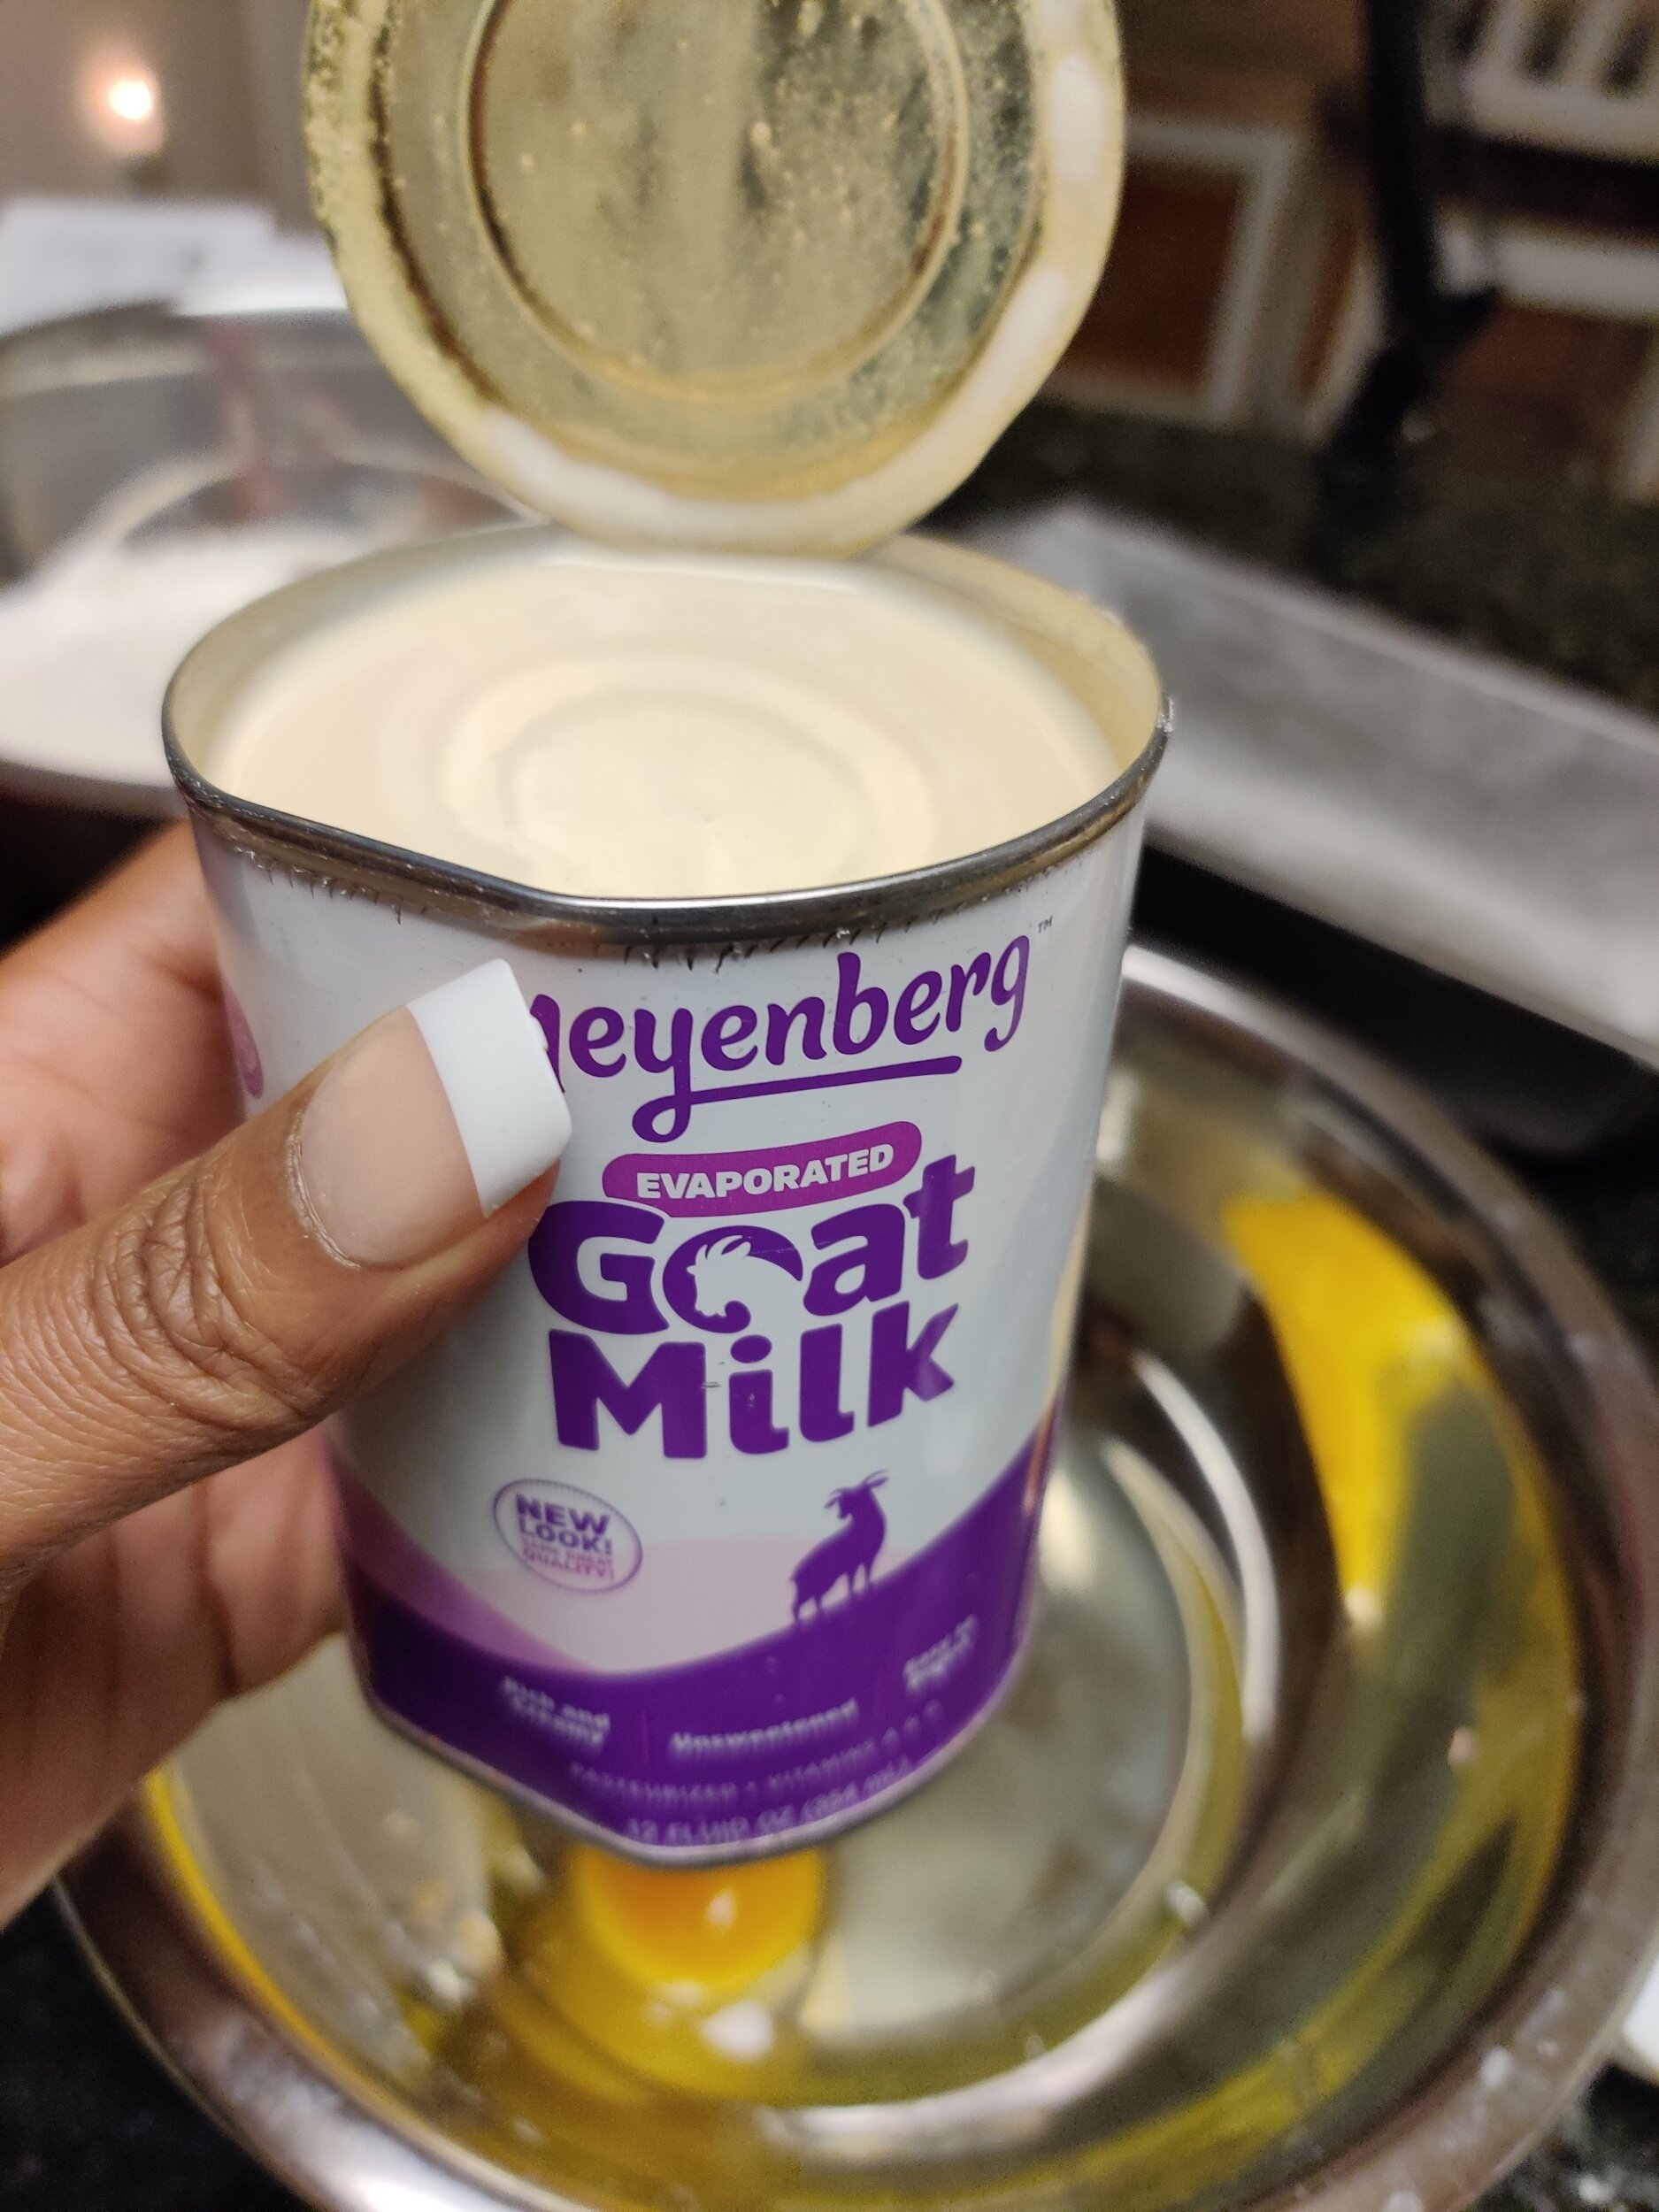
1/4 cup goat milk
1 cup white sugar
1/4 cup mascarpone cheese, room temperature (don't leave our for more than 4 hours)

Instructions
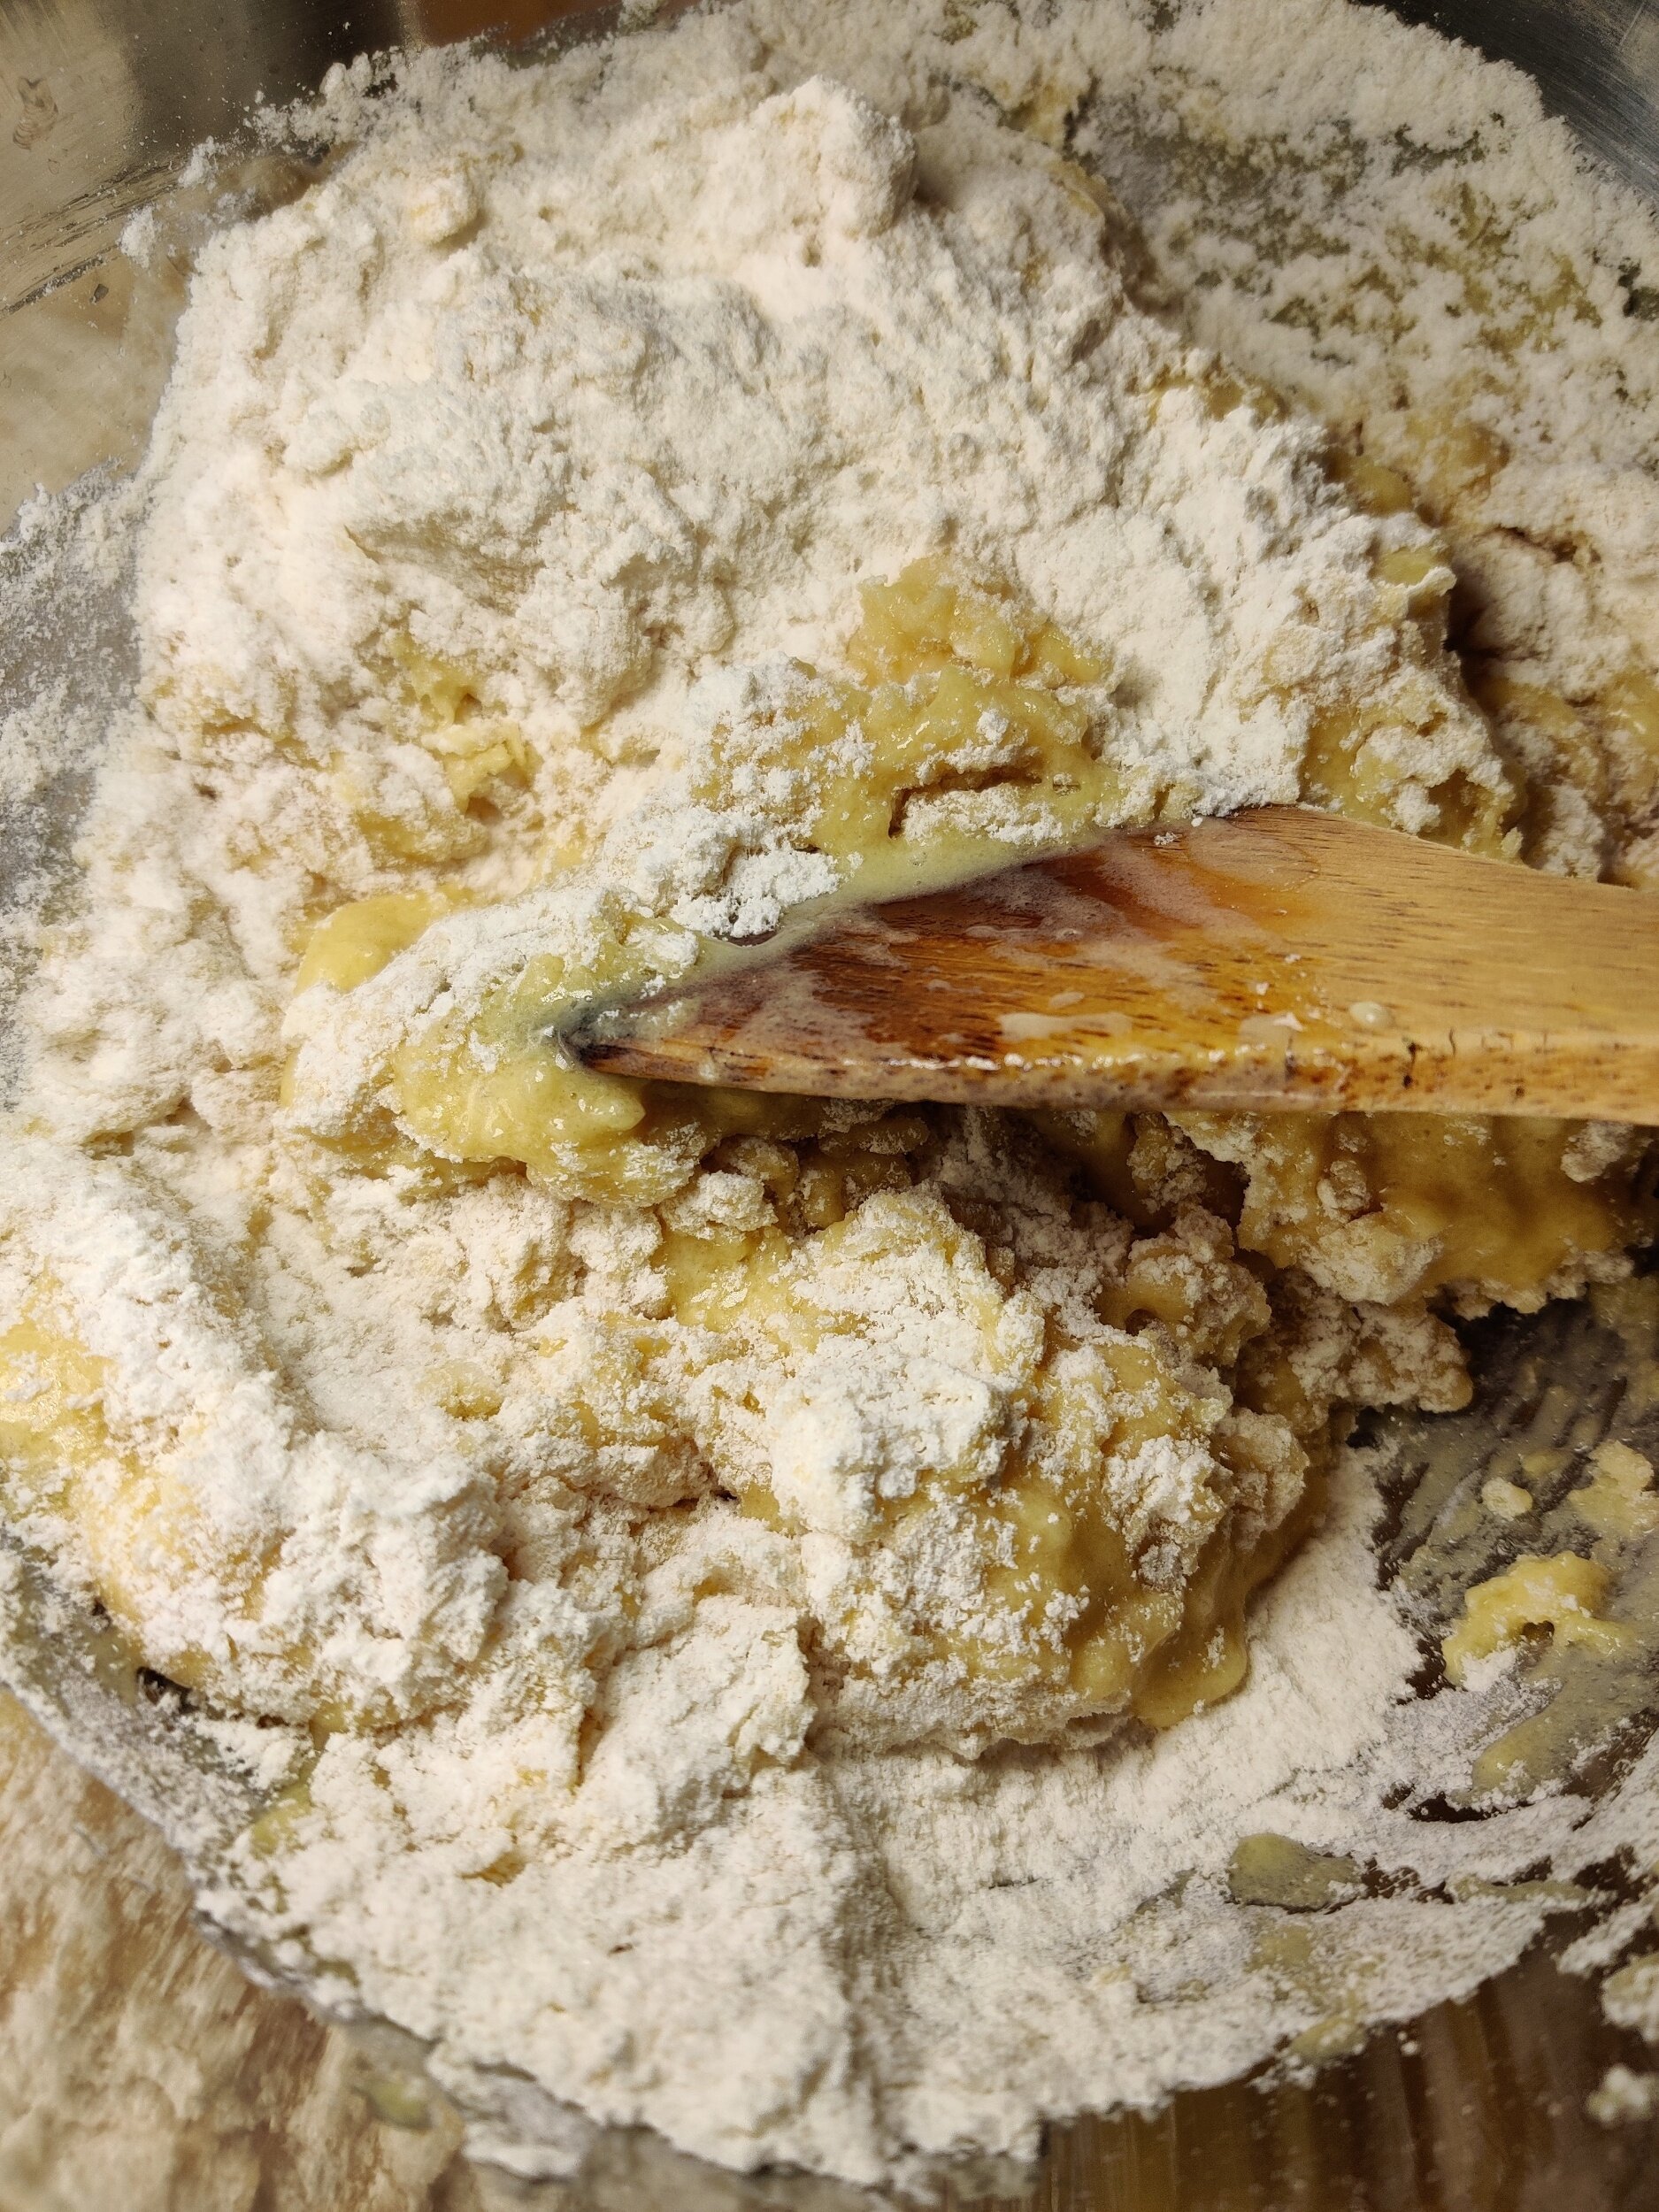
In a large bowl, whisk the flour, salt, baking powder, and sugar.
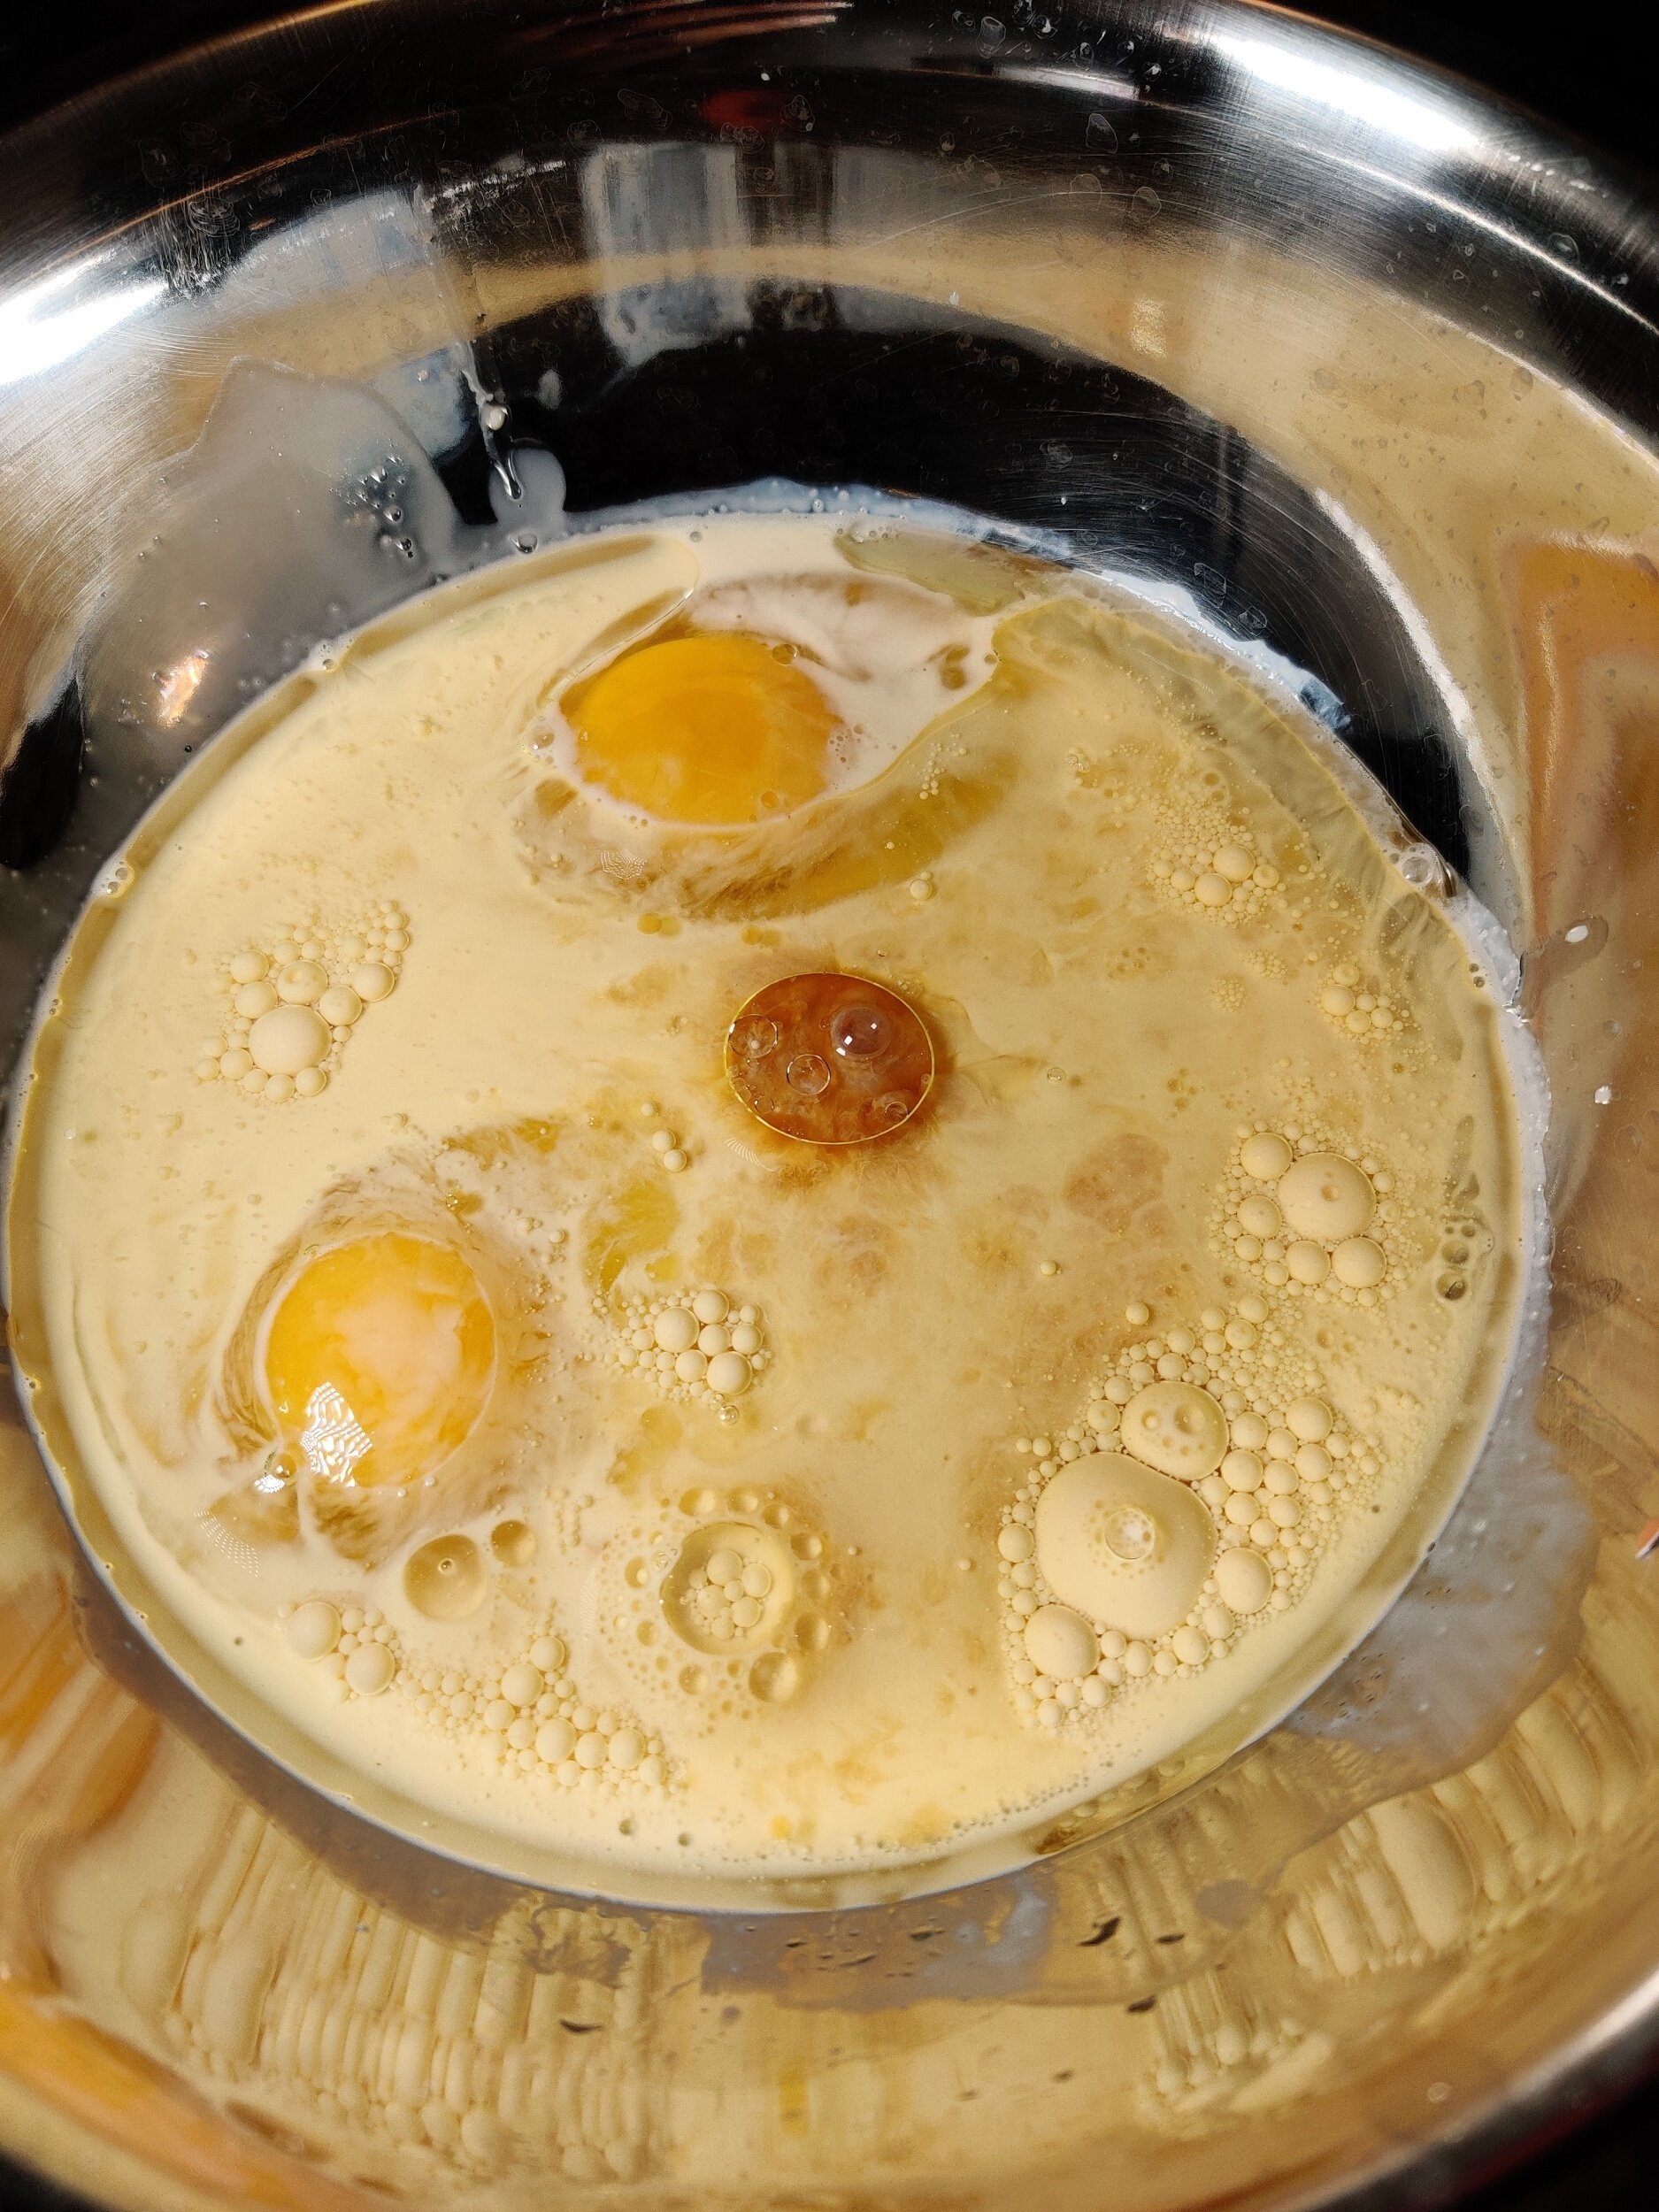
In a medium bowl, whisk the eggs, vanilla, almond, lemon, milk, and oil.
Make a well in the dry mix and fold in the wet ingredients until
just combined - don't over mix!
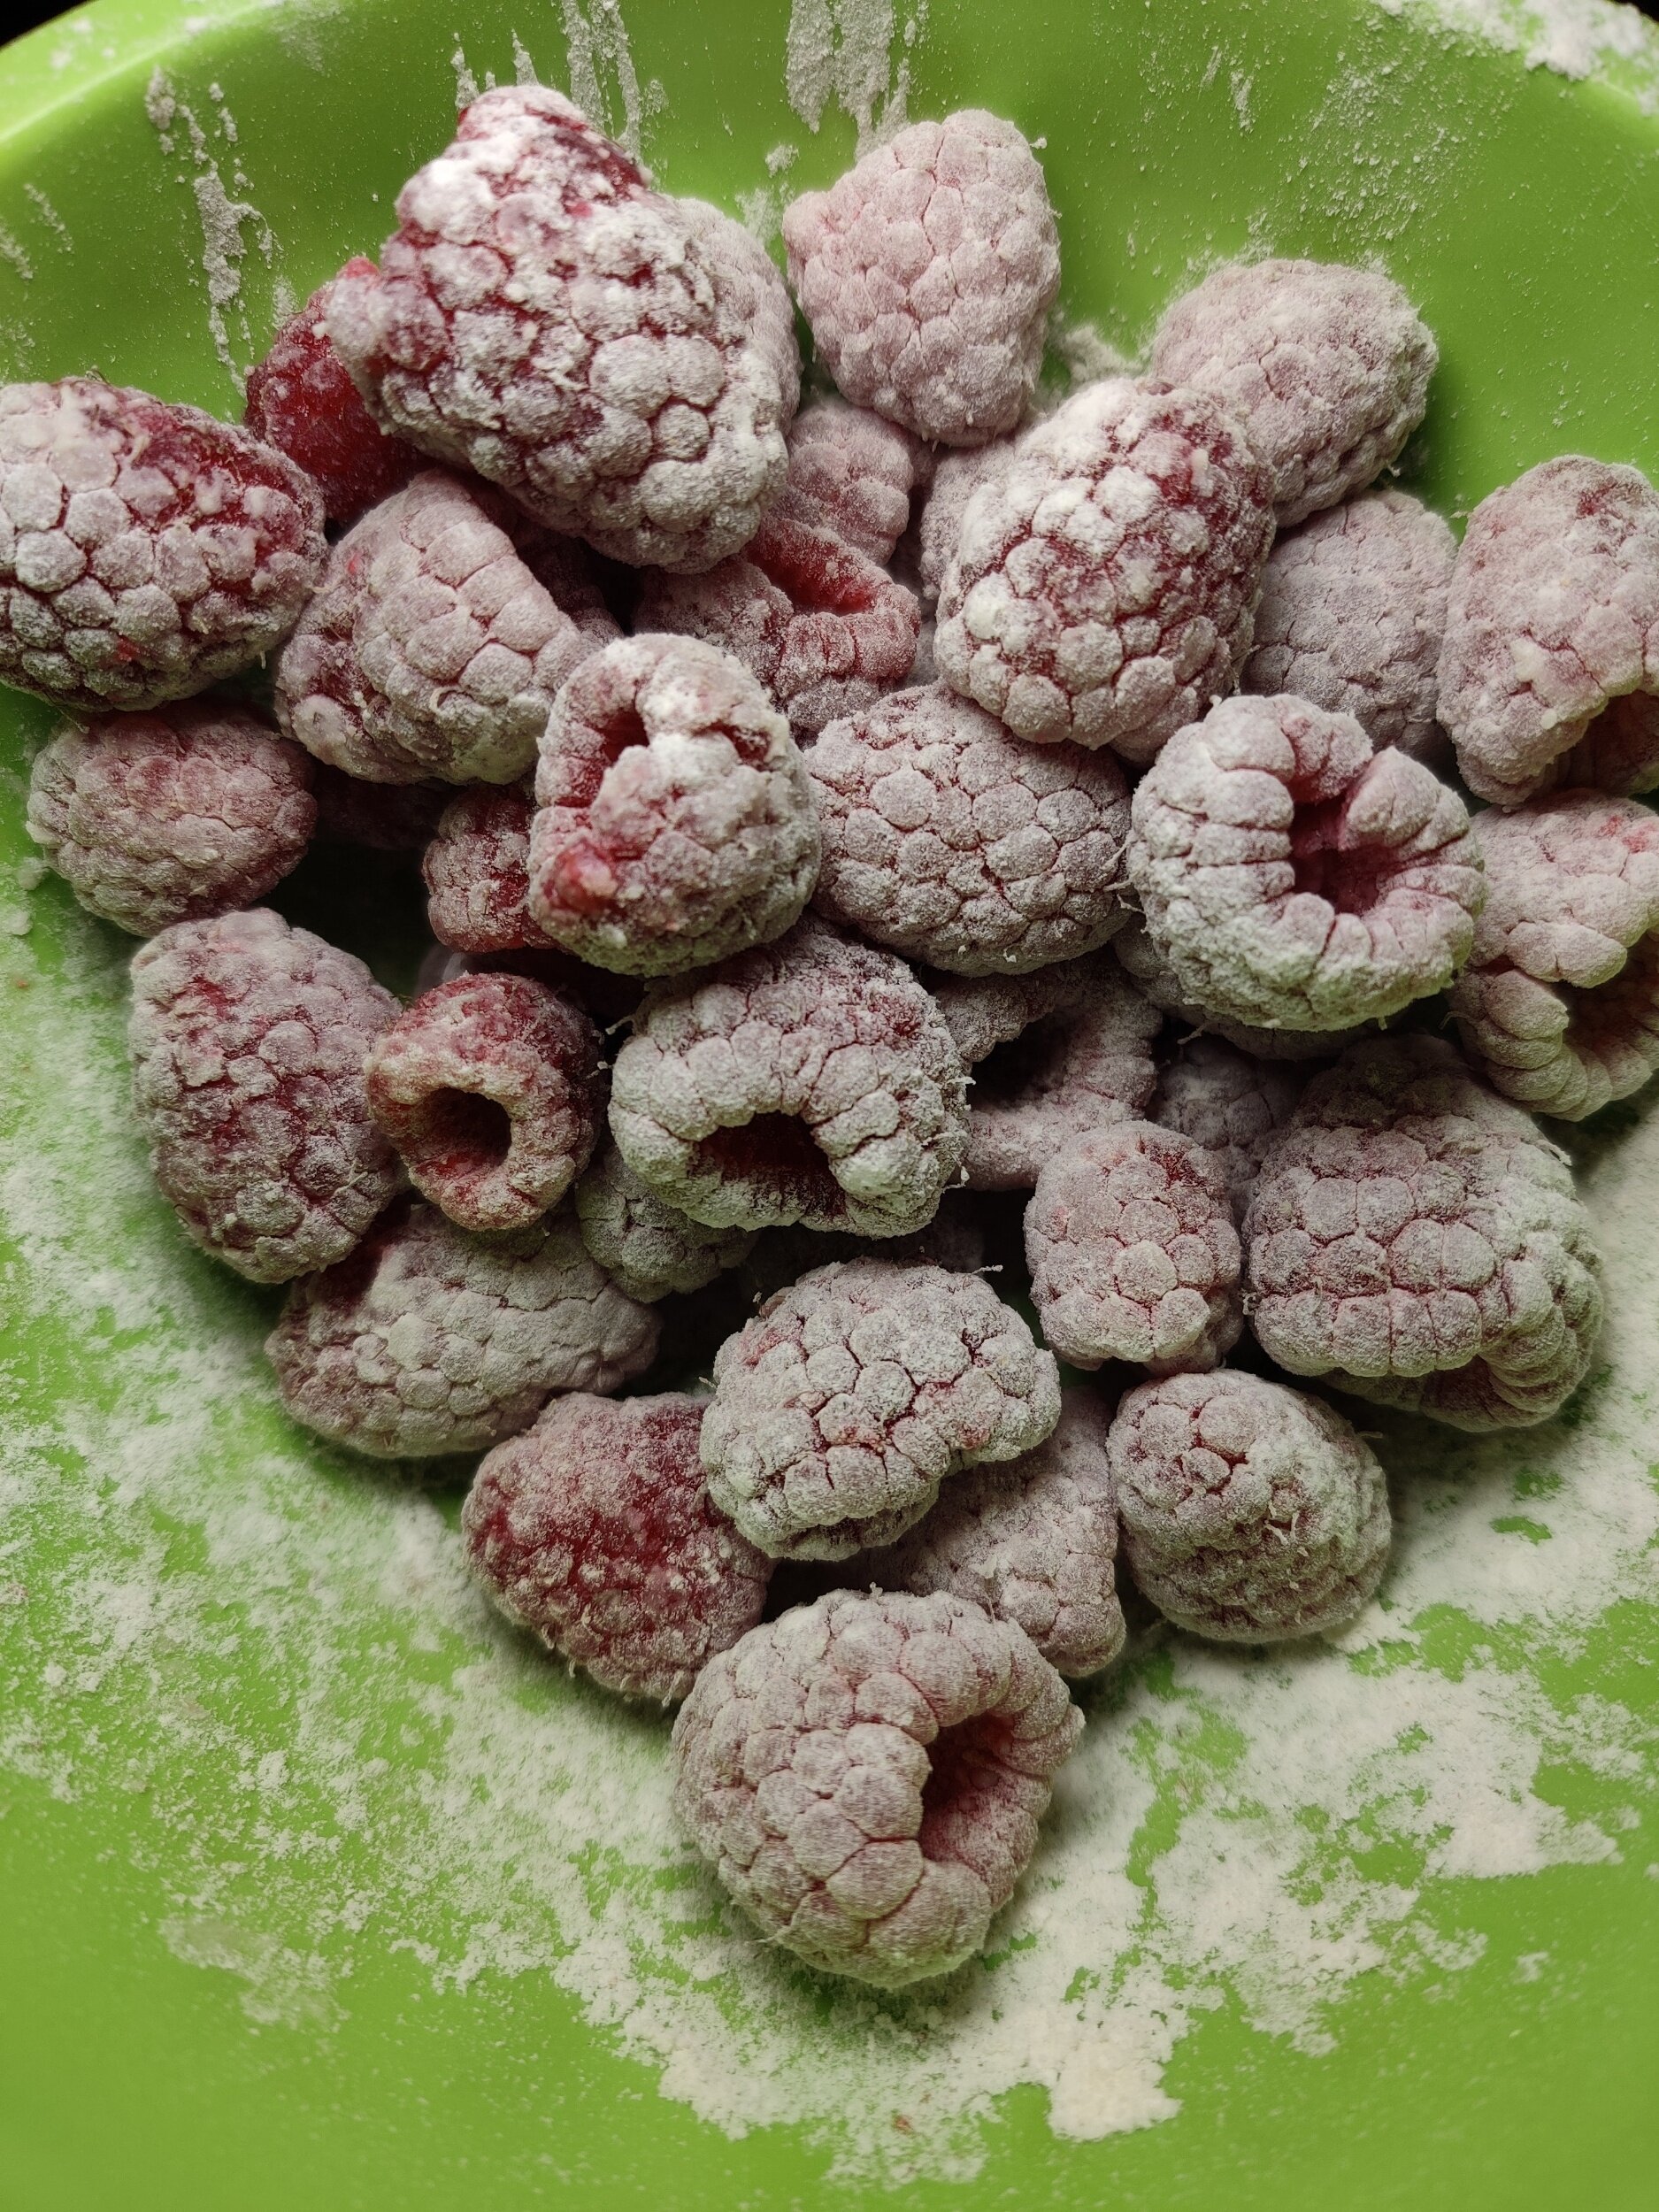
Toss the raspberries in a bit of flour - this will help prevent them from totally sinking or disintegrating in the batter. Gently fold in them with the chopped white chocolate shards into the batter.
Pour the batter into an 8-inch by 5-inch loaf pan and bake at 350F for 1 hour. Set aside to cool. Loosen the cake loaf from the pan, then continue to cool on a wire rack.
In a separate bowl, melt the chocolate chips for 30 seconds in the microwave. Stir in the mascarpone. If it seems a little thick, microwave the mixture for 10-20 seconds (10 seconds at a time, keep checking) and stir to the desired consistency.
Spread over the cake loaf and garnish with white chocolate shards, raspberries, and icing sugar. Enjoy with tea or coffee!

Chocolate Coconut Cookies (Homemade Romany Cream Biscuits)
Introduction to “Romany Creams”: A Timeless Treat
If there's one biscuit that holds a special place in the hearts of Southern Africans, it's the iconic Romany Cream. Known for their rich chocolate flavor, perfectly crispy texture, and creamy center, these decadent treats have been a staple in households for generations. Whether paired with a hot cup of coffee, as a mid-afternoon snack, or shared during celebrations, Romany Creams are as versatile as they are delicious.
This recipe was inspired by Romany Creams (one of my favourite biscuits/cookies of all time). Make this batch first if you've never tried them, then taste the originals and let me know what you think!
My understanding is that Romany Creams were originally developed from Gipsy Creams (a reference to a recipe of custard cream biscuits from the nomadic people of Romany/other parts of Europe). Introduced in the UK, sales fell flat, but the recipe was revitalised in South Africa, where the biscuits are still produced today. I won't go too deep into the history here, but look it up when you get the chance.
I recommend making Romany Creams throughout the year, but with a few sprinkles, everyone will want you over in the holiday season.
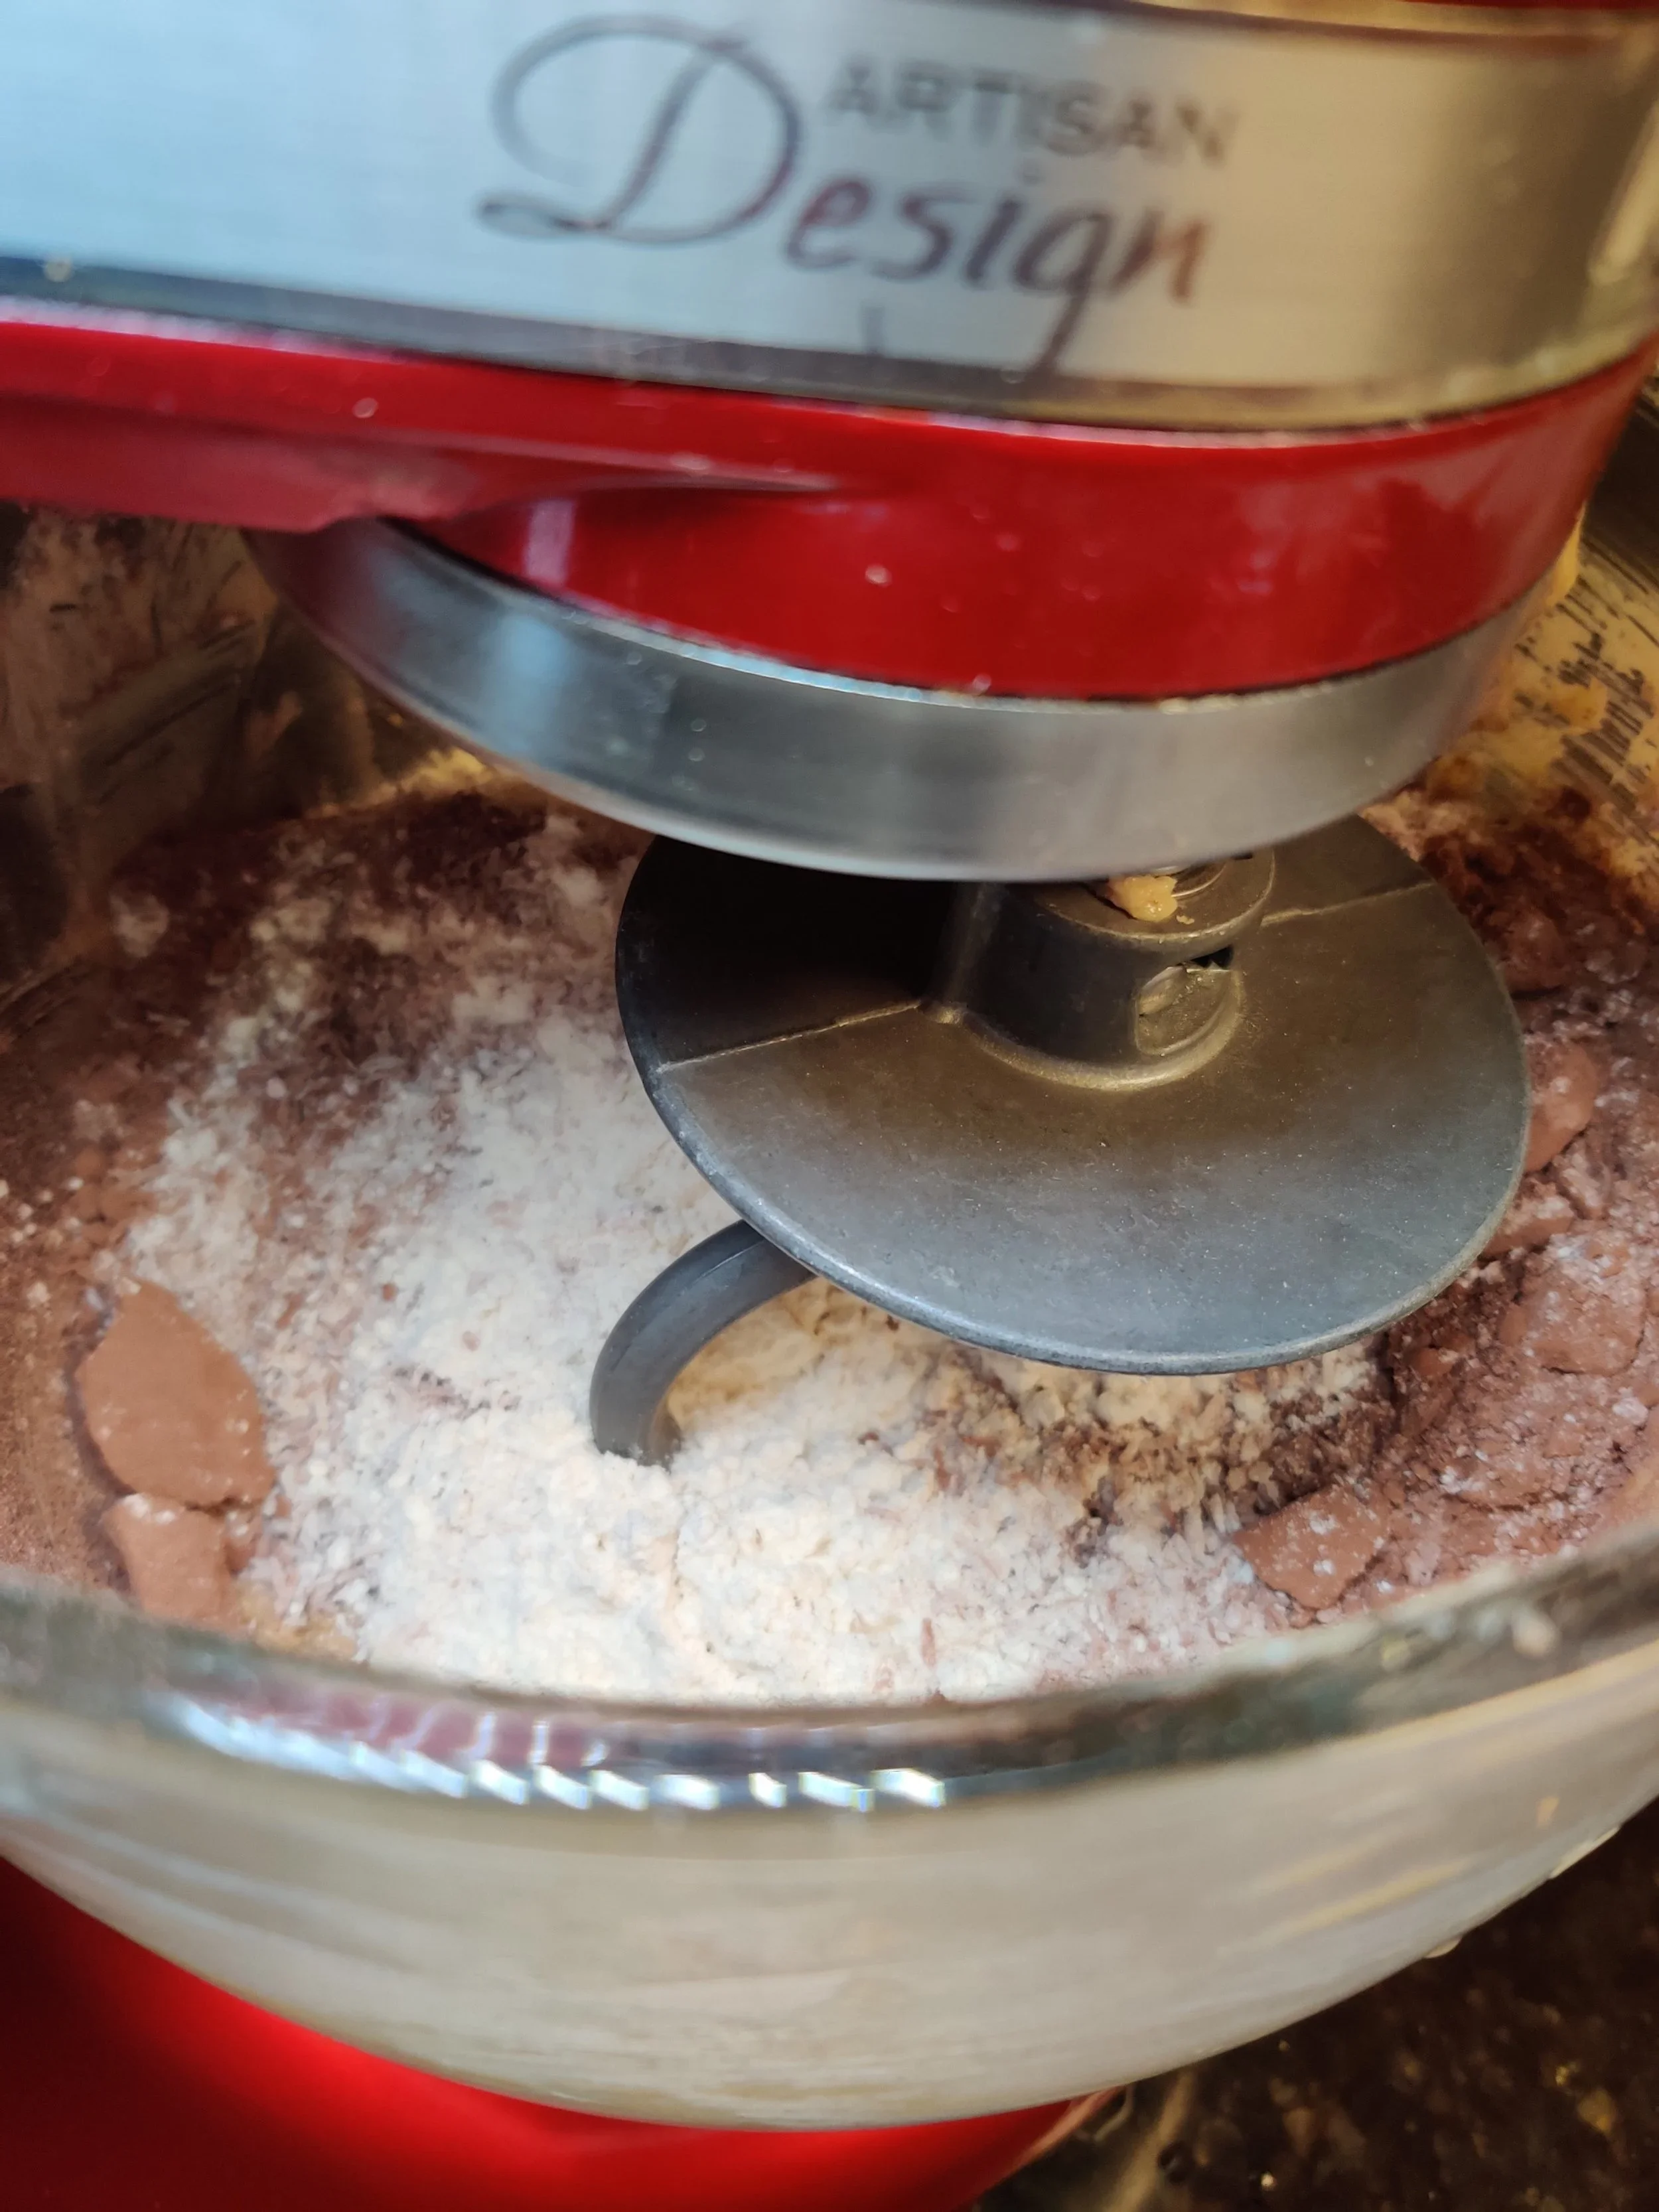
A note on preparing the dough: using a stand mixer will save you some time, and the dough hook makes the kneading easier, giving you a more consistent result. However, you can use your hands throughout the process.
Here are some helpful tips for making perfect Romany Creams at home:
1. Choose Quality Ingredients
Use high-quality cocoa powder and chocolate for the best flavor. The richness of the biscuit depends on the quality of these key ingredients.
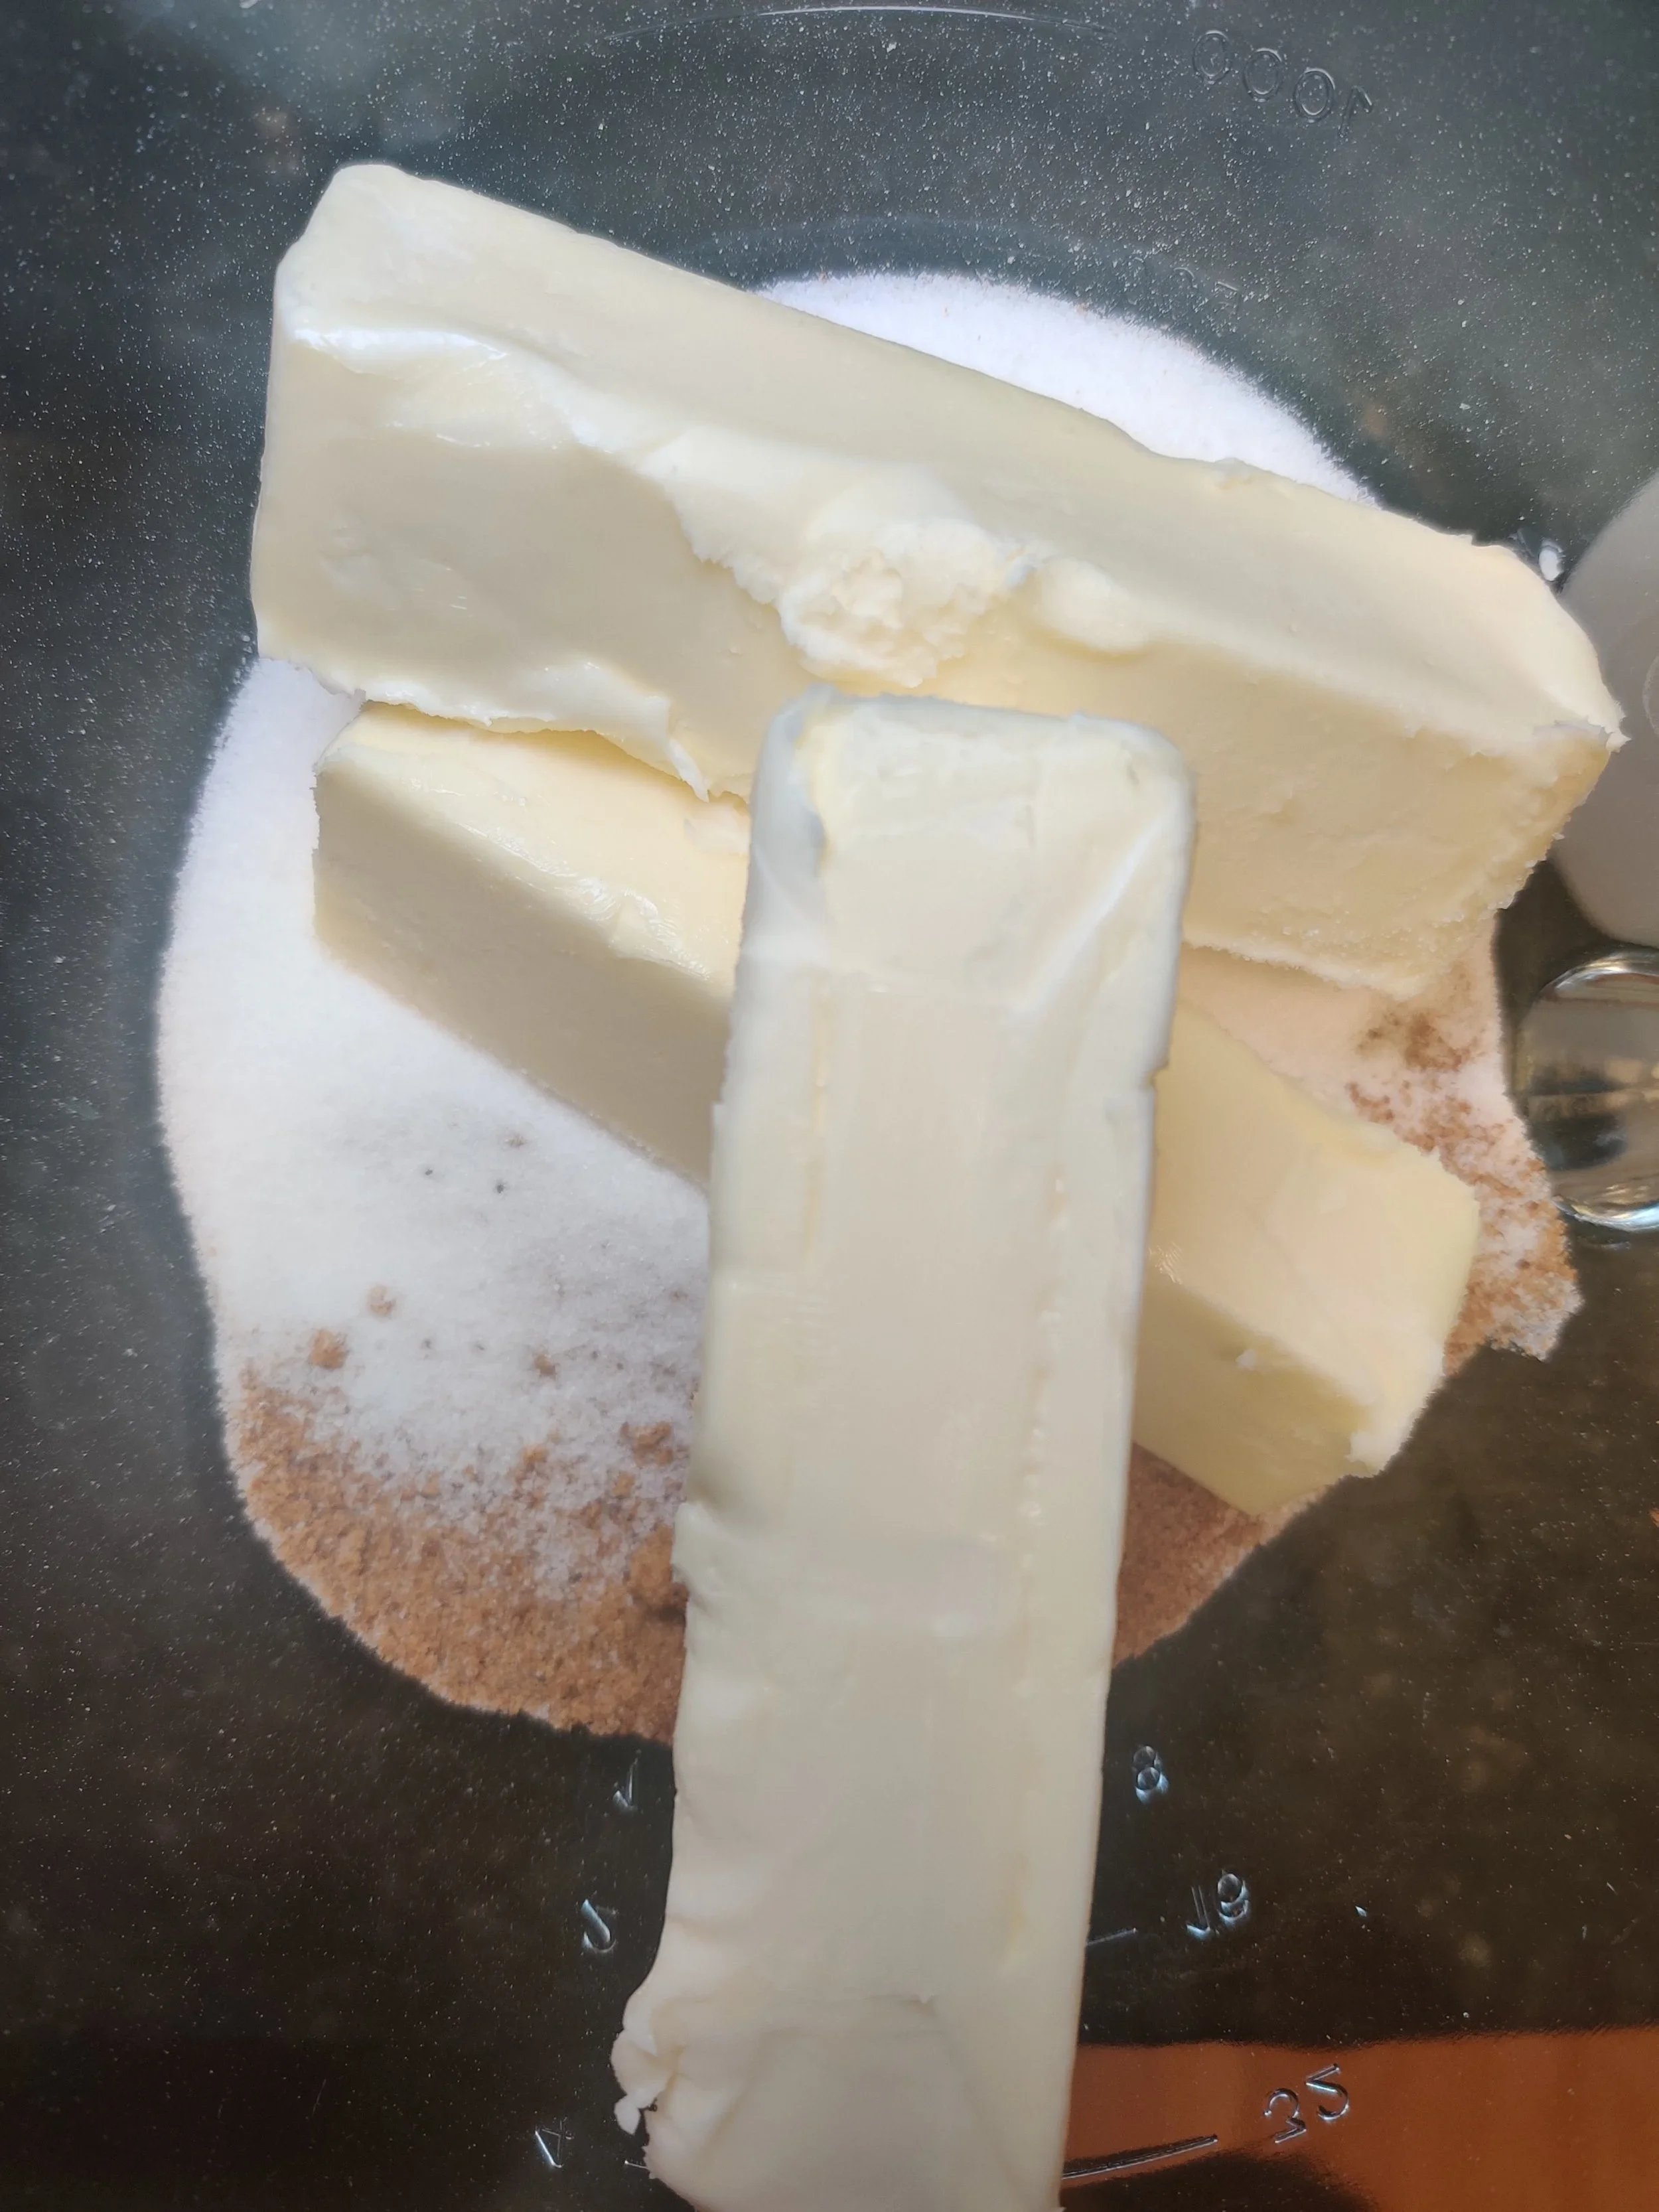
2. Cream Butter and Sugar Thoroughly
Creaming the butter and sugar until light and fluffy ensures the biscuits have the perfect texture—crisp yet tender.
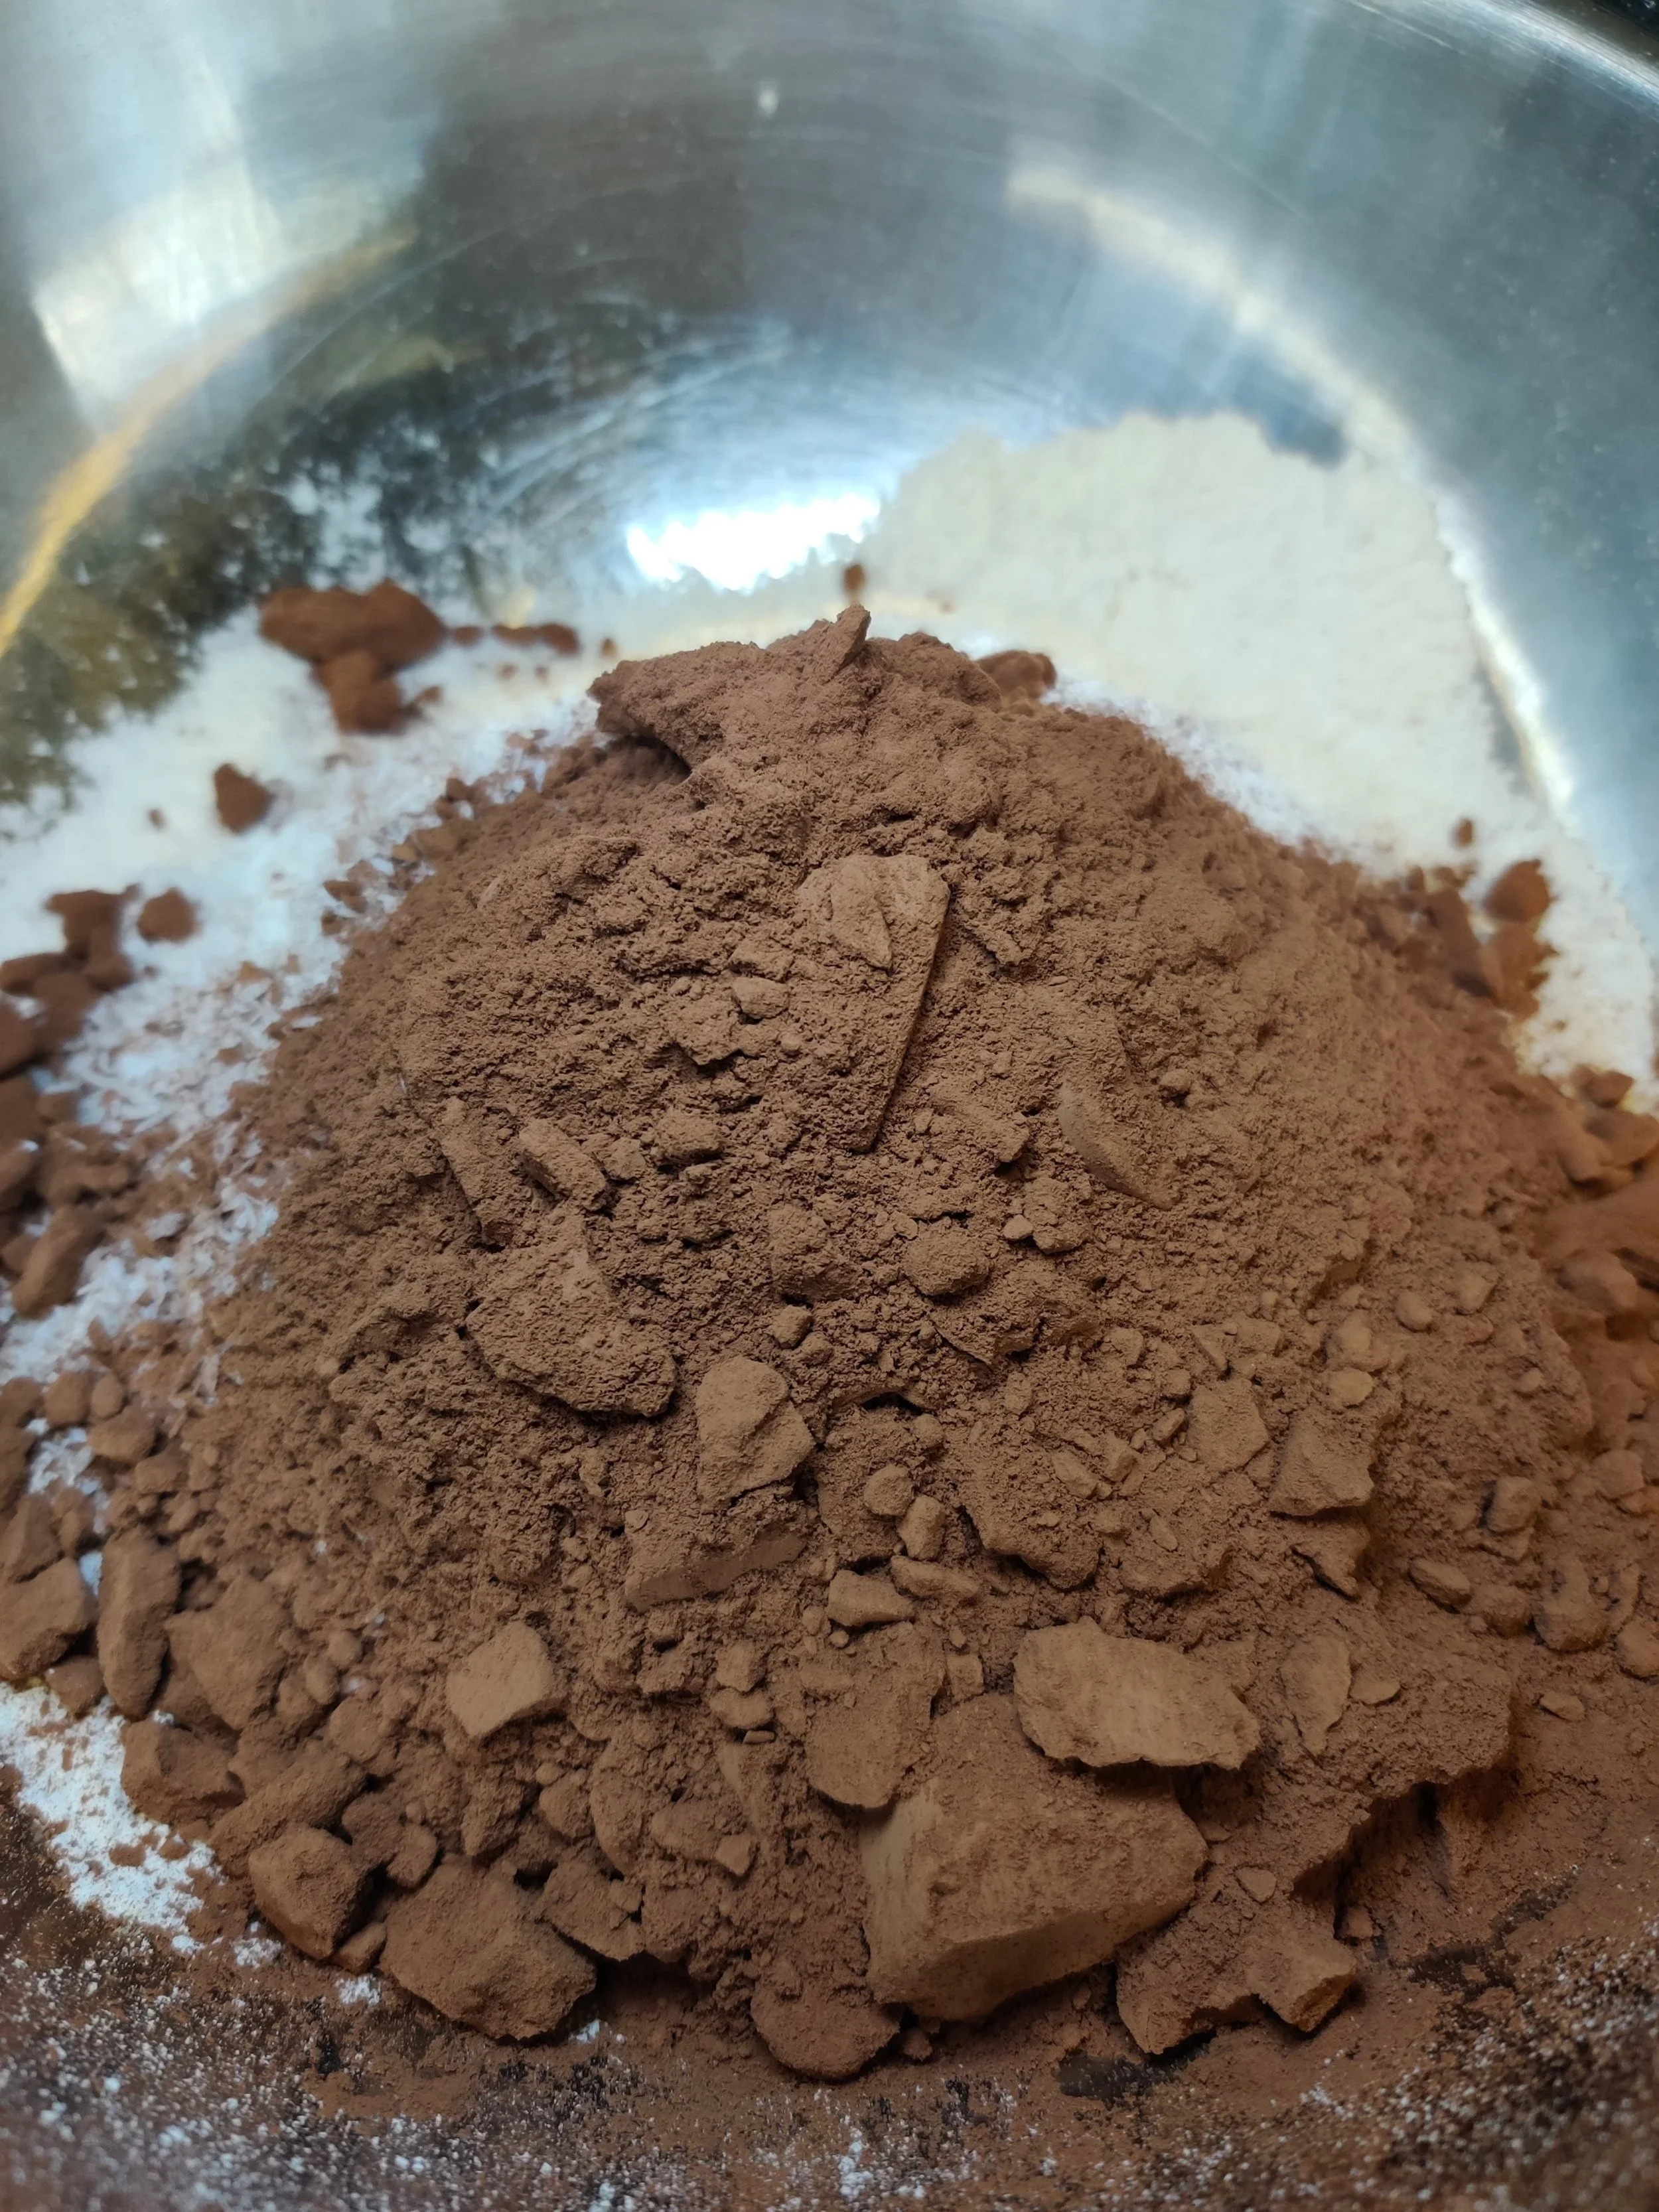
3. Sift Your Dry Ingredients
Sifting the dry ingredients (like flour, cocoa powder, and baking powder) helps avoid lumps and ensures an even distribution for a smooth dough.
4. Don’t Overwork the Dough
Mix the ingredients until just combined. Overworking the dough can make the biscuits tough instead of light and crisp.
5. Shape Consistently
Roll the dough into evenly sized balls or logs to ensure the biscuits bake uniformly. If you’re pressing them with a fork, try to make the grooves consistent for an even texture.
6. Chill Before Baking
Letting the shaped dough rest in the fridge for 15–20 minutes before baking helps the biscuits hold their shape better in the oven.
7. Bake with Care
Keep an eye on the baking time. The biscuits should be firm but not overly browned to retain their chocolaty flavor.
8. Choose the Right Filling
Traditional Romany Creams are filled with chocolate ganache or melted chocolate. Ensure the filling has cooled slightly before sandwiching the biscuits to avoid making them soggy.
9. Allow Cooling Before Filling
Always let the biscuits cool completely before adding the filling to prevent the chocolate from melting unevenly.
10. Store Properly
Once assembled, store your Romany Creams in an airtight container to keep them fresh and crispy. They can last up to a week (if you can resist eating them sooner!).
With these tips in mind, you'll be well on your way to creating Romany Creams that rival store-bought versions—if not better! I try to abide by some of these tips for the most part.
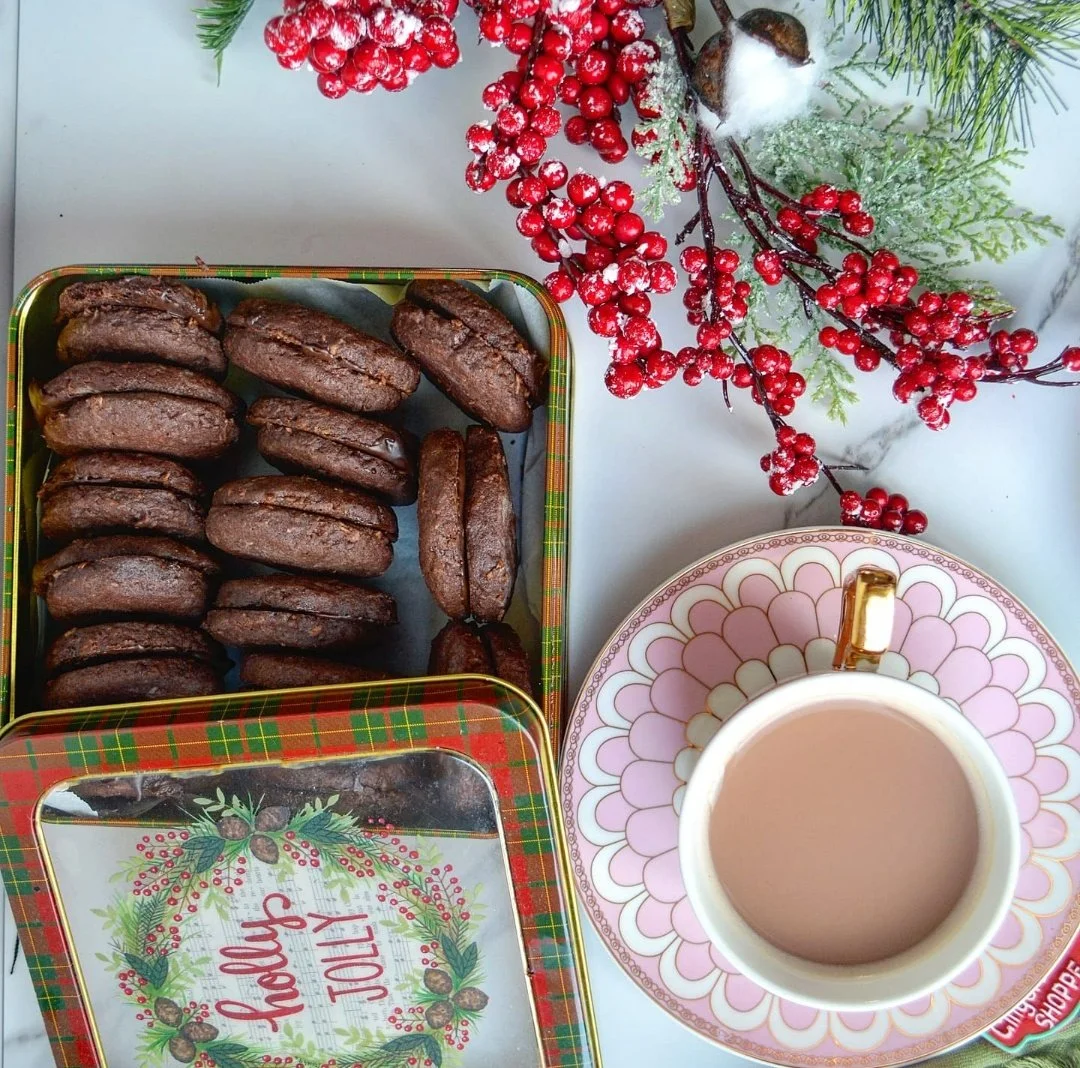

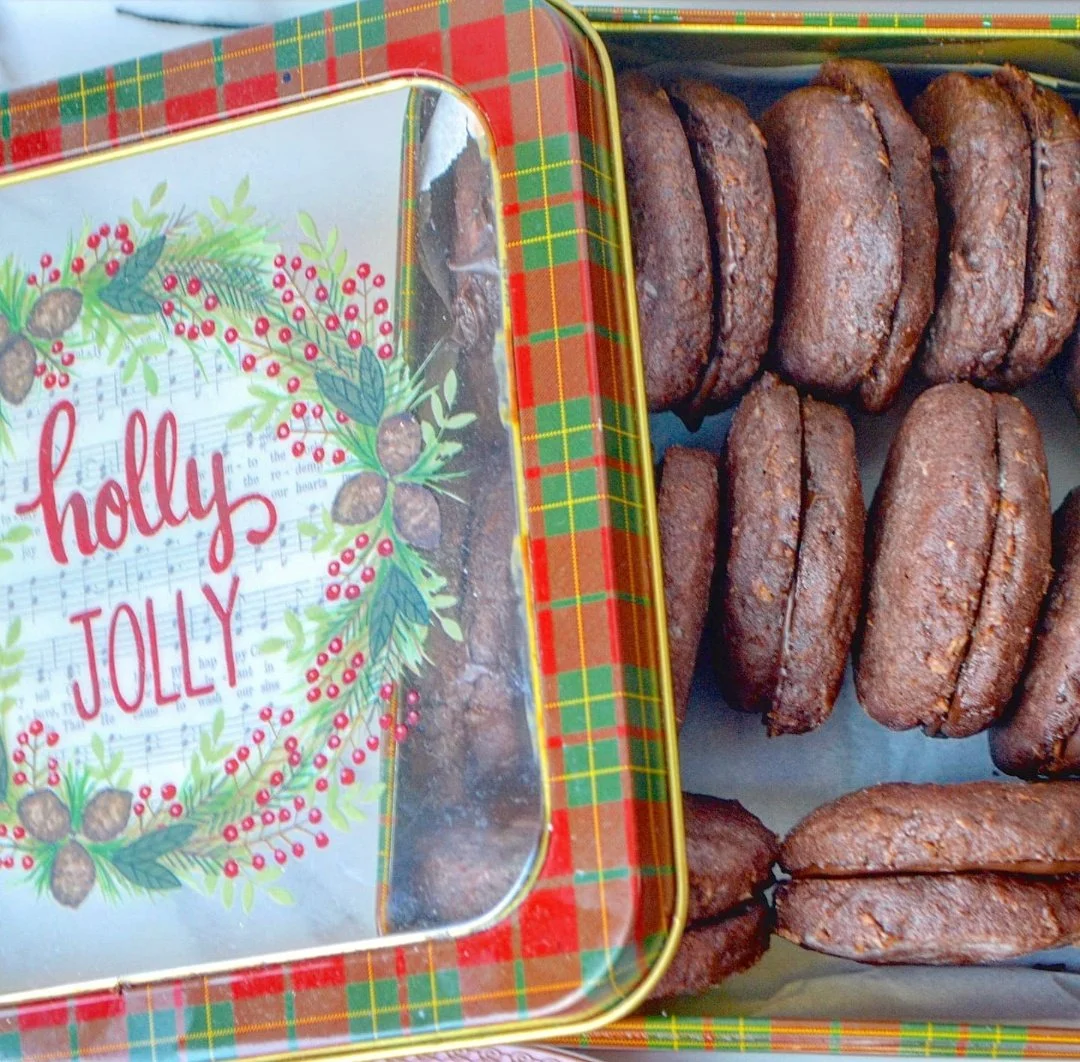

Holiday Homemade Romany Creams
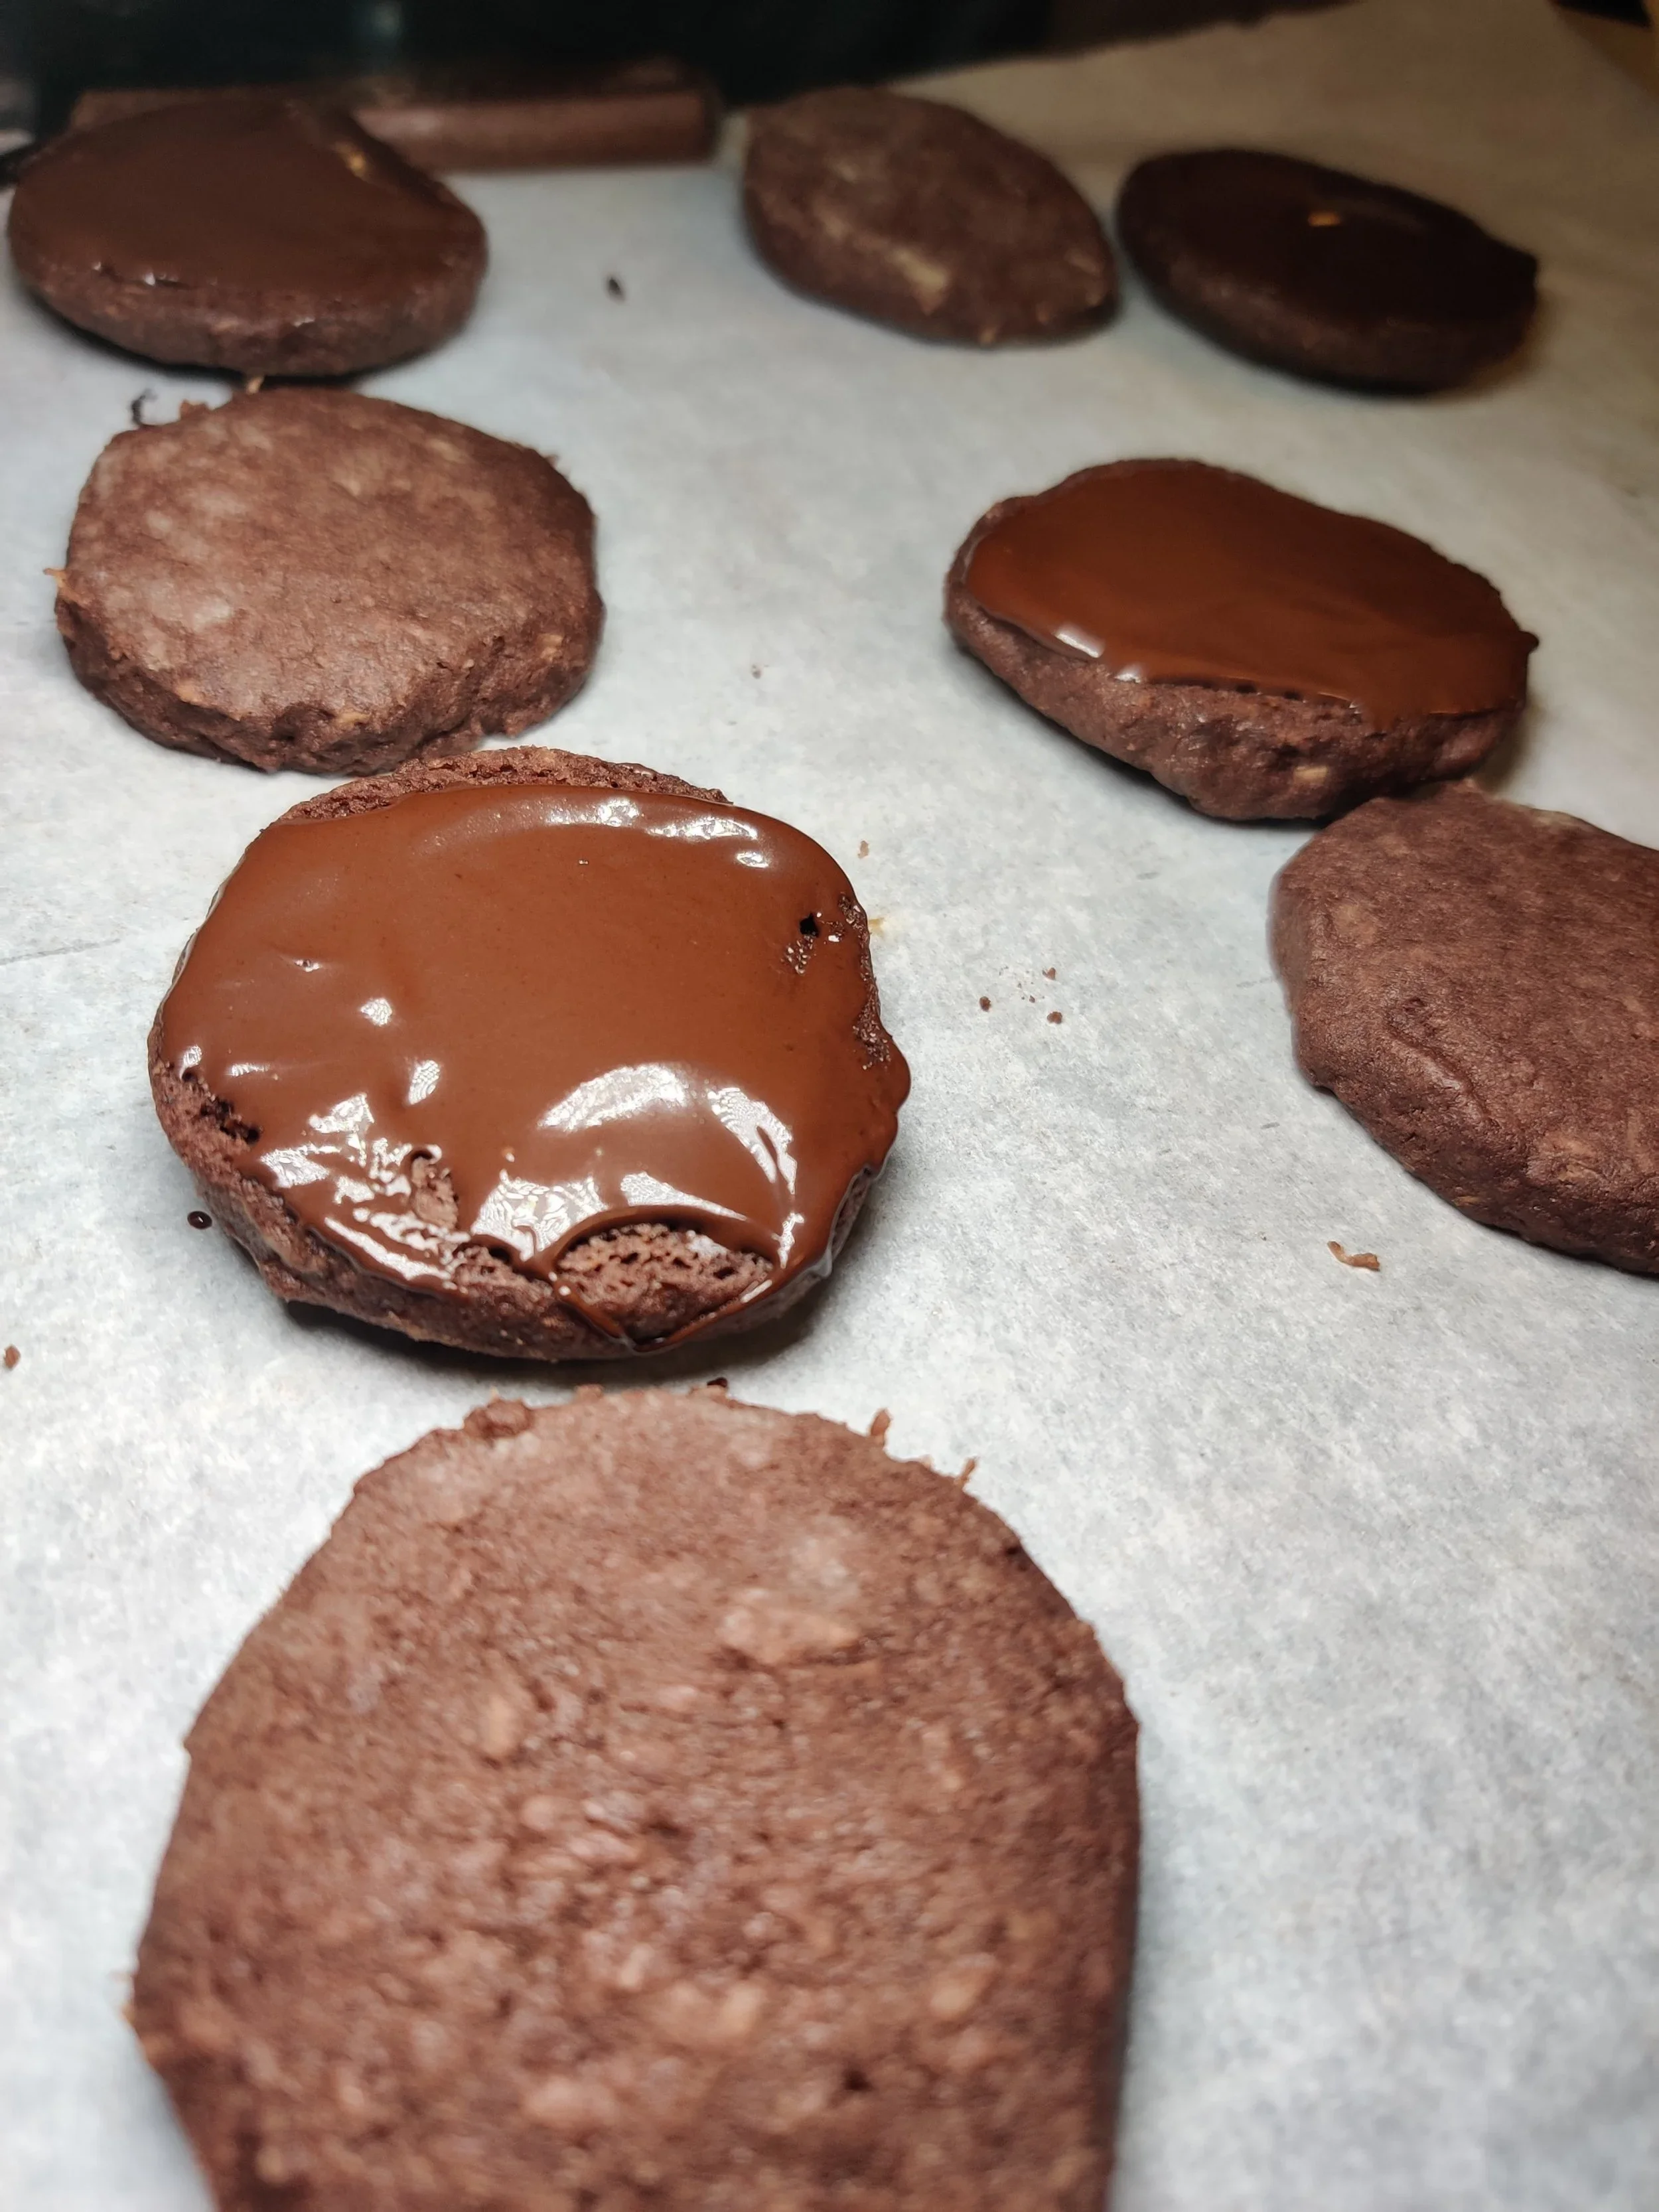
This is a homemade version of the chocolate Romany Creams, sandwich cookies with melted chocolate in between and coconut (sometimes oats) incorporated into the dough. The addition makes them extra crunchy and hard to put down.
Ingredients
- 1/2 cup coconut sugar
- 1/2 cup granulated sugar
- 2 sticks butter
- 1 teaspoons vanilla extract
- 1 egg
- 3 tablespoons coconut oil, melted and cooled
- 2 1/2 cups all-purpose flour (optional: substitute 1/2 cup with coarsely ground rolled oats)
- 3/4 cup Dutch process or unsweetened natural cocoa powder
- 1 teaspoon baking powder
- 1 teaspoon salt
- 1 1/2 cups desiccated coconut
- 200g chocolate (milk and dark Cadbury or semi-sweet baking)
- Holiday sprinkles (optional)
Instructions
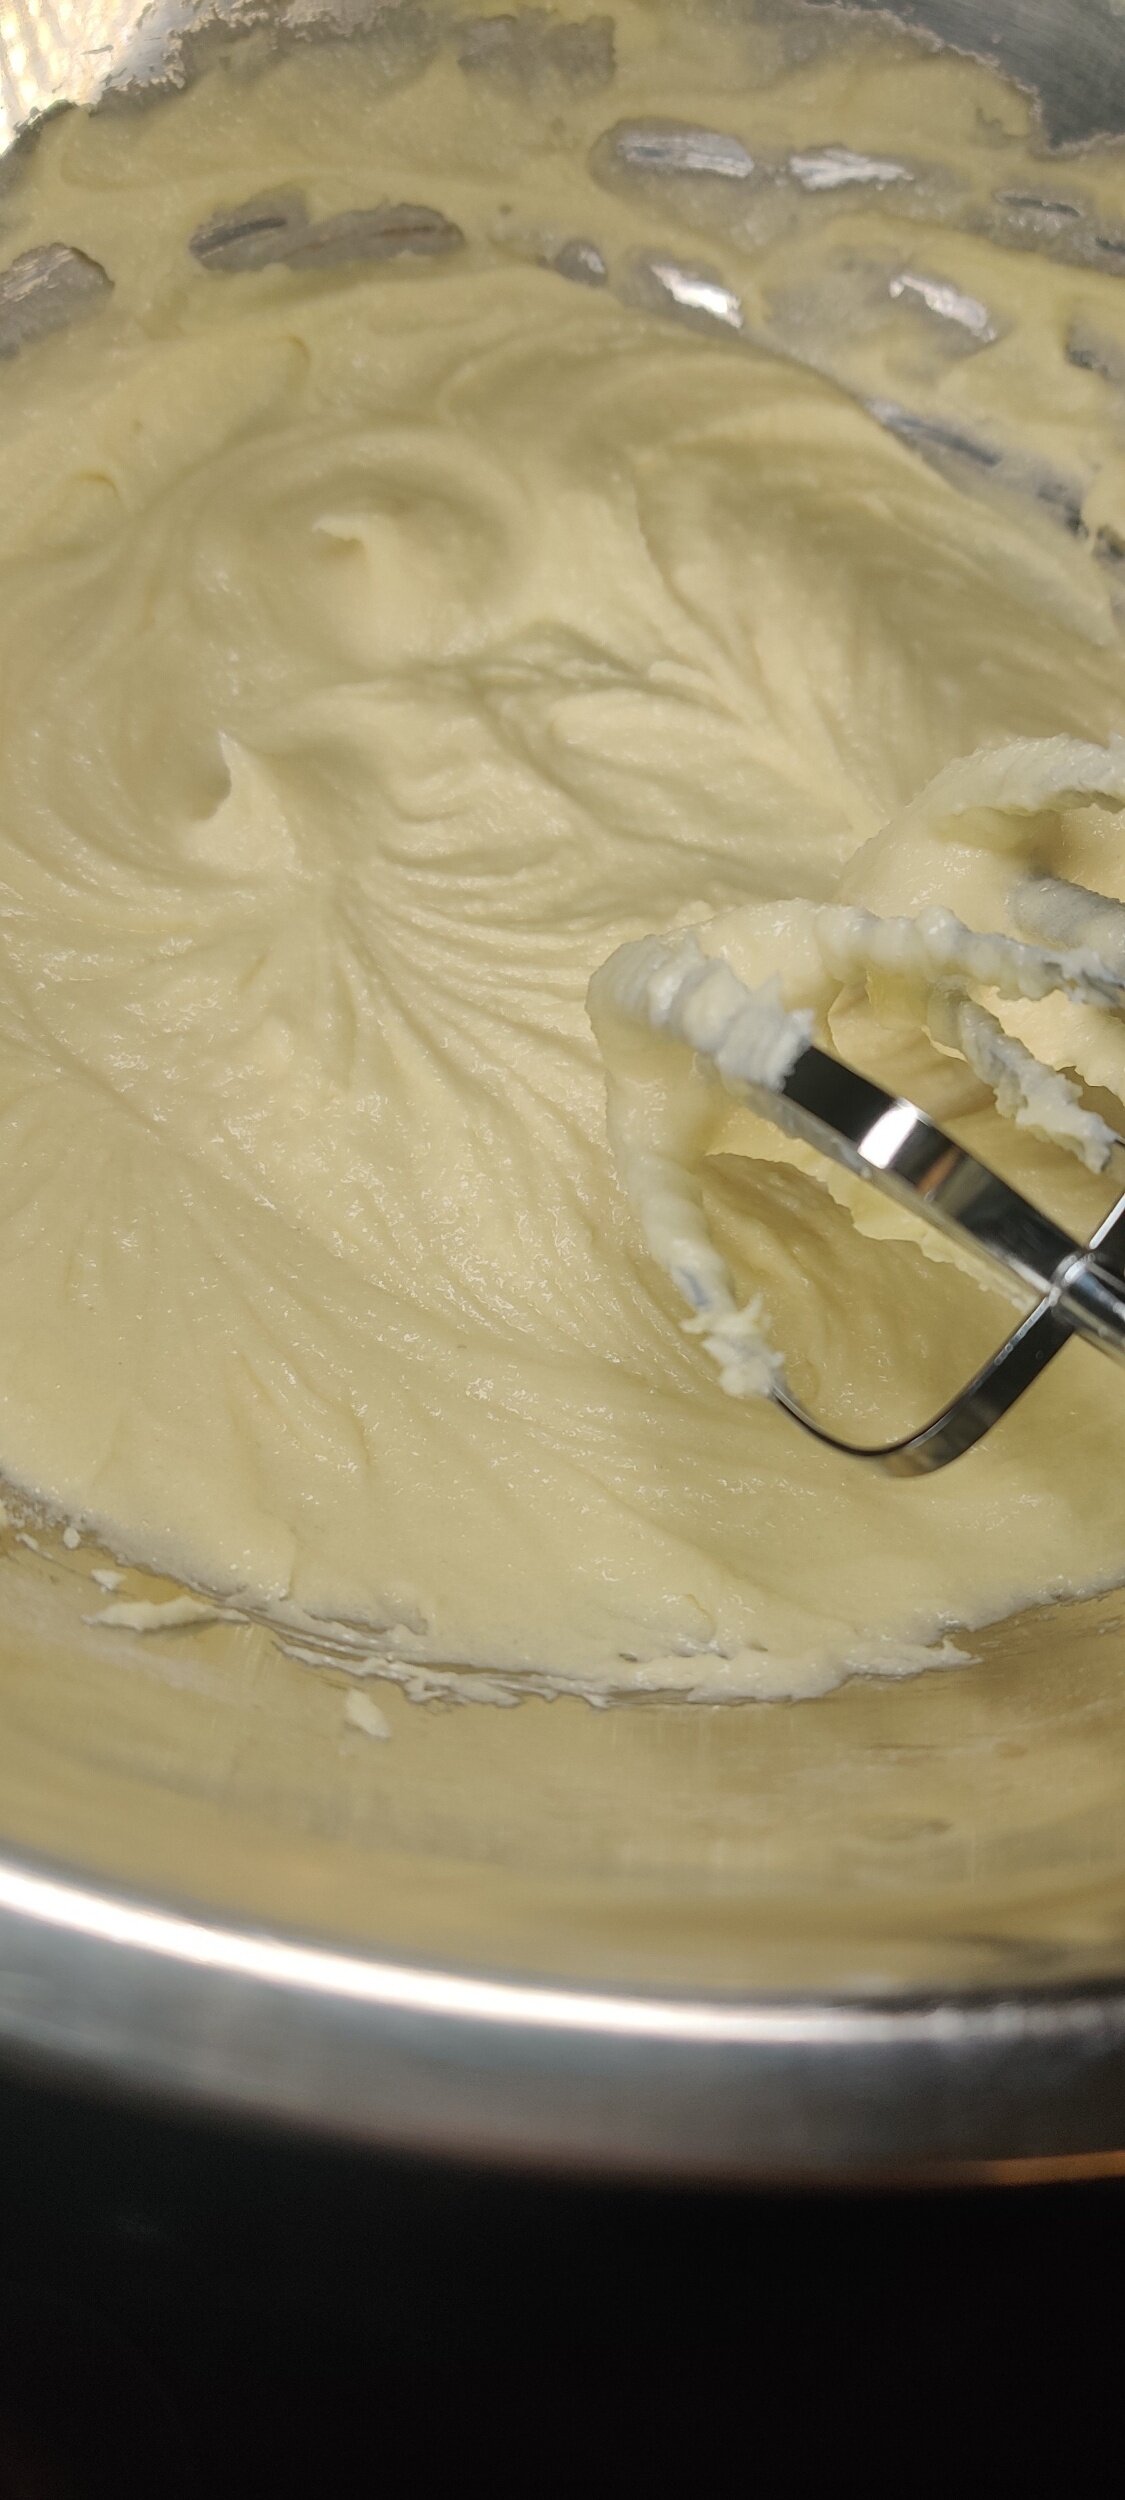
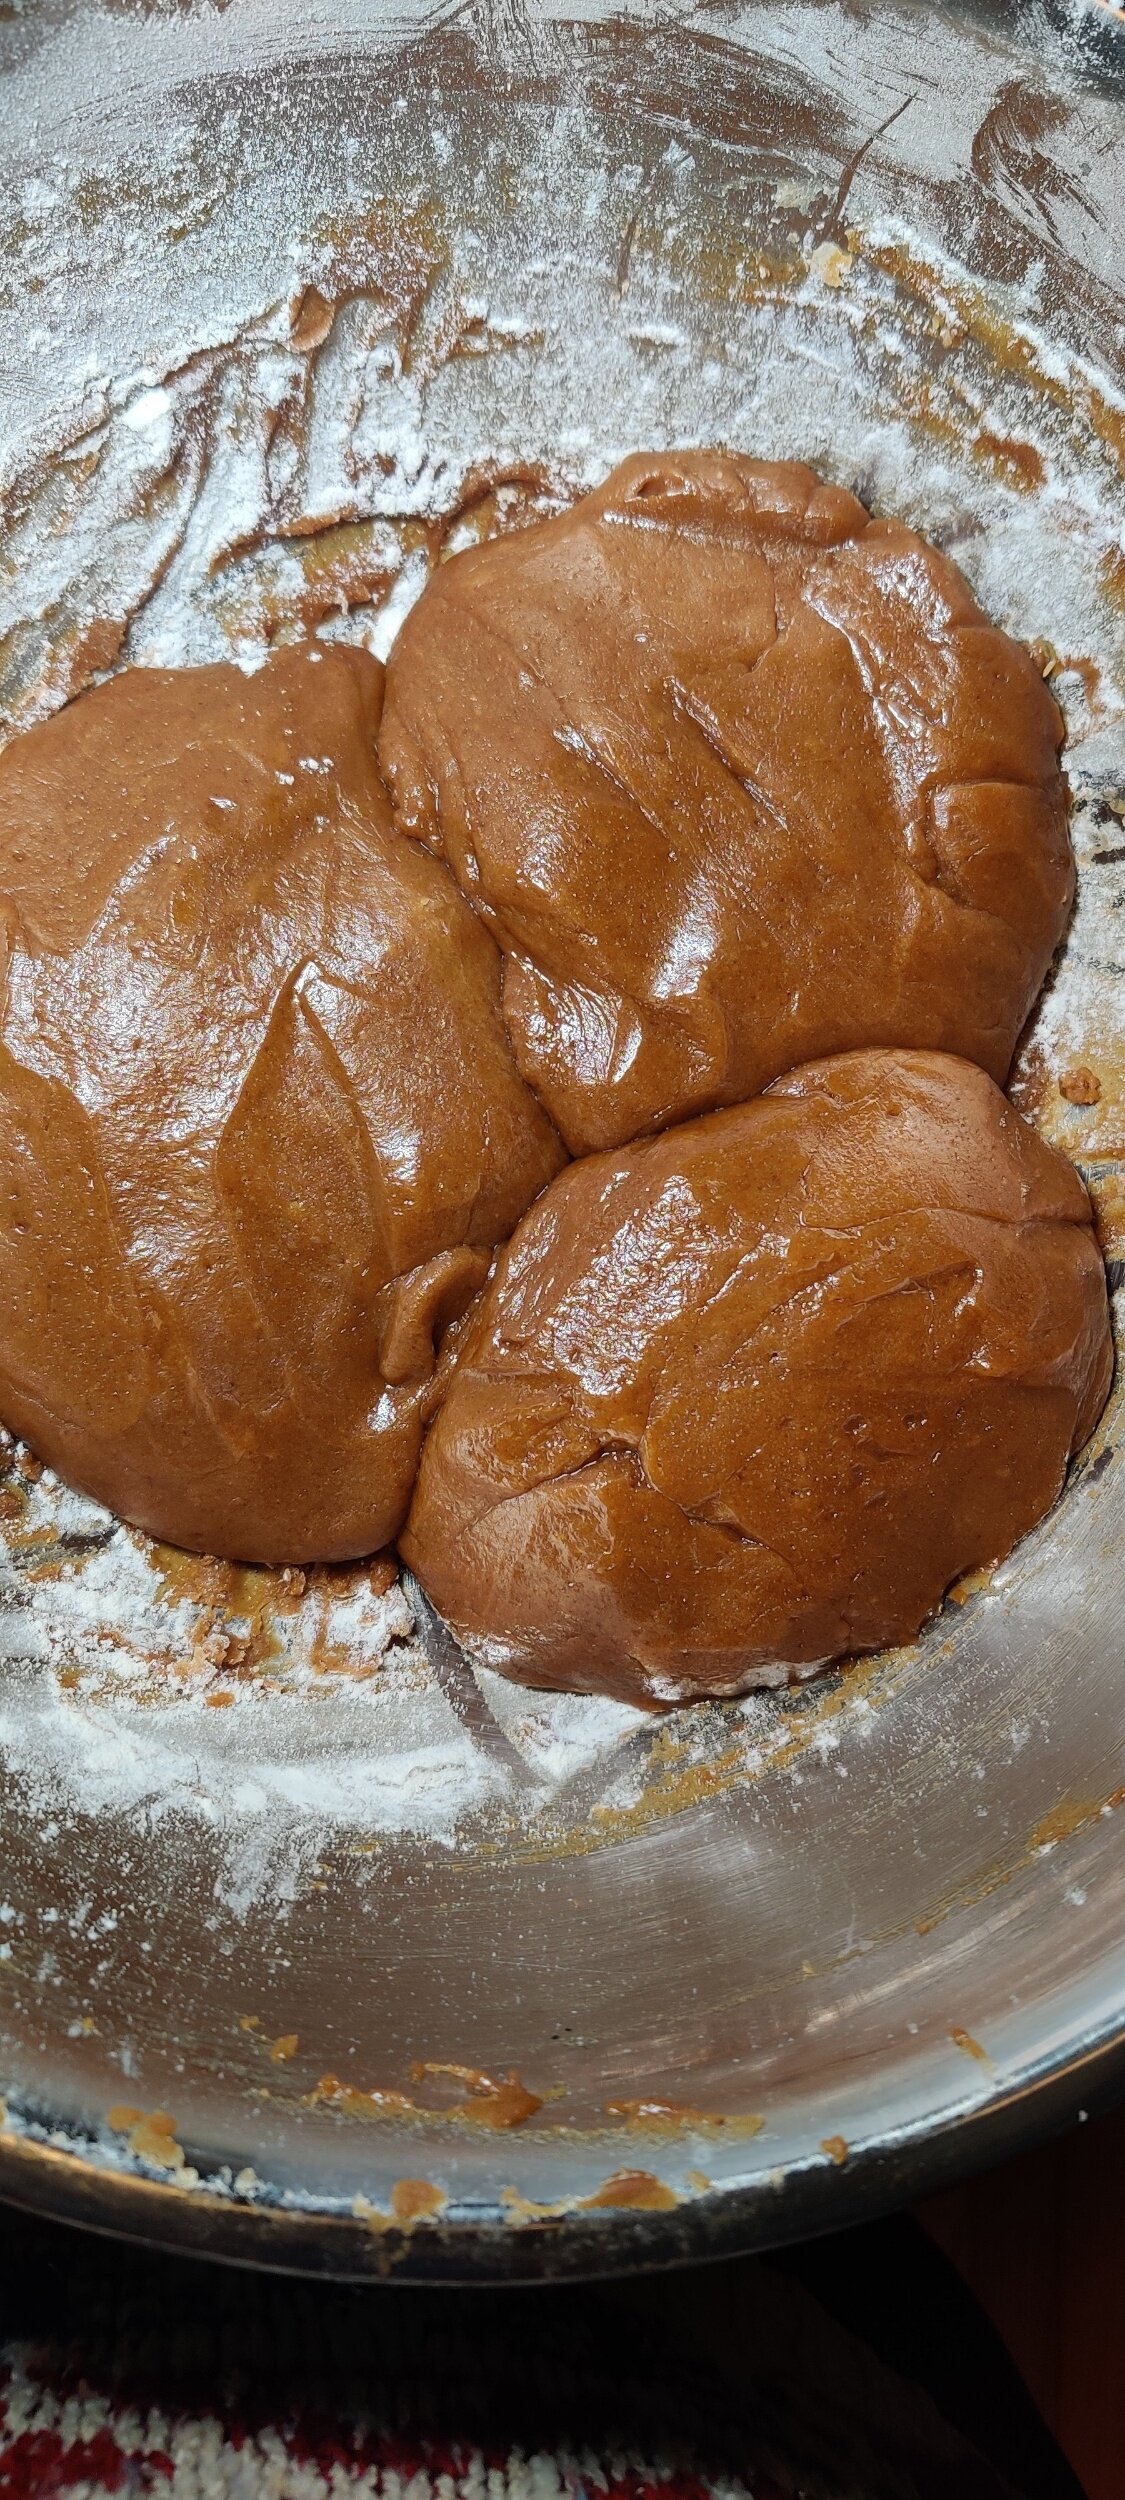
- Beat the sugars and butter until a creamy texture develops in a stand mixer. Add in the egg, oil and vanilla, and combine until smooth.
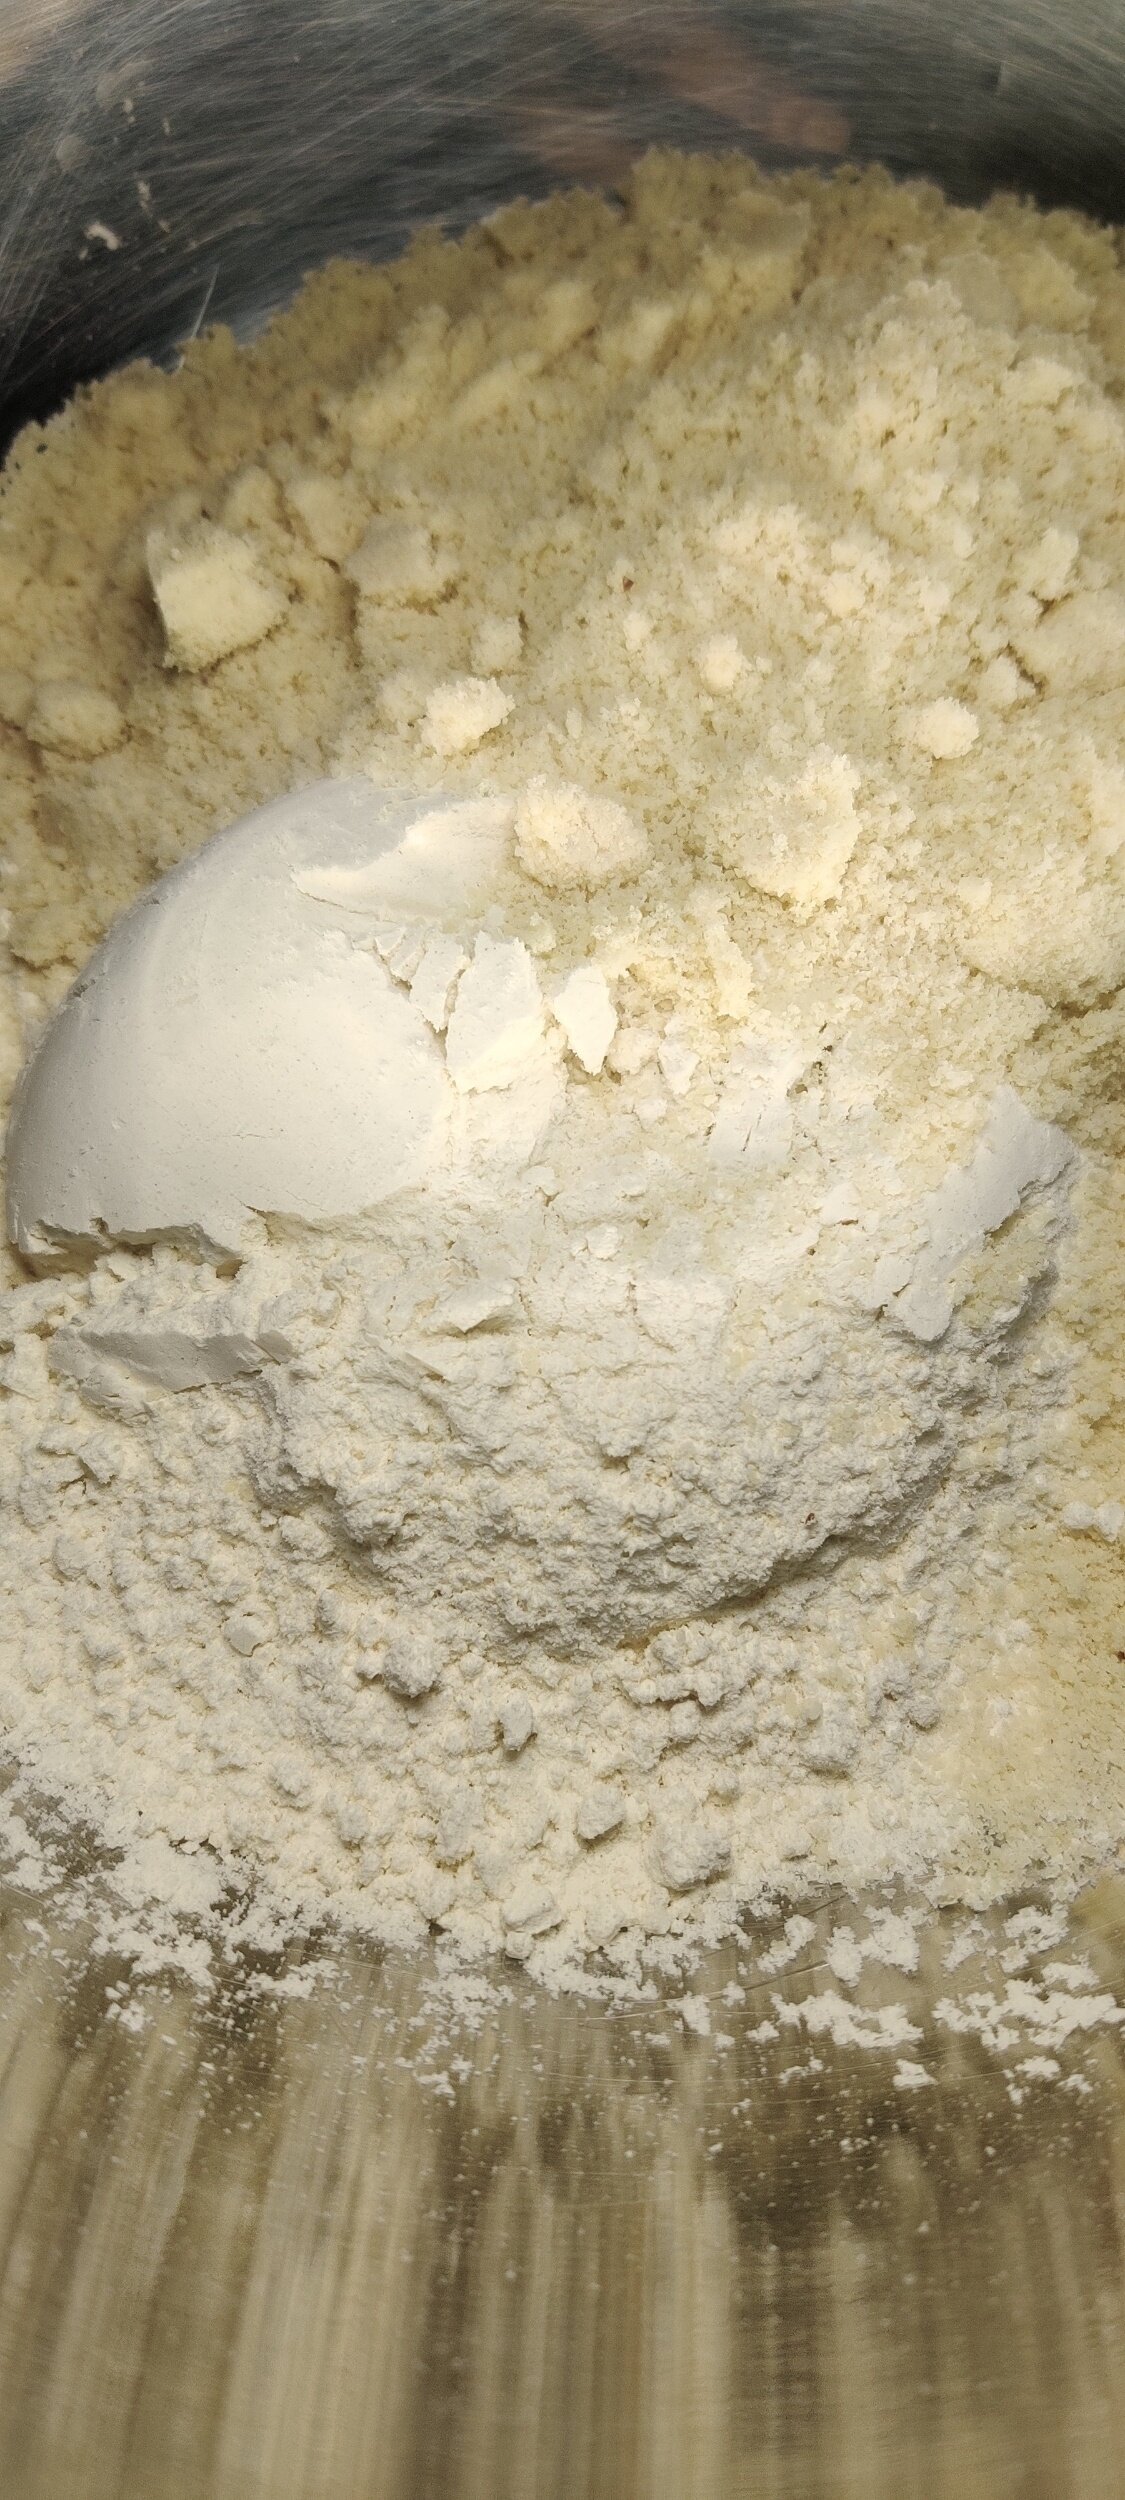
- Mix the other dry ingredients in a separate bowl, then add to the stand mixer bowl. Change the attachment to a kneading hook and mix quickly until a soft dough forms.
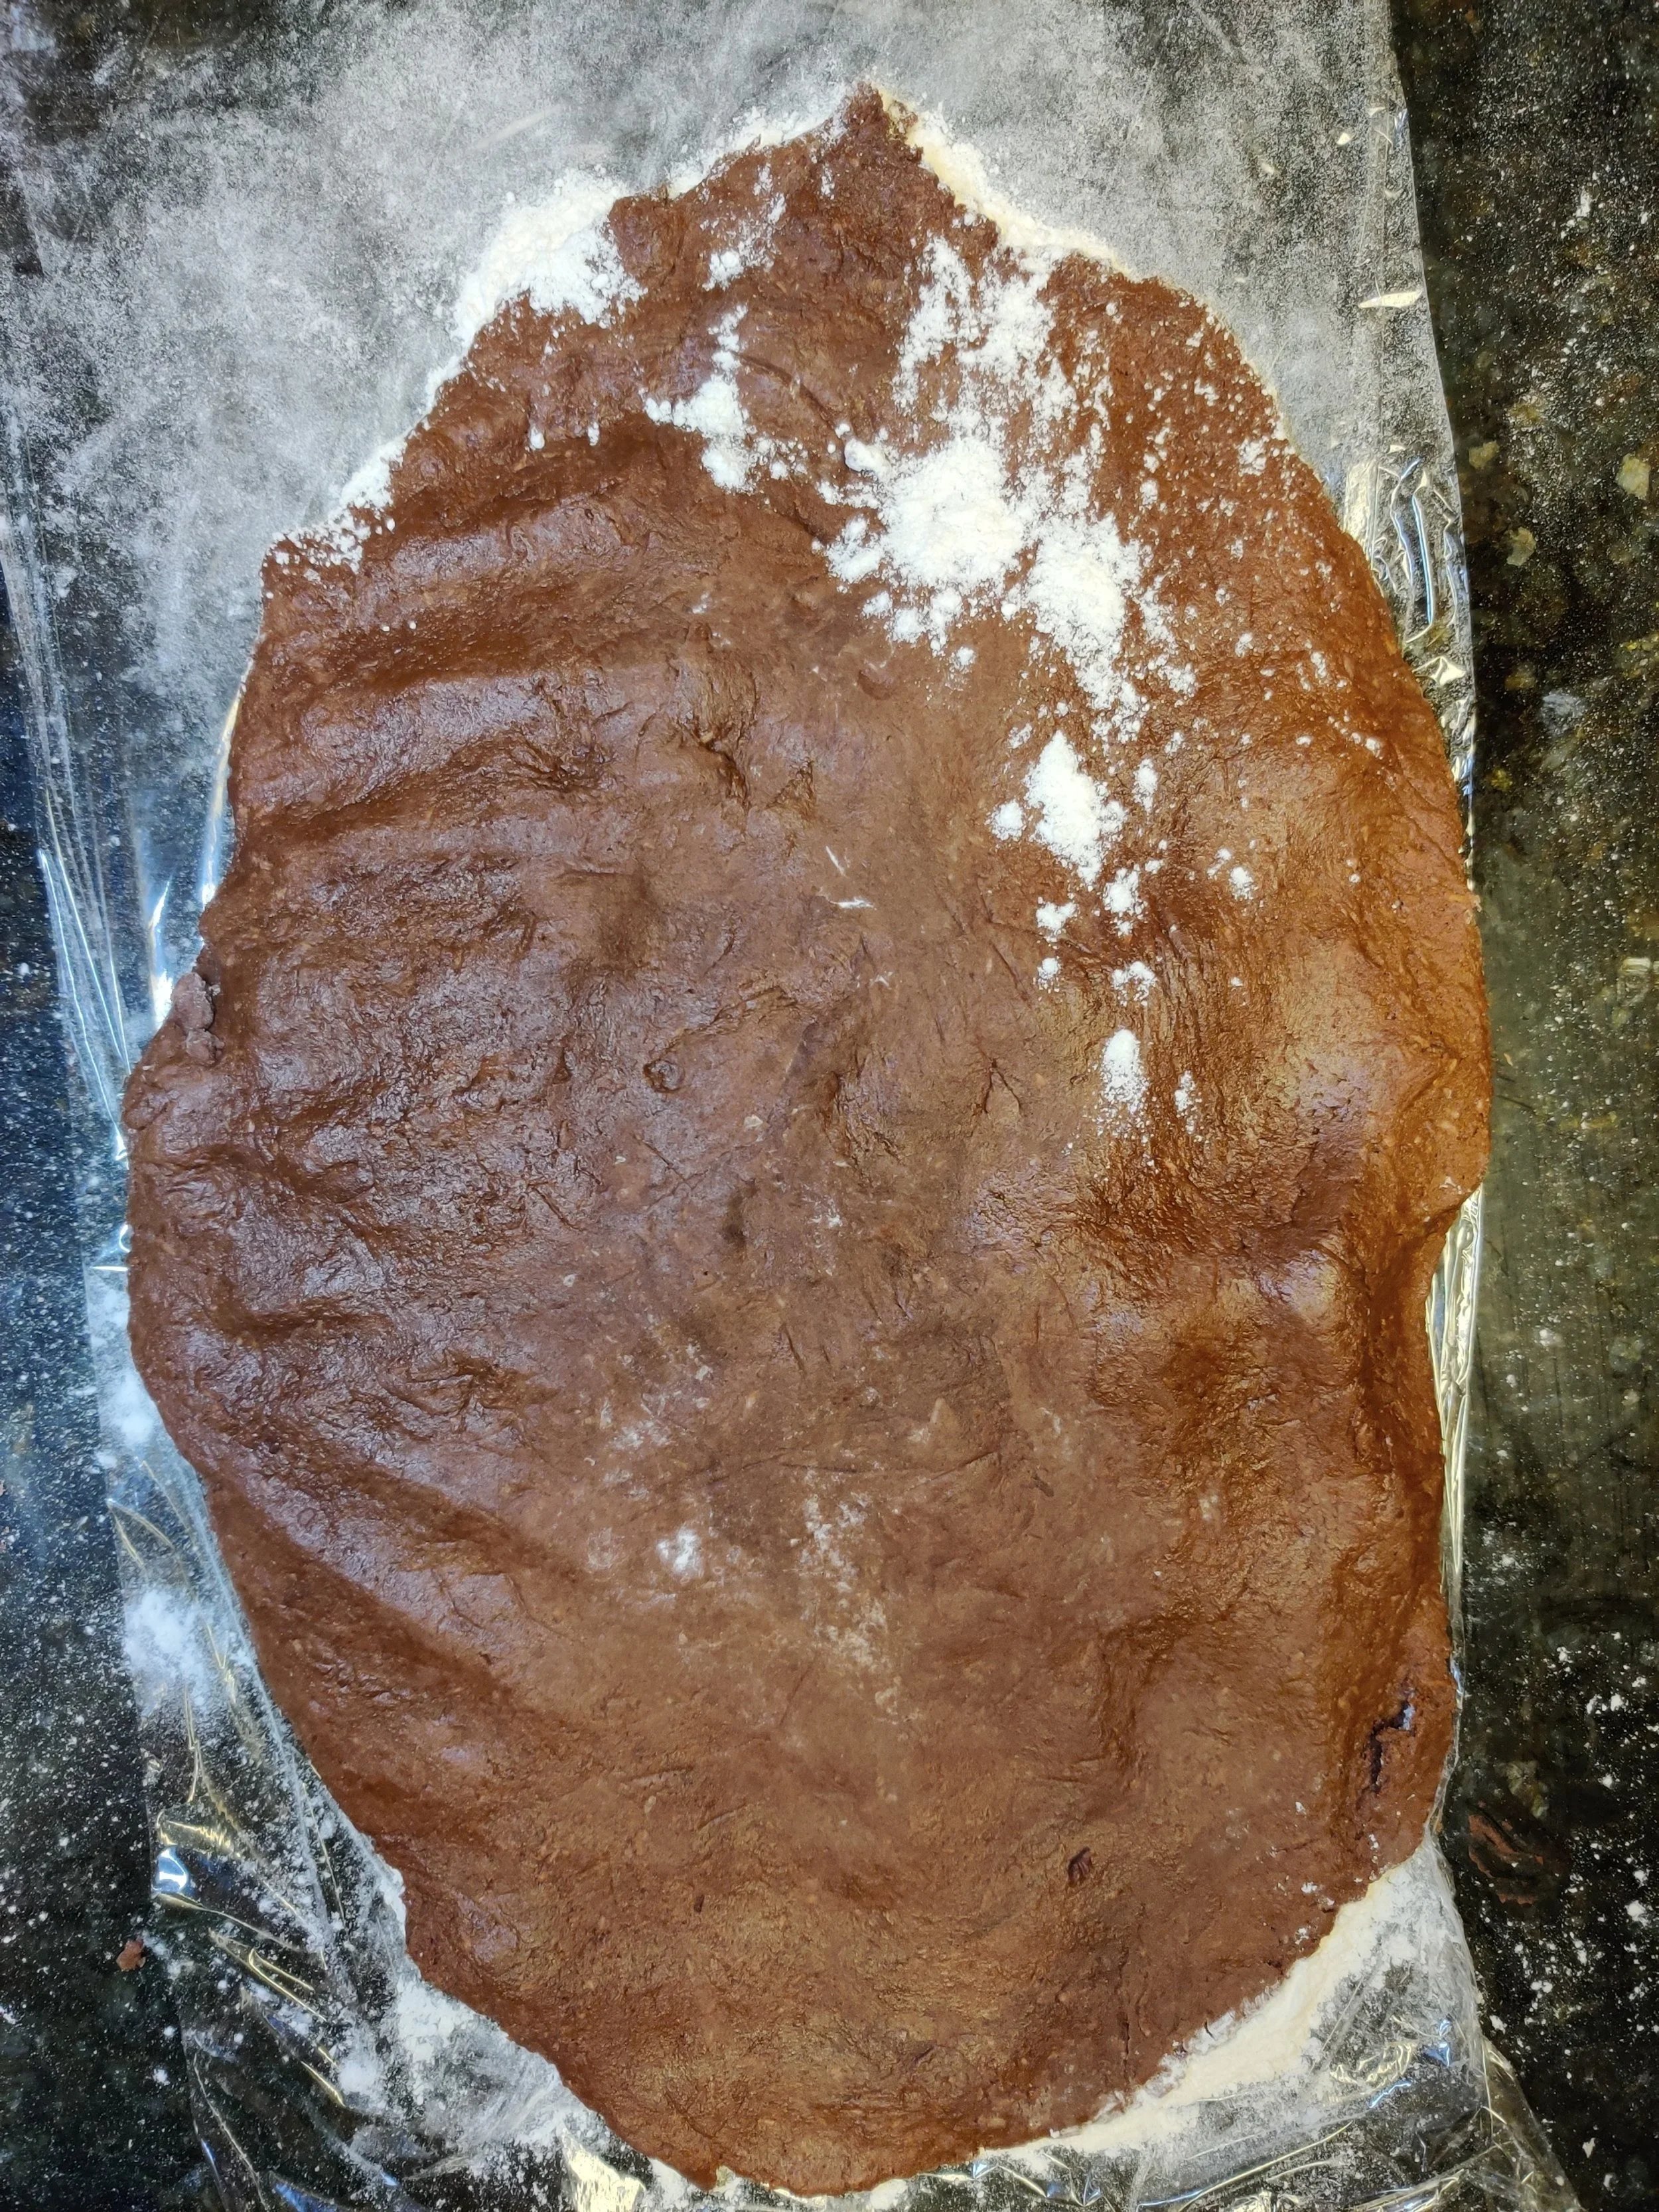
- Transfer the dough to a large floured piece of cling film. Cover with another piece, then roll out the dough to about an inch in thickness.
- Use a cookie cutter of the desired size and transfer the dough pieces to parchment-lined baking sheets - you'll probably have to do it in batches. If you are short on time, you can cover the dough with cling wrap and bake the next day.
- Optional: Use a fork to make cross lines and create a texture on the top biscuit. You can also add seasonal sprinkles on the top side of each cookie before baking.
- Chill the biscuits in the fridge covered for at least 10 minutes and bake for 10-11 minutes at 350F, watch for burning. Set aside to cool.
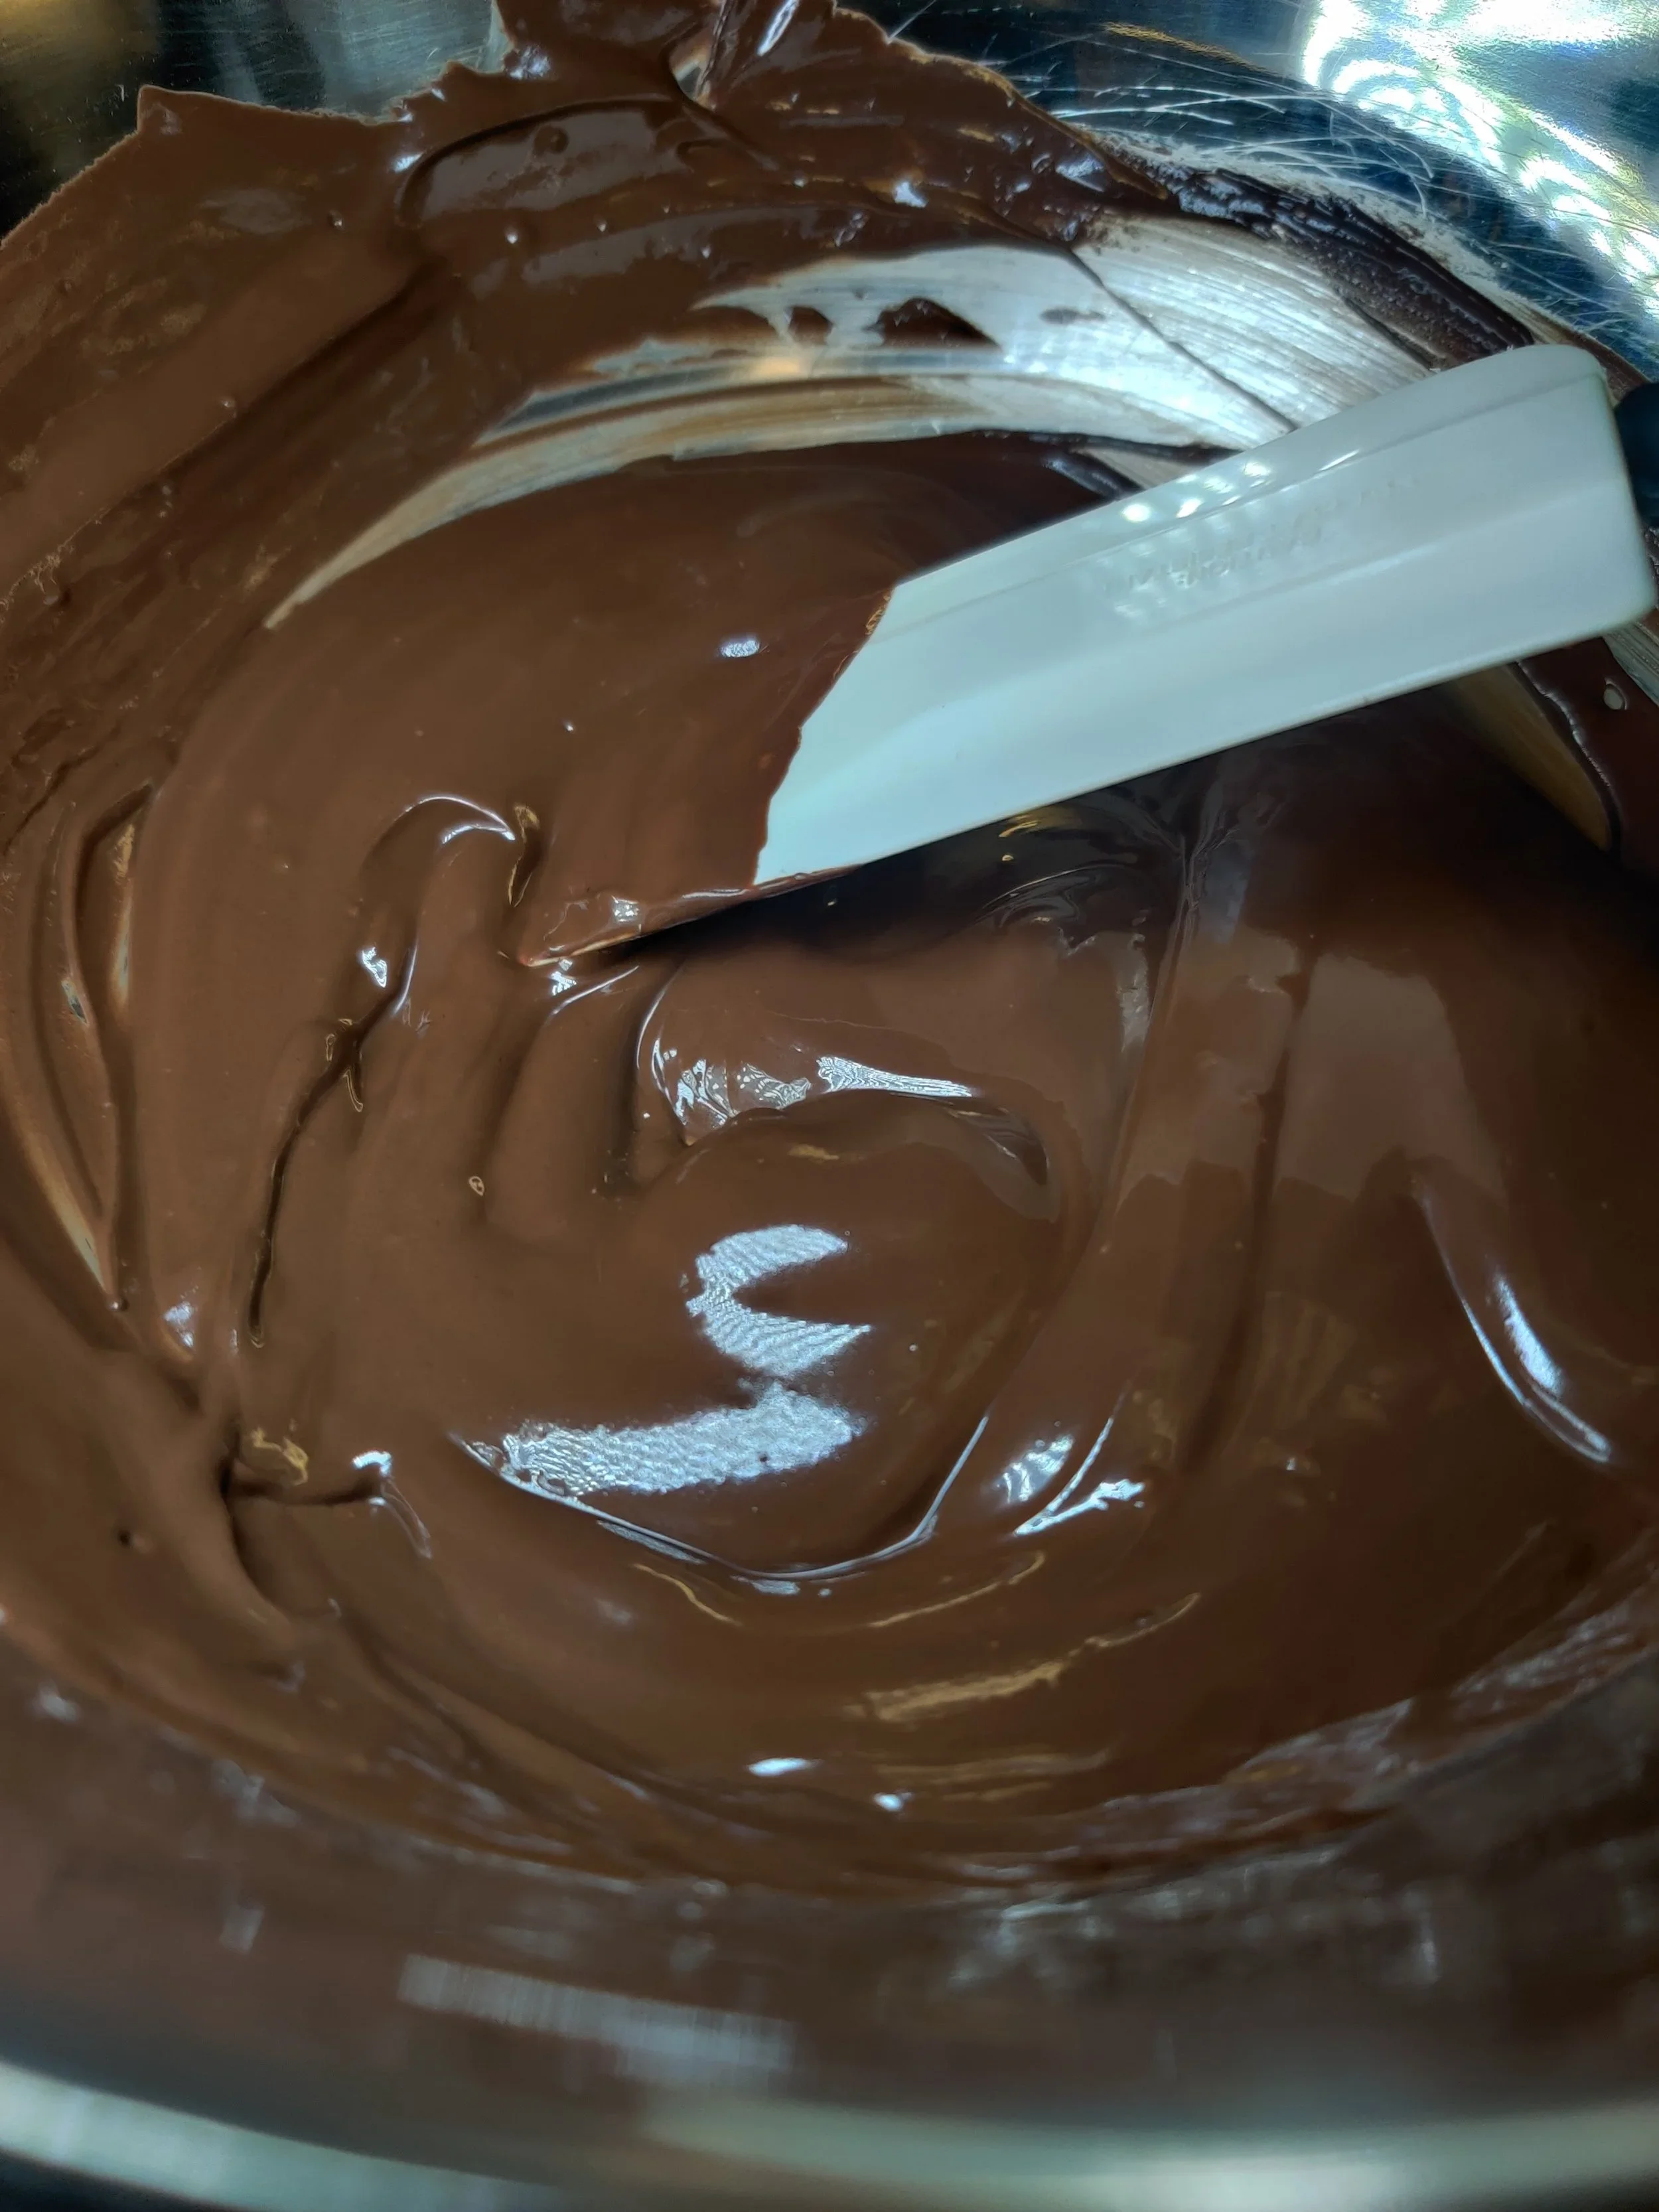
- While the first few batches bake, boil some water on medium-low and place a heat-resistant bowl on top. Add the chocolate to the bowl and heat until melted, stirring until smooth.
- Once everything has cooled, place a dollop of the melted chocolate inside one side of each biscuit, then close. And allow cooling further on a rack. Place in an airtight container and enjoy over five days for optimum taste.
Notes
You can also freeze the dough or cookie cut outs to bake in the future.
Nutrition Facts
Calories
118Fat (grams)
8.7 gCarbs (grams)
10 gSugar (grams)
4.3 gProtein (grams)
1 gI am not a certified nutritionist and any nutritional information on dontmissmyplate.com should only be used as a general guideline.

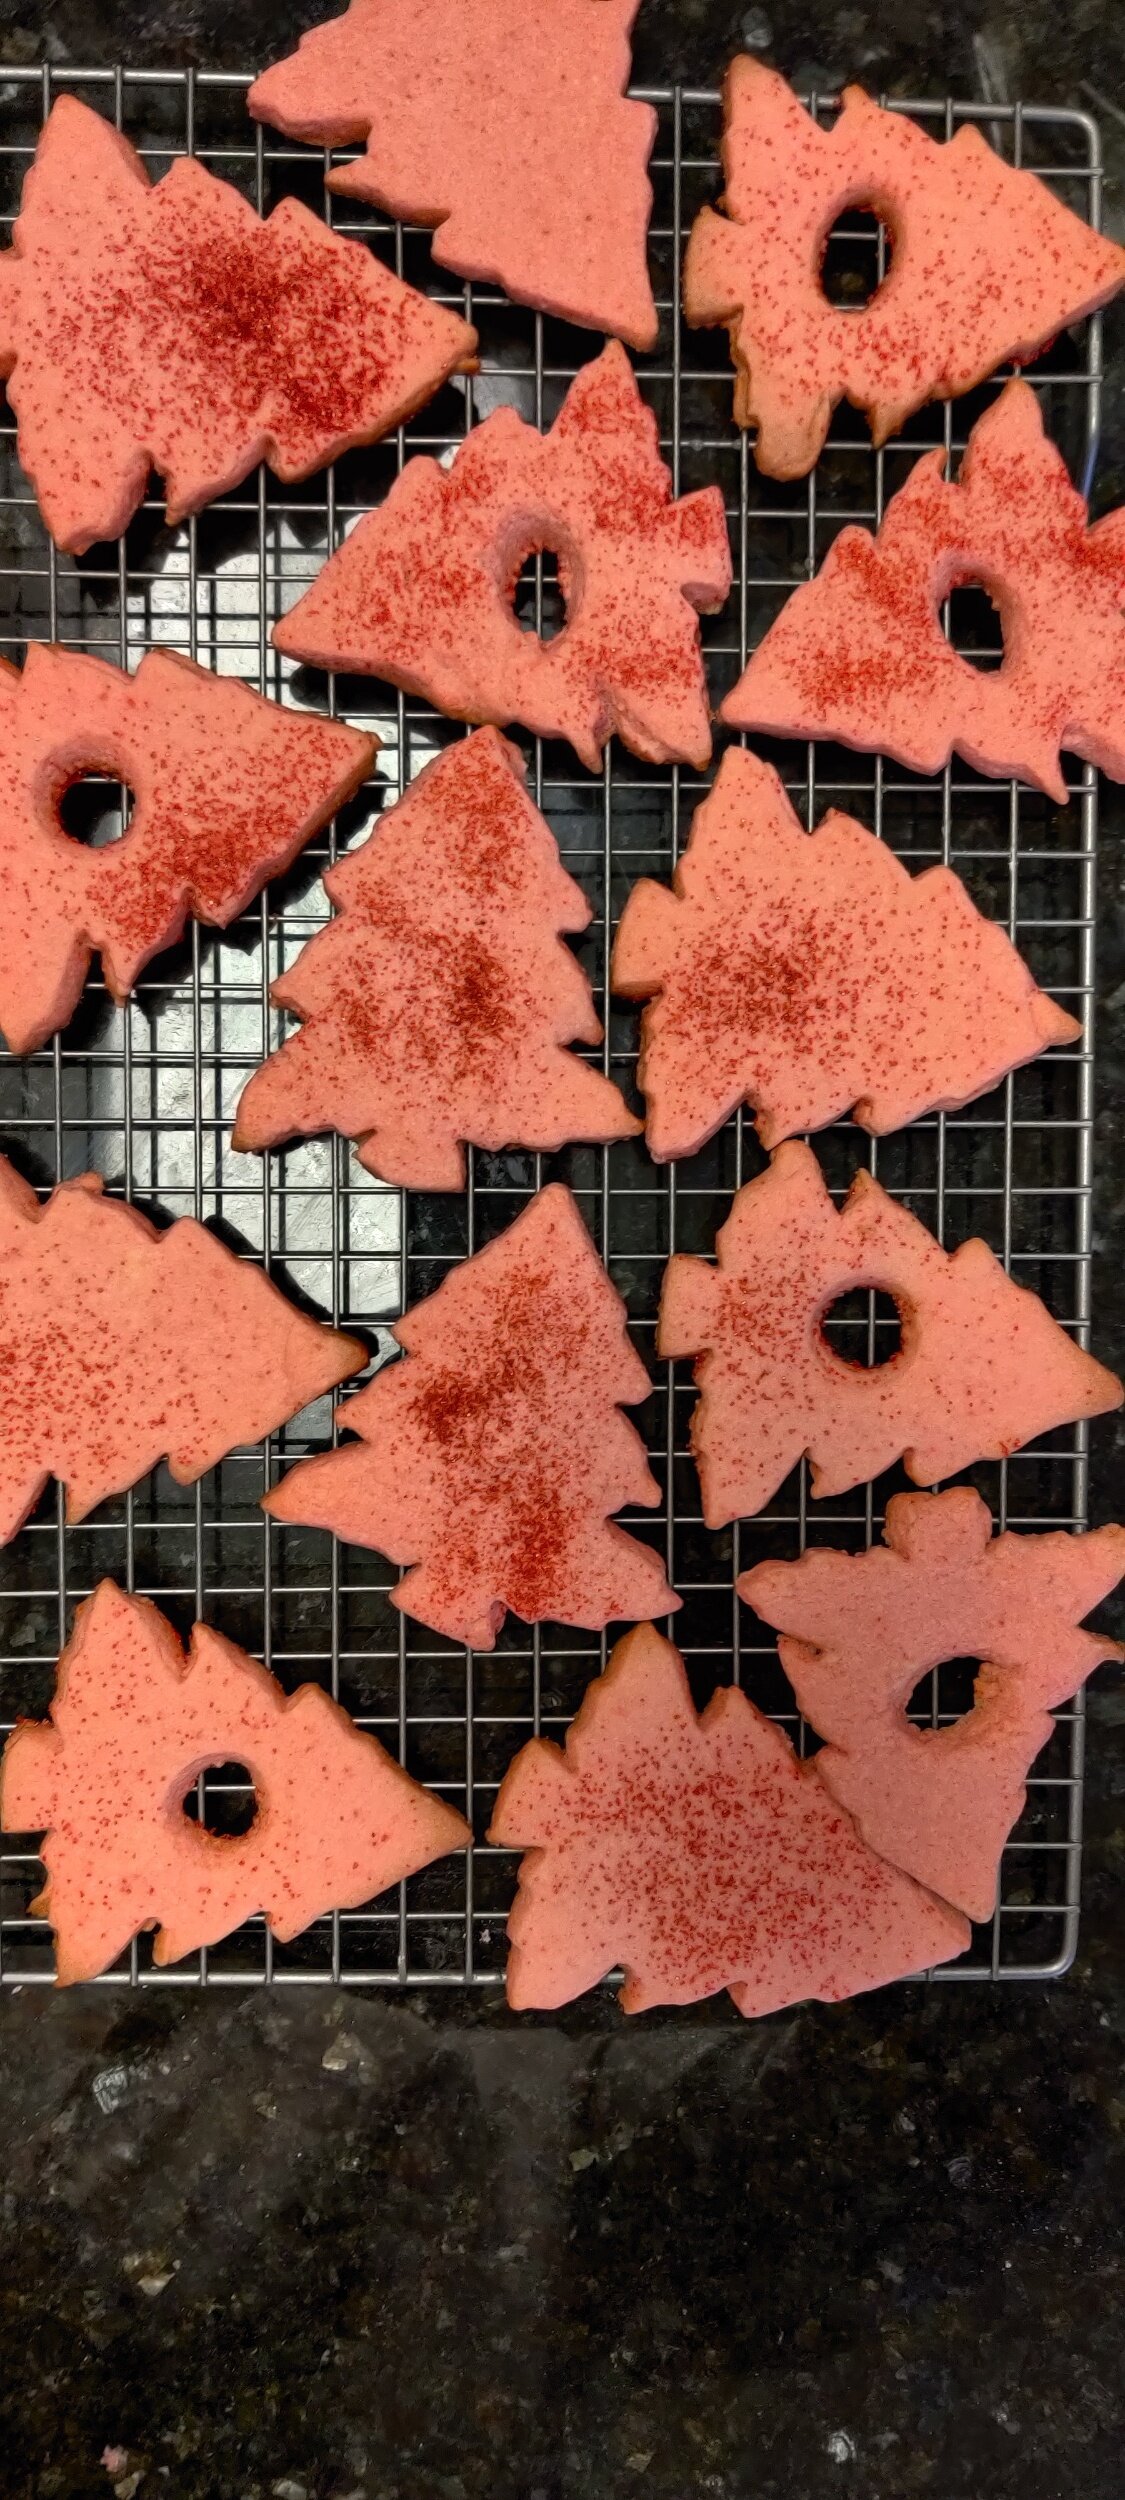
Dulce de Leche Linzer Biscuits (Pink)
Linzer Biscuits: A Delightful Blend of Elegance and Flavor
These iconic treats perfectly match beauty and taste, combining buttery, crumbly cookies with a sweet, tangy jam filling. Inspired by the classic Austrian Linzer Torte, they are a feast for the eyes and the palate. With their signature cut-out center revealing a layer of jam, Linzer biscuits are as visually stunning as they are delicious.
Traditionally made with ground nuts like almonds or hazelnuts, these cookies boast a delicate, nutty flavour that pairs wonderfully with fruity jams like raspberry or apricot. They're perfect for holidays, tea parties, or any time you want to impress with a little extra flair.
Even if you haven't tried Linzer biscuits, you've probably seen them at the very least, particularly during the holidays. They are considered classic Christmas cookies, and I love them.
I went unconventional with this recipe, still maintaining the buttery goodness and nutty undertones from the almond flour (though you can use gluten-free flour as well) and extract, but adding red sugar sprinkles for a pink hue and using dulce de leche as my filling. I was inspired by the Argentian Alfajores cookies, which are sandwiched with dulce de leche in the middle. I first encountered them at a Christmas market in Washington, D.C.
Add this to your slew of end-of-year sweet treats or Christmas cookie trays, and you won't be disappointed.

")
Dulce de Leche Linzer Biscuits (Pink)
Ingredients
- 1 cup all-purpose flour
- 1 cup almond or gluten-free flour
- 3 tablespoon red sprinkles (optional)
- 1 teaspoon vanilla
- 1/2 teaspoon almond extract
- 1/4 teaspoon salt
- 1 egg
- 1/2 cup granulated sugar
- 1/4 teaspoon cinnamon
- Pinch of cloves
- 1 stick butter (8-10 tablespoons)
- 1/2 teaspoon lemon zest
- 3/4 cup dulce de leche
- Icing sugar for dusting
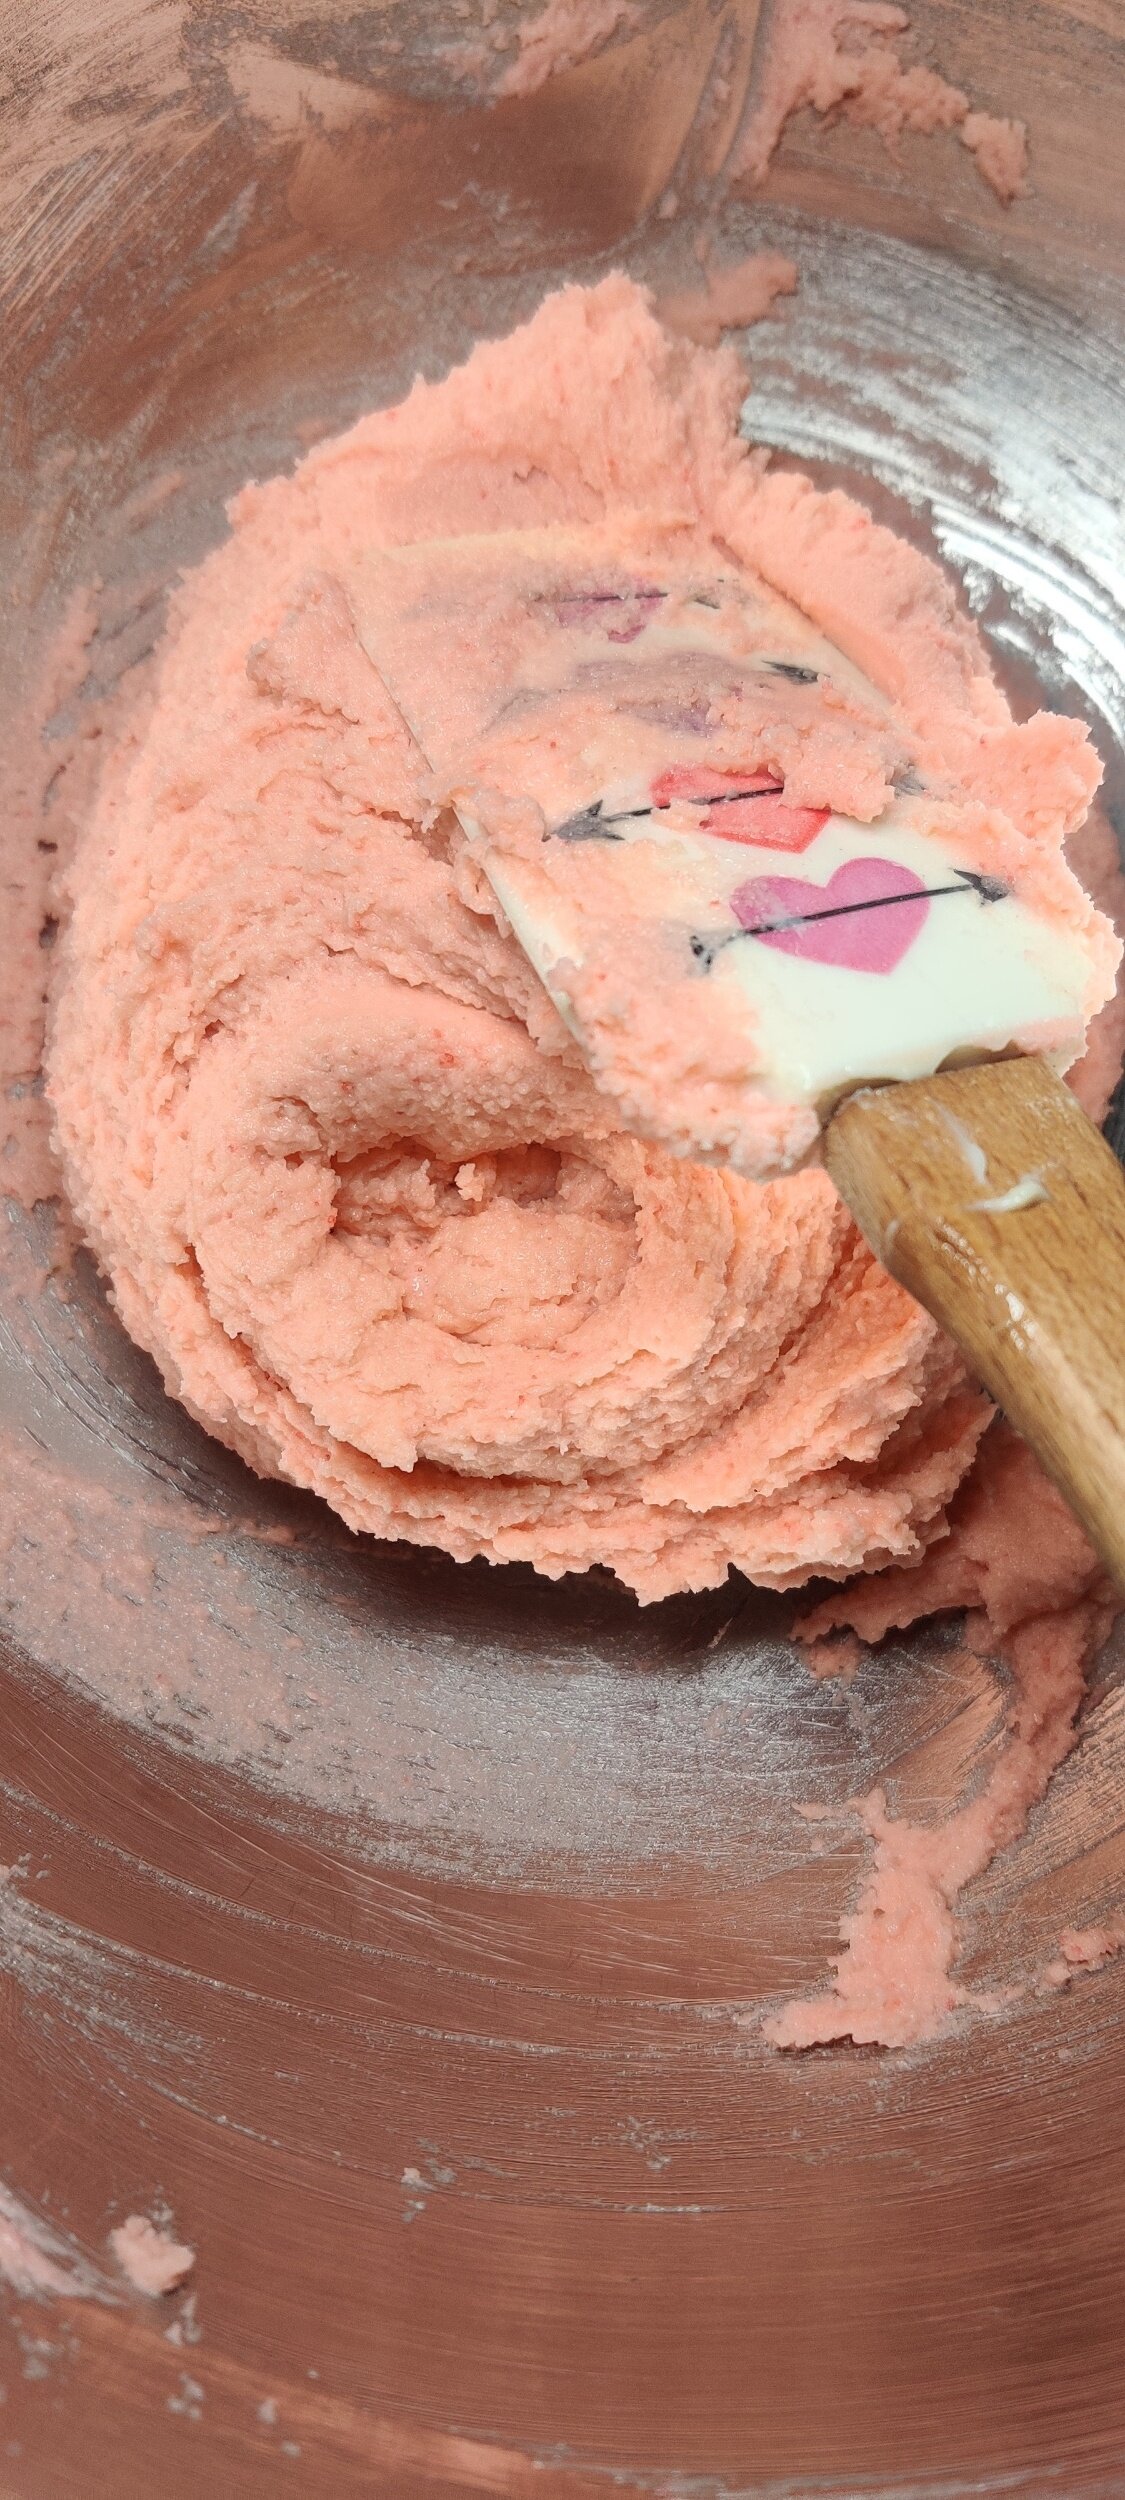
Instructions
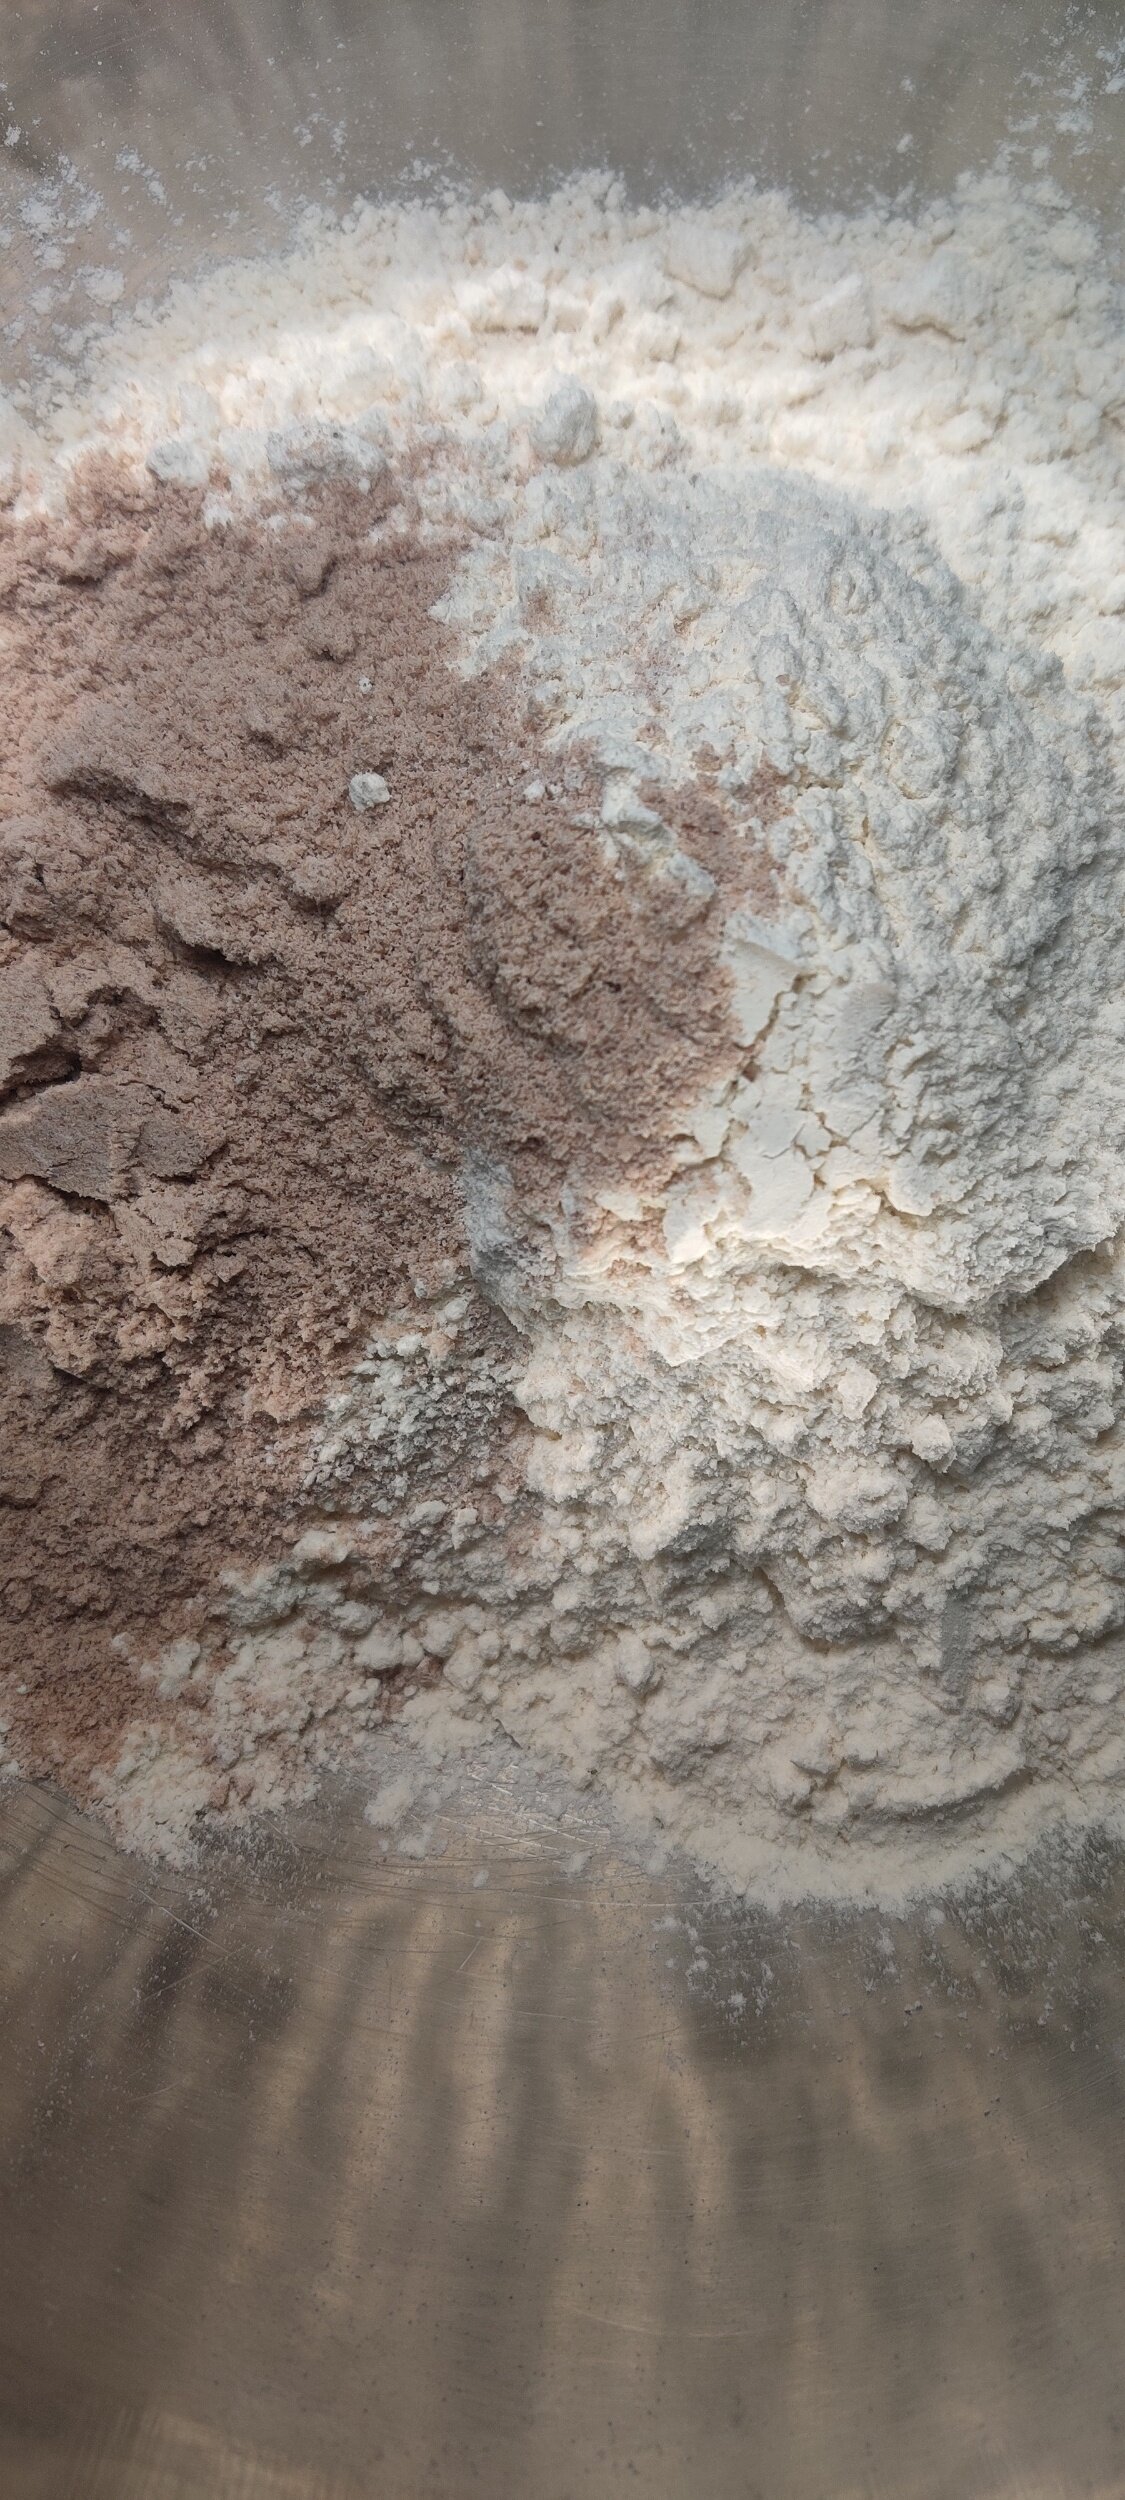
- In a medium-sized bowl, mix the almond flour and all-purpose flour, set aside.
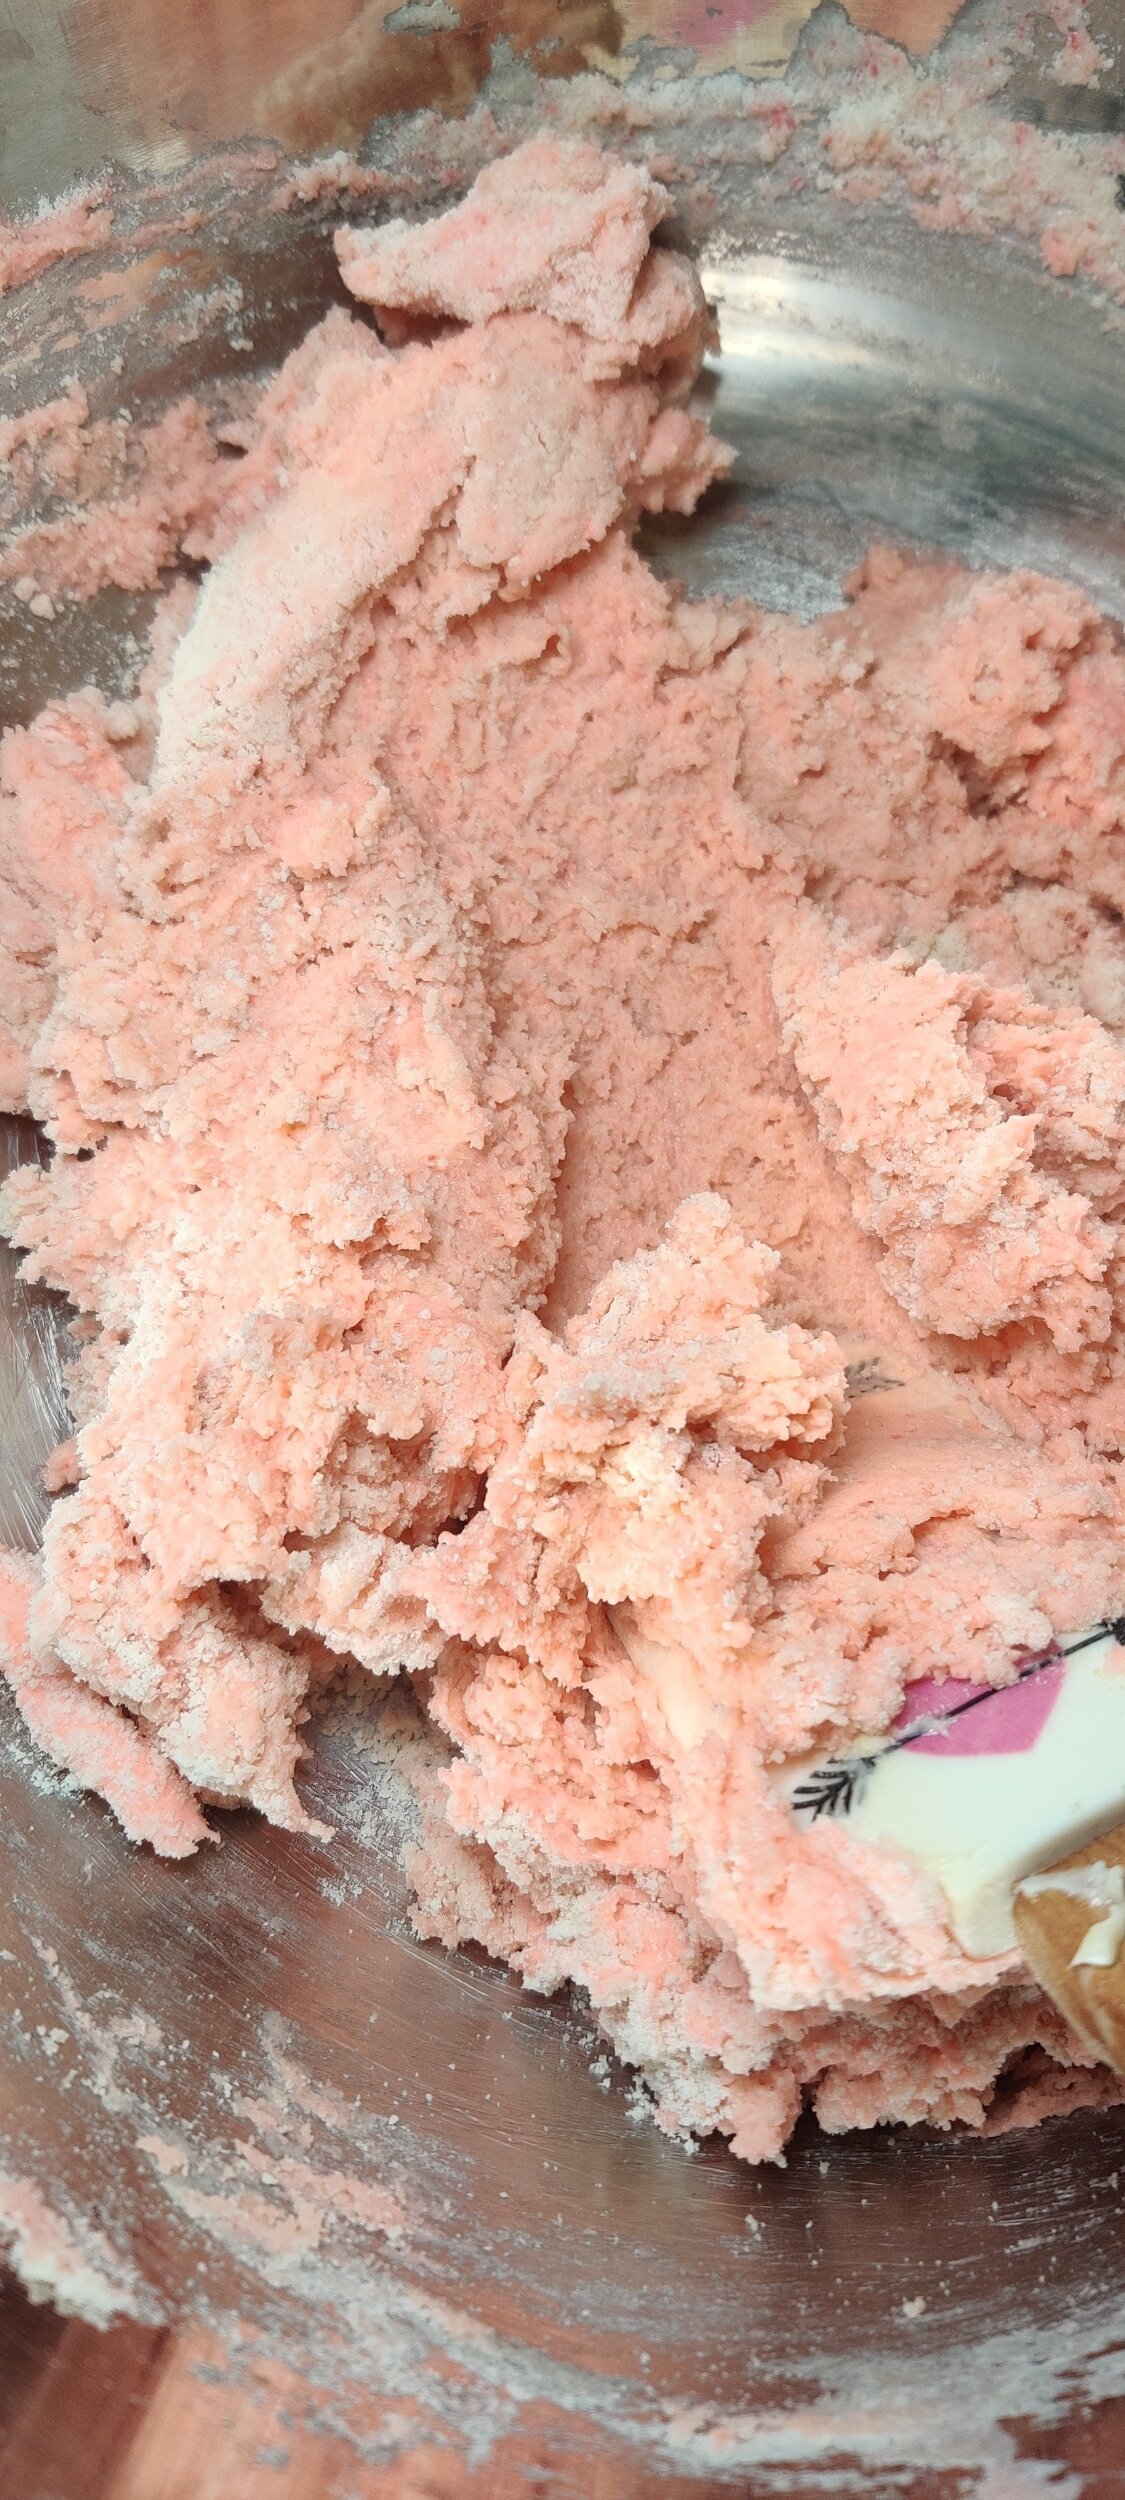
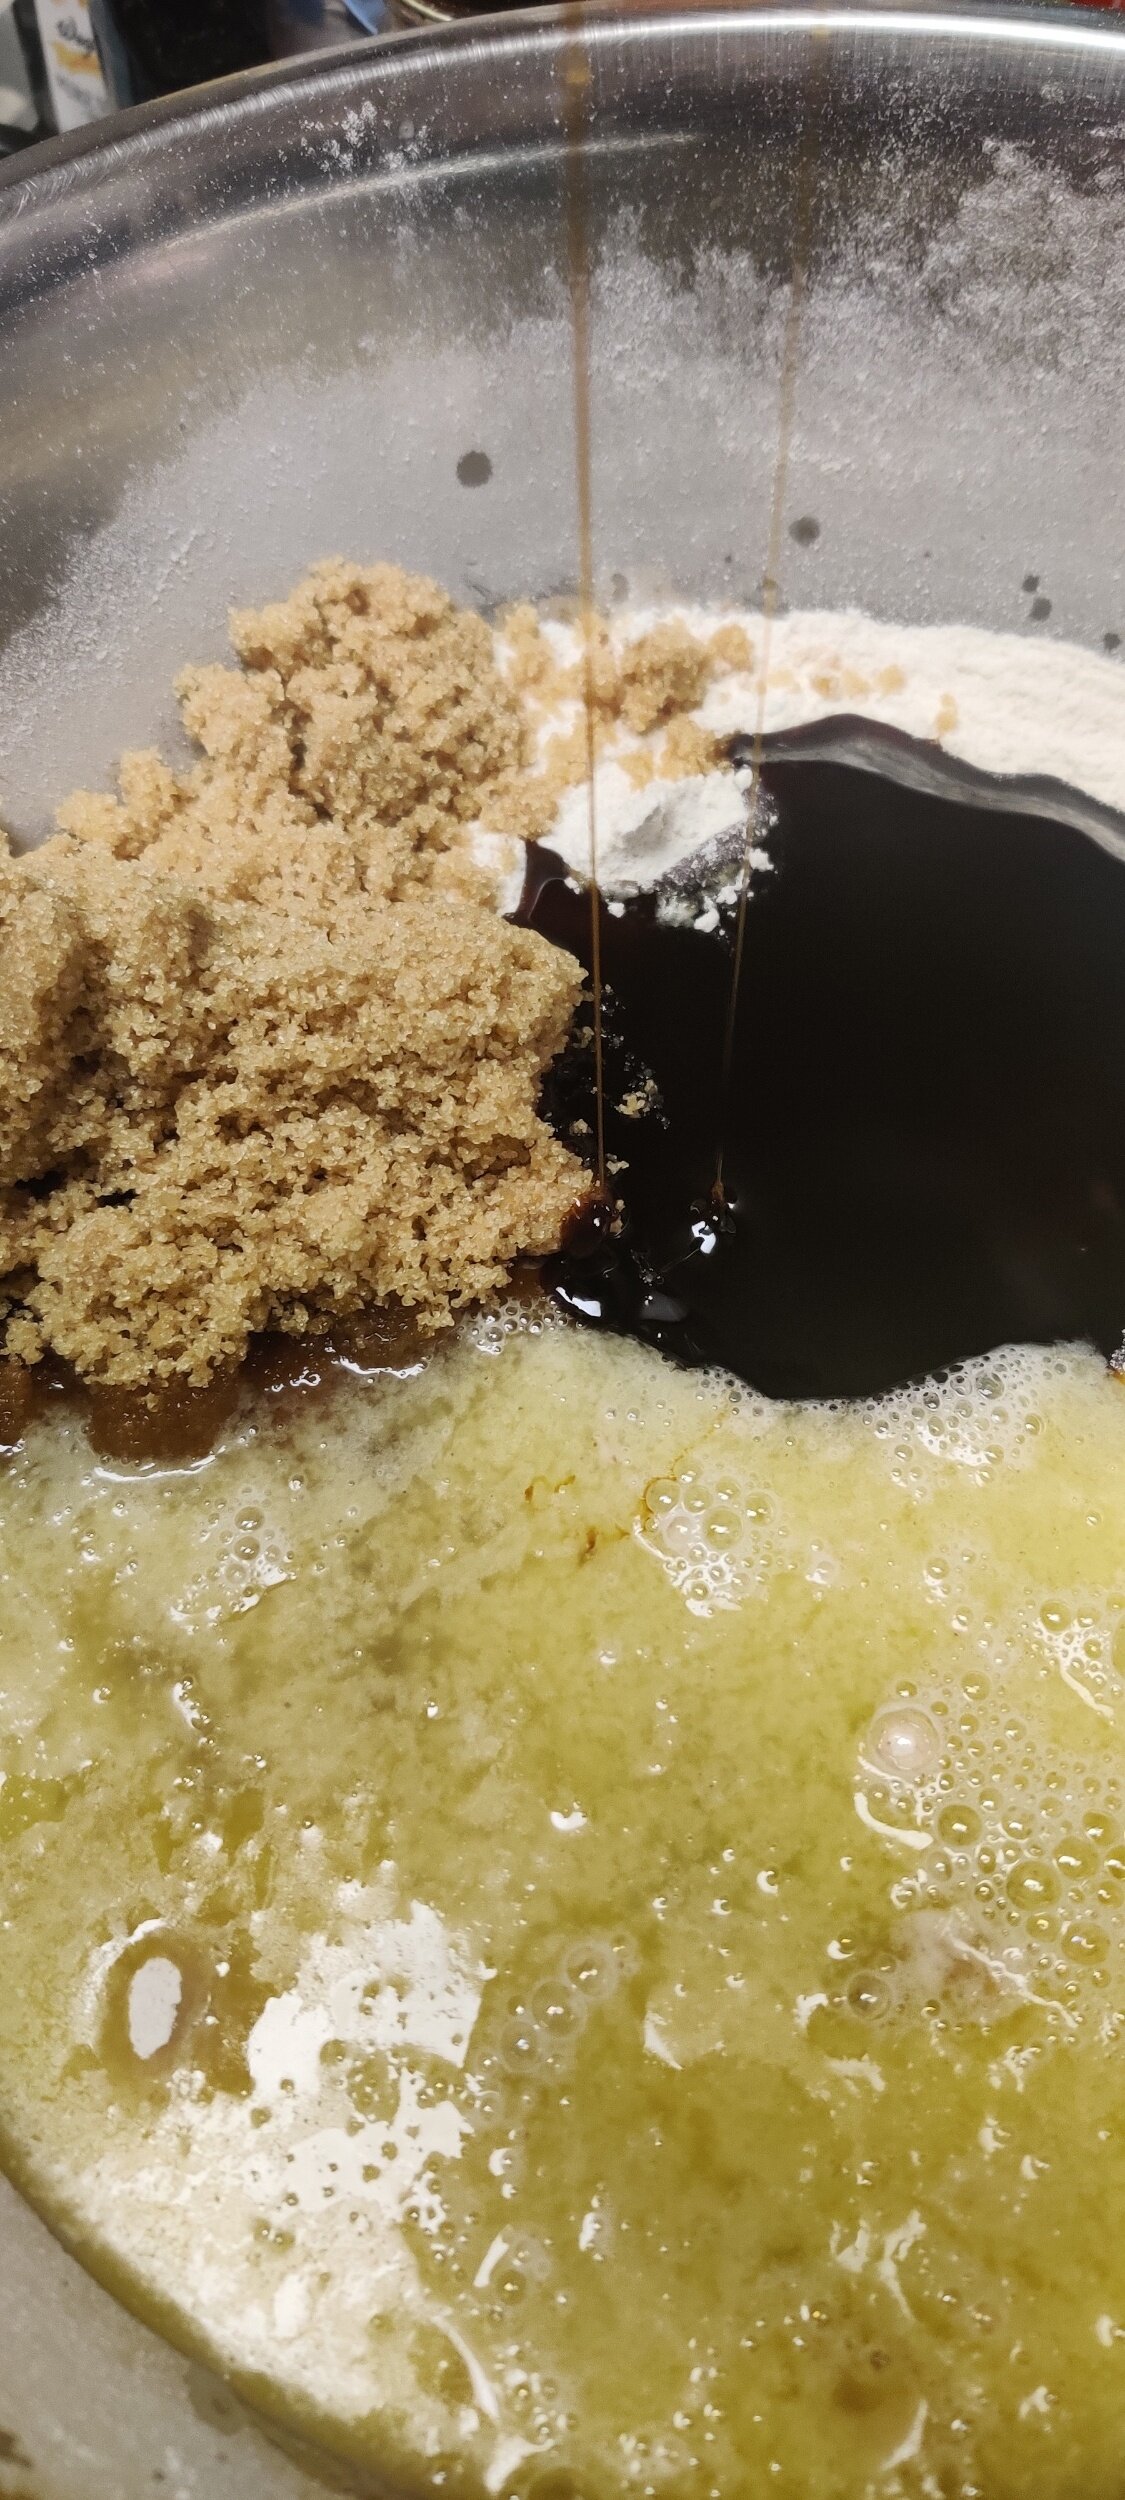
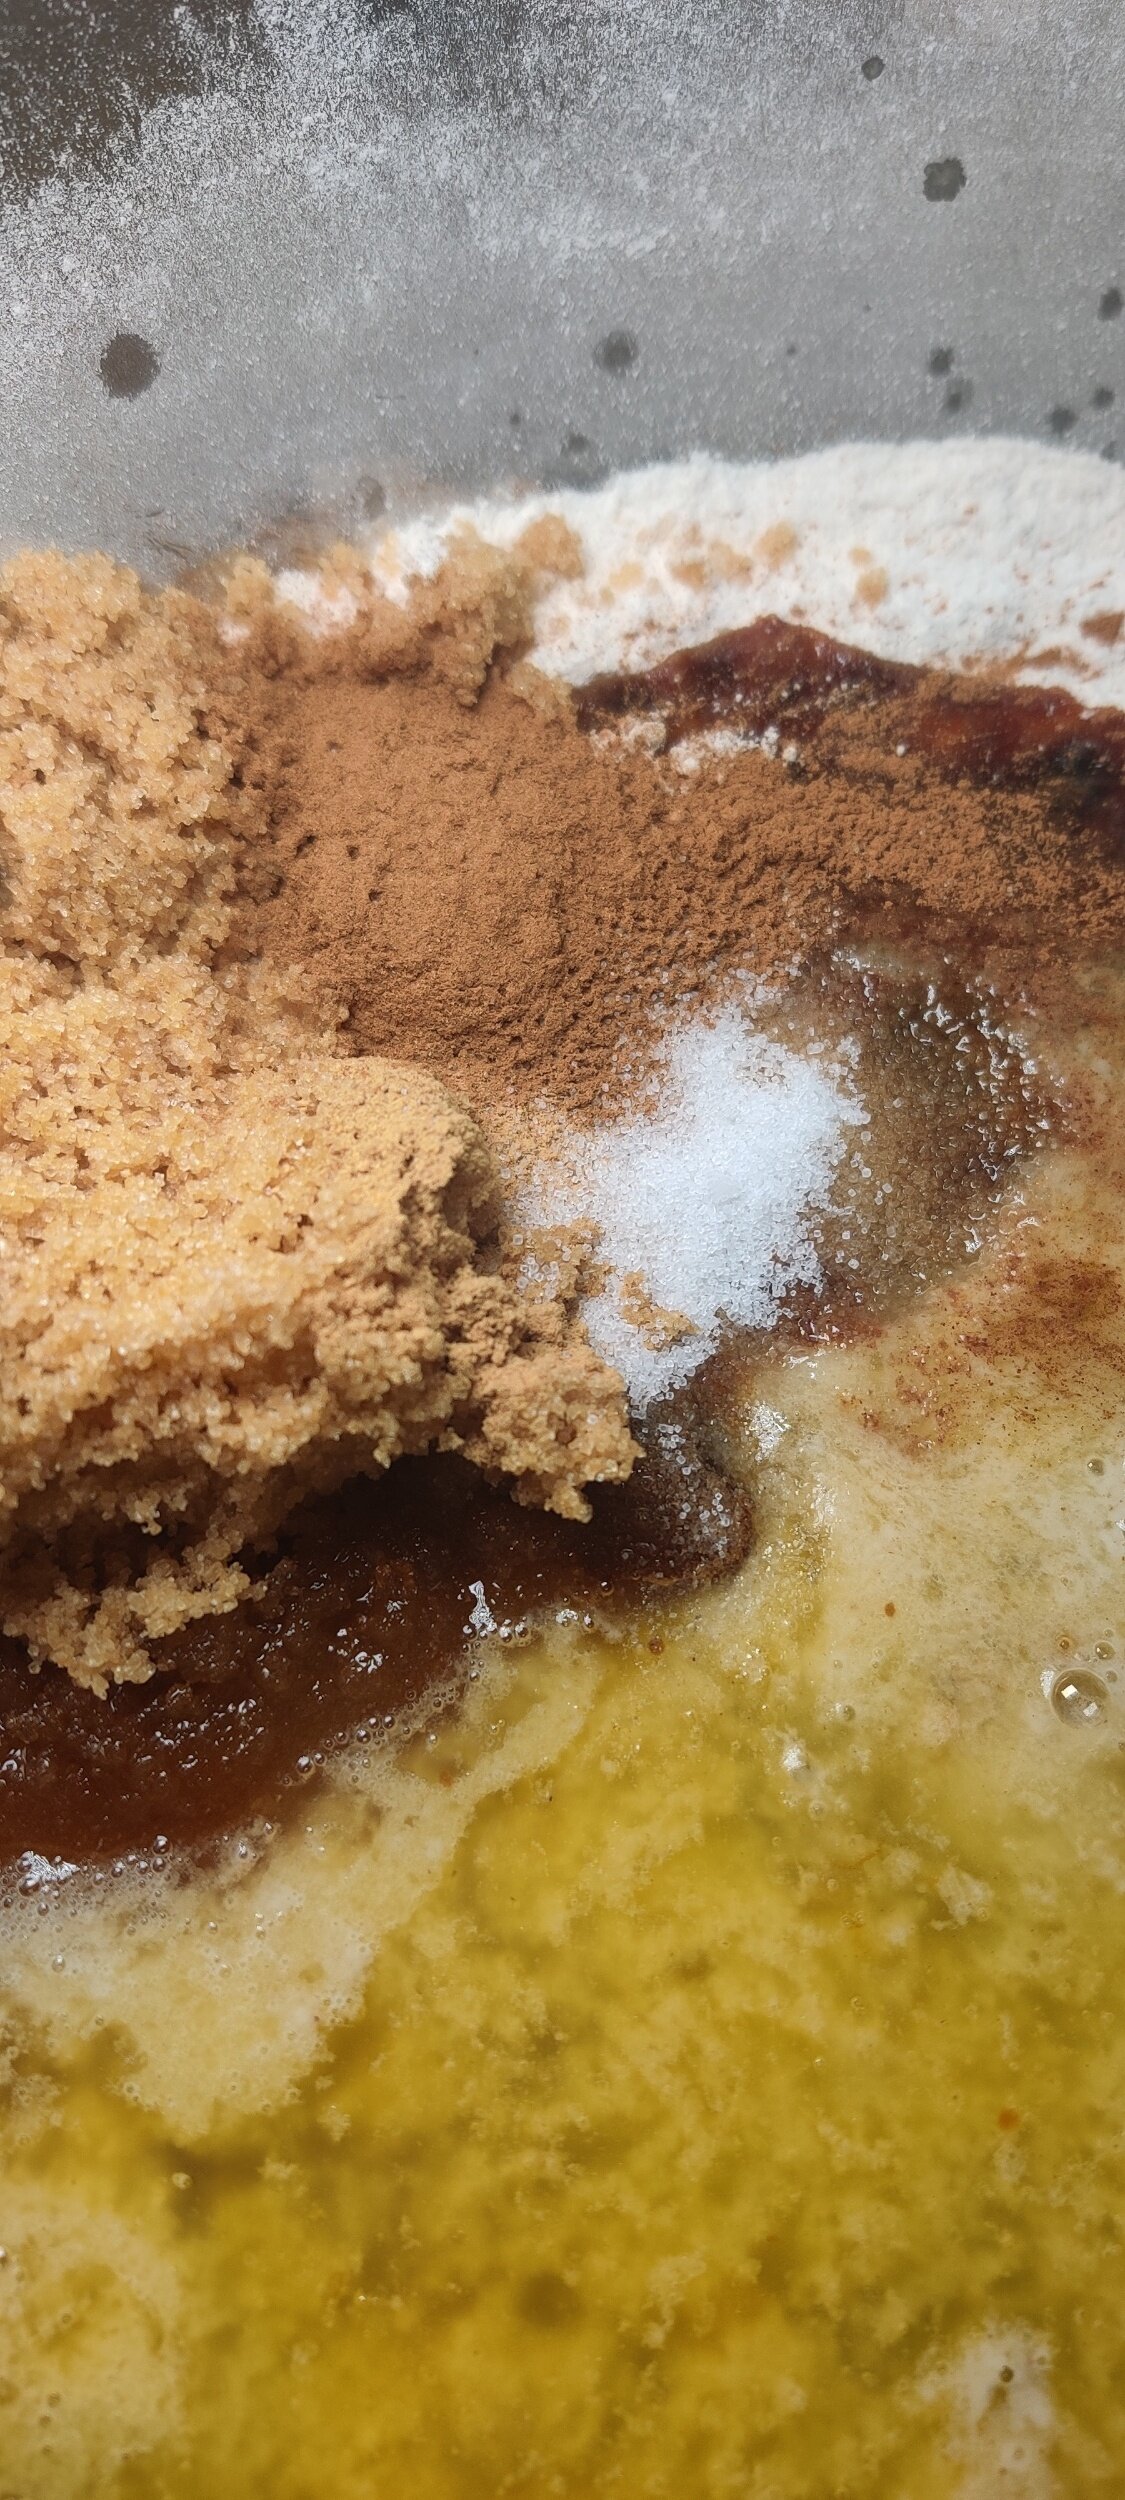
- In a large bowl, cream the butter and sugar for about 3 minutes with an electric mixer on high speed. Add the vanilla, almond, cinnamon, cloves, lemon zest, and salt for another 1-2 minutes until creamy and fluffy.
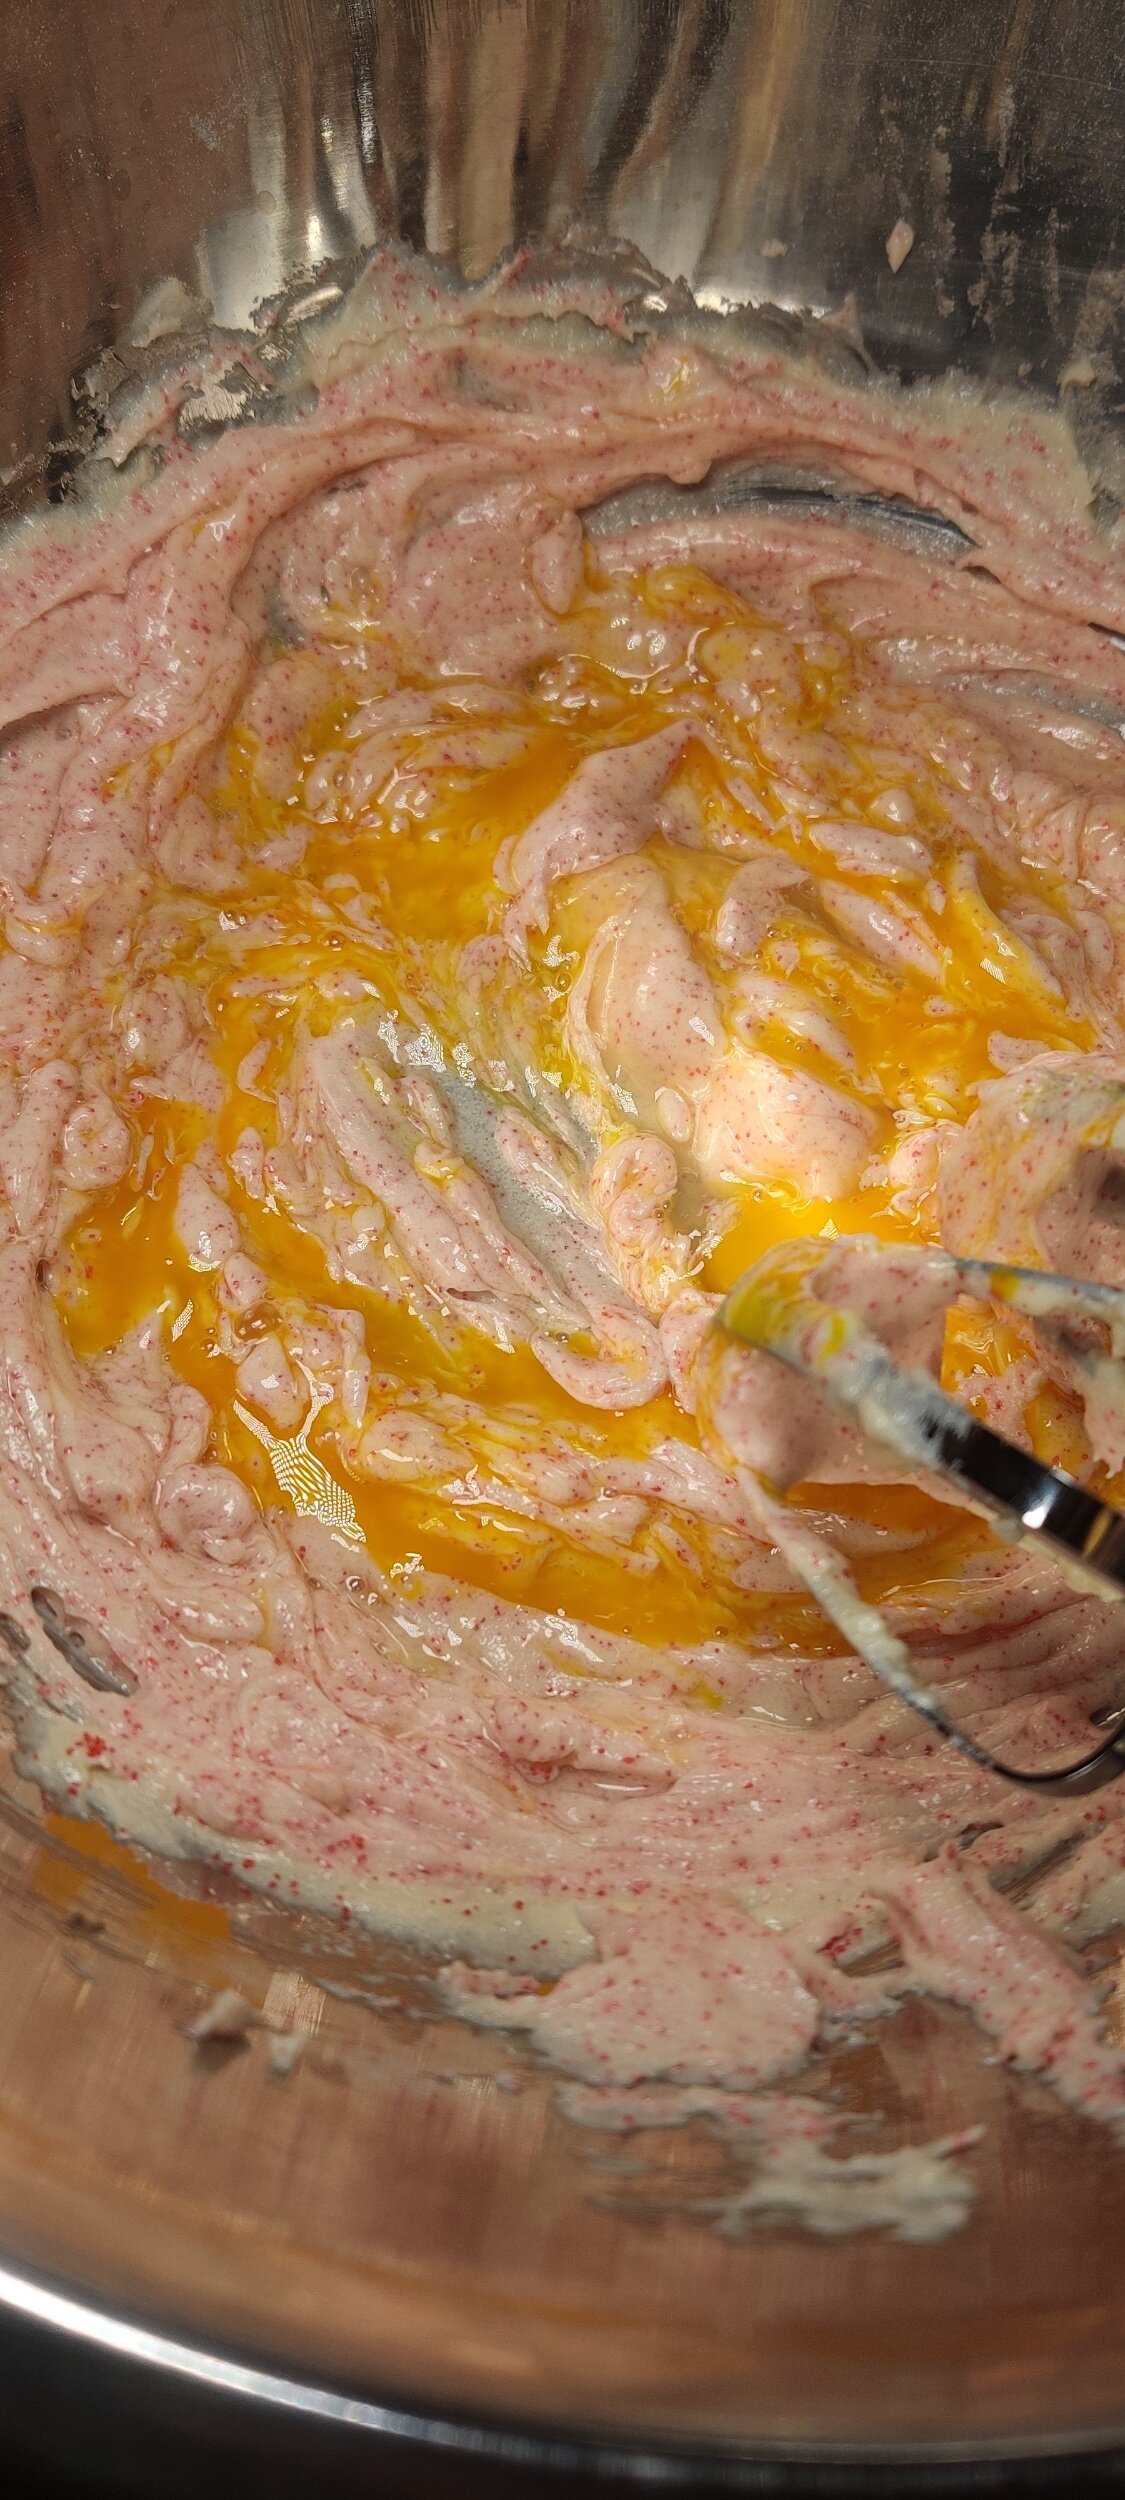
- Whisk in the red sprinkles, followed by the egg. The mixture will turn pink.
- Add the flour mixture to the large bowl, mix into a soft dough with a spatula. All the flour should be wet/mixed in well.
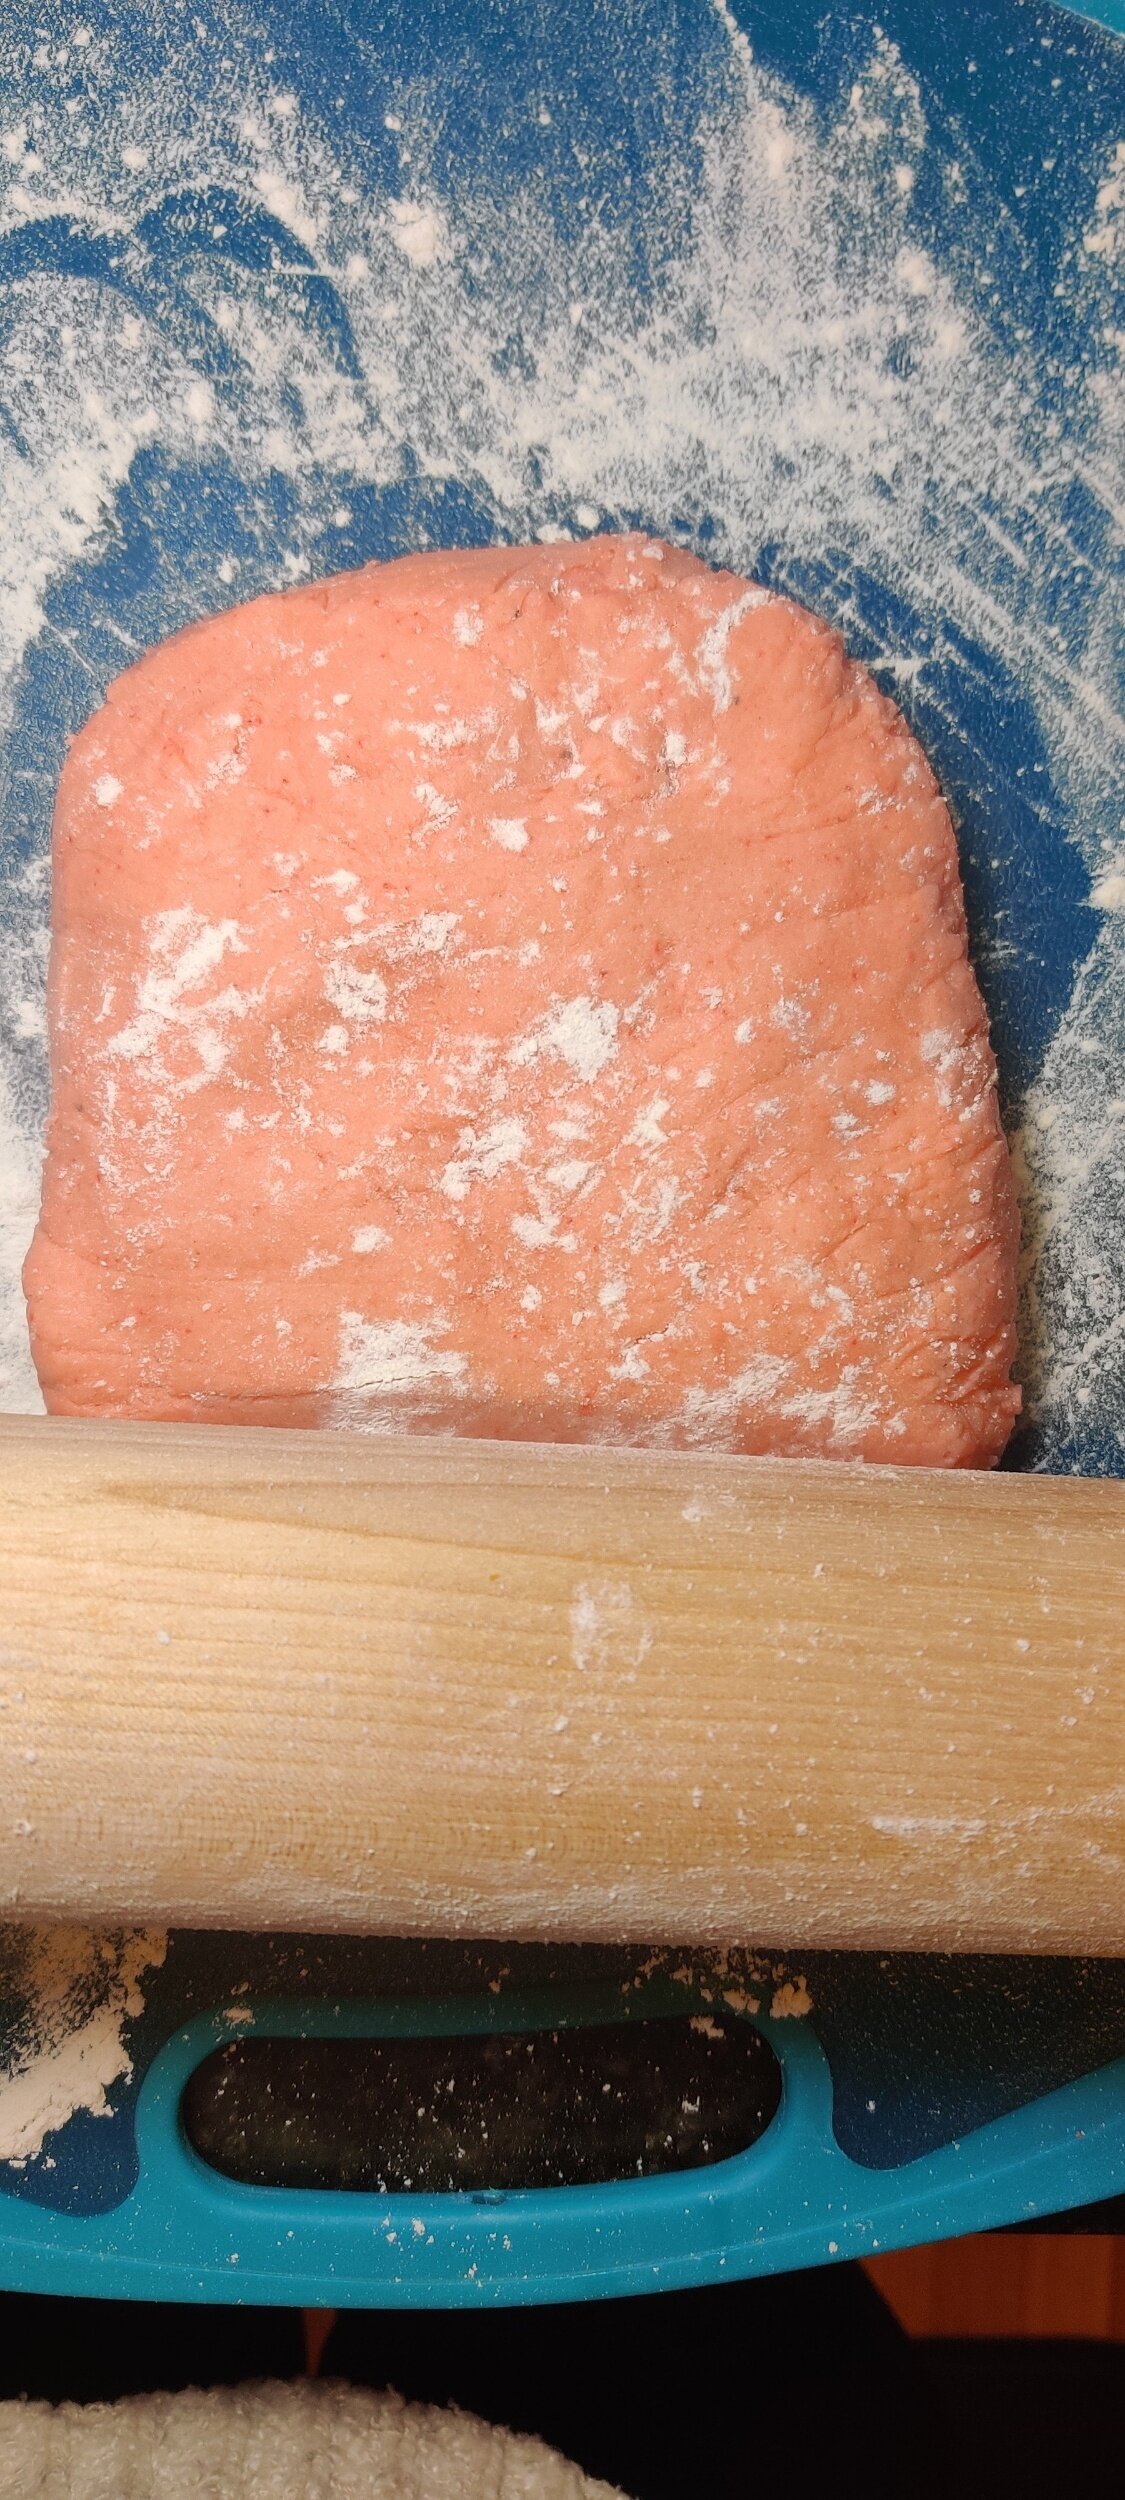
- Transfer the dough to a large piece of cling wrap, then wrap into a flat-like disc. Chill for 1-2 hours.
- On a lightly floured surface, roll out the dough to about a 1/2 inch. Be gentle! The dough is quite delicate.
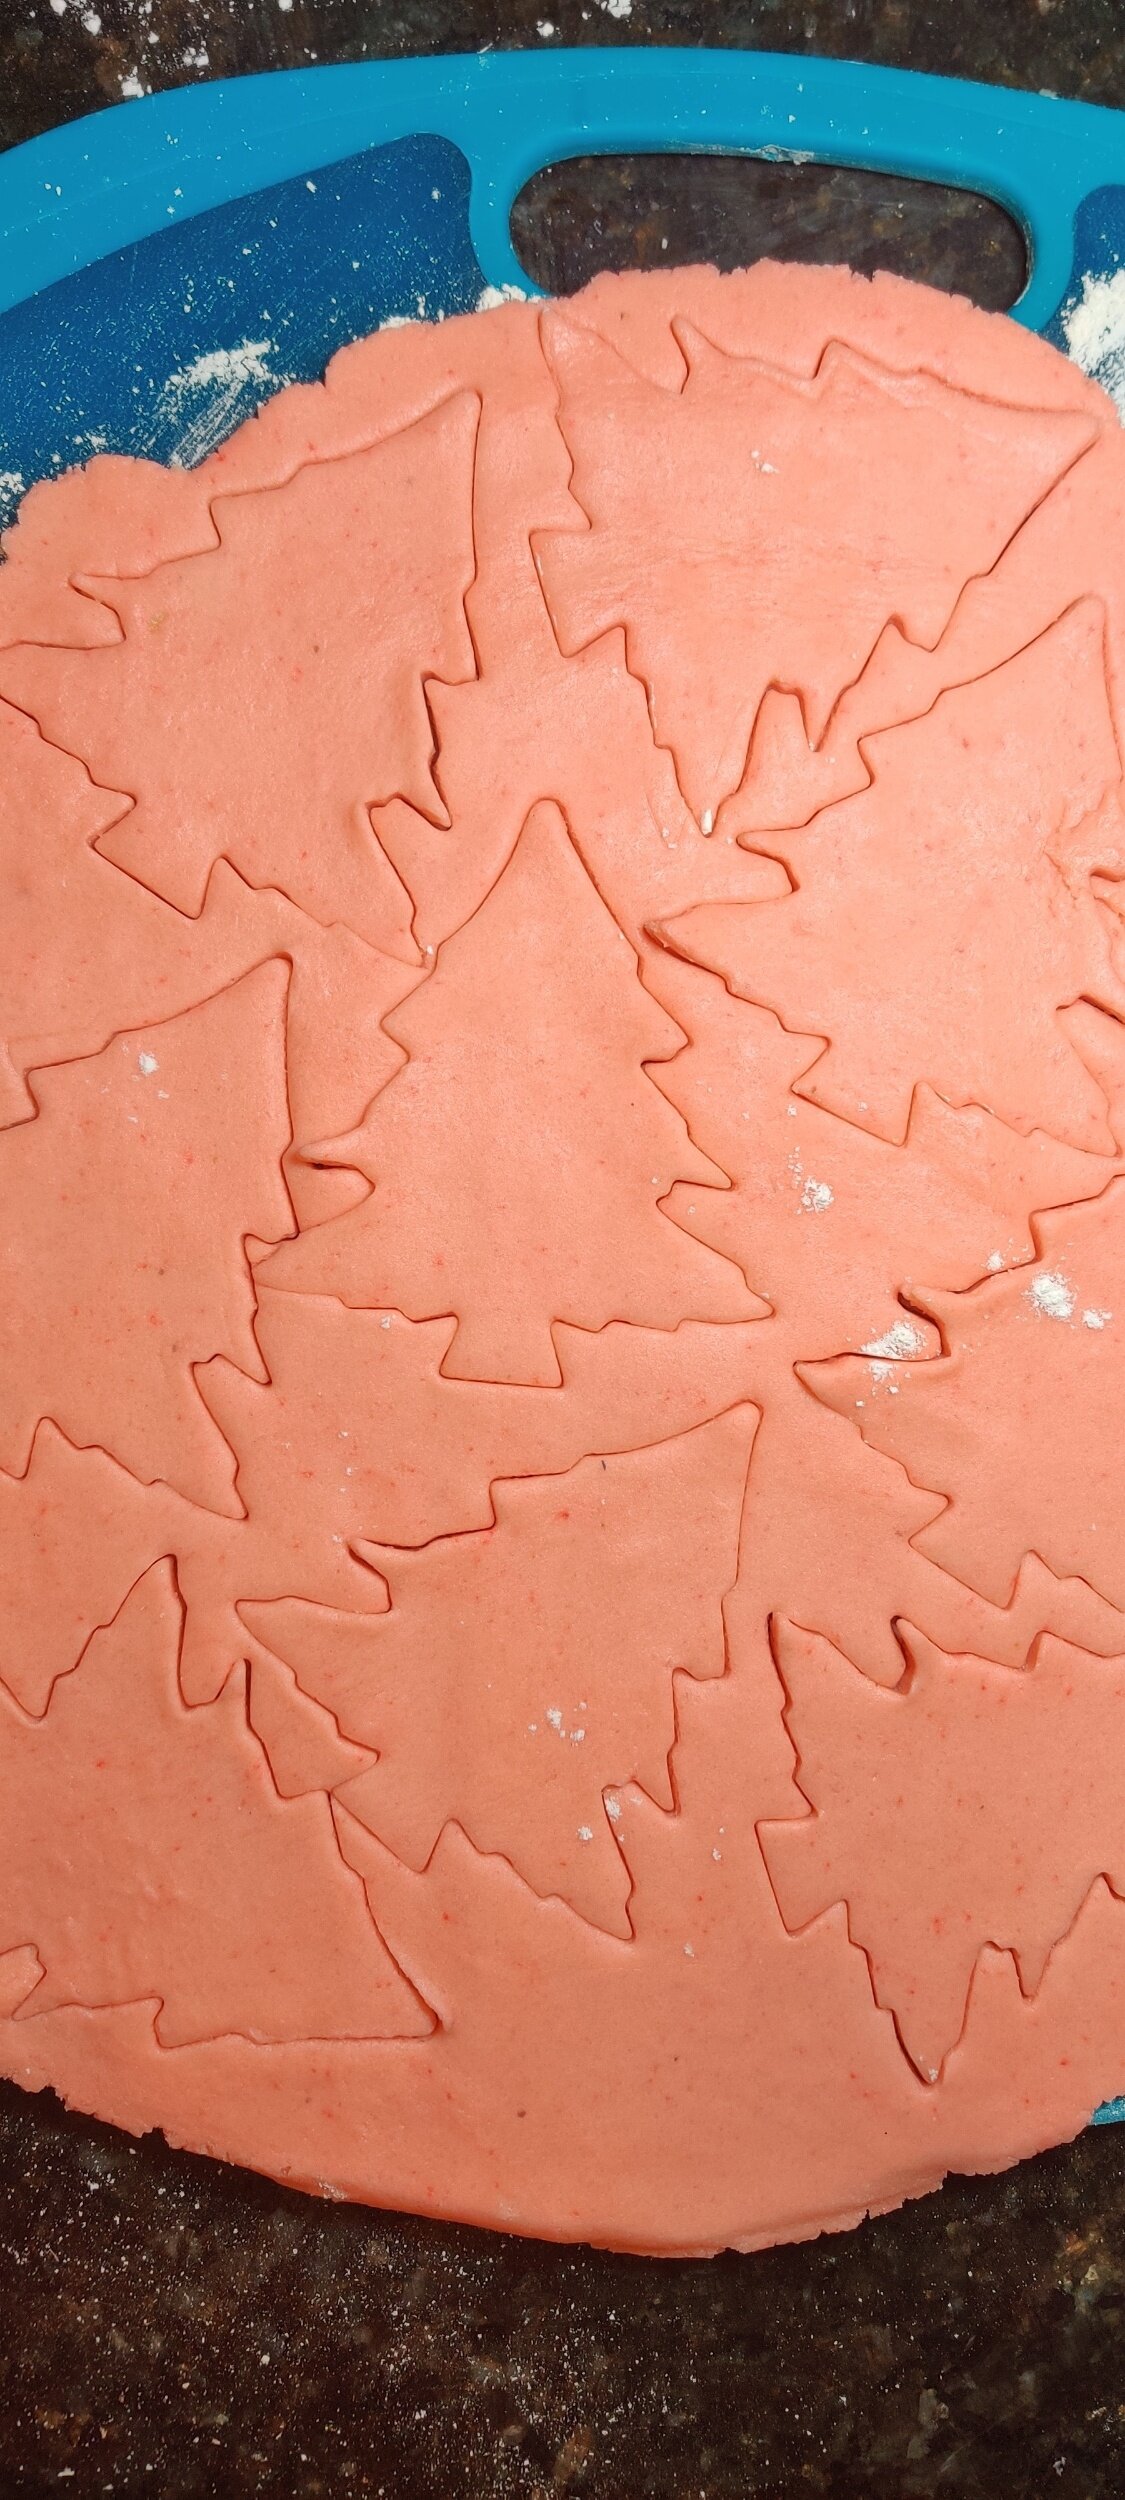
- Use a cookie cutter of your choice, and make an incision in the middle of every other cookie. Remember, you will be making little sandwiches.
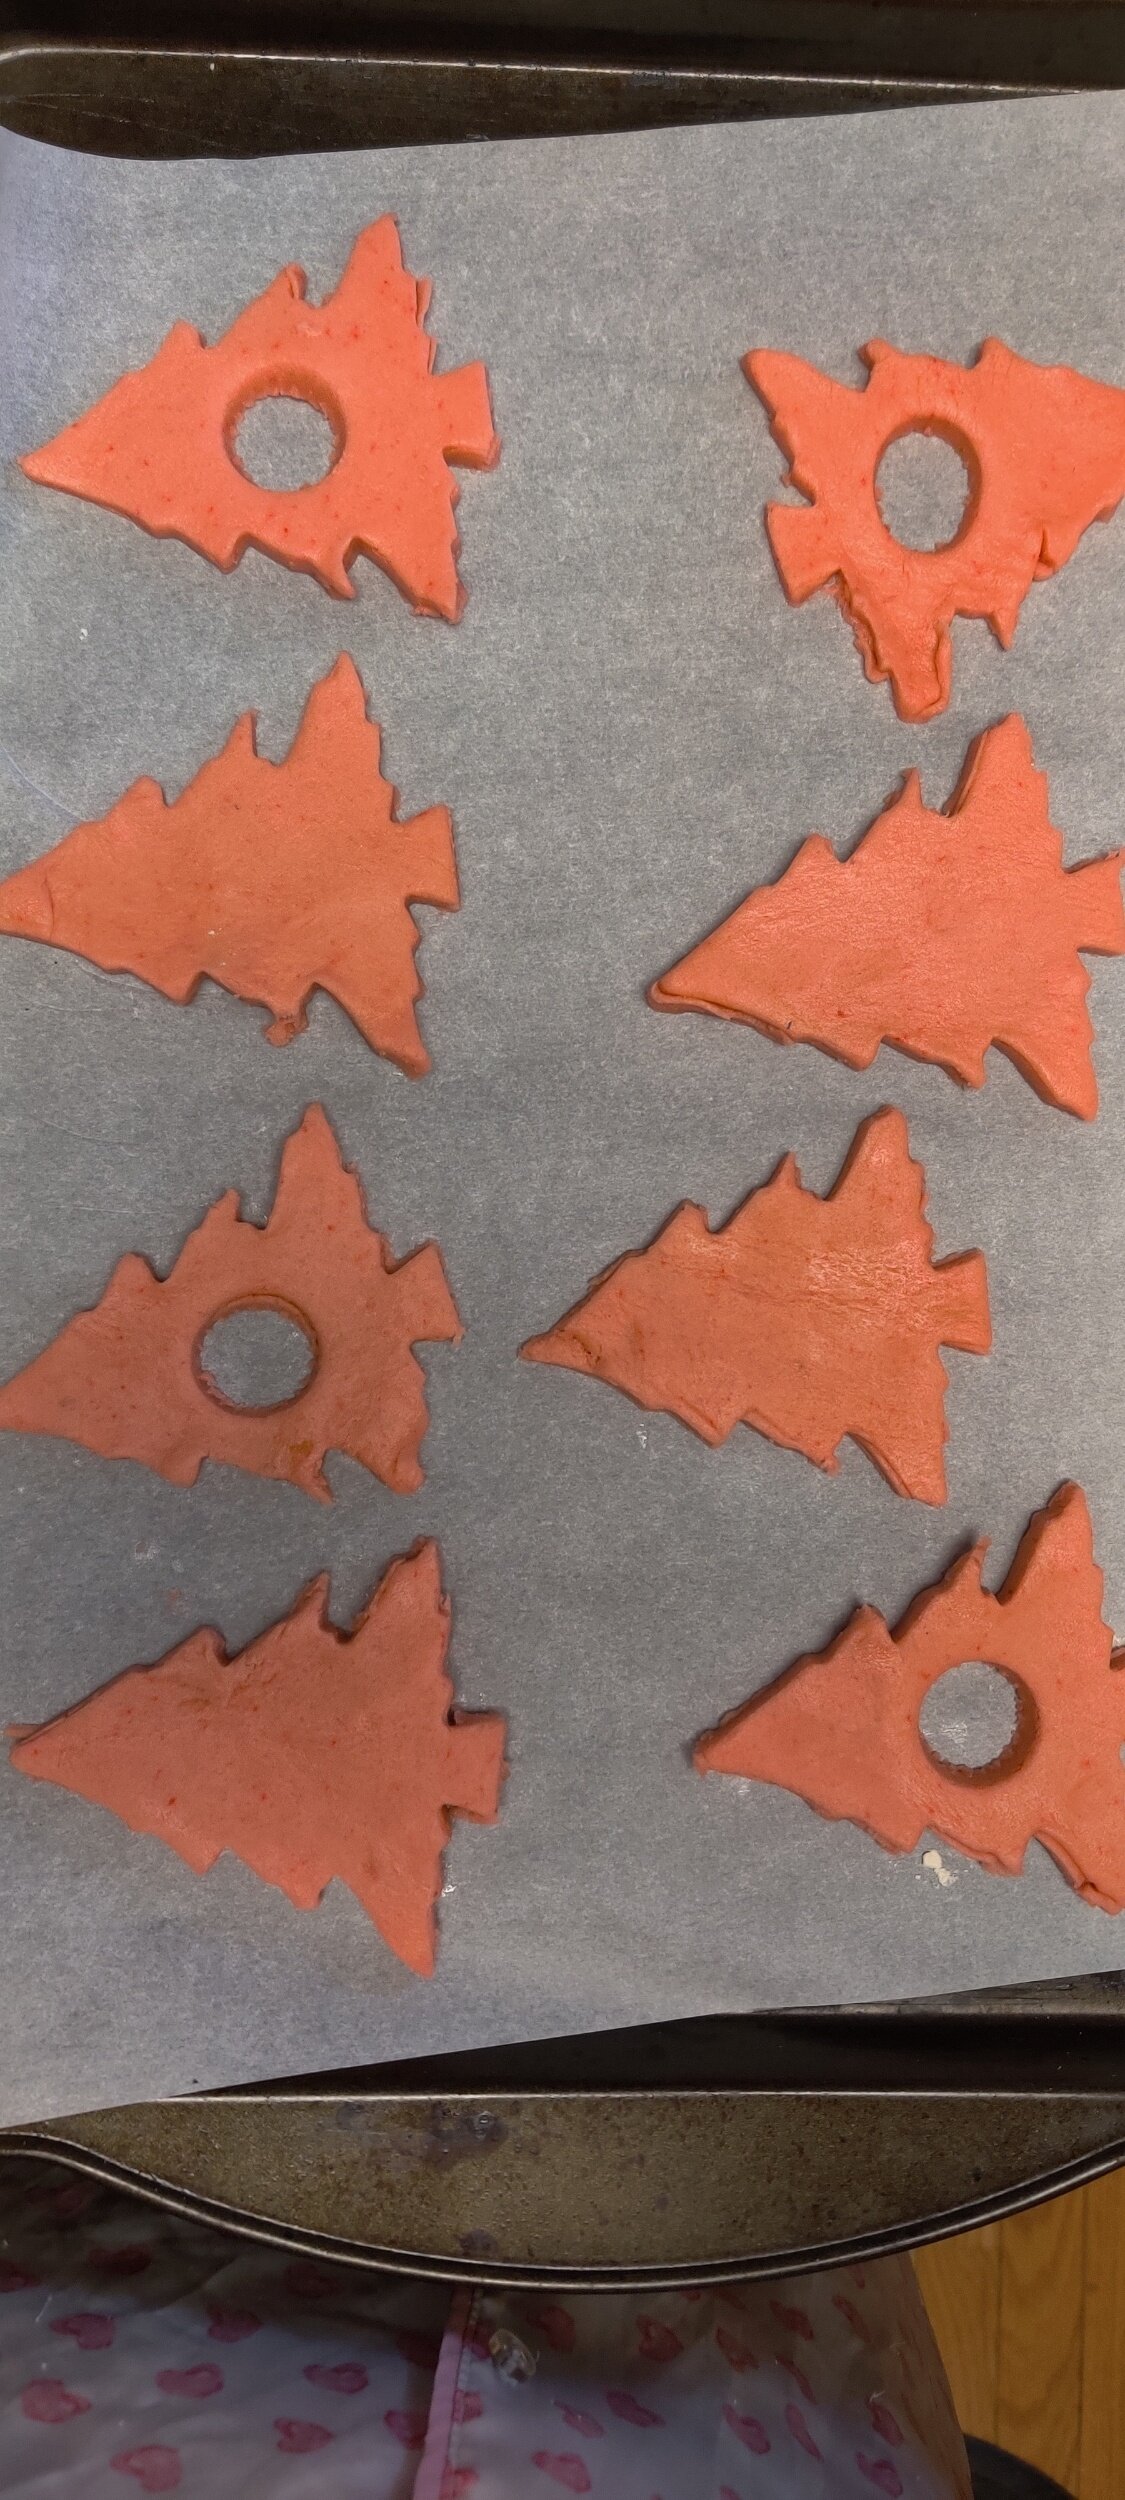
- Lay them on a baking tray with parchment paper and bake for 350F for 10 minutes in batches. If you need to, you can chill for at least 10 minutes before baking. Set aside to cool.
- Place a dollop of the dulce de leche in the middle of the whole side, and smear or pipe a dollop in the middle before or after closing each cookie. Dust with icing sugar and serve.
Nutrition Facts
Calories
191Fat (grams)
6.6 gCarbs (grams)
31.7 gFiber (grams)
2.8 gSugar (grams)
15.7 gProtein (grams)
3.5 gI am not a certified nutritionist and any nutritional information on dontmissmyplate.com should only be used as a general guideline.

Here are some helpful tips for making perfect Linzer biscuits:
1. Use Fresh, High-Quality Ingredients
The flavor of Linzer biscuits depends on the quality of ingredients, especially the butter, ground nuts, and jam. Choose unsalted butter, finely ground almonds or hazelnuts, and a high-quality jam for the best results.
2. Chill the Dough
Linzer dough can be delicate because of the high butter content. Chill the dough for at least 30 minutes (or longer) to make it easier to roll out and cut.
3. Roll Dough Between Cling Film or Parchment Paper
To prevent sticking and tearing, roll the dough between two sheets of parchment paper. This also makes transferring the rolled-out dough to the refrigerator for chilling much easier.
6. Handle with Care
Linzer biscuits can be fragile, especially after cutting. Use an offset spatula or knife to gently transfer them to the baking sheet.
7. Bake Evenly
Arrange cookies on the baking sheet with enough space to prevent overcrowding. Rotate the baking sheet halfway through to ensure even baking.
8. Don’t Overbake
The cookies should be light golden at the edges and not browned. Overbaking can make them dry and too brittle.
9. Let Cool Completely
Allow the cookies to cool fully on a wire rack before assembling. Warm cookies are more likely to break when handled.
11. Lightly Dust with Powdered Sugar
Dust the tops of the cookies with powdered sugar before assembling to keep the jam filling clean and vibrant.
12. Assemble Carefully
Spread a thin, even layer of jam (or whichever filing) on the base cookie. Avoid overfilling to prevent it from oozing out when the top cookie is pressed down.
13. Store Properly
Store assembled cookies in an airtight container at room temperature or in the fridge, separating layers with parchment paper to avoid sticking. They often taste better the next day as the flavors meld.
14. Customize the Look
Experiment with different shapes for the cut-out center (stars, hearts, flowers) to match the occasion or season.
15. Be Patient
Linzer biscuits are a labor of love, but the effort is worth it for their beautiful appearance and delicious taste. Take your time with each step to achieve stunning results.

Gingerbread Man Biscuits
A Sweet Tradition of Gingerbread Biscuits
There’s something magical about the aroma of gingerbread biscuits wafting through the kitchen. These spiced delights have been a beloved part of holiday traditions for centuries, bringing warmth, joy, and a touch of nostalgia to gatherings around the world. With their perfect balance of sweetness and spice, gingerbread biscuits are not just a treat—they’re an experience.
Whether you’re crafting elaborate gingerbread houses, decorating whimsical cookie shapes, or simply enjoying a cozy moment with a cup of tea, these biscuits are as versatile as they are delicious.
Keep this recipe on deck during the holidays or for any occasion. Lightly spiced and flavourful they are a treat for tea time or dunking in some hot chocolate.
It took me a while to truly appreciate what ginger and spices can do as an adult, but when it came to gingerbread or ‘gingersnap’ biscuits, my grandmother built the love by offering them to me as a child alongside a cup of tea. There was something about the medley of spices, brown sugar and honey (or molasses), and that oh so slightly bitter taste from the ginger root.
If you want a different take on these, try my Ginger Biscuit Snickerdoodles.
Gingerbread biscuits hold a special place in my heart because my grandmother always had a tin full when my siblings and I would visit.
You'll want to store these in an airtight container and eat them within 3-4 days to preserve their freshness.
Tips to Consider While Making Your Gingerbread Biscuits!
Chill the Dough
Refrigerate your dough for at least 30 minutes before rolling it out. This helps the dough firm up, making it easier to handle and less likely to stick to your rolling pin or work surface.Roll Evenly
Use rolling pin guides or two wooden dowels of equal thickness on either side of the dough to ensure an even roll. This guarantees evenly baked biscuits with consistent texture.Use Parchment Paper or a Silicone Mat
Roll out your dough between two sheets of parchment paper or on a silicone baking mat. This prevents sticking and makes transferring the cut shapes to the baking tray easier.Don’t Overmix the Dough
Mix the dough just until the ingredients are combined. Overmixing can lead to tough biscuits as it activates too much gluten in the flour.Choose the Right Spices
Use fresh, high-quality spices like ginger, cinnamon, nutmeg, and cloves for the best flavor. Grinding whole spices yourself will make the flavor even more vibrant.Plan for Cookie Spread
Space your biscuits at least an inch apart on the baking sheet to prevent them from sticking together as they bake.Monitor Baking Time
Keep a close eye on your biscuits in the oven. They can quickly go from perfectly baked to overdone. Take them out when the edges are firm but the centers are still slightly soft—they’ll firm up as they cool.Cool Completely Before Decorating
Let your biscuits cool completely before adding icing or decorations. Warm biscuits can cause the icing to melt and ruin your designs.Customize Texture
For softer biscuits, bake slightly less and store in an airtight container with a slice of bread to retain moisture. For crispier biscuits, bake a little longer and let them cool completely on a wire rack.Get Creative with Decorations
Use royal icing, colored sugar, sprinkles, or edible glitter to personalize your gingerbread biscuits. Let kids join the fun—it’s a perfect family activity!

Gingerbread Man Biscuits
Ingredients
- 3 cups whole wheat white or all-purpose flour
- 1/2 cup honey or molasses
- 1 1/2 teaspoons ginger, ground
- 1 tablespoon cinnamon, ground
- 1/2 teaspoon cloves, ground
- 1/2 teaspoon nutmeg, ground
- 1 teaspoon salt
- 1 teaspoon vanilla extract
- 1/2 teaspoon almond extract
- 3/4 cup light brown sugar
- 1 egg
- 3/4 cup butter, melted
- 1 teaspoon baking soda
- 1/2 cup water
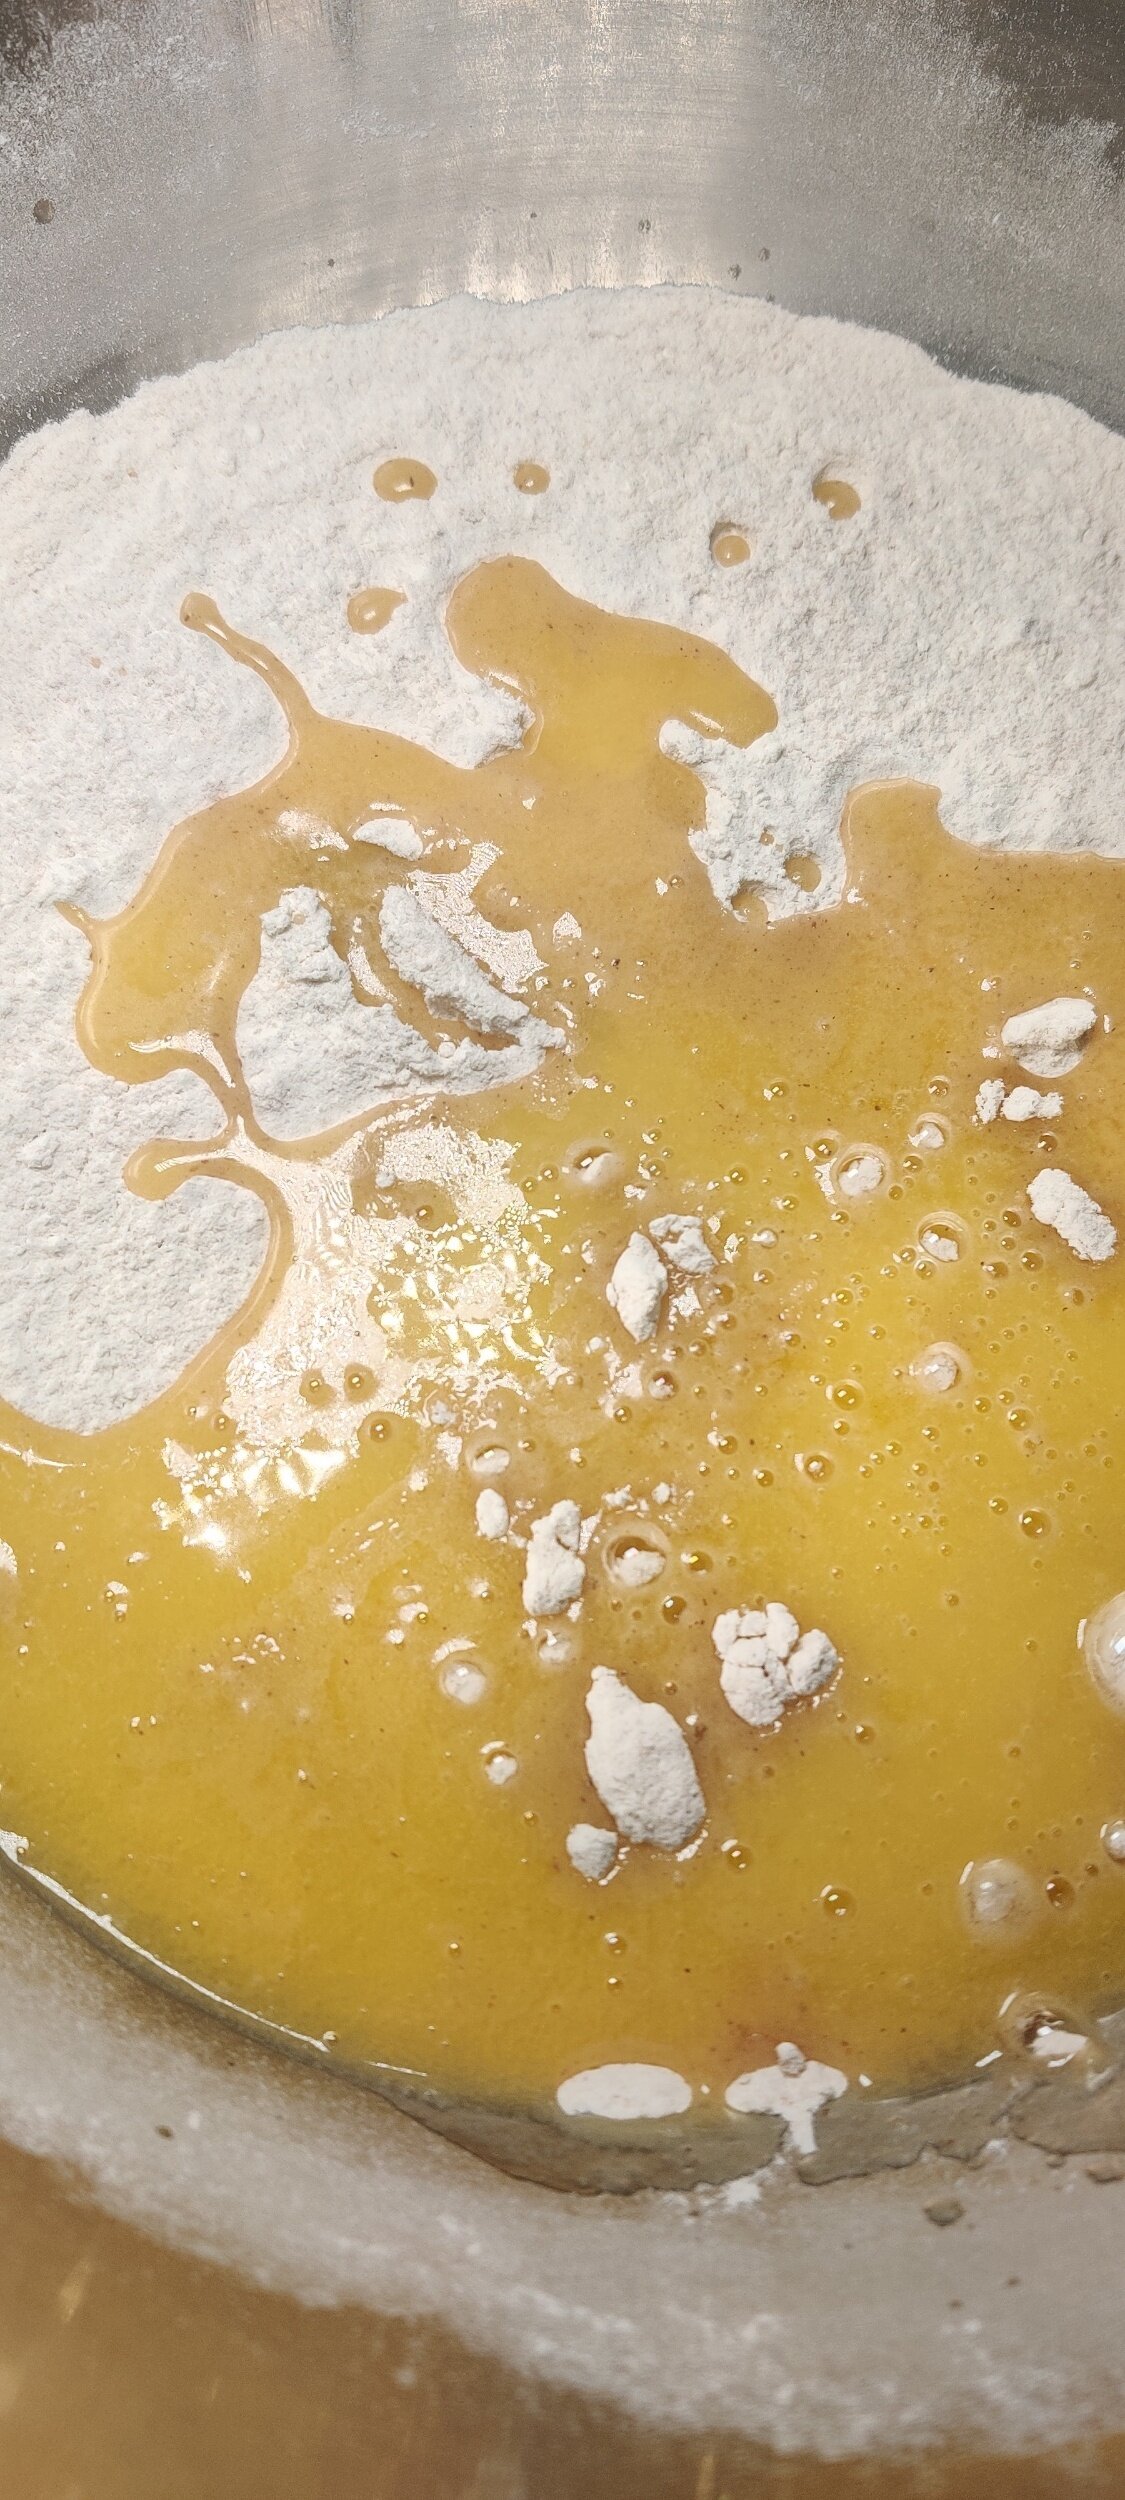
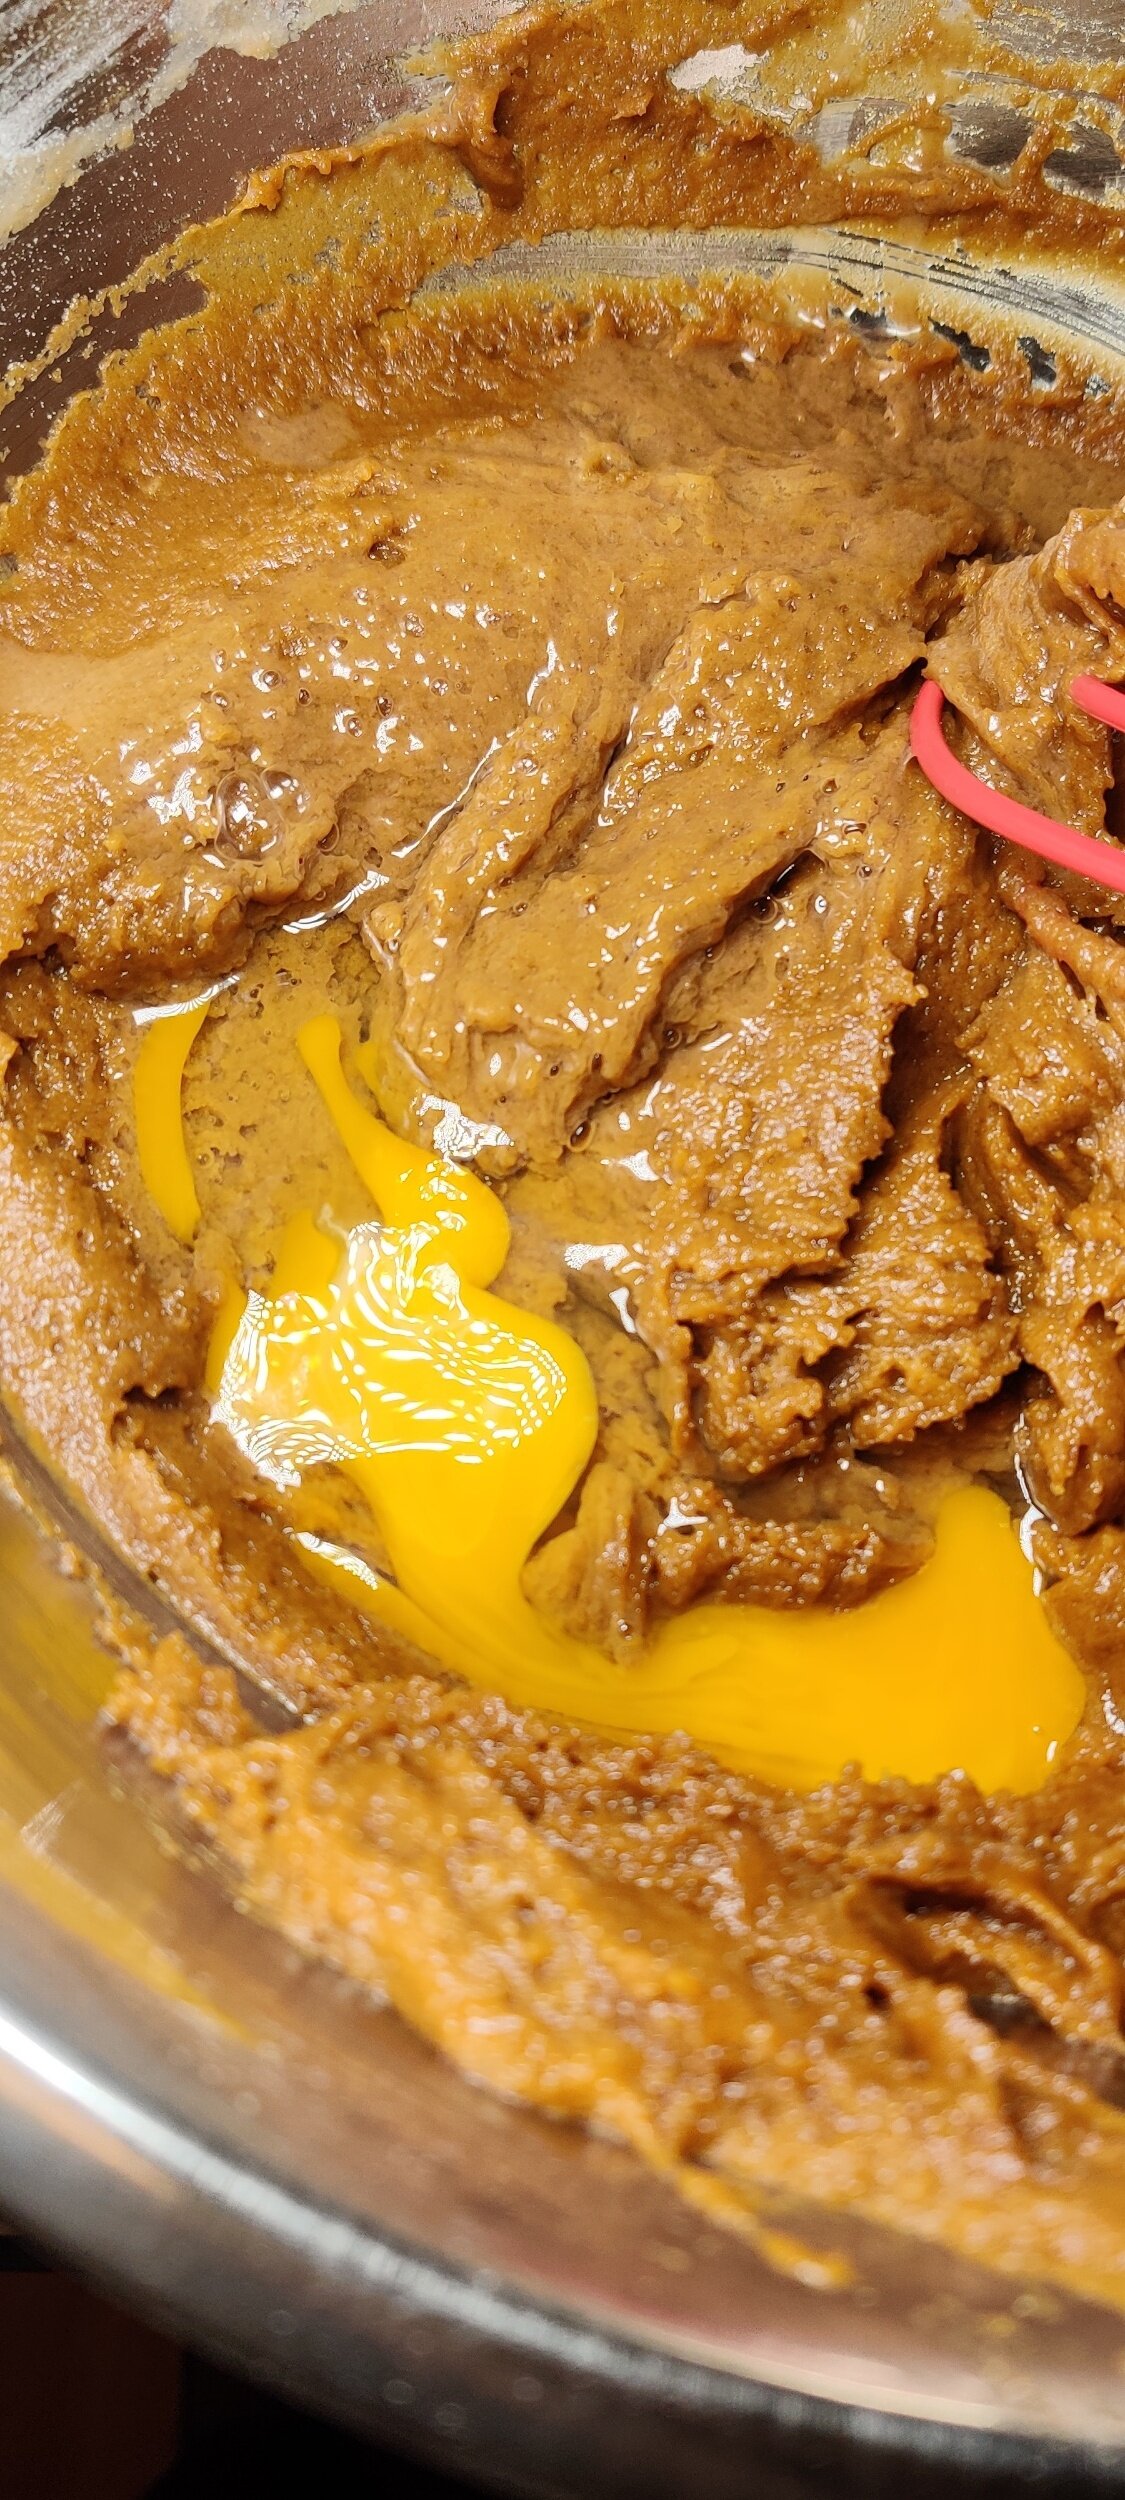
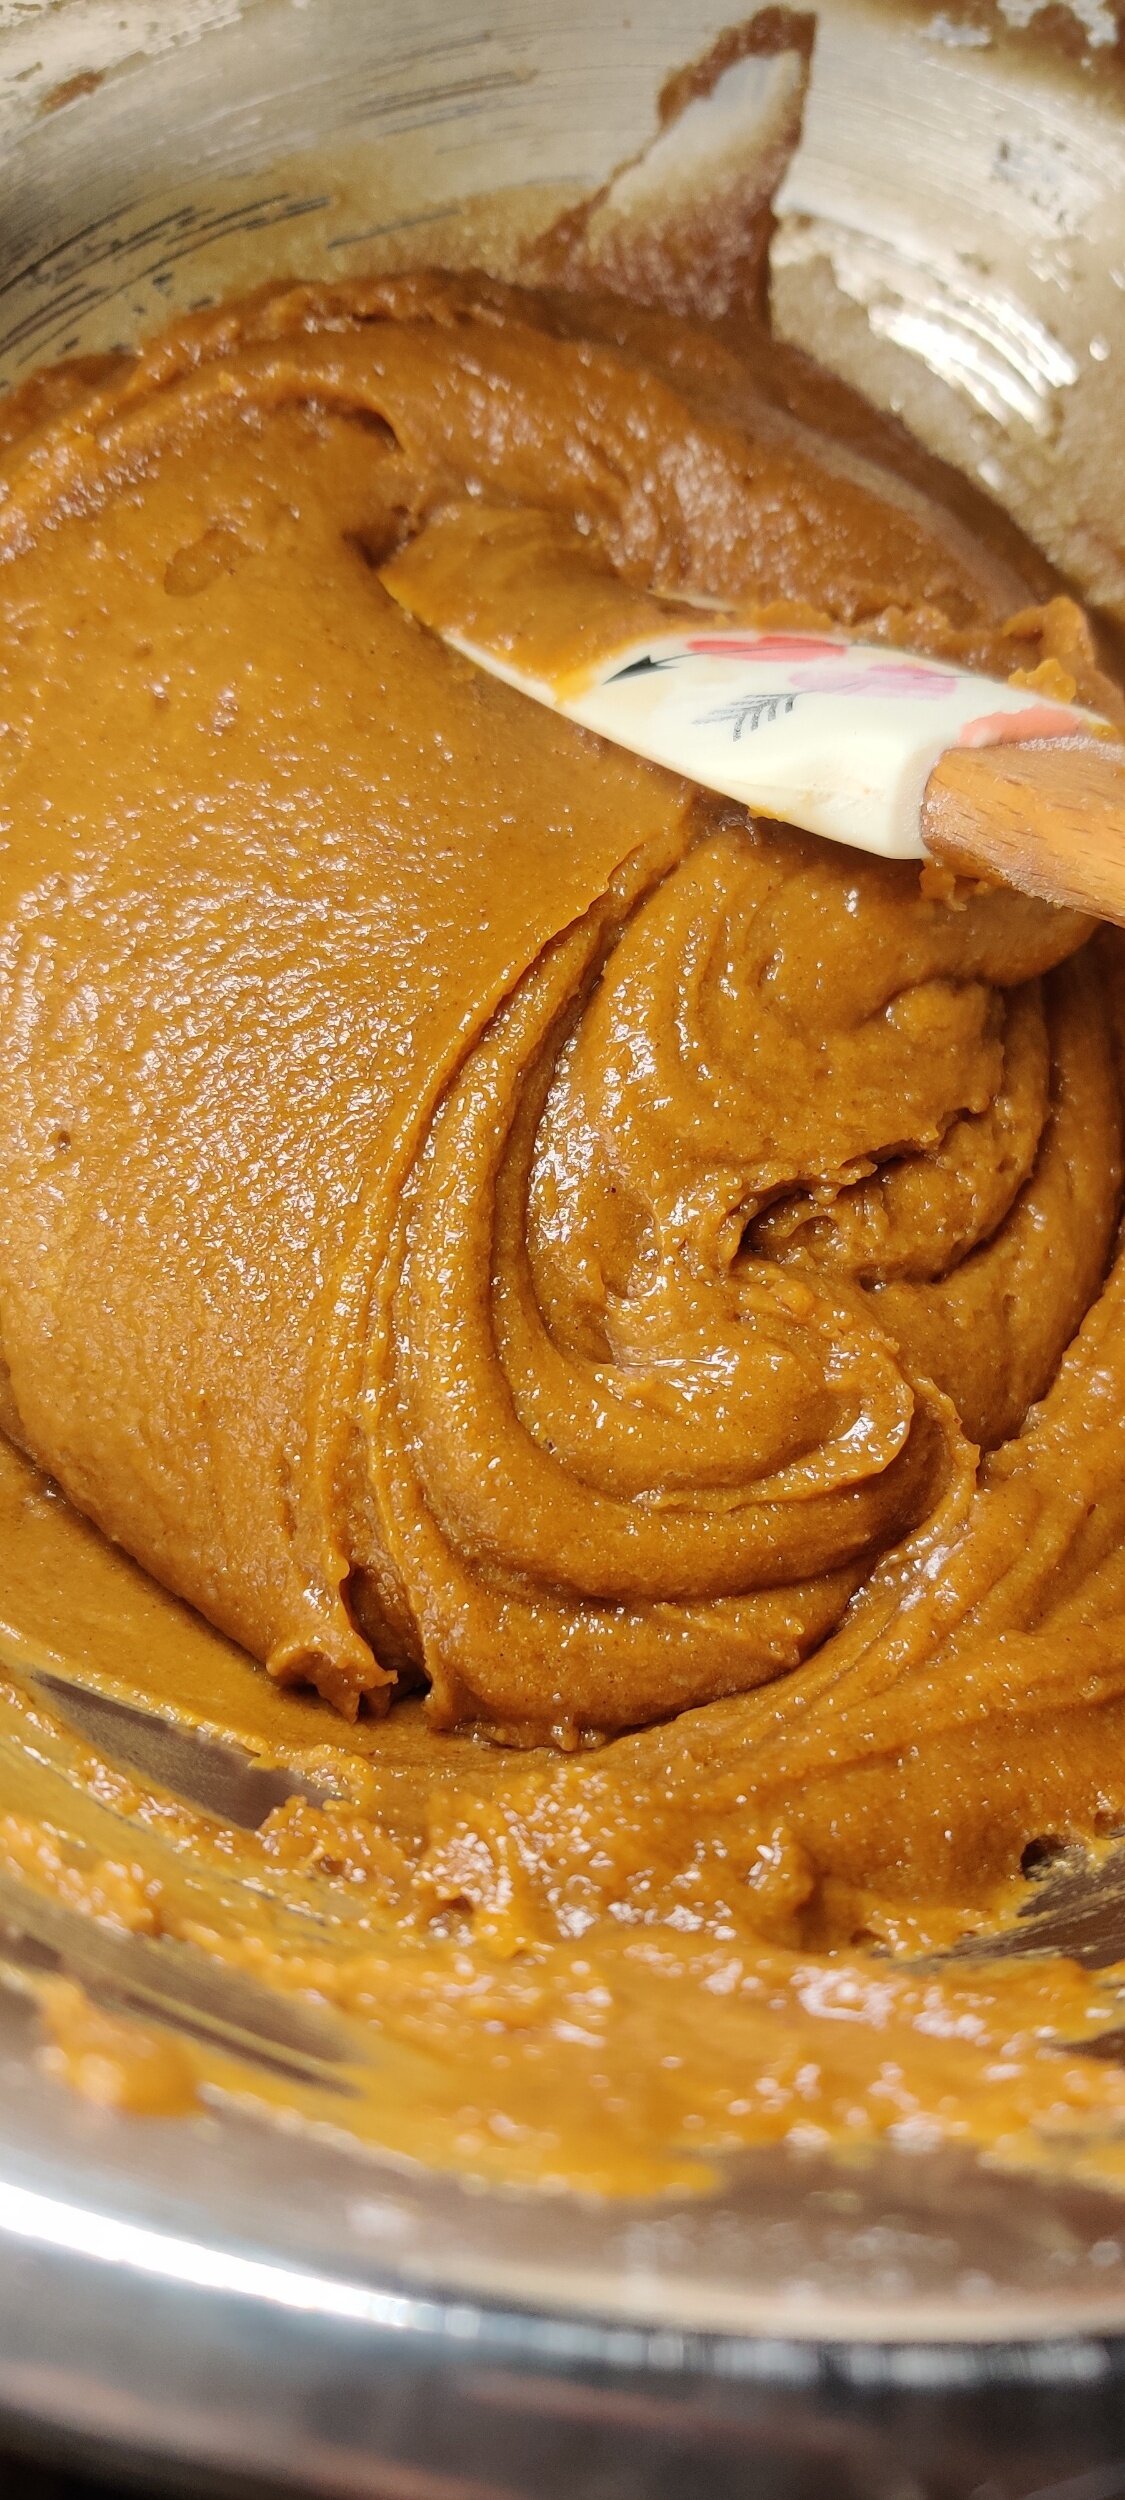
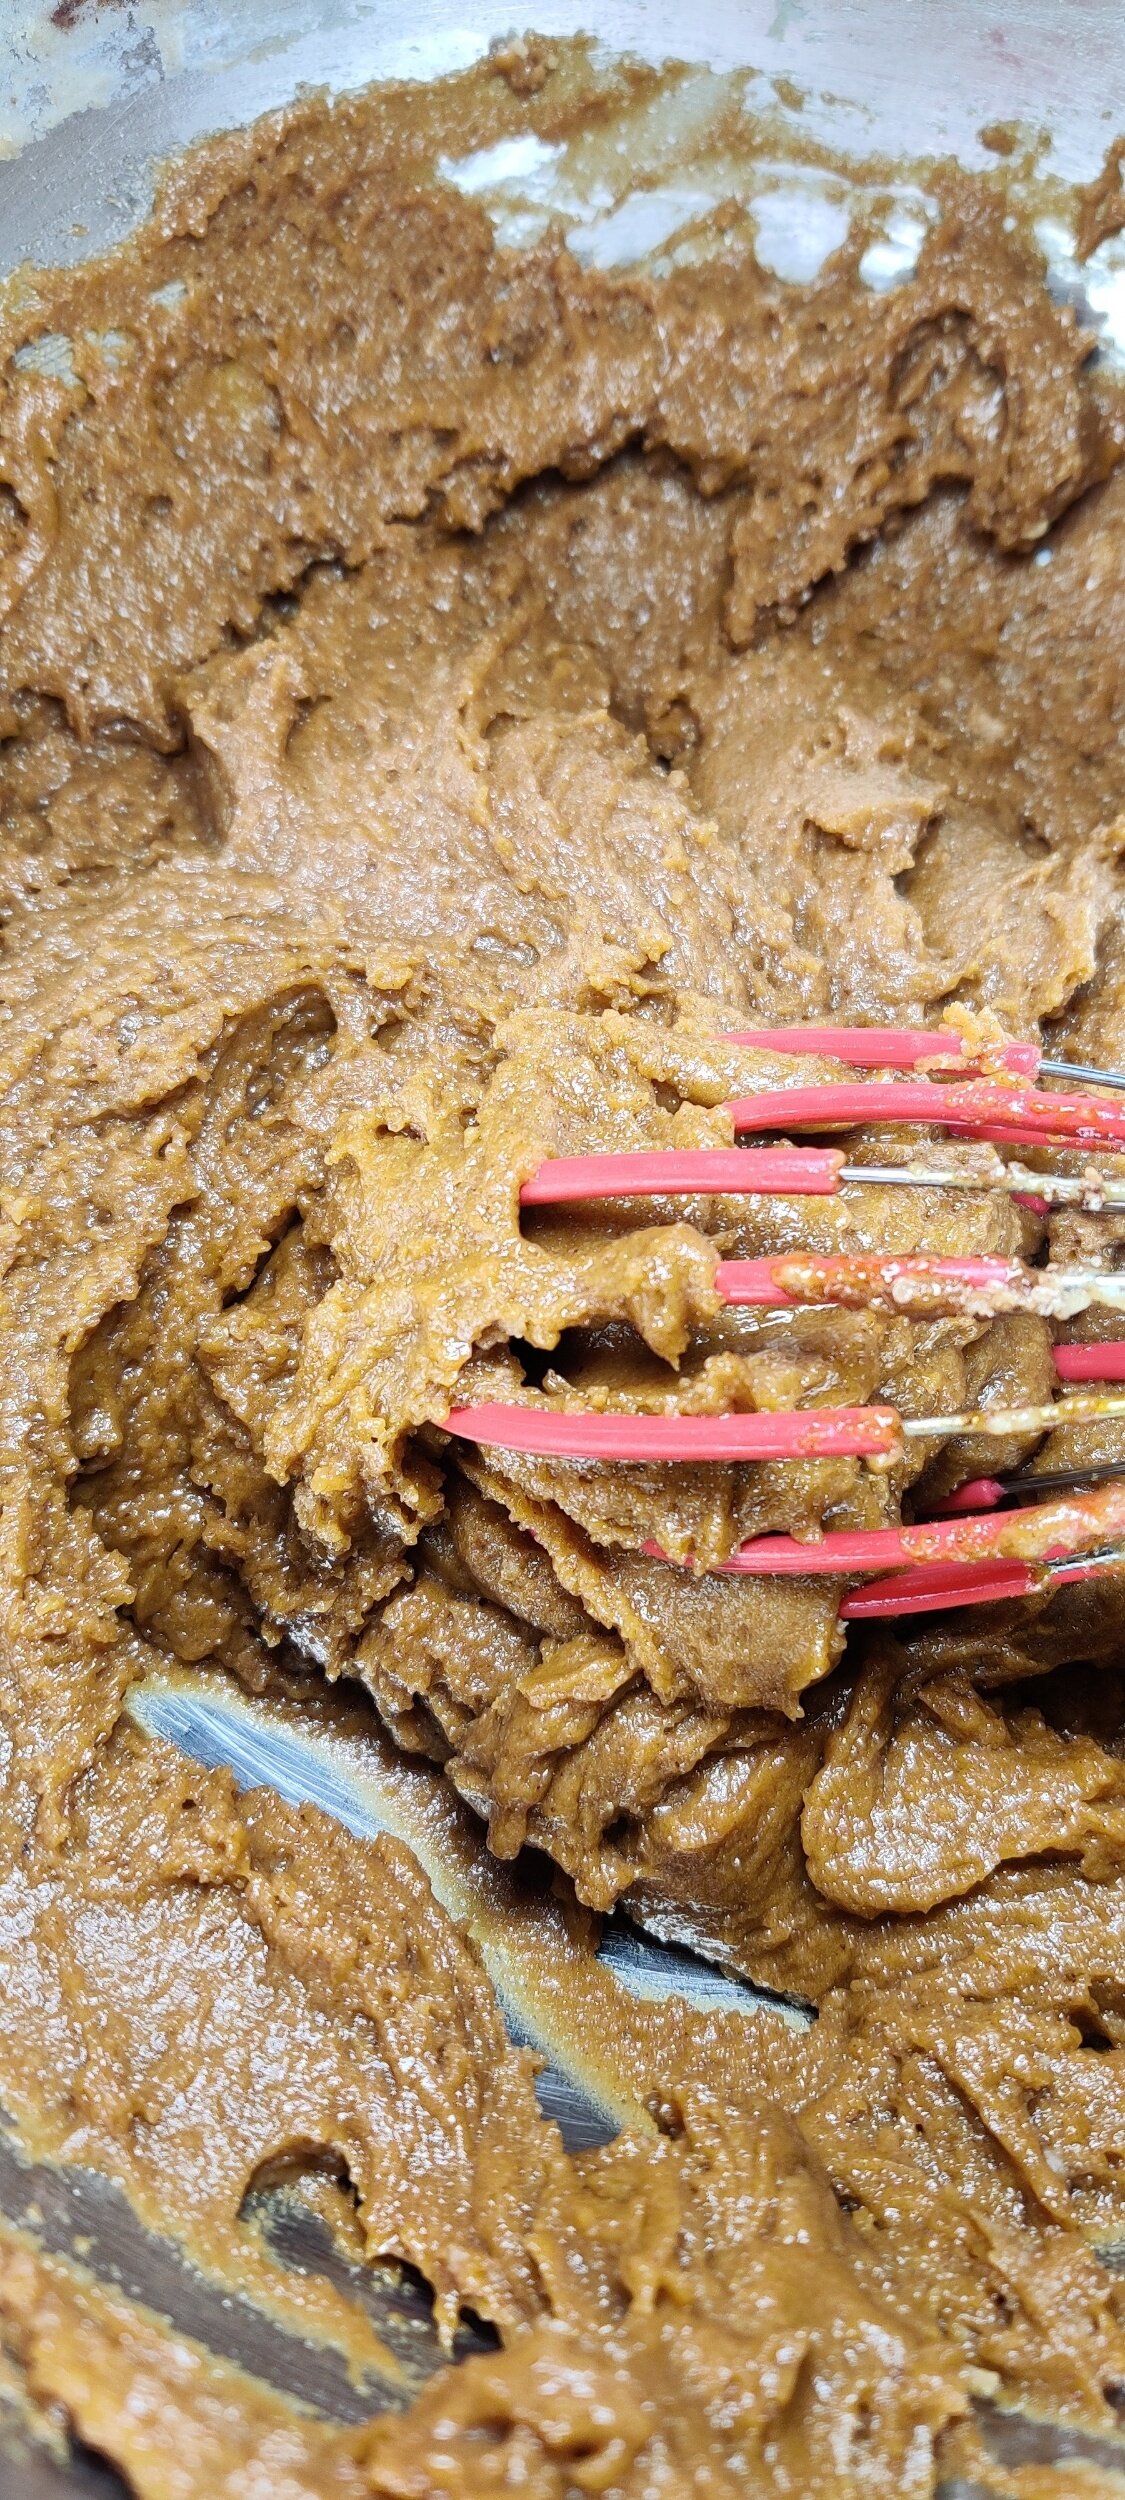
Instructions
- In a large bowl, whisk the flour, sugar, salt, cinnamon, cloves, ginger, nutmeg, and baking soda. Add the butter, honey, egg, vanilla, almond, and water, and mix until it is evenly incorporated and a soft dough forms.
- Dust the dough and a clean surface with a bit of flour to prevent stickiness, and divide the dough into four parts (to make it easier to handle when you roll it out later).
- Shape into discs and cover with cling wrap airtight overnight or for at least 4 hours.
- Roll out each piece of dough with a rolling pin at least a 1/4 inch on a lightly covered surface.
- Using a gingerbread man cutter, shape your cookies and place them on a piece of parchment paper.
- Bake at 350F for 8-10 minutes.
Nutrition Facts
Calories
172Fat (grams)
6.6 gCarbs (grams)
25.4 gFiber (grams)
3.4 gSugar (grams)
7.6 gI am not a certified nutritionist and any nutritional information on dontmissmyplate.com should only be used as a general guideline.


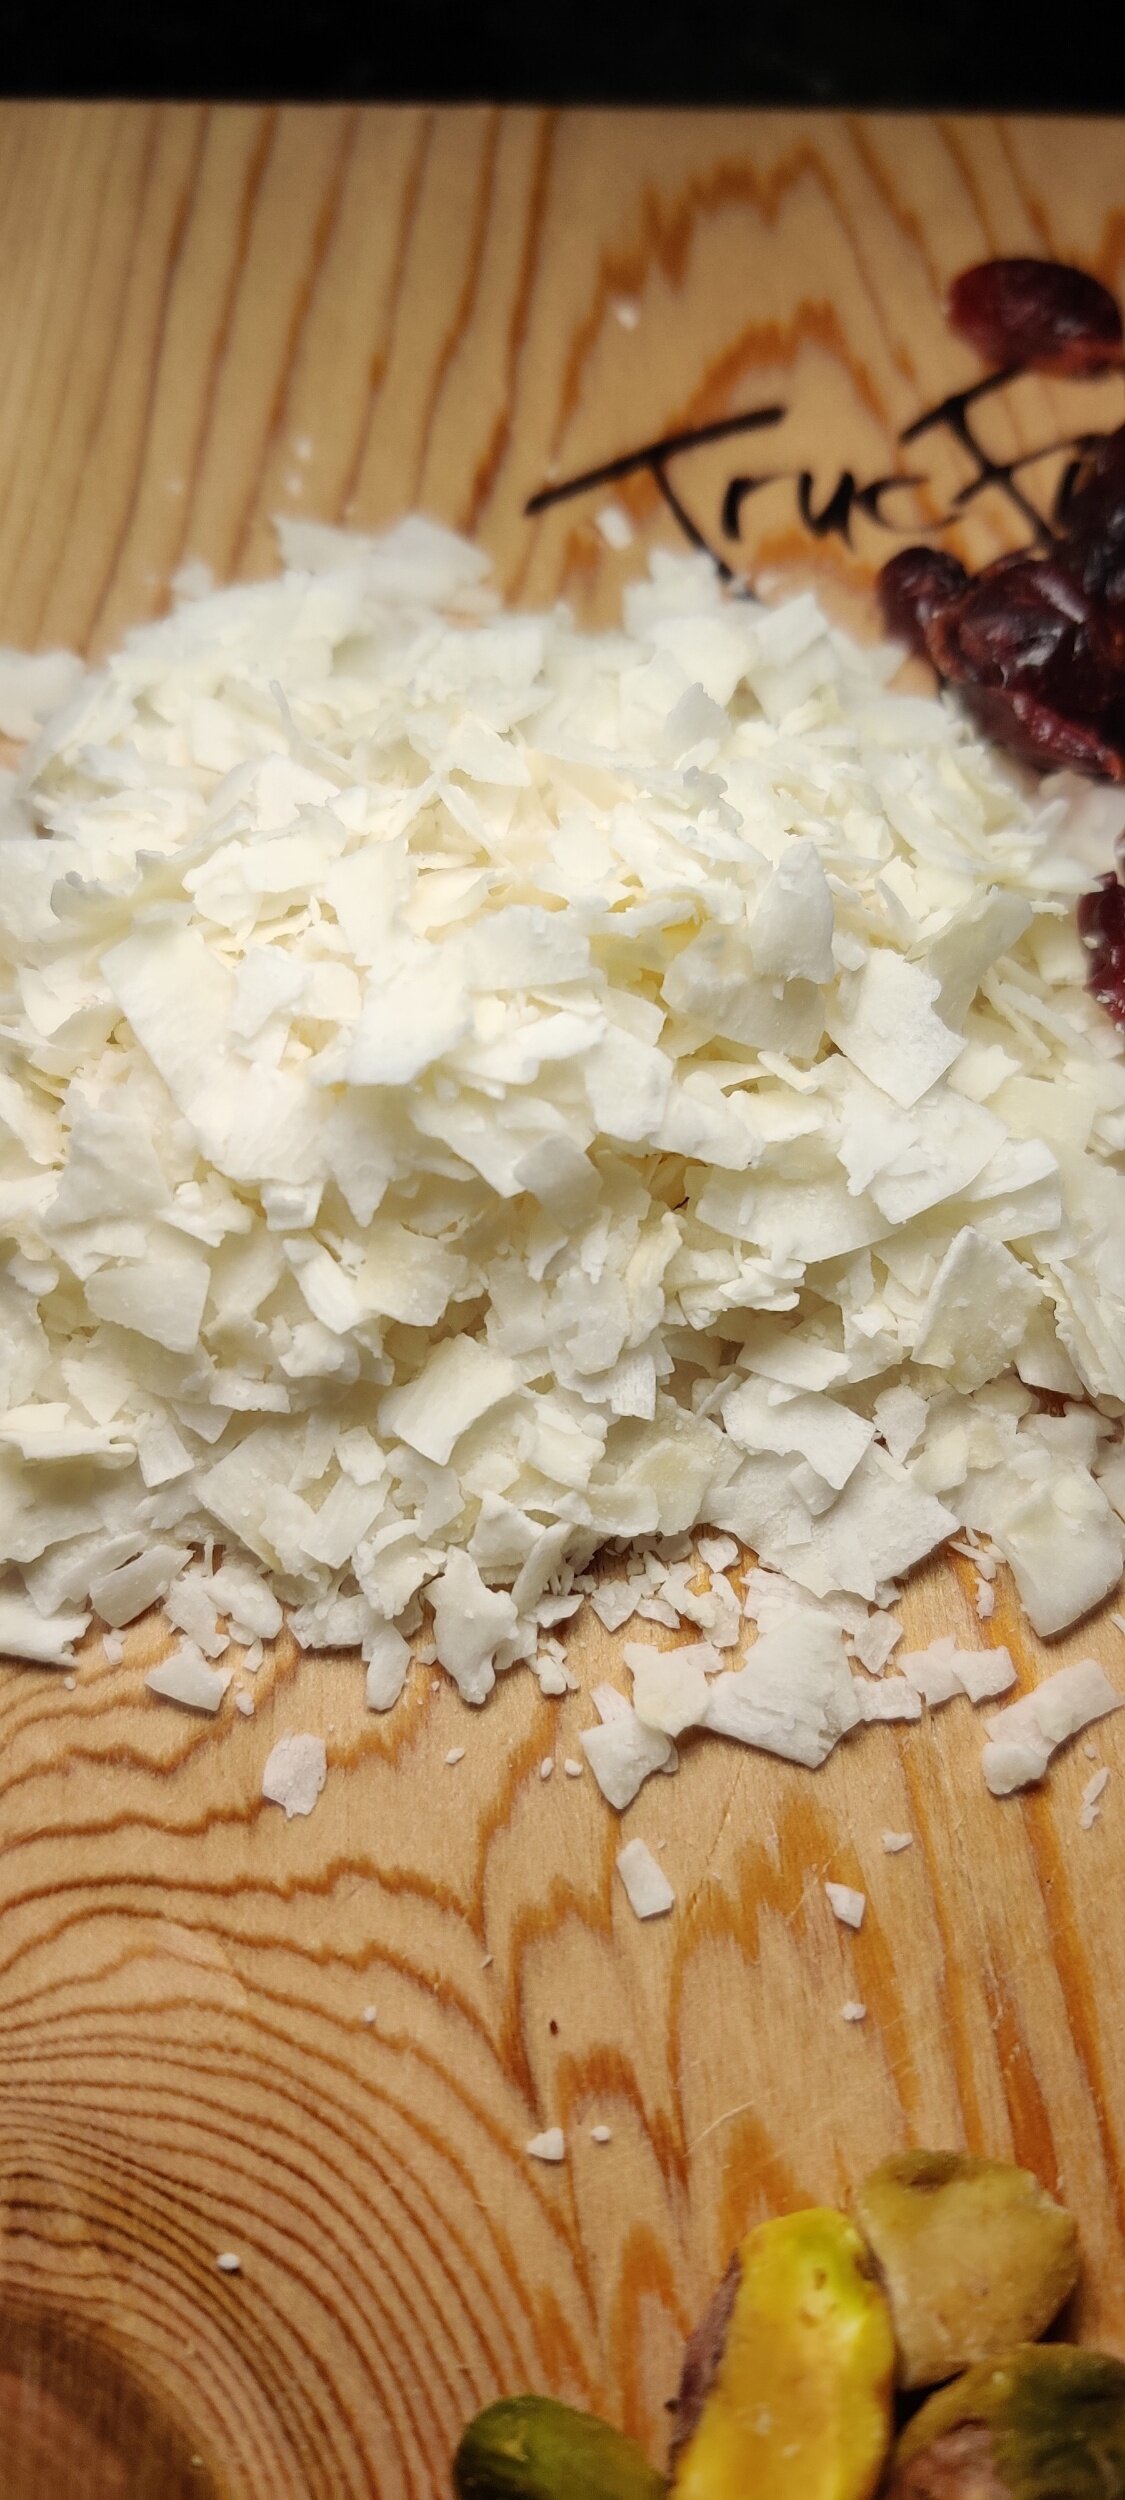
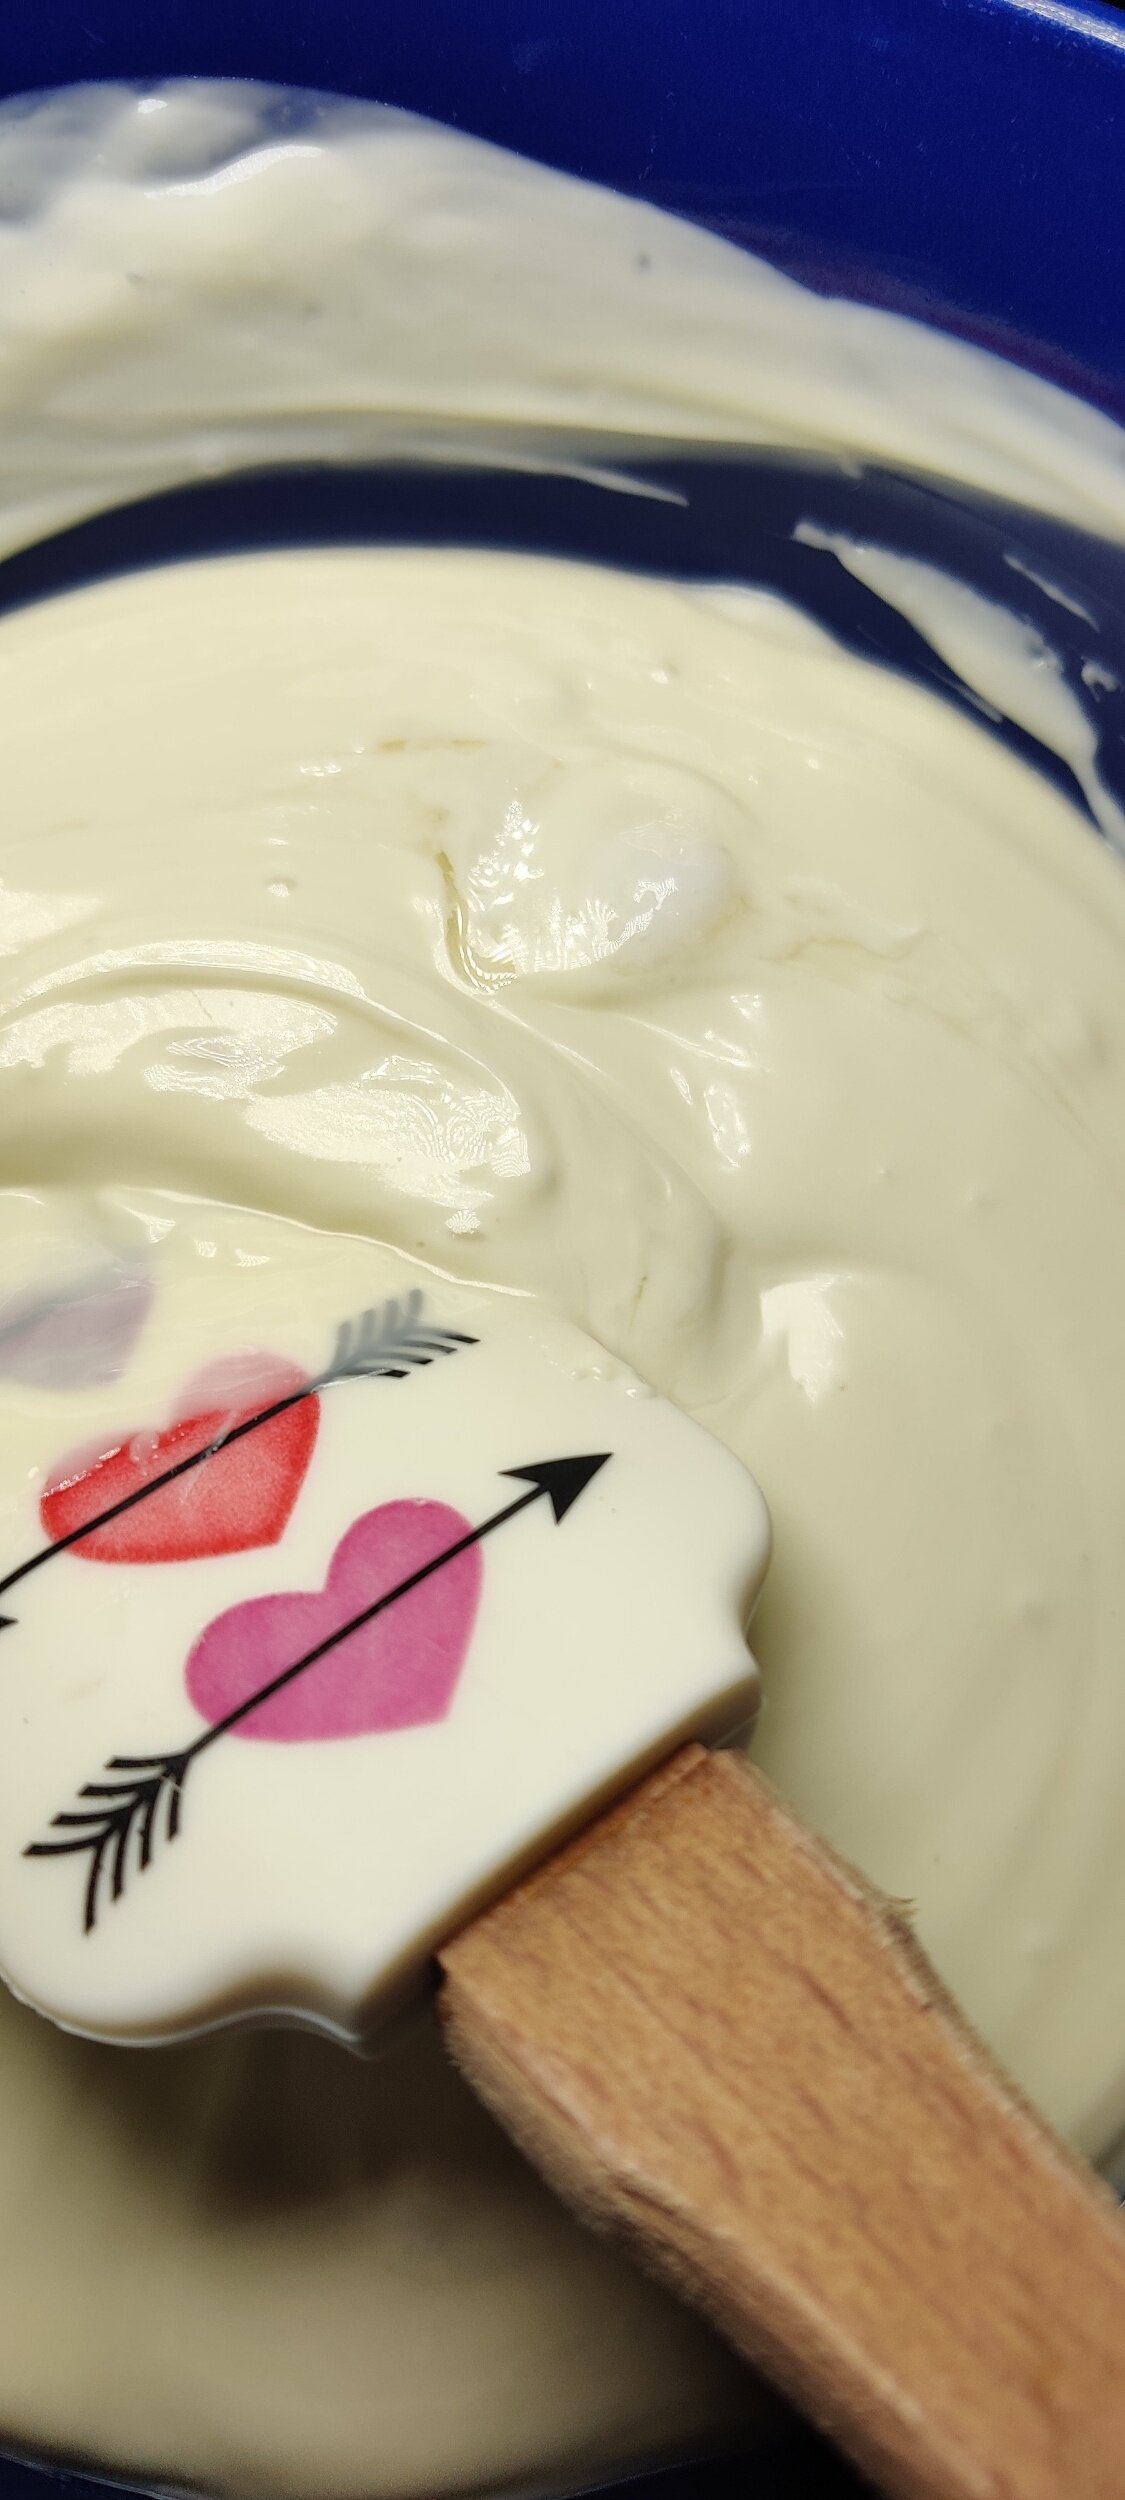
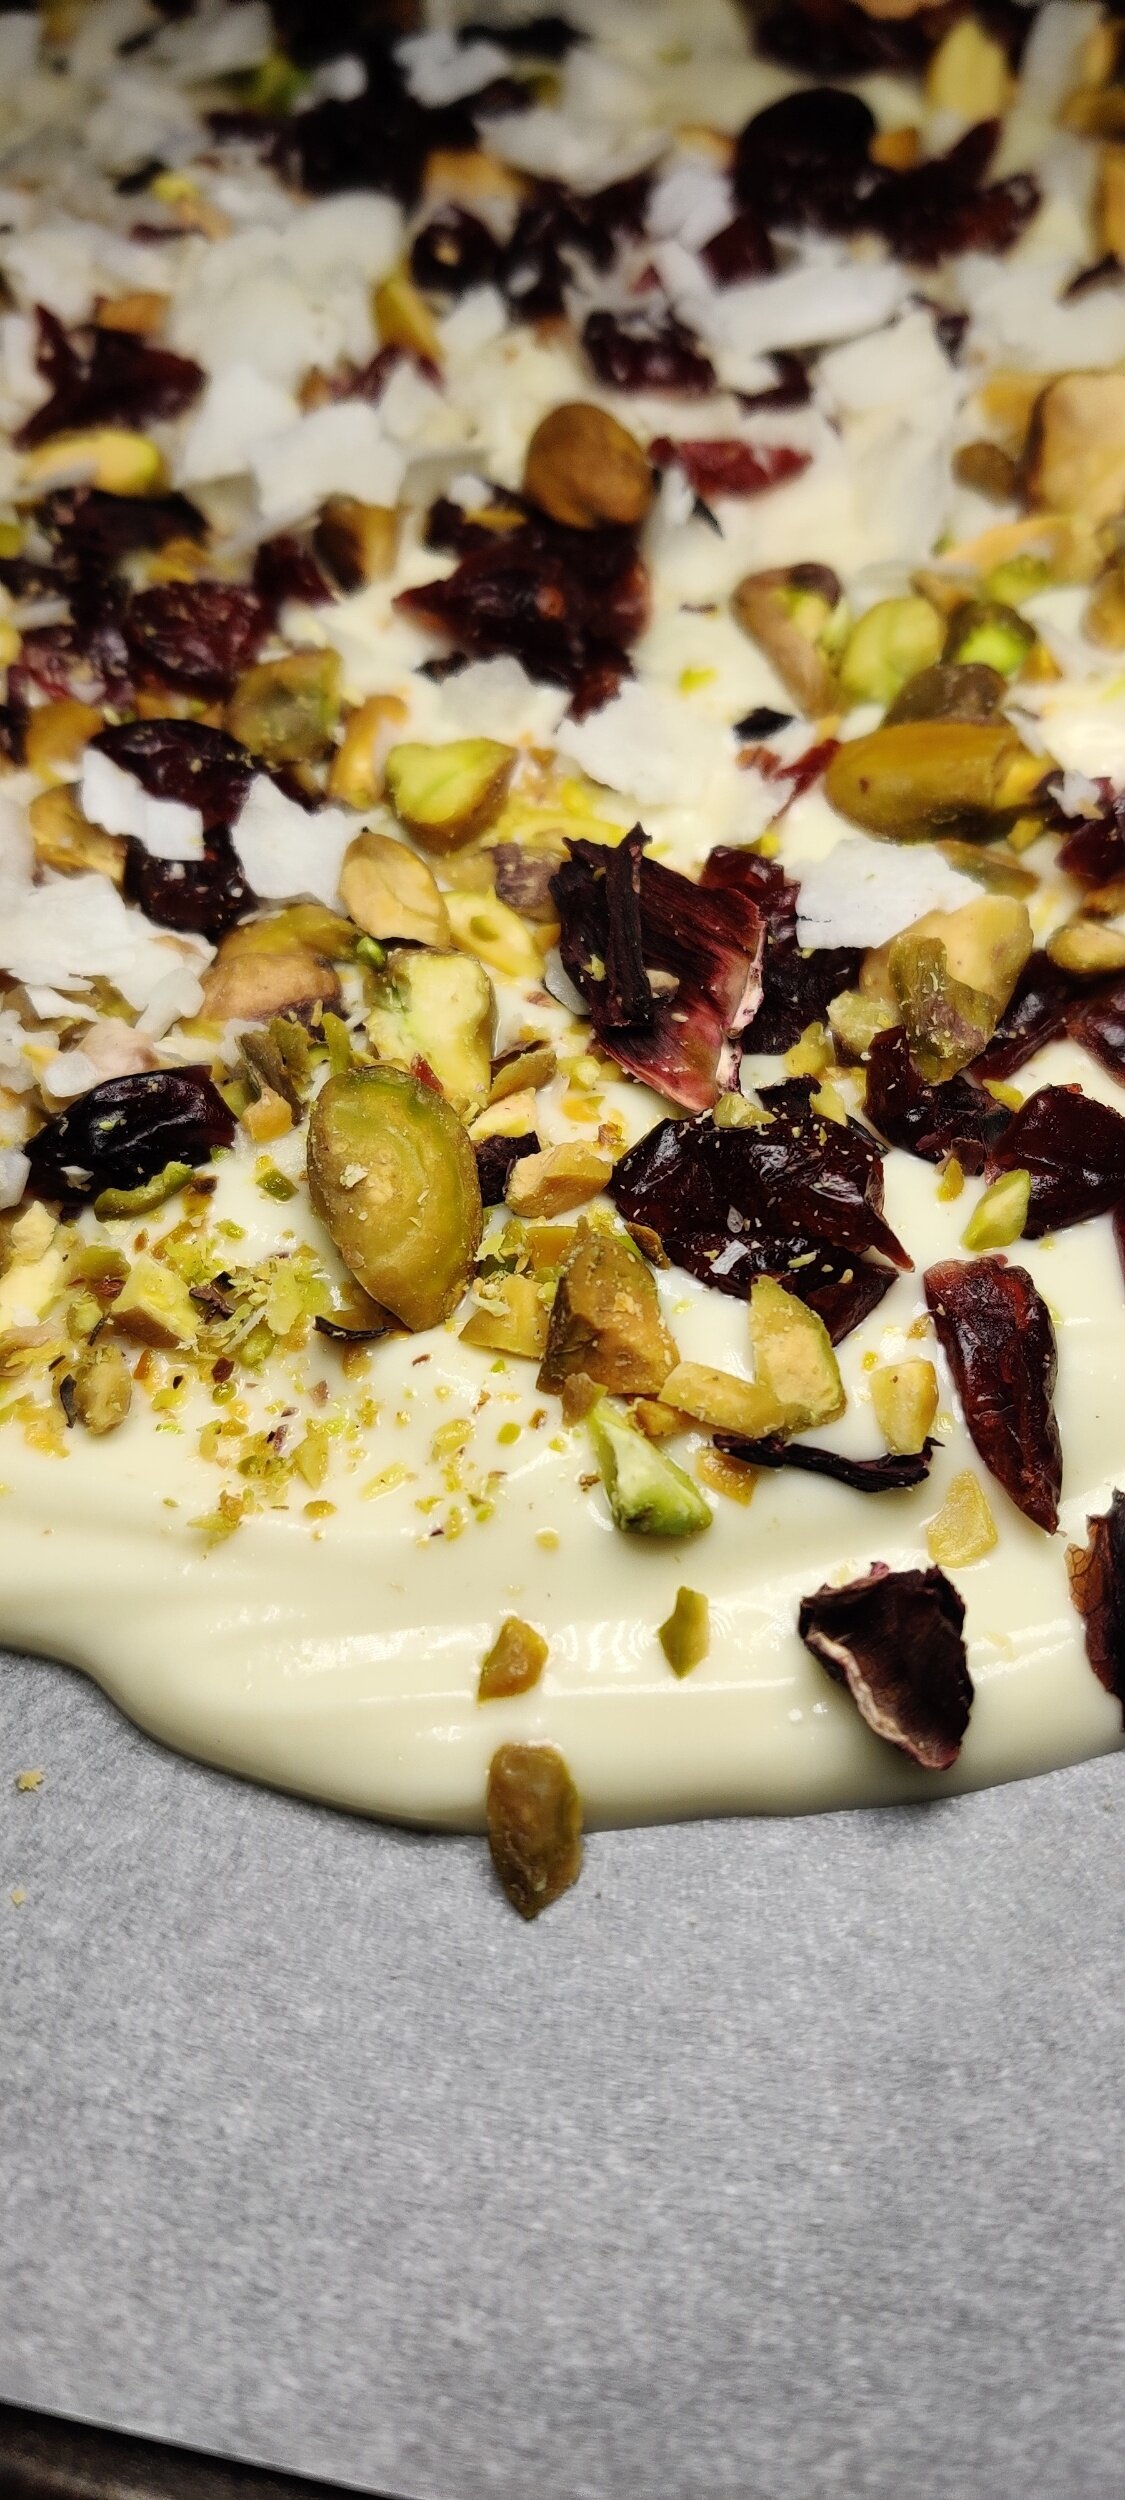
White Chocolate, Dried Cranberry and Roasted Pistachio Bark
Chocolate bark is often associated with hampers and gift-giving, so what's a better time to whip up a batch than the holidays?
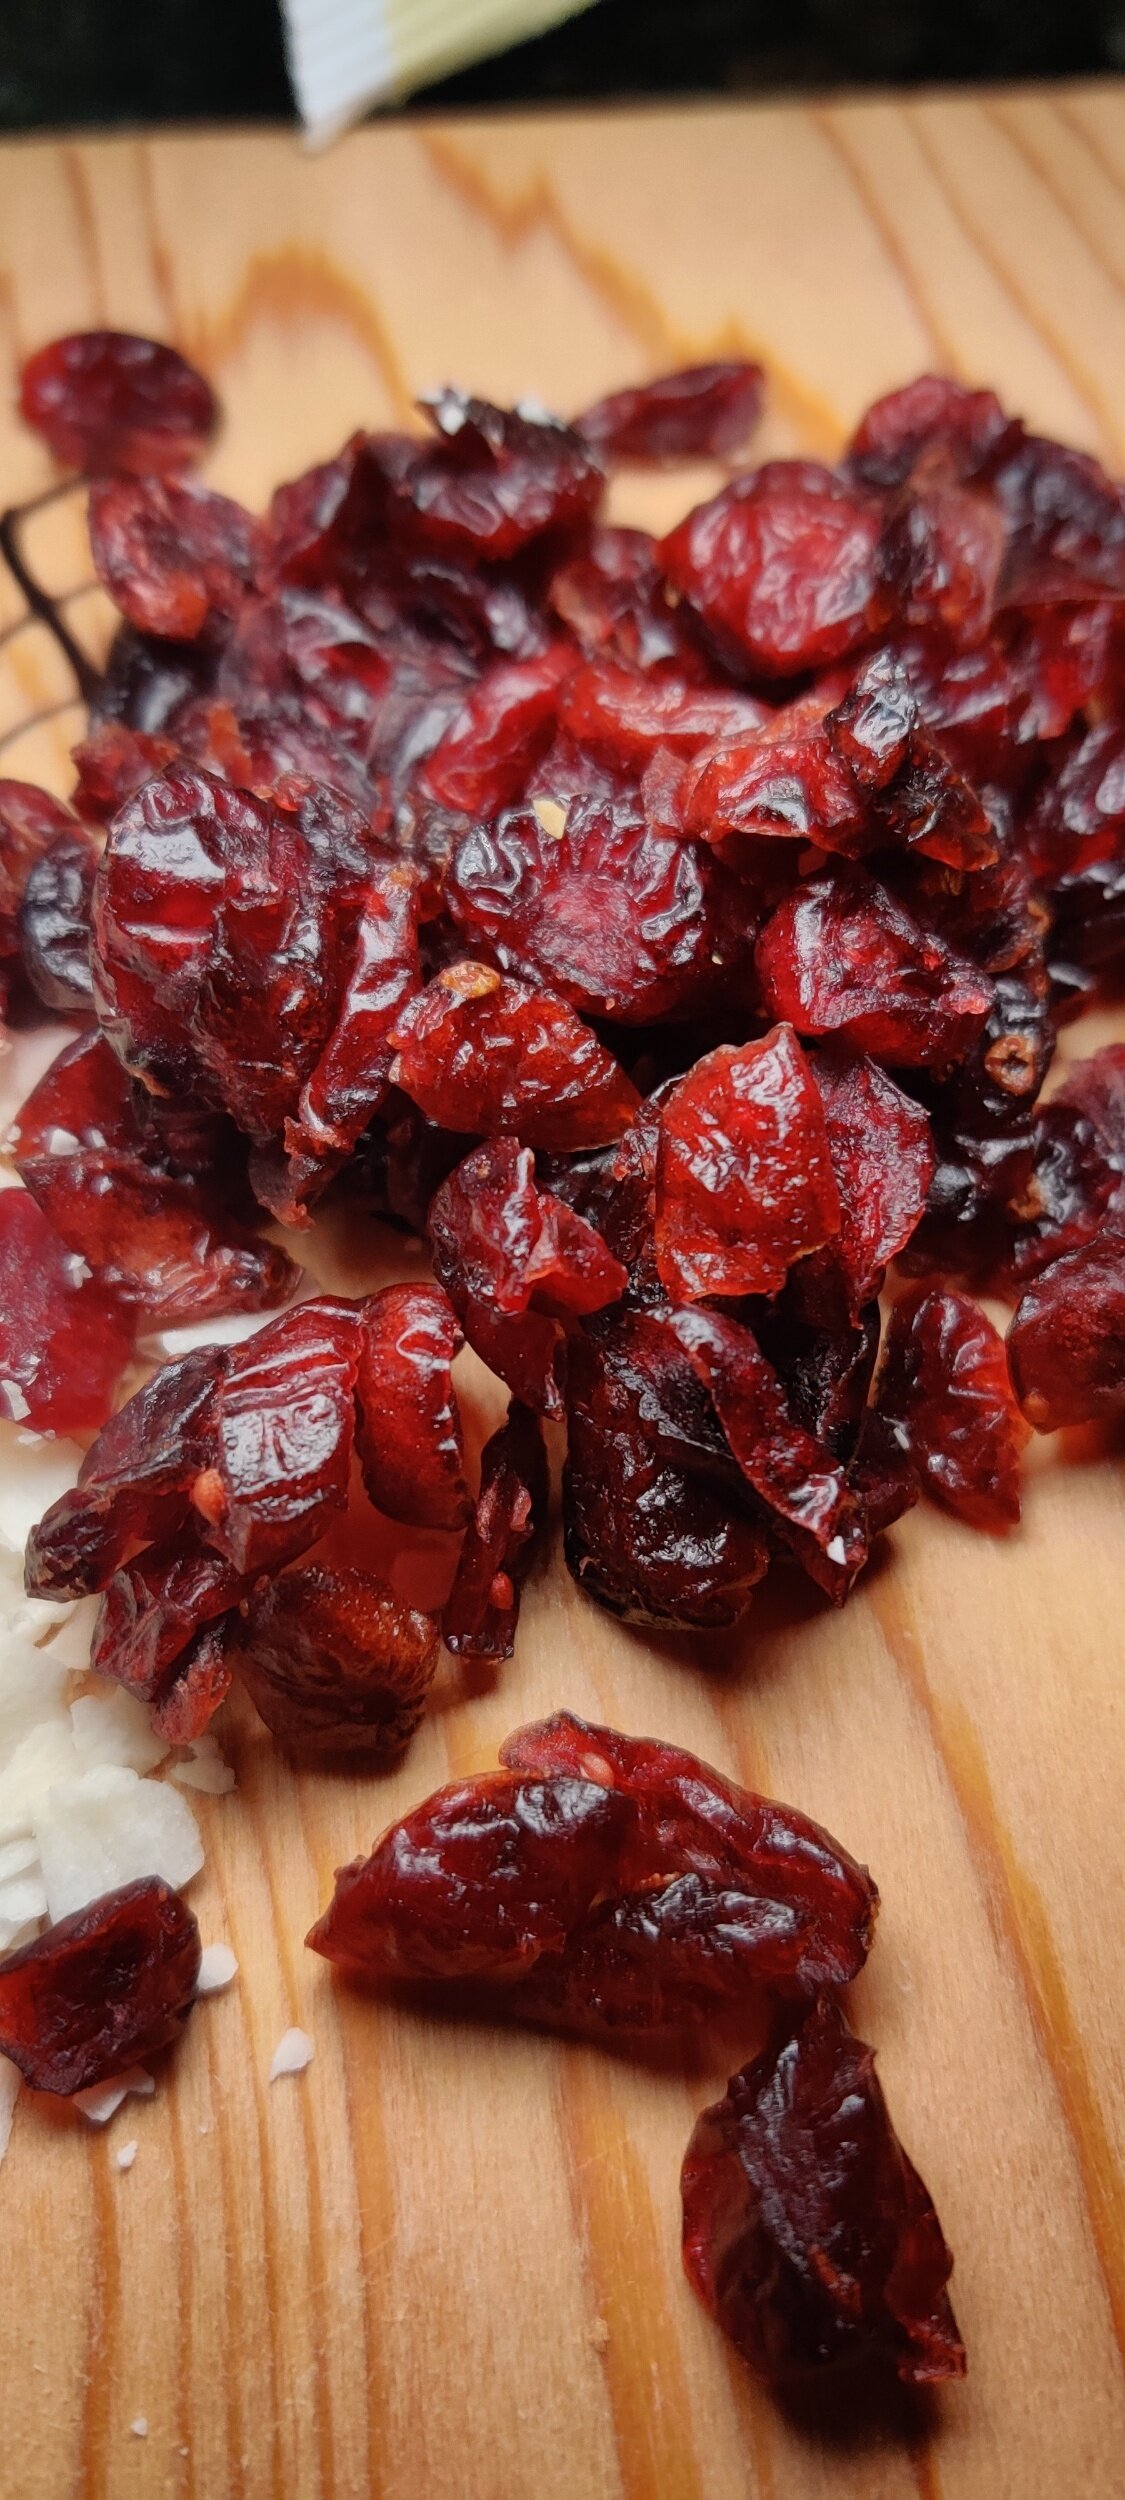
I recently made two recipes this season with fresh cranberries here and here, but let's not forget dried cranberries which you can do a lot with as well! They pair well with the same ingredients used in savoury dishes when used for sweet or baked goods, like pistachios!
Share this recipe as a gift, or put it together for those who want a sweet bite but not necessarily a slice of pie after indulging in an array of comfort food entrees!
What about the day after dining festivities? Many people set up their Christmas trees around this time after family meals. Play some Christmas music, sip on some hot chocolate and marshmallows, and nibble on some of this bark. That's what I did!
Since this isn't hardened sugar, it's easier on the teeth. The kids will love it, the colour and texture of the toppings give it a festive feel, and you can customize to your liking! I combined some ingredients that compliment the white chocolate and the cranberries, but it's up to you.
If you are looking for a milk or dark chocolate bark recipe, check out my masala tea bark, which I was inspired to make after a trip to Zanzibar!
Ingredients
5 drops almond extract
1 teaspoon coconut oil
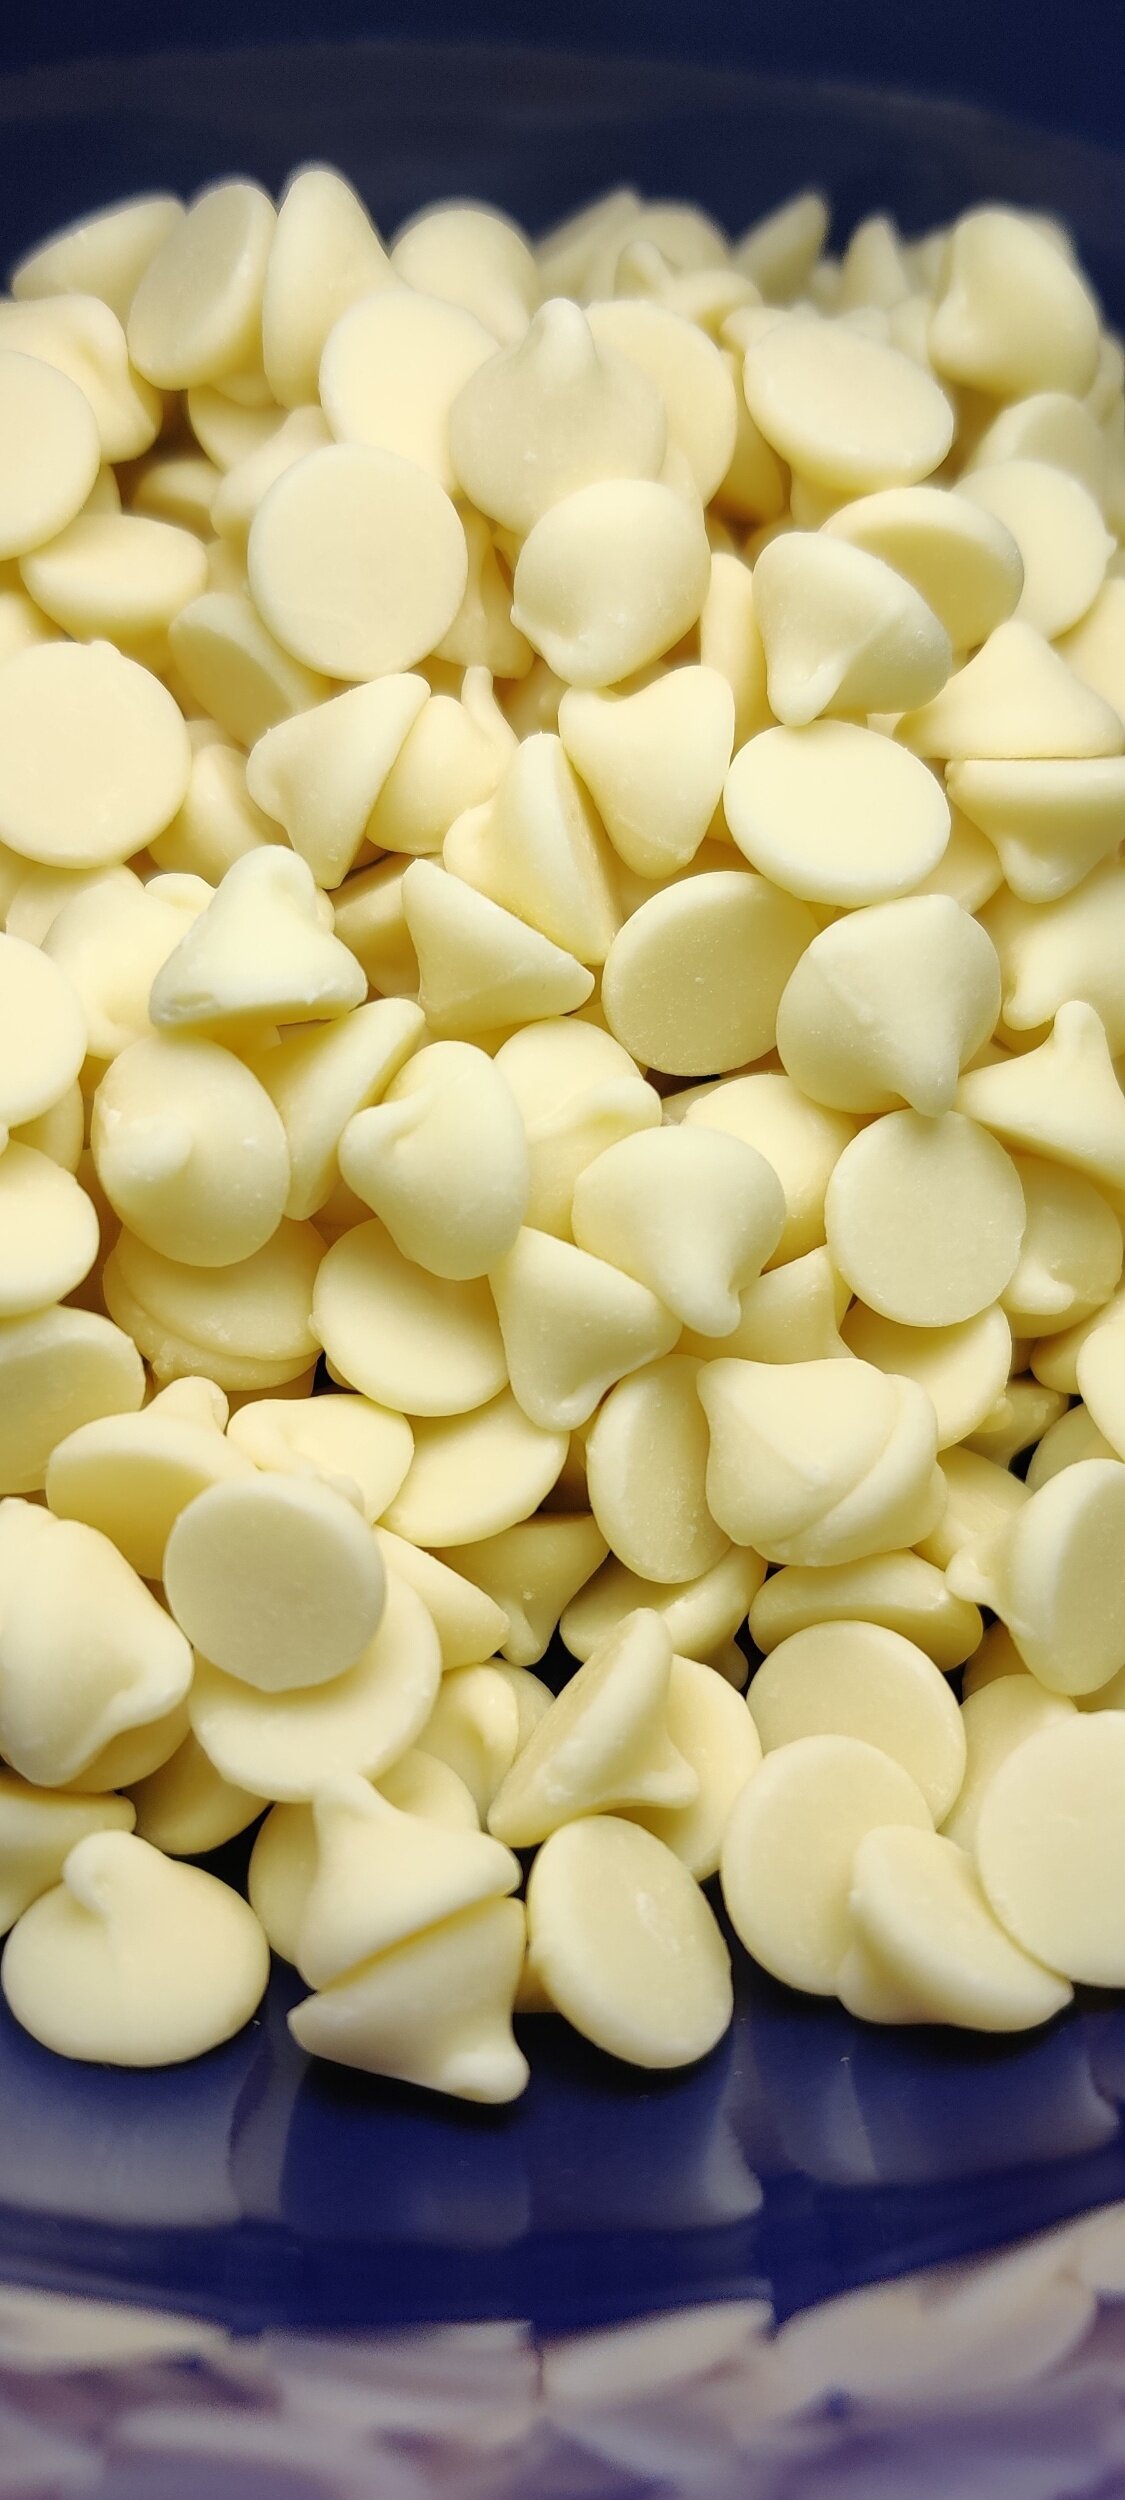
2 cups white chocolate chips
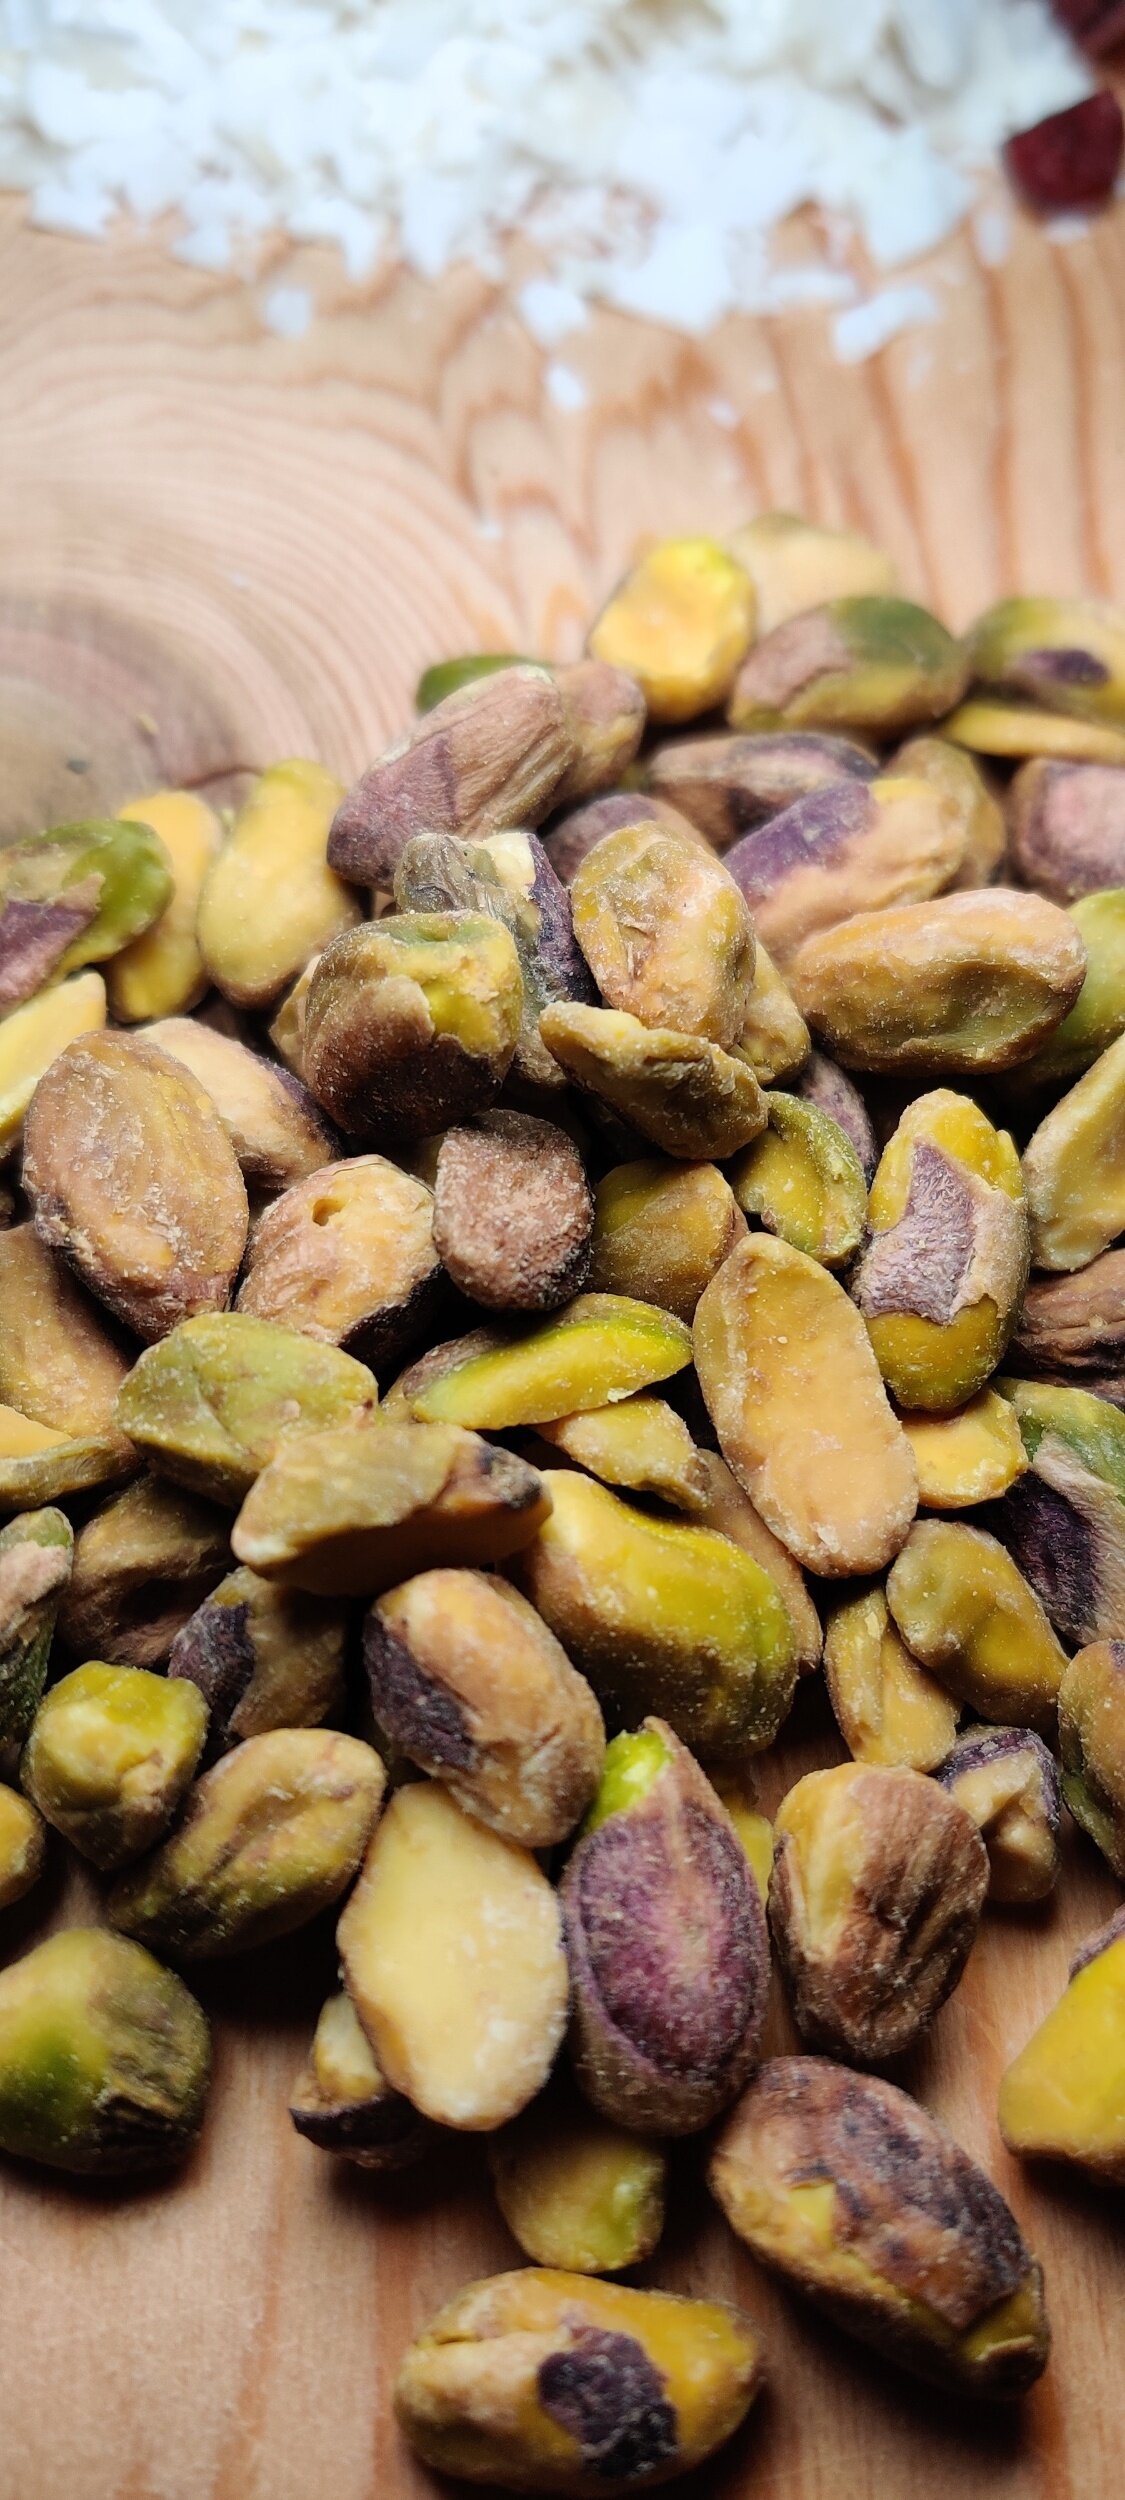
1/3 cup pistachios
1/3 cup shredded coconut
1/3 dried cranberries
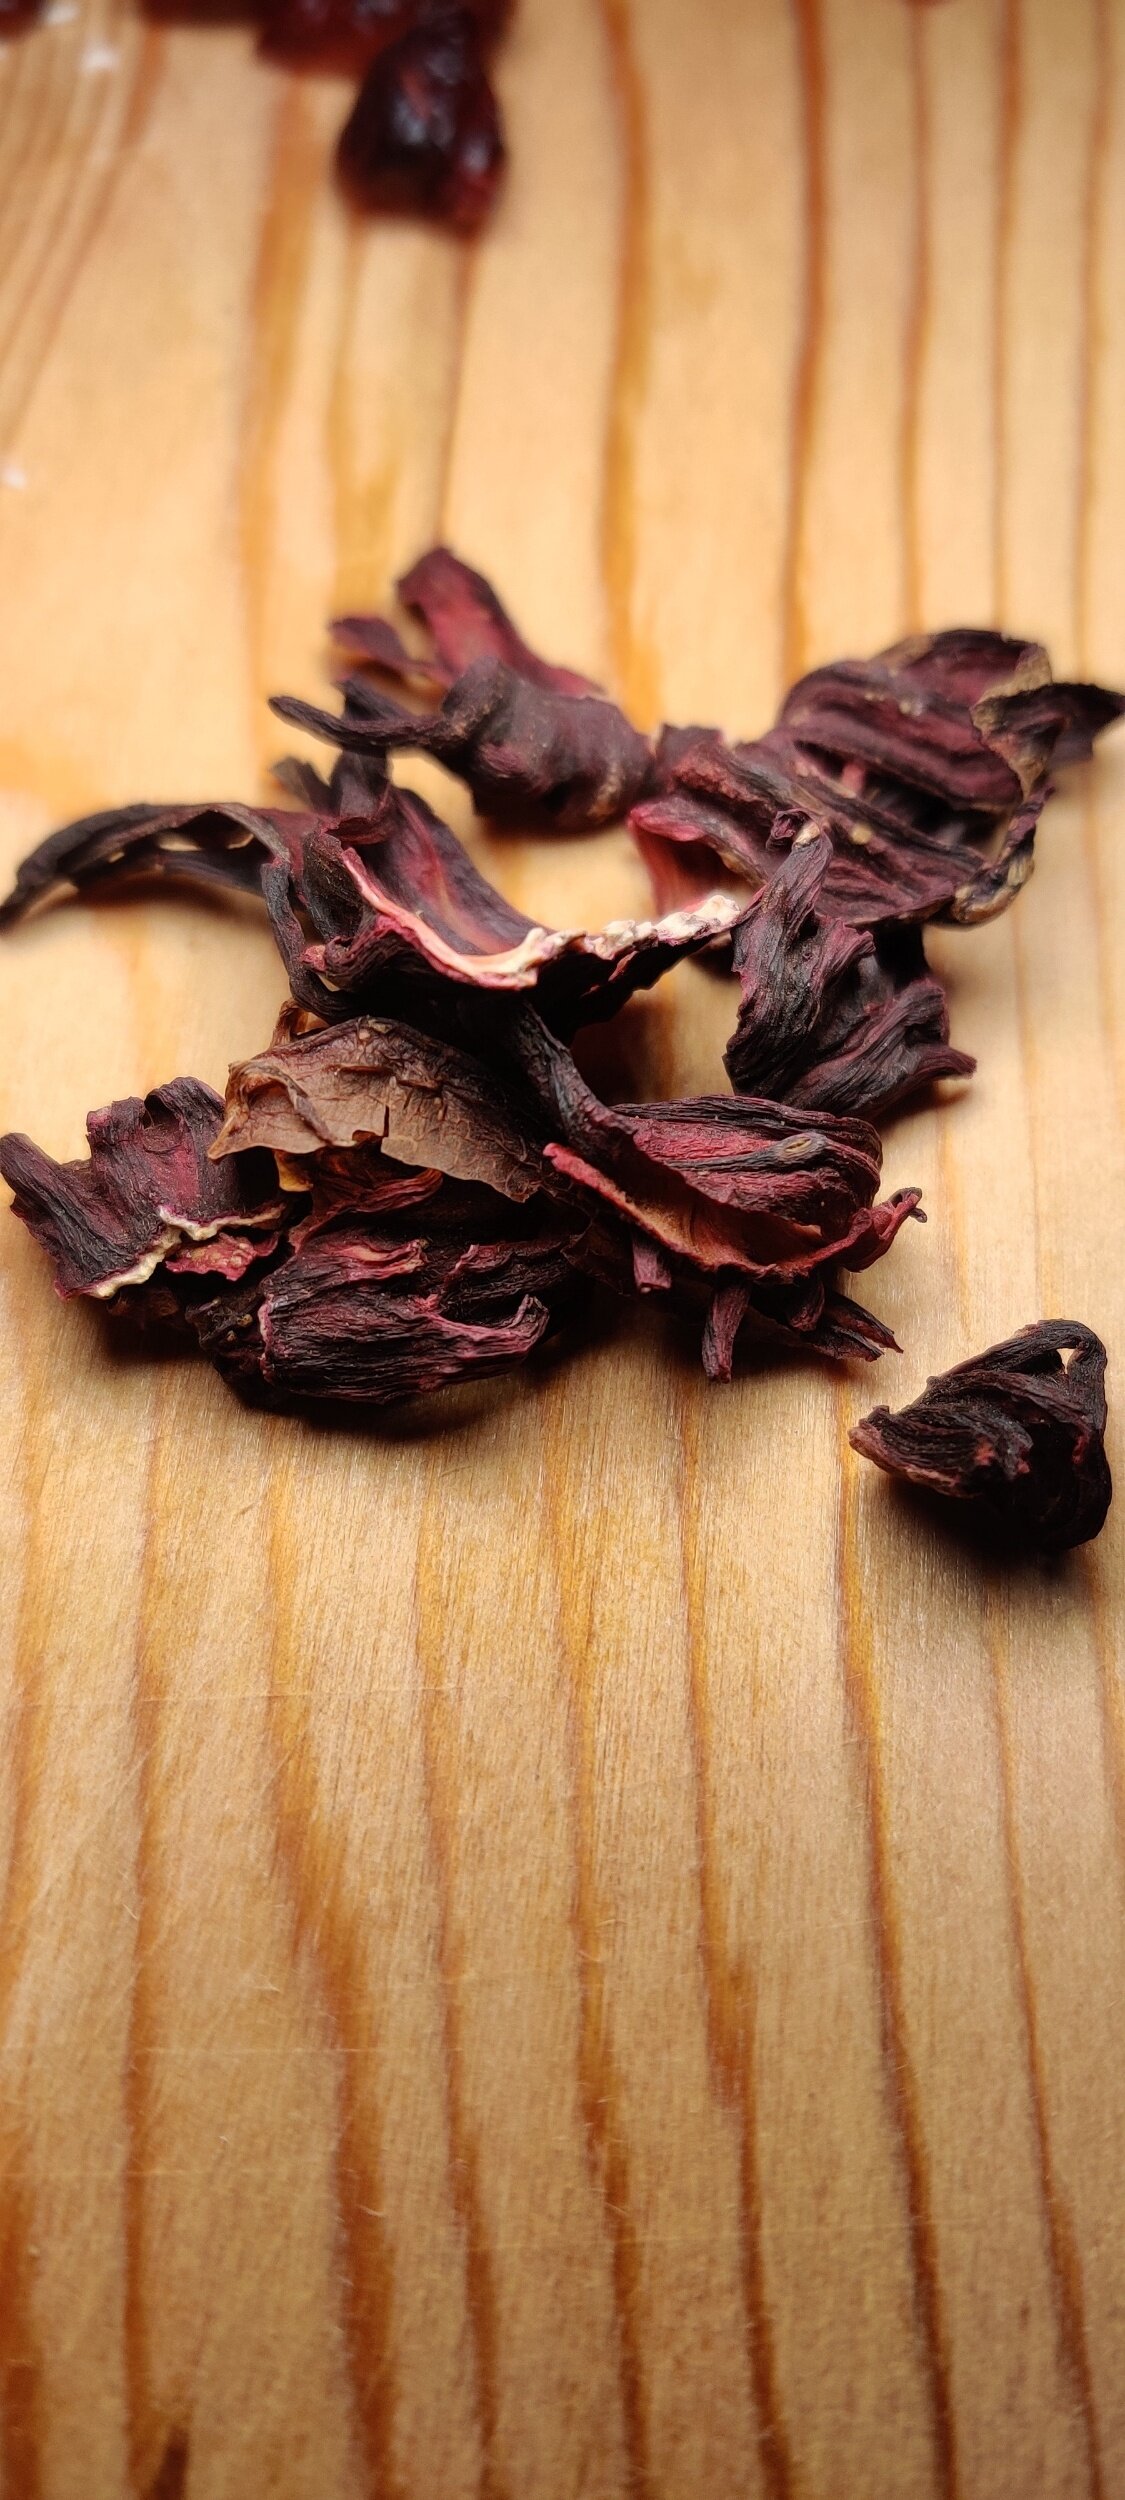
1 tablespoon dried roselle
Instructions
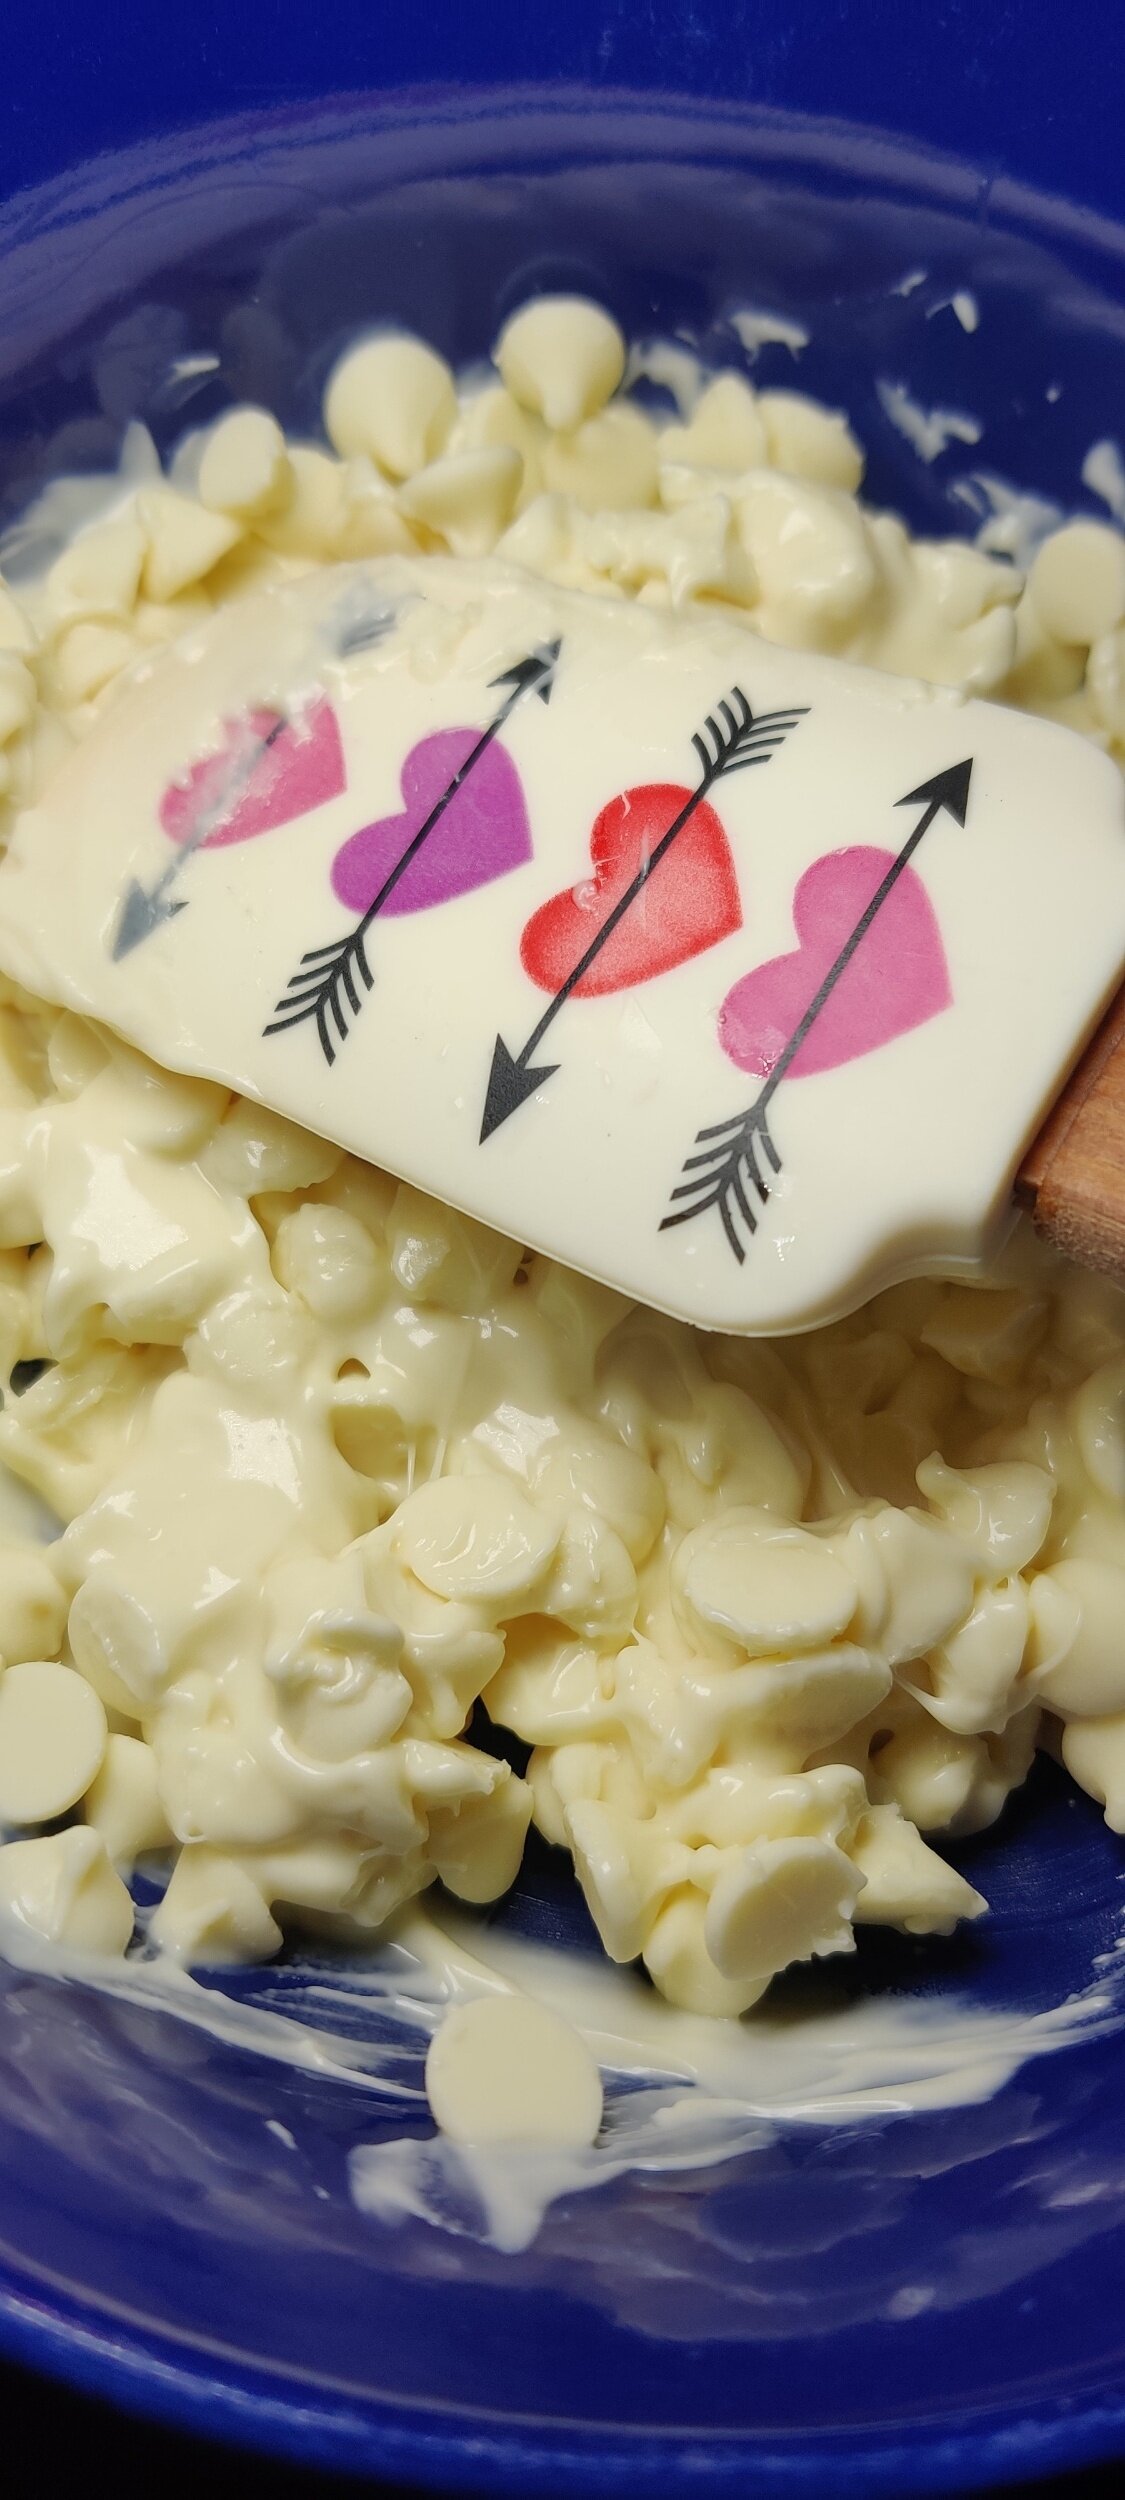
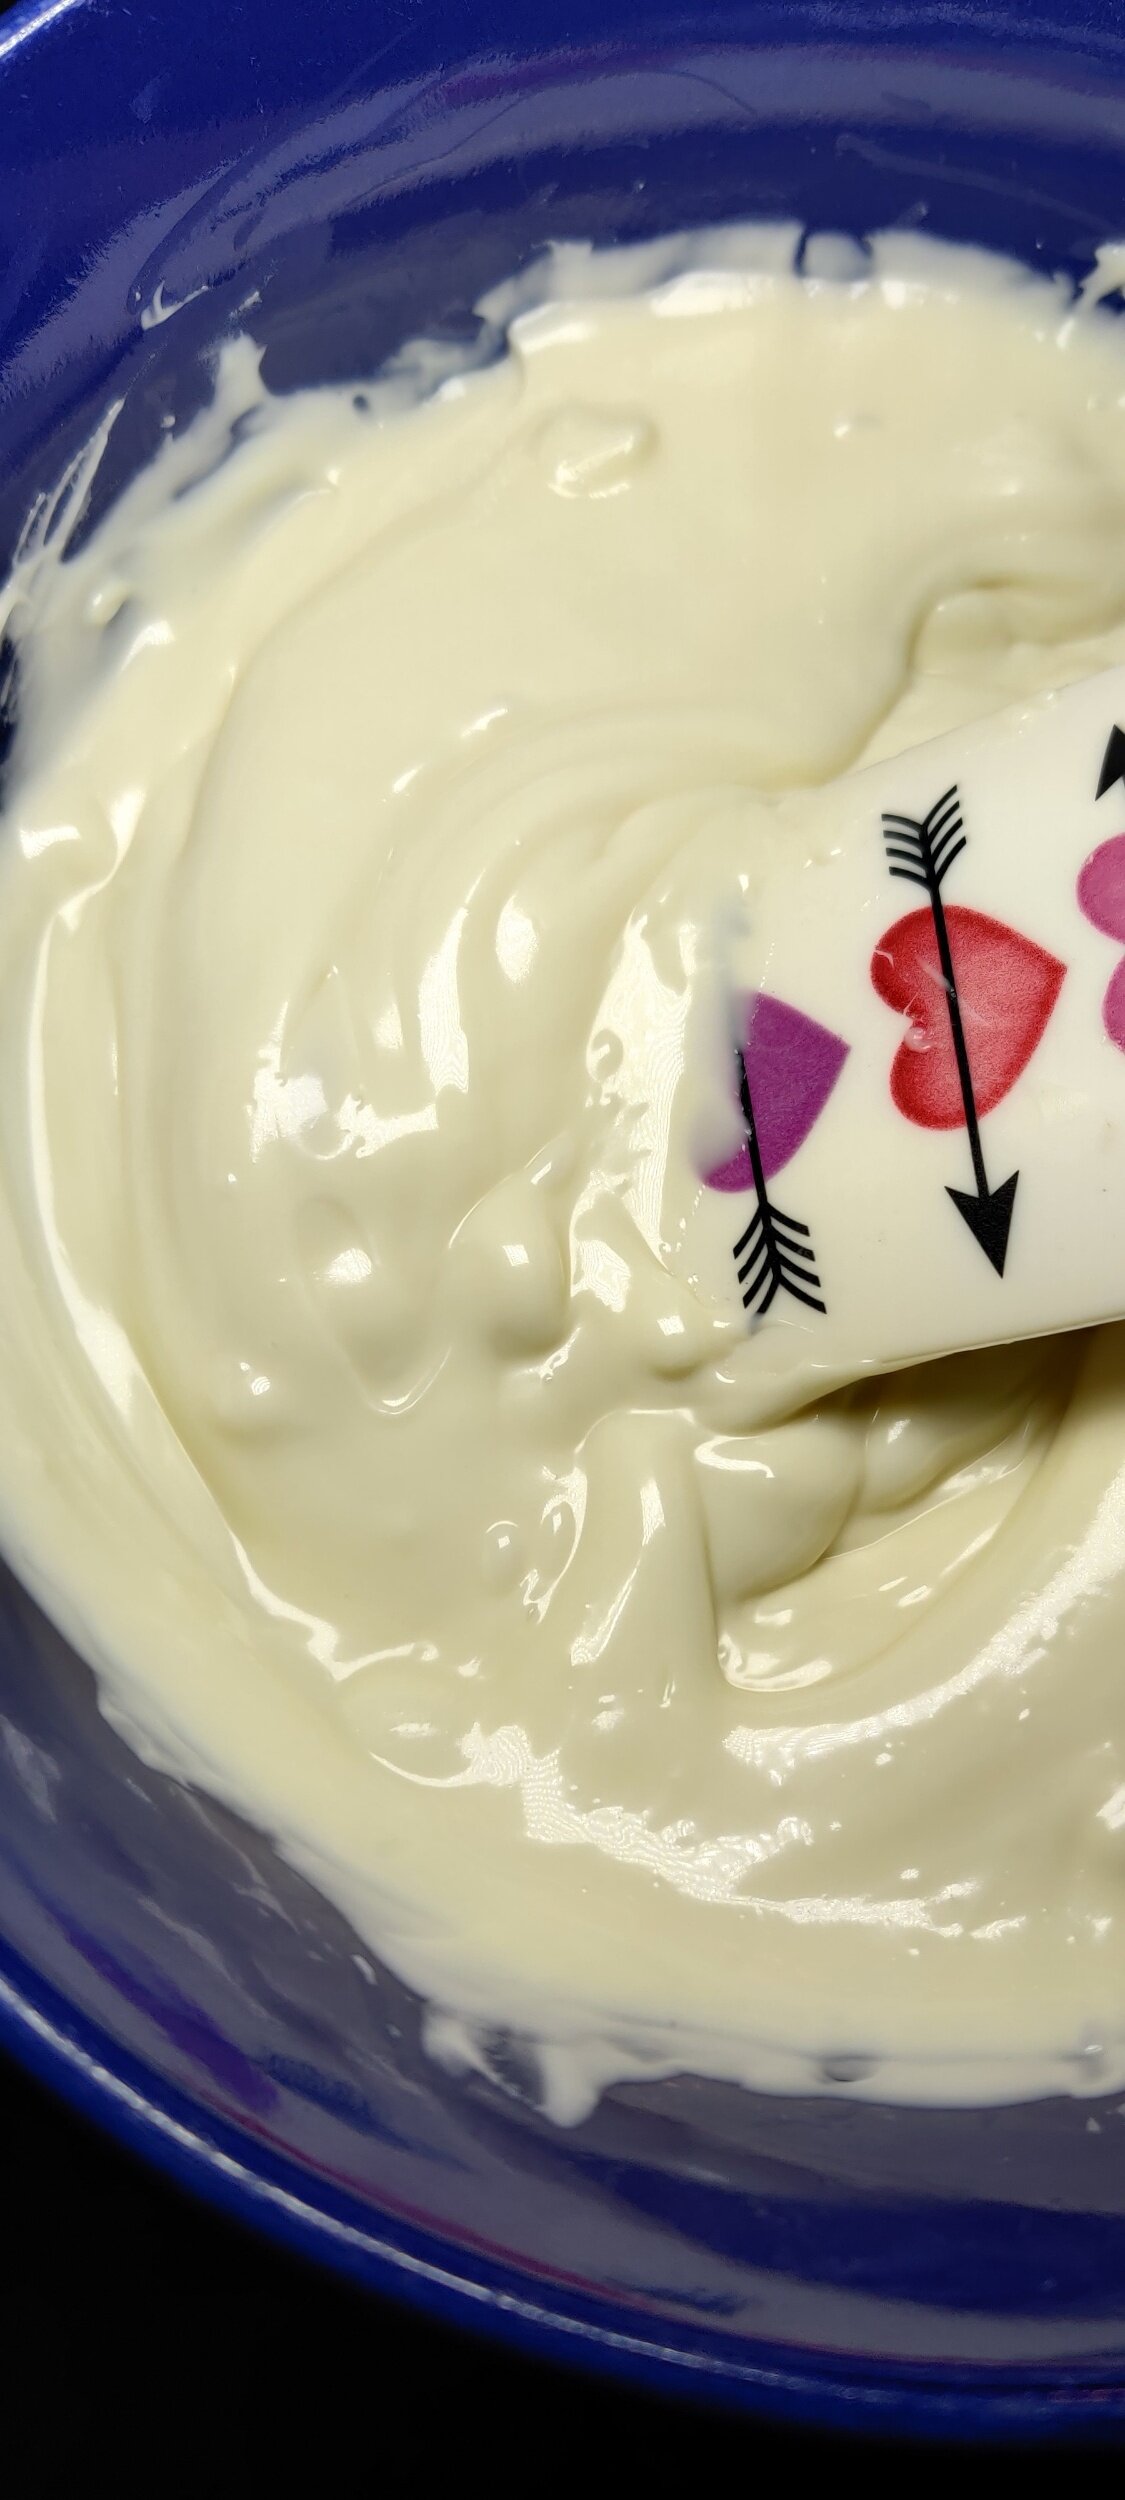
Melt the chocolate chips in the microwave for 2 minutes, stirring every 30 seconds. When you have 30 seconds left, stir in the coconut oil. Once all the chocolate has melted, stir in the almond extract. Make sure all the large lumps are gone.
Quickly spread the melted chocolate evenly (to your desired thickness) over a prepared baking tray lined with parchment paper.
Sprinkle the pistachios, cranberries, coconut, and roselle petals on top.
Chill in the freezer for 1 hour, then break apart with a knife into squares or shards. Wrap up in parchment paper and a zip lock bag and refrigerate.

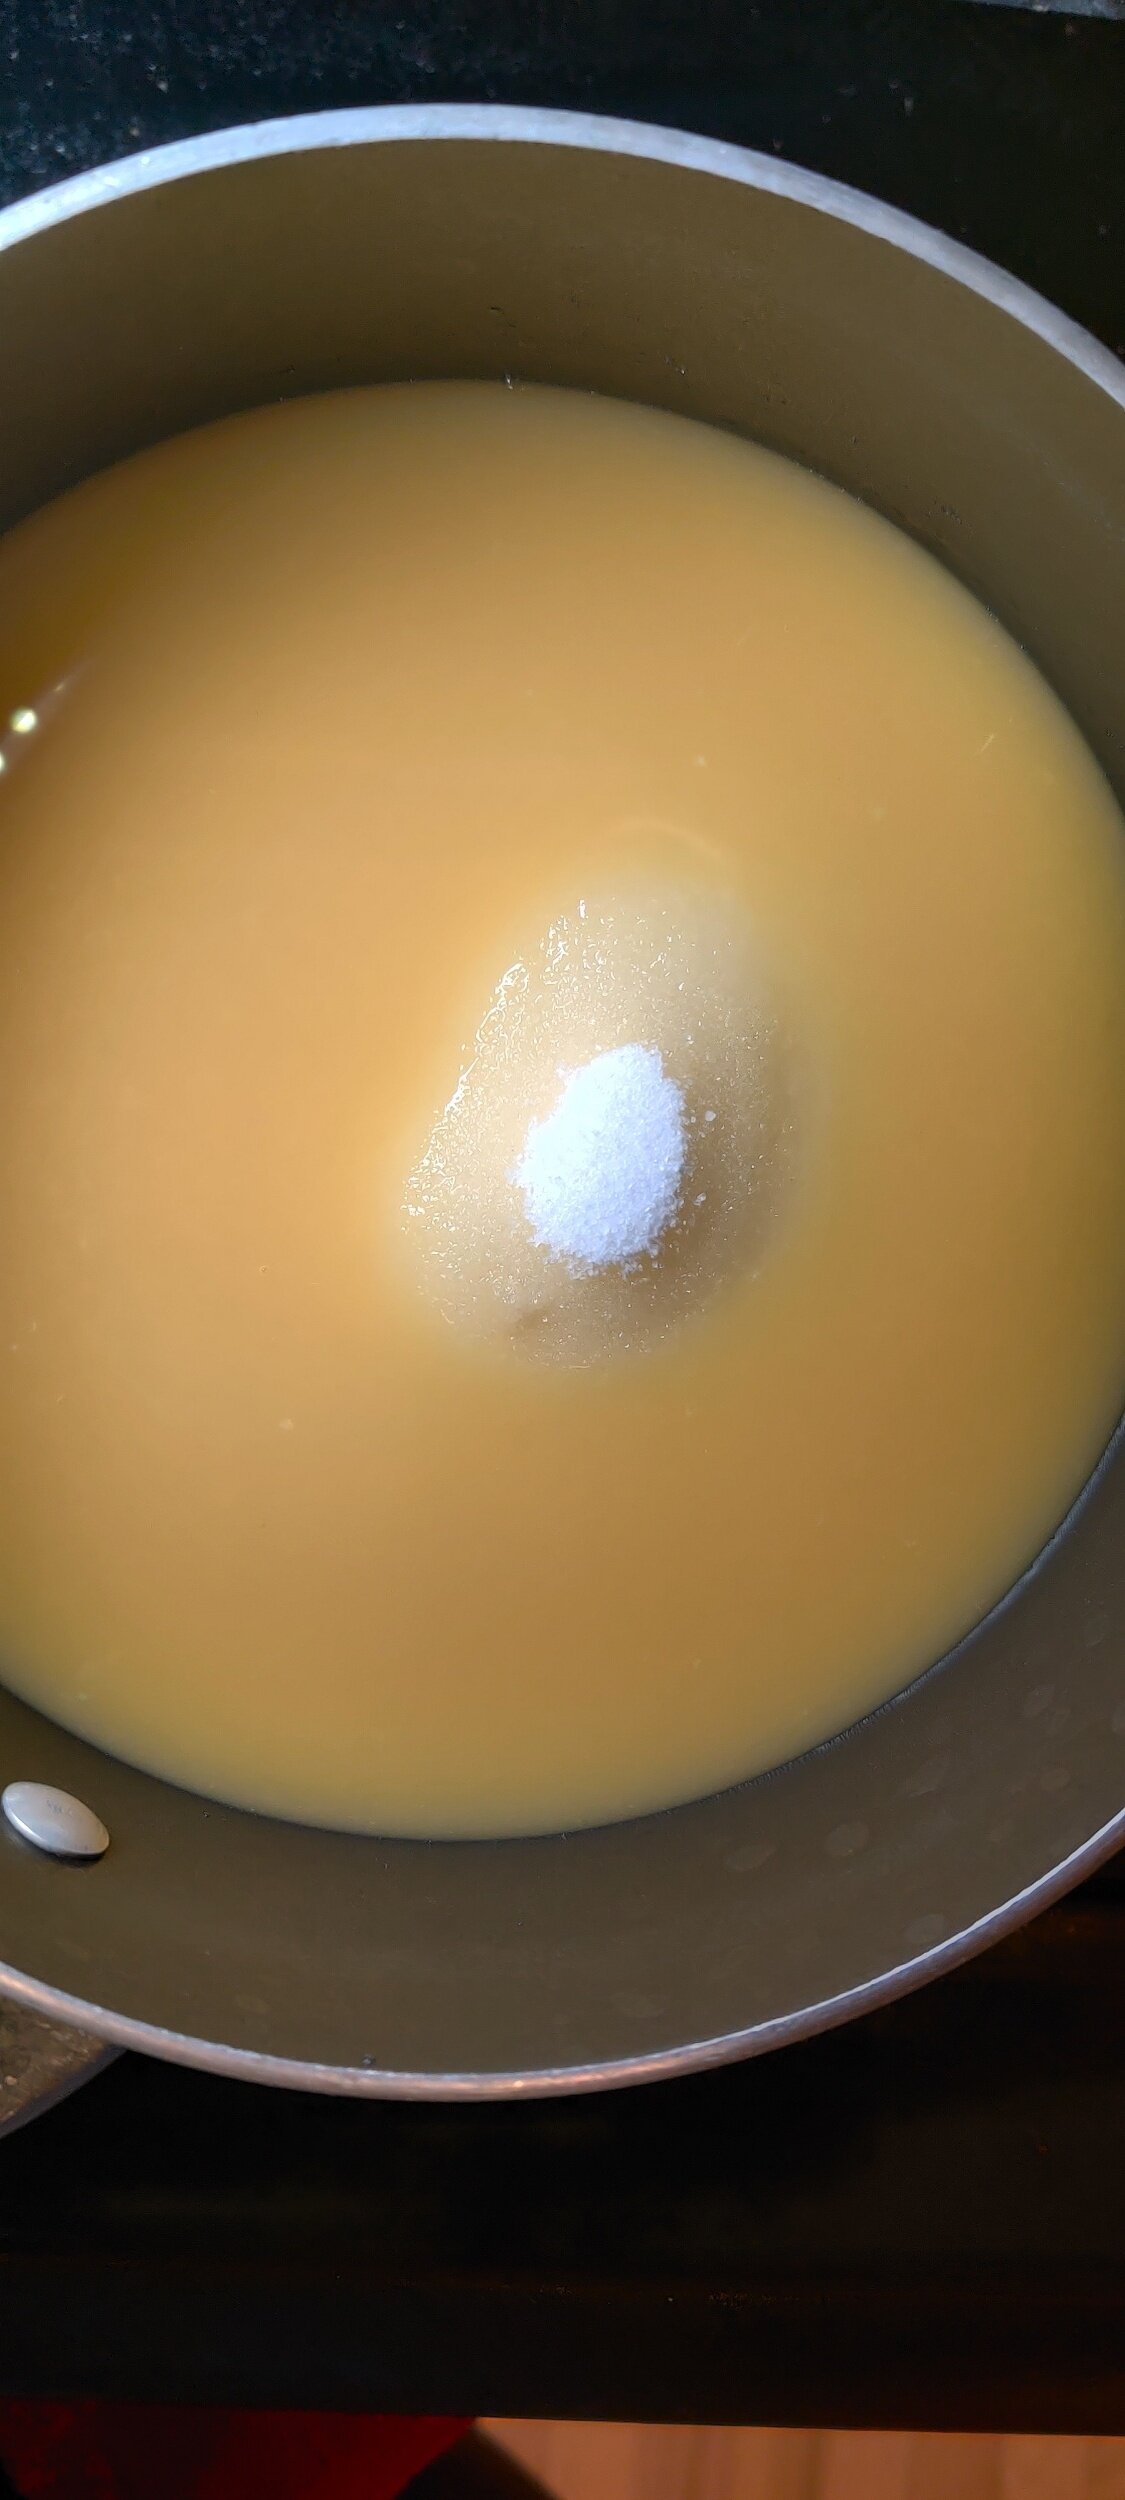
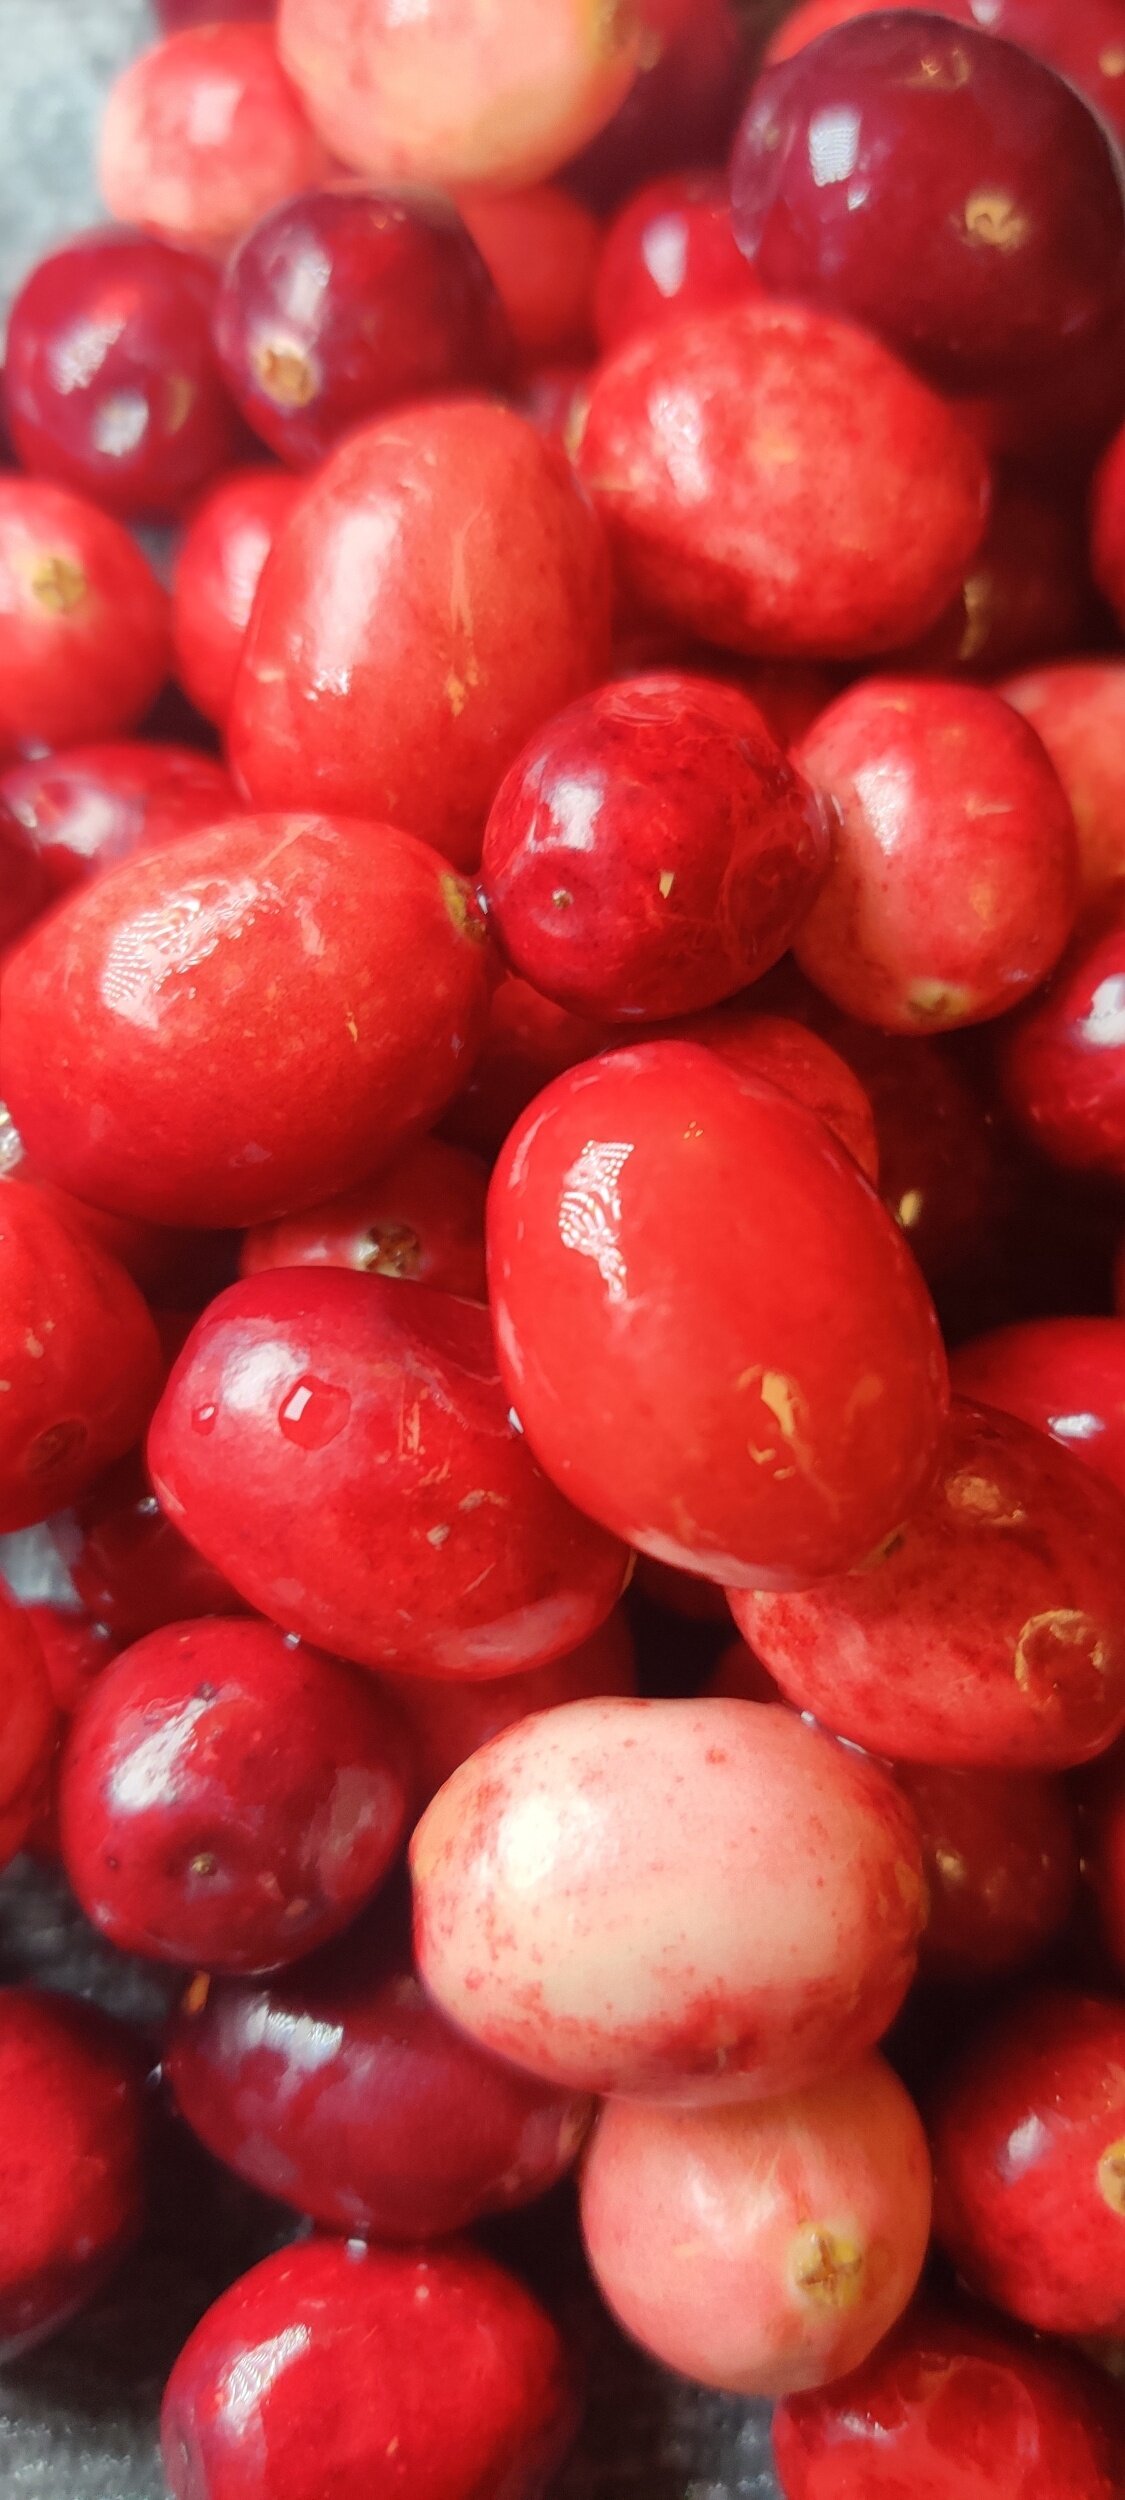
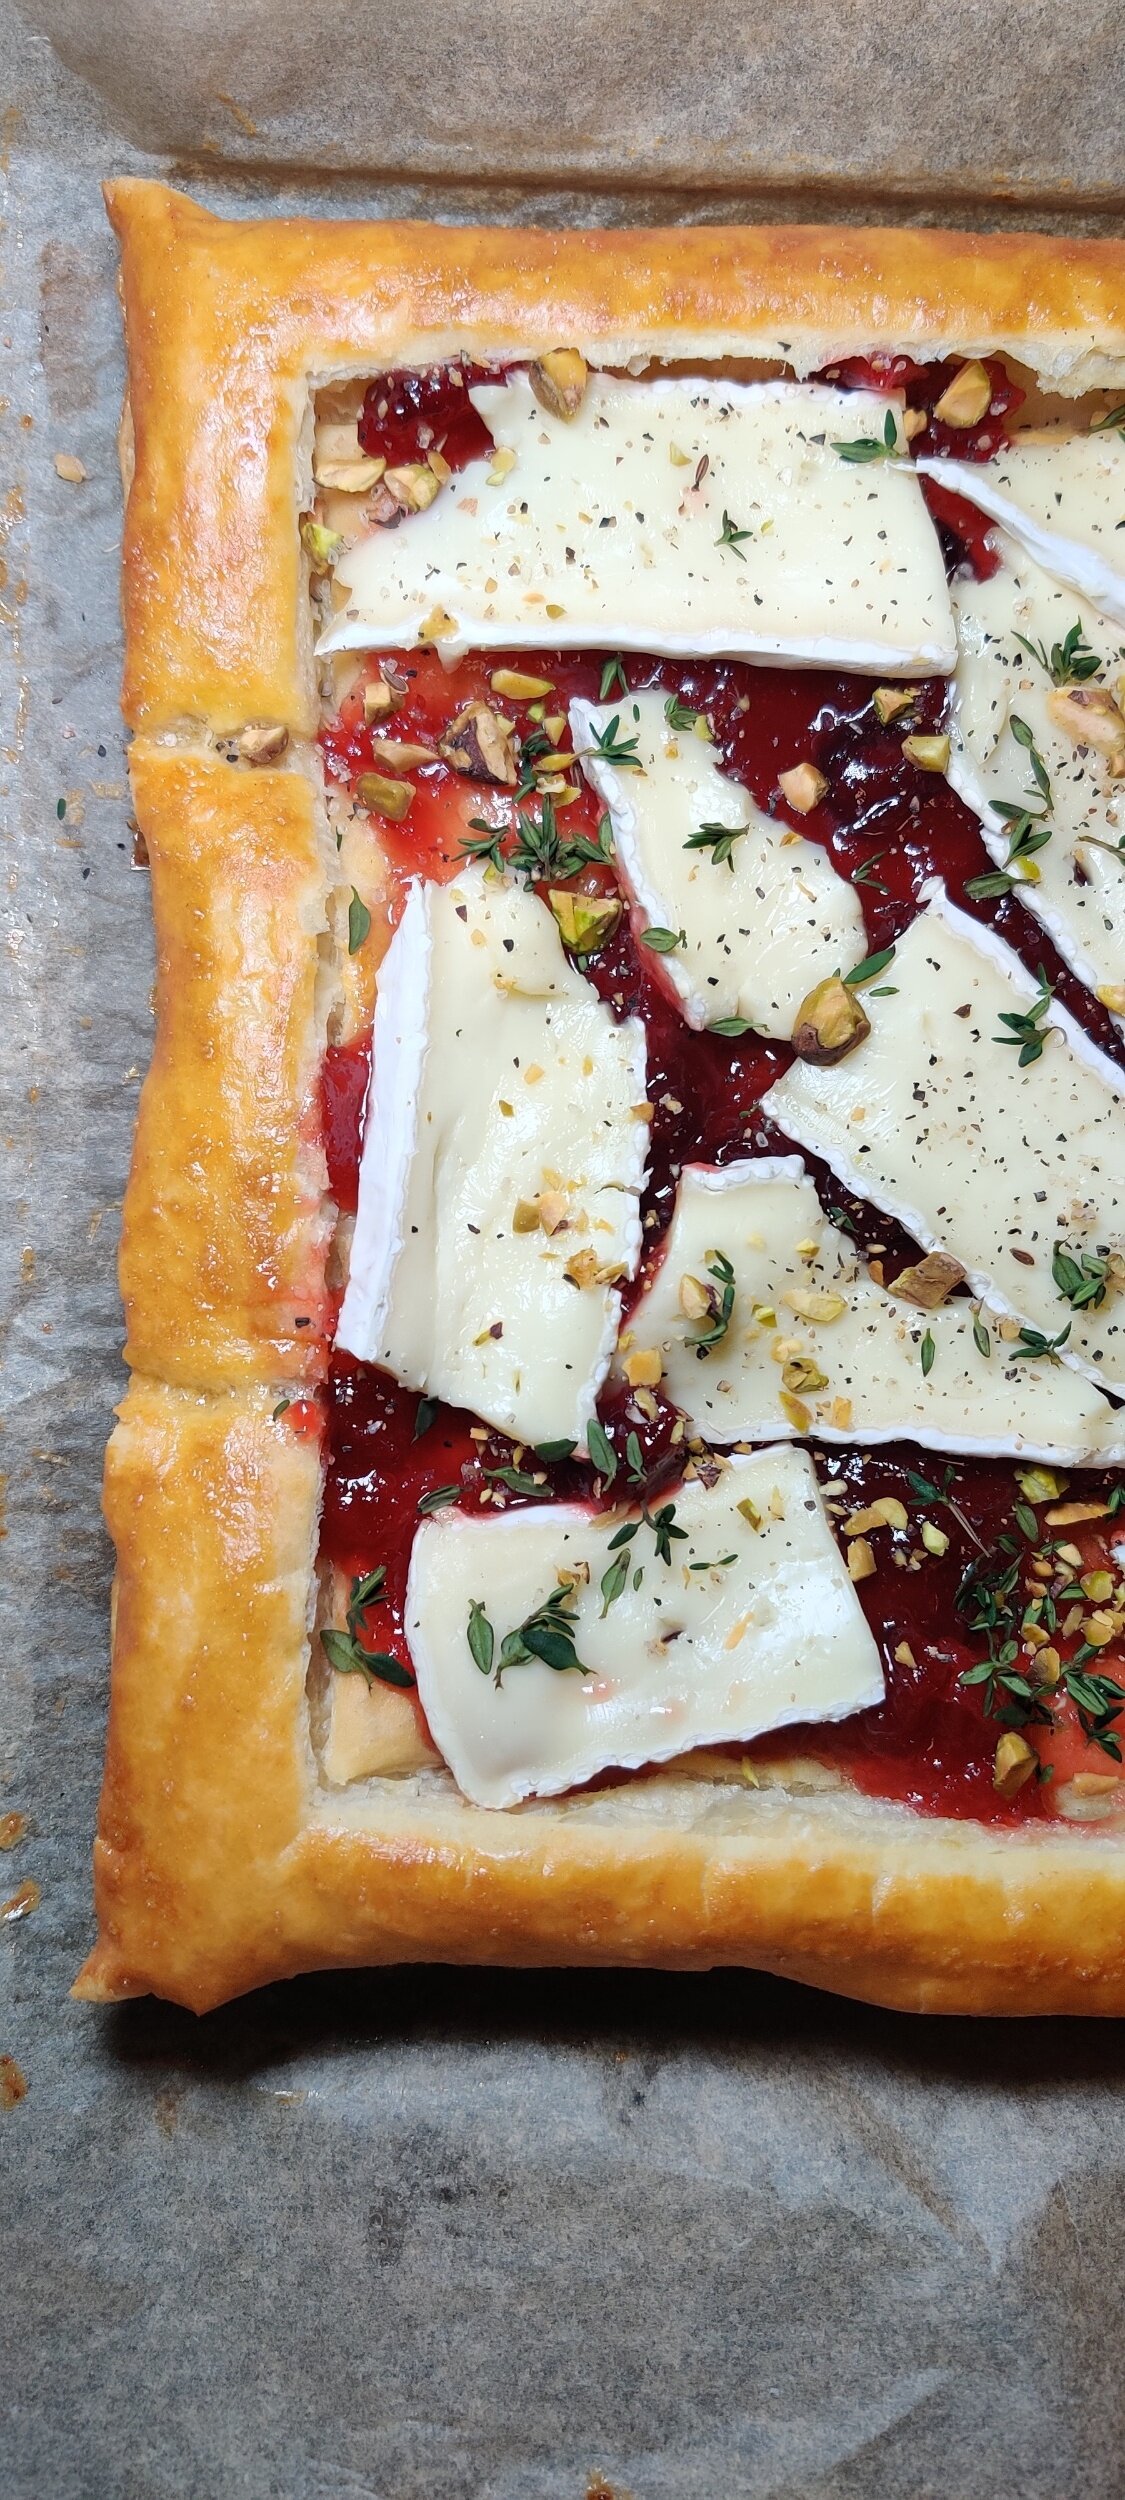
Cranberry Tart with Brie and Pistachio
We all know cranberries and brie go together! Well, okay we don’t all know but I’m telling you now based on what I know and have experienced.
I was going to make this a white chocolate and cranberry tart, but will reserve that for another treat! Something savory had to do. Since I already served the cranberry coq au vin style with the mushrooms and polenta in this recipe, I wanted rich, simple, and quick to make appetizer folks could customize.
Also, you don't have to use cranberries! You could use apples or anything else that compliments brie.
This is a great appetizer before the main Thanksgiving or holiday family meal is served. Or, during the days after when you want to snack on something familiar and have leftover cranberry sauce! It's super classy and will impress your guests.
Ingredients
1/2 cup fresh cranberries
1/2 cup orange juice
1 teaspoon balsamic
1/2 cup white sugar
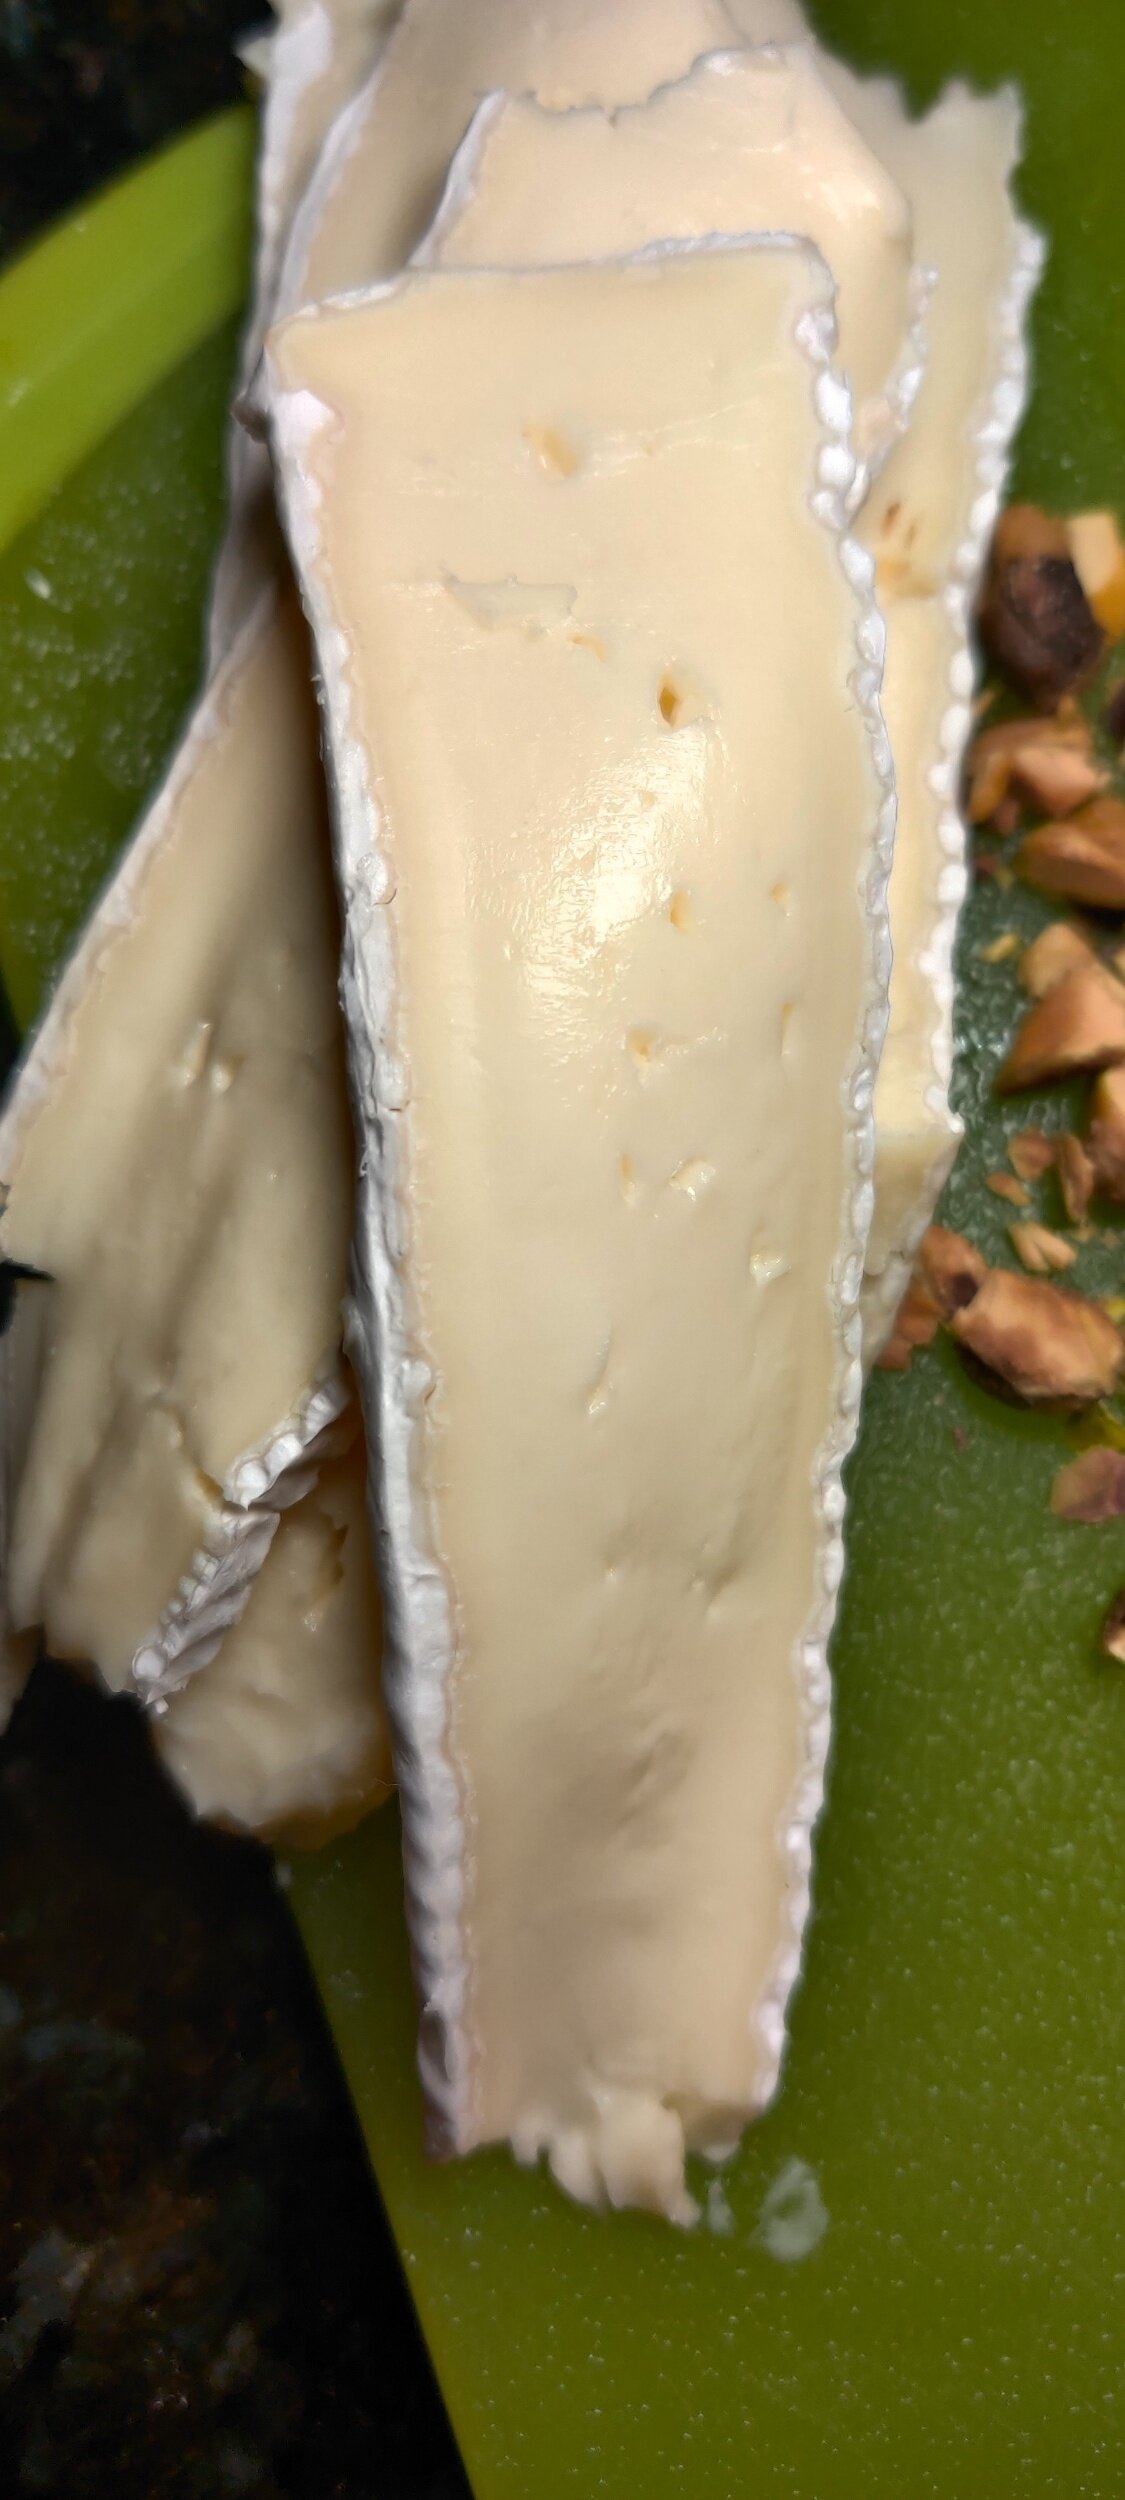
4 ounces medium or intense brie (half a regular wedge or more depending on how cheesy you want the tart)
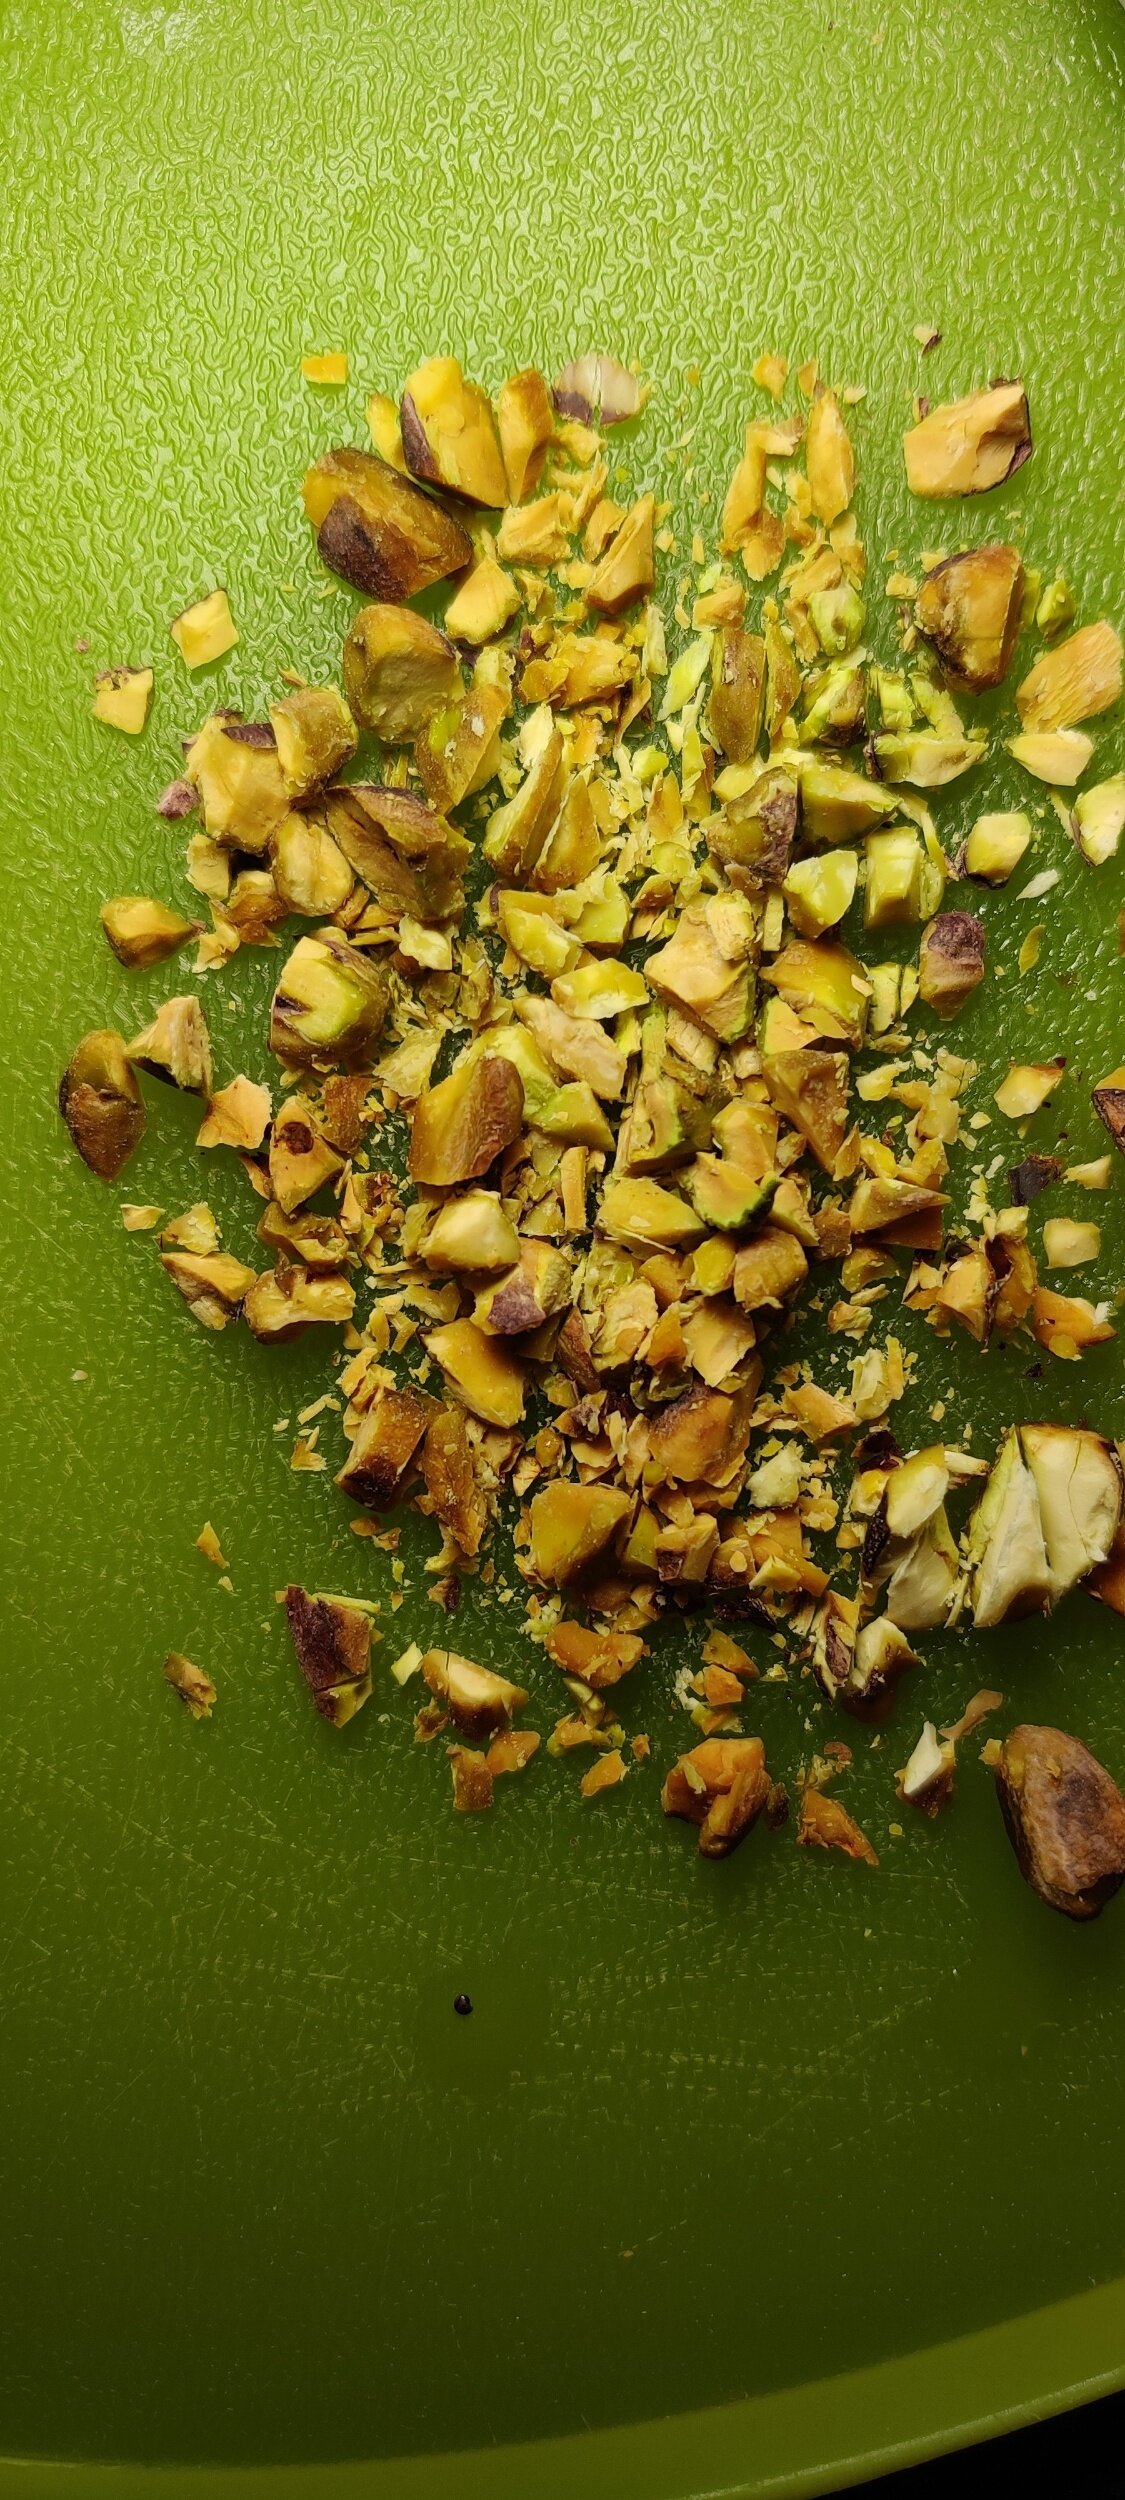
2 tablespoons pistachios
Fresh thyme sprigs
Salt and pepper or steak seasoning
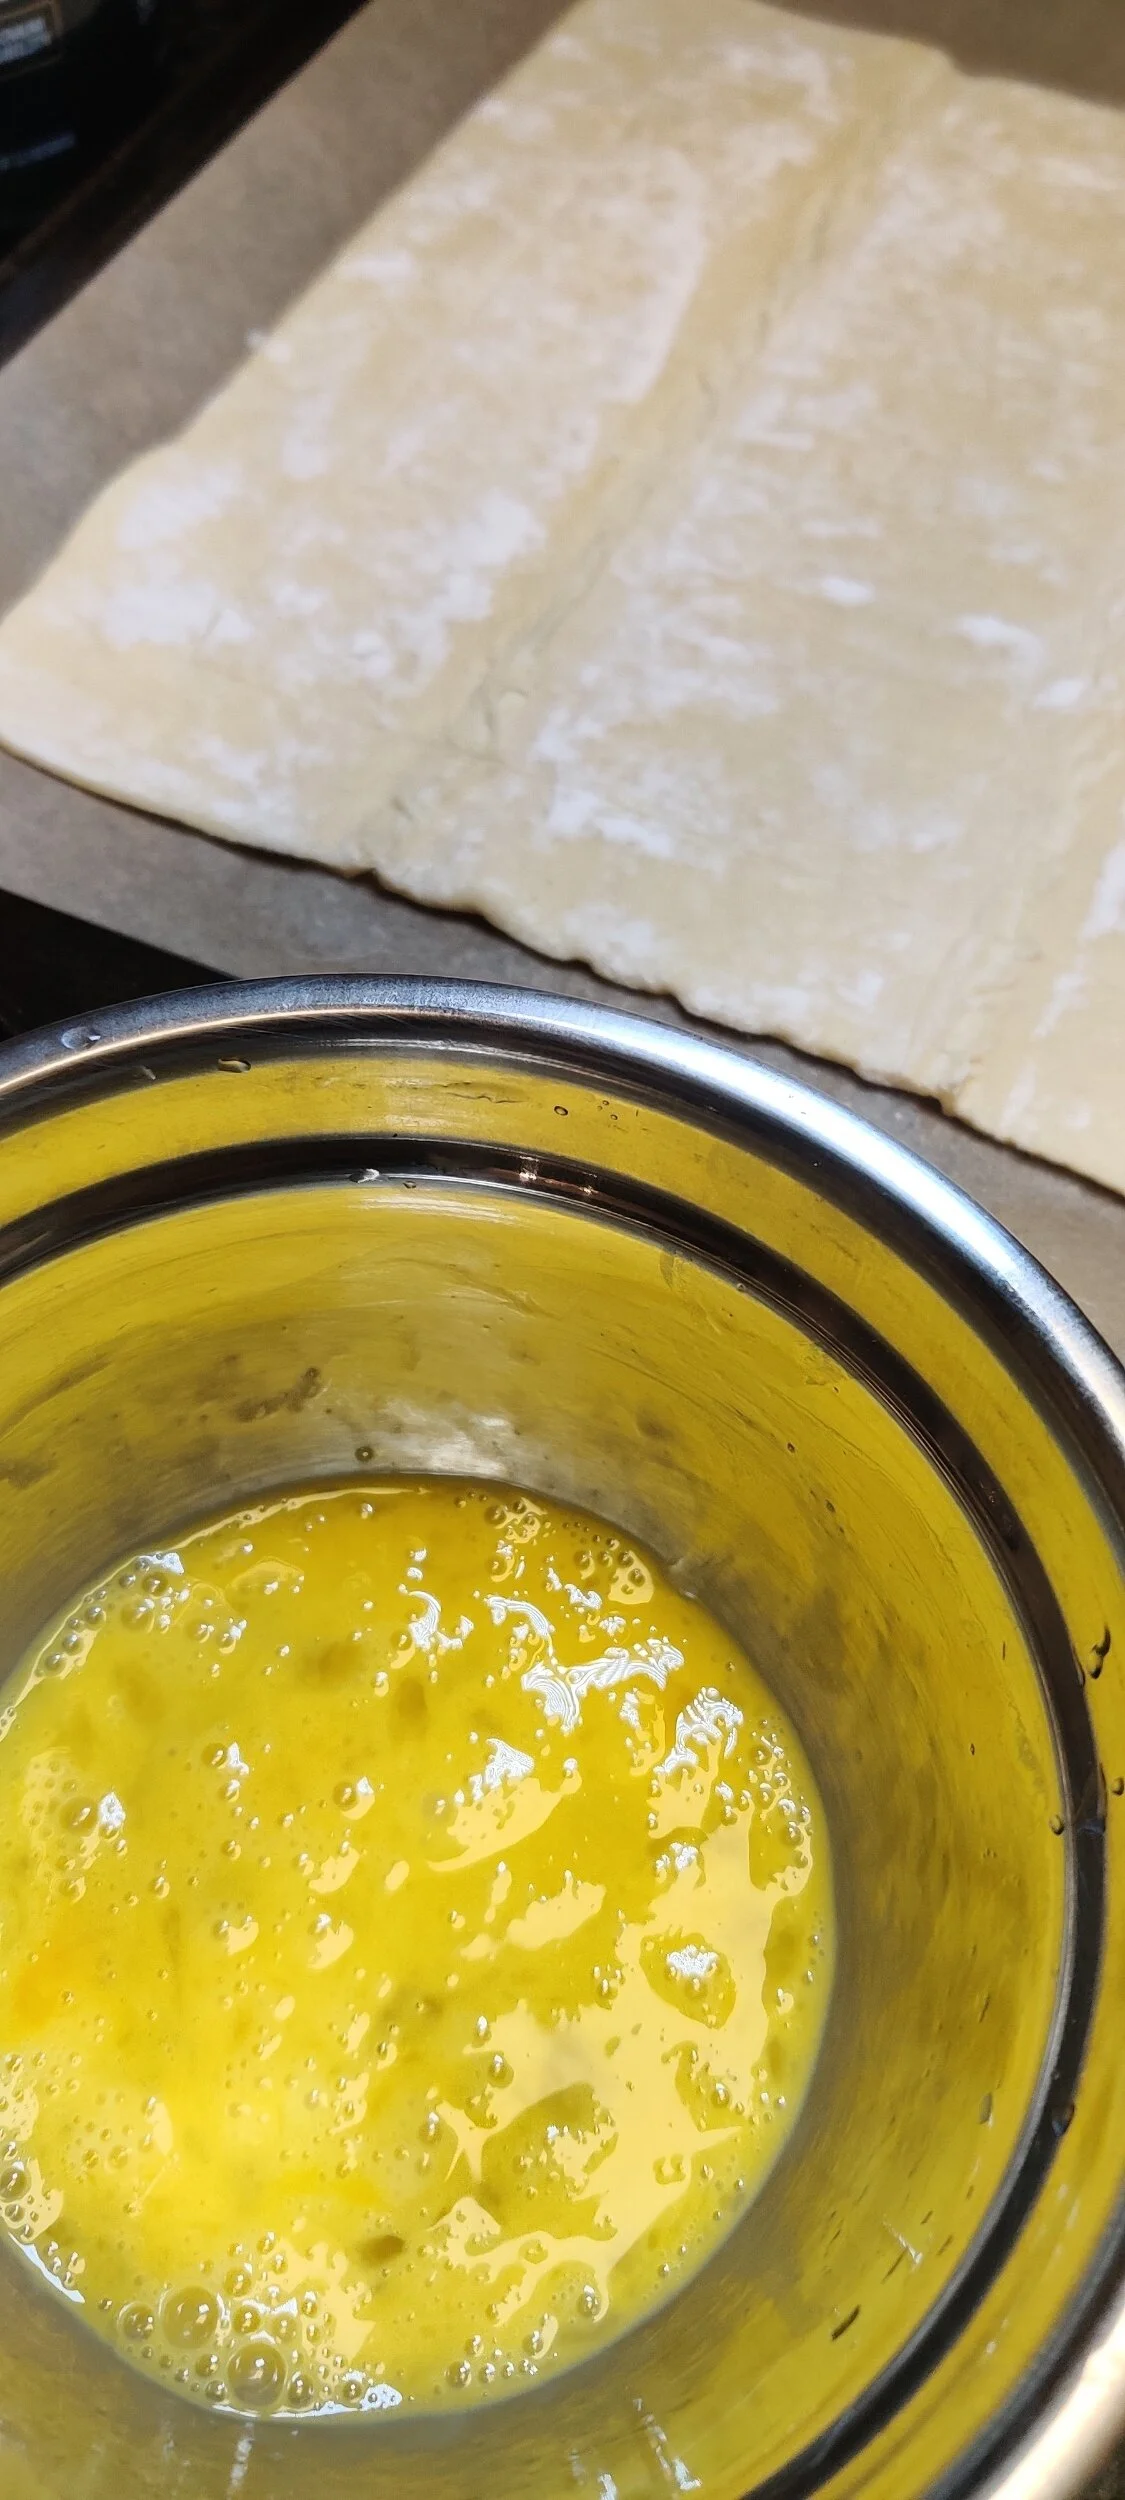
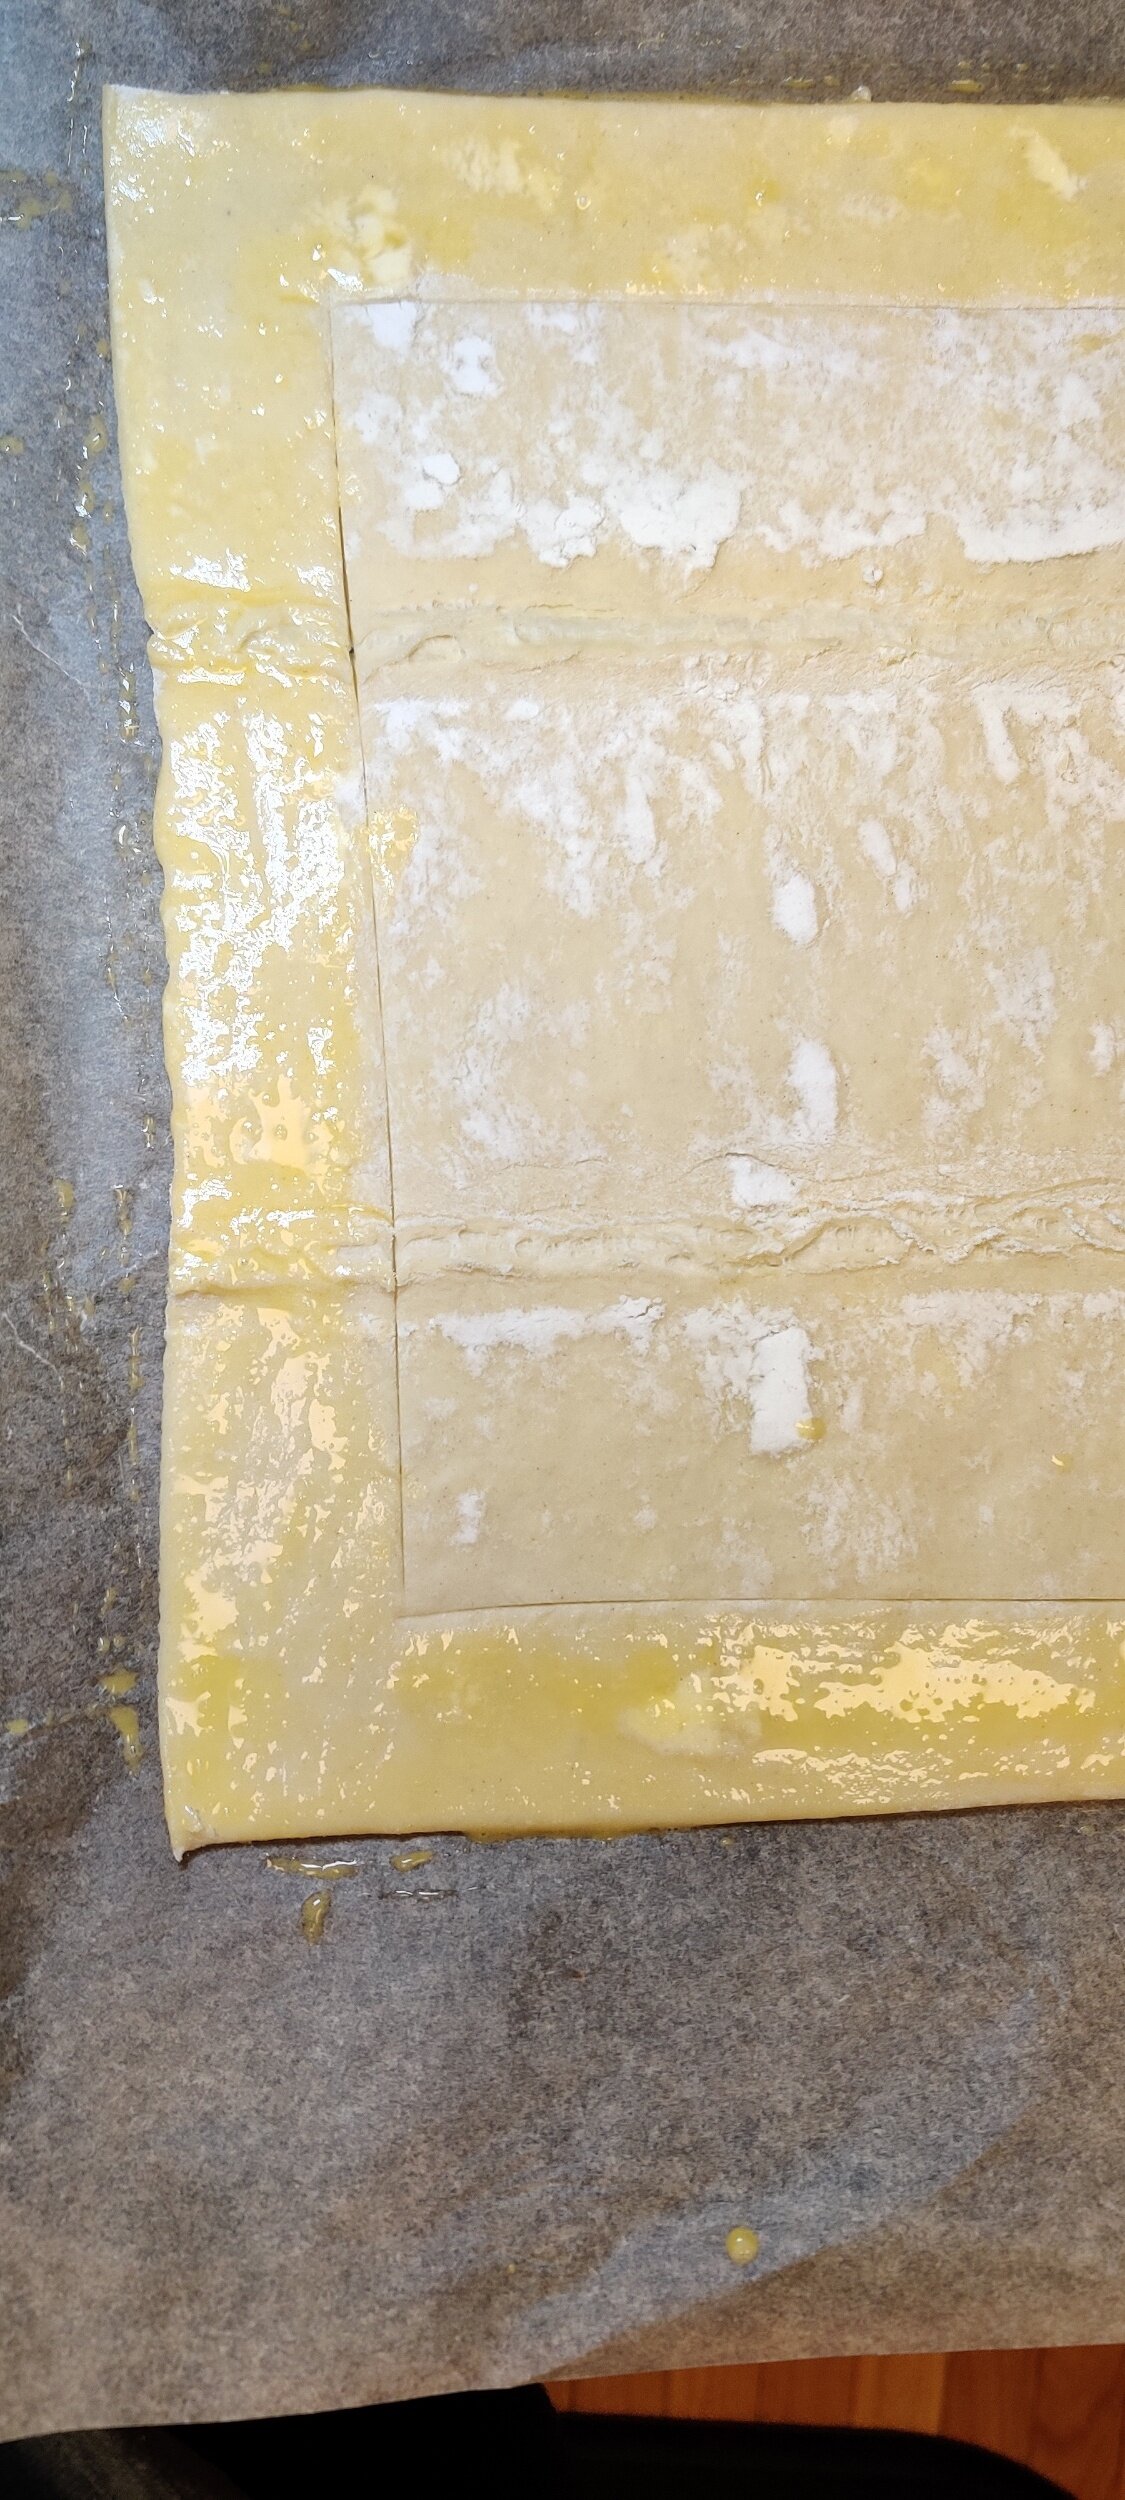
1 sheet puff pastry, thawed
1 egg
Honey
Instructions
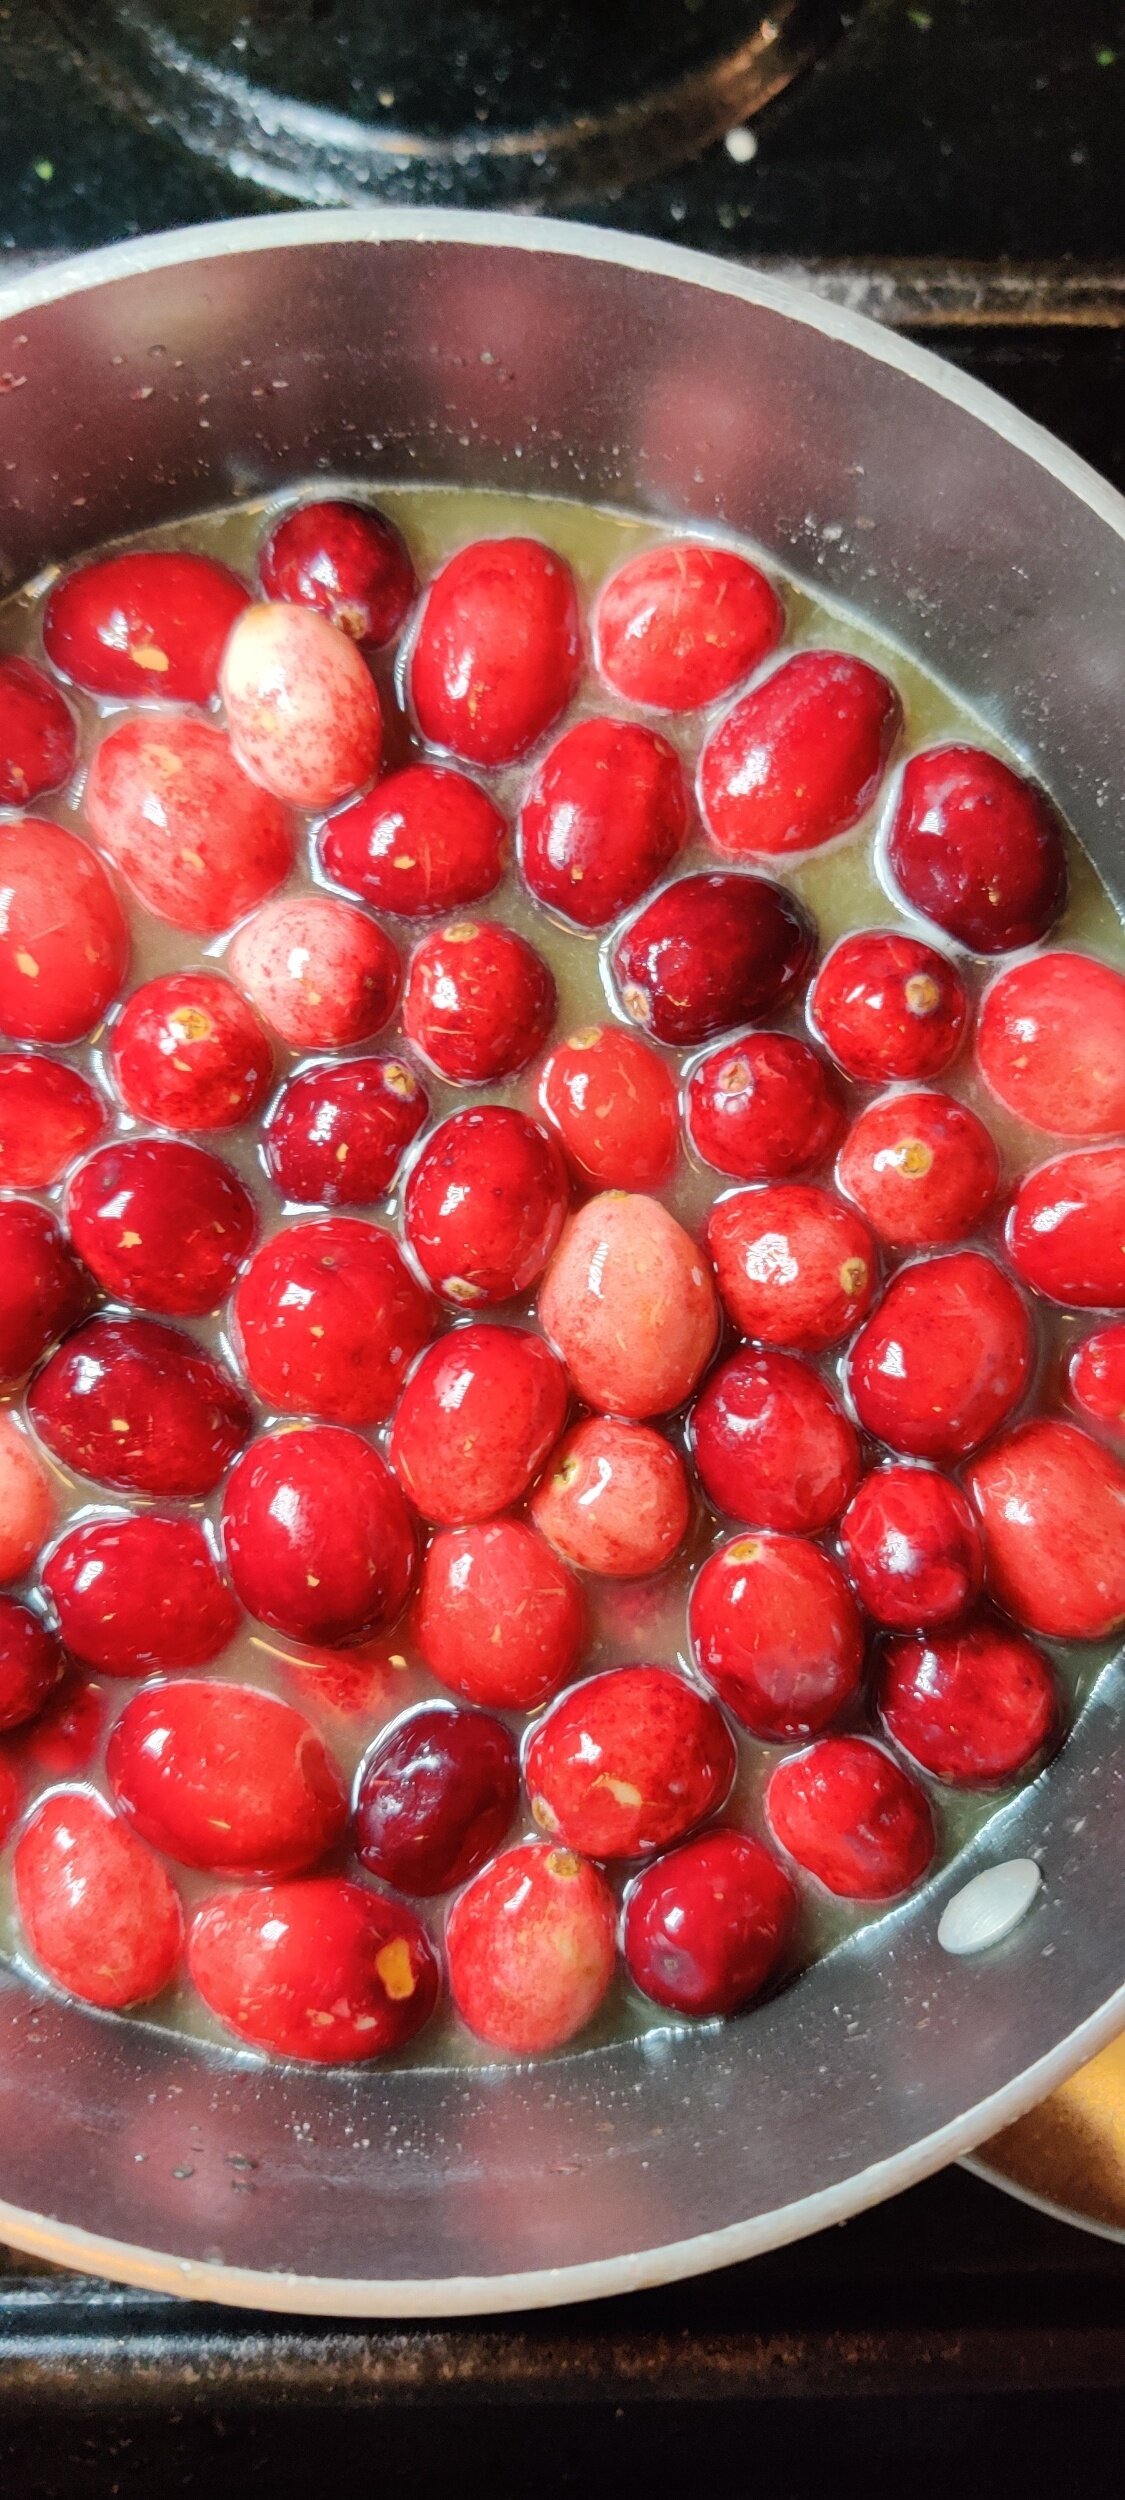
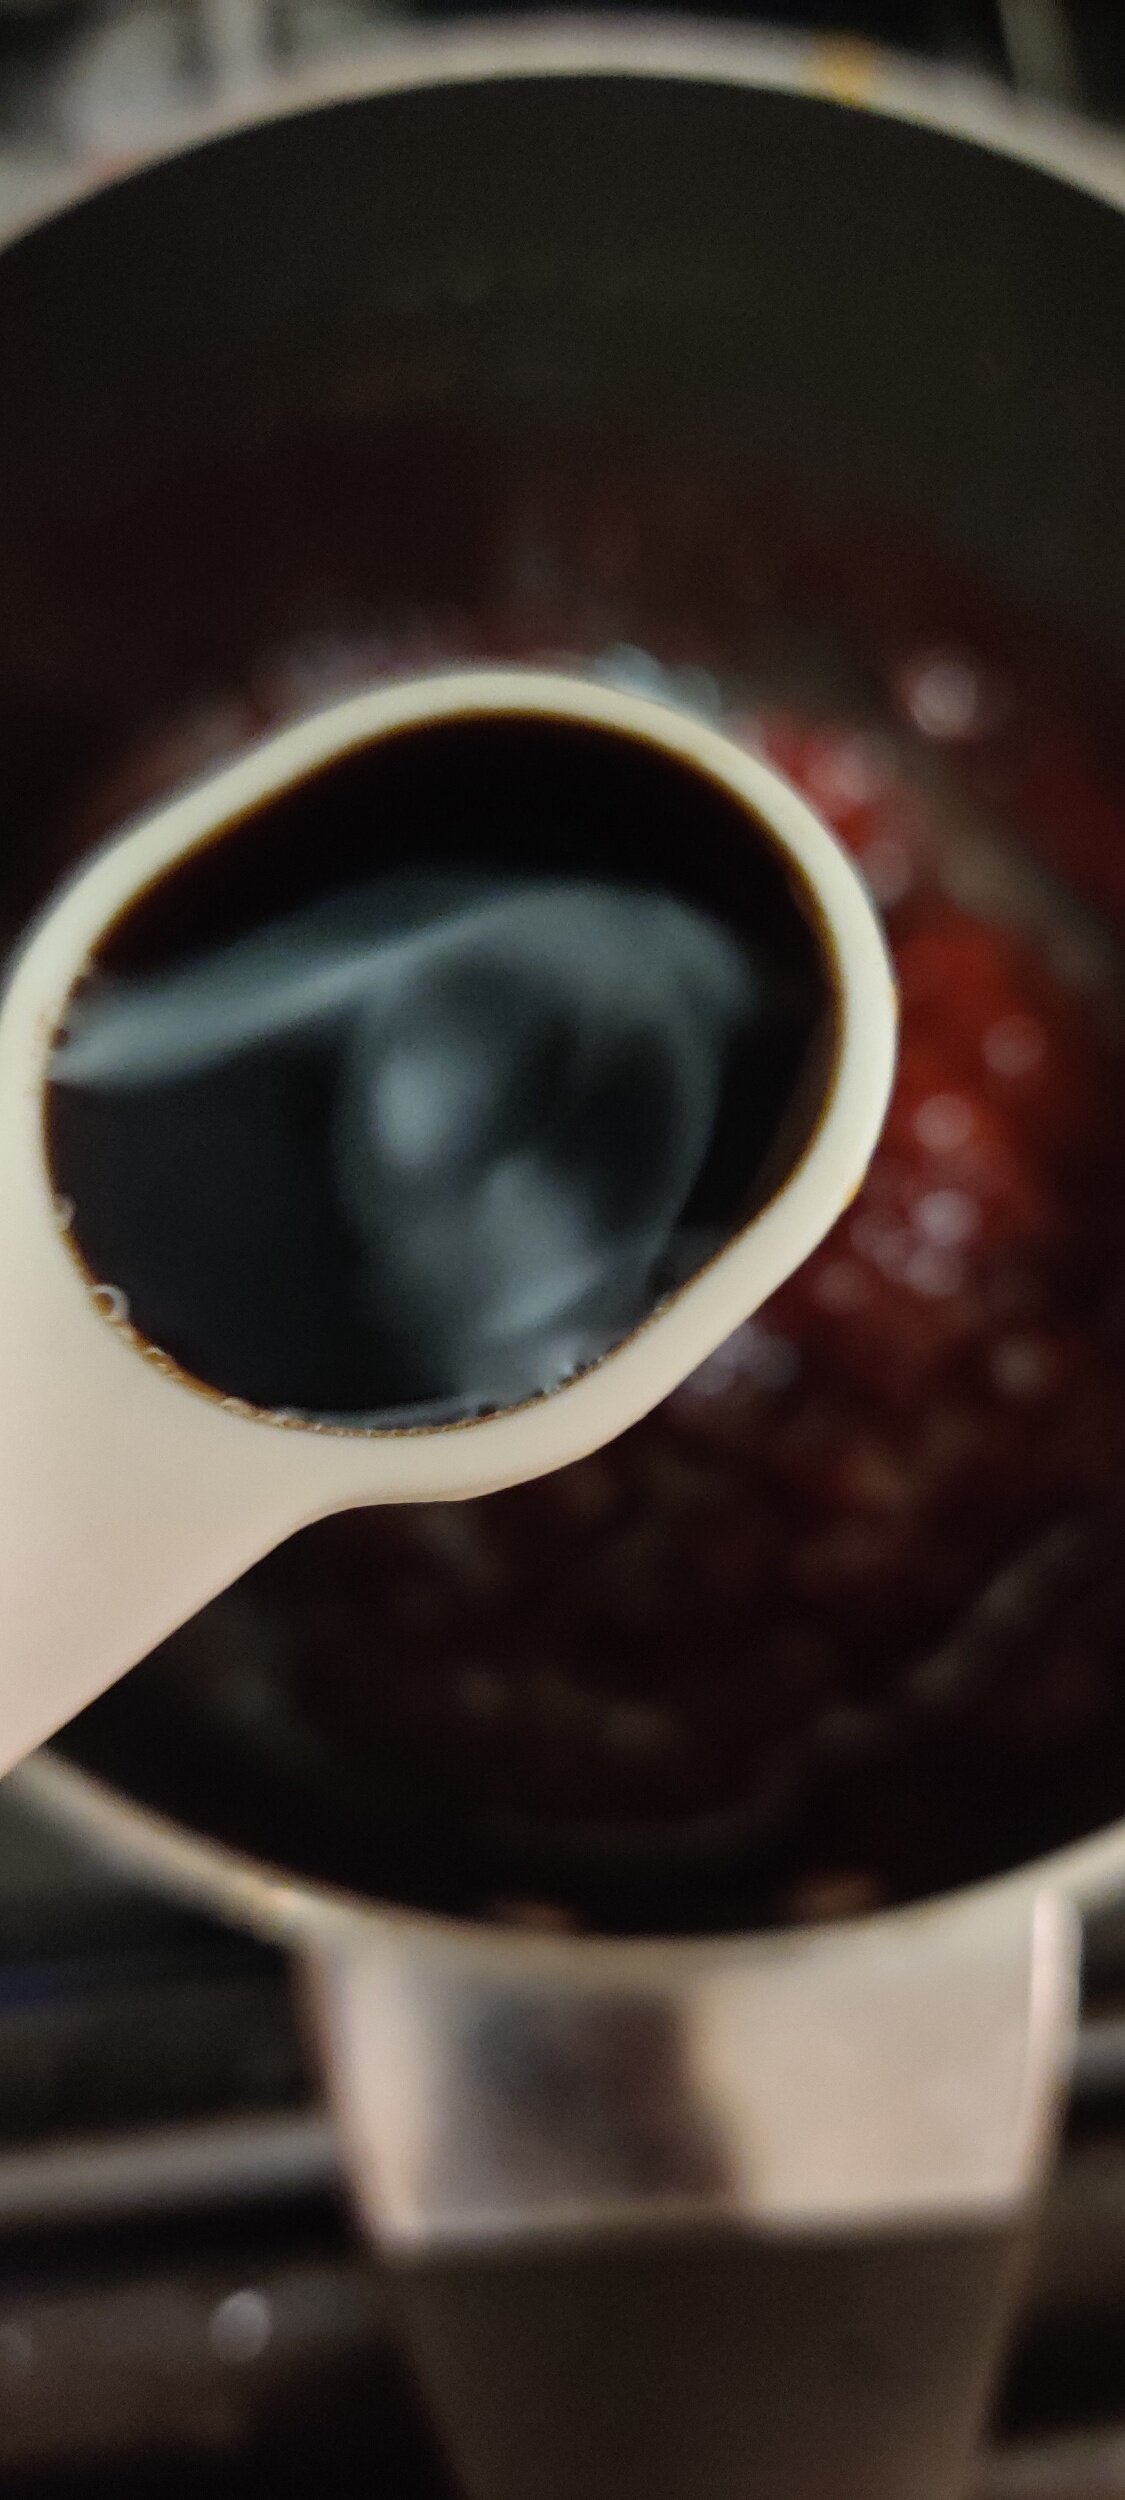
Make the cranberry sauce. On medium-low heat, dissolve the sugar in the orange juice.
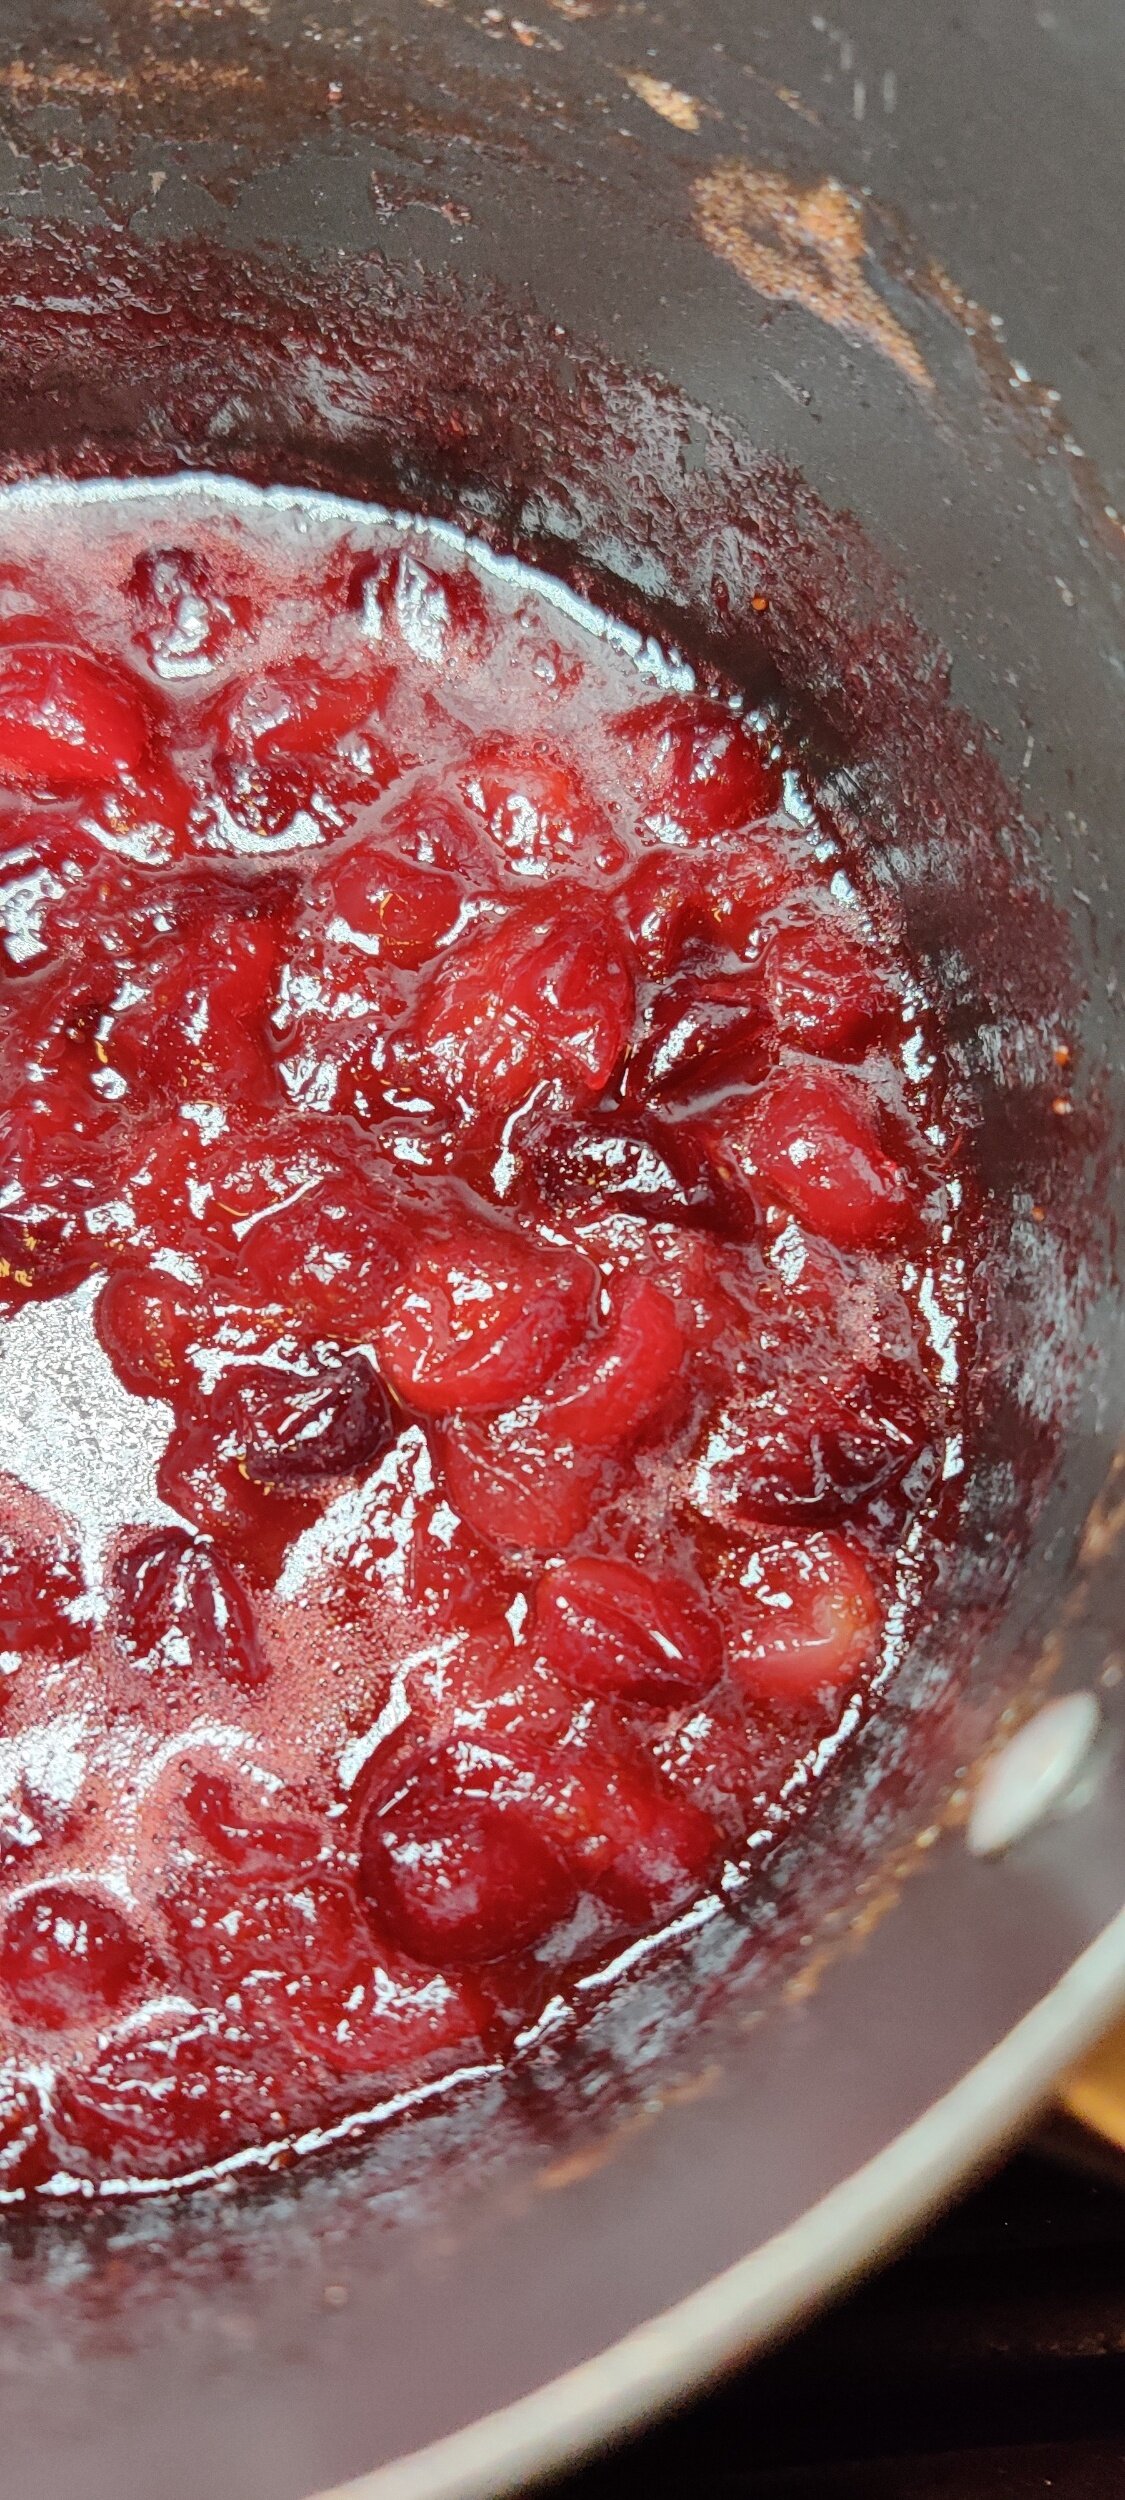
Add the washed and drained cranberries and simmer on low heat for about 10 minutes until a thick sauce begins to form - the cranberries will break down and darken. Remove from heat and set aside.
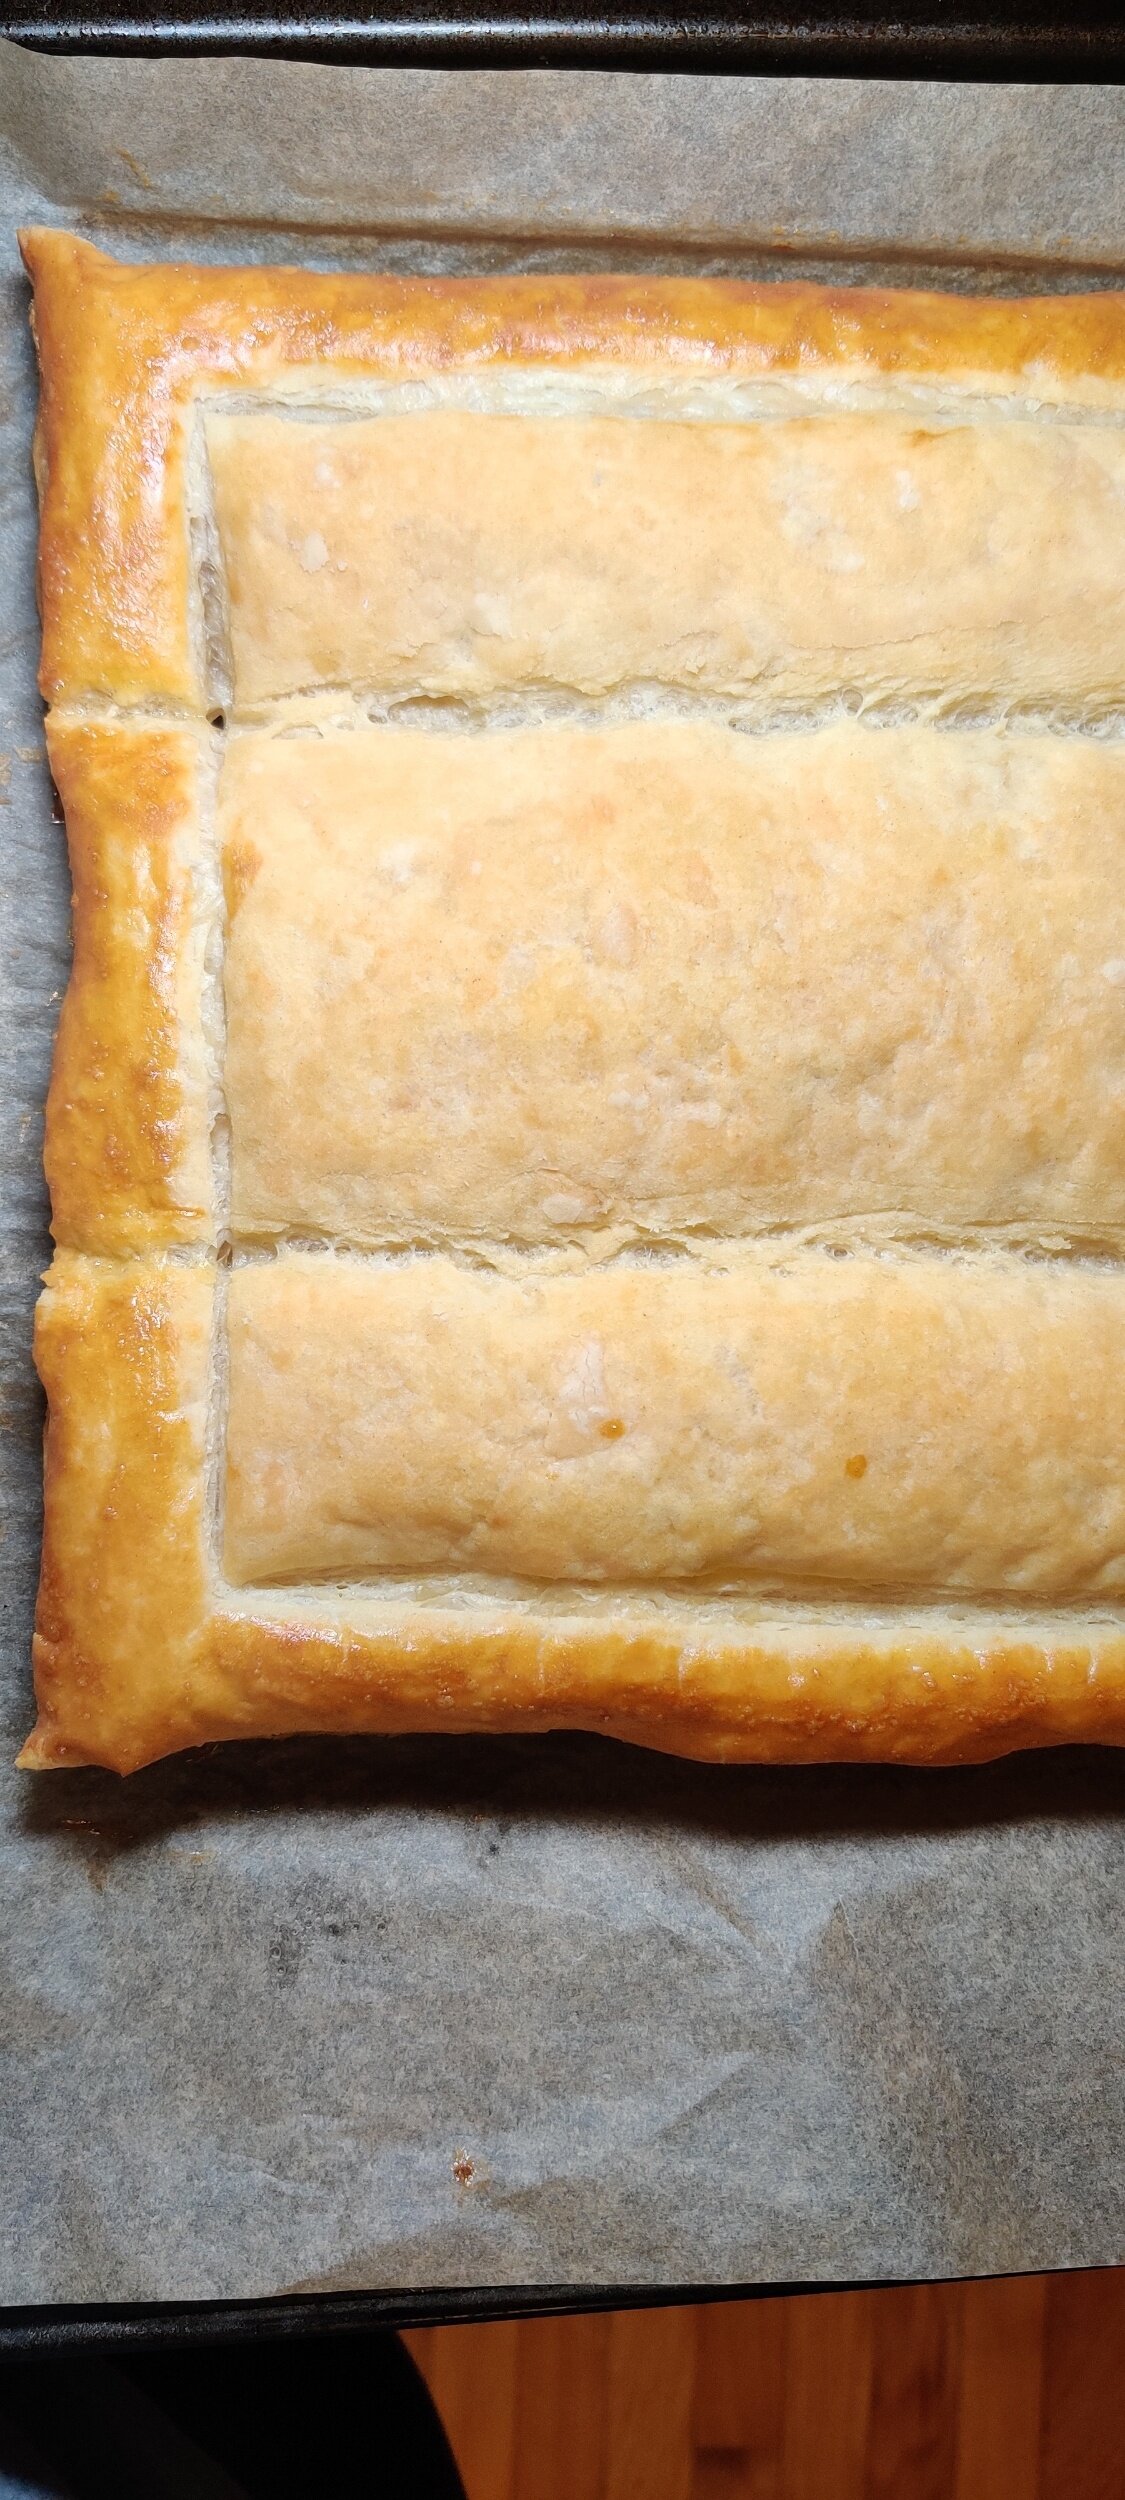
Score the puff pastry about an inch and a half of a border - take care not to cut all the way through! Gently mark with the knife so you can see the outline. Brush that area with egg wash and bake for 15 minutes in a 375F.
While baking, roughly chop the pistachios and slice the brie into thickly.
Remove the pastry from the oven, and gently press the inflated part/centre down with a spoon - take care not to crack it.
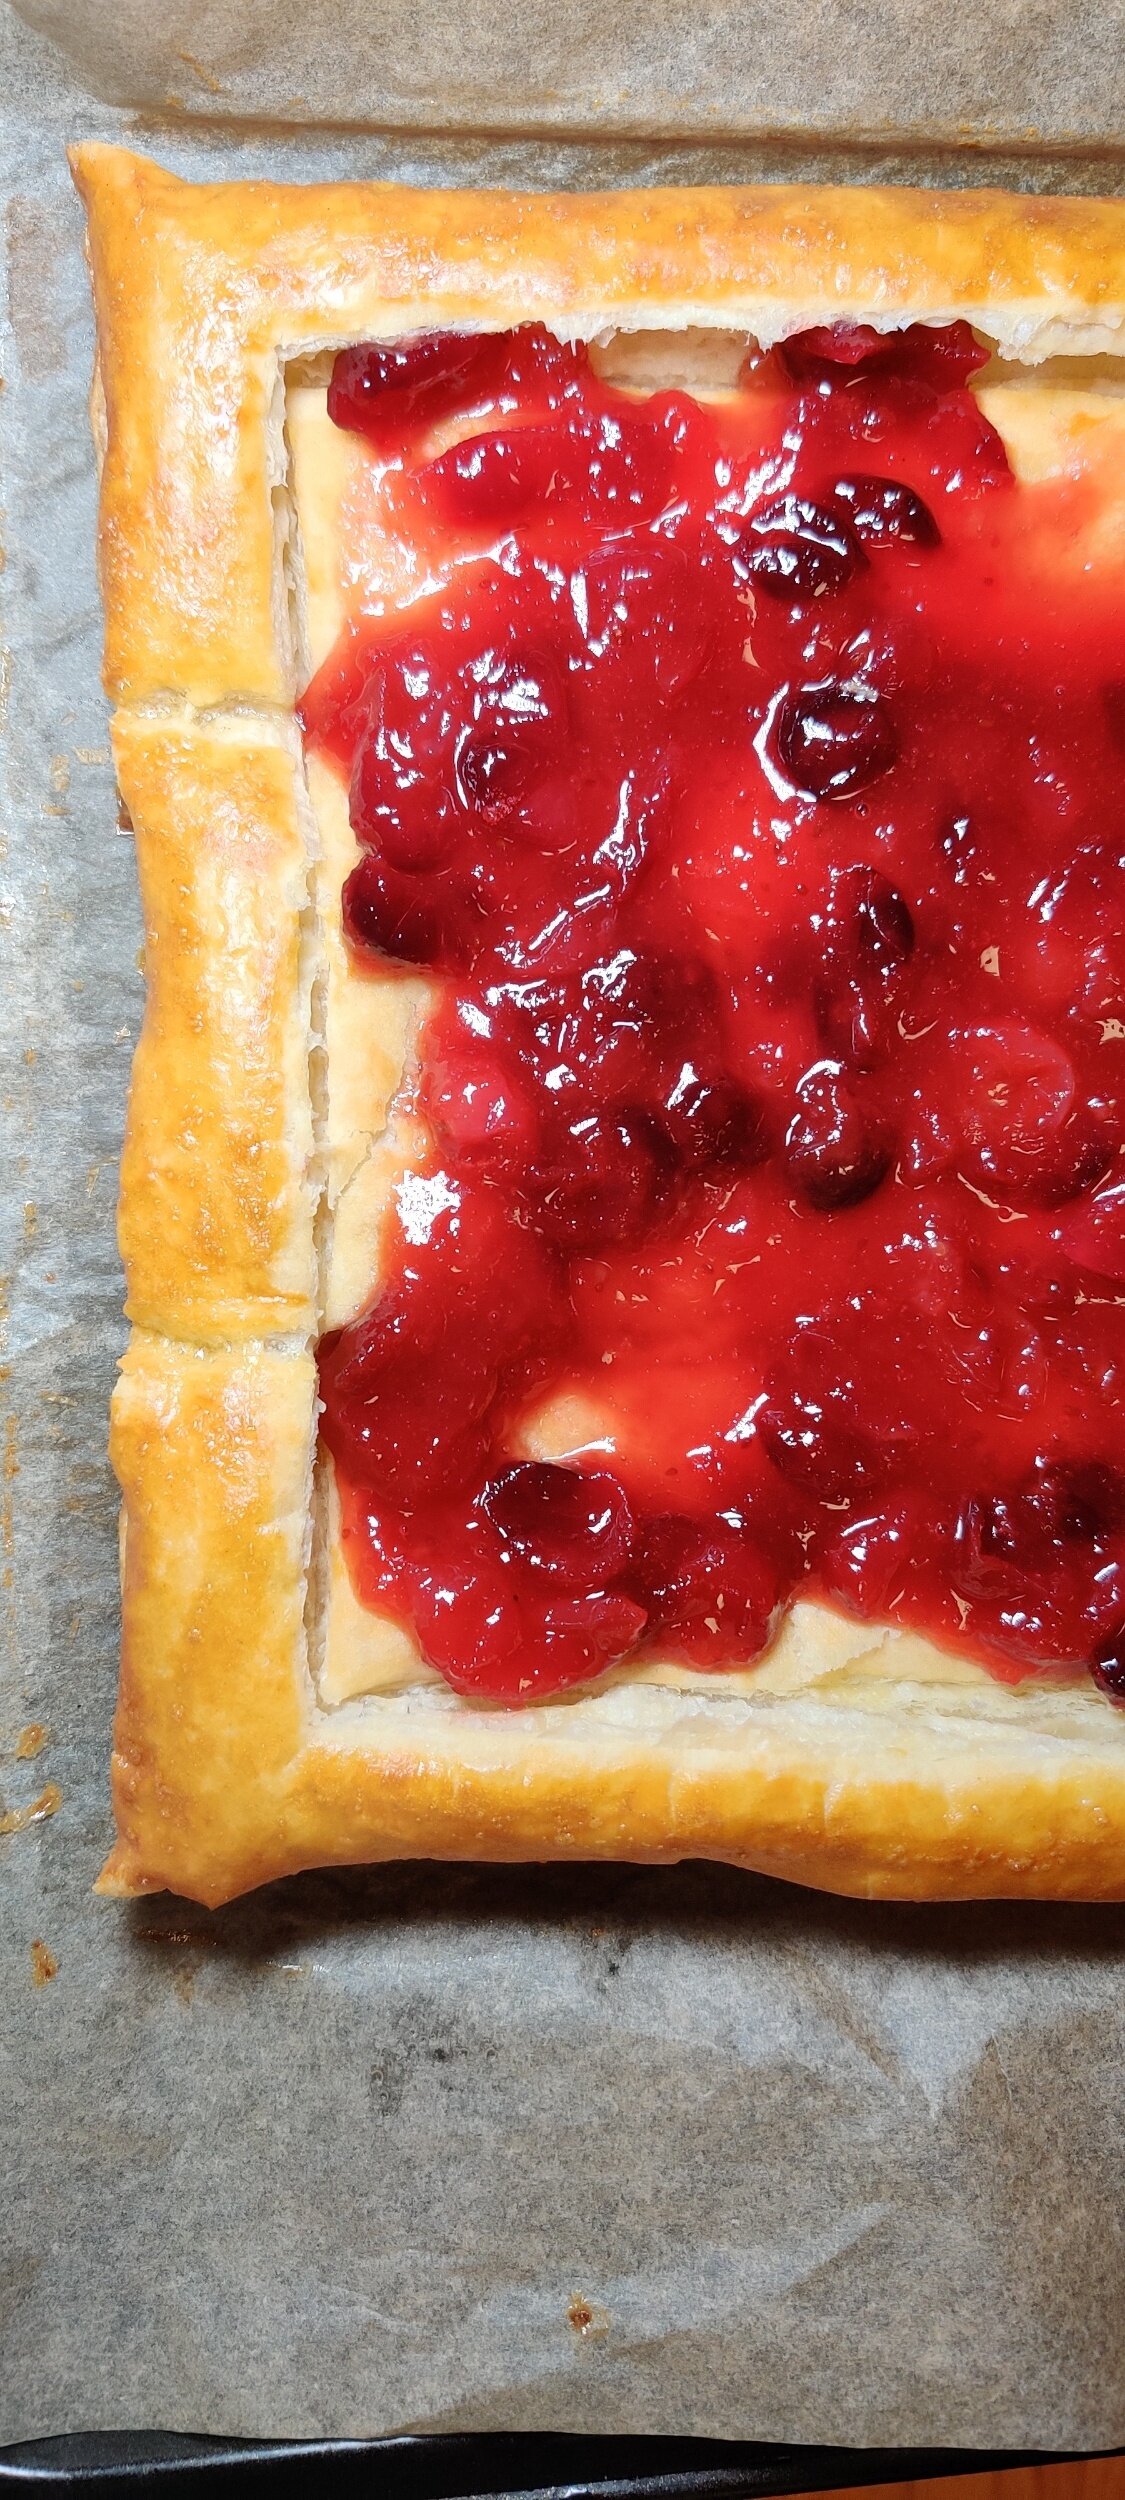
Smother most of the cranberry sauce over the pastry, then overlay with the cheese slices, then add dollops of the remaining cranberry sauce.
Add some fresh thyme (removed from the stalk) and sprinkle about 1 tablespoon of the pistachios.
Bake for another 15 minutes or until the cheese has melted to your liking.
Serve warm and drizzle with honey and extra pistachios!
Note: go easy on the cranberry if you don't want it too tangy!

Apple Butter Babka
Babka is one of those recipes that feels steeped in history and comfort. Originating in Eastern European Jewish communities, it was traditionally made as a sweet, enriched bread filled with chocolate, cinnamon, or fruit preserves, then braided and baked to golden perfection. Over time, babka has become a global favorite, loved for its rich layers, beautiful swirls, and irresistible aroma as it bakes. It’s the kind of recipe that invites you to slow down, get a little messy, and truly enjoy the process.
The first time I tried to make babka at home, it was a bit of a disaster—as is often the case with first-time bread makers! The dough wasn’t baked through, and the braiding process completely tripped me up. That’s the tricky part about babka: you’re working with soft, buttery dough logs filled with something sticky and delicious, then slicing and twisting them into a presentable shape. It’s a little chaotic, but also deeply satisfying once you get the hang of it. And honestly, it doesn’t need to be perfect. I prefer a more free-form approach, often shaping mine on a baking sheet instead of a loaf pan. It gives me room to play, and I never stress about creating a flawless wreath—though I do encourage you to try if you’re up for the challenge!
This version takes a seasonal twist with an apple butter filling instead of the traditional chocolate or cinnamon. I came up with it one autumn after apple picking, surrounded by more apples than I could possibly eat. Apple butter is one of my favorite ways to transform excess apples—it’s smooth, spiced, and naturally sweet, cooked down until caramelized and deeply flavorful. (You can find my homemade apple butter recipe separately on the site.) Swirled through tender, buttery babka dough, it creates a fragrant loaf that tastes like fall in every bite.
Whether you’re a seasoned baker or just starting out, this Apple Butter Babka is a wonderful project for a cool day. It’s cozy, aromatic, and endlessly rewarding—the kind of bake that makes your whole home smell like cinnamon and comfort.


Apple Butter Babka
I discovered this sweet braided bread when I moved to New York City in 2010. It was one of my favourite treats after one of those tough college days. There are loaves in Trader Joe's where I regularly shopped as well, but the best in the city, in my opinion, was from Moishe's, a Jewish bakery not too far from St Mark's Place. I was obsessed.
Ingredients
- 1/4 cup light brown sugar
- 1 teaspoon apple cider vinegar
- 1 teaspoon lemon juice
- 1 cup orange or apple juice
- 4 apples (I used a mix of tart and sweet)
- Pinch of salt
- 1/2 teaspoon cinnamon
- 1/4 teaspoon nutmeg
- 1/4 teaspoon cloves
- 2/3 cups water
- 2 egg yolks + 1 egg, beaten (halve this mixture)
- 1/2 cup milk, warmed (I used almond milk)
- 1 1/8 teaspoons active yeast
- 2 cups flour
- 1/2 teaspoon salt
- 5 tablespoons butter, softened
- 1/4 teaspoon almond extract
- 1/2 teaspoon vanilla
- 2 tablespoons maple syrup
- 2 tablespoons white sugar
- Egg wash
- Cinnamon sugar, chopped pecans, and turbinado sugar to garnish
- 2 tablespoons white sugar
- 2 tablespoons light brown sugar
- 2 tablespoons freshly squeezed orange or grapefruit juice or zest
- 1 tablespoon light corn syrup (optional)
- 1/4 cup water
Instructions
- Peel, decore, and dice the apples, place them in a large nonstick pot. Add the juice and spices then bring to a boil.
- Add the water and close with a lid, reduce to simmer for about 2 hours and stir regularly to make sure the apples don't burn!
- Add more water if your apples need more time, you want them to soften to the point that they mash easily.
- Remove from heat and cool completely or rest overnight.
- Transfer the apples to a blender or food processor and pulse until a thick apple sauce-like texture forms.
- Store for up to 3 weeks in an airtight container!
- In a small bowl, mix the yeast into the warm milk and set aside for 5 minutes.
- In a large bowl, add the egg mix, sugar, maple syrup, almond extract, vanilla, and yeast mix, then whisk. Add the flour in two parts, and mix until incorporated.
- Add the butter gradually, and bring the dough together. Cover with a towel for 30 minutes.
- On a floured surface, knead the dough until smooth, then halve into two equal pieces. Place both in bowls and clover with cling wrap, set aside for 2 hours at room temperature. Your dough will increase in size.
- Move onto a floured surface and roll out the dough into a rectangle shape, not too thin!
- Spread the apple butter evenly across the rectangle, leaving about an inch around the border, then carefully roll lengthwise into a log (seam face down). Repeat for the second piece of dough.
- Carefully slice each log vertically (seam face down). Braid the four pieces into your desired shape, and tuck in the ends underneath. Carefully transfer to a baking sheet - I used two spatulas!
- Cover with a towel and rest for 30 minutes.
- Brush the babka with egg wash and garnish with cinnamon sugar, pecans, and turbinado sugar.
- Bake at 375F for 35-40 minutes or until golden brown and cooked through, keep a close eye.
- While the babka is baking, make the simple syrup. Bring the water and sugar to a boil, then add the citrus and corn syrup. Simmer for another minute on low heat, then remove from stovetop.
- Brush hot babka with the syrup then set aside to cool. Enjoy!
Nutrition Facts
Calories
356Fat (grams)
84.78 gCarbs (grams)
464.38 gProtein (grams)
50.2 gI am not a certified nutritionist and any nutritional information on dontmissmyplate.com should only be used as a general guideline.