

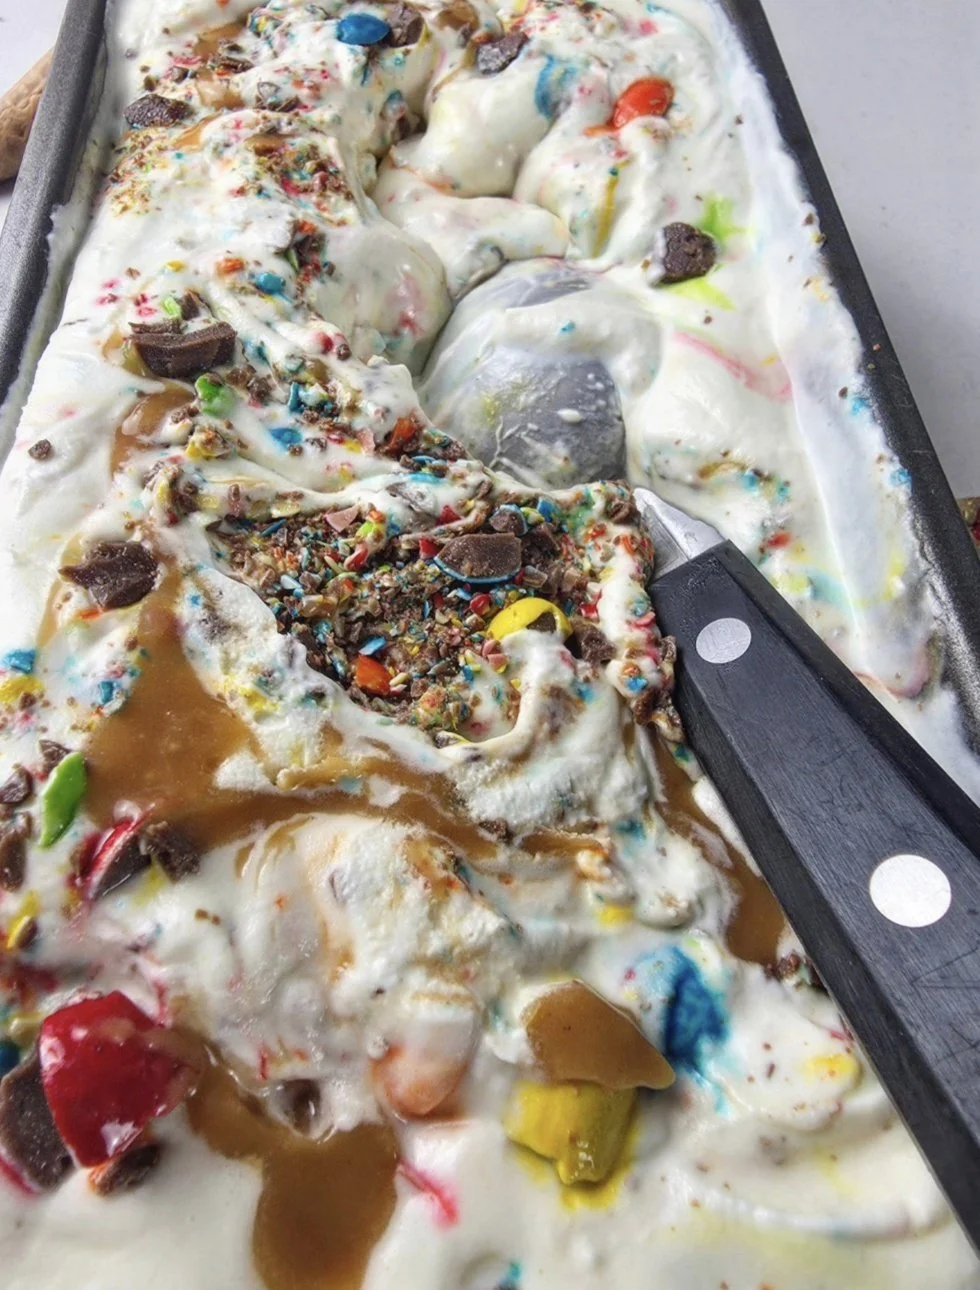
No-Churn Chocolate Egg Ice Cream with Caramel Drizzle
This no-churn Easter egg and caramel ice cream is a rich, creamy homemade dessert made without any ice cream machine, just a few simple ingredients and a freezer.
No-churn ice cream works by combining whipped cream and sweetened condensed milk, creating a smooth, airy base that freezes into a soft, scoopable texture. The key is keeping the cream light and fluffy, then gently folding it into the condensed milk so you don’t lose the air that gives the ice cream its signature creaminess.
In this version, crushed mini Easter eggs and caramel pieces are folded through the mixture, making it the perfect way to use leftover Easter candy or seasonal chocolate. You can also adapt this base with cookies, fruit, nuts, or other chocolates year-round.
The result is a simple, indulgent homemade ice cream that requires no churning, no special equipment, and minimal effort. Just freeze and enjoy!


No-Churn Easter Egg and Caramel Ice Cream
This easy no-churn ice cream is made with whipped cream and sweetened condensed milk for a rich creamy, texture - no machine needed. Folded with crushed mini Easter eggs and caramel, it's the perfect way to turn leftover holiday chocolate into a simple, indulgent frozen dessert.
Ingredients
- 2 cups heavy whipping cream (cold)
- 1 can (397g / 14 oz) sweetened condensed milk
- 1 tsp vanilla extract
- 1–1.5 cups mini Easter eggs (crushed)
- ½ cup caramel sauce or chopped caramel pieces (optional)
- Pinch of salt (optional, enhances flavor)
Instructions
- Whip the cold heavy cream in a bowl until stiff peaks form.
- In a separate bowl, mix sweetened condensed milk and vanilla.
- Gently fold the whipped cream into the condensed milk mixture (important: keep it airy).
- Fold in crushed Easter eggs and caramel pieces.
- Pour mixture into a freezer-safe container.
- Swirl extra caramel on top if desired.
- Cover and freeze for 6–8 hours or overnight.
- Scoop and serve once firm.
Notes
- Always fold whipped cream into the condensed milk gently (not the other way around) to keep the mixture light and airy.
- Do not overmix after adding whipped cream, this keeps it light and airy
- Almost any chocolate or candy can be substituted (cookies, fruit, nuts)
- Best texture after overnight freezing
- Let sit 5–10 minutes before scooping for easier serving
Nutrition Facts
Calories
400Fat (grams)
25 gCarbs (grams)
35 gSugar (grams)
30 gProtein (grams)
6 gI am not a certified nutritionist and any nutritional information on dontmissmyplate.com should only be used as a general guideline.
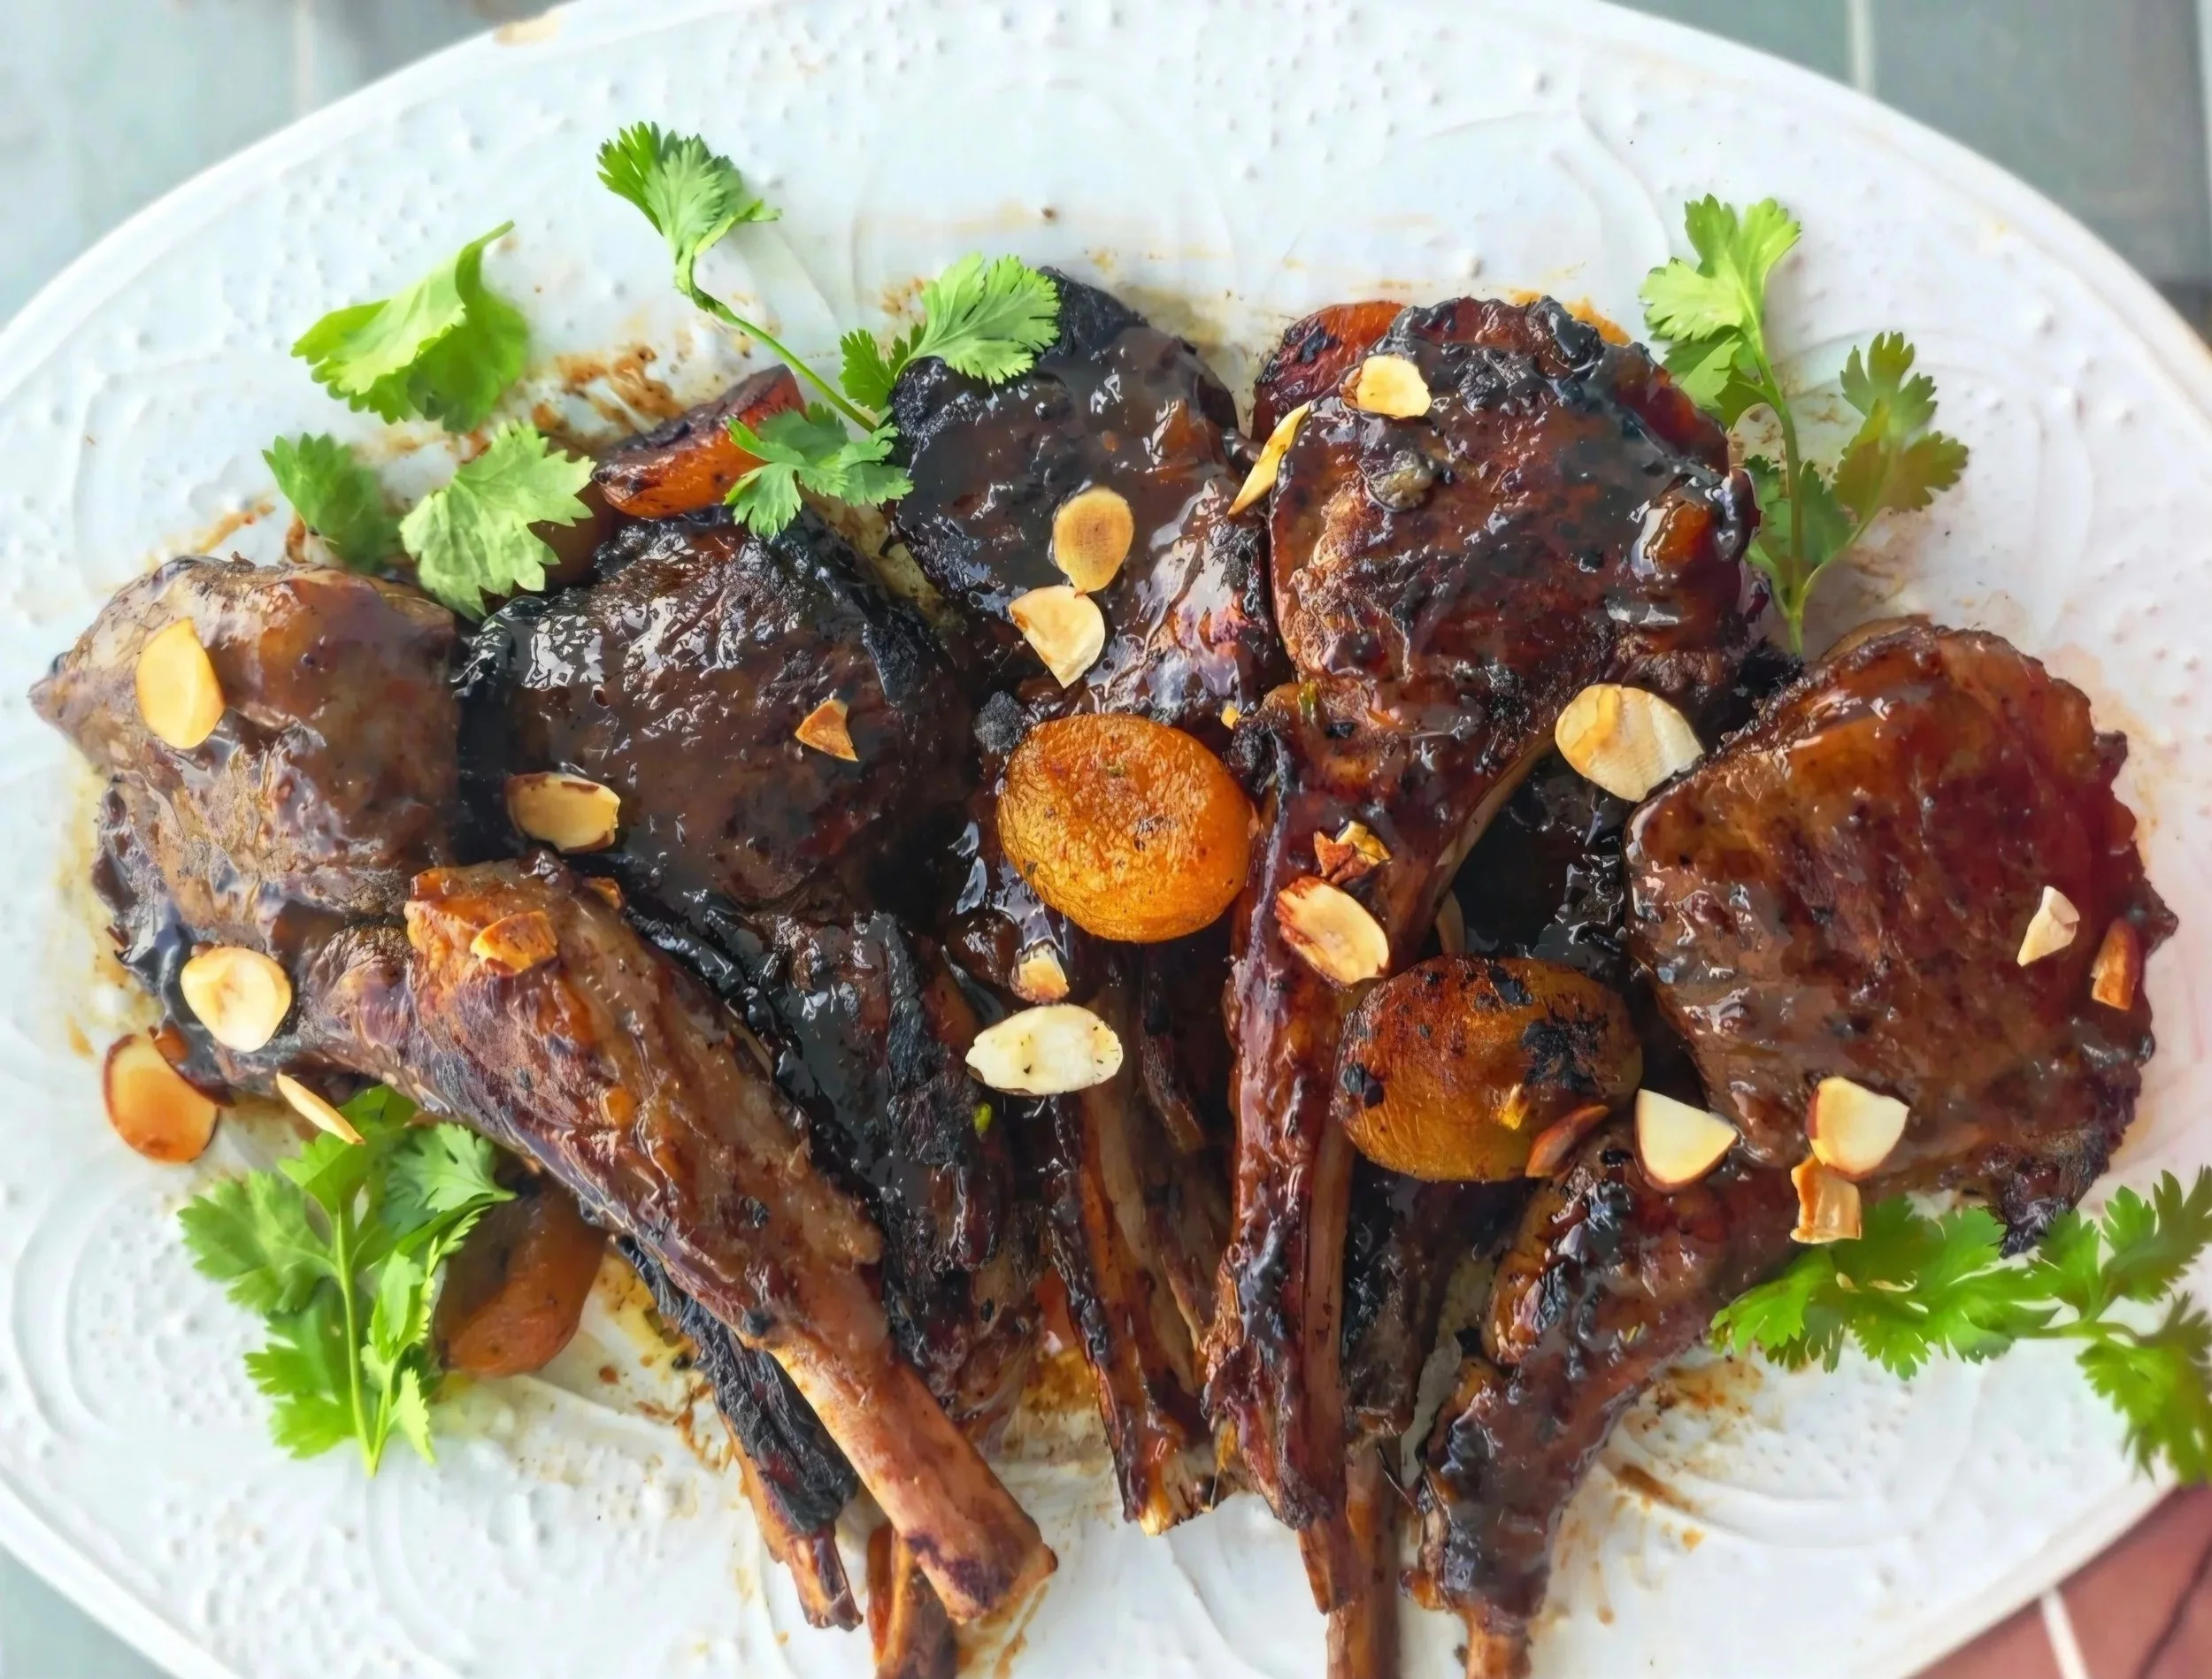
Apricot and Chutney Glazed Lamb Chops
Lamb is a classic choice for Easter and spring cooking, rich, slightly bold in flavor, and especially delicious when paired with sweet, spiced glazes that balance its natural depth.
A lot of lamb consumed globally actually comes from Australia, where sheep outnumber people by a wide margin. Because of this, Australian lamb is widely exported to countries like the United States. It is typically grass-fed, which gives it a more pronounced, slightly earthy and robust flavor compared to grain-fed lamb. That stronger flavor is exactly why lamb works so well with bold marinades and glazes like apricot, chutney, and warm spices. It can stand up to sweetness and acidity without losing its identity.
For this recipe, I took inspiration from sosaties, a traditional South African braai dish where lamb meat is marinated with curry spices, vinegar, and dried or fresh apricots. Whole apricots are often used in the marinade and cooking process, creating a sweet, caramelized finish that pairs beautifully with grilled or roasted meats. Instead of skewers, I used lamb rib chops cut from a rack, marinated them in a similar sweet-spiced profile, and finished them with a glossy apricot and chutney glaze.
Because lamb chops are a premium cut, they are best treated with care. Medium rare to medium, slightly pink in the center, is ideal for keeping them juicy and tender. Overcooking can make them firm and cause them to lose their natural richness, so do not be alarmed by a blush of pink.
When working with a rack of lamb, there is usually a fat cap along the edges. You do not need to fully remove it because this fat helps with flavor, but it is important to render it properly. Searing the chops fat side down briefly helps melt excess fat, and finishing in the oven allows it to cook through evenly without becoming greasy. Any large or excessive fat sections can be lightly trimmed, but a little rendered fat is part of what makes lamb so flavorful.
The result is a sweet, savory, deeply aromatic dish that feels special enough for Easter, but simple enough for any spring gathering or weekend dinner.

Apricot and Chutney Glazed Lamb Chops
Juicy lamb chops marinated in a sweet, tangy, and lightly spiced glaze inspired by South African and Cape Malay flavour profiles. The combination of apricot, chutney, garlic, and warm spices creates a rich balance of sweet, savory, and aromatic notes, finished with a glossy glaze and fresh herbs.
Ingredients
- ~14 lamb chops total (1½ racks + 1 pack of 6 chops)
- 2 tbsp Robertson’s Steak & Chop seasoning (or similar)
- 1½ tsp salt (adjust to taste)
- ¾ tsp black pepper
- 3 tbsp olive oil
- 6–8 whole dried apricots (plus extra if you want more sweetness in the pan)
- 1/2 cup apricot preserves
- 2–3 tbsp chutney
- 1 tbsp Worcestershire sauce
- 2–3 cloves garlic (minced)
- 1 tsp curry powder
- 1/2 tsp paprika
- 1 tbsp vinegar
- 1–2 tbsp olive oil
- Salt & pepper
- Optional: pinch onion powder
- 1/2 cup apricot preserves
- 2 to 3 tbsp chutney (mango or South African-style)
- 1 tbsp Worcestershire sauce (optional, for depth)
- 1 tbsp vinegar (apple cider or white)
- 1 to 2 cloves garlic, finely minced
- 1/2 tsp curry powder
- 1/2 tsp paprika
- Salt, to taste
- Black pepper, to taste
- 1 to 2 tbsp water (only if needed to loosen)
Instructions
- Pat lamb chops dry. Season generously with steak seasoning, salt, pepper, and optional spices. Rub well so it sticks.
- Mix all marinade ingredients until smooth, glossy, and fully combined.
- Coat lamb evenly in marinade. Cover and refrigerate for at least 1 hour (longer = better). Before cooking, let it sit out ~10 minutes.
- Combine glaze ingredients in a small saucepan over low heat. Stir until melted and smooth.
- Simmer 3–6 minutes until slightly thickened and glossy. Keep warm.
- Heat pan over medium to medium-low heat. Sear lamb 2–3 minutes per side until browned and caramelized. Render fat by briefly holding edges with tongs.
- Transfer to oven at 350°F (175°C) for 8–12 minutes, depending on thickness. The target internal temperature is in the medium range, 135–140°F (slightly pink inside).
- Rest meat for 5–10 minutes to lock in juices. Finish and serve, brush generously with warm glaze. Add the roasted apricots and optionally toasted almonds.
- Serve immediately. Store leftovers in an airtight container in the fridge for up to 3–4 days or freeze for up to 2–3 months; reheat gently to keep them juicy.
Notes
- Lamb is best served medium rare to medium with a slight pink center for maximum juiciness and tenderness
- Do not overcook the lamb as it can become firm and lose its natural richness
- Fat on lamb chops adds flavor, so only trim excess thick sections and allow the rest to render during searing
- Let the lamb rest for 5–10 minutes before glazing to help retain juices
- The apricot glaze is strictly a finishing sauce and should be applied after cooking, not during high heat
- Roasted apricots can be cooked alongside the lamb to add natural sweetness and enhance presentation
Nutrition Facts
Calories
600Fat (grams)
42 gCarbs (grams)
17 gFiber (grams)
1 gSugar (grams)
14 gProtein (grams)
40 gI am not a certified nutritionist and any nutritional information on dontmissmyplate.com should only be used as a general guideline.
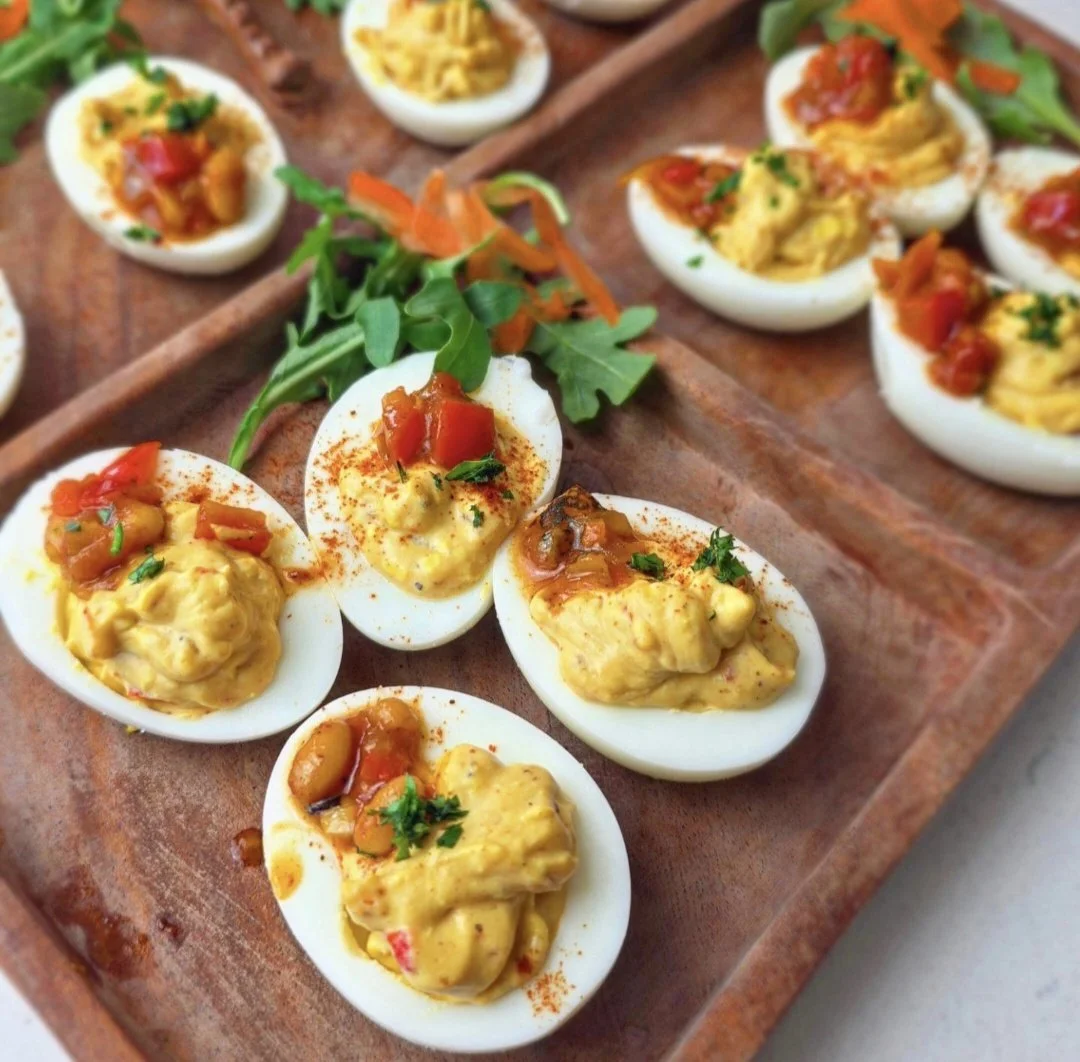
Deviled Eggs with Chakalaka
When the weather begins to warm after a harsh winter, nothing kicks off a celebration of the new season like a colorful, flavorful appetizer. Enter Chakalaka Deviled Eggs, a South African twist on a classic seasonal party favorite.
Deviled eggs have long been associated with springtime, symbolizing rebirth and renewal, historically aligned with the end of Lent, when eggs were restricted.
This recipe combines a creamy, tangy yolk filling with the vibrant, spicy flavors of chakalaka, a beloved vegetable relish made from peppers, onions, carrots, and tomatoes, seasoned with curry and warm spices. Chakalaka is traditionally served alongside grilled meats and starchy sides like pap or sadza, making it a familiar and festive flavor profile.
These eggs are perfect for a wide range of events, from braais and cookouts to picnic spreads and upscale cocktail gatherings. They bring a pop of color, a touch of heat, and a playful nod to South African flavors, making them a springtime appetizer that’s as delicious as it is eye-catching.

Deviled Eggs with Chakalaka
Bright, flavorful, and a little spicy, these Chakalaka Deviled Eggs combine creamy yolks with the vibrant South African relish chakalaka. Perfect for spring gatherings, braais, picnics, or cocktail parties, they bring color, heat, and bold flavor to any appetizer spread.
Ingredients
- 1/2 medium onion, diced
- 1/2 large red bell pepper, diced
- 1 large garlic clove, minced
- 1 Thai chili, finely chopped
- 1 medium carrot, diced
- 1/4 cup baked beans in tomato sauce
- 1/4 cup fire-roasted diced tomatoes
- 1/4 tsp cayenne
- 1/2 tsp smoked paprika
- 1 tsp curry powder
- 1/4 tsp Royco Usavi beef seasoning
- 1/4 tsp salt
- 1/4 tsp black pepper
- 1/4 tsp ground coriander
- 1/4 tsp ground ginger
- 1 tsp chicken bouillon concentrate
- 1 cup water
- 1/4 cup ketchup/tomato sauce
- 1 tbsp tomato paste
- 1–2 tbsp Worcestershire sauce
- 1–2 tsp rice vinegar
- 1 tbsp chutney
- Ghee or oil, for cooking
- 6 large eggs
- 3 tbsp mayonnaise
- 1 tsp Dijon mustard
- 1 tsp lemon juice
- 2–3 tbsp prepared chakalaka (from above)
- 2 tbsp plain yogurt or sour cream (optional)
- Salt and pepper, to taste
- Optional garnish: smoked paprika, chopped parsley
Instructions
- Cook the eggs: Place the eggs in a pot and cover with 1 inch of cold water. Bring to a boil, then cover, turn off the heat, and let sit 10 minutes.
- Transfer to an ice bath for 5 minutes, then drain. Place in the fridge.
- Prepare chakalaka: Assemble your spices and chop your vegetables. Heat some ghee or oil in a pan and sauté the onions and garlic until soft. Add spices and bouillon; cook for at least 30 seconds.
- Add the bell pepper and chili pepper then cook 1–2 minutes. Stir in the tomato paste, Worcestershire sauce and ketchup to deglaze.
- Simmer vegetables: Add the carrots, diced tomatoes, baked beans, and water. Simmer for 15 minutes until thickened, stirring occasionally.
- Stir in the chutney, and vinegar, then season to taste. Set aside to cool, then add at least 1/2 cup to a bowl and use an immersion blender to smoothen slightly. Be sure to keep the texture and don't make soup!
- Make filling: Peel and halve the eggs and remove the yolks gently to a bowl.
- Mash the yolks, then mix in the mayonnaise, mustard, lemon juice, yogurt (if using), salt, and pepper. Stir in 2–3 tbsp chakalaka.
- Use an immersion blender to make it smoother if desired, but keep a few chunks for texture.
- Assemble eggs: Spoon or pipe yolk mixture into the egg whites.
- Garnish with smoked paprika, a little reserved chakalaka, and parsley.
- Chill until serving.
Notes
- Storage: These are best fresh! Refrigerate up to 24 hours.
- Yogurt or sour cream is optional. It adds extra creaminess and a subtle tang to the filling, which can mellow the spice from the chakalaka. Omit it if you prefer a firmer, more traditional deviled egg texture.
Nutrition Facts
Calories
82Fat (grams)
6.3 gSat. Fat (grams)
1.2 gCarbs (grams)
2.5 gFiber (grams)
0.7 gProtein (grams)
4.5 gI am not a certified nutritionist and any nutritional information on dontmissmyplate.com should only be used as a general guideline.
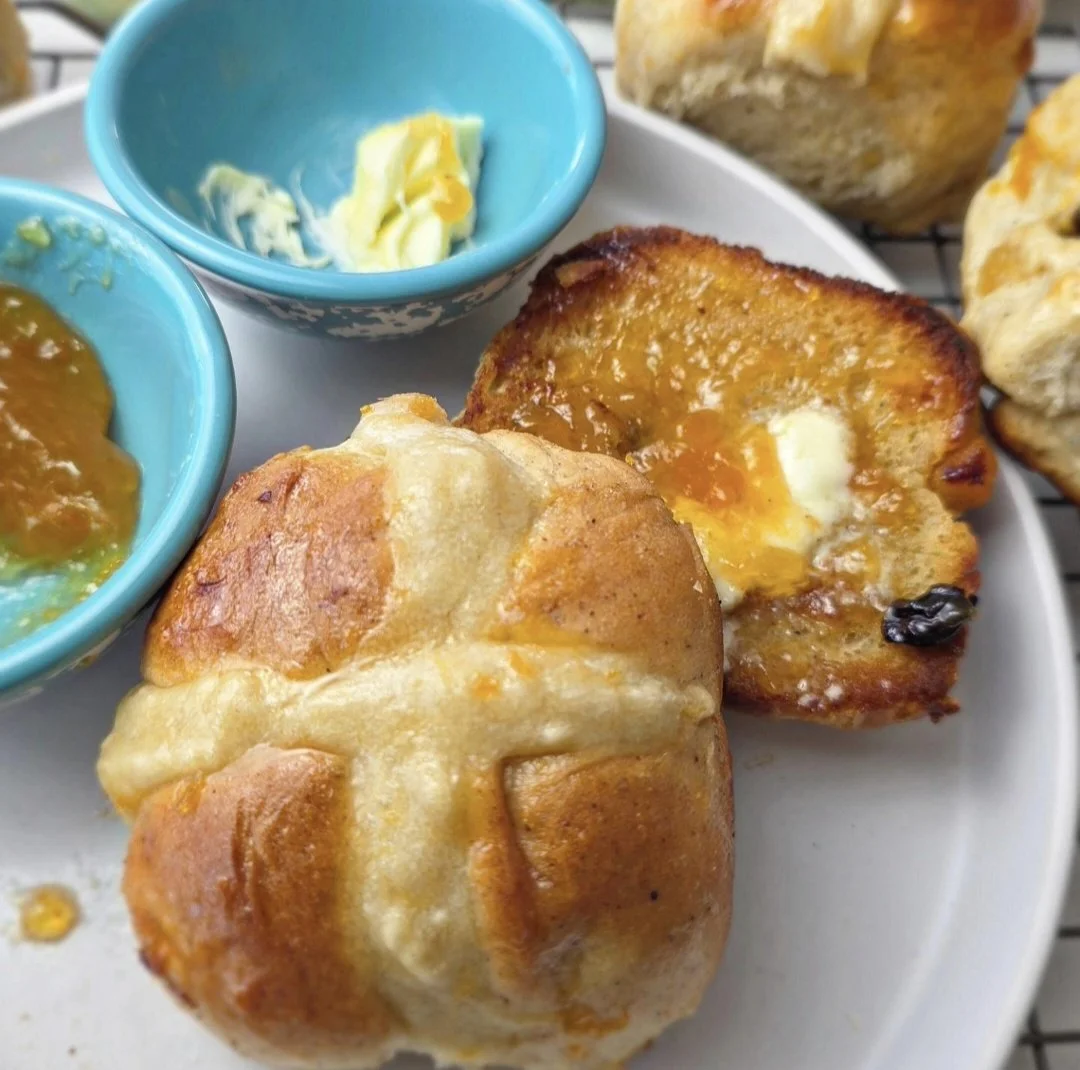
Hot Cross Buns With Apricot Glaze
Hot cross buns have always held a special place in my heart. Growing up, I would rush into the bakery every Easter just to see them. A whiff of that warm, cinnamon-spiced aroma, the soft crumb, and the sweet glaze was enough to make me giddy. That said, no one in my household ever made them from scratch, so I always wanted to learn how to do it myself.
The ritual of the cross on top, the spices tucked inside, and the little bursts of sweetness from dried fruit feel celebratory, comforting, and alive. They are also steeped in history, traditionally tied to Lent and long-standing Easter traditions.
While baking hot cross buns can seem intimidating, but you can absolutely make your own incredible batch at home!
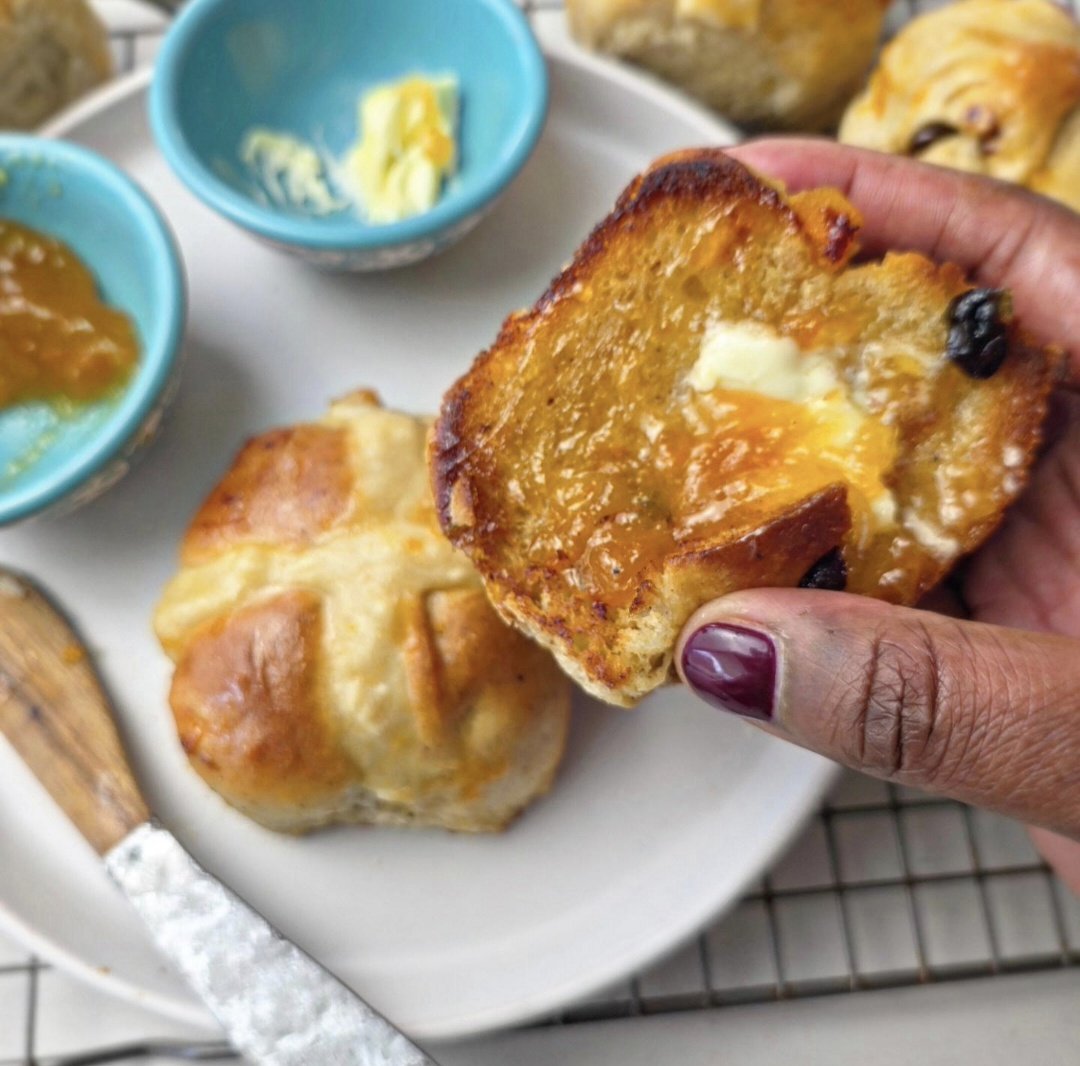
One of my favorite debates is how to eat them. Fresh from the oven, they are irresistible. But toasted the next day with butter and a smear of apricot jam or preserves, they take on a whole new dimension.
That balance of warmth, sweetness, and richness is exactly why I love them so much. The addition of apricots in the dough and a glossy apricot glaze on top gives them extra brightness and depth of flavor.
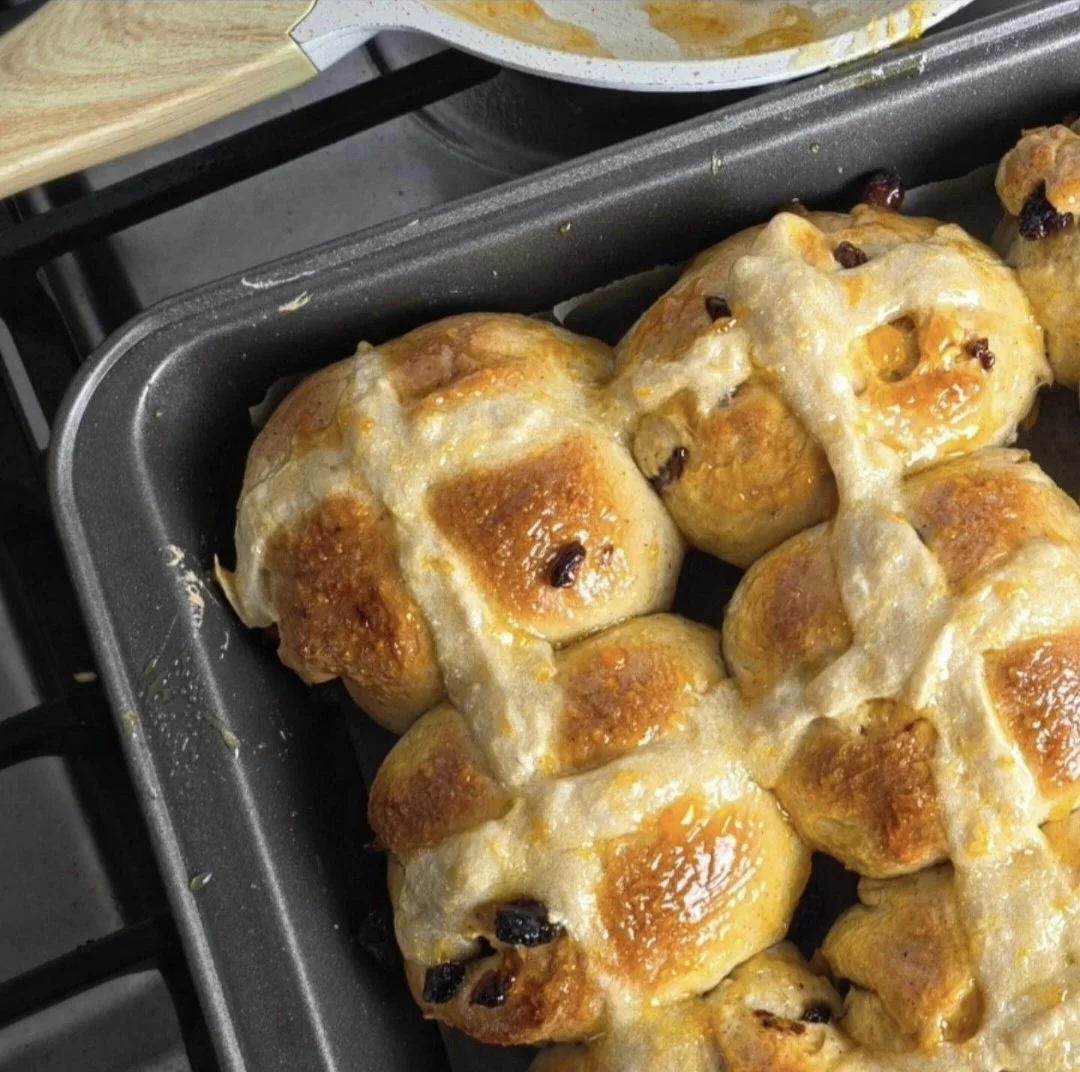

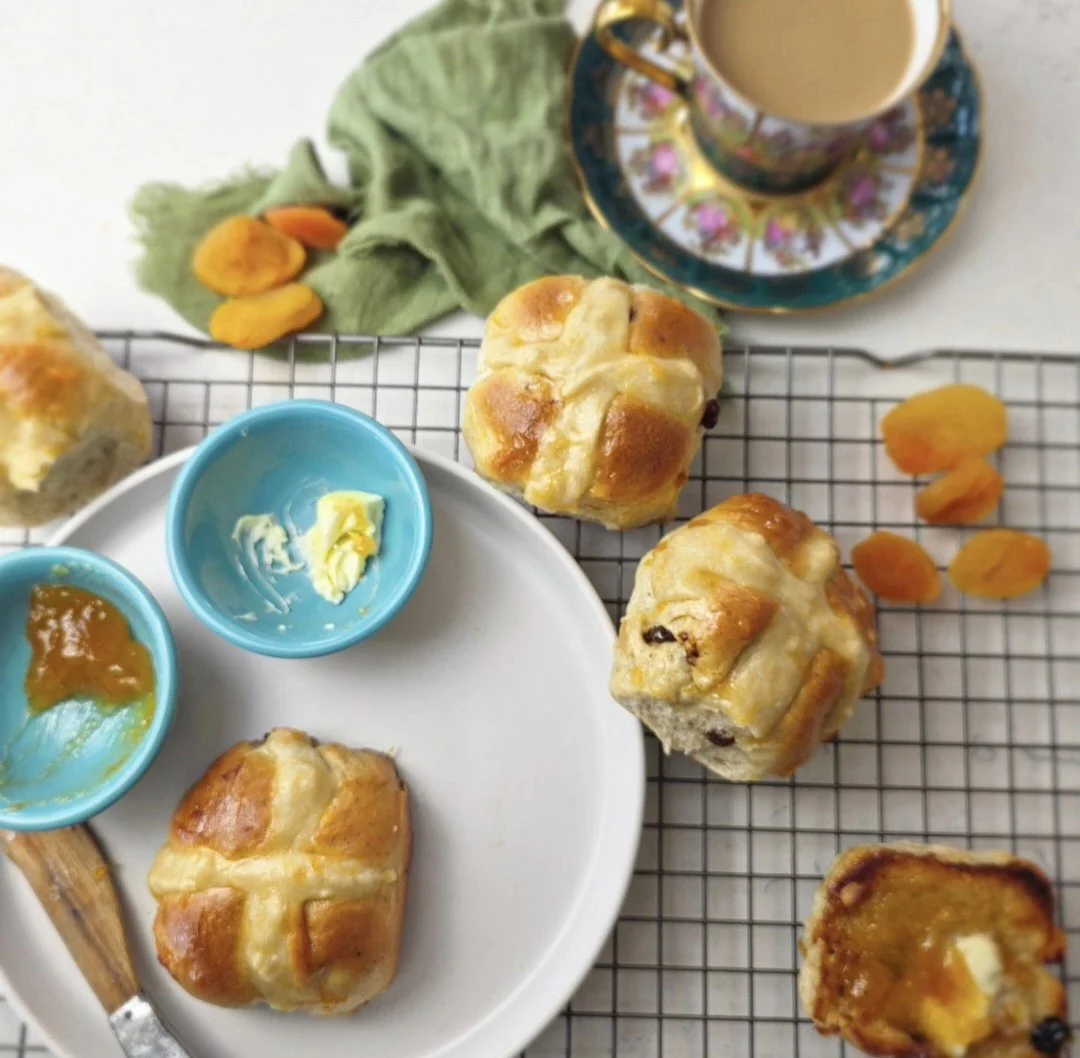
Hot Cross Buns With Apricot Glaze
Soft, spiced hot cross buns with diced apricots and a shiny apricot glaze. Perfect for Easter, brunch, or anytime you want a special treat. Lightly toast for best flavor and serve with butter or jam.
Ingredients
- 1/3 cup + 1 tbsp sugar
- 1 cup warm milk
- 1 packet (2 1/4 tsp) instant yeast
- 4 cups all-purpose flour
- 1 tsp salt
- 2 tsp ground cinnamon
- 1/2 tsp ground nutmeg
- Pinch of cardamon
- 1 egg
- 1/4 cup unsalted butter, softened
- 1/3 cup dried apricots, chopped
- 1 tsp lemon juice + 1/2 tsp zest
- 1/2 cup raisins
- 1/2 cup all-purpose flour
- 5–7 tbsp water (adjust for a thick, pipeable paste)
- 3 tbsp apricot jam
- 1–2 tsp water, just enough to loosen so it spreads easily
- Optional: 1/2 tsp lemon zest for extra brightness
- Whipped butter with lemon zest (optional for serving)
Instructions
- Preheat the oven to 350°F (175°C).
- Toss the chopped apricots with lemon juice and zest. Microwave for 30 seconds, then set aside to cool.
- In the bowl of a stand mixer, combine the flour, sugar, salt, cinnamon, and nutmeg.
- In a separate bowl, whisk together the warm milk and a small amount of the sugar. Add the yeast, cover, and let sit for 5–10 minutes, until foamy.
- Using the dough hook attachment, add the egg and the yeast mixture to the dry ingredients. Mix on low speed until a rough dough forms. Increase to medium speed and knead for about 5 minutes, until the dough becomes smooth, elastic, and begins to pull away from the sides of the bowl. The dough should stretch when pulled, or spring back slowly when lightly pressed.
- Add the softened butter in small pieces, mixing until fully incorporated.
- Mix in half of the apricots and raisins until evenly distributed.
- Transfer the dough to a lightly oiled bowl or Dutch oven and cover. Let rise in a warm, draft-free place for about 1 hour, or until doubled in size.
- Gently punch down the dough, then fold in the remaining apricots and raisins.
- Turn the dough out onto a lightly floured surface. Divide into 12 equal portions and shape each into a smooth ball. You can weigh them for accuracy.
- Arrange the buns in a greased baking dish, leaving a little space between each. Cover and let rise for 45 minutes, until puffed and slightly touching.
- In a small bowl, mix the flour and water until a thick, smooth paste forms. Transfer to a piping bag or a plastic bag with a corner snipped, then pipe crosses over the buns.
- Bake for 20 to 25 minutes. If the buns are still pale by then, increase the temperature to 375°F and bake for an additional 5 to 7 minutes, checking frequently to prevent burning.
- Warm the apricot jam with a small amount of water until smooth. Brush over the buns immediately after baking.
- Allow to cool slightly before serving. Best enjoyed warm, or toasted with butter and apricot jam within 1 to 2 days.
Notes
- Overnight dough (optional): If you want extra depth of flavor, the dough can be made ahead. After mixing and kneading (before the first rise), place it in a lightly oiled bowl, cover tightly, and refrigerate overnight. The dough will slowly rise in the fridge. The next day, allow it to sit at room temperature for 30–45 minutes before shaping and proceeding with the recipe. This step is completely optional — the buns can also be made fresh from start to finish.
- Adding dried fruit: Incorporate half of the dried fruit during kneading to prevent tearing the dough. After the first rise, fold in the remaining fruit to ensure even distribution.
- Apricot glaze: Brush the glaze while the buns are still hot. This gives them the best shine and helps lock in moisture.
- Serving suggestions: Hot cross buns are delicious fresh from the oven, but you can also lightly toast them. Pair with butter, apricot jam, or whipped butter with a hint of lemon zest for a more elevated flavor.
- Storage: At room temperature, store in an airtight container for 1–2 days.
- For longer storage, freeze fully cooled buns in a freezer-safe bag or container. Thaw at room temperature or lightly toast from frozen before serving.
- Appearance vs. flavor: Don’t worry if the crosses aren’t perfectly shaped, taste and texture are what matter most.
Nutrition Facts
Calories
230Fat (grams)
7 gCarbs (grams)
37 gSugar (grams)
12 gProtein (grams)
6 gI am not a certified nutritionist and any nutritional information on dontmissmyplate.com should only be used as a general guideline.

Red Wine Glazed Lamb Chops With Asparagus Pea Salad
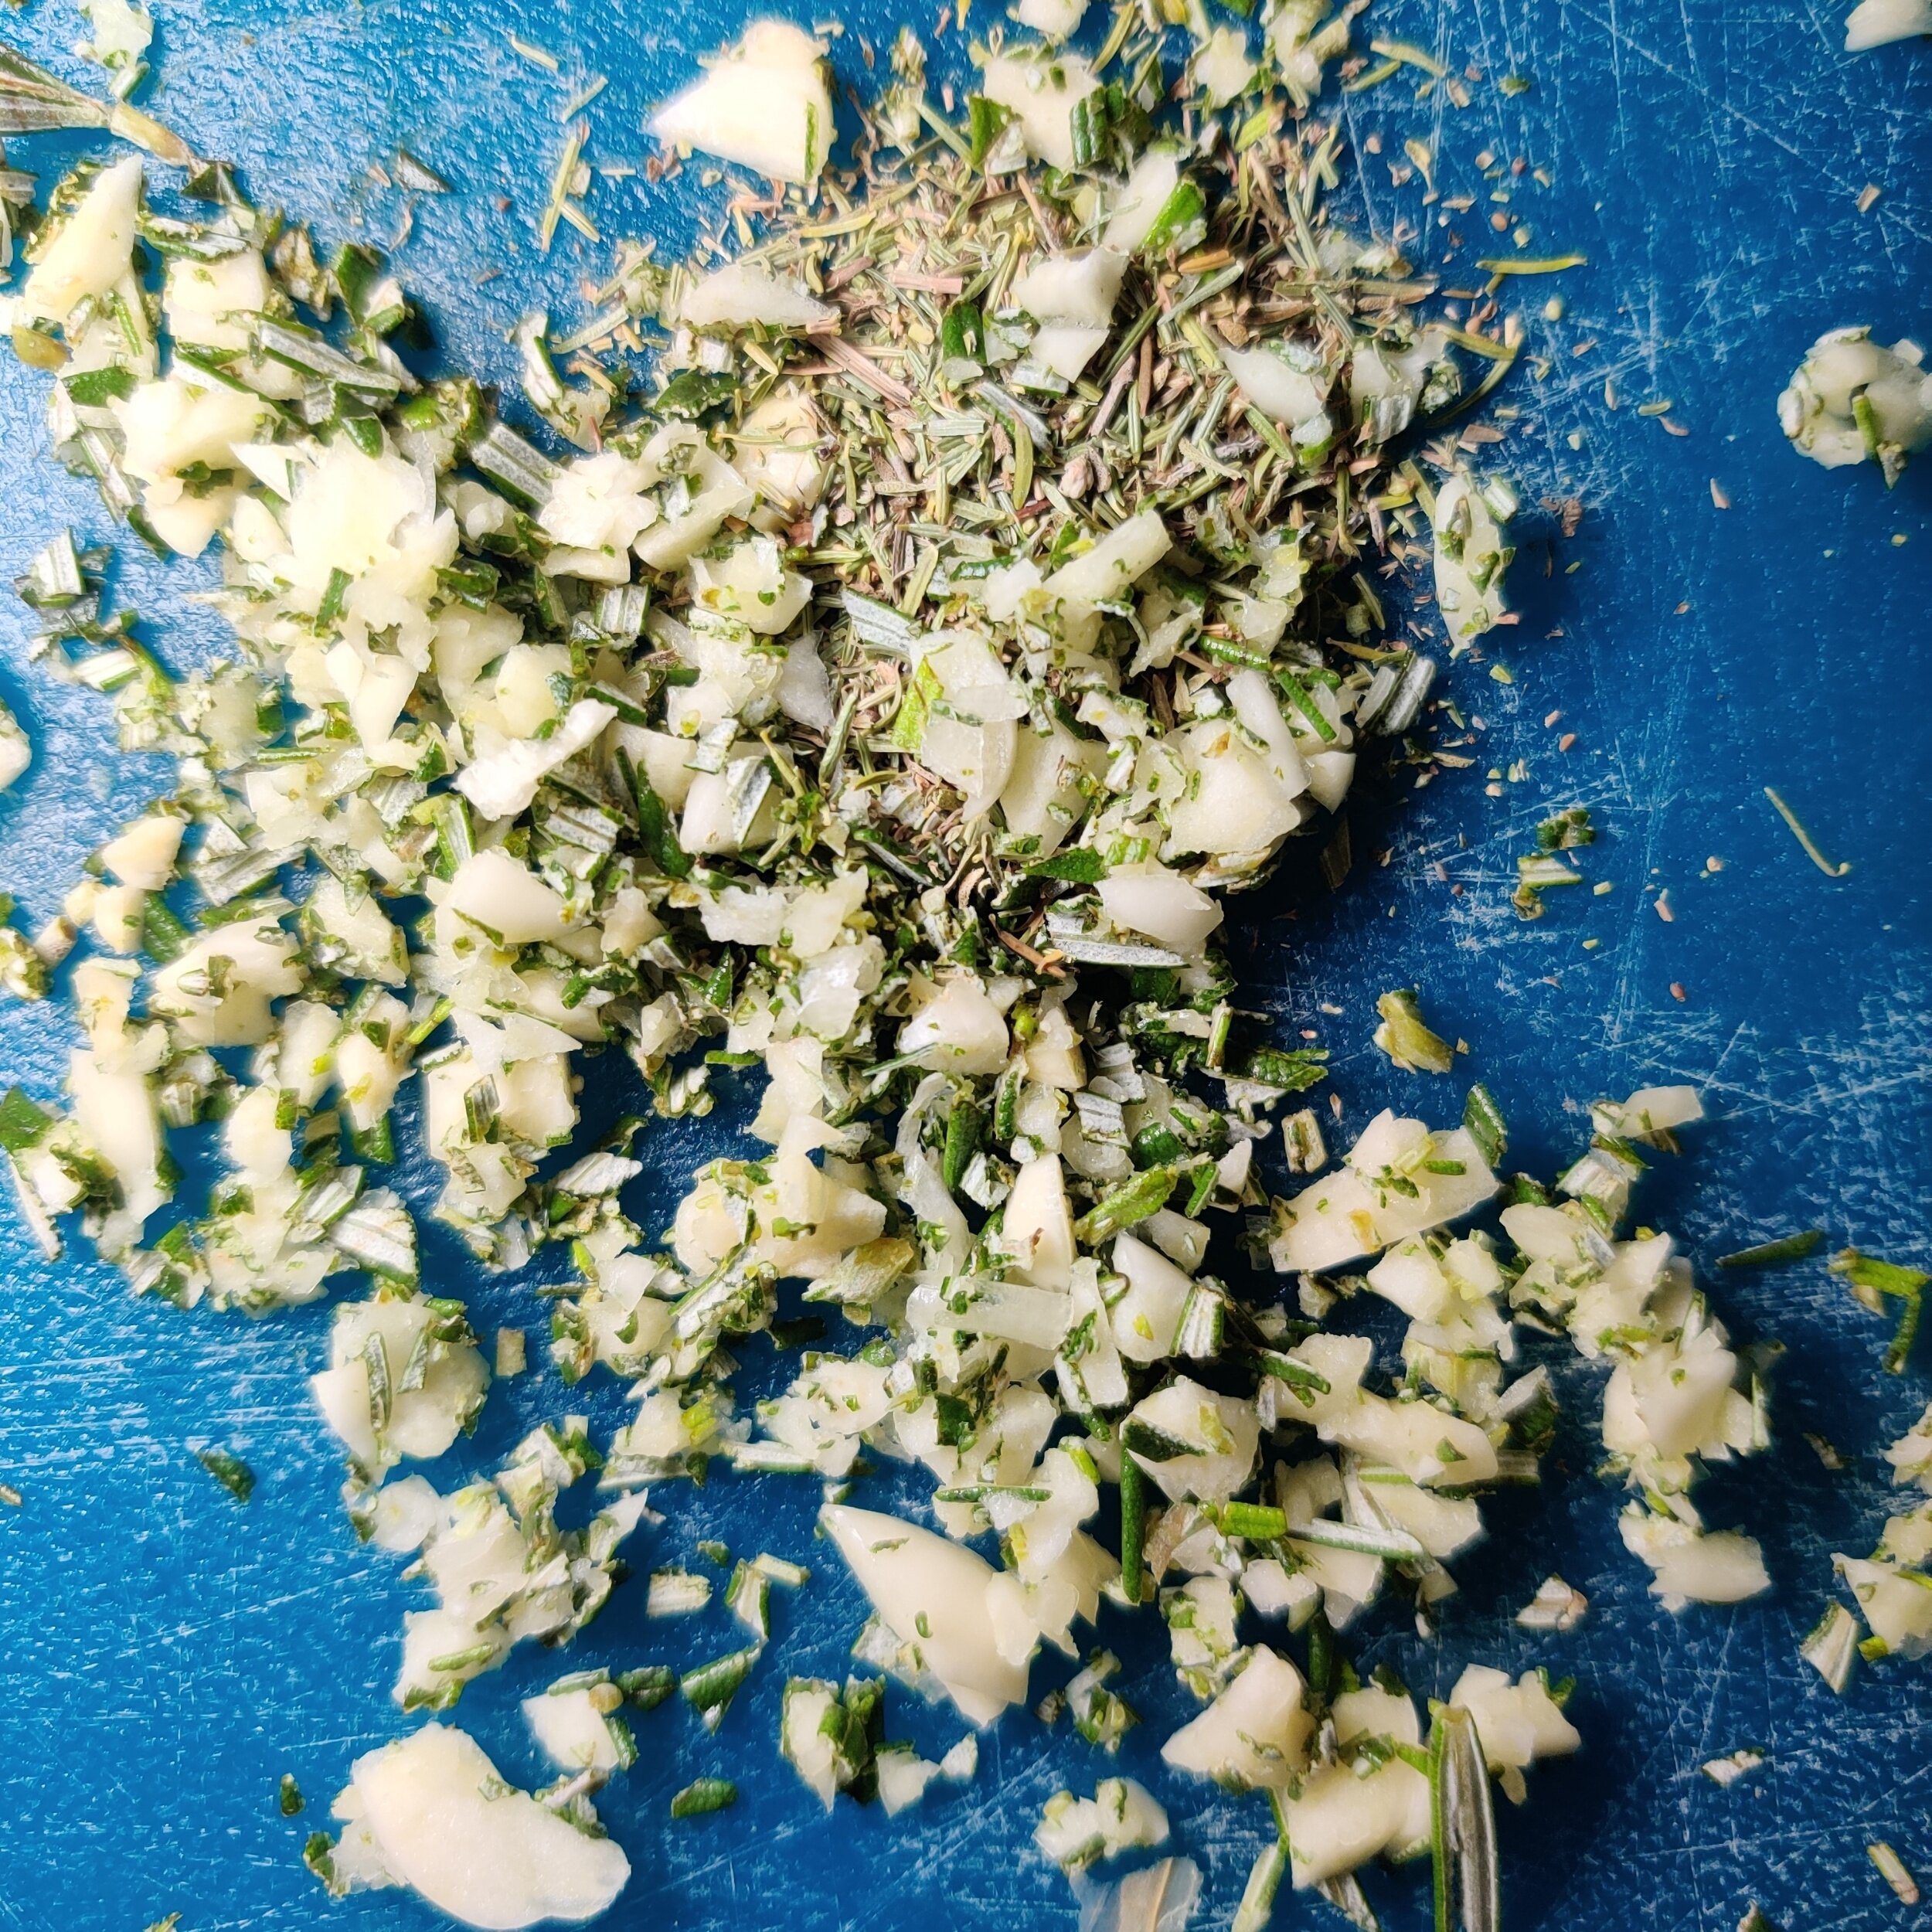
Elevate your spring and summer hosting with these Red Wine Glazed Lamb Chops with Asparagus and Pea Salad, a dish that feels both elegant and effortlessly seasonal. Juicy, herb-marinated lamb chops are seared to perfection, then finished in a rich red wine glaze that adds depth and a subtle sweetness. The bold flavors of garlic, rosemary, thyme, and paprika create a beautifully seasoned crust, while the glaze brings everything together with a glossy, restaurant-quality finish.
To balance the richness of the lamb, this dish is paired with a bright and refreshing asparagus and pea salad. Crisp asparagus tips and tender English peas are lightly blanched and tossed with olive oil, balsamic vinegar, and garlic, then finished with creamy feta for a salty, tangy contrast.
Perfect for dinner parties, date nights, or a special weekend meal, this recipe highlights the best of warm-weather ingredients while delivering bold, satisfying flavor. It’s a complete plate that feels elevated without being overly complicated—ideal for impressing guests or treating yourself.

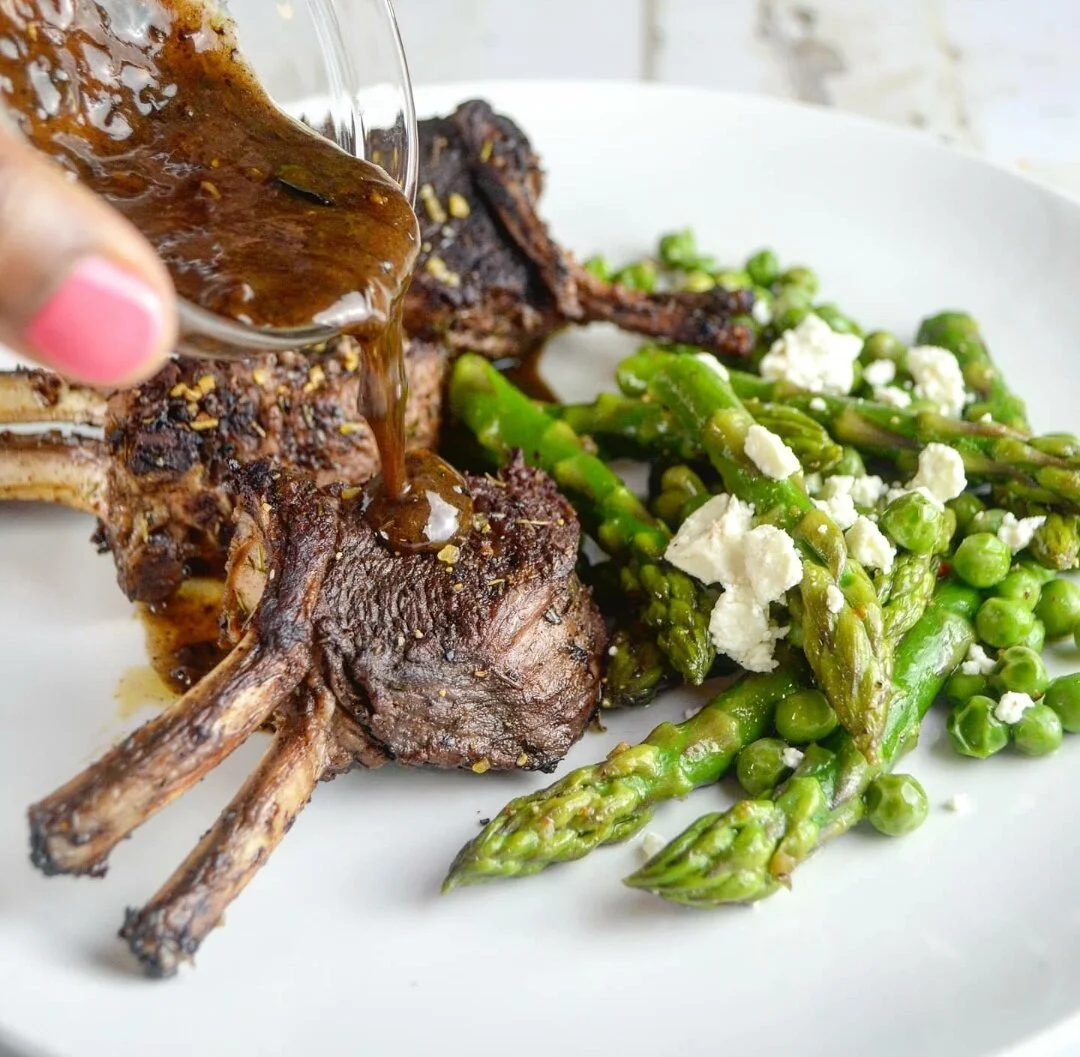
Red Wine Glazed Lamb Chops With Asparagus Pea Salad
Celebrate spring with these succulent red wine glazed lamb chops and a fresh asparagus and pea salad. Herb-marinated lamb is seared and finished with a rich red wine reduction, while the crisp, feta-topped salad balances the plate. Perfect for holiday dinners or special weekend meals.
Ingredients
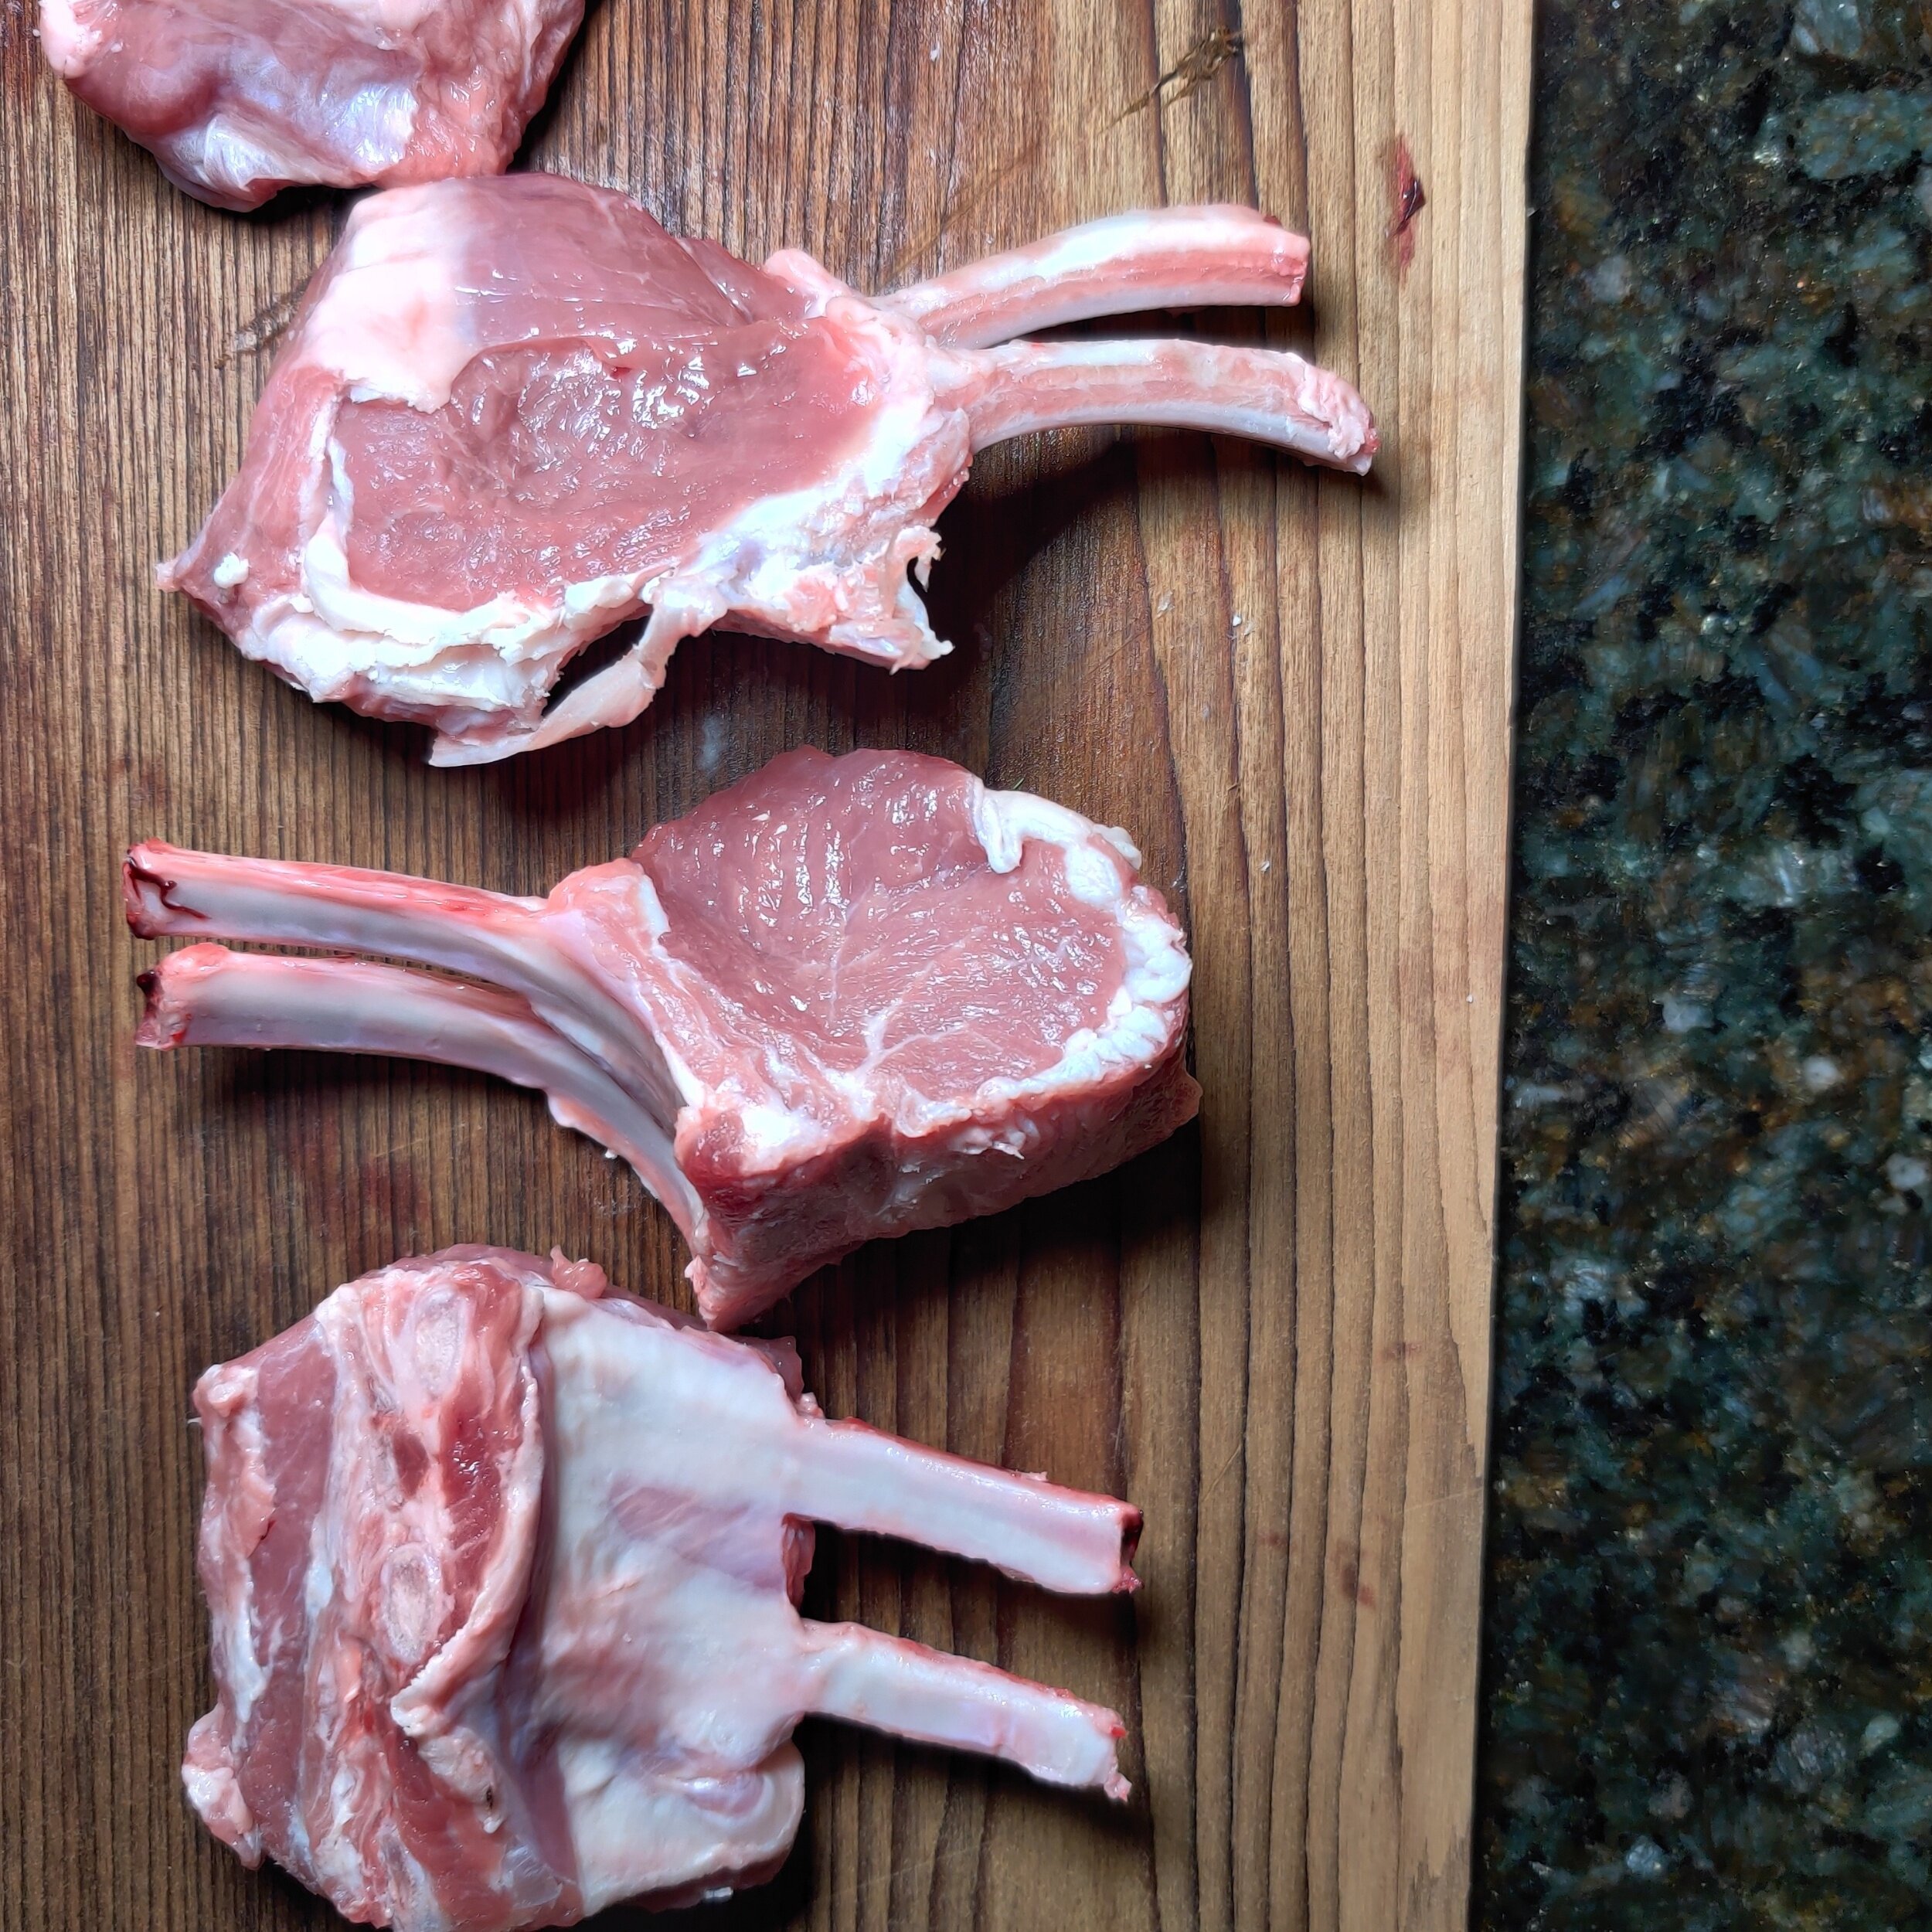
- 1 trimmed rack of lamb (6–8 small chops, about 1 lb / 450 g)
- 1 tbsp seasoned salt
- 1 tsp black pepper
- 1 tsp cracked black pepper
- 1 tbsp paprika
- 2 tbsp olive oil
- 1/4 cup lemon juice
- 1 tbsp Worcestershire sauce
- 1 tbsp dried mint
- 2 tbsp dried thyme
- 3 sprigs fresh rosemary
- 3 garlic cloves, minced
- 1 cup red wine (bold red recommended)
- 2 tbsp butter
- 1/4 cup mushroom gravy
- Mint sauce (optional, for serving)
- 1 cup asparagus tips
- 1 cup peas
- 1/2 tsp salt
- 1/2 tsp black pepper
- 1/2 tsp garlic powder
- 1 tbsp olive oil
- 1 tsp balsamic vinegar
- 1/3 cup feta cheese
Instructions
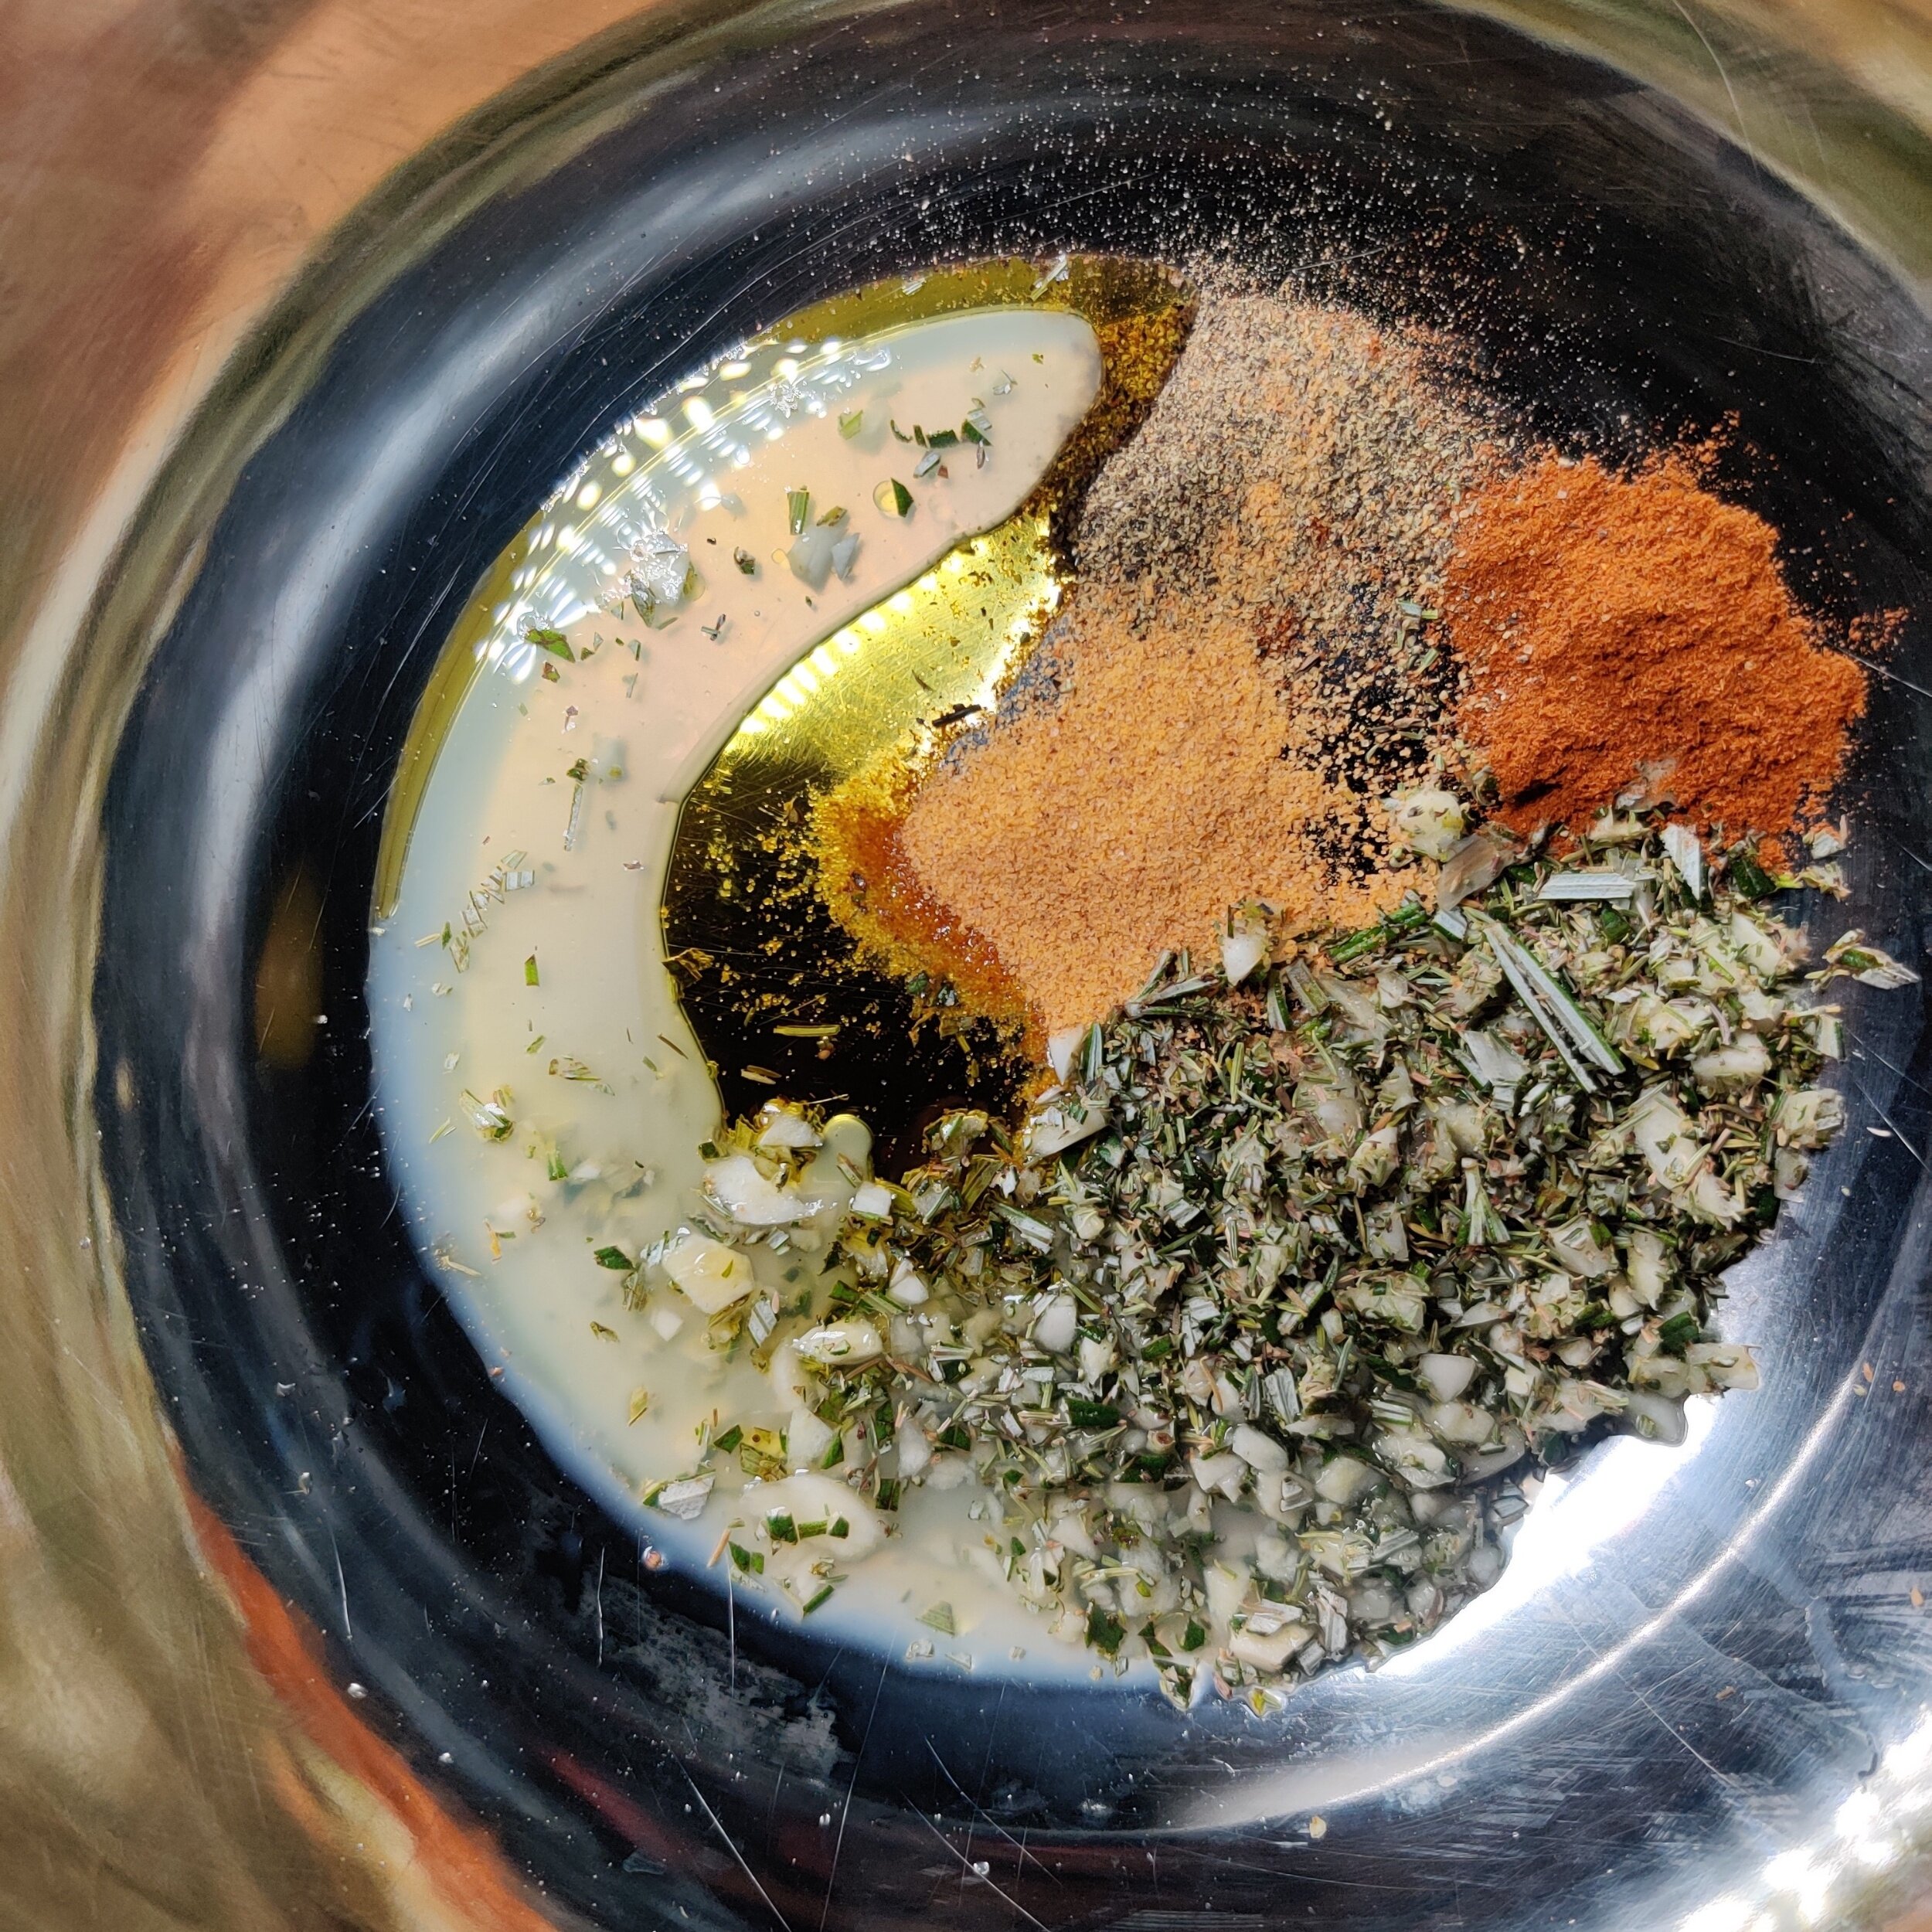
- In a bowl, combine seasoned salt, black pepper, cracked pepper, paprika, olive oil, lemon juice, Worcestershire sauce, dried mint, thyme, rosemary, and garlic. Coat the lamb thoroughly and marinate in the refrigerator for at least 30 minutes (or up to 2 hours for deeper flavor).
- Preheat oven to 350°F (175°C).
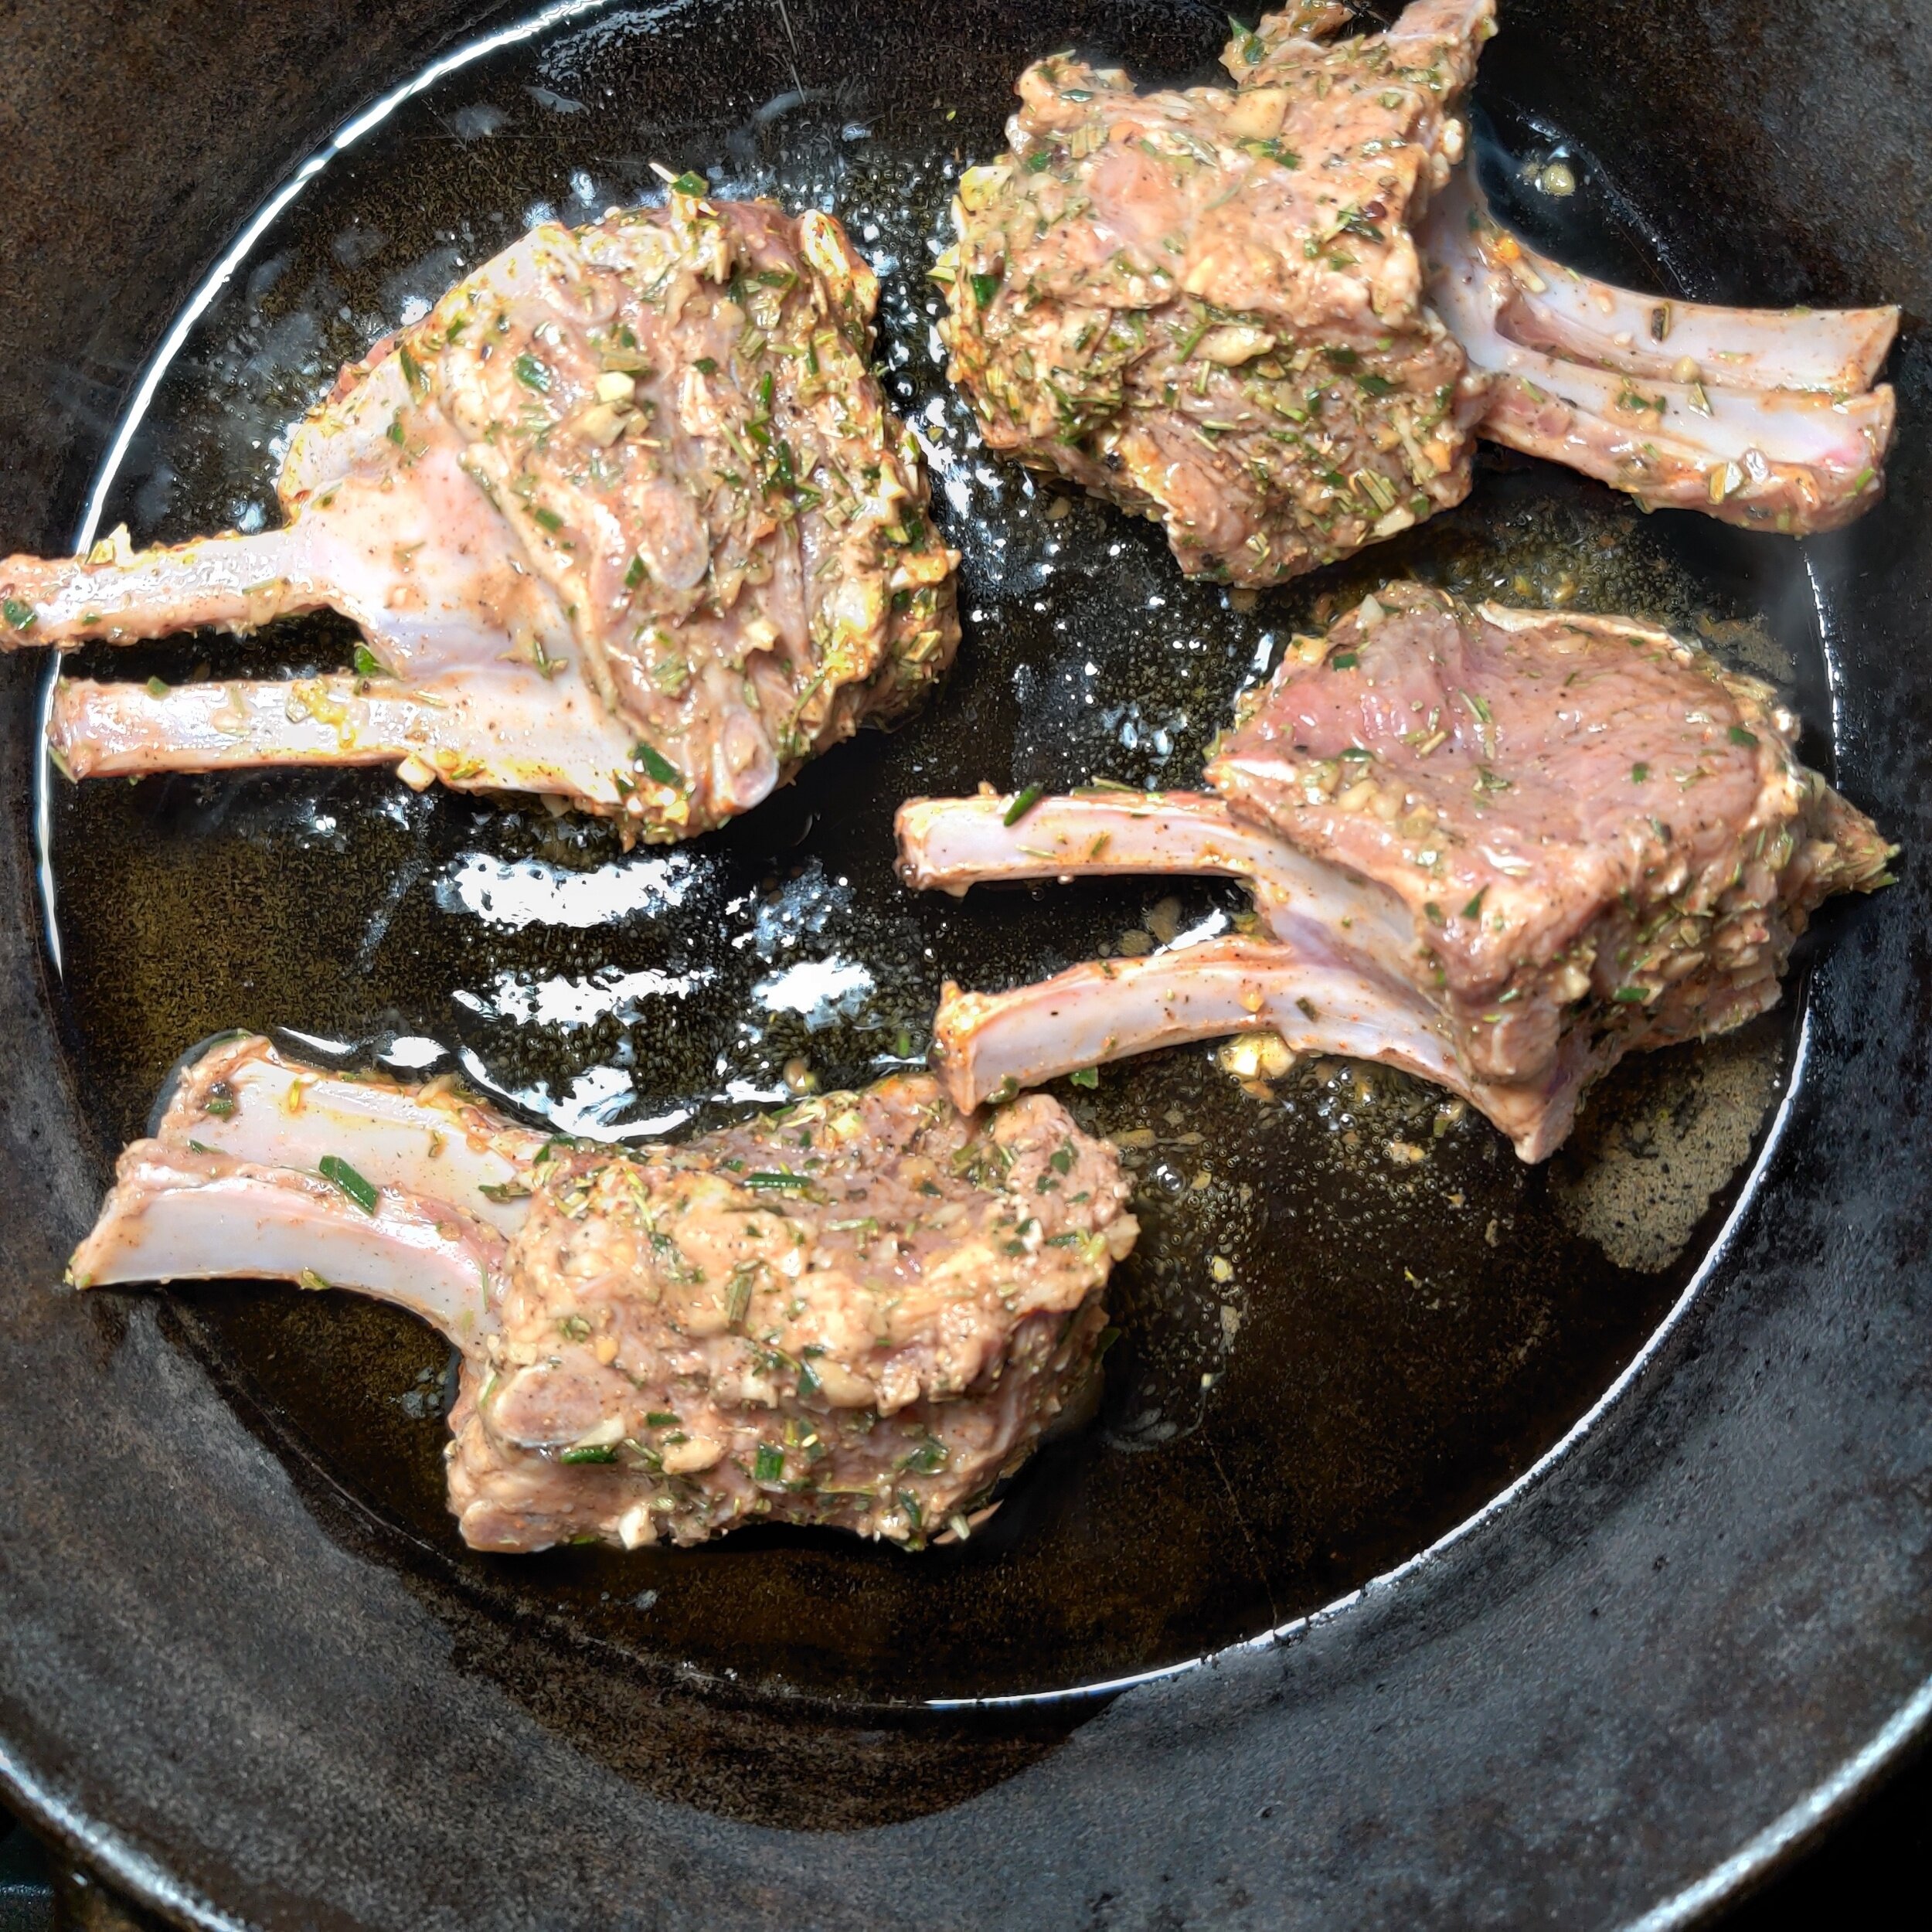
- Heat 1–2 tablespoons of cooking oil in a large skillet over medium-high heat. Pat the marinated lamb dry to remove excess moisture, then add it to the hot pan.
- Sear each side for 2–3 minutes in a preheated skillet with a small drizzle of oil added just before the lamb. Use a heavy-bottomed or cast-iron pan for even heat, avoid overcrowding, and don’t move the lamb too much so each side develops a deep, golden-brown crust.
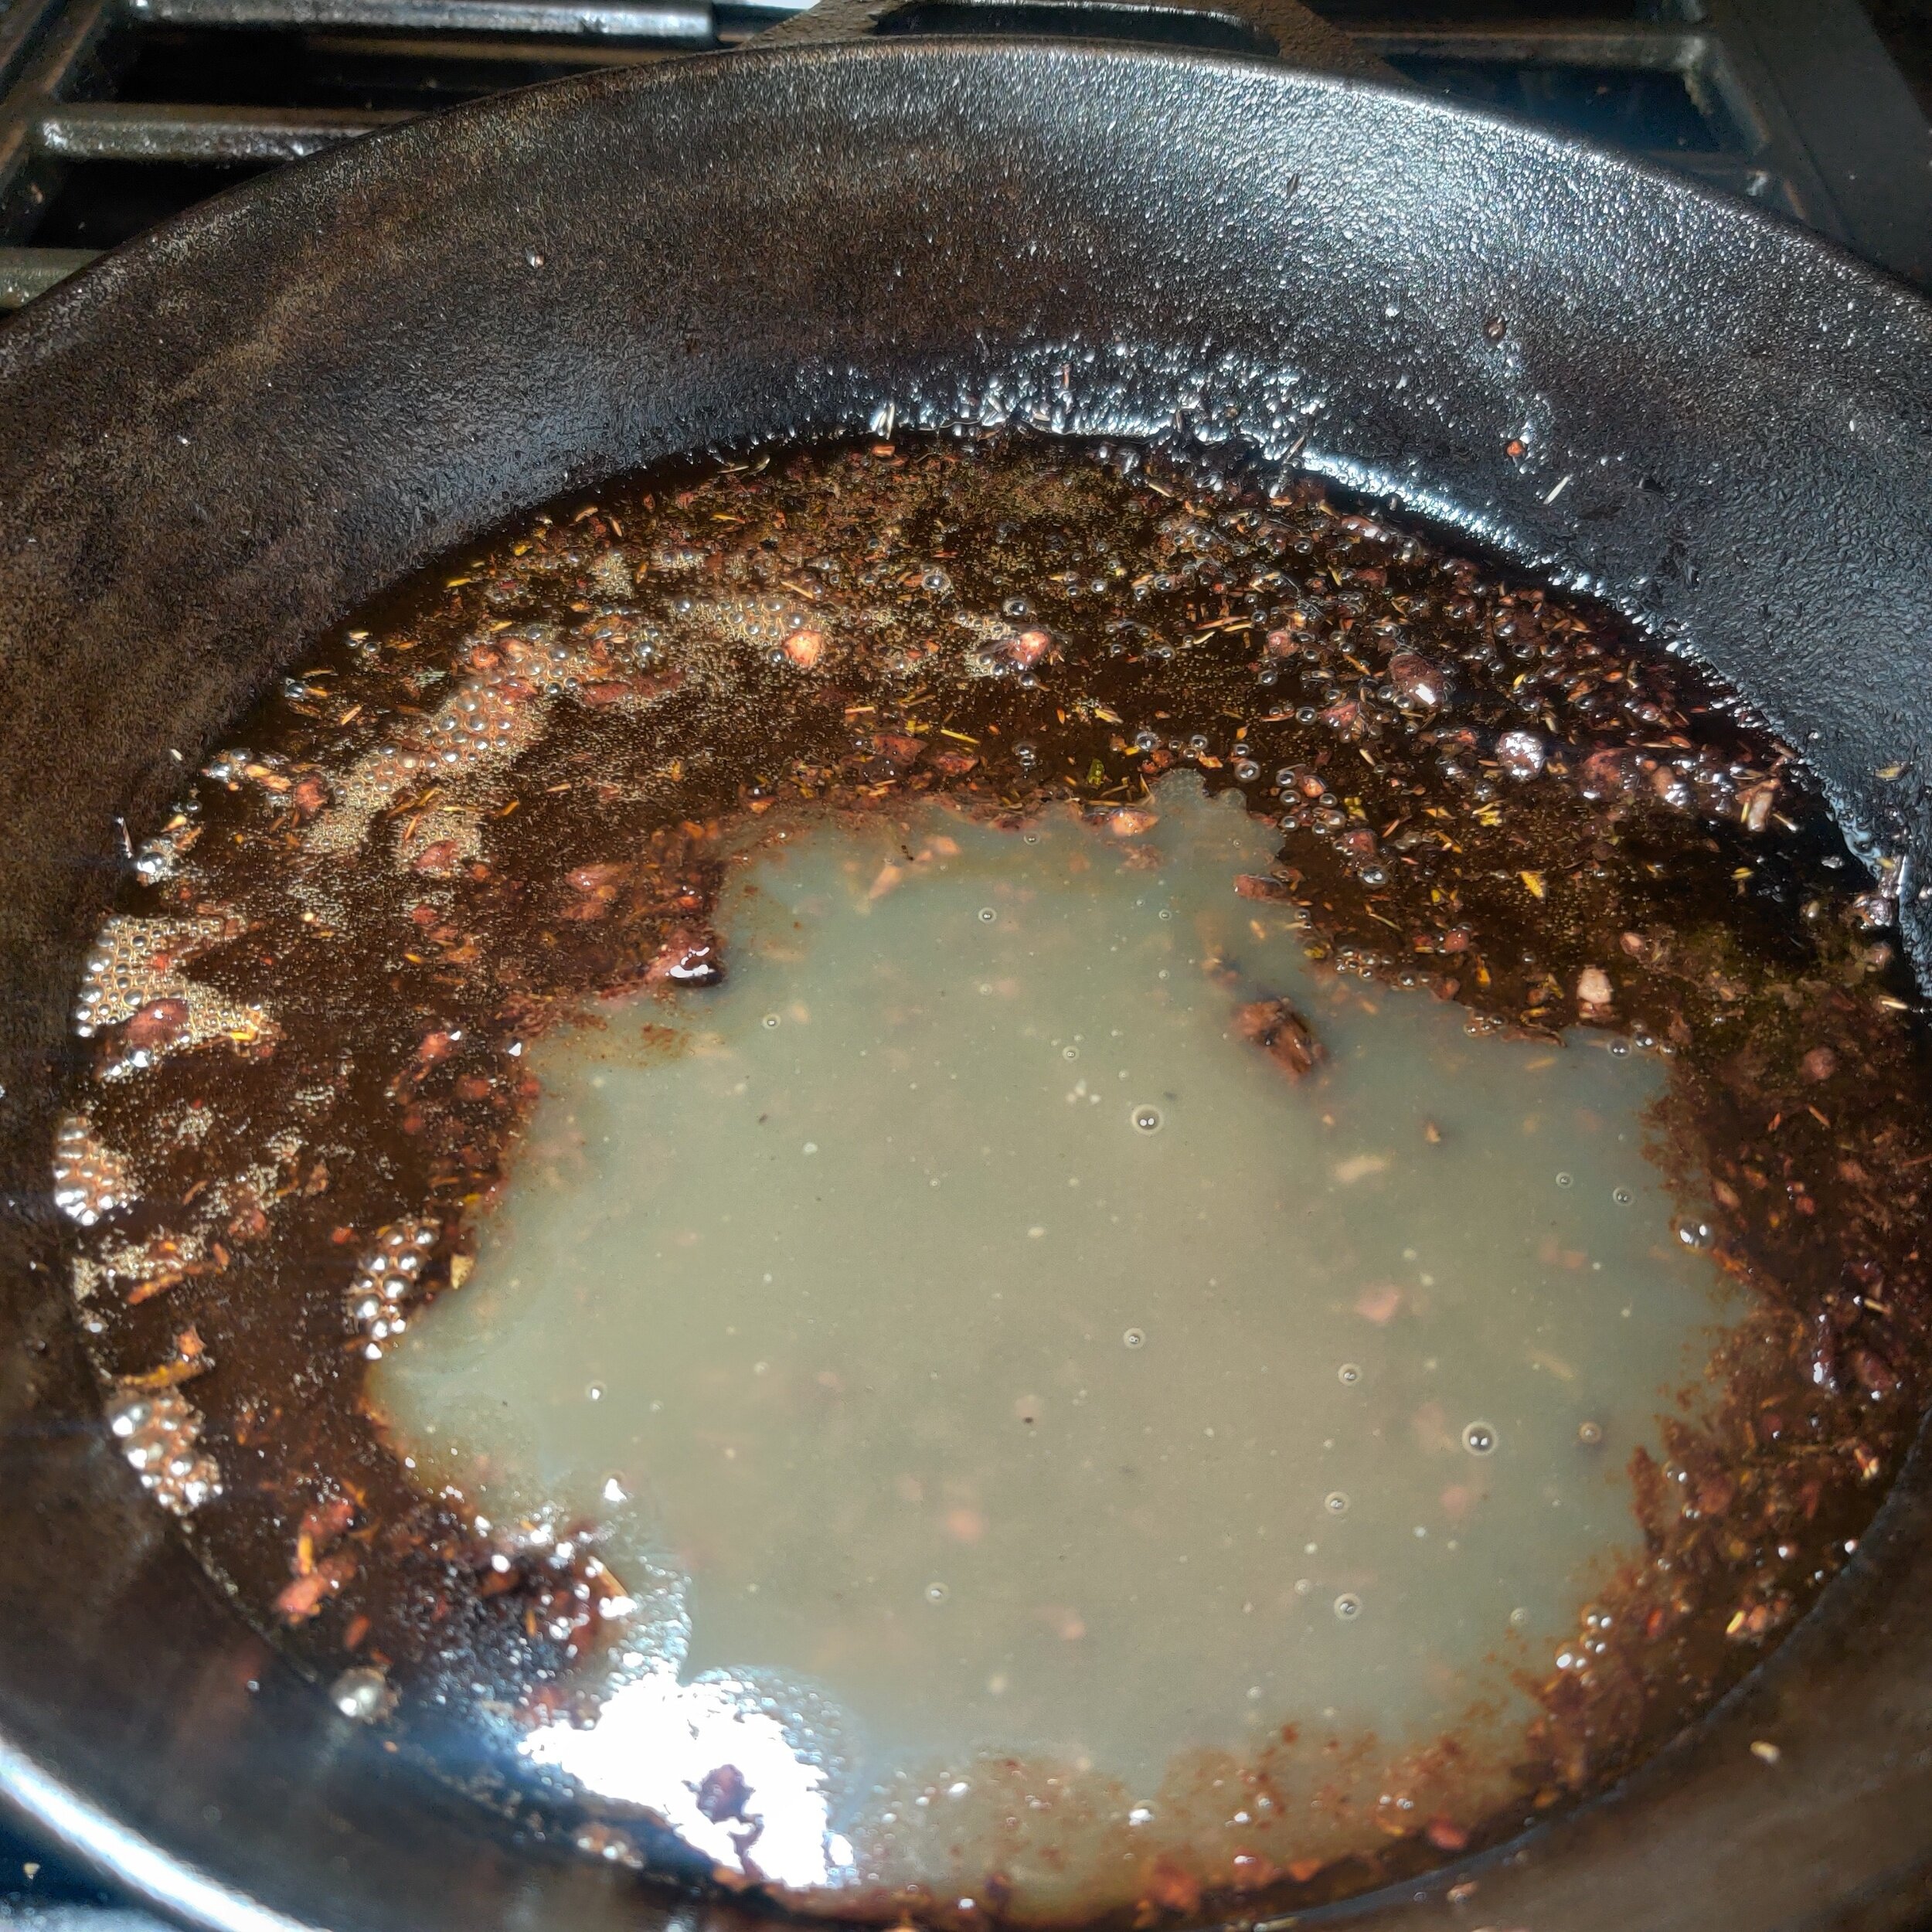
- Pour in the red wine to deglaze the pan, scraping up any browned bits, then transfer the skillet to the oven and roast for about 12–15 minutes for medium (135°F / 57°C) or about 15 minutes for medium-well (145°F / 63°C). Remove the lamb and let it rest for 10 minutes before slicing to keep it juicy and flavorful.
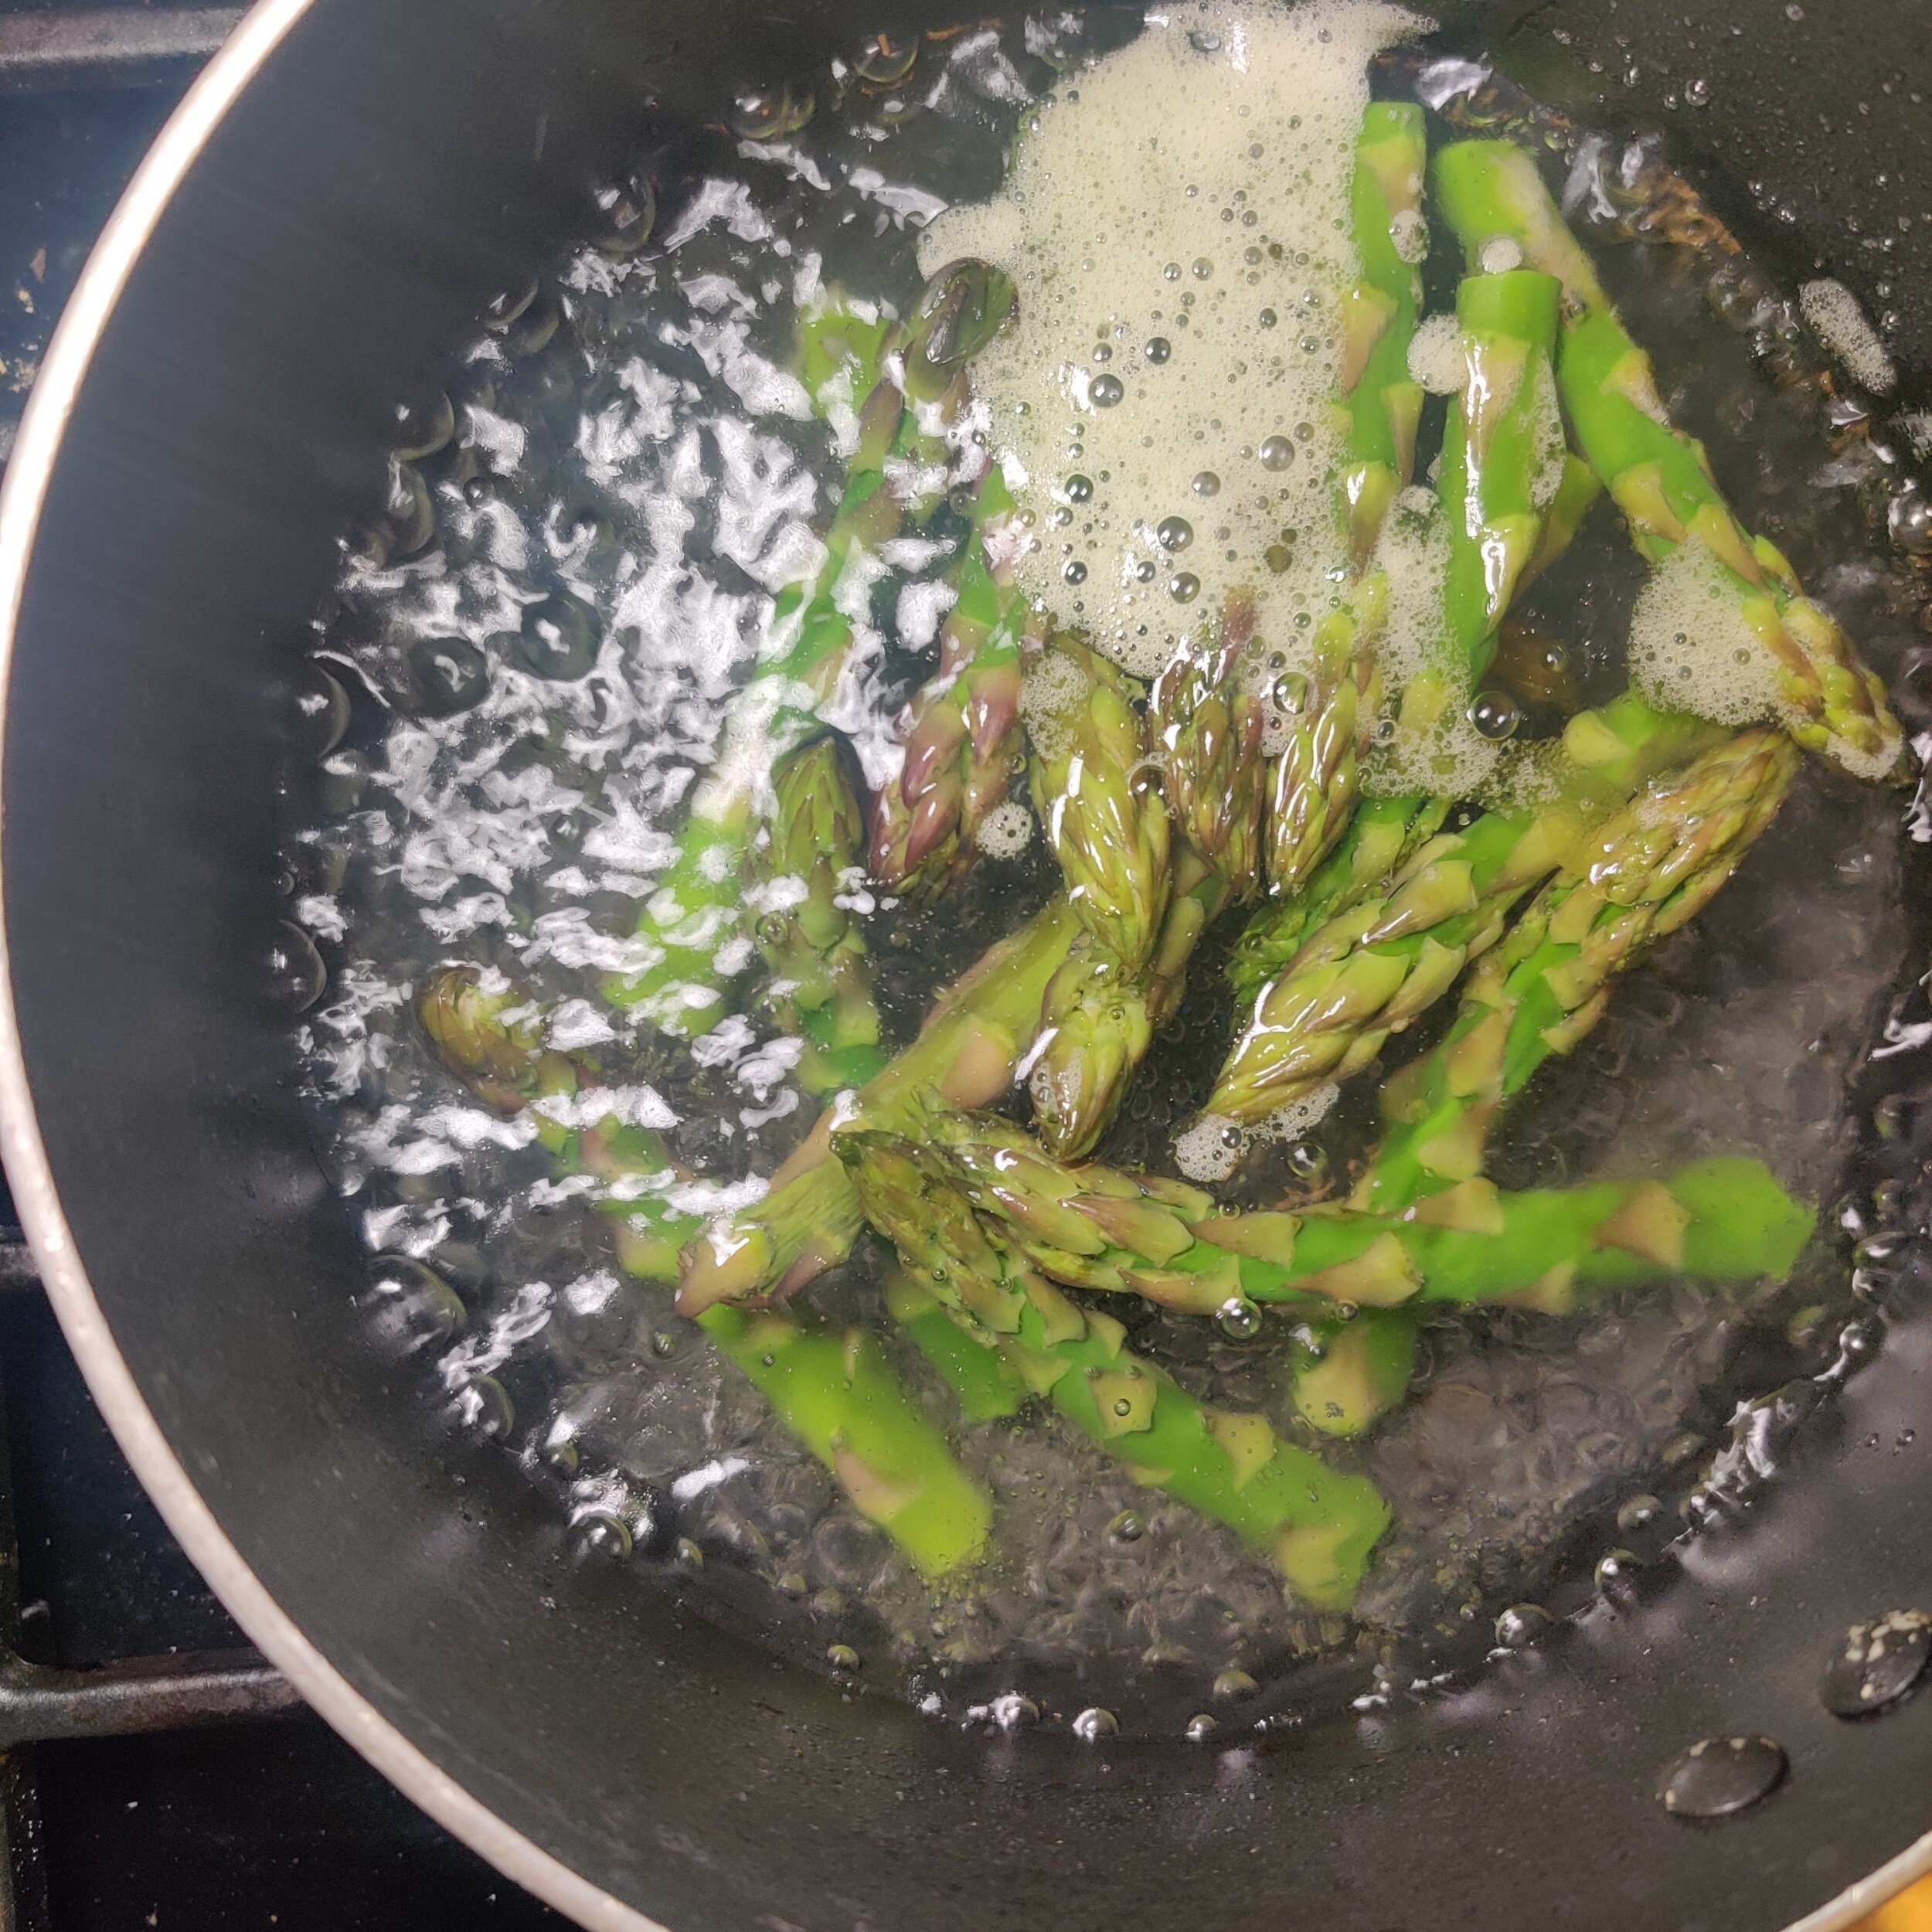
- Bring a pot of salted water to a boil. Blanch the asparagus and peas separately for about 3–6 minutes, until tender but still vibrant. Drain and let cool.
- Toss the vegetables with the olive oil, balsamic vinegar, salt, pepper, and garlic. Top with feta cheese just before serving.
- Return skillet to medium heat. Add mushroom gravy, butter, and additional red wine if needed. Stir until slightly thickened and glossy.
- Slice lamb, spoon over red wine glaze, and serve alongside the asparagus pea salad. Add mint sauce if desired.
Notes
- Marinating enhances both flavor and tenderness, don’t skip it.
- A bold red wine (like Cabernet or Merlot) gives the best depth for the glaze.
- Blanching keeps vegetables bright, crisp, and fresh, not mushy.
- Feta adds saltiness, adjust seasoning accordingly.
- Mint sauce adds a classic, refreshing contrast to rich lamb.
- Letting the lamb rest ensures juicy, tender slices.
Nutrition Facts
Calories
380Carbs (grams)
9 gProtein (grams)
29 gFat (grams)
24 gI am not a certified nutritionist and any nutritional information on dontmissmyplate.com should only be used as a general guideline.

Corn, Arugula, and Avocado Salad with a Lemon Vinaigrette
Greens don’t always get the spotlight at brunch, but they should. While the table is often filled with pastries, eggs, and rich dishes, a fresh salad brings balance, something light, vibrant, and refreshing to cut through it all. It wakes up the palate and adds a bit of color to the spread, especially during the warmer months.
This Corn, Arugula, and Avocado Salad is simple but full of contrast. Peppery arugula is paired with sweet corn, creamy avocado, tangy blue cheese, and a touch of sweetness from raisins, all brought together with a bright lemon-thyme vinaigrette. It’s the kind of dish that quietly rounds out the table but ends up being one people keep going back to.
Perfect for sharing, it’s an easy way to bring something fresh and seasonal into your brunch rotation.

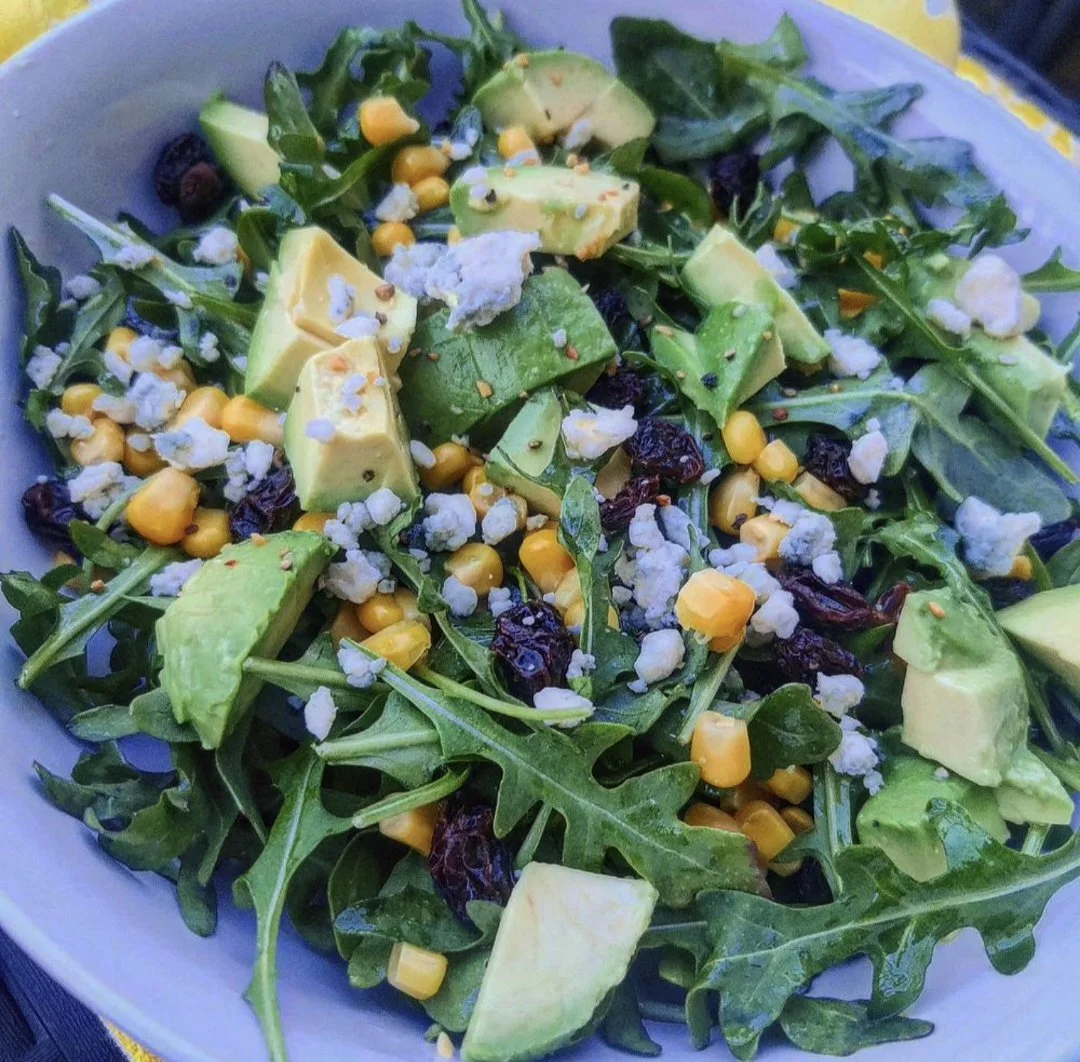
Corn, Arugula, and Avocado Salad with Lemon Vinaigrette
A bright, fresh, salad that’s perfect for spring or a vibrant brunch table. Peppery arugula pairs with sweet corn, creamy avocado, tangy blue cheese, and chewy raisins, all tossed in a zesty lemon-thyme vinaigrette. Quick to assemble and packed with color and nutrients, this vegetarian salad makes a healthy, satisfying side or a light main.
Ingredients
- 1/2 cup freshly squeezed lemon juice (reduced slightly for balance)
- 2 tsp Dijon mustard
- 1 tsp black pepper
- 1 tsp salt
- 2 tsp fresh garlic, minced
- 1 tsp dried thyme
- 1 tsp fresh thyme
- 1 tsp balsamic vinegar
- 2 tsp honey
- Pinch chili flakes (optional)
- 1/3 cup olive oil (important for balance + body)
- 8–10 cups arugula (6–8 handfuls)
- 1 cup corn (fresh, roasted, or canned)
- 3 tbsp blue cheese, crumbled
- 2–3 tbsp raisins
- 1–2 large avocados, cubed
- ¼ cup walnuts or pecans, toasted and chopped (optional but recommended)
Instructions
- In a jar or bowl, combine lemon juice, Dijon mustard, garlic, thyme, balsamic vinegar, honey, salt, pepper, and chili flakes.
- Slowly whisk or shake in the olive oil until emulsified. Set aside.
- Add arugula to a large serving bowl. Scatter corn, blue cheese, raisins, and toasted nuts evenly over the greens.
- Cube the avocado and toss lightly with a squeeze of lemon to prevent browning. Add to the salad.
- Drizzle vinaigrette over the salad just before serving and toss gently to coat. Serve immediately.
Notes
- Don’t overdress, start light, then add more if needed
- Add avocado last to keep it fresh
- Toasting nuts equals big flavor upgrade (2–3 mins in a dry pan)
Nutrition Facts
Calories
145Fat (grams)
10 gSat. Fat (grams)
2 gCarbs (grams)
12 gFiber (grams)
4 gSugar (grams)
4 gProtein (grams)
3 gI am not a certified nutritionist and any nutritional information on dontmissmyplate.com should only be used as a general guideline.