

Pecan-Crusted Fish with Sweet Potato Chips & Apple Slaw
Fish and chips is one of my go-to dishes when I decide to be pescatarian for the day. I always find it interesting that most menus don’t offer a different take on the staple. It seems to me there are many ways you could serve fish and chips! I stuck to the traditional equation but made a few tweaks and additions to adhere to the current season - autumn.
Coleslaw, along with tartar sauce, is notably the most common side for fish and chips, but I grew up eating it with everything from roast chicken to grilled pork chops. I simplified the salad, adding apples to the mix I recently picked myself (yes, autumn in Maryland is all about visiting orchards). You can still add carrots and green cabbage. I prefer purple cabbage because it’s slightly softer and sweeter.
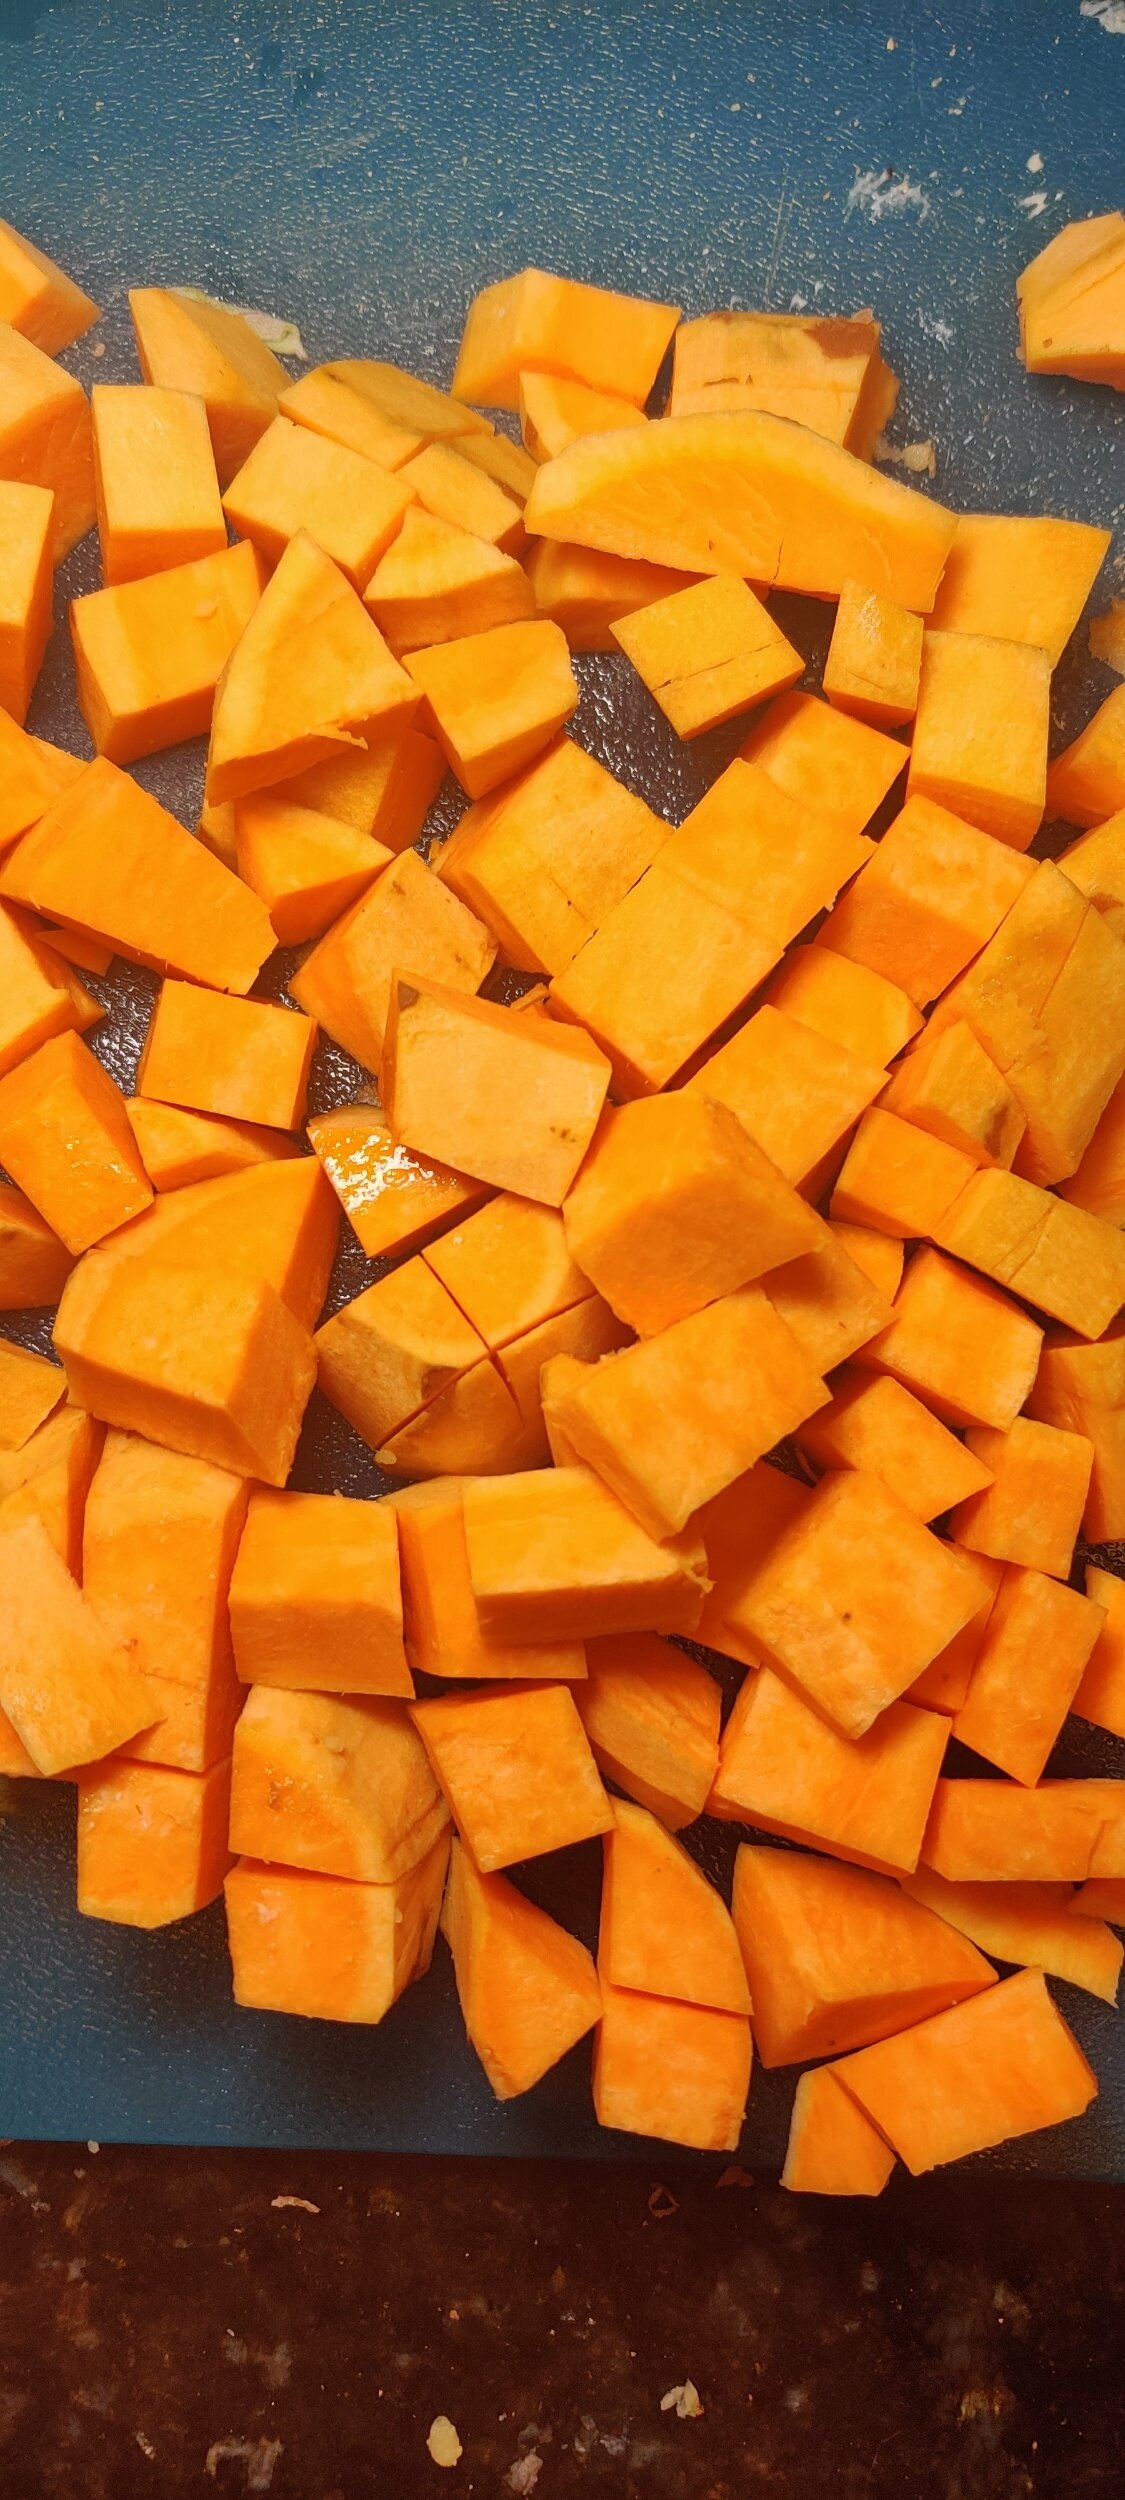
As for the chips, I used sweet potato. They are more nutritious than regular potatoes and taste better, in my opinion. As we move into the colder weather, sweet potato recipes will be featured more often, and I’m here for it!
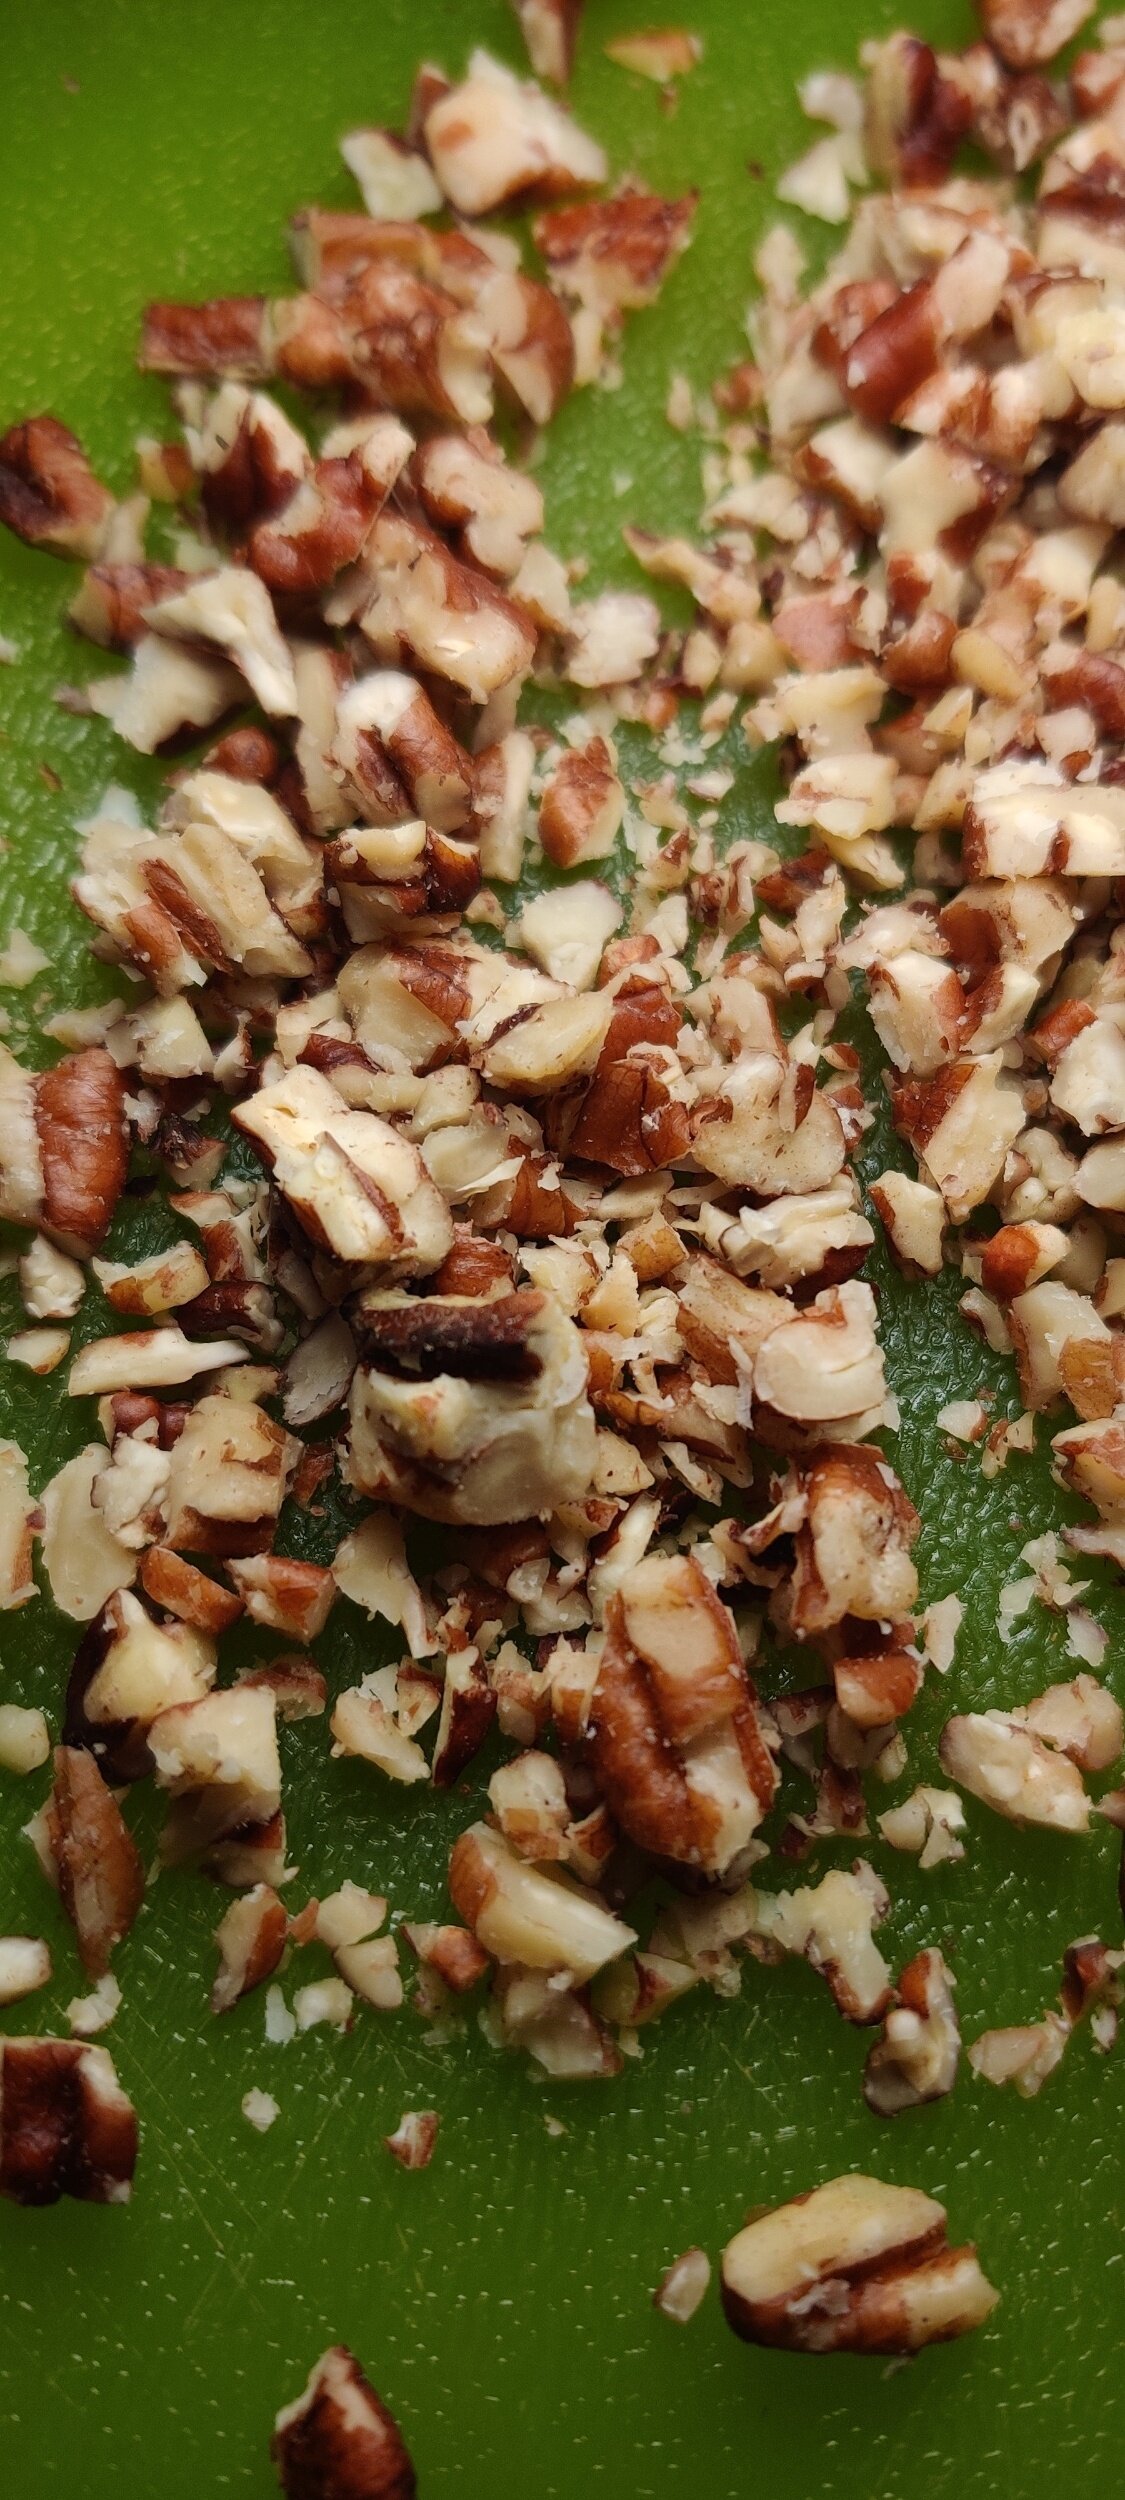
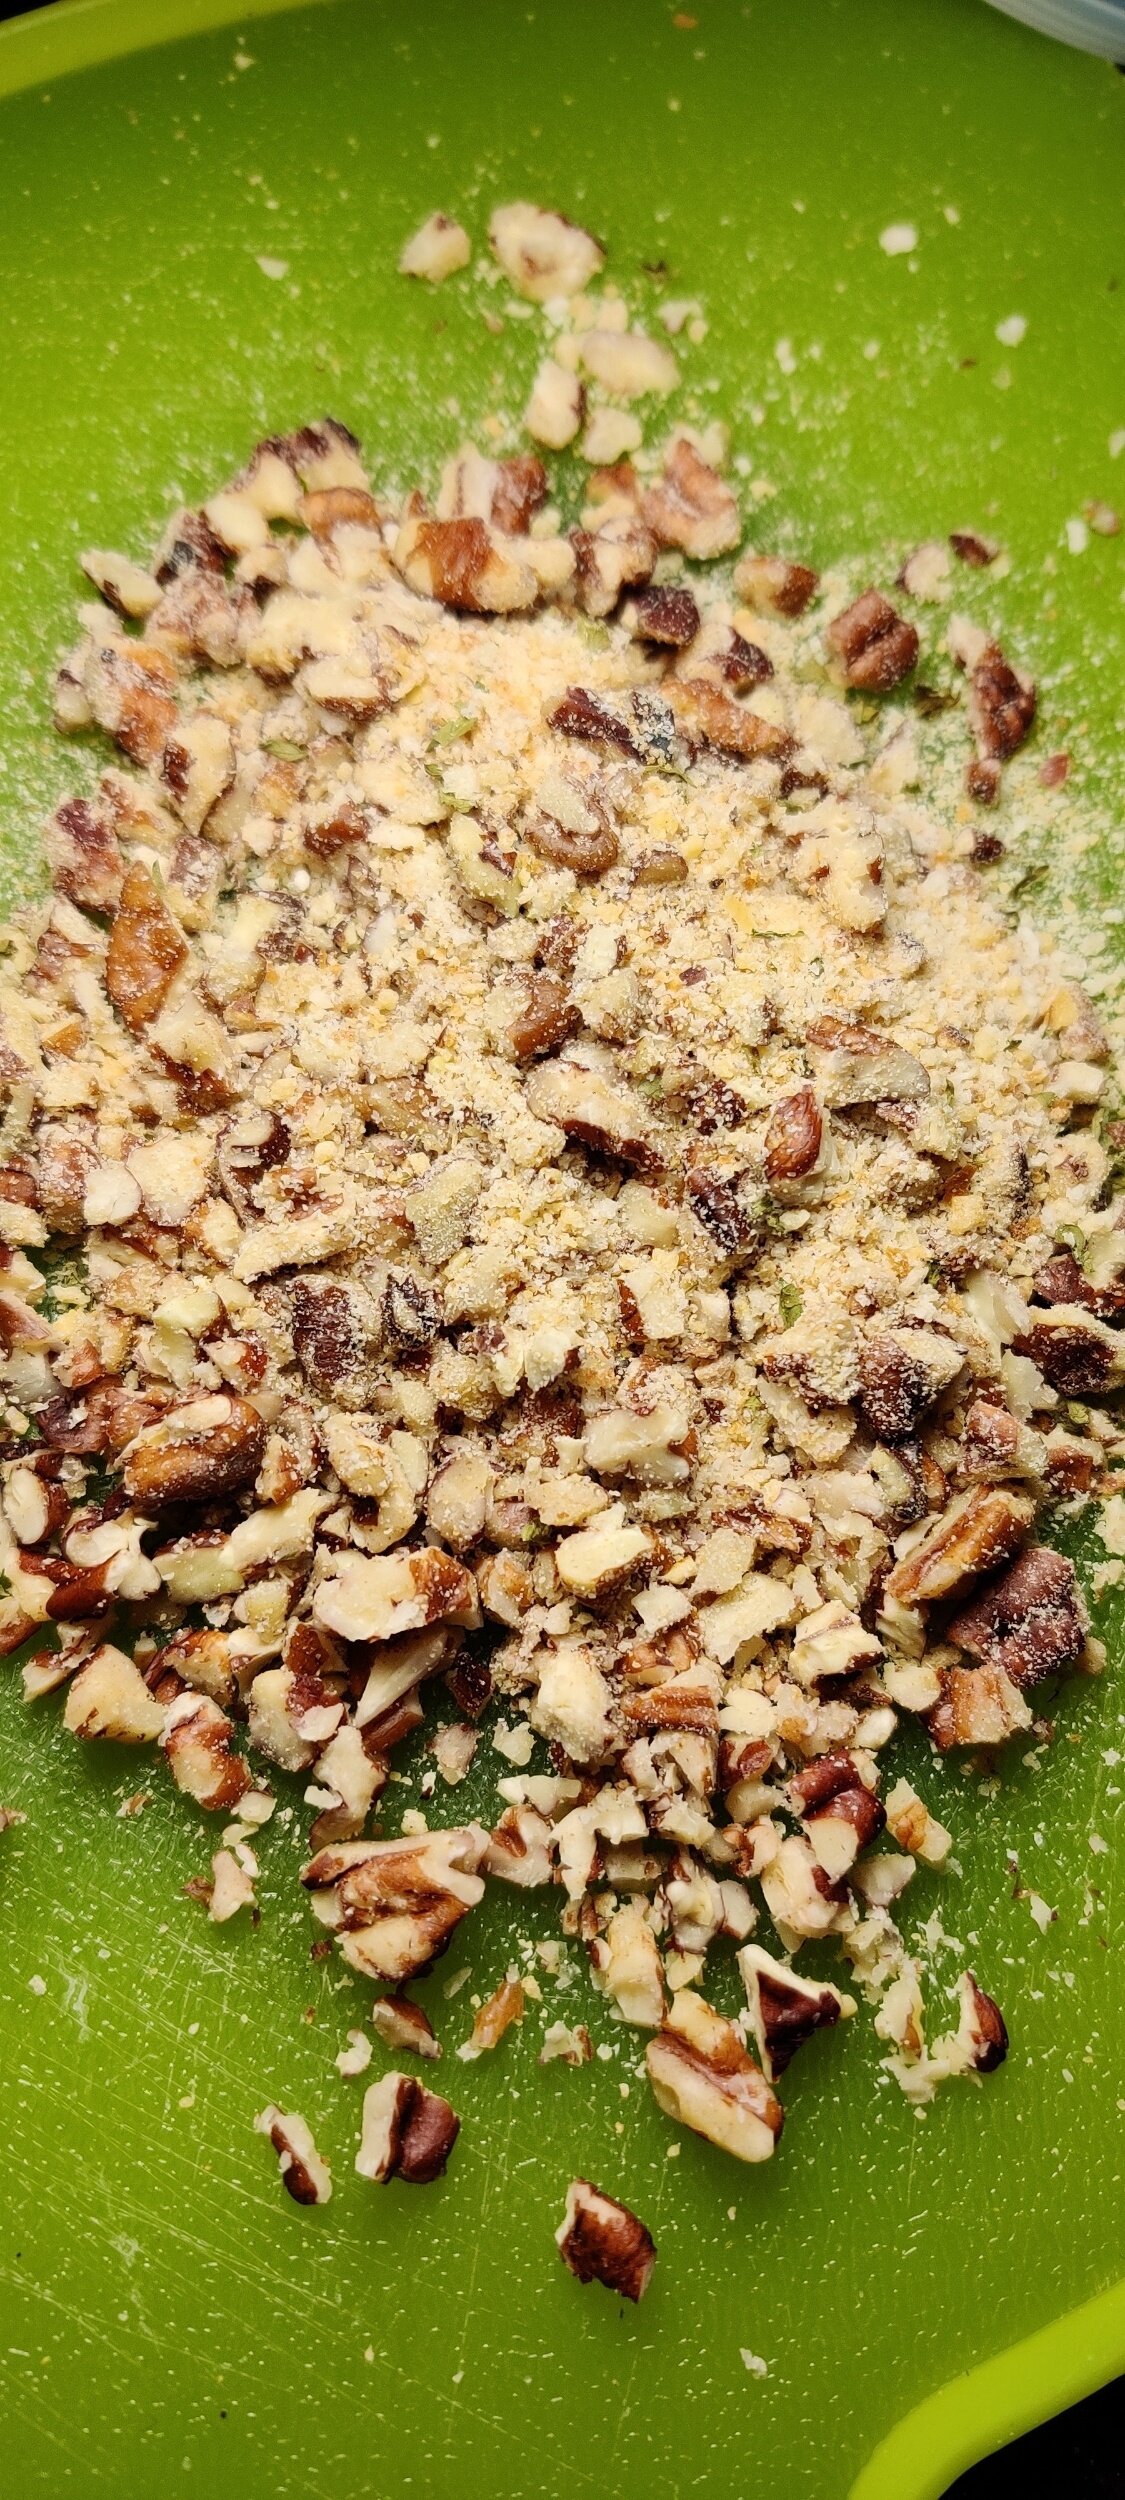
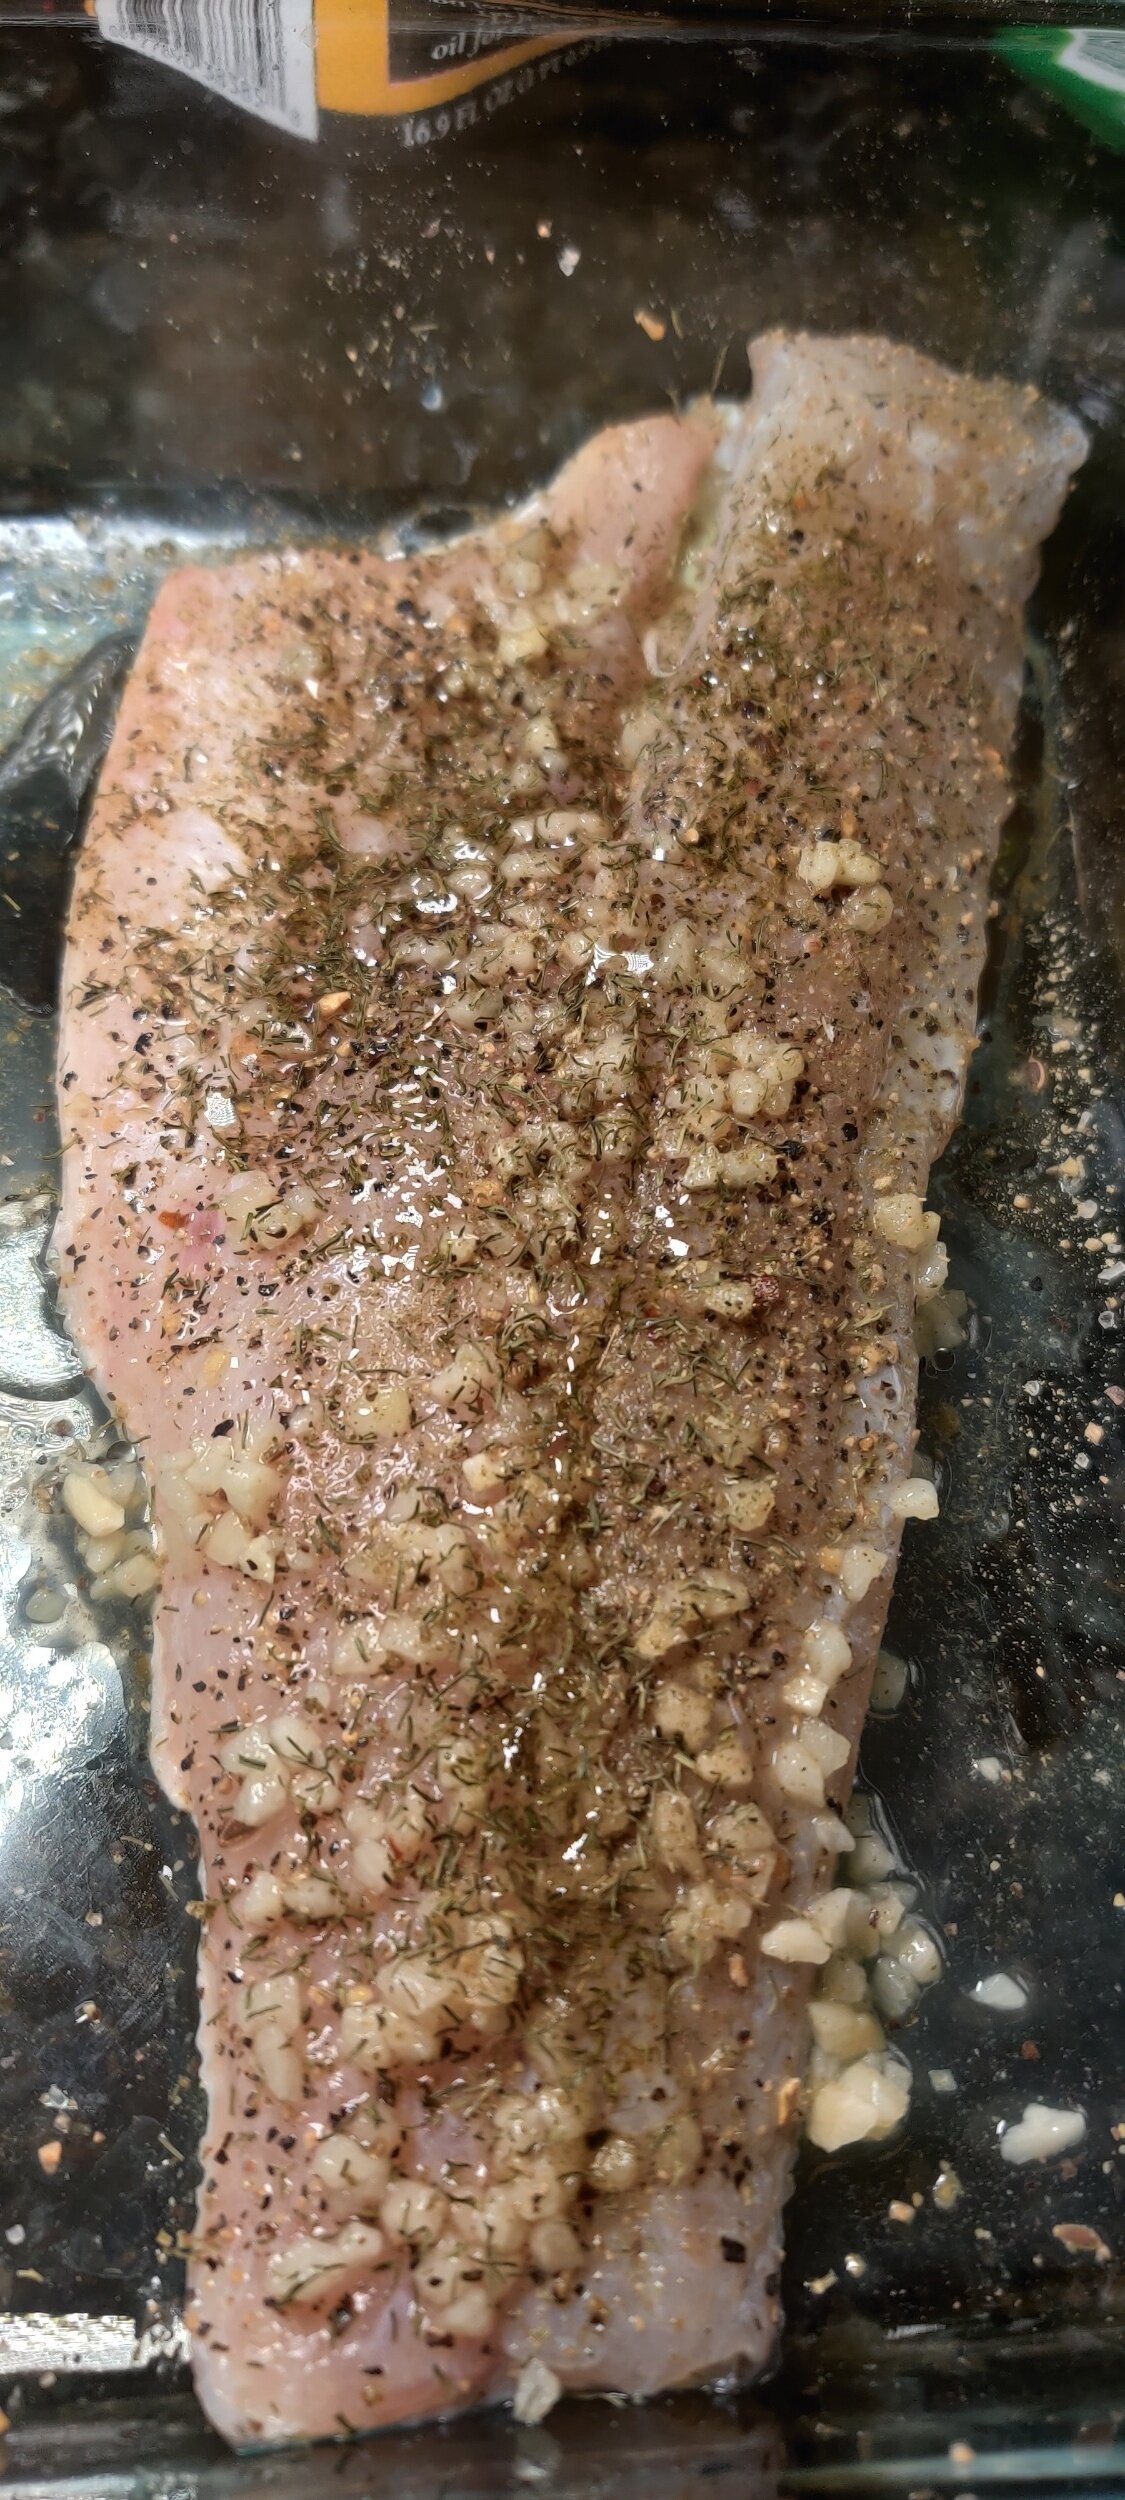
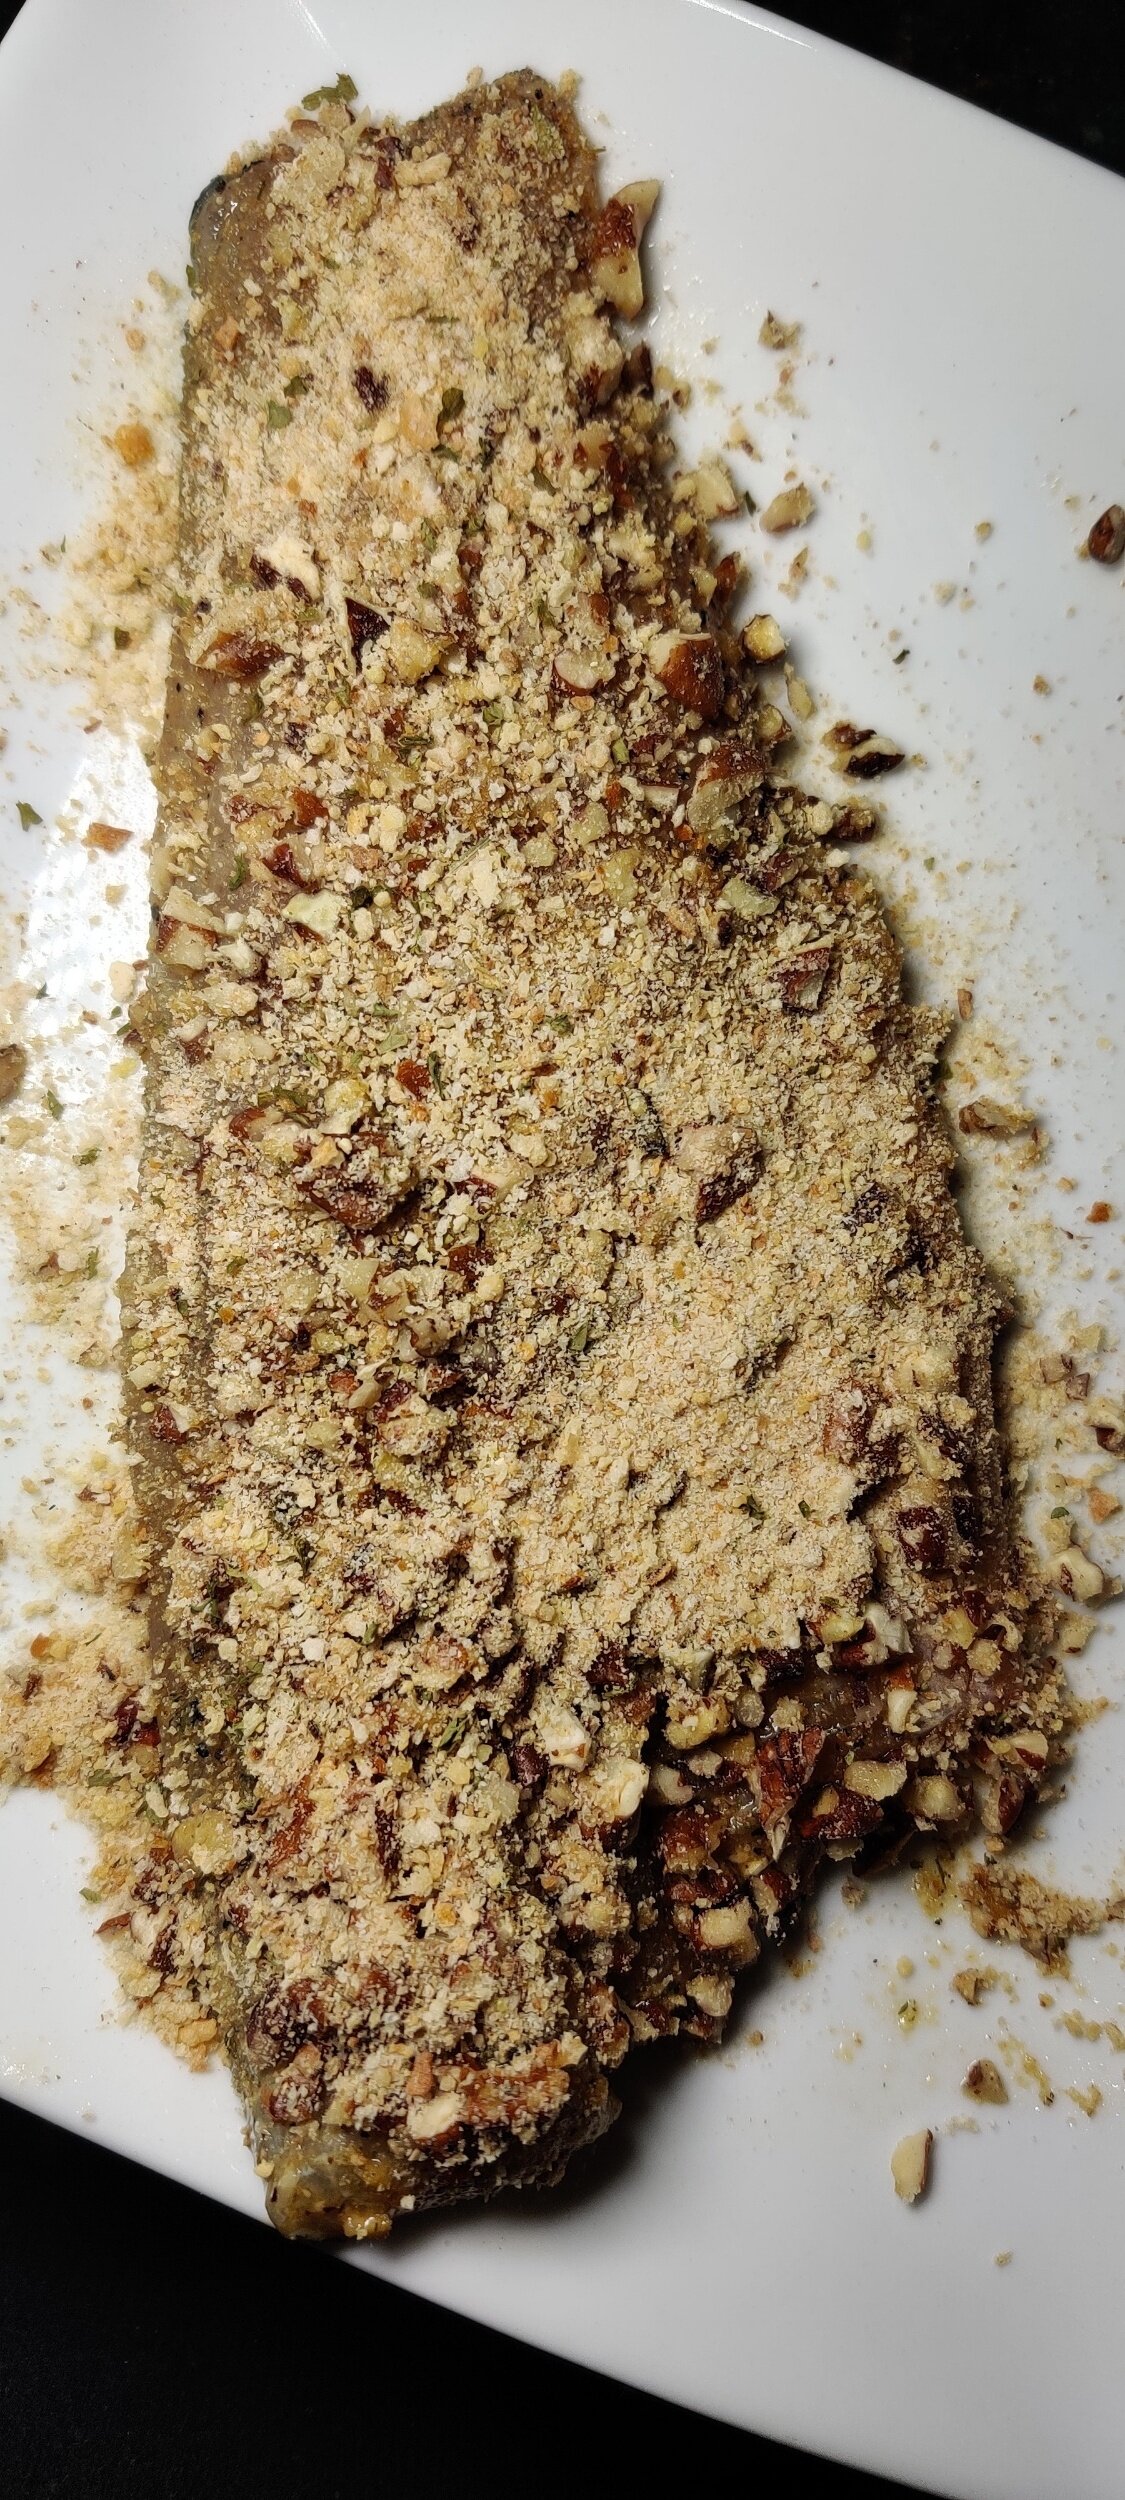
For the fish, I used branzino, which, like cod, is mild and sweet. That means you can soak it up with some flavour. I like fried fish with some good old fashioned beer batter, but this recipe takes a detour! I used crushed pecans--another fall favourite--for texture and a nutty flavour for the crust after seasoning the fish.
This recipe is great for a filling, flavorful, lunch or light fare dinner depending on how hungry you are. If you are hosting a crowd, they will be most happy!
Ingredients
1 branzino fillet
1 tablespoon dill
1/3 cup + 1 tablespoon pecans, finely chopped
2 tablespoons olive oil + extra for chips
1 tablespoon fresh garlic
2 tablespoons salt
1 1/2 tablespoons black pepper
1 tablespoon soy sauce
1 1/2 tablespoons lemon juice
1/2 a large apple
1 cup shredded red cabbage
2-3 tablespoons mayonnaise
1 egg, beaten
2 tablespoons milk
2 tablespoons fish spice
1/8 cup bread crumbs
1 large sweet potato
2 tablespoons cornstarch
1 teaspoon brown sugar
1 tablespoon Old Bay seasoning
2 teaspoons garlic powder
Fresh thyme
Cream or tartar sauce

Instructions
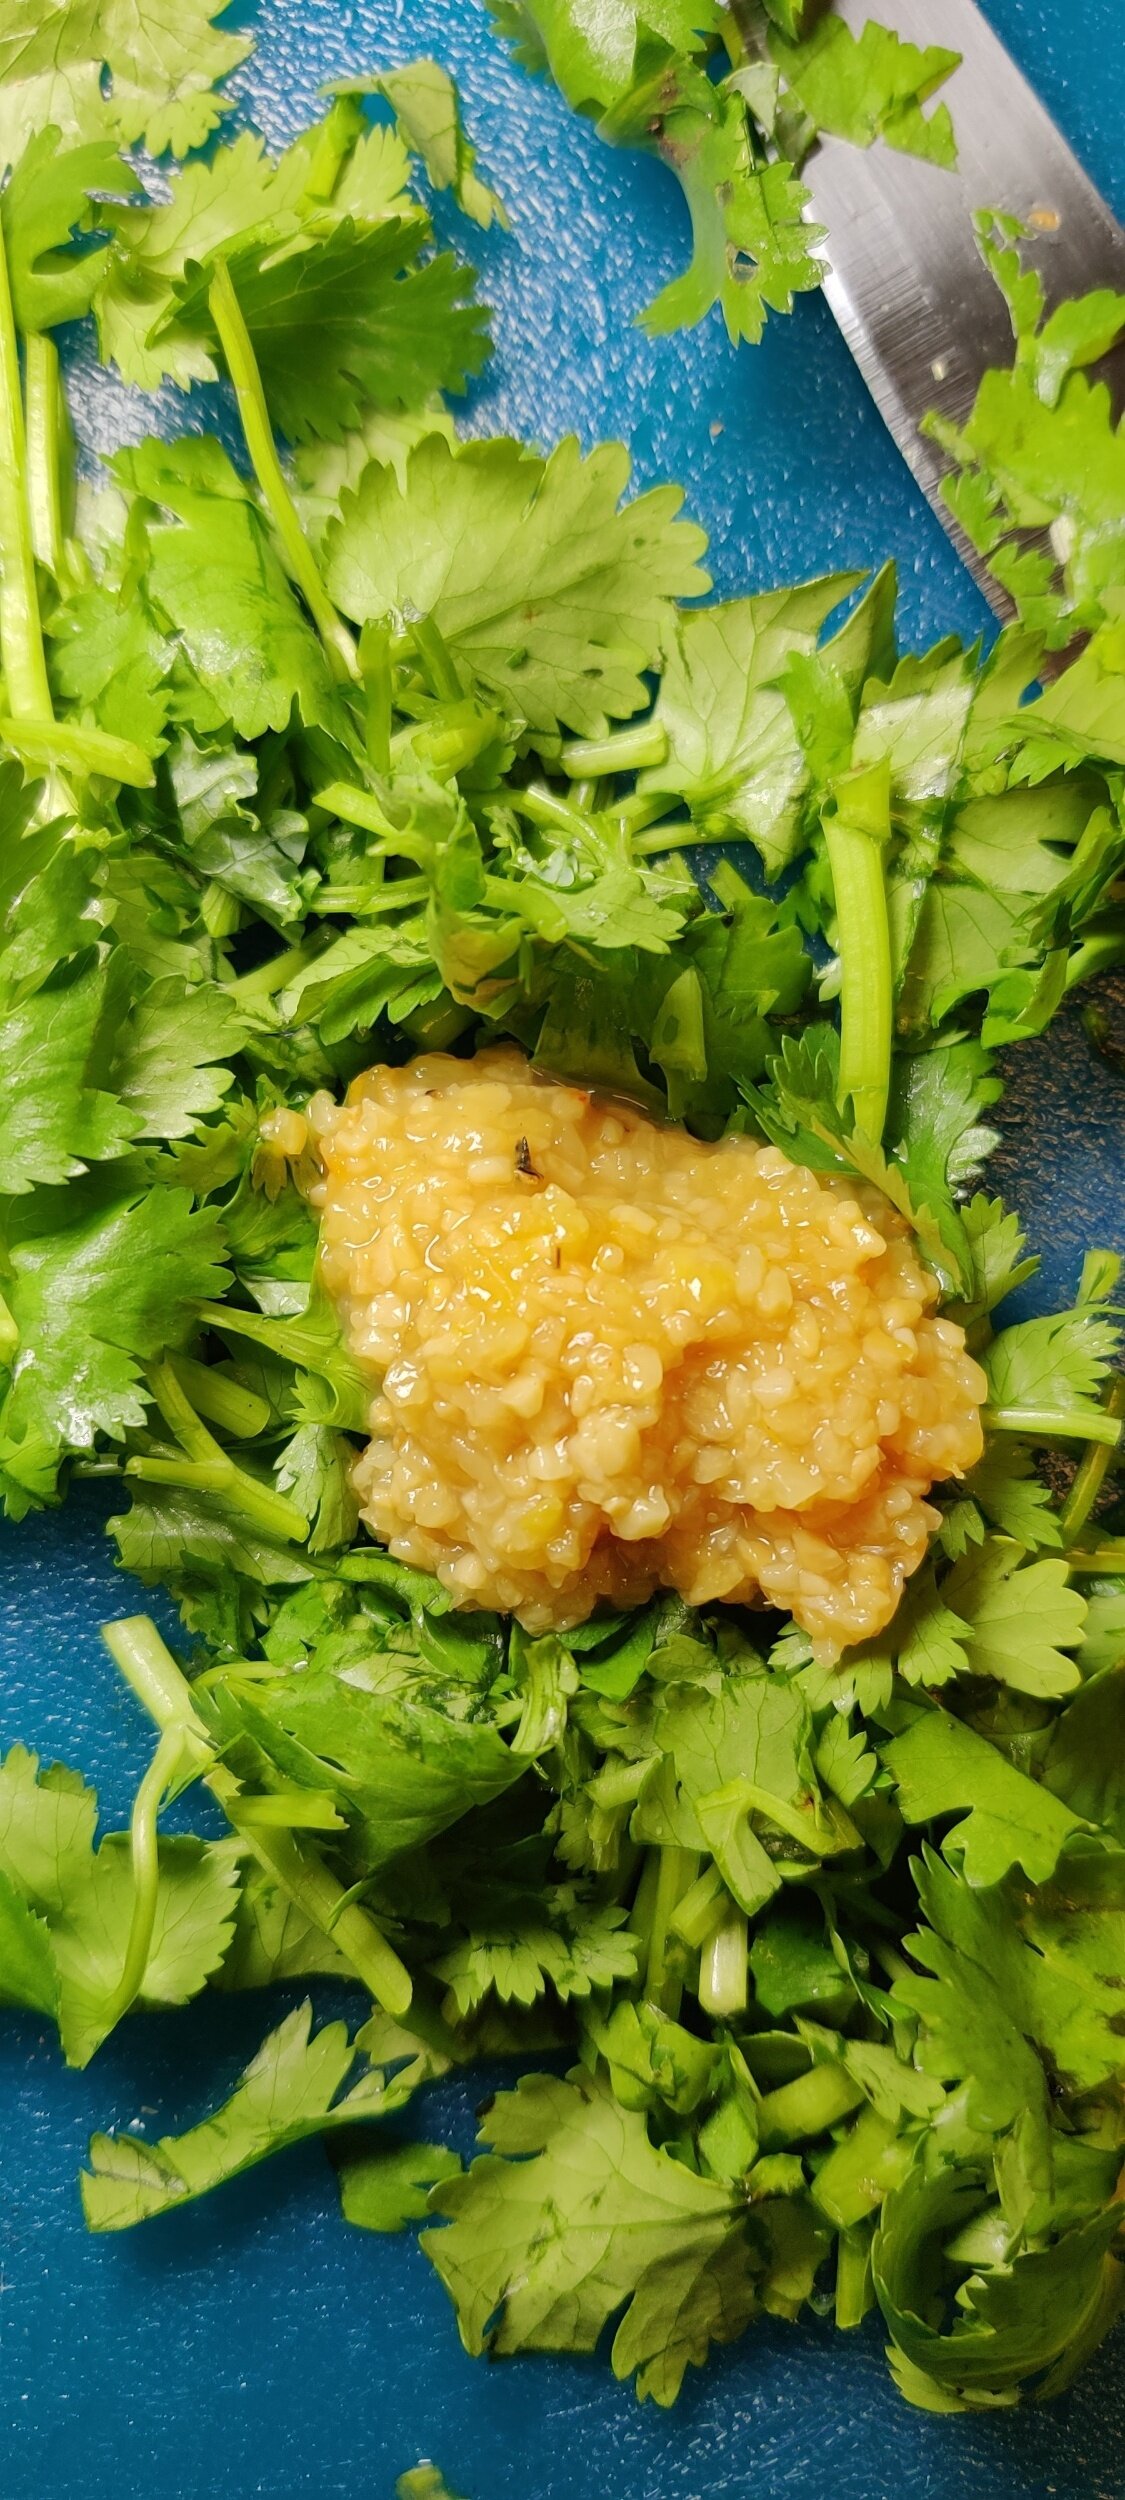
Prepare your slaw. Chop your apple into thin match sticks and mix with the red cabbage in a medium-sized bowl. Add the mayonnaise, 1 tablespoon pecans, 1 tablespoon olive oil, 1 teaspoon lemon juice, 1/2 teaspoon salt, 1 teaspoon black pepper, and 1 teaspoon garlic powder. Toss until everything is evenly coated, set aside in the fridge.
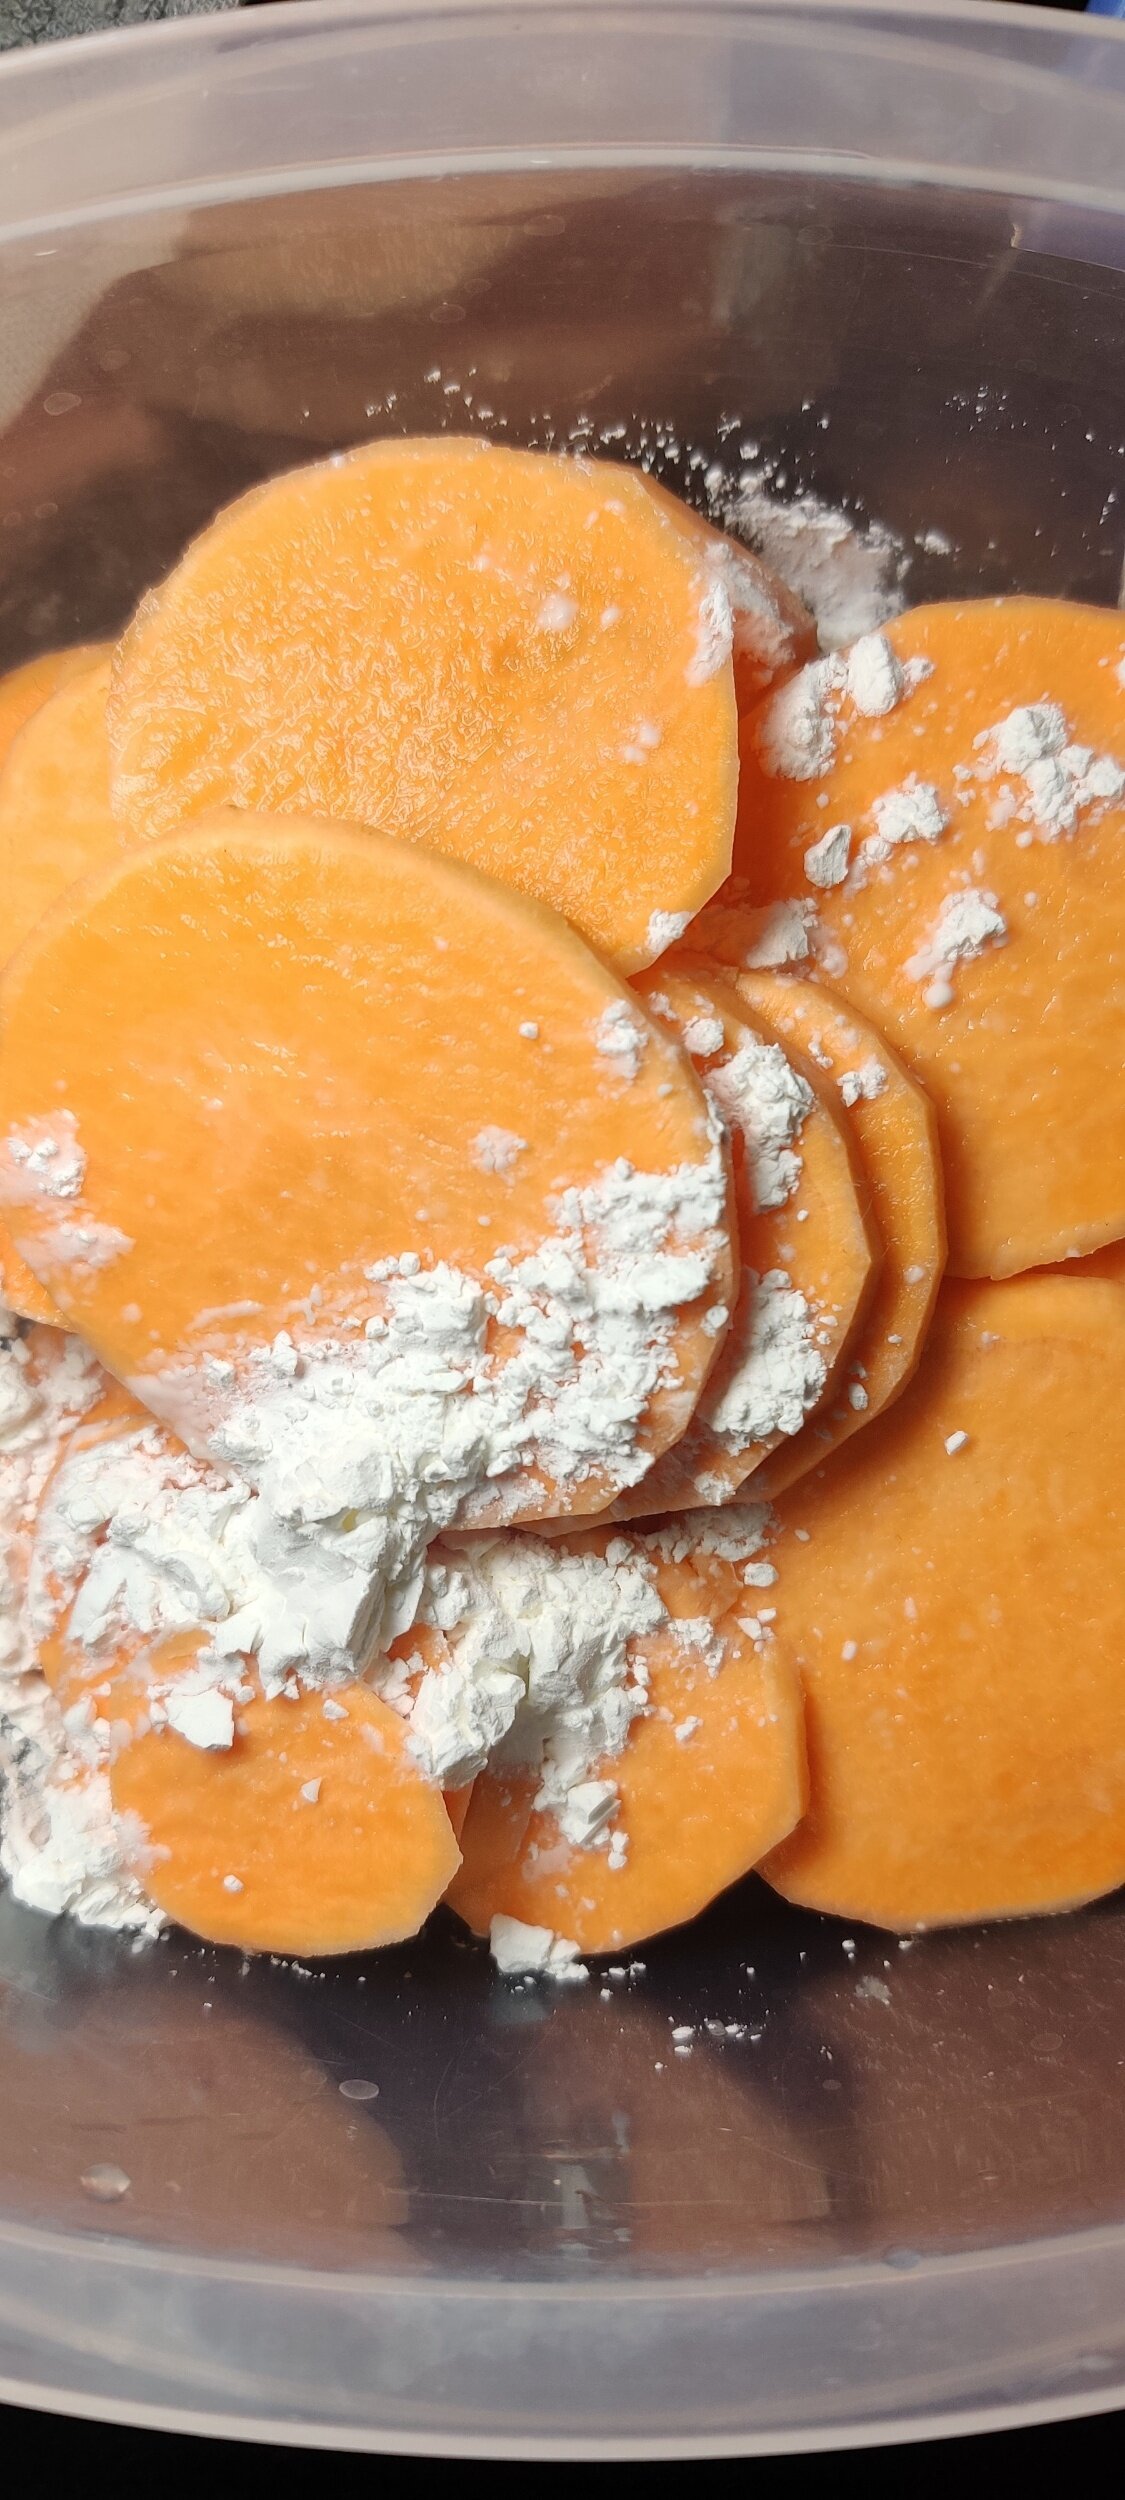
Slice the potato thinly (not too thin or else they will burn easily). Soak the slices in water for at least 1 hour to remove excess starch and maximize crispiness. Drain and dry completely with a kitchen towel. In a bowl, toss the potatoes in the cornstarch, drizzle with some olive oil, then add the Old Bay, 1/2 teaspoon salt, 1 teaspoon black pepper, 1 teaspoon garlic powder, and brown sugar until evenly coated. On a parchment-lined baking tray, lay out the slices. Bake at 425F for 15 minutes, spray with some cooking oil then flip them over. Watch closely to make sure the chips don’t burn!
While the chips bake, season the fish with the fresh garlic, 1 teaspoon salt, 1 tablespoon lemon juice, the soy sauce, 1 tablespoon black pepper and fish spice, set aside.
Add the milk to the egg and beat well. Coat the fish, then press the fillet into the breadcrumbs and pecans in a shallow plate. In a skillet on low-medium heat, sear the fish. Start with skin side first (if present), then after about 6-8 minutes carefully flip over. Cook for another 5-7 minutes until the fish is flakey and opaque.
Garnish with fresh thyme and serve the fish immediately with the sweet potato chips, apple slaw and some cream of tartar sauce. Double the recipe per person.

Sadza and Creamed Spinach with Sardines
Autumn weather brings the need for comfort food, and I look no further than combos from home.Sardines were something eaten frequently in my household growing up. We often had pressed sardine sandwiches for lunch at school. Kapenta, the Tanganyika sardine or the more common Shona name matemba, are freshwater fish commonly eaten in southern Africa. Zimbabweans both in and outside fishing towns alike stew them and serve along with sadza (cornmeal) and greens, or as fried, crispy finger food.
I had the craving and whipped up something I thought would be as close as possible to the real thing. Even though I didn't use kapenta, the smoked sardines played a decent substitute.
Creamy spinach is a nice detour to handle your greens and doesn't have to be super fatty or bland either. I used milk instead of cream, and the flour helped thicken up everything just fine.
I would also recommend against throwing out the sauce the fillets come in. The liquid is richly flavoured, like perfectly seasoned broth. Just add the tomato, soy sauce and chilli flakes for additional depth of flavour.
In general, I wouldn't shy away from tinned fish! Though I have personally cut down on meat, I always say fish will be the last thing to go, and tinned fish is convenient. You can add it to soups, stews, sandwiches, salads, and other dishes; and as the weather gets colder and your grocery runs less, you'll appreciate the occasional tin.
Ingredients
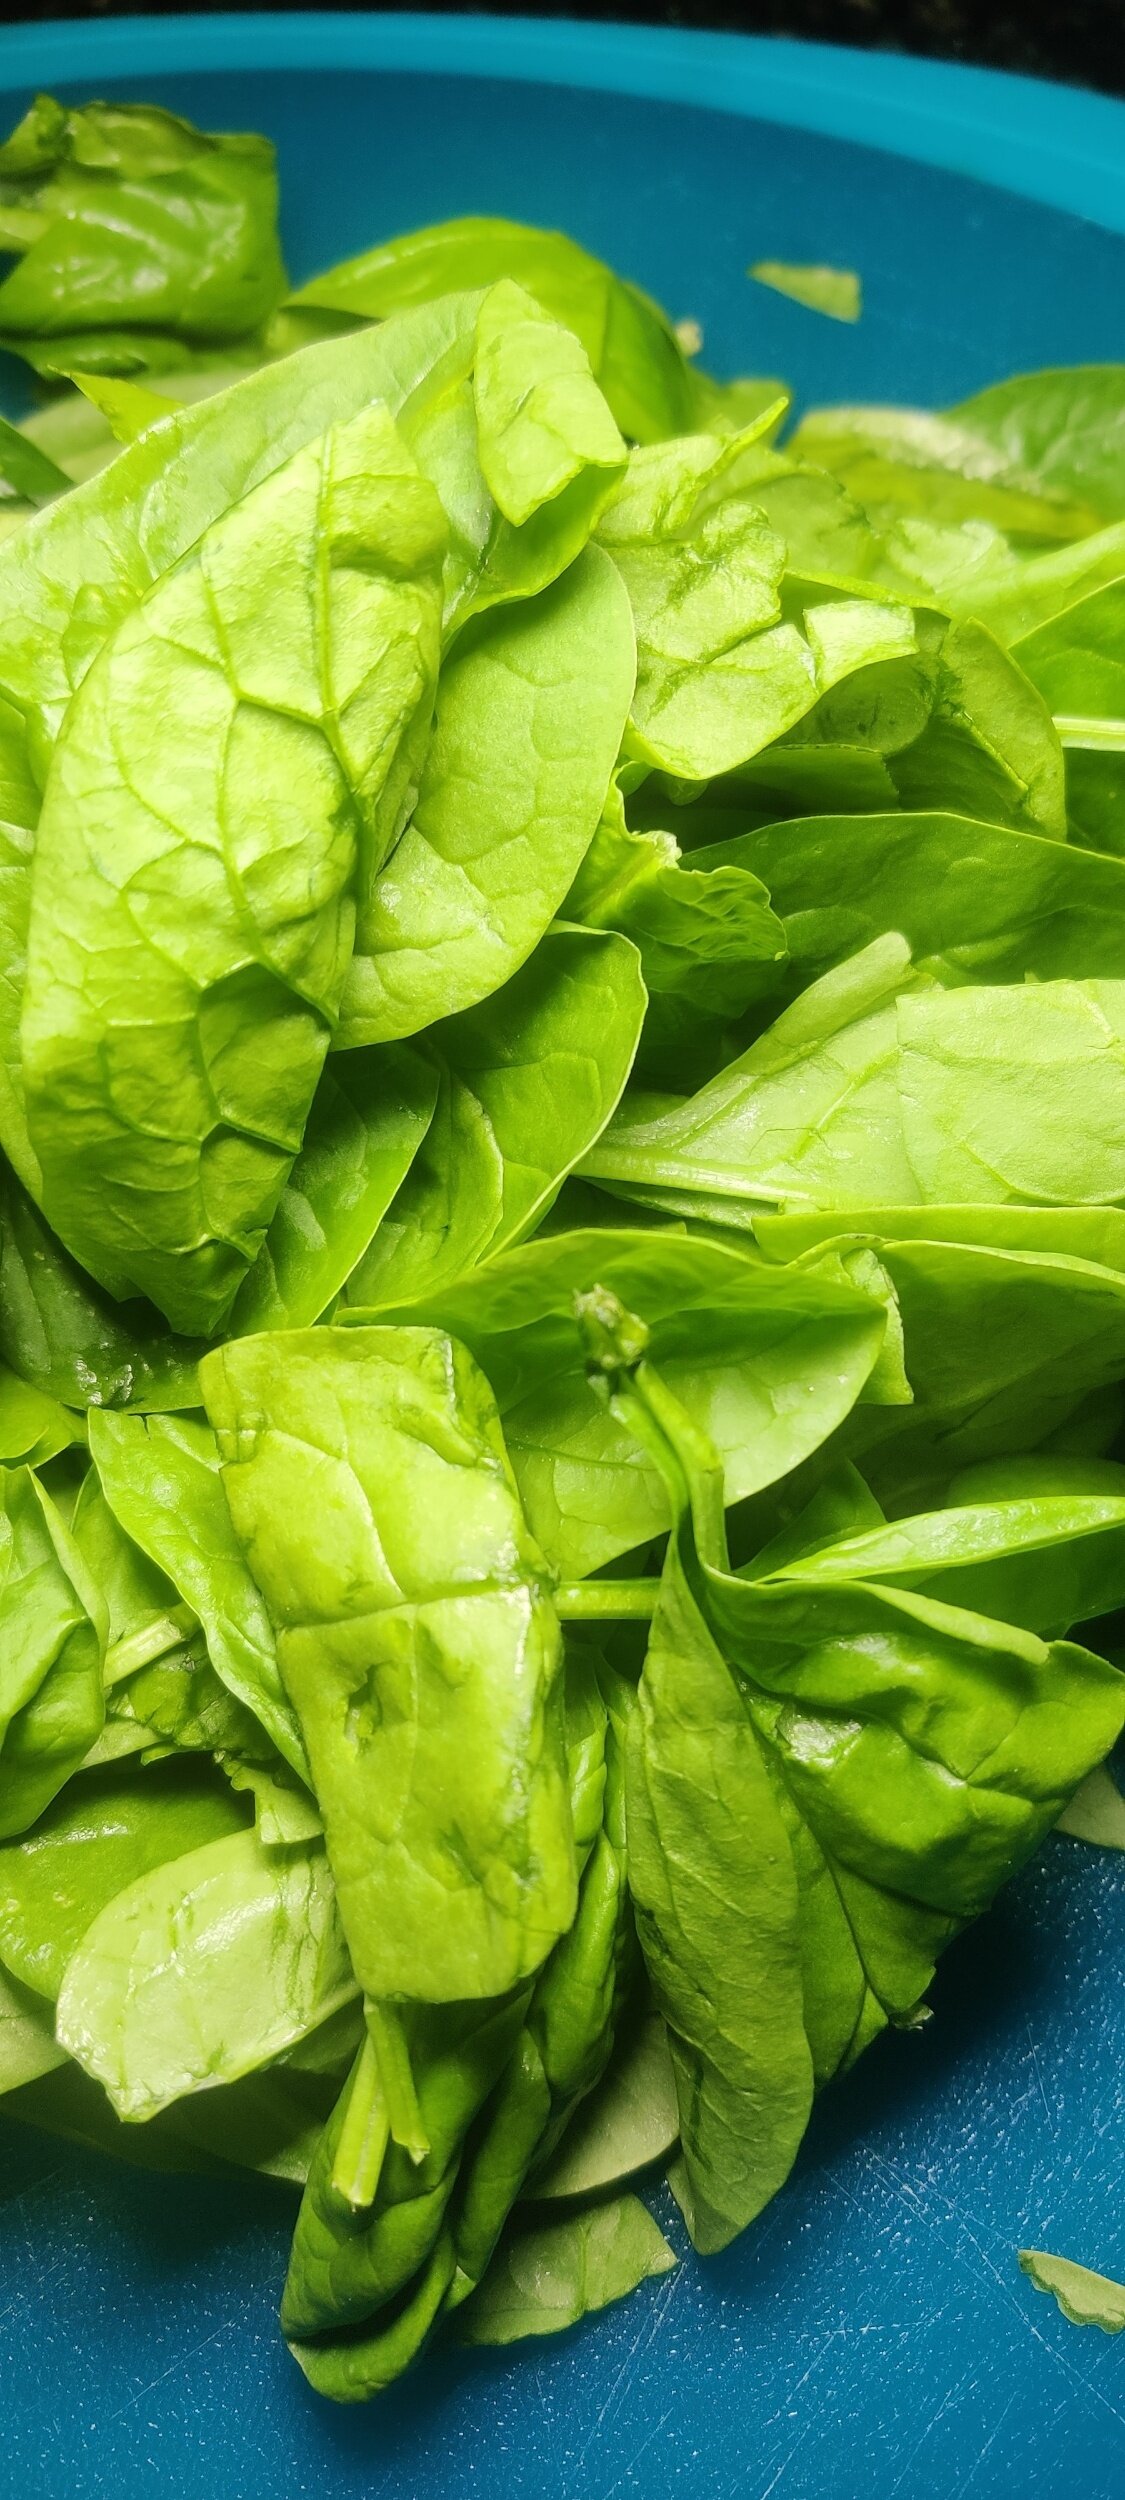
2 cups spinach, roughly chopped
1/2 red onion, diced
2 tablespoons butter
1/2 teaspoon salt
1 tablespoon black pepper
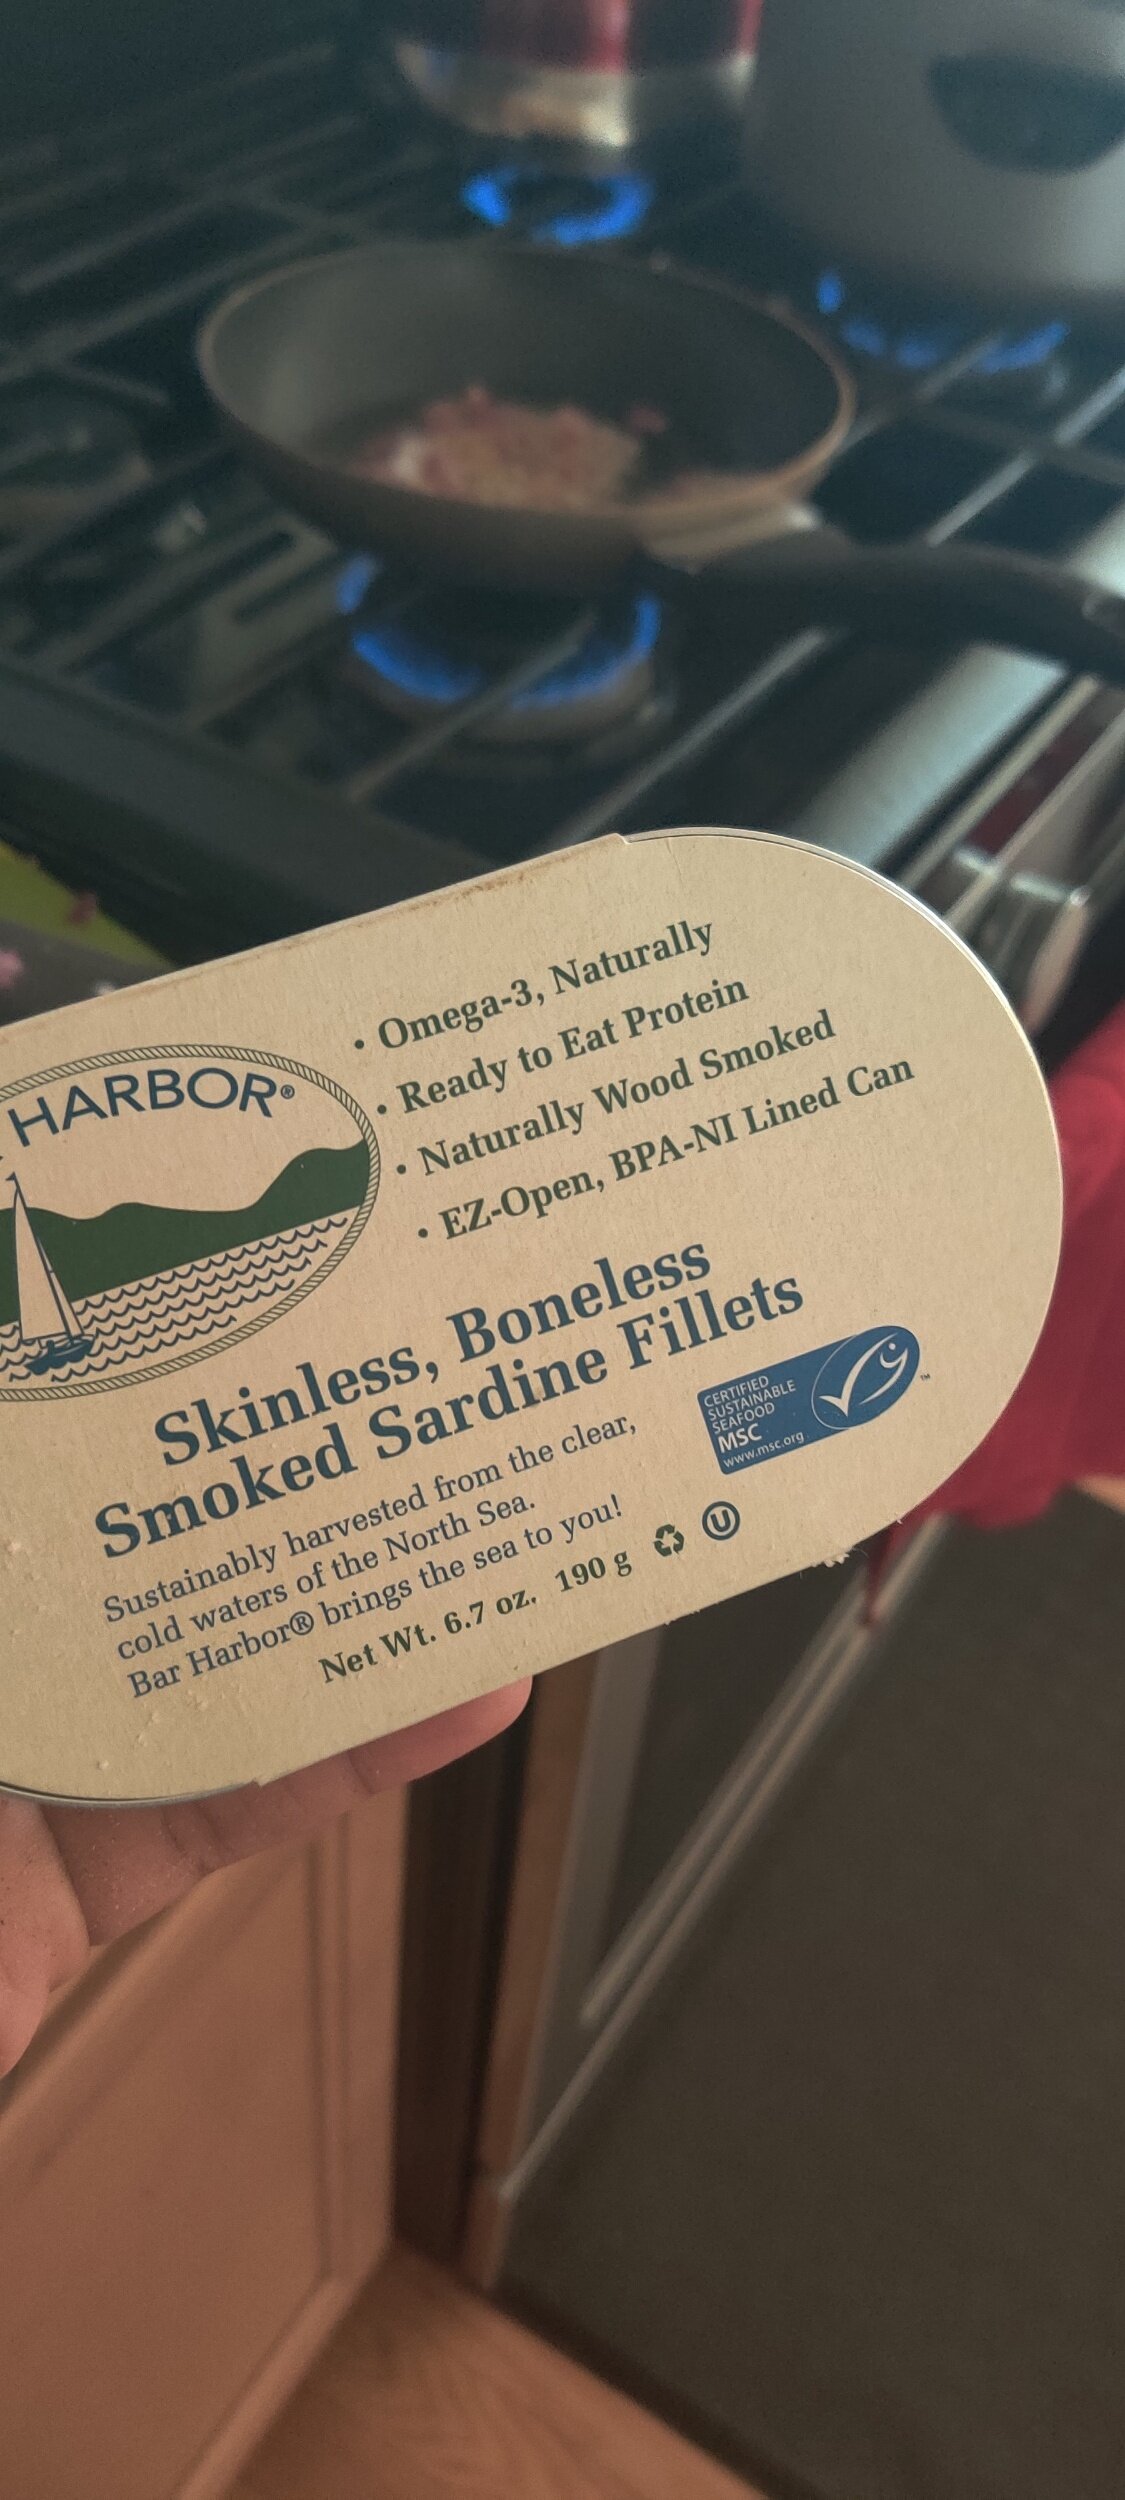
2-4 large smoked sardine fillets (I used Bar Harbor, which is MSC certified/sustainably caught)
1 teaspoon chili flakes
1/3 cup milk
1 teaspoon soy sauce
2 teaspoons flour
1 teaspoon fenugreek powder
1/4 cup tomato, diced
Sadza:
1 1/3 cups white corn/maize meal
3/4 cup cold water
2 1/2 cups boiling water
Pinch of salt

Instructions
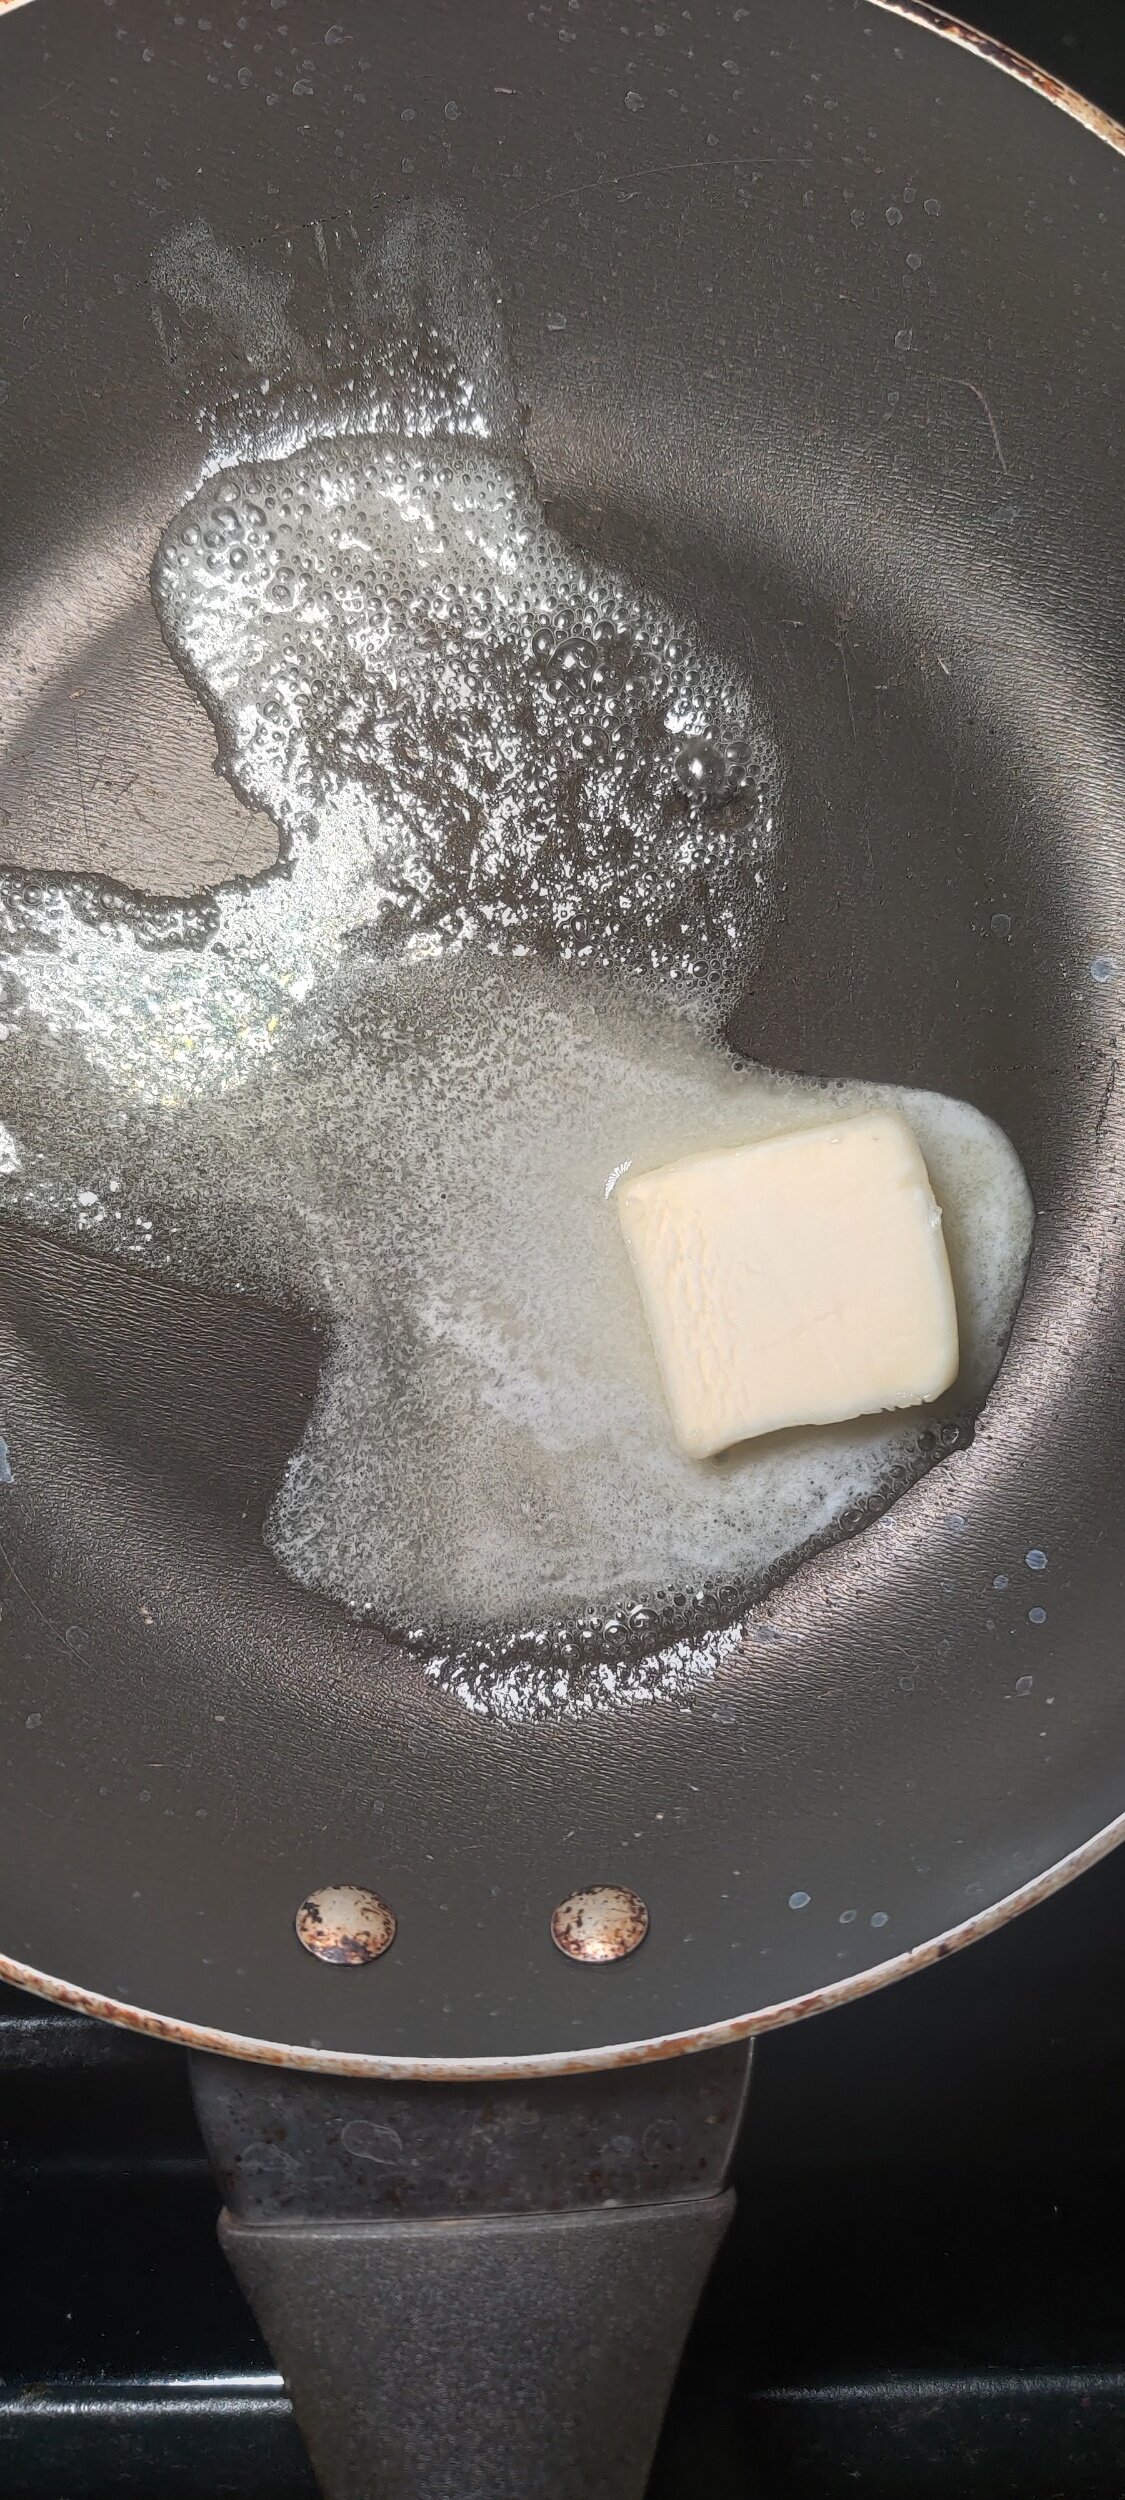
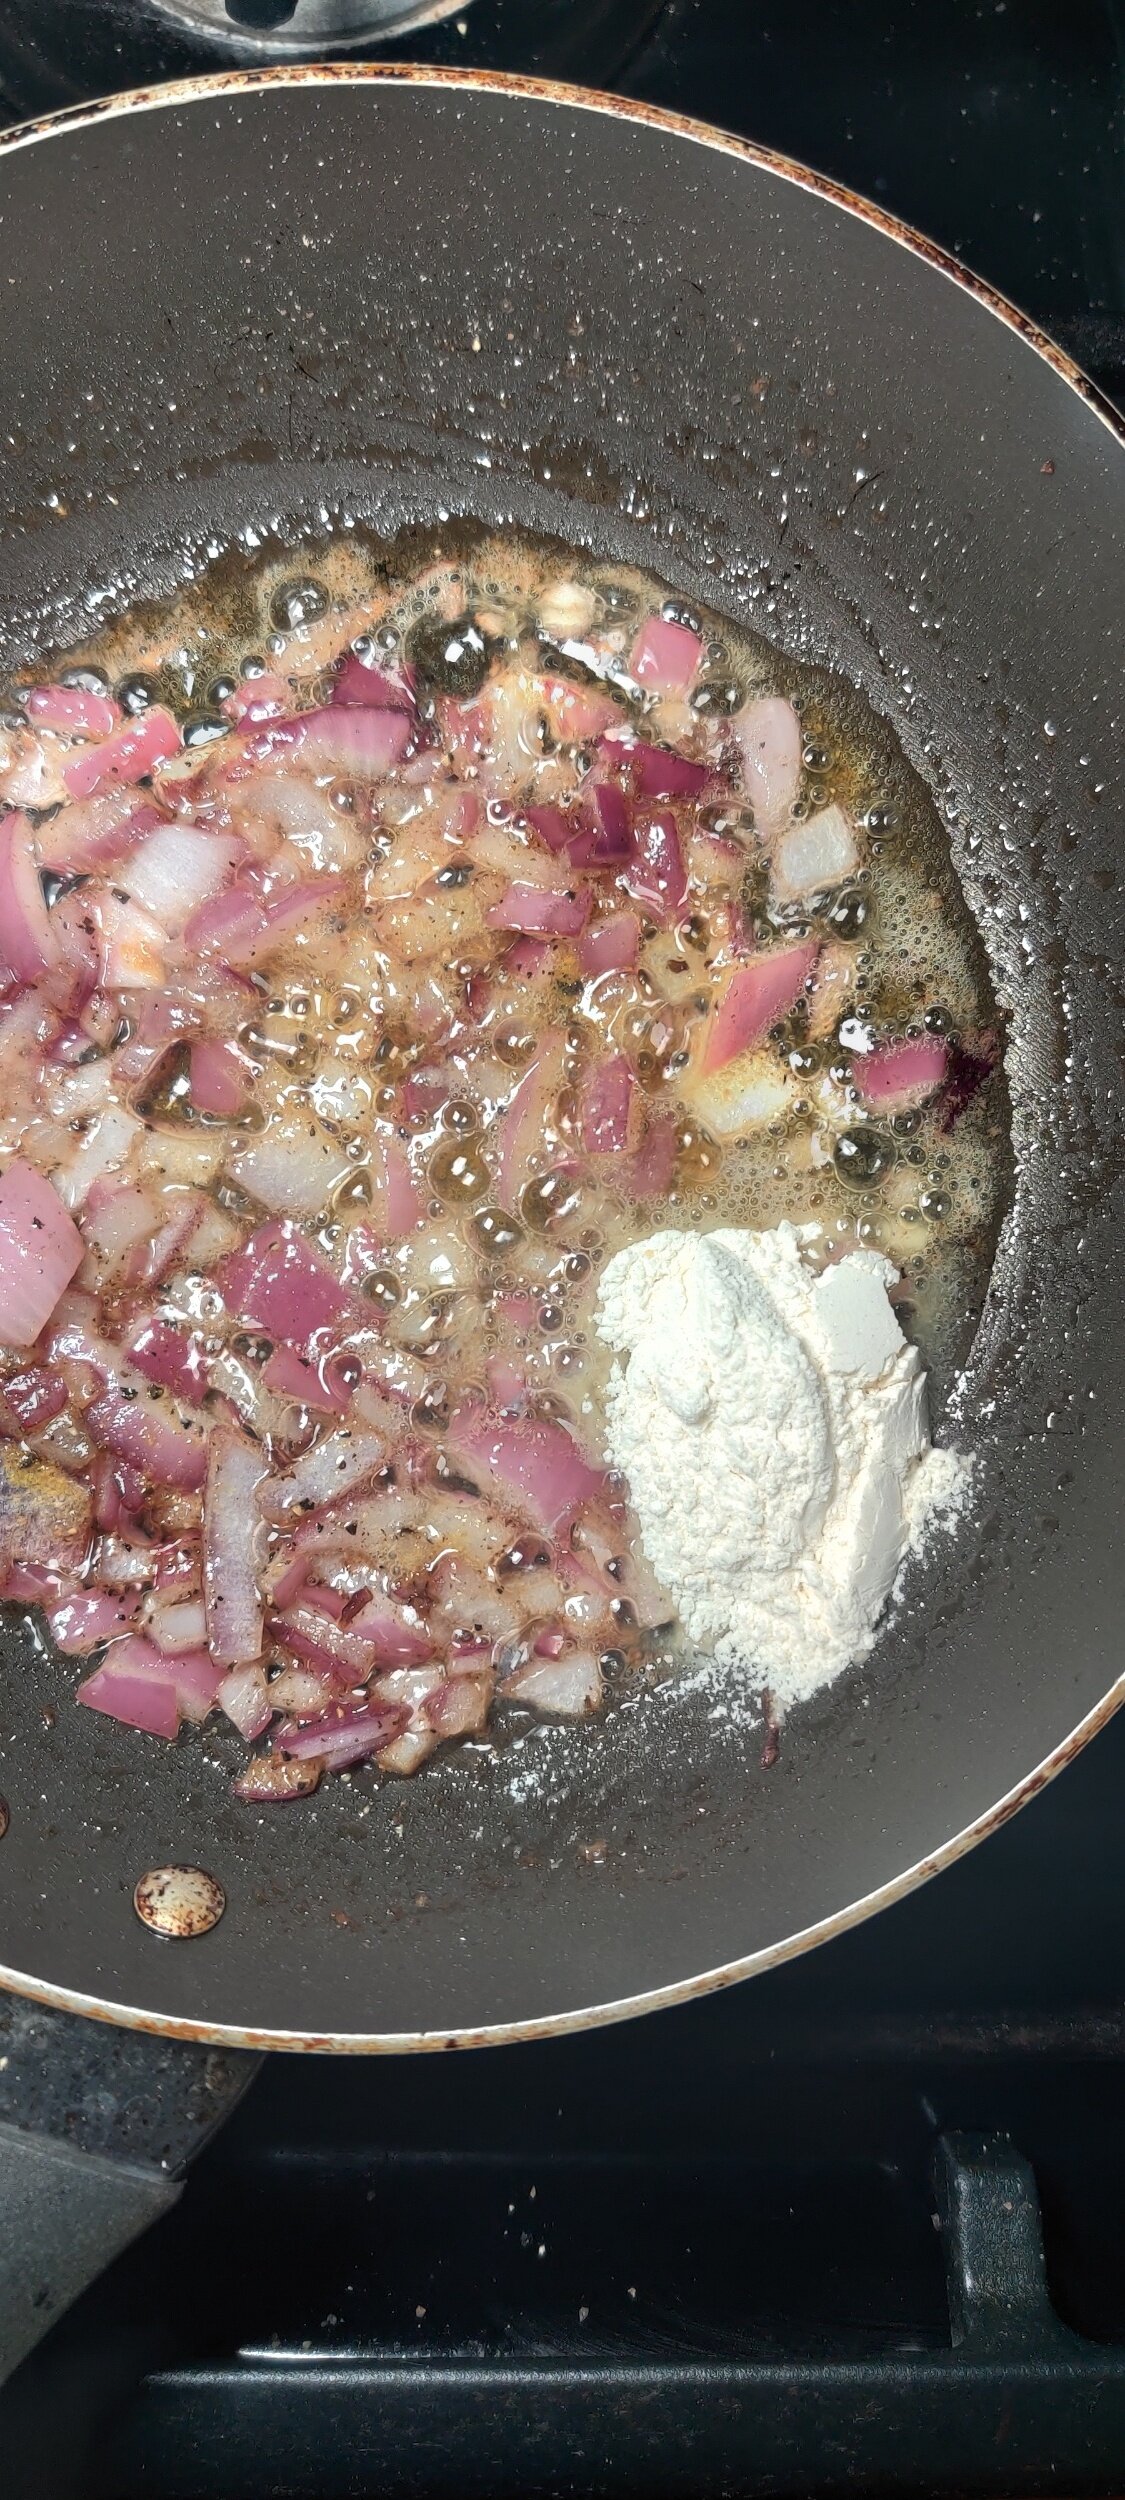
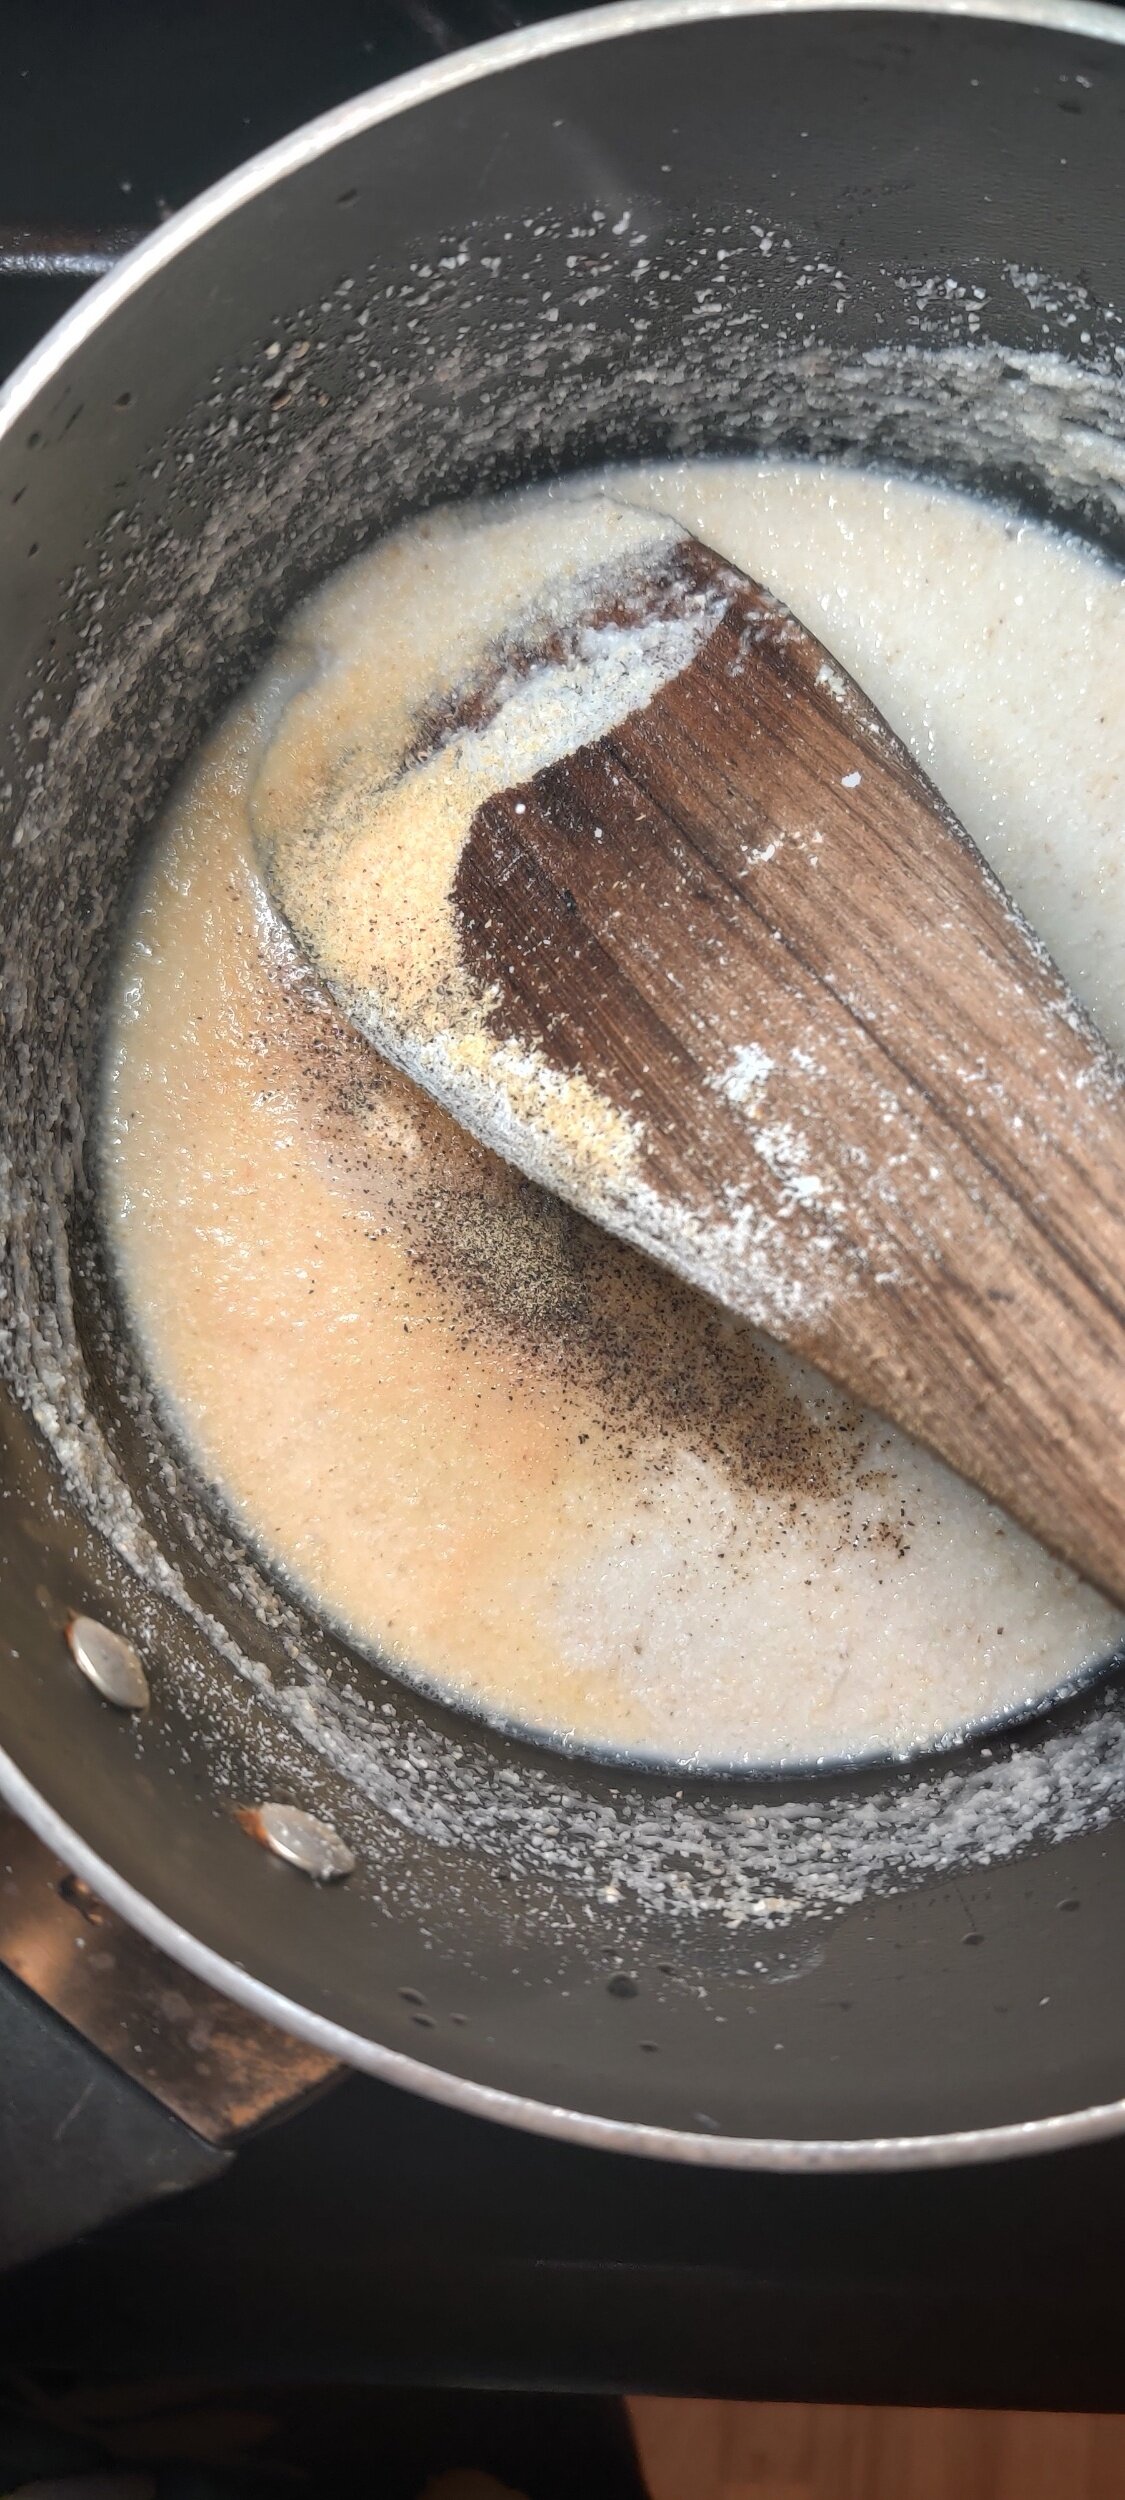
In a saucepan, melt the butter and saute the onion for about 3 minutes. Add the salt, pepper, and fenugreek and cook for another 2-3 minutes until the onion starts to brown and soften.
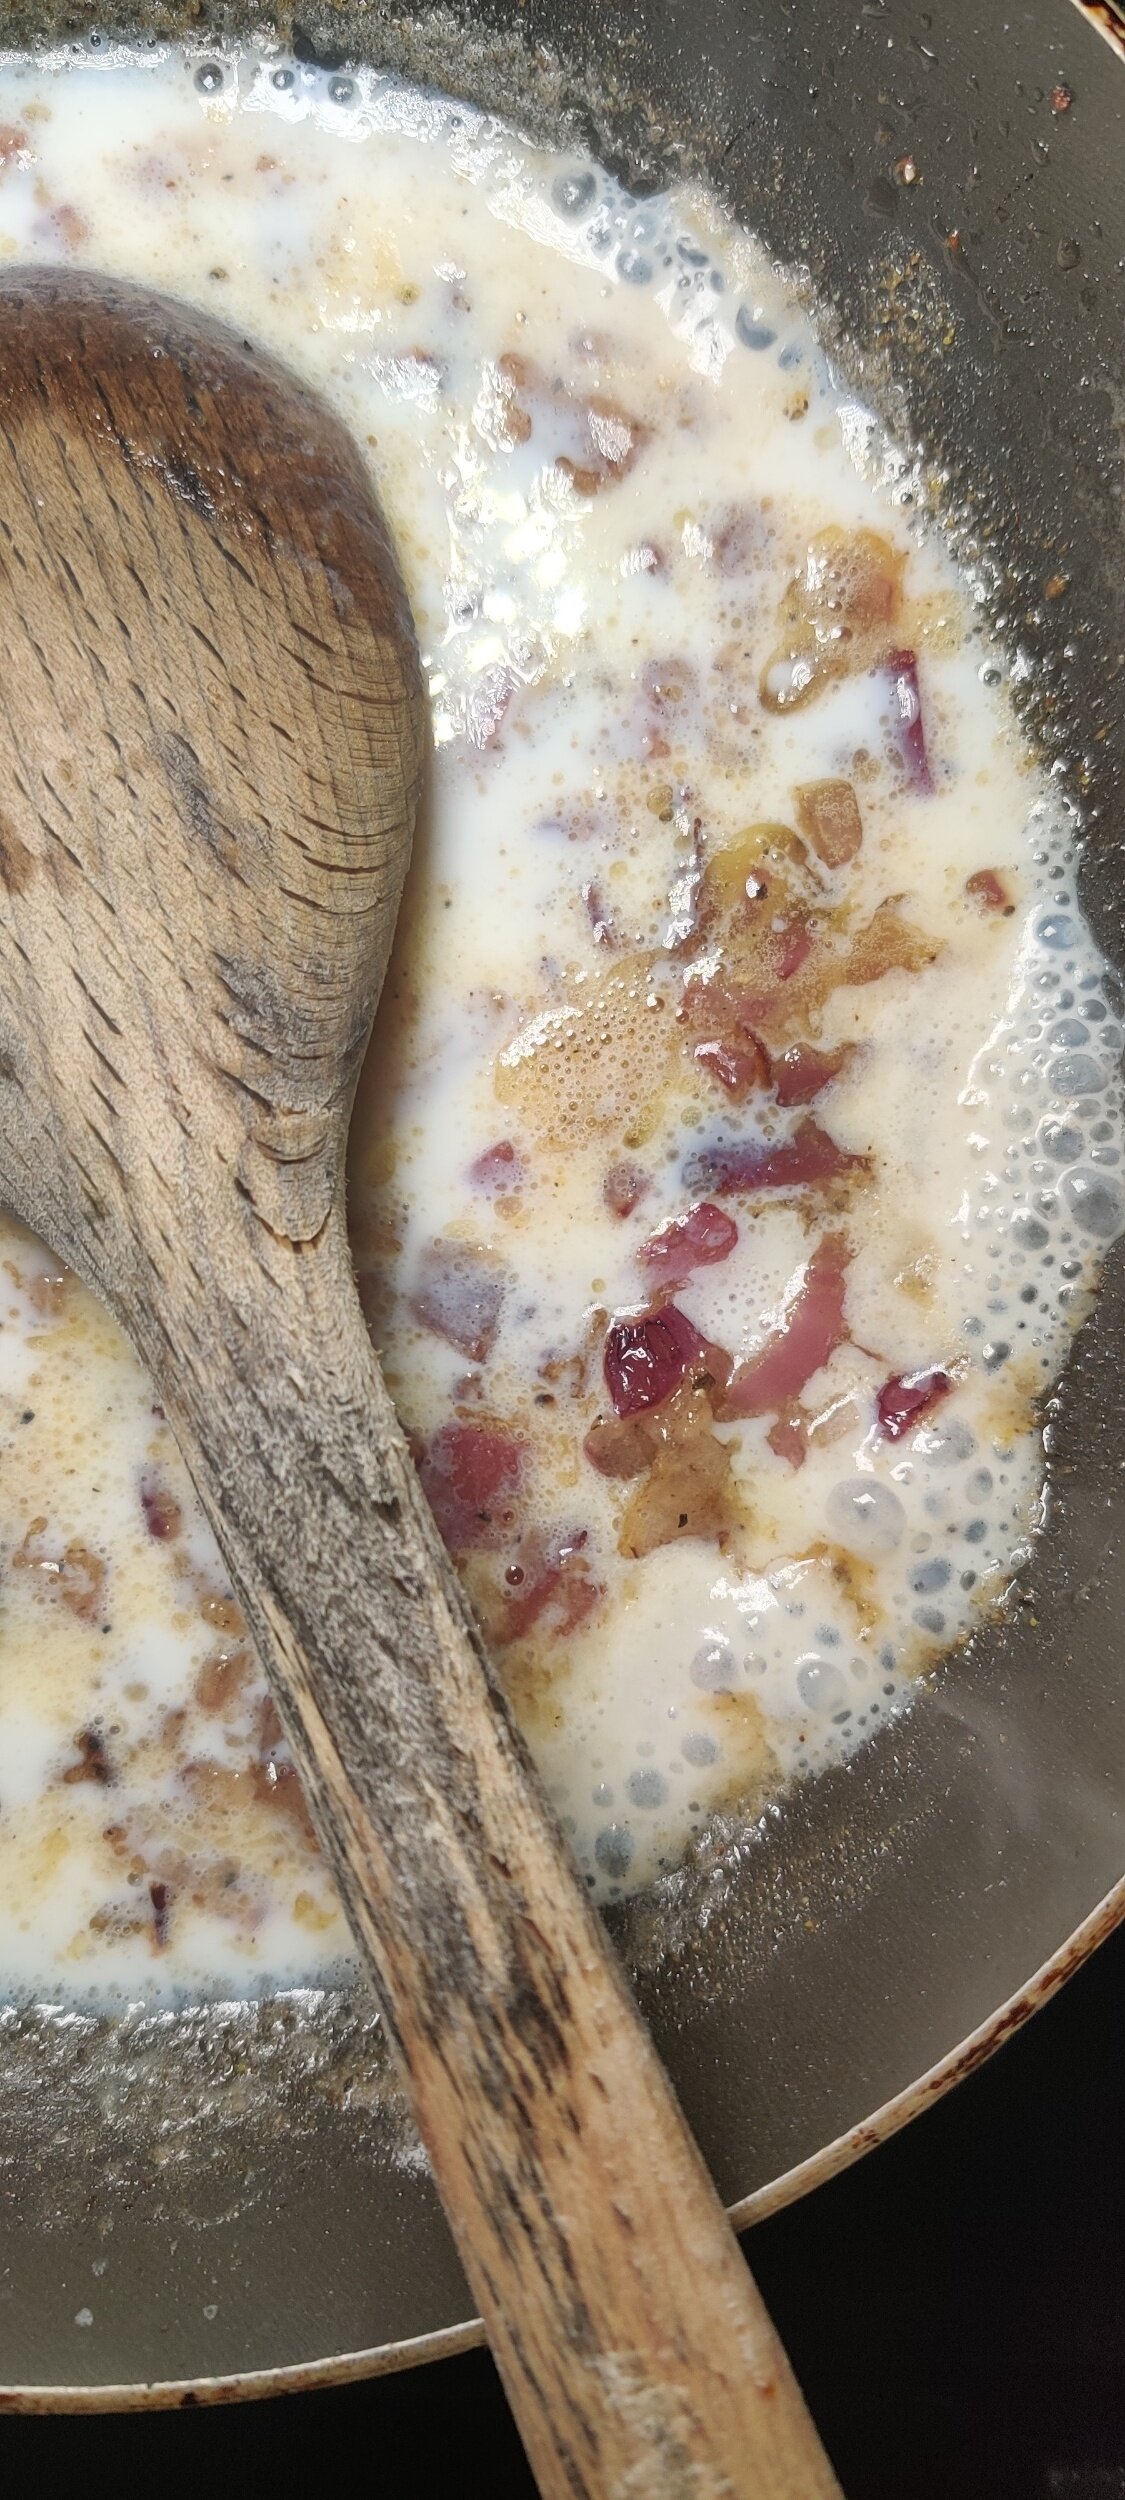
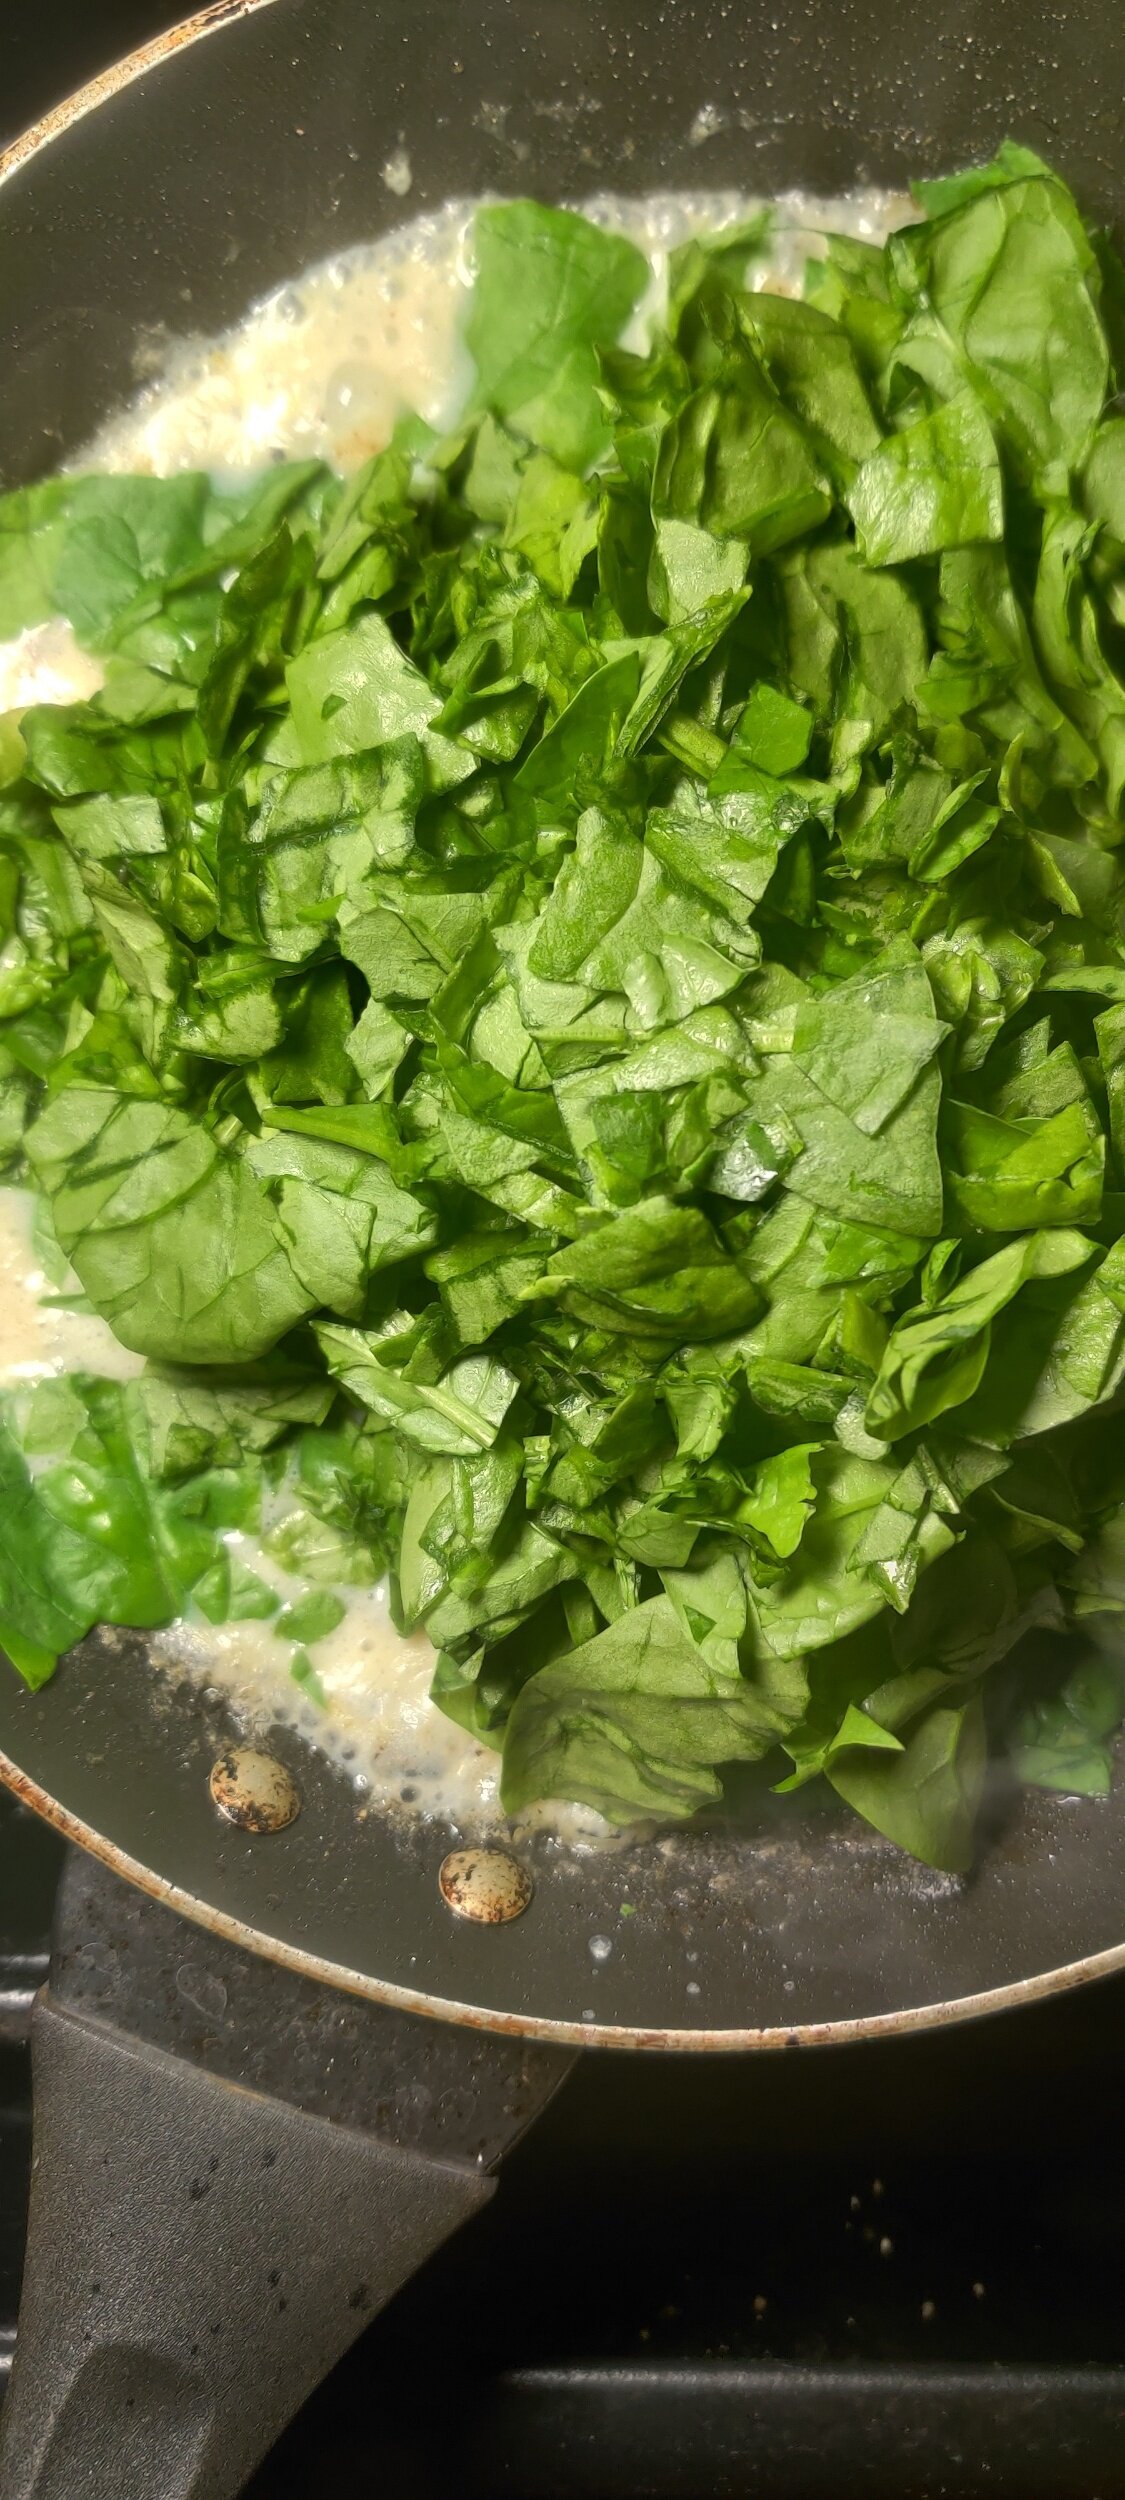
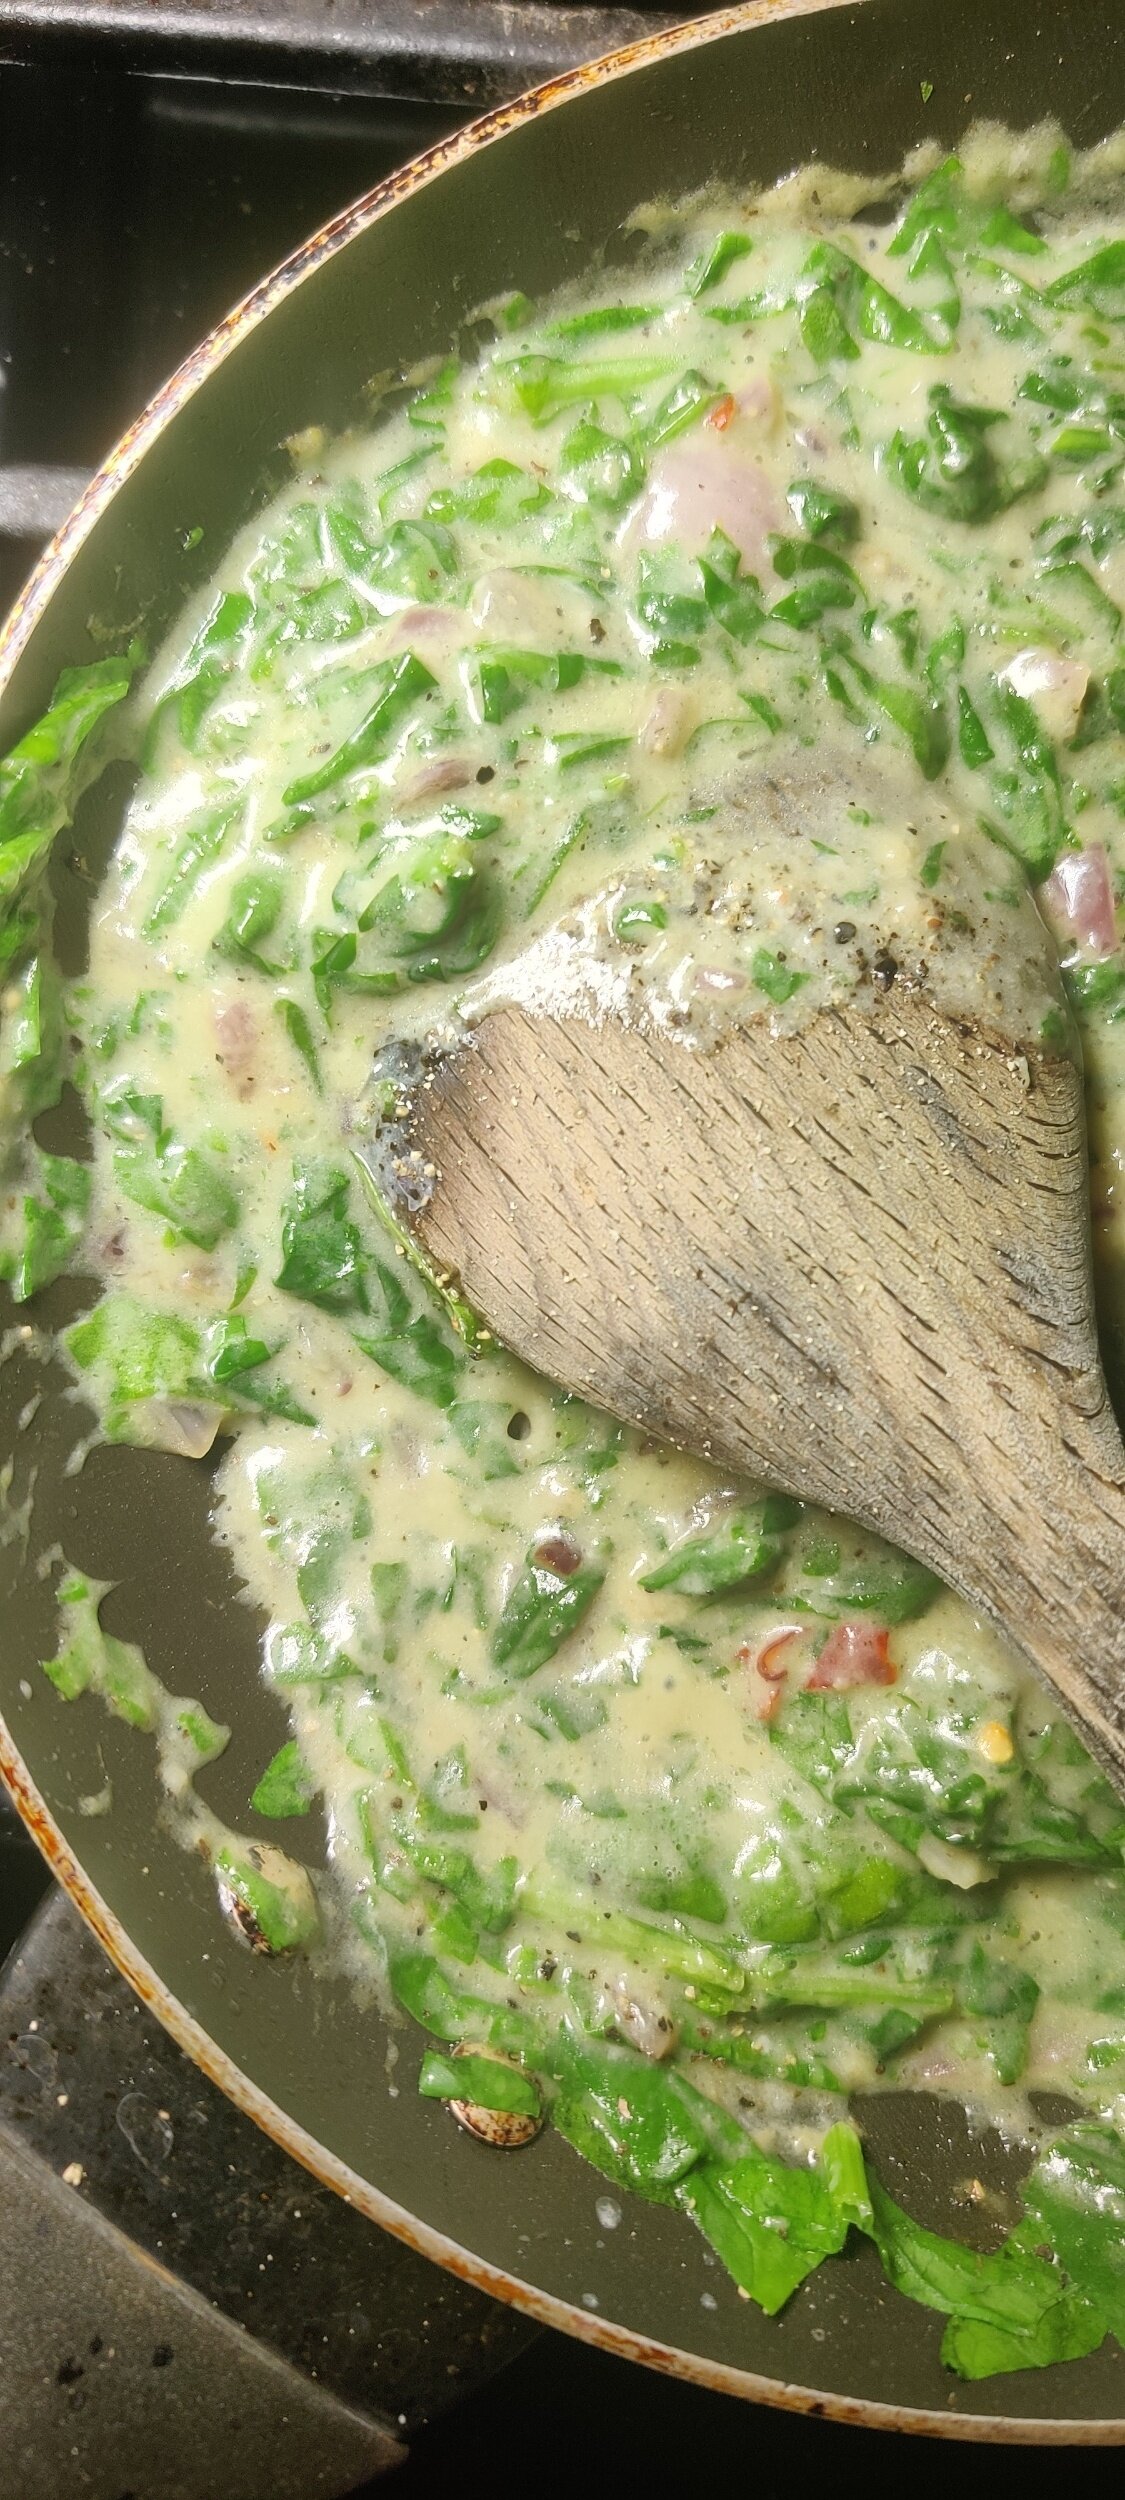
Stir in 1 teaspoon flour then whisk in the milk, make sure the flour dissolves. Add 1/2 teaspoon chilli flakes and simmer for about 1-2 minutes. Add the spinach and simmer the spinach for 5 minutes. Stir frequently until the leaves have wilted and are incorporated with the onion, set aside.
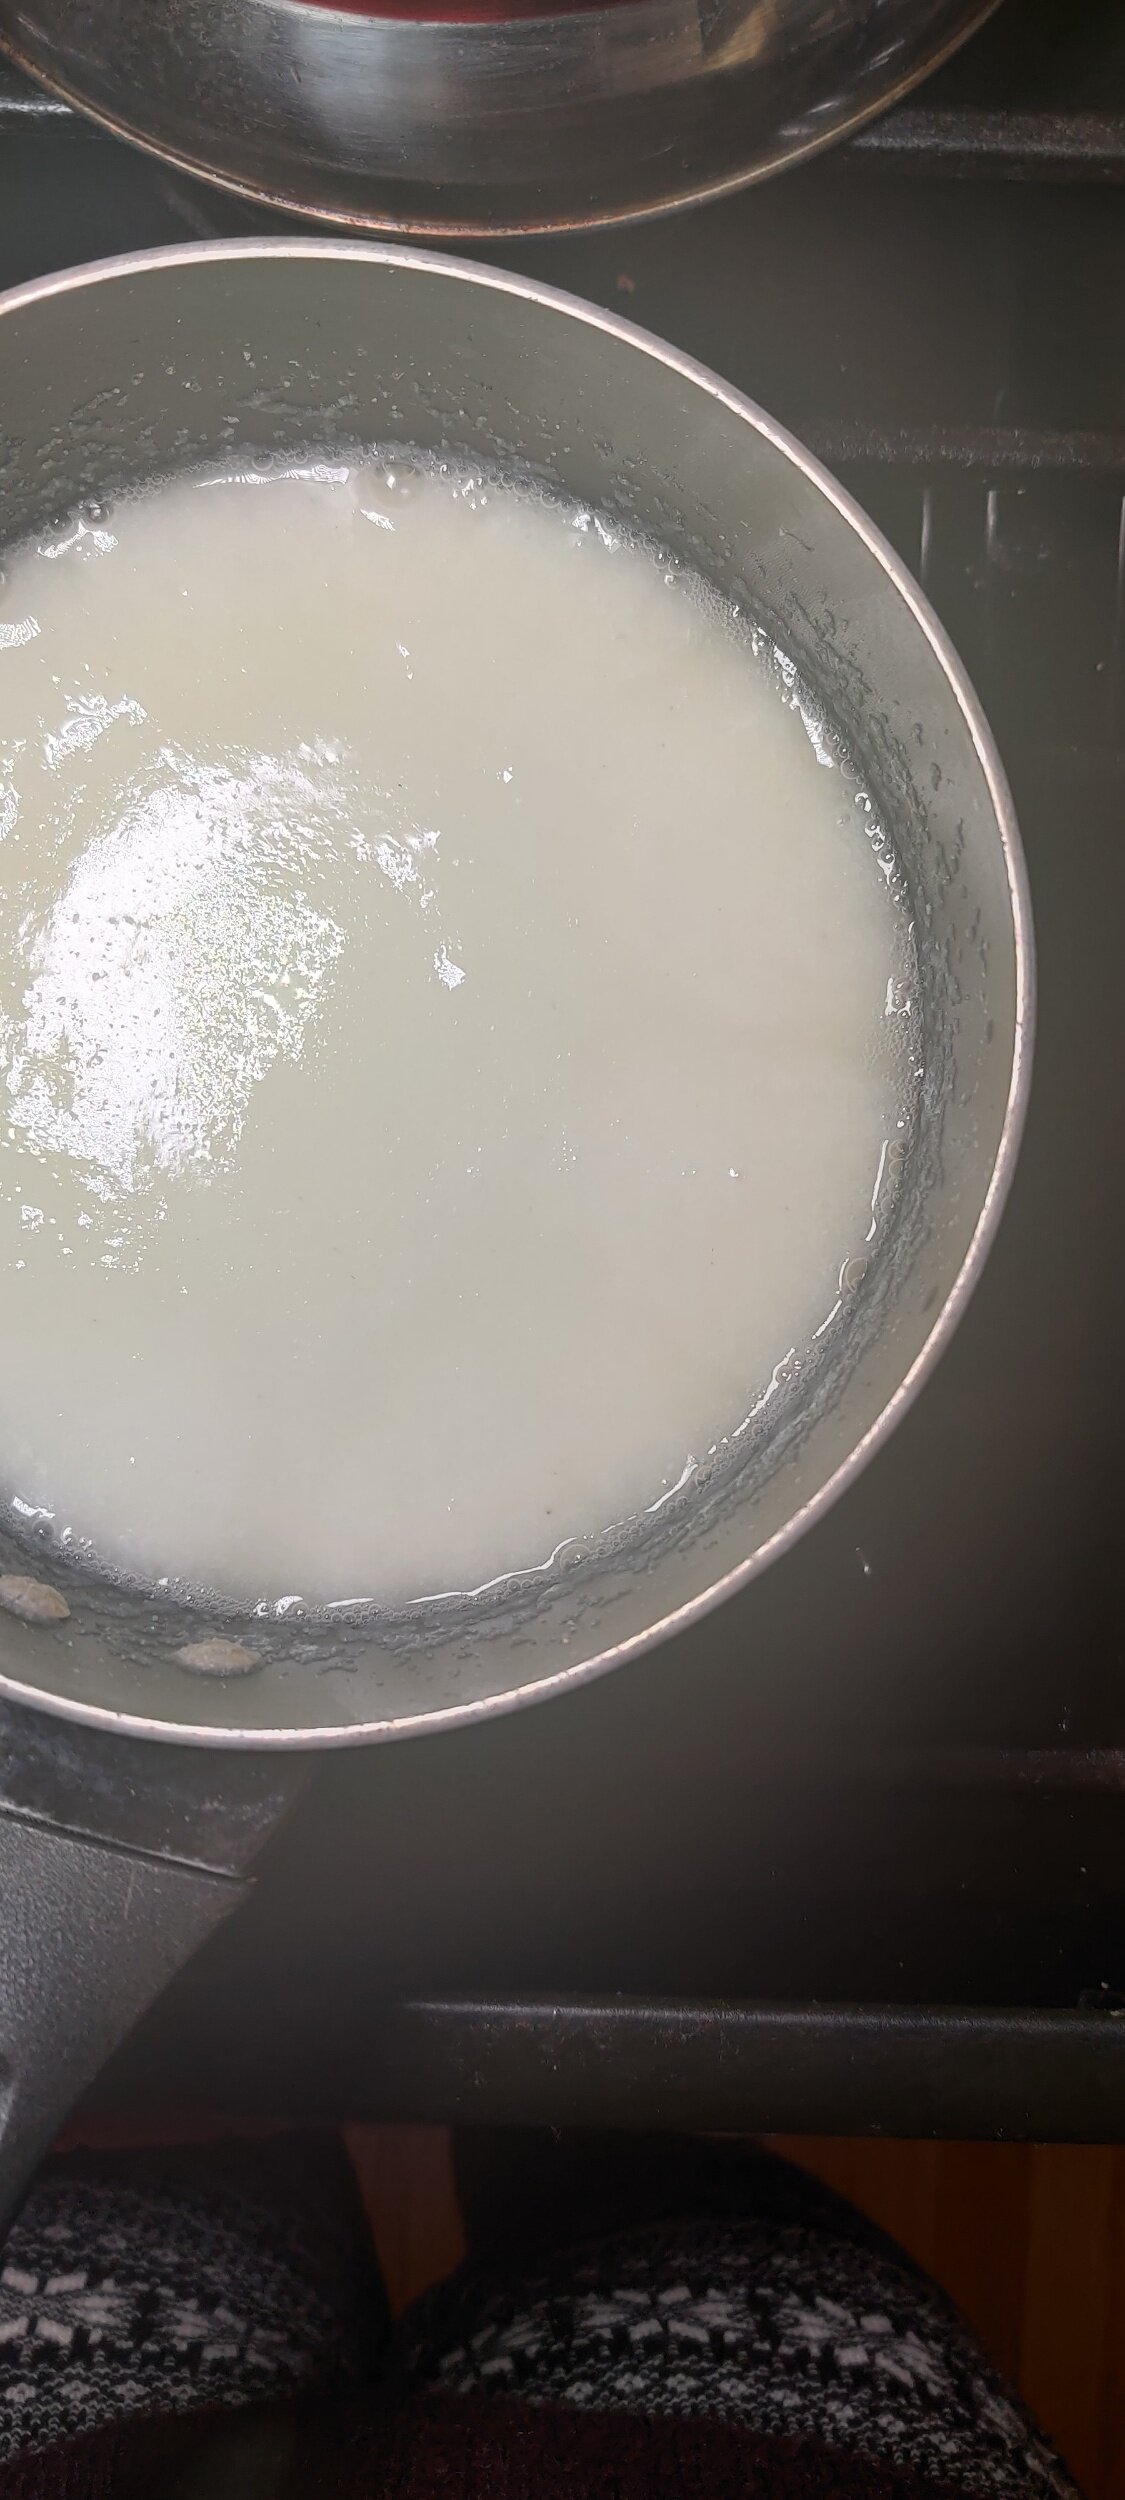
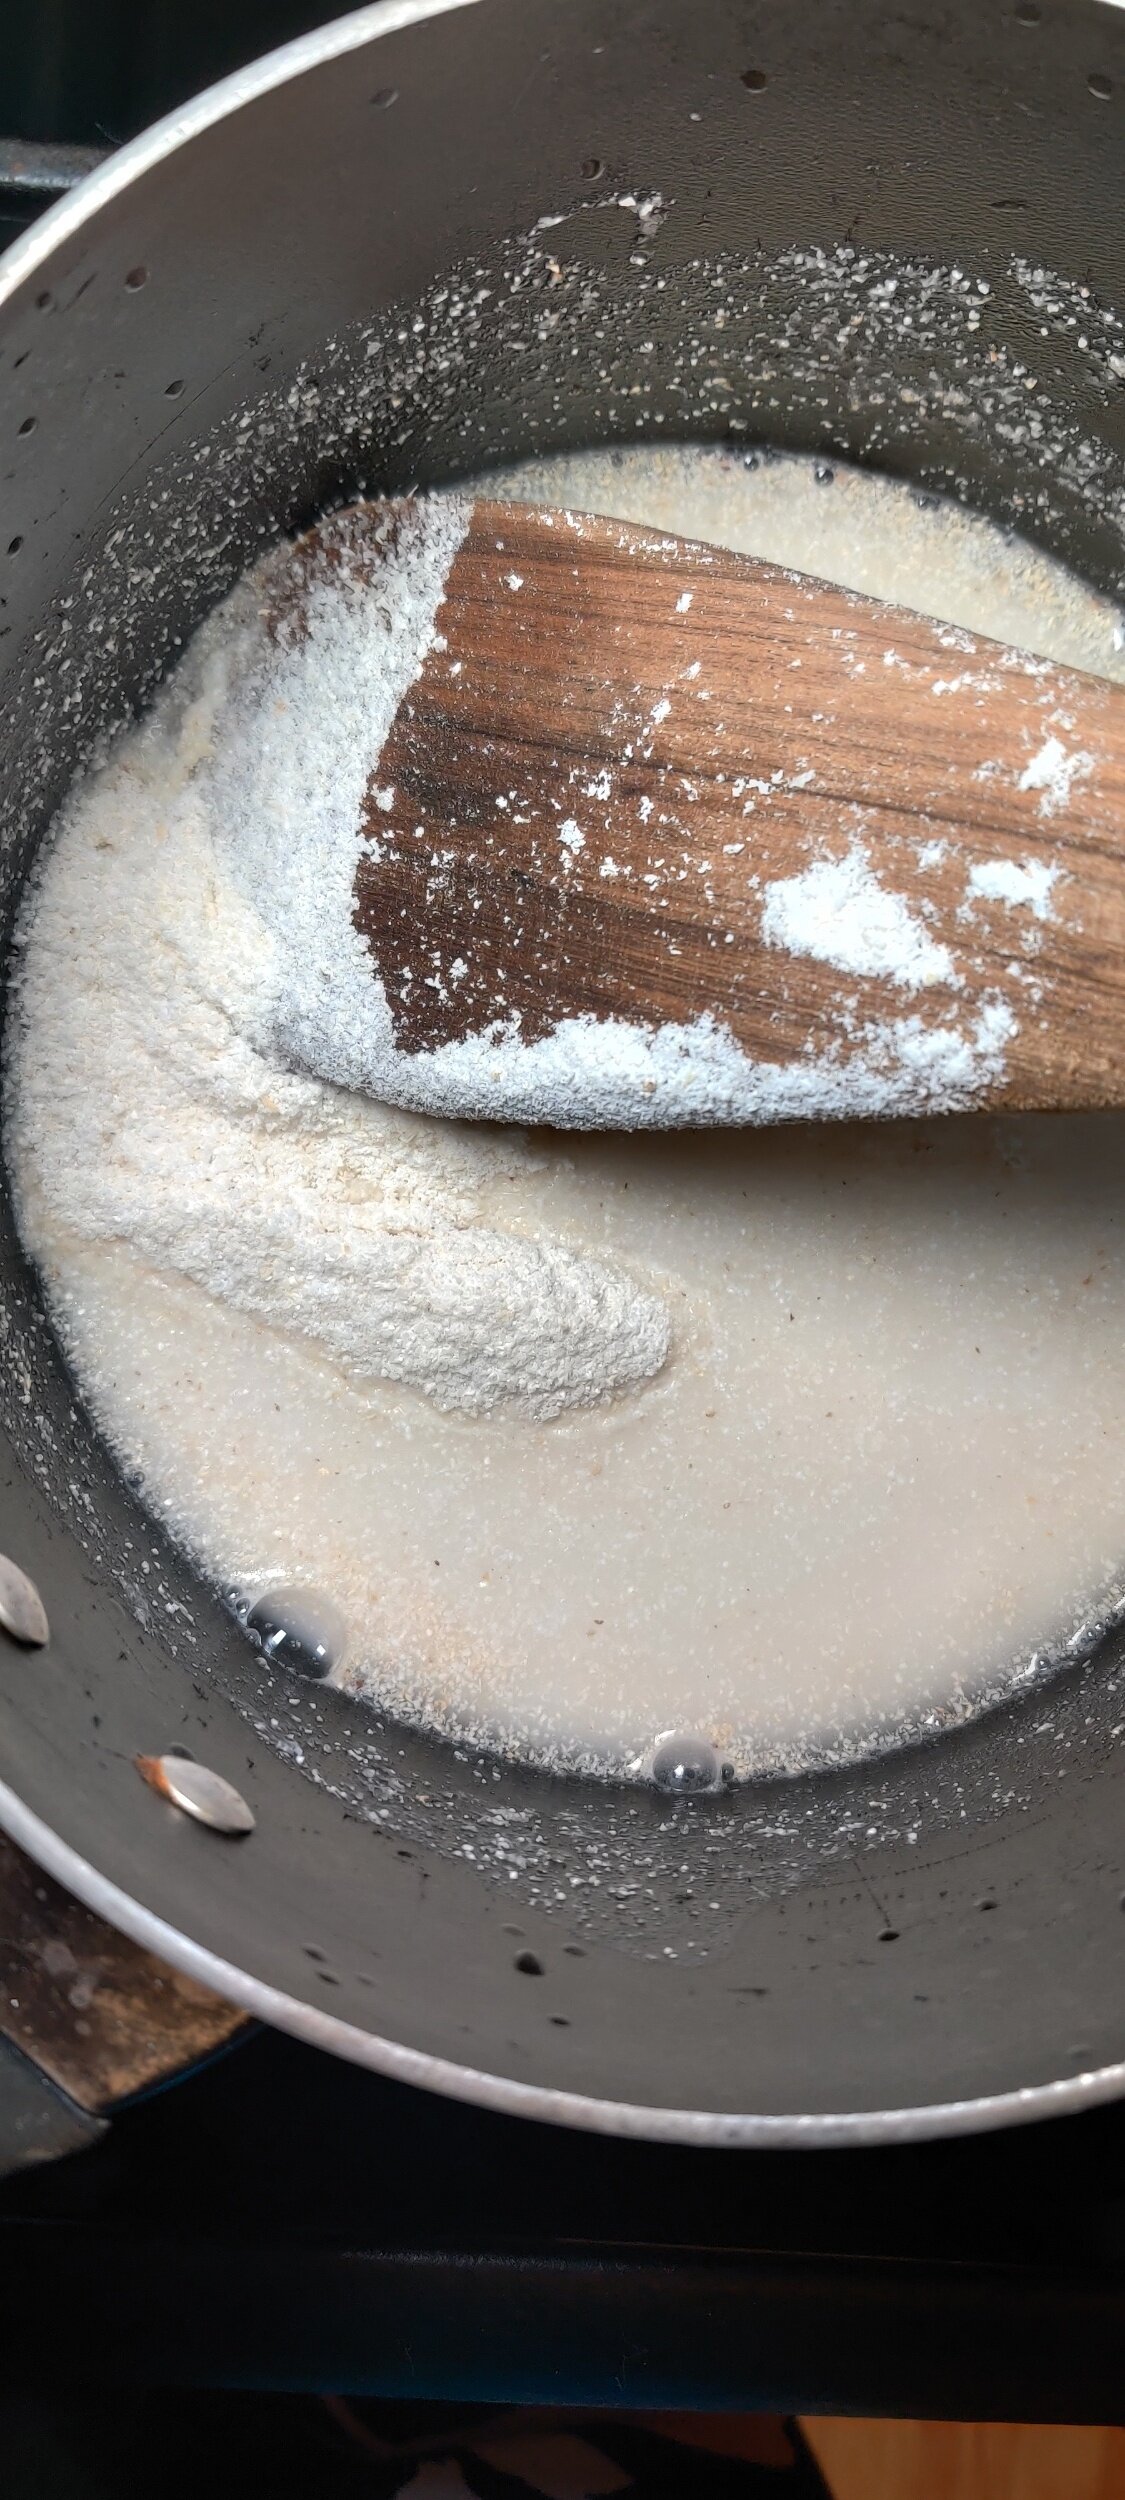
Prepare your sadza. In a pot, make a paste using the cold water and a 1/3 cup of maize meal, add the salt.
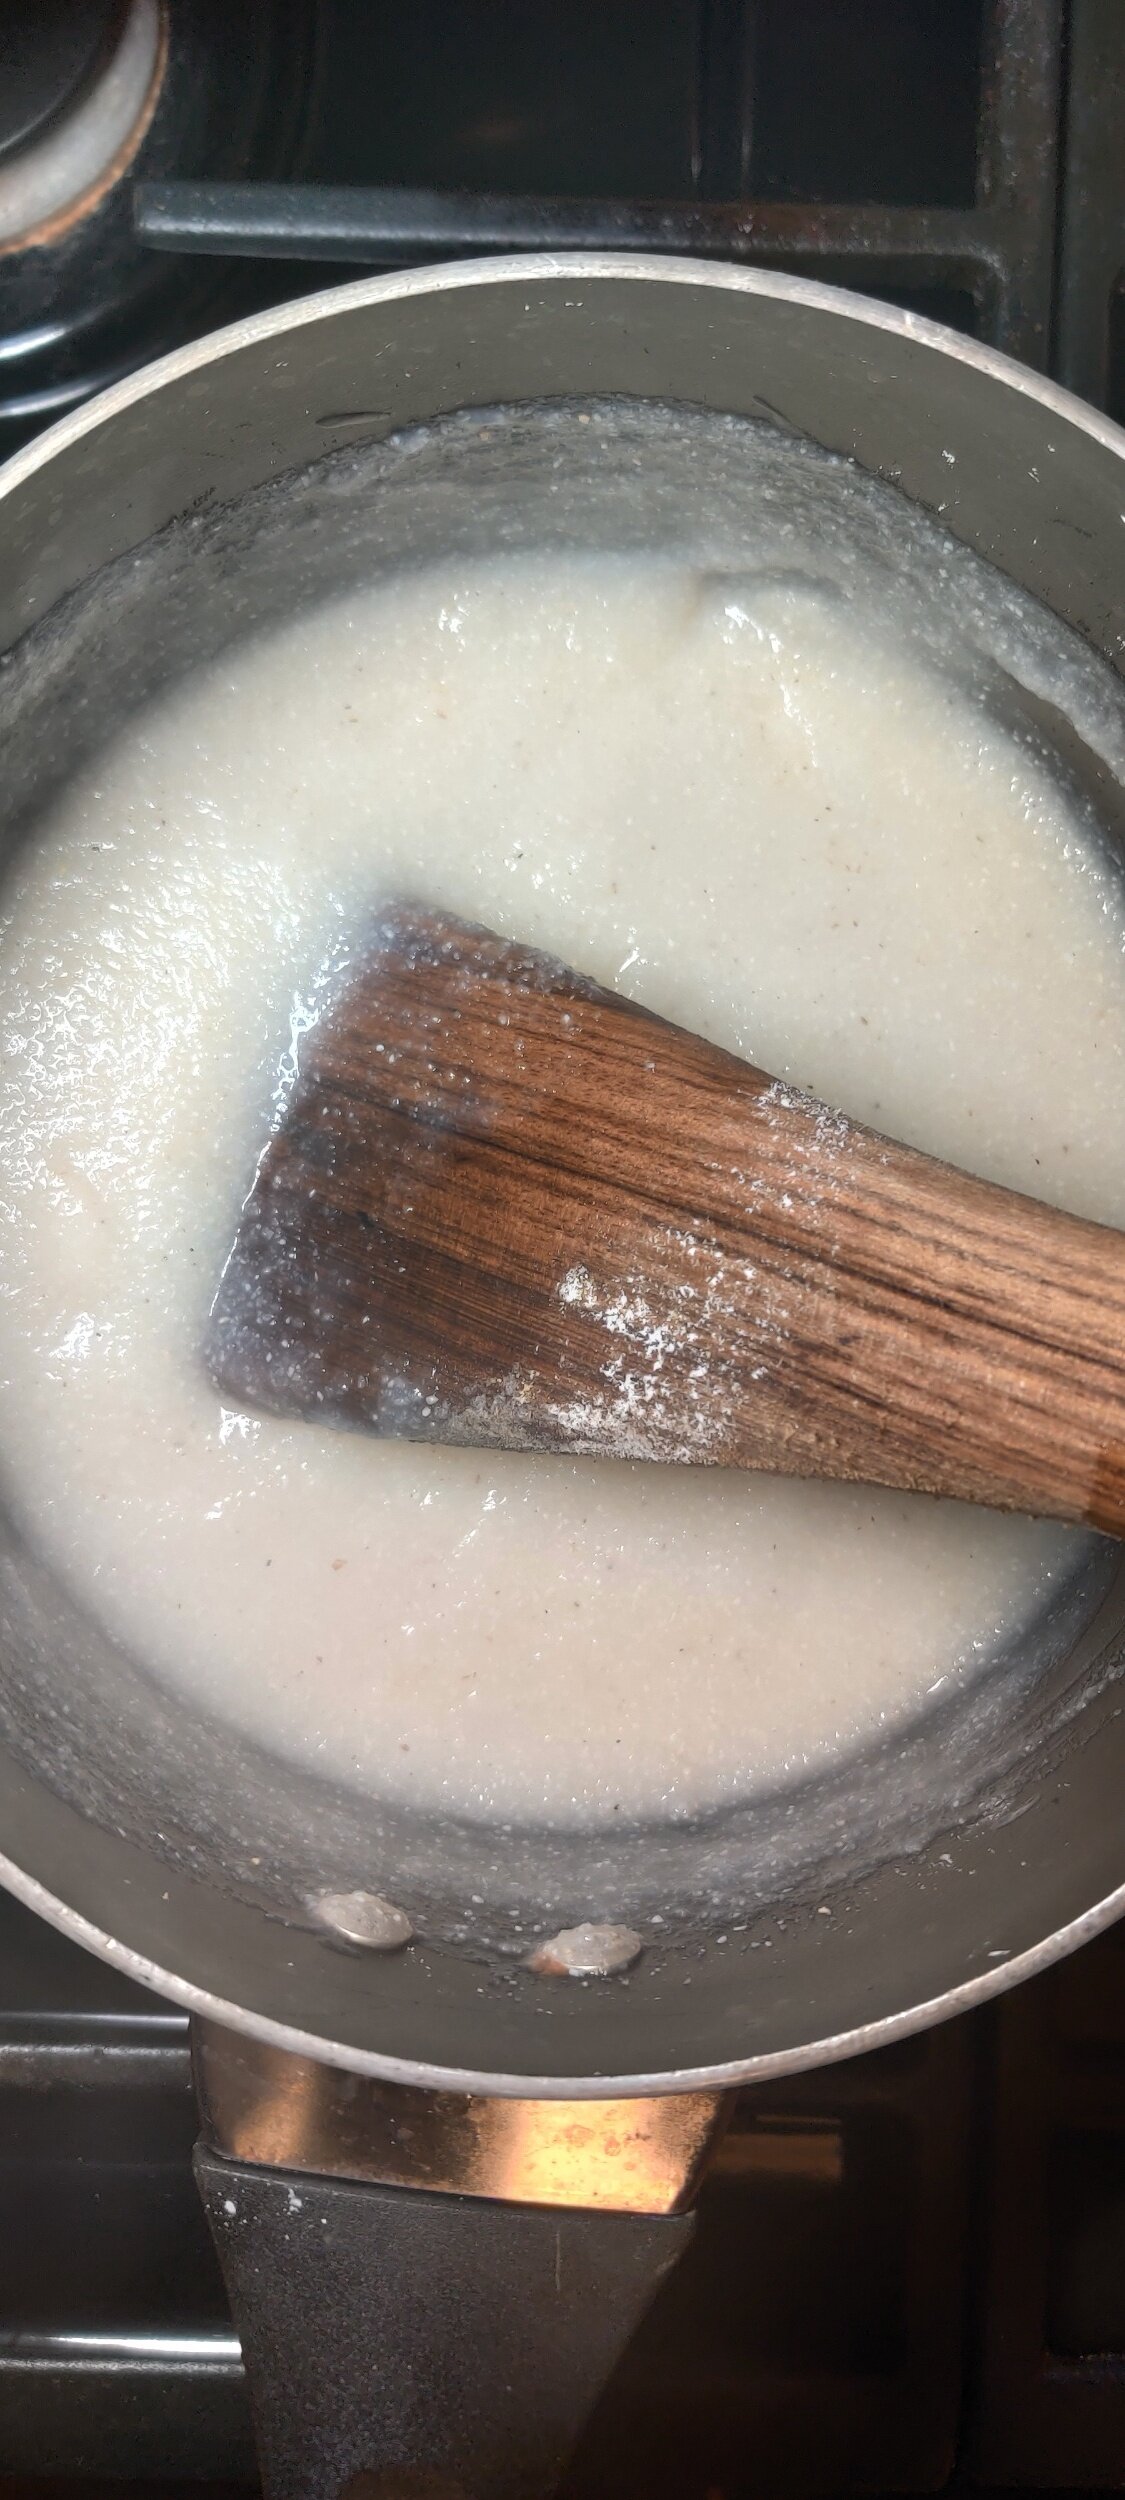
Place the pot over high heat and add 1/2 cup of boiling water. With a wooden spoon, stir quickly and get rid of any lumps. You want a smooth porridge to form. If you need to, use a whisk!
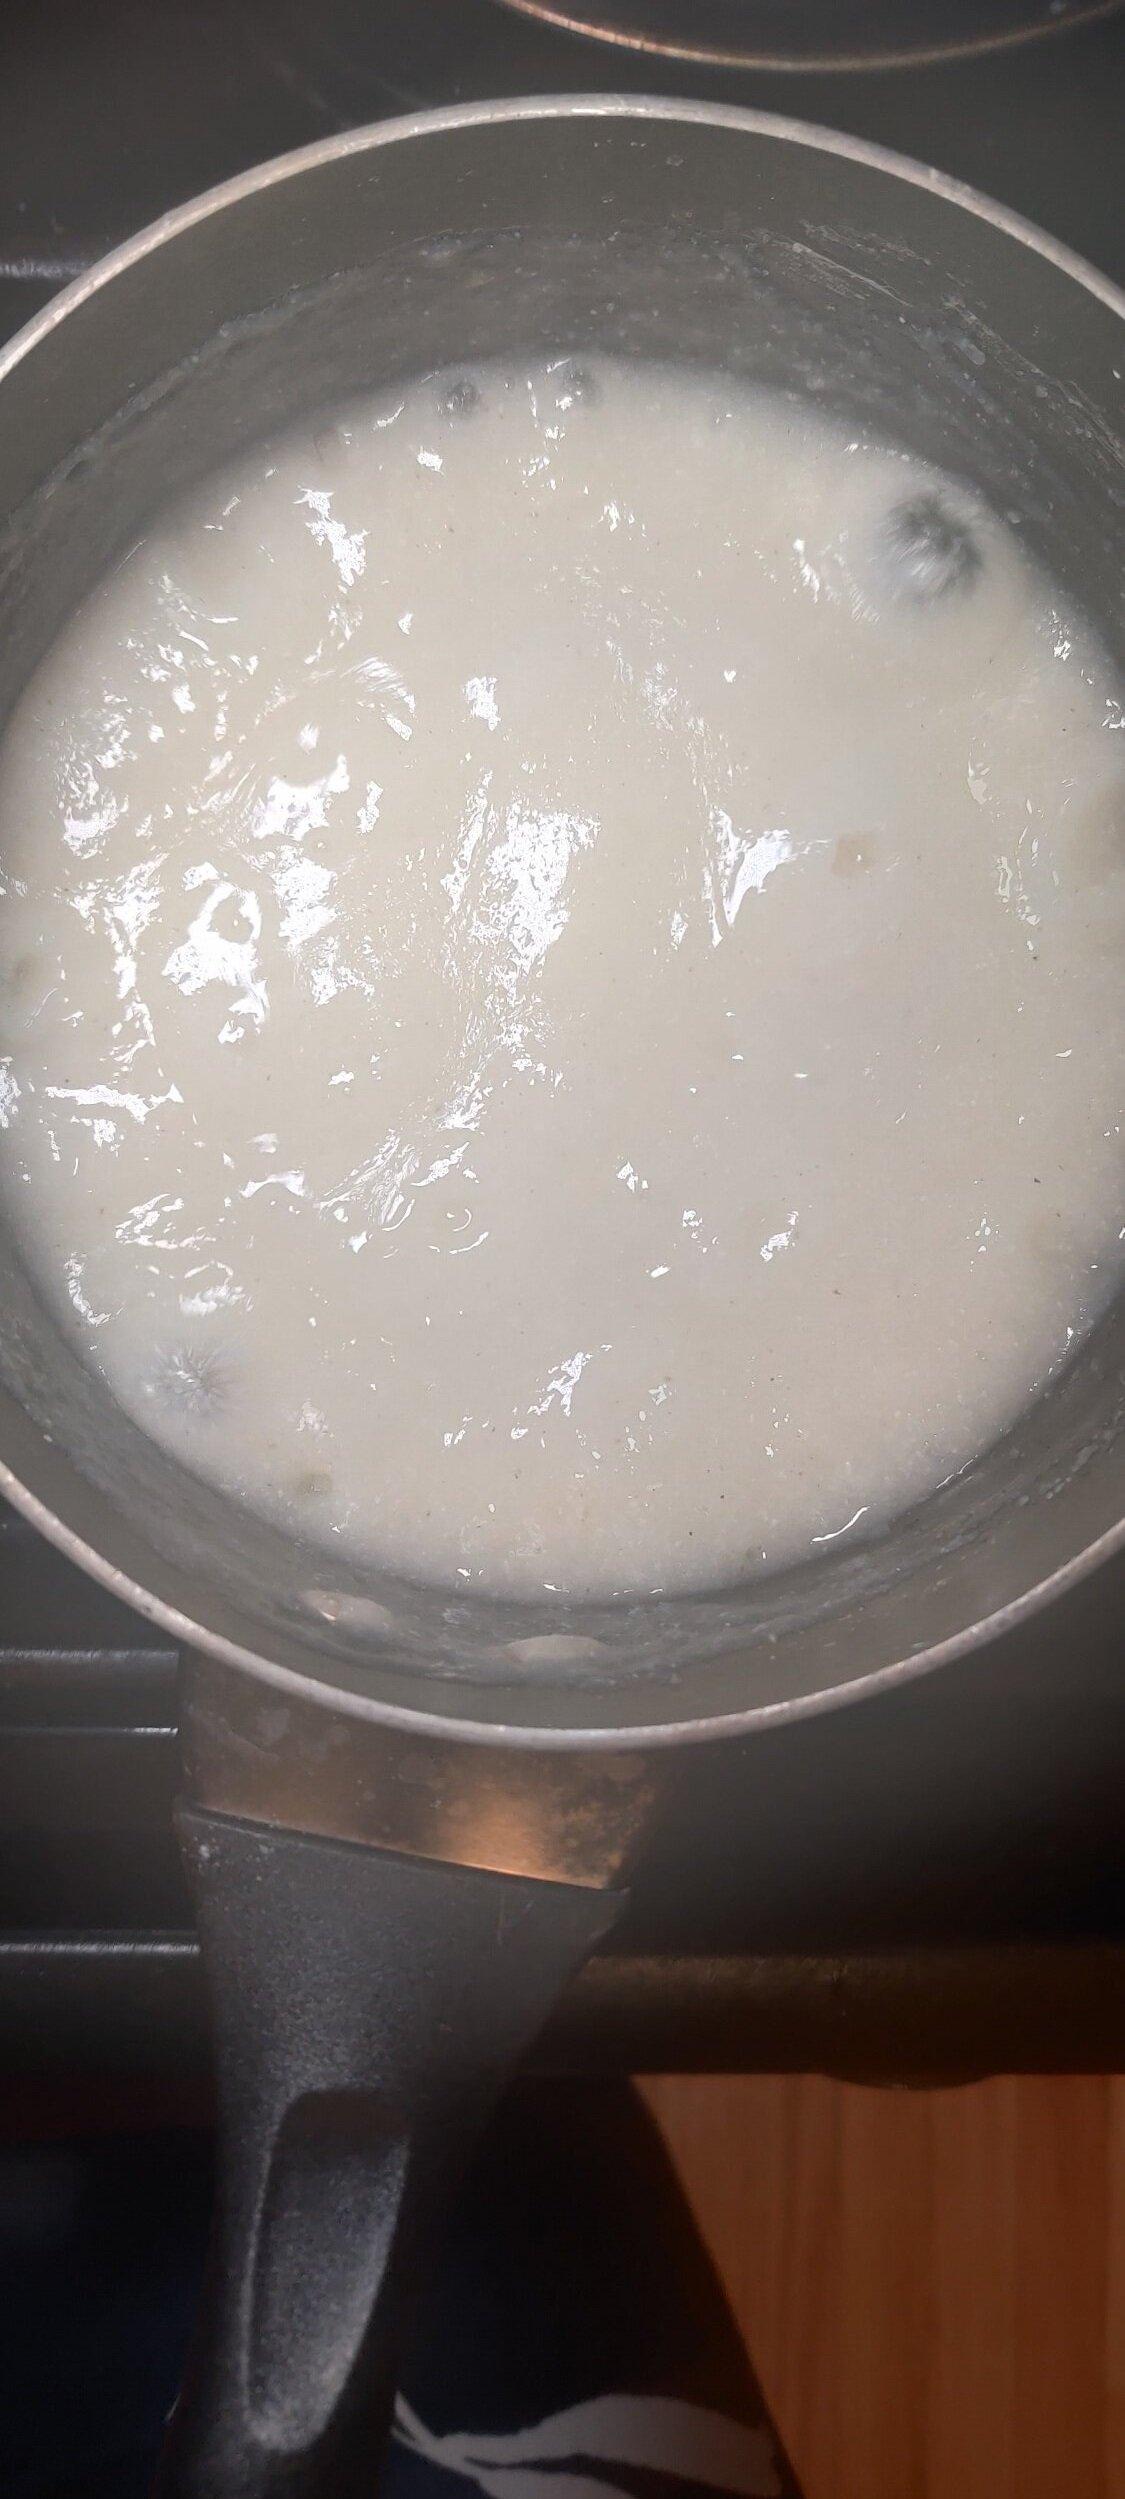
Add the rest of the hot water, still stirring to ensure you still have a smooth porridge. At this point, it will start to bubble. Reduce to medium heat and place a lid on top. Careful not to get burnt. Let the sadza cook for about 10 minutes.
Once cooked, fold in the rest of the corn/maize meal. You’ll want to use a twisting motion with your wooden spoon to make sure all the dry mix is incorporated. This is the final step to make it a thick, dough-like consistency. You can add more corn/maize meal depending on the texture you want.
Put the lid back on and sit on low heat to allow the sadza to rest for about 5 minutes. You might hear it 'breathing' or puffing at this point.
Drain the sardine fillets and keep the sauce. In a small saucepan, heat it and add 1 teaspoon flour, 1 teaspoon soy sauce, 1/2 teaspoon chilli flakes, and the tomato. Simmer until a gravy forms.
When ready to serve the sadza, dip your wooden spoon in some cold water to prevent too much sticking. Mould into a round shape and serve immediately with the creamed spinach, sardines, and gravy.
Tip: to smoothen your sadza use cling wrap as you shape it

Pumpkin, Caramelized Onion, and Feta Galette
Do you need a savoury brunch dish for the fall? I've one for you right here!
Pumpkin isn’t something I grew up eating a lot of, even though it’s an important vegetable in Zimbabwe. Of course, in the US, it's the symbol of fall, and over the past decade, I’ve come to embrace it.
I like other members of the gourd family such as butternut and acorn squash, but pumpkin has a subtly you can dress up nicely with a combination of herbs and spices. This lends itself well to a not-so-overpowering savoury galette! I recommend using a sugar pumpkin for this recipe, which is sweeter and less fibrous than some other types making them ideal for cooking.
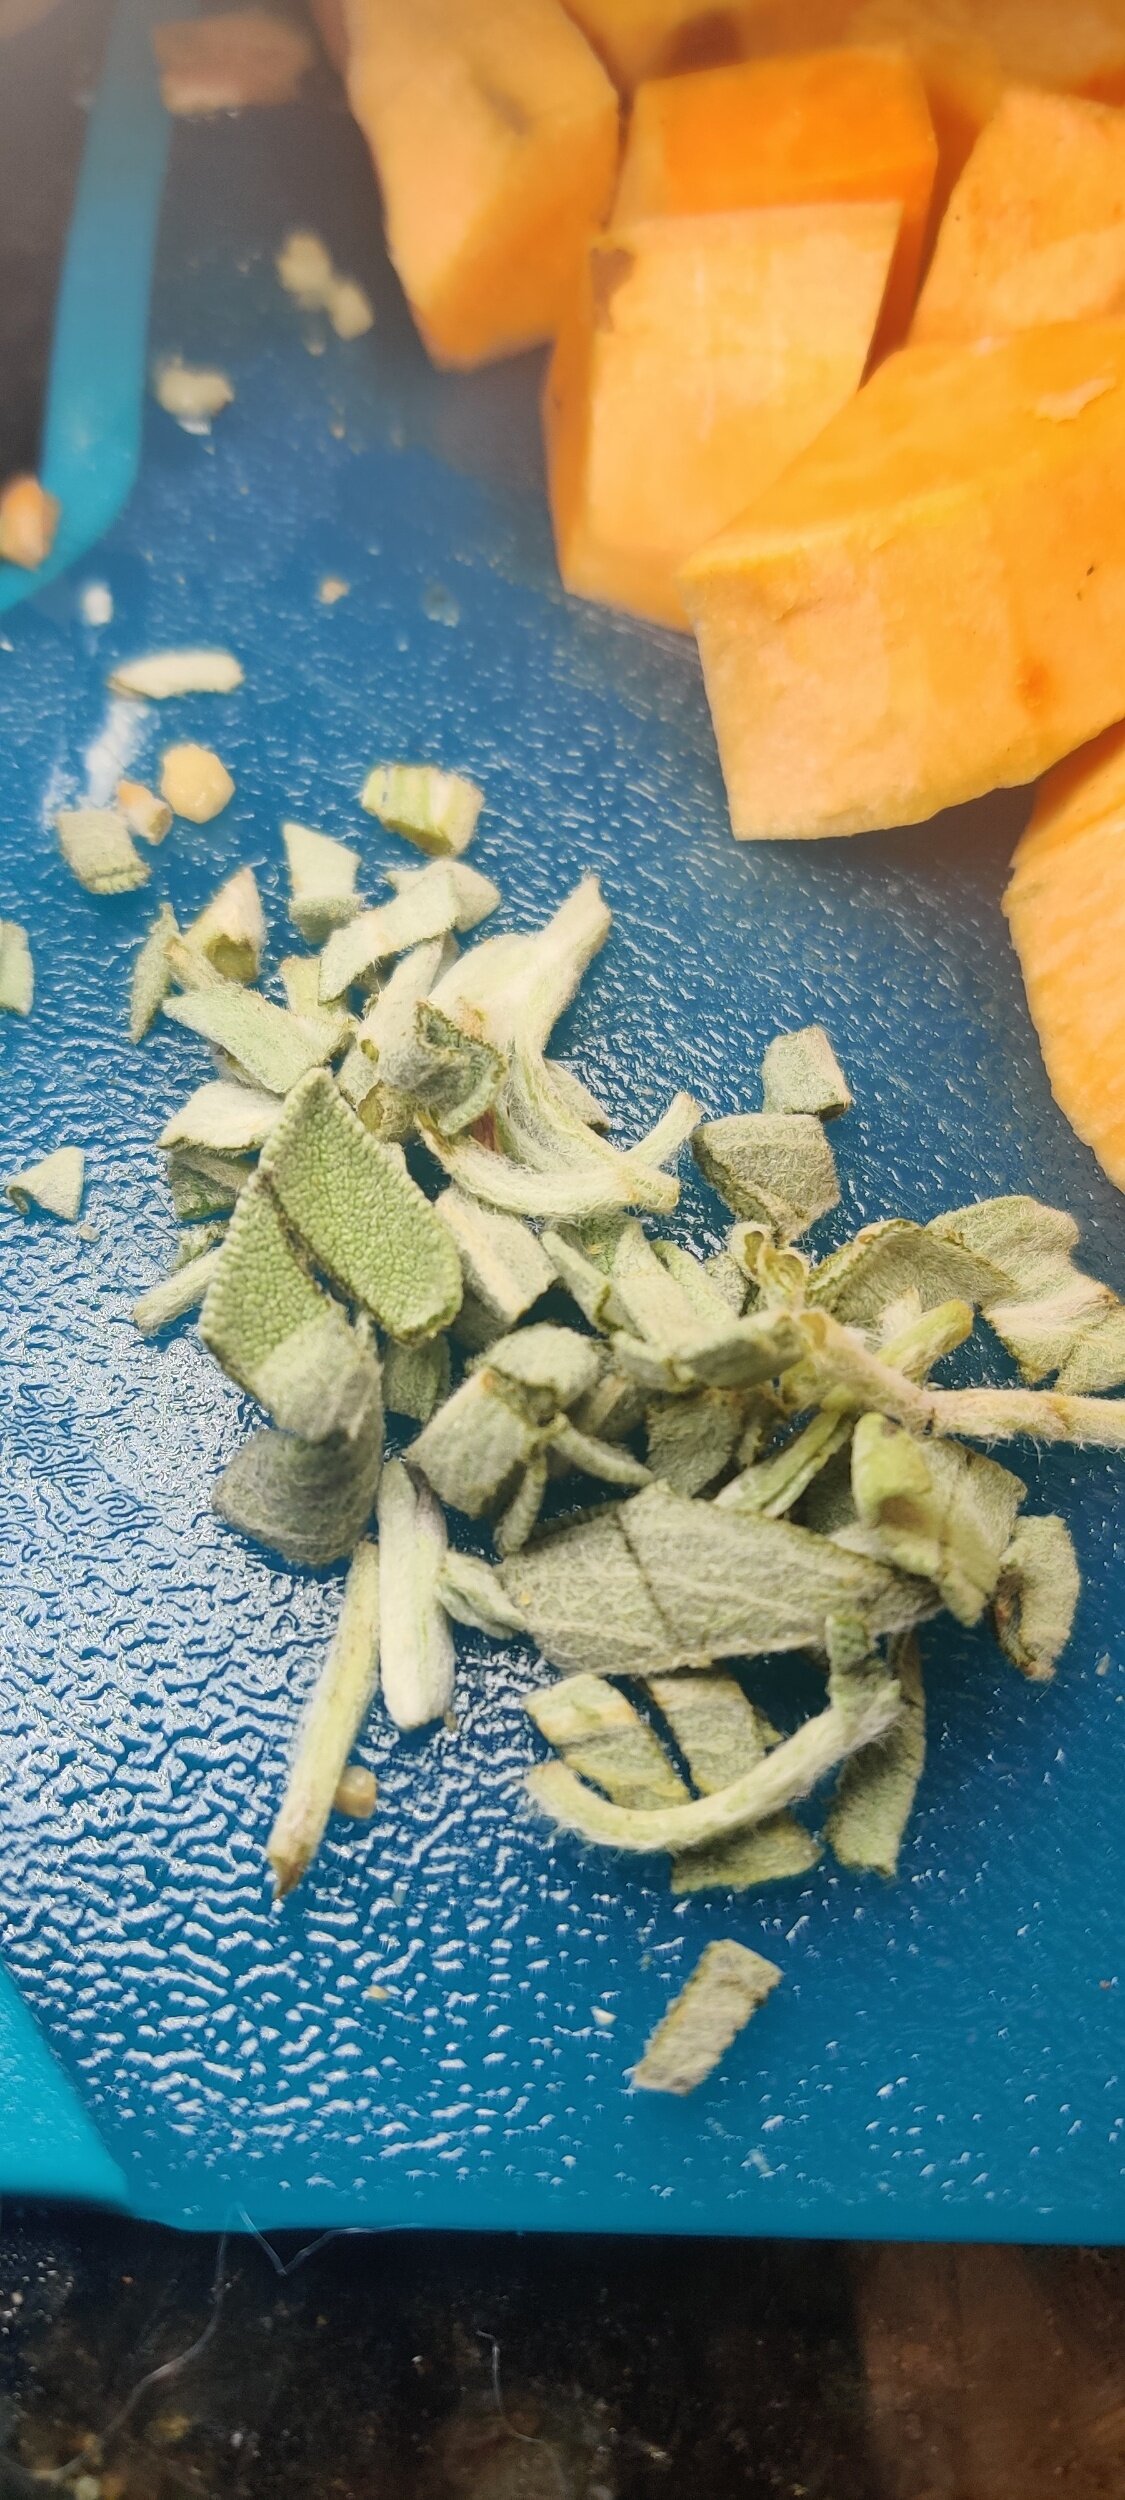
The feta, sun-dried tomatoes and caramelized onion all add a different dimension to pack a flavourful punch. The onions add some sweetness and acidity - as do the tomatoes. The feta adds a tang and some creaminess, and the sage an earthy flavour with a hint of mint.
If you want to add meat, sauté some finely chopped bacon and mix it with the caramelized onion.
Ingredients
1 small sugar pumpkin
1 sprig fresh sage, chopped
2 tablespoons dried sage
1 tablespoon salt
2 tablespoons black pepper
1/2 yellow onion
1 tablespoon sun-dried tomatoes
1/4 cup feta cheese
1 pie crust, room temperature
1 tablespoon garlic, minced
2 tablespoons + 1/4 cup olive oil
1 teaspoon cinnamon
1/2 teaspoon pumpkin spice
1 teaspoon brown sugar
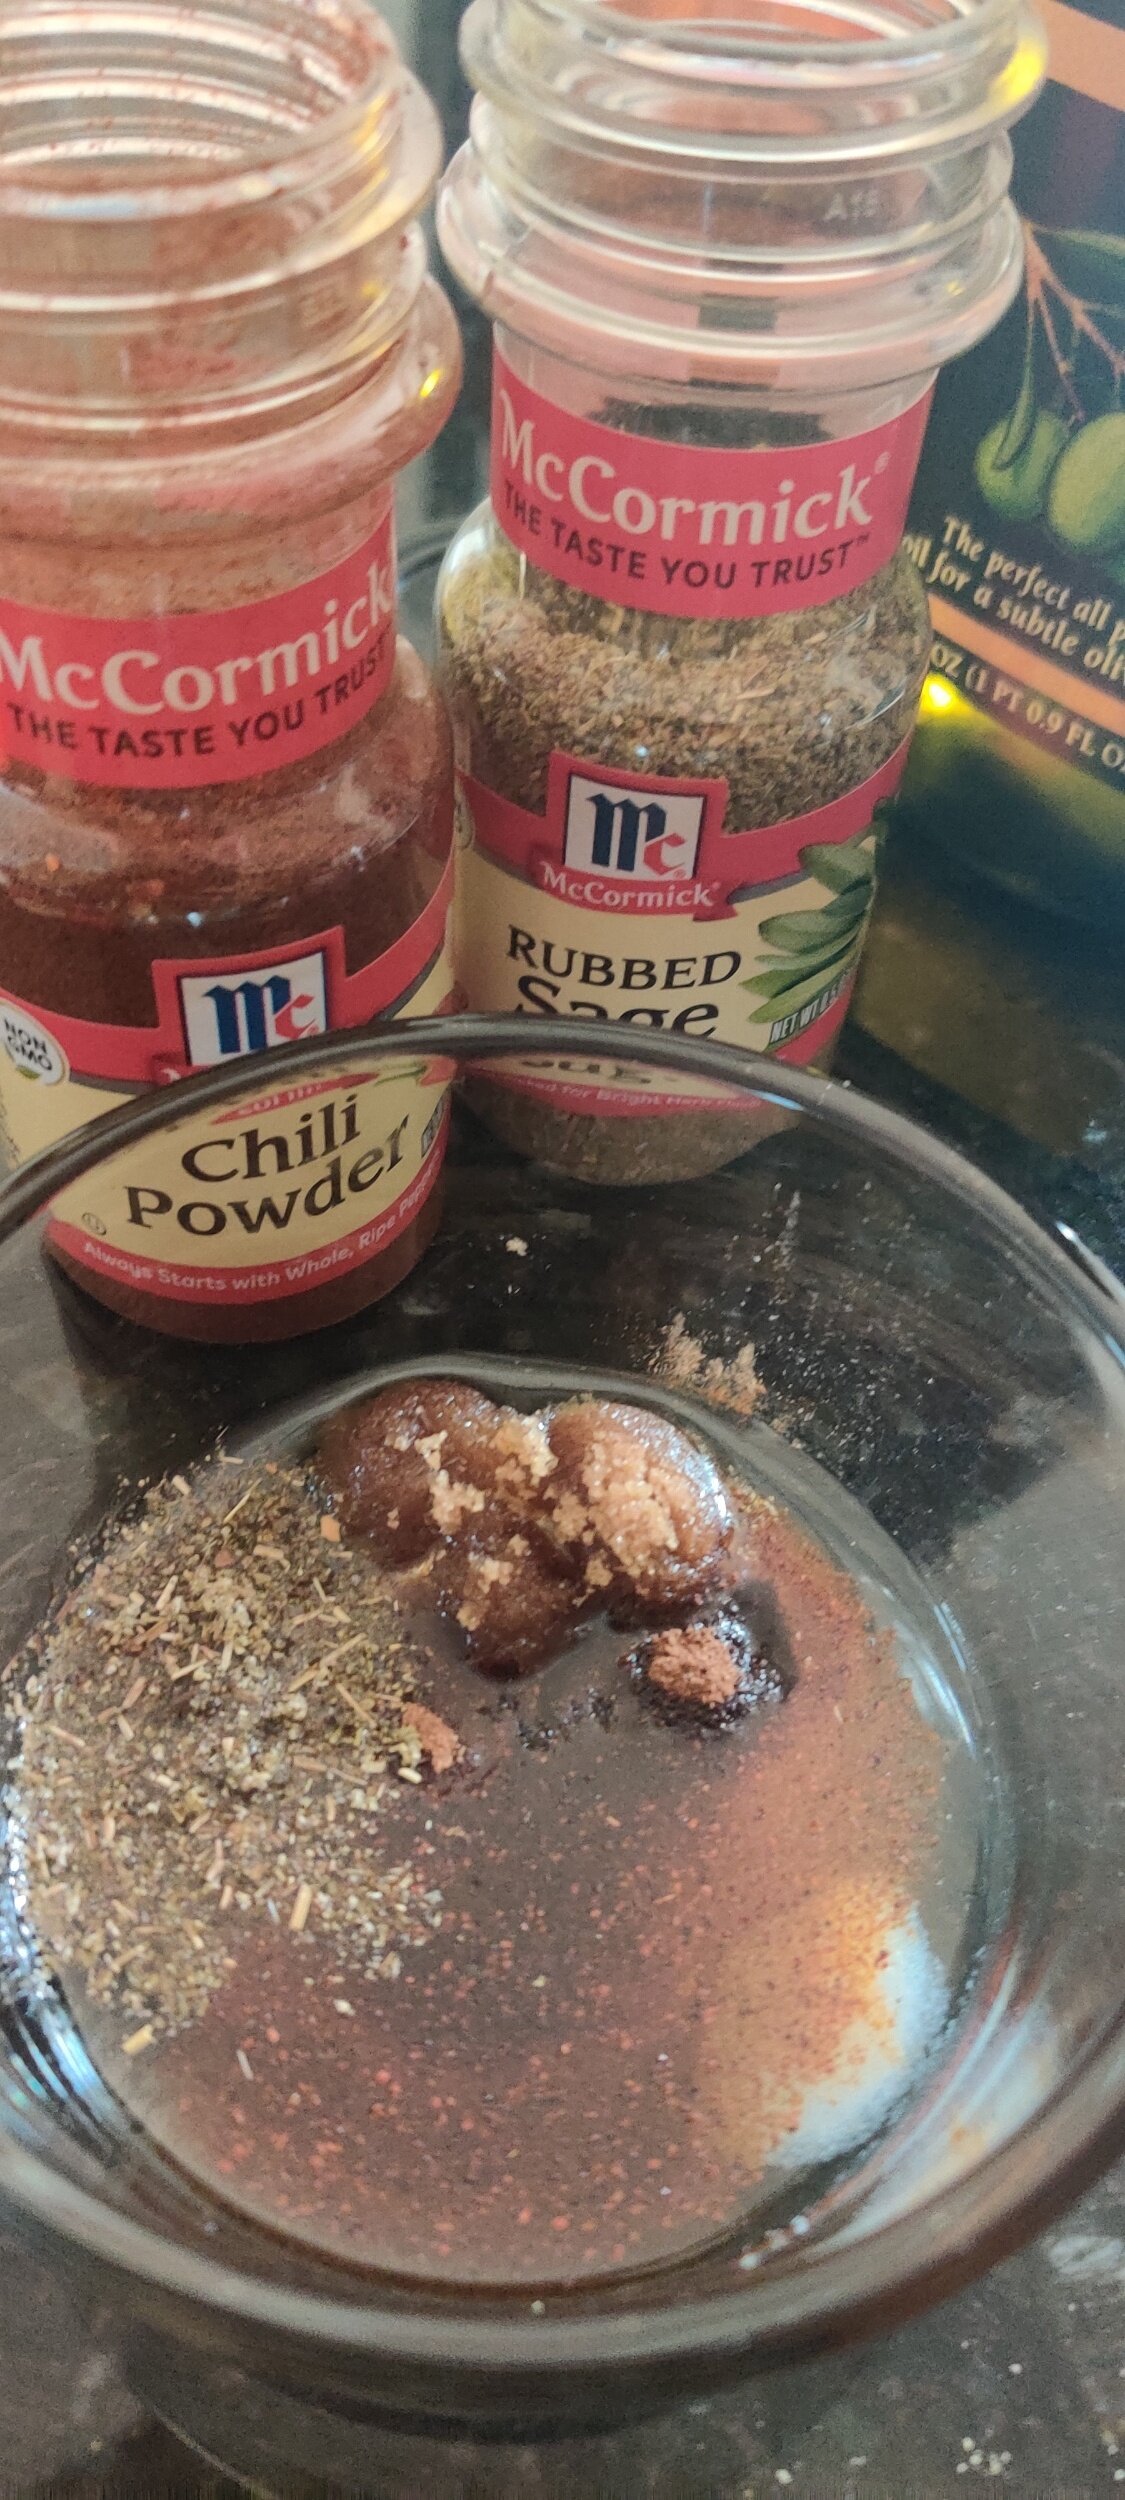
1/2 teaspoon chili powder
1/2 teaspoon cumin
1 tablespoon cooking wine
1 tablespoon tamari soy sauce
1 tablespoon fenugreek powder
1 egg beaten + 1 teaspoon water (egg wash)


Instructions
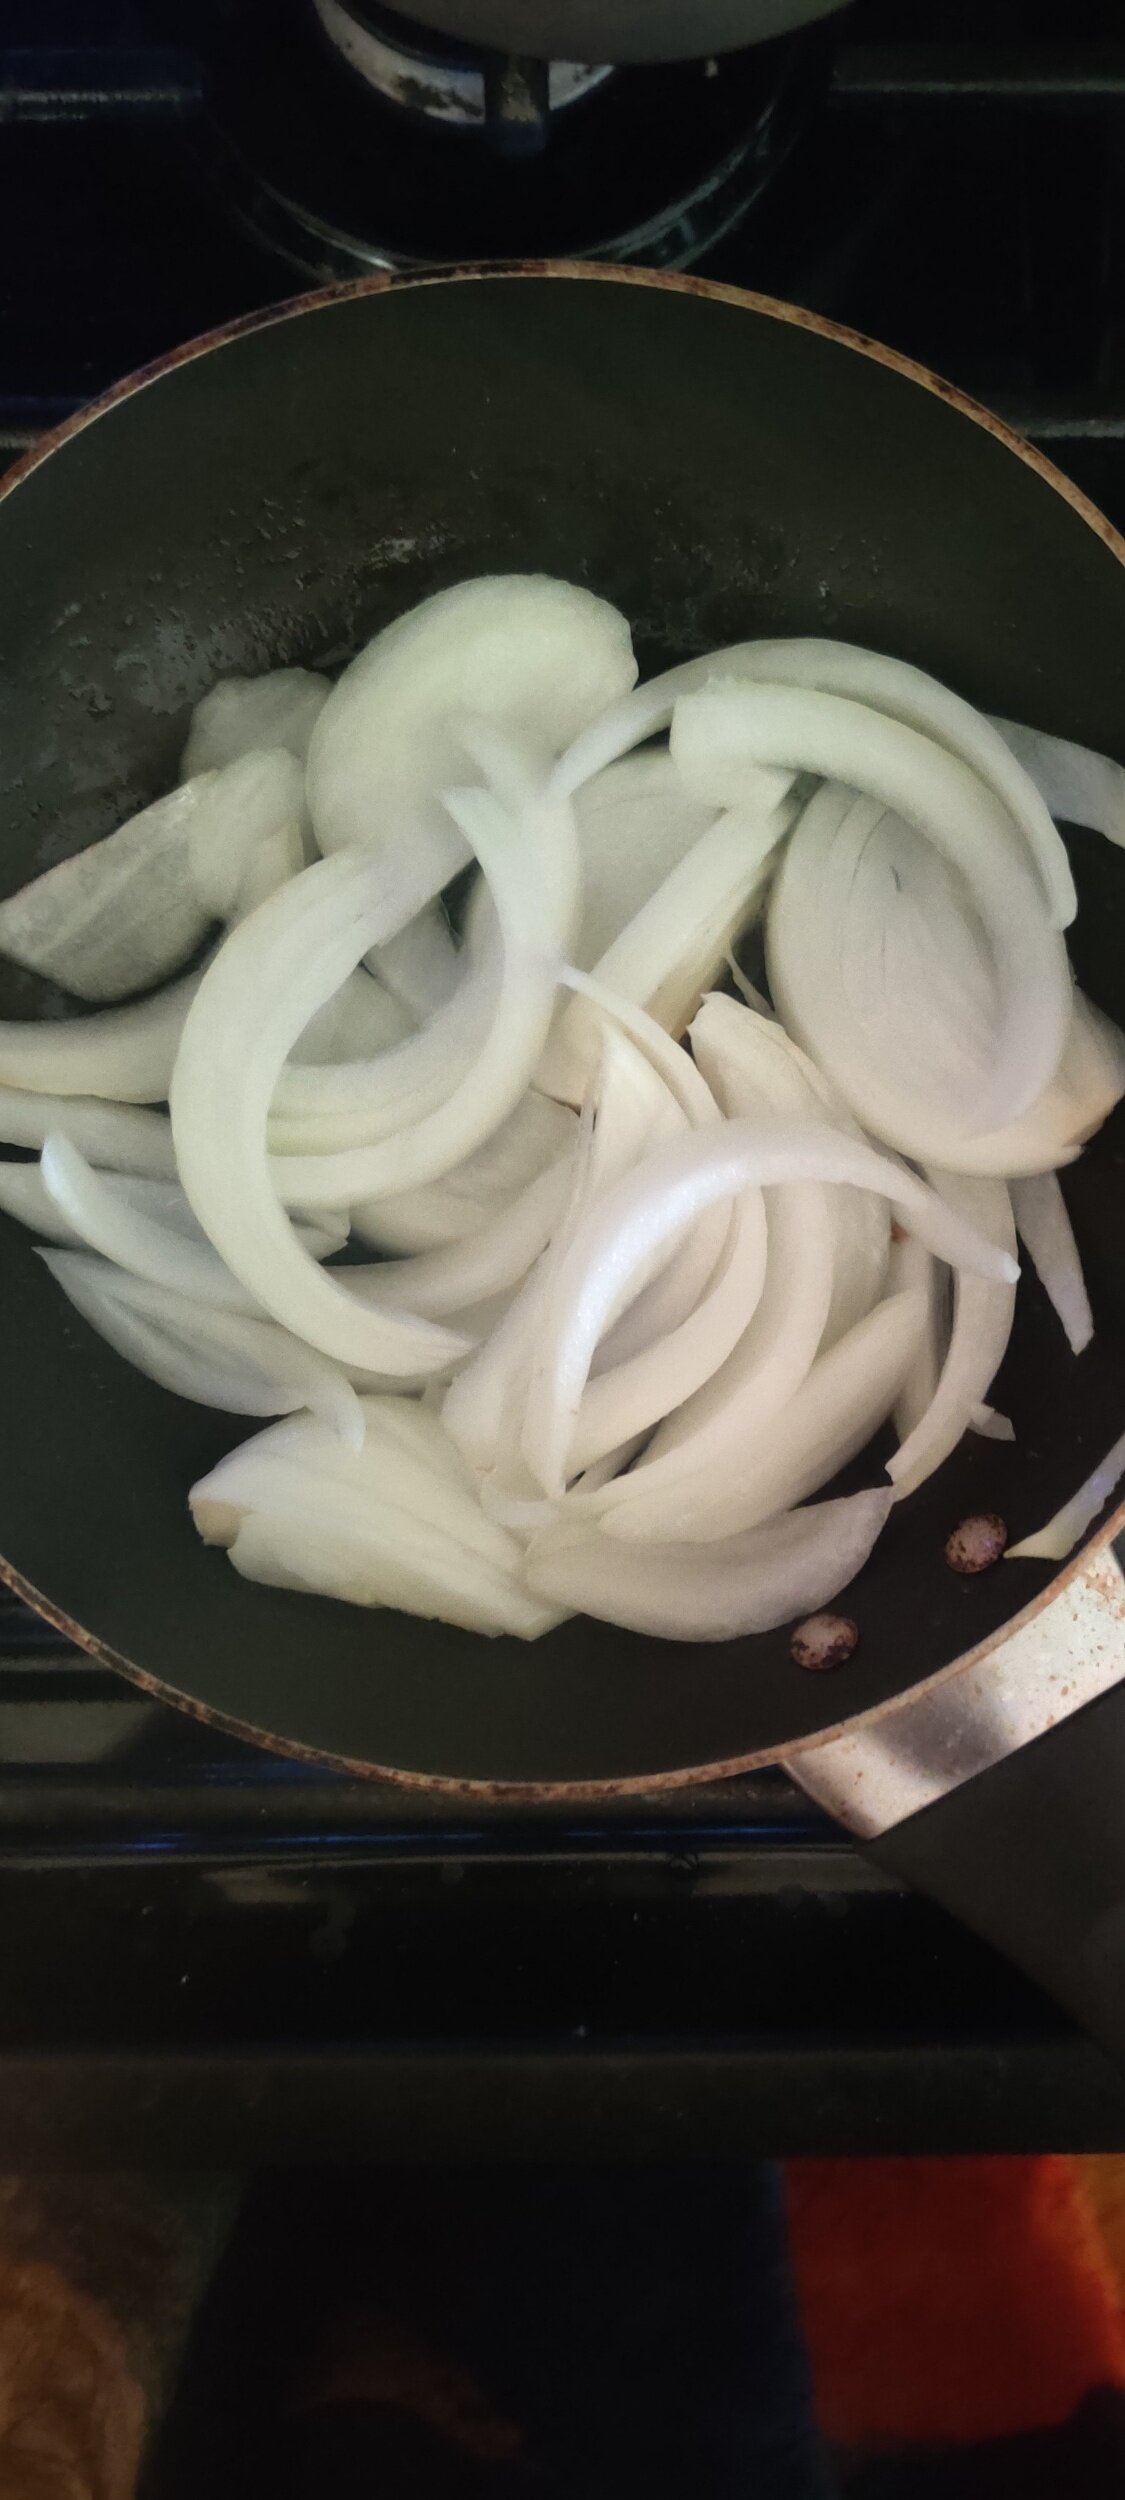
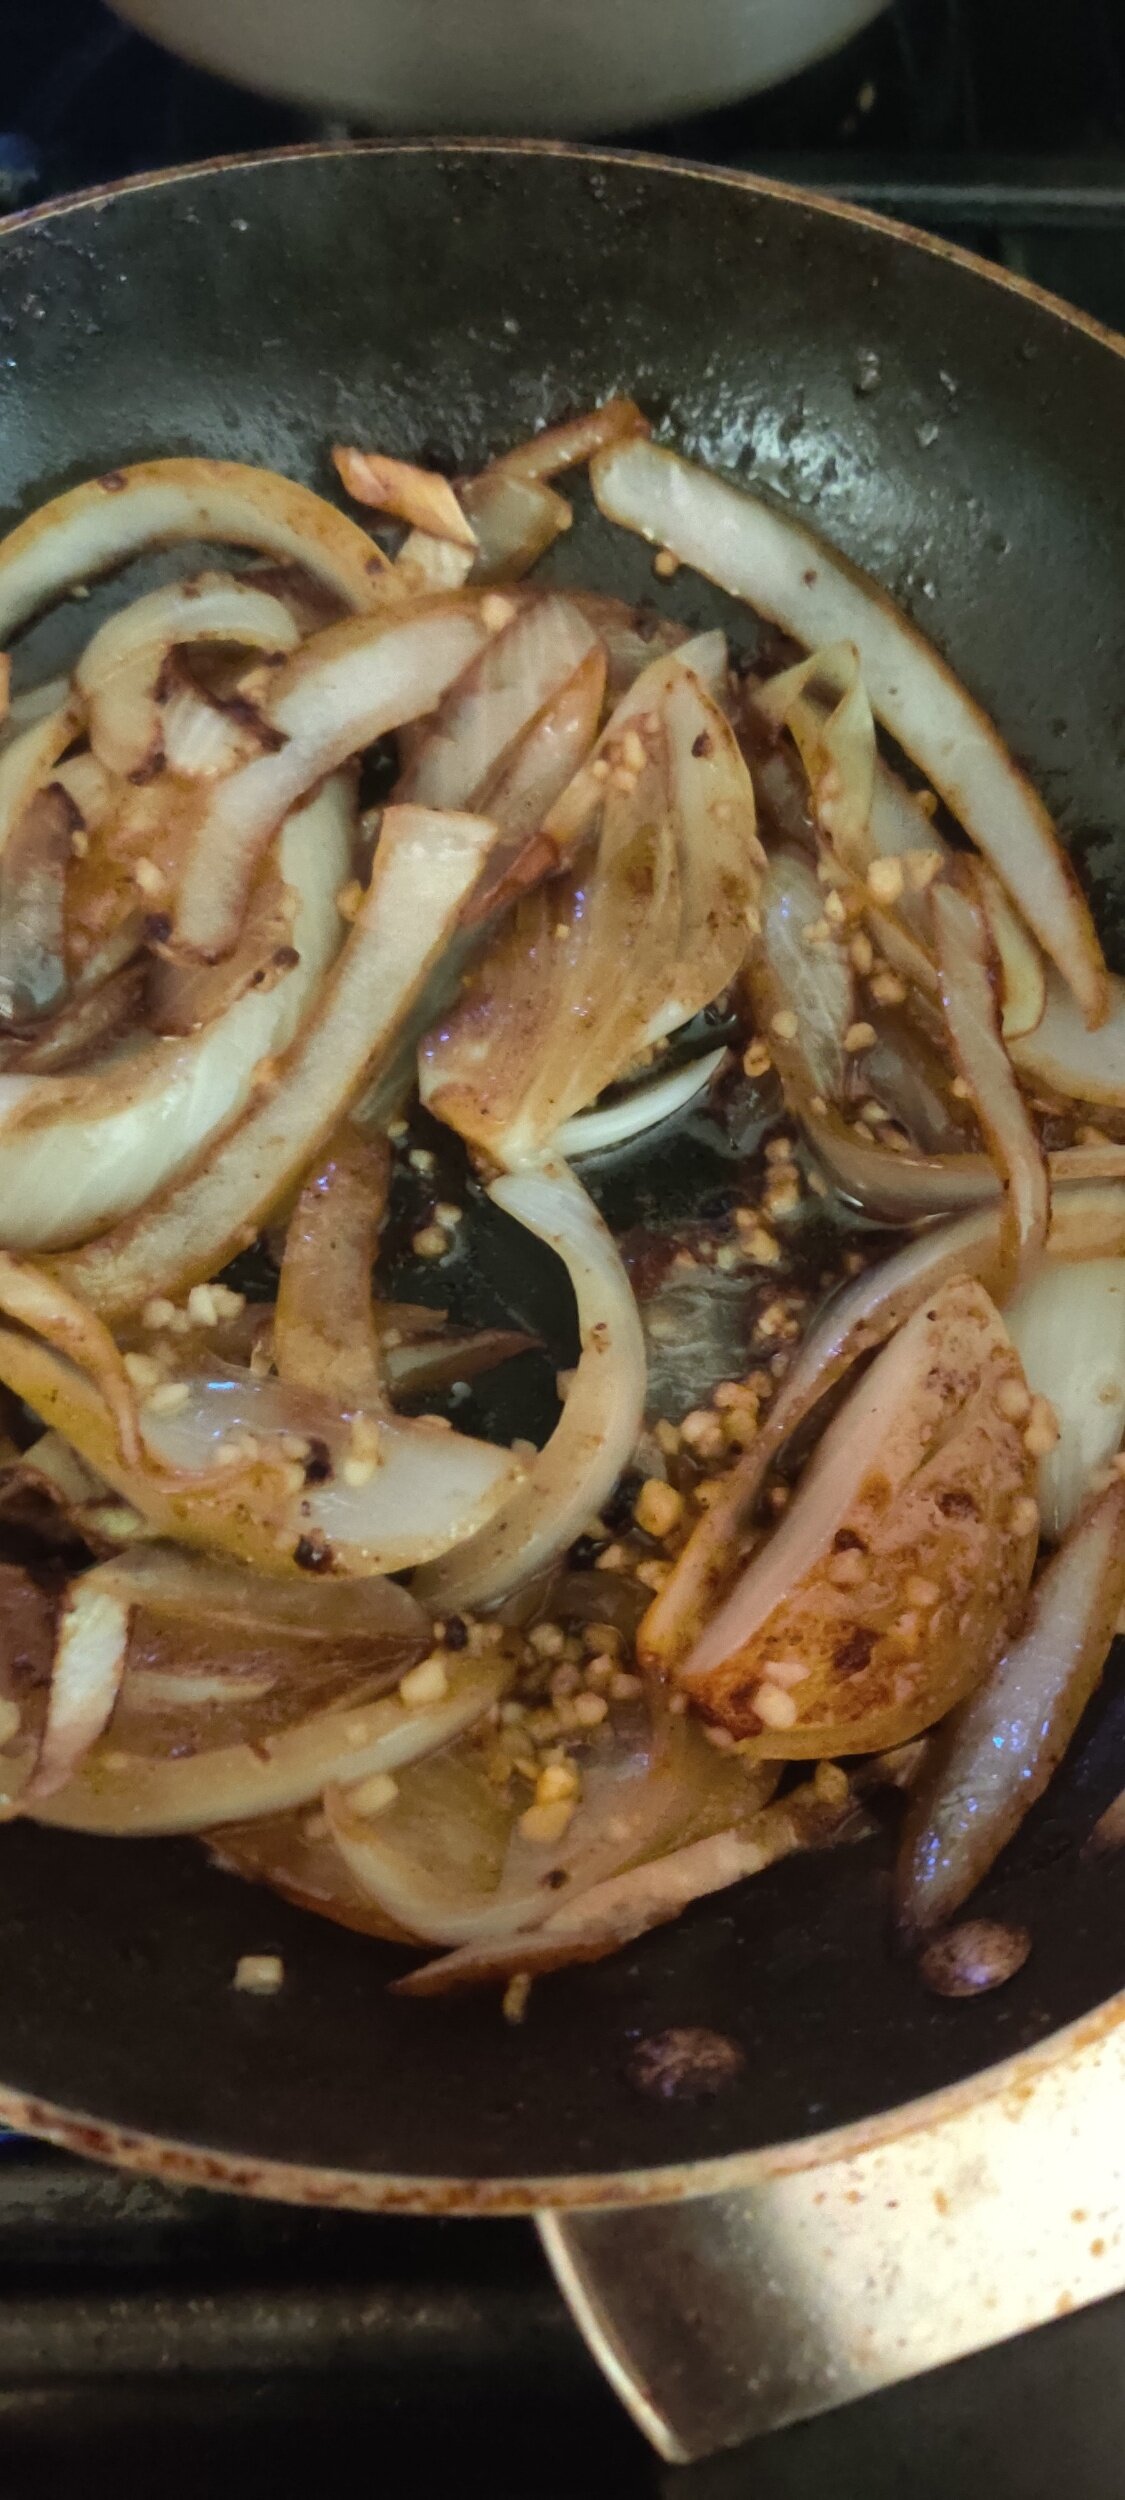
Caramelize the onions. Place the sliced onions in a pan with the 1/4 cup of olive oil on medium heat for about 5 minutes. Season with fenugreek and the remaining salt and pepper, and reduce the temperature to low. Mix occasionally to prevent burning! As the onions soften and brown, after about 20 minutes, deglaze the pan with the tamari and cooking wine to add sugar aid with the caramelization. Add the garlic and sauté for another 5-10 minutes. Set aside. (These onions won't be perfectly caramelized as that can take up to an hour, but they will serve their purpose for the galette).
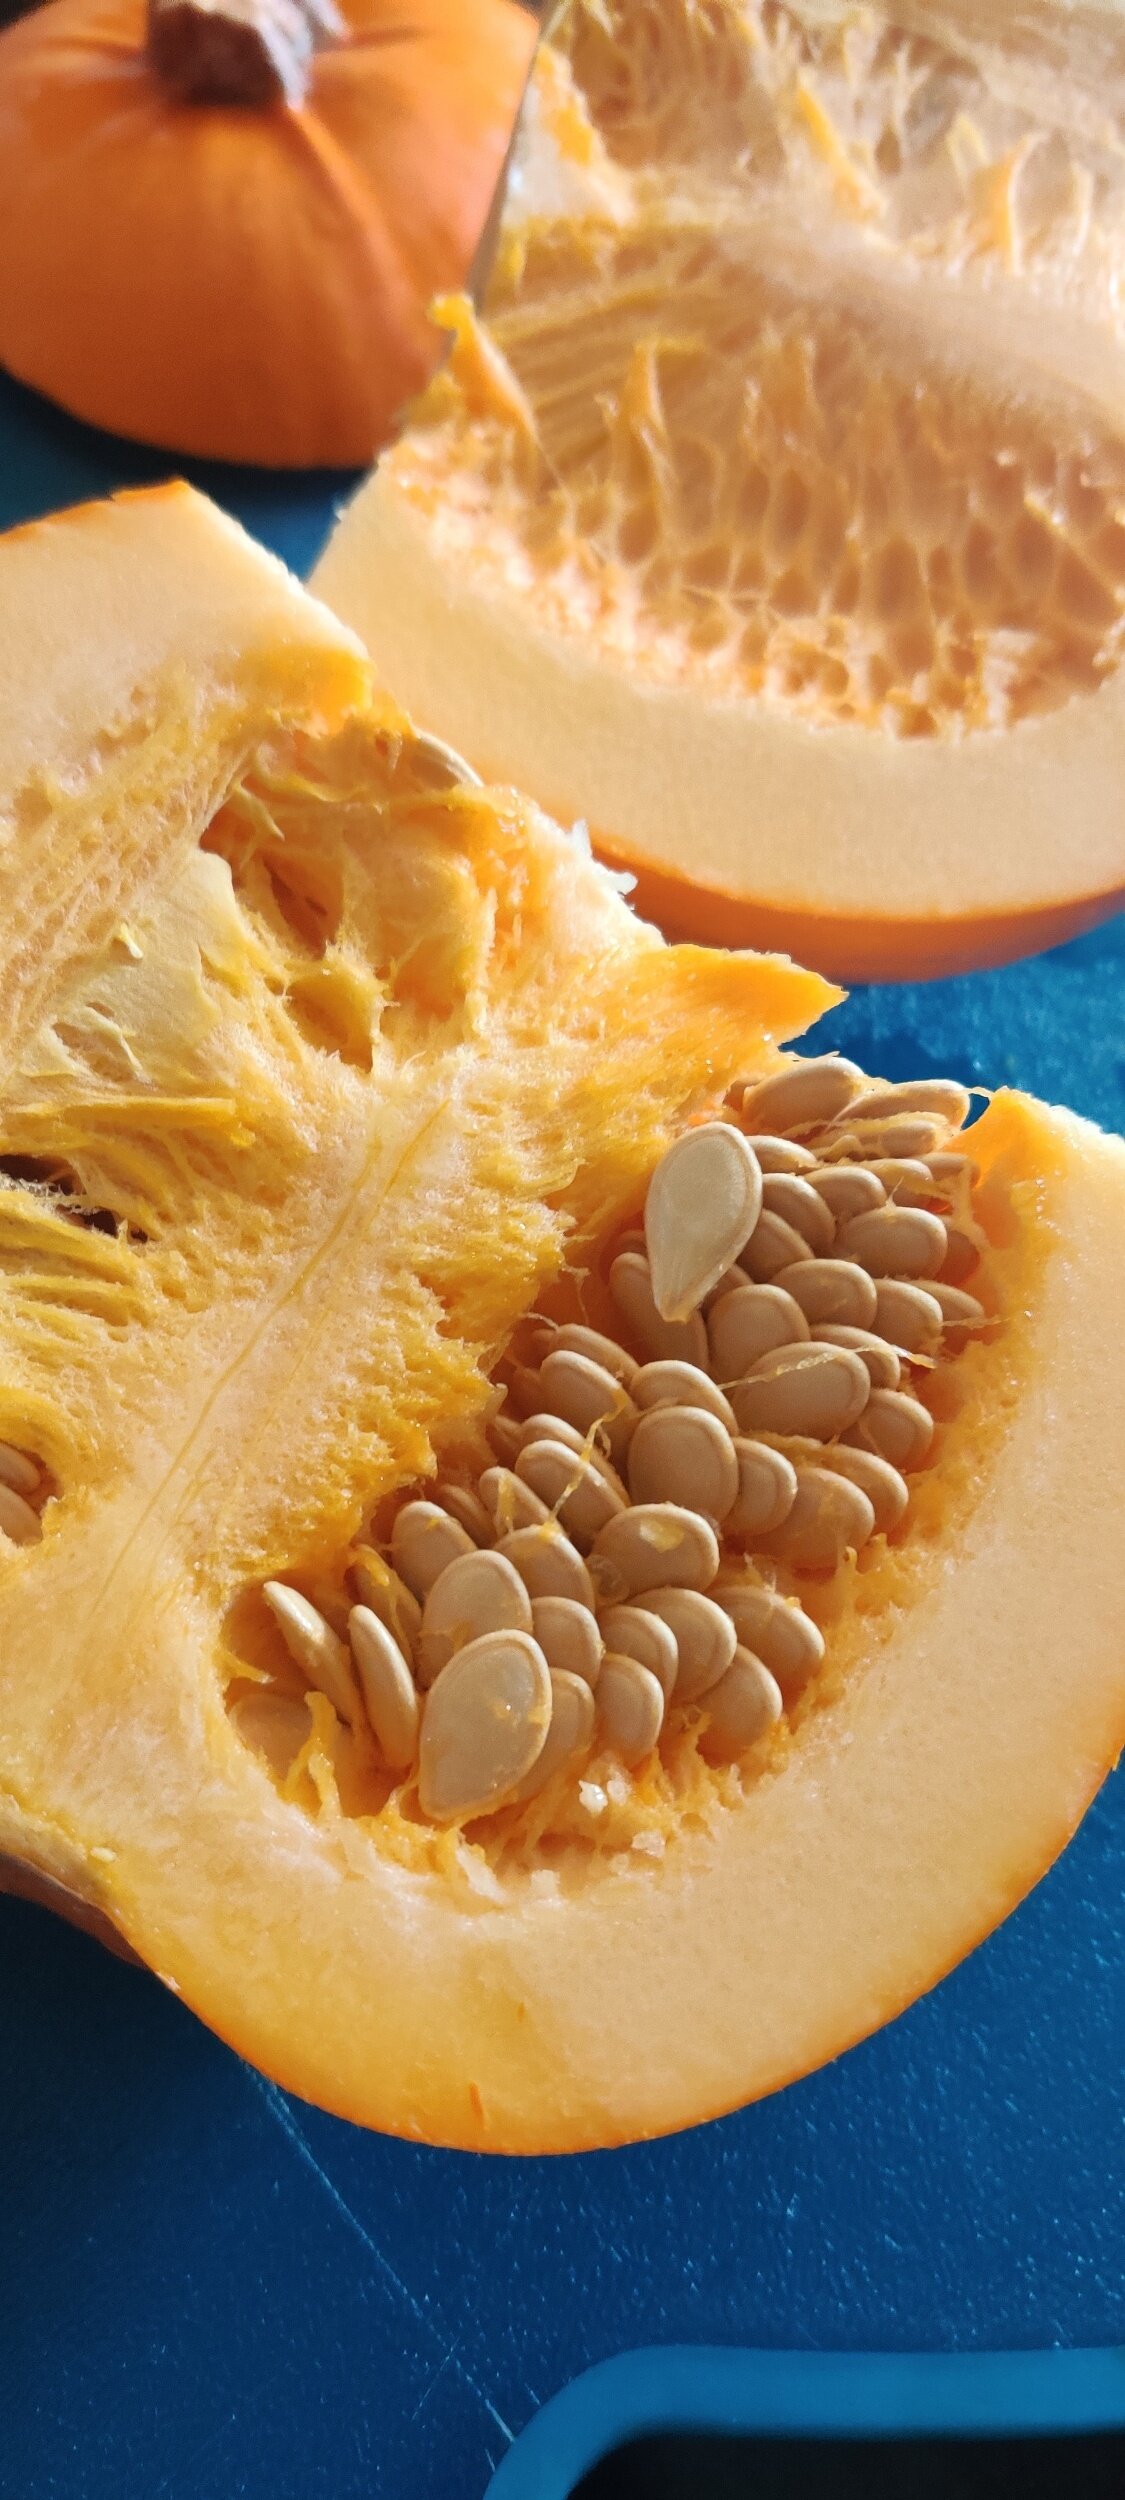
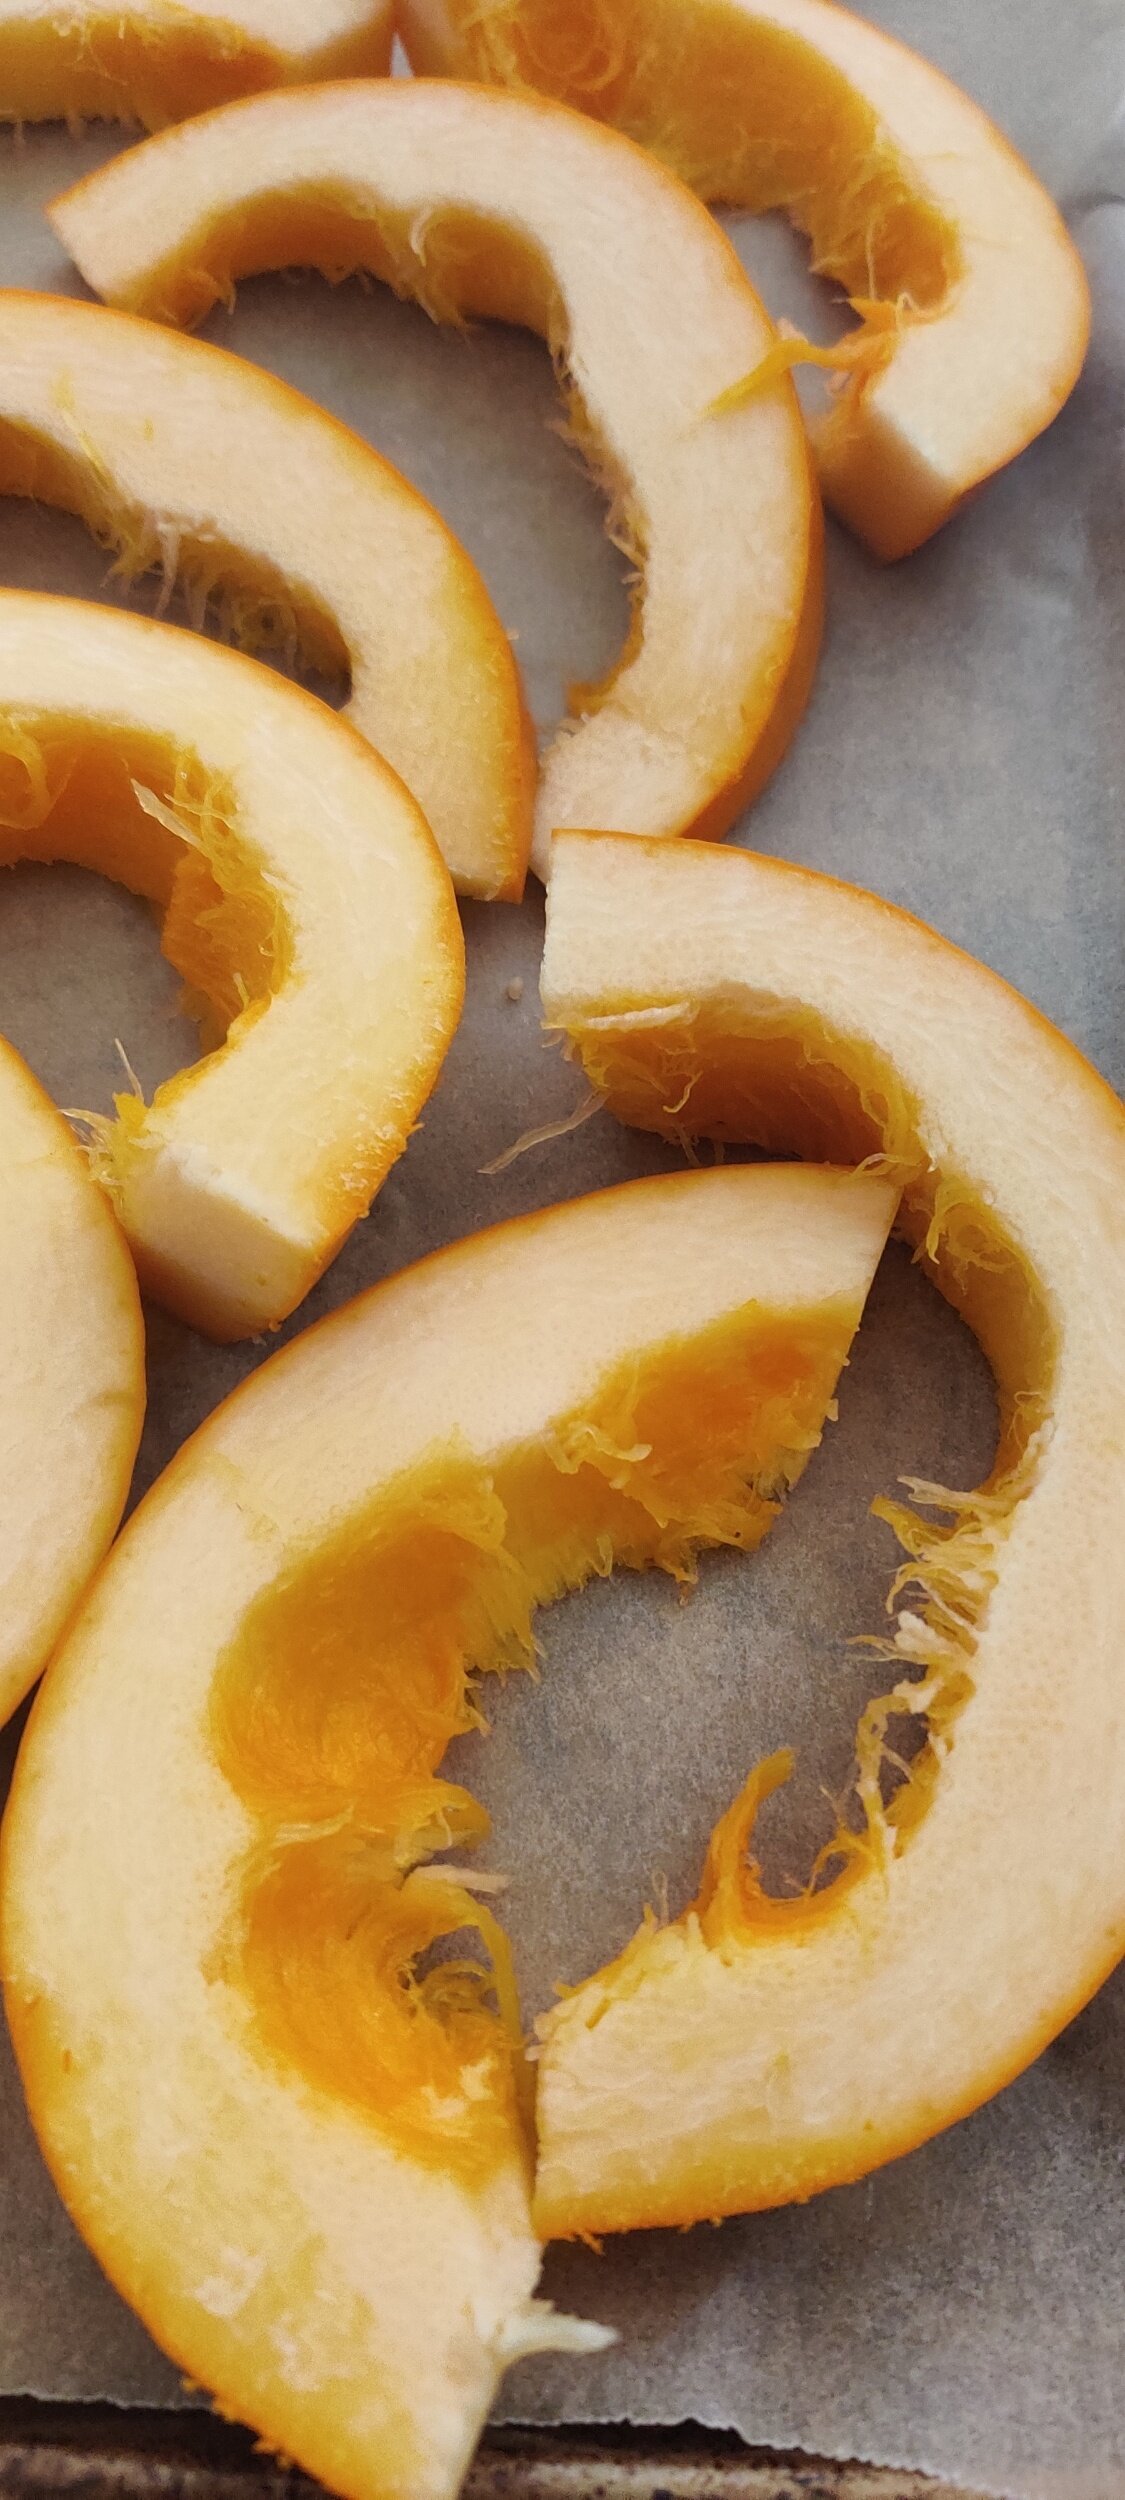
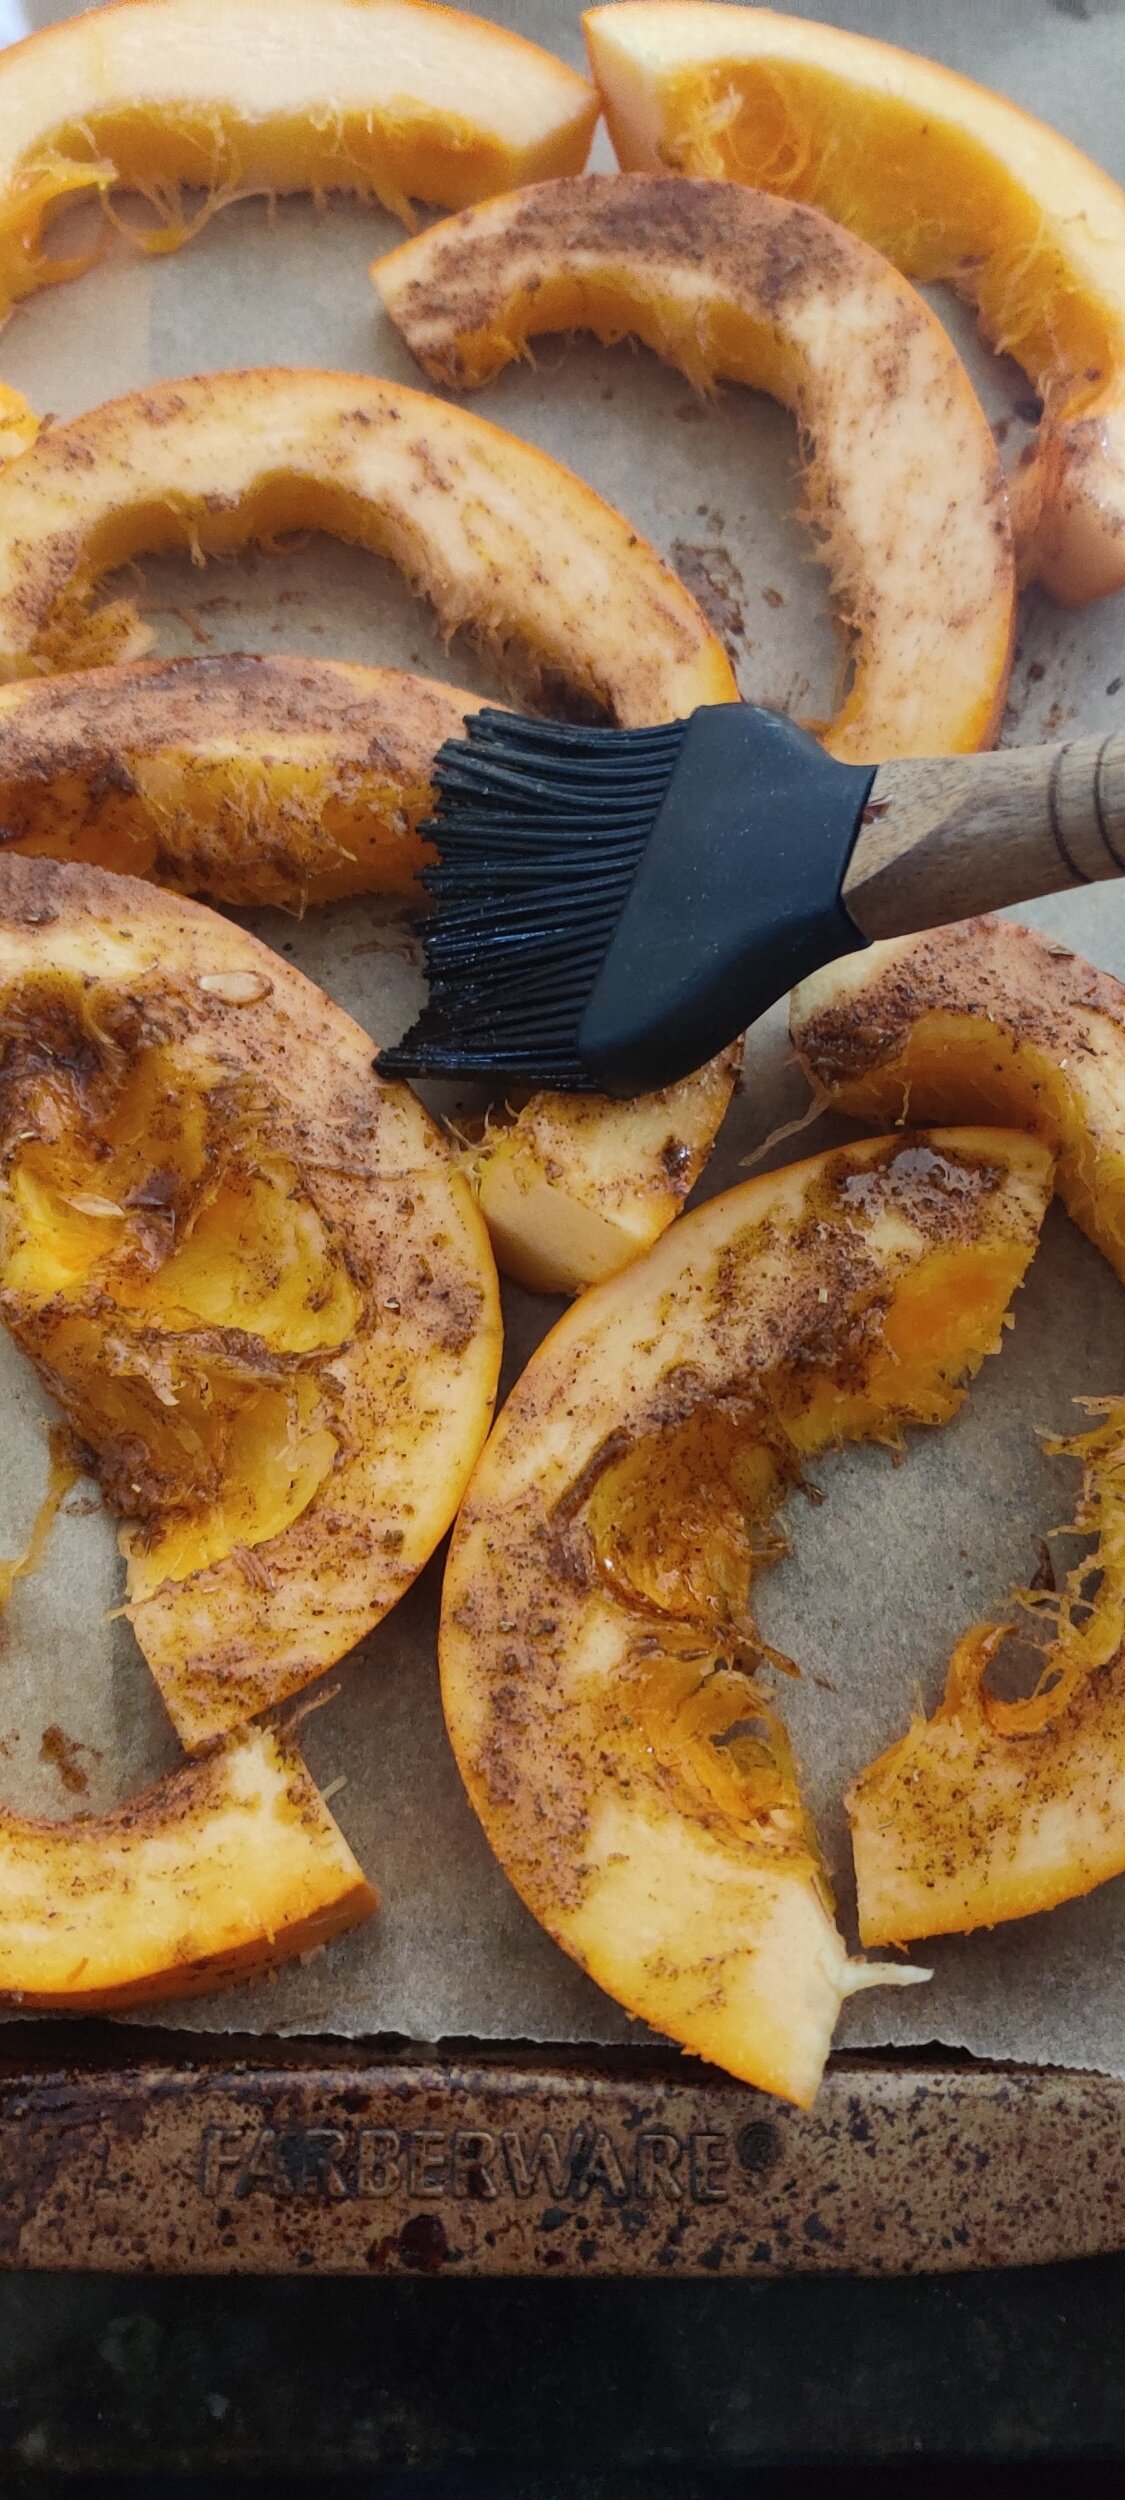
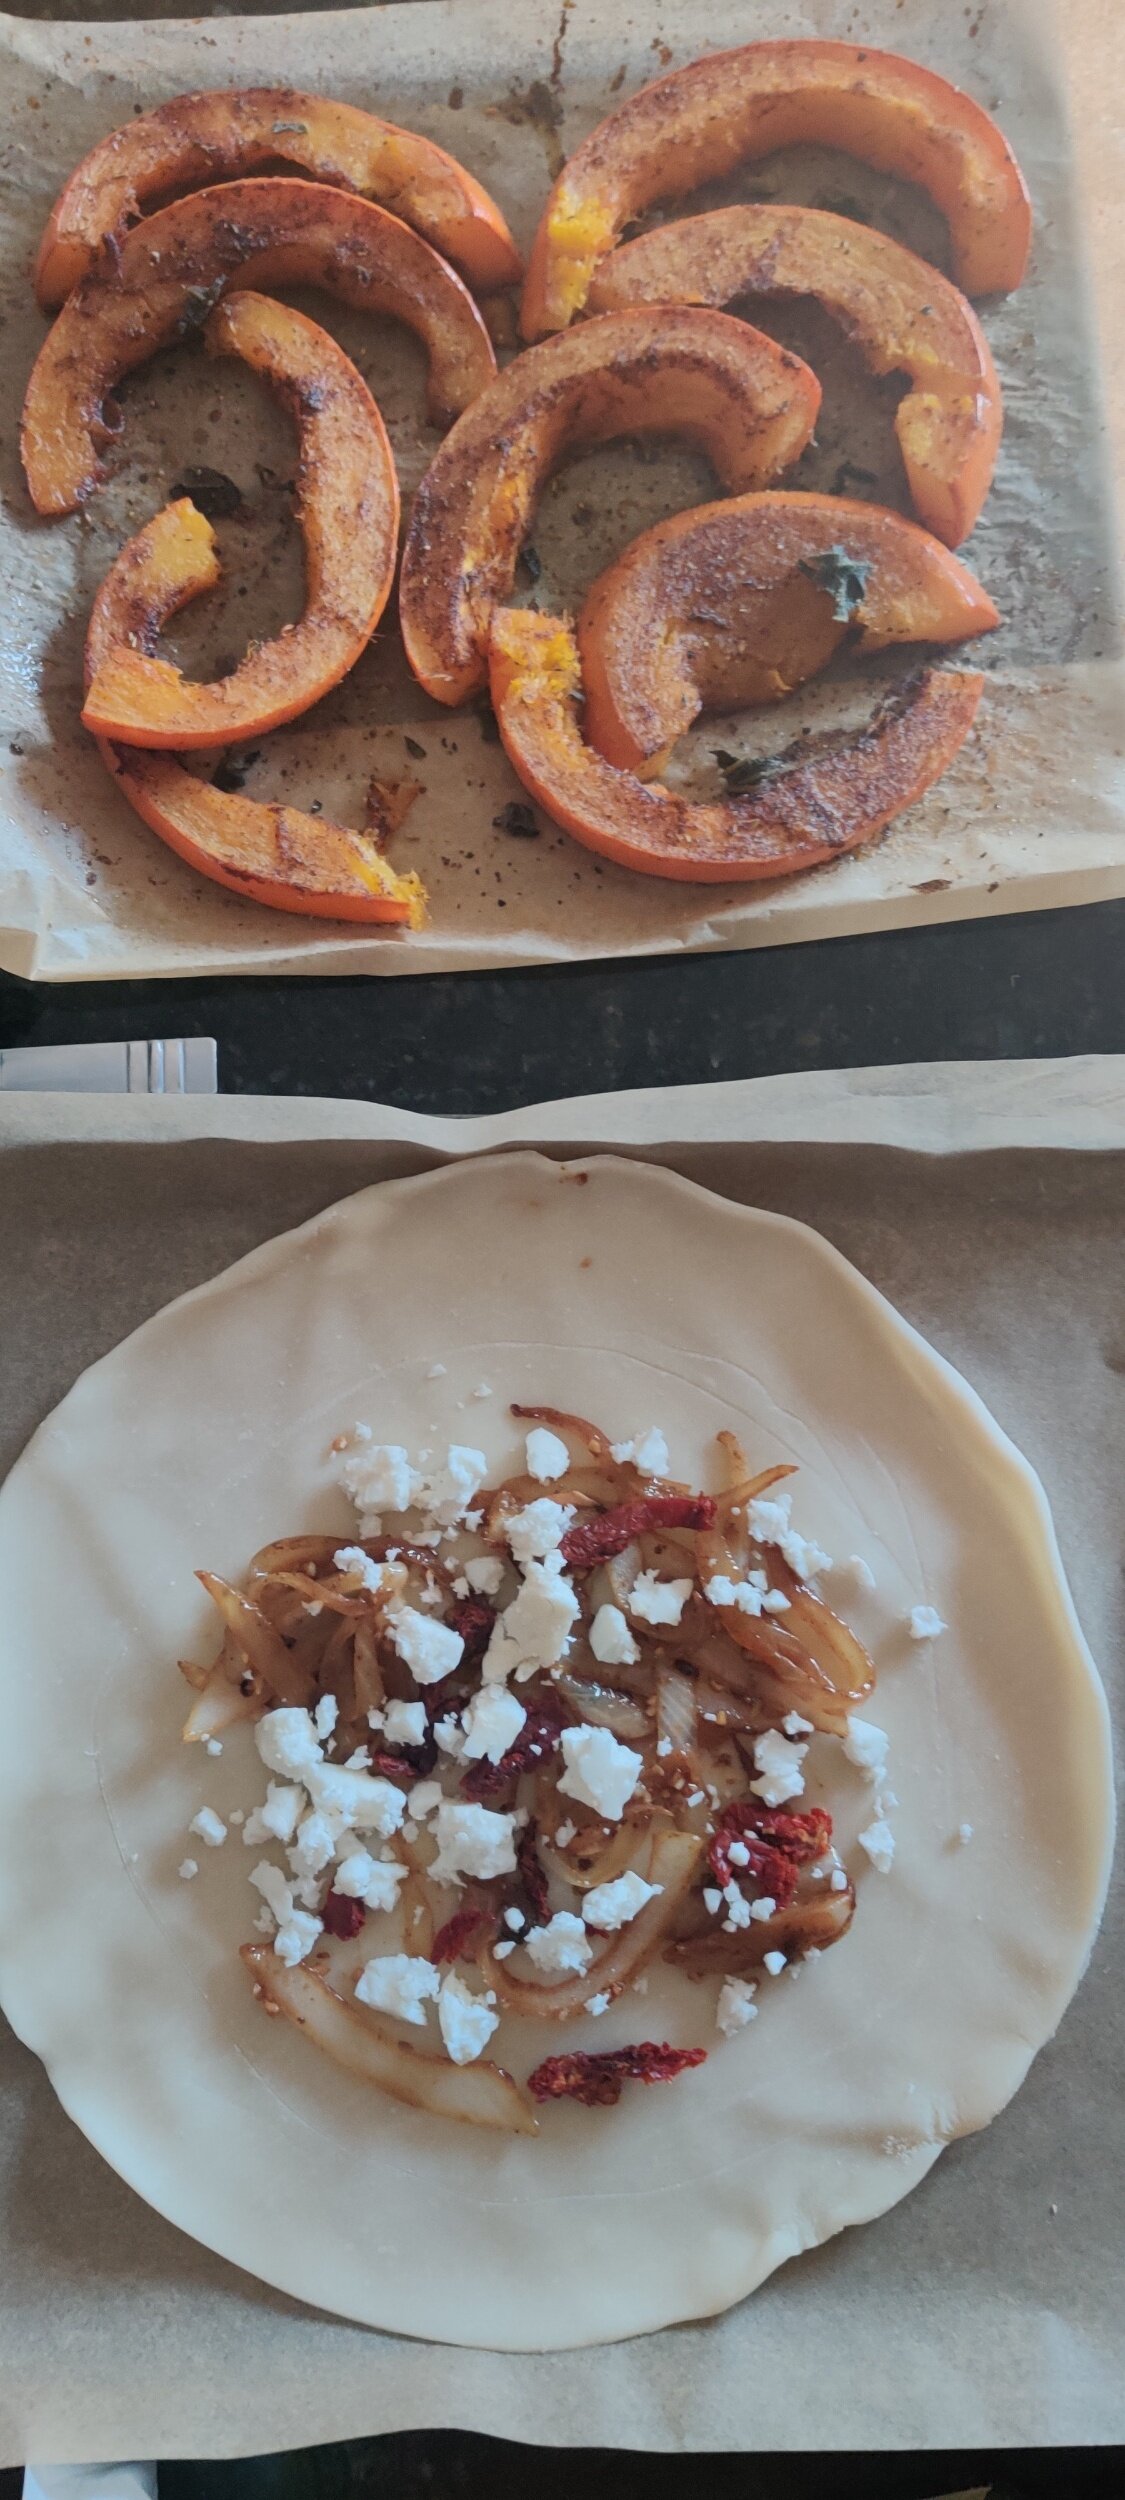
Roast the pumpkin. Slice it in half and remove the seeds and fibres, then slice into 1/2 inch pieces.
In a small container, mix 2 tablespoons olive oil, 1 teaspoon salt, 1 tablespoon black pepper, chilli, dried sage, cumin, cinnamon, and pumpkin spice. Brush the mix on both sides of the pumpkin slices. Bake at 425F on a parchment-lined baking sheet for about 25 minutes. When halfway done, spray the pumpkin with cooking spray, then flip each piece over. Sprinkle with fresh sage and bake for the remaining time.
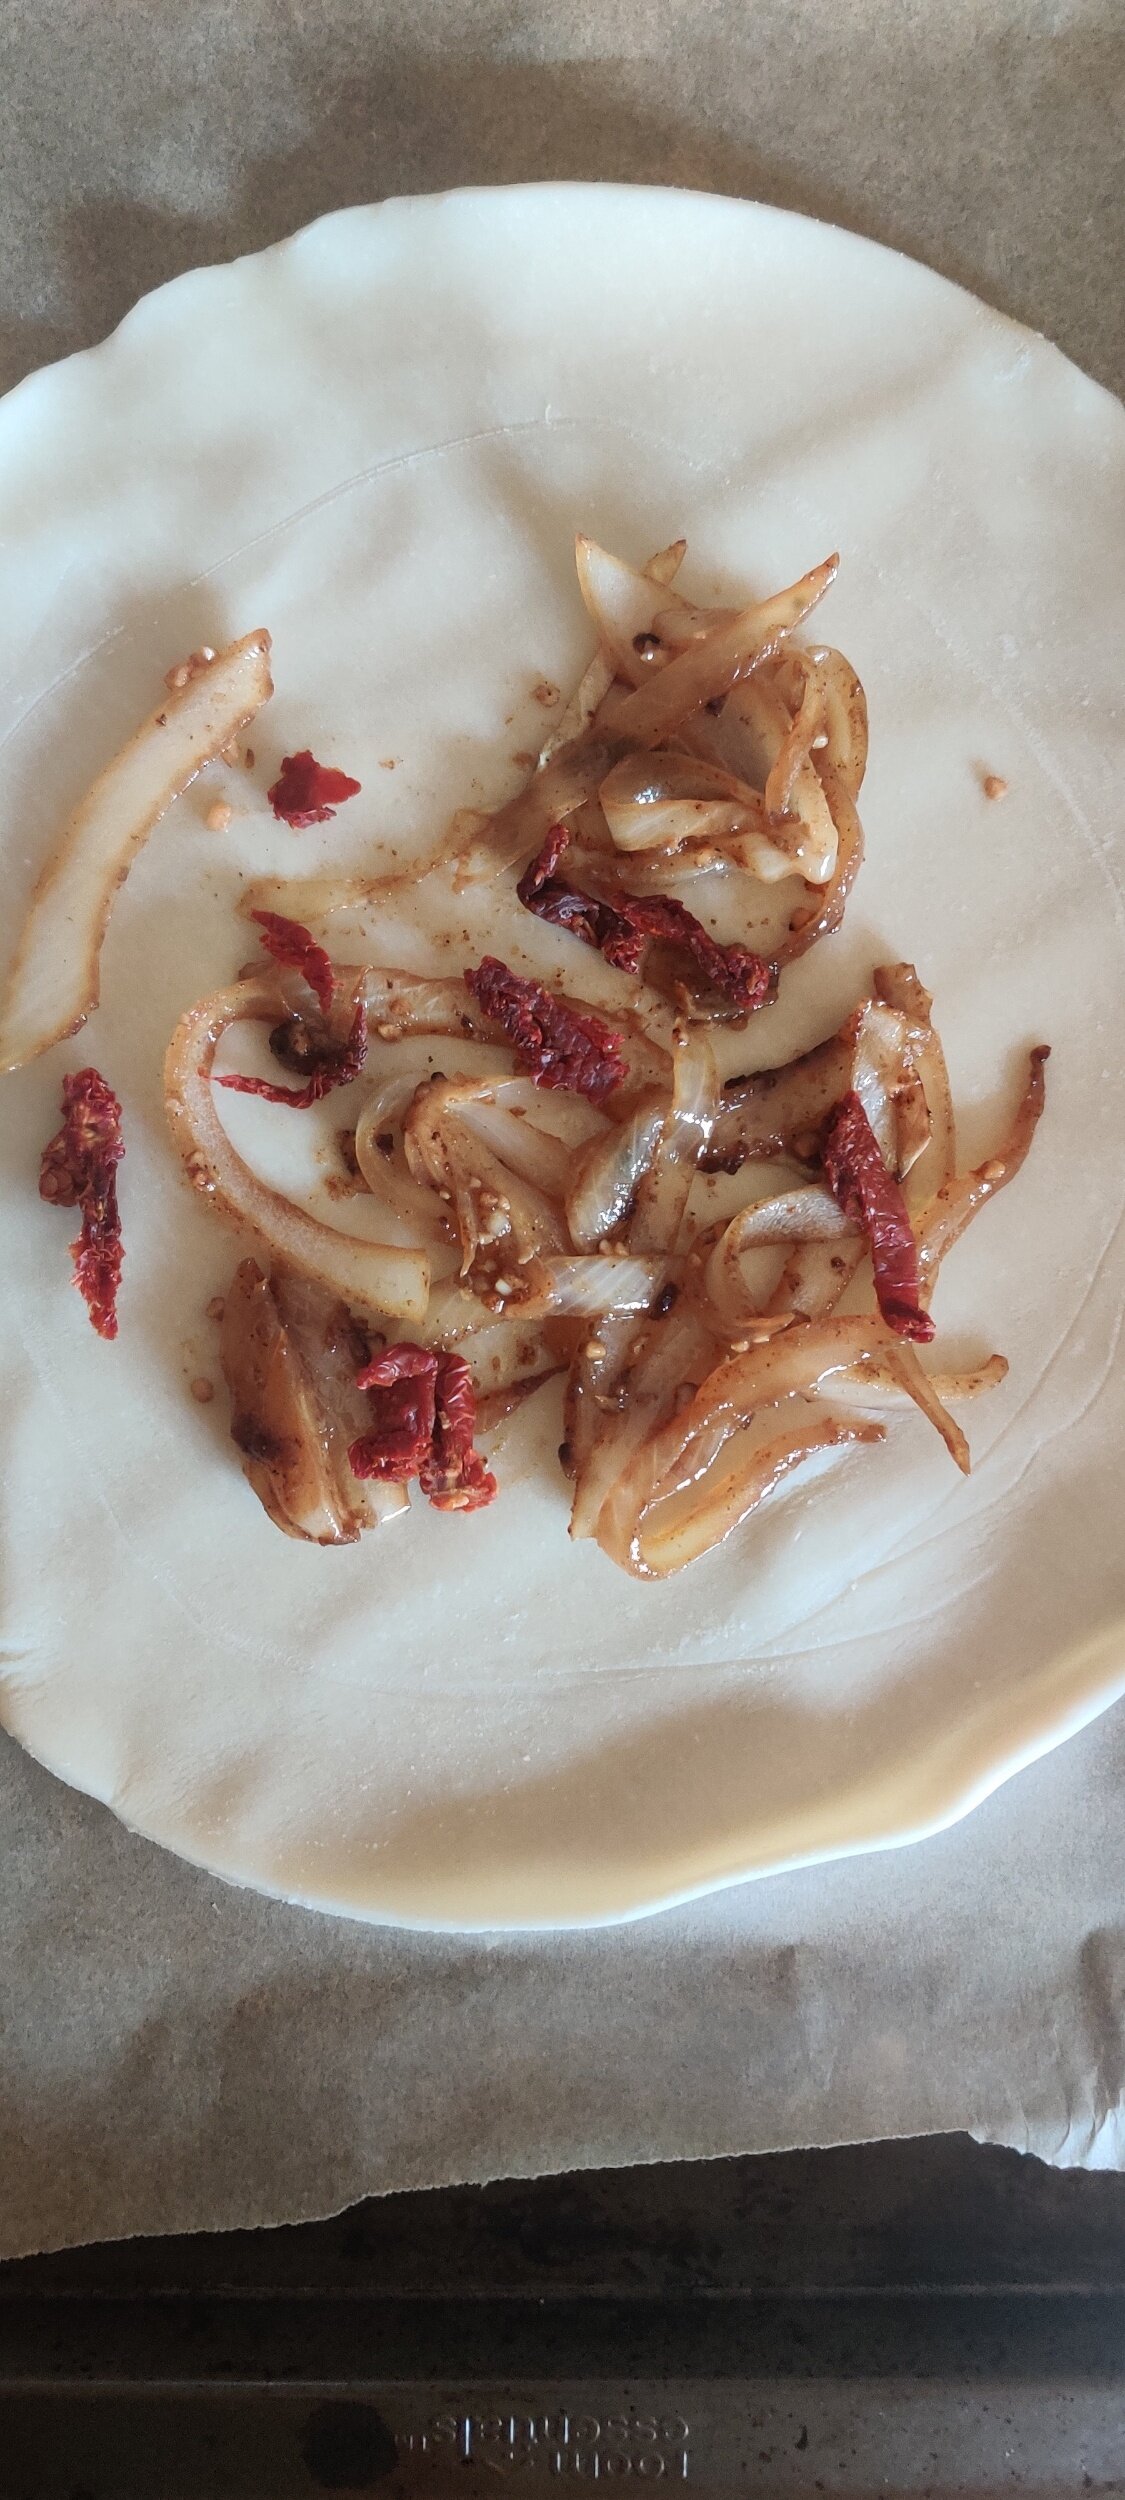
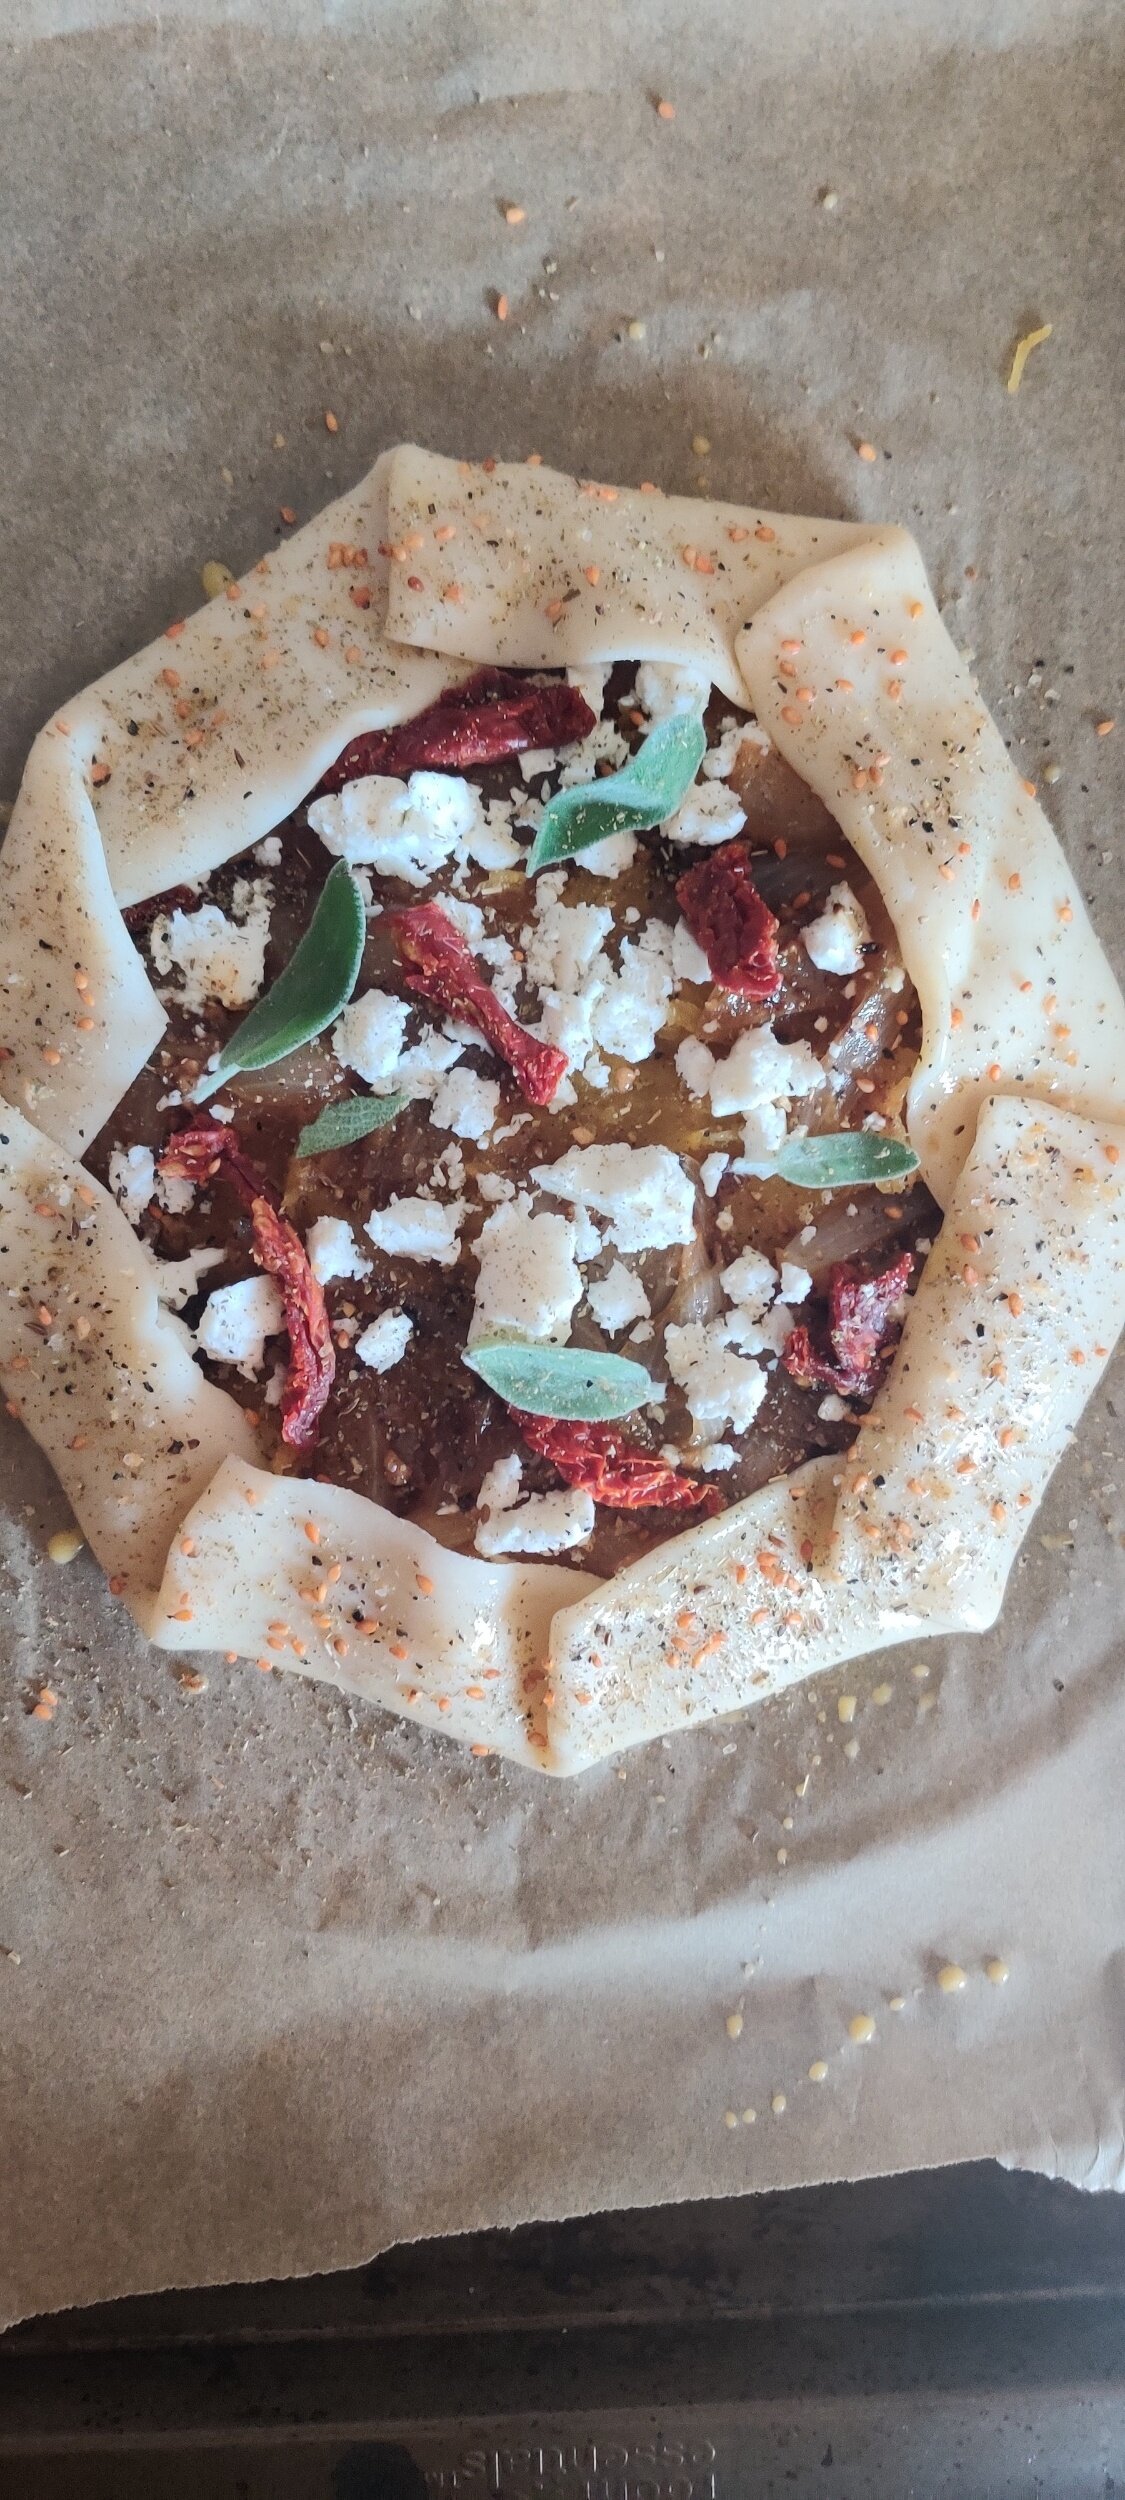
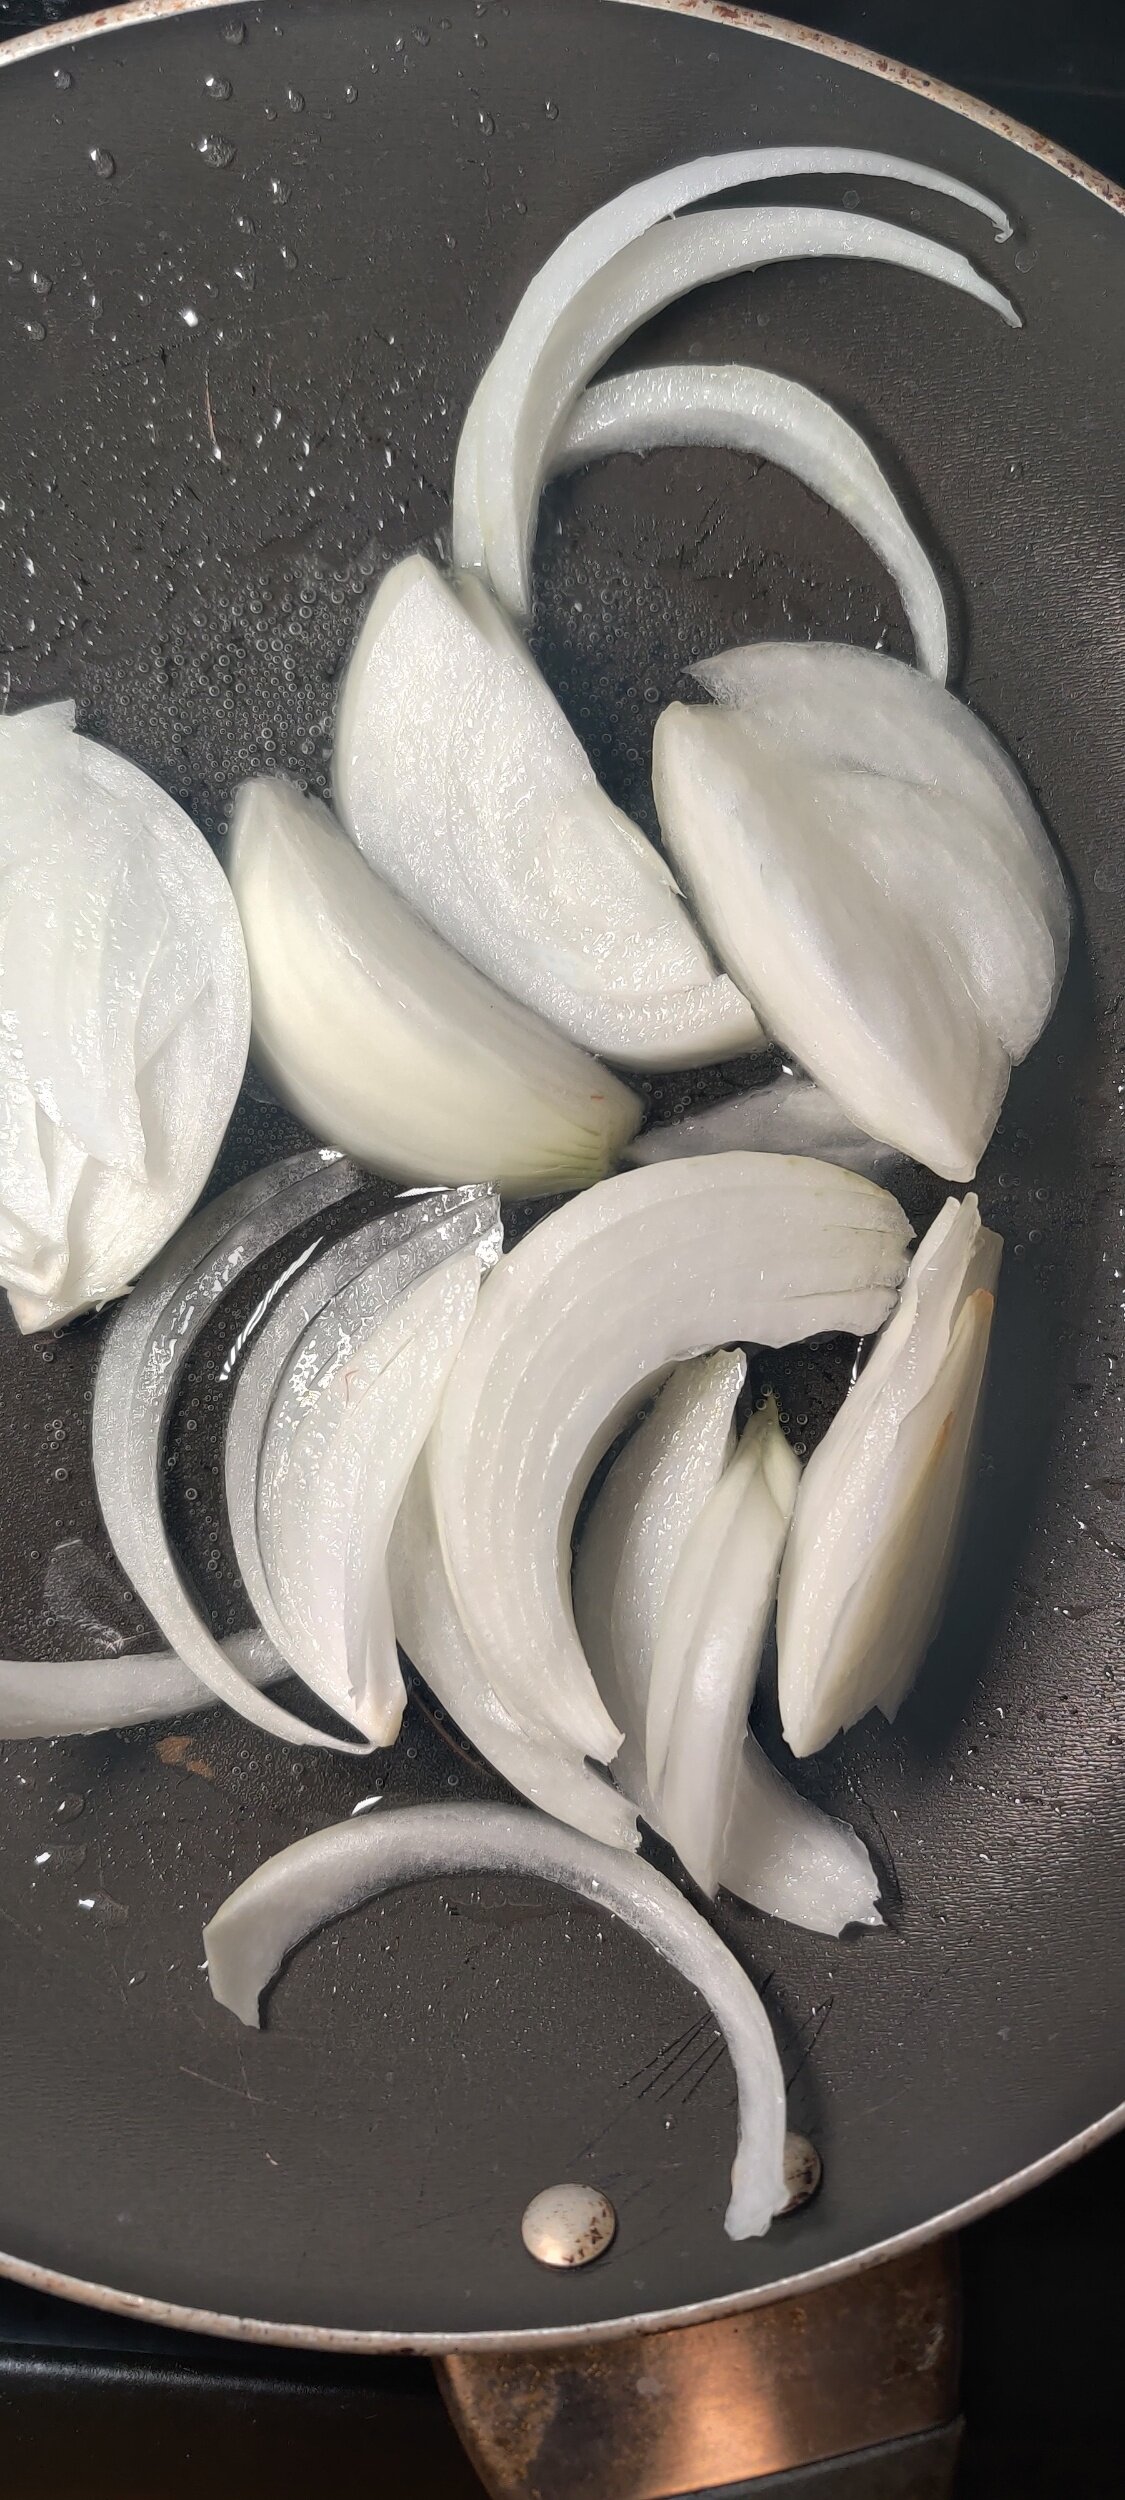
Roll out the pastry. Leave about 1- inches to fold over, then lay half of the tomatoes, feta and caramelized onions in the centre of the pastry. Mash the roasted pumpkin in a small container, season to taste with additional salt and pepper if necessary, then press on top with a fork. Add the rest of the cheese and onions on top.
Fold the sides of the pastry then brush with egg wash. Sprinkle some spices and dried sage over the crust if you wish, then bake at 400F for 25 minutes and until the crust is a golden tone.
Garnish with the rest of the sun-dried tomatoes and fresh sage. Serve immediately!

Mushroom Stroganoff
If you're looking for a delicious, quick and easy lunch or dinner meal, this is it!
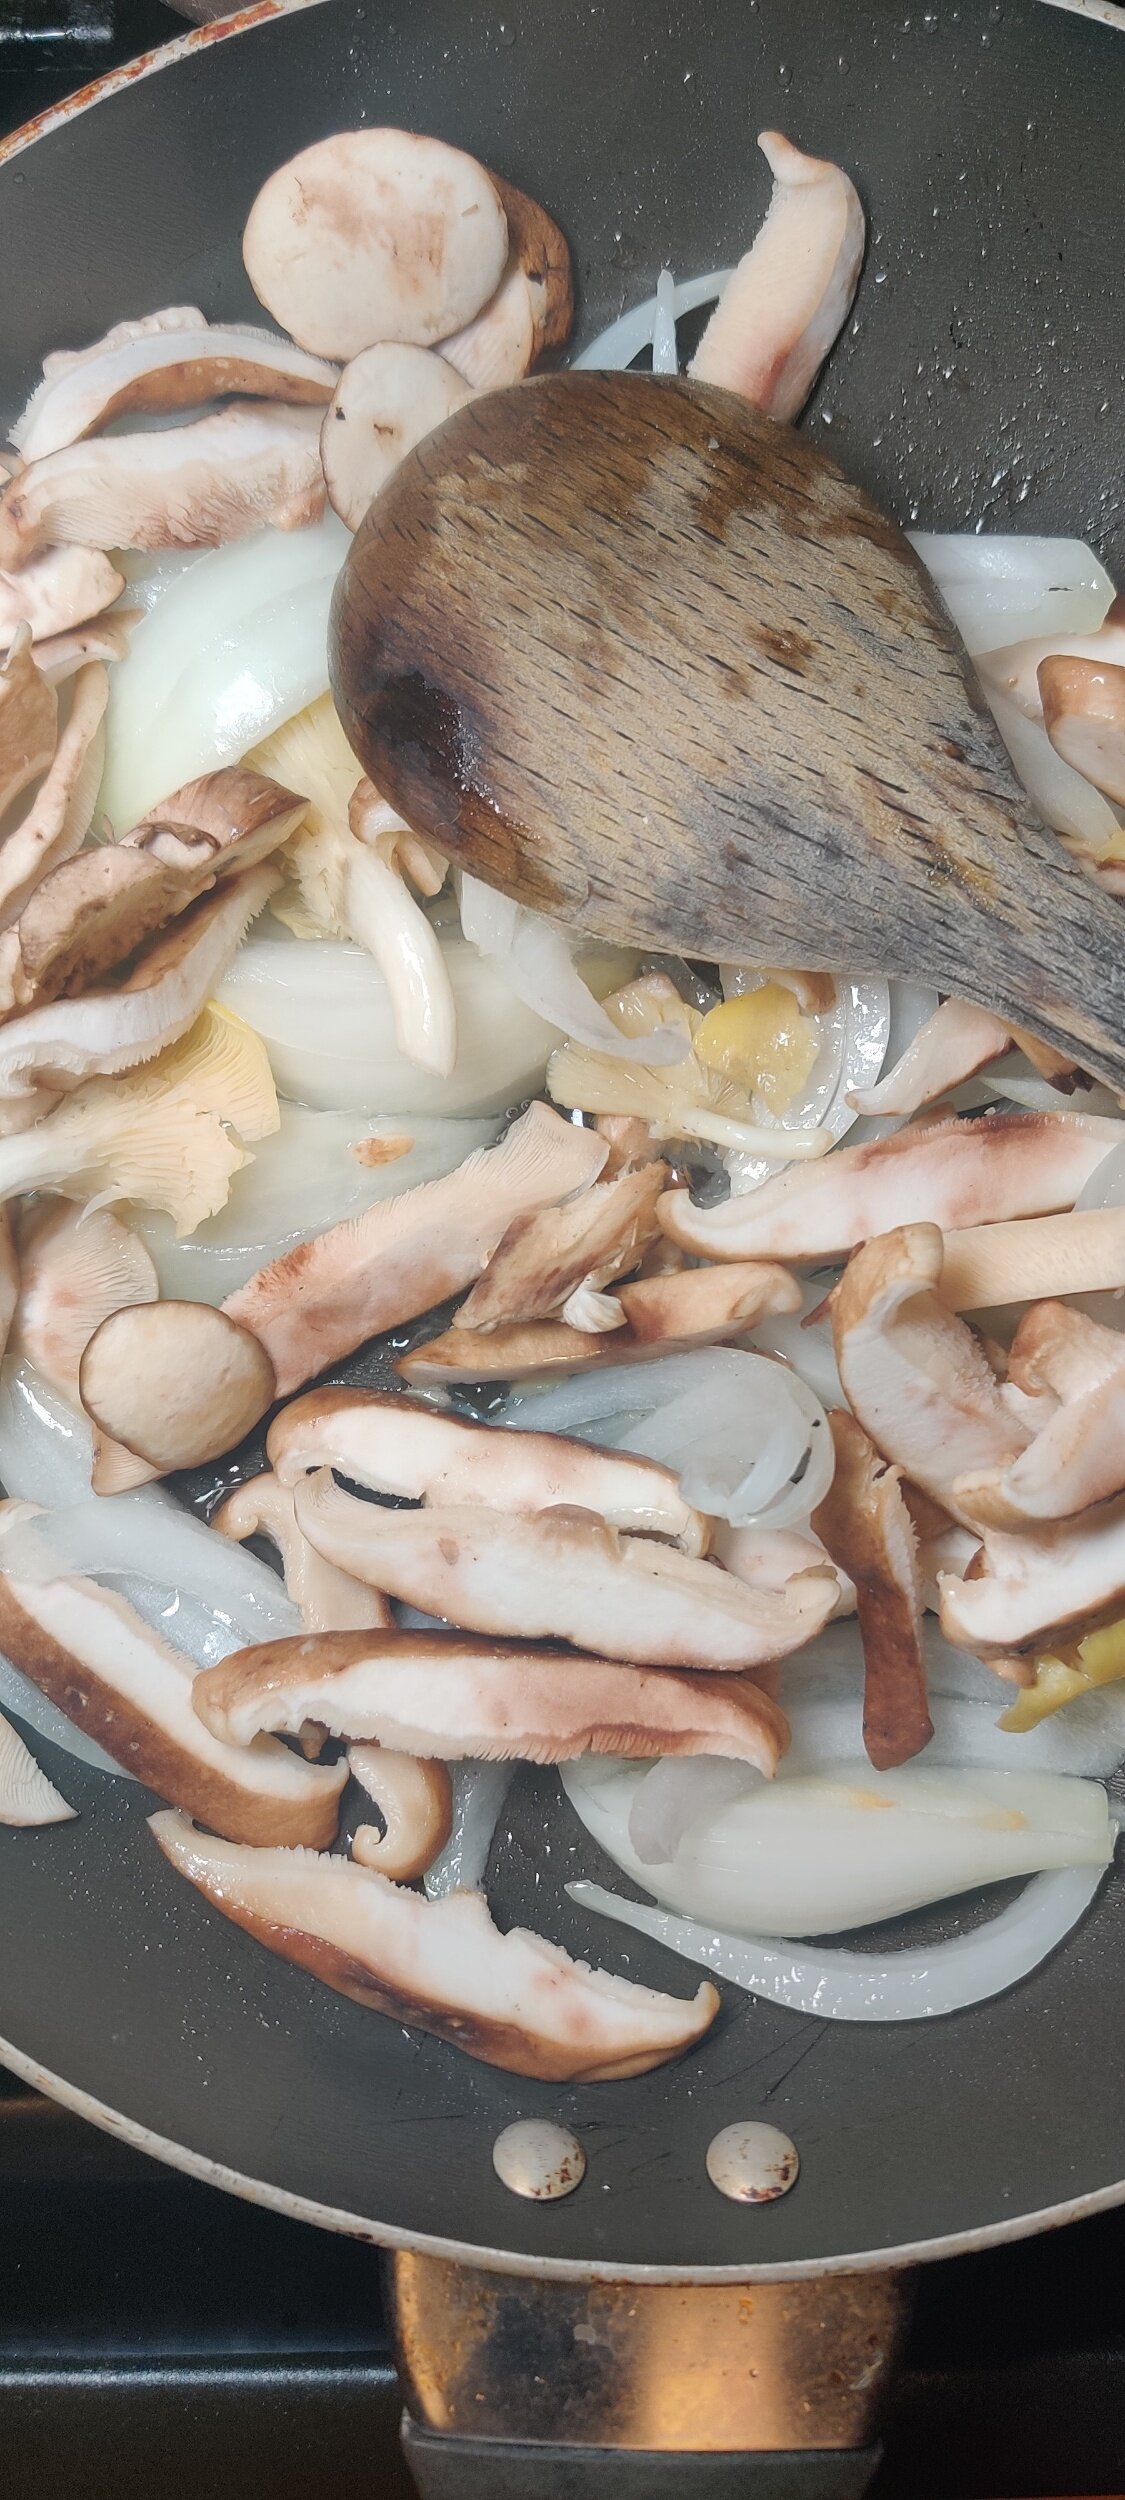
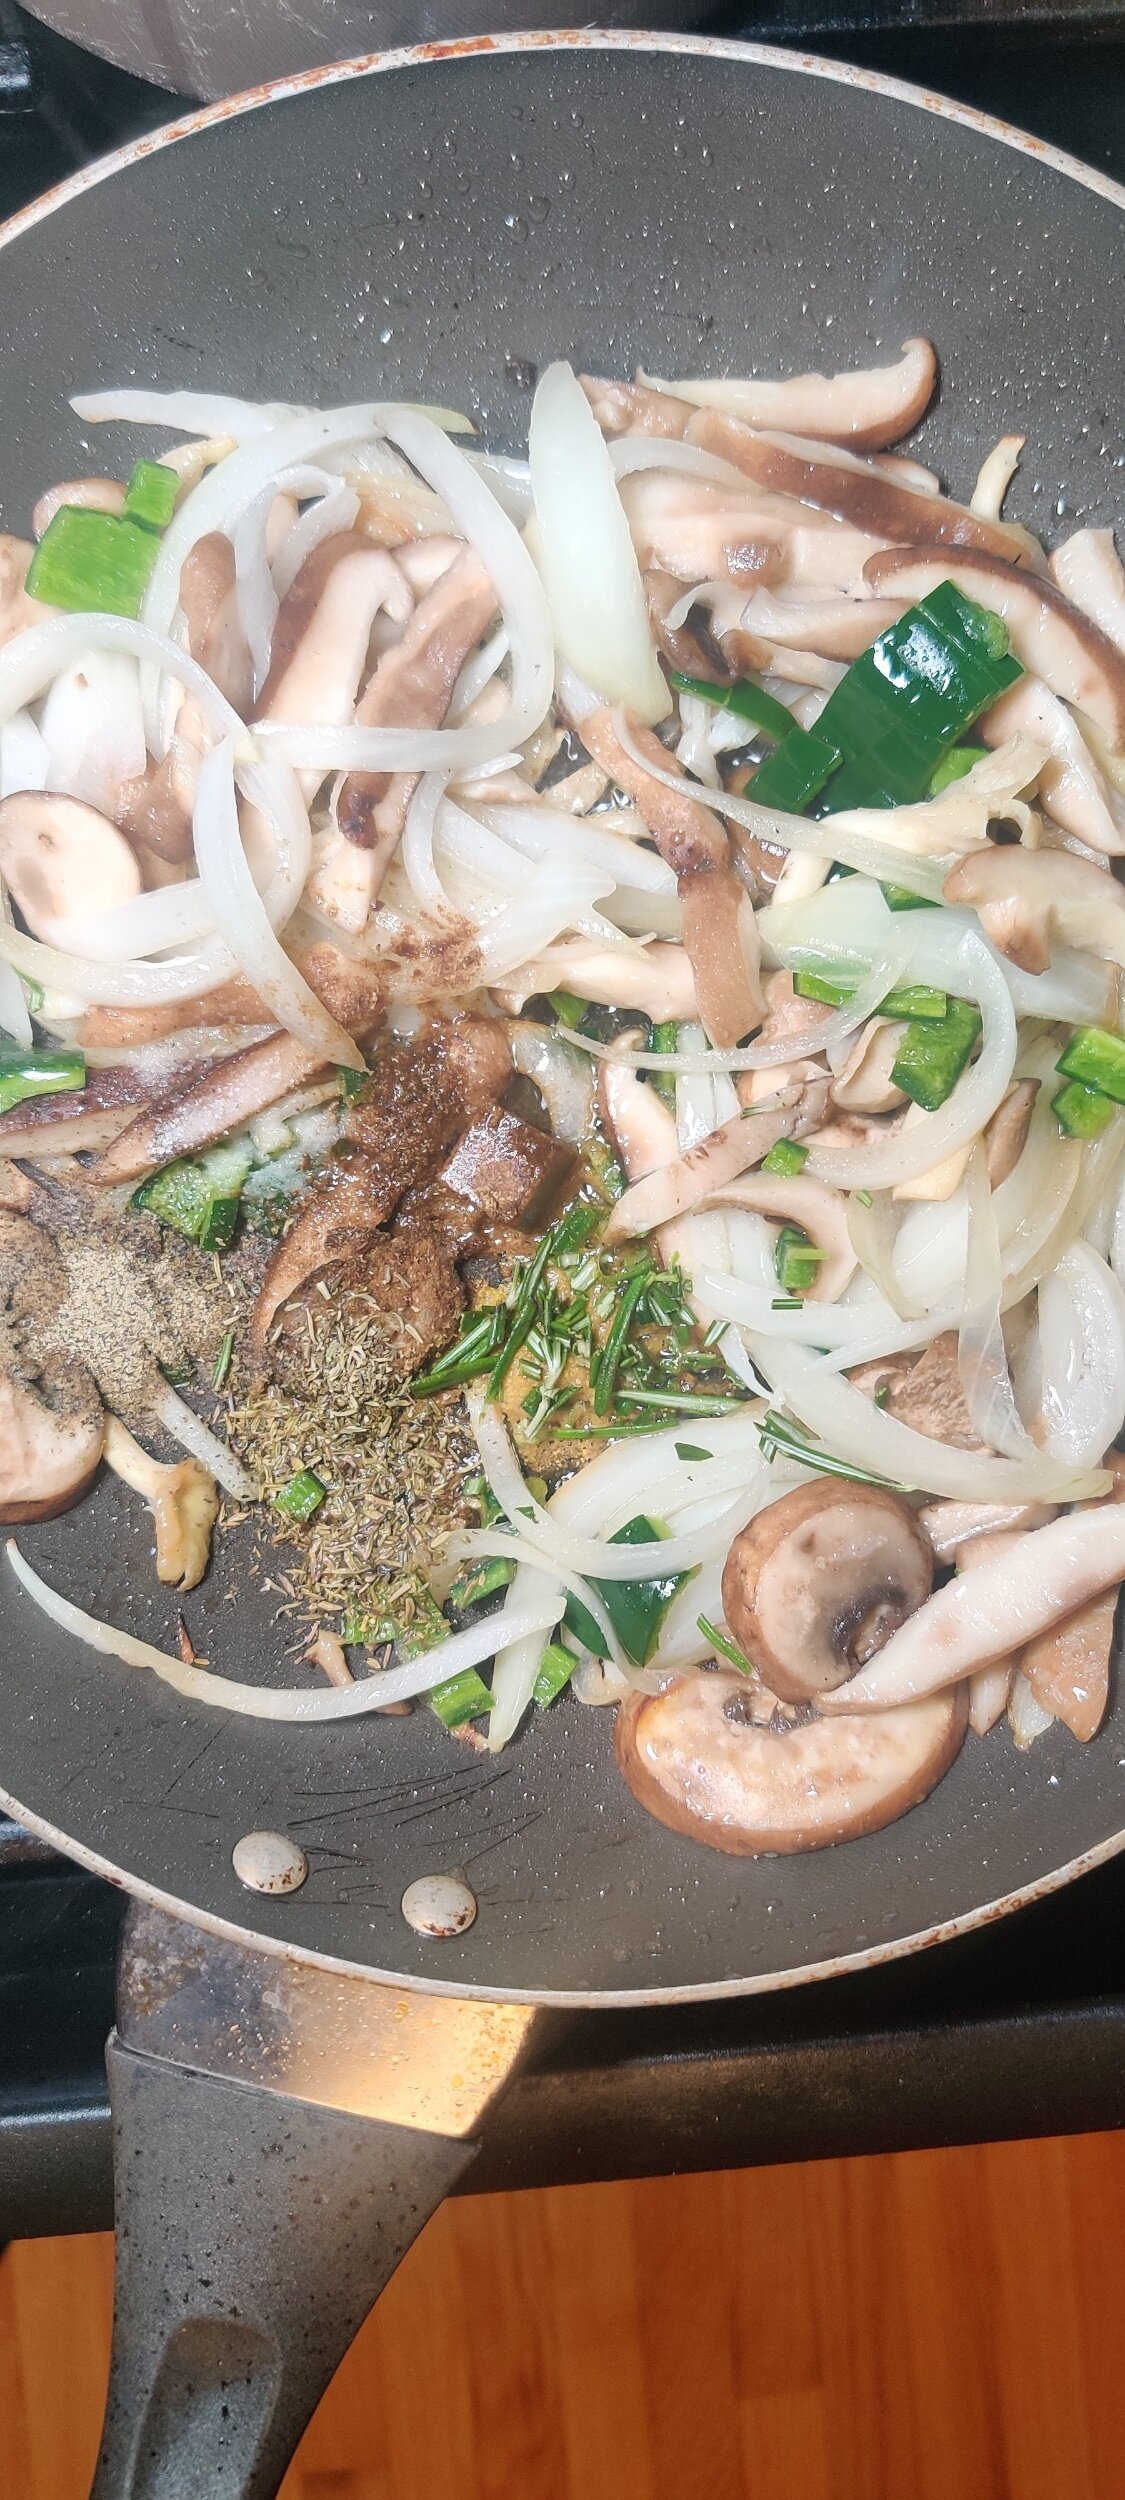
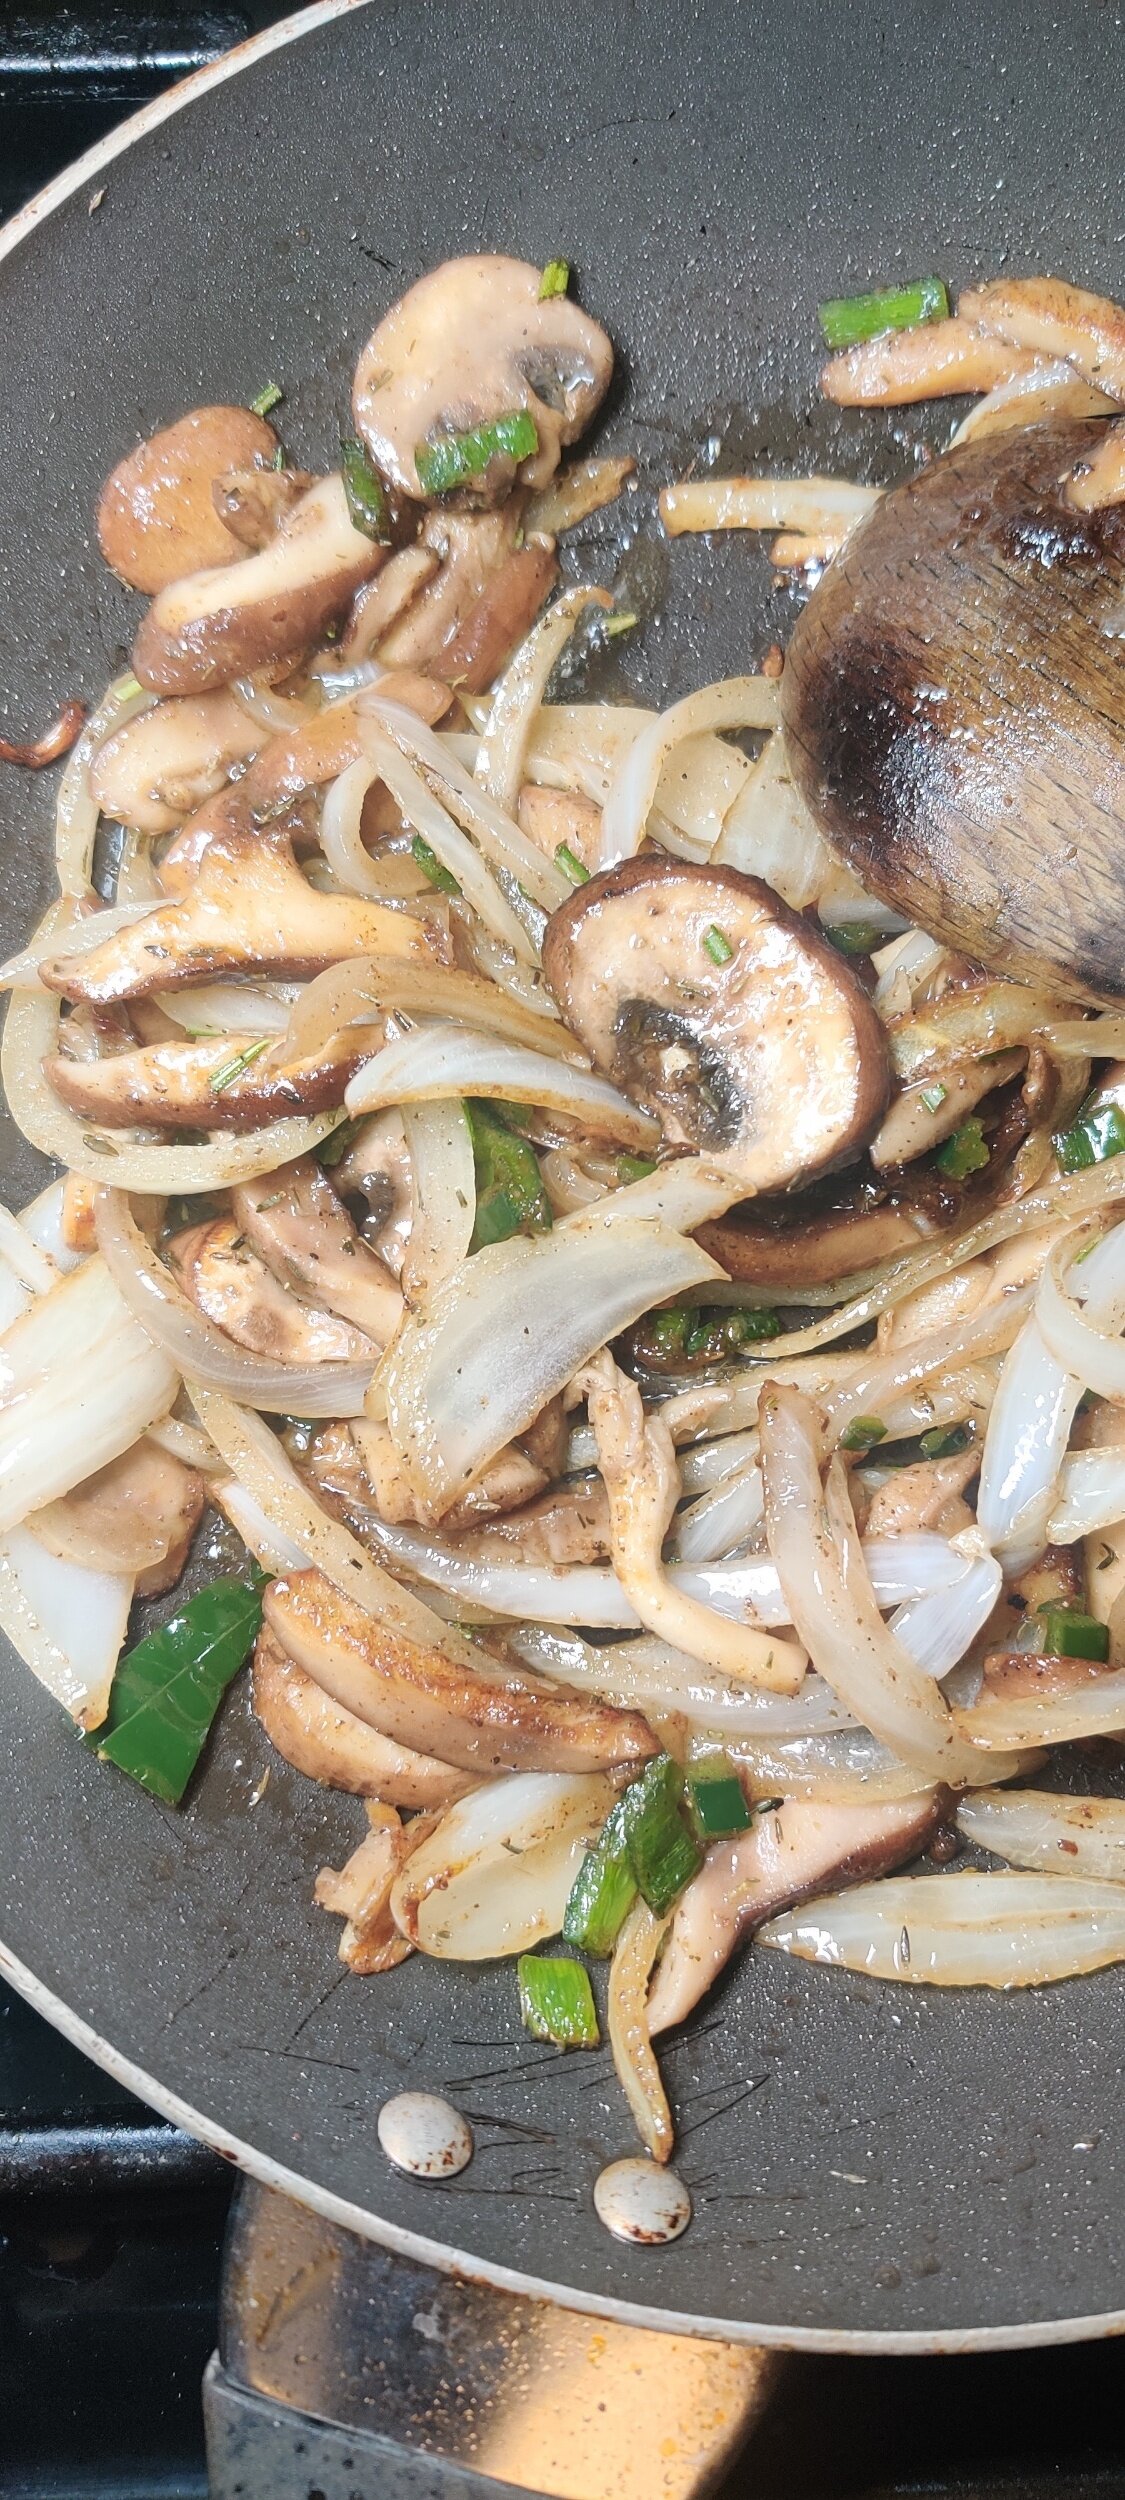
I used a mixture of mushrooms to give the dish more flavour and dimension, adding rosemary, dried thyme, and other spices.
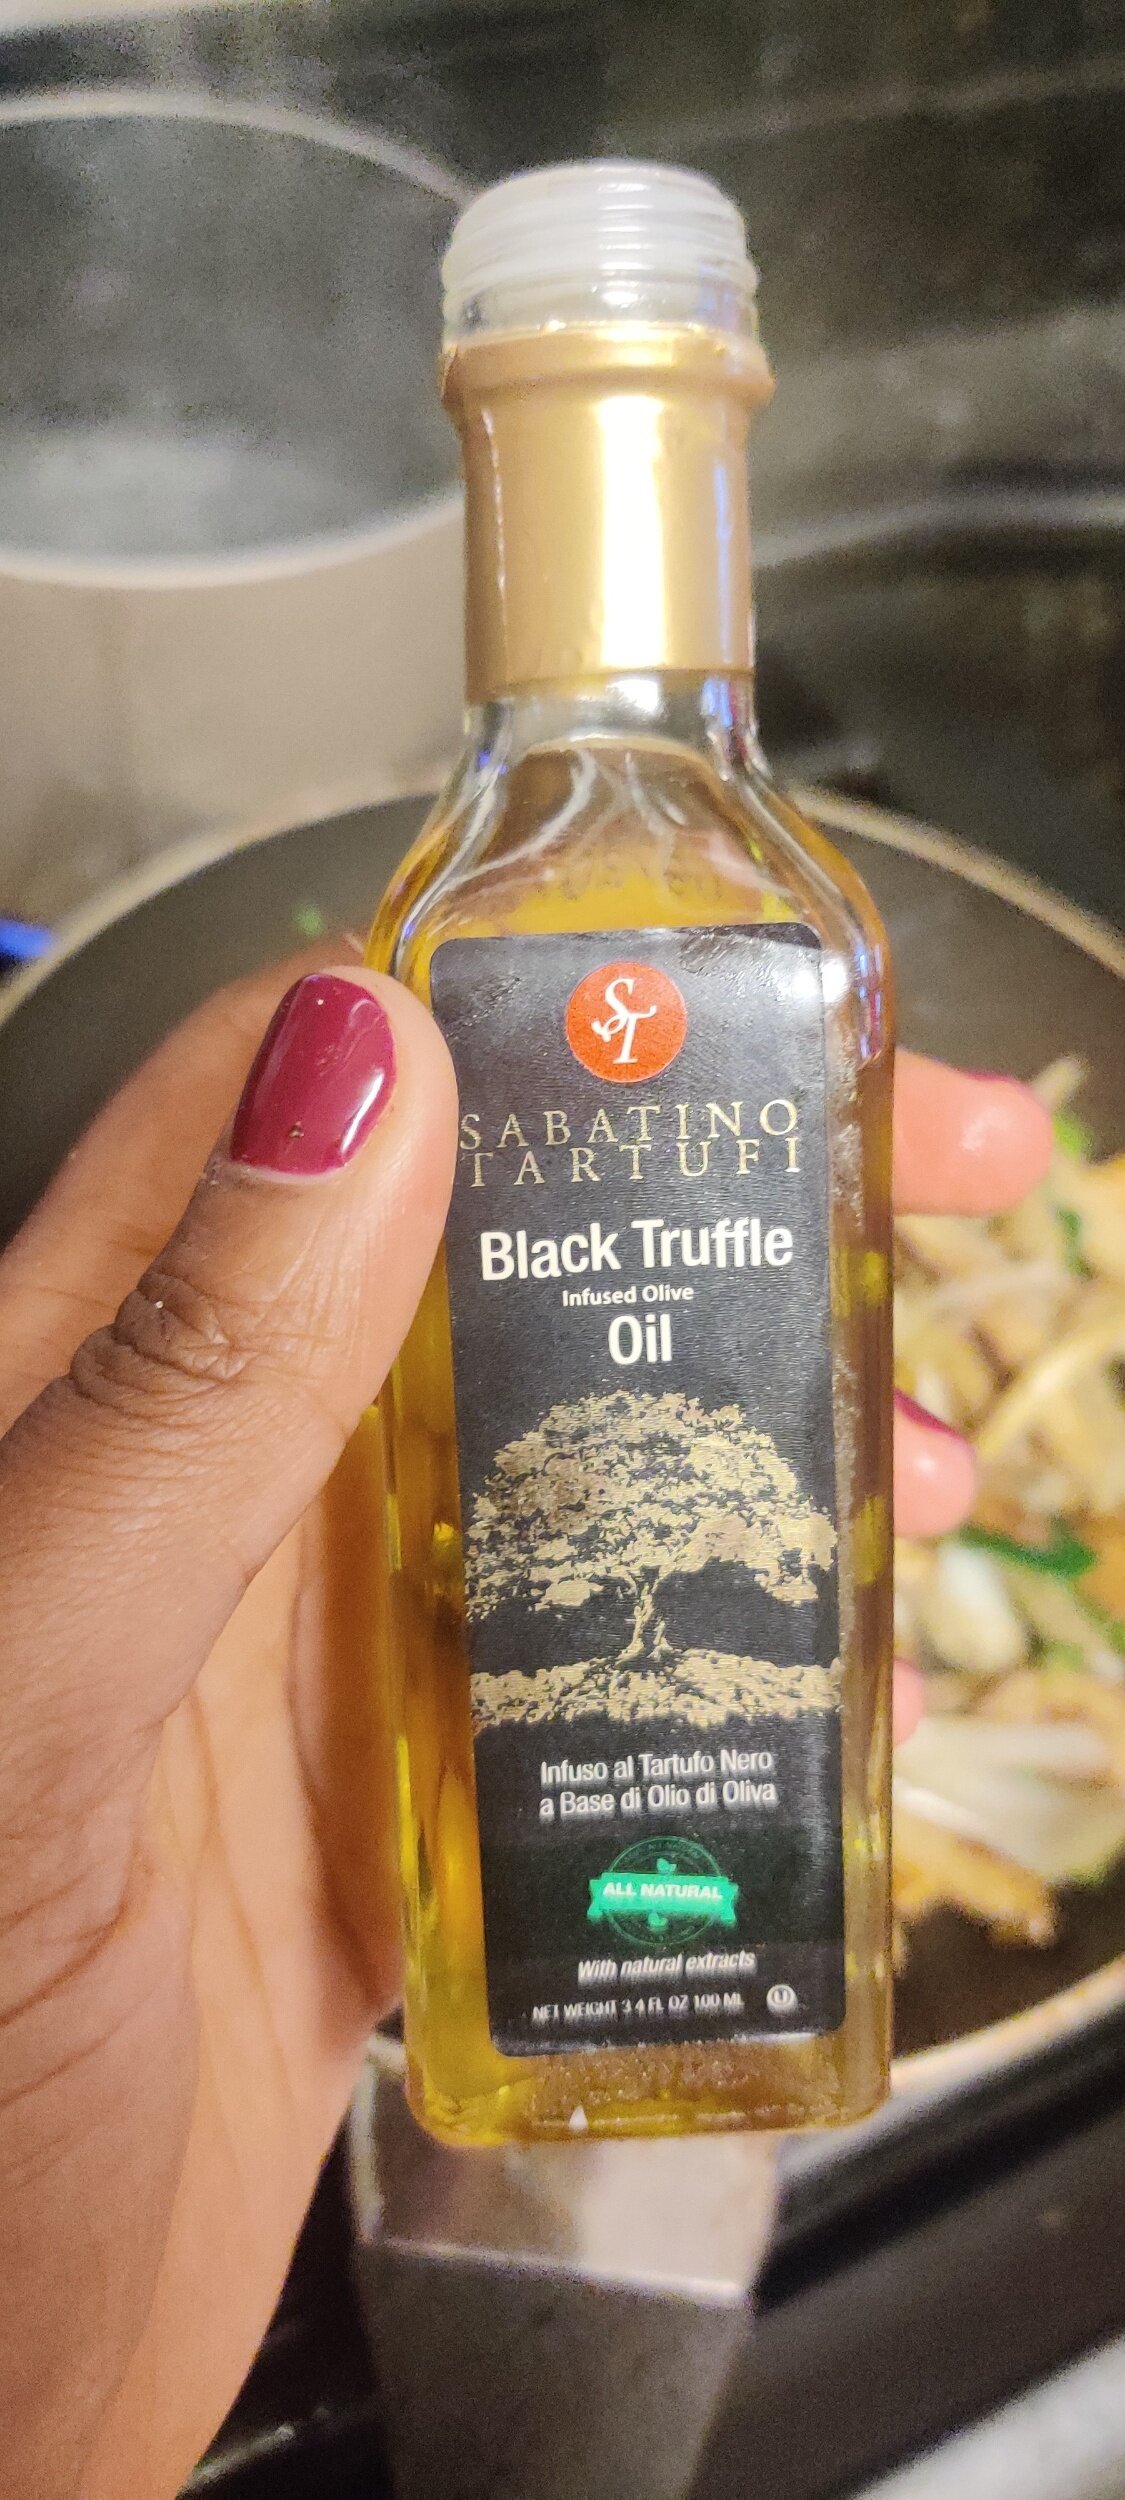
I also choose to deglaze the pan with cooking wine, adding truffle oil and sautéing the onions and mushrooms in peanut oil.
These kinds of choices make a huge difference when it comes to a finished product.
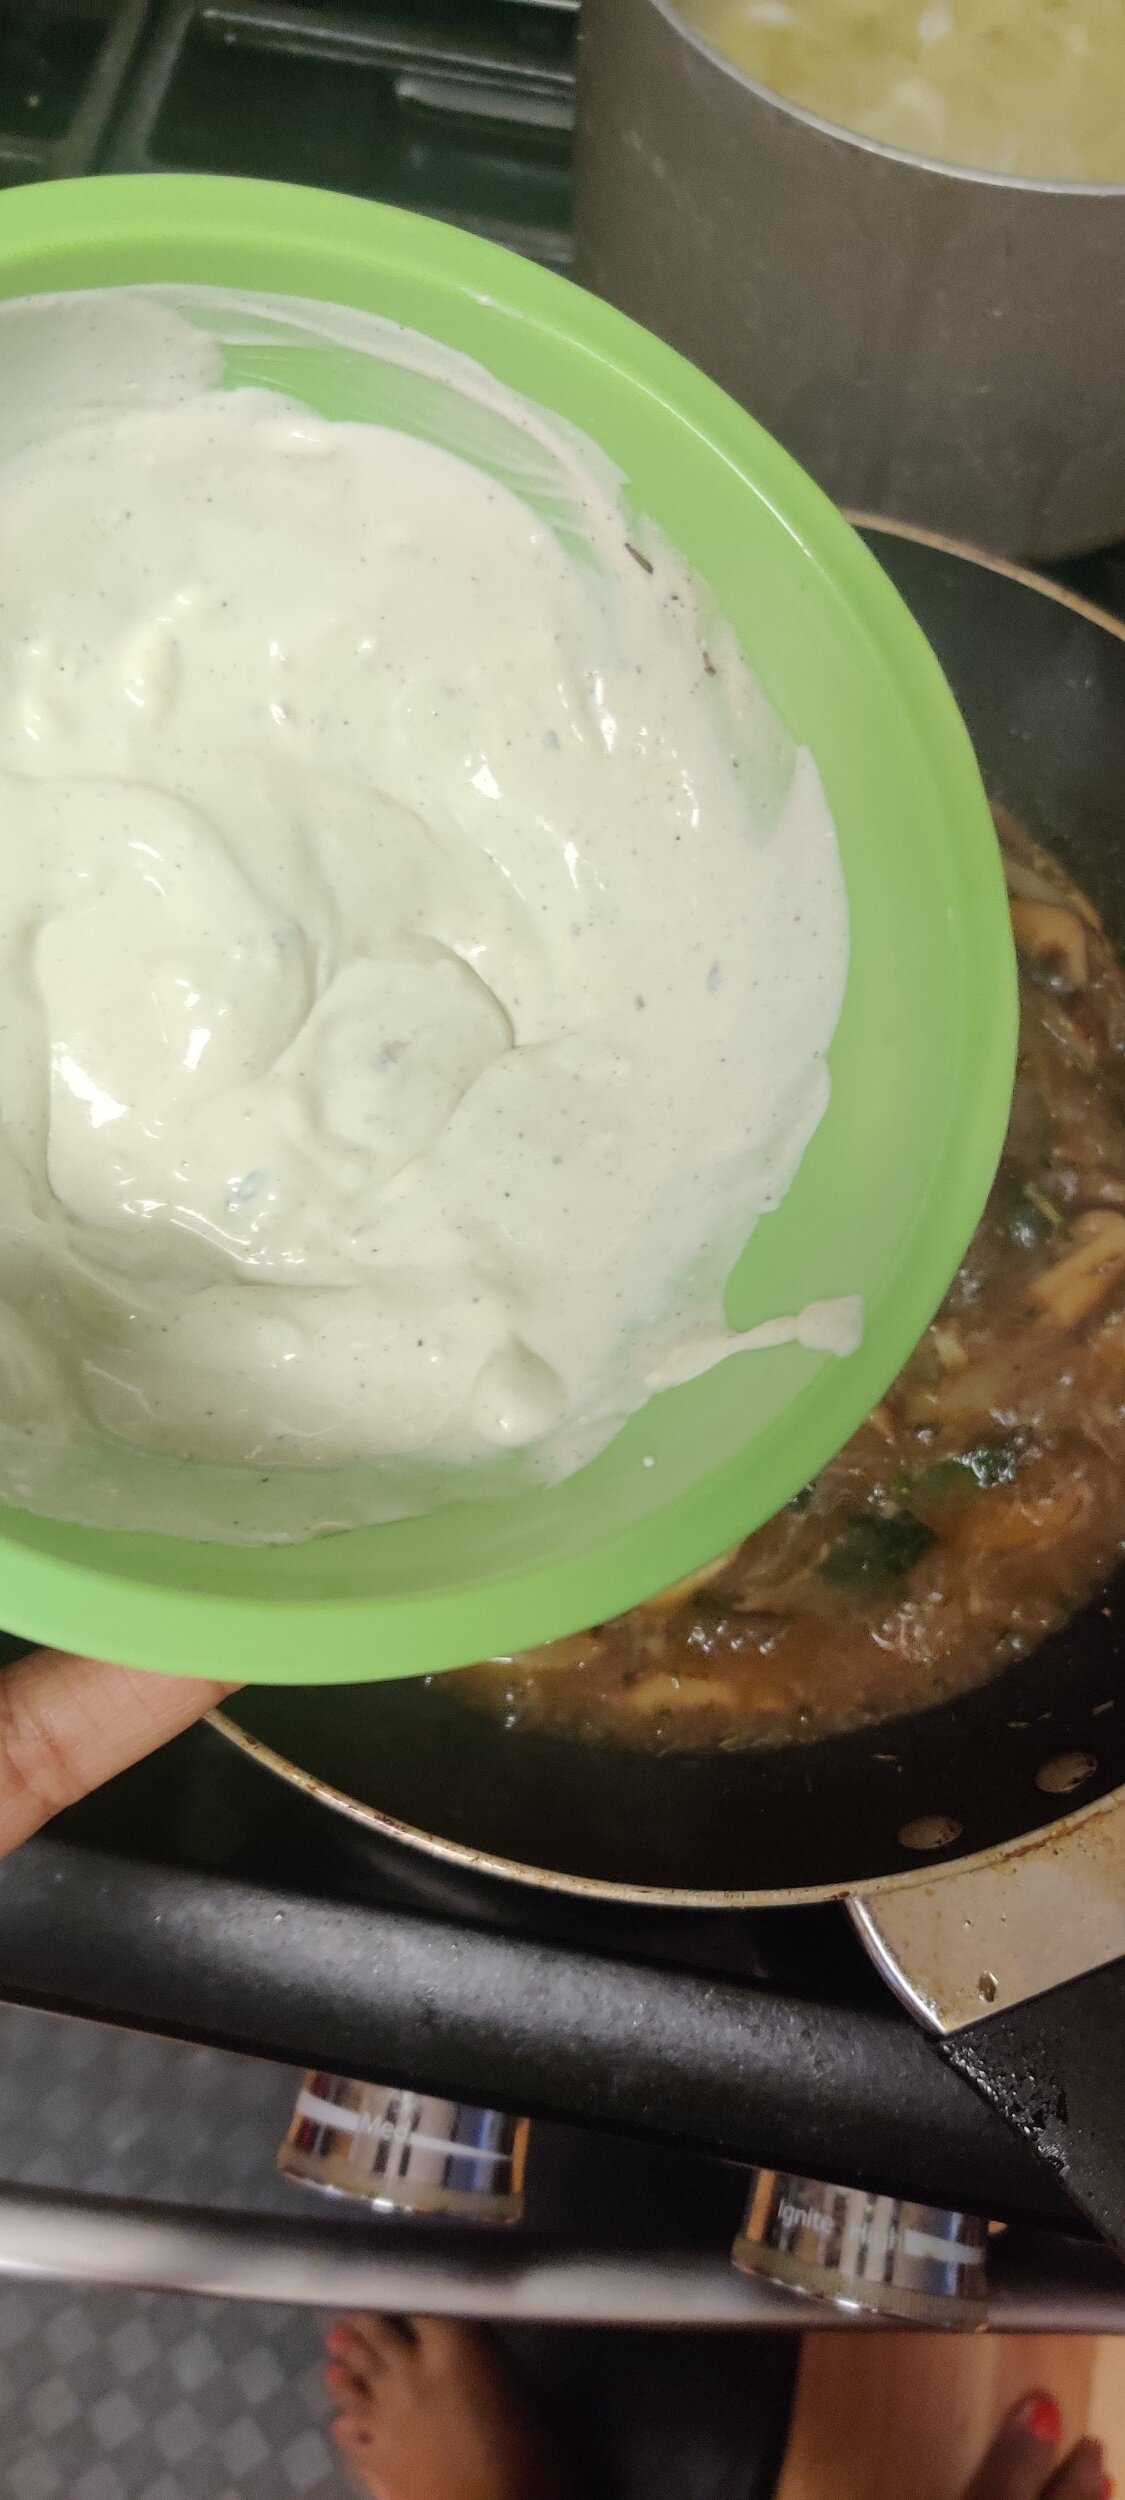
You won’t want to skip the step where you mix the sour cream with a bit of broth - this helps to prevent the dairy product from curdling.

Mushroom Stroganoff
Ingredients
- 4-ounces mushrooms (mix of shitake, oyster, and cremini)
- 1 teaspoon salt
- 3 tablespoons peanut oil
- 1/3 of a poblano pepper
- 1 tablespoon black pepper
- 1 tablespoon truffle oil
- 2 tablespoons cooking wine
- 1/4 cup sour cream
- 1 teaspoon dried thyme
- 1 tablespoon fresh rosemary
- 1 teaspoon cumin
- 1 teaspoon chili flakes
- 1 teaspoon fenugreek powder
- 1 cup beef broth (or 1 bouillon cube + 1 cup water)
- 1/2 yellow onion
- 2 cups egg noodles
Instructions
- Slice the onions lengthways and sauté in a pan with the mushrooms, rosemary, dried thyme, cumin, fenugreek, chili flakes, salt, pepper and the poblano pepper in peanut oil. Cook for about 10 minutes to sweat out the mushrooms and caramelize the onions.
- Drizzle the truffle oil then deglaze the pan with the cooking wine.
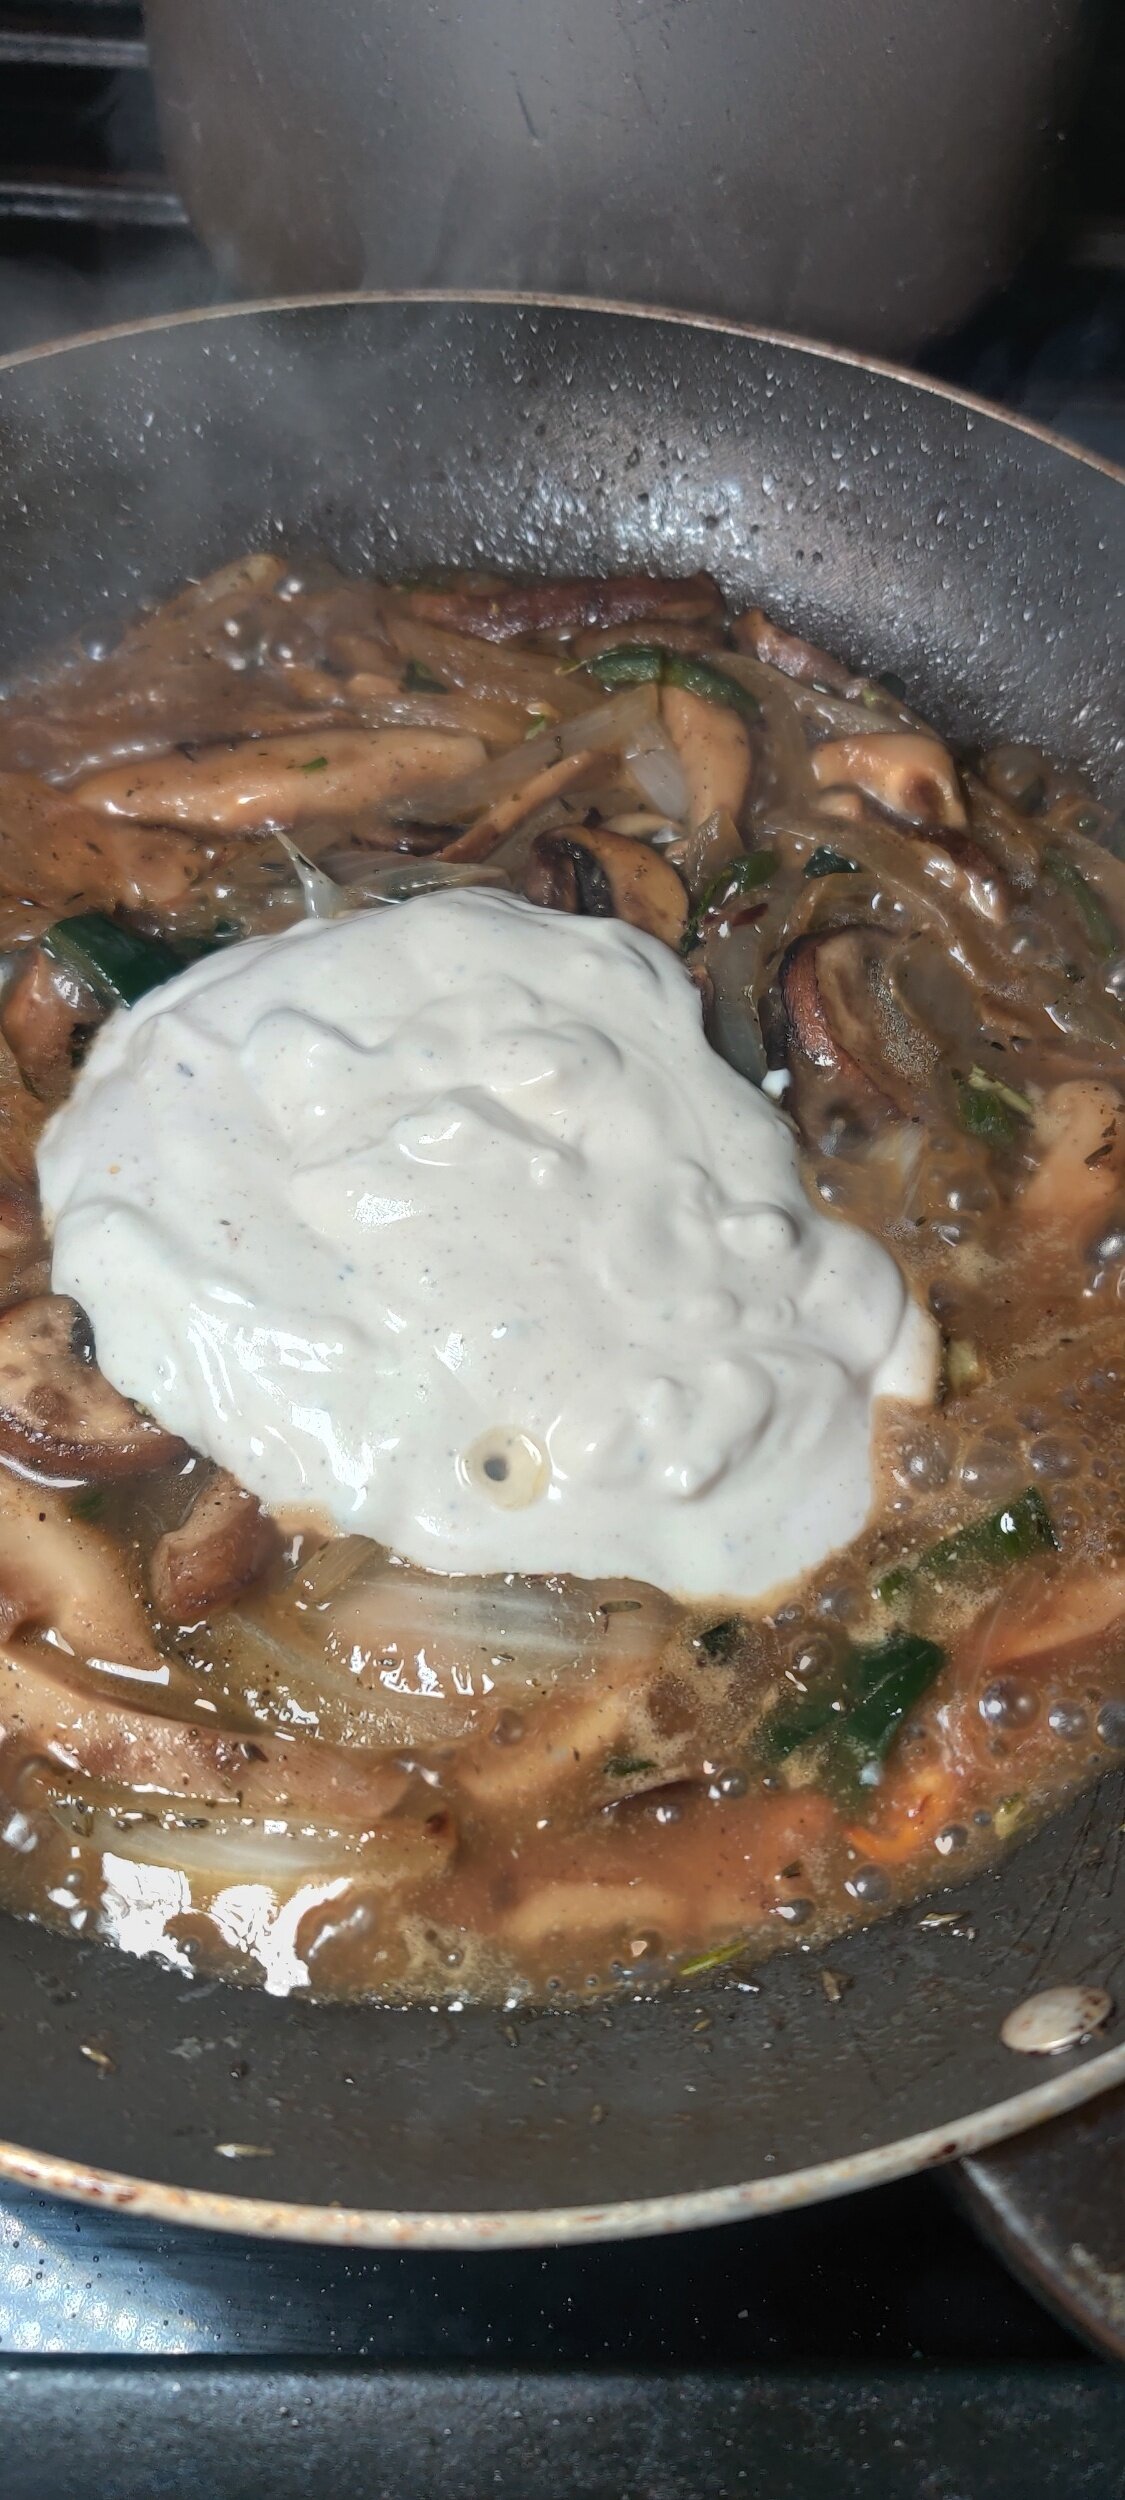
- Add the broth and simmer for 2-3 minutes. Scoop out about 2 tablespoons of the broth and mix it with the sour cream. Add it back to the mushrooms and mix well.
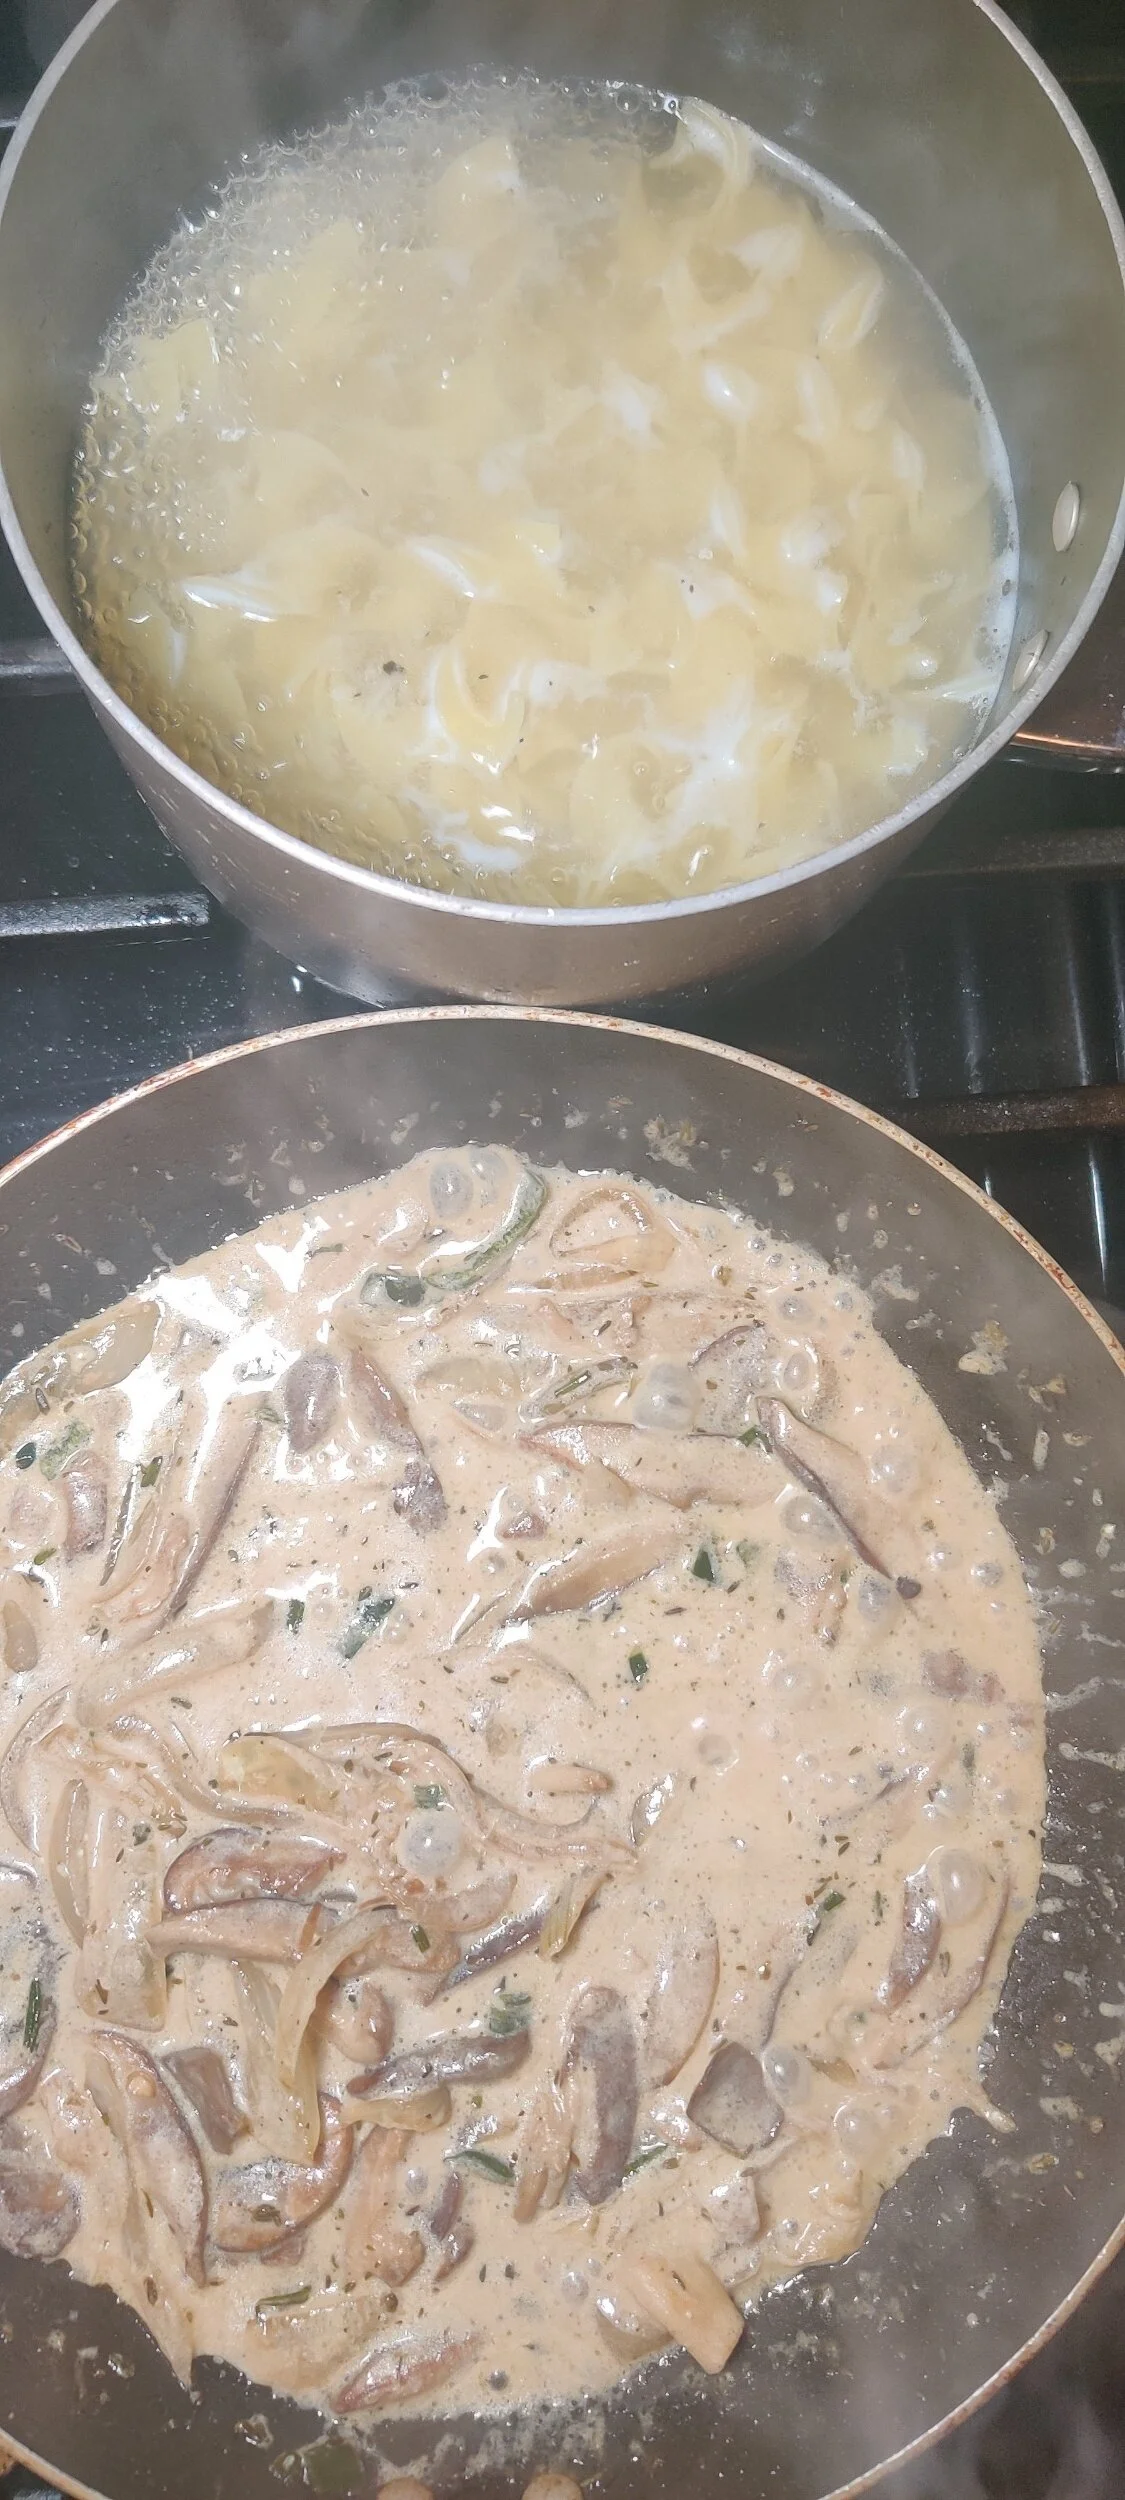
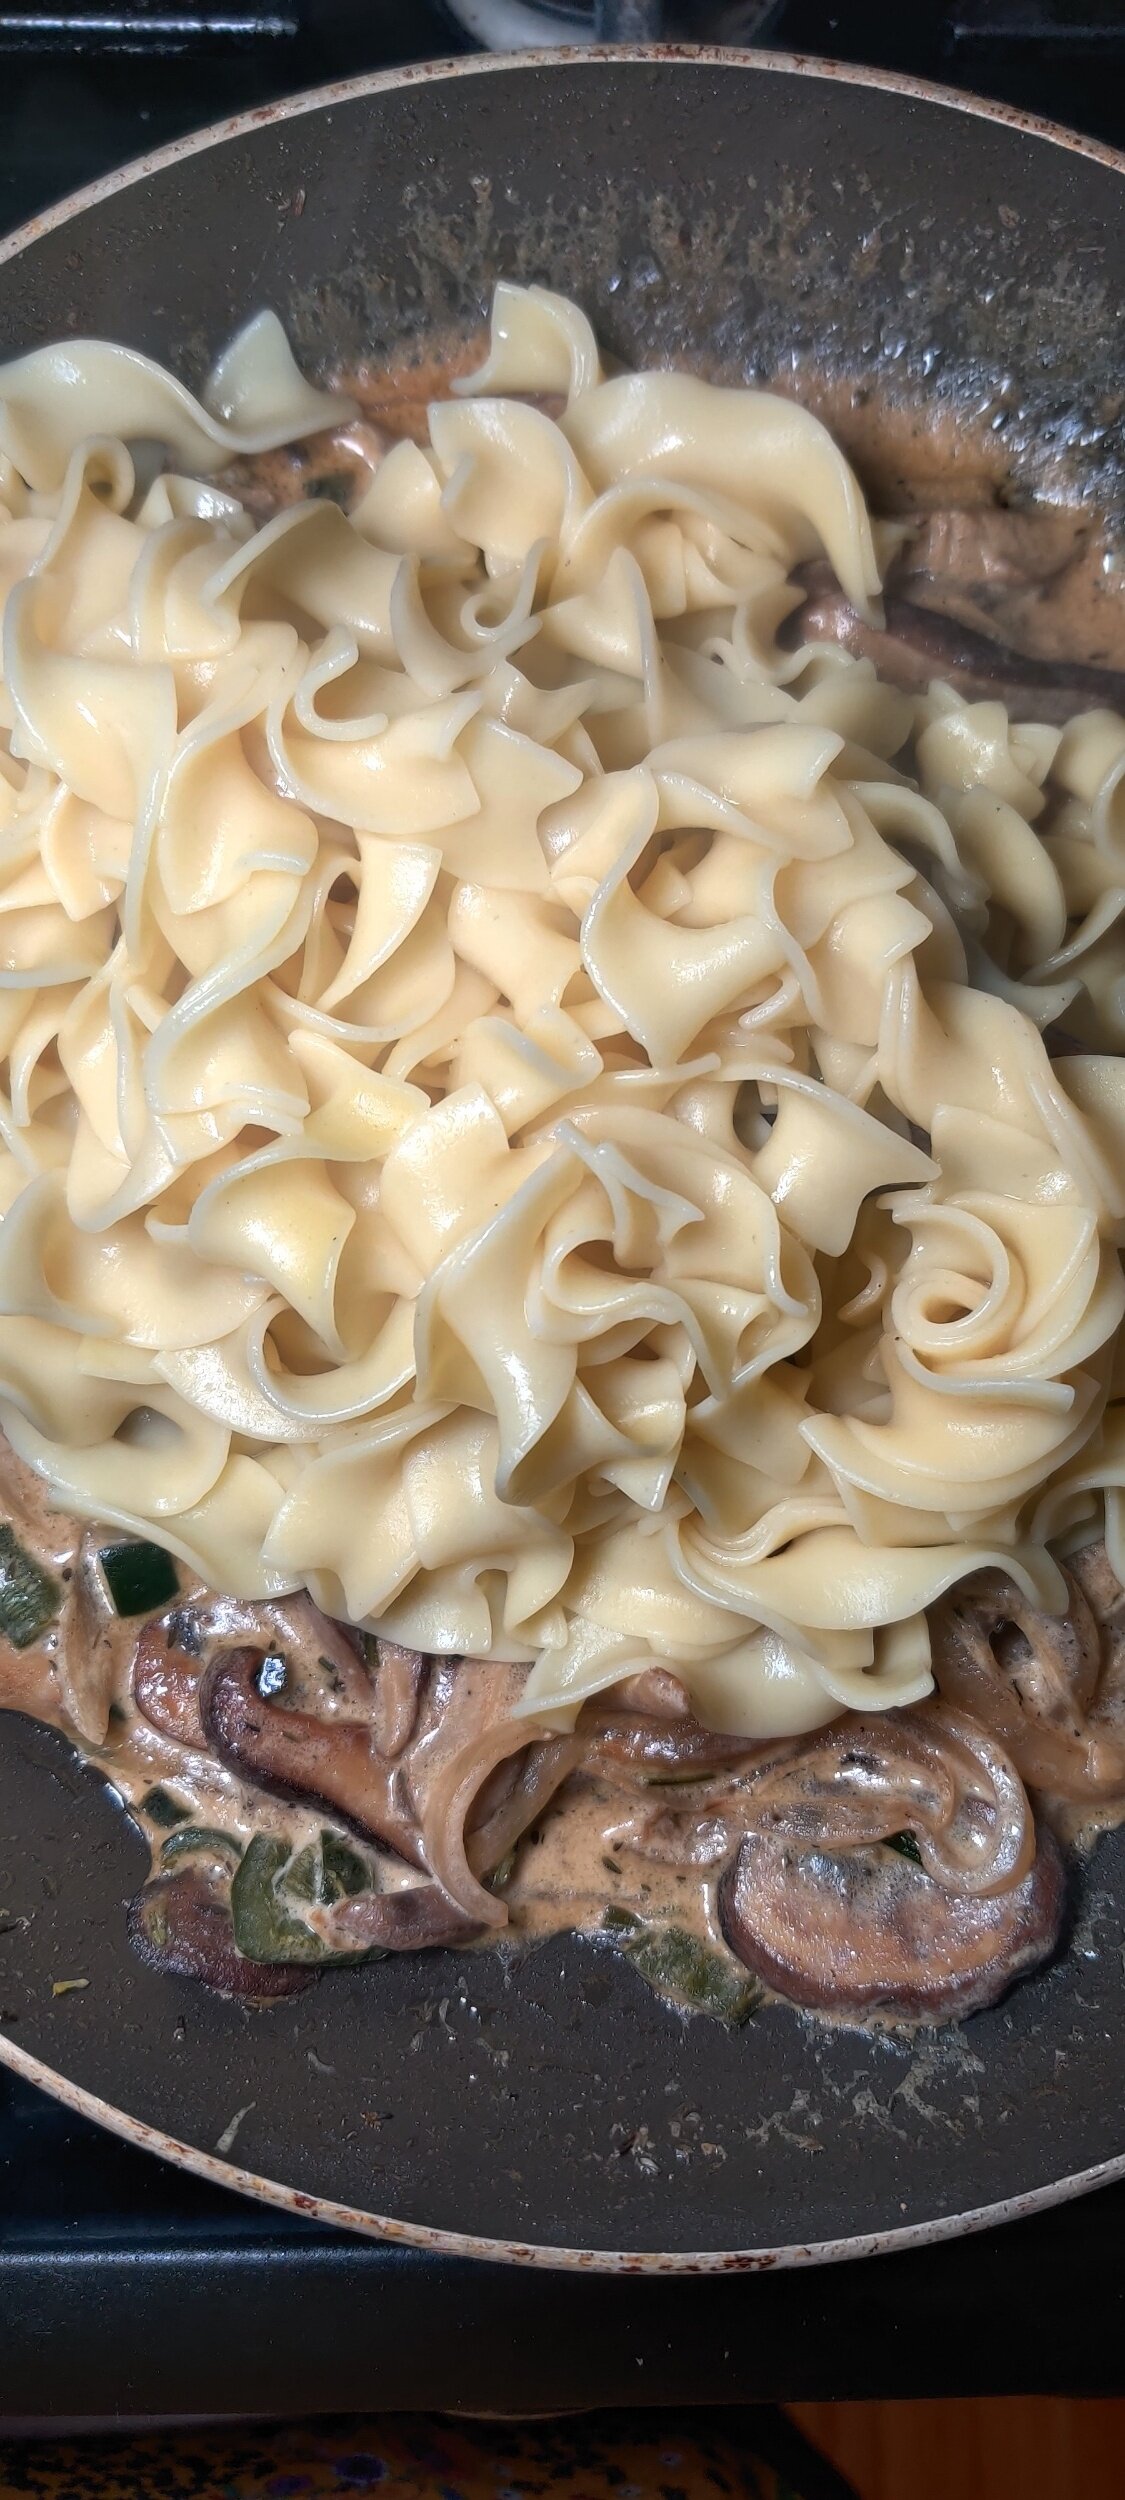
- Prepare the noodles as instructed on the bag, wait to drain until you combine with the mushrooms.
- Mix the noodles in with the creamy mushroom mixture. Season with additional black pepper and chili flakes.
Nutrition Facts
Calories
600Fat (grams)
38.1Carbs (grams)
51.7Protein (grams)
13.7
Pawpaw Sorbet
This recipe is the sixth of six plates I would serve if asked to make a 6-course meal or string of small plates/tapas based on Zimbabwean cuisine. I used ingredients that are commonly eaten or are considered a cornerstone of our cooking, but with a modern twist. The first was sweet potato soup, the second tomato bruschetta with guava balsamic glaze, the third fried sadza with chili creamed corn, the fourth Portobello steak with acorn squash and greens and the fifth mango, avocado and cucumber salad.
One of the most refreshing fruits there are. More so than watermelon or even pineapple. Pawpaws - or papaya - depending on how accurate you want to be or where you grew up - have a subtle sweetness that can be manipulated into delicious desserts. They are also known for their beneficial properties to the skin, but I simply knew them as a tropical fruit that happened to grow in our garden for a time.
One of the most refreshing fruits there are. More so than watermelon or even pineapple. Pawpaws - or papaya - depending on how accurate you want to be or where you grew up - have a subtle sweetness that can be manipulated into delicious desserts. They are also known for their beneficial properties to the skin, but I simply knew them as a tropical fruit that happened to grow in our garden for a time. This sorbet is light and a perfect finish to a series of savoury plates, especially for those who do not want to indulge in something overly decadent.
The simplicity speaks to the approach I find to dominate the Zimbabwean kitchen, which is the simplest preparation possible, bordering on blandness. However, if done right and with fresh ingredients, can help you to appreciate and focus on the taste of the main ingredient - in this case, the pawpaw.
Both natural sweeteners enhance the sugar in the fruit, but I used both since they lower on the intensity scale. The berry flavour adds another dimension other than the pawpaw to give the sorbet a bit of an edge.
Ingredients
1 pawpaw/papaya
2 tablespoons honey
1/4 cup berry syrup
1 teaspoon lemon juice
4 tablespoons water


Instructions
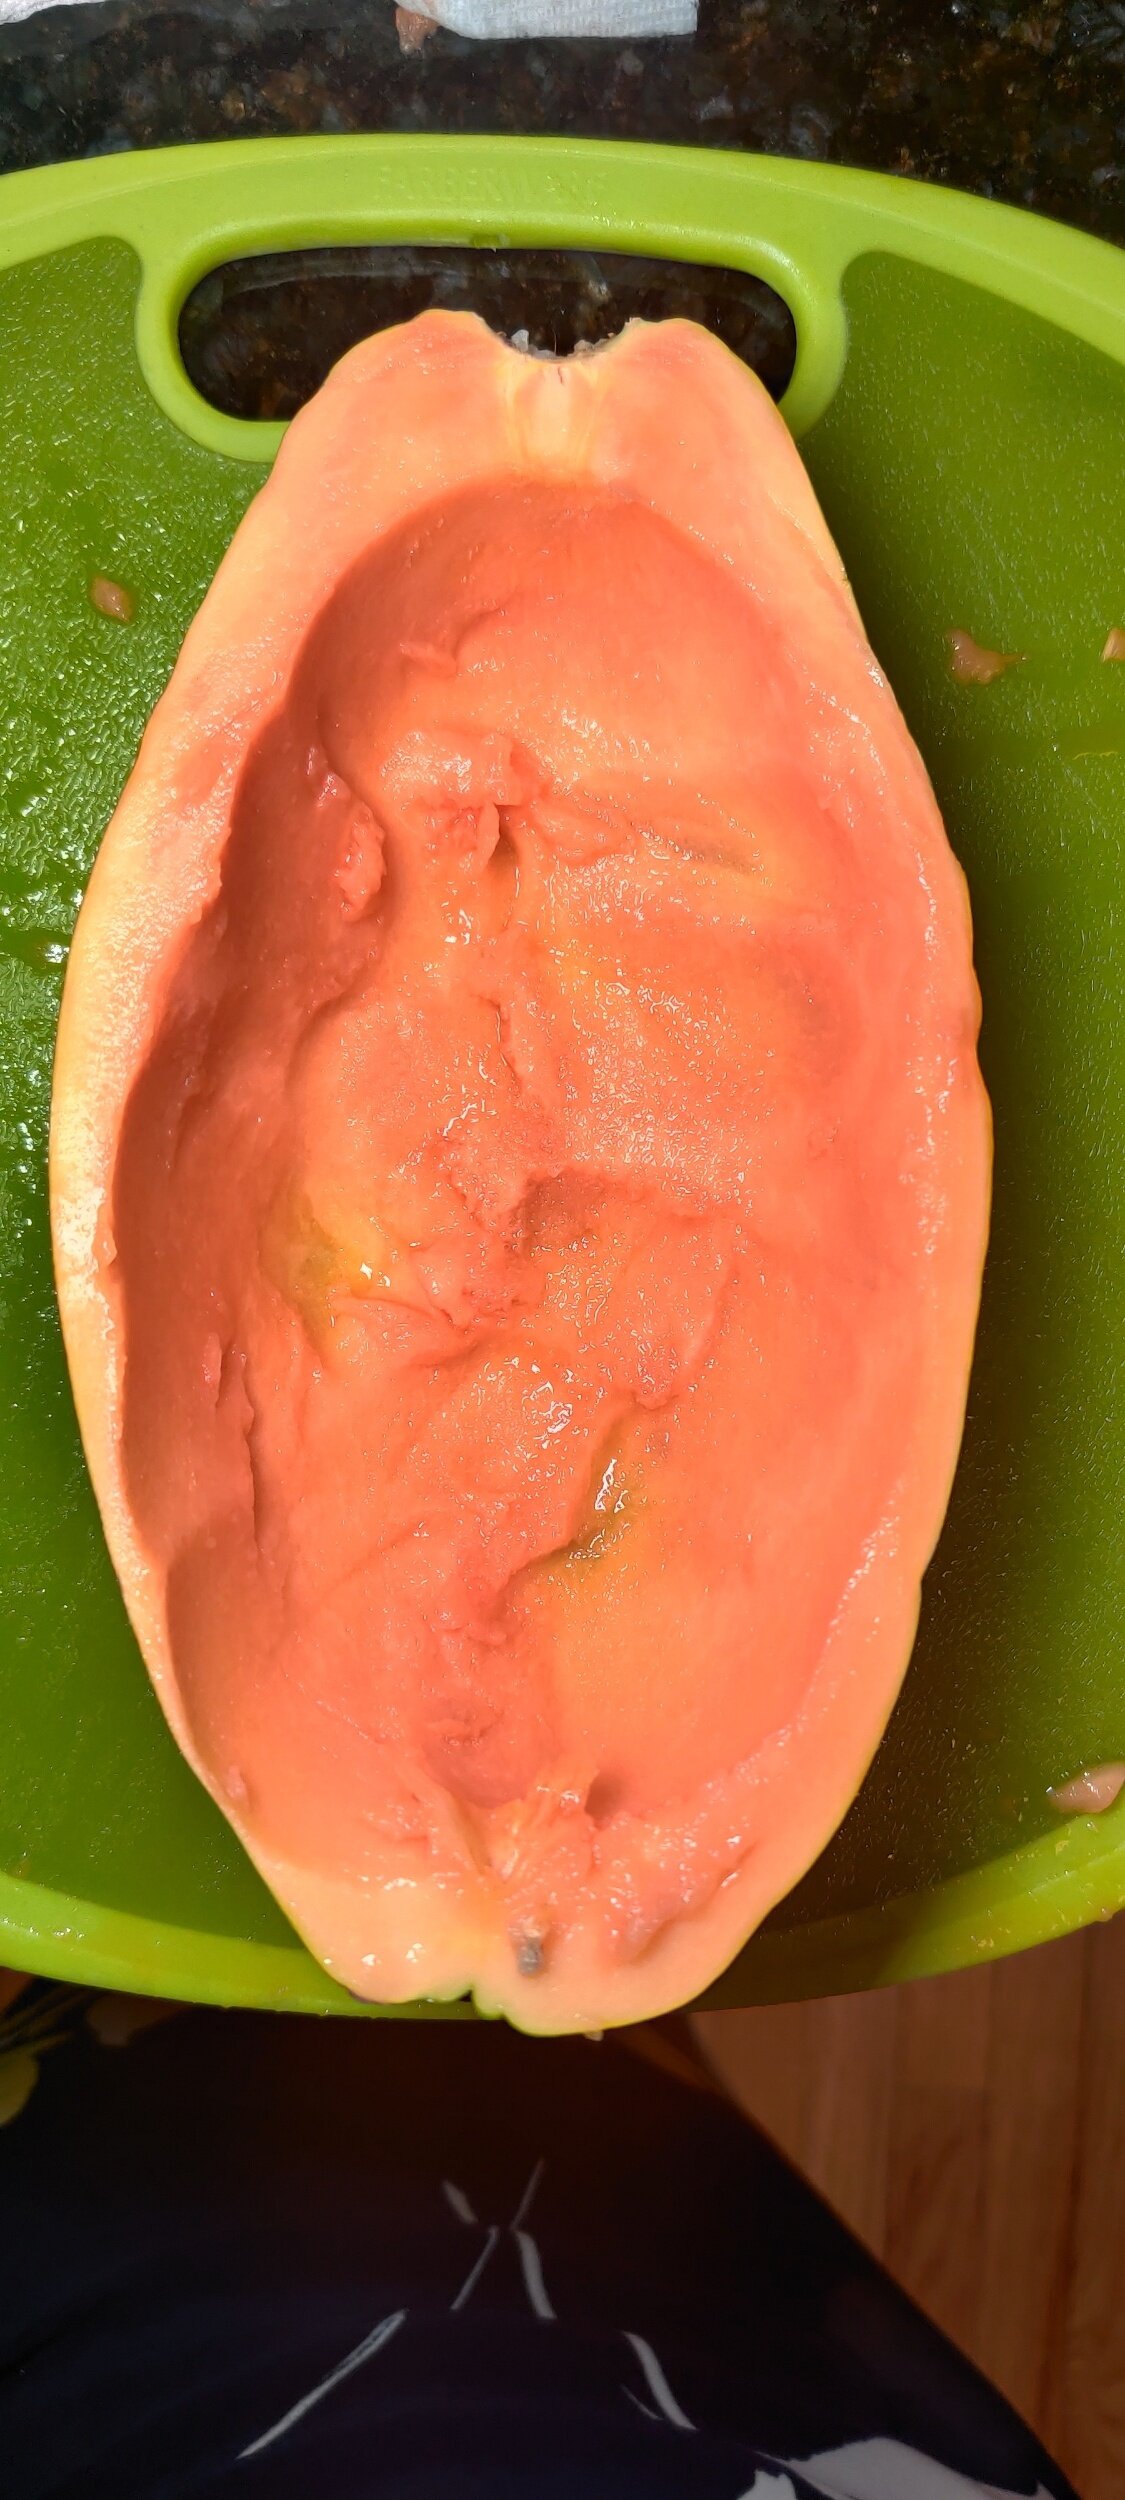
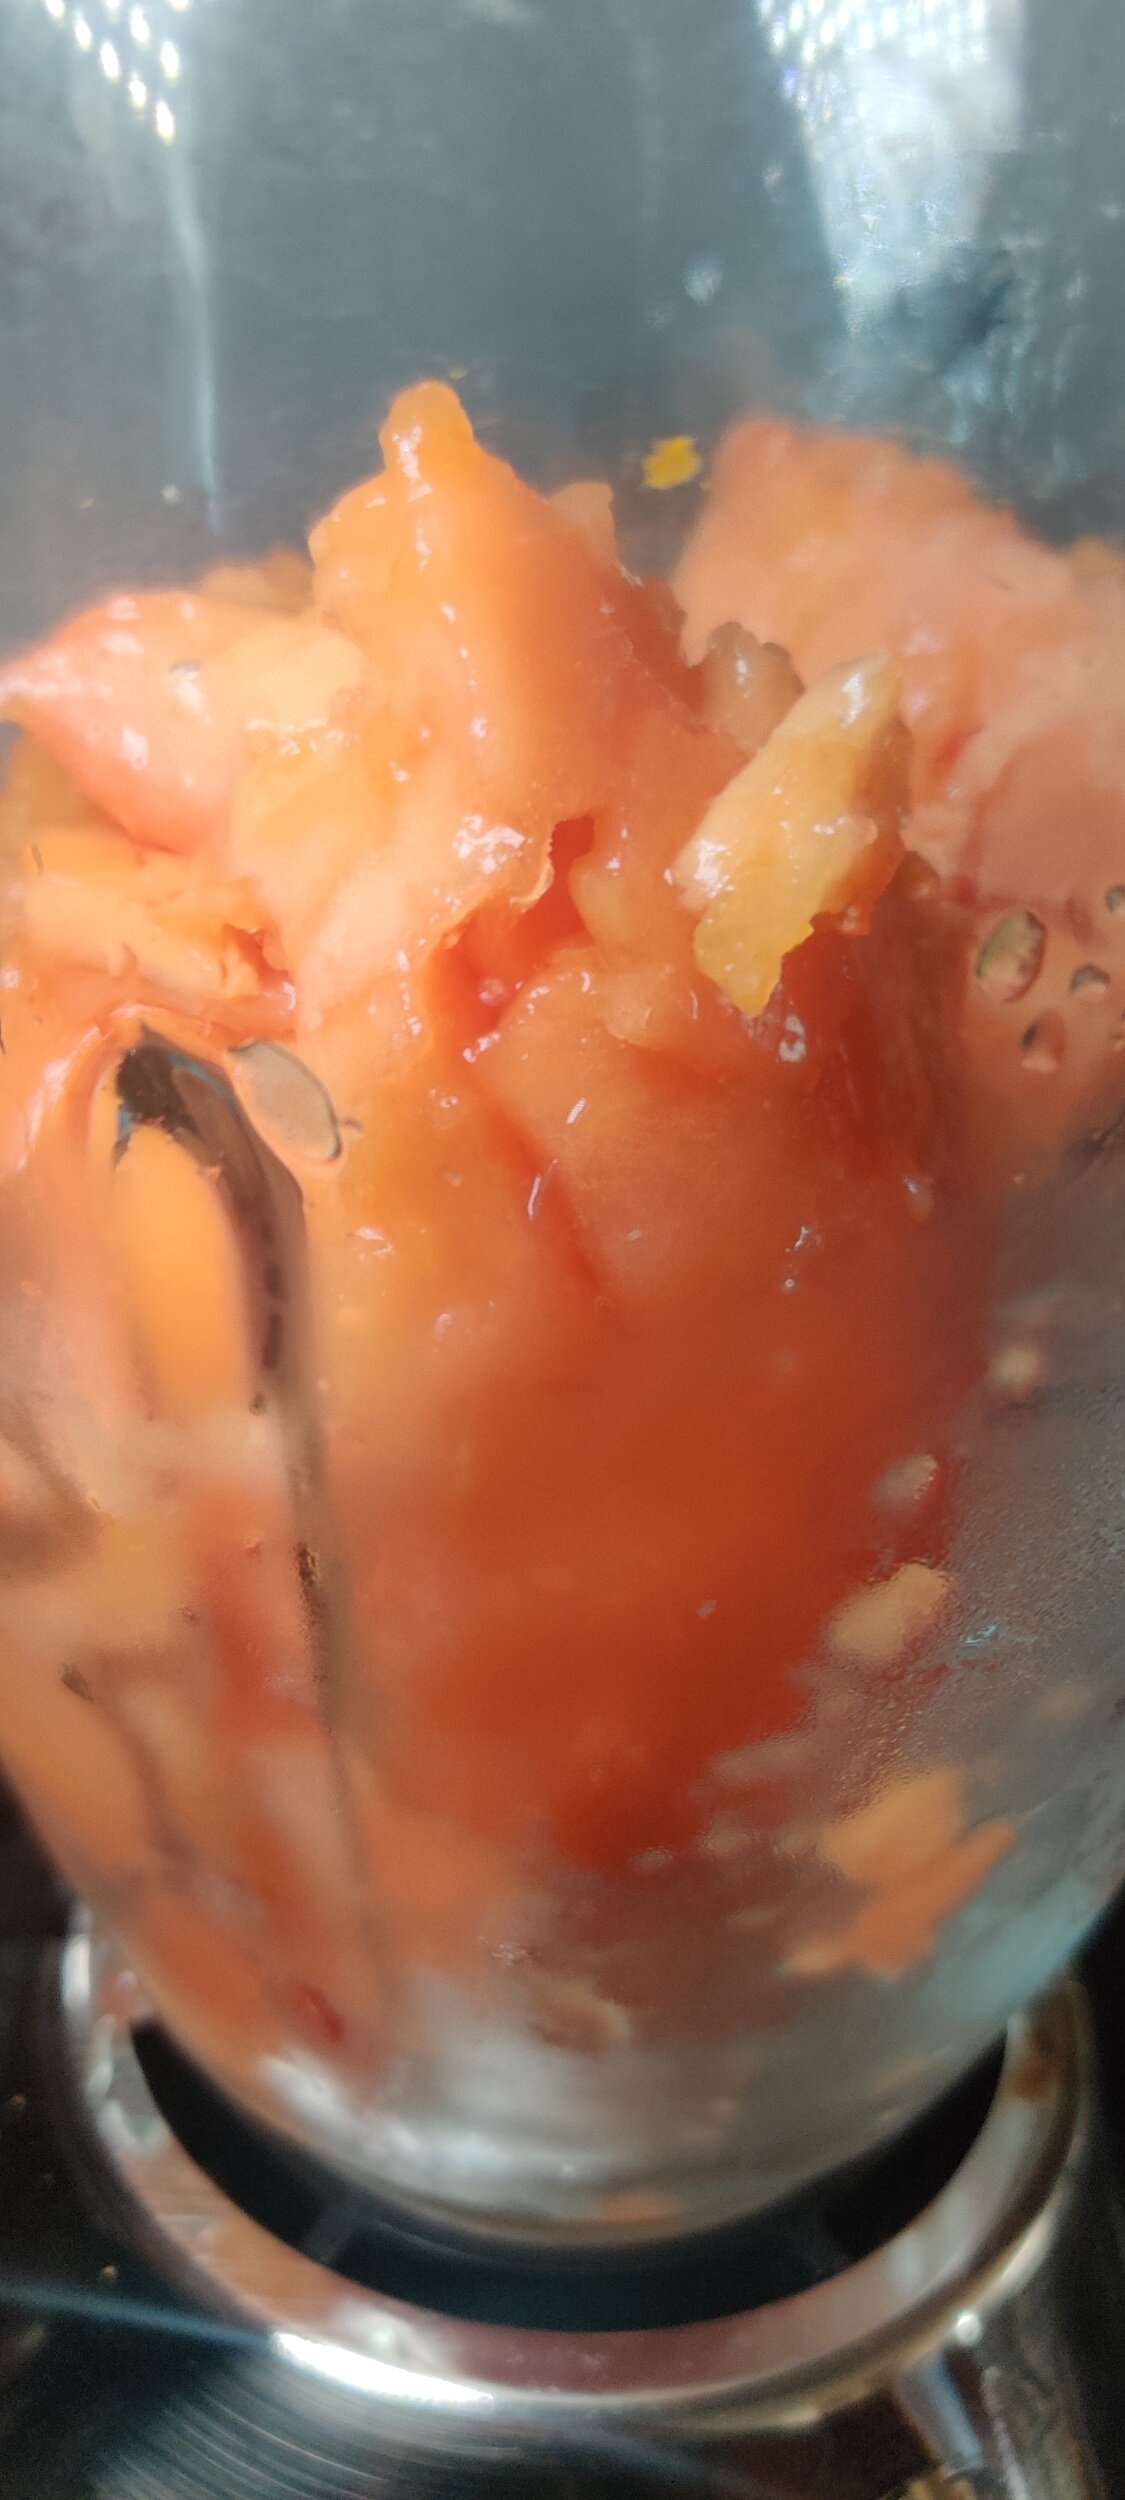
Slice the pawpaw in half, then remove the seeds and fibers. Keep one or both of the skins for serving purposes.
Roughly chop the pawpaw, place the pieces in a zip lock bag, then freeze
In a food processor or blender, blend the pawpaw pieces, adding the water a little at a time. As the sorbet smoothens, add the honey, lemon juice, and berry maple syrup. You can adjust the quantities to get the level of sweetness and texture you desire.
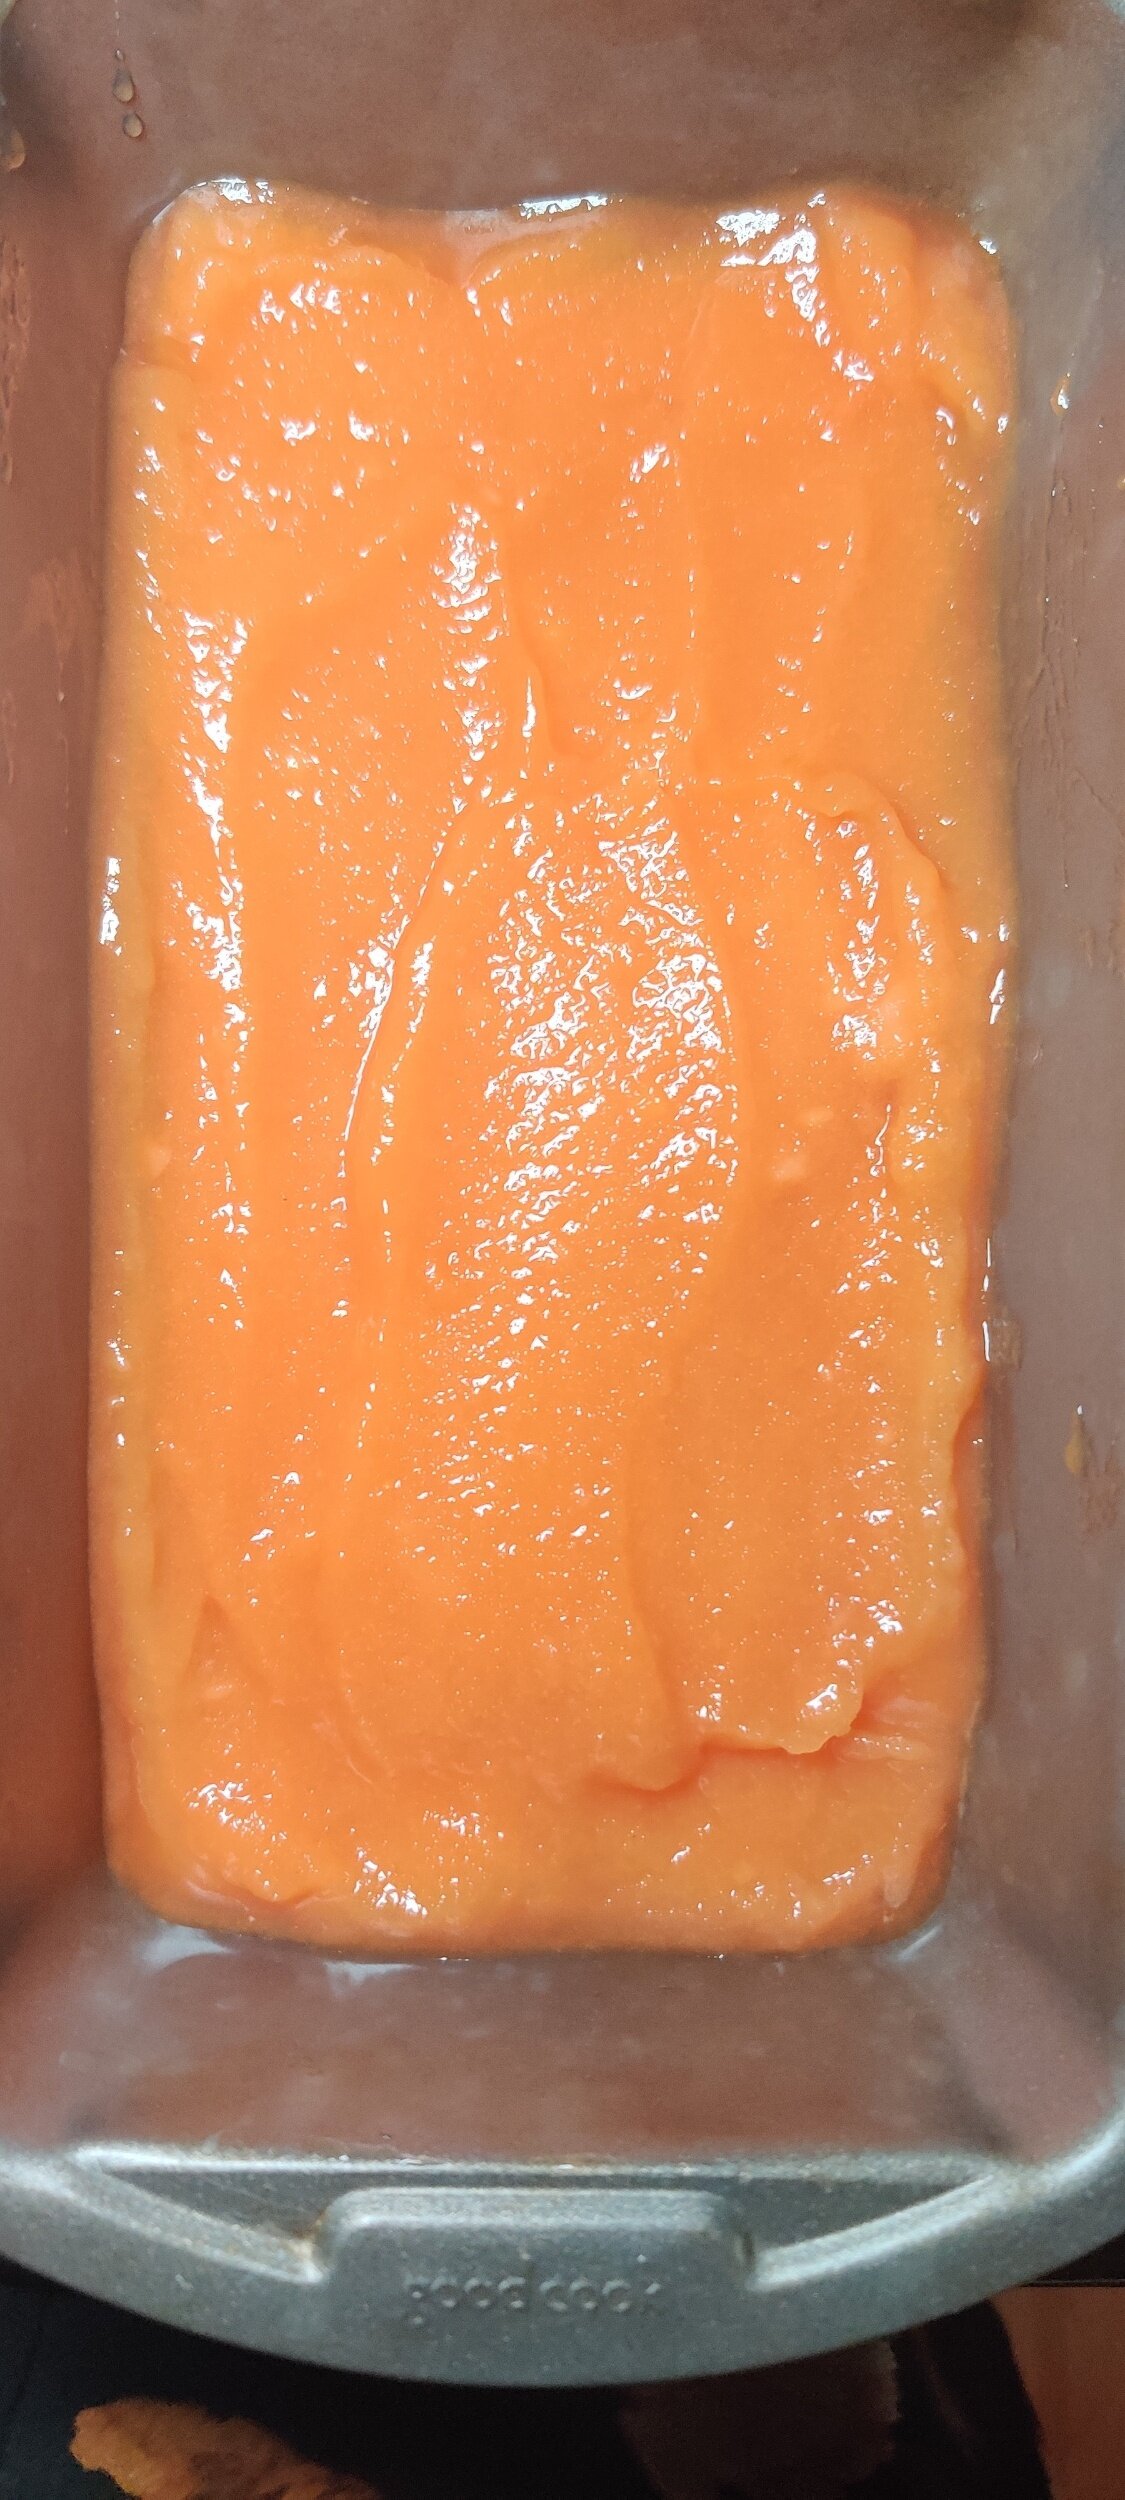
Scoop the mixture into a loaf tin, and freeze for at least 4 hours or overnight. Serve immediately.

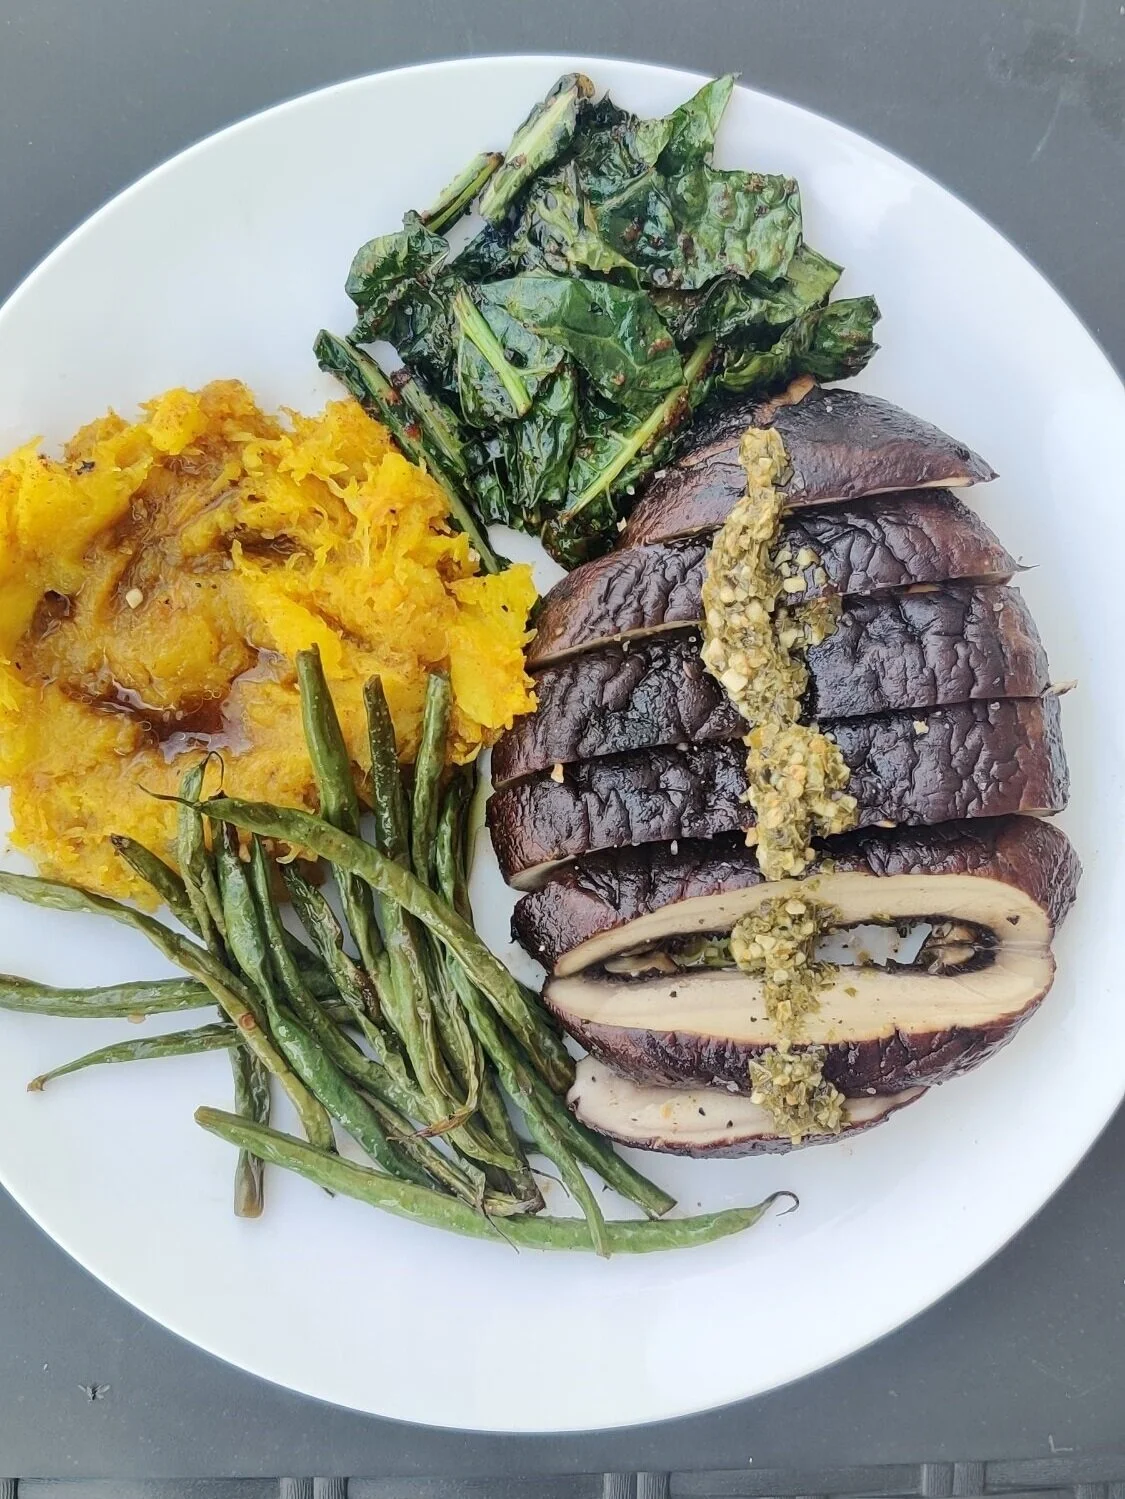
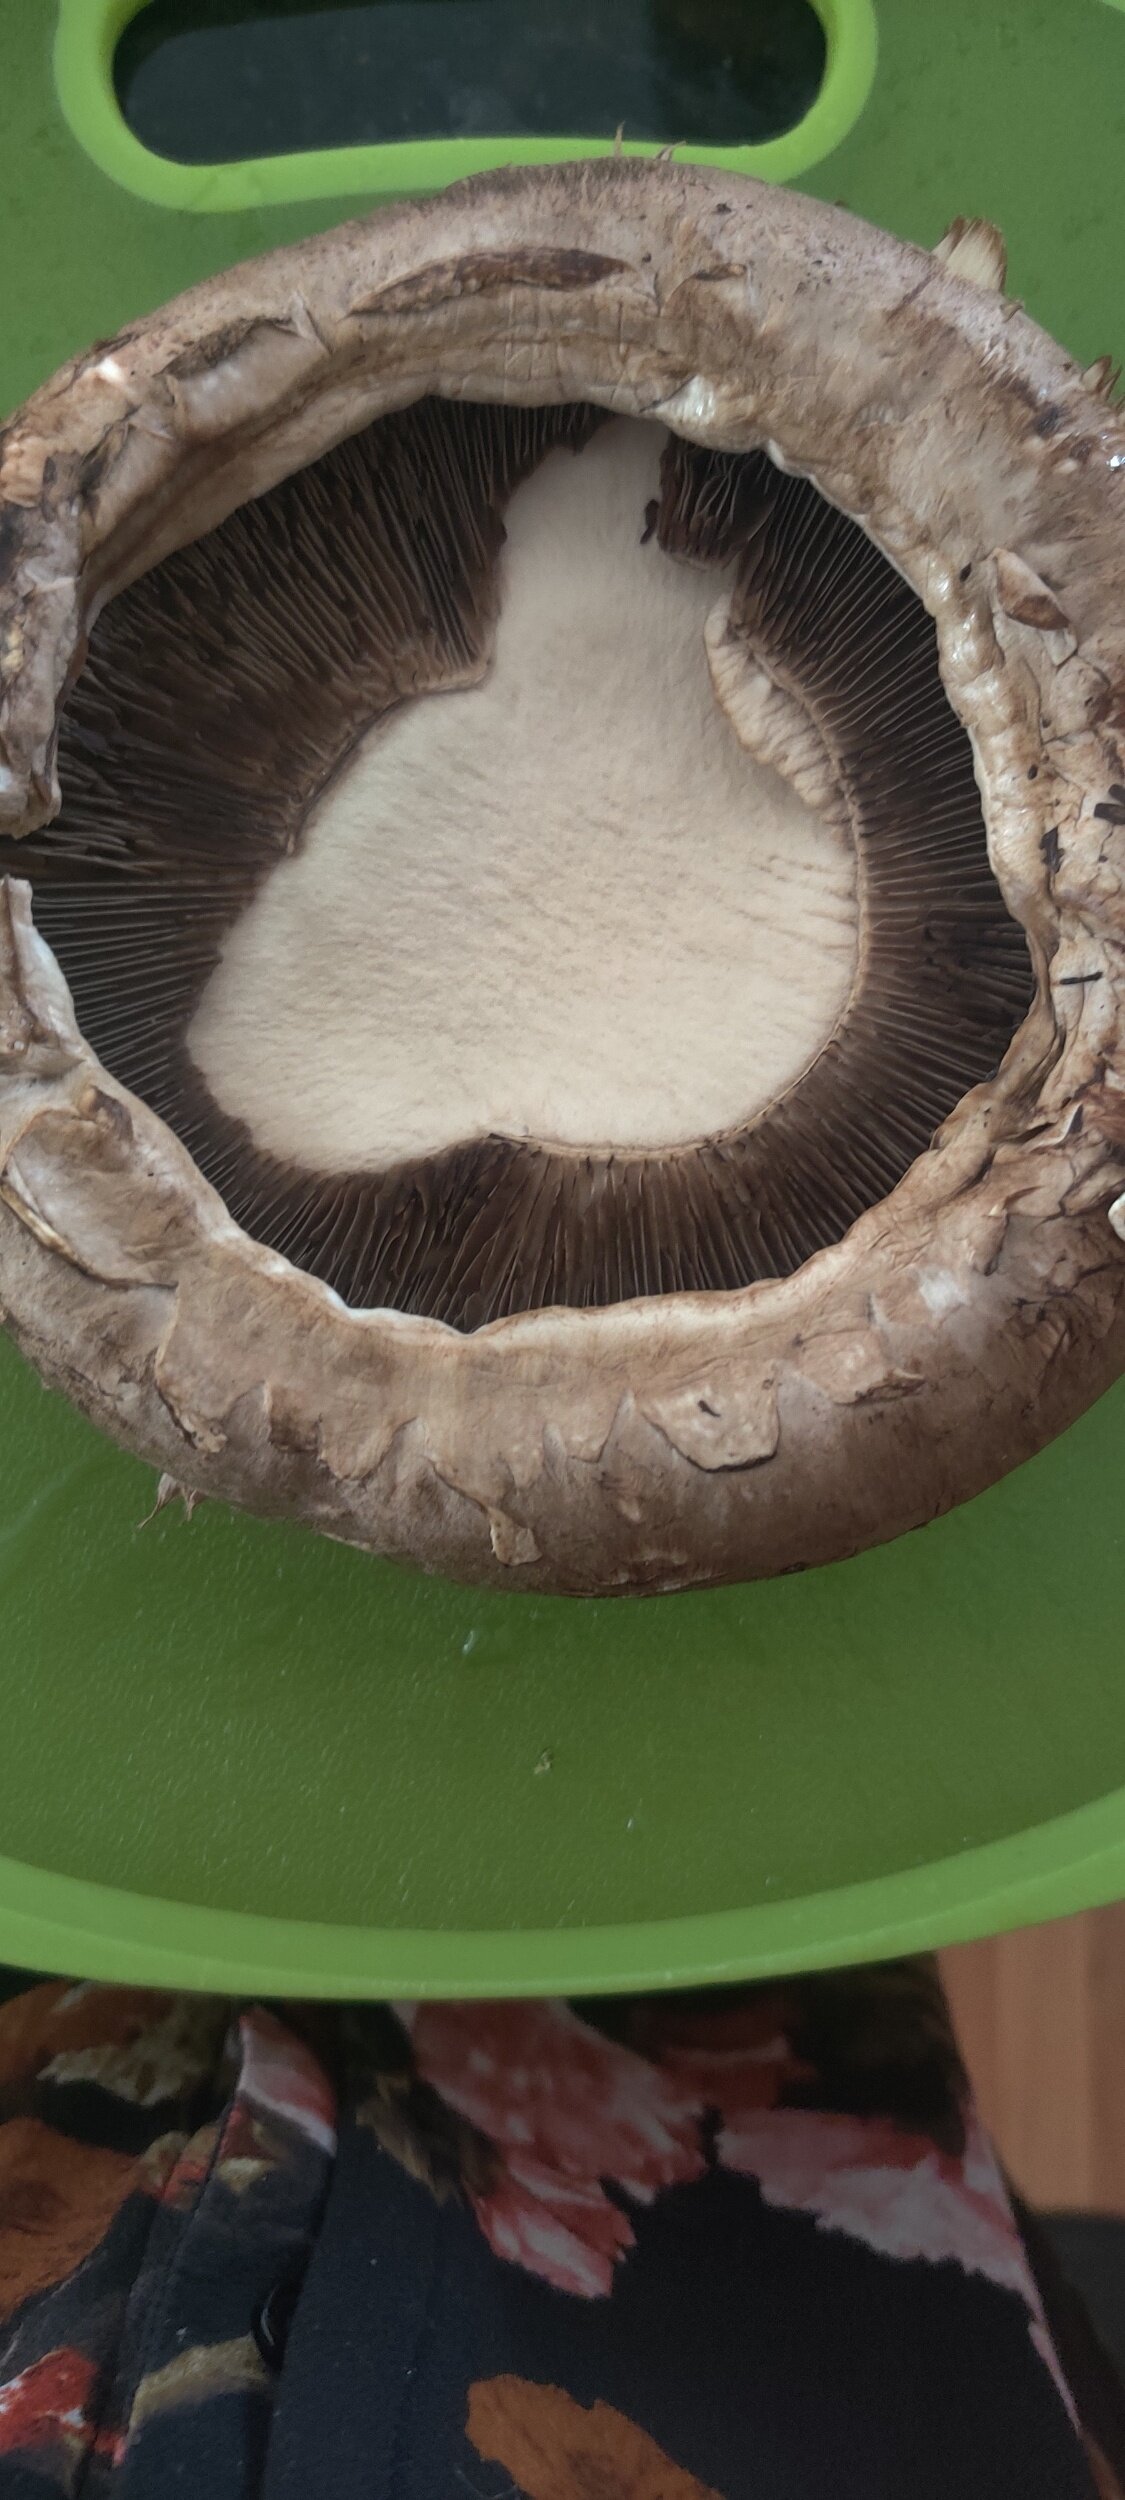
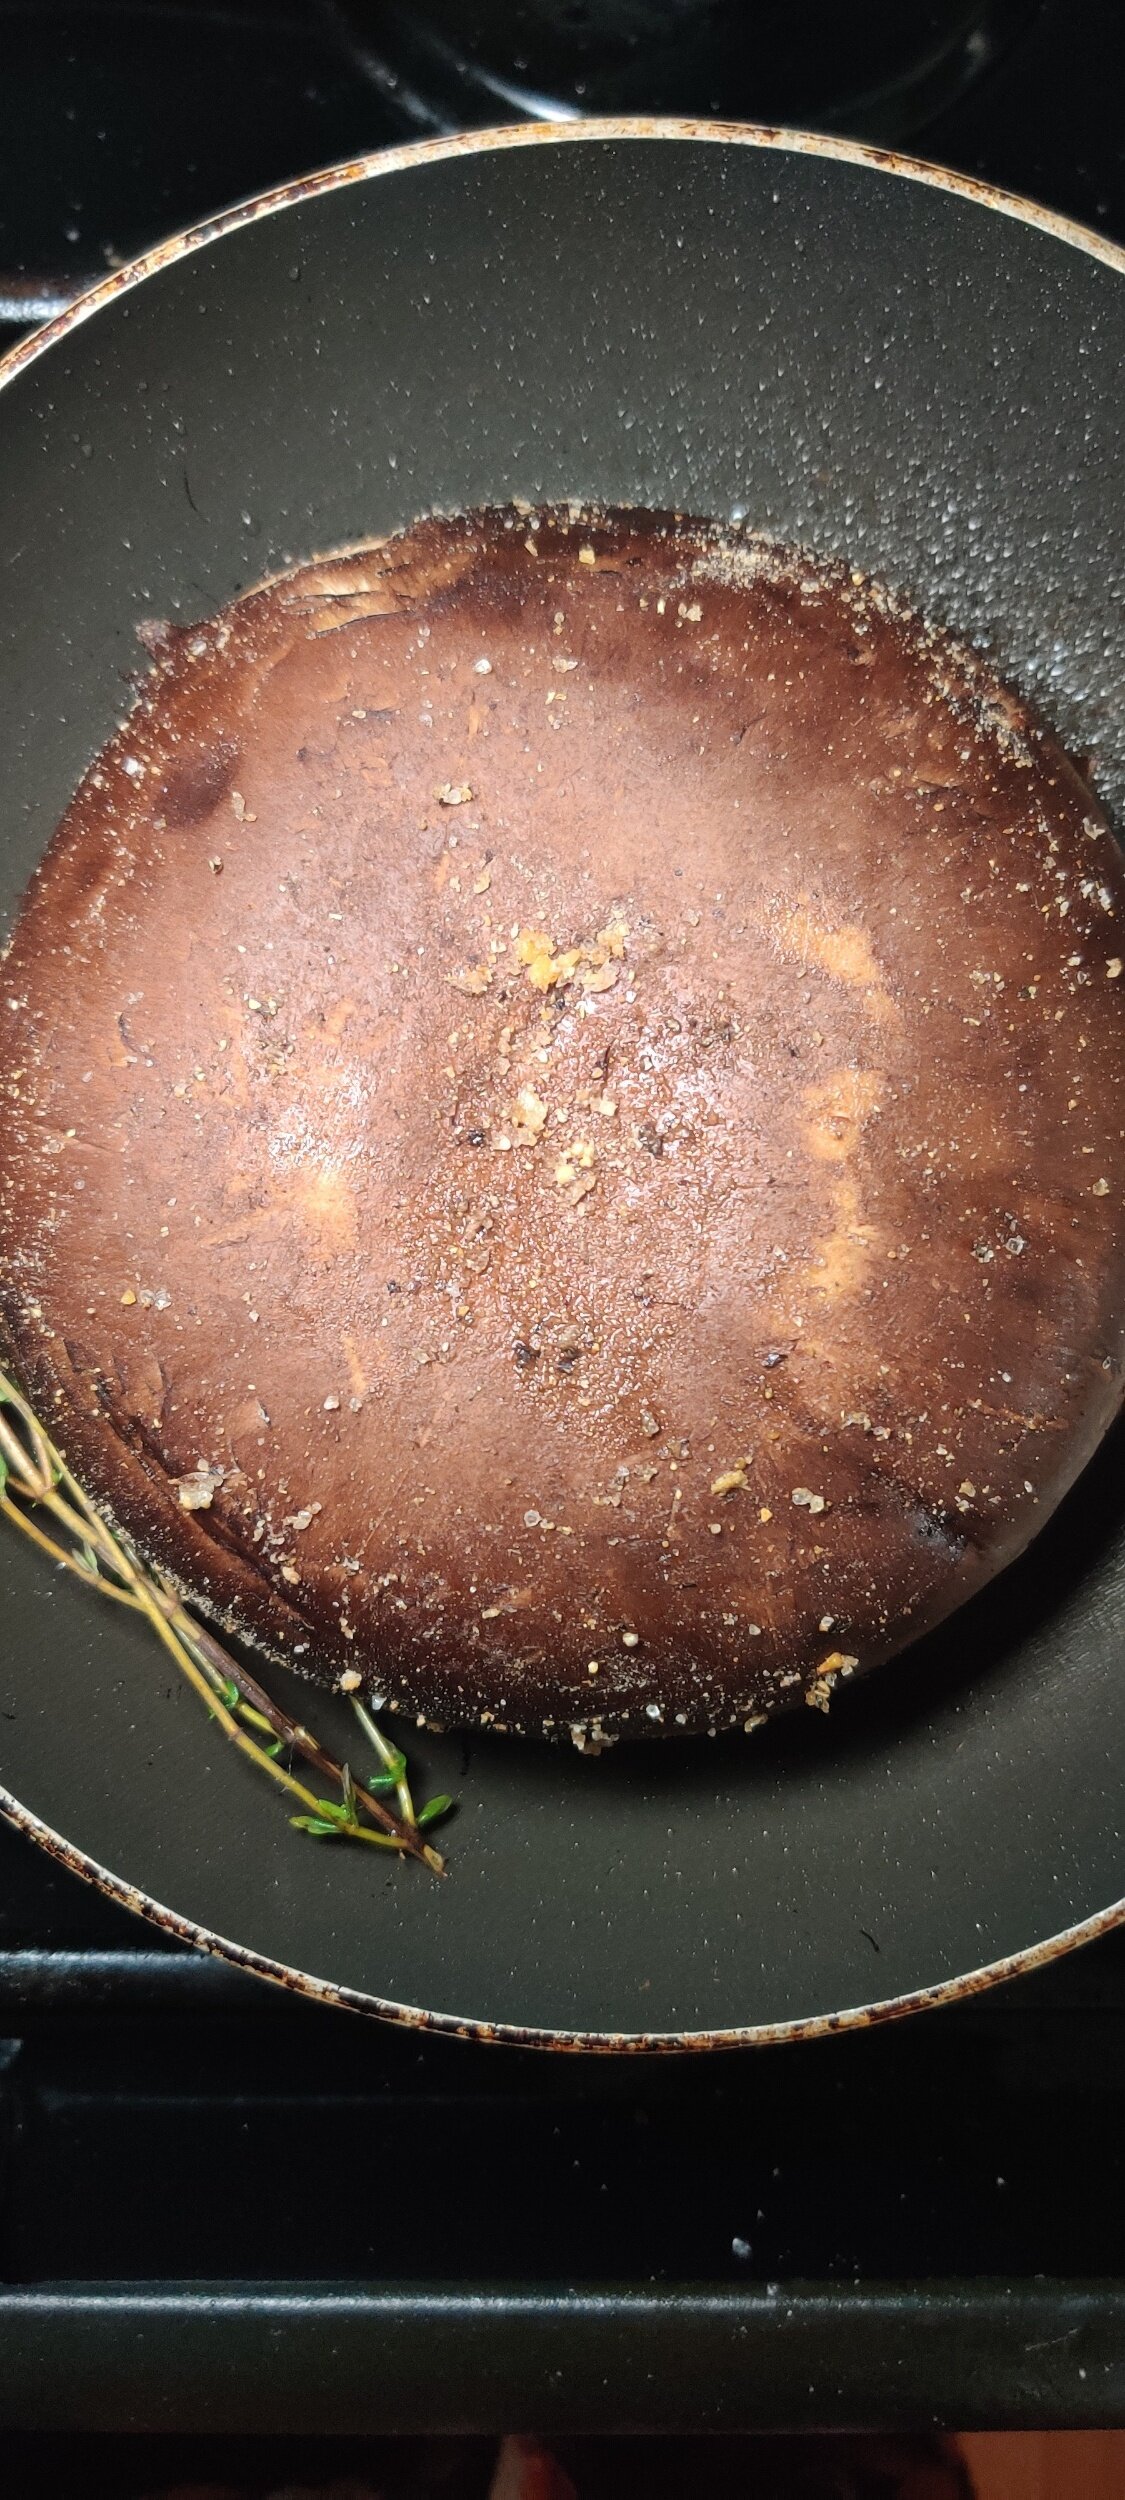
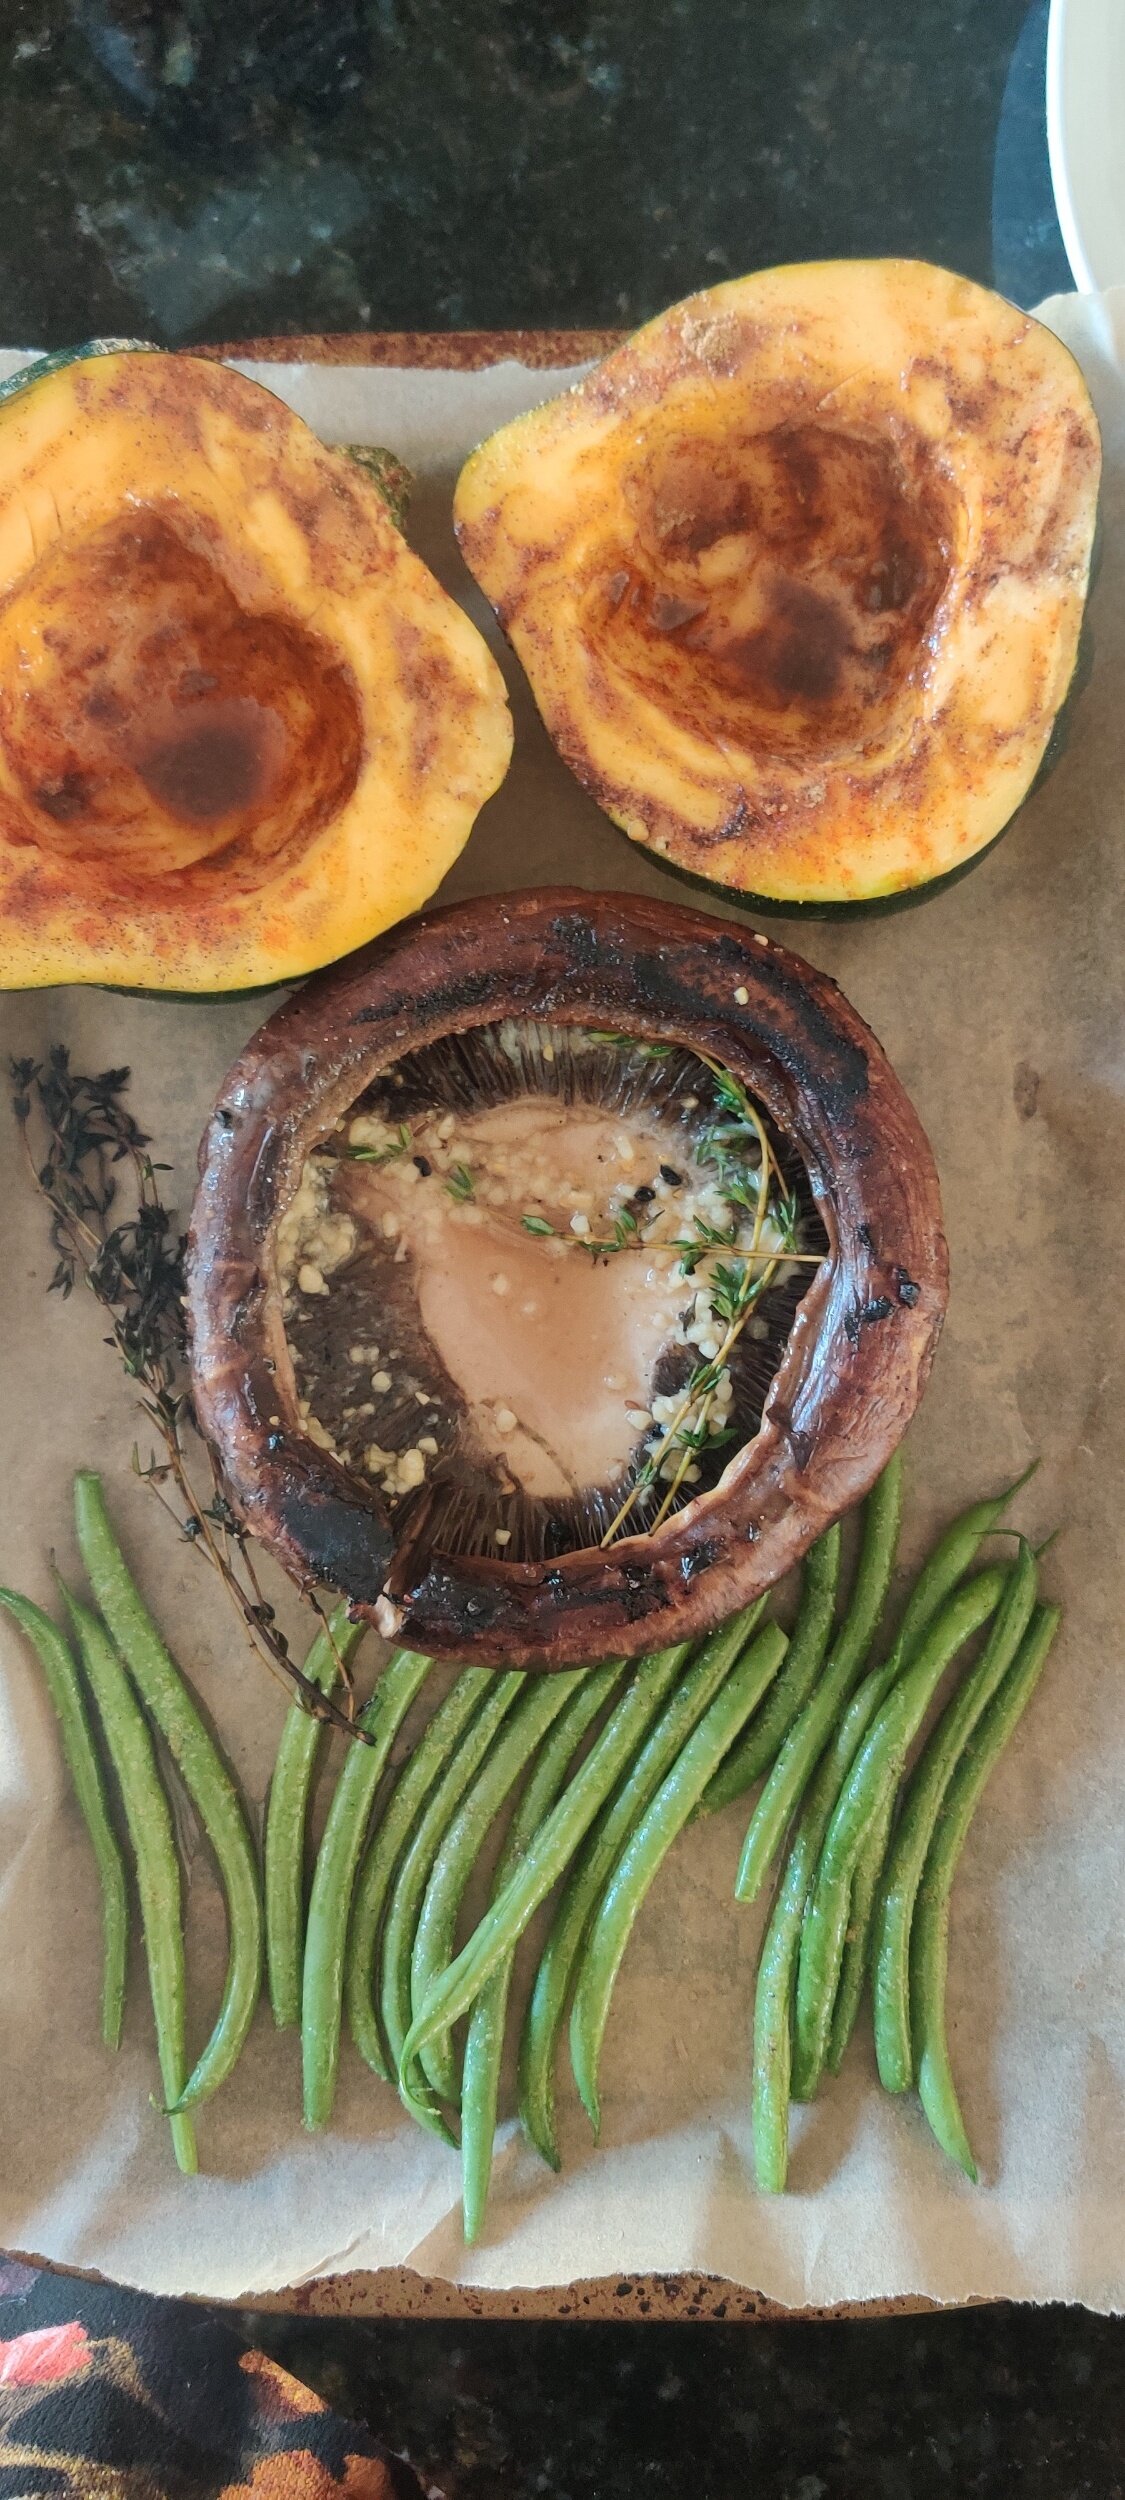
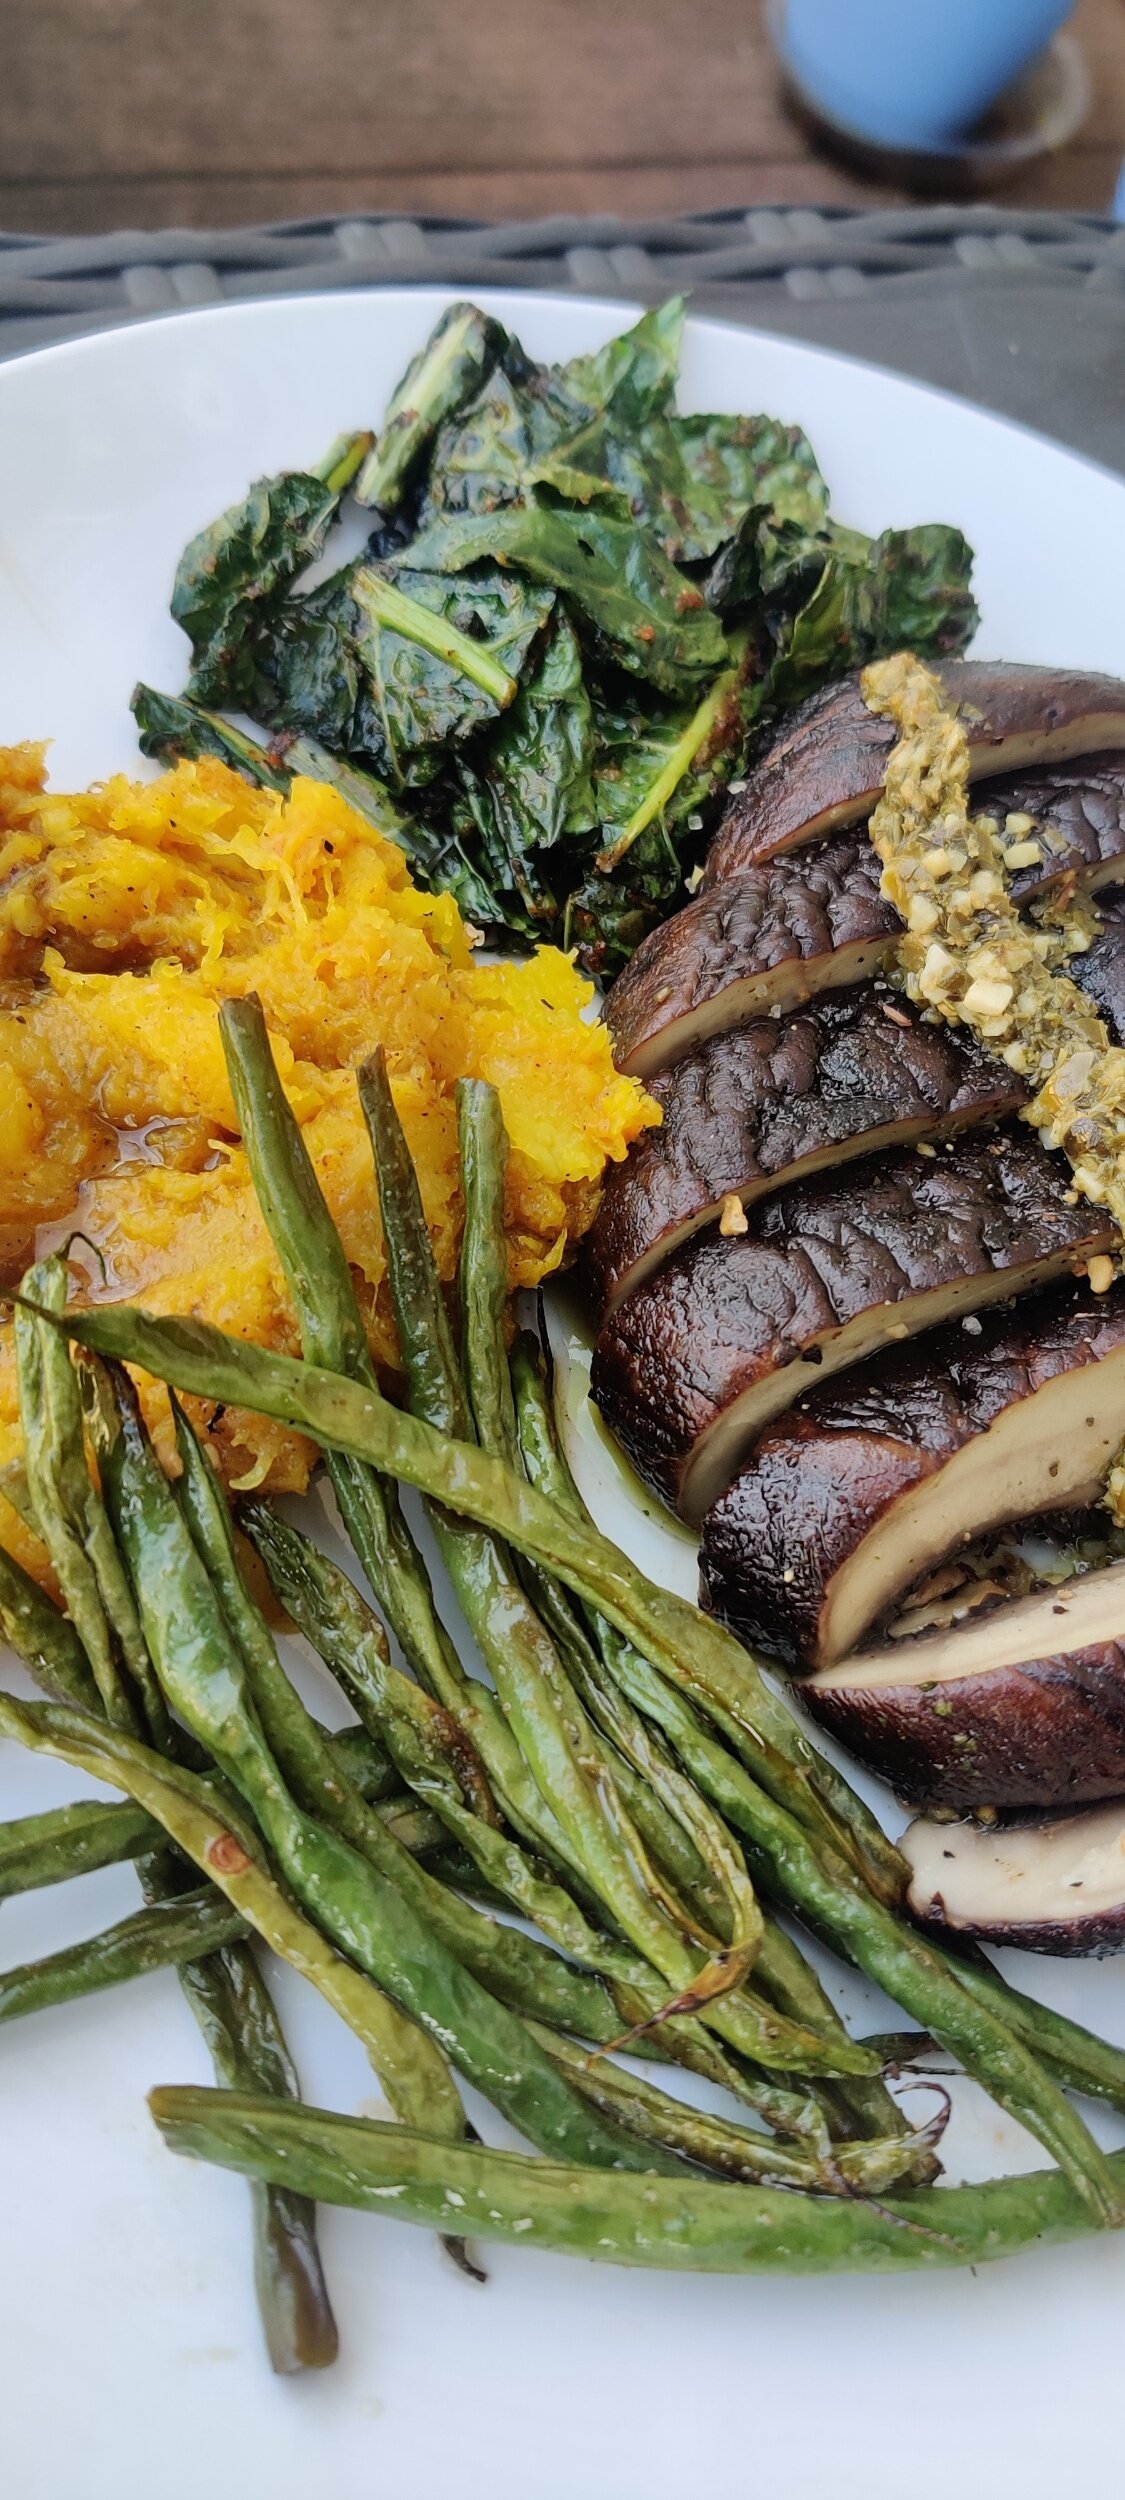
Portobello Steak with Acorn Squash and Greens
This recipe is the fourth of six plates I would serve if asked to make a 6-course meal or string of small plates/tapas based on Zimbabwean cuisine. I used ingredients that are commonly eaten or are considered a cornerstone of our cooking, but with a modern twist. The first was sweet potato soup, the second tomato bruschetta with guava balsamic glaze, and the third fried sadza with chilli creamed corn.
I tackled three vegetables this time which are of great importance in the Zimbabwean diet both in the countryside and the urban areas.
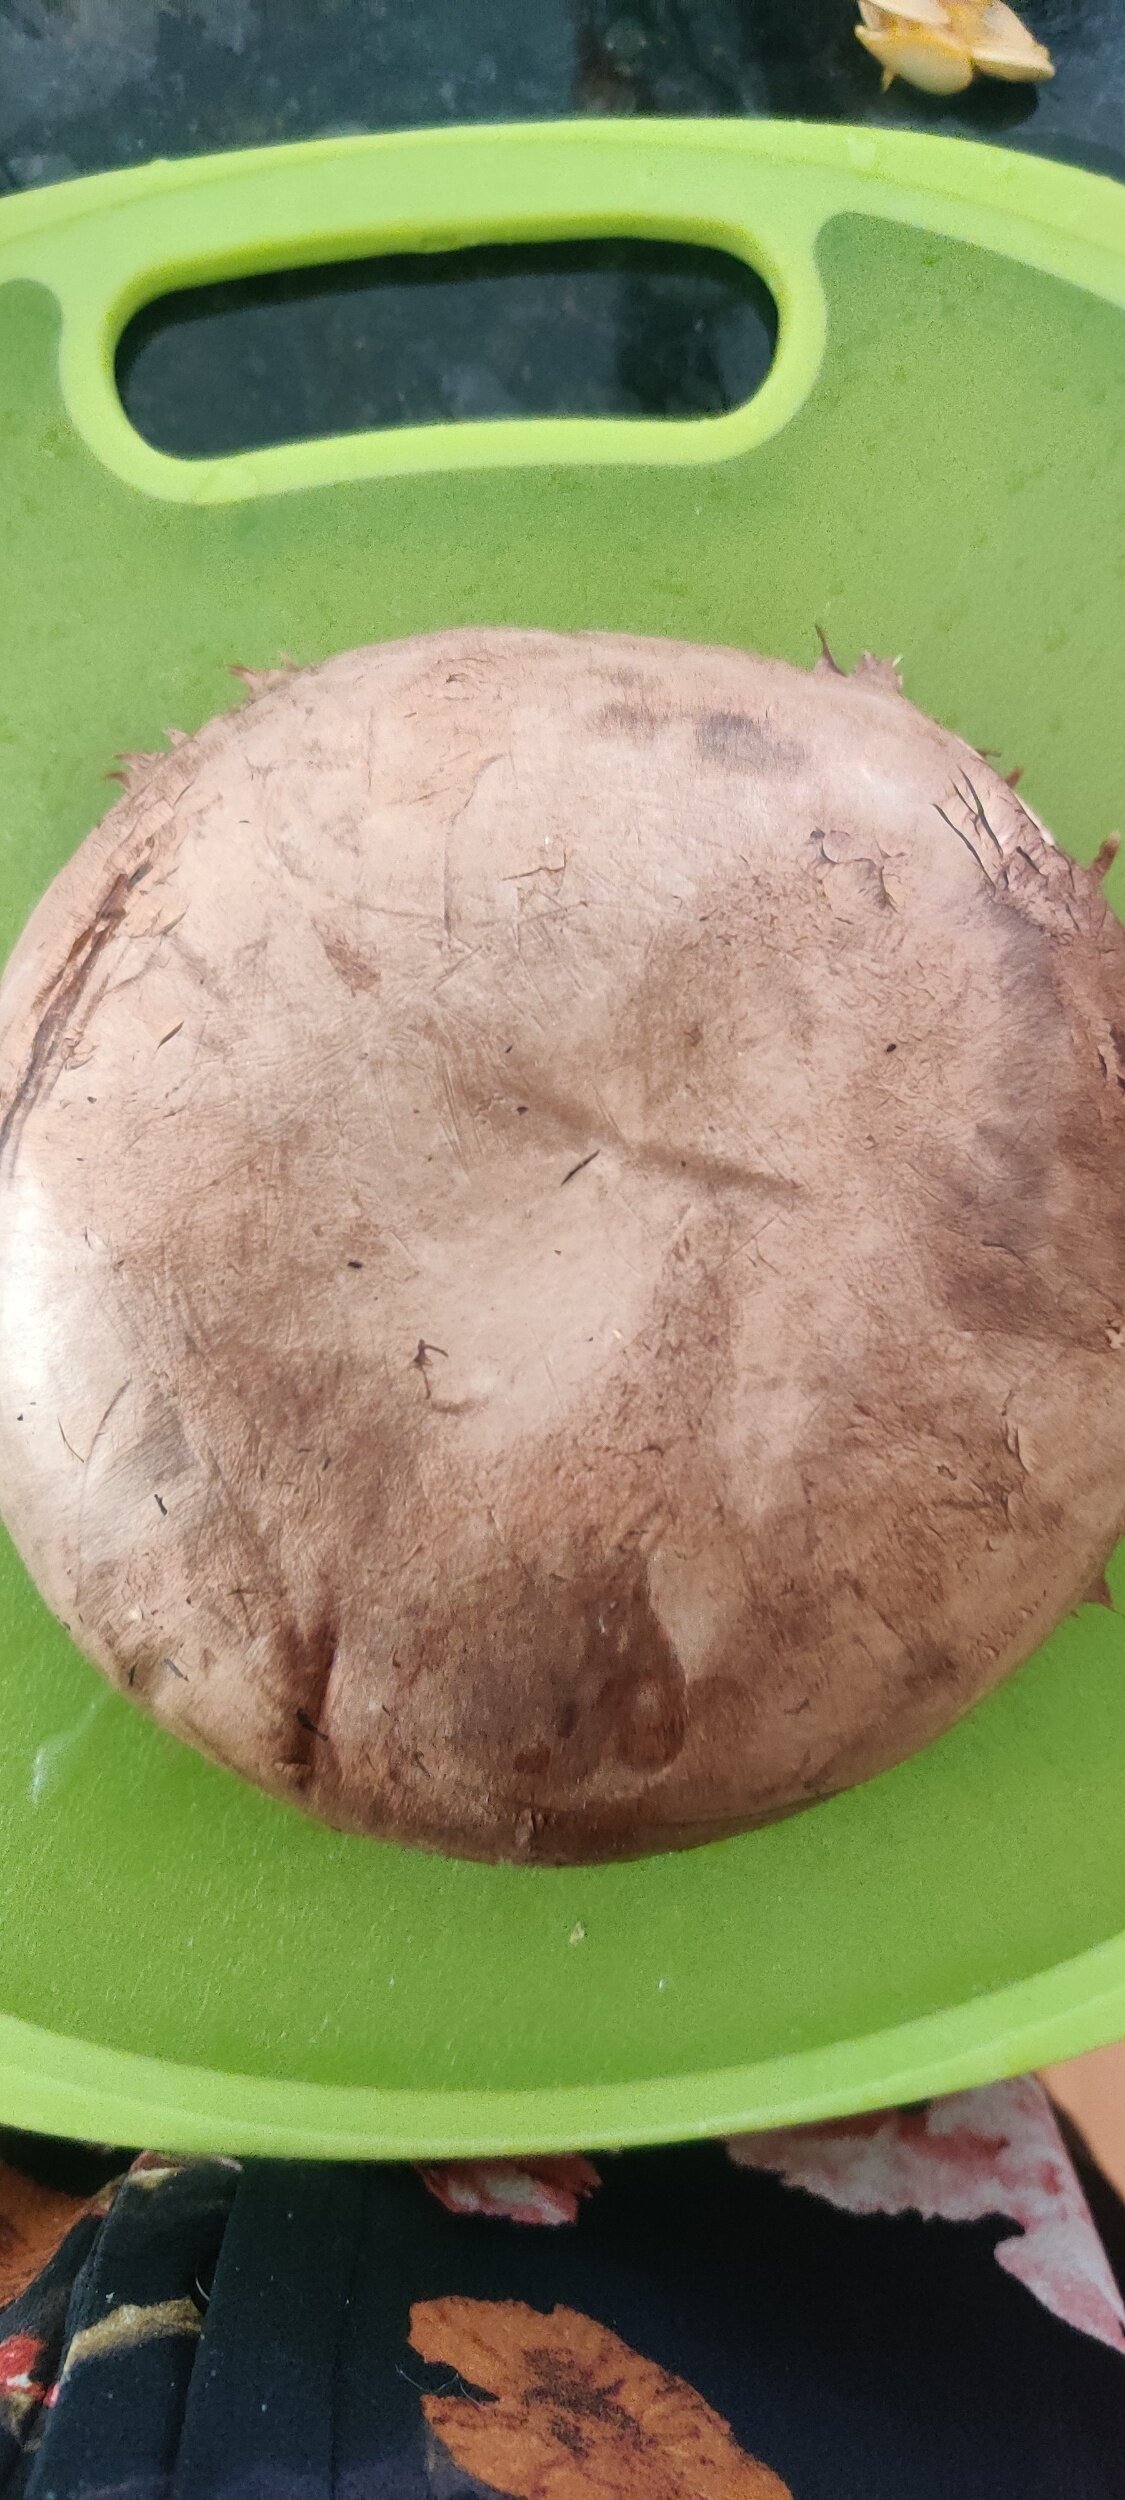
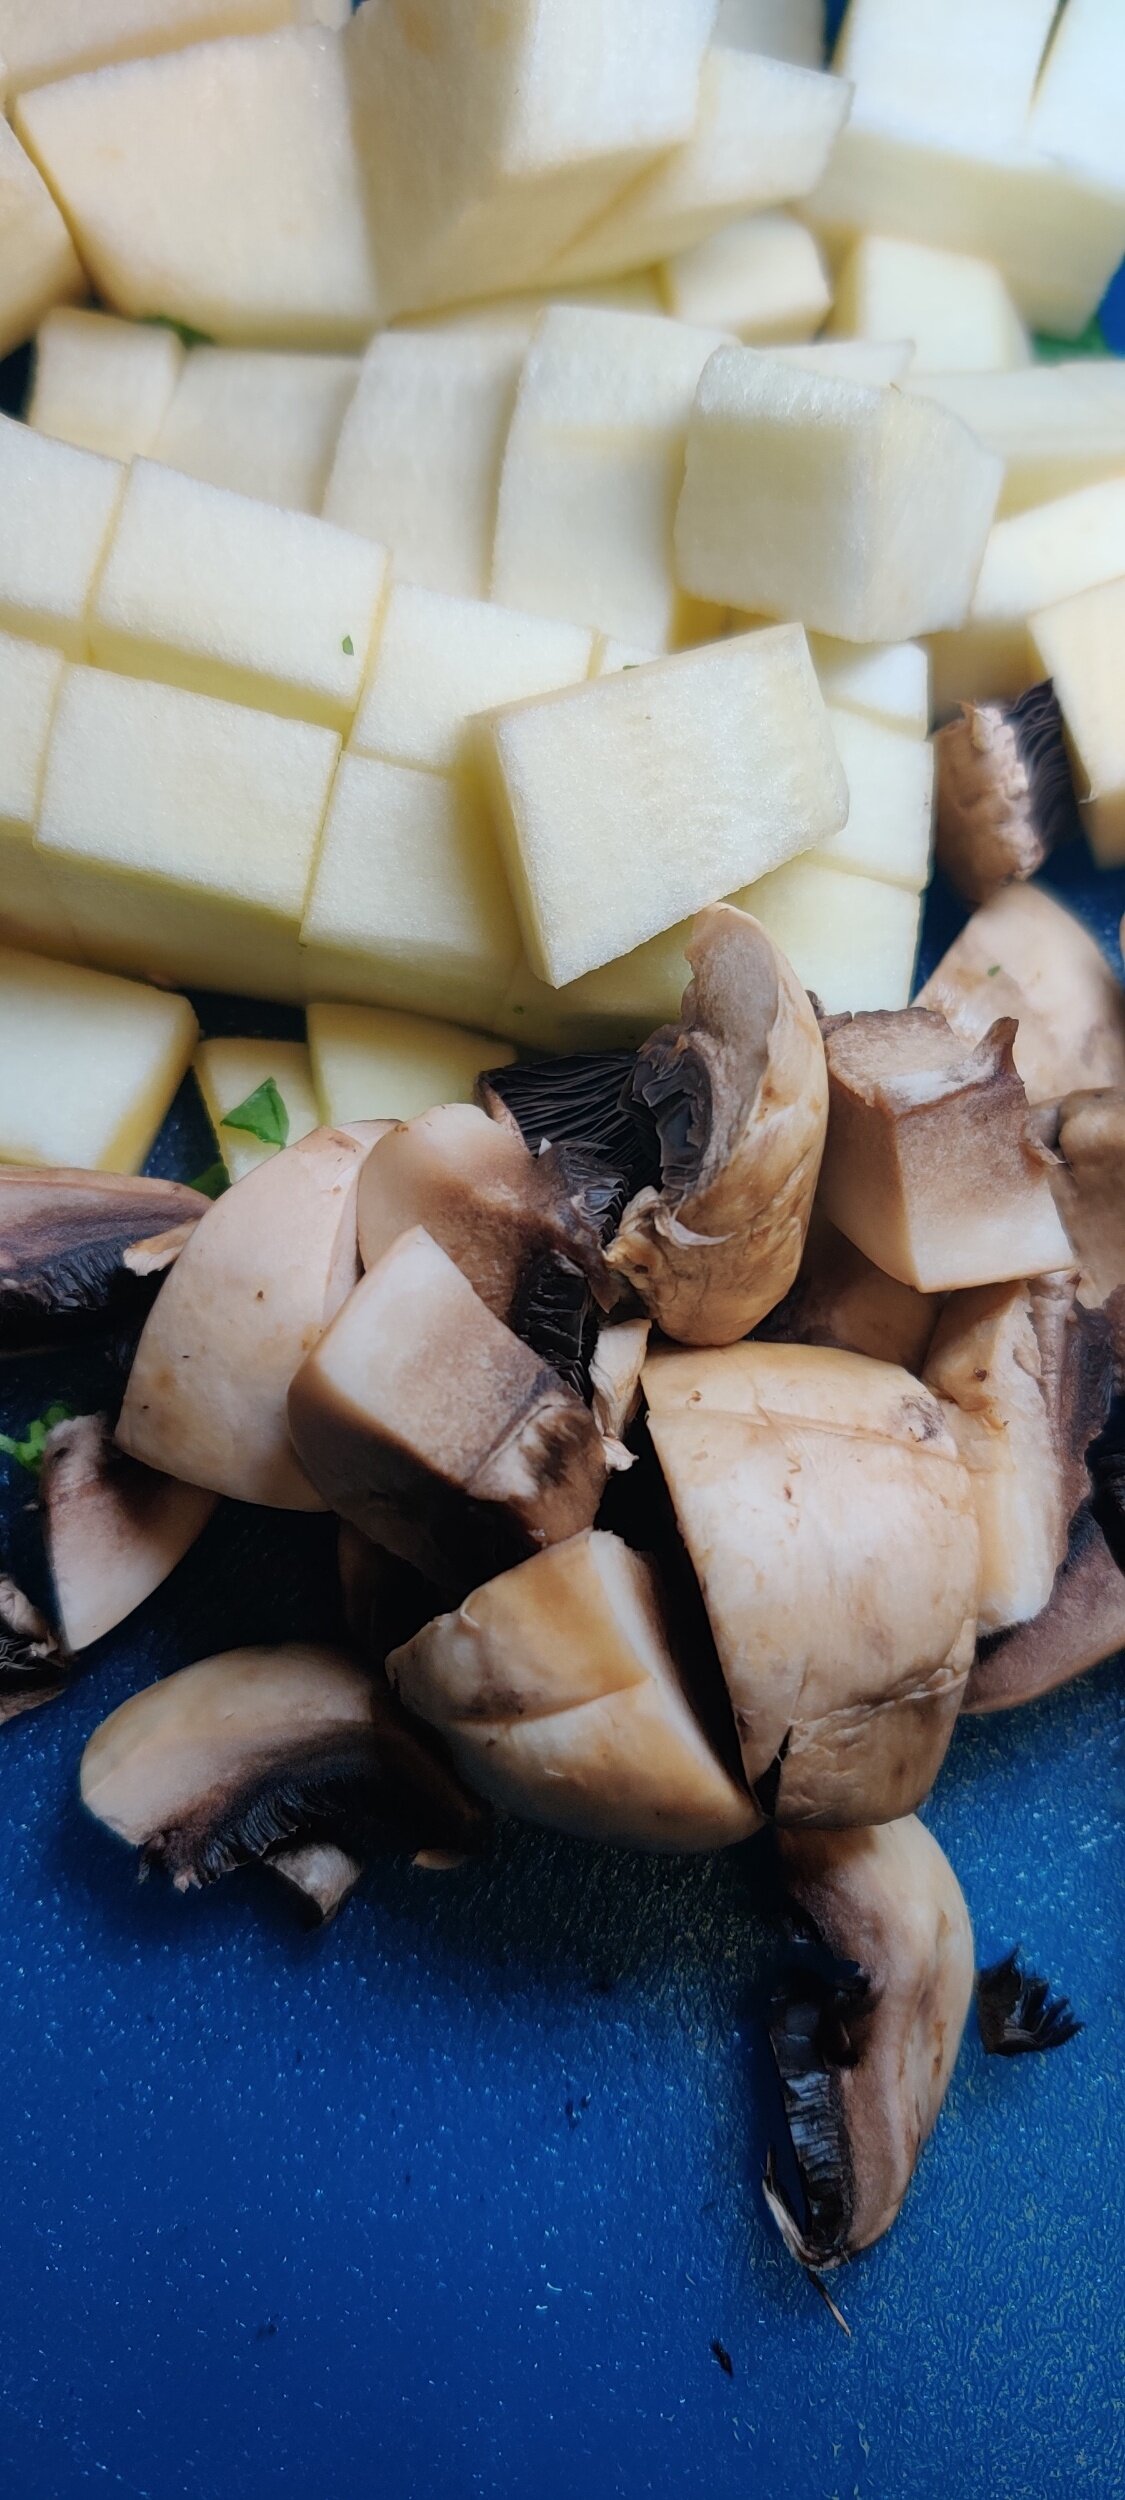
The star of this dish is the Portobello mushroom (if you must have meat, you can replace this with ribeye or sirloin steak). The mushroom cap is not only a great alternative to a piece of steak due to the umami, but in Zimbabwe, mushrooms are commonly eaten. One of the most popular forms in particular is nhedzi, consumed in the form of rich broth soup. Mushrooms are readily available and not everyone can afford meat, another reason that makes mushrooms an ideal meat replacement.
I also used acorn squash, but in Zimbabwe, the pumpkin would have been the first choice. The vegetable is consumed year-round boiled, mixed with peanut butter, in stews, and spread on bread, but not so much roasted. There is something about well-spiced pumpkin/squash that can be appreciated as a side (or main) on a plate. I will note that the pumpkin is used in its entirety, including the leaves. In fact, dried pumpkin leaves are considered a favored delicacy (muboora).
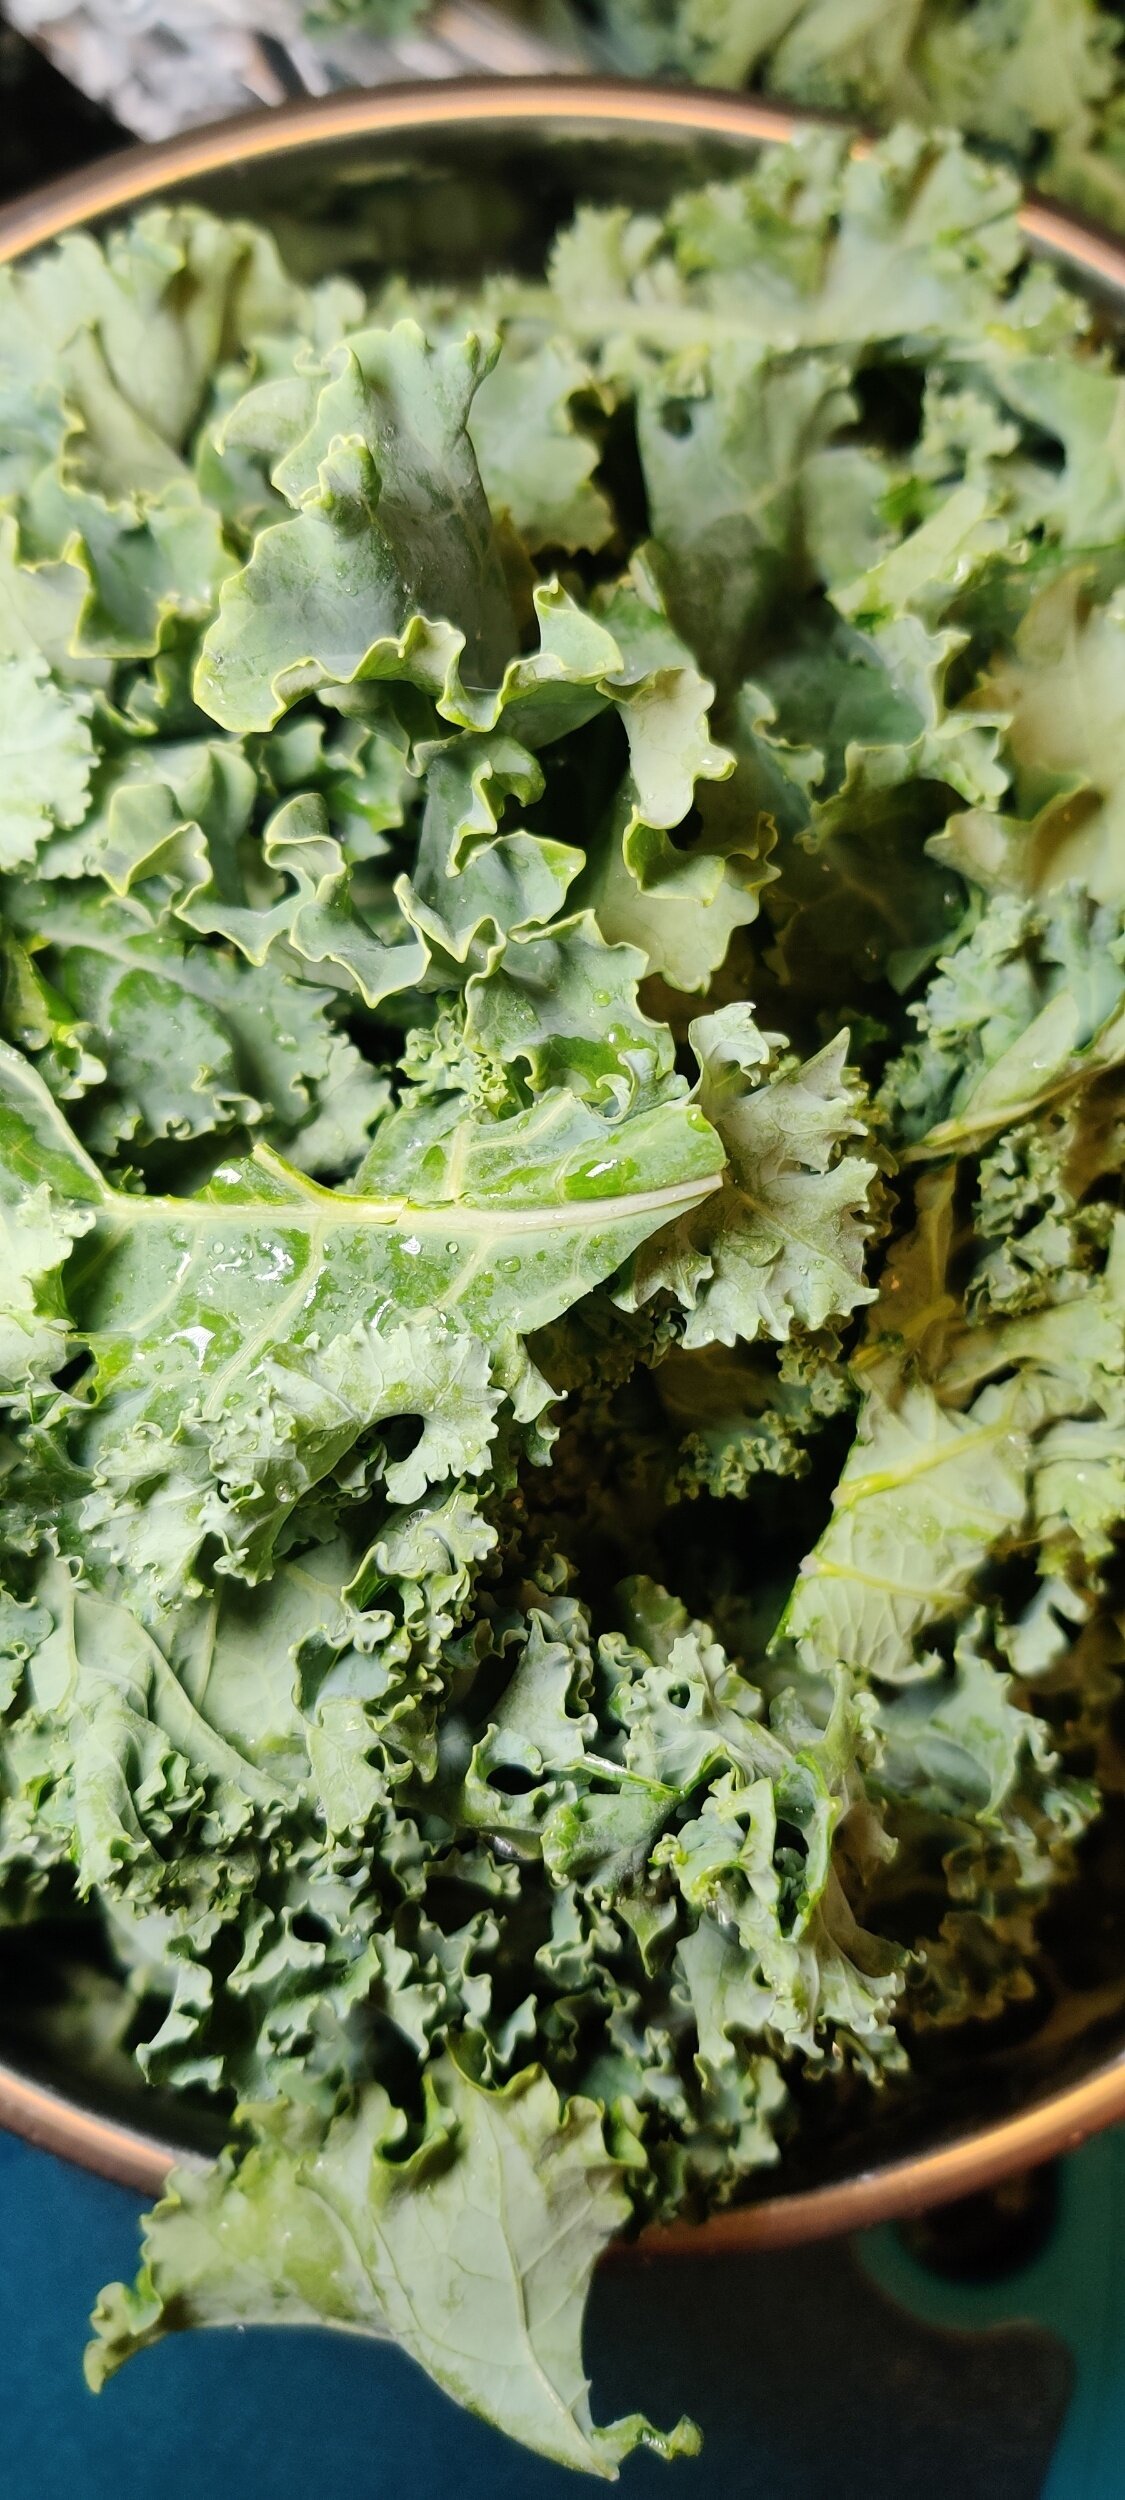
Finally kale, like sadza, is a cornerstone of Zimbabwean cuisine. Many variations are grown in people's backyards, stewed, cooked with peanut butter or fried crispy.
This dish can serve 1-2 people, so you can double up the quantities if necessary. I would recommend not keeping the Portobello steaks longer than 2 days for optimum taste! There is a variety of flavors and textures that make this a healthy, filing, dinner or lunch.
Ingredients
Portobello steak:
1 large Portobello mushroom cap
1 tablespoon steak 'n chops seasoning
1 teaspoon garlic powder
1/2 teaspoon salt
1 tablespoon black pepper
1 tablespoon pesto
1 tablespoon soy sauce
2 tablespoons butter
2 tablespoons olive oil
1 thyme sprig
2 tablespoons minced garlic
Acorn squash :
1 small acorn squash (or pumpkin)
1 tablespoon cinnamon
1 tablespoon honey
1/2 teaspoon nutmeg
1/2 teaspoon salt
1 tablespoon black pepper
1 tablespoon smoked paprika
1 teaspoon cumin
1 tablespoon olive oil
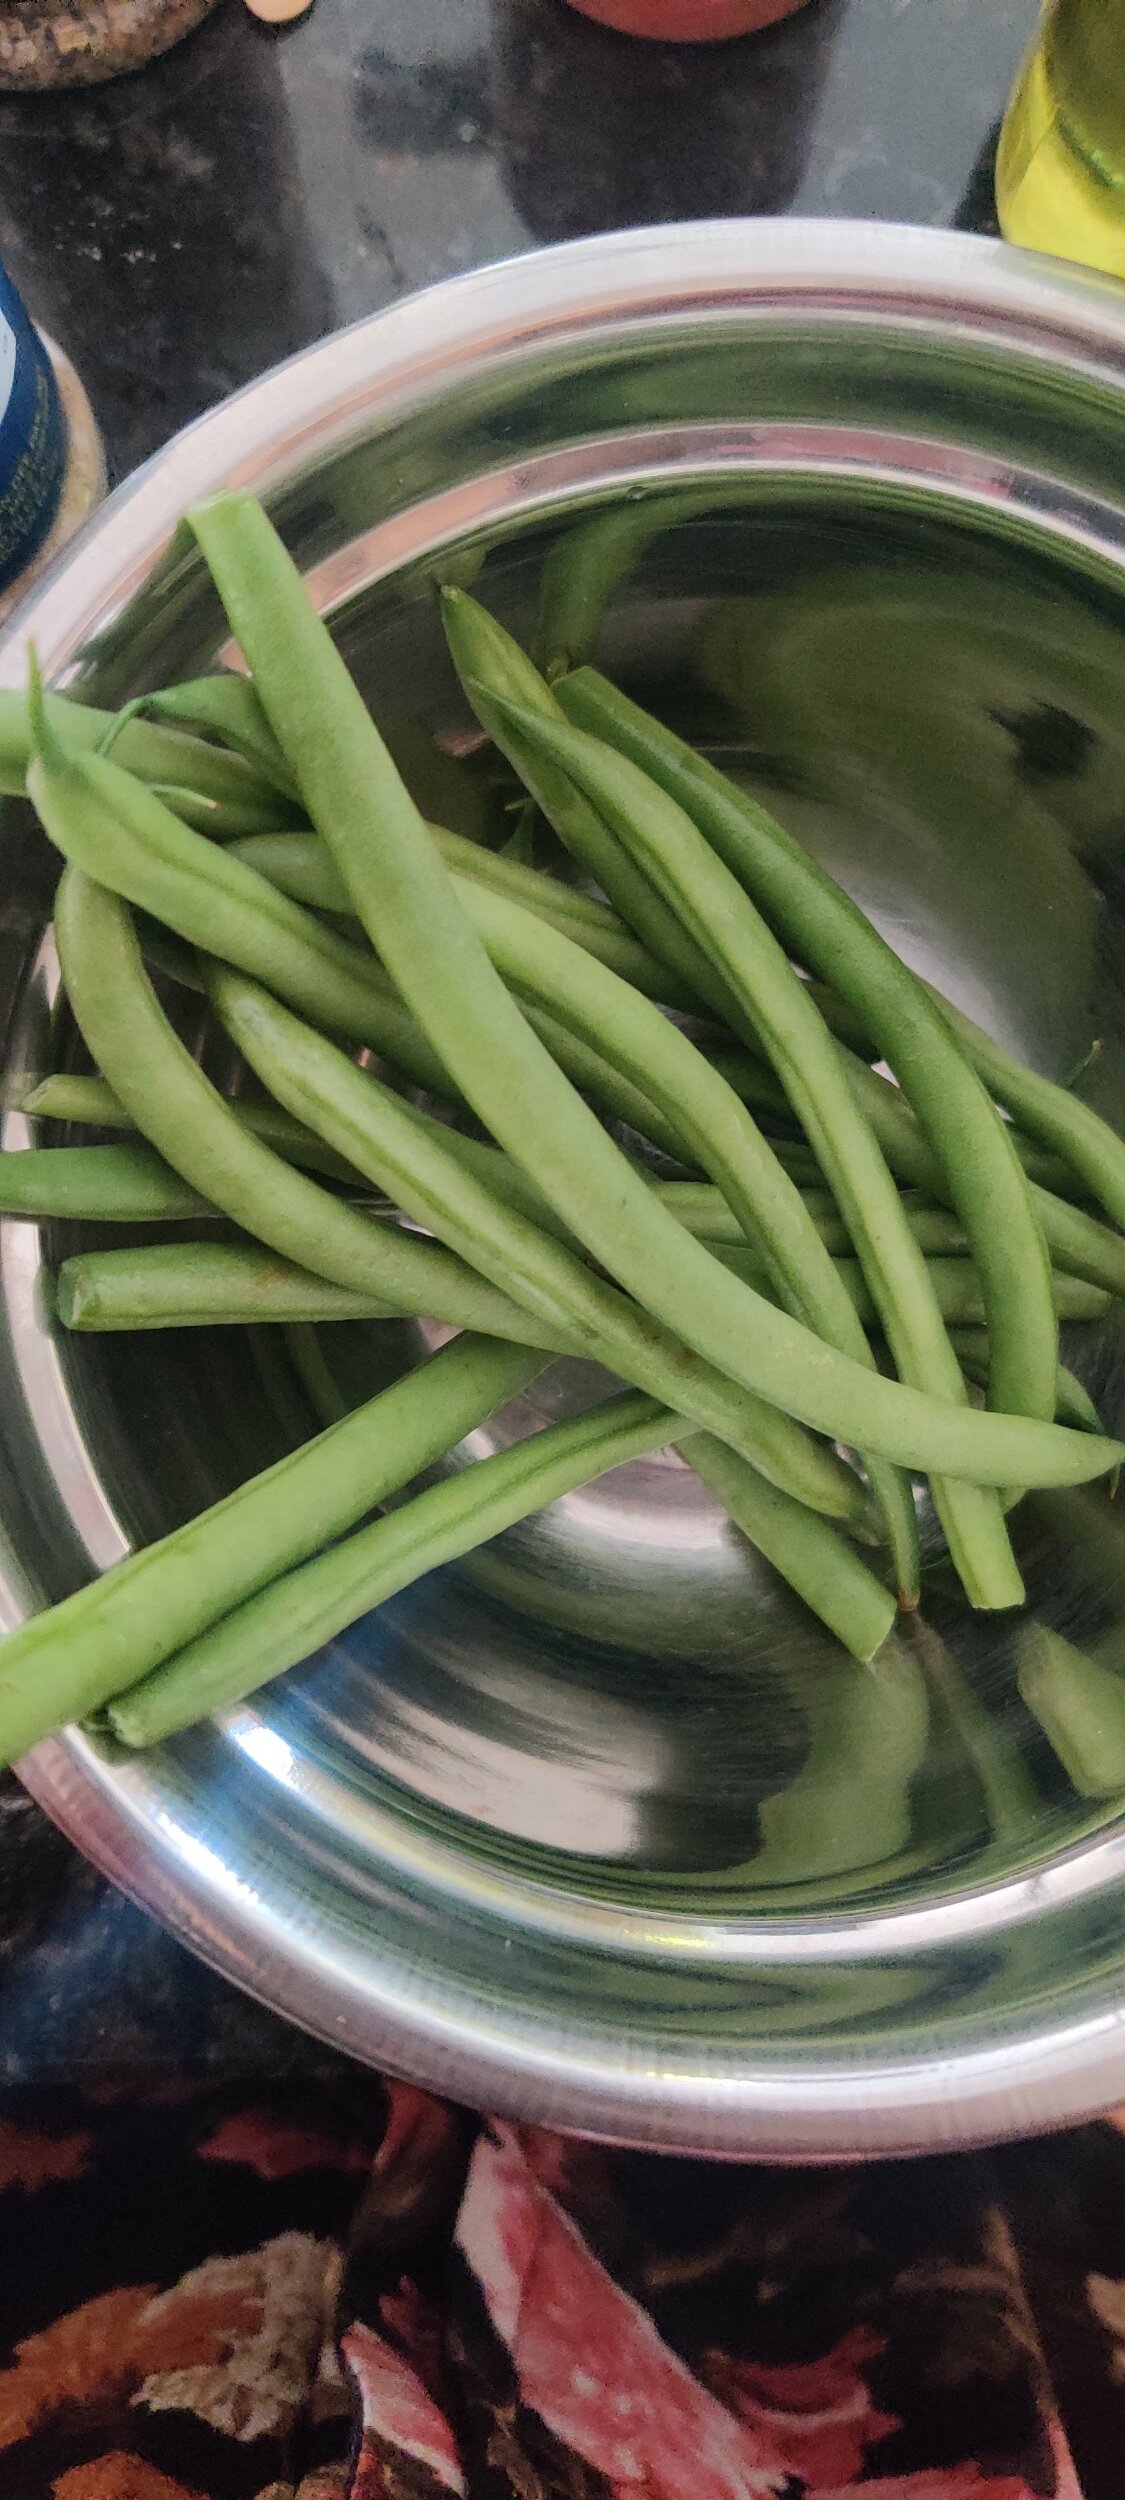
Green beans:
1 small bunch green beans
2 tablespoons olive oil
1 teaspoon garlic powder
1 tablespoon black pepper
1/2 teaspoon salt
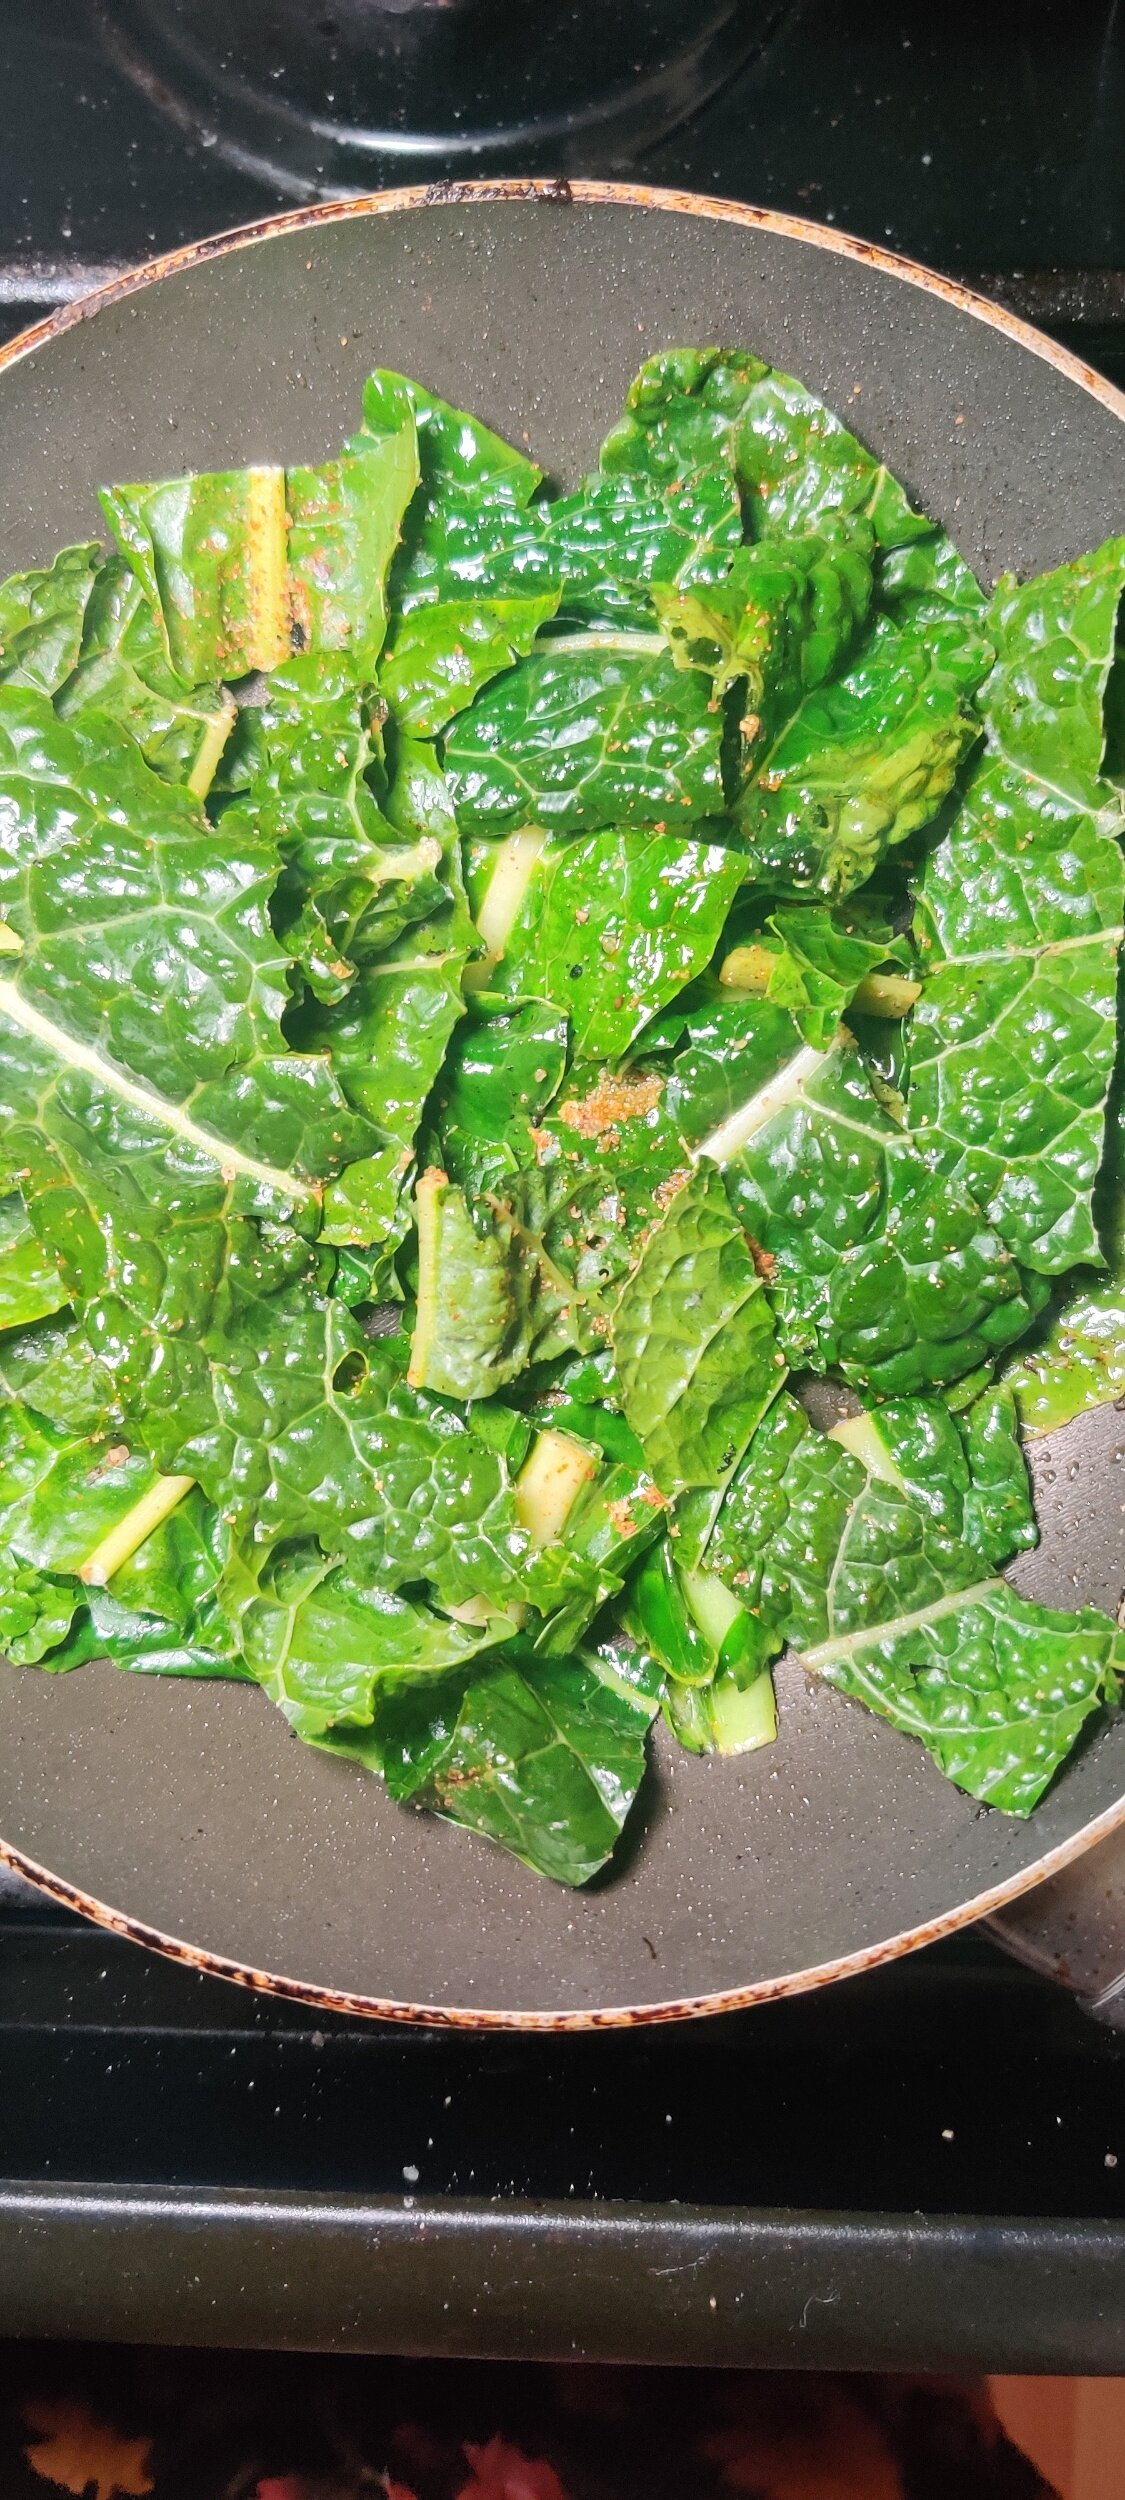
Kale:
2 cups kale
1 teaspoon fenugreek powder
1/2 teaspoon chili flakes
1 tablespoon Royco Usavi mix (optional)
1/2 teaspoon cumin
1 tablespoon coriander
Instructions
Scrub any mud or debris from the Portobello steak. Rub the mushroom with olive oil, garlic powder, salt, pepper, steak ‘n chops seasoning, and soy sauce.
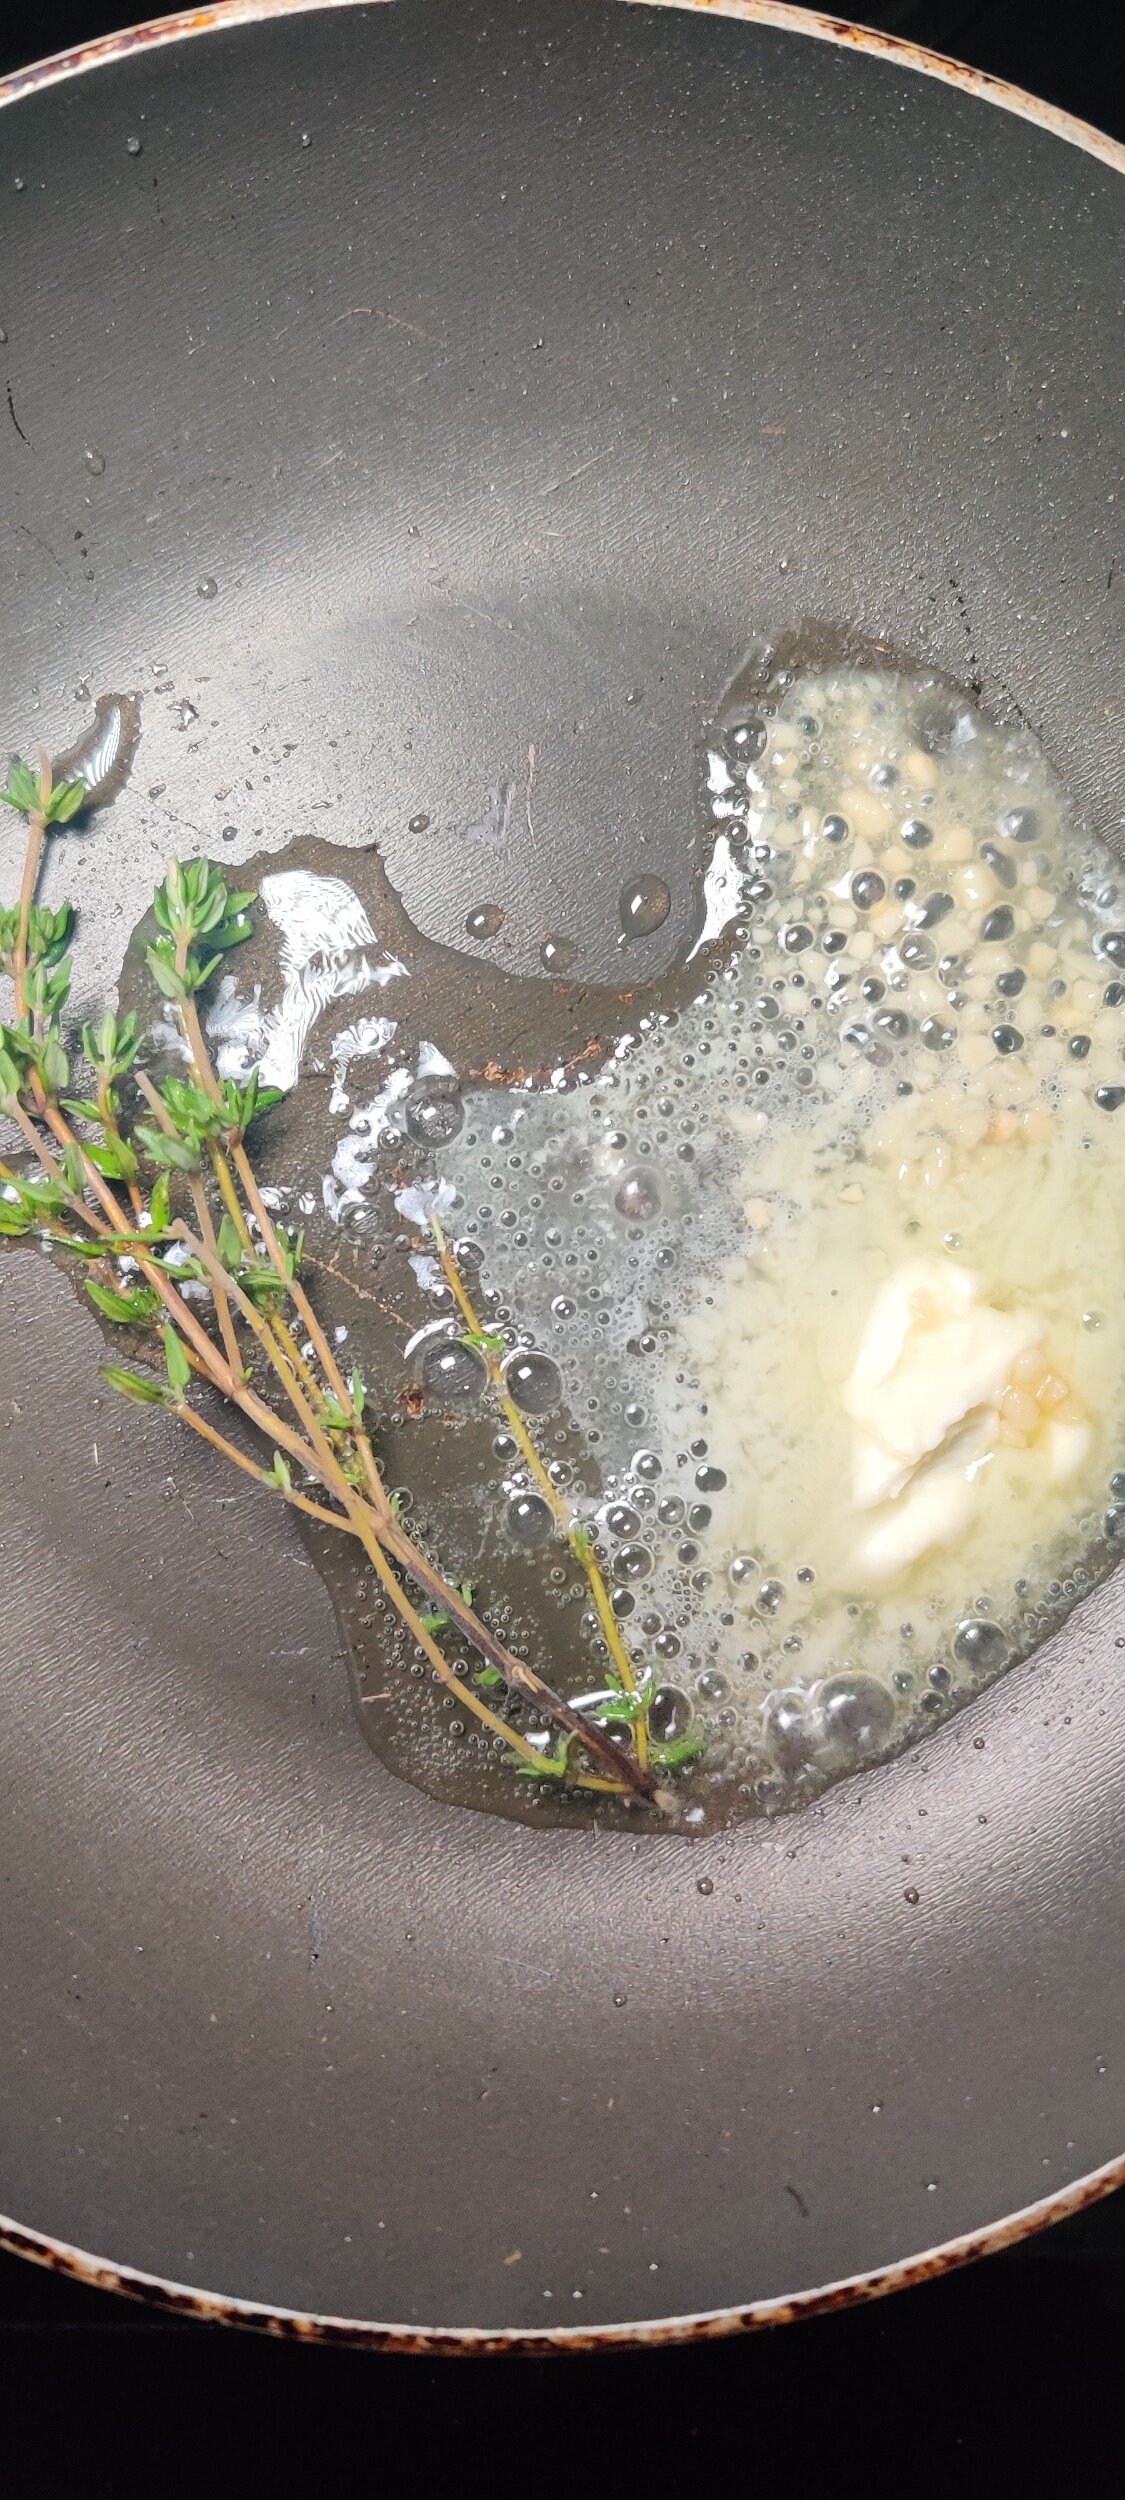
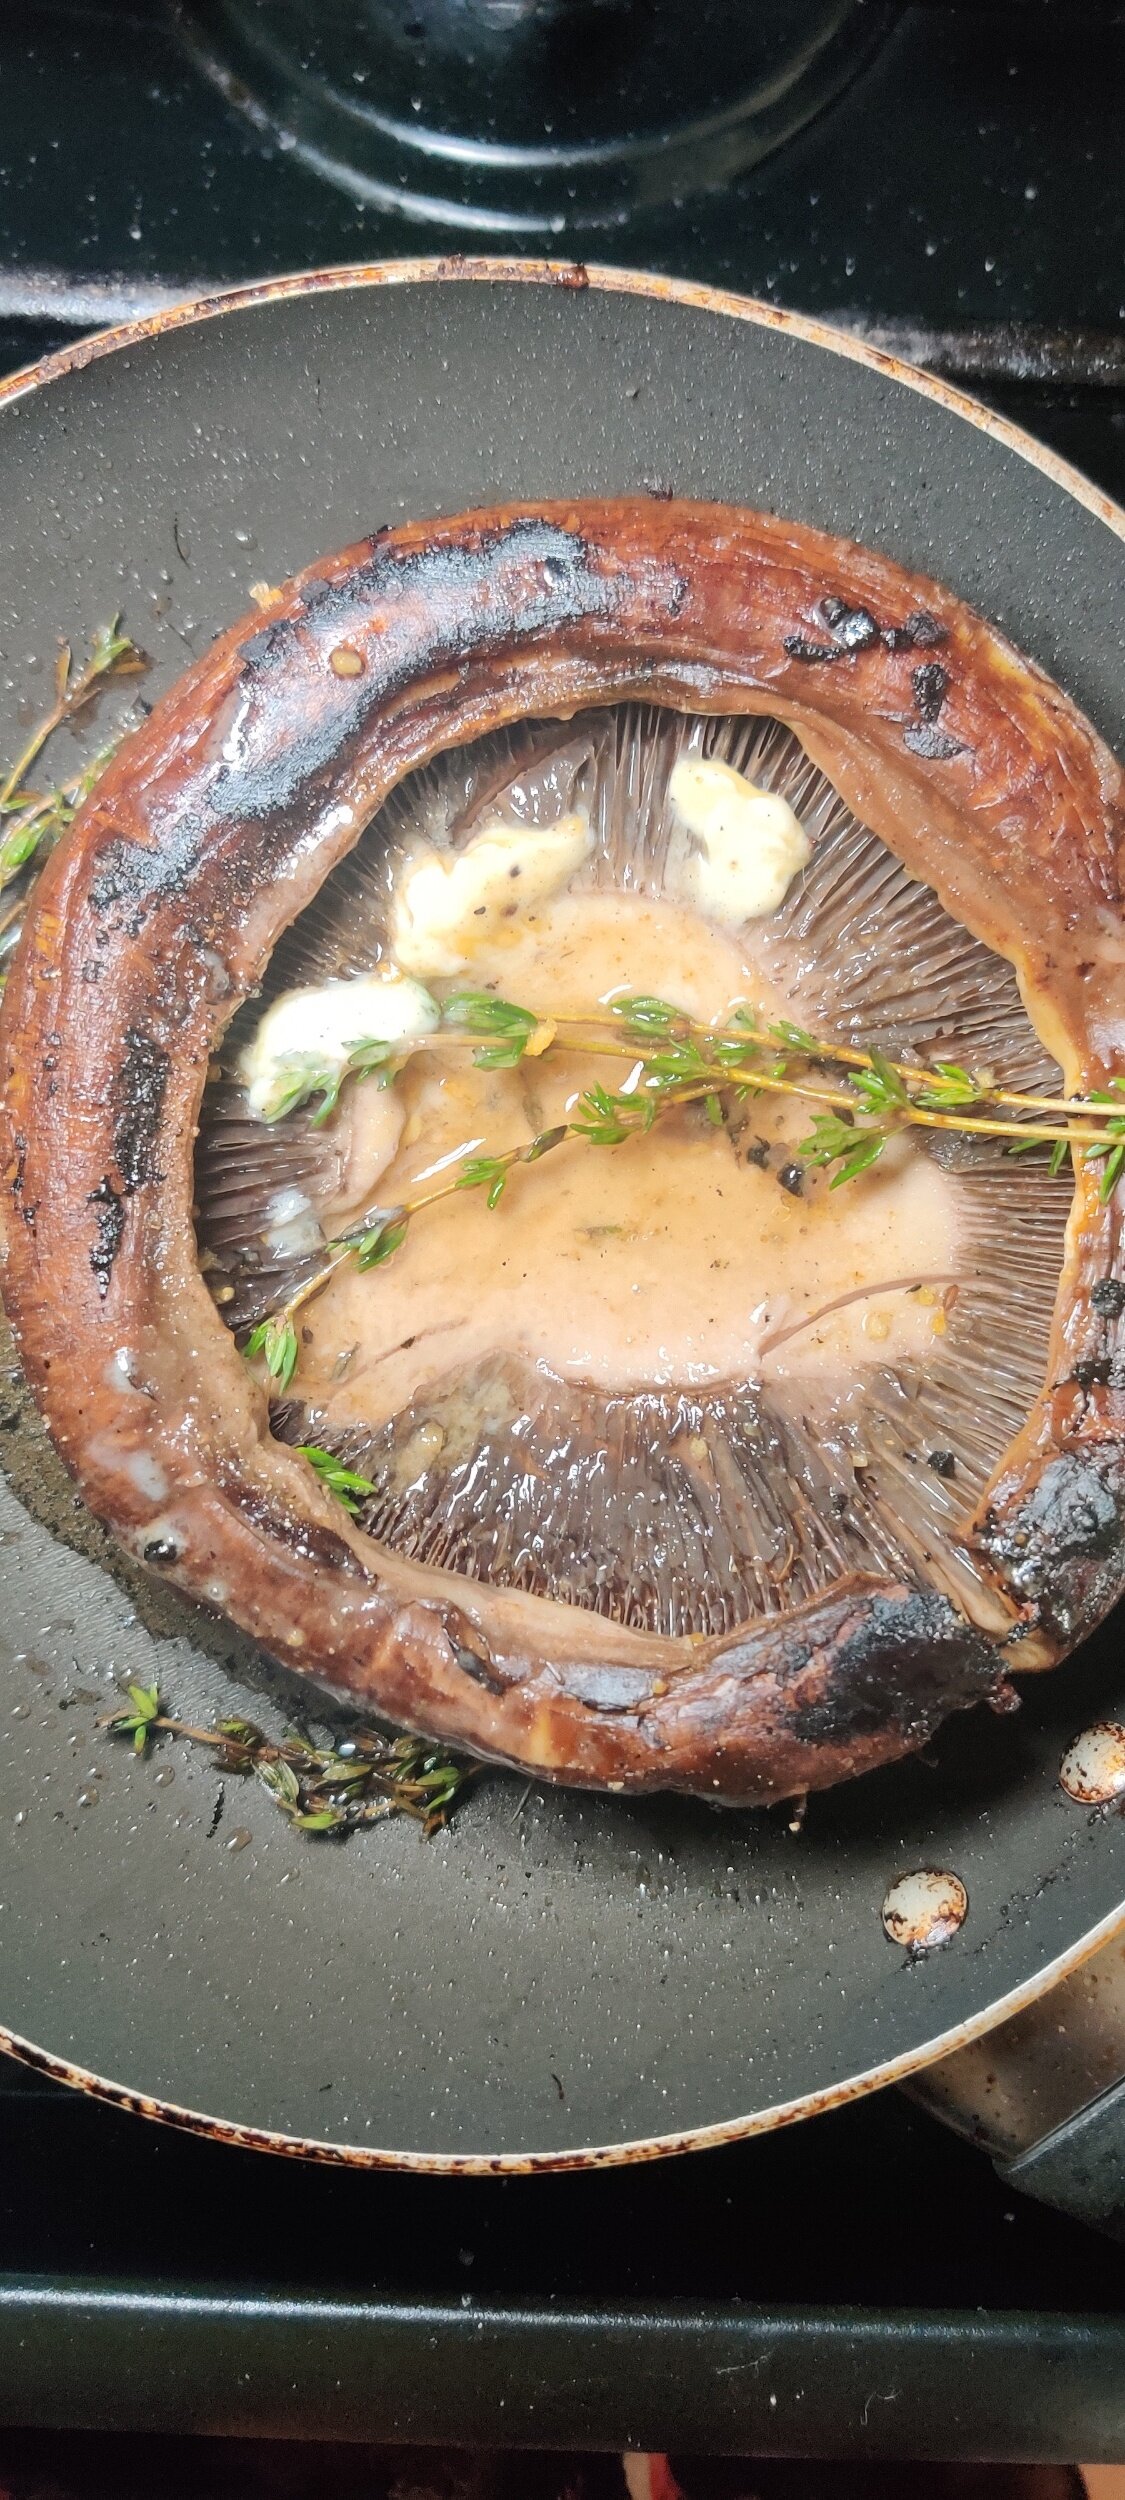
Heat a pan on medium-high heat with the olive oil, then place the mushroom head to sear one side - leave it still for about 3-4 minutes. Add the thyme spring, butter and minced garlic, flip over, then cook the other side while basting with the melted butter sauce. Do this for another 2-3 minutes then remove from heat and set aside.
In a small bowl toss the green beans in salt, pepper, garlic powder, and olive oil then set aside.
To prepare the acorn squash, split in half and remove the seeds and fibers. Season with cinnamon, nutmeg, salt, pepper, cumin, and paprika then drizzle with olive oil and honey. Make some incisions with a knife to help the flavors seep in.
Place the Portobello steak, green beans and acorn squash onto a lined baking tray, and bake at 400F. After 25 minutes, remove the mushroom and the green beans from the tray - you'll want to flip the mushroom and turn over the beans at least once before that. Bake the squash for an additional 15 minutes, or until it has softened. Once done, spoon the sauce in the middle over each acorn half and reserve any other juices for serving.
In a small pan while the other vegetables are baking, sauté the kale. Add olive oil and toss the leaves with the garlic powder, chili flakes, salt, pepper, coriander, and Royco Usavi mix. Cook for 5 minutes or until the kale begins to wilt slightly but still maintains a crispy texture.
Serve the Portobello steak with pesto and any juices from the mushroom, along with the green beans, acorn squash, and kale.

Fried Sadza with Chilli Creamed Corn
This recipe is the third of six plates I would serve if asked to make a 6-course meal or string of small plates/tapas based on Zimbabwean cuisine. I used ingredients that are commonly eaten or are considered a cornerstone of our cooking, but with a modern twist. The first was sweet potato soup and the second was tomato bruschetta with guava balsamic glaze.
Sadza. A quintessential part of Zimbabwean cuisine. It's merely ground cornmeal cooked into a dough-like consistency, so a lot can be done with it. We don't typically fry it, similar to the way hushpuppies are made. I like to compare it to naan in India and injera in Ethiopia. Sazda is mainly used as a starch to serve with stewed and grilled meats and vegetables, or as a tool to eat with using hands, no cutlery necessary!
I seasoned and cooked the sadza, coat them with breadcrumbs then fried the balls in peanut oil.
These can be delicious as they are, but you'll want a sauce or gravy to serve the fried sadza with. Fast-food chain KFC adapted this into their menu to cater to the Zimbabwean market, which I found interesting when I first learned of it, but you can do it in your own home!
I made a spicy, creamed corn sauce to dip the fried sadza balls into, making for a delightful appetizer. If you're big on texture, add some corn kernels.
Ingredients
1 1/2 cups white mealie/cornmeal
1 tablespoon garlic powder
2 teaspoons salt
2 tablespoons black pepper
2 teaspoons fenugreek powder
1 1/2 tablespoons coriander
1 can creamed corn
1 tablespoon cumin
2 tablespoons tomato sauce
1 tablespoon paprika
1 teaspoon cayenne pepper
1/2 poblano pepper, diced
2 tablespoons Royco Usavi mix (optional)
1 tablespoon minced garlic
1/4 cup finely minced onion
2 cups peanut oil (more if you need it)
1/3 + 1/4 cup cold water
1 1/2 cups boiling water
1 egg, beaten
1/3 cup breadcrumbs

Instructions
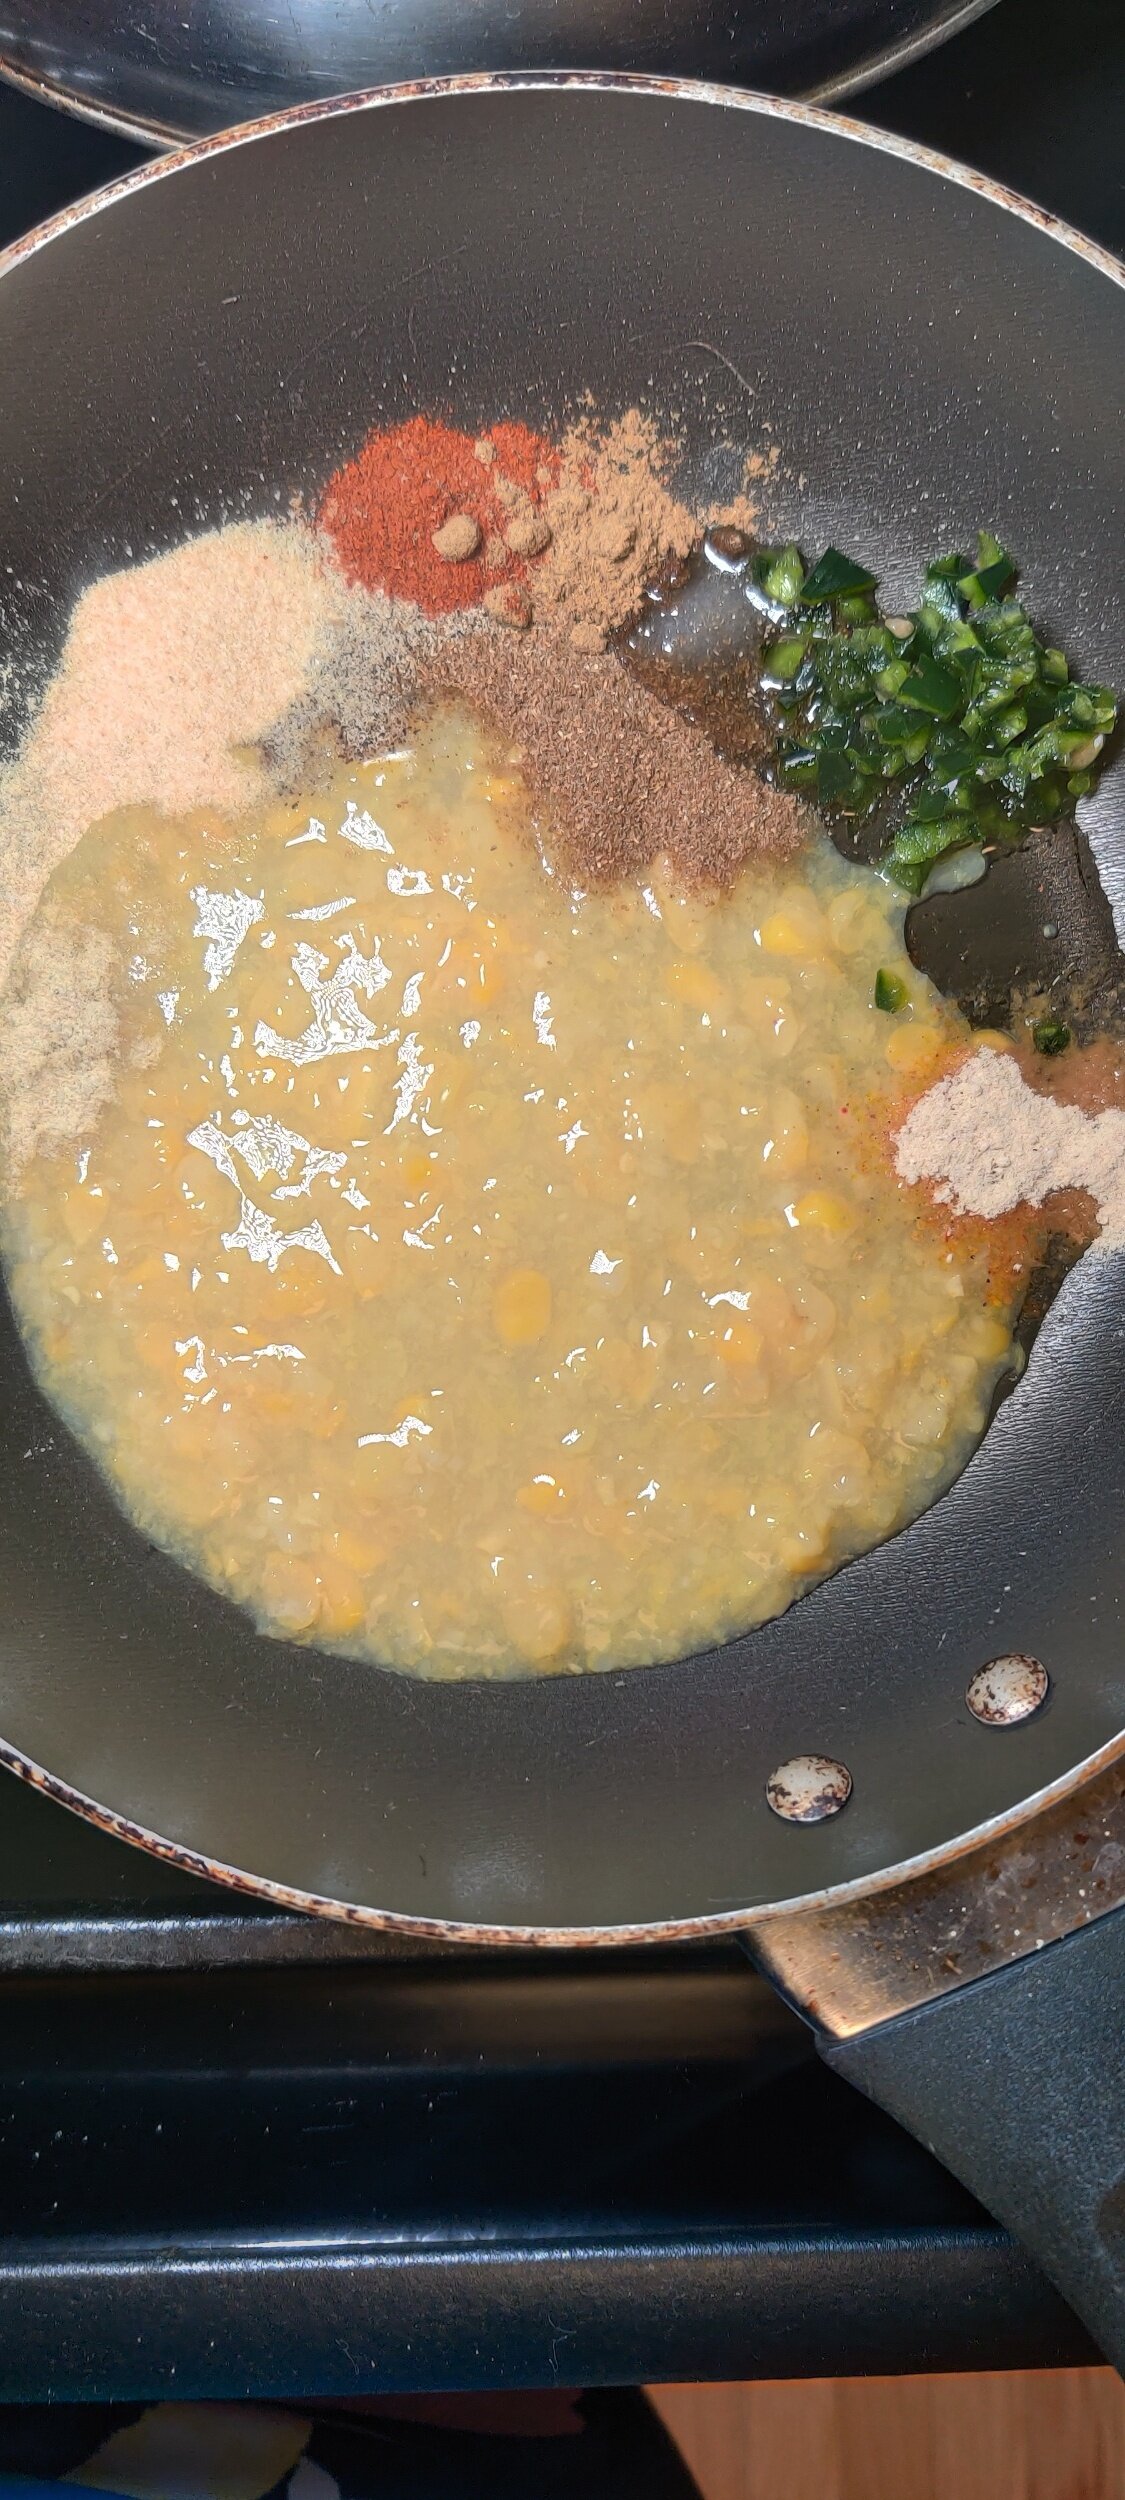
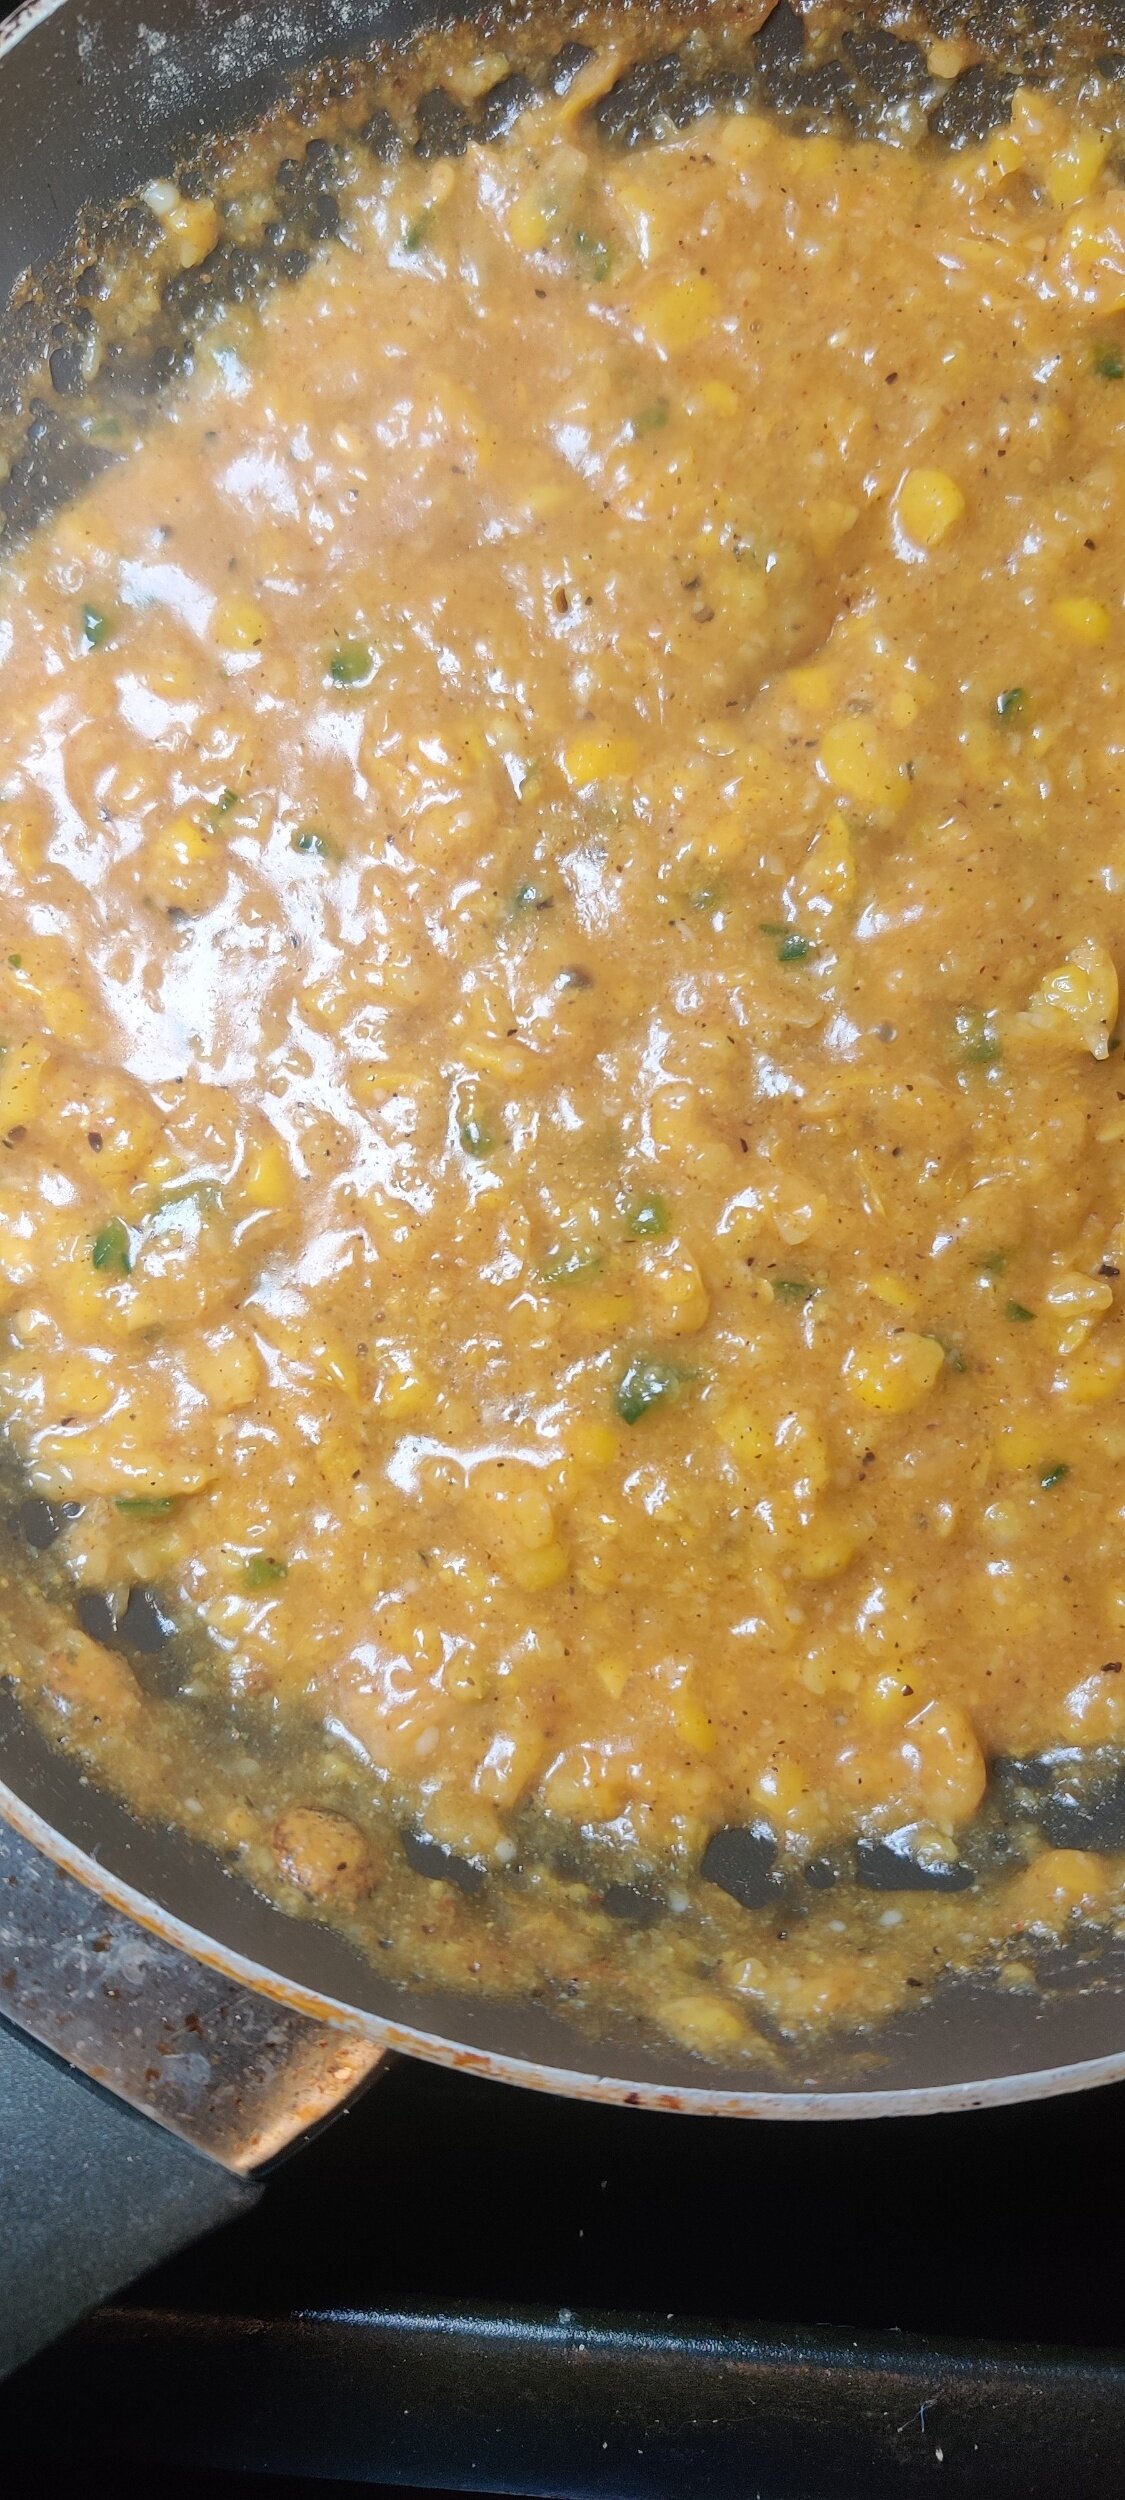
Make your sauce. You can reheat it when it comes time to serve with the sadza balls. In a small frying pan, sauté the creamed corn and diced poblano pepper with the minced garlic, tomato sauce, onion, 1 tablespoon black pepper, 1 teaspoon fenugreek, 1 teaspoon salt, 1 tablespoon coriander, cumin, paprika, cayenne, and Royco Usavi on medium-low heat for about 5 minutes. Add 1/4 cup water and simmer for another 5 minutes, set aside. You can adjust the water depending on how thick you want your dipping sauce.
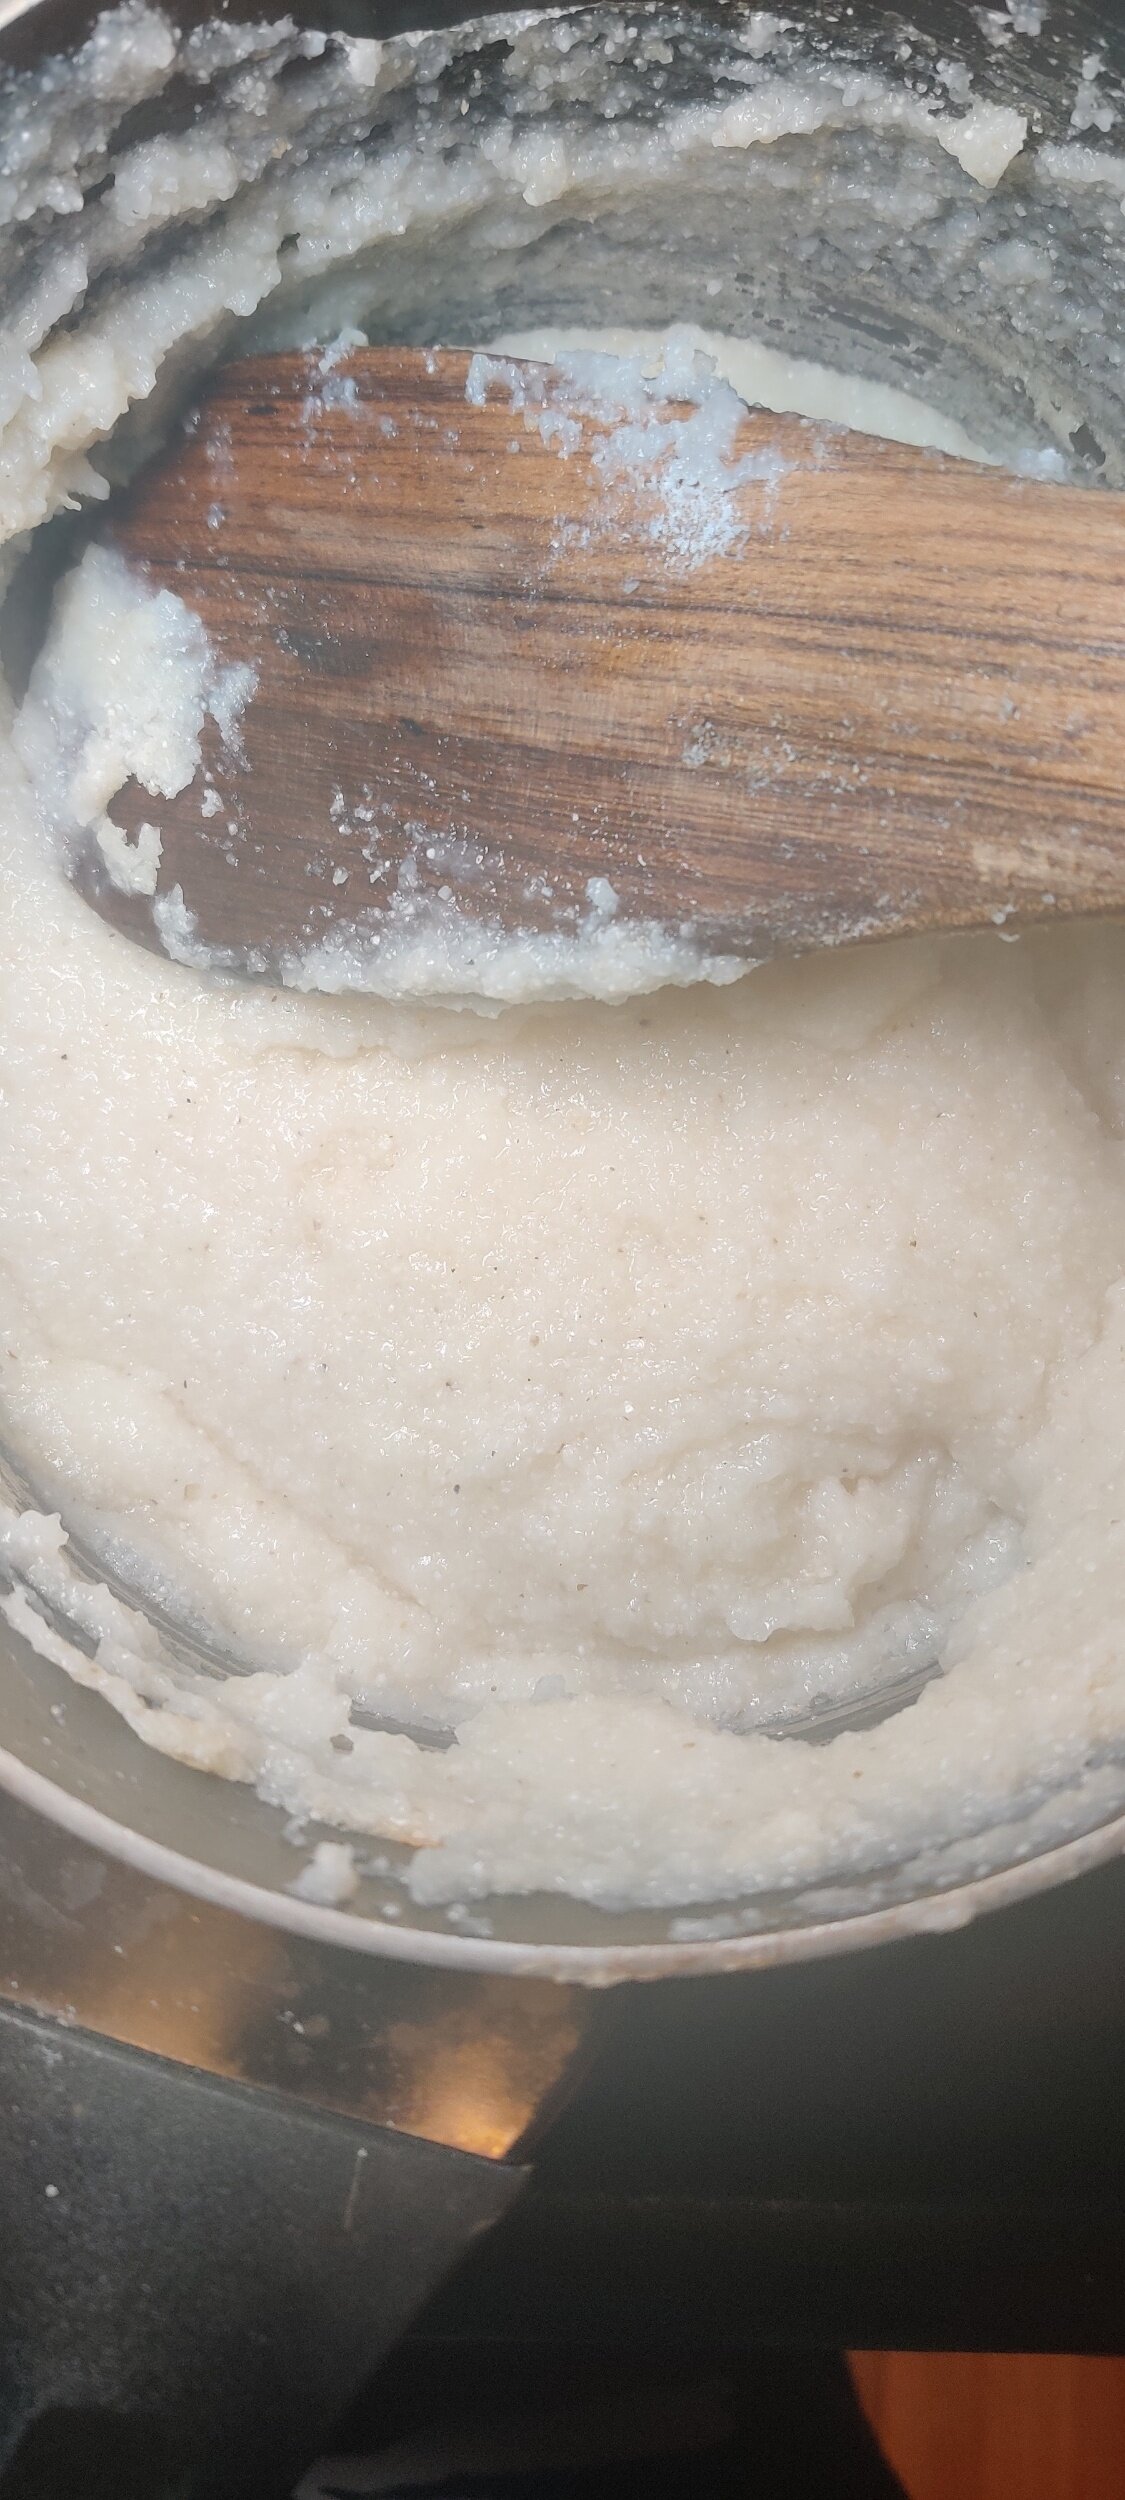
Mix about 1/4 of the cornmeal with the garlic powder, 1 teaspoon salt, 1 tablespoon black pepper, 1 teaspoon fenugreek and 1/3 cup cold water (or enough) to form a paste. Pour the boiling water into a little bit at a time while stirring with a wooden (or whisking) to prevent lumps over medium heat. Take care not to splash yourself! A thick porridge should begin to form.
Over medium-low heat, once the porridge begins to bubble cover with a lid and simmer for about 15 minutes.
Fold in the rest of the cornmeal flour a little bit at a time with a figure 8 motion to thicken the sadza, and ensure not to leave any dry cornmeal in the pot. You can add more or less cornmeal by a slight margin, but you’ll want the sadza to be thick enough to roll into balls later.
Cover with lid again and allow for it to breathe for about 10 minutes - you may hear a puffing sound. Remove from heat and set aside.
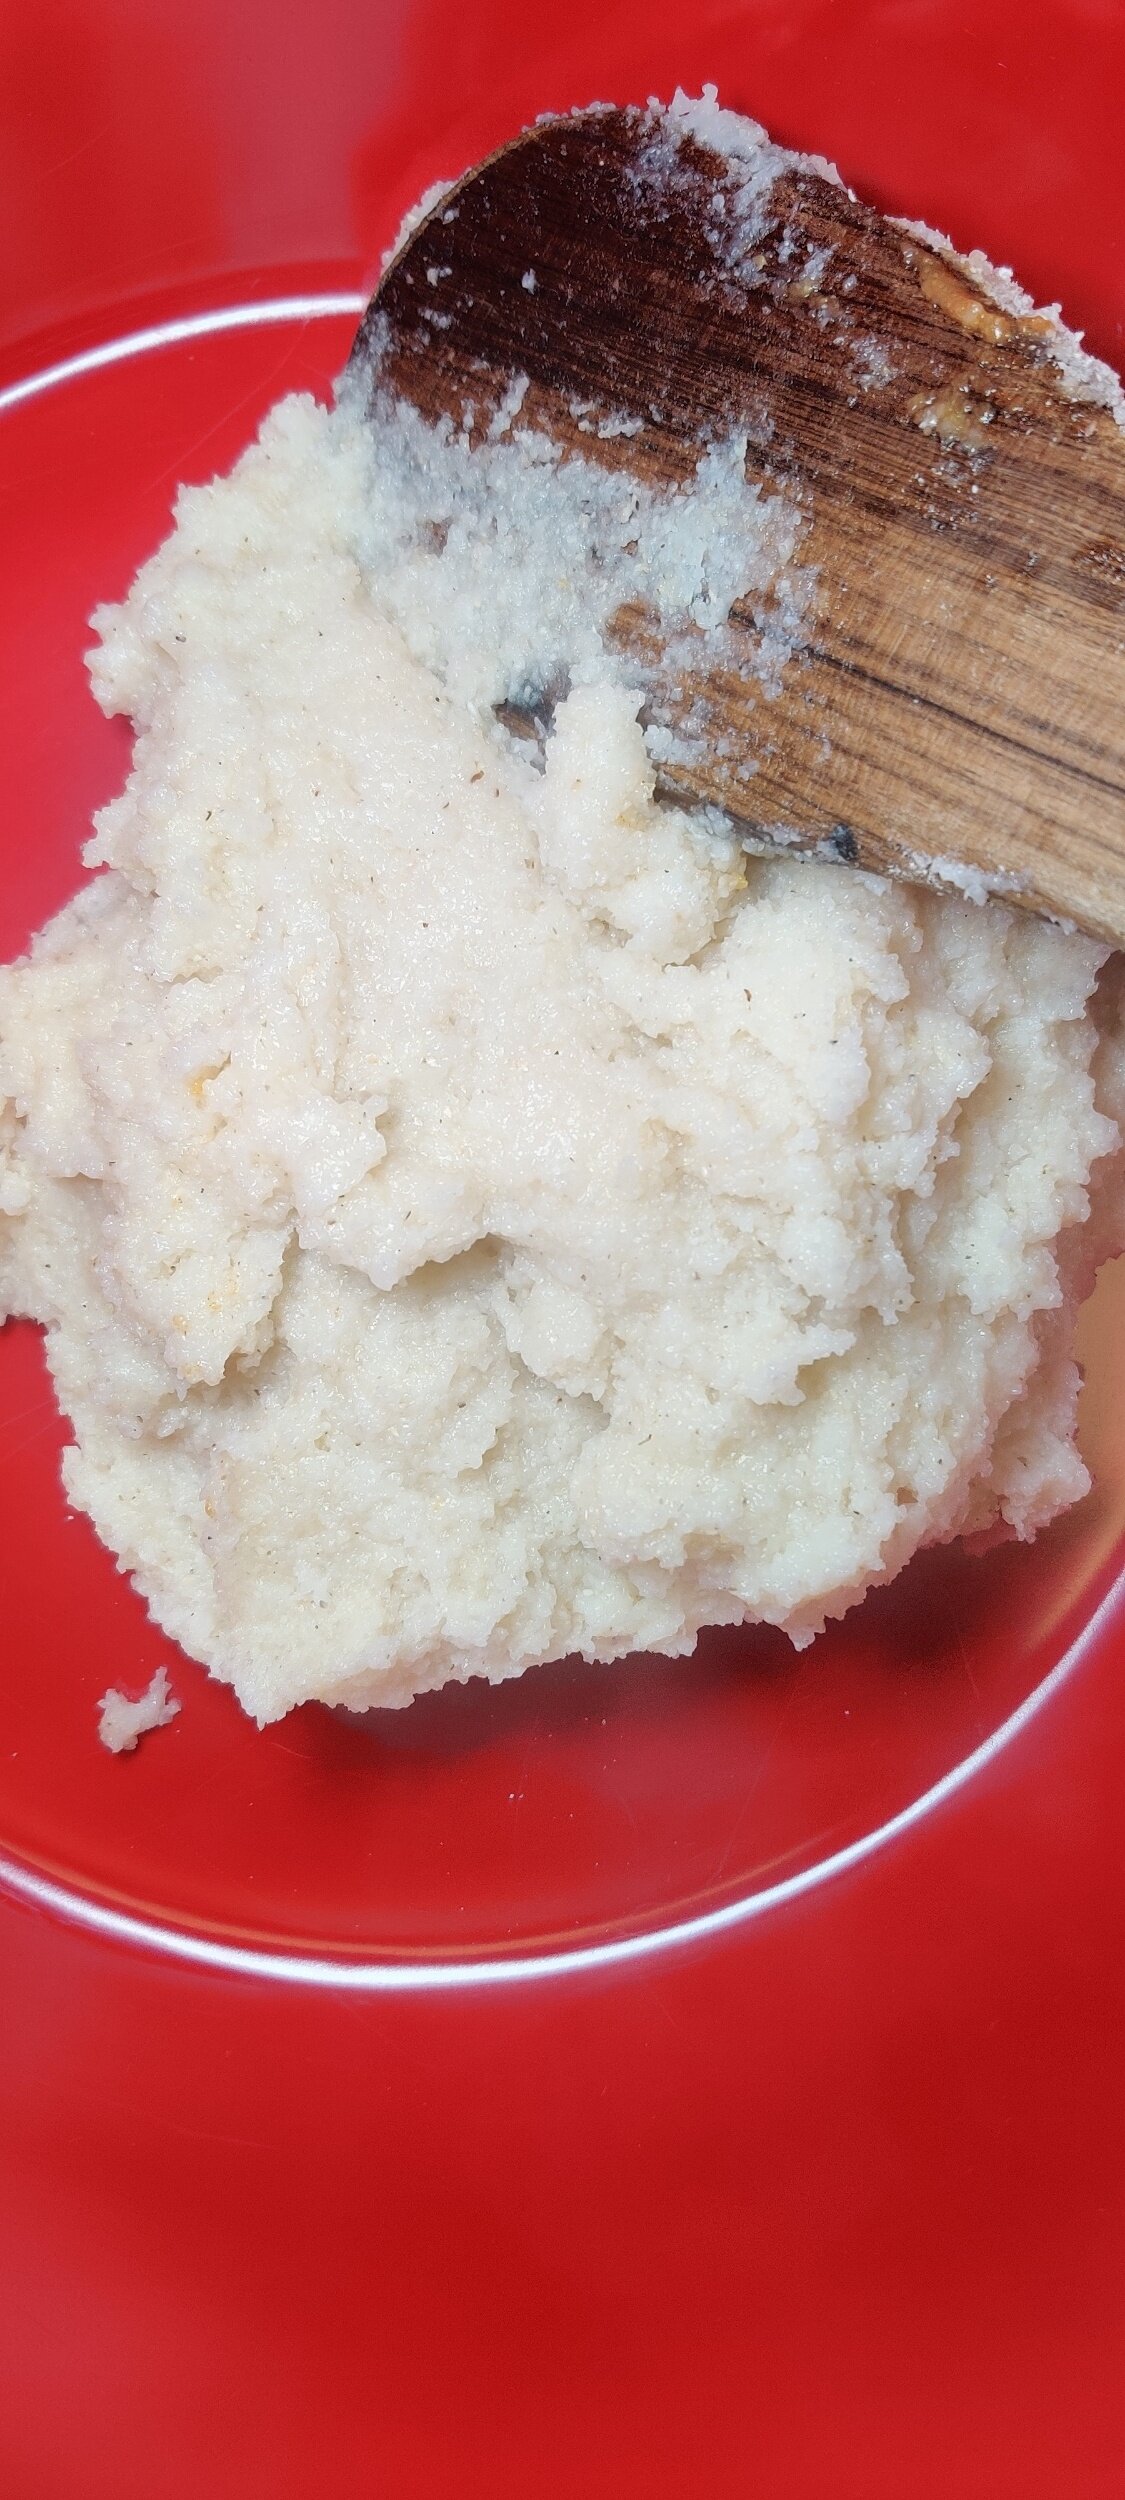
Transfer the sadza to a large bowl to further cool until you can manage it with your hands, but don't allow it to get stone cold!
Heat the peanut oil on medium-low heat in preparation to fry.
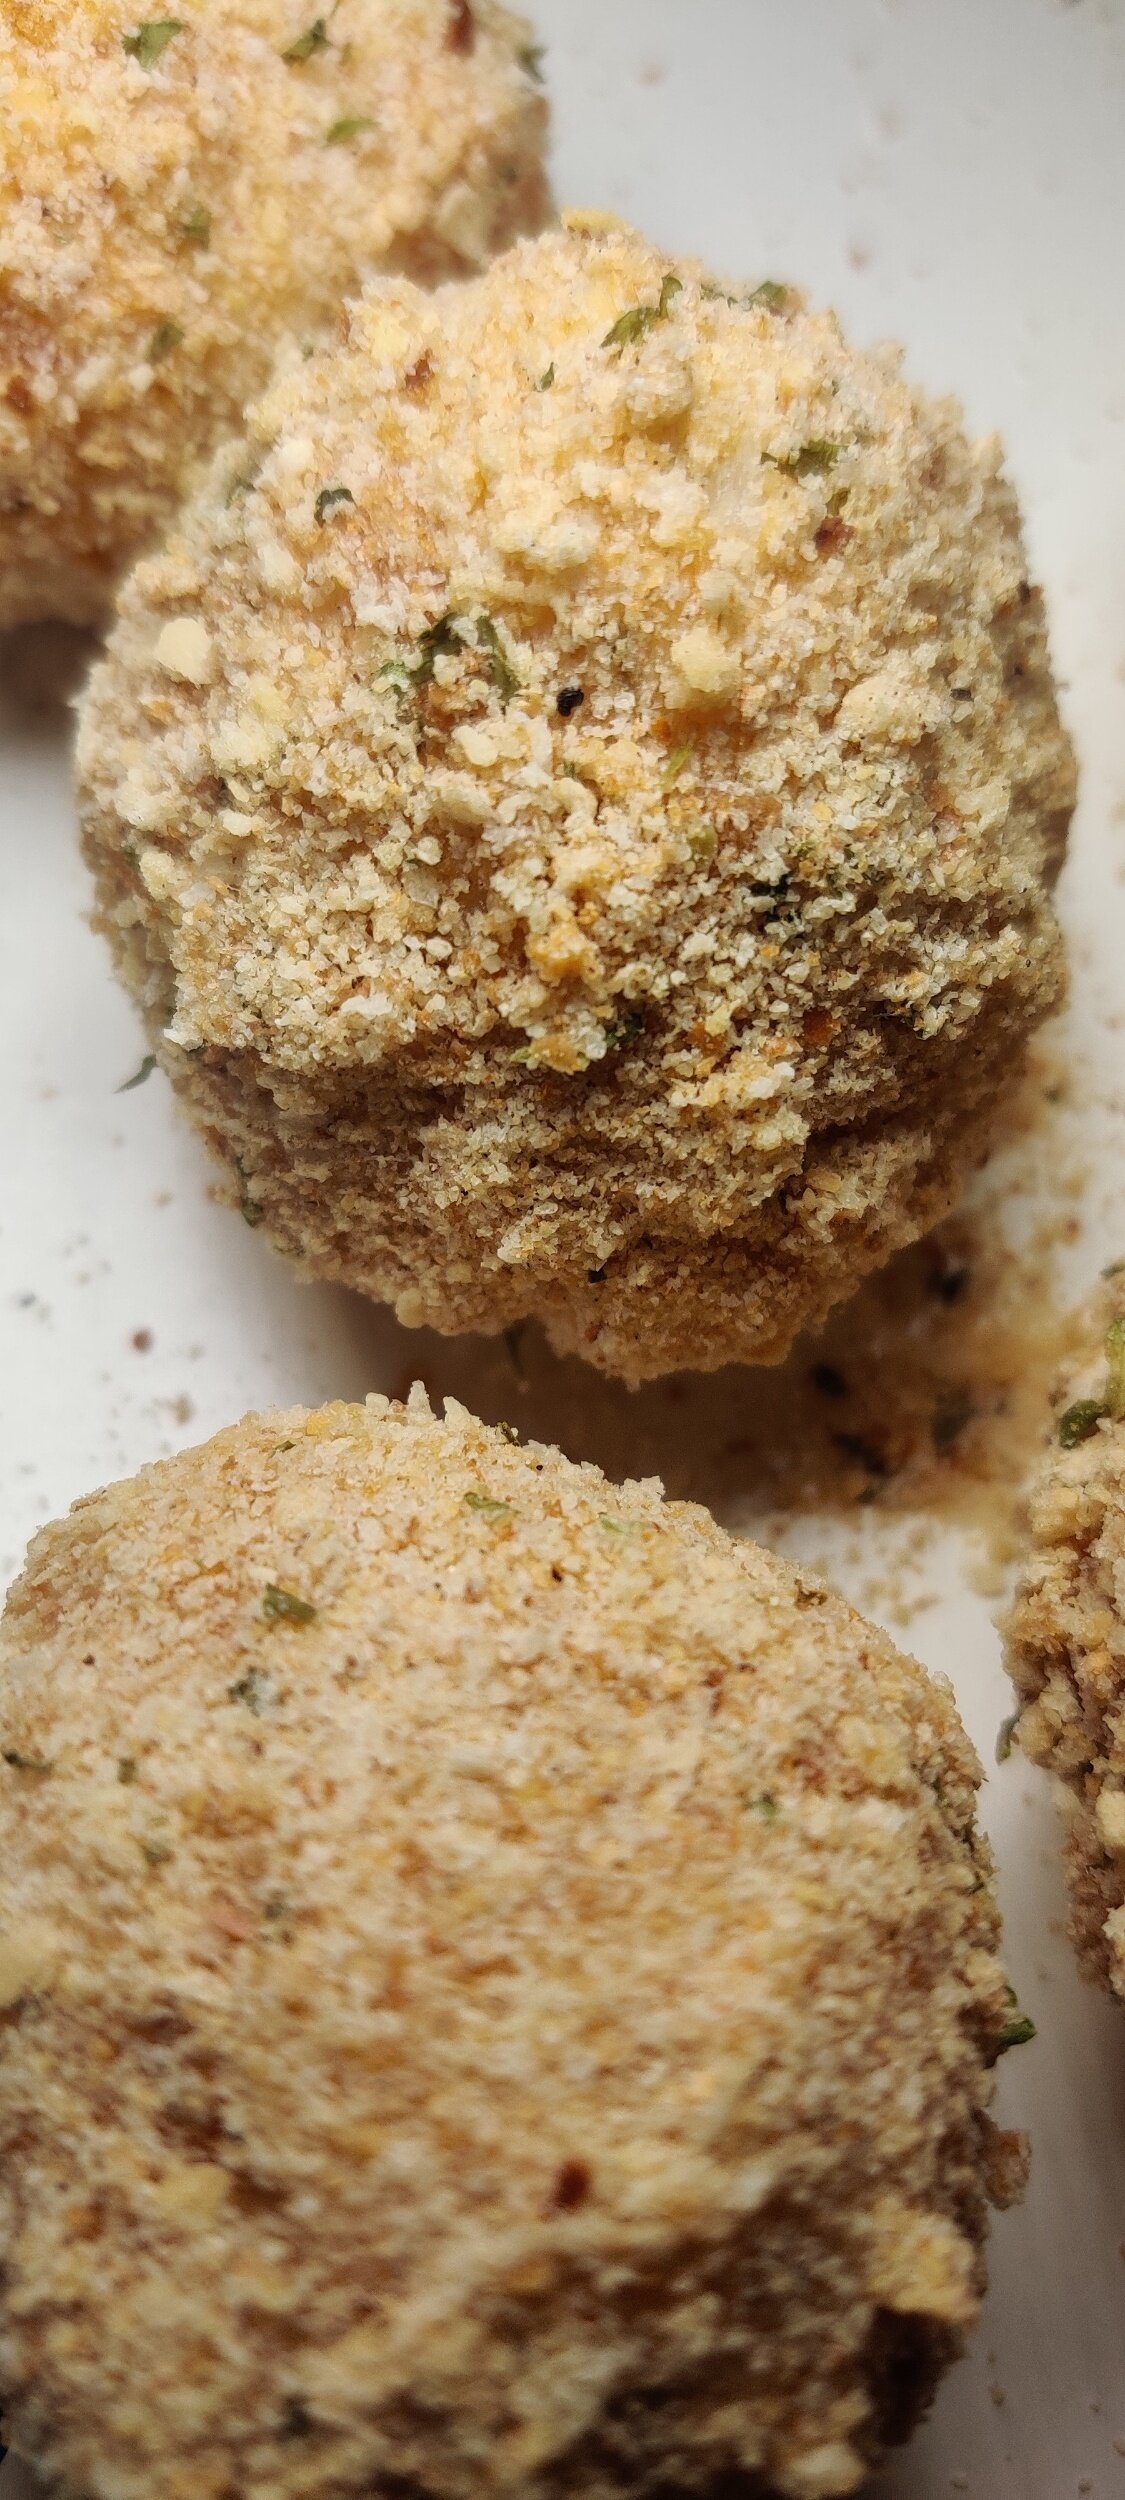
Roll the sadza into balls, then systematically dip into egg and then the breadcrumbs.
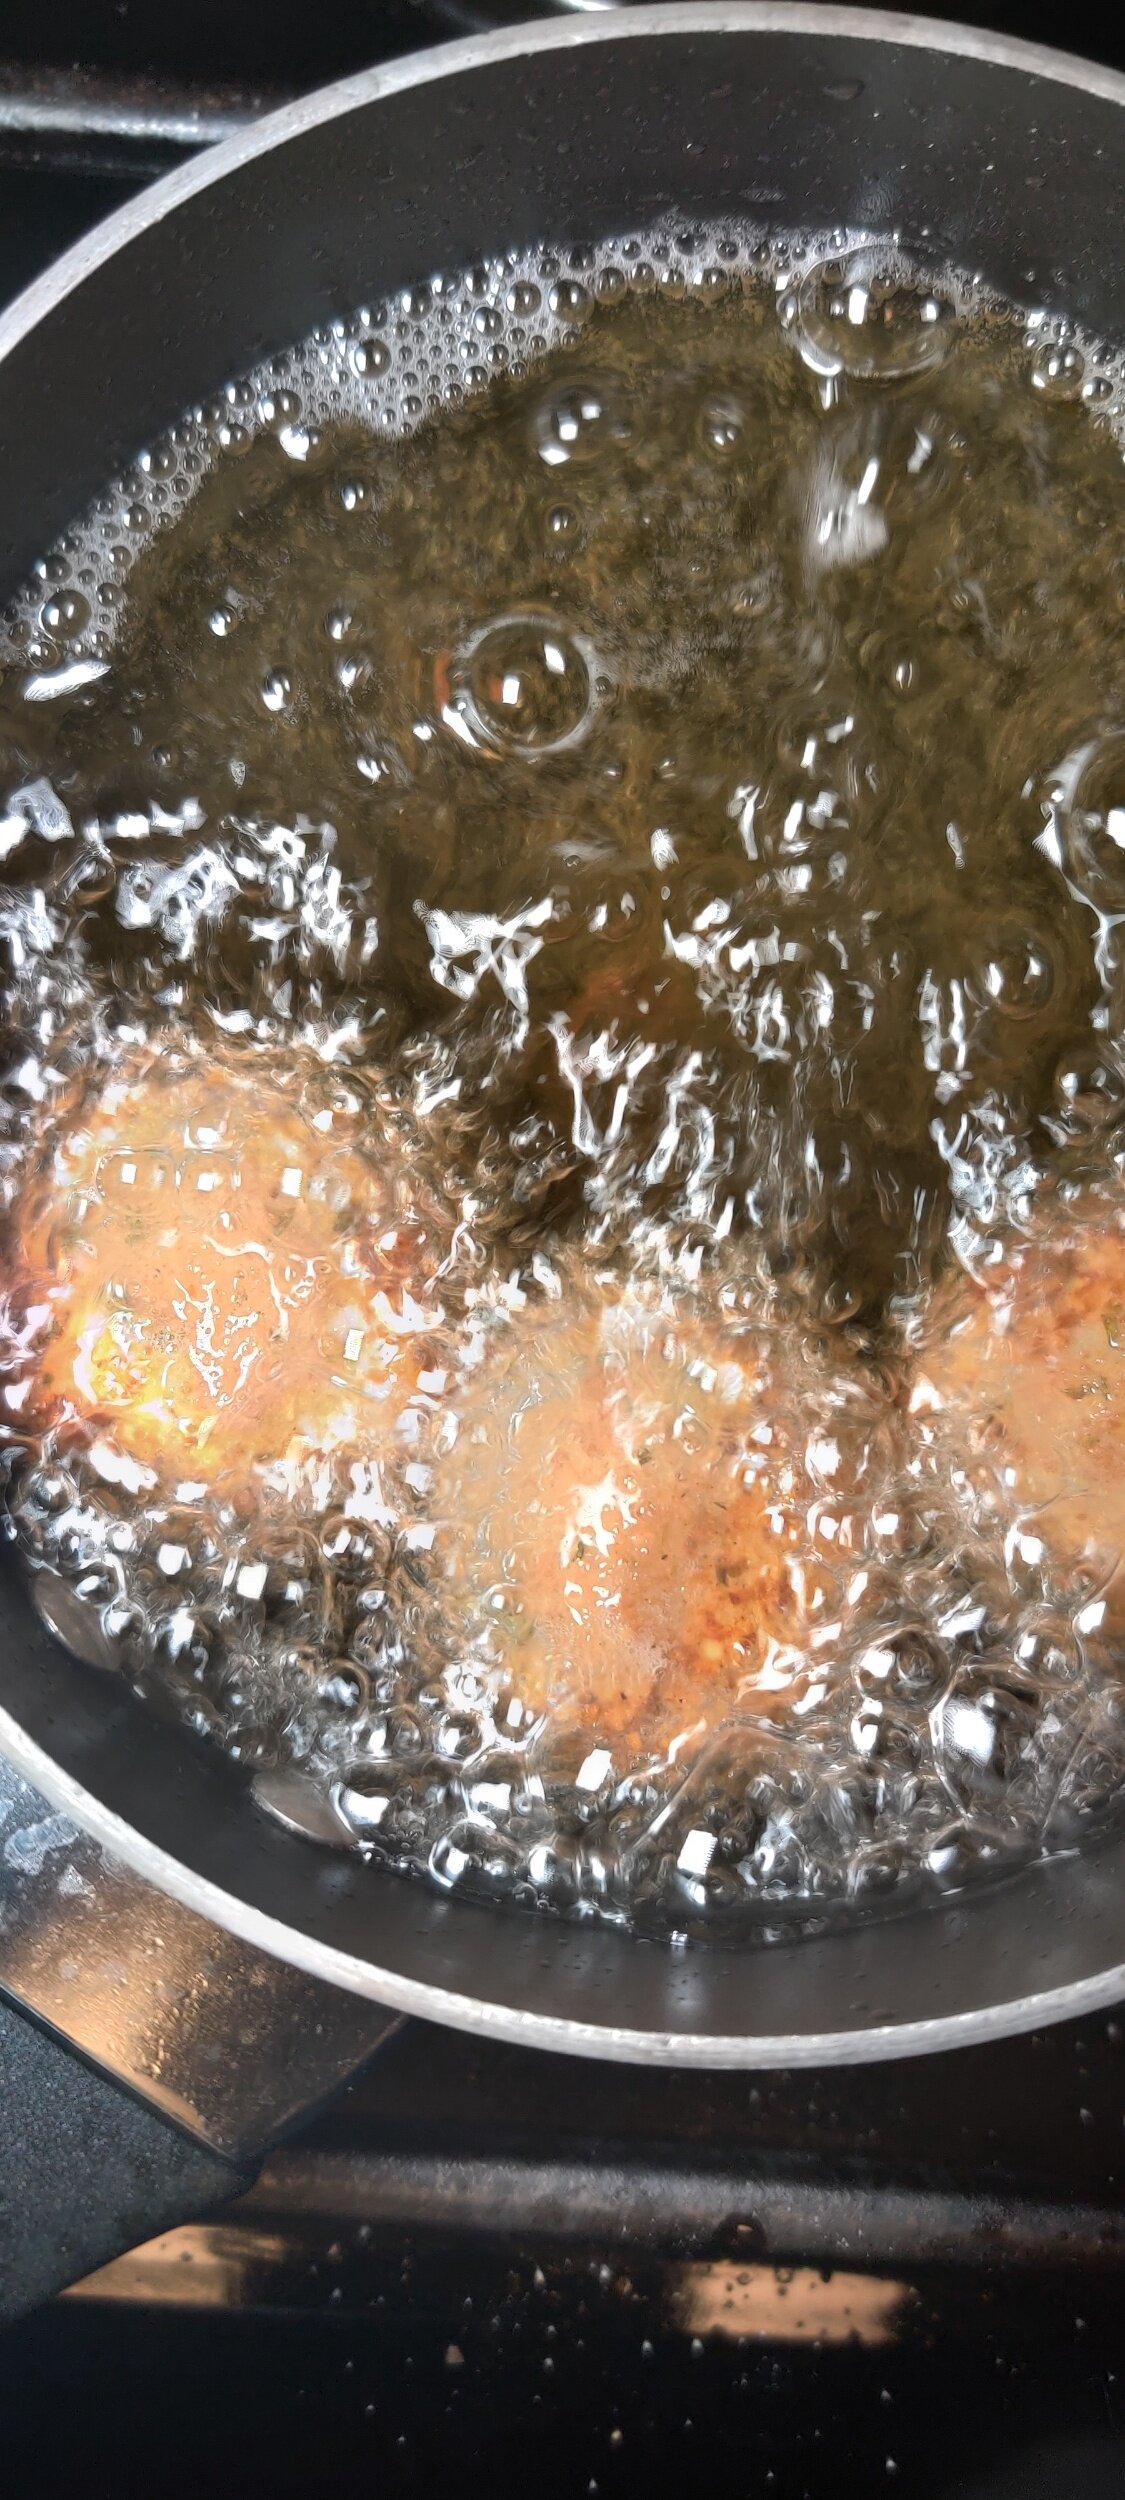
Fry the sadza balls 3-4 at a time depending on the size of your pot, rotating to evenly fry on each side until they are golden brown.
Remove and place on paper towels to drain any excess oil.
Serve the fried sadza balls hot immediately with the sauce, makes about 9-12 balls.

Tomato Bruschetta with Guava Balsamic Glaze
This is the second of six plates I would serve if asked to make a 6-course meal or string of small plates/tapas based on Zimbabwean cuisine. I used ingredients that are commonly eaten or are considered a cornerstone of our cooking, but with a modern twist. The first was a bowl of sweet potato soup.
Sometimes simplicity is best, especially when you need a quick appetizer.
This works well when it comes to Zimbabwean cooking. I wouldn’t say there are any complicated techniques used in the every day Zim kitchen. Most people use fresh ingredients in the least convoluted way possible. Some could argue it borders on bland in certain instances, however, focus on one or two-star ingredients can help bring attention to and appreciate the food in its purity, for what it is. Perhaps adding tweaks to enhance the flavour so that it has simple, bold. flavours. I think of Italian food in this way which is likely why it is one of my other favourite cuisines!
Bruschetta is a great way to celebrate the tomato, which I have said is a quintessential fruit in the Zimbabwean kitchen, as is the onion.
The guava, on the other hand, is a commonly eaten fruit I believe, is underutilized. I don’t even recall jam being made from them, most people eat the fruits as they are. We had a tree in my back yard I used to climb just to pass the time, and would often pick them myself. Similar to passionfruit, there is nothing quite like the sweetness from the pink-fleshed, tropical fruit.
I decided to use some guava nectar to make an enhanced, fruity glaze to drizzle over the fresh tomato and onion. on top of a crunchy piece of garlic-rubbed baguette. This makes for a delicious snack or starter.
Ingredients
1/2 French baguette
1/2 large tomato
1/4 yellow onion
2 tablespoons + 1 teaspoon balsamic vinegar
1 tablespoon fresh basil, finely chopped
Pinch of salt
1/2 teaspoon black pepper
1 tablespoon butter + extra for bread
1/3 cup guava nectar
1 tablespoon dried parsley
3 teaspoons olive oil + extra for bread
1/2 teaspoon garlic powder + extra for bread
1 tablespoon minced garlic


Instructions
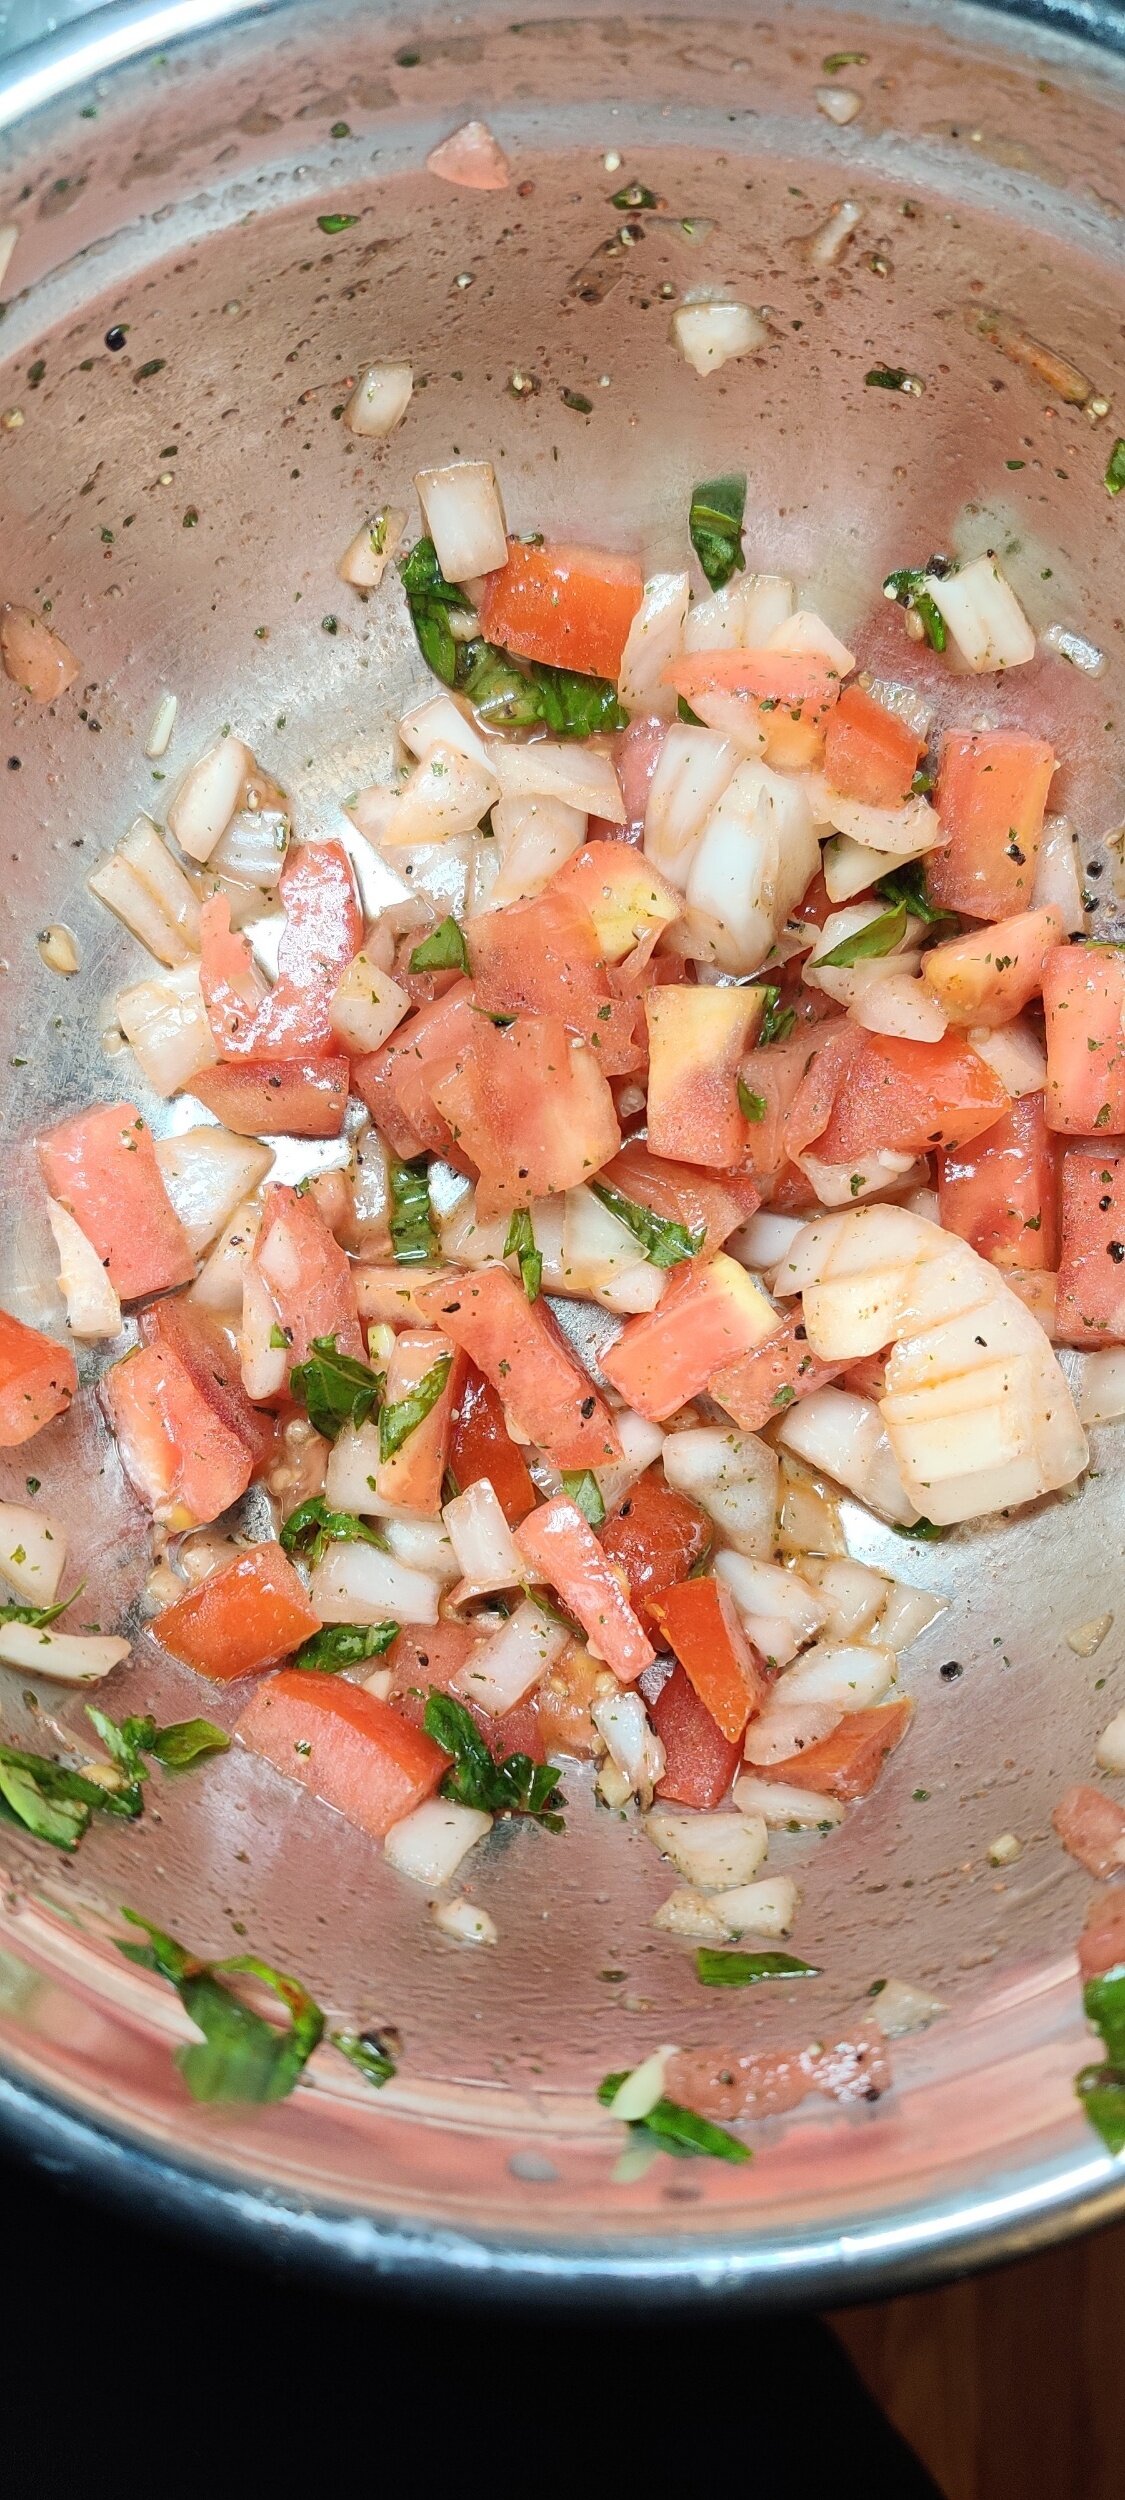
Dice the tomato and onion, then toss in 3 teaspoons olive oil, 1 teaspoon balsamic vinegar, garlic powder, basil, salt, and black pepper. Taste to make sure it is to your liking, set aside!
Slice the baguette, butter one side, then rub or brush each piece with olive oil, minced garlic and garlic powder. Toast directly on the stovetop for a few seconds. You can also broil but take care not to burn!
In a small pot, melt the tablespoon of butter with the balsamic vinegar. Add the guava nectar, then bring the mixture to a boil. Reduce to a simmer, and stir, frequently, until the glaze begins to caramelize and thicken. Season to taste if desired.
Assemble your bruschetta. Top the toasted baguettes with the tomato and onion, drizzle with glaze, then top with fresh basil.

Sweet Potato Soup
This is one of six plates I would serve if asked to make a 6-course meal or string of small plates/tapas based on Zimbabwean cuisine. I used ingredients that are commonly eaten or are considered a cornerstone of our cooking, but with a modern twist.
The sweet potato. I've used it many times in several recipes on this website. It's one of the most widely-eaten starchy tubers in Zimbabwe so I had to use it.
There is nothing better than a thick, rich, flavourful soup and it’s not hard to achieve at all. No need to go to a restaurant for it! It’s all about the right combination of spices, rich broth, and a solid base.
If I had more time and patience, I may have made my own homemade broth for it! Homemade is usually best.
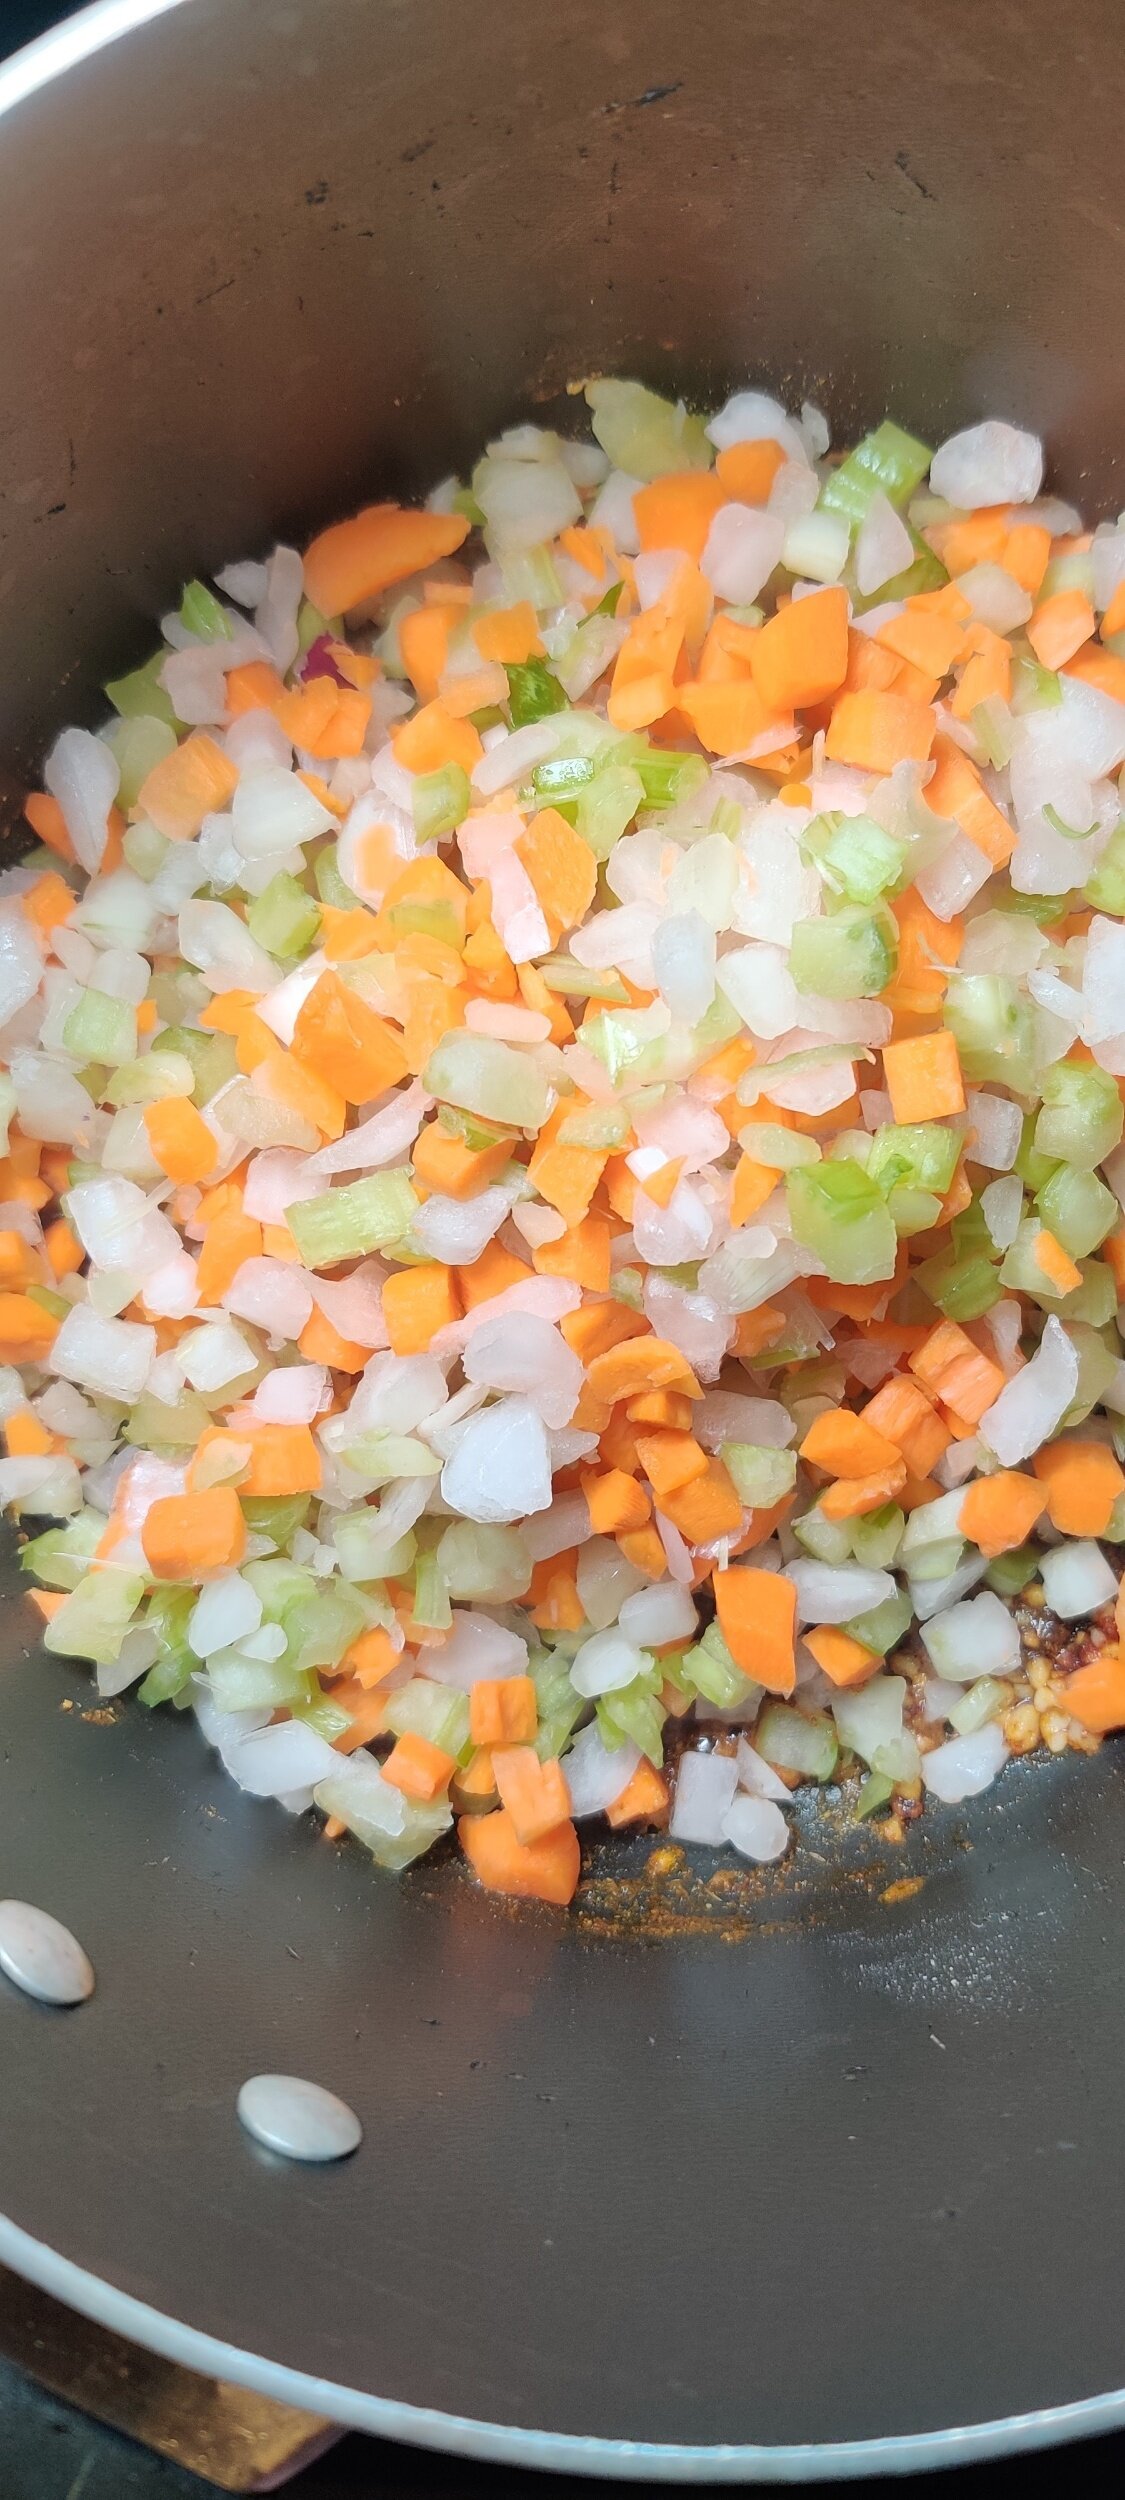
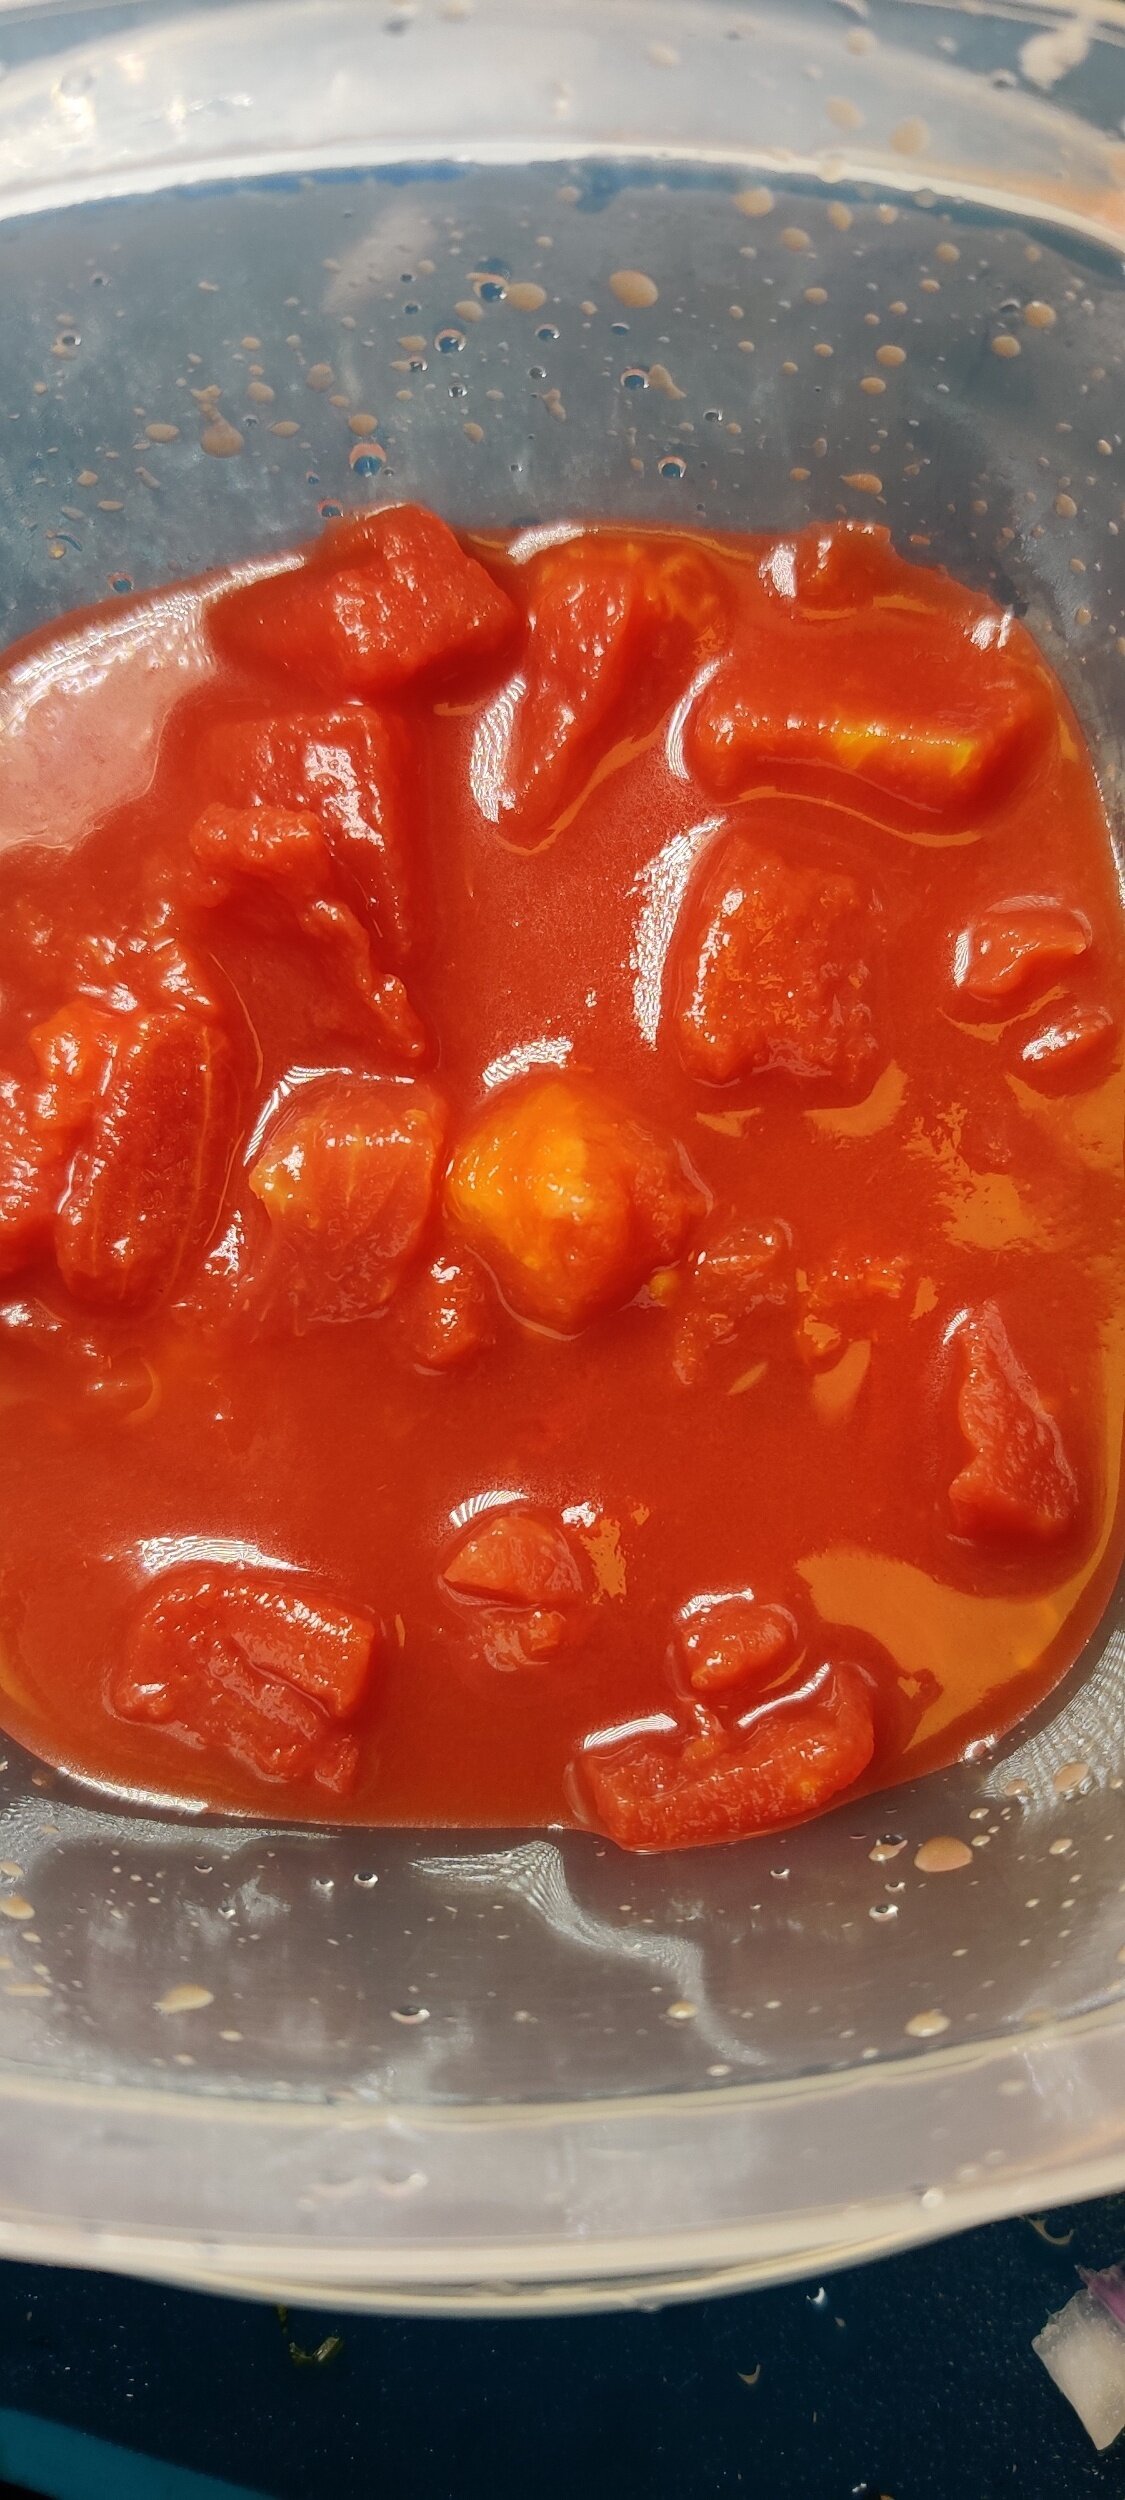
Since sweet potatoes are starchy, they lend themselves well to soups and help thicken everything up. In this case, so does the tomato paste. It’s used in French cooking technique known as pincage which you add to mirepoix (a combination of celery, onion and carrots) which makes for a great soup base because of the flavour it adds.
I also add the tomato paste because tomatoes are almost always present in the typical Zimbabwean kitchen and all over the markets year-round. They are also the base for most stews whether vegetarian or meat-based, it’s rare to find any Zimbabwean stew that has no tomato present. I also think it adds a flavour dimension that makes soup have more depth of flavor.
Ingredients
1 large sweet potato
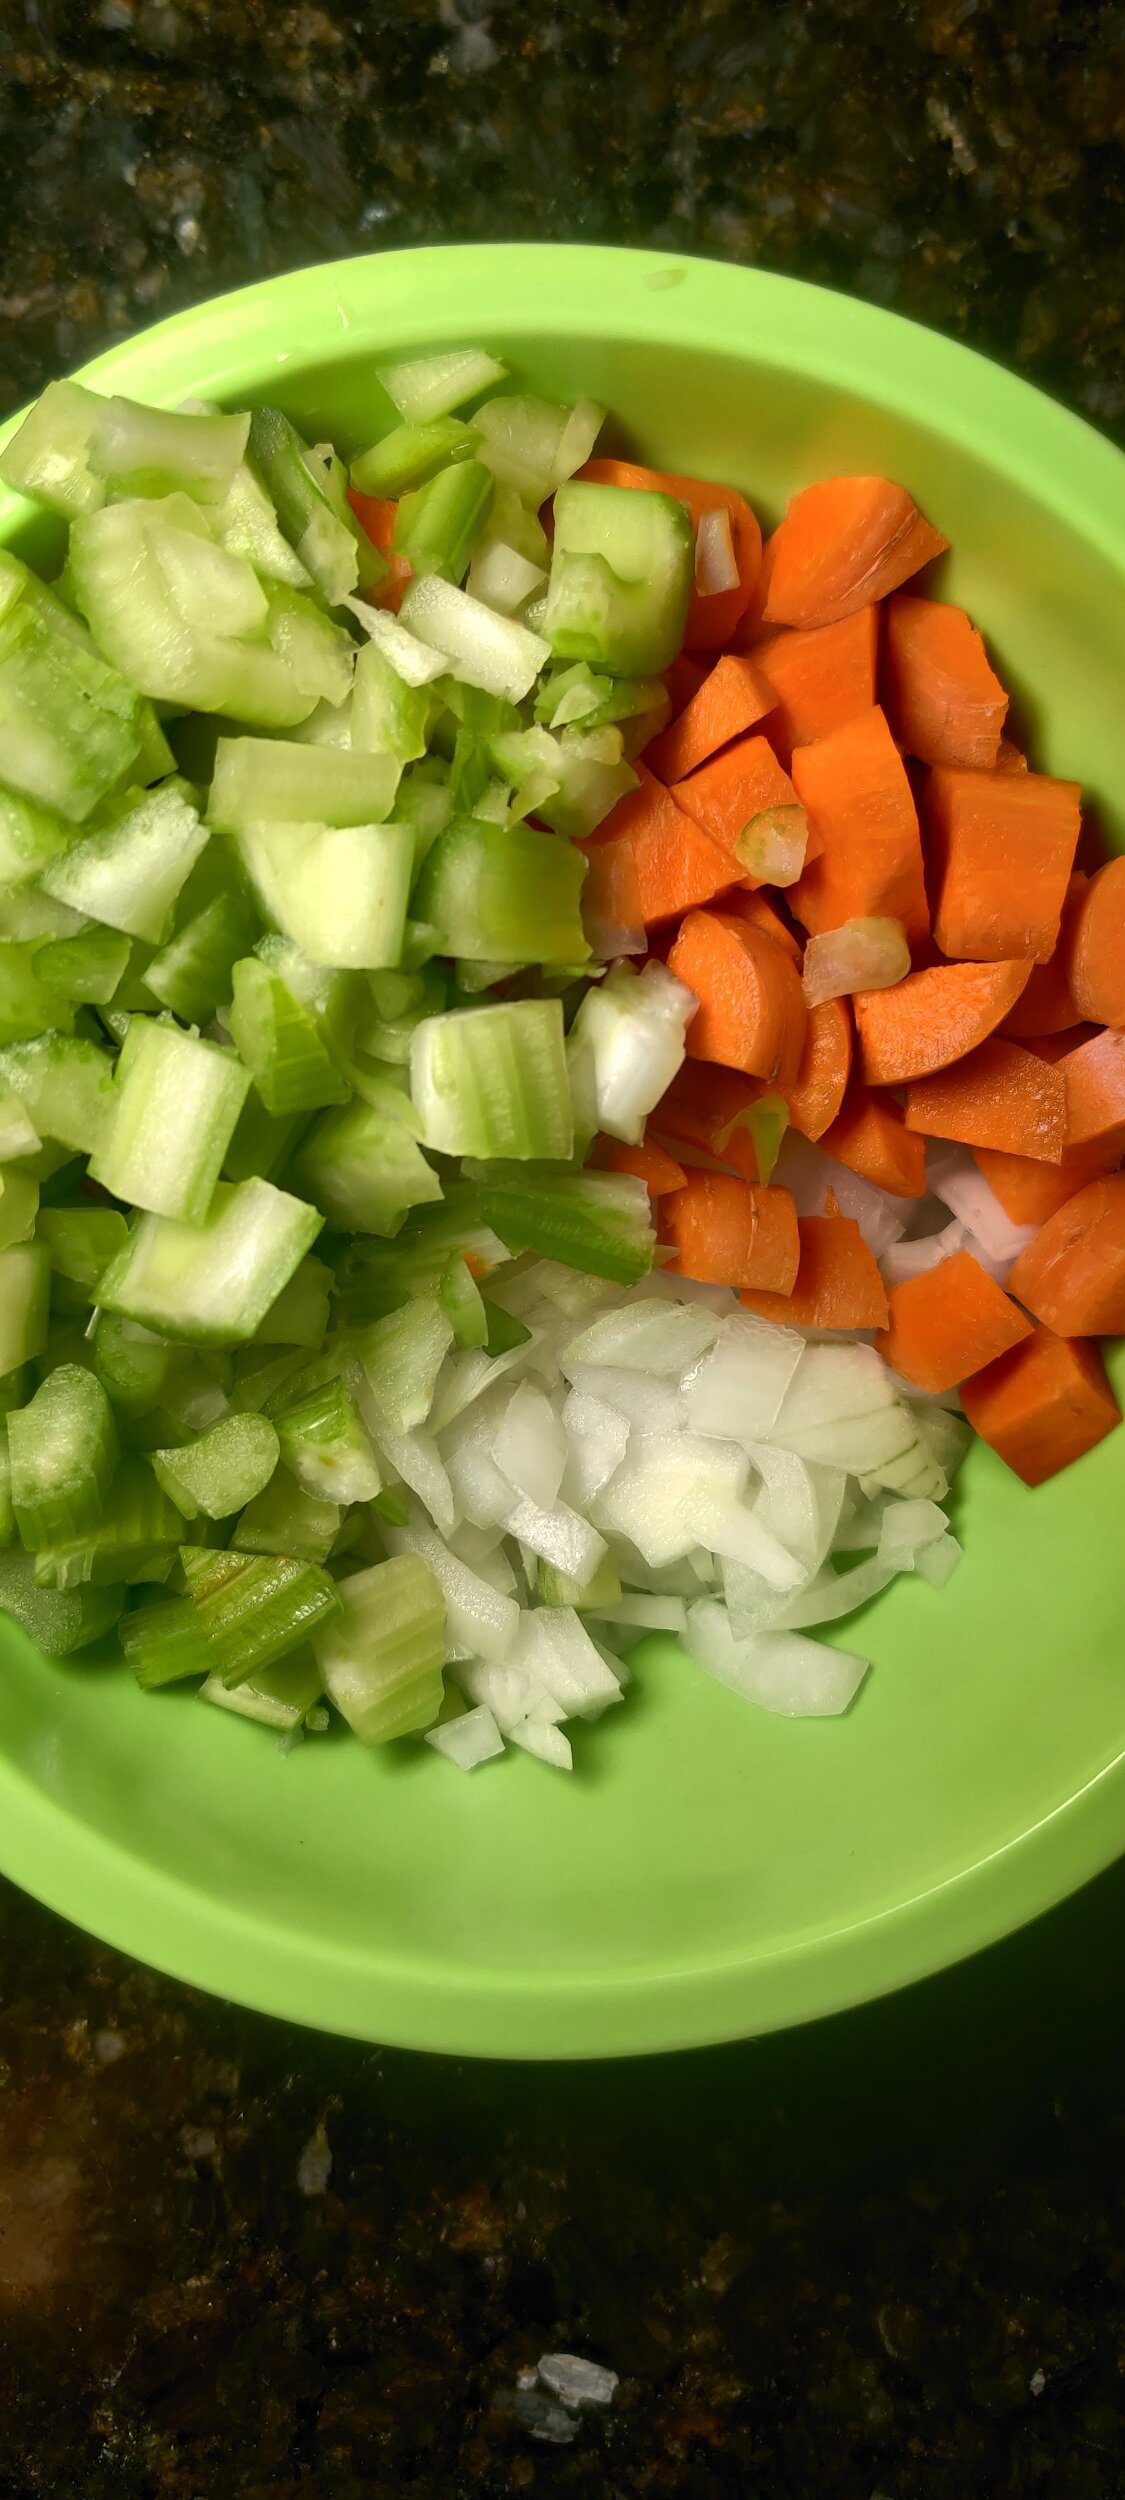
1 cup mirepoix (2 parts diced onion, 1 part celery, 1 part carrot)
2-3 bay leaves
1 tablespoon hot Madras curry powder
1 teaspoon fenugreek powder
1 teaspoon cinnamon
1 teaspoon cumin
1 teaspoon coriander
1 tablespoon black pepper
1 teaspoon salt
1 teaspoon smoked paprika
2 tablespoons hot mango chutney
1 tablespoon fresh sage, chopped
1 (6-oz) can tomato paste
2 bouillon cubes
3-4 cups water
1 tablespoon butter
2 tablespoons olive oil
1 tablespoon minced garlic


Instructions
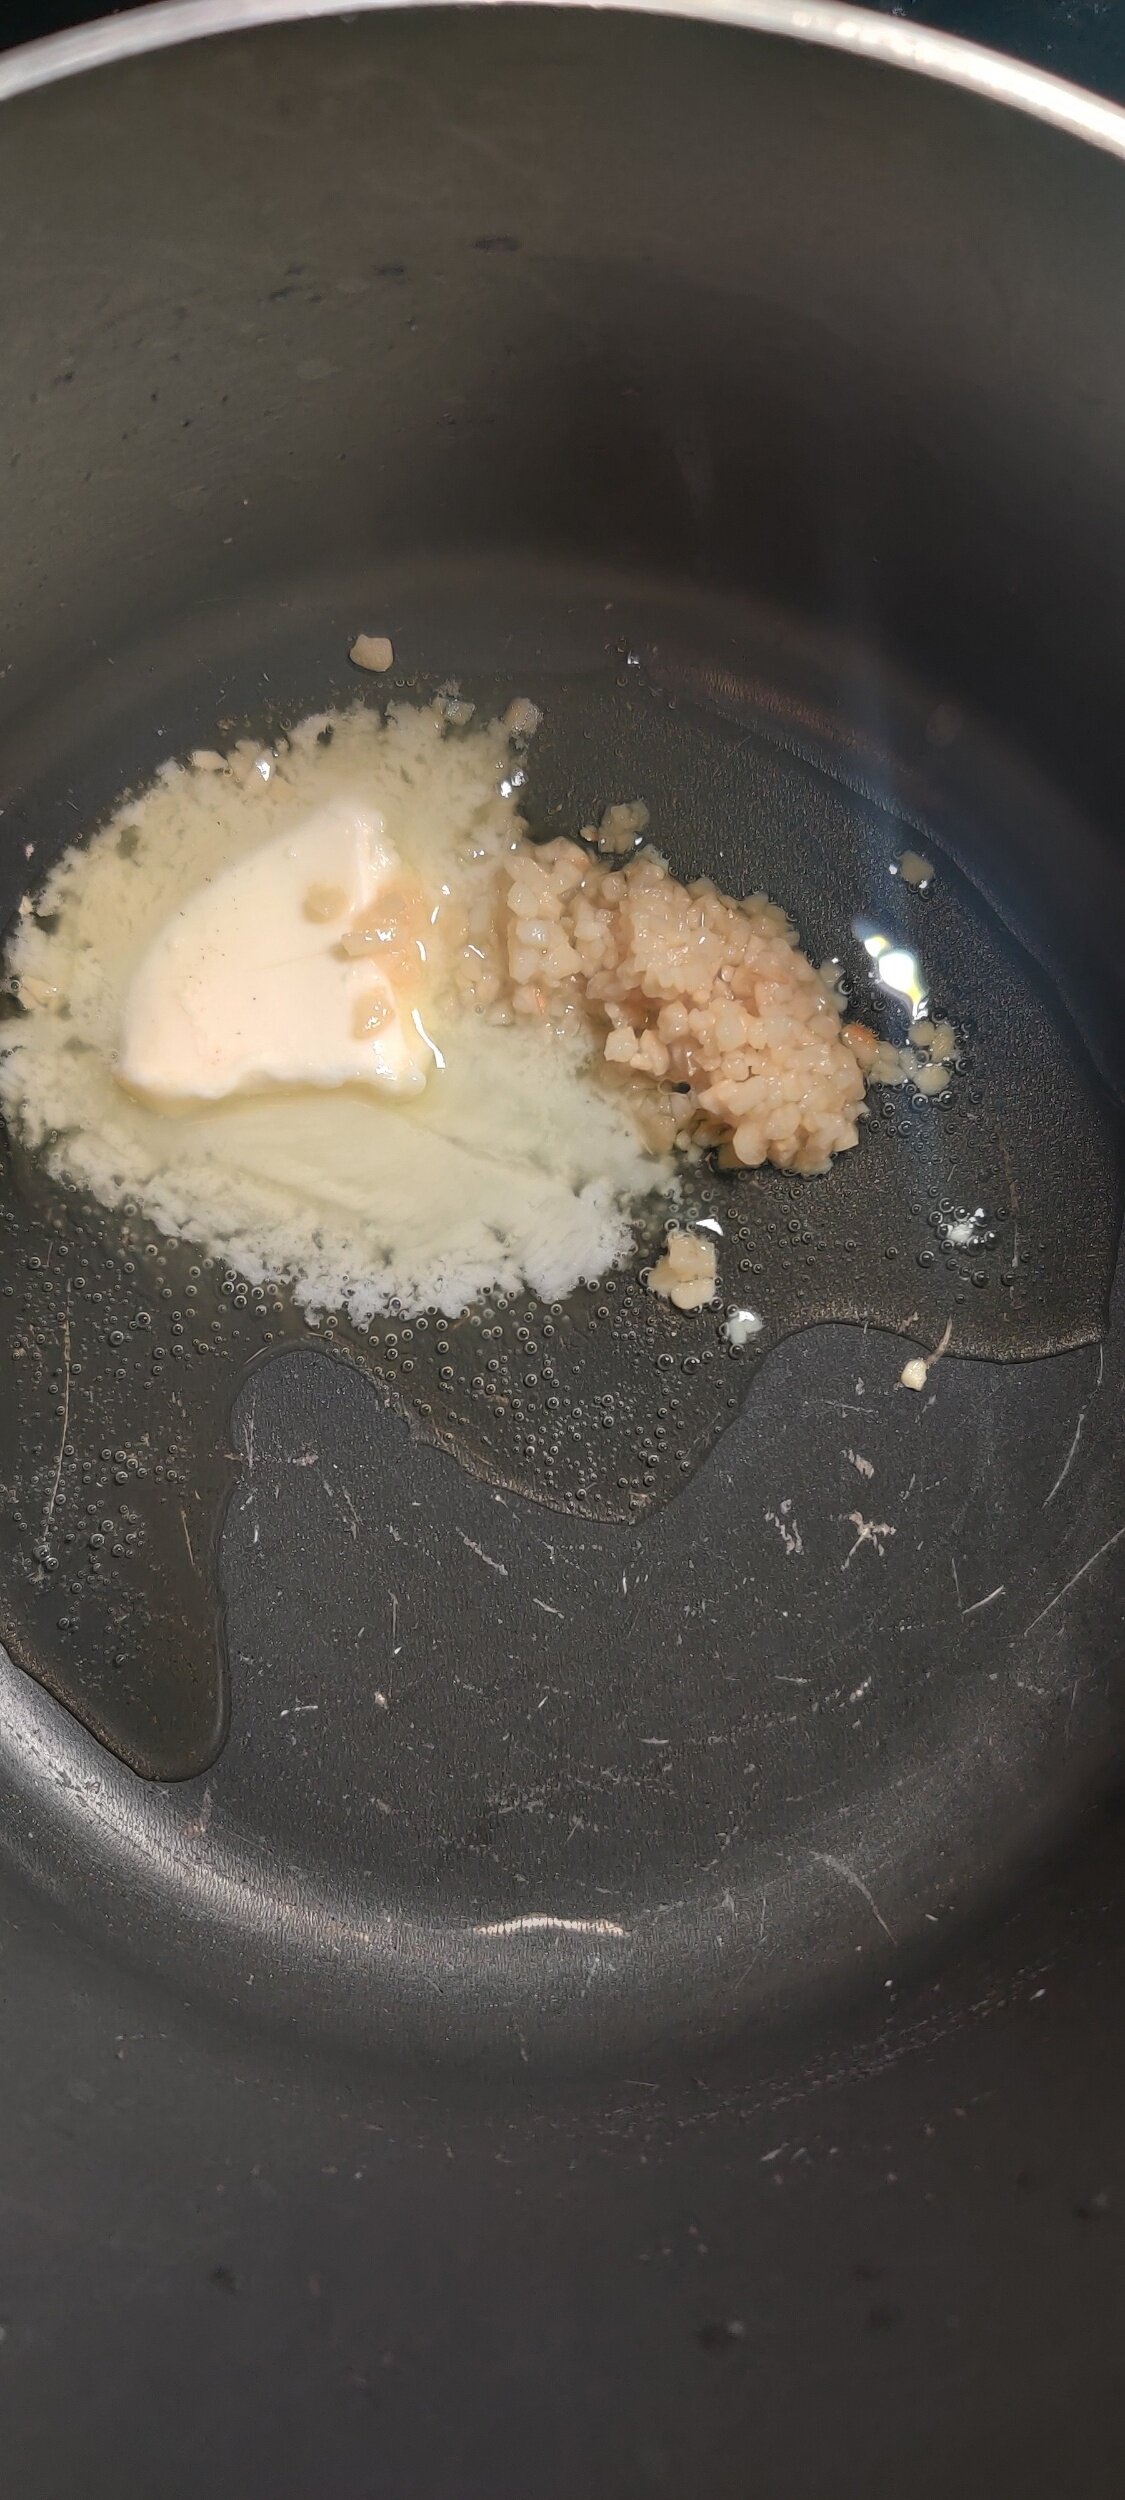
Peel and dice the sweet potato. In a large pot, heat the butter and oil with the garlic until fragrant, about 2 minutes.
Add all the spices and the sage, cook for another 2-3 minutes.
Mix in the mirepoix and chutney until evenly coated and cook until the vegetables begin to soften.
Add in the tomato paste and stir frequently to form a pincage - cook for another 2-3 minutes until it begins to brown.
Pour in the water and reduce the heat to simmer. Add the bay leaves and cover with a lid for about 30 minutes or until the sweet potato softens. You'll want to regularly check your soup and stir occasionally. The soup will be thick and flagrant, add a little bit more water if necessary.
Set aside and cool the soup down. Once cooled, take out a few whole sweet potato cubes. Pour the soup into a blender or use a hand blender to puree the soup until smooth or your desired texture.
Garnish with croutons, fresh sage, and sweet potato cubes you set aside. Serves 3-4.

Spicy Pumpkin Mushroom Skillet Pot Pie
Yes, fall is coming. That means pumpkins will start to show their colours brightly, and it's worth embracing for sure! Sweet potato is an alternative if you can’t find or are not big on eating pumpkin, but the spice blend associated with the season lends itself to both and helps create some great depth of flavour and the warmth we love in autumn. I’m talking cinnamon, nutmeg, ginger, and cloves.
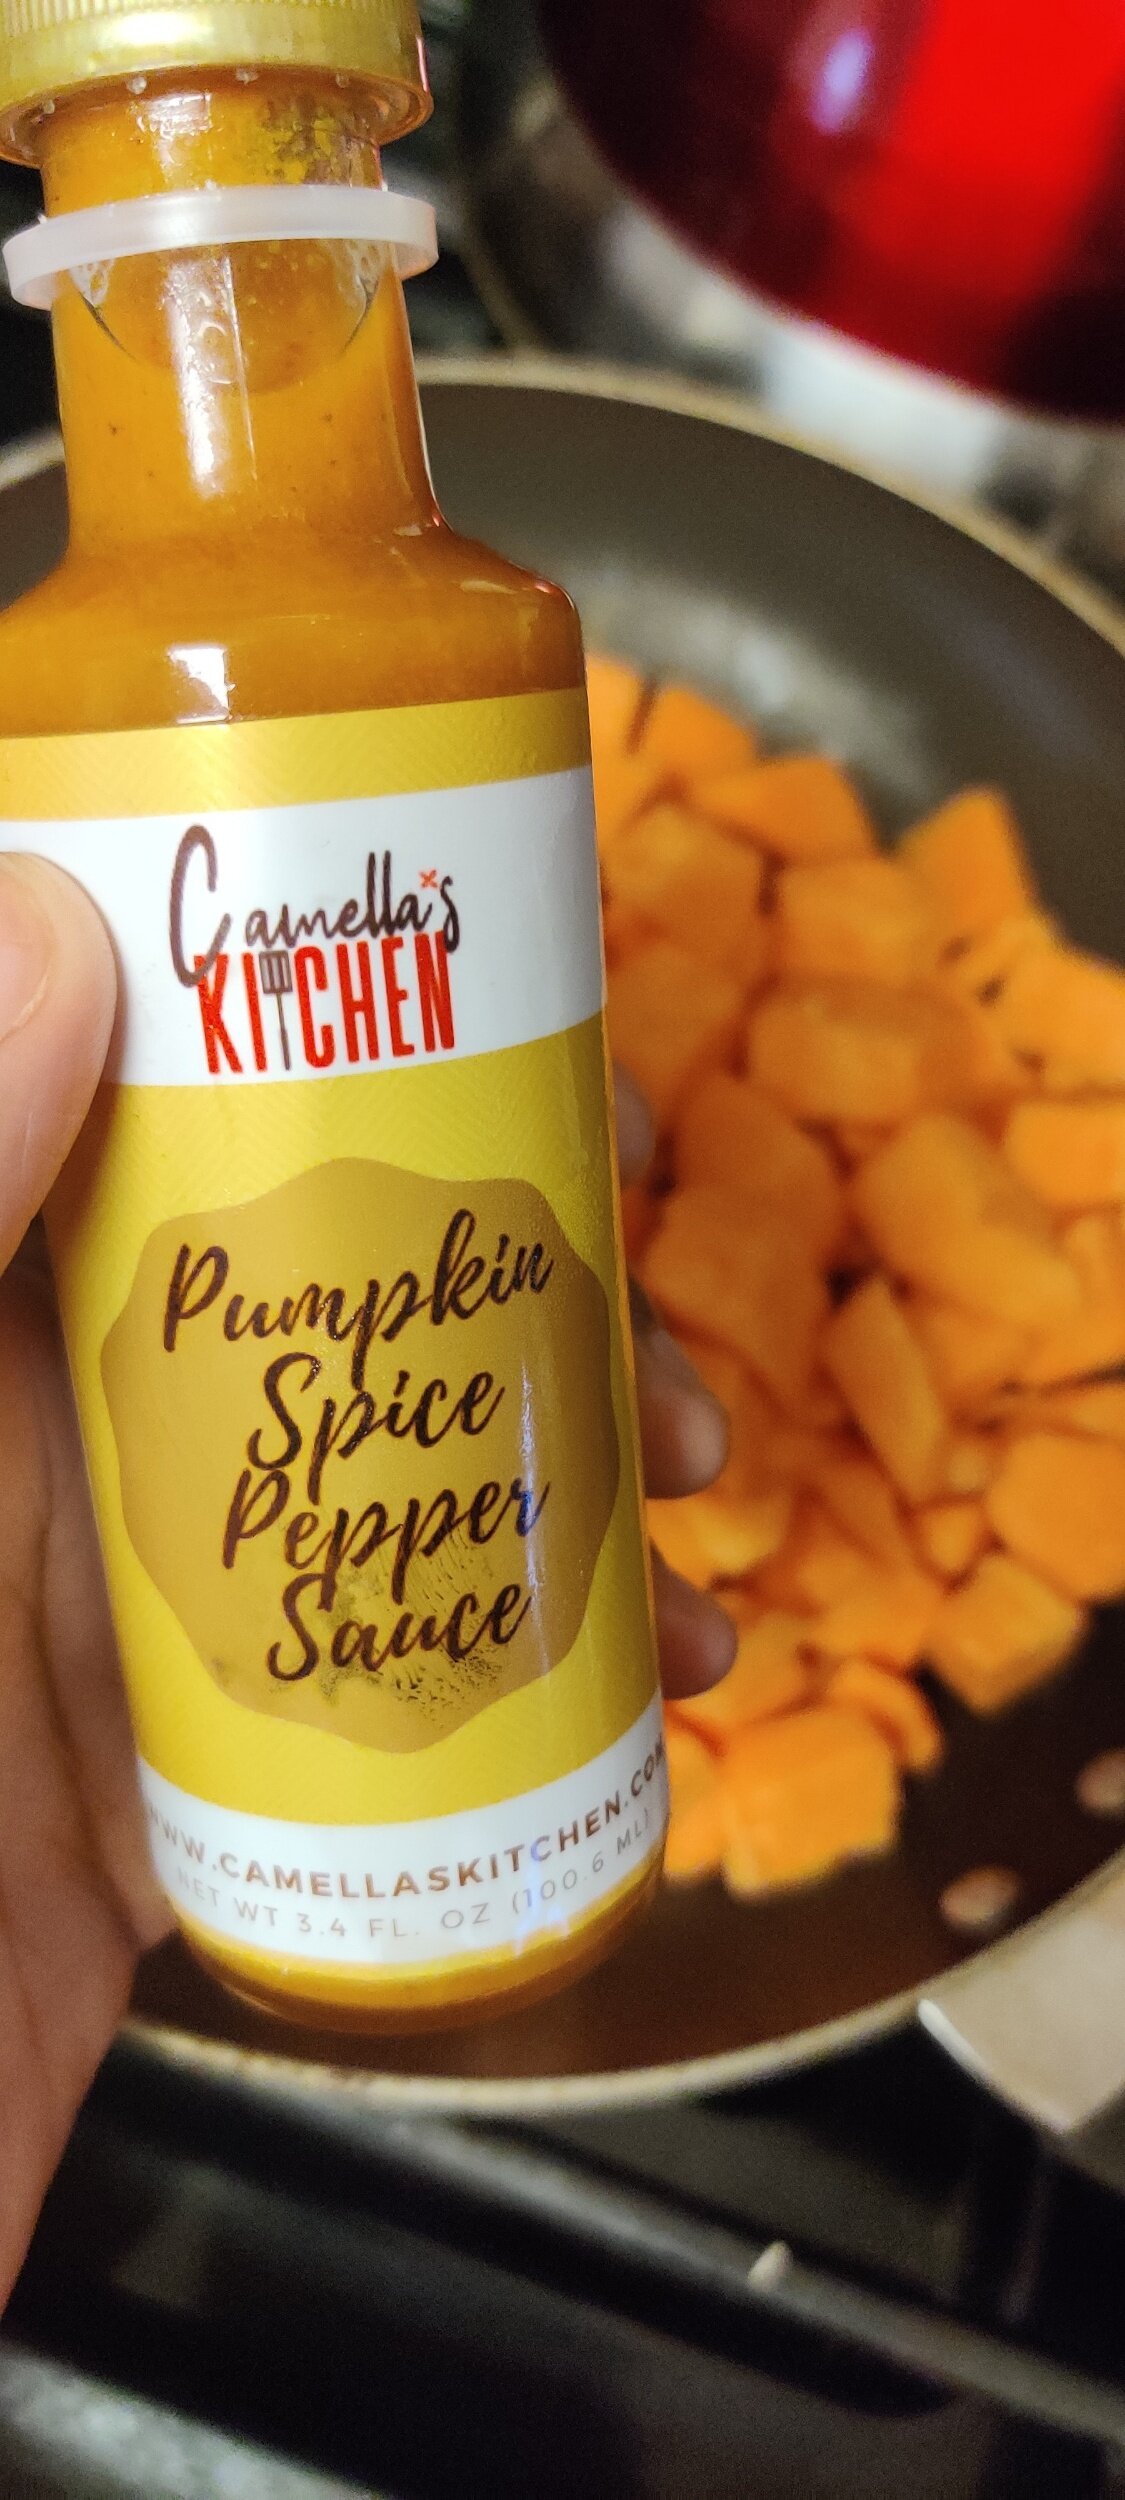
One of my favourite's Camella’s Kitchen - a family-owned business that celebrates Caribbean flavours - just released a seasonal product that incorporates these flavours. The pumpkin spice pepper sauce is a fiery chilli sauce that includes the pumpkin spice flavour and subtle sweetness characteristic of anything pumpkin-related. This inspired me to make a pot pie, sans the chicken.
Sounds unconventional, but the addition of the pumpkin and shitake mushrooms along with the pepper sauce heat adds so much flavour. Not only does it compliment the buttery pie crust, but you still get that umami people associate with a hot, steaming pot pie perfect for the cooling weather.
This vegetarian pot pie puts others to shame. The flavours make it intensely rich and delicious.
Ingredients
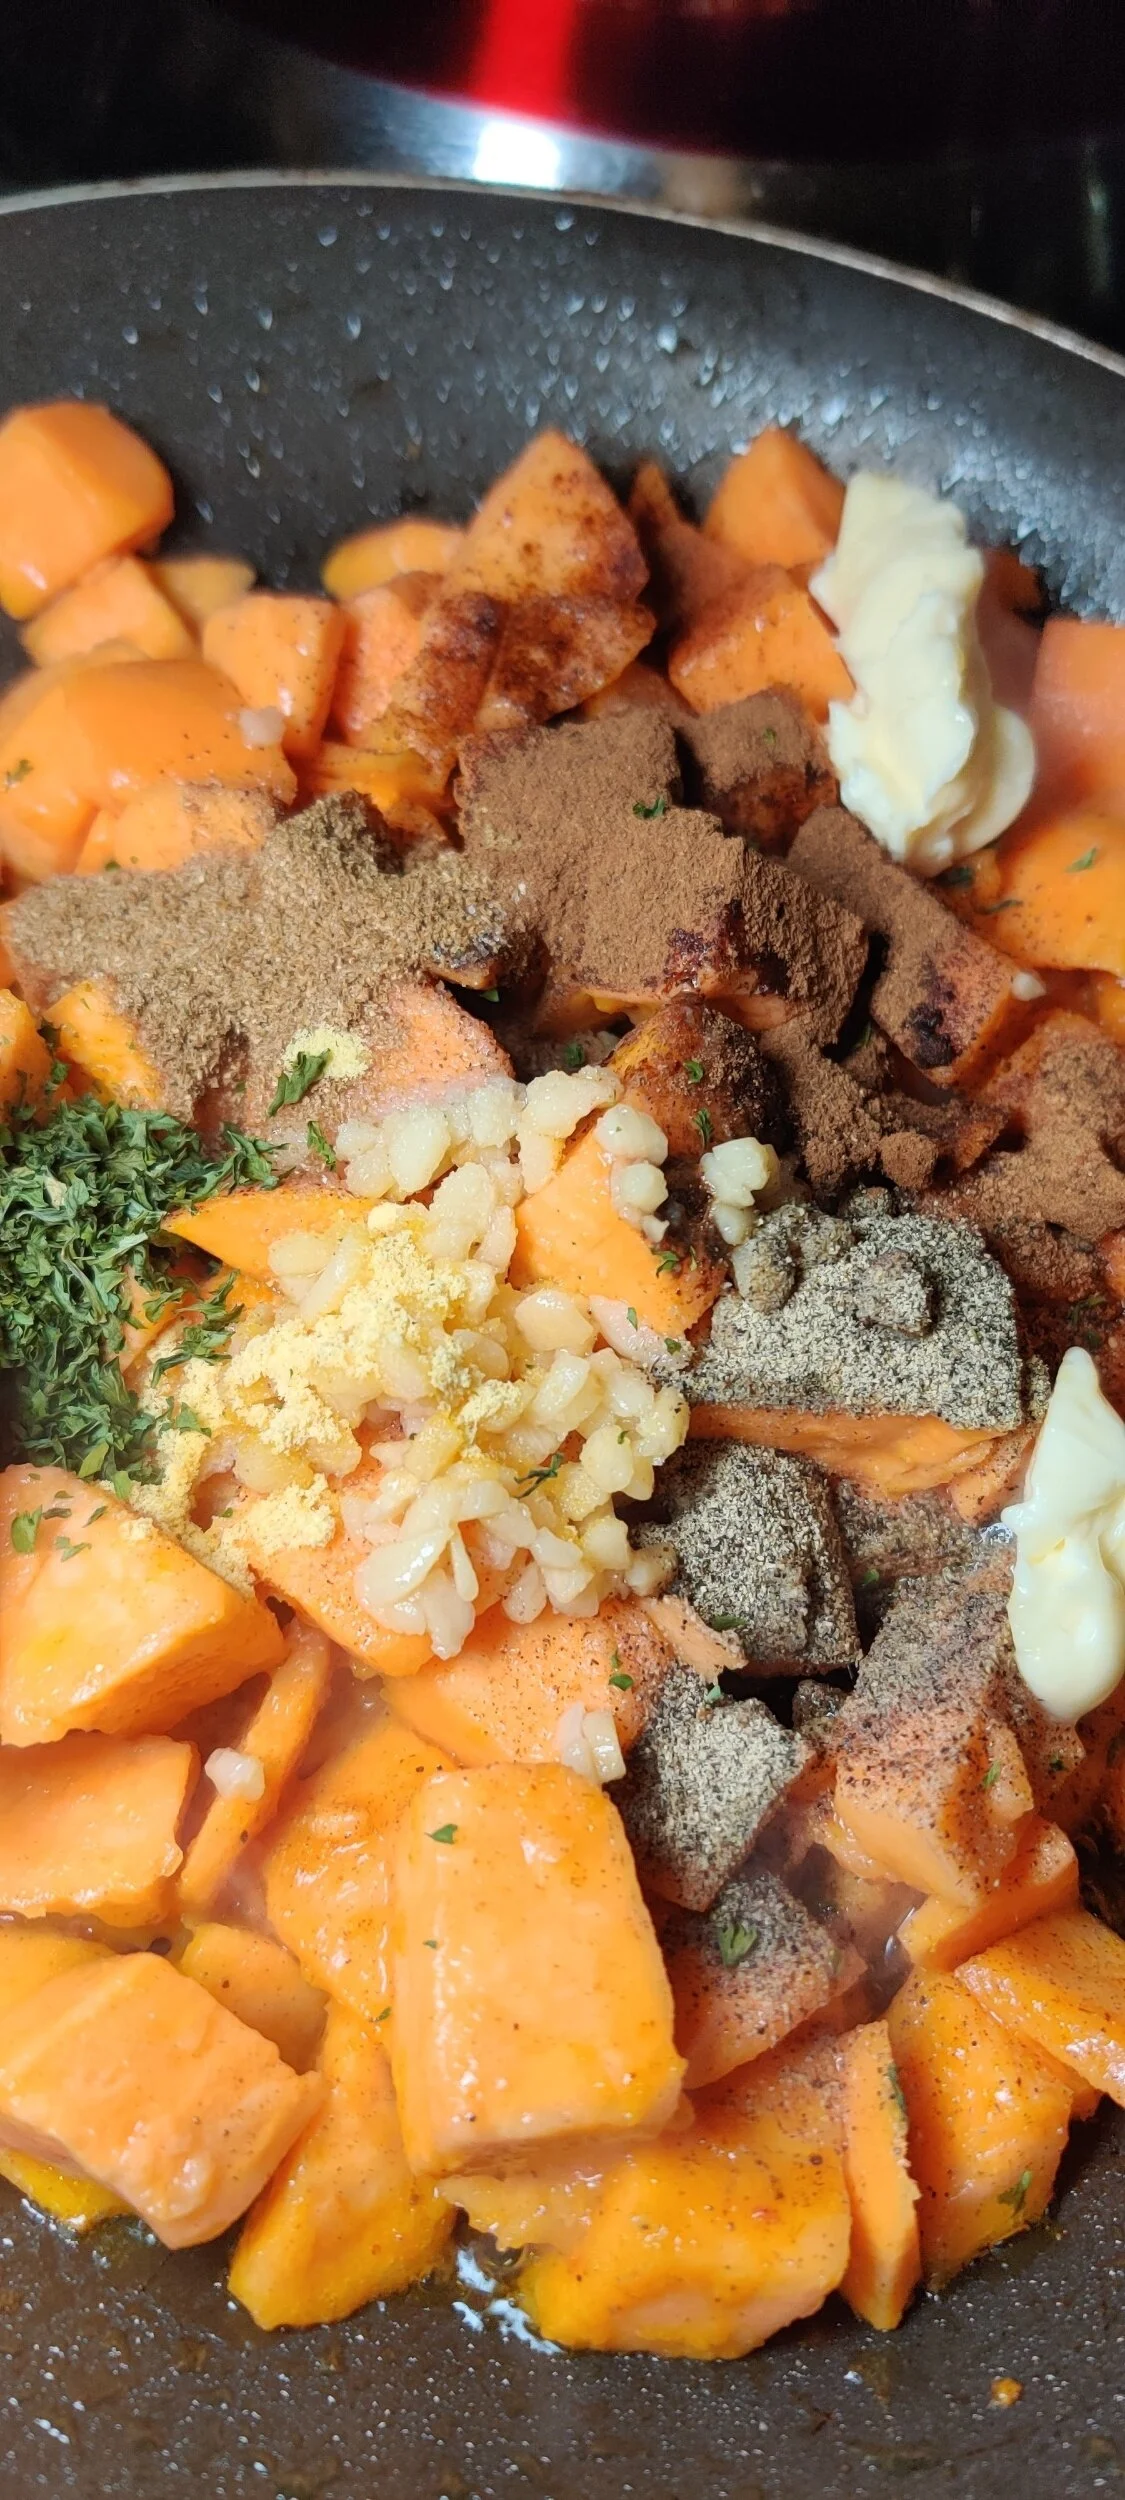
2 cups pumpkin, cubed
1/4 cup Camellas’s Pumpkin Spice Pepper Sauce
2 tablespoons pumpkin spice
1 teaspoon cloves
1 tablespoon cinnamon
1 teaspoon nutmeg
1 teaspoon salt
1 tablespoon black pepper
2 tablespoons olive oil
1 tablespoon dried parsely
1 tablespoon ground fenugreek
1 tablespoon minced garlic
1 teaspoon cayenne pepper
1 tablespoon paprika
2 tablespoons cooking wine
2 tablespoons Worchester sauce
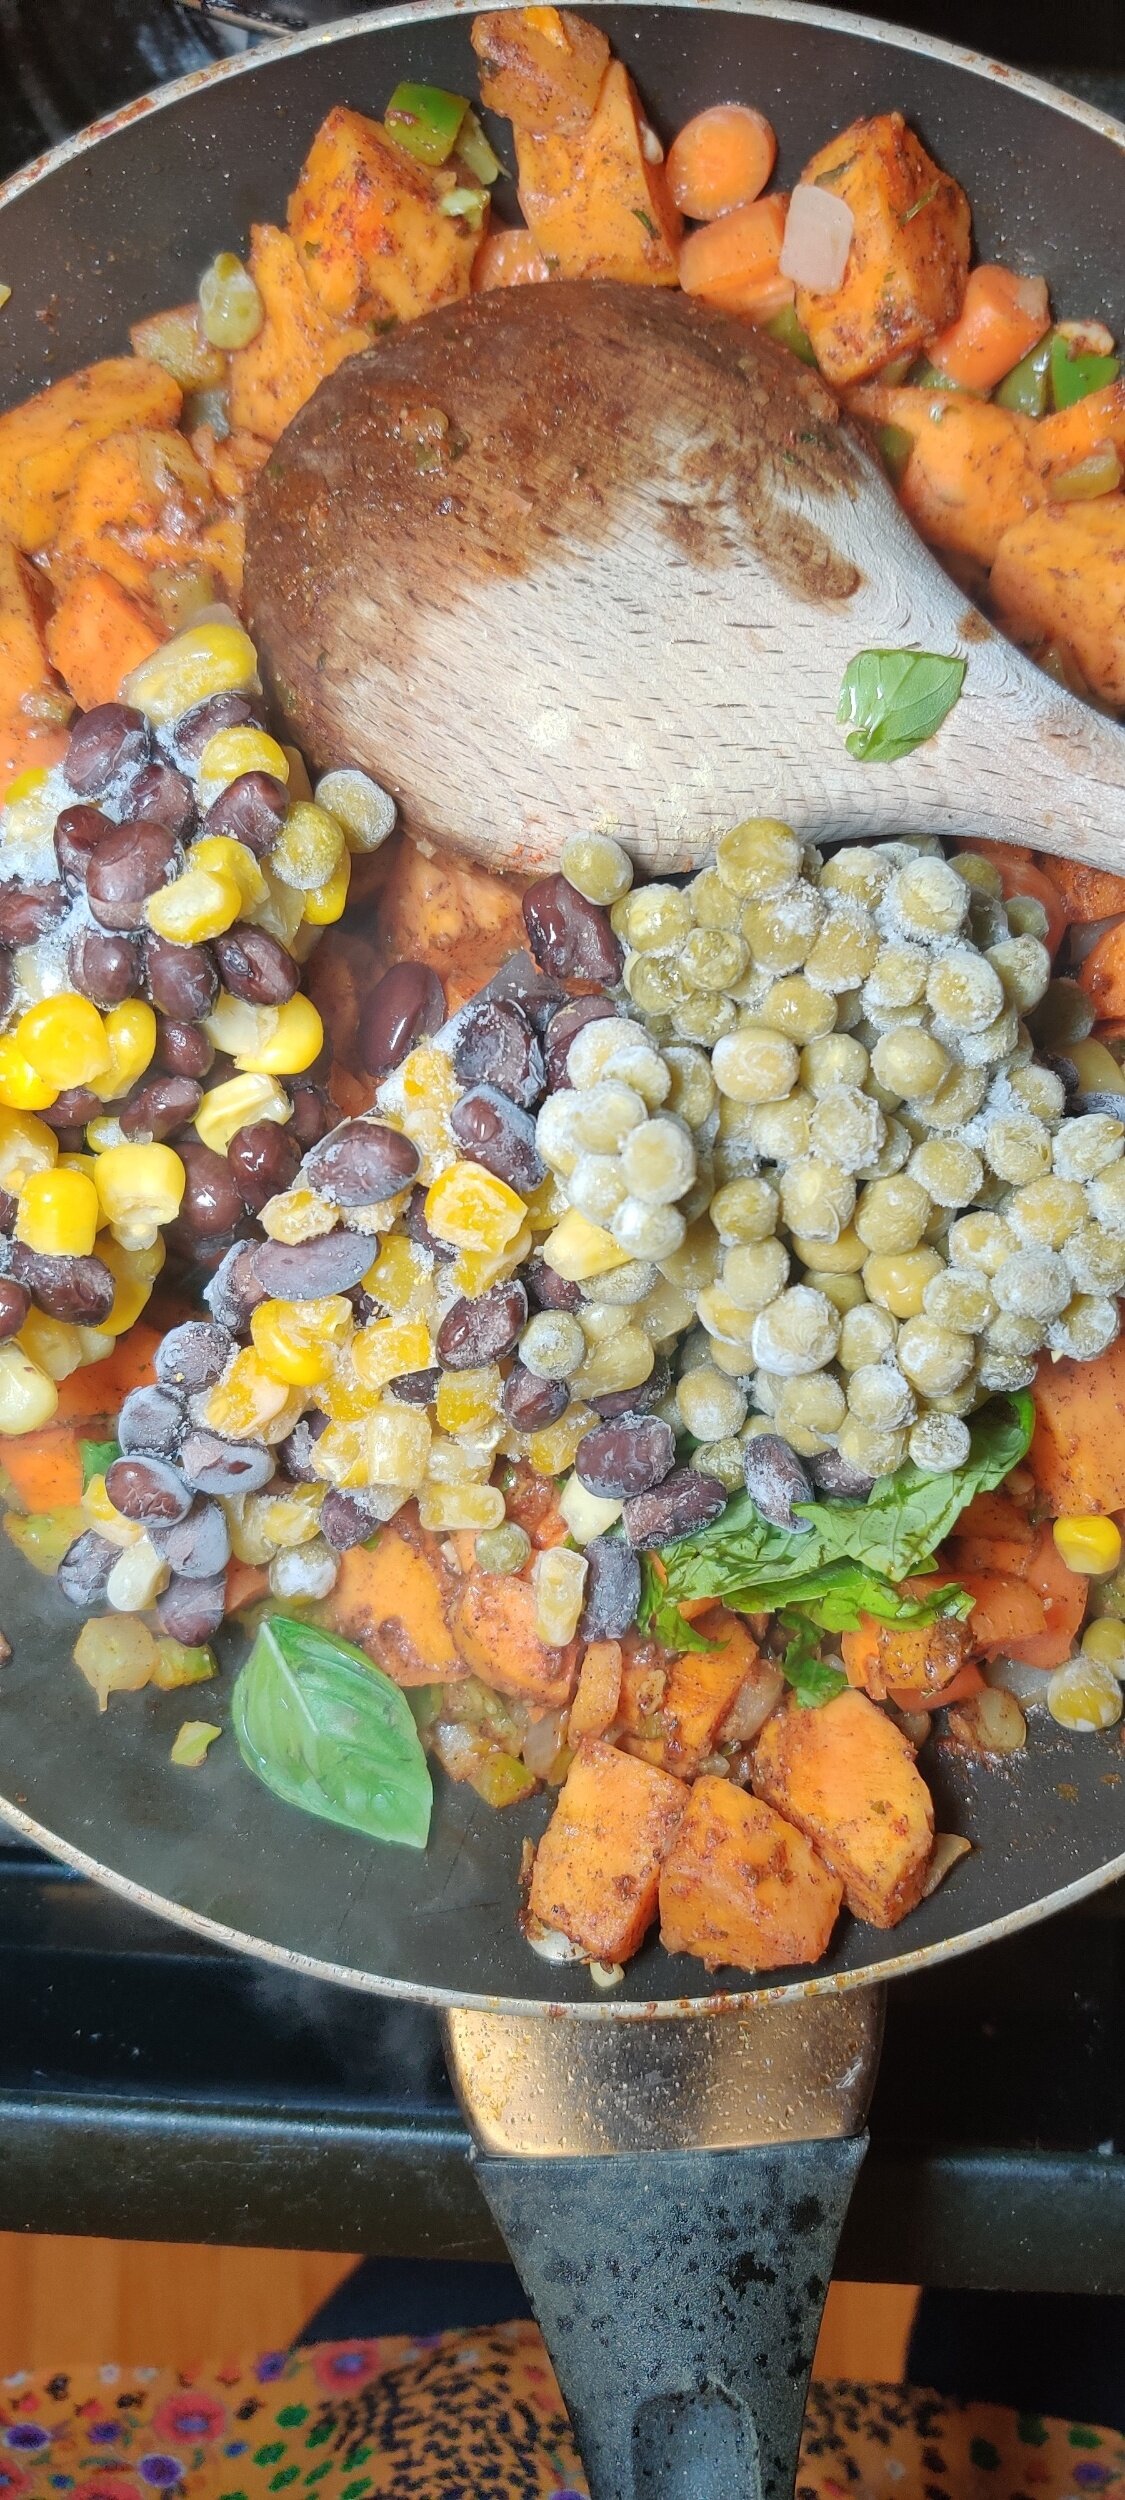
1/3 cup shitake mushrooms
2 tablespoons sweet corn
2 tablespoons peas, frozen
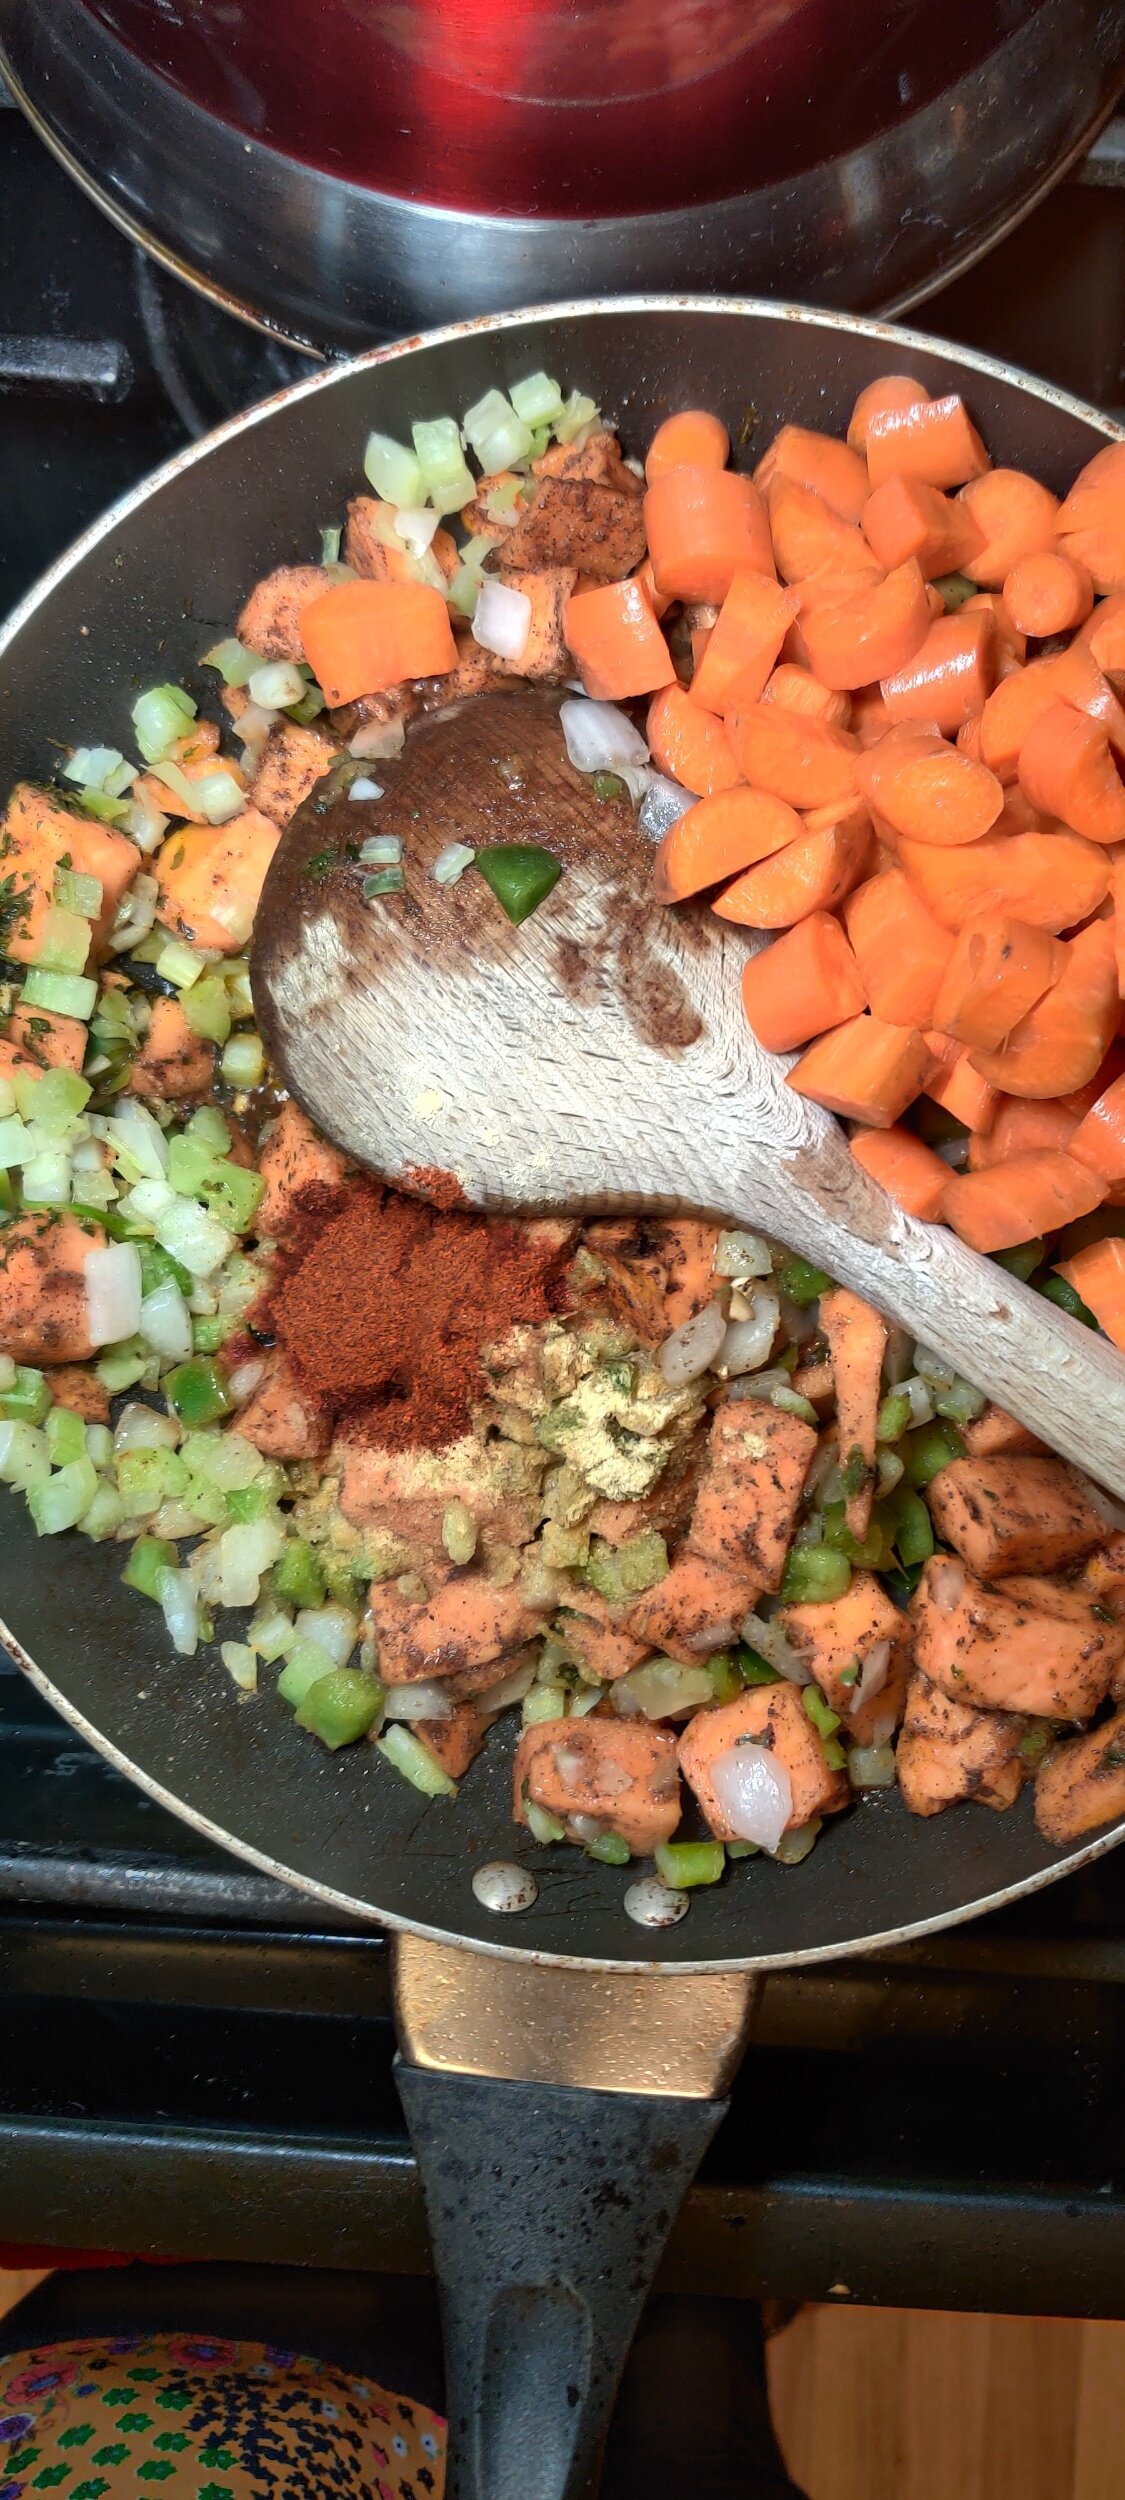
1/4 cup carrots, chopped
1/4 cup chopped leeks and green peppers
1/4 cup chopped onion
1 tablespoon fresh thyme
2 tablespoons fresh basil
1 teaspoon dried thyme
1 pie crust, thawed to room temperature
1 egg + 1 tablespoon water (egg wash)
2 tablespoons all-purpose flour
2 tablespoons butter
1/4 cup plant milk
1/4 cup non-dairy heavy cream
1/4 cup water
2 broth bouillons, crushed

Instructions
Toss the pumpkin in the pepper sauce and the spices. Sauté in the olive oil for about 5 minutes.
Add in the chopped leek and onion, cook for another 2 minutes. Follow this with the carrots, frozen vegetables, cooking wine and Worchester sauce, cook for another 3 minutes.
Mix in the mushroom, basil, thyme, milk and bouillon cubes, and water. Add the flour and butter, stir consistently until everything begins to thicken for another 5 minutes.
Top the skillet mixture with the pie crust, poke a few holes and make some slits in the middle to allow the crust to breathe as it makes. Brush with the egg wash.
Bake at 400F for 40 minutes or until the crust is golden brown and crispy.
Serve hot with fresh thyme.

Mulled Sangria Poached Pears
Are you a fan of sangria? A fan of pears? Do you add them to your sangria in addition to lemon, orange, berries or apples?
I typically associate poached pears with winter as I do mulled wine, often enjoyed by the fireplace on a chilly evening. However, you can also take pleasure in both in the warmer months by putting a sangria spin and introducing a fruity flavour.
This recipe soaks the pears in a 'mulled sangria' - a combination of mulled wine with the spices and natural sweetener and sangria with the additional fruit elements.
Sangria is a Spanish/Portuguese concoction I enjoy in the summertime heat and is something quite special. It’s tangy, refreshing, and fun to drink. I didn't grow up drinking it though but had regular fruit punch instead.
As for pears, I didn’t eat very many of those either compared to apples or mangoes. As I understand it, poached pears or Poire à la Beaujolais originates in France.
Whatever the case may be, I'm thankful for both! This recipe celebrates and brings the two together in the form of a sophisticated dessert that’s sure to please!

Ingredients
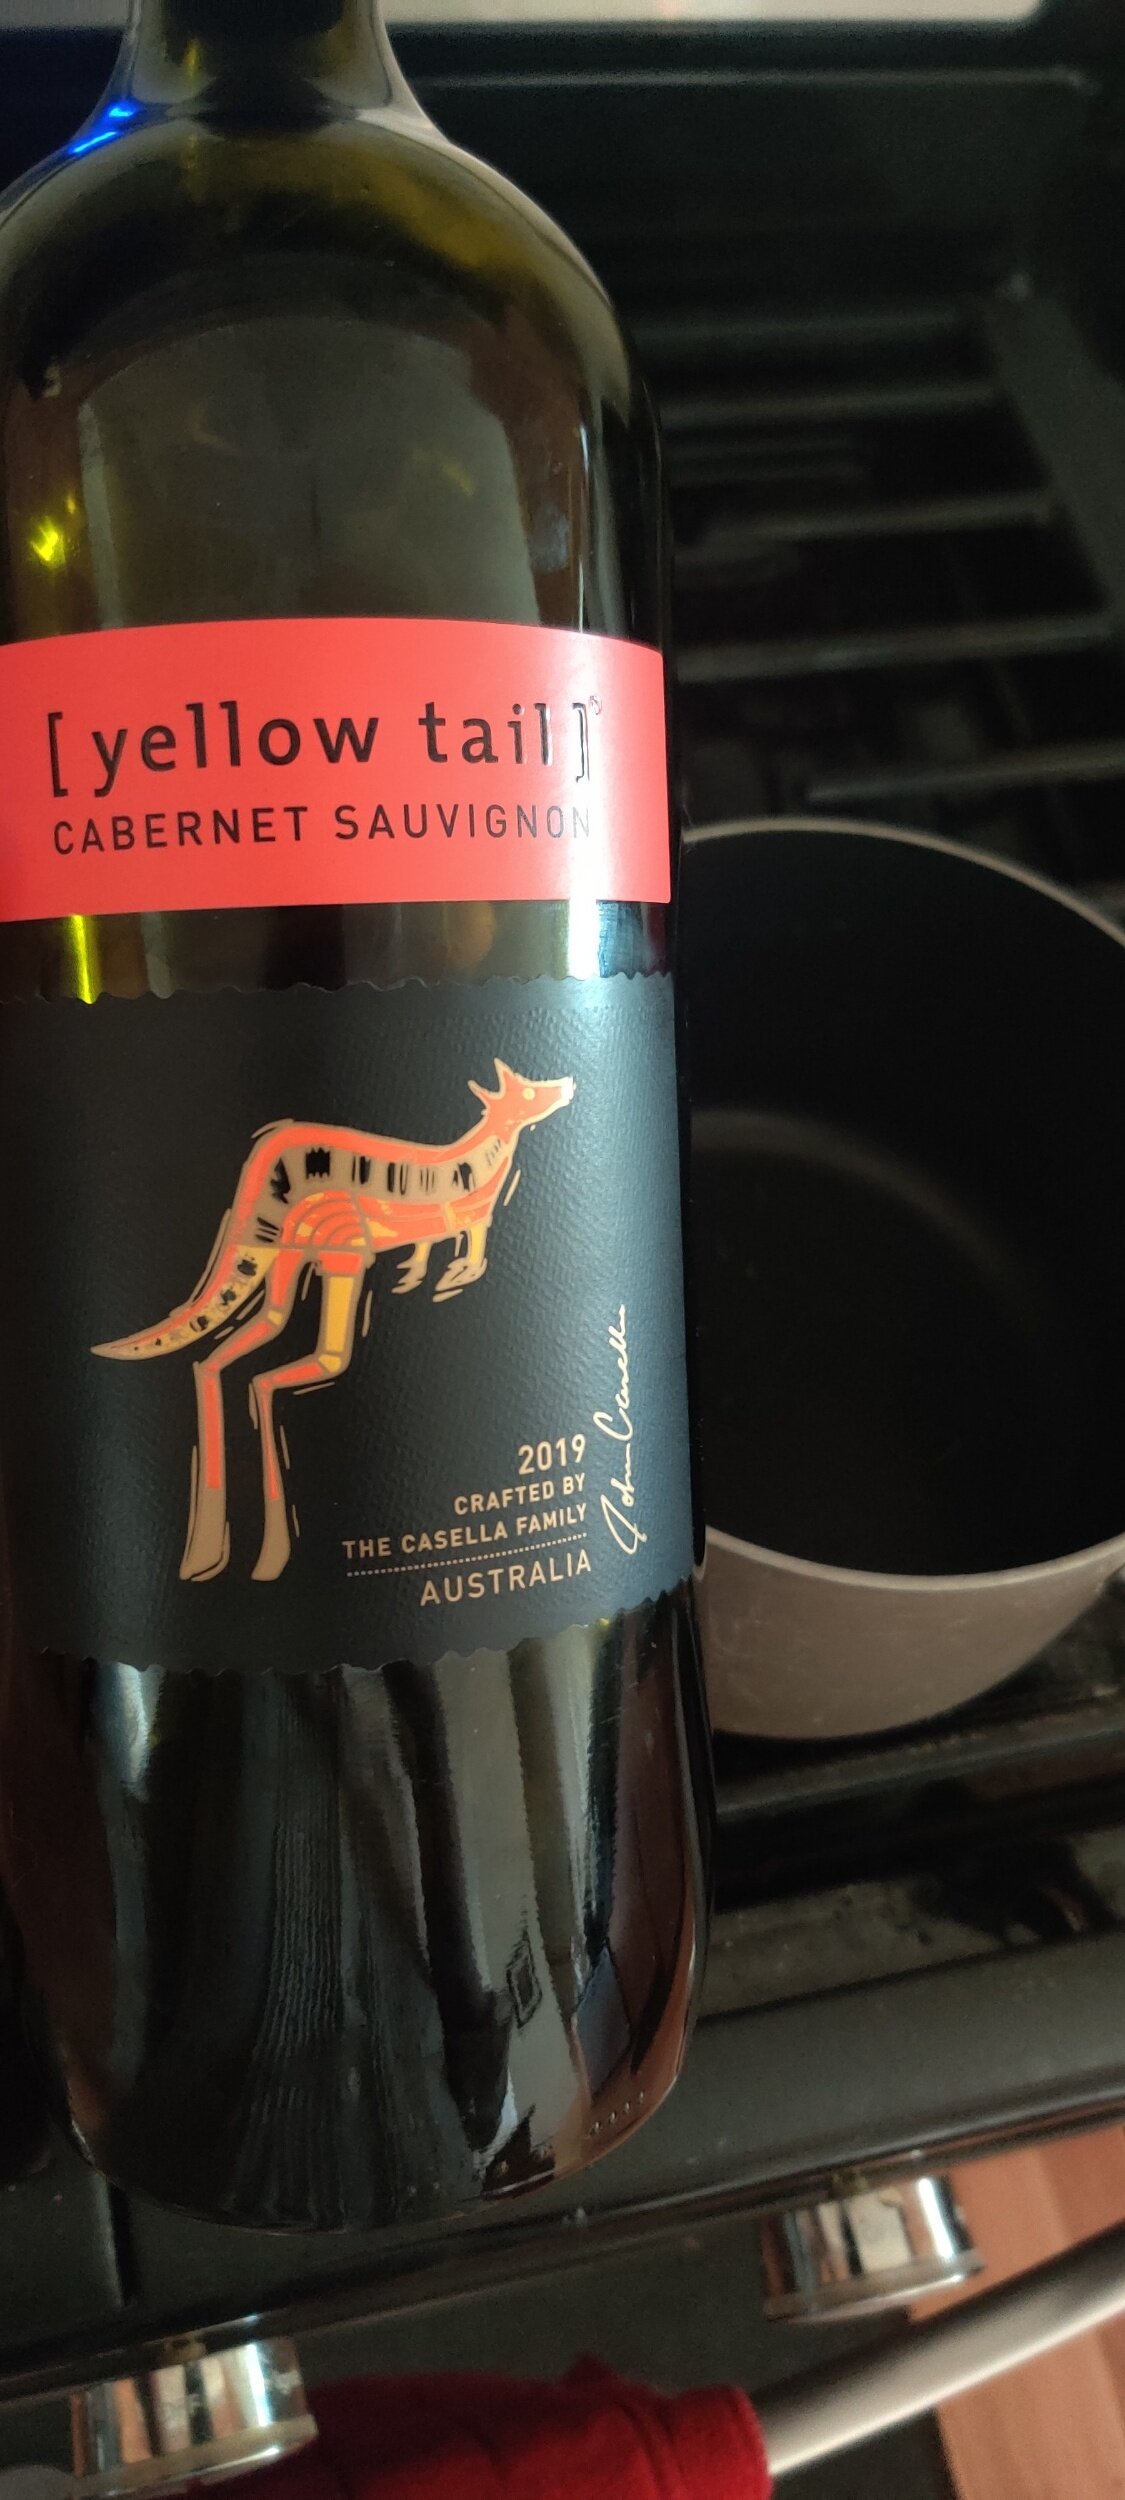
1 cup red wine (I used a Cabernet Sauvignon)
2 Anjou pears (not too ripe)
2 tablespoons white sugar
1/4 cup date syrup or honey
Pinch of salt
1/2 teaspoon cinnamon or a cinnamon stick
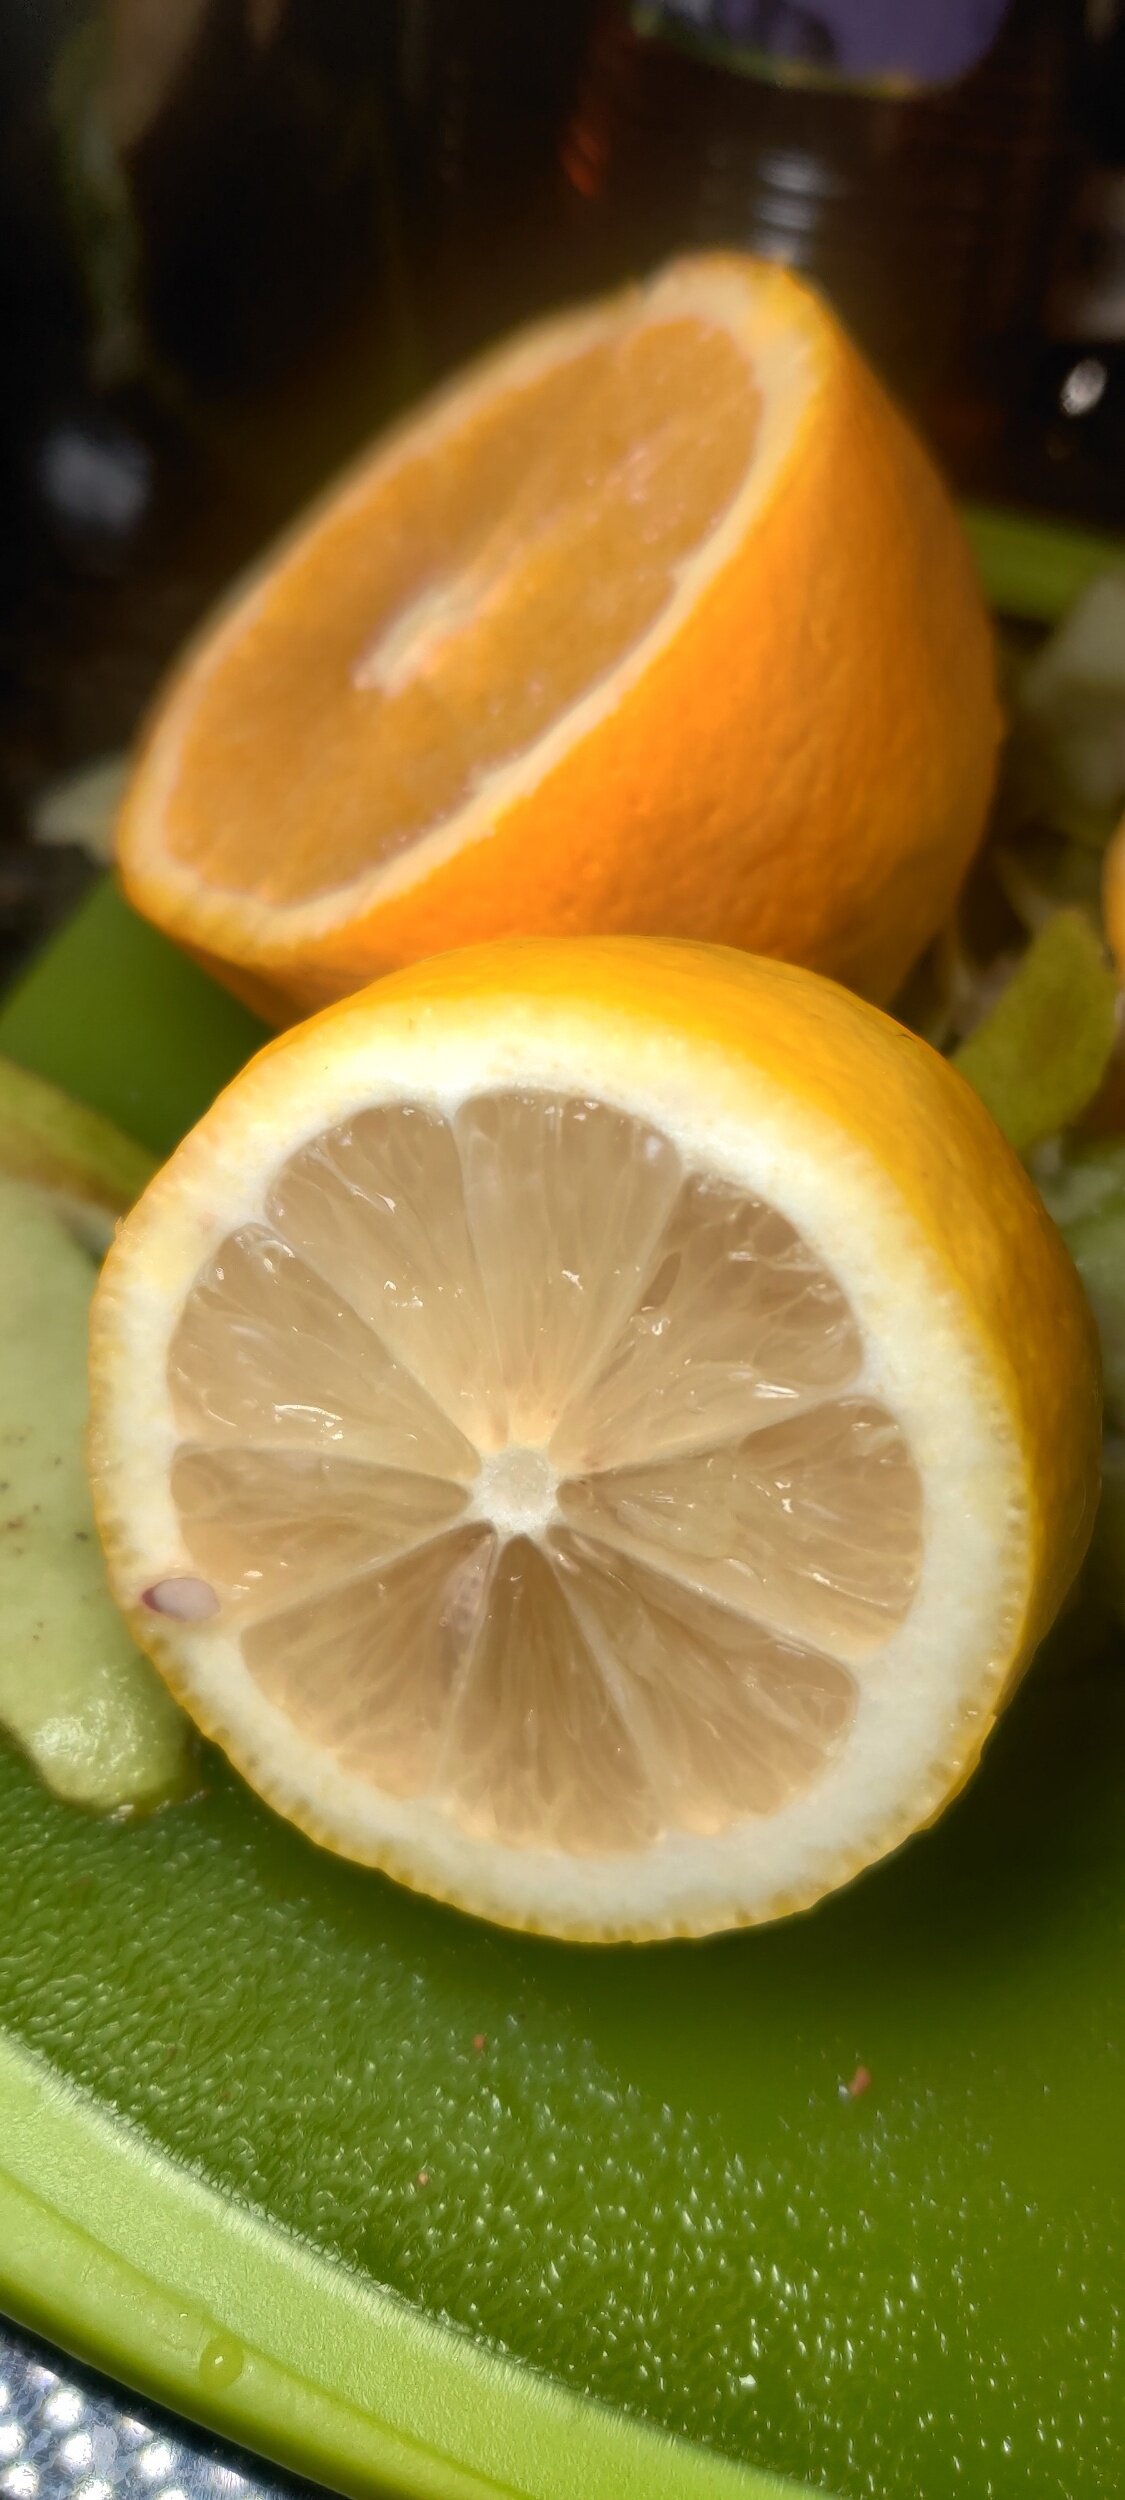
1/3 cup orange zest and juice
1 teaspoon vanilla essence or a vanilla pod
1/4 teaspoon almond extract
1/4 teaspoon nutmeg
1/4 teaspoon cloves
1/3 lemon zest and juice
1/4 cup cooking wine
3/4 cup water
Garnish:
Roasted pistachios, crushed
Coconut whipping cream


Instructions
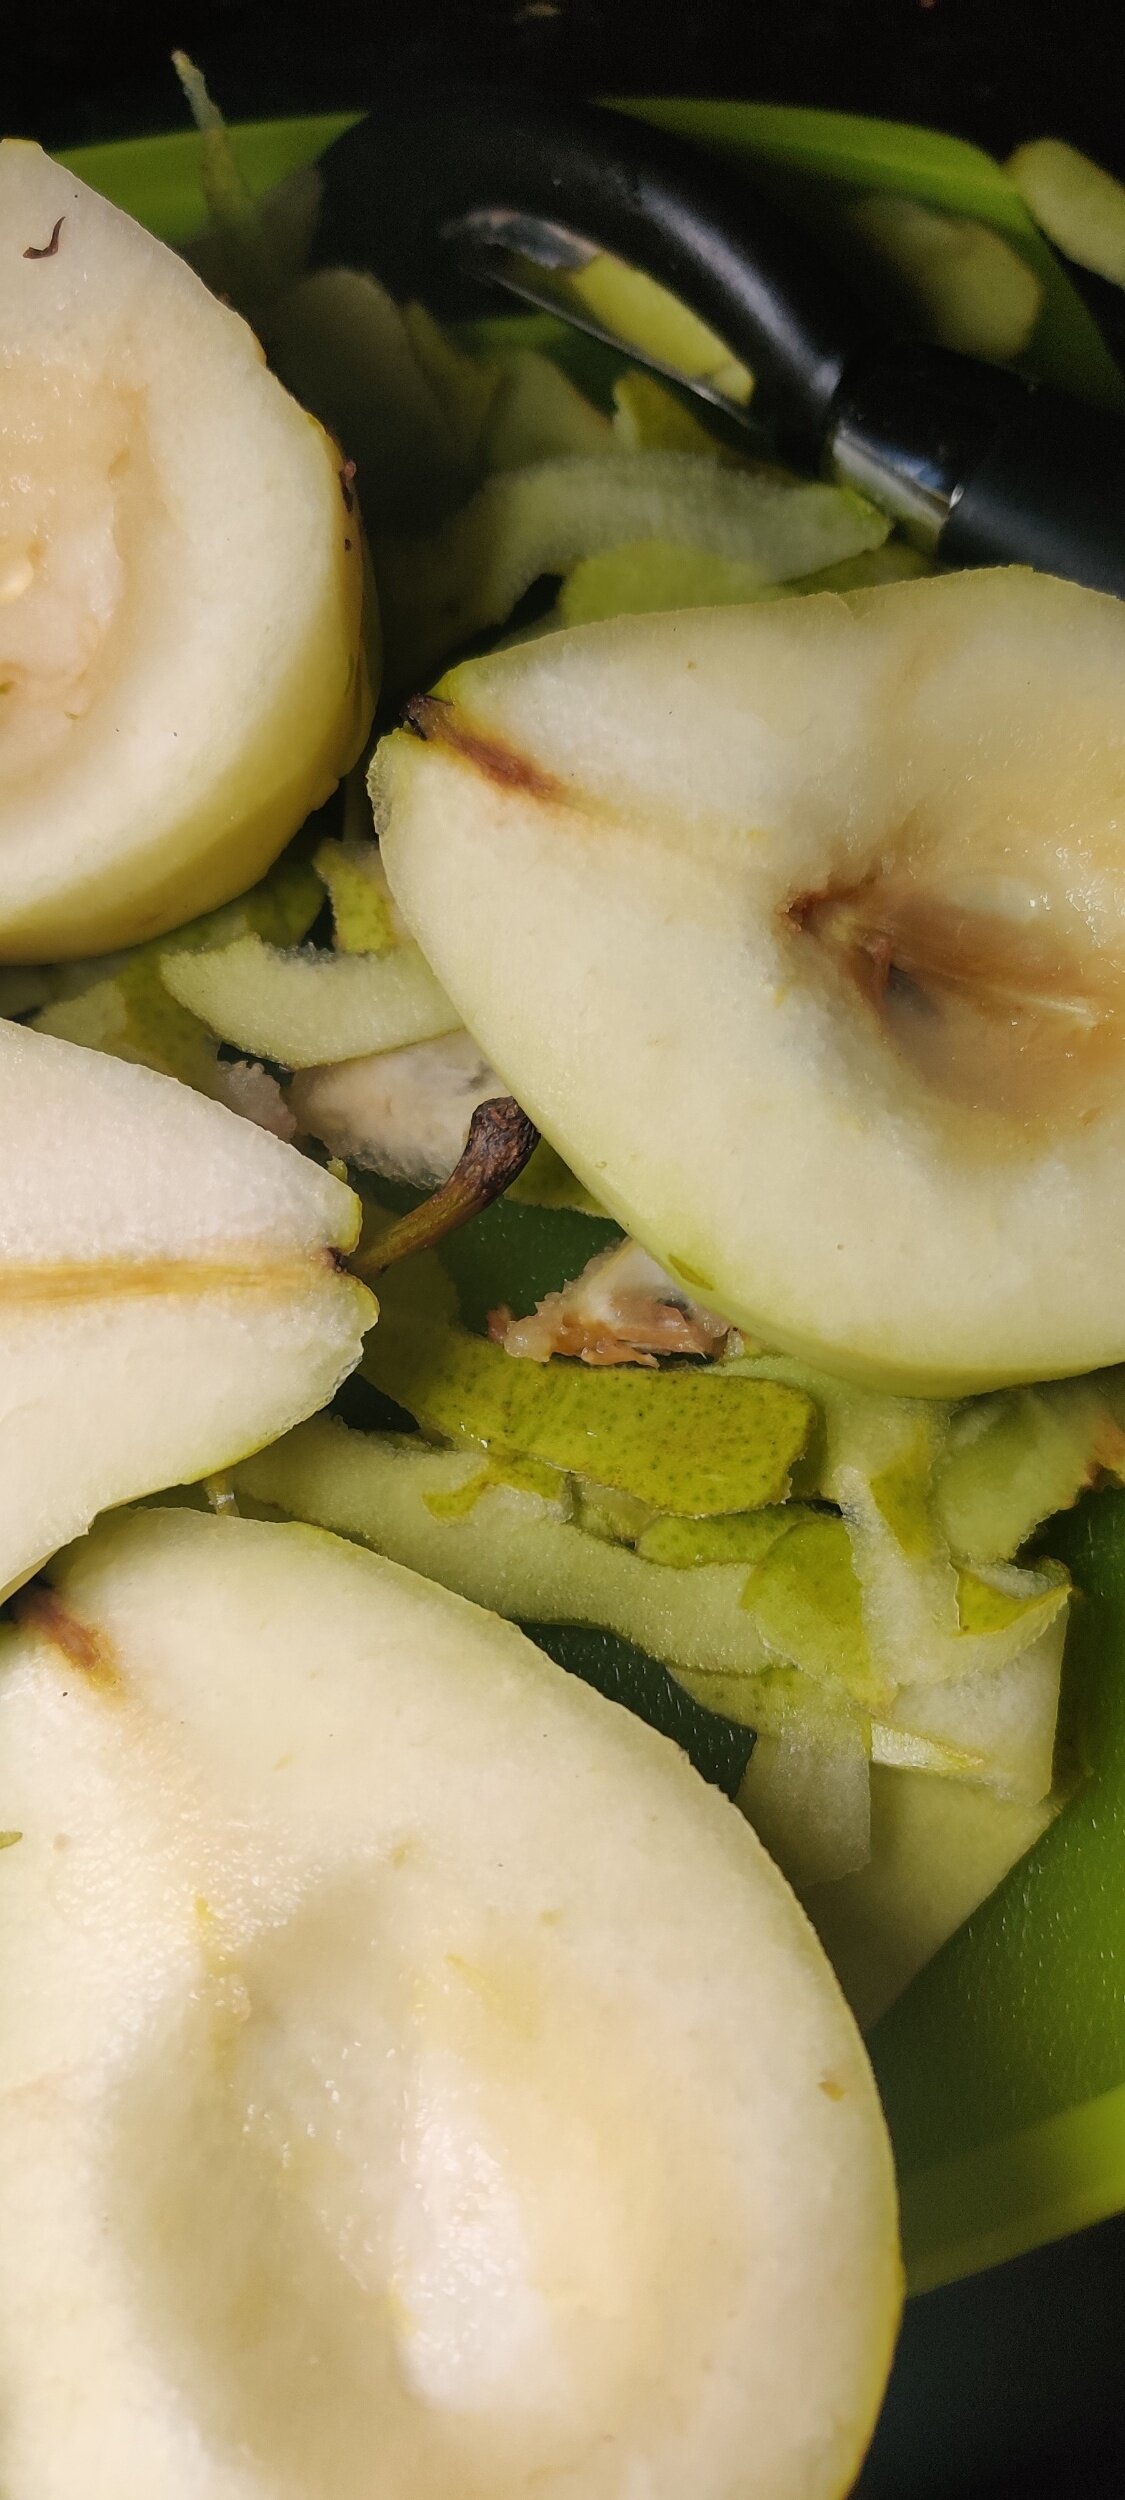
Peel, halve and decore the pears.
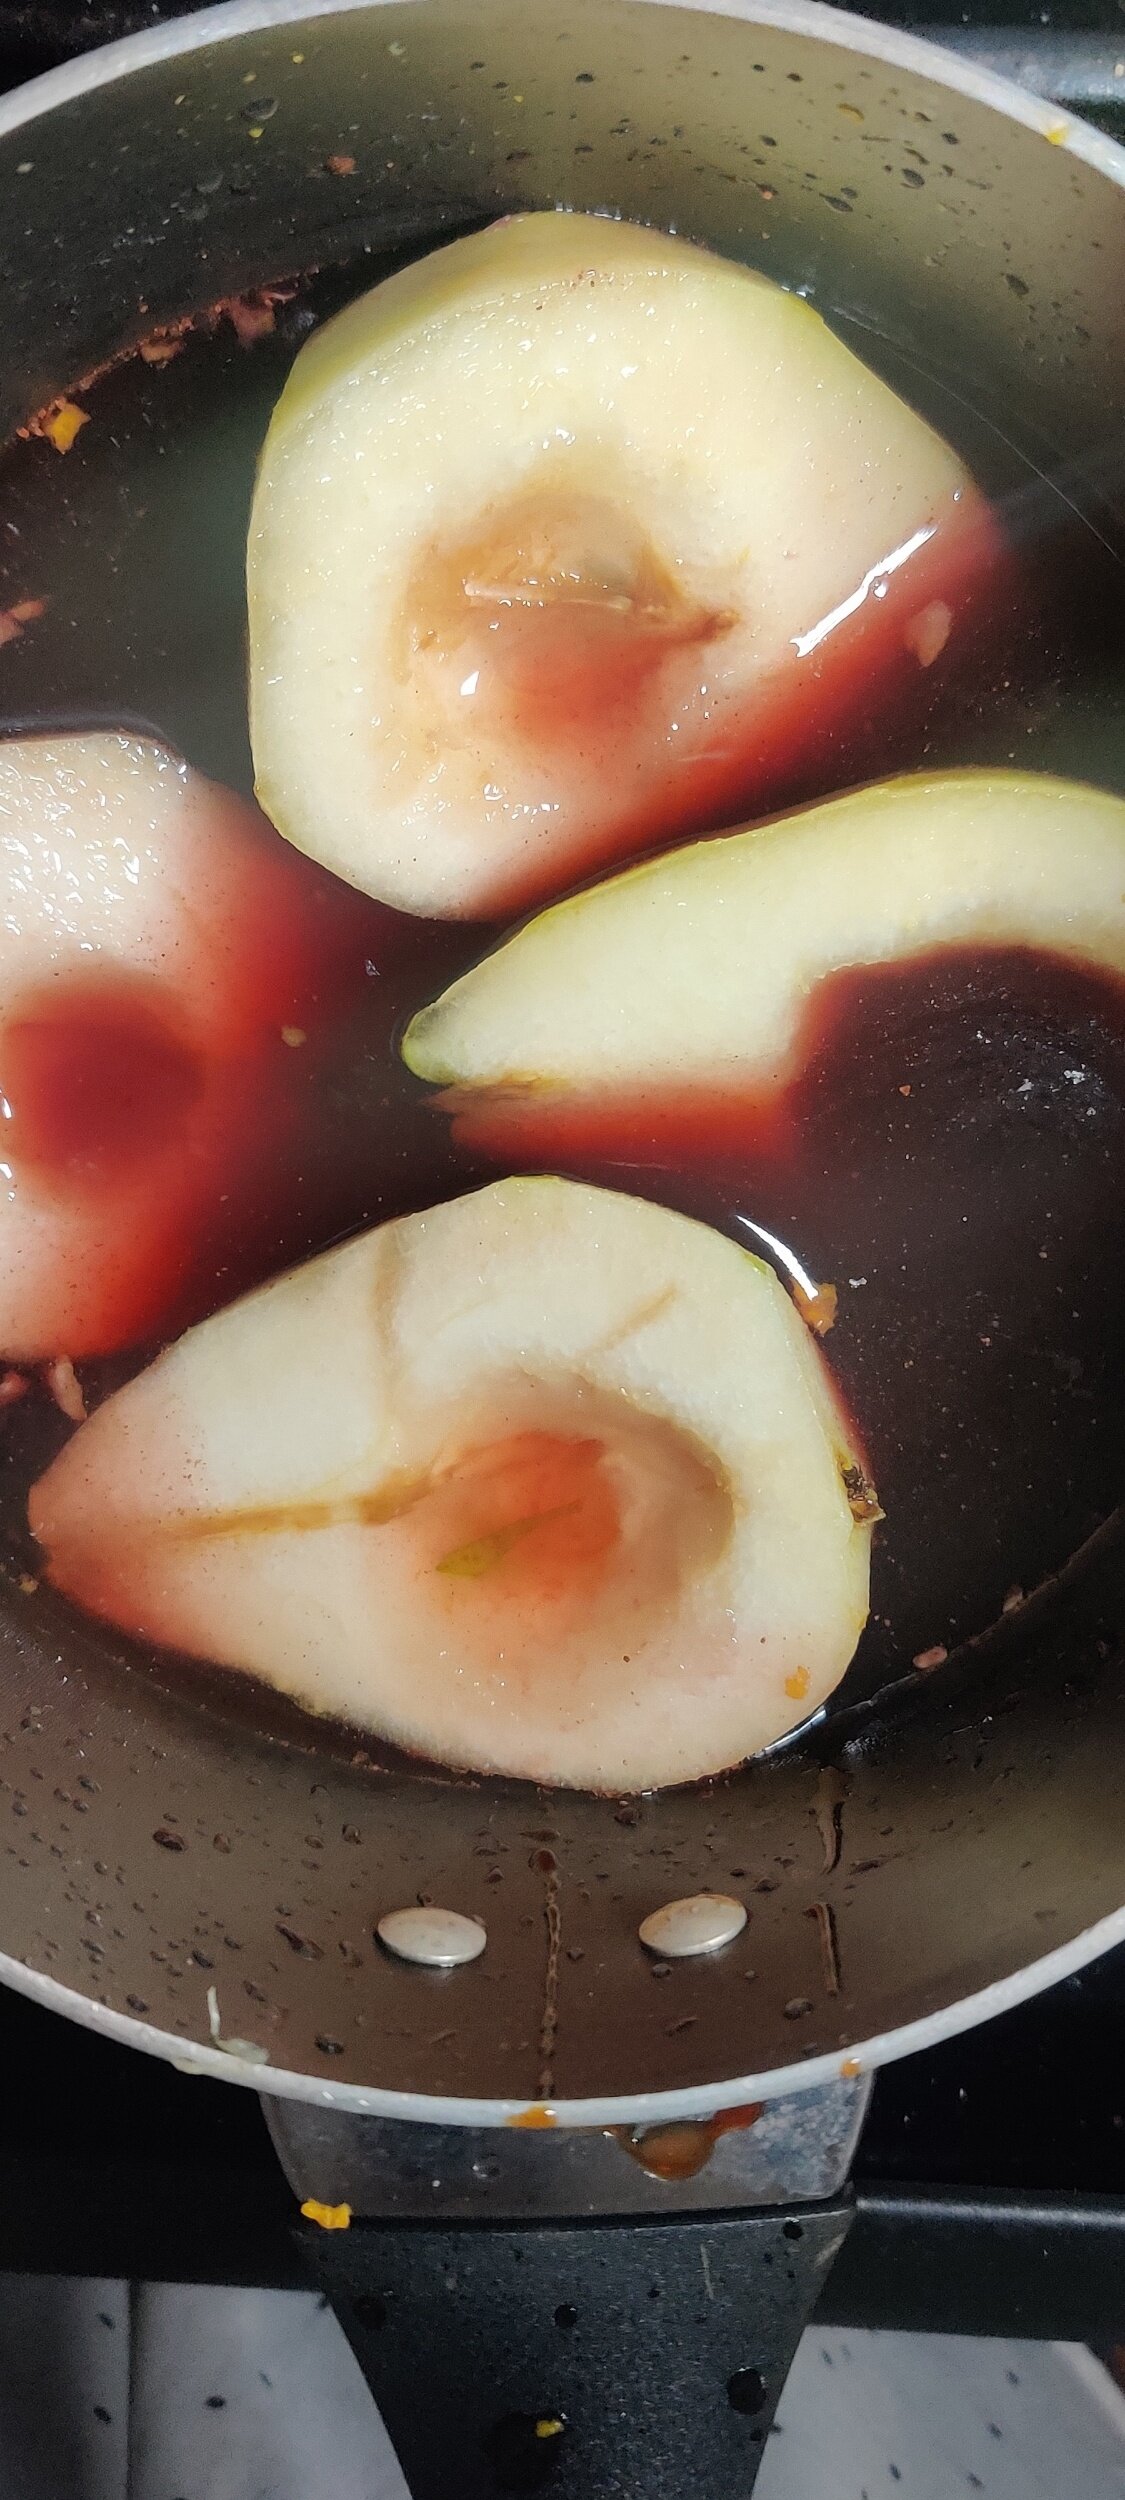
In a medium-sized pot, add all the ingredients including the pears and bring the spiced liquid to a boil (save the garnish ingredients).
Reduce the heat and simmer for 35 minutes with the lid on top. Cook until the pears are softened - test with a knife it should cut into the pears with ease.
Remove the pears and cool the remaining liquid.
Place the pears in a glass container core side down, and pour over the liquid. Place in the fridge overnight.
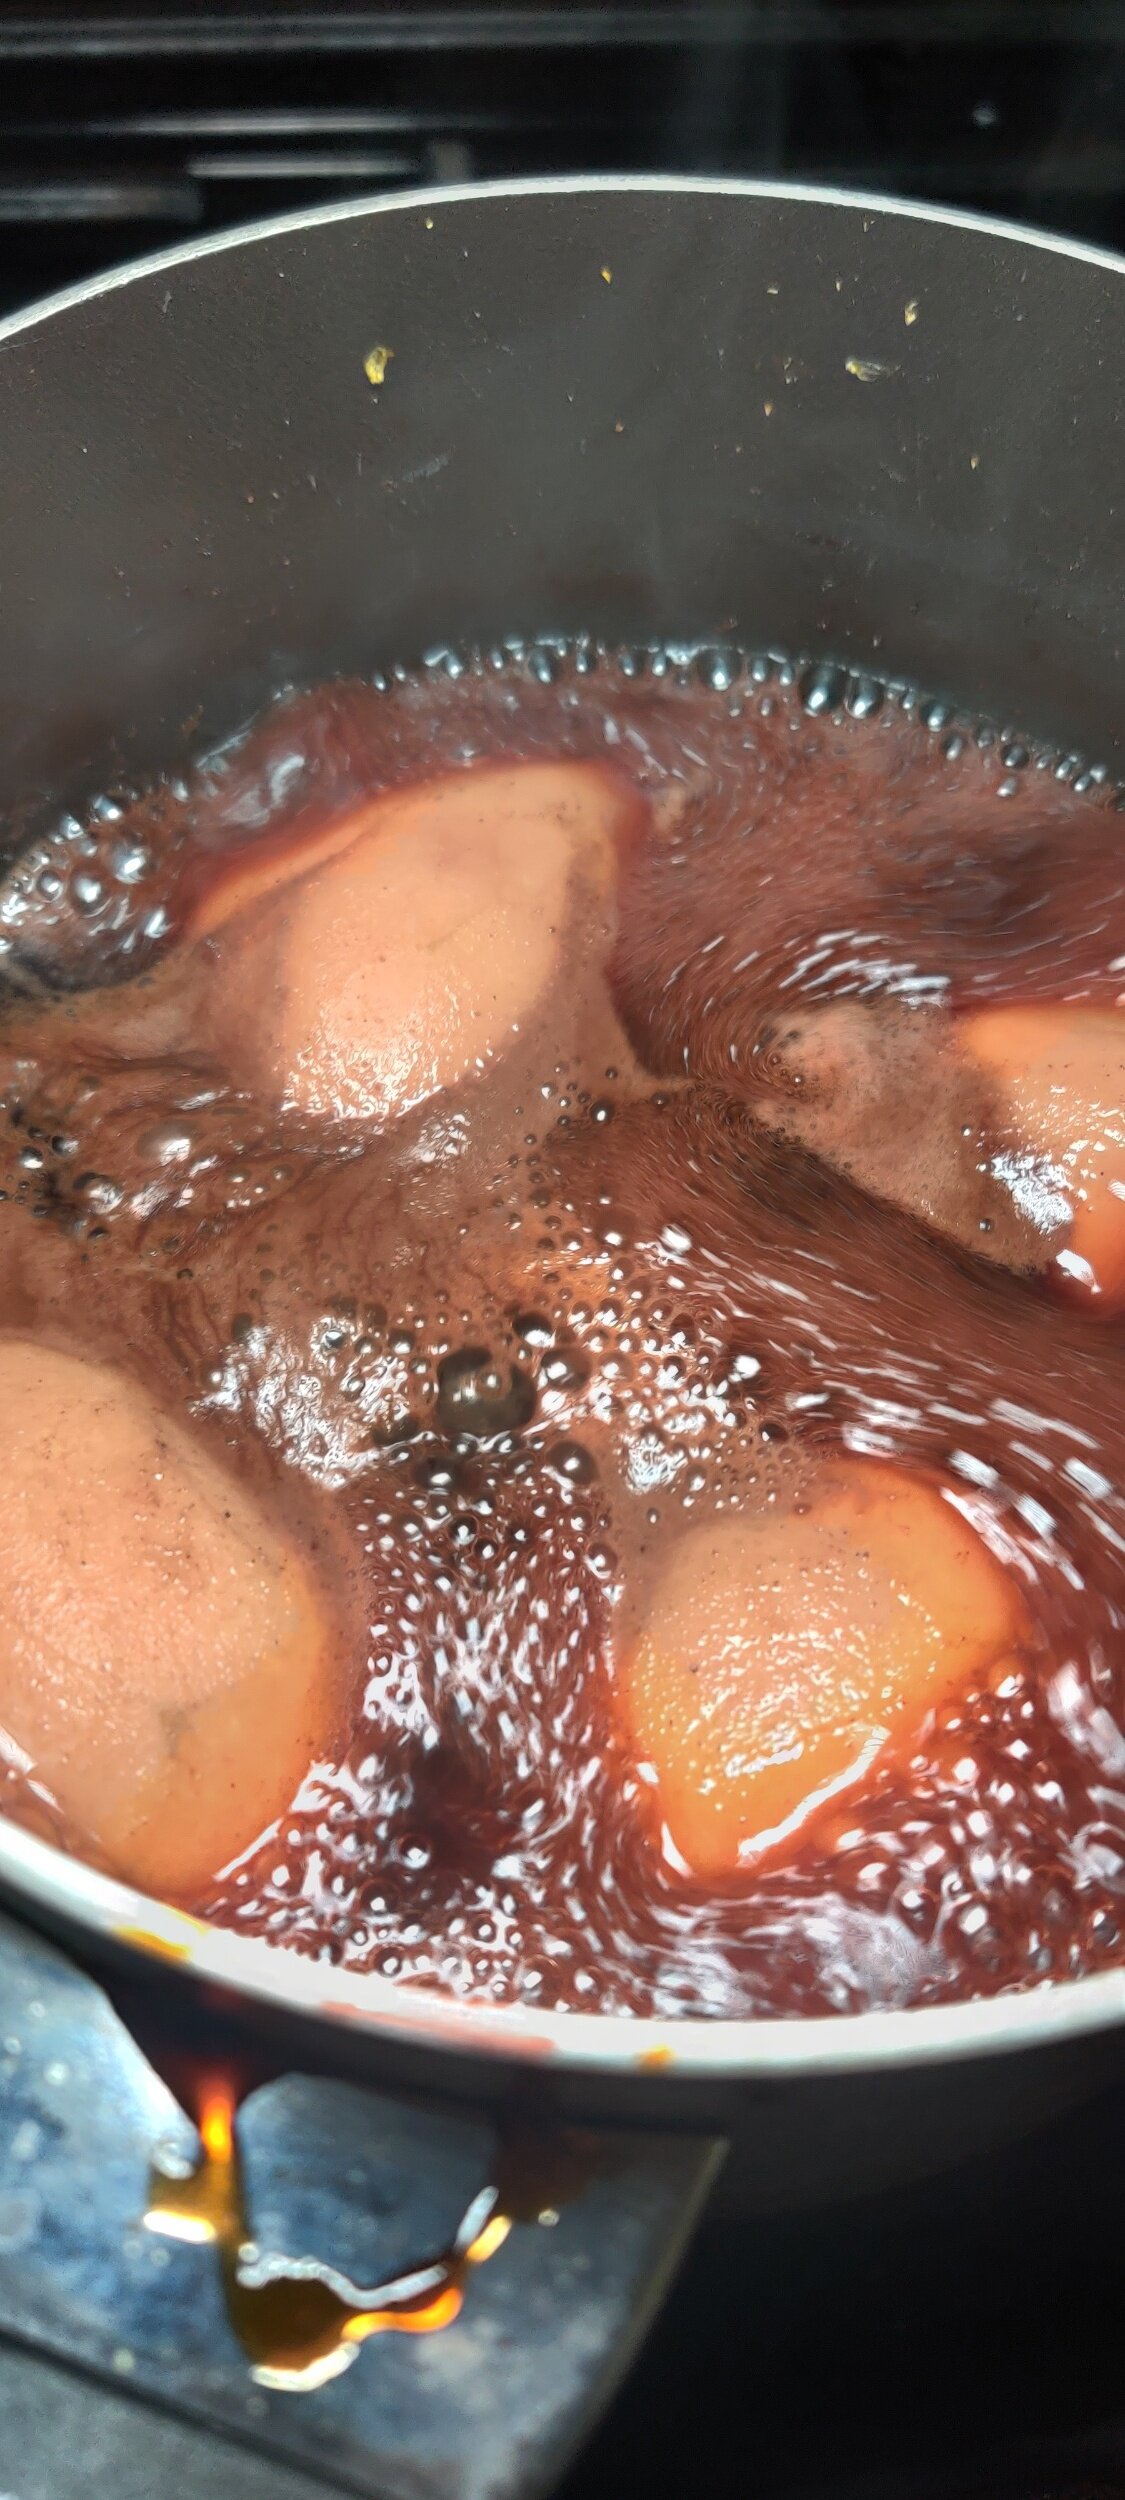
The next day: remove the pears from the liquid and set aside. Strain the liquid of necessary and simmer the mulled sangria mixture into a reduction until it becomes a thickened liquid.
Seat the pears on whipped cream and pour the reduction on top. Sprinkle with pistachios, enjoy cold or at room temperature! Serves 2 people.


Black Bean and Corn Nachos
You don't have to go to head over to the bar to enjoy some nachos. Those are usually topped with a lot more than your calorie counter bargained for. This recipe will get you by with all the flavours you like, meat-free!
I also selected multigrain tortilla chips - in restaurants they often use the ones stripped of most nutritional value.
For the cheese I suggest a plant-based or low-fat cheese - and you can go easy no need to drench the nachos unless that's what you want!
The toping of the avocado and creamy ricotta is essential in my opinion for adding some moisture and the classic nacho taste. Plus visually, it's the cherry on top! Try these next time you have guests over to watch a game or something.
Ingredients
1/2 packet of multigrain tortilla chips (I used an 11-ounce packet)
1/2 ripe avocado
2 tablespoons ricotta cheese
1/2 cup pepper jack cheese, grated
1 small firm tomato, finely chopped
1/4 red onion, finely chopped
1 teaspoon salt
1 tablespoon black pepper
1/2 teaspoon chili flakes
1 large poblano pepper
Fresh cilantro
1/3 cup corn
1/3 cup black beans


Instructions
Lightly coat your baking tray with cooking spray, lay out the tortilla chips.
Drain the corn and black beans, then evenly distribute over the chips. Sprinkle some of the cheese on top.
Top with the pepper, red onion, tomato, salt, black pepper, chilli flakes, adds some extra cheese. Place in the oven at 450F for 20 minutes.
While the nachos bake, using a fork mash the avocado and squeeze some fresh lemon, season with salt and pepper.
Remove from the oven, sprinkle with fresh parsley and more salt and pepper.
Serve hot and top with the avocado and ricotta cheese! Enough for 2-3.

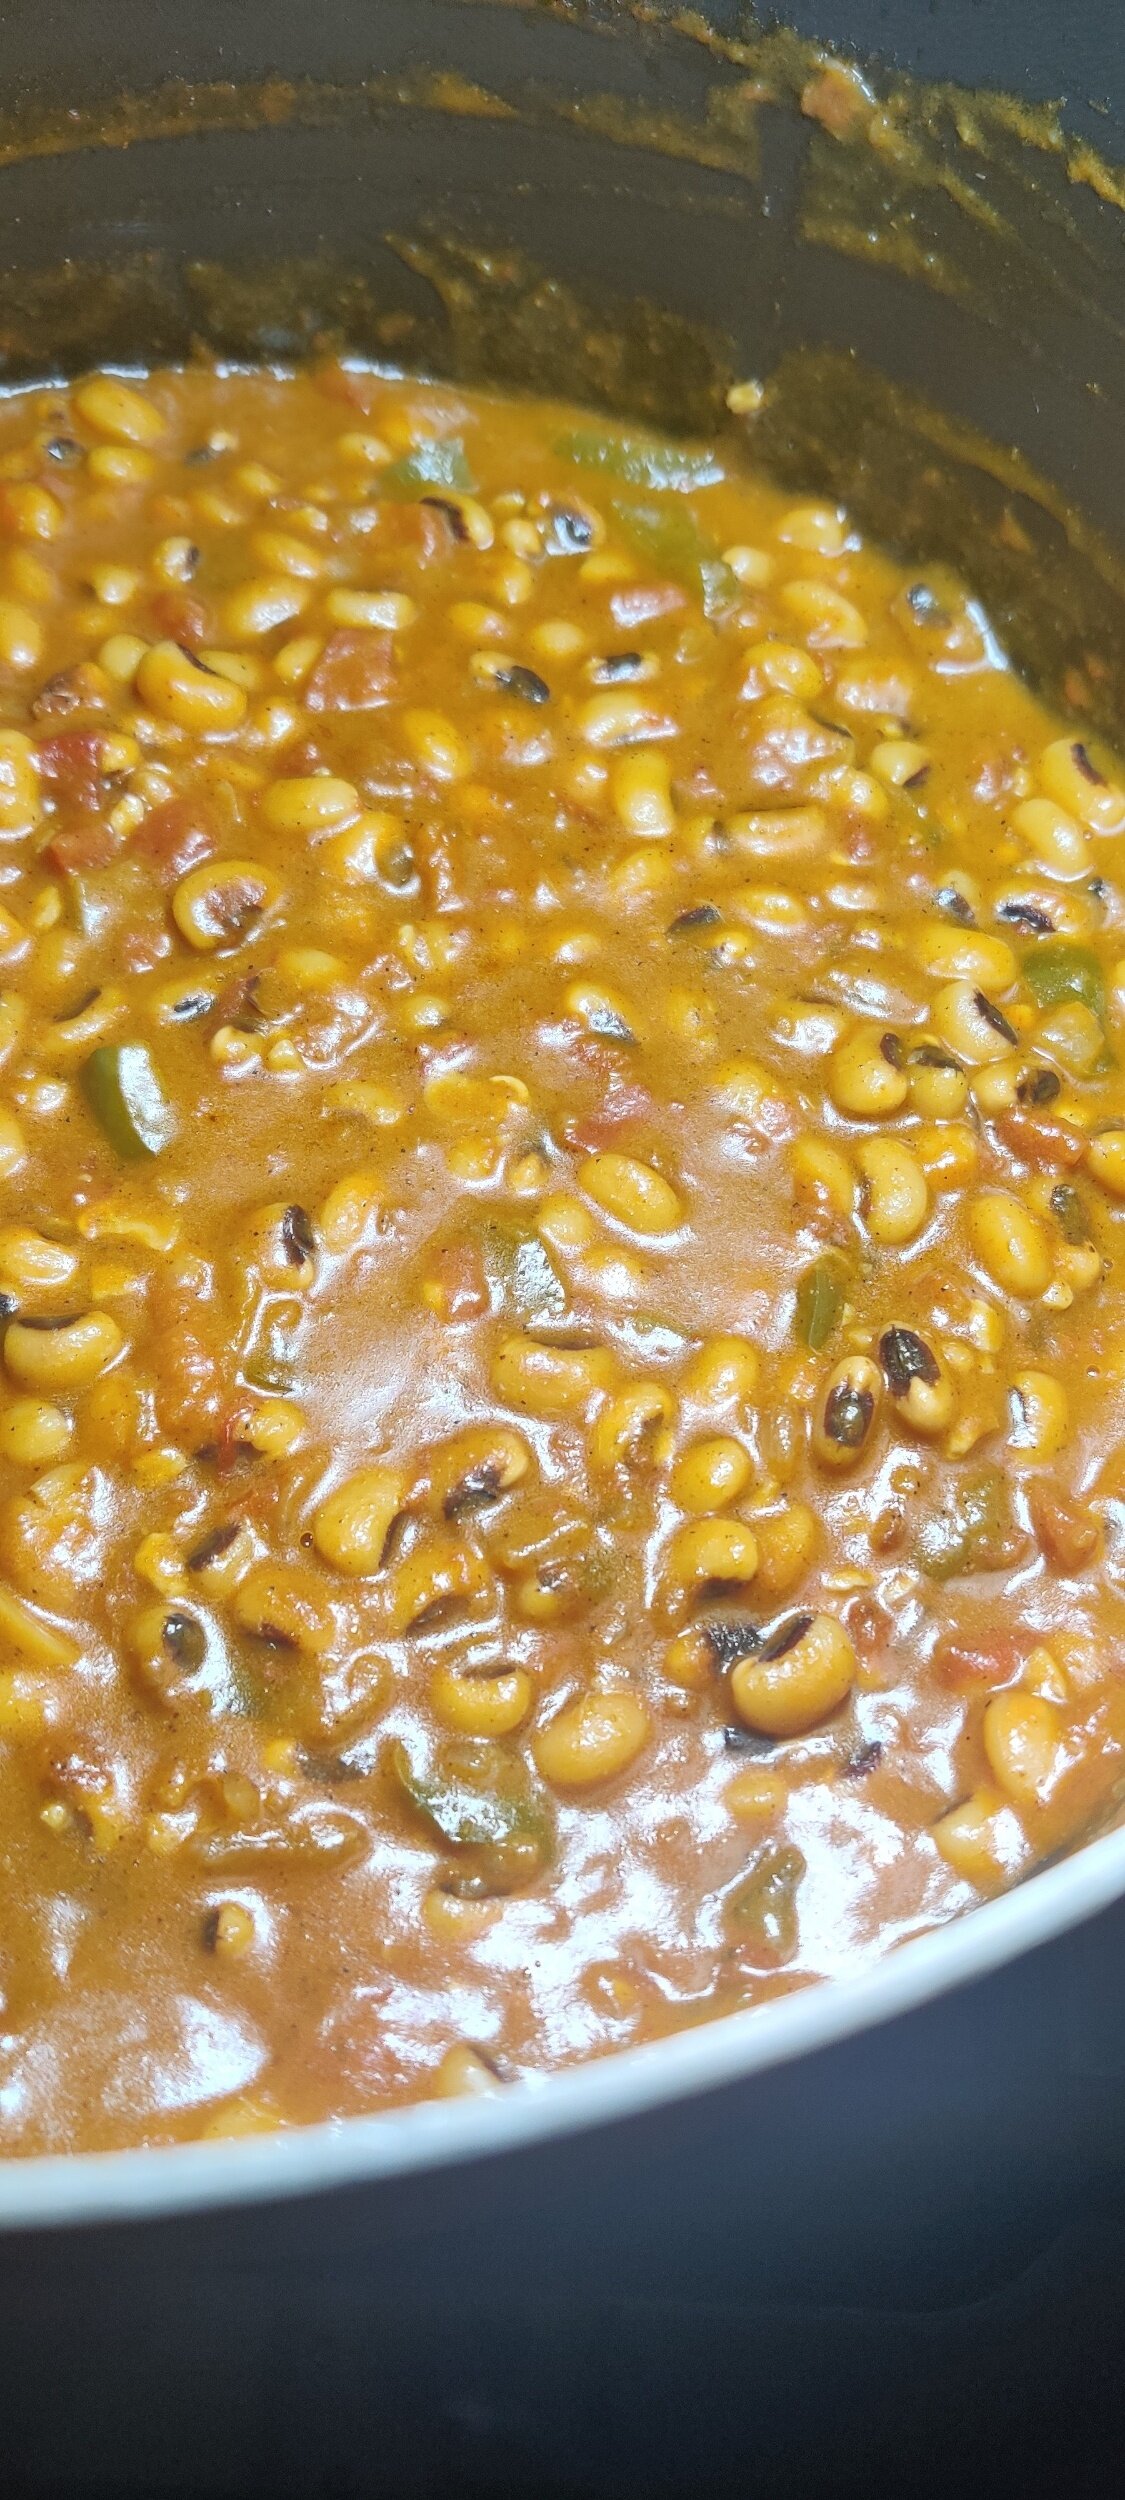
Black-Eyed Peas with Coconut and Tomato
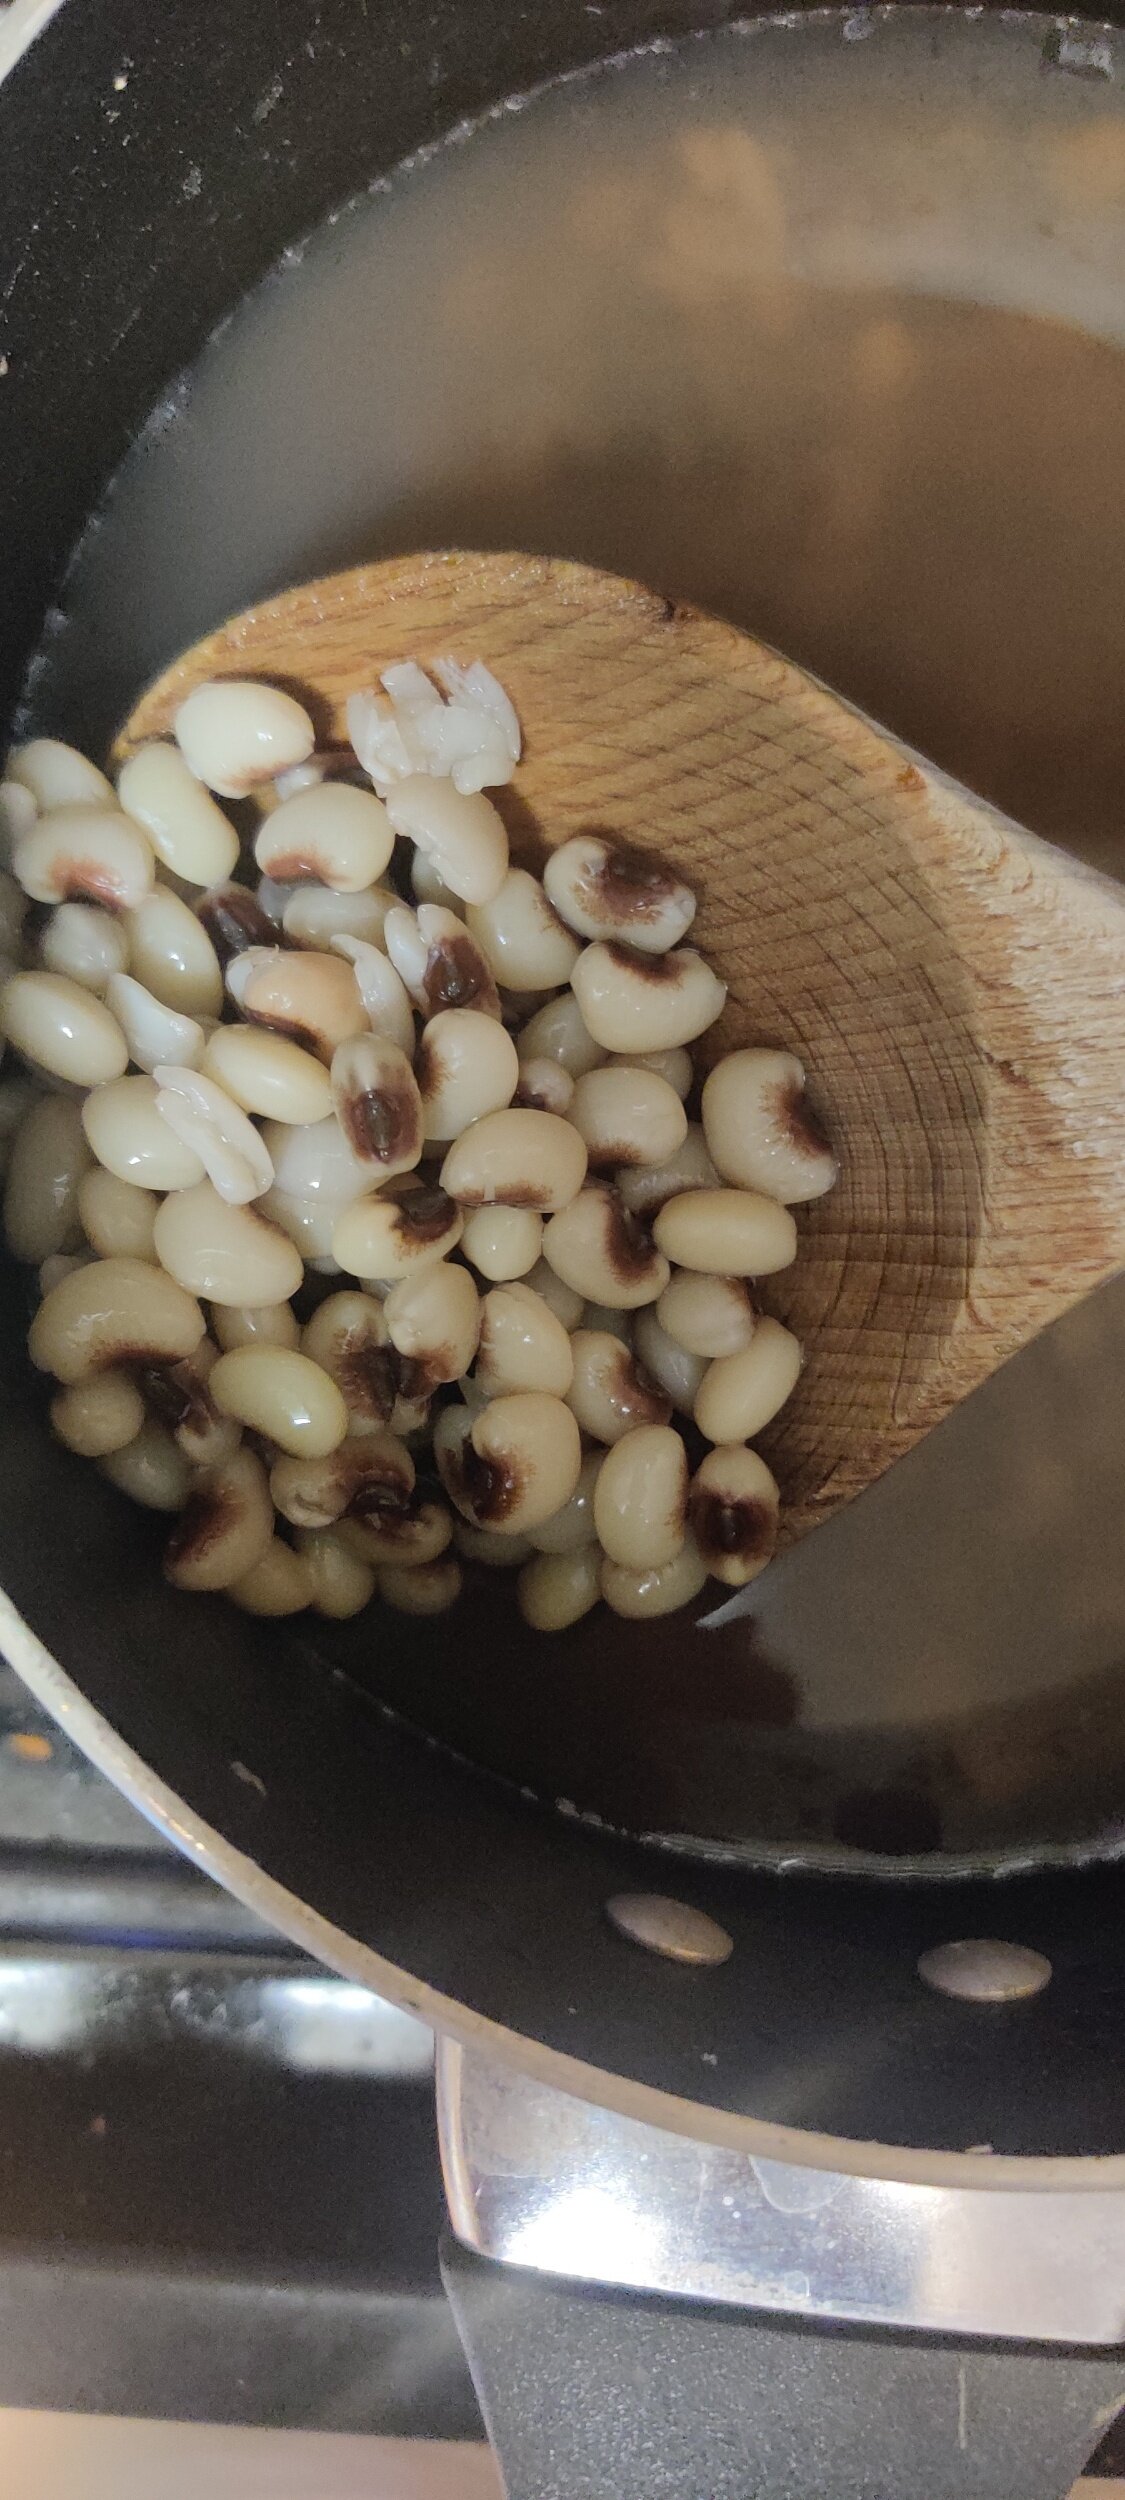
I'm a huge fan of beans, and they are great if you are looking to cut down or eliminate your meat intake. They are filling, nutritious, and high in protein to name a few benefits.
Black-eyed peas - also known as cowpeas - are hearty and delicious. This bean is eaten extensively across West Africa where it's said to have originated and is an important staple in the Caribbean and the American South - where they are considered a lucky charm by some during New Years.
You can do a lot with black-eyed peas as they are quite versatile, check out my black-eyed pea and pinto bean meatloaf recipe for example.
I served this stew with finger millet in the form of sadza, a thick porridge native to Zimbabwe using an ancient grain much healthier than its white corn counterpart. You can find a recipe for it, here.
The spices muddled in the coconut milk and tomato makes for a rich stew that can be paired with a variety of vegetables or grilled meats or served as a main dish. You won't regret it!
Ingredients
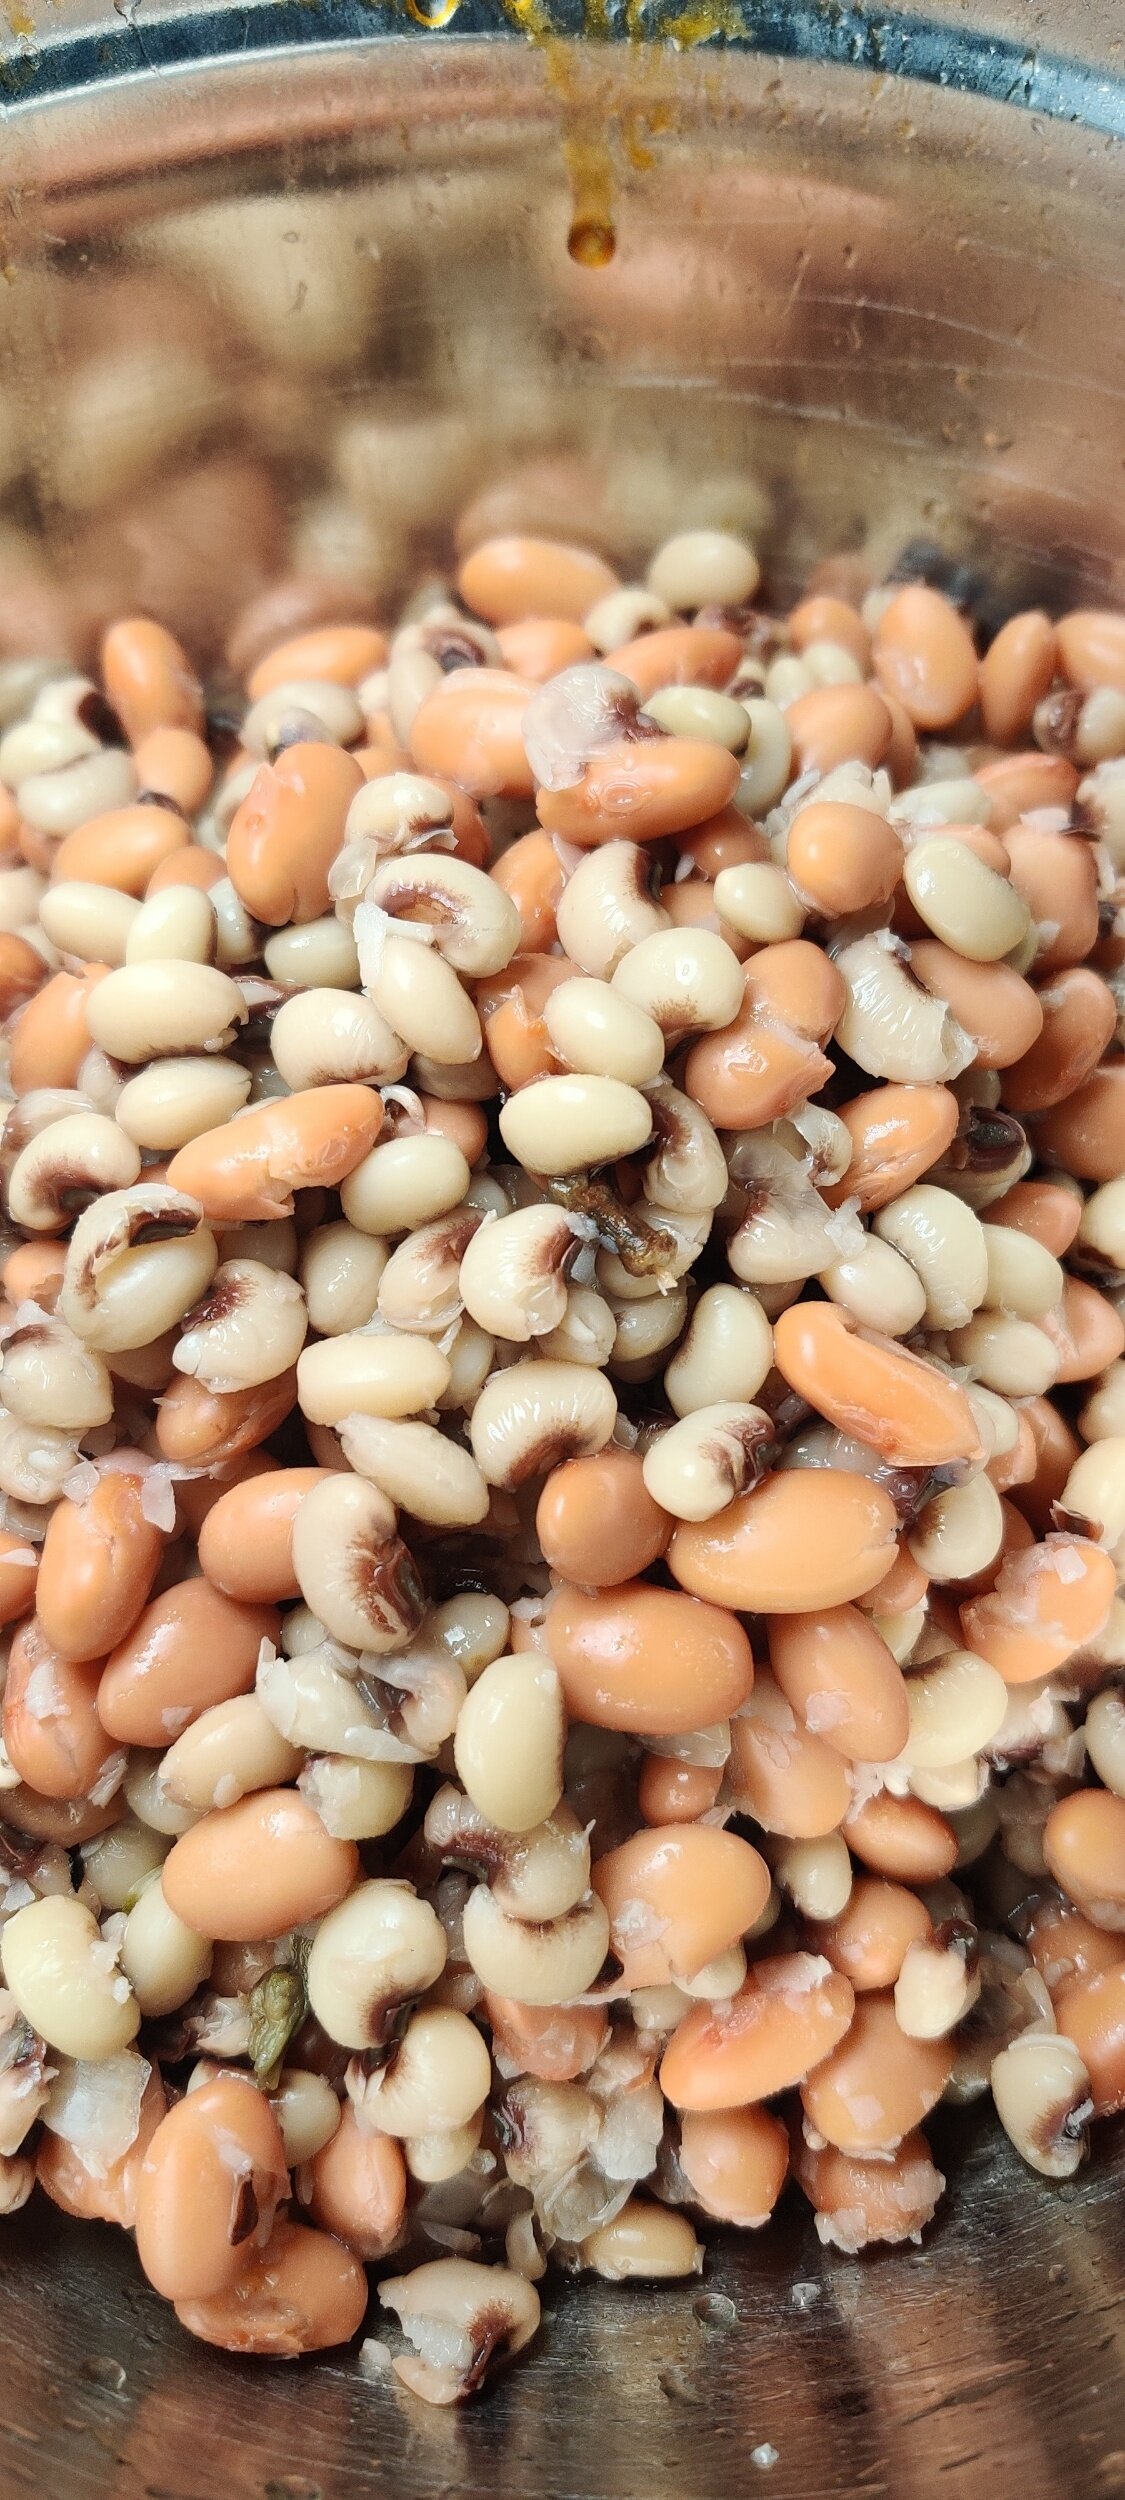
3 cups dry black-eyed peas (soaked for 24 hours and drained)
1 tablespoon salt
2 tablespoons black pepper
1 tablespoon cumin
1 tablespoon coriander
1 tablespoon ginger
1 can coconut milk
3 beef bouillons
6 cups water
1 teaspoon fenugreek
1 teaspoon paprika
1 tablespoon garlic
1/2 yellow onion, chopped
1 small green pepper, finely chopped
1 cup tomatoes, diced
2 tablespoons tomato sauce/ketchup
2 tablespoons butter
2 tablespoons olive oil
2 tablespoons curry powder

Instructions
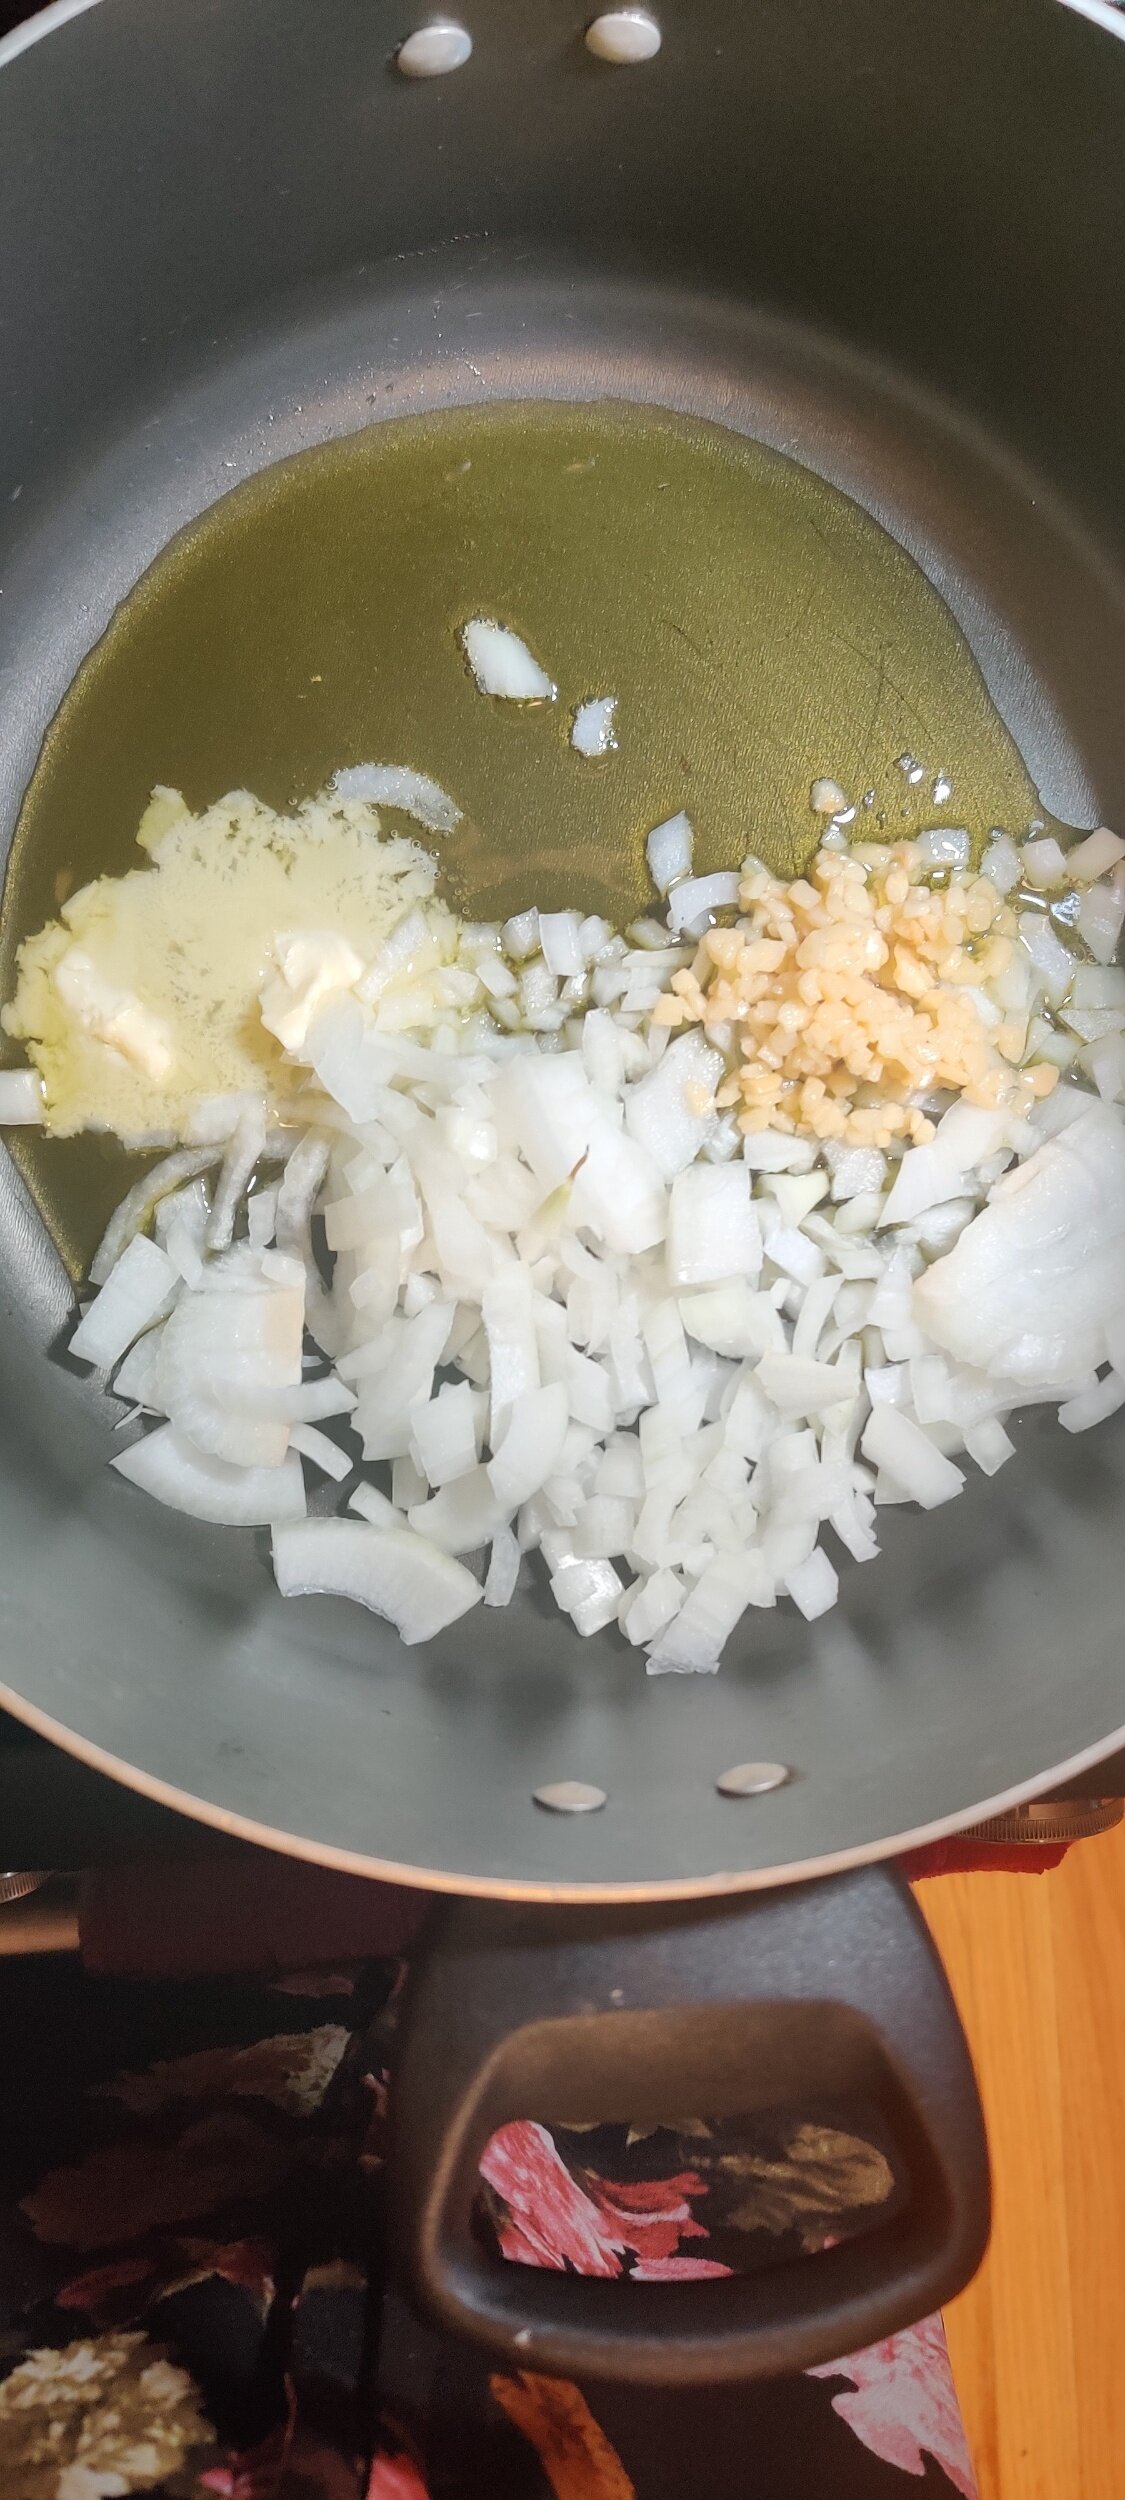
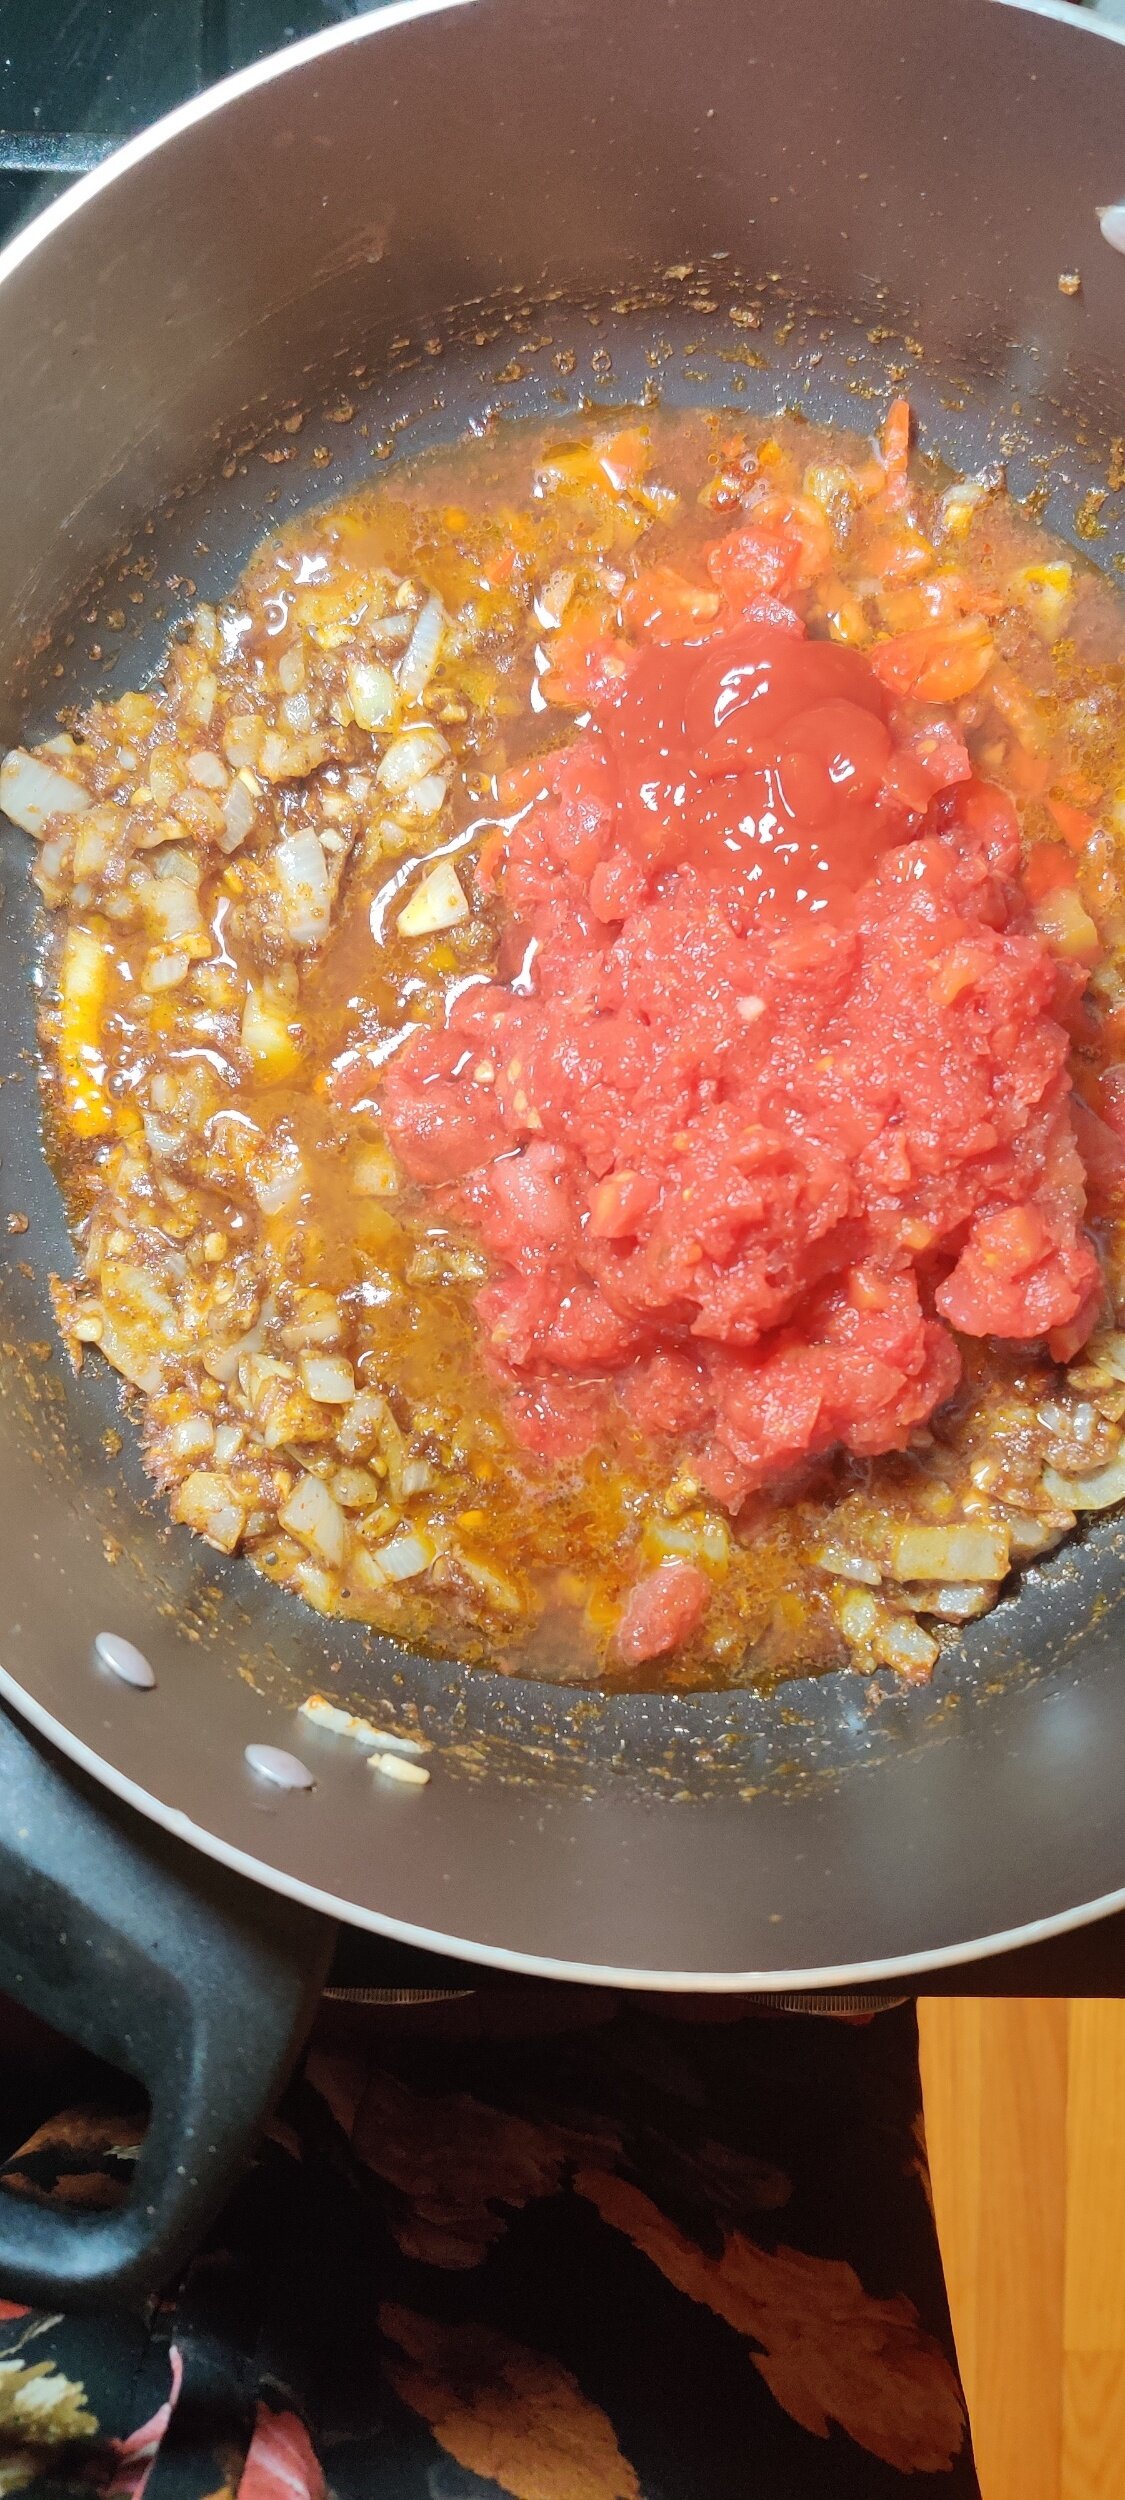
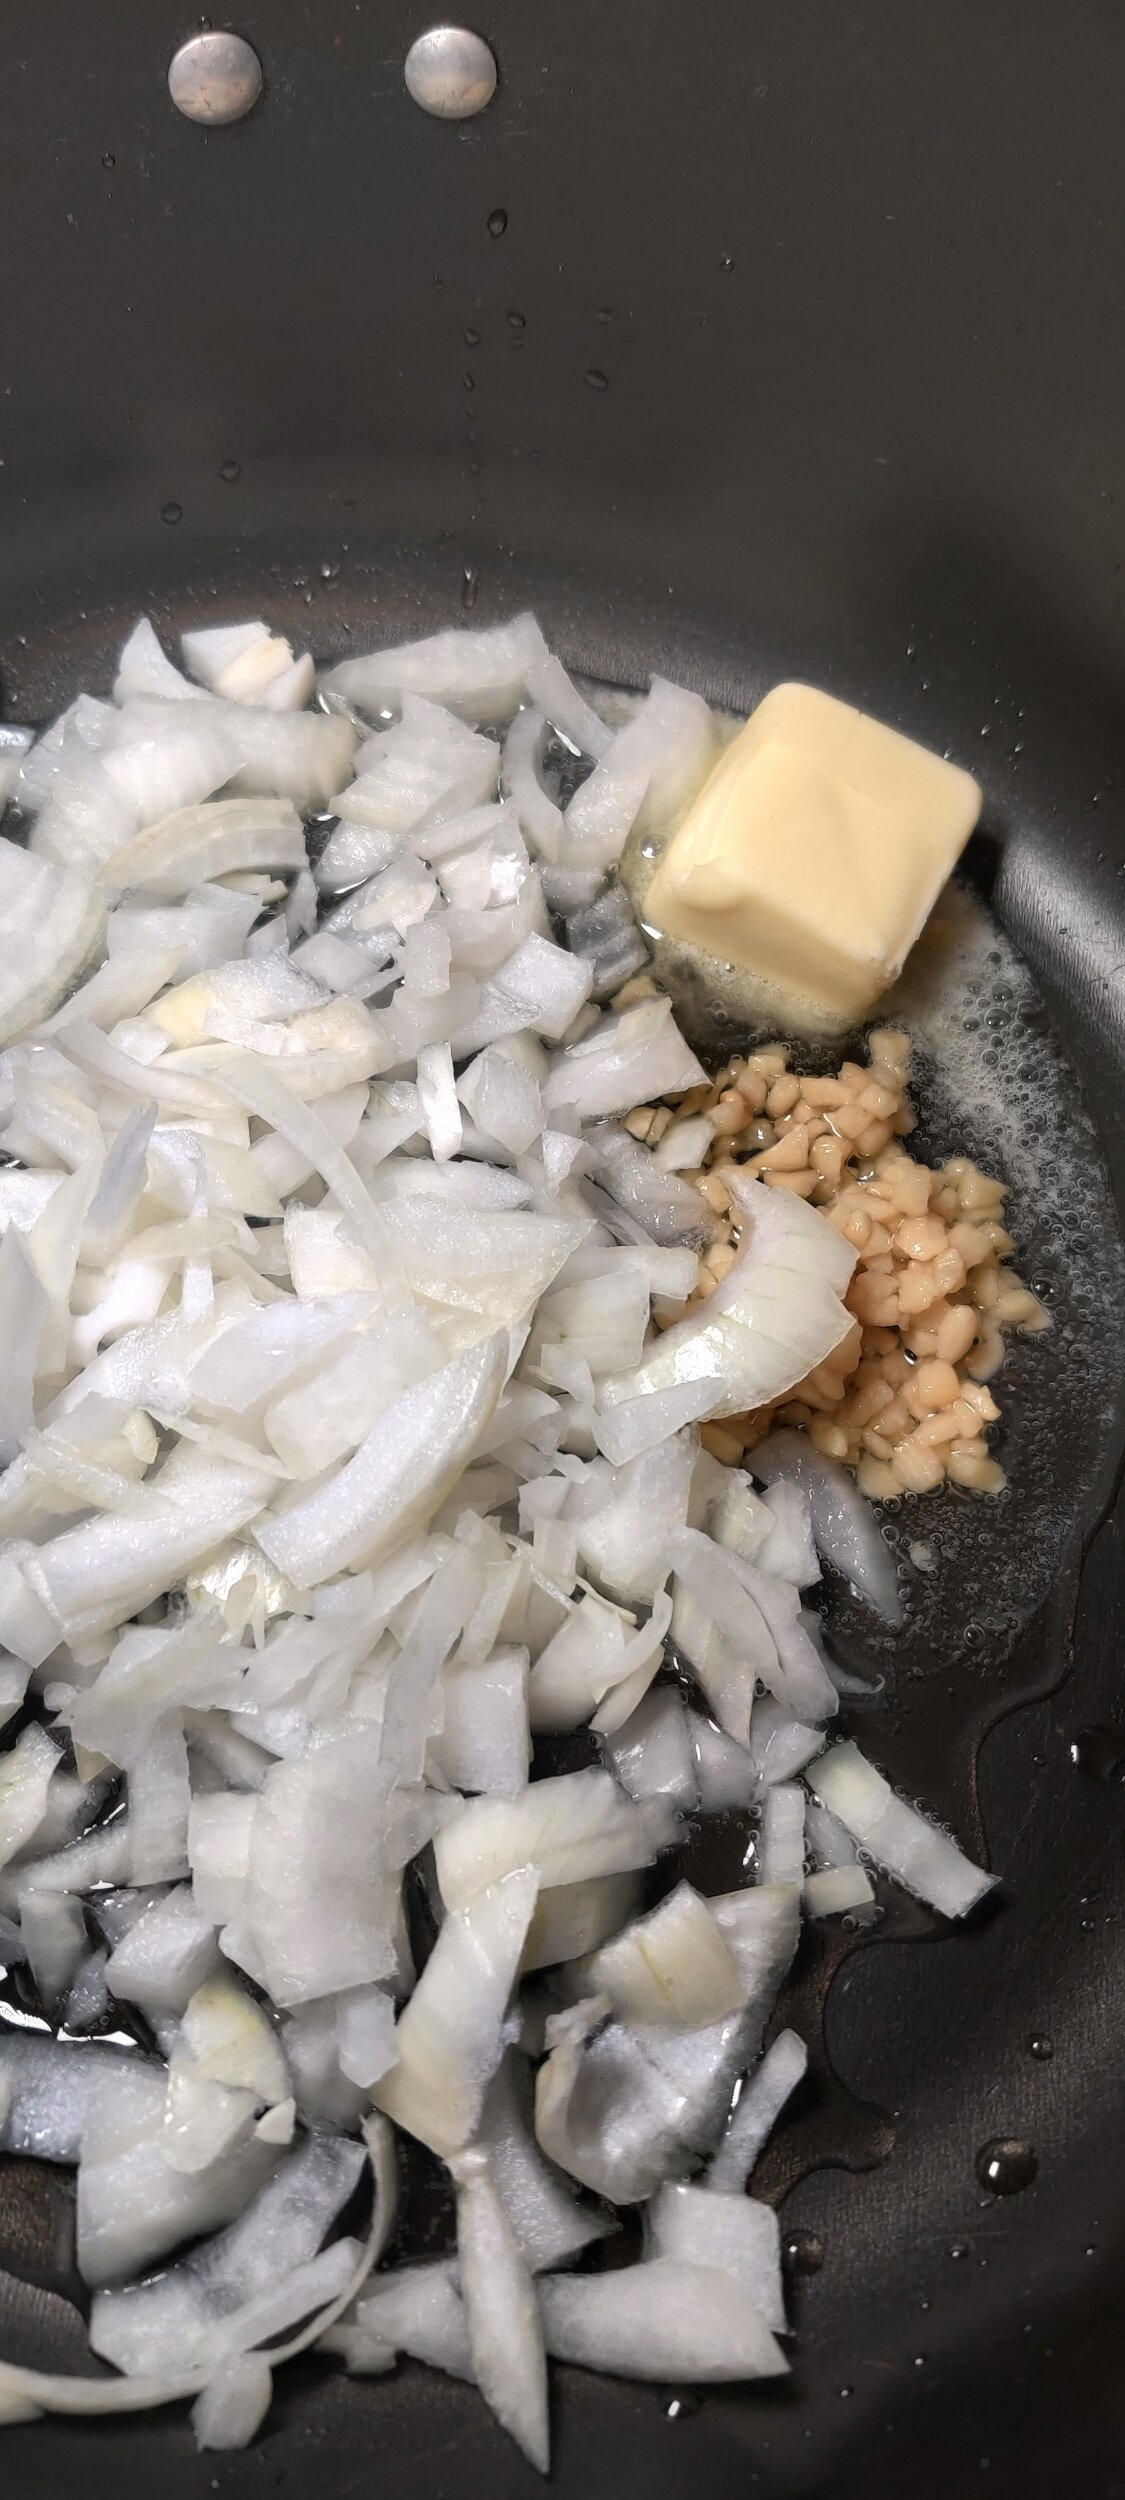
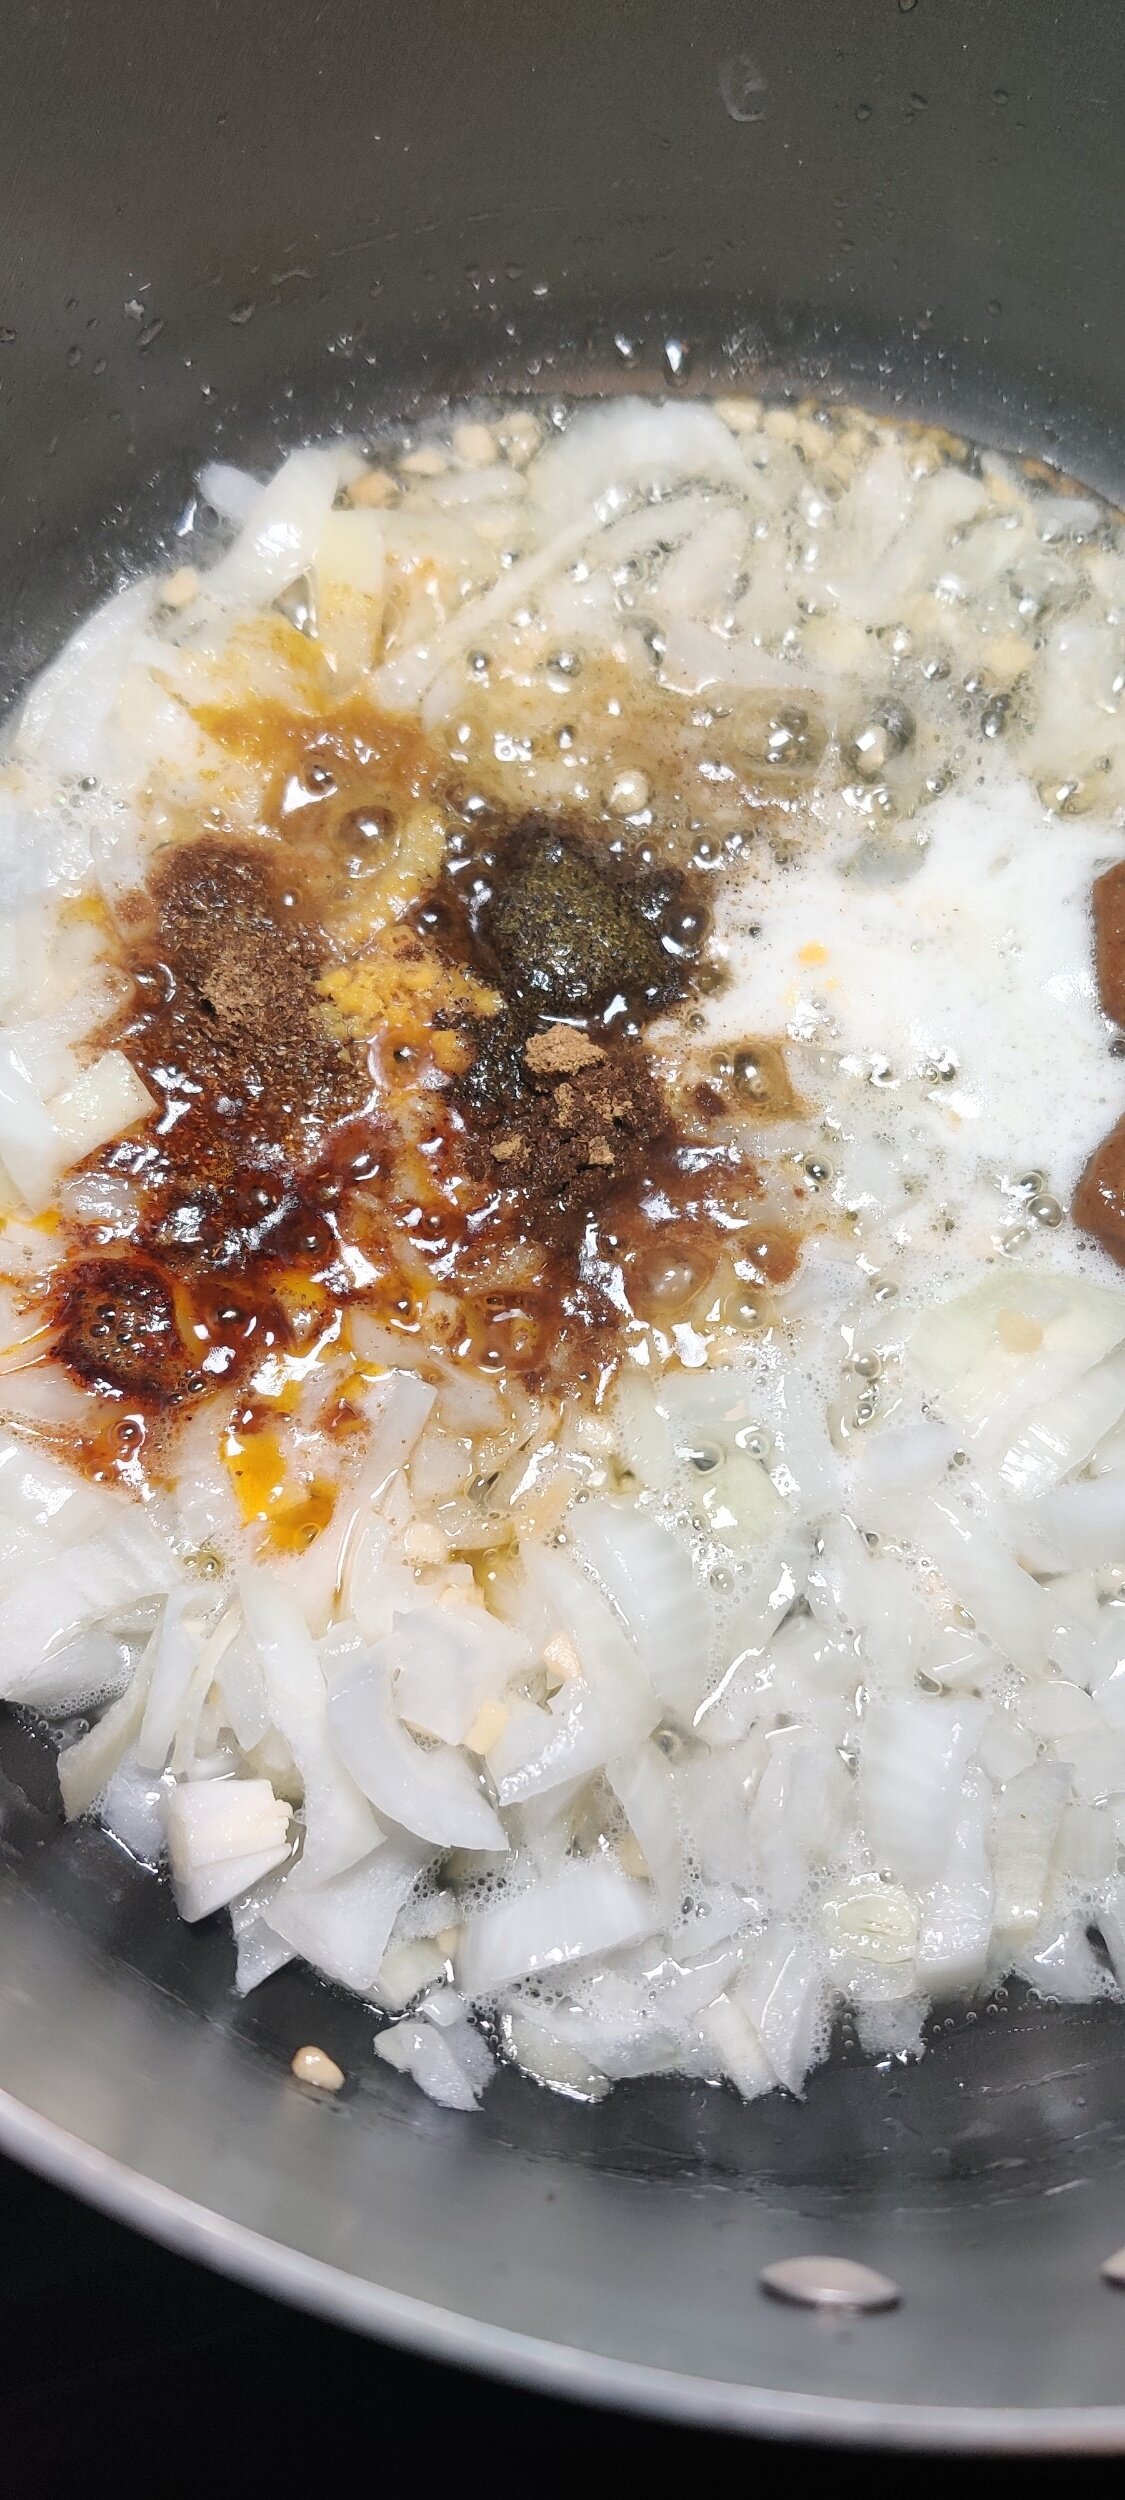
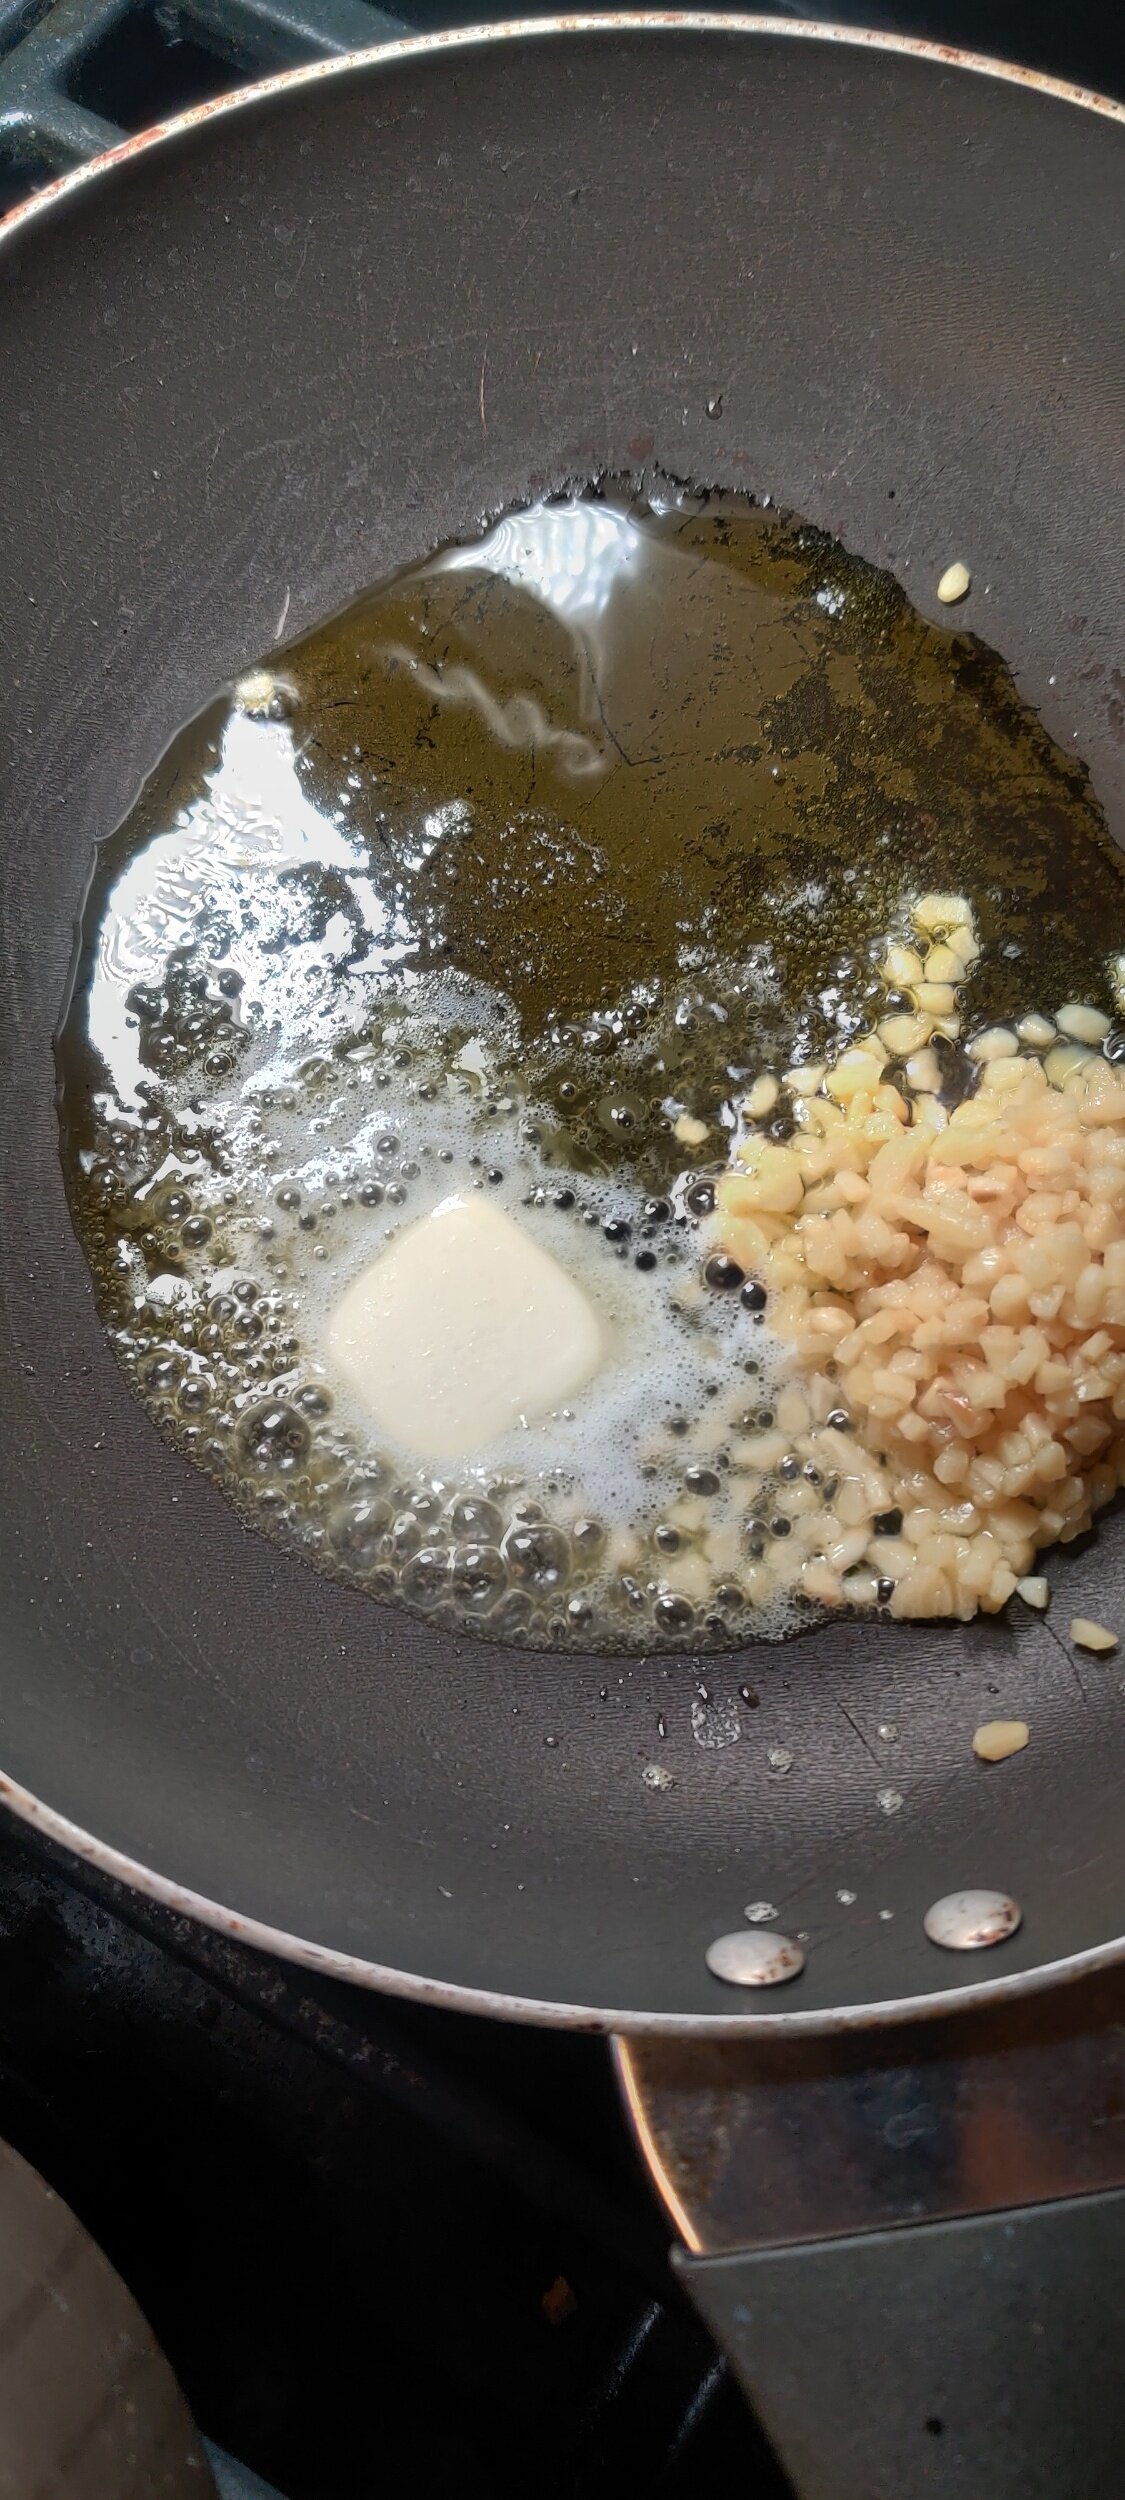
In a large pot, saute the onion and garlic in olive oil and butter for 3 minutes until the onion starts to soften.
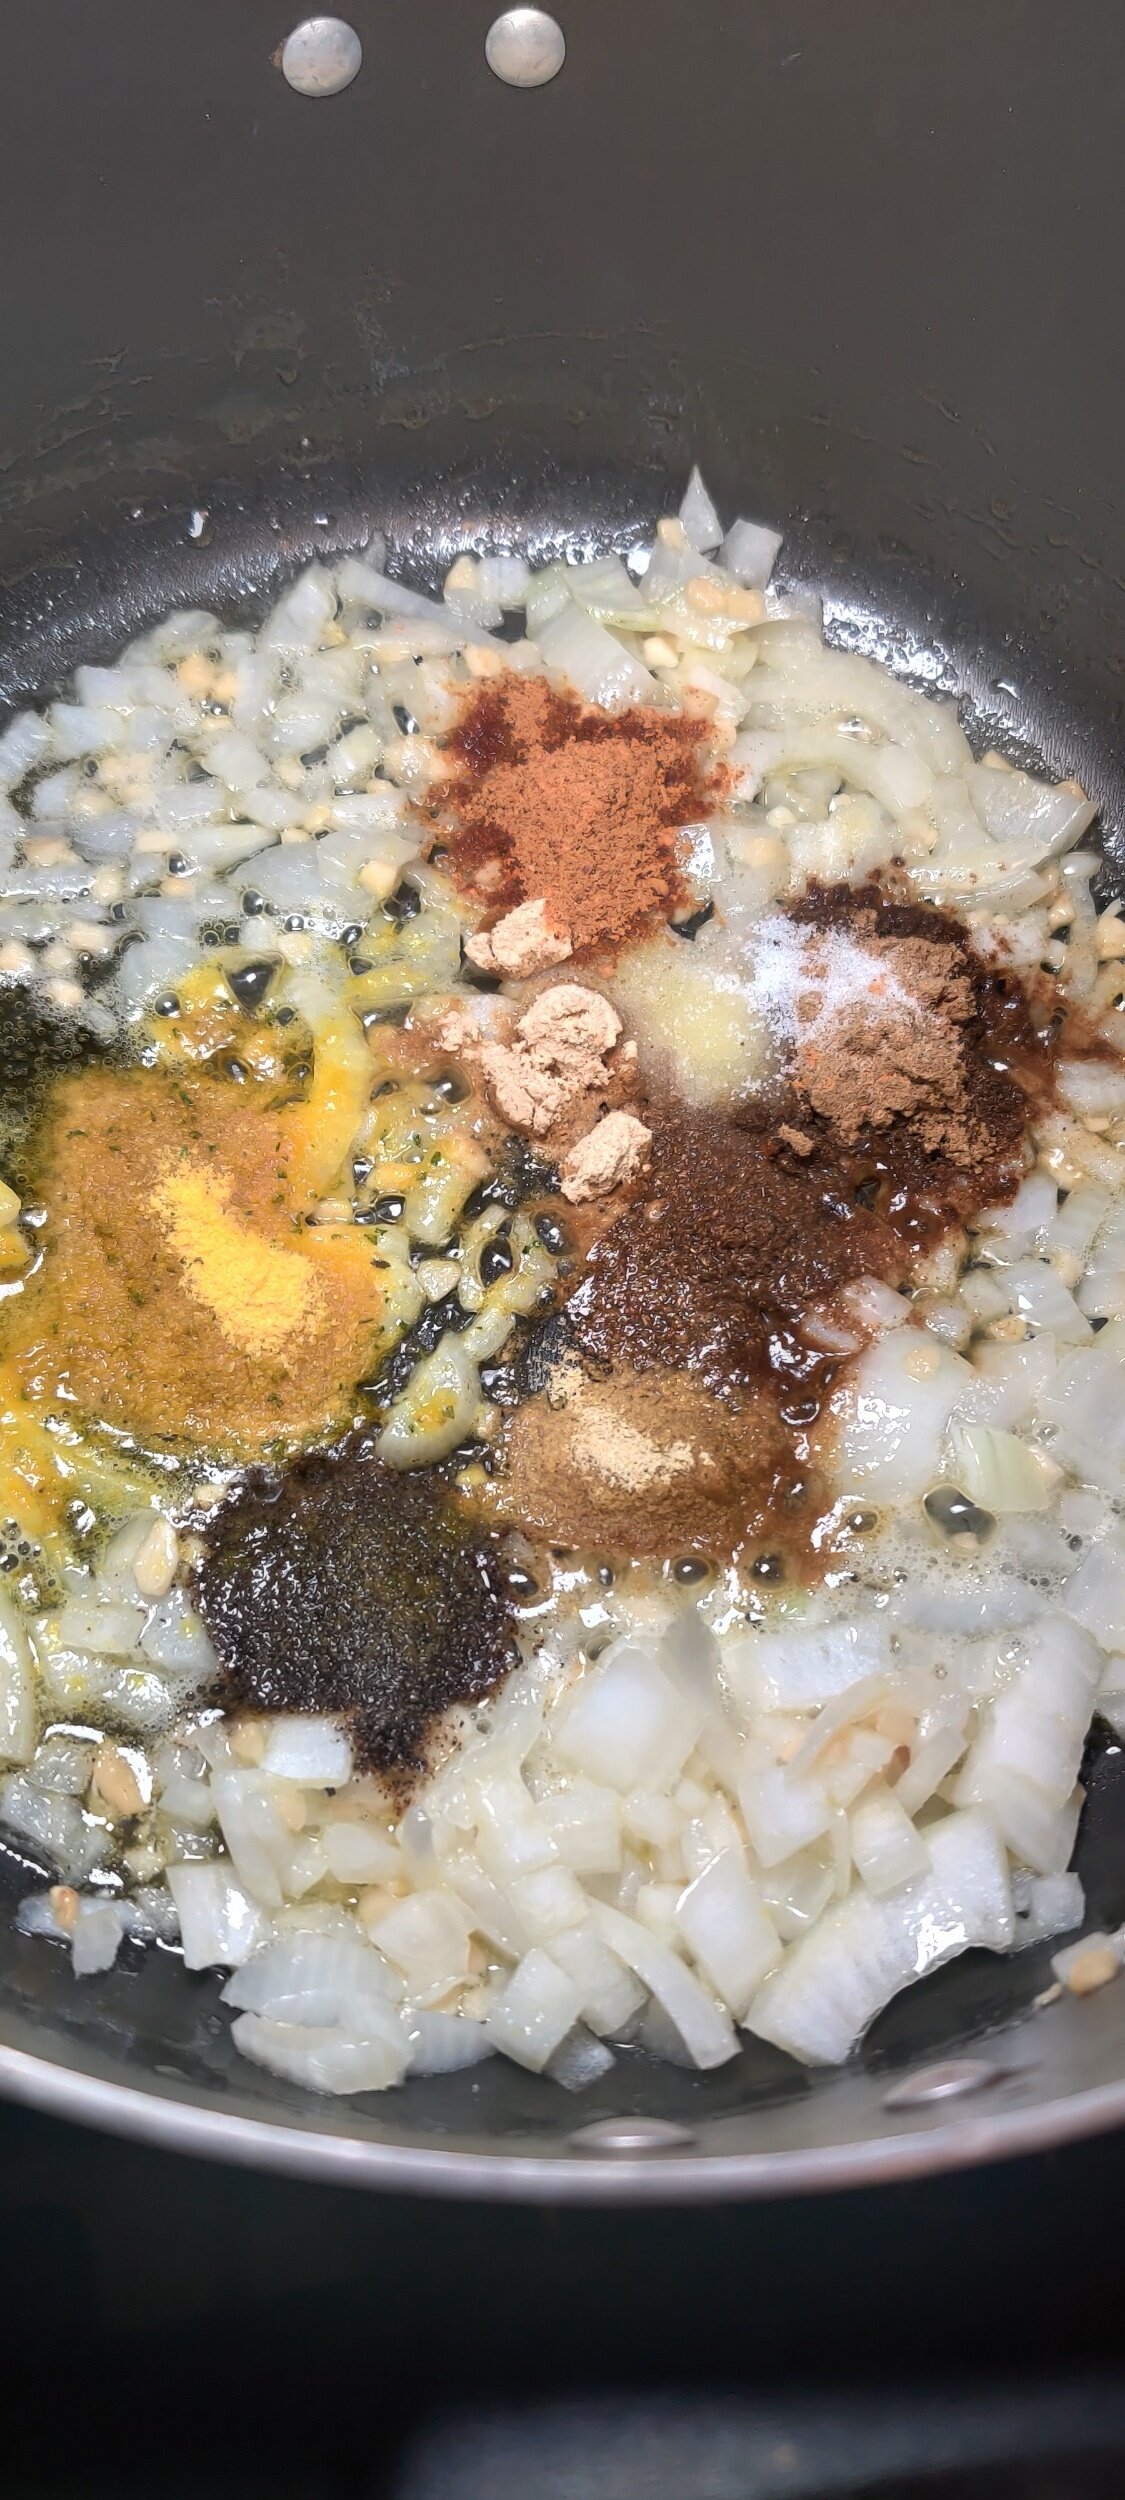
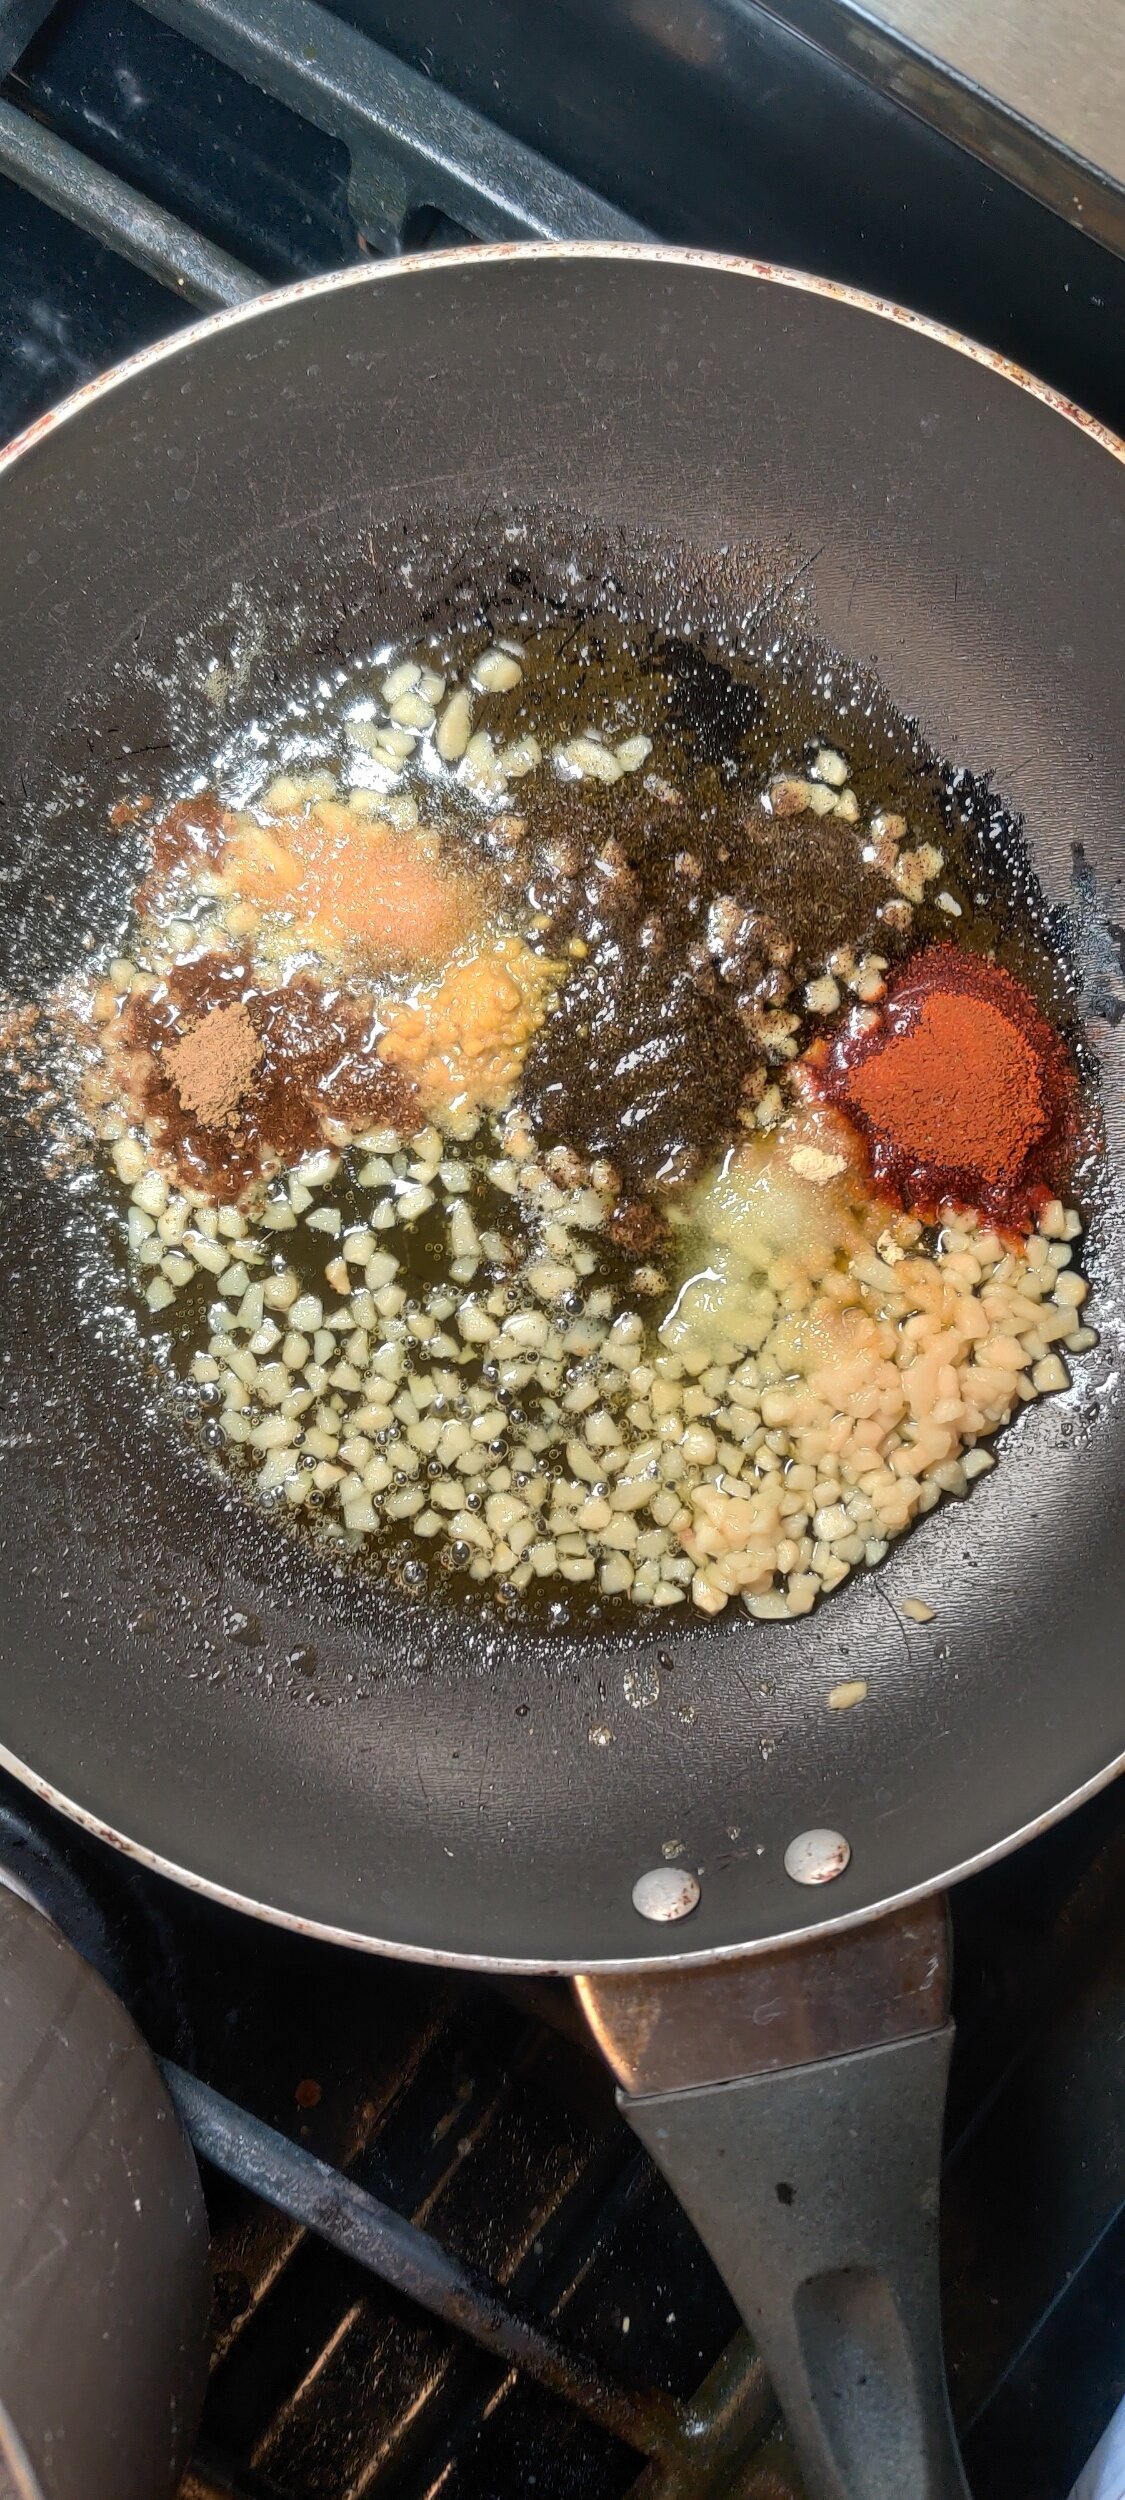
Add the spices, bouillon cubes, salt and black pepper, cook for another 2 minutes.
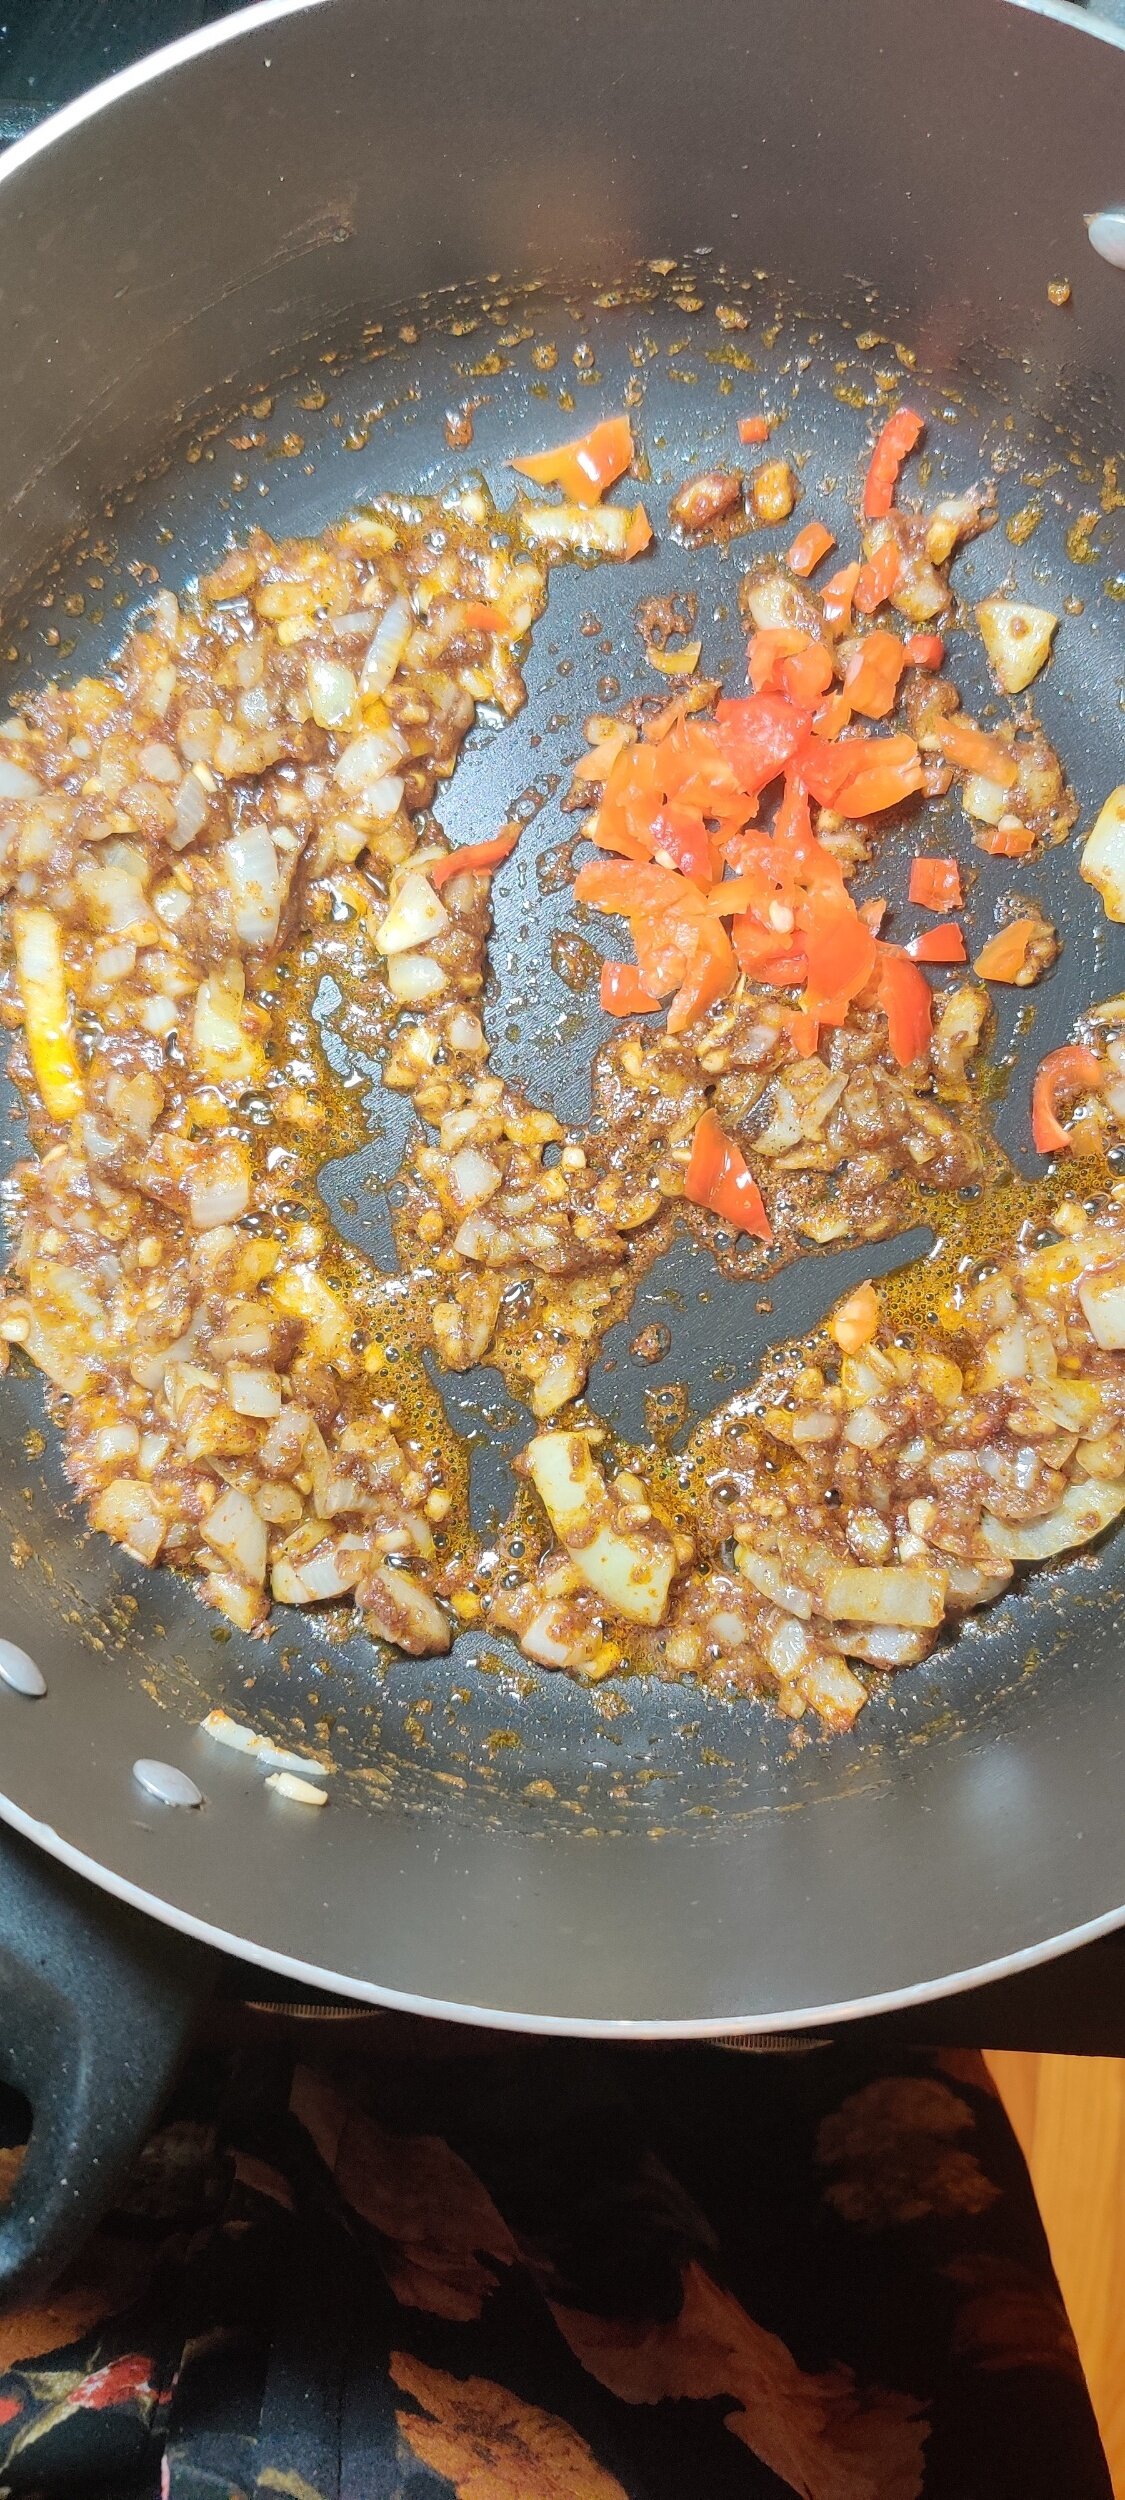
Mix in the diced tomatoes and tomato sauce/ketchup, cook for about 5 minutes.
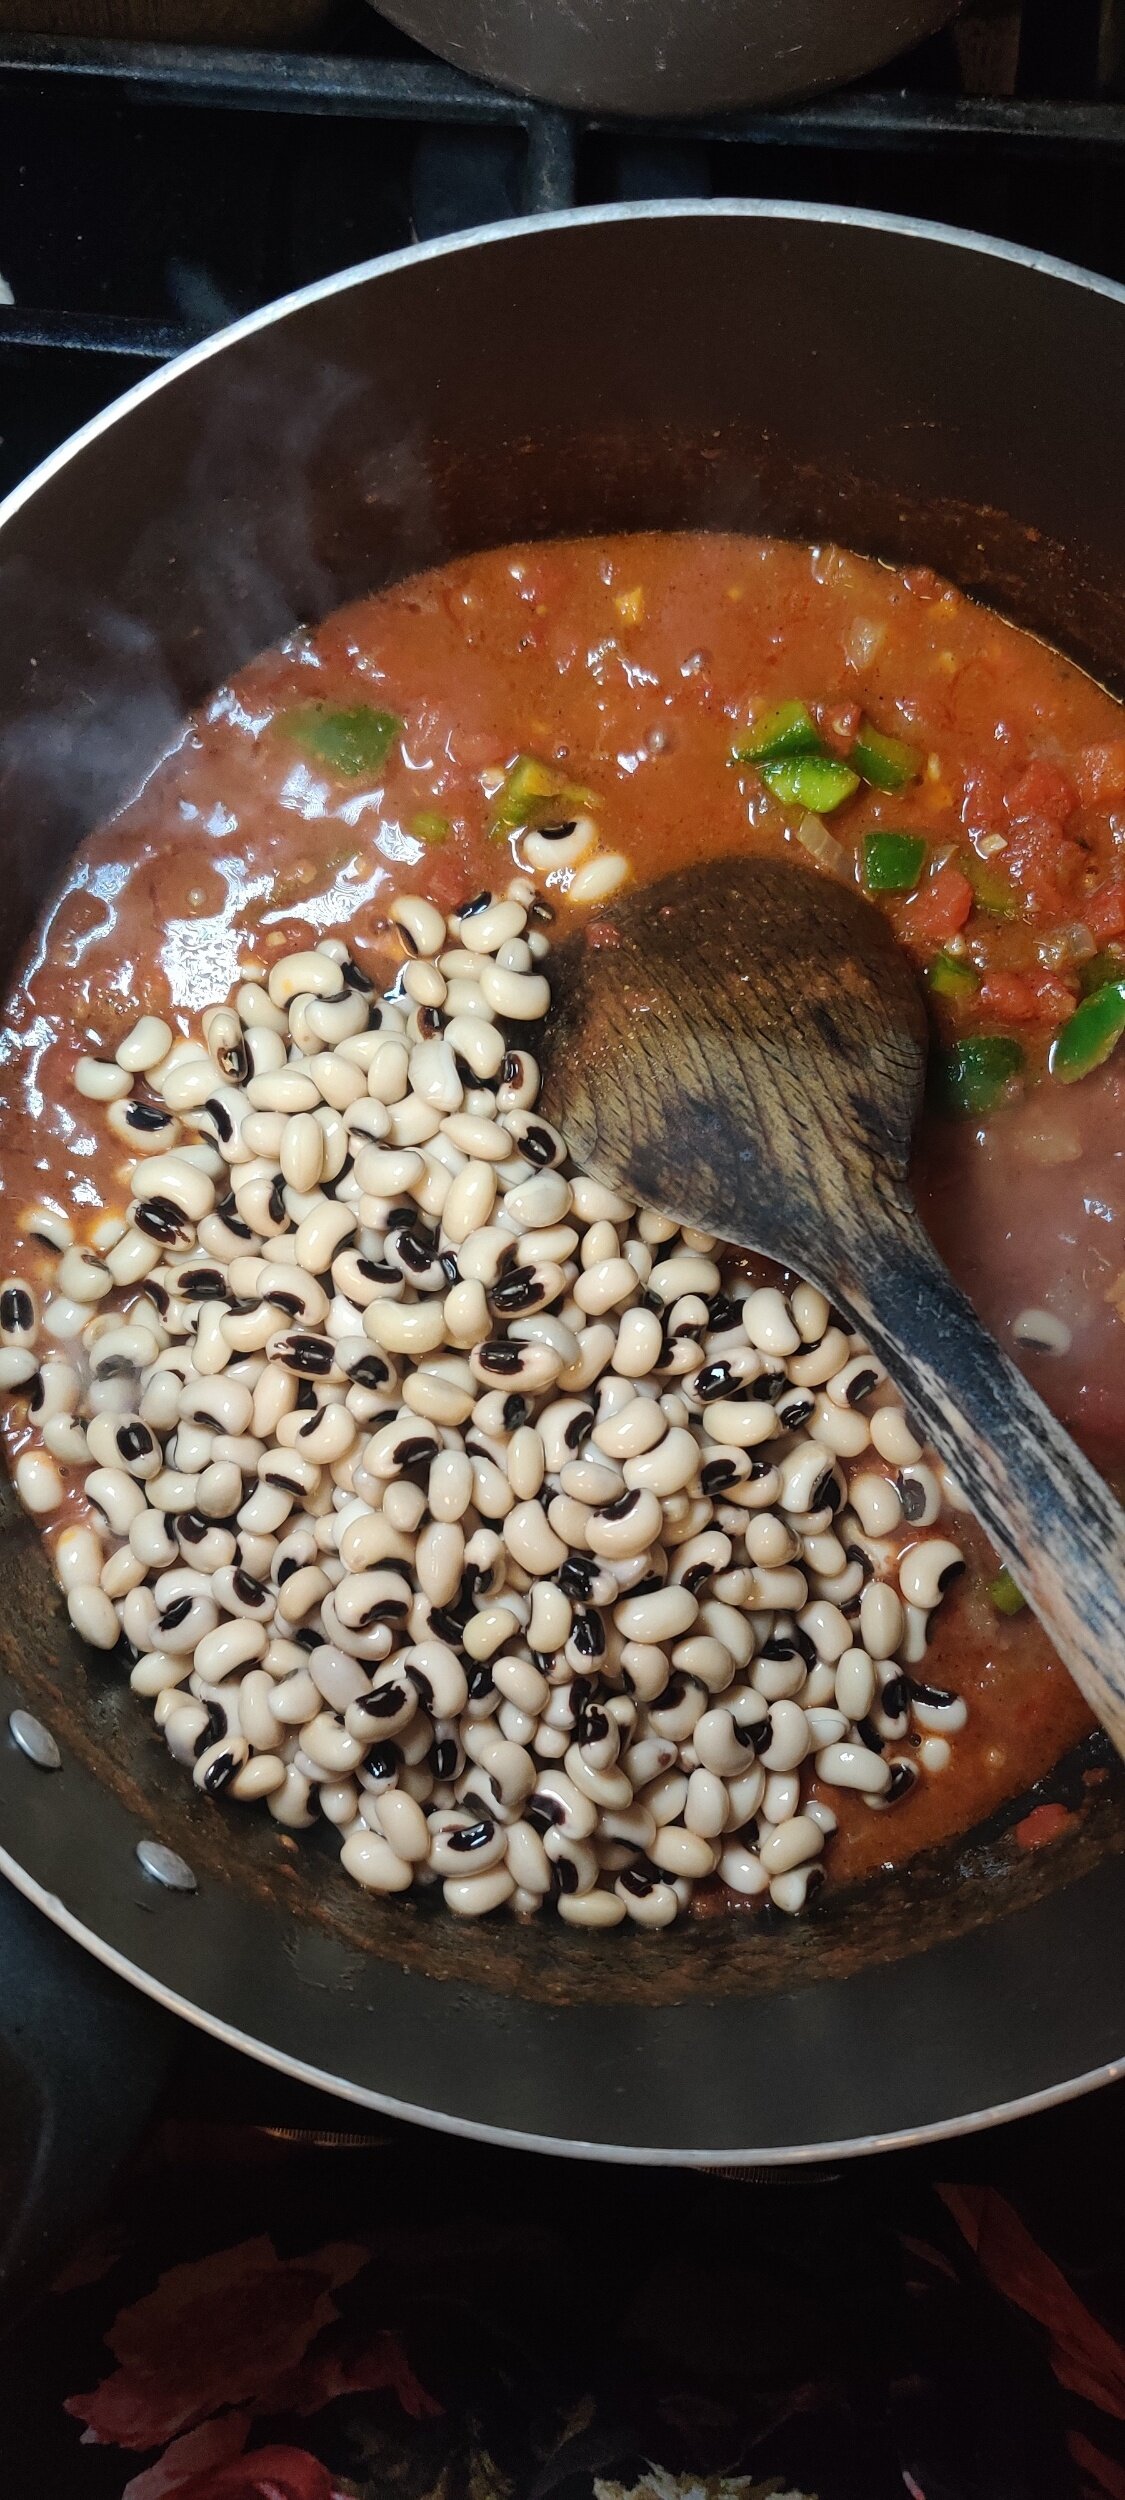
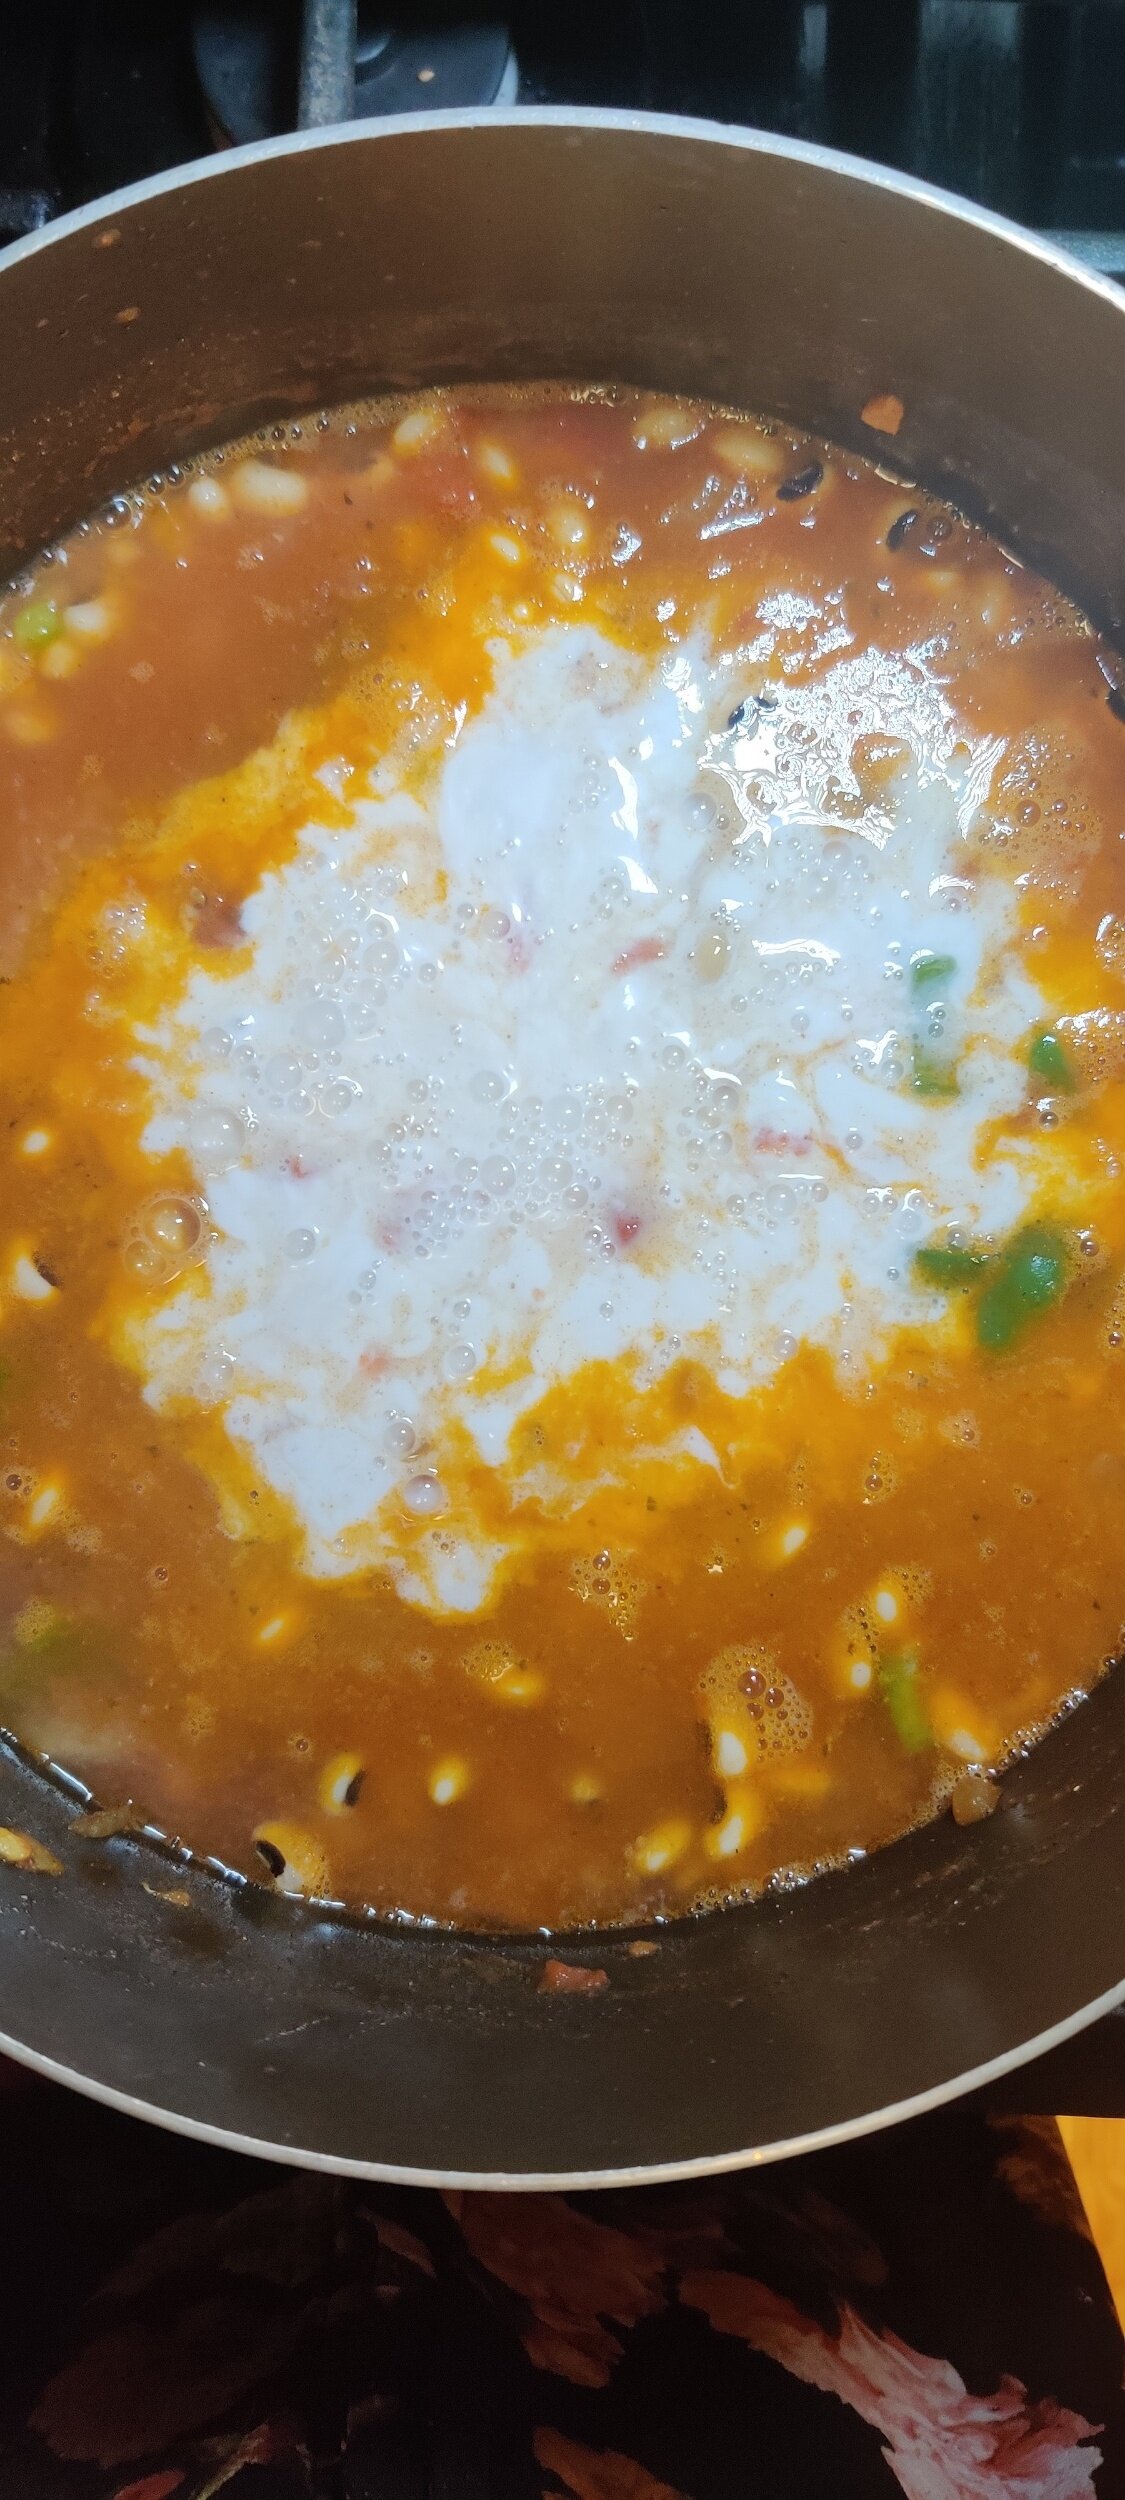
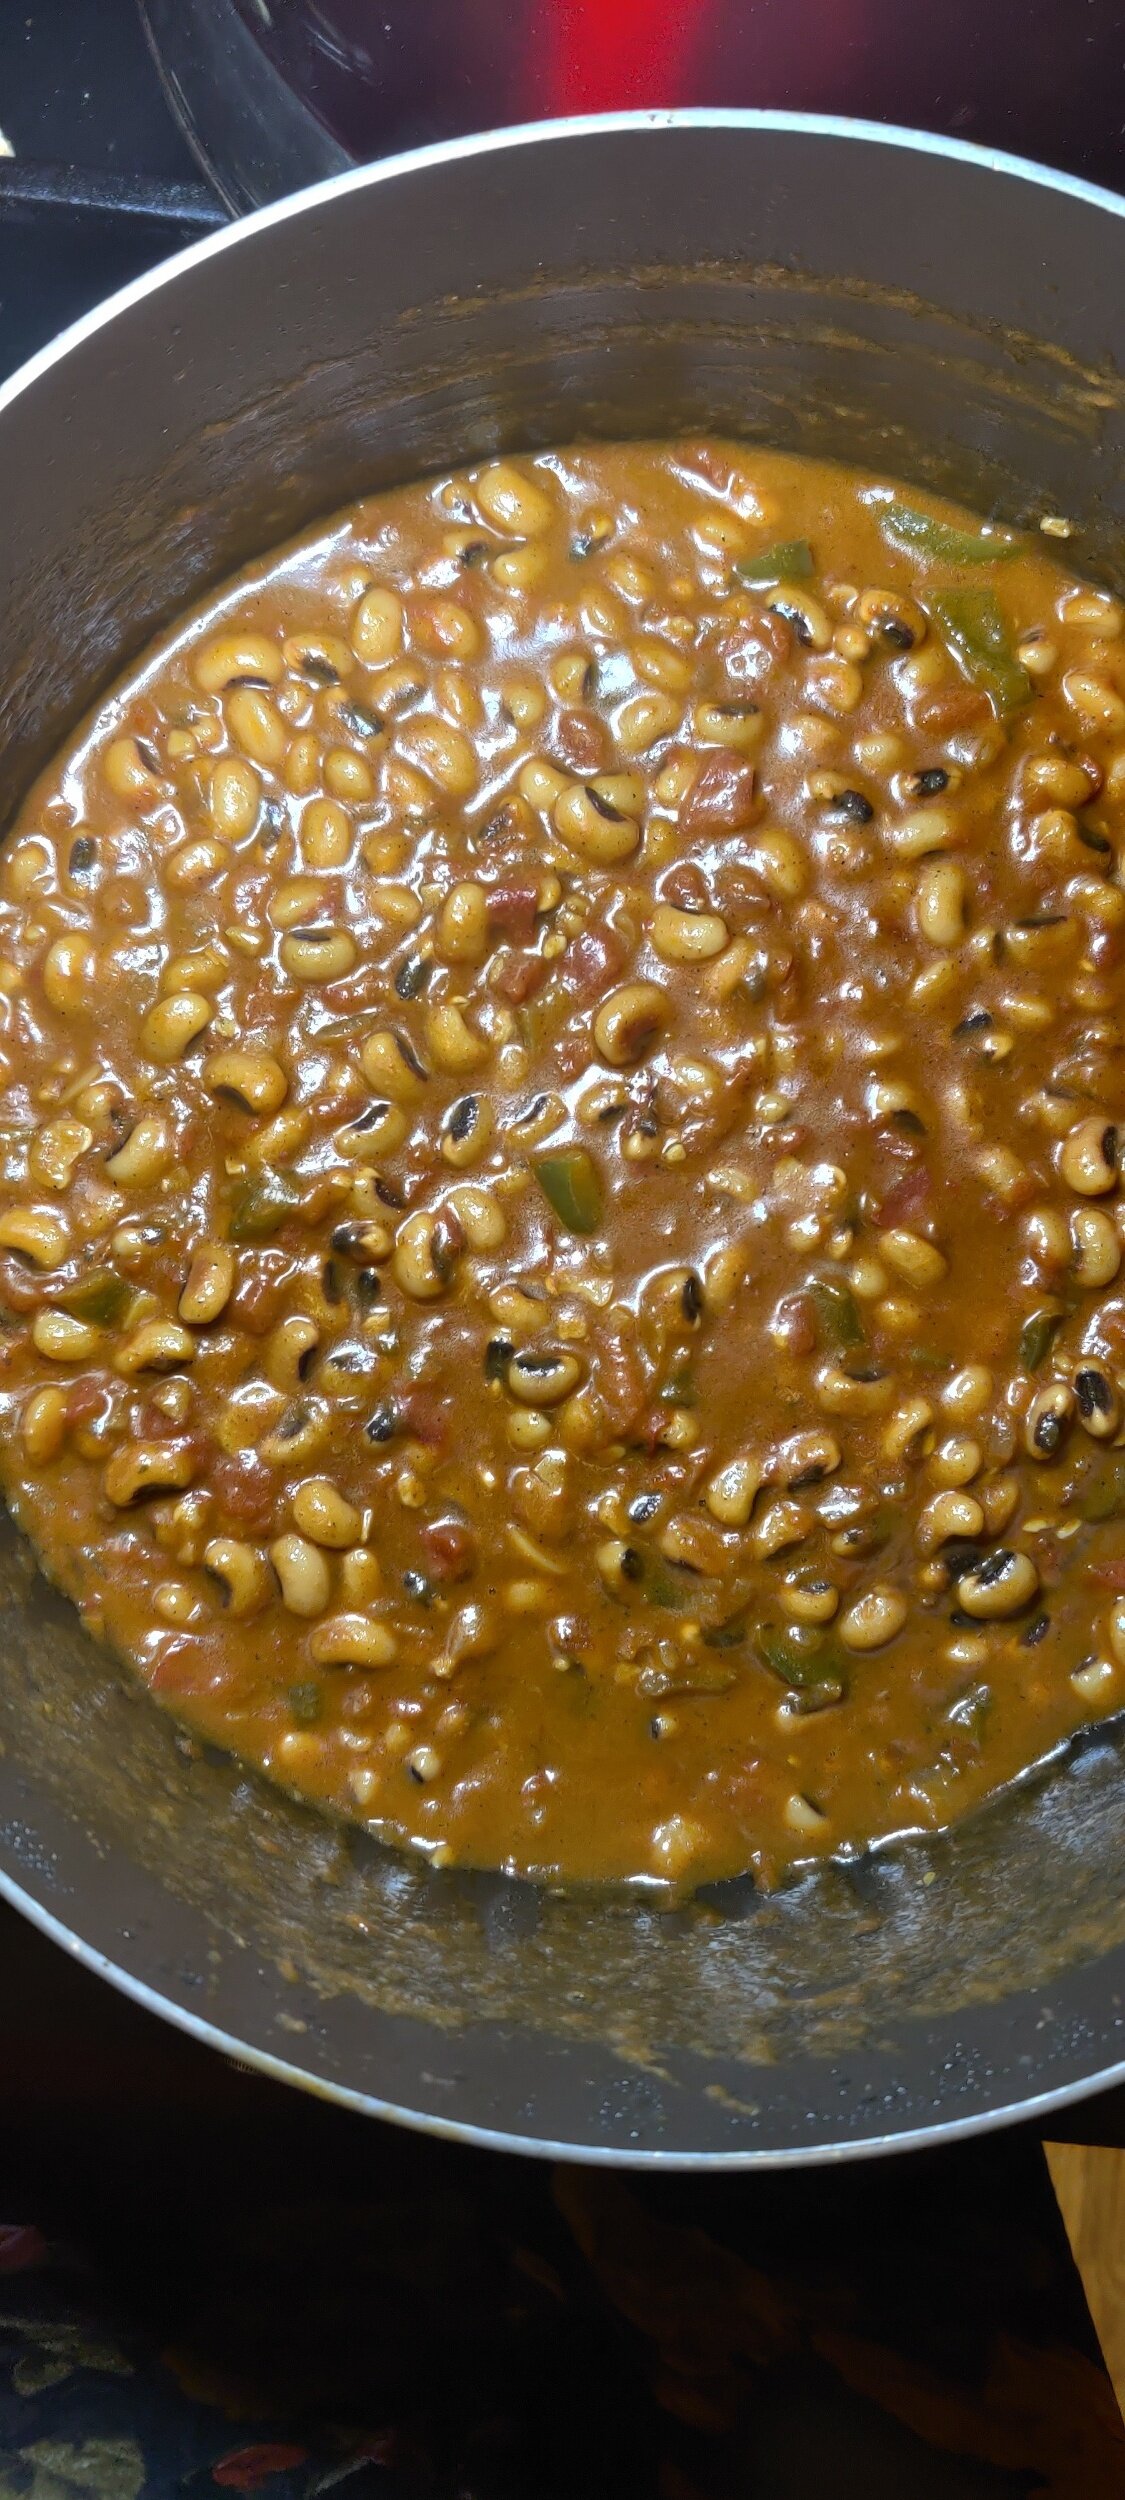
Stir in the green pepper and black-eyed peas, then pour in the water and coconut milk. Season to taste with additional salt and pepper if necessary.
Reduce the temperature and simmer for 35-40 minutes. Check the stew periodically and stir until the black-eyed peas soften and are cooked through. Add more water if needed.
While the beans are cooking, prepare your sadza or whatever starch you want to serve the stew with. All you'll need for that is water and corn/maize/millet meal.
Serve both hot, enough for 4-5.

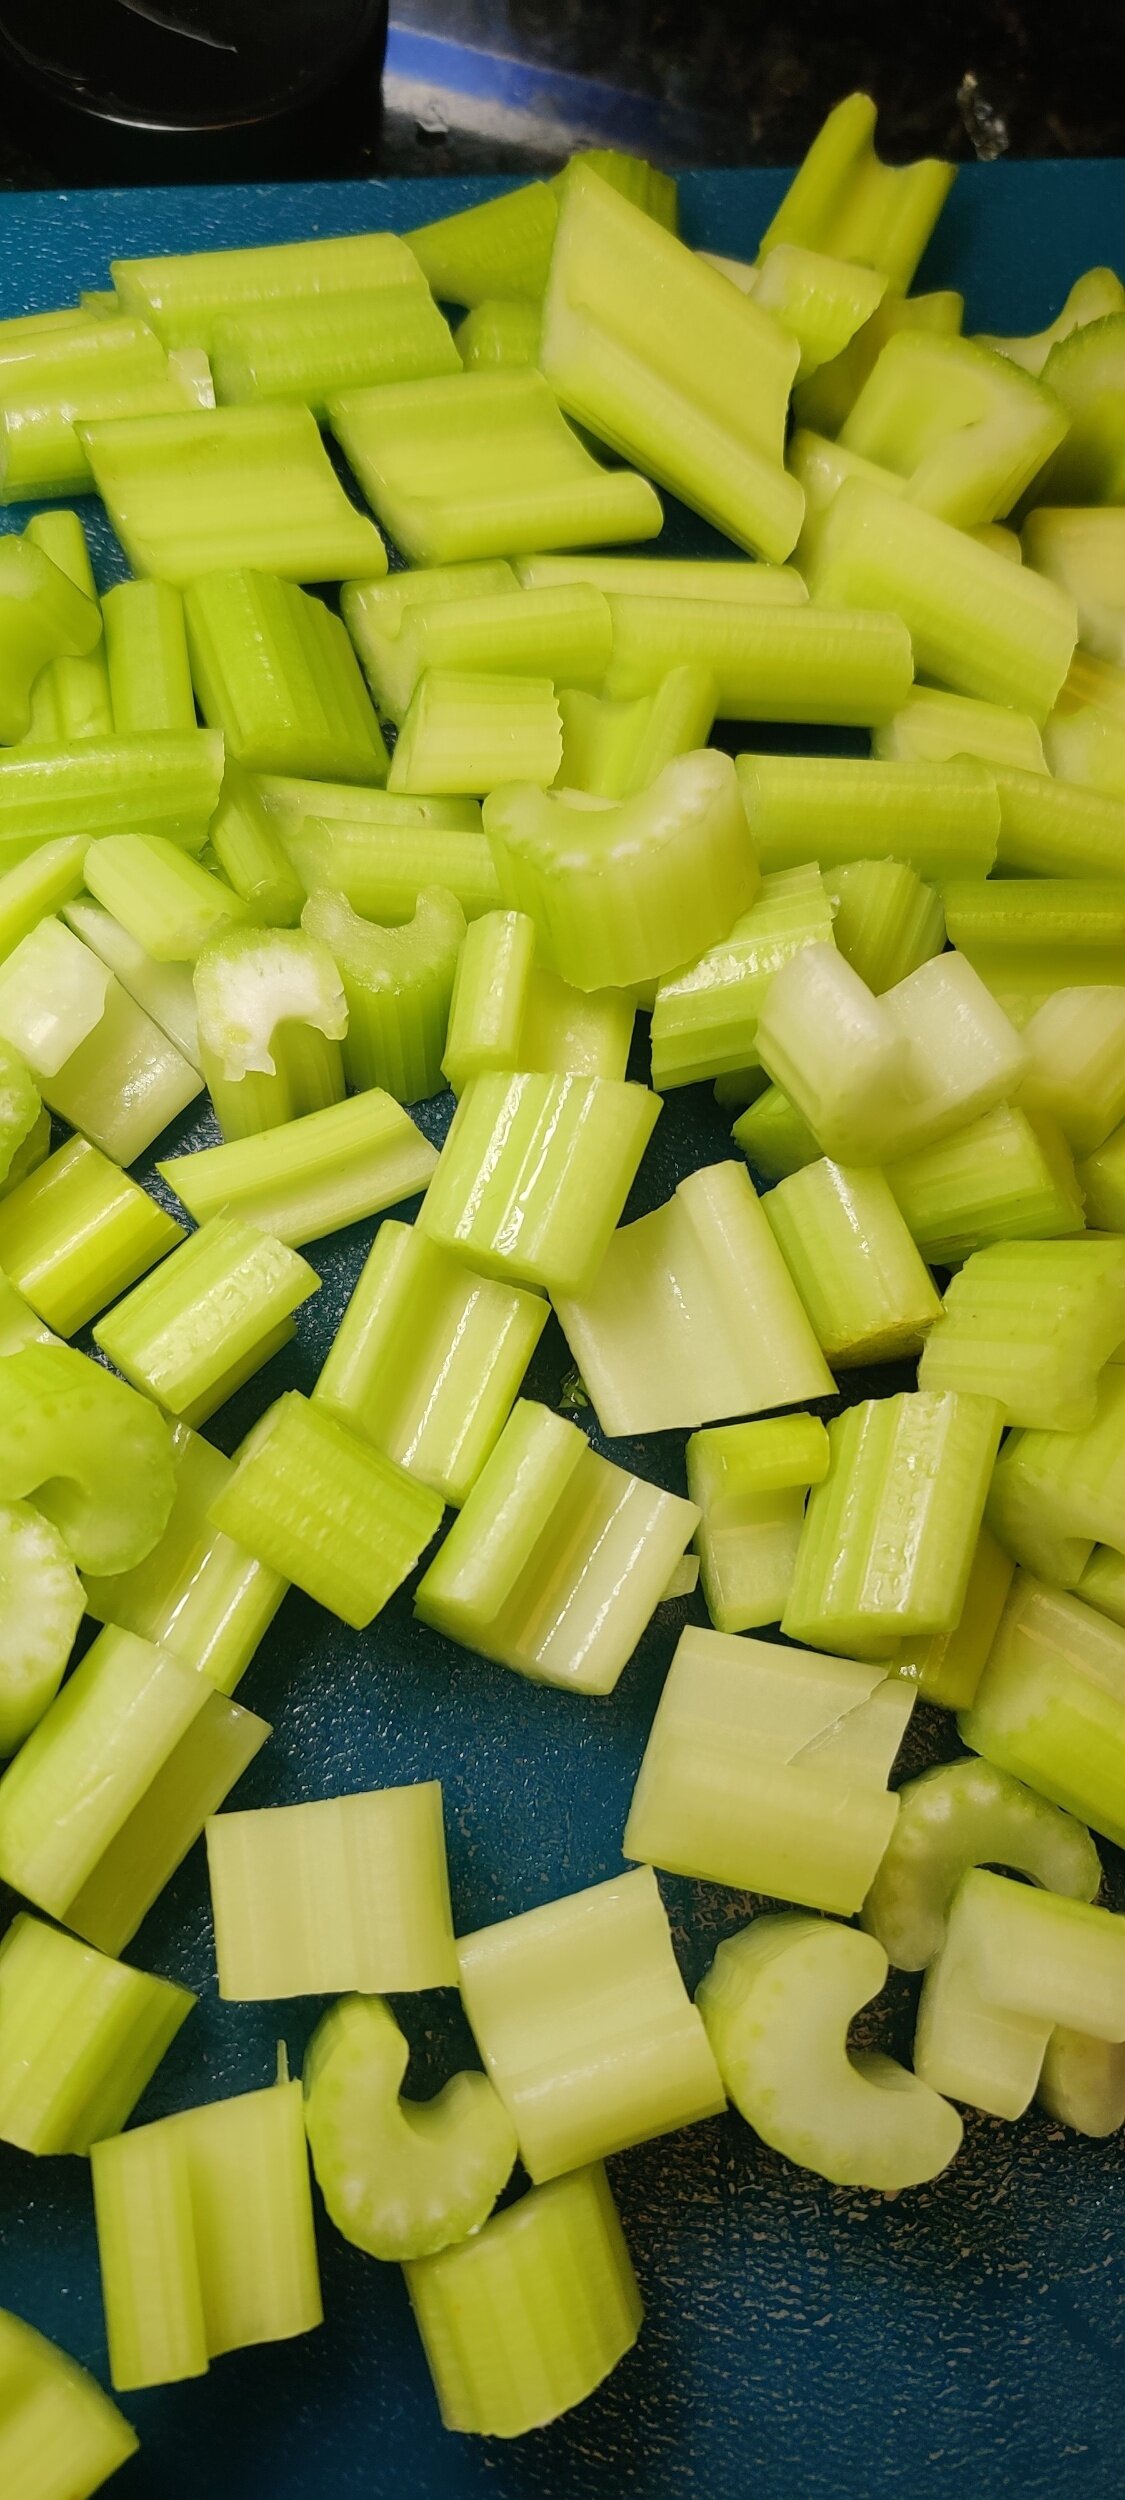
Creamy Celery Soup
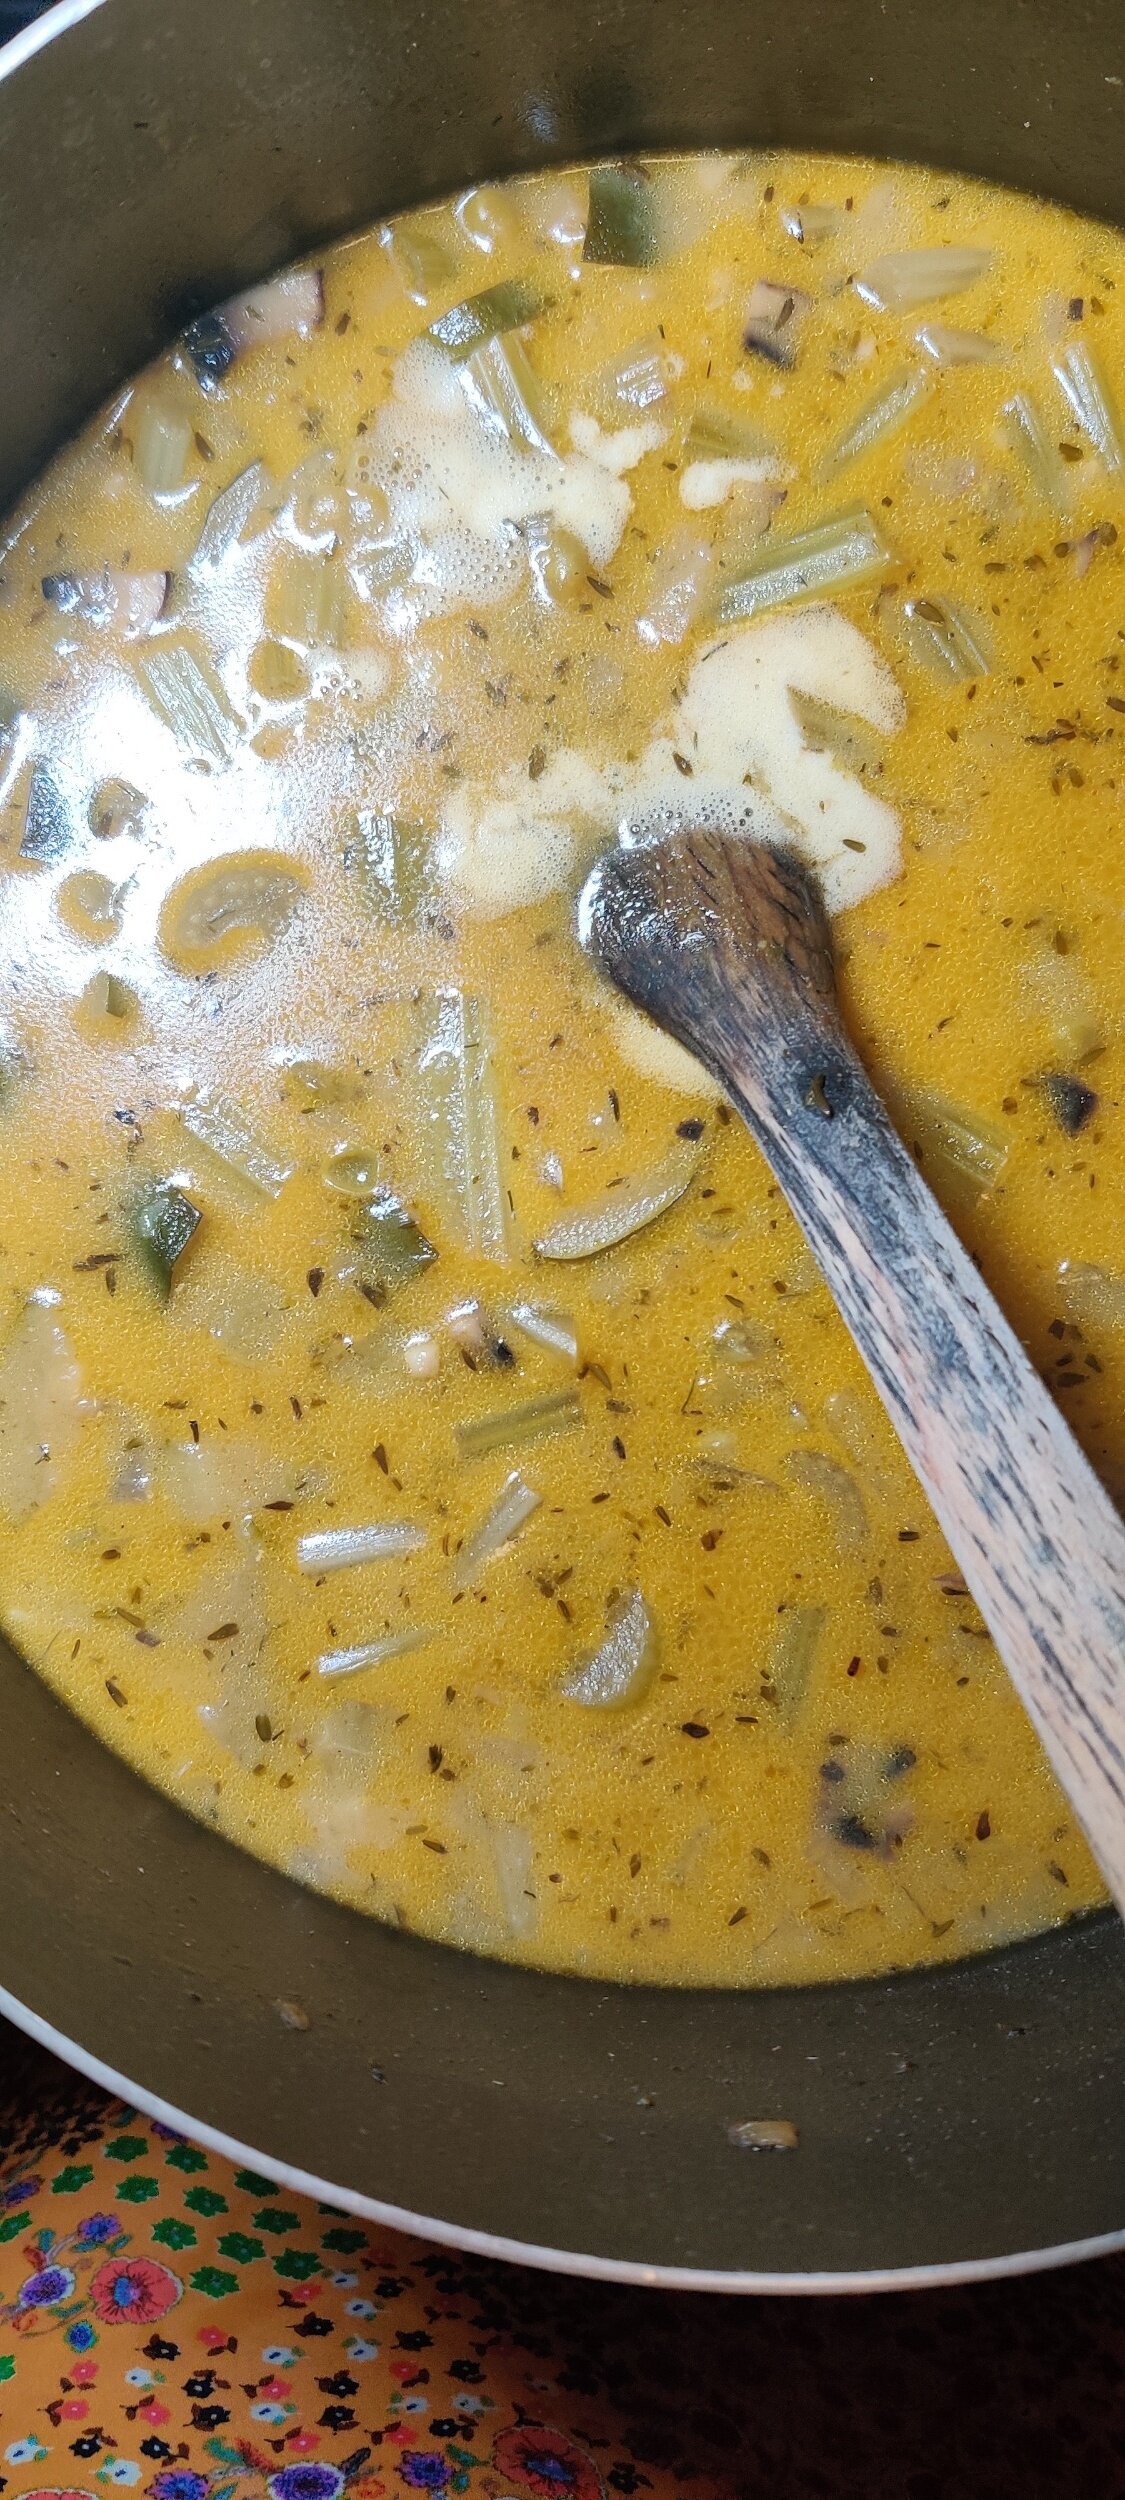
The recipe for this soup came about by chance. I had a whole bunch of celery that I didn't want to toss! The vegetable lends itself brilliantly to soups, and the underlying taste can go either way depending on the additional ingredients. Due to the chickpeas, mushroom and peas, this soup has a sweet, earthy, nutty, lentil-like flavour.
Celery also has a lot of health benefits, such as helping to reduce inflammation and aid digestion. It’s heavy in water content and is often praised by those into fitness and weight loss. No need, in this case, to blend the celery into a bland juice! It's a lot more versatile than that.
Like with all soups, you can get creative, put in your favourite ingredients, and make use of other vegetables you don’t want to go waste.
You also don't need to wait for the cold weather for this one. Celery is in season, and make for a great summertime soup.
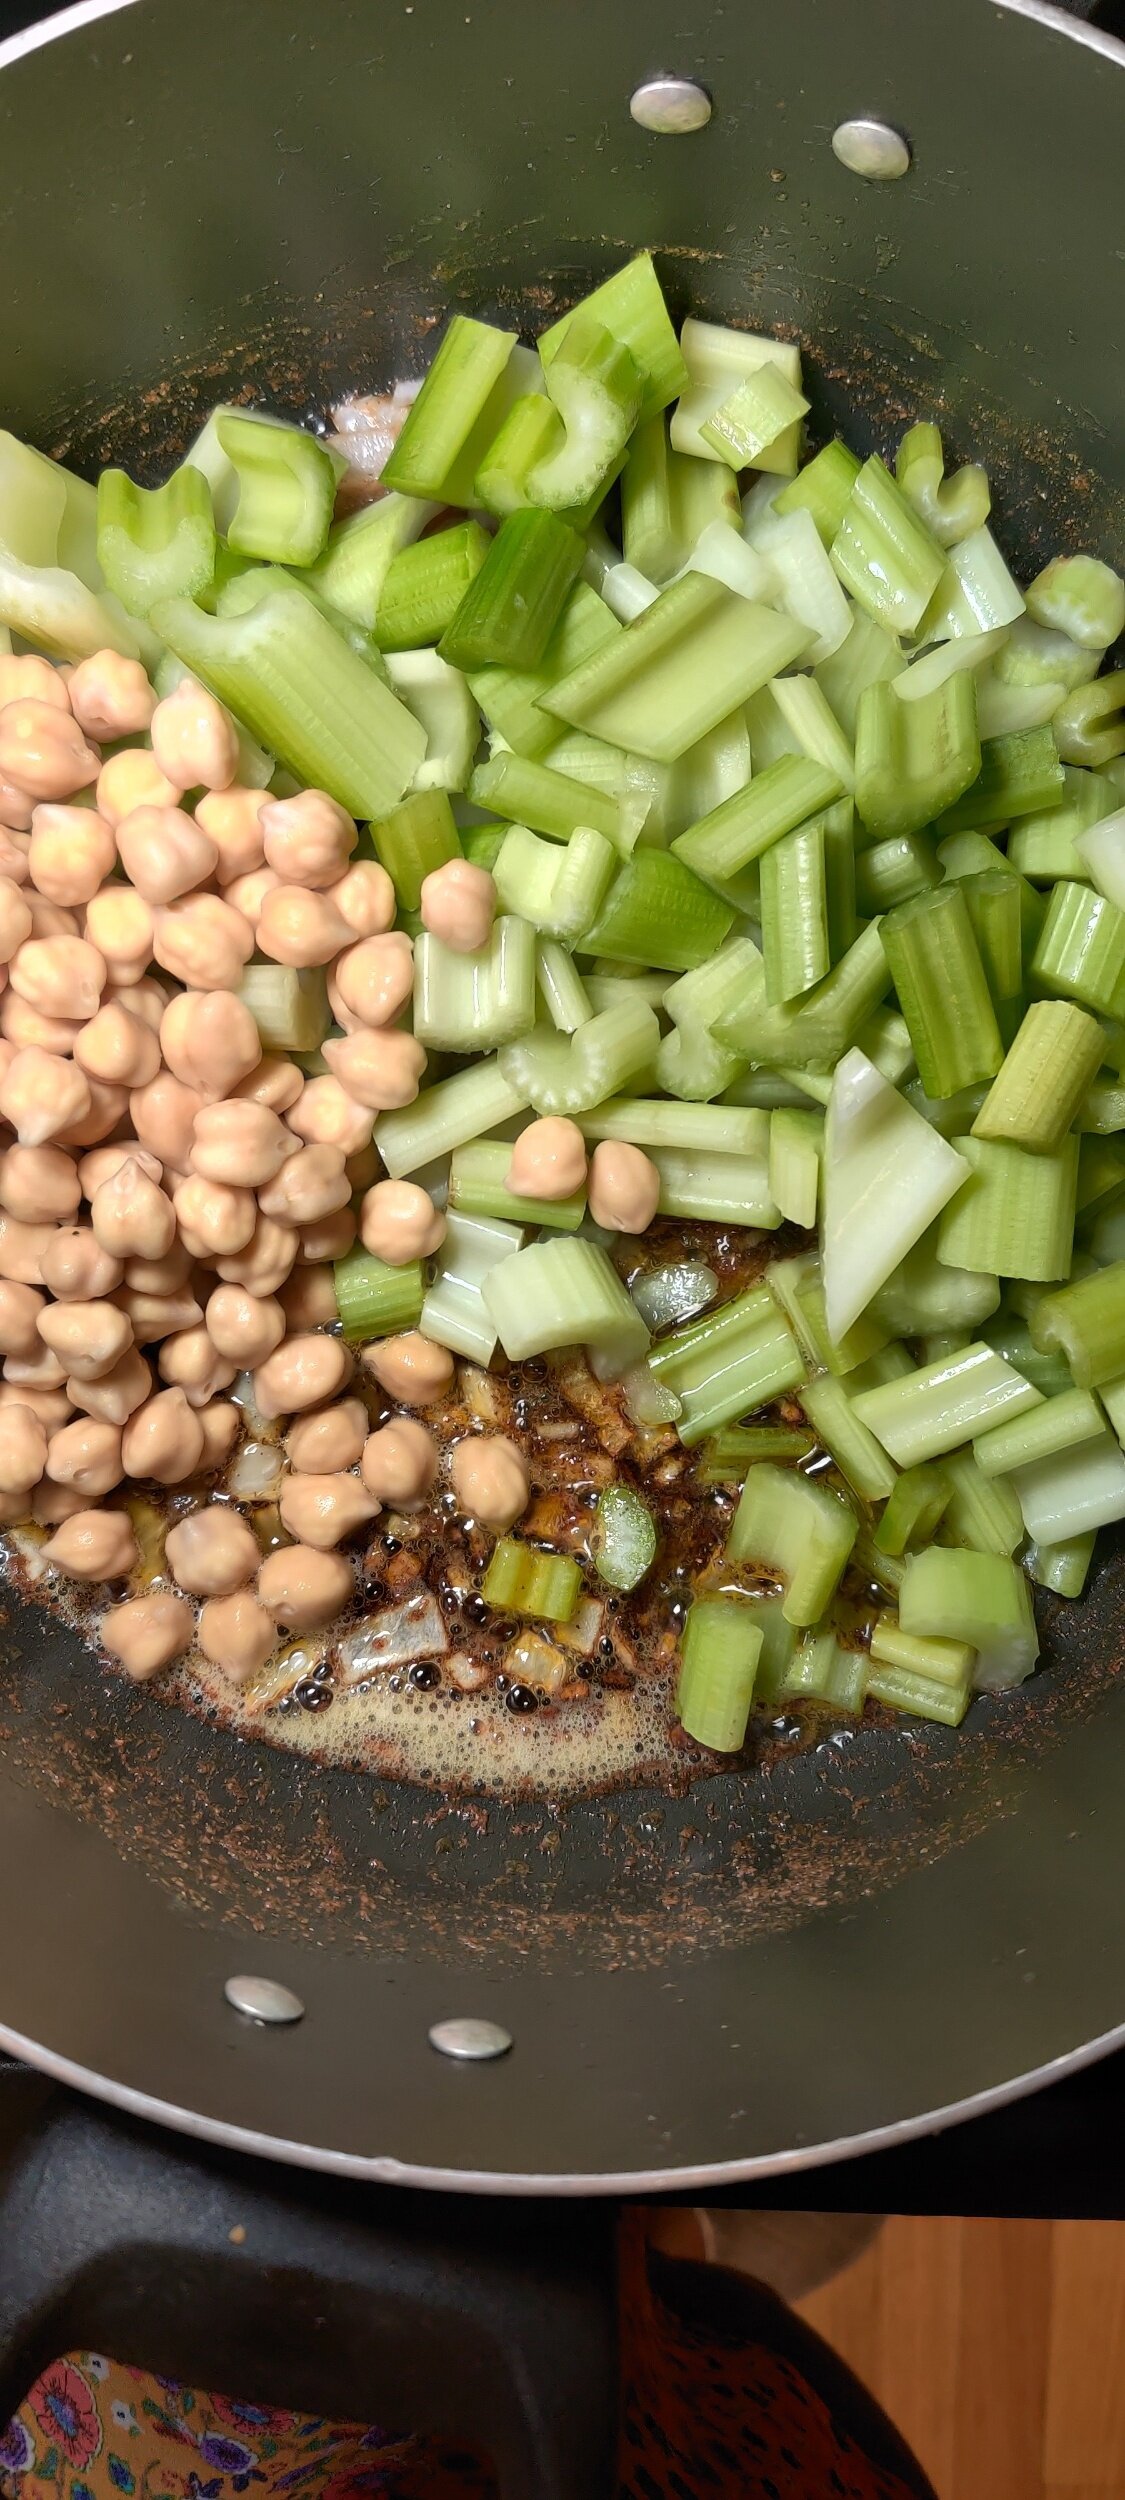
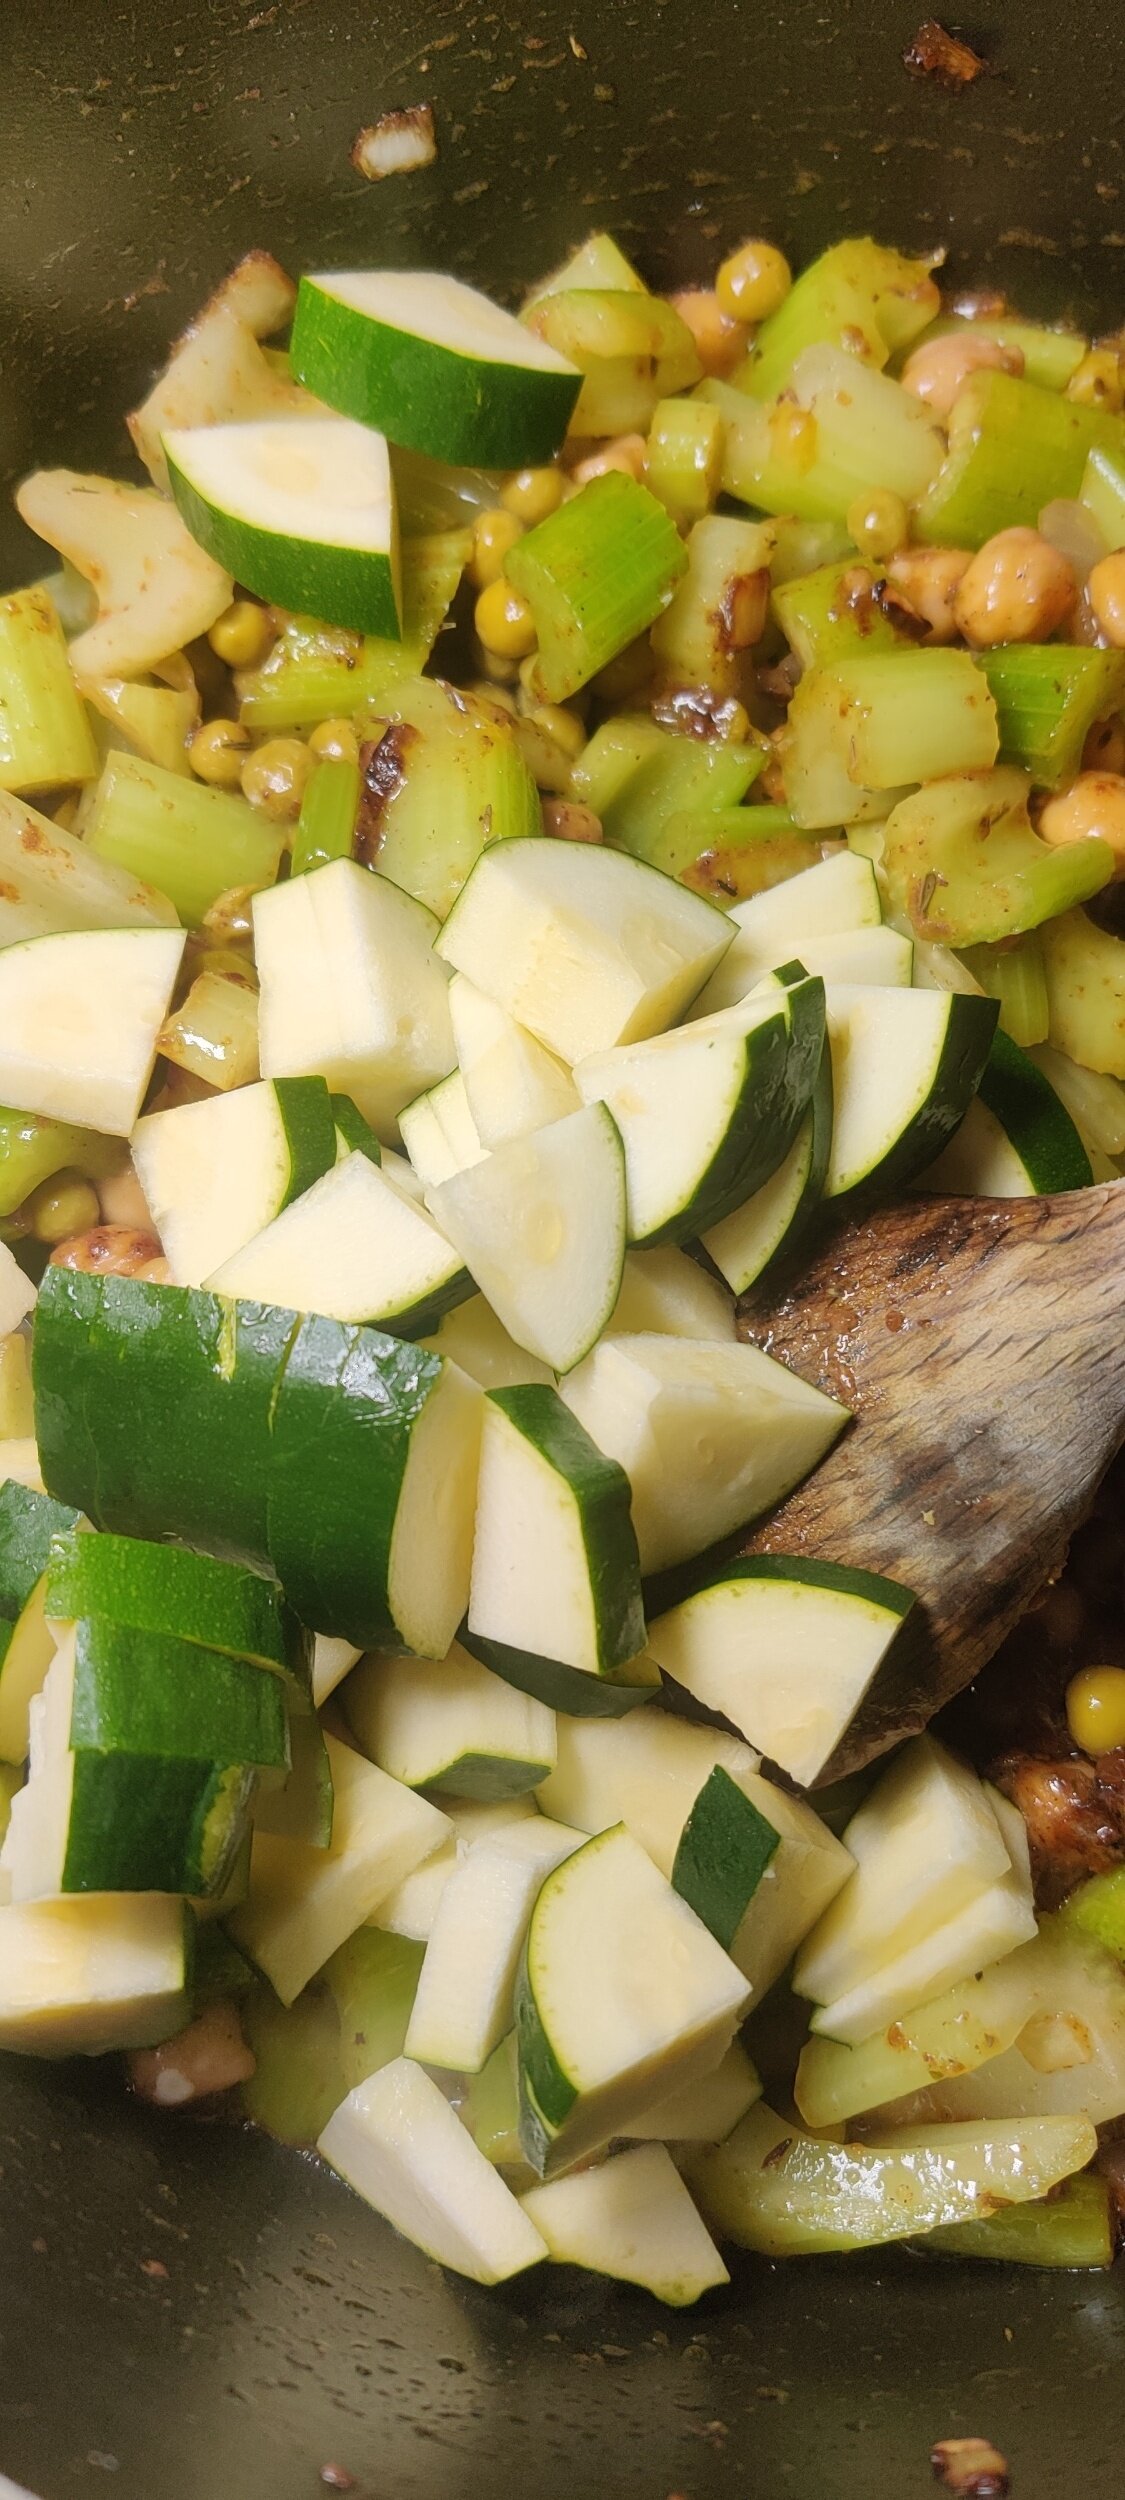
I would recommend incorporating some extra greens - I add some zucchini and peas for nutritional value and sweetness. The chickpeas for another flavour element (the nuttiness) and to help thicken the soap. Potatoes are another great option for that. Give it a go!
Ingredients
1 large bunch celery sticks
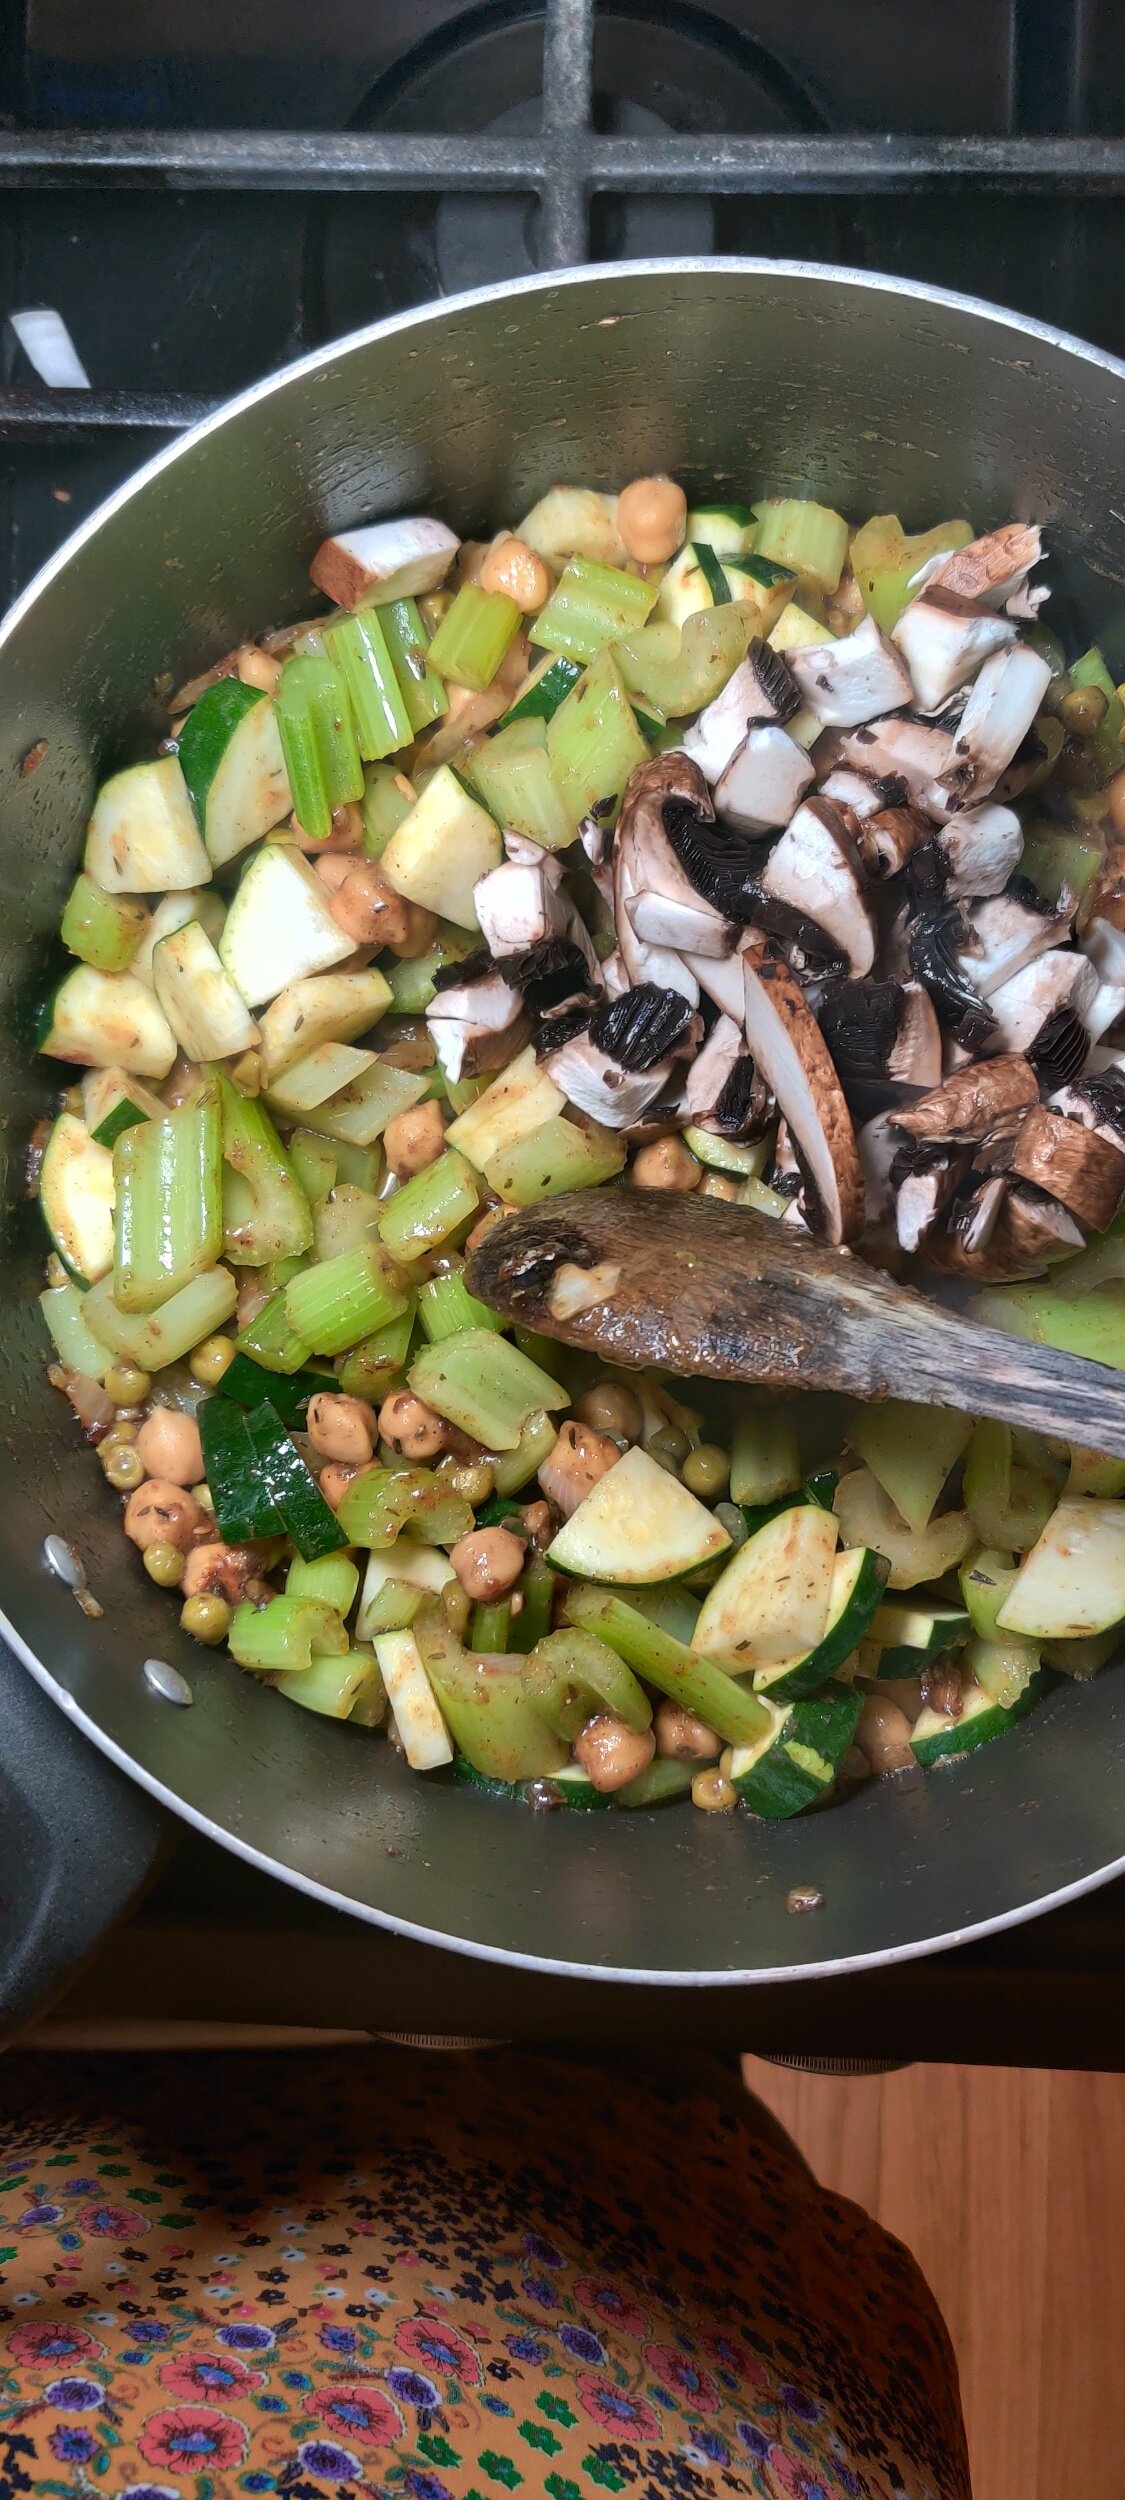
1 large portobello mushroom, chopped
1 small zucchini, sliced and chopped
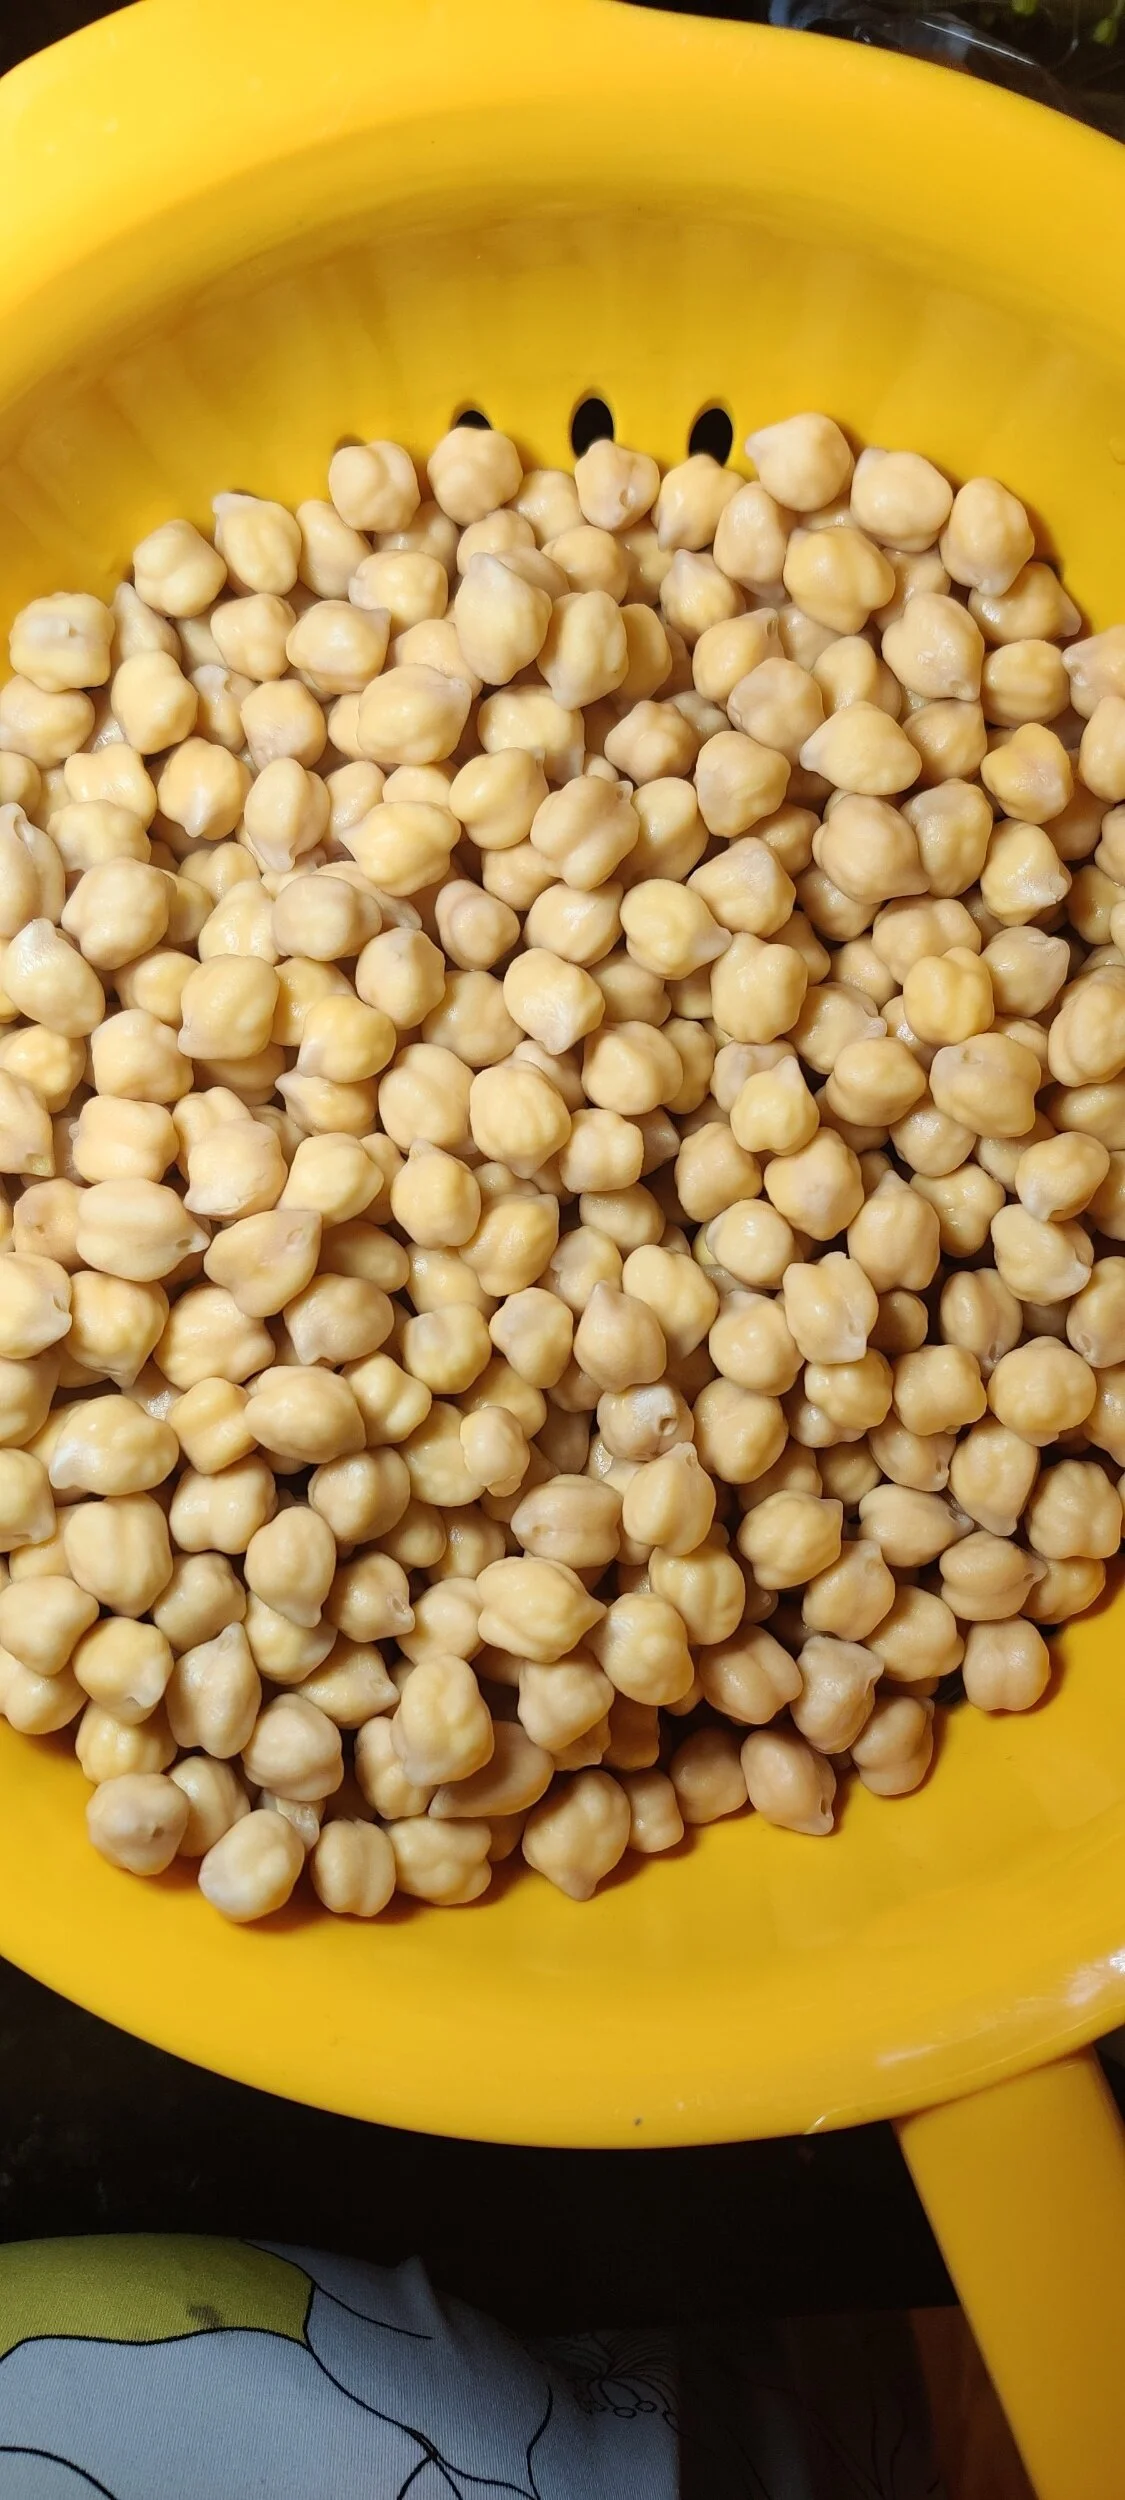
1 cup dried chickpeas (soaked overnight and drained)
1/3 cup frozen peas
2 tablespoons vegetable oil
2 tablespoons butter
1/2 large onion, chopped
1 tablespoon garlic, minced
1 tablespoon fenugreek
1 teaspoon mustard powder
1 teaspoon chili powder
1 teaspoon salt
1 tablespoon black pepper
3 vegetable bouillon cubes
1 tablespoon cumin
1 tablespoon coriander
1 tablespoon dried thyme
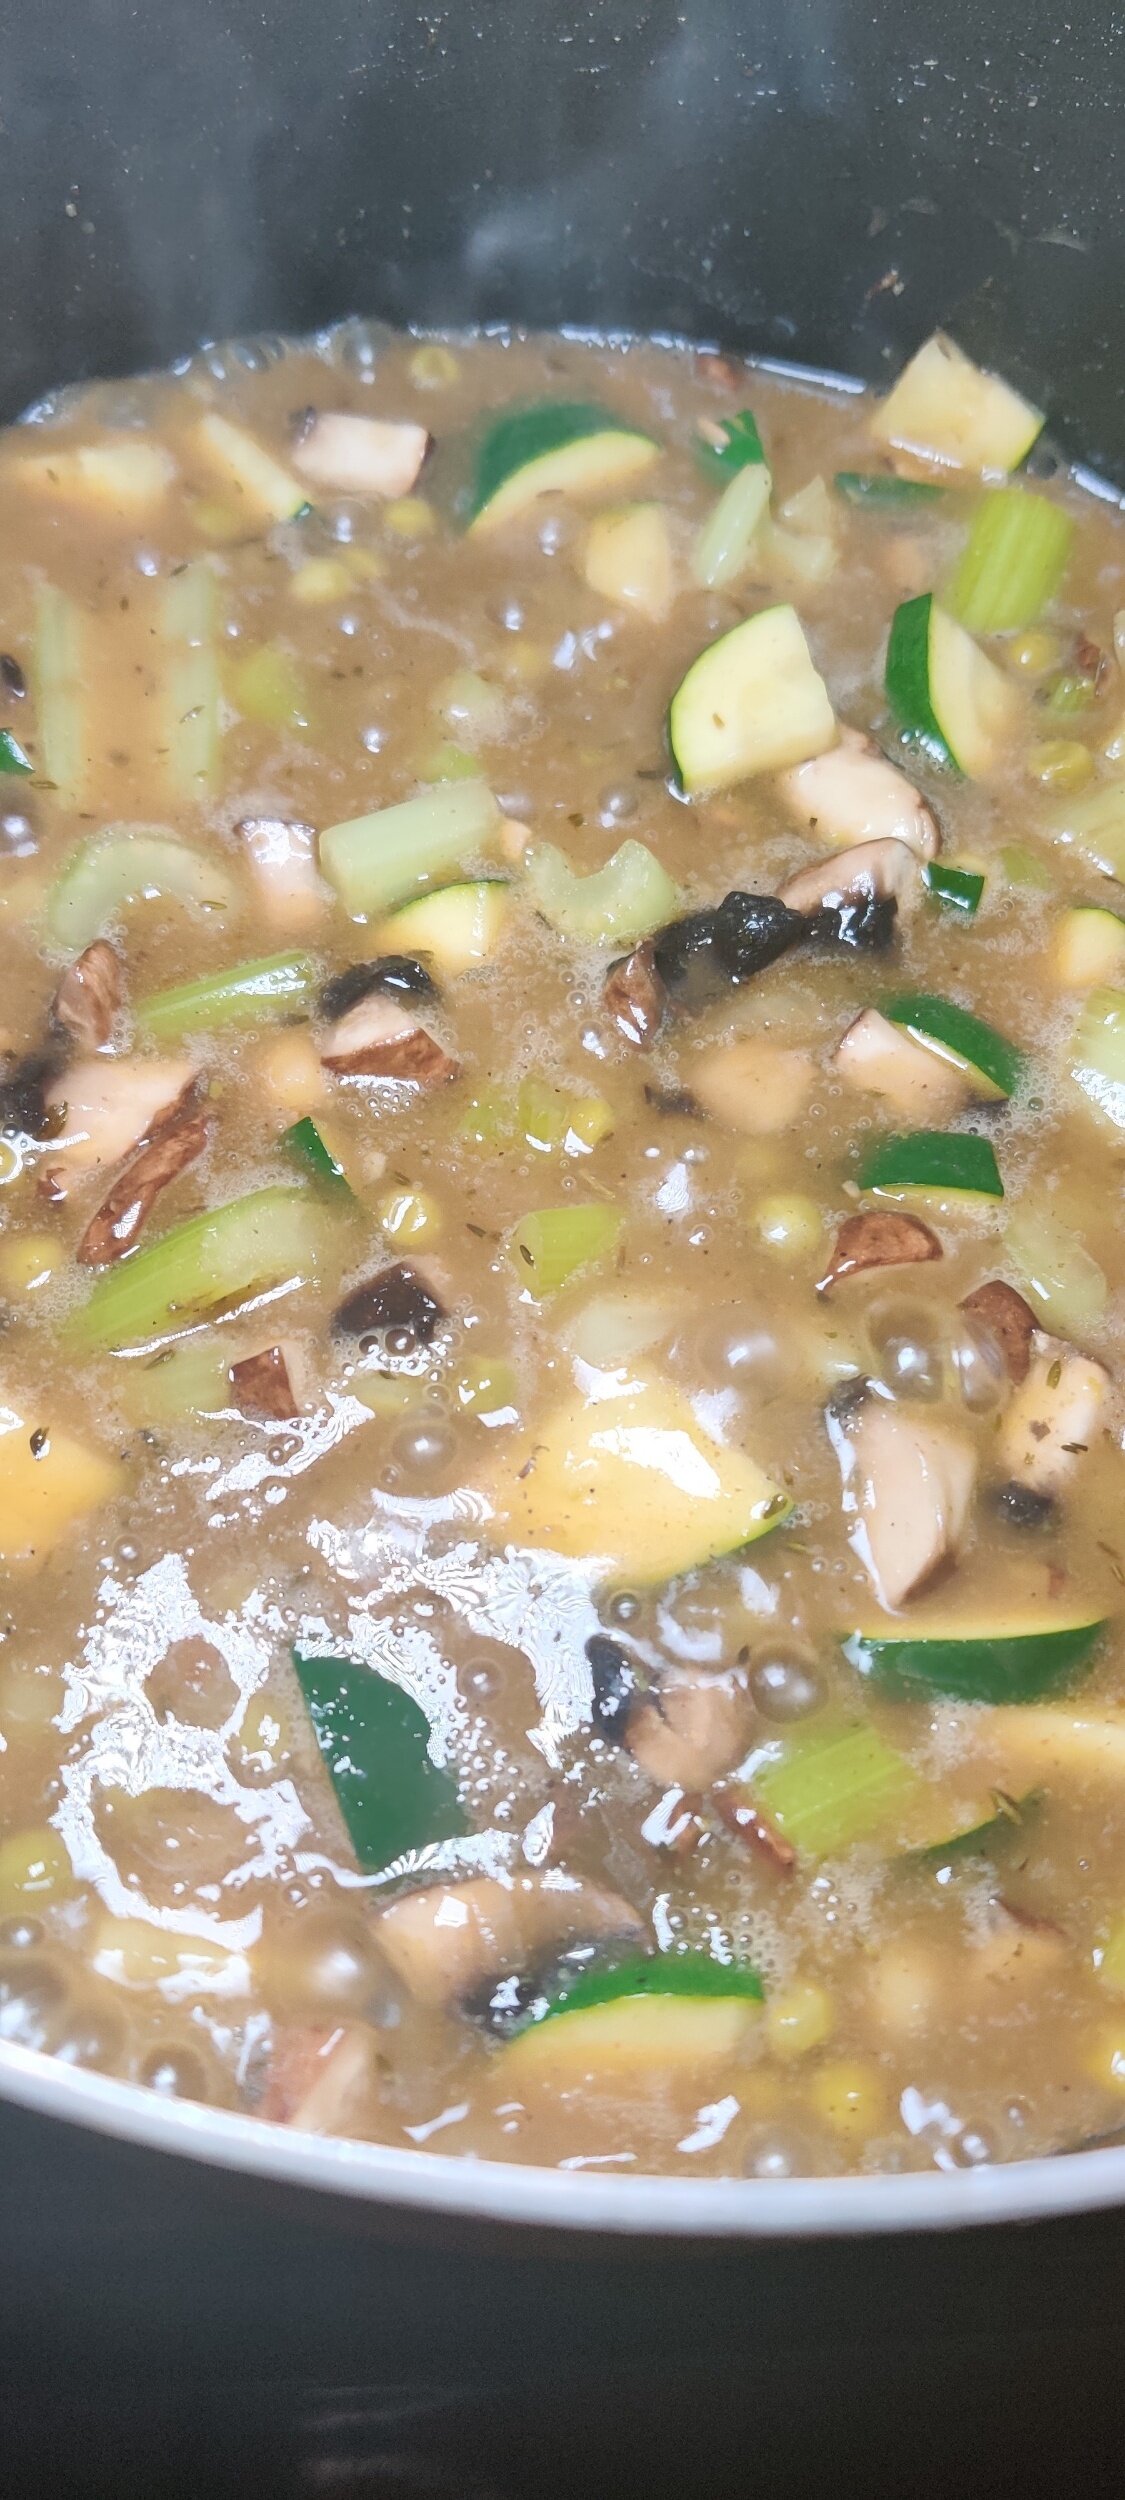
4-5 cups water
1/4 cup heavy cream or coconut cream
Instructions
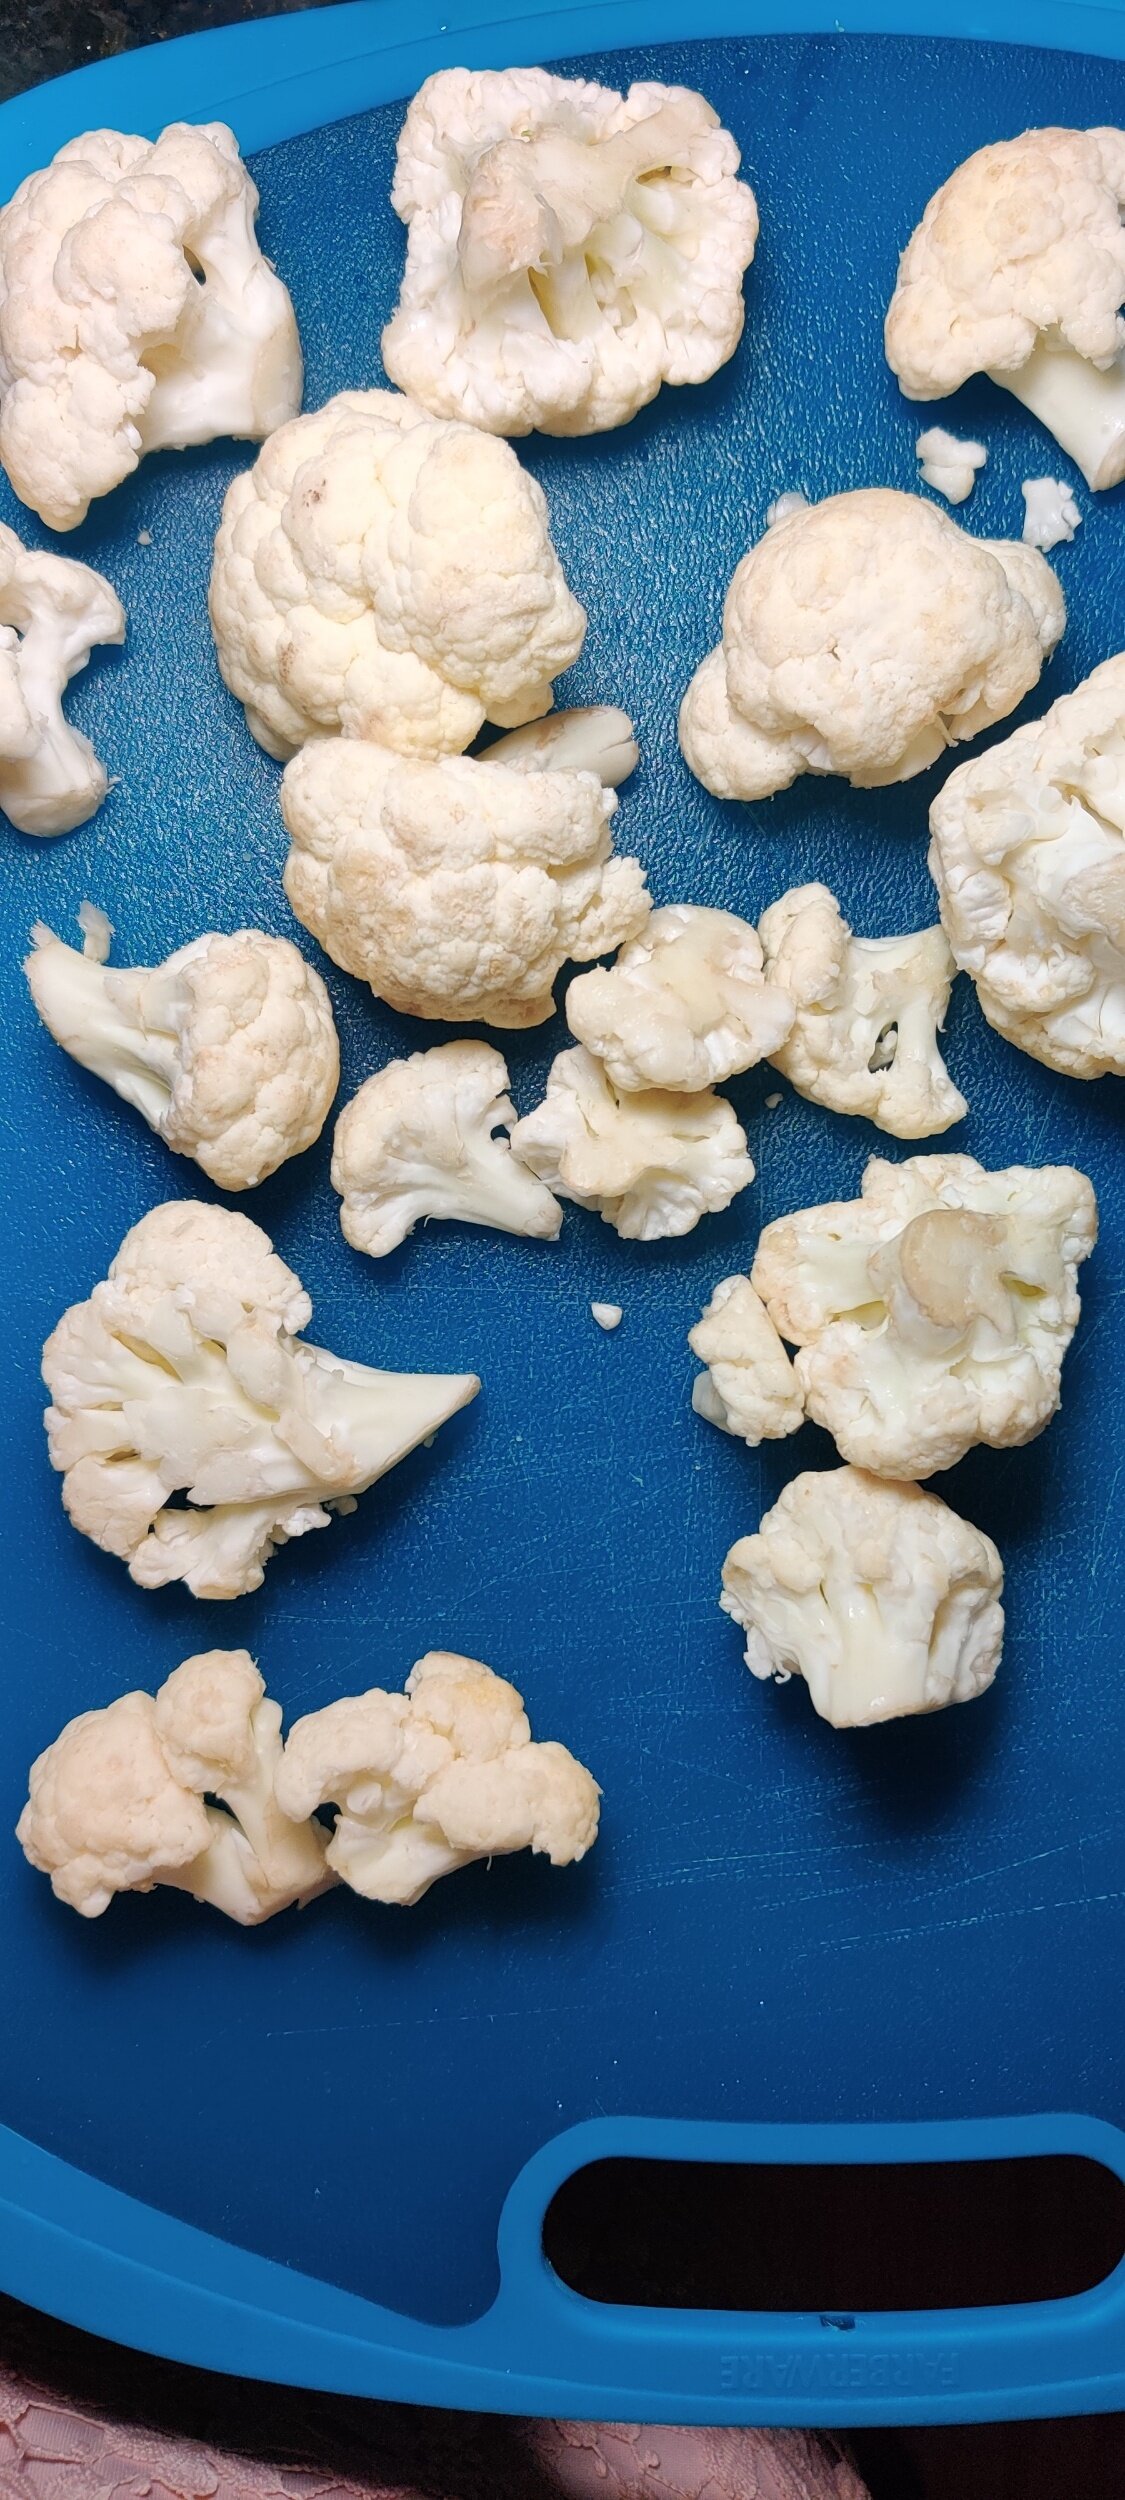
Wash, peel and chop the celery into small pieces - peeling will get rid of the larger strands and make for a more pleasant celery eating experience!
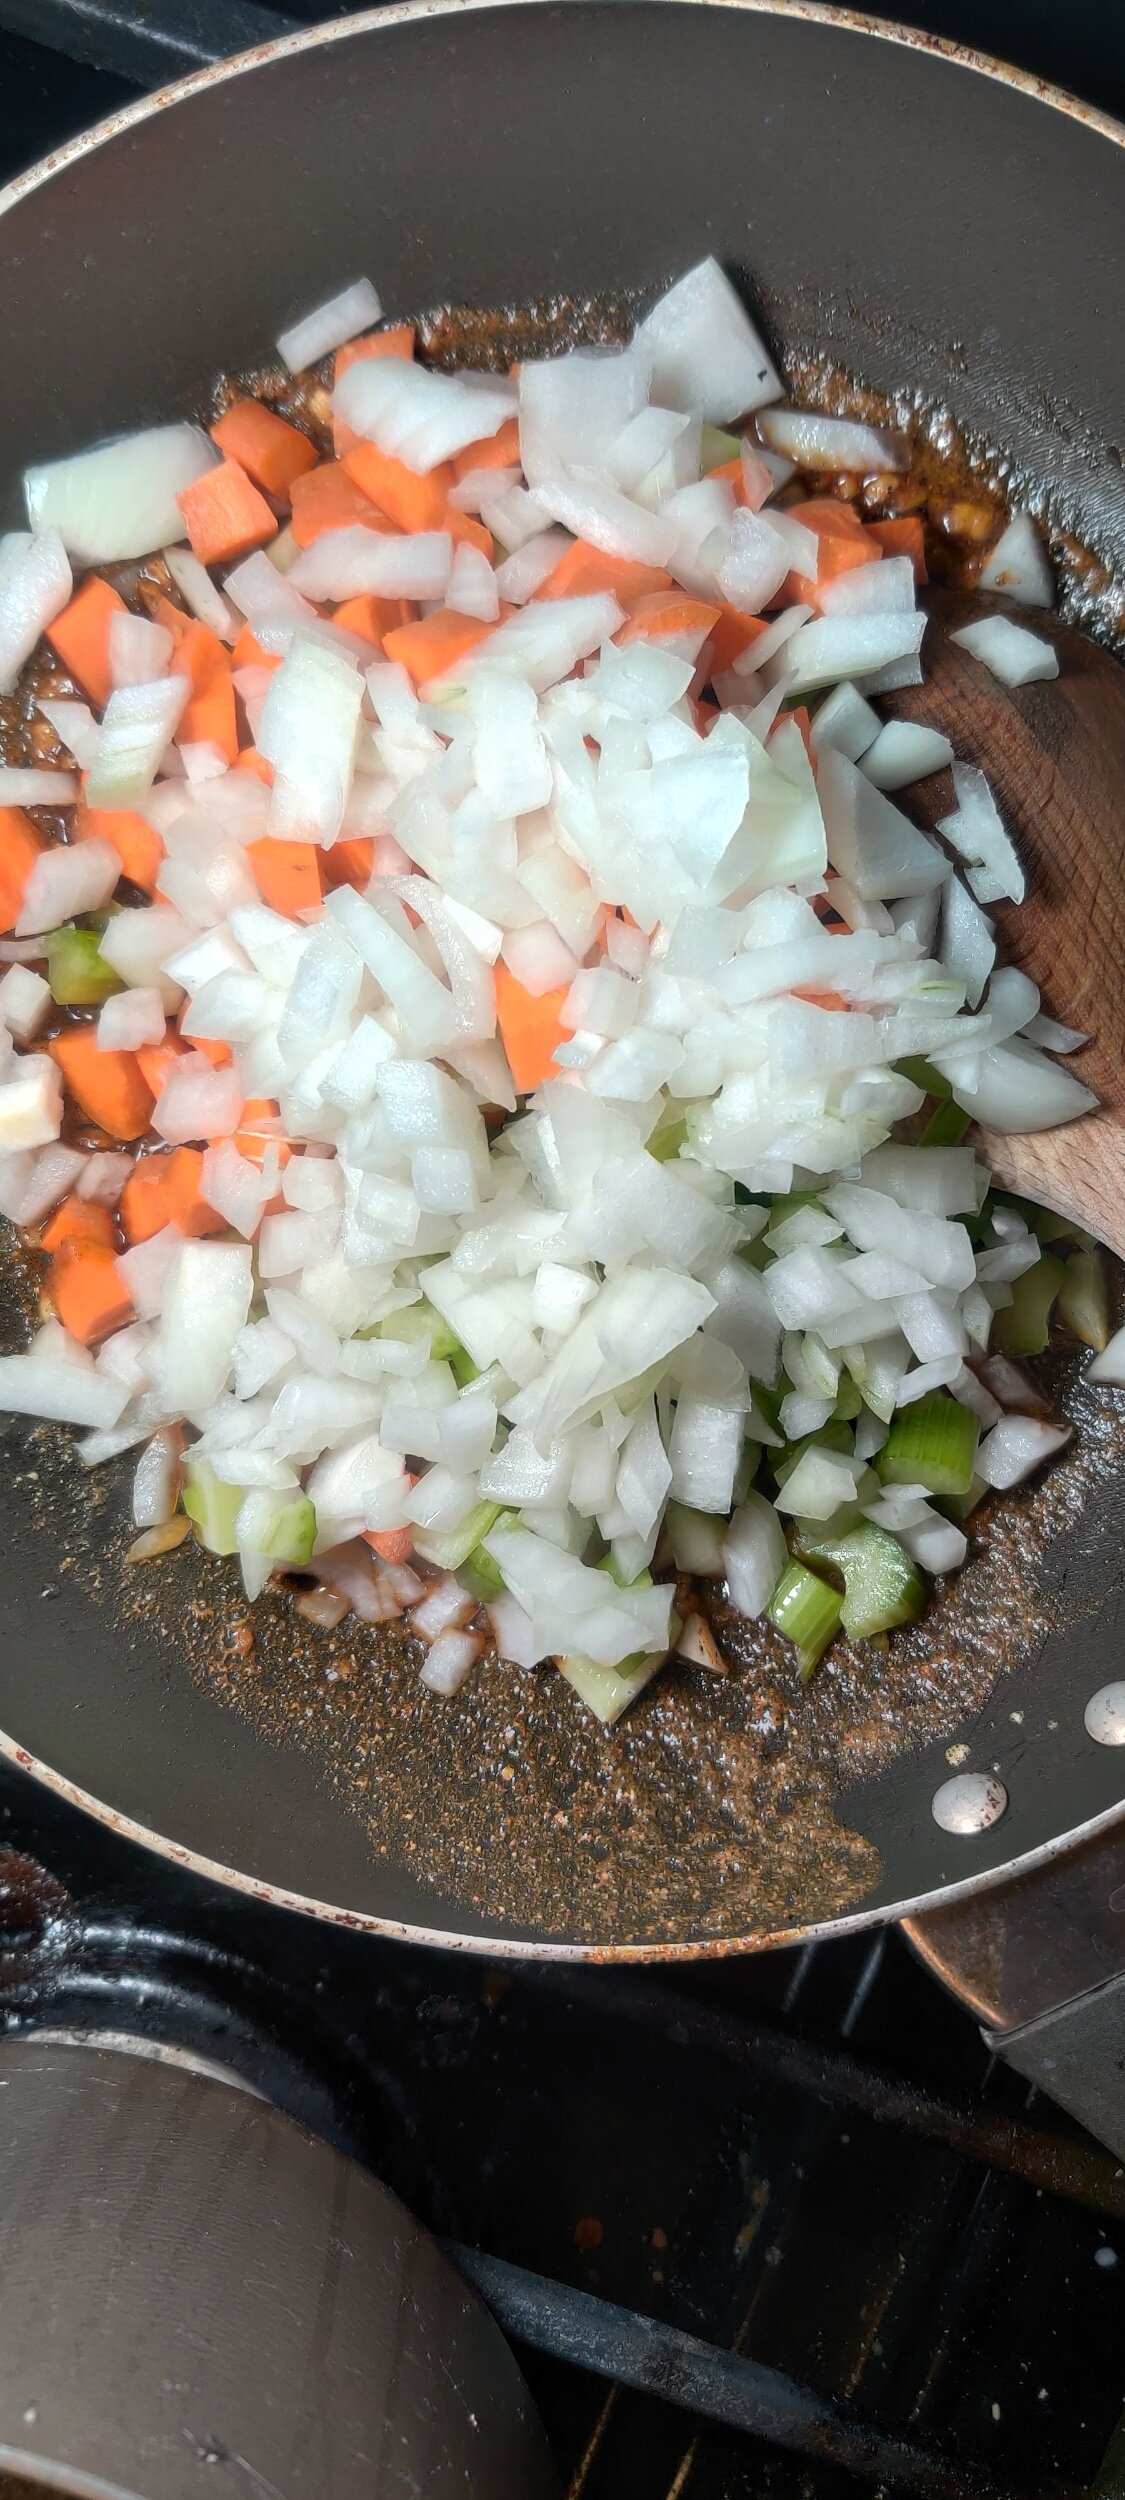
In a large pot, sauté the garlic and onion in the butter and vegetable oil for about 2 minutes. Add the spices, bouillon cubes, salt and pepper, and cook for another 3 minutes.
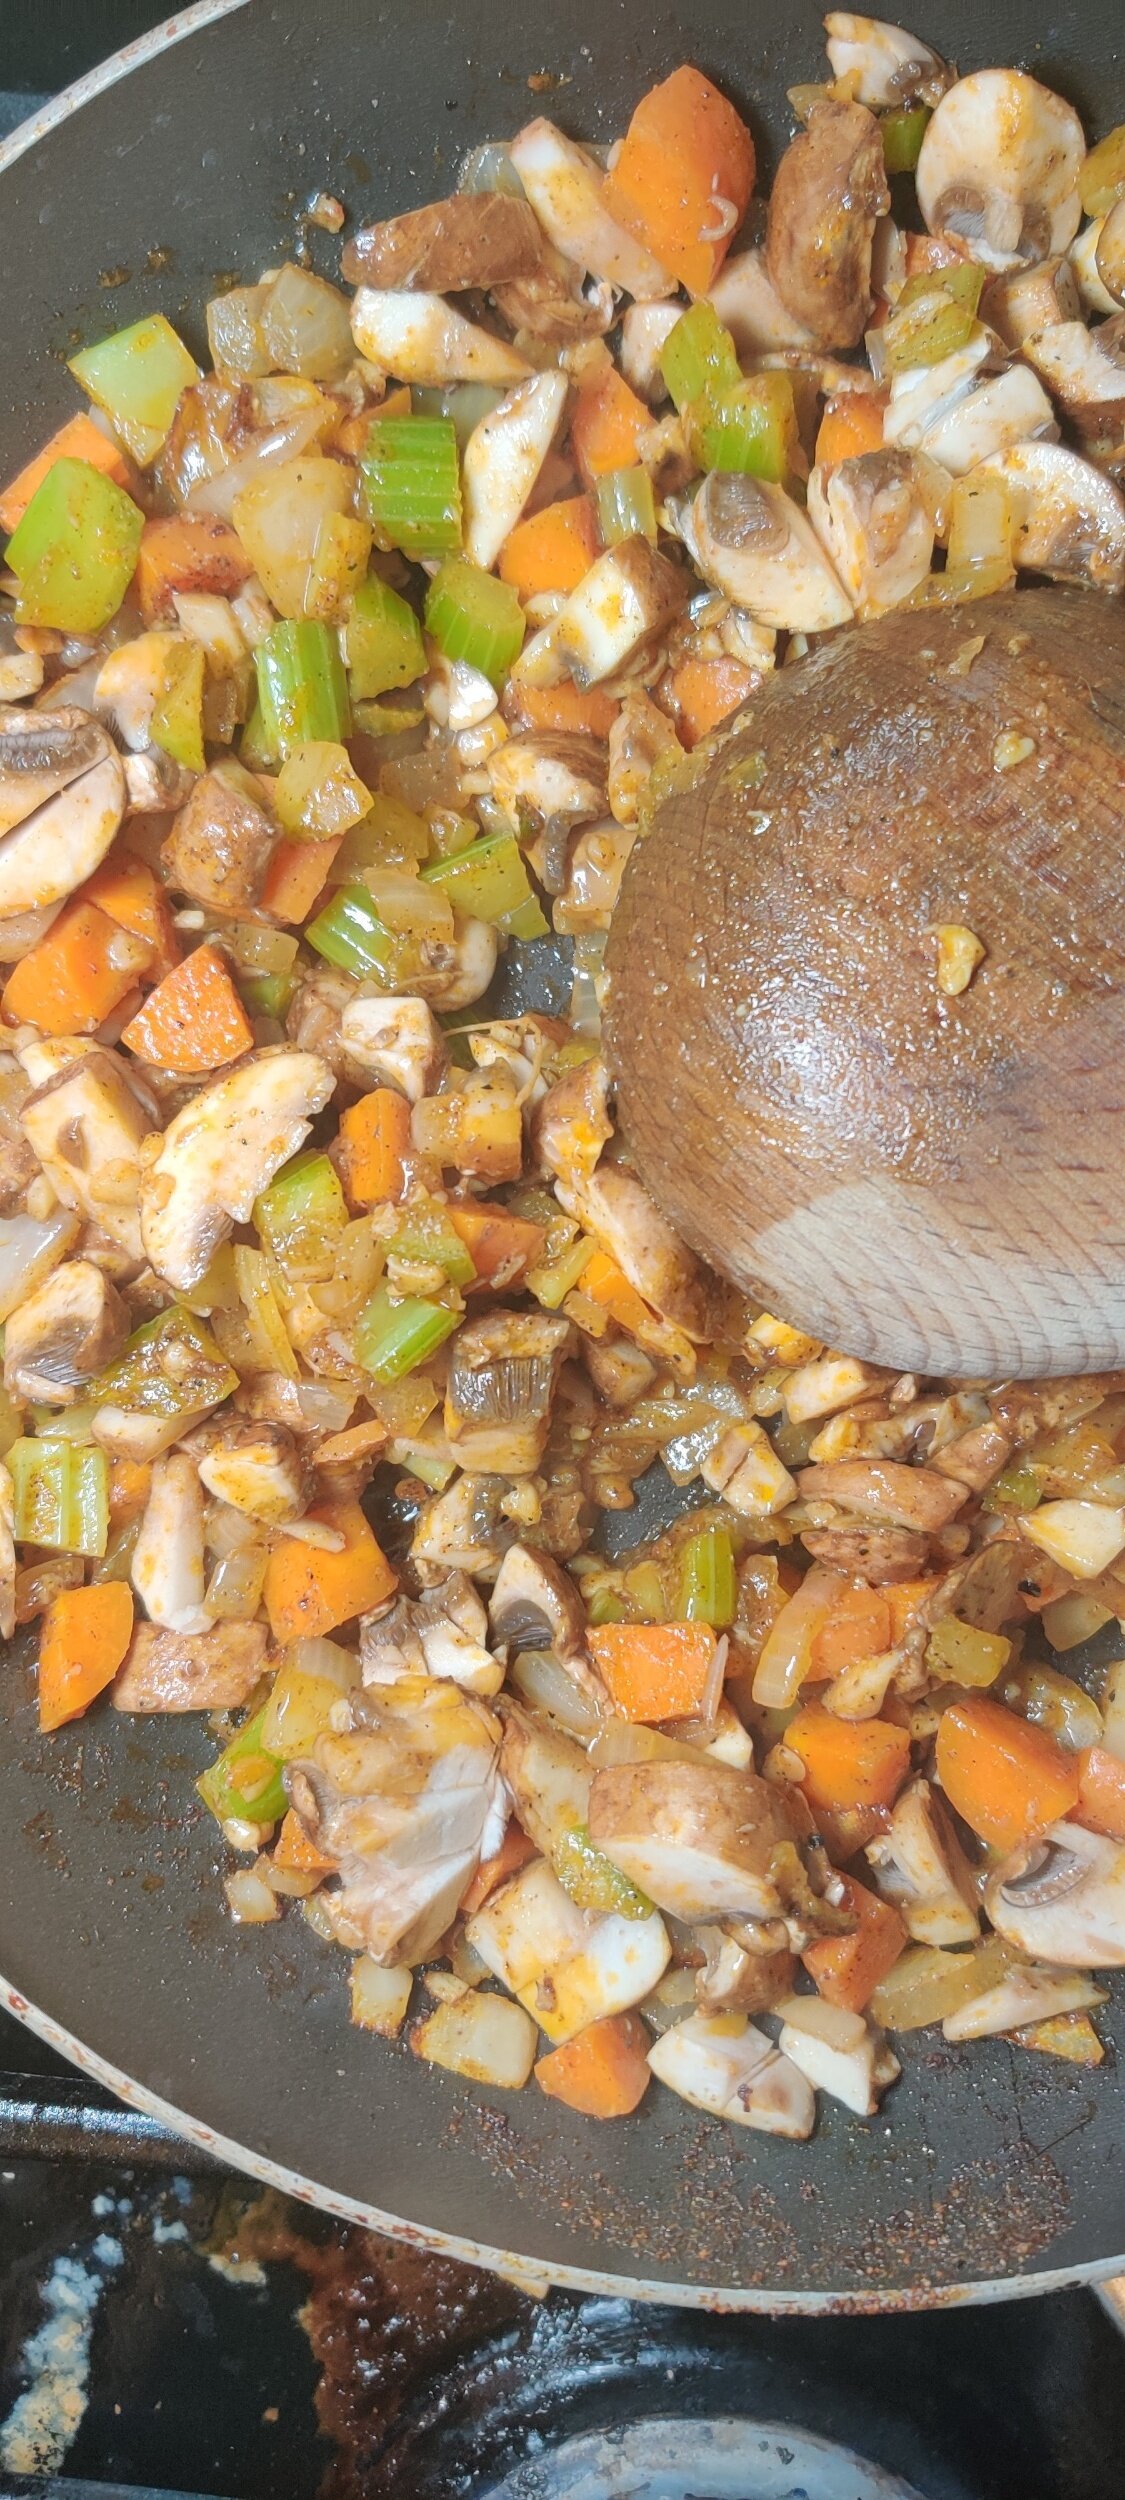
Add the chickpeas, celery and zucchini. Sweat out the vegetables for about 5 minutes.
Add the peas and mushroom, cook for another 2 minutes. Pour in the water and simmer on reduced heat with the lid on. Stirring occasionally, do this for about 30 minutes or until the chickpeas and celery have softened. Season to taste.
Remove from the heat and stir in the cream, set aside to cool for 10 minutes.
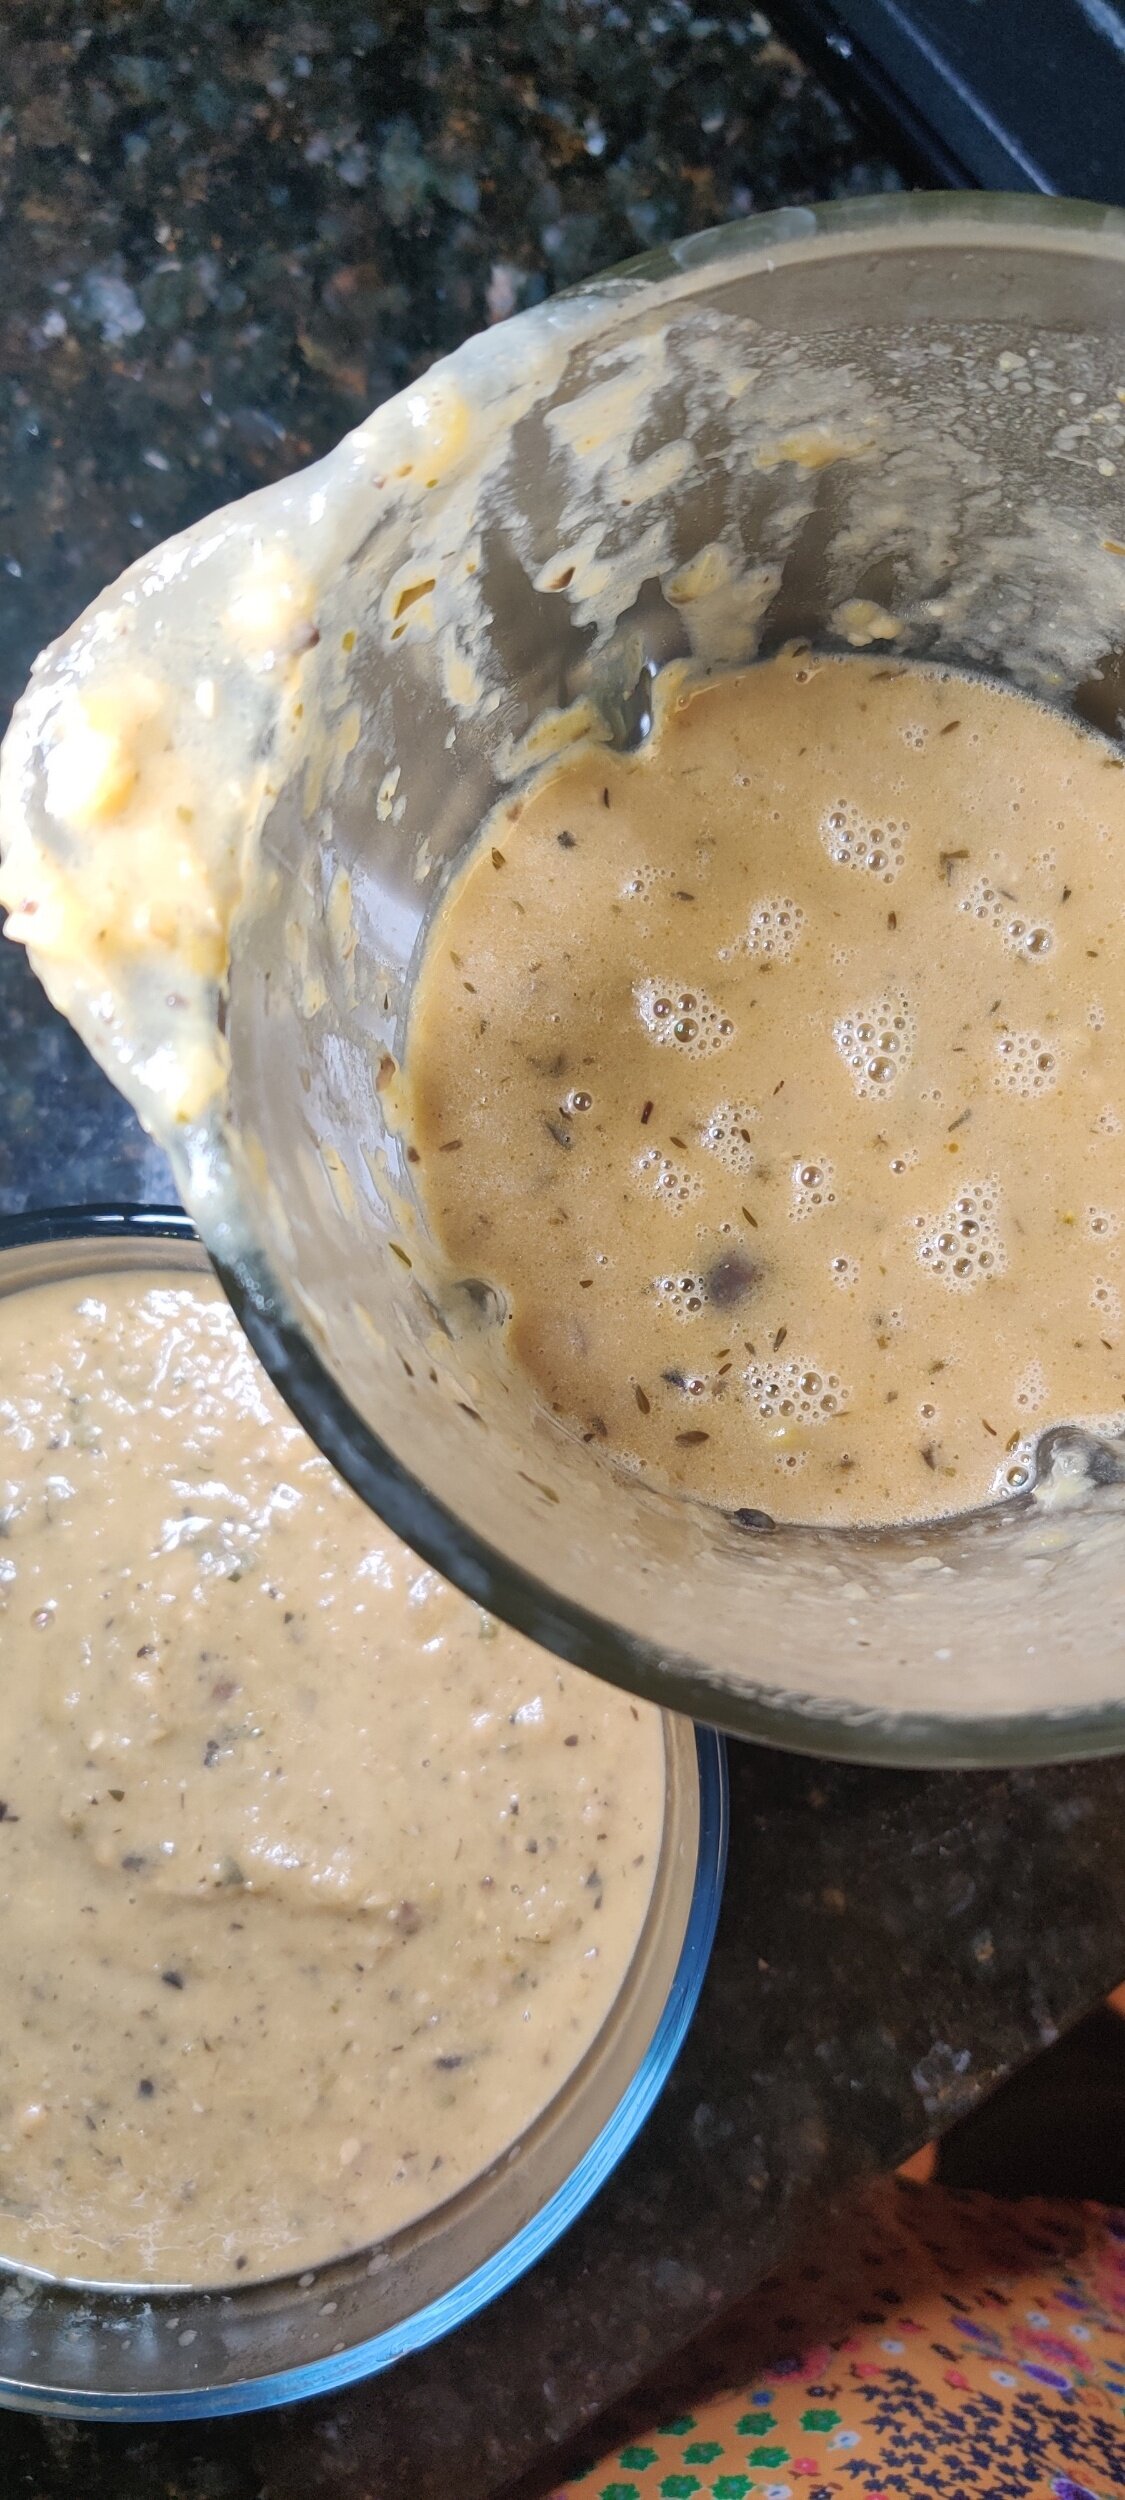
Using a hand mixer or blender, cream the soup until smooth.
Top with fresh basil, thyme and cream, and serve with toasted bread. Enough for 4-5.

Spicy Falafel with Cucumber Avocado Salad
Falafel is so satisfying to eat I don't know what it is. Well, maybe I do. Then again I'm biased because I absolutely love chickpeas and if you're reading this you probably are too!
The original recipe is said to have come out of Egypt. This was before it spread to the rest of North Africa and the Middle East where it is now a staple. I had my first encounter with falafel, folded into some pita bread with tomato, lettuce, cucumber, onion and sauce in New York City - I fell in love ever since!
Since they are on the dry side, it's a must that a sauce accompanies the falafel. I used tzatziki to compliment the refreshing cucumber and avocado salad, but tahini salad is another popular condiment you can use too.
The most important thing to know about this recipe is the use of dried beans.
Even though you soak them and they need to be drained beforehand, this helps with the integrity of the falafel balls versus using canned chickpeas. The same goes for hummus. I've read anecdotes of people drying canned peas in the oven if that is all they have, so it is not impossible.
Ingredients
2 cups dried chickpeas (soaked overnight then drained)
1/2 medium onion, finely minced
1 tablespoon roasted sriracha sesame seeds
2 tablespoons garlic, minced
1/2 cup parsley, finely chopped
1 tablespoon lemon juice
1 teaspoon coriander
1 small habanero, finely minced
1 tablespoon cumin
1/4 teaspoon salt
1 teaspoon black pepper
1 teaspoon chili powder
1 tablespoon paprika
1/2 teaspoon baking soda
1 egg (optional)
Salad:
1 large cucumber, thinly sliced and quartered
1 large avocado, sliced
3 teaspoons olive oil
1 teaspoon lemon juice
1/2 teaspoon salt
1 teaspoon black pepper
Tzatziki sauce
1 1/2 cups sprouts


Instructions
In a food processor, pulse the chickpeas, cumin, coriander, lemon juice, salt, pepper, chilli powder, paprika, parsley, onion, and garlic. A thick paste you can mold should form. If it seems too crumbly, add the egg to help bind everything together.
You can bake or fry falafel depending on your preference. If you like a crunchy exterior, frying will make that happen! I used an air fryer and cooked the falafel balls at 400F for 15 minutes, flipping them halfway after spraying with olive oil. You can also bake them for 30 minutes, turning them over after 15 minutes. Roll your falafel into smoothened balls - about two scoops with a cookie scoop and your hands.
Prepare your salad. In a bowl, toss the cucumber, avocado and sprouts in the olive oil and lemon, season with salt and pepper. Layout the salad on each plate, and add 1-2 teaspoons of tzatziki on top. Set your cooked falafel on top of the tzatziki and eat immediately or warmed.
Serves 2-3 people!
Tip: if your falafel base seems a bit wet and you struggle to form balls, bake in a 350F oven for about 5-7 minutes to dry it out a bit, but don't overcook.

Fried Cauliflower 'Chicken’ Sandwich
There is nothing quite like a sandwich with a fried something that has all the textures and flavours going on, especially when you are hungry! This sandwich takes the joys of a fried chicken sandwich but makes it plant-based by switching out the chicken with cauliflower.
Cauliflower is great because it’s surprisingly more versatile than you may expect. Not to mention the health benefits.
You get the crunch from the breaded cauliflower and slaw, the tang from the ranch and pickles, the juiciness from the tomato, and of course the soft bun.
This is a great sandwich for lunch or dinner and will get you filled up. Pair it up with some sweet potato fries or zucchini crisps!
Ingredients
12 ounces cauliflower florets
1 cup red cabbage, chopped into a slaw
Ranch
2 cups breadcrumbs
2 eggs
1 cup all-purpose flour
2 tablespoons all-purpose seasoning or old bay (I used Primal Palate’s New Bae)
Mayonnaise and butter
1/2 cup pickles, sliced
1 large, sturdy tomato, cut into thin slices
4 hamburger buns


Instructions
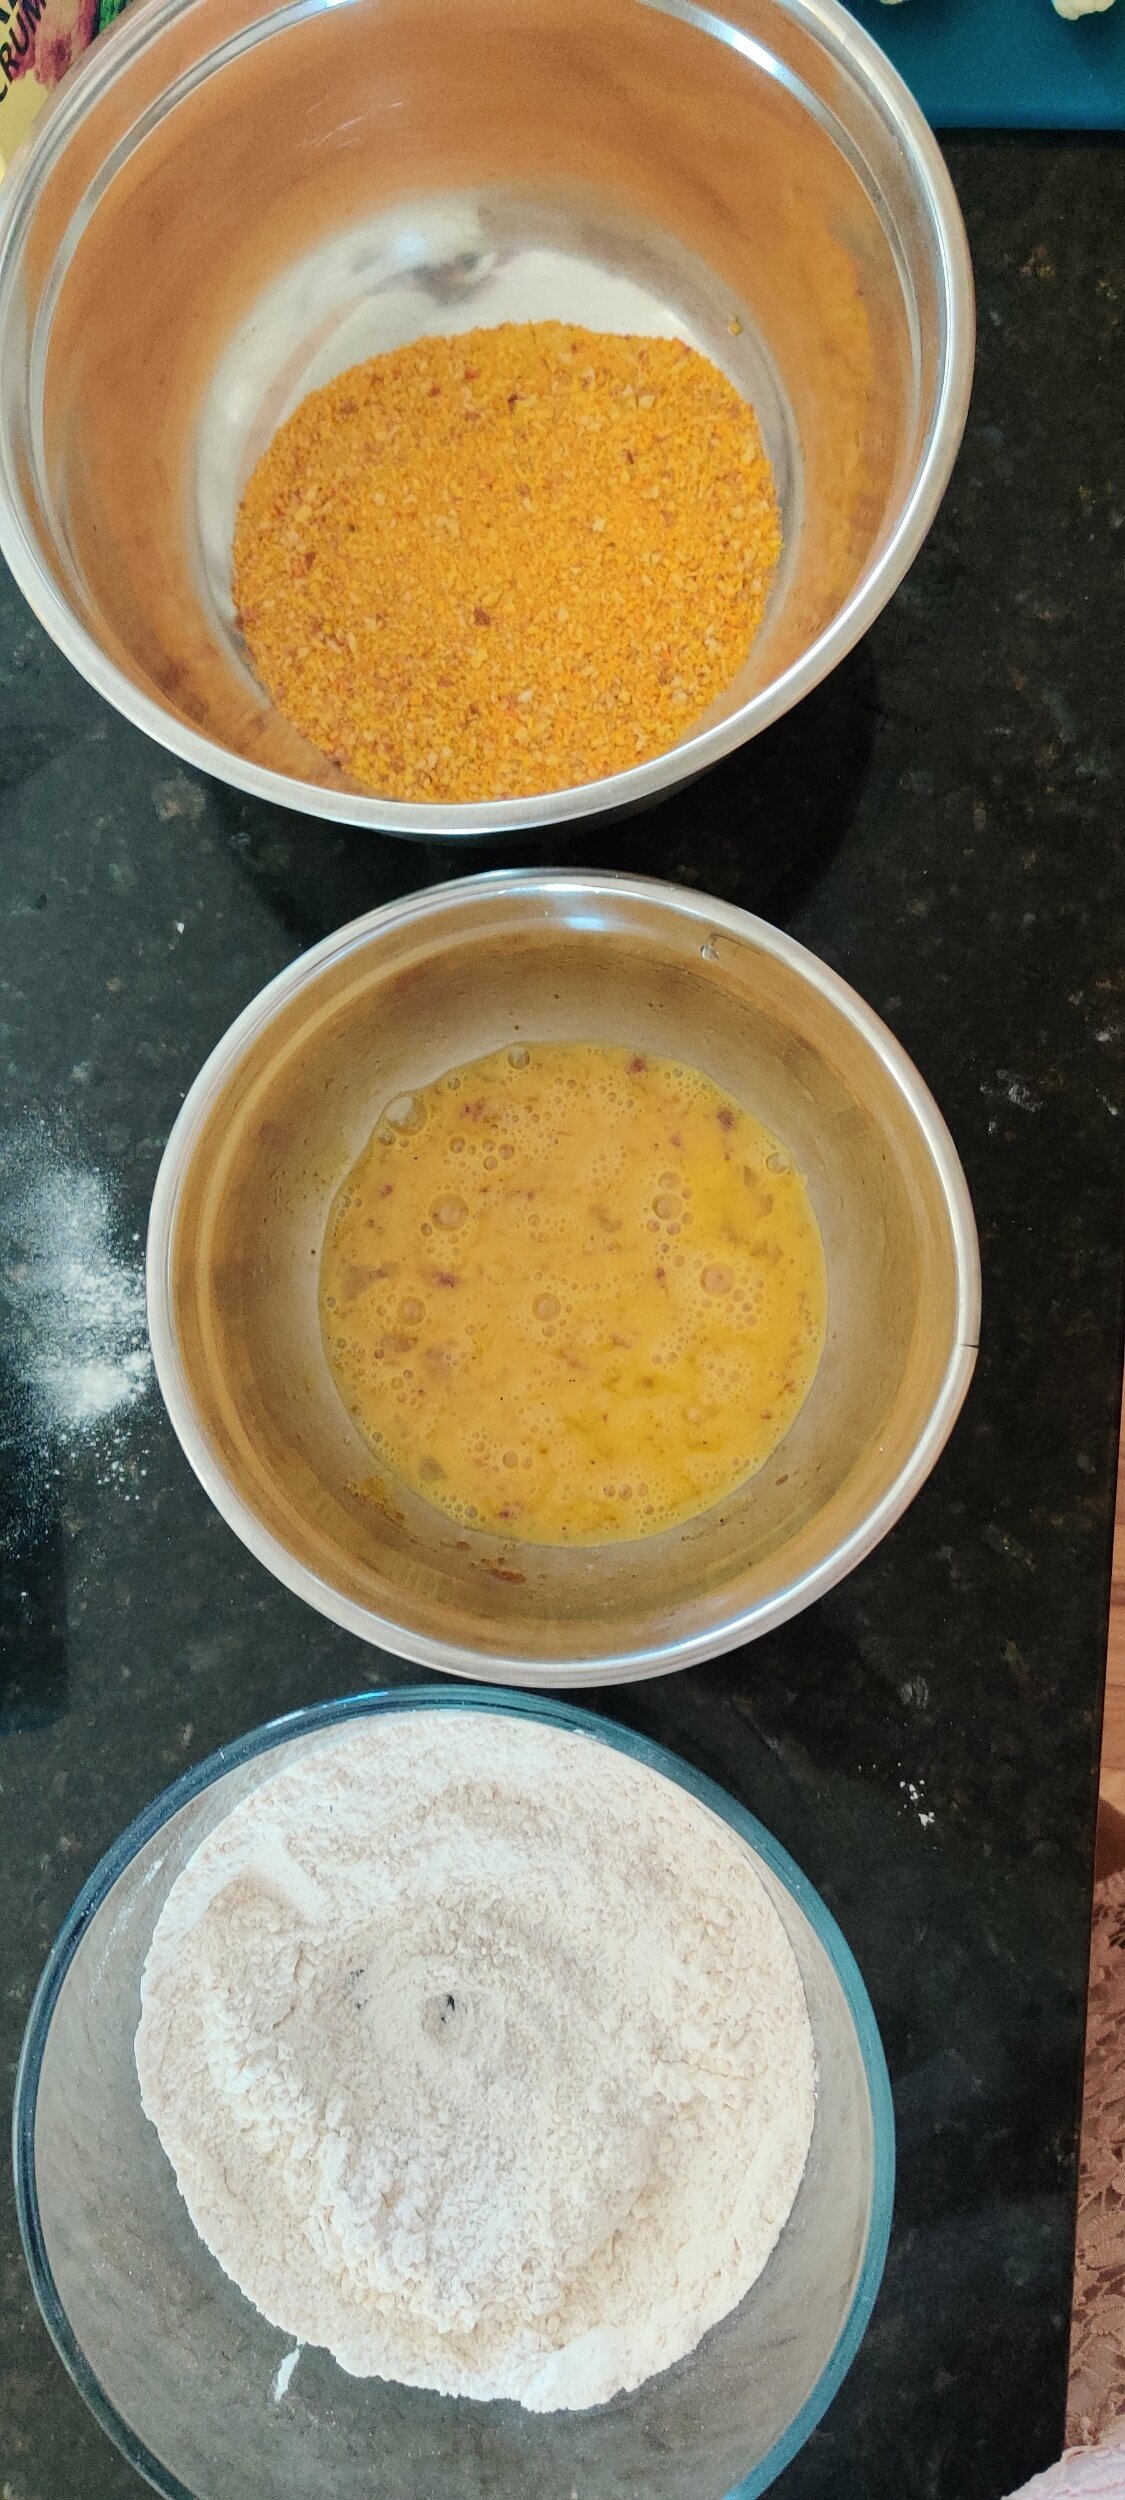
Prepare the cauliflower. Line up your flour, egg mix, and breadcrumbs in separate bowls. Season the eggs and flour. Reserving one hand for dry dipping and one hand for wet dipping, dunk the cauliflower florets in the flour, then egg mix, and breadcrumbs. Set aside in preparation for frying.
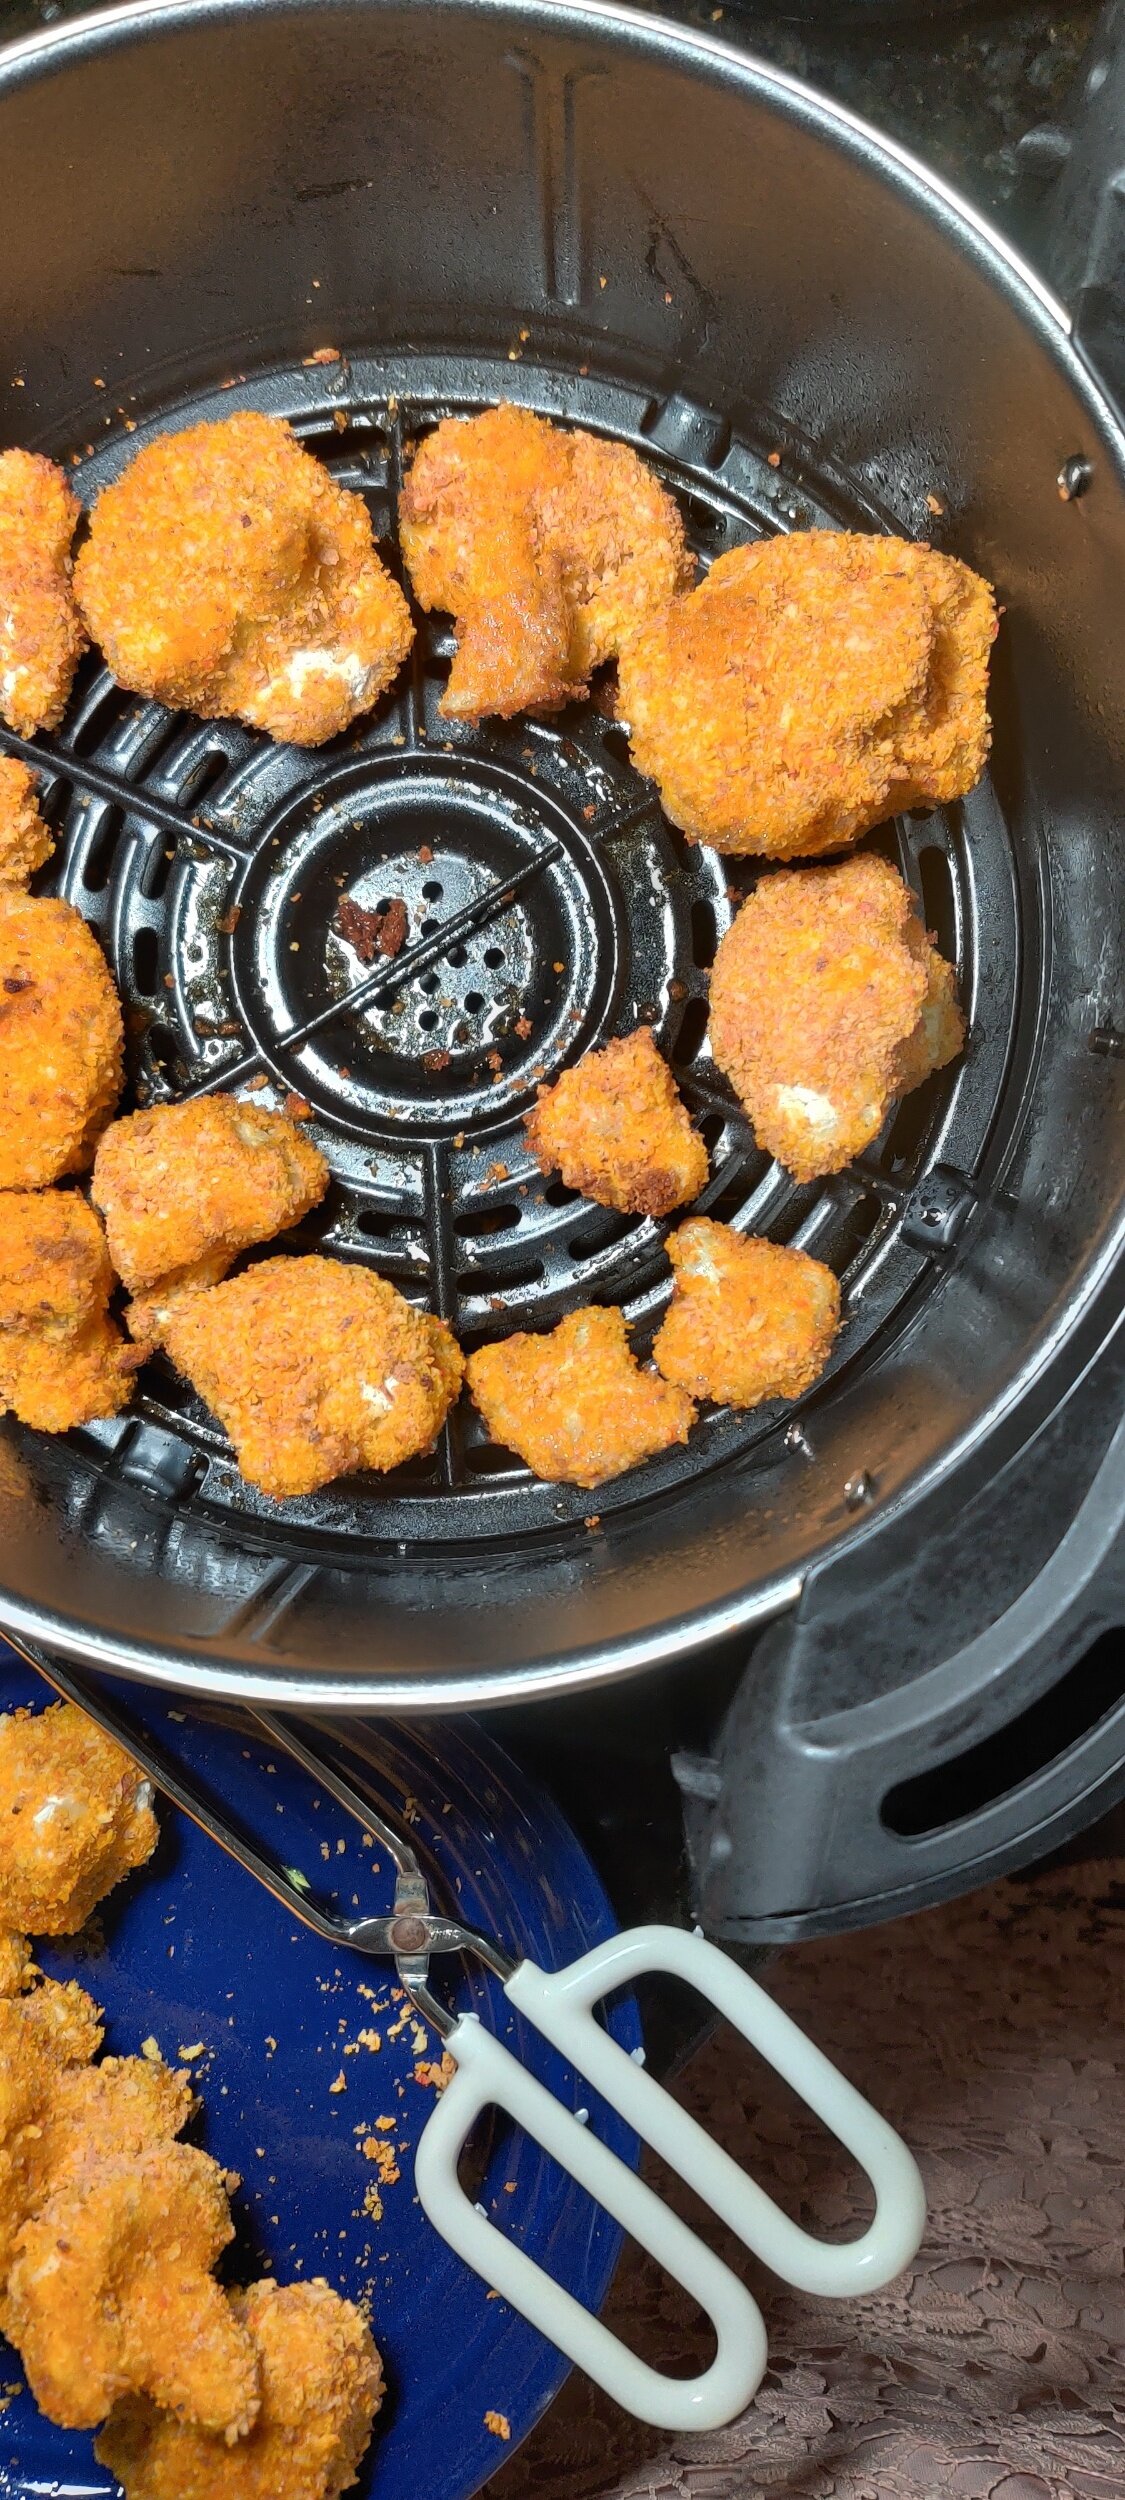
I used an air fryer, but you can use vegetable oil in a pot and drain the excess fat on a paper towel. Do it in batches to prevent overcrowding both the air fryer and the pot.
For the air fryer, I sprayed the coated florets who olive oil spray to ensure there would be a nice crunch. Fry at 400F for 14 minutes, turning over after 7 minutes, set aside.
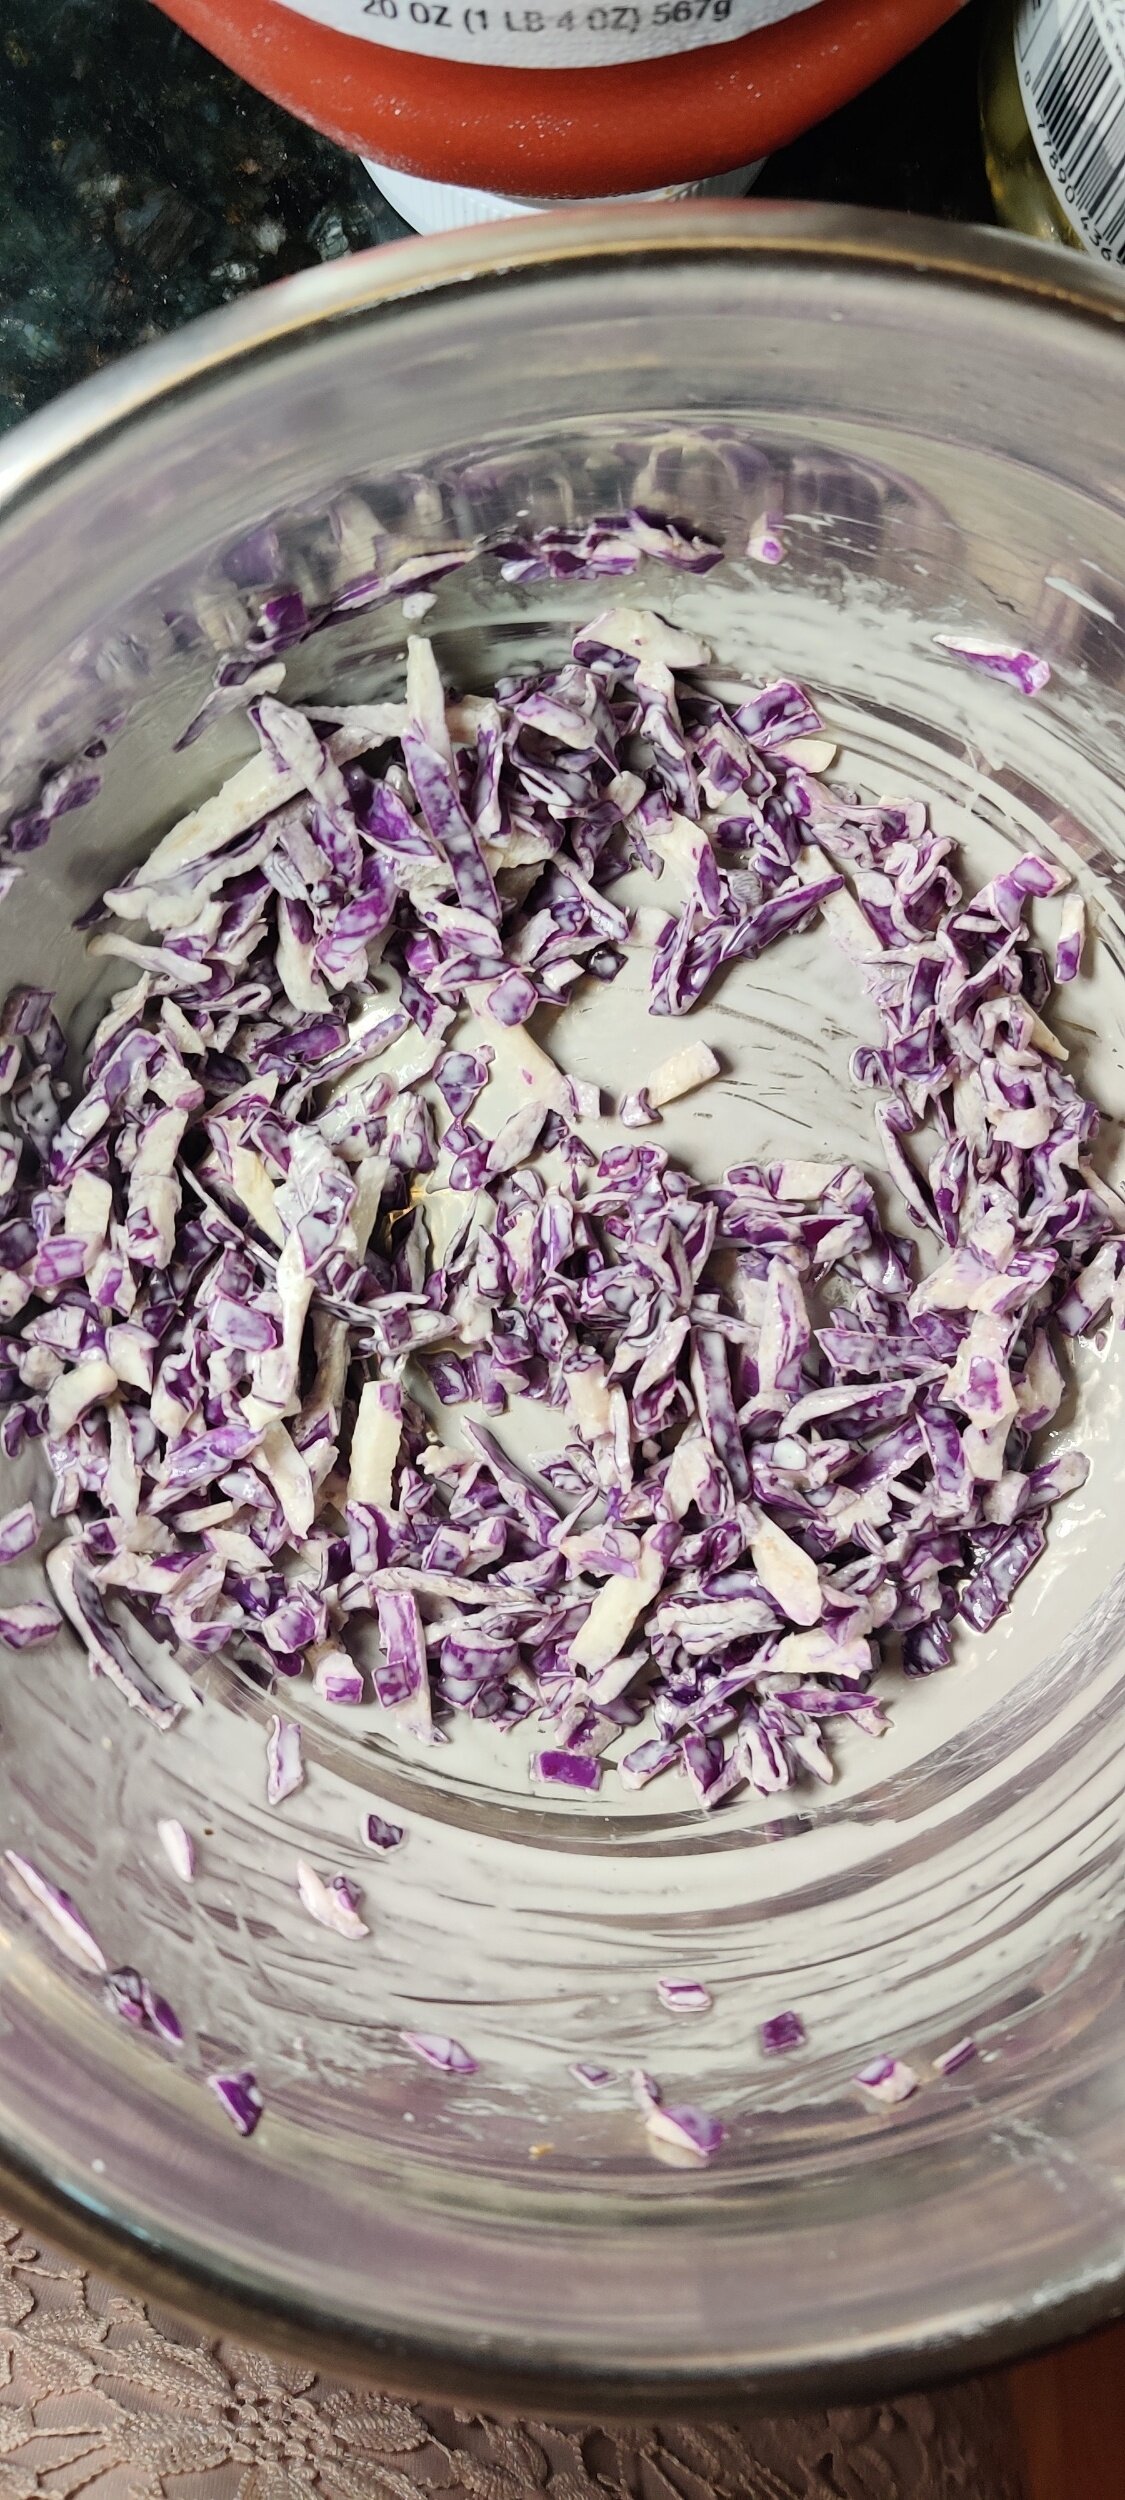
In a small bowl, toss the cabbage in about a tablespoon of the ranch to give it a bit of flavour, but no need to drench the slaw!
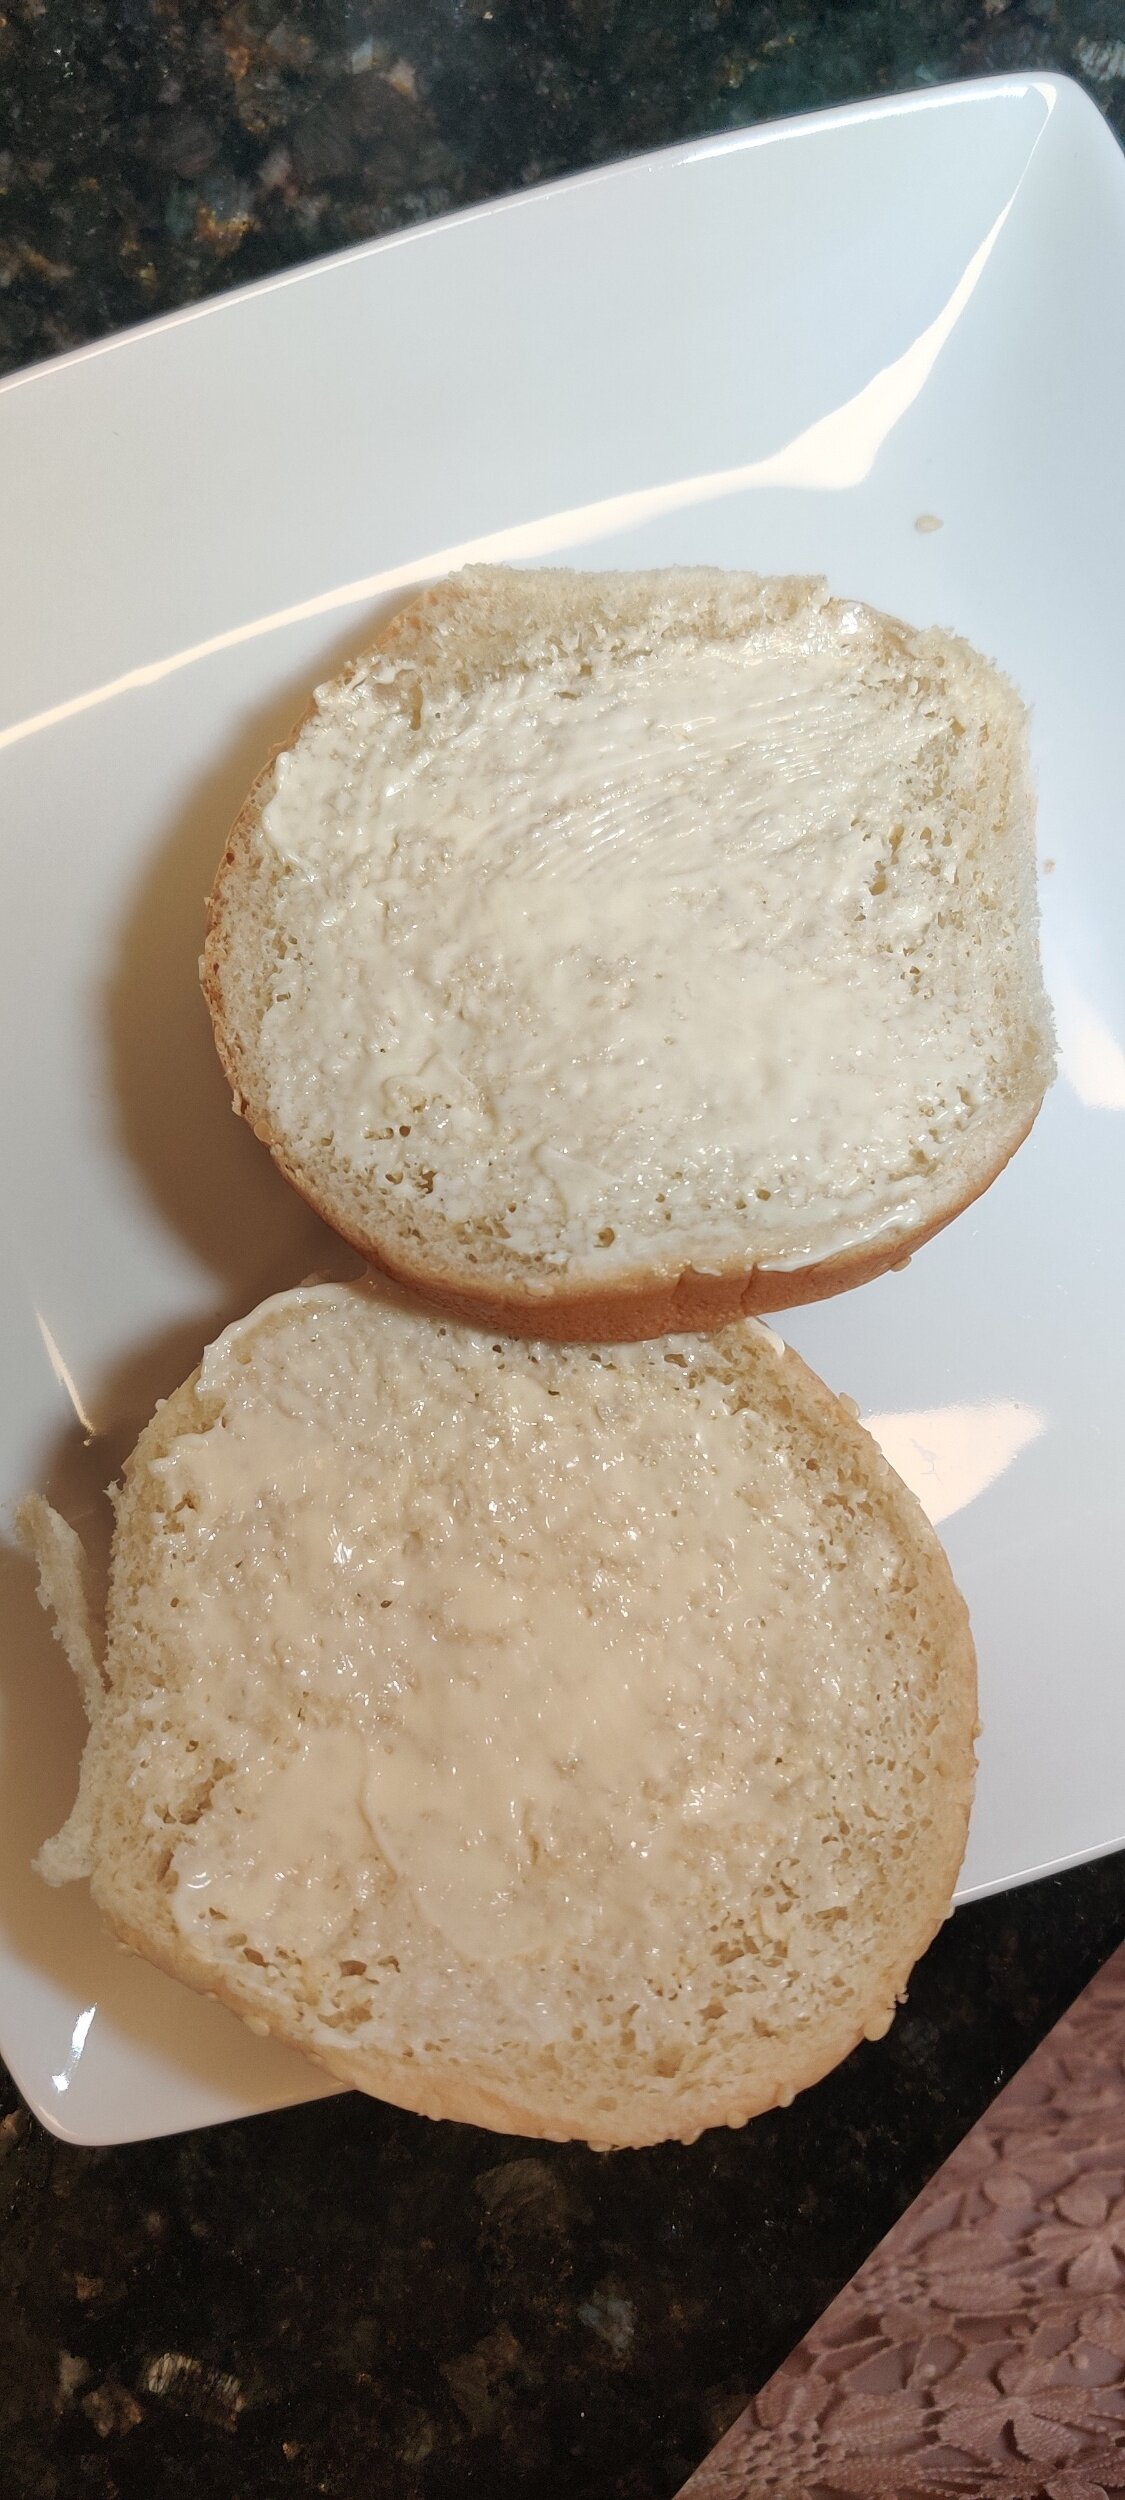
Toast your buns! Smother the insides of each bun with mayonnaise and butter, then broil at 500F for about 2 minutes. Keep an eye to avoid burning anything.
Assemble your sandwich. Place the tomato on the bottom of the bun, then a few pickles, the cauliflower florets, the slaw, and then drizzle with some ranch.

Black-Eyed Pea and Pinto Bean Meatloaf
If you're like me and have reduced your weekly meat intake for health purposes or otherwise, that shouldn’t mean you can’t eat certain meals! Especially with recipes that are flexible about the form of protein you use - and that doesn’t have to be meat! Beans and tofu are just two examples of additions you can make for a recipe that can be equally as delicious, especially when you season everything well. How about some meatloaf? Using black-eyed peas and pinto beans I put together a recipe that should satisfy most vegetarians, and no need for Beyond Meat (although I'm a fan, no shade).
It's quite easy and something you can eat for lunch or dinner. I like to think of meatloaf as a giant, rectangular meatball. For those who find meatloaf to be heavy, this version is light but still filing - you’ll probably get seconds though like I did!
If you're worried about your loaf drying, don't skip on sautéing your vegetables, adding the ketchup and BBQ sauce, and consider soaking your breadcrumbs.
The other thing I did is reduce the temperature halfway into baking to take it nice and easy, and it came out great! Luckily, unlike with meat, you don’t have to worry about the ‘doneness’ as much.
Ingredients
12-ounces black-eyed peas, cooked
15-ounces pinto beans, cooked
1 medium carrot, finely chopped
1 1/2 mushrooms, finely minced
2 celery sticks
1/2 yellow onion, finely chopped
1 tablespoon garlic, minced
2 tablespoon olive oil
1 tablespoon butter
1 teaspoon salt
2 teaspoons black pepper
1/4 teaspoon powdered mustard
2 teaspoons smoked paprika
1/2 teaspoon coriander
1 teaspoon cumin
1/4 teaspoon fenugreek, ground
1 teaspoon cayenne pepper
1/3 cup ketchup
1/3 cup BBQ sauce
2 tablespoons teriyaki sauce
1 tablespoon soy sauce
1 tablespoon plant-based mayonnaise
1/4 cup fresh parsley, finely chopped
1 cup bread crumbs
Instructions
Prepare the black-eyed peas and pinto beans. If you're using dried beans you’ll want to soak them overnight or for at least 4-6 hours. You can also use drained, canned beans.
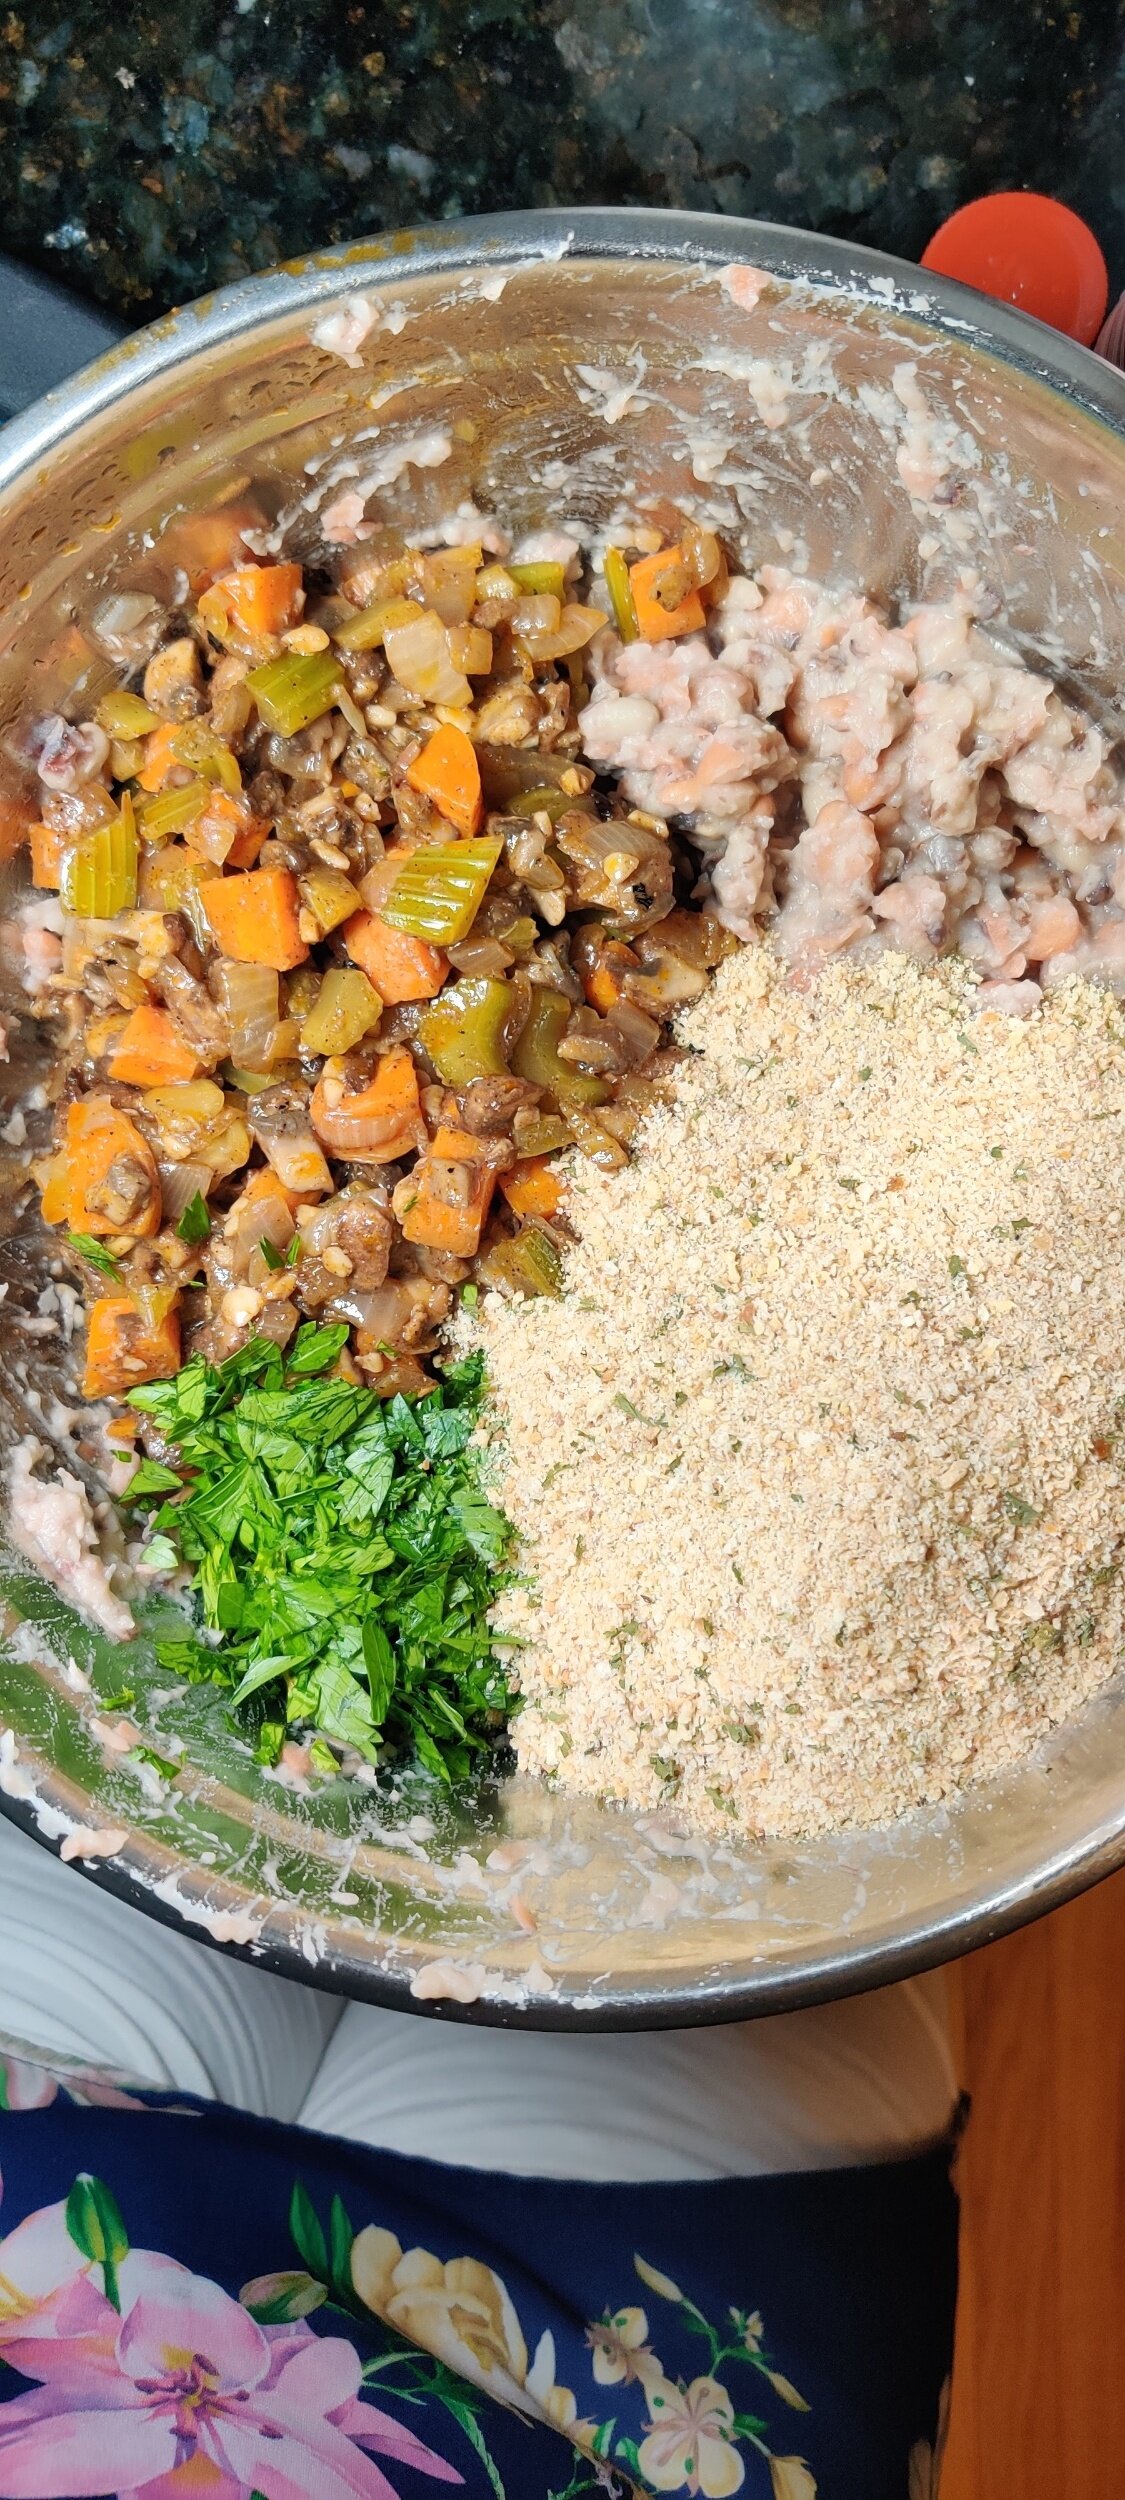
While your beans are cooking, melt the butter with the olive oil and sauté the garlic for about 2 minutes. Add the spices, salt and pepper (reserve 1 teaspoon paprika, 1 teaspoon black pepper, 1/2 teaspoon cayenne, and 1/2 teaspoon salt). Cook for another minute before adding the vegetables - onion, carrot, celery sticks, and mushrooms. Cook for about 5-7 minutes, until the juices, evaporate and the mixture is somewhat dry, set aside.
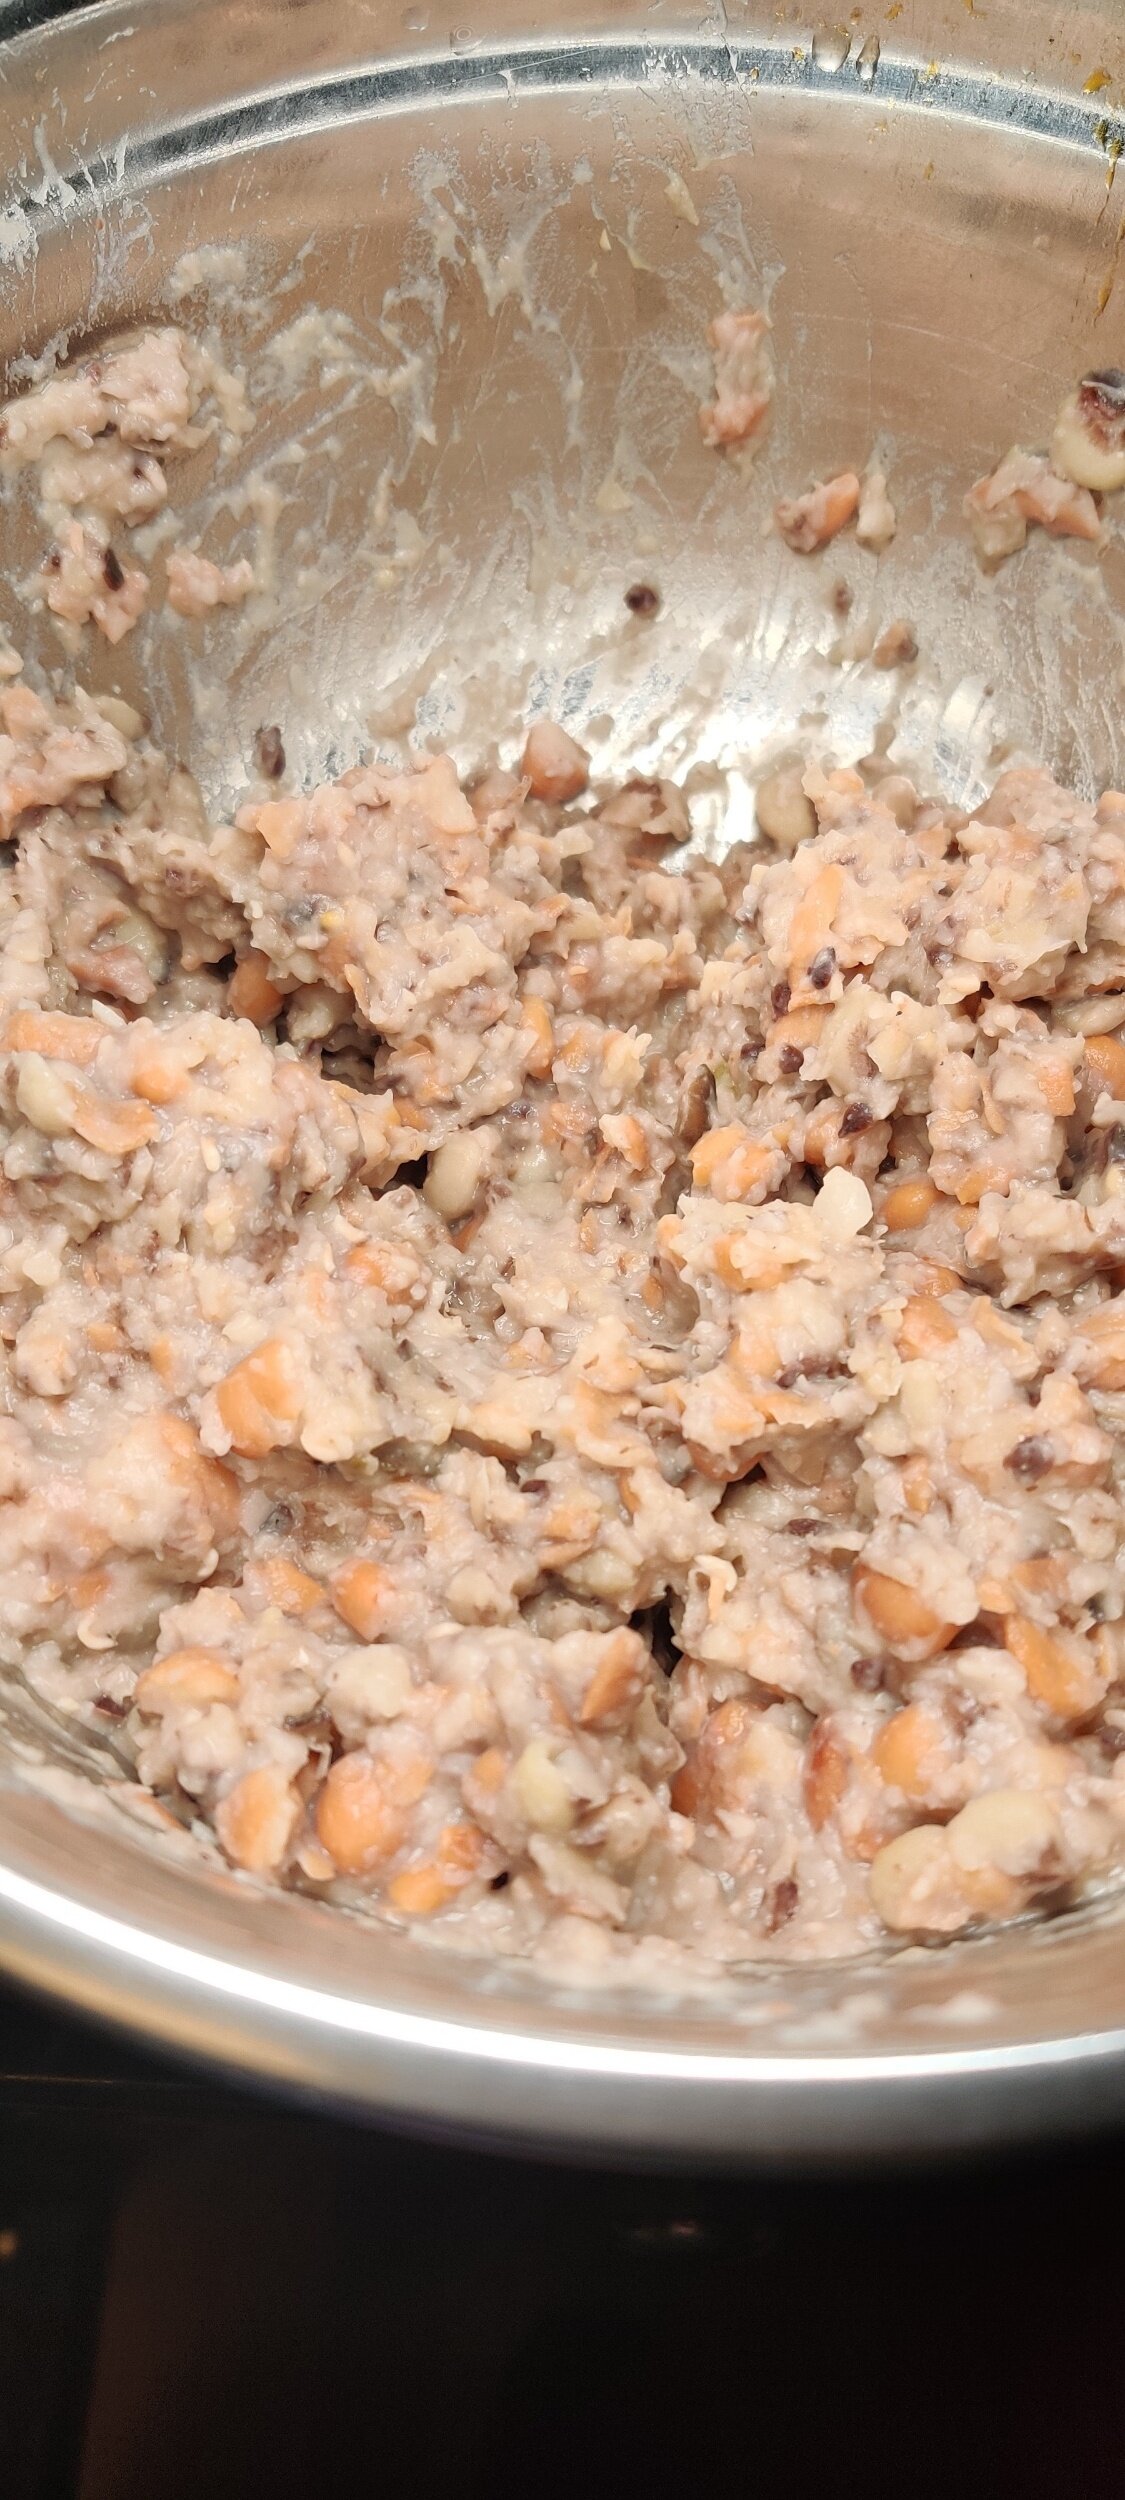
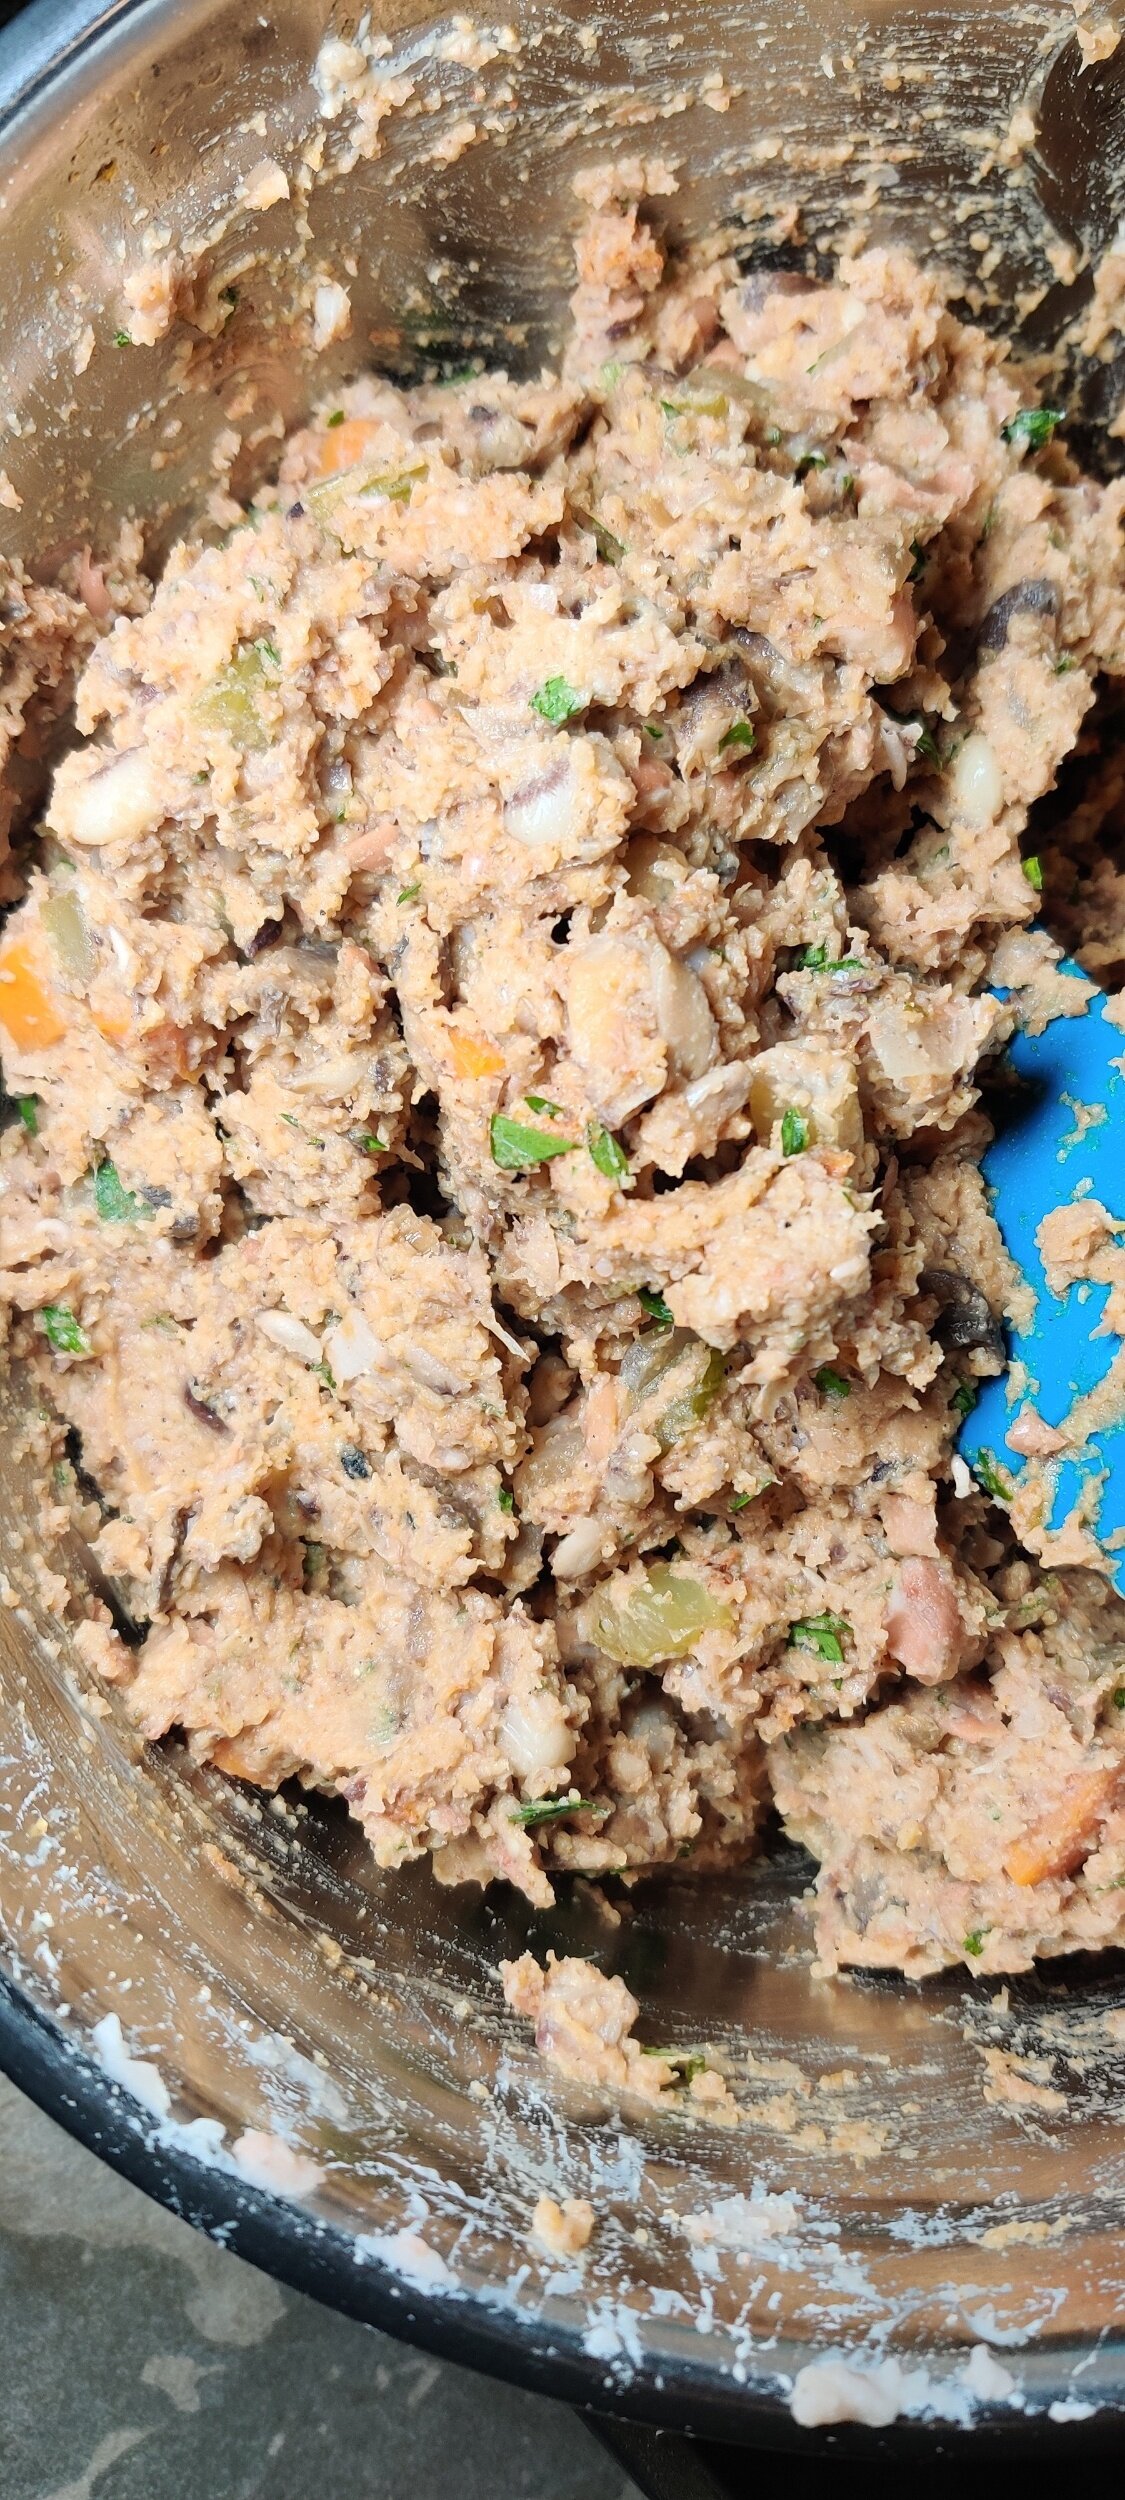
Mash the pinto beans and black-eyed peas until a mush forms - you can use a potato masher or your (clean) hands. It’s okay if you have larger bits as long as the mixture is mostly mashed.
Combine this in a large bowl with breadcrumbs, mayo, parsley, cooked veggies, teriyaki sauce, soy sauce, and the reserved spices.
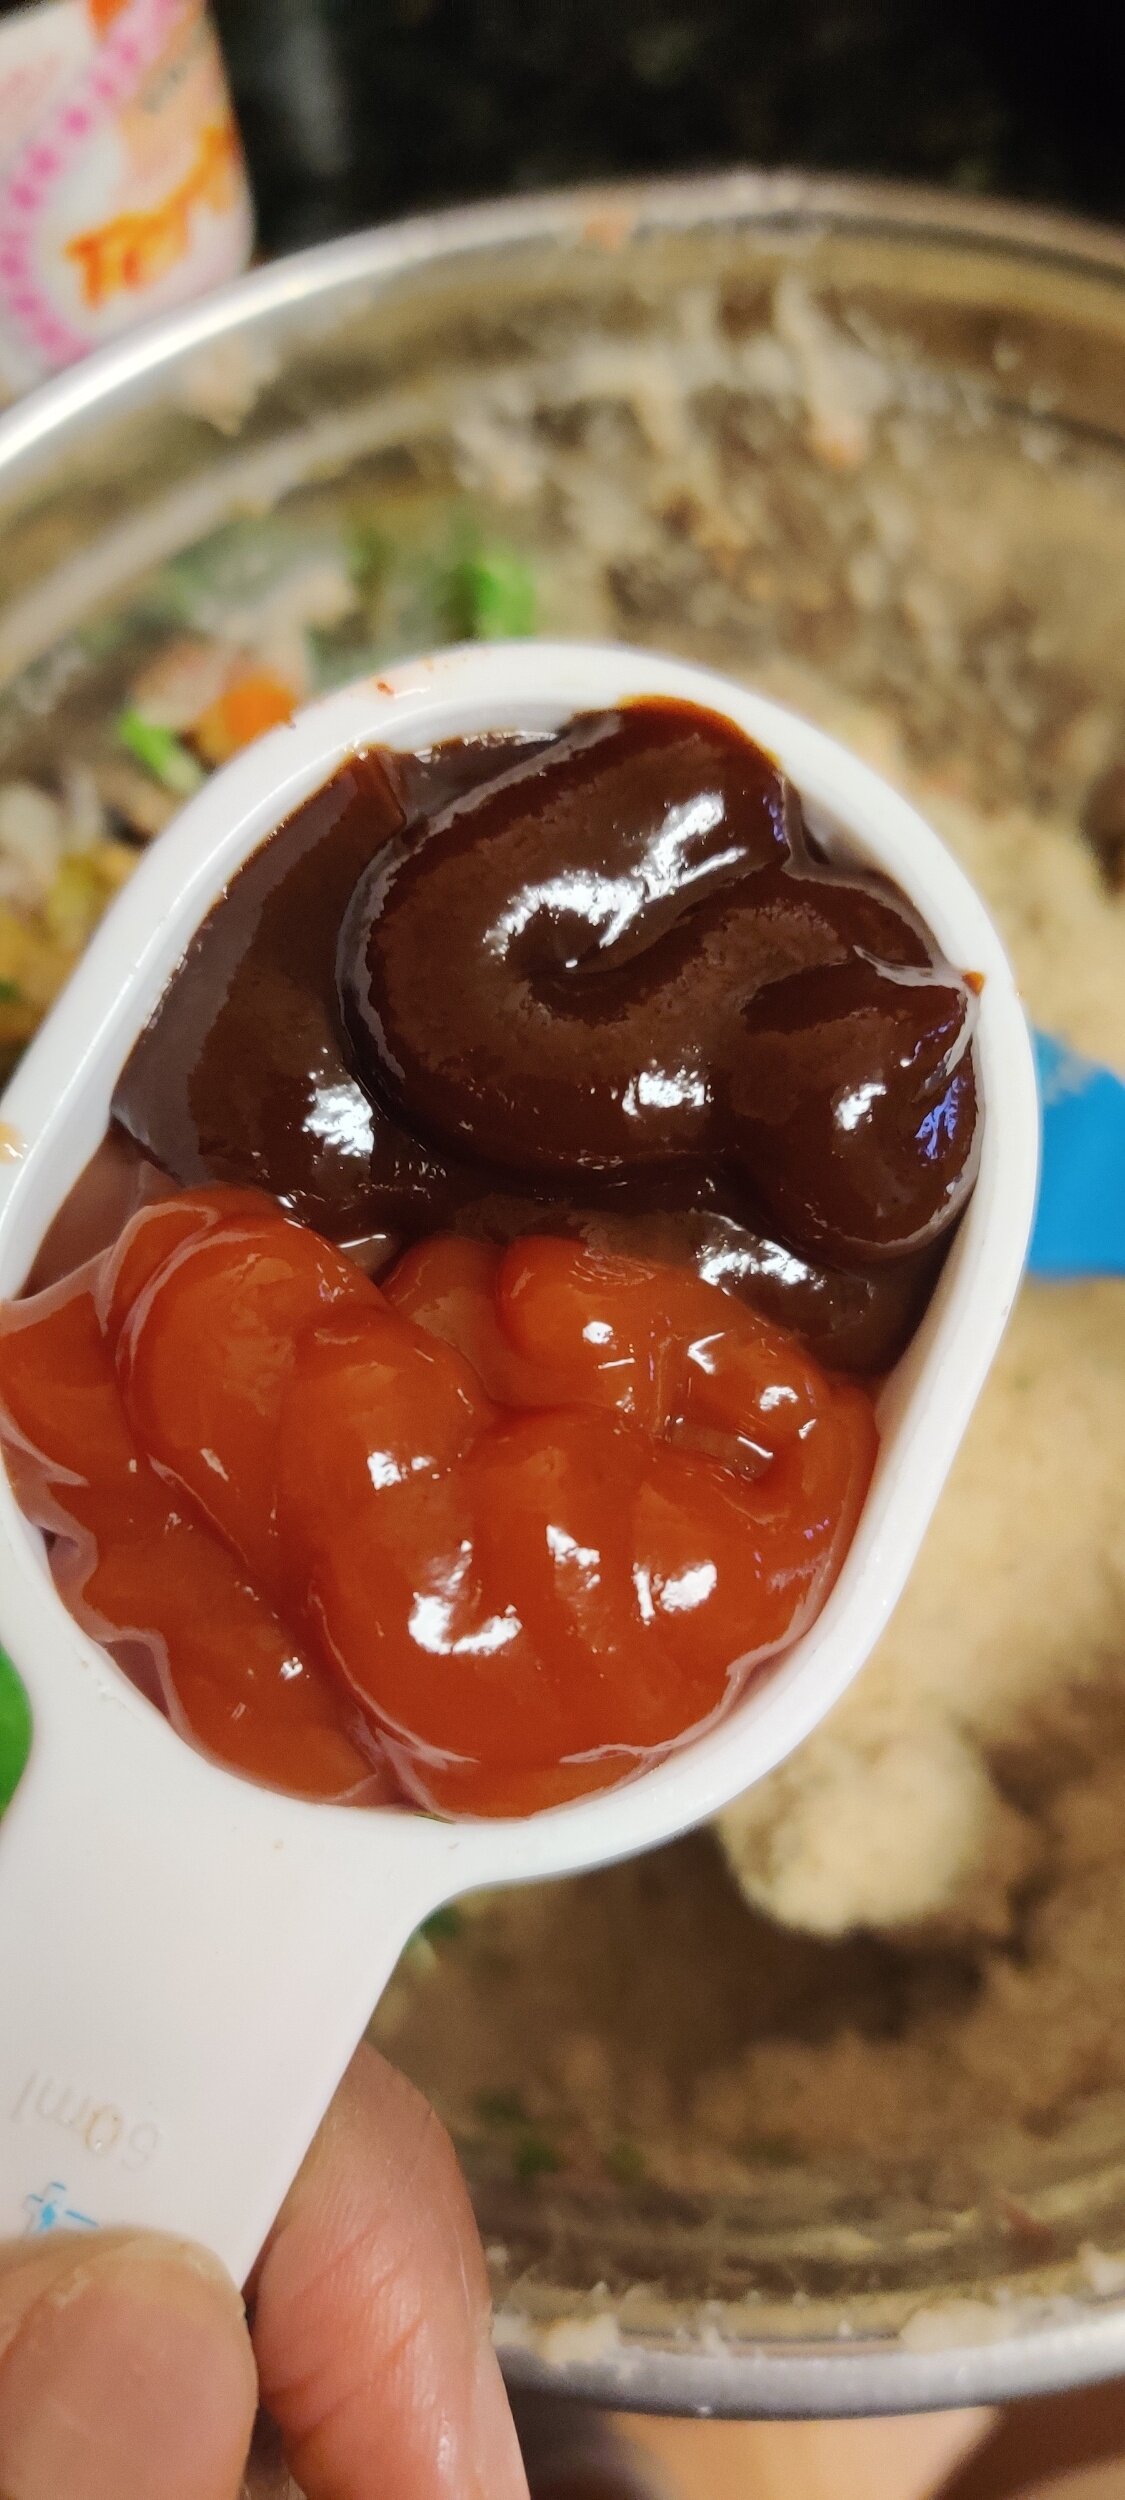
Combine the ketchup and BBQ sauce, add to the bowl and mix until combined but don't overmix - you may end up with a tough meatloaf!
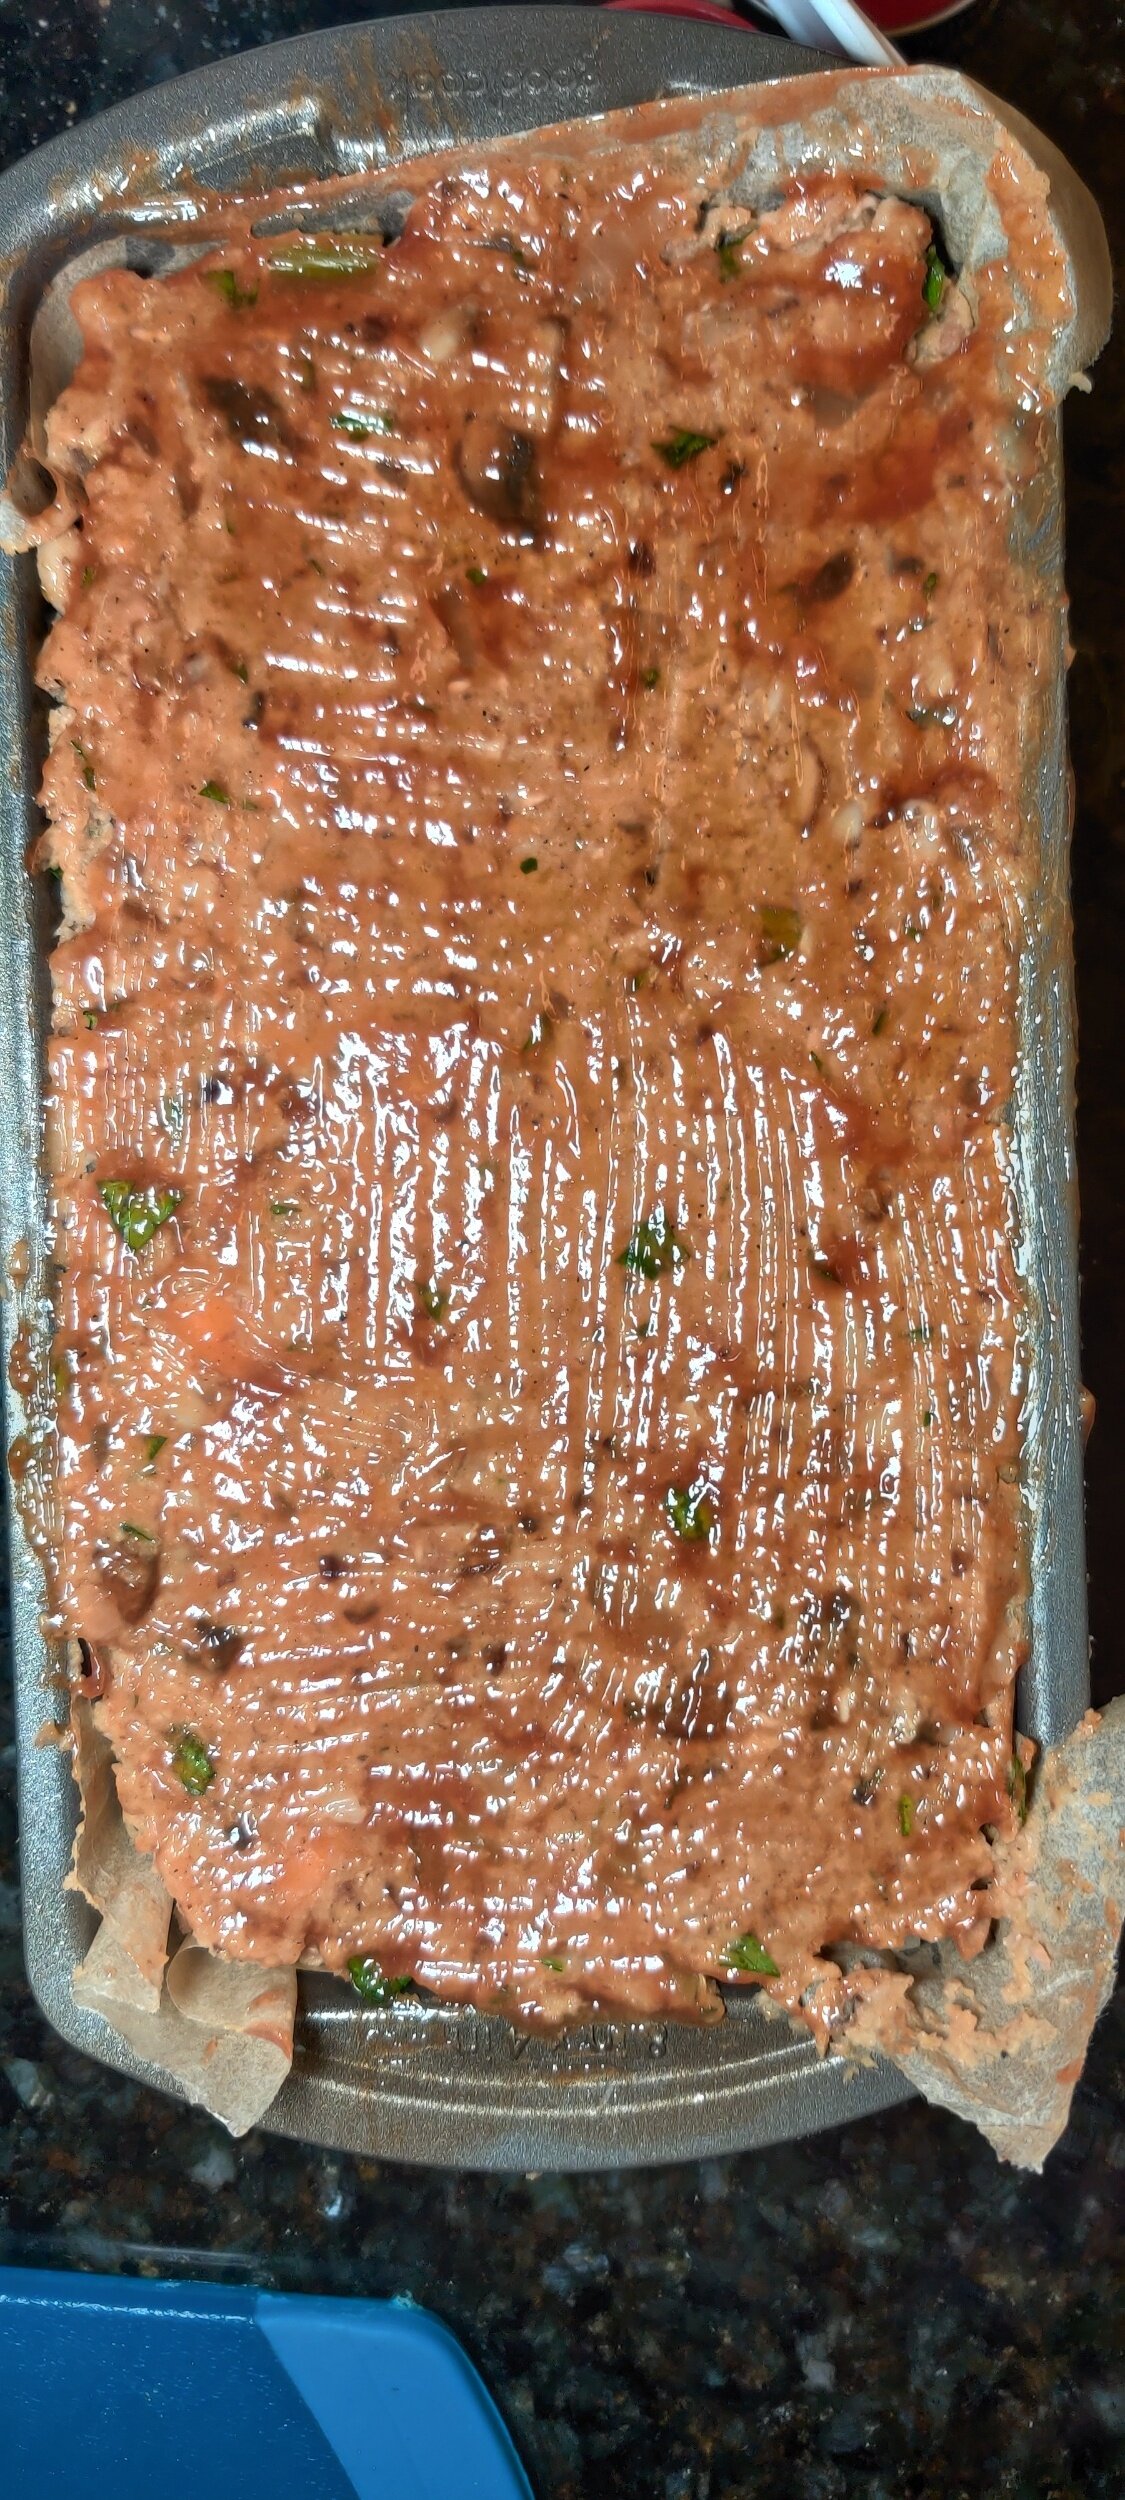
Add the mixture to a bread loaf pan prepped with parchment and cooking spray, then brush with some more of the ketchup and BBQ sauce. Bake the meatloaf at 350F for 30 minutes.
Remove and baste with more of the ketchup and BBQ sauce mixture. Don’t be afraid to lay it on so you have a nice coating once the meatloaf is done! Reduce the temperature to 325F and bake for another half hour.
Remove from oven and rest for at least 10 minutes then chill in the fridge to firm. Serve hot with more sauce.

Jollof Rice-Stuffed Tomatoes and Mushrooms
If you haven't had jollof rice yet, you're missing out. It's a cornerstone of West African food. Each country that does make it a central aspect of their cuisine have particular methods of preparing the rice. I’m not going to get into the nuances because I’m from Southern Africa and not really in a position to get into the specifics and get it exactly right! I will say though, that some people might say it my rendition is closer to the 'Ghanaian way', due to the spiciness and lack of bay leaf (common in some Nigerian recipes I've seen). I seasoned the tomato stew the rice cooks in to my liking, and the result is pretty delicious.
You can eat the jollop rice as it is, with beans, fish, plantains, or do what I did and stuff some juicy vegetables! Stuffing veggies with rice (and sometimes a protein) is nothing new. It’s usually an easy and delicious meal, and quick if you have precooked your rice.
This method is something fun to do year-round with whatever is in season.
I was going to get brave and try and stuff some grapes leaves and cabbage, but this kept it simple since tomatoes and mushrooms lend themselves well to stuffing/topping, are easy to find and relatively affordable.
Hope you find this as tasty as I did!
Ingredients
1 large yellow onion, chopped
2 tablespoons olive oil
1 tablespoon garlic, minced
1/4 cup vegetable oil
1 tablespoon butter
1 (14-ounce) can diced tomatoes
1 small habanero pepper, chopped
1 (6-ounce) can tomato paste
2 beef bouillon cubes
1/2 cup frozen peas
1/2 teaspoon cumin
1 tablespoon curry
1 tablespoon paprika
1 teaspoon salt
1 tablespoon black pepper
1 teaspoon garlic and herb blend
1 teaspoon ginger
1/2 teaspoon coriander
3-4 large tomatoes
Fresh thyme
Garlic powder
Olive oil
3-4 portobello mushrooms


Instructions
Blend the onion and olive oil into a paste and set aside.
Clean out the blender and repeat this step with the pepper, tomatoes, and tomato paste.
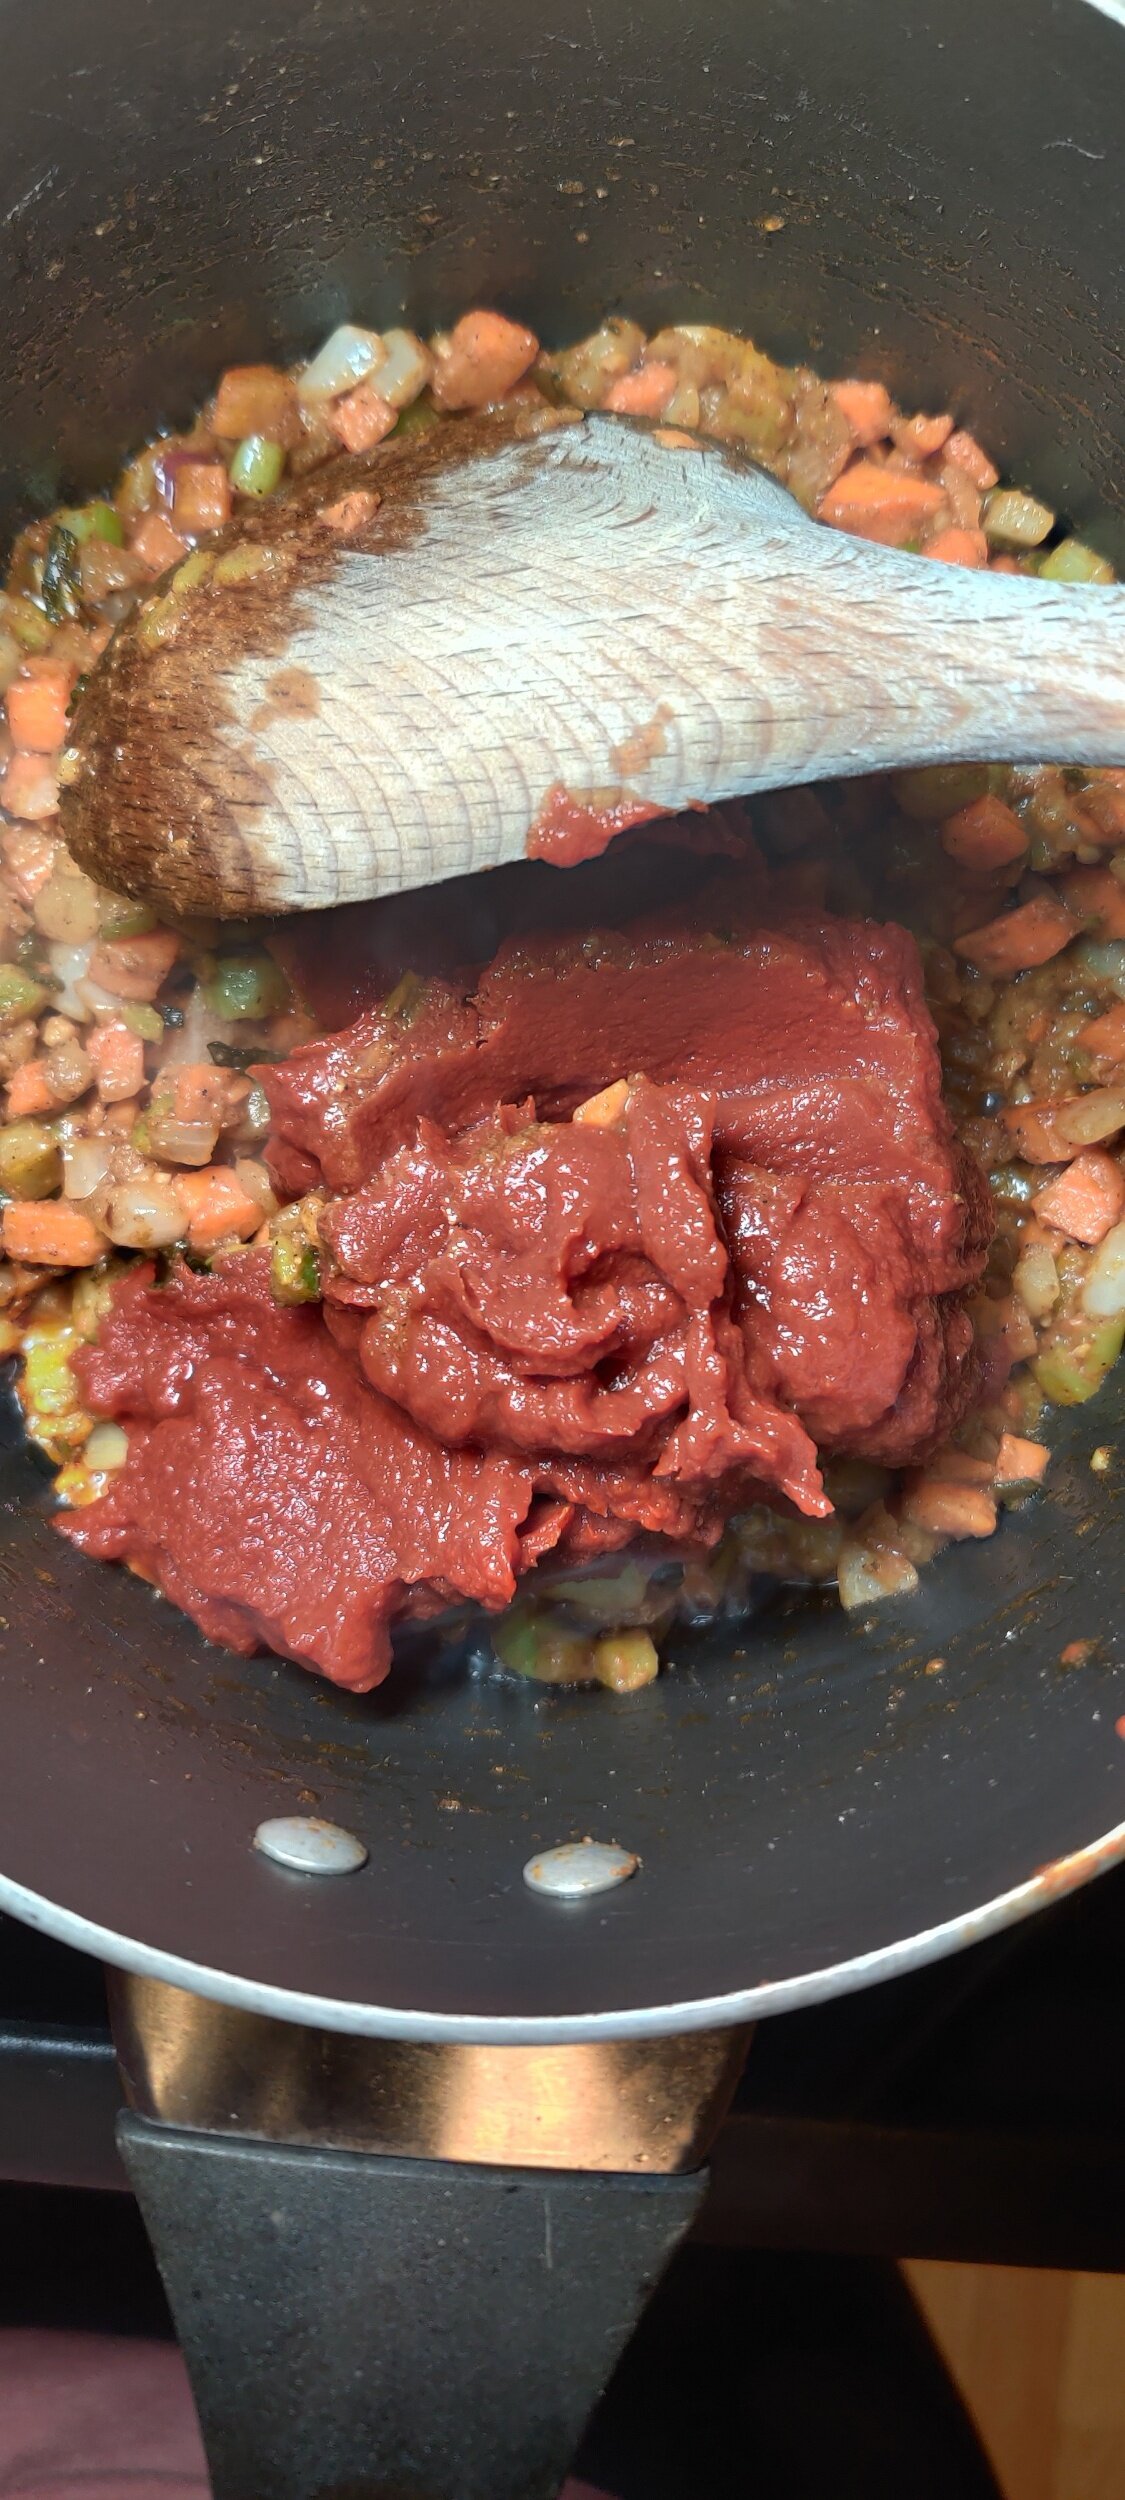
In a large pot, melt the butter with the vegetable oil. Add the onion paste and garlic and cook on medium-low heat, stirring frequently for 5 minutes. Add the spices, salt, pepper, and bouillon cubes. Simmer for an additional 5 minutes or until the onion paste looks drier and the water content is reduced.
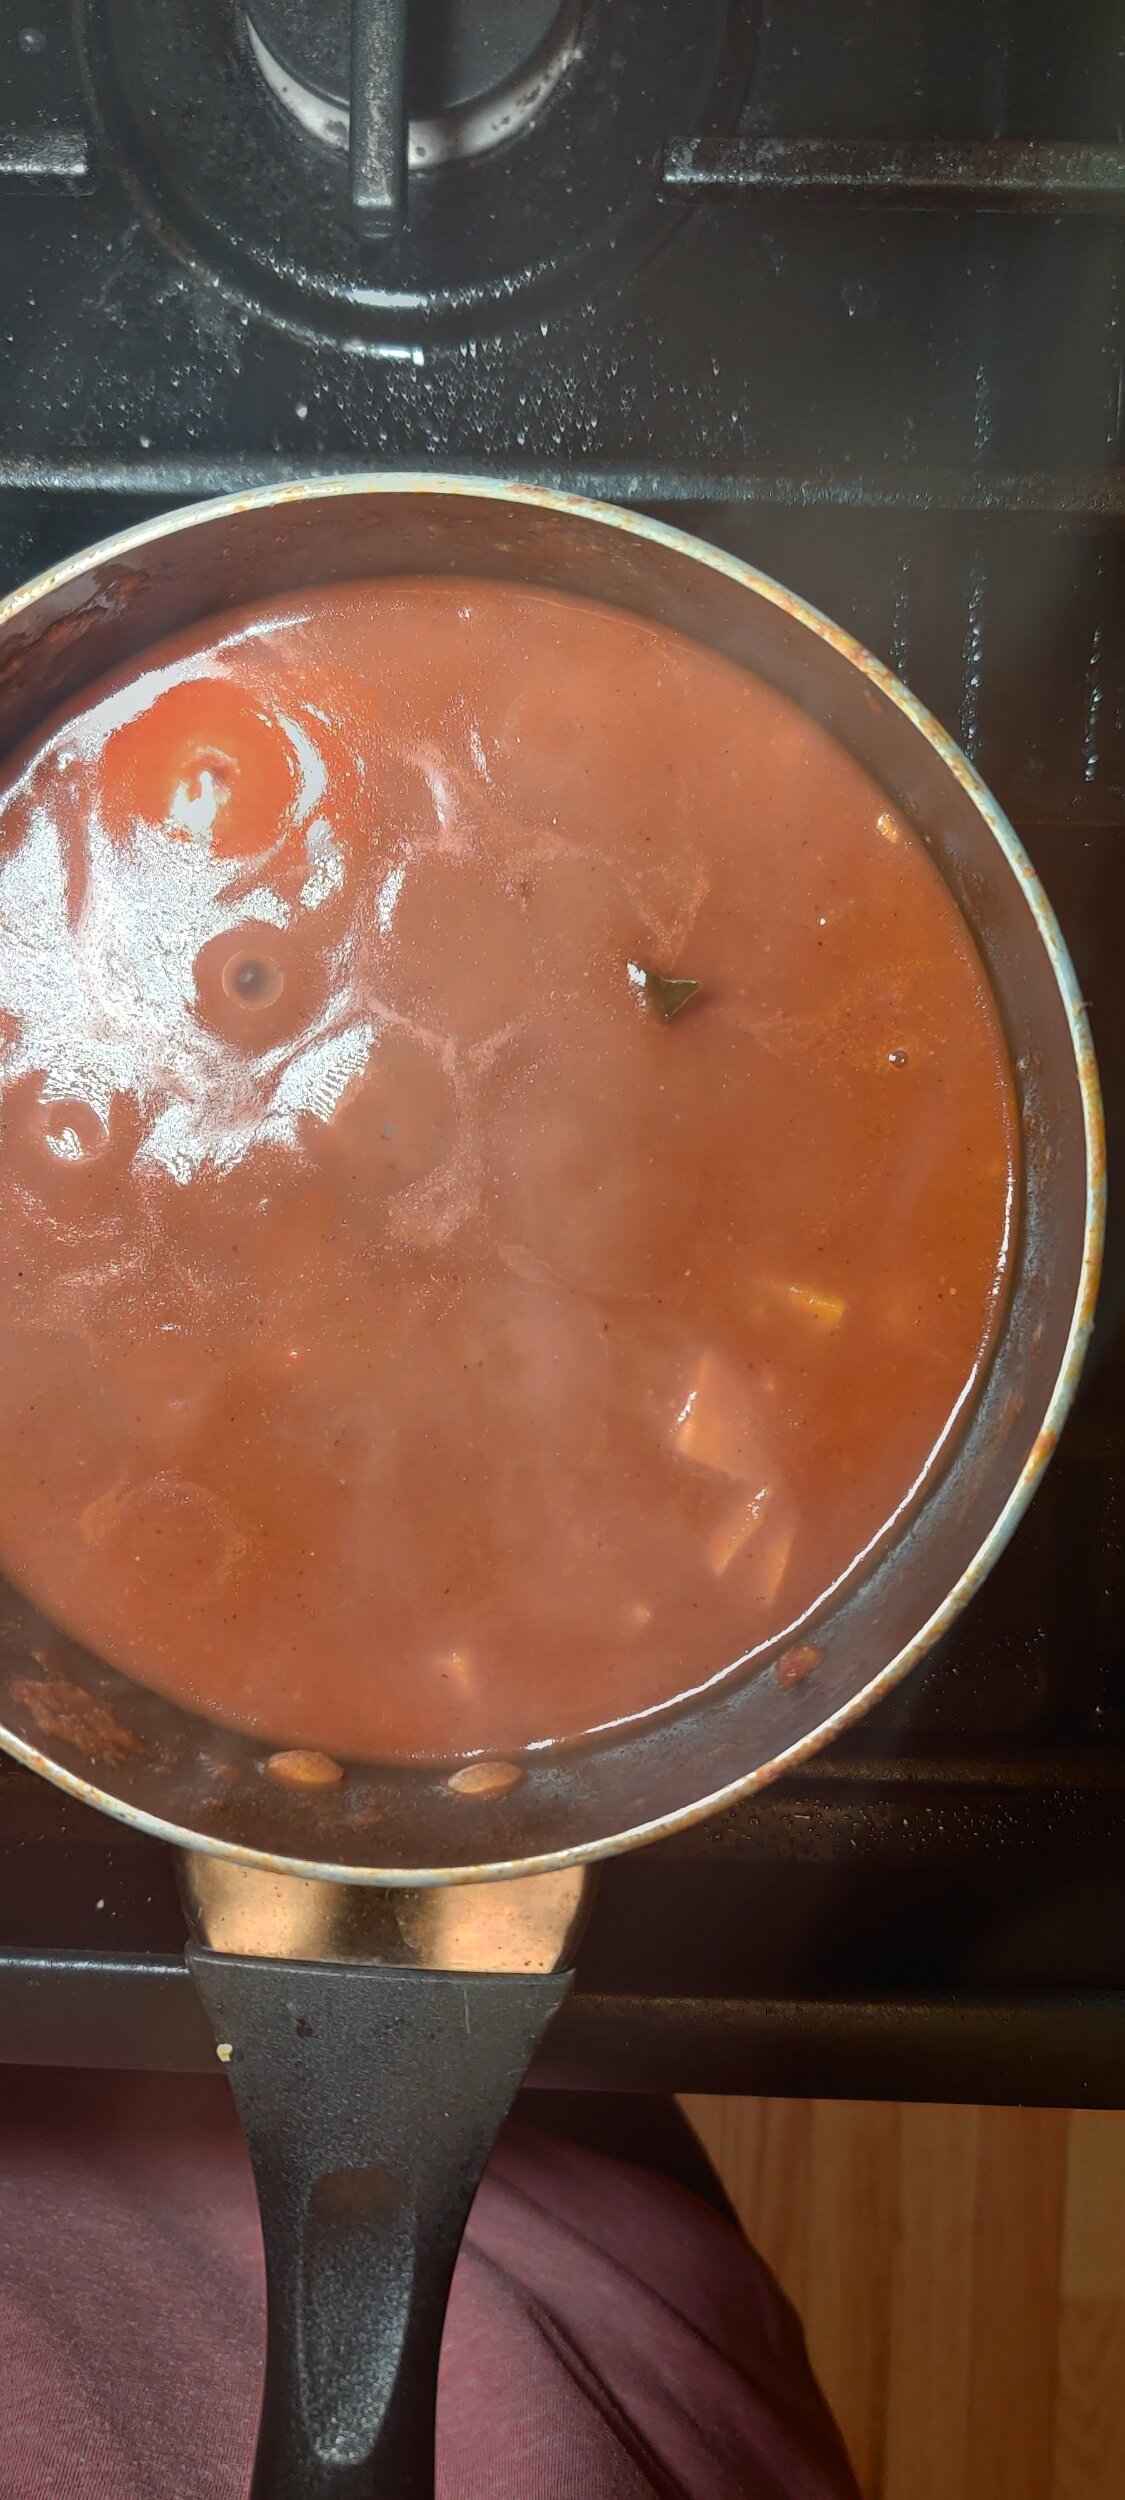
Add the tomato sauce and continue to simmer for about 15-20 minutes, stirring frequently.
Finally, add the rice and frozen peas. Top with water, cover with foil and a lid, and steam cook for 30 minutes until the rice is done. You can check from time to time to make sure the bottom isn’t burning. Note - the foil will help to keep all the flavours in!
Prepare your vegetables for stuffing. Hollow out the insides carefully with a knife, and drizzle with olive oil. Dust with garlic powder, salt, pepper, then top with fresh thyme.
In a 400F oven, bake your vegetables for about 25 minutes, until they have softened (but don’t overcook).
Remove your vegetables and let them cool for about 5 minutes, then using a teaspoon scoop the rice into the tomatoes and mushrooms. Serve hot!

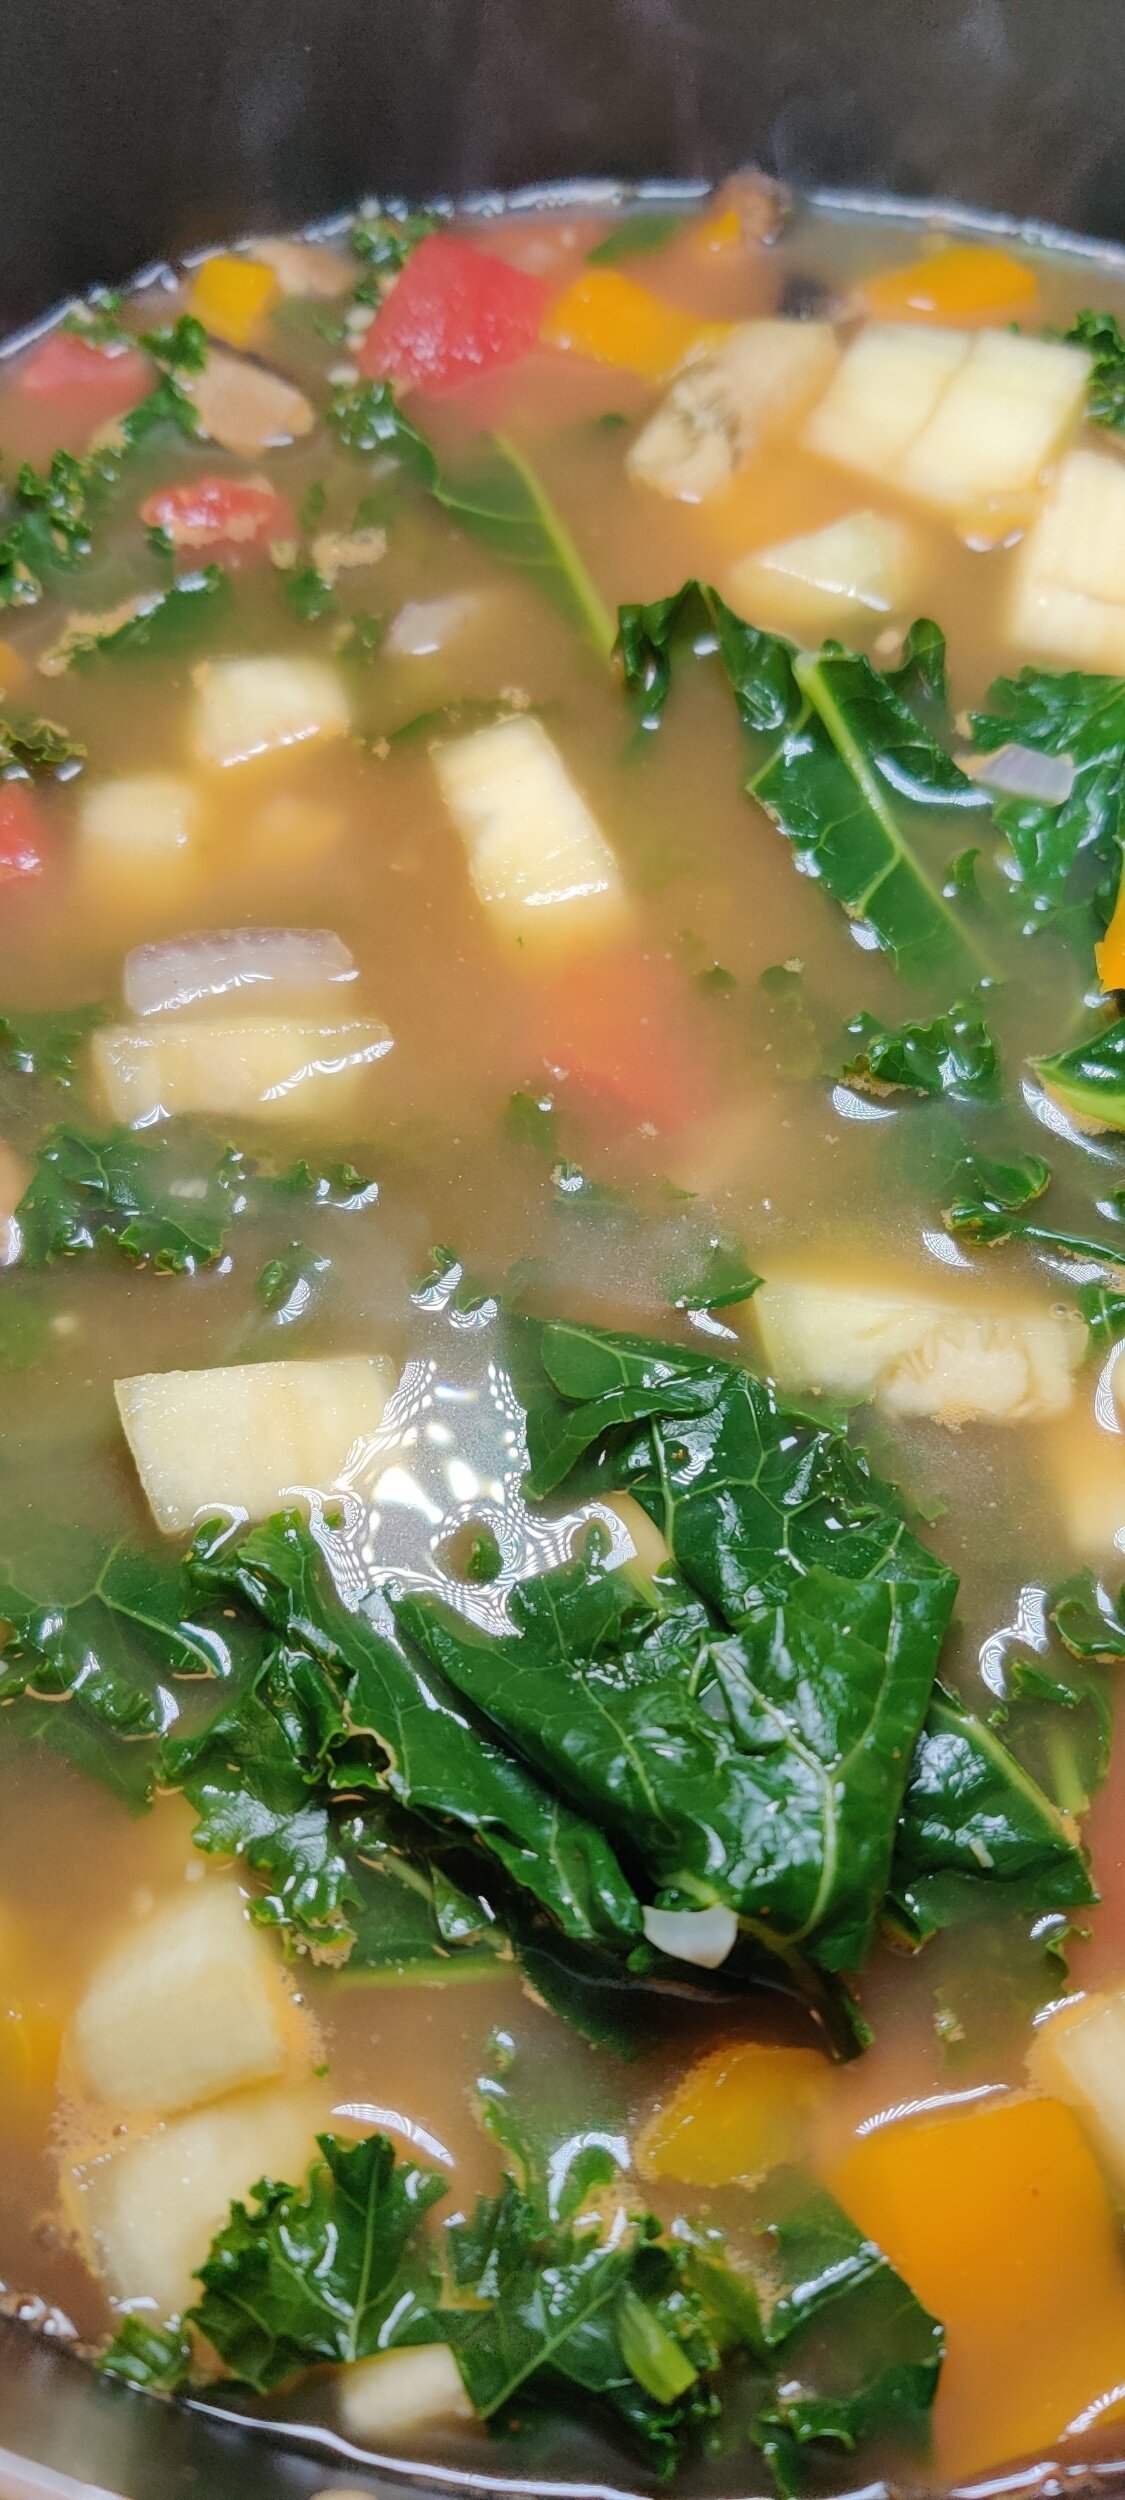
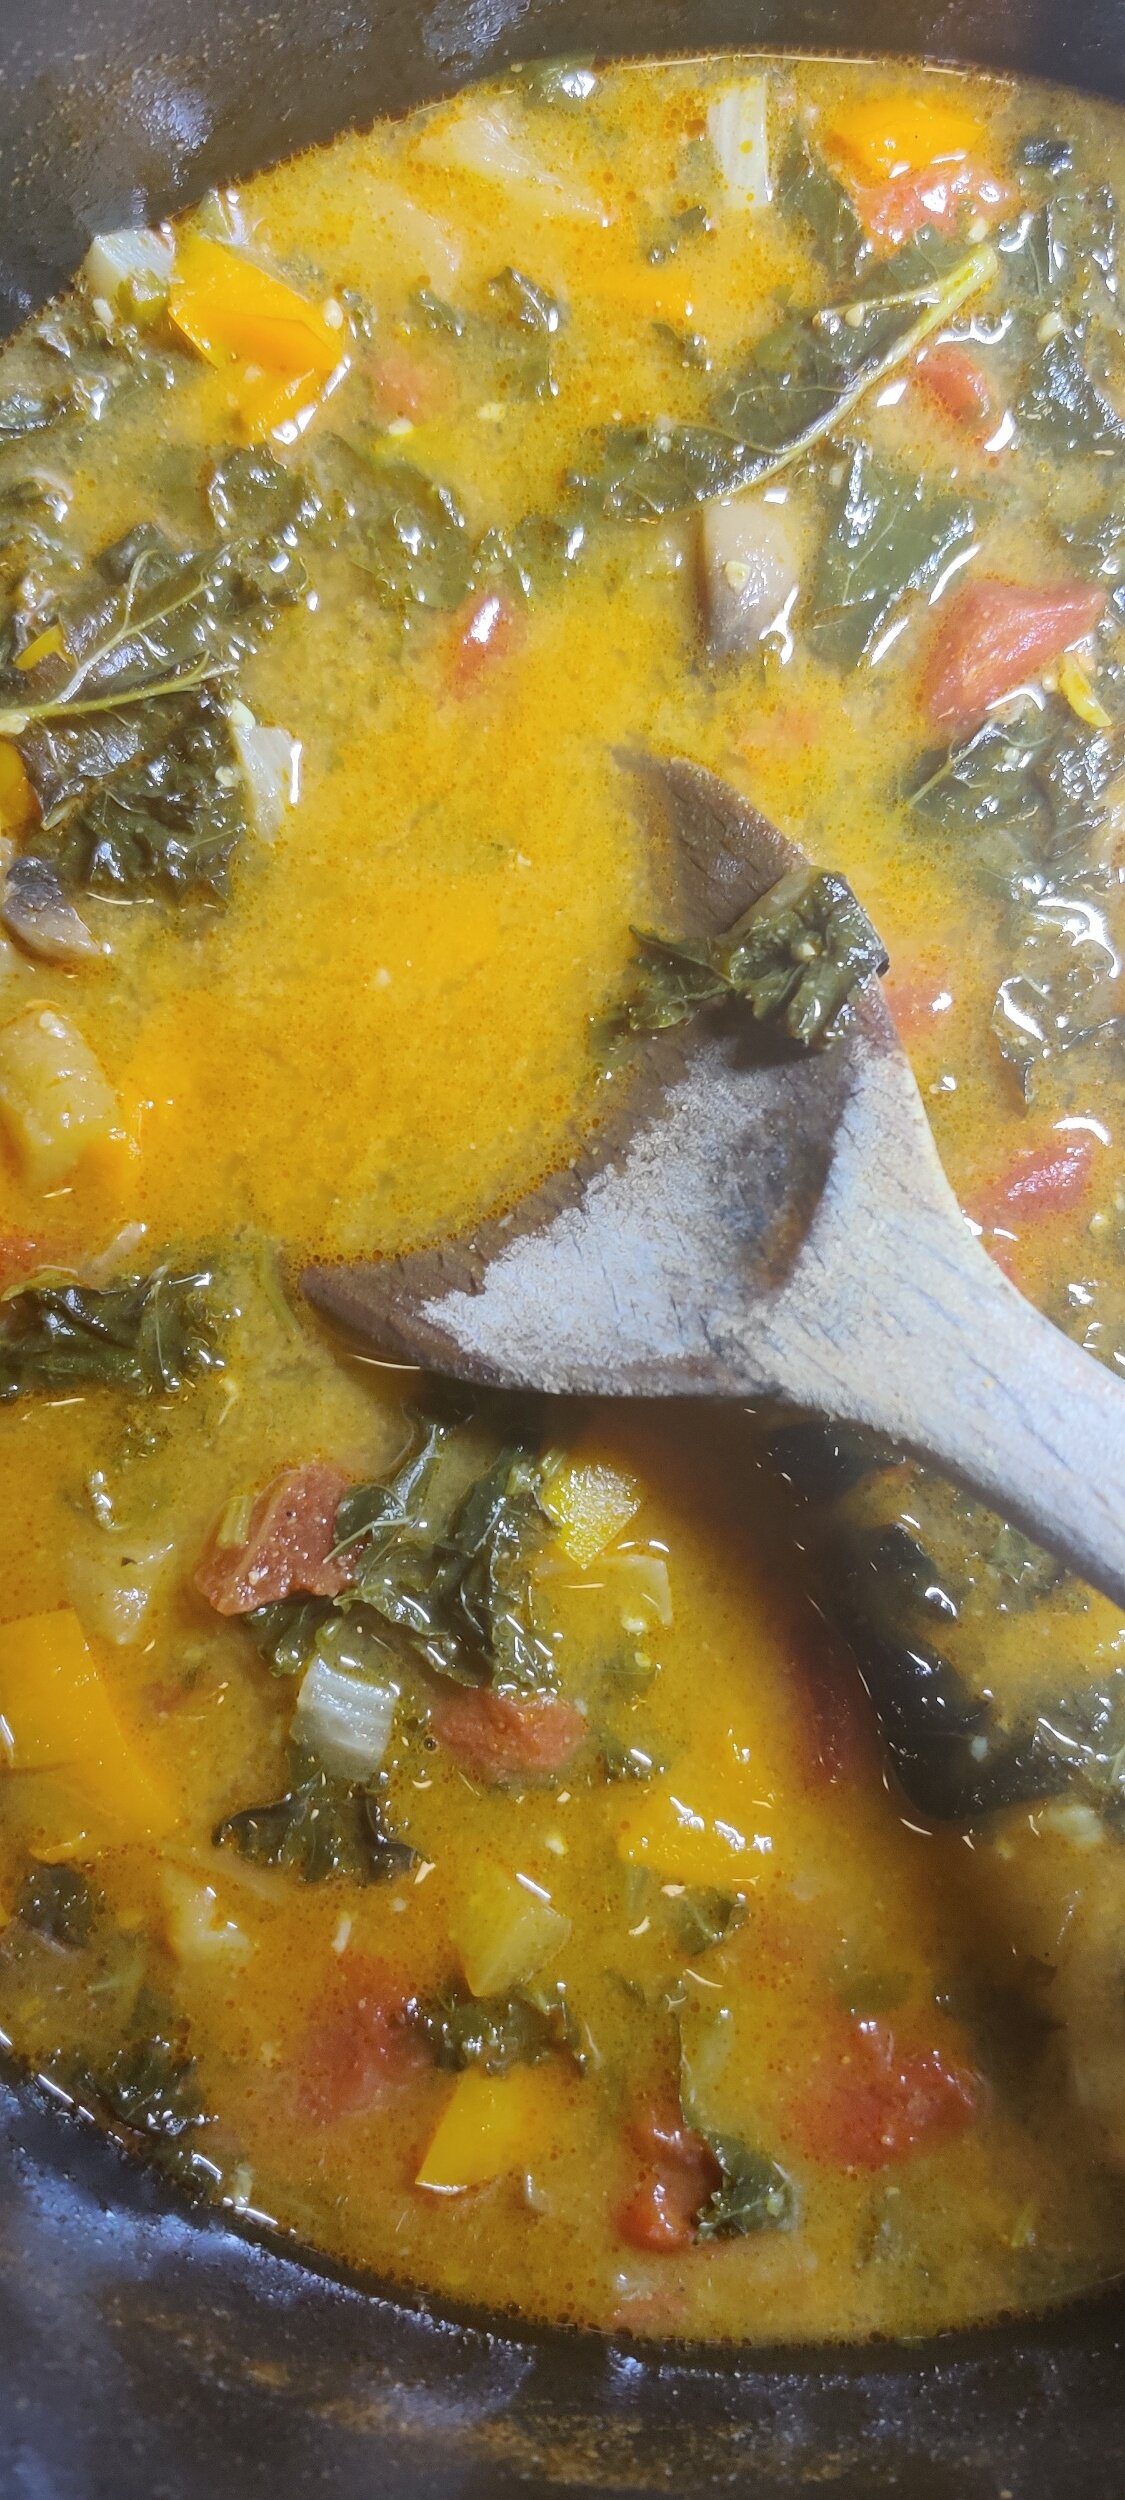
East African Mashed Kale Stew (Sukuma Wiki) with Chapati
This dish is inspired by one of East Africa’s most beloved comfort foods: Sukuma Wiki, a flavorful sautéed kale or collard green dish often served with chapati or ugali. Common across countries like Kenya, Uganda, and Tanzania, Sukuma Wiki is a simple, affordable way to stretch meals, the name literally means “stretch the week” in Swahili.
I’ve taken that foundation and turned it into a heartier, stew-like version by adding peanut butter, yam, mushrooms, and eggplant for extra richness. This version leans into bold spices and a creamy texture, making it filling enough to enjoy as a main dish.
While this stew draws heavily from Sukuma Wiki, I was also inspired by other traditions across the continent. In Zimbabwe, pumpkin leaves (muboora) are cooked with peanut butter to create a deeply savory side or main. They’re often overlooked, but when cooked right, they're just as good as kale or collard greens. Since I’m currently in the United States, I’ve used kale (muriwo) as a substitute, it’s readily available and holds up beautifully in stews.
In Rwanda, a dish called isombe uses ground cassava leaves stewed in a similar way, often served with plantains and, of course, chapati, my favorite flatbread of all time.
I’ve paired this stew with East African chapati, which is soft, flaky, and layered. It’s made differently from Indian chapati, using a coiled rolling technique that creates those signature flaky layers. You can find my chapati recipe [here] if you’d like to make it from scratch.
This dish is warm, deeply nourishing, and full of flavor. It’s a beautiful mix of traditions and ingredients that come together to celebrate African cooking in a way that’s comforting and easy to recreate at home.
 with Chapati")
East African Mashed Kale Stew (Sukuma Wiki) with Chapati
A hearty, comforting East African-inspired kale stew packed with vegetables, spices, and richness from peanut butter. Serve with chapati for a complete meal.
Ingredients
- 1 pound kale, chopped
- 2 tablespoons garlic, minced
- ¼ cup fresh parsley, chopped
- ½ large eggplant, chopped
- ½ cup mushrooms, chopped
- 1 large tomato or 1 (14-ounce) can diced tomatoes
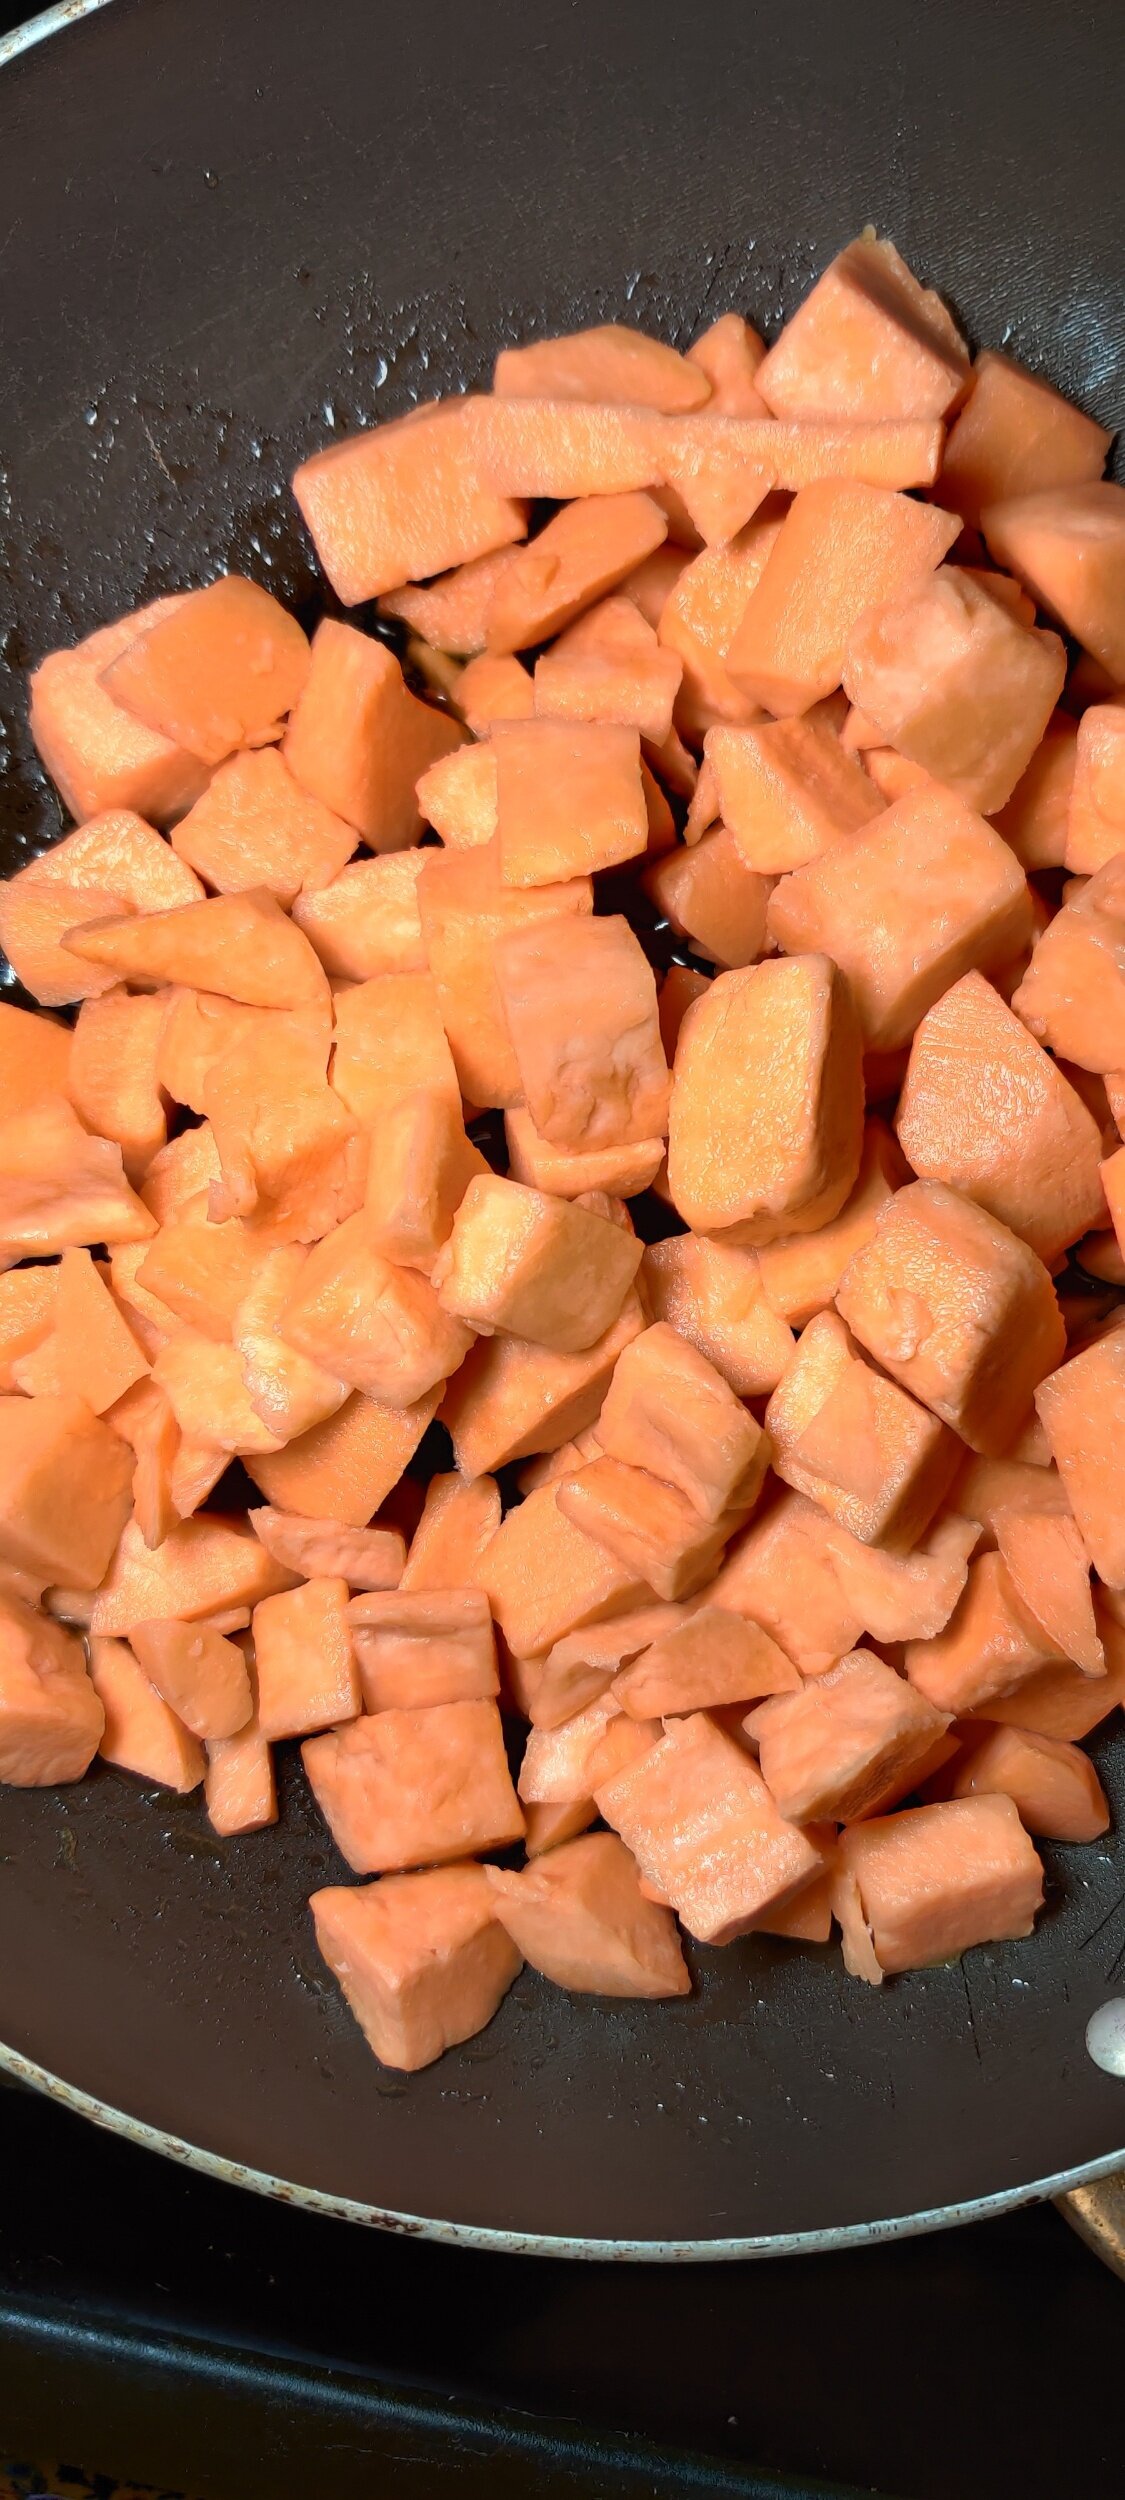
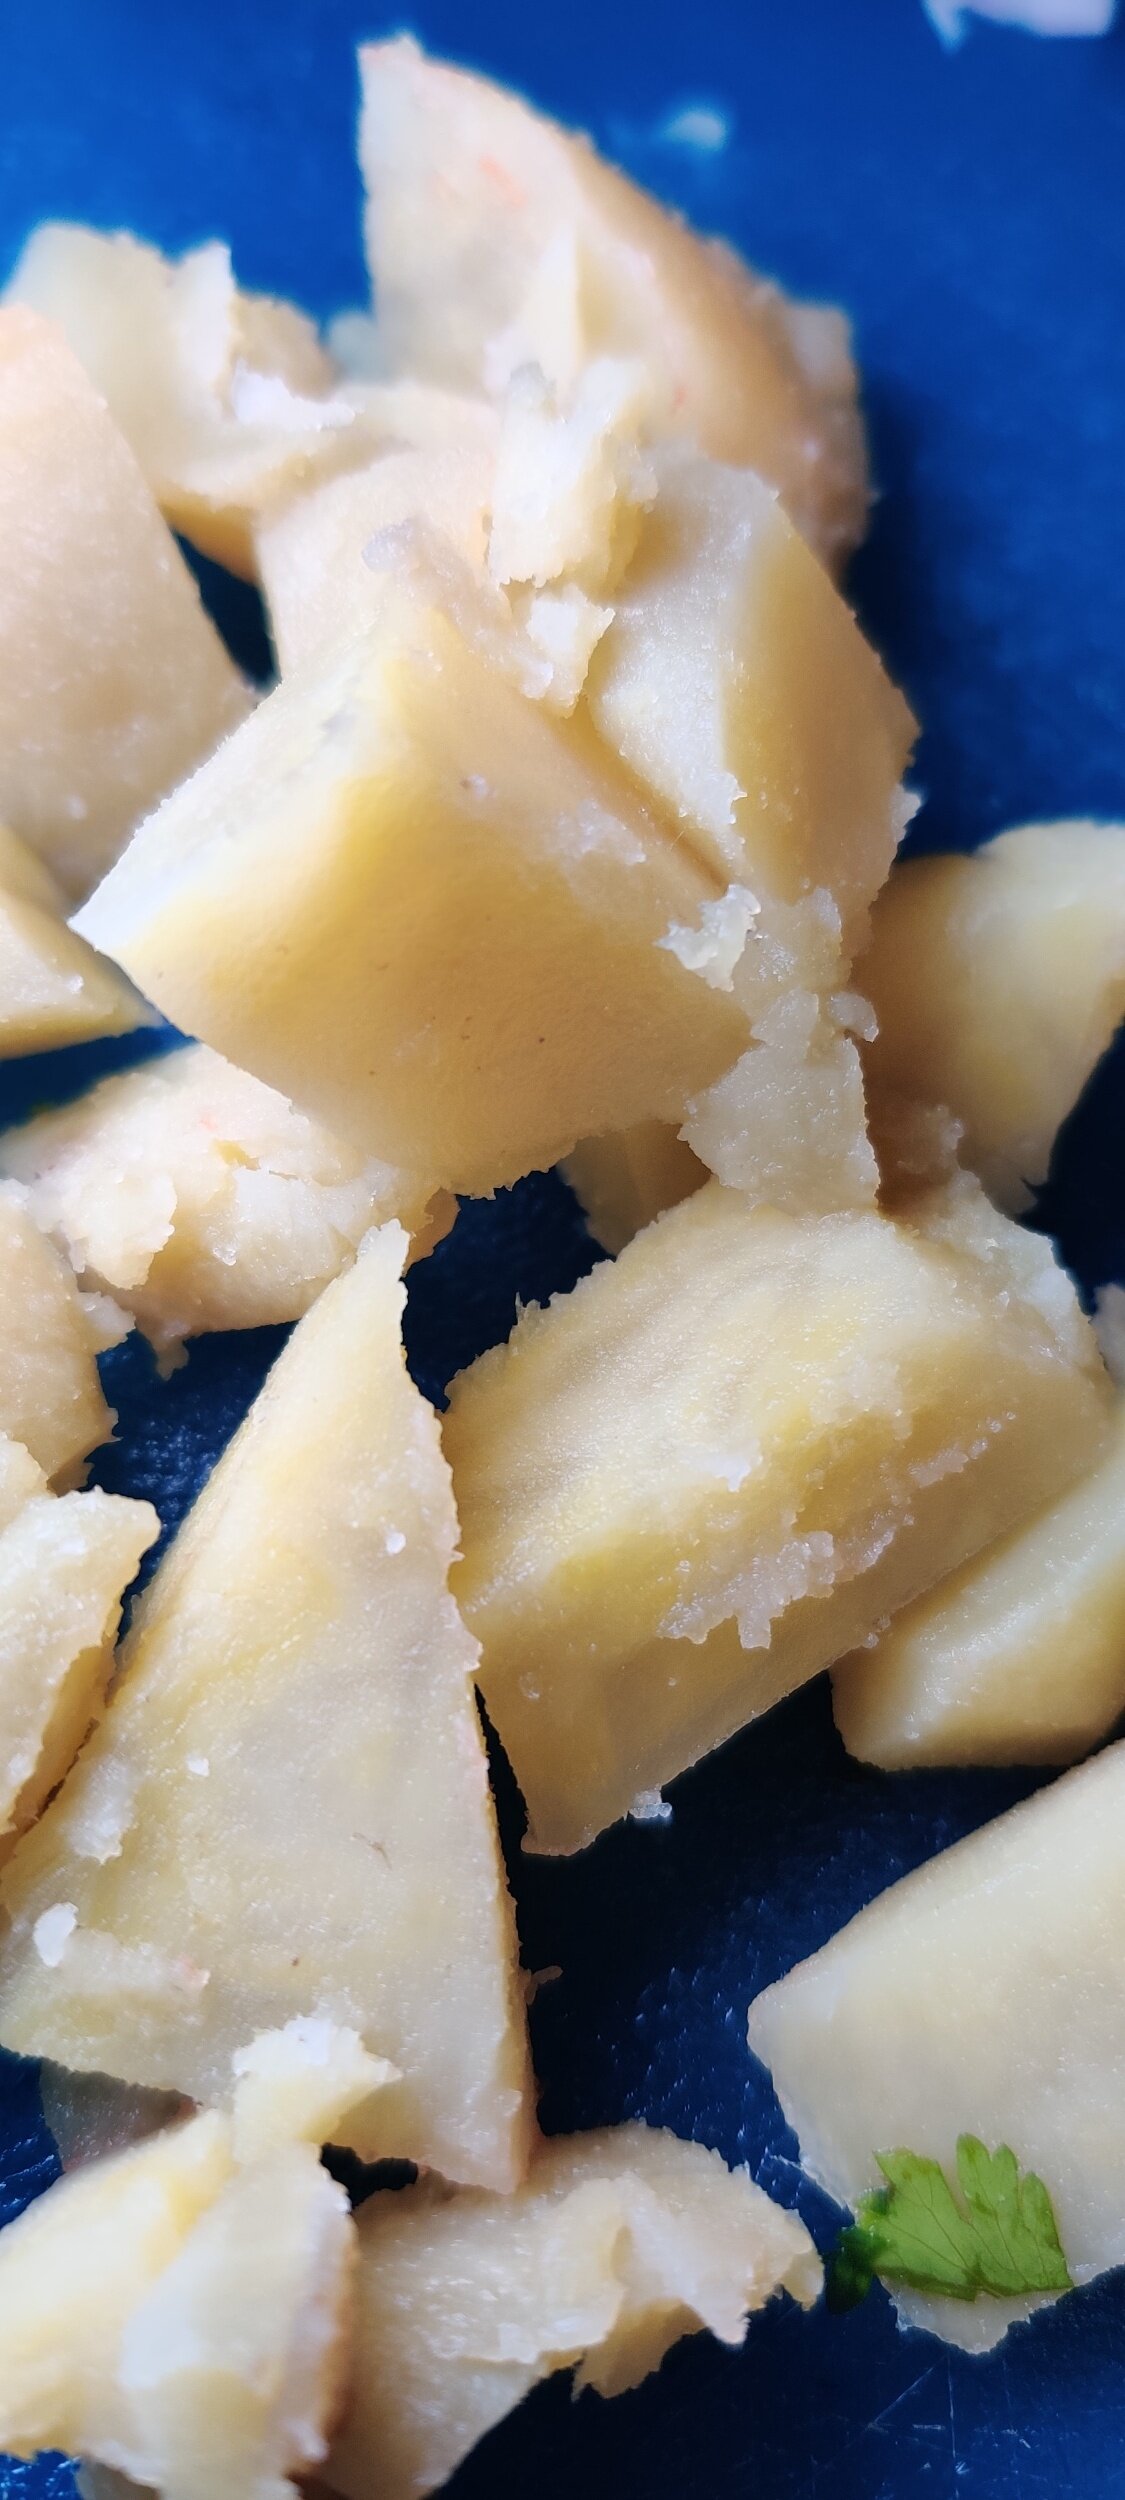
- ½ white-fleshed yam or sweet potato, chopped
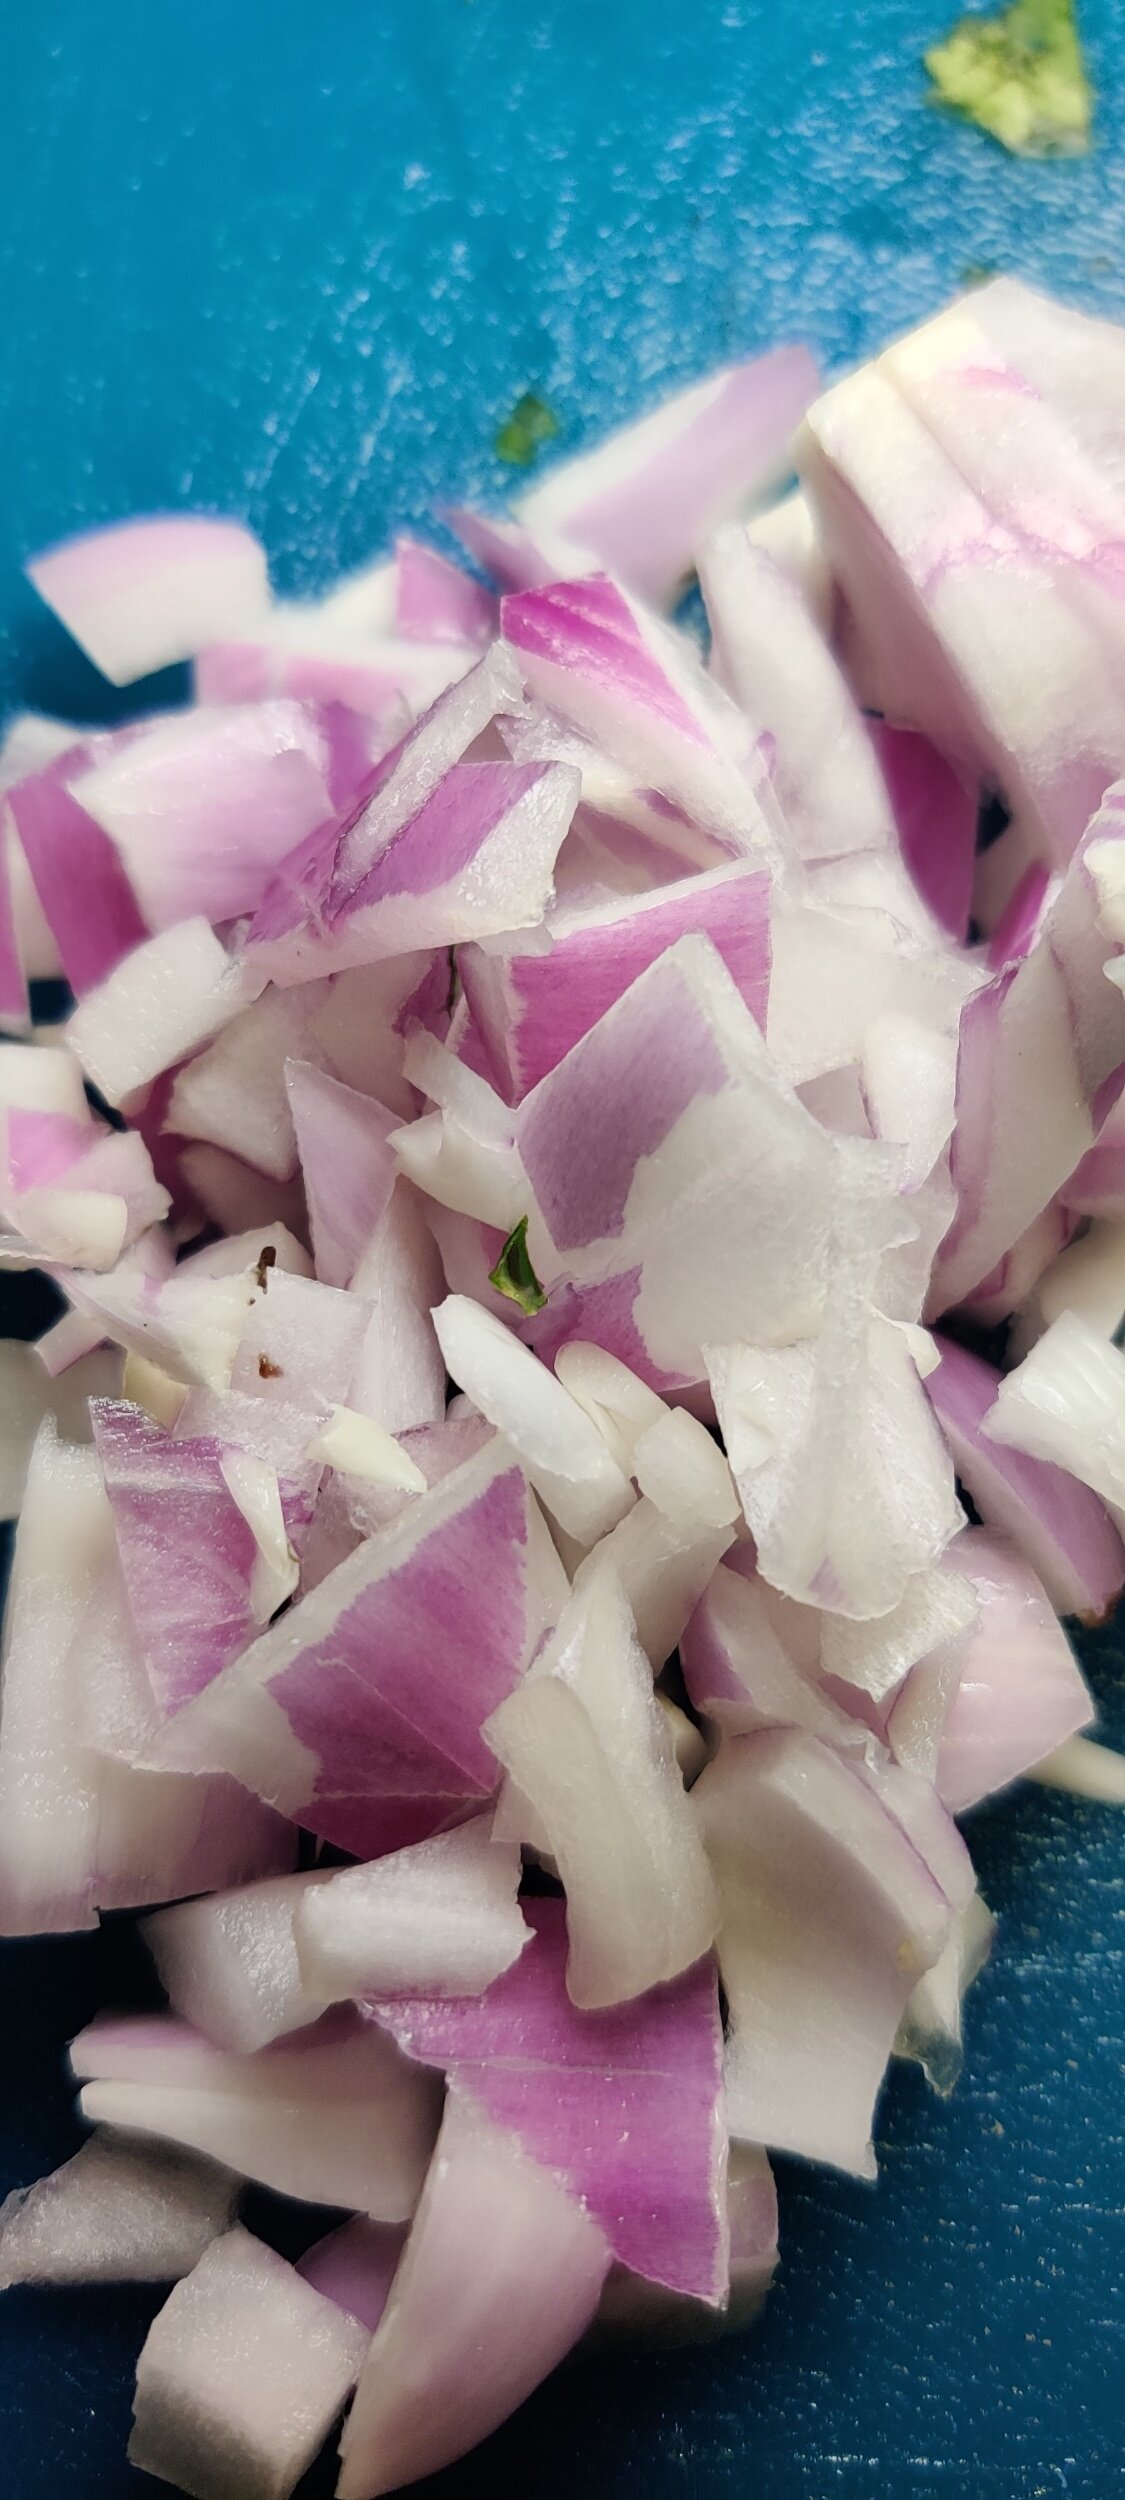
- ½ large onion, chopped
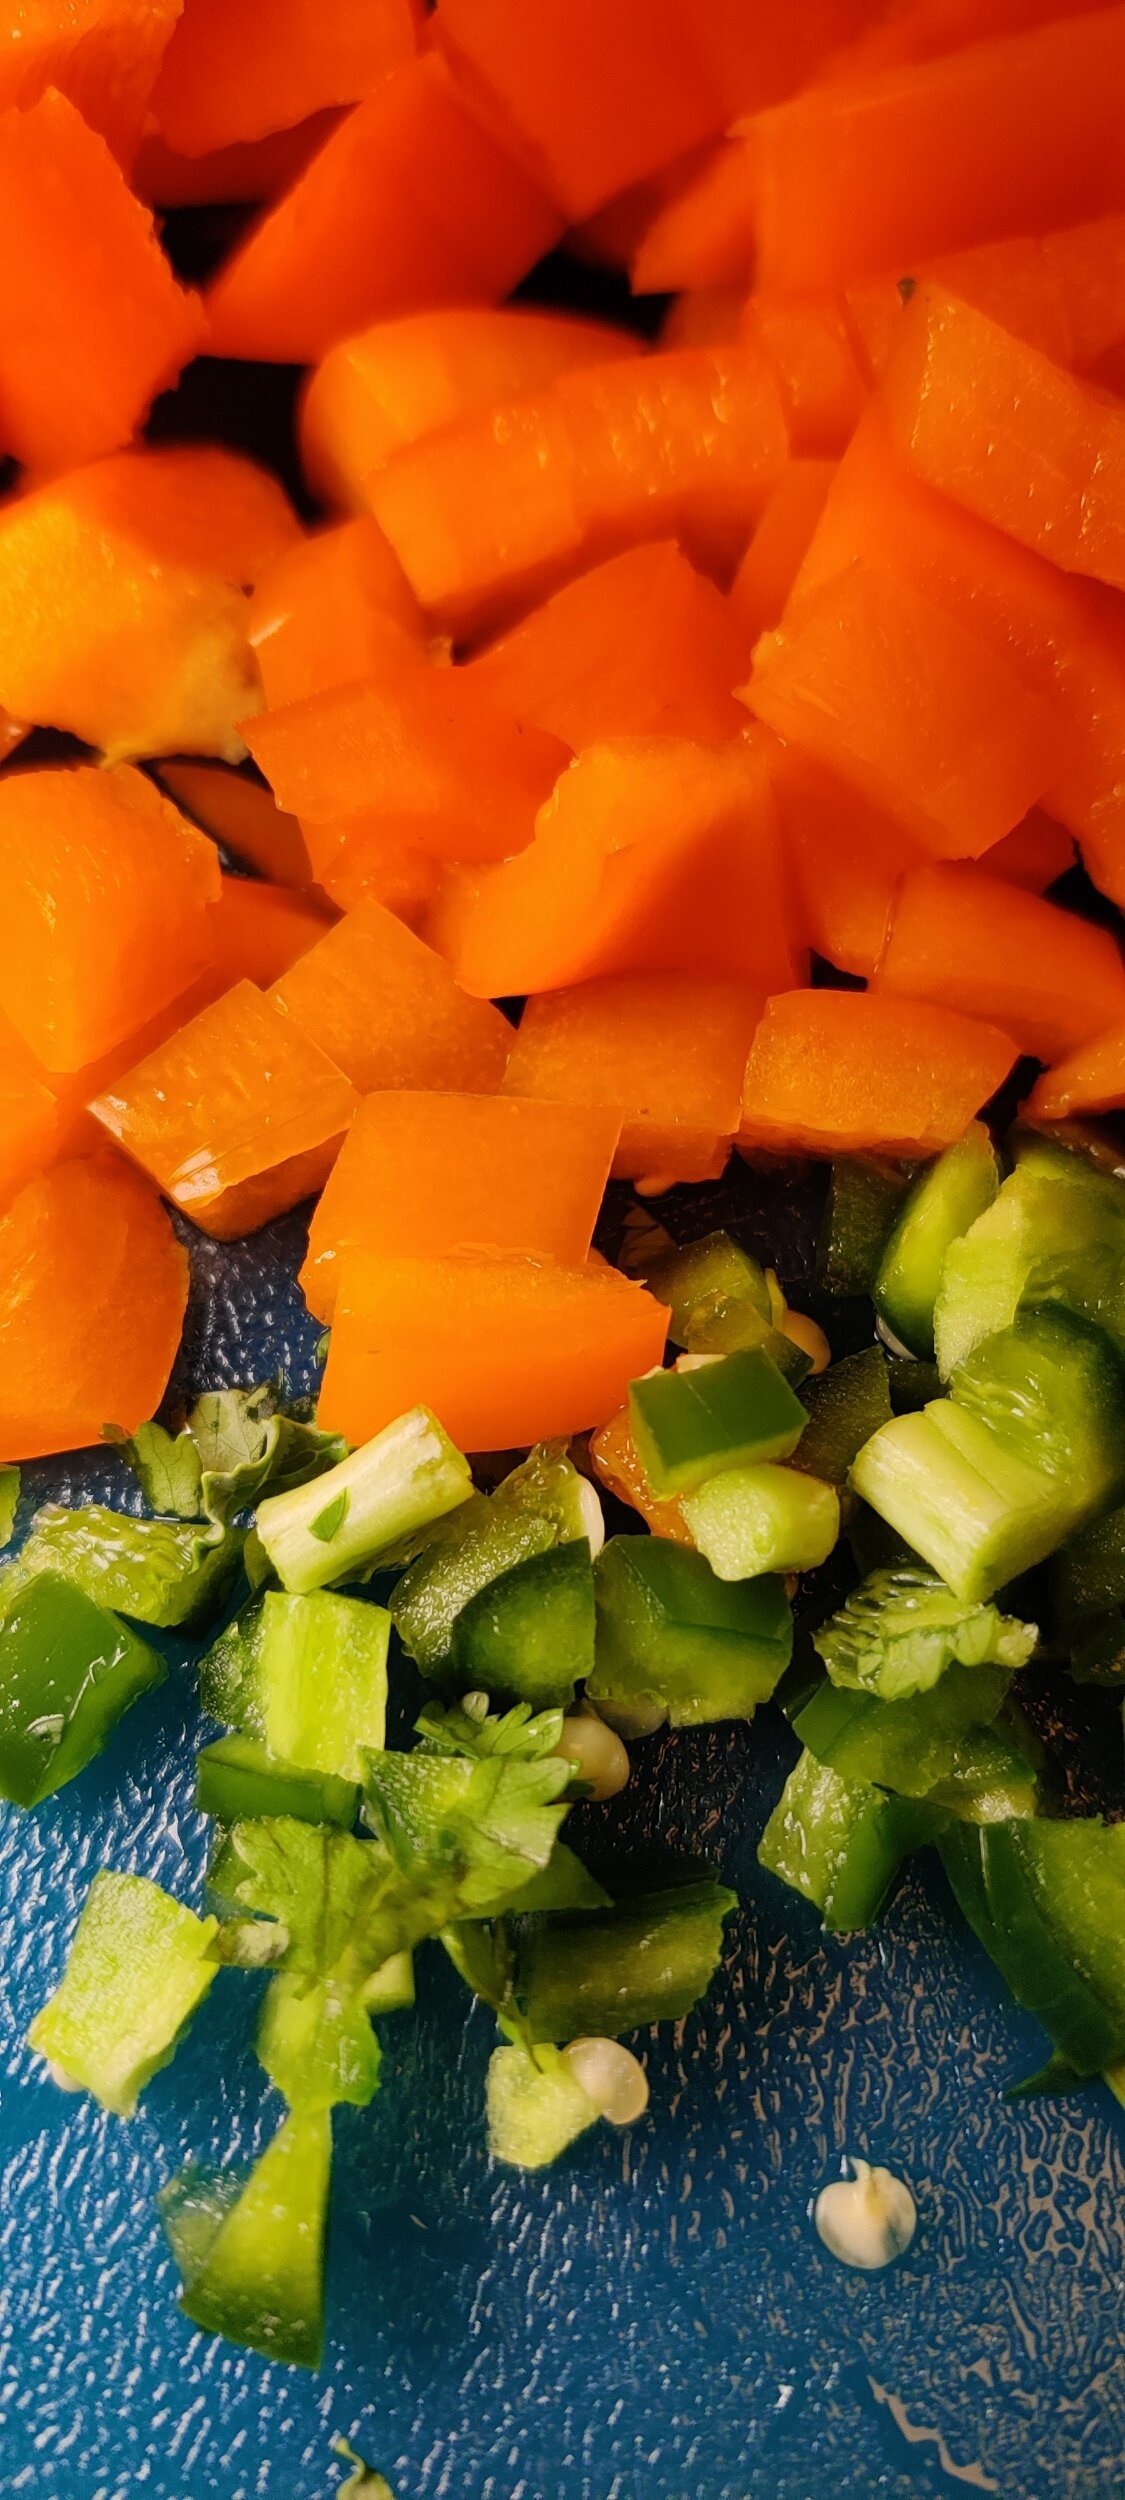
- ½ large bell pepper, chopped
- ½ jalapeño, chopped
- 6 cups beef broth
- 2 vegetable bouillon cubes
- 1 tablespoon salt
- 2 tablespoons black pepper
- 1 tablespoon chili flakes
- ½ cup peanut butter
- 2 cups water
- 2 tablespoons vegetable oil
- 1 teaspoon fenugreek
- 1 teaspoon cumin
- 1 teaspoon coriander
- 1 teaspoon paprika
- 1 teaspoon sugar
- 1 teaspoon fennel
- ¼ cup chopped parsley (for garnish or added at the end)
Instructions
- Heat the vegetable oil in a large pot over medium heat. Add the chopped kale and cook until wilted and the edges begin to crisp slightly.
- Stir in the garlic and parsley. Cook for 2 minutes, until fragrant.
- Add the onion, eggplant, mushrooms, and all the spices (fenugreek, cumin, coriander, paprika, sugar, fennel, salt, pepper, and chili flakes). Sauté for another 2 minutes.
- Add the bell pepper and jalapeño, and cook for 1 more minute.
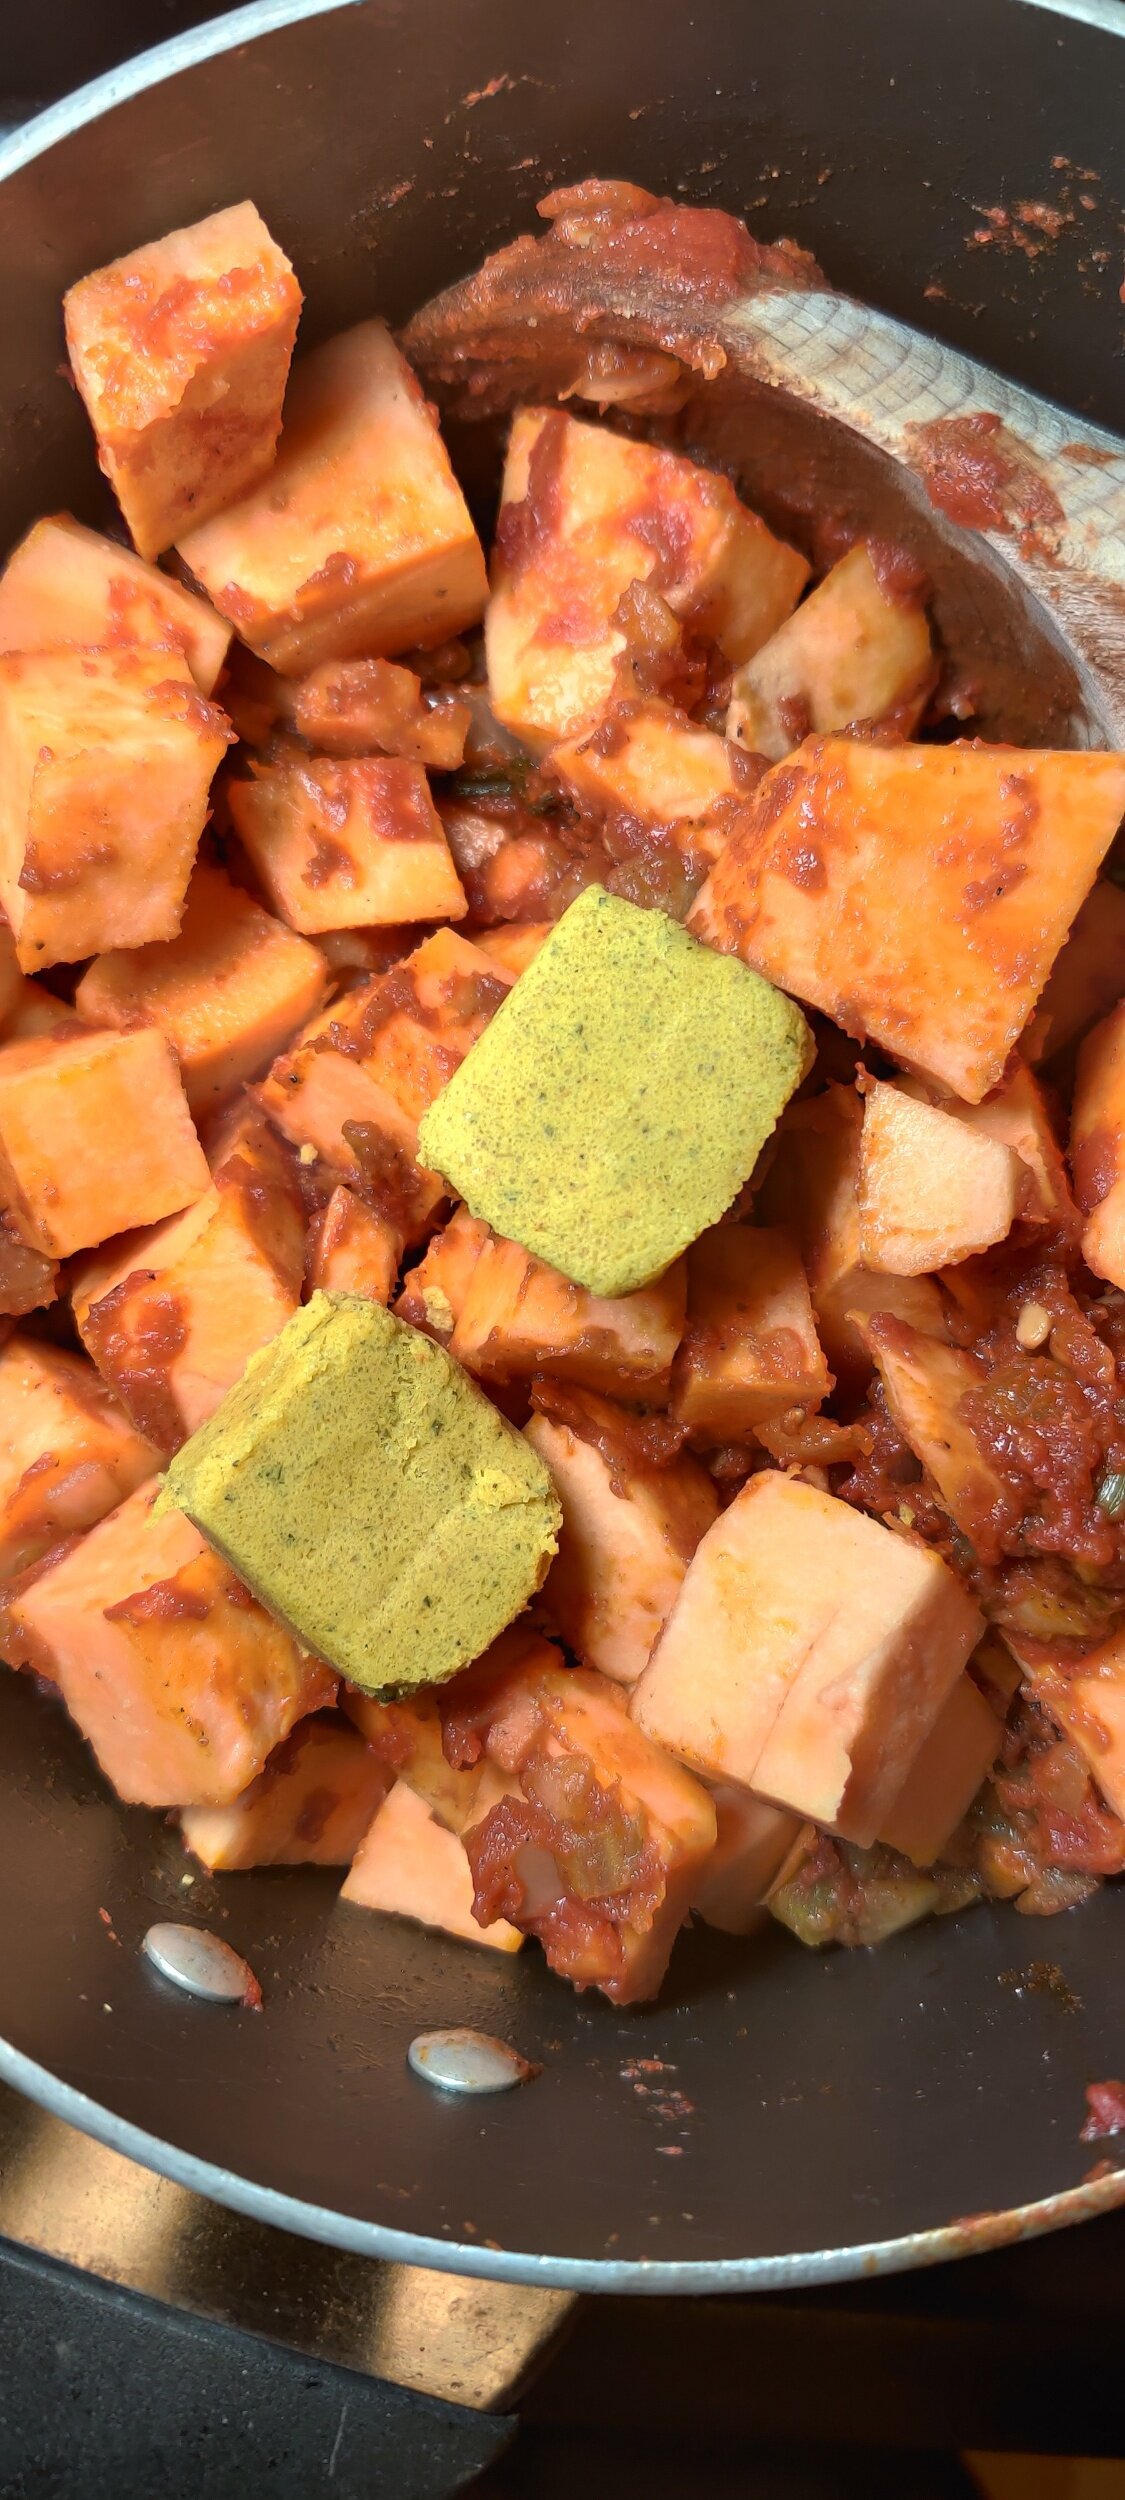
- Stir in the tomato, yam (or sweet potato), bouillon cubes, water, and beef broth.
- Reduce the heat to low, cover, and let the stew simmer for about 35 minutes. Stir occasionally and add more water if the stew becomes too thick.
- Once the vegetables are soft and the flavors are well developed, stir in the peanut butter and simmer for 5 more minutes. Taste and adjust seasoning as needed.
- Serve hot, ideally with freshly made chapati or another flatbread.
Notes
Tips:
- The richer your broth, the more flavorful the stew will be. Homemade stock or beef bone broth adds incredible depth.
- While traditionally made with beef broth, this stew can easily be made vegetarian or vegan by using a well-seasoned vegetable broth.
- You can also blend part of the stew for a smoother texture or leave it chunky, depending on your preference.
I am not a certified nutritionist and any nutritional information on dontmissmyplate.com should only be used as a general guideline.

How to Make East African Chapati – Step-by-Step Recipe
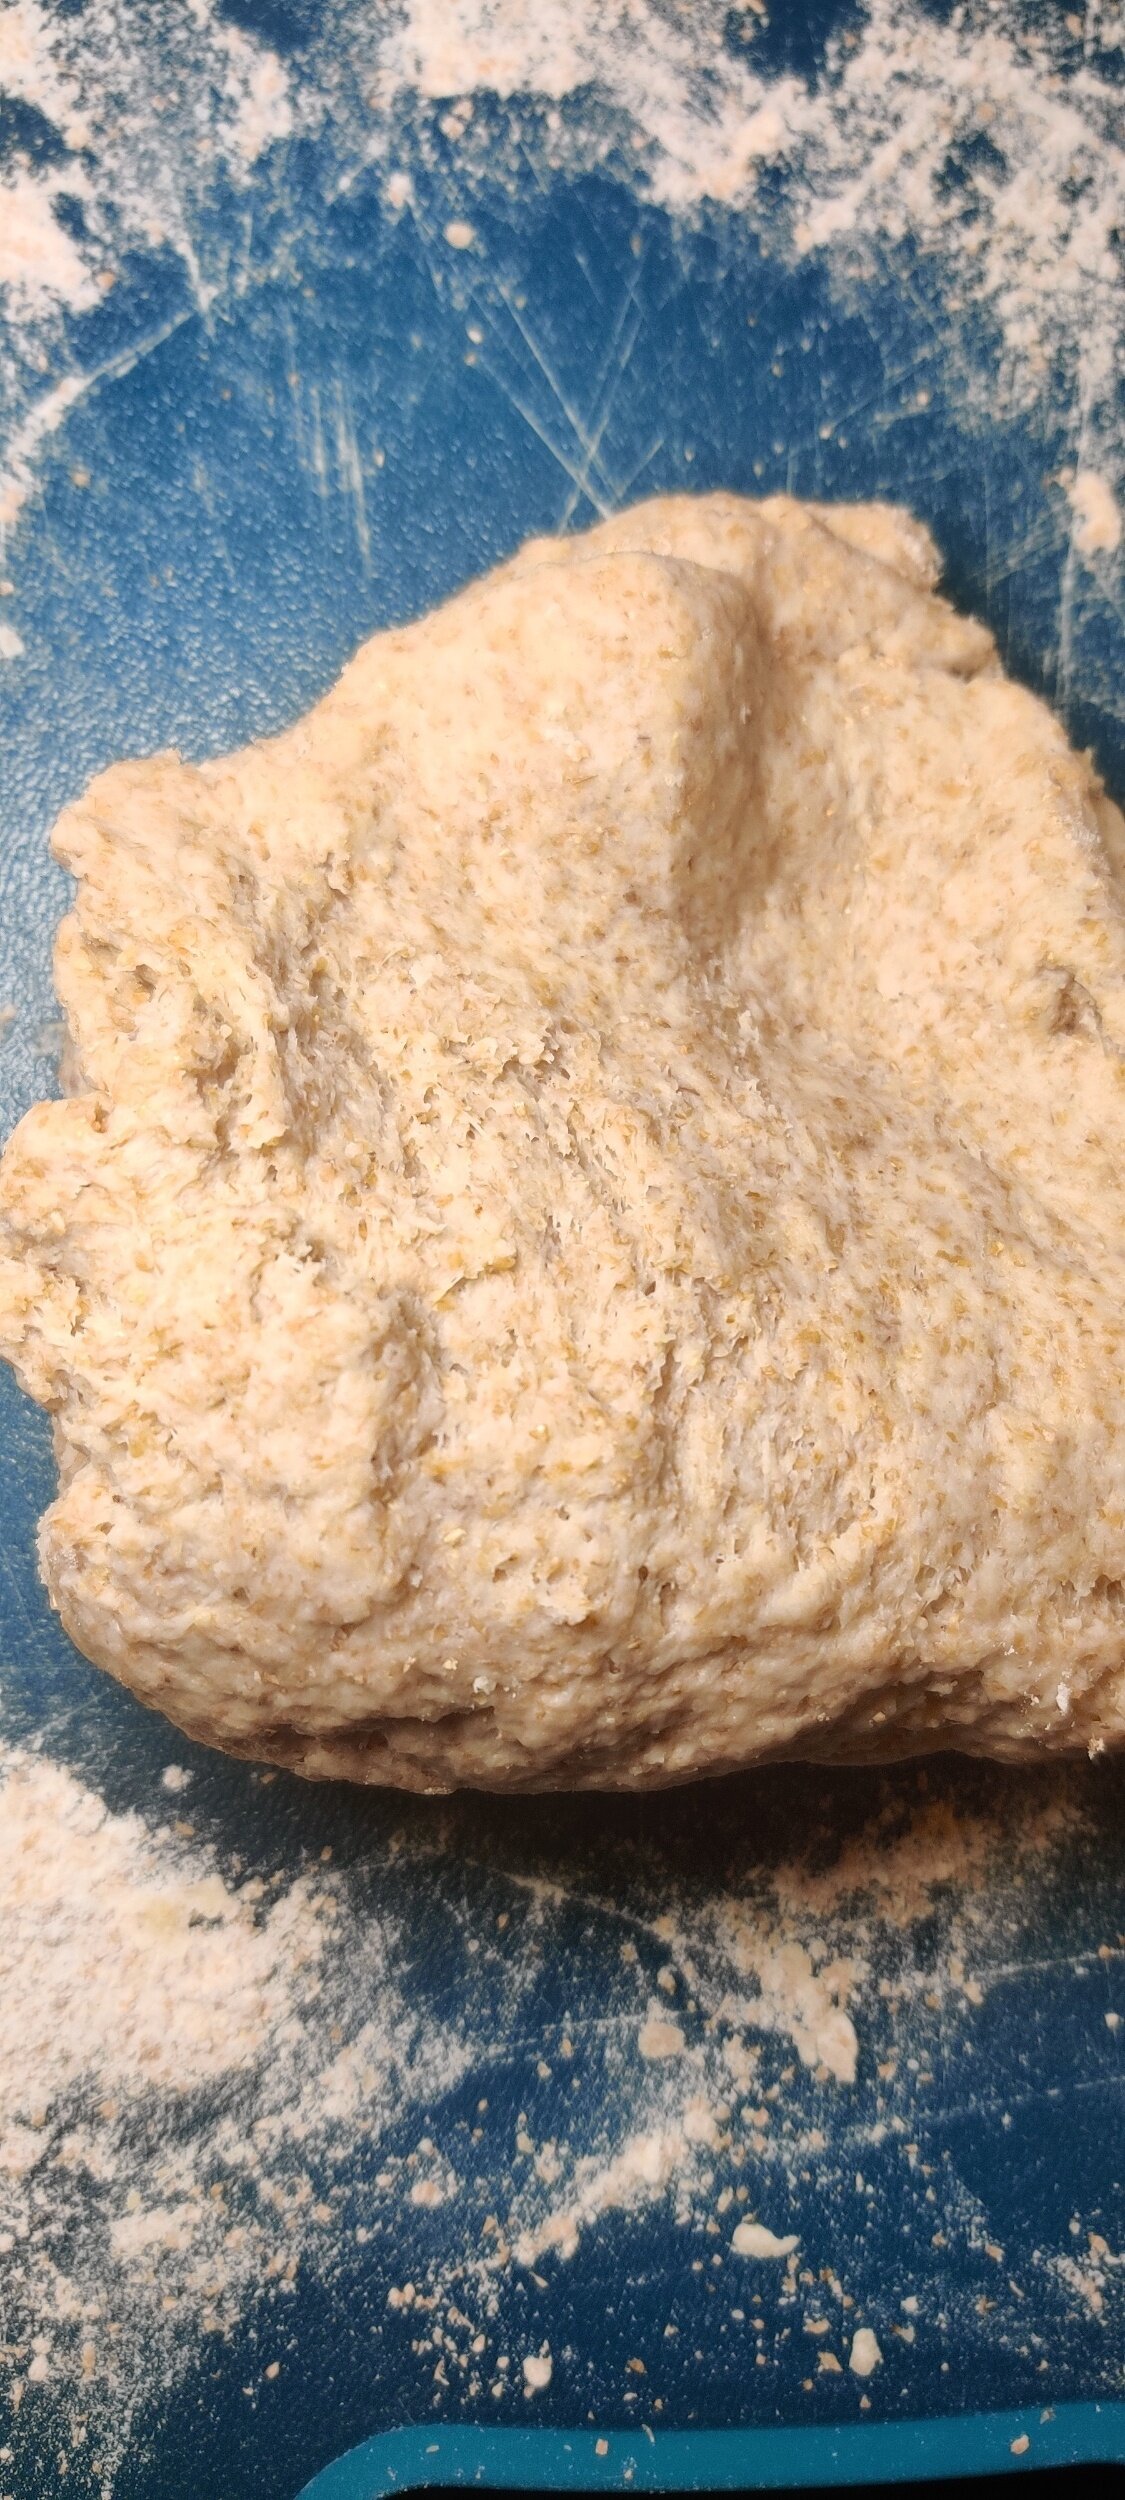
Chapati is one of the most beloved and widely eaten flatbreads in East Africa. Popular in countries like Kenya, Uganda, and Tanzania, it’s a staple at family dinners, street food stalls, and festive gatherings. While chapati originated from the Indian subcontinent and was introduced to Africa through trade and migration, it has evolved into a distinct East African version that is softer, flakier, and richer than its Indian counterpart.
What sets East African chapati apart is the generous use of oil or ghee in both the dough and the cooking process. This gives the bread its signature soft texture and golden, flaky layers. When made well, chapati is slightly crisp on the outside, soft and chewy on the inside, and perfectly seasoned with just the right amount of salt and fat.
In many African homes, bread is more than just food. It plays an important cultural role at the table and is often shared during meals as a symbol of hospitality. Chapati in particular is used to scoop up stews, beans, or vegetables, making it an essential part of everyday meals and celebrations. For many, learning to make chapati from scratch is a family tradition passed down through generations.
I originally created this recipe to pair with a mashed kale stew, but it's incredibly versatile. Chapati is also perfect with curries, lentils, grilled meats, or simply served as a side with a variety of other dishes.
If you’ve ever ended up with dry or tough chapatis, this recipe offers a few simple but essential tips. Be generous with the oil or ghee, knead the dough thoroughly to build elasticity, and give it time to rest before rolling. For extra flaky layers, try the folding and coiling method described in the recipe. These steps make a big difference in achieving that classic East African chapati texture.
Whether served with sukuma wiki, lentils, or a cup of tea, this chapati brings the flavor and comfort of East African home cooking to your kitchen.


How to Make East African Chapati – Step-by-Step Recipe
A soft, flaky flatbread that's a staple across East Africa. This chapati is easy to make, incredibly versatile, and perfect with stews, curries, or on its own.
Ingredients
- 1 cup whole-wheat flour (you can substitute all-purpose flour if desired)
- 1 cup all-purpose flour, plus extra for dusting
- 1 teaspoon salt
- 2 tablespoons olive oil or ghee, plus extra for brushing
- ¾ cup hot water
Instructions
- In a large bowl, combine the whole-wheat flour, all-purpose flour, and salt.
- Using a wooden spoon or spatula, mix in the oil or ghee. Gradually add the hot water in two parts, mixing until a soft, elastic dough forms. Don’t skimp on the oil or ghee, this helps prevent dry chapatis.
- Turn the dough out onto a lightly floured surface. Knead for about 10 minutes until smooth and pliable.
- Divide the dough into 8 to 10 equal portions, depending on your preferred chapati size.
- Cover and let rest for 10 minutes.
- On a floured surface, roll out each dough ball into a round shape, similar to a tortilla but slightly thicker.
- Lightly brush each side with oil or ghee, then dip both sides in flour, shaking off any excess.
- Heat a dry, non-stick pan over medium-high heat.
- Place one chapati in the pan and cook for about 30 seconds, or until brown spots begin to form. Flip and cook the other side. Repeat with the remaining dough.
- If you'd like to create distinct layers inside your chapati, follow these extra steps after dividing the dough:
- Take each dough ball and fold it back and forth like a fan or piece of paper.
- Alternatively, roll it up tightly like a carpet.
- Coil the folded dough into a spiral shape (like a cinnamon roll), then cover and let rest under a damp towel for 30 minutes.
- After resting, gently press each dough coil flat and roll it out again into a round shape.
- Lightly brush both sides with oil/ghee, press into flour, and shake off the excess.
- Cook as described above.
Notes
Serving and Storage Tips
- Serve chapatis warm, ideally right off the pan.
- To store, wrap them tightly in foil or a clean cloth to keep them soft and prevent drying out.
I am not a certified nutritionist and any nutritional information on dontmissmyplate.com should only be used as a general guideline.