
Red Velvet Sheet Cake Recipe
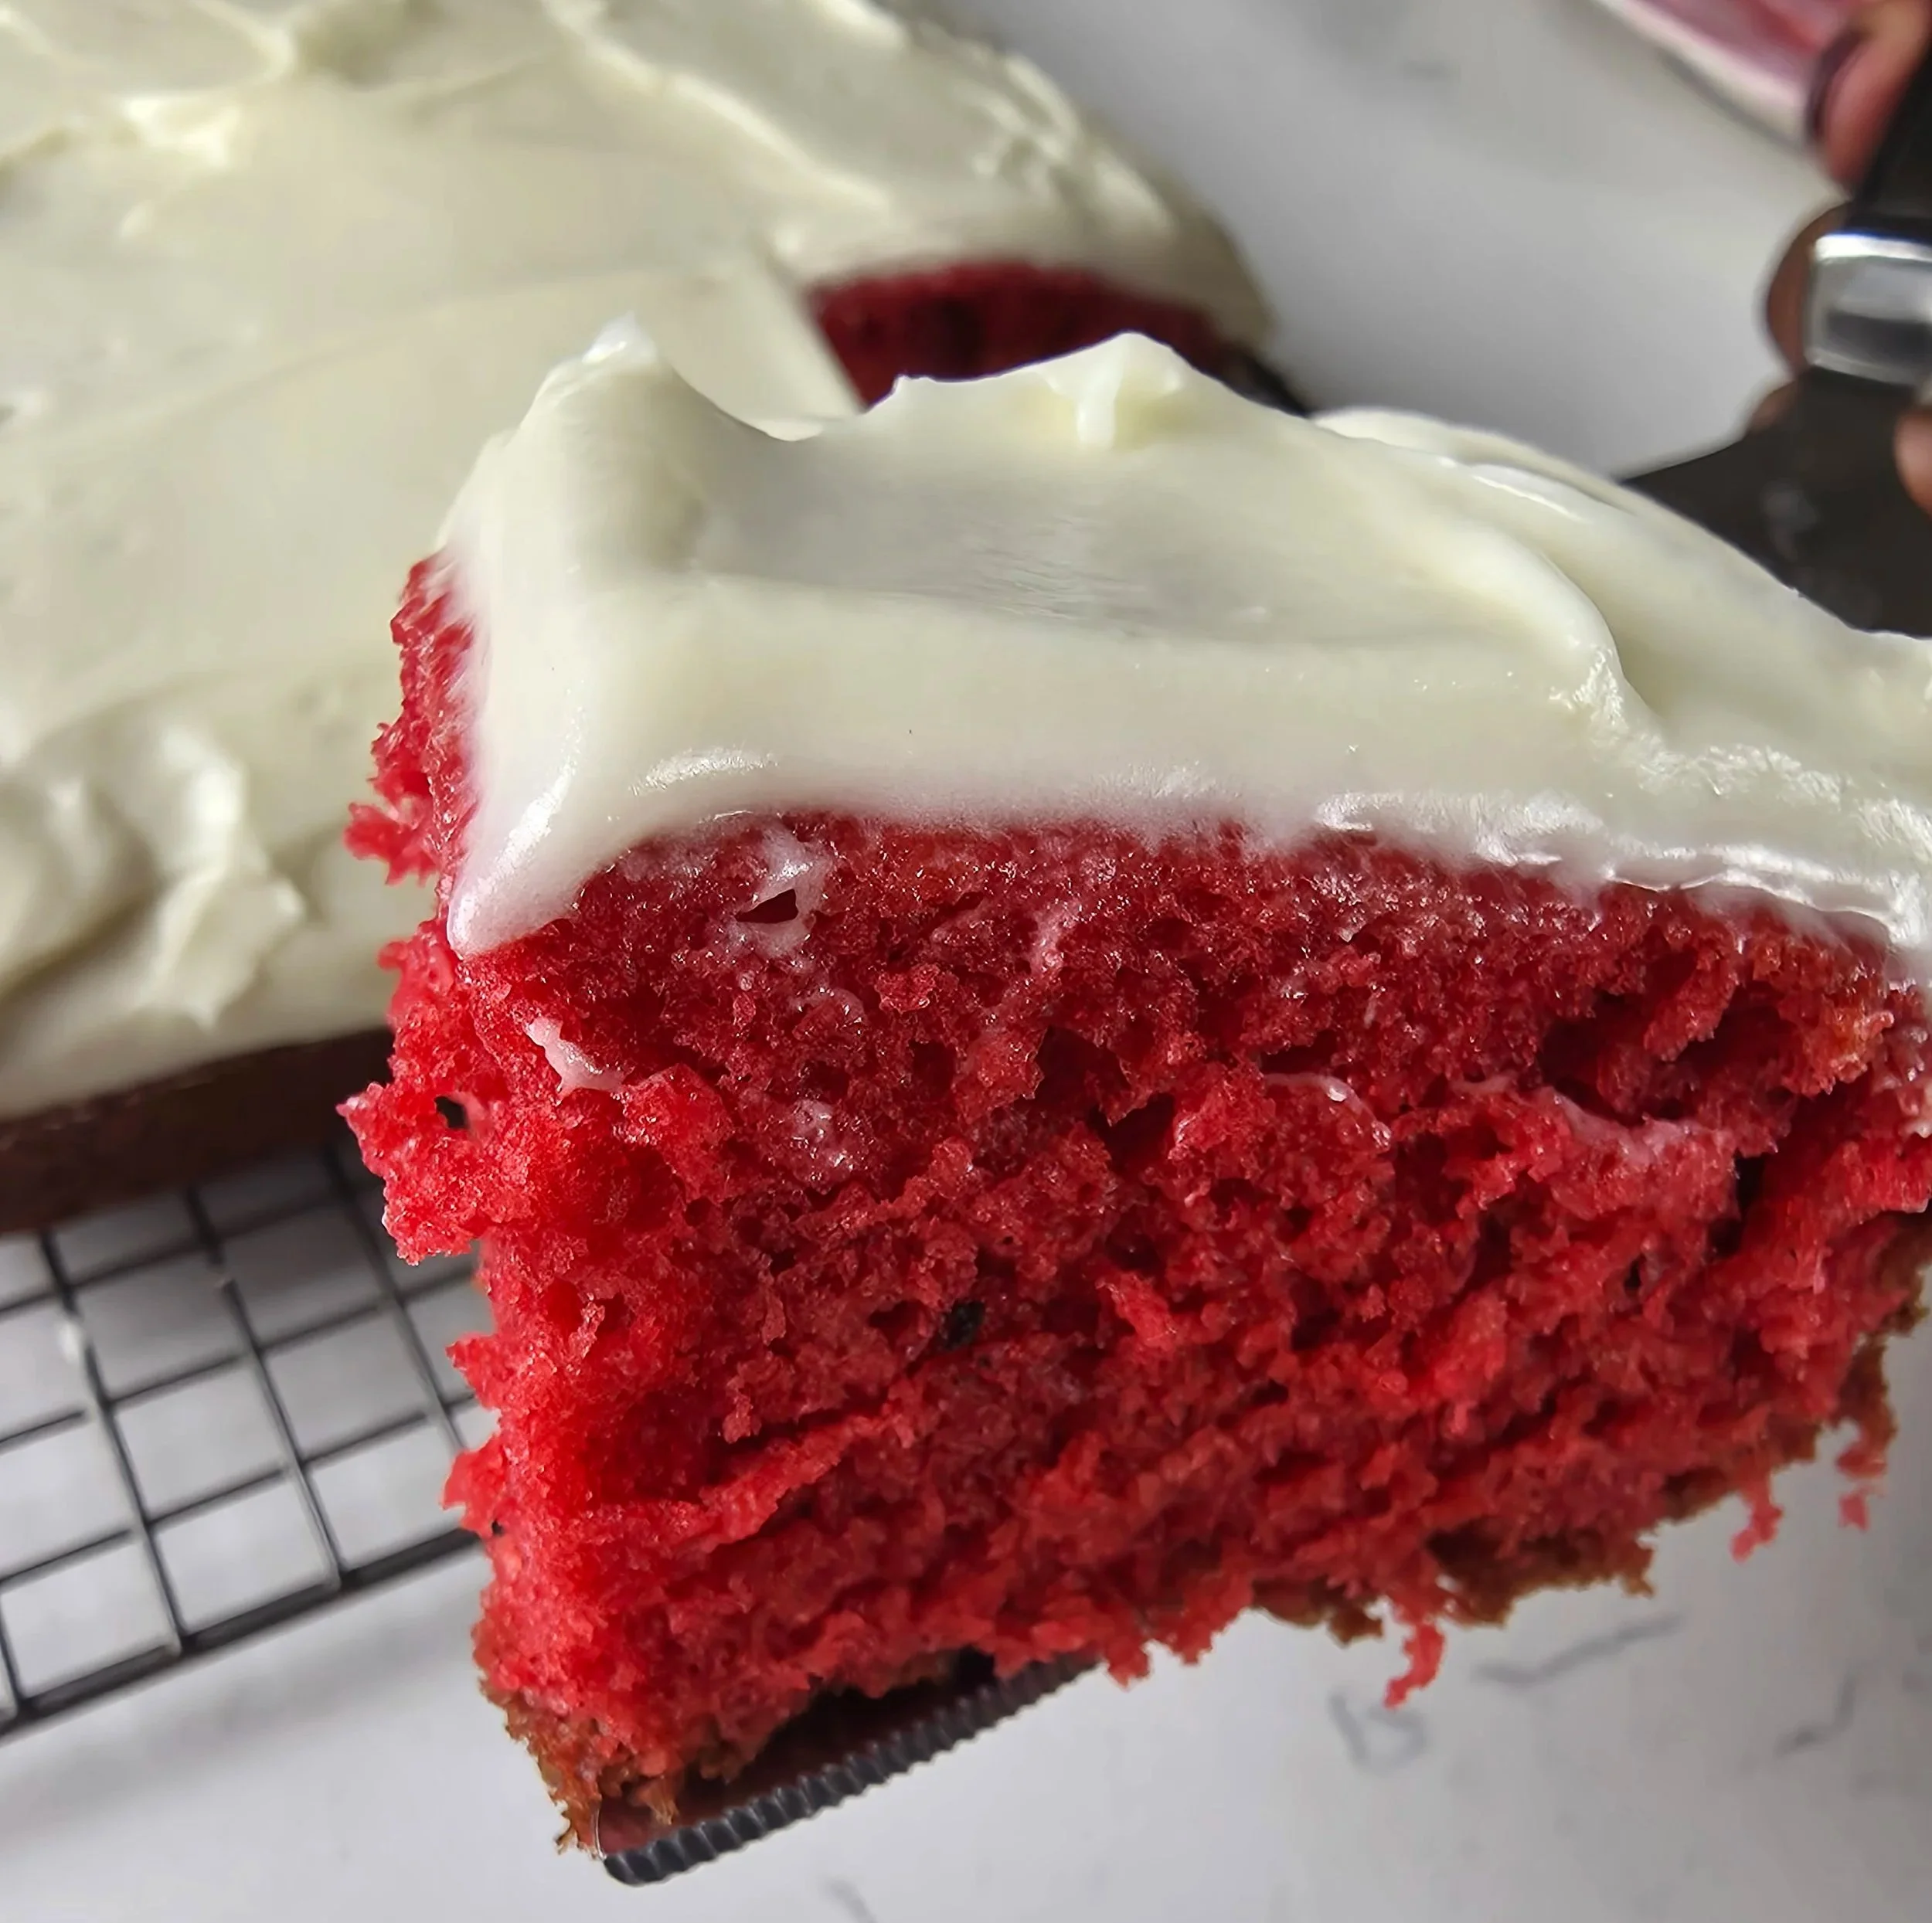
Red velvet cake has always sat in a strange but beautiful space in baking, somewhere between chocolate cake, vanilla cake, and something entirely its own. It is not defined just by its colour but by its texture: soft, velvety, slightly tangy, and incredibly moist. That signature crumb comes from a quiet chemical balance between cocoa, acidity, and fat. Buttermilk and a small amount of vinegar work together with baking soda to create lift, tenderness, and a fine, delicate crumb. For this version, I baked it as a 9x13 sheet cake designed for ease, sharing, and celebration.
This cake leans into a brighter red aesthetic, chosen intentionally for a more festive visual moment. Traditionally, red velvet ranges from a deep reddish-brown with more cocoa and less colouring to a vivid red depending on how much food colouring is used. Here, I leaned into the brighter version for impact and presentation.
If you prefer a more natural tone, you can reduce the food colouring and allow the cocoa and acidity to create a deeper, muted red-brown hue. Some bakers also use beetroot as a natural alternative.
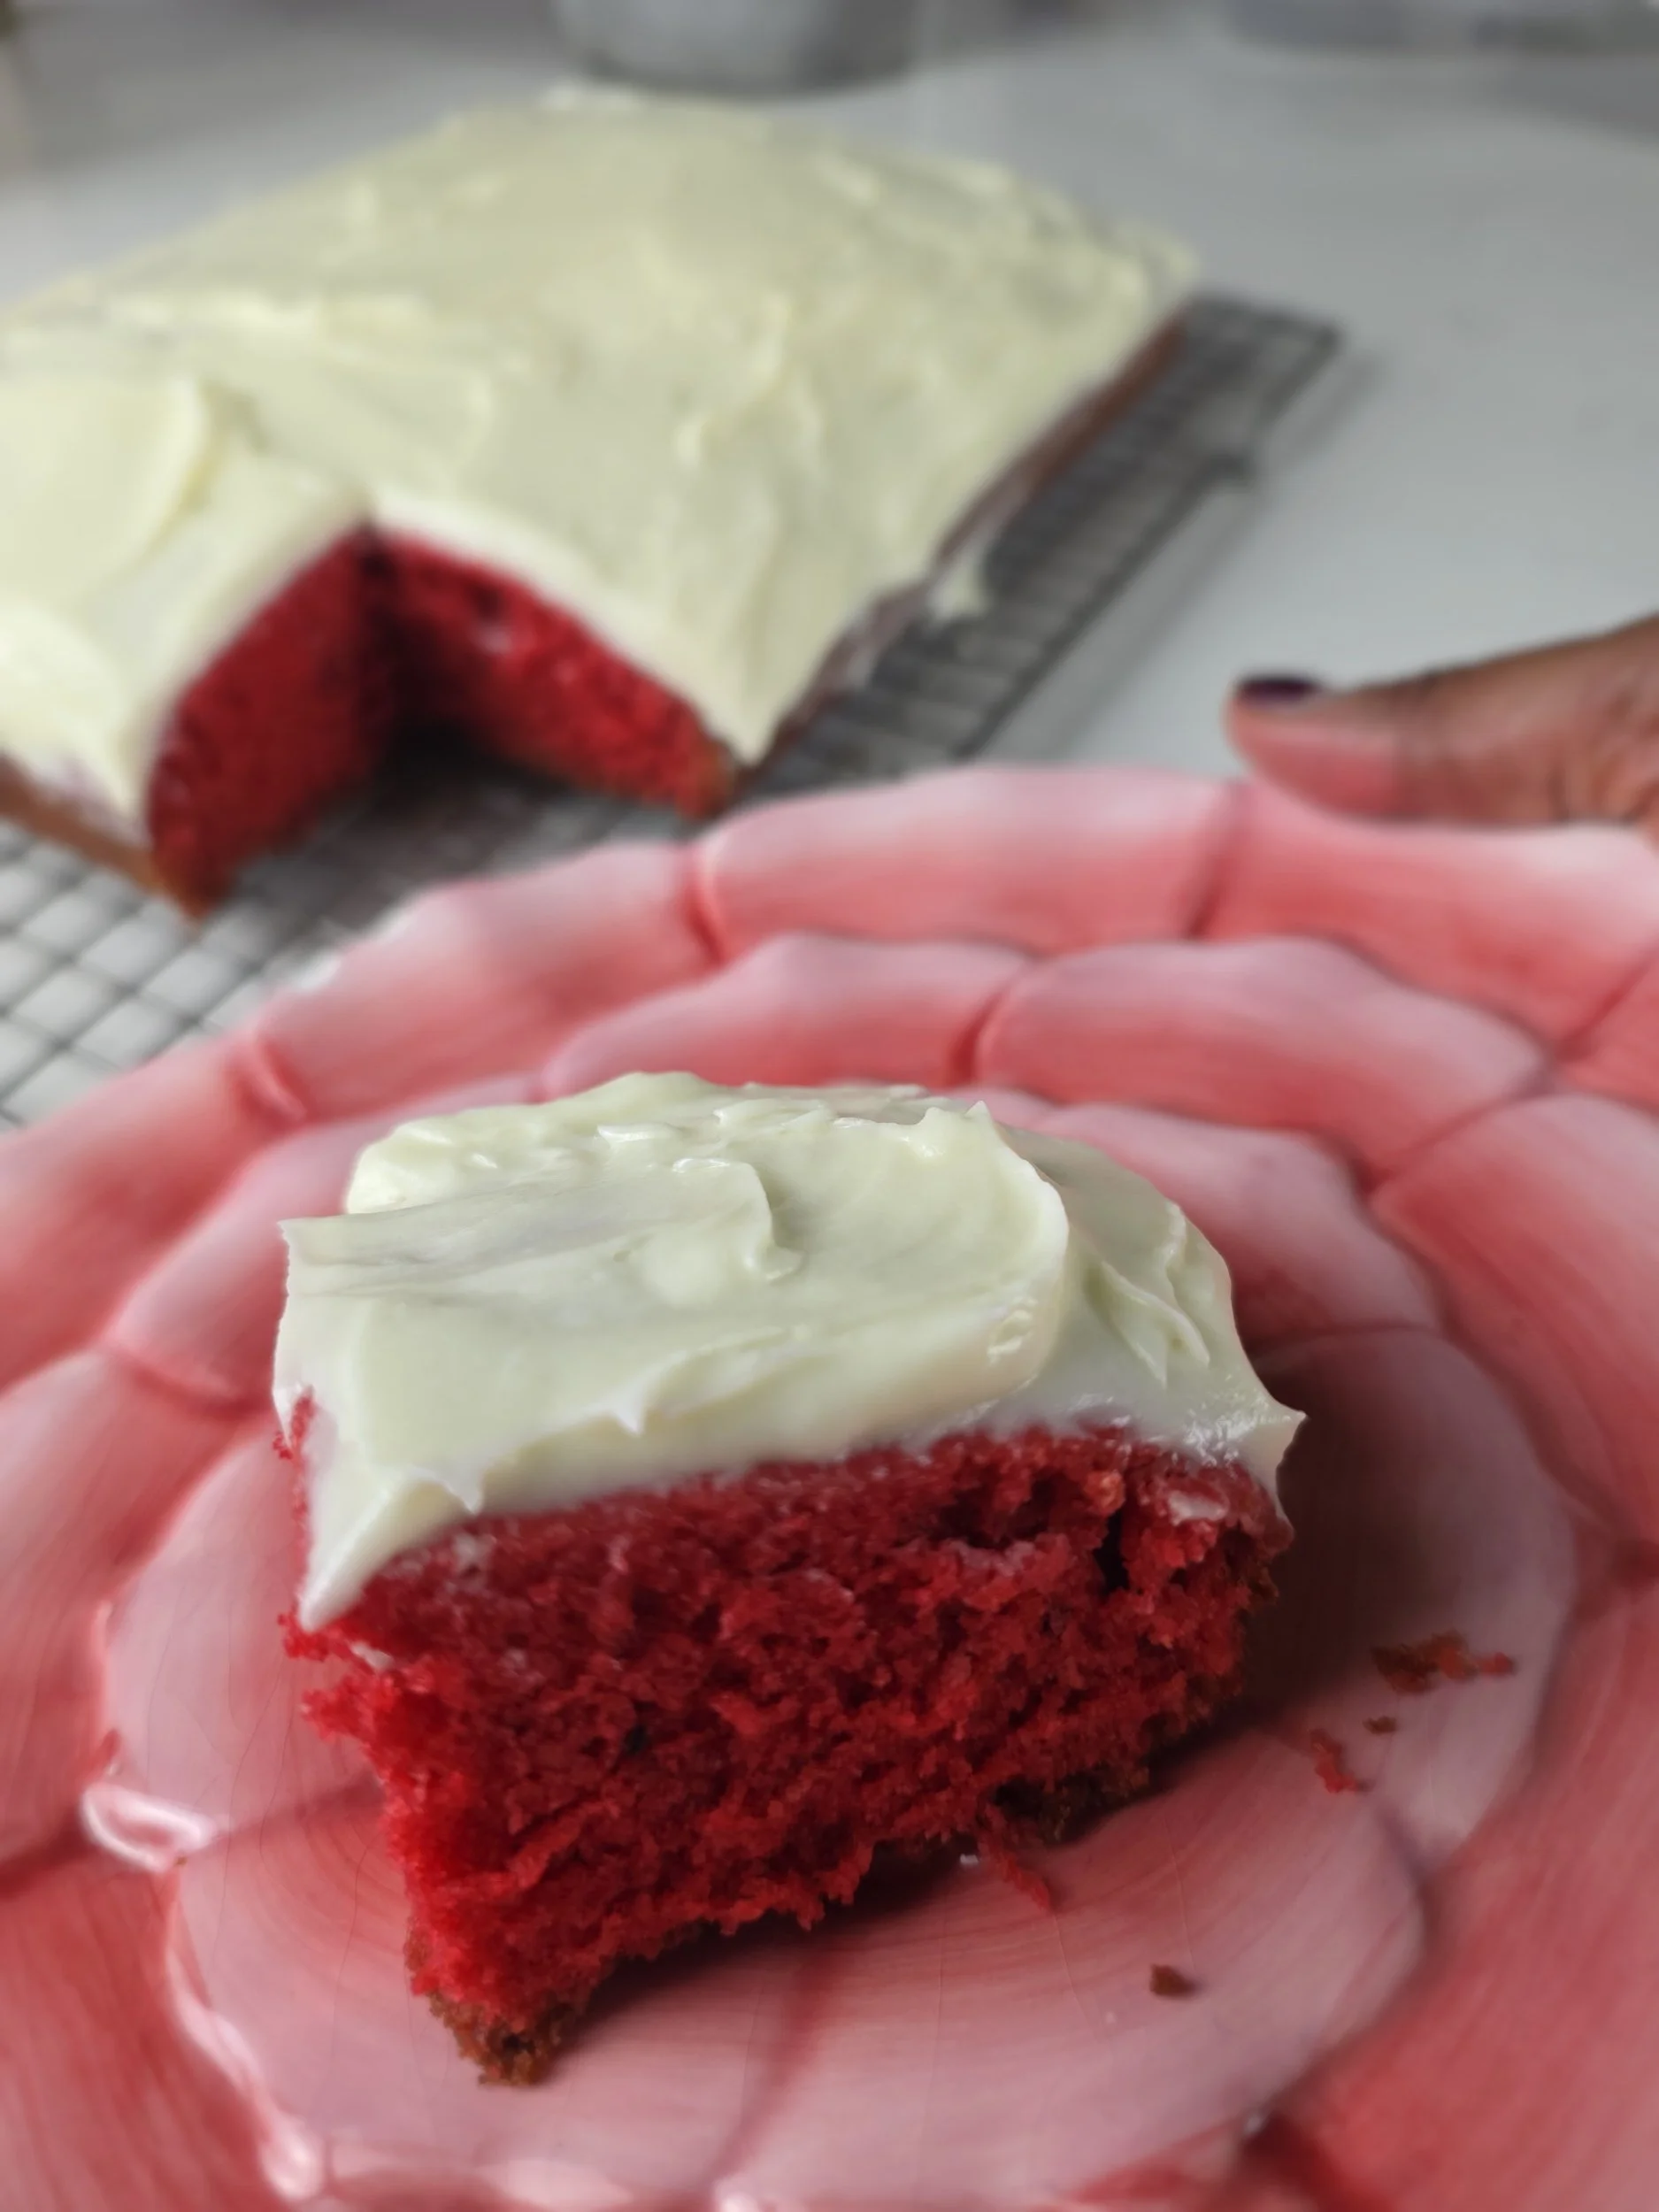
At its core, red velvet is not about perfection, it is about balance. A soft crumb, a gentle cocoa note, and that unmistakable cream cheese frosting that brings everything together. Because honestly, red velvet without cream cheese frosting just does not feel complete.
Why This Cake Works
What makes red velvet so iconic is not intensity, it is chemistry-driven contrast.
The reaction between vinegar and baking soda produces carbon dioxide. This helps the cake rise while keeping the crumb light, soft, and tender instead of dense.
Oil is used instead of butter because it stays liquid at room temperature. This keeps the cake moist for days, even after refrigeration.
Cocoa is used in a small amount on purpose. It adds depth and warmth without turning the cake into a full chocolate cake, allowing the tang and vanilla notes to stand out.
Cream cheese frosting is more than decoration. Its tanginess cuts through the sweetness and richness of the cake, reinforcing the balance that defines red velvet.
Together, these elements are not just flavour choices, they are controlled chemistry working in harmony to create one of the most recognizable celebration cakes.
")
Red Velvet Sheet Cake (9x13)
This red velvet sheet cake is soft, moist, and perfectly tangy with a fine, velvety crumb. Baked in a 9x13 pan for easy serving, it uses simple pantry ingredients like buttermilk, cocoa, and oil to create its signature texture. Finished with a rich cream cheese frosting, this cake is ideal for celebrations, gatherings, or anytime you want a classic dessert with a tender, bakery-style finish.
Ingredients
- 2½ cups cake flour
- 1½ cups granulated sugar
- 1 tsp baking soda
- 1 tsp salt
- 1 tsp cocoa powder*
- 1½ cups peanut oil (or neutral oil)
- 2 large eggs
- 1 cup buttermilk (or 1milk + 1 tbsp white vinegar (rested 5–10 min)
- *2 tbsp red food colouring (use less for a more muted colour and increase cocoa powder slightly if needed)
- 1 tsp vanilla extract
- 1 tsp white vinegar
- 8oz (225g) cream cheese (softened)
- 115g unsalted butter (softened)
- 4 cups powdered sugar
- 1 tsp vanilla extract
- Pinch of salt
Instructions
- Preheat oven to 175°C (350°F). Grease and line a 9x13 pan.
- If you don't have buttermilk, mix milk and vinegar and let it sit until slightly curdled.
- Whisk dry ingredients together in one bowl.
- In another bowl, mix oil, eggs, vanilla, colouring, and buttermilk mixture.
- Combine wet and dry ingredients until just mixed, but do not overwork.
- Add the vinegar and fold gently.
- Pour into pan and bake 35–40 minutes or until a toothpick comes out clean.
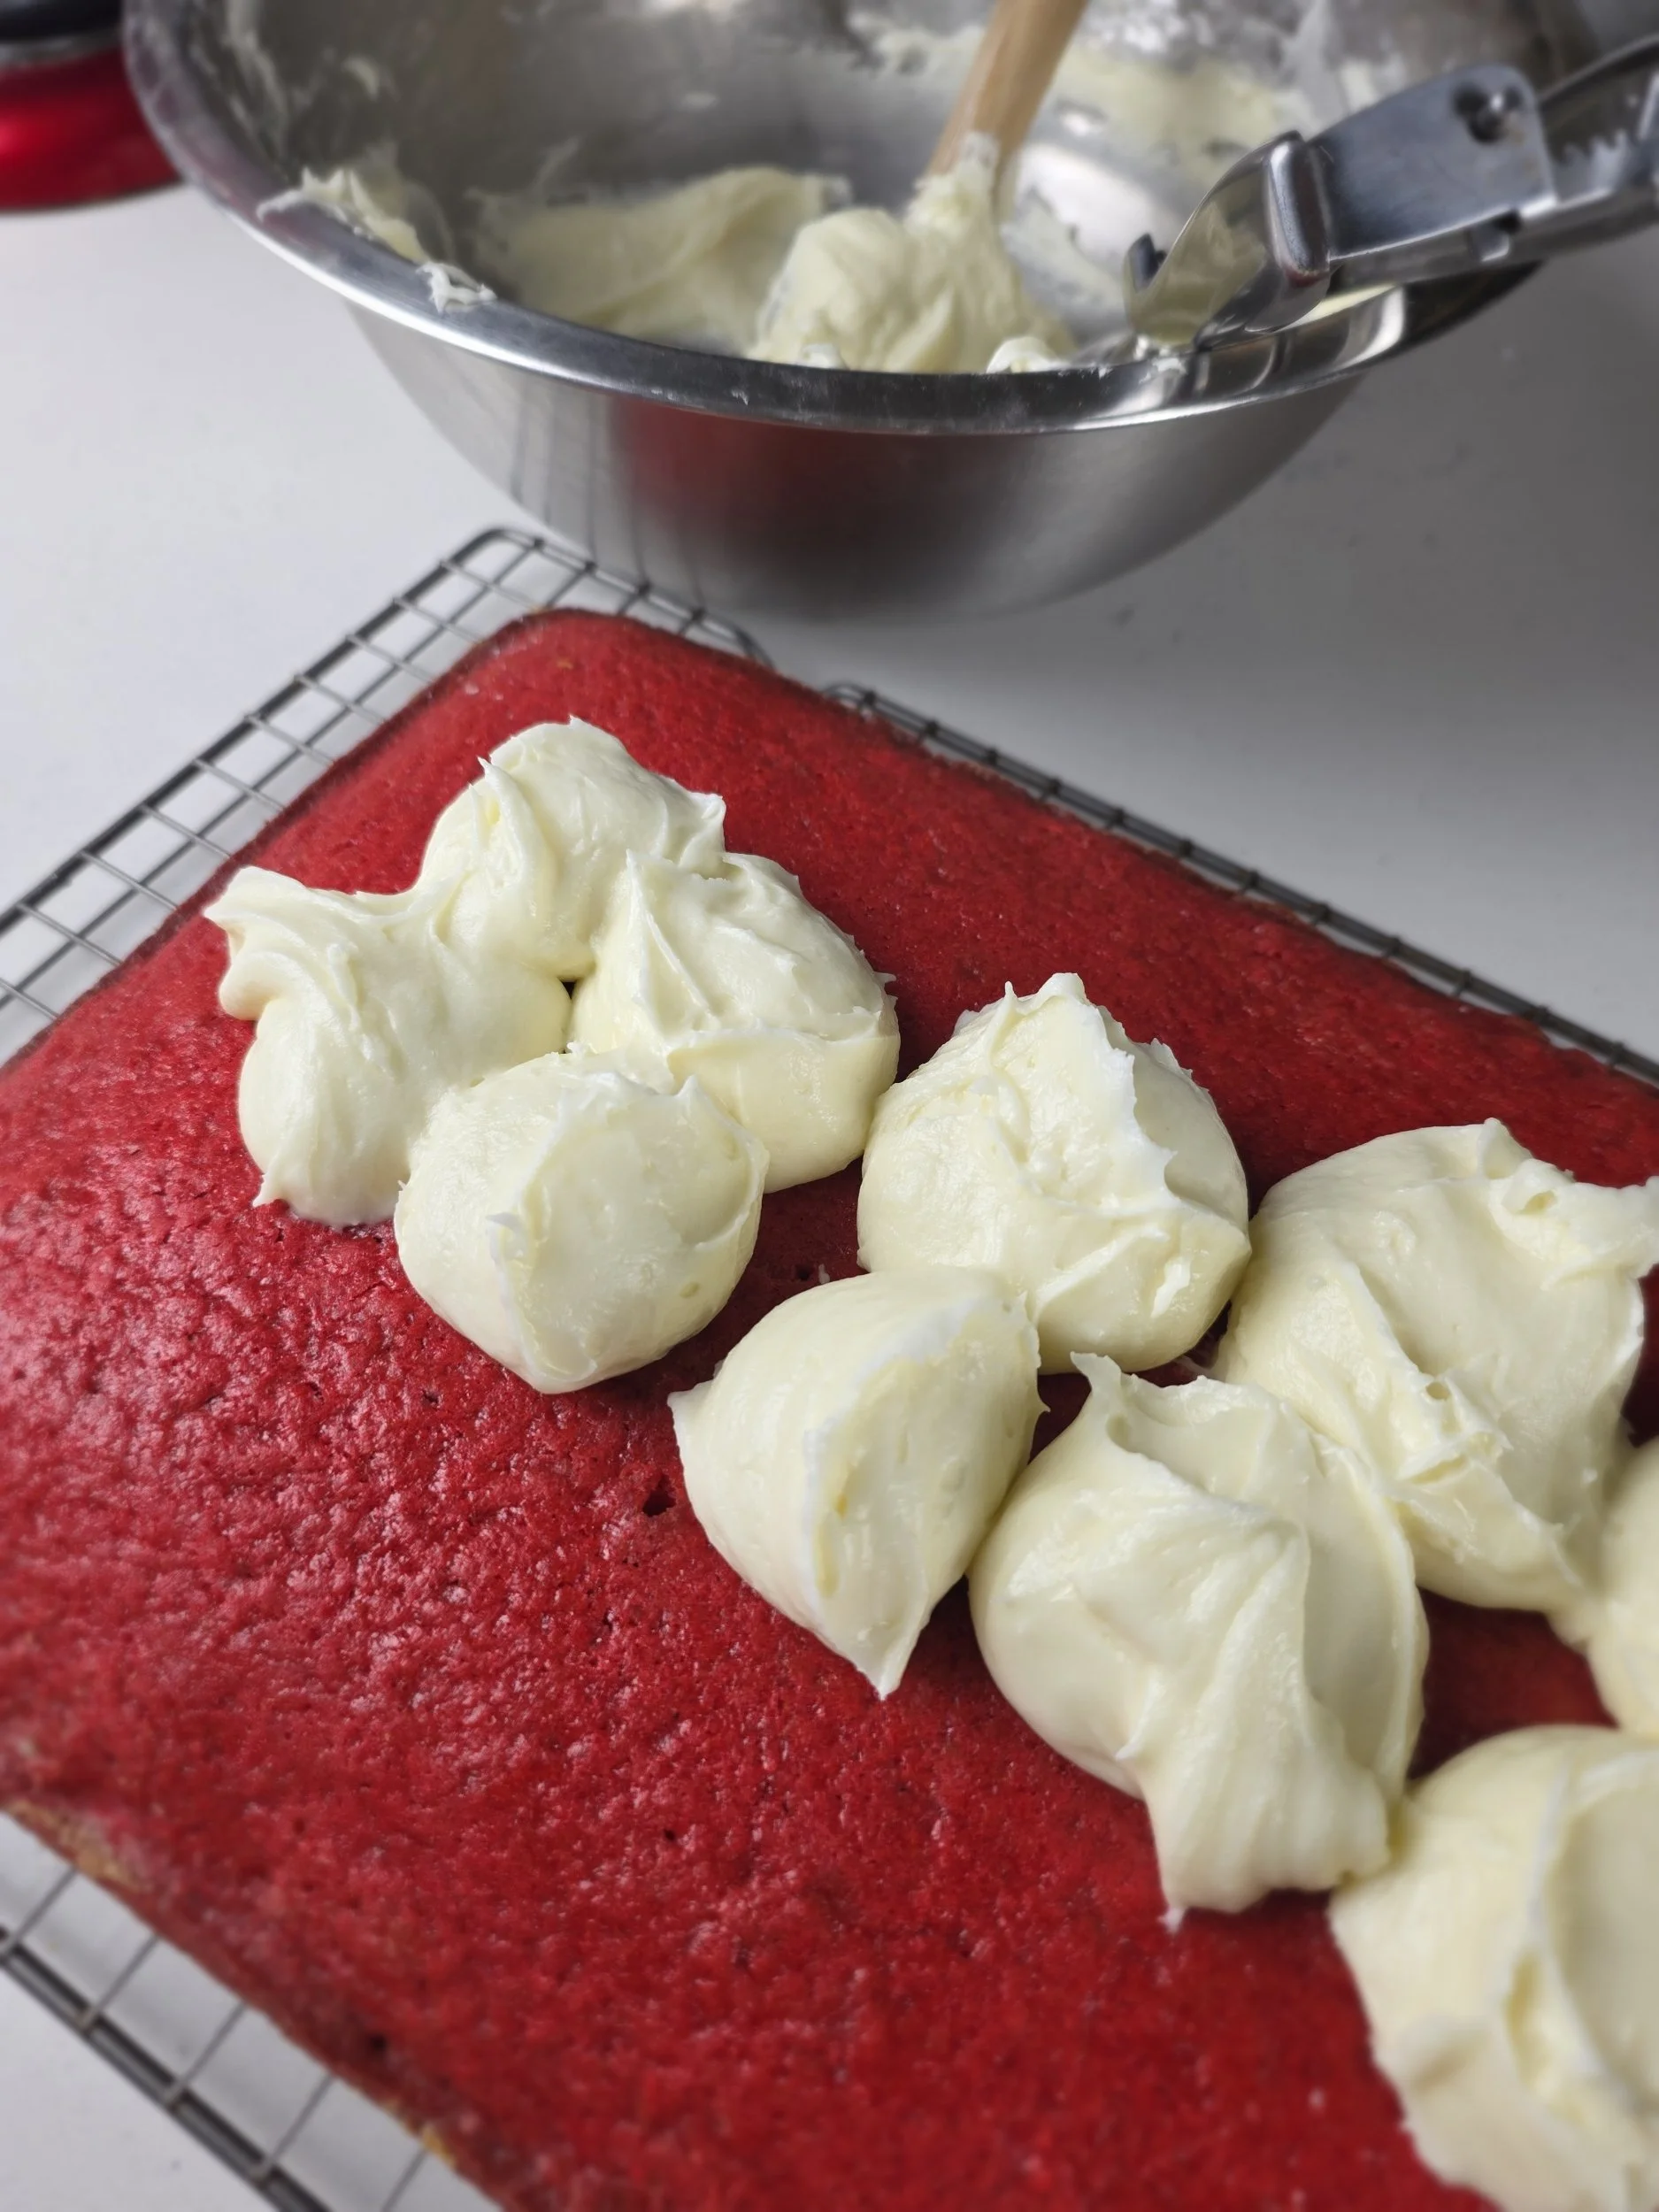
- Cool completely before frosting.
- Beat frosting ingredients until fluffy and spread over cooled cake.
Nutrition Facts
Calories
420Fat (grams)
22 gCarbs (grams)
52 gSugar (grams)
38 gProtein (grams)
4 gI am not a certified nutritionist and any nutritional information on dontmissmyplate.com should only be used as a general guideline.
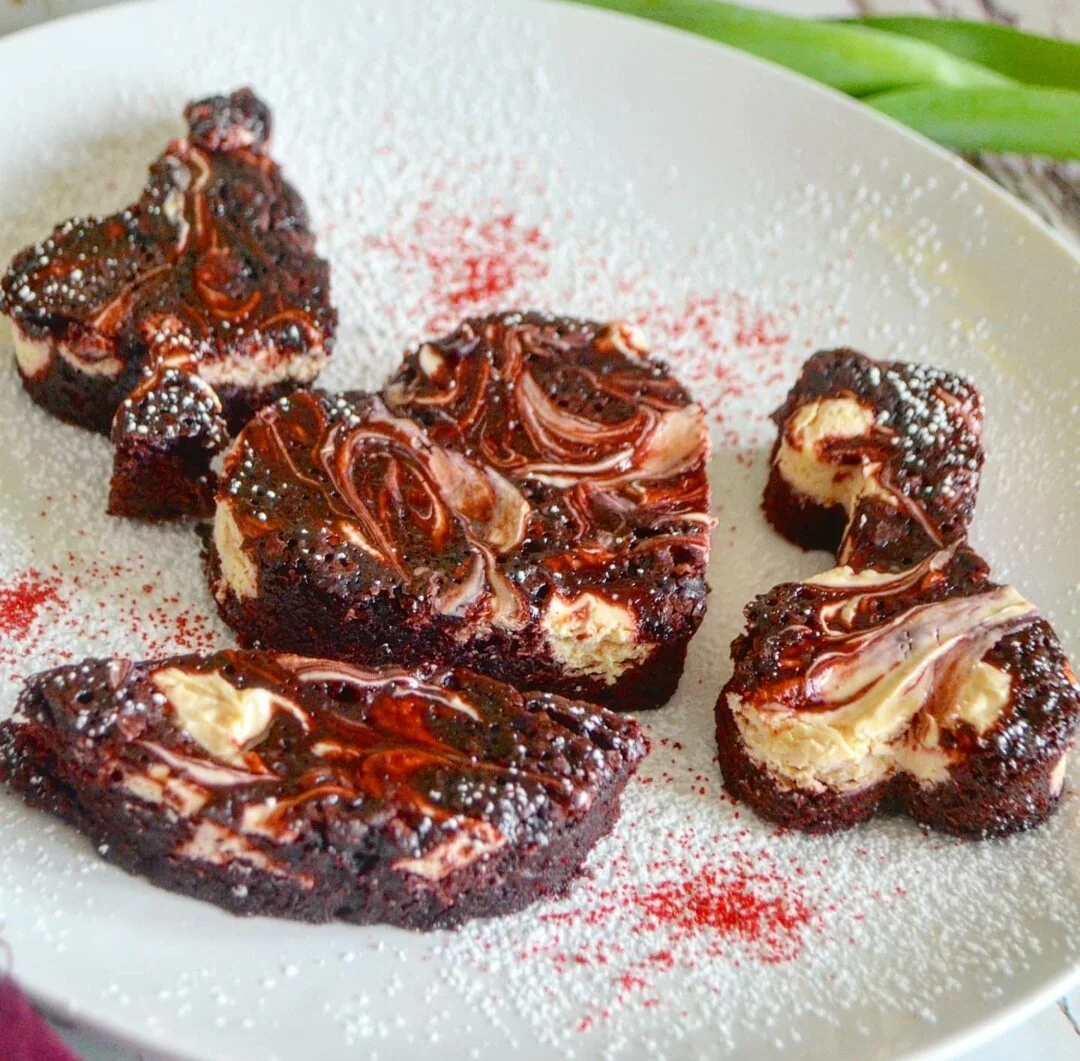
Red Velvet Cream Cheese Swirl Brownies
This recipe is part of a two-part 3-course meal menu. Start with this Avocado and Strawberry Salad, followed by a Roasted Veggie Sheet Pan with Pan Seared Salmon.
Are you a brownie fan? Do you like red velvet? Enjoy the occasional spread of cream cheese? Pairing red velvet and cream cheese is one of the dream teams in the realm of desserts and sweet things.
I have done this numerous times with pumpkin bread, and often favour brownie's' with creamy swirls when I see them in coffees shops. For a social occasion or to treat yourself, you can do it at home!
All you have to do it make your batter and the cream cheese mix - which will add some texture and another flavour element - to your red velvet, chocolate, pumpkin, or whatever goodness you are baking. The cream cheese will also make the brownies moist, which is great for those of us who like our brownies a little sturdy but not dry!
Since these were for a special occasion i.e. Valentine’s’ Day, I used cookie cutter shapes, but you can just cut them into squares once cooled!
Ingredients
3/4 cup all-purpose flour
1/4 cup unsweetened cocoa powder
1/2 teaspoon almond extract
1 1/2 teaspoons vanilla extract
1 cup white granulated sugar
2 eggs
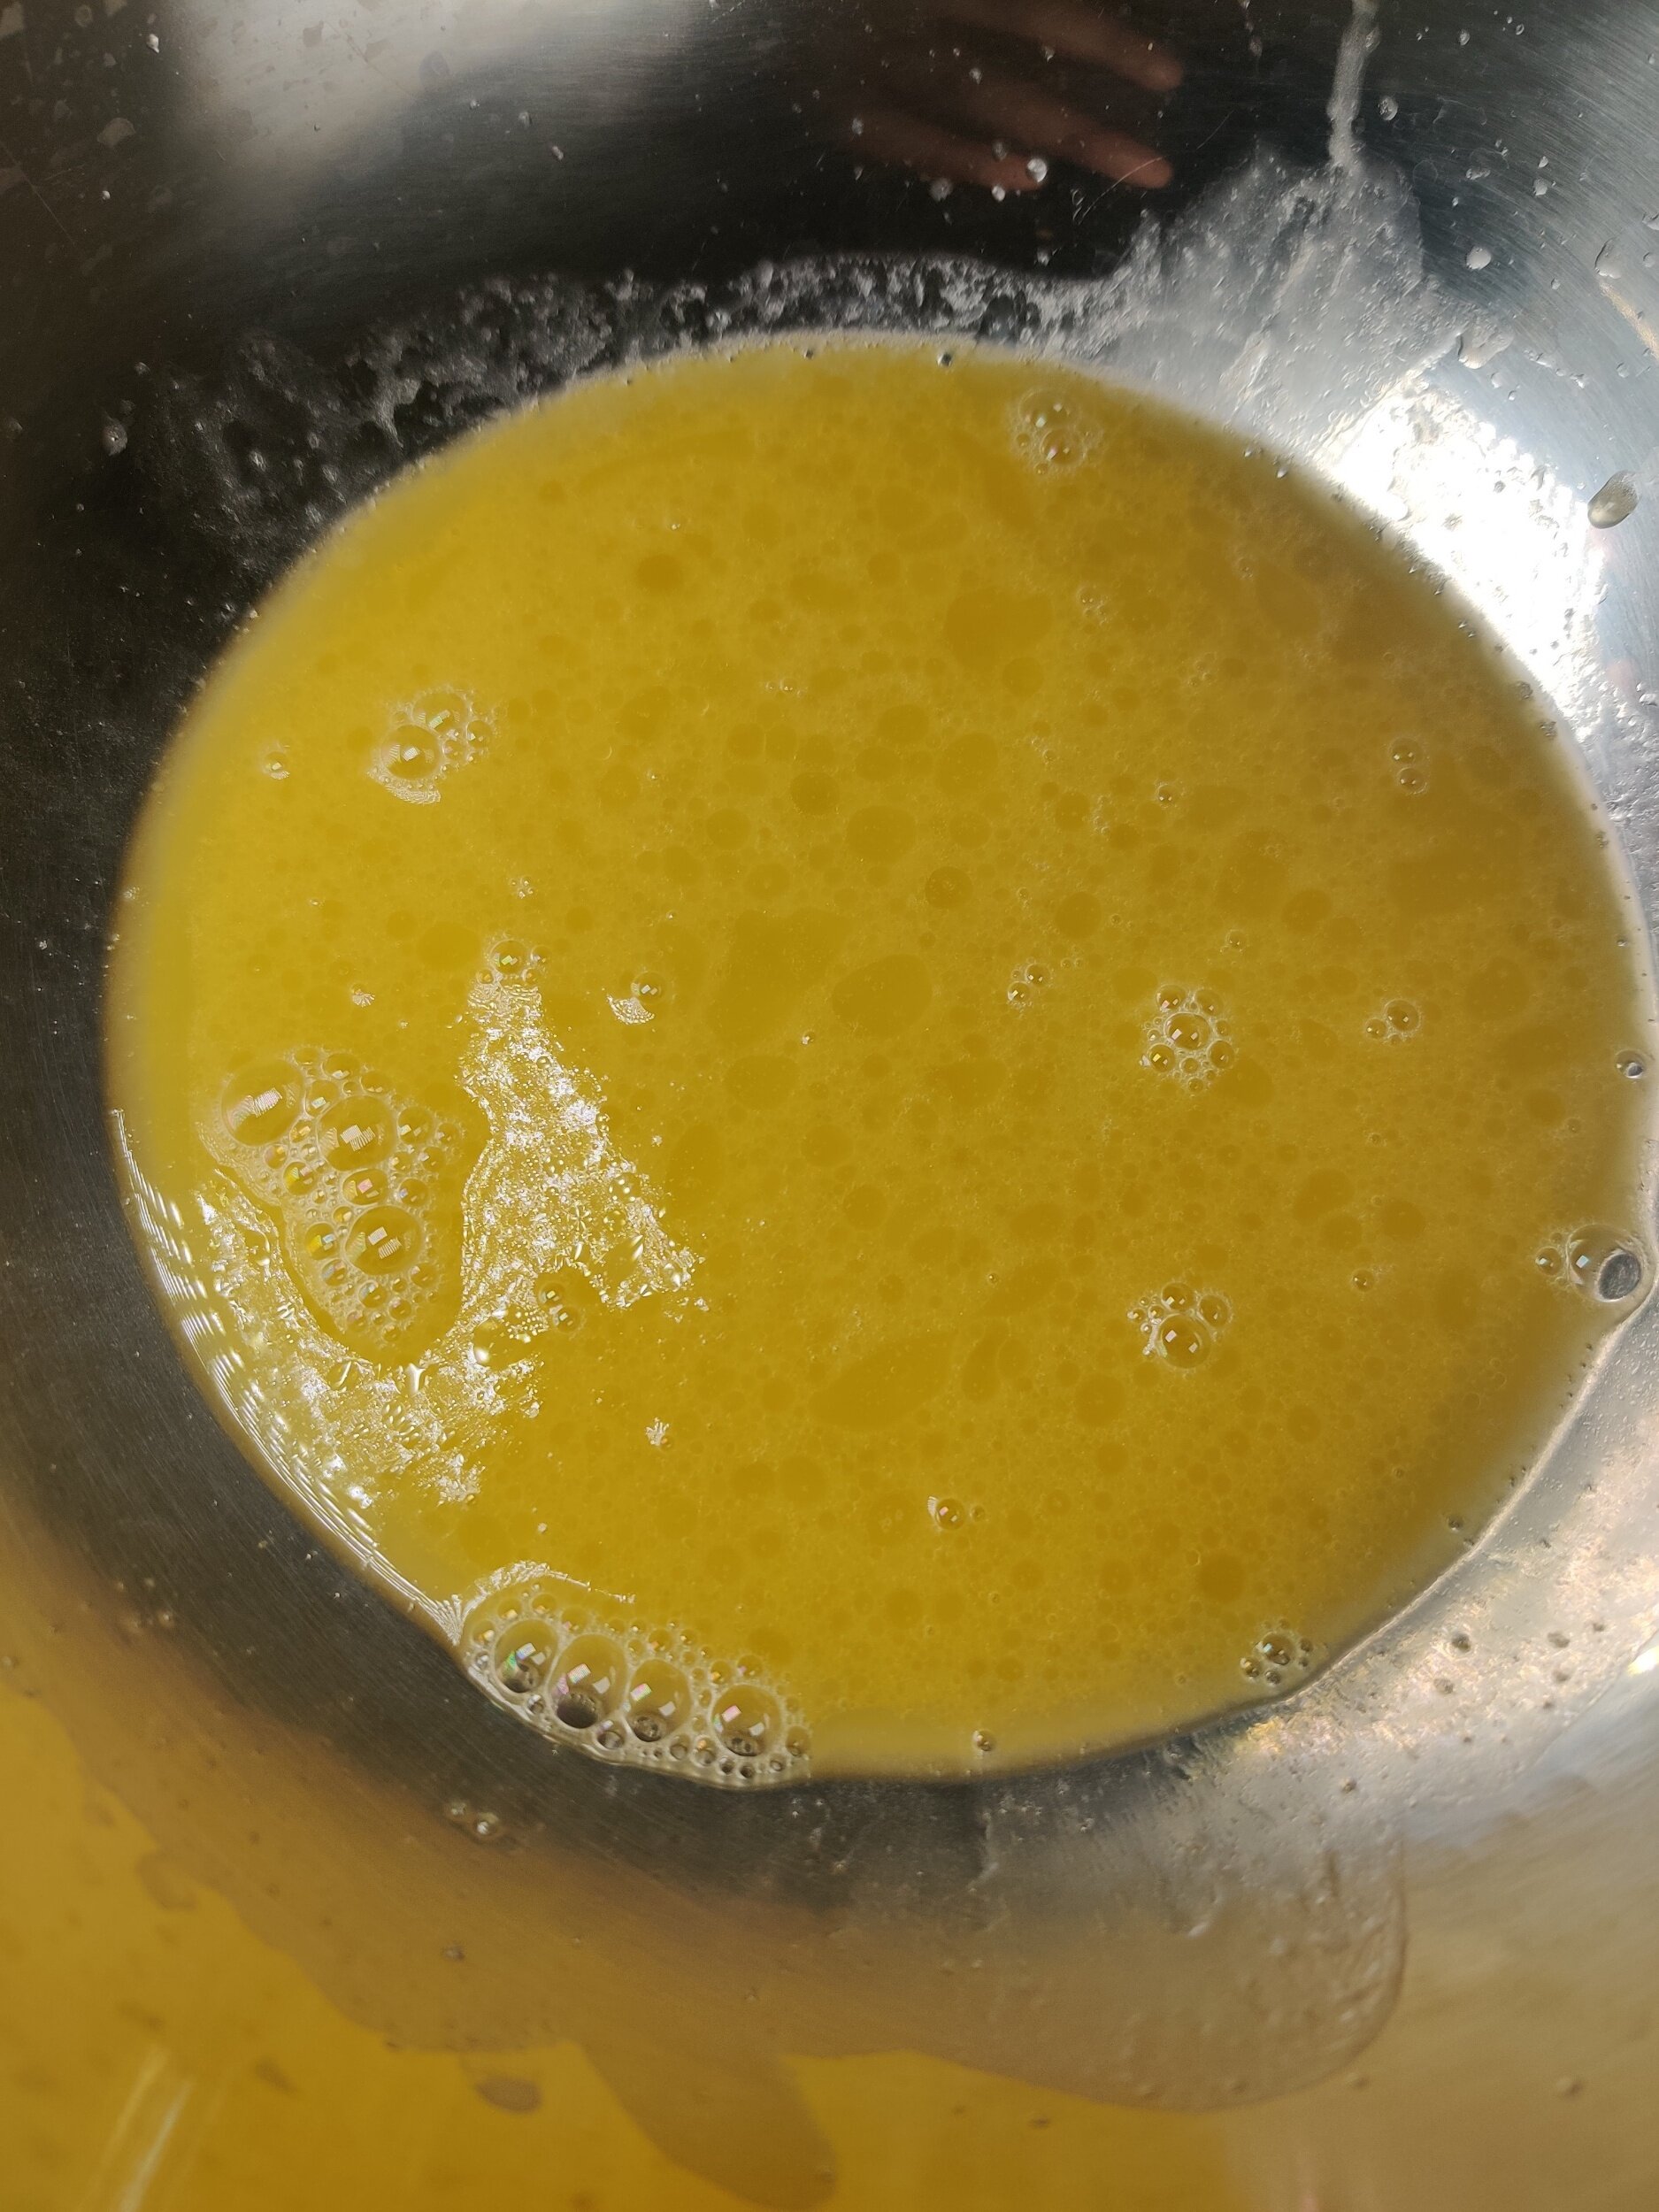
1/2 cup butter
Pinch of salt
Powdered sugar (optional)
Cream cheese mixture:
1 (8-ounce) packet Greek yogurt cream cheese
1 egg yolk
Splash of lemon juice
1/4 cup white granulated sugar
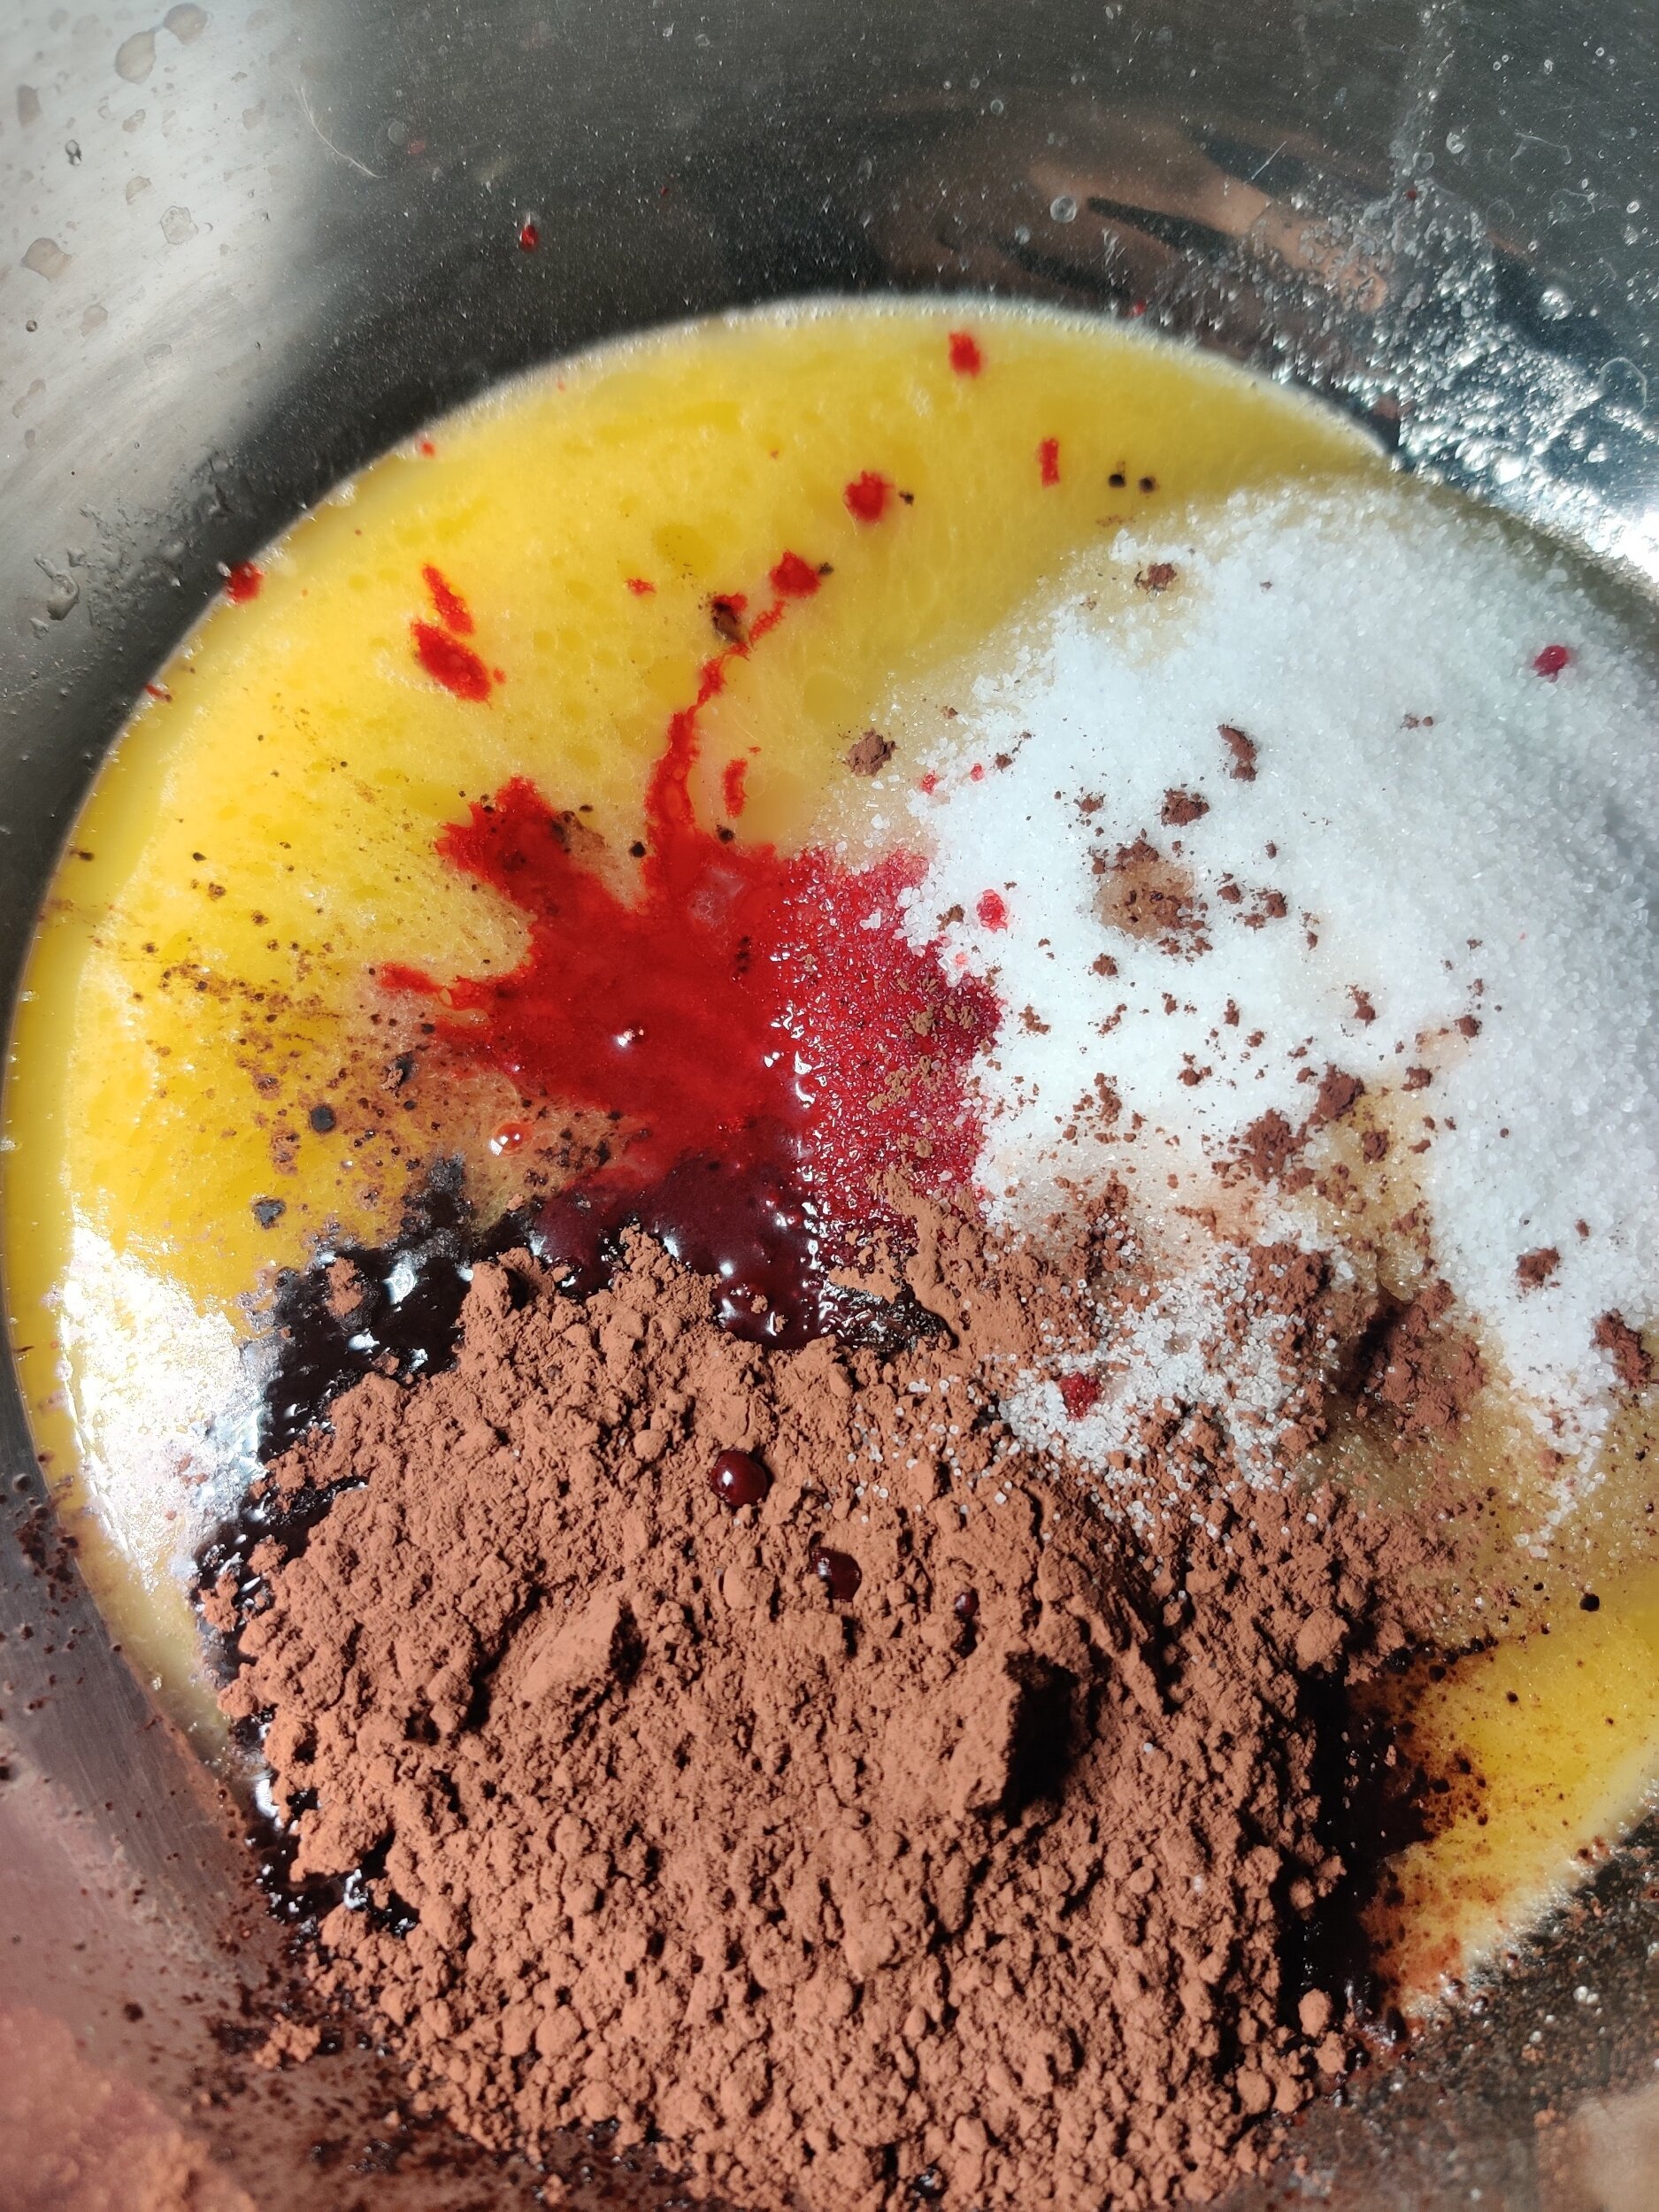
2-3 drops red food coloring
1/4 teaspoon almond extract
1/2 teaspoon vanilla extract
Instructions
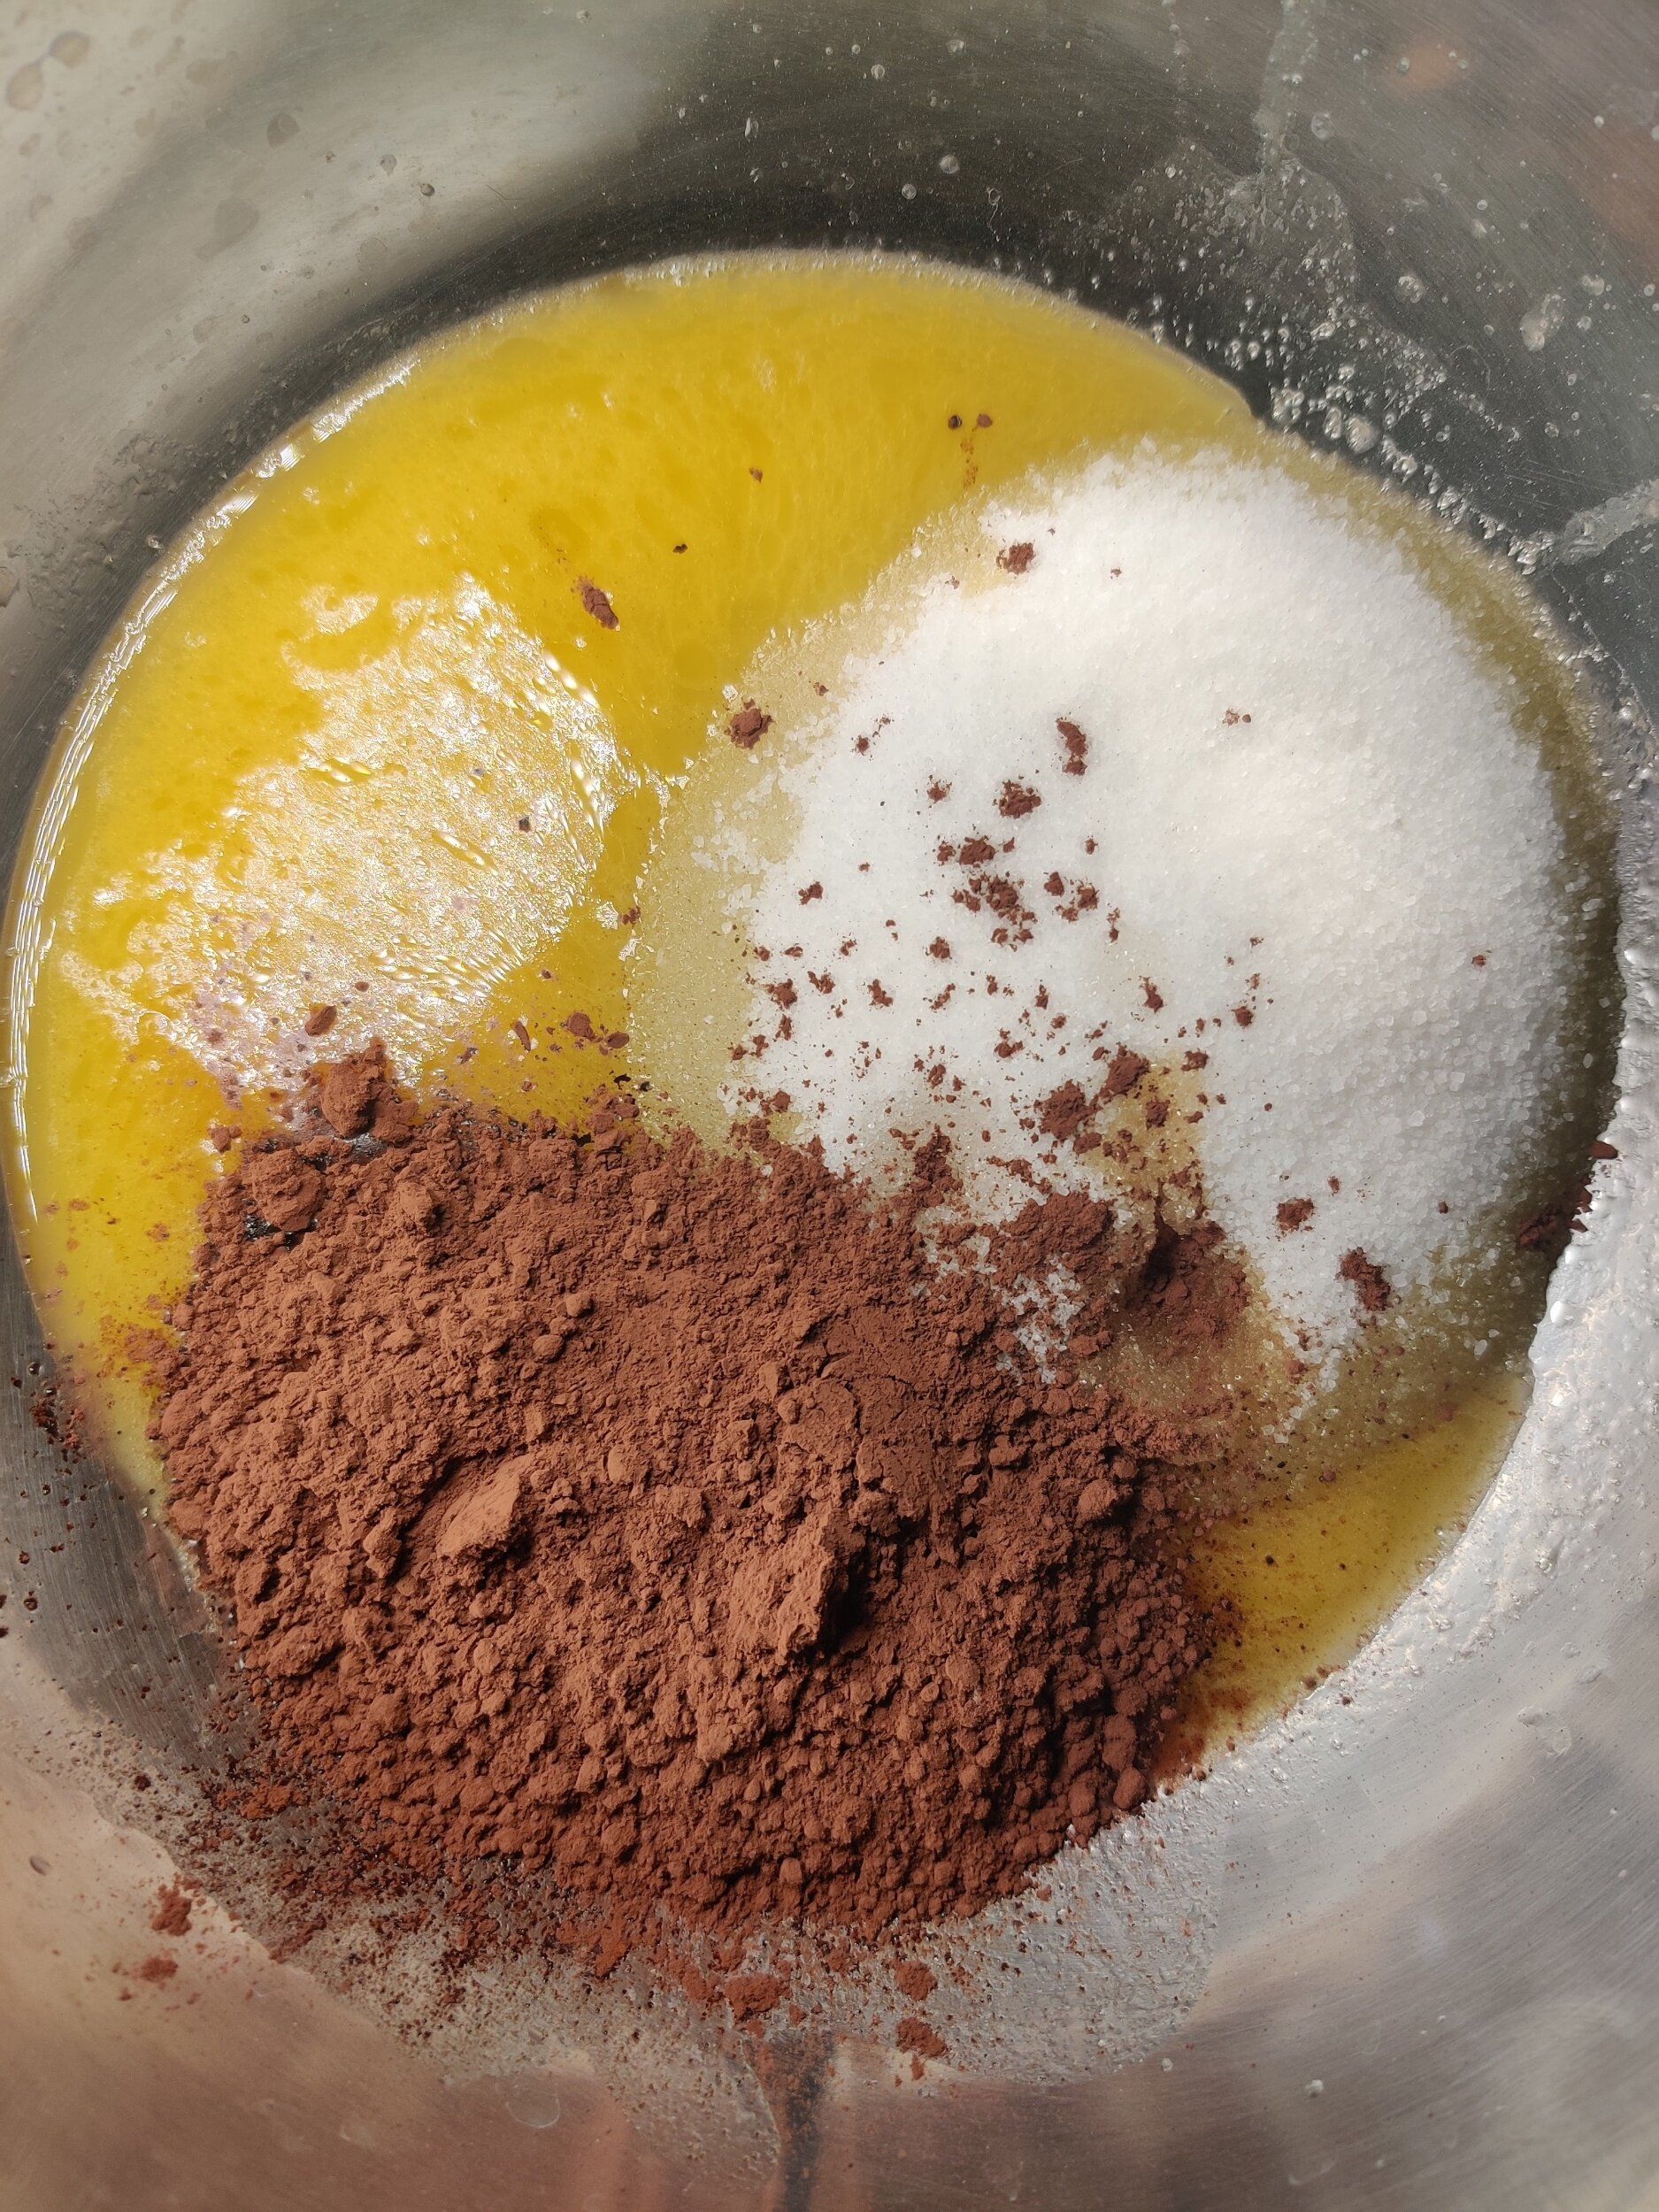
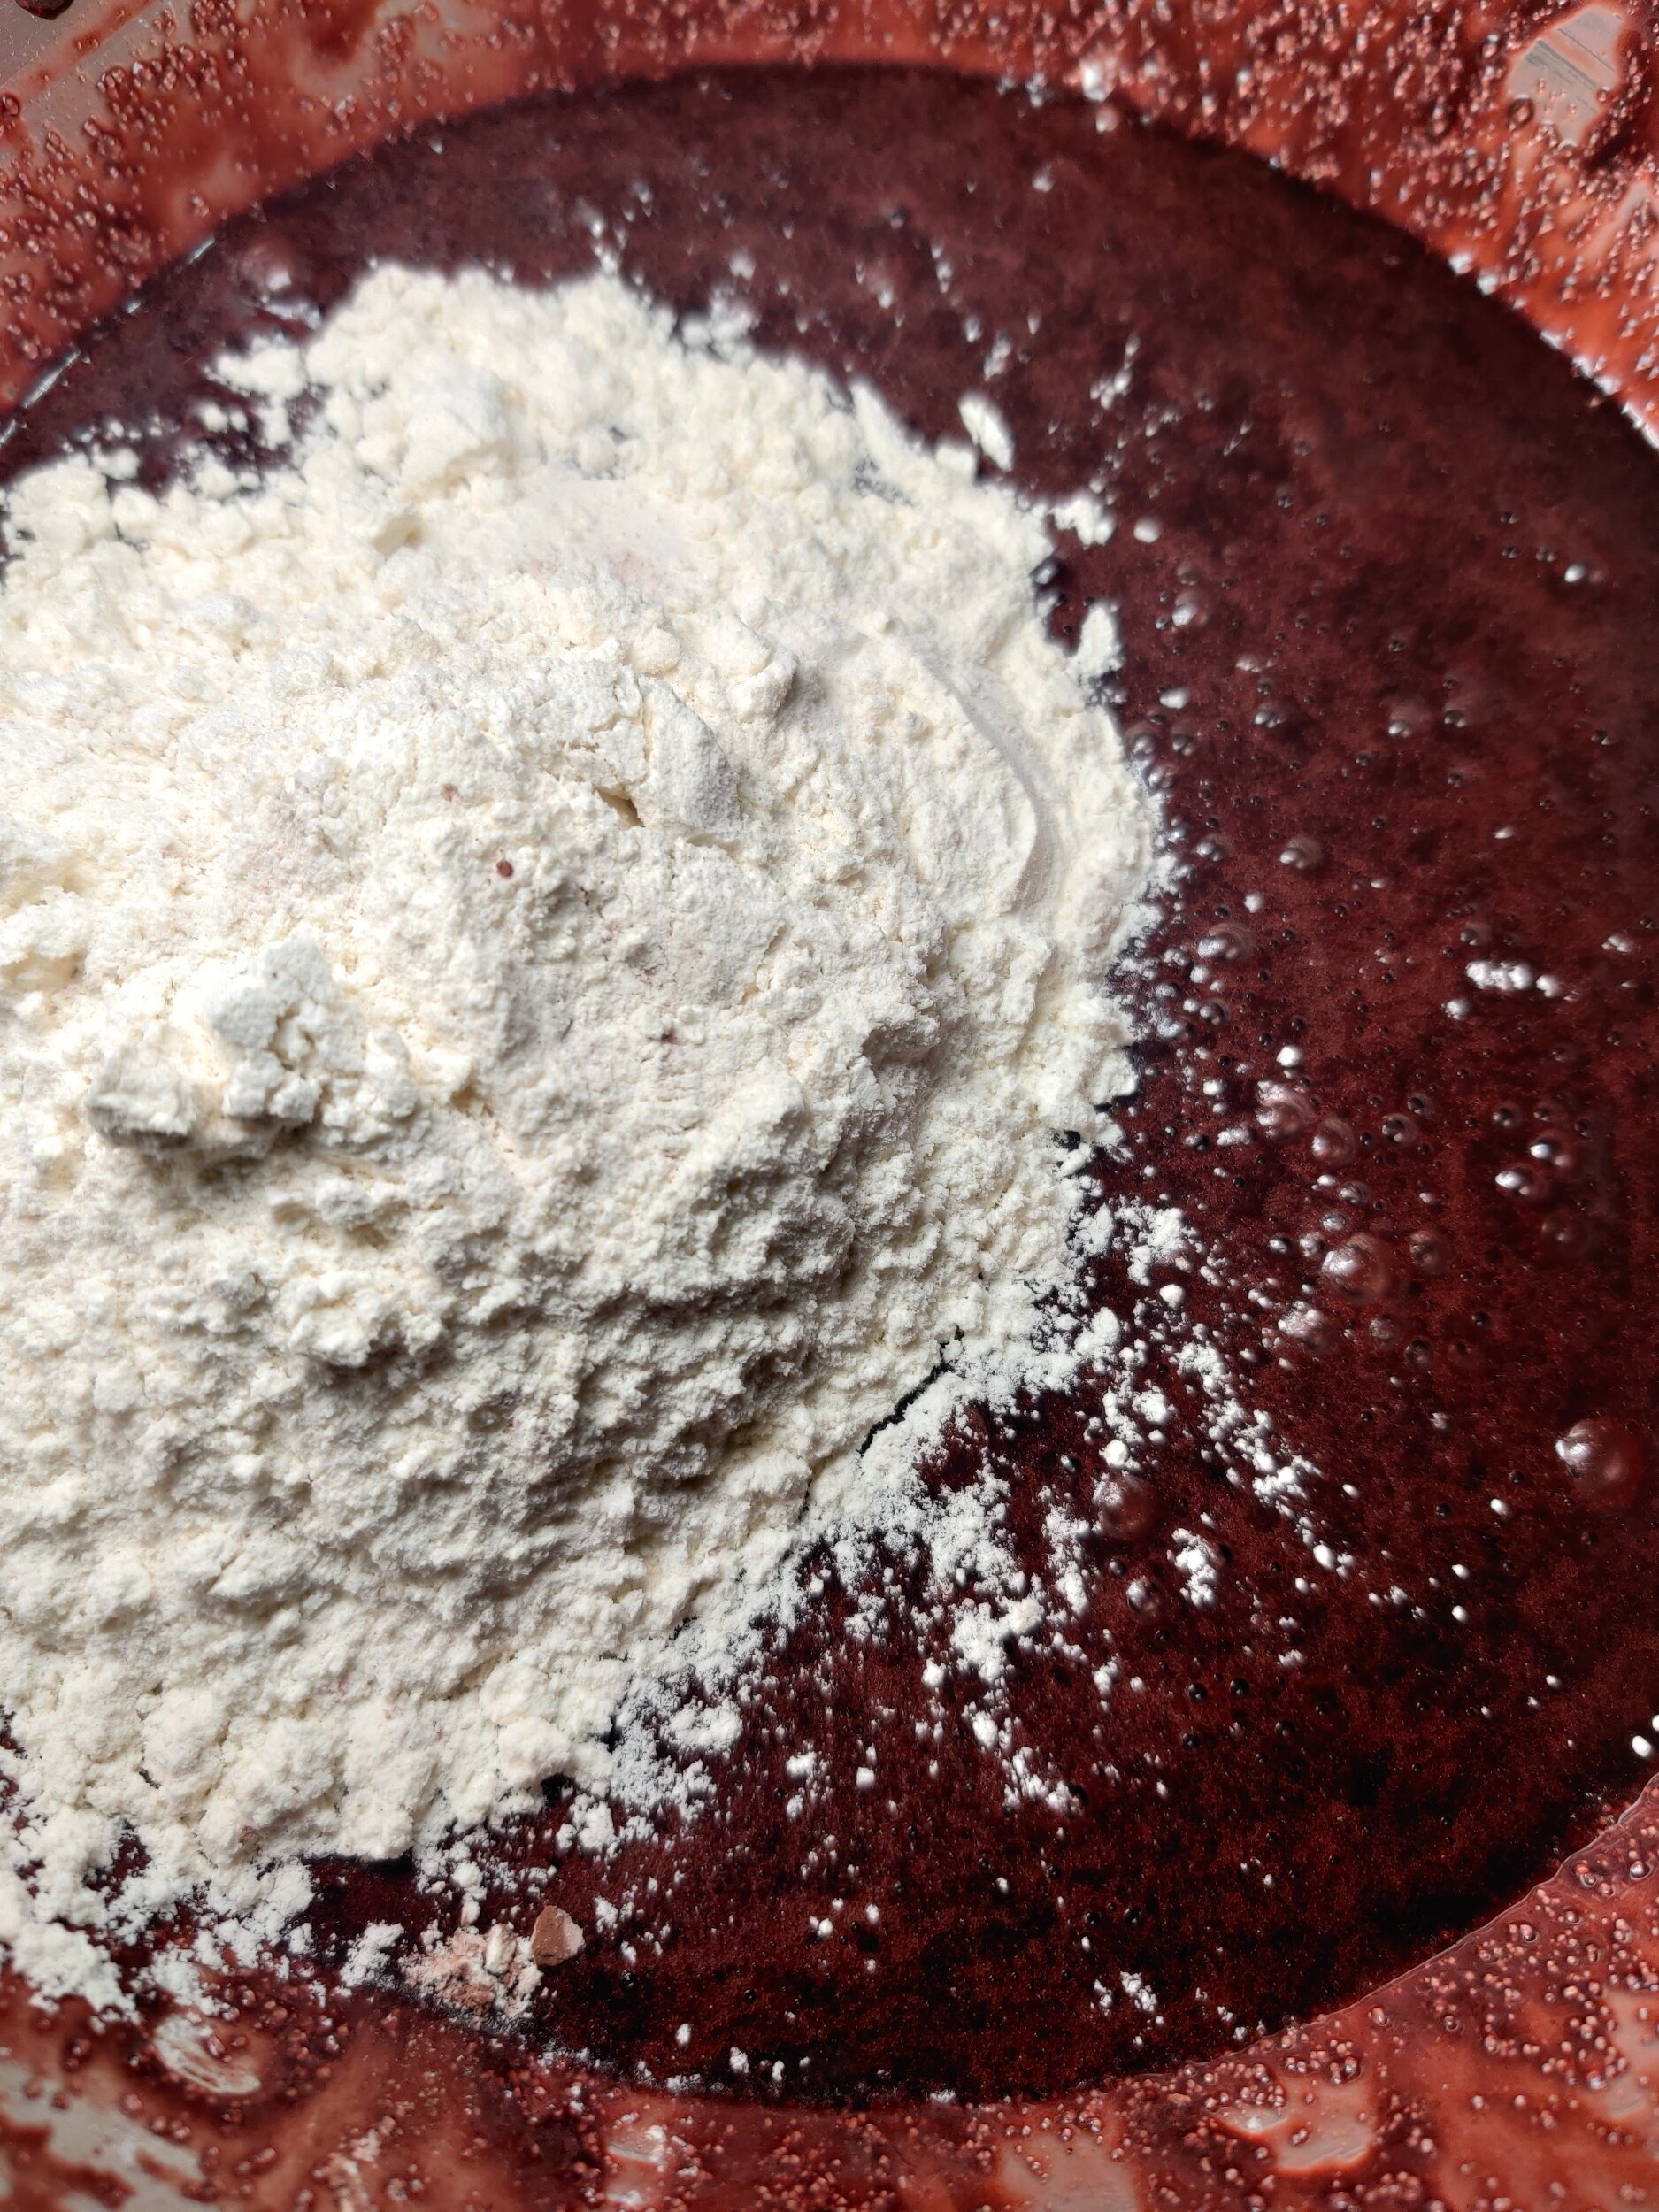
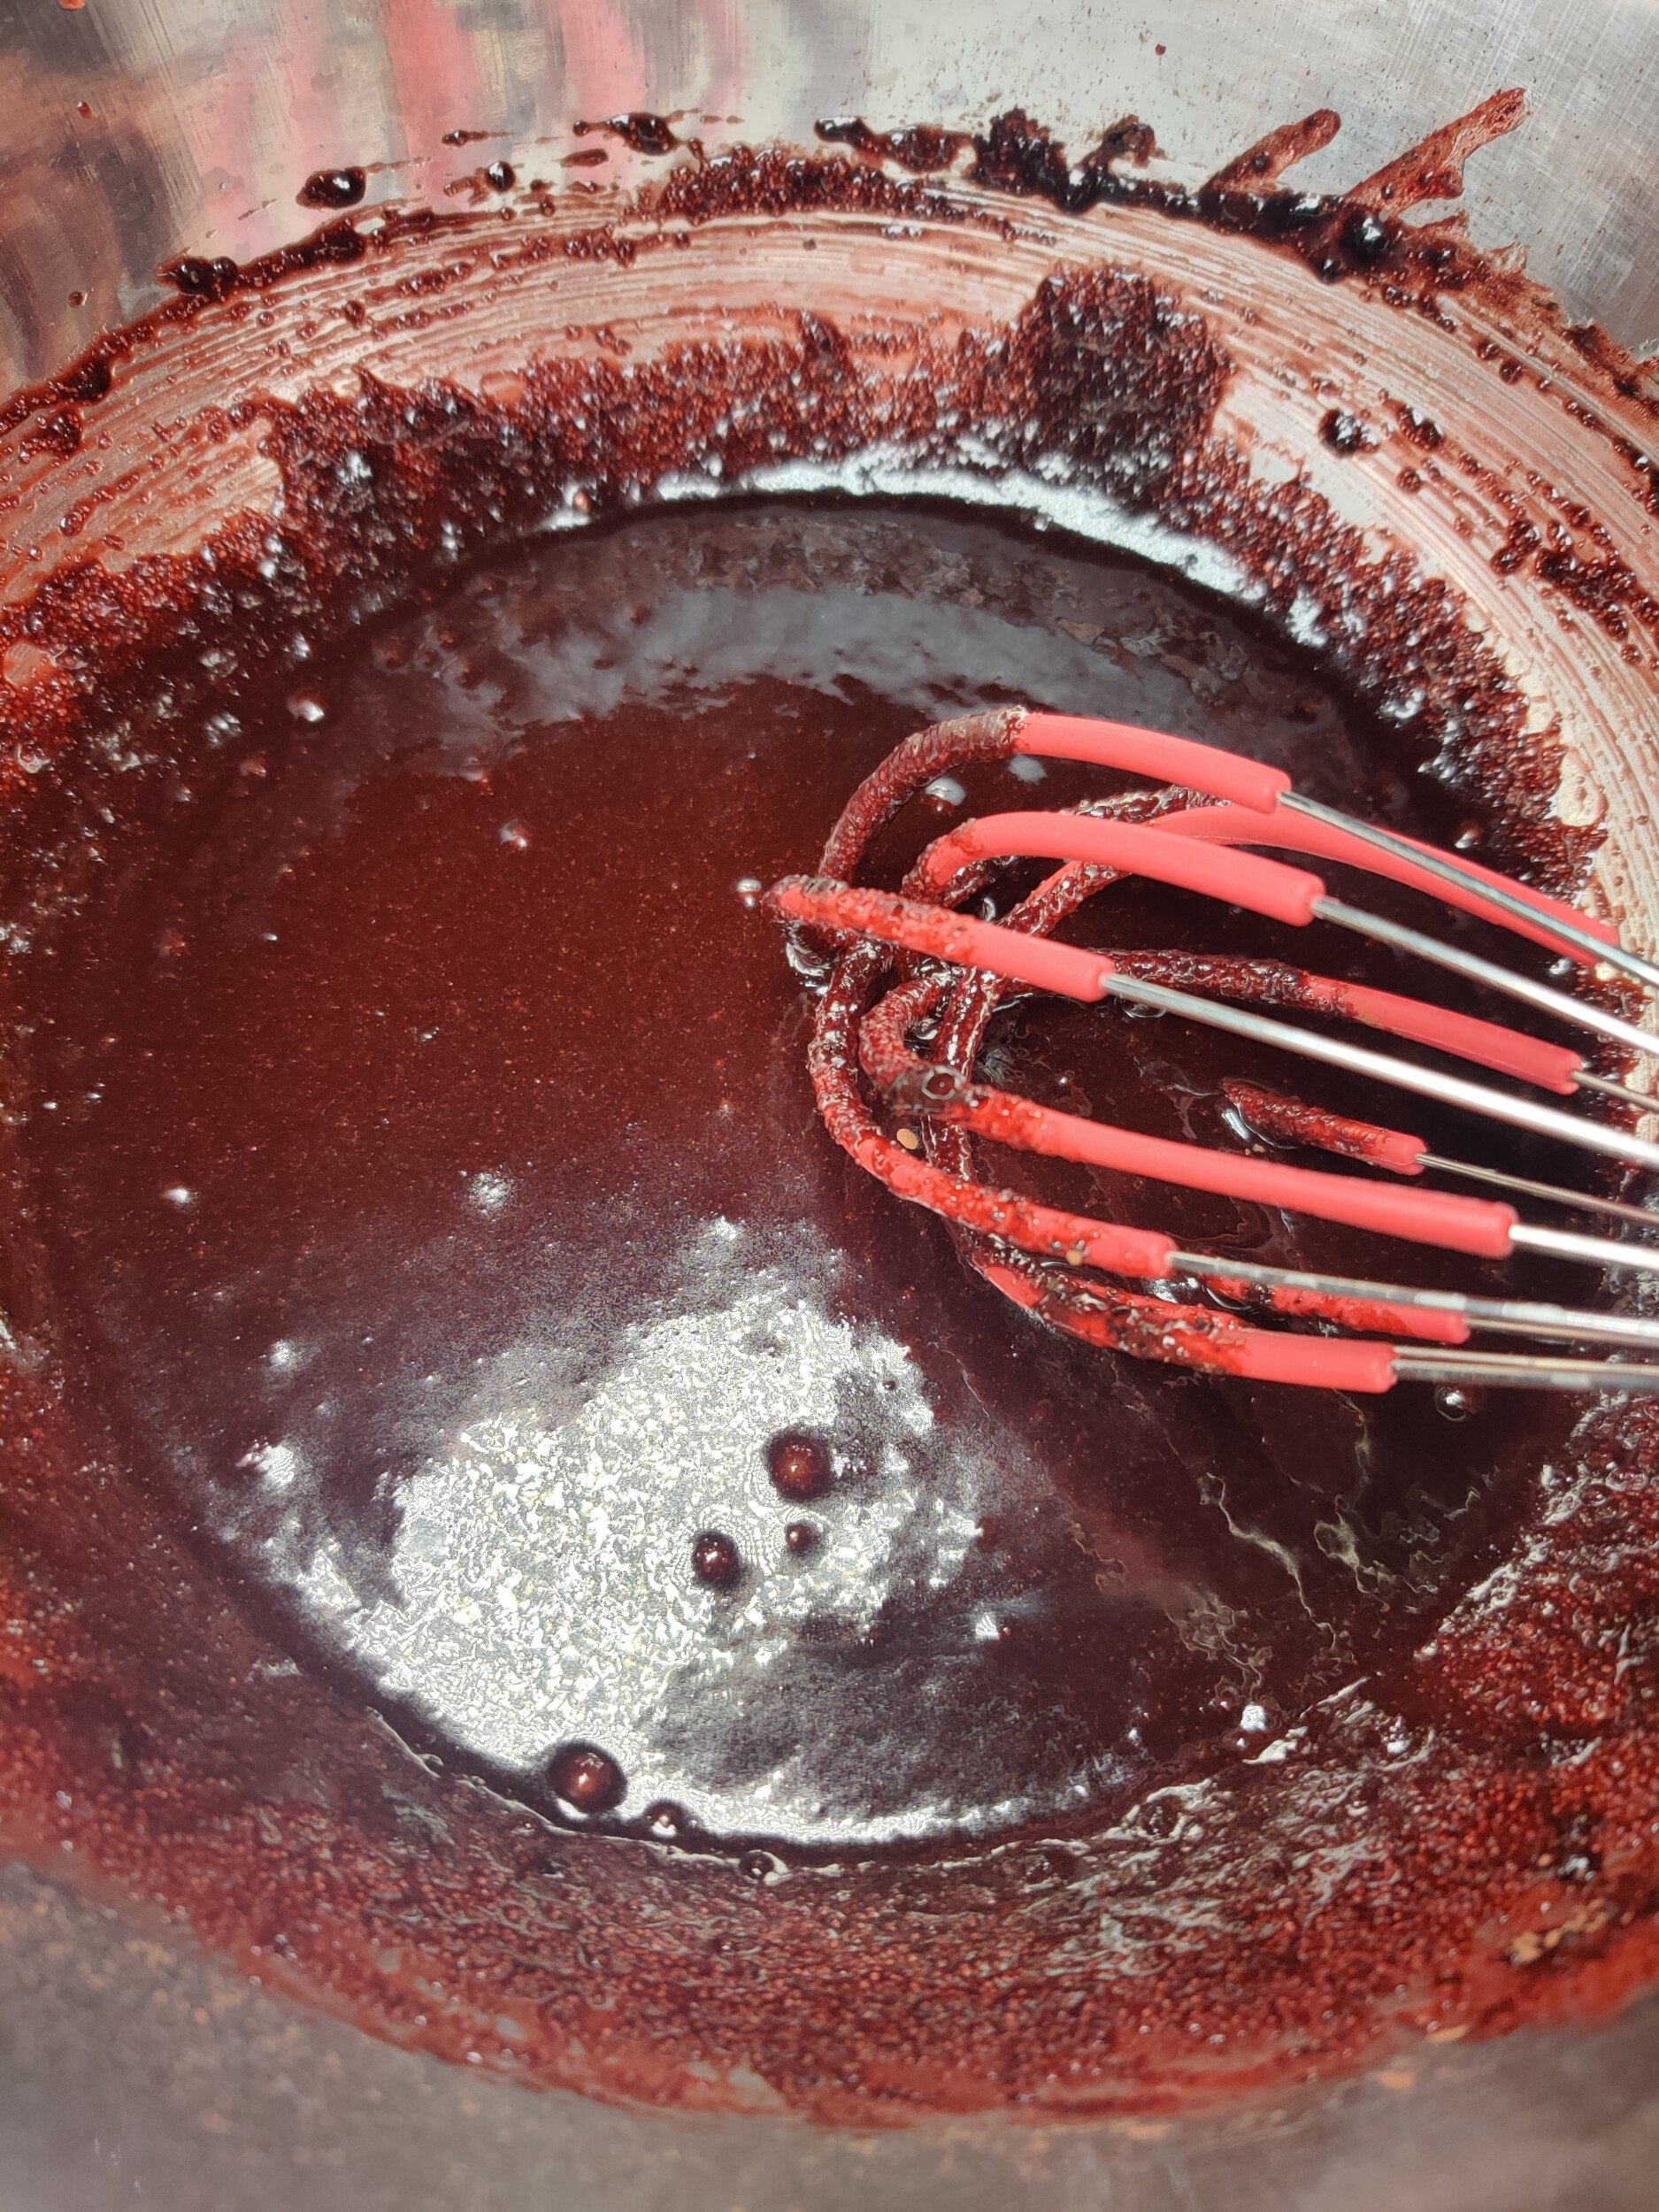
In a small microwavable bowl, melt the butter - about half a minutes should do. You can also do it quickly over high heat in a saucepan. Transfer to a large bowl, then add the salt, baking powder, sugar, salt, cocoa powder, vanilla and almond extract, and red colouring. Mix until combined but don't over mix.
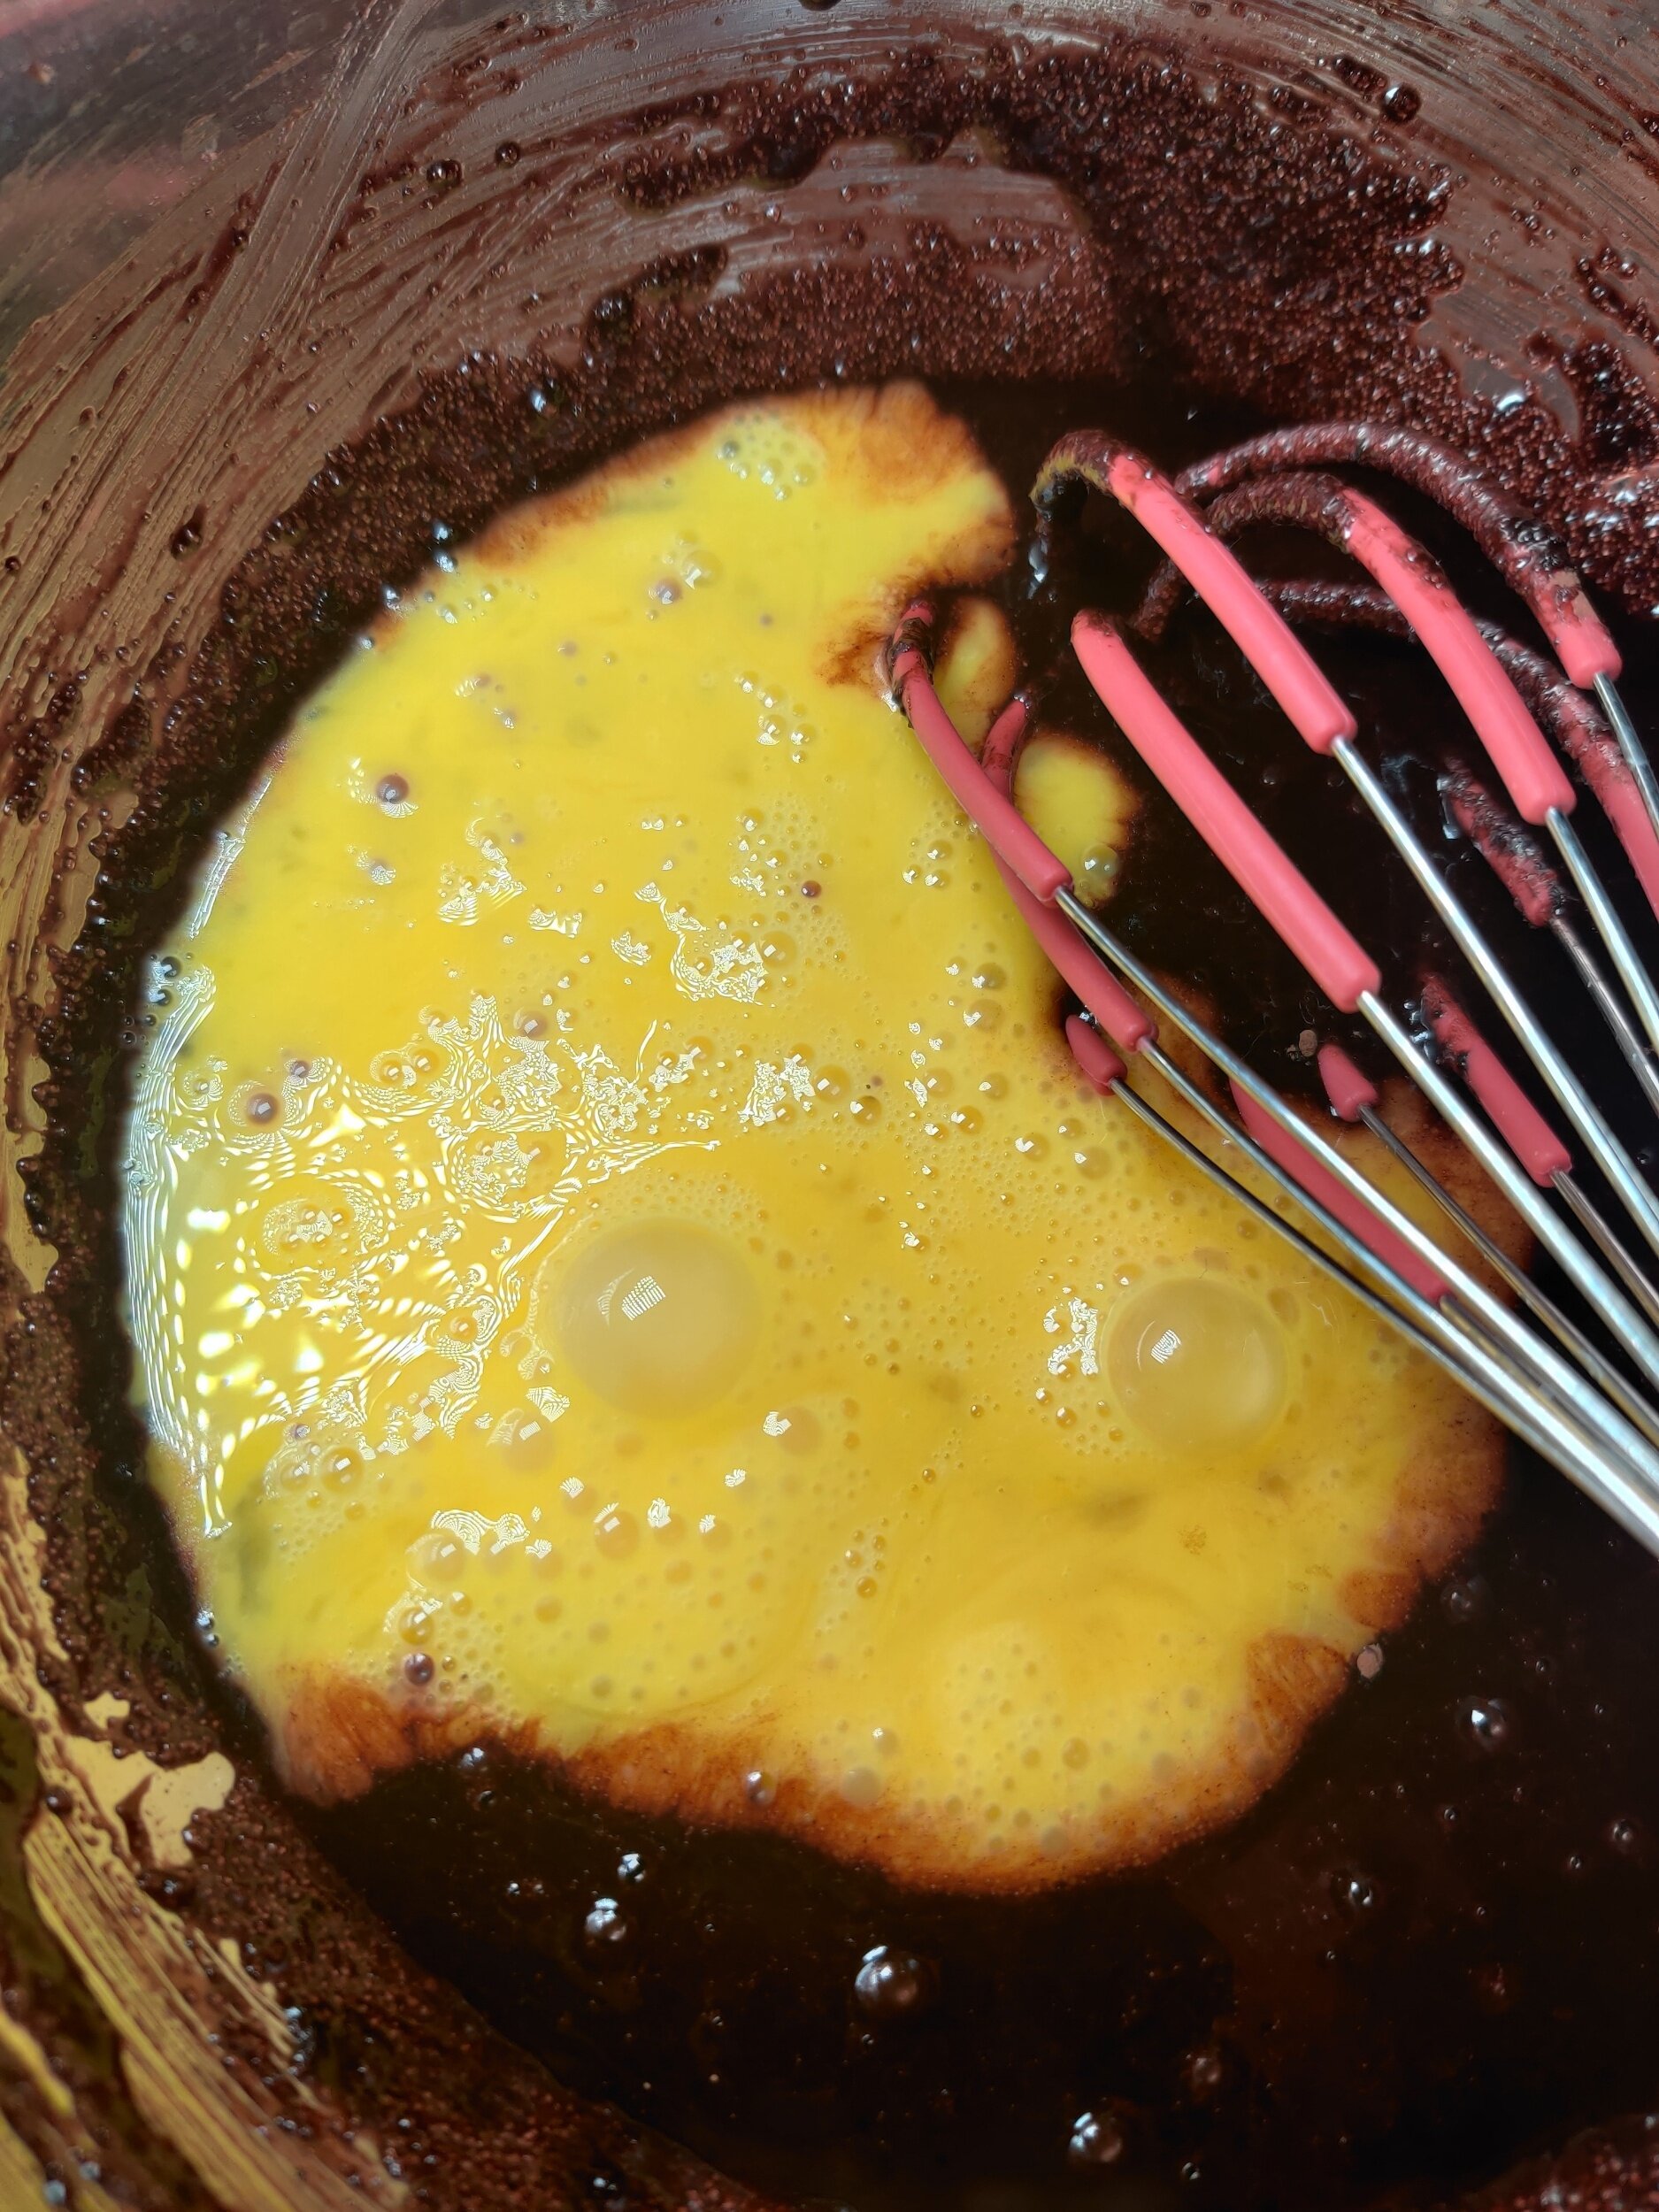
In another small bowl beat the eggs, whisk them into the main batter, and then gently fold into the flour until fully incorporated - you don't want lumps of dry flour!
Pour your brownie mix into a parchment-lined, lightly oil sprayed baking pan (I used one 8 inches by 8 inches). Use a spatula to even out your batter. You can set aside 2-4 tablespoons to drizzle on top of the cream cheese, depending on how much of it you want visible once baked.
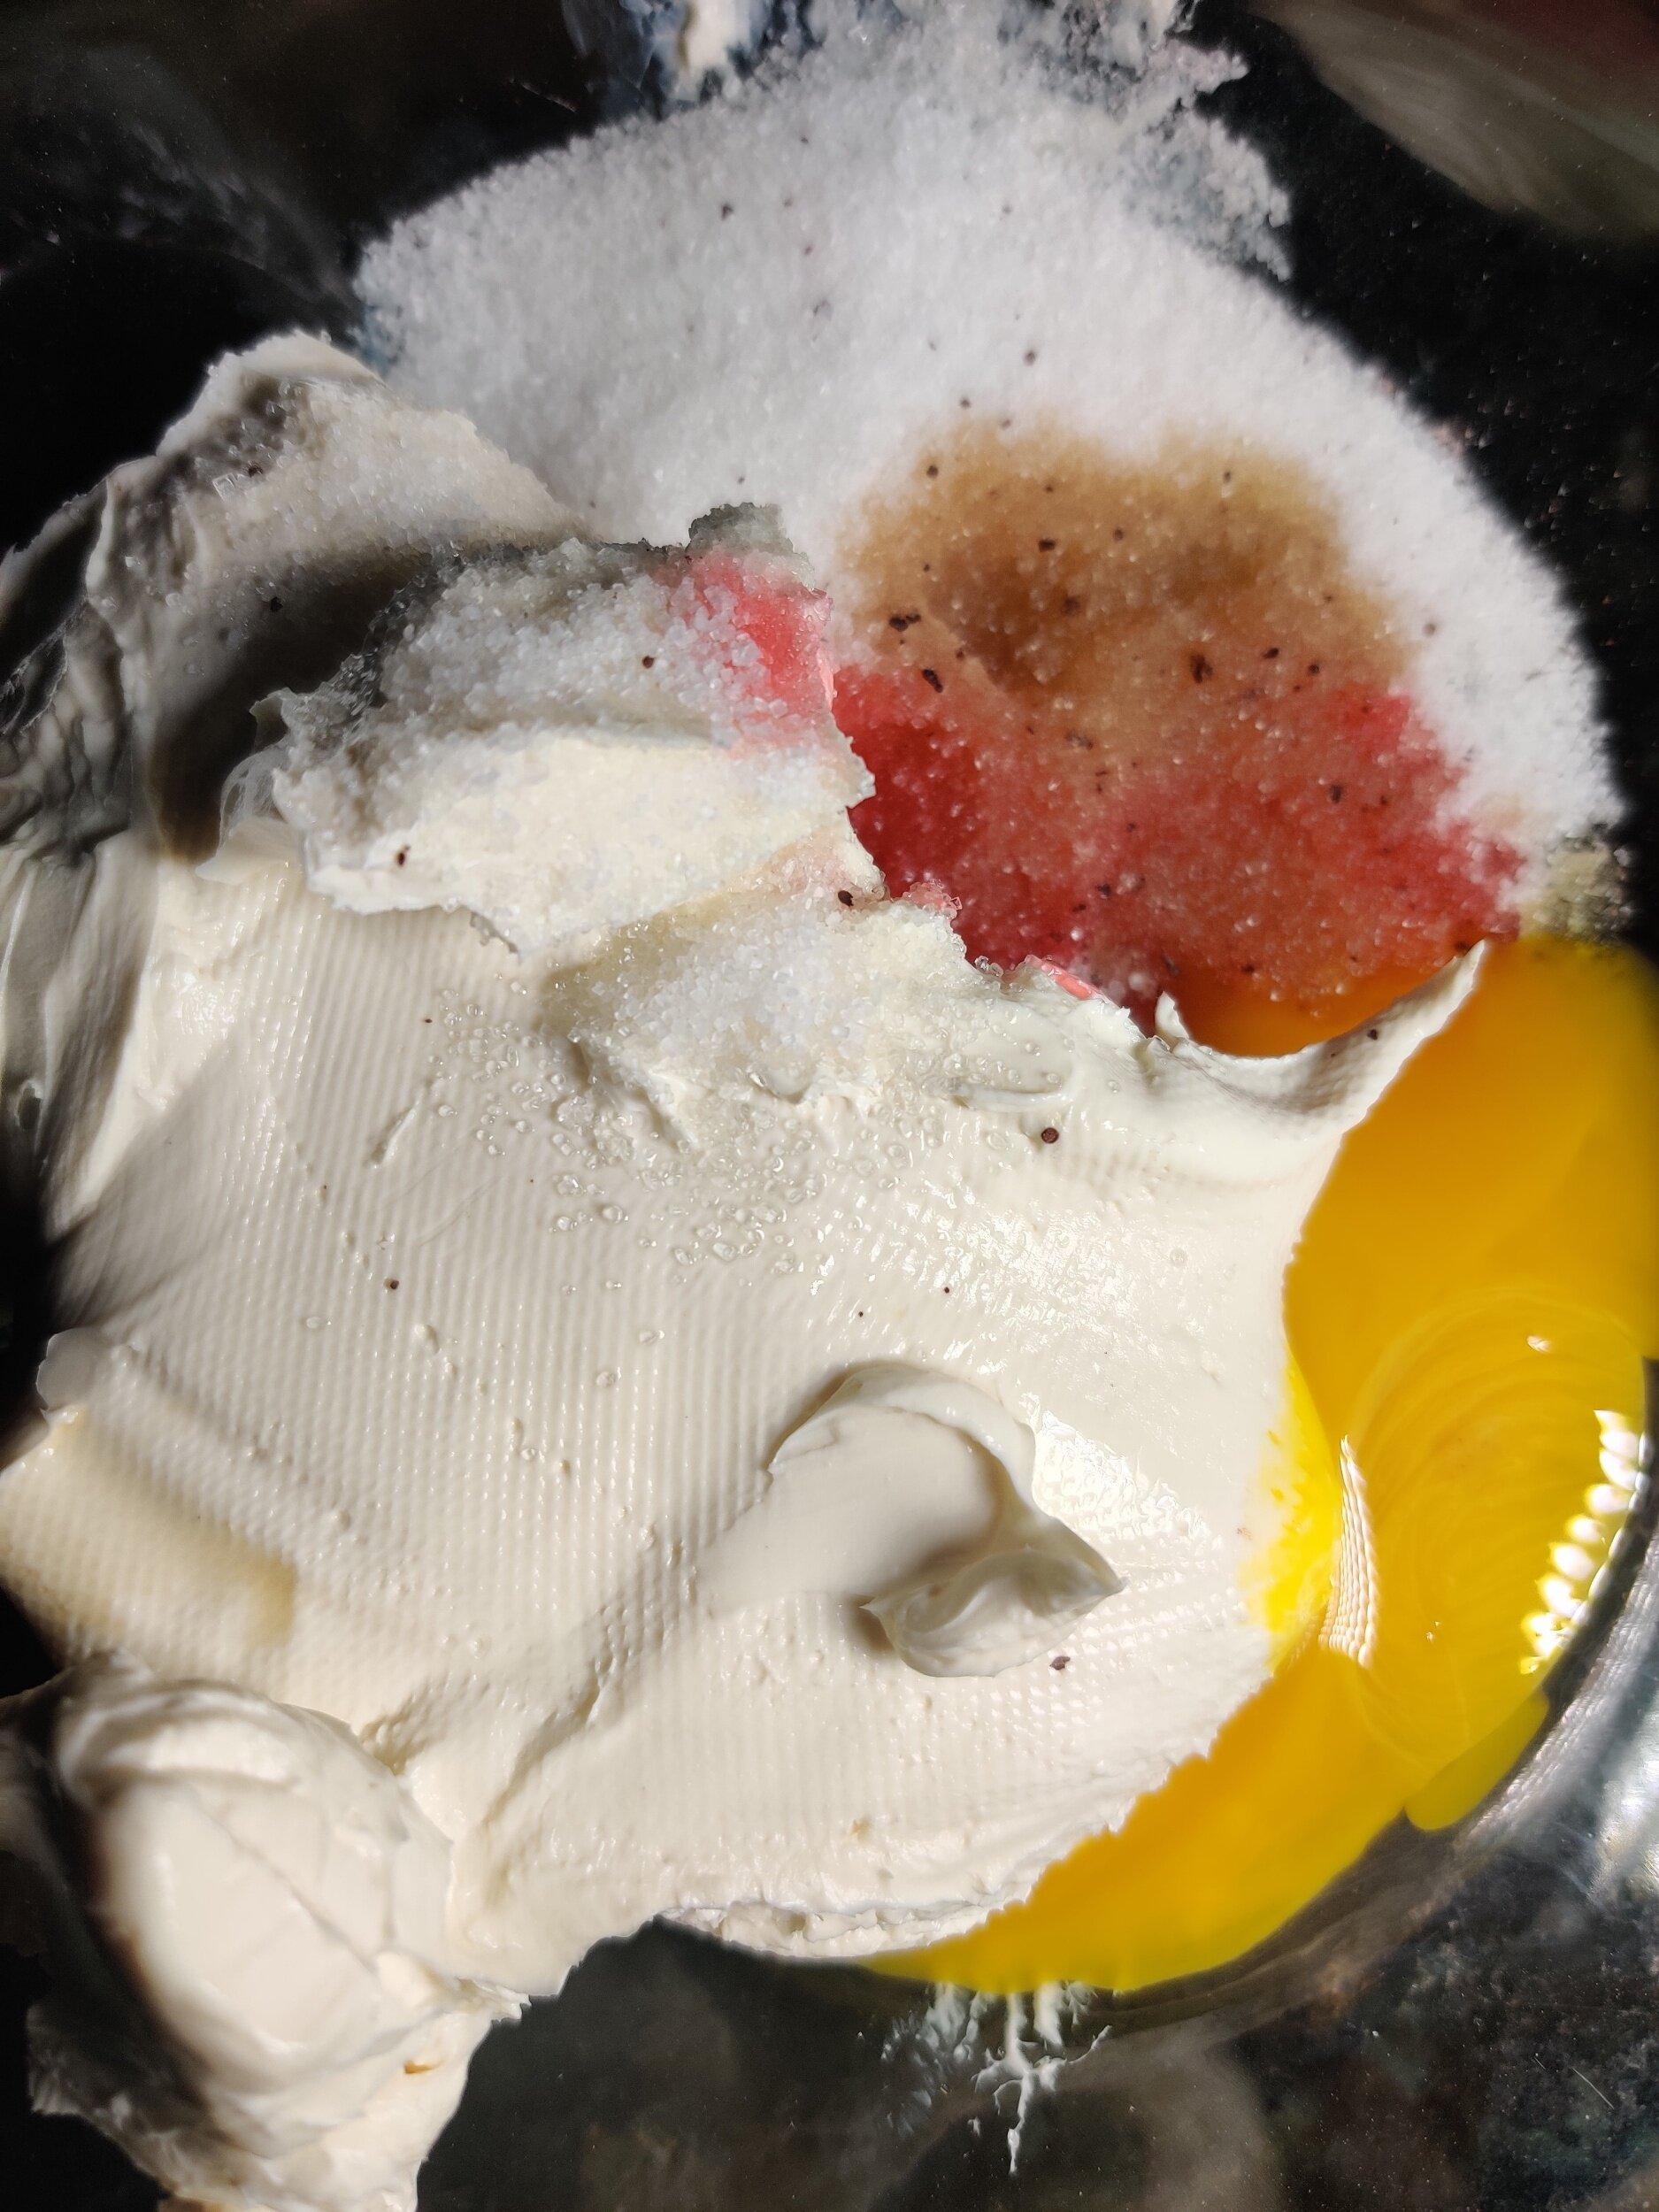
Now make your cream cheese mix. In a medium-sized bowl add the cream cheese, egg yolk, vanilla, a few drops of colouring, lemon, almond extract, and sugar. Beat with an electric mixer until smooth.
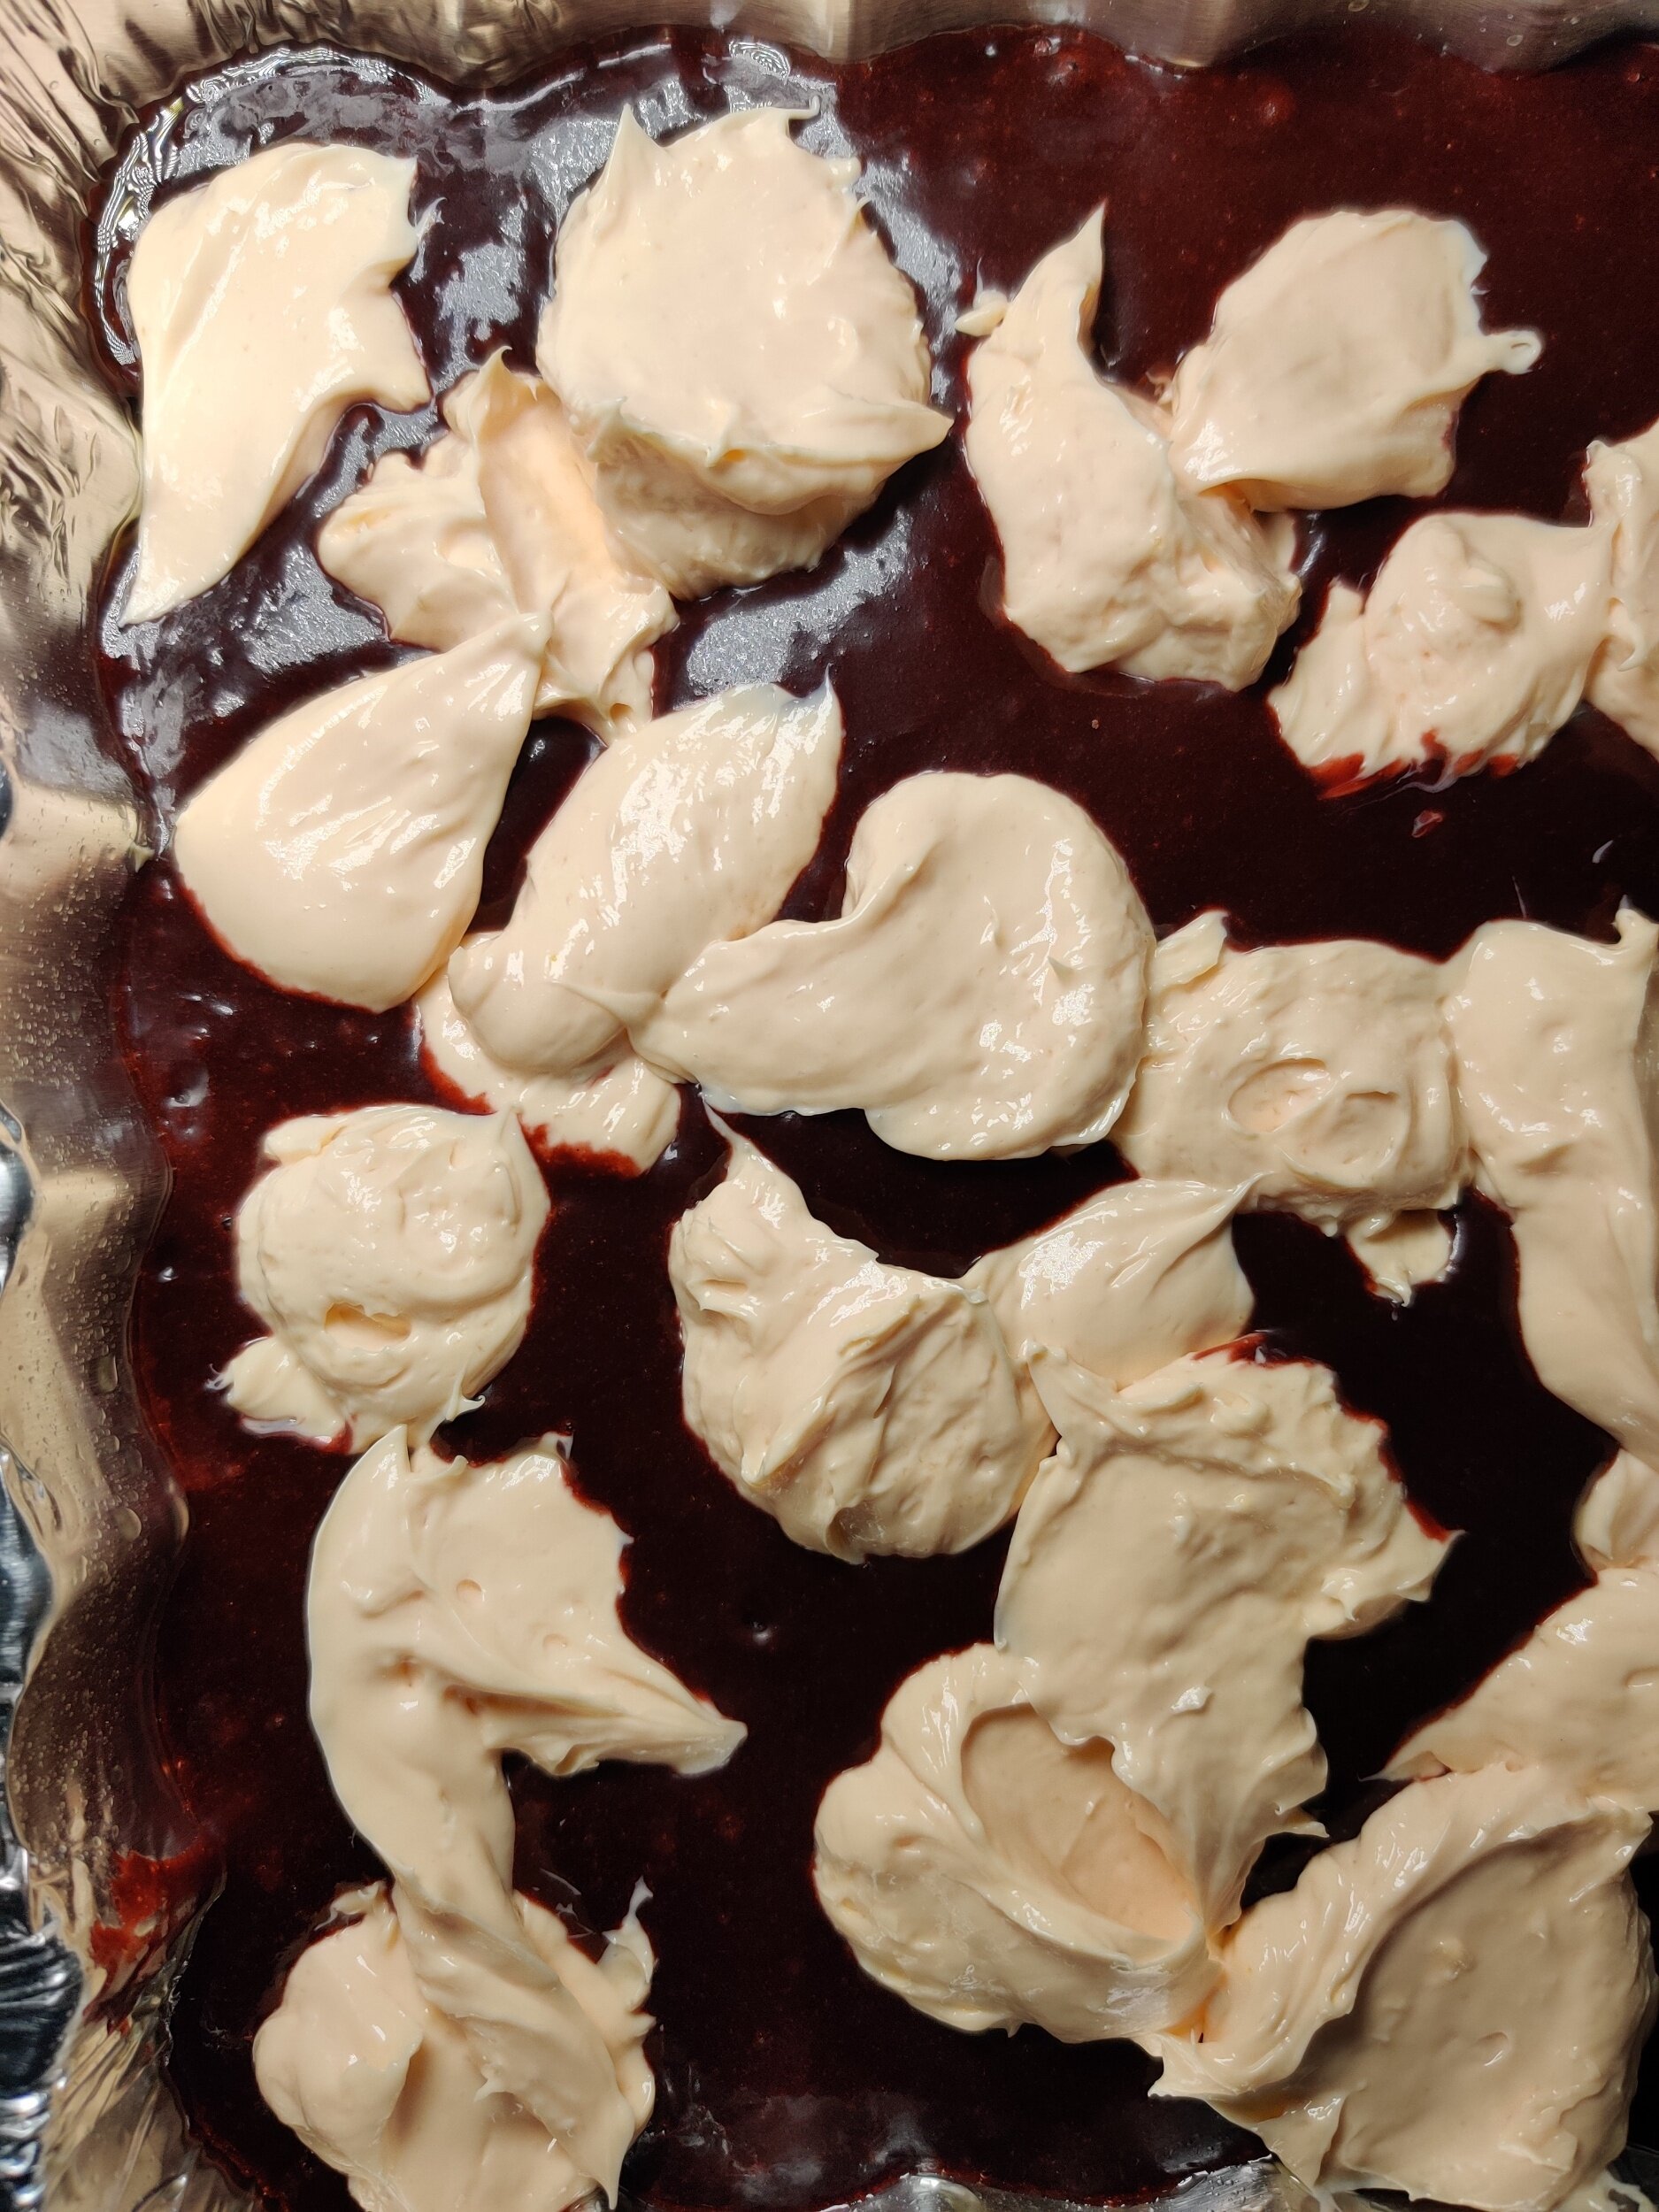
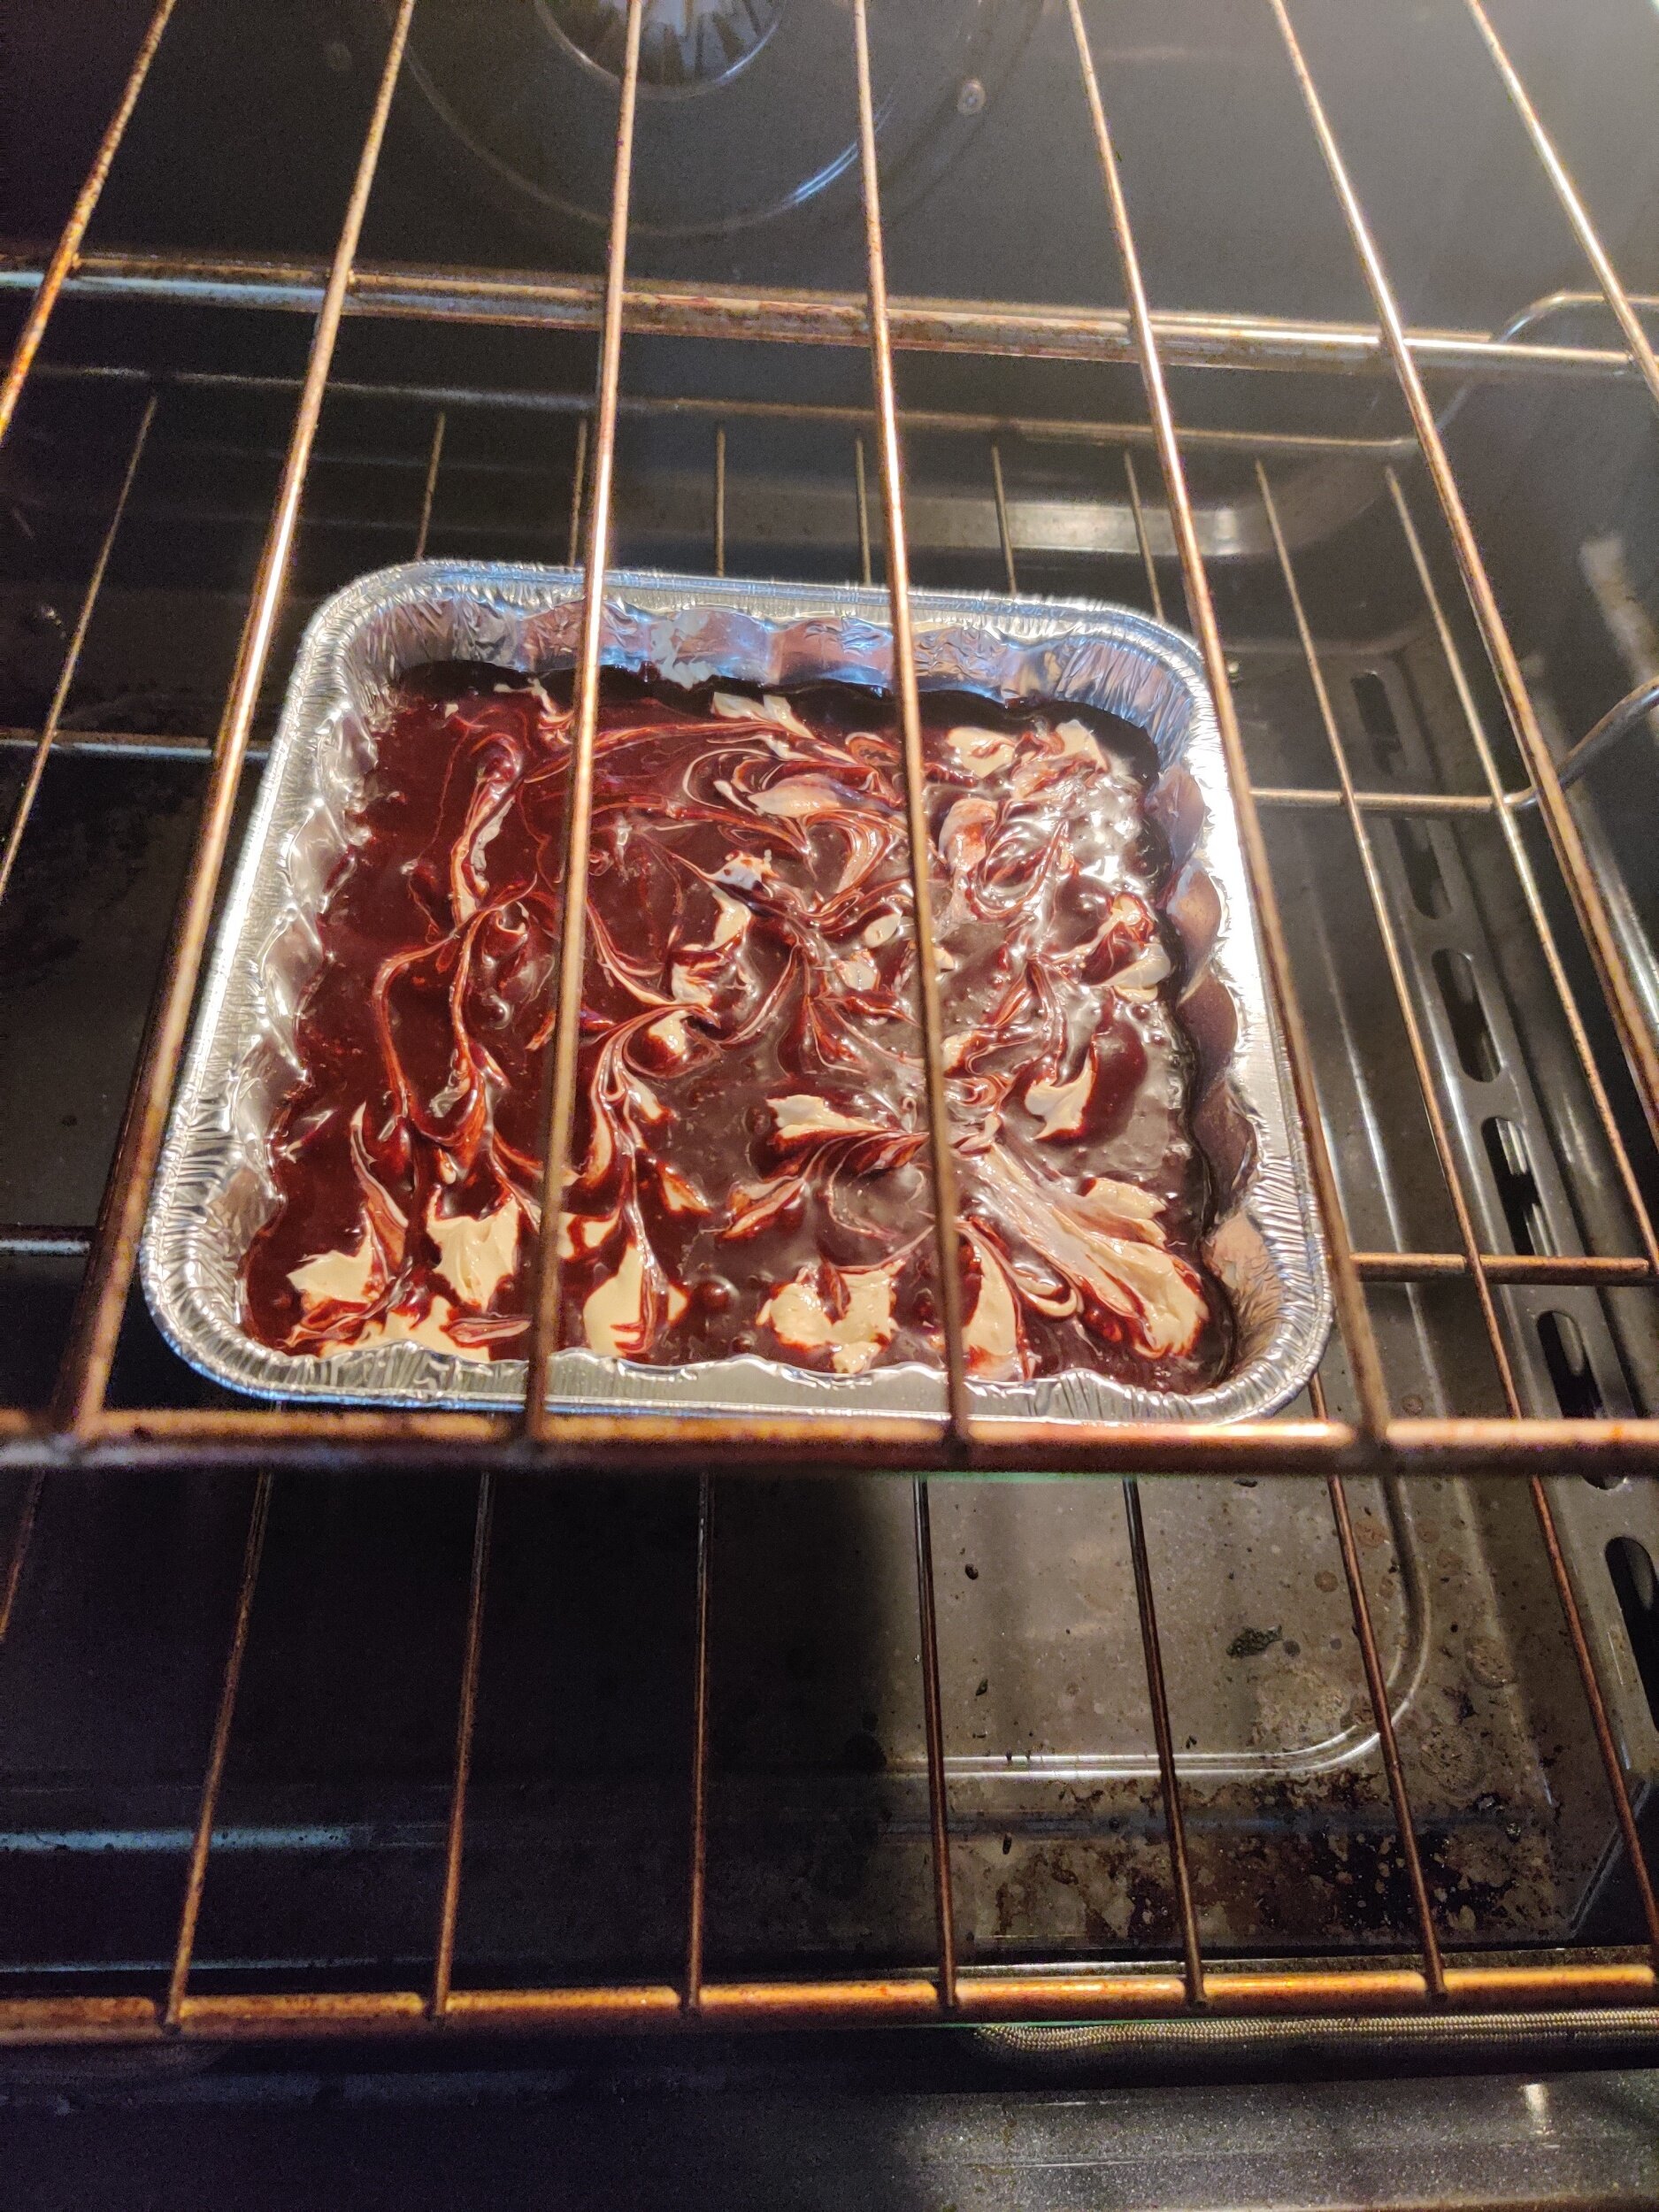
Spoon dollops of the cream mixture on top all over the top, then add your remaining brownie batter. Use a fork or knife and move it along the batter and cream cheese layers to create the swirl effect in an 'S' motion.
Bake at 400F for about 35 minutes, and make sure the centre comes out clean with a toothpick to check the doneness.
Set aside to cool before cutting, then sprinkle with a little powdered sugar and enjoy!
Store in the fridge in an airtight container and consume in 3-5 days!

