
Buttermilk Rusks with Biscoff
If you didn’t grow up in Southern Africa, you might be wondering what on earth a rusk is. If you did, this probably feels like home already.
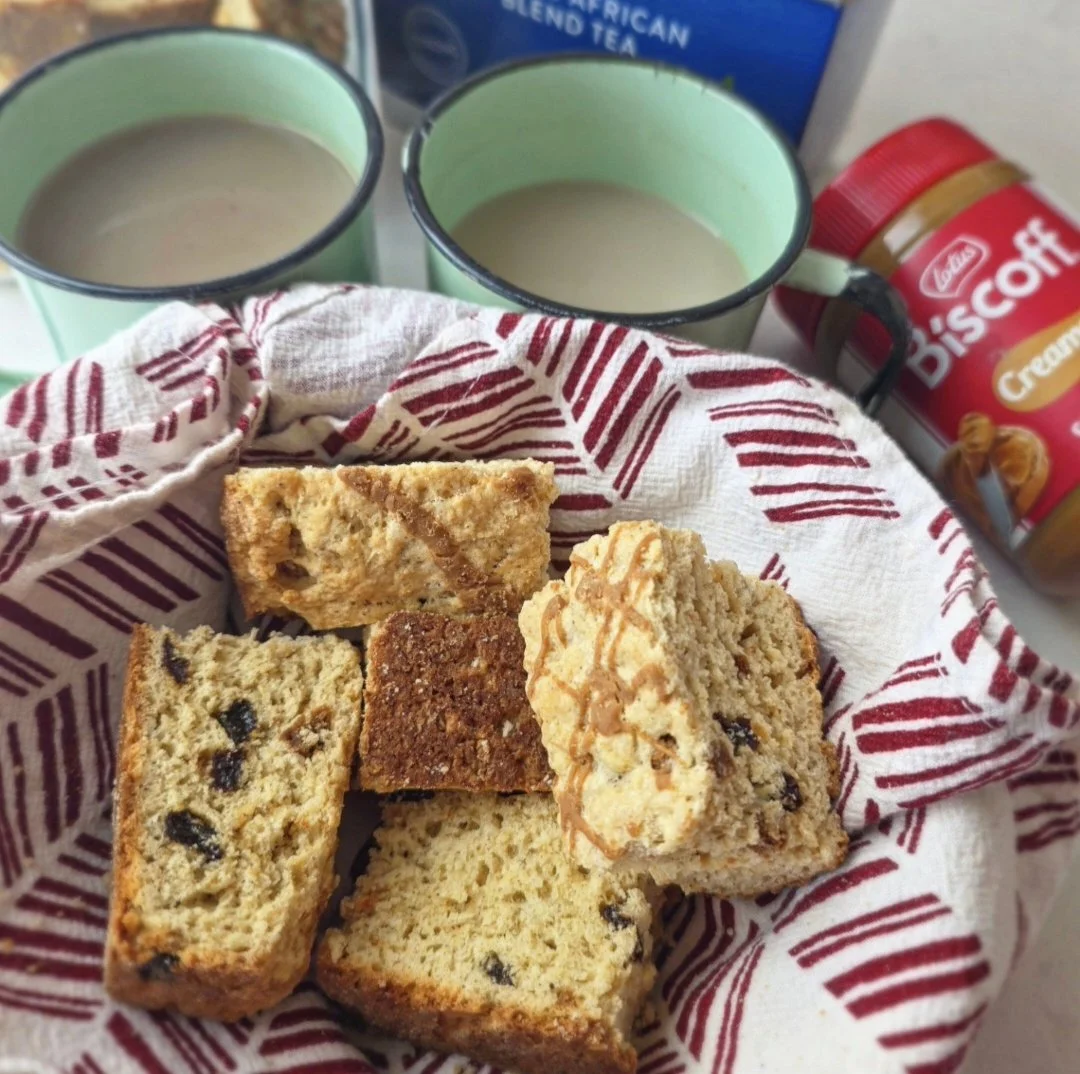
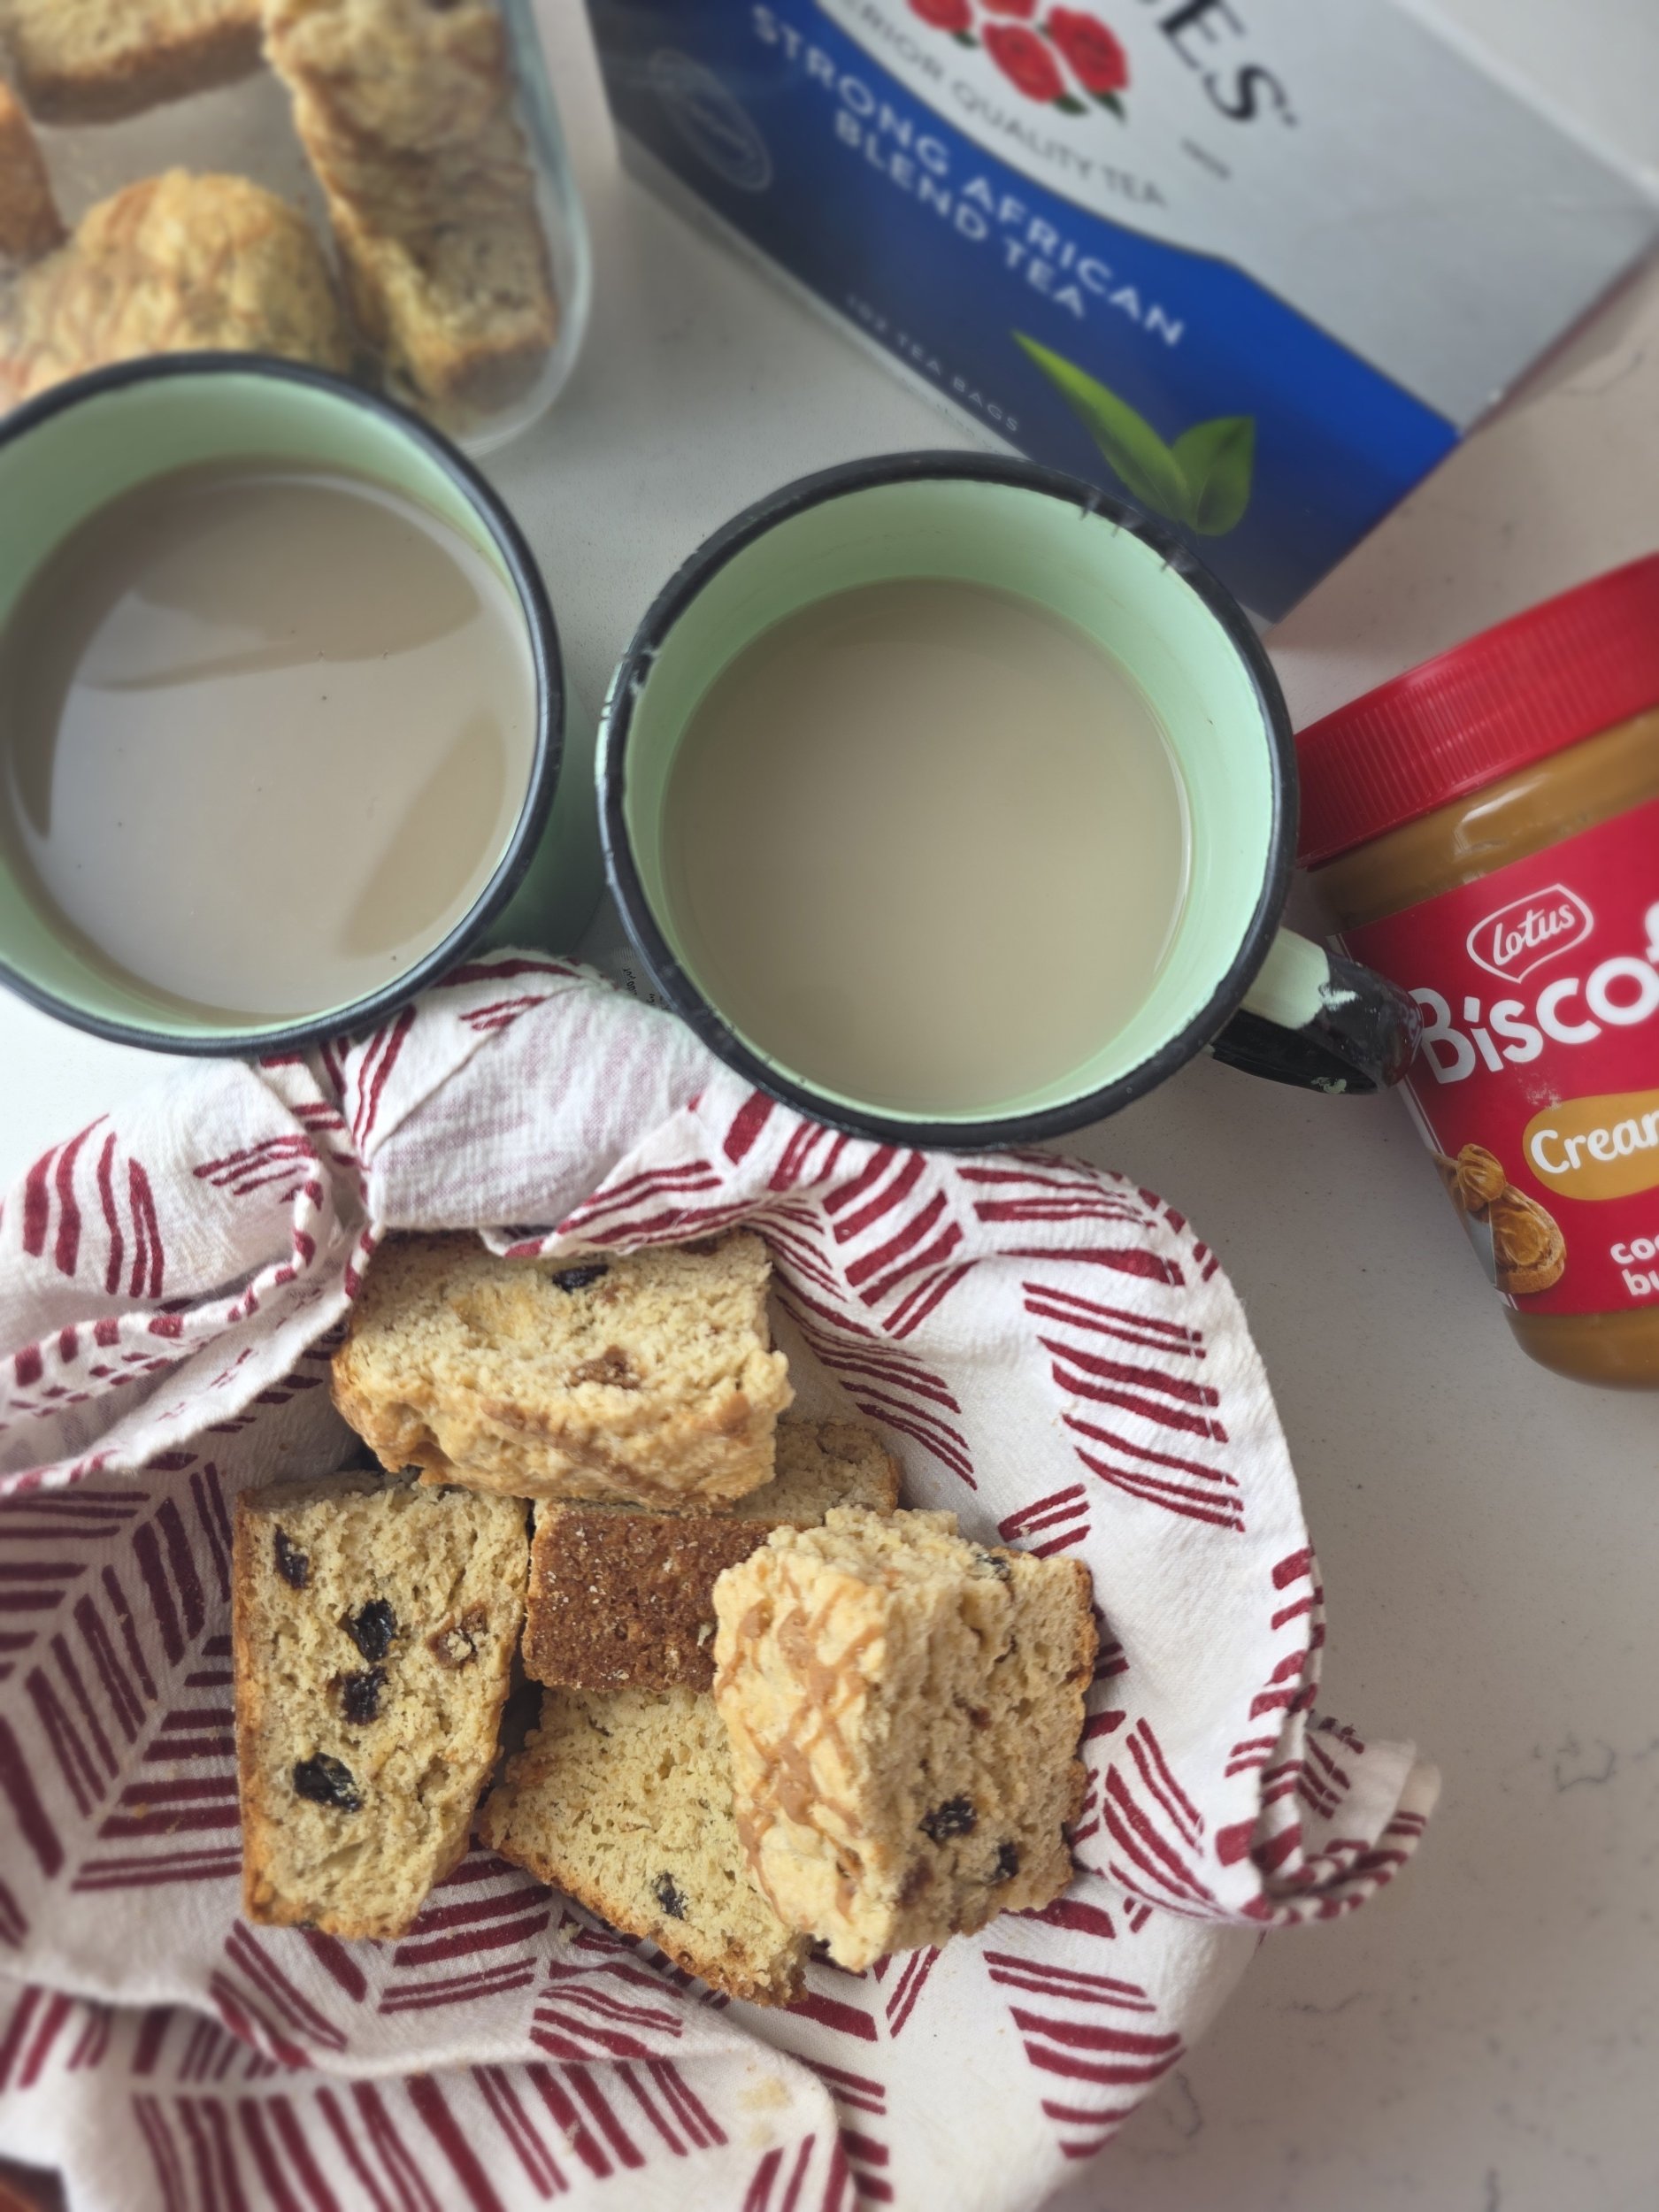
Rusks are a beloved South African baked good, and somewhere between a biscuit and bread, twice-baked until golden and crunchy. Traditionally made as buttermilk rusks, they’re designed for one very important purpose: dunking. Into hot tea or strong coffee sweetened with condensed milk. And yes, they absolutely must survive the dunk.
Across South Africa and Zimbabwe, rusks are more than just a snack. They’re part of early mornings before school, long road trips, and quiet moments in the outdoors as the sun rises. They’re passed around at lodges before a sunrise game drive, packed for camping trips, and served with enamel mugs of tea that steam in the cool bush air. If you’ve ever been on safari at dawn, you’ll know the ritual of hot drink in hand, a crunchy rusk, and that first golden light over the landscape.
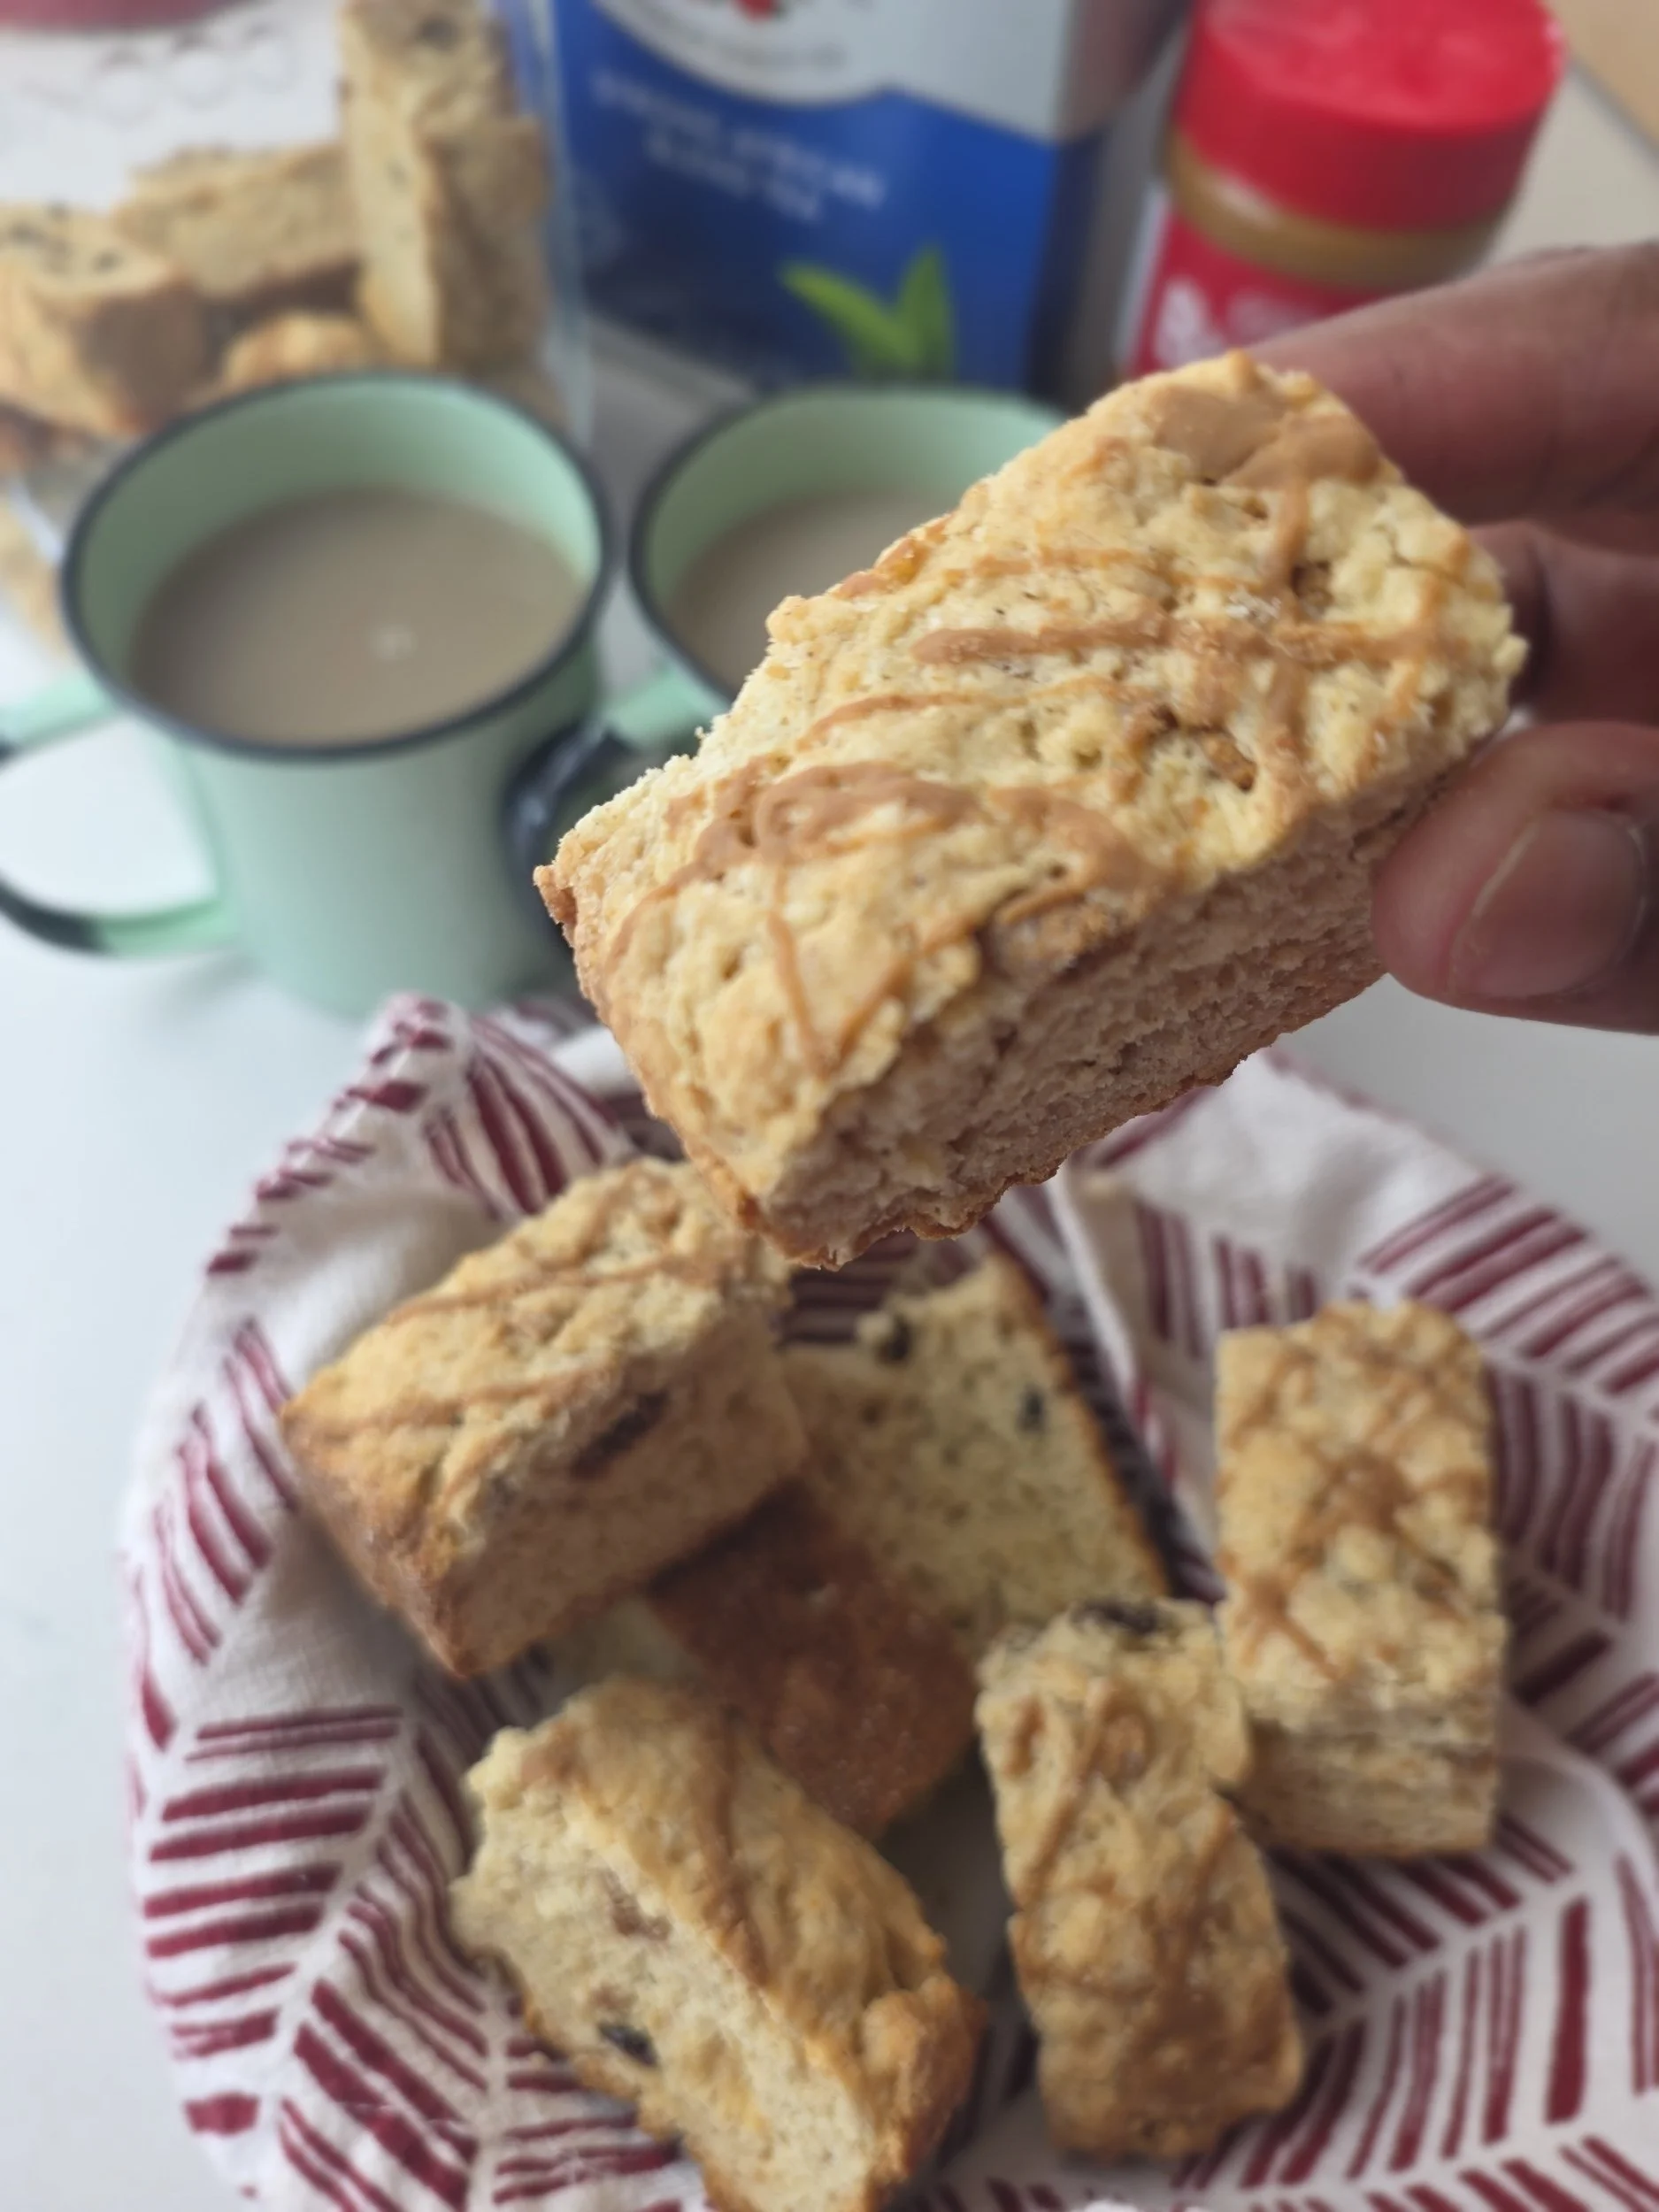
A traditional buttermilk rusks recipe creates a rich, slightly tangy dough that’s baked, sliced, and baked again until perfectly dry and crisp. The result is a sturdy, comforting bake that softens just enough when dunked. This version keeps the classic South African buttermilk rusk base but adds a modern twist with Biscoff. That caramelised, spiced flavour melts into the dough and takes this humble favourite somewhere deliciously new, without losing what makes rusks so iconic in the first place.
Whether you’re here because you grew up with rusks, you’re searching for an easy buttermilk rusks recipe, or you’re simply curious about this Southern African classic, you’re in the right place.
For a festive twist, try my Cranberry Orange Rusks, they use the same buttermilk base but with tart cranberries and zesty orange peel for a holiday flavor.

Buttermilk Rusks with Biscoff
These traditional buttermilk rusks are twice-baked until golden and crunchy, then infused with a rich Biscoff twist. Perfect for dunking into hot tea or strong coffee, this easy homemade rusk recipe delivers the sturdy texture and comforting flavour that make rusks a Southern African favourite.
Ingredients
- 2 cups all-purpose flour
- 2 tsp baking powder
- ½ cup light brown sugar
- ¼ tsp salt
- ½ tsp cinnamon (optional)
- ¼ cup Biscoff biscuits, crushed (small chunks, not fine crumbs)
- ¼ cup raisins
- ¾ cup buttermilk
- 1 large egg
- ¼ cup melted butter
- 2 tbsp Biscoff spread, warmed slightly for drizzling
Instructions
- Preheat the oven to 375°F (191°C).
- Grease and lightly flour a shallow baking dish.
- In a large bowl, whisk together the flour, baking powder, brown sugar, salt, and cinnamon.
- Fold in the crushed Biscoff biscuits and raisins.
- In a separate bowl, whisk together the egg, buttermilk, and melted butter.
- Pour the wet ingredients into the dry ingredients and mix until just combined. Do not overmix. The dough will be thick and slightly sticky!
- Press the dough evenly into the prepared baking dish. Smooth the top with a spatula or rolling pin.
- Lightly drizzle the warmed Biscoff spread over the surface. Aim for an even drizzle rather than a thick layer.
- Bake for 30–35 minutes, or until golden and firm in the centre.
- Allow to cool in the pan for about 20 minutes, then transfer to a wire rack and cool completely to room temperature.
- Cut into thick bars or fingers using a sharp serrated knife.
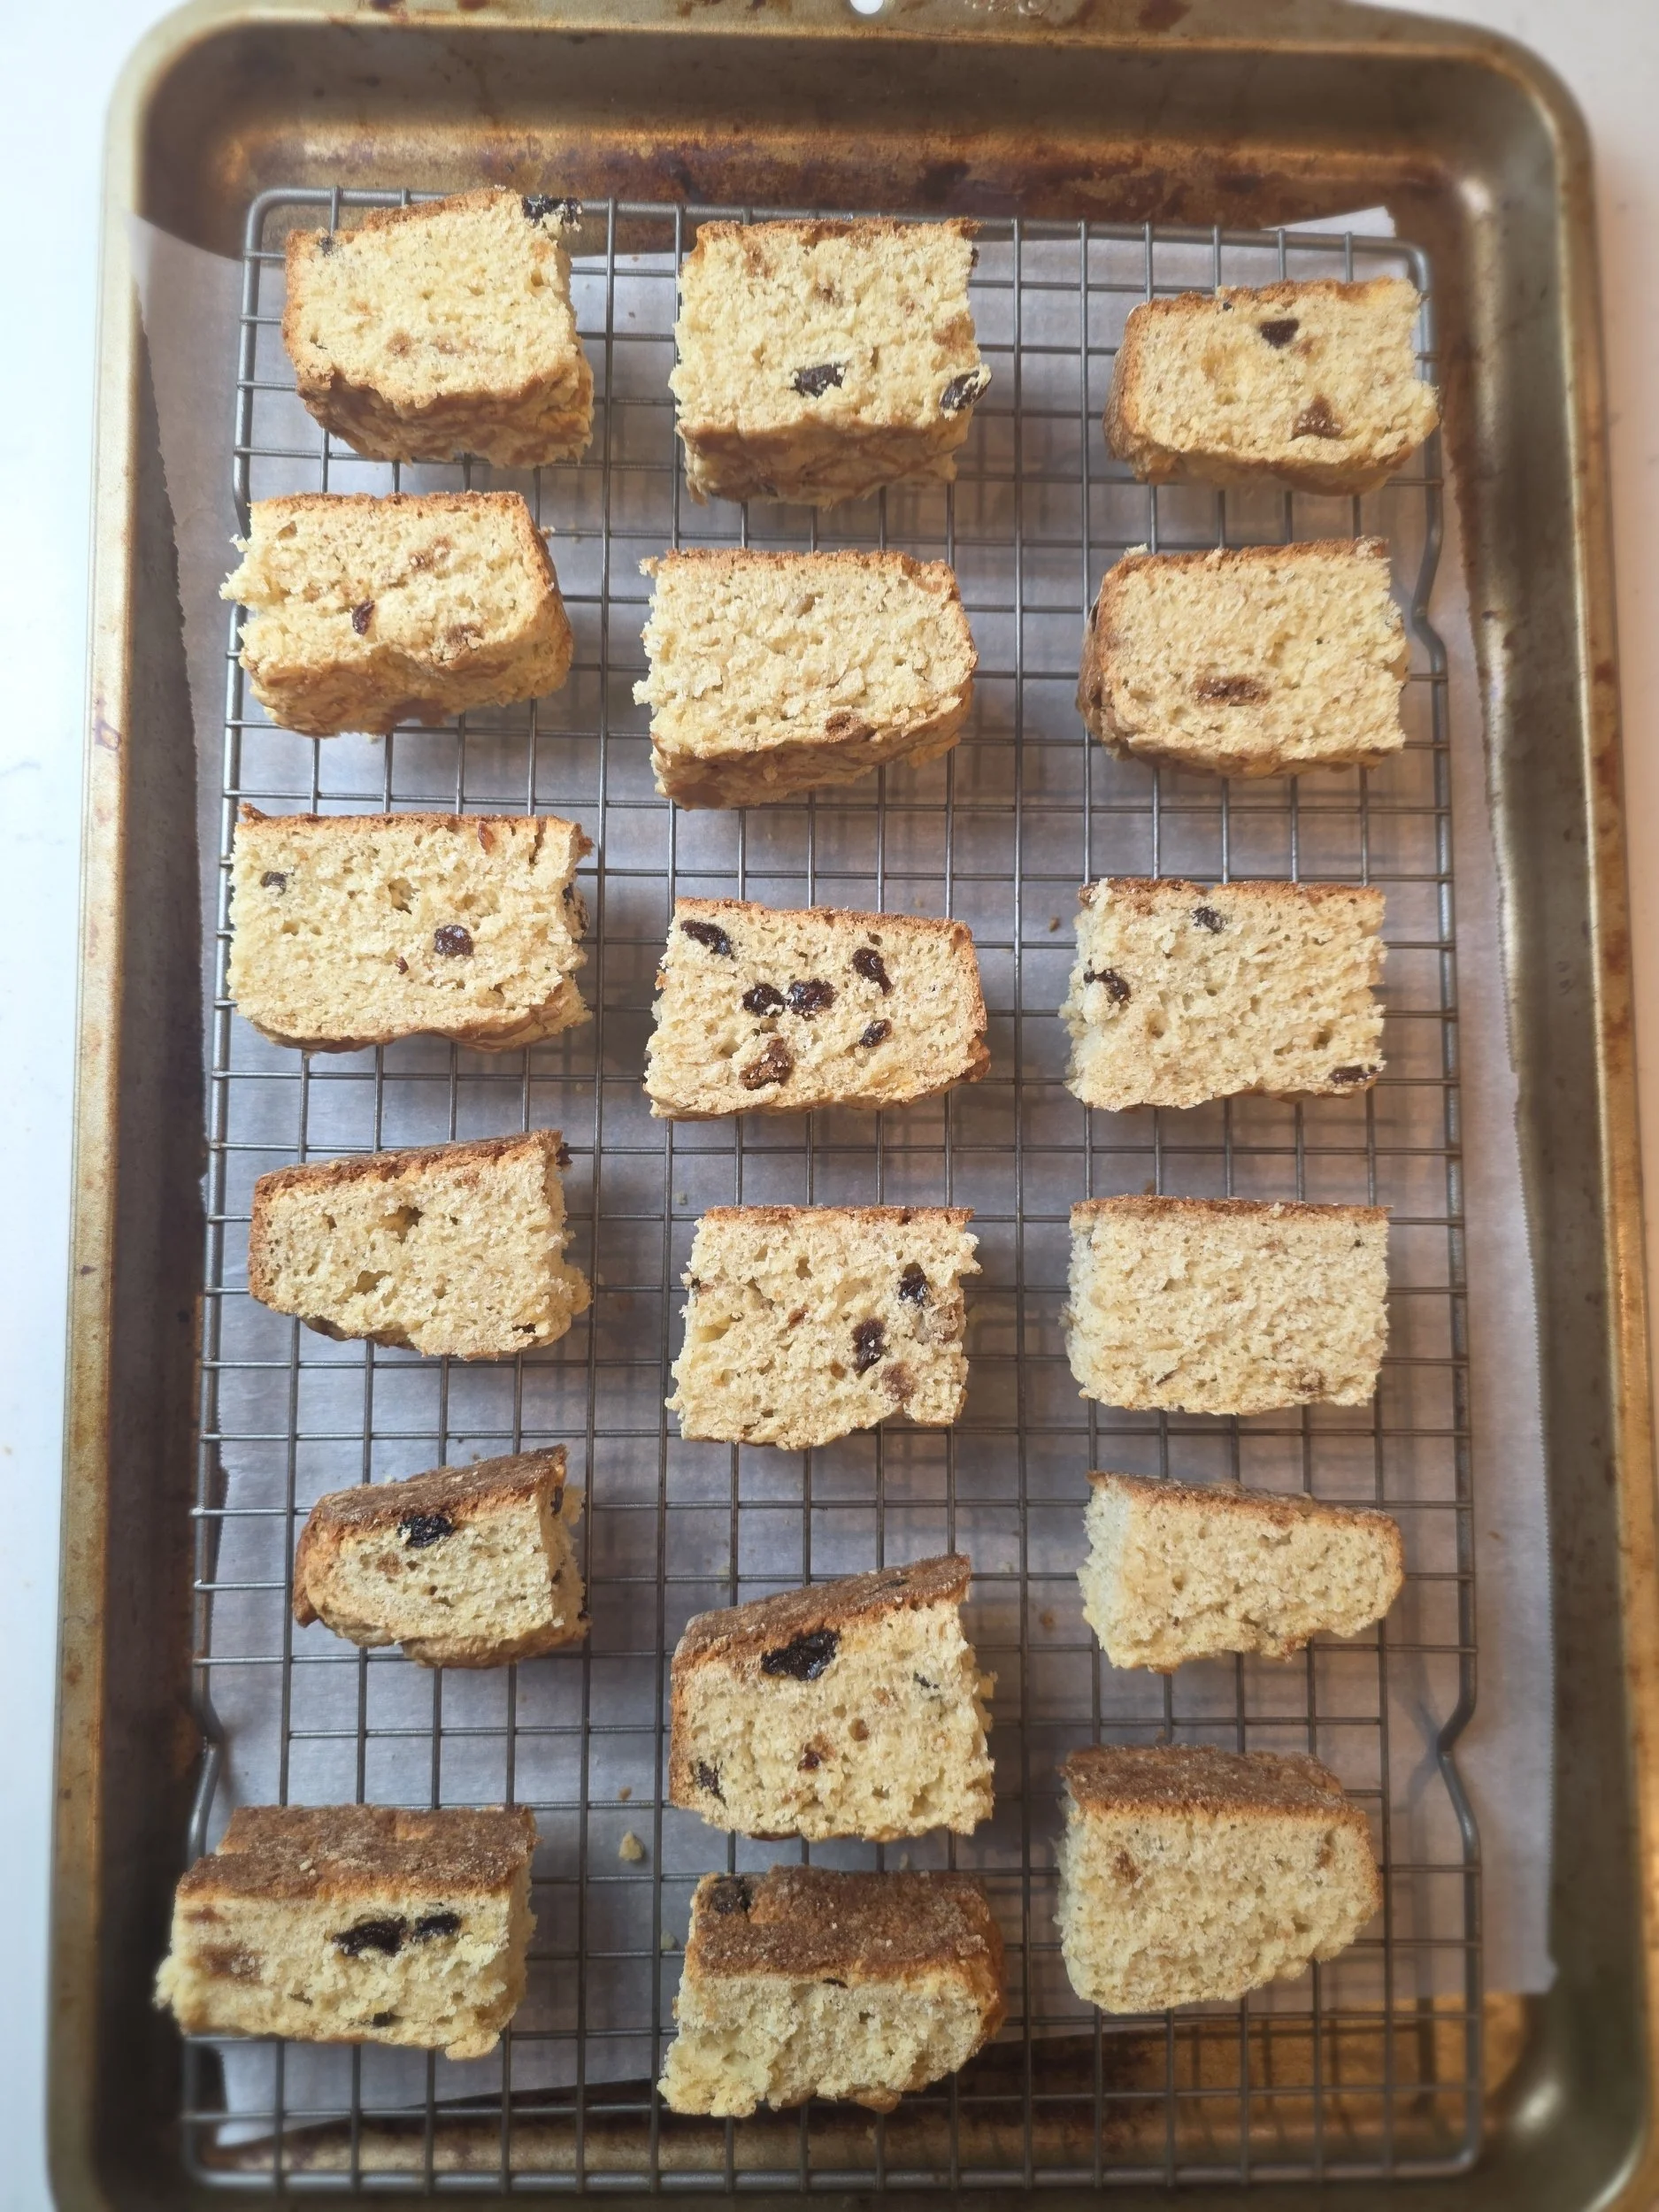
- Reduce the oven temperature to 200°F (93°C). Place the sliced rusks on a wire rack set over a baking tray to allow air circulation.
- Bake for 1½ to 2 hours, flipping halfway through, until fully dry and crisp inside.
- For slightly softer rusks: dry closer to 1½ hours. For firmer, more traditional dunking rusks: dry up to 2 hours.
- For extra even drying, switch off the oven and leave the rusks inside with the door slightly ajar for 20–30 minutes.
- Cool completely before storing in an airtight container.
Nutrition Facts
Calories
180Fat (grams)
7 gCarbs (grams)
25 gFiber (grams)
1 gSugar (grams)
10 gProtein (grams)
4 gI am not a certified nutritionist and any nutritional information on dontmissmyplate.com should only be used as a general guideline.

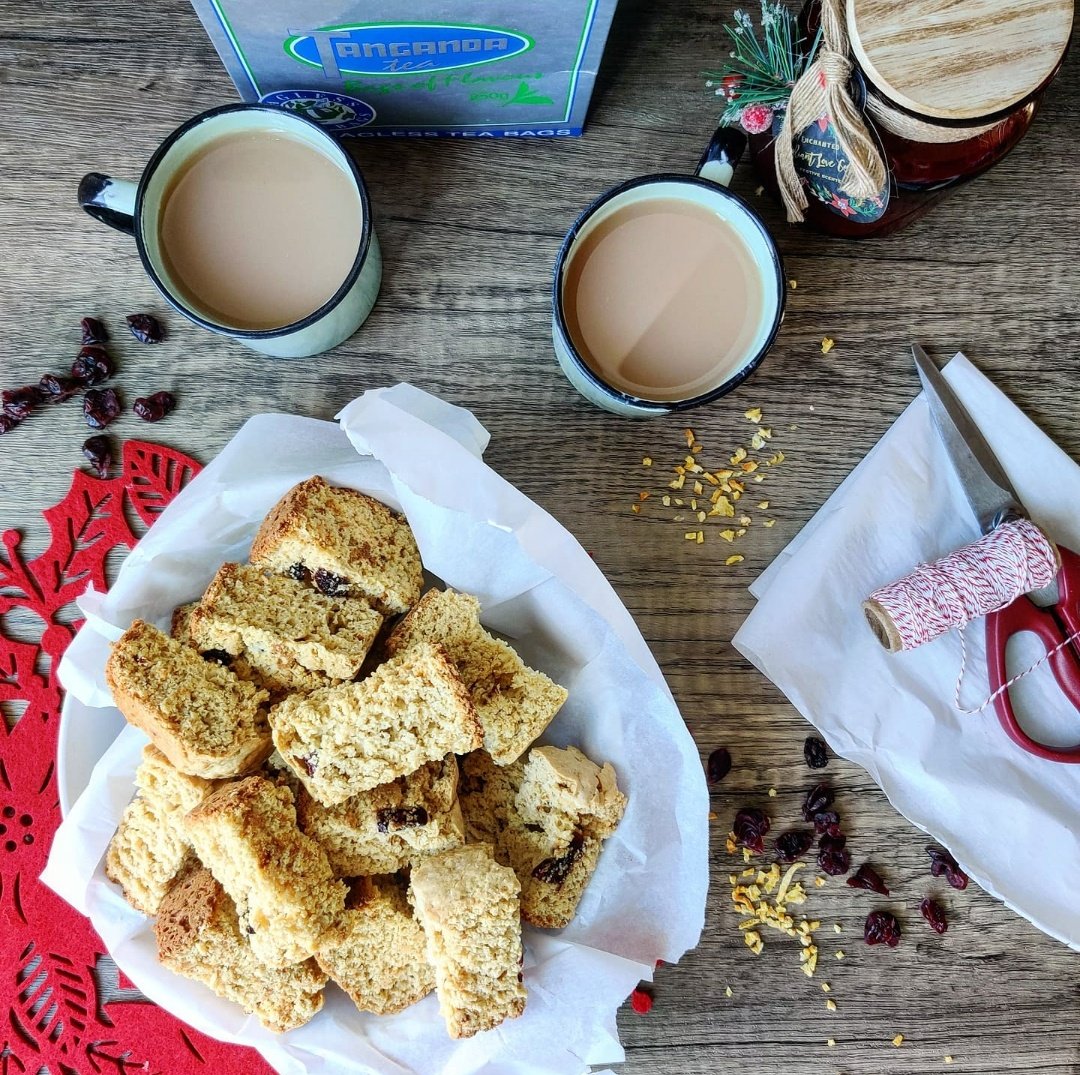
Cranberry Orange Rusks
Rusks are a beloved snack across Southern Africa, traditionally baked twice to create that signature crunchy, semi-sweet texture. While they have deep roots in history, today rusks are just as much about simple, comforting enjoyment as they are about tradition.
In this recipe, I’ve added tart cranberries and fragrant orange peel to give them a festive, modern twist. The cranberries add bursts of sweet-tart flavor, while the orange brings a bright, citrusy note that pairs beautifully. Crisp on the outside, slightly chewy inside, these rusks are perfect for dunking into a morning coffee, afternoon tea, or just enjoying as a cozy snack at any time of day.
Easy to make at home, this recipe lets you enjoy a fresh, homemade version of a Southern African classic — no store-bought rusks required.

Cranberry Orange Rusks
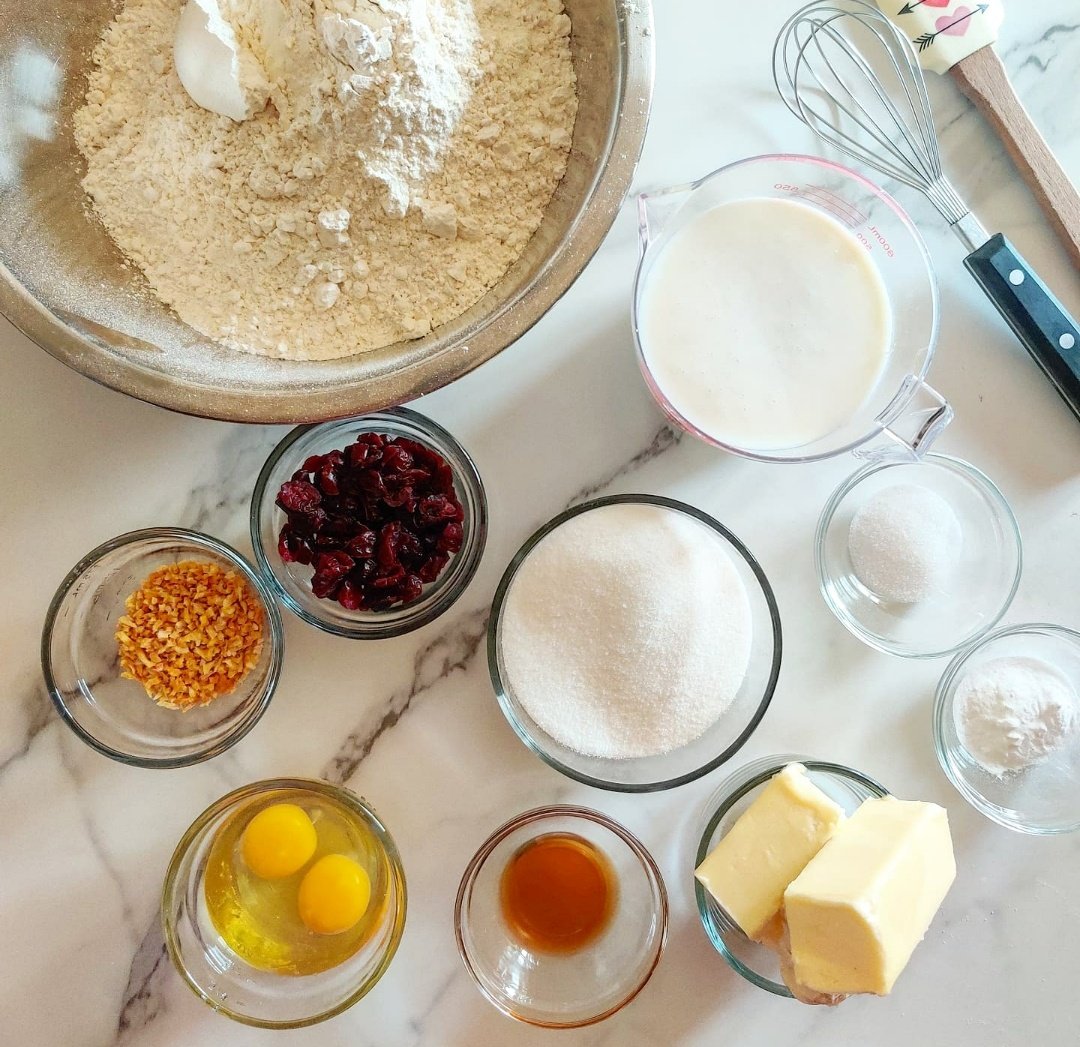
Ingredients
- 8 cups self-raising flour
- 1 stick + 2 tablespoons butter
- 1 cup granulated sugar
- 1/2 cup coconut sugar
- 2 tablespoons vanilla extract
- 1/2 teaspoon almond extract
- 3/4 cup dried cranberries
- 3 tablespoons orange peel
- 2 cups buttermilk
- 2 teaspoons salt
- 2 teaspoons baking soda
Instructions
- In a large bowl whisk the flour, baking soda and salt well. Follow this with the cranberries and orange peel.
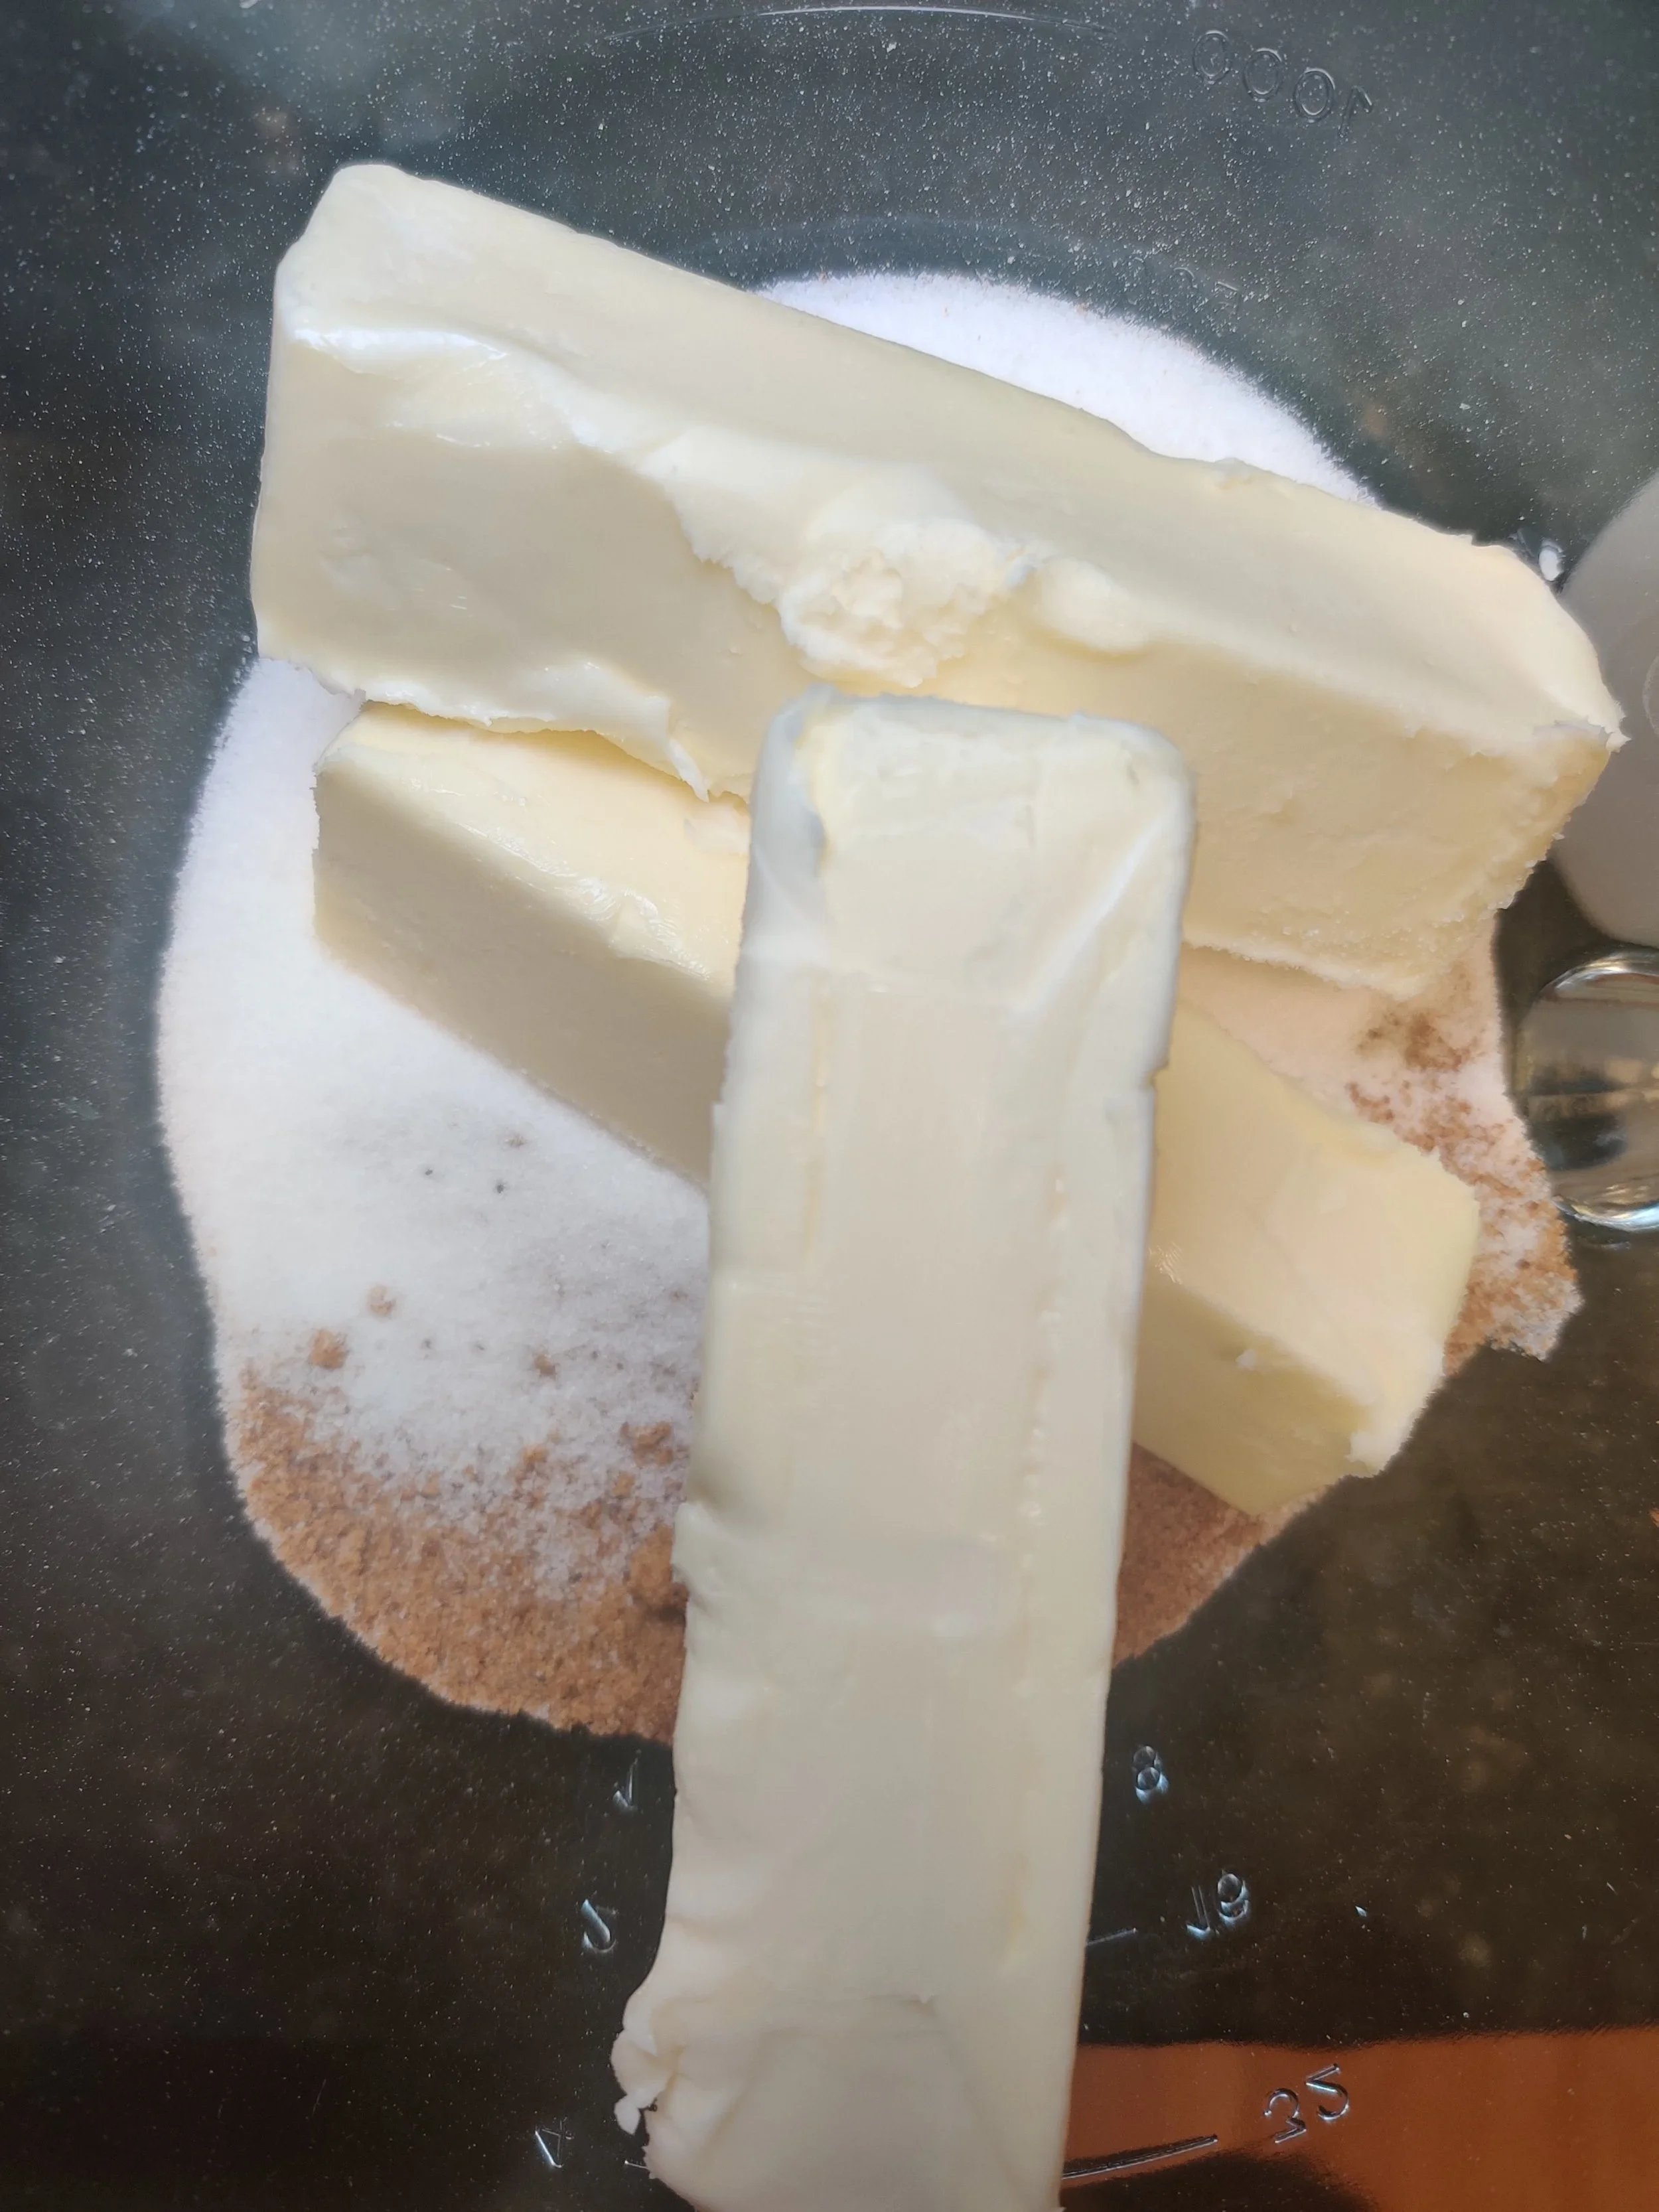
- Melt the butter in a small pot then add the sugar and whisk until the sugar has dissolved, remove from heat. Don't boil! You aren't trying to make caramel.
- Beat the egg, vanilla and almond into the buttermilk. Add both sets of liquid to the flour bowl and mix with a nonstick spatula until well combined.
- Transfer the mix to a greased baking dish and use the spatula to flatten in preparation for baking.
- Bake at 350F for 45 minutes. The cake rusk should have risen and a toothpick should come out clean from the center once it is done. Remove from the oven to cool.
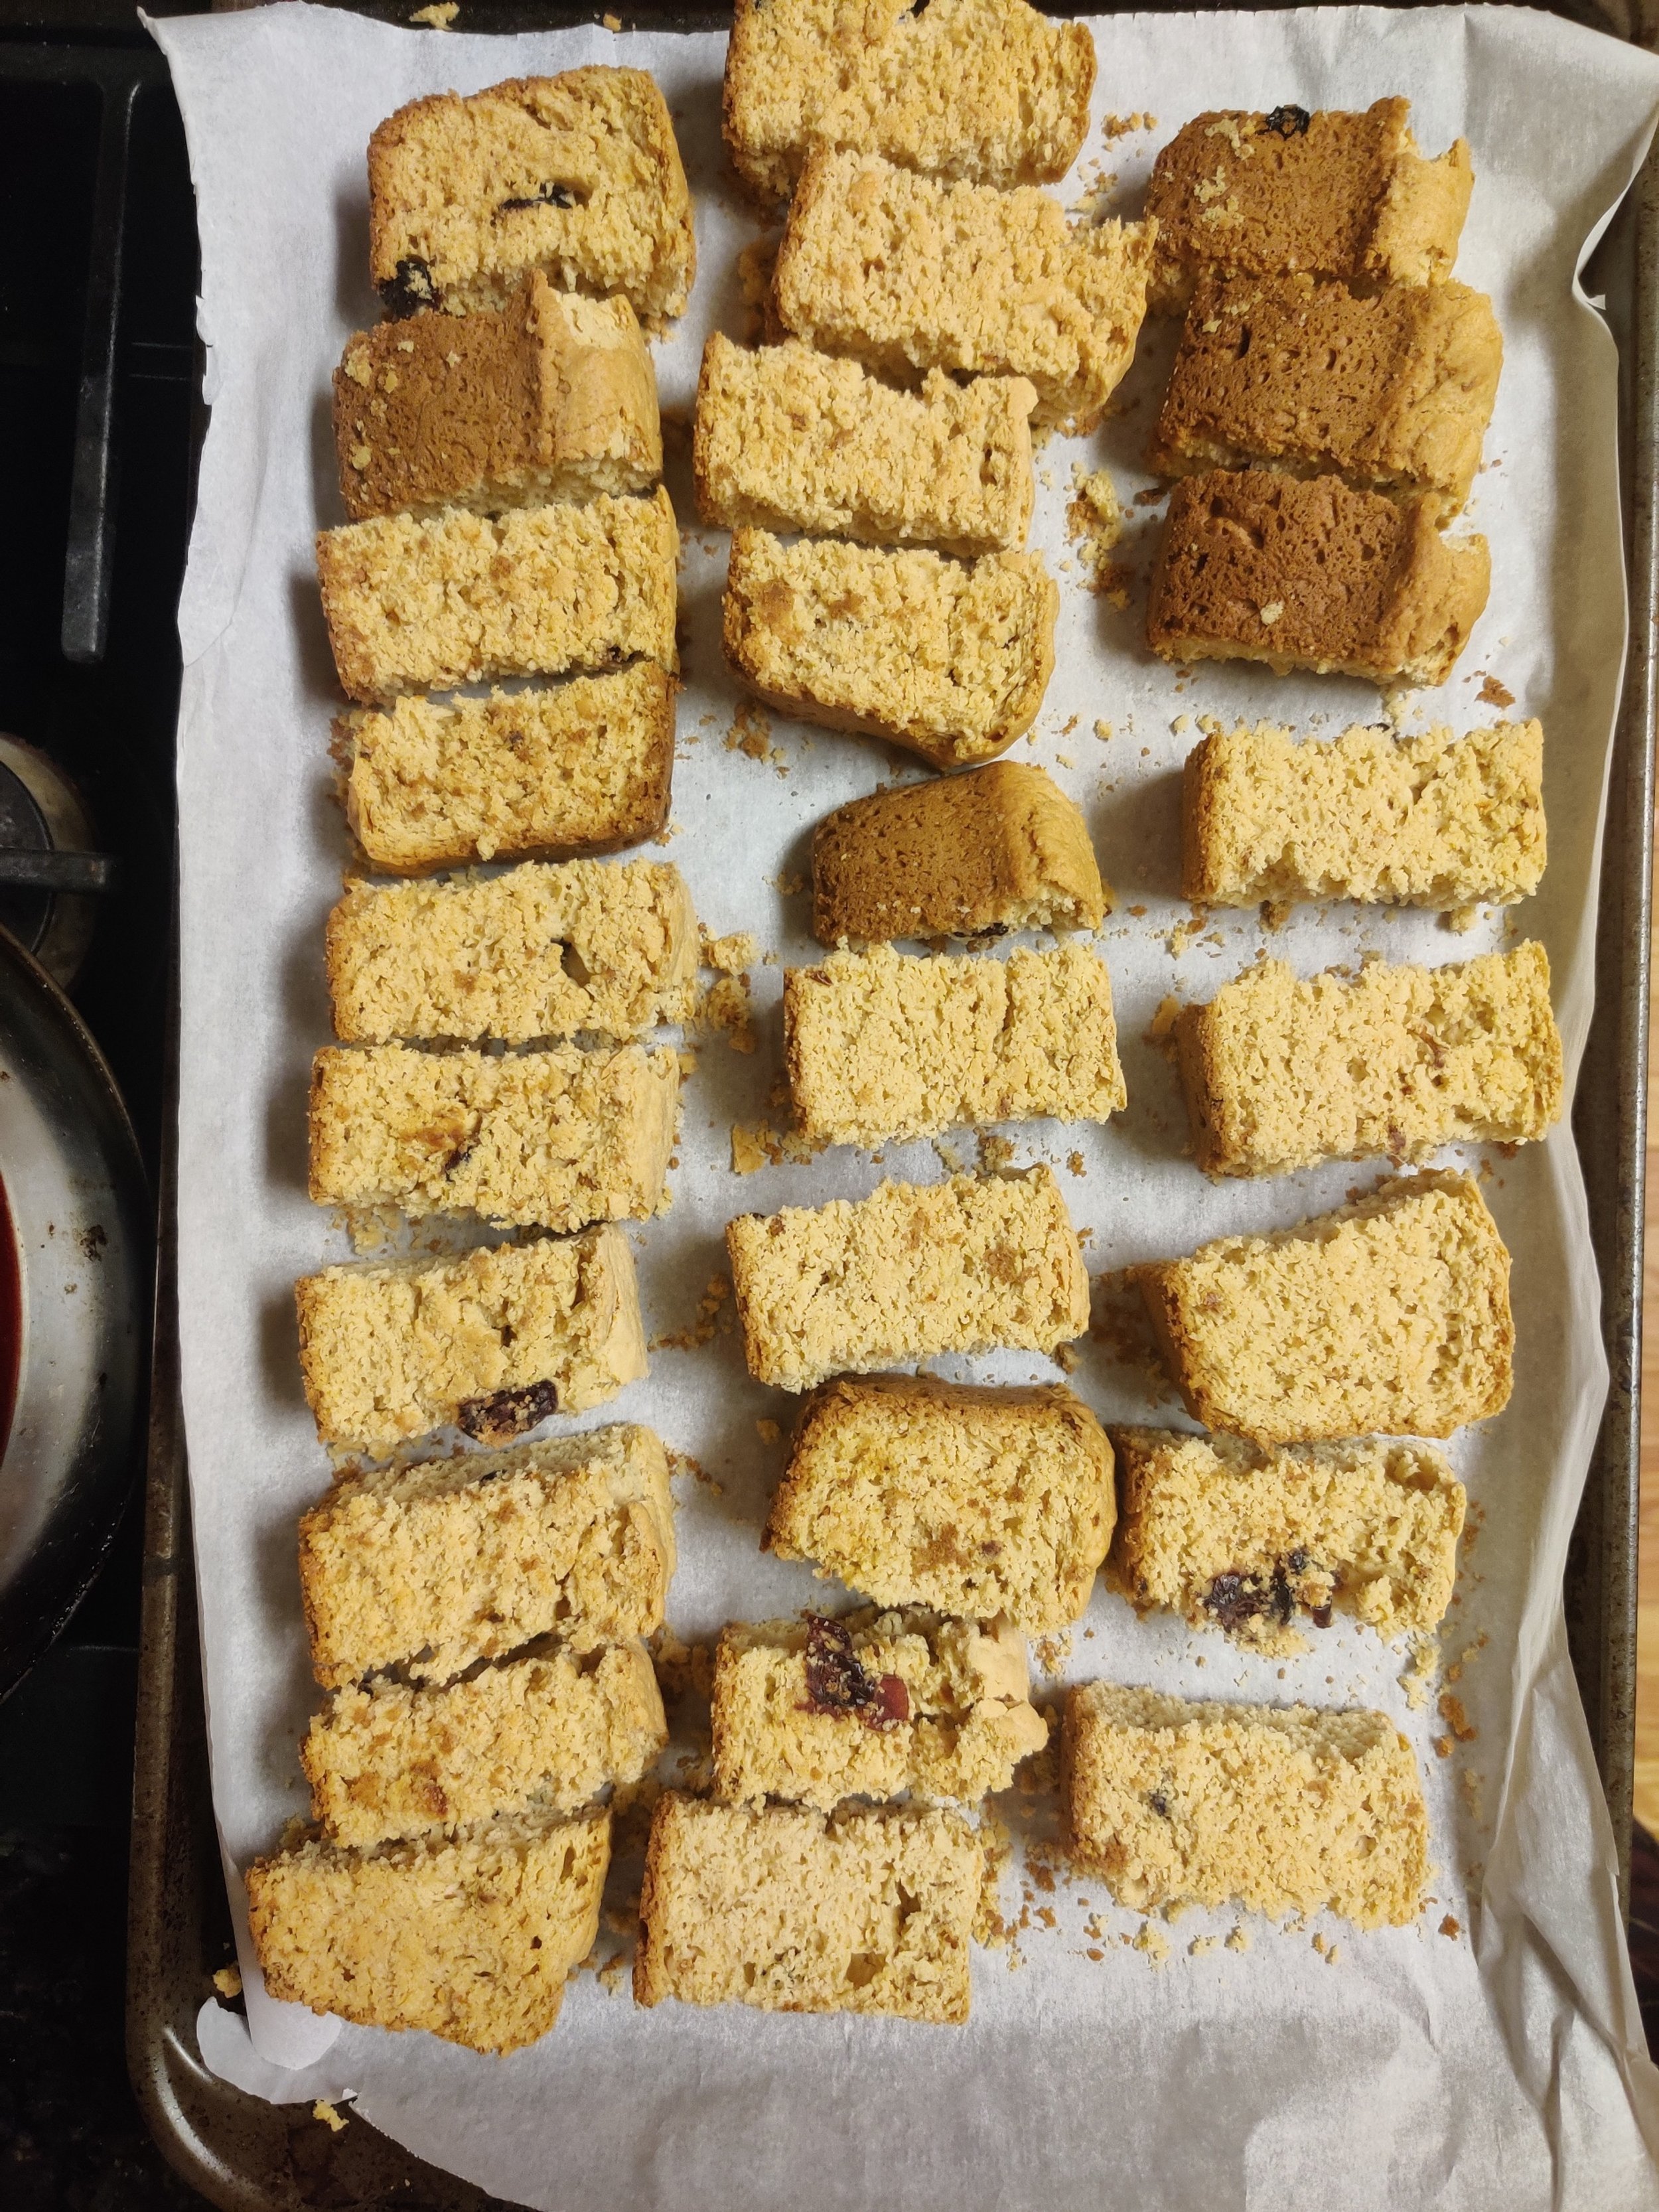
- Once cooled, slice into 2.5cm L x 1.5cm W pieces. Depending on how thick you cut them, you’ll get about 50 rusks.
- Lay them on parchment-lined baking trays evenly spaced, and return to the oven but reduce the heat to 200F/93C. Dry them out or another 2 1/2 hours and check every 30 minutes until a cookie/biscuit texture.
- Keep in airtight containers for up to 3 months.
Nutrition Facts
Calories
122Fat (grams)
2.6Carbs (grams)
22Sugar (grams)
6.6Protein (grams)
2.4I am not a certified nutritionist and any nutritional information on dontmissmyplate.com should only be used as a general guideline.

Chocolate Coconut Cookies (Homemade Romany Cream Biscuits)
Introduction to “Romany Creams”: A Timeless Treat
If there's one biscuit that holds a special place in the hearts of Southern Africans, it's the iconic Romany Cream. Known for their rich chocolate flavor, perfectly crispy texture, and creamy center, these decadent treats have been a staple in households for generations. Whether paired with a hot cup of coffee, as a mid-afternoon snack, or shared during celebrations, Romany Creams are as versatile as they are delicious.
This recipe was inspired by Romany Creams (one of my favourite biscuits/cookies of all time). Make this batch first if you've never tried them, then taste the originals and let me know what you think!
My understanding is that Romany Creams were originally developed from Gipsy Creams (a reference to a recipe of custard cream biscuits from the nomadic people of Romany/other parts of Europe). Introduced in the UK, sales fell flat, but the recipe was revitalised in South Africa, where the biscuits are still produced today. I won't go too deep into the history here, but look it up when you get the chance.
I recommend making Romany Creams throughout the year, but with a few sprinkles, everyone will want you over in the holiday season.
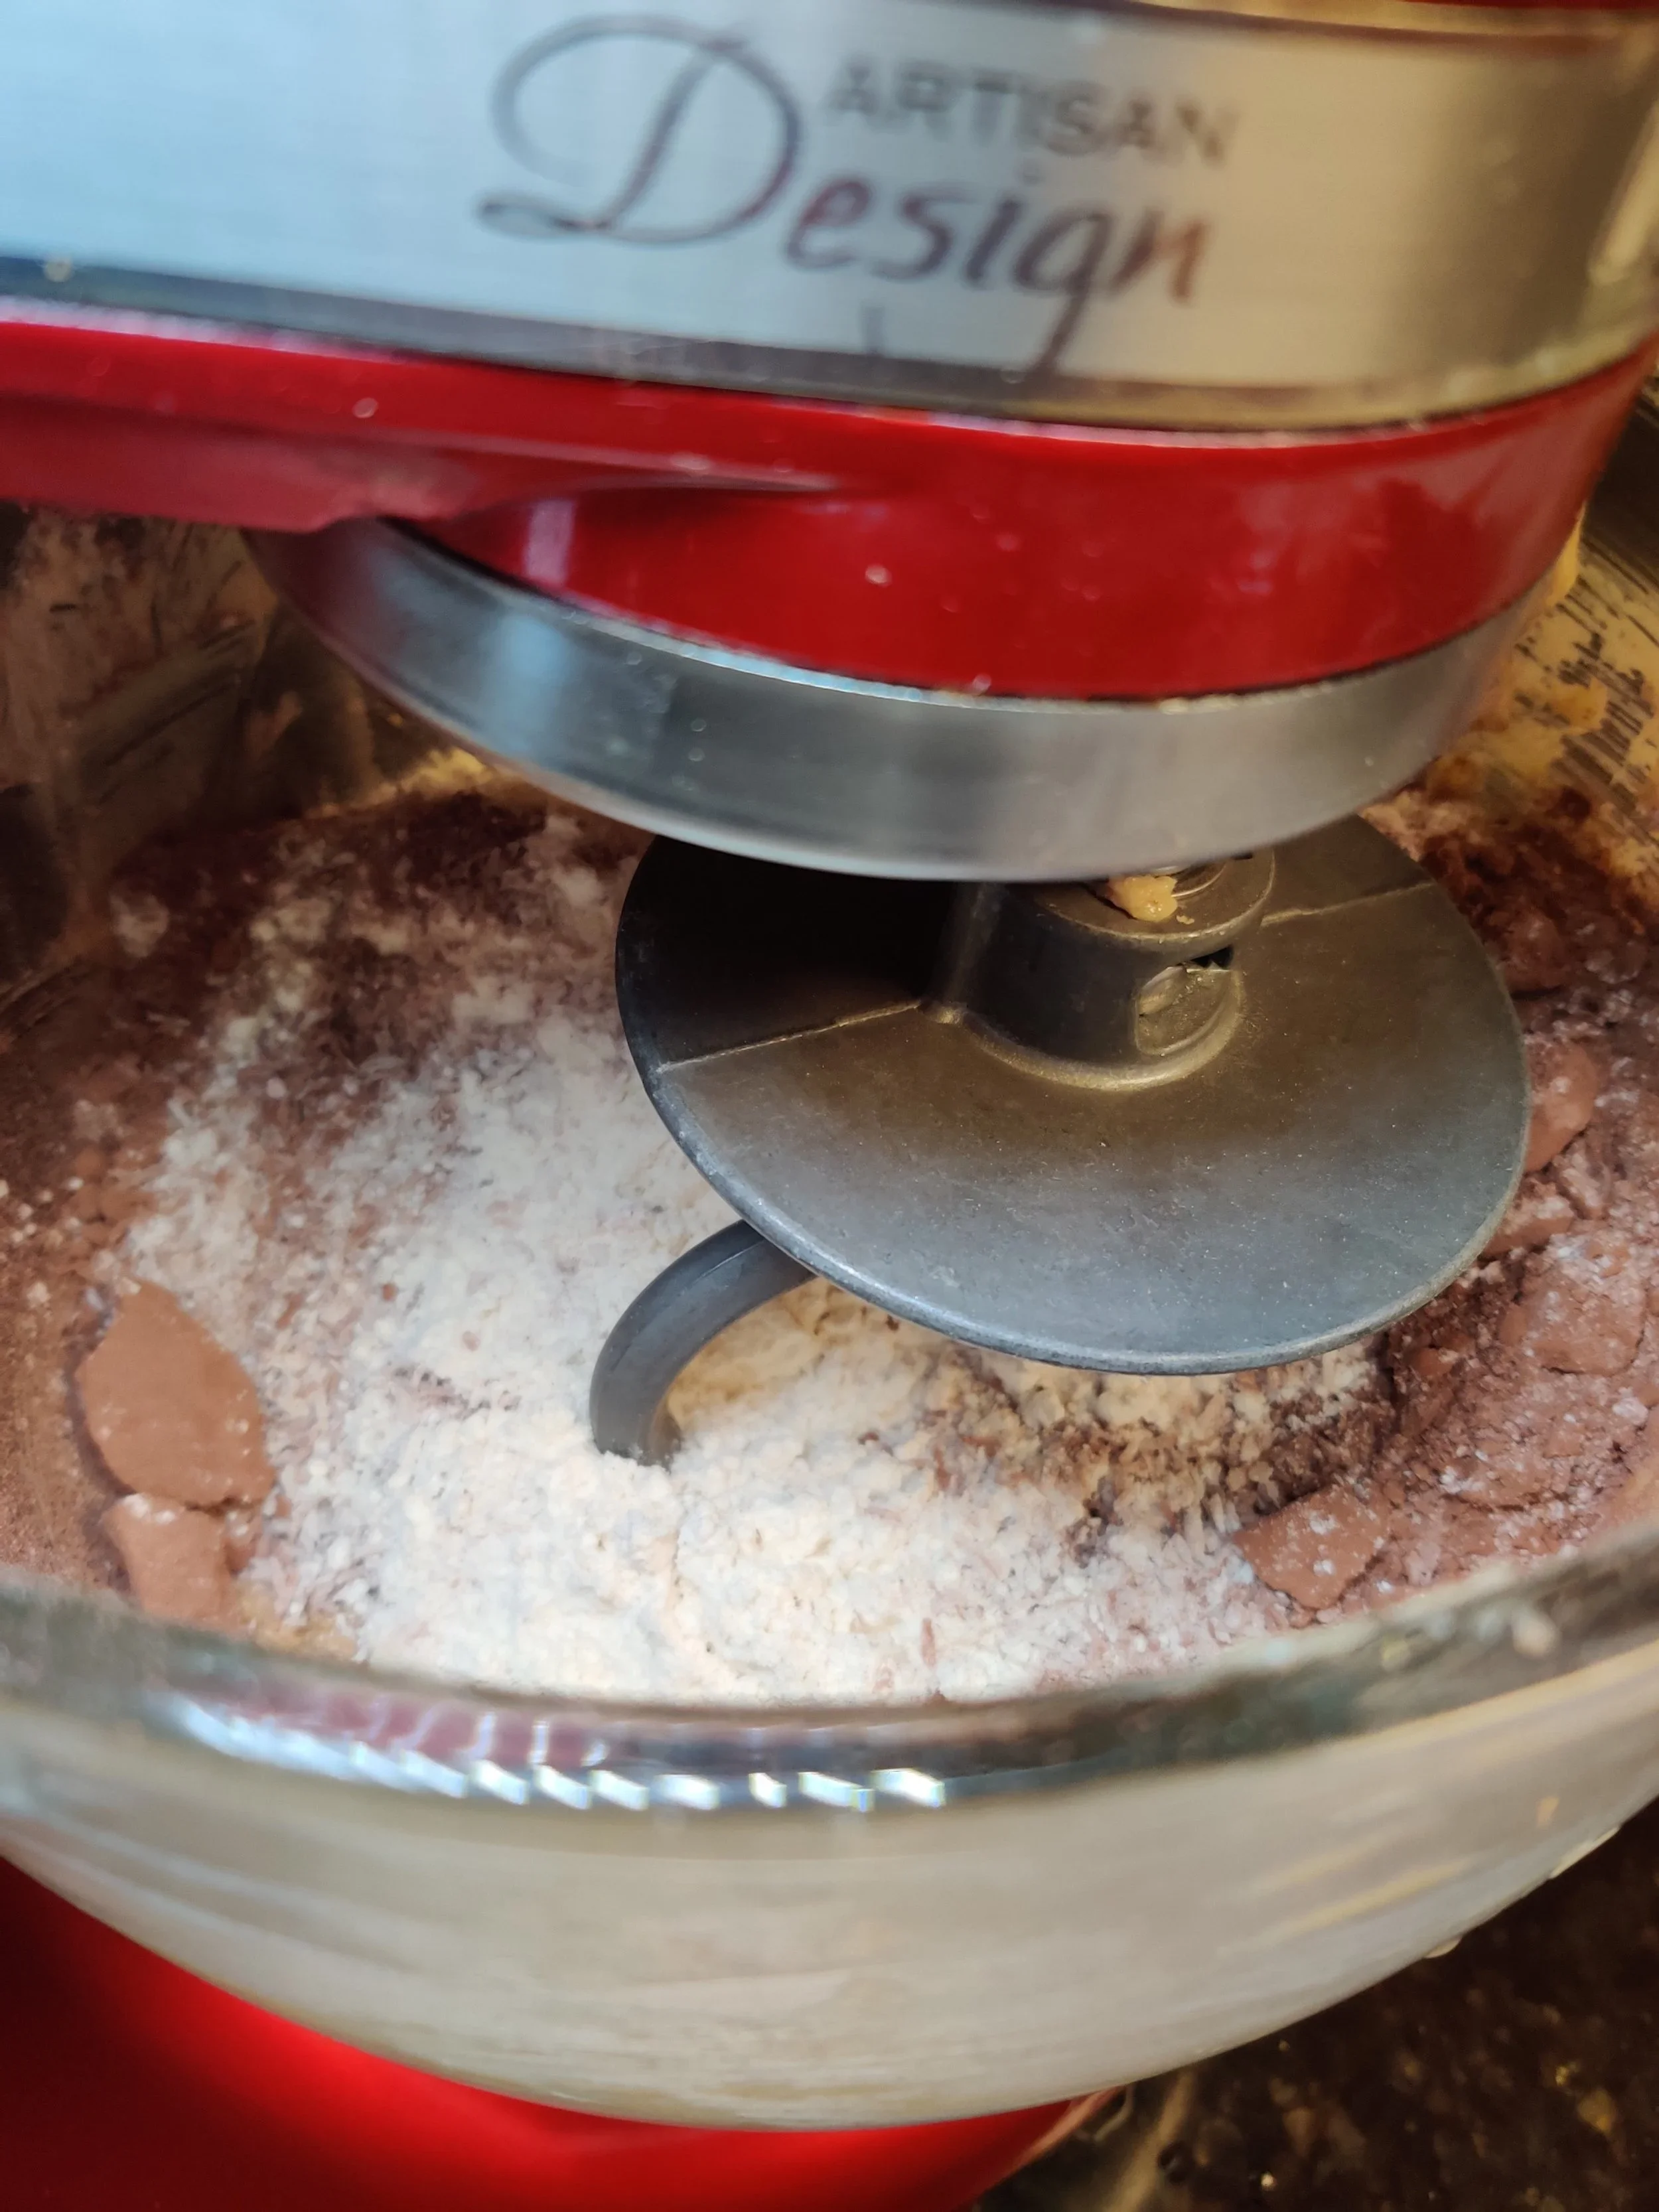
A note on preparing the dough: using a stand mixer will save you some time, and the dough hook makes the kneading easier, giving you a more consistent result. However, you can use your hands throughout the process.
Here are some helpful tips for making perfect Romany Creams at home:
1. Choose Quality Ingredients
Use high-quality cocoa powder and chocolate for the best flavor. The richness of the biscuit depends on the quality of these key ingredients.
2. Cream Butter and Sugar Thoroughly
Creaming the butter and sugar until light and fluffy ensures the biscuits have the perfect texture—crisp yet tender.
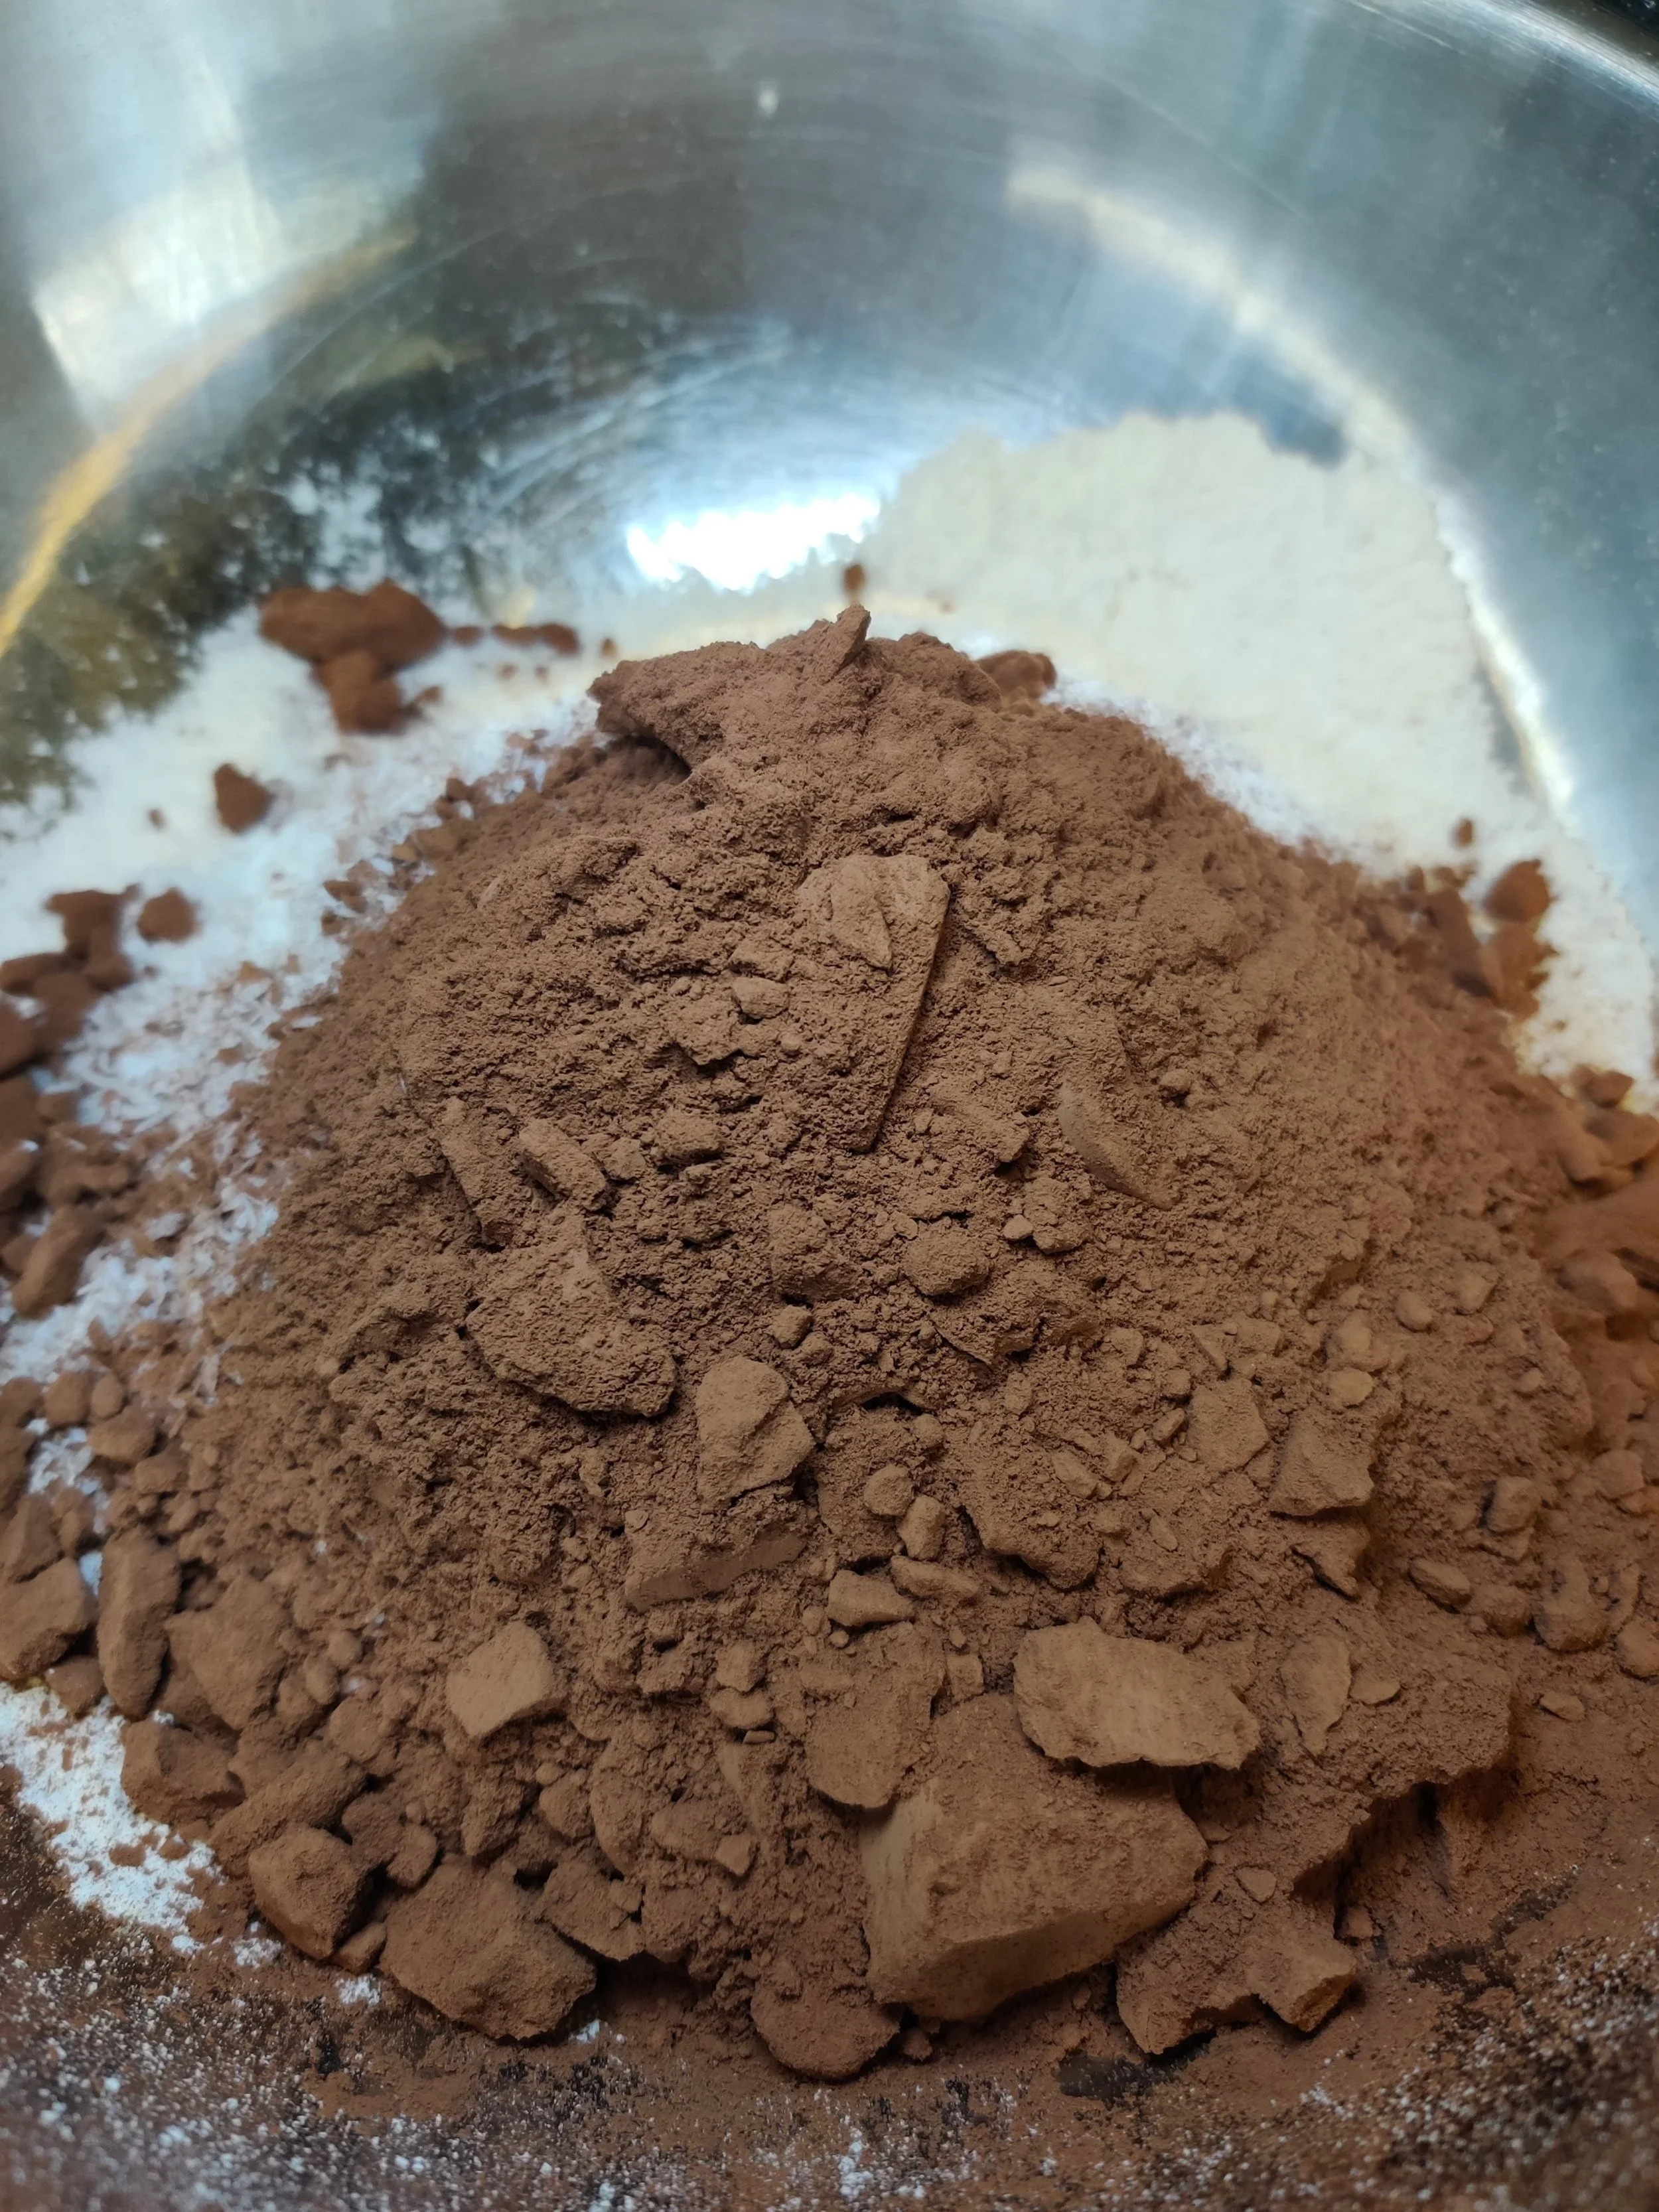
3. Sift Your Dry Ingredients
Sifting the dry ingredients (like flour, cocoa powder, and baking powder) helps avoid lumps and ensures an even distribution for a smooth dough.
4. Don’t Overwork the Dough
Mix the ingredients until just combined. Overworking the dough can make the biscuits tough instead of light and crisp.
5. Shape Consistently
Roll the dough into evenly sized balls or logs to ensure the biscuits bake uniformly. If you’re pressing them with a fork, try to make the grooves consistent for an even texture.
6. Chill Before Baking
Letting the shaped dough rest in the fridge for 15–20 minutes before baking helps the biscuits hold their shape better in the oven.
7. Bake with Care
Keep an eye on the baking time. The biscuits should be firm but not overly browned to retain their chocolaty flavor.
8. Choose the Right Filling
Traditional Romany Creams are filled with chocolate ganache or melted chocolate. Ensure the filling has cooled slightly before sandwiching the biscuits to avoid making them soggy.
9. Allow Cooling Before Filling
Always let the biscuits cool completely before adding the filling to prevent the chocolate from melting unevenly.
10. Store Properly
Once assembled, store your Romany Creams in an airtight container to keep them fresh and crispy. They can last up to a week (if you can resist eating them sooner!).
With these tips in mind, you'll be well on your way to creating Romany Creams that rival store-bought versions—if not better! I try to abide by some of these tips for the most part.
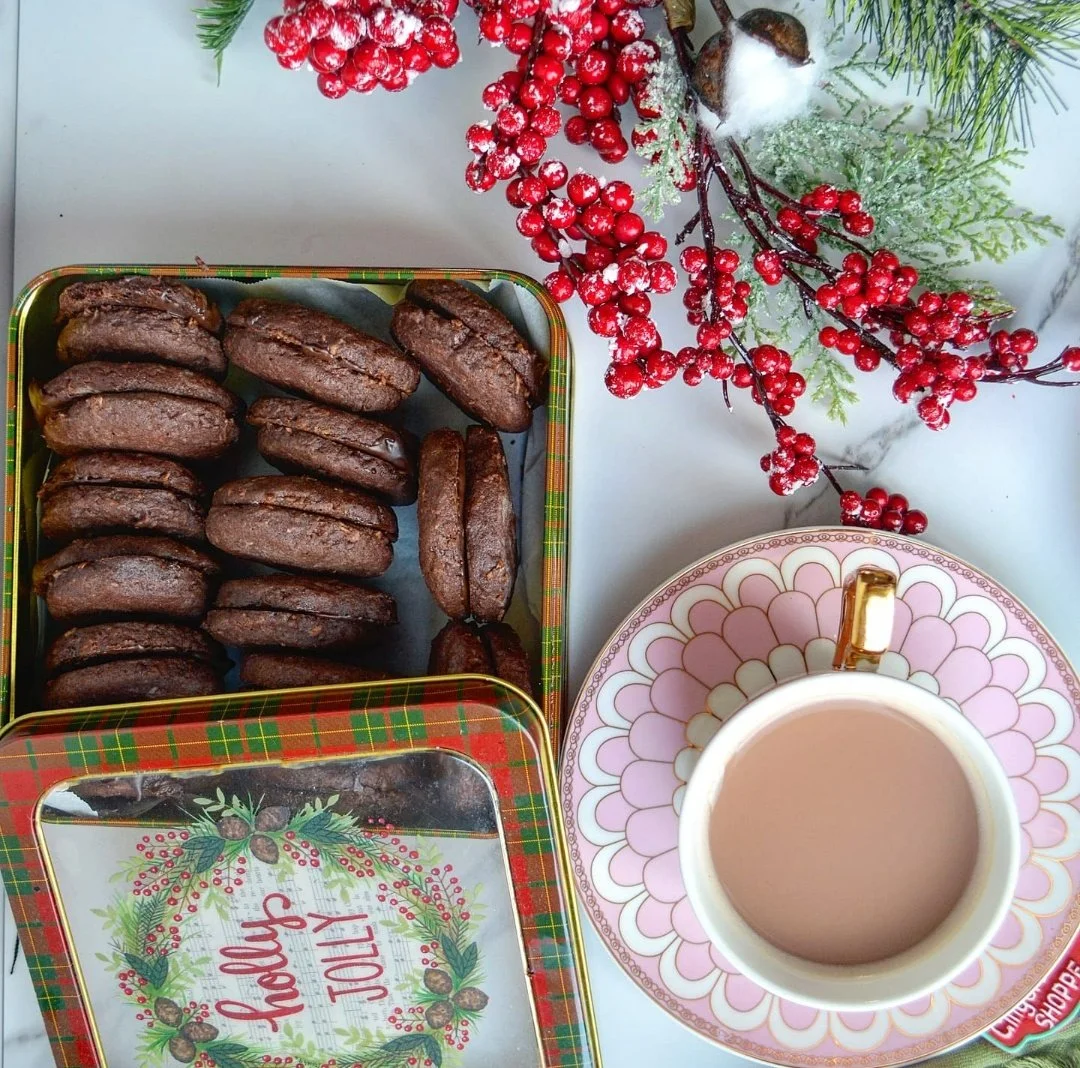

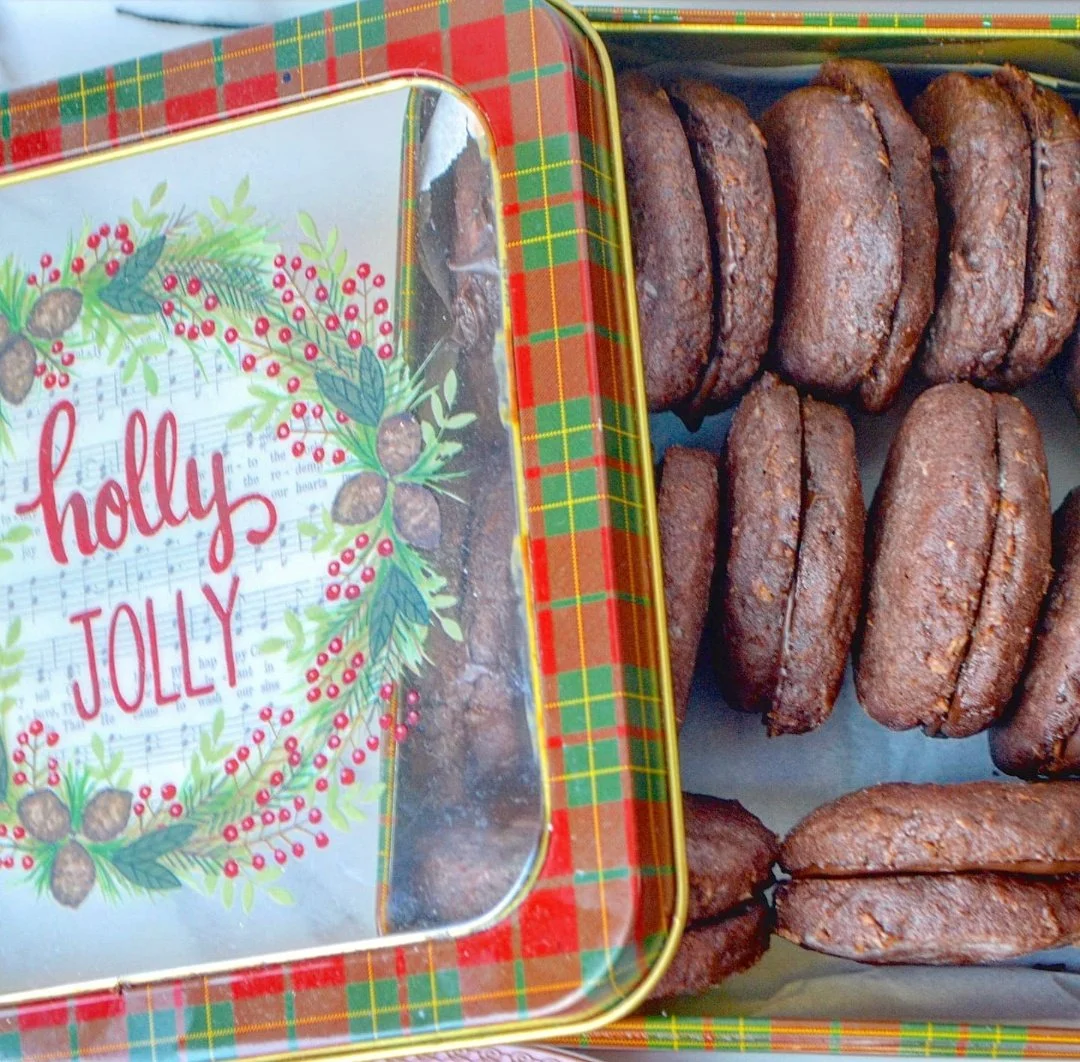

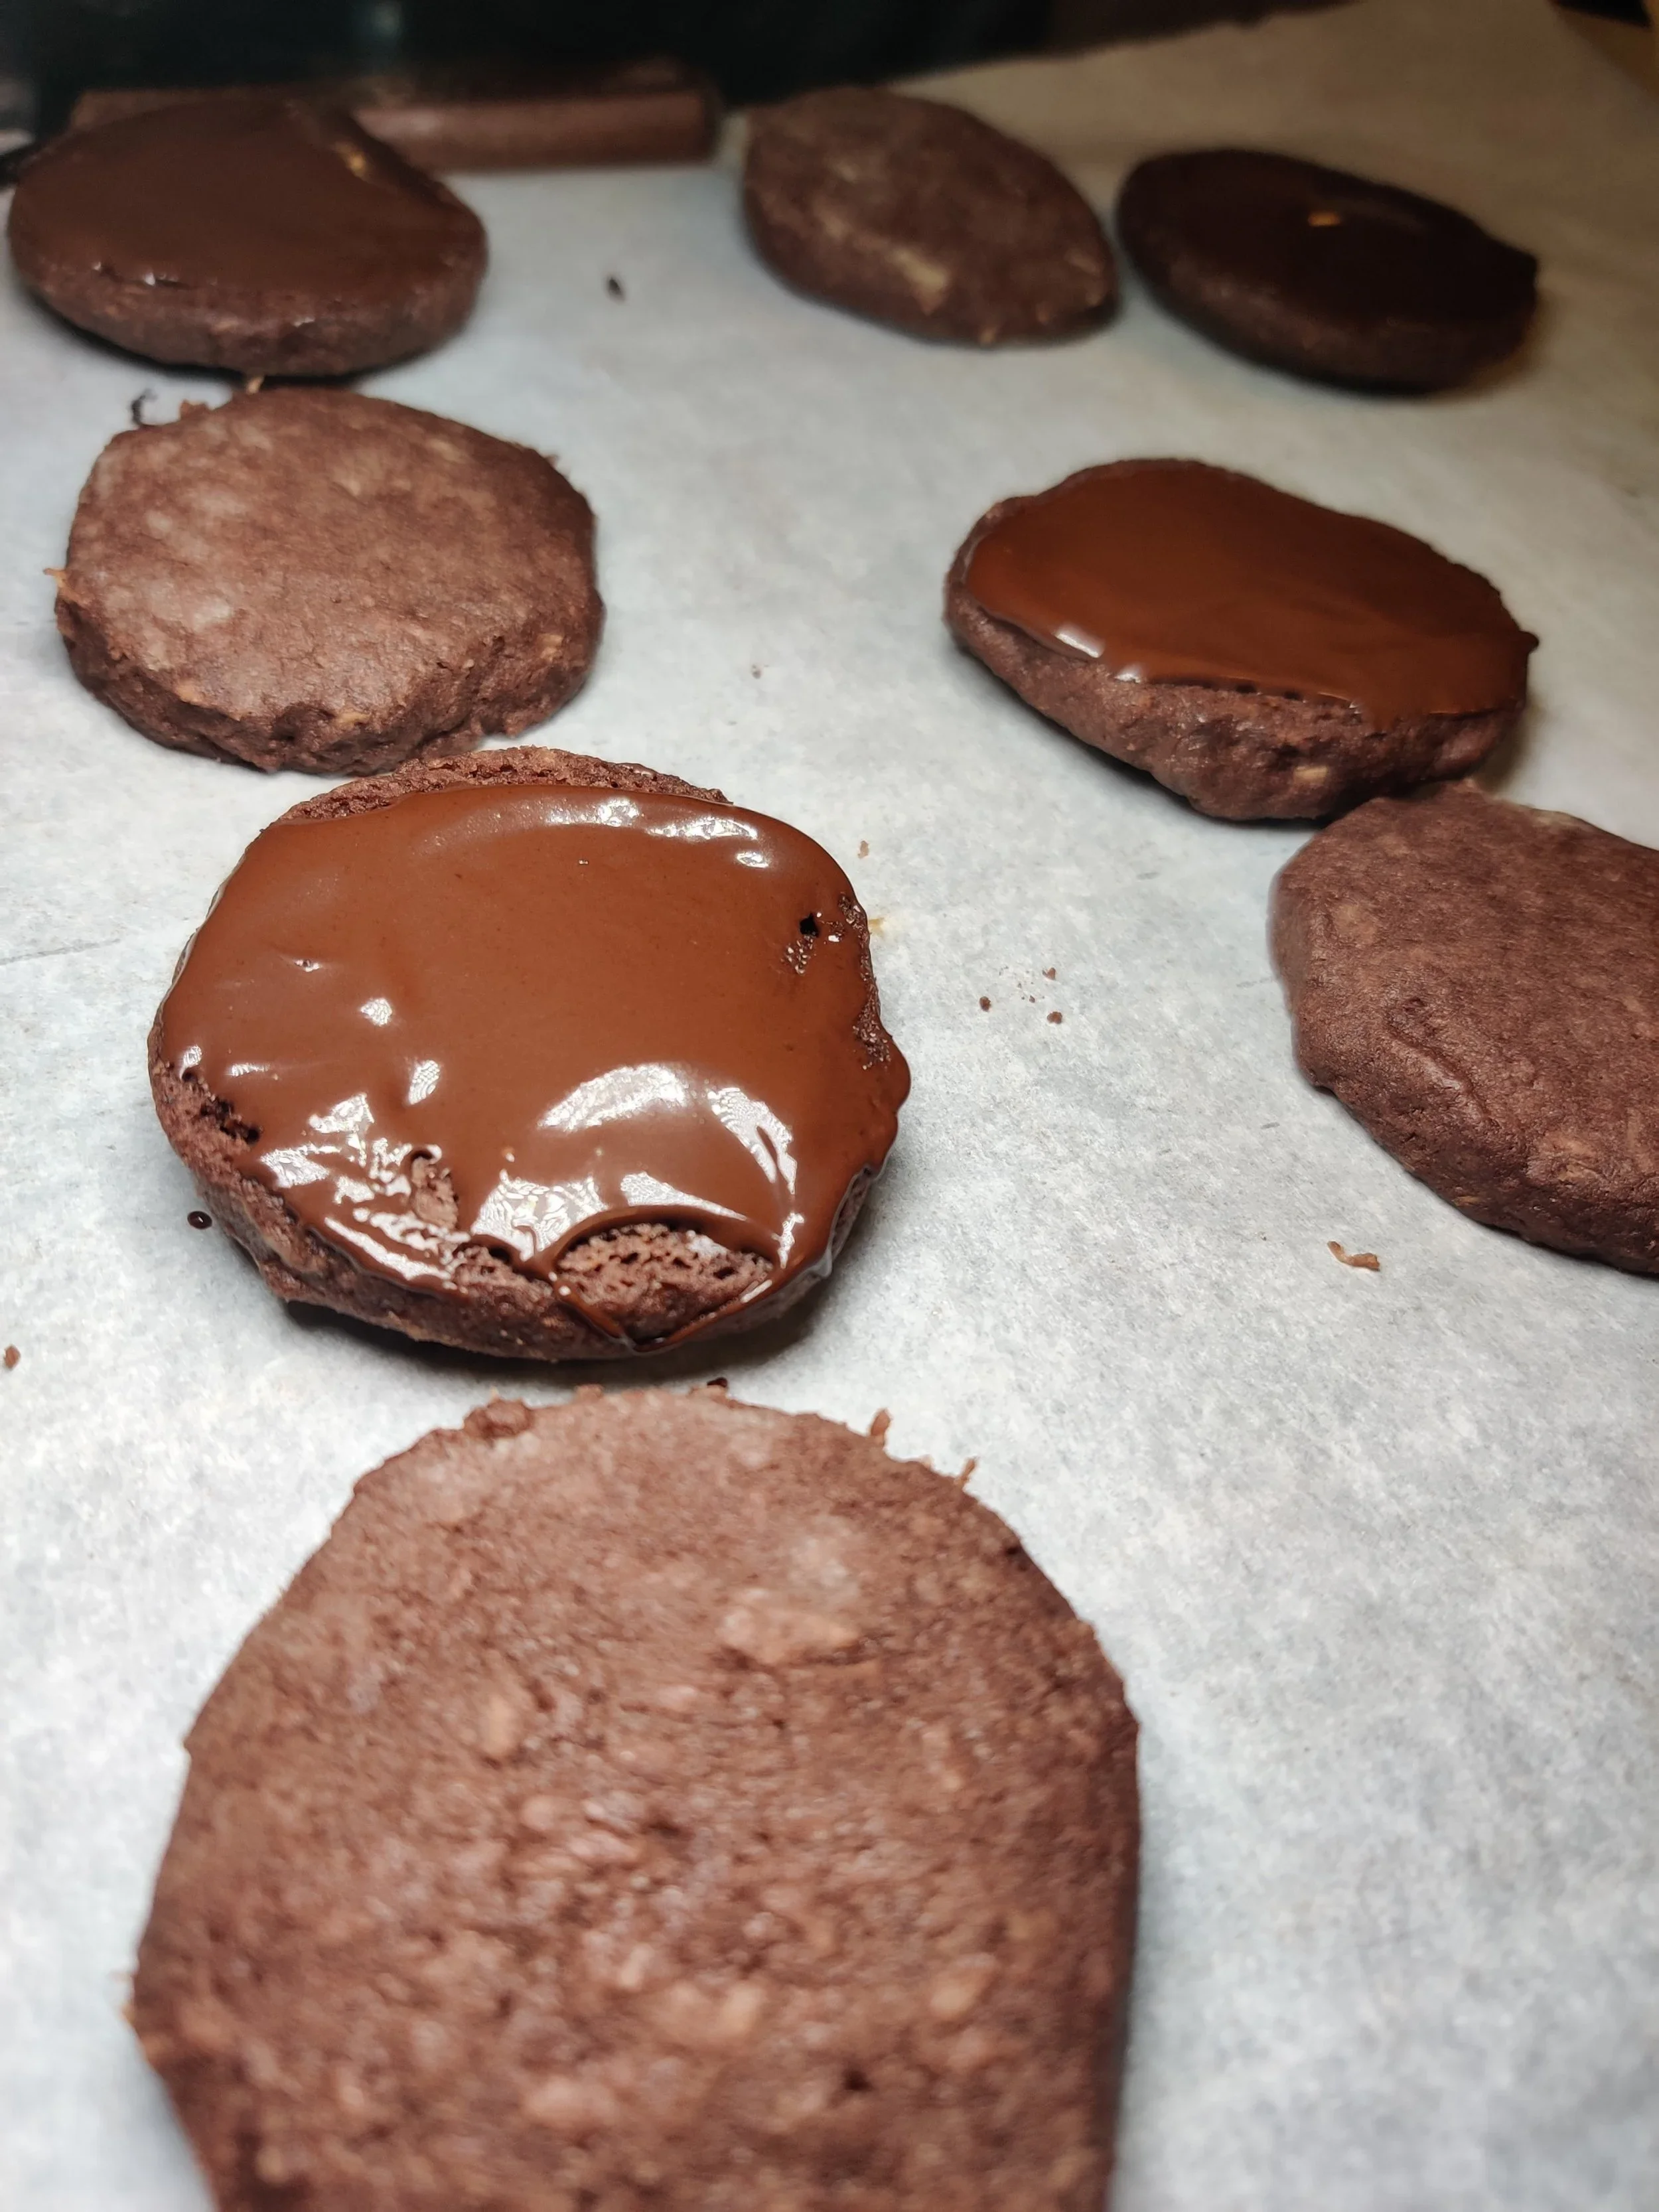
Holiday Homemade Romany Creams
This is a homemade version of the chocolate Romany Creams, sandwich cookies with melted chocolate in between and coconut (sometimes oats) incorporated into the dough. The addition makes them extra crunchy and hard to put down.
Ingredients
- 1/2 cup coconut sugar
- 1/2 cup granulated sugar
- 2 sticks butter
- 1 teaspoons vanilla extract
- 1 egg
- 3 tablespoons coconut oil, melted and cooled
- 2 1/2 cups all-purpose flour (optional: substitute 1/2 cup with coarsely ground rolled oats)
- 3/4 cup Dutch process or unsweetened natural cocoa powder
- 1 teaspoon baking powder
- 1 teaspoon salt
- 1 1/2 cups desiccated coconut
- 200g chocolate (milk and dark Cadbury or semi-sweet baking)
- Holiday sprinkles (optional)
Instructions
- Beat the sugars and butter until a creamy texture develops in a stand mixer. Add in the egg, oil and vanilla, and combine until smooth.
- Mix the other dry ingredients in a separate bowl, then add to the stand mixer bowl. Change the attachment to a kneading hook and mix quickly until a soft dough forms.
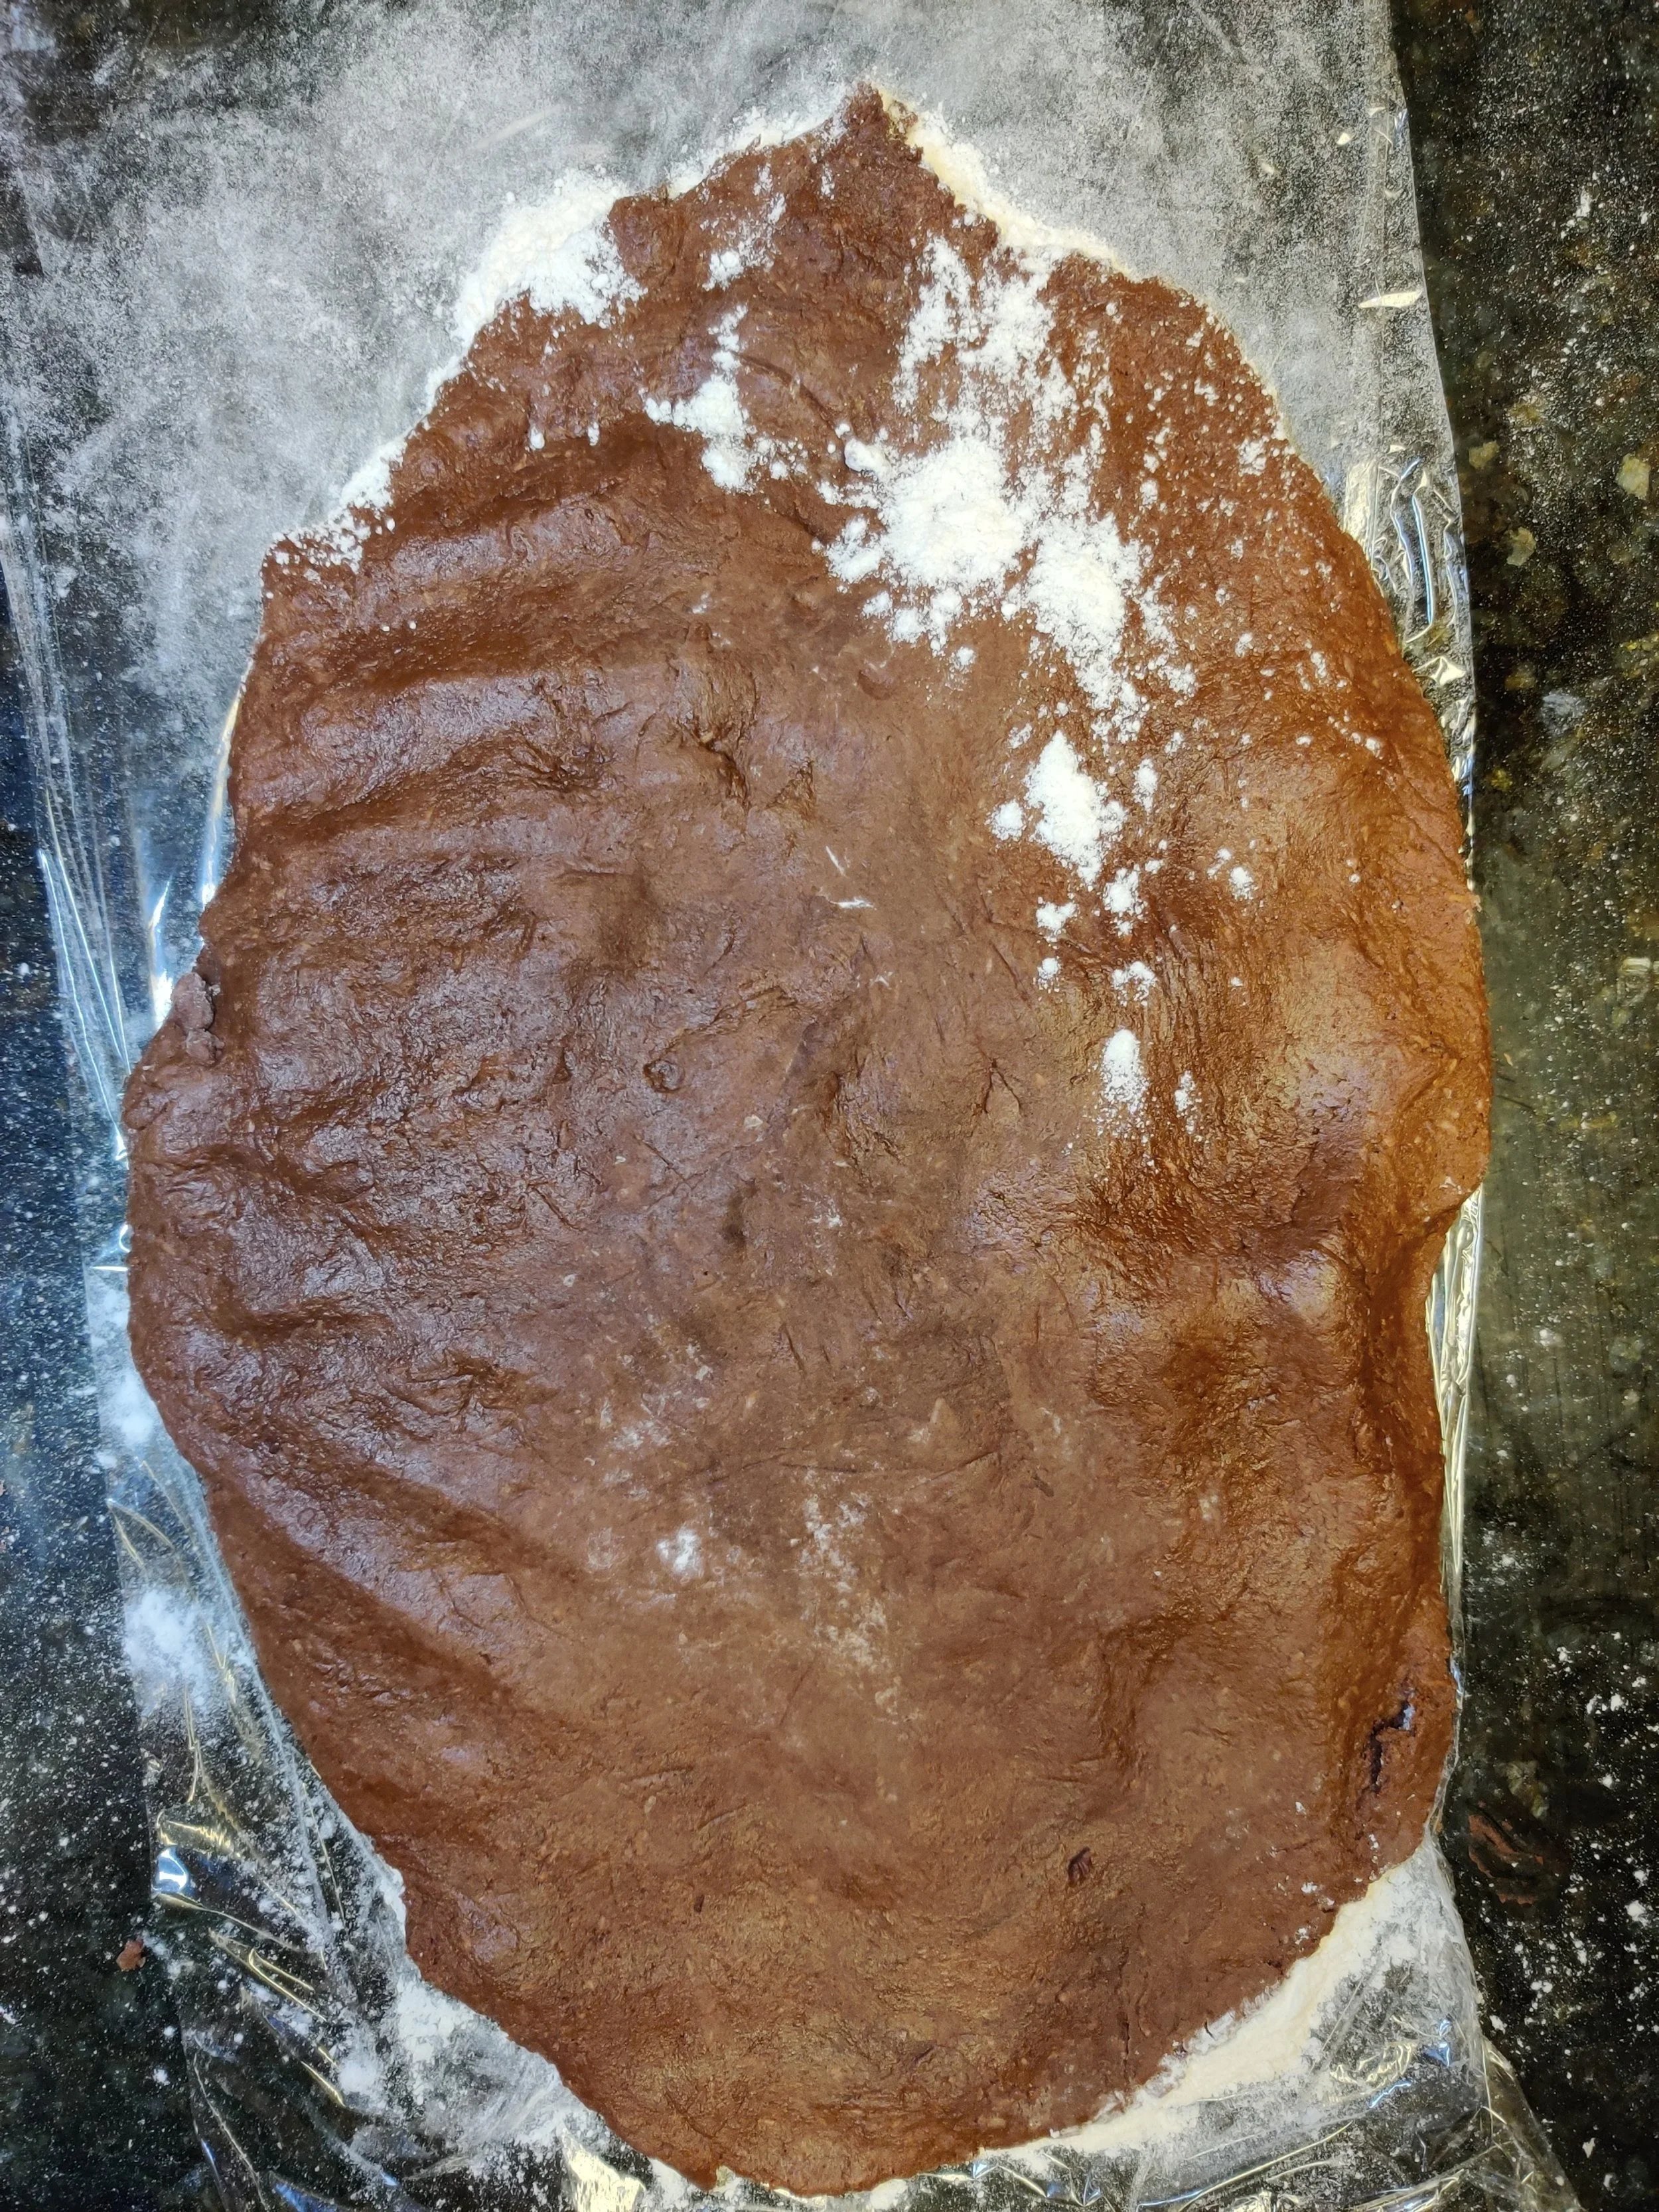
- Transfer the dough to a large floured piece of cling film. Cover with another piece, then roll out the dough to about an inch in thickness.
- Use a cookie cutter of the desired size and transfer the dough pieces to parchment-lined baking sheets - you'll probably have to do it in batches. If you are short on time, you can cover the dough with cling wrap and bake the next day.
- Optional: Use a fork to make cross lines and create a texture on the top biscuit. You can also add seasonal sprinkles on the top side of each cookie before baking.
- Chill the biscuits in the fridge covered for at least 10 minutes and bake for 10-11 minutes at 350F, watch for burning. Set aside to cool.
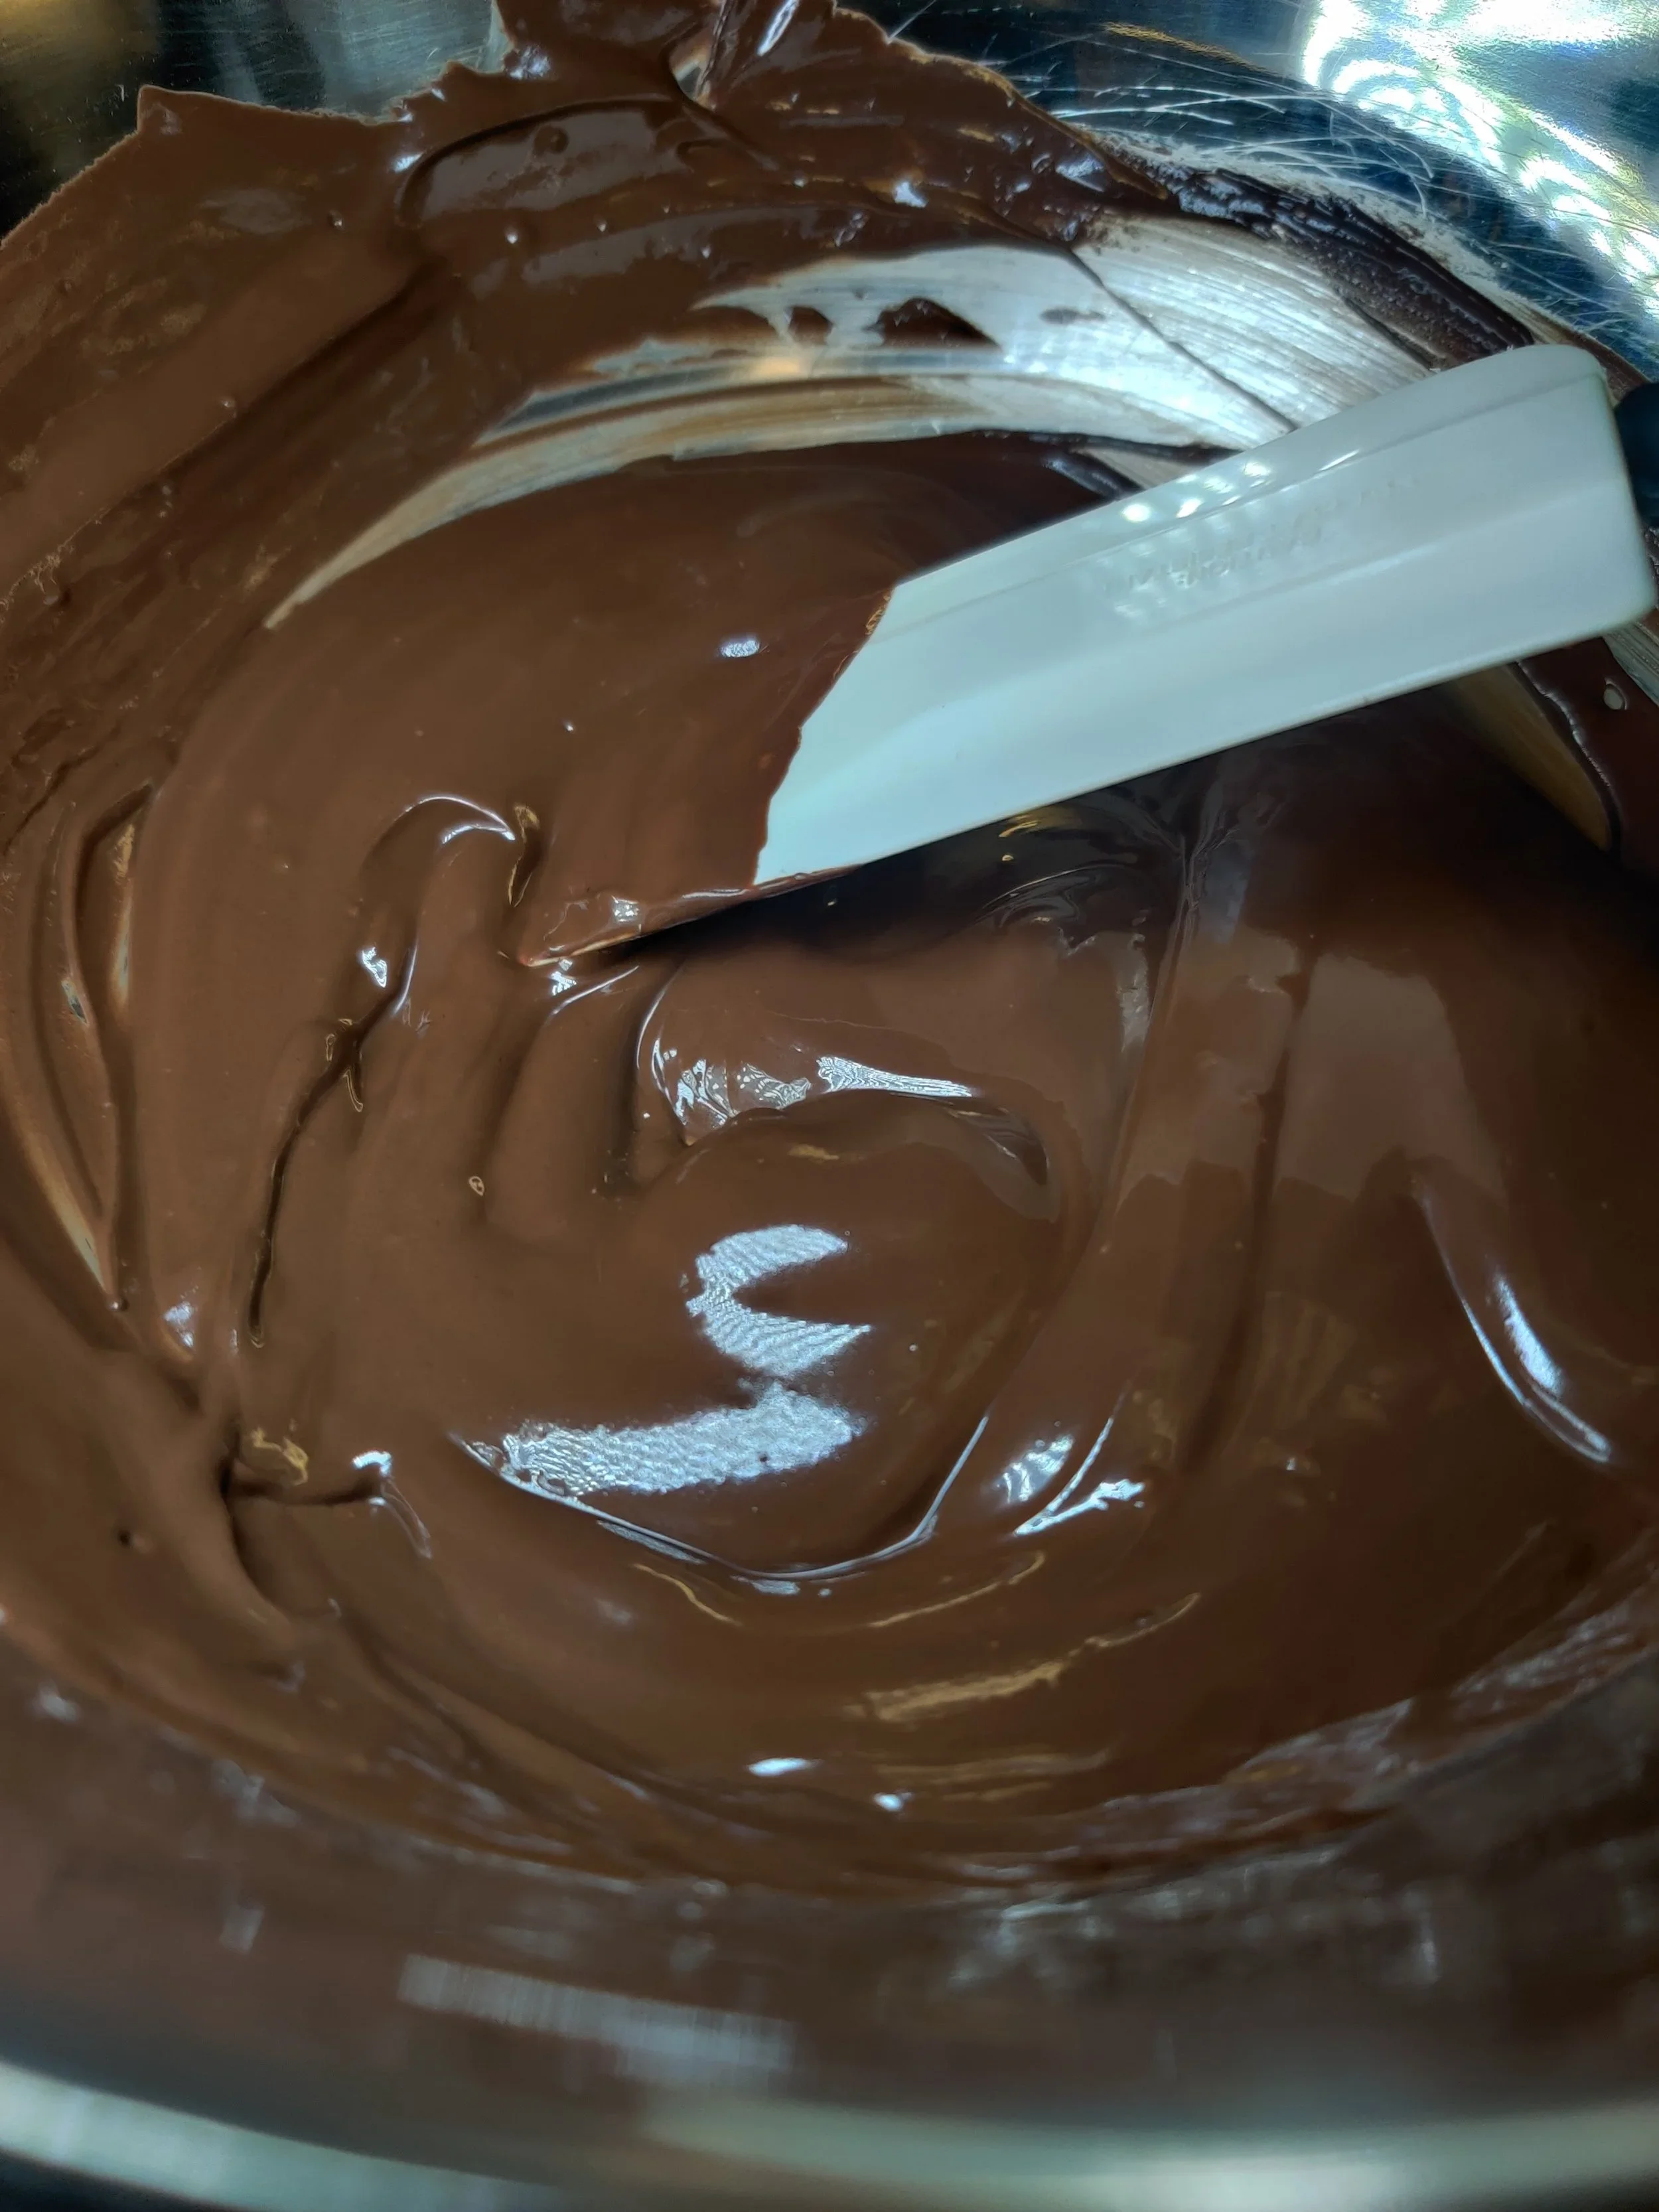
- While the first few batches bake, boil some water on medium-low and place a heat-resistant bowl on top. Add the chocolate to the bowl and heat until melted, stirring until smooth.
- Once everything has cooled, place a dollop of the melted chocolate inside one side of each biscuit, then close. And allow cooling further on a rack. Place in an airtight container and enjoy over five days for optimum taste.
Notes
You can also freeze the dough or cookie cut outs to bake in the future.
Nutrition Facts
Calories
118Fat (grams)
8.7 gCarbs (grams)
10 gSugar (grams)
4.3 gProtein (grams)
1 gI am not a certified nutritionist and any nutritional information on dontmissmyplate.com should only be used as a general guideline.