

How to Butterfly (Spatchcock) a Chicken - Peri Peri Style
How to Butterfly a Whole Chicken
Butterflied chicken is a game-changer. It delivers bold flavors and a show-stopping presentation despite its simplicity. By flattening the chicken, you reduce cooking time and ensure a perfect char on the outside while keeping the meat juicy inside. Pair that with smoky, spicy, and tangy peri-peri sauce—a staple in Portuguese and Southern African cuisine—and you’ve got a dish perfect for grilling or roasting.
During marination, flavors penetrate the meat better, and the chicken cooks more evenly. Because it is flattened, it also cooks faster, so watch the oven or grill closely to avoid overcooking. The main way to prepare the chicken this way is to split it in half by separating the breasts and removing the backbone, as shown in the video. Cut carefully along the joints and around tough bones to free the rest of the chicken.
Whether you’re hosting a summer barbecue or craving something vibrant for dinner, this recipe delivers big on flavor with minimal fuss. Plus, it’s easily customizable—you can tweak the heat level or adjust the seasonings to suit your taste.
If you love this butterflied peri-peri chicken, you’ll also want to try my updated peri-peri recipe with a bold, tangy wet marinade — it’s perfect for those who want even juicier, flavor-packed chicken.
Tips for the Perfect Butterflied Chicken
Butterfly Like a Pro
Use sharp kitchen shears to remove the backbone, then press down firmly on the breastbone to flatten the bird. This ensures even cooking and maximum exposure to the marinade and heat.Marinate for Maximum Flavor
Let the chicken marinate for at least 2 hours, but overnight is best. The longer it marinates, the deeper the peri-peri flavors will infuse the meat.Adjust the Heat
Peri-peri sauce can be as fiery or mild as you like. Use more chili peppers for a kick or balance the heat with extra lemon juice and olive oil for a milder sauce.Choose the Right Cooking Method
For smoky, authentic flavor, grill the chicken over medium heat, turning frequently. If using the oven, roast at a high temperature to achieve crispy skin, then finish under the broiler for charred edges.Serve It Right
Peri-peri chicken pairs beautifully with cooling sides like cucumber salad or a dollop of yogurt sauce. For a more authentic touch, serve with Portuguese-style rice or grilled vegetables.Don’t Waste the Marinade
Reserve some peri-peri sauce before marinating to use as a basting sauce or drizzle over the cooked chicken. Keep it separate from any sauce that touched raw chicken.
The Magic of Homemade Peri-Peri Sauce
I grew up eating peri-peri at least once a month on Fridays. As a family, we’d make trips to Nando’s, famous for flame-grilled chicken marinated in the sauce.
Since then, I’ve tasted peri-peri chicken both in Portugal and across Southern Africa. Nando’s celebrates both culinary traditions, and my love for the sauce has grown even more. Bird’s eye chili peppers give peri-peri its unique flavor. “Piri-piri” and “peri-peri” are derived from the Swahili word pili pili, meaning “pepper.”
There are many variations of the sauce, but three essentials remain: peppers, garlic, and acid. Aromatic spices and fresh herbs elevate the flavor even further.
Peri-peri sauce is incredibly versatile. Use it as a marinade, dipping sauce, or finishing drizzle for grilled meats, seafood, and vegetables. Making it at home allows you to tailor it to your taste (mild, medium, or tongue-tingling hot) and it’s always fresher and more flavorful than store-bought versions.
I remember tasting authentic peri-peri sauce for the first time in a small coastal town about 30 minutes from Lisbon, Portugal. The heat was exhilarating but perfectly balanced by the bright tang of lemon and the richness of olive oil. It transformed simple grilled chicken into something unforgettable. When I returned home, I couldn’t wait to recreate it. After a bit of experimenting, I found my go-to version. Once you make it from scratch, it will become a staple in your kitchen too.
Tips for Crafting the Perfect Peri-Peri Sauce
Choose the Right Peppers
Traditional peri-peri sauce uses bird’s eye chilies, but you can substitute Thai chilies, serranos, or even habanero if you want extra heat. For a milder version, include a few sweet peppers to balance the spice. Bird’s eye chilies are fruity and peppery, half as hot as habanero but twice as hot as jalapeños.Blend for the Perfect Texture
Use a blender or food processor for a smooth consistency. If you prefer chunkier sauce, pulse until just combined.Balance the Flavors
Great peri-peri sauce balances heat, acidity, and richness. Add lemon juice or vinegar to cut through the spice, a touch of sweetness to mellow it, and oil for a silky finish. Taste as you go to find the right harmony.Let It Rest
After blending, let the sauce sit for at least an hour to allow flavors to meld. For best results, make it a day ahead.Store It Right
Keep peri-peri sauce in the fridge up to two weeks in an airtight container, or freeze in small portions for future use.Experiment with Variations
Add smoked paprika for smokiness, fresh herbs like oregano for fragrance, or roasted red peppers for a sweeter, milder sauce.Use It Everywhere
While it’s famous for chicken, peri-peri sauce elevates roasted potatoes, scrambled eggs, grilled vegetables, and more. Keep some on hand to make everyday meals exciting.
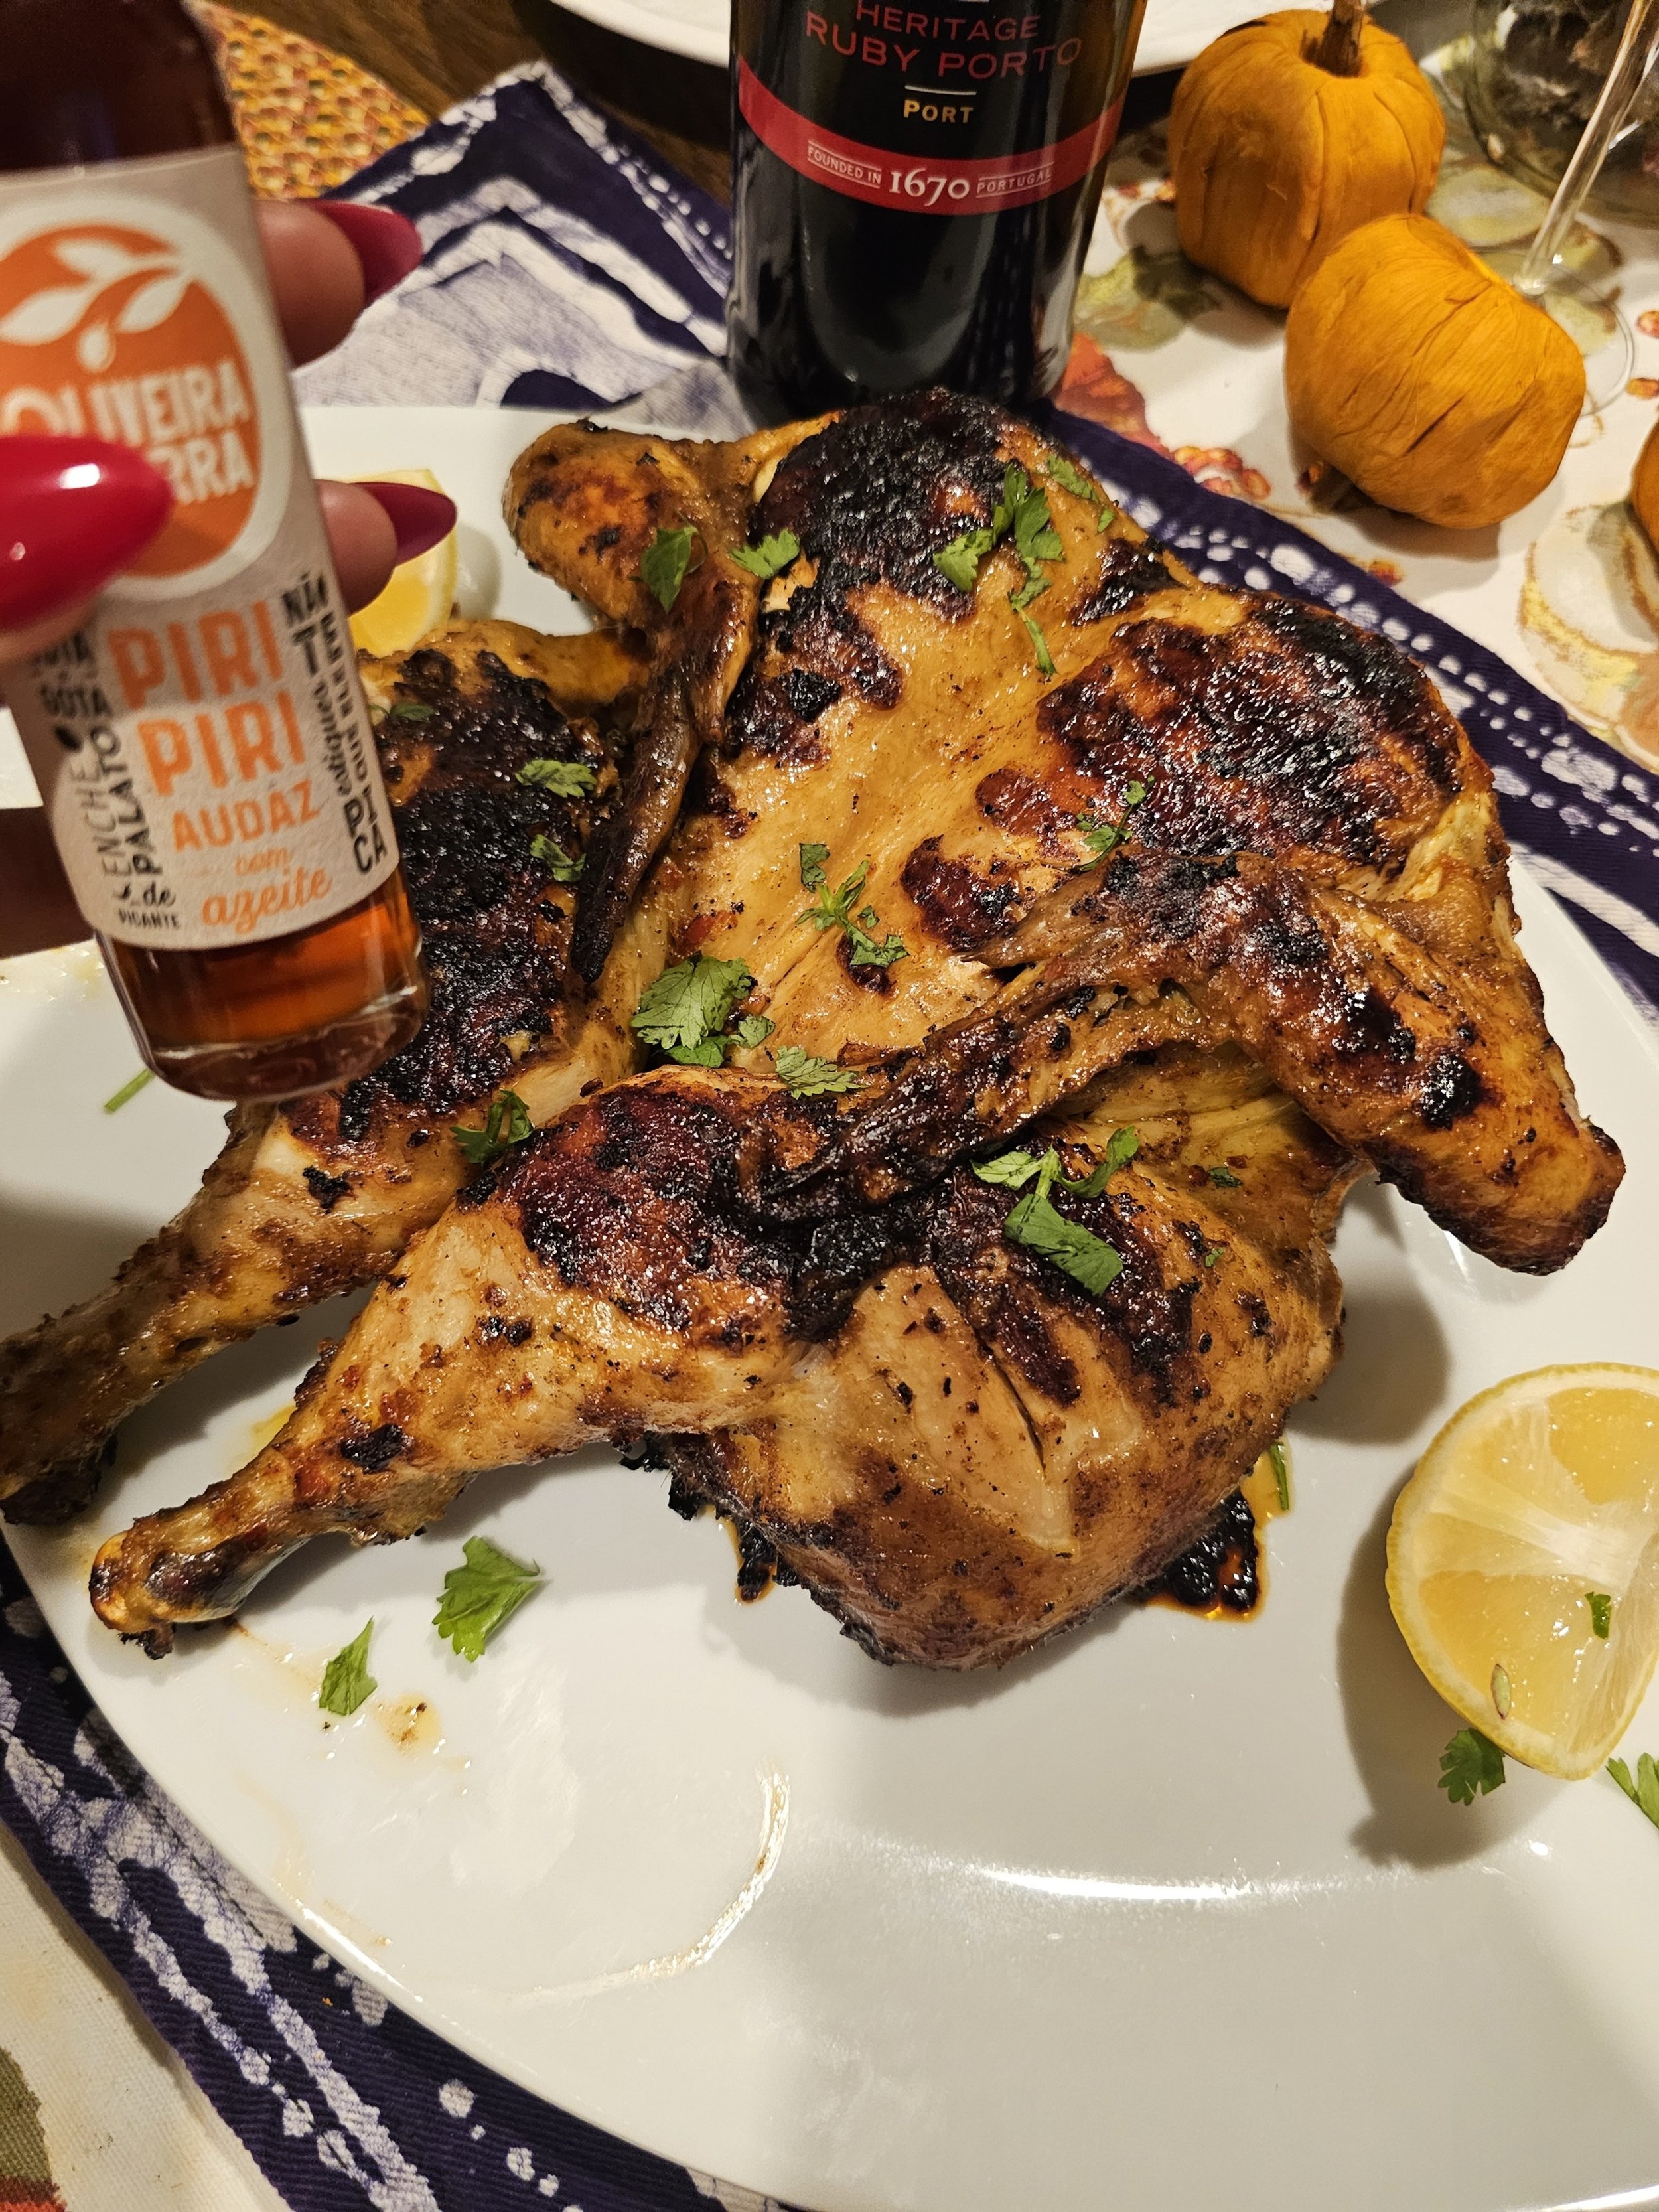
Spatchcock (Butterflied) Peri-Peri Chicken
This vibrant sauce, inspired by Portuguese and African cuisines, blends chili, garlic, citrus, and spices. Perfect as a marinade, dip, or drizzle, it enhances grilled meats, seafood, and veggies. Flattening the chicken through the butterfly method ensures quick cooking, a charred exterior, and juicy meat.
Ingredients
- 1 whole chicken
- 1/2 cup sweet bell peppers
- 4 garlic cloves
- 4 fresco chilli peppers*
- 1 habanero pepper*
- 1/2 cup cup olive or avocado oil
- 2 tablespoons fresh thyme
- 1/3 cup (cooking) wine
- 2 lemons, juiced
- 1 tablespoon salt
- 1 tablespoon sugar
- 1 tablespoon smoked paprika
- 1 teaspoon ground ginger
- 1 teaspoon cumin
- 1 tablespoon cayenne pepper
- 1 tablespoon dried thyme
- 1 tablespoon black pepper
- 1 tablespoon onion powder
- 1 tablespoon dried oregano
- Optional: 4 tablespoons chicken spice blend
Instructions
- Prepare and marinate the chicken.For the best flavor, let the chicken soak up the piri piri marinade for at least 4–8 hours or overnight.
- Gather your ingredients and juice the lemons.
- Blend the marinade. In a blender or food processor, combine the peppers, hot chili peppers, garlic, fresh thyme, and all the spices and seasonings.
- Add the liquids. Blend in the oil, lemon juice, and wine to create a smooth marinade.
- Butterfly the chicken. Clean and prep the chicken. Pat it dry and remove any remaining feathers or excess fat.
- Remove the backbone. Hold the tail, and use your fingers to locate the backbone. Cut from tail to neck and set it aside for broth or discard it.
- Make small incisions. Flip the chicken over and, using a sharp knife, make two small cuts at the bottom where you see cartilage on each side—this helps the chicken cook evenly.
- Flatten the breastbone. Score the center of the breastbone to help the chicken lay flat, or remove the bone entirely if preferred.
- Tuck the wings in and transfer the chicken to a dish. Pour the marinade over both sides, cover, and refrigerate until ready to cook.
- Cook the chicken. Preheat the oven to 350°F (177°C).
- Sear on an indoor grill for about 5 minutes per side, then transfer to the oven and bake for 45 minutes, or until the internal temperature reaches 165°F (74°C).
- Alternatively, you can skip the grilling step and bake the chicken directly in a tray. If so, increase the baking time by 10 minutes, flipping the chicken halfway through.
- Rest for 5 minutes before serving with homemade or store-bought piri piri sauce.
Notes
- For the peppers, use bird’s eye chili, Fresno for color, or habanero—but use less of the latter, as it’s much hotter. Adjust the quantity based on your heat tolerance. If using Fresno peppers, use four to achieve a reddish tint.
- You can save some of the sauce to cook on the stovetop and serve with your chicken once it's done.
- For extra flavor, season your chicken with all-purpose chicken spice before marinating.
- To prevent drying out the meat, avoid overcooking the chicken once it reaches a safe internal temperature.
Nutrition Facts
Calories
180Fat (grams)
11.6 gSat. Fat (grams)
3.4 gCarbs (grams)
2.3 gFiber (grams)
1.1 gProtein (grams)
16.4 gI am not a certified nutritionist and any nutritional information on dontmissmyplate.com should only be used as a general guideline.

Crispy Sticky Tofu with Suya
Easy Tofu Recipe with a West African Twist
Crispy tofu is a game-changer for anyone looking to add a satisfying crunch to their meals—whether you're a longtime tofu lover or just testing the waters. With the right technique, tofu transforms into golden, crispy bites that are perfect for tossing into stir-fries, salads, bowls, or enjoying on their own with a flavorful dipping sauce. The best part? It’s incredibly versatile, easy to make, and packed with plant-based protein. In this post, I’ll walk you through how to achieve that perfect crisp, plus some of my favorite ways to enjoy it!
Suya spice is the secret behind one of West Africa’s most beloved street foods—suya! This bold, smoky, and nutty spice blend brings a fiery kick and rich depth of flavor to grilled meats, veggies, and even snacks. Made with a mix of ground peanuts, paprika, ginger, garlic, and fiery cayenne, suya spice is a must-have for anyone looking to add an authentic West African touch to their cooking. Whether you're marinating beef skewers or sprinkling it over roasted vegetables, this spice blend transforms any dish into something irresistibly flavorful. Ready to bring the heat? Let’s dive into the magic of suya spice!
This recipe brings two worlds together in a simple way to give you a satisfying bite. if you can, serve the tofu on top of a bed of Cape Malay rice (all known as yellow South African rice).
How to Make Tofu Crispy
Making crispy tofu can be a bit tricky, but with the right techniques, you can achieve that perfect crispy texture! Here are some tips:
1. Press the Tofu
Why? Tofu has a lot of moisture that can prevent it from becoming crispy. Pressing out as much moisture as possible helps.
How? Use a tofu press or wrap the block in a clean kitchen towel or paper towels, then place a heavy object (like a can or a cast-iron skillet) on top for at least 15-30 minutes.
2. Cut into Small Pieces
Why? Smaller pieces have more surface area, which leads to crispier edges.
How? Cut the pressed tofu into cubes or triangles (depending on your preference).
3. Coat the Tofu
Why? A thin coating of cornstarch, arrowroot, or rice flour will create a crispy crust as it fries.
How? Toss the tofu pieces in a mixture of cornstarch (or any of the other options) and a bit of salt or seasoning. You can also use flour or a combination of both if you want a thicker crust.
4. Use High Heat for Frying
Why? High heat ensures a crisp exterior and a tender inside.
How? Heat a good amount of oil (vegetable, canola, or peanut oil works best) in a non-stick or cast-iron pan. The oil should be hot enough to sizzle when the tofu hits the pan.
5. Don’t Overcrowd the Pan
Why? Overcrowding can cause the tofu to steam rather than crisp up.
How? Cook the tofu in batches if necessary, giving each piece enough space to brown.
6. Let it Cook Without Moving It
Why? Letting the tofu sit in one place creates a nice golden crust.
How? After placing the tofu in the pan, let it cook on one side until it’s crispy and golden brown before flipping it.
7. Drain Excess Oil
Why? This keeps the tofu crispy and prevents it from getting soggy.
How? Once cooked, transfer the tofu to a paper towel-lined plate to drain any excess oil.
8. Optional: Bake for Extra Crispiness
Why? If you want less oil but still want a crispy texture, baking the tofu after it’s coated with cornstarch or flour can also yield crispy results.
How? Preheat your oven to 400°F (200°C). Place the tofu on a baking sheet lined with parchment paper or a silicone baking mat and bake for 25-30 minutes, flipping halfway through.
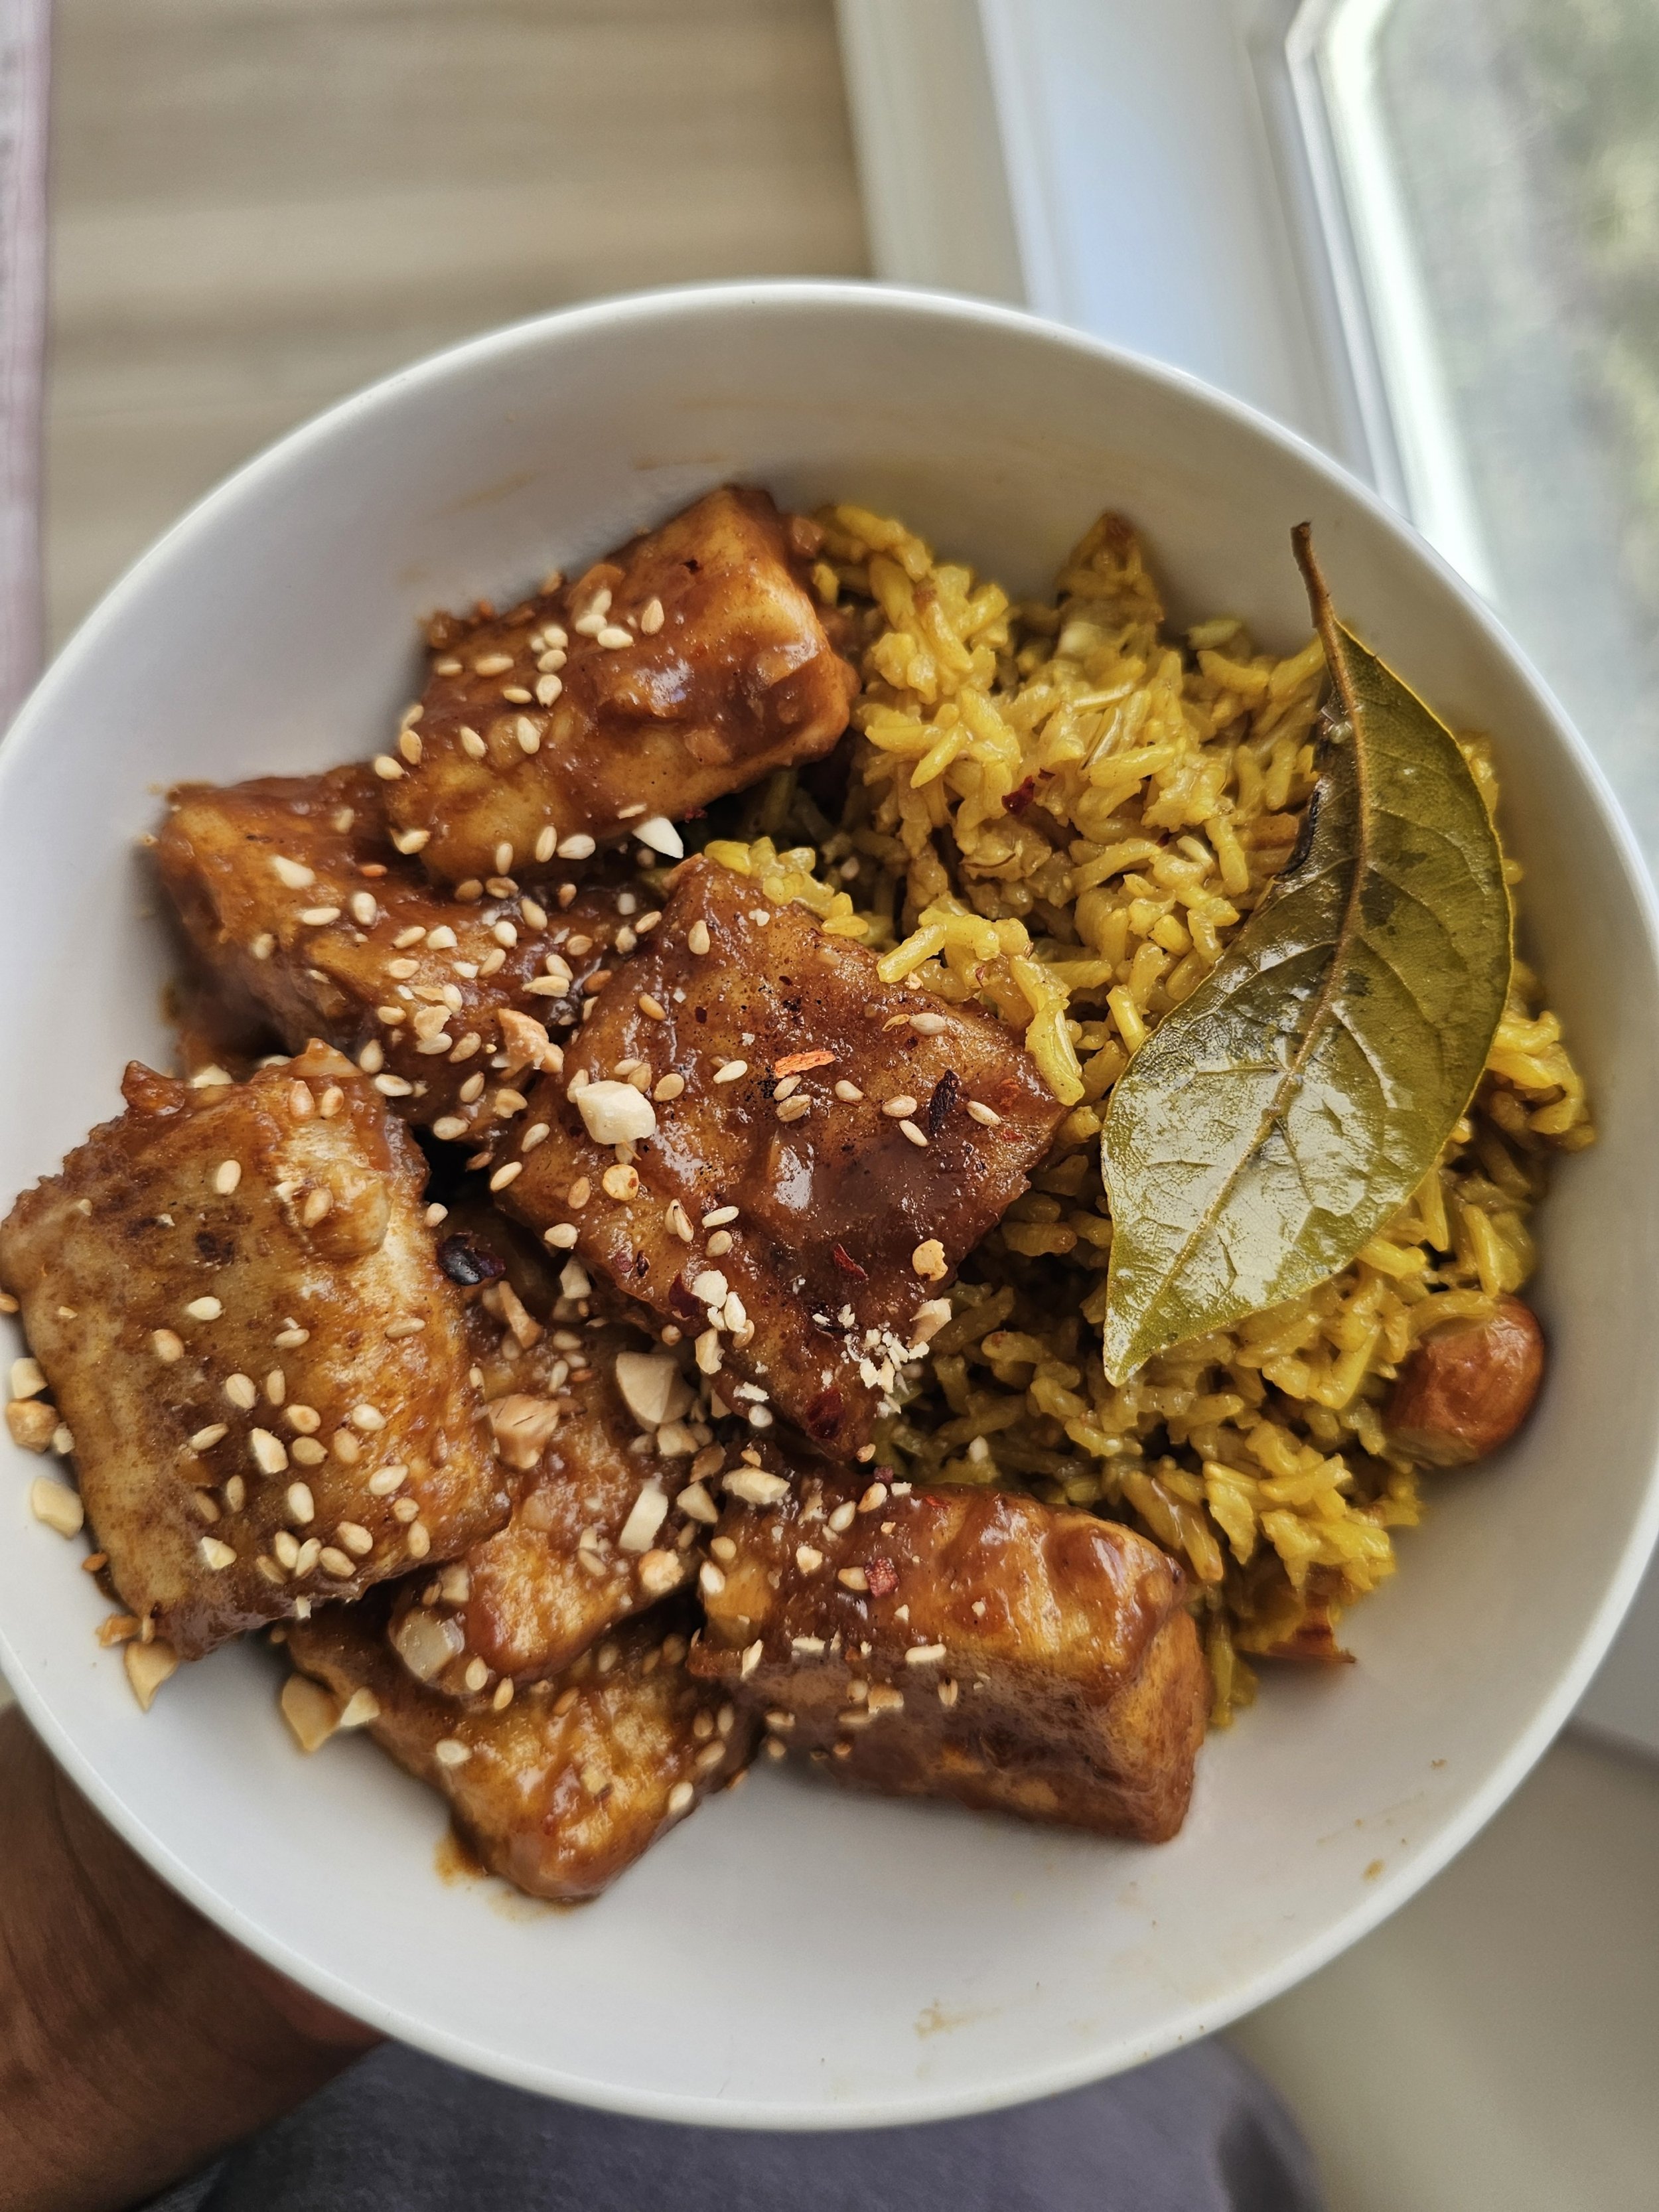
Crispy Sticky Tofu with Suya
Ingredients
- 1 - 14oz block extra firm tofu
- 1/4 cup olive or coconut oil
- 1 tablespoon suya seasoning
- 1 cup corn starch
- Optional: Sesame seeds, crushed peanuts, and/or chili flakes
- 2 tablespoons soy sauce
- 3 garlic cloves, minced
- 1 teaspoon teryaki sauce
- 1 teaspoon fish oil sauce
- 1 teaspoon cooking wine
- 1 teaspoon granulated sugar
- 1 teaspoon vinegar
- 1 teaspoon ground ground ginger
- 1/2 cup water
- 2 teaspoons authentic suya seasoning
- 1 teaspoon cornstarch
Instructions
- Remove the moisture from your tofu by draining and patting it dry. Wrap it in a paper towel and microwave for 2 minutes, heating in 30-second increments to help remove residual moisture. Alternatively, let the tofu sit after draining for at least 30 minutes to dry out. This step ensures crispier tofu.
- Dice the tofu or cut it into 1-inch pieces.
- Make the Sauce. Crush and mince the garlic, then add it to a bowl. Pour in the soy sauce, teriyaki sauce, cooking wine, fish sauce, vinegar, 2 teaspoons of suya, ginger, and 1 teaspoon of cornstarch. Stir or whisk until fully combined, then set aside.
- Coat the Tofu. In a shallow dish, mix 1 cup of cornstarch with 1 tablespoon of suya. Coat each piece of tofu, shaking off any excess, then set aside.
- Heat a skillet or non-stick pan over medium heat. Cook the tofu for 12-15 minutes, turning halfway, until golden brown and crispy. Remove and set aside.
- Add the sauce ingredients to the pan and bring to a boil, stirring continuously. Reduce to a simmer and cook until the sauce thickens—avoid overcooking or over-reducing.
- Return the tofu to the pan, tossing to coat each piece evenly in the sauce.
- Garnish with sesame seeds, chili flakes, and peanuts. Serve hot.
Notes
To reheat, use an oven or air fryer to maintain crispiness.
Nutrition Facts
Calories
117Fat (grams)
5.9 gSat. Fat (grams)
1.2 gCarbs (grams)
6.3 gProtein (grams)
11.9 gI am not a certified nutritionist and any nutritional information on dontmissmyplate.com should only be used as a general guideline.


Oven-Braised African Oxtail Stew
Cooking Oven-Braised Oxtail Stew Recipe African-Style
Oxtail is a beloved delicacy across many African cuisines, known for its rich flavor, tender texture, and deep, comforting stews. Slow-cooked to perfection, oxtail transforms into a melt-in-your-mouth dish infused with aromatic spices, herbs, and hearty ingredients. From the peppery, tomato-based oxtail stew of West Africa to the deeply savory, slow-braised variations of South Africa, this dish is a true celebration of bold flavors and traditional cooking techniques.
Whether served with rice, dumplings, fufu, Sadza, or pap, African oxtail dishes bring warmth and nostalgia to every bite. Its gelatinous richness makes for an irresistibly silky sauce, perfect for soaking up with your favorite side. If you’re looking for a meal that embodies comfort and tradition, African oxtail is a must-try!
Coming from Zimbabwe, I regarded oxtail as a special treat, typically reserved for special occasions. However, from time to time, we would get it as a surprise on a random winter weeknight for dinner. Honestly, though, this dish can be enjoyed all year round.
My mother kept it simple, using a combination of yellow onions, green onions, tomatoes, chili peppers, salt, and pepper—and the result was perfection. The dish was perfectly balanced: not too greasy, not dry, spicy yet slightly sweet, and incredibly satisfying, especially when served with sadza (Zimbabwean cornmeal) and muriwo (sautéed kale).
Living in the United States exposed me to various oxtail preparations I had never encountered before, from Vietnamese oxtail pho (Phở Đuôi Bò), a traditional broth-based soup, to Caribbean-style oxtail with browning sauce and white beans.
This recipe is relatively simple but can be elevated by using high-quality ingredients, such as locally sourced meat from the butcher. It also benefits from leaning into the bold spices commonly used in African cuisine—masala curry powder, cardamom, nutmeg, and cumin—all of which enhance the depth of flavor in oxtail stews.
Does rendered fat make stew taste better?
Also known as liquid gold, oxtail preparation is a matter of personal preference and may be influenced by health goals or the dish you plan to pair it with. If you're committed to reducing animal fats, feel free to trim away! However, keep in mind that some fat contributes to the rich flavor, signature color, texture, and moisture that make oxtail so special.
You can also leave the fat intact while cooking, then simply skim off the rendered fat that rises to the top once it's done. In general, oxtail is a fattier cut of meat compared to others, but that’s part of what makes it so delicious!
Some points to consider:
In addition to adding flavor, richness, and moisture to the dish, fat acts as a flavor carrier, helping to coat the ingredients and intensify their taste. Essentially, it enhances the overall mouthfeel and depth of the stew. Key benefits include:
Flavor Enhancement: Rendered fat releases flavorful compounds that infuse the stew with a deeper, richer taste.
Moisture Retention: Fat helps keep the meat and vegetables moist during cooking, preventing them from drying out.
Browning Potential: Cooking meat in rendered fat creates a delicious caramelized crust, adding another layer of flavor.
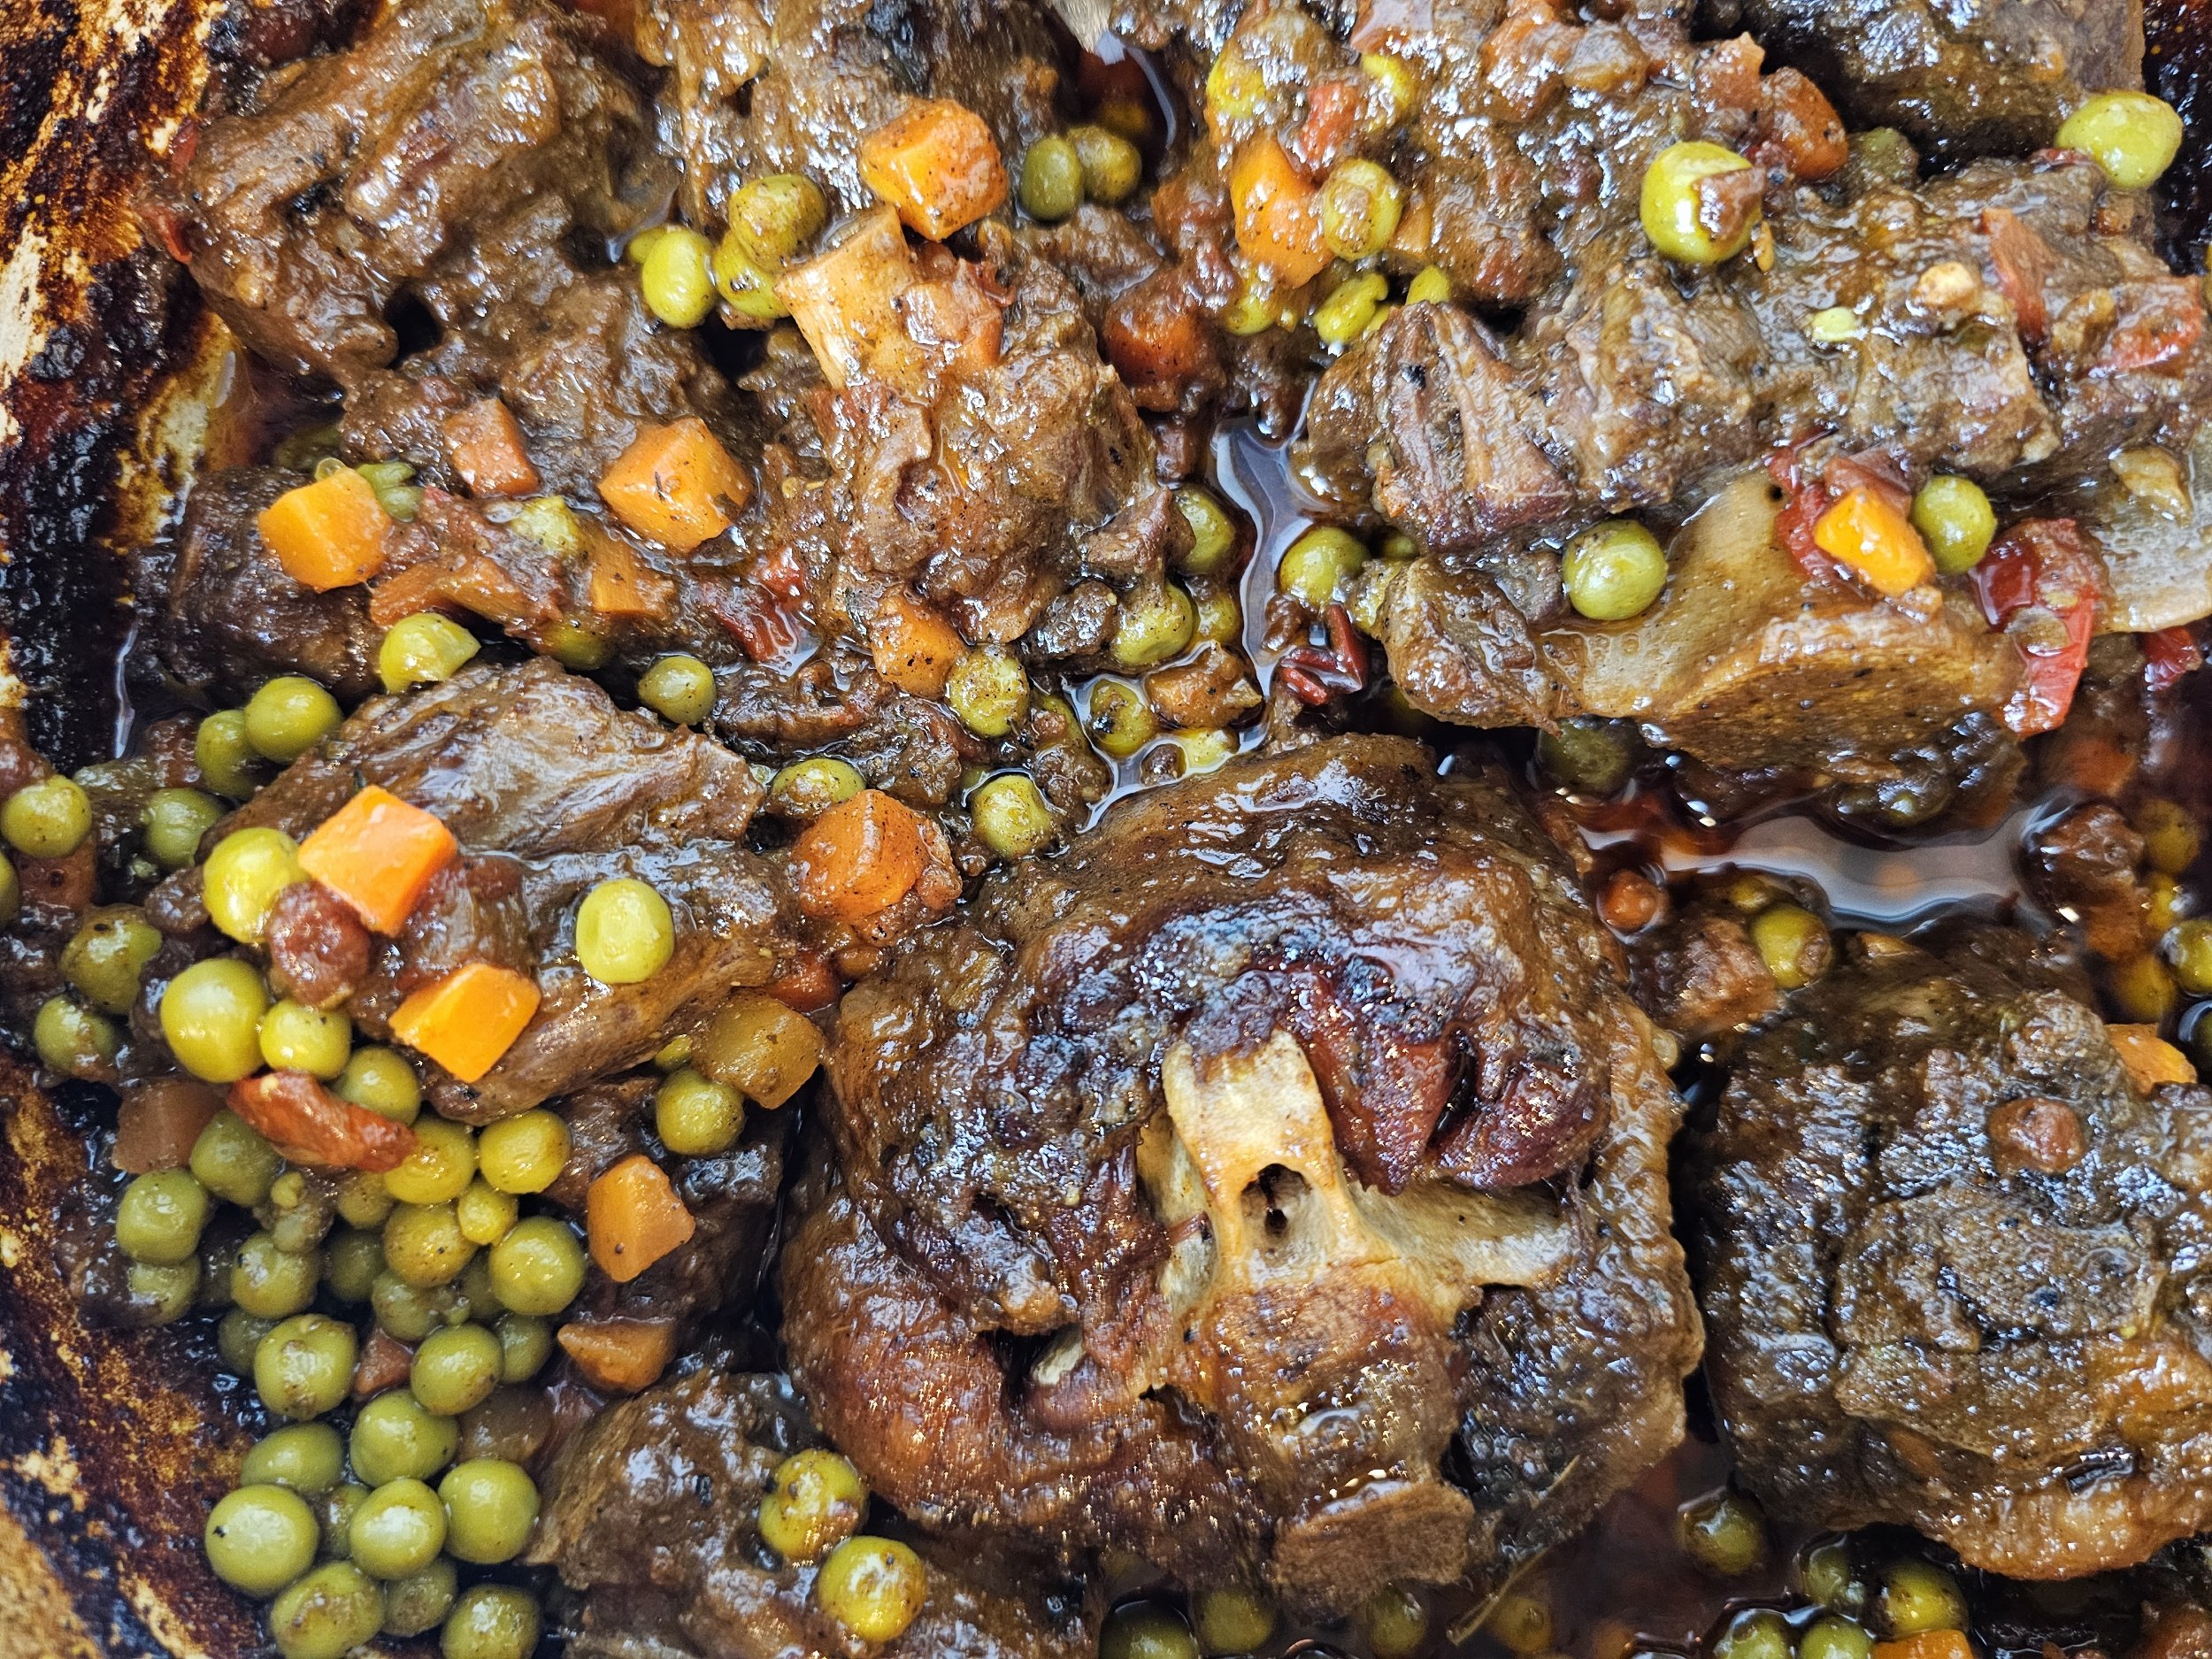
Oven-Braised African Oxtail Stew
Ingredients
- 3 tablespoons olive oil
- 1.5 lbs oxtail
- 1 tablespoon seasoned salt
- 1 tablespoon black pepper
- 1 tablesppon dark brown sugar
- 1 cup mirepoix (carrots, onion and celery)
- 1/3 cup green onions/scallions (optional)
- 1/2 cup red bell peppers
- 1/2 cup diced tomatoes (frozen or fresh)
- 3 garlic cloves
- 1 tablespoon Masala curry powder
- 1 tablespoon Royco Usavi Mix or all-purpose seasoning
- 1 tablespoon flour or cornstarch (optional)
- 1 tablespoon onion powder
- 1 teaspoon cayenne pepper
- 1 teaspoon smoked paprika
- 1 tablespoon oregano
- 1 teaspoon cumin
- 1 tablespoon garlic powder
- 4 beef bouillon cubes
- 1/4 cup red cooking wine
- 4 cups water
- 1/2 lime juice
- 1/2 teaspoon ground ginger
- 1/4 teaspoon cardamon
- 1/4 teaspoon cloves
- 1/4 teaspoon nutmeg
- 2 tablespoons Worcestershire sauce
- 2 tablespoons tomato paste
- 1 thyme spring
- 1 habanero pepper
- 3 bay leaves
- 2 cups carrots and peas, cooked
Instructions
- Preheat the oven** to 350°F (175°C).
- Prepare the oxtail: Wash the oxtail in cold water, vinegar, and lime juice, then pat dry. Depending on your preference and the leanness of the cuts, trim any excess fat or leave the bones as they are.
- Brown the oxtail. In a Dutch oven, heat some oil over medium to medium-low heat. Add the oxtail pieces, then season with sugar, salt, and pepper, mixing to coat evenly. Sear until browned on all sides, ensuring even color. Remove the oxtail from the pot, keeping the oil in the pan.
- Sauté the vegetables. Add the mirepoix (onions, carrots, and celery) and cook for 1–2 minutes. Add the peppers and cook for another 1–2 minutes.
- Stir in the tomatoes (if using frozen, cook down for 2–3 minutes). Add the garlic and cook for another minute.
- Reduce the heat to low to prevent burning. Stir in curry powder, Royco Usavi mix, onion powder, cayenne pepper, smoked paprika, oregano, cumin, and garlic powder. Mix gently to incorporate and bloom the spices.
- Add the bouillon cubes, followed by cooking wine to deglaze the pot. Stir well, crushing the bouillon cubes as they dissolve.
- Return the oxtail to the pot: Stir to coat the meat in the aromatics and seasonings.
- Pour in water and stir, then add lime juice.
- Stir in ginger, cardamom, cloves, nutmeg, and Worcestershire sauce.
- Add tomato paste, thyme, bay leaves, and habanero. Mix thoroughly, ensuring the tomato paste is well incorporated.
- Cover and place the pot in the oven for 2 ½ hours. Halfway through cooking, reduce the oven temperature to 325°F (163°C) and give the stew a stir.
- Remove from the oven and stir in peas and carrots. Let the stew rest for 10 minutes before serving.
I am not a certified nutritionist and any nutritional information on dontmissmyplate.com should only be used as a general guideline.

Huku ne Dovi (Zimbabwean Peanut Chicken Stew)
Huku ne dovi, or Zimbabwean peanut butter chicken stew, is a hearty dish made with chicken simmered in a rich peanut butter sauce alongside tomatoes, vegetables, hot chilies, and sometimes bell peppers. The result is a beautiful balance of savory, nutty, and mildly spicy flavors. While often served as a thick stew alongside sadza, rice, or bread, it can also be prepared more like a soup, with the addition of leafy greens, vegetables, and tubers.
For those unfamiliar with the combination of chicken and peanut butter, it may sound unusual at first. Yet throughout much of Africa, groundnuts (peanuts) are a staple ingredient used to enrich sauces, soups, and stews. Similar pairings can also be found in parts of Southeast Asia, where peanuts are used to add richness and depth to savory dishes. In Zimbabwe, peanut butter gives huku ne dovi its distinctive flavor and velvety texture, creating a sauce that coats each piece of chicken beautifully. Beyond its flavor, peanut butter is also an important source of protein and is often used to enrich vegetable dishes or provide nourishment when meat is scarce or unavailable.
Growing up, huku ne dovi was not an everyday meal in my household, which made it feel even more special whenever it appeared on the table. It was the kind of dish that brought warmth and comfort, especially during the cooler months, and one that was best enjoyed with a generous serving of sadza, rice, or fresh bread to soak up every last bit of sauce.
One of the secrets to a great peanut butter chicken stew is finding the right balance between the richness of the peanut butter and the heat of the chilies. Neither should overpower the other. Instead, the gentle sweetness of the peanuts softens the spice, creating layers of flavor that develop as the stew simmers. This recipe is also highly adaptable. Some people prefer the chicken simmered until it becomes tender and nearly falls off the bone, allowing it to absorb the flavors of the sauce. Others enjoy chicken with a firmer texture and crisp, browned skin. If you prefer the latter, simply roast or brown the chicken separately and add it back to the stew just before serving.
The consistency of the sauce can be adjusted to suit your preference as well. A slightly thinner sauce is wonderful spooned over rice, while a thicker stew pairs beautifully with sadza or bread, allowing the sauce to cling to every bite. For the best flavor, use bone-in chicken pieces whenever possible and take the time to brown them before simmering. This simple step adds depth and richness to the finished dish. Allow the stew to cook gently rather than rushing the process, giving the flavors time to meld together and the sauce time to develop its signature richness.
Whether you're discovering Zimbabwean cuisine for the first time or recreating a familiar favorite, this is a dish that showcases the comforting simplicity and bold flavors that make home cooking easy, and memorable.
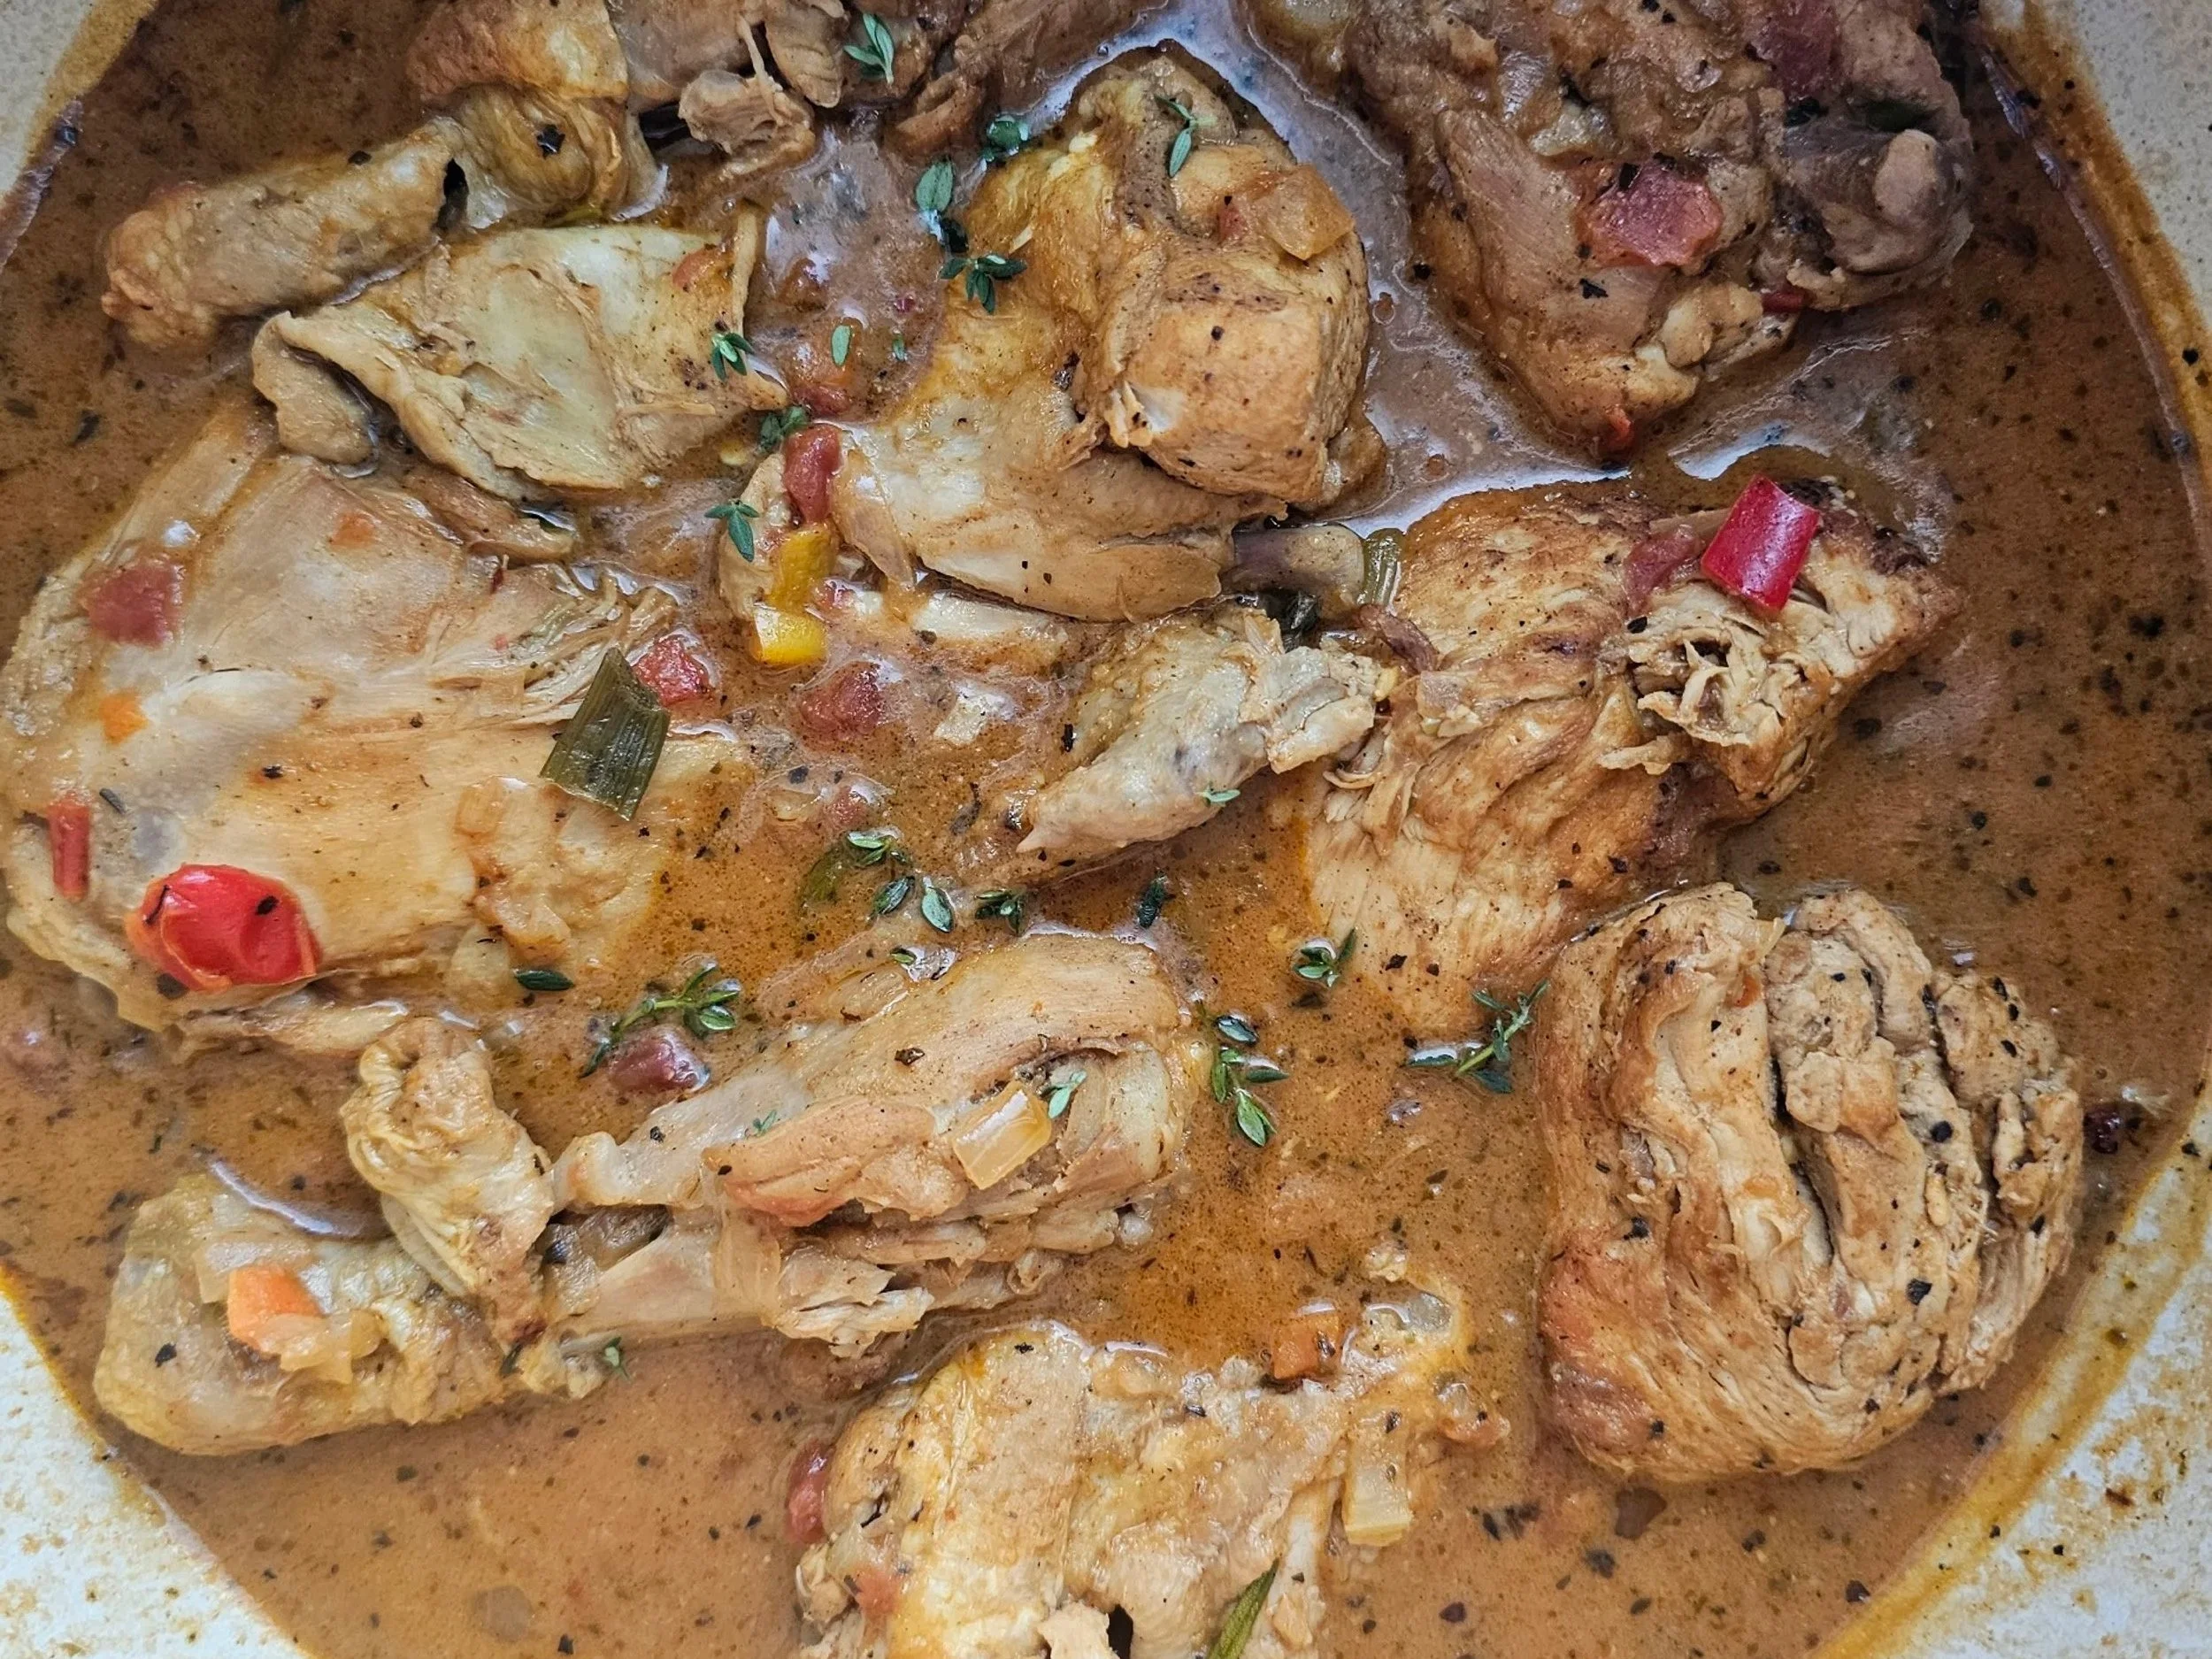

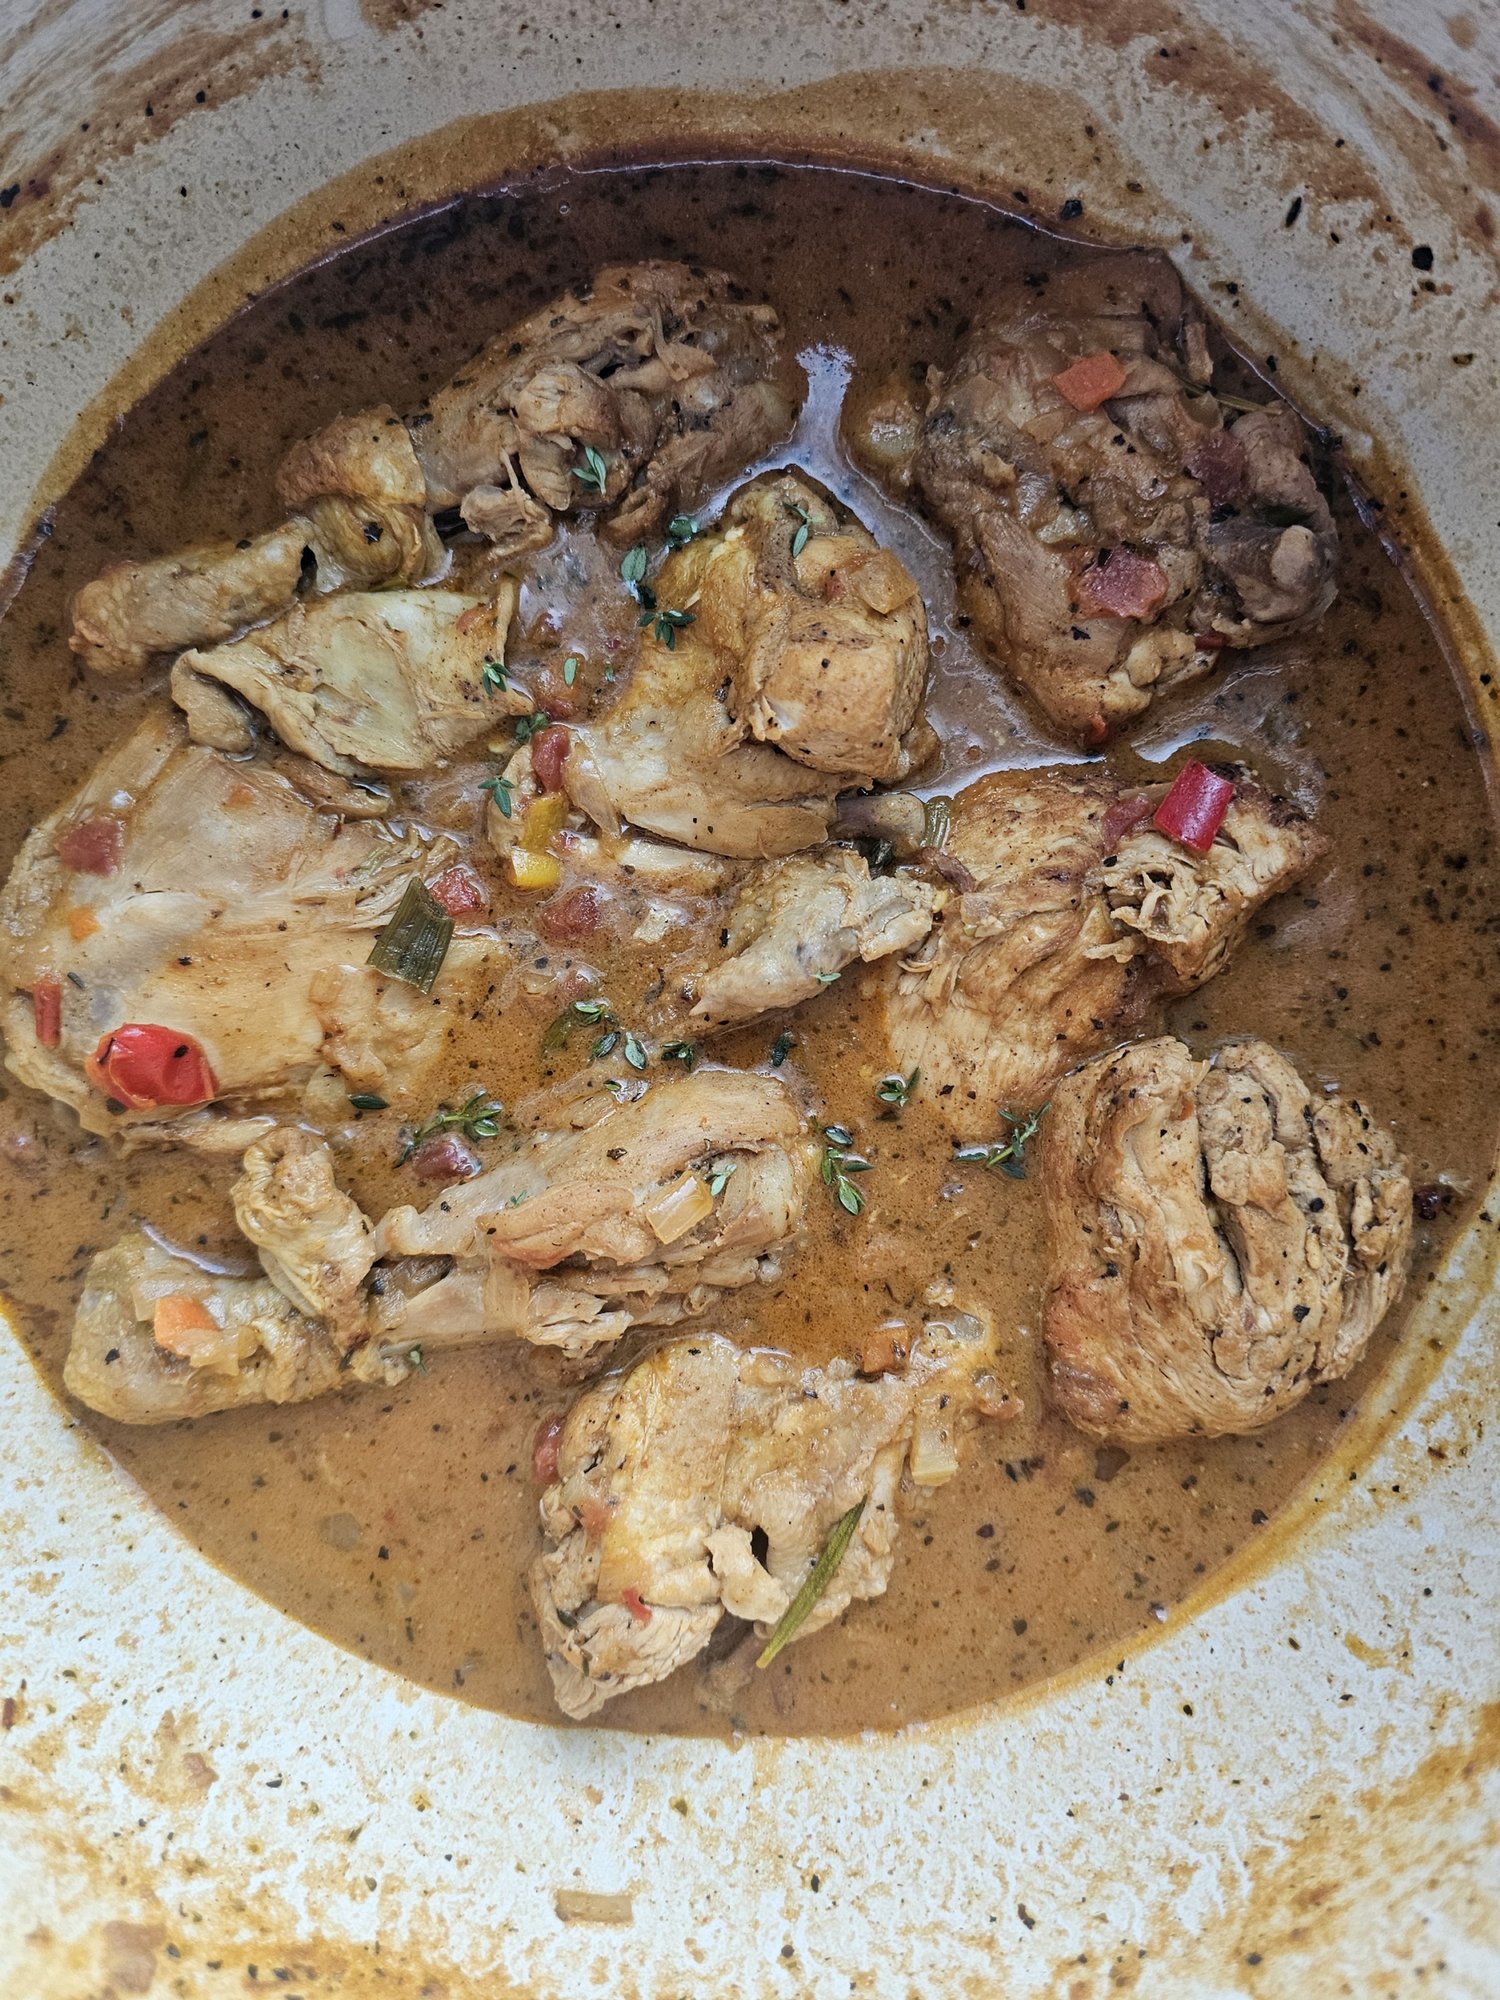
Huku ne Dovi (Spicy Zimbabwean Peanut Chicken Stew)
Zimbabwean Peanut Chicken Stew, or *huku ne dovi*, is a flavorful and comforting dish that combines tender chicken, smooth peanut butter, vibrant vegetables, spicy chilies, and fragrant spices.
Ingredients
- 1/4 cup olive oil
- 1 whole chicken, cleaned and cut into pieces
- 2 tablespoons chicken spice (I used Hind’s)
- 2 green onions
- 1 large hot chilli pepper
- 1/2 large yellow onion
- 1/2 cup mirepoix (chopped onion, carrots and celery)
- 1-2 tablespoons butter
- 1 tablespoon garlic powder
- 1 teaspoon black pepper
- 1 tablespoon paprika
- 1 tablespoon Royco Usavi Mix
- 3 chicken bouillon cubes
- 1/3 cup red wine
- 1 cup diced tomatoes
- 3 sweet bell peppers
- 1/3 cup peanut butter
- 2 tablespoons tomato paste
- 1 teaspoon ginger
- 1 teaspoon cumin
- 1 teaspoon coriander
- 1 teaspoon herb blend (I used basil and thyme)
- 3 cups water
- 3 bay leaves
- 2-3 tablespoons cornstarch or flour (optional)
Instructions
- Season the chicken with all-purpose chicken spice, then brown it in a Dutch oven or non-stick pan over medium to medium-high heat. Once browned, remove the chicken and set it aside.
- In the same pot, add the remaining oil and butter. Stir in the mirepoix, onions, bouillon cubes, garlic powder, black pepper, paprika, and Royco Usavi Mix. Sauté for 2-3 minutes until caramelized. Deglaze the pot with the wine, scraping up any browned bits to incorporate all the flavors.
- Next, add the tomatoes, peppers, chili peppers, cumin, ginger, and coriander. Cook for 1-2 minutes to allow the spices to bloom and the vegetables to soften.
- Return the chicken to the pot and pour in the water. Add more water if you prefer a thinner stew or soup-like consistency. Ensure as much of the chicken as possible is submerged to help it cook evenly. Simmer on low heat for 15-20 minutes.
- In a small bowl, mix the peanut butter with some of the hot stew liquid to thin it out. Stir in the tomato paste, then add the mixture to the pot, ensuring it is evenly distributed.
- Add the bay leaves and continue simmering for another 15-20 minutes.
- Optional: After 5-10 minutes, if you don’t want the chicken to fall off the bone, you can remove it and let the stew continue cooking separately to allow the flavors to come together.
- To thicken the sauce: Remove the chicken, then mix 2 tablespoons of cornstarch or flour with hot liquid from the pot to create a smooth slurry. Stir the slurry back into the pot, mixing well to activate the thickening. Continue cooking until the desired consistency is achieved.
- Season to taste, return the chicken to the pot, and serve hot with yellow rice or your preferred starch.
Nutrition Facts
Calories
438Fat (grams)
20.3 gSat. Fat (grams)
4.8 gCarbs (grams)
62.1 gFiber (grams)
18.5 gProtein (grams)
15.6 gI am not a certified nutritionist and any nutritional information on dontmissmyplate.com should only be used as a general guideline.

Baked Snapper with a Quick African Pepper Sauce
At least in its authentic glory, African pepper sauce is commonly served as a condiment, dip or cooking sauce to pair with grilled meats and vegetables or used in stews, giving your dish a perfect balance of heat and depth of flavour. It's most popular in West Africa, but you see other versions of this with other peppers taking centre stage across the Continent. The combination of peppers, herbs, and spices can enhance or top off almost any dish, and it is extremely versatile. I pick this over conventional hot sauce any day because it uses fresh vegetables, and you can make batches to freeze for future use.
This version provides a quick, easy and convenient way to add flavour to your fish. I used red snapper in this recipe, but you can also use halibut, sea bass, bream, tilapia, or any fish with a mild taste that will absorb all the flavours. For the pepper sauce, instead of cooking down and frying the blended vegetables on the stovetop as is typically done, I roasted the vegetables to bring the flavours out before blending them, then used the pepper mix to coat the fish while it baked.
One great thing about this sauce is that you can tailor it to your tastes and tolerance by adding more or fewer tomatoes and peppers. You can also remove the seeds from the hot peppers to take the heat down a notch. I prefer habanero peppers in terms of the heat and flavour, but you can use a range of peppers, from jalapenos to scotch bonnet. In any case, I recommend using the freshest ingredients possible. In addition, especially since peppers are part of the Dirty Dozen, try using organic peppers if you can afford them.

Baked Red Snapper with Quick African Pepper Sauce

Ingredients
- 1 large red snapper
- 1 tablespoon garlic powder
- 2-3 garlic cloves
- 2 lemon slices (optional)
- 1 sprig fresh thyme
- 1 sprig fresh parsley
- 2 teaspoons salt
- 2 teaspoons black pepper
- 2 teaspoon Royco Usavi Mix (optional)
- 2 teaspoons oregano
- 2 teaspoons basil
- 1/2 cup olive oil, and extra for roasting the peppers
- 1 teaspoon salt
- 1/2 teaspoon black pepper
- 1 chicken bouillon cube
- 1/4 cup parsley, stems removed
- 5 large basil leaves
- 1/3 large yellow onion
- 3-4 mini sweet peppers
- 2 small habanero peppers
- 1 1/2 - 2 Roma tomatoes
- 1 inch piece fresh ginger
- Salt and pepper to taste
Instructions
- Place your peppers, onion, tomato, and garlic on a baking sheet with parchment paper—season with salt and pepper to taste.
- Roast the vegetables for 25 minutes at 400F or until roasted to your desired doneness.
- Remove from the oven and allow to cool for 15 minutes, then transfer to a food processor or blender. Add the ginger, parsley, basil, bouillon cube, salt, and pepper. Blend until combined, and a paste forms. Add the olive oil during this process to help smoothen the mixture.
- Set aside while you prepare the fish.
- Make sure your fish is clean, and then pat it dry with paper towels. Add the salt, pepper, garlic, herbs, and optional Royco/all-purpose seasoning.
- Stuff the inside of the fish with the thyme, parsley, lemon and garlic.
- Place the fish inside some foil and place it on a baking tray. Spoon the pepper sauce over both sides of the fish, ensuring it is fully coated.
- Place the fish in the oven and bake at 350F for 30 minutes. After 15-20 minutes, remove the fish, open the foil (without burning yourself with the hot air) and baste the sauce over the fish.
- Leave the foil open and allow the cause to continue cooking. This will help thicken and caramelize the sauce, developing the flavours further.
- Remove from the oven and spoon some sauce into the serving dish, placing the fish on top and adding the rest of the sauce on top. Garnish with fresh parsley and serve!
Notes
- To avoid overcooking the fish, check the internal temperature after 15-20 minutes and use that to determine how much more time you need.
- If you want a thicker sauce, you can place it on the stovetop before covering the fish with it and baking.
- If you get fresh fish from the market, ensure it is cleaned and descaled.
Nutrition Facts
Calories
237Fat (grams)
13.3 gSat. Fat (grams)
1.9 gCarbs (grams)
24.9 gFiber (grams)
6 gProtein (grams)
10.9 gI am not a certified nutritionist and any nutritional information on dontmissmyplate.com should only be used as a general guideline.

Oxtail and Butternut Stew
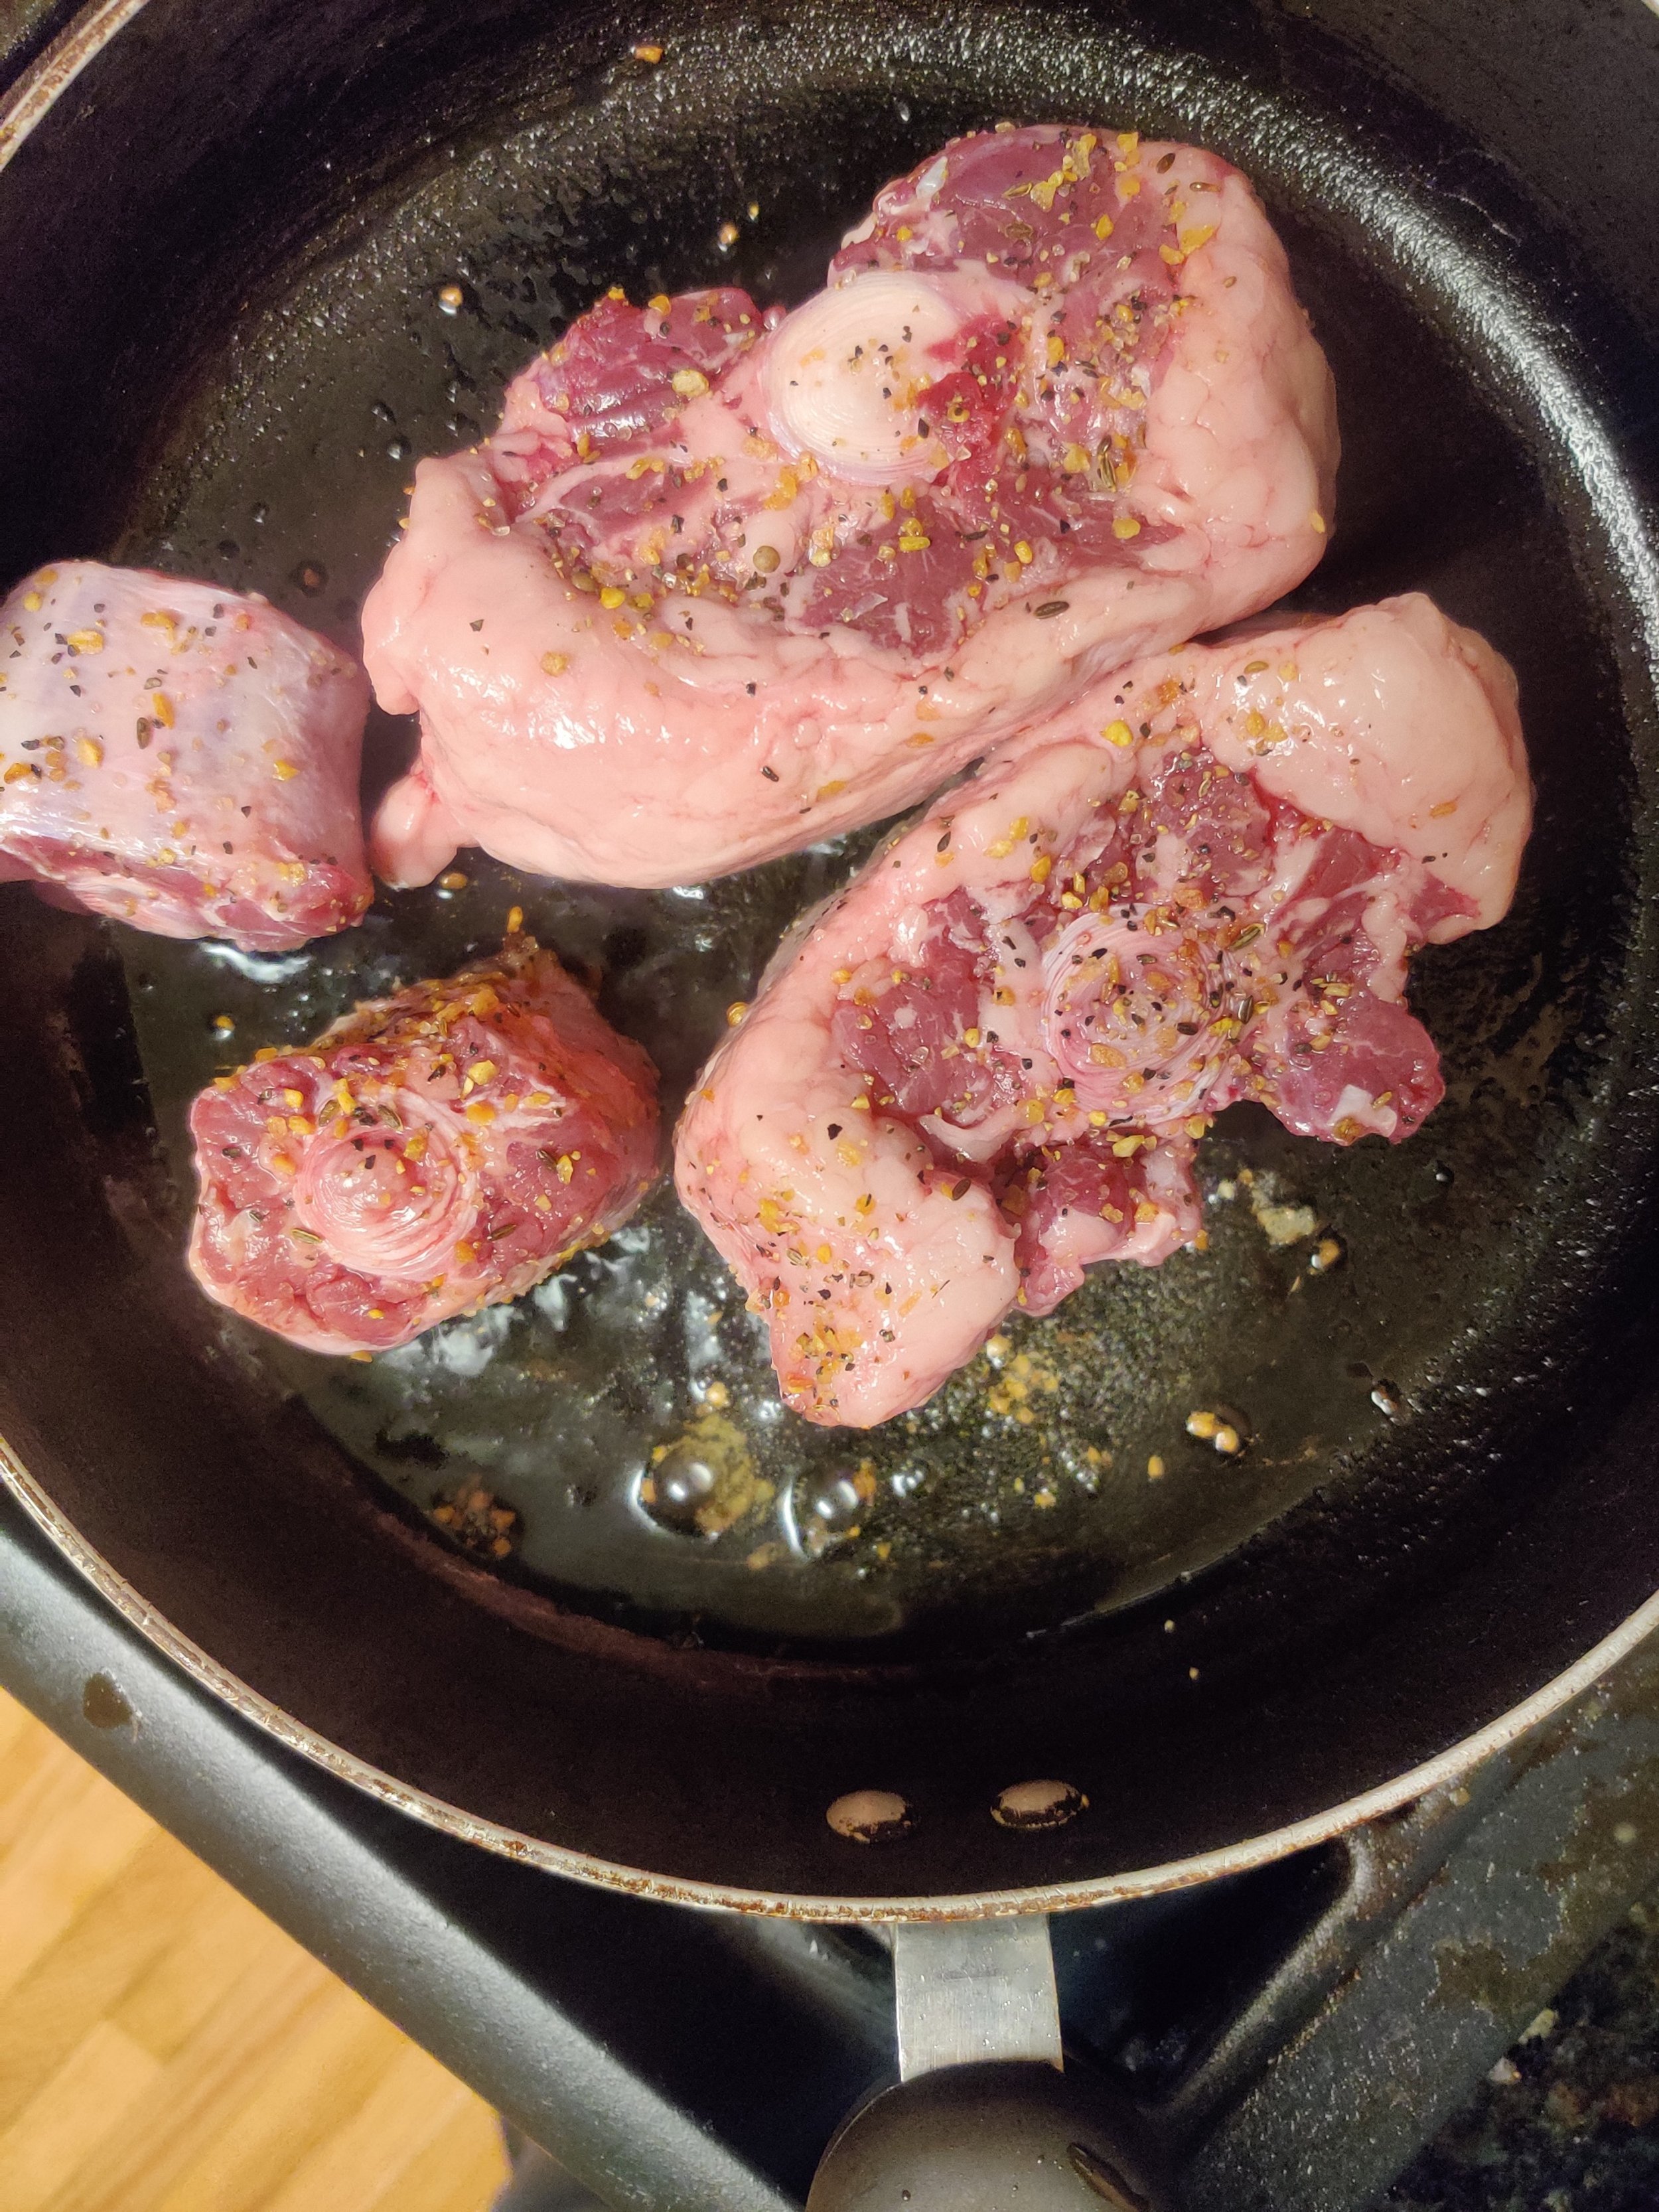
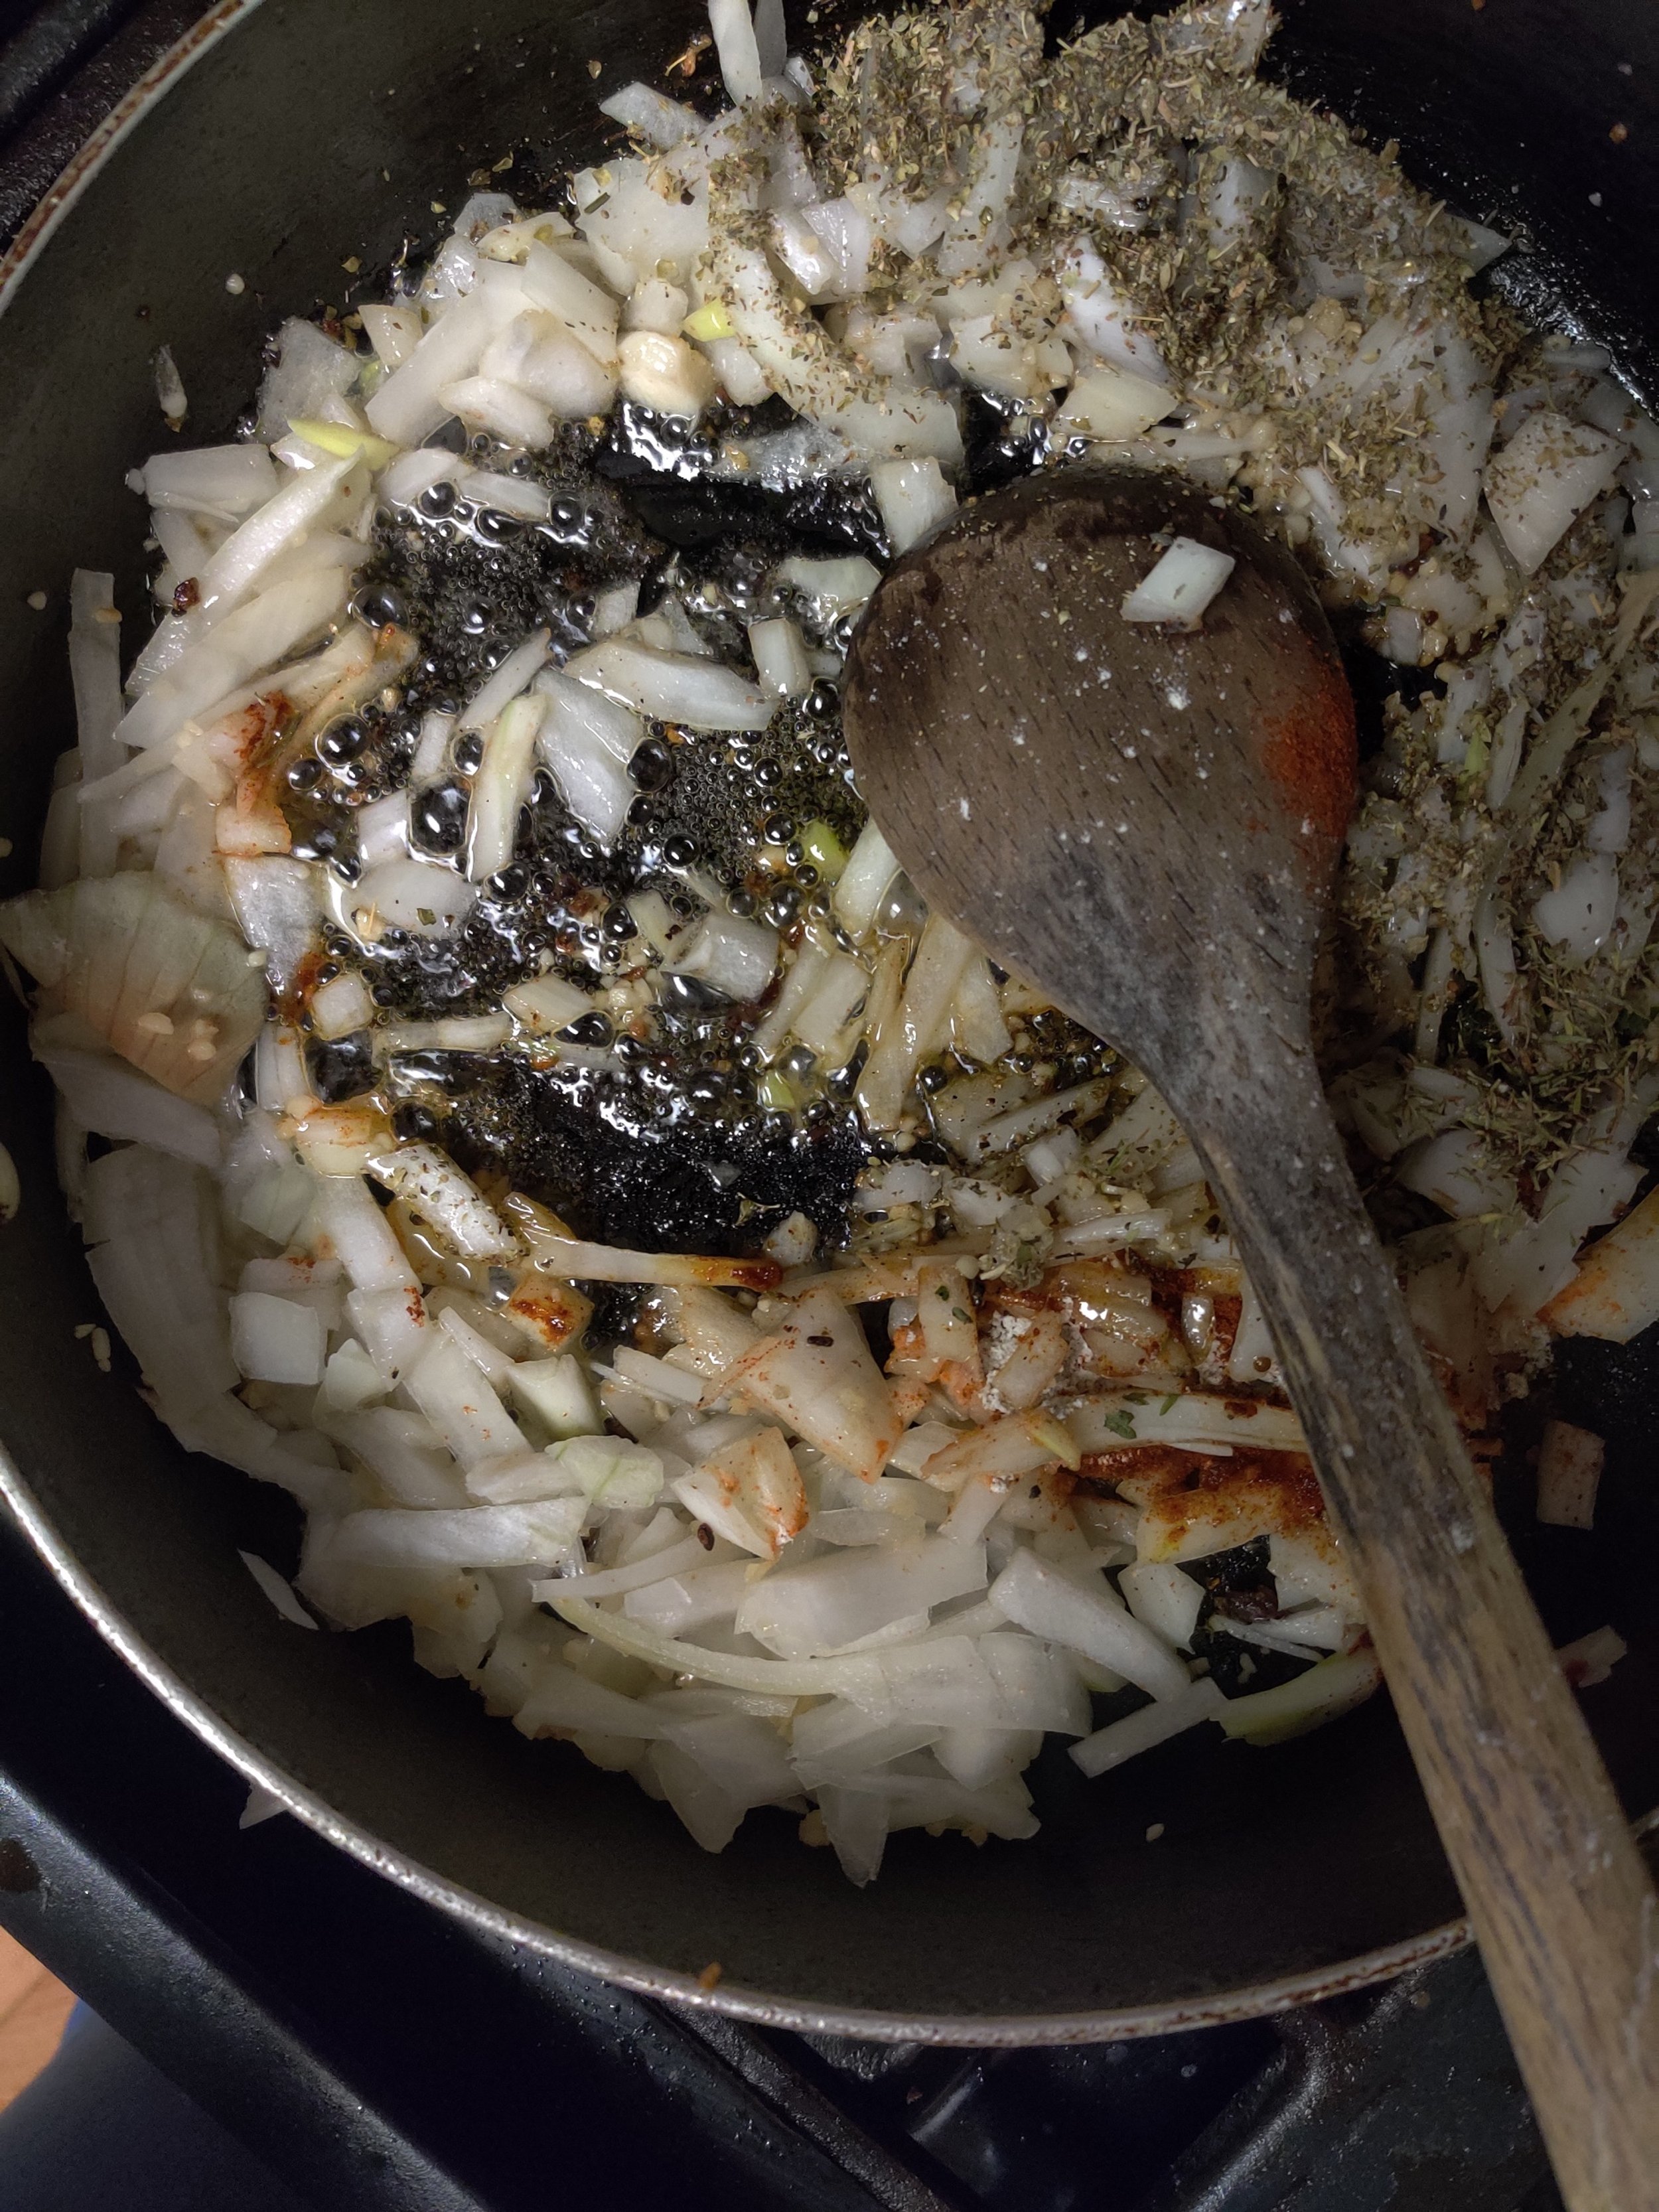
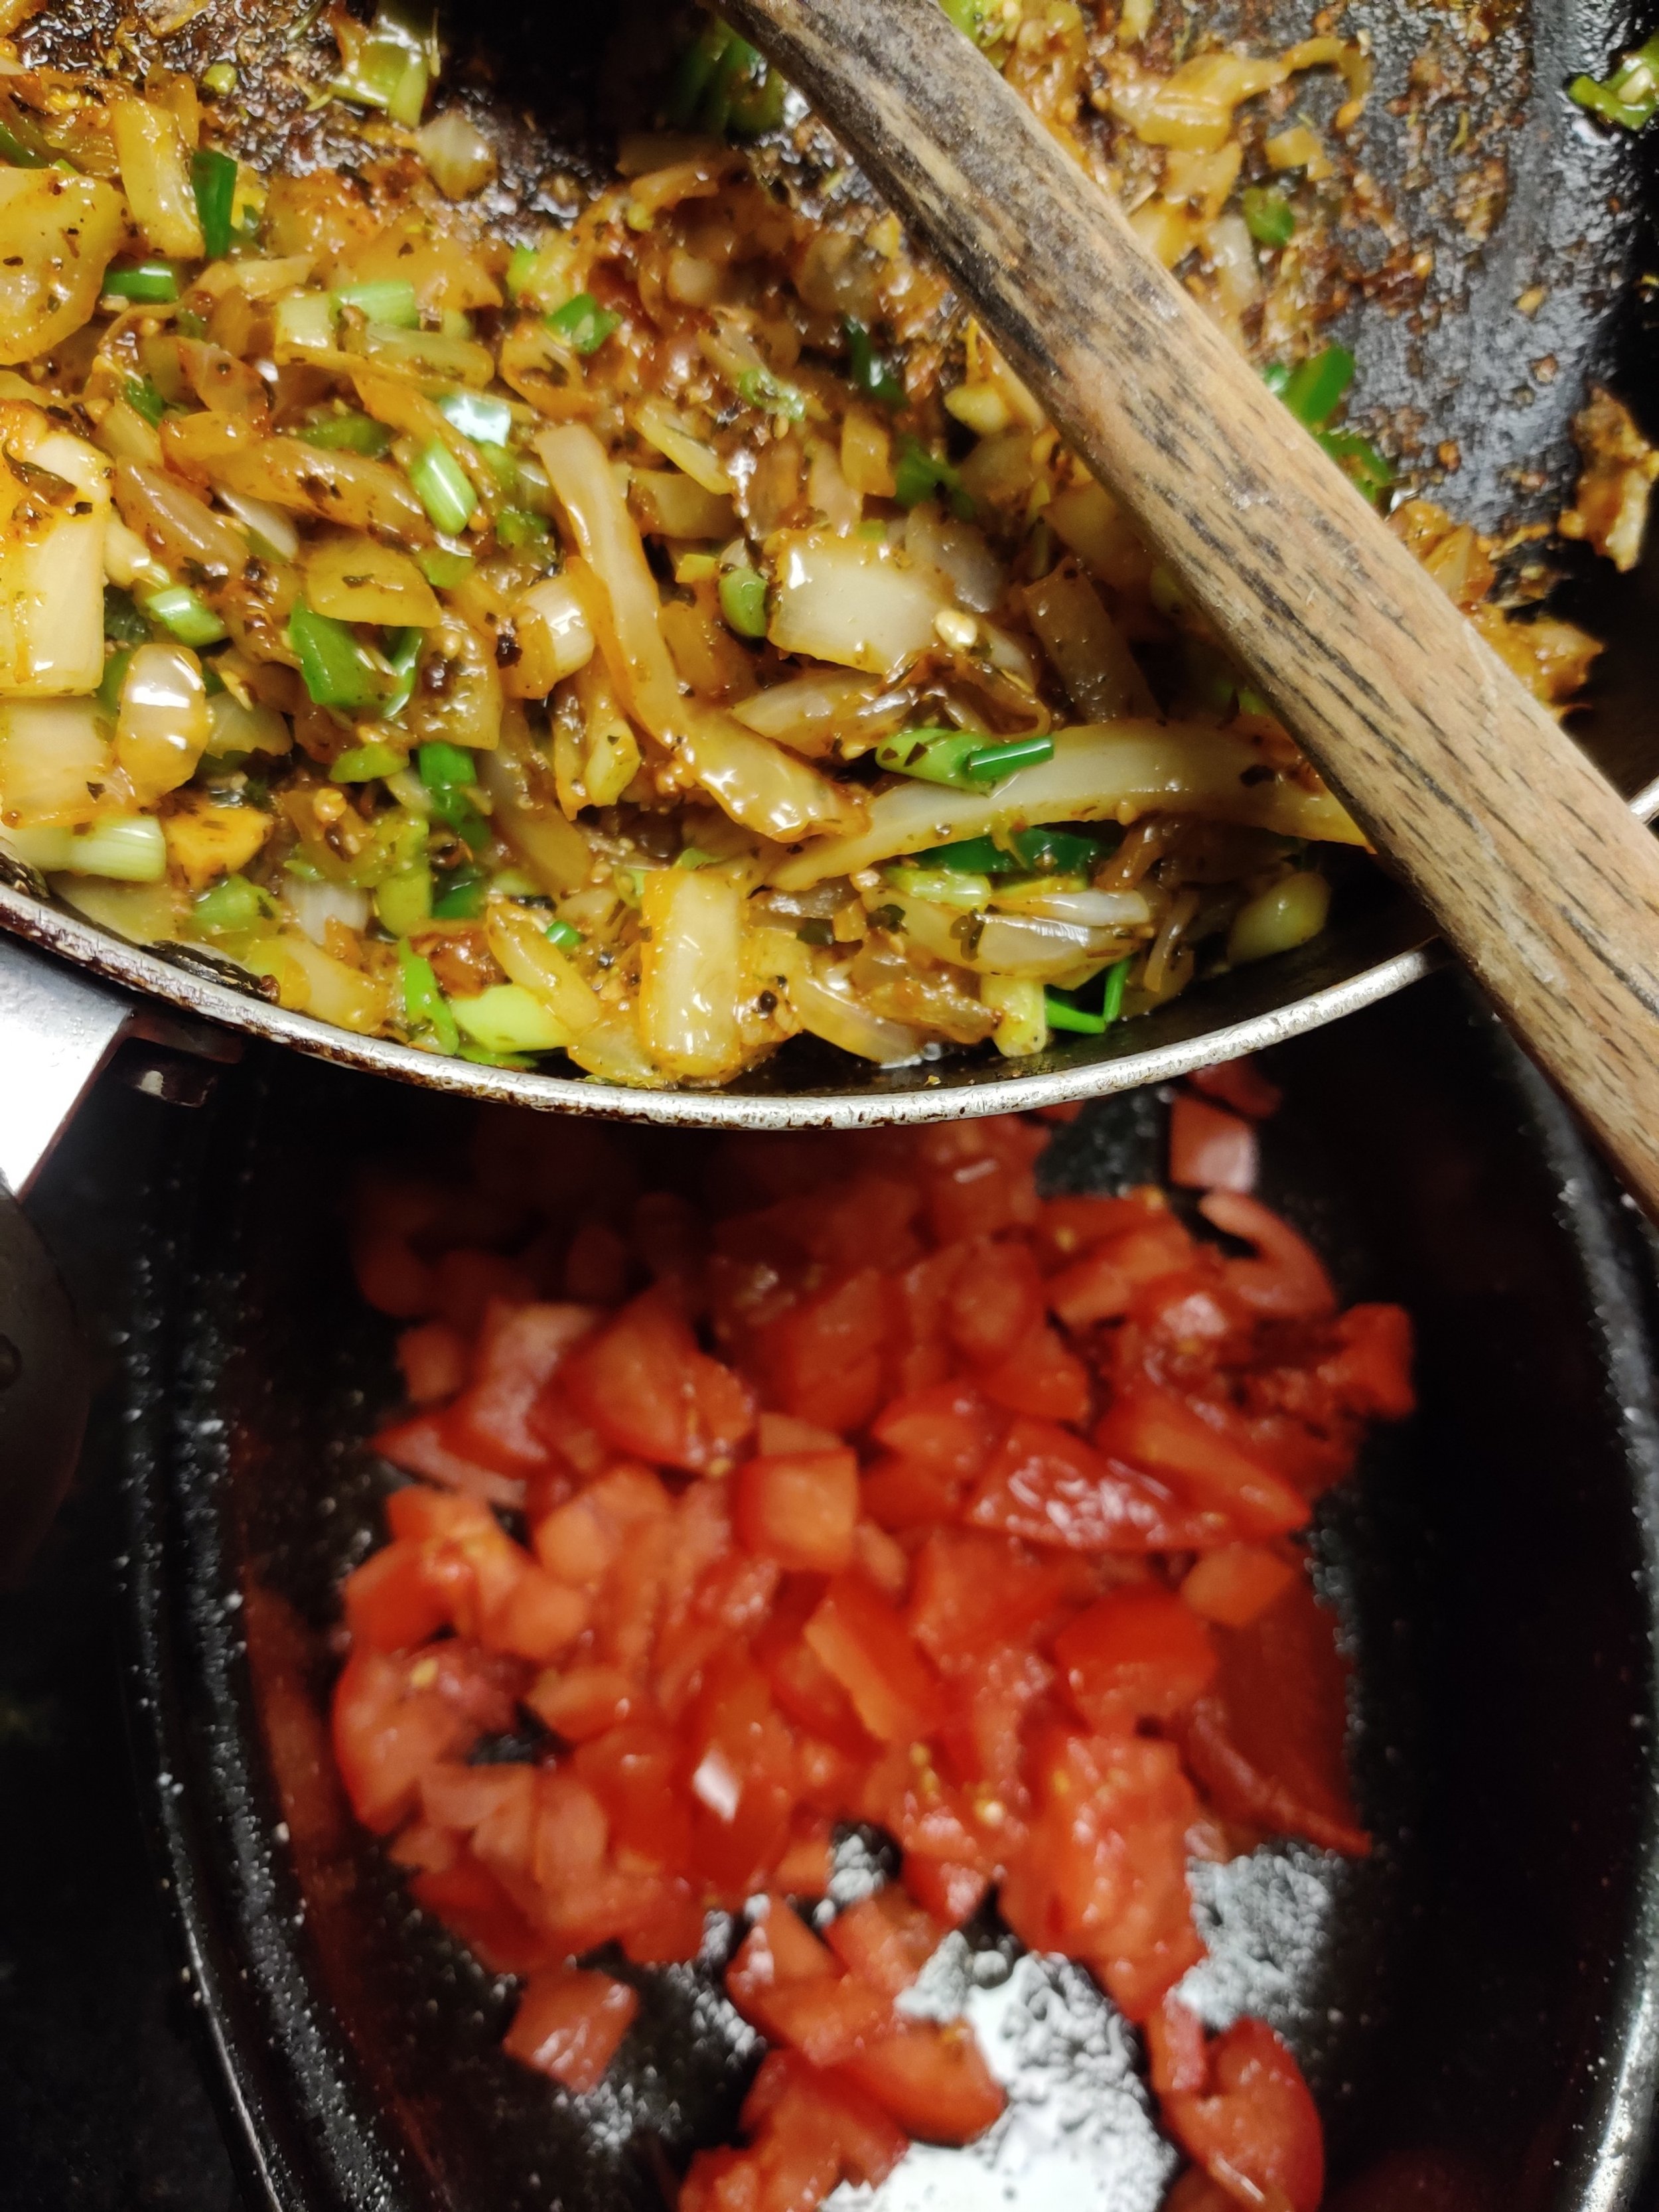
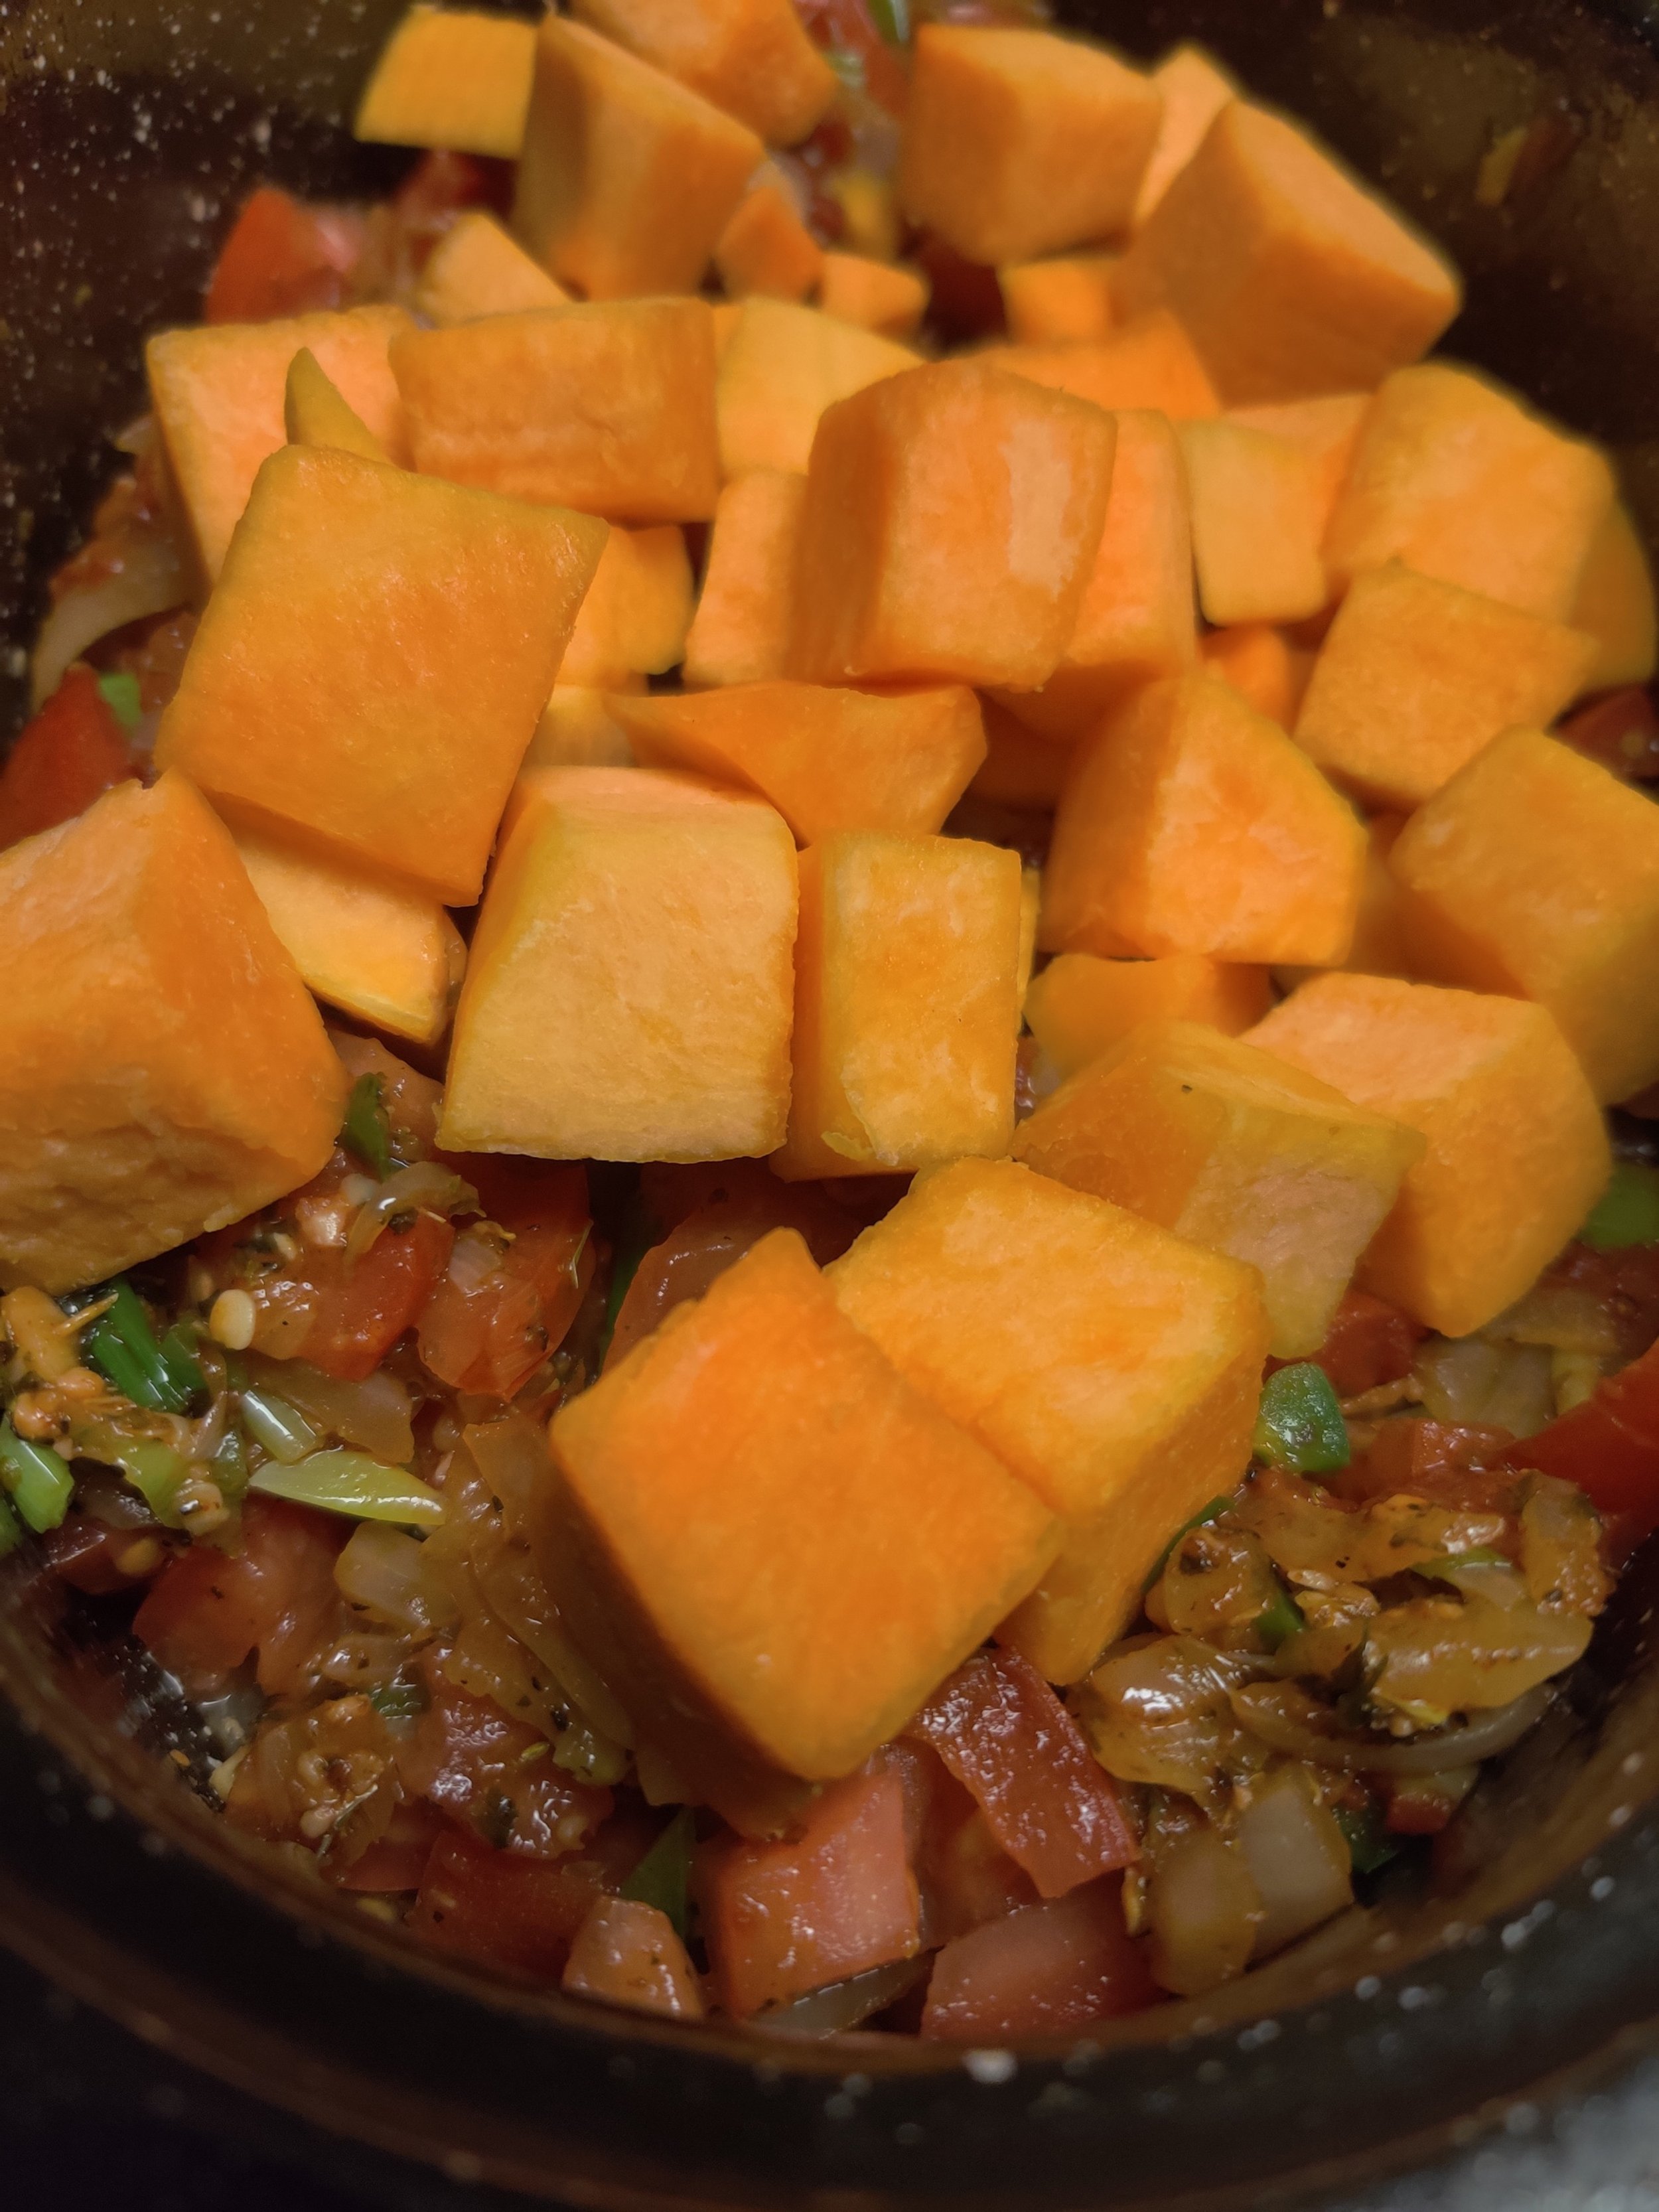
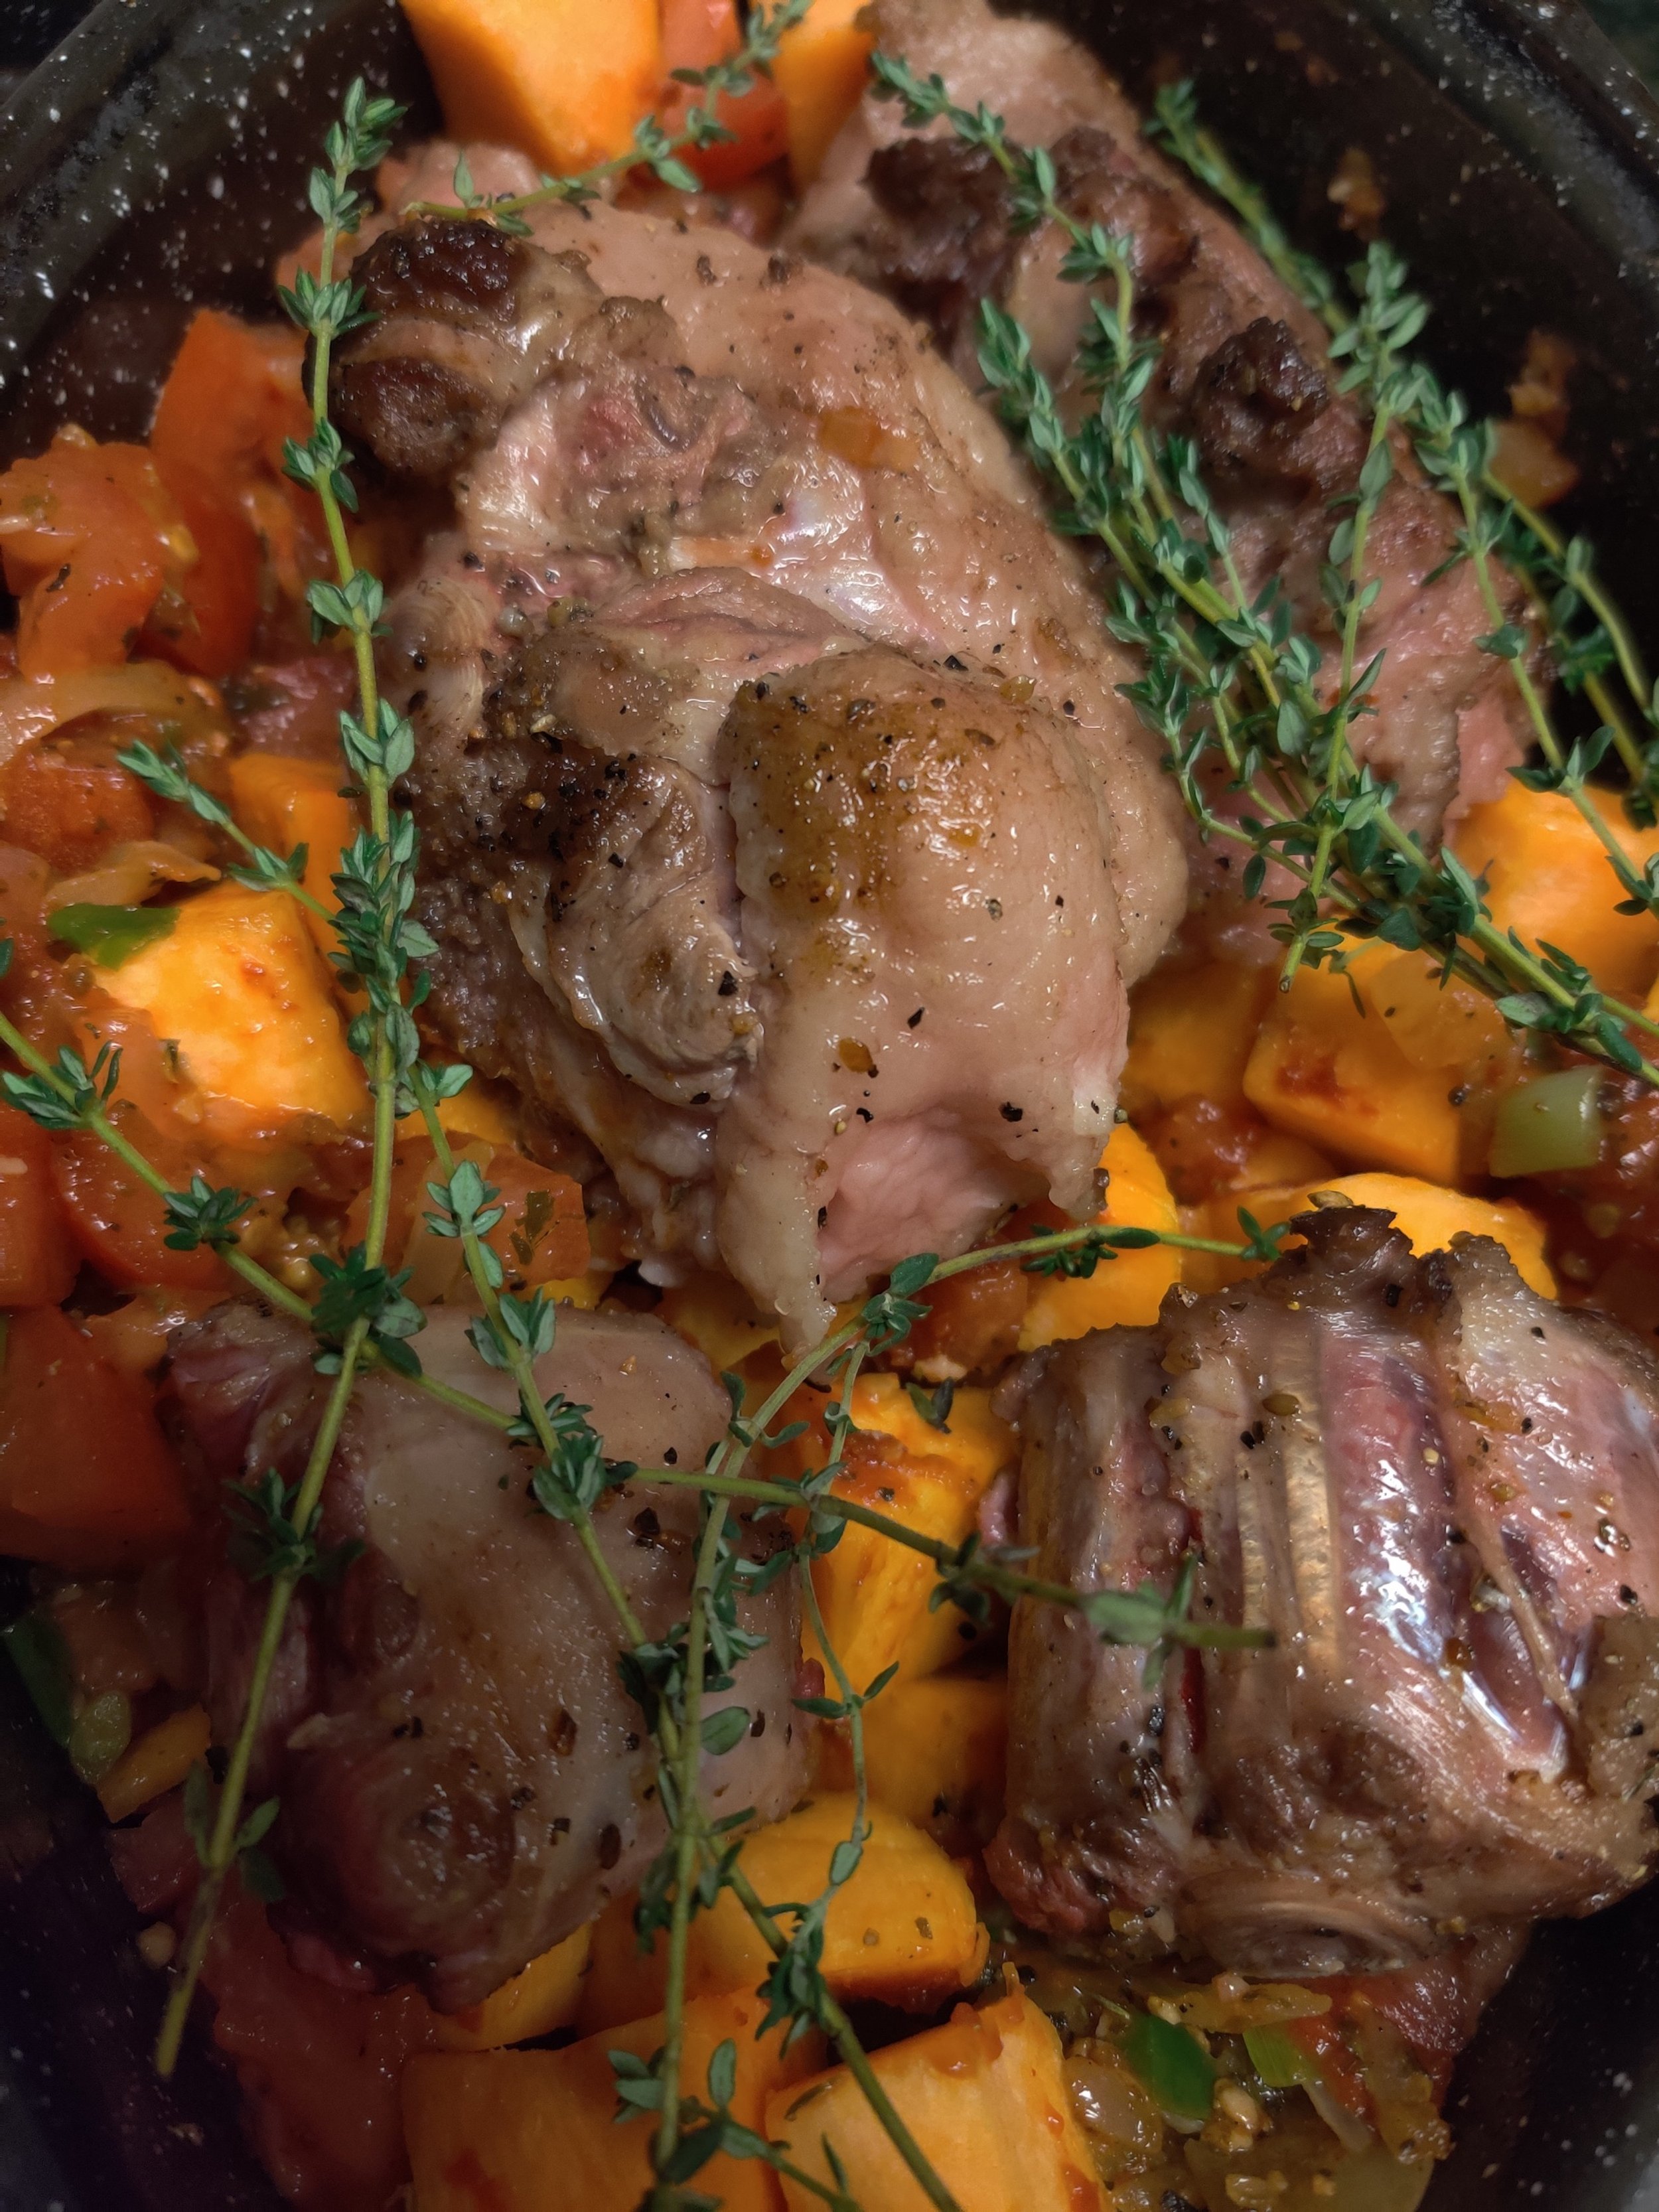
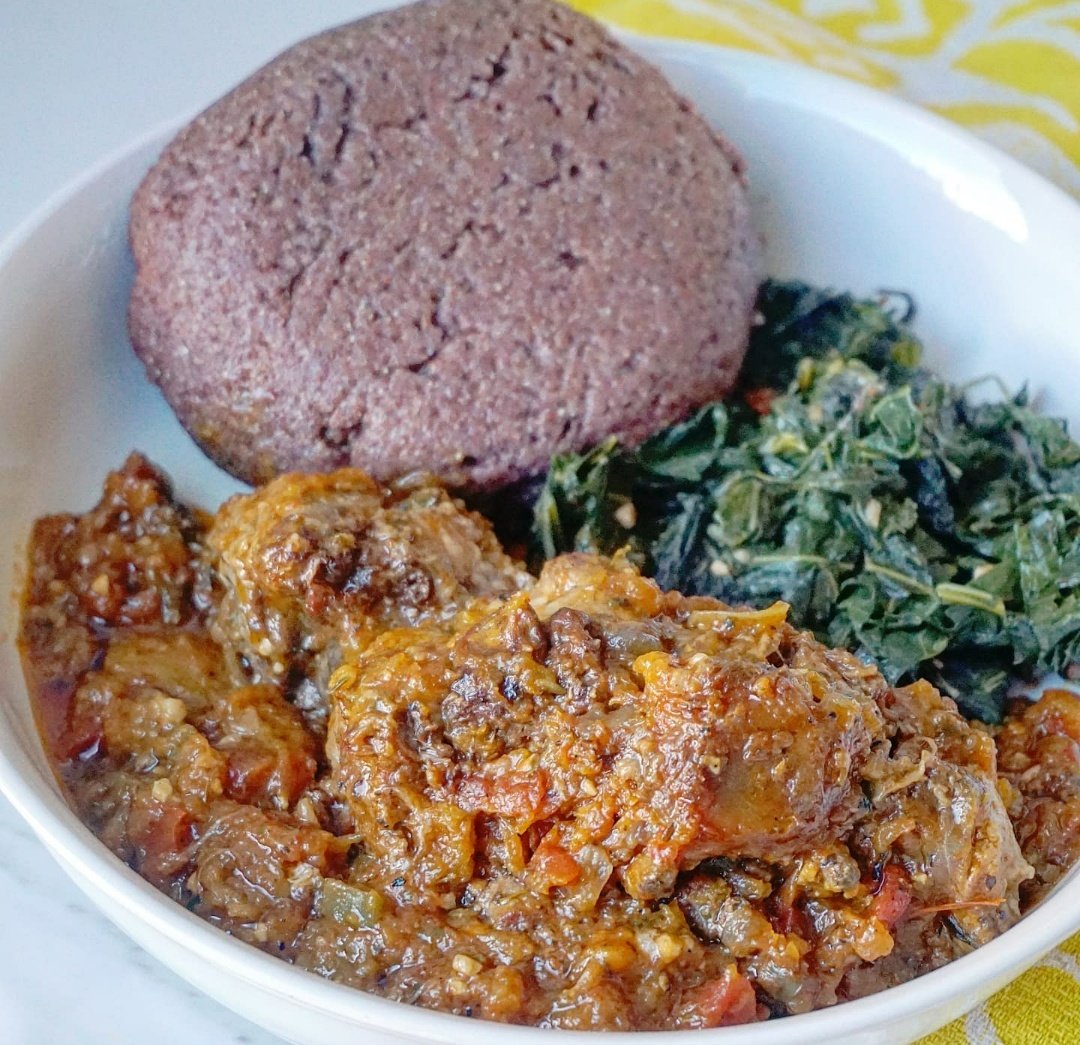
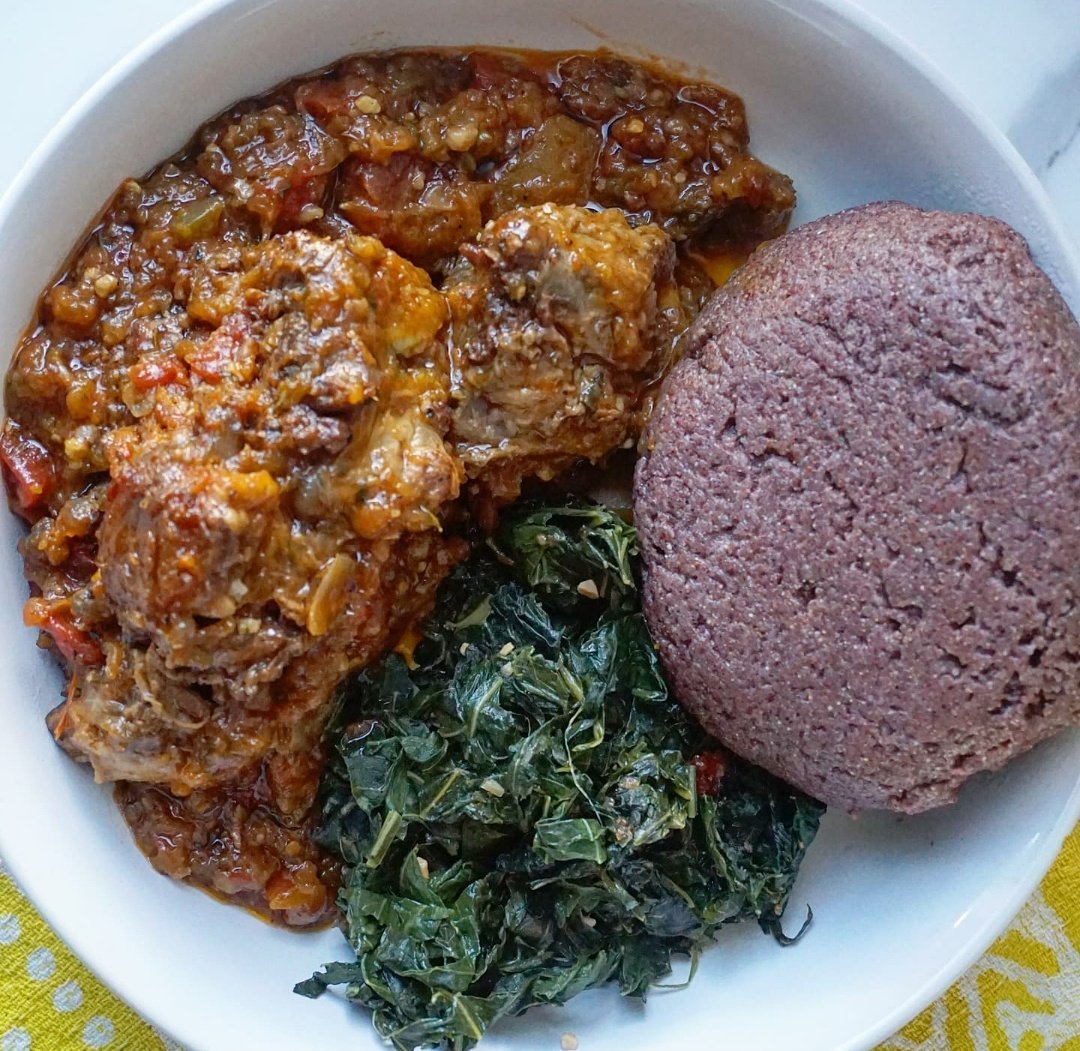
Oxtail. A delicacy set aside for special occasions (at least for me growing up in Zimbabwe). Whenever I saw my mother preparing the bones for the pressure cooker, I would get so excited. Nothing delighted me more than watching every part, from the chopping of the green onions to the constant check-ups and stirs. I've tried oxtail in various cuisines, from Vietnamese oxtail pho to Jamaican jerk oxtail with white beans. I appreciated both, but this simple version of slow cooking the bones with tomatoes and onions many Zimbabwes tend to go for is ideal, in my opinion!
Southern African potjiekos inspired this recipe. Potjiekos are stews left untouched in cast-iron three-legged pots over hot coals, often a mixture of meat, bones and vegetables. With this method in mind and to add some substance, I used butternut.
Oxtail is something to indulge in once in a while, but it's worth it every time. Check out this recipe if you need instructions for the sadza (traditional Zimbabwean starch made of mealie/cornmeal cooked into a soft, thick porridge), although in this case I used finger millet (zviyo).

Homemade Falafel Salad with Sesame Tahini Dressing
I love chickpeas in every shape and form, but falafel makes the top of the list! Most people wait to enjoy falafels at the store, but they are pretty simple to make in the comfort of your own home. All you need are dried chickpeas, fresh herbs and some spices. A food processor for appliances will make this a lot easier. I used this one from Hamilton Beach.

I'm not going to assume everyone reading this knows what falafel is or where it originated! As a Southern African, I was introduced as a young adult on the streets of New York, from one of the many mouthwatering Halal trucks parked on the side of the road or one of the shawarma stores littered throughout Lower Manhattan. Falafel balls are deep-fried fritters that came out of the Middle-East, and can also be made using fava or broad beans. They can be eaten as they are, on top of a salad or bed of vegetables, but typically stuffed in a pita or flatbread pocket.
Served with what you may ask? Tahini-based sauces, derived from sesame seeds.
This small women-owned business makes natural vinaigrettes and dressings. Their Sesame Tahini is not only one of my favourites but goes perfectly with my homemade version of falafel; I recommend giving it a try; it will give a lot of other dishes a toasty tang. It has two awards for a reason: a 2018 Good Food Award and a 2018 SOFI Award! No junk, just delicious flavour to compliment the food! This recipe calls for a condiment you can find at your local grocery store or online at dressitupdressing.com.

Ingredients
2 cups dried and (soaked overnight) chickpeas--don't use canned!
1/2 teaspoon baking soda (to help soften the chickpeas)
1/2 cup fresh dill
1 cup fresh parsley
6 fresh garlic cloves
1/2 medium yellow onion
1 tablespoon salt
1 tablespoon black pepper
1 teaspoon cayenne
1/2 jalapeno
2 tablespoons toasted sriracha sesame seeds
1/2 teaspoon ground cardamom
1 tablespoon smoked paprika
1/2 teaspoon baking powder
1/2 teaspoon fenugreek powder
1 tablespoon cumin
1 tablespoon coriander
Peanut oil for frying
Salad:
1/2 bag arugula
1 cup purple cabbage, shredded
1/2 cup cherry tomatoes
1/2 large seedless cucumber
Sesame oil
2-4 scoops roasted red pepper hummus
1-2 avocadoes
Sriracha mayo
Wasabi sauce
Sesame tahini vinaigrette


Instructions
You'll need to start this recipe the day before to soften the pulses. Soak the dried chickpeas by submerging them in water with baking soda. Drain when ready to use.
Combine the chickpeas, dill, parsley, garlic, onion, sesame seeds, jalapeno, spices, salt, and pepper in a bowl. Transfer to a food processor, then pulse or blend ib high until thick paste forms.
Heat the oil in a frying pot—mix in the baking powder then cook the falafel in batches at 350F until brown and crunchy. Use a cookie dough scooper for uniform balls. To freeze the remaining dough, allow scoops to harden, then transfer to a zip lock bag for up to 3 months.
In a large serving bowl for the salad, combine the cabbage and arugula, drizzle lightly with sesame oil and toss. Slice and overlay the tomatoes, avocado, hummus, and falafel, then drizzle with the sesame tahini dressing and a bit of sriracha drizzle. Serve!
The recipe makes about 24 falafel balls; salad serves 3-4. Freeze the falafel dough once scooped into balls to fry another time.


Spicy Roasted Butternut and Peanut Soup
When the weather gets chilly, all you need is a hot bowl of soup. This recipe will give you something rich, creamy, smooth, and flavorful, thanks to the spices and, of course, the texture of the peanut butter.
Yes, butternut (or pumpkin and other members of the squash family) goes well with the nutty condiment. In Zimbabwe, it's a common practice to combine the two, whether it's the flesh of the vegetable or the leaves (muboora or pumpkin leaves cooked with peanut butter and chilies, for instance, is quite popular--the peanut butter serving as a substitute protein from meat and well, to enjoy!).
The trick to get the silky texture if you desire is to use a good quality blender, and to be patient; you'll get there! This soups is super easy and will impress anyone you make it for.
Ingredients
Spicy Roasted Butternut:
48-ounces chopped butternut
1 tablespoon chili flakes
1 tablespoon garlic powder
1 tablespoon steak seasoning (mixture of ground salt and black pepper)
1 teaspoon dried rosemary
1 tablespoon cayenne powder
1 tablespoon smoked paprika
1/4 cup olive oil
8-ounces mirepoix (mix of 2 parts onion, 1 part carrots and 1 part celery)
1 red bell pepper, diced
1 jalapeno, diced
1 teaspoon salt
1 tablespoon black pepper
1 teaspoon cayenne powder
1 tablespoon curry powder
1 teaspoon Royco Usavi (optional)
1 teaspoon smoked paprika
1 tablespoon garlic powder
1 teaspoon ginger powder or fresh, grated ginger
2 1/2 cups broth (add more as needed)
1 2 tablespoons butter
12 tablespoons bacon fat (optional)
2 tablespoons tomato sauce
1/4 cup Worchester sauce
1/2 cup heavy cream
1/3 cup peanut butter
Cilantro
Peanuts
Instructions
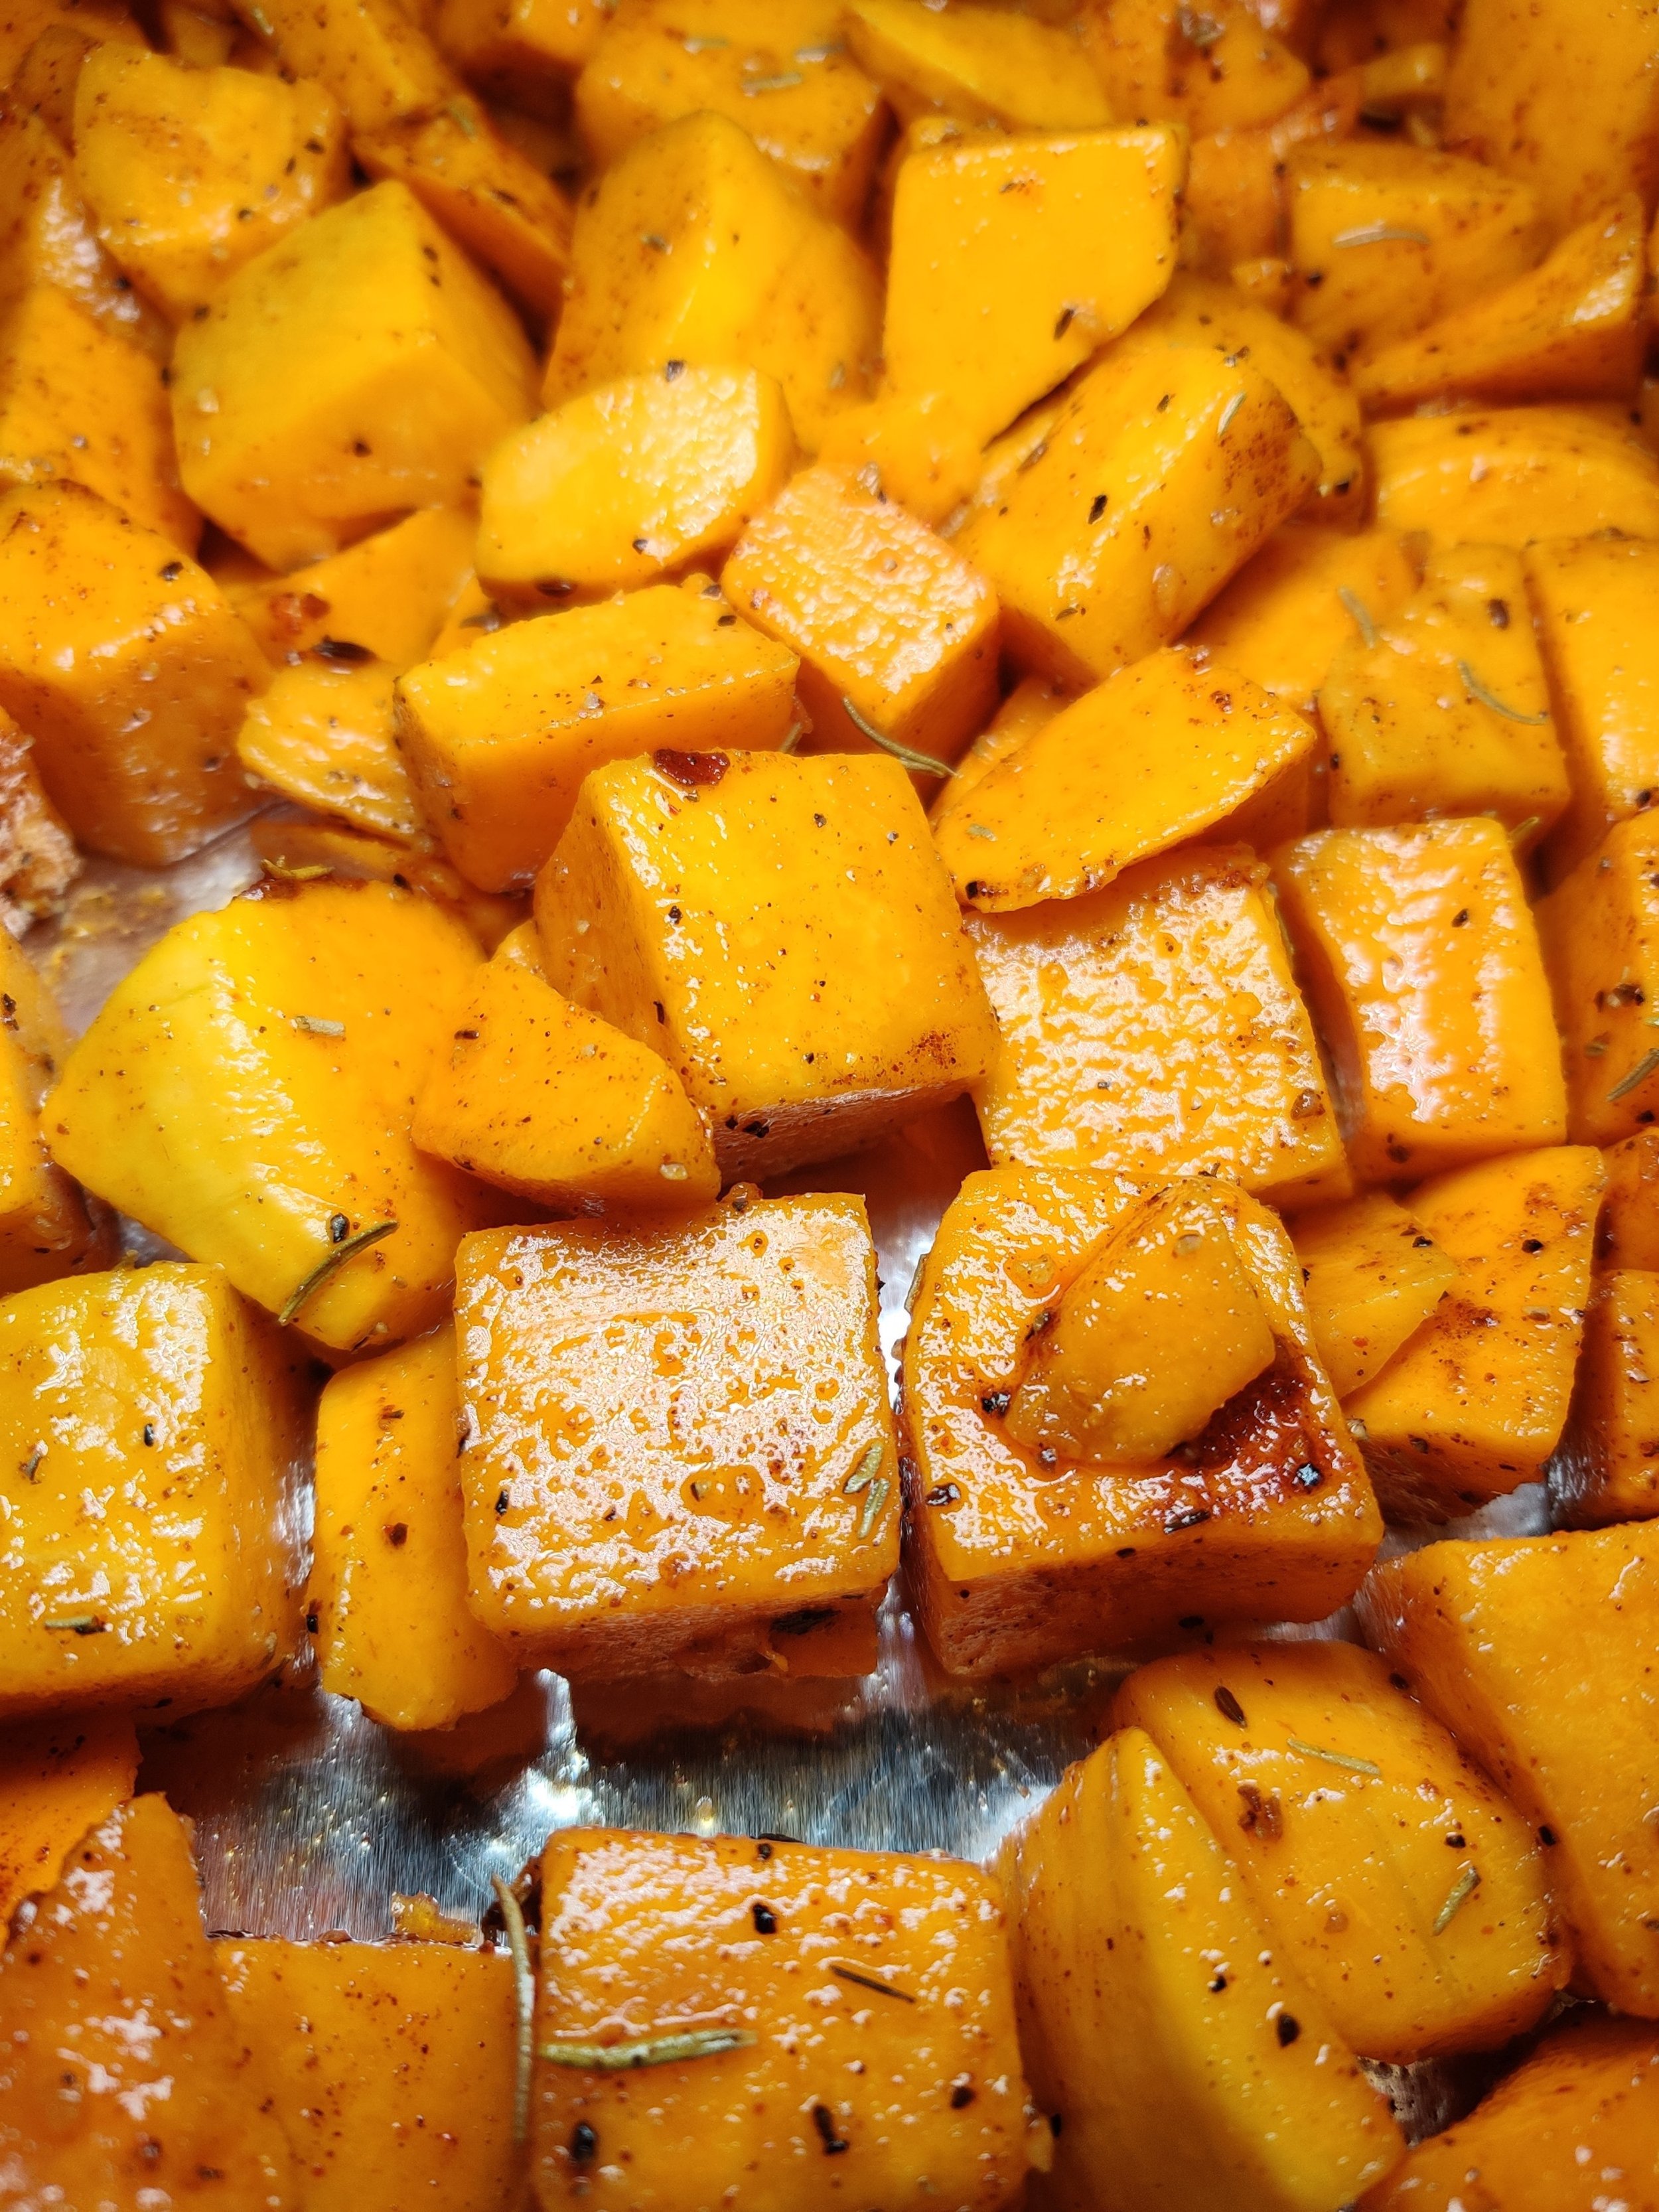
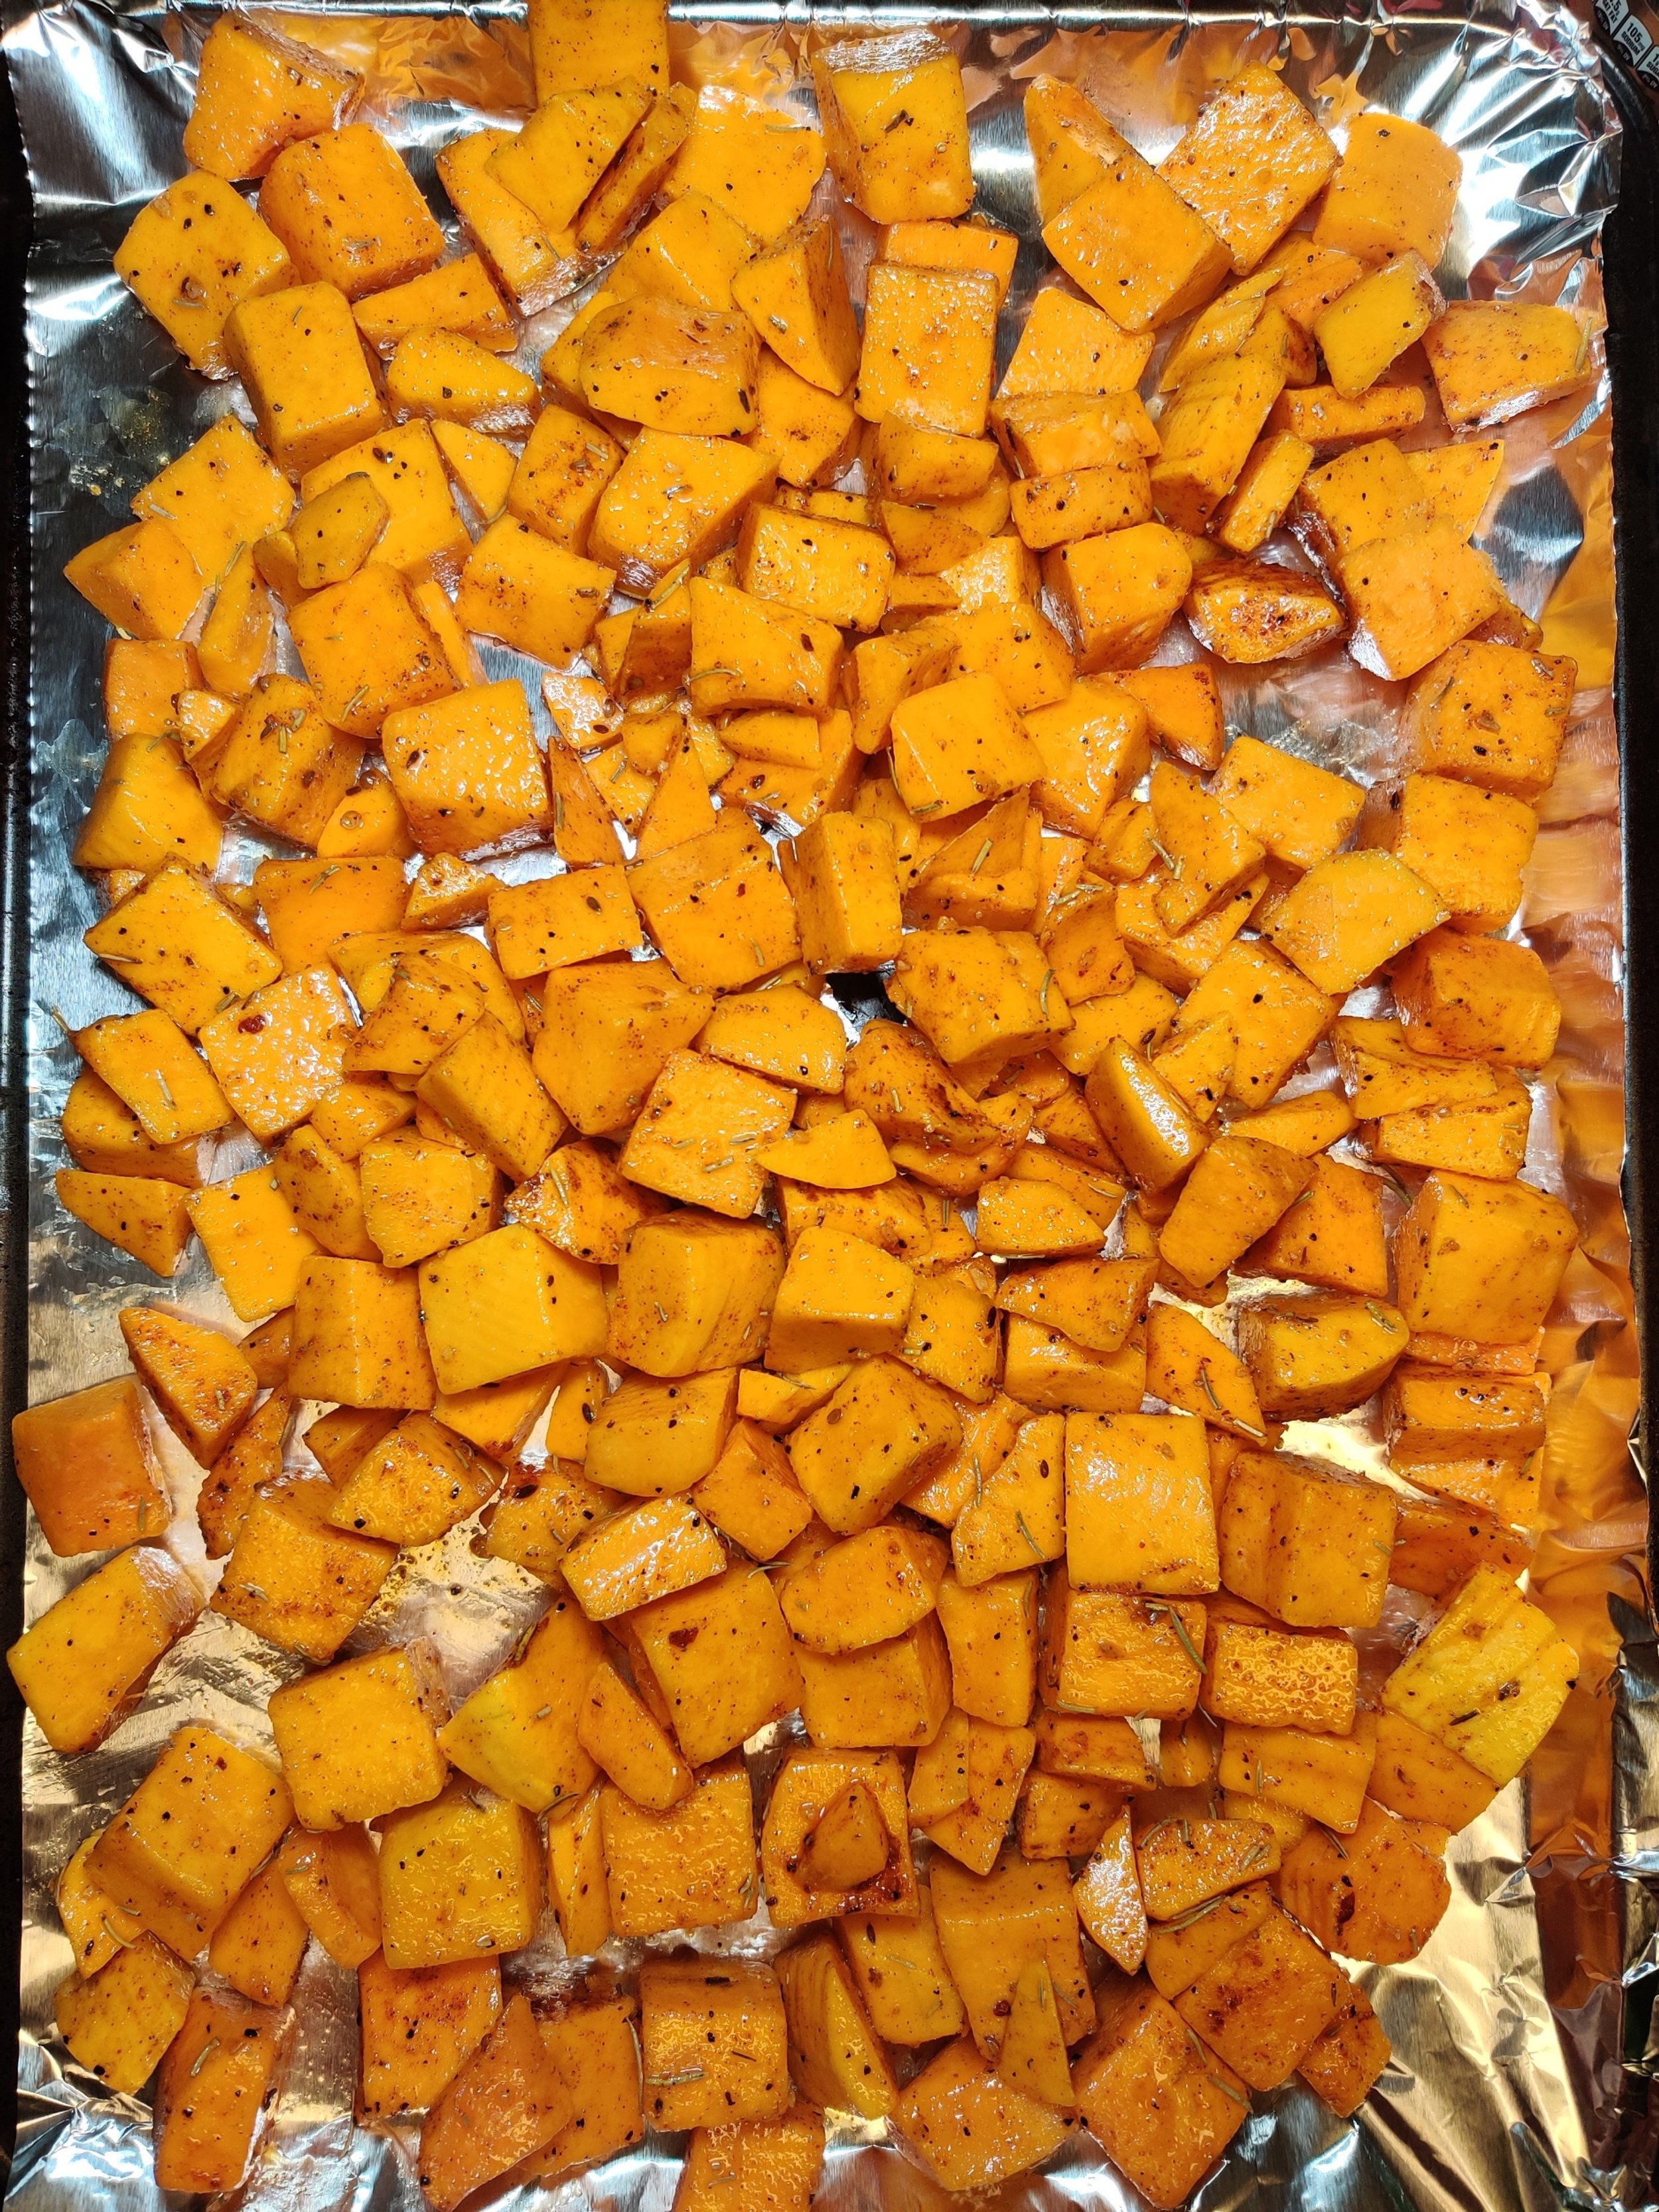
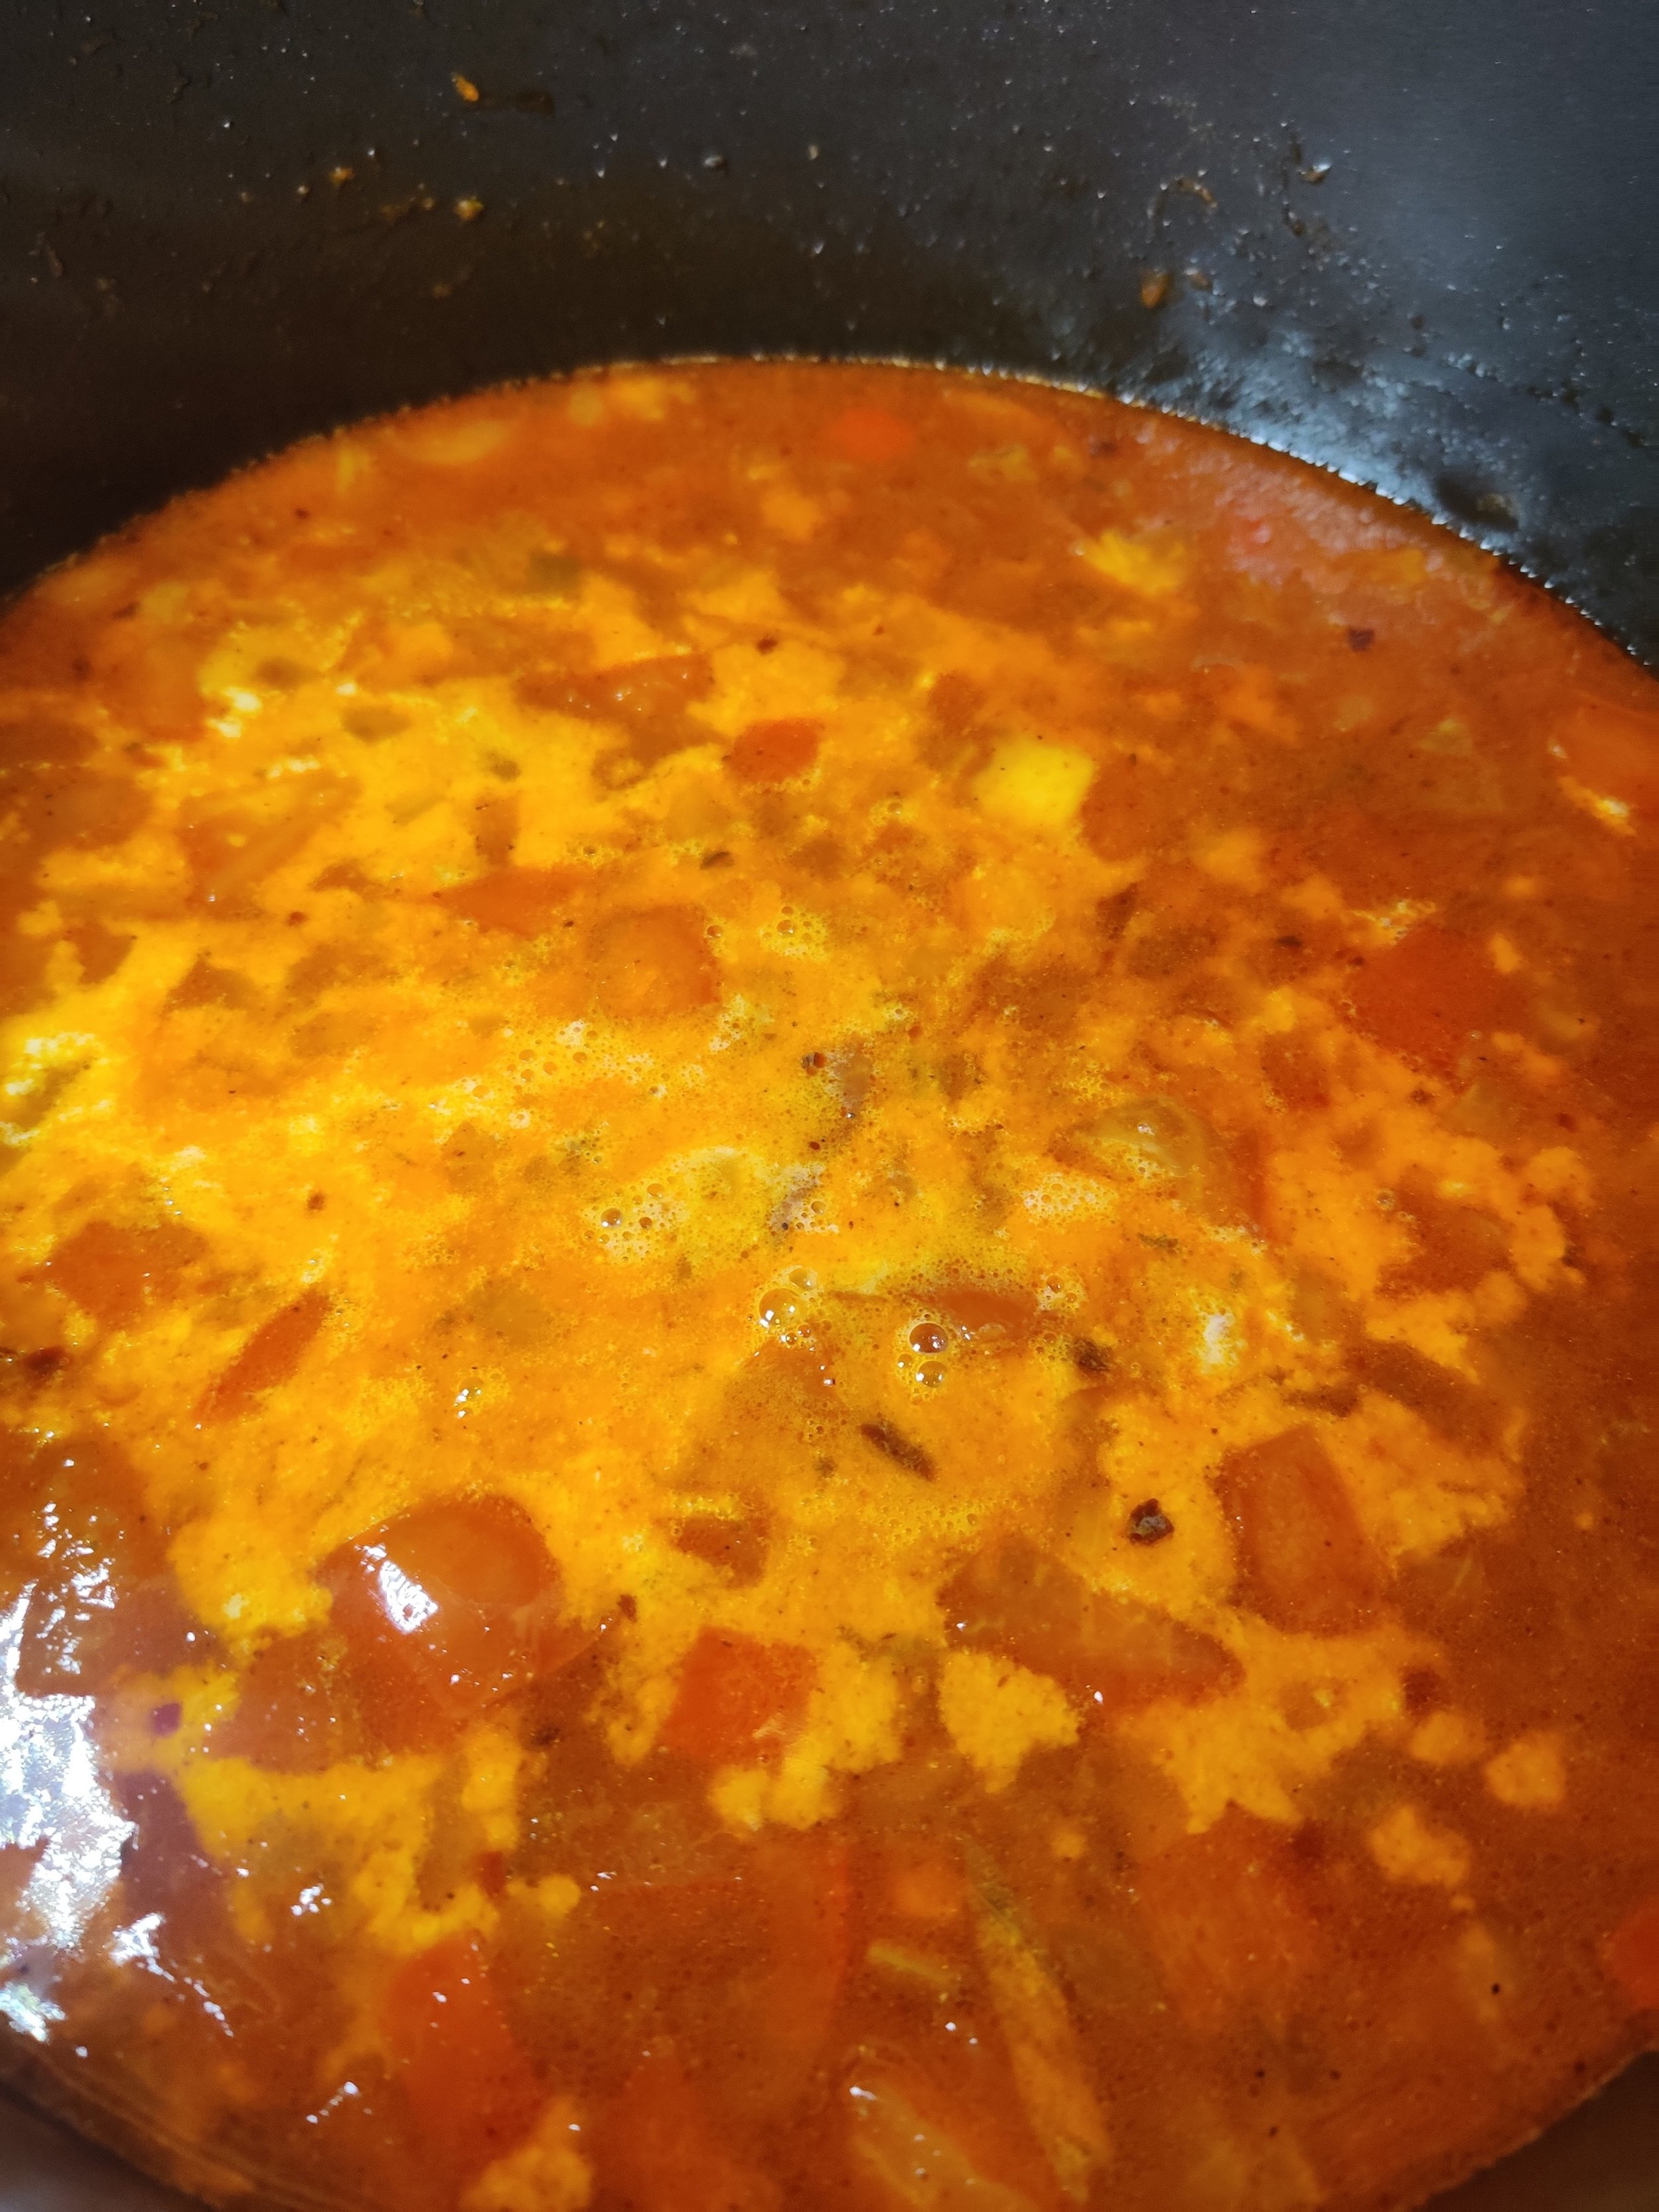
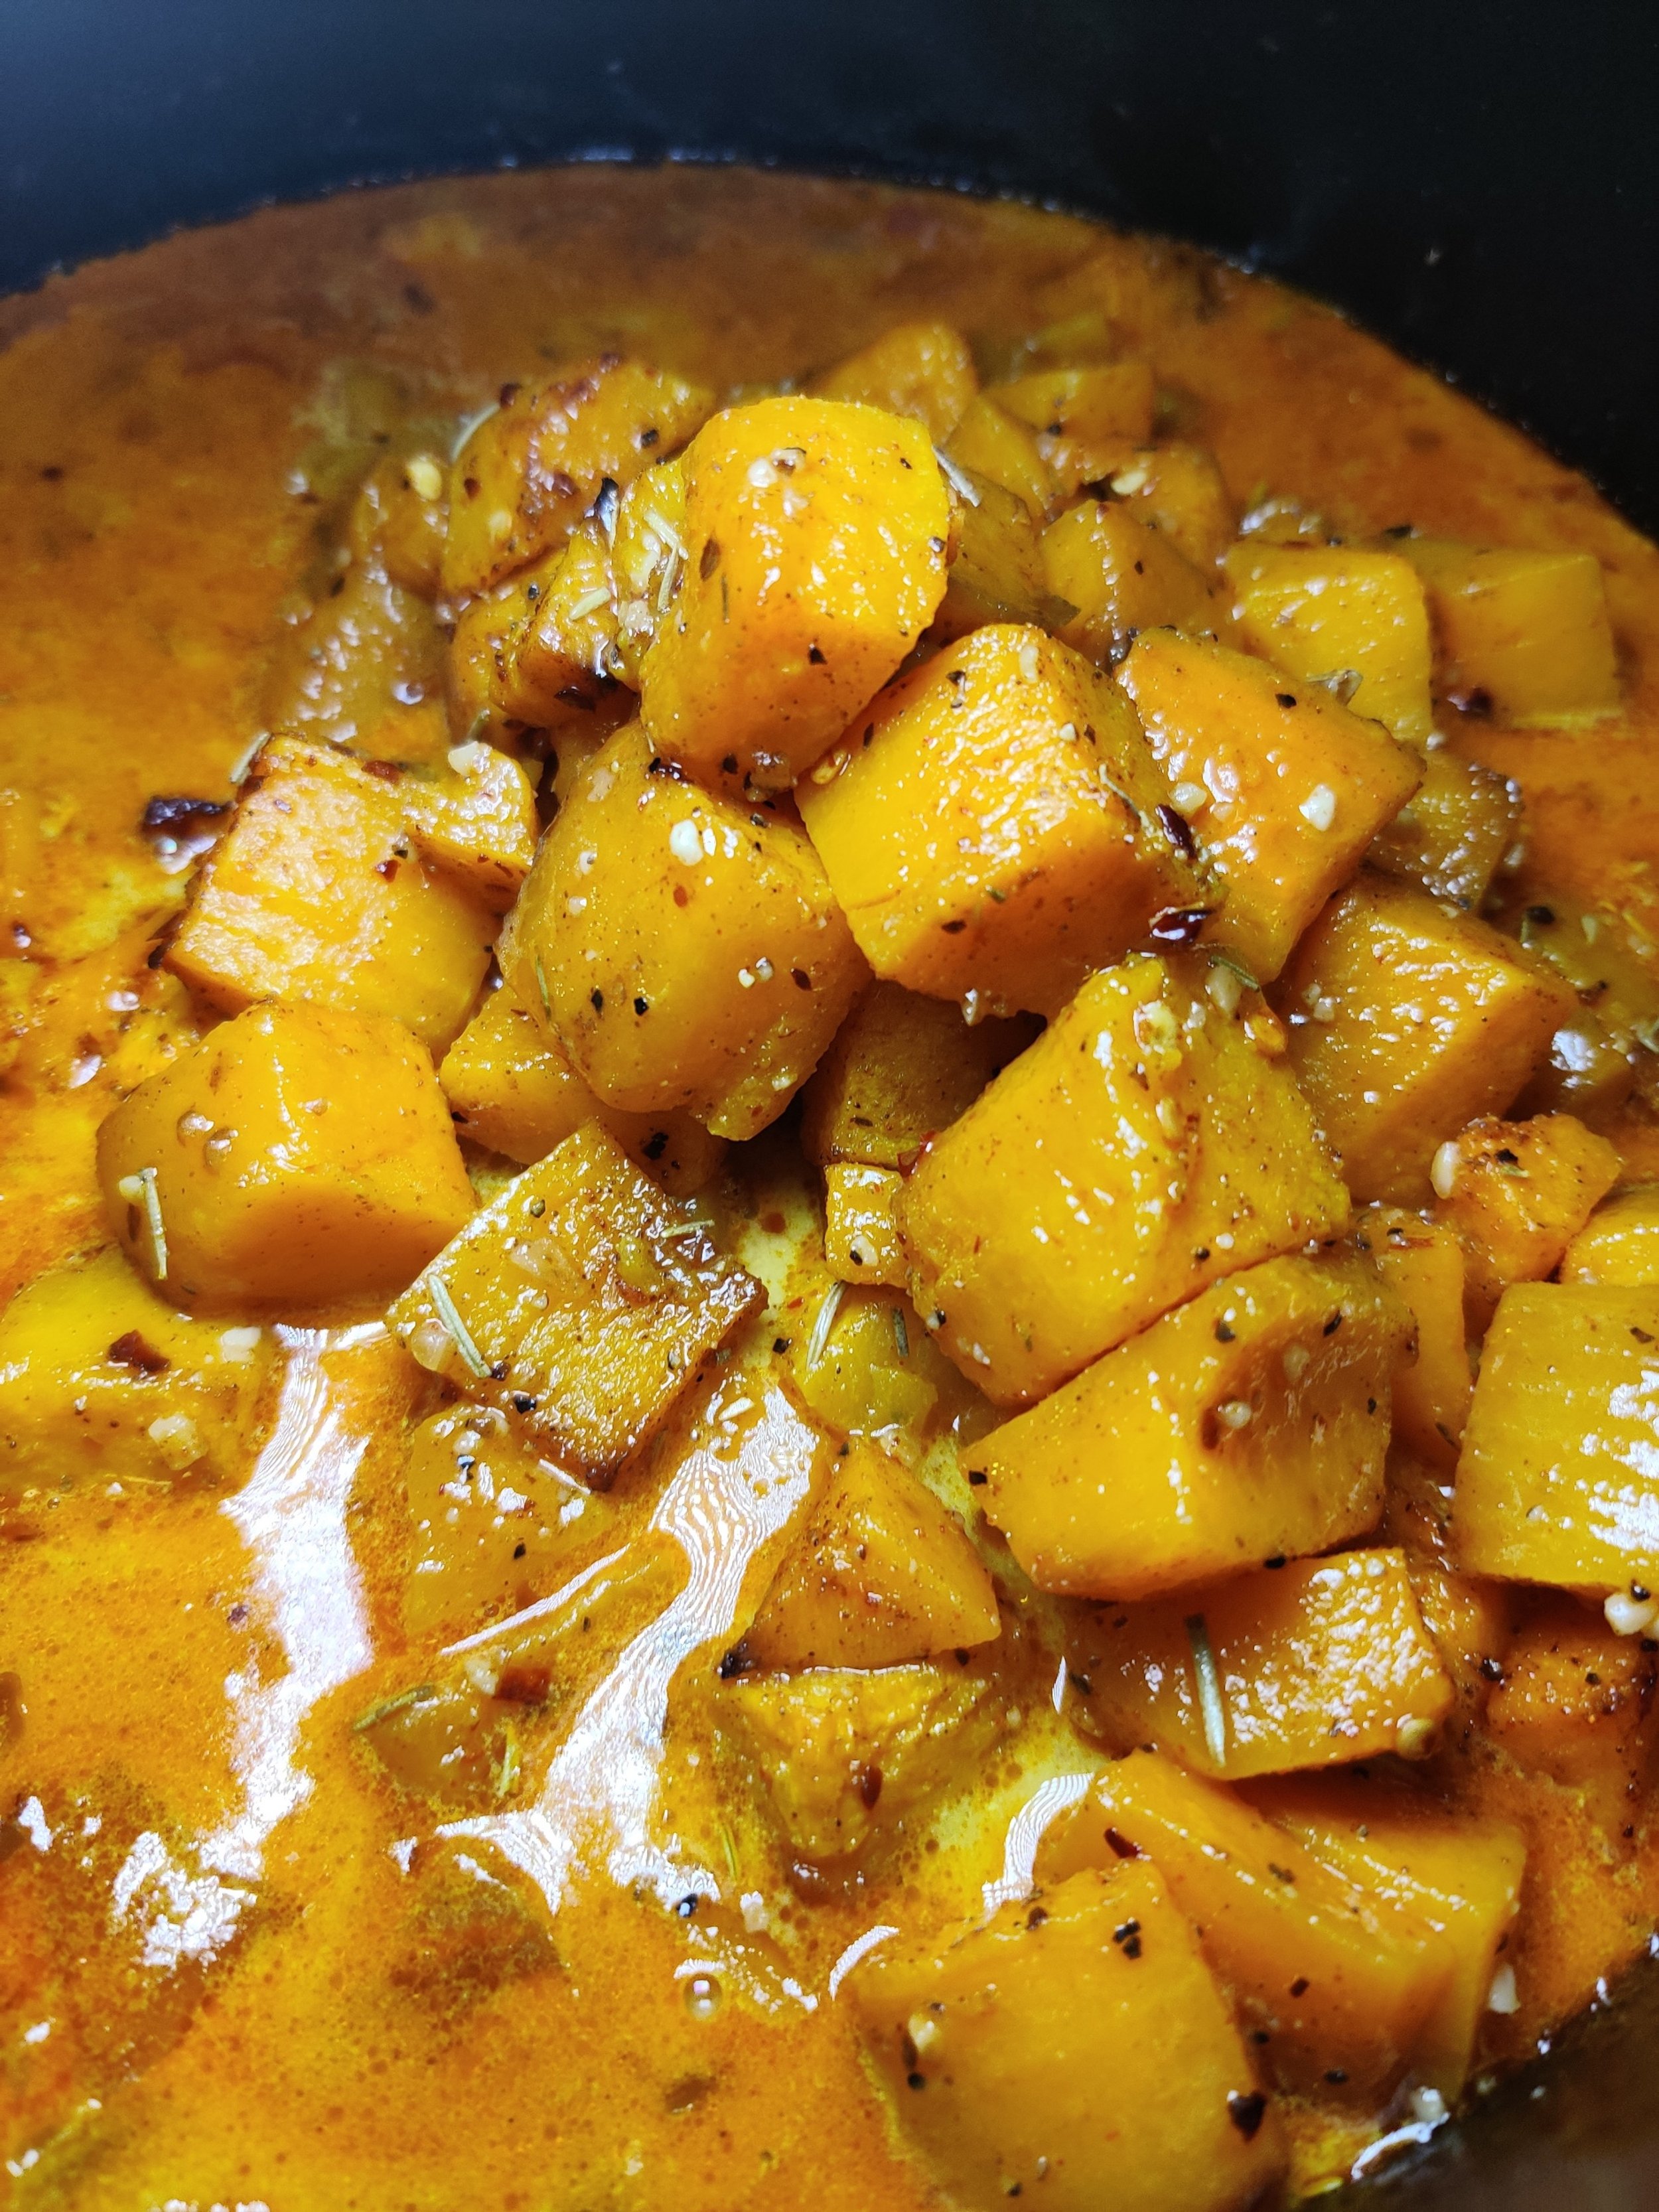
Toss the diced butternut in the olive oil, spices and rosemary, and bake at 400F for 12-15 minutes on parchment paper and a baking tray. The butternut should be fully cooked and caramelized on the outside. Remove from oven and set aside, including a few pieces to garnish.
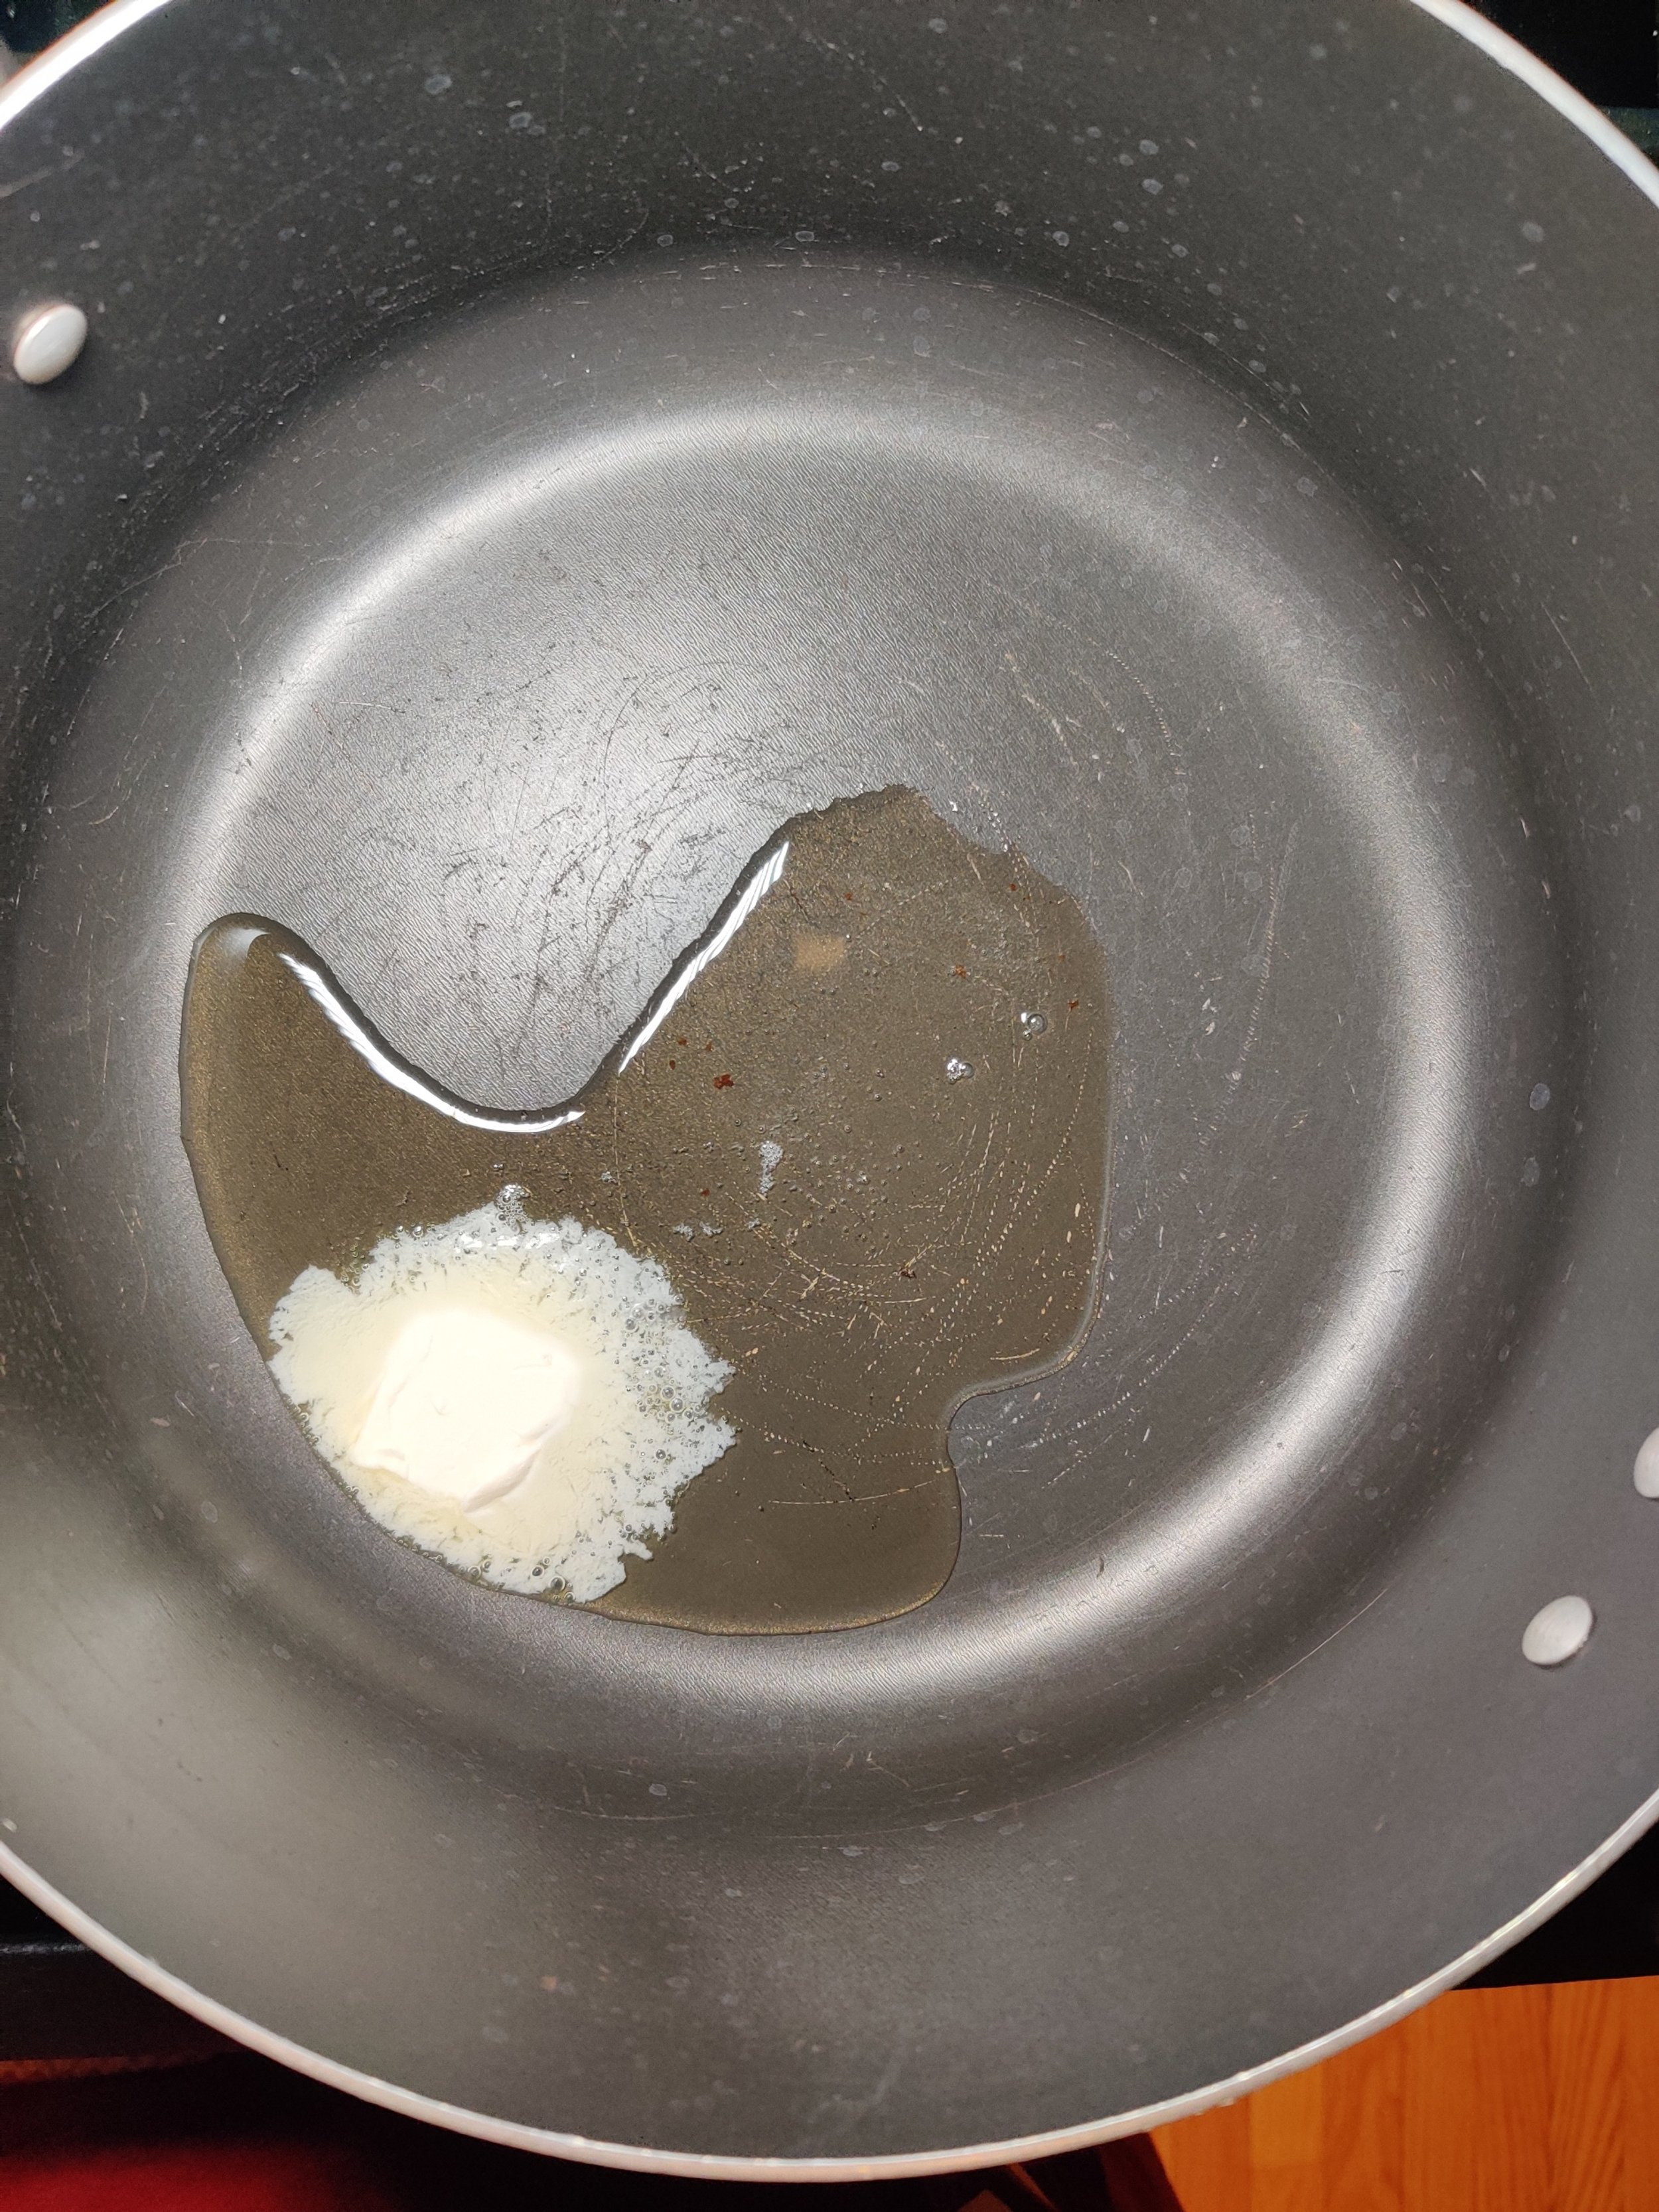
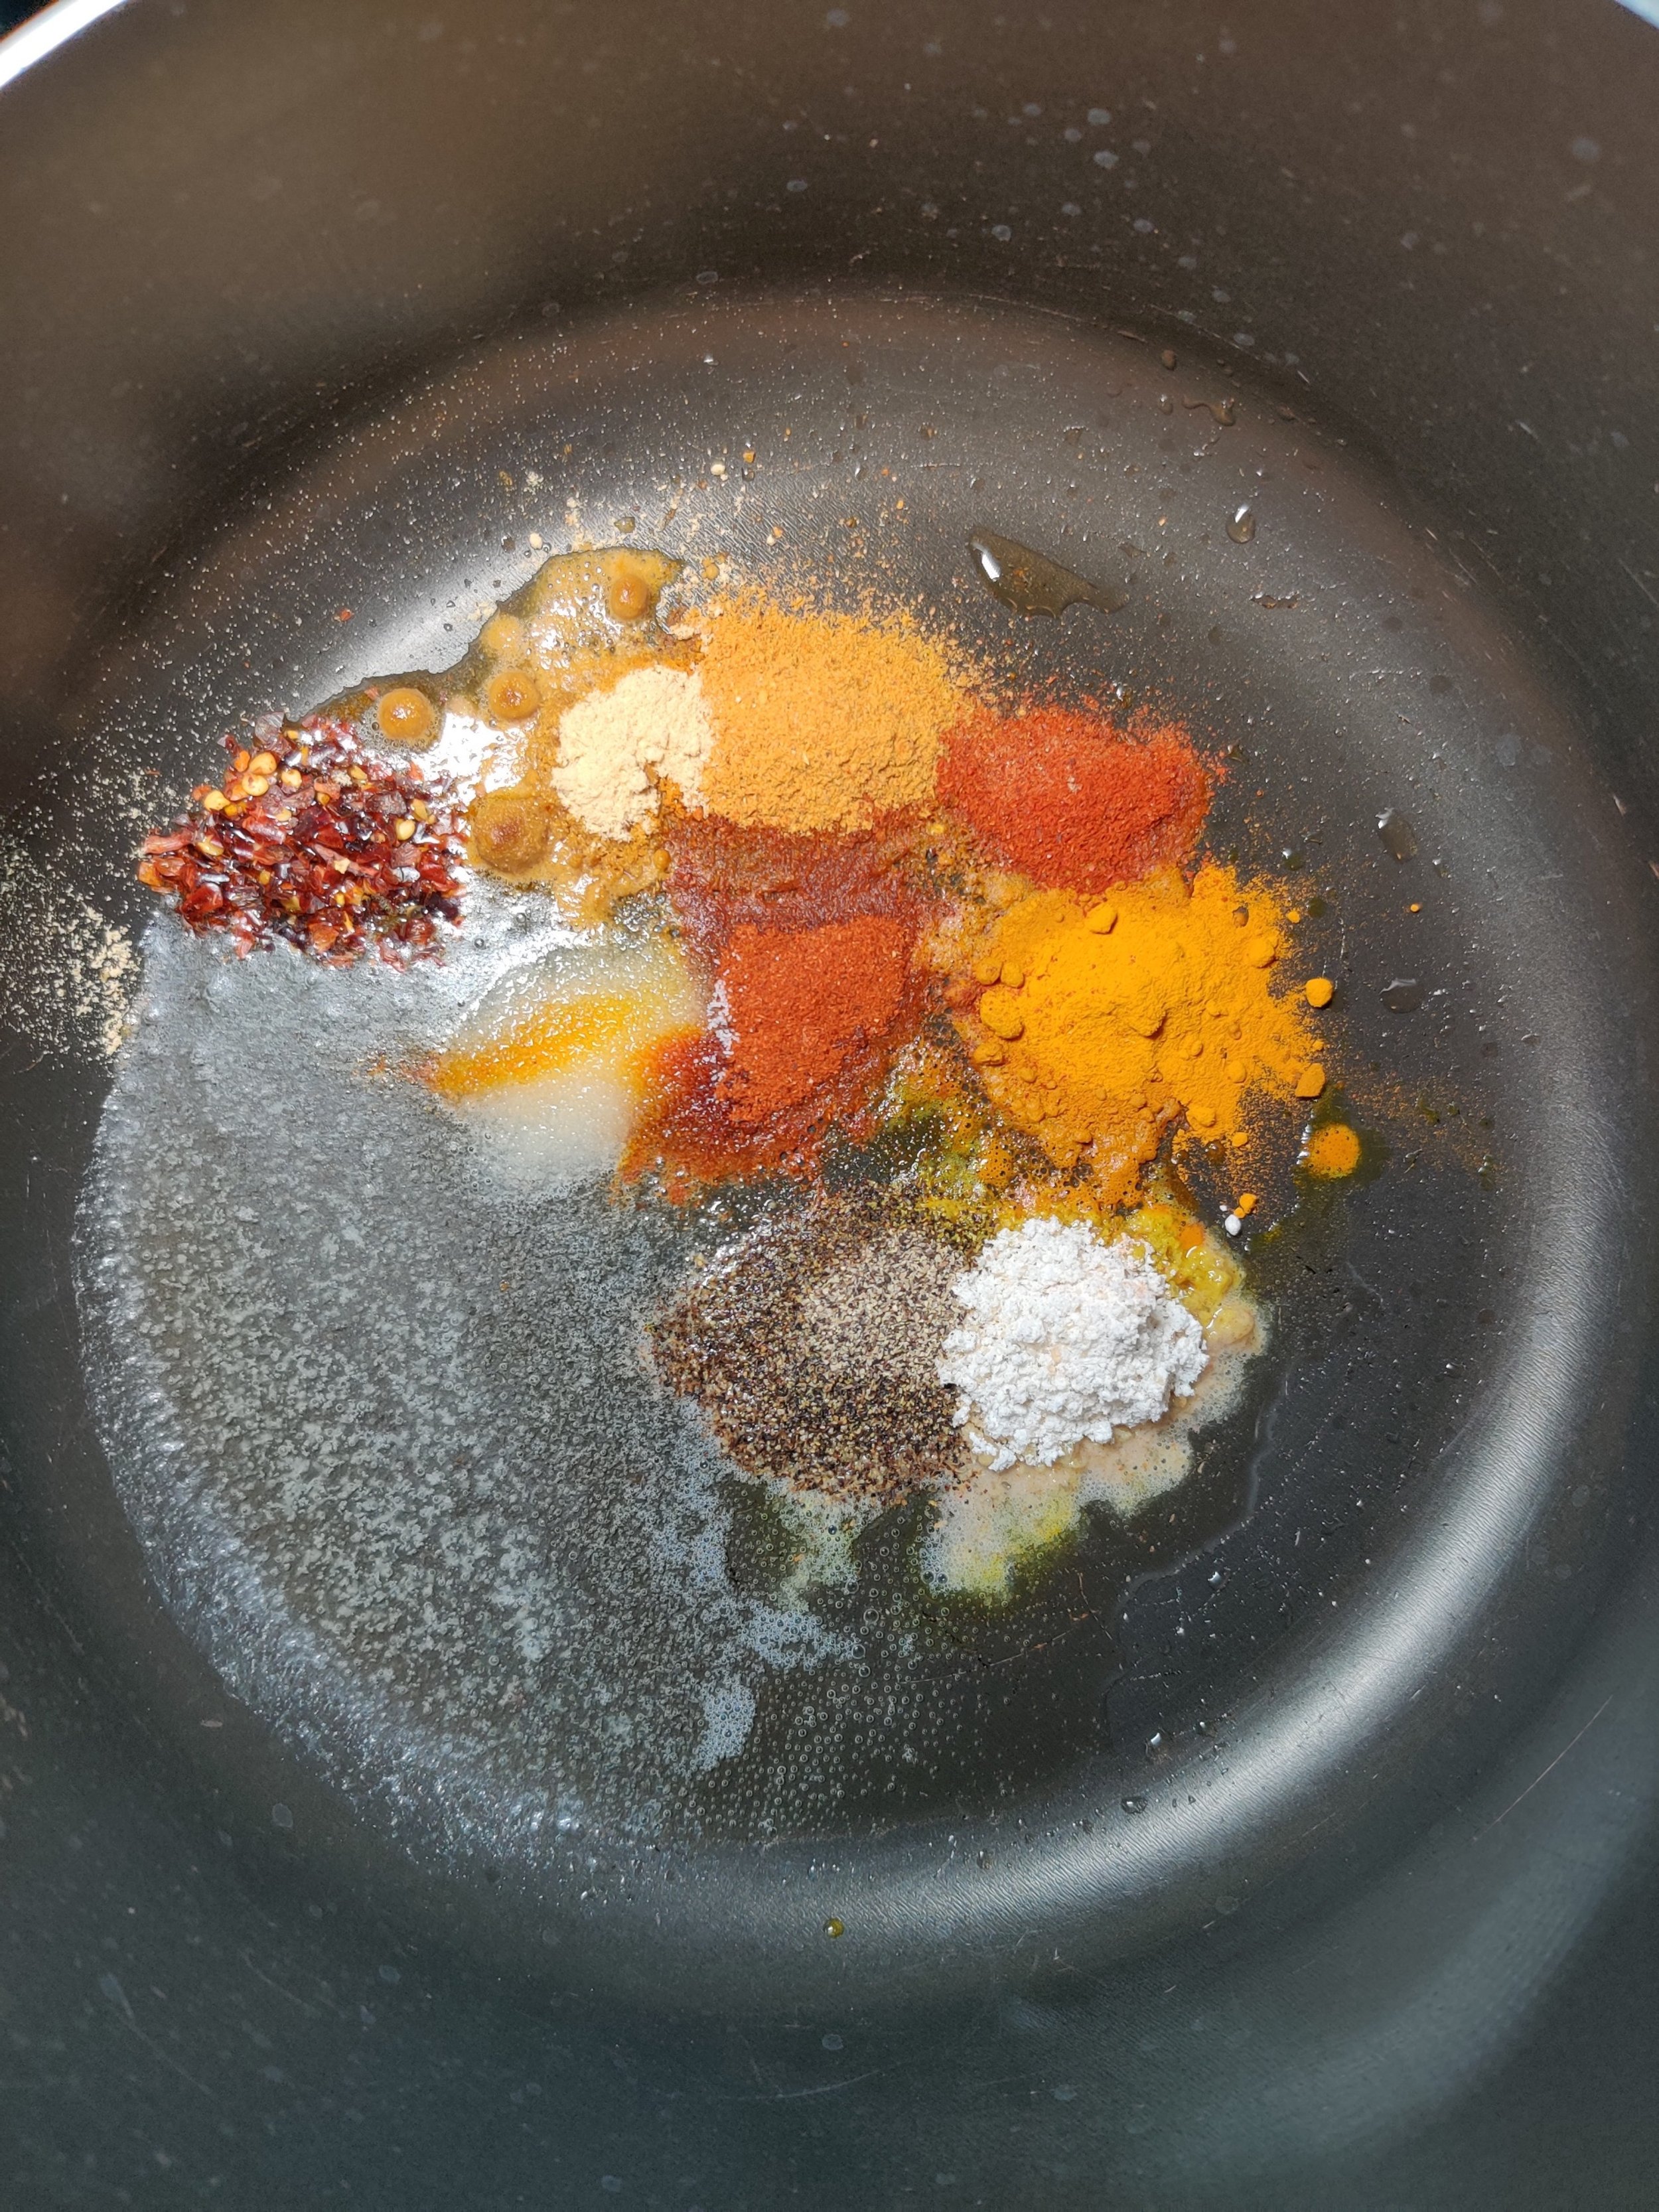
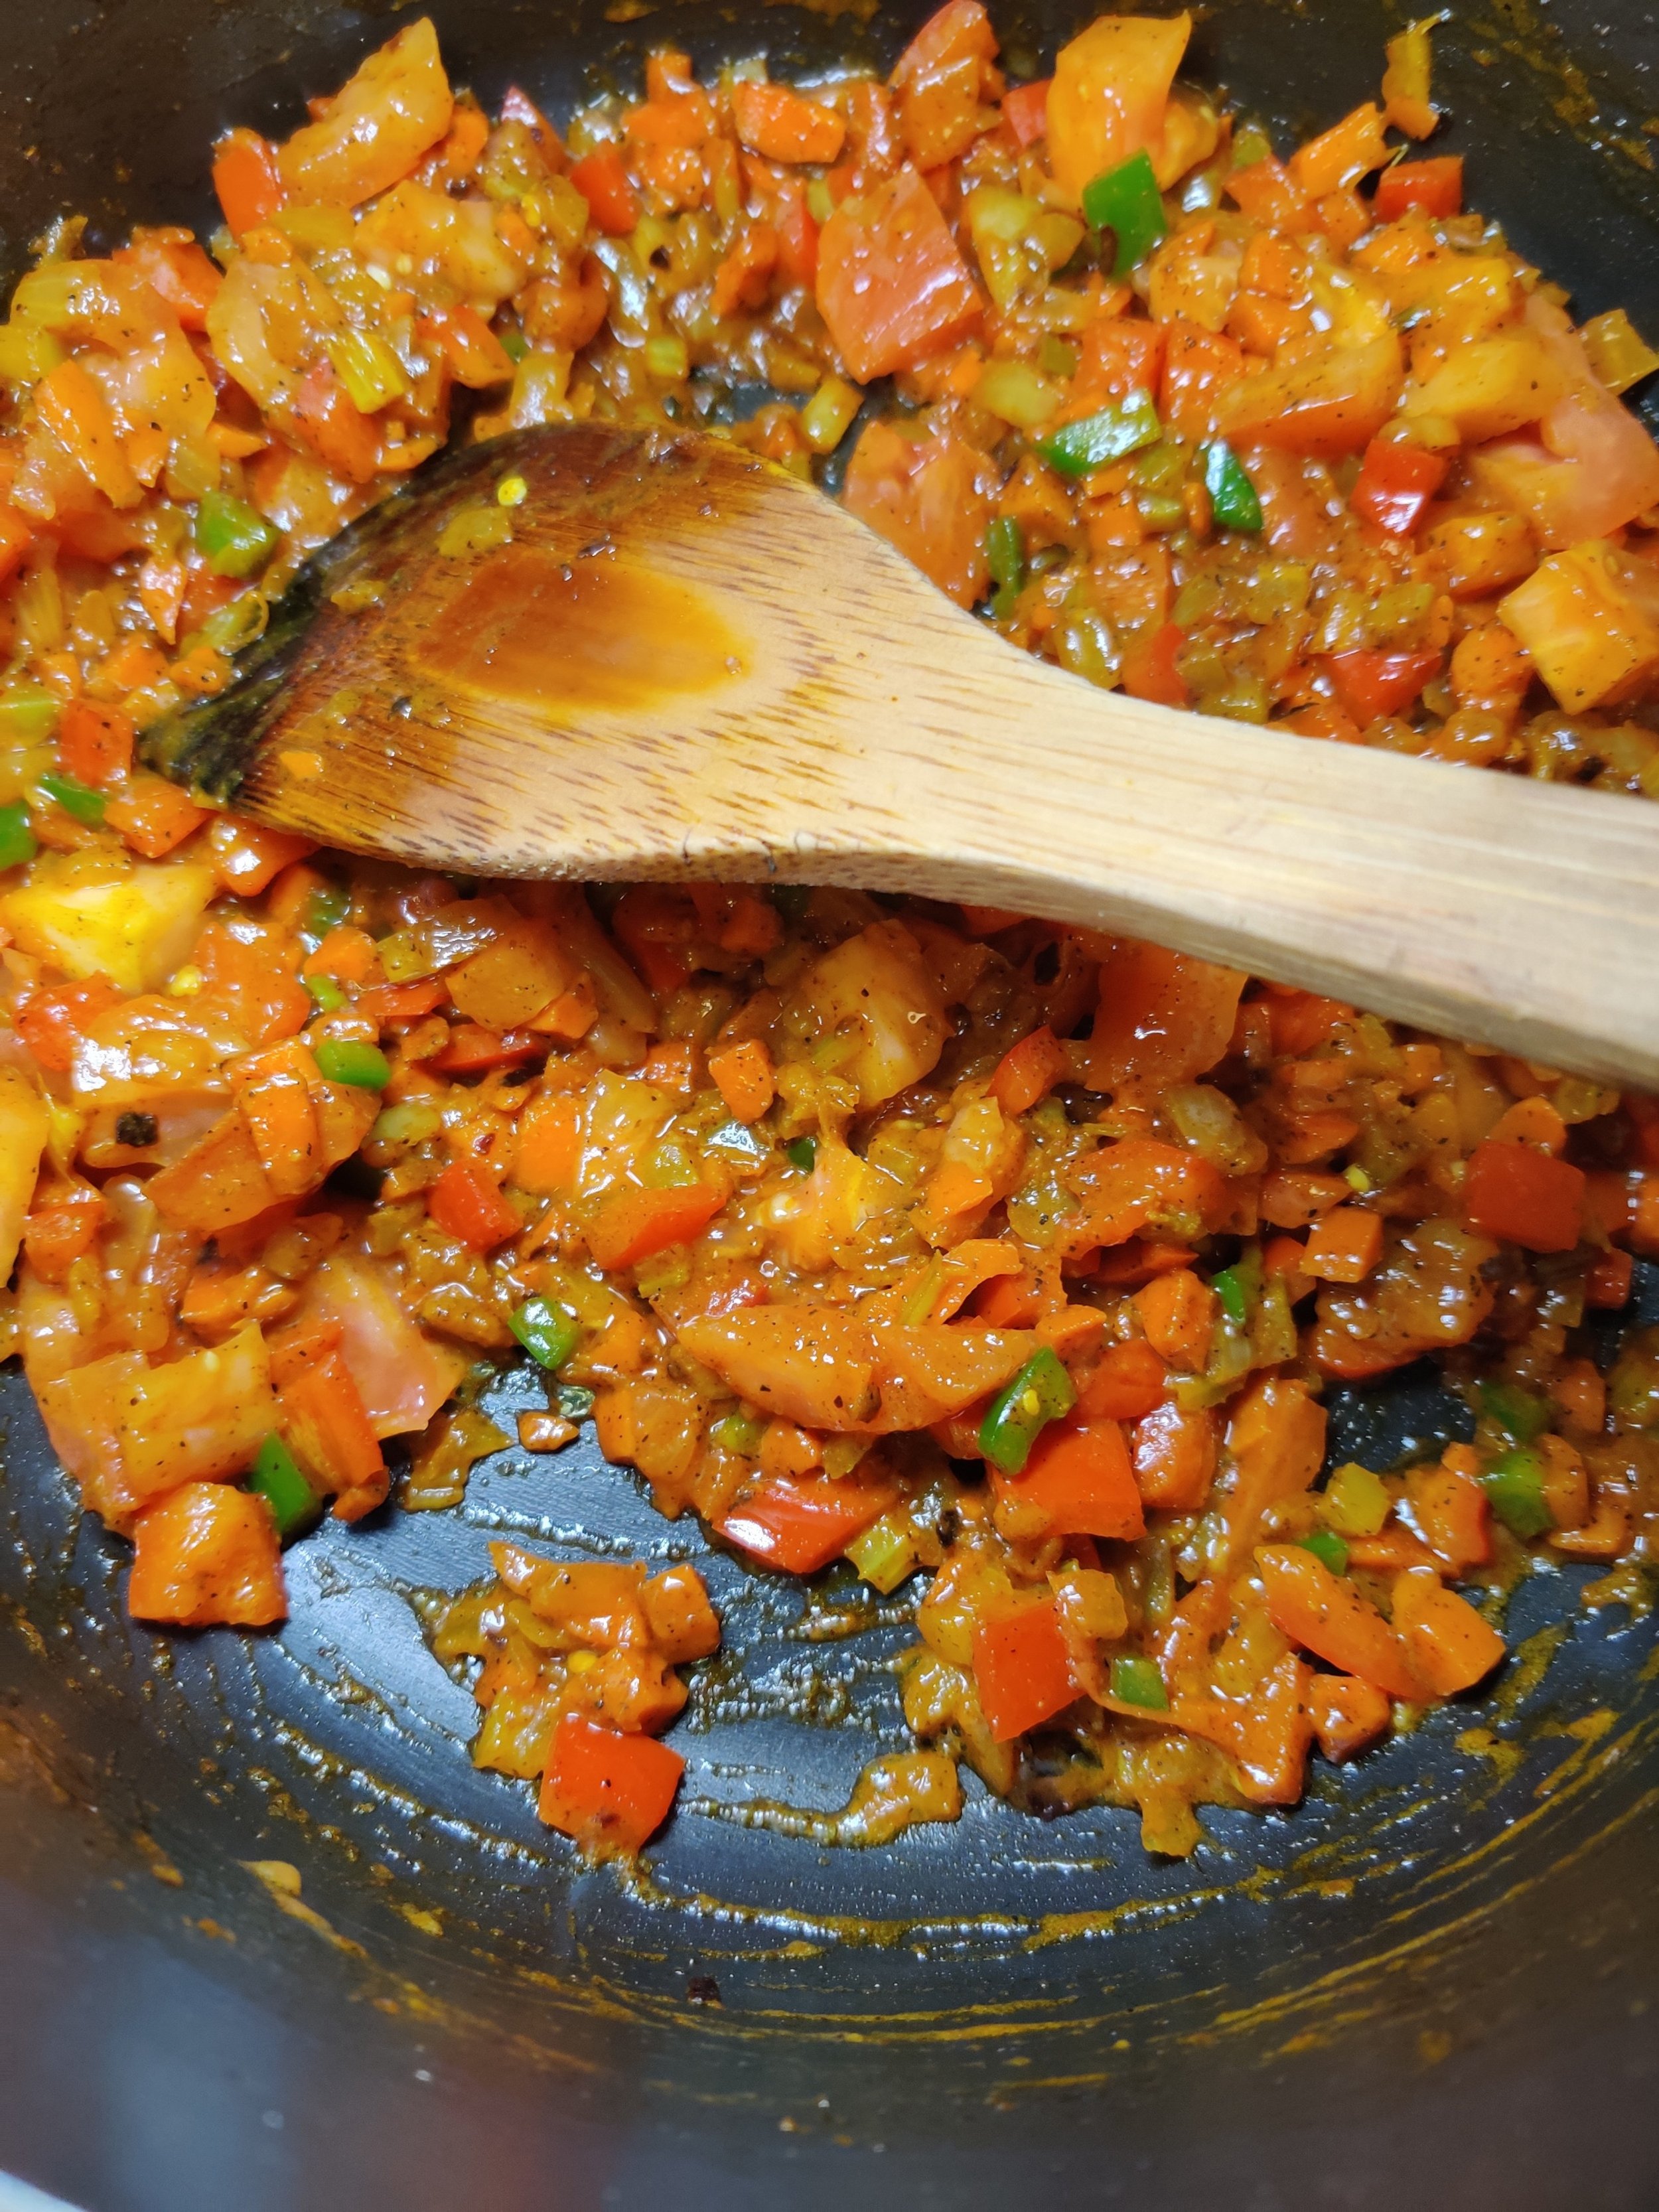
Heat the butter and bacon fat in a large pot, and bloom the spices (cook for about 1-2 minutes on medium-high heat to bring out the flavour).
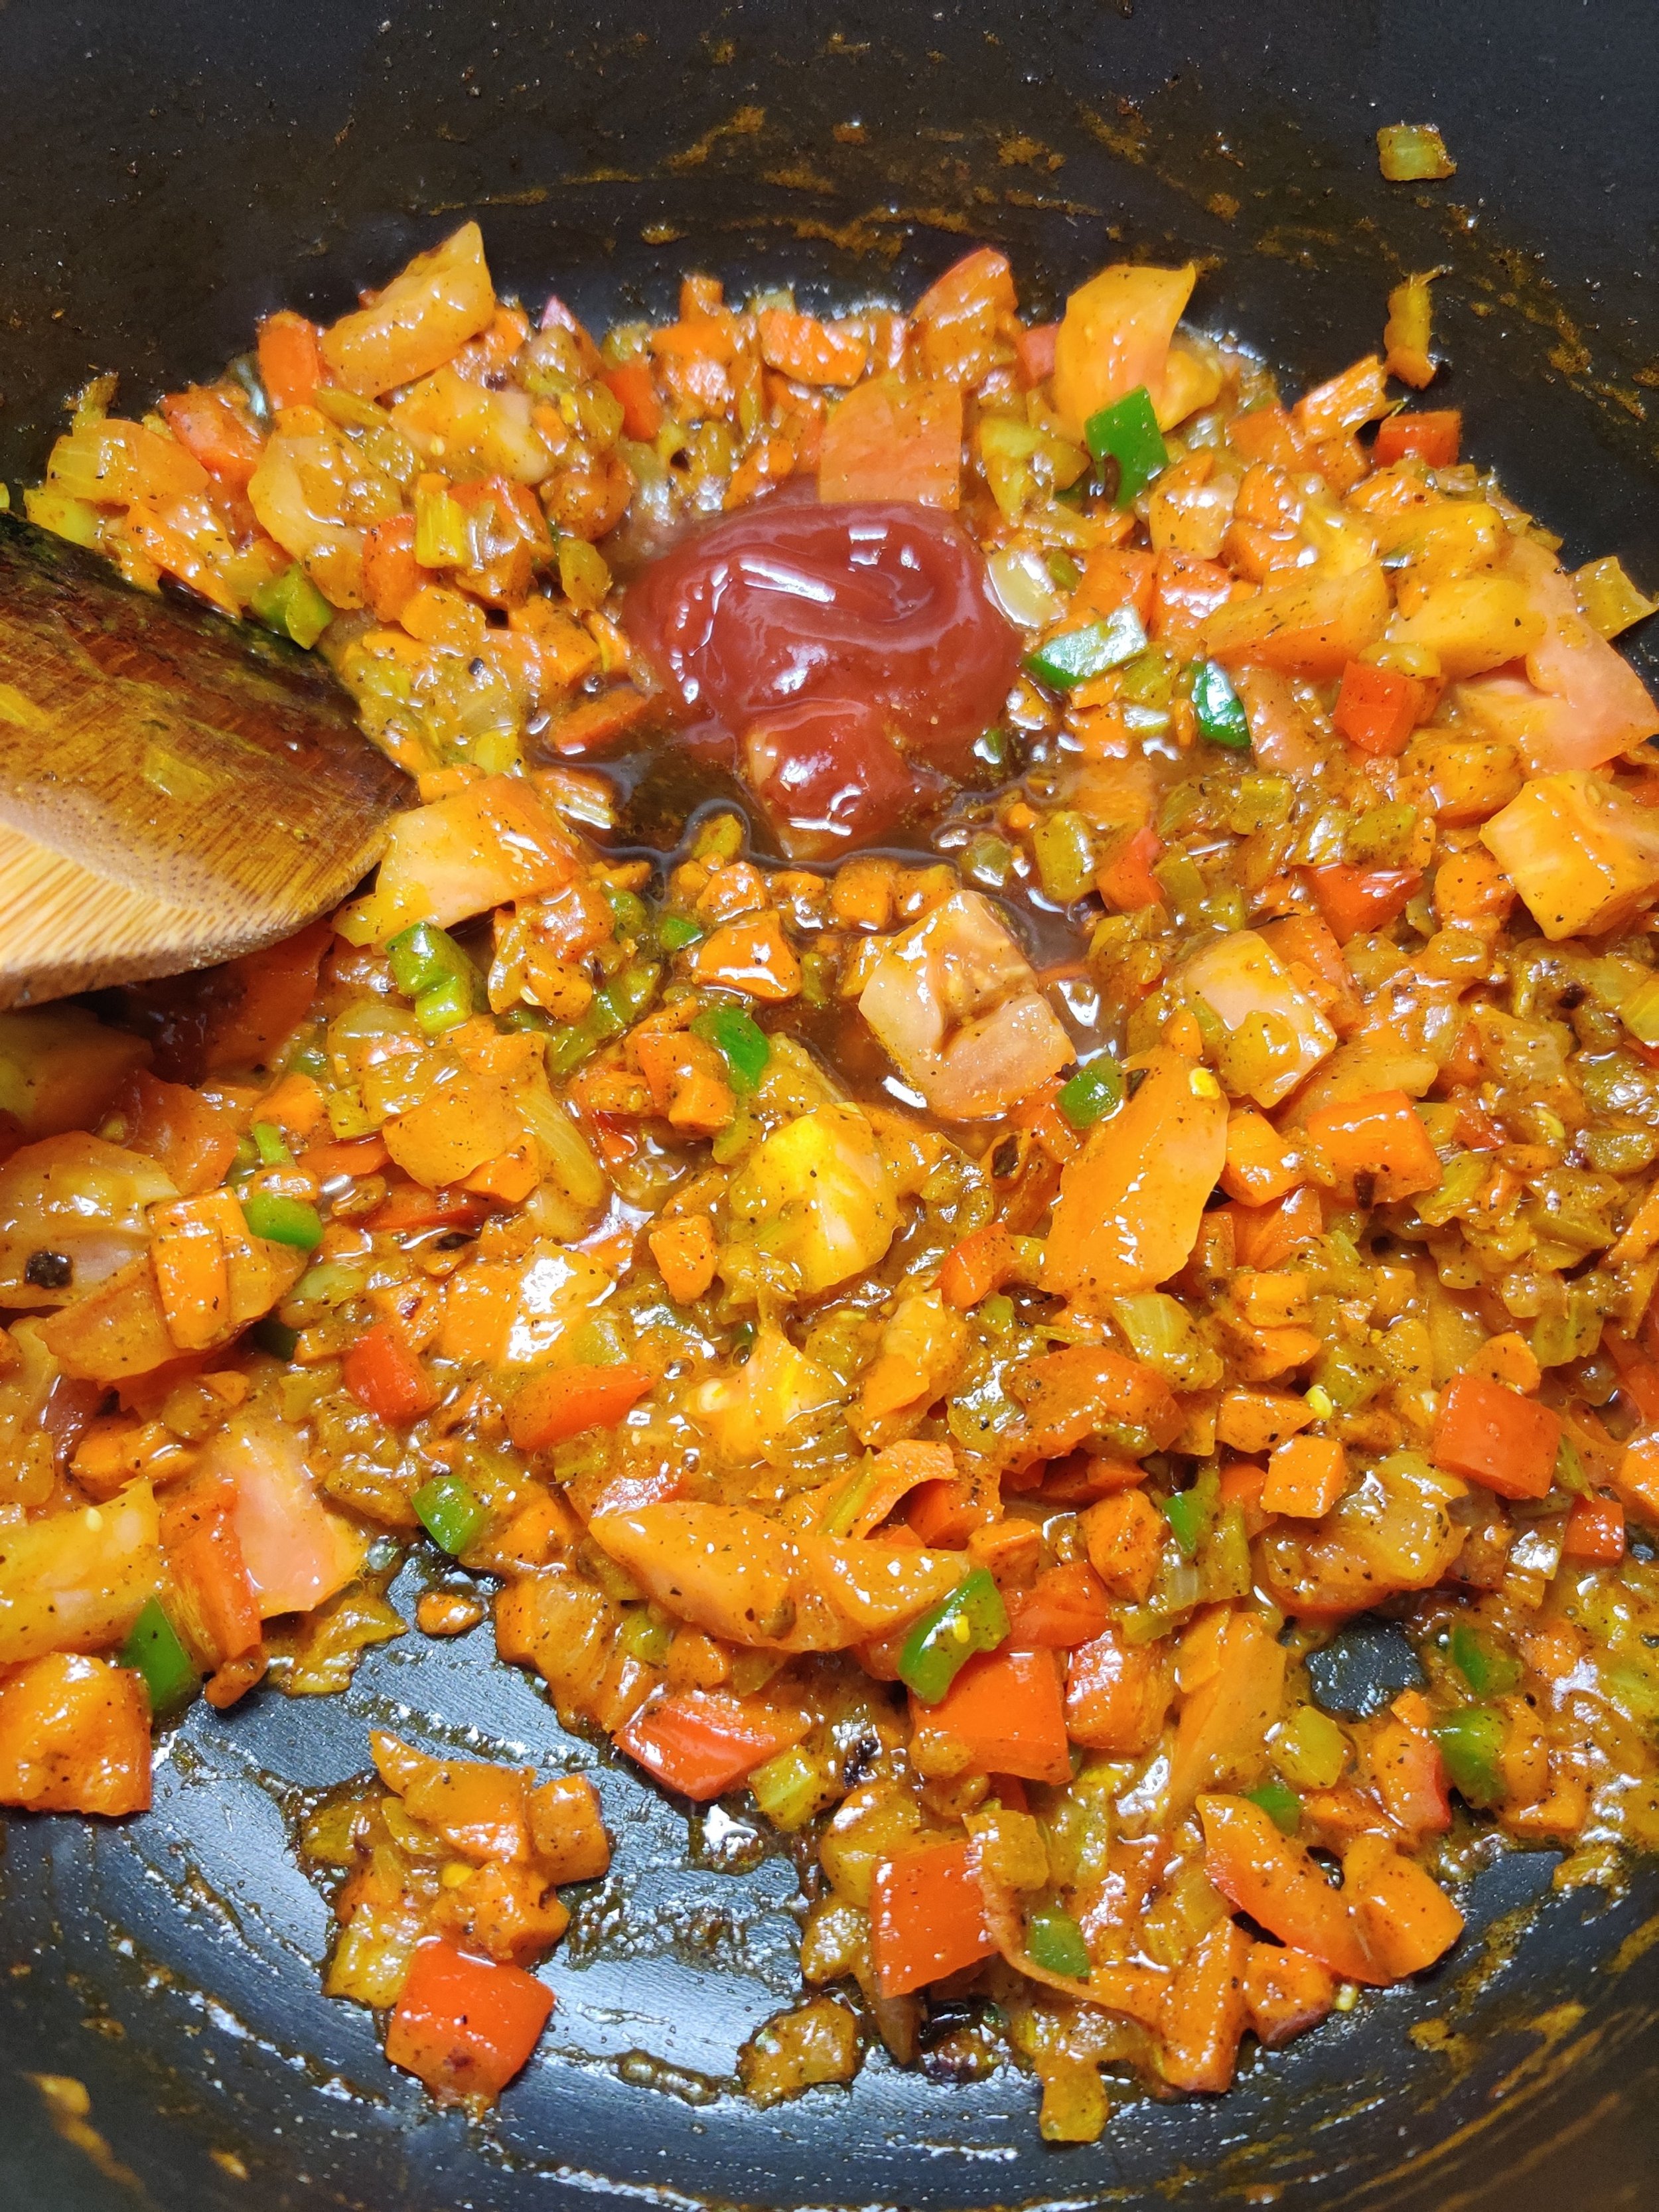
Add the mirepoix and sauté for 3-4 minutes until fragrant, then add the Worchester sauce and tomato sauce, cook for another 1-2 minutes.
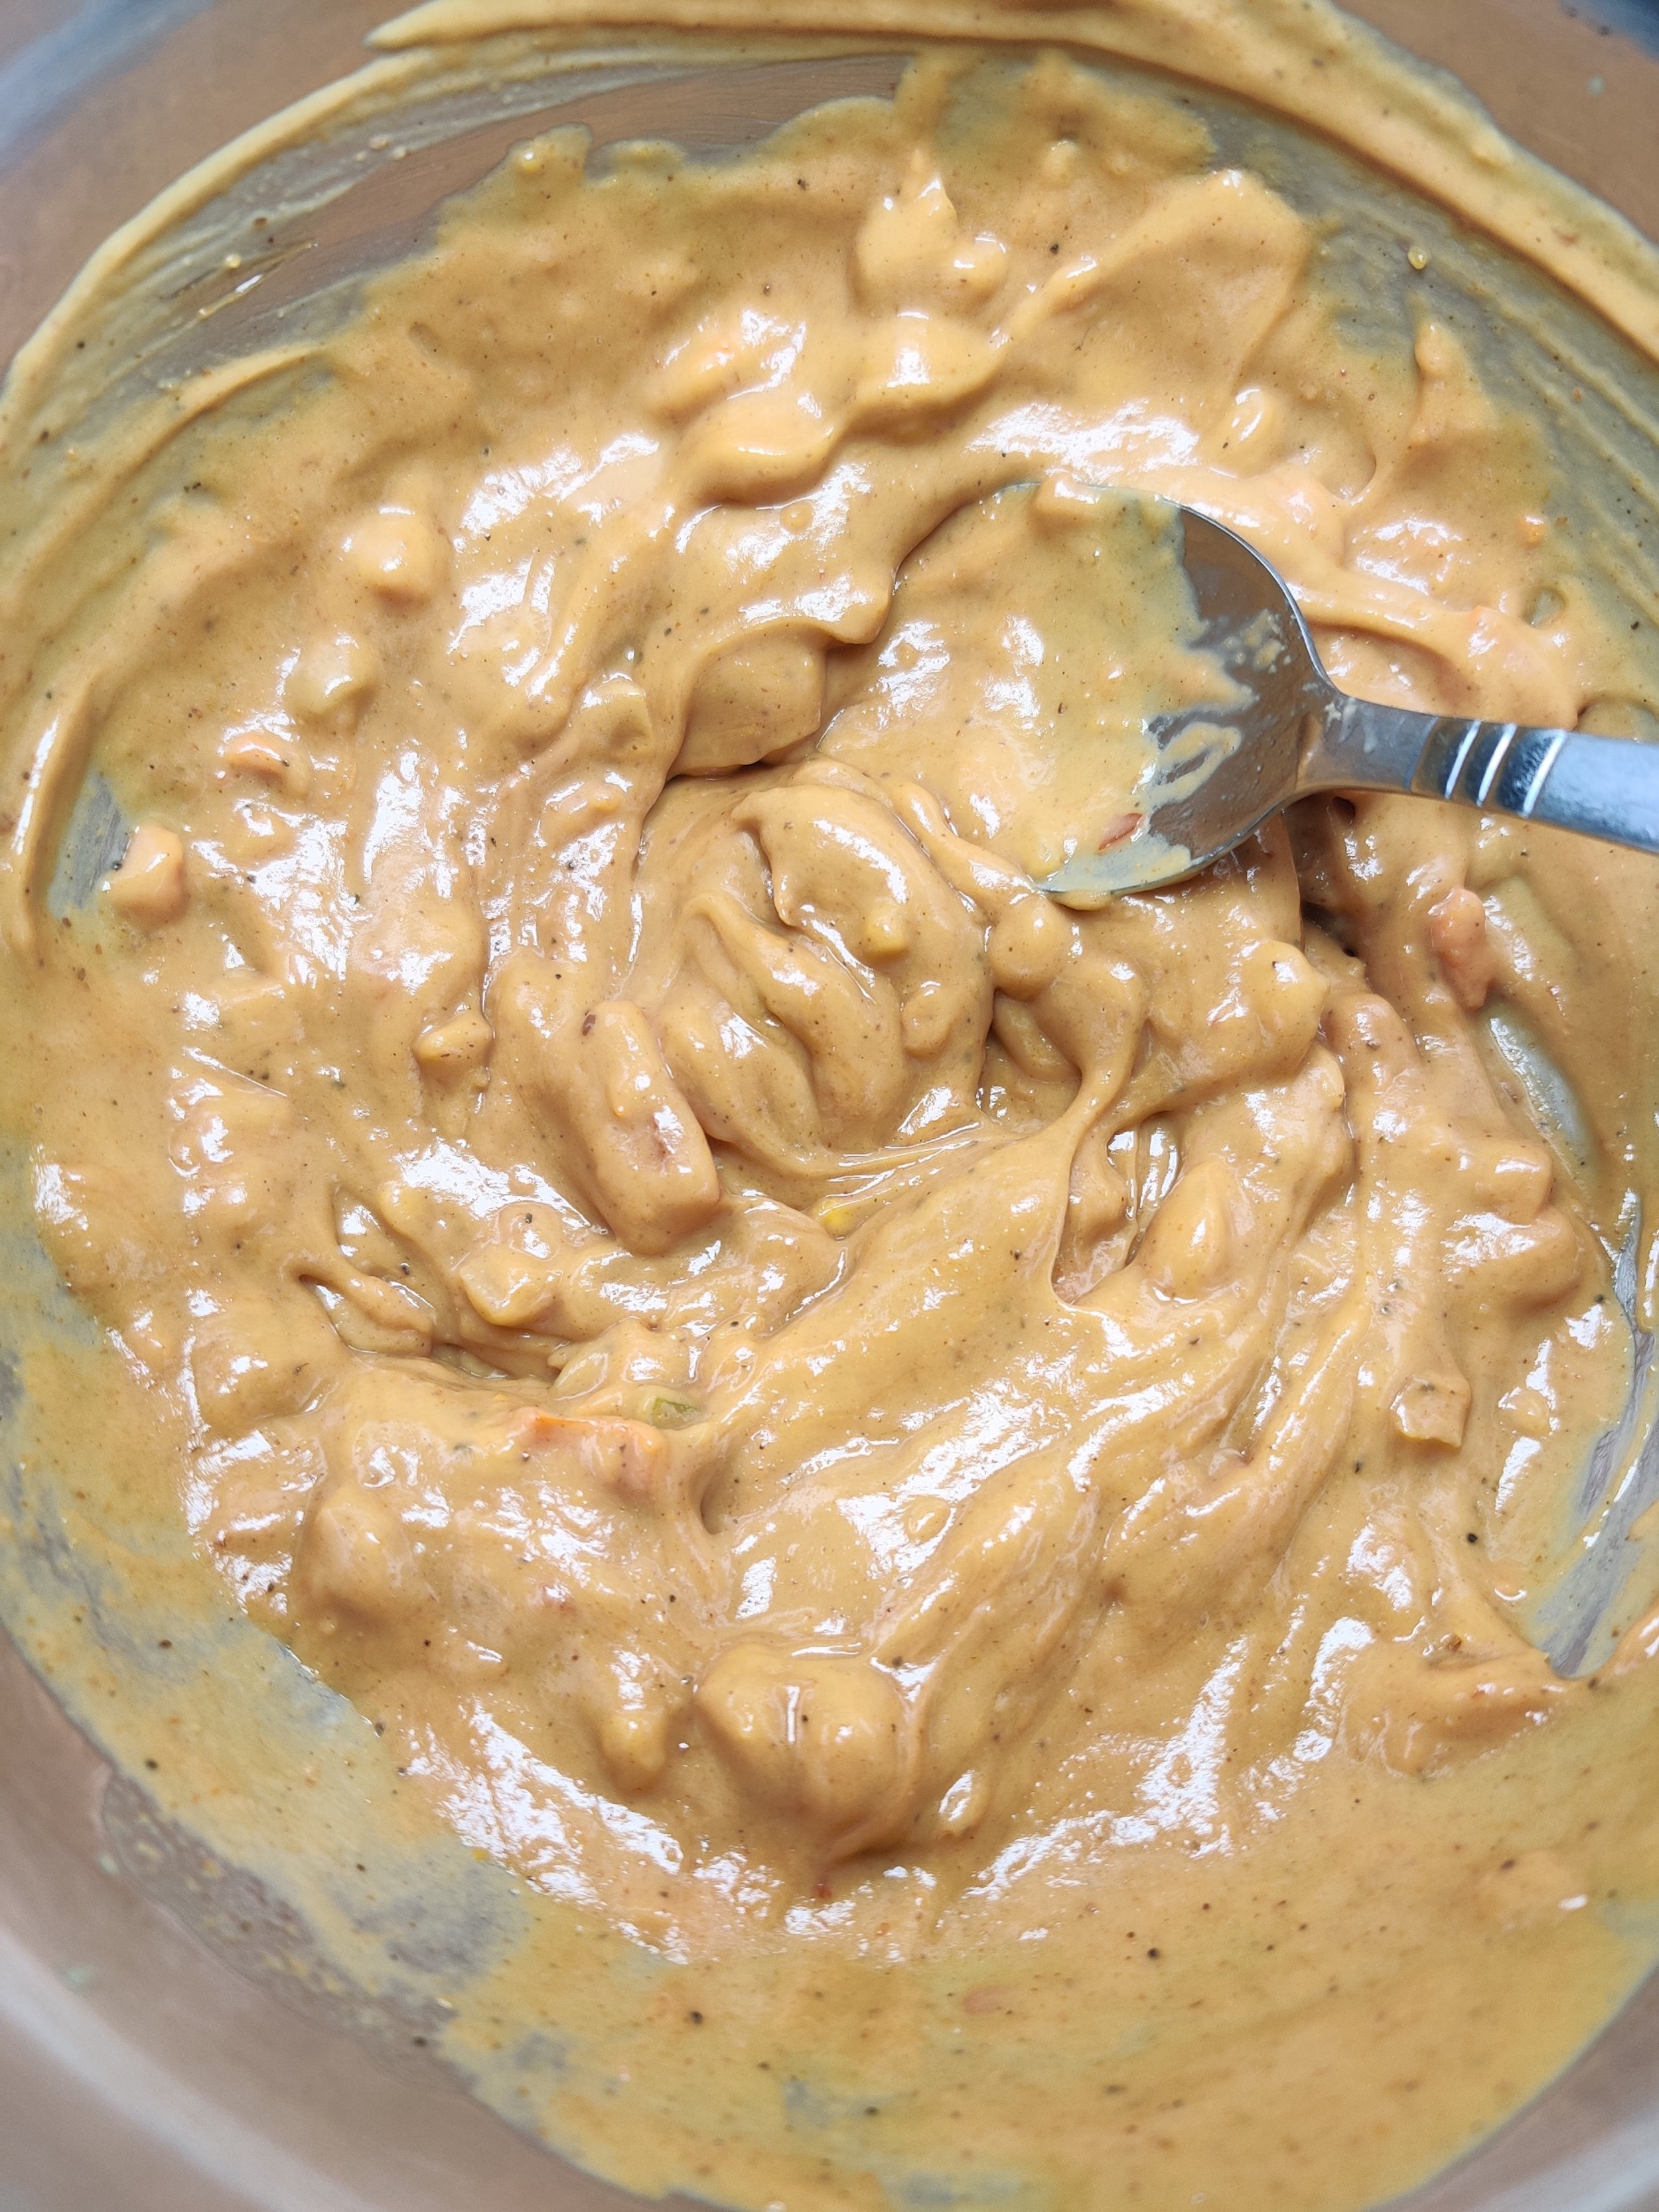
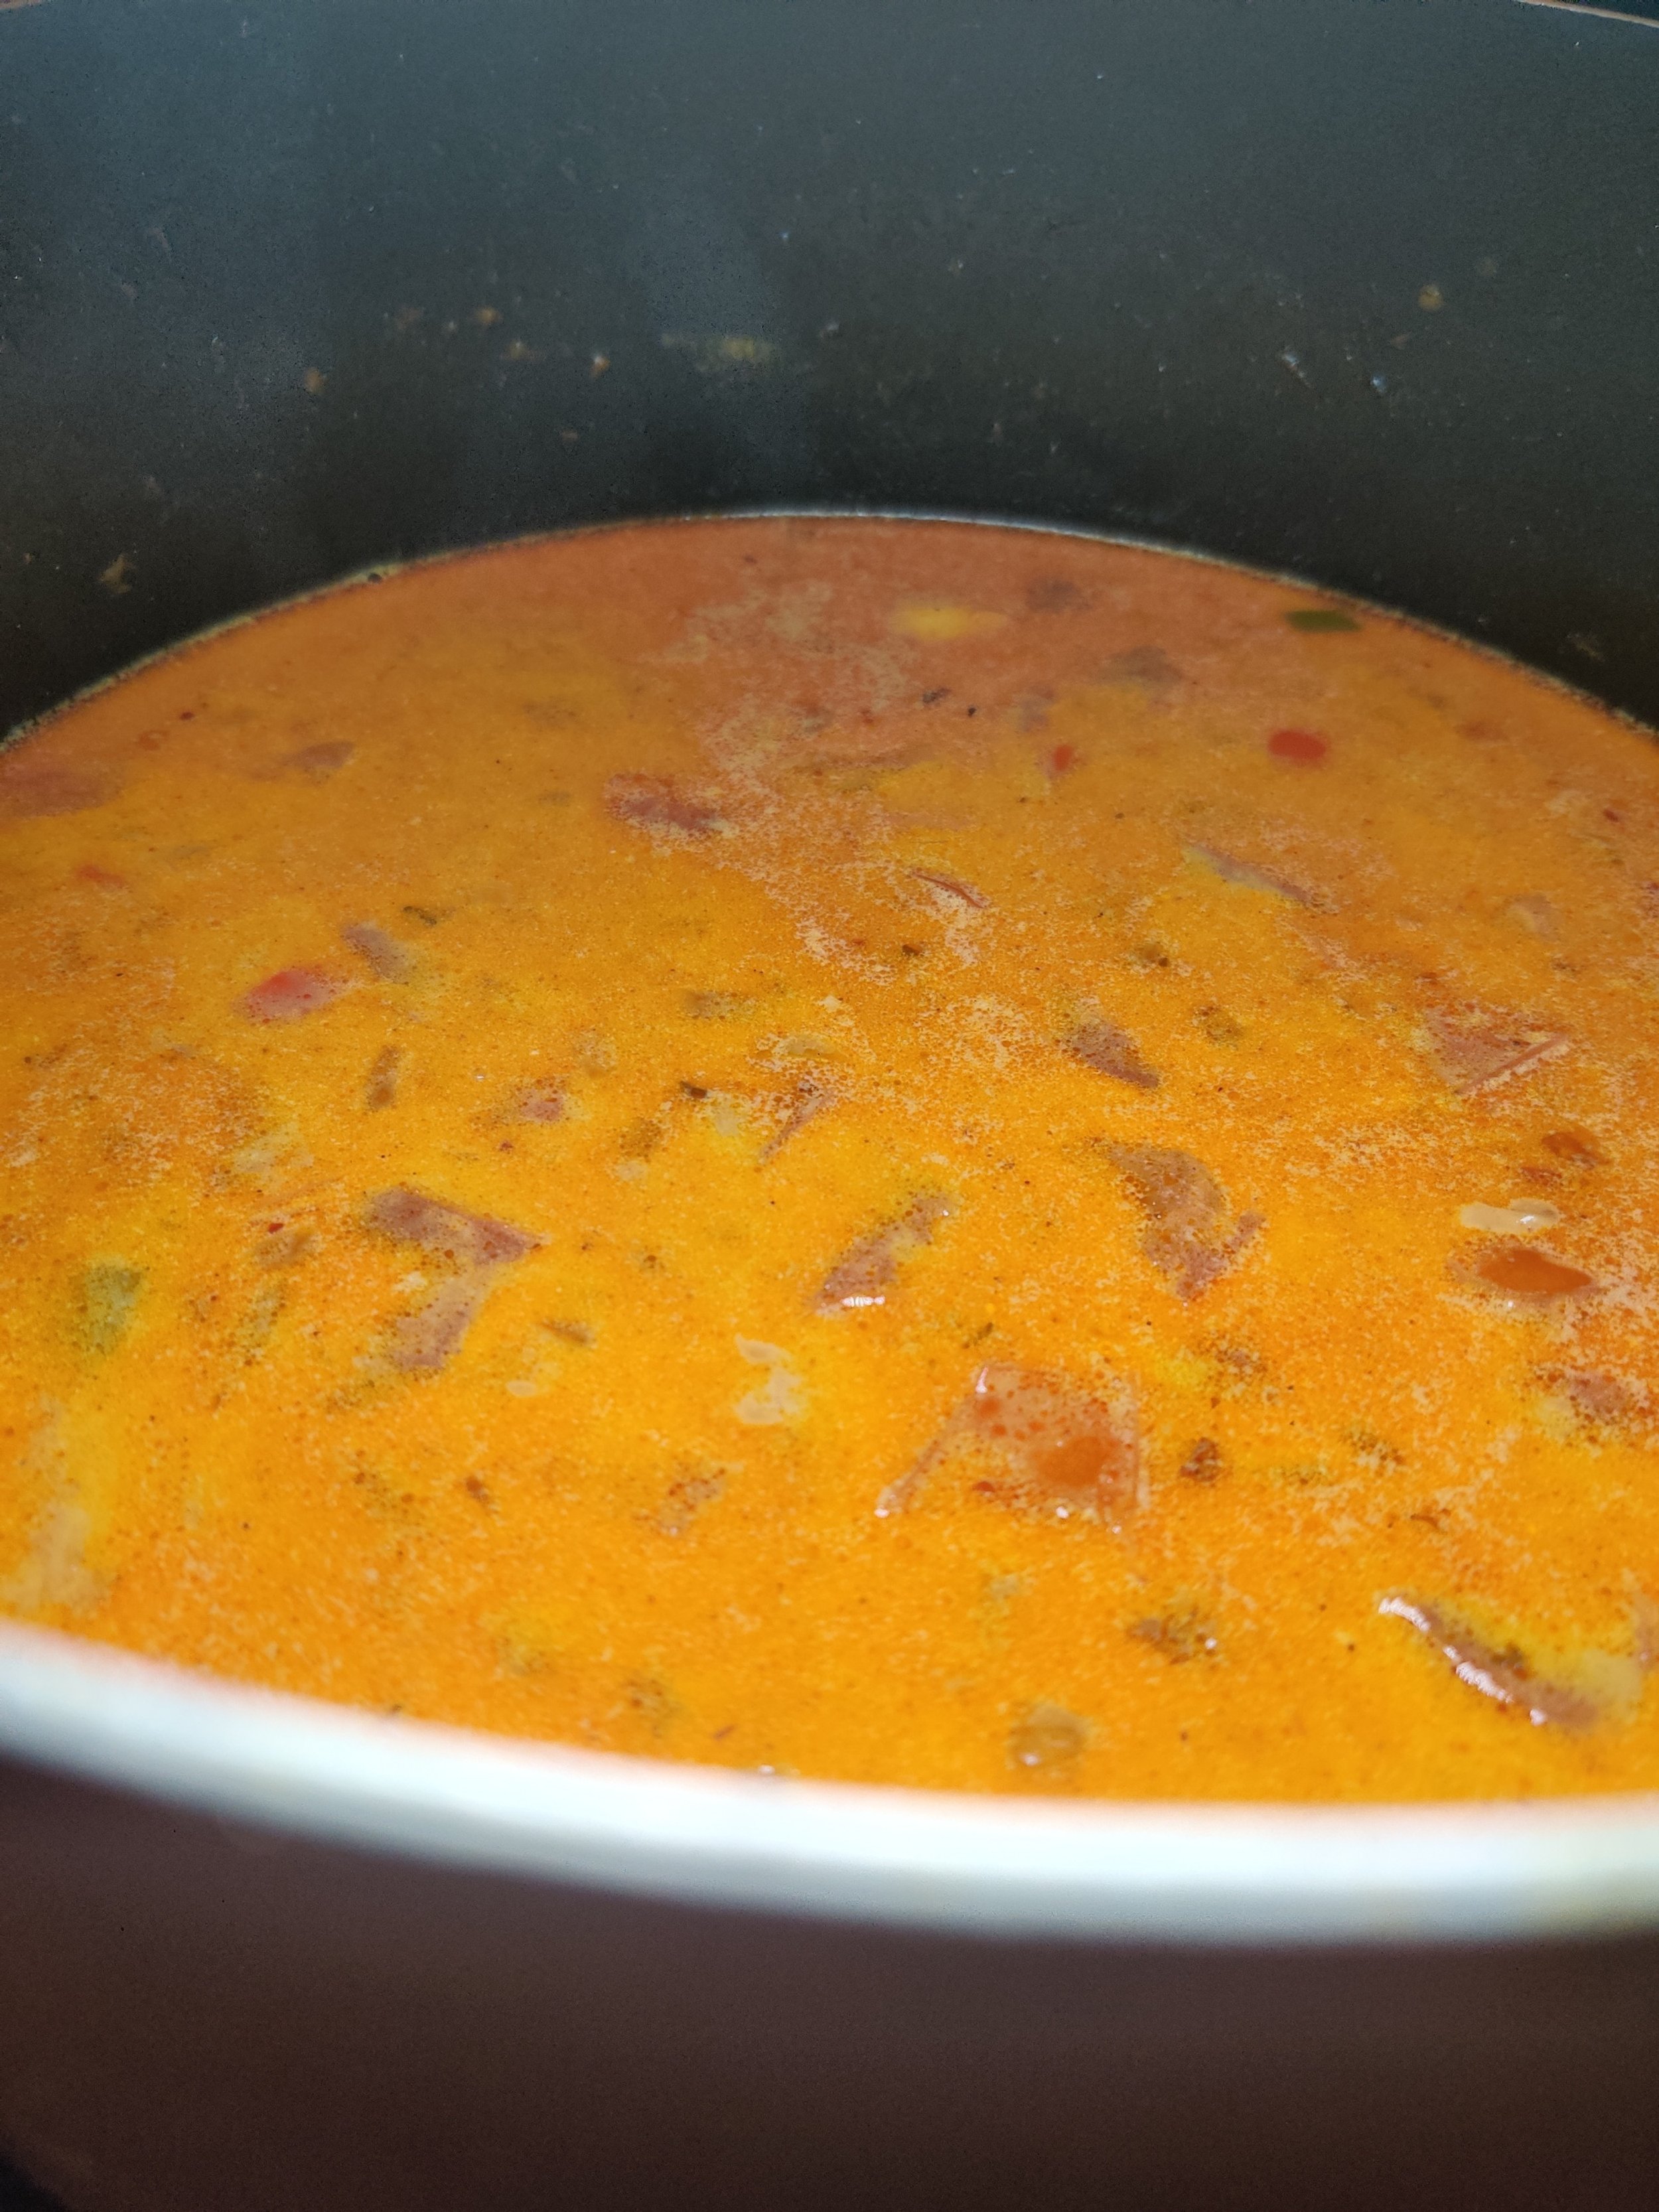
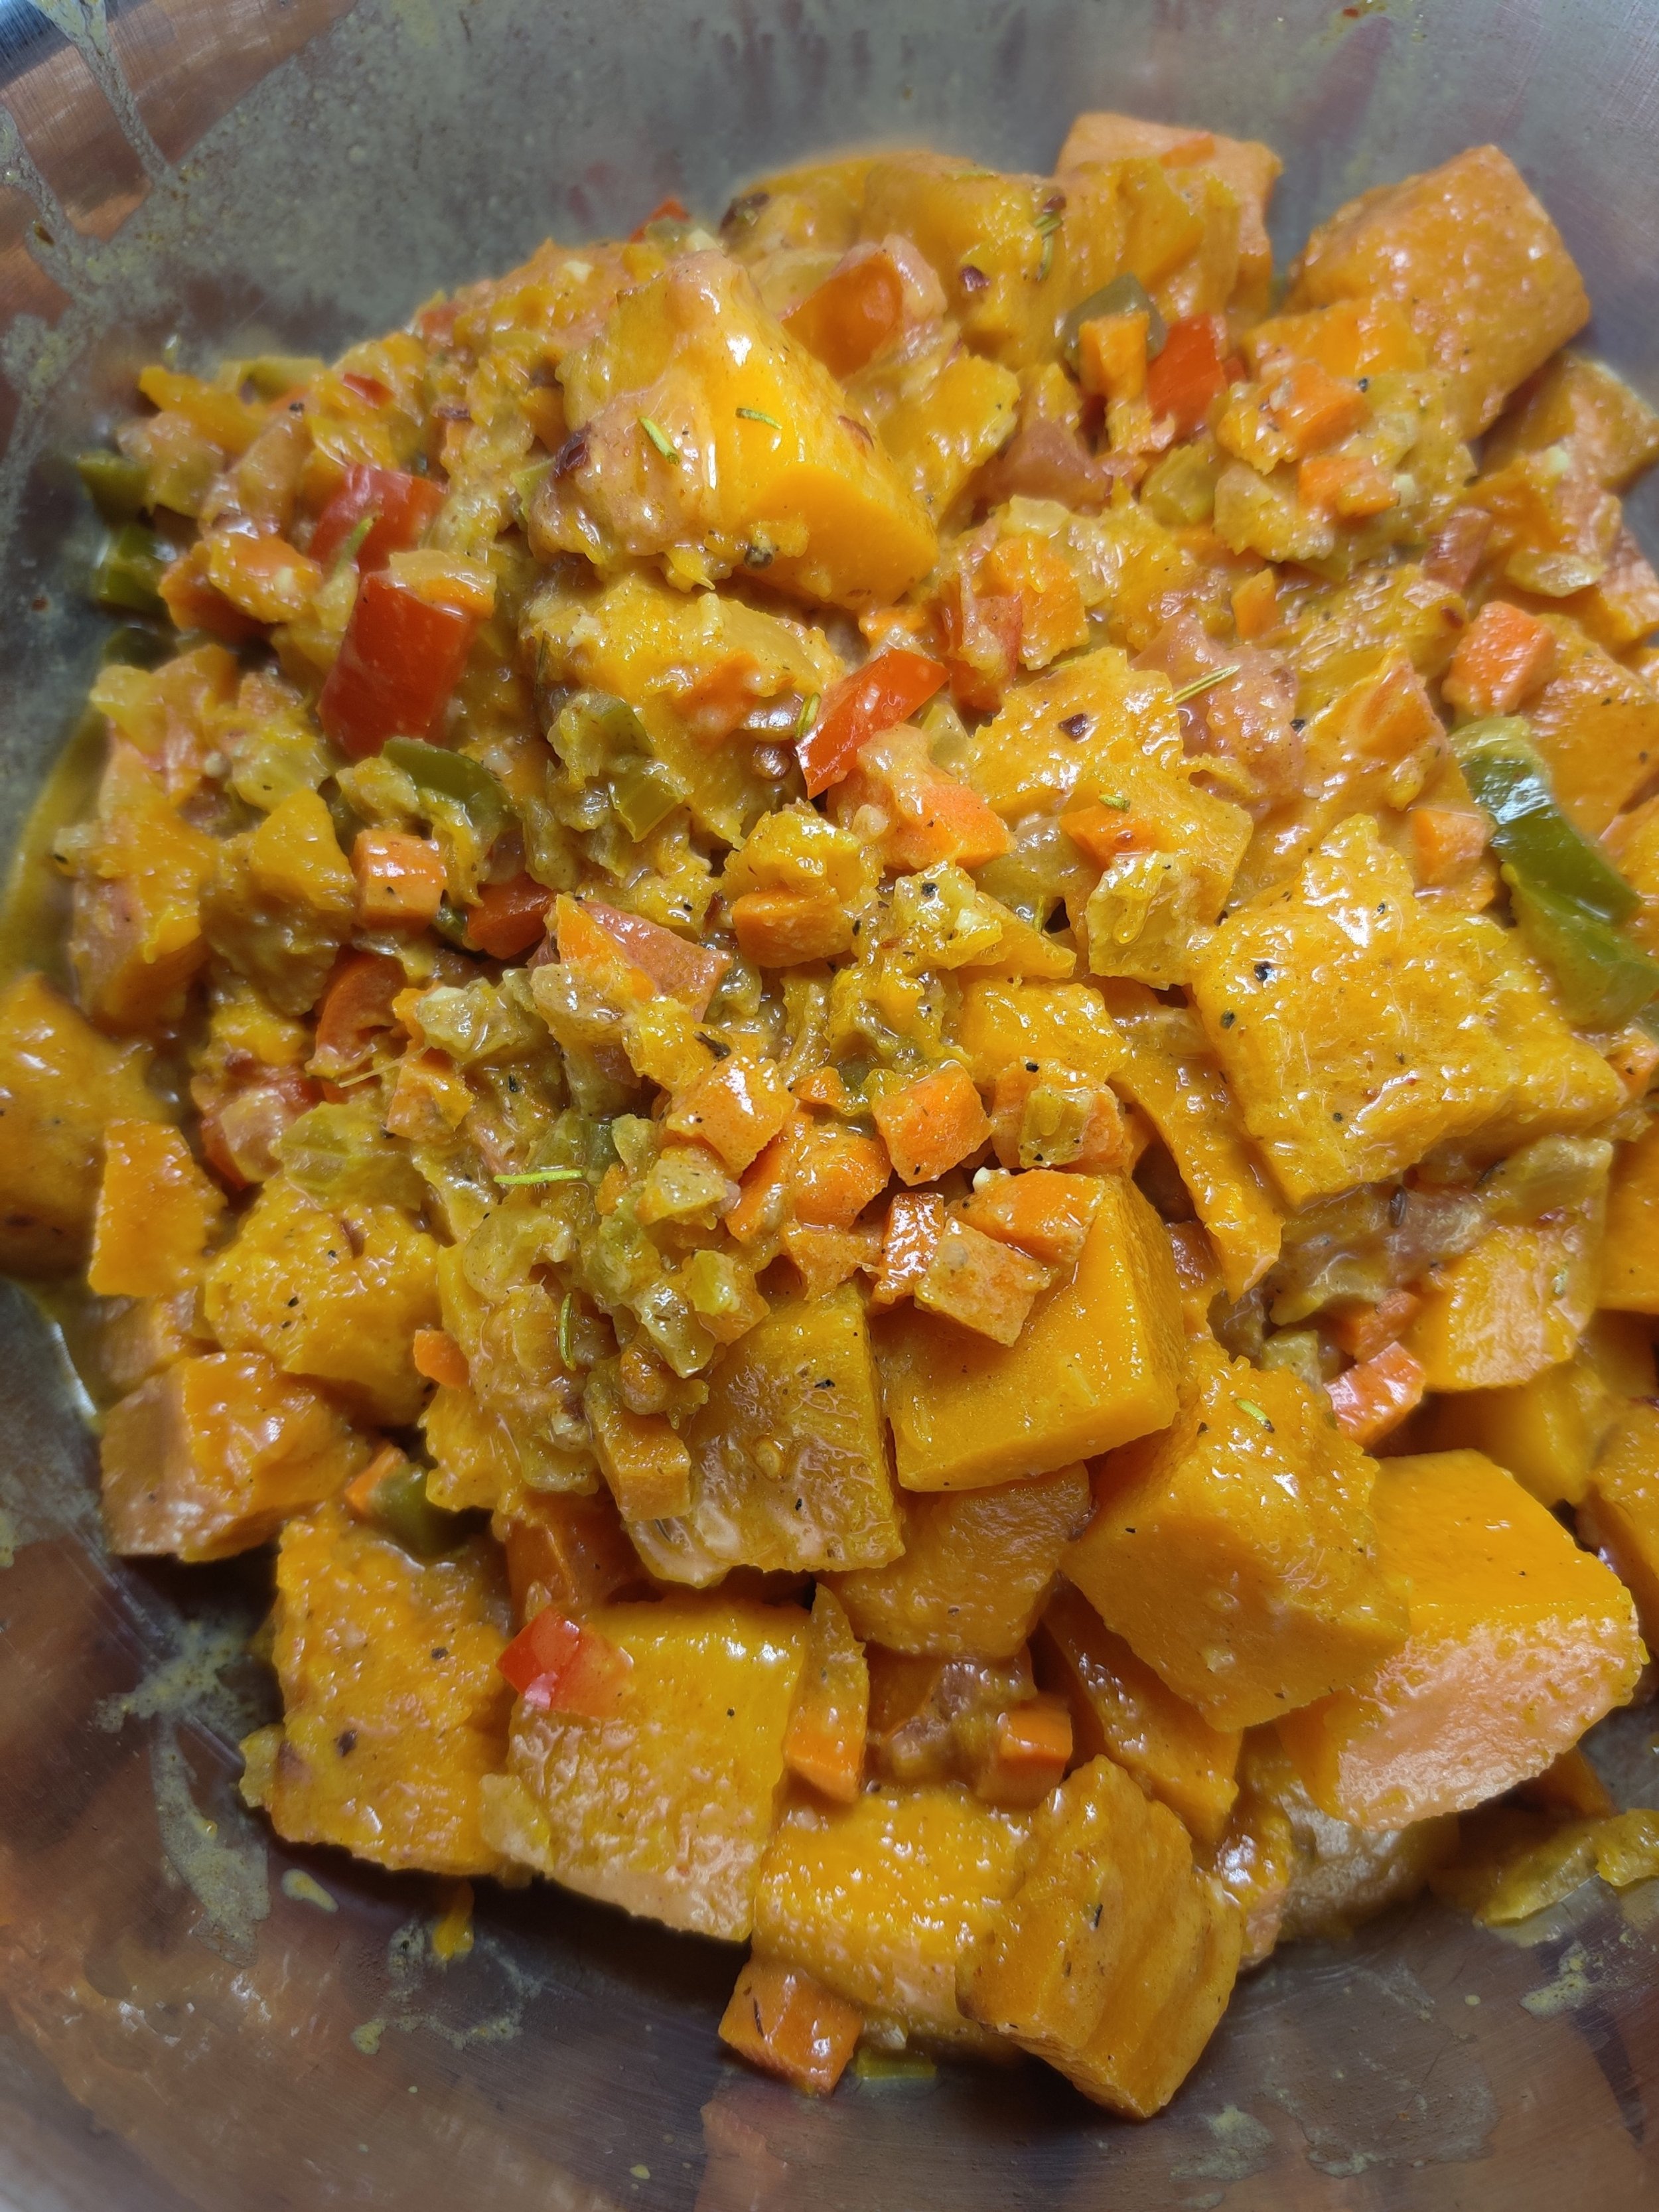
Add the broth and 1/2 of the heavy cream, stir and simmer on low heat for 10 minutes. Mix until peanut butter is fully incorporated. Stir in the butternut and cook for another 5 minutes, then remove from heat. Take out a 1/2 cup and use the hot broth to temper and smoothen the peanut butter before adding it to the pot.
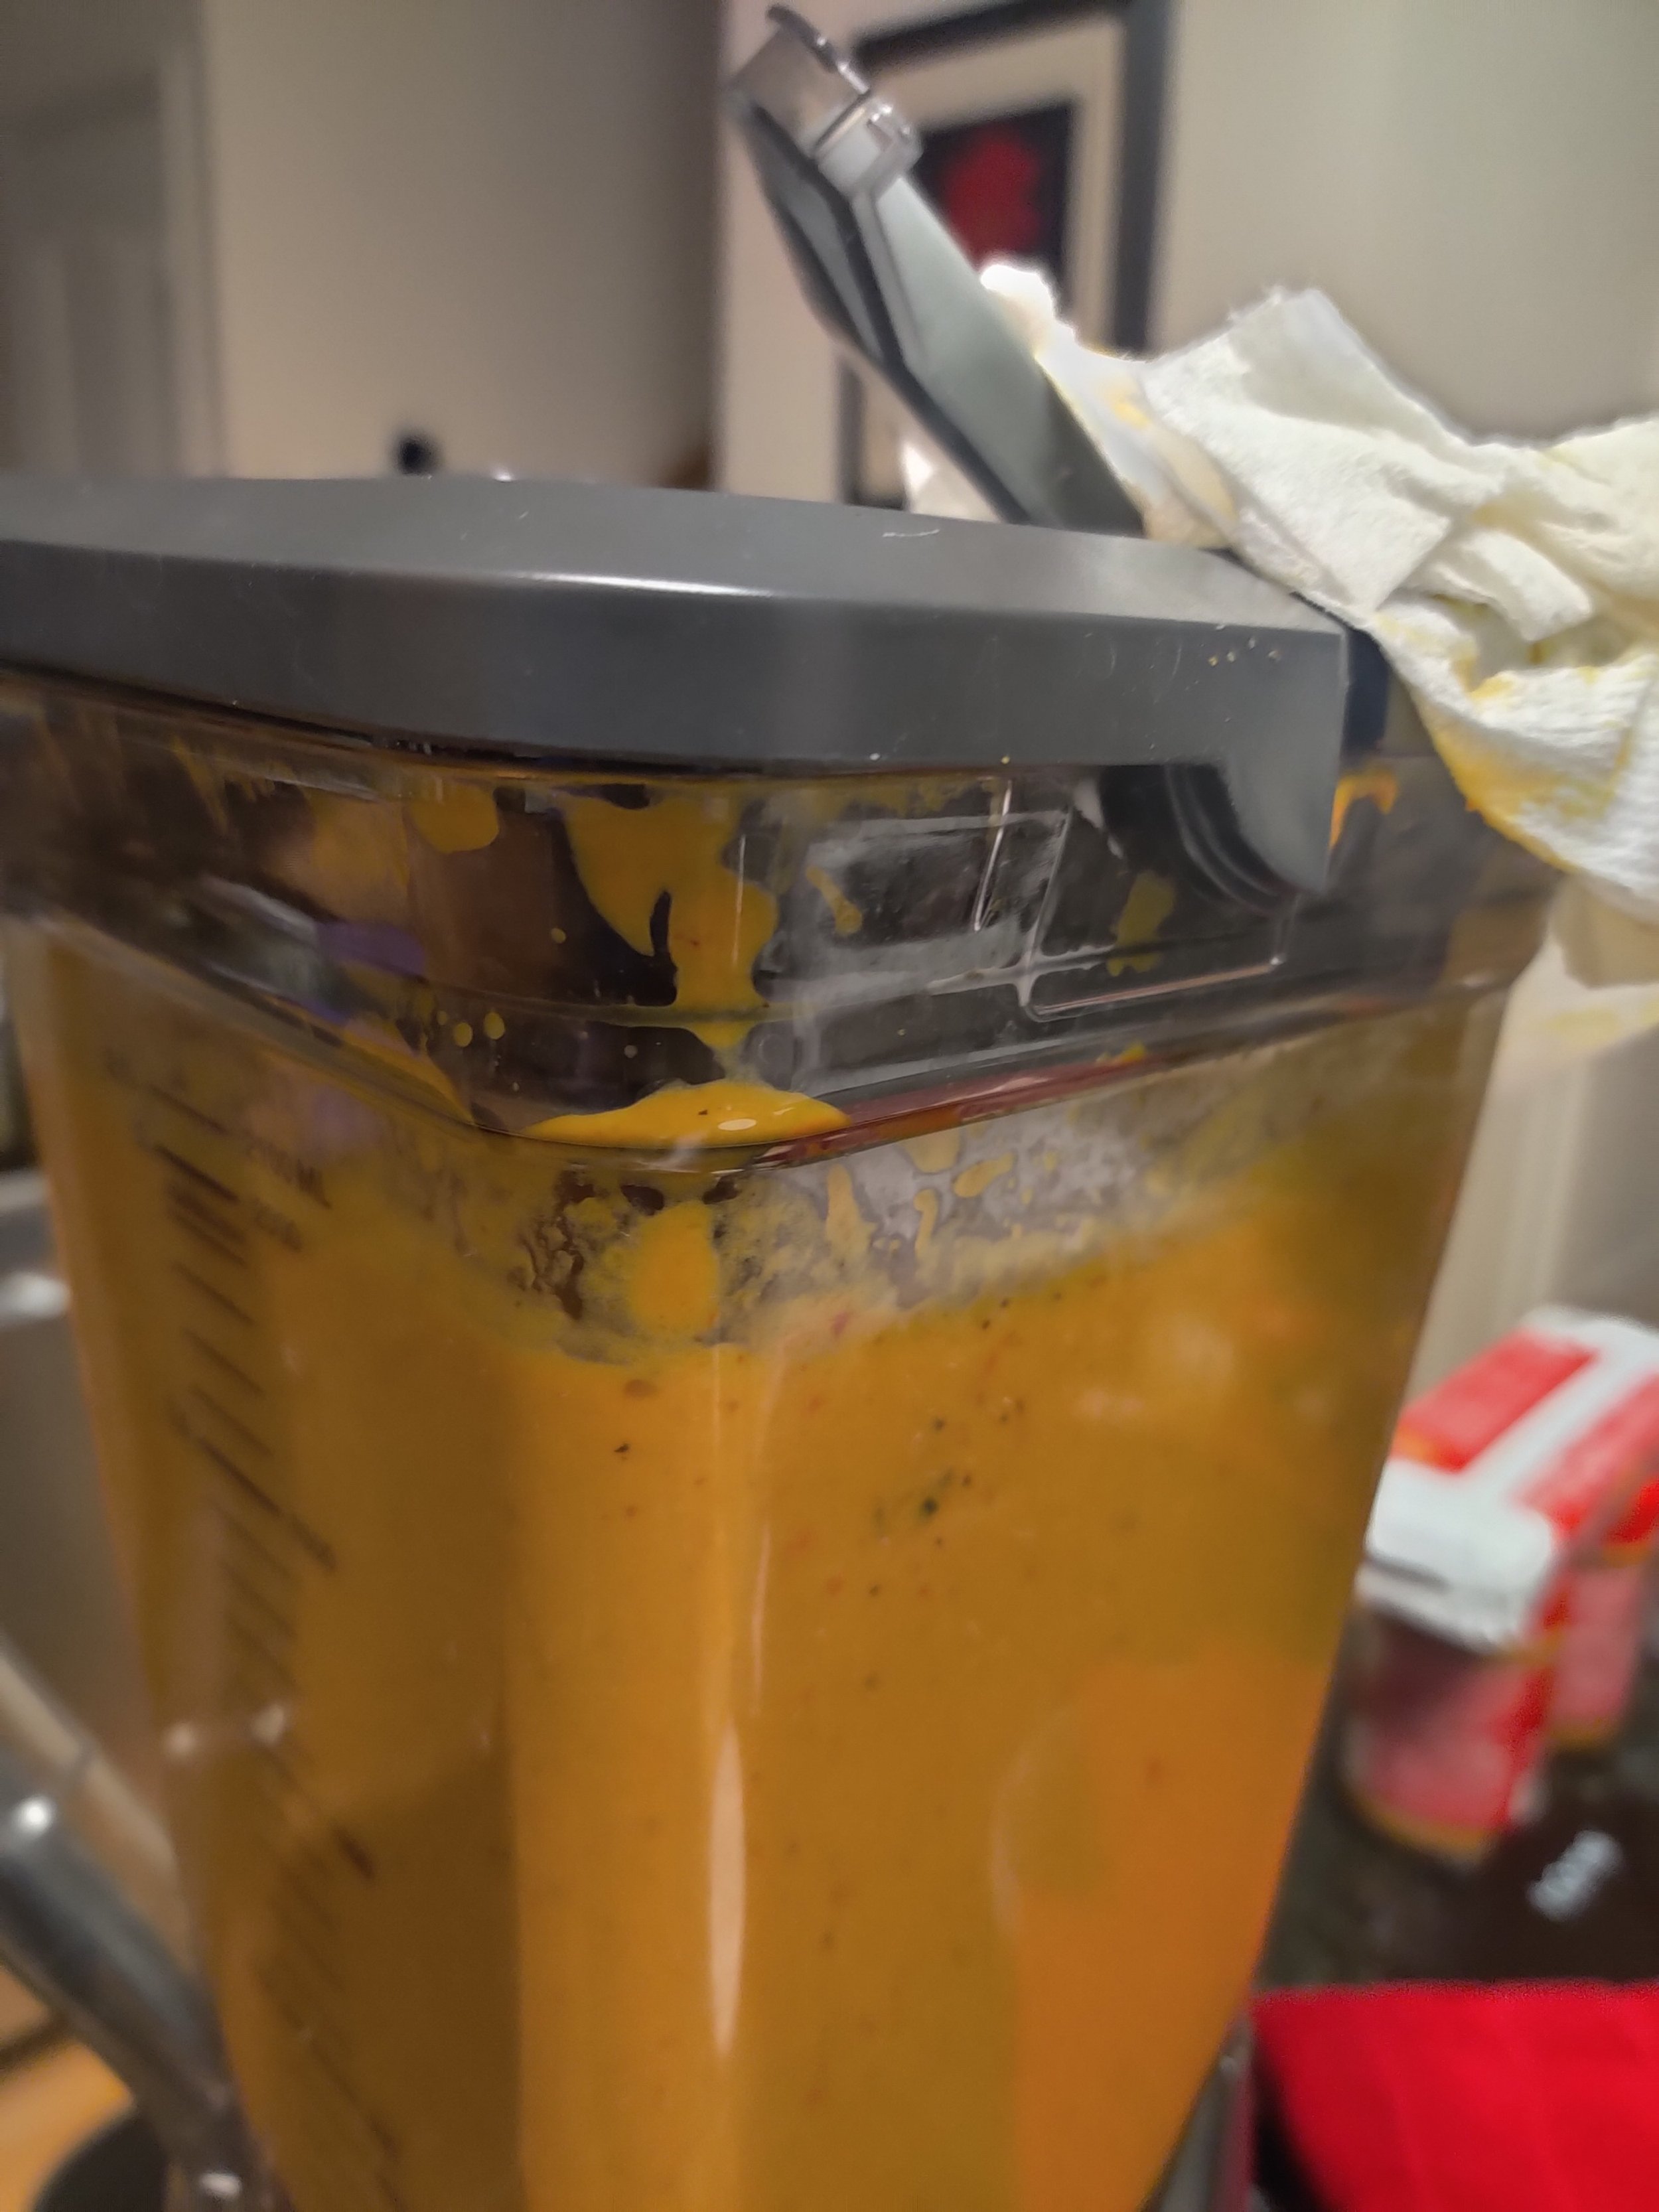
Using a mesh spoon, remove the solids and add them to the blender. Cover the lid and blend the solids until smooth. Season to taste, mixing until you have your desired texture. Control this by using the remaining broth and cream to thin it out.
Return to heat and simmer for 1 minute, season to taste and ensure the cream is incorporated and there are no large chunks of butternut, then serve. Garnish with roasted butternut, peanuts and cilantro.


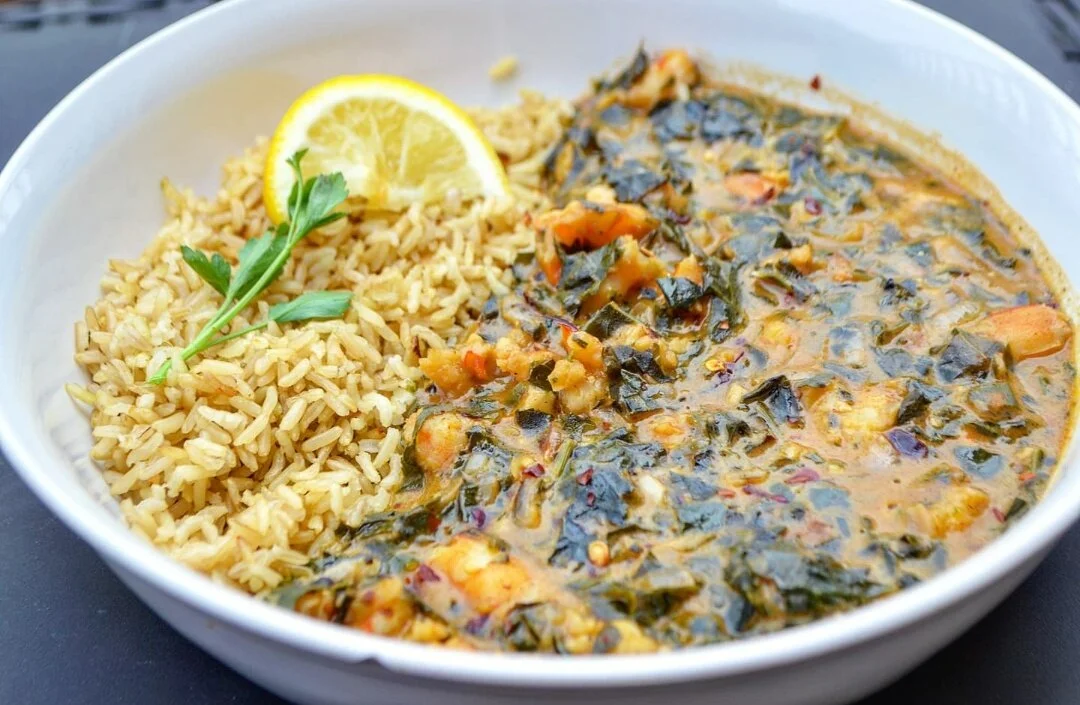
Matapa (Shrimp and Kale in Coconut Milk and Peanut Butter)
Peanut butter and greens are not an unusual pairing in many parts of Southern Africa and should be embraced everywhere! They are just as delicious as greens with cream, a more widely known dream team when balanced right.
The Mozambican dish Matapa inspired this recipe: cassava leaves cooked in coconut milk with peanuts or cashews and shrimp or crab. I used Tuscan kale, but you can use anything from pumpkin leaves to collard greens and adjust the cooking time.
Coconuts are plentiful in Mozambique, which borders the Indian ocean, and coconut milk, a staple in my pantry, is creamy but not overwhelming. It lends a unique flavour, and in this case, blends well with the sweet and salty peanut butter and the subtle sweetness and texture from the chopped shrimp.
The light and hearty soup stew gets even more delicious overnight, and you can serve it with brown rice, farro, couscous or any other starch or side that will help absorb the tasty juices!
Ingredients
2 pounds cooked shrimp (thaw according to package)
1 large bunch Tuscan kale
Olive oil
1 red onion
4 large garlic cloves
1/4 jalapeno
1/4 cup fresh parsley
1 tablespoon Royco Usavi mix (or you favourite all purpose seasoning)
2 tablespoons peri-peri seasoning
1 cup peanut butter (tempered with 1 cup hot water)
1 packet chicken bouillon powder
2 tablespoons from 1/2 a fresh lemon
1 tablespoon cayenne powder
1 tablespoon black pepper
1 teaspoon salt
1 cup coconut milk
Pepper flakes
Instructions
Remove the stems and chop the kale. Place in boiling water until softened, then remove most of the water. Place in a blender and pulse to shred the greens until they are tiny pieces but not liquid (you can also do it while the leaves are uncooked).
Finely dice and chop the onion, garlic, jalapeno, and parsley and sauté in olive oil until softened for about 3 minutes. Add the Royco Usavi and peri-peri.
In a separate bowl, mix the peanut butter with the boiling water and chicken bouillon. Pour the tempered mixture into the pot, then add the kale. simmer for 5 minutes and mix well.
Add the shrimp, cook for 2-3 minutes, then follow with a squeeze of lemon. Season with salt and pepper to taste, adding extra peanut butter and cayenne if necessary.
Serve hot with brown rice, lemon, chili flakes, and parsley.

Goat Chorizo Samosas with Tomato Mango Chutney
I love goat meat and grew up eating it frequently. I consider it a somewhat neglected meat, but it is delicious and quite versatile! For those of you who appreciate goat meat or love chorizo, this will be quite a treat. I discovered the chorizo as a local farmers market to my delight and imagined this pairing.
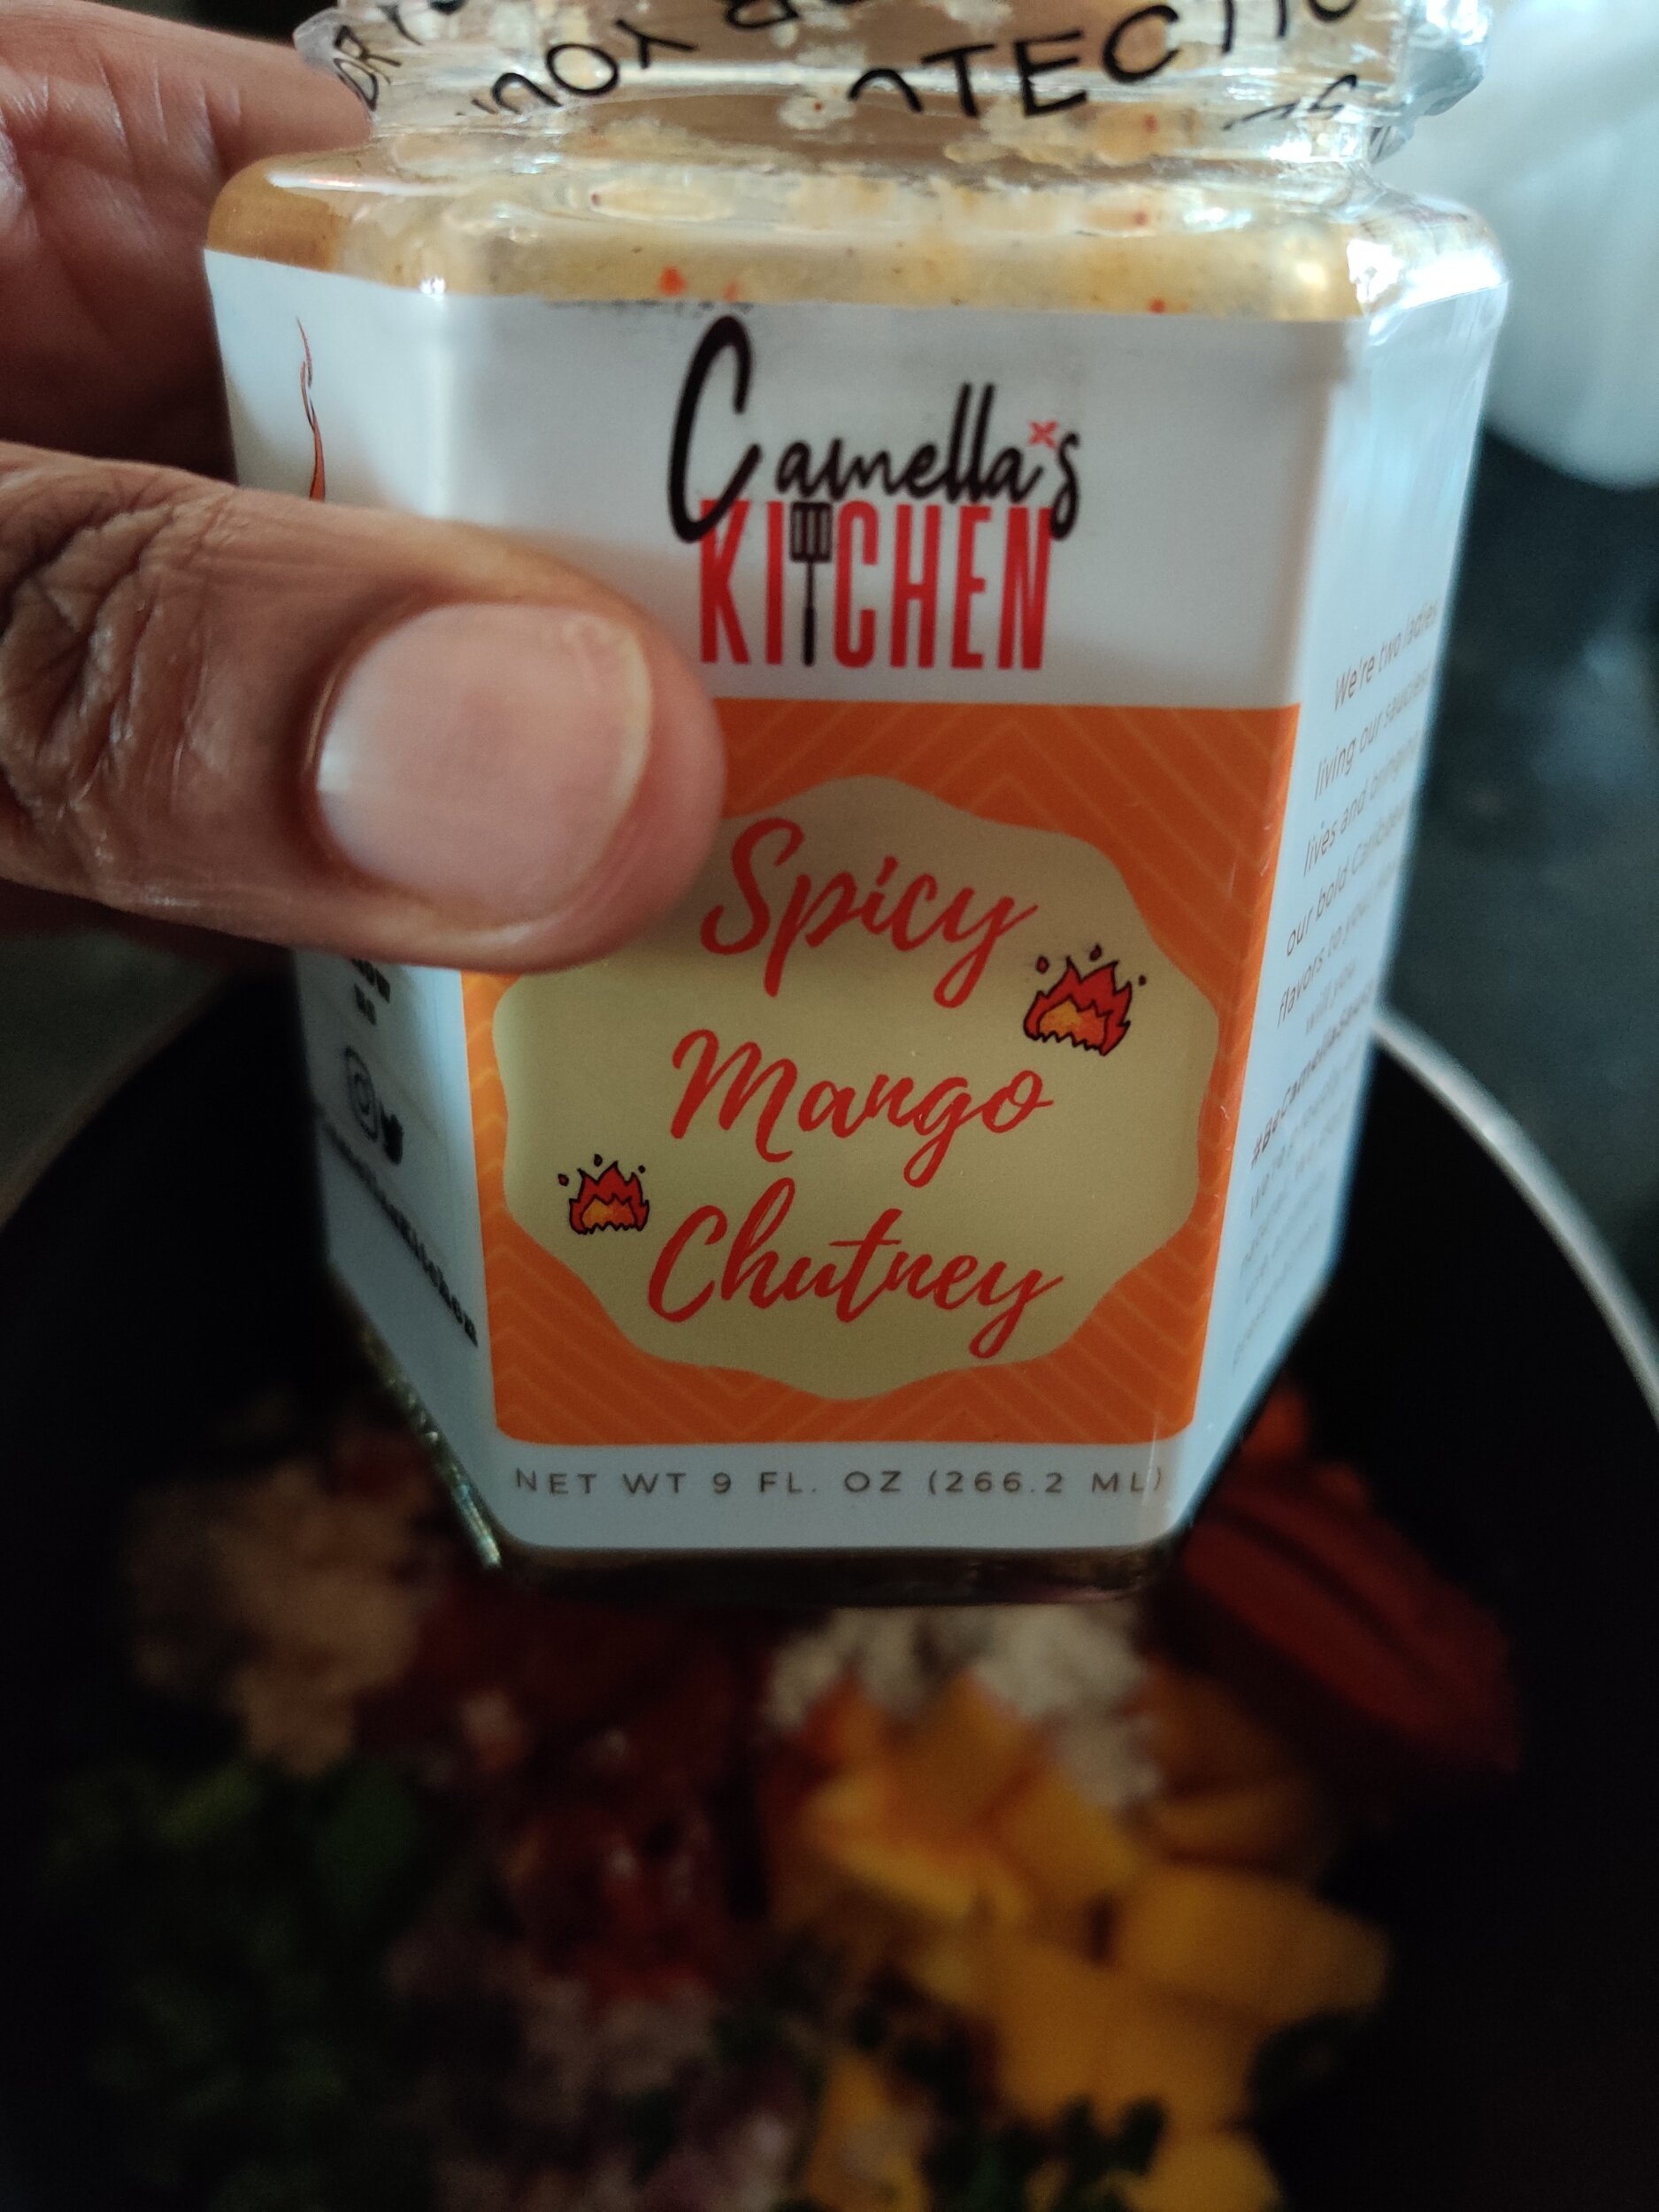
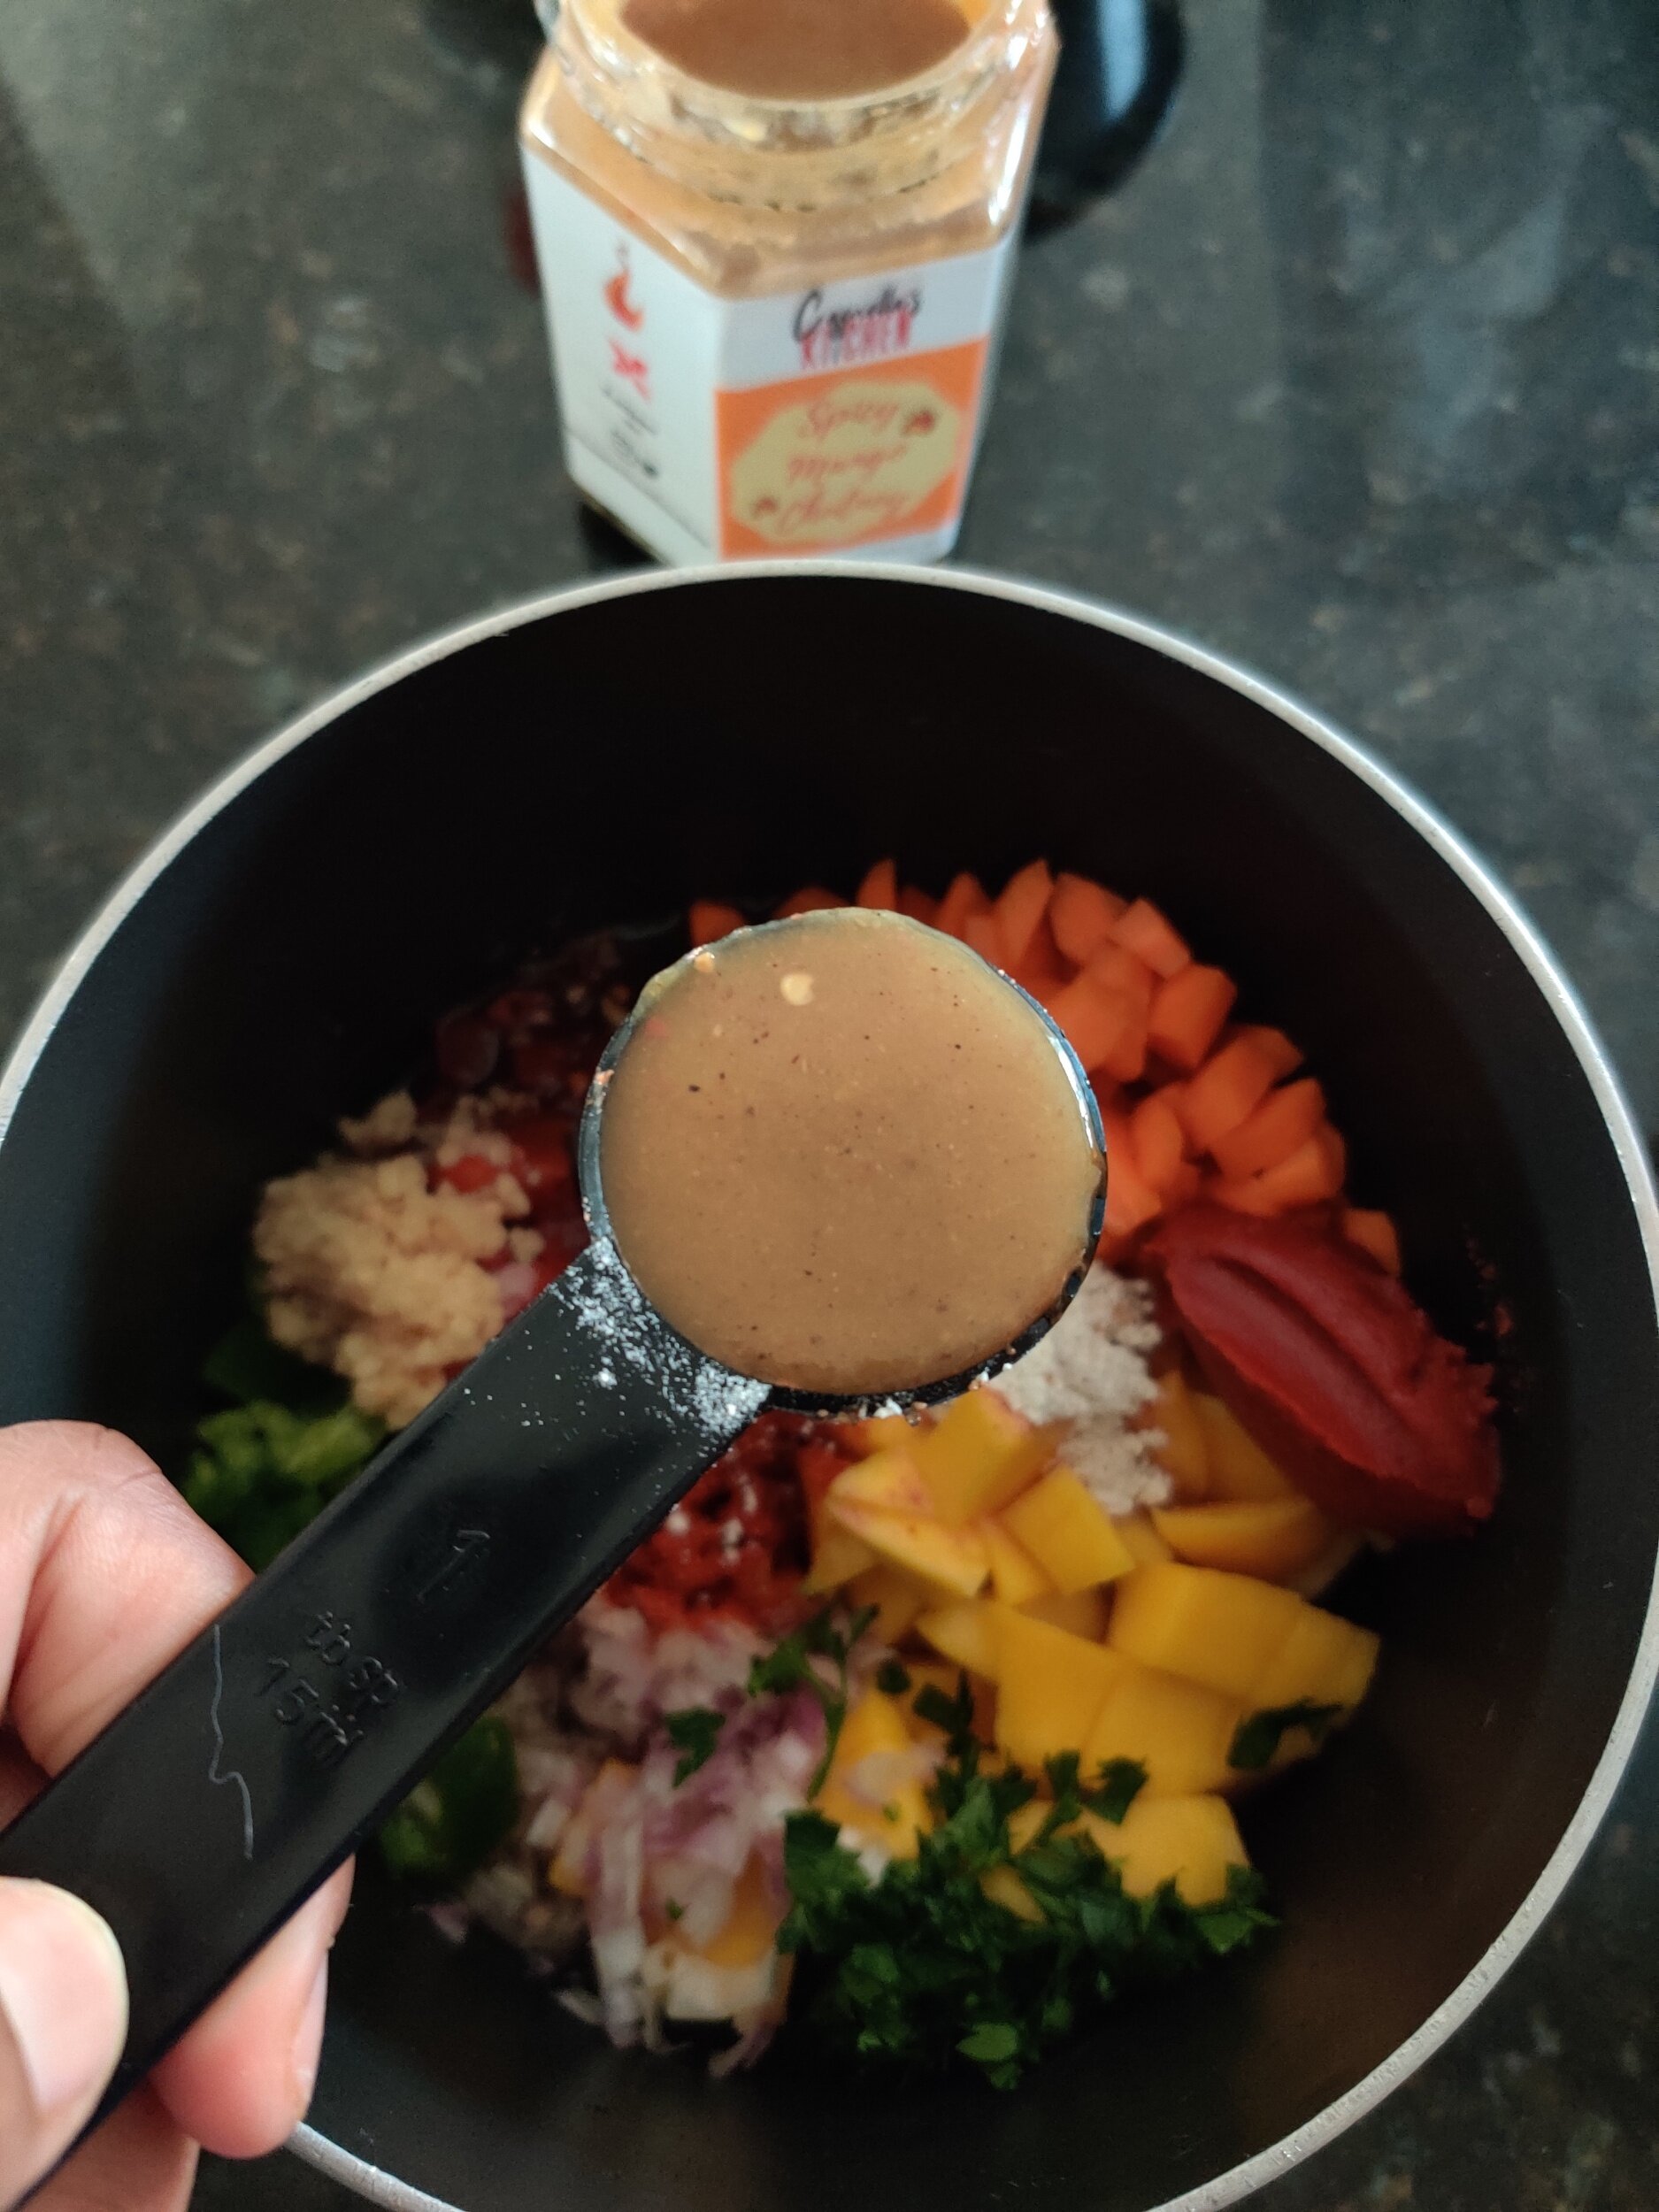
Samosas are curried and/or spiced meat or vegetable-filled pastries wrapped in a thin dough and fried, attributed to South Asia but enjoyed worldwide, including East Africa. A condiment often accompanies them for dipping. In this case, a mango chutney will do the trick, a it is a great balance of sweet and spicy and complements the goat, which is not inherently sweet compared to other meats. The sour cream helps to cool the spiciness. To enhance the mango chutney, I used a spicy mango chutney sauce from Camella’s Kitchen. To view other recipes using their products that boast Caribbean flavours, check out Plantain Stew with Black Beans, Spicy Apple Muffins with a Cider Glaze, and Pineapple Chow Black Seabass Salsa.
Ingredients
Chutney:
1 large mango, diced
1 tablespoon spicy mango chutney sauce (I used Camella’s Kitchen)
1/3 cup roasted tomatoes
1 tablespoon jalapeno, diced with rib and seeds removed
2 tablespoons smoked paprika
1 tablespoon garlic minced
1/2 shallot minced
1 tablespoon tomato paste
1/4 cup carrots, diced
1 tablespoon parsley, chopped
1 tablespoon Royco Usavi mix (or your favourite all-purpose seasoning)
1 tablespoon Worchester sauce
1 tablespoon mirin or cooking wine
1 teaspoon salt
1 tablespoon black pepper
Anise and bay leaves (optional aromatics)
1 cup water
Samosas:
10 samosa sheets. cut into rectangles
1 tablespoon butter
4 sausages goat chorizo, casings removed (or regular chorizo)
1/4 cup white onion, diced
1/8 cup carrots, diced
1/8 cup green bell pepper, diced
1 tablespoon Spice for Rice (optional)
1 teaspoon garlic powder
1 tablespoon Royco Usavi mix (or your favourite all-purpose seasoning)
1 teaspoon tumeric
1 cup broth
1/4 cup water and 2 tablespoons flour (sealing paste)
Vegetable oil
Sour cream
Instructions
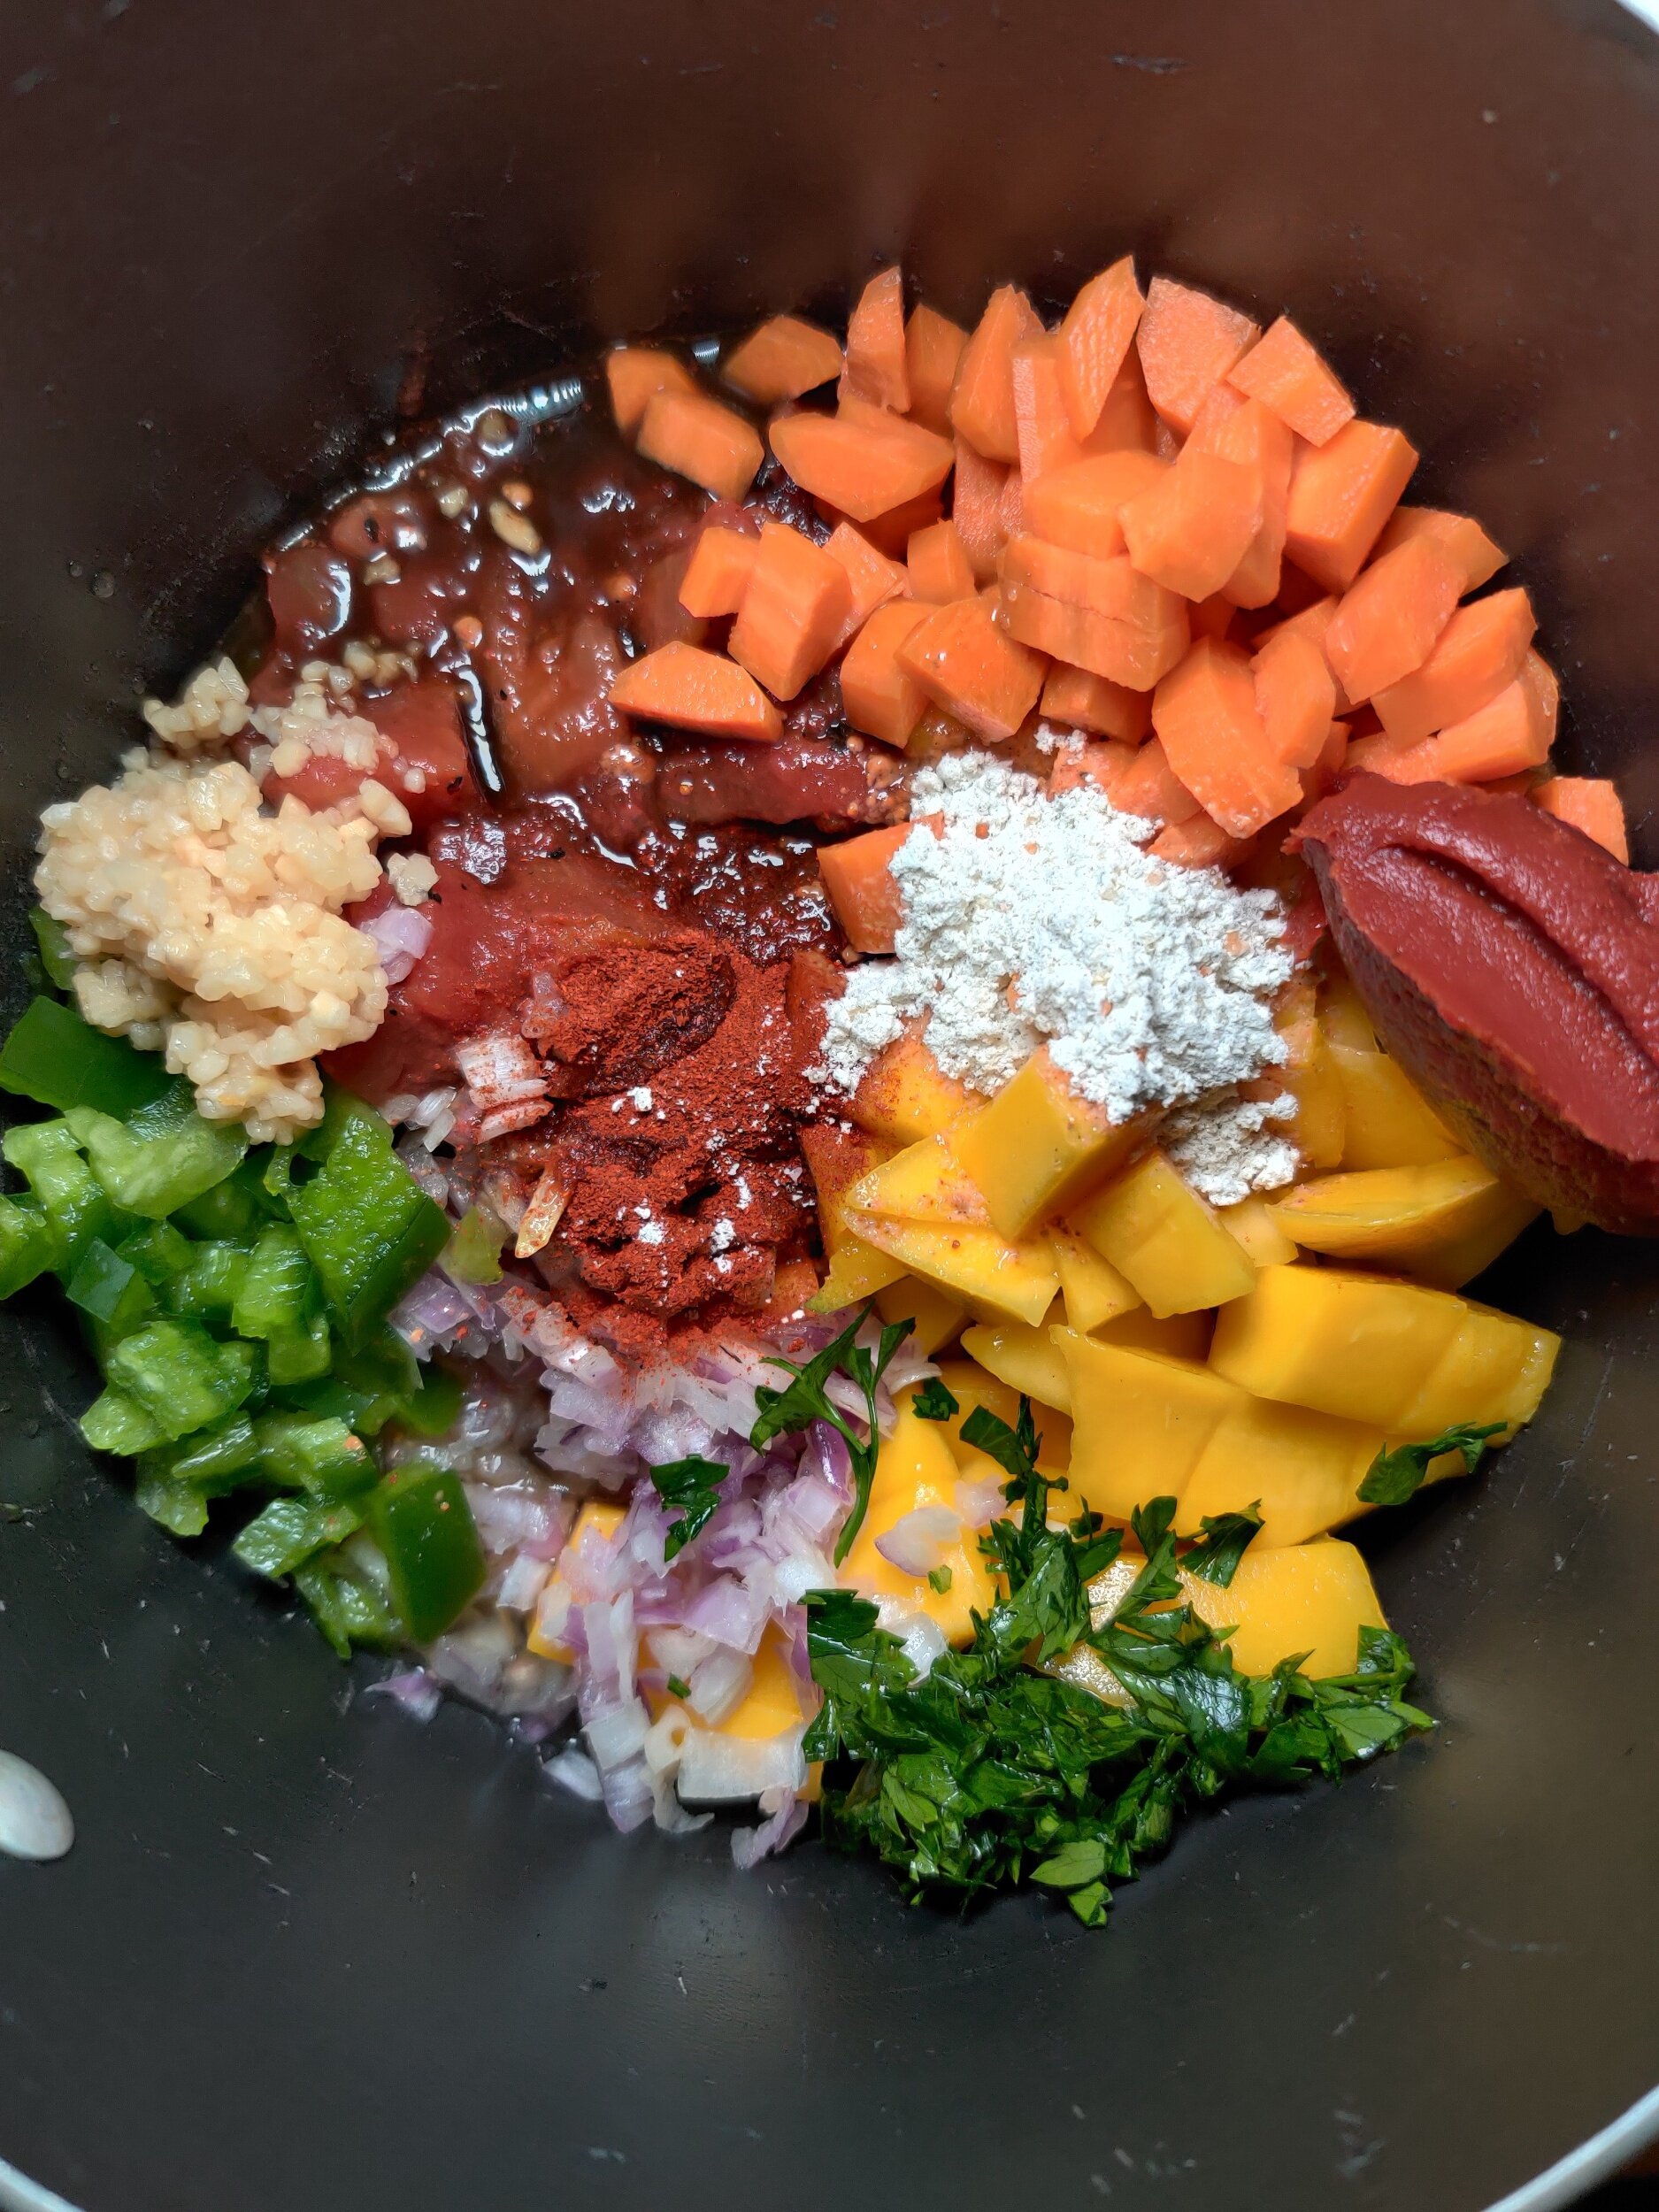
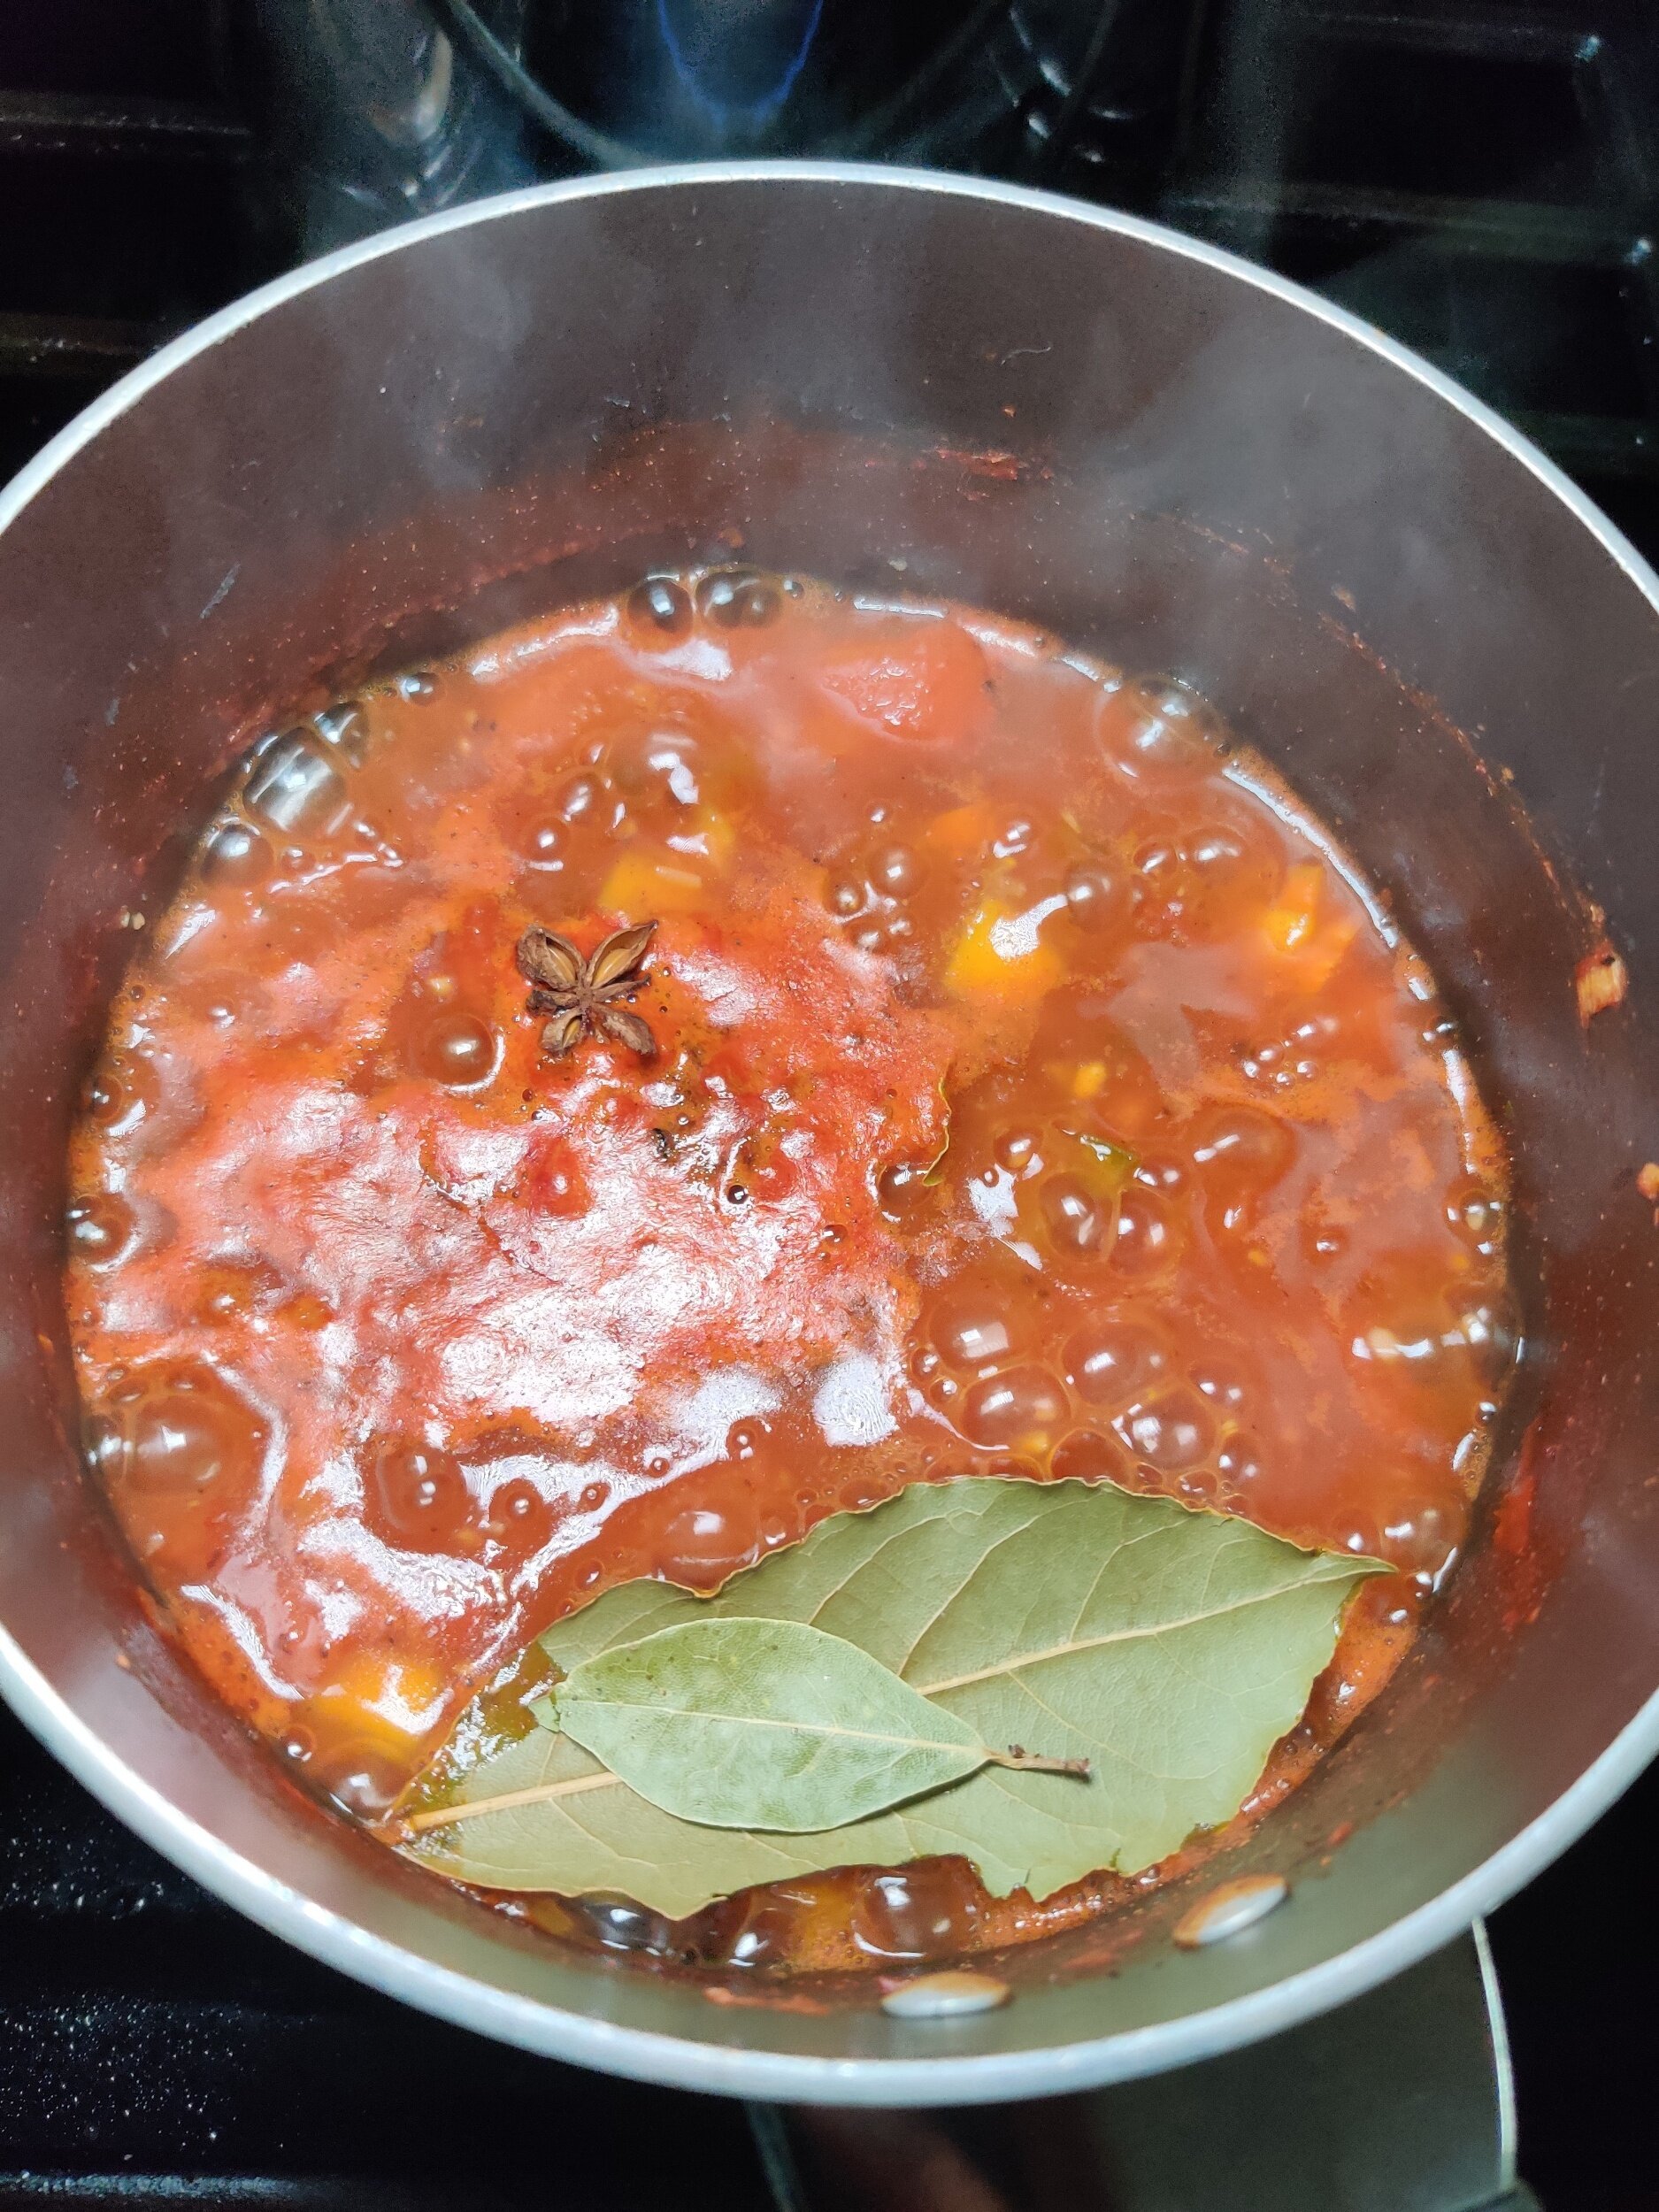
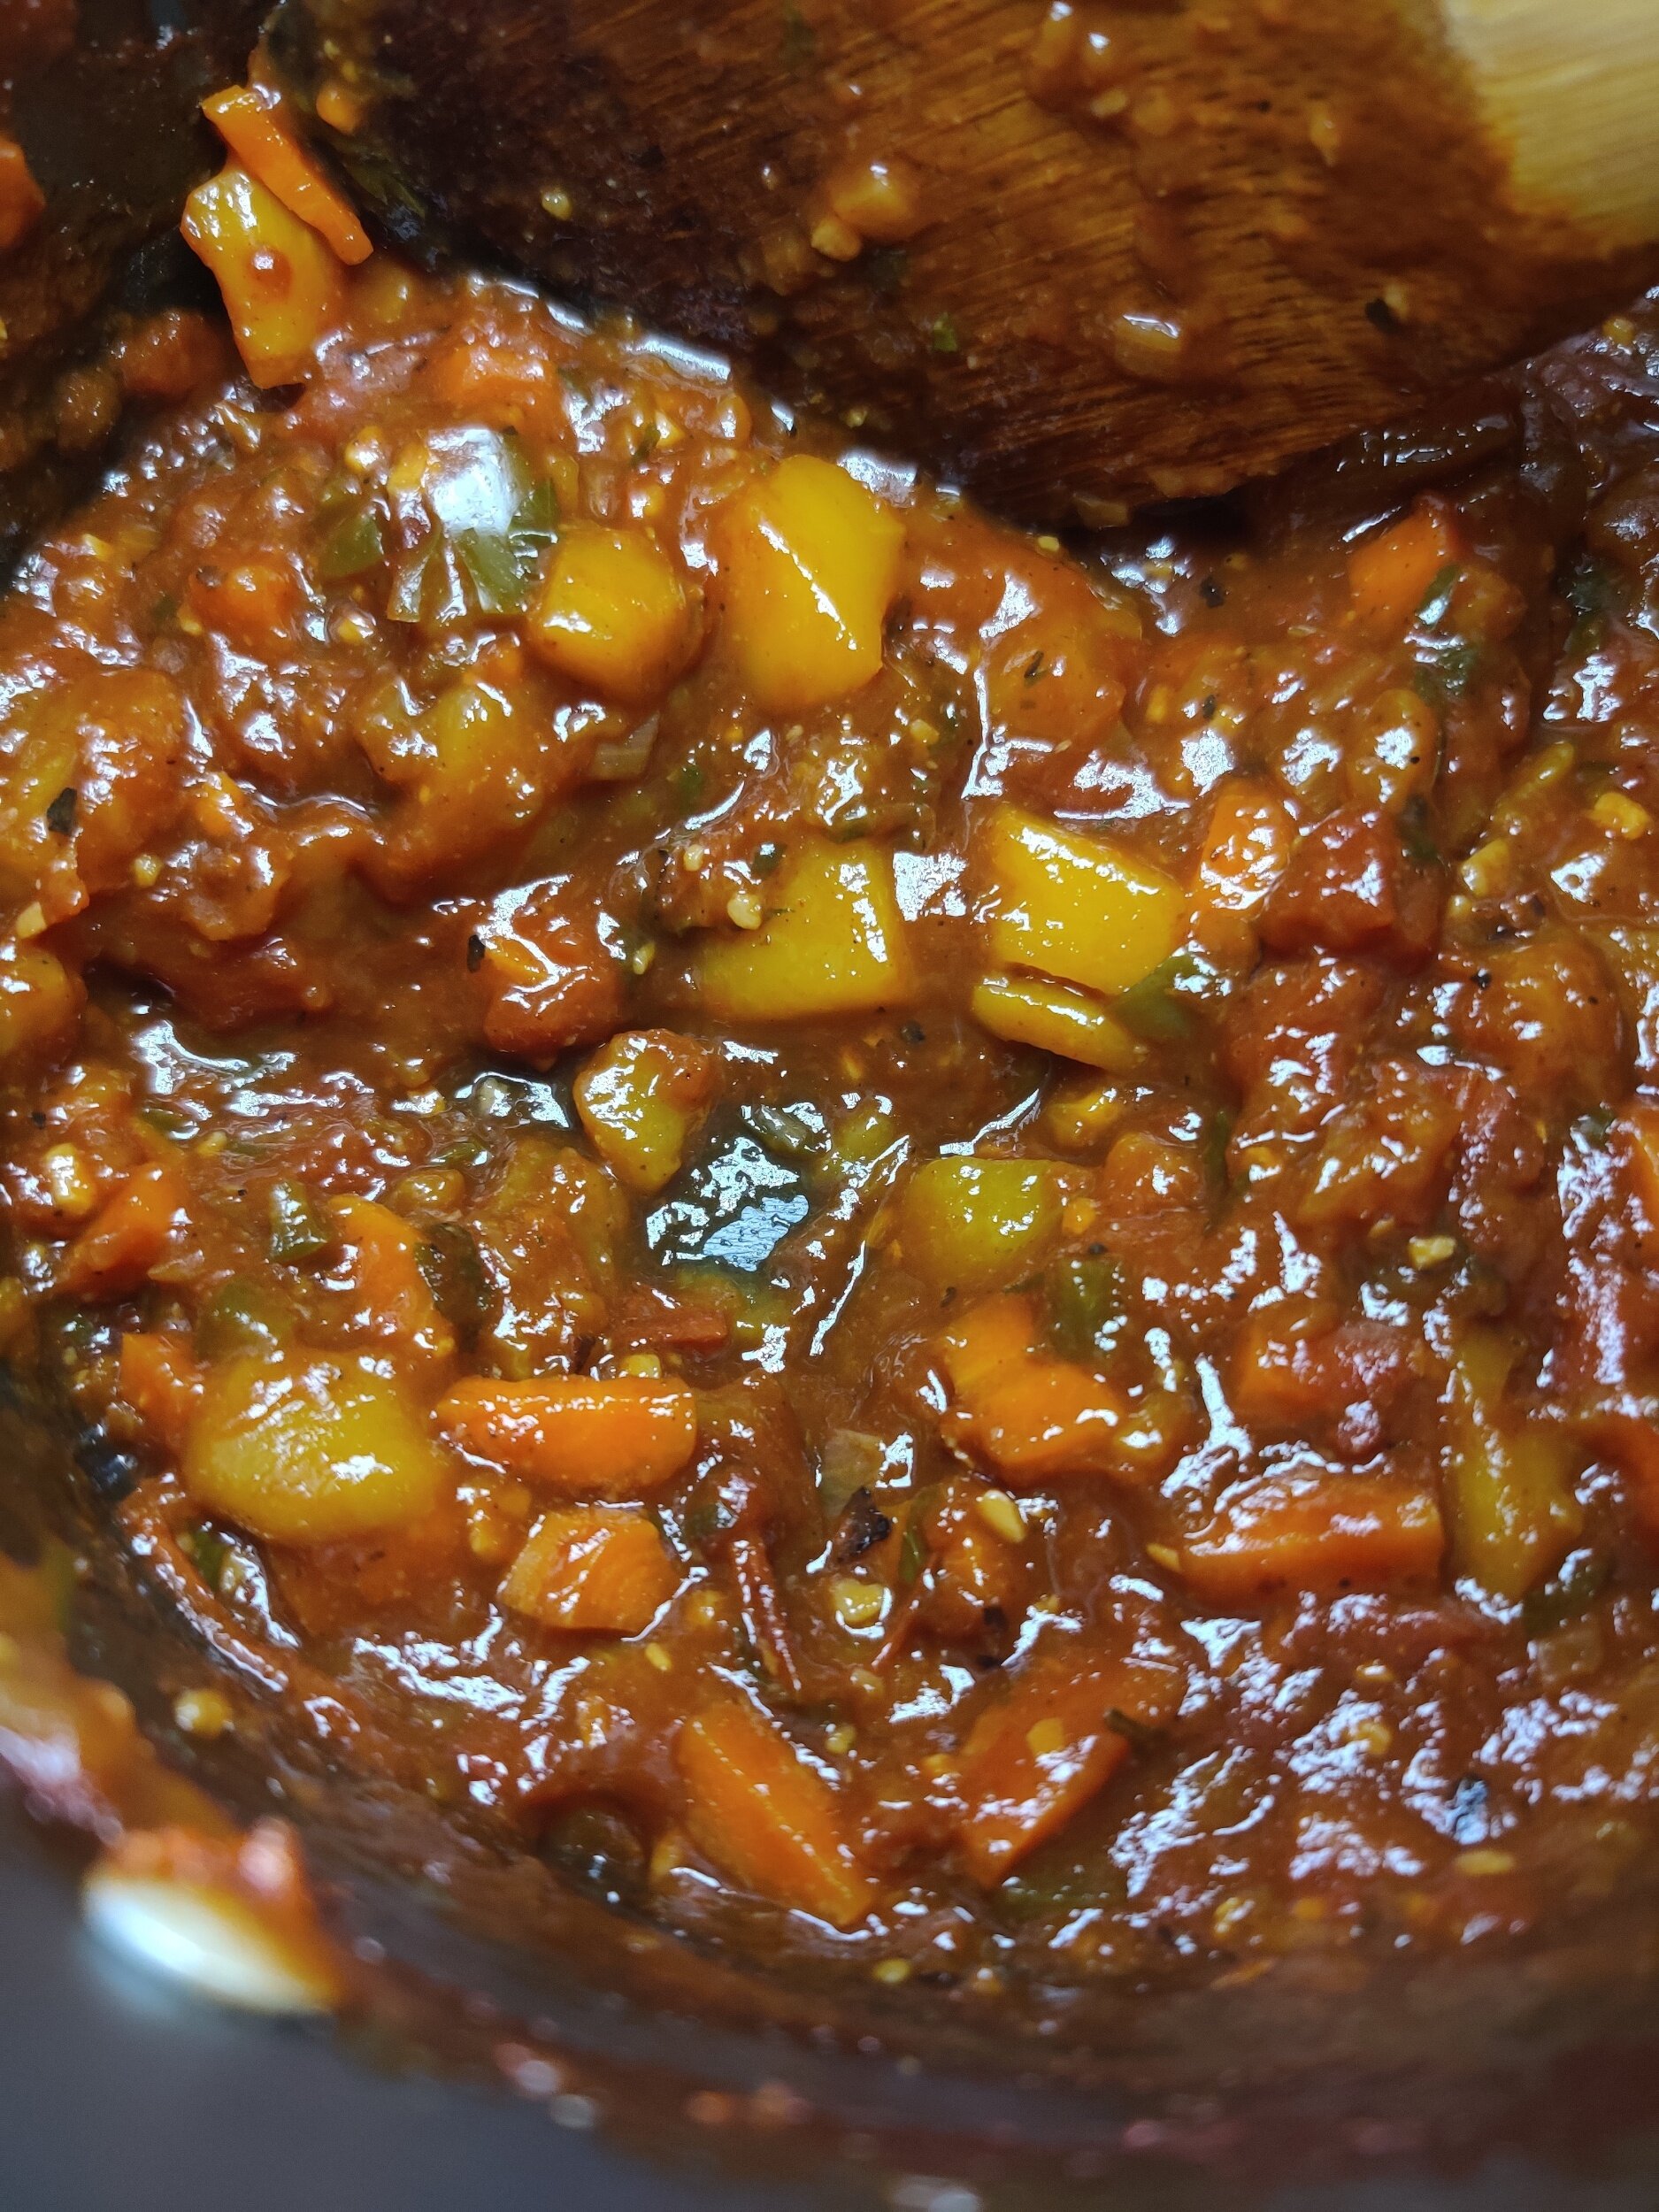
Prepare the chutney. Add all the ingredients except the water and aromatics and bring to a boil. Then add the water and aromatics and reduce the heat to simmer for 15 minutes, stirring frequently and seasoning with additional salt and pepper to taste. Remove the bay leaves and anise after 5-7 minutes to avoid overpowering the other flavours. Add more water if necessary but allow the chutney to thicken. Once it's to your liking, remove the chutney from the heat.
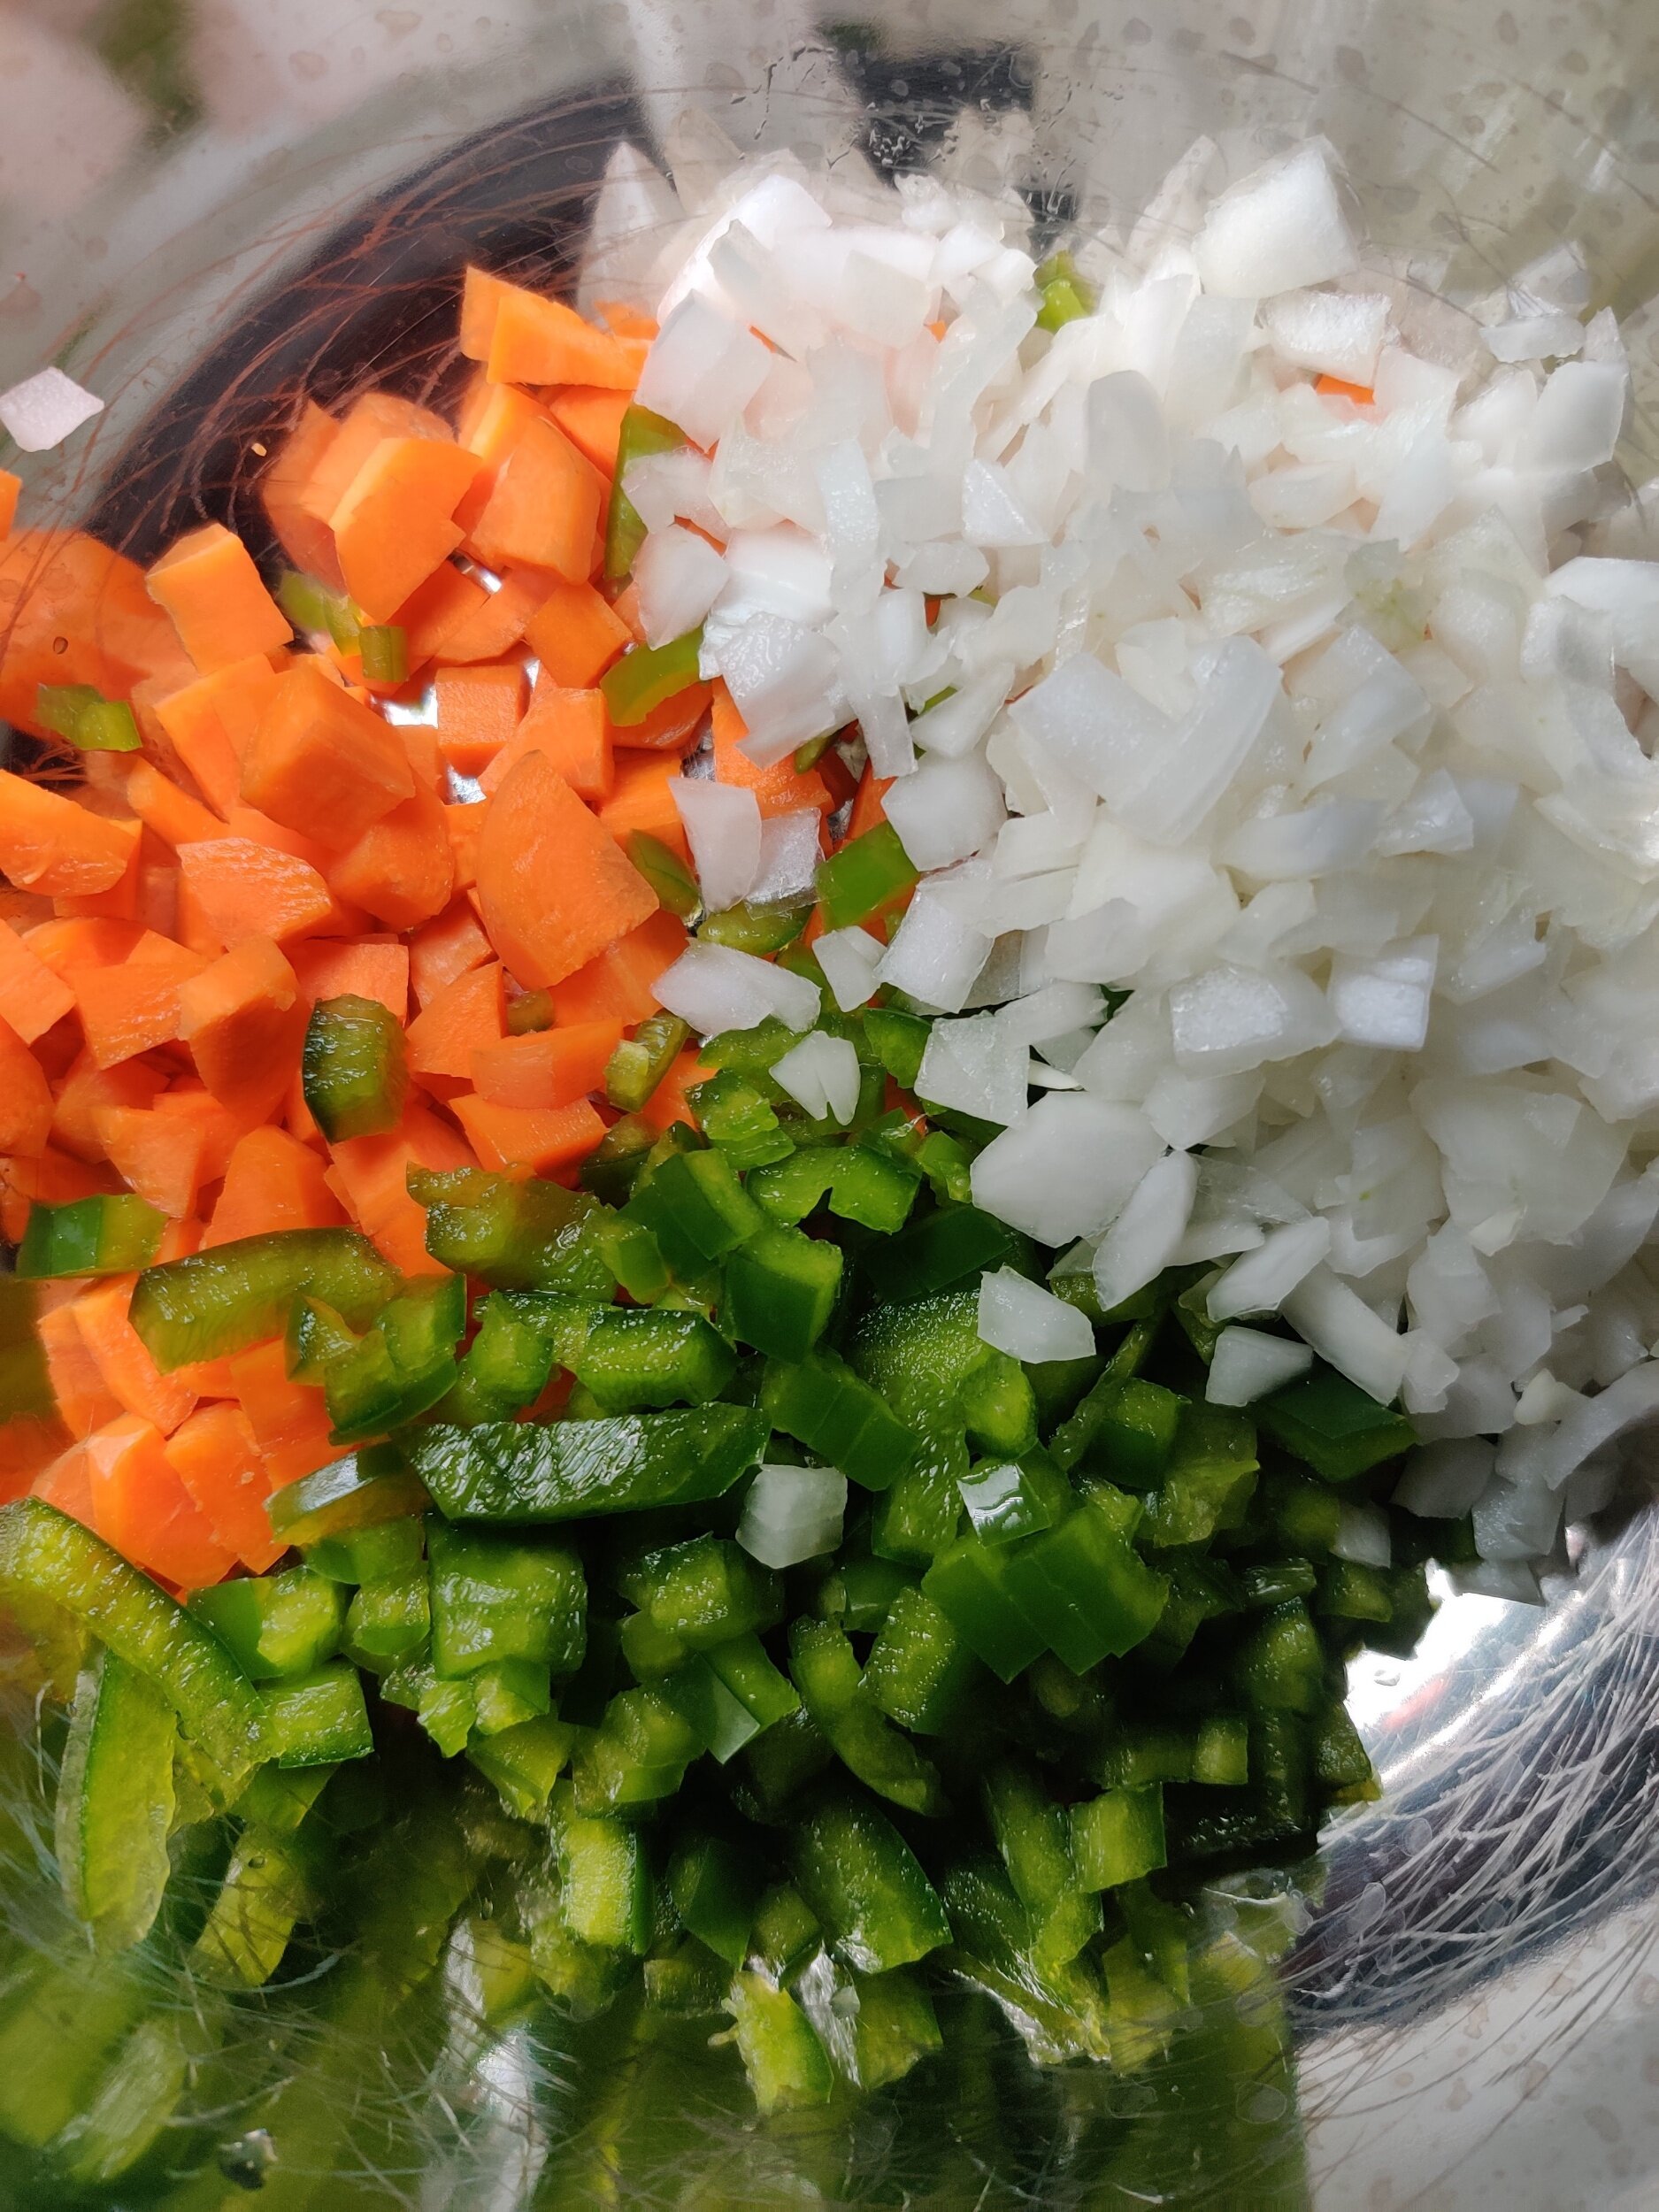
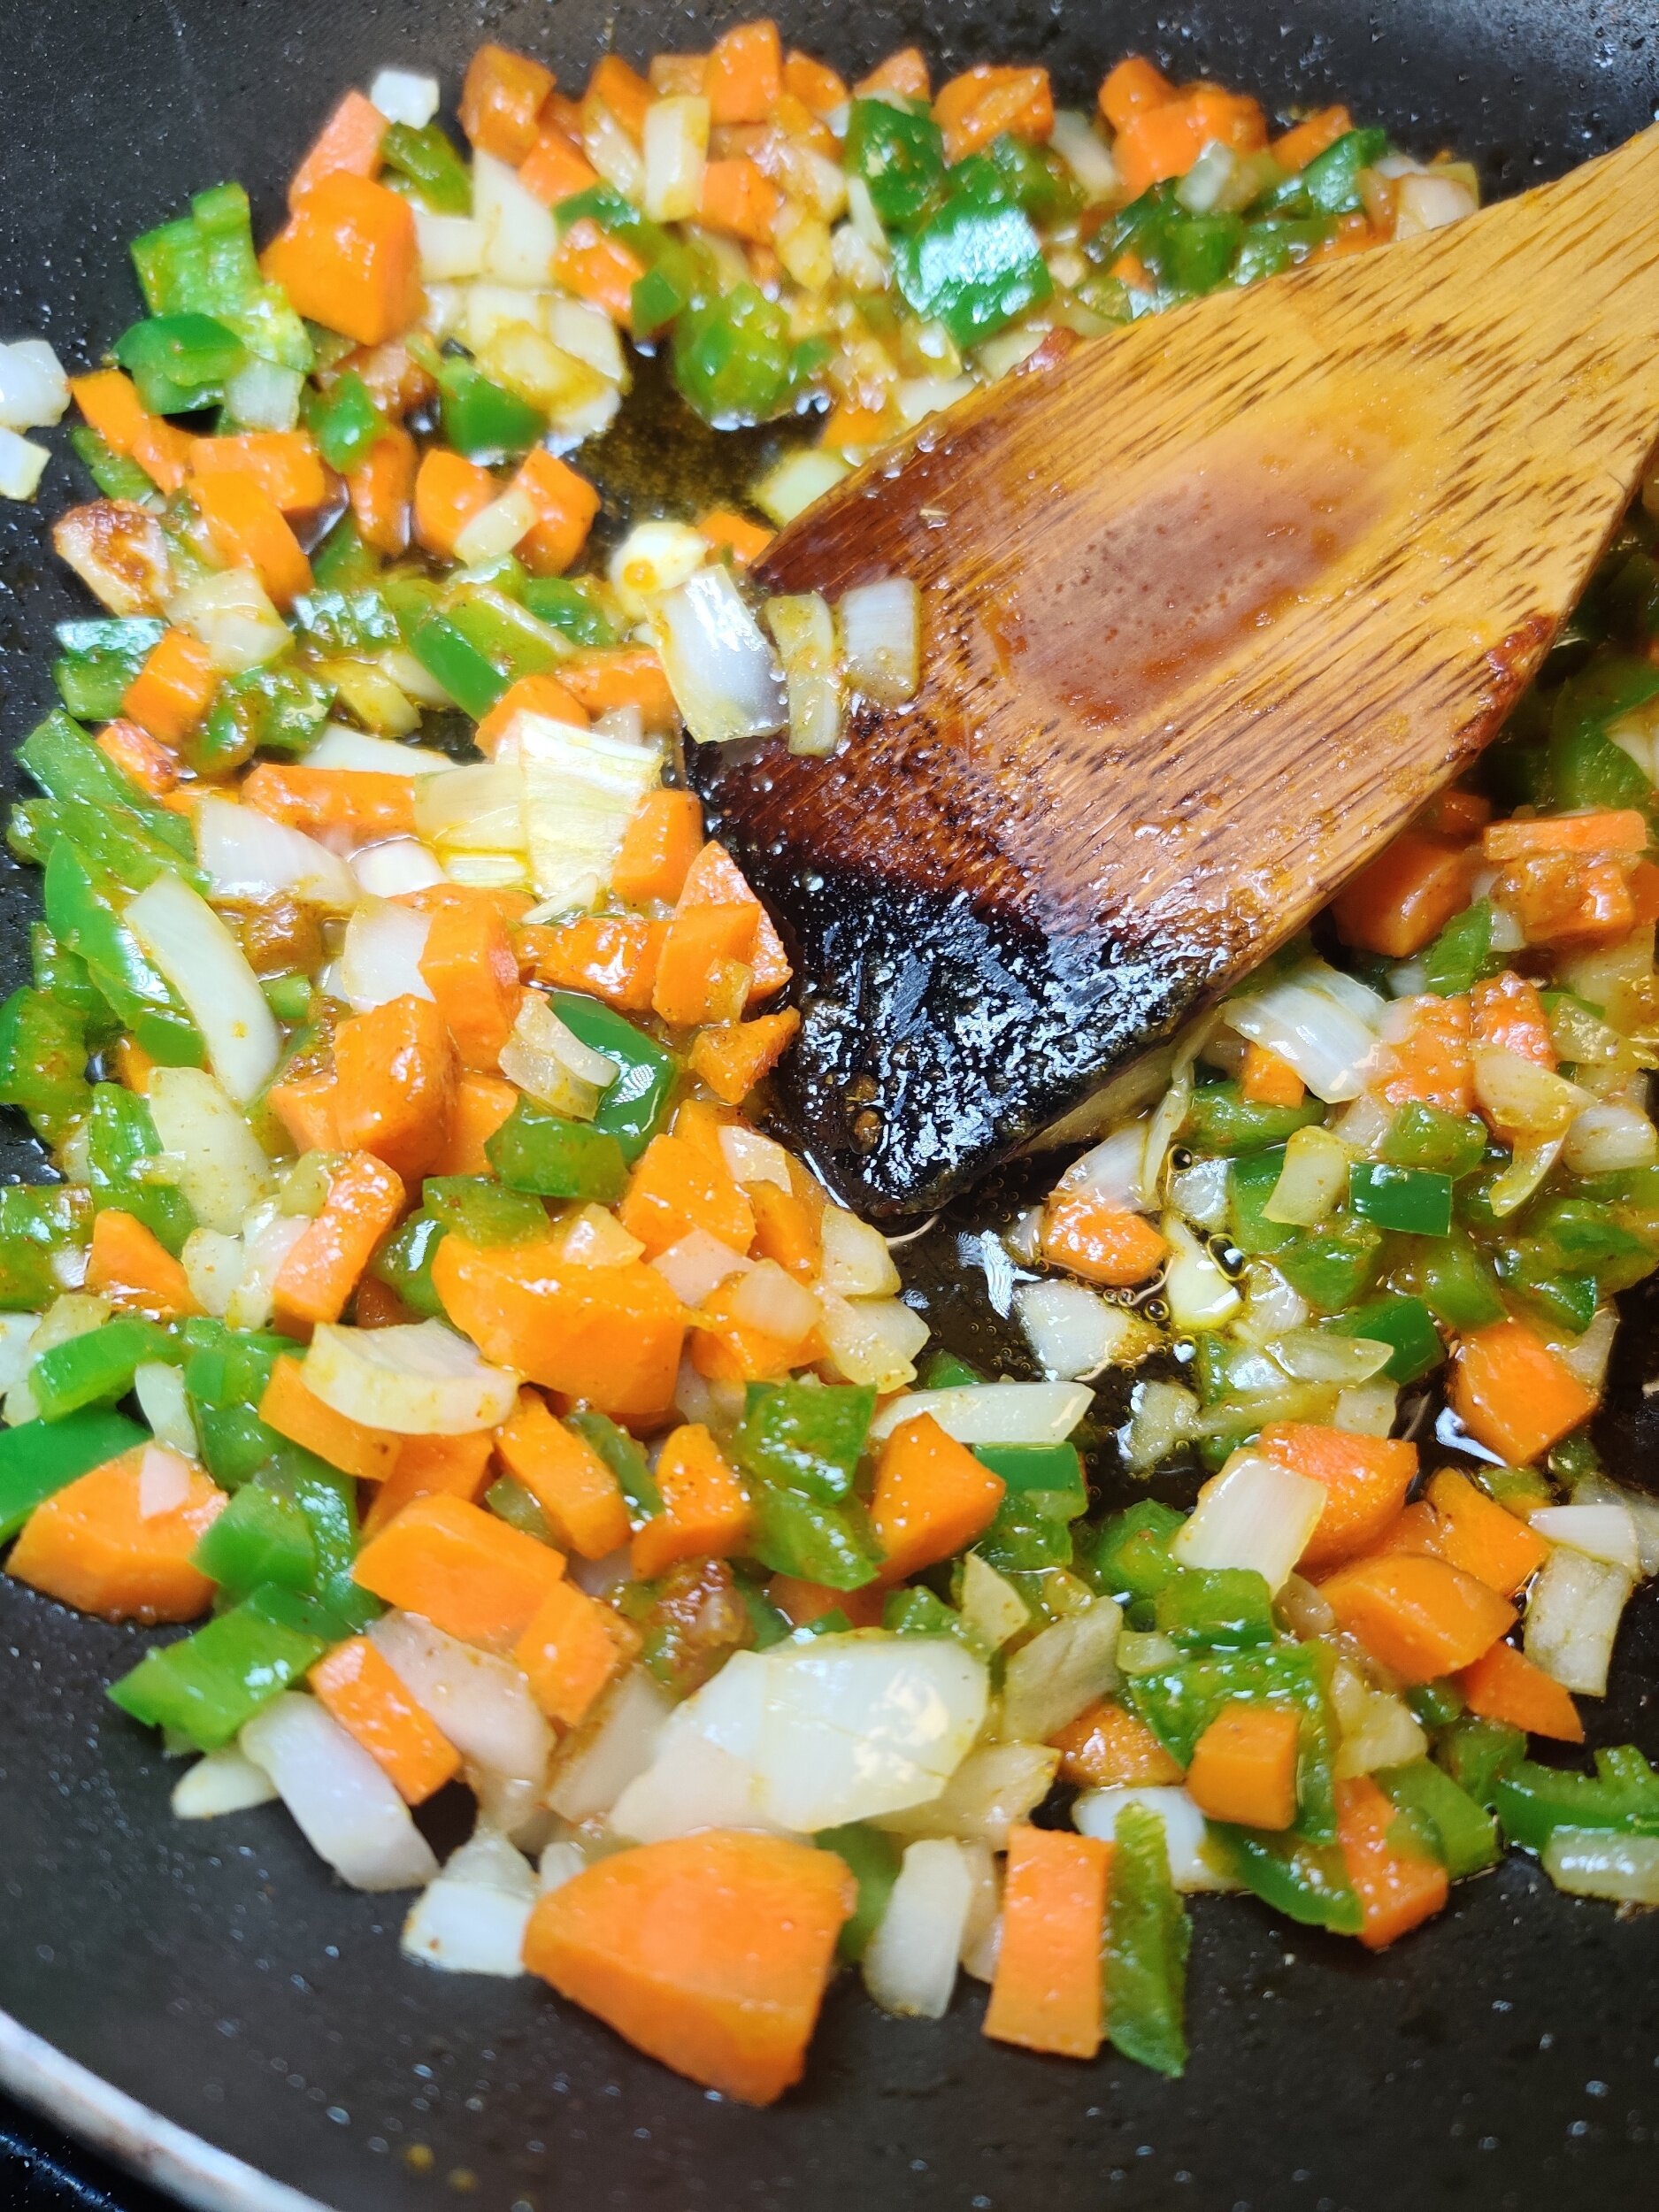
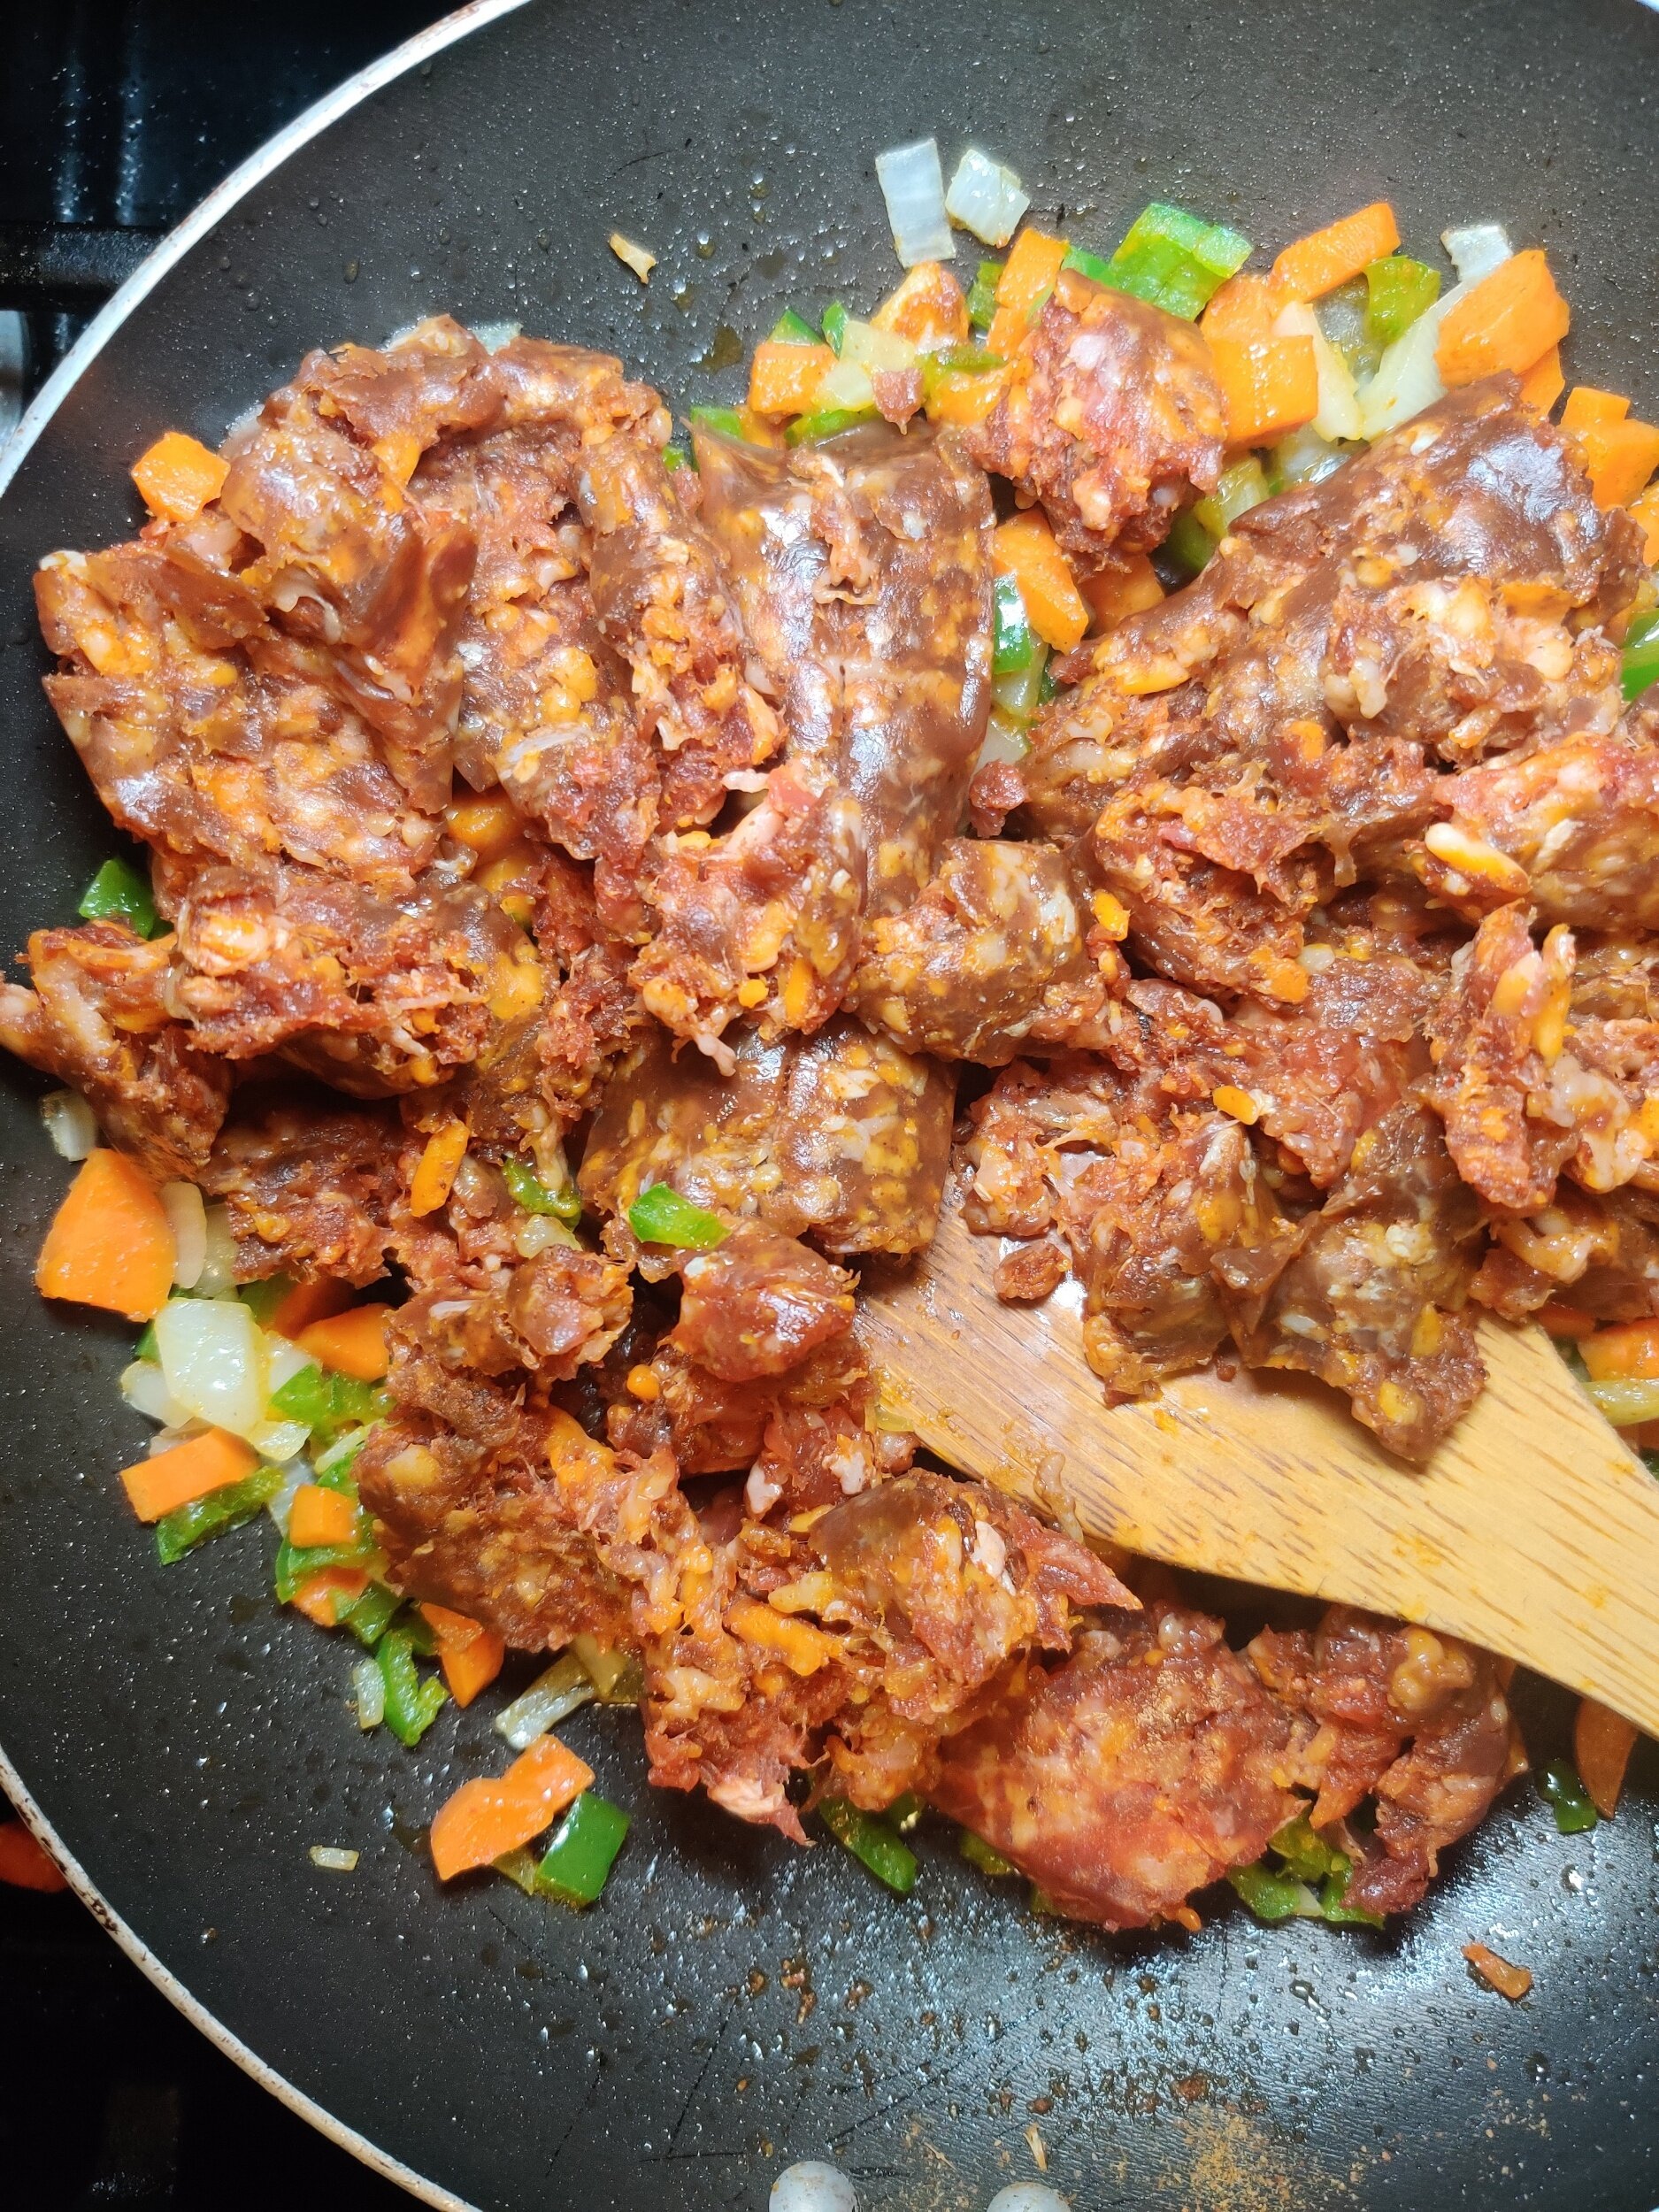
For the samosa filling, add the butter to a pan on medium-low heat. Sweat out the onion, carrots and bell pepper for 2 minutes. Add the seasonings and cook for an additional minute.
Mix in the chorizo and cook until browned. Pour in the broth and reduce heat to simmer to finish cooking the goat. Season to taste then remove from the heat to cool.
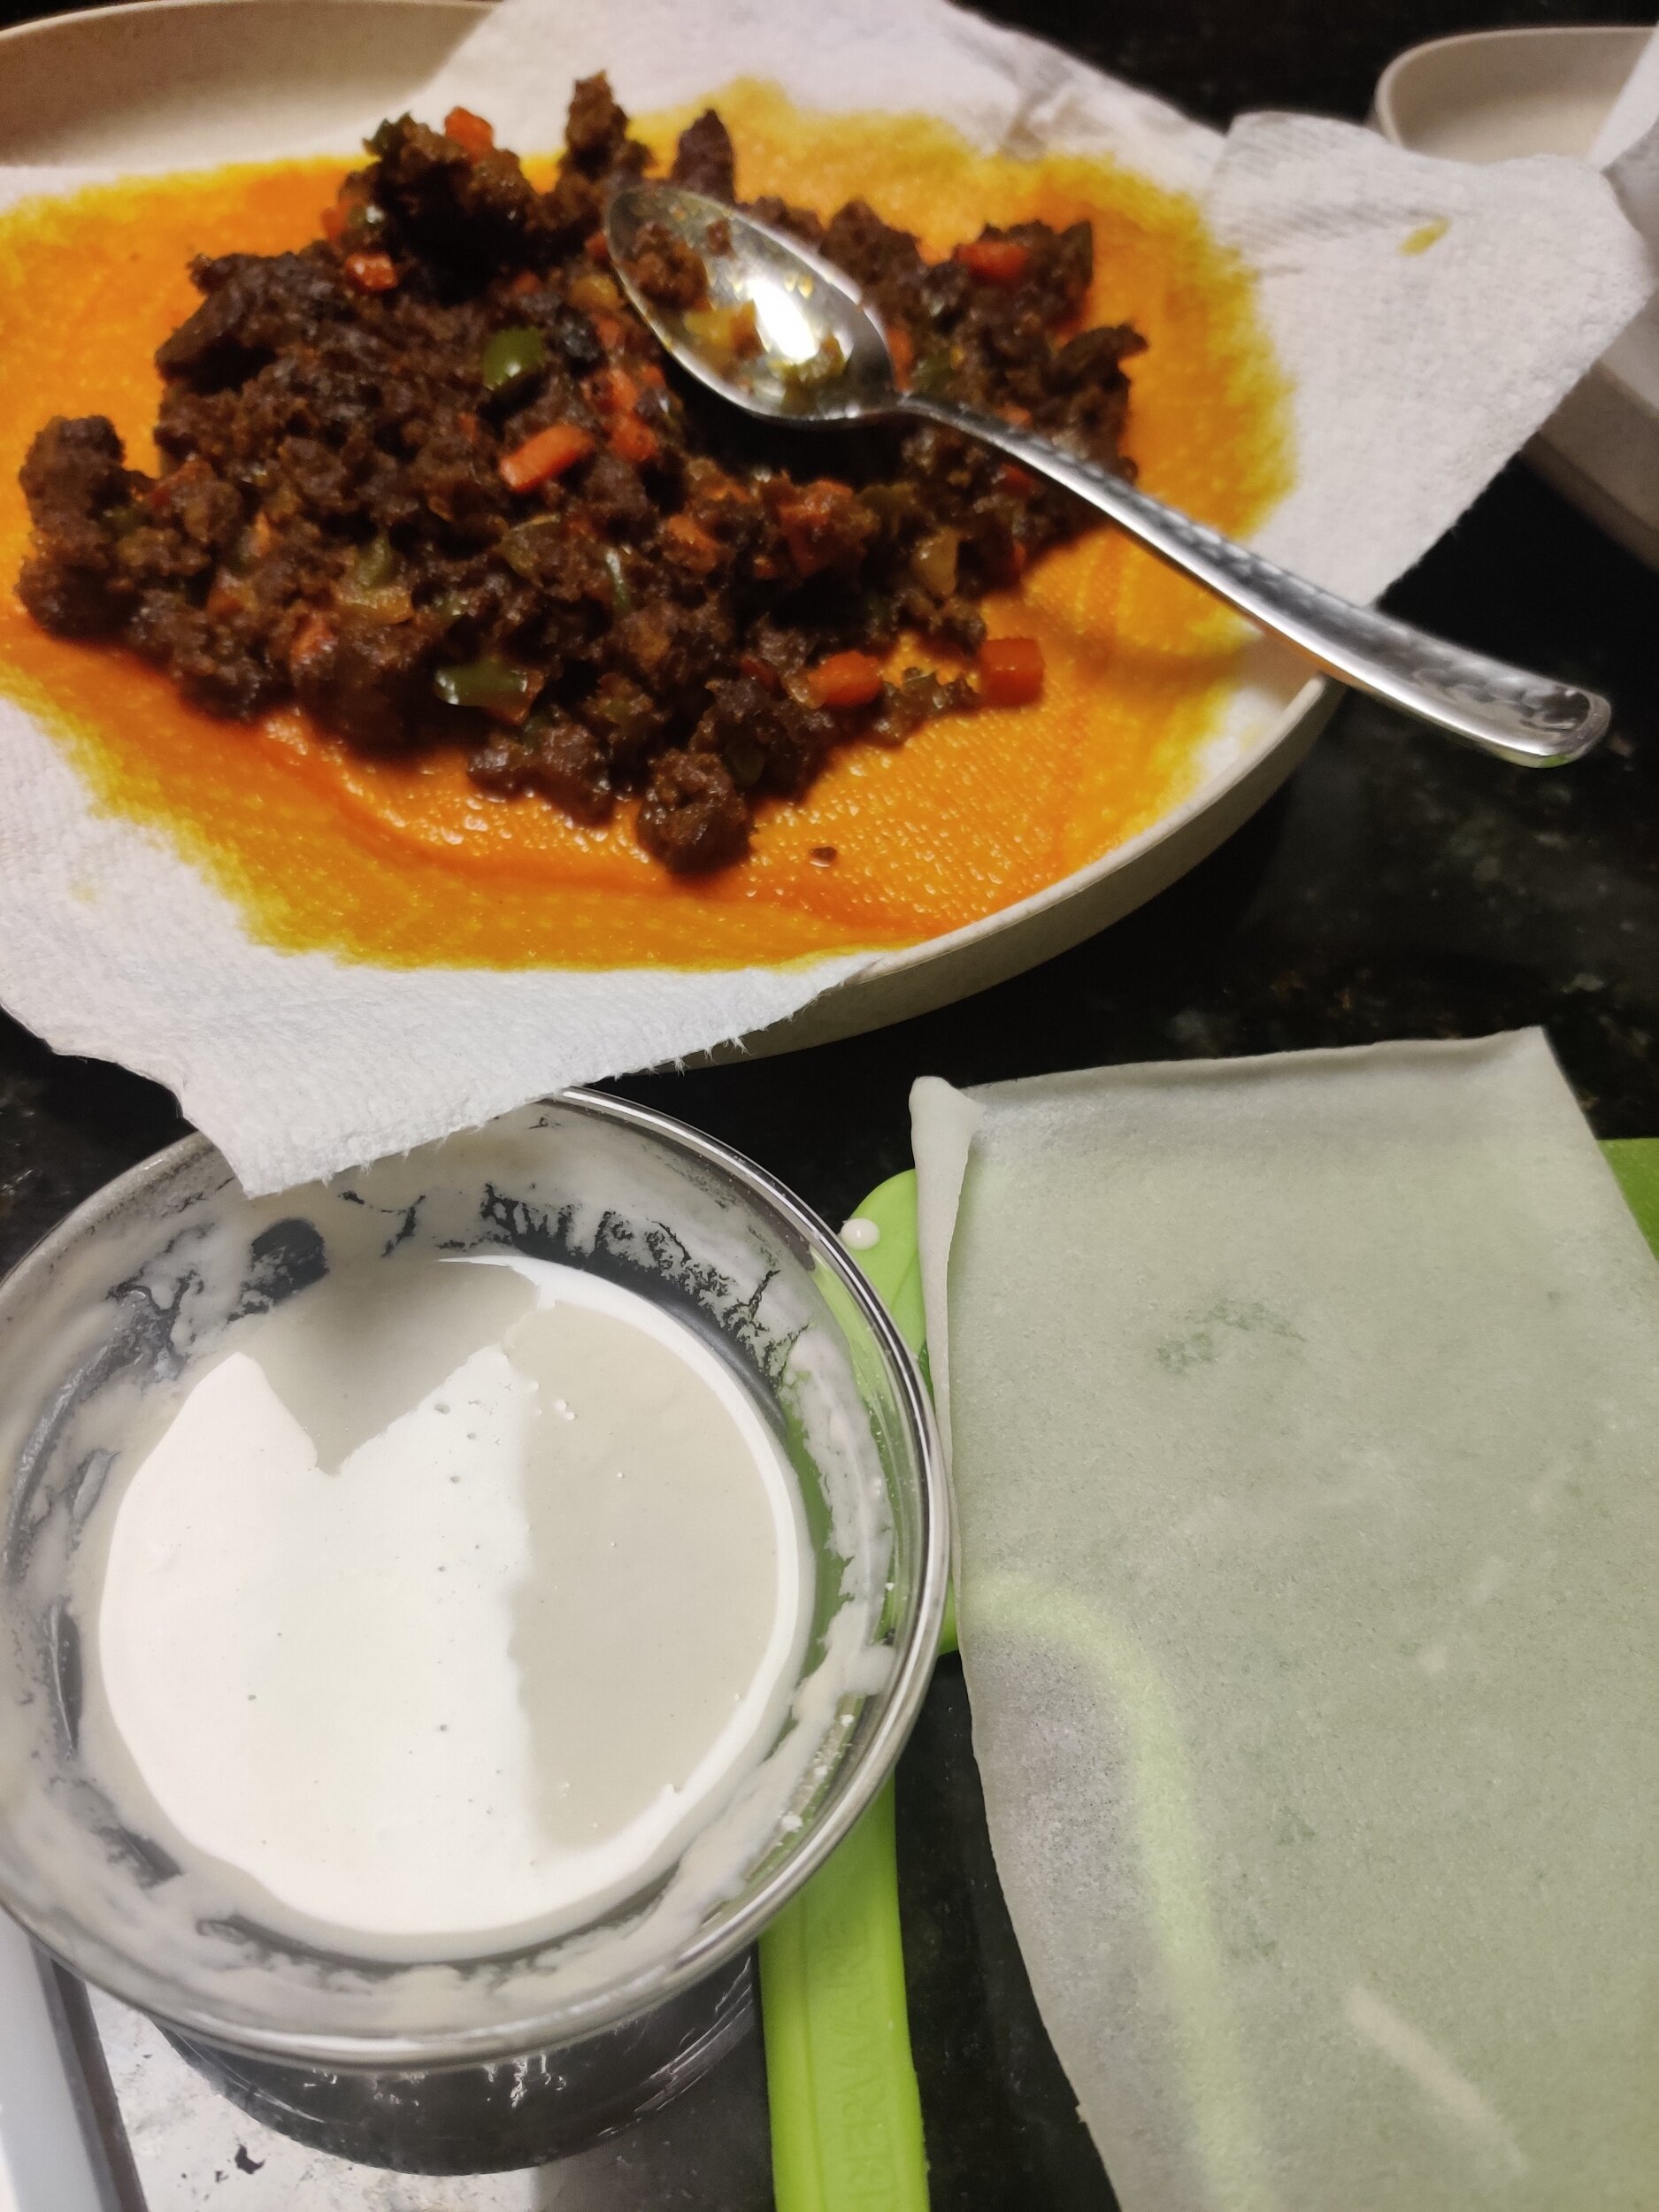
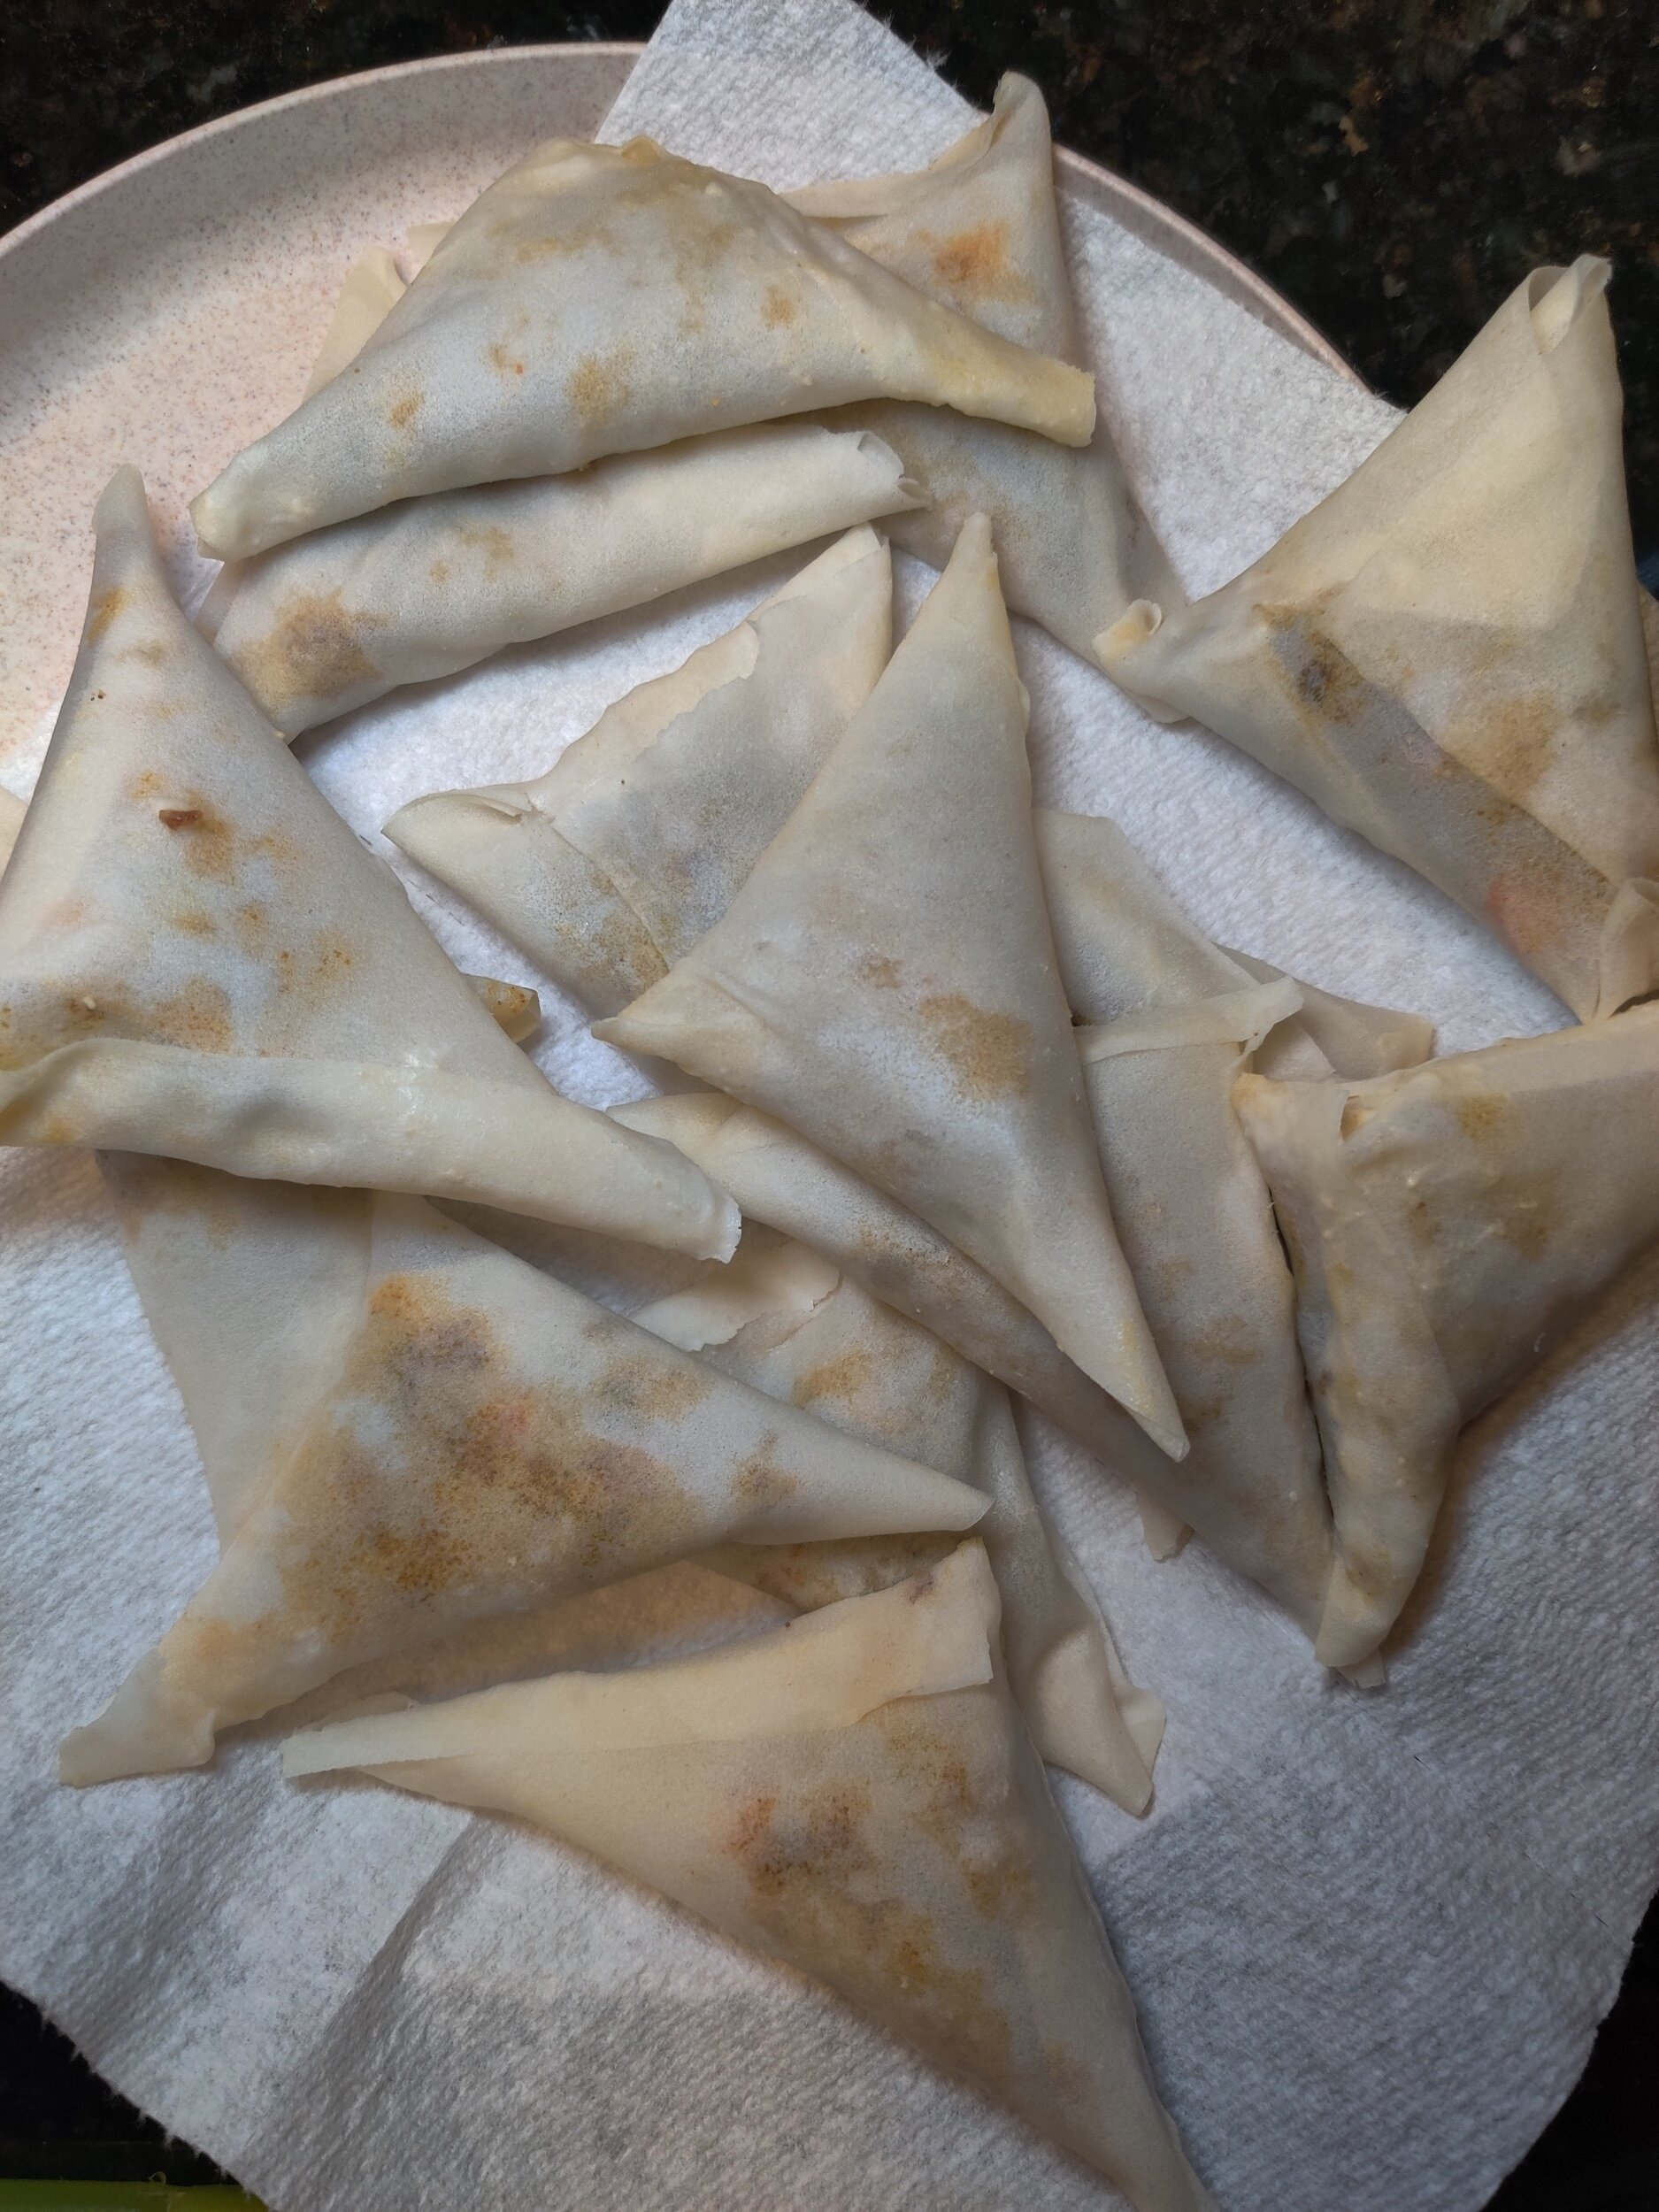
Prepare the samosa sheets according to the package instructions, and ensure they don't dry out. To fill them, fold a bottom corner into a triangle of each samosa sheet, then another triangle to make it a double pocket. Add the filling, sealing the sides with the flour and water mix as needed. Check this video out for clear steps!
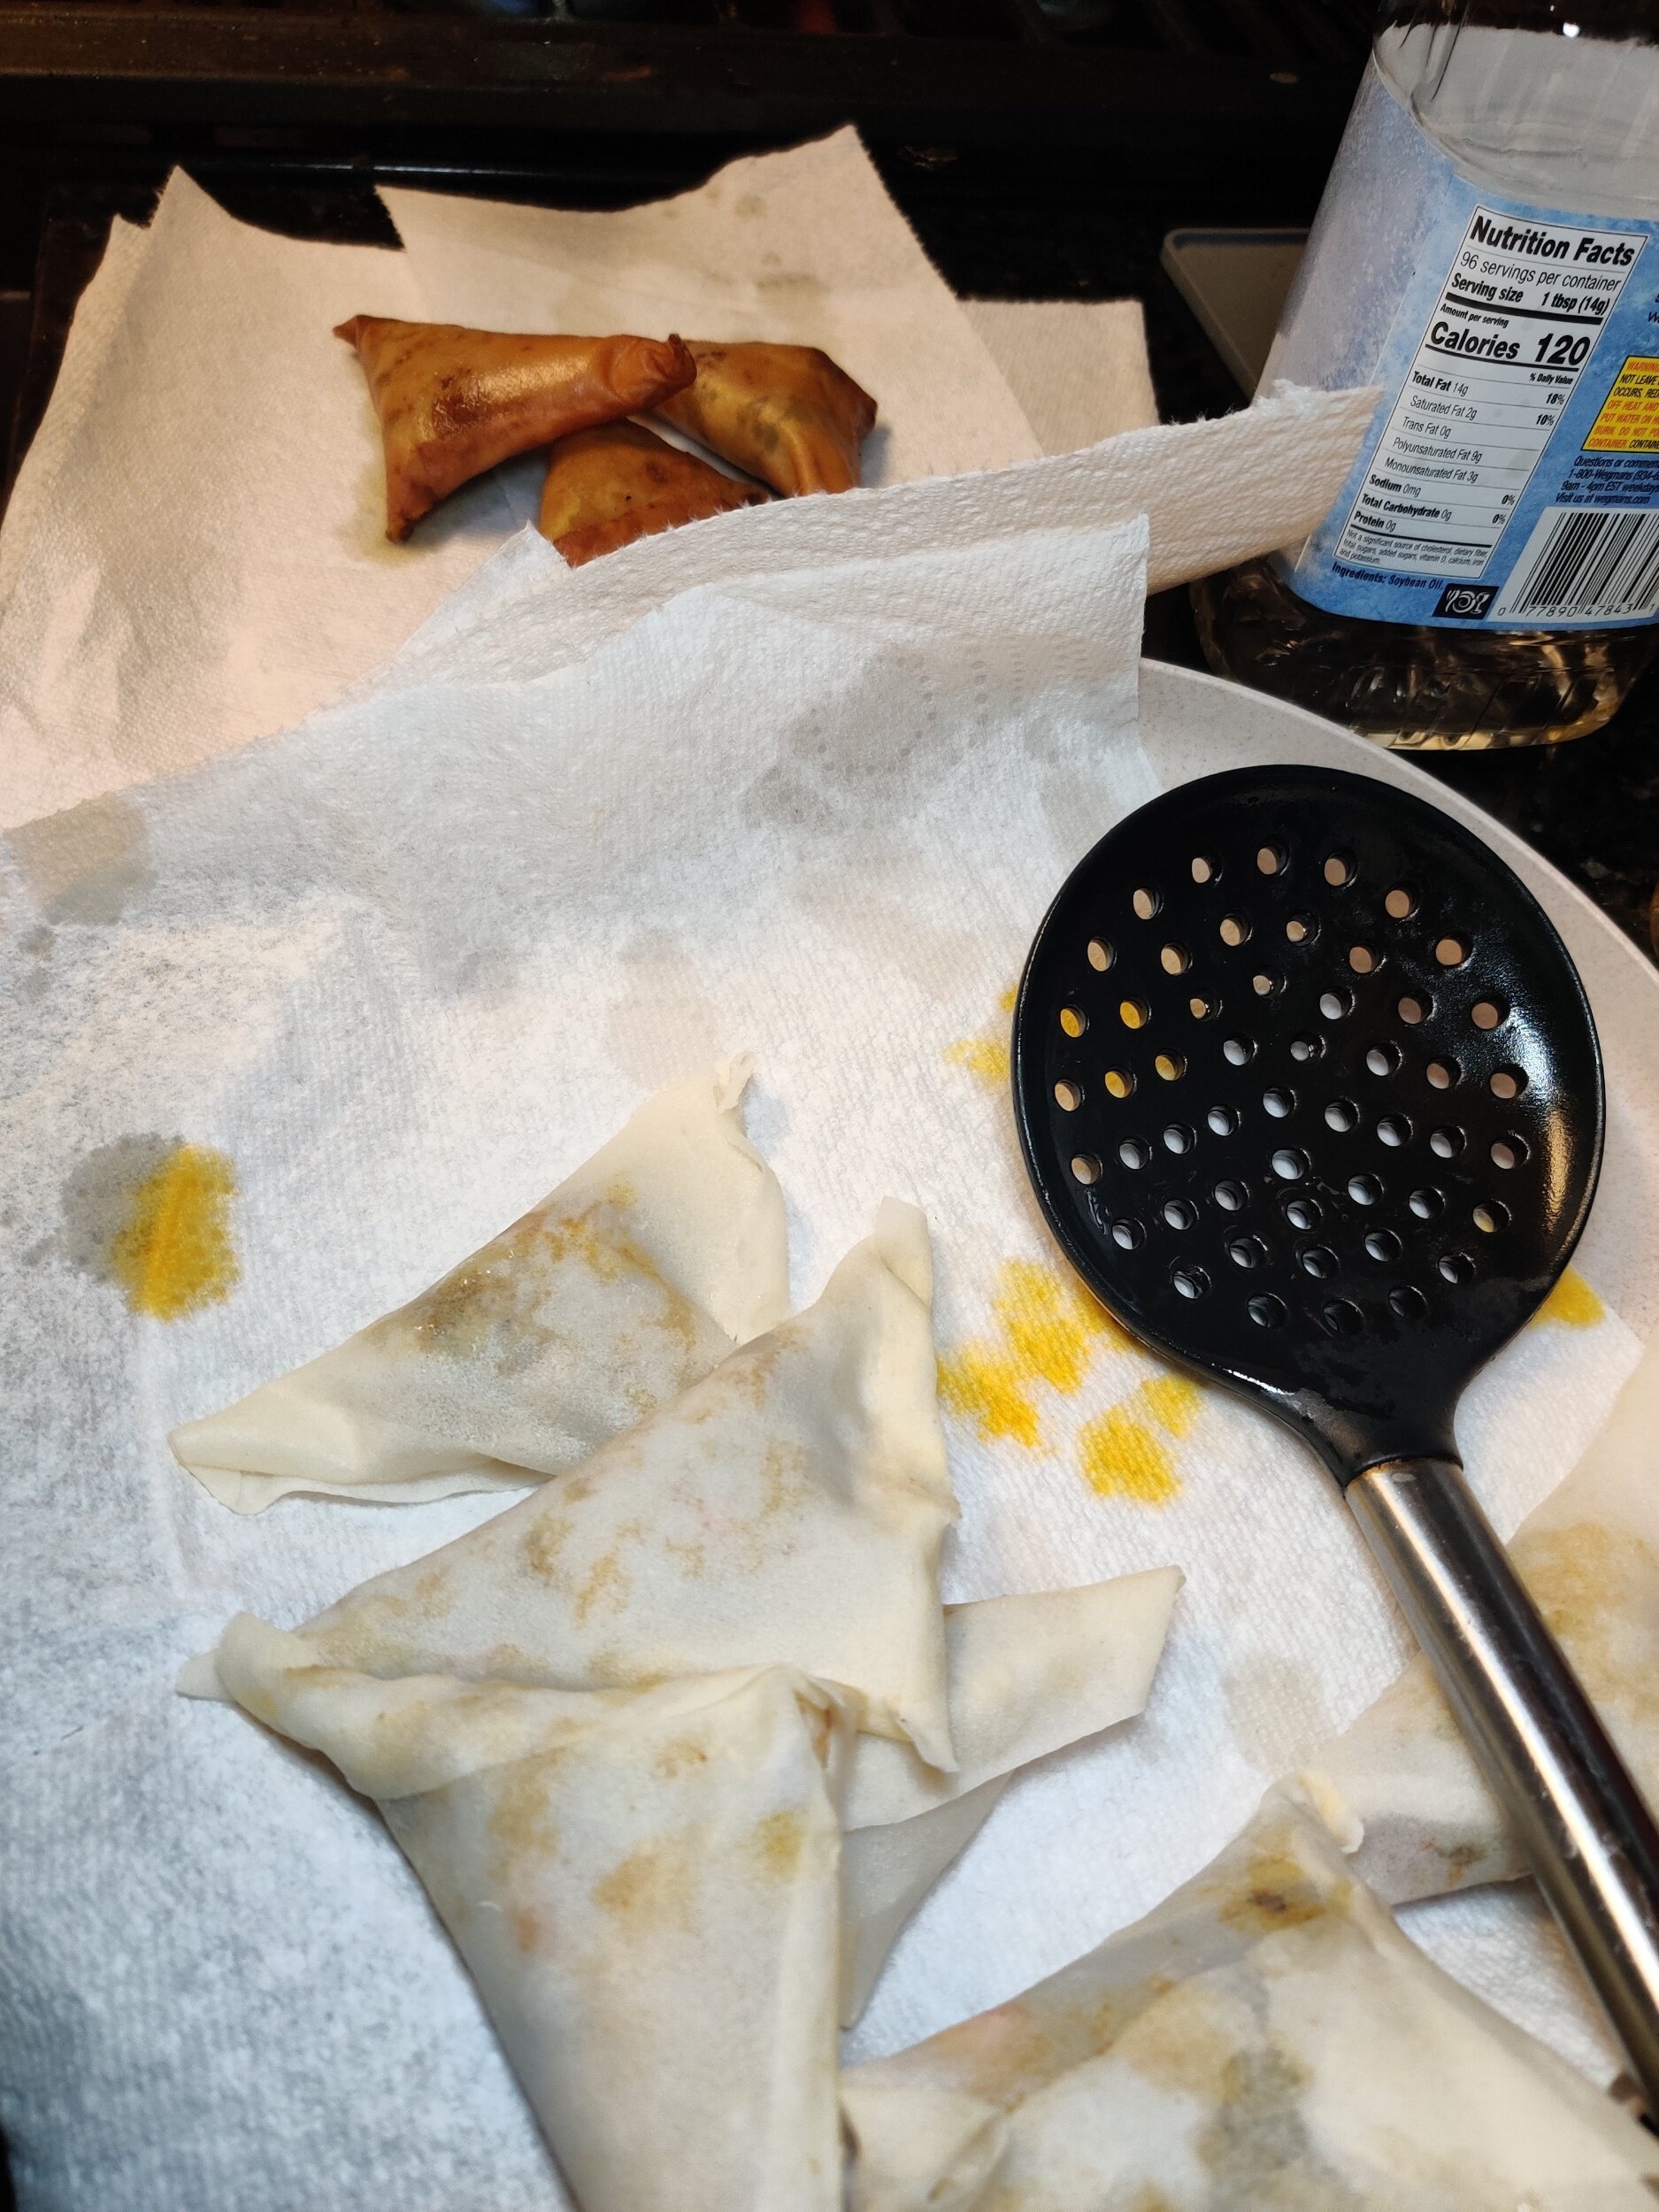
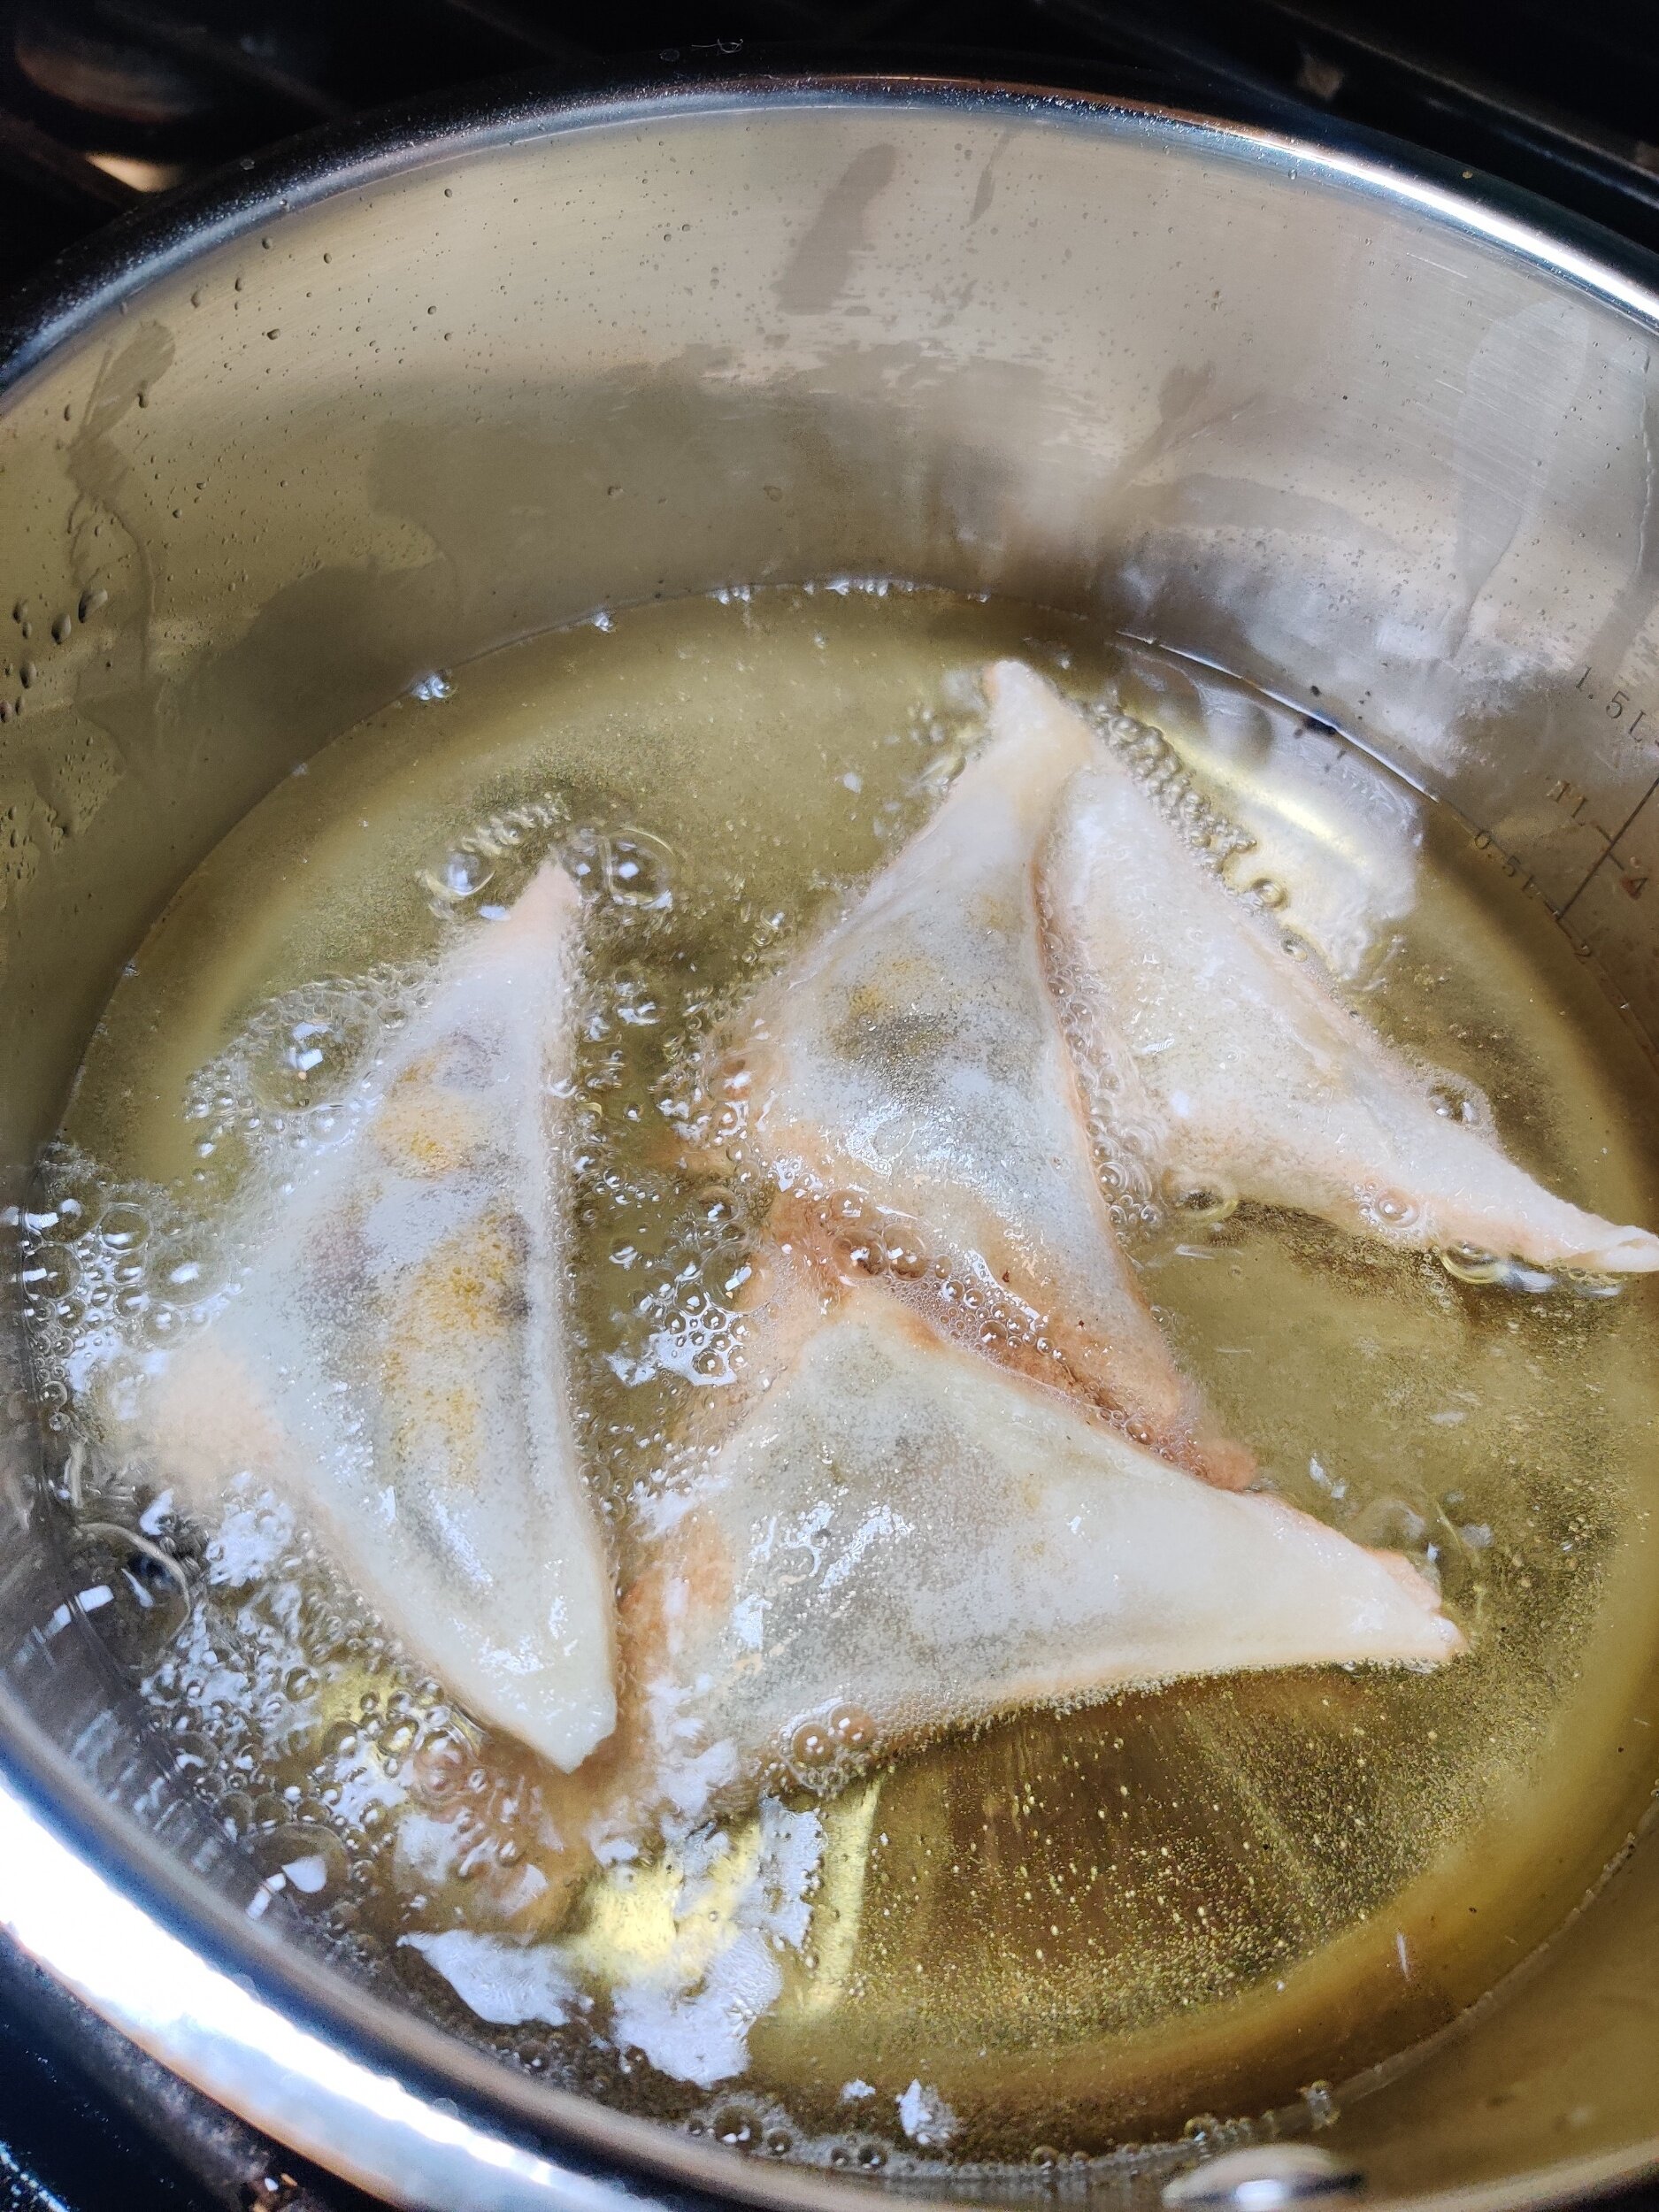
Fry the samosas in vegetable oil for one minute per side, then place on paper towels to drain the extra fat. Don't overcrowd the pot to help them cook evenly.
Serve with the mango chutney (cold or room temperature) and sour cream.


Fried Pumpkin Flowers
In Zimbabwean cuisine, the pumpkin leaves (nhanga) known as muboora are commonly consumed as a relish or dried first, often stewed with peanut butter. They can be bitter similar to mustard greens, and a little tough - but nothing a little bicarbonate soda can't fix. Neighbouring countries like Mozambique like to add shrimp and coconut milk to the mix.
This recipe is super easy and makes for a light and fluffy batter, thanks to carbonated tonic water and egg white.
You'll need to be gentle with them, not overly dredge in batter and shake the excess off, not wash them roughly, and try to keep them as dry as possible before frying. Inspect the flowers for pollen and anything else.


How do they taste? Next time you see the flowers at the farmer's market, give them a try! In this case, sweet and subtle, a floral taste, not like a pumpkin, but delicious and melts in your mouth. Not only can you fry them in a light batter, but you can also stuff the flowers with a filling of your choice and bake or fold them into tortillas.


Fried Pumpkin Flowers
Ingredients
- 12 clean pumpkin flowers
- 1/2 cup + 2 tablespoons flour
- 1 egg white
- 3/4 cups tonic water
- 1 teaspoon sugar
- 1/2 teaspoon table salt
- Sea salt crystals
Instructions
- In a shallow bowl, add the flour, table salt and sugar, set aside.
- Heat your oil in a pan; it should be about 300F+ at the time of frying - you can use a thermometer to check. Make sure the panhandle is turned away from you/not easy to knock over.
- Beat the egg white until stiff peaks form.
- Whisk the tonic water into the bowl into large lumps are gone, and flour is mostly dissolved - don't over mix to keep the batter airy and light from the carbonation. Gently fold in the egg whites.
- Dip each flower carefully into the batter, shaking off excess before placing it in the hot oil )(away from you to avoid the splatters). Keep a close eye; they fry quickly! Flip over after about 20 seconds (30 seconds if you want the batter a bit brown more, though it lightens up a bit after cooling).
- Remove from the pan with a draining spoon and place on paper towels to absorb extra fat. Sprinkle with sea salt crystals and enjoy hot.
Nutrition Facts
Calories
72Fat (grams)
3.5Carbs (grams)
8.7Sugar (grams)
5.1Protein (grams)
1.4
Double Chocolate Hazelnut and Aero Mint Ice Cream with Shortbread (No-Churn)
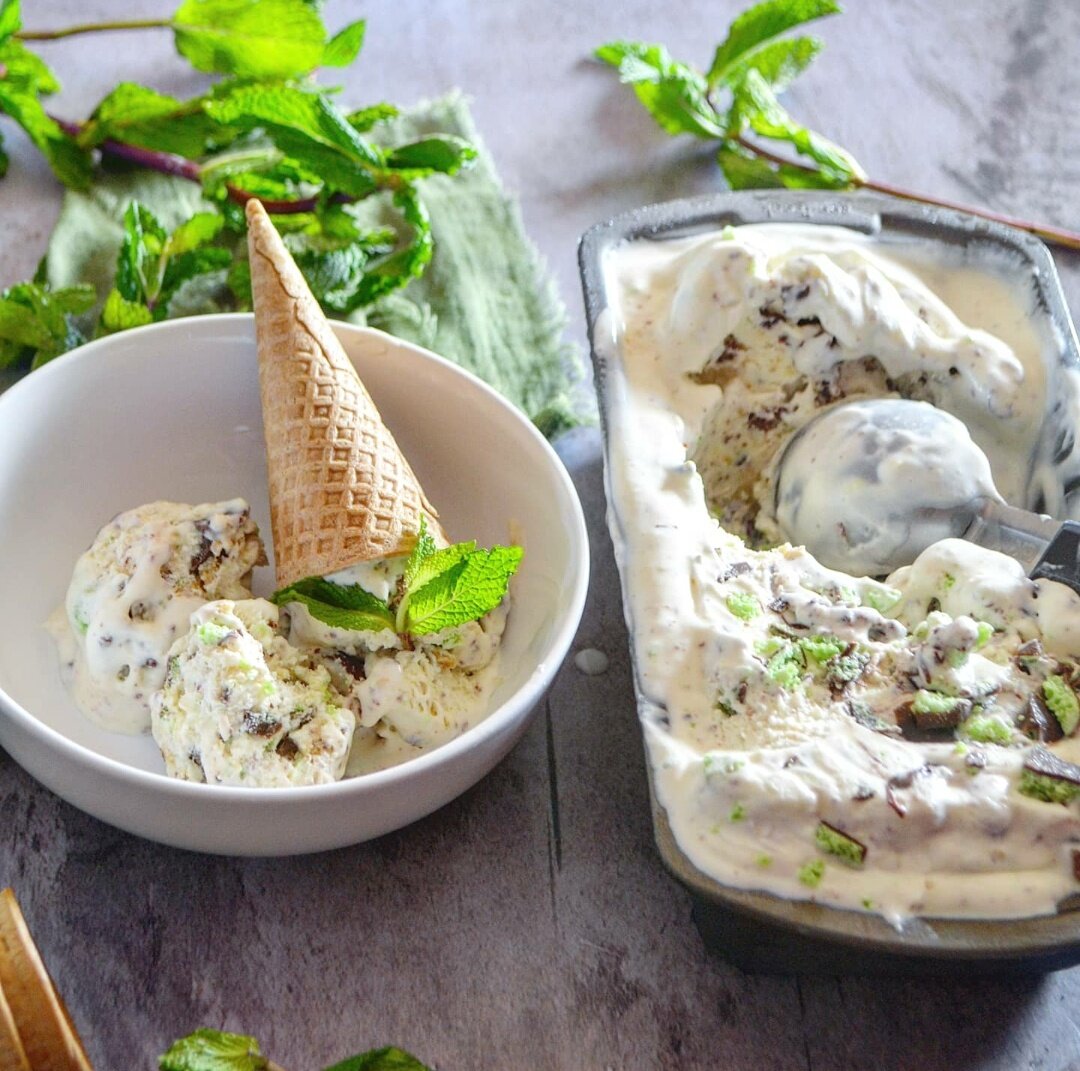
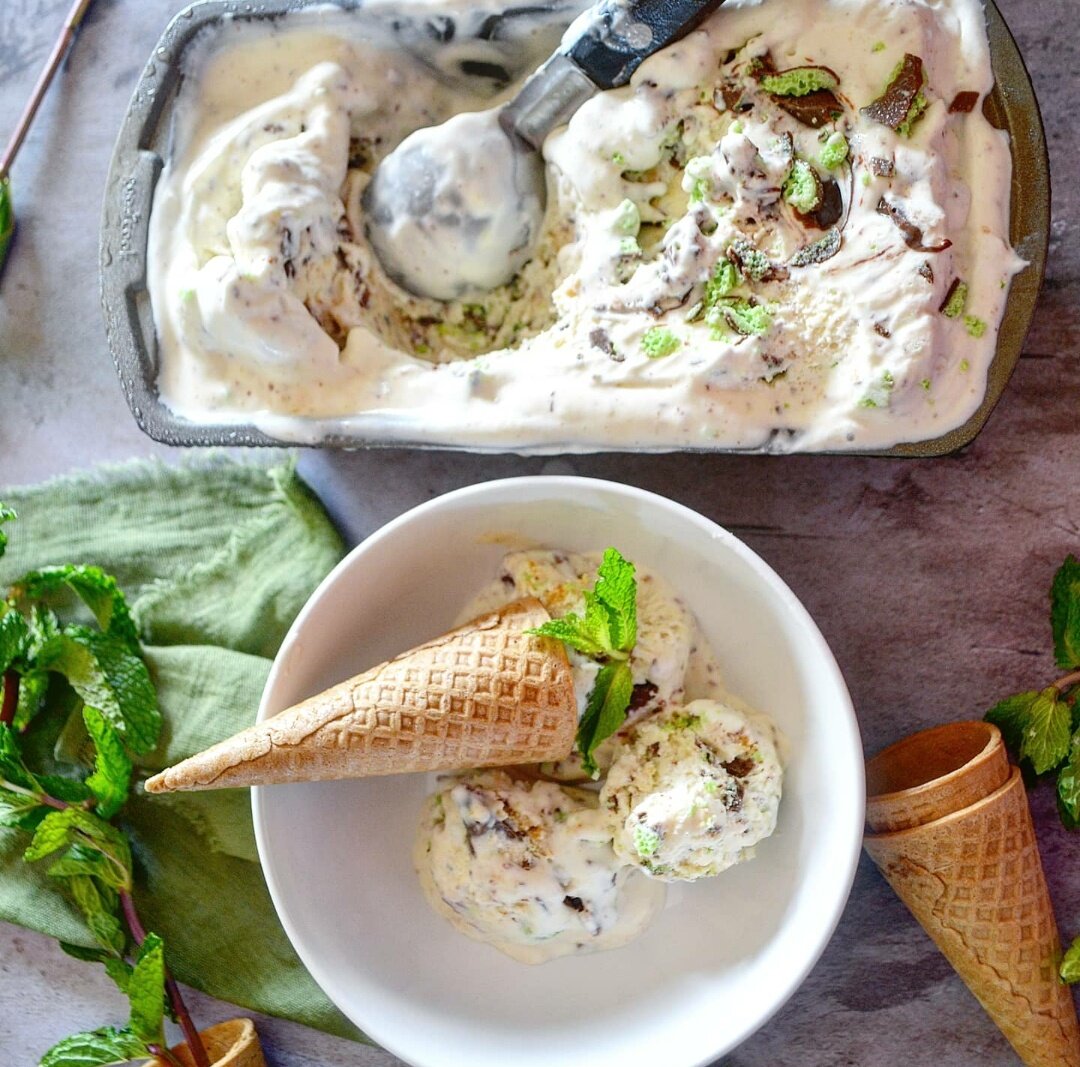
Ice cream is too easy to make at home to be constantly buying store-bought pints! And no, you don't need an ice cream machine. You can get creative and add in all your favourite sweet treats to the creamy heat reliever. You also have a better sense of what you are adding to the mix from a nutritional perspective.
Aero chocolate is unique because it's aerated, i.e. has an air bubble texture, making it one of those candy bars that truly melts in your mouth. Made in the UK and sold across southern Africa, it's one of the chocolate bars I grew up on.
If you are looking for another no-churn ice cream recipe, try this peach crumble with bourbon ice cream. This one takes a different turn but still celebrates the summer heat with chocolate, hazelnut, refreshing peppermint, and another melt-in-your-mouth sweet treat - shortbread! The textures and flavours swim in cream and condensed milk waves effortlessly, making this recipe a win-win perfect for the whole family!


Double Chocolate Hazelnut and Aero Mint Ice Cream with Shortbread (No-Churn)
Ingredients
- 2 cups heavy cream
- 1 (14-ounce can) condensed milk
- 1 teaspoon vanilla extract or paste
- 4 Aero chocolate bars (I used 2 peppermint and 2 chocolate)
- 3 shortbread cookies
- 3 teaspoons chocolate hazelnut spread
Instructions
- Whip the cream to form soft peaks for about 3 minutes (don’t overbeat to avoid separation occurring).
- Fold in the condensed milk and vanilla extract. Whip again for about a minute to form a stiff but smooth consistency.
- Crush the chocolates and shortbread (set some chocolate aside to sprinkle on top), then fold into the ice cream base.
- Transfer to loaf pan, then use a small spatula to even the surface. Place dollops of the chocolate hazelnut spread on top, then make a swirl motion utilizing a knife or small spatula to mix it in.
- Place a layer of cling film directly on top of the ice cream, then use another to seal tightly - the plastic will help prevent too much ice crystalizing on top.
- Freeze overnight. When ready to serve, leave out the fridge for 5 minutes, then enjoy!
Nutrition Facts
Calories
332Fat (grams)
17.9Carbs (grams)
36.7Protein (grams)
5.1I am not a certified nutritionist and any nutritional information on dontmissmyplate.com should only be used as a general guideline.


Sadza Nenyama (Beef and Kale Stew)
Sadza nenyama is not just a recipe, it is the default setting of the Zimbabwean table. Sadza, a thick cornmeal porridge cooked to a firm, smooth consistency, is the foundation of almost every traditional meal. Nenyama means "with meat," and together they form the most recognisable plate in Zimbabwean cooking: a dense, satisfying starch paired with a slow-cooked, tomato-based beef stew that fills the kitchen with the kind of smell that means someone is home.
This version uses beef chuck simmered low and slow until the meat breaks down into the broth, building a rich, deeply savoury sauce that sadza was made to absorb. Kale stands in here for the traditional muriwo, leafy greens cooked simply alongside or into the stew, adding colour, texture, and nutrition without complicating the dish.
Royco Usavi Mix, the all-purpose seasoning found in virtually every Zimbabwean household, does a lot of the flavour work here. If you are outside Zimbabwe and cannot find it, the substitute in the recipe gets you close.
Sadza takes practice. The texture should be firm enough to scoop and mould with your hand, not loose like porridge. The instructions below will get you there.
For more traditional Southern African-inspired dishes, check out:


Sadza Nenyama (Beef and Kale Stew)
Traditional Zimbabwean Sadza with Beef and Kale Stew. Tender beef simmered in tomato and spices, served with hearty cornmeal porridge. Step-by-step instructions included with prep, cook time, and nutrition info.
Ingredients
- 1 lb beef chuck (or other stew cut)
- 1/2 large bunch kale, chopped
- 1 tbsp butter
- 2 tbsp vegetable oil
- 1 tsp salt
- 1 tbsp black pepper
- 3 tbsp Royco Usavi Mix (optional — or substitute 1 tsp cumin, 1 tsp coriander, 1/2 tsp turmeric, 1/4 tsp paprika, 1/4 tsp cornstarch, 1/2 tsp fenugreek powder)
- 1 yellow onion, diced
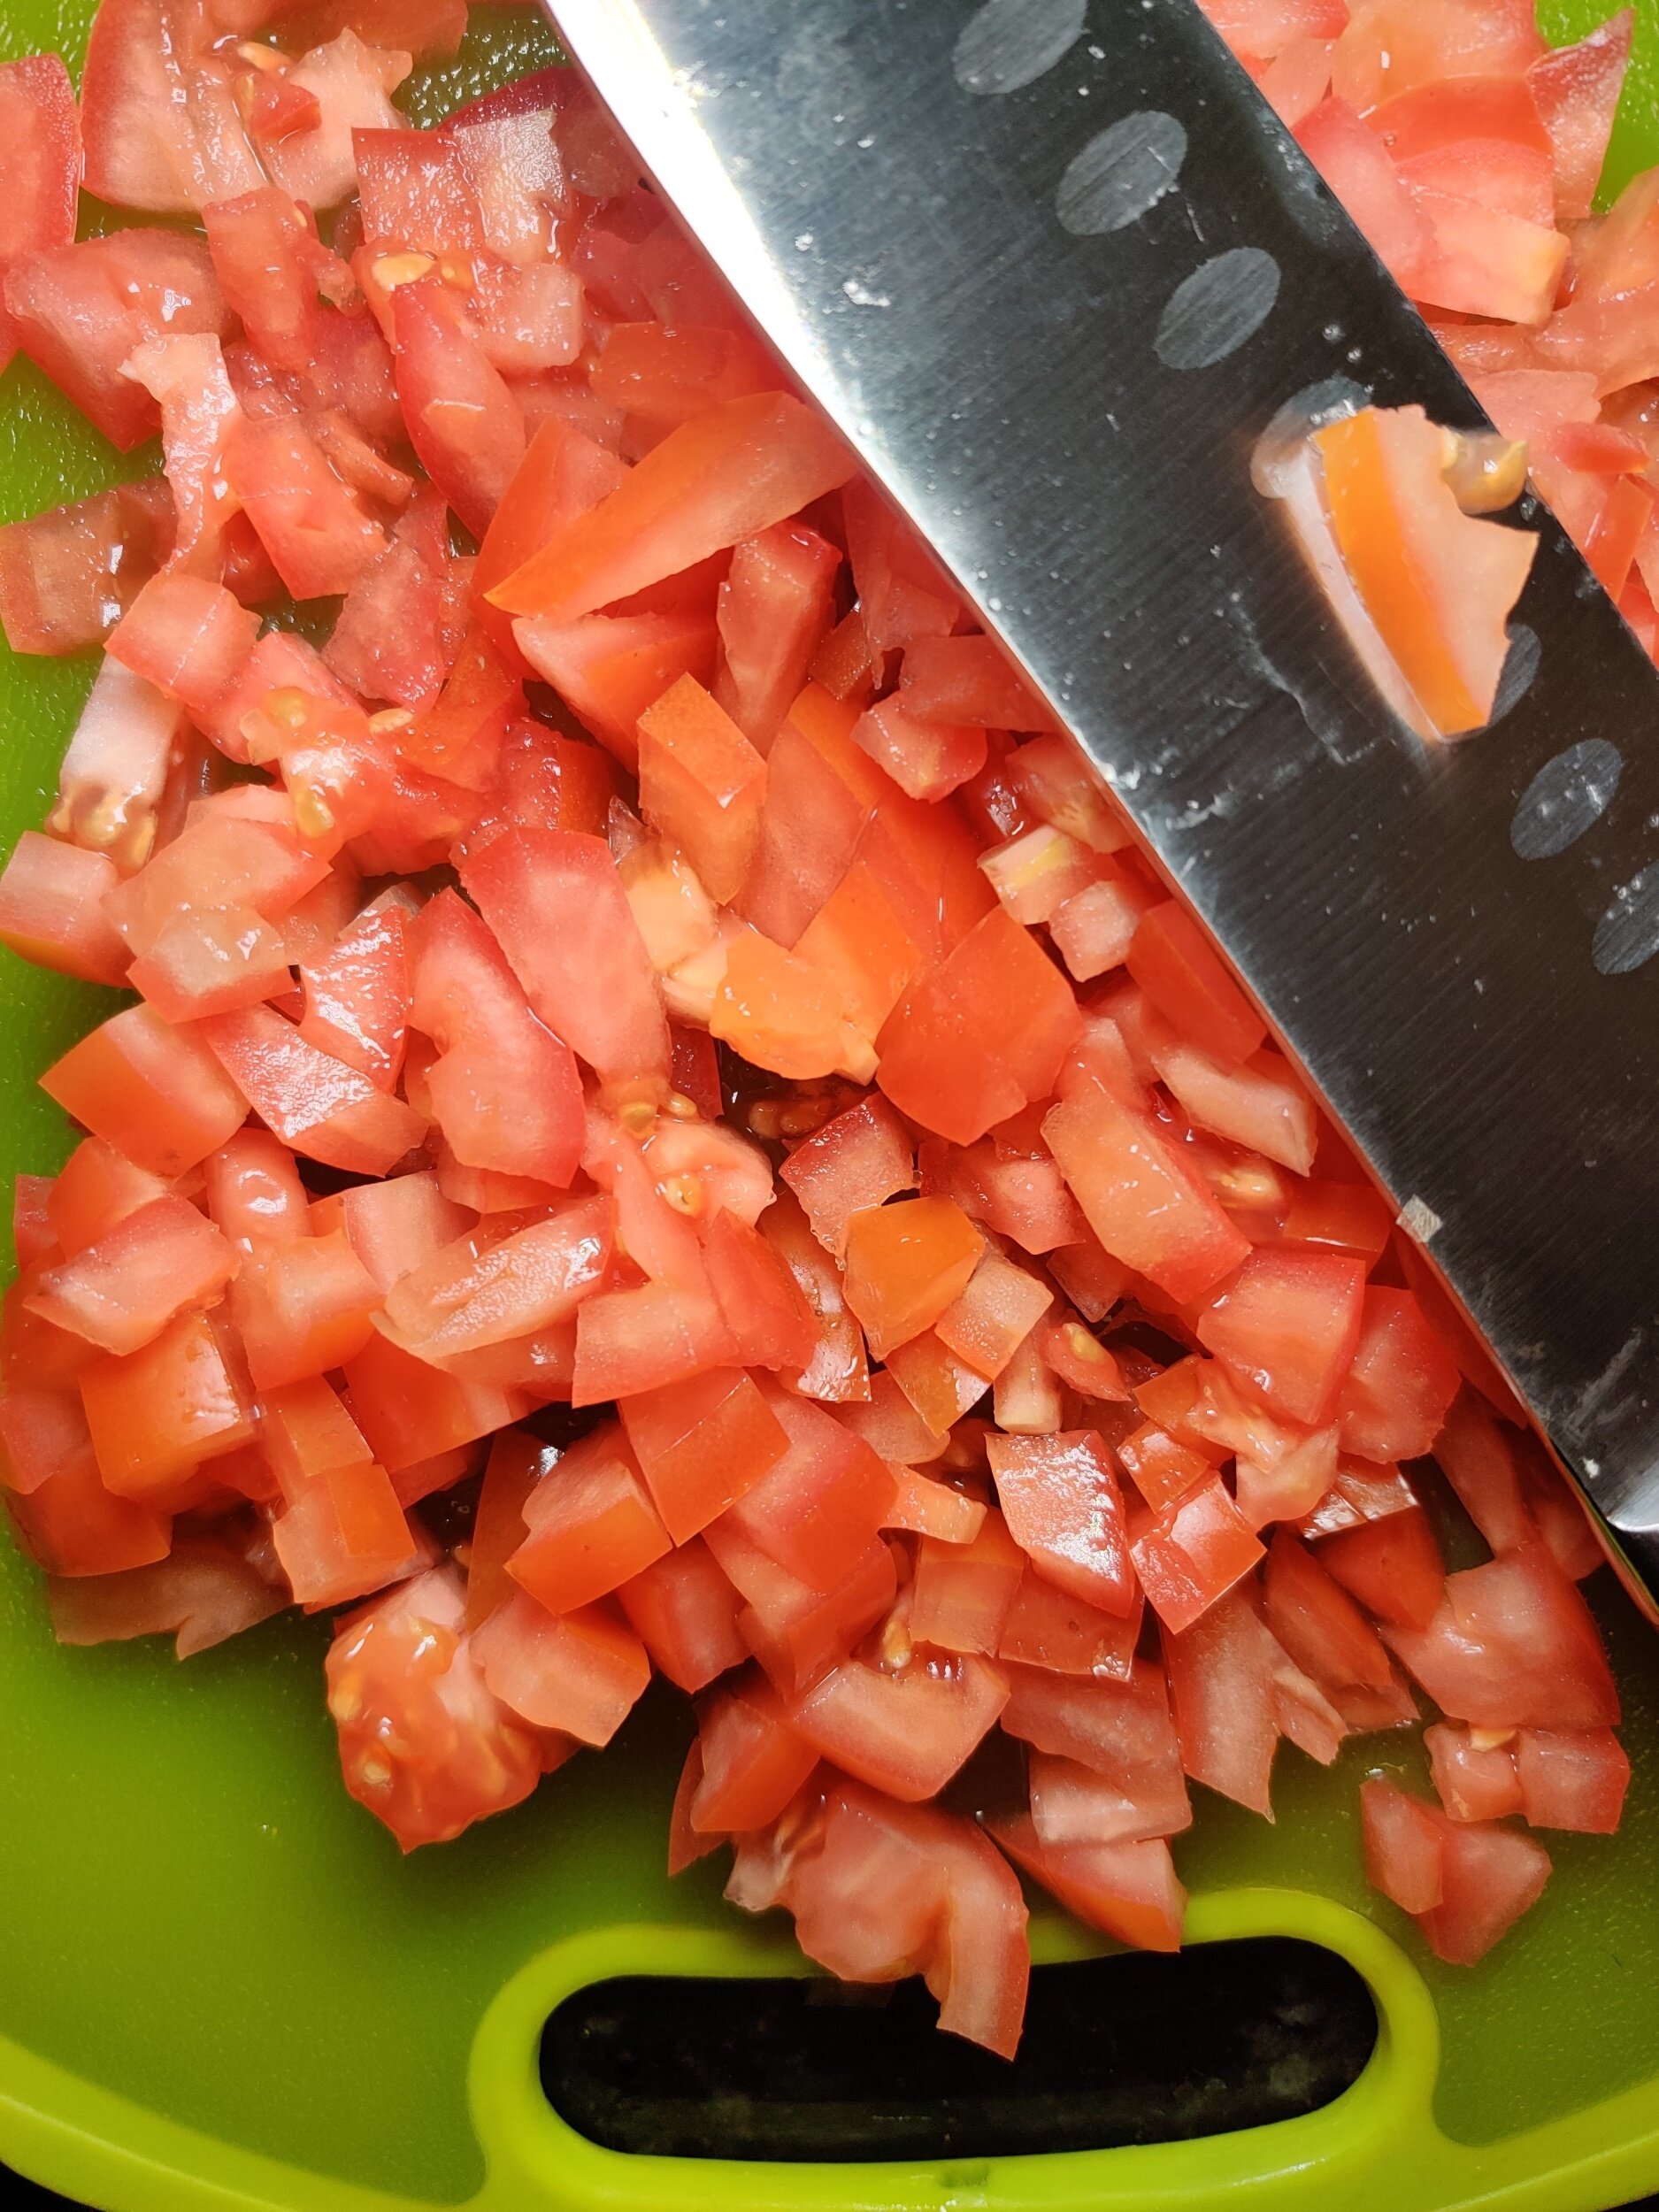
- 3–4 Roma tomatoes, diced
- 1 tbsp garlic, minced
- 1 tbsp chili flakes
- 3 beef or vegetable bouillon cubes
- 3 cups water
- 1 1/2 – 2 cups cornmeal (yellow or white)
- 1 tsp salt
- 3 cups boiling water
- 3/4 cup cold water
- 1 tsp garlic powder
Instructions
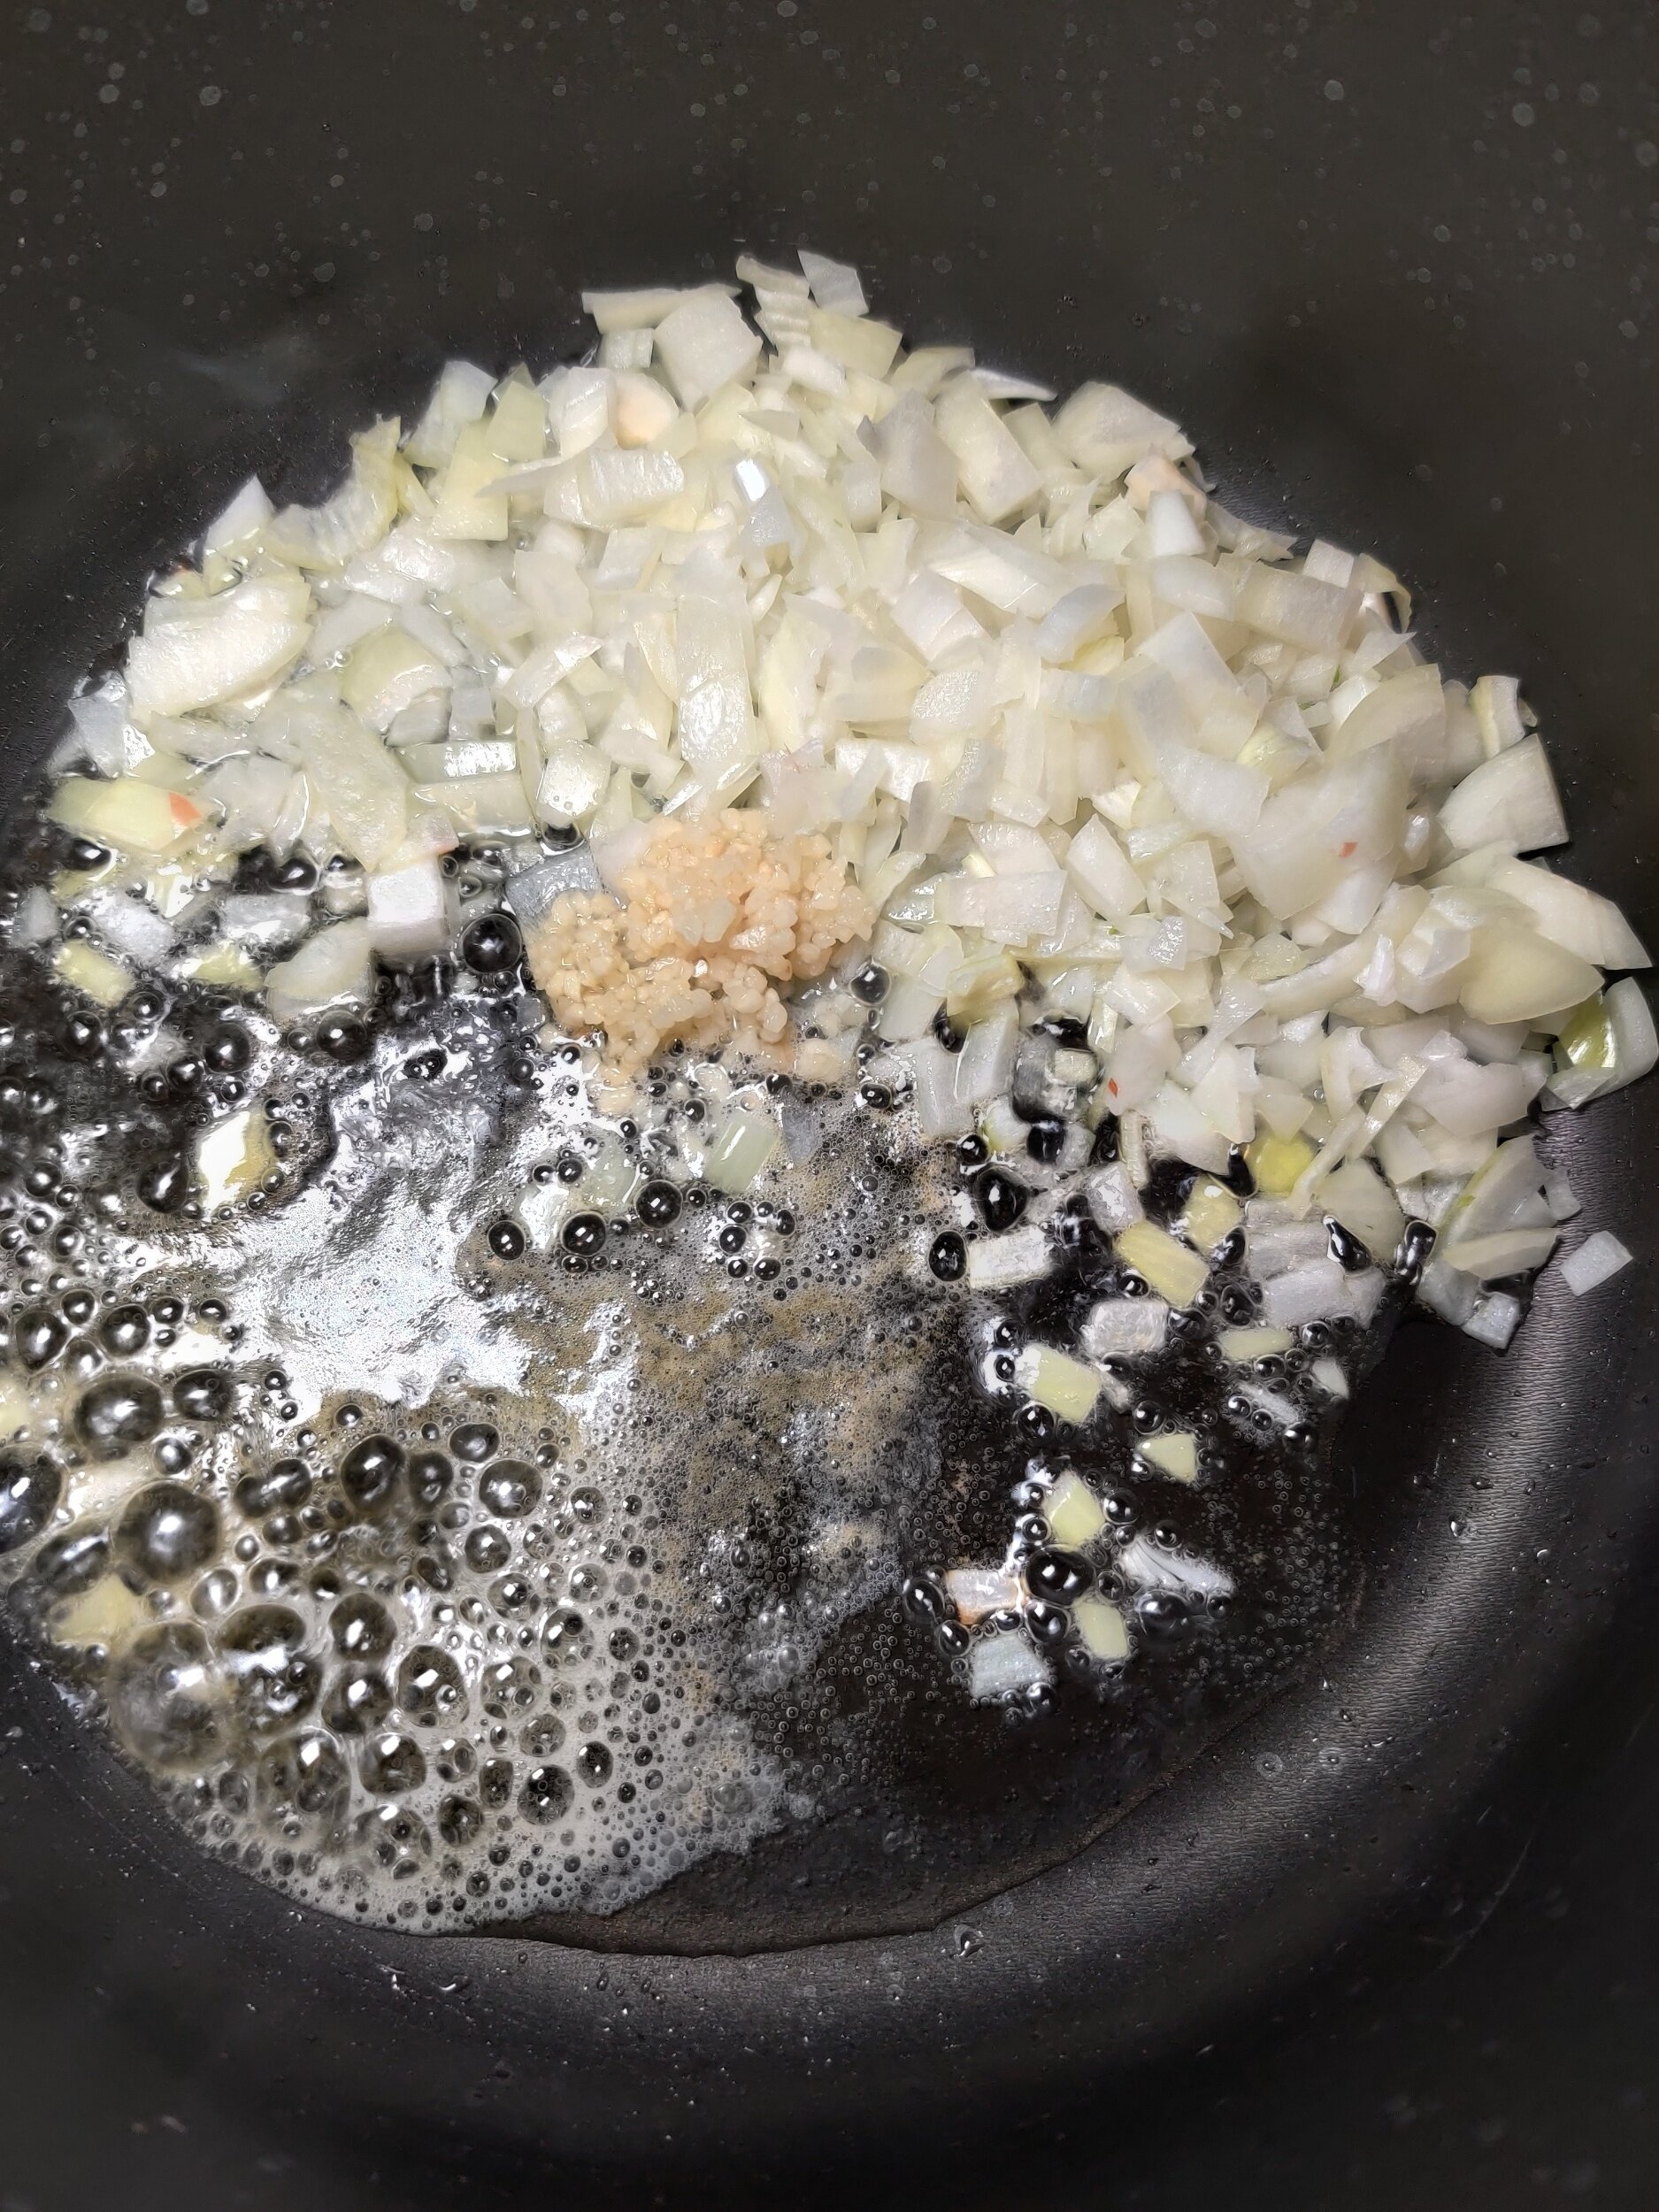
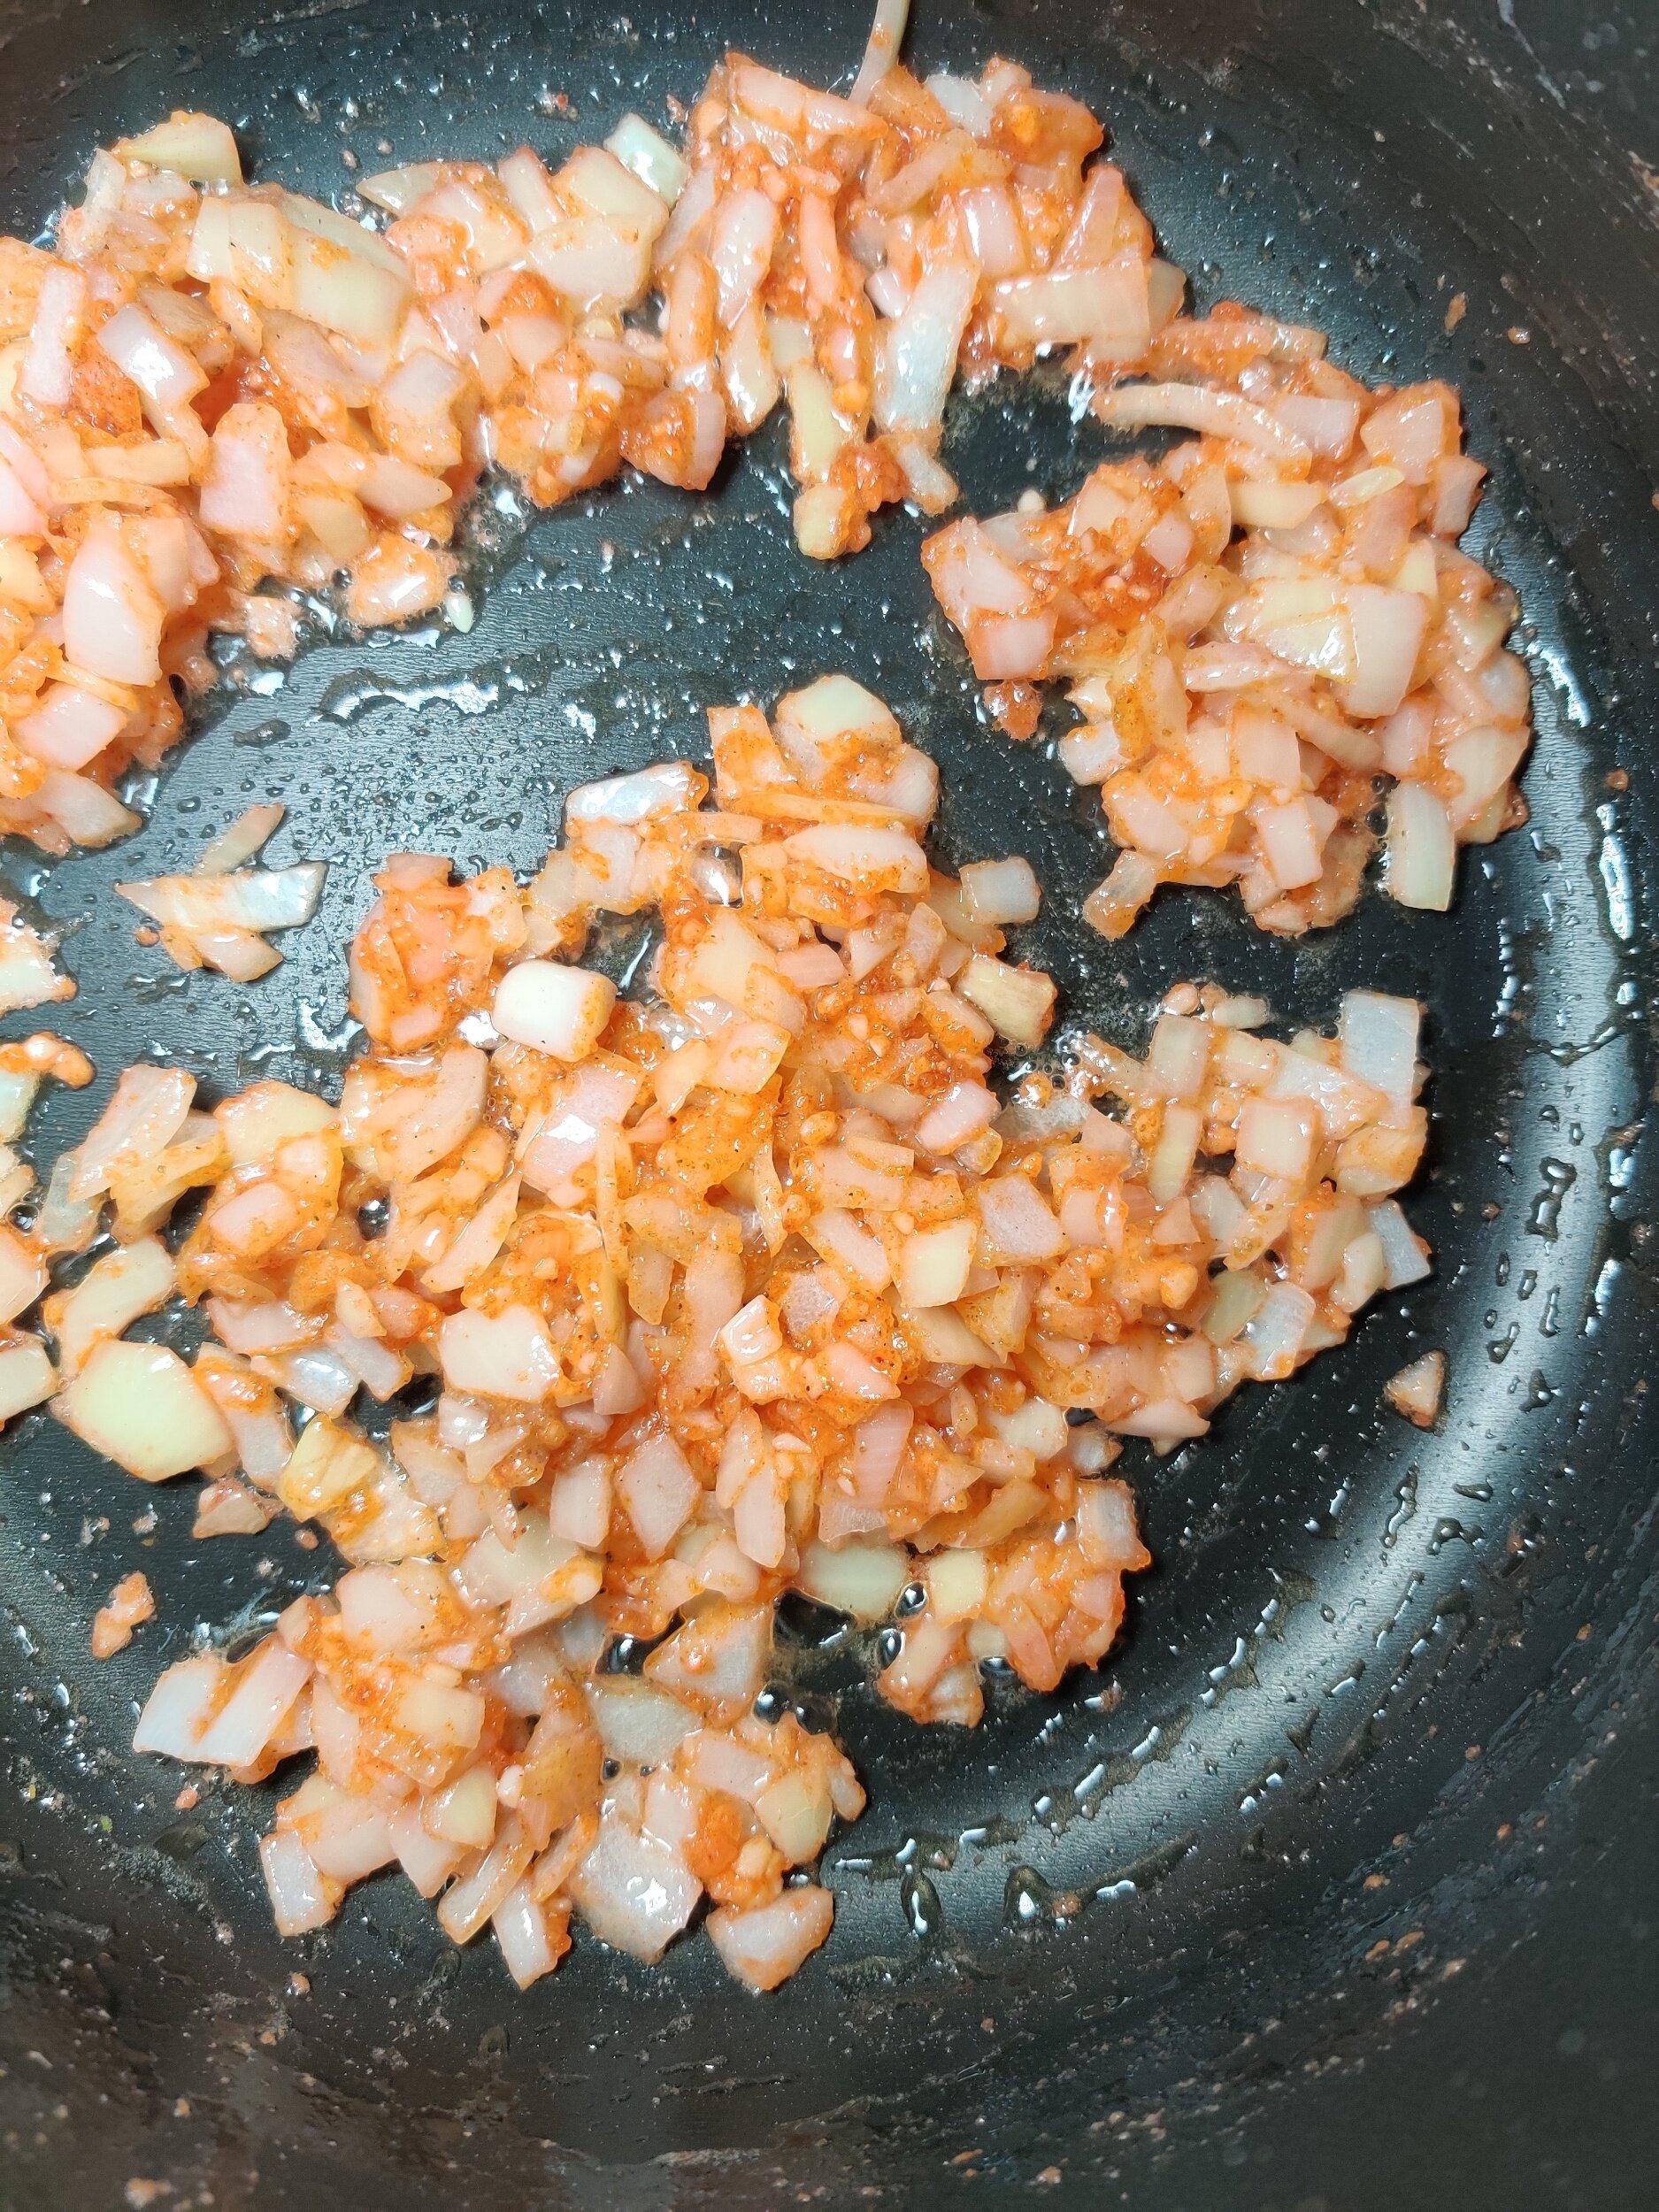
- Heat butter and oil in a large pot. Sauté onion and garlic 3–4 minutes until fragrant.
- Add salt, pepper, and spice blend; cook another 2–3 minutes.
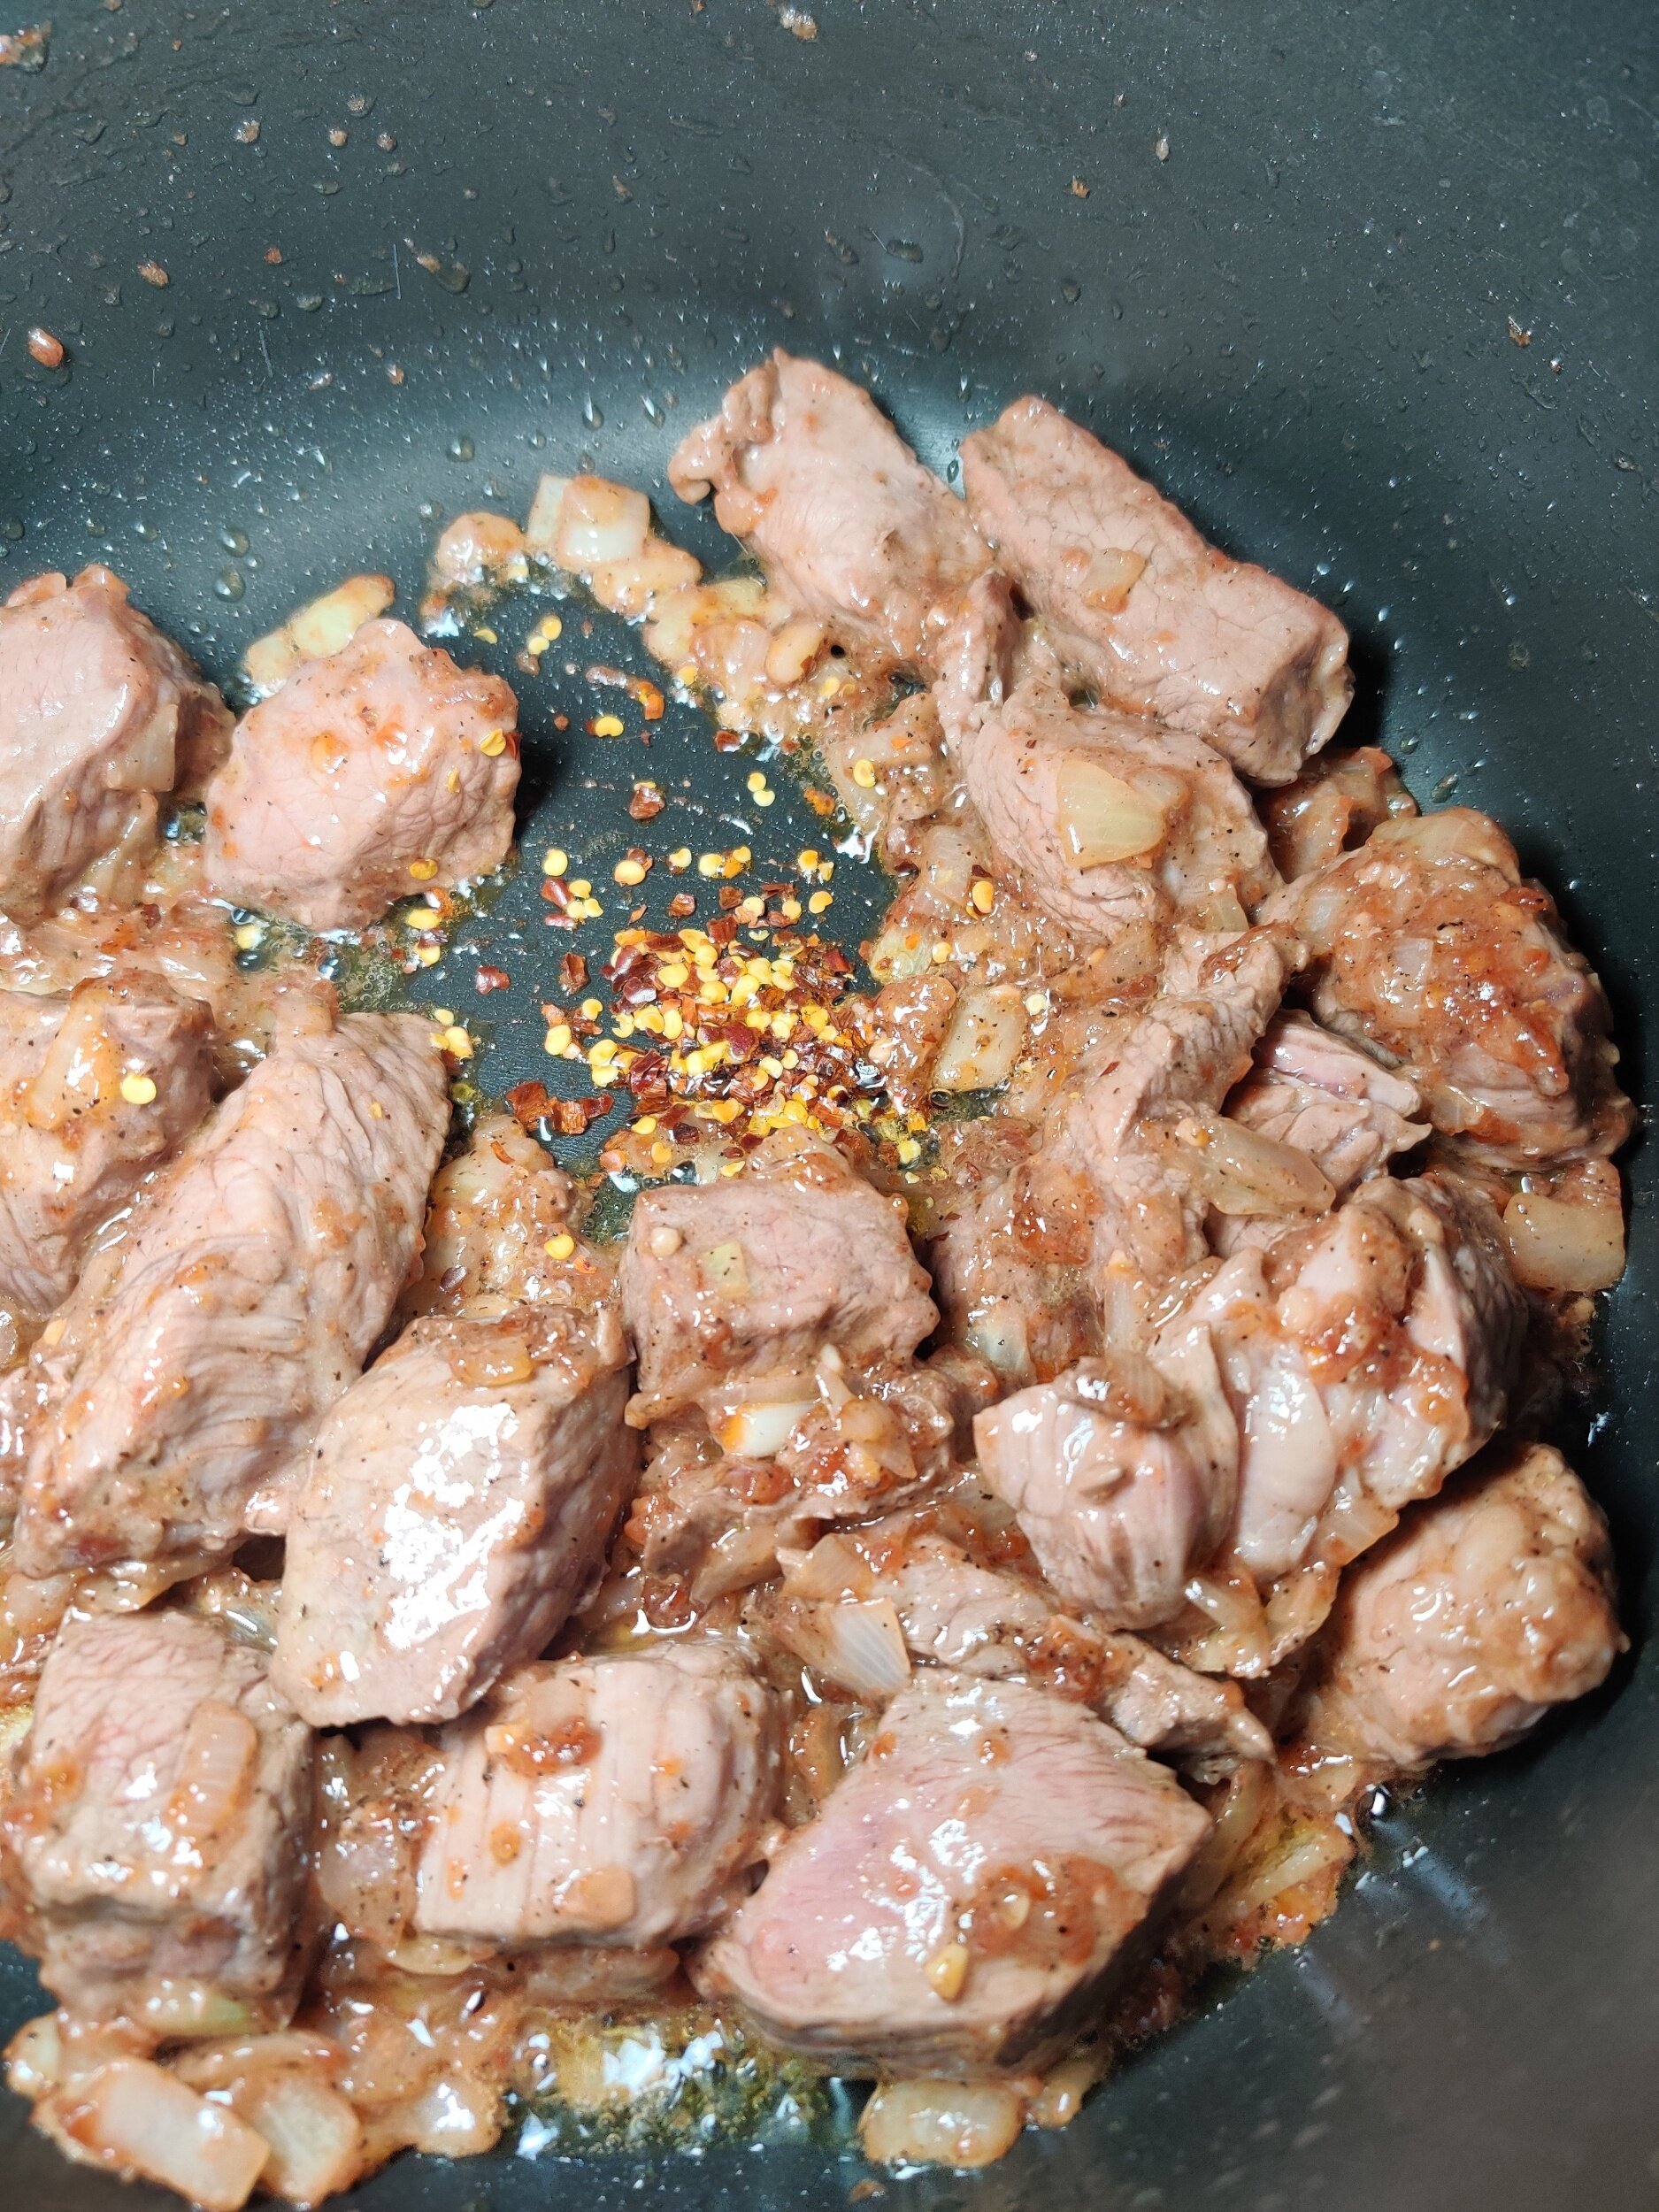
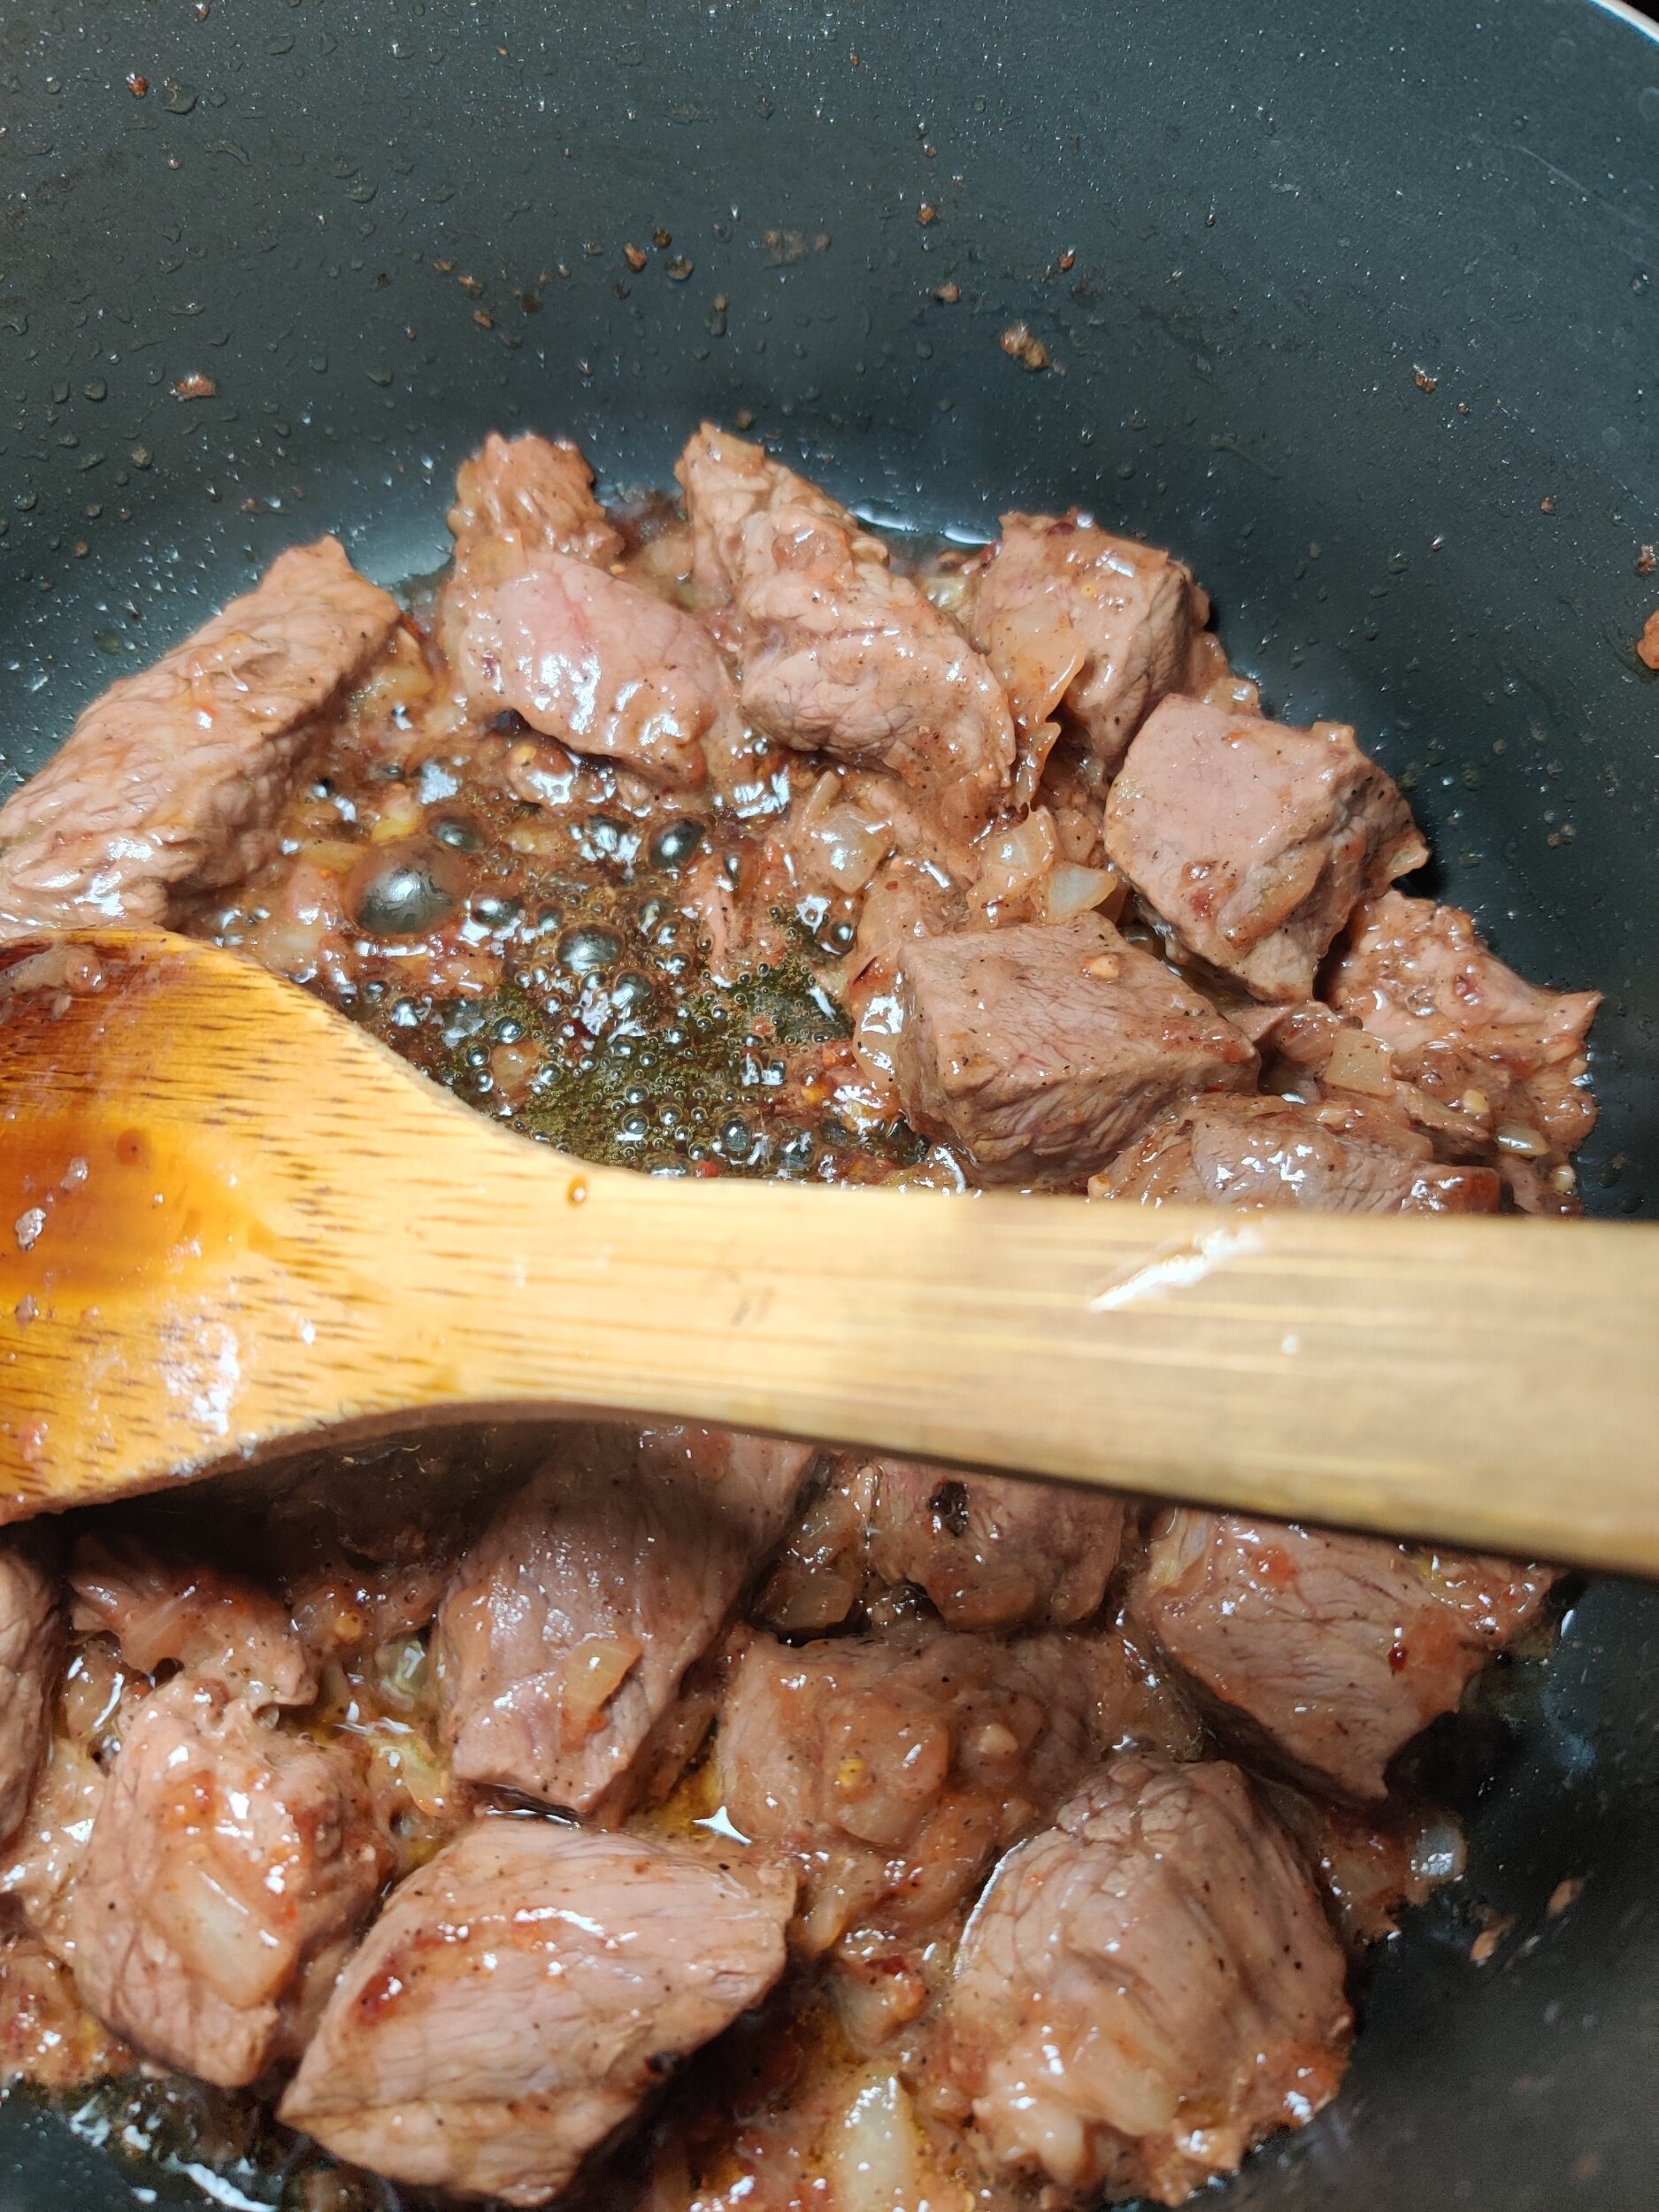
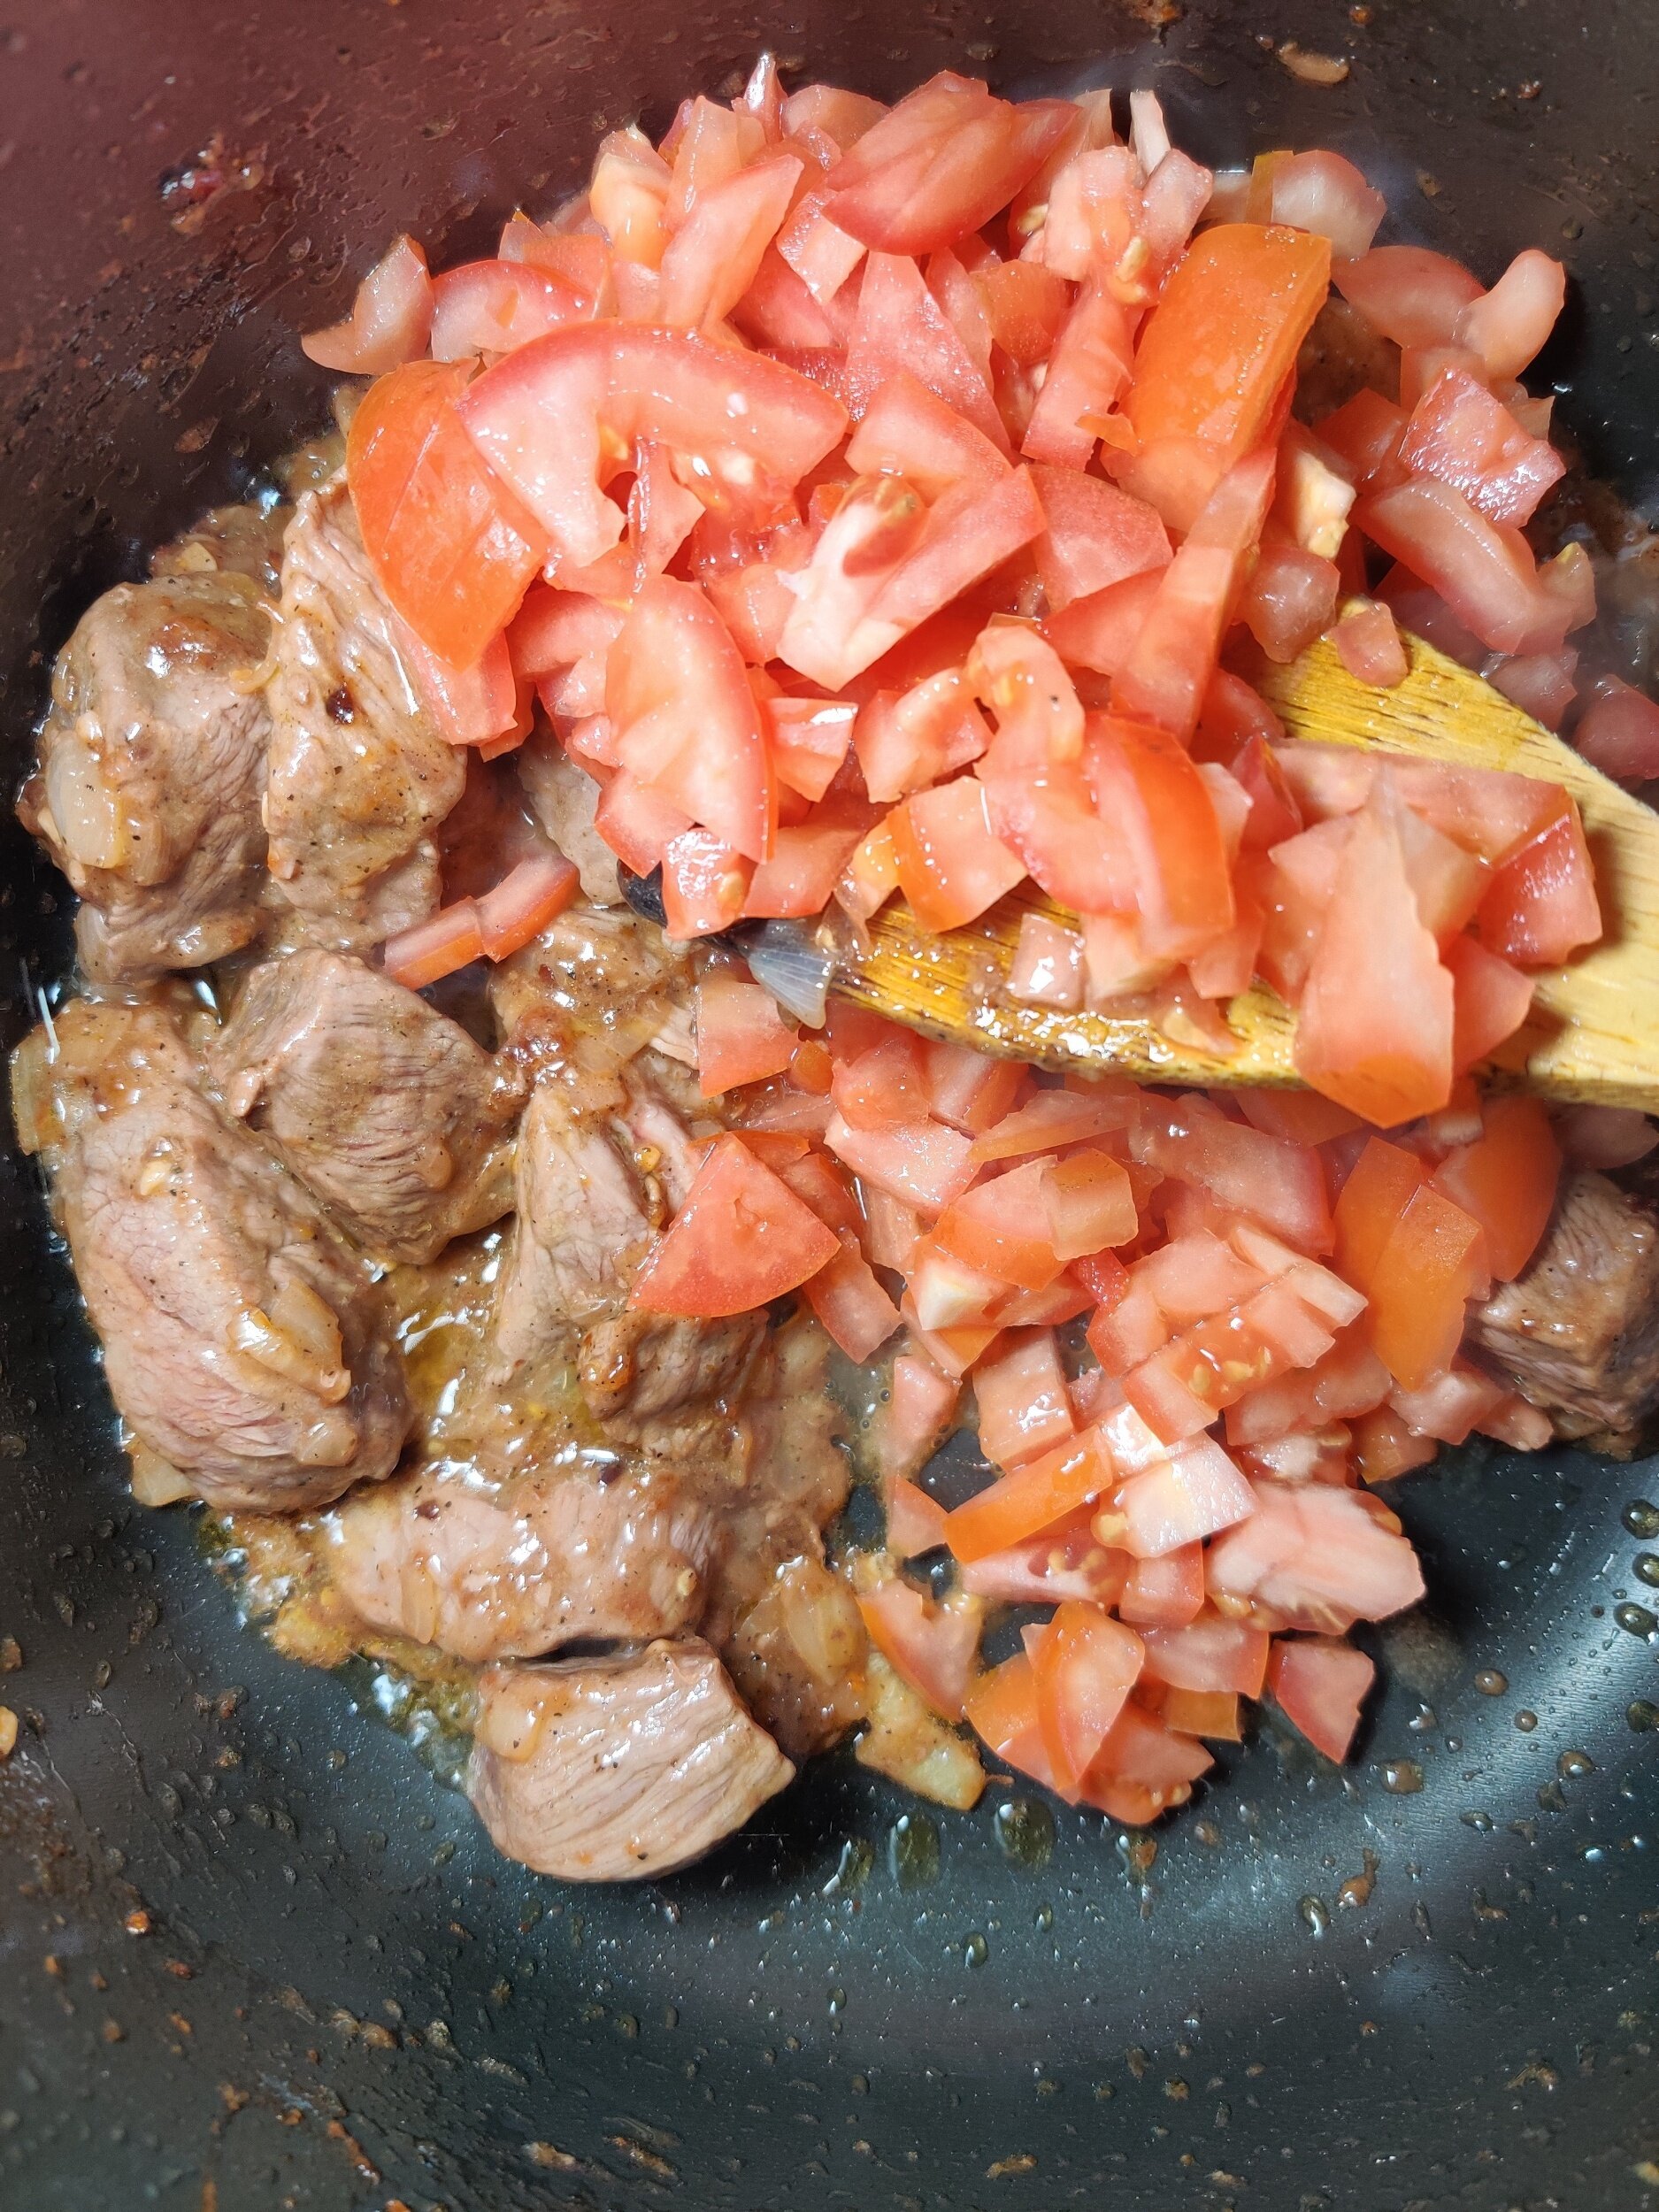
- Brown the beef with chili flakes for 5–7 minutes.
- Add tomatoes and bouillon cubes; stir to combine.
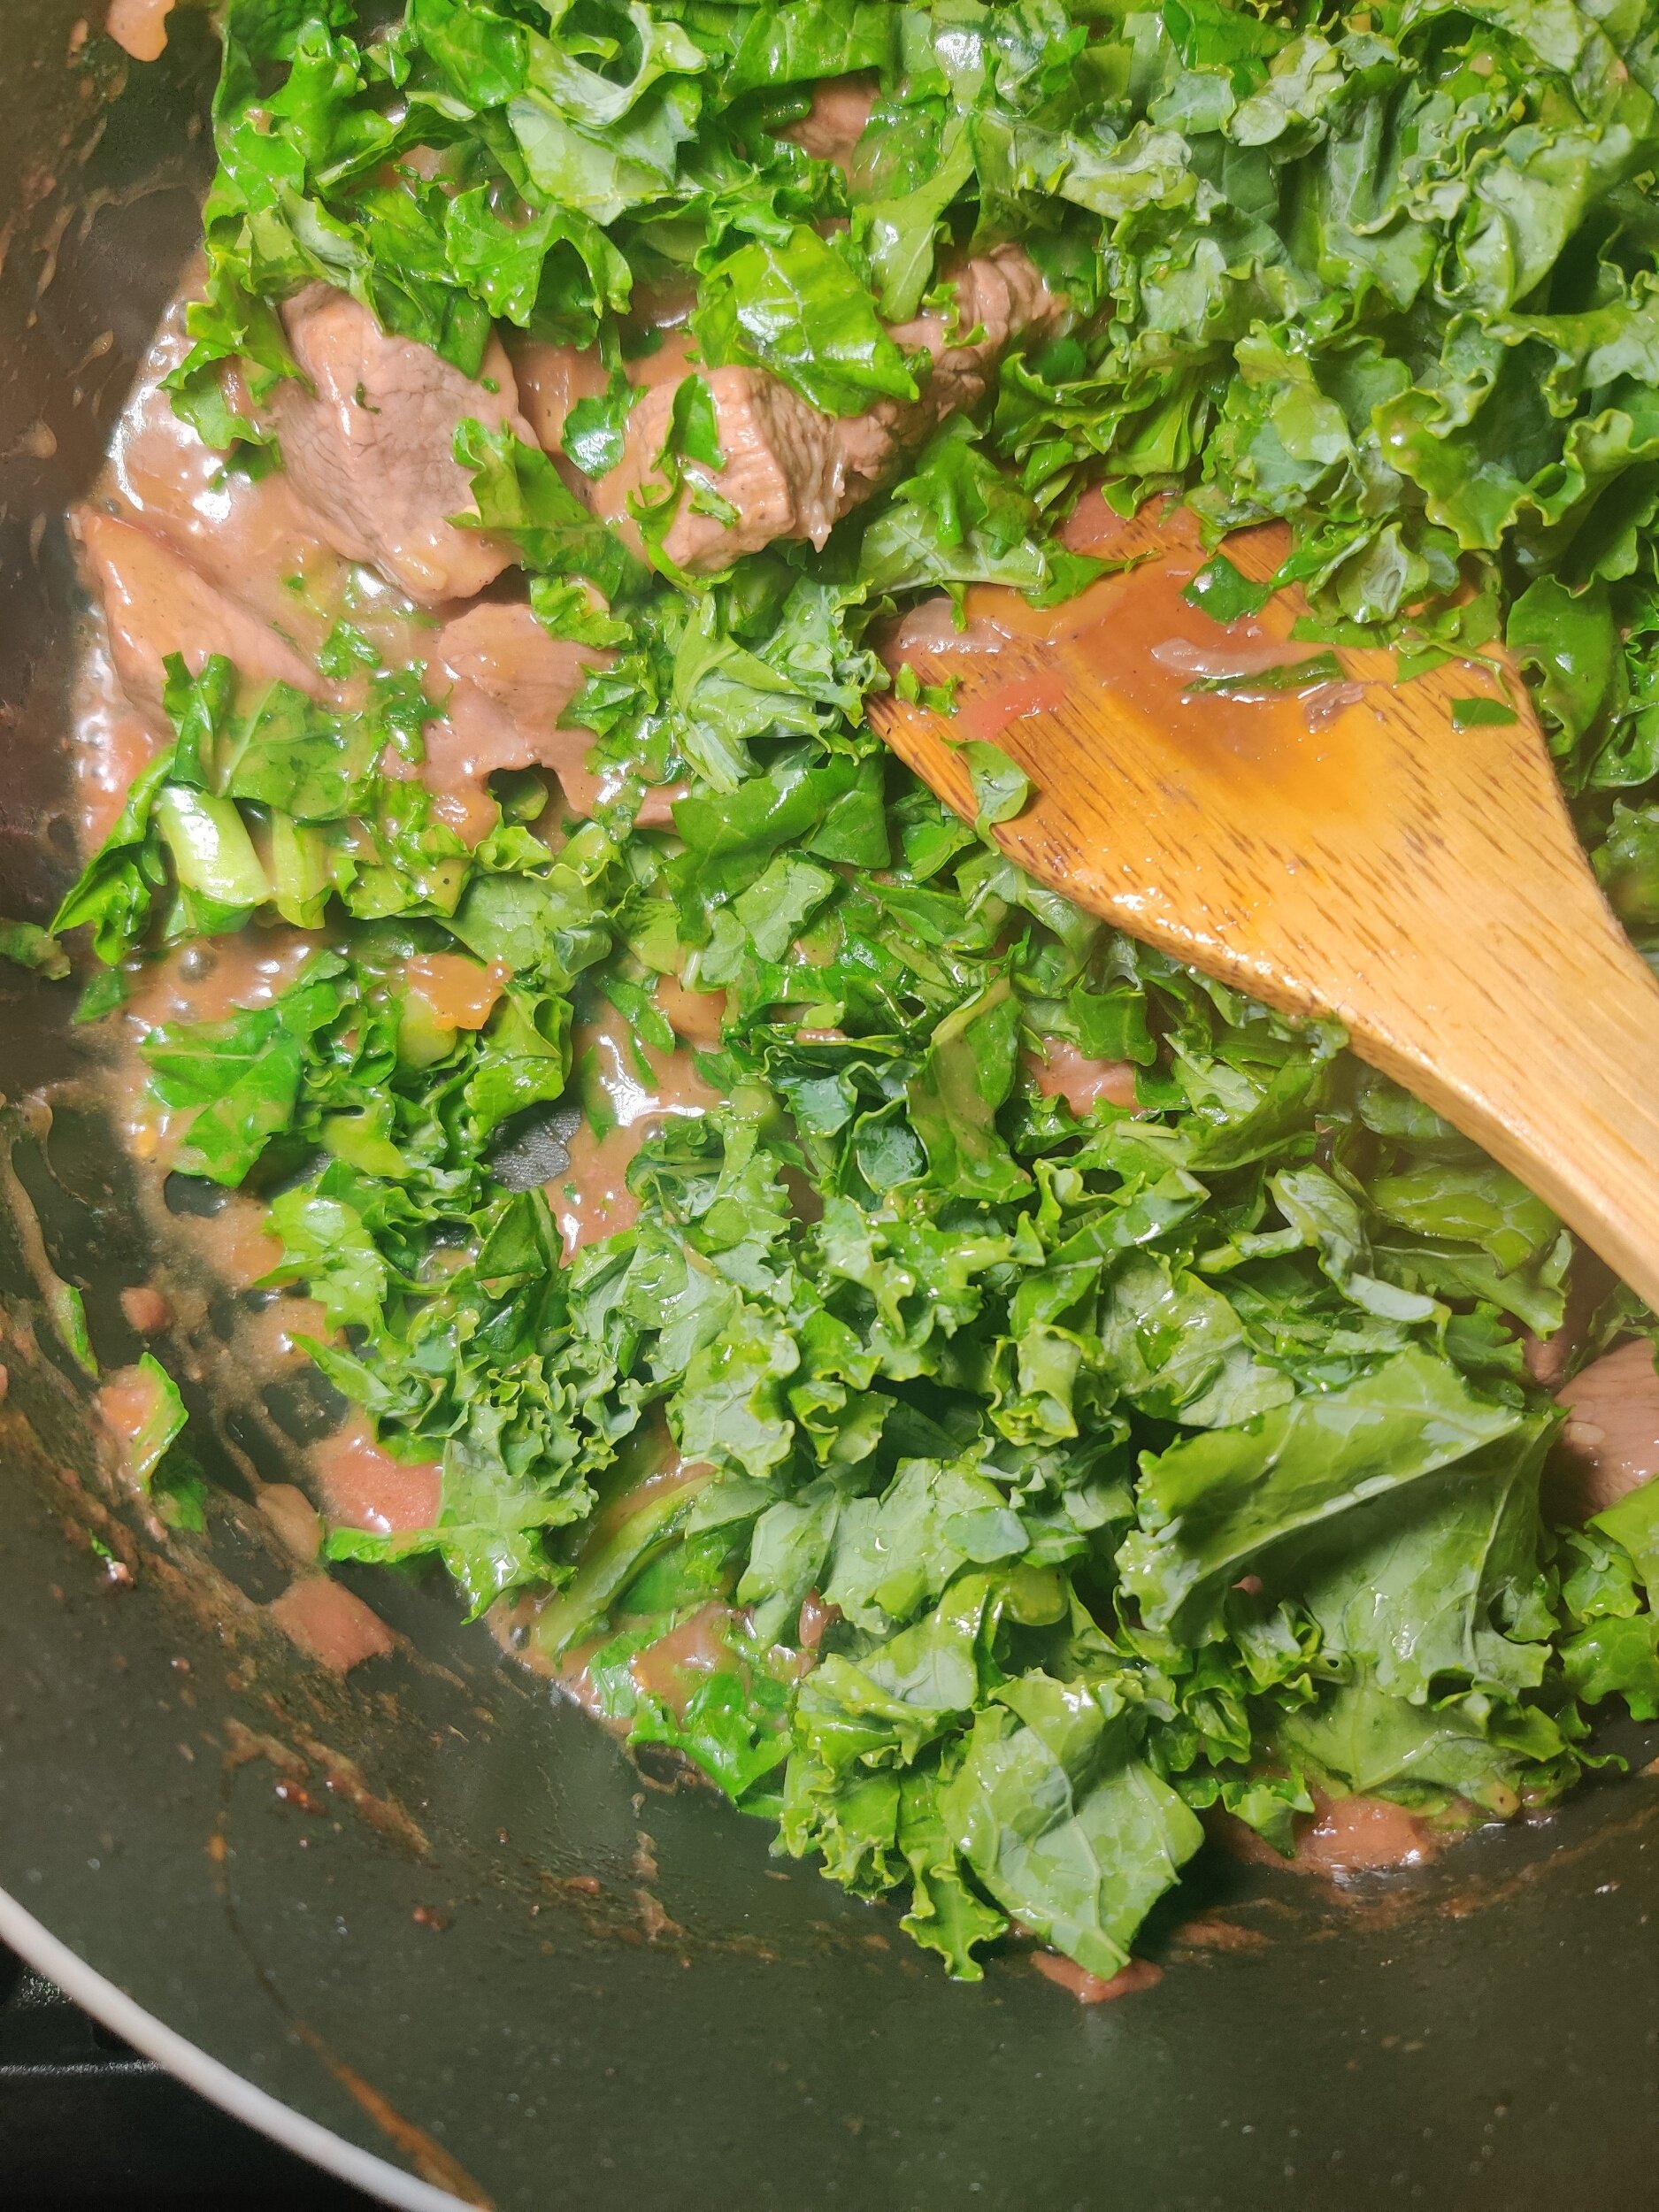
- Add chopped kale and water (or broth). Cover and simmer for 30 minutes, stirring occasionally, until beef is tender.
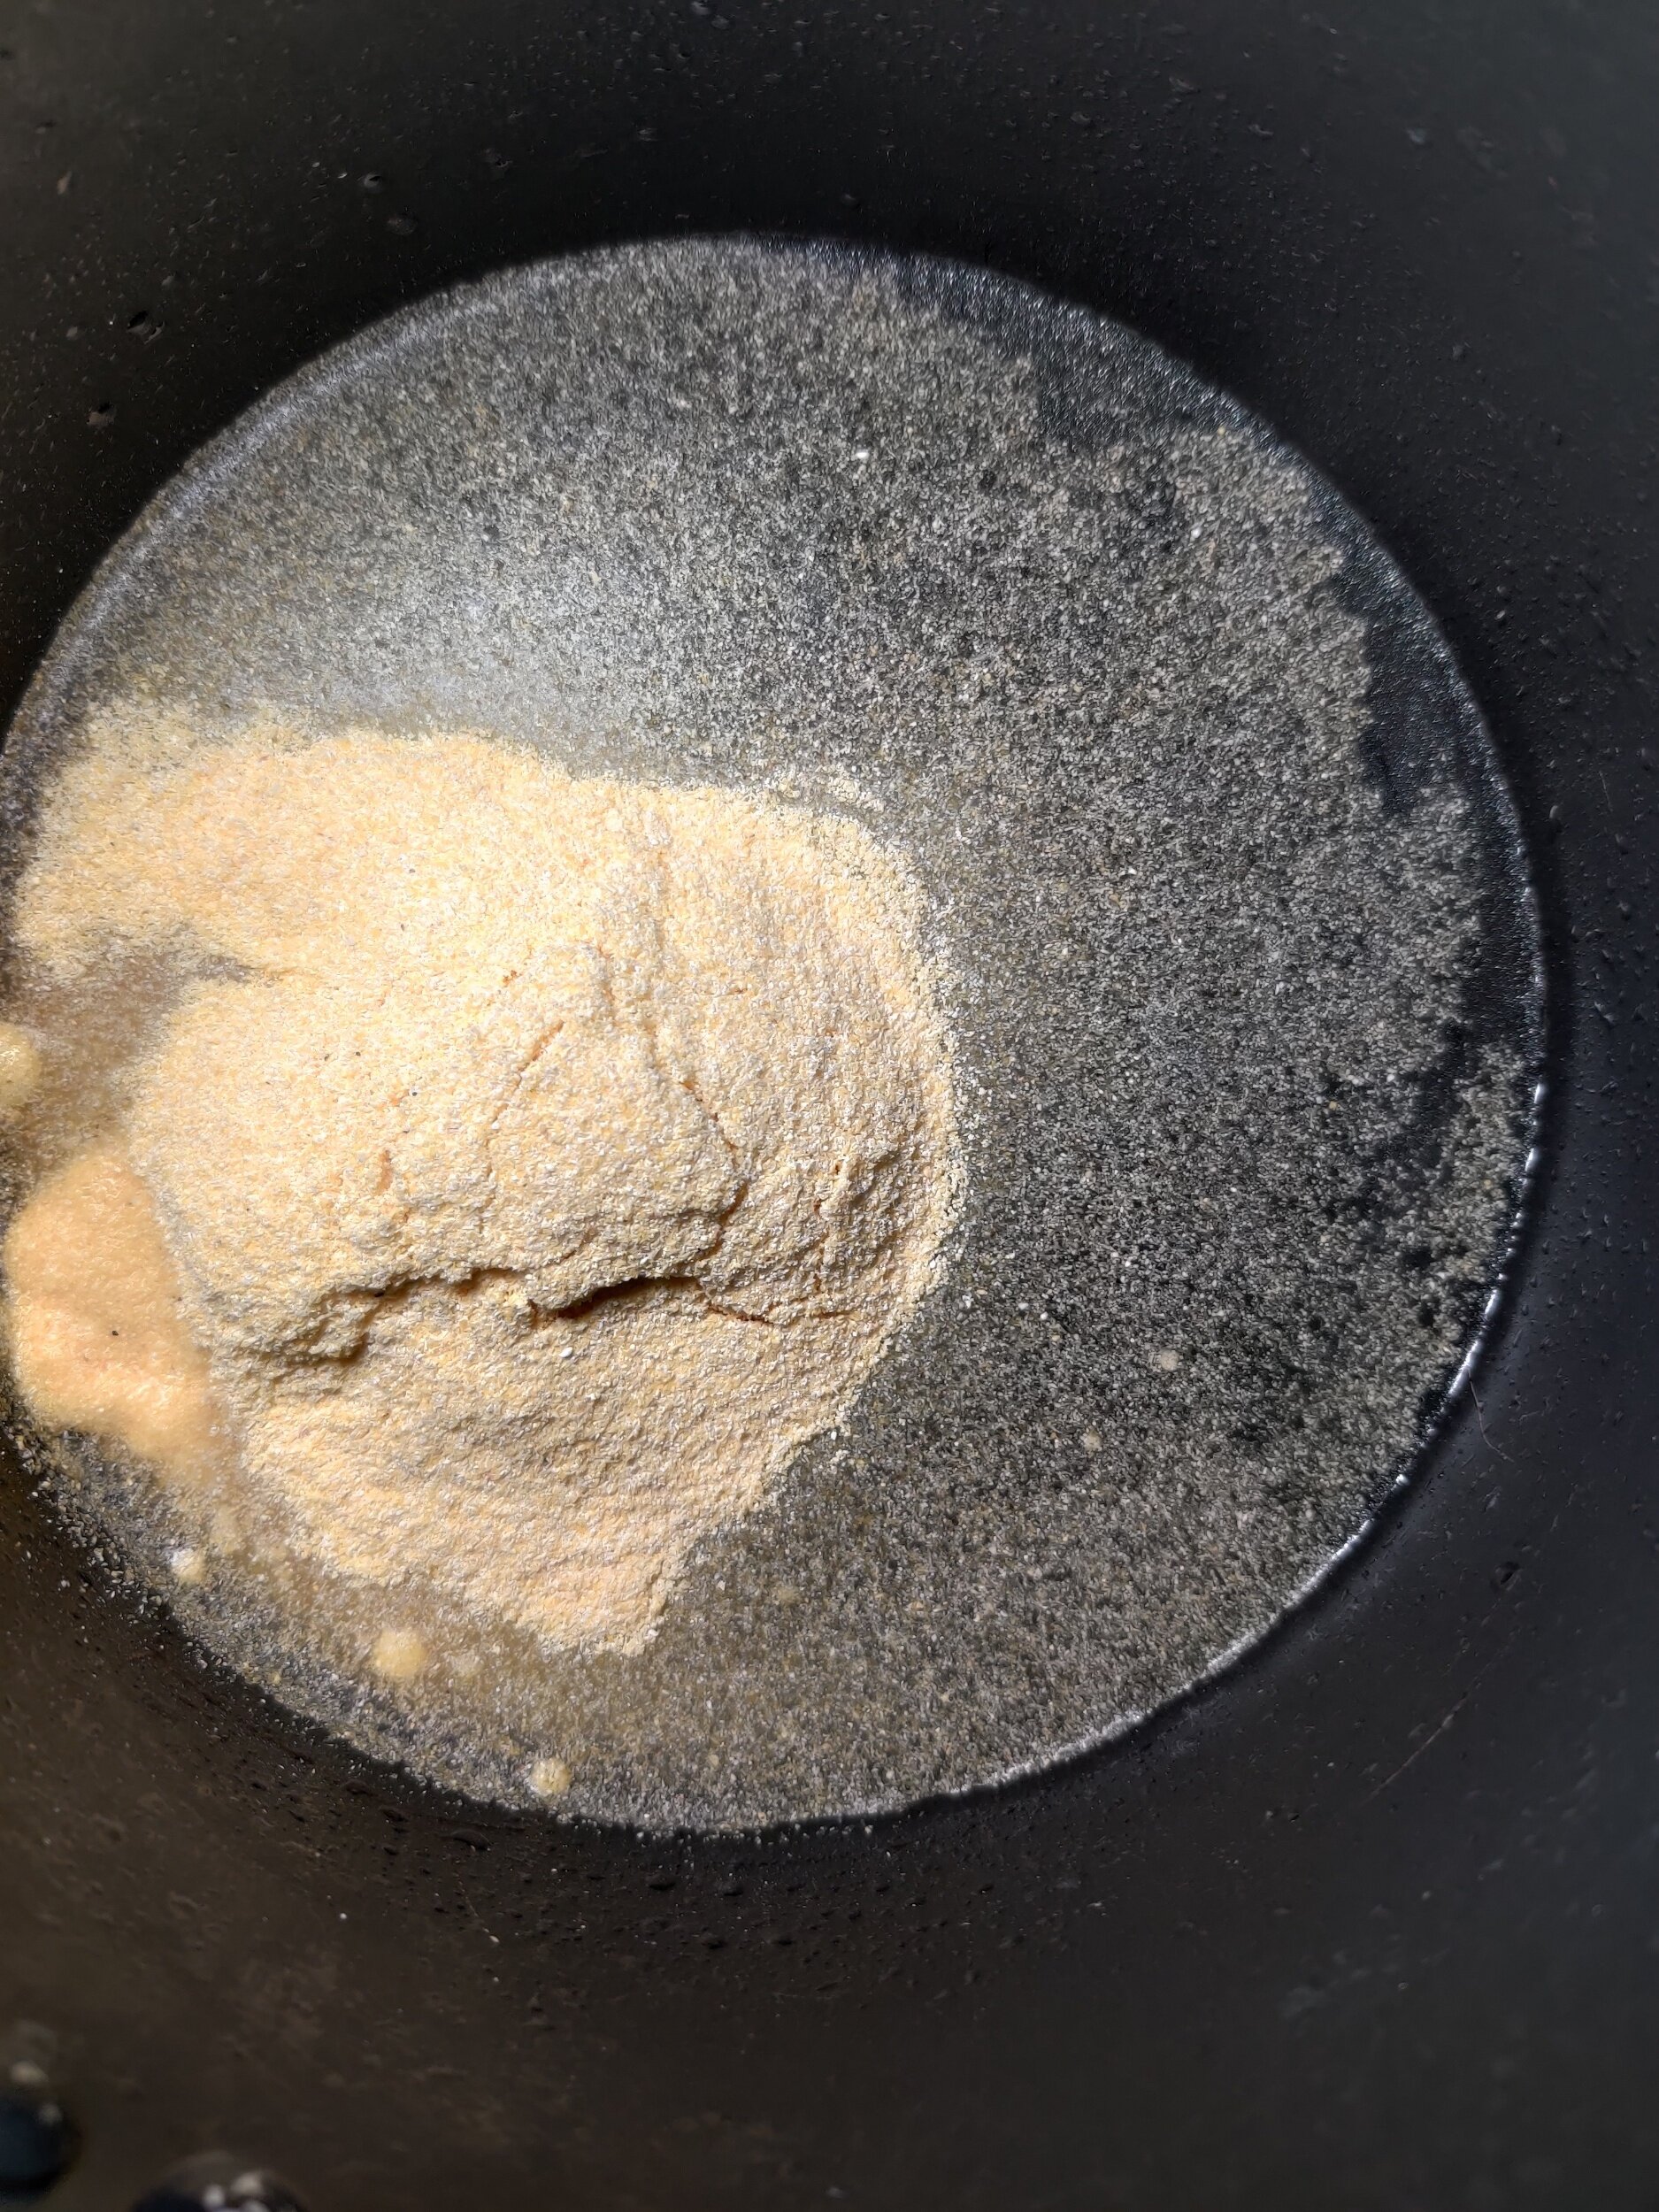
- Mix 1/2 cup cornmeal with cold water to make a smooth paste.
- Gradually stir in boiling water over medium heat. Cook 4–5 minutes until bubbling.
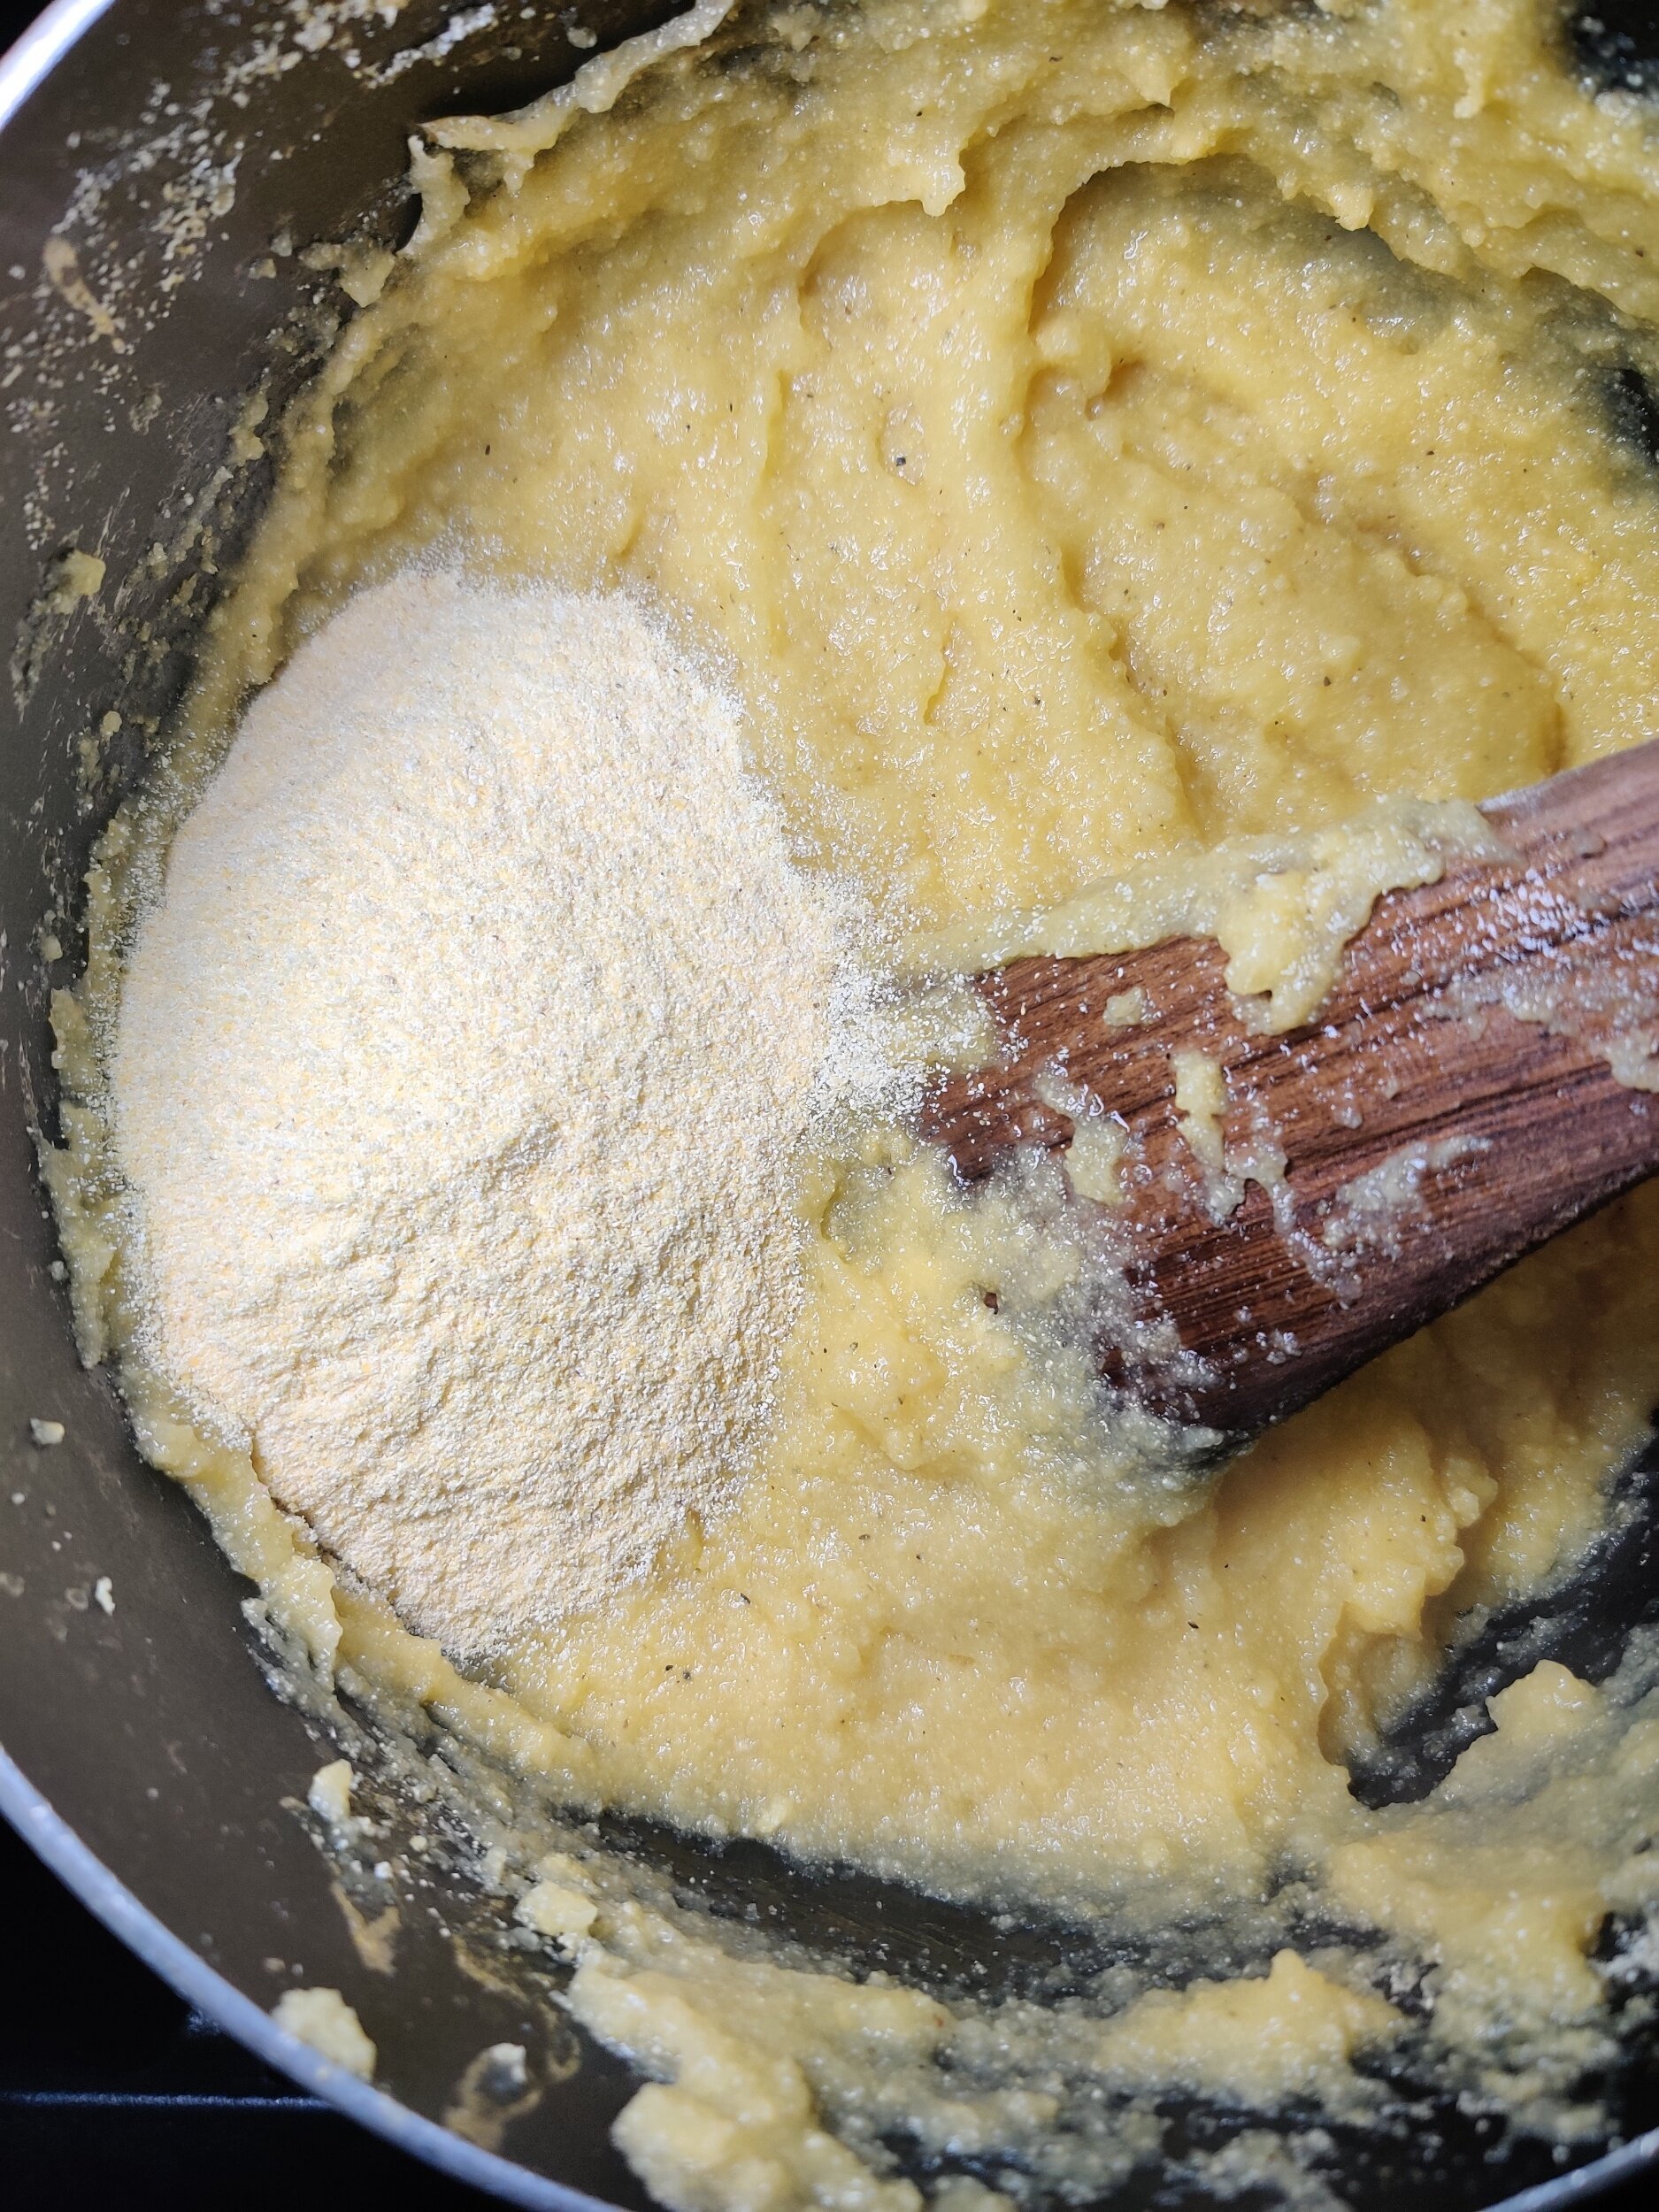
- Slowly add remaining cornmeal, folding to form a soft dough. Reduce heat to low and cook 15–20 minutes, stirring occasionally.
- Shape with a wooden spoon and serve hot alongside the stew.
Notes
- Vegetarian option: Replace beef with butternut or pumpkin cubes for a meat-free version.
- Extra flavor: Use bone-in beef for a richer, more aromatic broth.
- Serving: Sadza is best eaten hot; leftovers can be refrigerated 3–4 days or frozen.
- Pairings: Works beautifully with traditional Southern African sides or simple salads.
- Meat Choice: For quicker cooking, use boneless stew beef or sirloin cubes — they’ll be tender in 30–40 minutes. Bone-in cuts give a richer, more flavorful broth but take longer.
Nutrition Facts
Calories
500Fat (grams)
22 gCarbs (grams)
45 gFiber (grams)
6 gSugar (grams)
5 gProtein (grams)
28 gI am not a certified nutritionist and any nutritional information on dontmissmyplate.com should only be used as a general guideline.


Seared Hake with Mofongo Irio (Mashed Plantains with Corn & Peas)
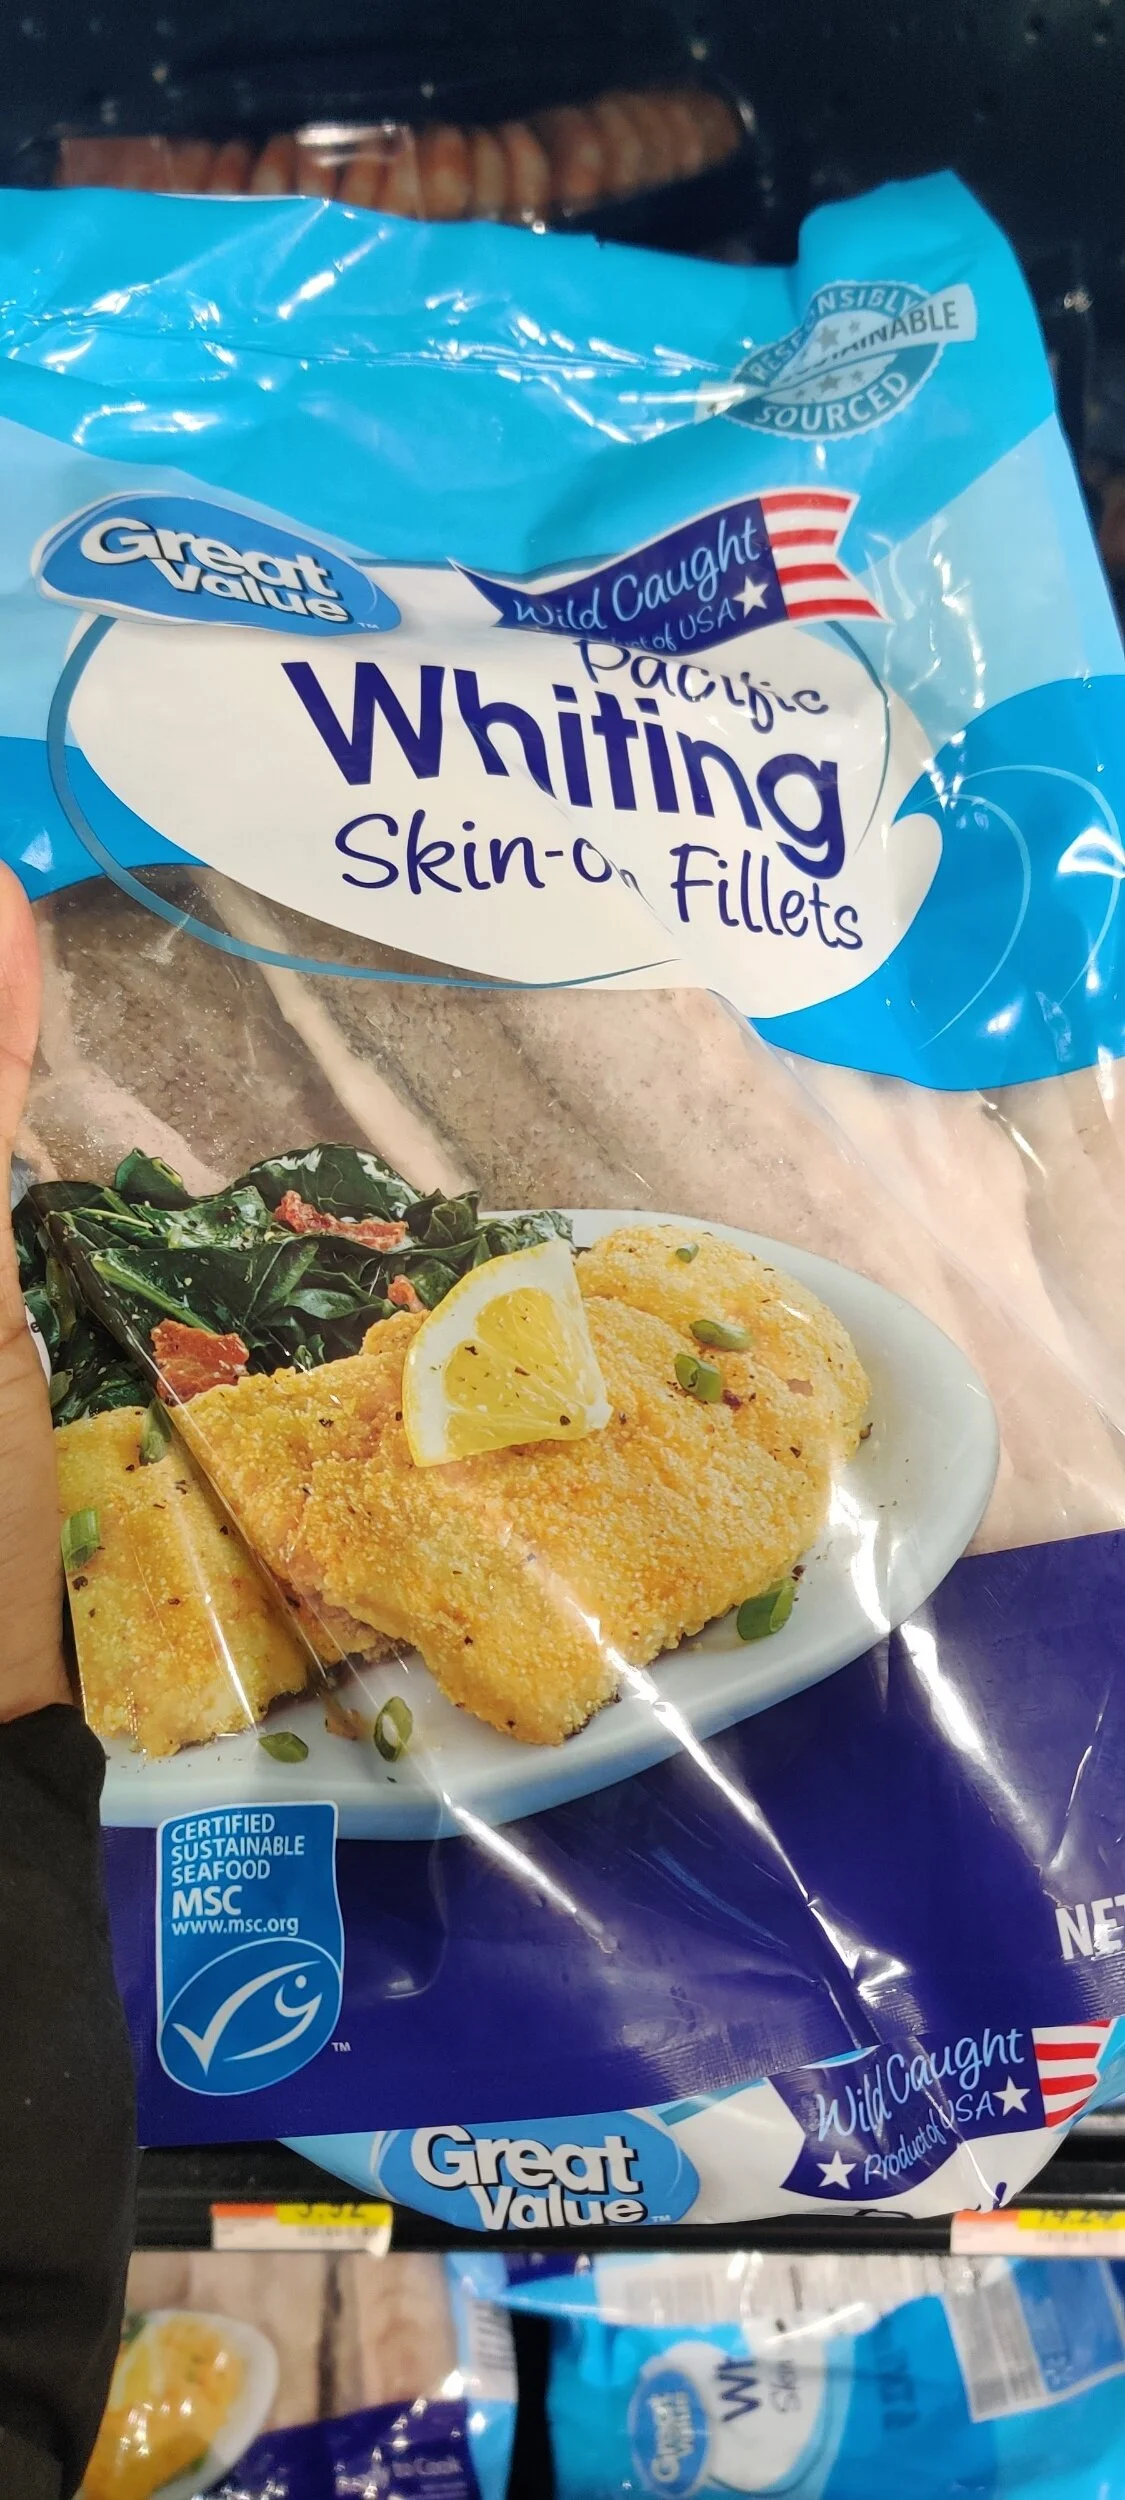
There's nothing like a crispy piece of fish, especially when it’s wild-caught. I was inspired to put this together by MSC Bluefish, a non-profit organization that seeks to protect the oceans by advocating for sustainable fishing practices and educating people on the importance of conscious consumption in a world where our food choices have a huge impact on the environment and food security.
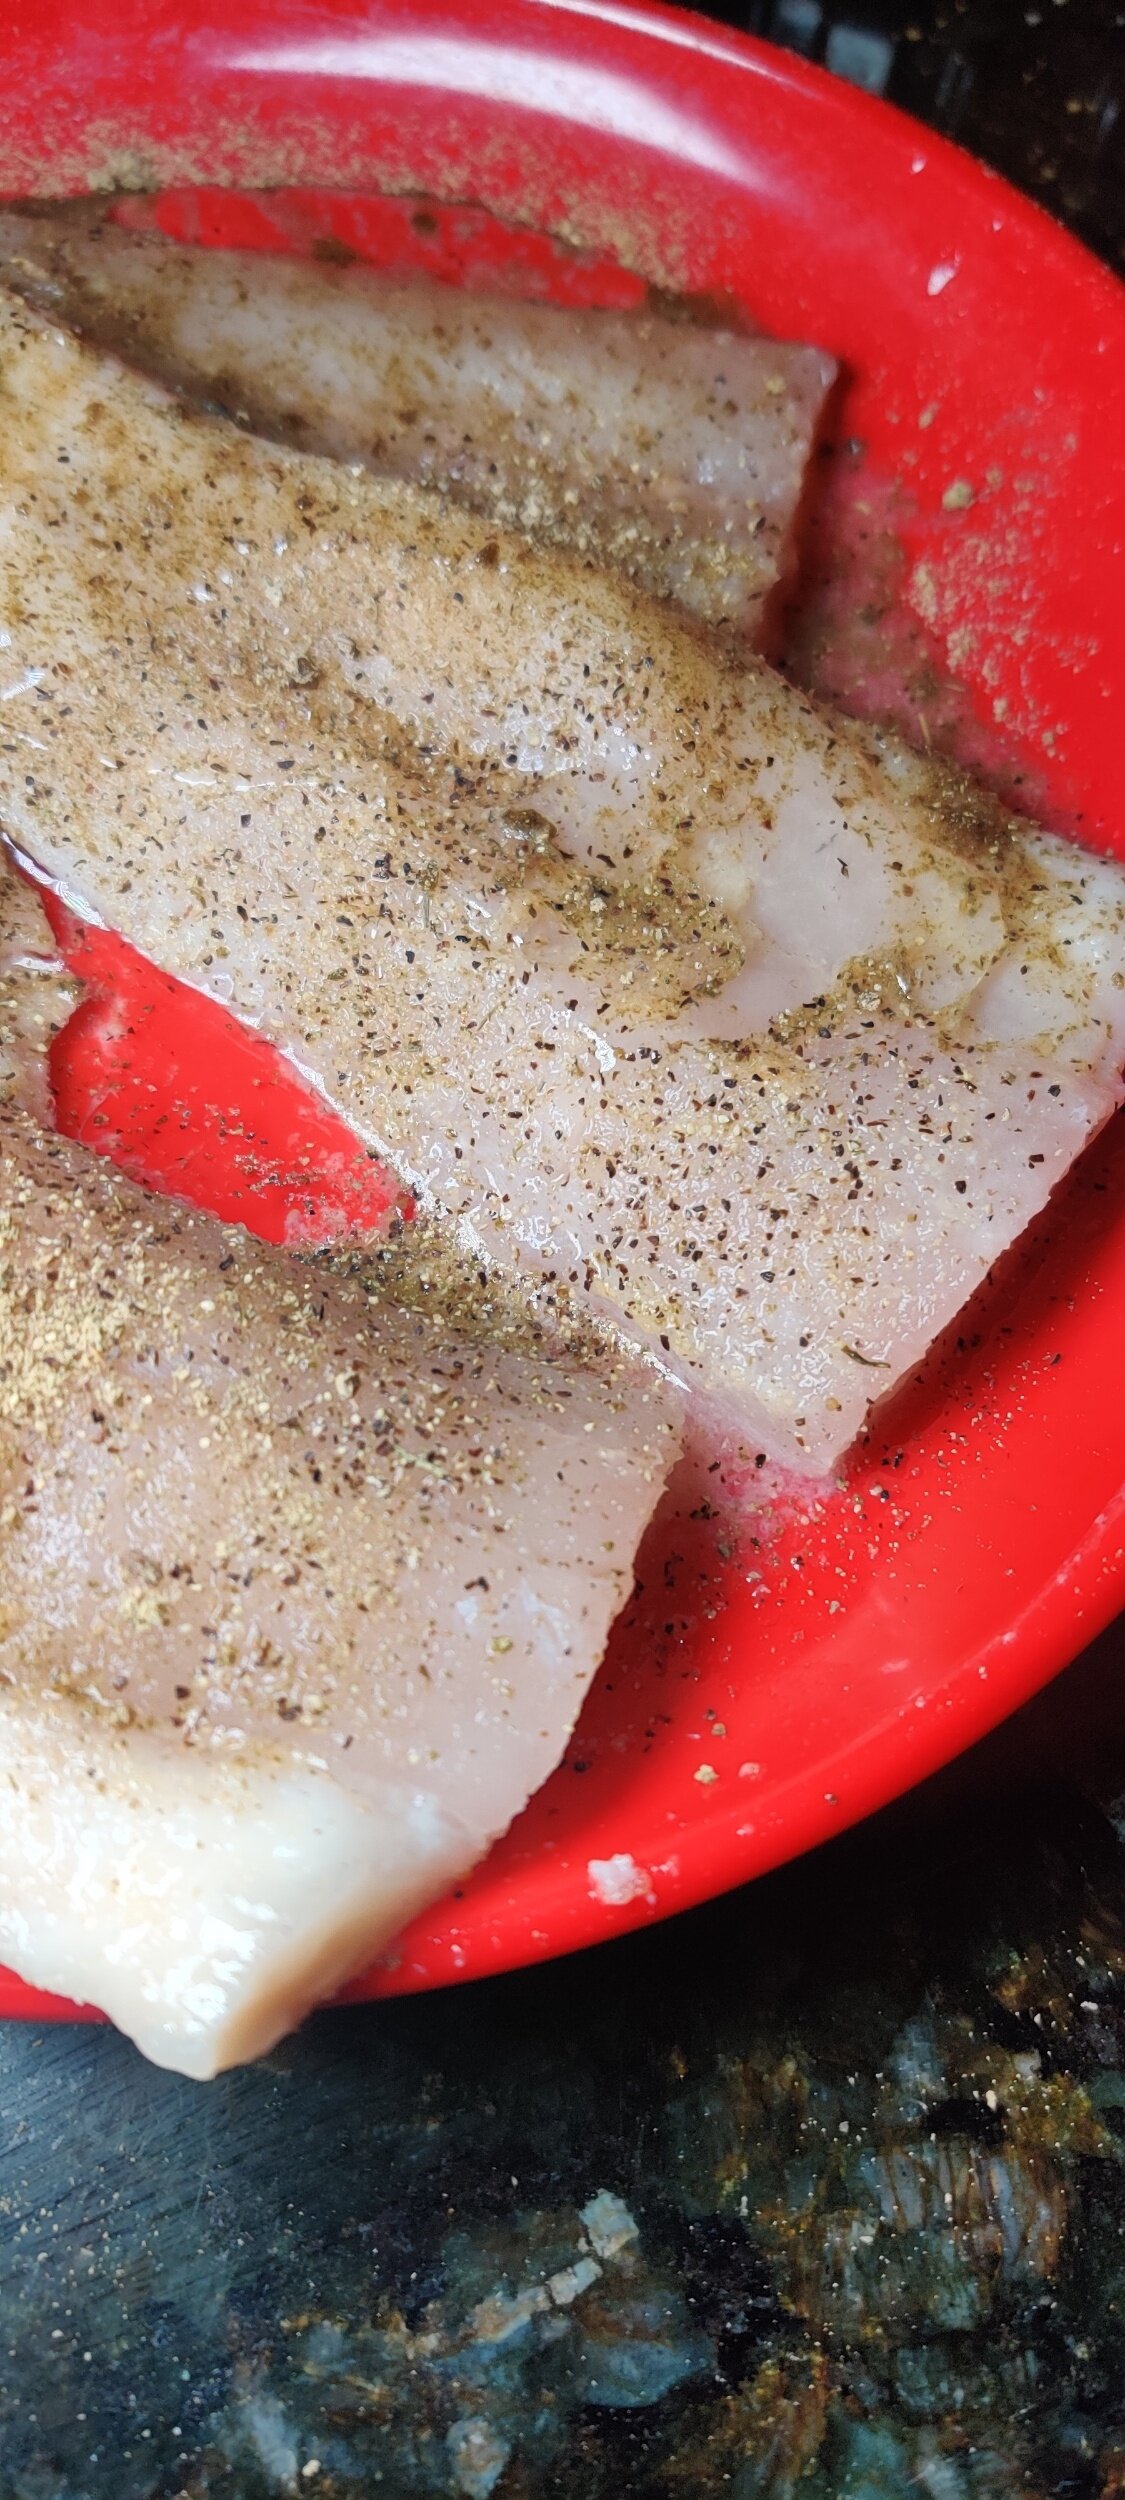
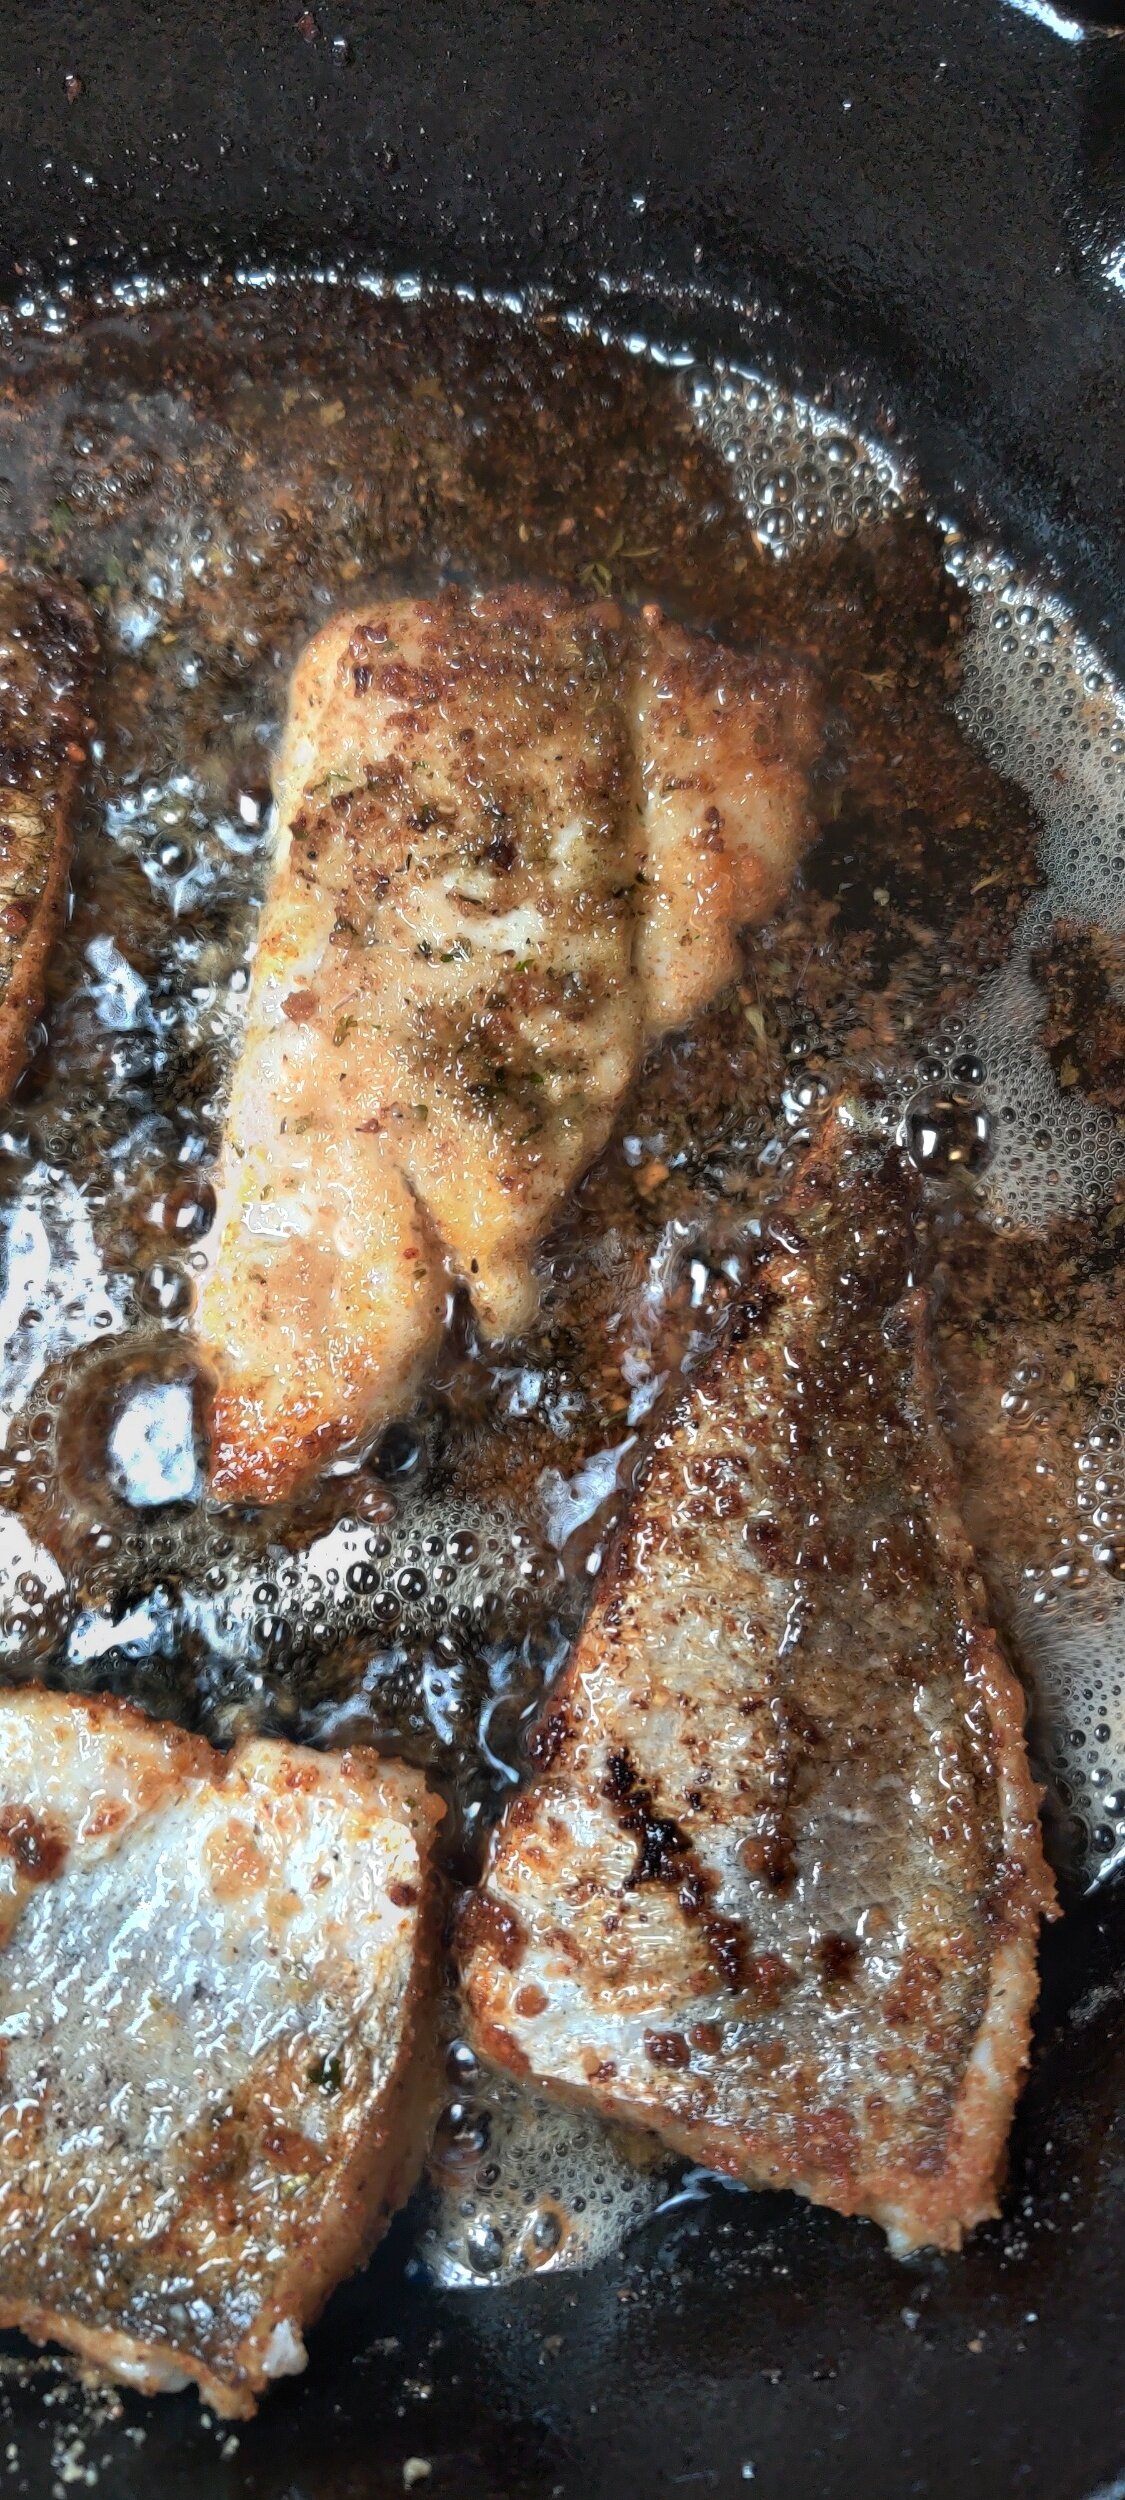
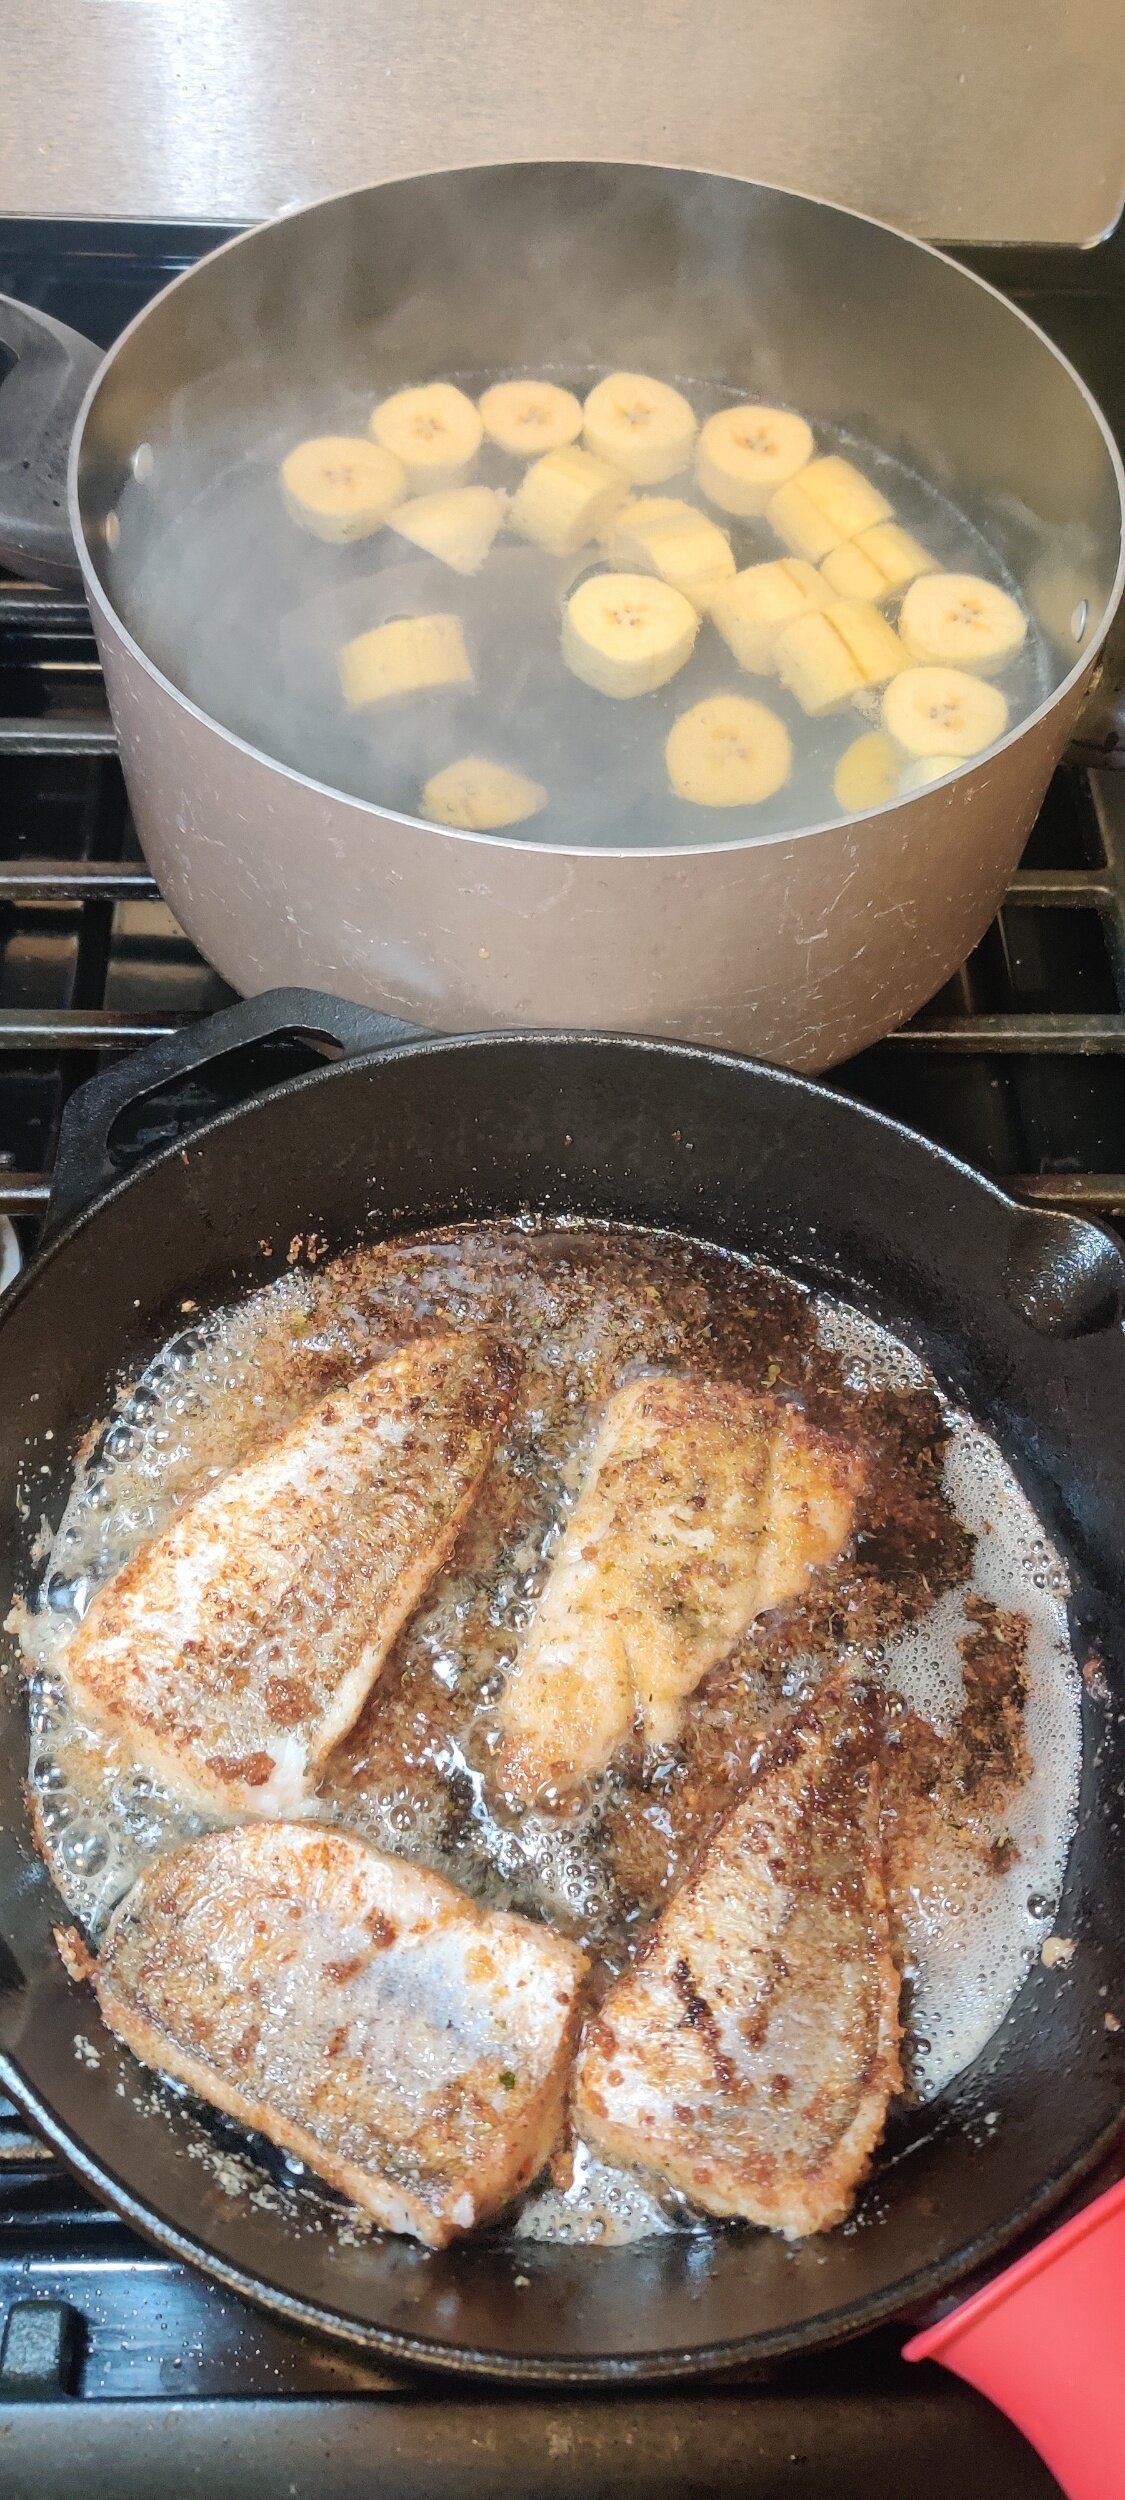
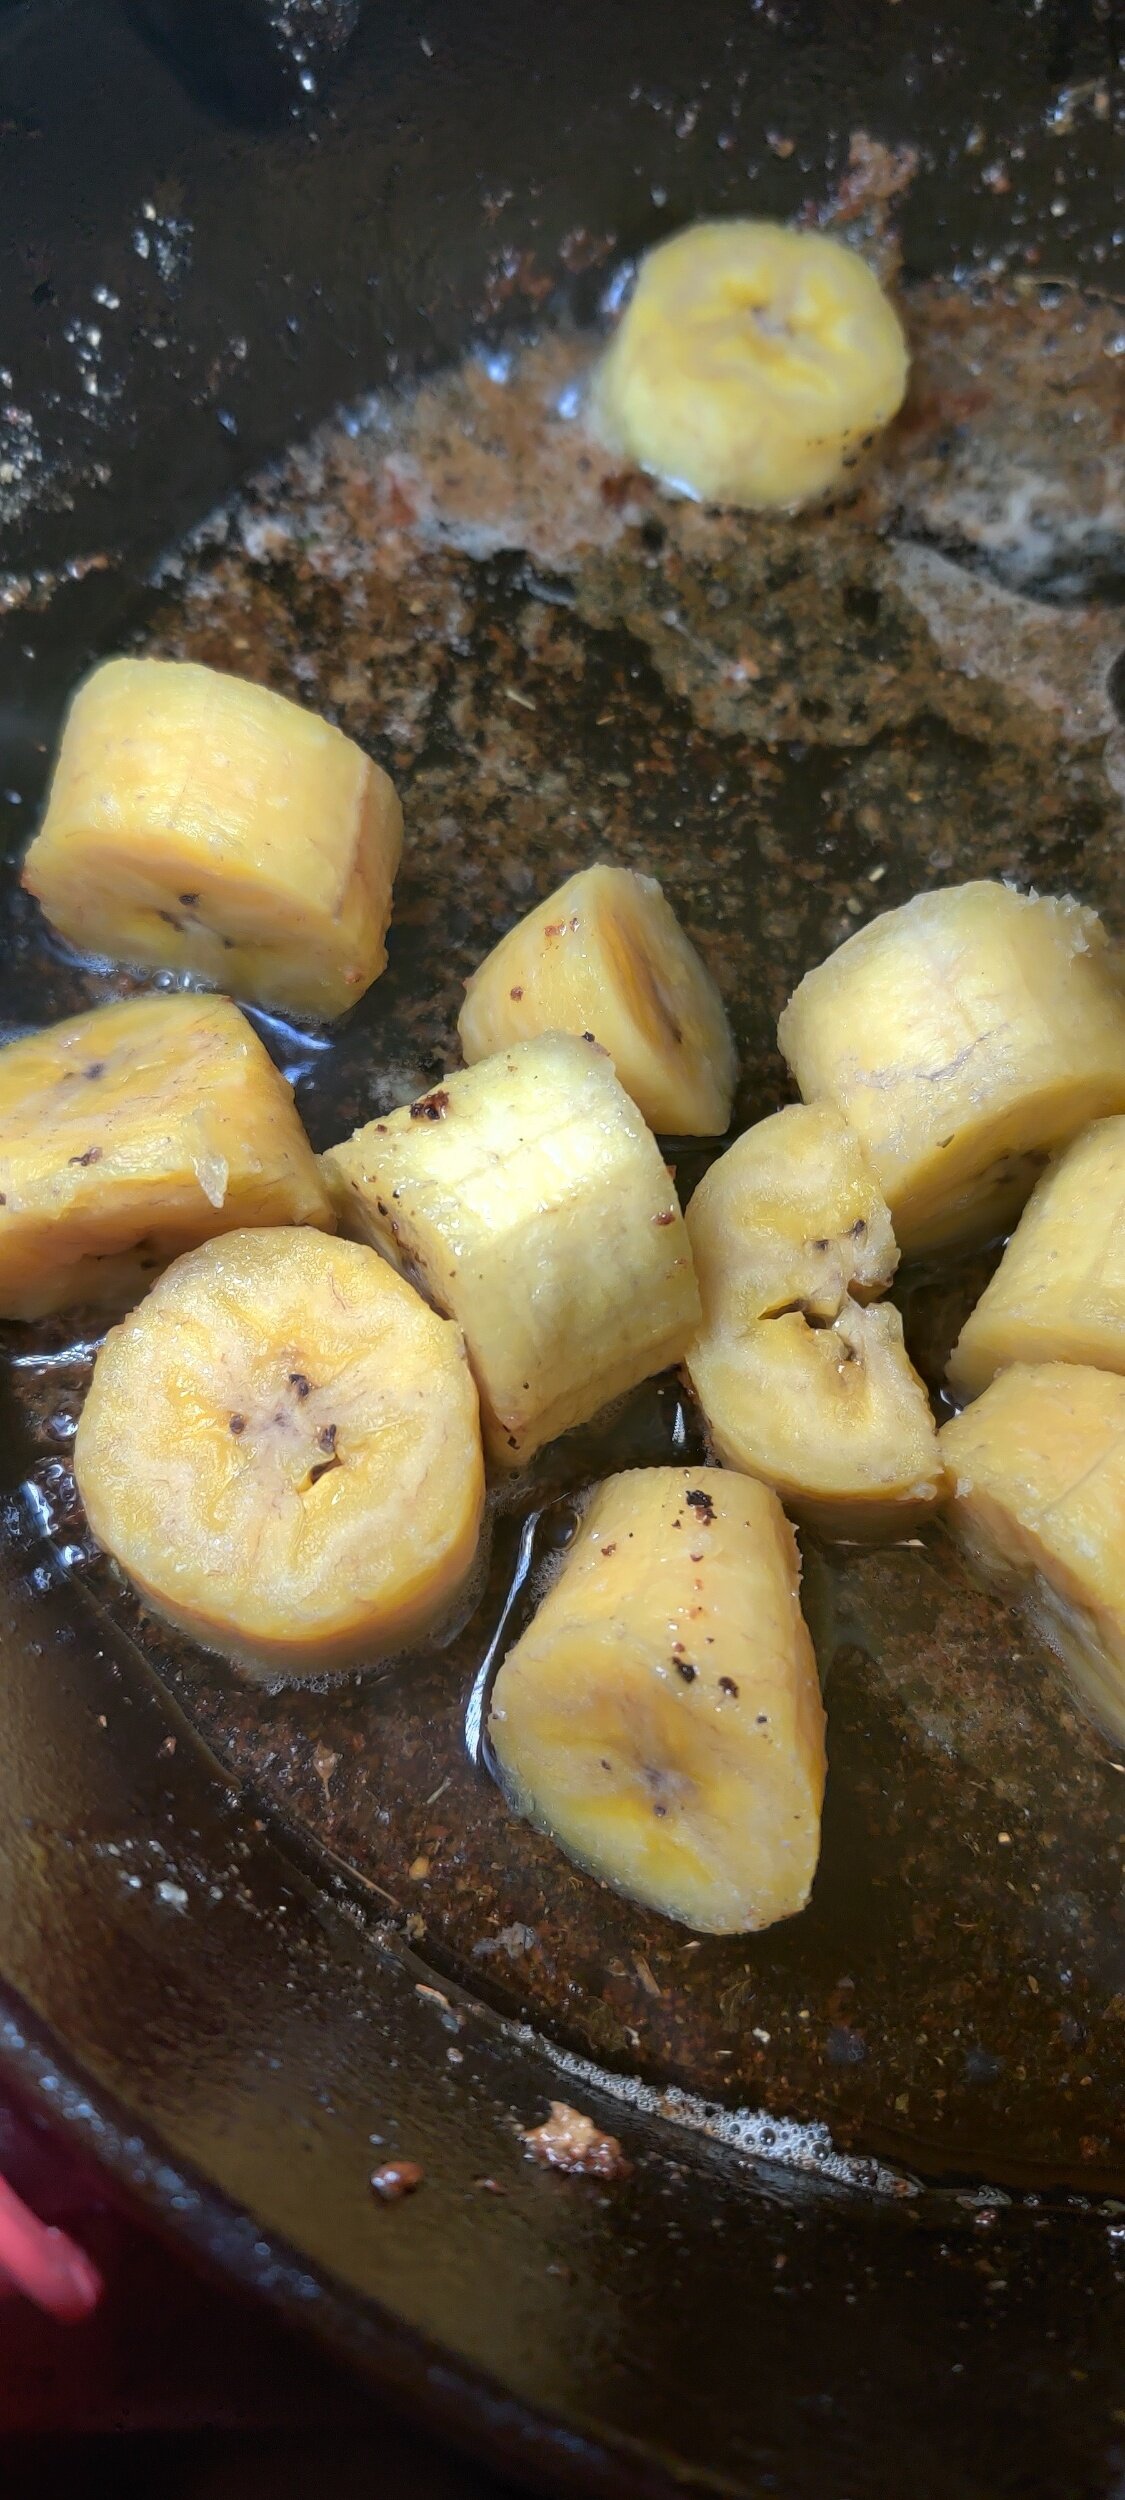
To learn more visit their website, and download their new guide to help out when you are shopping! https://www.msc.org/en-us/what-you-can-do/blue-fish-guide
I got my hake fillets at Walmart, but you can find MSC Bluefish labelled products at several grocery stories - tinned, fresh, frozen, in a wide price range that can accommodate your budget.
I love hake, it’s a tasty but mild fish you can pair with almost anything. With the skin on, you can get some great flavours.
I paired the fish with a fusion side dish. One dish is considered Puerto Rican, the other Kenyan. If you're a stickler for traditional meals, this isn’t for you! Experimenting in the kitchen and trying new things can teach you a lot and greatly improves your cooking skills and overall knowledge. This worked out, so I wanted to share the recipe!
Mofongo is fried plantain mashed with garlic, salt and olive oil to be formed into a ball used to eat. Typically you add bacon bits or pork rinds crushed in with a pestle and mortar. I tried it for the first time in New York at a Cuban restaurant with shrimp, and it was delicious! It's origins link back to fufu which was brought by Africans to the Caribbean in the Spanish colonies.
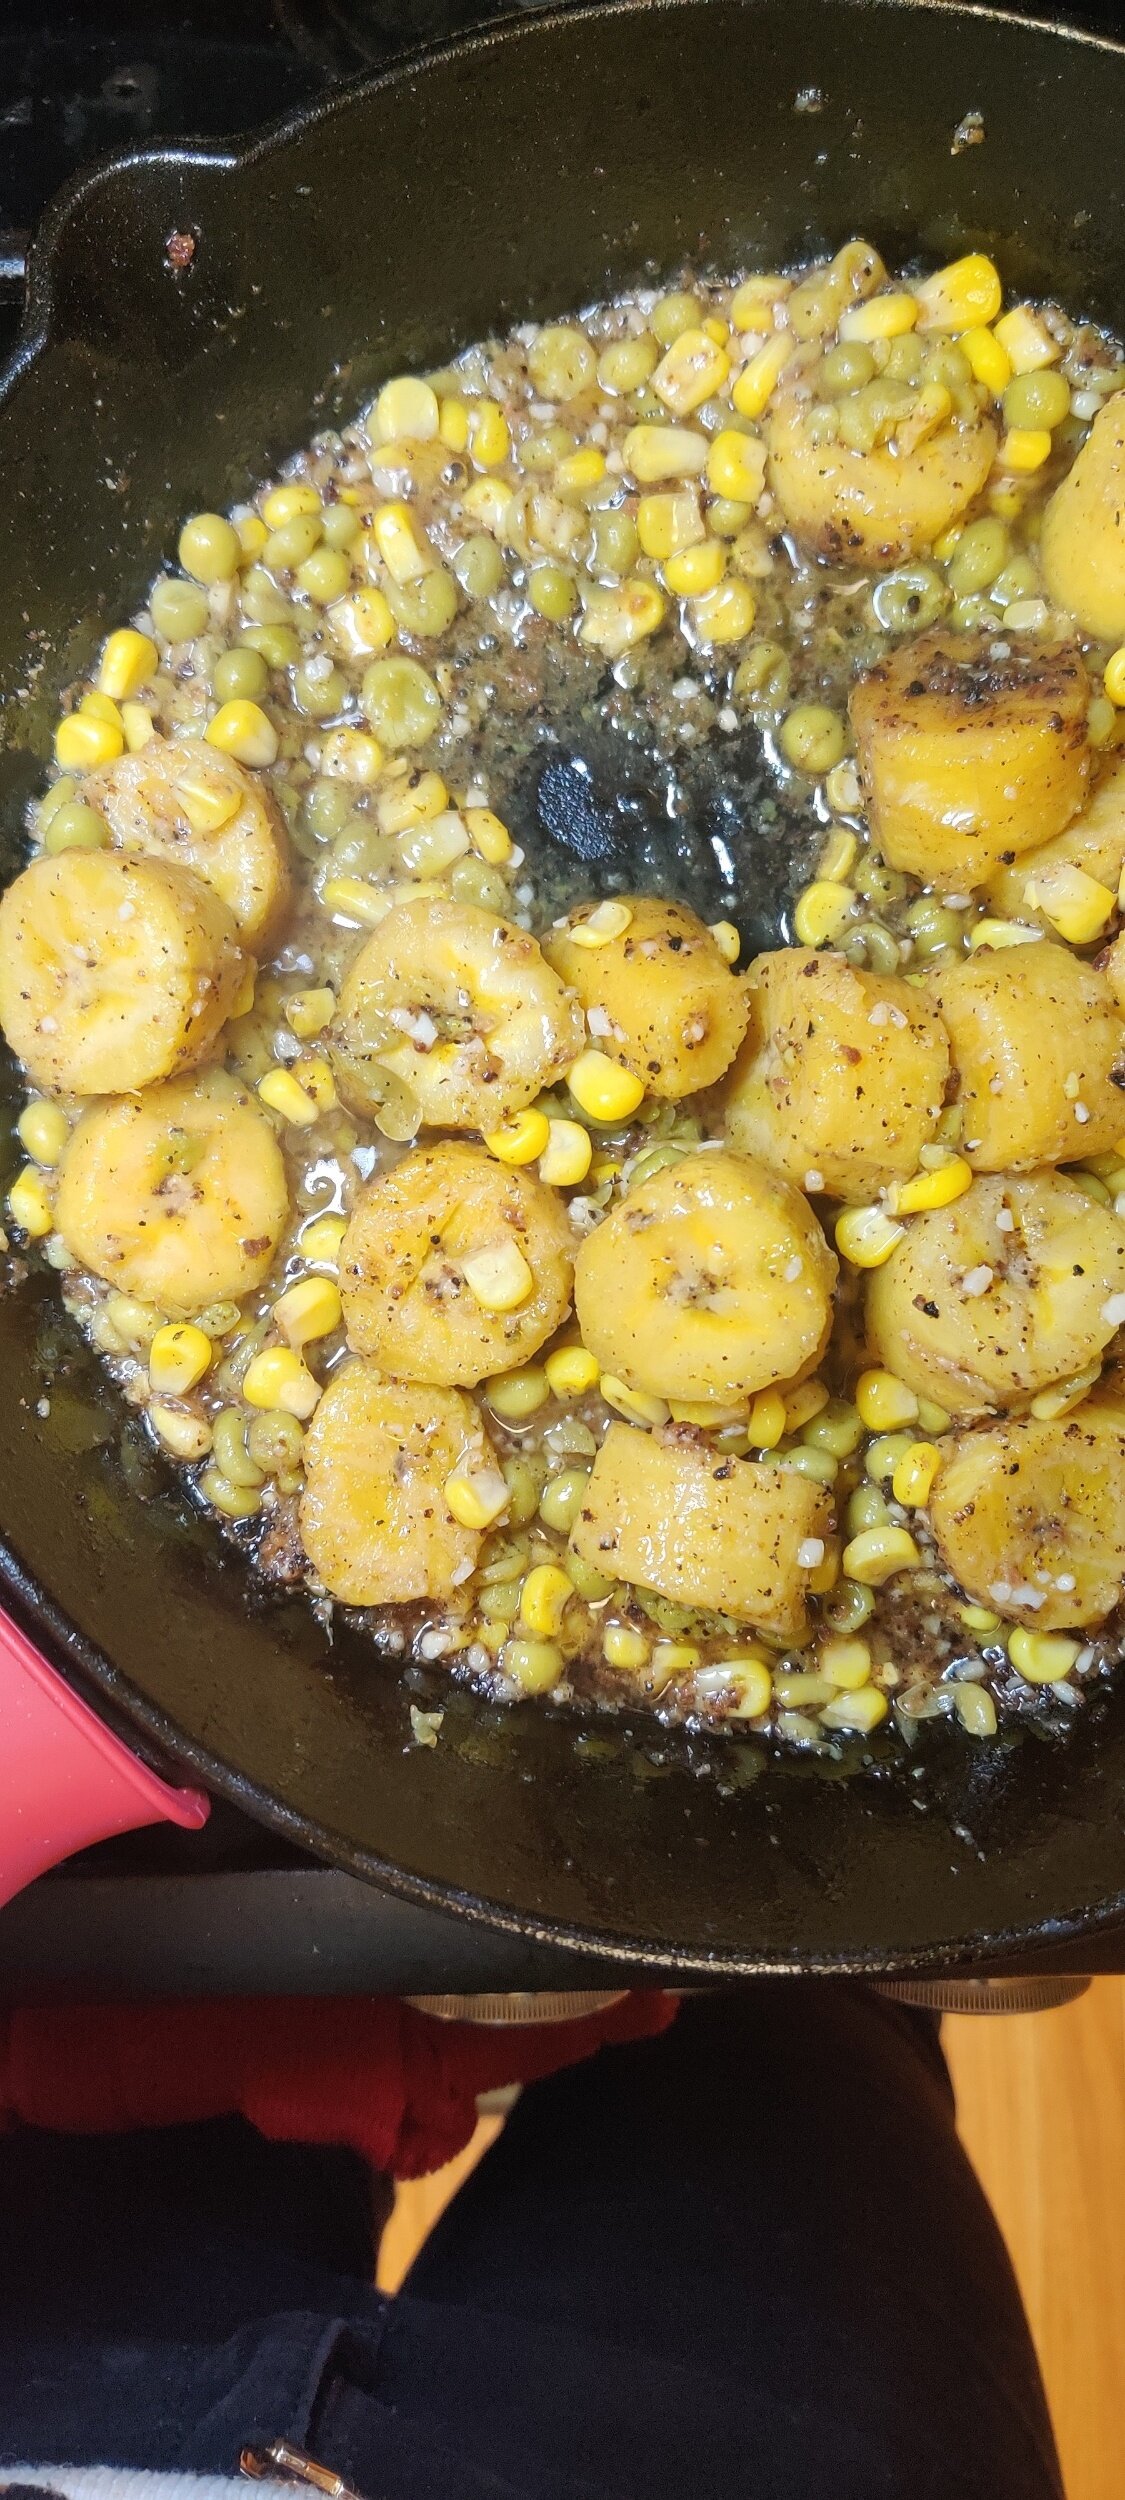
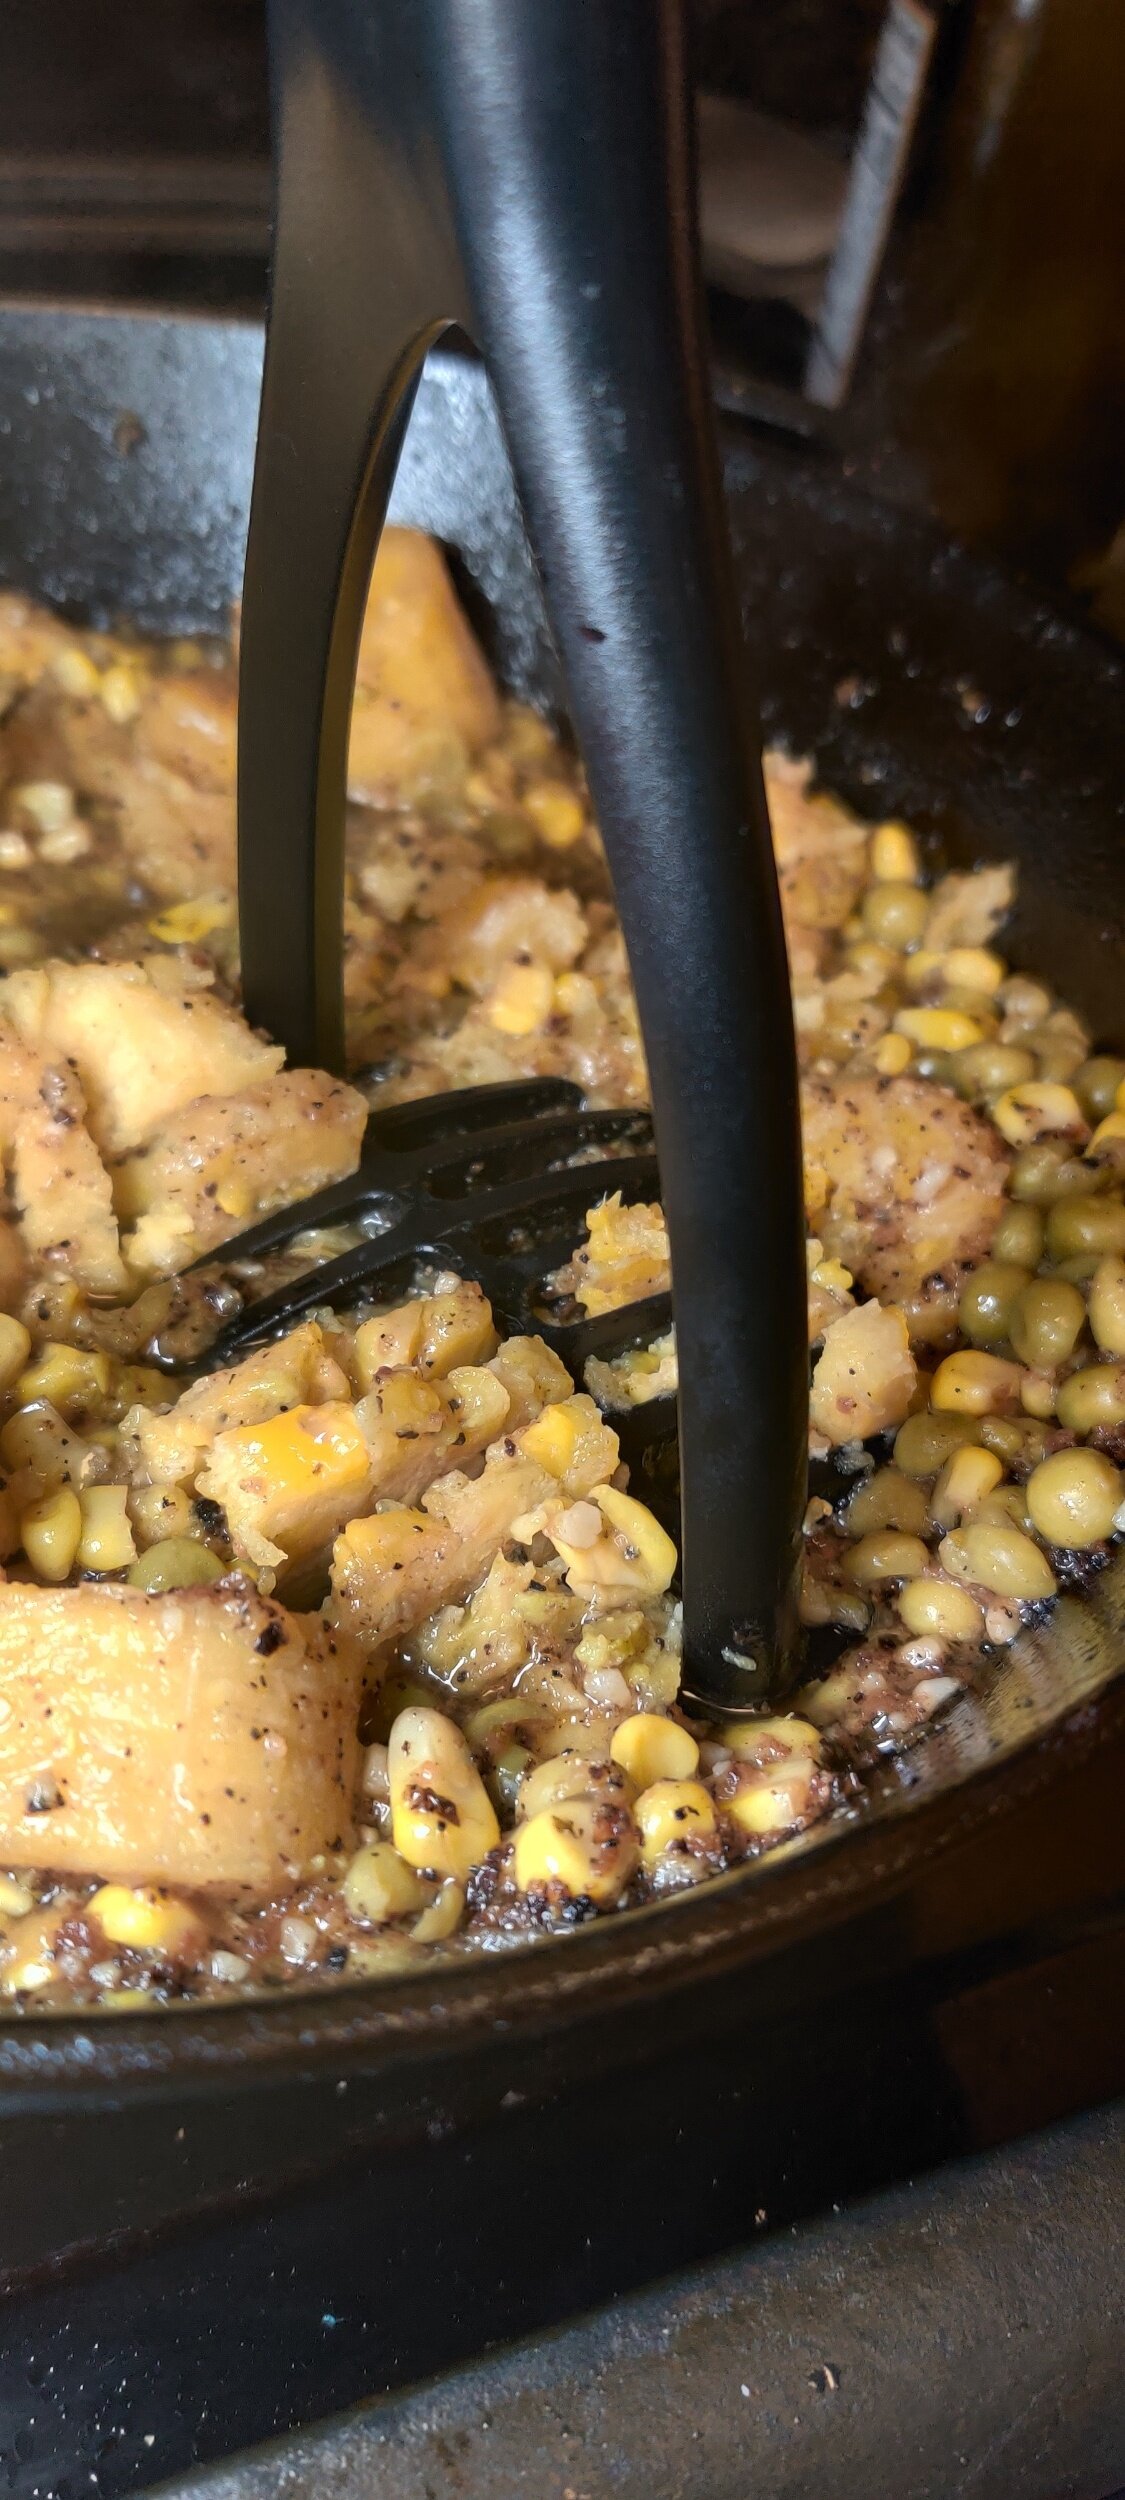
As for irio, that’s a side dish popular in Kenya consisting of mashed potatoes, corn, and peas. I switched out the potatoes for mashed plantains, with the addition of the garlic and voila, a side dish to compliment the crispy-skinned hake! If you like mashed potatoes and as a side for your fish and favour the taste of plantains, the 'mofongo irio' will be a delightful side to your dish!
Ingredients
Seared hake:
2 whole hake filets, with skin on, thawed (I got the MSC Bluefish-certified frozen pack)
1/4 cup vegetable oil
1 teaspoon salt
1 tablespoon black pepper
1 tablespoon fish spice
2 tablespoons lemon juice
1 egg
1/3 cup breadcrumbs
Mofongo irio:
2 large plantains, ripe
1/4 cup green peas, frozen
1/4 cup sweet corn kernels, frozen
1 teaspoon salt
1 tablespoon black pepper
1 teaspoon fenugreek
1 tablespoon garlic, minced
1/3 cup olive oil
Sautéed greens:
1 cup kale, chopped
1 tablespoon olive oil
1/4 teaspoon salt
1/2 teaspoon black pepper
Instructions
Season the fish with the salt, pepper, fish spice and lemon, set aside. Slice the fillets in half for more manageable pieces, but be careful not to rip the skin.
Get two shallow dishes - add the beaten egg to one and the breadcrumbs to the others. Place the fillets skin side up first in the egg, then the breadcrumbs to add a light coating.
In a hot a skillet, cook the fish in the vegetable oil. Put the fillets skin down, and fry for 3-5 minutes until the skin is crispy, then turn over to finish cooking. Remove from the fish skillet but keep all the juices and bits in the pan, set aside.
Peel and slice your plantains about 1 inch in thickness. If your plantains are not so ripe, you can boil them until they start to soften. If they are quite ripe, they will be ready to fry immediately.
Add the olive oil and garlic to the skillet and fry the plantains. Season with salt, pepper and fenugreek powder on medium-low heat until the plantains have softened, and are slightly crispy and goldish, about 5 minutes. Place them on a paper towel to remove excess oil once they are done.
Return to the skillet, add the peas and sweet corn. Cook for another 3-5 minutes to get the peas and corn some flavour.
Remove from heat and using a potato masher, press down on the mixture until a mashed potatoes consistency forms - you can leave a few pieces partially whole for texture. If you have a pestle and mortar, you can also transfer the mixer and use that instead!
Prepare your kale. In a small saucepan, saute the leaves in the oil with salt and pepper until wilted, but don’t overcook.
You can also make some chermoula as a sauce for the fish, but the sauteed kale, juicy fish, and moist mofongo irio mash is enough. Find my recipe for the seafood accompaniment, here: https://www.dontmissmyplate.com/how-to-cook/2020/6/30/chermoula-red-snapper-peanut-butter-rice
Now time to plate your dishes! Using a measuring cup, shape the mofongo irio into a dome shape. Place about a tablespoon of the kale on top, then set your crispy, juicy hake on top. Repeat for the desired number of servings. Serve with avocado and lemon, enjoy!

Kale-Stuffed Shells in a Pumpkin Peanut Sauce
Stuffed pasta shells are an the easy recipe for a quick supper that is sure to please. You can probably make the shell-stuffing a family exercise as well! I reached back to a familiar ingredient trio I grew up on I like to bring to life in modern classics like this one. That is, peanut butter, pumpkin and kale! The recipe, of course, includes other ingredients including spinach, ricotta, parmesan, and pesto, which bring everything together nicely.
The beauty is you can adjust it to suit what you have available in your kitchen, what's in season, and your preferences.
The most important thing is to make sure both the filling AND the sauce the shells are nestled in are equally intense in flavour. Keep tasting as you go. It will make the finished product so much better.
Speaking of which, I had some left over jerk mushroom and lentil mixture I used to stuff some mini turnovers, about 1/4 cup. I add that to the peanut pumpkin sauce. If you want to add another dimension of flavor, you could start off with diced bacon when you sauté the onions, or, add some ground beef to the sauce to make a sort of Bolognese.
Ingredients
Sauce:
1/2 a box of jumbo shells
2/3 cups pumpkin puree
1/4 cup peanut butter
1 tablespoon palm oil
1 tablespoon olive oil
1 teaspoon salt
1/2 cup vegetable broth
2 tablespoons cooking wine
2 tablespoons Worchester sauce
1 tablespoon black pepper
1/2 yellow onion, chopped
1 tablespoon garlic
1 teaspoon fenugreek powder
1 teaspoon fresh sage, chopped
1 teaspoon coriander
1 teaspoon paprika
3 tablespoons pumpkin spice pepper sauce (I used Camella’s Kitchen’s)
1 teaspoon chili flakes
1/2 cup tomatoes, diced
1/4 cup tomato paste
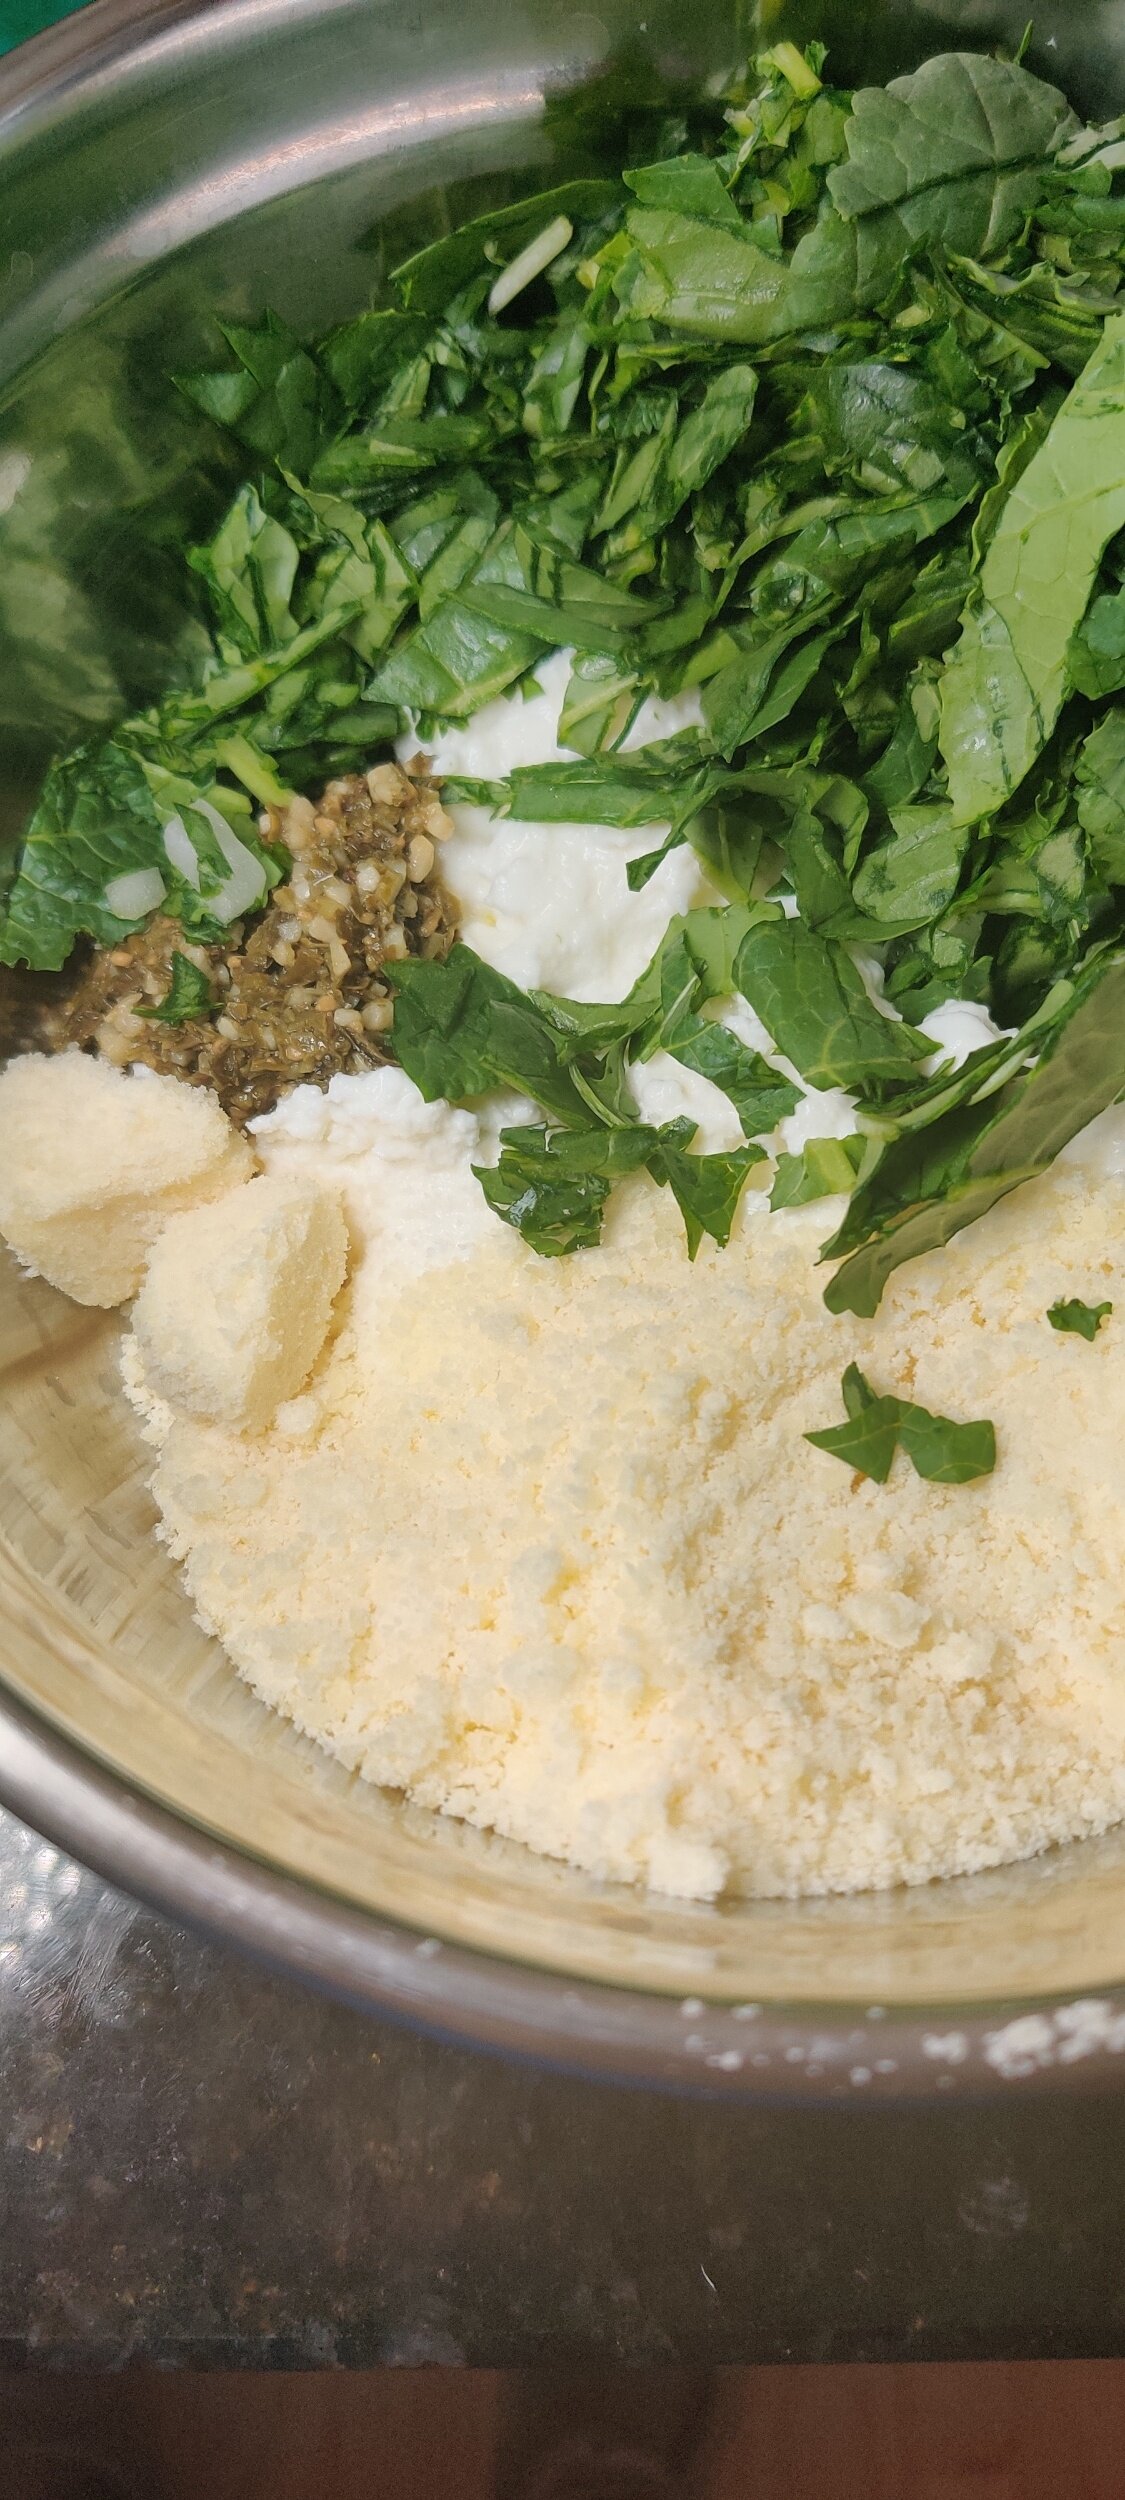
Filling:
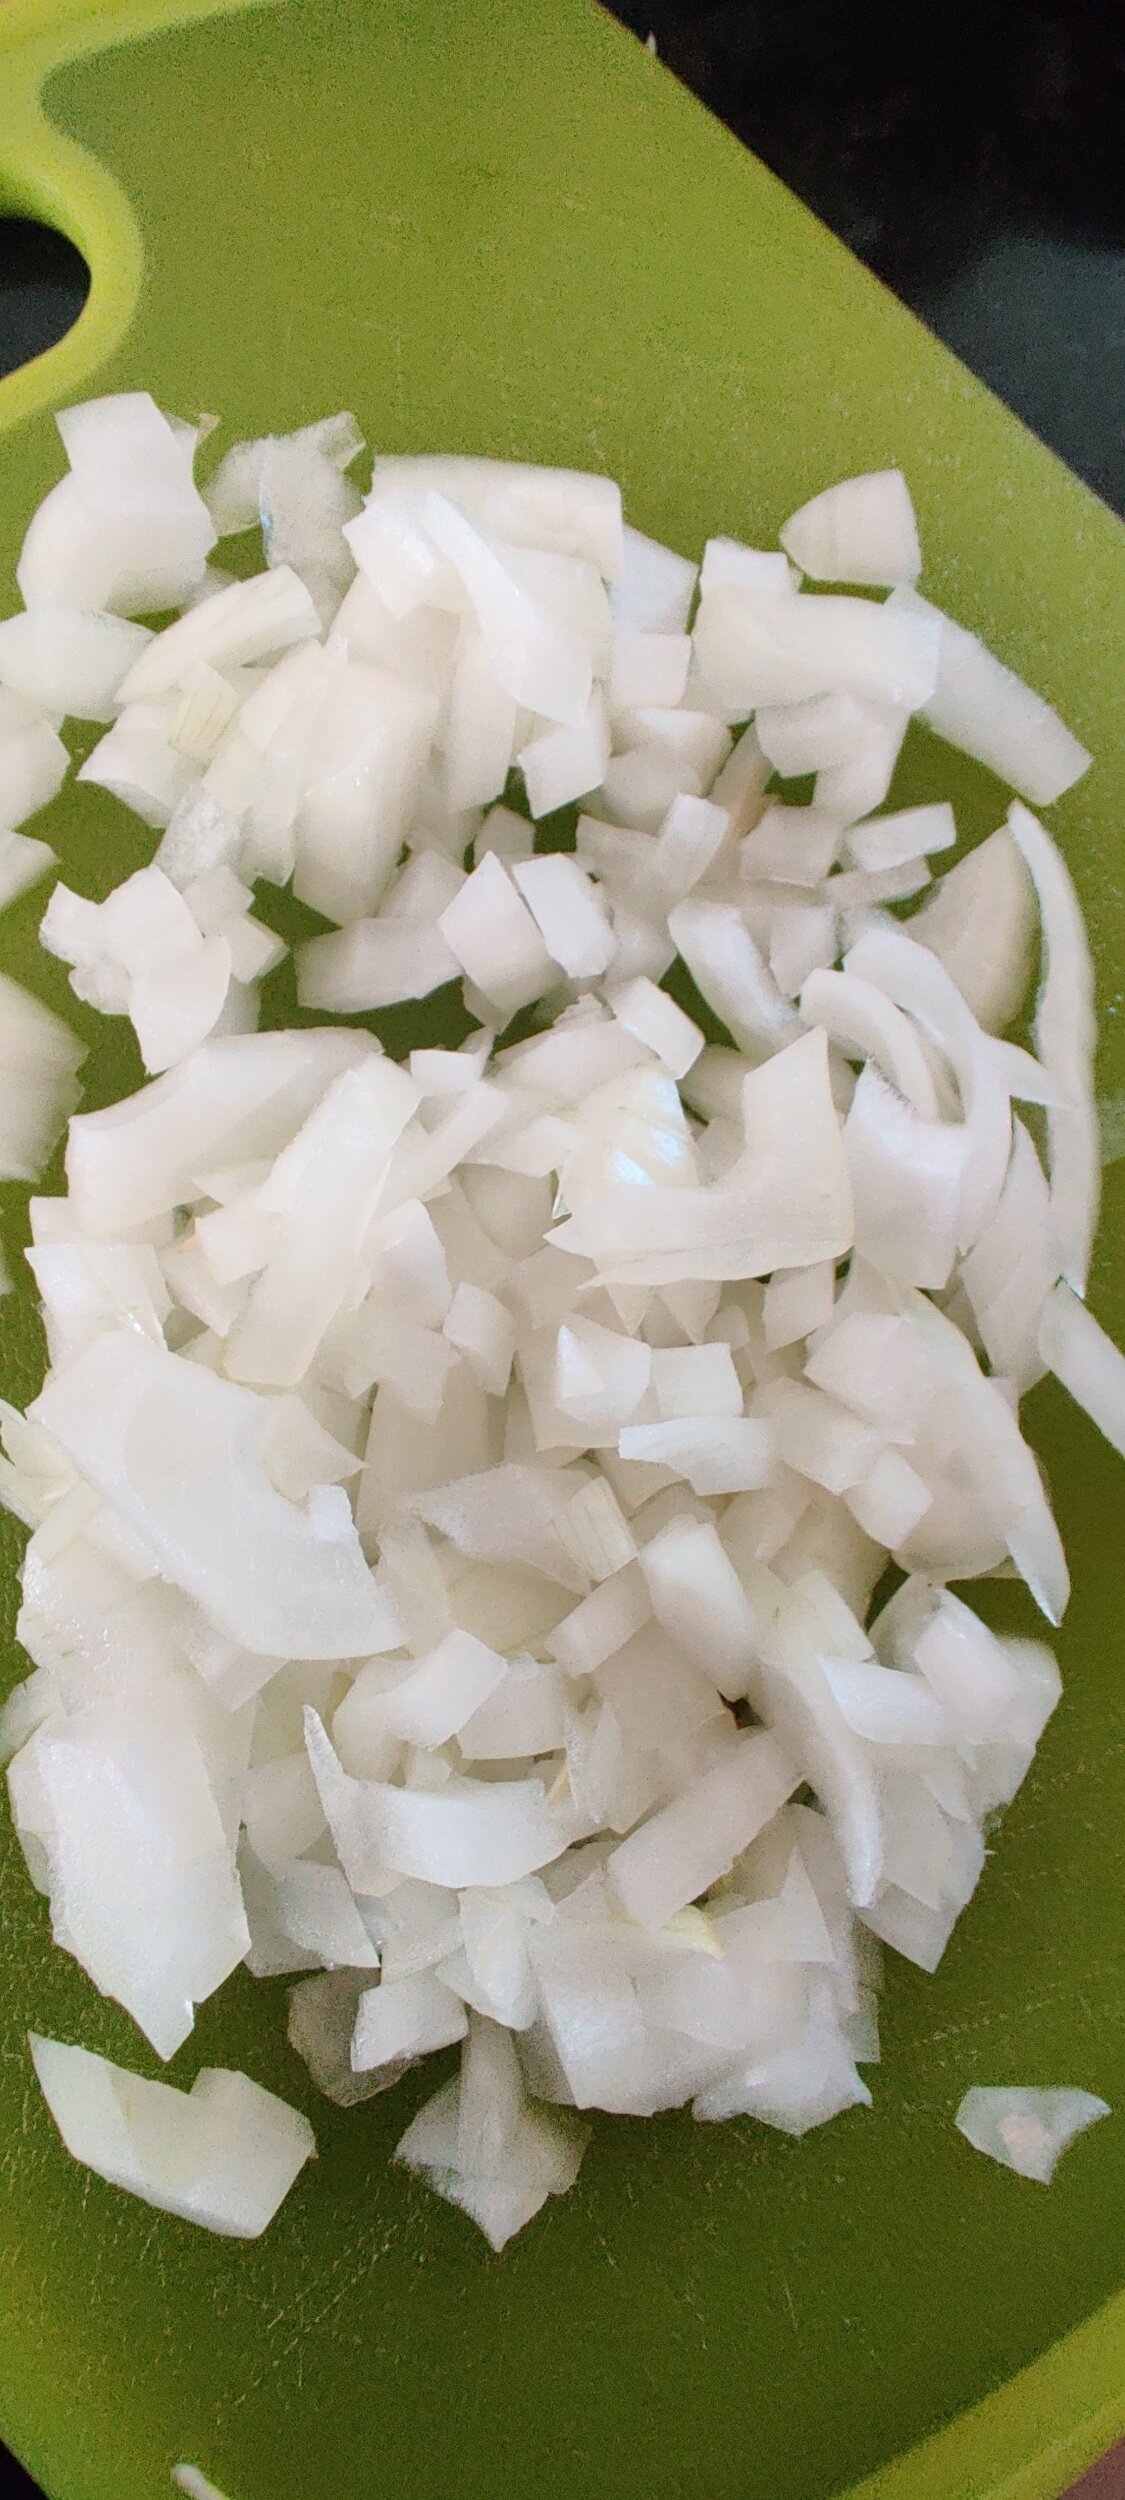
1 cup chopped kale and spinach
1 cup ricotta cheese
1 teaspoon olive oil
1/3 cup grated parmesan
2 tablespoons lemon juice
1 teaspoon salt
1 tablespoon black pepper
2 tablespoons pesto
Instructions
Cook the pasta as directed on the box until al dente, set aside. If you overcook they will break down so keep that mind.
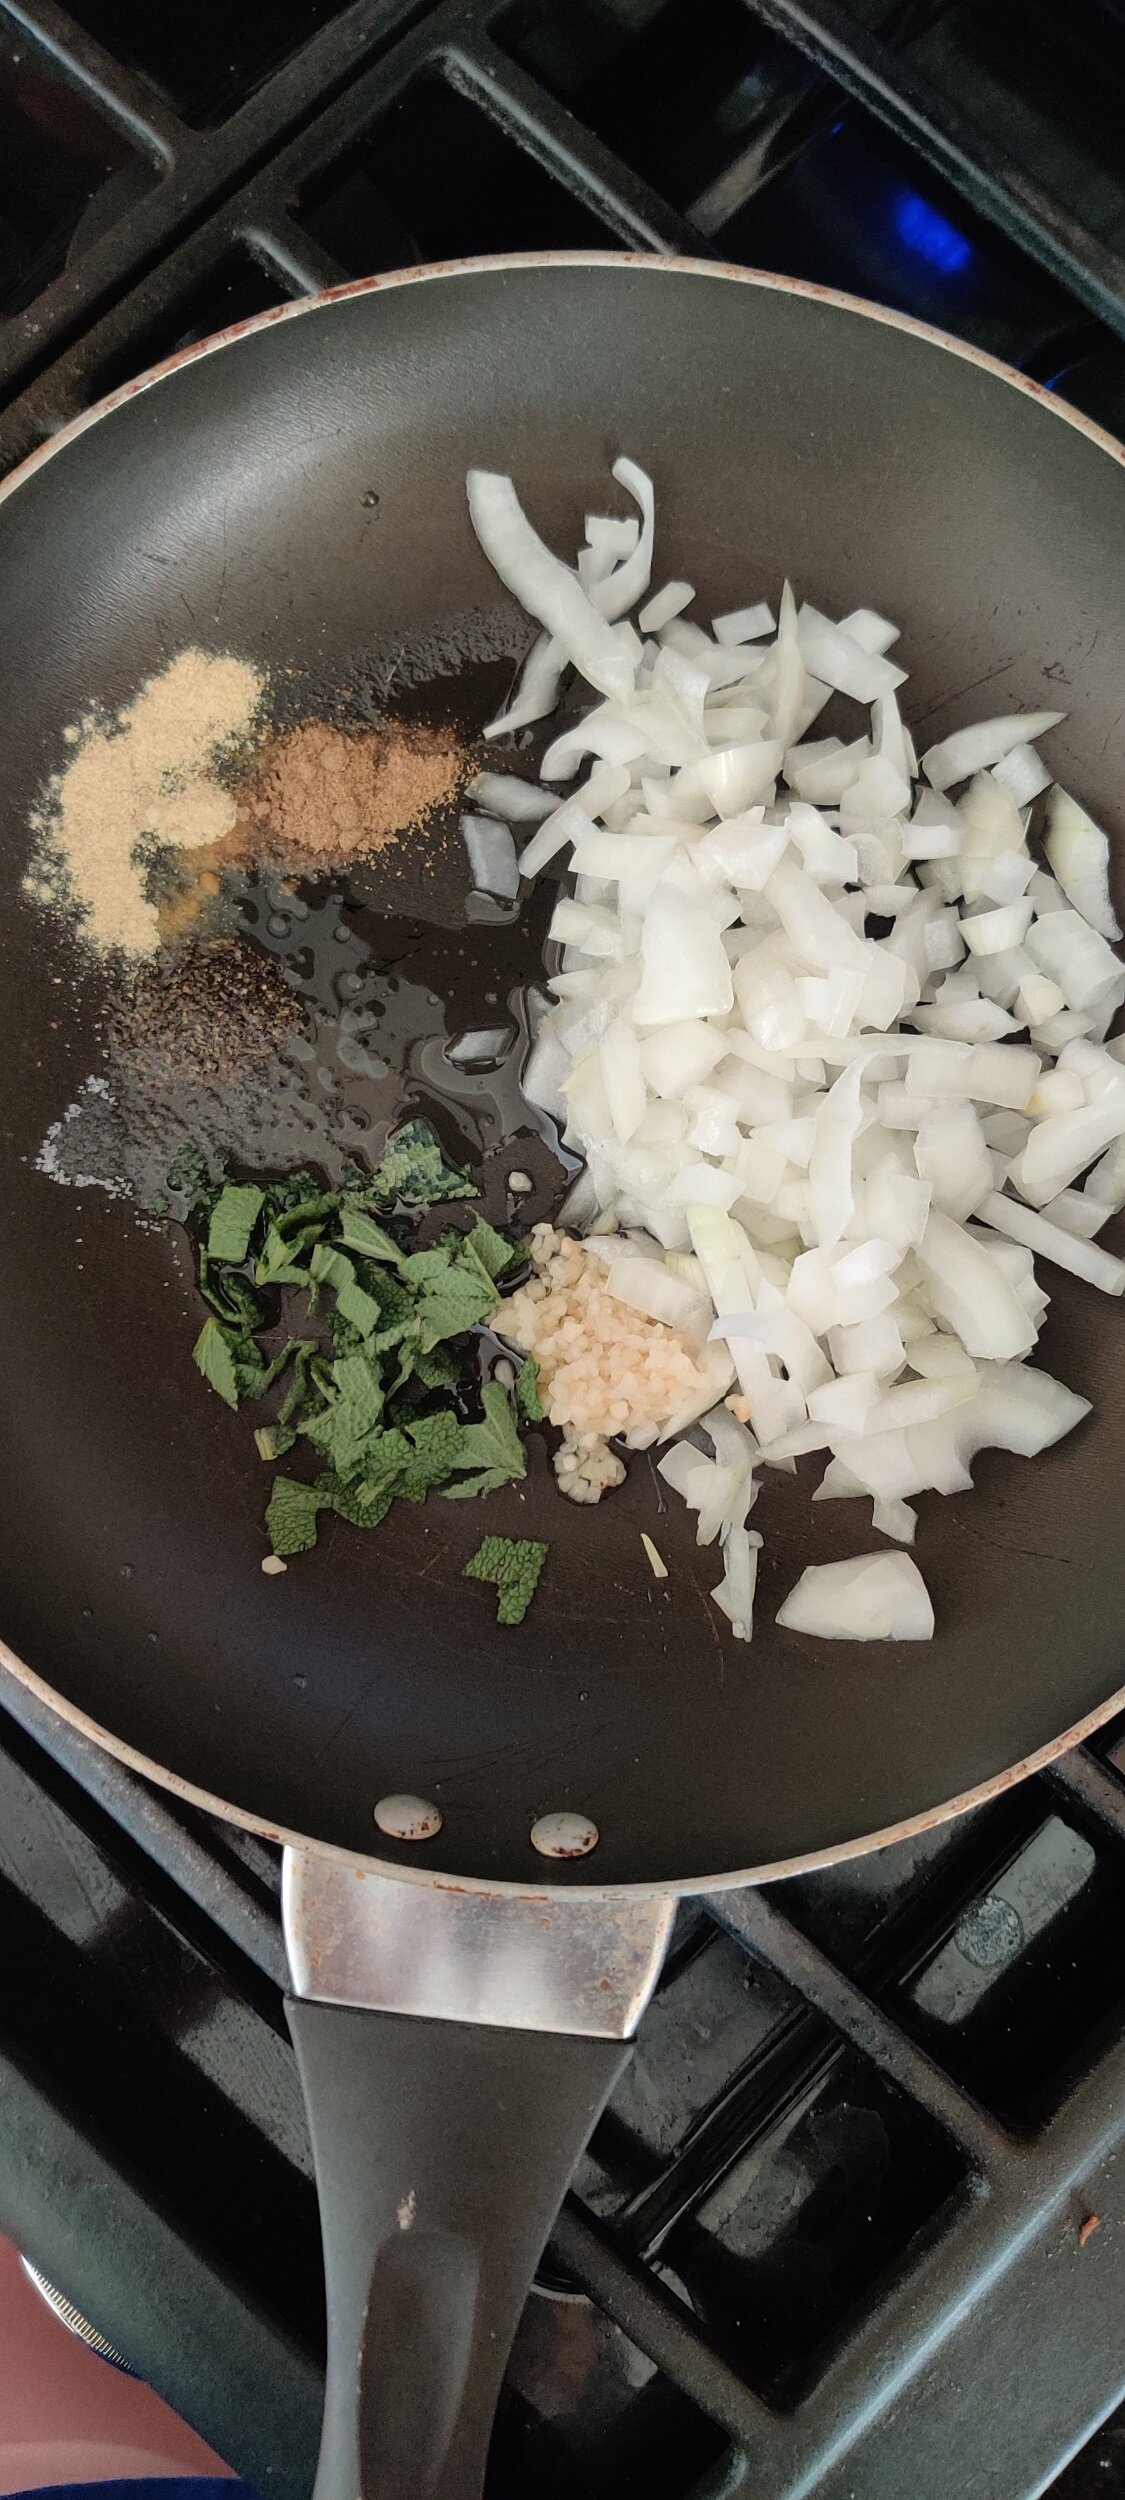
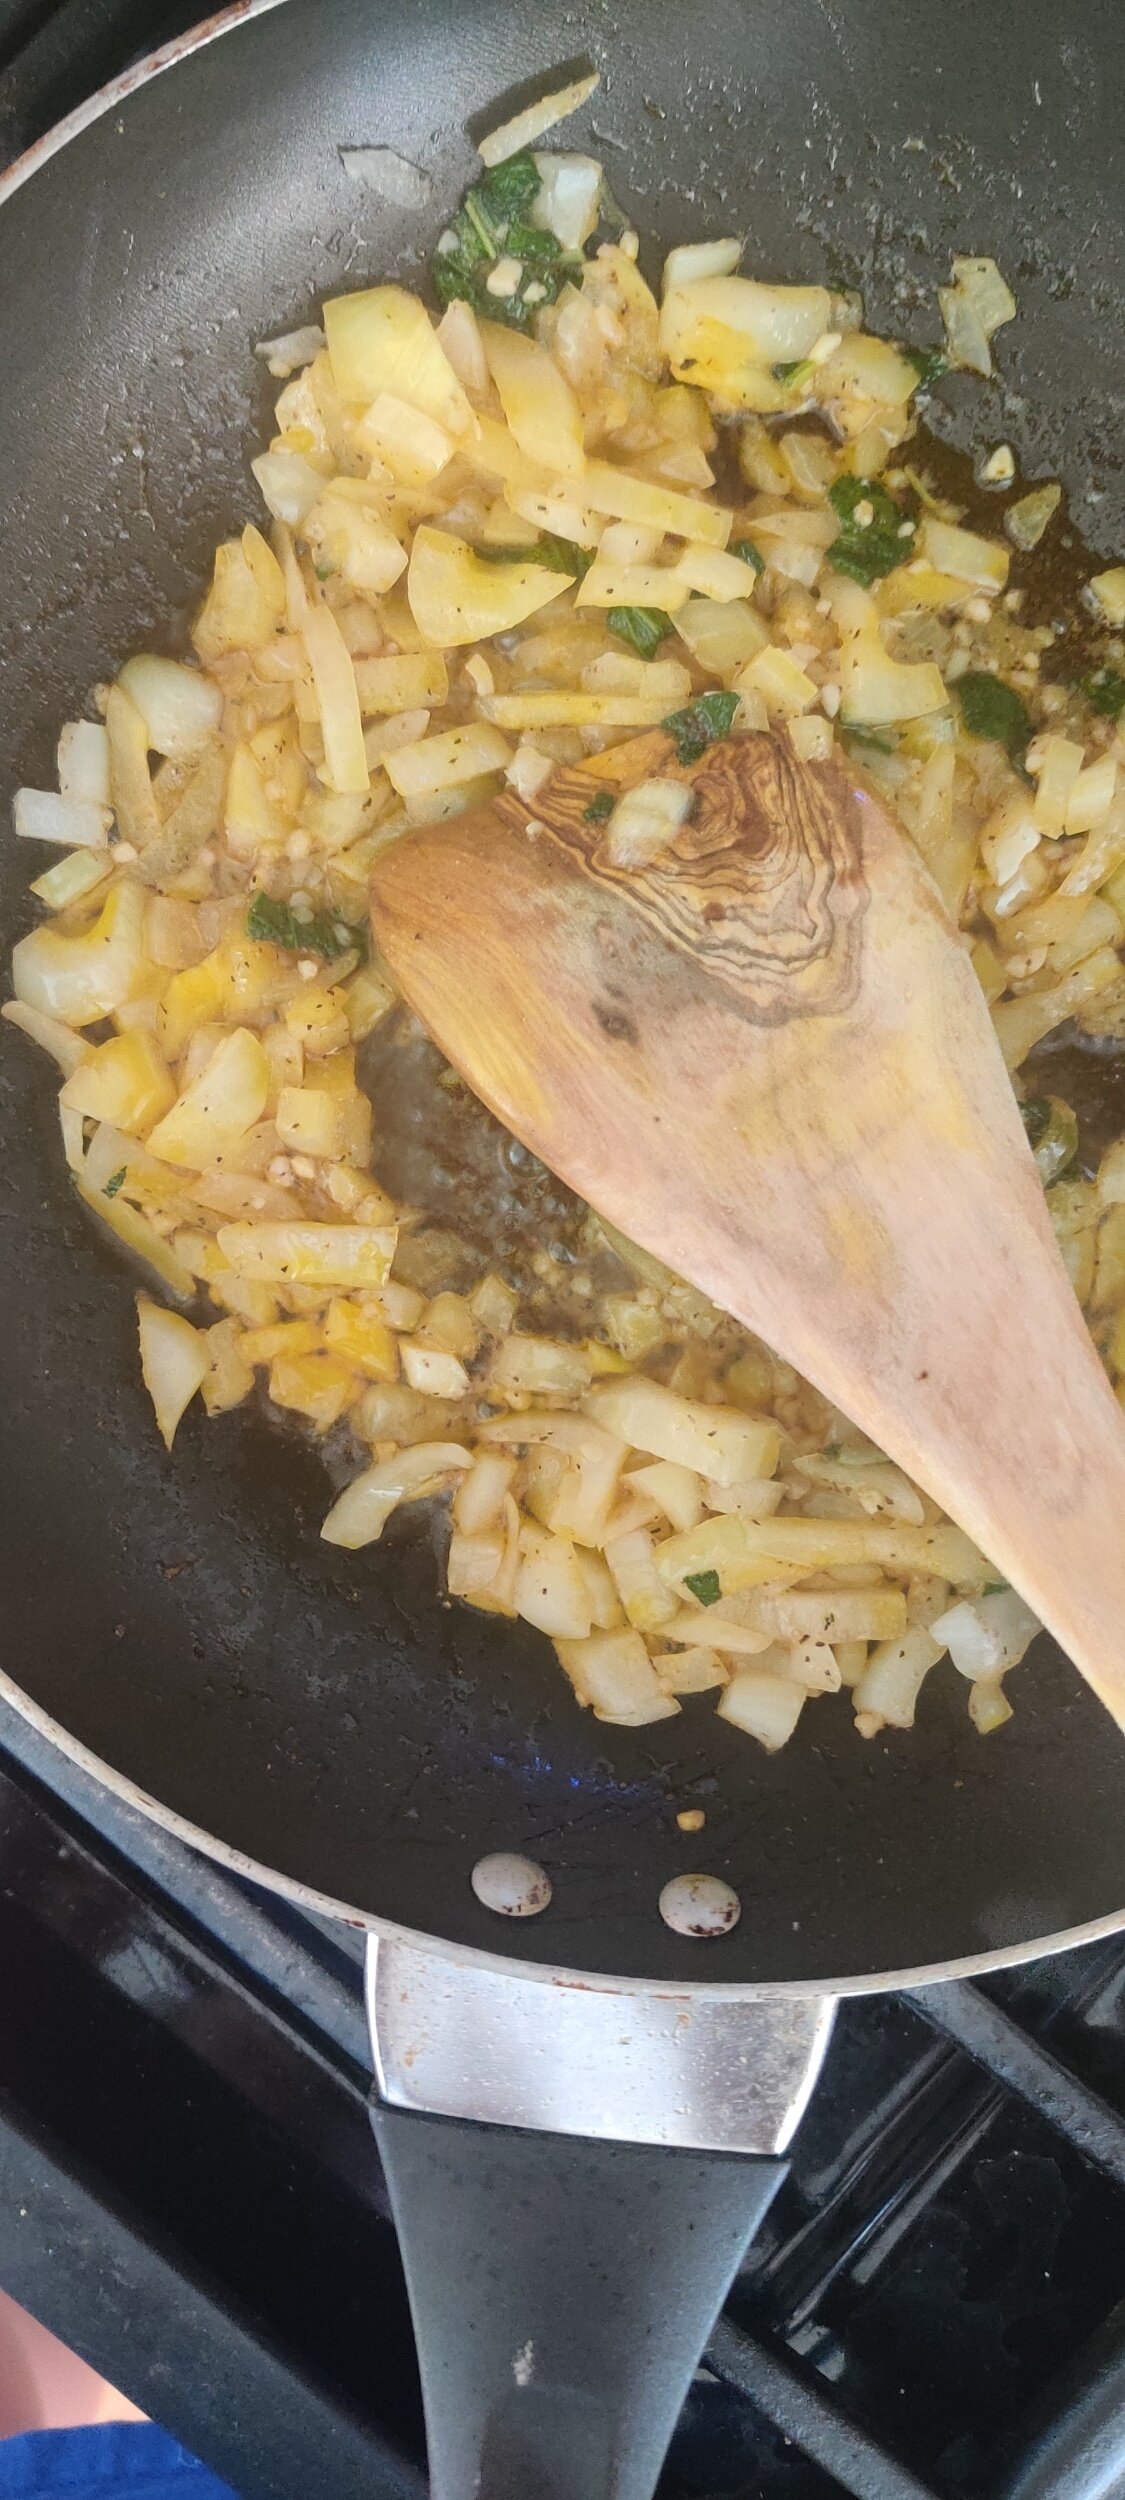
Sauté the onion, spices, sage, and garlic in the olive and palm oil for about 3 minutes until fragrant on medium-low heat - don’t burn!
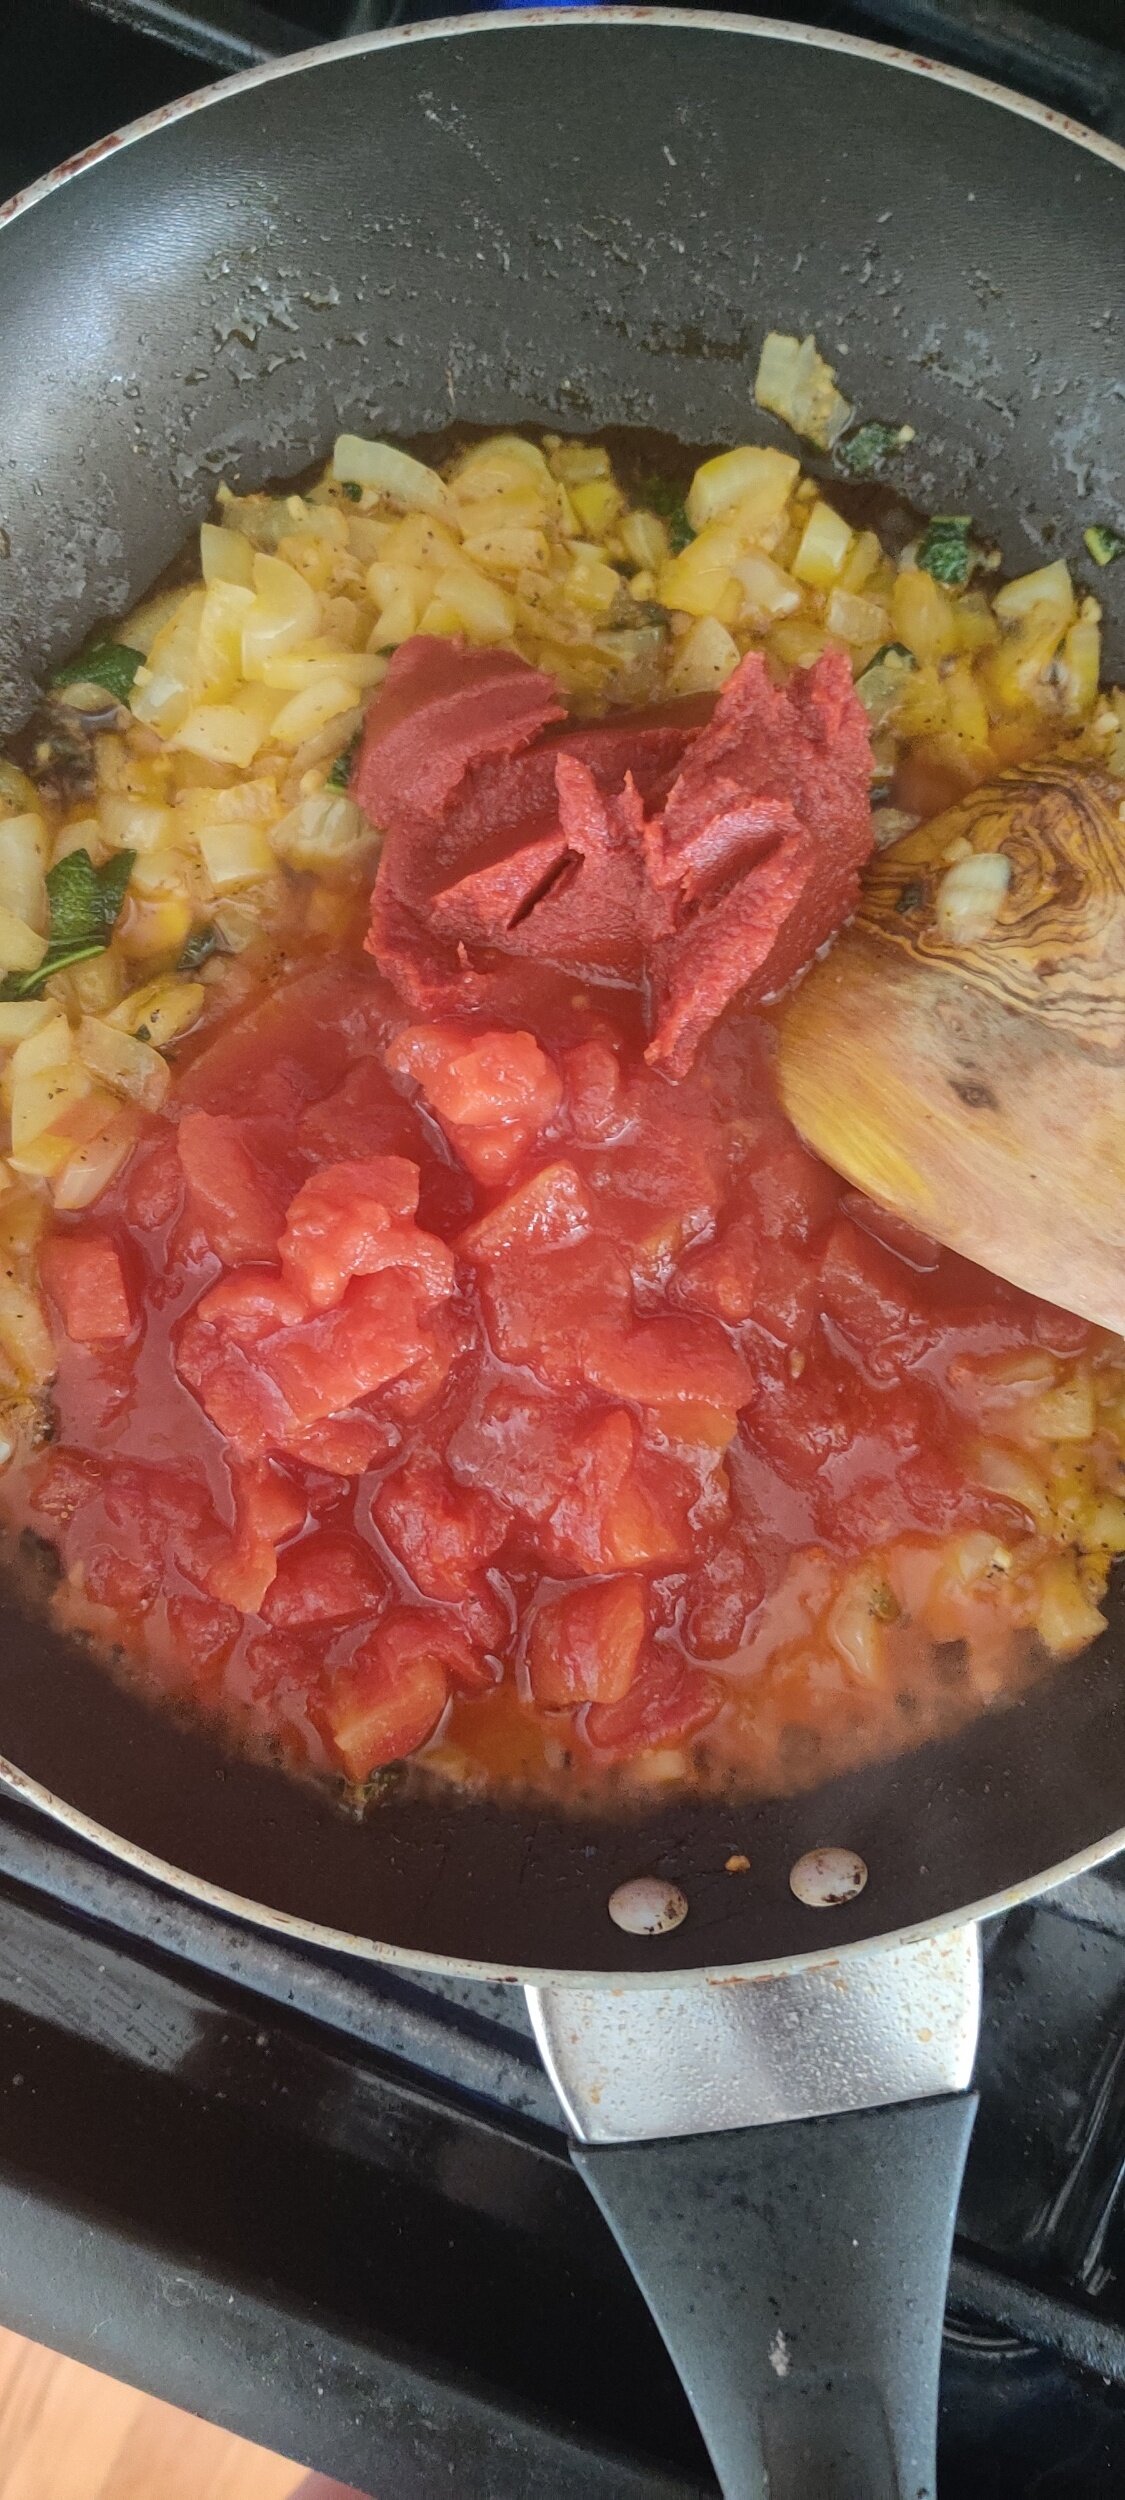
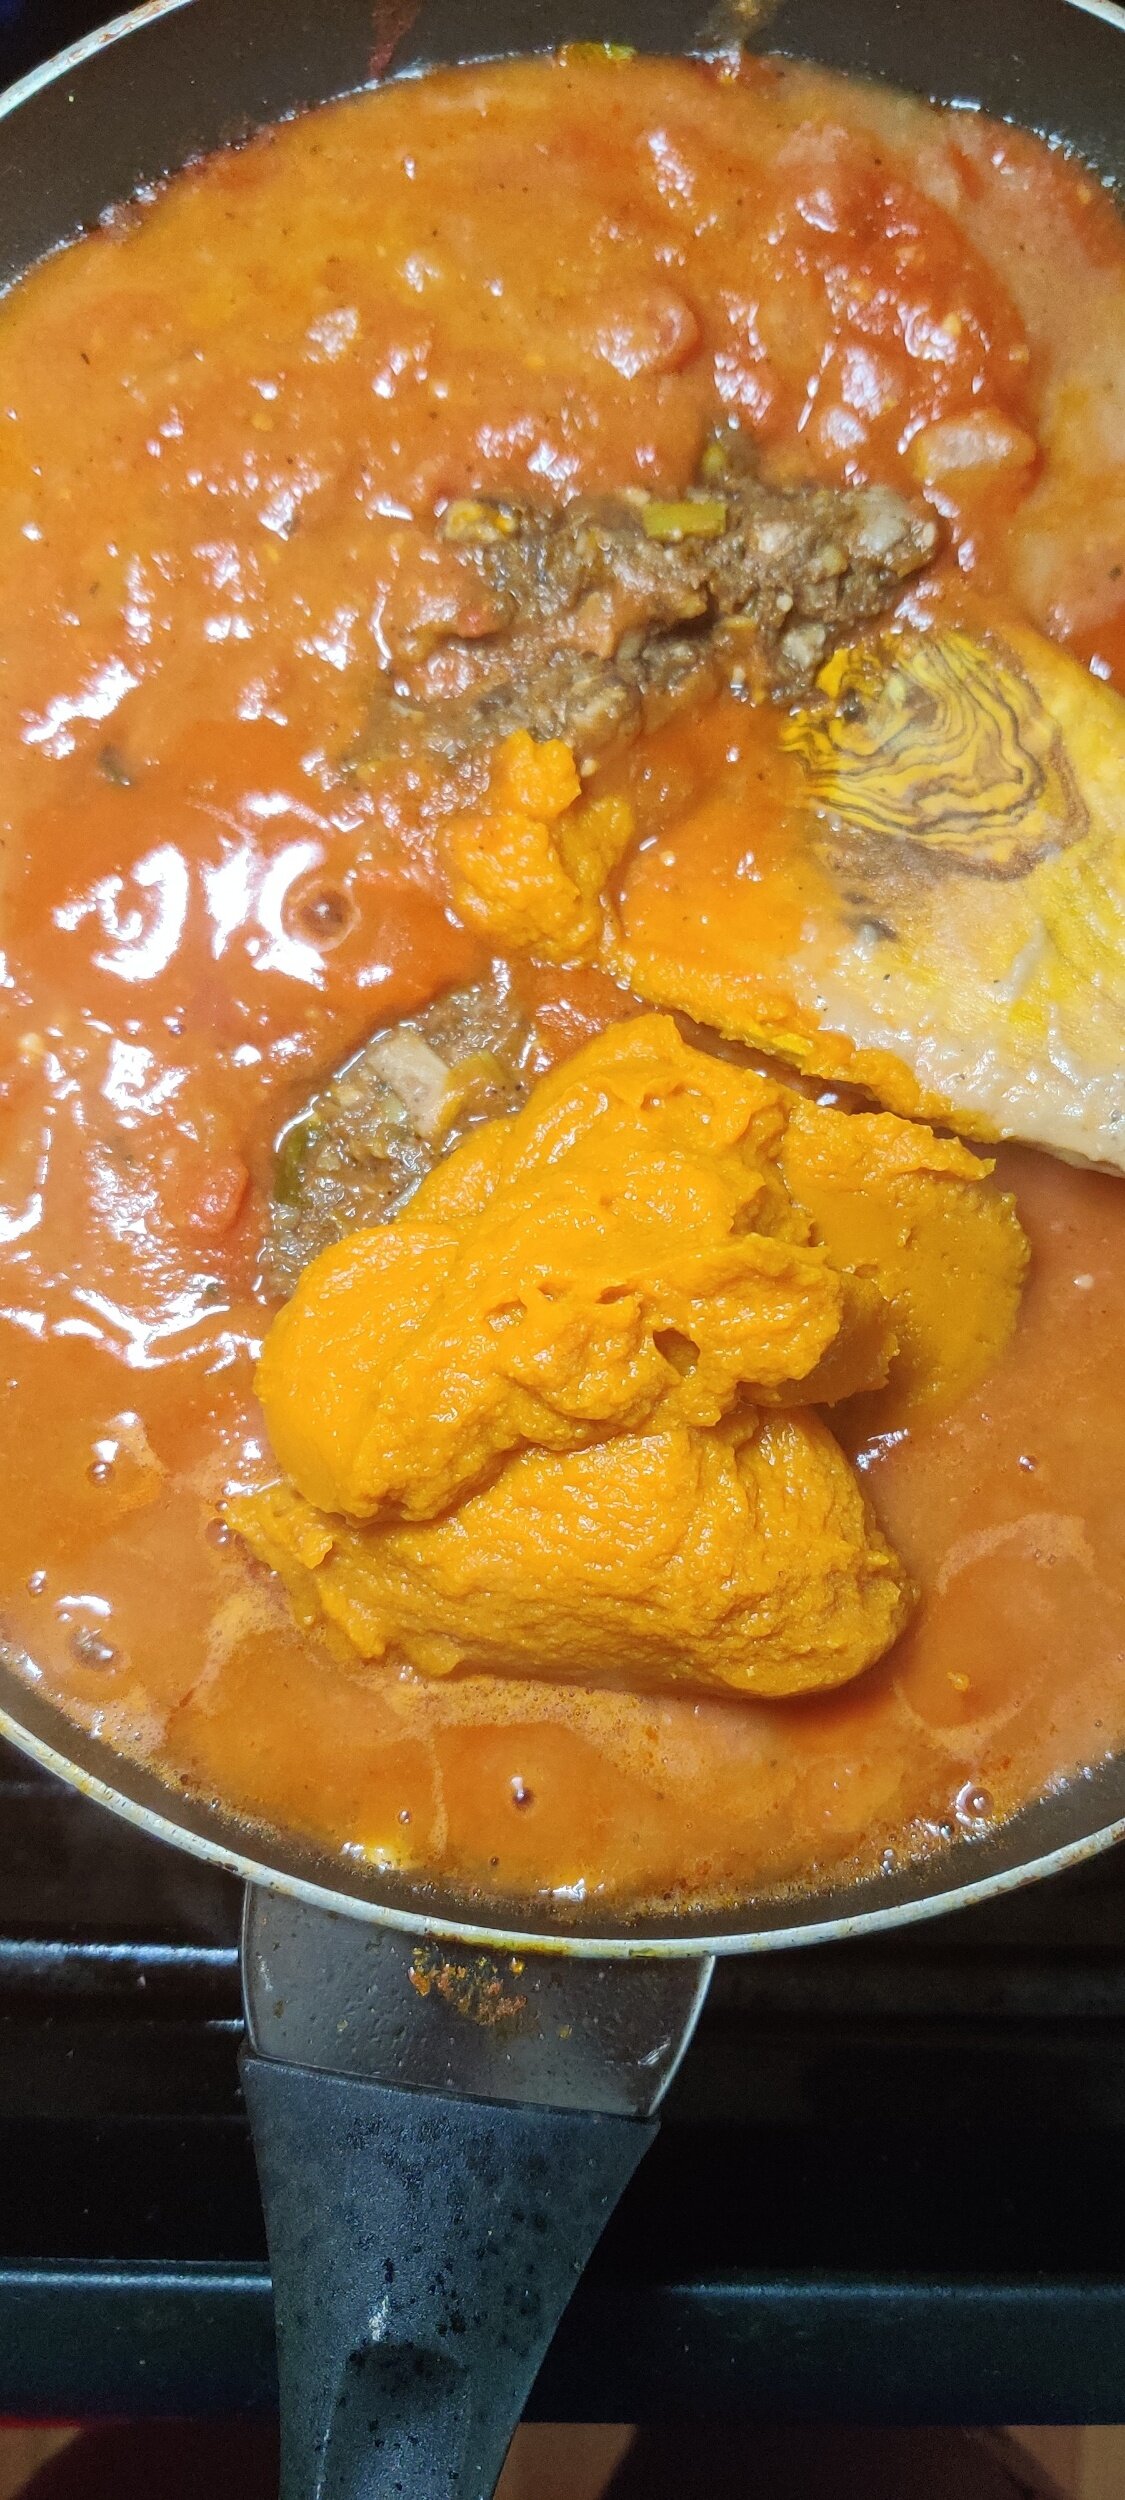
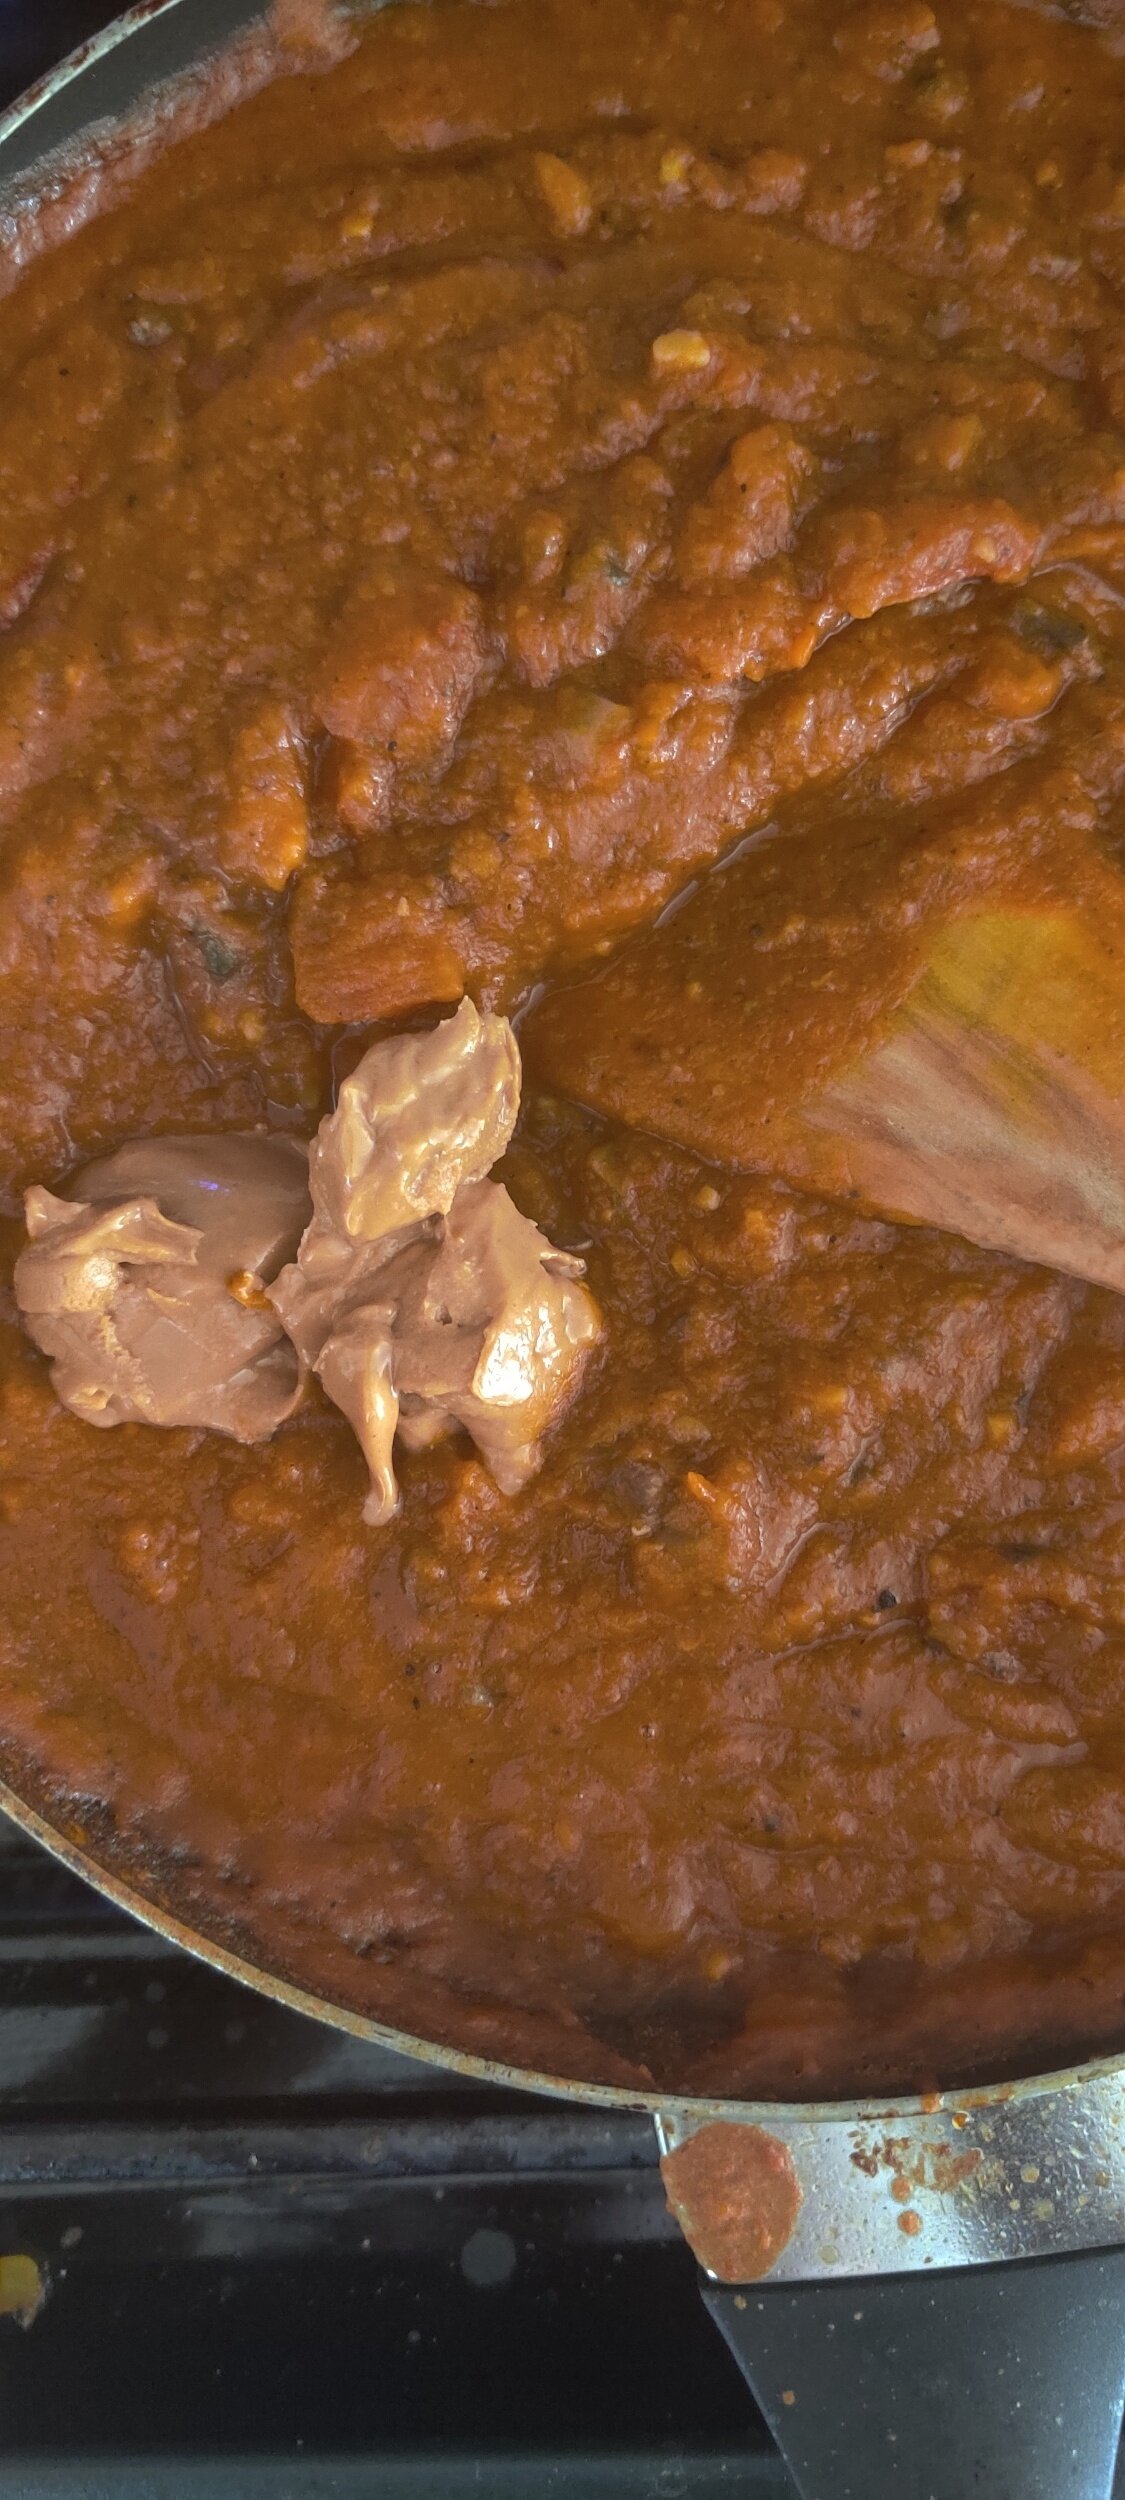
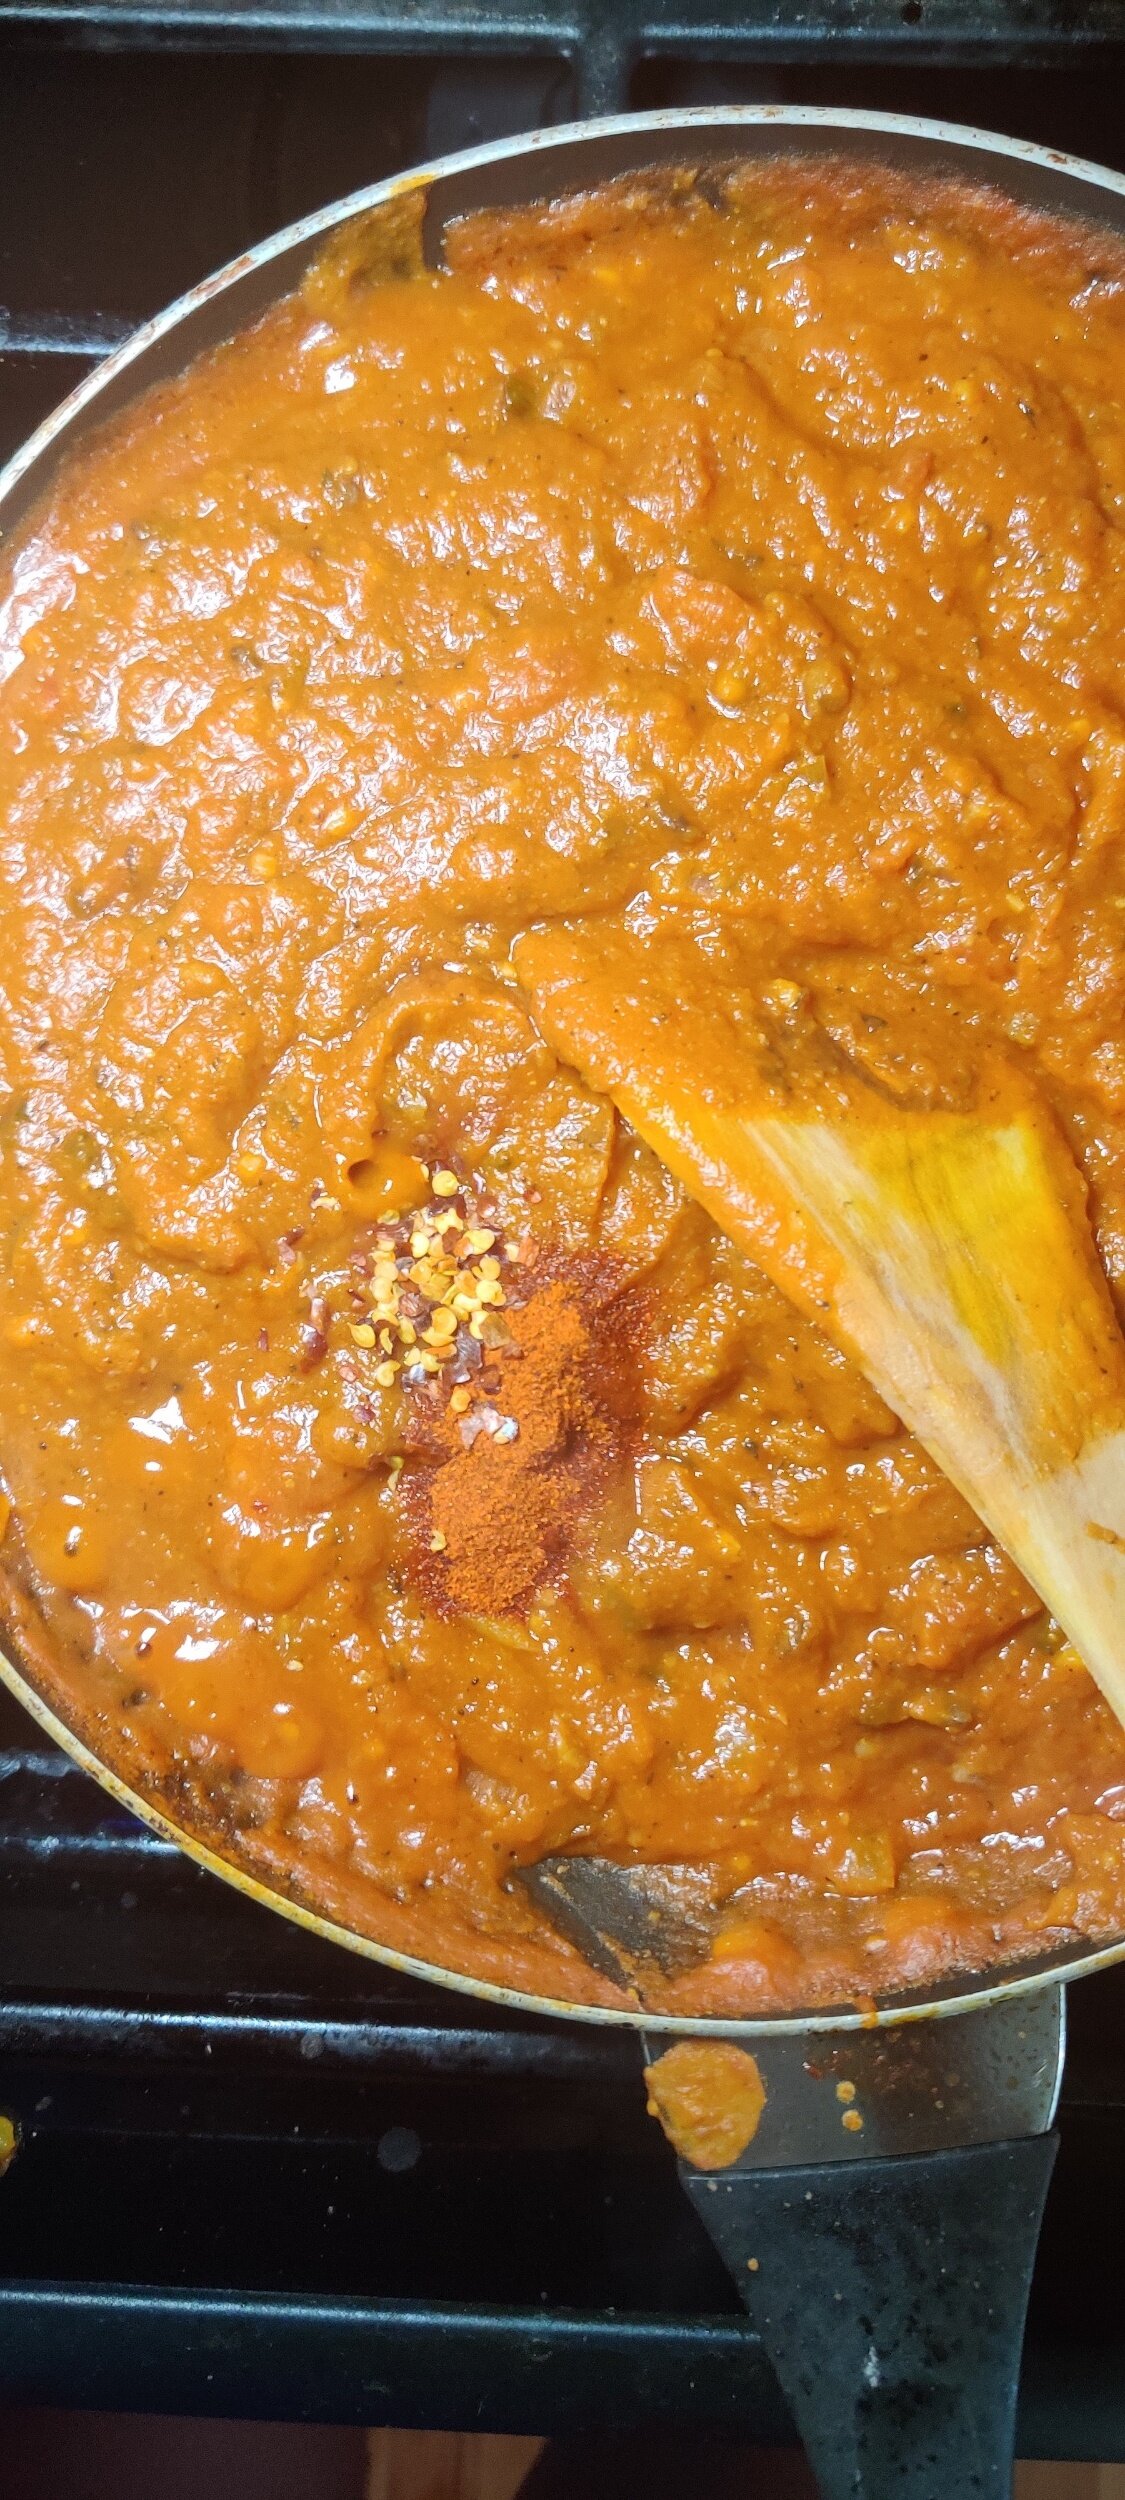
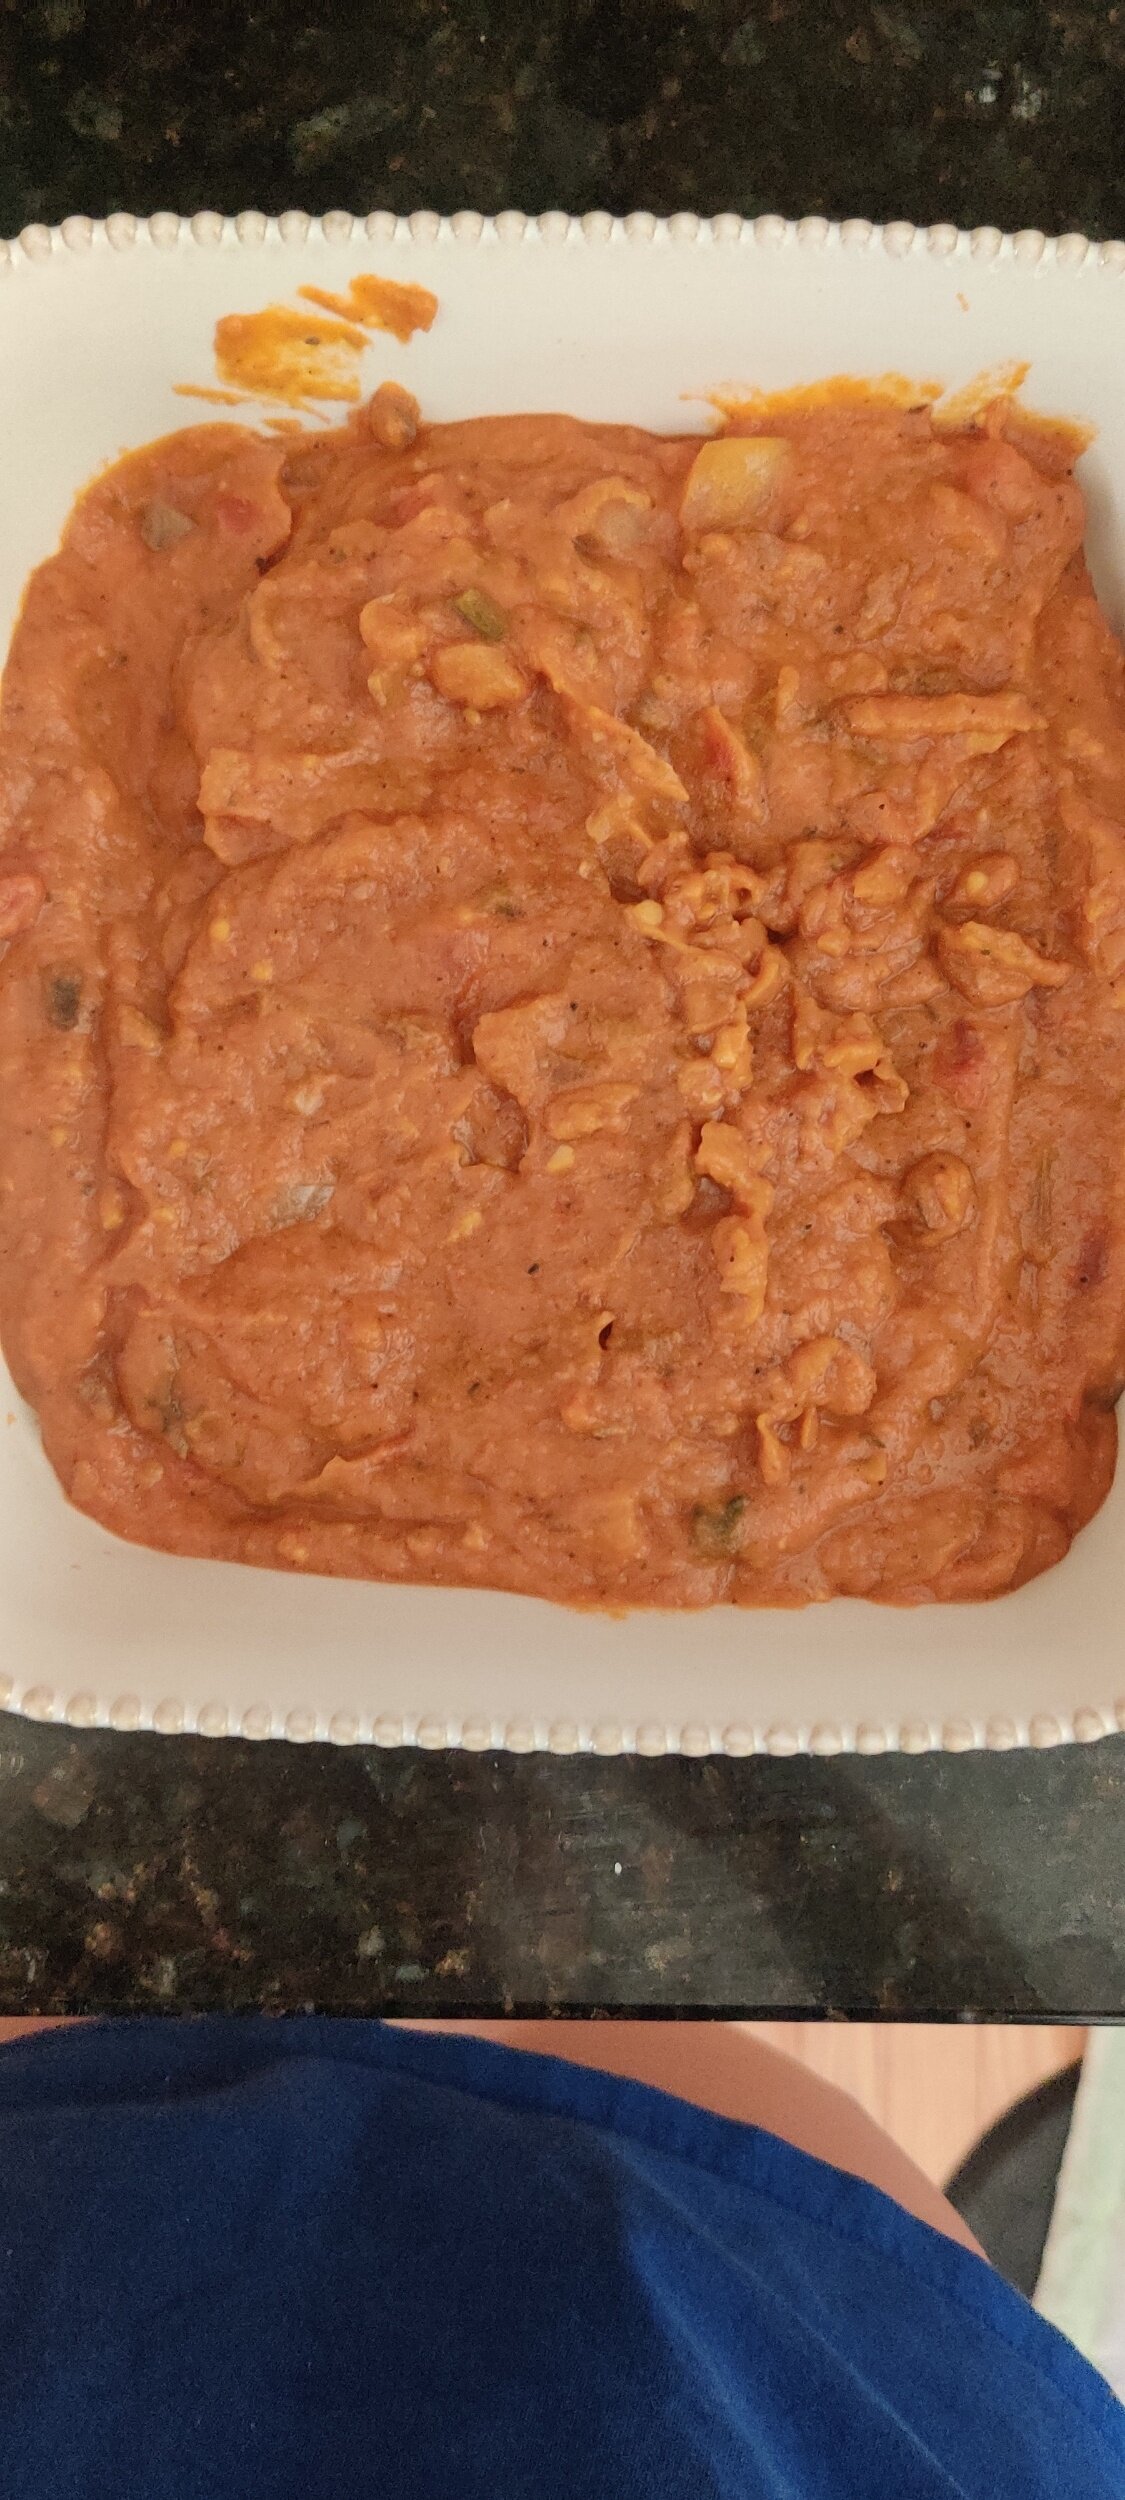
Add the tomato paste and diced tomatoes and cook for 2-3 minutes. Add the pumpkin puree, broth, cooking wine, and Worchester sauce. Stir until evenly mixed and thickened, then add the peanut butter, paprika and chili flakes. Simmer for about 5 minutes, set aside.
Fill your baking tray about halfway with the sauce, set aside.
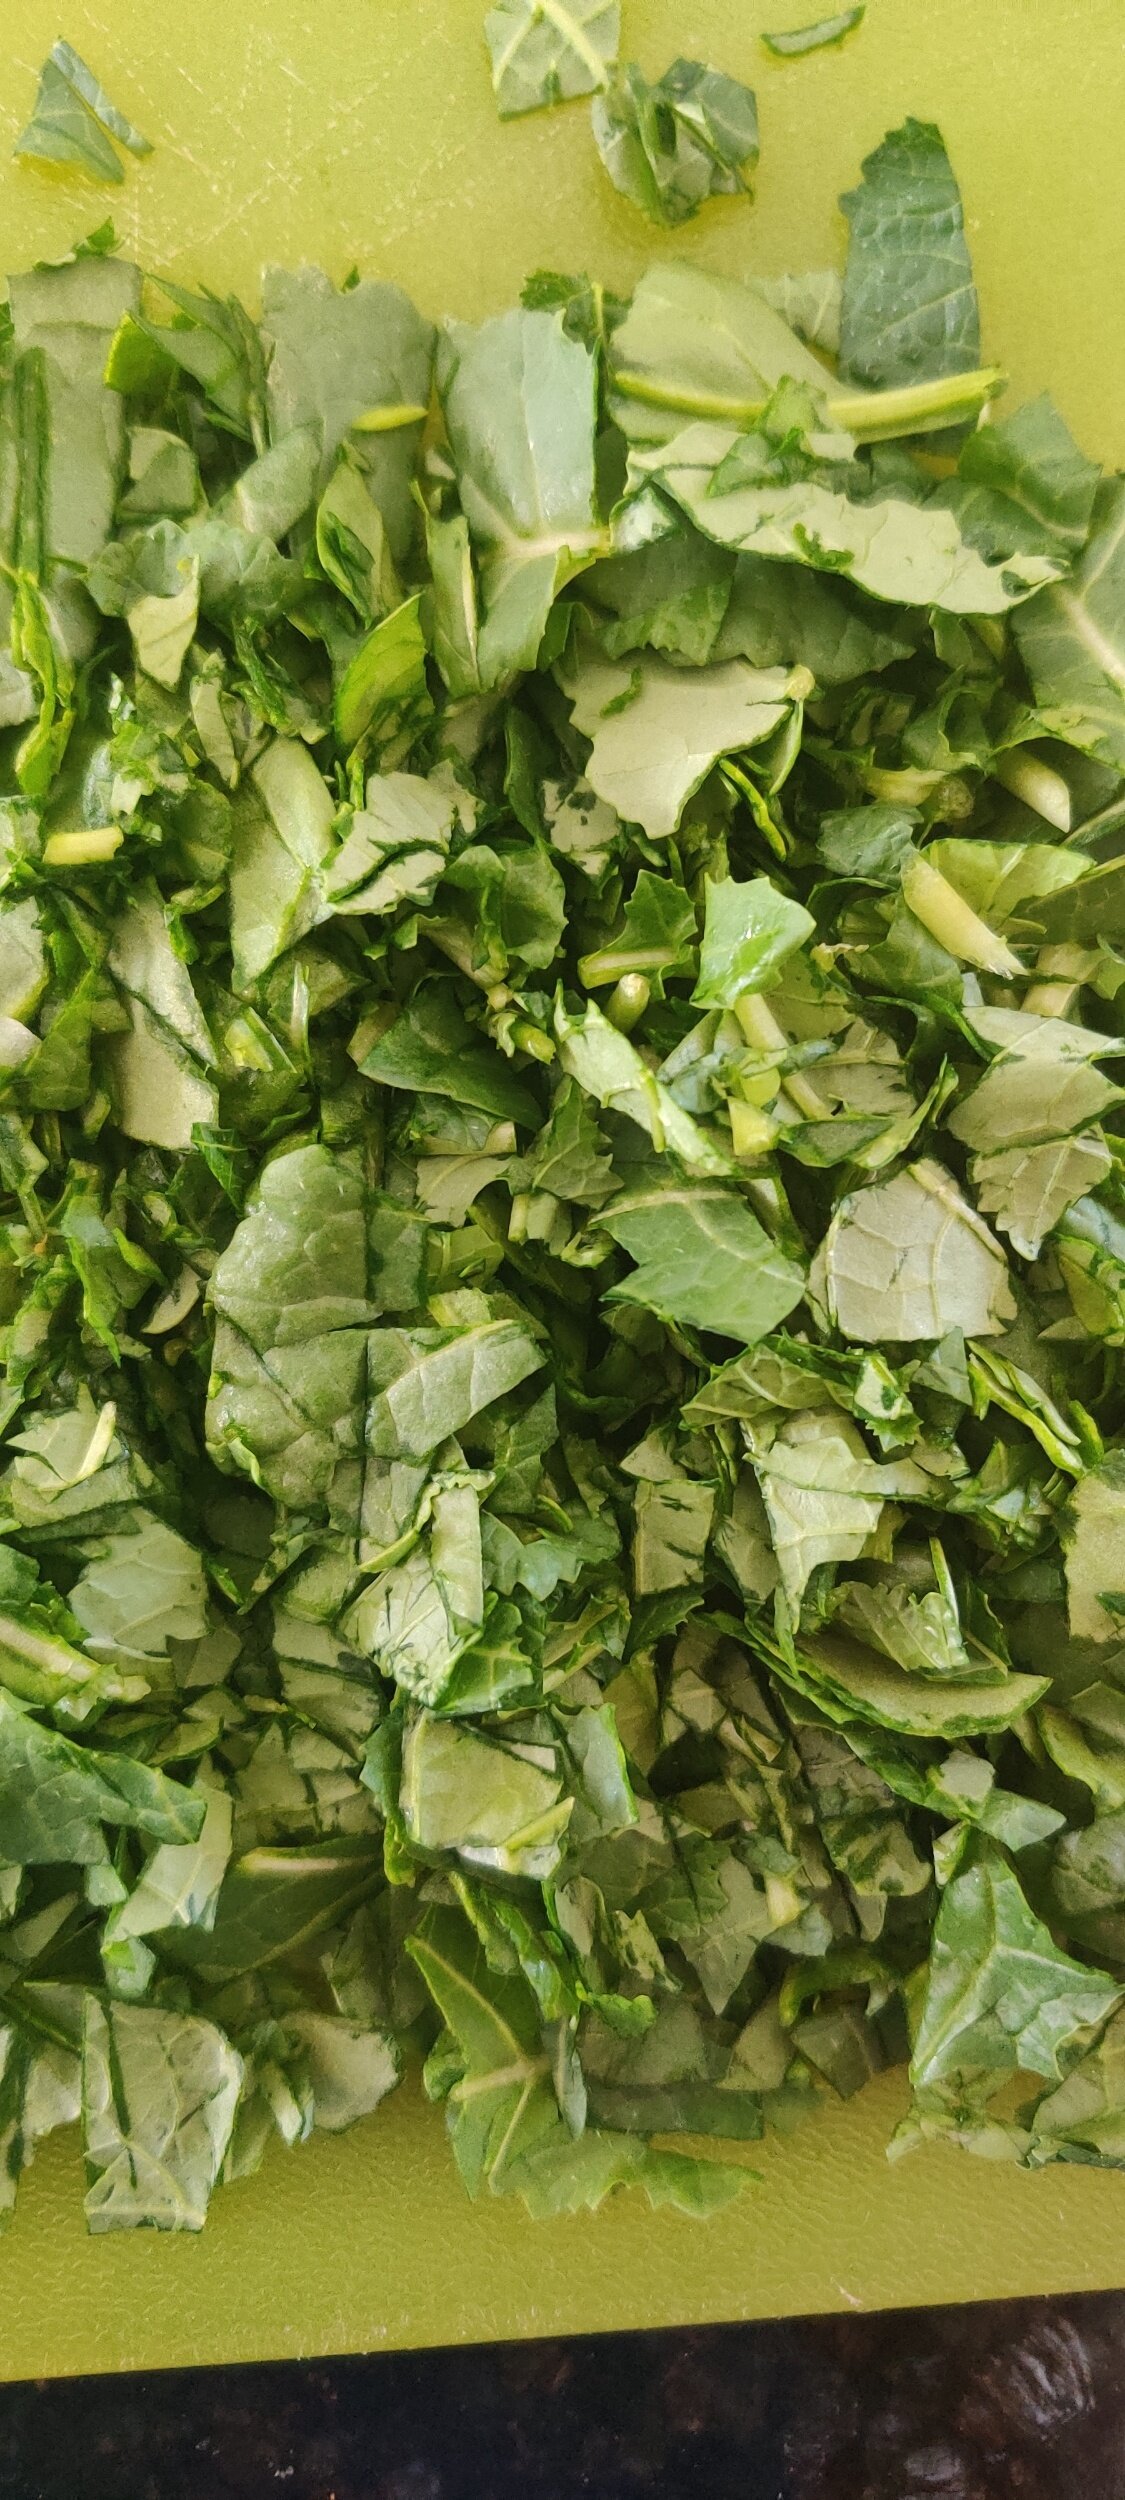
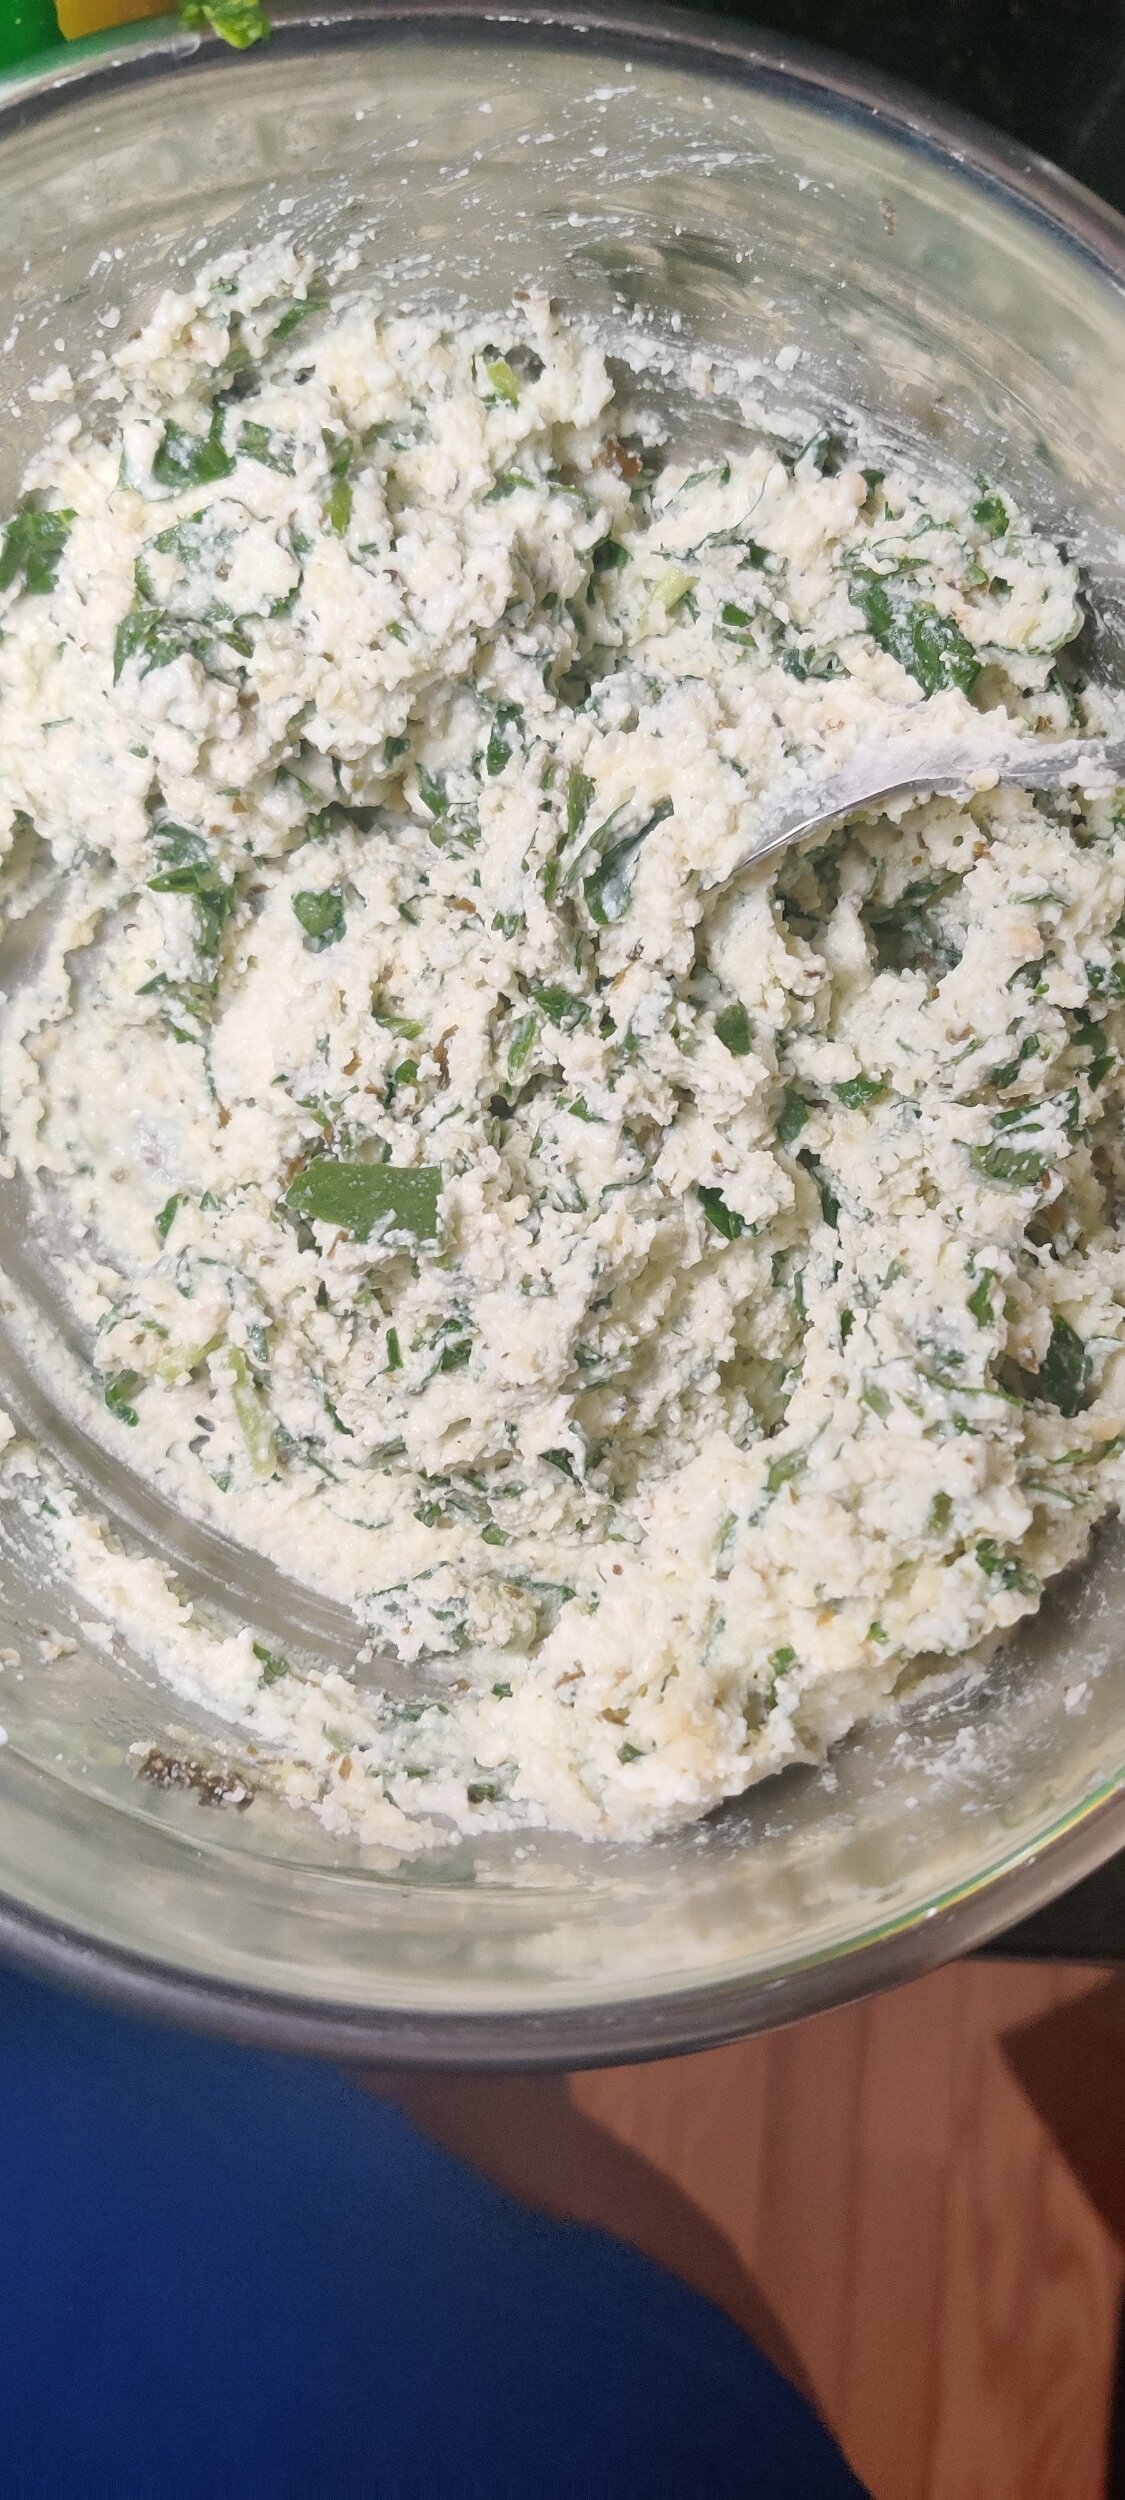
In a small bowl, stir the parmesan, salt, olive oil, pepper, pesto, spinach and kale until evenly mixed.
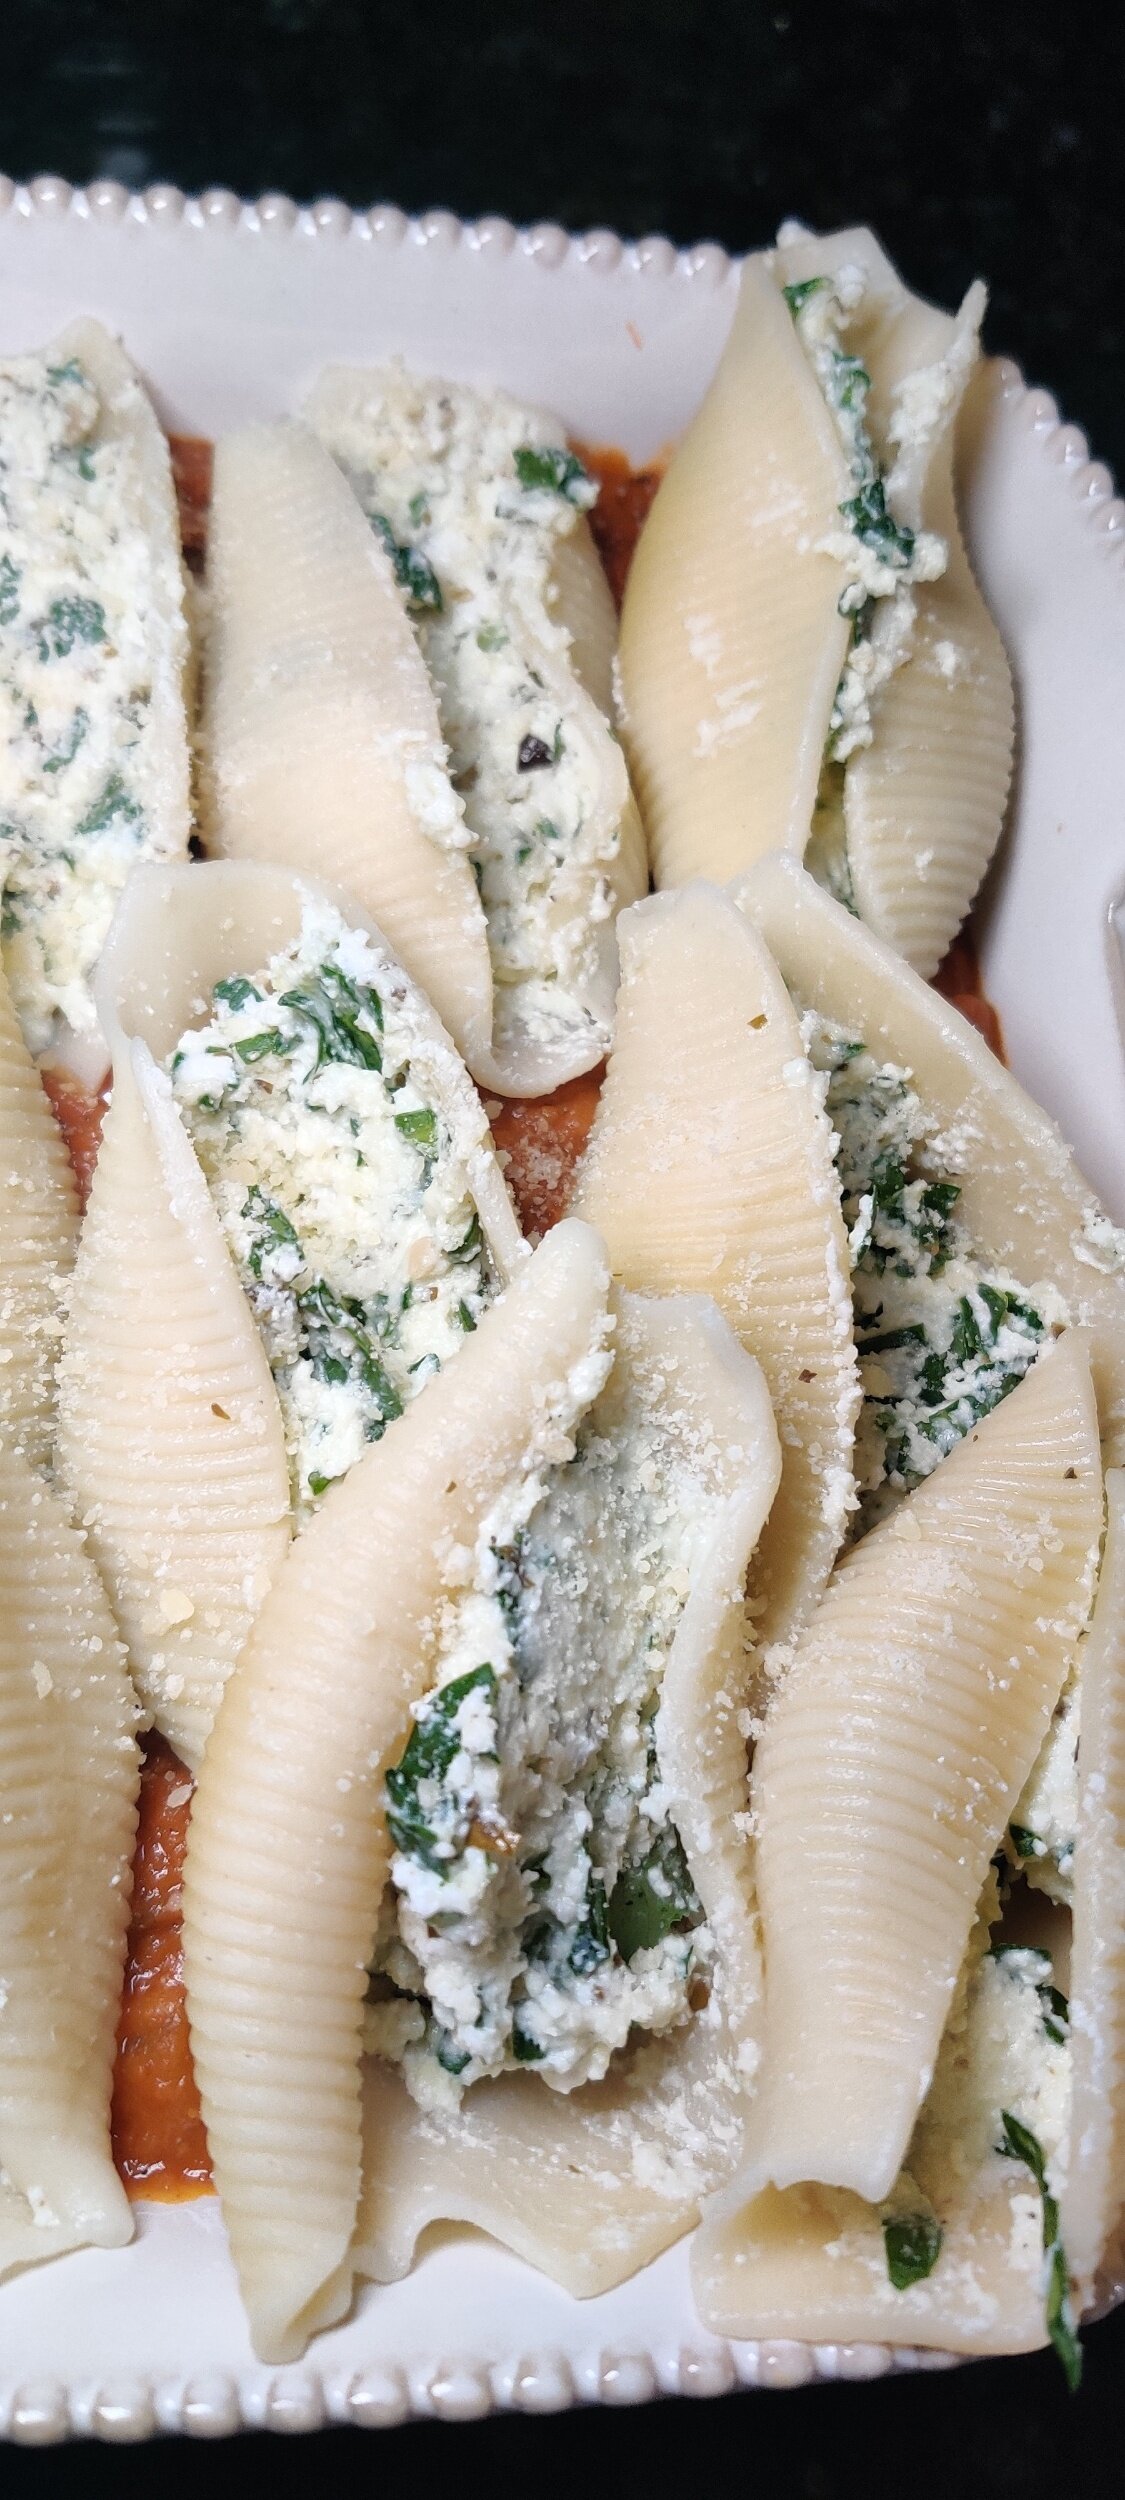
Stuff the shells with about 1 heaped teaspoon, then carefully lay the shells on top of the pumpkin peanut sauce.. Bake in the oven at 350F for about 25 minutes.
Remove the baking dish to cool for about 5 minutes before serving.

Makai Paka Fish Pie
I’ve mentioned several times before that although I cut back on meat consumption with plans to be completely vegan, I still occasionally eat fish and seafood. What says fall better than a hot, flavourful stew pie? I grew up on both and wanted to share a delicious meal to celebrate them and keep you cozy.The recipe is a combination of two different dishes.
As the weather gets cooler many of us will be seeking out pie recipes. One of the most scrumptious in my humble opinion is fish or fisherman's pie. The flavours the white fish absorbs, muddled with vegetables and a white sauce, topped with creamy, baked mashed potatoes make for the ultimate, mouthwatering treat. Fish pie is similar to the well-known
shepherd's pie. Some classic renditions call for the addition of boiled eggs and shrimp. No need for pastry!
Why not spice things up to make your fish pie extra special?
For this, I turned to a Kenyan preparation of mealie Cobb, also known as makai paka, cooked in coconut milk and spices. Instead of whole mealies, of course, I used corn kernels. It's a popular dish in the South Asian community in Mombasa and across East Africa.
This makes for the kind of meal you'll be happy to serve your guests or present at the Family dinner table. I hope you enjoy it!
Ingredients
Fish stew:
1-2 pounds tilapia fillets (or any boneless white fish)
1/2 cup frozen corn kernels
2 tablespoons mustard
2 tablespoons lemon juice
2 tablespoons soy sauce
3 tablespoons olive oil
1/4 cup frozen peas
1/4 cup leeks, diced
1 can coconut milk
1 tablespoon tomato paste
1 tablespoon Madras curry powder
2 tablespoons black pepper
2 teaspoons salt
1 teaspoon turmeric
1 teaspoon coriander
1/4 cup parmesan cheese
1/3 cup scallions
2 tablespoons fish spice
1 tablespoon dill
1 tablespoon minced garlic
1/4 cup red onion, chopped
2 tablespoons butter
1 jalapeno, diced
1/3 cup crushed tomatoes
2 heaped tablespoons tomato paste
Mashed potatoes:
3 russet Potatoes
1/4 cup coconut cream
2 tablespoons butter
1/4 cup grated parmesan
Salt and pepper
Fresh coriander, scallions or chives to garnish
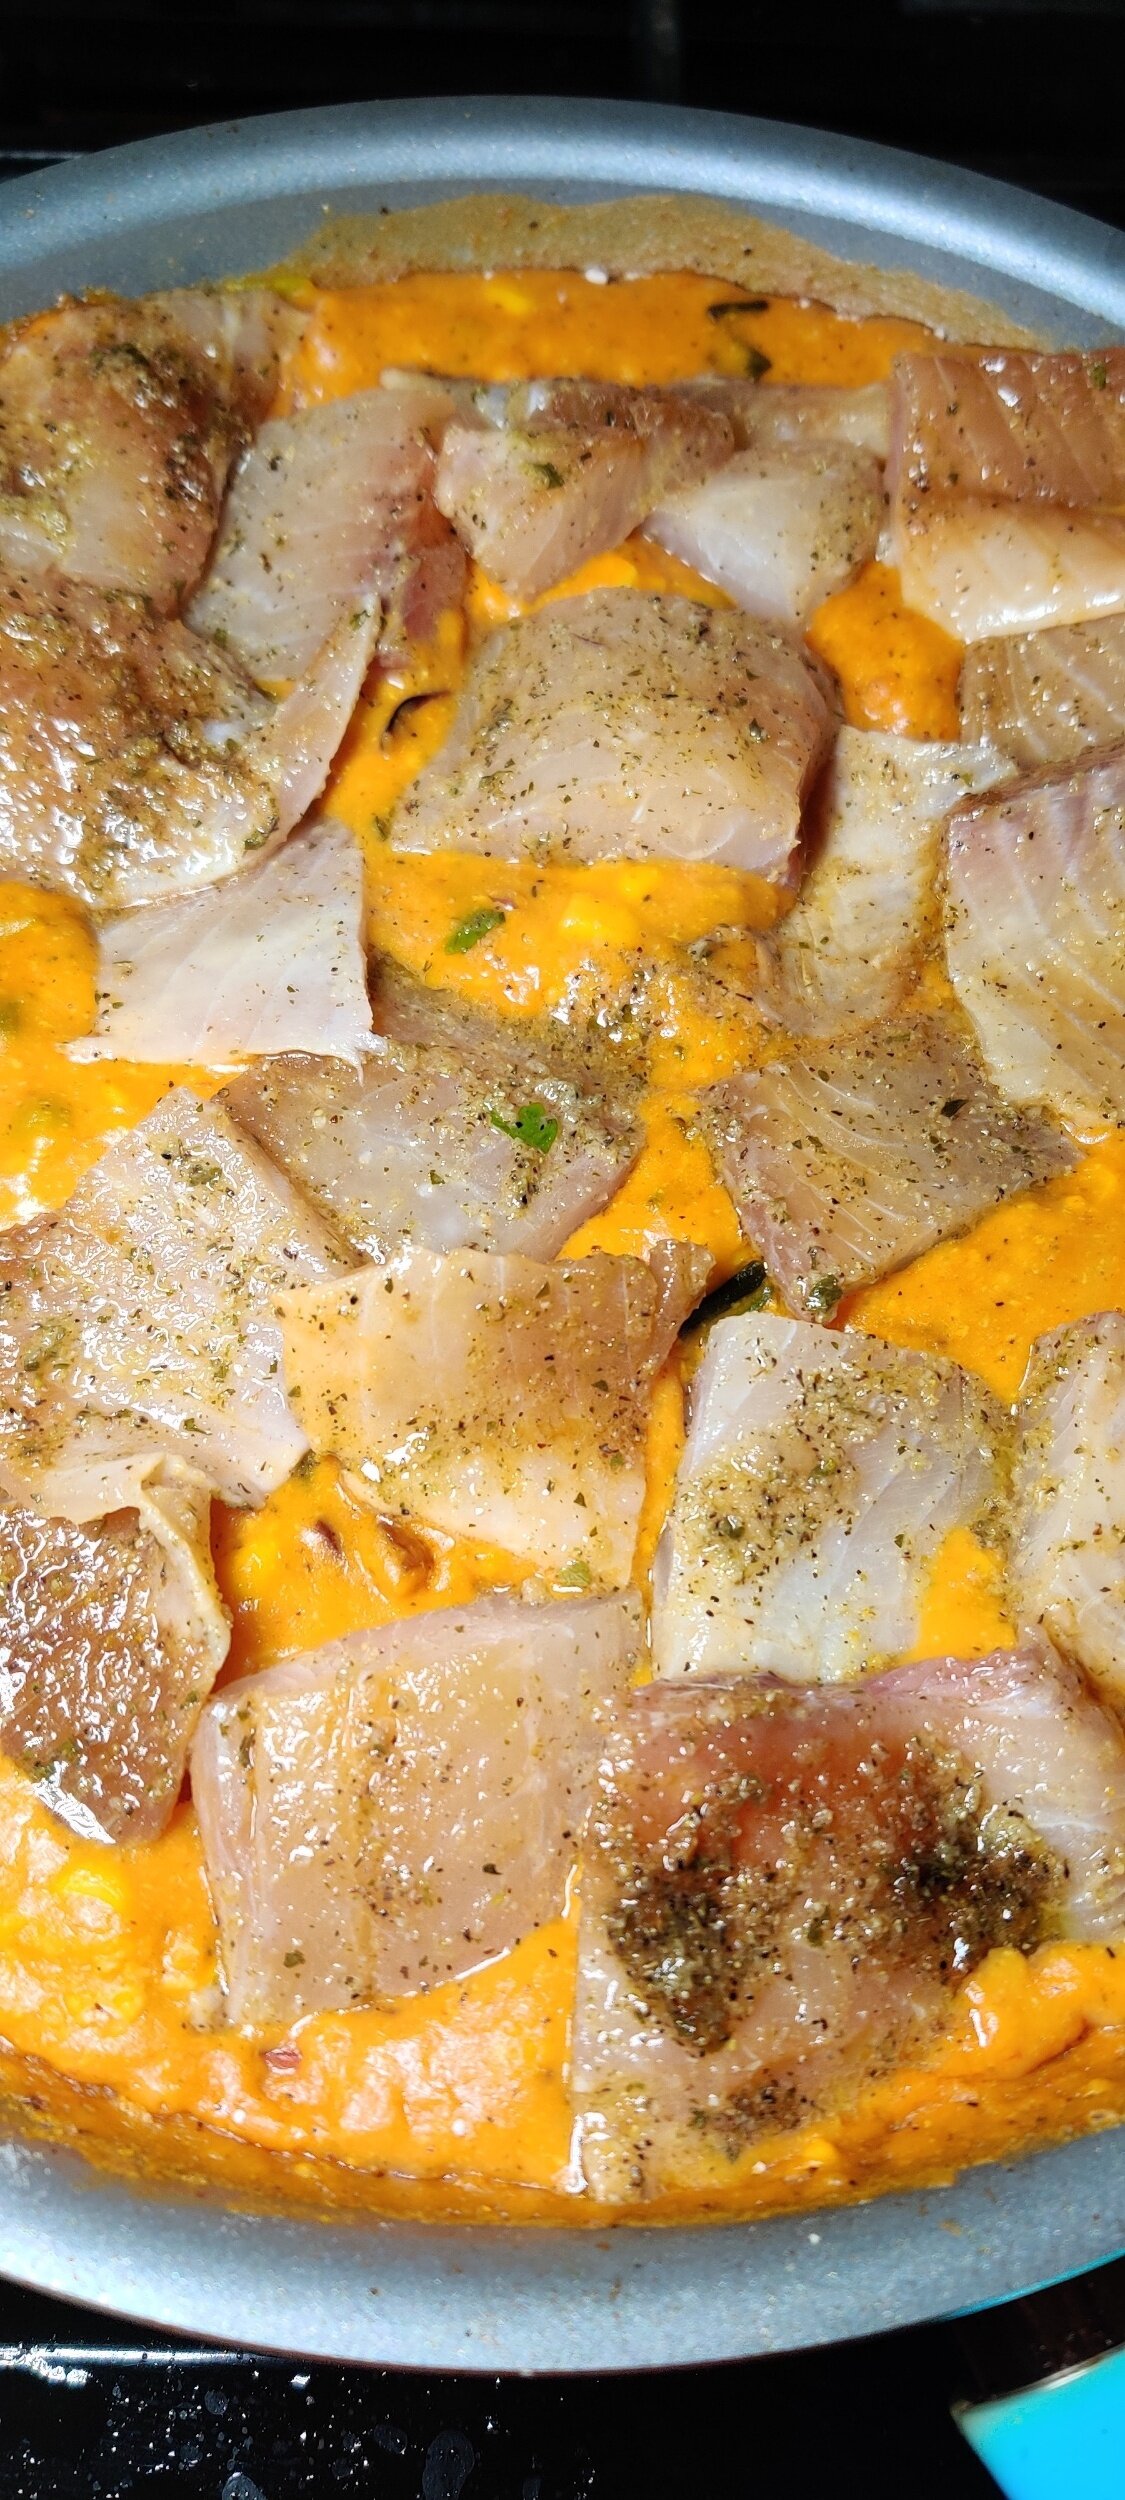
Instructions
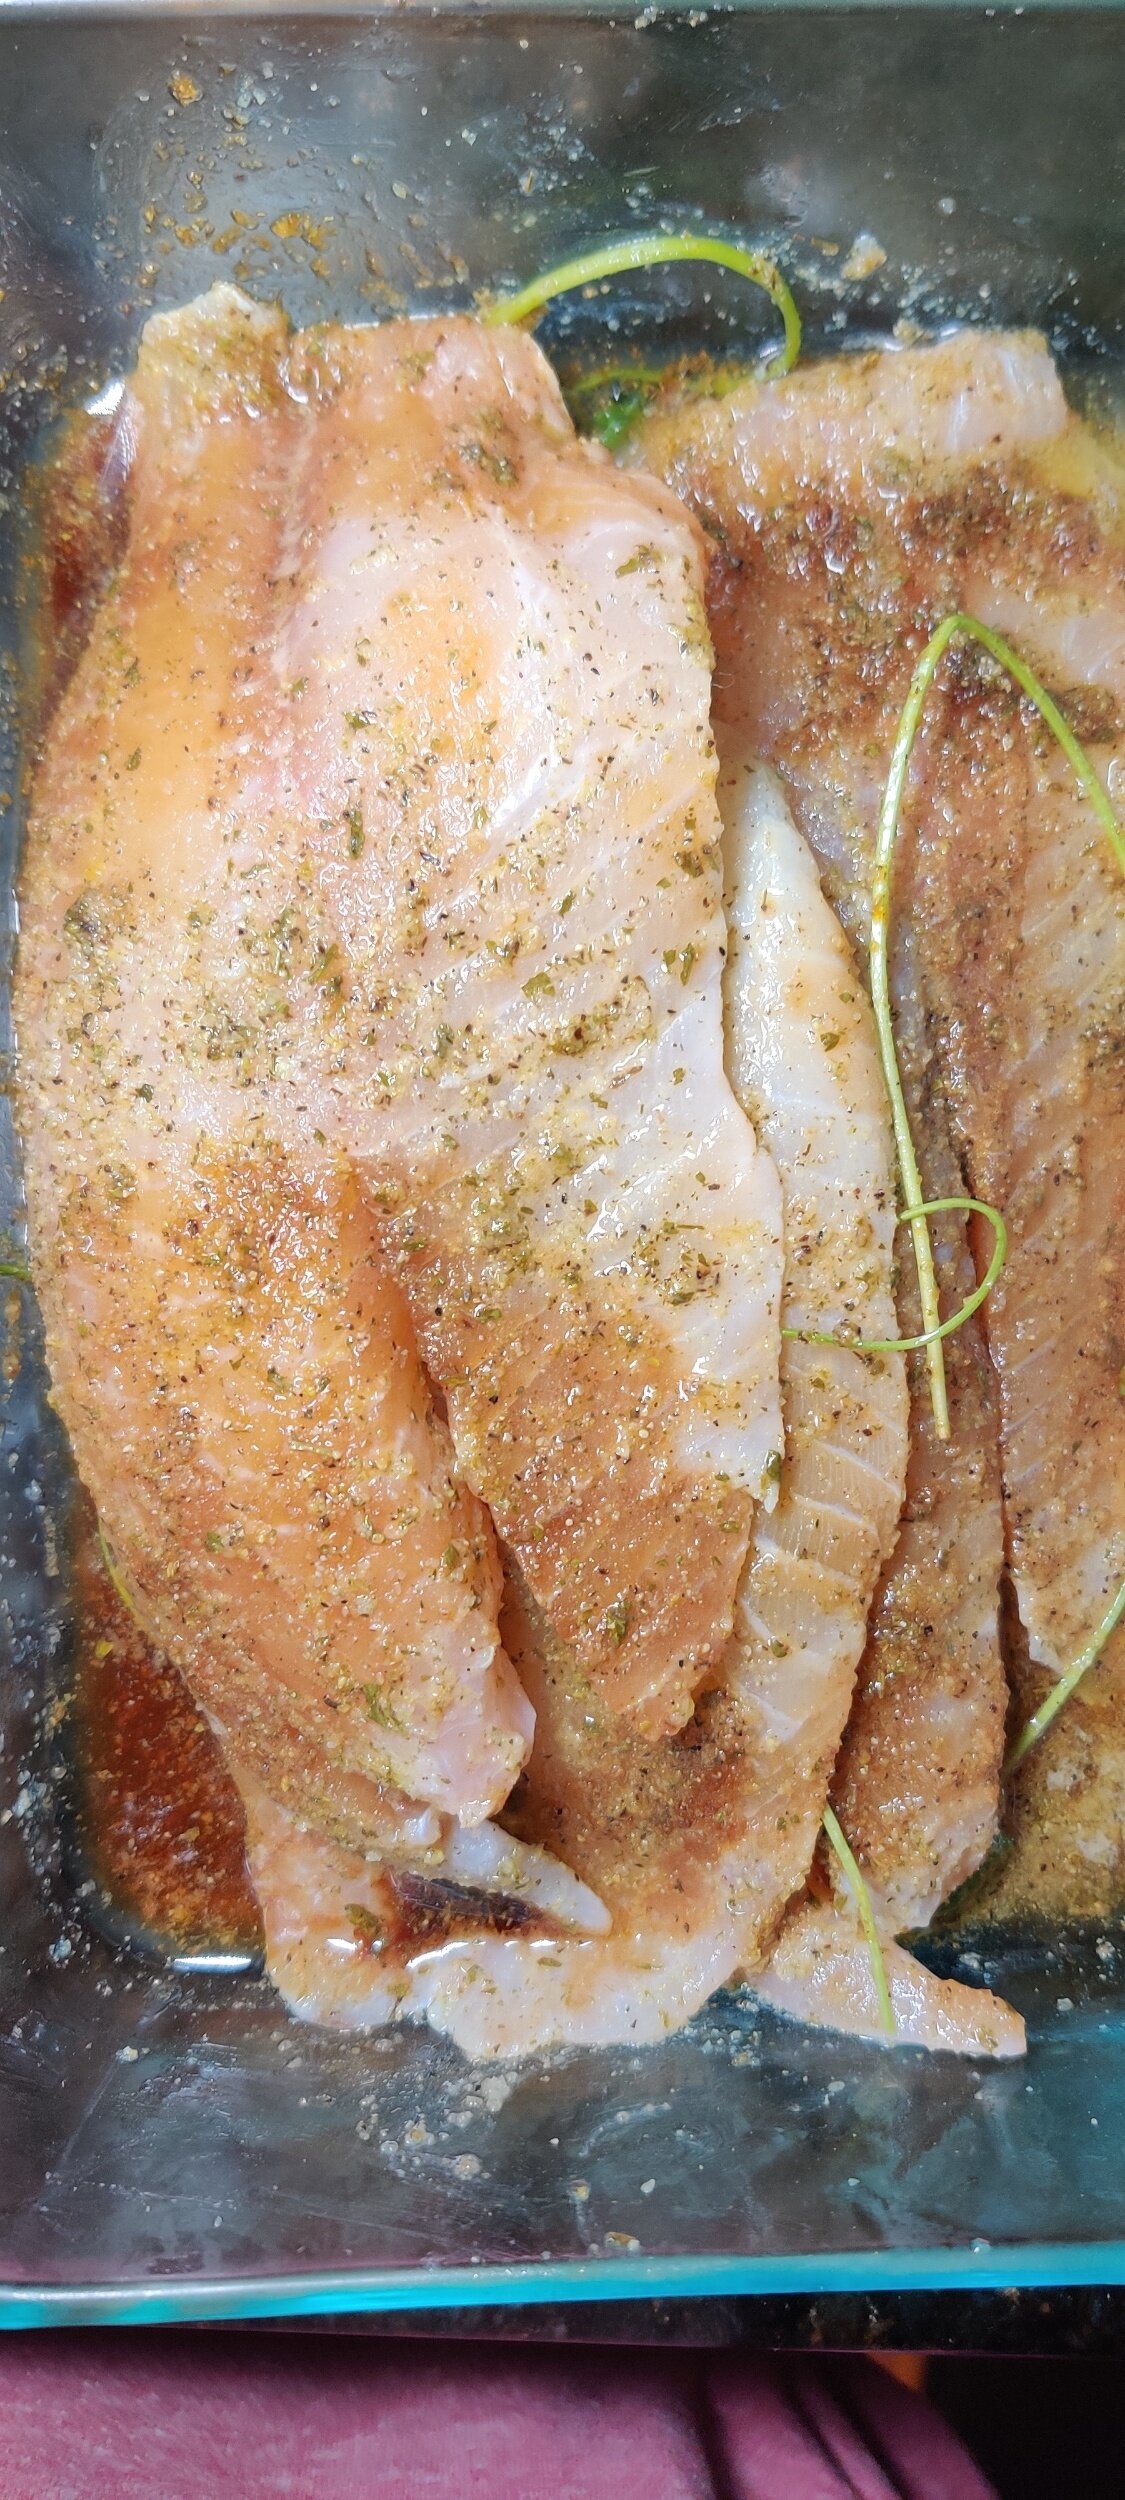
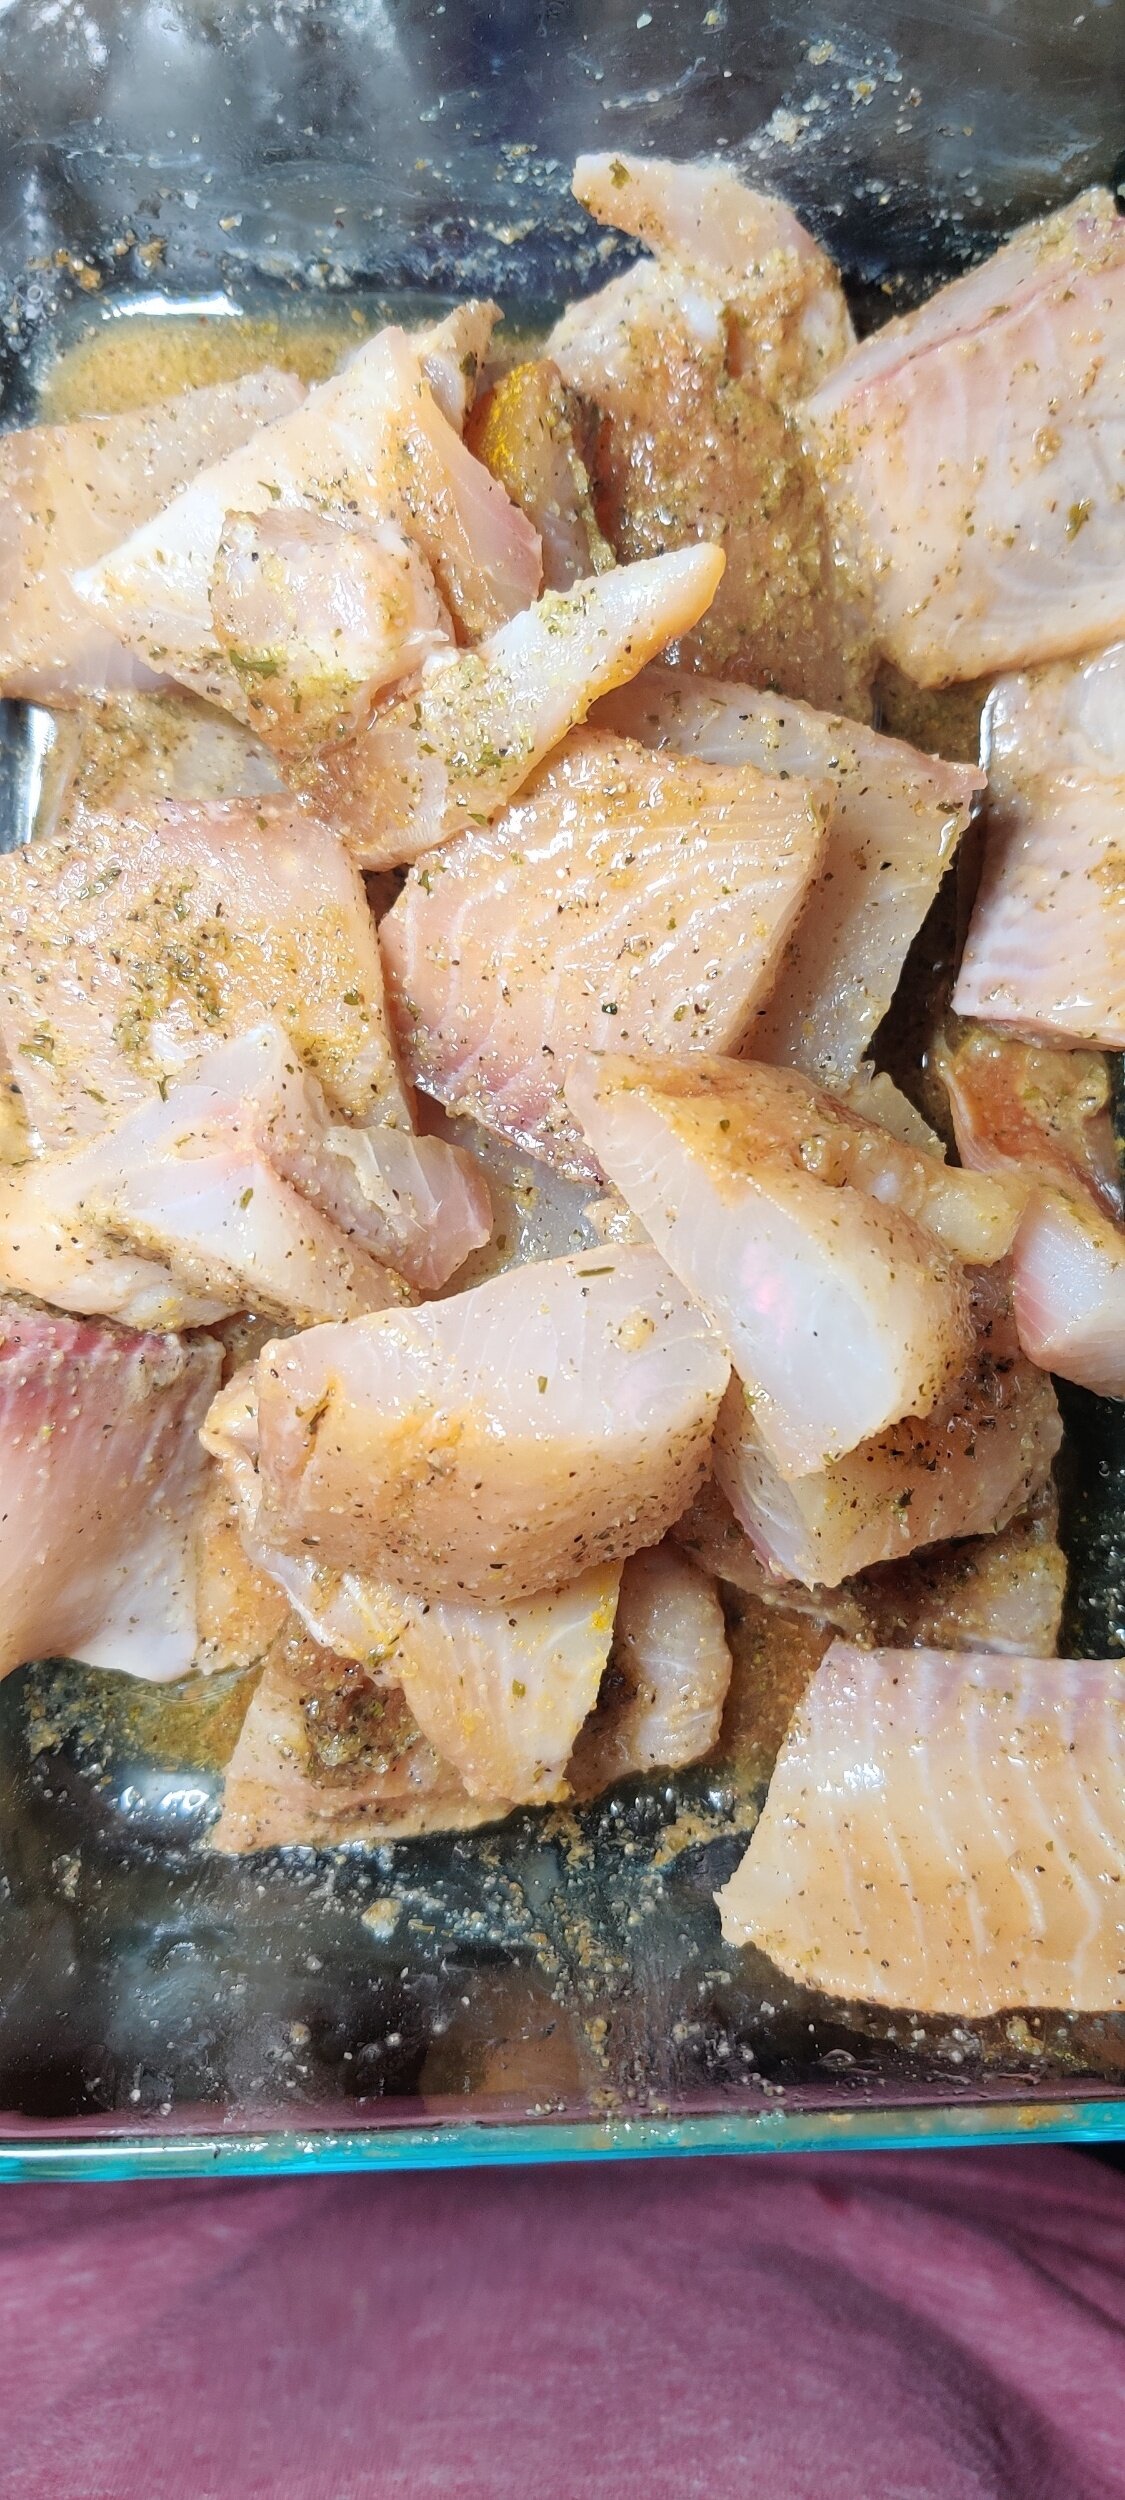
Prepare the fish. In a shallow dish, season the fillets with 1 teaspoon salt, 1 tablespoon black pepper, 1 tablespoon olive oil, dill, lemon juice, soy, and 1 tablespoon fish spice. Set aside to marinate.
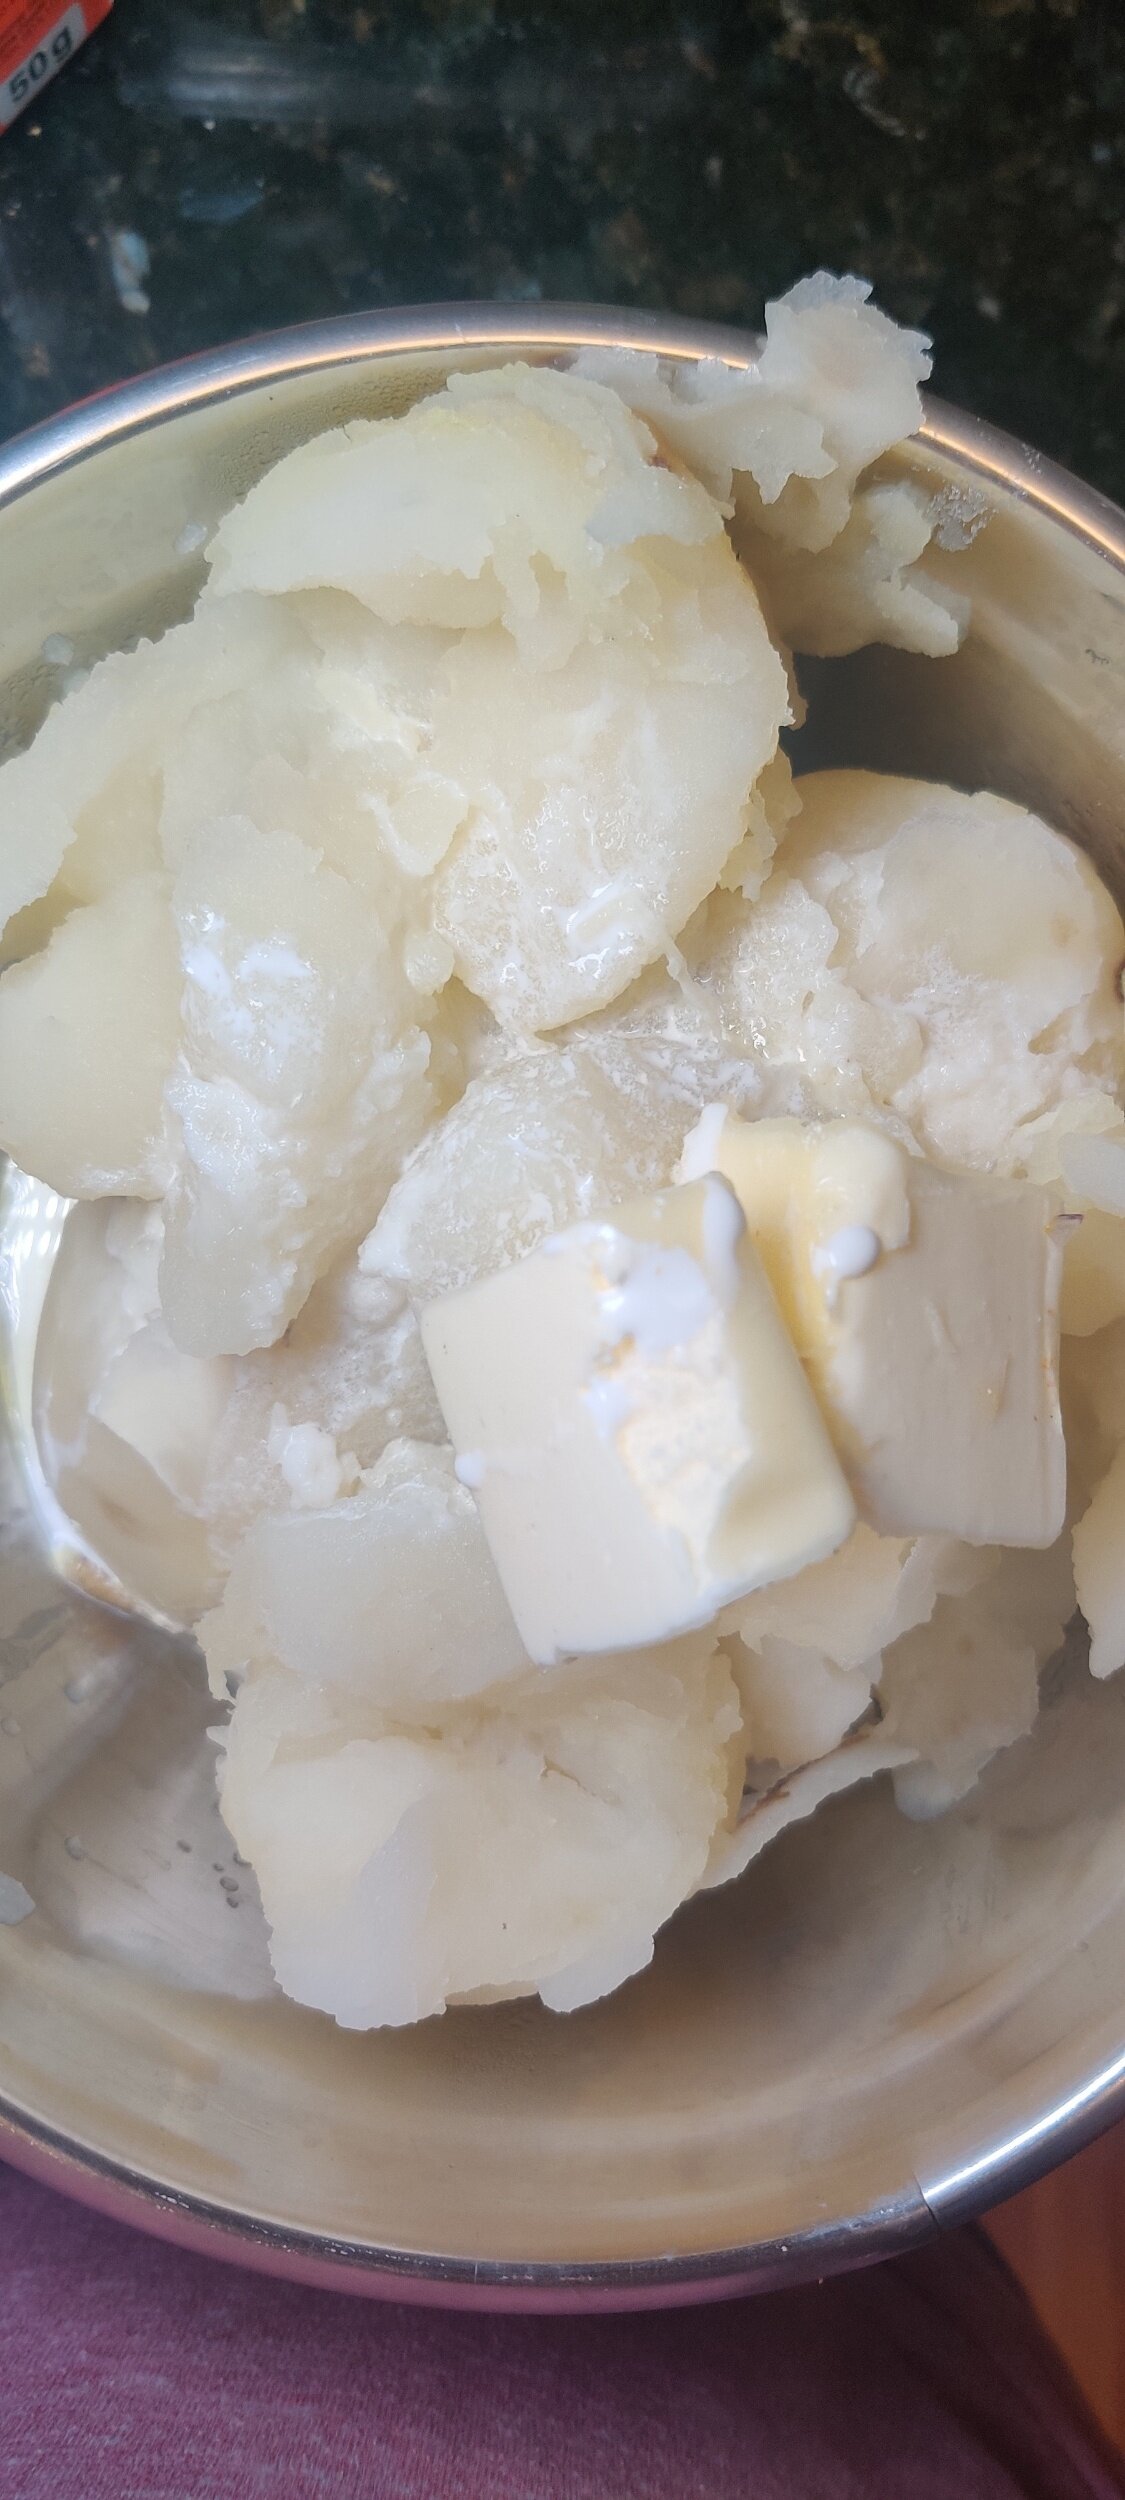
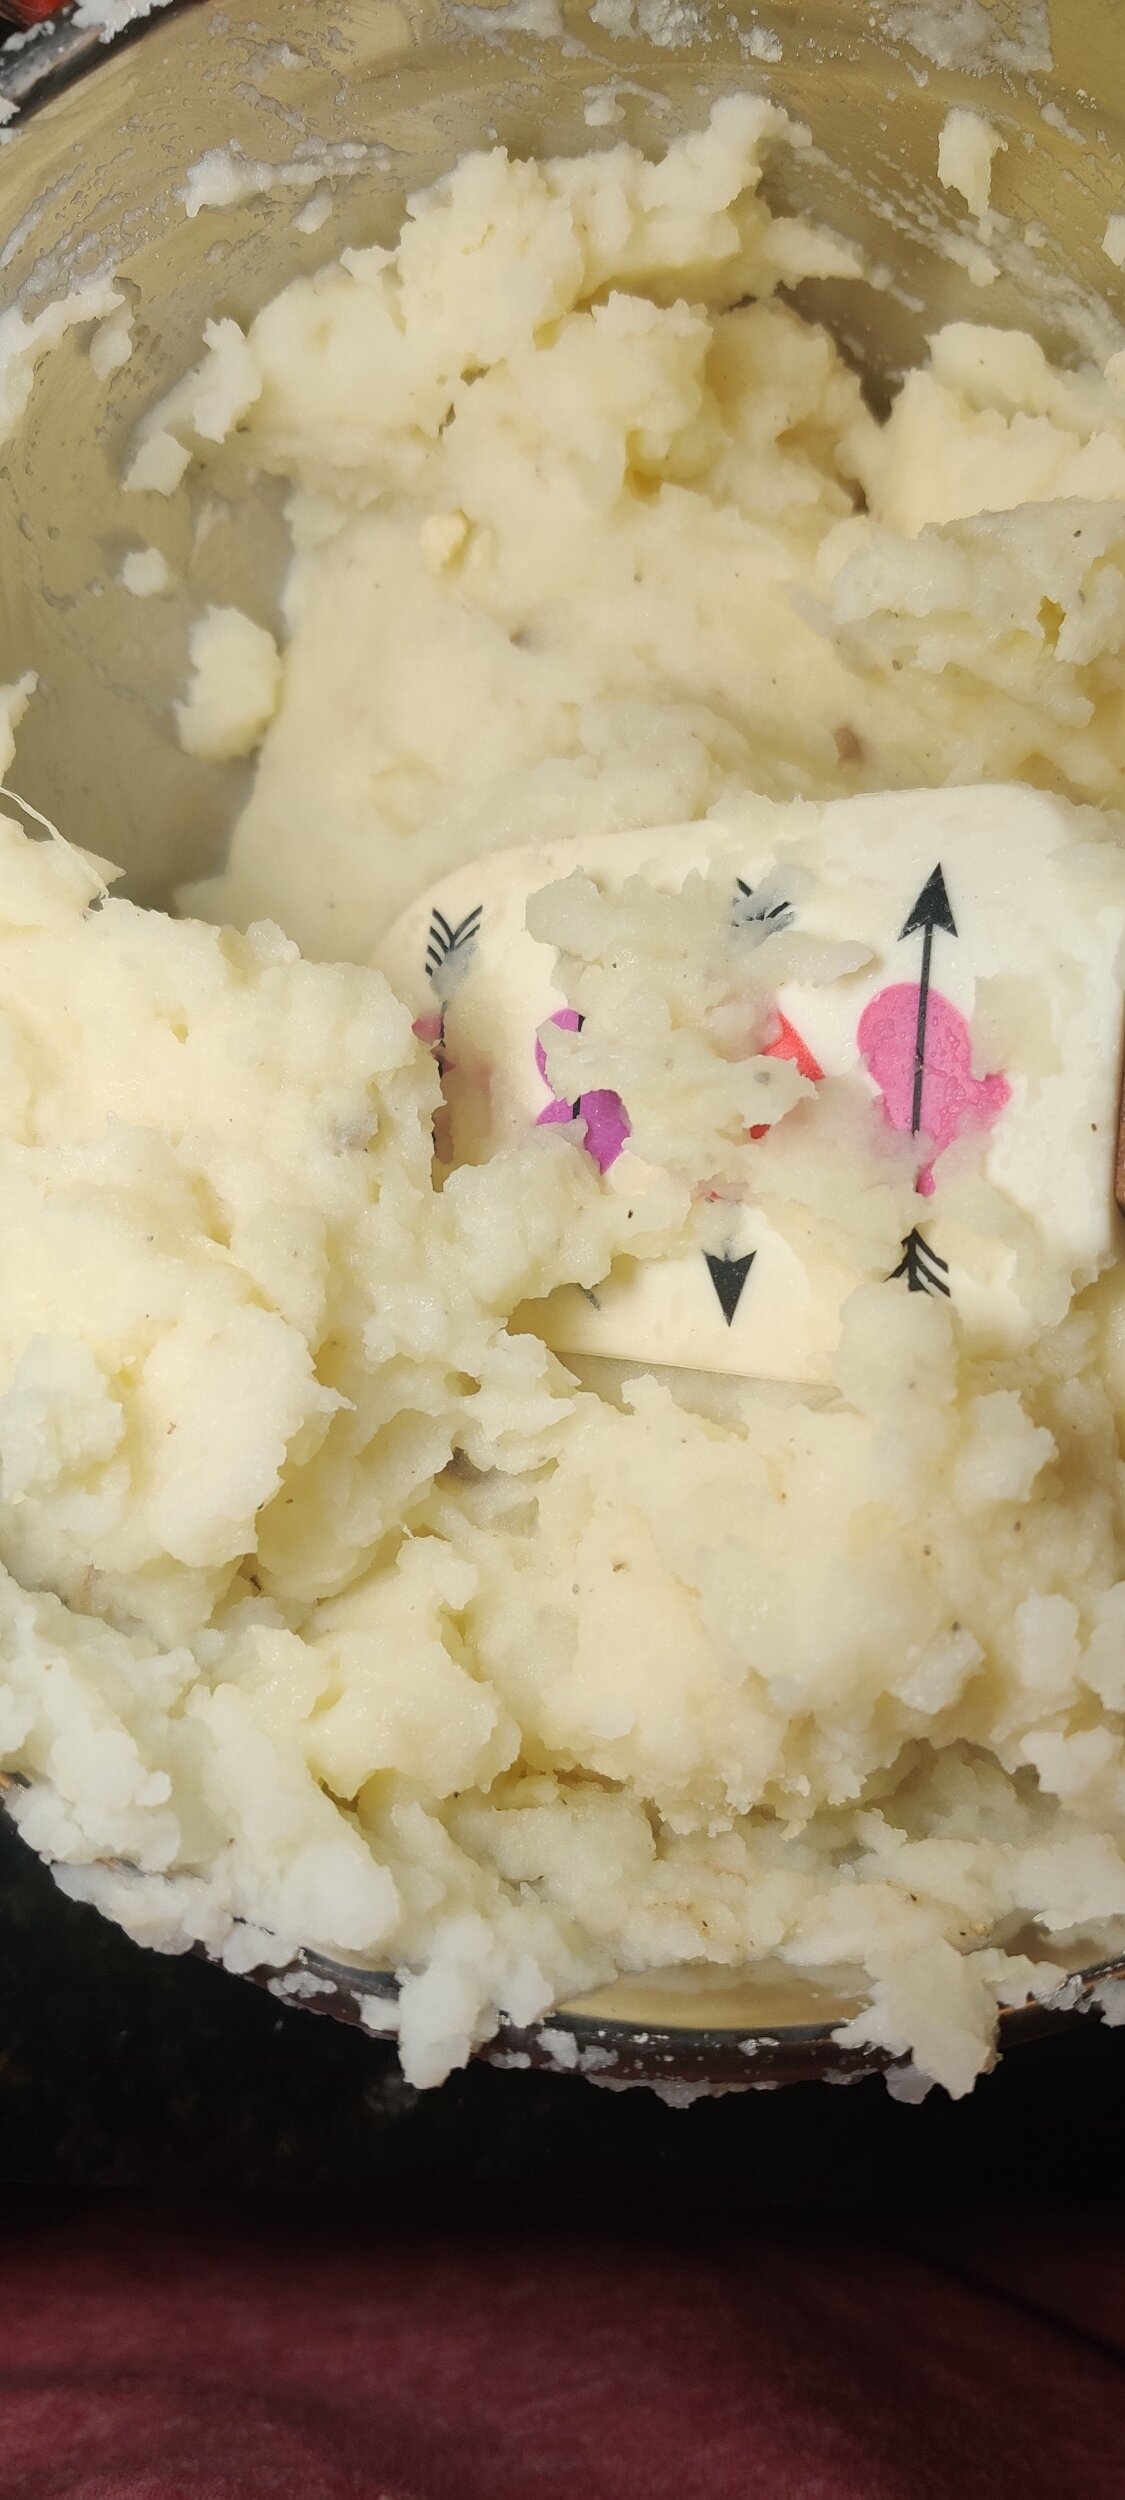
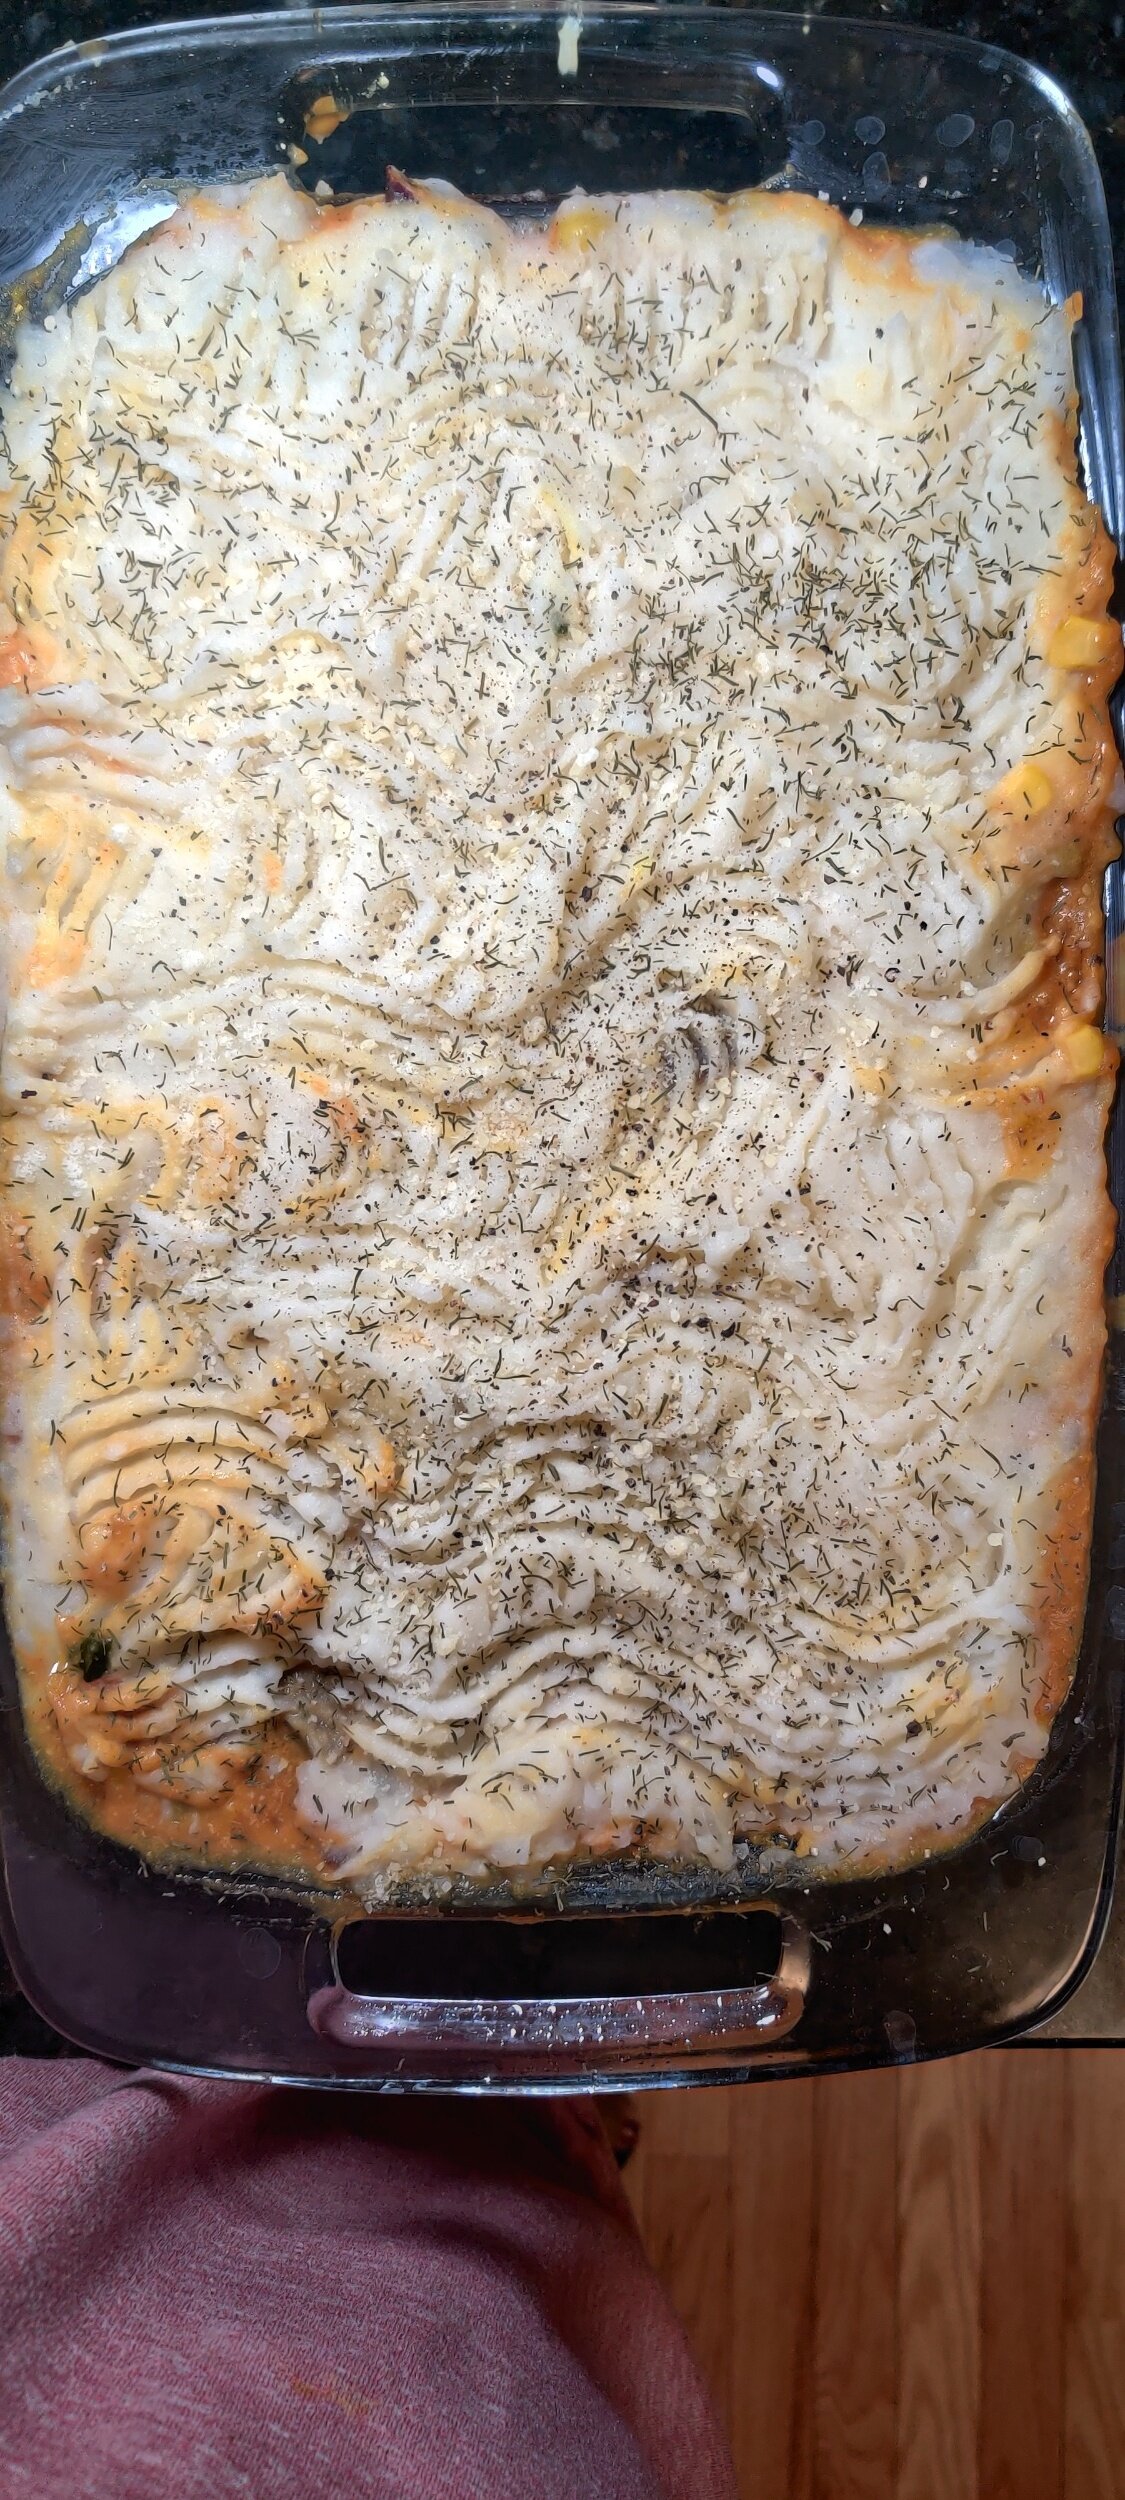
Prepare the mashed potatoes. Boil the potatoes in water until they are soft, about 20 minutes, fully submerged in a large pot. Using a potato masher, crush the potatoes with the butter, parmesan, and coconut cream until smooth. Season with salt and pepper and set aside.
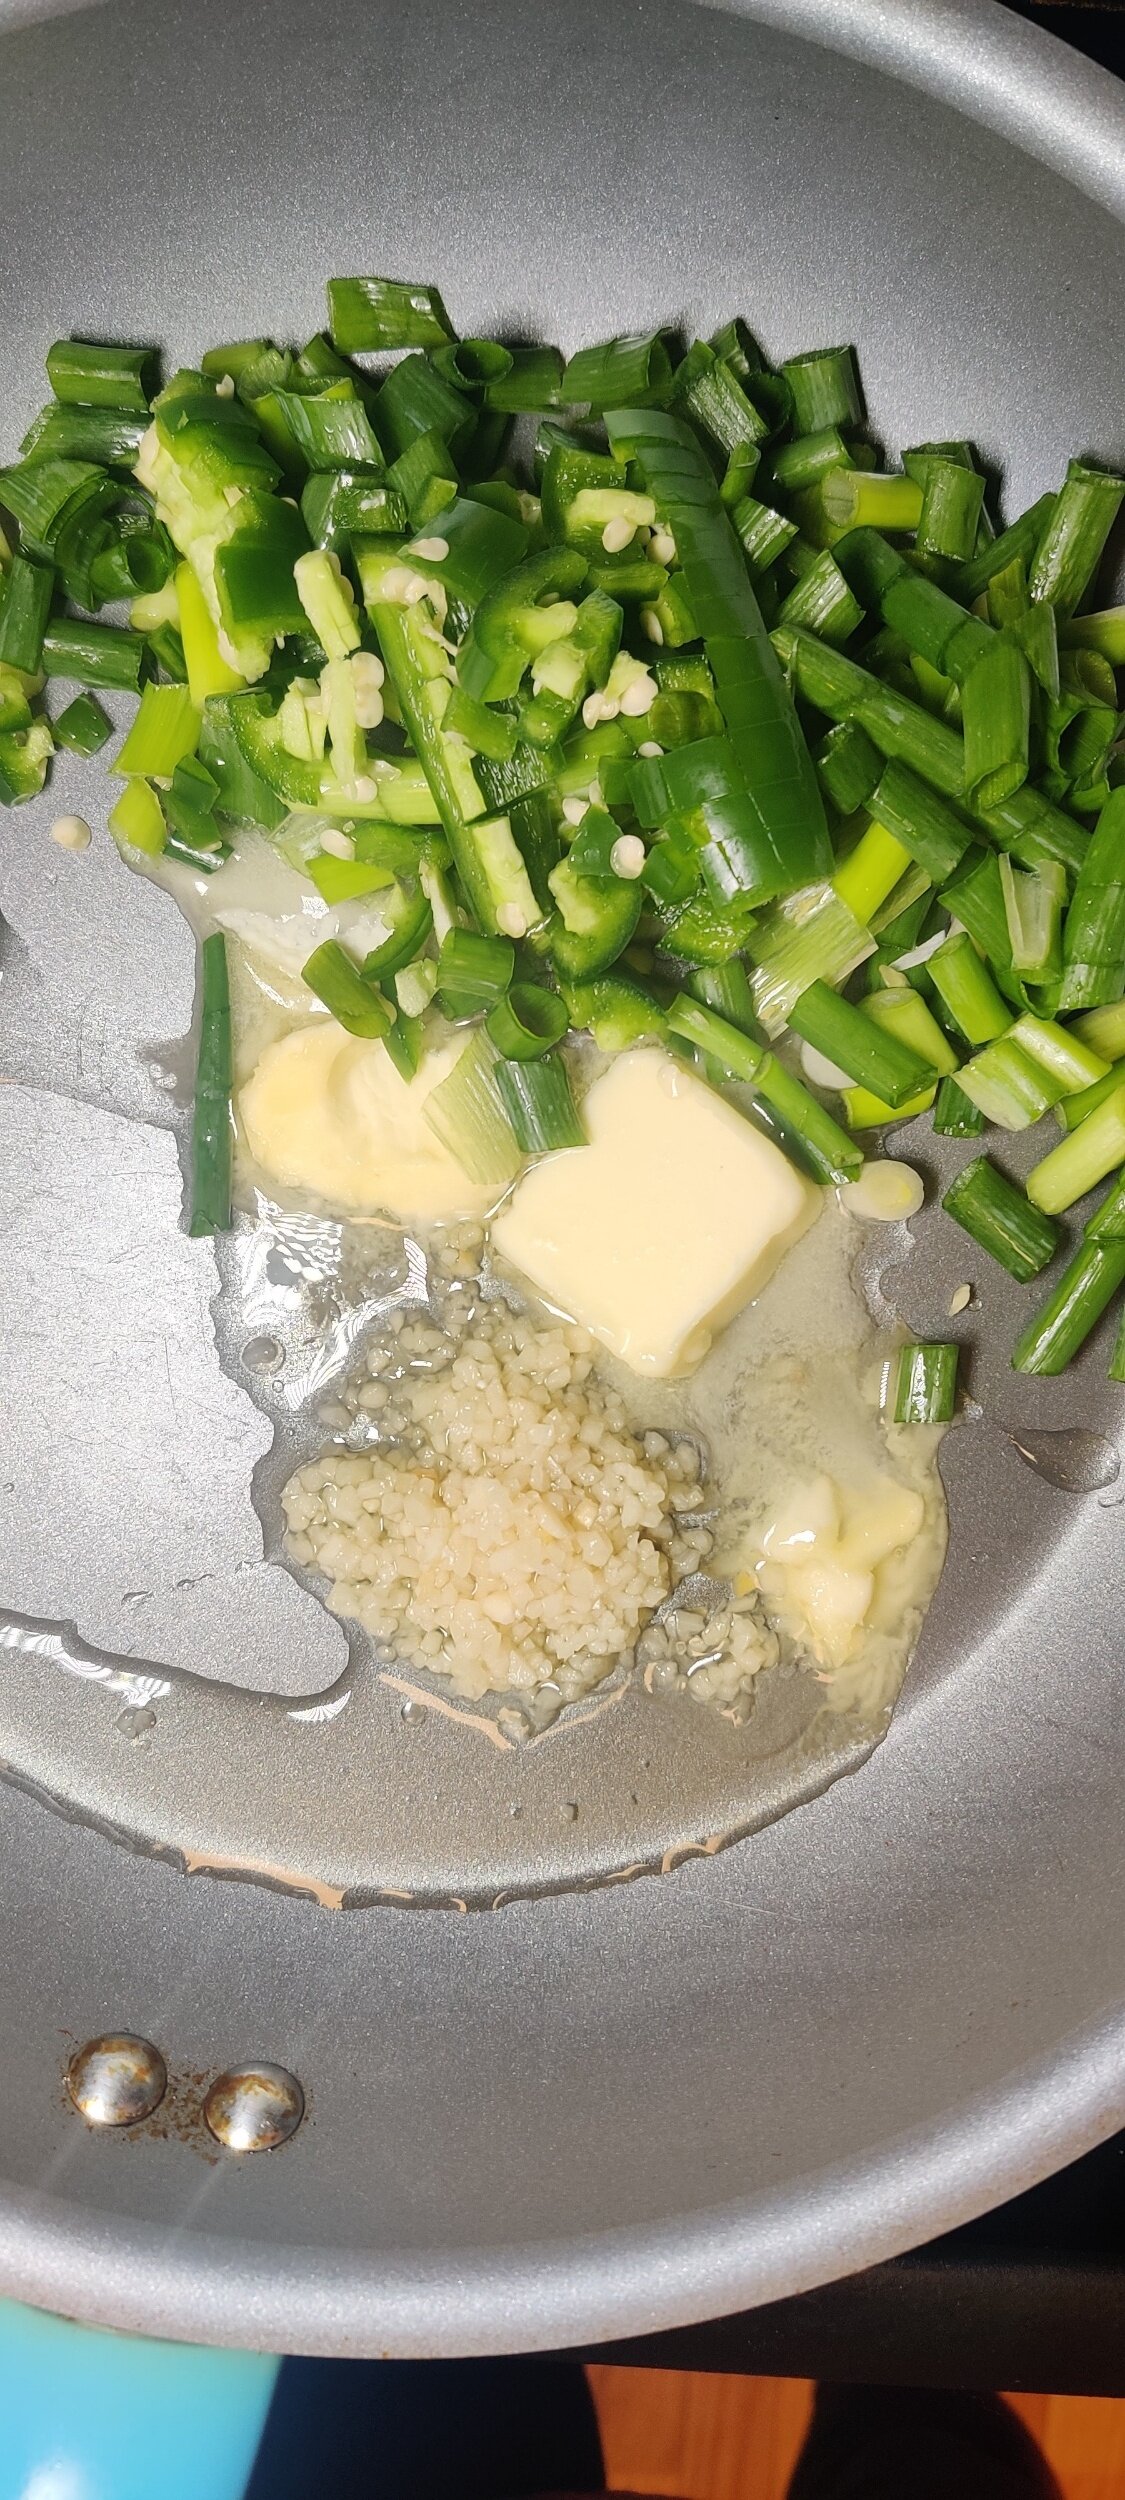
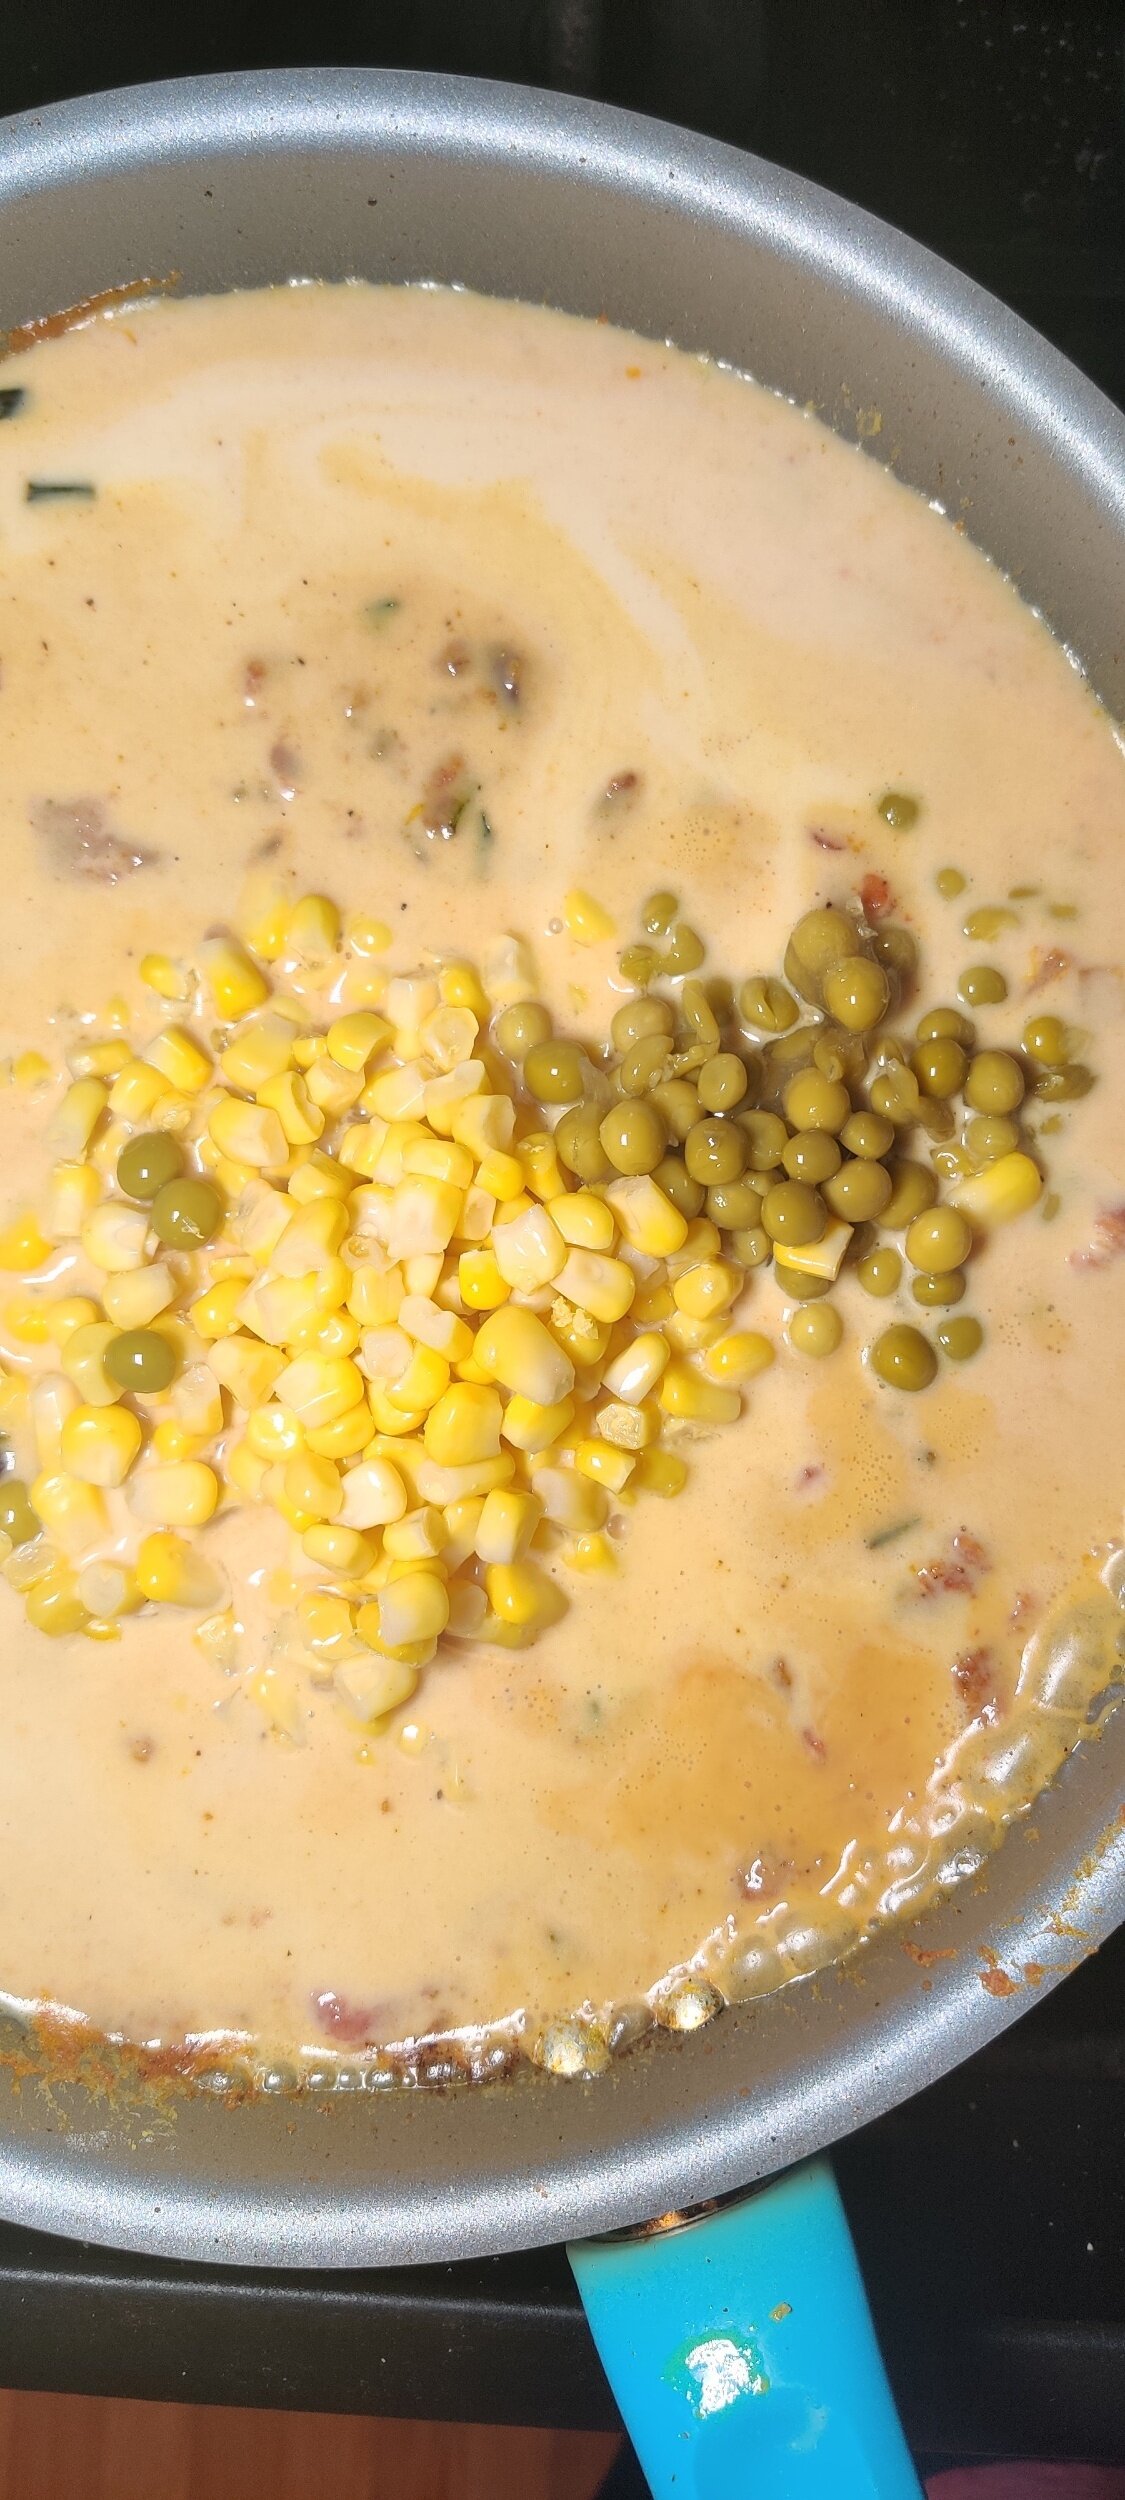
In a large skillet or non-stick saucepan, sauté the jalapeno and green onions in the butter, garlic and olive oil for about 2 minutes, mix in the flour and cook for another minute. Add the red onion, leeks, and spices, cook for about 3 minutes, until fragrant.
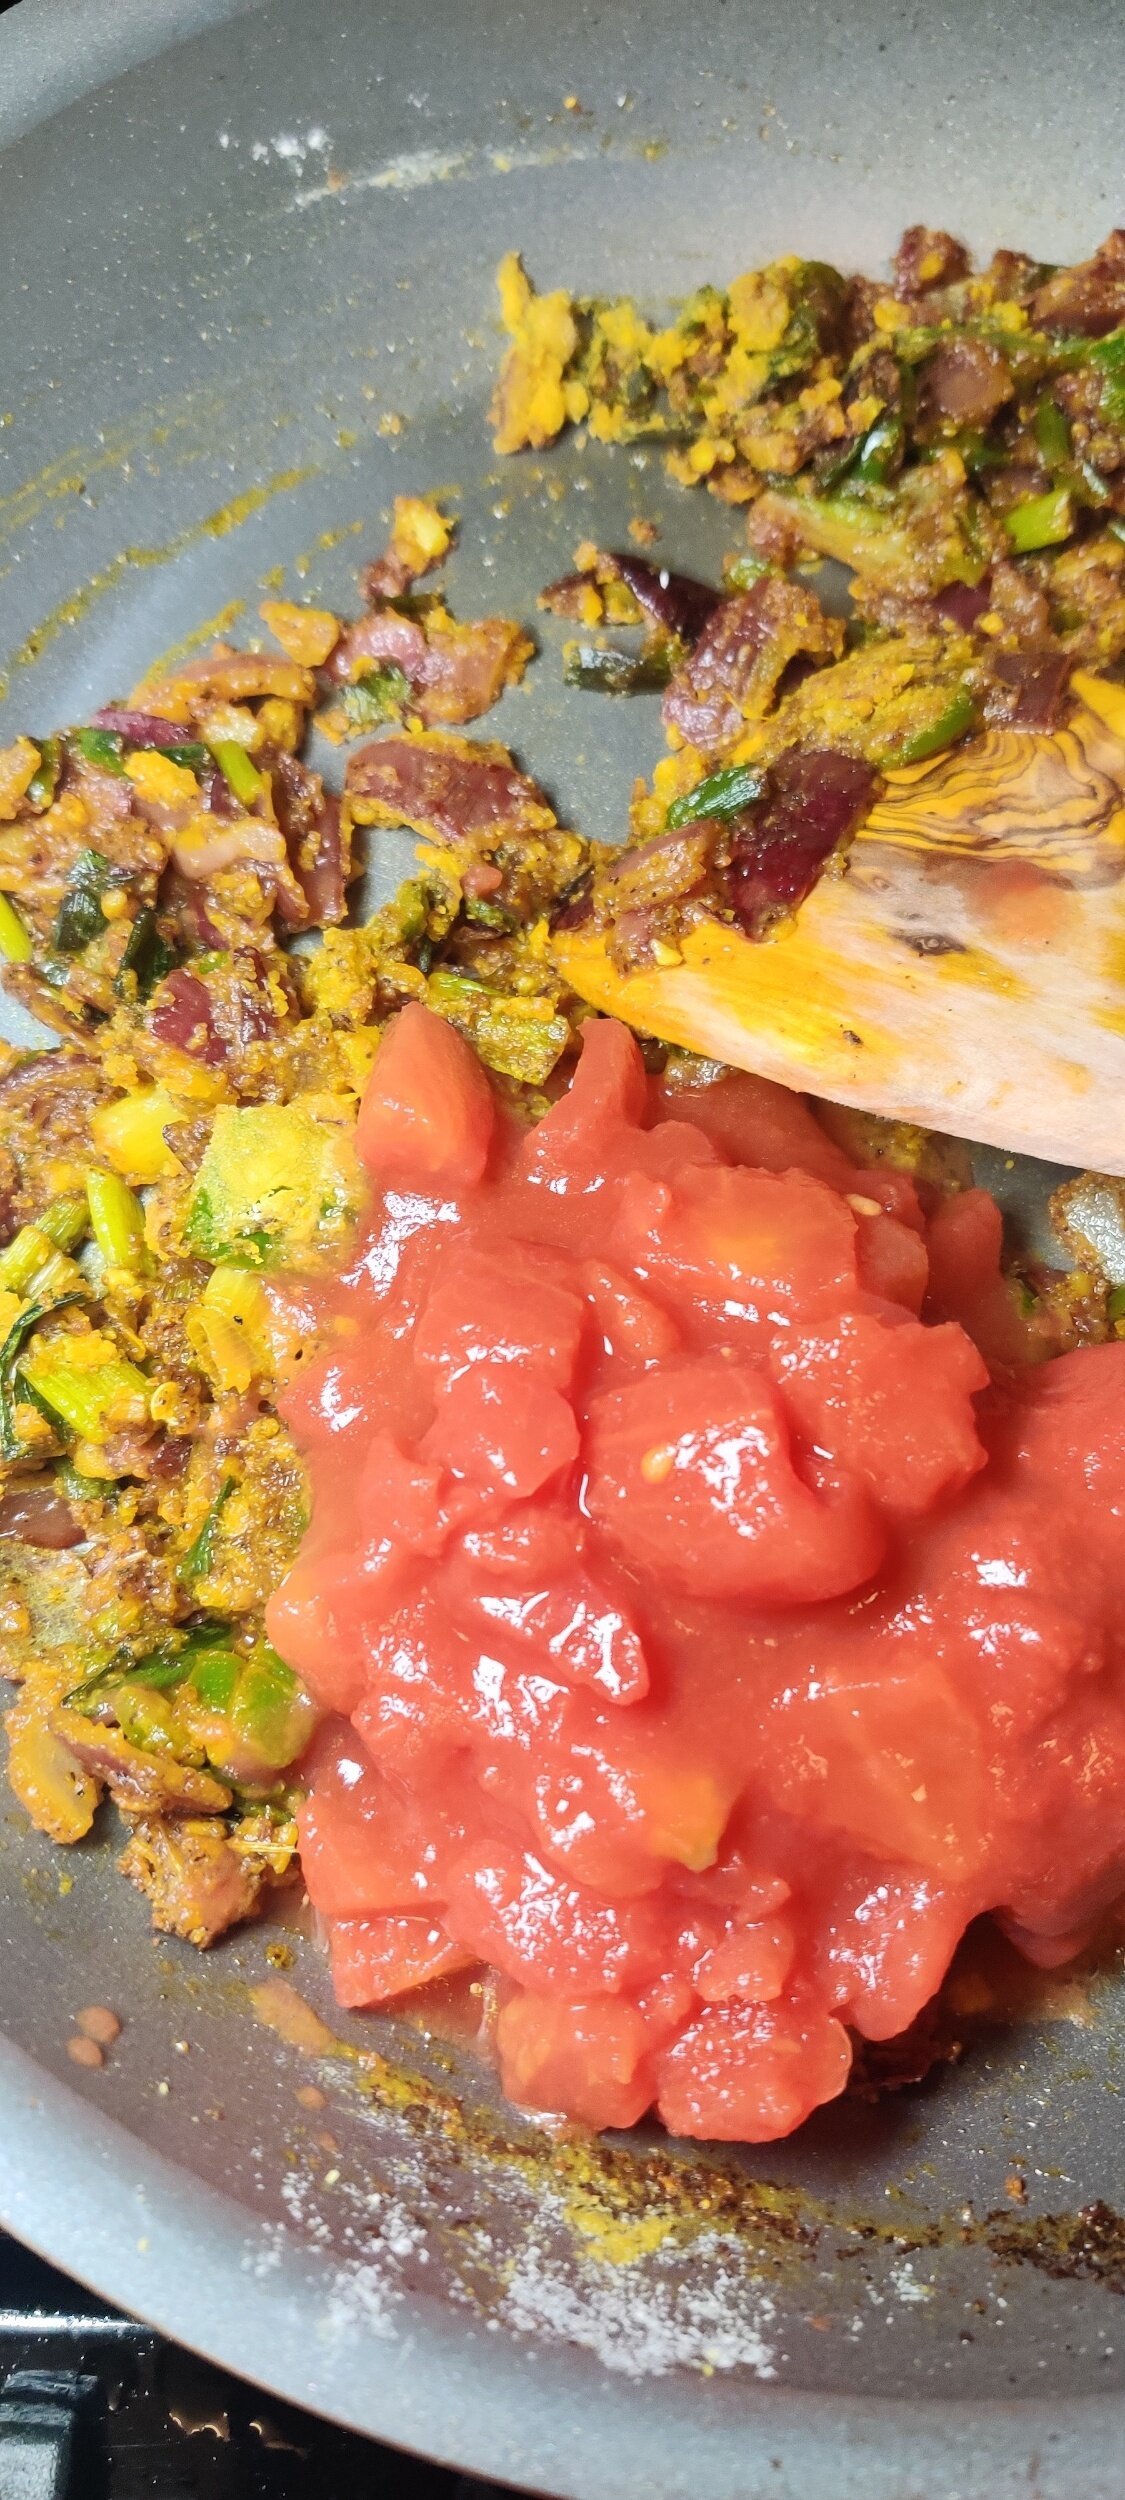
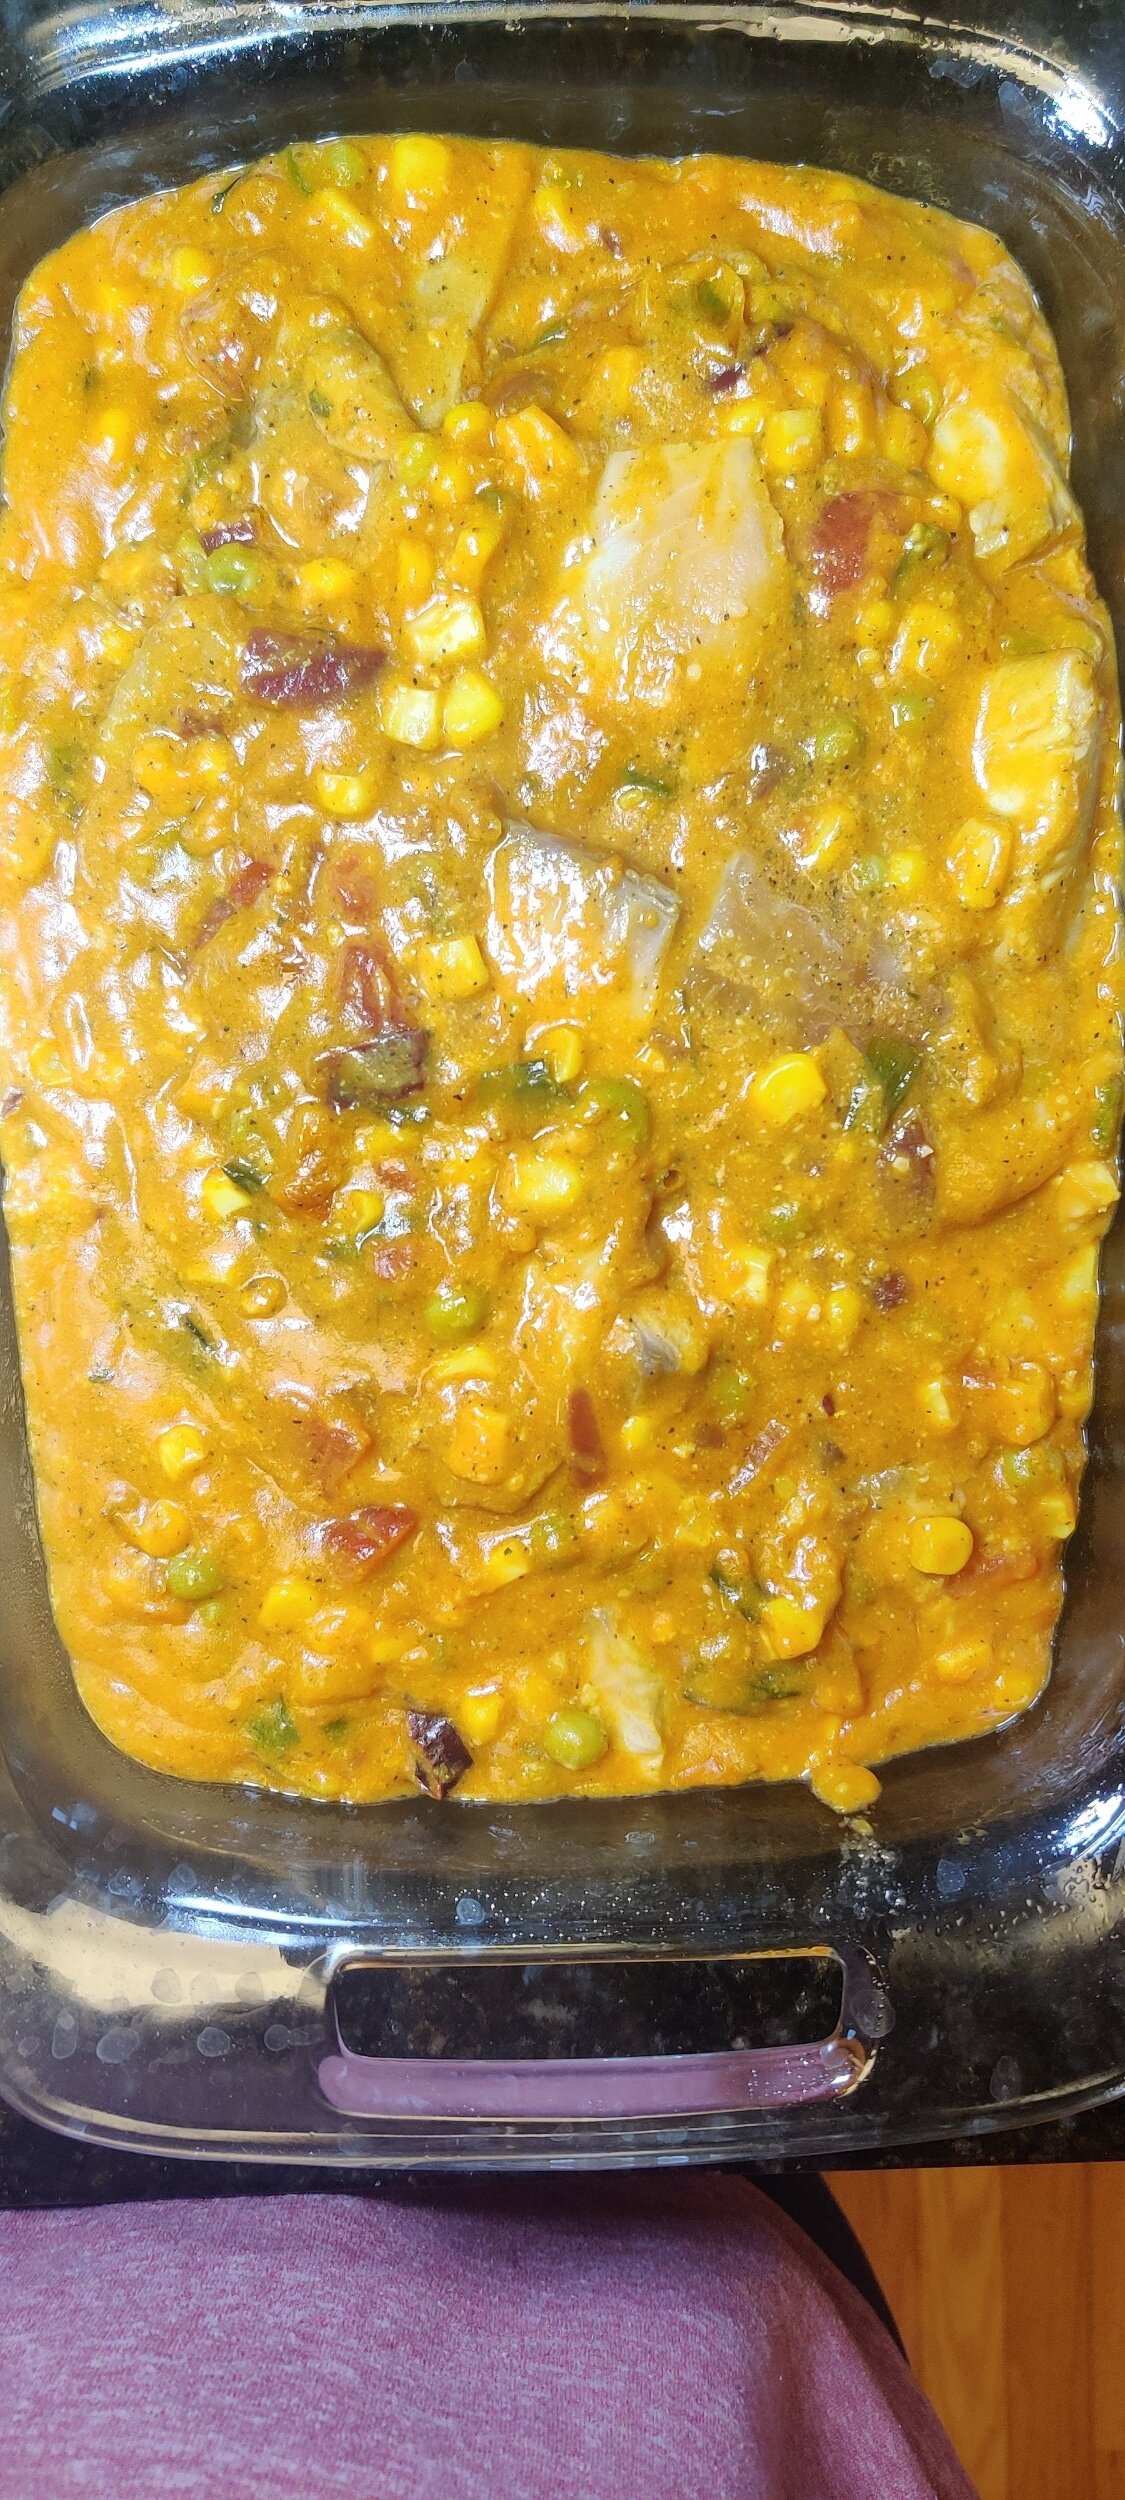
Add the tomatoes and tomato paste, sauté for 2-3 minutes. Add the coconut milk, corn, mustard, and peas, reduce to simmer for about 5 minutes. Add the fish pieces, simmer for another 2-3 minutes before transferring to a sprayed baking dish.
Spoon the mashed potato on top and create a pattern with a fork if desired. Bake at 400F for 25-30 minutes. Rest for 5-10 minutes and serve hot with a side salad.

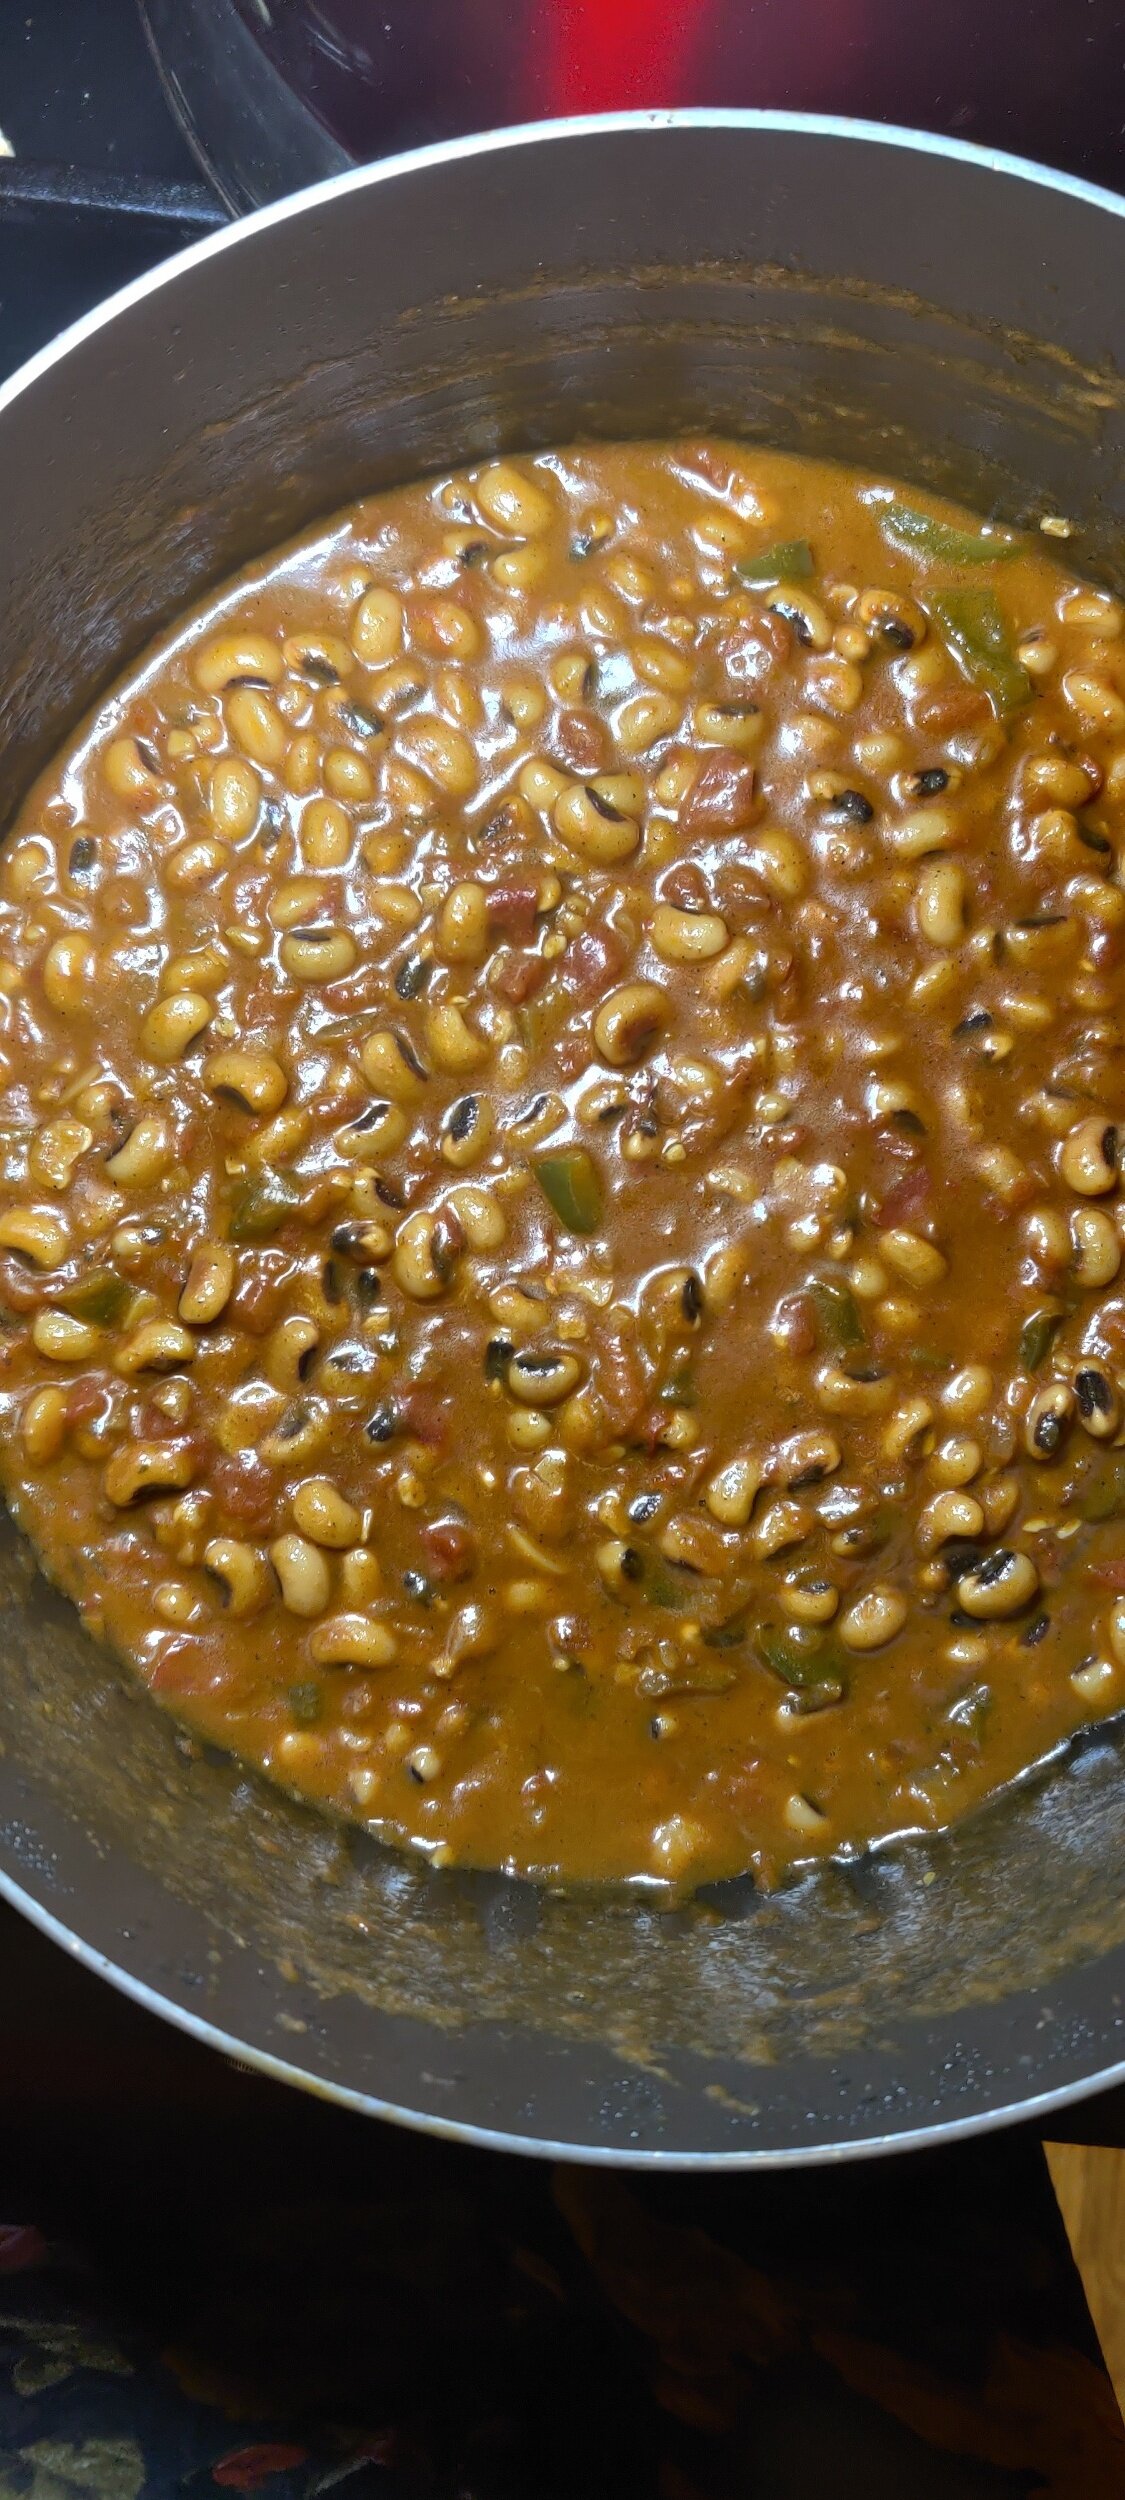
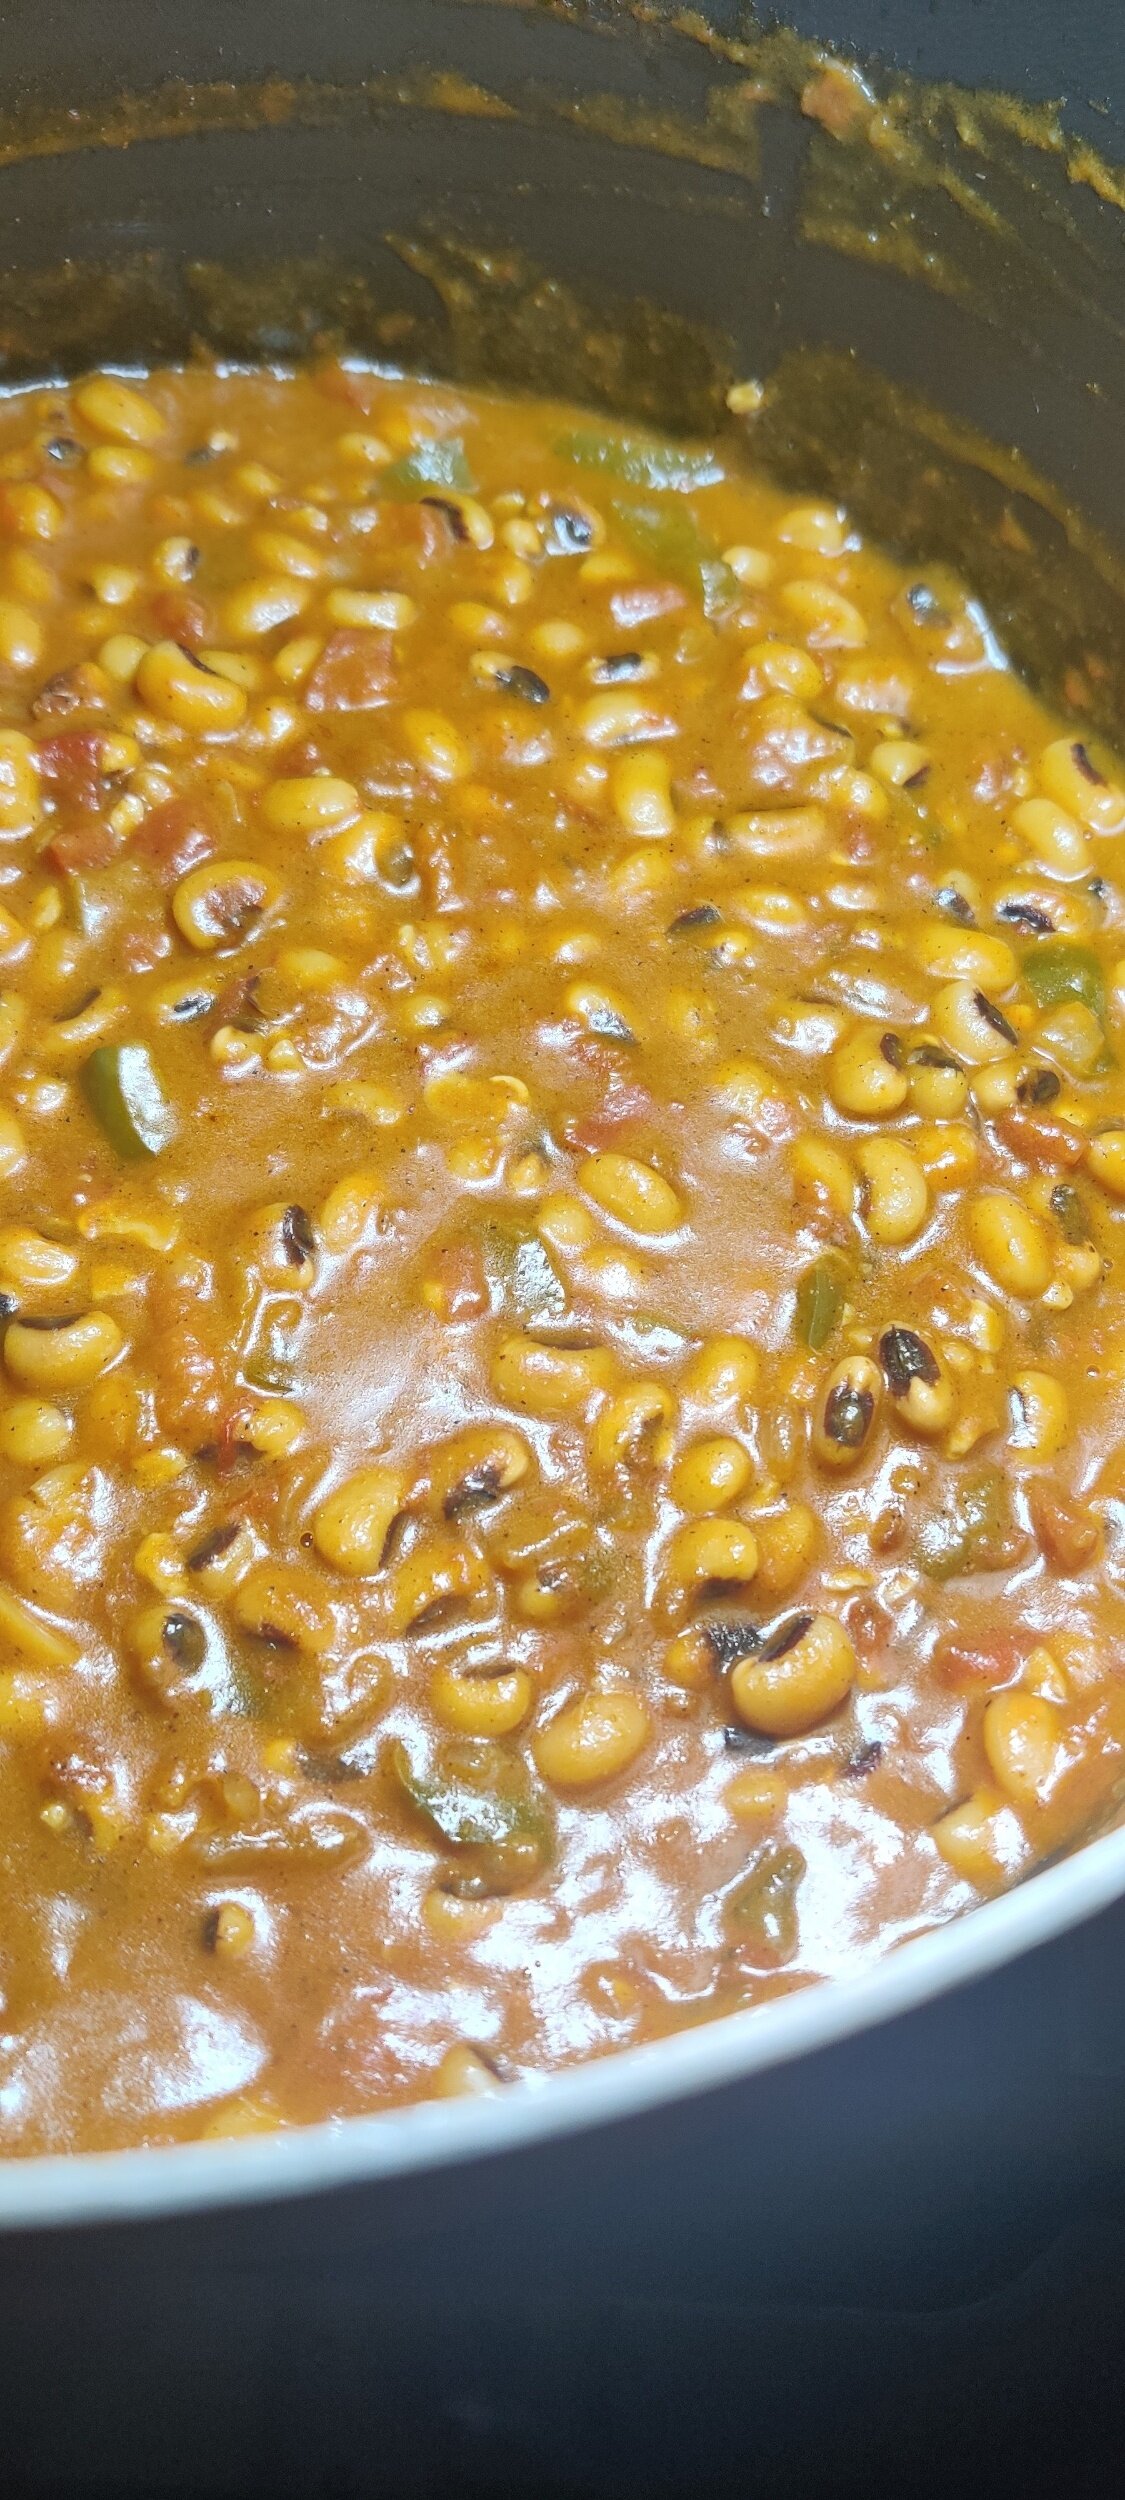
Black-Eyed Peas with Coconut and Tomato
I'm a huge fan of beans, and they are great if you are looking to cut down or eliminate your meat intake. They are filling, nutritious, and high in protein to name a few benefits.
Black-eyed peas - also known as cowpeas - are hearty and delicious. This bean is eaten extensively across West Africa where it's said to have originated and is an important staple in the Caribbean and the American South - where they are considered a lucky charm by some during New Years.
You can do a lot with black-eyed peas as they are quite versatile, check out my black-eyed pea and pinto bean meatloaf recipe for example.
I served this stew with finger millet in the form of sadza, a thick porridge native to Zimbabwe using an ancient grain much healthier than its white corn counterpart. You can find a recipe for it, here.
The spices muddled in the coconut milk and tomato makes for a rich stew that can be paired with a variety of vegetables or grilled meats or served as a main dish. You won't regret it!
Ingredients
3 cups dry black-eyed peas (soaked for 24 hours and drained)
1 tablespoon salt
2 tablespoons black pepper
1 tablespoon cumin
1 tablespoon coriander
1 tablespoon ginger
1 can coconut milk
3 beef bouillons
6 cups water
1 teaspoon fenugreek
1 teaspoon paprika
1 tablespoon garlic
1/2 yellow onion, chopped
1 small green pepper, finely chopped
1 cup tomatoes, diced
2 tablespoons tomato sauce/ketchup
2 tablespoons butter
2 tablespoons olive oil
2 tablespoons curry powder
Instructions
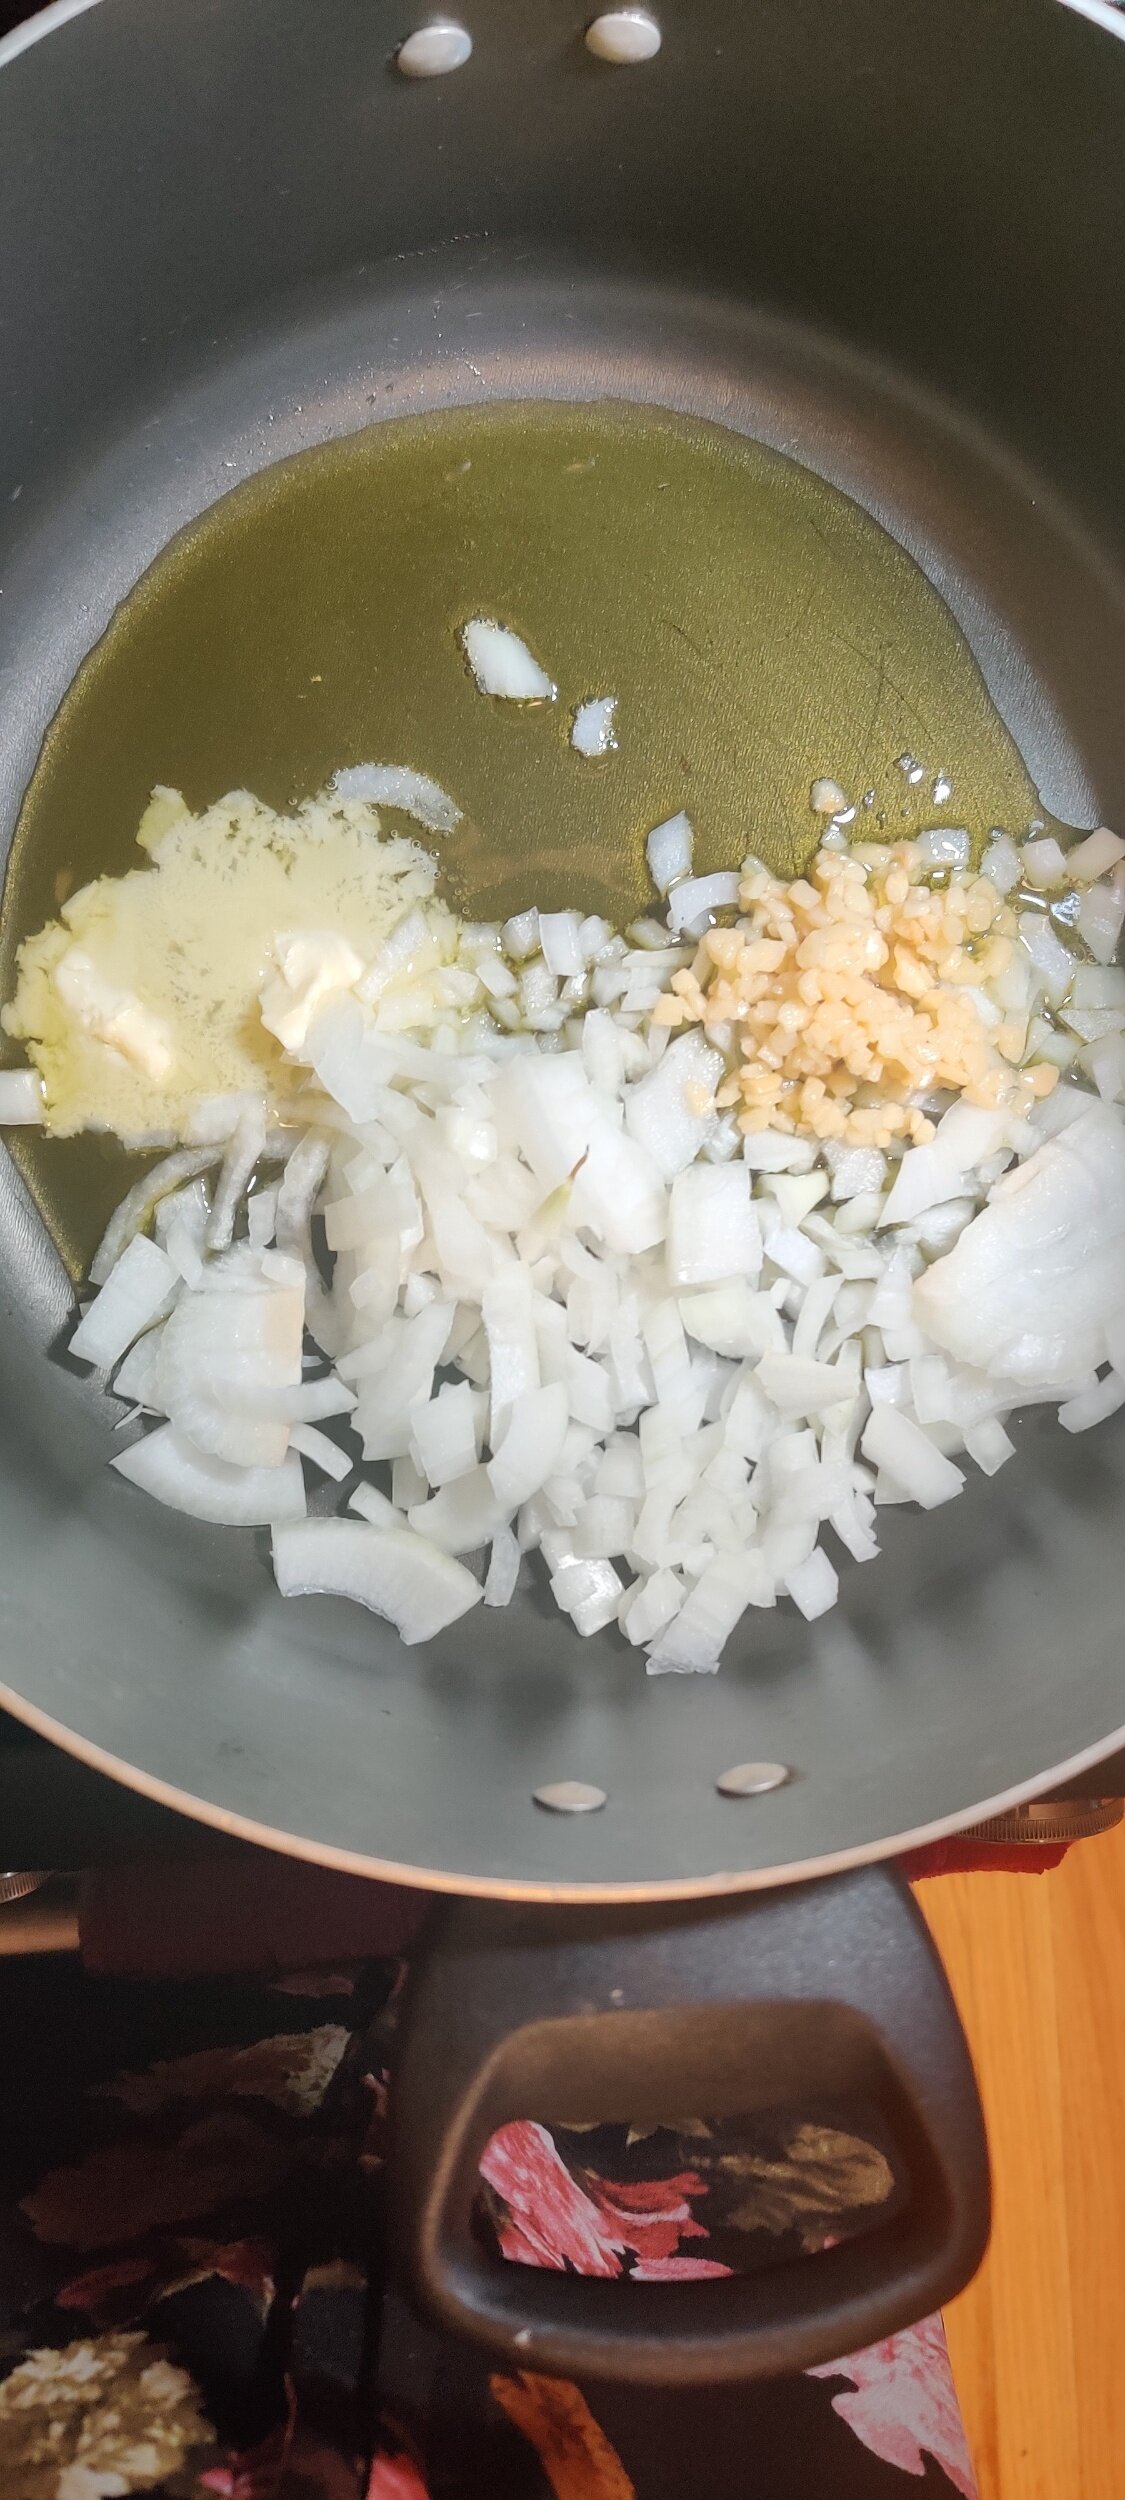
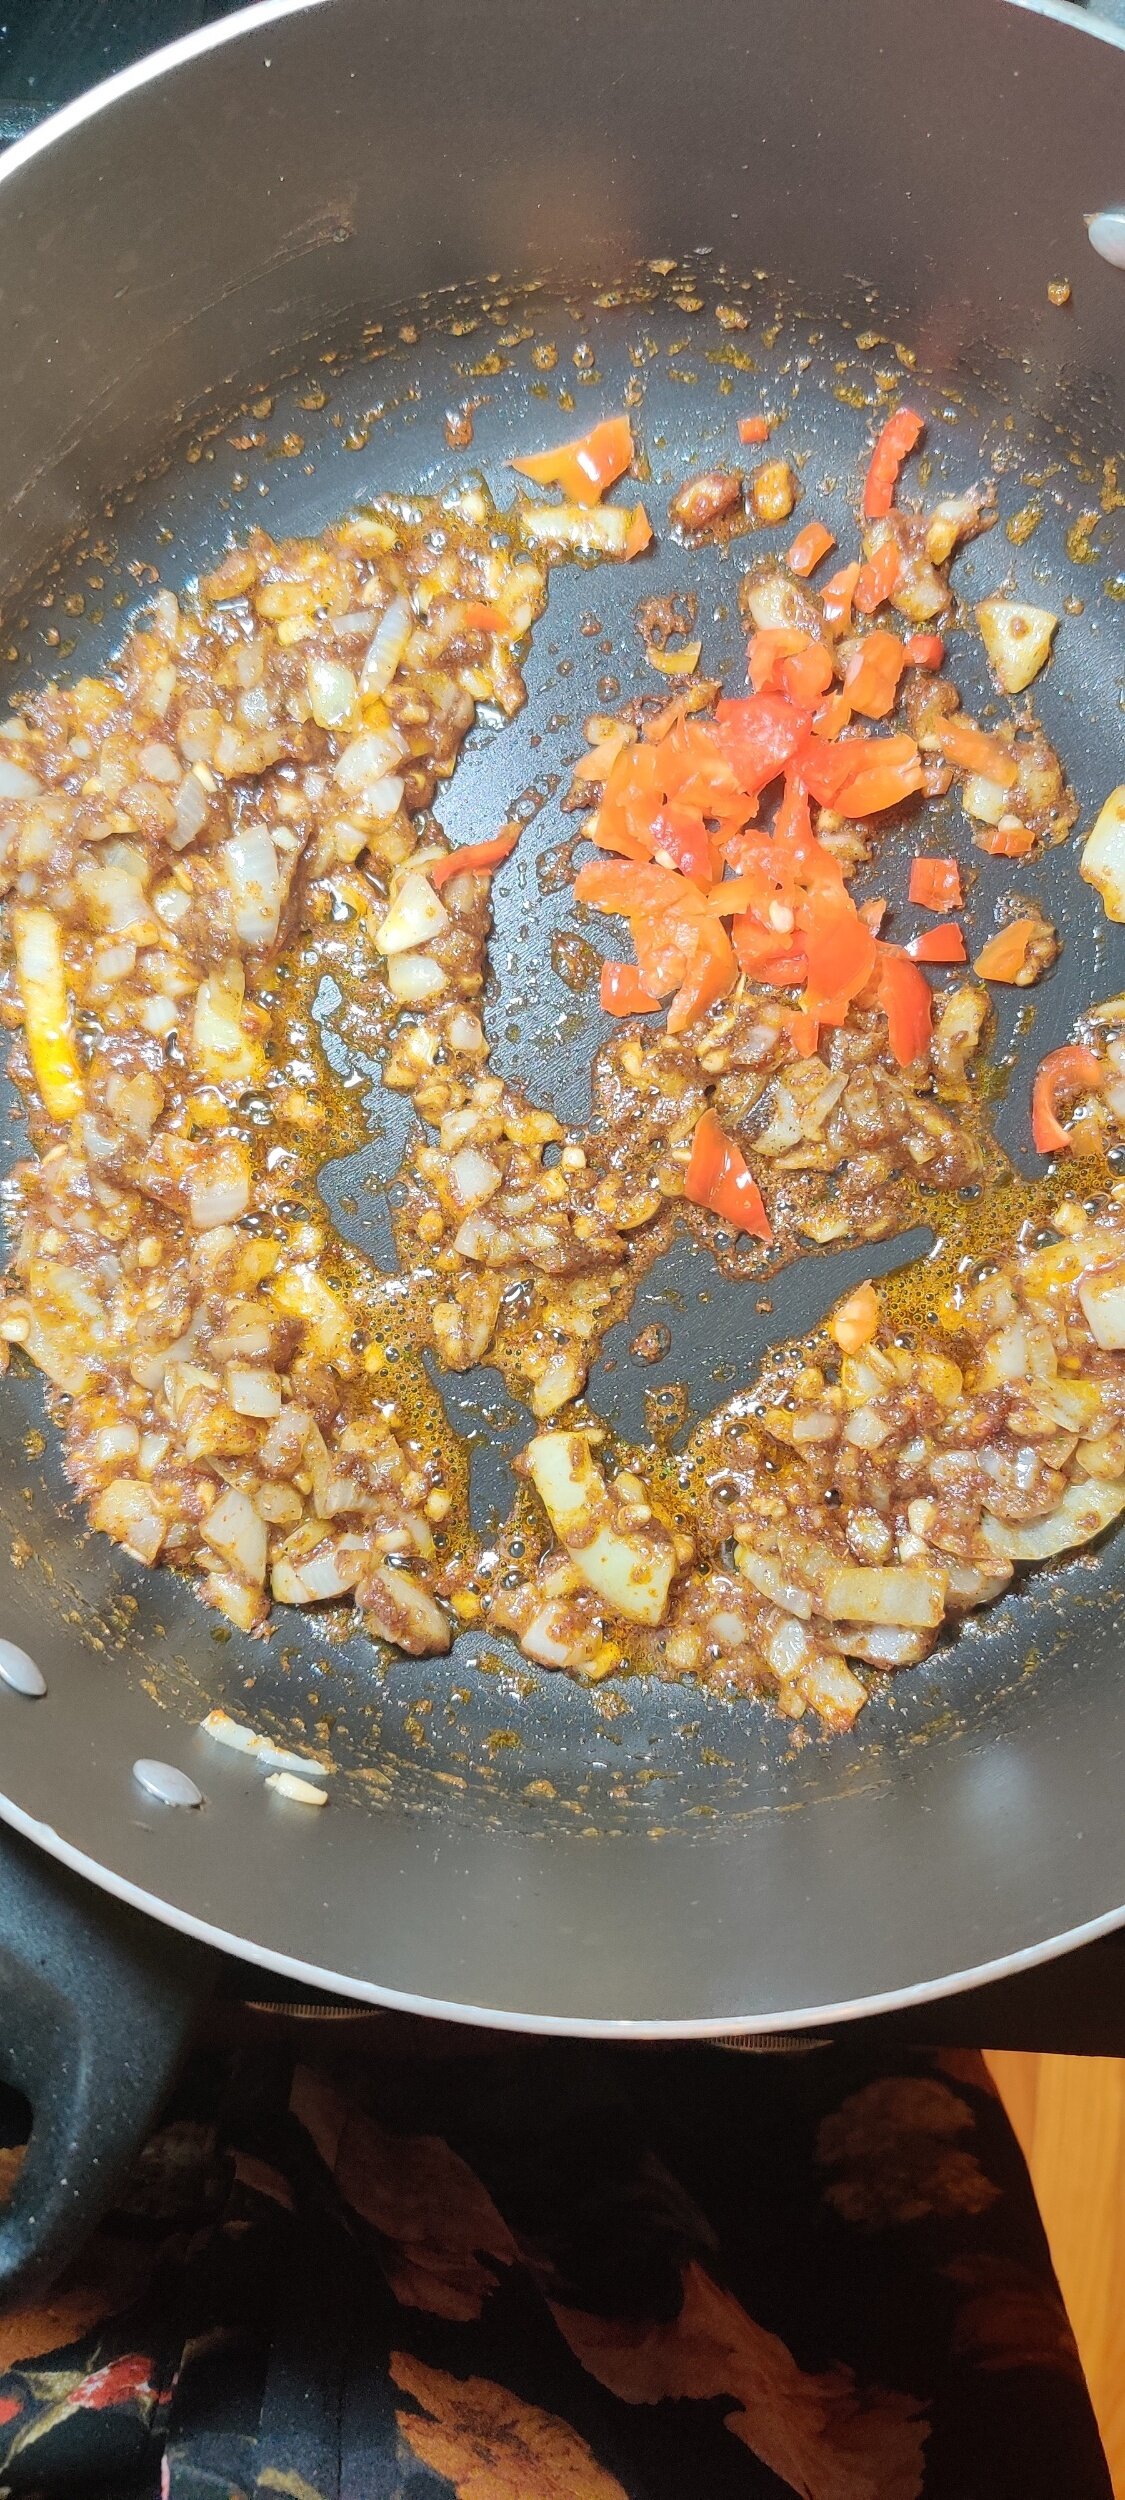
In a large pot, saute the onion and garlic in olive oil and butter for 3 minutes until the onion starts to soften.
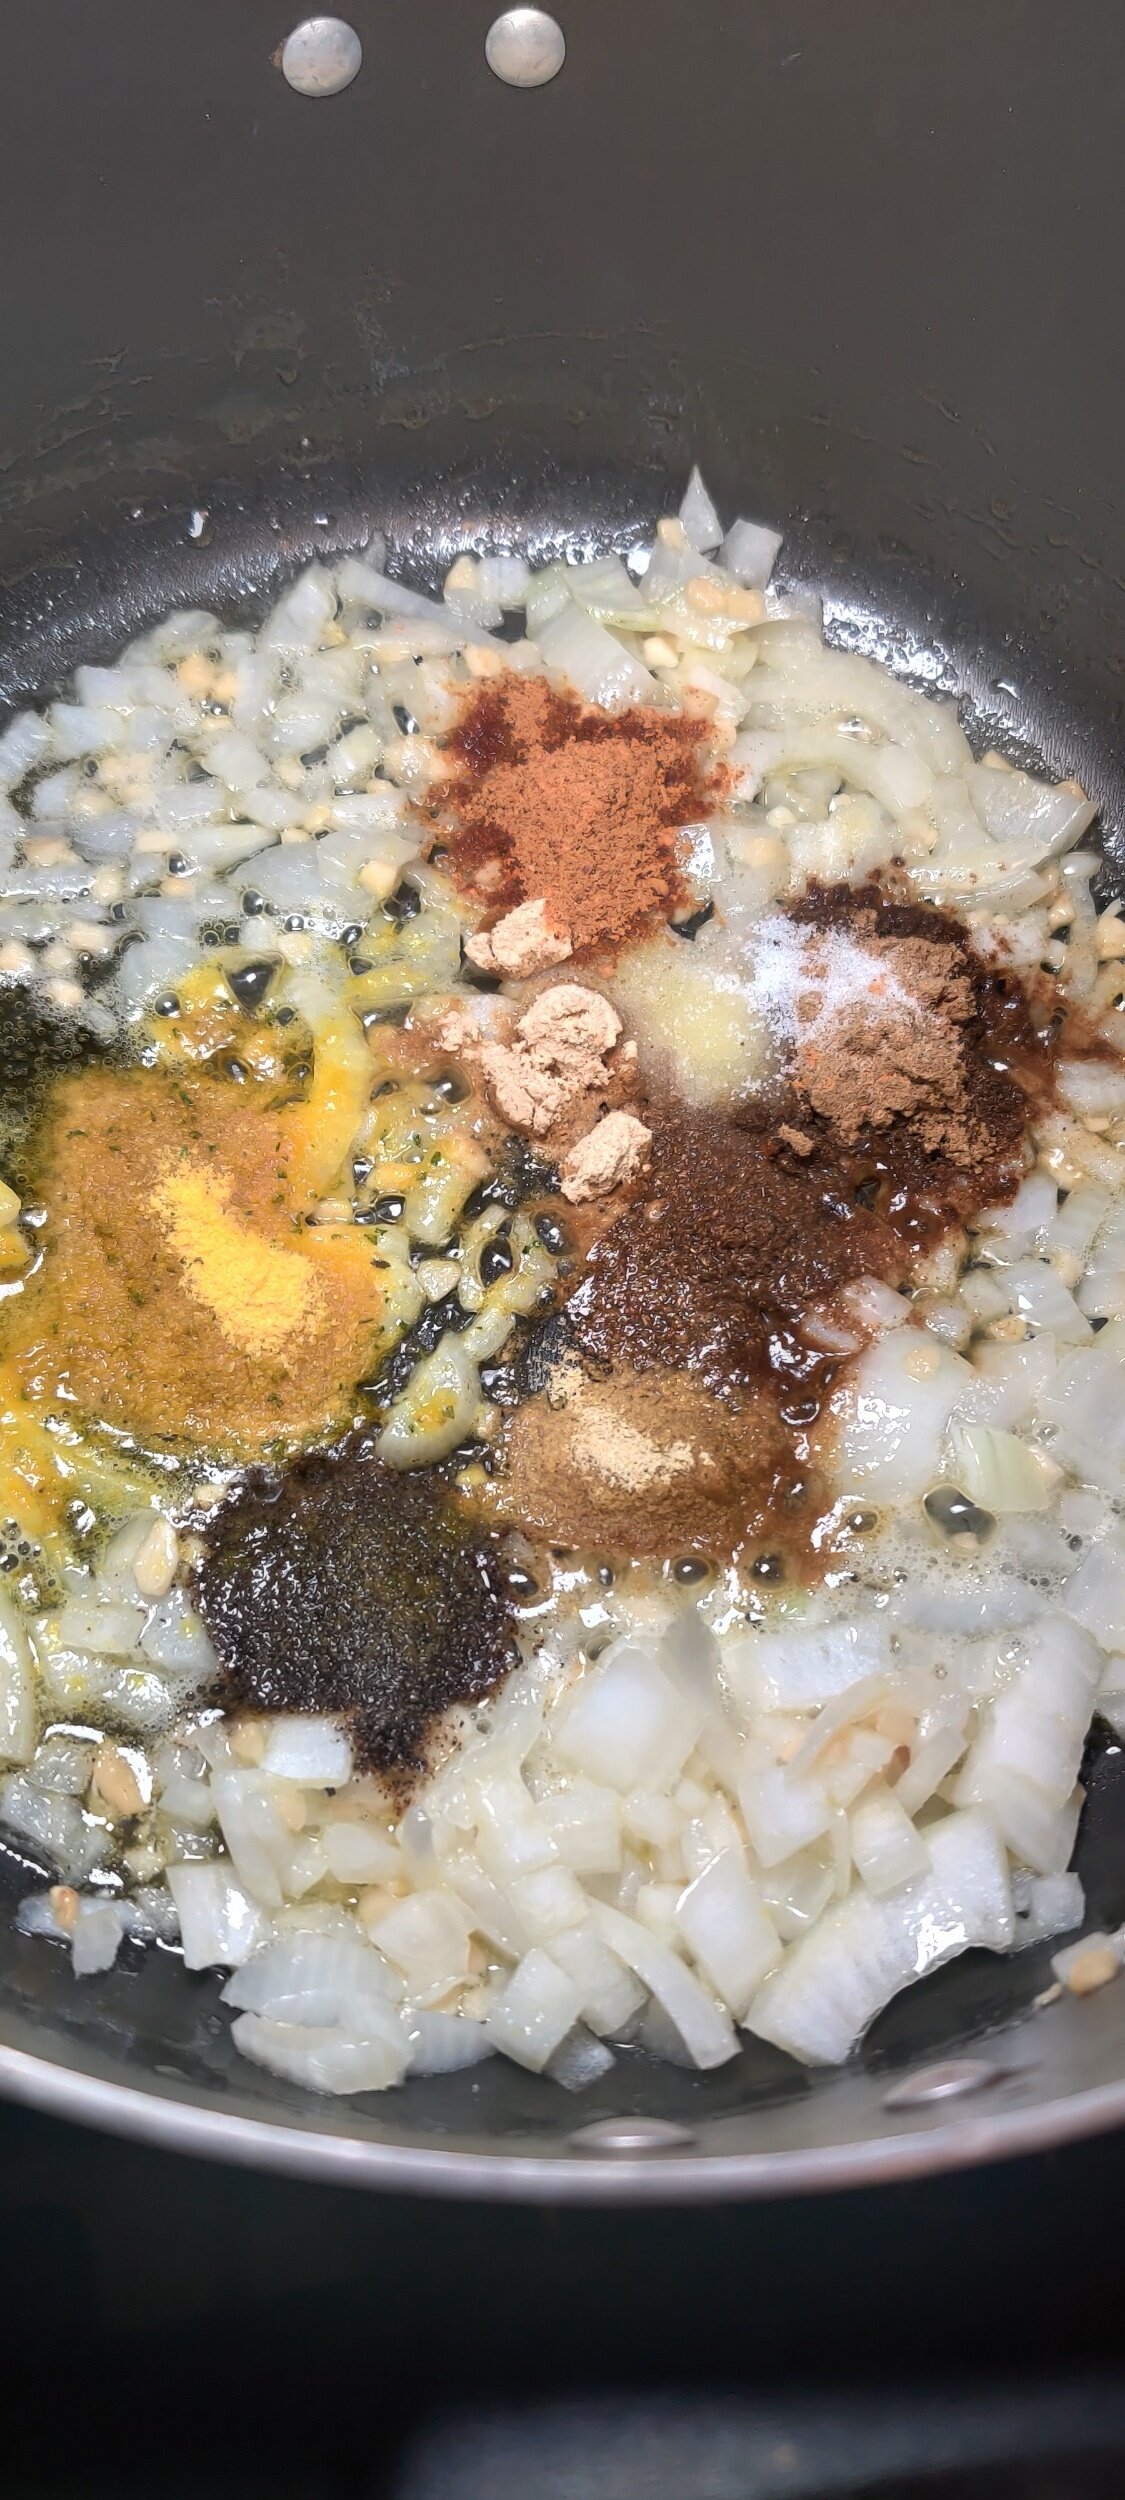
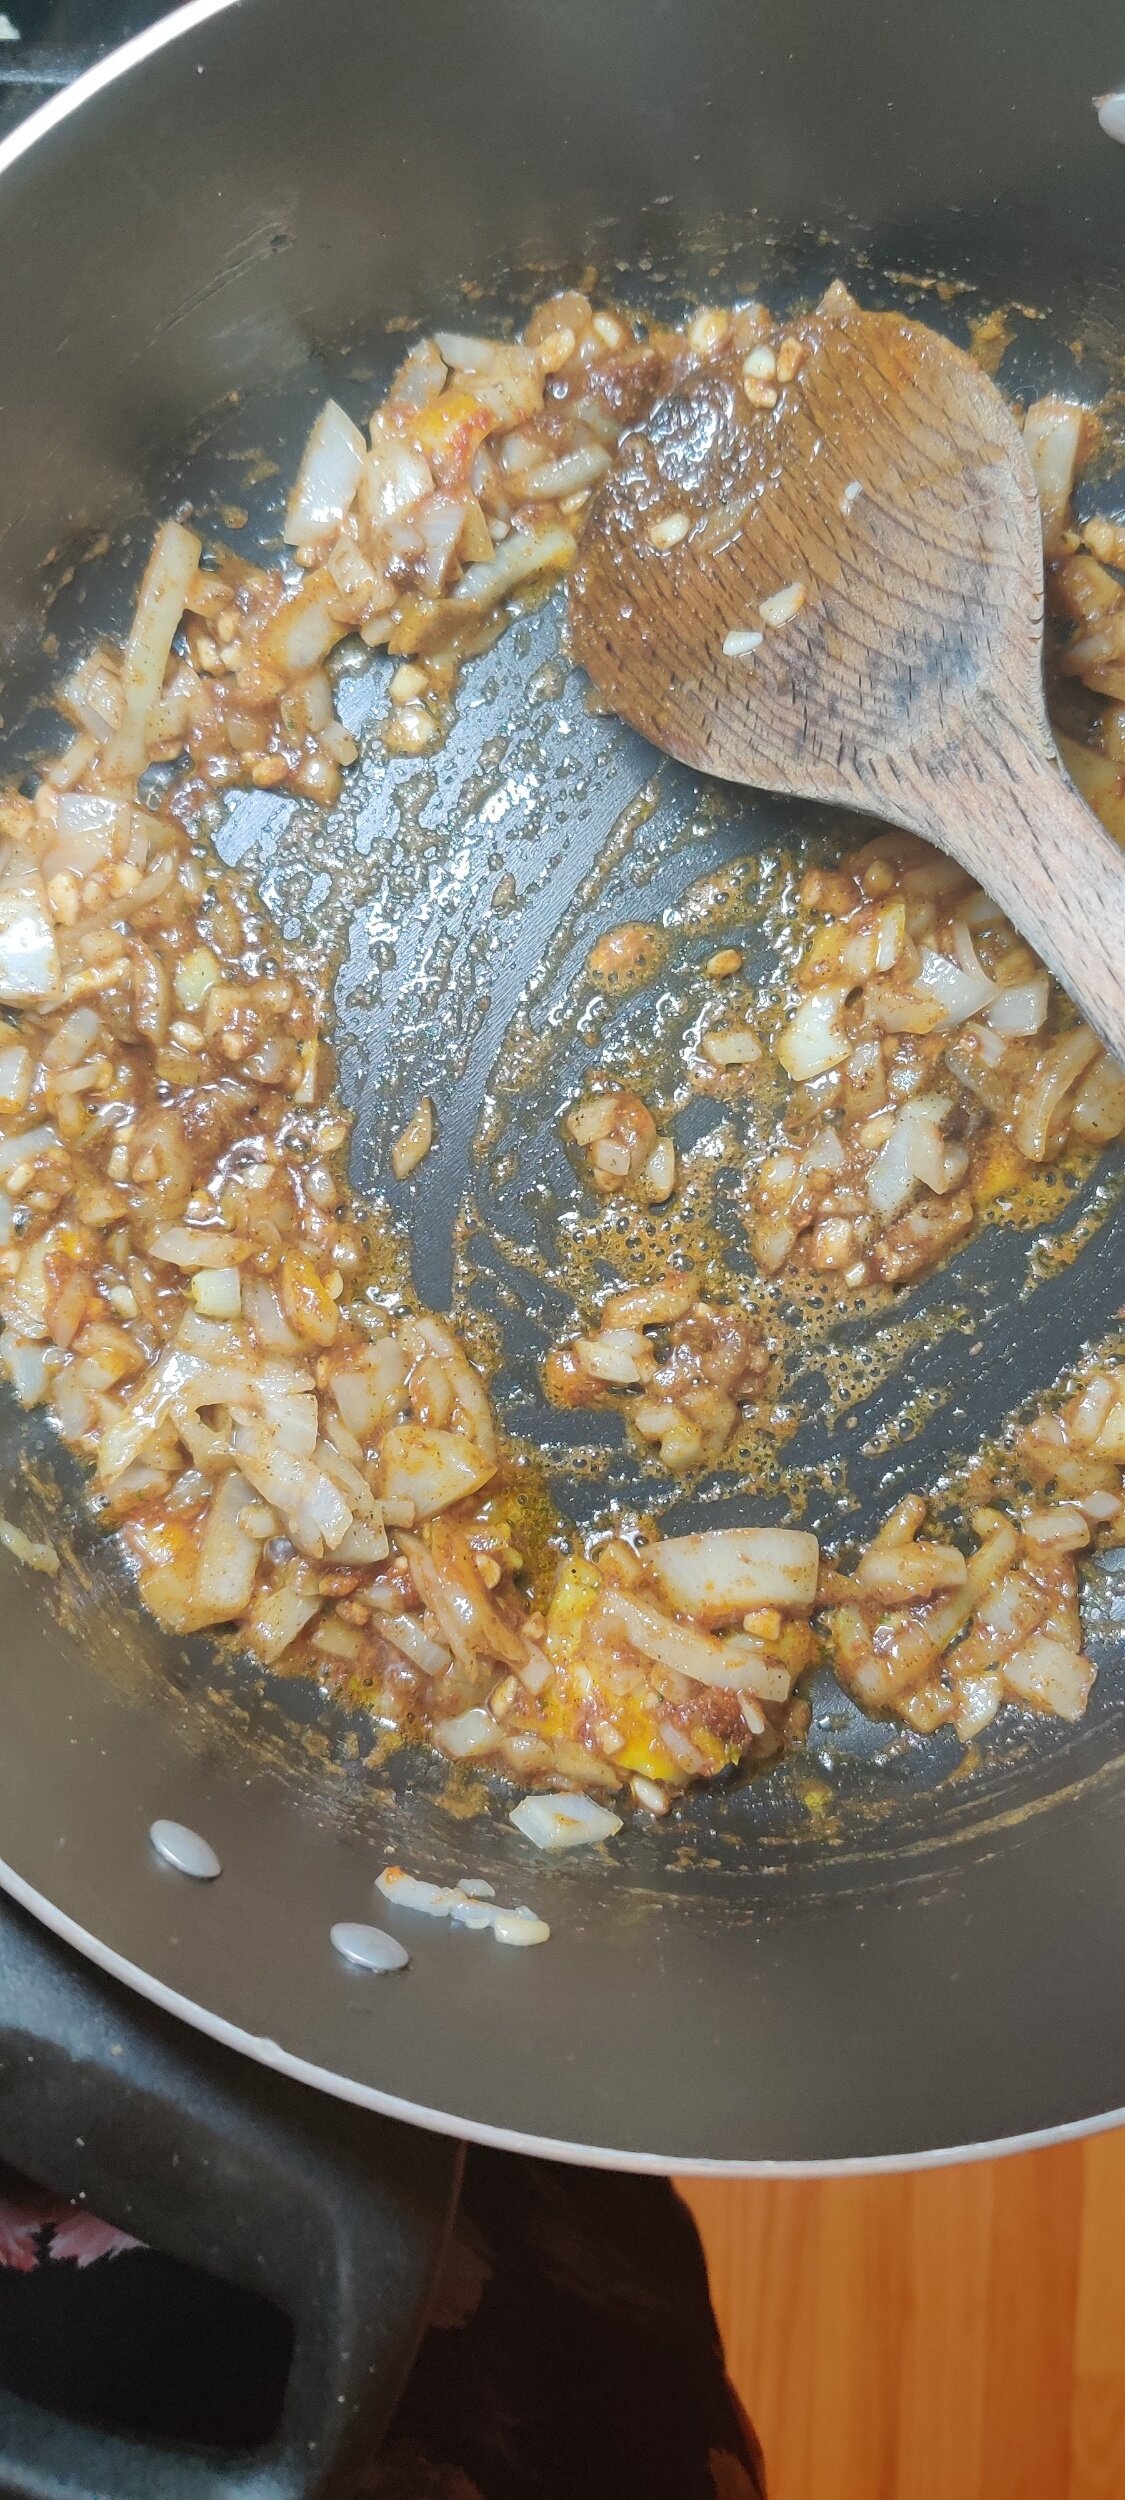
Add the spices, bouillon cubes, salt and black pepper, cook for another 2 minutes.
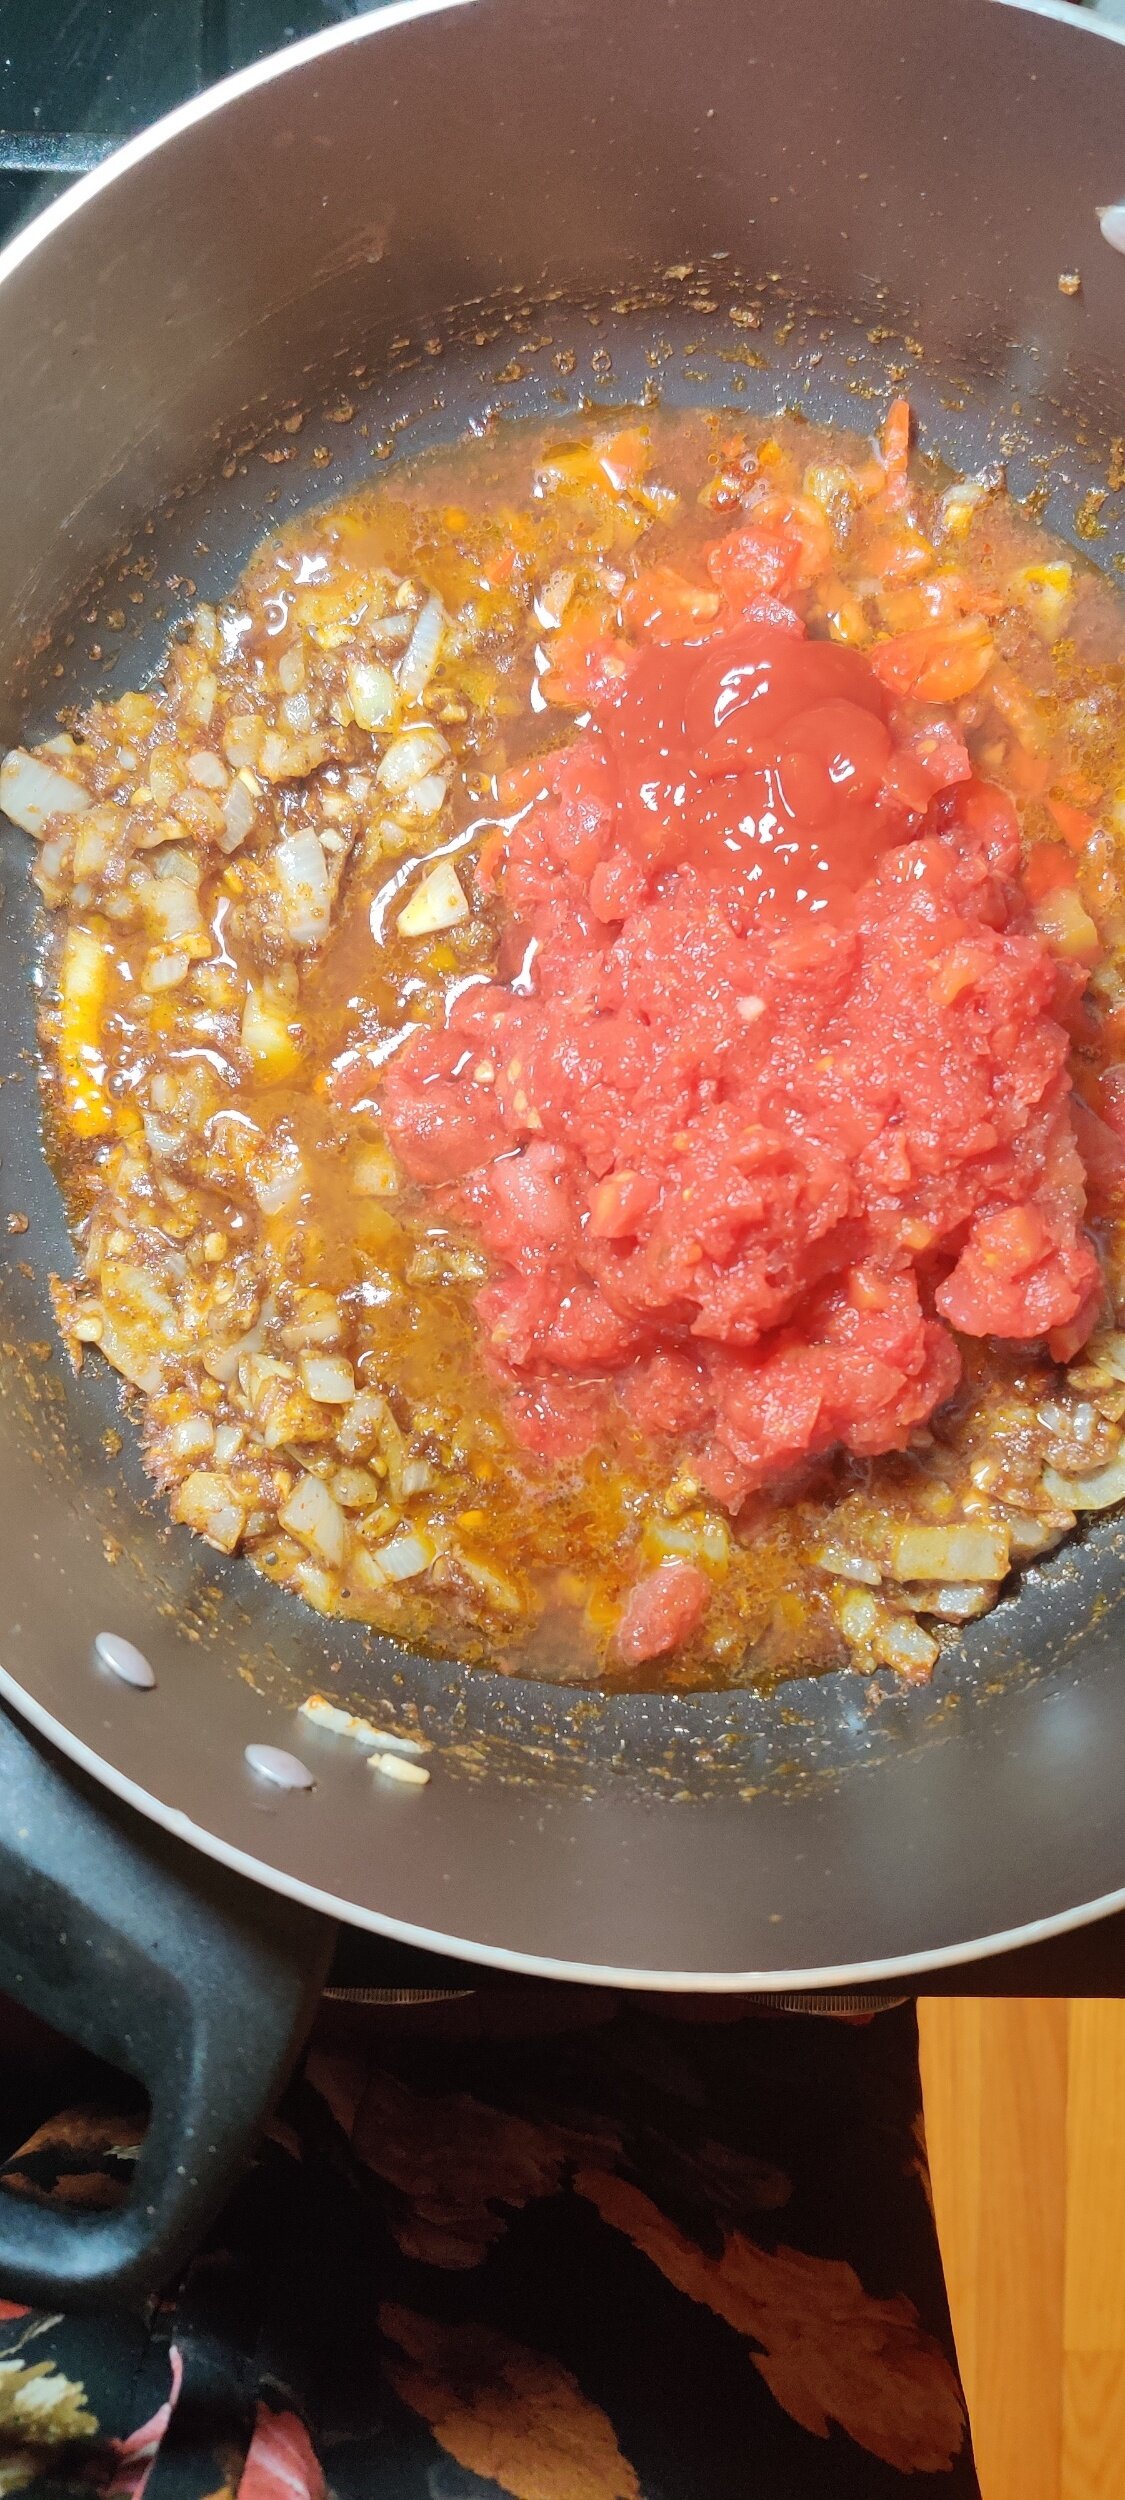
Mix in the diced tomatoes and tomato sauce/ketchup, cook for about 5 minutes.
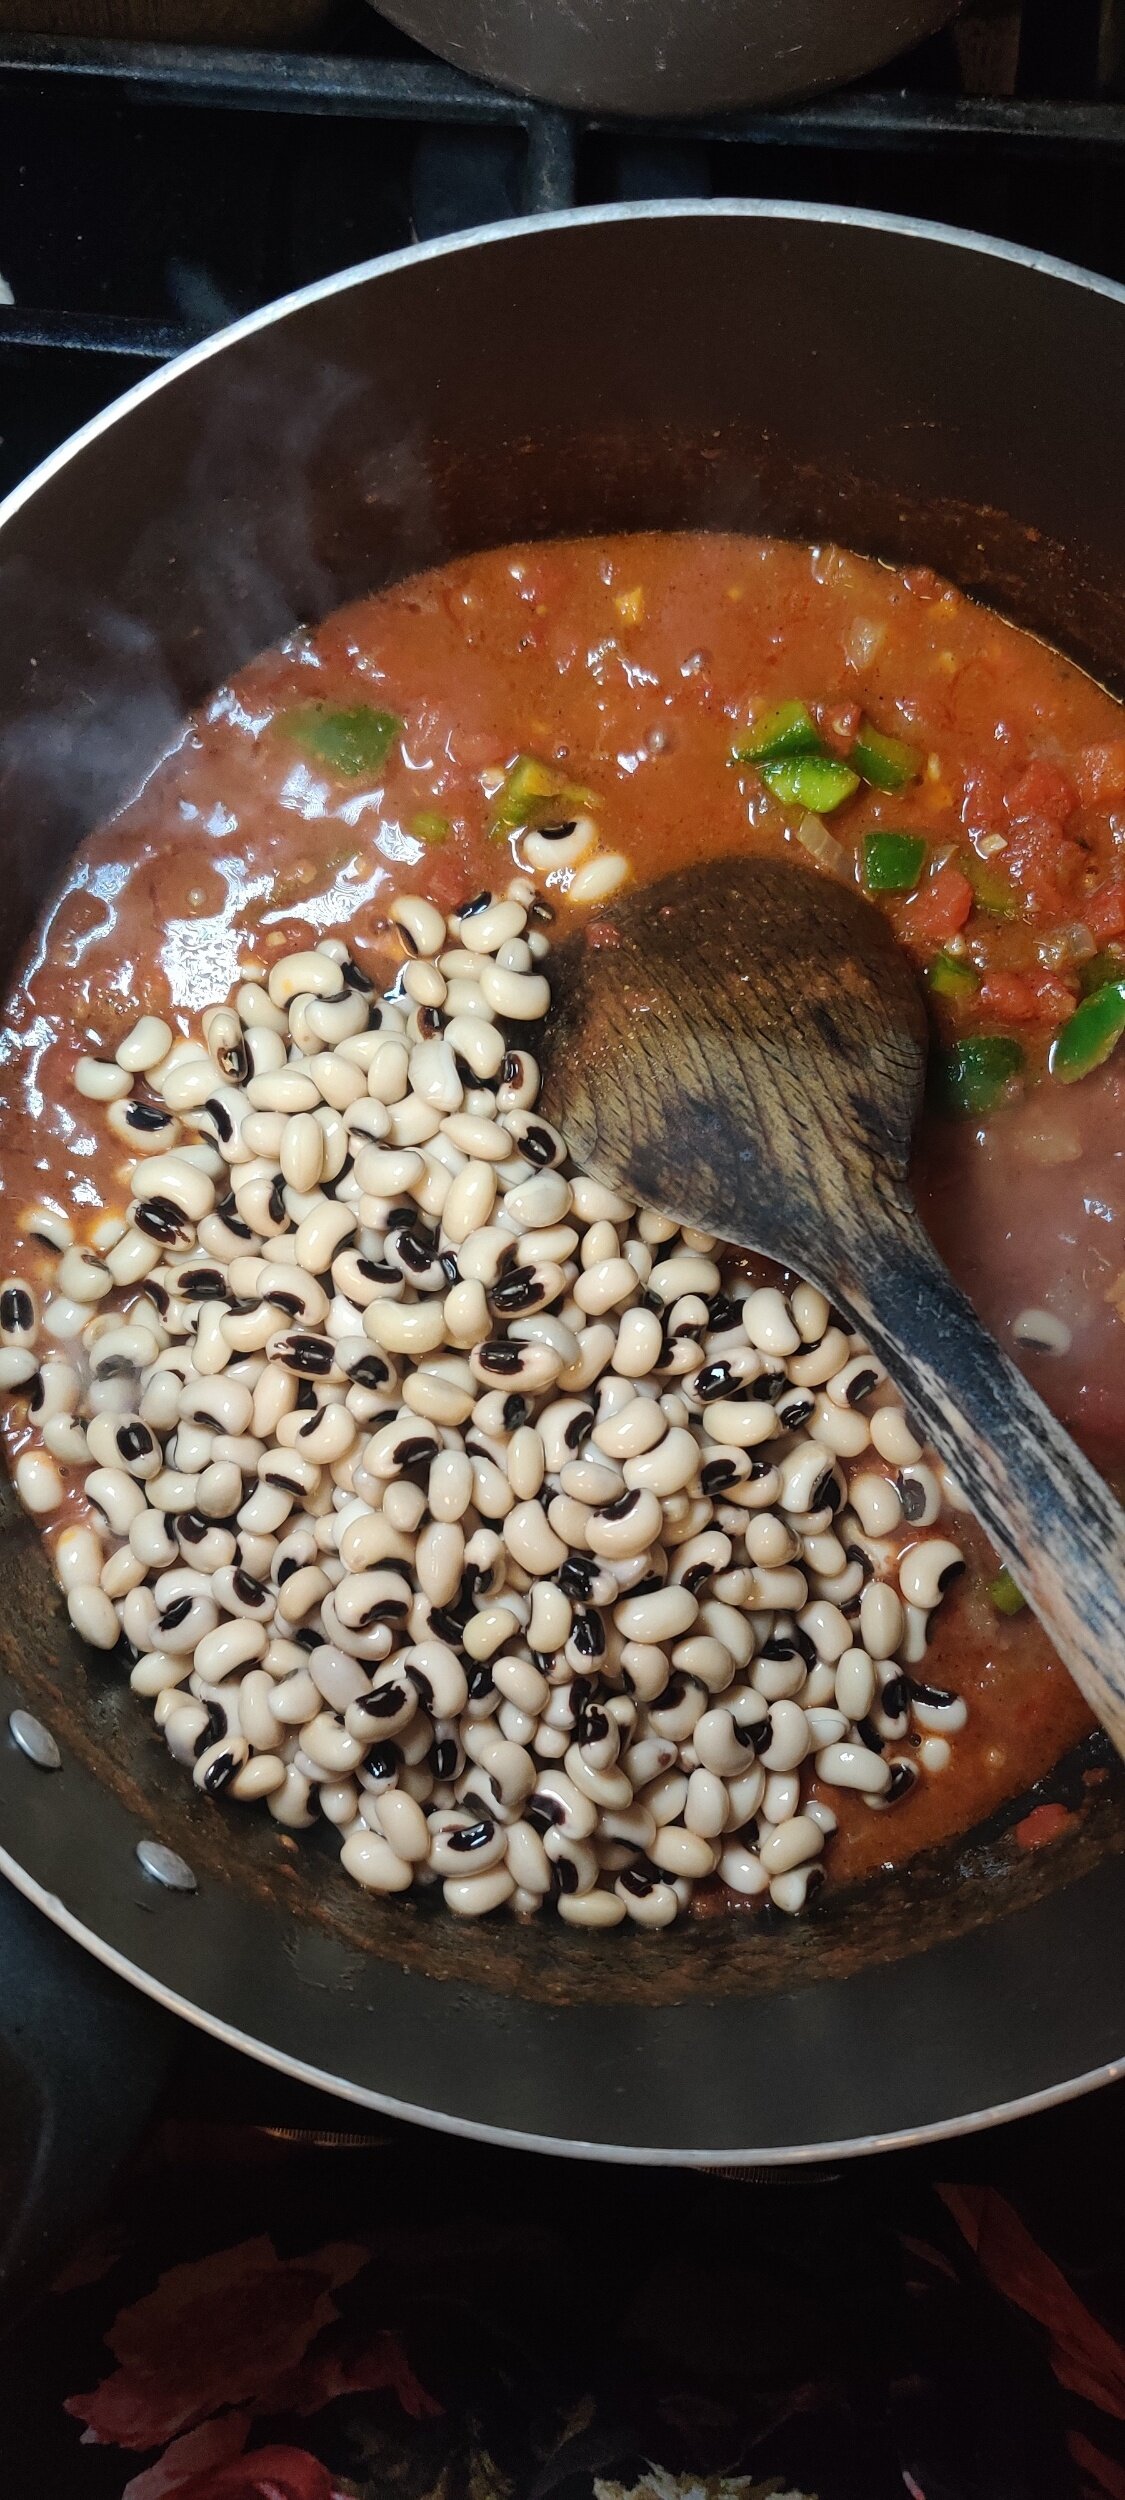
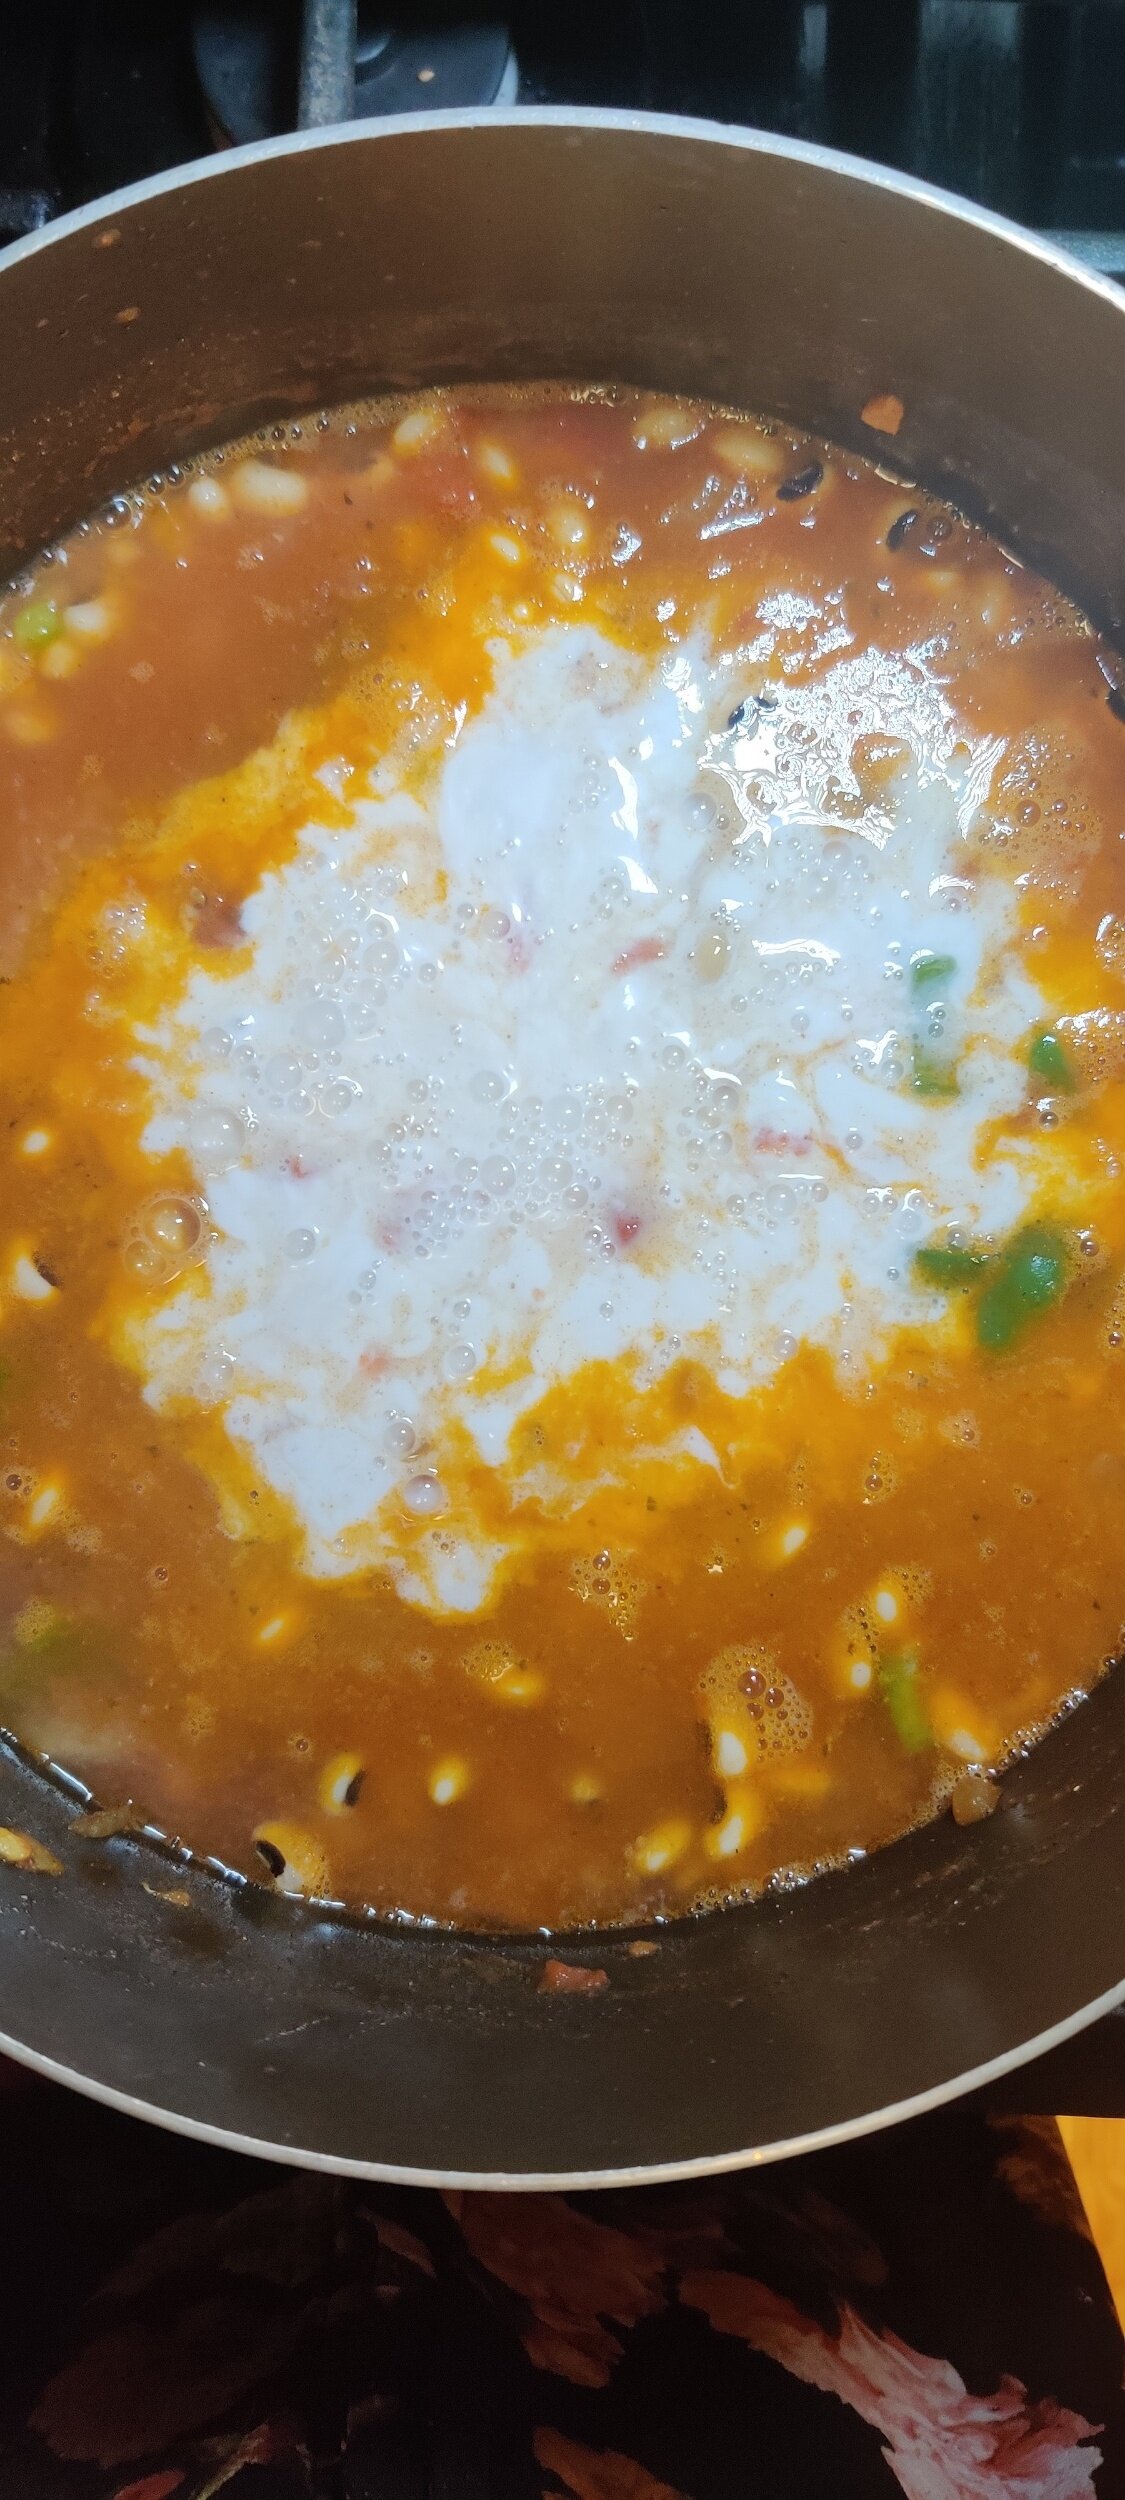
Stir in the green pepper and black-eyed peas, then pour in the water and coconut milk. Season to taste with additional salt and pepper if necessary.
Reduce the temperature and simmer for 35-40 minutes. Check the stew periodically and stir until the black-eyed peas soften and are cooked through. Add more water if needed.
While the beans are cooking, prepare your sadza or whatever starch you want to serve the stew with. All you'll need for that is water and corn/maize/millet meal.
Serve both hot, enough for 4-5.

Spicy Falafel with Cucumber Avocado Salad
Falafel is so satisfying to eat I don't know what it is. Well, maybe I do. Then again I'm biased because I absolutely love chickpeas and if you're reading this you probably are too!
The original recipe is said to have come out of Egypt. This was before it spread to the rest of North Africa and the Middle East where it is now a staple. I had my first encounter with falafel, folded into some pita bread with tomato, lettuce, cucumber, onion and sauce in New York City - I fell in love ever since!
Since they are on the dry side, it's a must that a sauce accompanies the falafel. I used tzatziki to compliment the refreshing cucumber and avocado salad, but tahini salad is another popular condiment you can use too.
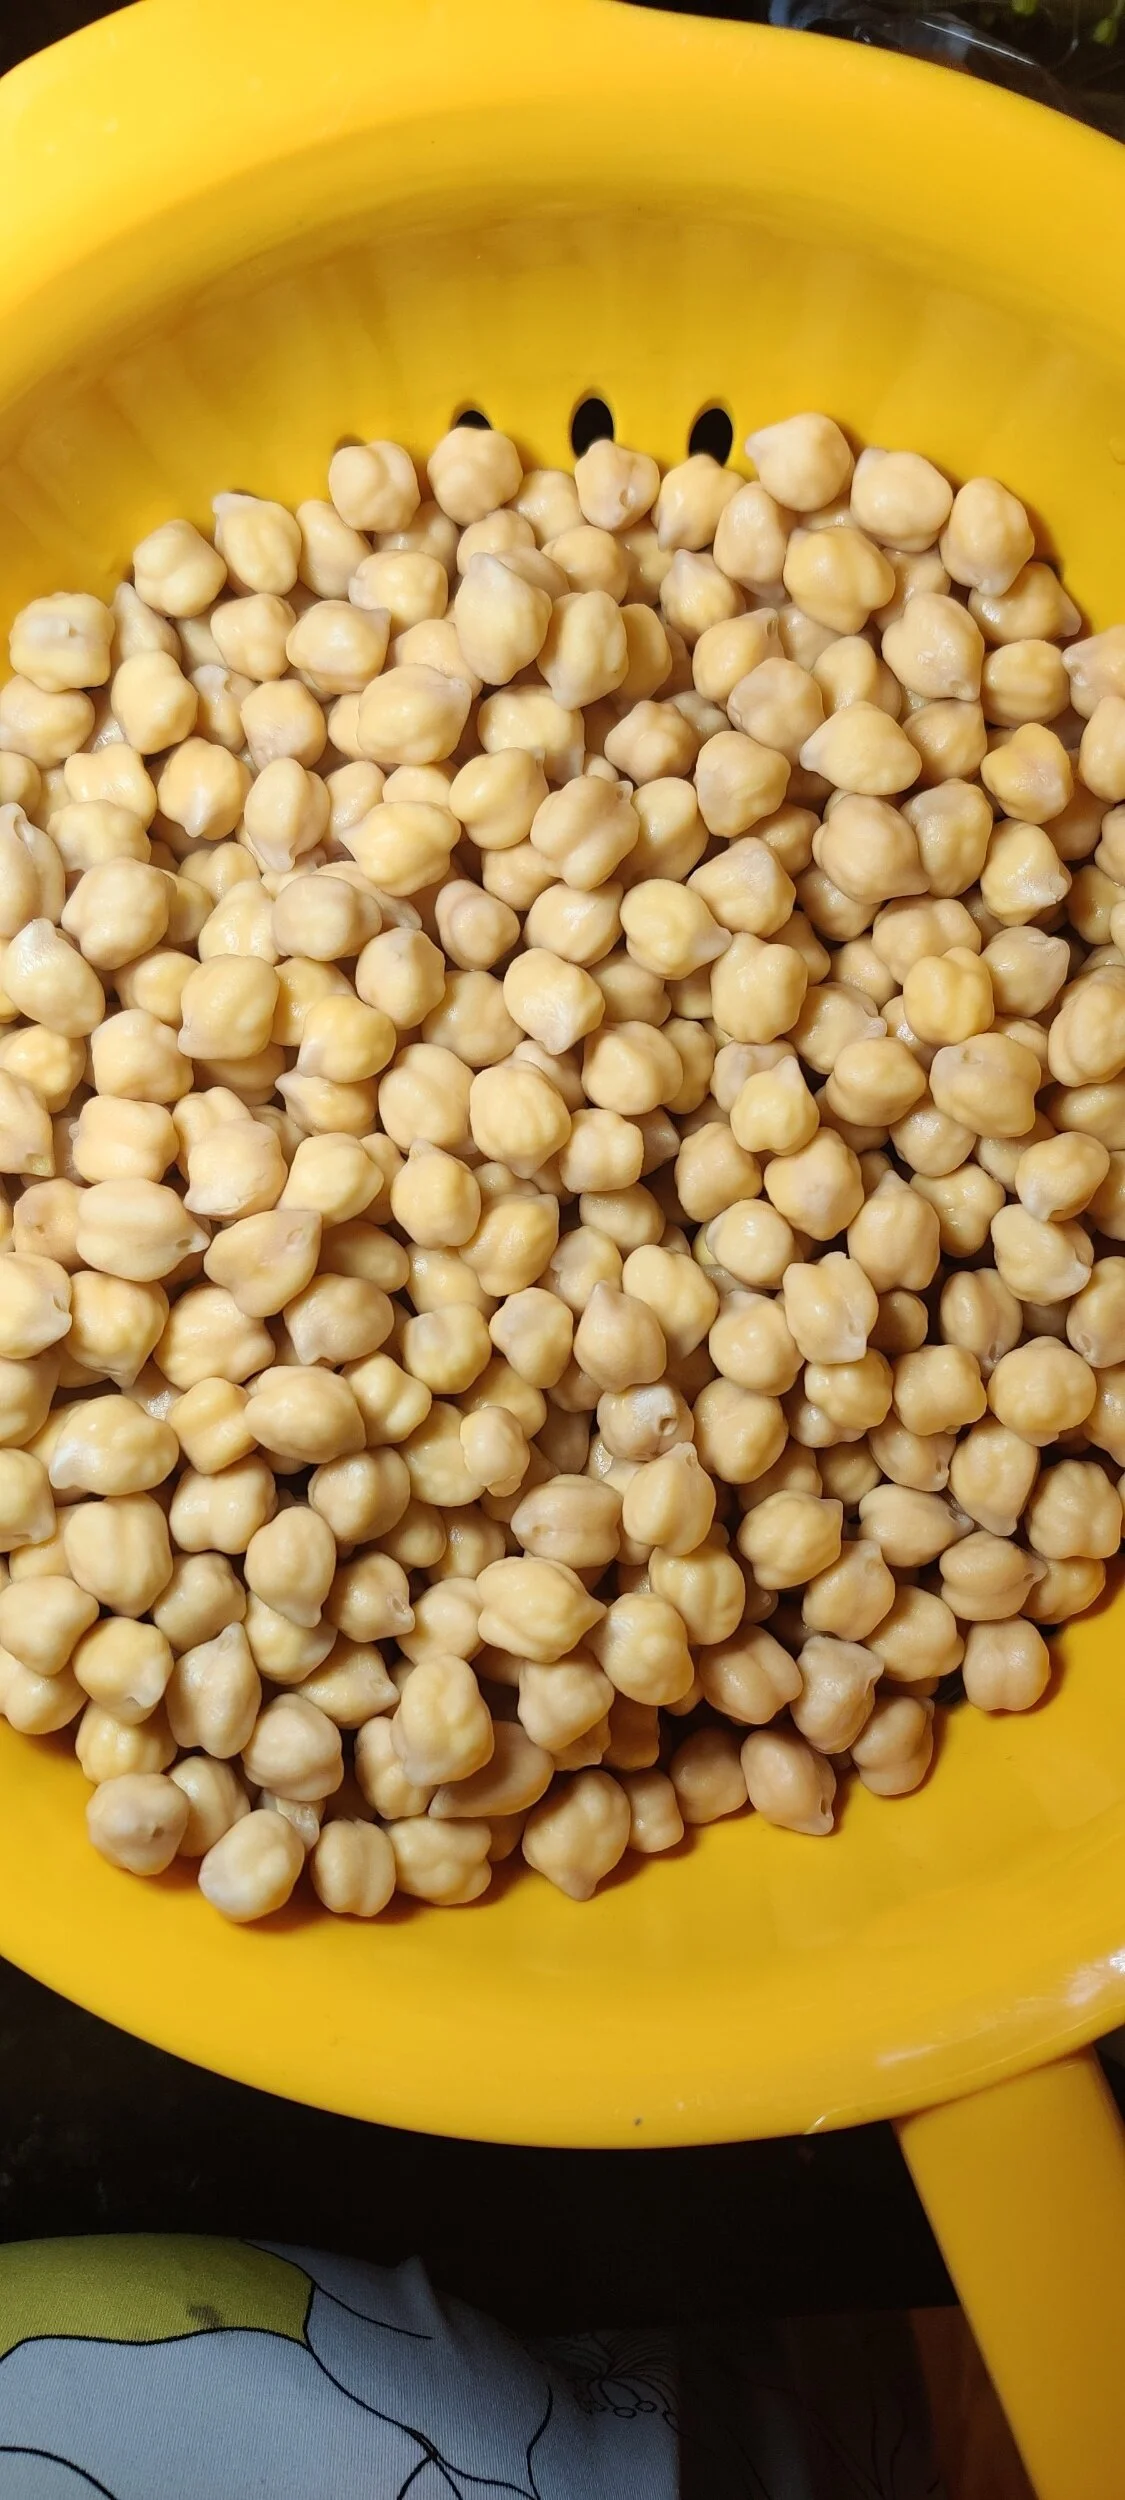
The most important thing to know about this recipe is the use of dried beans.
Even though you soak them and they need to be drained beforehand, this helps with the integrity of the falafel balls versus using canned chickpeas. The same goes for hummus. I've read anecdotes of people drying canned peas in the oven if that is all they have, so it is not impossible.
Ingredients
2 cups dried chickpeas (soaked overnight then drained)
1/2 medium onion, finely minced
1 tablespoon roasted sriracha sesame seeds
2 tablespoons garlic, minced
1/2 cup parsley, finely chopped
1 tablespoon lemon juice
1 teaspoon coriander
1 small habanero, finely minced
1 tablespoon cumin
1/4 teaspoon salt
1 teaspoon black pepper
1 teaspoon chili powder
1 tablespoon paprika
1/2 teaspoon baking soda
1 egg (optional)
Salad:
1 large cucumber, thinly sliced and quartered
1 large avocado, sliced
3 teaspoons olive oil
1 teaspoon lemon juice
1/2 teaspoon salt
1 teaspoon black pepper
Tzatziki sauce
1 1/2 cups sprouts


Instructions
In a food processor, pulse the chickpeas, cumin, coriander, lemon juice, salt, pepper, chilli powder, paprika, parsley, onion, and garlic. A thick paste you can mold should form. If it seems too crumbly, add the egg to help bind everything together.
You can bake or fry falafel depending on your preference. If you like a crunchy exterior, frying will make that happen! I used an air fryer and cooked the falafel balls at 400F for 15 minutes, flipping them halfway after spraying with olive oil. You can also bake them for 30 minutes, turning them over after 15 minutes. Roll your falafel into smoothened balls - about two scoops with a cookie scoop and your hands.
Prepare your salad. In a bowl, toss the cucumber, avocado and sprouts in the olive oil and lemon, season with salt and pepper. Layout the salad on each plate, and add 1-2 teaspoons of tzatziki on top. Set your cooked falafel on top of the tzatziki and eat immediately or warmed.
Serves 2-3 people!
Tip: if your falafel base seems a bit wet and you struggle to form balls, bake in a 350F oven for about 5-7 minutes to dry it out a bit, but don't overcook.

East African Mashed Kale Stew (Sukuma Wiki) with Chapati
This dish is inspired by one of East Africa’s most beloved comfort foods: Sukuma Wiki, a flavorful sautéed kale or collard green dish often served with chapati or ugali. Common across countries like Kenya, Uganda, and Tanzania, Sukuma Wiki is a simple, affordable way to stretch meals, the name literally means “stretch the week” in Swahili.
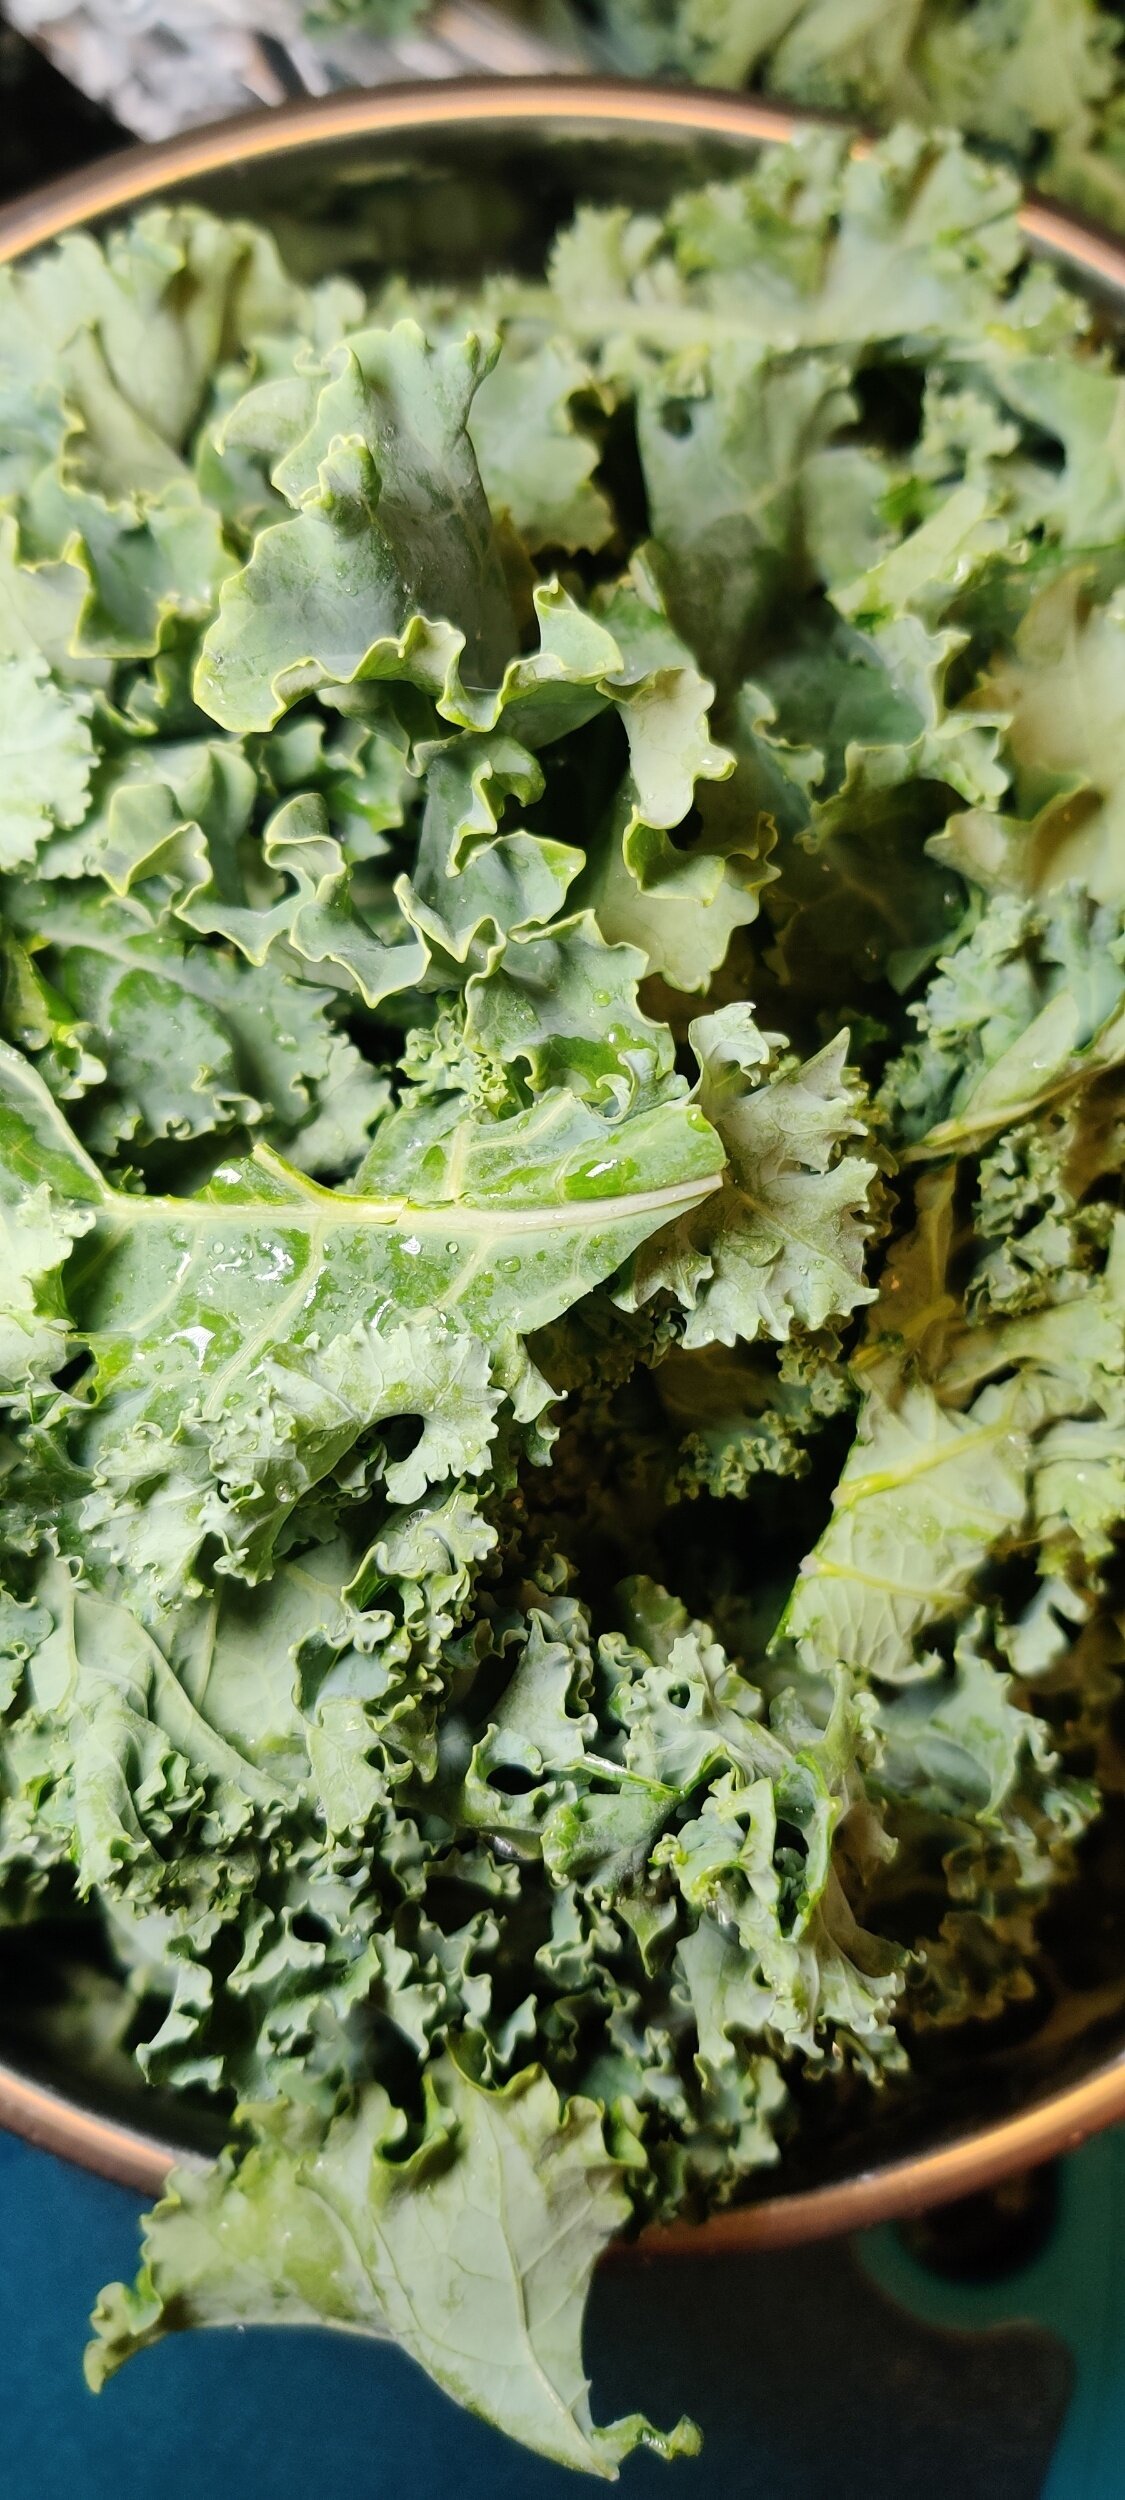
I’ve taken that foundation and turned it into a heartier, stew-like version by adding peanut butter, yam, mushrooms, and eggplant for extra richness. This version leans into bold spices and a creamy texture, making it filling enough to enjoy as a main dish.
While this stew draws heavily from Sukuma Wiki, I was also inspired by other traditions across the continent. In Zimbabwe, pumpkin leaves (muboora) are cooked with peanut butter to create a deeply savory side or main. They’re often overlooked, but when cooked right, they're just as good as kale or collard greens. Since I’m currently in the United States, I’ve used kale (muriwo) as a substitute, it’s readily available and holds up beautifully in stews.
In Rwanda, a dish called isombe uses ground cassava leaves stewed in a similar way, often served with plantains and, of course, chapati, my favorite flatbread of all time.
I’ve paired this stew with East African chapati, which is soft, flaky, and layered. It’s made differently from Indian chapati, using a coiled rolling technique that creates those signature flaky layers. You can find my chapati recipe [here] if you’d like to make it from scratch.
This dish is warm, deeply nourishing, and full of flavor. It’s a beautiful mix of traditions and ingredients that come together to celebrate African cooking in a way that’s comforting and easy to recreate at home.
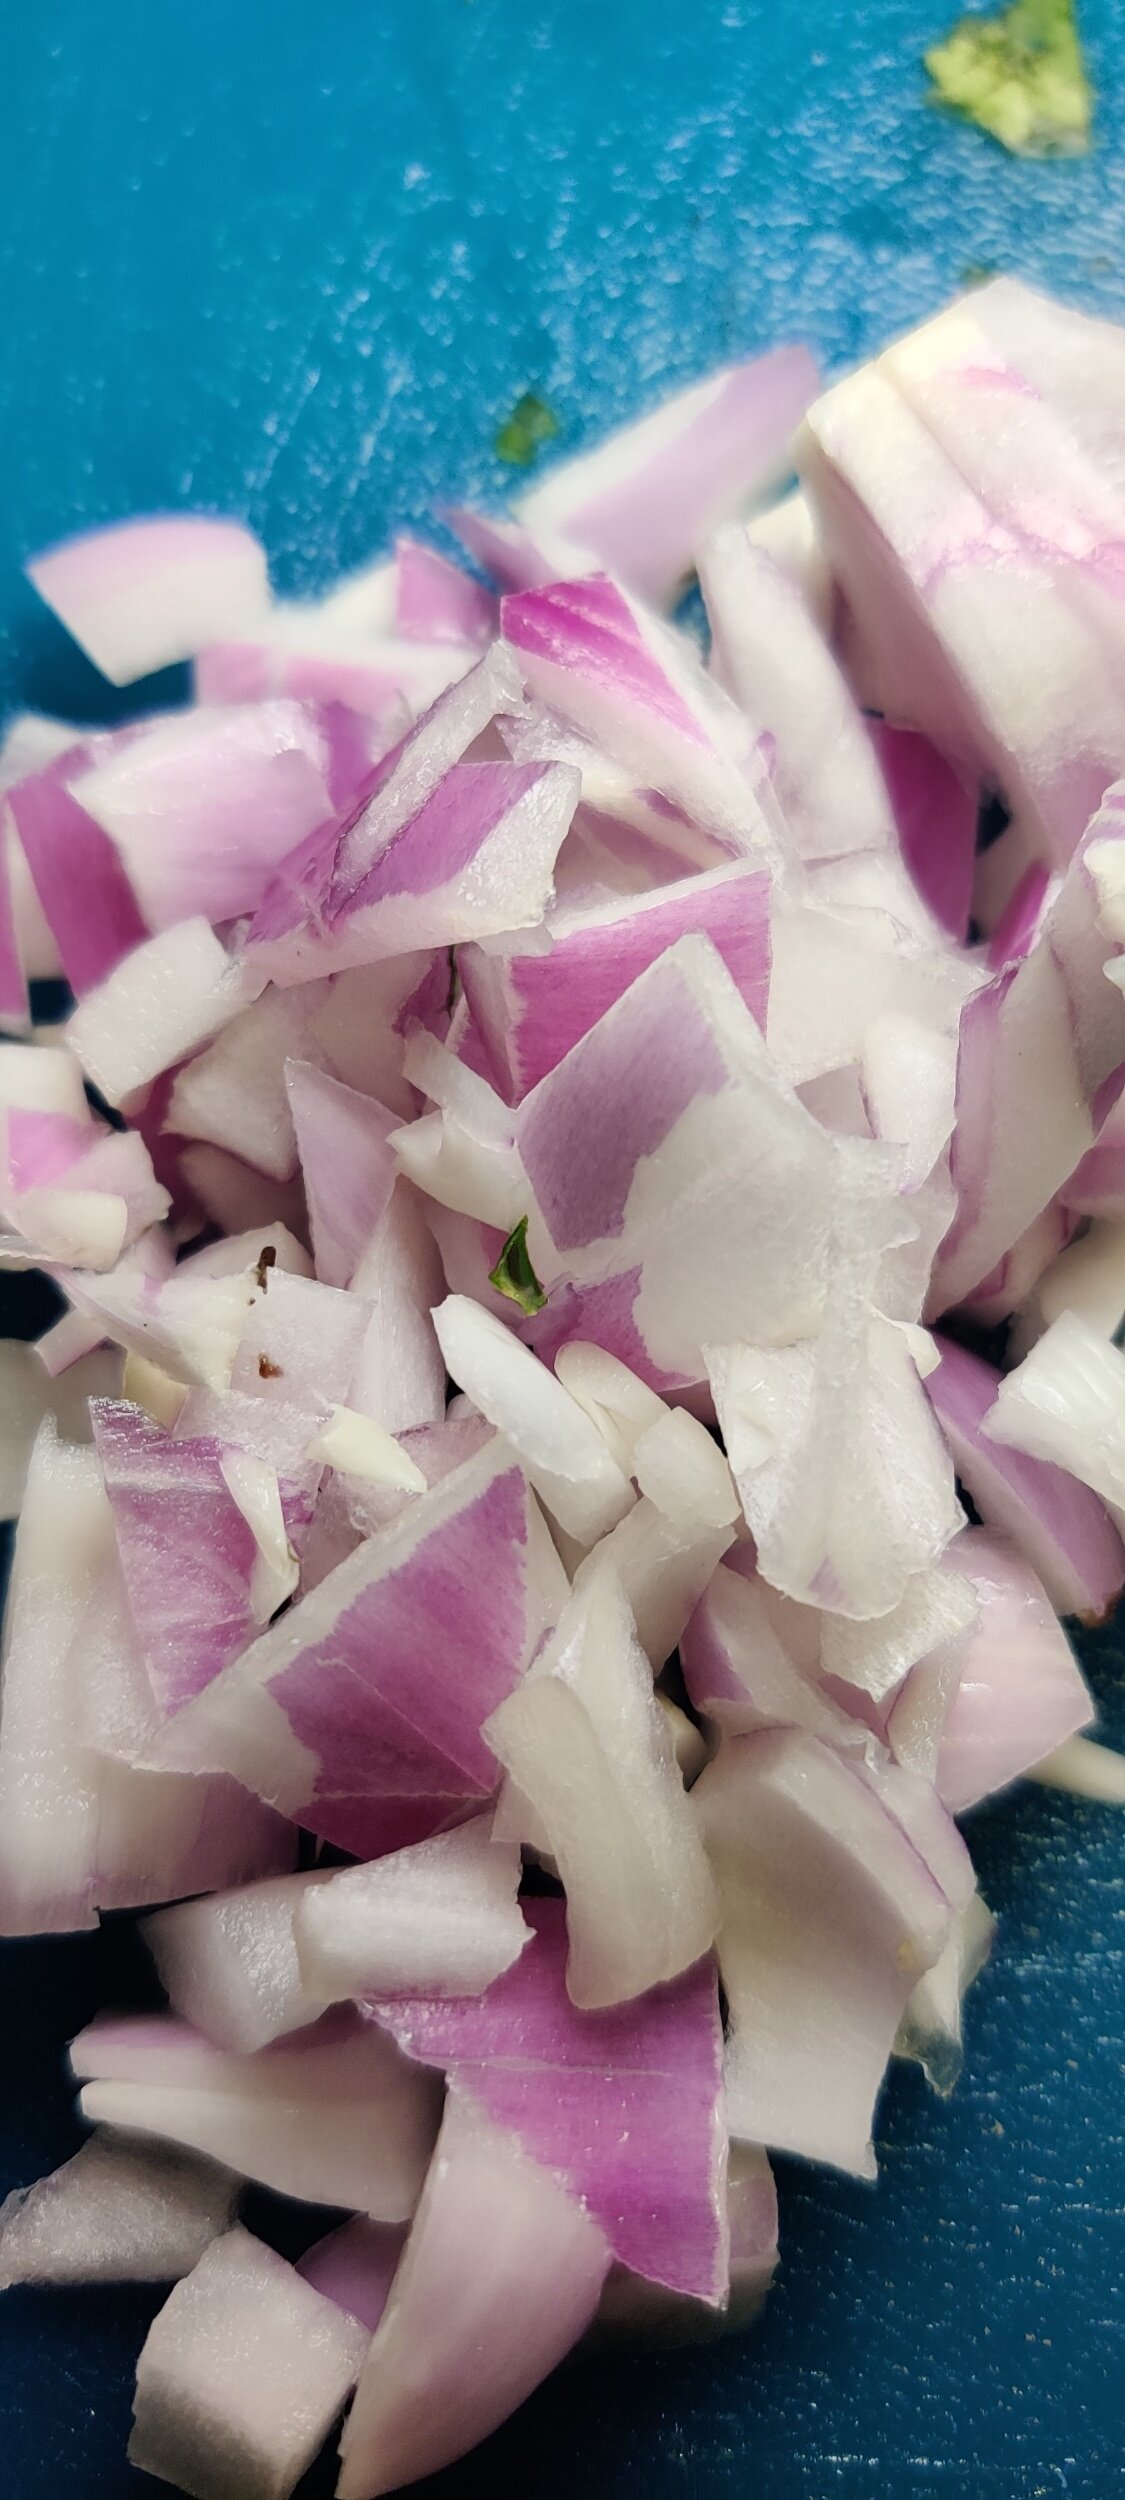
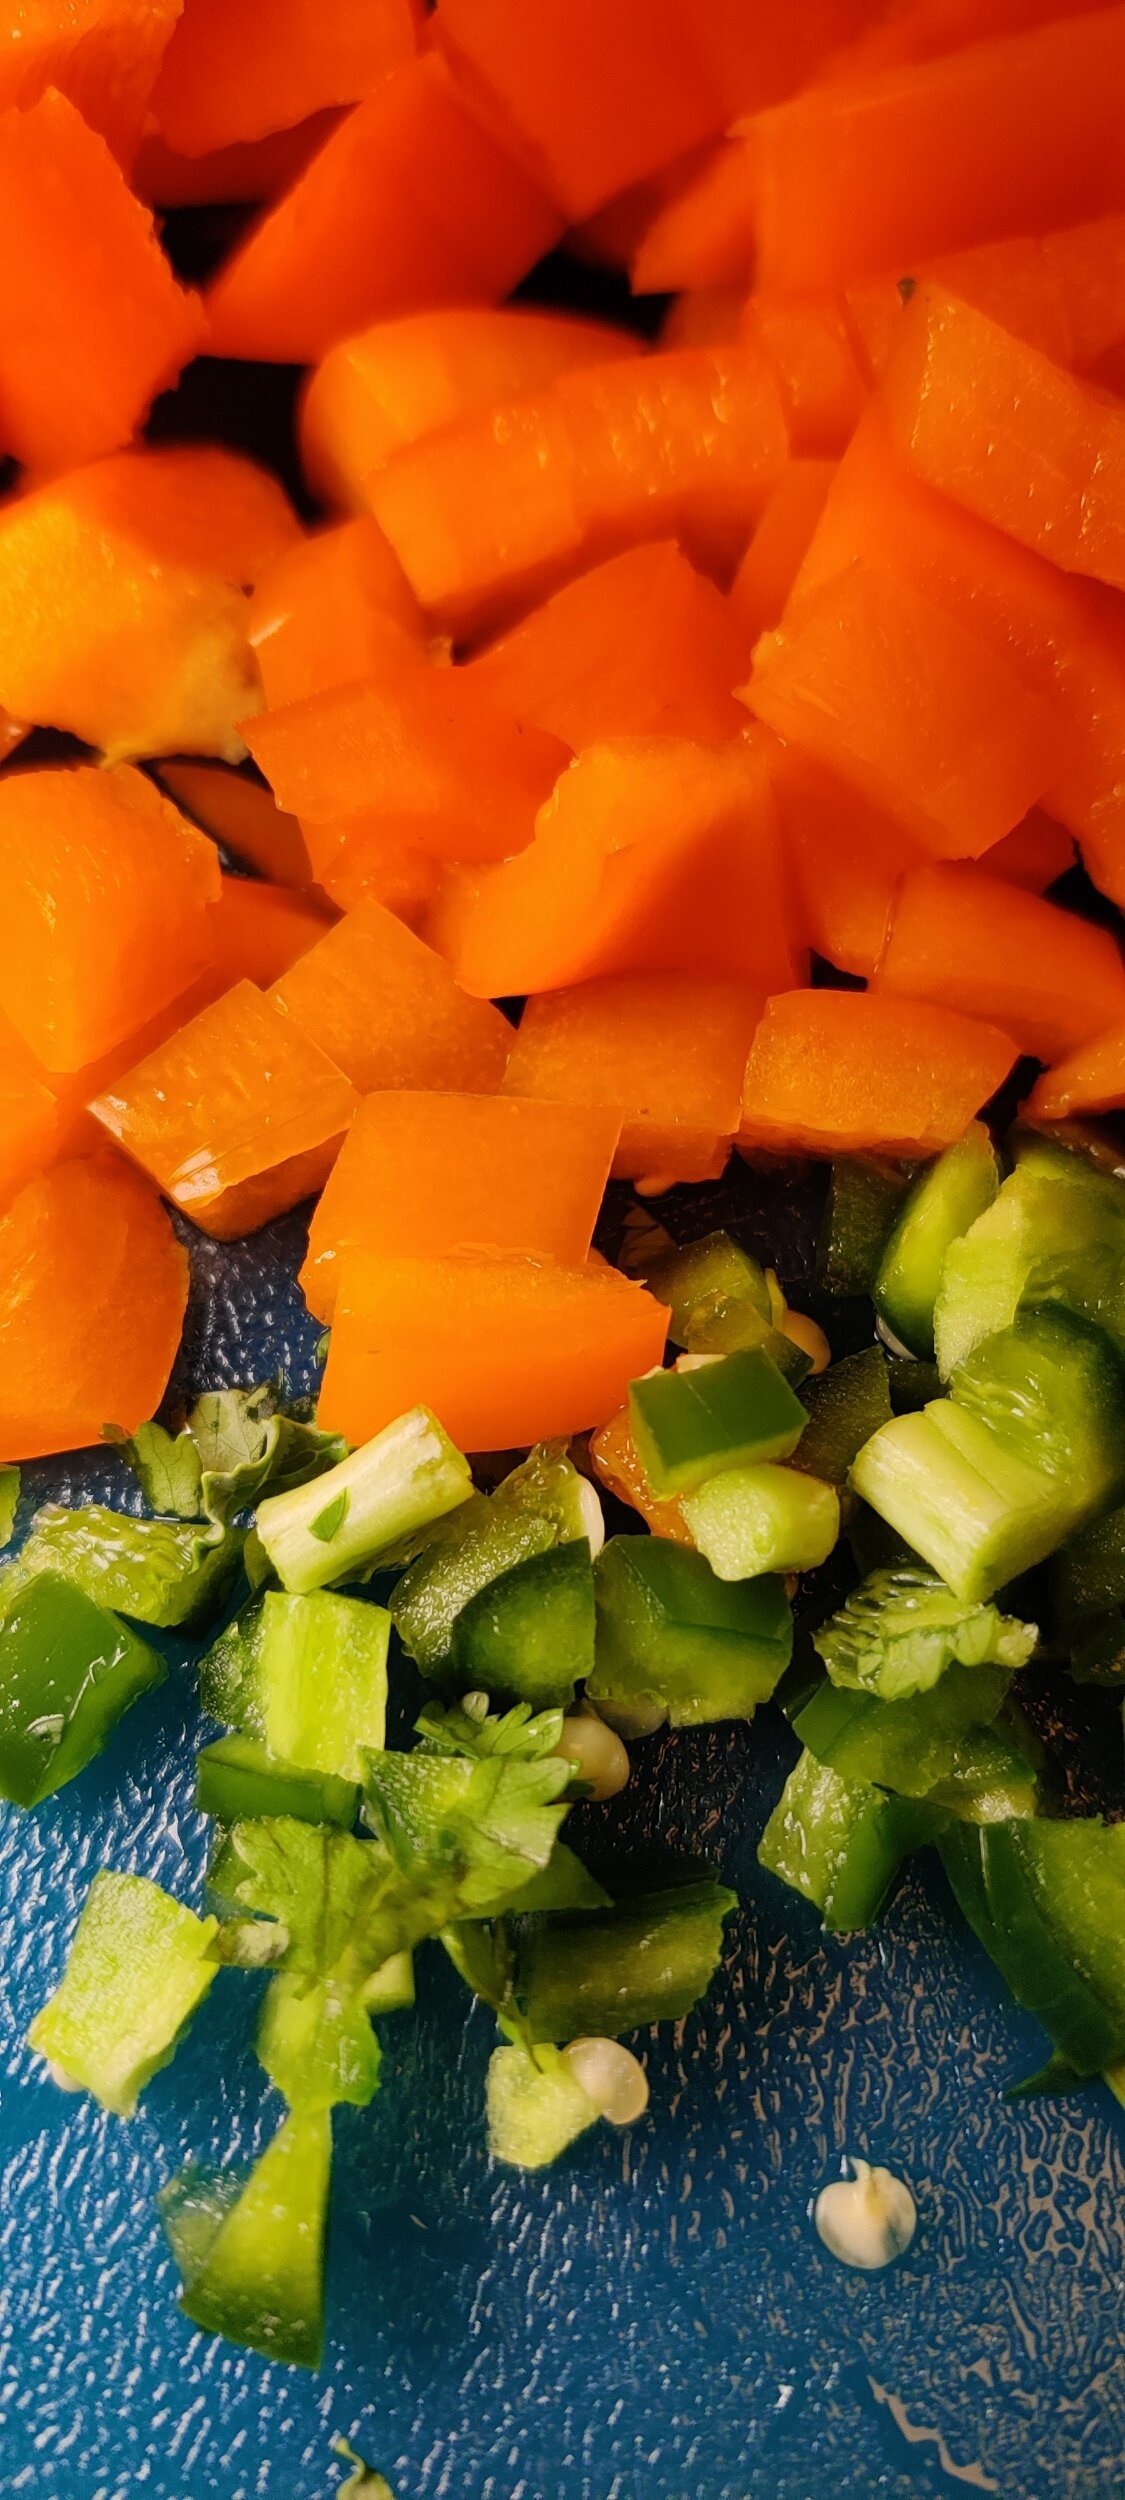
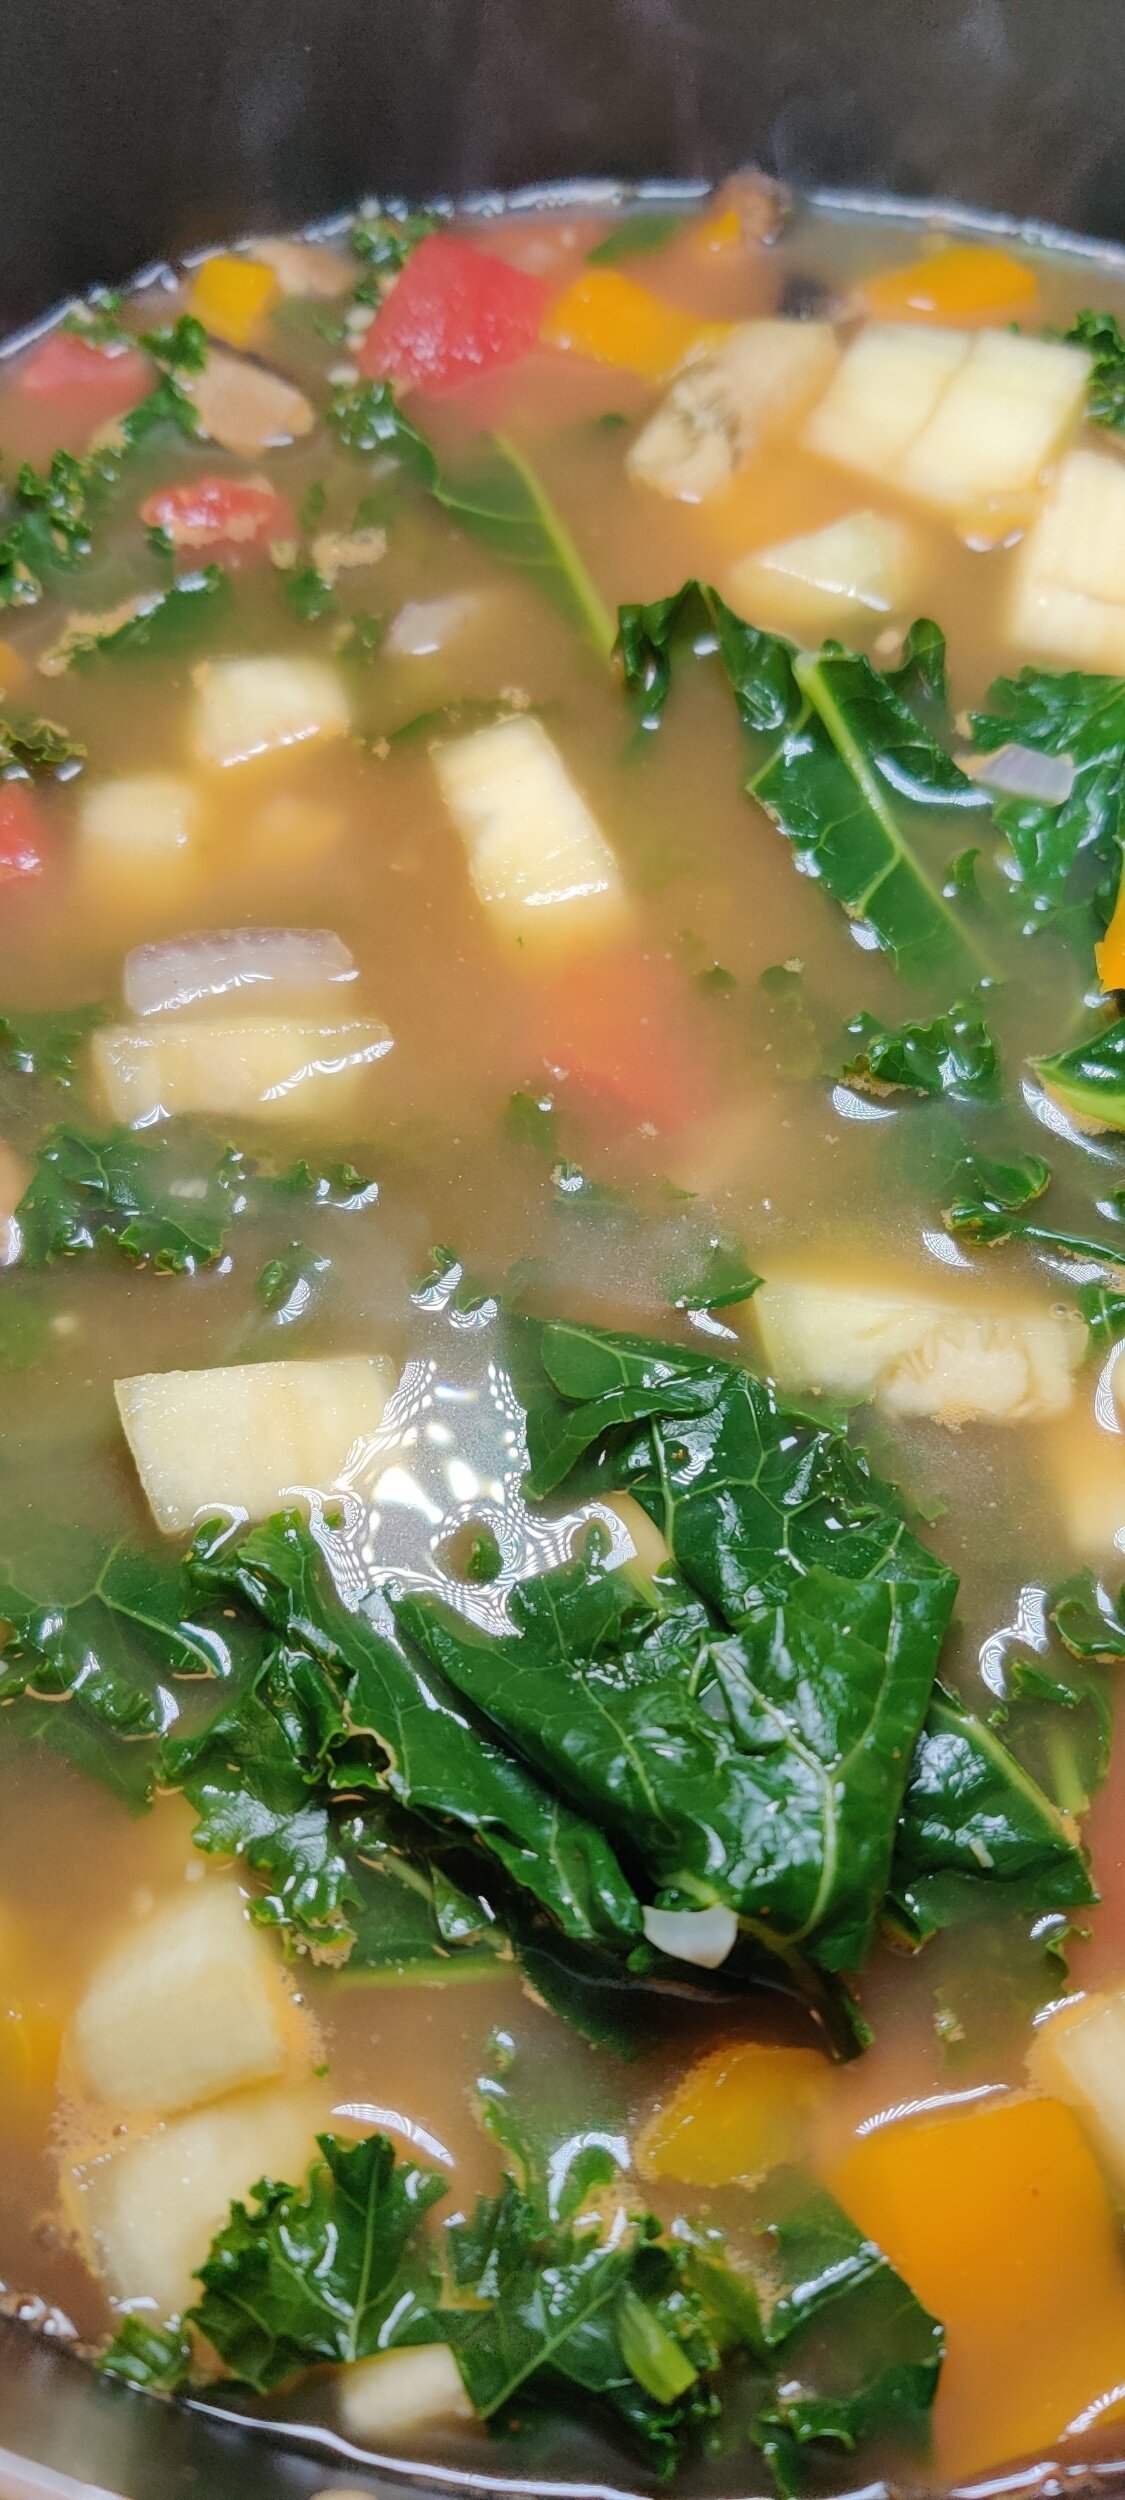
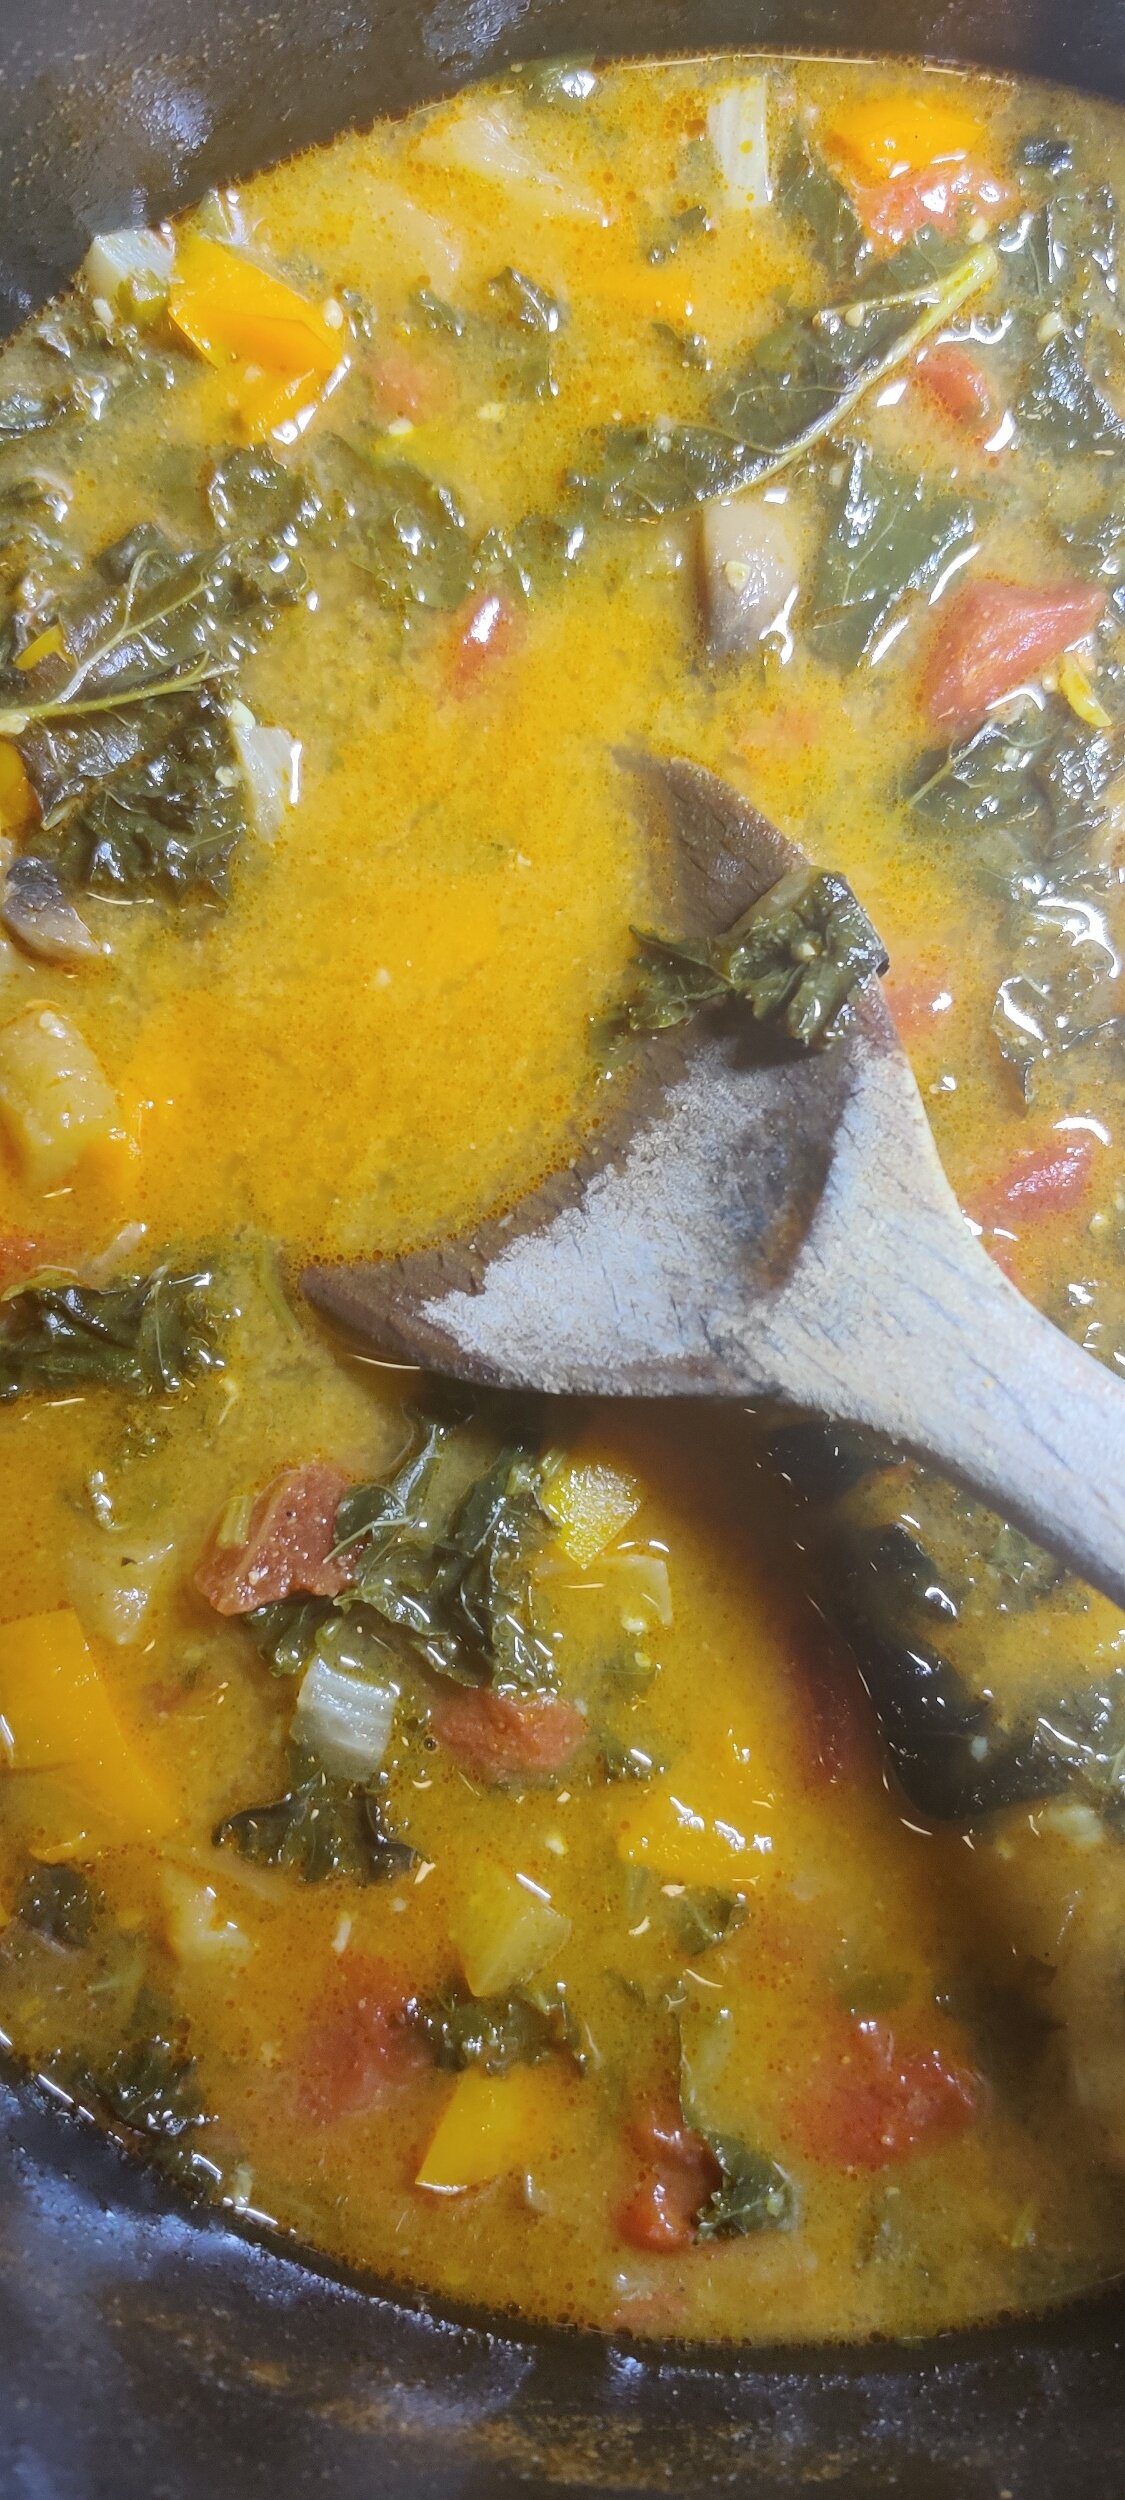
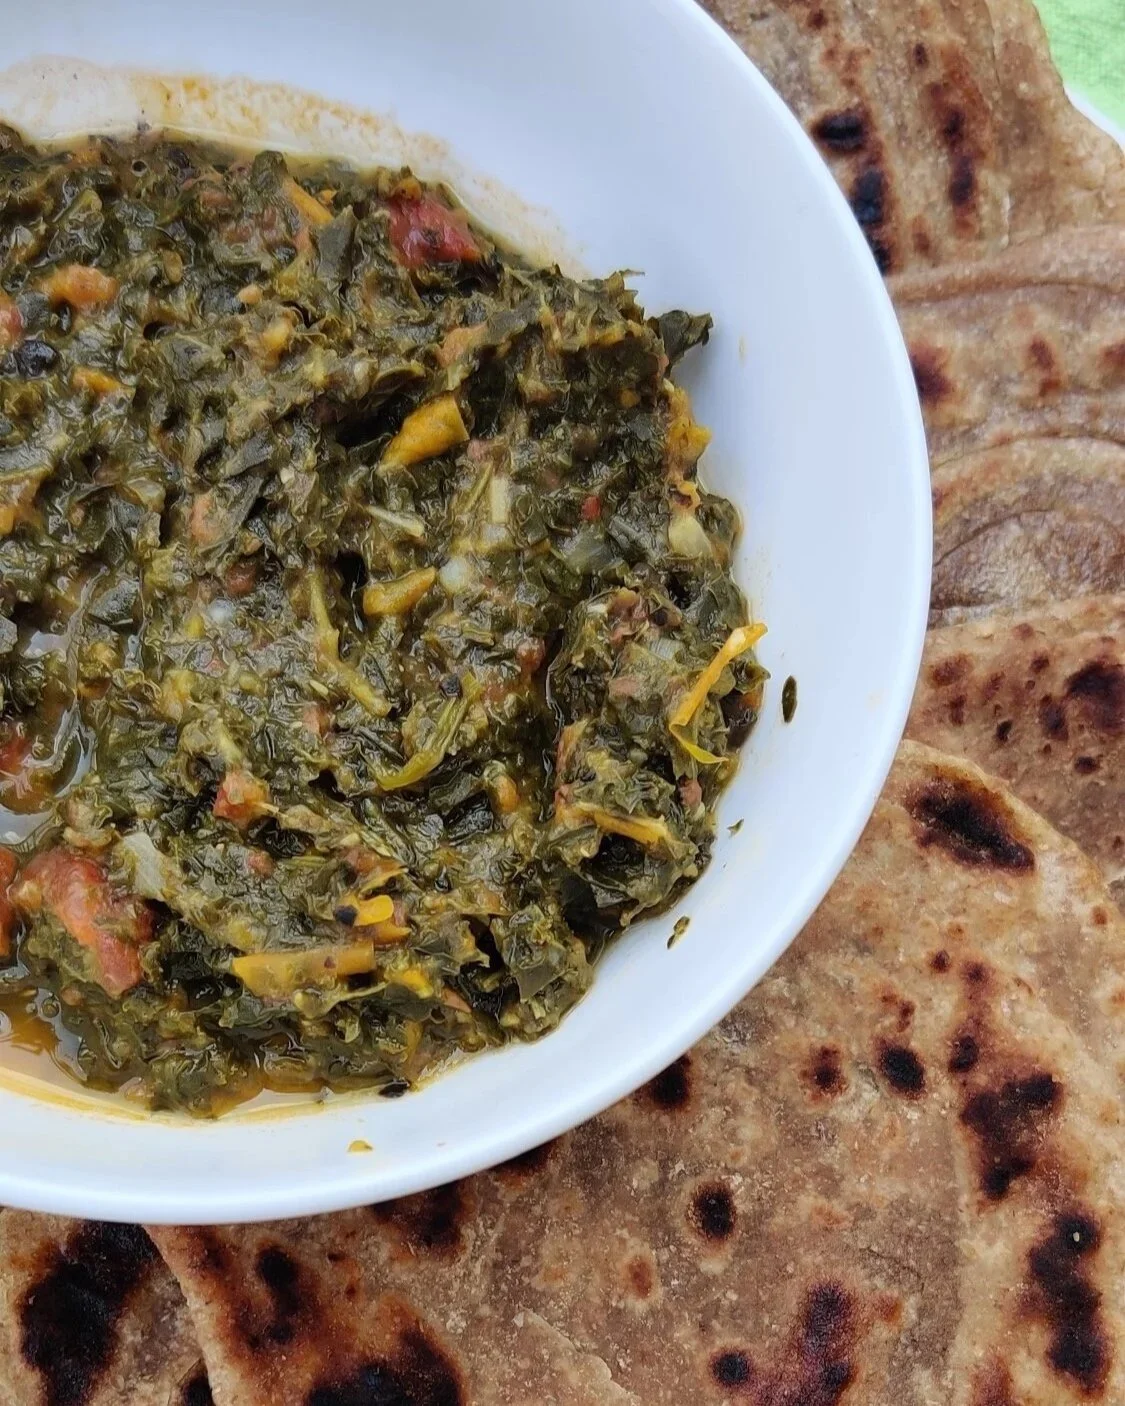
East African Mashed Kale Stew (Sukuma Wiki) with Chapati
A hearty, comforting East African-inspired kale stew packed with vegetables, spices, and richness from peanut butter. Serve with chapati for a complete meal.
Ingredients
- 1 pound kale, chopped
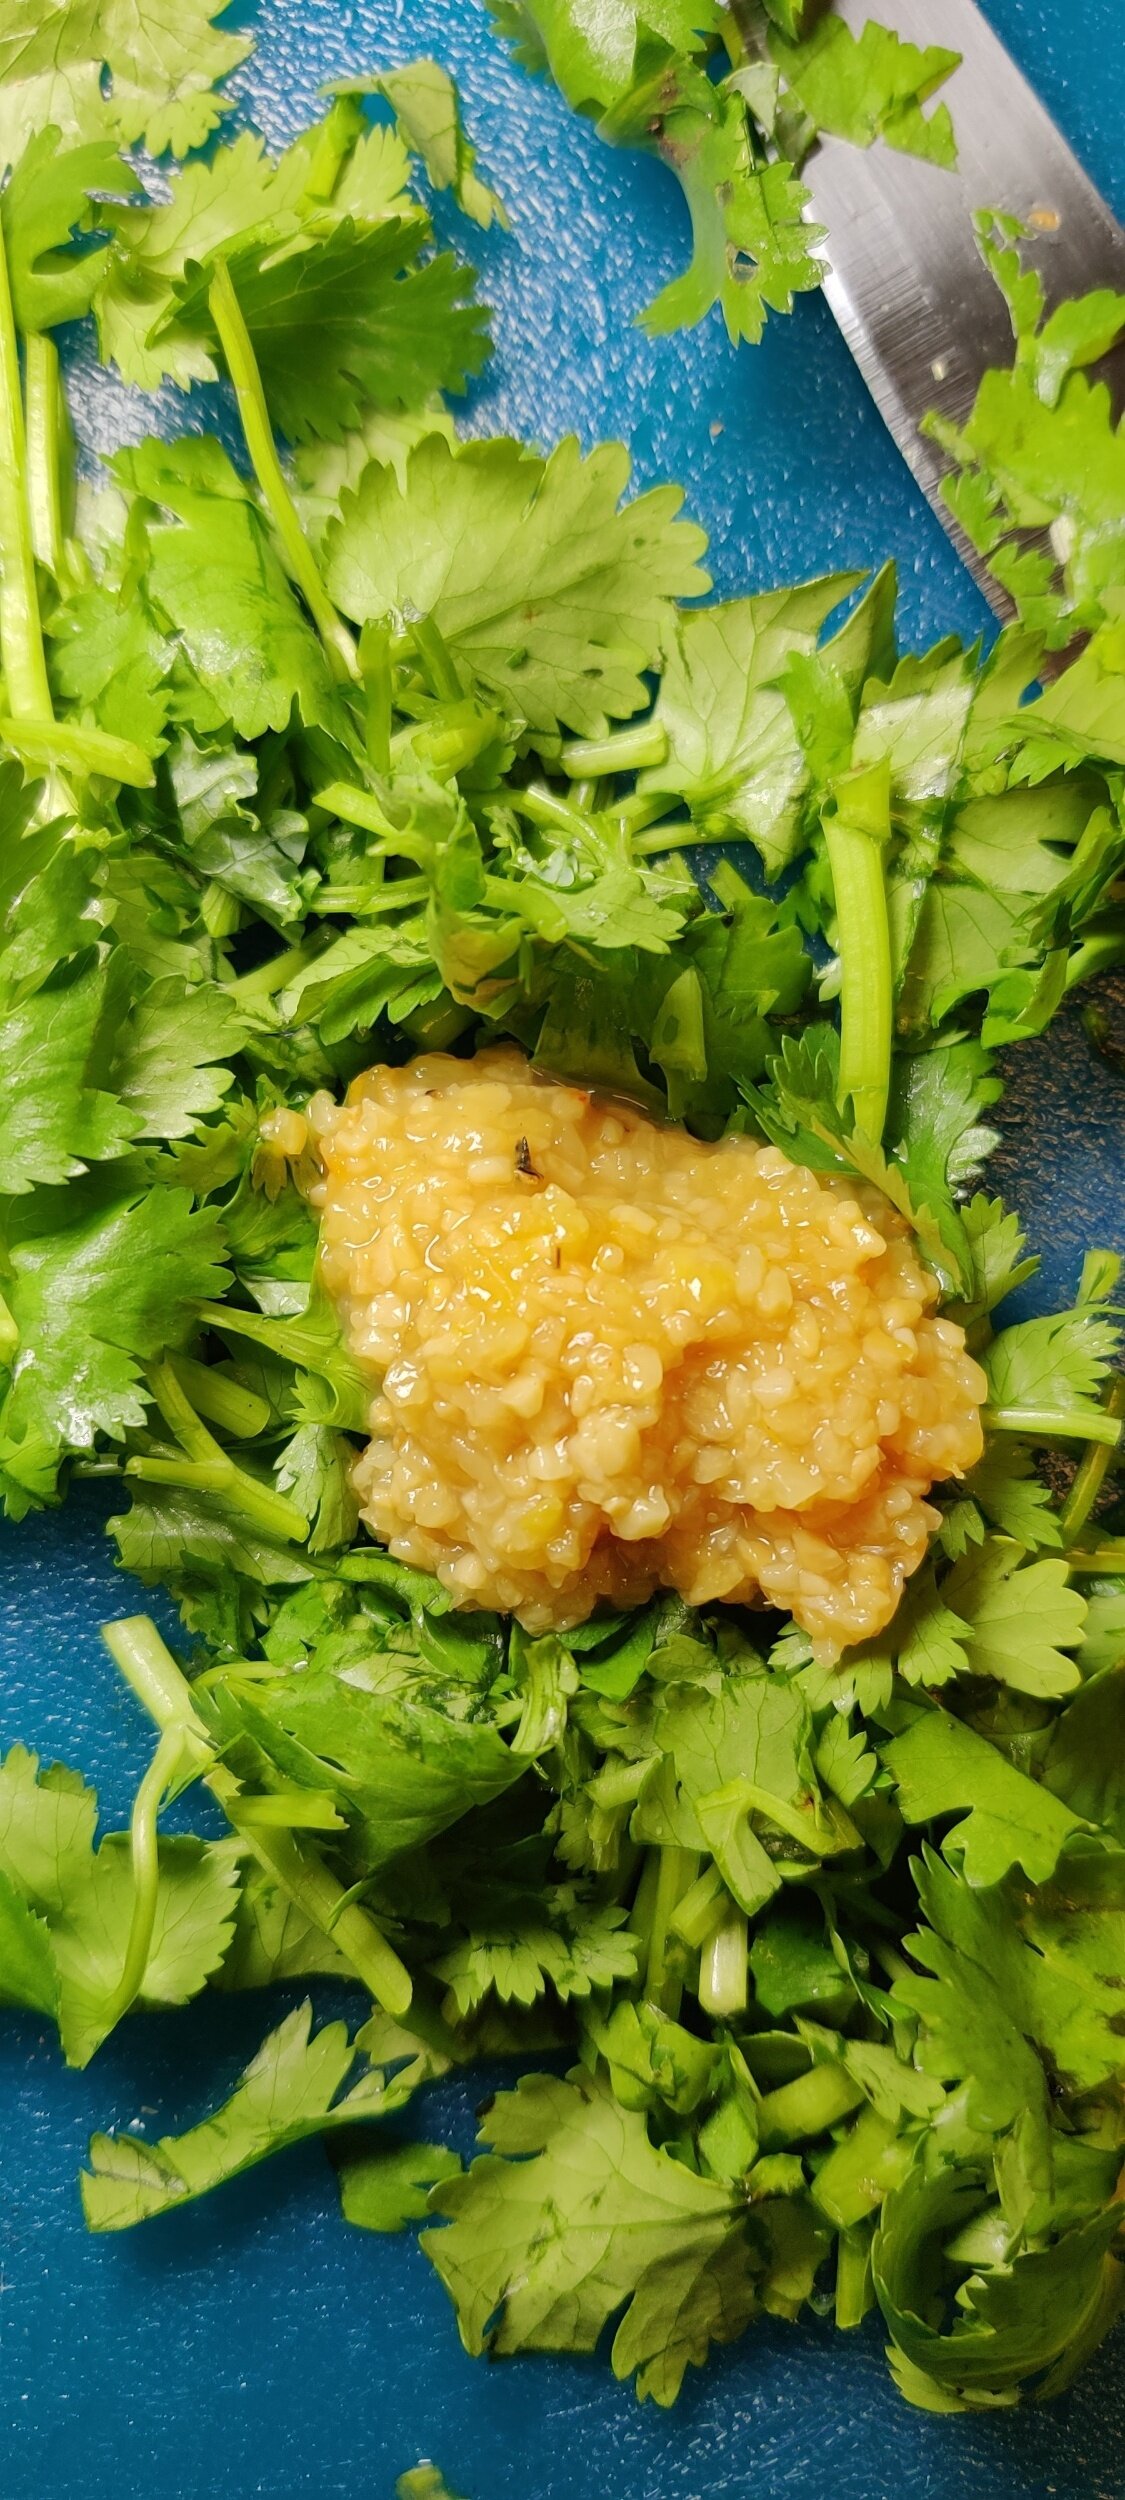
- 2 tablespoons garlic, minced
- ¼ cup fresh parsley, chopped
- ½ large eggplant, chopped
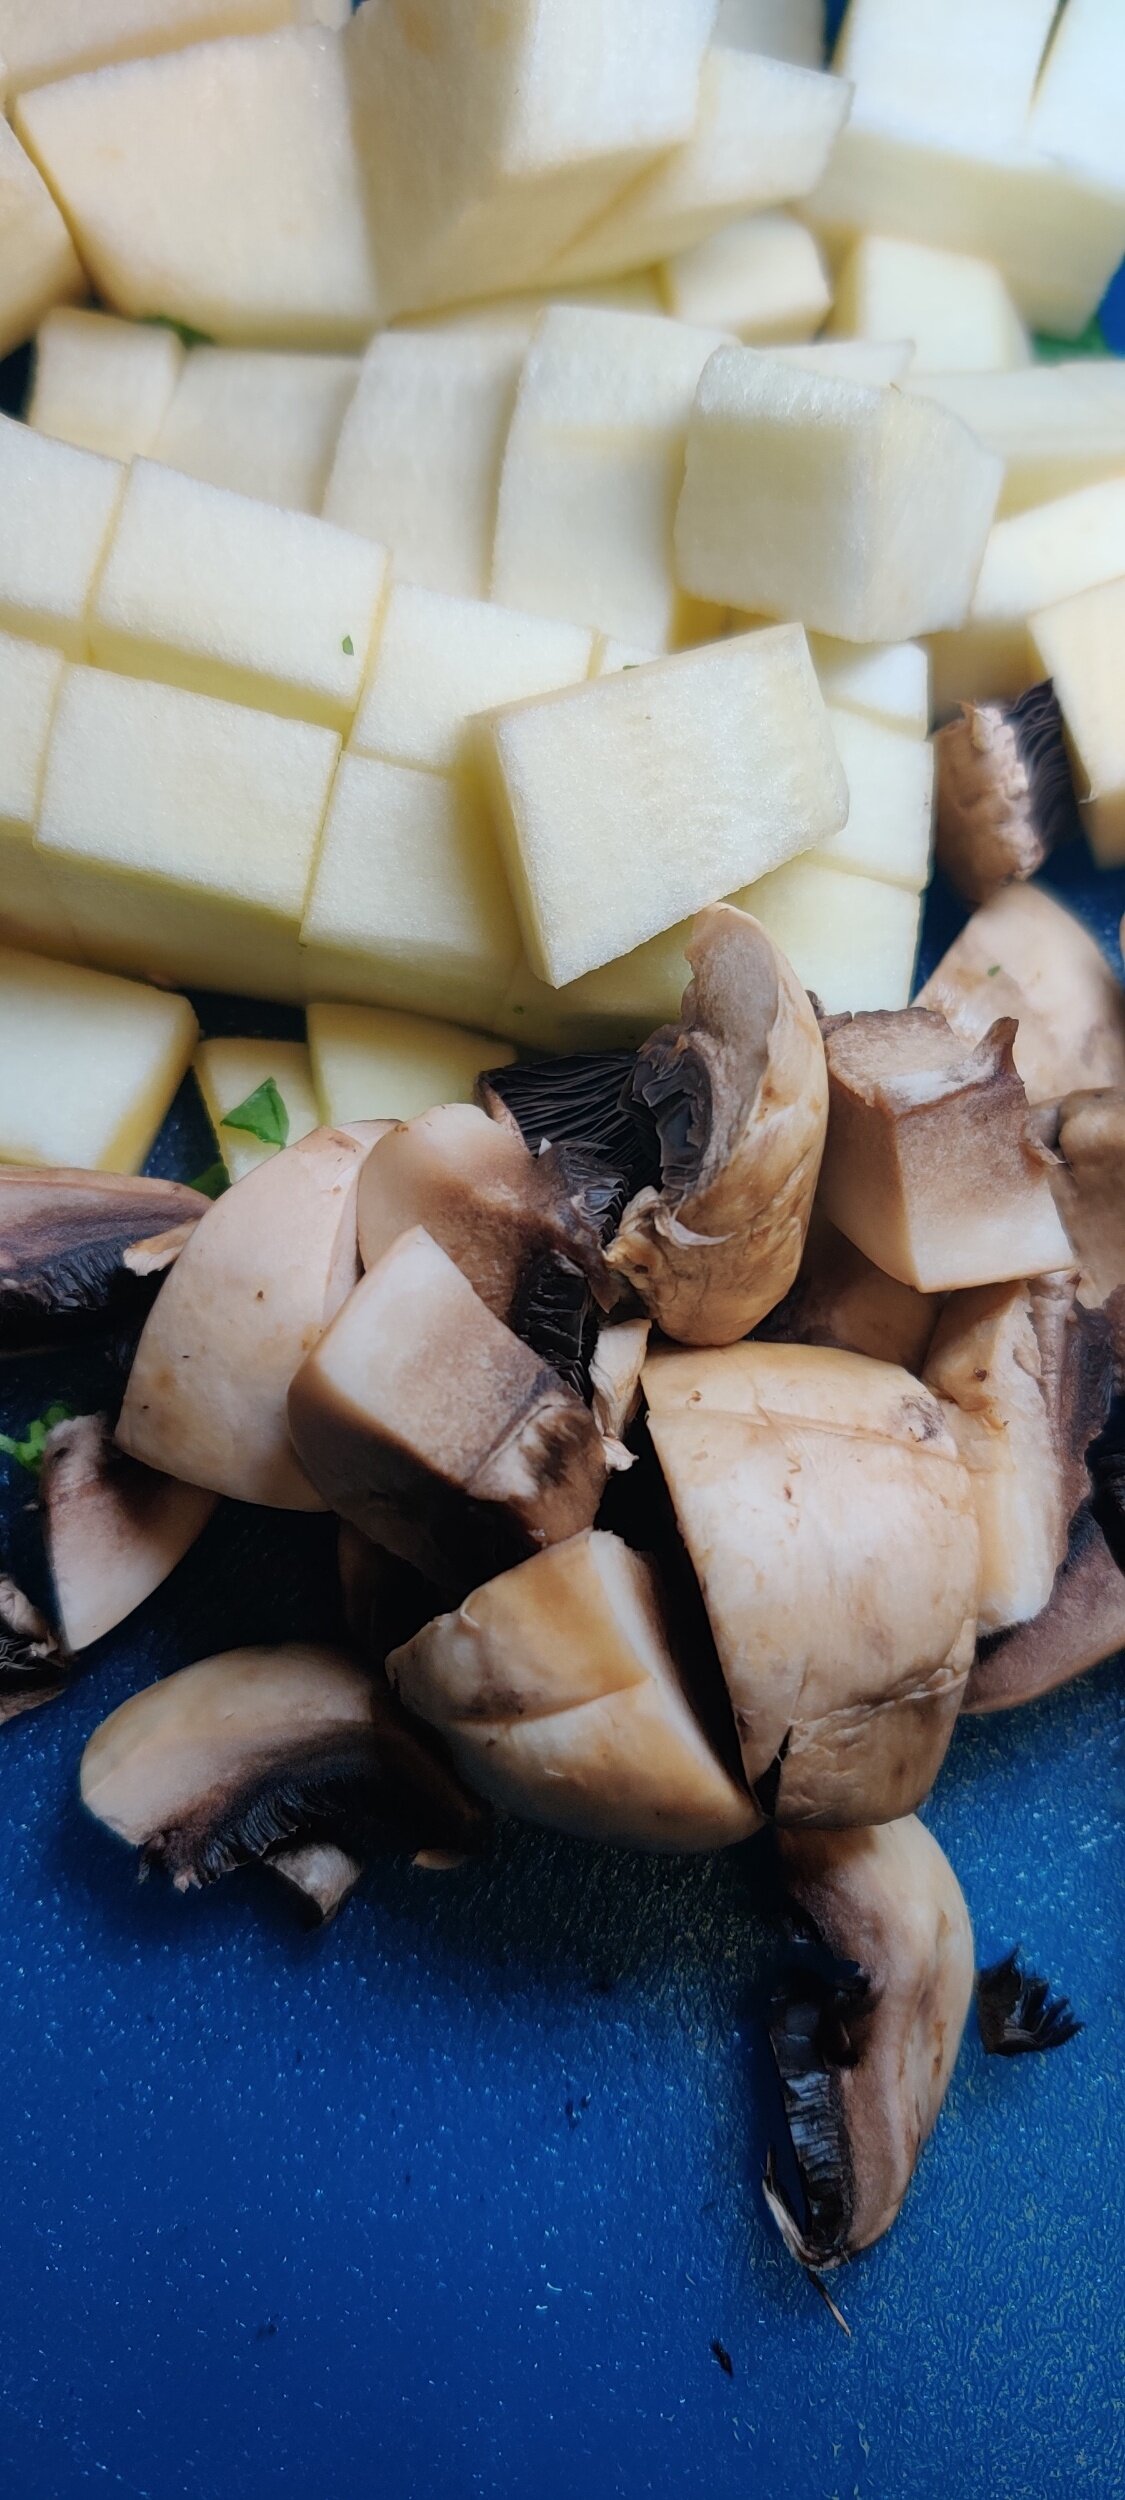
- ½ cup mushrooms, chopped
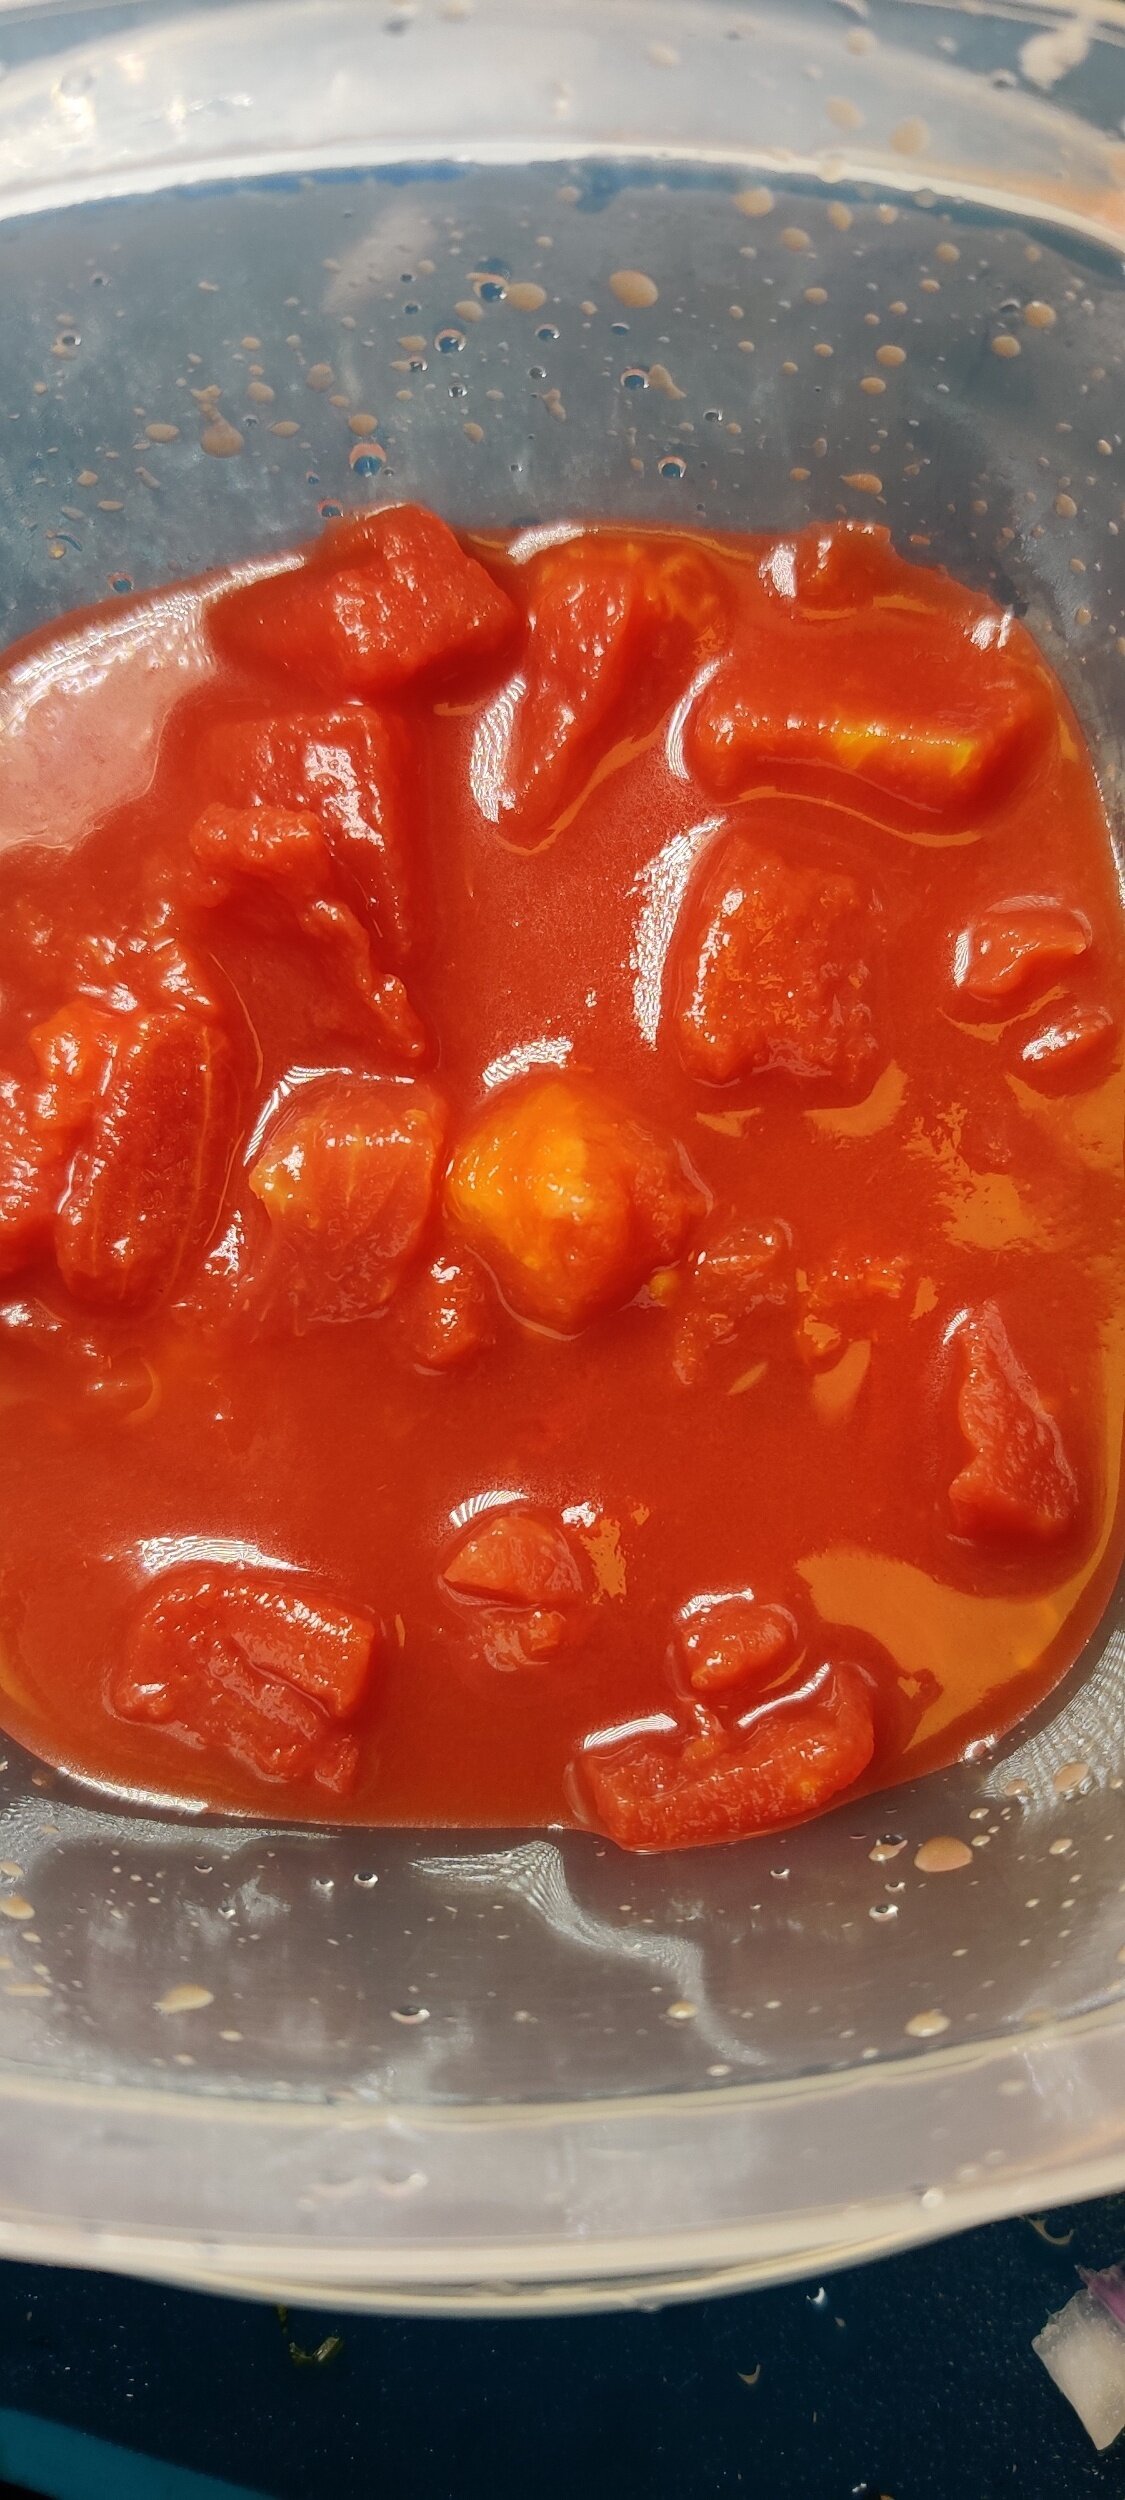
- 1 large tomato or 1 (14-ounce) can diced tomatoes
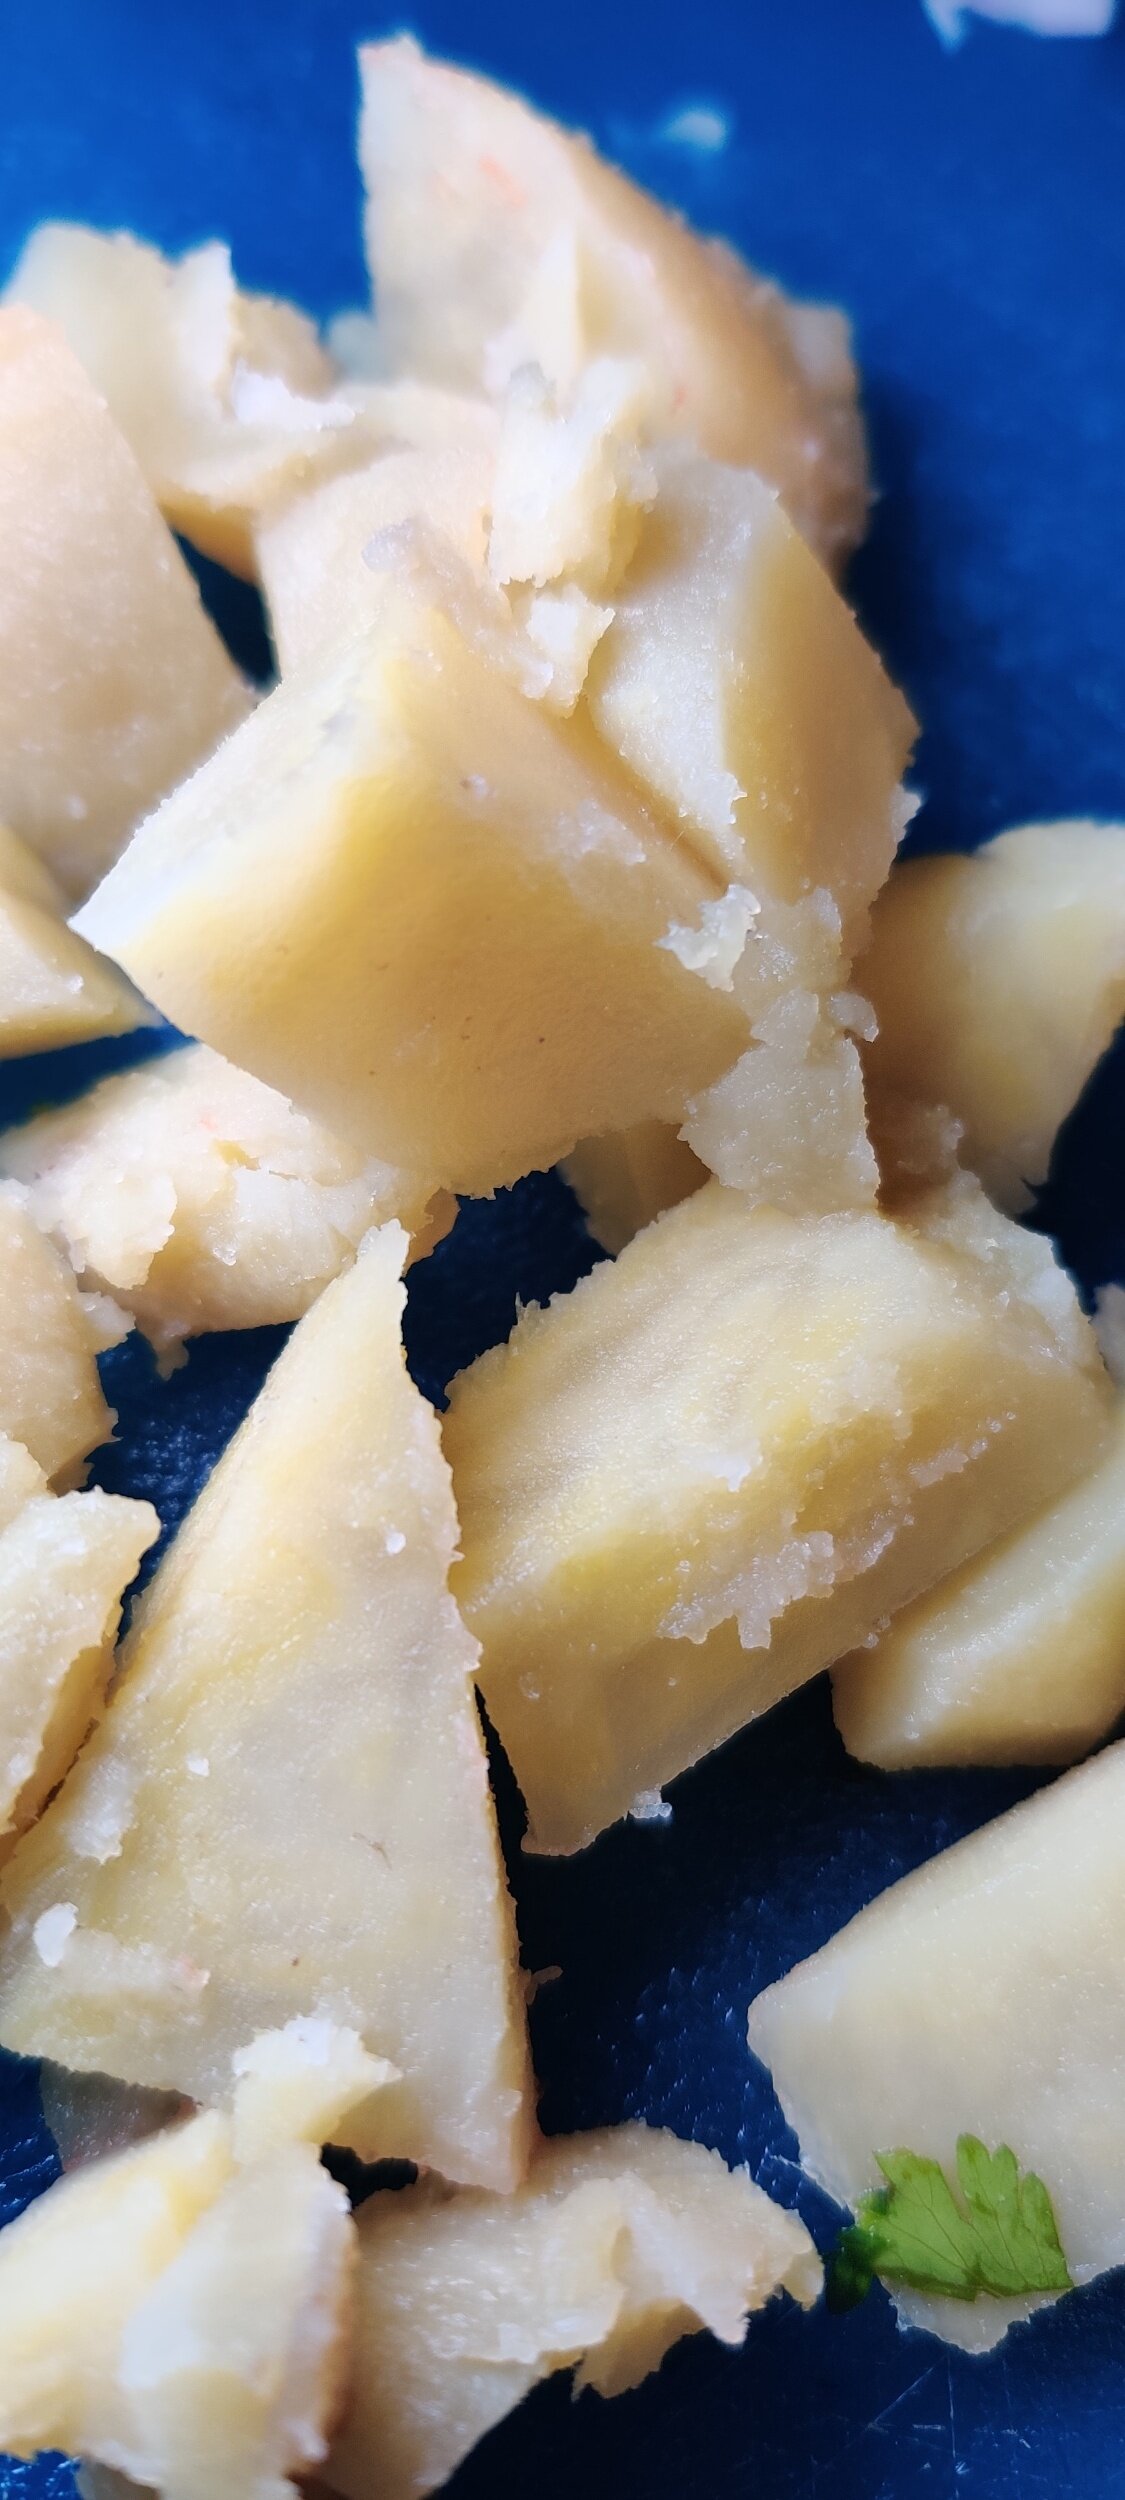
- ½ white-fleshed yam or sweet potato, chopped
- ½ large onion, chopped
- ½ large bell pepper, chopped
- ½ jalapeño, chopped
- 6 cups beef broth
- 2 vegetable bouillon cubes
- 1 tablespoon salt
- 2 tablespoons black pepper
- 1 tablespoon chili flakes
- ½ cup peanut butter
- 2 cups water
- 2 tablespoons vegetable oil
- 1 teaspoon fenugreek
- 1 teaspoon cumin
- 1 teaspoon coriander
- 1 teaspoon paprika
- 1 teaspoon sugar
- 1 teaspoon fennel
- ¼ cup chopped parsley (for garnish or added at the end)
Instructions
- Heat the vegetable oil in a large pot over medium heat. Add the chopped kale and cook until wilted and the edges begin to crisp slightly.
- Stir in the garlic and parsley. Cook for 2 minutes, until fragrant.
- Add the onion, eggplant, mushrooms, and all the spices (fenugreek, cumin, coriander, paprika, sugar, fennel, salt, pepper, and chili flakes). Sauté for another 2 minutes.
- Add the bell pepper and jalapeño, and cook for 1 more minute.
- Stir in the tomato, yam (or sweet potato), bouillon cubes, water, and beef broth.
- Reduce the heat to low, cover, and let the stew simmer for about 35 minutes. Stir occasionally and add more water if the stew becomes too thick.
- Once the vegetables are soft and the flavors are well developed, stir in the peanut butter and simmer for 5 more minutes. Taste and adjust seasoning as needed.
- Serve hot, ideally with freshly made chapati or another flatbread.
Notes
Tips:
- The richer your broth, the more flavorful the stew will be. Homemade stock or beef bone broth adds incredible depth.
- While traditionally made with beef broth, this stew can easily be made vegetarian or vegan by using a well-seasoned vegetable broth.
- You can also blend part of the stew for a smoother texture or leave it chunky, depending on your preference.
I am not a certified nutritionist and any nutritional information on dontmissmyplate.com should only be used as a general guideline.

How to Make East African Chapati – Step-by-Step Recipe
Chapati is one of the most beloved and widely eaten flatbreads in East Africa. Popular in countries like Kenya, Uganda, and Tanzania, it’s a staple at family dinners, street food stalls, and festive gatherings. While chapati originated from the Indian subcontinent and was introduced to Africa through trade and migration, it has evolved into a distinct East African version that is softer, flakier, and richer than its Indian counterpart.
What sets East African chapati apart is the generous use of oil or ghee in both the dough and the cooking process. This gives the bread its signature soft texture and golden, flaky layers. When made well, chapati is slightly crisp on the outside, soft and chewy on the inside, and perfectly seasoned with just the right amount of salt and fat.
In many African homes, bread is more than just food. It plays an important cultural role at the table and is often shared during meals as a symbol of hospitality. Chapati in particular is used to scoop up stews, beans, or vegetables, making it an essential part of everyday meals and celebrations. For many, learning to make chapati from scratch is a family tradition passed down through generations.
I originally created this recipe to pair with a mashed kale stew, but it's incredibly versatile. Chapati is also perfect with curries, lentils, grilled meats, or simply served as a side with a variety of other dishes.
If you’ve ever ended up with dry or tough chapatis, this recipe offers a few simple but essential tips. Be generous with the oil or ghee, knead the dough thoroughly to build elasticity, and give it time to rest before rolling. For extra flaky layers, try the folding and coiling method described in the recipe. These steps make a big difference in achieving that classic East African chapati texture.
Whether served with sukuma wiki, lentils, or a cup of tea, this chapati brings the flavor and comfort of East African home cooking to your kitchen.
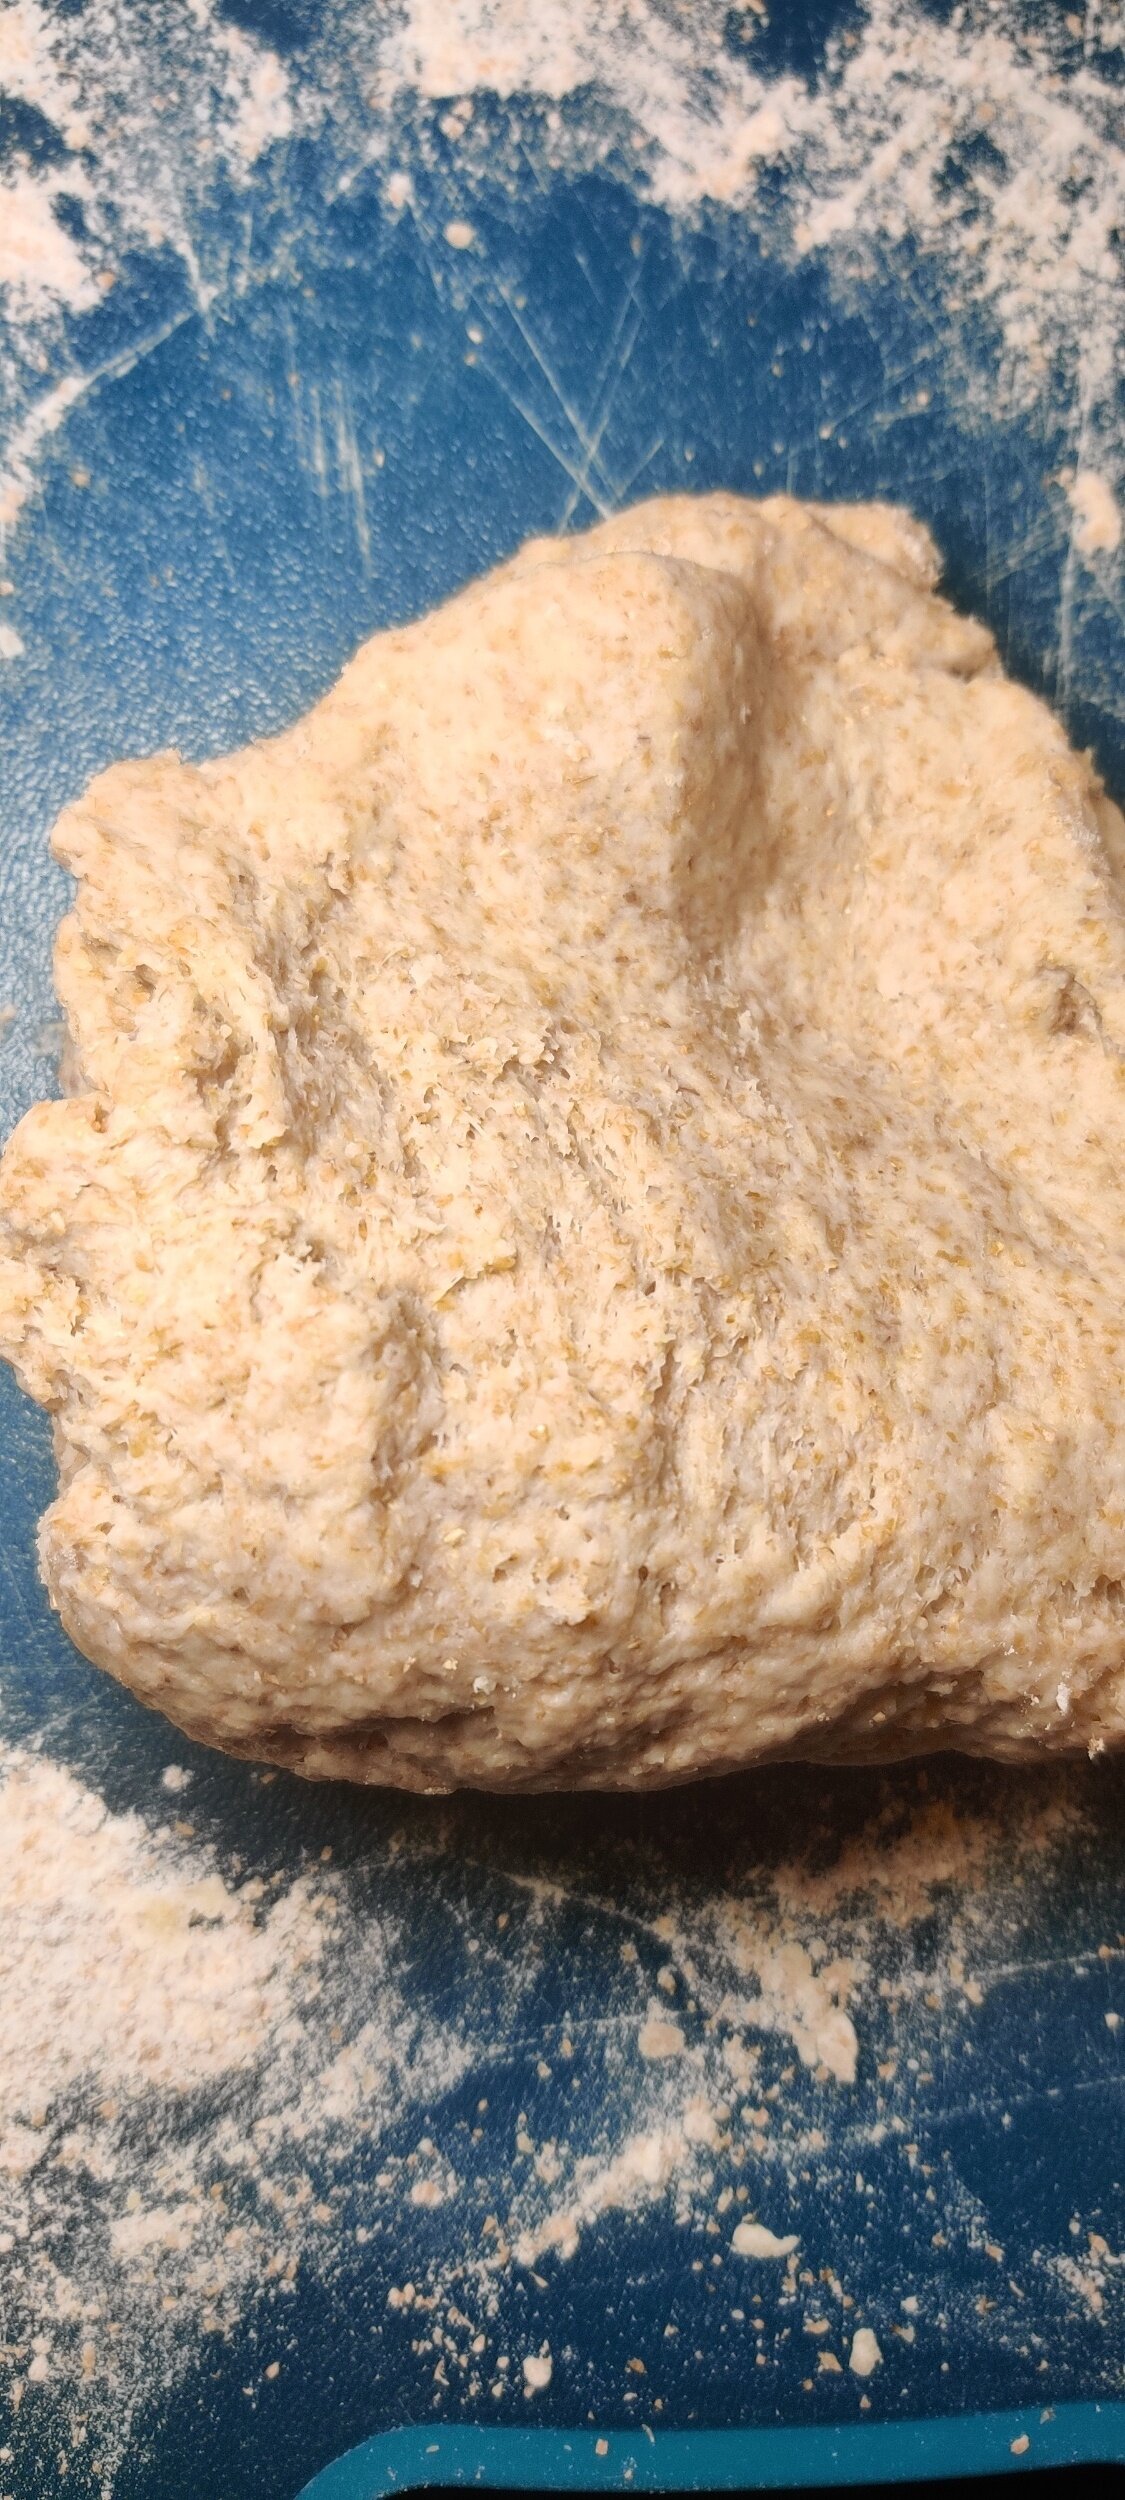


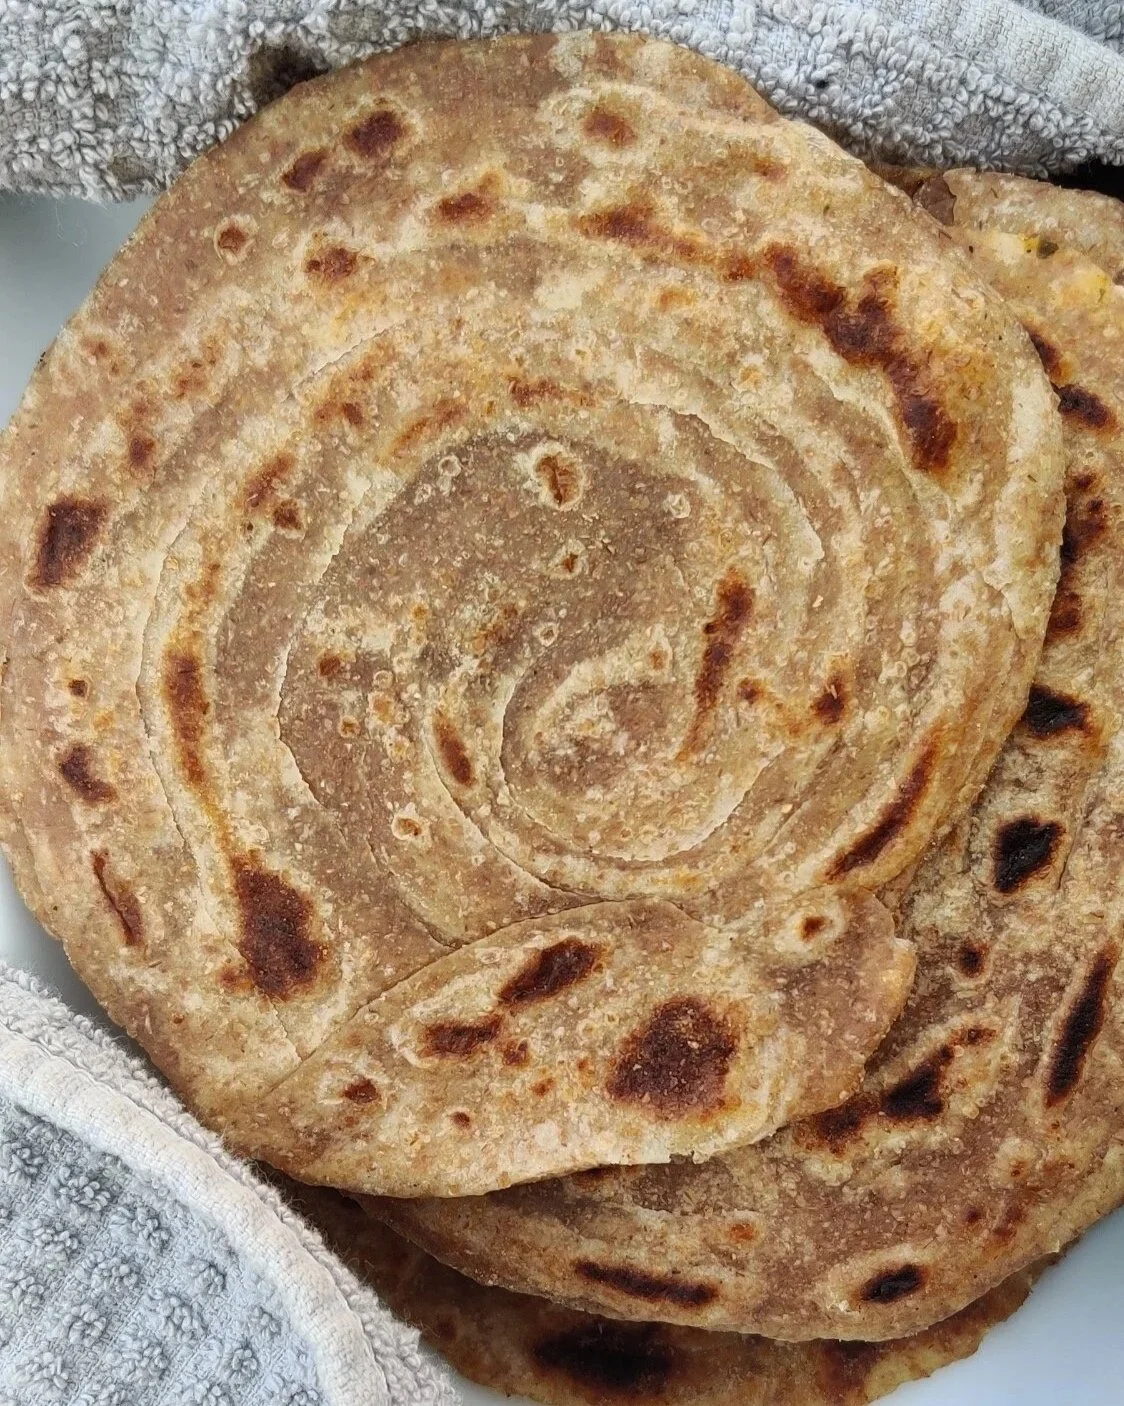
How to Make East African Chapati – Step-by-Step Recipe
A soft, flaky flatbread that's a staple across East Africa. This chapati is easy to make, incredibly versatile, and perfect with stews, curries, or on its own.
Ingredients
- 1 cup whole-wheat flour (you can substitute all-purpose flour if desired)
- 1 cup all-purpose flour, plus extra for dusting
- 1 teaspoon salt
- 2 tablespoons olive oil or ghee, plus extra for brushing
- ¾ cup hot water
Instructions
- In a large bowl, combine the whole-wheat flour, all-purpose flour, and salt.
- Using a wooden spoon or spatula, mix in the oil or ghee. Gradually add the hot water in two parts, mixing until a soft, elastic dough forms. Don’t skimp on the oil or ghee, this helps prevent dry chapatis.
- Turn the dough out onto a lightly floured surface. Knead for about 10 minutes until smooth and pliable.
- Divide the dough into 8 to 10 equal portions, depending on your preferred chapati size.
- Cover and let rest for 10 minutes.
- On a floured surface, roll out each dough ball into a round shape, similar to a tortilla but slightly thicker.
- Lightly brush each side with oil or ghee, then dip both sides in flour, shaking off any excess.
- Heat a dry, non-stick pan over medium-high heat.
- Place one chapati in the pan and cook for about 30 seconds, or until brown spots begin to form. Flip and cook the other side. Repeat with the remaining dough.
- If you'd like to create distinct layers inside your chapati, follow these extra steps after dividing the dough:
- Take each dough ball and fold it back and forth like a fan or piece of paper.
- Alternatively, roll it up tightly like a carpet.
- Coil the folded dough into a spiral shape (like a cinnamon roll), then cover and let rest under a damp towel for 30 minutes.
- After resting, gently press each dough coil flat and roll it out again into a round shape.
- Lightly brush both sides with oil/ghee, press into flour, and shake off the excess.
- Cook as described above.
Notes
Serving and Storage Tips
- Serve chapatis warm, ideally right off the pan.
- To store, wrap them tightly in foil or a clean cloth to keep them soft and prevent drying out.
I am not a certified nutritionist and any nutritional information on dontmissmyplate.com should only be used as a general guideline.