

Island Herb Coconut Pan-Seared Salmon
Whether it's for lunch or dinner, salmon works well for any time of the day or almost any occasion. It's also very versatile in regards to how one can prepare it. I typically bake my salmon, marinated and wrapped in foil for 36 minutes at 350F. That is a fail-safe way to get some juicy, flavourful fish. But what if you want it lightly seared? A thin coat of crispy crust fried in butter or olive oil? That's where this recipe comes in!
You cook the salmon in a nonstick pan, add some vegetables, and finish off in coconut milk and a sauce to add your desired flavour profile. In this case, I wanted a Caribbean flare. Or, more specifically, a herb blend with vinegar, onions, garlic, ginger from one of my favorite kitchen product lines Camella's Kitchen, a Trinidadian women-owned business that makes authentic sauces and blends with flavours from the islands. The Island Herb Blend makes for quite the melody with some help from the fish sauce, soy sauce, and Worcester to bring everything together. If still available, you can get the blend as part of the summer grilling kit; that includes the Spicy Mango Chutney, Trini Roasted Garlic, Hot Pepper Sauce, and Pineapple Chow Pepper sauces. I used two sauces to make this Pineapple Chow Black Seabass with Salsa and Goat Chorizo Samosas with Tomato Mango Chutney. Or, try the fall kit, which includes the Island Herb Blend plus some autumn flavours like pumpkin and apple spice, which I've also used to make this Spicy Pumpkin Mushroom Skillet Pot Pie and Spicy Apple Muffins with a Cider Glaze.
In a short space of time, you'll get some delicious flavours that can be absorbed with some rice/grain or enjoyed as is.
Ingredients
2 salmon filets with skin
1/2 cup cononut milk
1 tablespoon fish sauce
1 cup cherry tomatoes
1 teaspoon fresh ginger, grated
1 tablespoon Worchester sauce (optional)
2 tablespoons soy sauce
1/2 large red bell pepper
1/2 yellow onion
1/4 cup spring onion + extra tips for garnish
2 tablespoons butter
2 tablespoons seafood seasoning
1 tablespoon garlic powder
1 tablespoon salt and pepper (steak seasoning)
1 tablespoon dried basil
2 tablespoons fresh cilantro
2 tablespoons Island Herd Blend from Camella’s Kitchen
1 cup bok choy
3/4 cup brown mushrooms
Dried or fresh parsley
Lemon wedges
Add butter to a nonstick pan on medium-high heat and sear the salmon fillets skin side first for 4-5 minutes on each side. For thicker fillets, flip the fish on its sides and sear for about 2 minutes per side. Season the fish with one tablespoon seafood seasoning, salt and pepper, and garlic before flipping over.
While the fish cooks, remove the stems from the bok choy, roll, and chop the leaves into shreds. Chop the green onion, setting aside some tips for garnish.
Remove the fish and set it aside. Add the onion and pepper and sweat for about 2 minutes. Add one tablespoon seafood seasoning, basil, ginger, mushrooms, green onion, tomatoes, and cook for an additional 2 minutes.
Chop the cilantro and add to the pan and cook for another minute, mix well.
Nestle in the salmon, add the bok choy and coconut milk, mix everything around the fish, add the Island Herb Blend, soy sauce, and fish sauce, and make sure all the pan's contents are well combined.
Reduce heat and simmer for 15 minutes, stirring at regular intervals to ensure the sauce doesn't stick to the pan and cooks evenly. You can also check the temperature of the fish (salmon should be 145F to be safe to eat in the thickest part and firm when done).
Season to taste with extra salt, pepper and Worchester sauce if more umami is needed and cook for the appropriate additional time.
Garnish with green onion tips, parsley and lemon. Serve hot with rice or grain of choice.
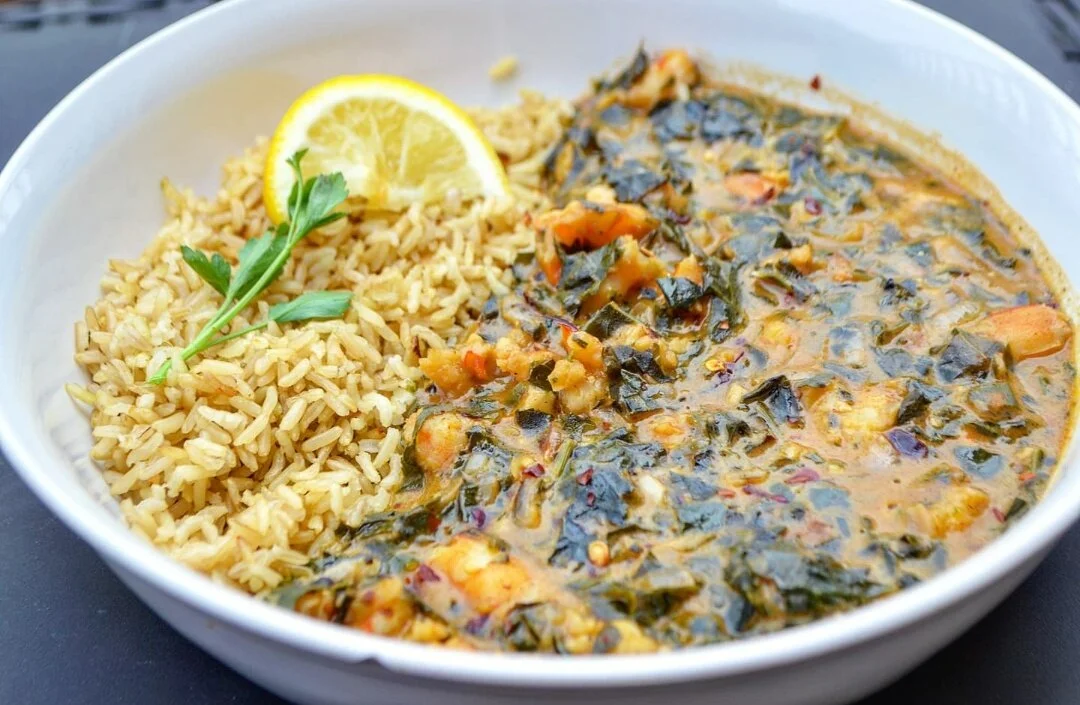
Matapa (Shrimp and Kale in Coconut Milk and Peanut Butter)
Peanut butter and greens are not an unusual pairing in many parts of Southern Africa and should be embraced everywhere! They are just as delicious as greens with cream, a more widely known dream team when balanced right.
The Mozambican dish Matapa inspired this recipe: cassava leaves cooked in coconut milk with peanuts or cashews and shrimp or crab. I used Tuscan kale, but you can use anything from pumpkin leaves to collard greens and adjust the cooking time.
Coconuts are plentiful in Mozambique, which borders the Indian ocean, and coconut milk, a staple in my pantry, is creamy but not overwhelming. It lends a unique flavour, and in this case, blends well with the sweet and salty peanut butter and the subtle sweetness and texture from the chopped shrimp.
The light and hearty soup stew gets even more delicious overnight, and you can serve it with brown rice, farro, couscous or any other starch or side that will help absorb the tasty juices!
Ingredients
2 pounds cooked shrimp (thaw according to package)
1 large bunch Tuscan kale
Olive oil
1 red onion
4 large garlic cloves
1/4 jalapeno
1/4 cup fresh parsley
1 tablespoon Royco Usavi mix (or you favourite all purpose seasoning)
2 tablespoons peri-peri seasoning
1 cup peanut butter (tempered with 1 cup hot water)
1 packet chicken bouillon powder
2 tablespoons from 1/2 a fresh lemon
1 tablespoon cayenne powder
1 tablespoon black pepper
1 teaspoon salt
1 cup coconut milk
Pepper flakes
Instructions
Remove the stems and chop the kale. Place in boiling water until softened, then remove most of the water. Place in a blender and pulse to shred the greens until they are tiny pieces but not liquid (you can also do it while the leaves are uncooked).
Finely dice and chop the onion, garlic, jalapeno, and parsley and sauté in olive oil until softened for about 3 minutes. Add the Royco Usavi and peri-peri.
In a separate bowl, mix the peanut butter with the boiling water and chicken bouillon. Pour the tempered mixture into the pot, then add the kale. simmer for 5 minutes and mix well.
Add the shrimp, cook for 2-3 minutes, then follow with a squeeze of lemon. Season with salt and pepper to taste, adding extra peanut butter and cayenne if necessary.
Serve hot with brown rice, lemon, chili flakes, and parsley.

Goat Chorizo Samosas with Tomato Mango Chutney
I love goat meat and grew up eating it frequently. I consider it a somewhat neglected meat, but it is delicious and quite versatile! For those of you who appreciate goat meat or love chorizo, this will be quite a treat. I discovered the chorizo as a local farmers market to my delight and imagined this pairing.
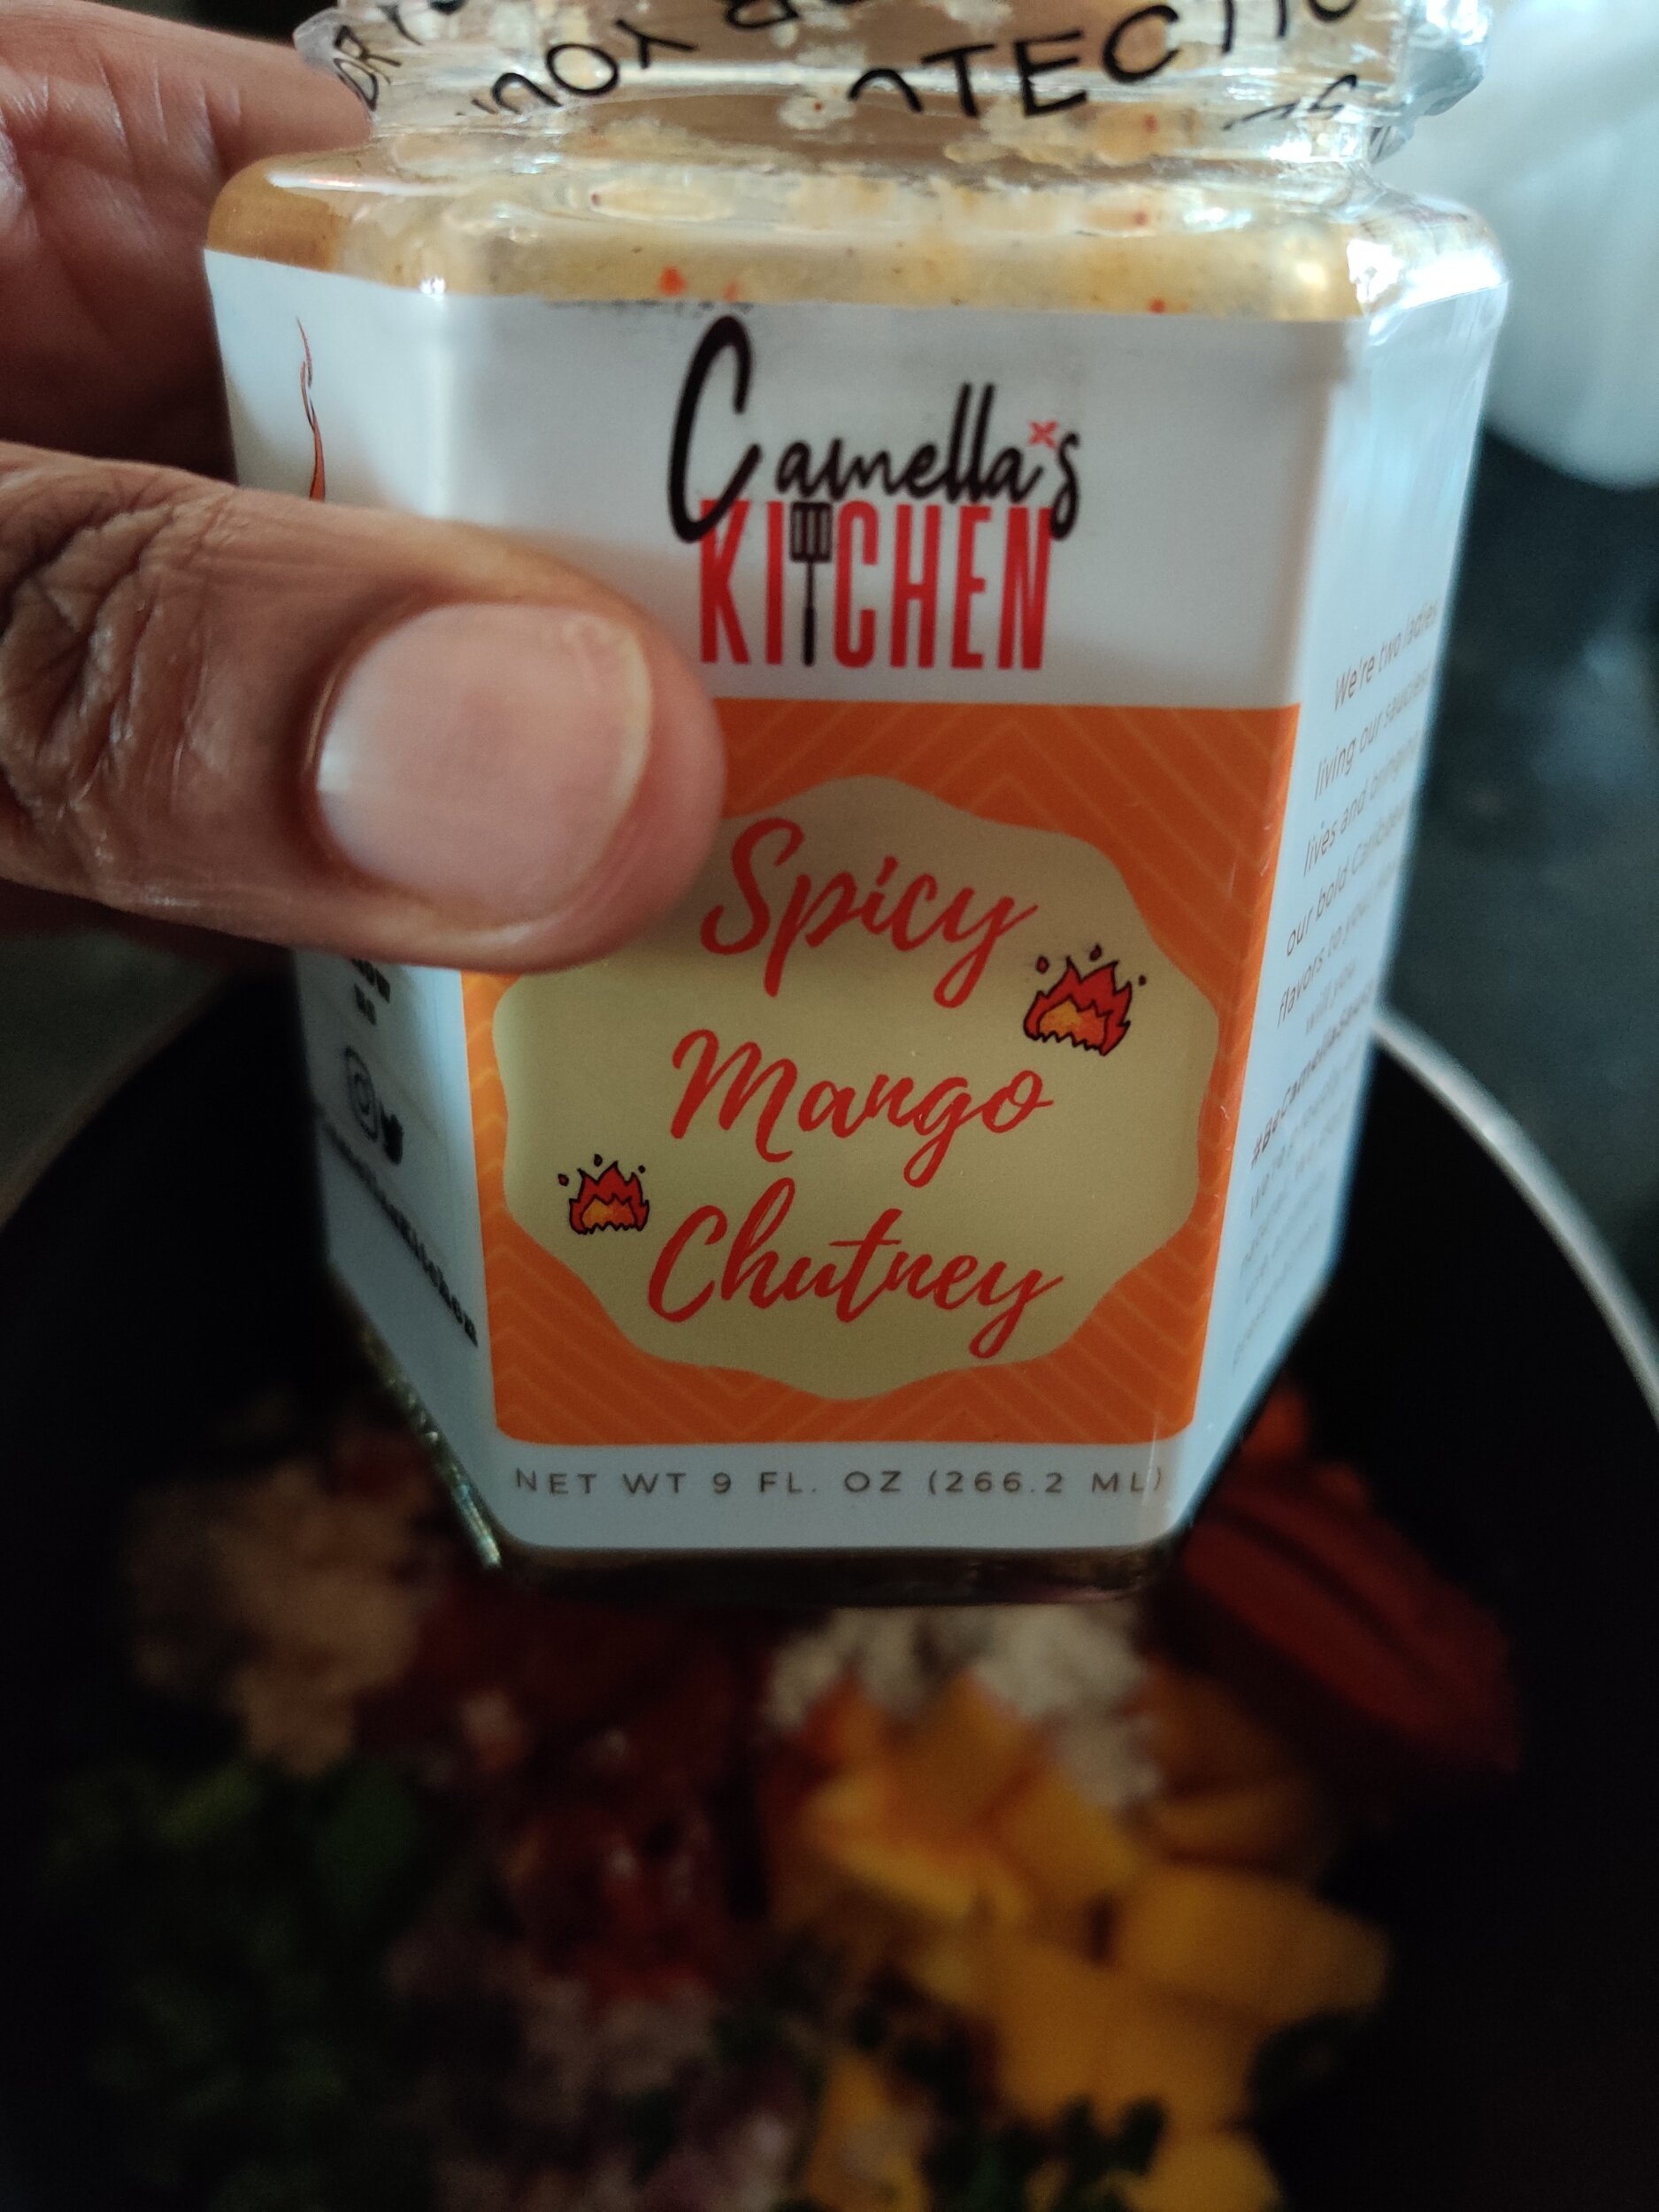
Samosas are curried and/or spiced meat or vegetable-filled pastries wrapped in a thin dough and fried, attributed to South Asia but enjoyed worldwide, including East Africa. A condiment often accompanies them for dipping. In this case, a mango chutney will do the trick, a it is a great balance of sweet and spicy and complements the goat, which is not inherently sweet compared to other meats. The sour cream helps to cool the spiciness. To enhance the mango chutney, I used a spicy mango chutney sauce from Camella’s Kitchen. To view other recipes using their products that boast Caribbean flavours, check out Plantain Stew with Black Beans, Spicy Apple Muffins with a Cider Glaze, and Pineapple Chow Black Seabass Salsa.
Ingredients
Chutney:
1 large mango, diced
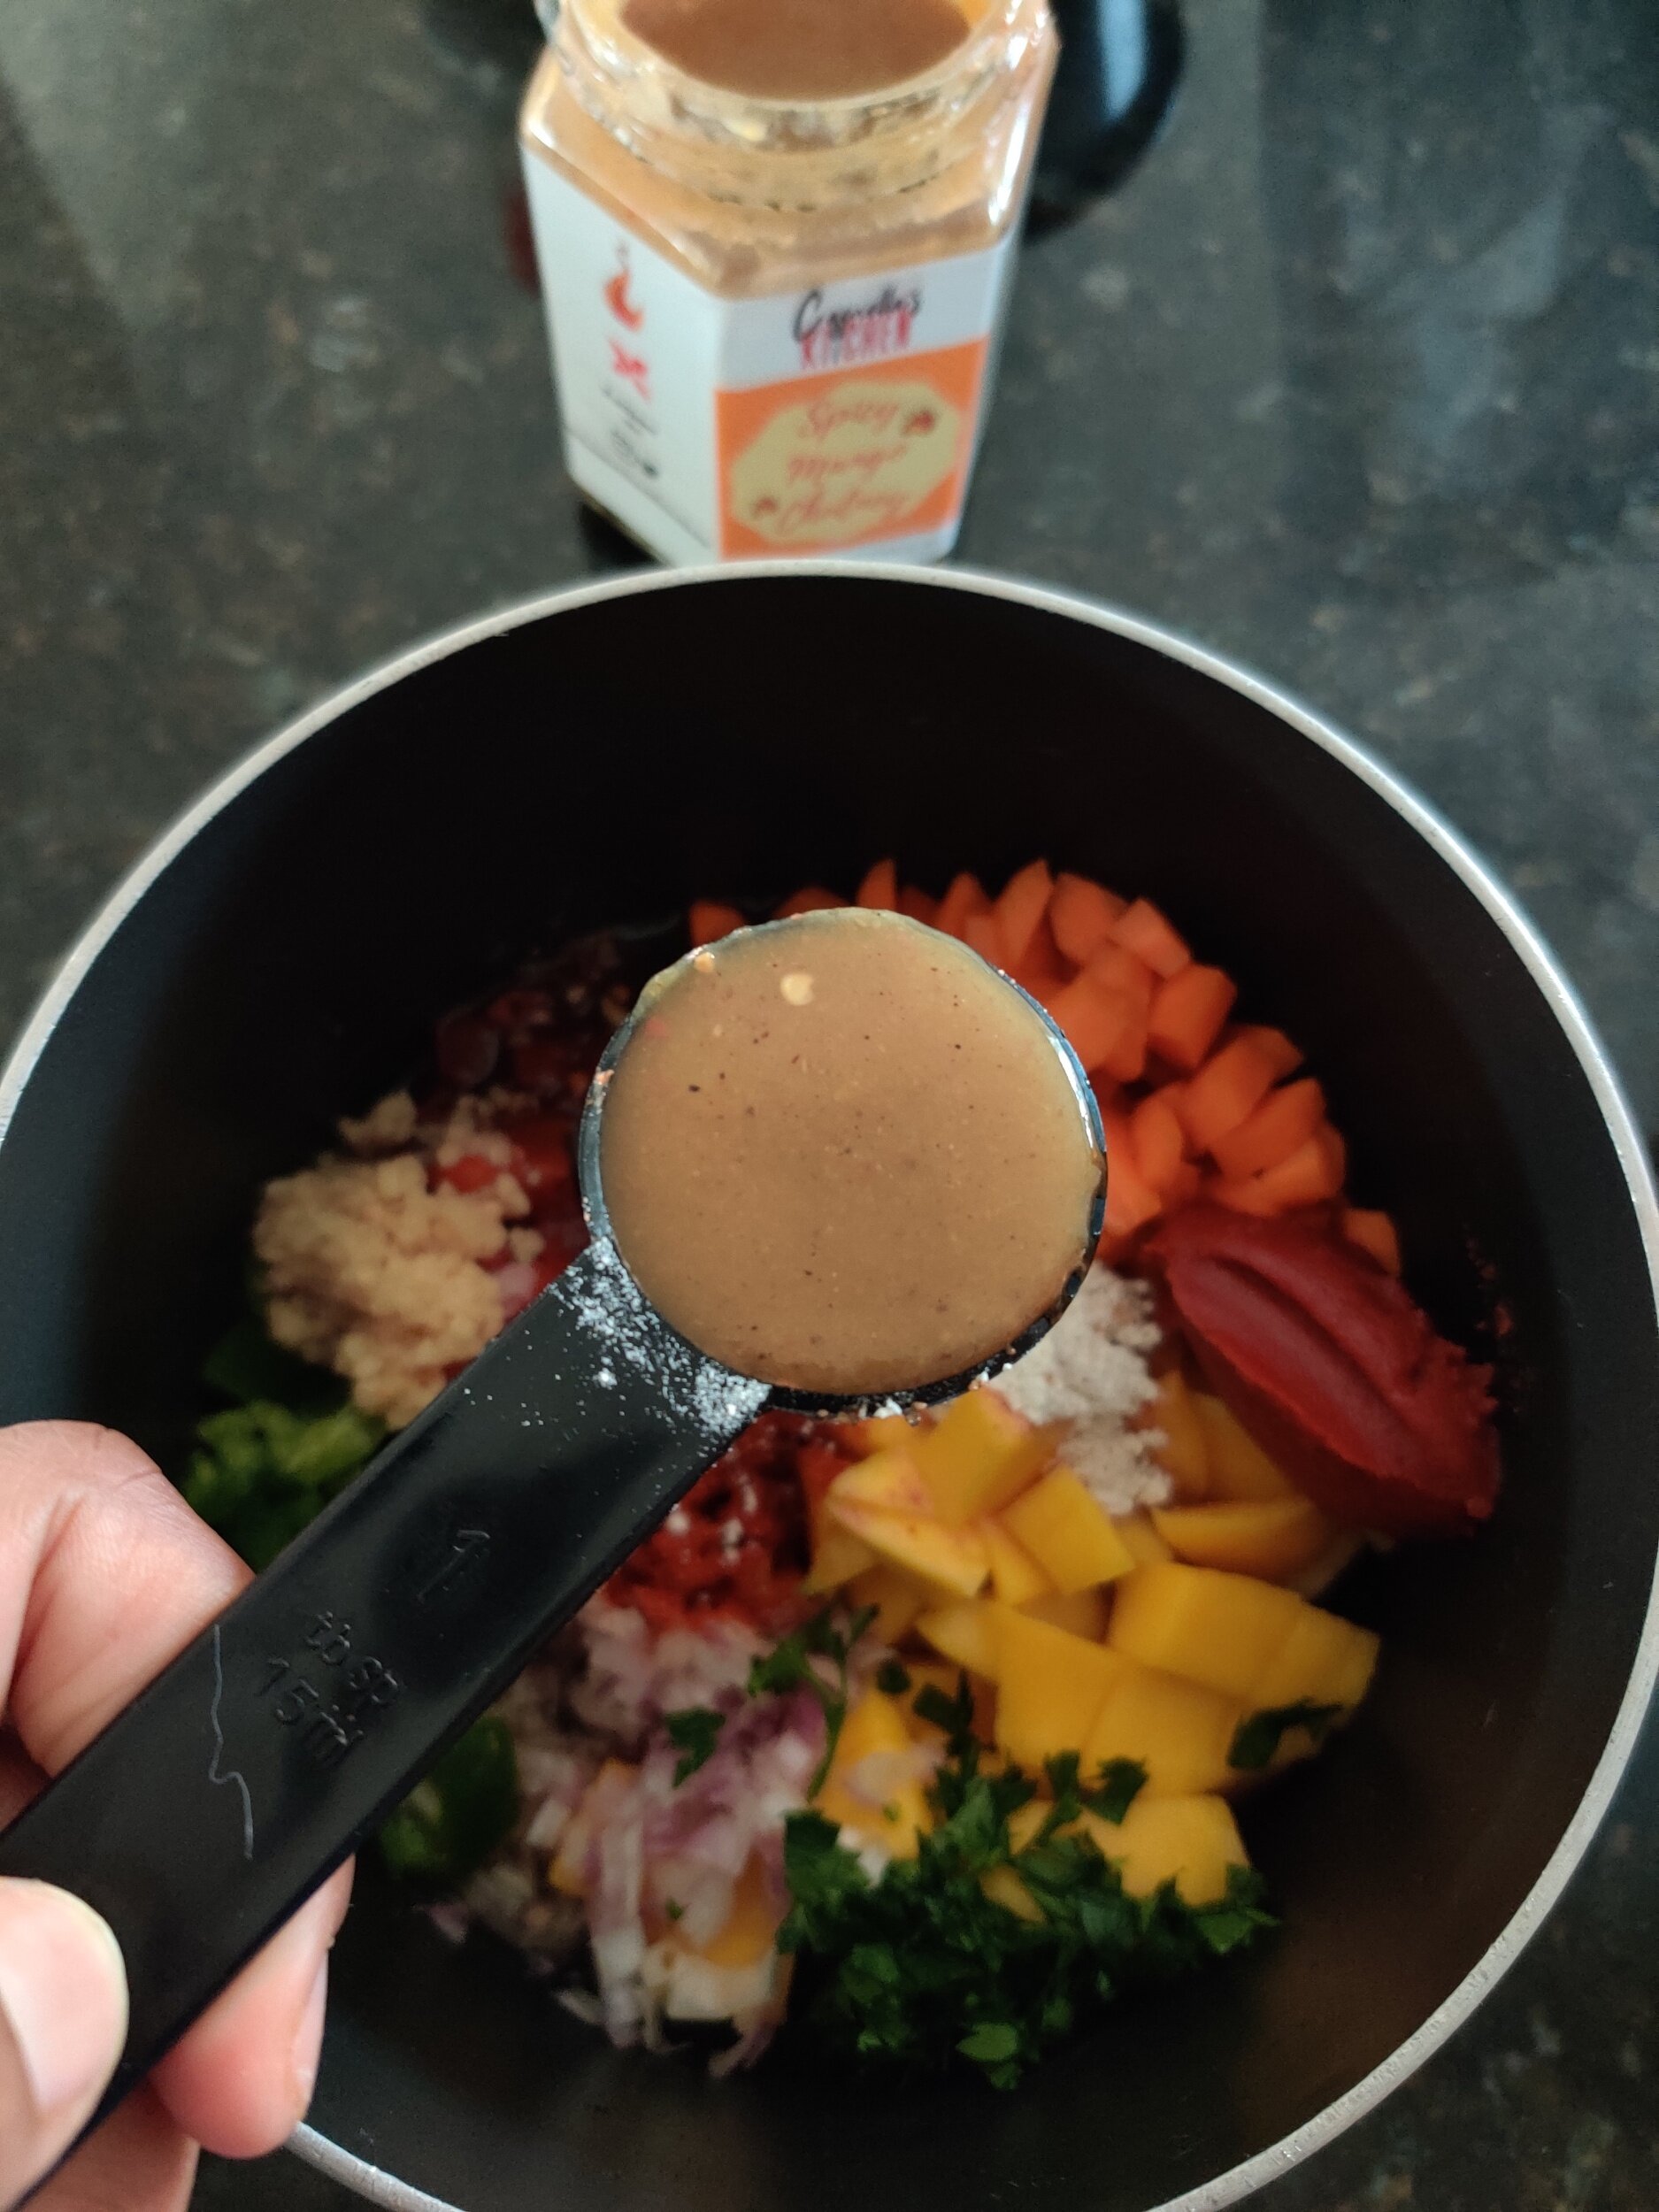
1 tablespoon spicy mango chutney sauce (I used Camella’s Kitchen)
1/3 cup roasted tomatoes
1 tablespoon jalapeno, diced with rib and seeds removed
2 tablespoons smoked paprika
1 tablespoon garlic minced
1/2 shallot minced
1 tablespoon tomato paste
1/4 cup carrots, diced
1 tablespoon parsley, chopped
1 tablespoon Royco Usavi mix (or your favourite all-purpose seasoning)
1 tablespoon Worchester sauce
1 tablespoon mirin or cooking wine
1 teaspoon salt
1 tablespoon black pepper
Anise and bay leaves (optional aromatics)
1 cup water
Samosas:
10 samosa sheets. cut into rectangles
1 tablespoon butter
4 sausages goat chorizo, casings removed (or regular chorizo)
1/4 cup white onion, diced
1/8 cup carrots, diced
1/8 cup green bell pepper, diced
1 tablespoon Spice for Rice (optional)
1 teaspoon garlic powder
1 tablespoon Royco Usavi mix (or your favourite all-purpose seasoning)
1 teaspoon tumeric
1 cup broth
1/4 cup water and 2 tablespoons flour (sealing paste)
Vegetable oil
Sour cream
Instructions
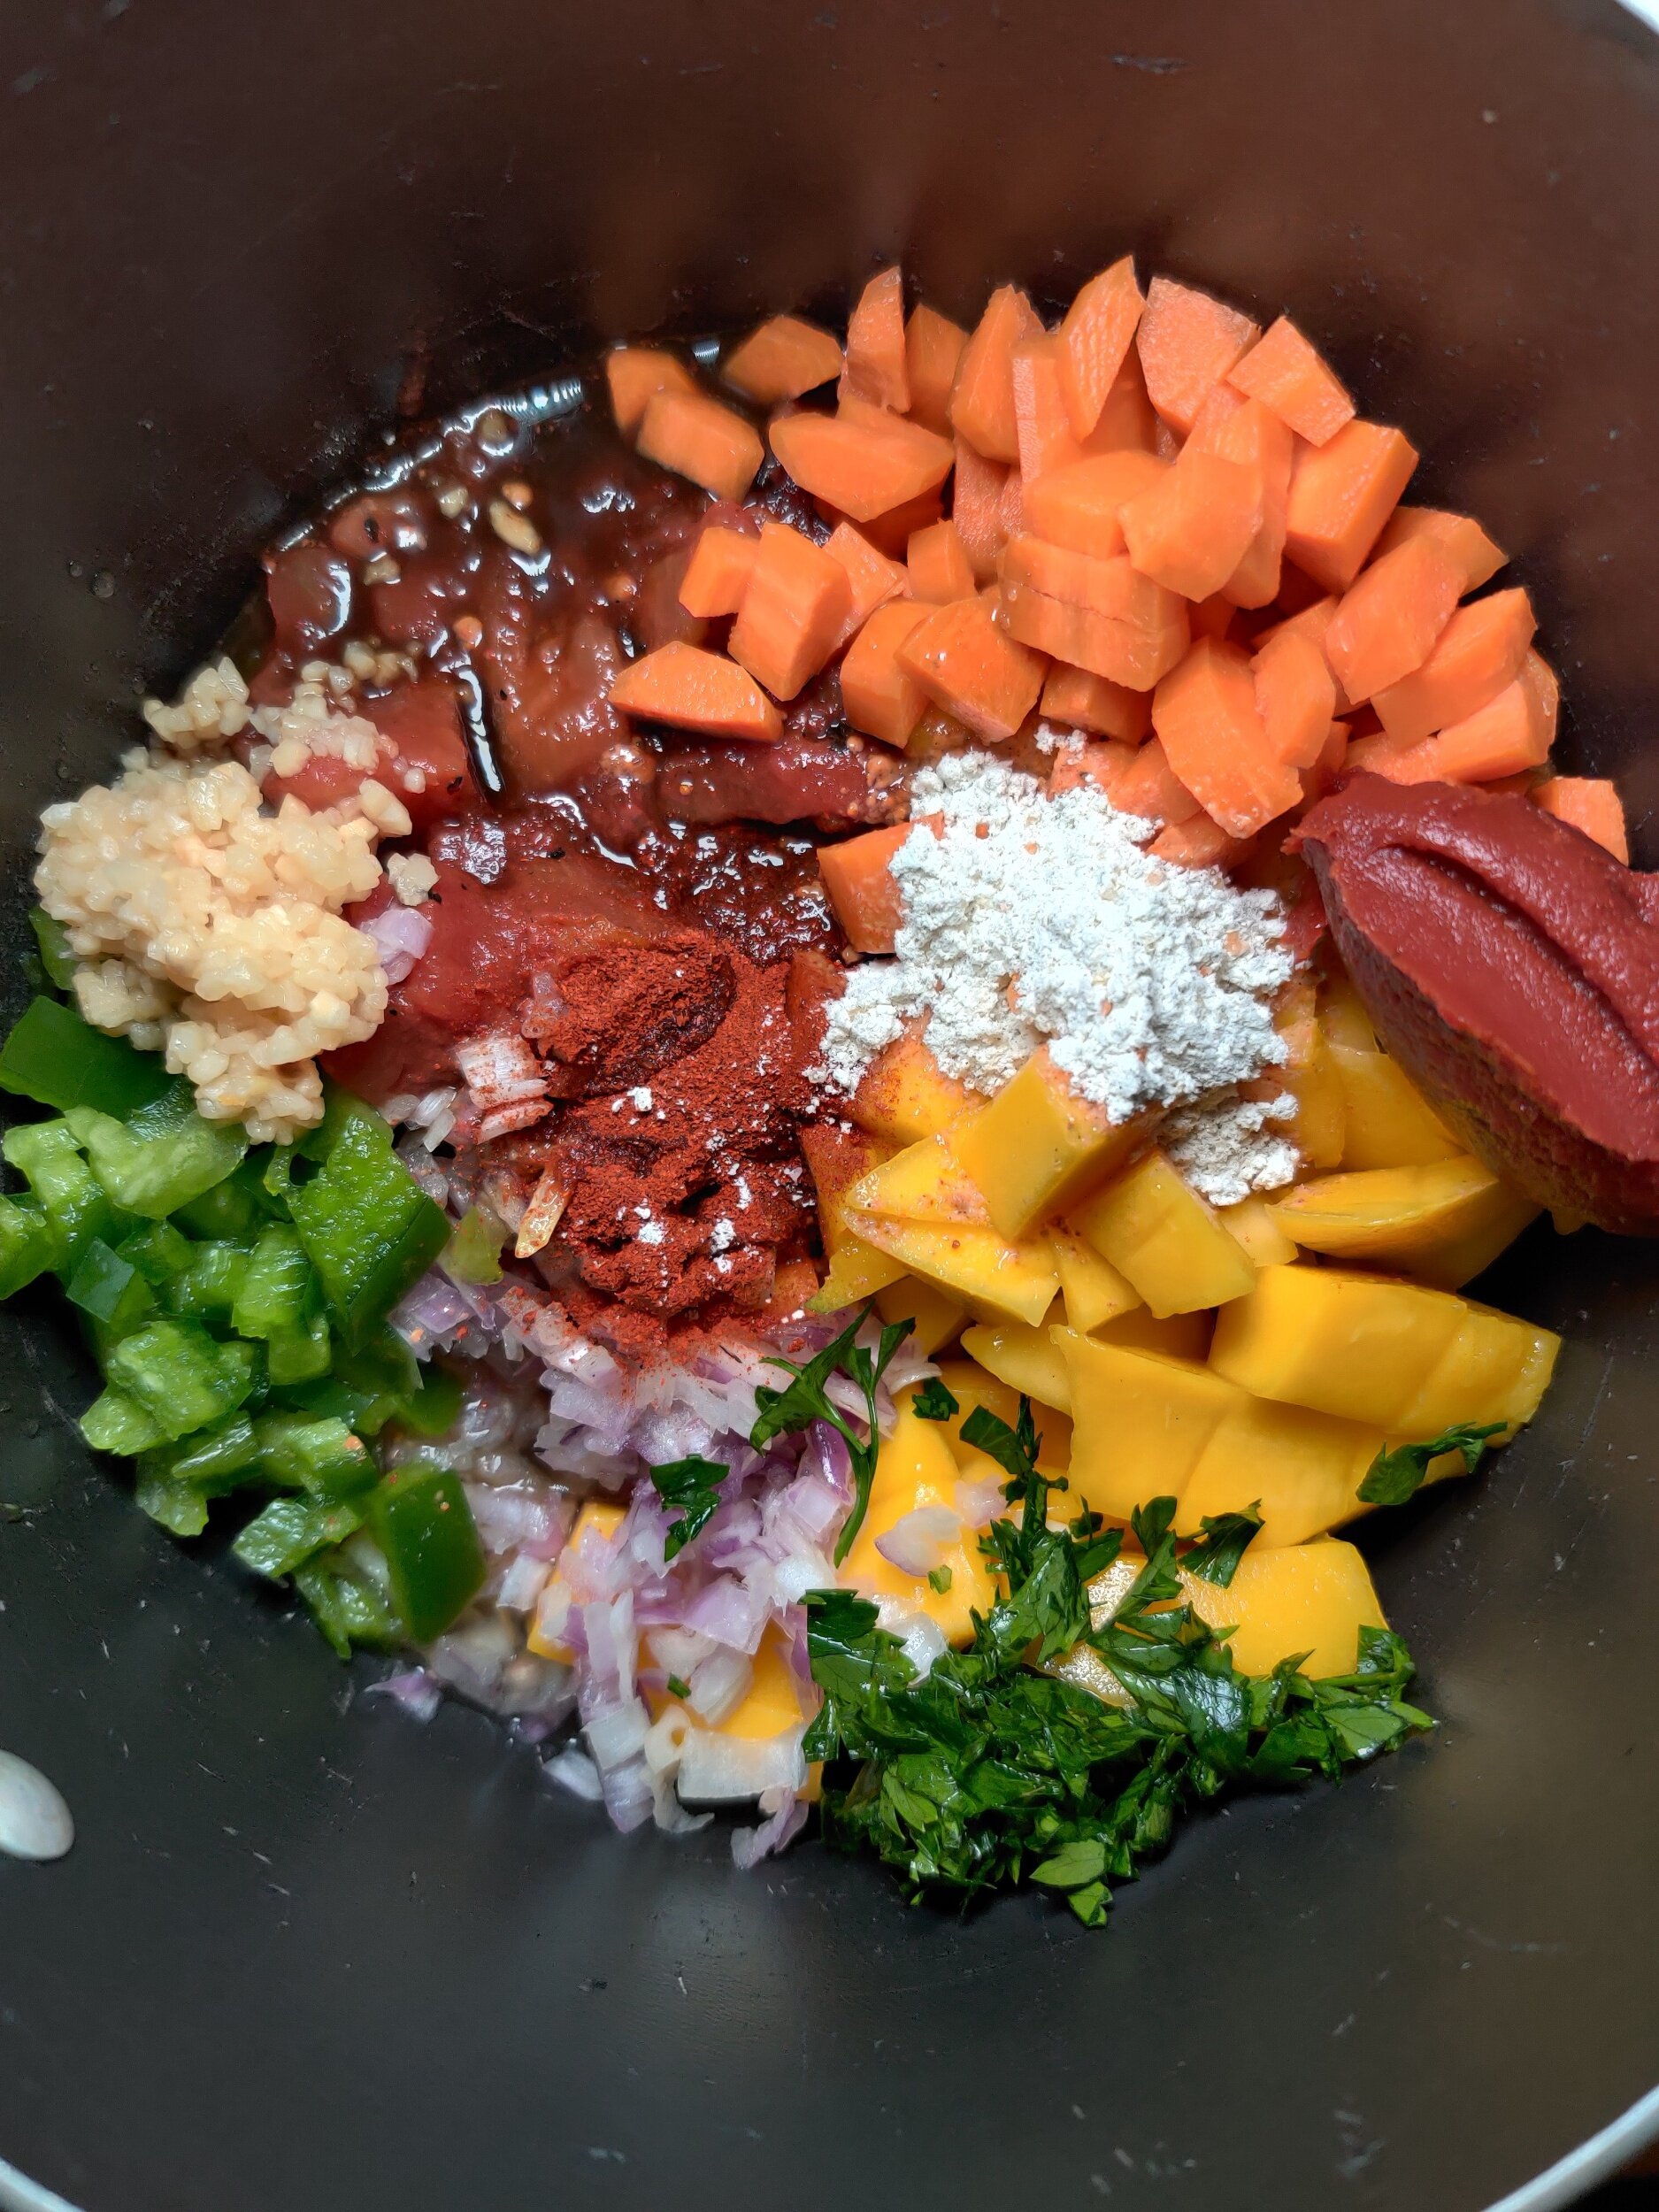
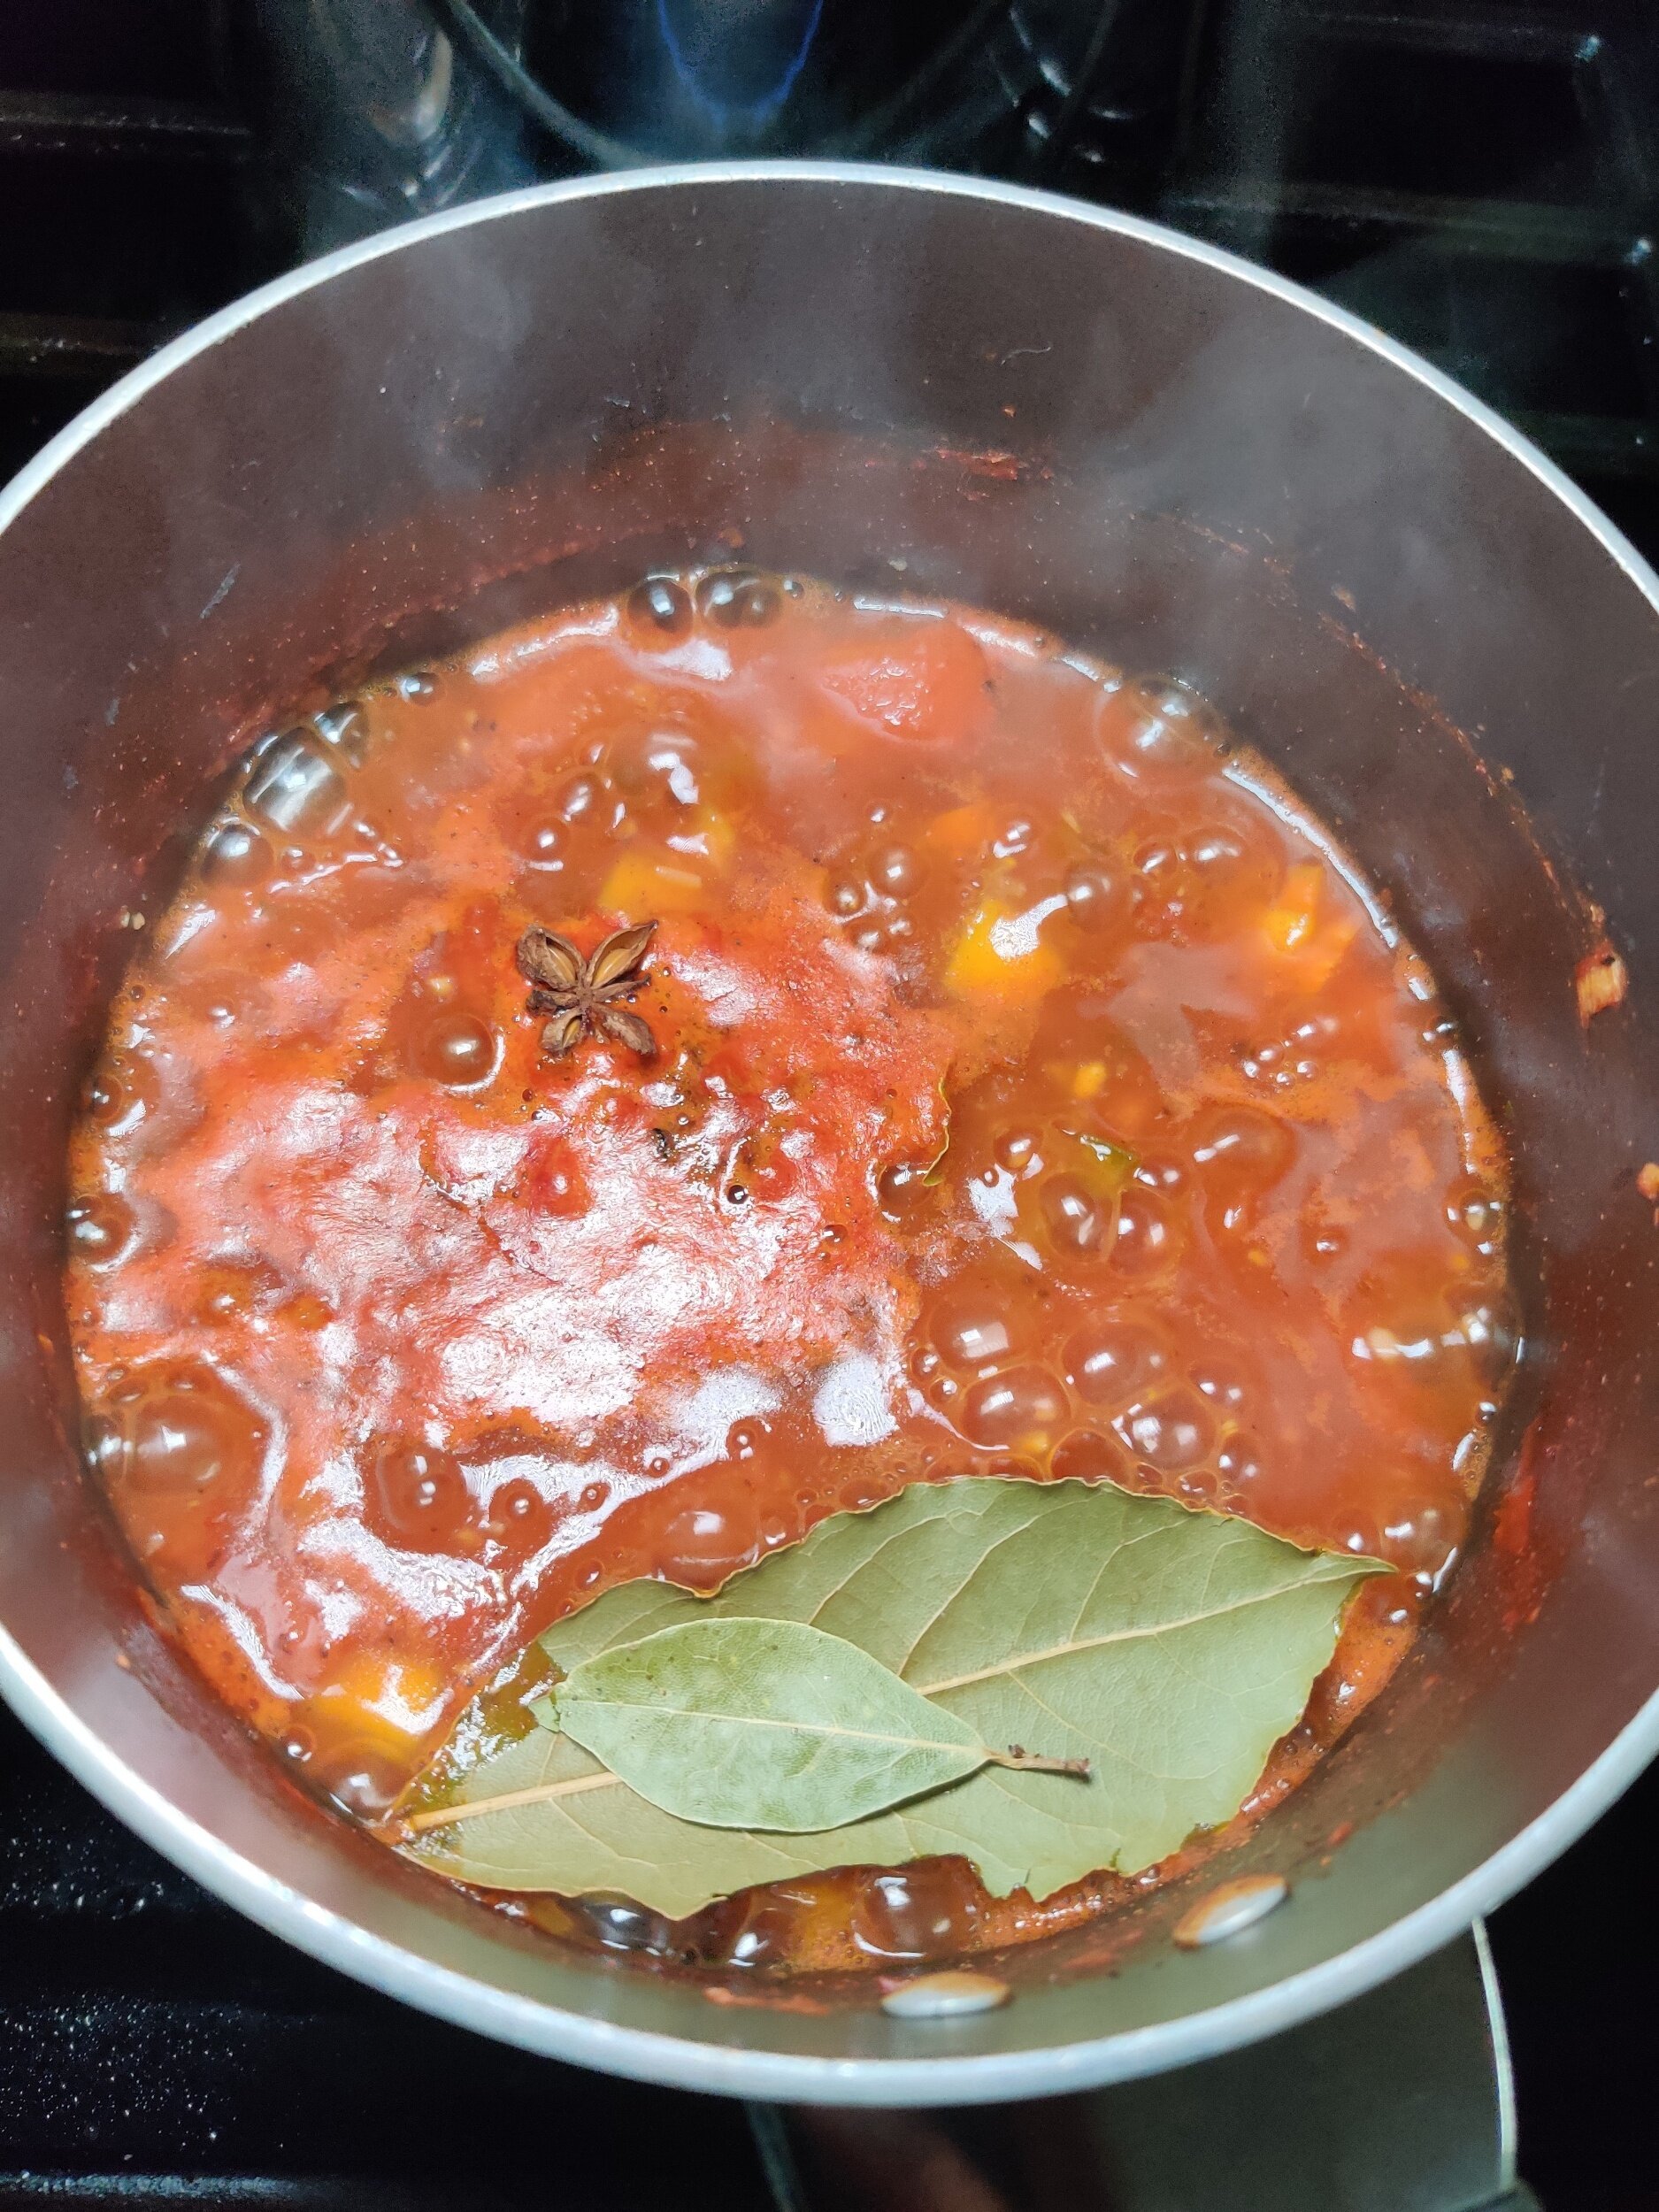
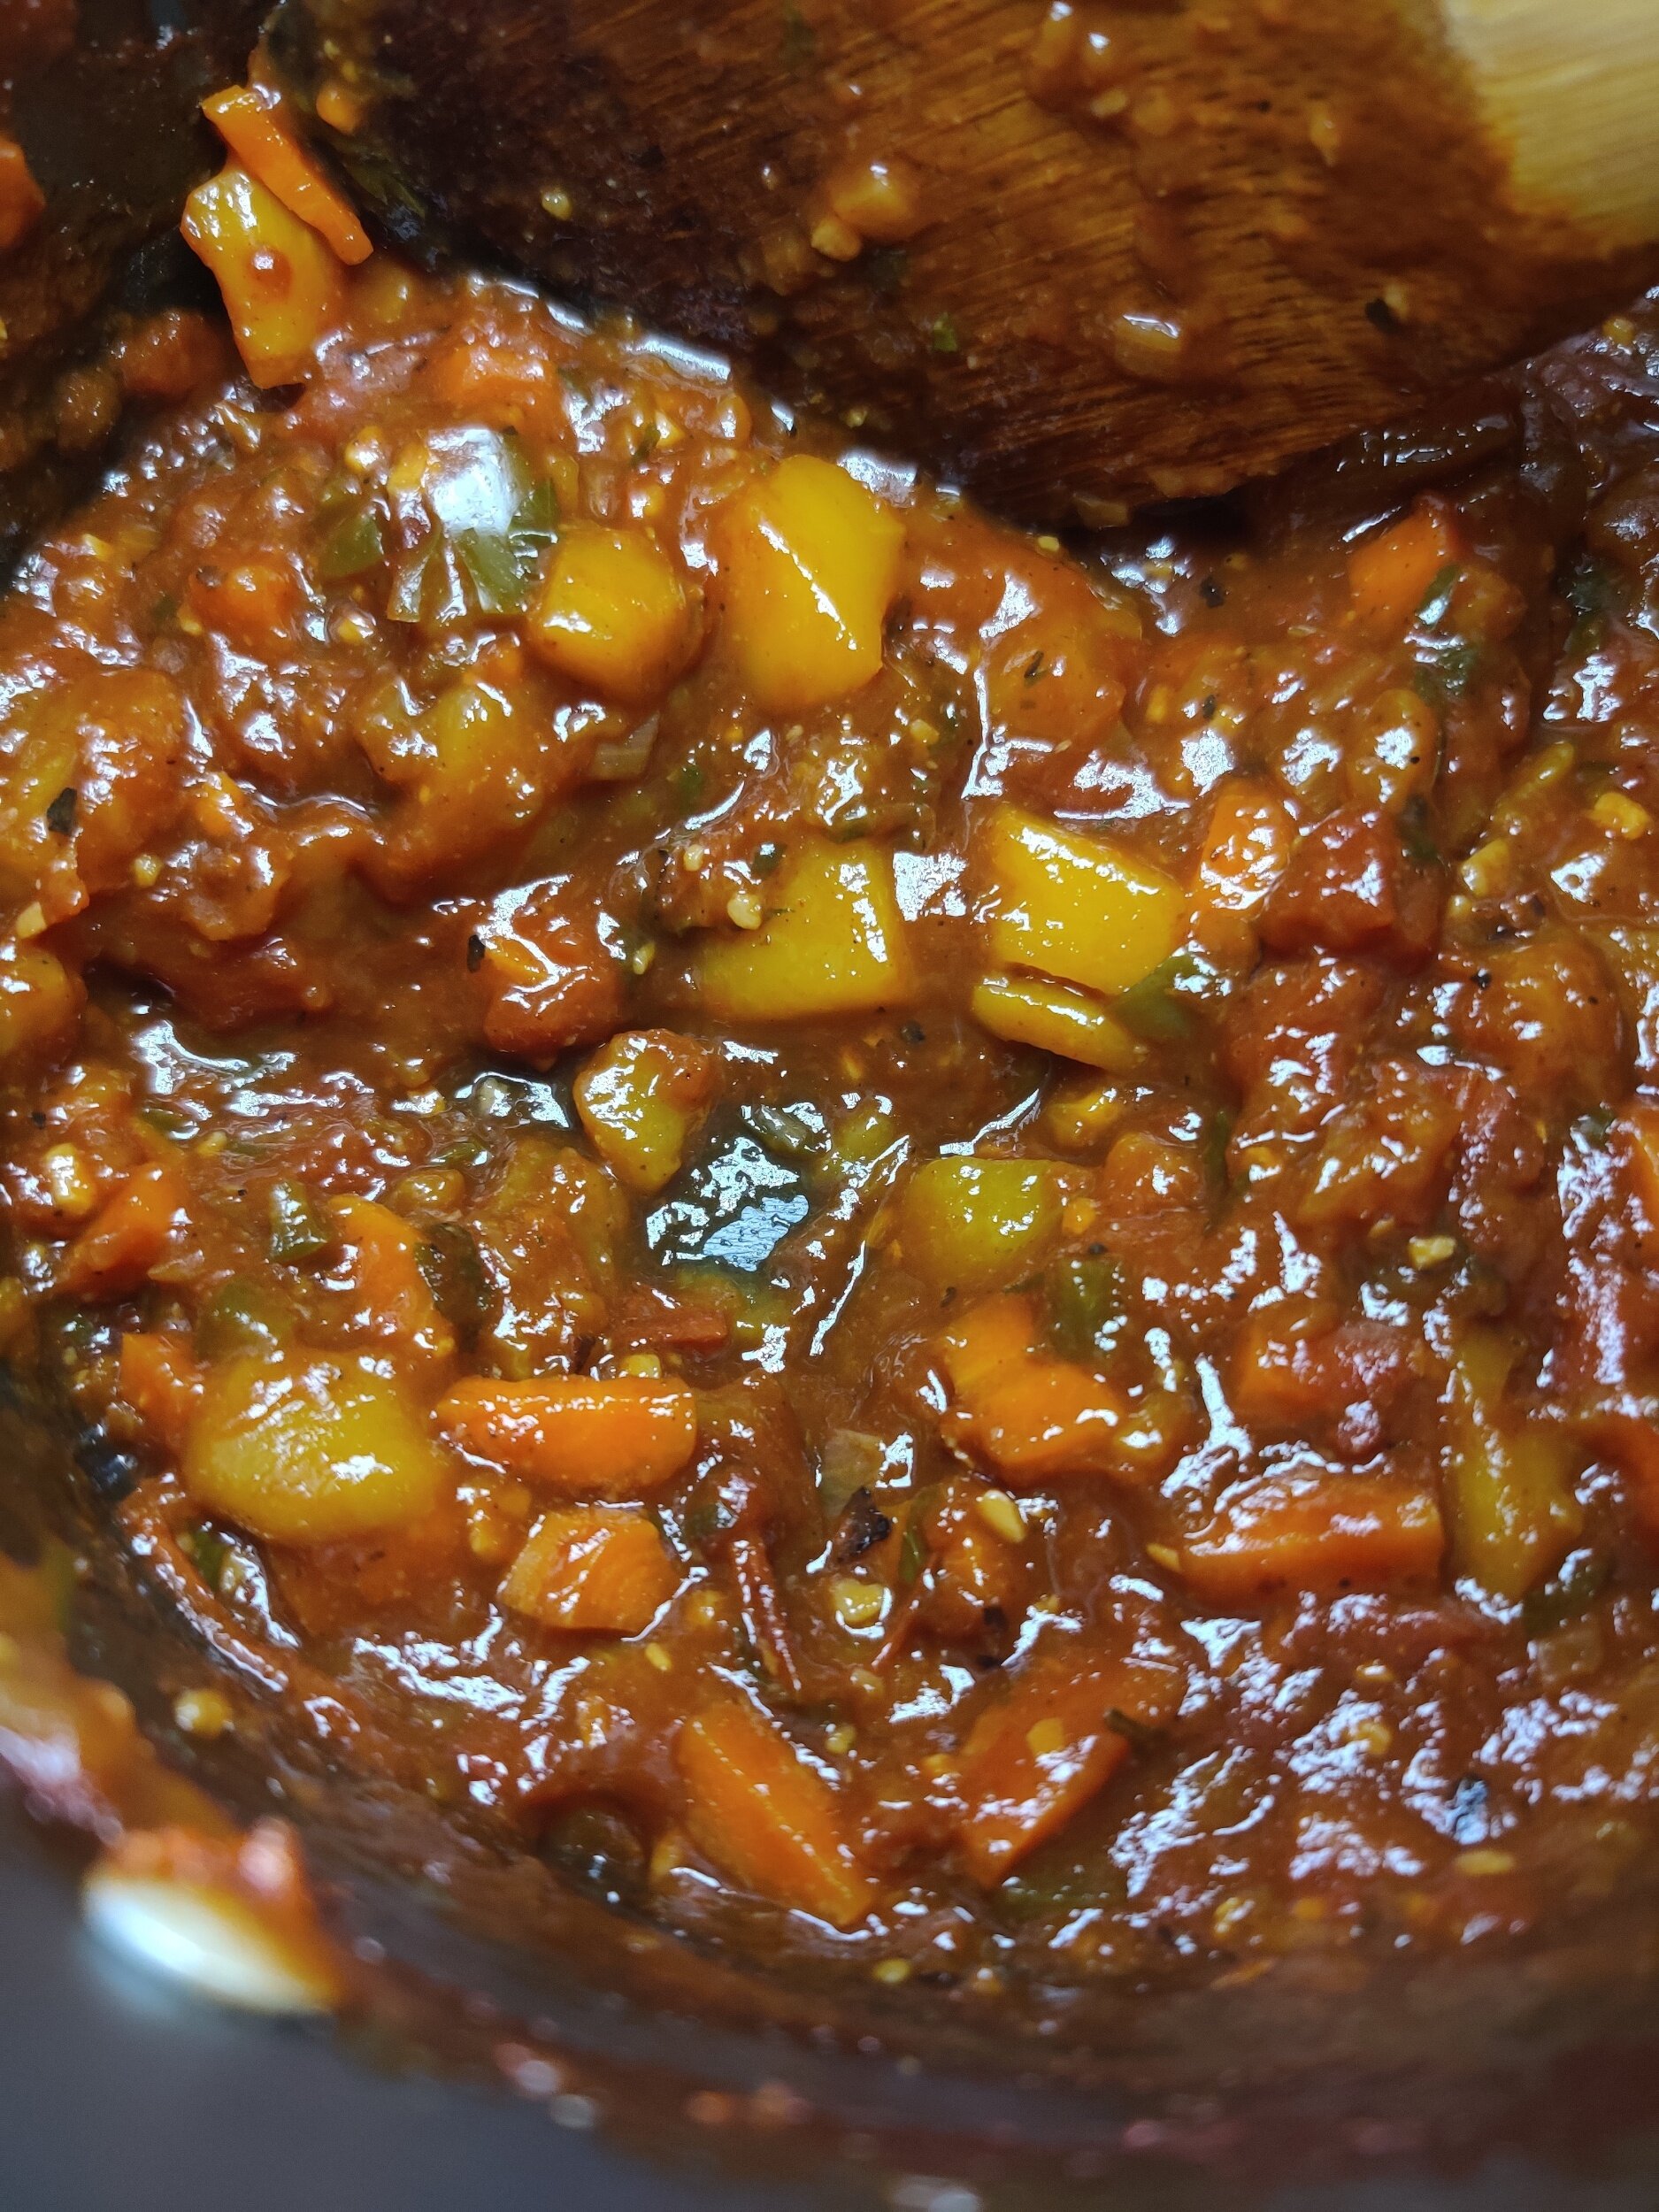
Prepare the chutney. Add all the ingredients except the water and aromatics and bring to a boil. Then add the water and aromatics and reduce the heat to simmer for 15 minutes, stirring frequently and seasoning with additional salt and pepper to taste. Remove the bay leaves and anise after 5-7 minutes to avoid overpowering the other flavours. Add more water if necessary but allow the chutney to thicken. Once it's to your liking, remove the chutney from the heat.
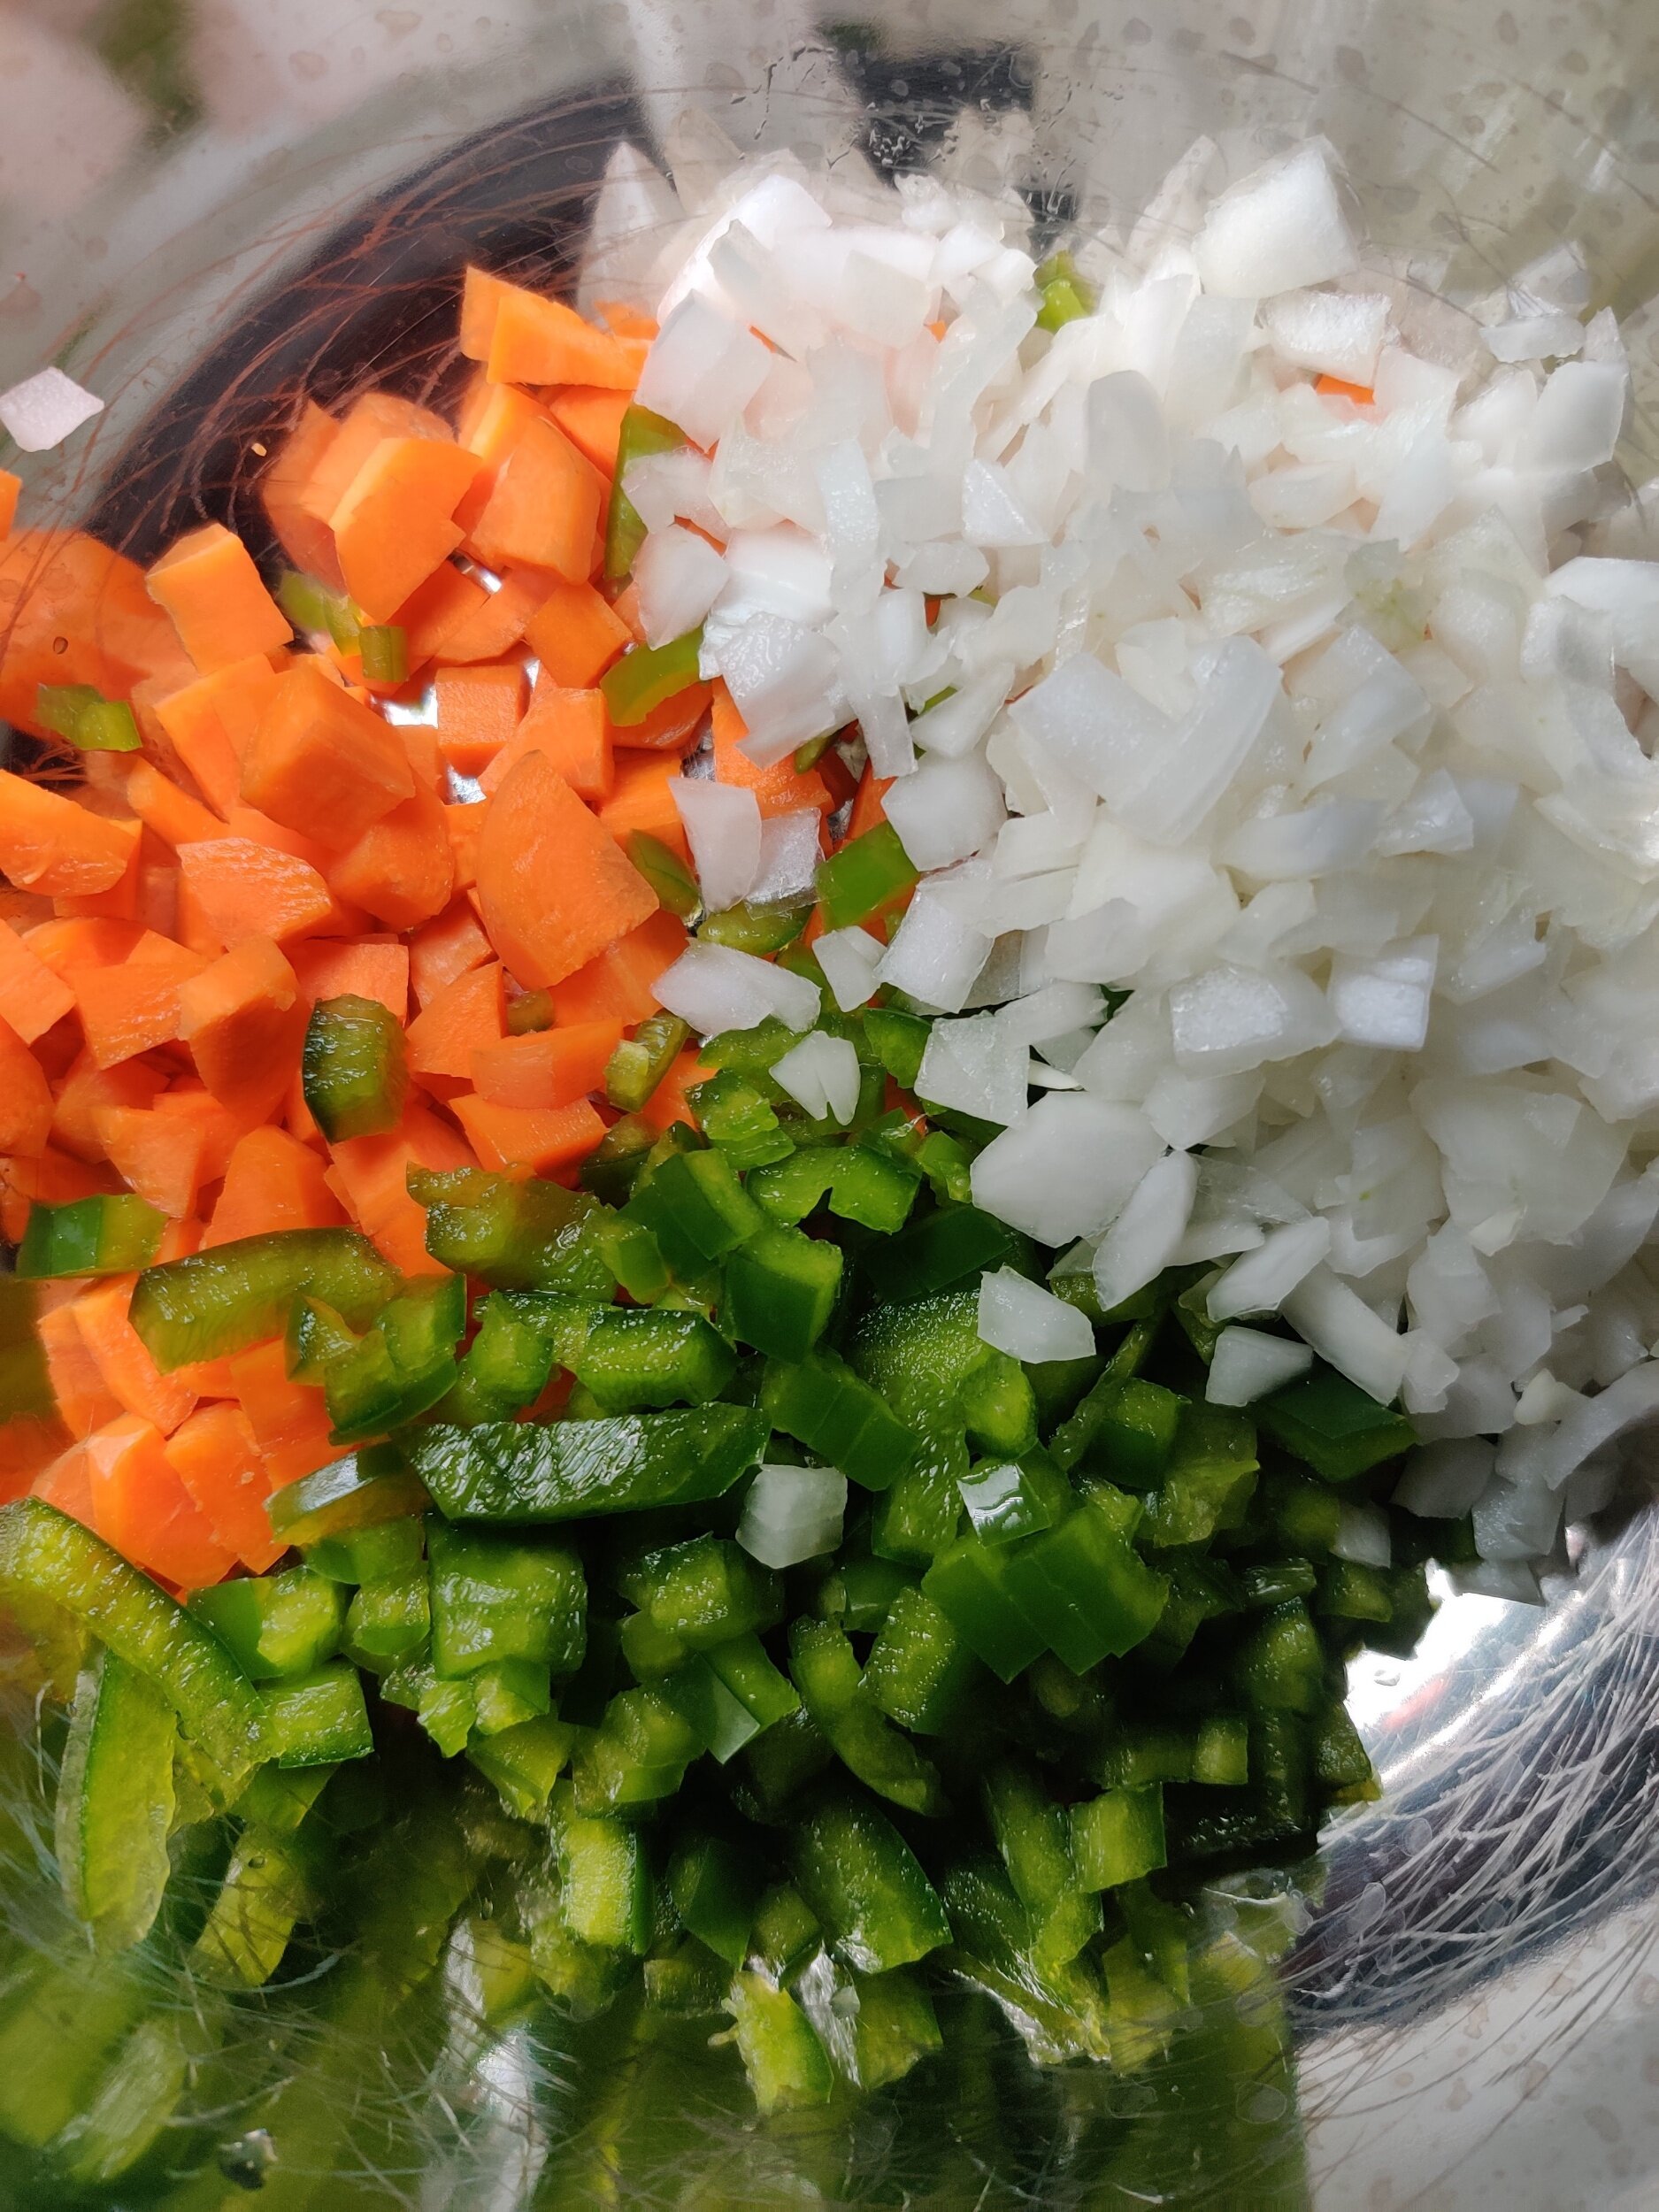
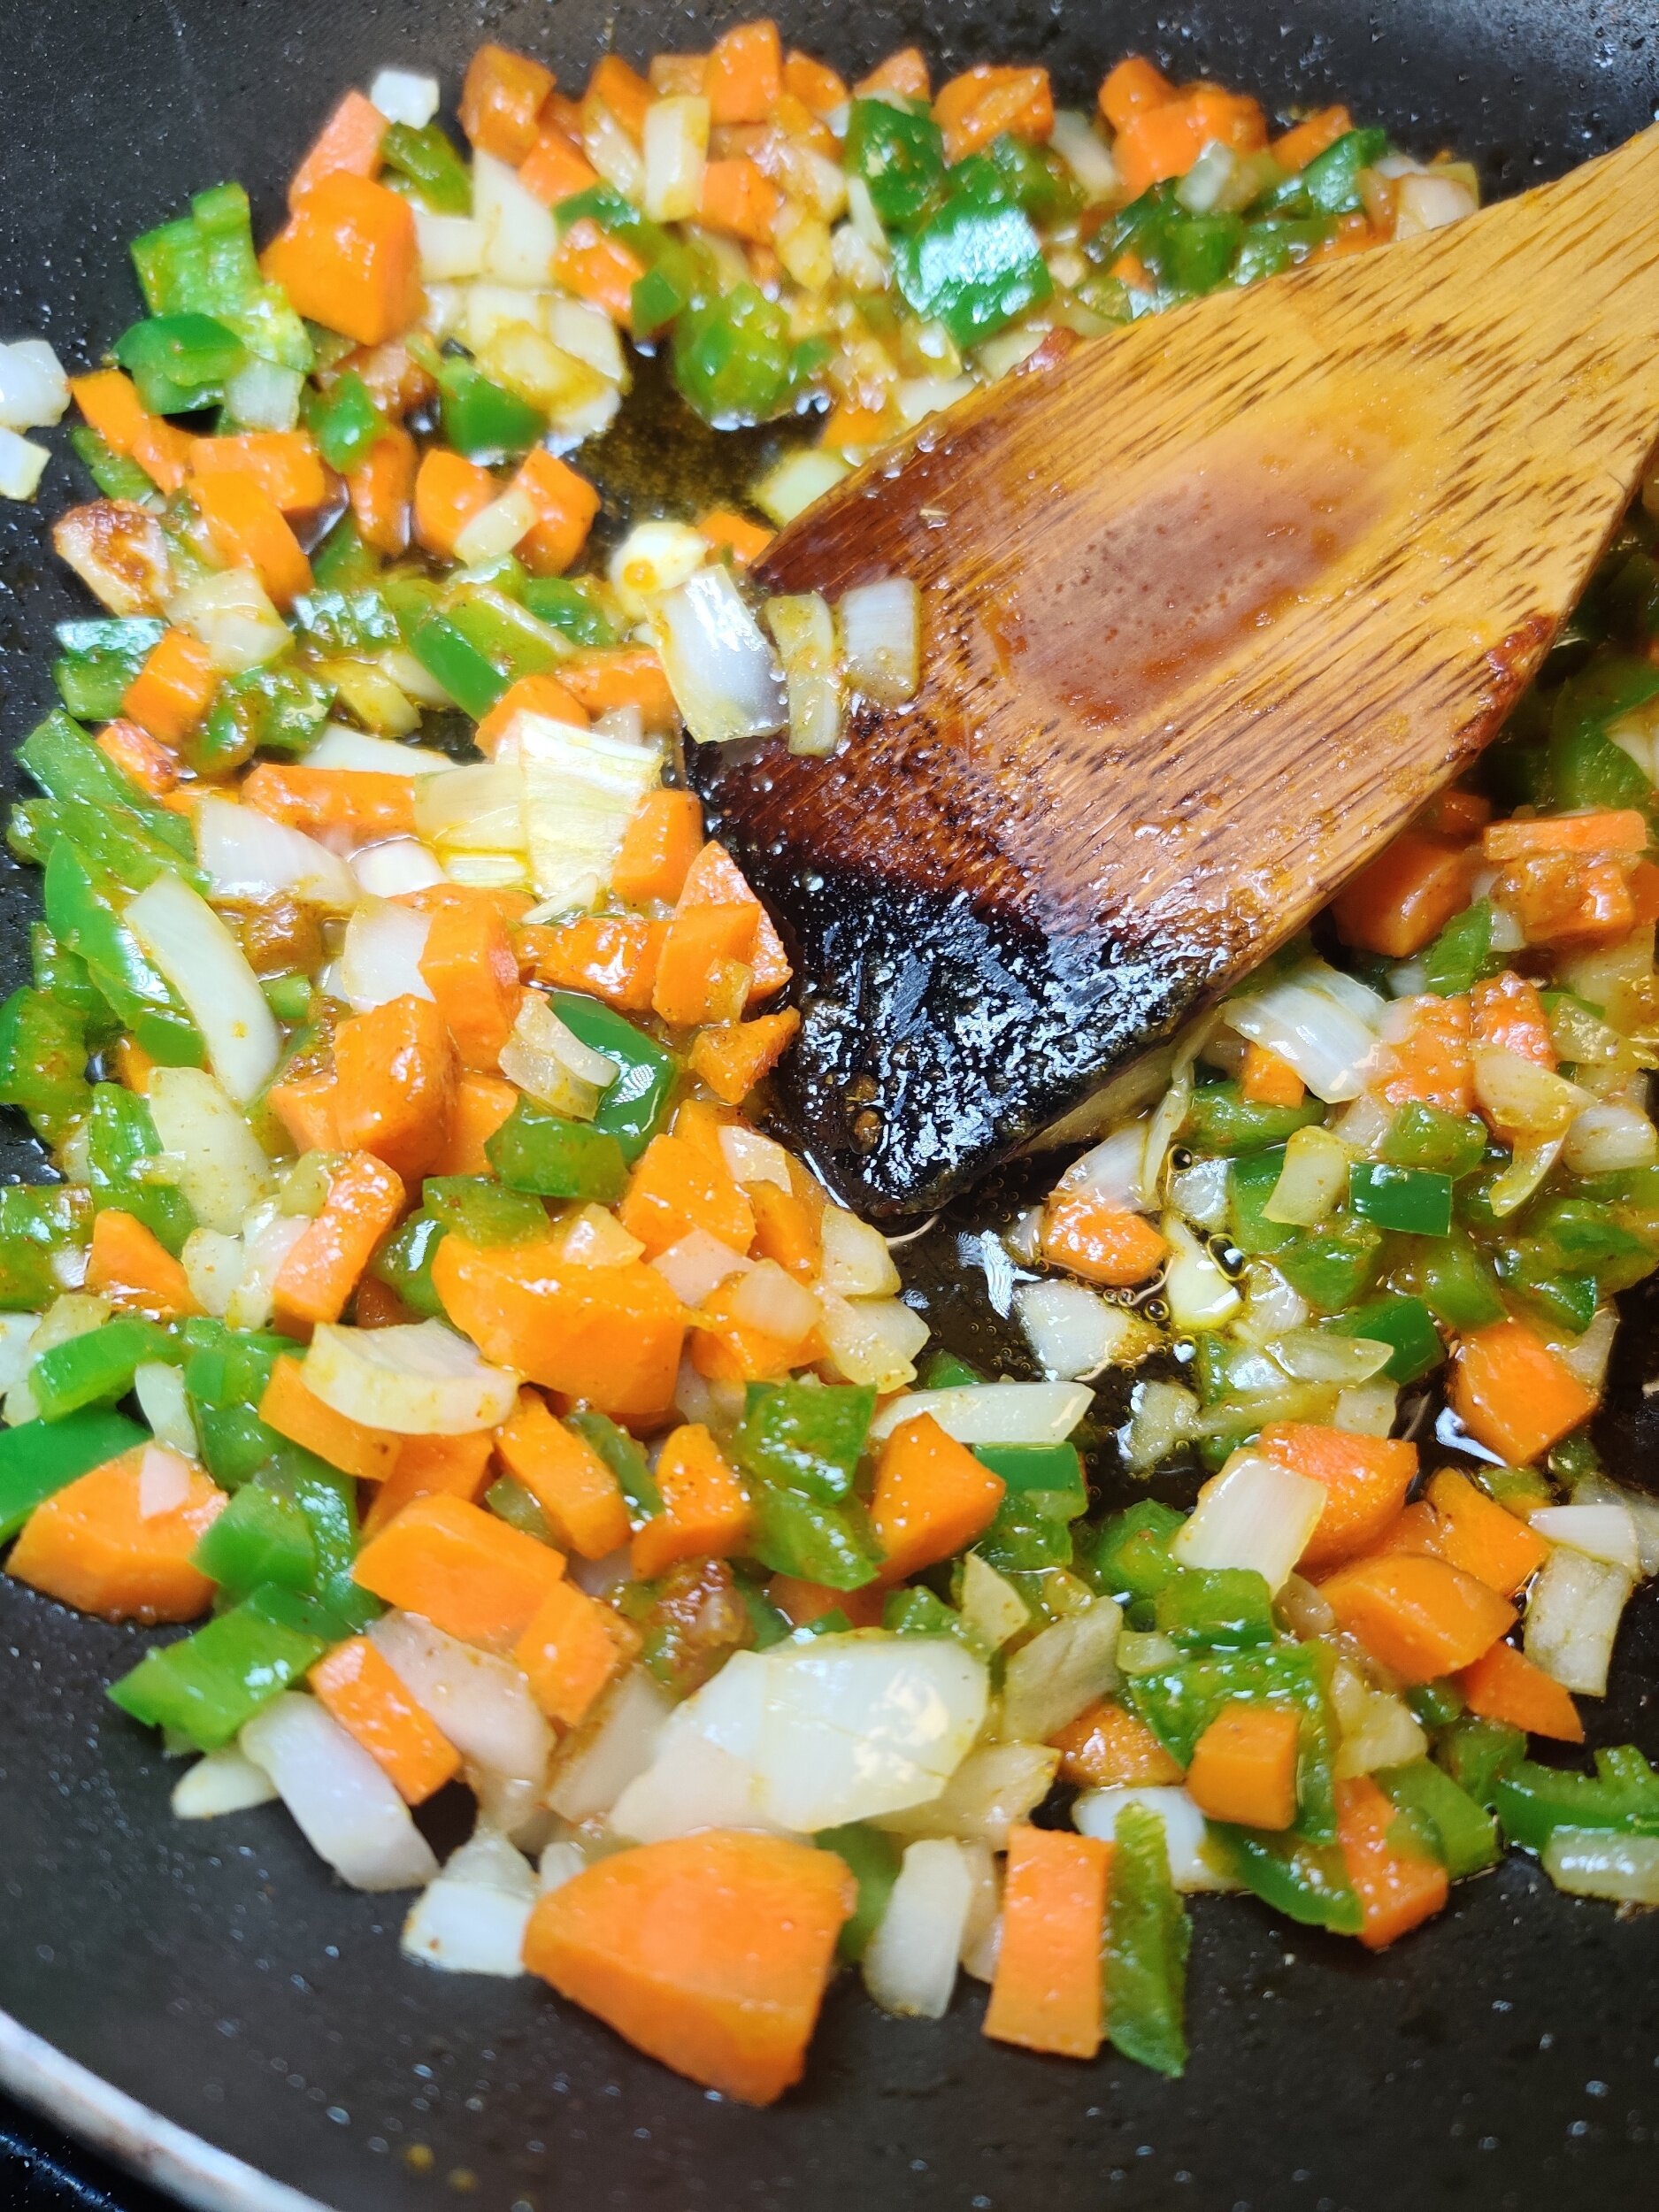
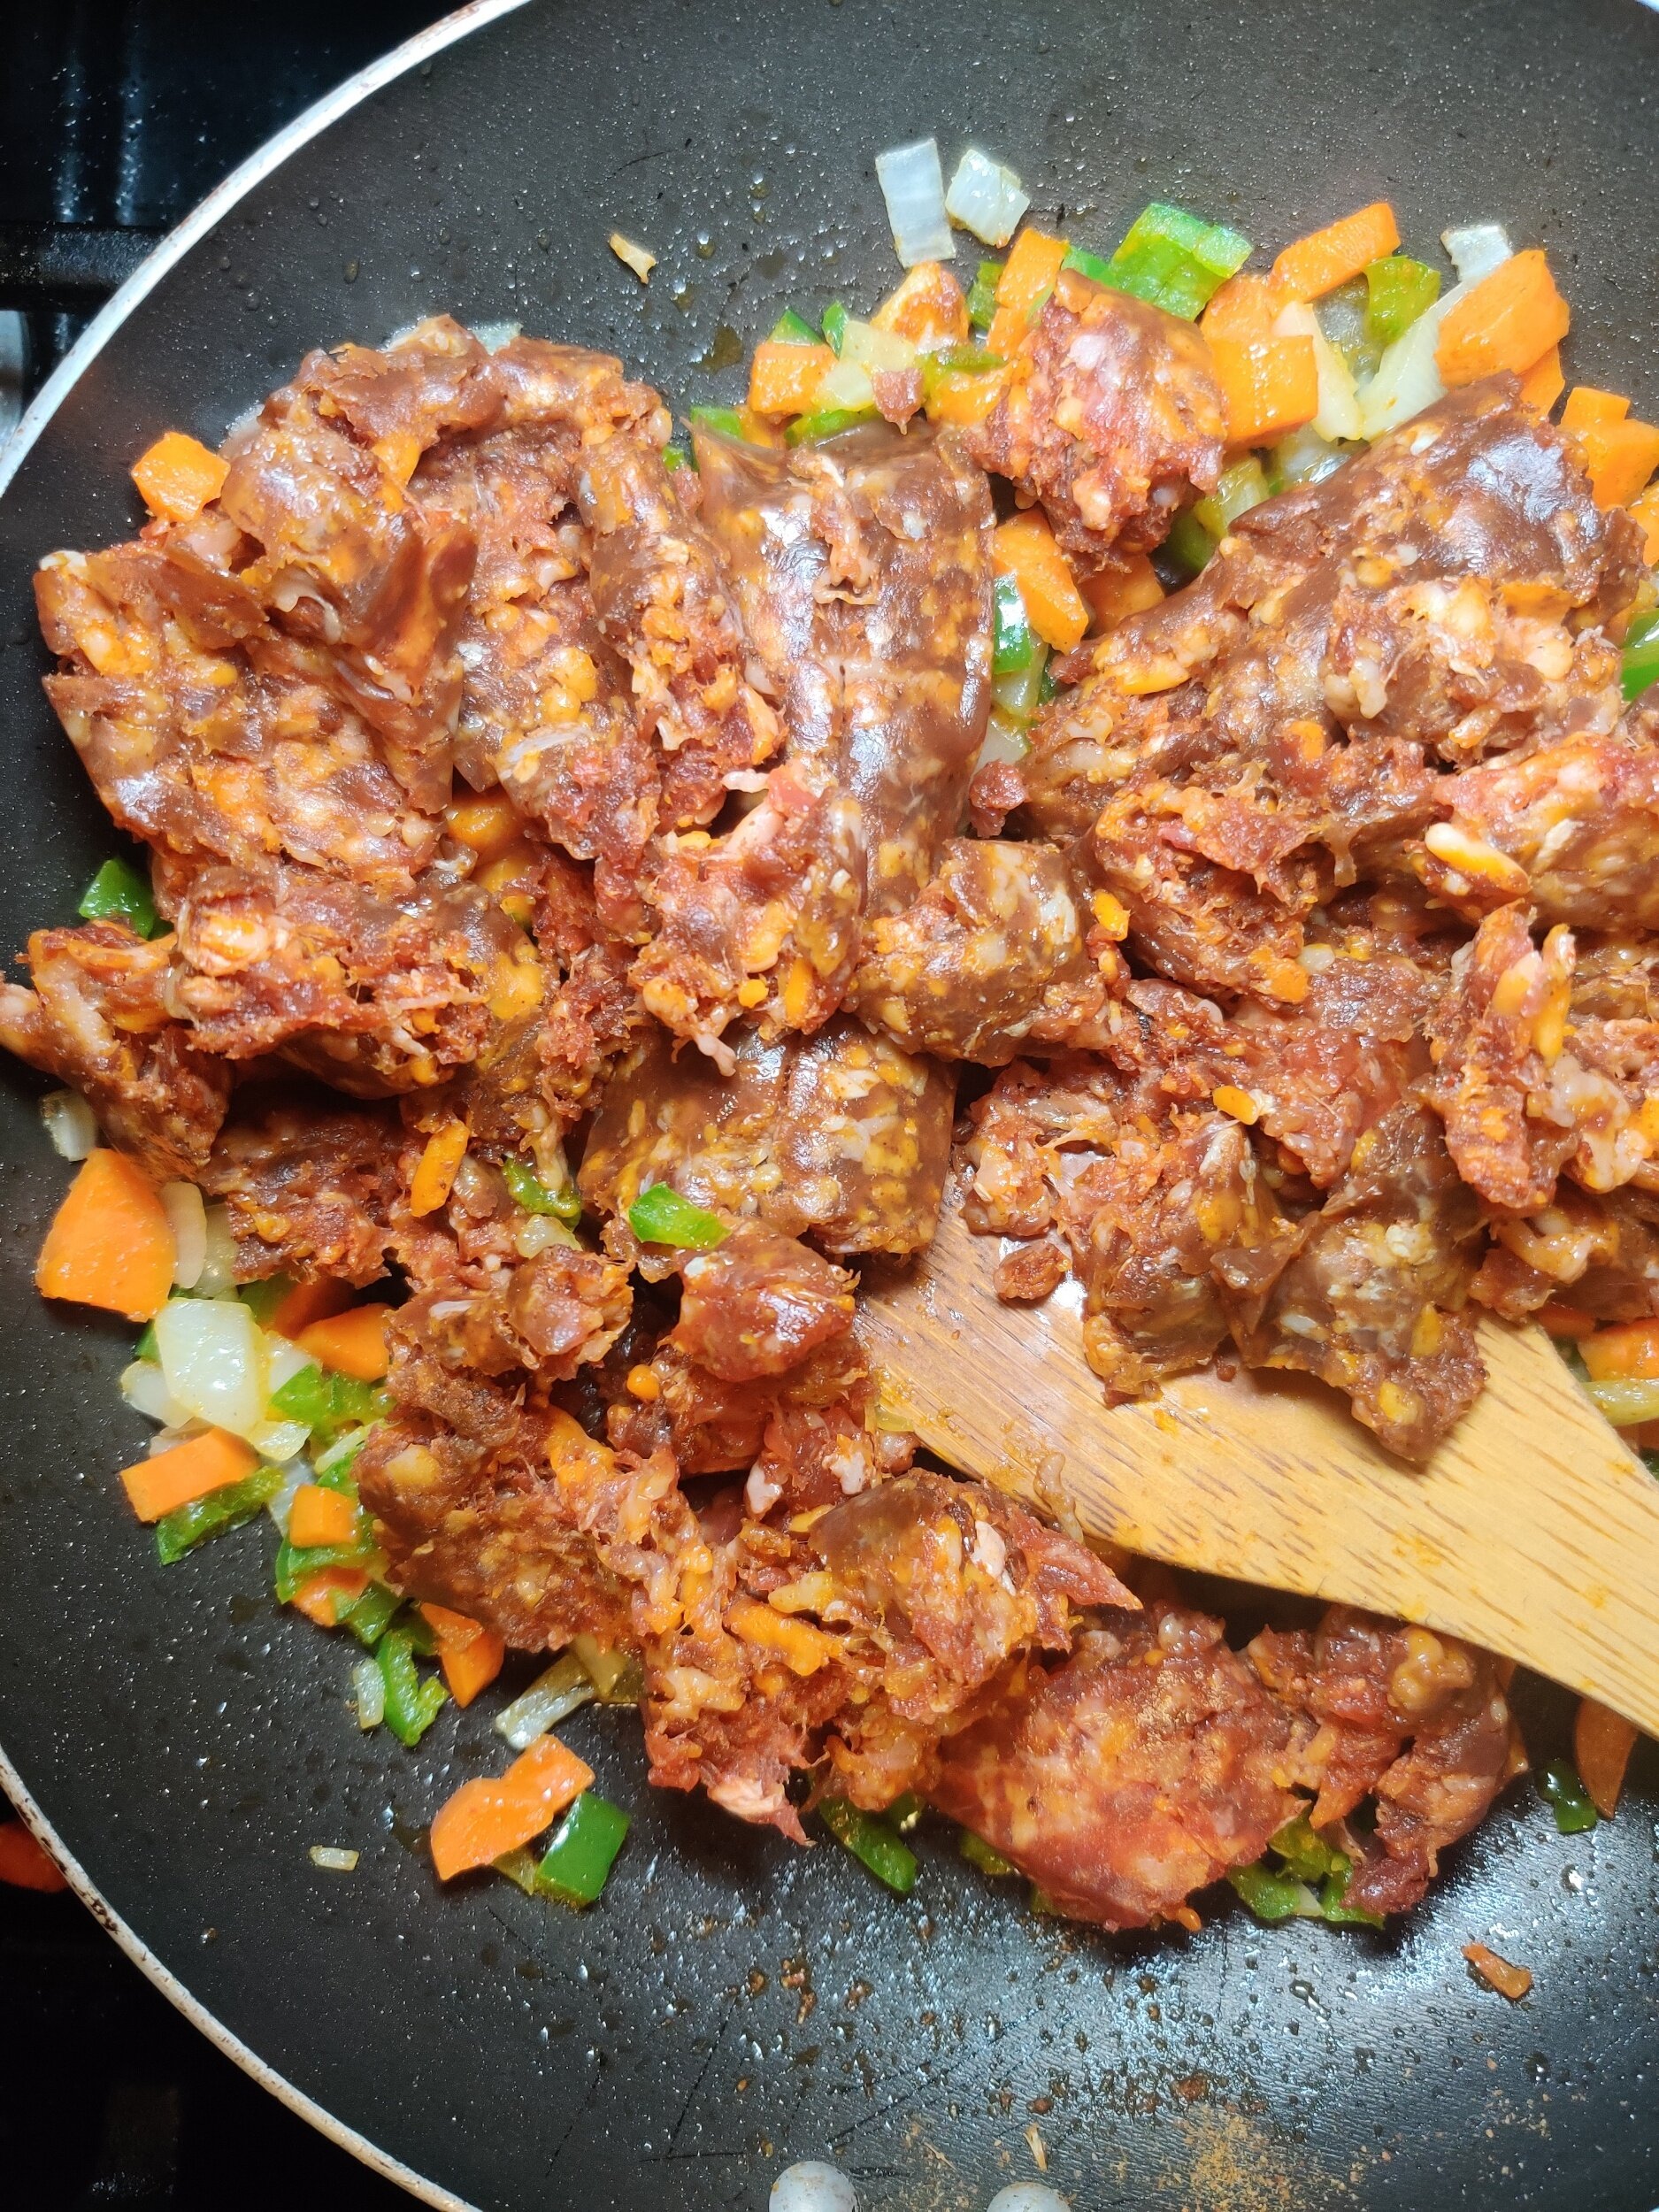
For the samosa filling, add the butter to a pan on medium-low heat. Sweat out the onion, carrots and bell pepper for 2 minutes. Add the seasonings and cook for an additional minute.
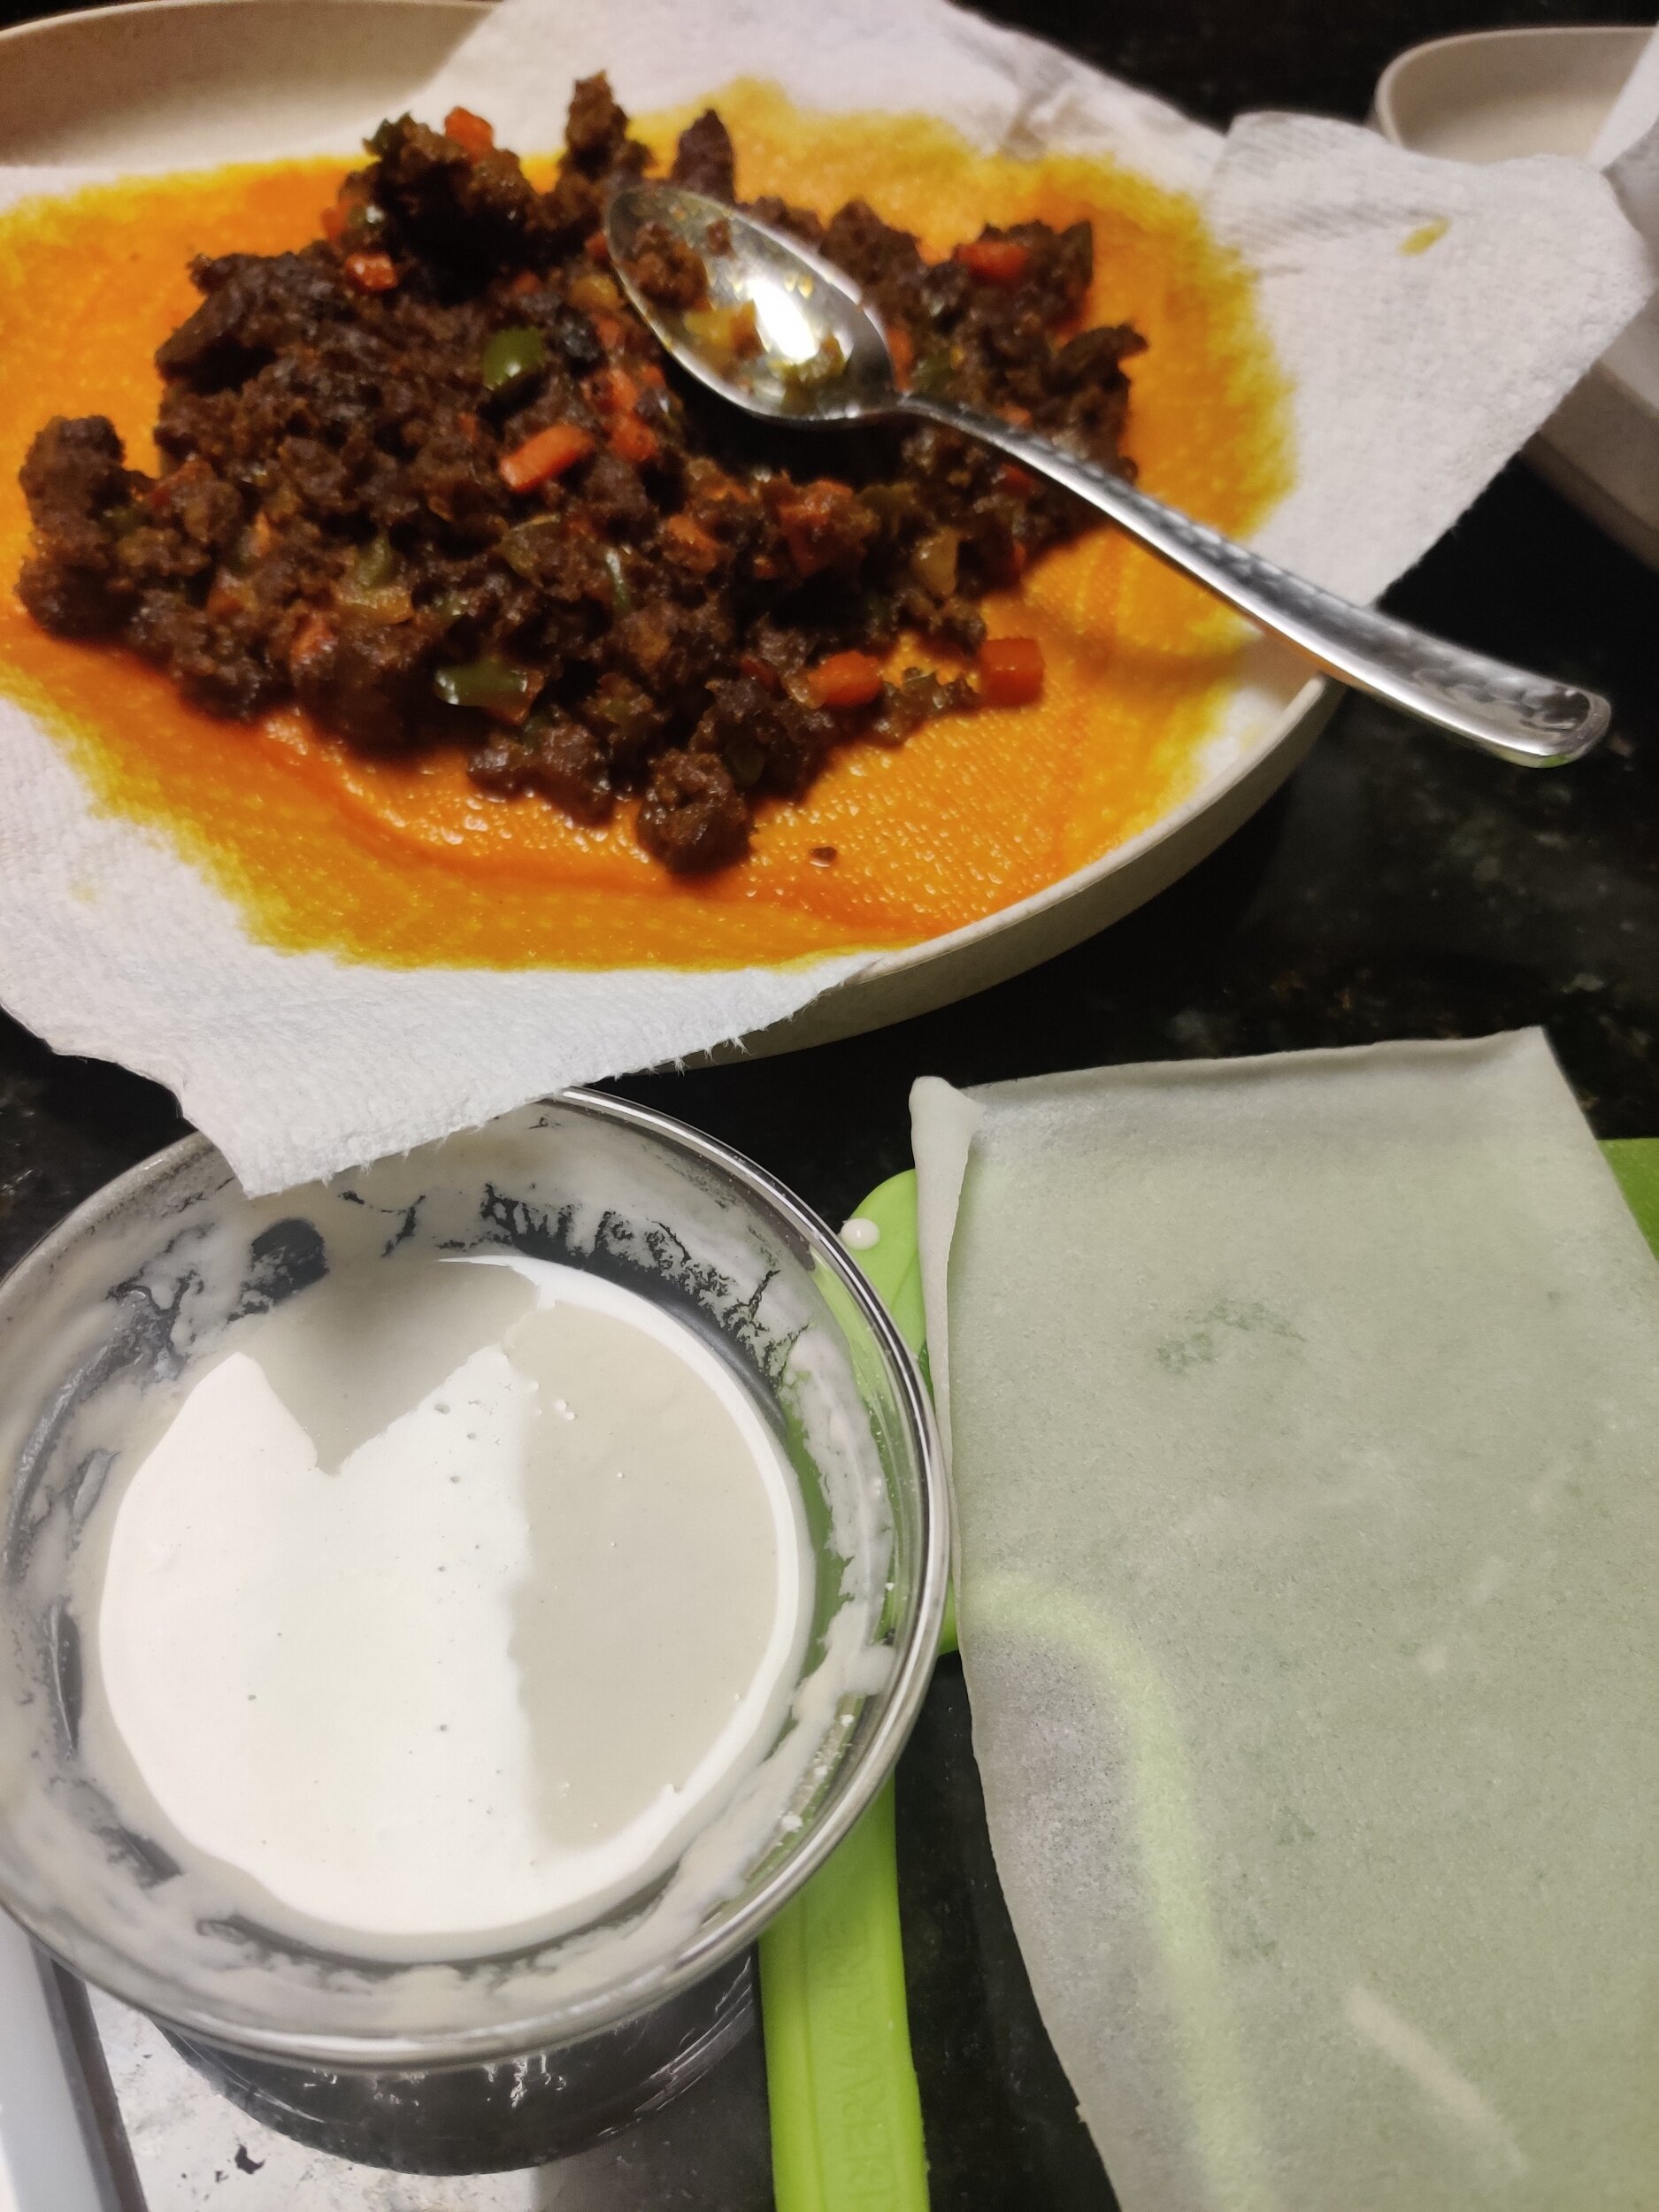
Mix in the chorizo and cook until browned. Pour in the broth and reduce heat to simmer to finish cooking the goat. Season to taste then remove from the heat to cool.
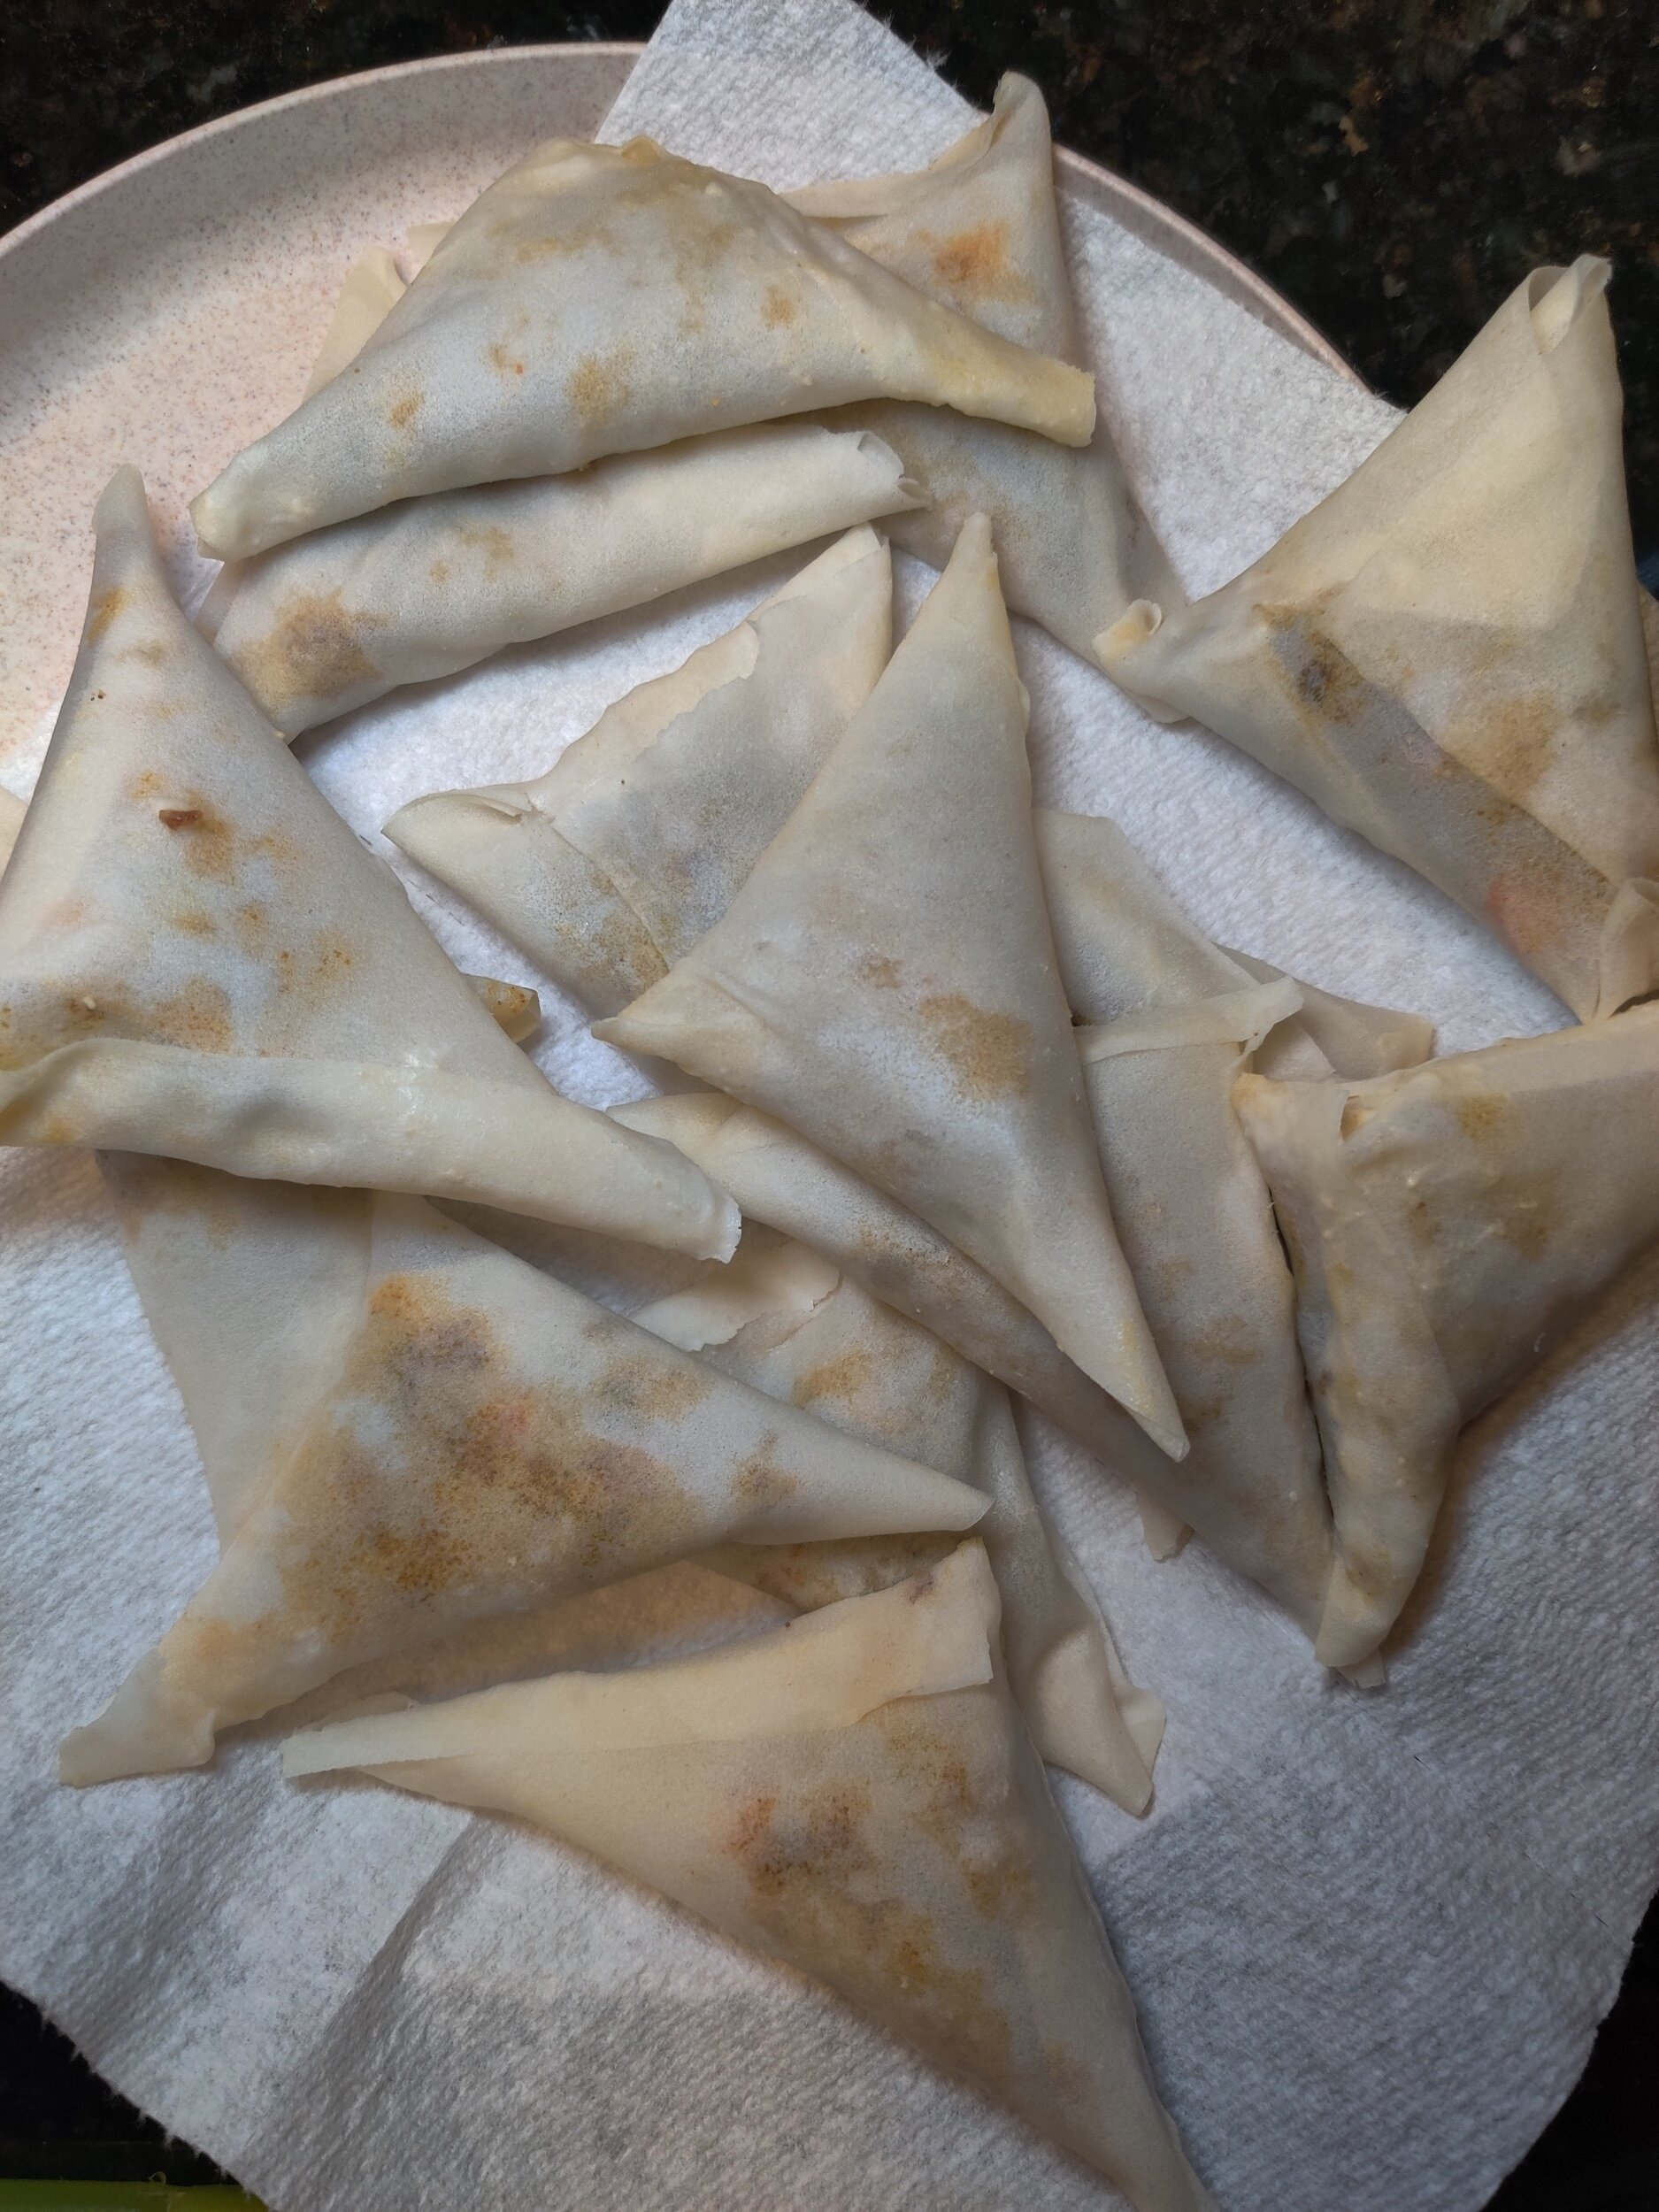
Prepare the samosa sheets according to the package instructions, and ensure they don't dry out. To fill them, fold a bottom corner into a triangle of each samosa sheet, then another triangle to make it a double pocket. Add the filling, sealing the sides with the flour and water mix as needed. Check this video out for clear steps!
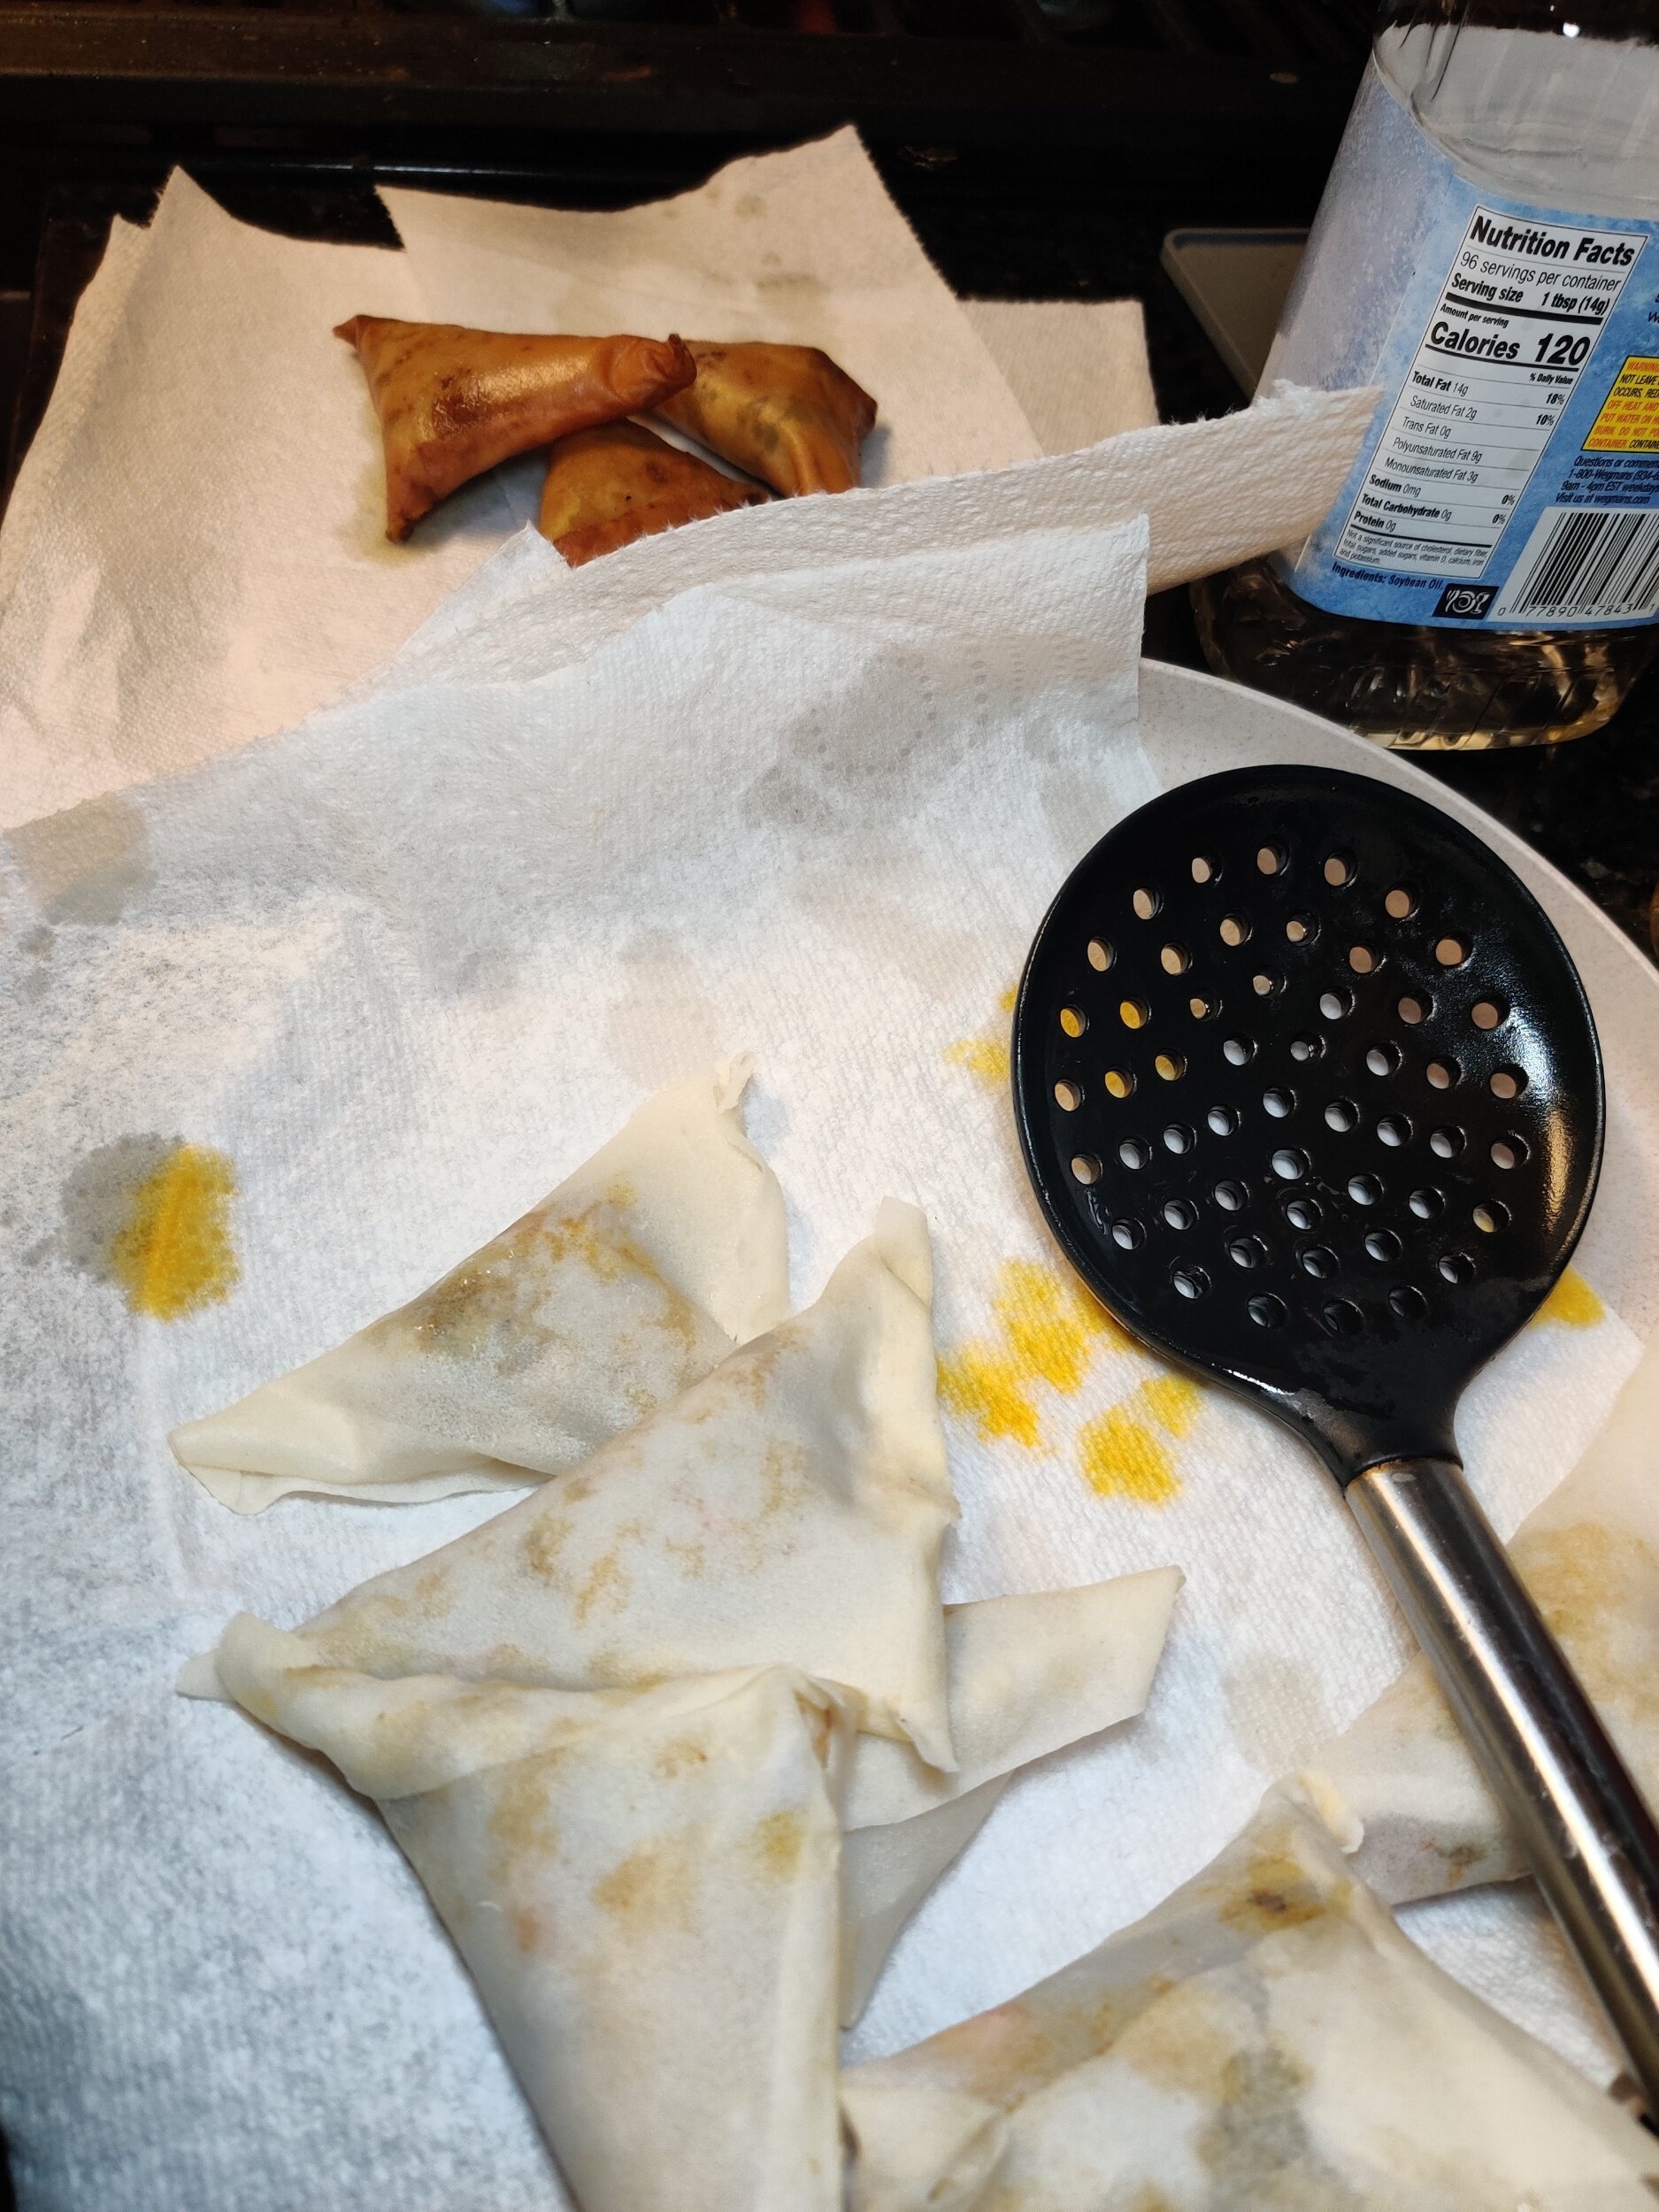
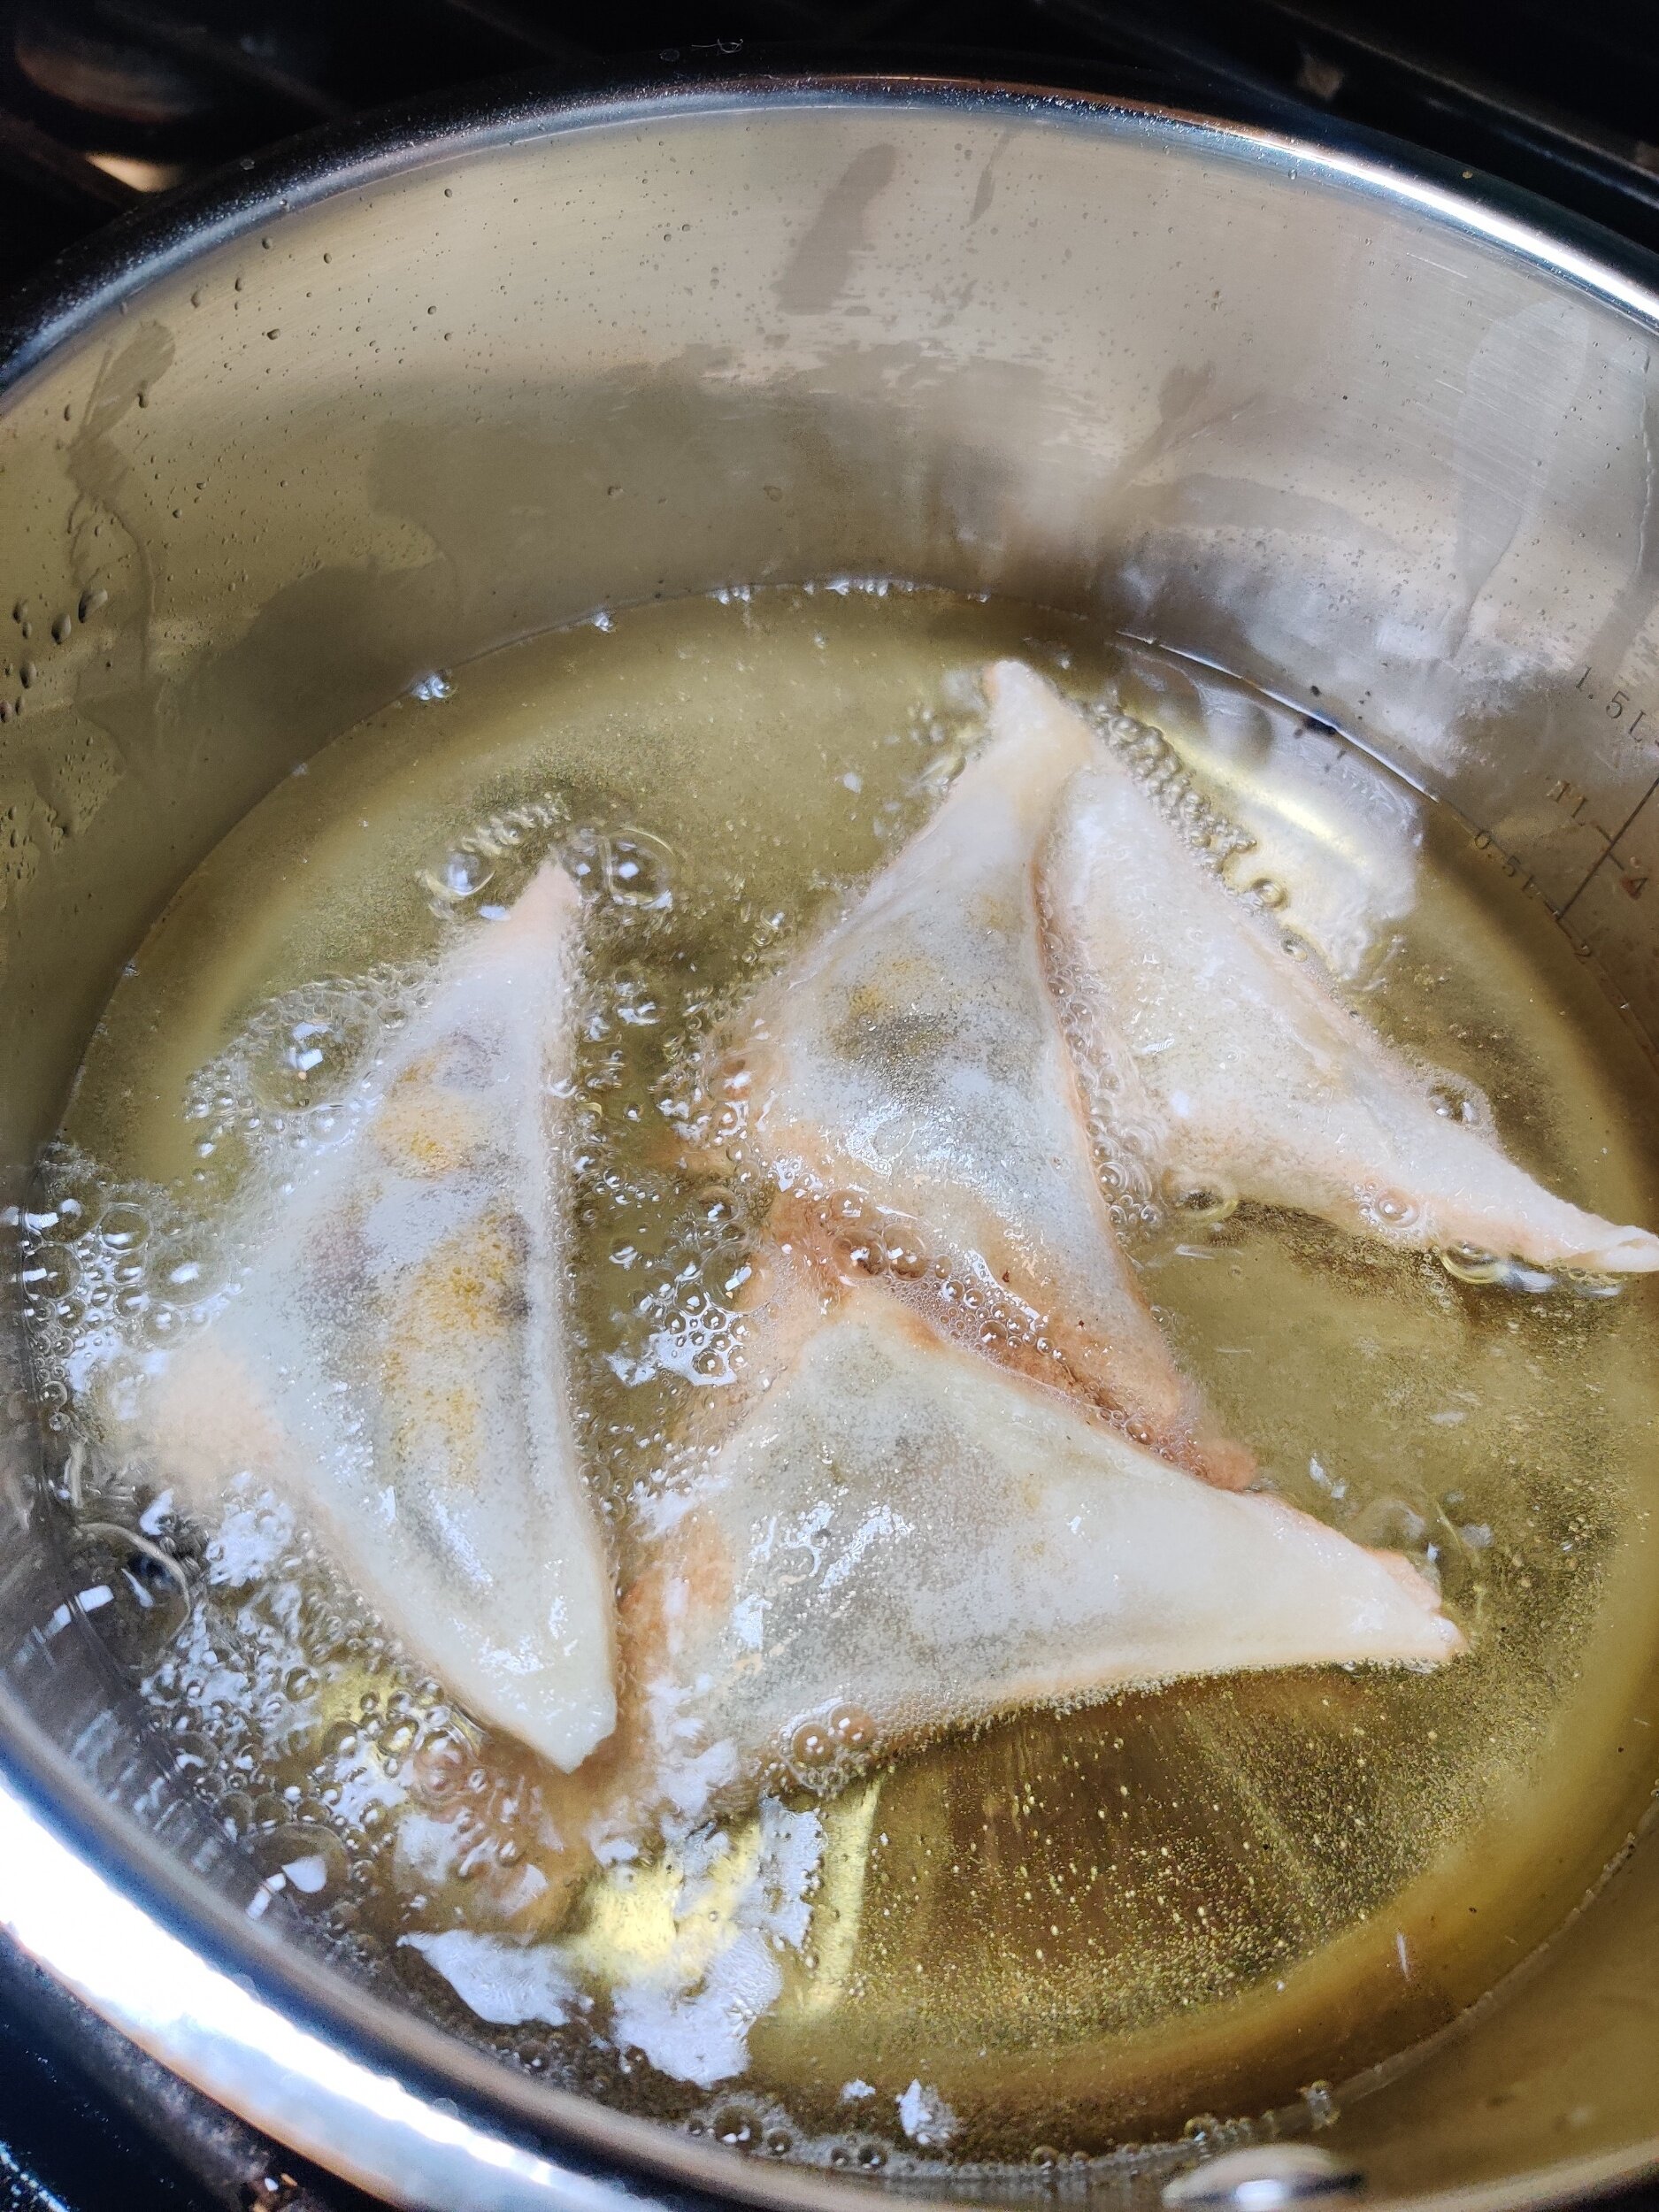
Fry the samosas in vegetable oil for one minute per side, then place on paper towels to drain the extra fat. Don't overcrowd the pot to help them cook evenly.
Serve with the mango chutney (cold or room temperature) and sour cream.


Pork Chops, Purple Peppers, and Peaches with Wine Sauce
John Harris' Peter Piper picked a peck of pickled peppers came to mind when I began writing out this recipe!
After a trip to the farmer's market, I left with some fresh purple peppers, which taste mostly like their green, orange and red cousins; subtle, but a little bitter, which can be a nice contrast in the suitable dish. Given the colour, they could be a great addition to a salad. I also happened to have some peaches from a previous recipe.

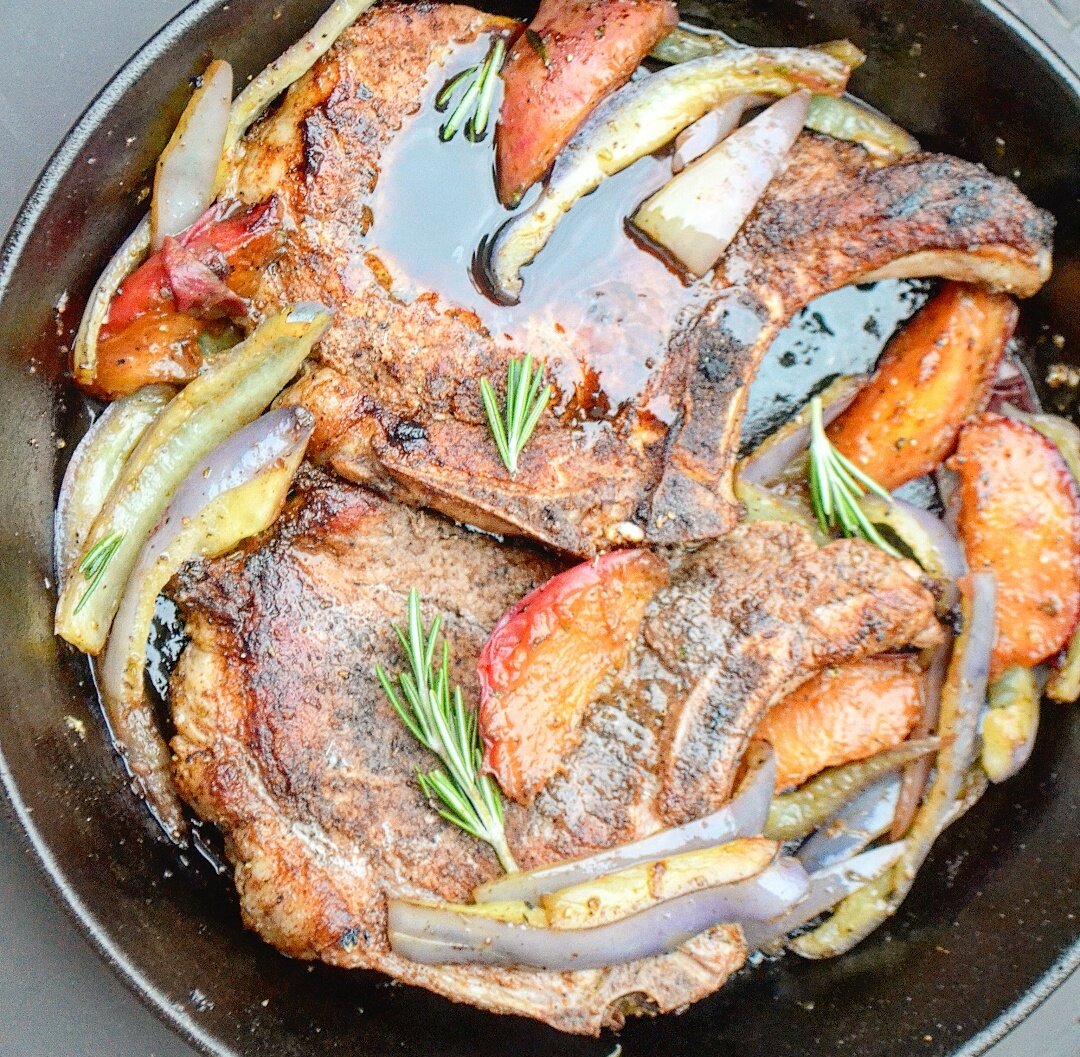
To keep pork chops juicy and prevent them from drying out, you want to sear both sides on high heat in a cast iron or non-stick pan to give them a nice colour and crisp, then poach in the wine with the lid to finish. To avoid overcooking the peaches and peppers, you can sauté separately in the same pan the chops are prepared once the remaining poaching liquid is moved to a saucepot to reduce.


Pork Chops, Purple Peppers, and Peaches with Wine Sauce
Ingredients
- 2 large pork chops
- 2 peaches, sliced into segments
- 1 tablespoon steak and chops seasoning (I used Roberston’s)
- 1/3 cup white wine (real wine preferred)
- 2 tablespoons olive oil
- 2 tablespoons butter
- 2 bell peppers, sliced into strips (I used purple, you can also use green)
- Rosemary sprigs
- 4 garlic cloves
- 2 tablespoons butter
- 1 tablespoon shallots, finely chopped (optional)
- 2 tablespoons mirin
- 1 teaspoon red wine vinegar
- 1 teaspoon Worchester sauce
- Salt and pepper to taste
Instructions
- Pat the pork chops dry. Make small lengthwise slices in the fat to prevent shrinkage—season. Lay them in a cast iron pan once the olive oil and 1 tablespoon of butter are heated. Sear on each side for about 4 minutes until golden brown and crispy. Once flipped to the other side, add the garlic, rosemary and remaining butter.
- Pour in the wine, then cover with a lid on low heat and poach until the thickest parts are 165F. Remove the pork chops from the pan and allow to rest for 10 minutes.
- While the sauce is simmering, saute the peach segments and bell pepper slices, season to taste for about 3 minutes until slightly softened.
- Pour the sauce into a serving cup, return all the ingredients to the skillet, and serve with sides of your choice.
- Remove the rosemary and garlic.
- Transfer the liquid to a small saucepot, and bring the liquid to a boil.
- Add the butter, mirin, vinegar, and Worchester—adjust and season to taste.
- Lower the heat to simmer and reduce the liquid until thickened, and stir occasionally.
- You can also add some shallots with the butter first for additional flavour, but don't burn it to avoid bitter taste.
Nutrition Facts
Calories
749Fat (grams)
57.7Carbs (grams)
34.4Sugar (grams)
24.4Protein (grams)
21.4I am not a certified nutritionist and any nutritional information on dontmissmyplate.com should only be used as a general guideline.

Fried Pumpkin Flowers
In Zimbabwean cuisine, the pumpkin leaves (nhanga) known as muboora are commonly consumed as a relish or dried first, often stewed with peanut butter. They can be bitter similar to mustard greens, and a little tough - but nothing a little bicarbonate soda can't fix. Neighbouring countries like Mozambique like to add shrimp and coconut milk to the mix.
This recipe is super easy and makes for a light and fluffy batter, thanks to carbonated tonic water and egg white.
You'll need to be gentle with them, not overly dredge in batter and shake the excess off, not wash them roughly, and try to keep them as dry as possible before frying. Inspect the flowers for pollen and anything else.


How do they taste? Next time you see the flowers at the farmer's market, give them a try! In this case, sweet and subtle, a floral taste, not like a pumpkin, but delicious and melts in your mouth. Not only can you fry them in a light batter, but you can also stuff the flowers with a filling of your choice and bake or fold them into tortillas.


Fried Pumpkin Flowers
Ingredients
- 12 clean pumpkin flowers
- 1/2 cup + 2 tablespoons flour
- 1 egg white
- 3/4 cups tonic water
- 1 teaspoon sugar
- 1/2 teaspoon table salt
- Sea salt crystals
Instructions
- In a shallow bowl, add the flour, table salt and sugar, set aside.
- Heat your oil in a pan; it should be about 300F+ at the time of frying - you can use a thermometer to check. Make sure the panhandle is turned away from you/not easy to knock over.
- Beat the egg white until stiff peaks form.
- Whisk the tonic water into the bowl into large lumps are gone, and flour is mostly dissolved - don't over mix to keep the batter airy and light from the carbonation. Gently fold in the egg whites.
- Dip each flower carefully into the batter, shaking off excess before placing it in the hot oil )(away from you to avoid the splatters). Keep a close eye; they fry quickly! Flip over after about 20 seconds (30 seconds if you want the batter a bit brown more, though it lightens up a bit after cooling).
- Remove from the pan with a draining spoon and place on paper towels to absorb extra fat. Sprinkle with sea salt crystals and enjoy hot.
Nutrition Facts
Calories
72Fat (grams)
3.5Carbs (grams)
8.7Sugar (grams)
5.1Protein (grams)
1.4
Pineapple Chow Black Seabass with Salsa
Summer is all about enjoying fruit in all forms, folded into or layered between a cake, filling an open-face pie, grilling, or chopping into a flavourful salsa or chutney to accompany spicy fish!
Pineapple is high up on that list. I was inspired to put together this recipe not only because I love whole fish, whether baked, grilled, roasted, fried, or steamed, but because I got an excuse from Camella's Kitchen. I've raved about their products in the past. The small business is women-owned, operates in Maryland, and celebrates the bold flavours of the Caribbean, or more specifically, Trinidad. Their pineapple chow pepper sauce came just in time for the summer. I used it to marinate the fish and spice up the 'pineapple chow' salsa. This dish can be served with a healthy grain such as couscous or farro, grilled vegetables, or in this case, bean fritters. I wasn't familiar with pineapple chow until this point. It's pineapple spiced with chillies and/or chilli sauce, garlic and cilantro often enjoyed as a beach snack. Since fish goes well with salsa, this pairing made total sense with a few additions!
To add another layer of tropical flavour, I wrapped and baked the sea bass in banana leaves. This not only helps keep the fish moist, but it also adds to the presentation and imparts a herby flavour.

Ingredients
1 whole (black) sea bass, cleaned
1 long piece of banana leaf to wrap the fish (cut more sheets if you necessary)
4 slices lemon
1/4 cup Camella’s Kitchen pineapple chow pepper sauce
1 tablespoon minced garlic
2 tablespoon Worchester sauce
1 bouquet garni (bunch of fresh basil, thyme and sage)
1 cup olive oil
1/3 cup white wine vinegar
1/8 cup mirin or white wine
1/4 cup shallots, finely chopped
1/2 large yellow onion, sliced thinly
1 teaspoon all-purpose seasoning (I used Aromat)
1 teaspoon seafood seasoning
1 teaspoon black pepper
1 teaspoon lemon juice
1 teaspoon fresh ginger, grated
Salsa:
1 tablespoon Worcester sauce
1 teaspoon coconut sugar
1 teaspoon lemon juice
1 cup pineapples, diced
1/2 large red bell pepper, diced
1 teaspoon garlic, minced
1/3 cup red onion, diced
1 teaspoon Camella’s Kitchen pineapple chow pepper sauce (use more or less depending on heat tolerance)
1 teaspoon red wine vinegar
2 tablespoon cilantro or parsley, finely chopped

Instructions
Marinate your fish the day before. In a large bowl, whisk the shallots, garlic, olive oil, vinegar, mirin, lemon juice, ginger, lemon zest, Worchester sauce, pineapple chow pepper sauce, and seafood and all-purpose seasonings, mix well.
Season the fish with salt and pepper after making light, shallow scores along the skin (this will let in more flavour). Stuff the fish with two lemon slices, some onion slices, and the fresh herbs.
Place it in a shallow glass dish and pour the marinade over it, trying to make sure it is mostly submerged—refrigerate overnight or for at least four hours.
The next day, turn the oven on to 375F. Transfer the fish to a foil-lined baking tray on top of the banana leaf. Roll it over twice and allow the weight of the fish to hold it down. Bake the fish for 25 minutes or until the thickest section flakes easily, turning the tray halfway through the cooking time. You can also check the internal temperature with a kitchen thermometer - an internal temperature of at least 135F minimum is recommended for safety levels.
While the fish is baking, make your salsa. In a small bowl, mix all the ingredients, then chill for 10 minutes.
Remove the fish from the oven and serve with the salsa.


Double Chocolate Hazelnut and Aero Mint Ice Cream with Shortbread (No-Churn)
Ice cream is too easy to make at home to be constantly buying store-bought pints! And no, you don't need an ice cream machine. You can get creative and add in all your favourite sweet treats to the creamy heat reliever. You also have a better sense of what you are adding to the mix from a nutritional perspective.
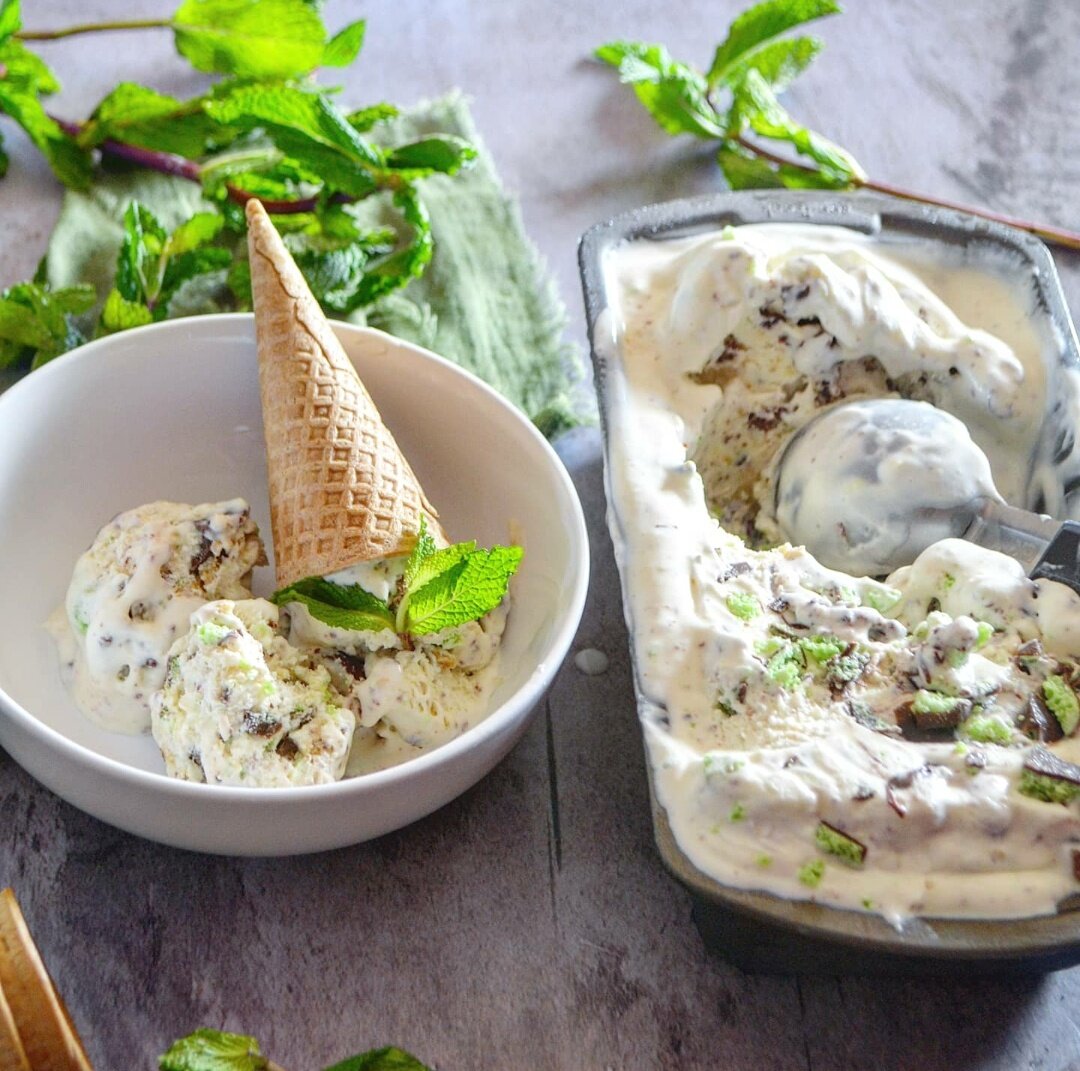
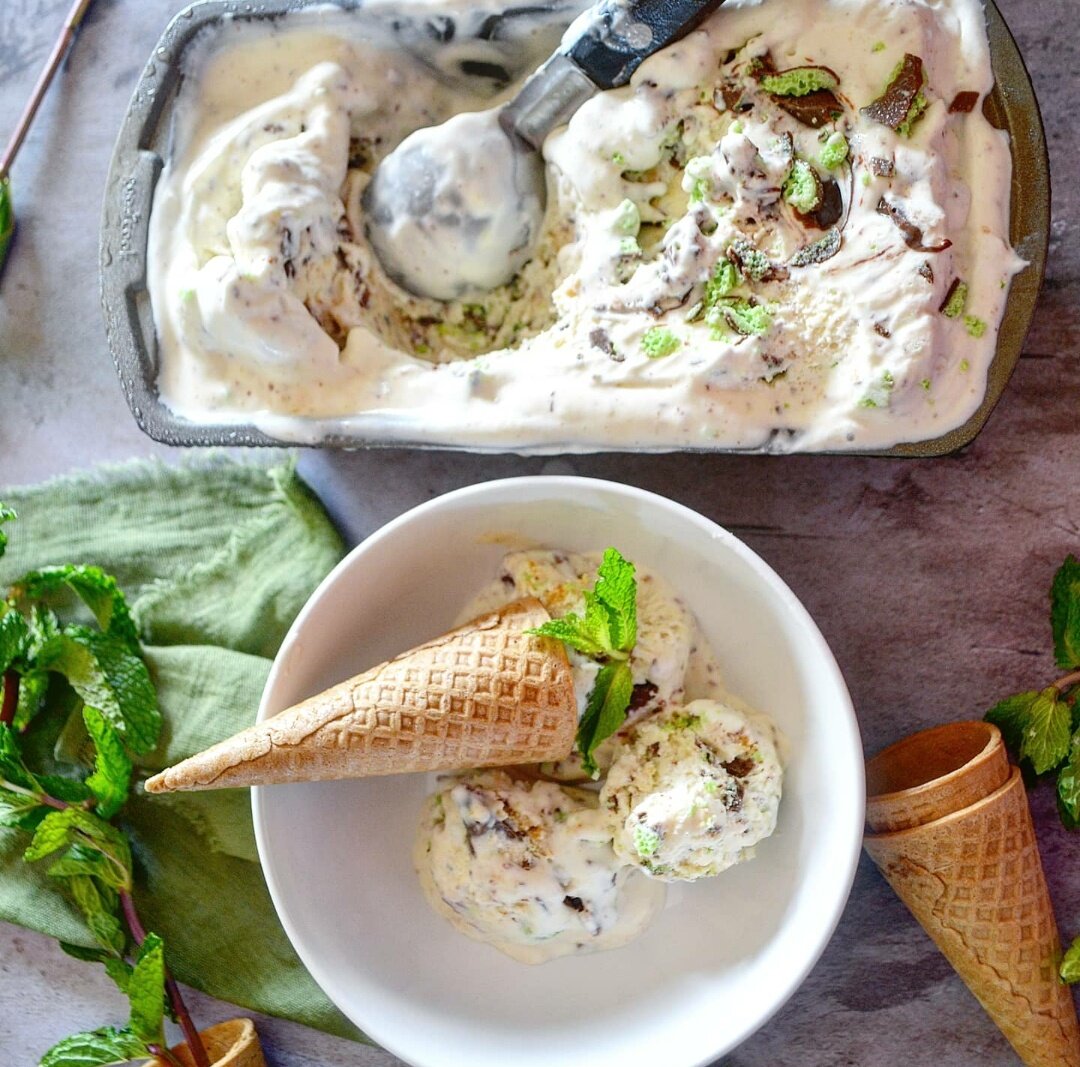
Aero chocolate is unique because it's aerated, i.e. has an air bubble texture, making it one of those candy bars that truly melts in your mouth. Made in the UK and sold across southern Africa, it's one of the chocolate bars I grew up on.
If you are looking for another no-churn ice cream recipe, try this peach crumble with bourbon ice cream. This one takes a different turn but still celebrates the summer heat with chocolate, hazelnut, refreshing peppermint, and another melt-in-your-mouth sweet treat - shortbread! The textures and flavours swim in cream and condensed milk waves effortlessly, making this recipe a win-win perfect for the whole family!


Double Chocolate Hazelnut and Aero Mint Ice Cream with Shortbread (No-Churn)
Ingredients
- 2 cups heavy cream
- 1 (14-ounce can) condensed milk
- 1 teaspoon vanilla extract or paste
- 4 Aero chocolate bars (I used 2 peppermint and 2 chocolate)
- 3 shortbread cookies
- 3 teaspoons chocolate hazelnut spread
Instructions
- Whip the cream to form soft peaks for about 3 minutes (don’t overbeat to avoid separation occurring).
- Fold in the condensed milk and vanilla extract. Whip again for about a minute to form a stiff but smooth consistency.
- Crush the chocolates and shortbread (set some chocolate aside to sprinkle on top), then fold into the ice cream base.
- Transfer to loaf pan, then use a small spatula to even the surface. Place dollops of the chocolate hazelnut spread on top, then make a swirl motion utilizing a knife or small spatula to mix it in.
- Place a layer of cling film directly on top of the ice cream, then use another to seal tightly - the plastic will help prevent too much ice crystalizing on top.
- Freeze overnight. When ready to serve, leave out the fridge for 5 minutes, then enjoy!
Nutrition Facts
Calories
332Fat (grams)
17.9Carbs (grams)
36.7Protein (grams)
5.1I am not a certified nutritionist and any nutritional information on dontmissmyplate.com should only be used as a general guideline.


Coconut Salmon Chowder
Chowder is a considerable part of New England cuisine. Along the Northeast coast and beyond, from Maine (where I was inspired to make this recipe) to Rhode Island, which makes sense; of course, it's an affordable way to get filled up, and you can customize the soupy stew to be whatever you want it to be. But, most simply, a combination of vegetables and protein in a rich, creamy broth or milk-based mixture thickened with crackers and potatoes. If you are already a chowder fan, I have another version you can check out here with sweet potato and corn.
I used salmon, which is plentiful in our household, to make fish chowder for this version. When I visit Maine, clam chowder was the most prominent, but you can use almost any fish or ocean dweller for traditional seafood chowder.
Even with a creamy broth, there is a danger of chowder falling flat. So how do you prevent it?
Taste, taste, taste.
Make sure you add seasoning and taste constantly. Salt, pepper, fresh and dried herbs, whatever compliments your set of ingredients. In this case, salt and pepper and perhaps a little bit more Old bay should do.
Season the star of the show.
Whatever ingredients you want to highlight in your chowder, make sure it's seasoned! This step can make all the difference. In this case, it's the salmon which I pan-seared and seasoned it with salt, pepper, Old Bay, olive oil, and soy sauce. Even if you use canned salmon, taste and adjust before adding to the chowder.
It pays to use rich stock or broth.
Most importantly, use a good quality broth or stock! This will be a game-changer for your chowder. If possible, use a homemade helping. Consider adding some parmesan cheese when adding the cream or bacon with the carrots and celery for even more flavour. You could also use bouillon cubes as an alternative.
Enjoy this recipe as a starter or side, with some additional crackers or fresh, toasted bread.
Ingredients
2 tablespoons olive oil
2 tablespoons butter
2 tablespoons flour
1 1/2 cups pan-seared/cooked salmon
1 teaspoon salt
1 tablespoon black pepper
1 tablespoon Old Bay seasoning
1 cup chopped carrots
3 garlic, minced
1 cup chopped celery
1 cup chopped onion
1 QT seafood stock or broth
1/2 cup coconut cream
1/2 cup coconut milk
1 cup sweet corn kernels
1/4 cup + 2 tablespoons fresh dill
2 tablespoons cornstarch
4-5 crackers, roughly crushed
1 Russet potato, peeled and diced
Instructions
Prepare your salmon if you don’t have it set aside already.
In a large pot, melt the butter with olive oil. Saute the garlic until fragrant, for about 2 minutes. Bloom the seasoning for about 1 minute, stirring.
Add the onions and cook until transcalent, for about 3 minutes.
Add the carrots, celery, and dill, sweat out for about 4-5 minutes until the vegetables begin to soften. Add extra oil if necessary.
Mix in the diced potato and flour, cook for about 2 minutes. Pour in the stock or broth, coconut cream, and coconut milk. Bring to a boil, then simmer for 20 minutes. Make sure the potatoes are soft to the bite (but not falling apart).
Stir in the salmon, corn, and crackers, heat for about 1-2 minutes before serving hot with crackers or bread. You can add a dollop or splash of cream and fresh dill to garnish.
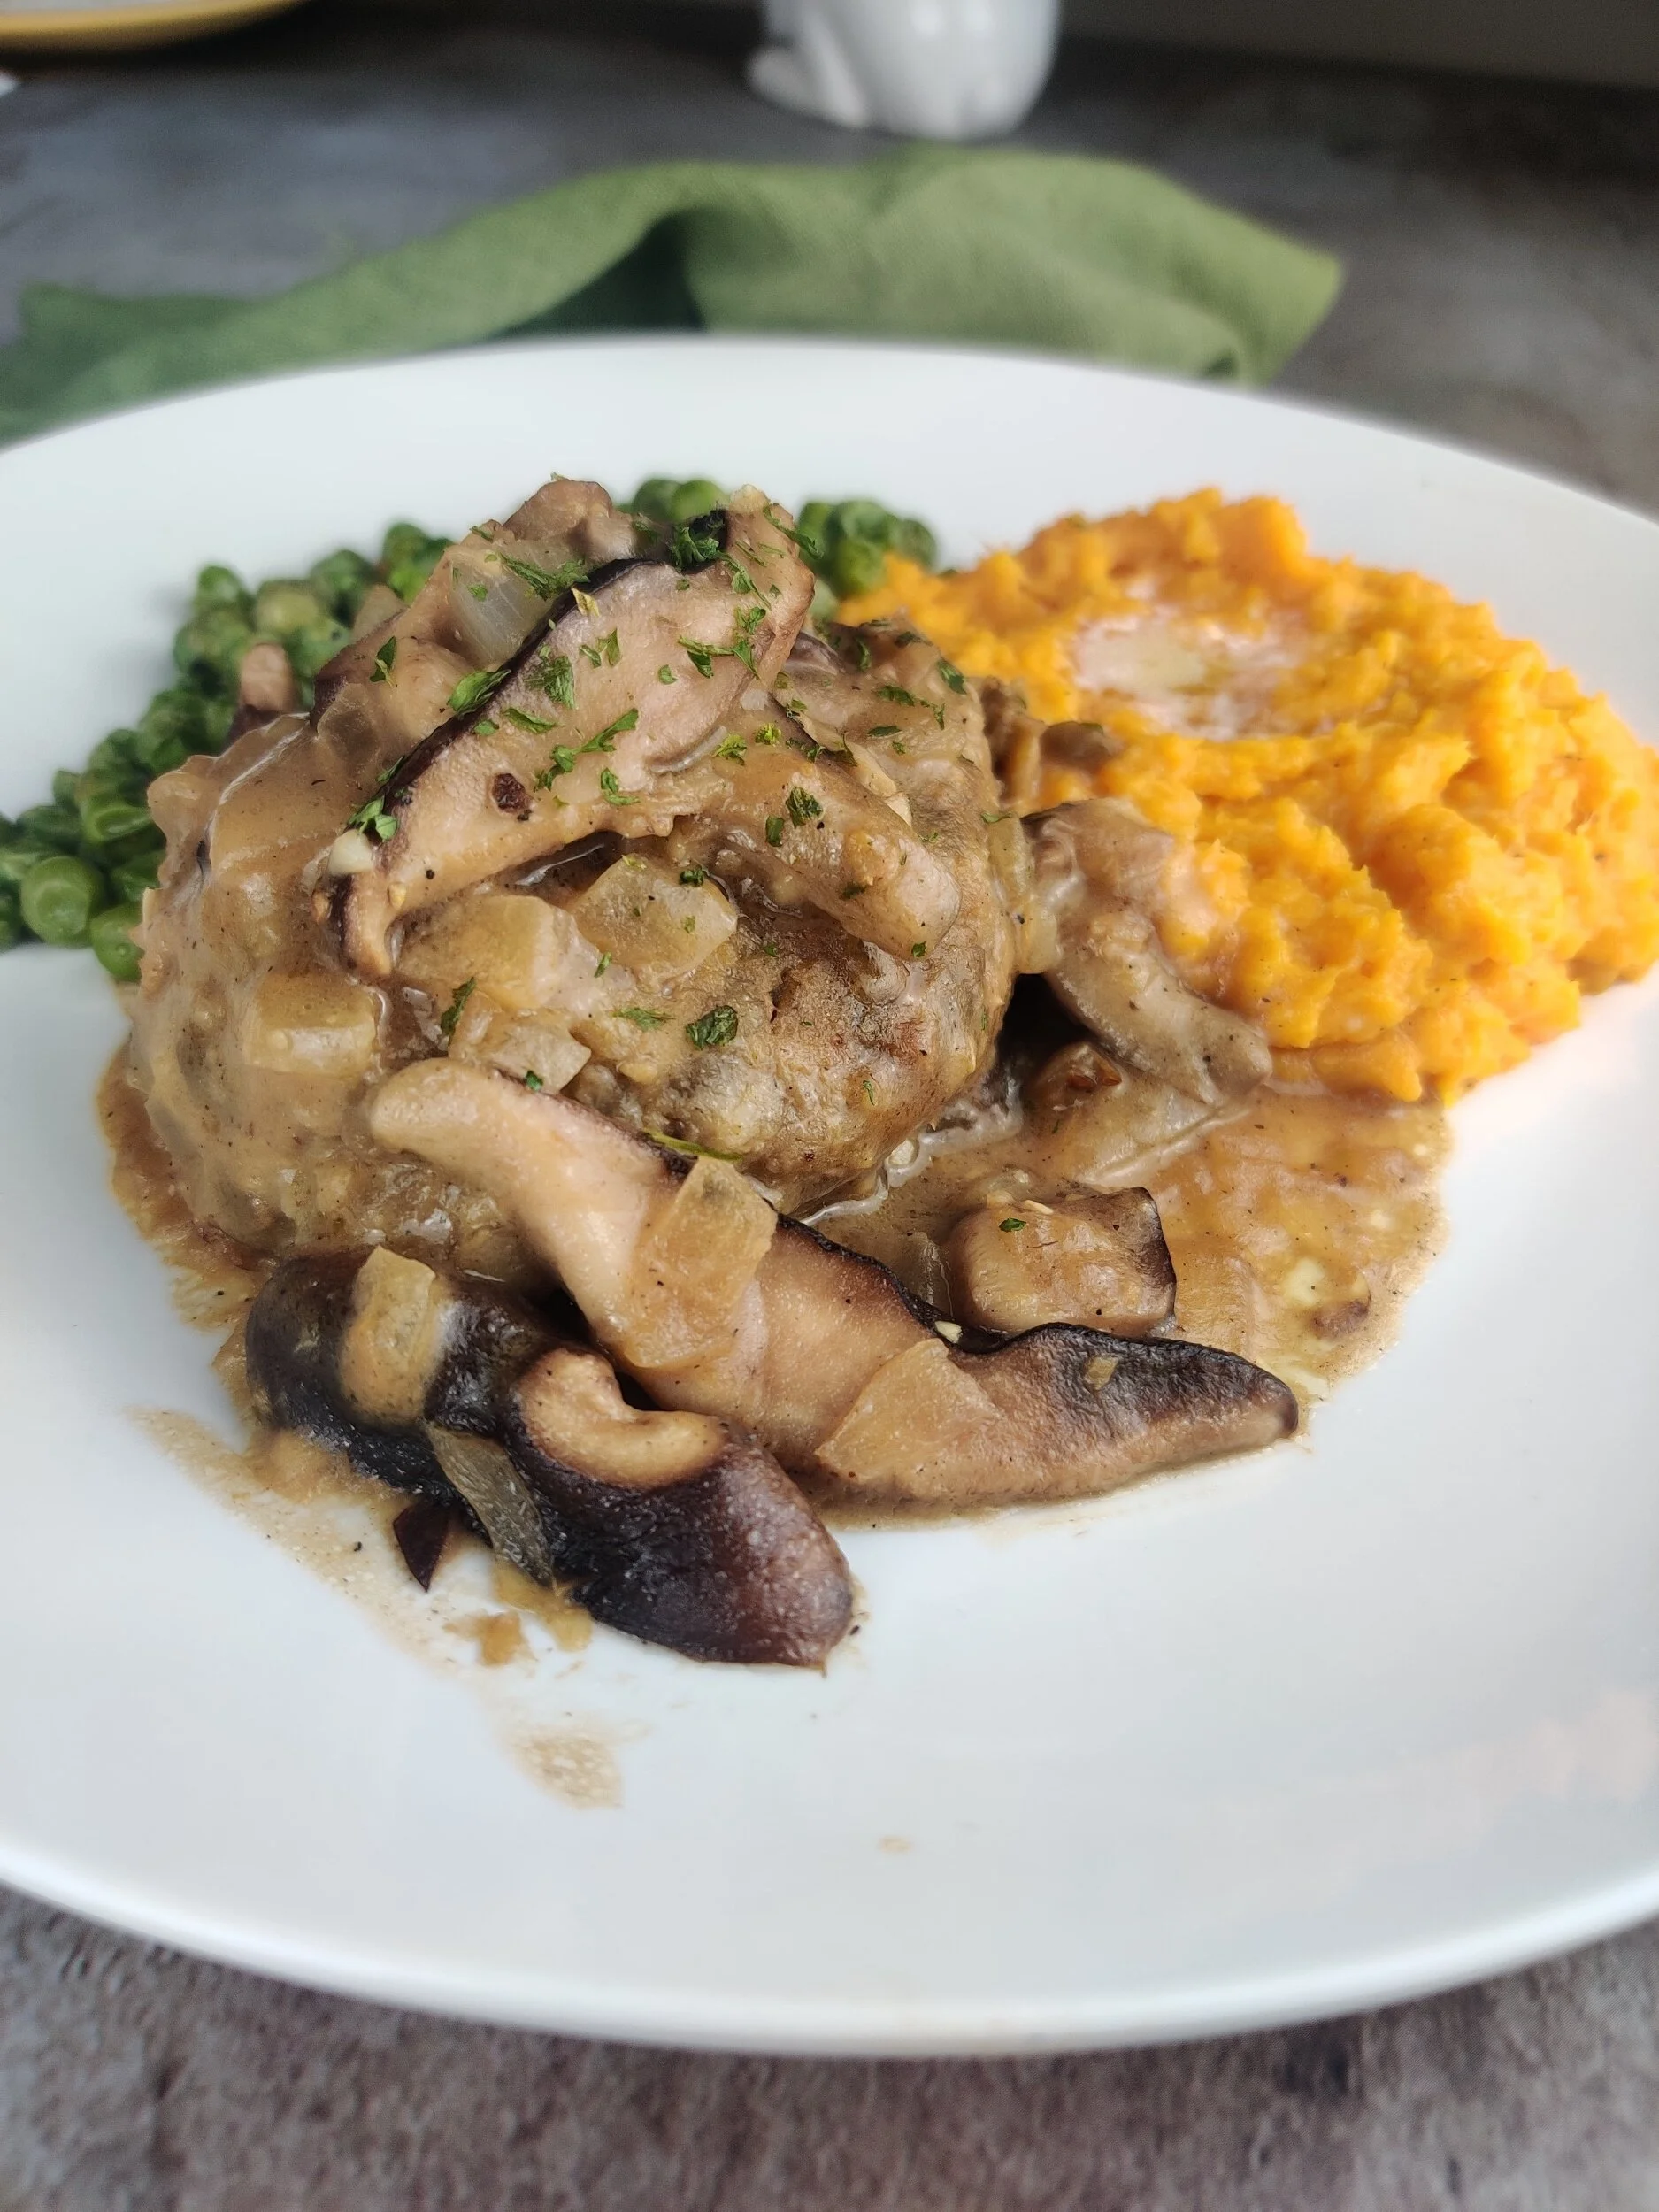
Lentil and Mushroom Salisbury 'Steak’
I love the combination of lentils and mushrooms. It made sense to put them together for this recipe. Familiar to many but obscure to some, a Salisbury steak is typically a ground beef burger patty served with gravy. Modern versions call for the addition of sauteed mushrooms, and the dish is generally paired with green beans or peas and mashed potato. I steamed some peas and made a quick sweet potato mash. http://npengage.com/nonprofit-fundraising/design-fundraising-appeal-that-raises-more-this-december/
I made sure the lentils and mushrooms were well-flavoured for the patty base. You could get pre-cooked vegetables and beans, which saves you time if you don’t meal prep, but it gives you more control. For a homemade mix, get dried lentils, soak them overnight, then cook in broth and store until it’s time to make the patties. As for the button mushrooms, you can roughly chop and saute in advance, then mix with the cooked lentils. I kept mine as larger chunks to give the patties textures.
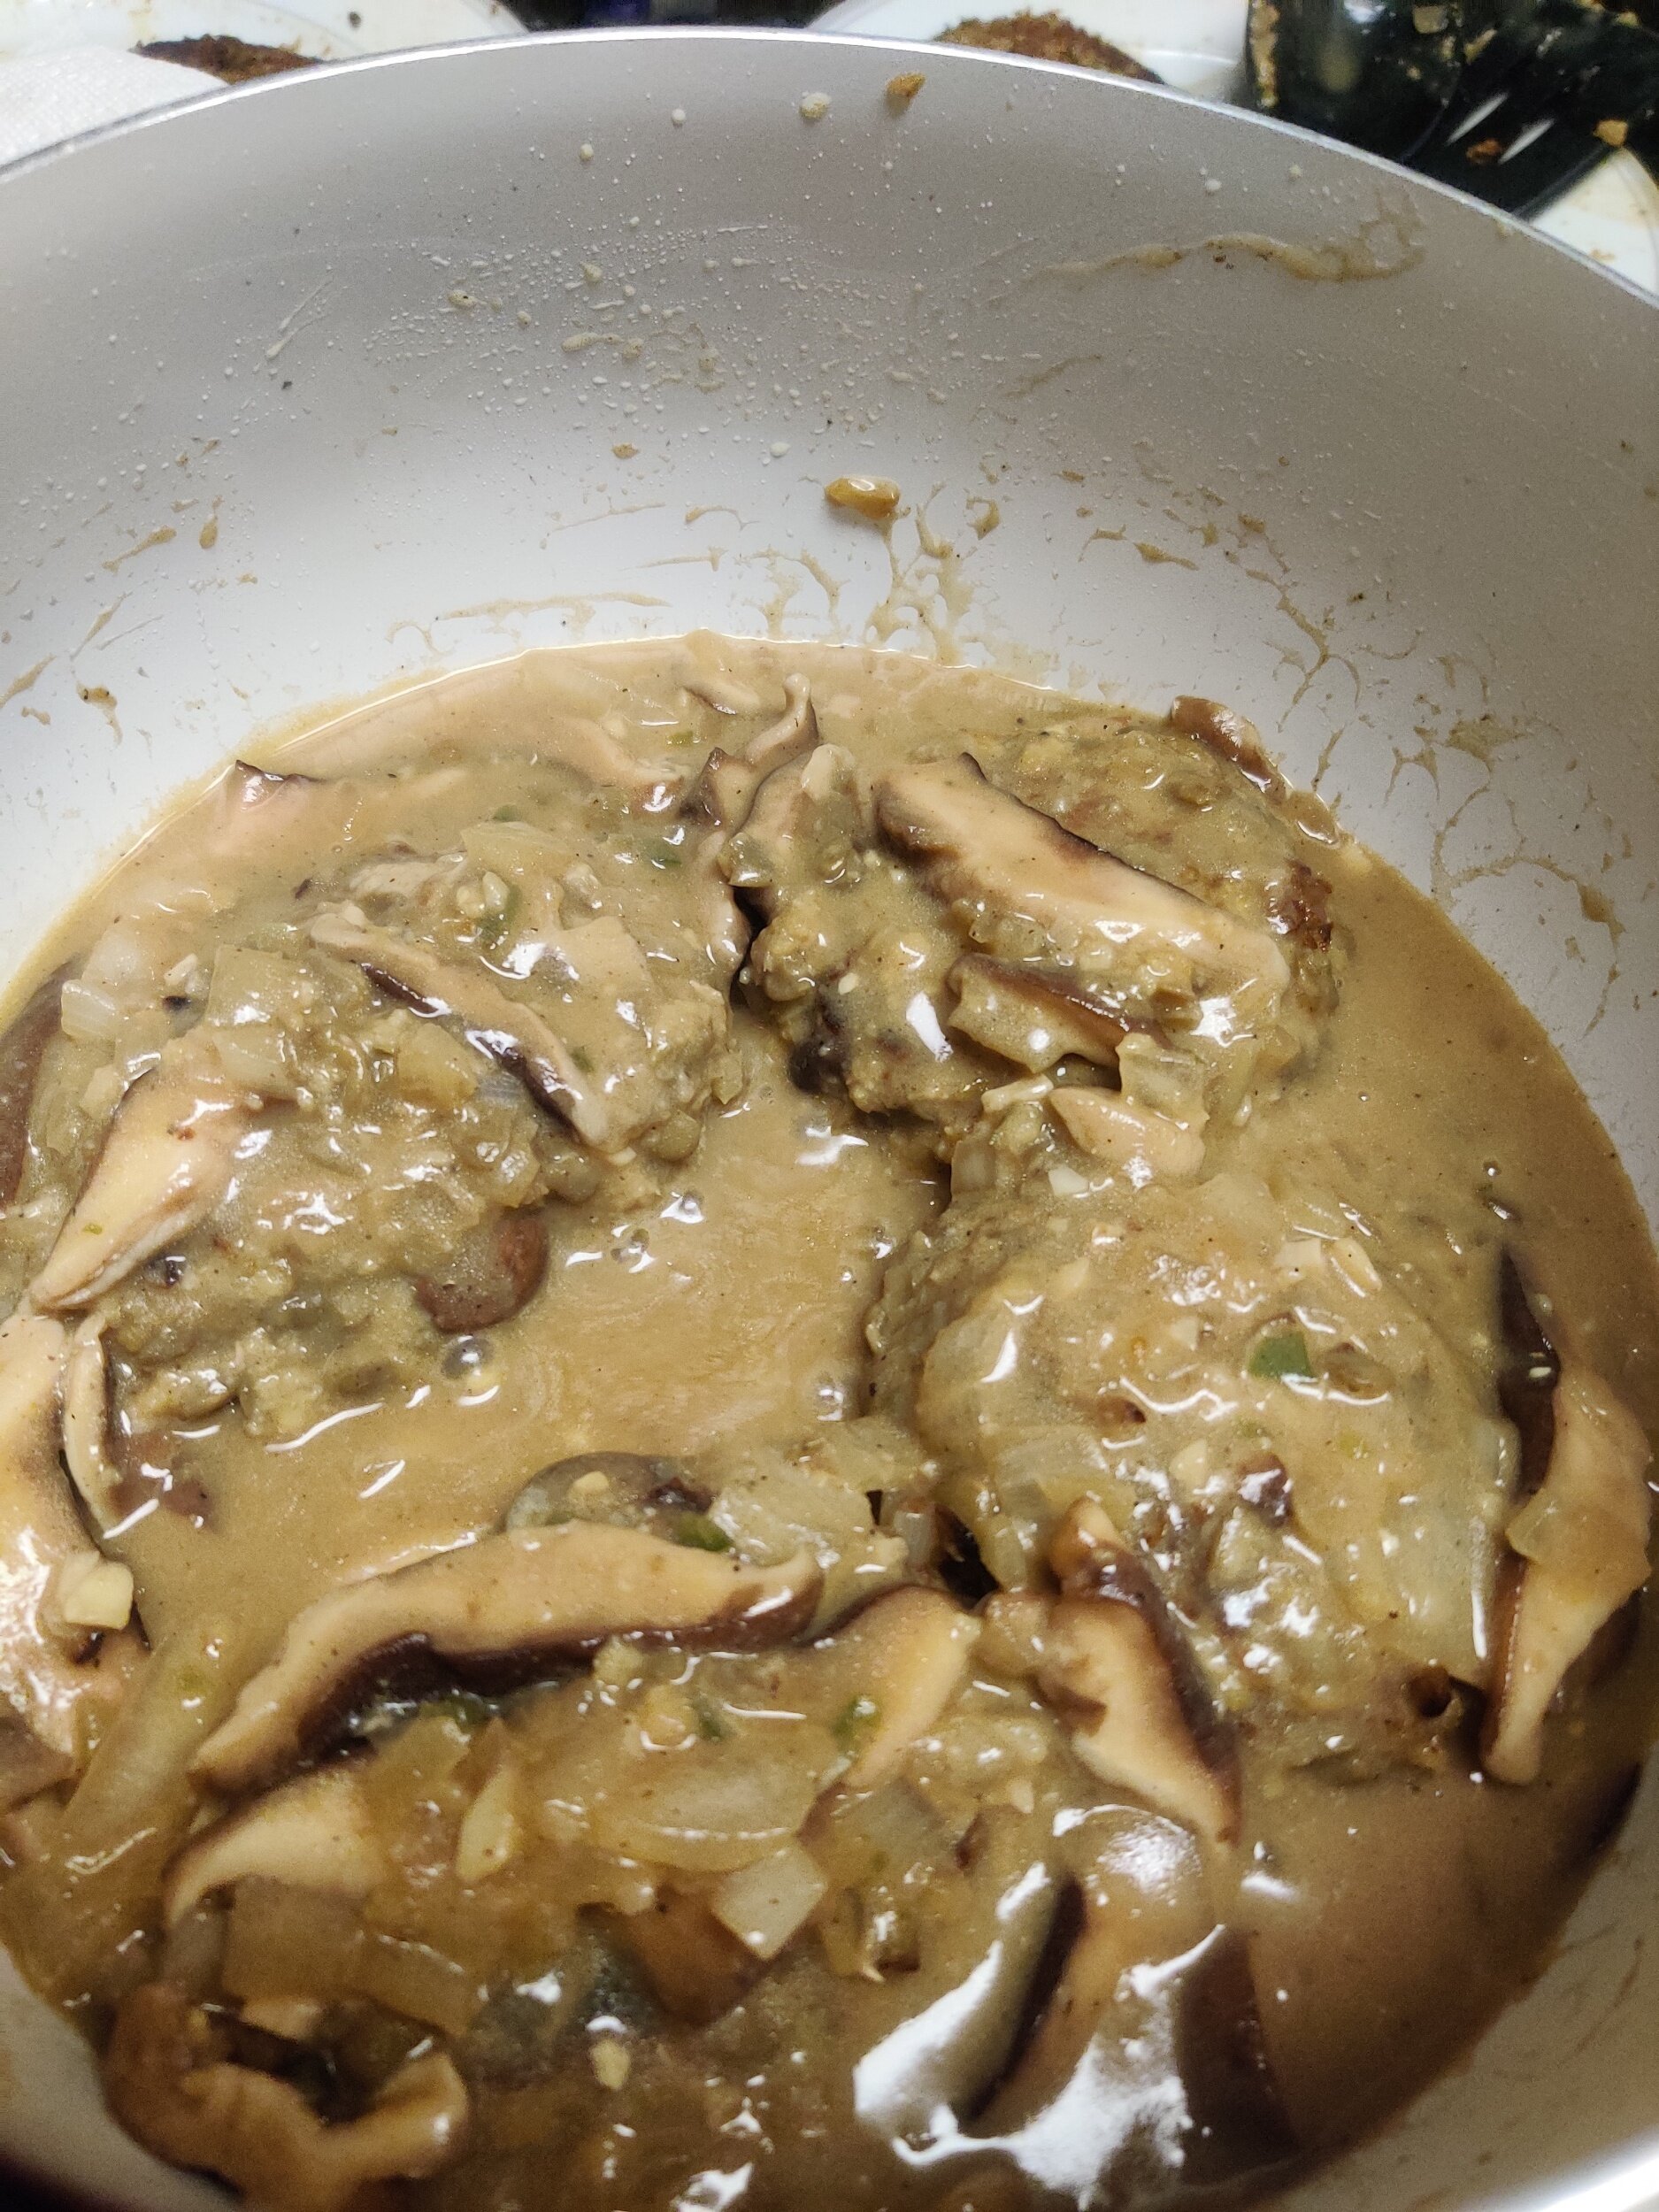
For the mushrooms in the gravy, I used shiitake. They are juicy, packed with flavour and enhance whatever you add them to, serving as the perfect bite and umami. You get the creamy, ‘meaty’ taste while enjoying the lentil patties with even more mushroom.
Ingredients
Patties/’steak’:
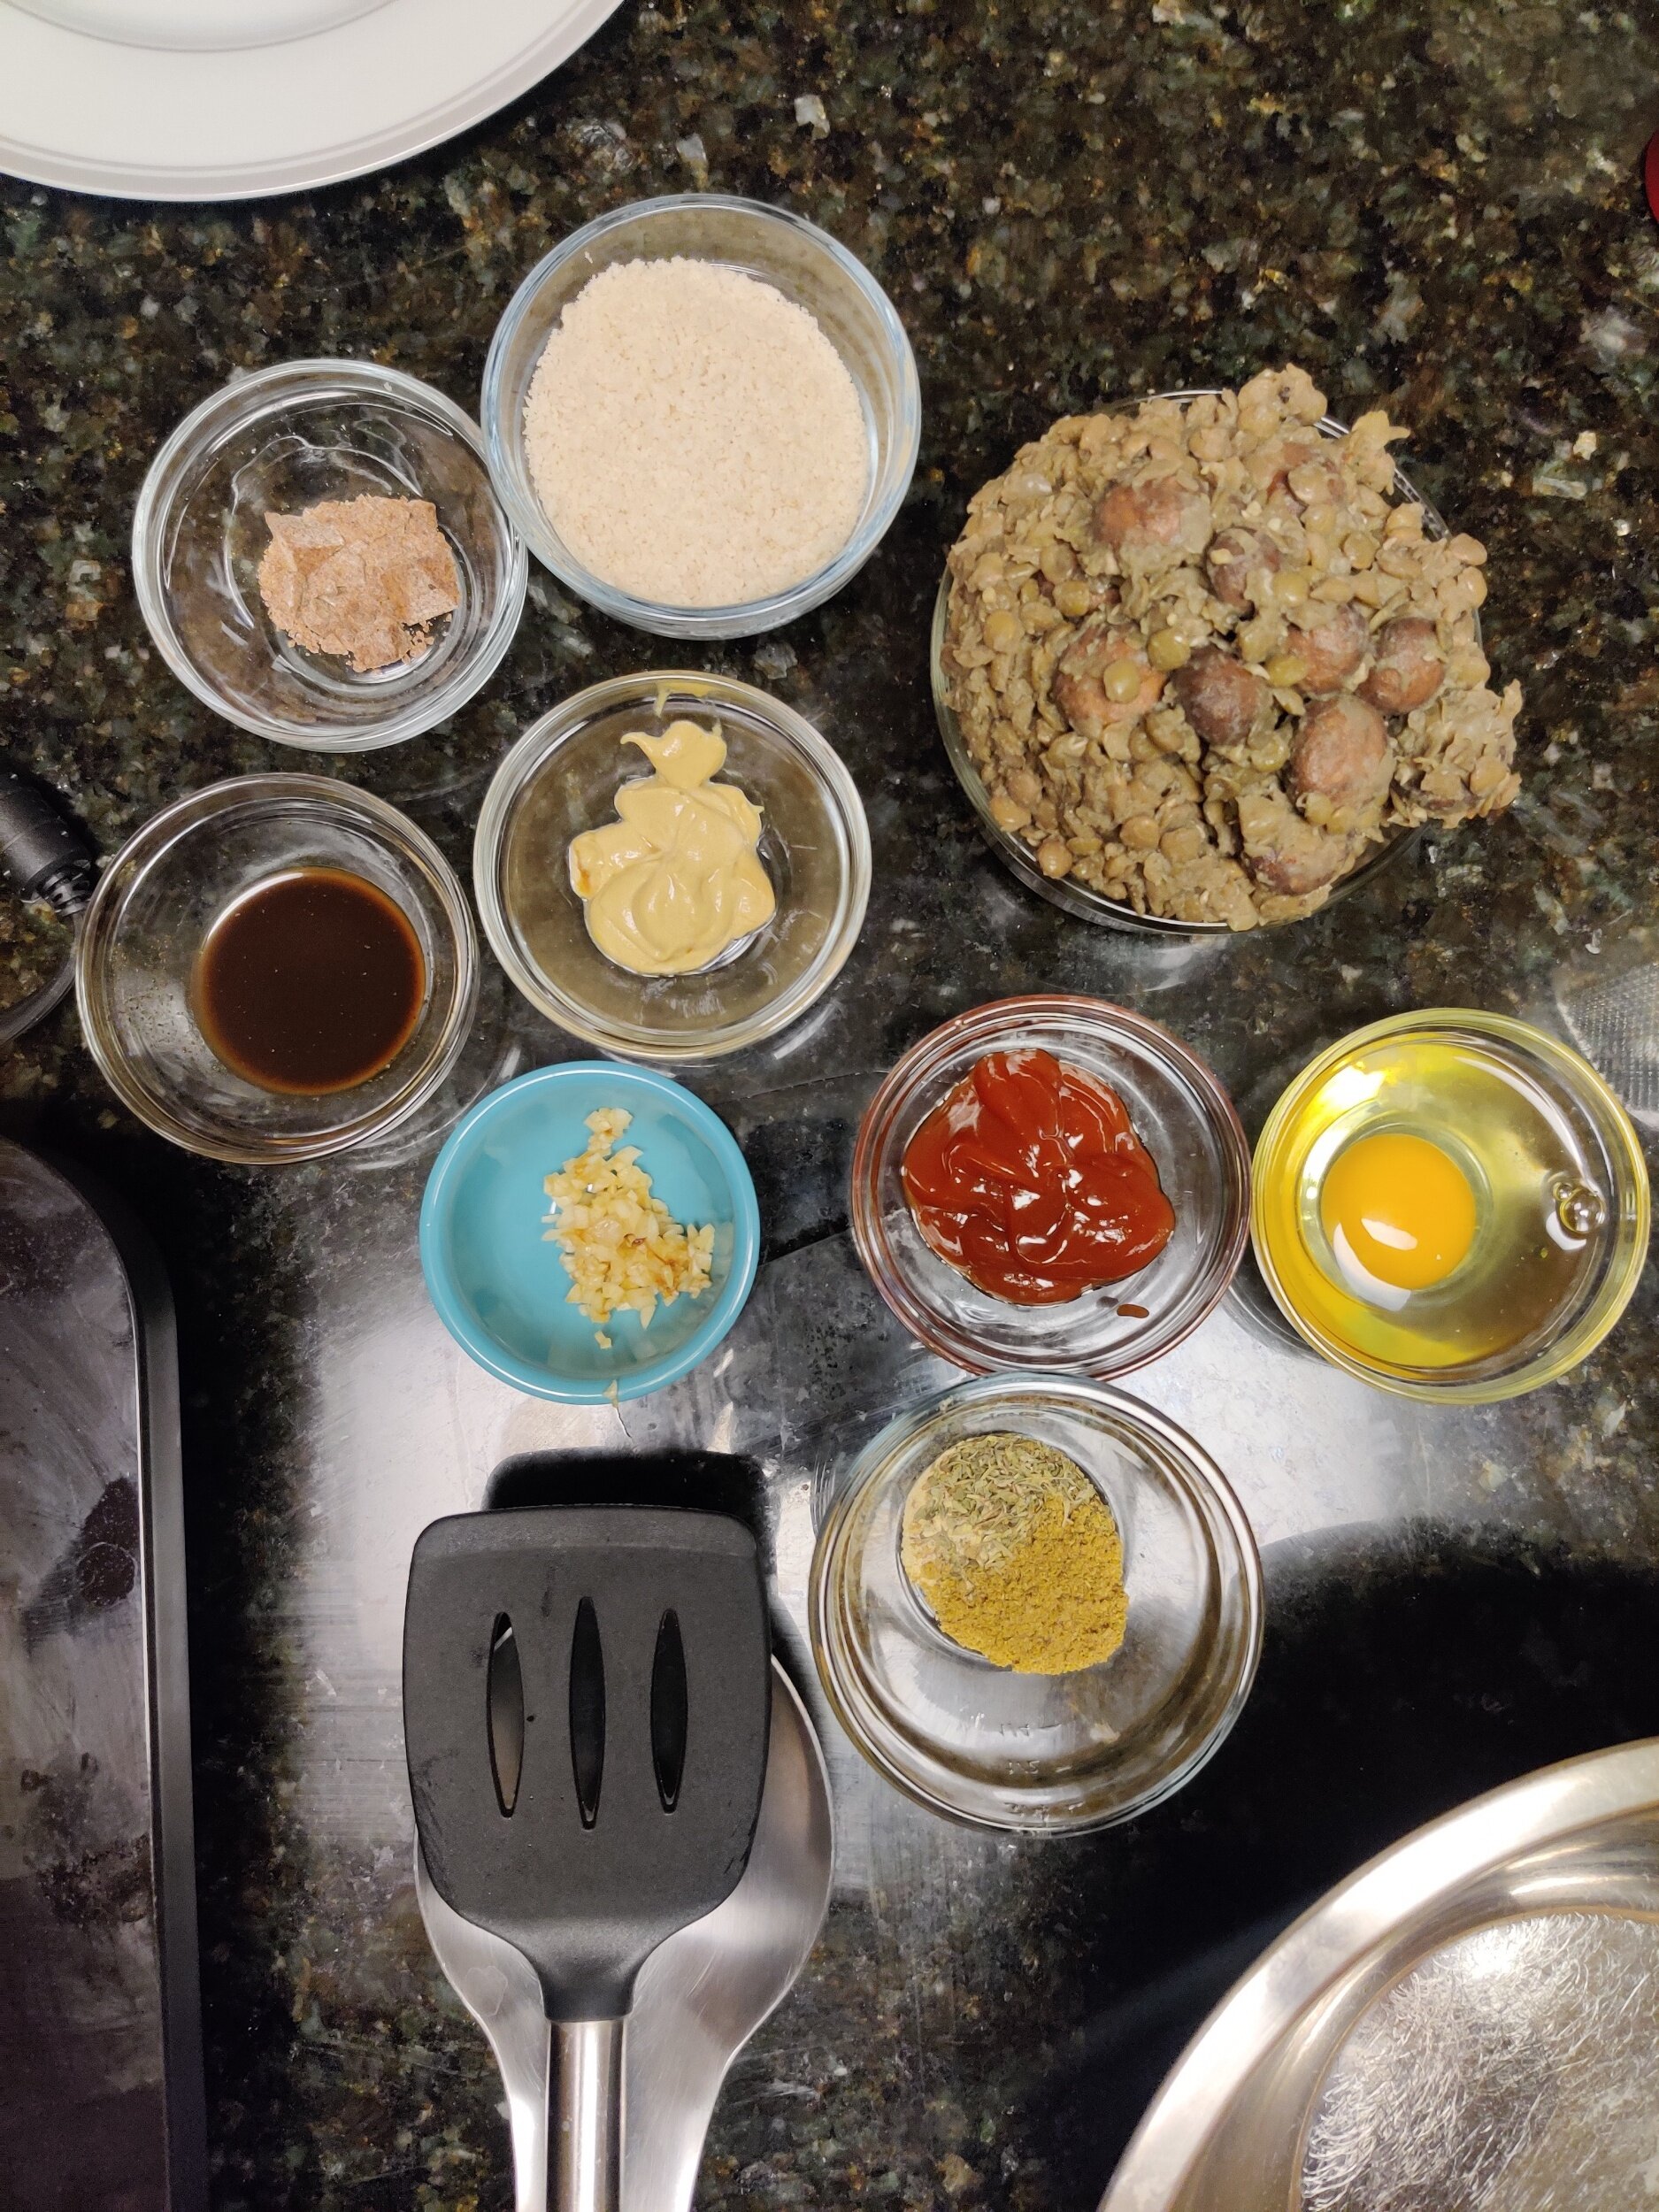
1 1/2 cups cooked lentils
1/2 cup cooked button mushroom, roughly chopped
1 teaspoon Worcester sauce
1 large garlic clove, minced
1/2 teaspoon salt
1 teaspoon black pepper
1/2 teaspoon Fenugreek powder
1/2 teaspoon coriander
1/2 teaspoon cumin
2 vegetable bouillon cubes, crushed
2 tablespoons Italian seasoning
1/4 cup Panko breadcrumbs
1/4 cup regular breadcrumbs
1 egg
1/2 yellow onion, grated
2 tablespoons tomato sauce/ketchup
2 teaspoons Dijon mustard
Mushroom gravy:
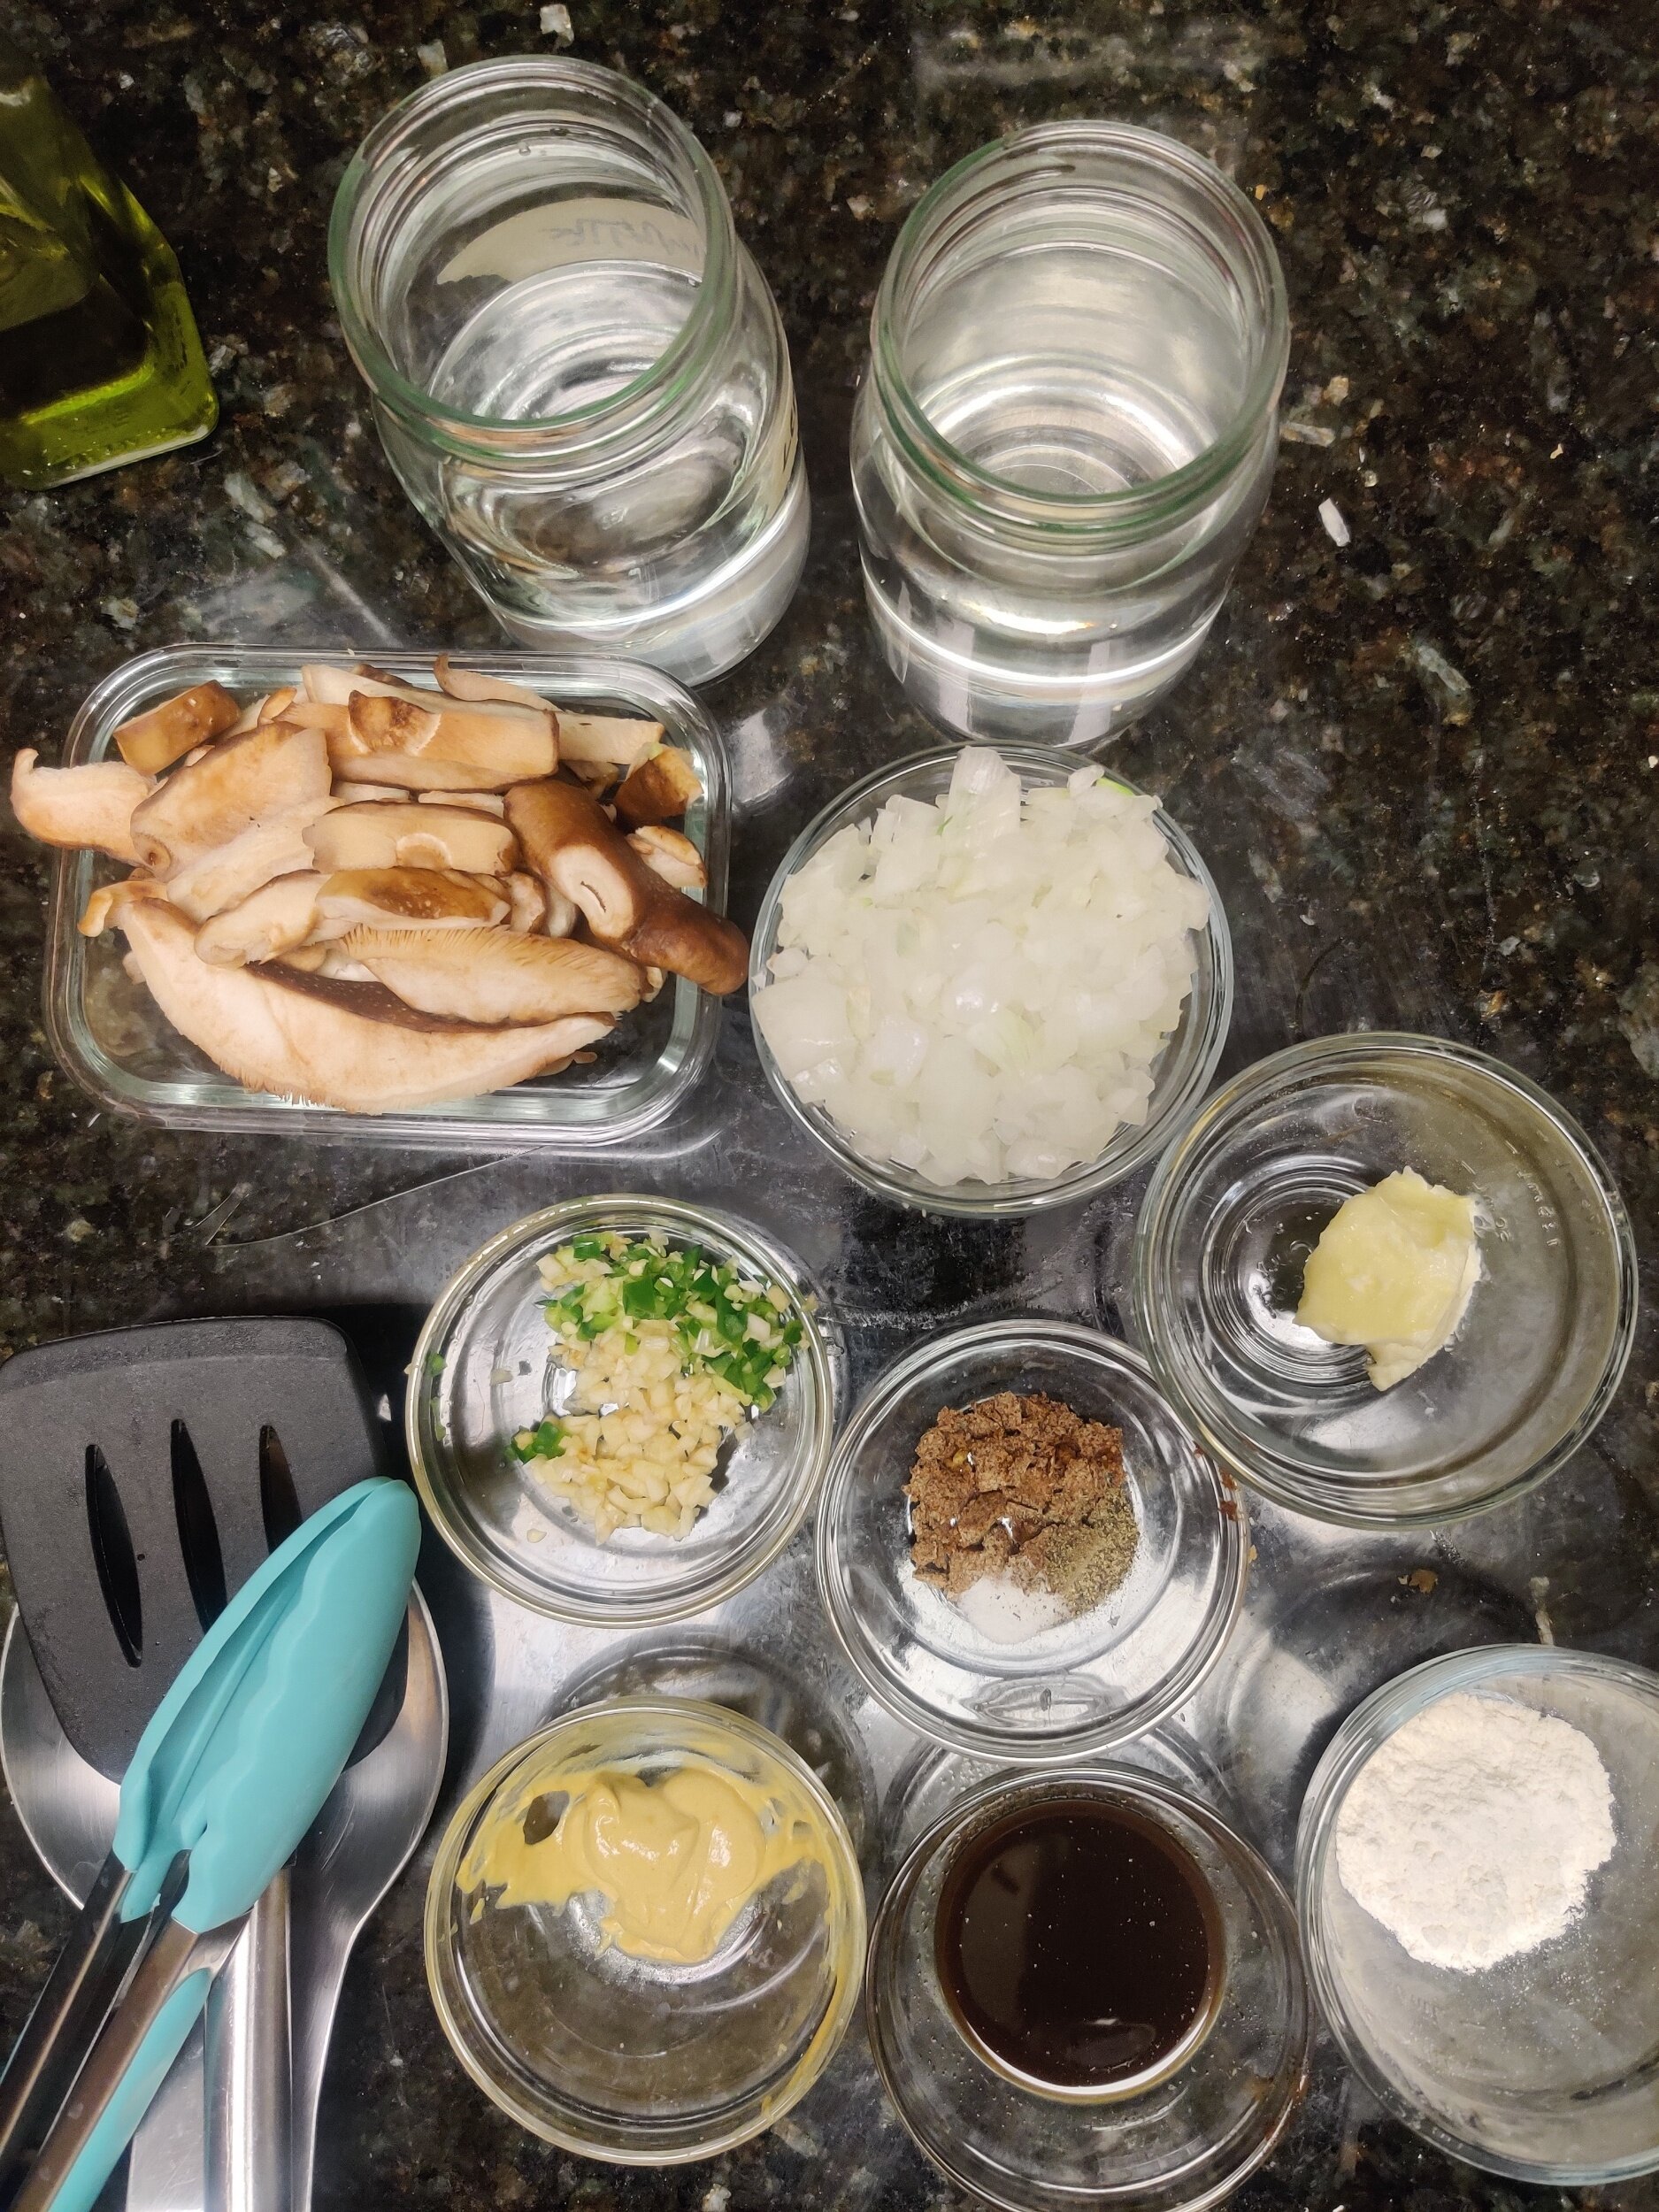
1/2 cup Shiitake mushrooms
1/2 teaspoon salt
1 teaspoon cracked pepper
1-2 cup(s) vegetable broth
Olive oil
2 tablespoons butter
1/2 teaspoon lemon juice
2 tablespoons flour
1 tablespoon mustard
2 teaspoons Worcester sauce
1/2 yellow onion. diced
1 teaspoon minced serrano pepper
1 large garlic clove, minced
Instructions
First, make your steaks! In a large bowl, add the onion, garlic, and breadcrumbs, mix with your hands and set aside for 5-10 minutes.
Add cumin, coriander, fenugreek powder, Italian seasoning, salt, pepper, bouillon cubes, lentil and mushroom mix, mustard, tomato sauce, and egg. Give it another good mix until the ingredients are evenly distributed, then shape your patties to the desired size and thickness - don't make them too thick and make sure they are the same size and cook evenly. Chill in the fridge for 10 minutes.
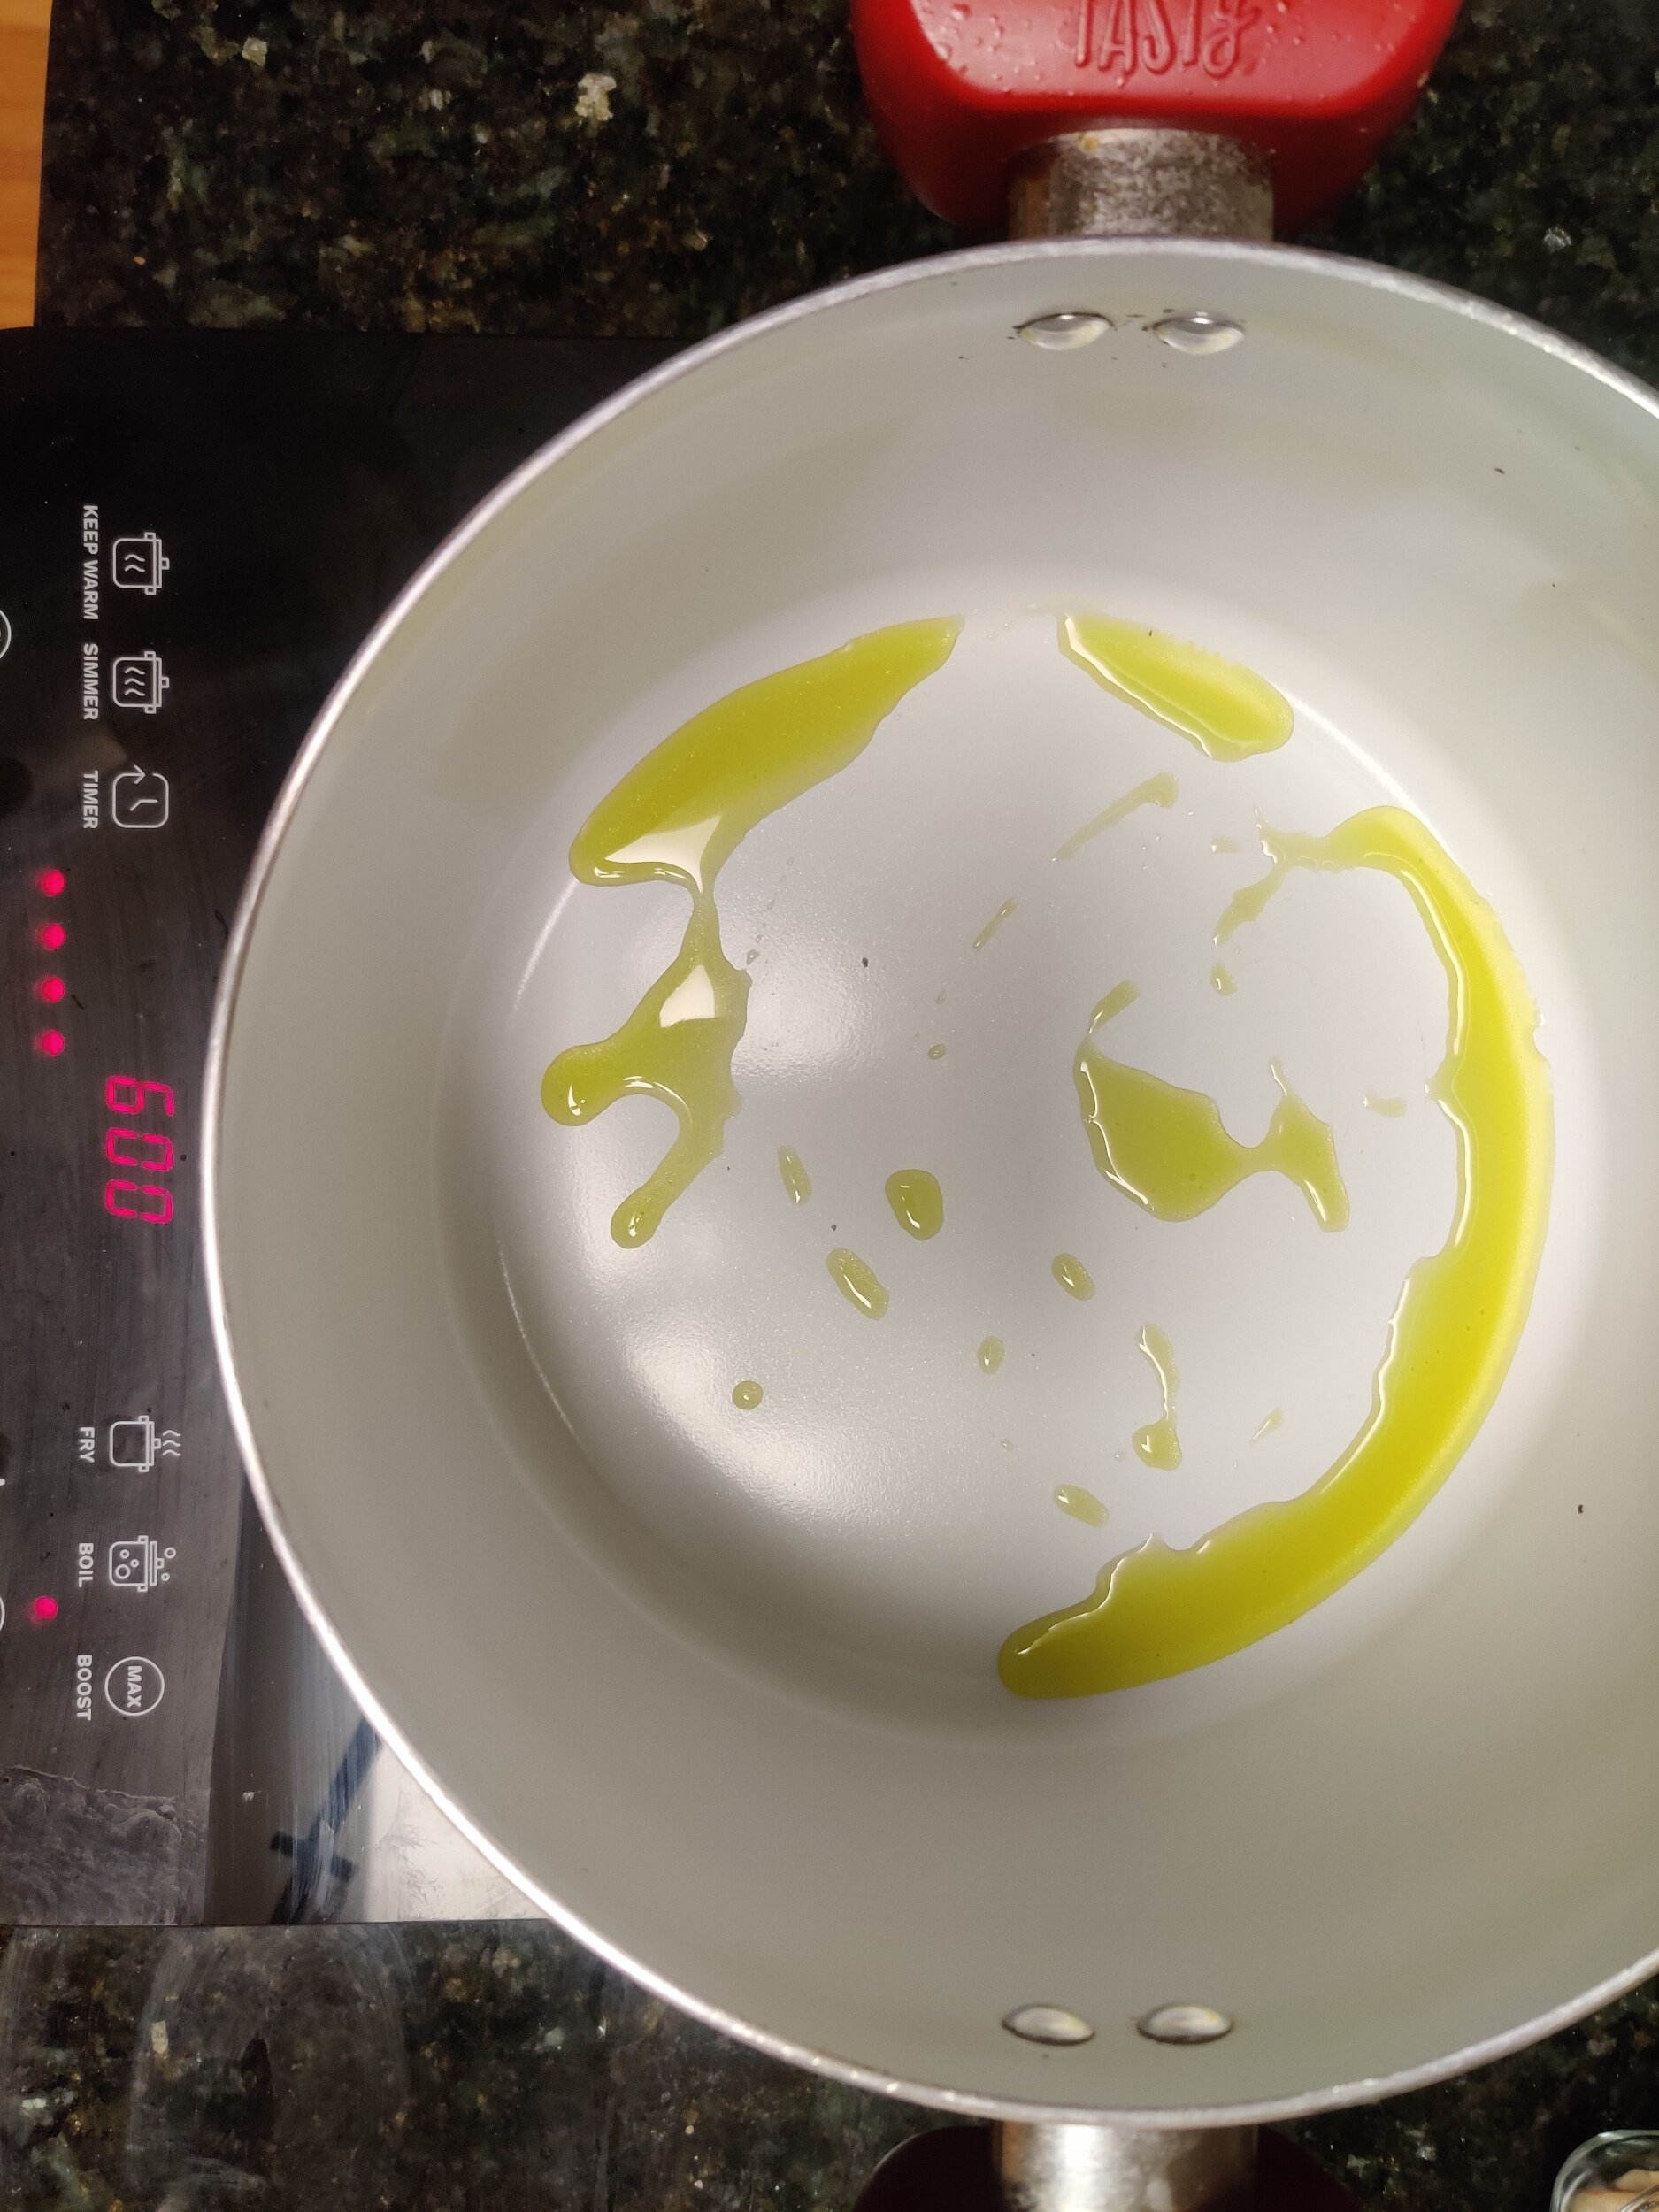
Fry the lentil mushroom steaks on medium-high heat in some olive oil, 4-5 minutes each side or until the surface begins to brown and get crispy. Remove from the nonstick pan set aside.
Time for the gravy. Using the same large pan or a large pot, saute the onion, chilli pepper, and garlic with olive oil for about 3 minutes, until fragrant and softened. Add the butter followed by the shiitake mushrooms. Sweat out for another 6-8 minutes. Add the Worchester sauce, mustard, and broth, and stir.
Gradually add the flour in parts, mixing each time to thicken the gravy. Add the patties back and nestle in the gravy, scoping over each patty.
Serve hot with sweet mashed potatoes, butter and steamed peas.

Fried Avocado and Roasted Sweet Potato Tacos
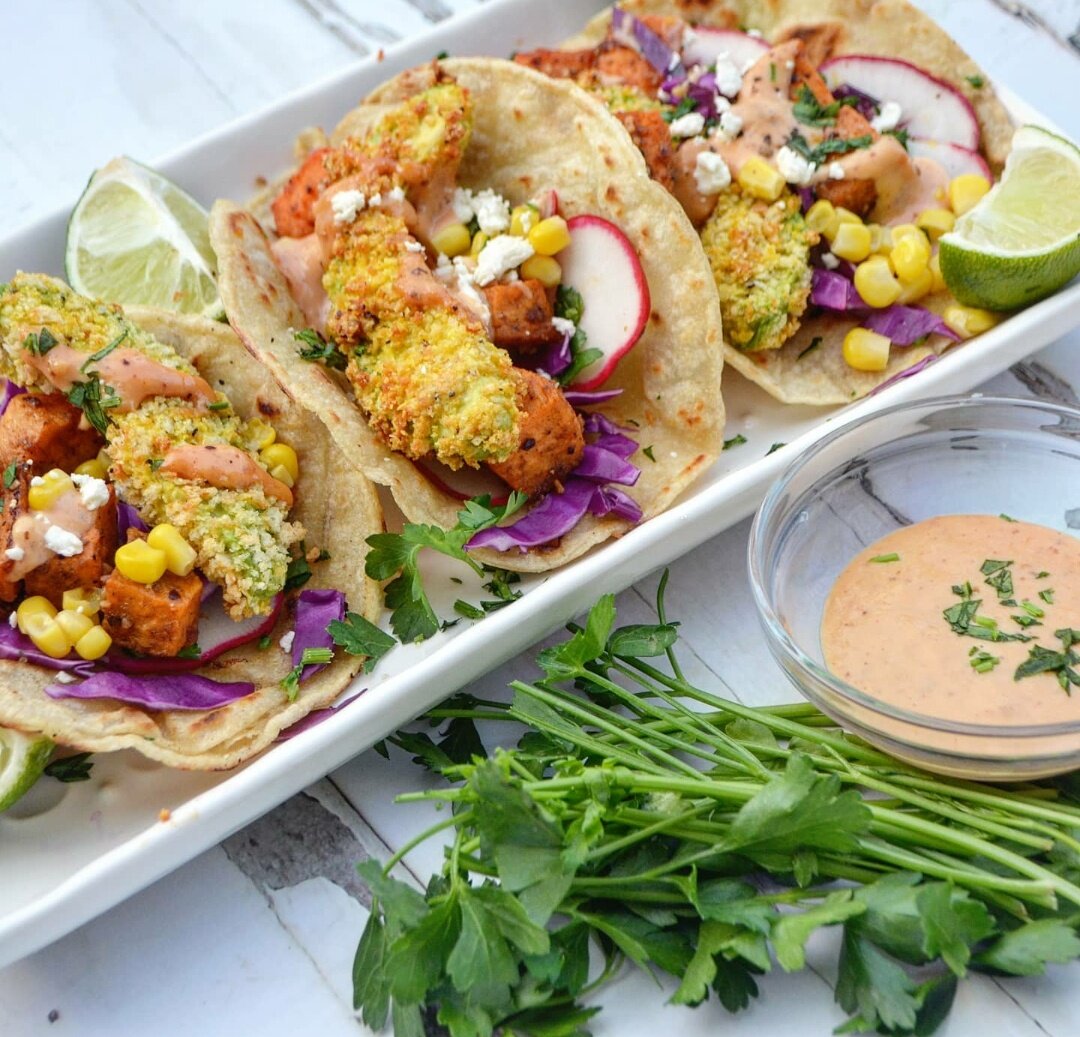
Tacos. They're quick, easy, and delicious if you do them right. What prompted me to create these tacos was the Mexican holiday Cinco de Mayo, which I didn't realize for some time was actually a celebration of a victory that the Mexicans won in a battle over the French. For many, it's an opportunity to embrace Mexican food and the culture, and tacos are just one of those things everyone loves to come together for.
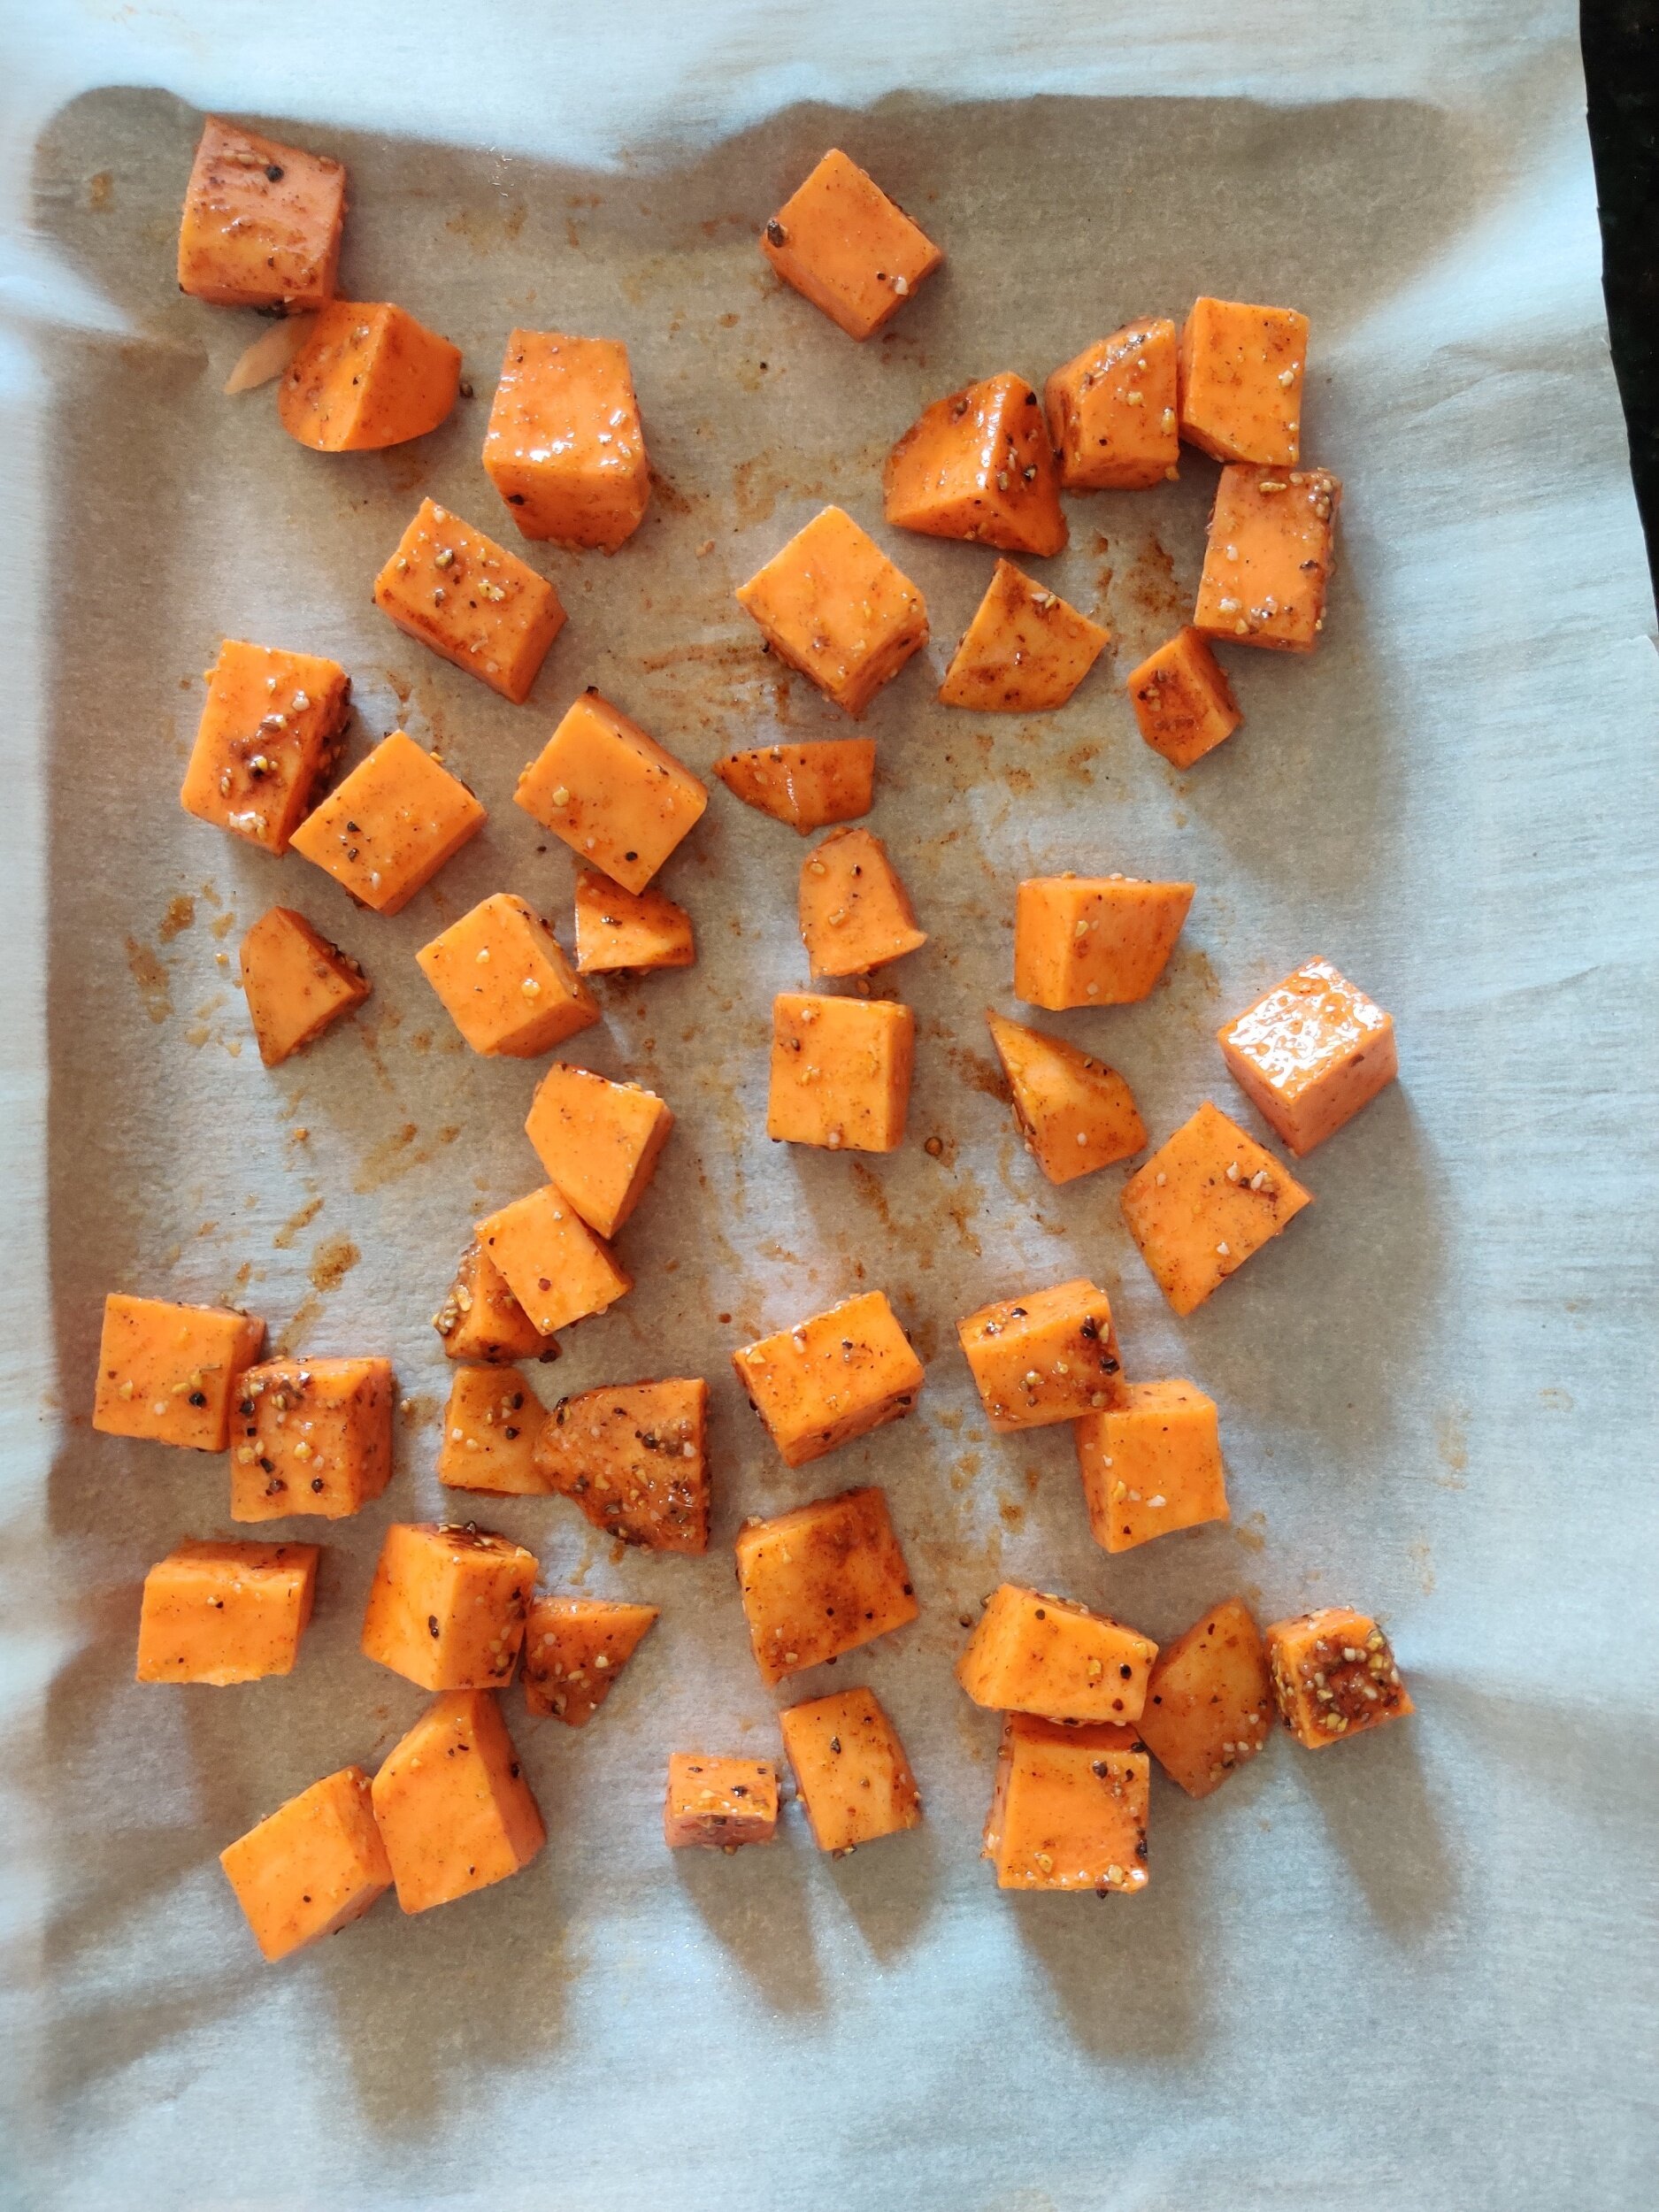
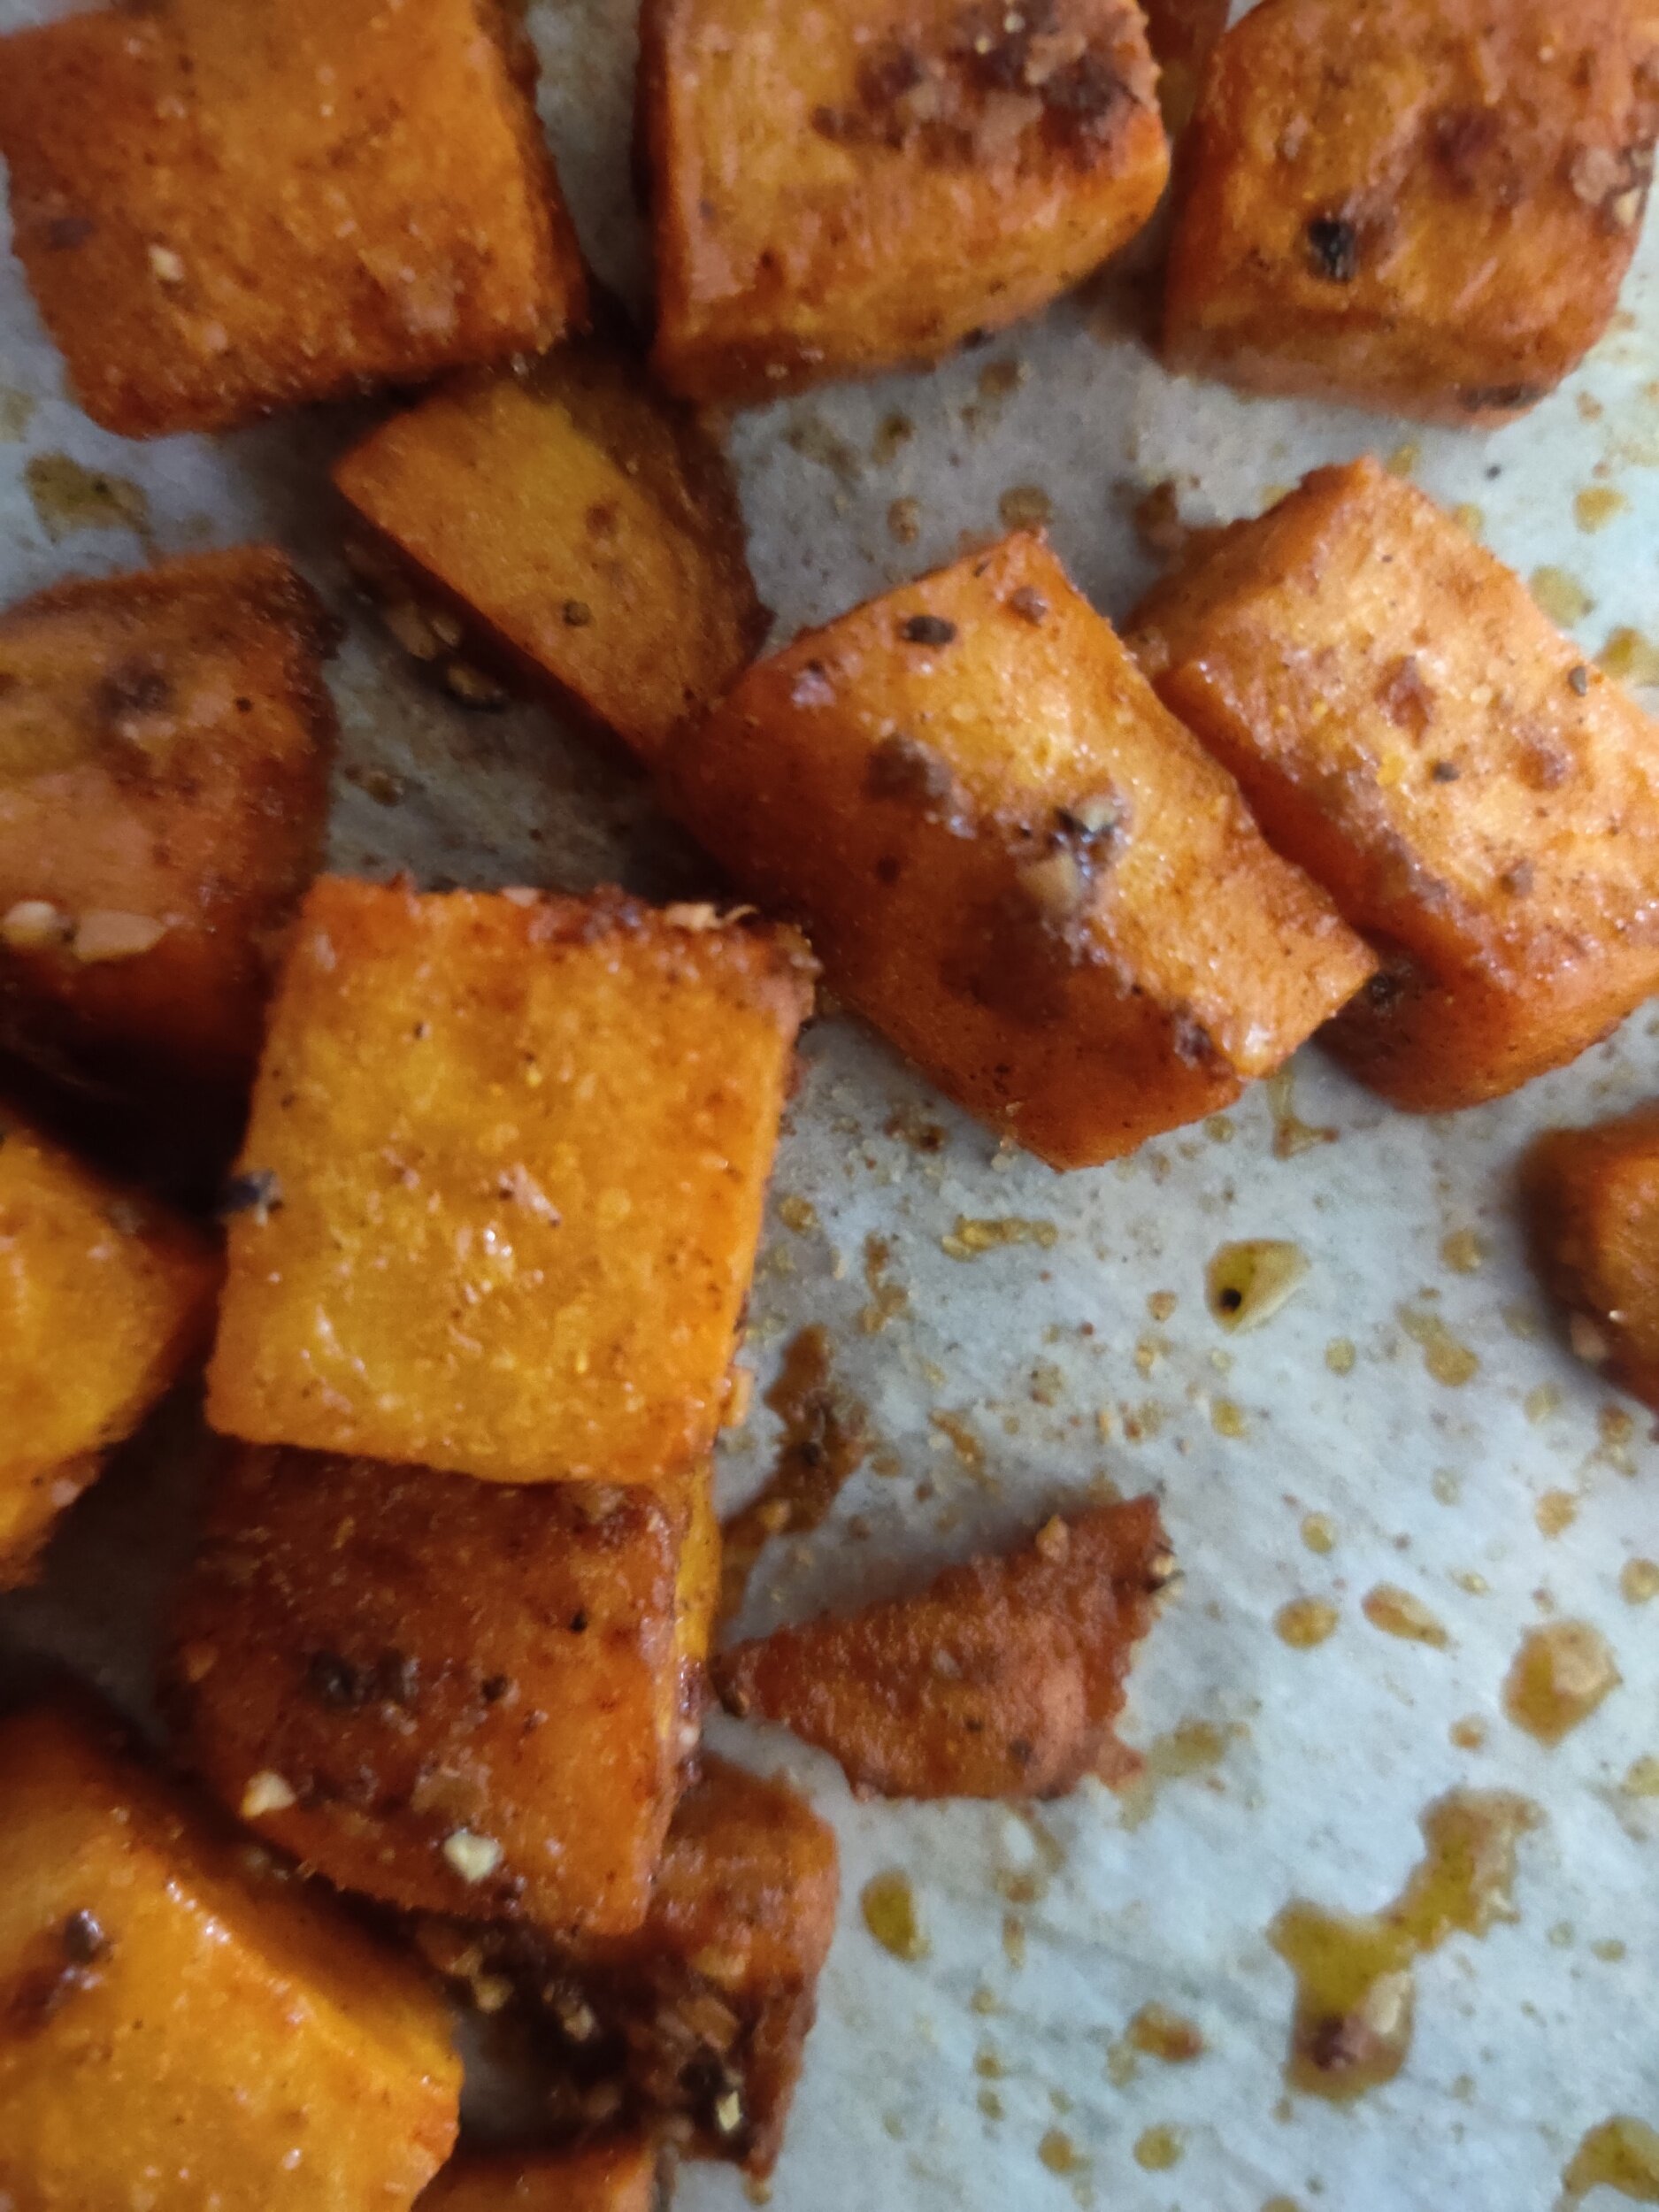
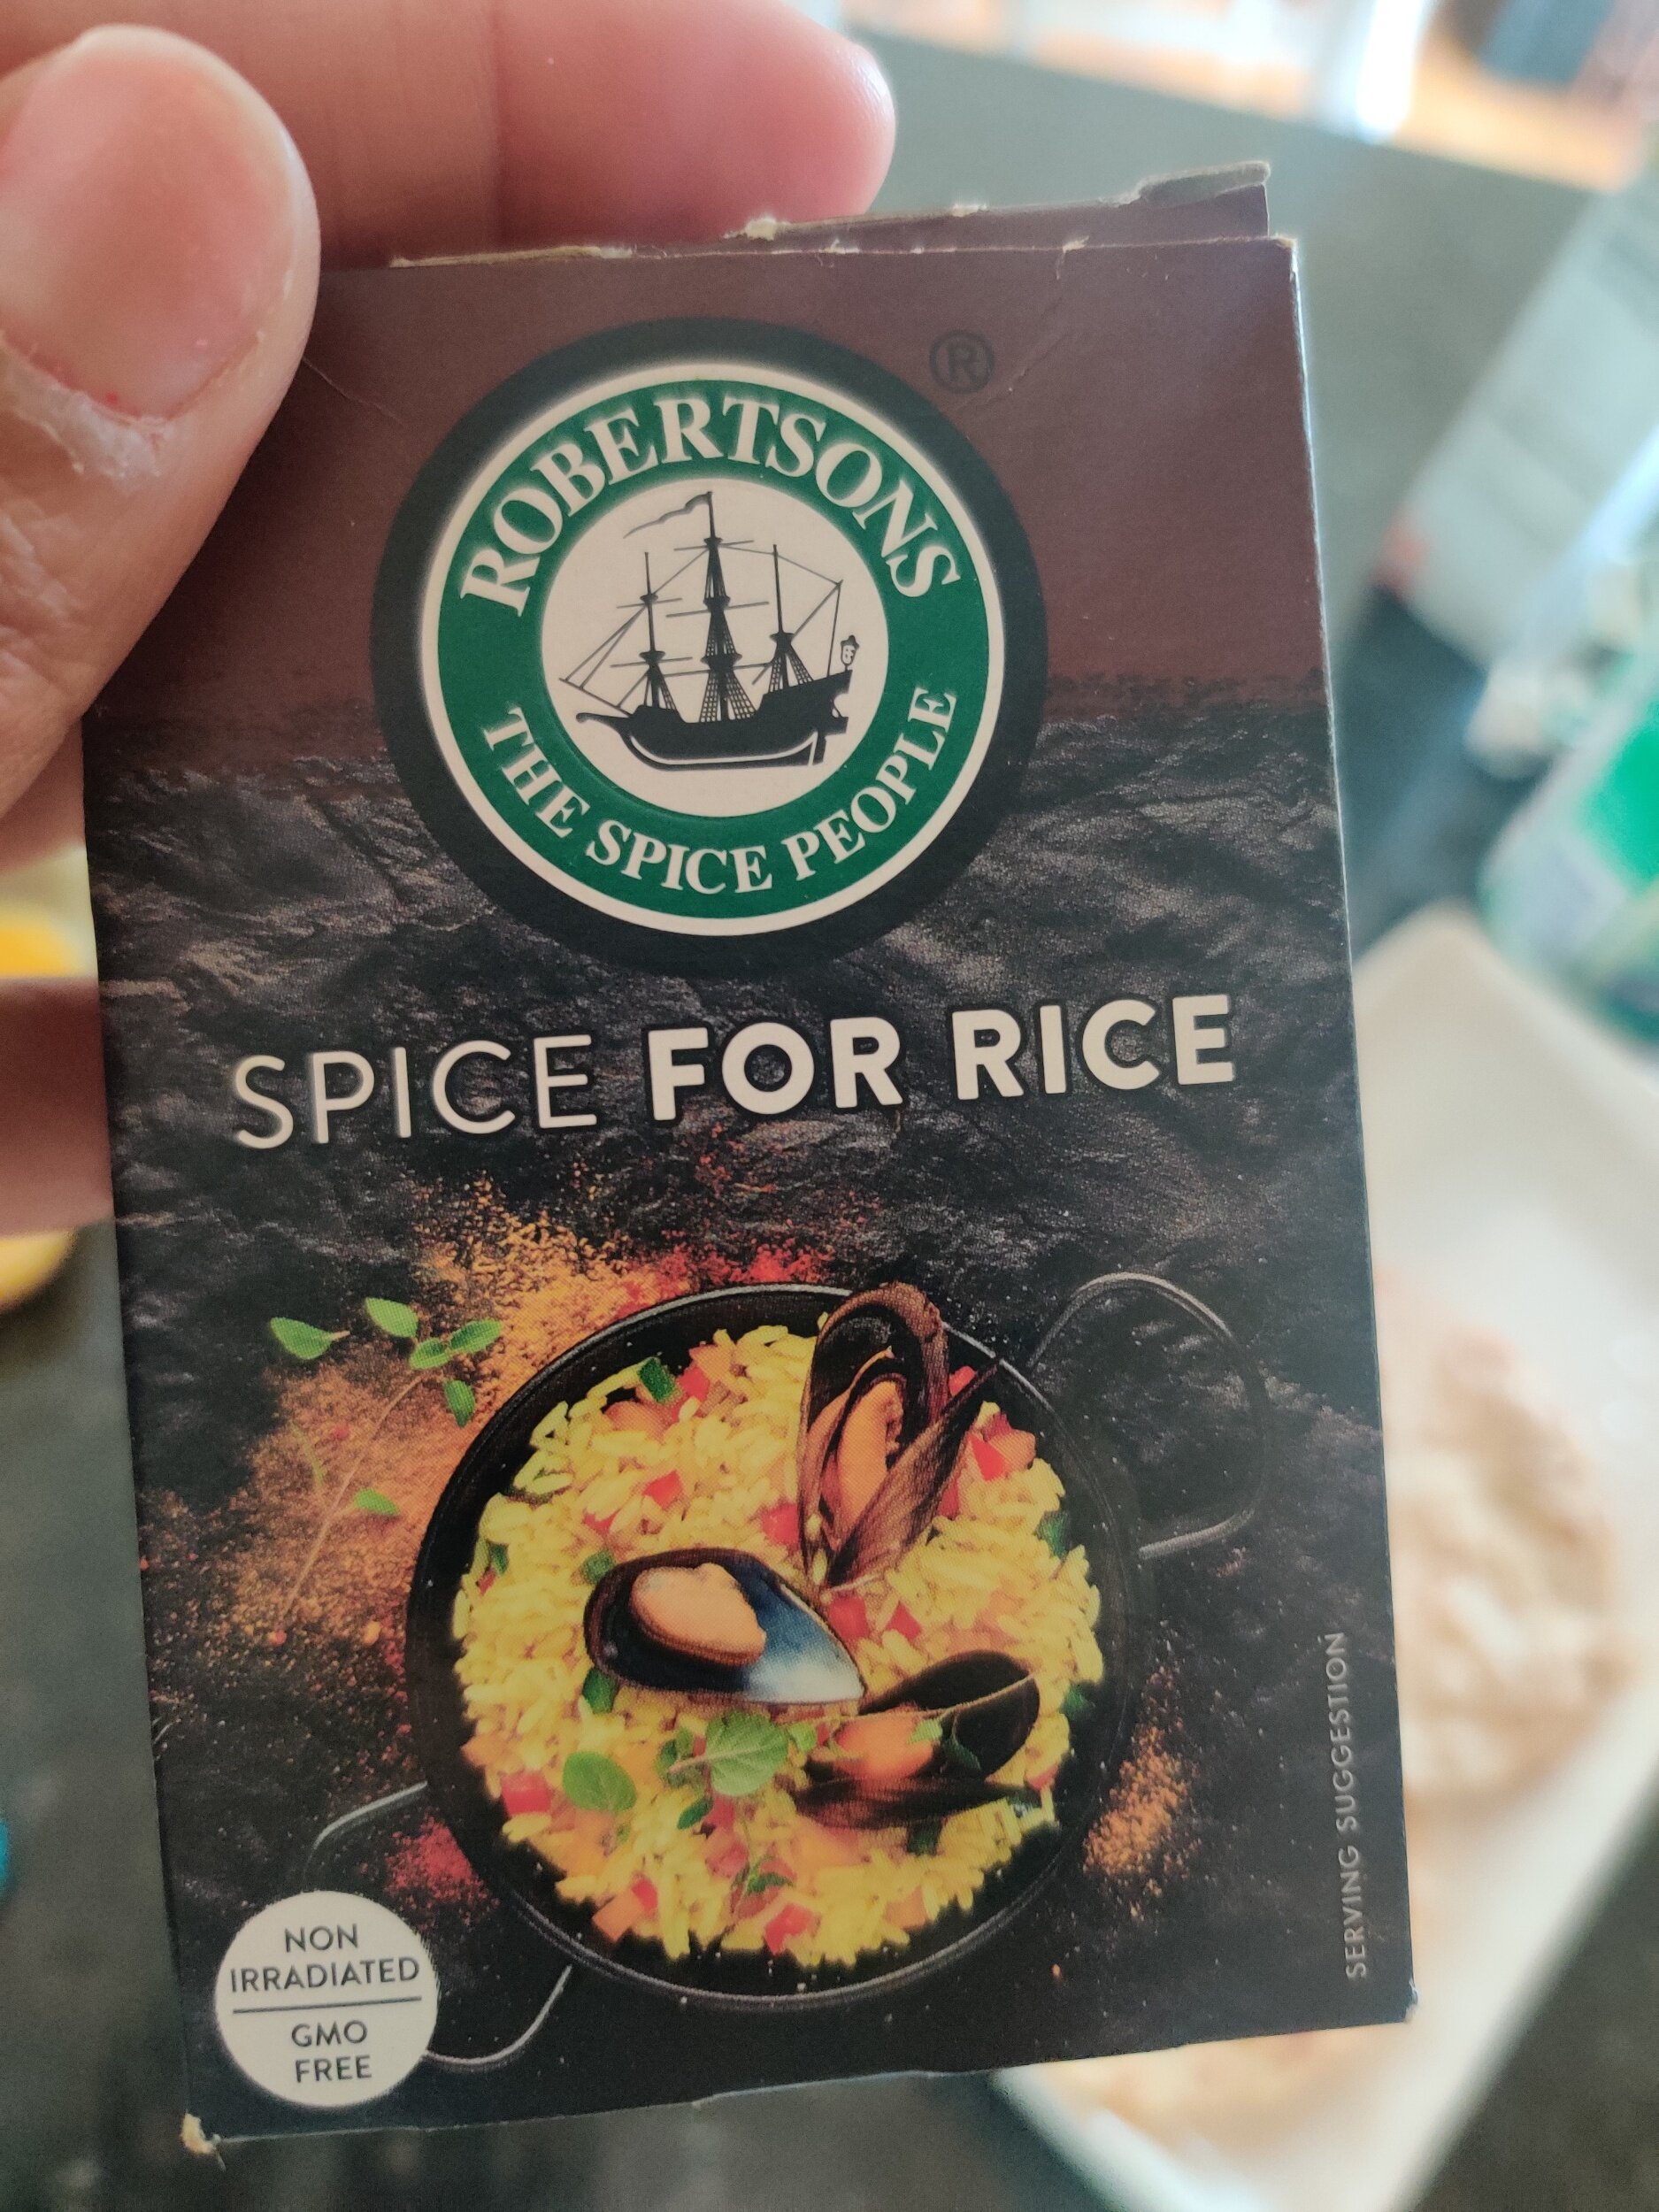
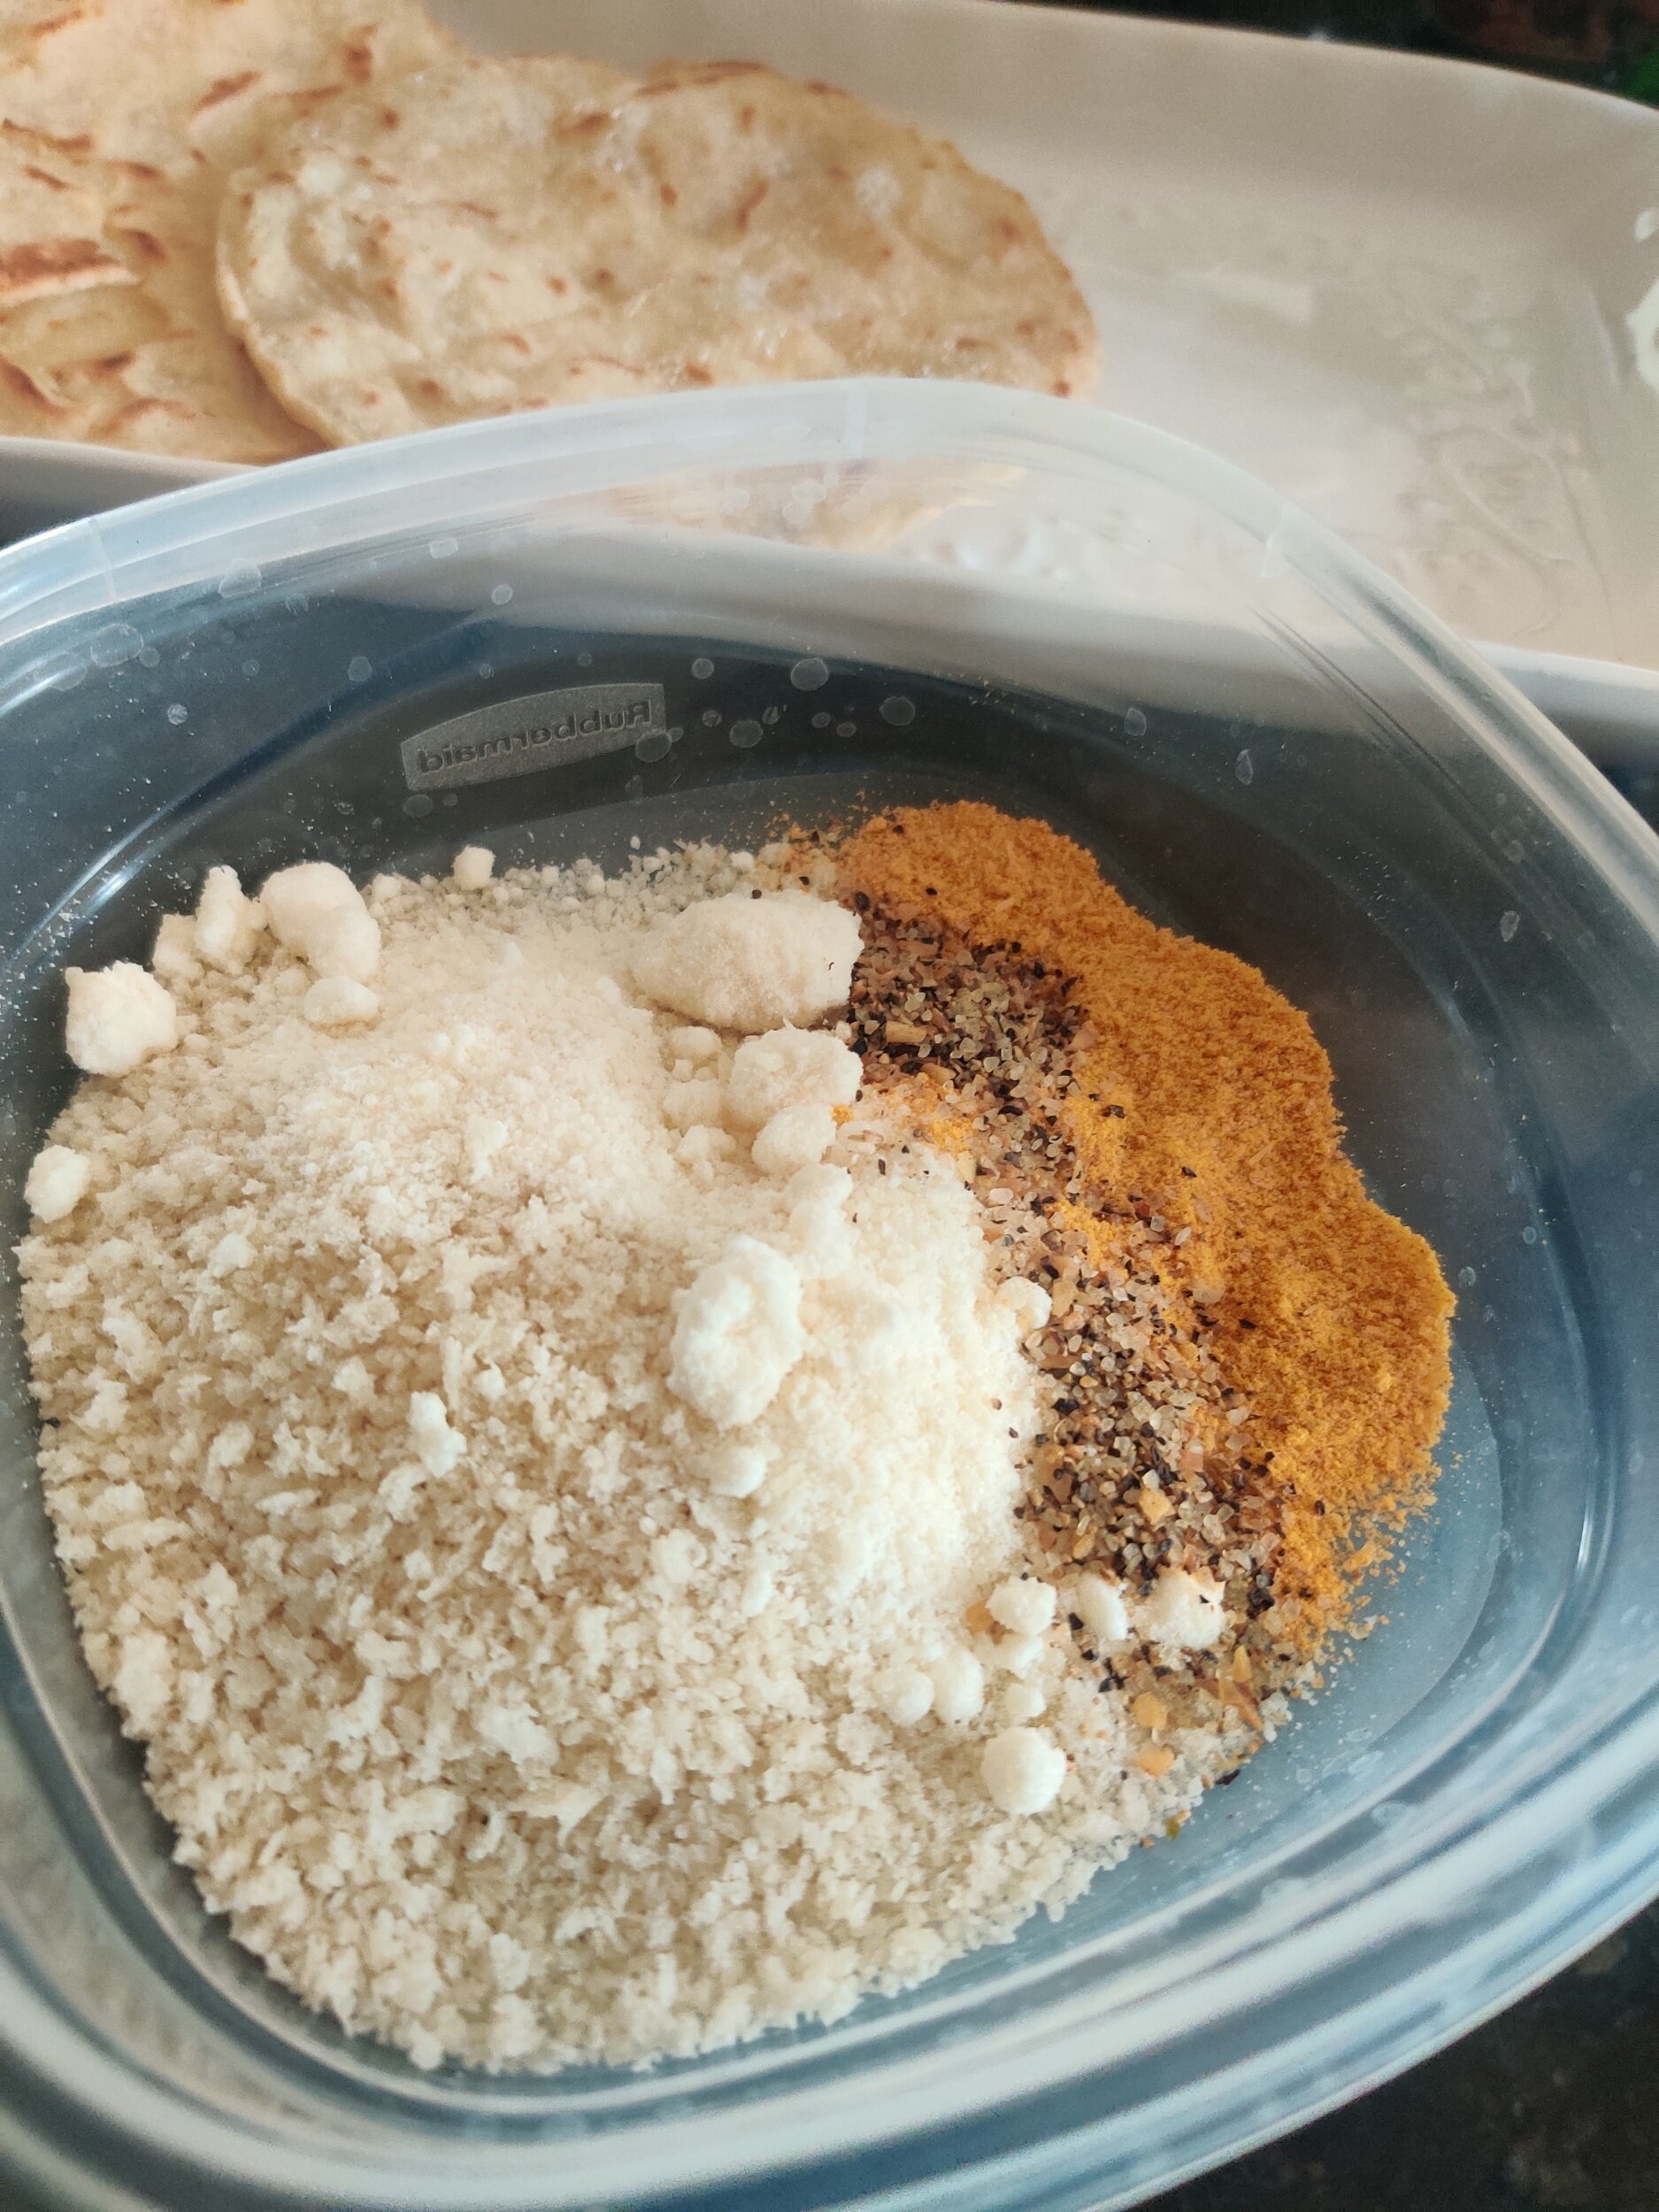
I decided to go simple with these and use a fruit and vegetable that I grew up constantly eating in Zimbabwe -- sweet potato and the avocado. I wanted to add texture and depth to the flavor for both, so I roasted the potatoes after tossing them in a combination of spices that I thought would enhance the natural flavor, including one of my favourite spice blends very common in Zimbabwean kitchens. As for the avocados, I coated them in panko breadcrumbs and parmesan cheese. I also used rice seasoning, which many people I don't realize can add great flavour to most savoury dishes. I used Robinson's, which is a South Africa brand and tastes great. All the toppings I included in the recipe add to the overall taste and texture to compliment the tacos.
I hope you enjoy these and make them a staple in your home; I certainly have!
Ingredients
Olive oil
1 large sweet potato, peeled and diced
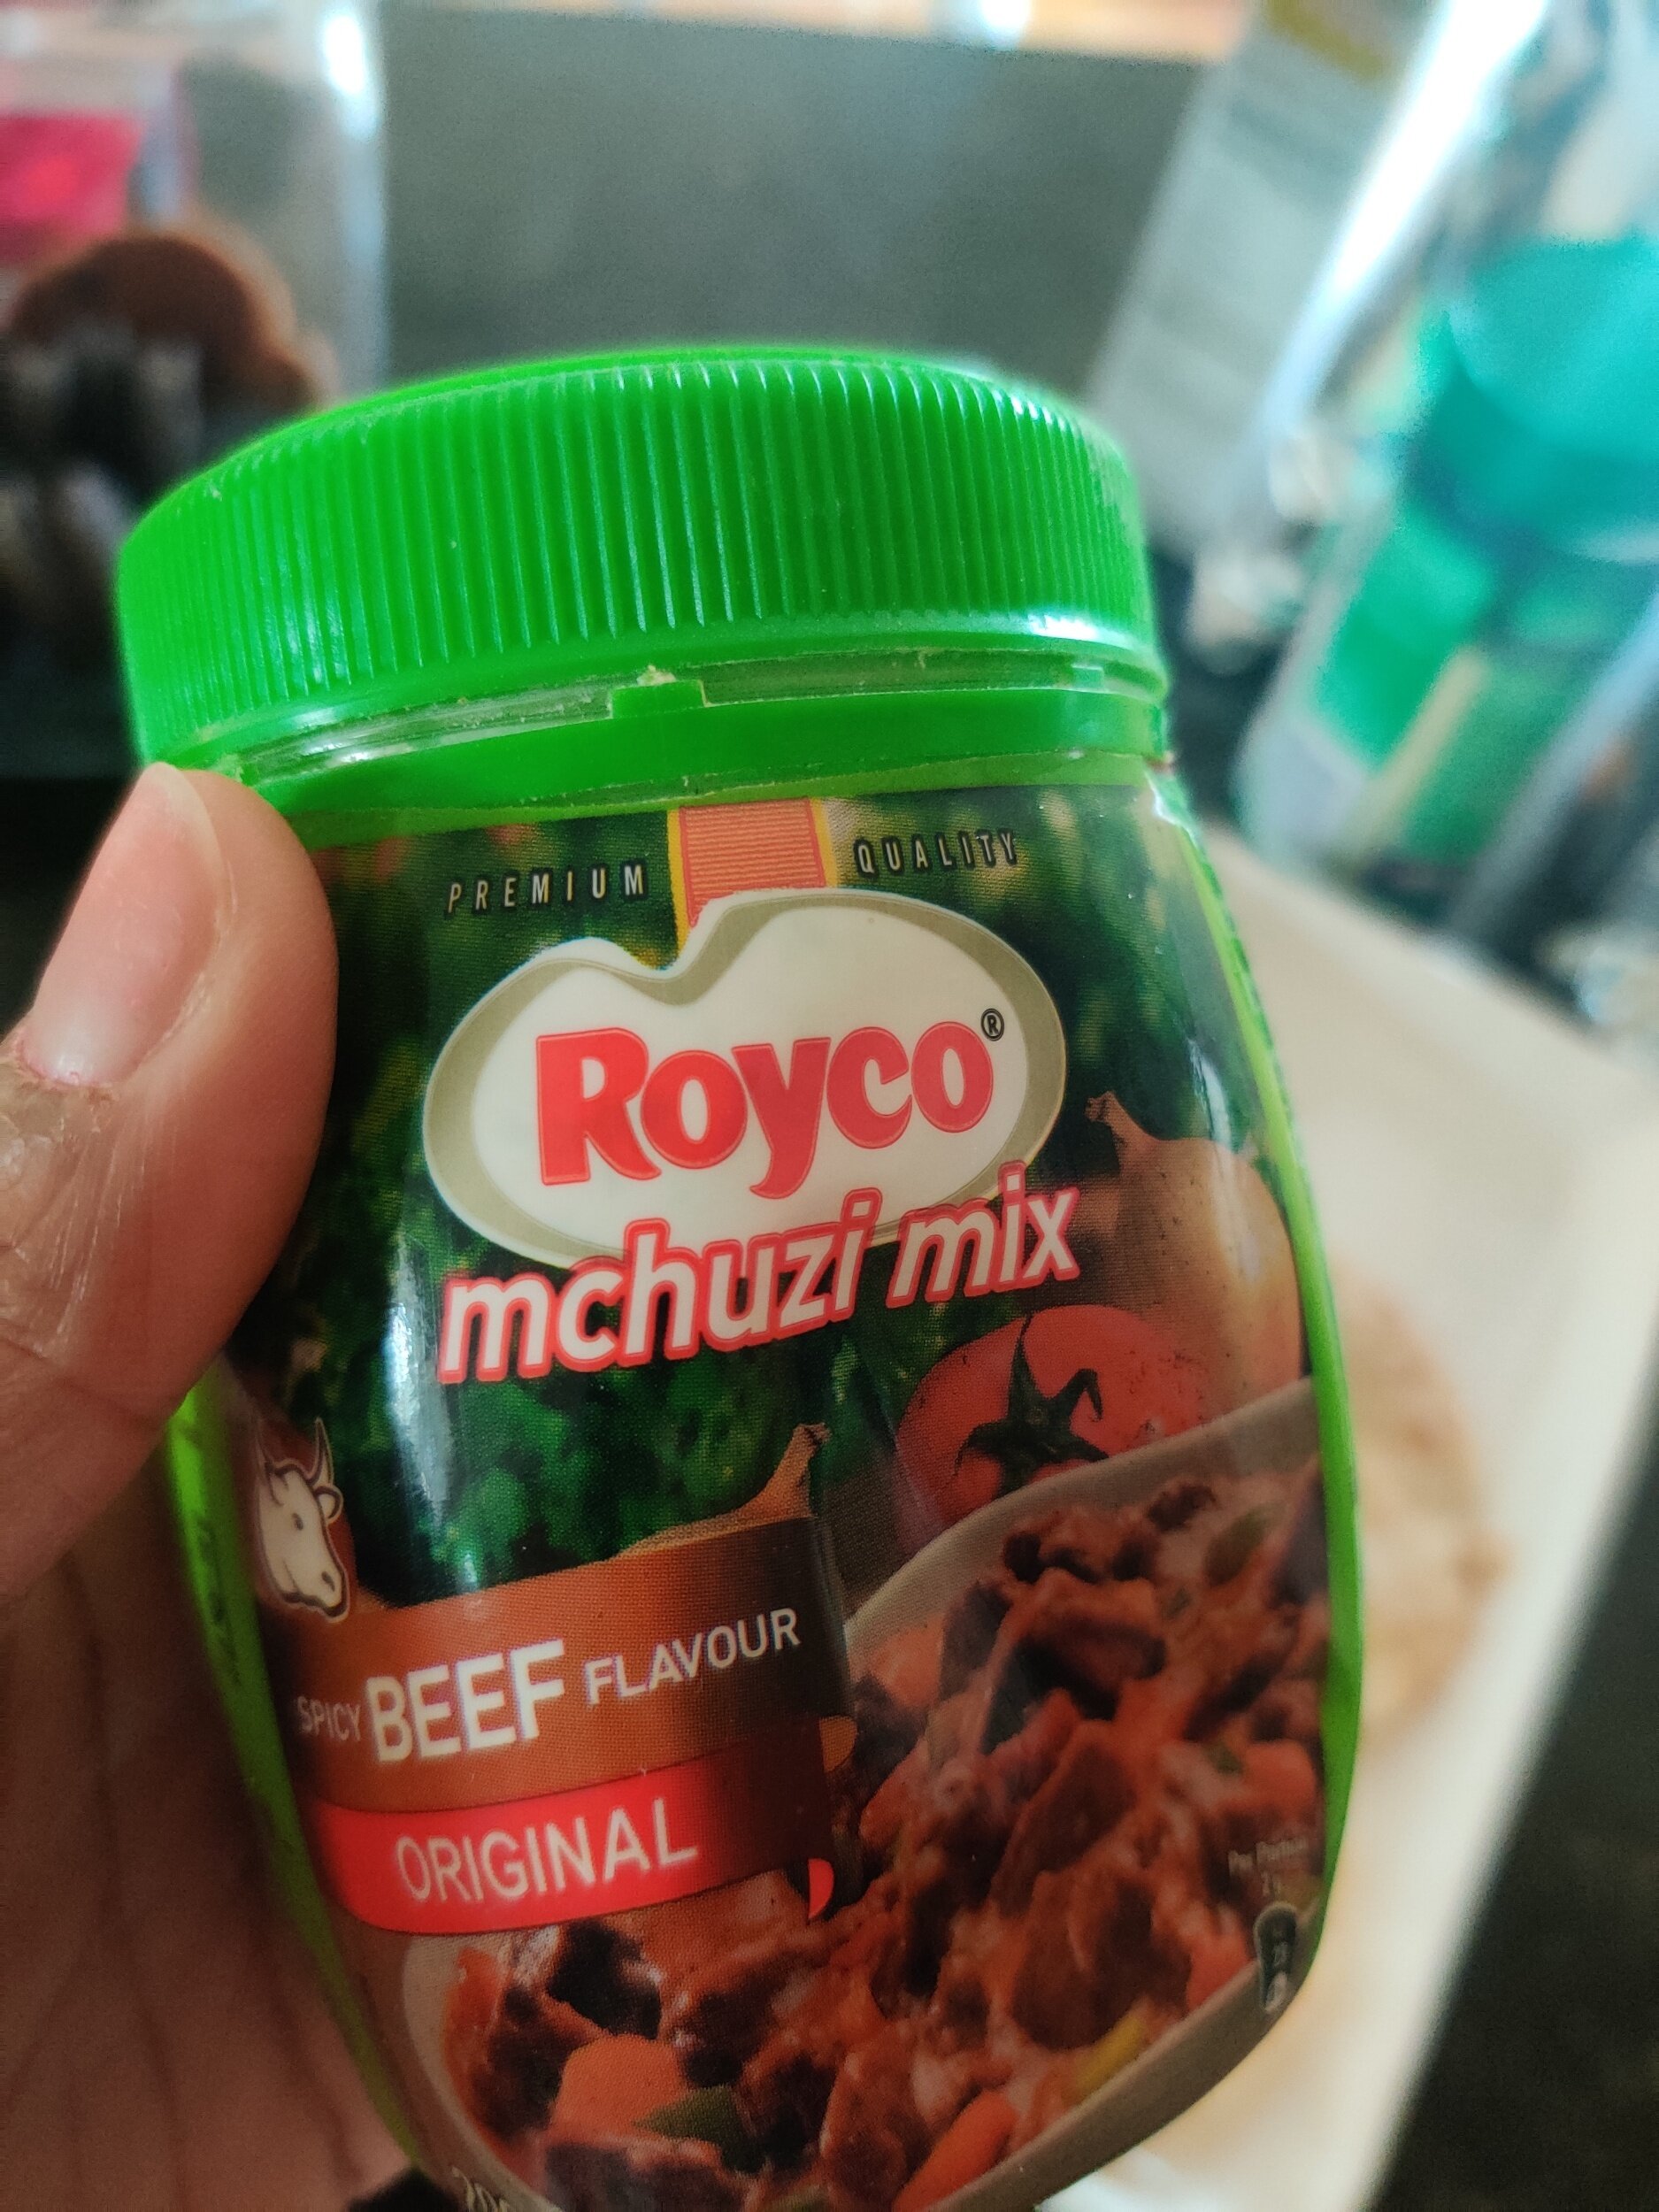
1 tablespoon taco seasoning or your favorite spice blend (I used Royco Usavi mix)
1/2 teaspoon cinnamon
1/2 teaspoon salt
1 teaspoon cracked black pepper
1 teaspoon paprika
1/4 teaspoon nutmeg
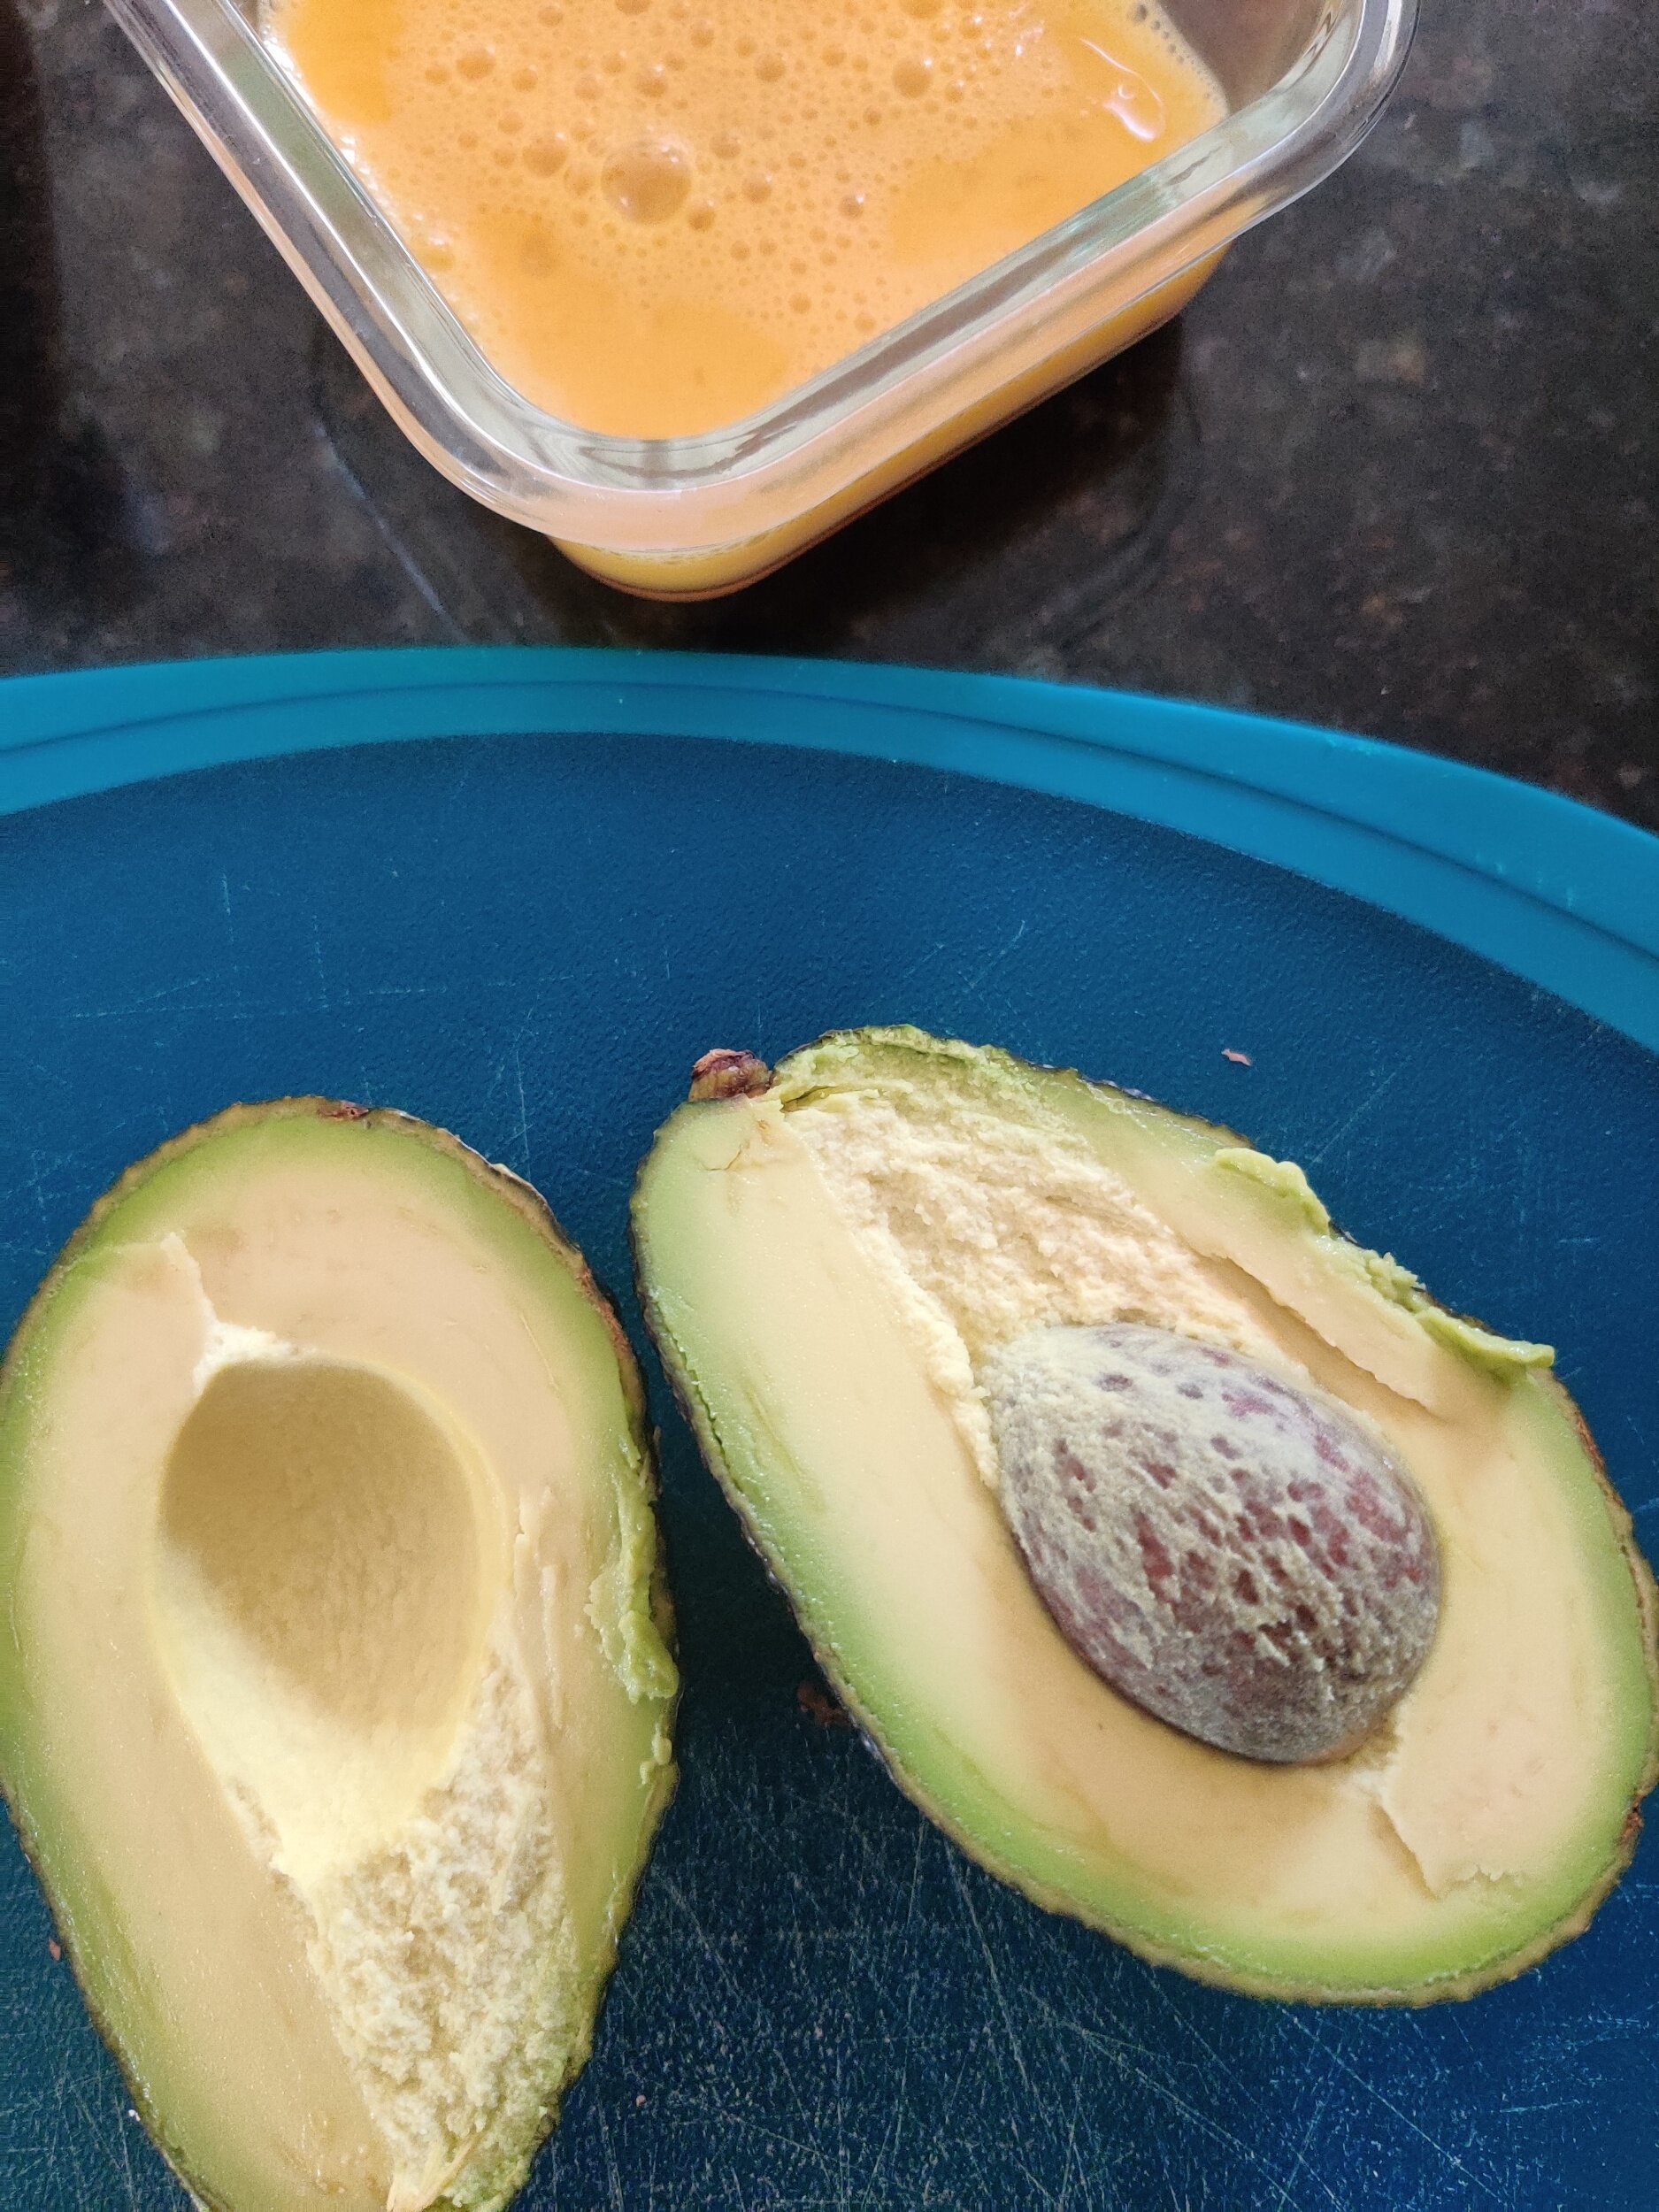
1 Hass avocado, a bit under ripe/not too soft
1 egg, beaten
Lime juice
1/2 cup panko breadcrumbs
1/4 cup parmesan cheese, grated
1 tablespoon spice for rice
1 teaspoon steak seasoning
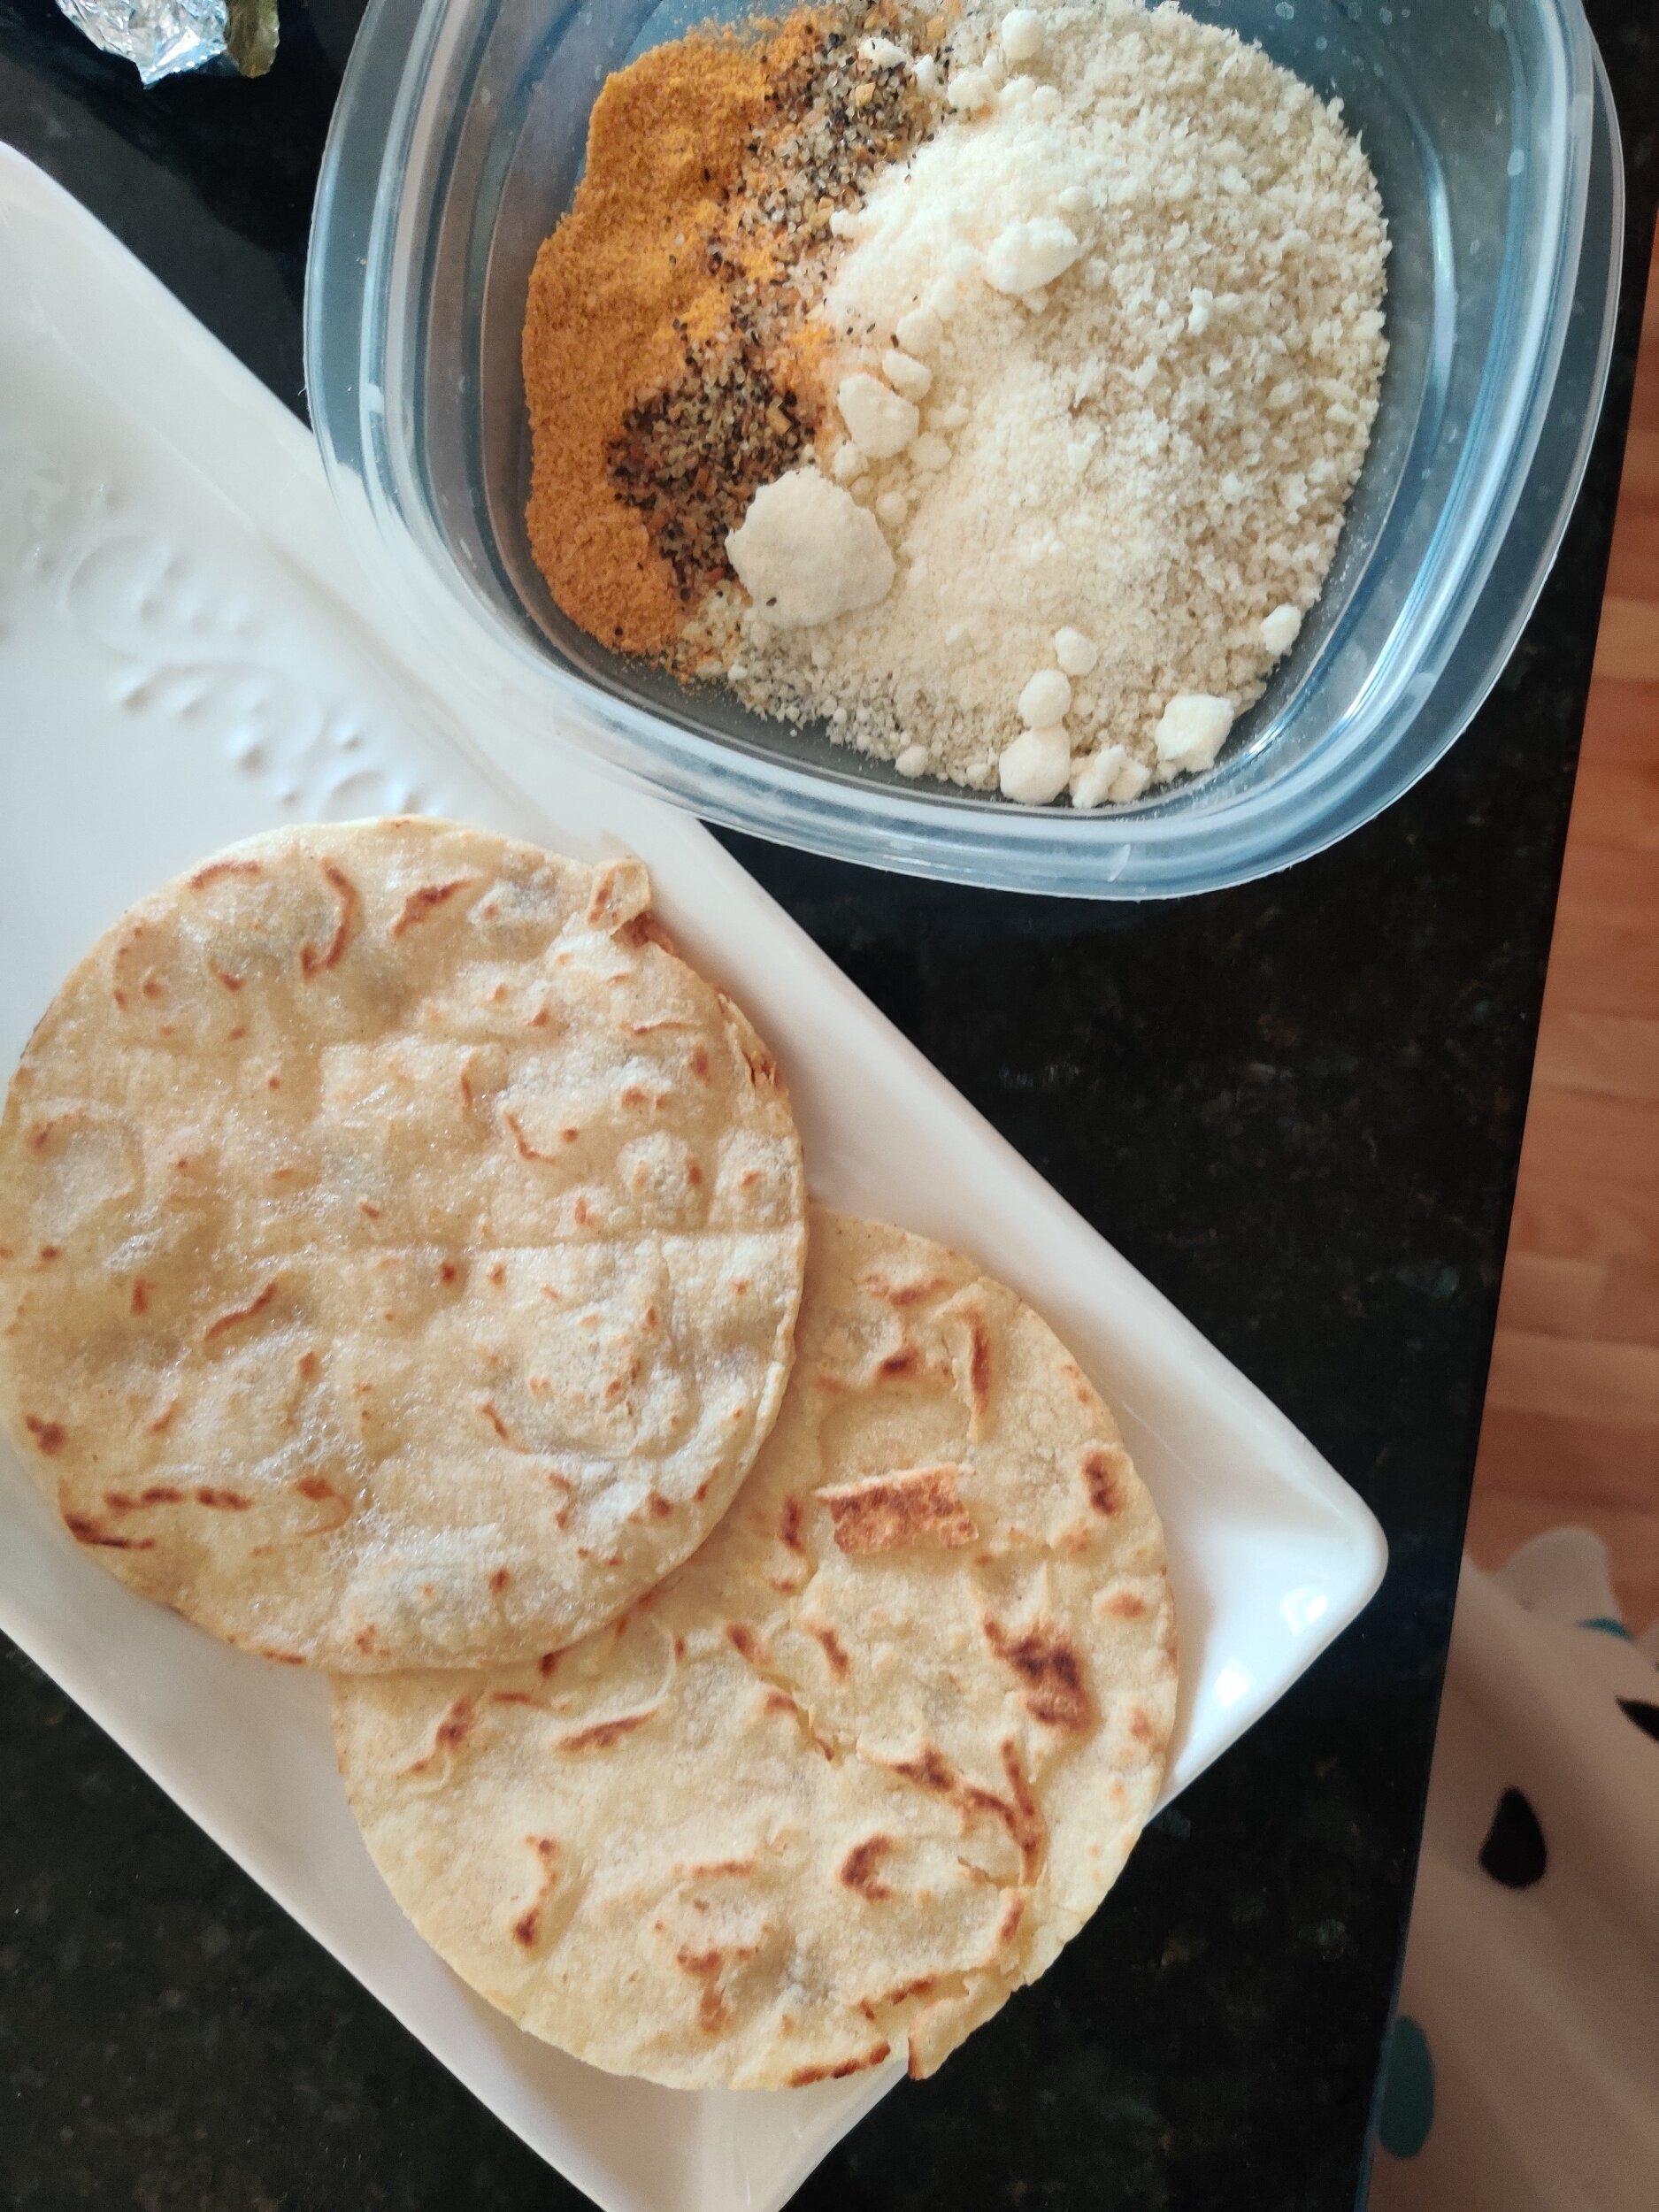
3 taco flour tortillas
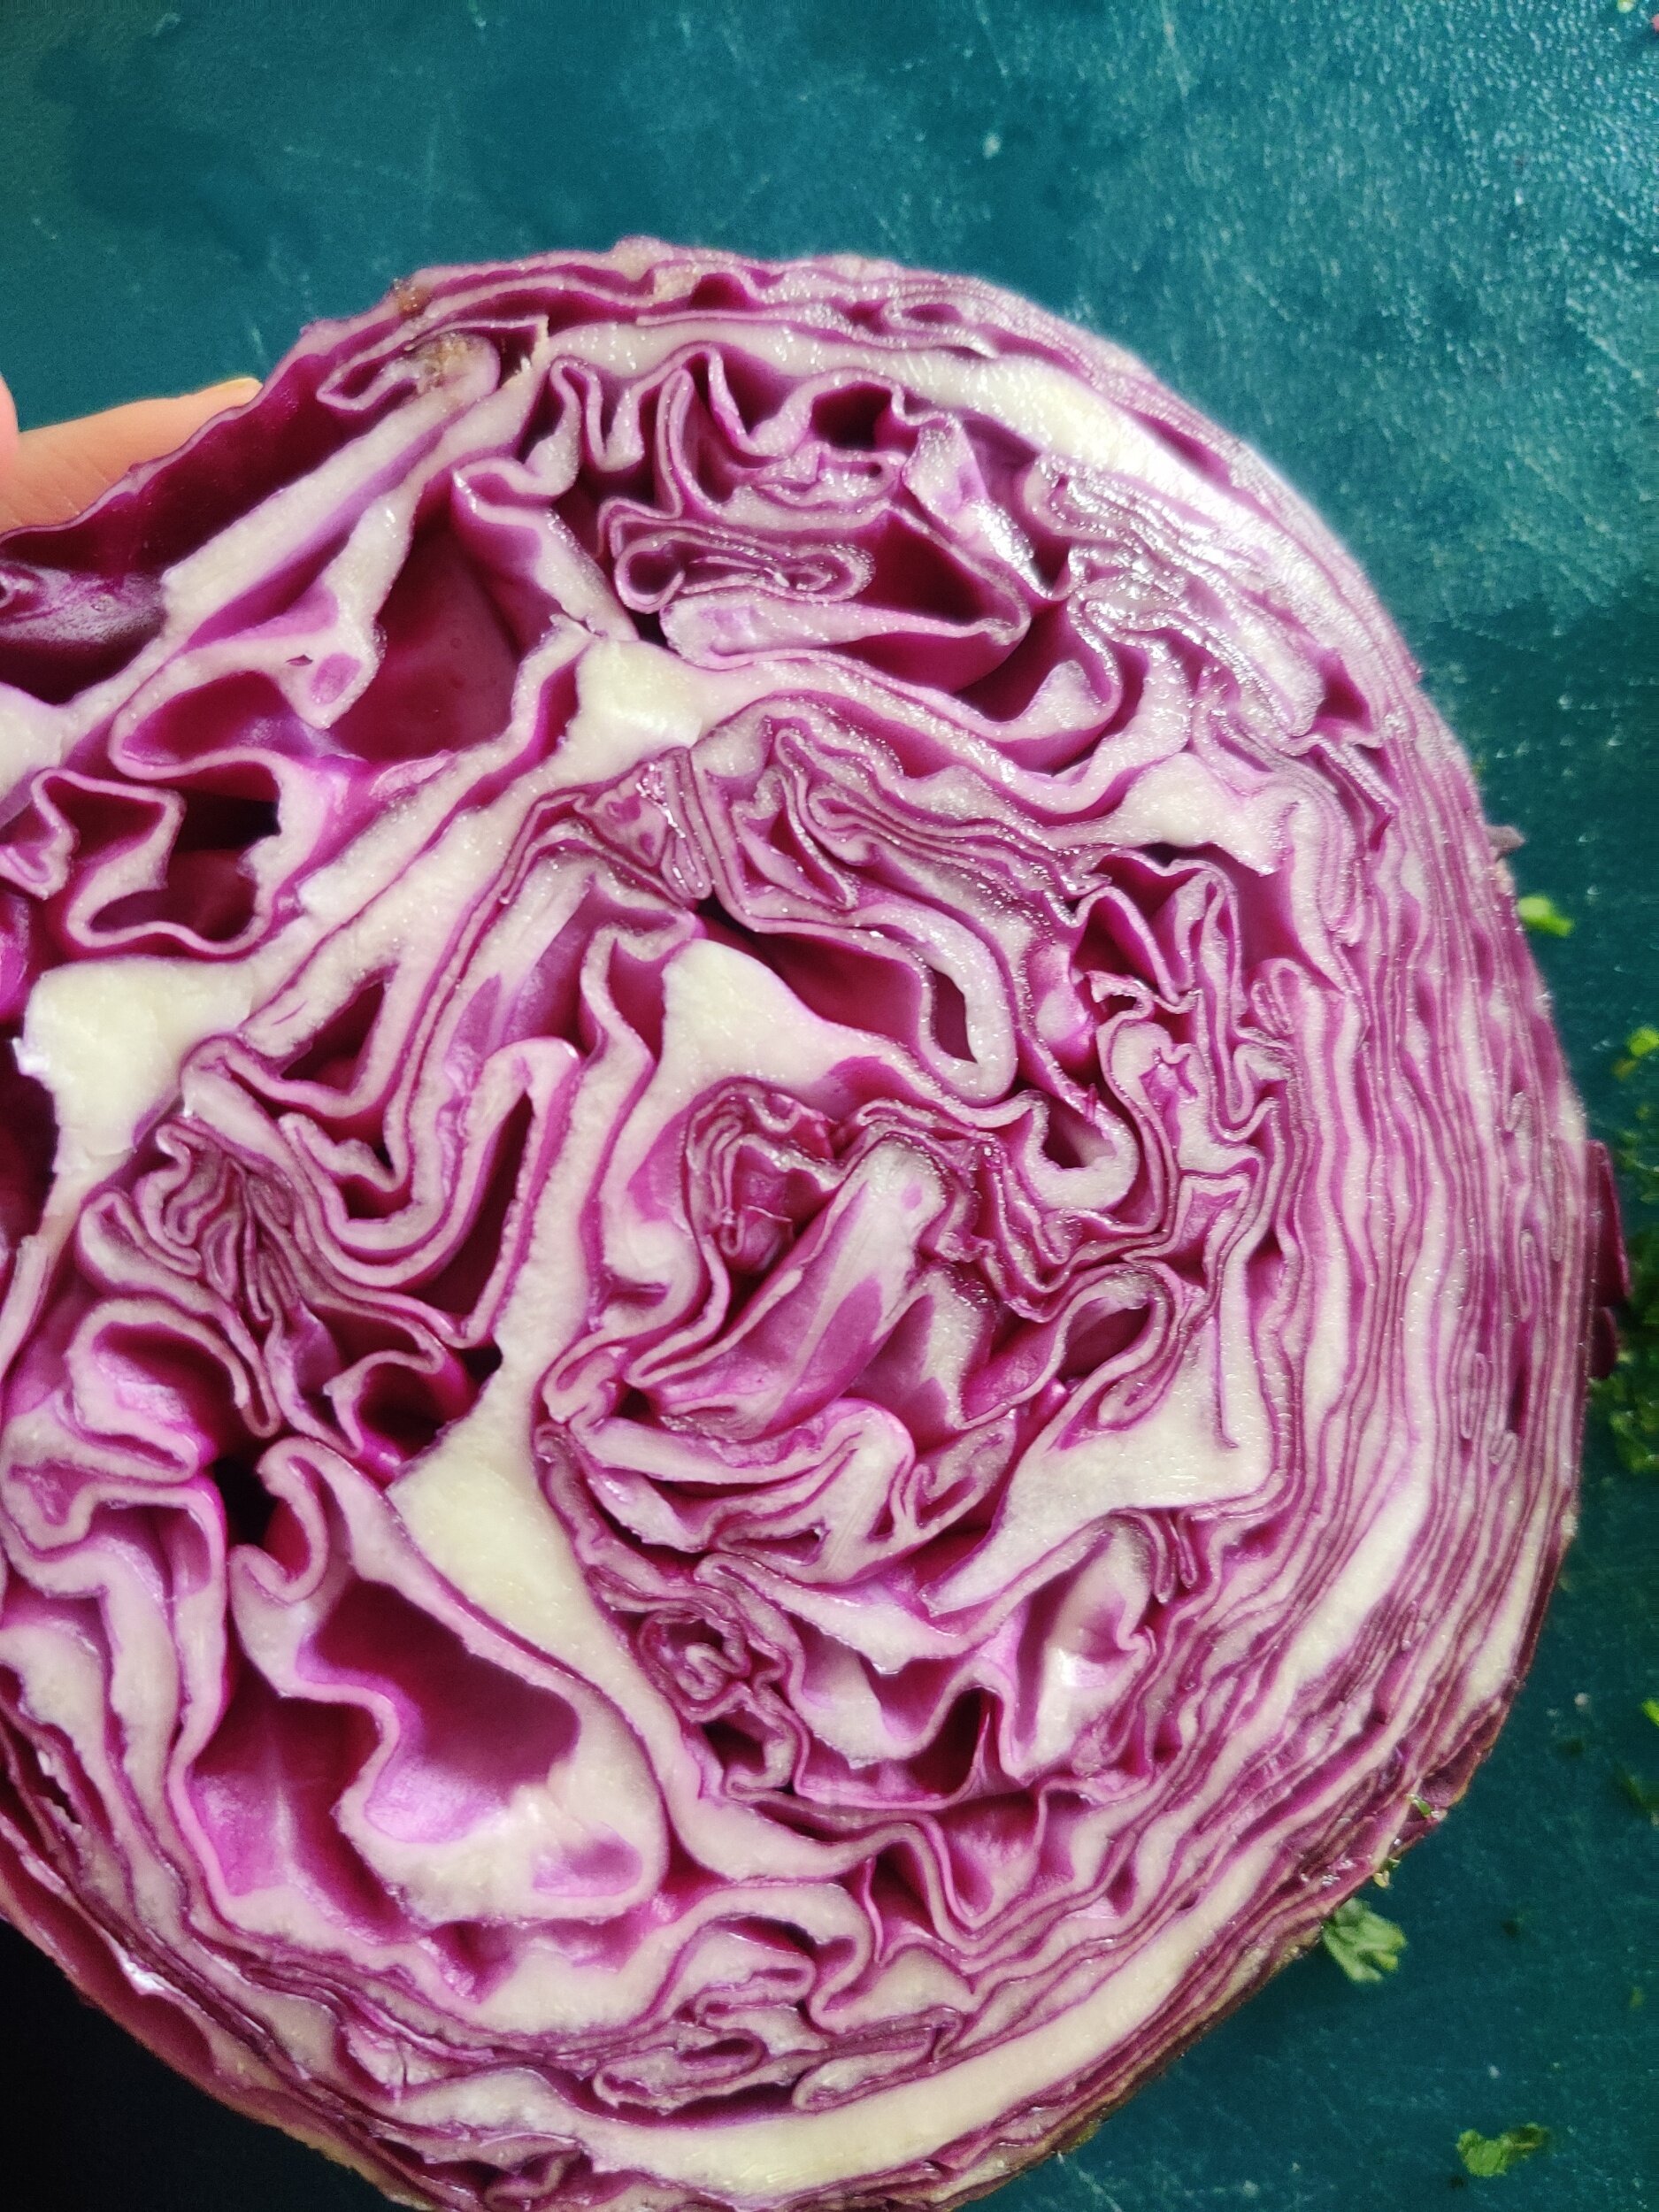
1/4 cup red cabbage, shredded
2 tablespoon corn
Cilantro
Limes
1 small thinly sliced radish
Feta cheese
Remoulade
Instructions
In a bowl, toss the cubed sweet potato with enough olive oil to coat with the first set of spices. Bake at 375F for about 25 minutes, turning/stirring once. Remove and set aside, don't overcook.
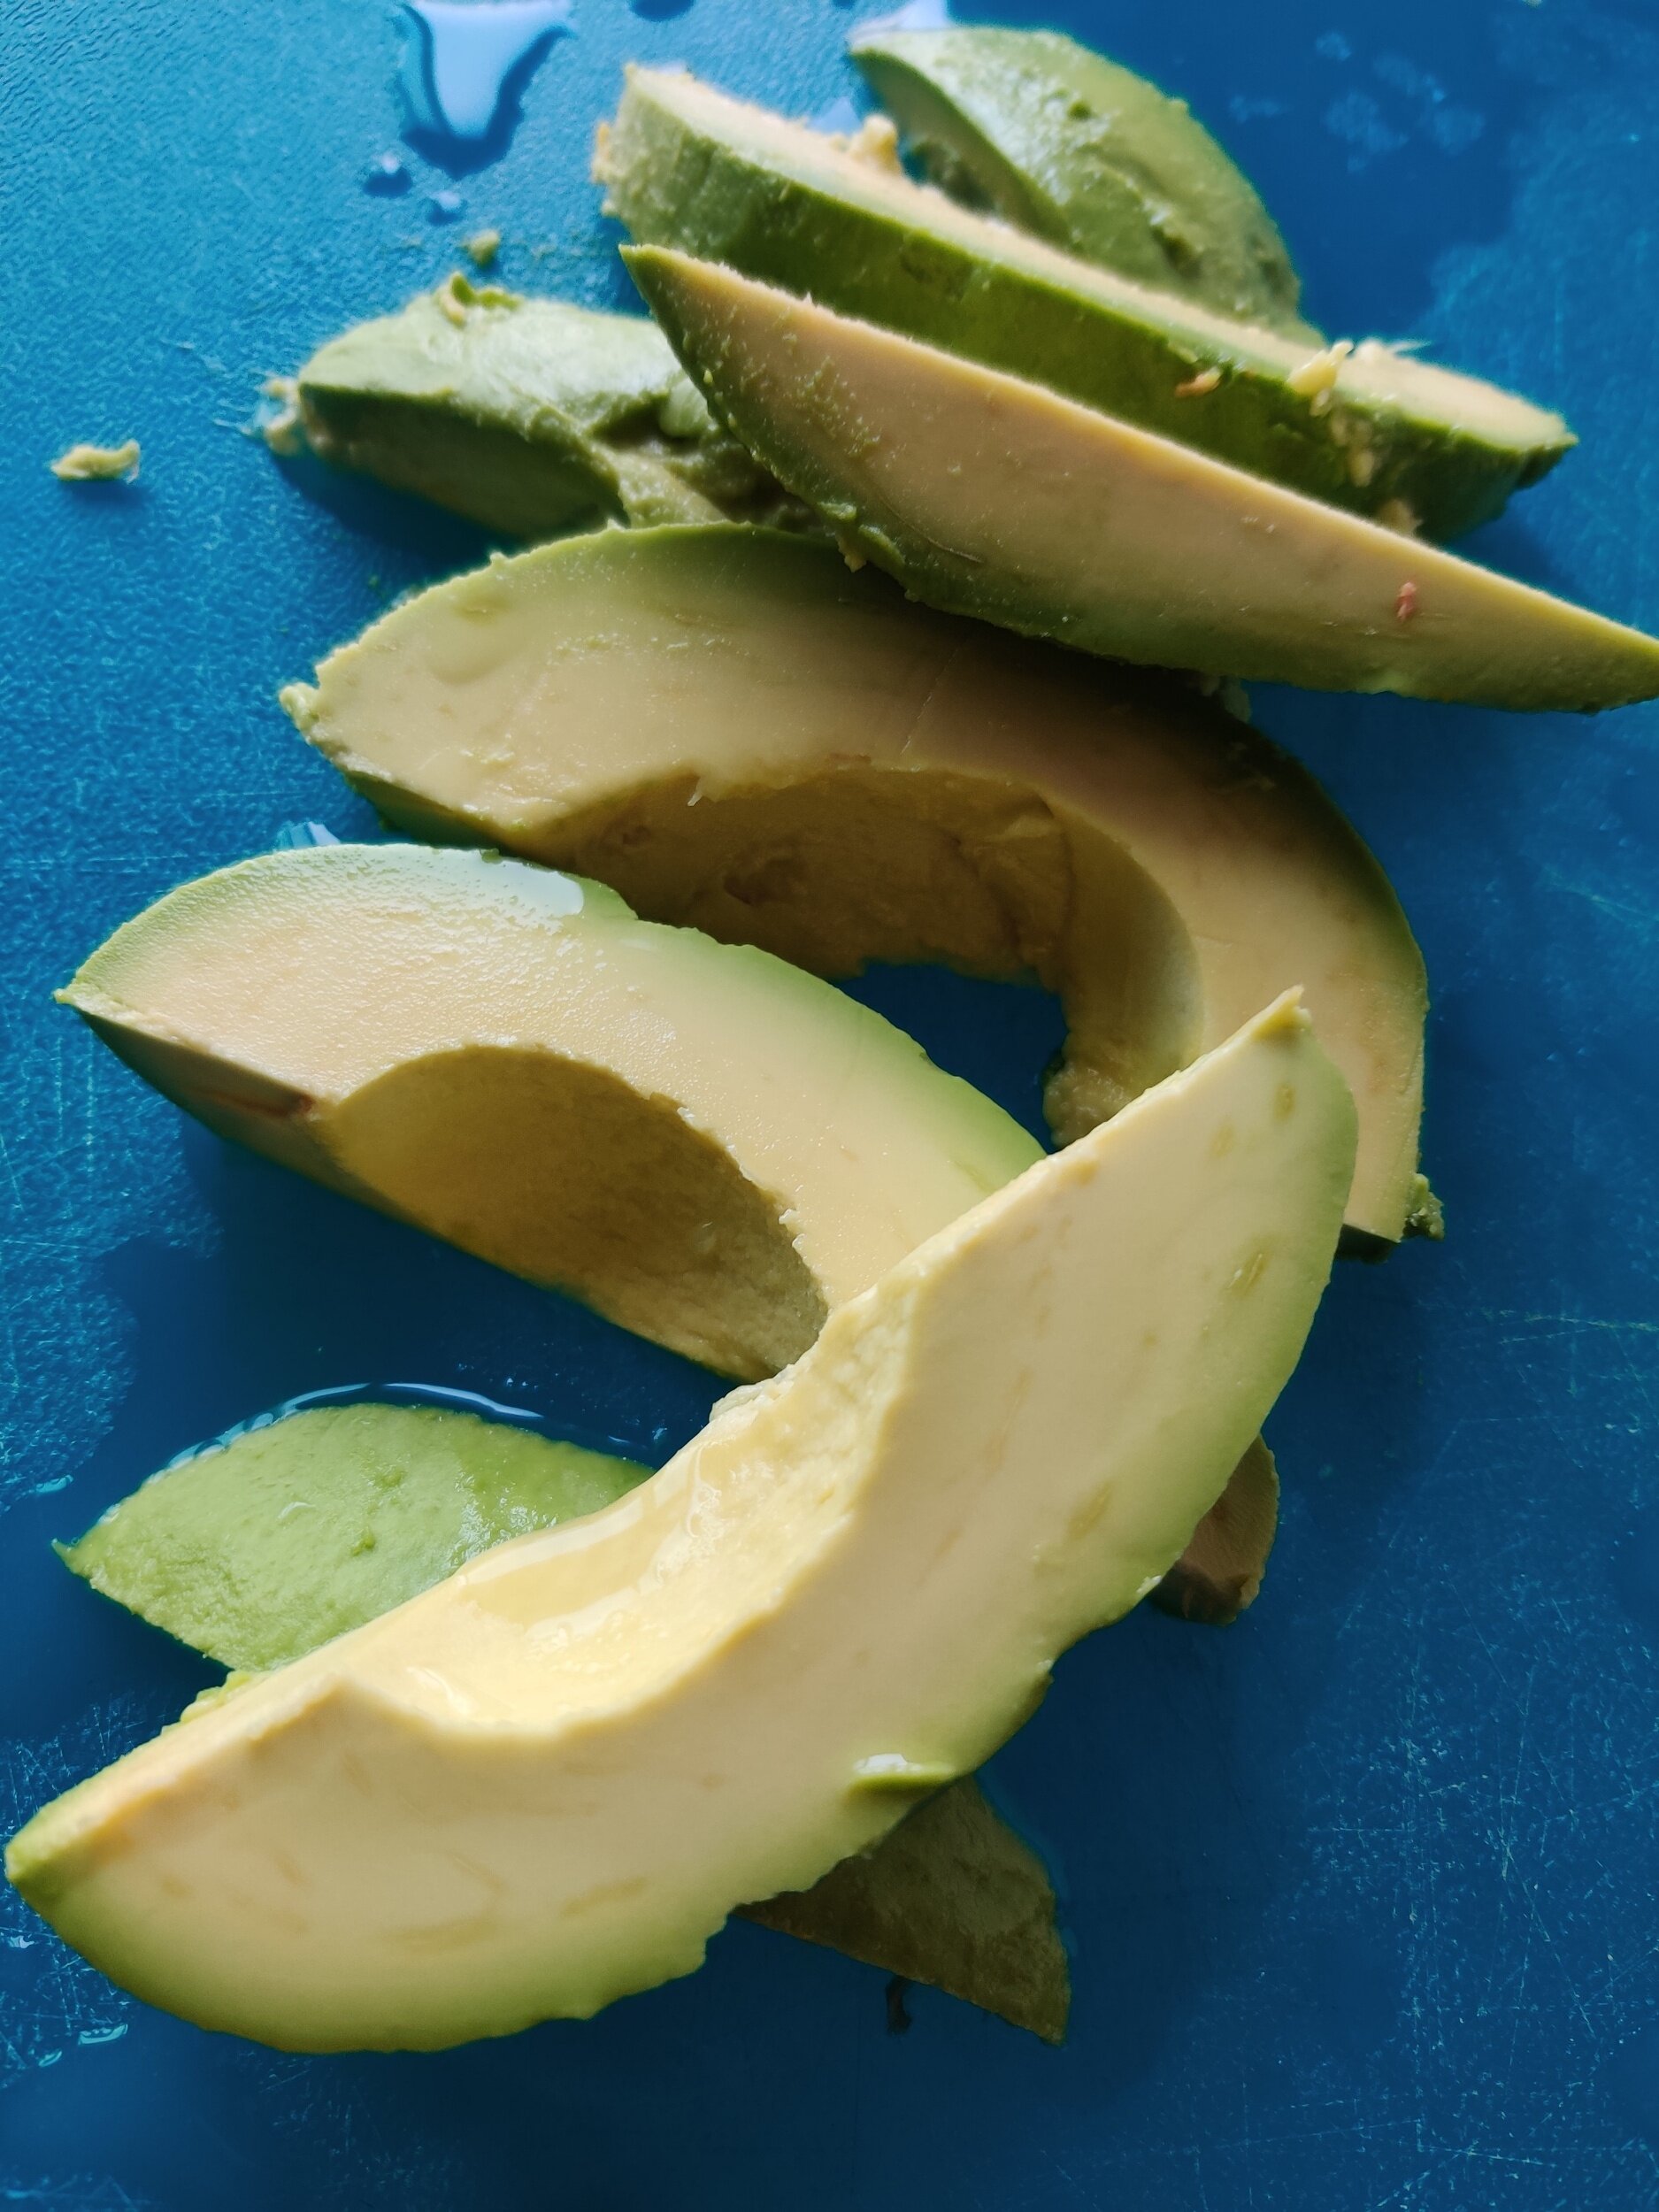
Slice avocado thickly, drizzle with lime juice.
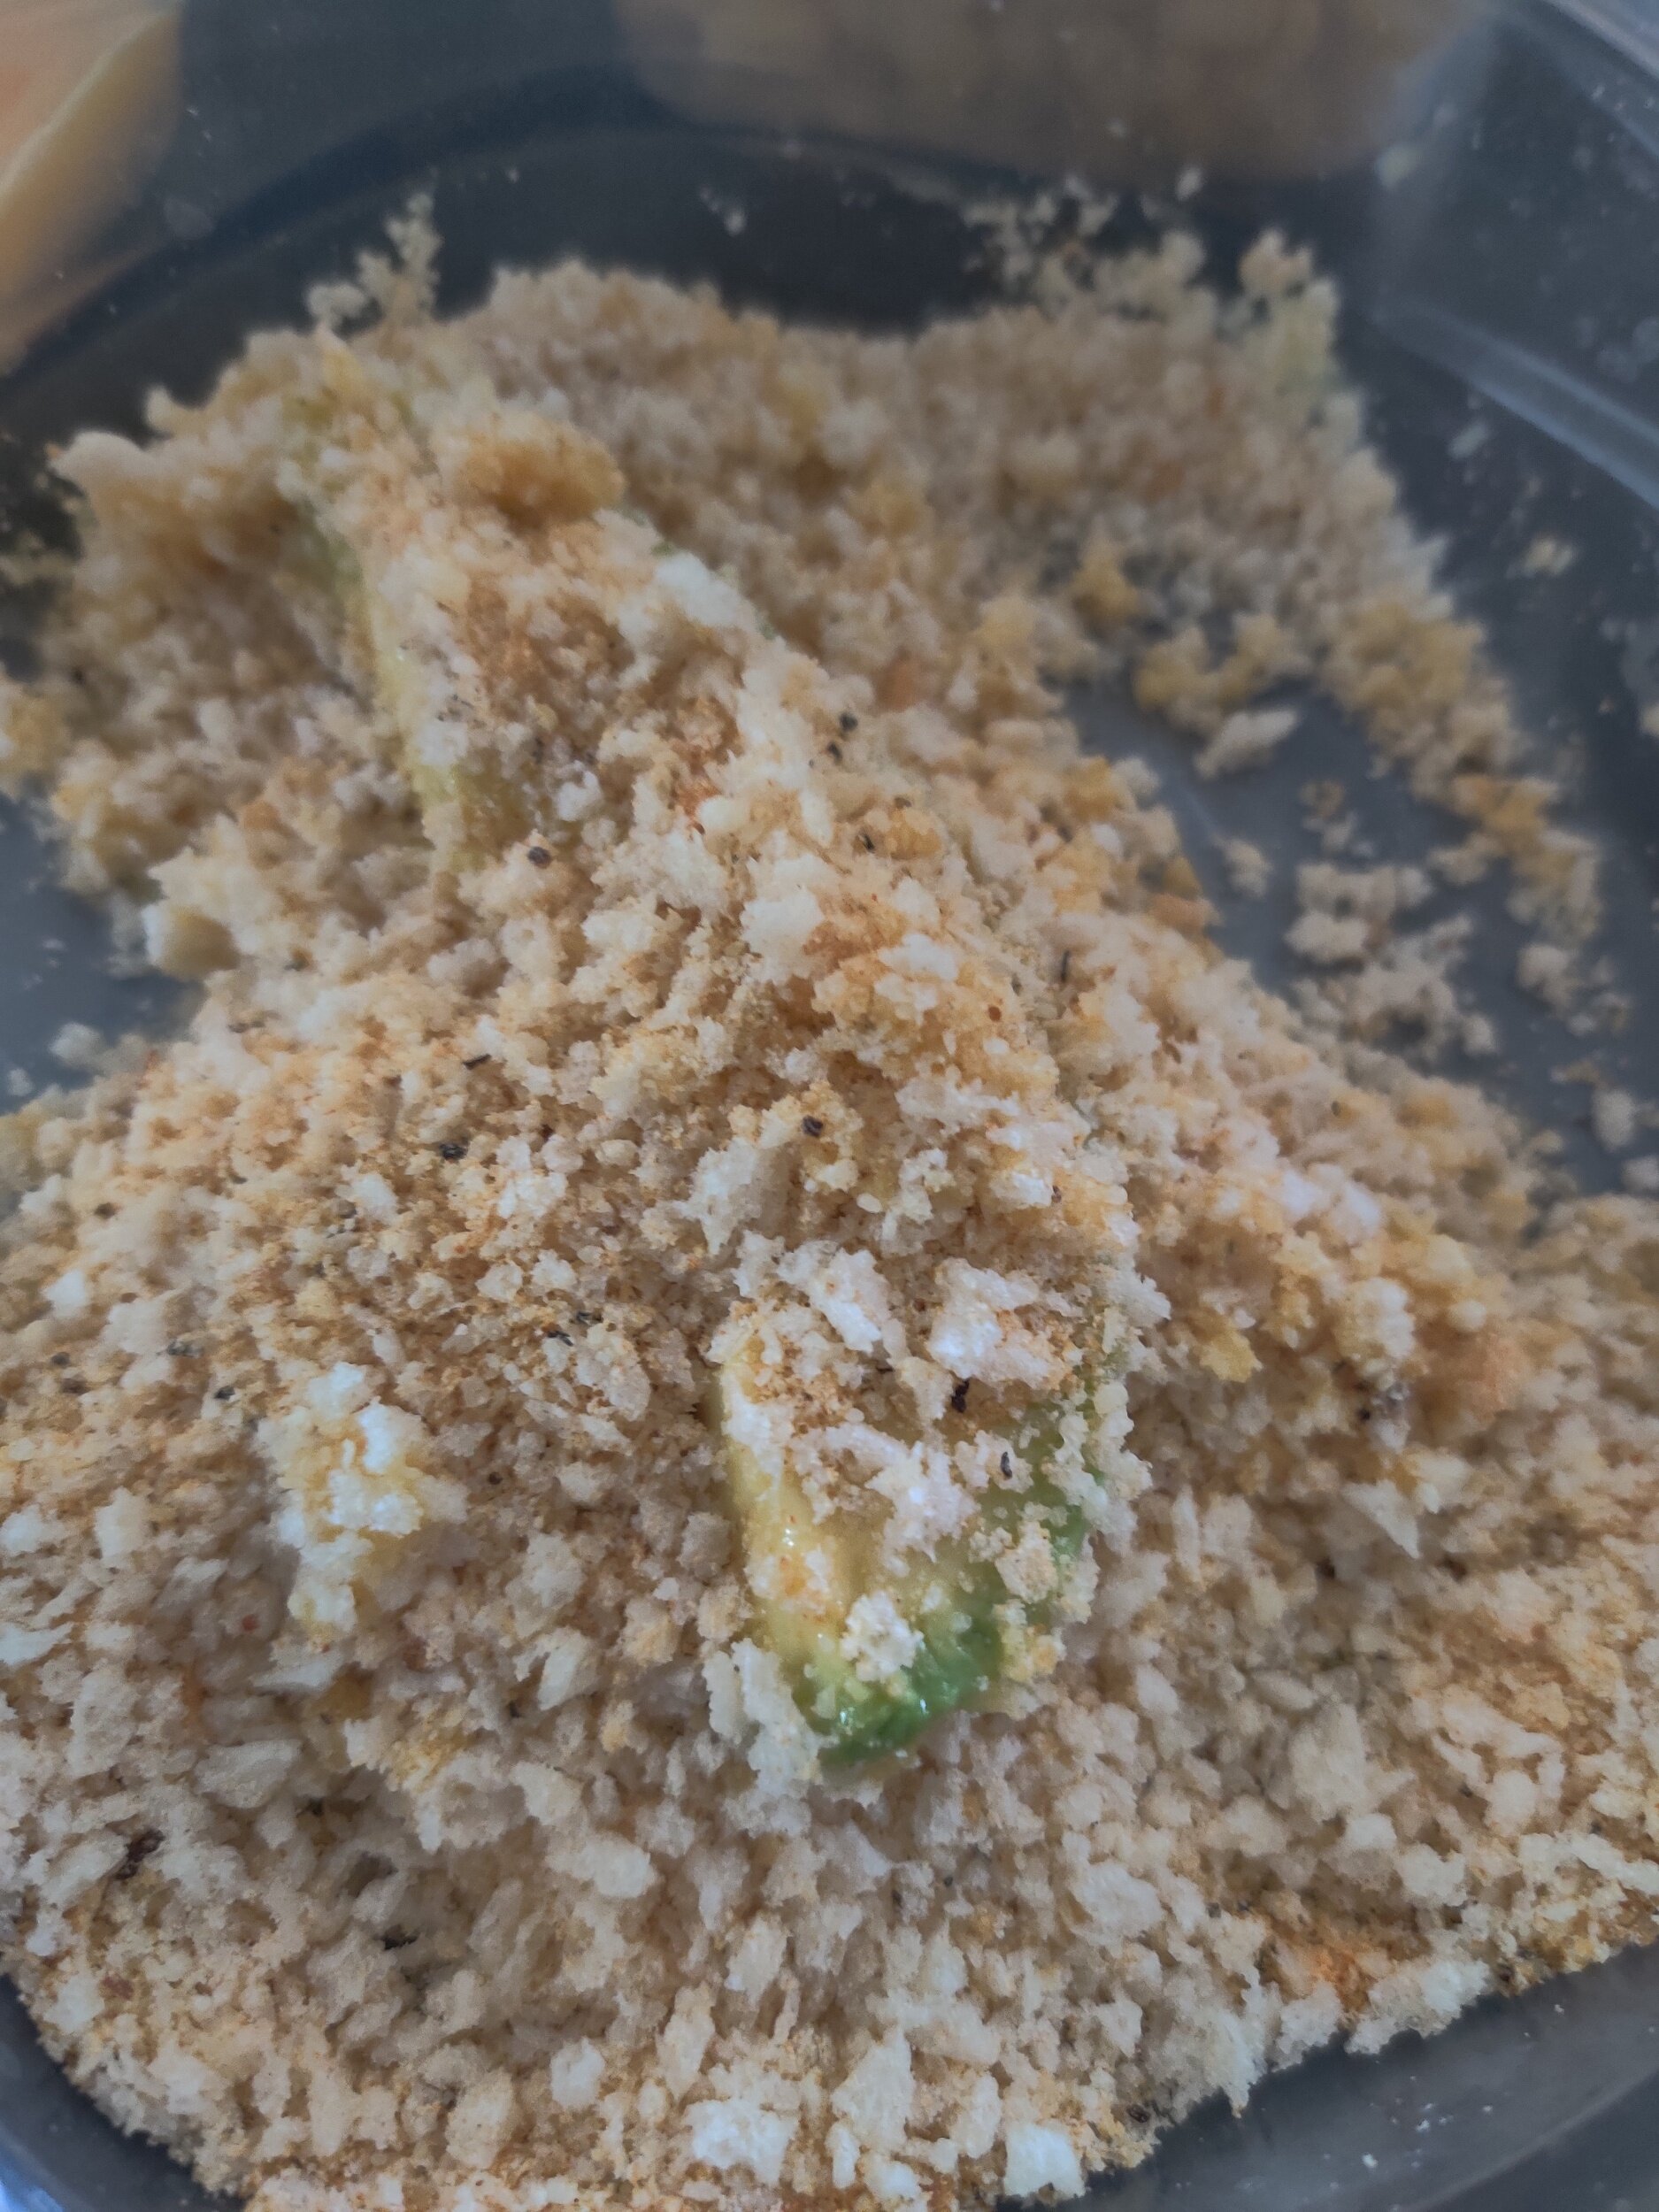
Mix the breadcrumbs, parmesan, rice spice and steak seasoning. Drench the avocado in the egg, then the breadcrumb mix.
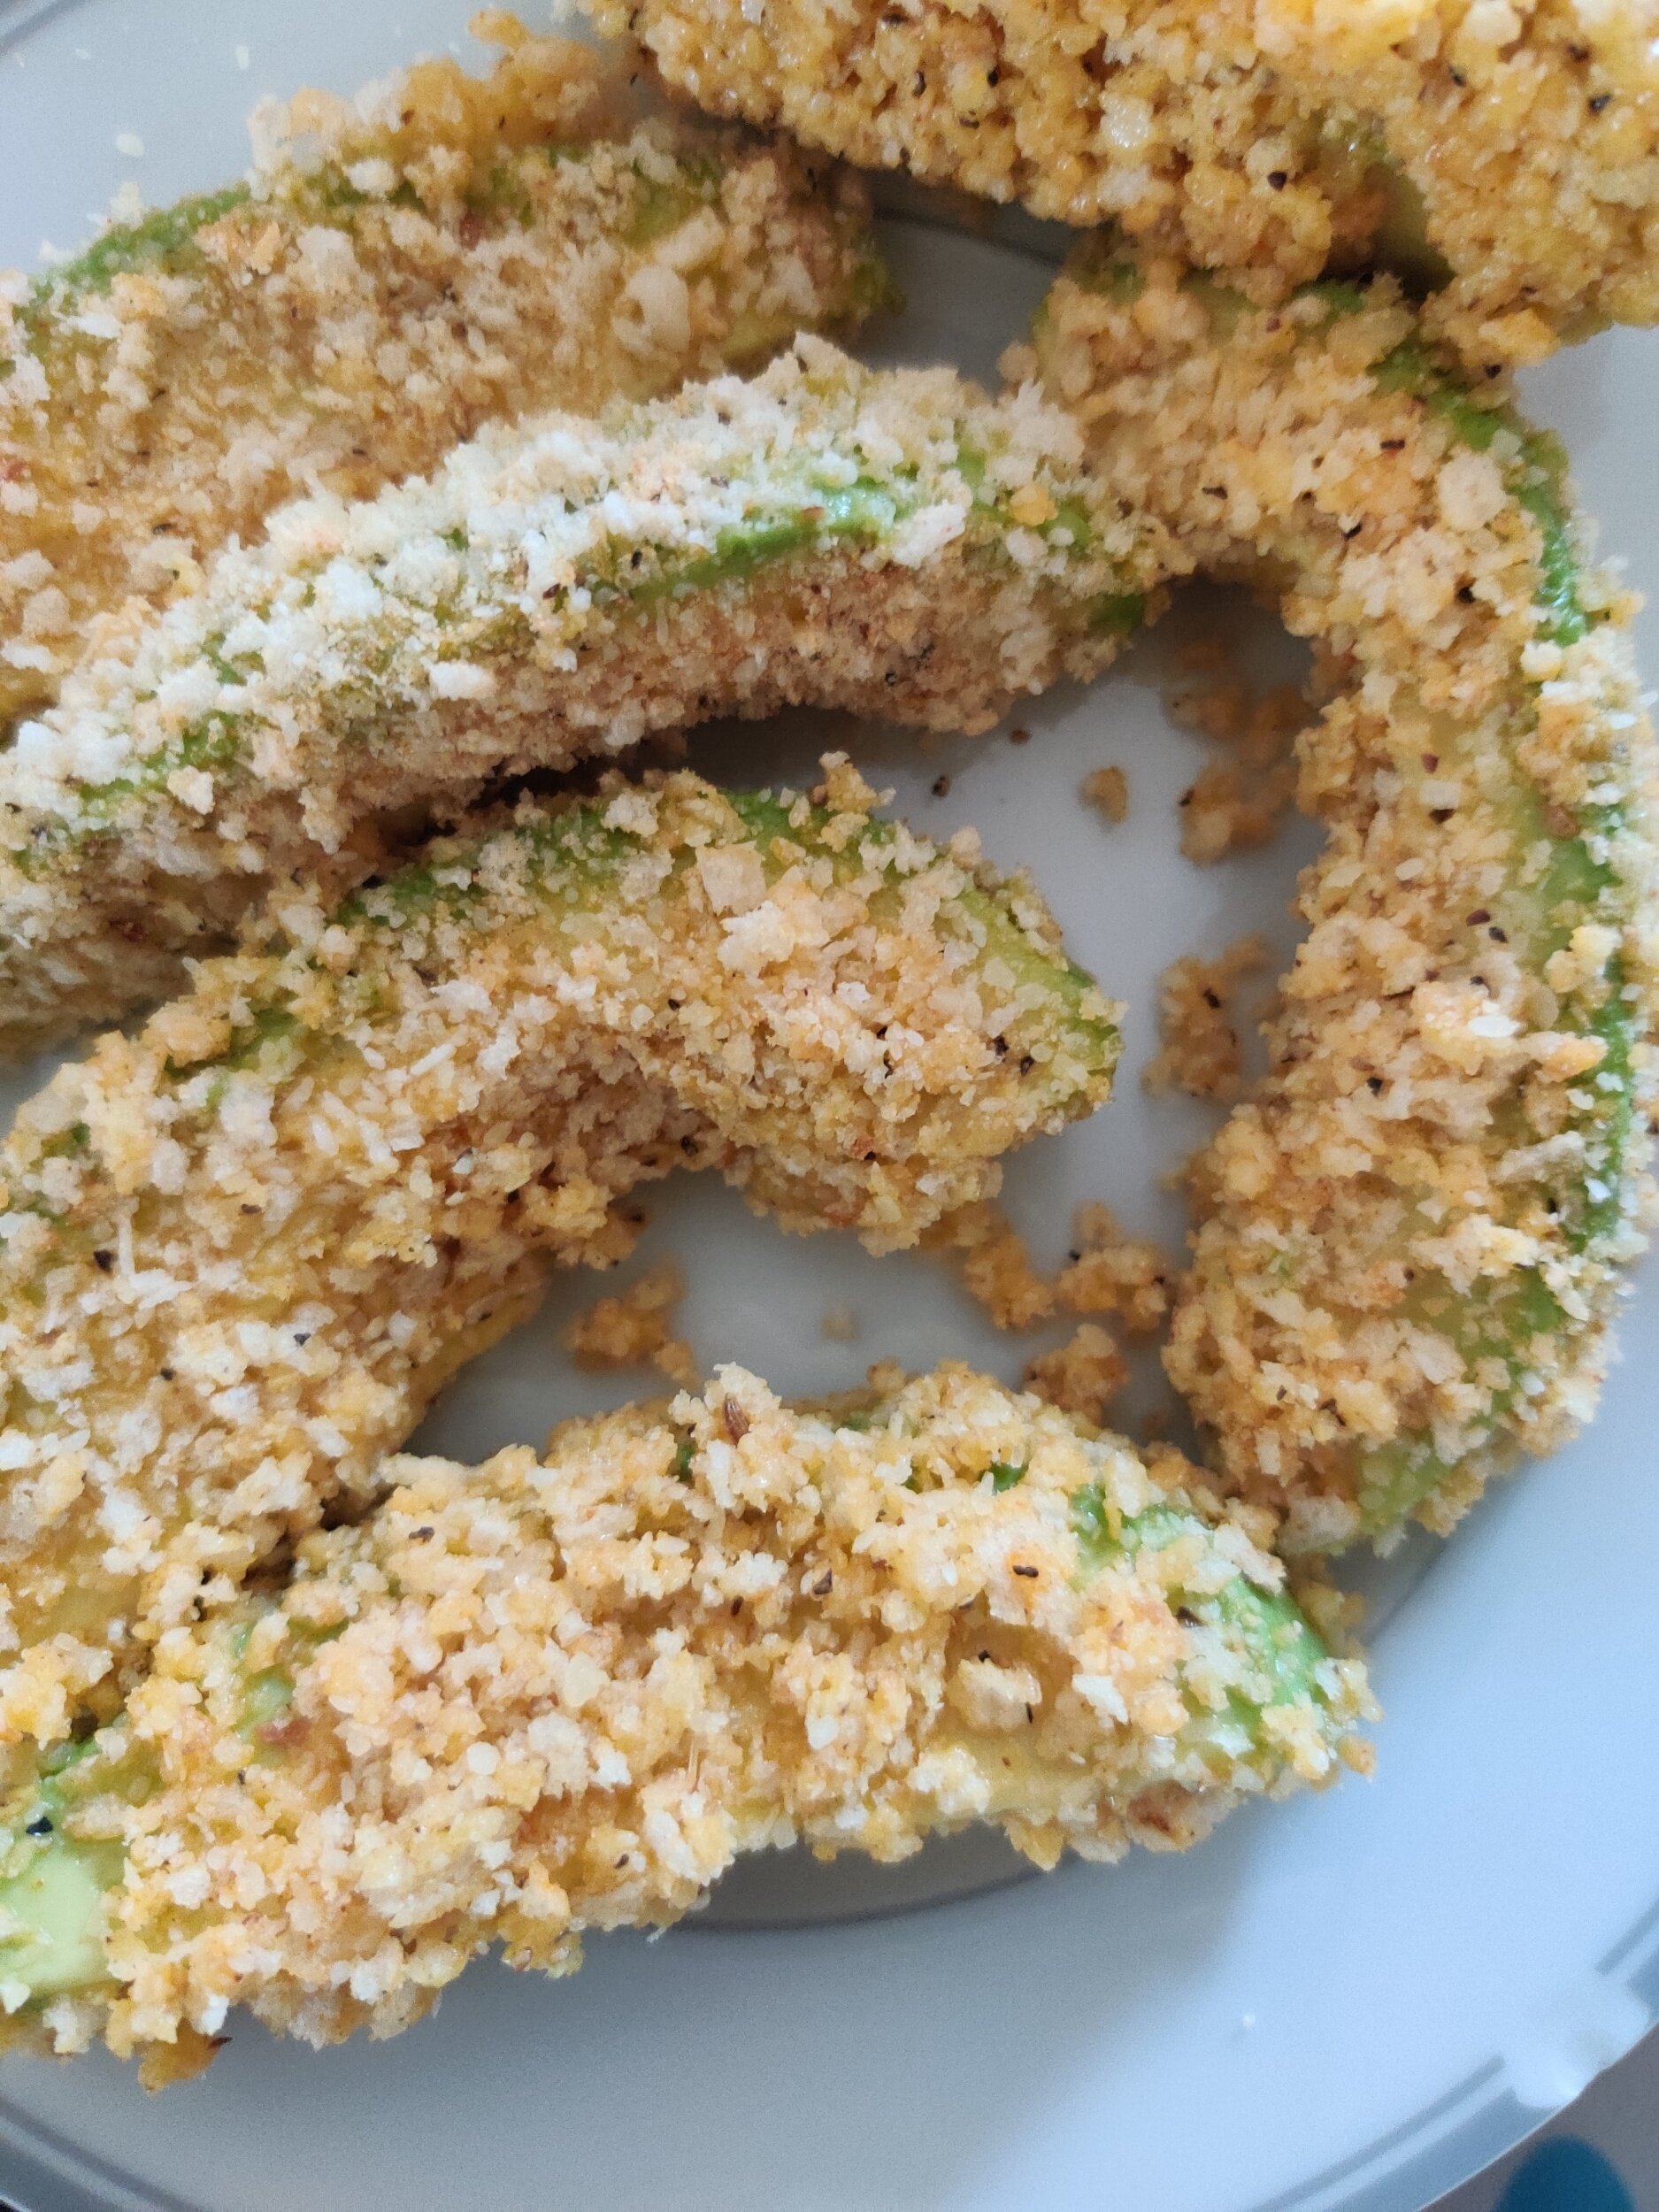
Coat the inside of an air fryer with cooking spray, and place each avocado piece separately. Spray with oil. Cool at 350 for 3 minutes on one side and 4 minutes after flipping. (You can also fry in a shallow pan of vegetable oil, then drain on paper towels).
In a non-stick pan, with some cooking spray, toast the tortillas until slightly crispy.
Assemble tacos with all your toppings and the feta and remoulade. Squeeze a bit of fresh lime over each taco. Enjoy!


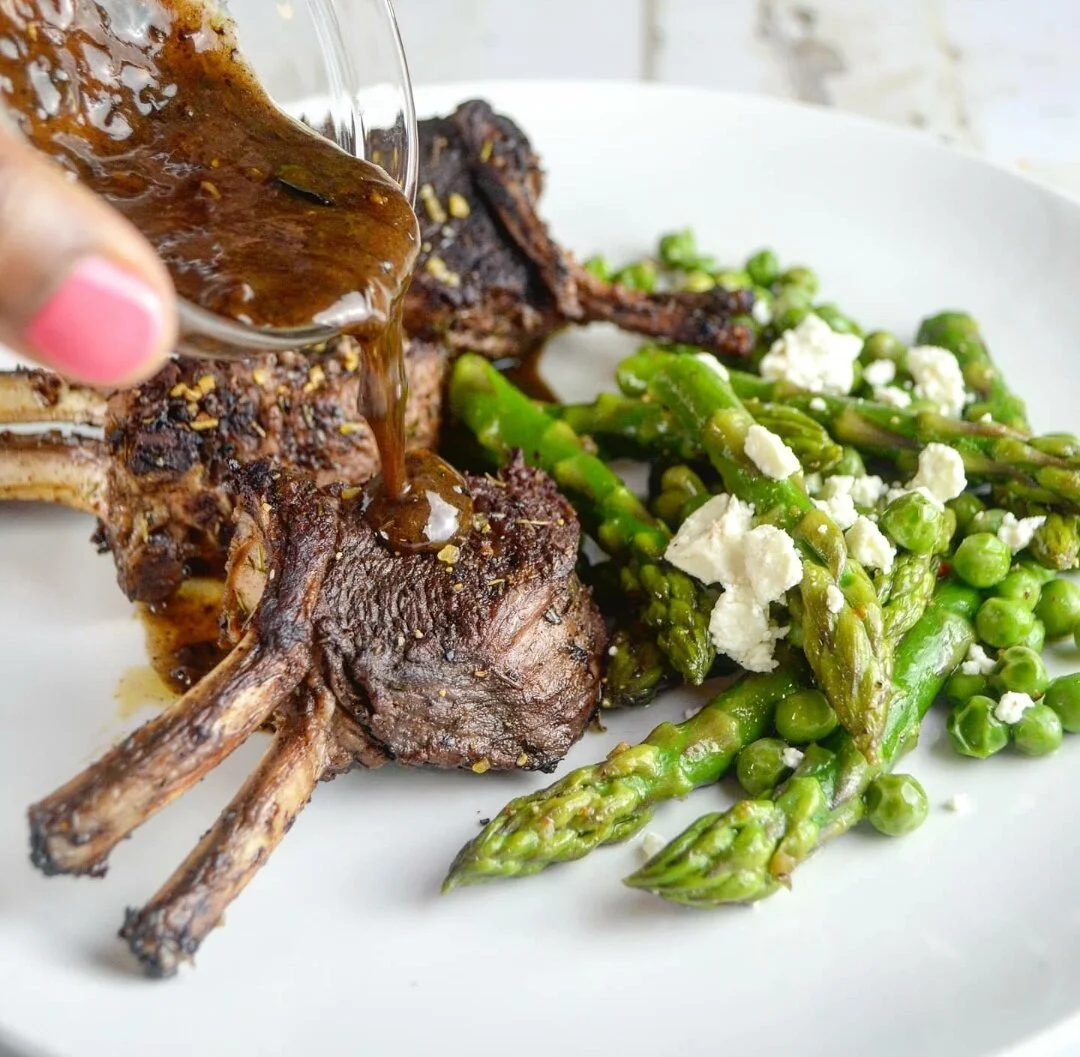
Red Wine Glazed Lamb Chops With Asparagus Pea Salad
Elevate your spring and summer hosting with these Red Wine Glazed Lamb Chops with Asparagus and Pea Salad, a dish that feels both elegant and effortlessly seasonal. Juicy, herb-marinated lamb chops are seared to perfection, then finished in a rich red wine glaze that adds depth and a subtle sweetness. The bold flavors of garlic, rosemary, thyme, and paprika create a beautifully seasoned crust, while the glaze brings everything together with a glossy, restaurant-quality finish.
To balance the richness of the lamb, this dish is paired with a bright and refreshing asparagus and pea salad. Crisp asparagus tips and tender English peas are lightly blanched and tossed with olive oil, balsamic vinegar, and garlic, then finished with creamy feta for a salty, tangy contrast.
Perfect for dinner parties, date nights, or a special weekend meal, this recipe highlights the best of warm-weather ingredients while delivering bold, satisfying flavor. It’s a complete plate that feels elevated without being overly complicated—ideal for impressing guests or treating yourself.

Red Wine Glazed Lamb Chops With Asparagus Pea Salad
Celebrate spring with these succulent red wine glazed lamb chops and a fresh asparagus and pea salad. Herb-marinated lamb is seared and finished with a rich red wine reduction, while the crisp, feta-topped salad balances the plate. Perfect for holiday dinners or special weekend meals.
Ingredients
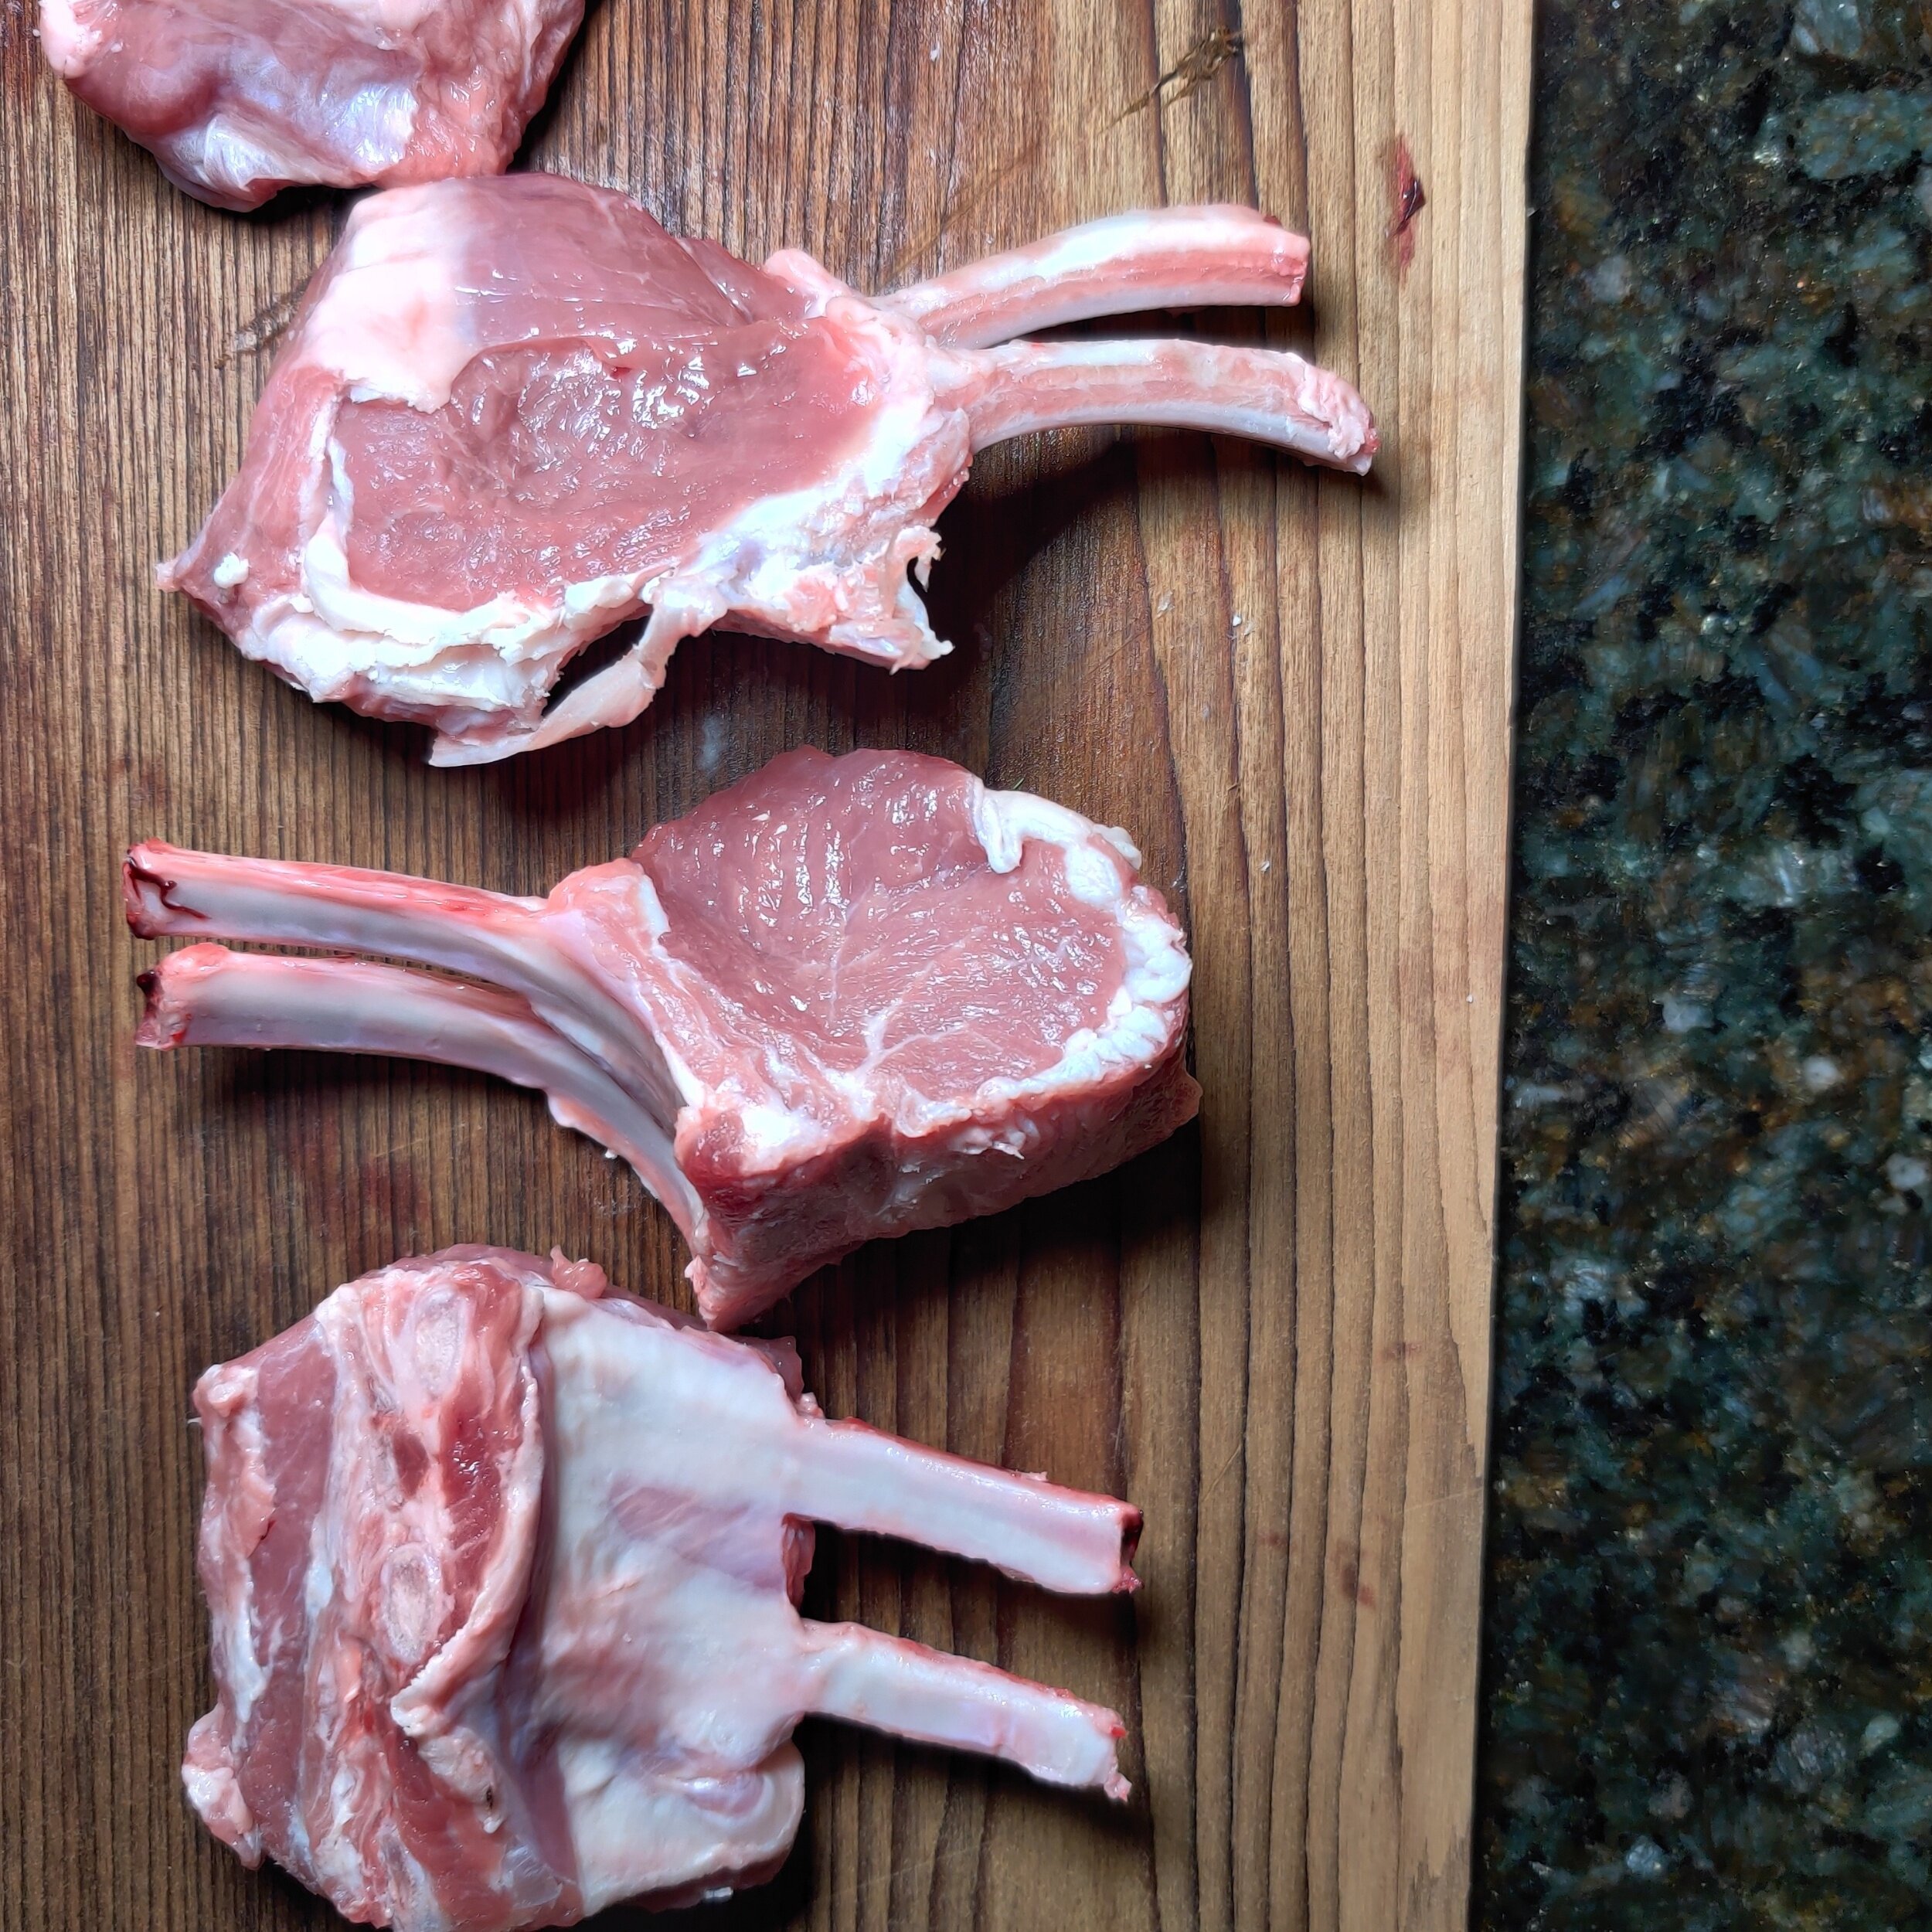
- 1 trimmed rack of lamb (6–8 small chops, about 1 lb / 450 g)
- 1 tbsp seasoned salt
- 1 tsp black pepper
- 1 tsp cracked black pepper
- 1 tbsp paprika
- 2 tbsp olive oil
- 1/4 cup lemon juice
- 1 tbsp Worcestershire sauce
- 1 tbsp dried mint
- 2 tbsp dried thyme
- 3 sprigs fresh rosemary
- 3 garlic cloves, minced
- 1 cup red wine (bold red recommended)
- 2 tbsp butter
- 1/4 cup mushroom gravy
- Mint sauce (optional, for serving)
- 1 cup asparagus tips
- 1 cup peas
- 1/2 tsp salt
- 1/2 tsp black pepper
- 1/2 tsp garlic powder
- 1 tbsp olive oil
- 1 tsp balsamic vinegar
- 1/3 cup feta cheese
Instructions
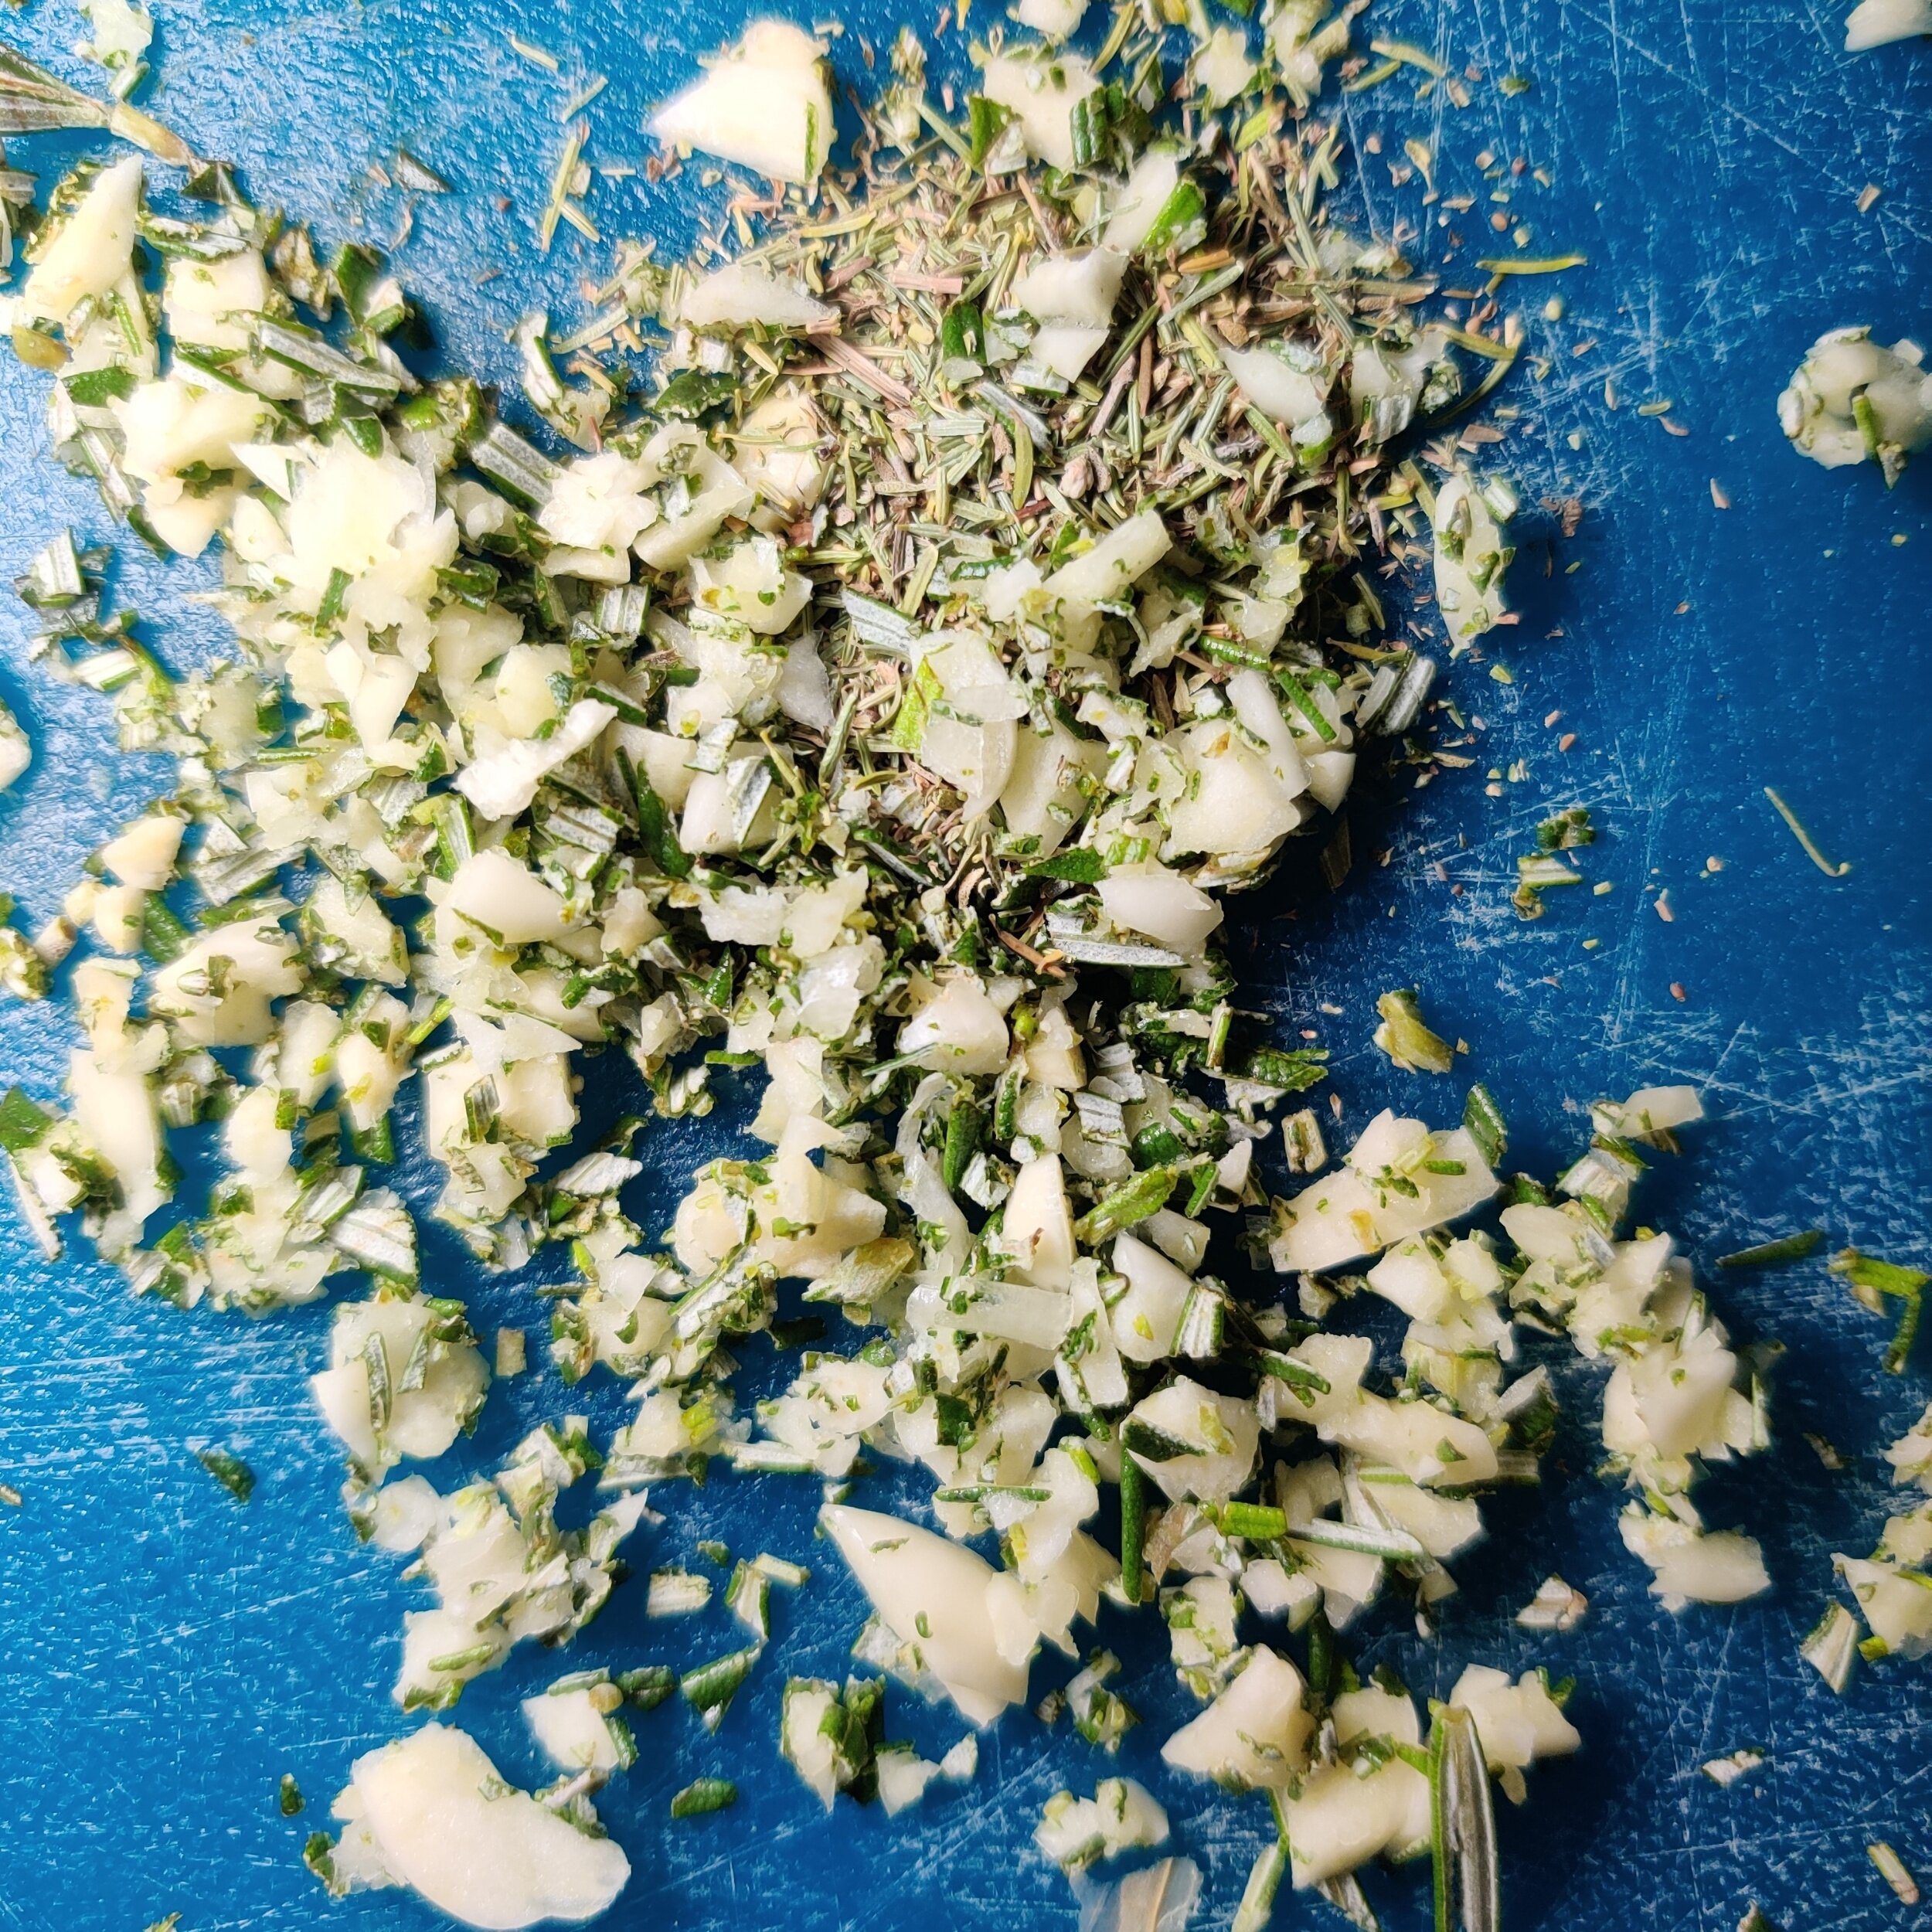
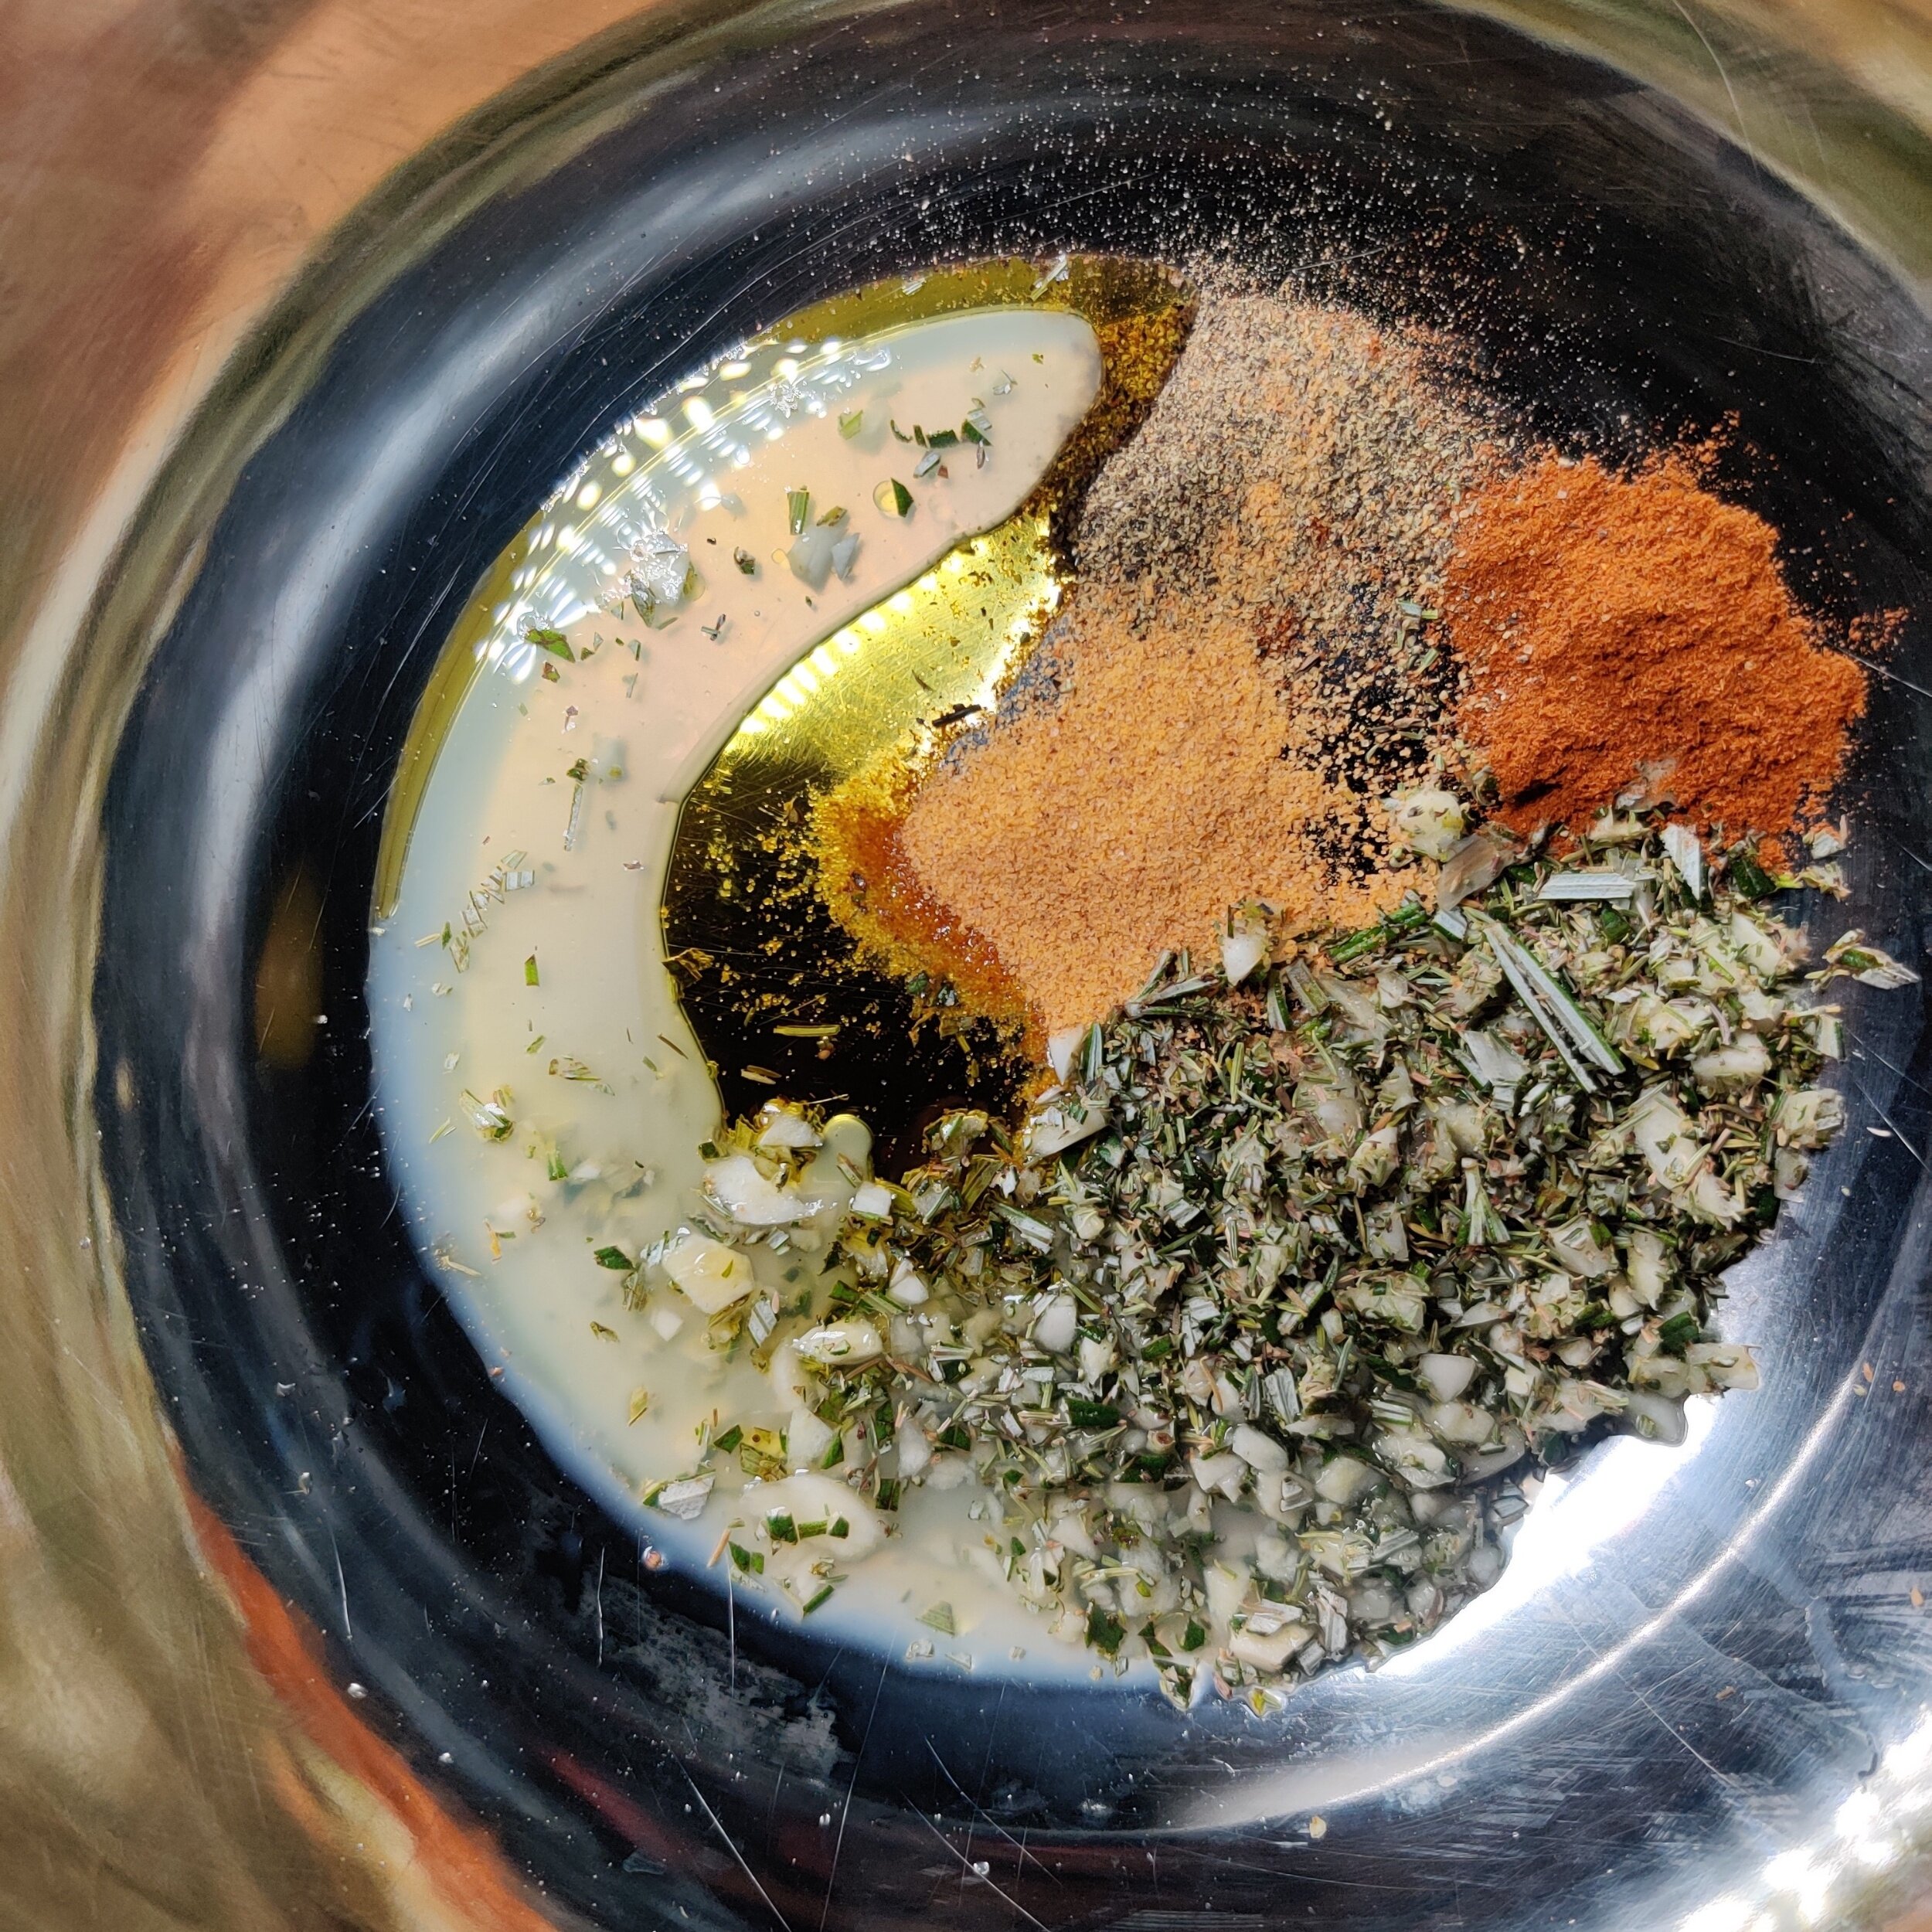
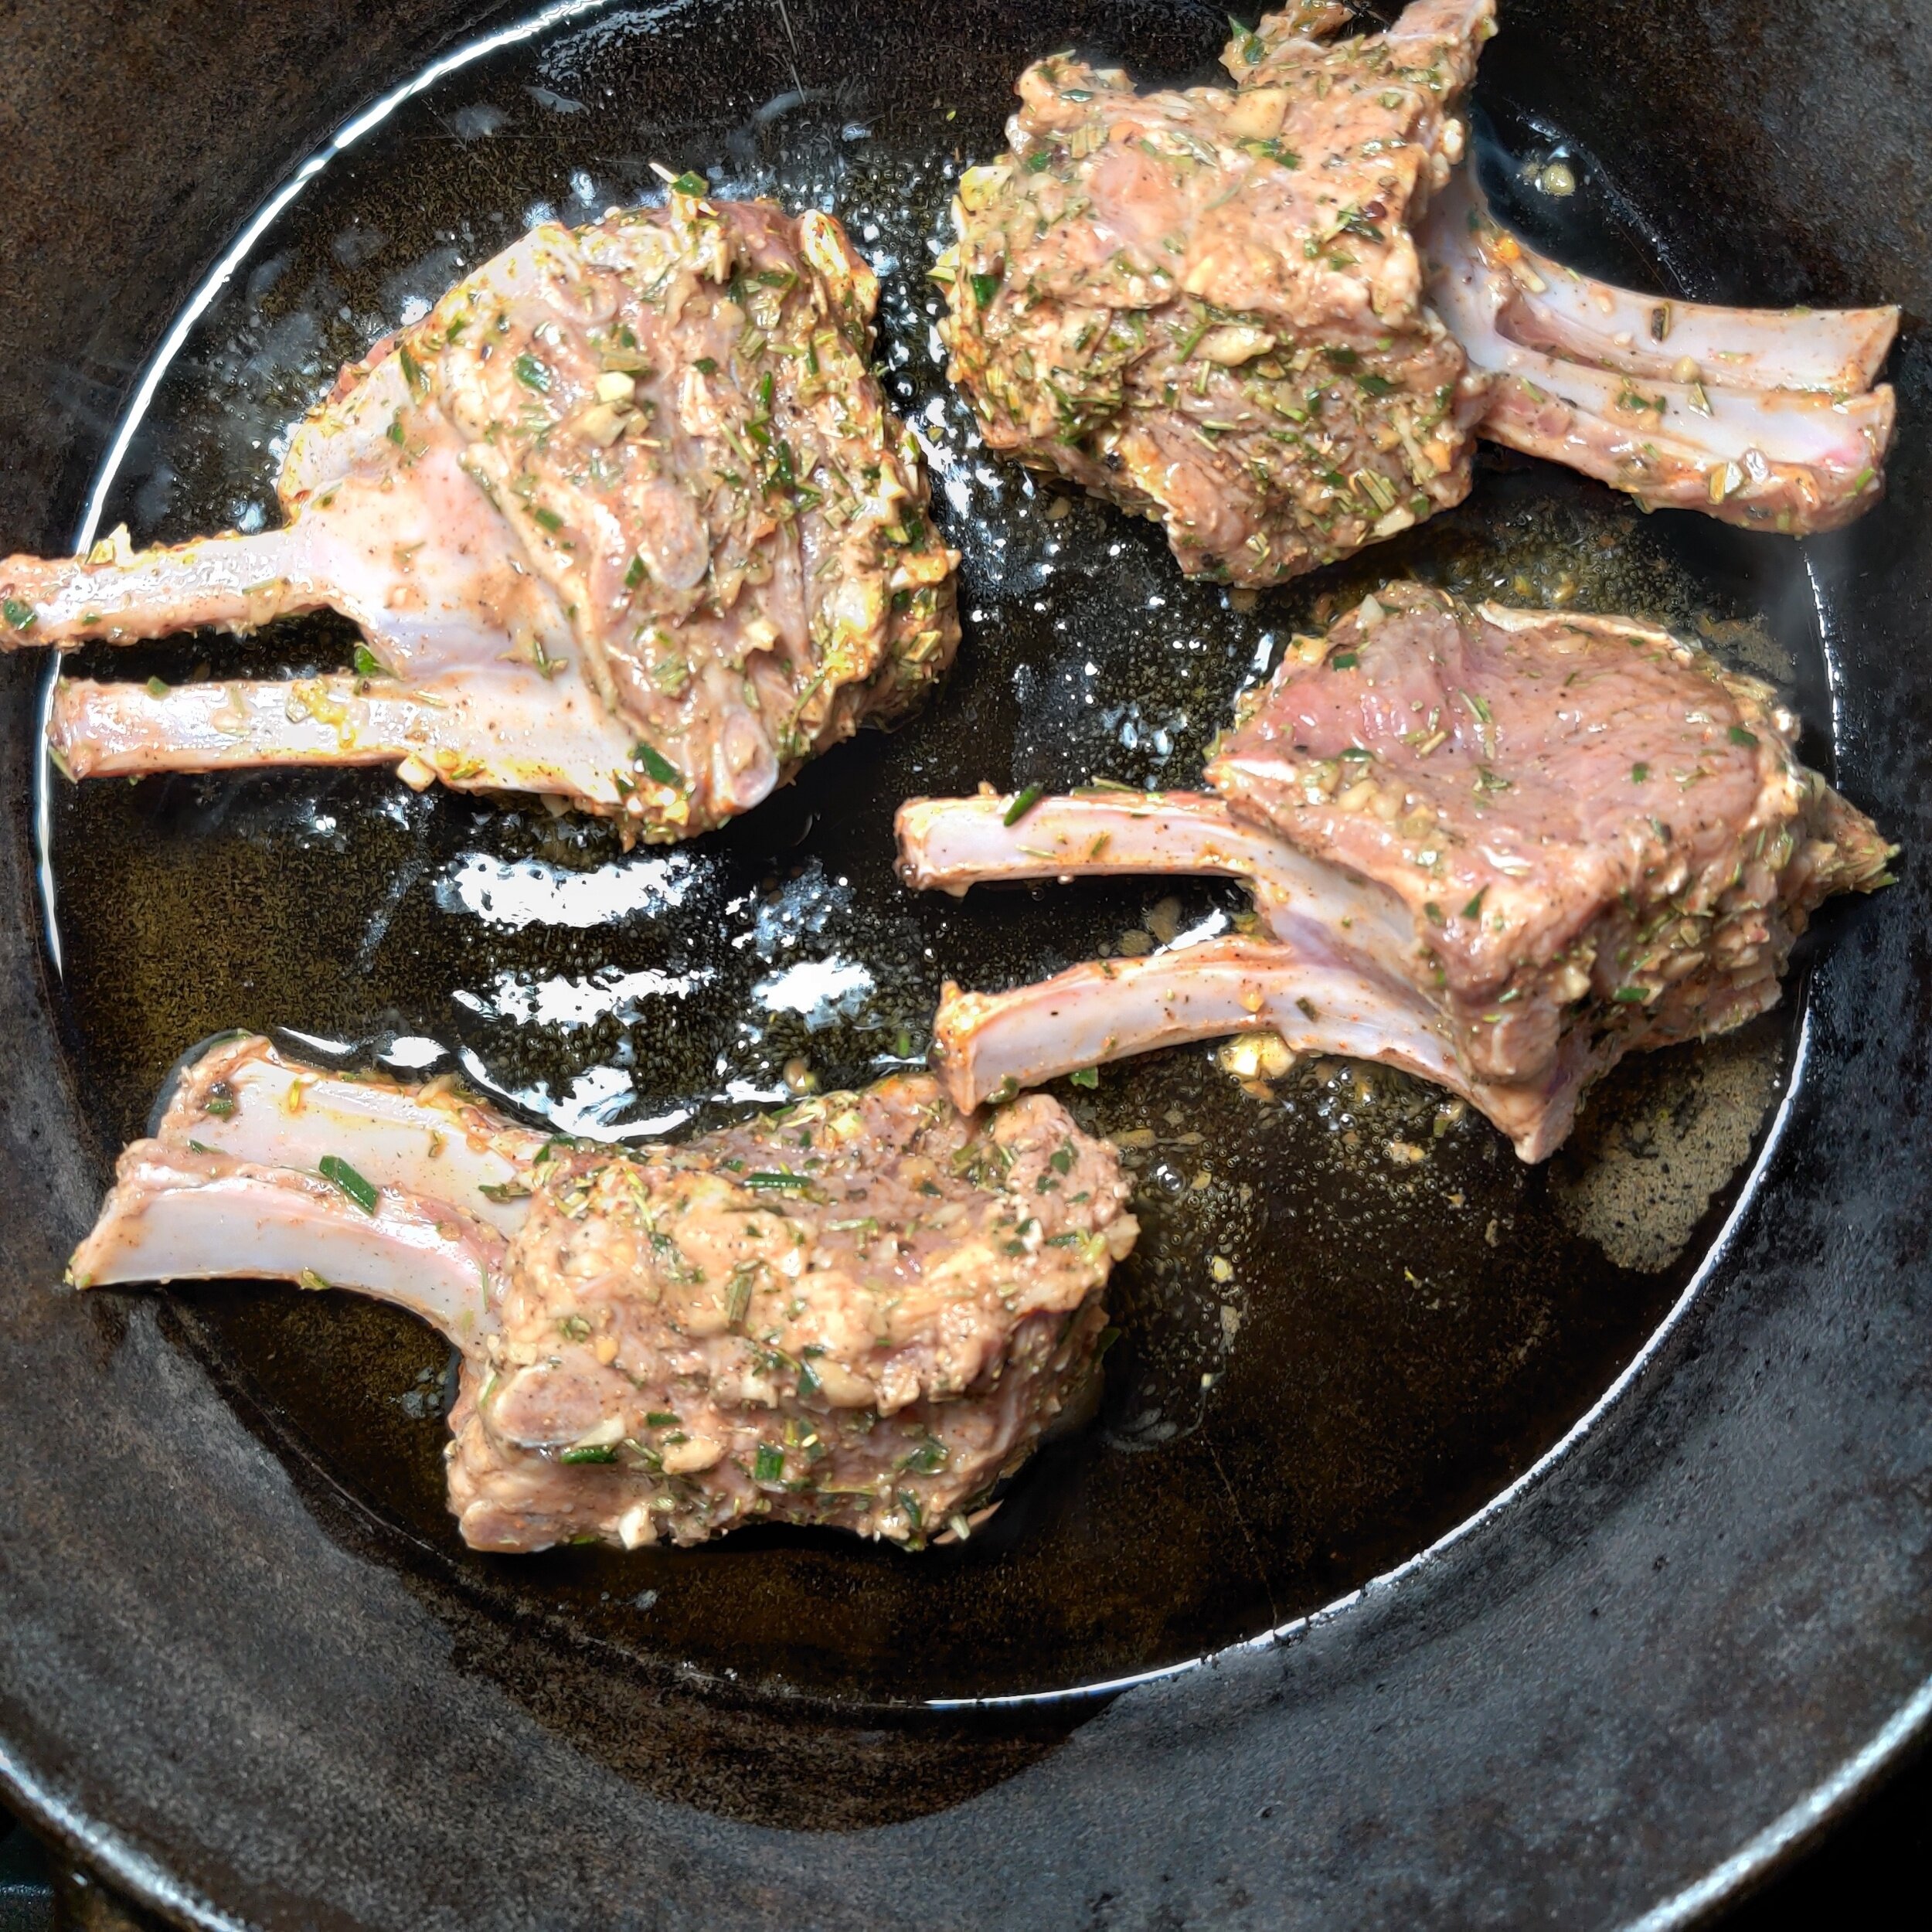
- In a bowl, combine seasoned salt, black pepper, cracked pepper, paprika, olive oil, lemon juice, Worcestershire sauce, dried mint, thyme, rosemary, and garlic. Coat the lamb thoroughly and marinate in the refrigerator for at least 30 minutes (or up to 2 hours for deeper flavor).
- Preheat oven to 350°F (175°C).
- Heat 1–2 tablespoons of cooking oil in a large skillet over medium-high heat. Pat the marinated lamb dry to remove excess moisture, then add it to the hot pan.
- Sear each side for 2–3 minutes in a preheated skillet with a small drizzle of oil added just before the lamb. Use a heavy-bottomed or cast-iron pan for even heat, avoid overcrowding, and don’t move the lamb too much so each side develops a deep, golden-brown crust.
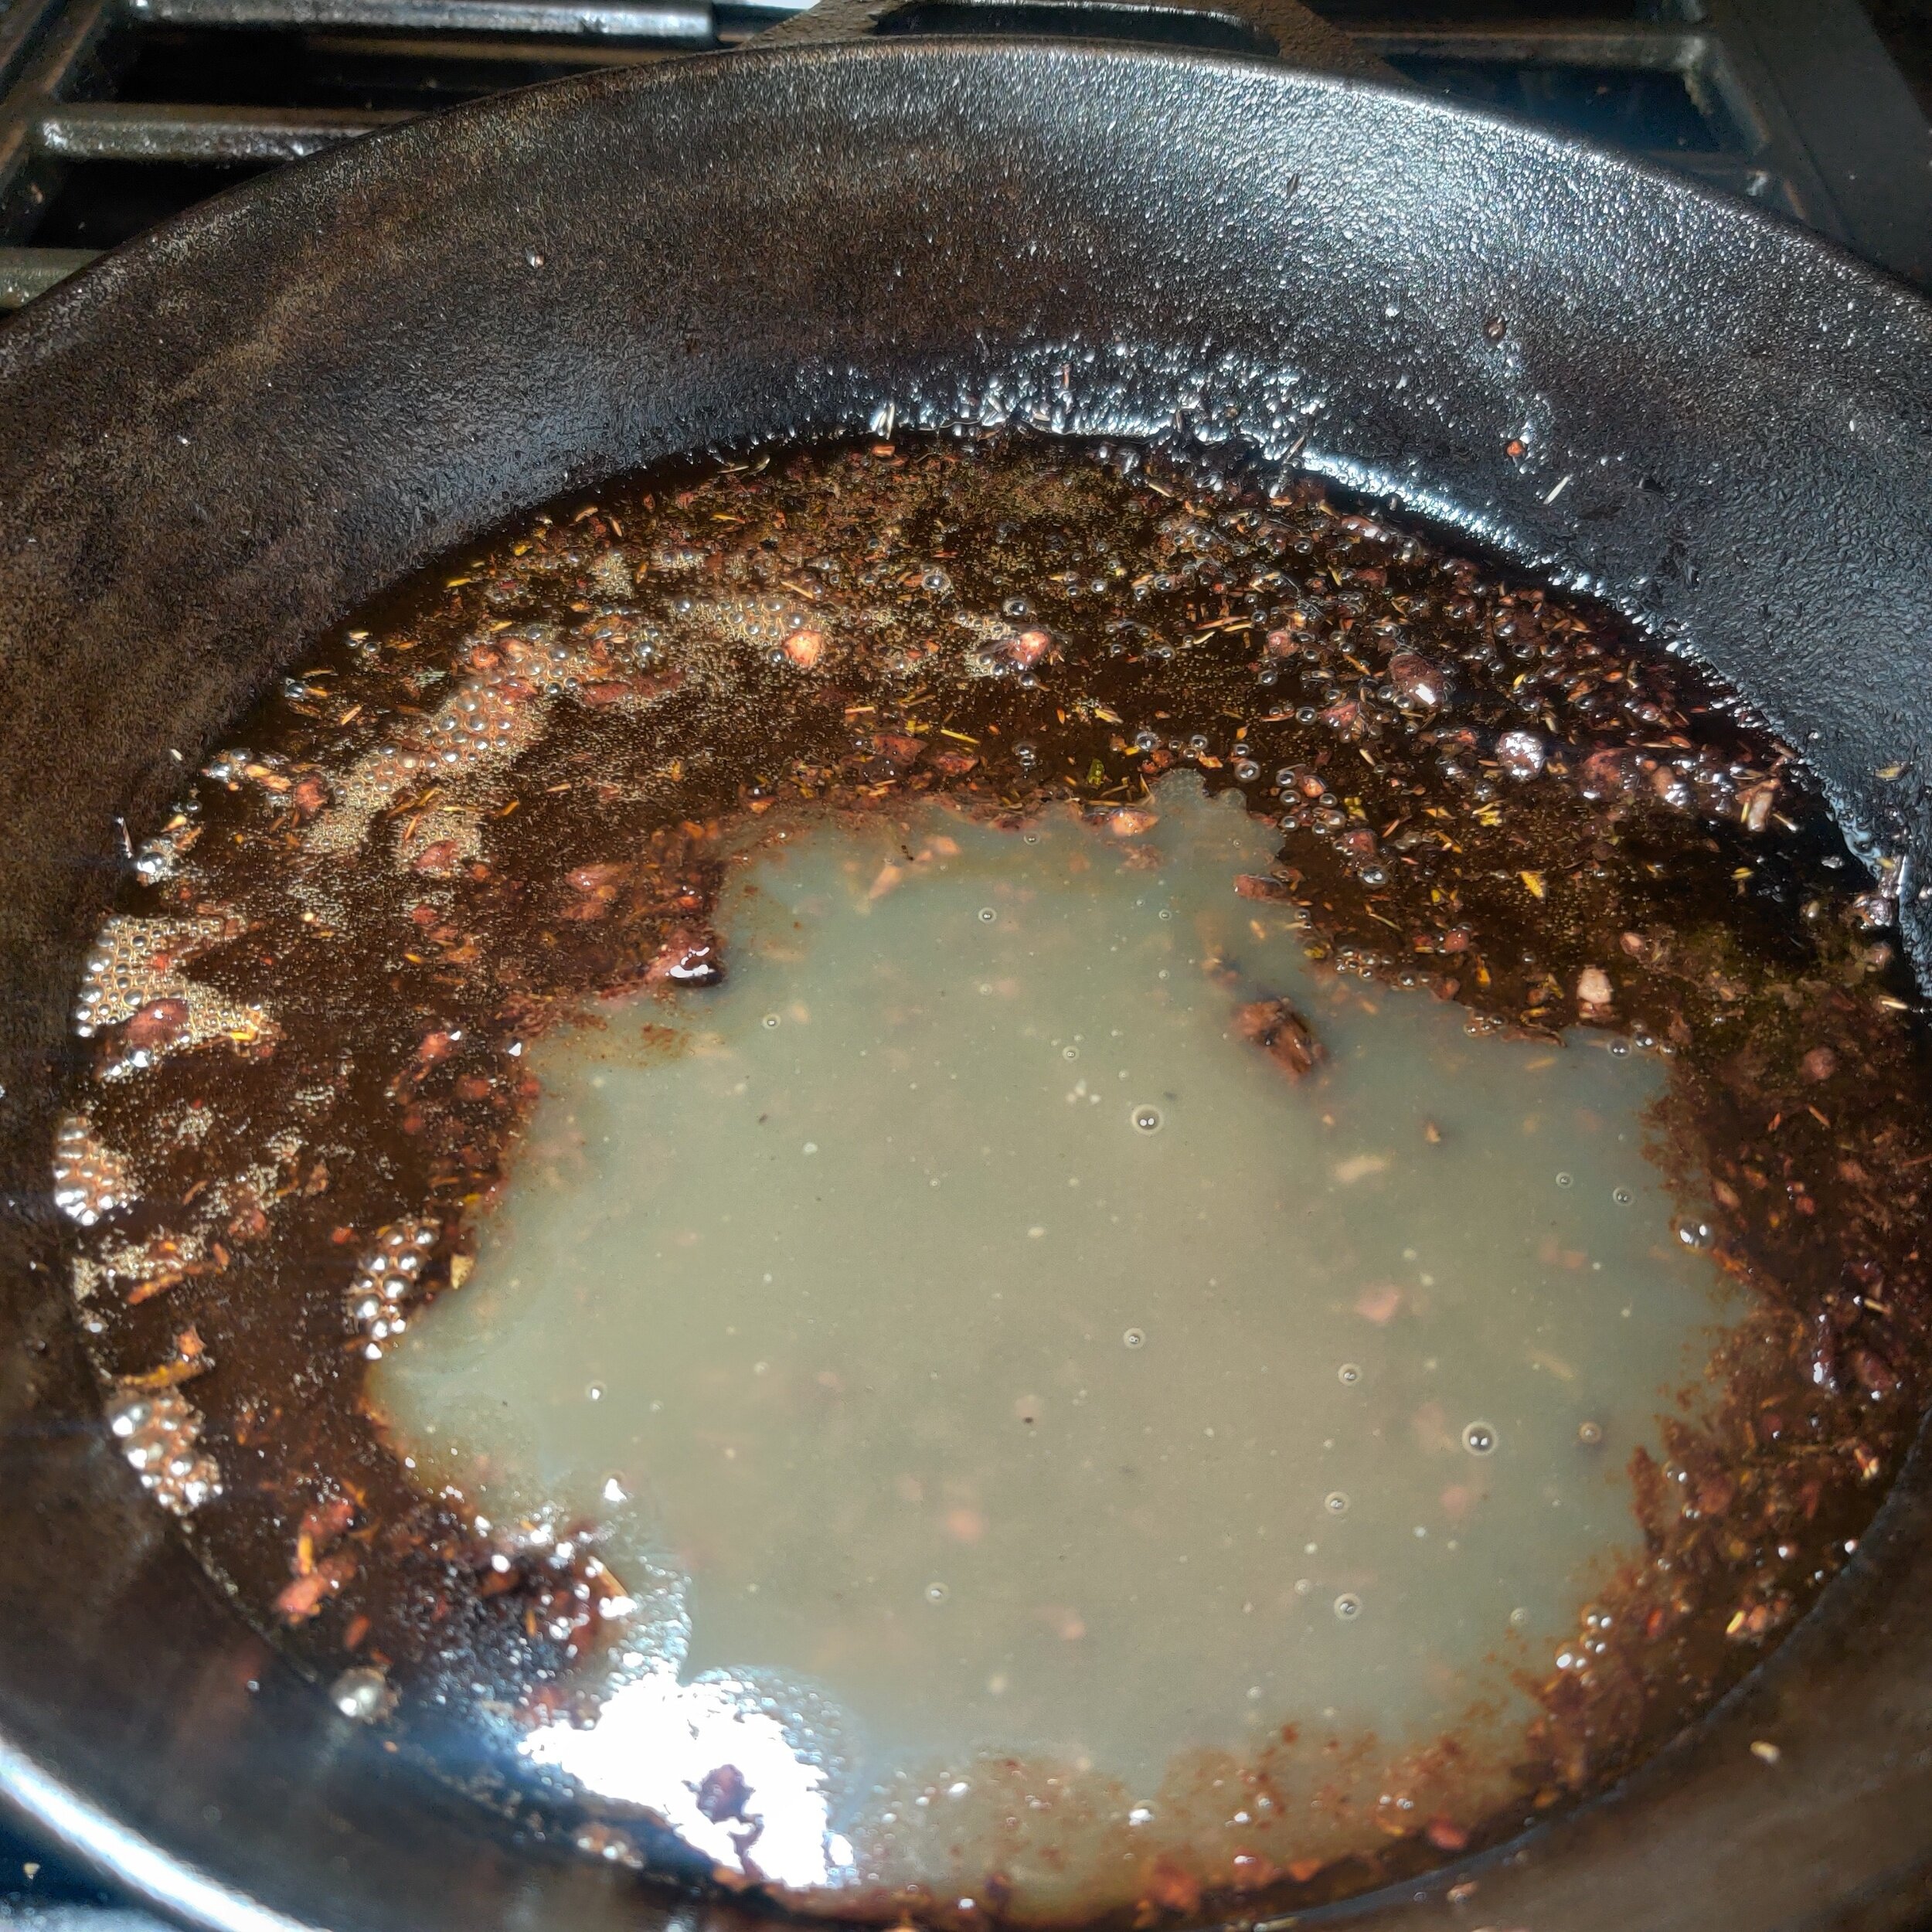
- Pour in the red wine to deglaze the pan, scraping up any browned bits, then transfer the skillet to the oven and roast for about 12–15 minutes for medium (135°F / 57°C) or about 15 minutes for medium-well (145°F / 63°C). Remove the lamb and let it rest for 10 minutes before slicing to keep it juicy and flavorful.
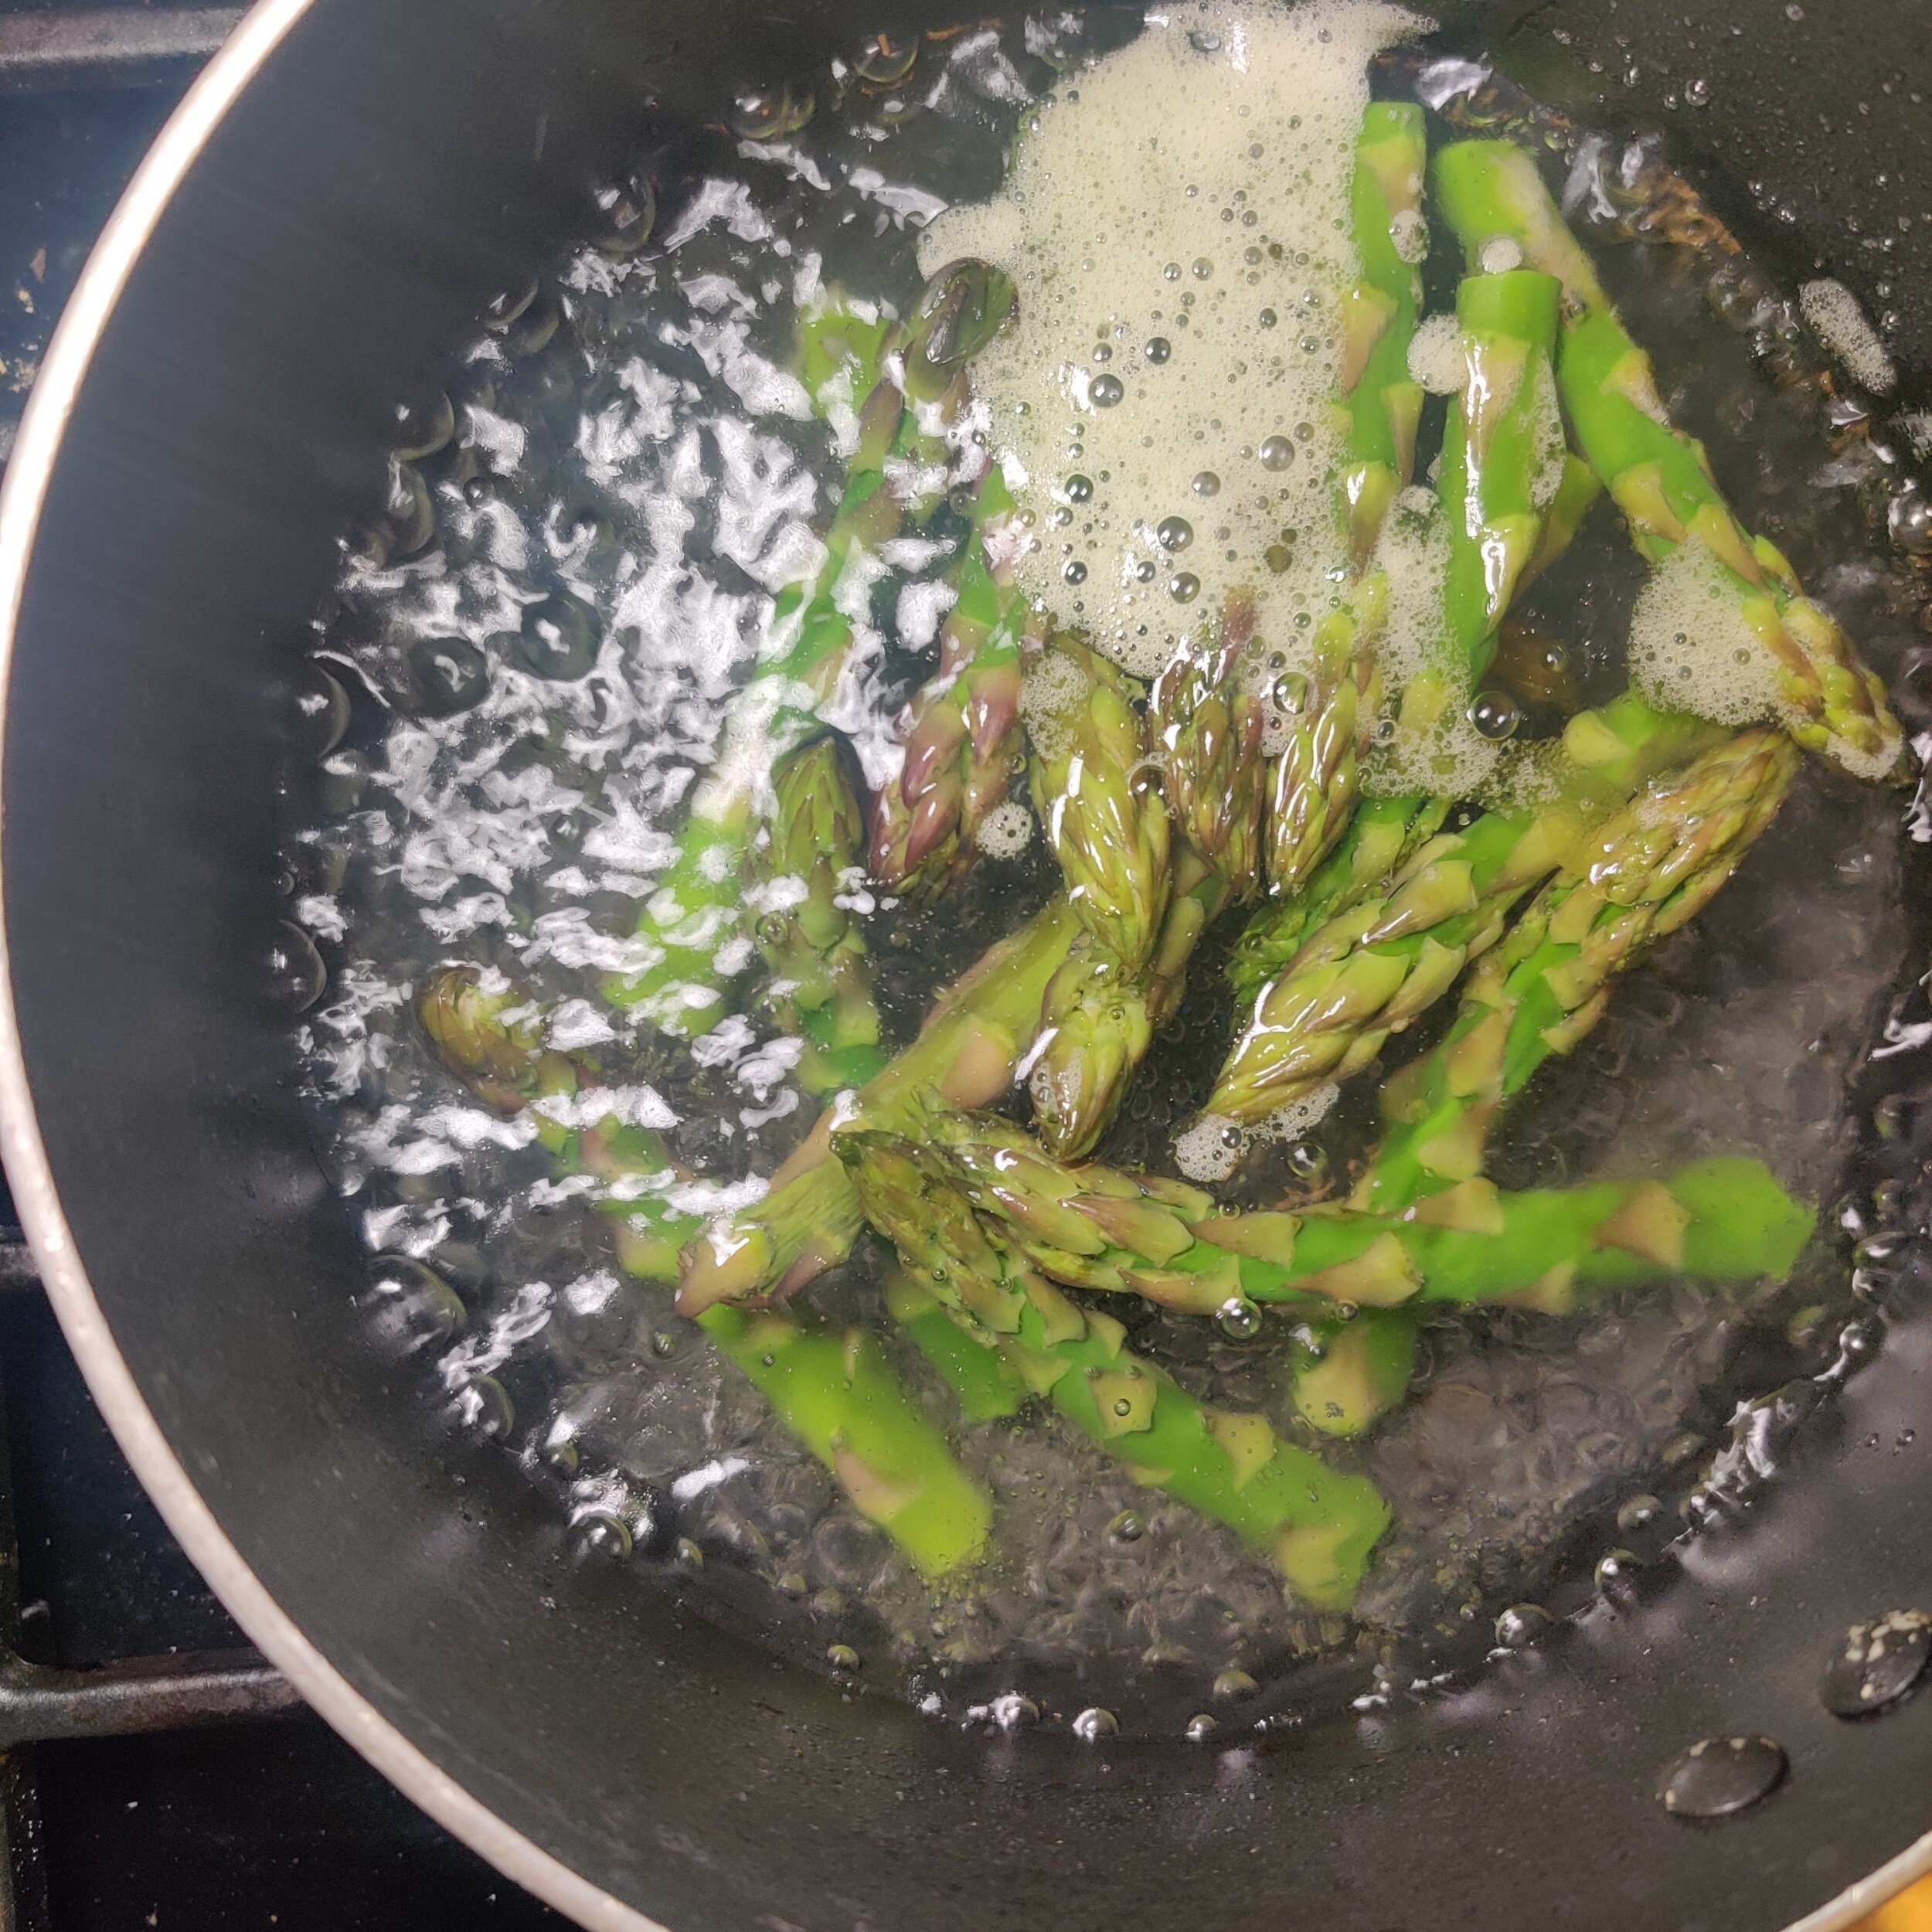
- Bring a pot of salted water to a boil. Blanch the asparagus and peas separately for about 3–6 minutes, until tender but still vibrant. Drain and let cool.
- Toss the vegetables with the olive oil, balsamic vinegar, salt, pepper, and garlic. Top with feta cheese just before serving.
- Return skillet to medium heat. Add mushroom gravy, butter, and additional red wine if needed. Stir until slightly thickened and glossy.
- Slice lamb, spoon over red wine glaze, and serve alongside the asparagus pea salad. Add mint sauce if desired.
Notes
- Marinating enhances both flavor and tenderness, don’t skip it.
- A bold red wine (like Cabernet or Merlot) gives the best depth for the glaze.
- Blanching keeps vegetables bright, crisp, and fresh, not mushy.
- Feta adds saltiness, adjust seasoning accordingly.
- Mint sauce adds a classic, refreshing contrast to rich lamb.
- Letting the lamb rest ensures juicy, tender slices.
Nutrition Facts
Calories
380Carbs (grams)
9 gProtein (grams)
29 gFat (grams)
24 gI am not a certified nutritionist and any nutritional information on dontmissmyplate.com should only be used as a general guideline.


Triple Citrus Gin and Tonic Ice Lollies
Oh yes, the glorious gin and tonic cocktail I've learned to appreciate over time. In the US, G&T is associated with elderly folks, not sure why! I've always been a wine enthusiast first, but I love a good gin o'clock once in a while.
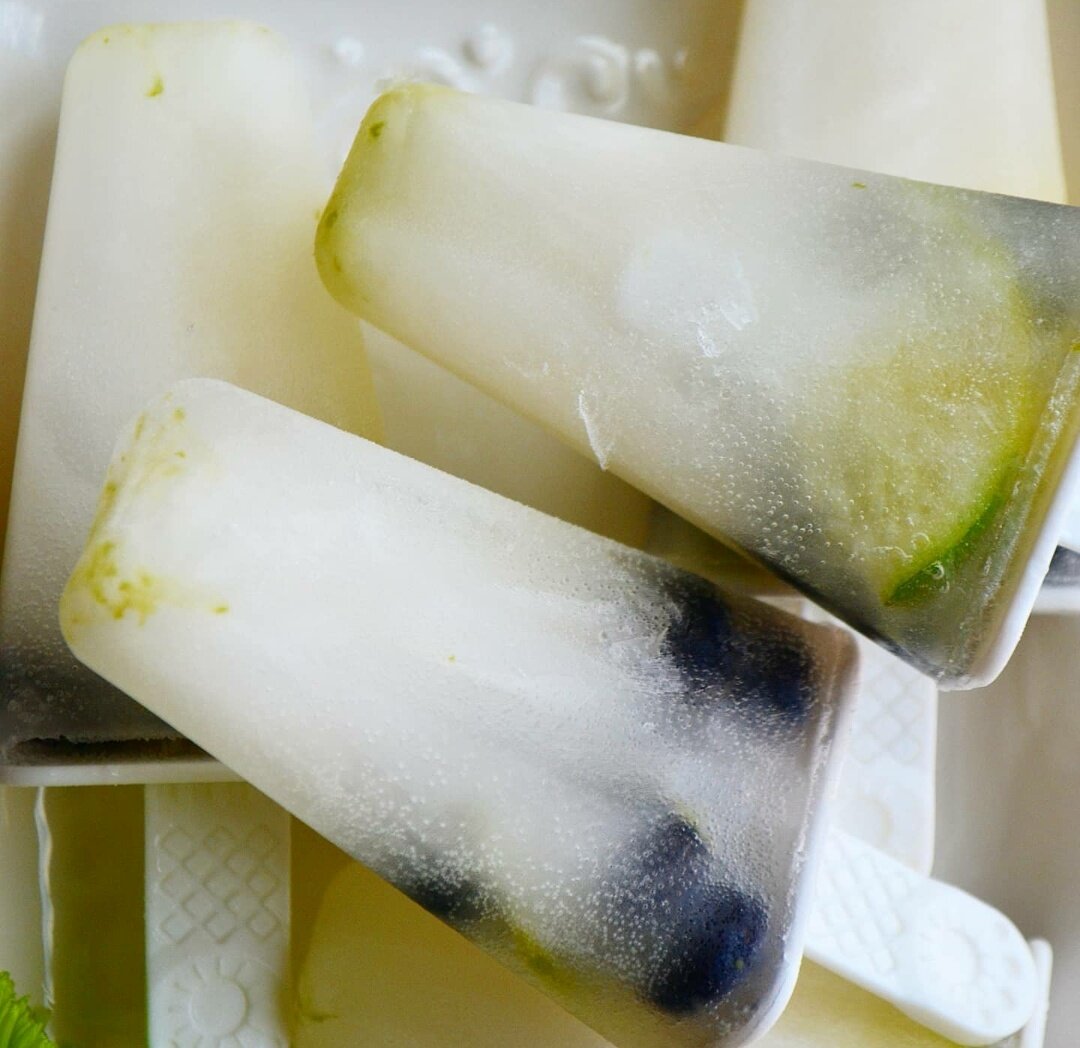
When the weather starts to warm up wherever you are, consider converting this classic alcoholic beverage into an icy, sweet treat! I don't believe all cocktails lend themselves well to this method. For instance, a Pina colada could easily, vodka tonic or an old fashioned? Not so much. The lime, lemon, and botanicals help enhance the mixture and make it easy to convert the water-based drink into a popsicle. I used a decent quality gin infused with orange for a trifecta of citrusy goodness—perfect for the spring.
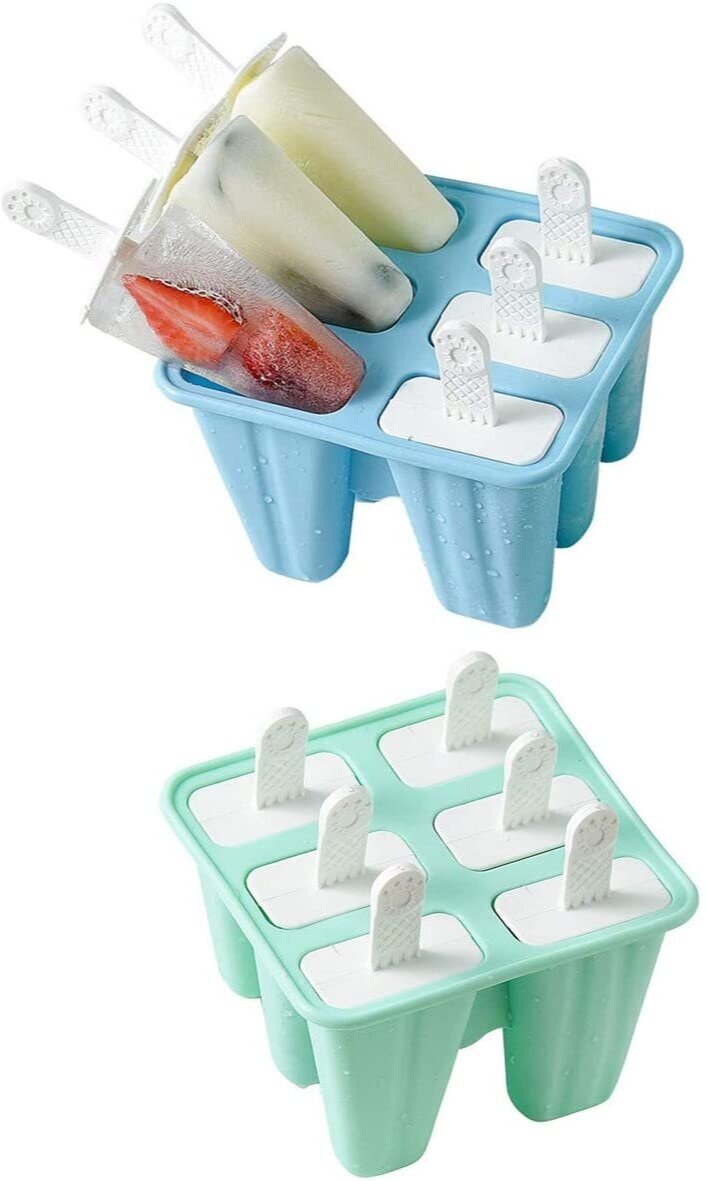
This recipe is obviously not for the kids! I will make some non-alcoholic versions in the future so stay tuned. Of course, you're going to need some moulds, but they're super inexpensive. Here are the ones I use: another one of my favourite spring (and summer) kitchen must-haves. Enjoy and lick quickly before it melts!
Ingredients
1/4 cup lemon juice
1 tablespoon lime zest
1 tablespoon lime juice
1 1/2 cups tonic water
1/4 cup citrus-infused gin (I used Tanqueray Sevilla Orange)
1/4 cup water
1/3 cup granulated sugar
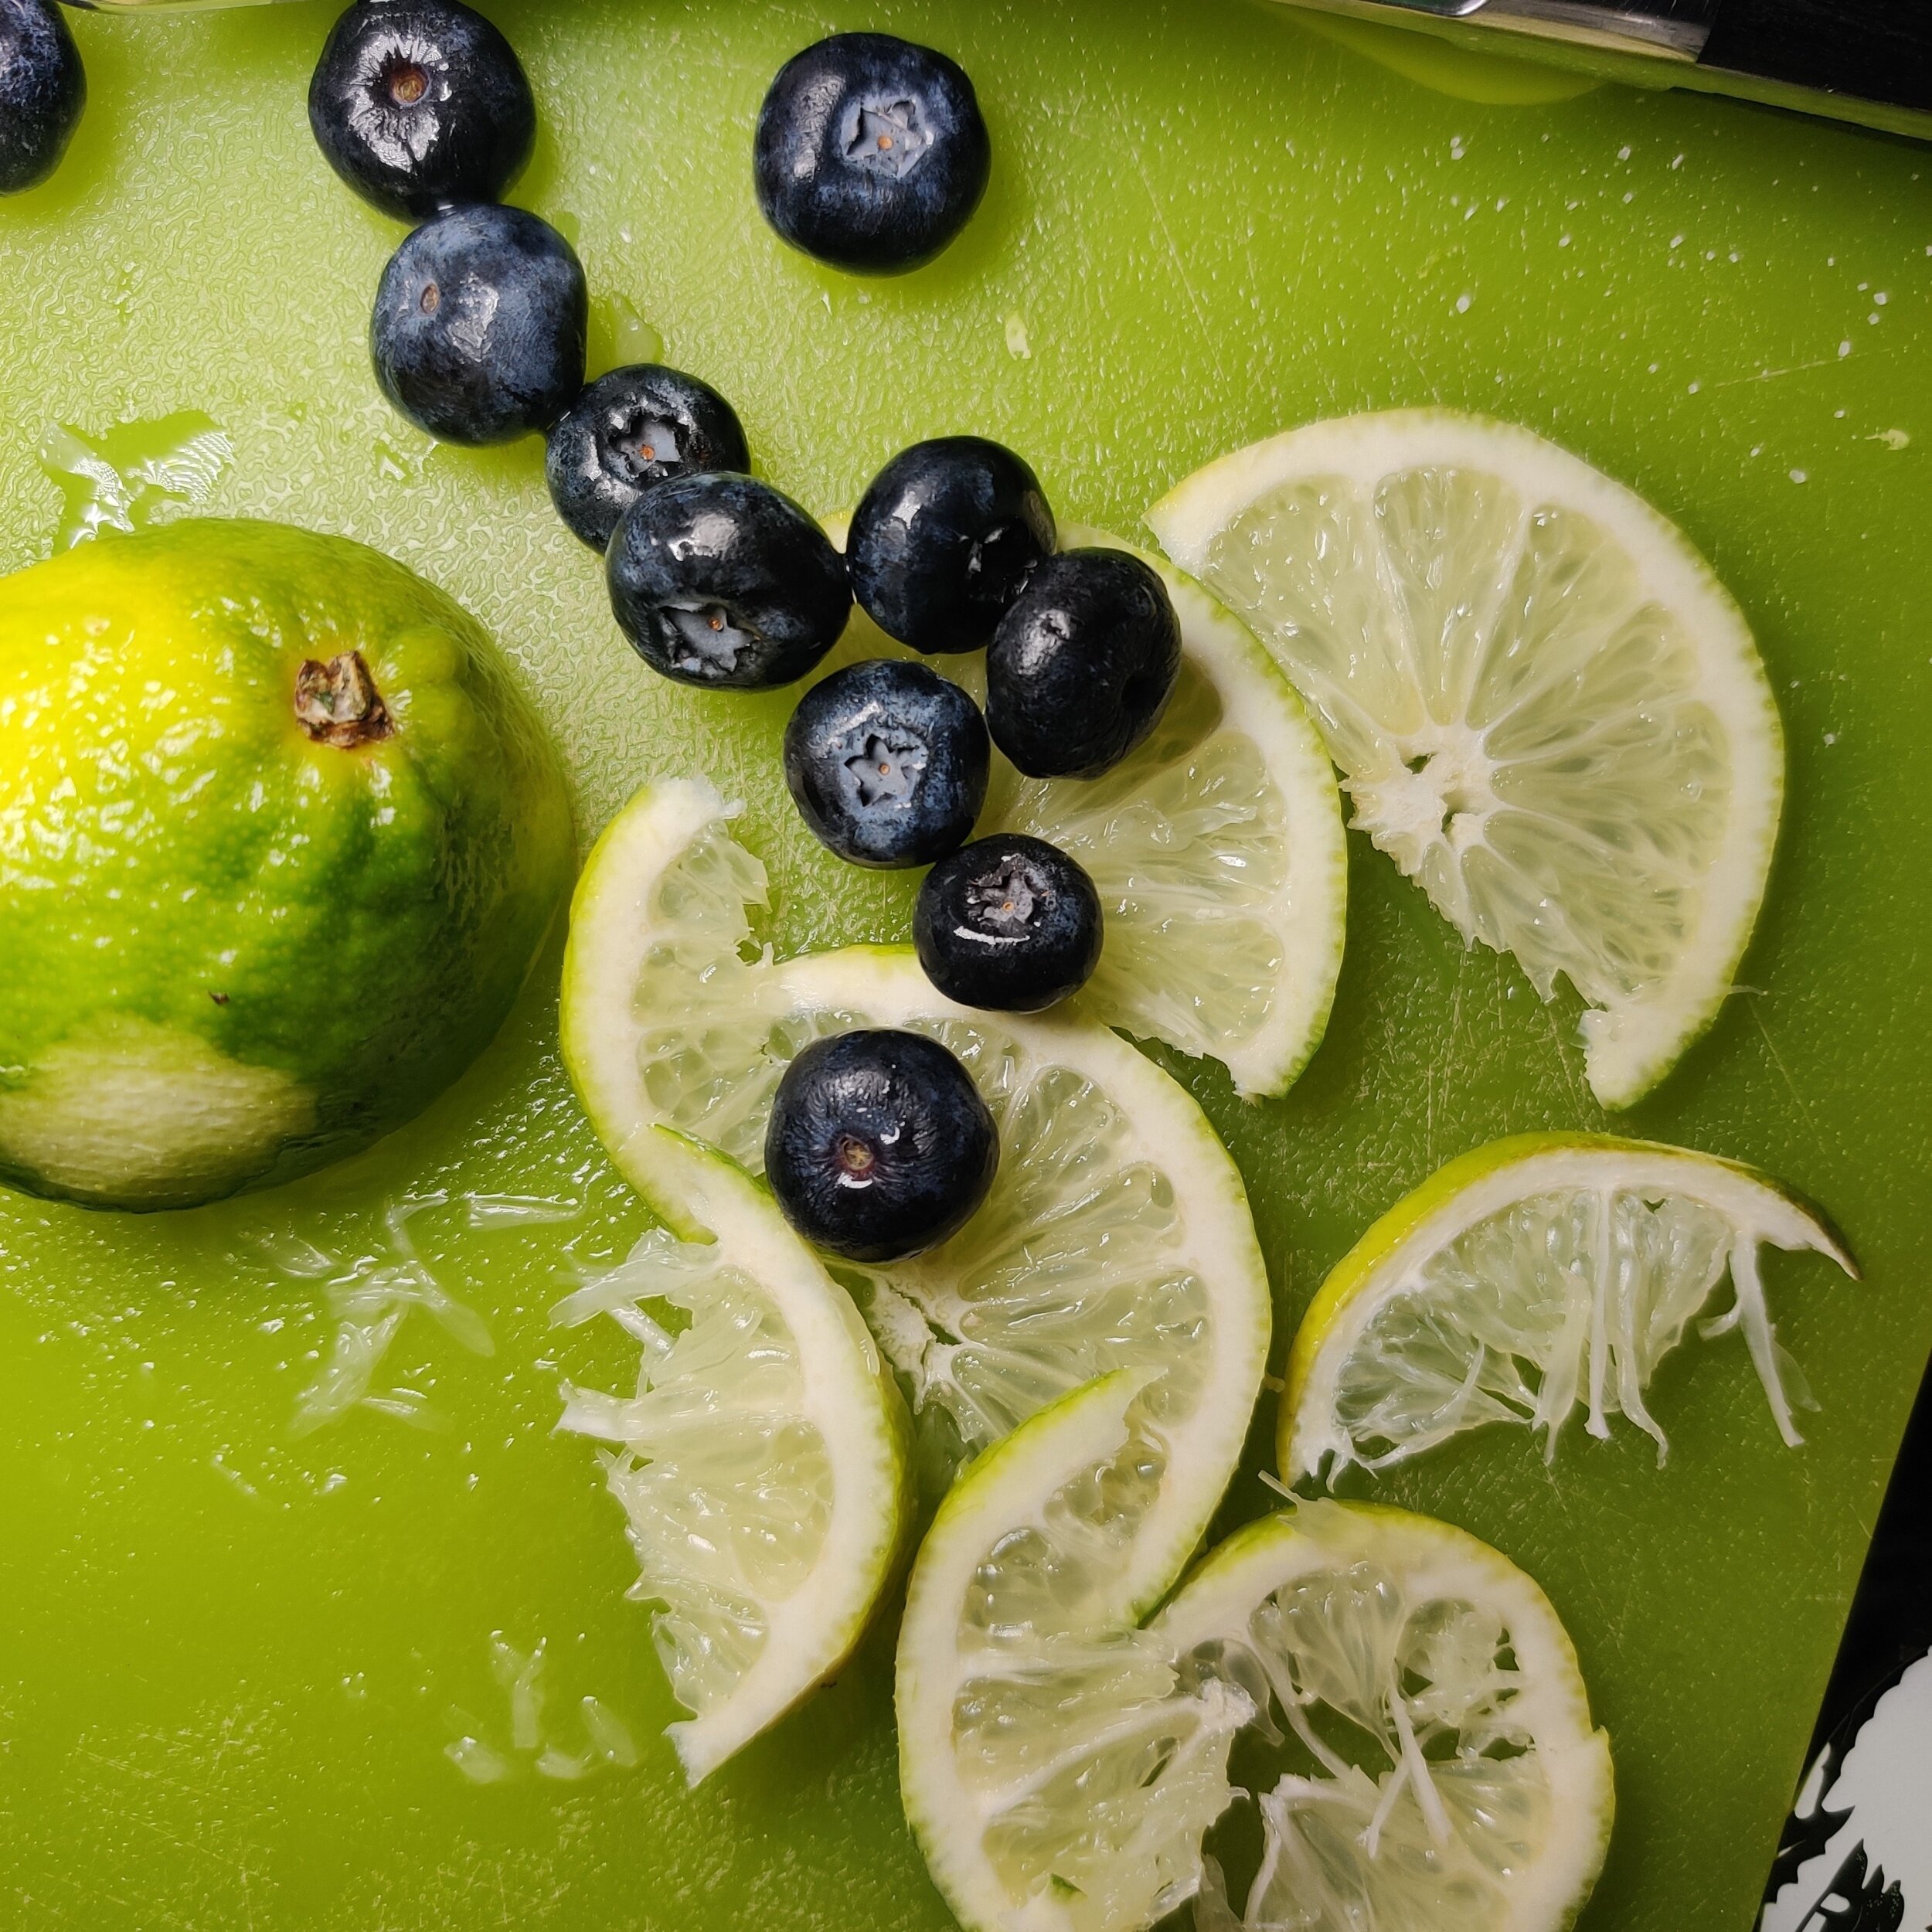
Botanicals (I used a few blueberries and one thing lime slice per lolly)
Instructions
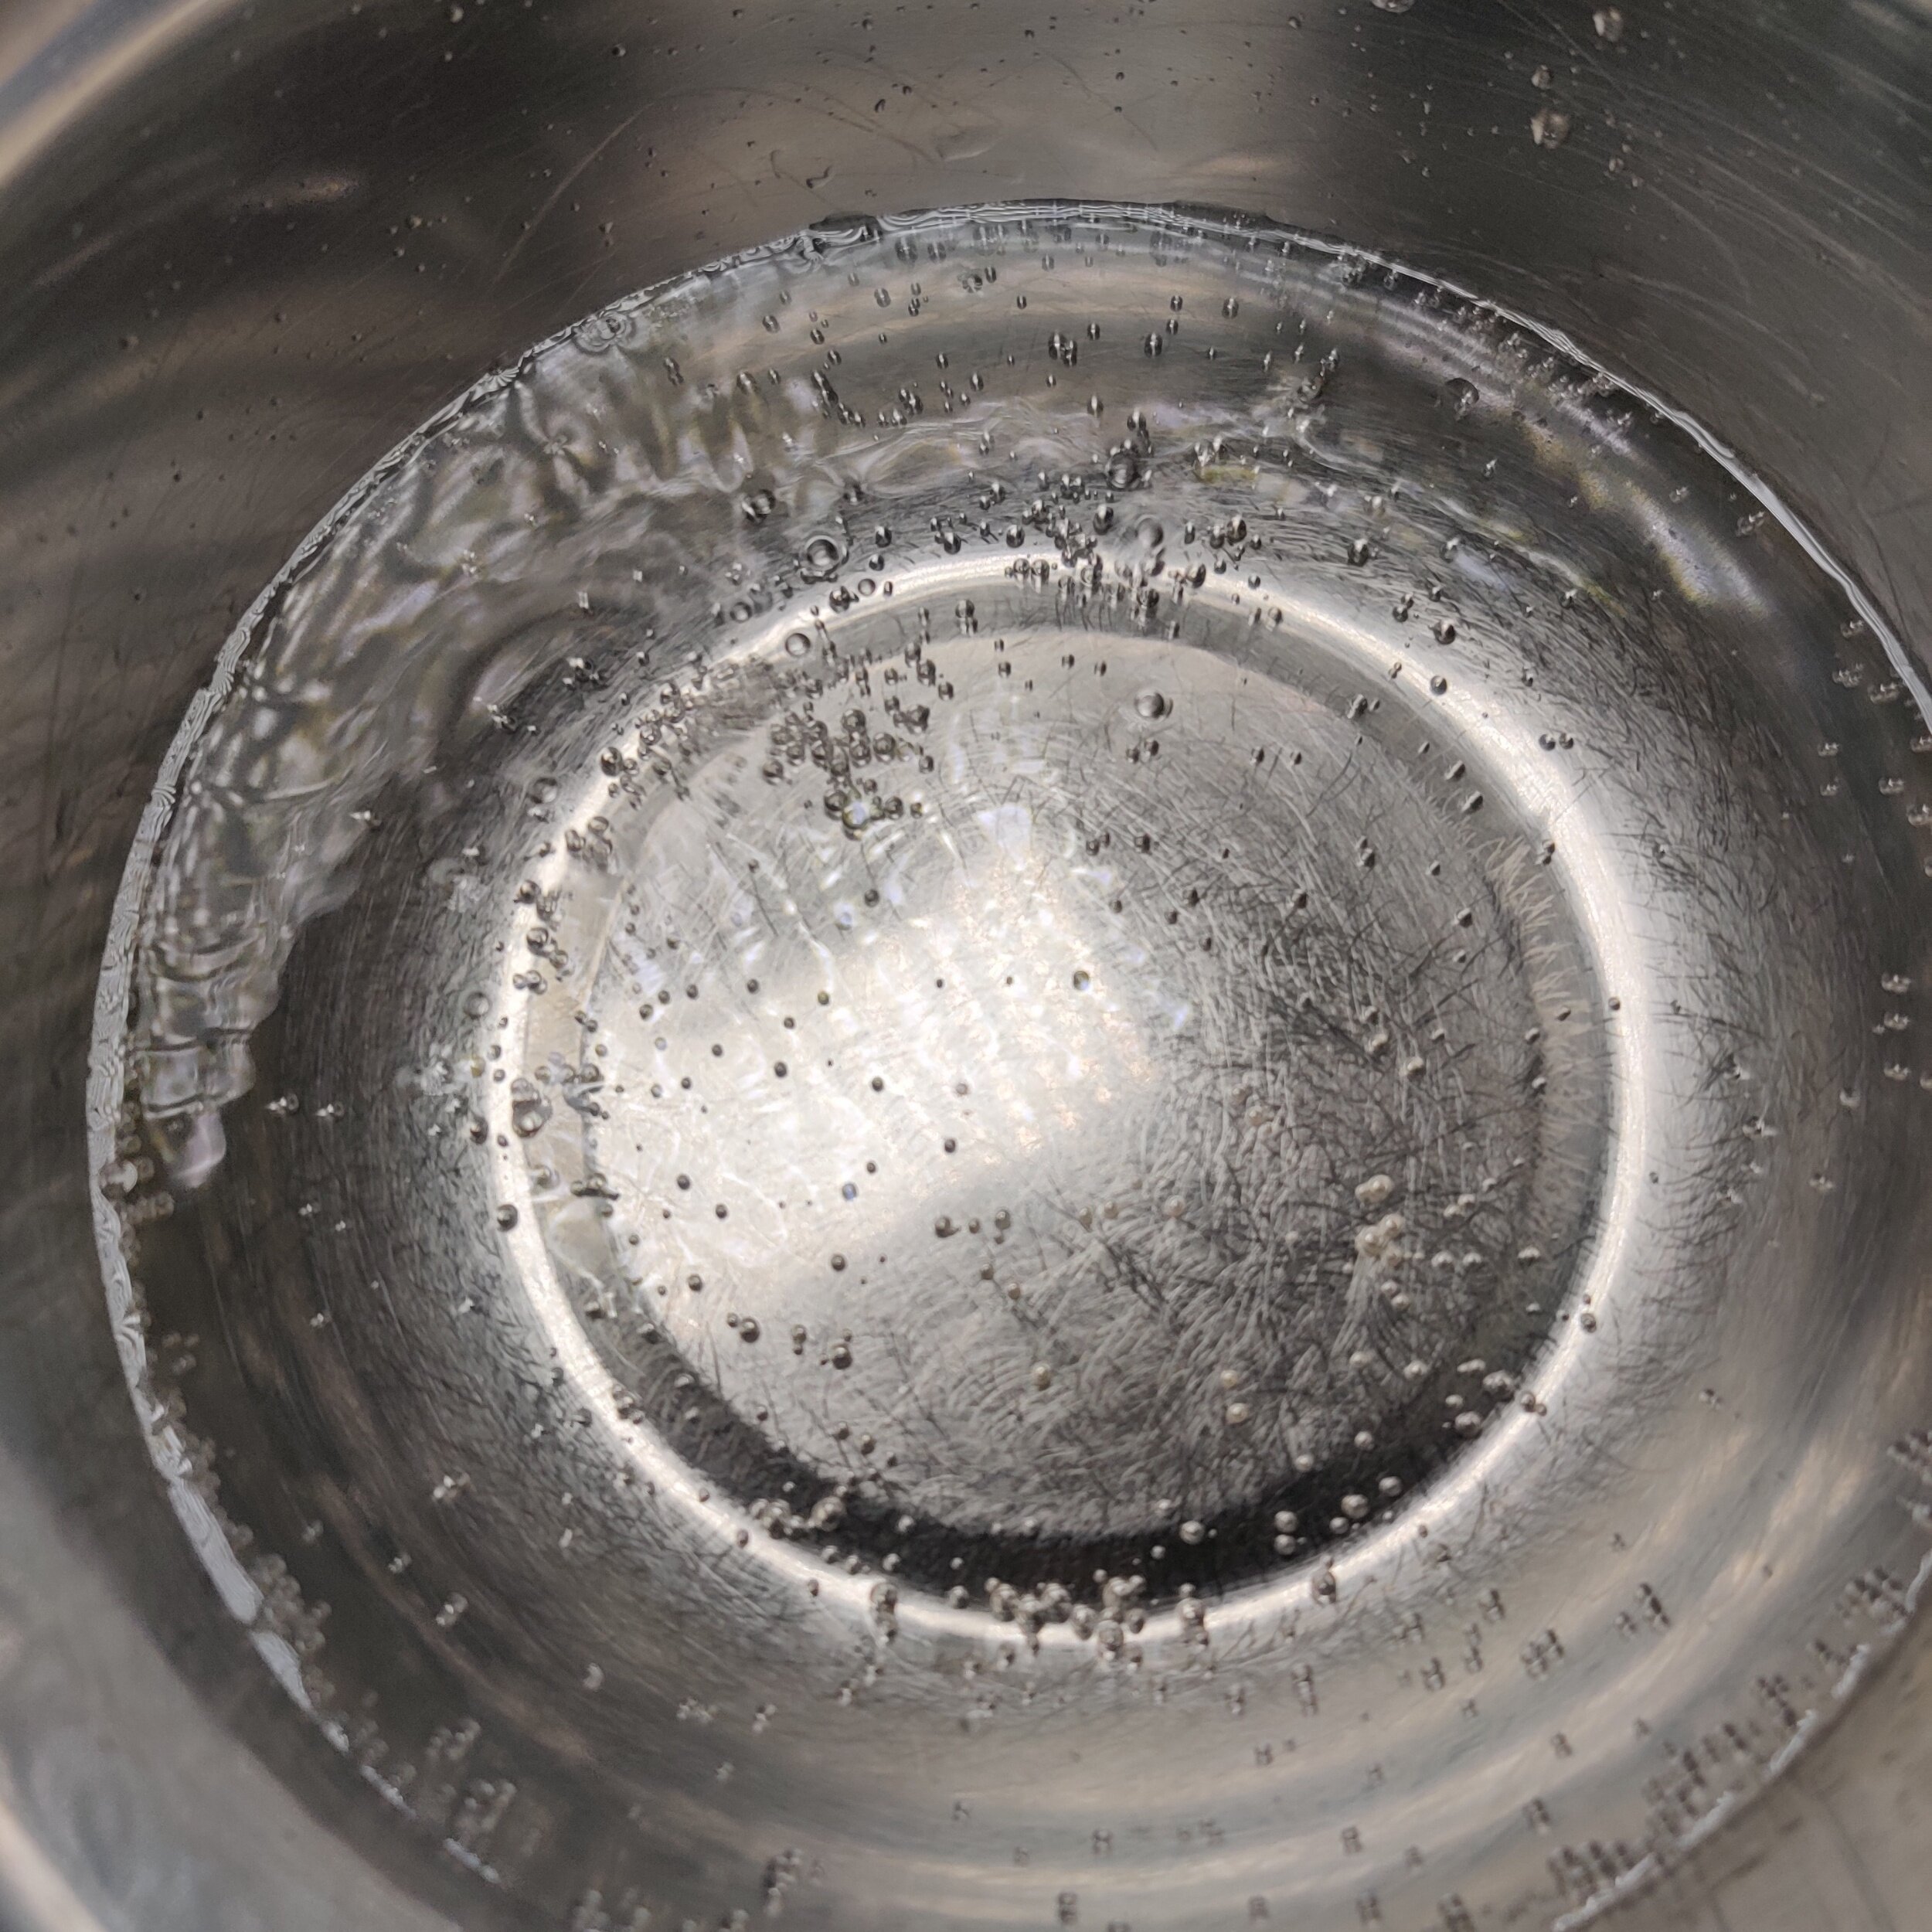
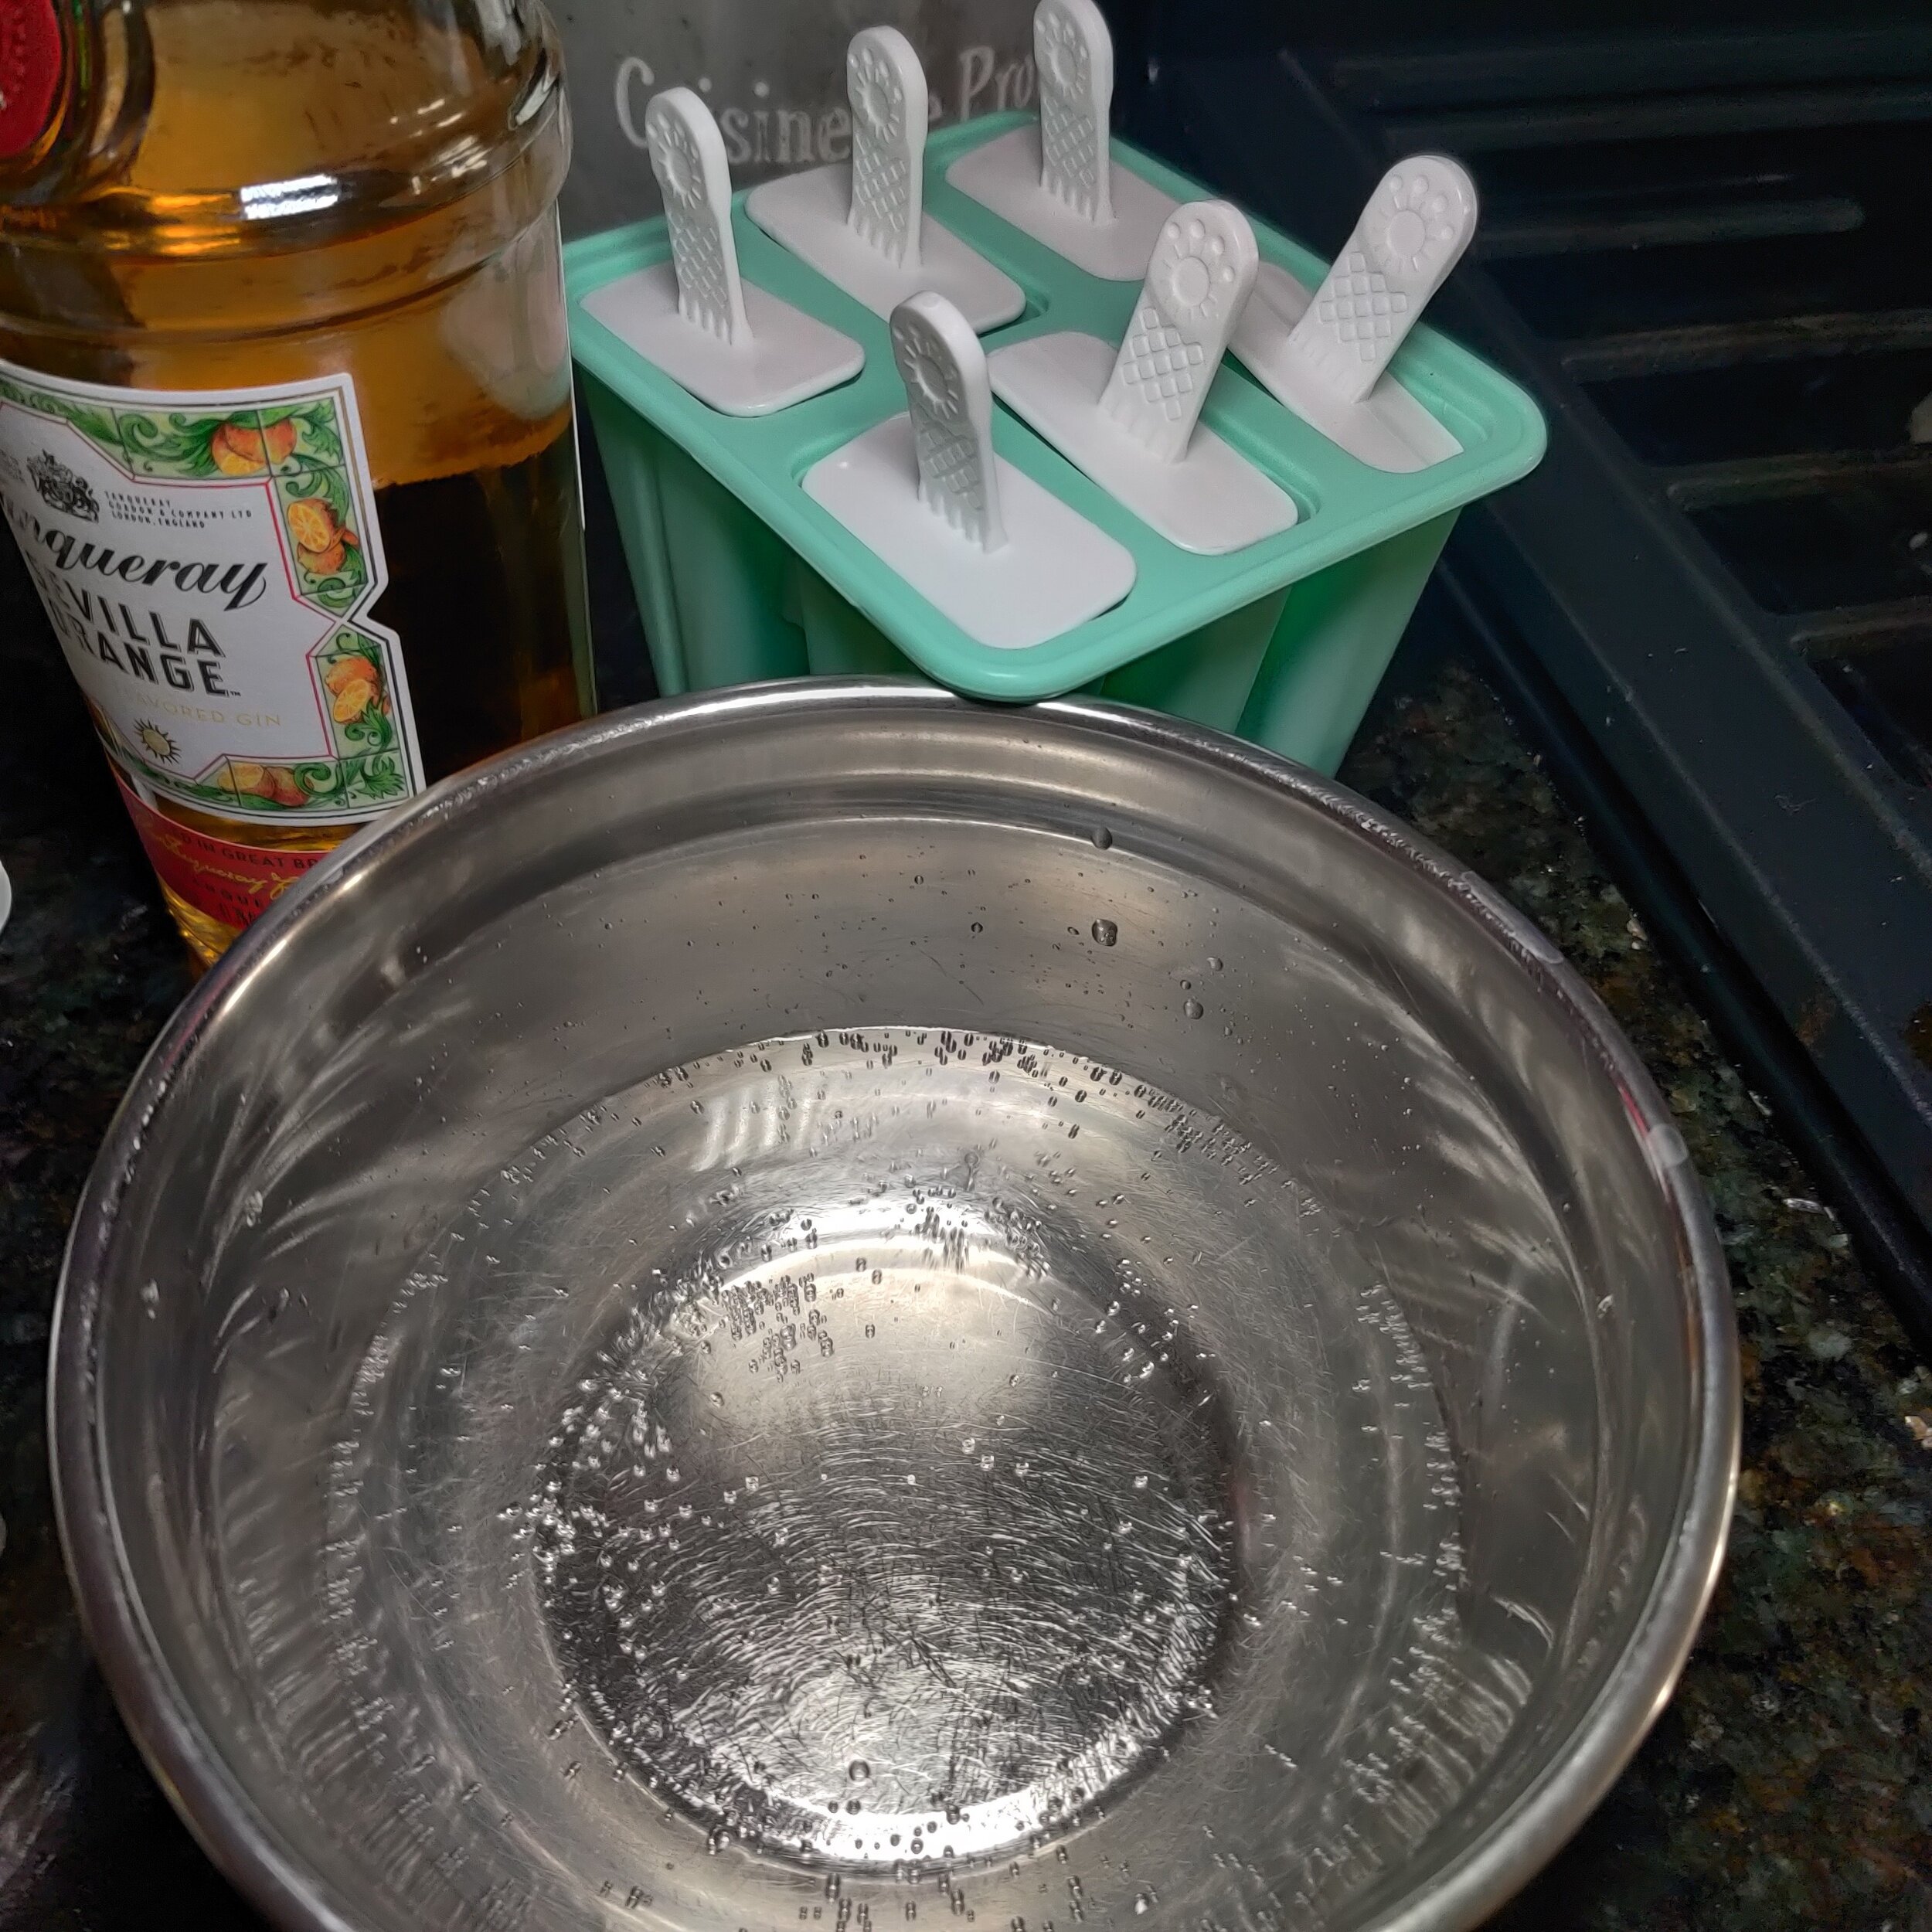
Mix all the ingredients together except for the botanicals in a bowl, and stir well before transferring to a small jug. Make sure all the sugar is dissolved.
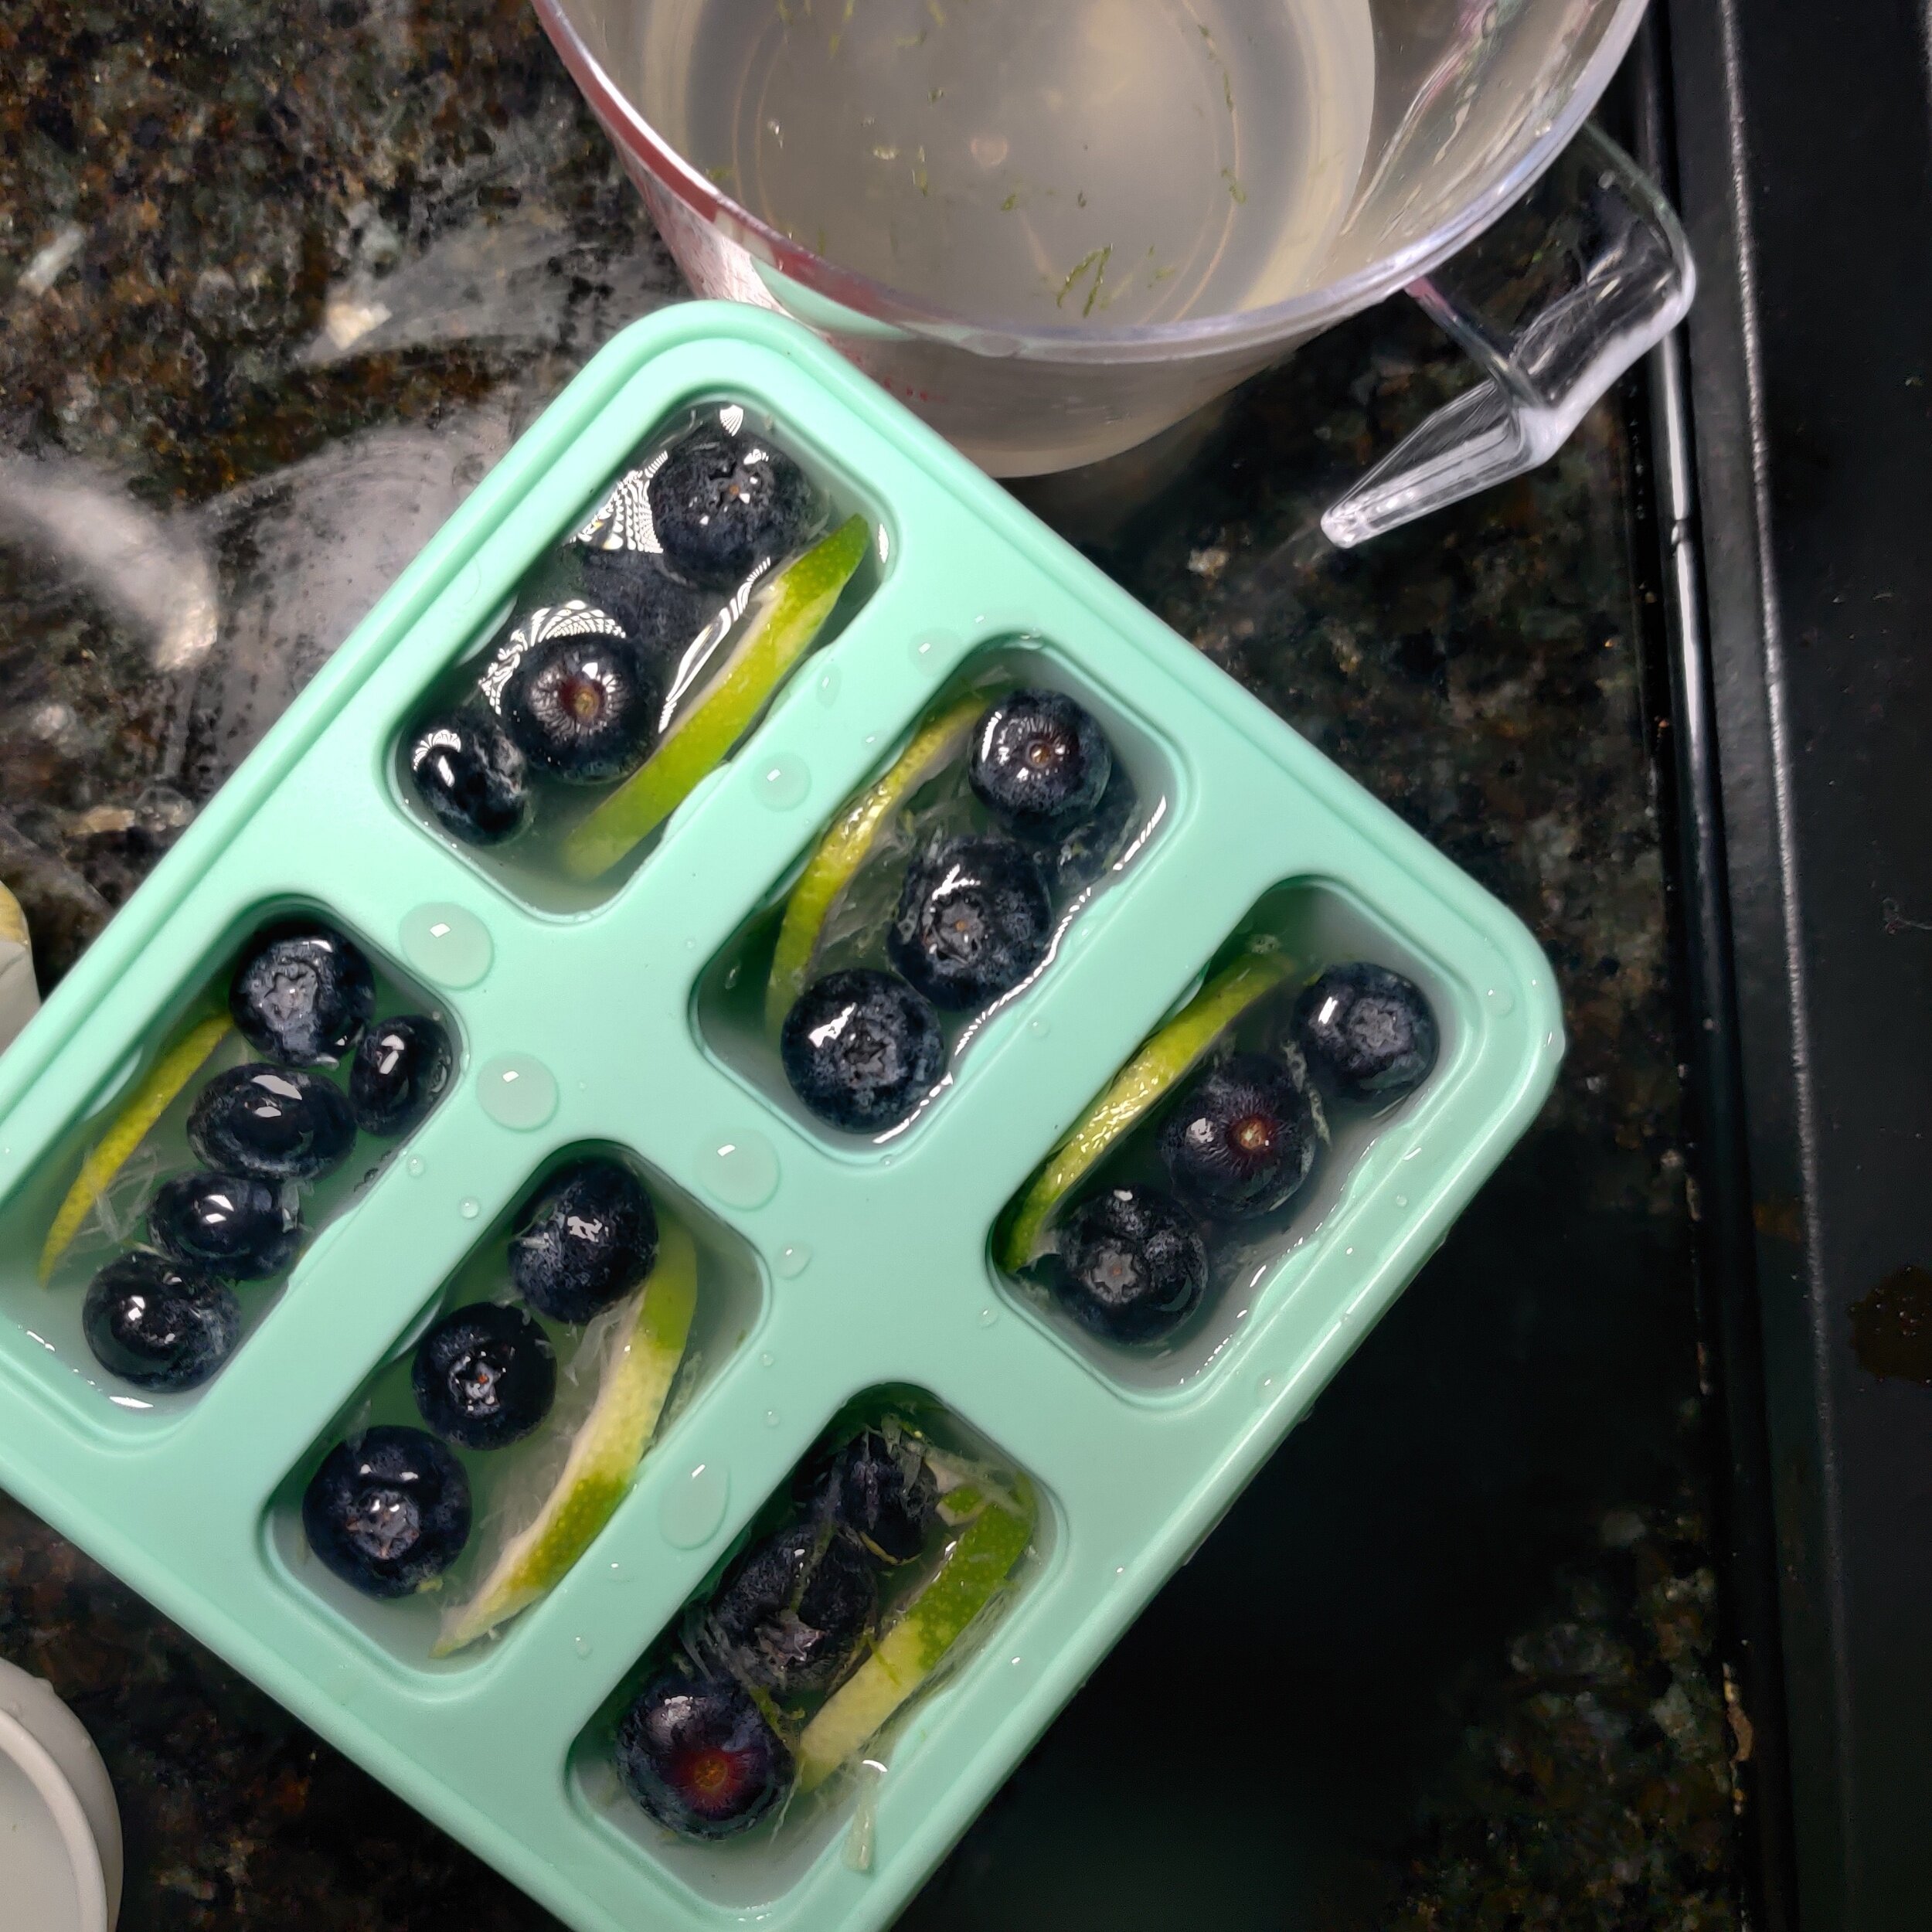
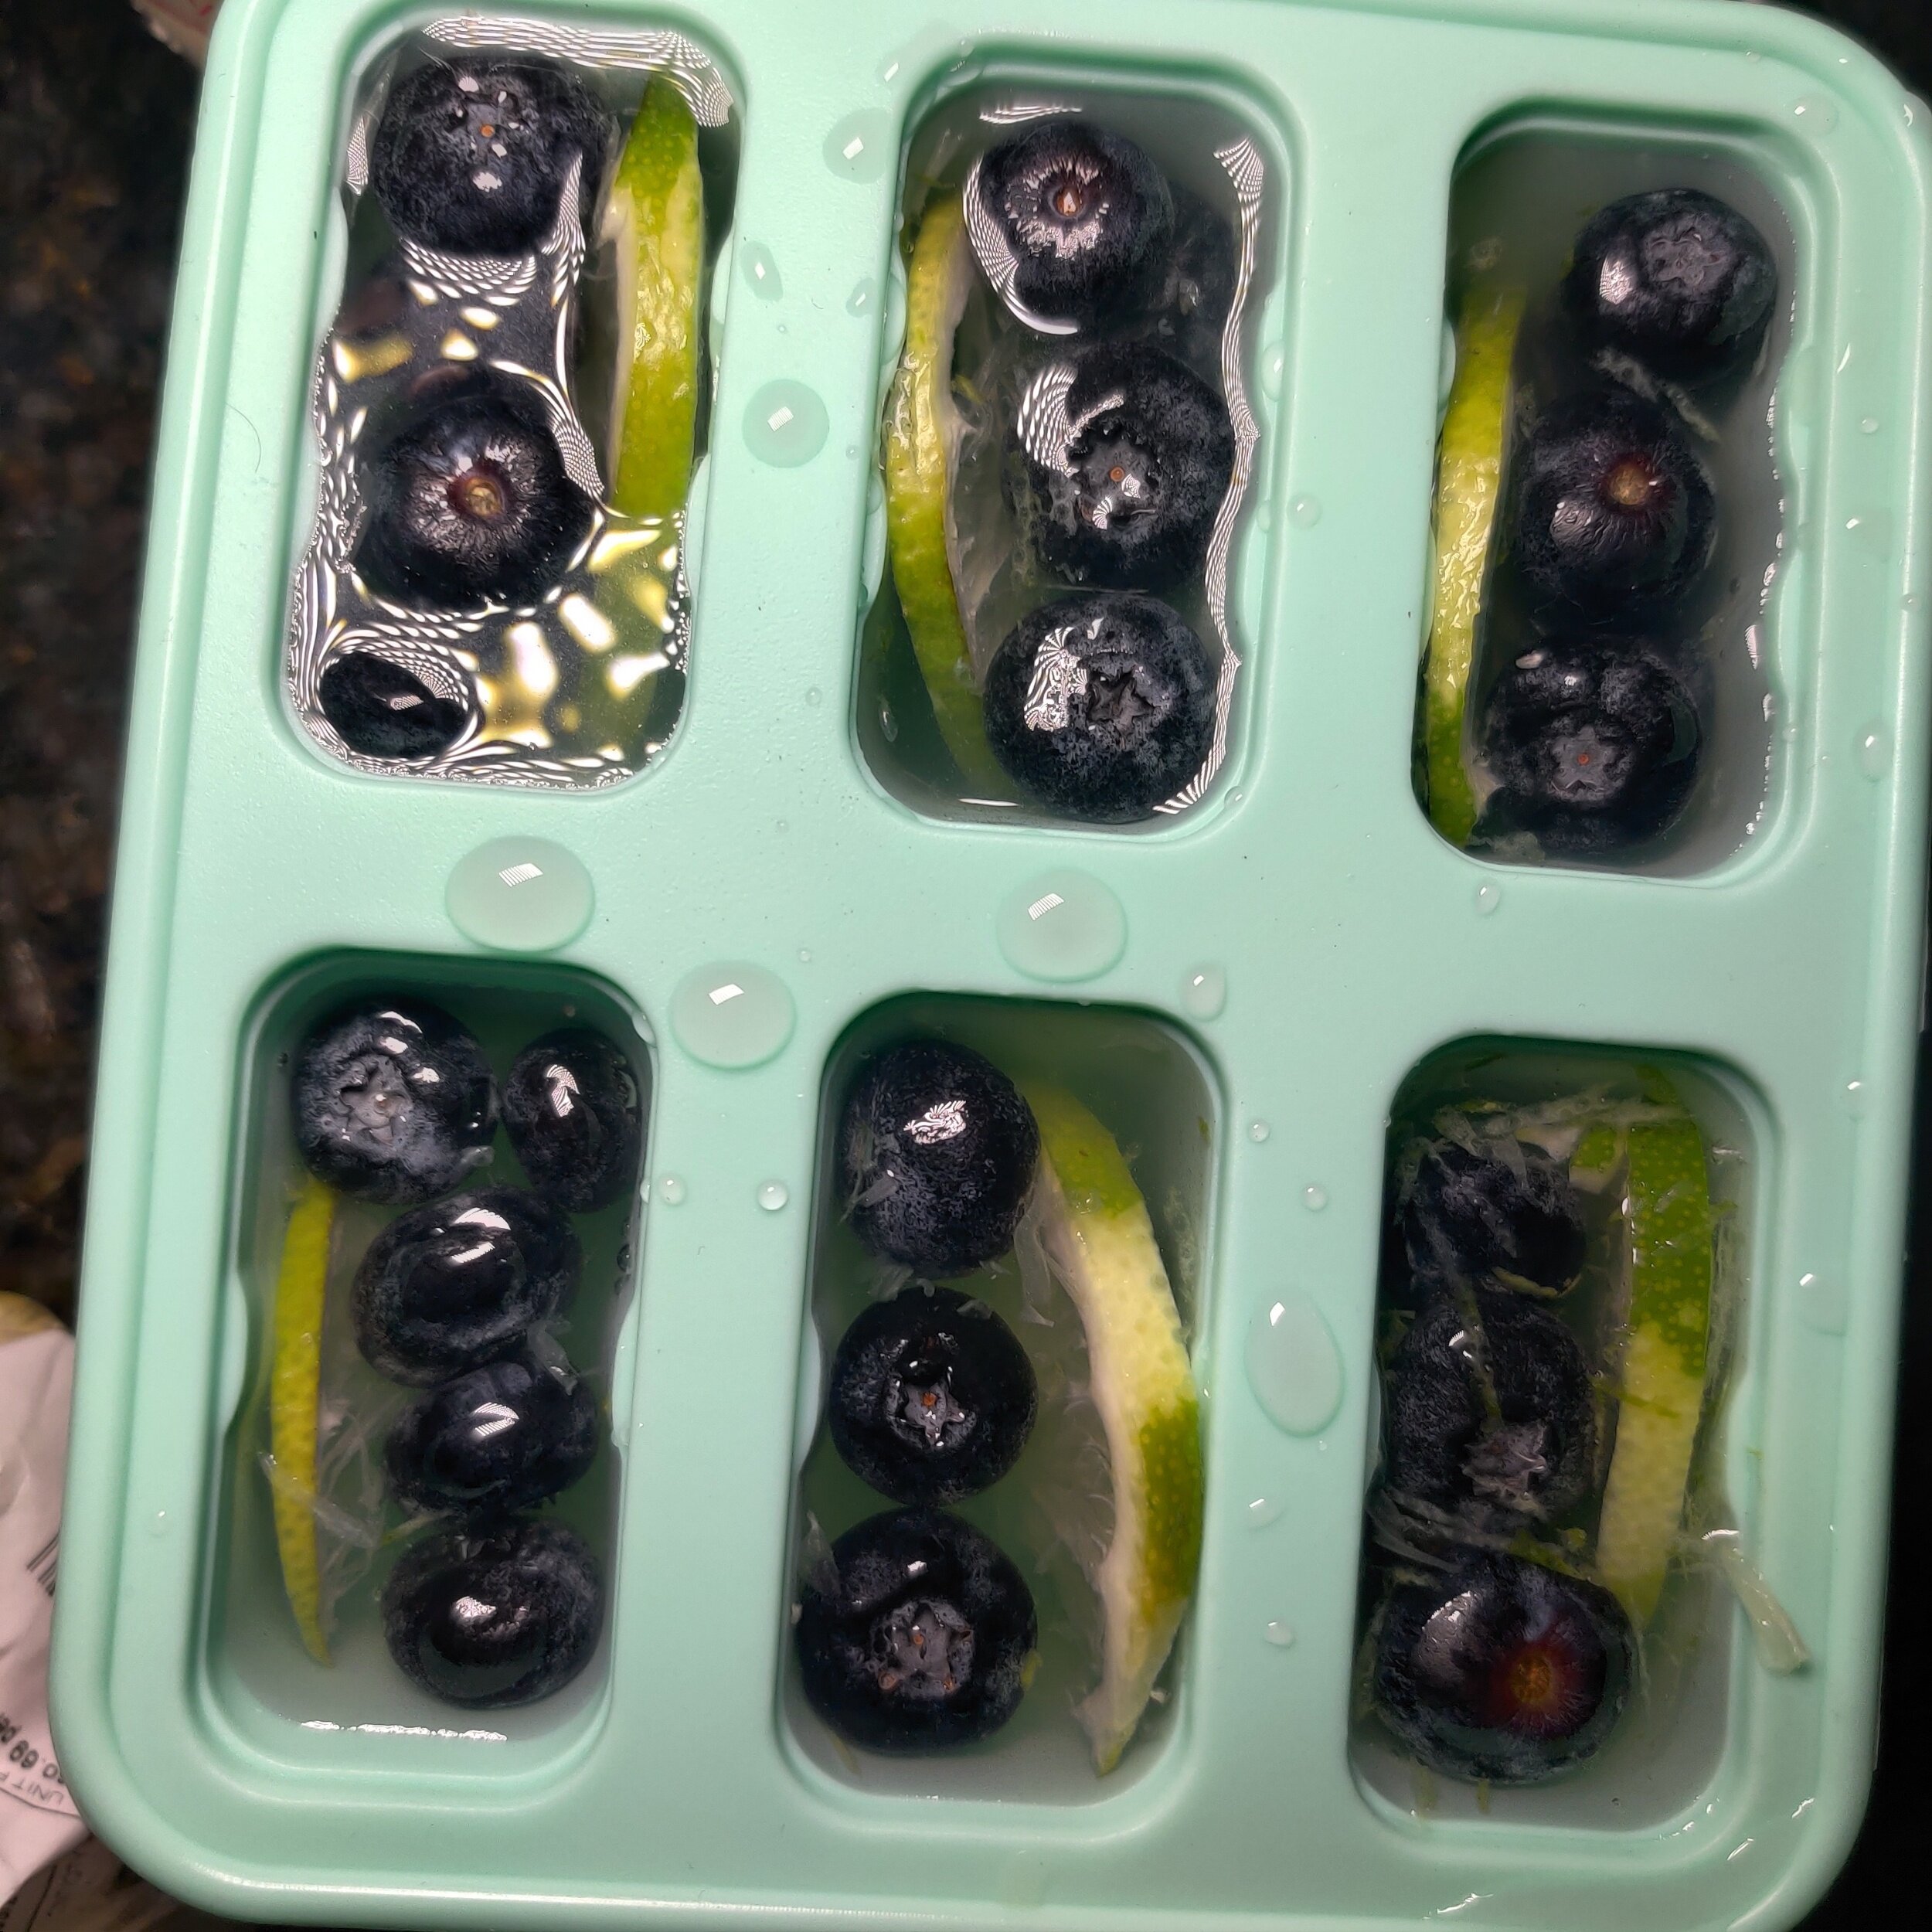
Use the jug to evenly pour the mixture into the individual moulds, almost filled but leaving enough room at the top for the blueberries or anything else you want at the bottom or sides of your ice lollies. You can add other botanicals at this point!
Freeze on a sturdy shelf overnight or for at least 6 hours. Carefully jiggle the lollies out of the case, and enjoy!
Note: If you have any mixture leftover, stir it into a regular gin and tonic!

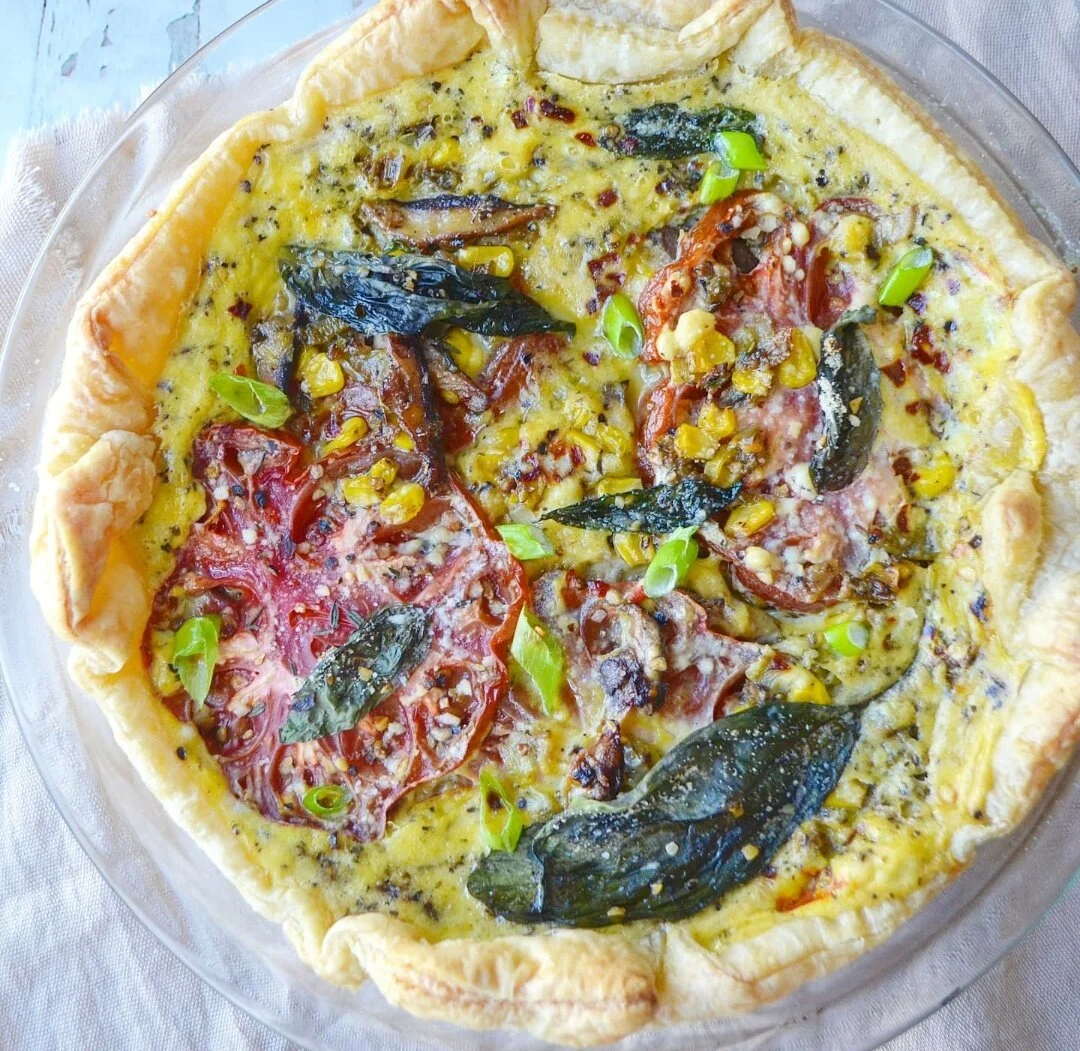
Mushroom and Heirloom Tomato Quiche
I don't think you can ever go wrong with quiche. It's another recipe that's super customizable and a great addition to the brunch table.
The only thing challenge with quiche is that there is a risk it will end up tasting bland. How do you avoid that? Make sure you season the egg mixture in addition to your filling well; it will make a huge difference!
If you're tired of omelettes, scrambled, or fried eggs, quiche is a great way to add different flavours and textures while getting your dose of protein and egg differently, with the addition of a delicious buttery, flaky pastry, of course. I used puff pastry because I like the extra flakiness, but you can still use regular pie crust. I also used coconut milk as a non-dairy alternative.
Add this recipe to your brunch spread, weekday breakfast repertoire (go crust-free and use a muffin tray), or any time you have folks over for lunch and need a light fare - you can serve it with a light side salad.
Ingredients
1 puff pastry sheet, thawed (10 minutes before baking)
2 tablespoons olive oil
1/2 cup shiitake mushrooms
1/4 cup corn (canned or fresh from the cobb)
2 tablespoons garlic, minced
1/2 green bell pepper, diced
1 tablespoon spice for rice (or your favorite all-purpose seasoning)
2 shallots, diced
1 1/2 teaspoons salt
2 teaspoons black pepper
1 tablespoon cumin
1 tablespoon garlic powder
1 teaspoon coriander
1 teaspoon fenugreek powder
1 teaspoon dried thyme
1 teaspoon dried basil
1 tablespoon soy sauce
1 large heirloom tomato, thinly sliced
1/4 cup parmesan cheese, grated
4 eggs
1/2 cup coconut milk
Fresh basil leaves
Instructions
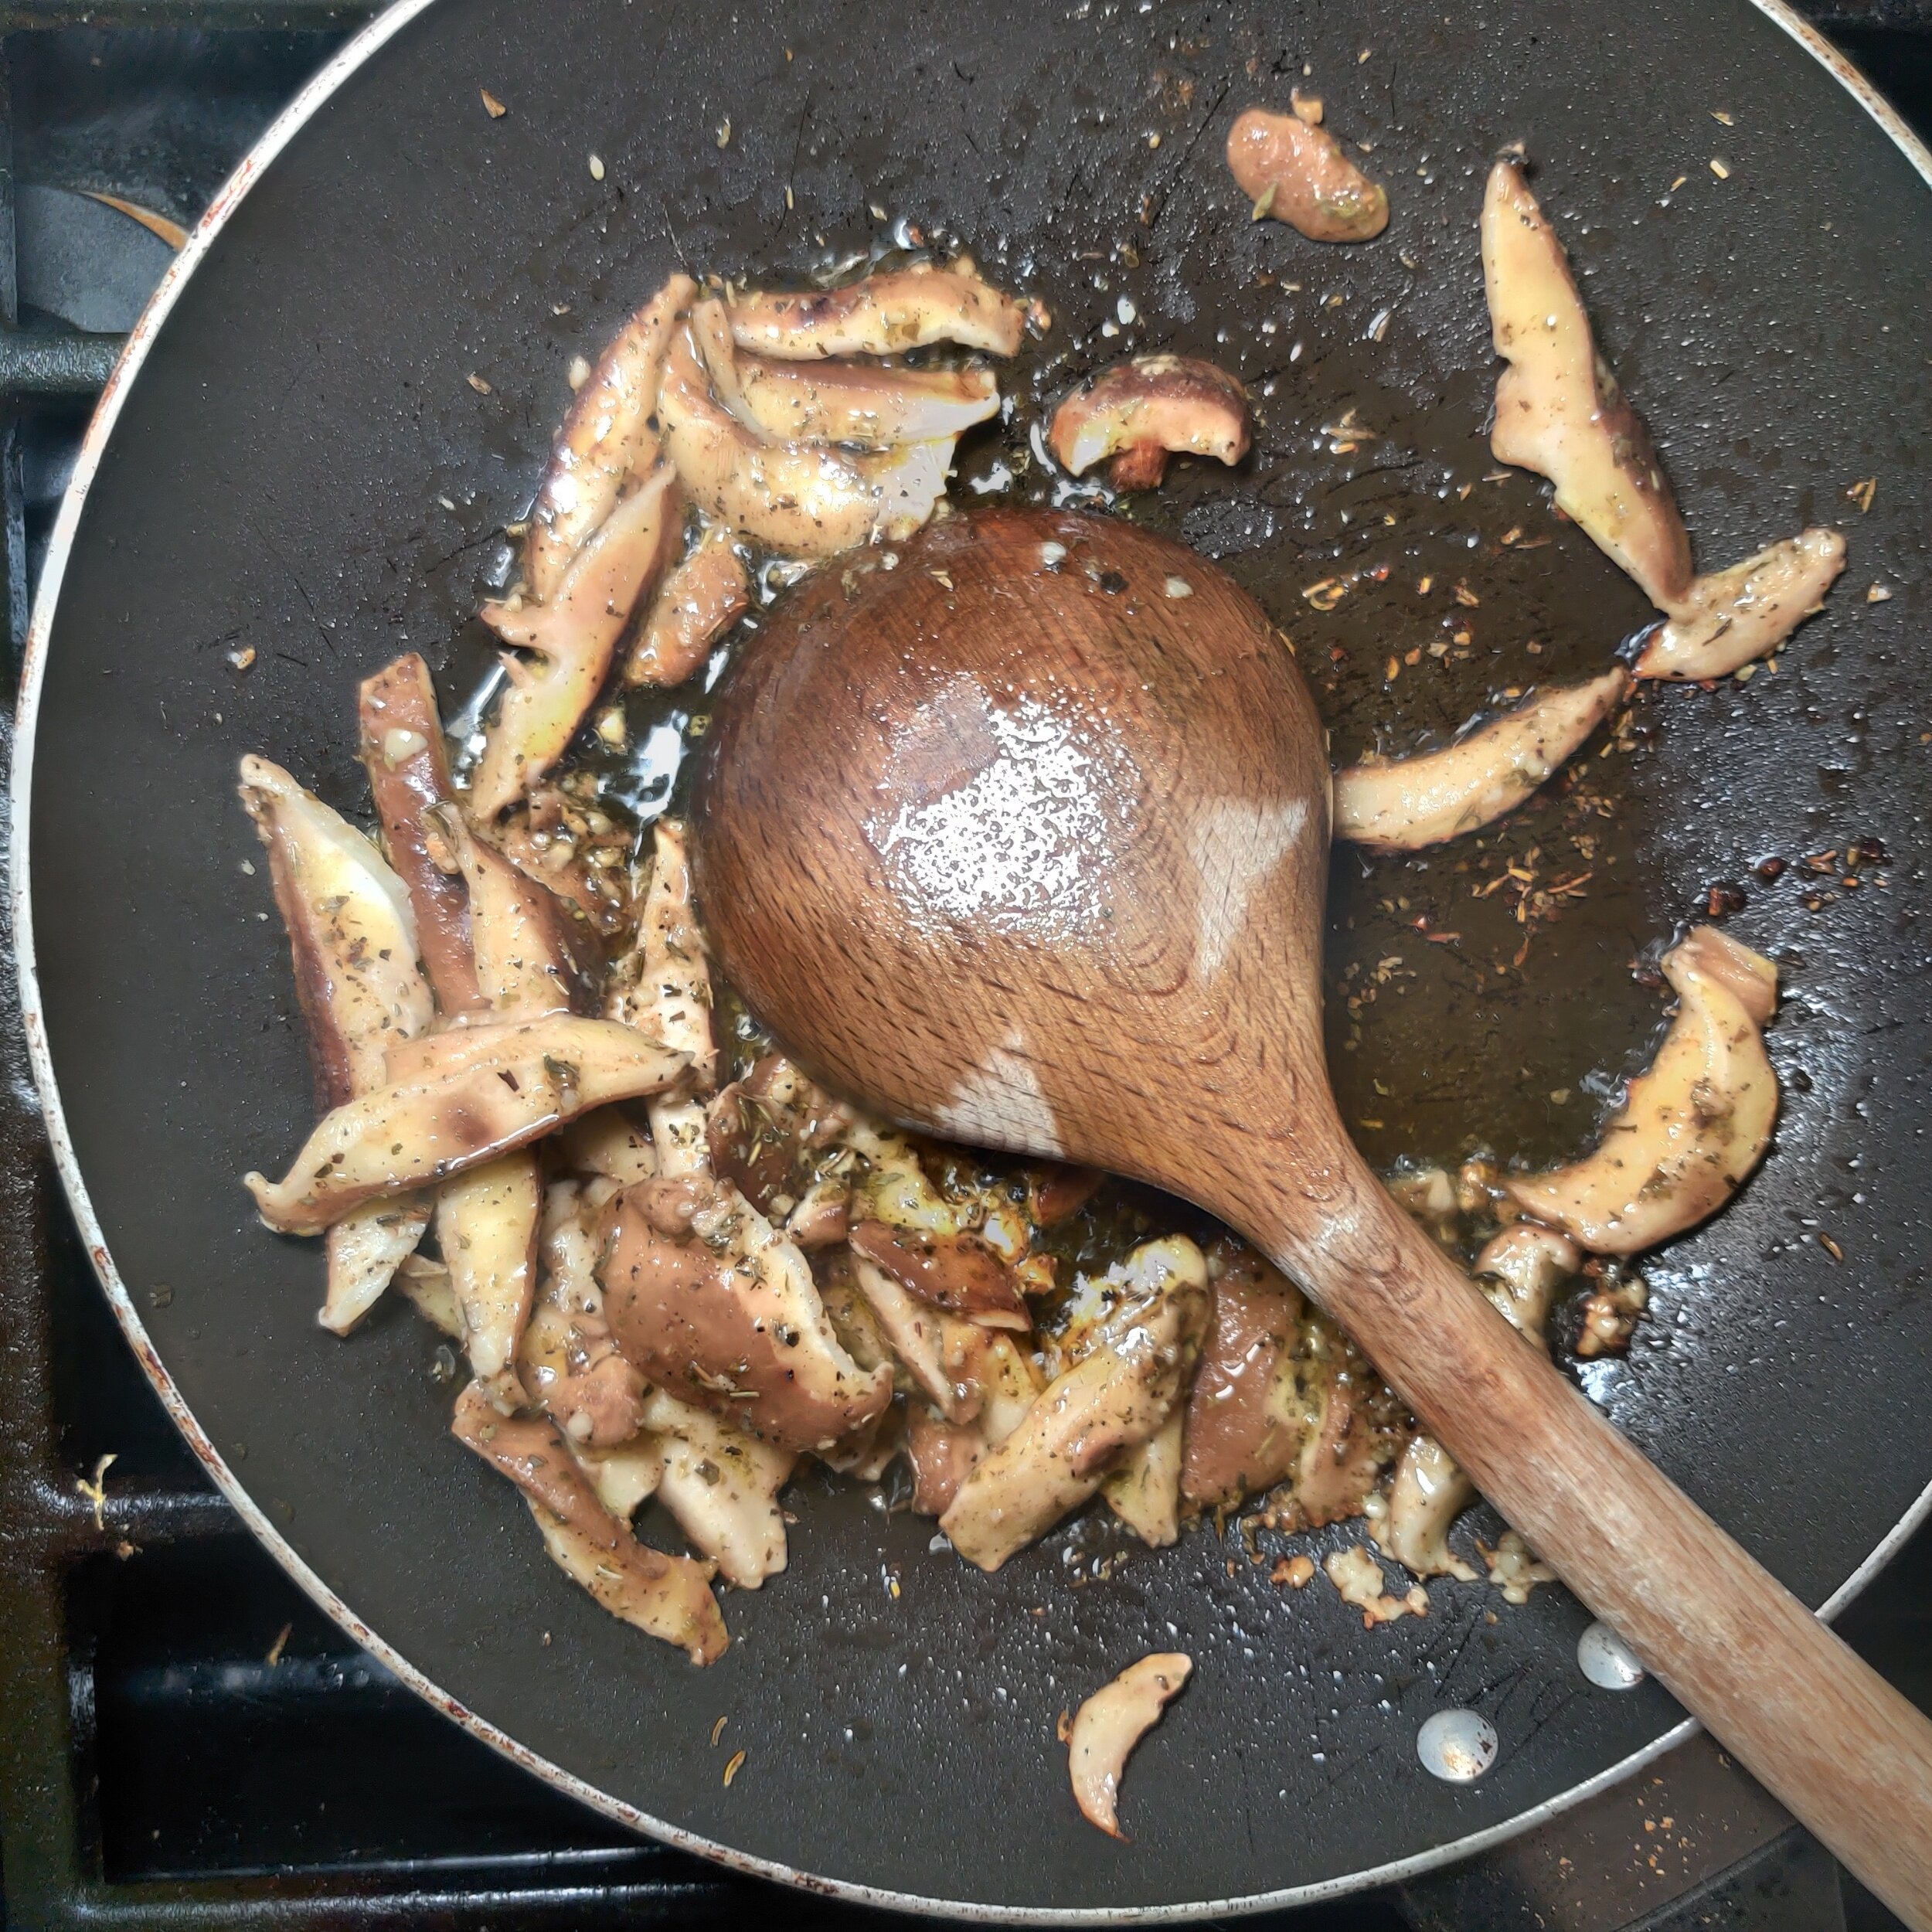
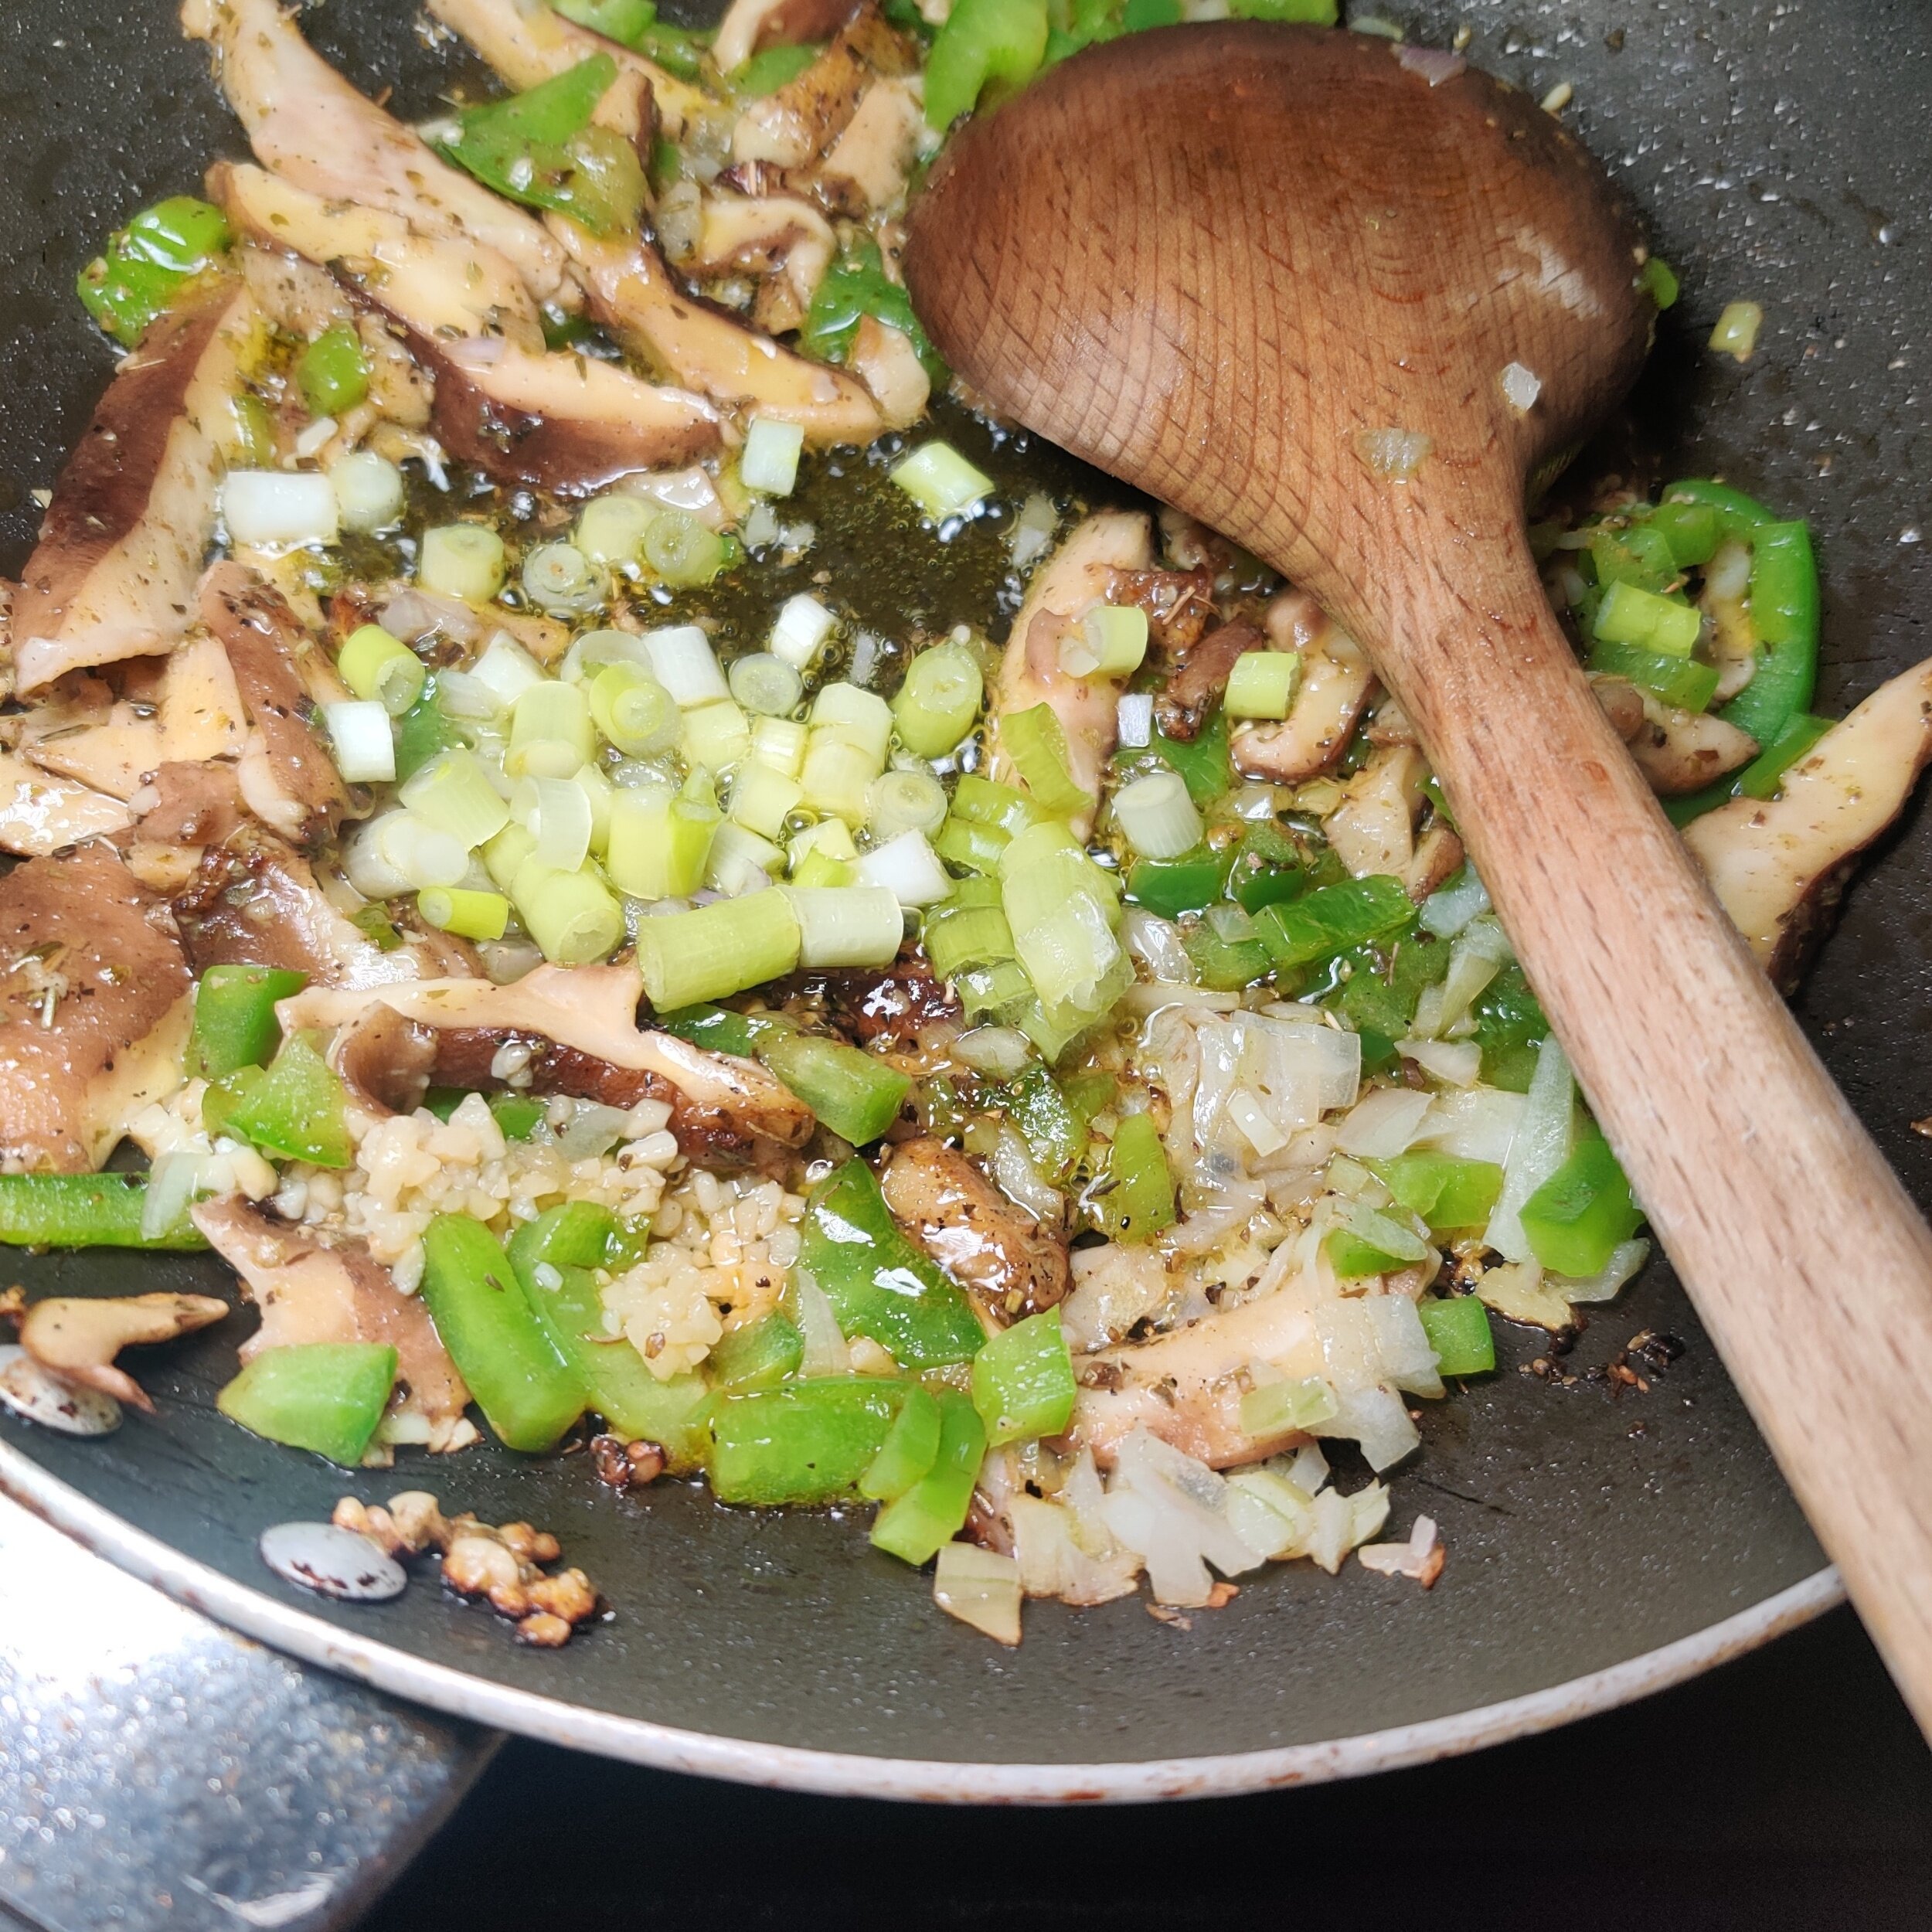
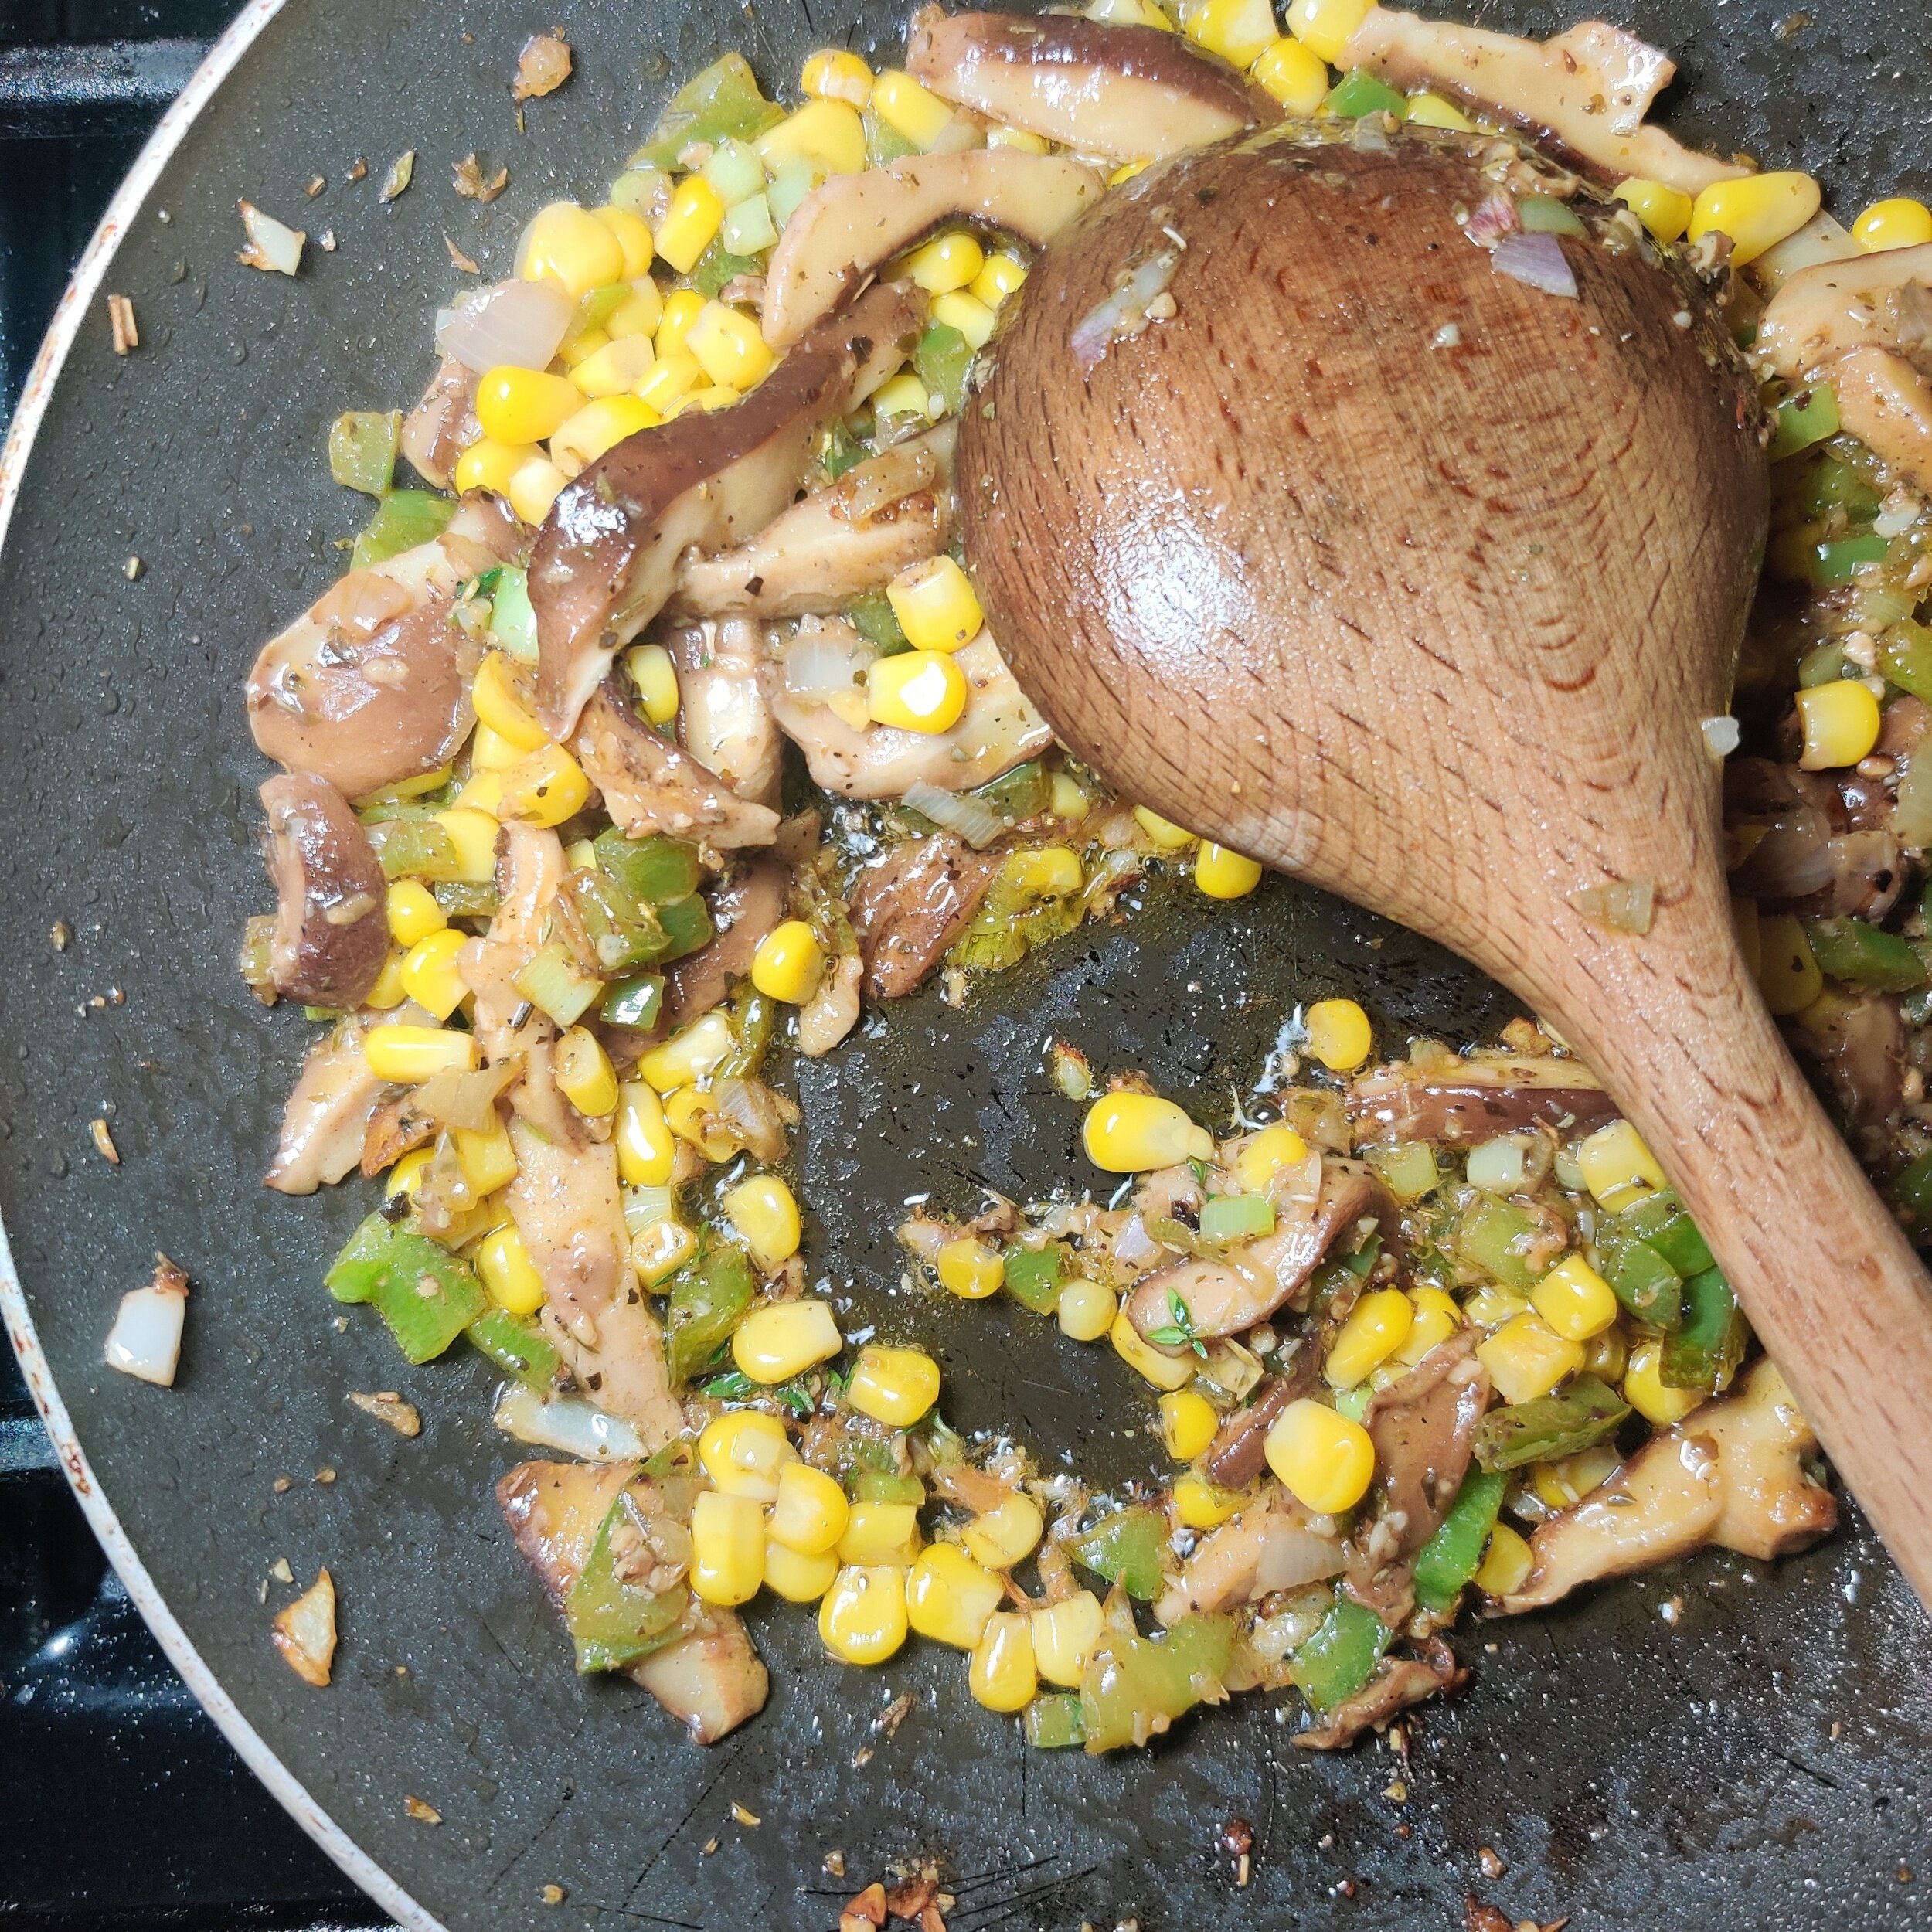
In a non-stick pan, heat the olive oil and saute the mushrooms for about 5 minutes. Add 1 teaspoon salt, 1 teaspoon black pepper, spices and herbs; cook for 1-2 minutes to bring the flavours out. Add the fresh garlic, bell pepper, and scallions; cook for another 3-4 minutes to soften the vegetables.
Deglaze the pan with soy sauce, then add the corn. Cook for about 2-3 minutes, then a set aside to cool.
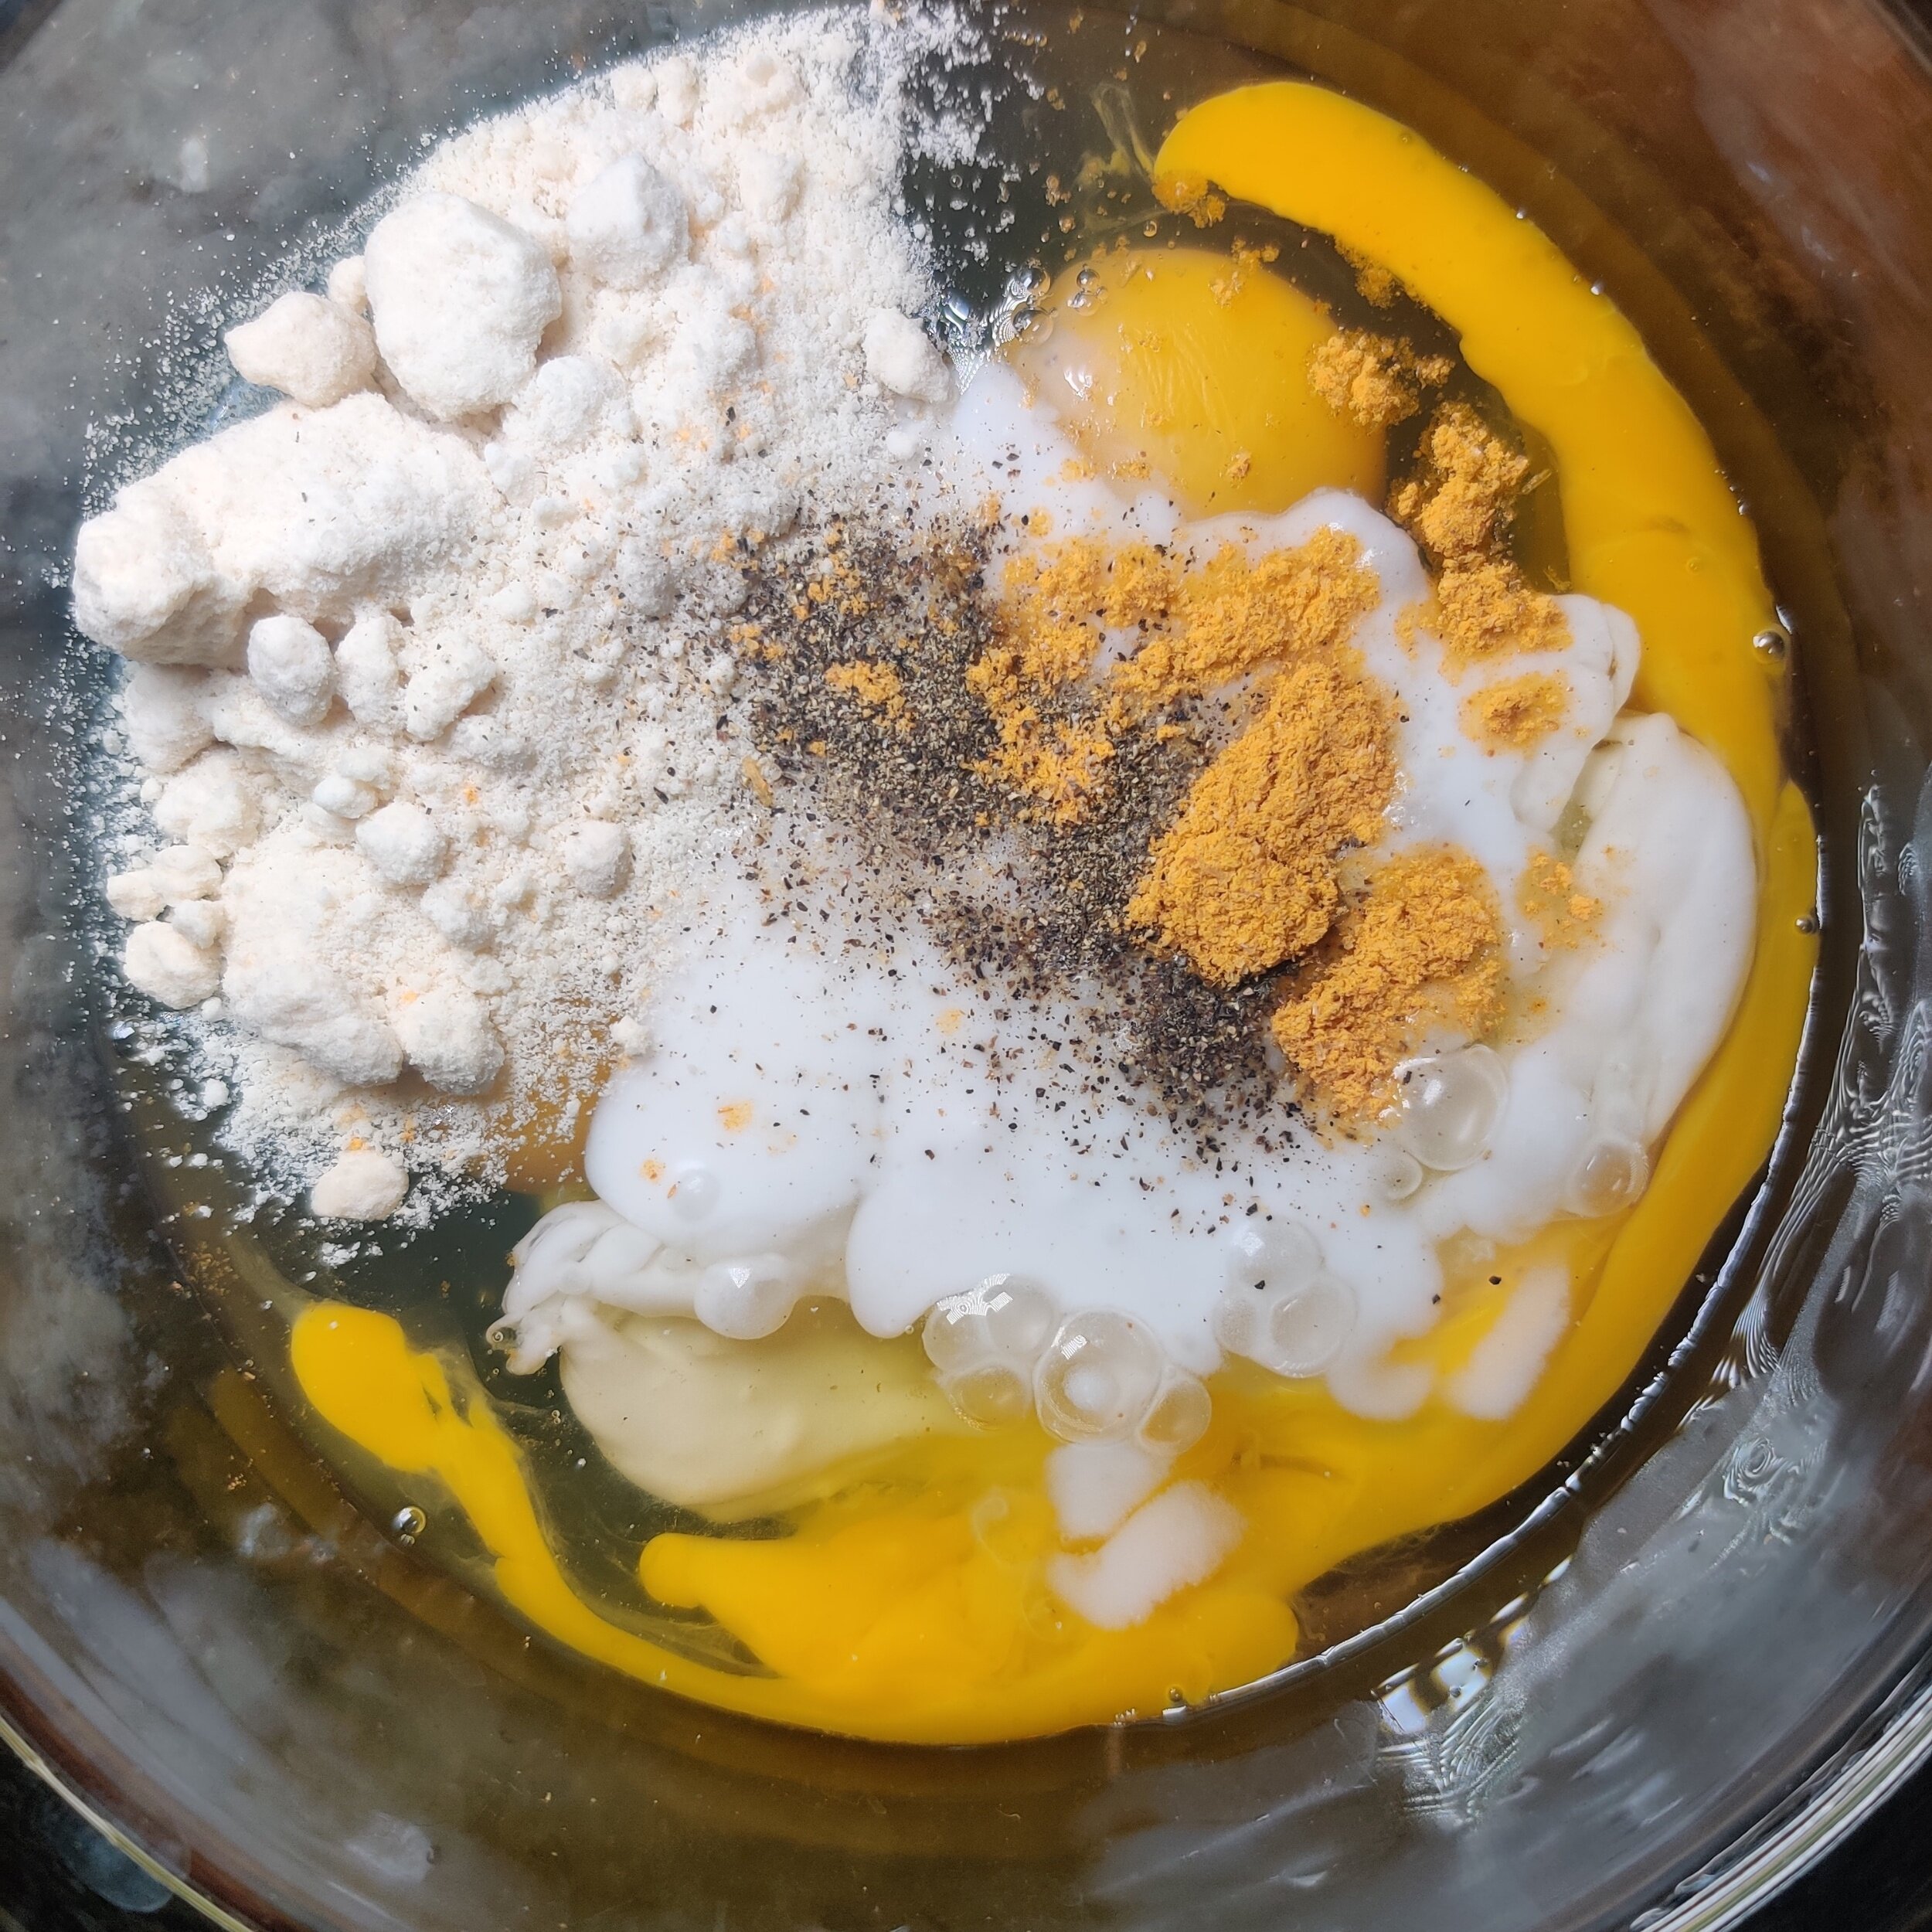
In a separate bowl, whisk the eggs, milk, parmesan cheese, spice for rice, garlic powder, 1/2 teaspoon salt, and 1 teaspoon pepper until well combined.
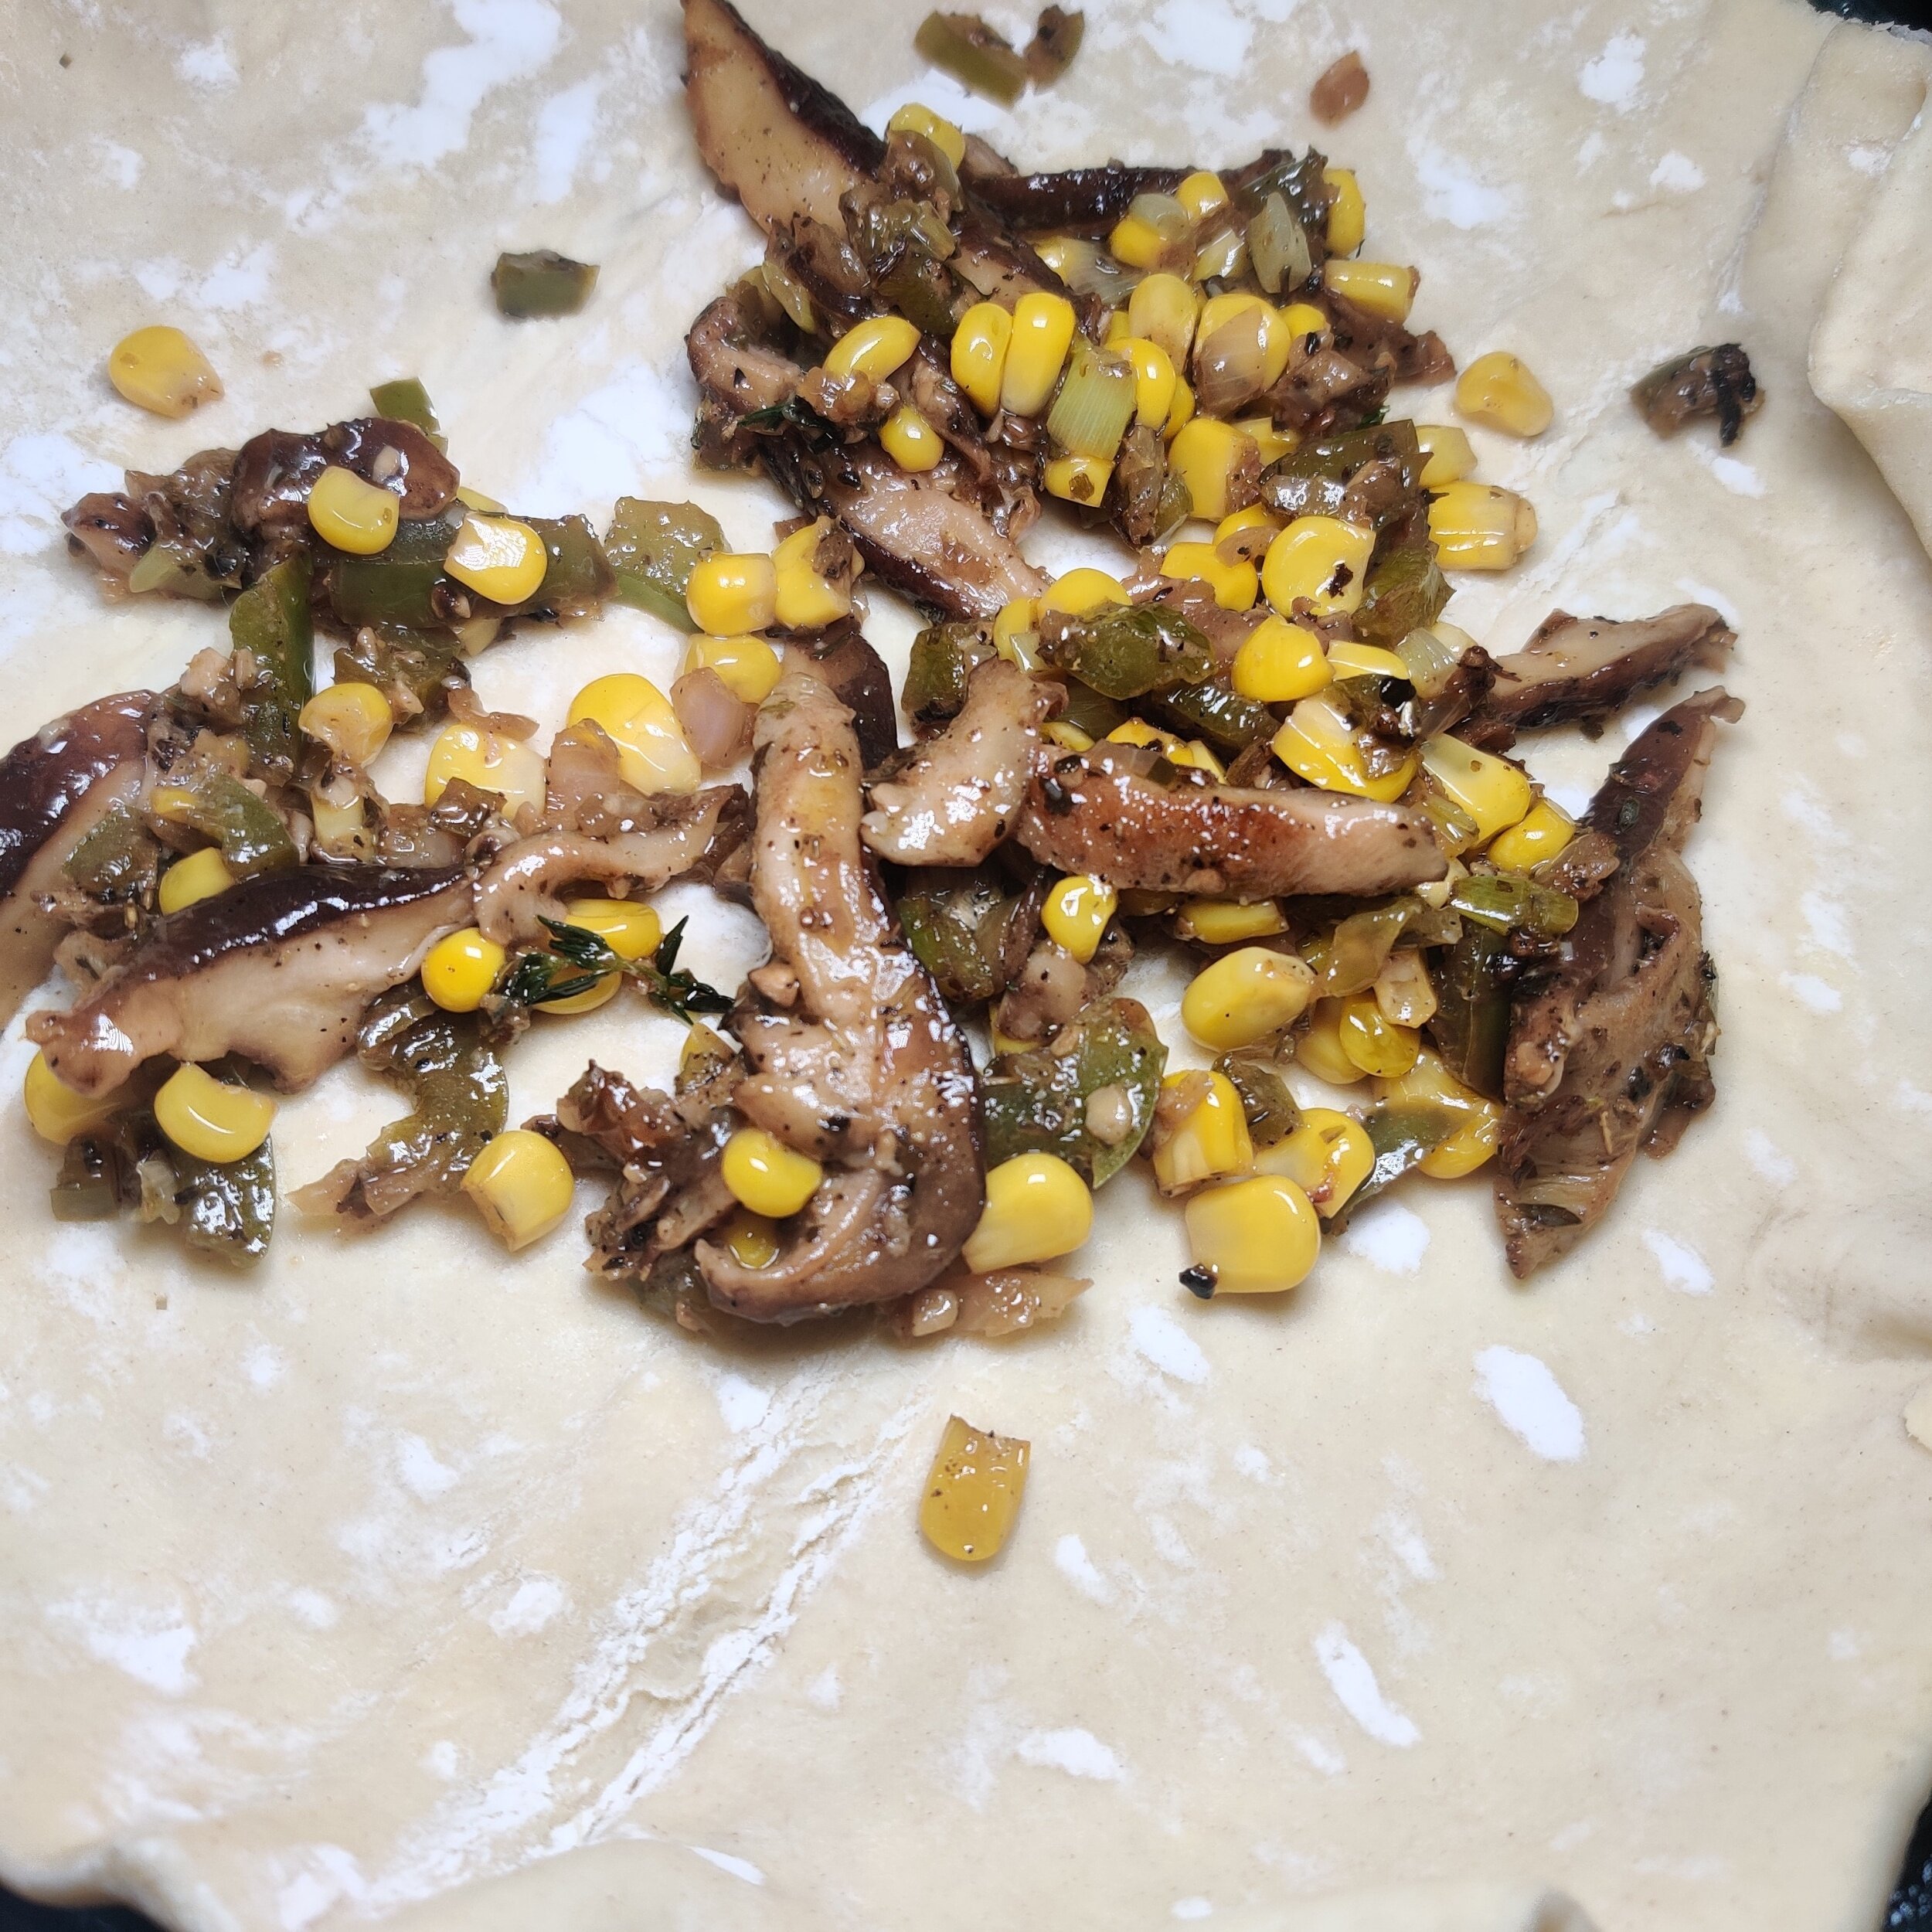
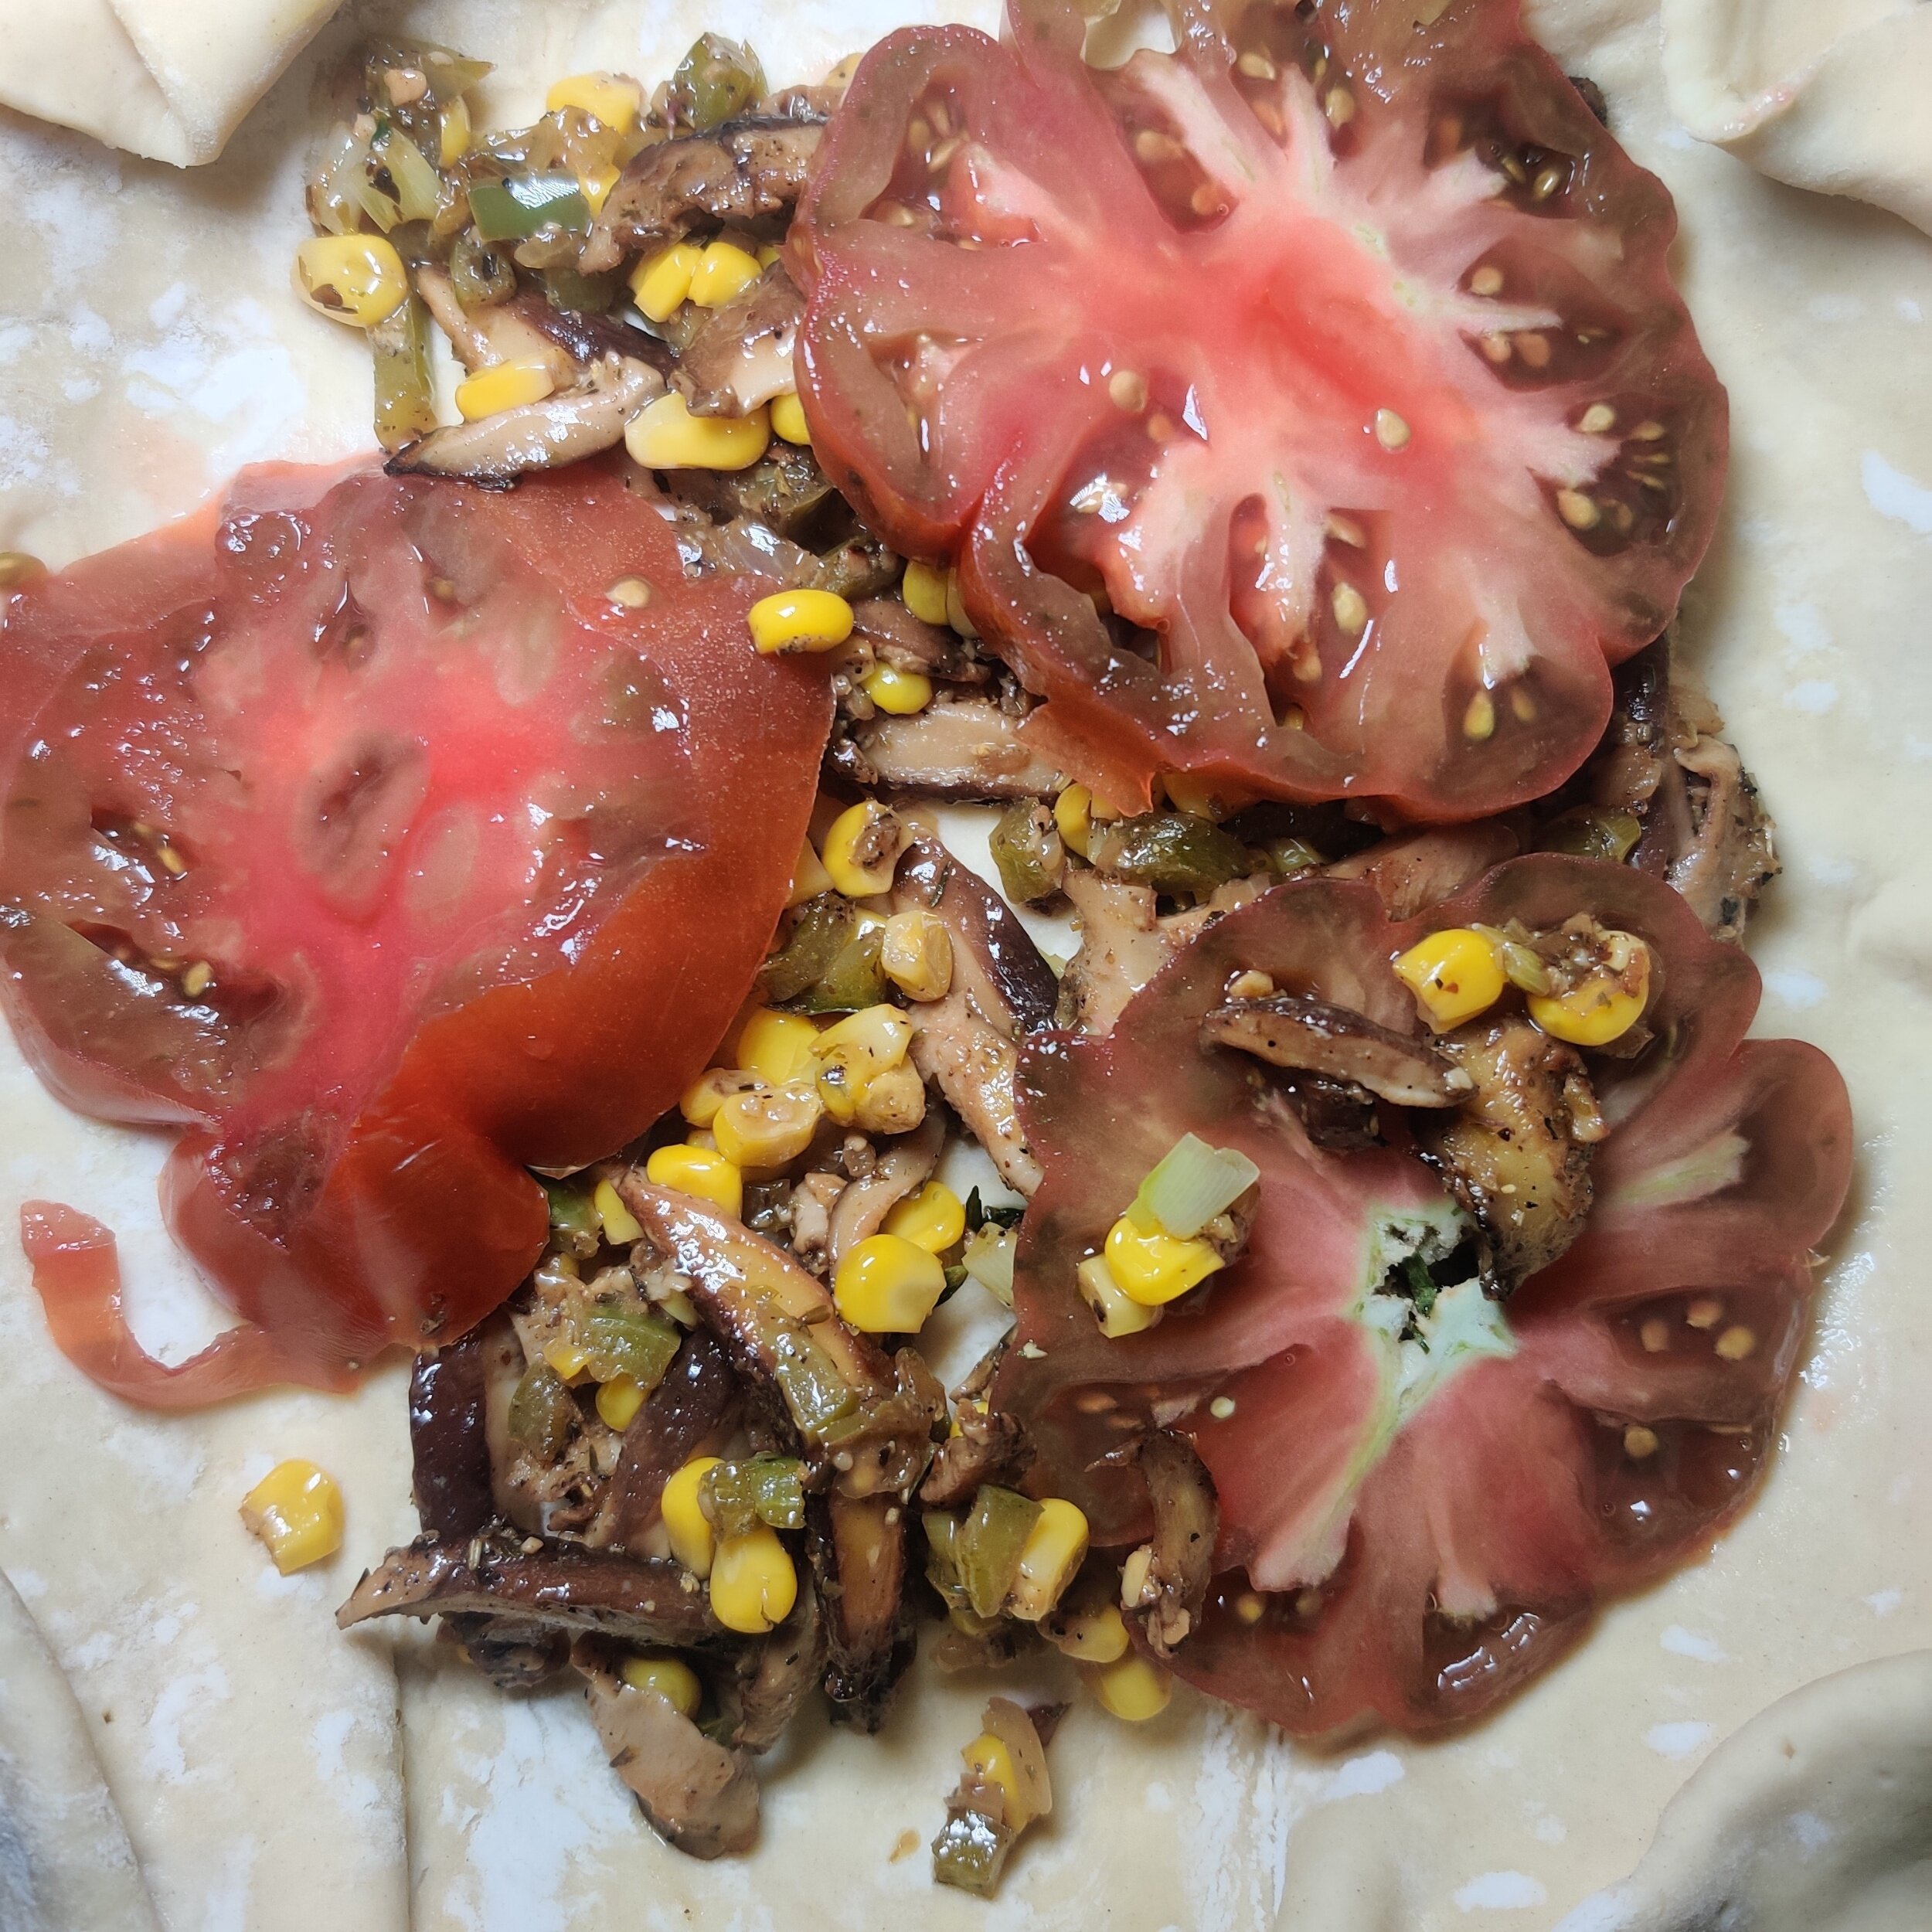
Place the puff pastry into a 9-inch pie dish. Since the puff pastry is square, you can trim the edges or fold them slightly. Spoon the mushroom mixture onto the pastry, followed by the tomato slices.
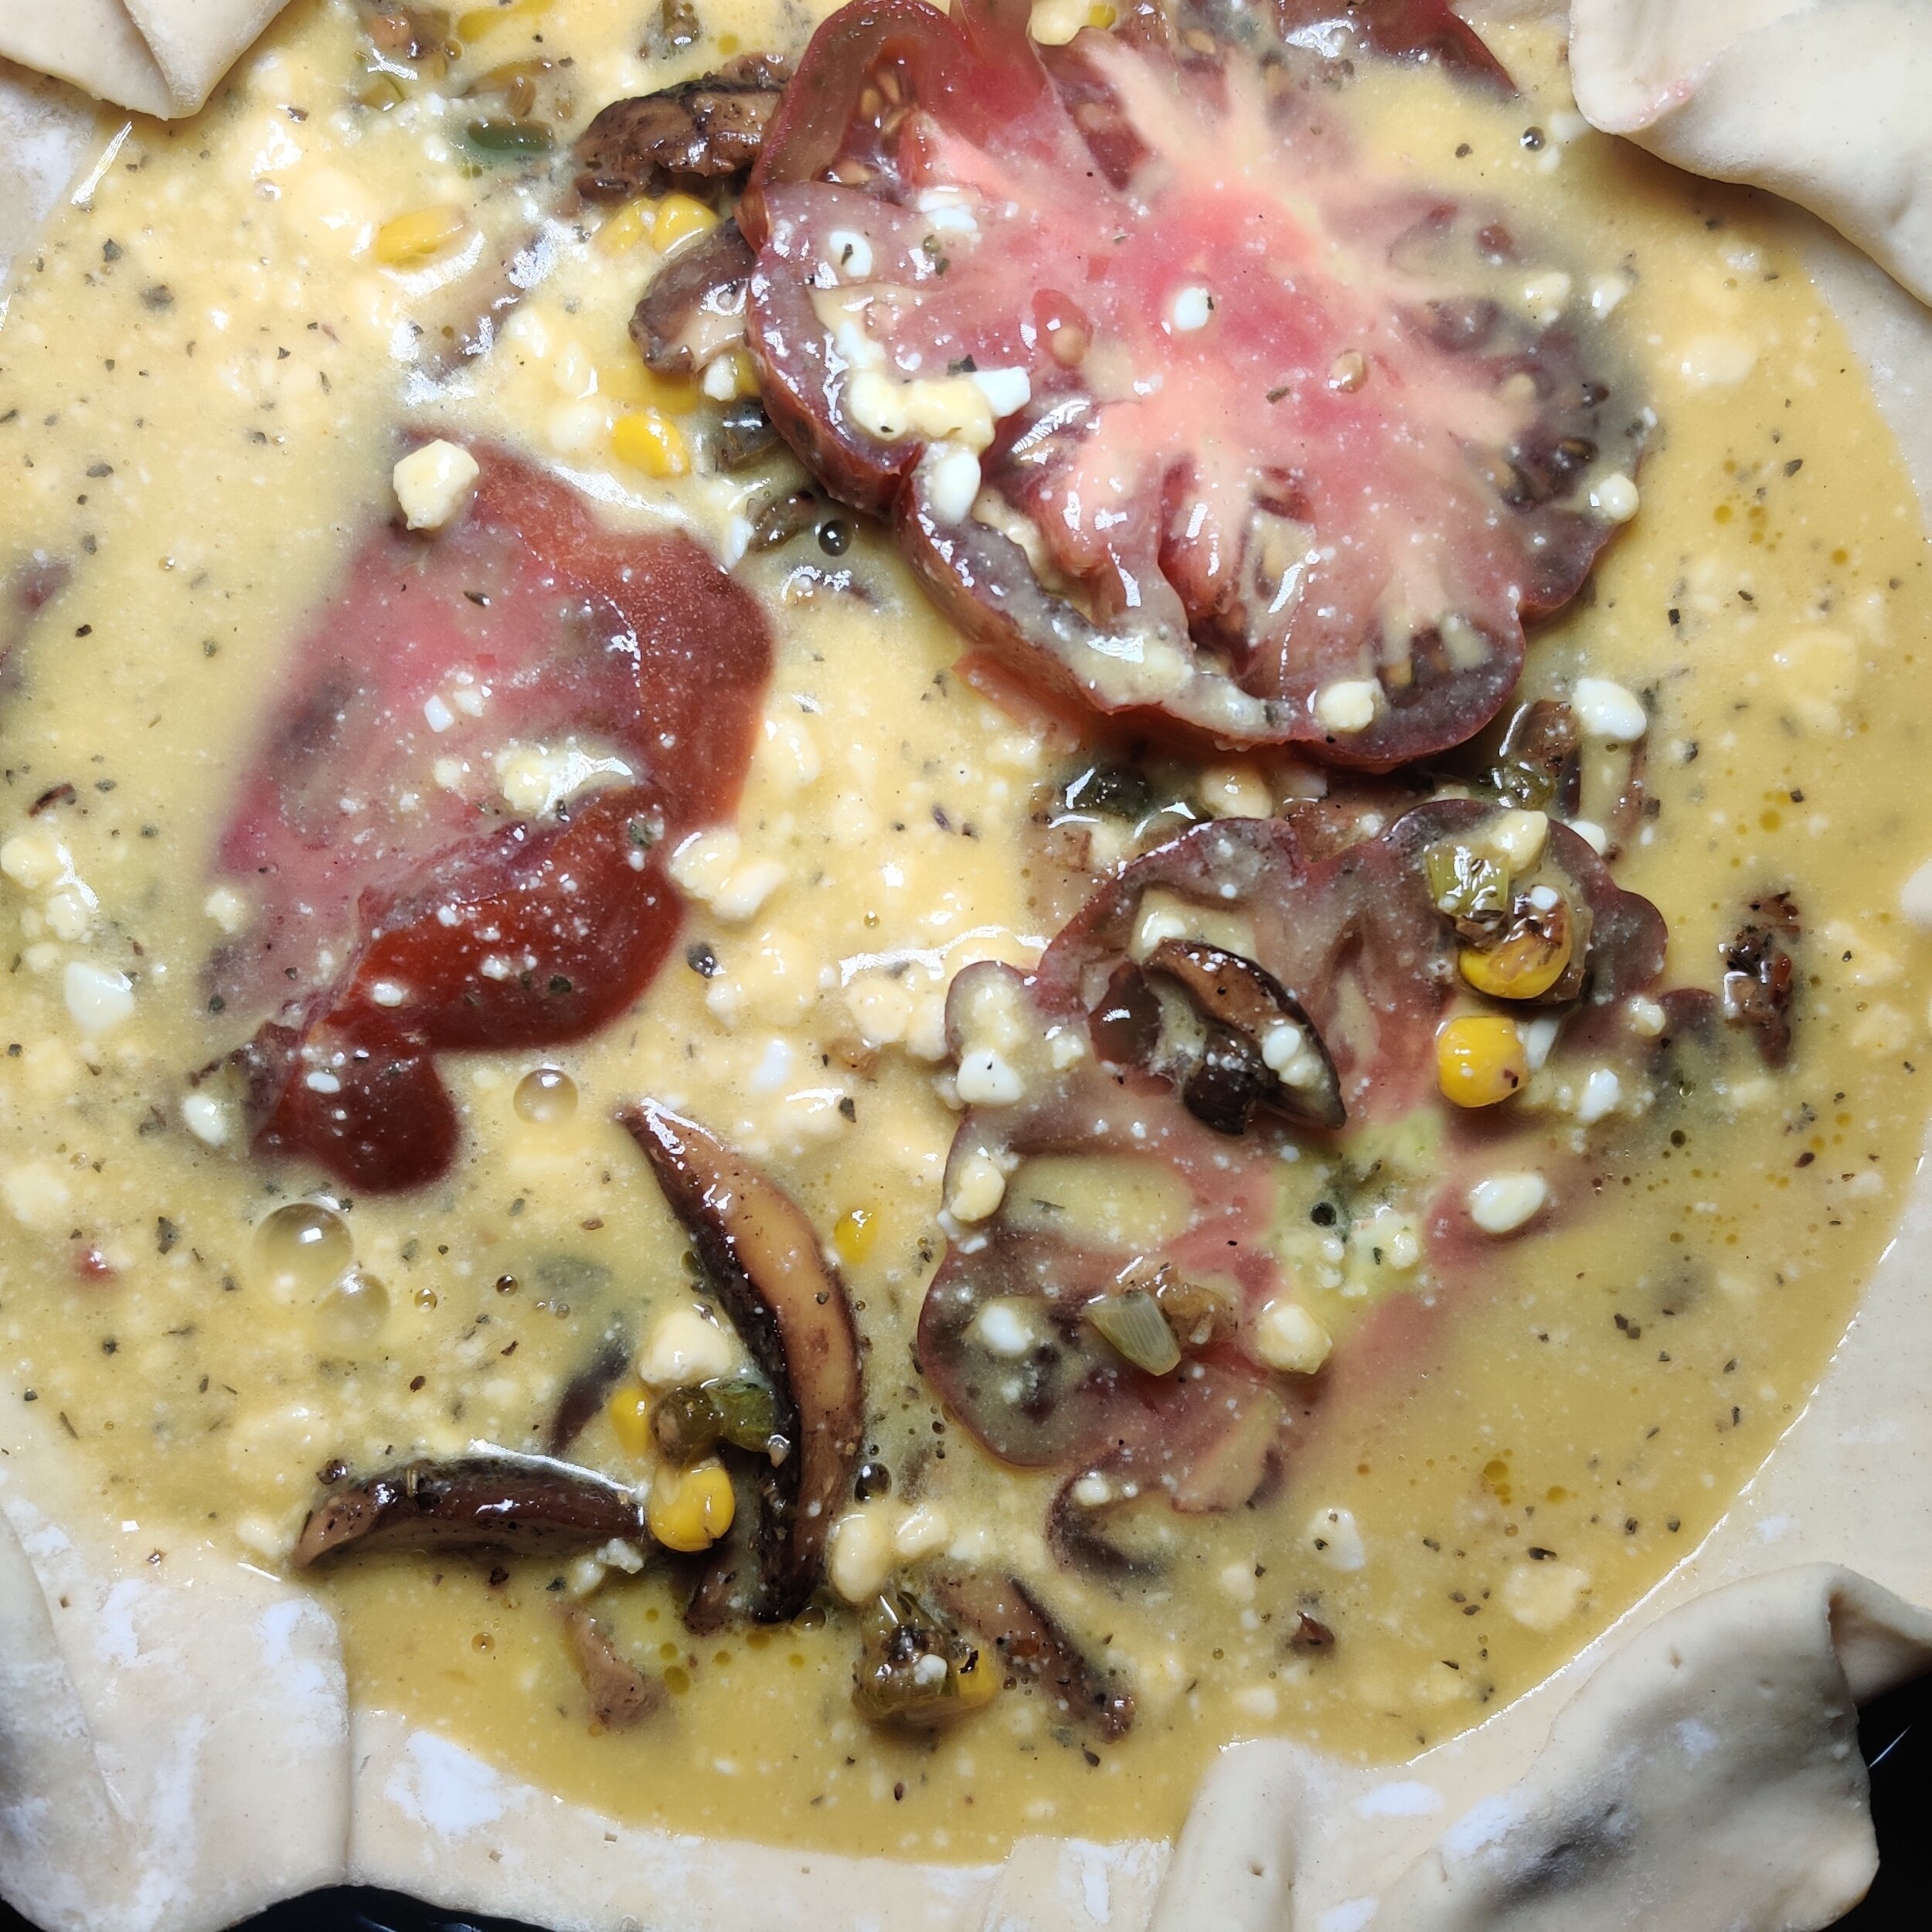
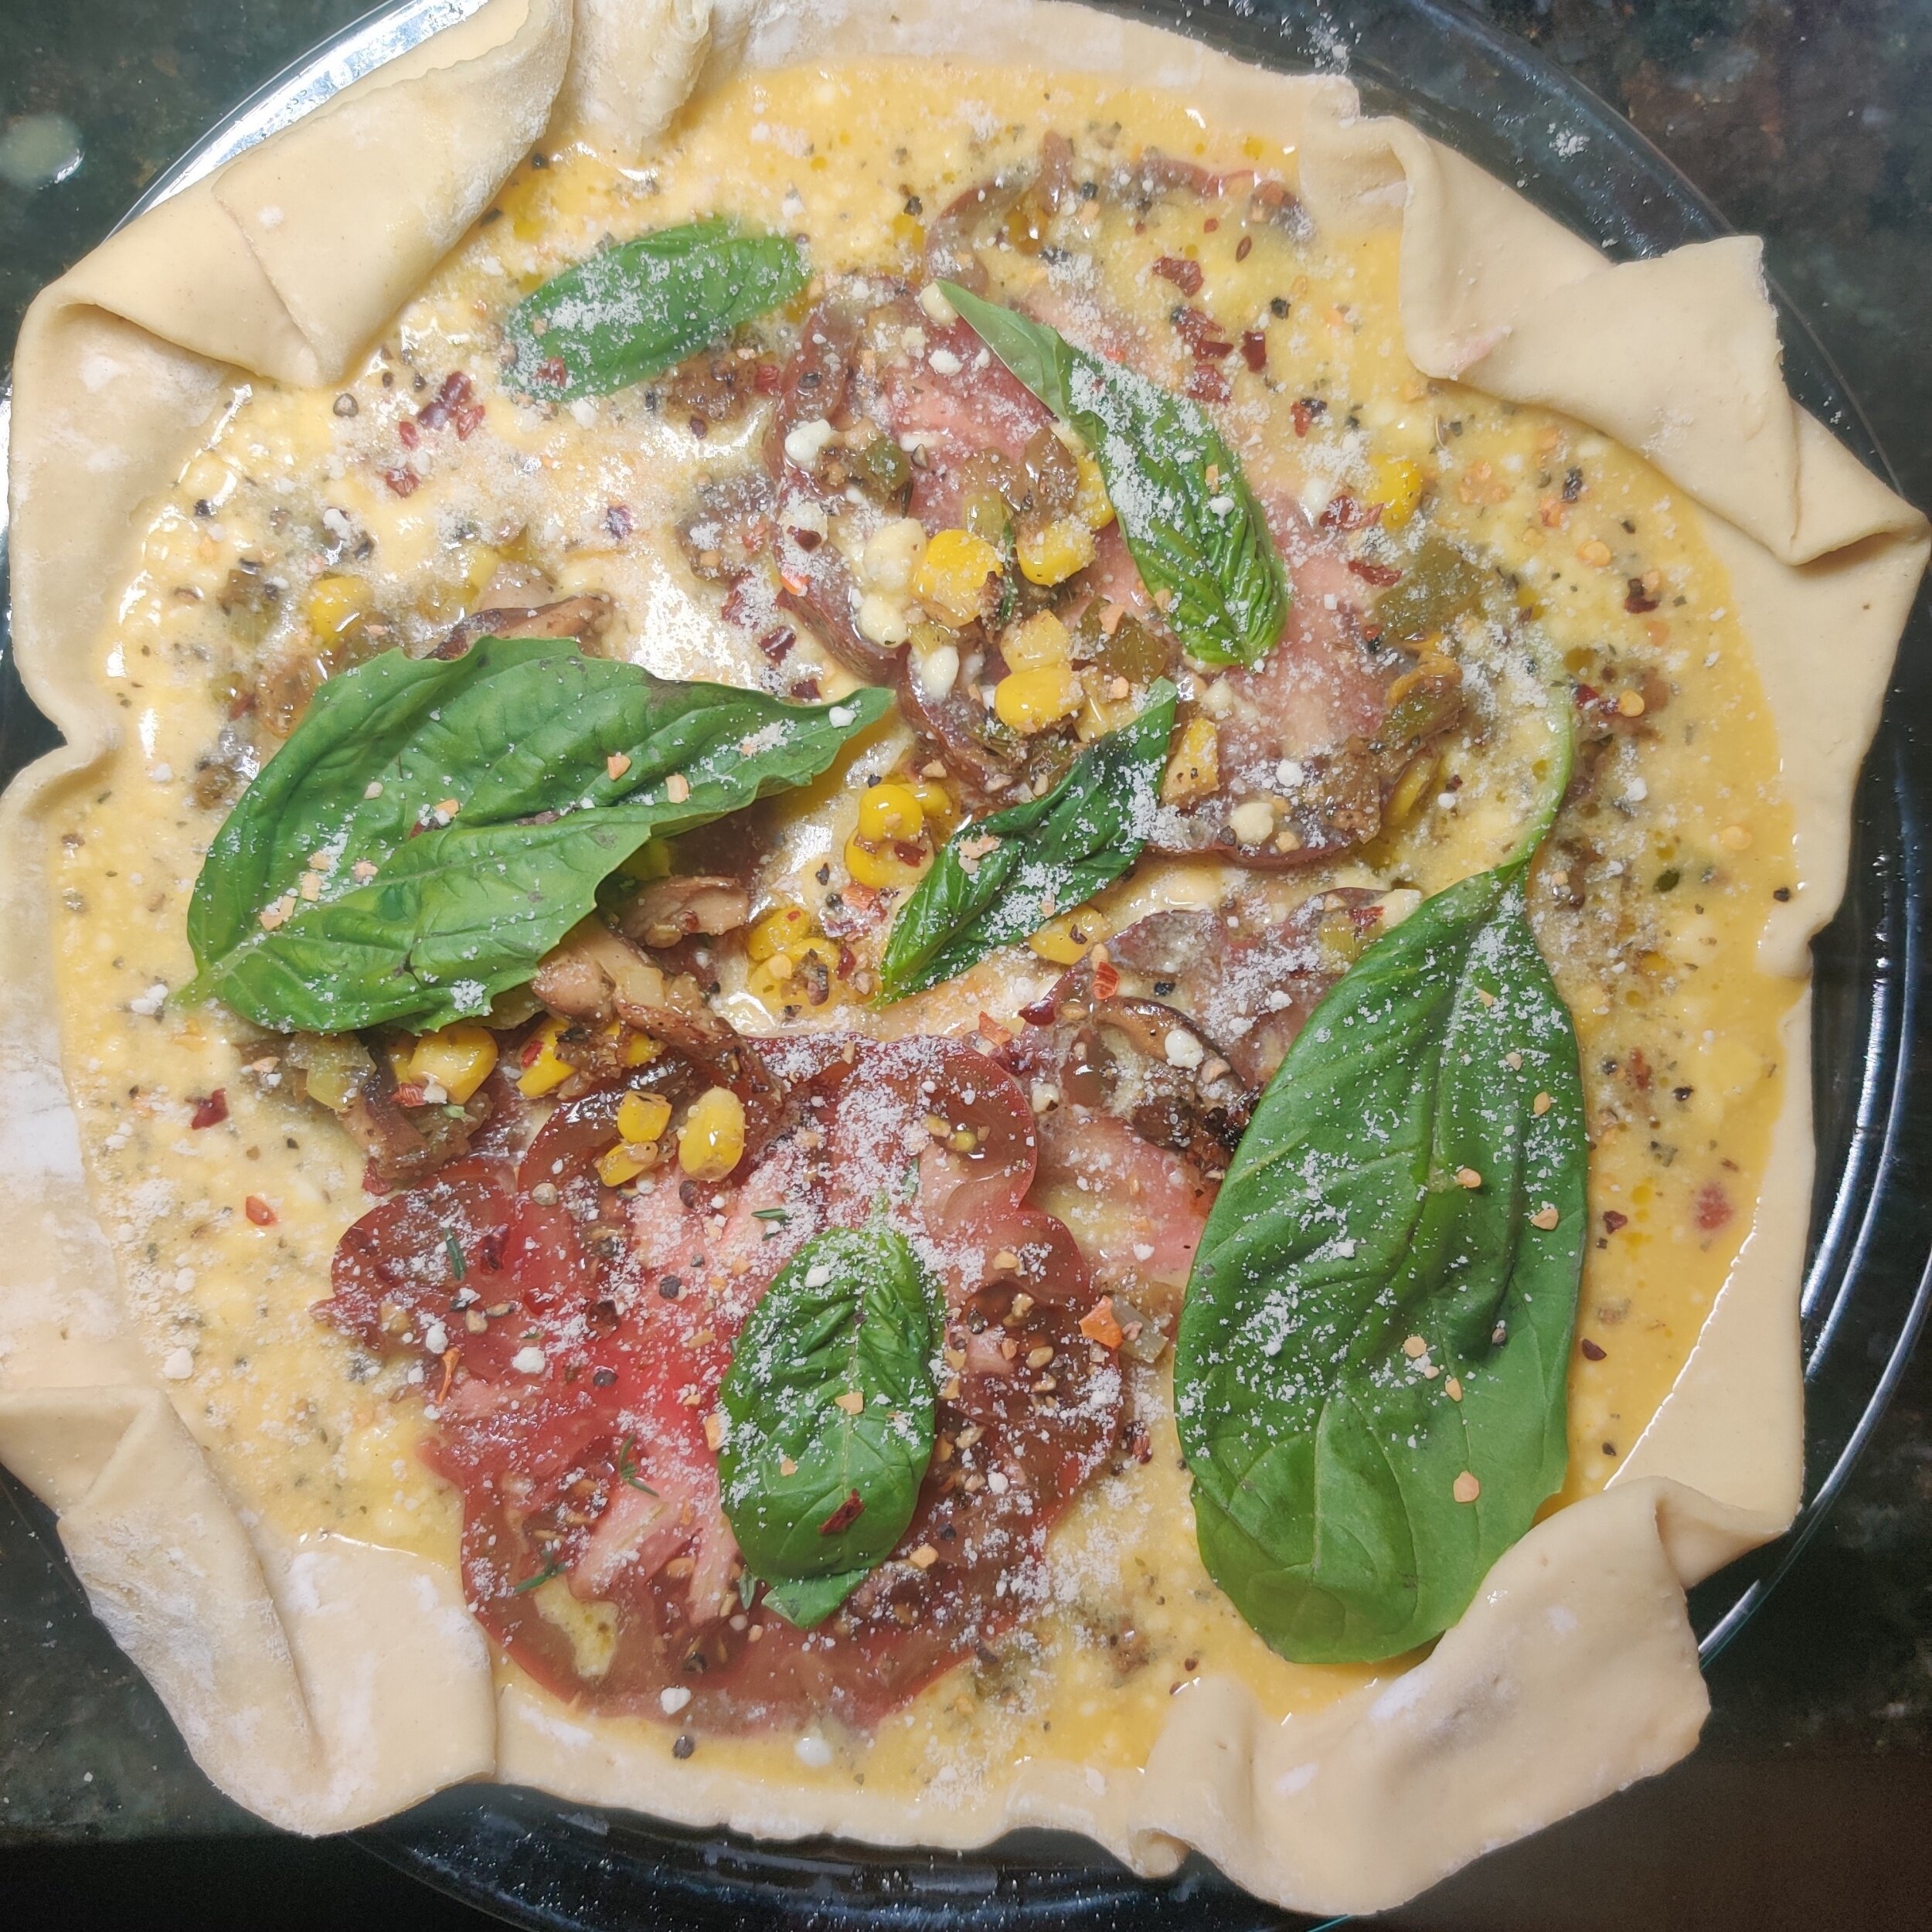
Pour the egg mixture on top, garnish with some additional dried and fresh basil if you please, and bake for 30 minutes at 350F or until the eggs are set - they should no longer jiggle if you move the pan around.
Sprinkle a little more parmesan on top, cool for about 10 minutes, and serve warm.


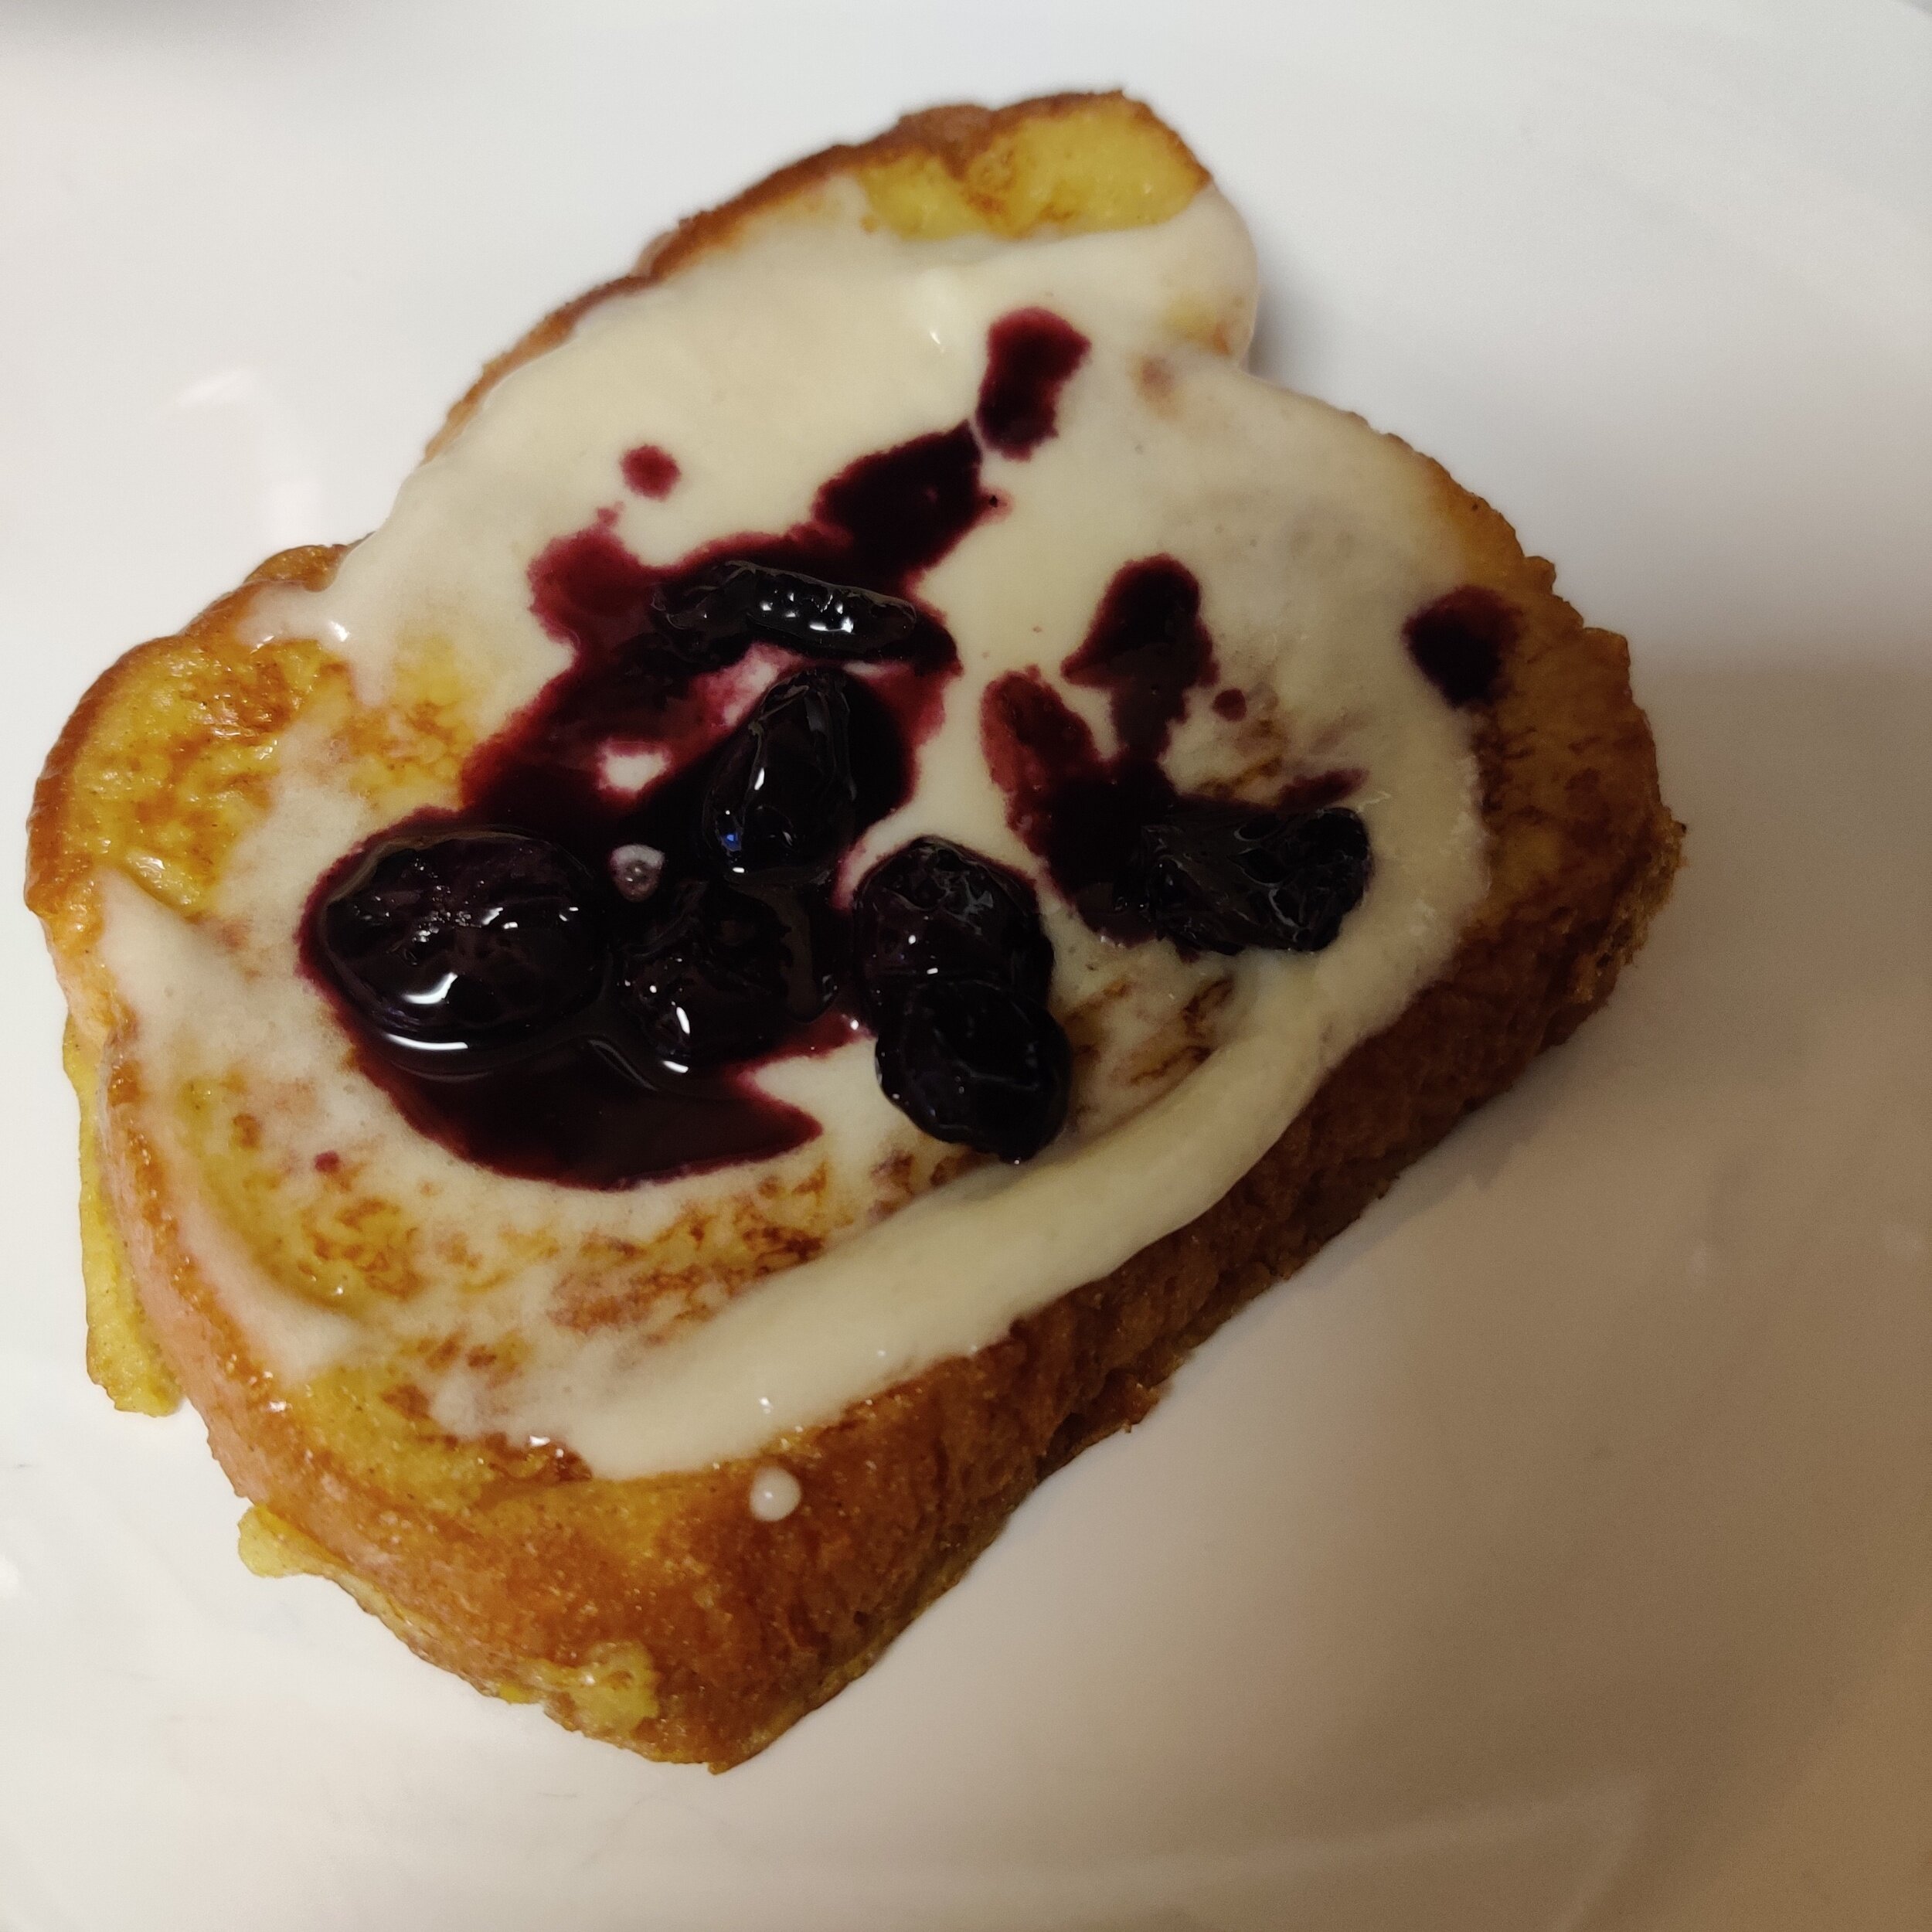
Blueberry and Lemon Curd French Toast
I promise you won't regret this! Best French toast recipe ever, especially if you love blueberries, citrus flavours, and well the both of them combined!
The lemon really does bring out the best in berries and quite literally deepens the colour of the blueberries; that dark rich hue is courtesy of your friendly springtime citrus fruit.
Honestly, when it comes to my favourite brunch items, French toast is pretty high up on the list. You can do so much with it, but at the same time, it offers this classic taste and comforting feeling that I will never get tired of.
The lemon curd enhanced mixture and filling along with the blueberry compote screams spring and will wow you and your guests. The tartness and subtle sweetness from the berries and lemon are mellowed out by the cream and eggs and come together nicely. Enjoy and tag me if you make it to see how it goes!
Ingredients
Blueberry compote:
1/2 cup blueberries
1 teaspoon lemon zest + extra for garnish
1 tablespoon lemon juice
2 tablespoons water
1 tablespoon coconut sugar
French toast mixture:
2 eggs
1/4 cup lemon curd
1 tablespoon coconut sugar
2 tablespoons coconut milk
1/2 teaspoon ground cinnamon
1/8 teaspoon ground nutmeg
1/8 teaspoon ground cloves
1 teaspoon vanilla extract
2 tablespoons lemon curd
1/4 cup whipped cream (I used almond-milk based)
Fresh mint (optional)
Instructions
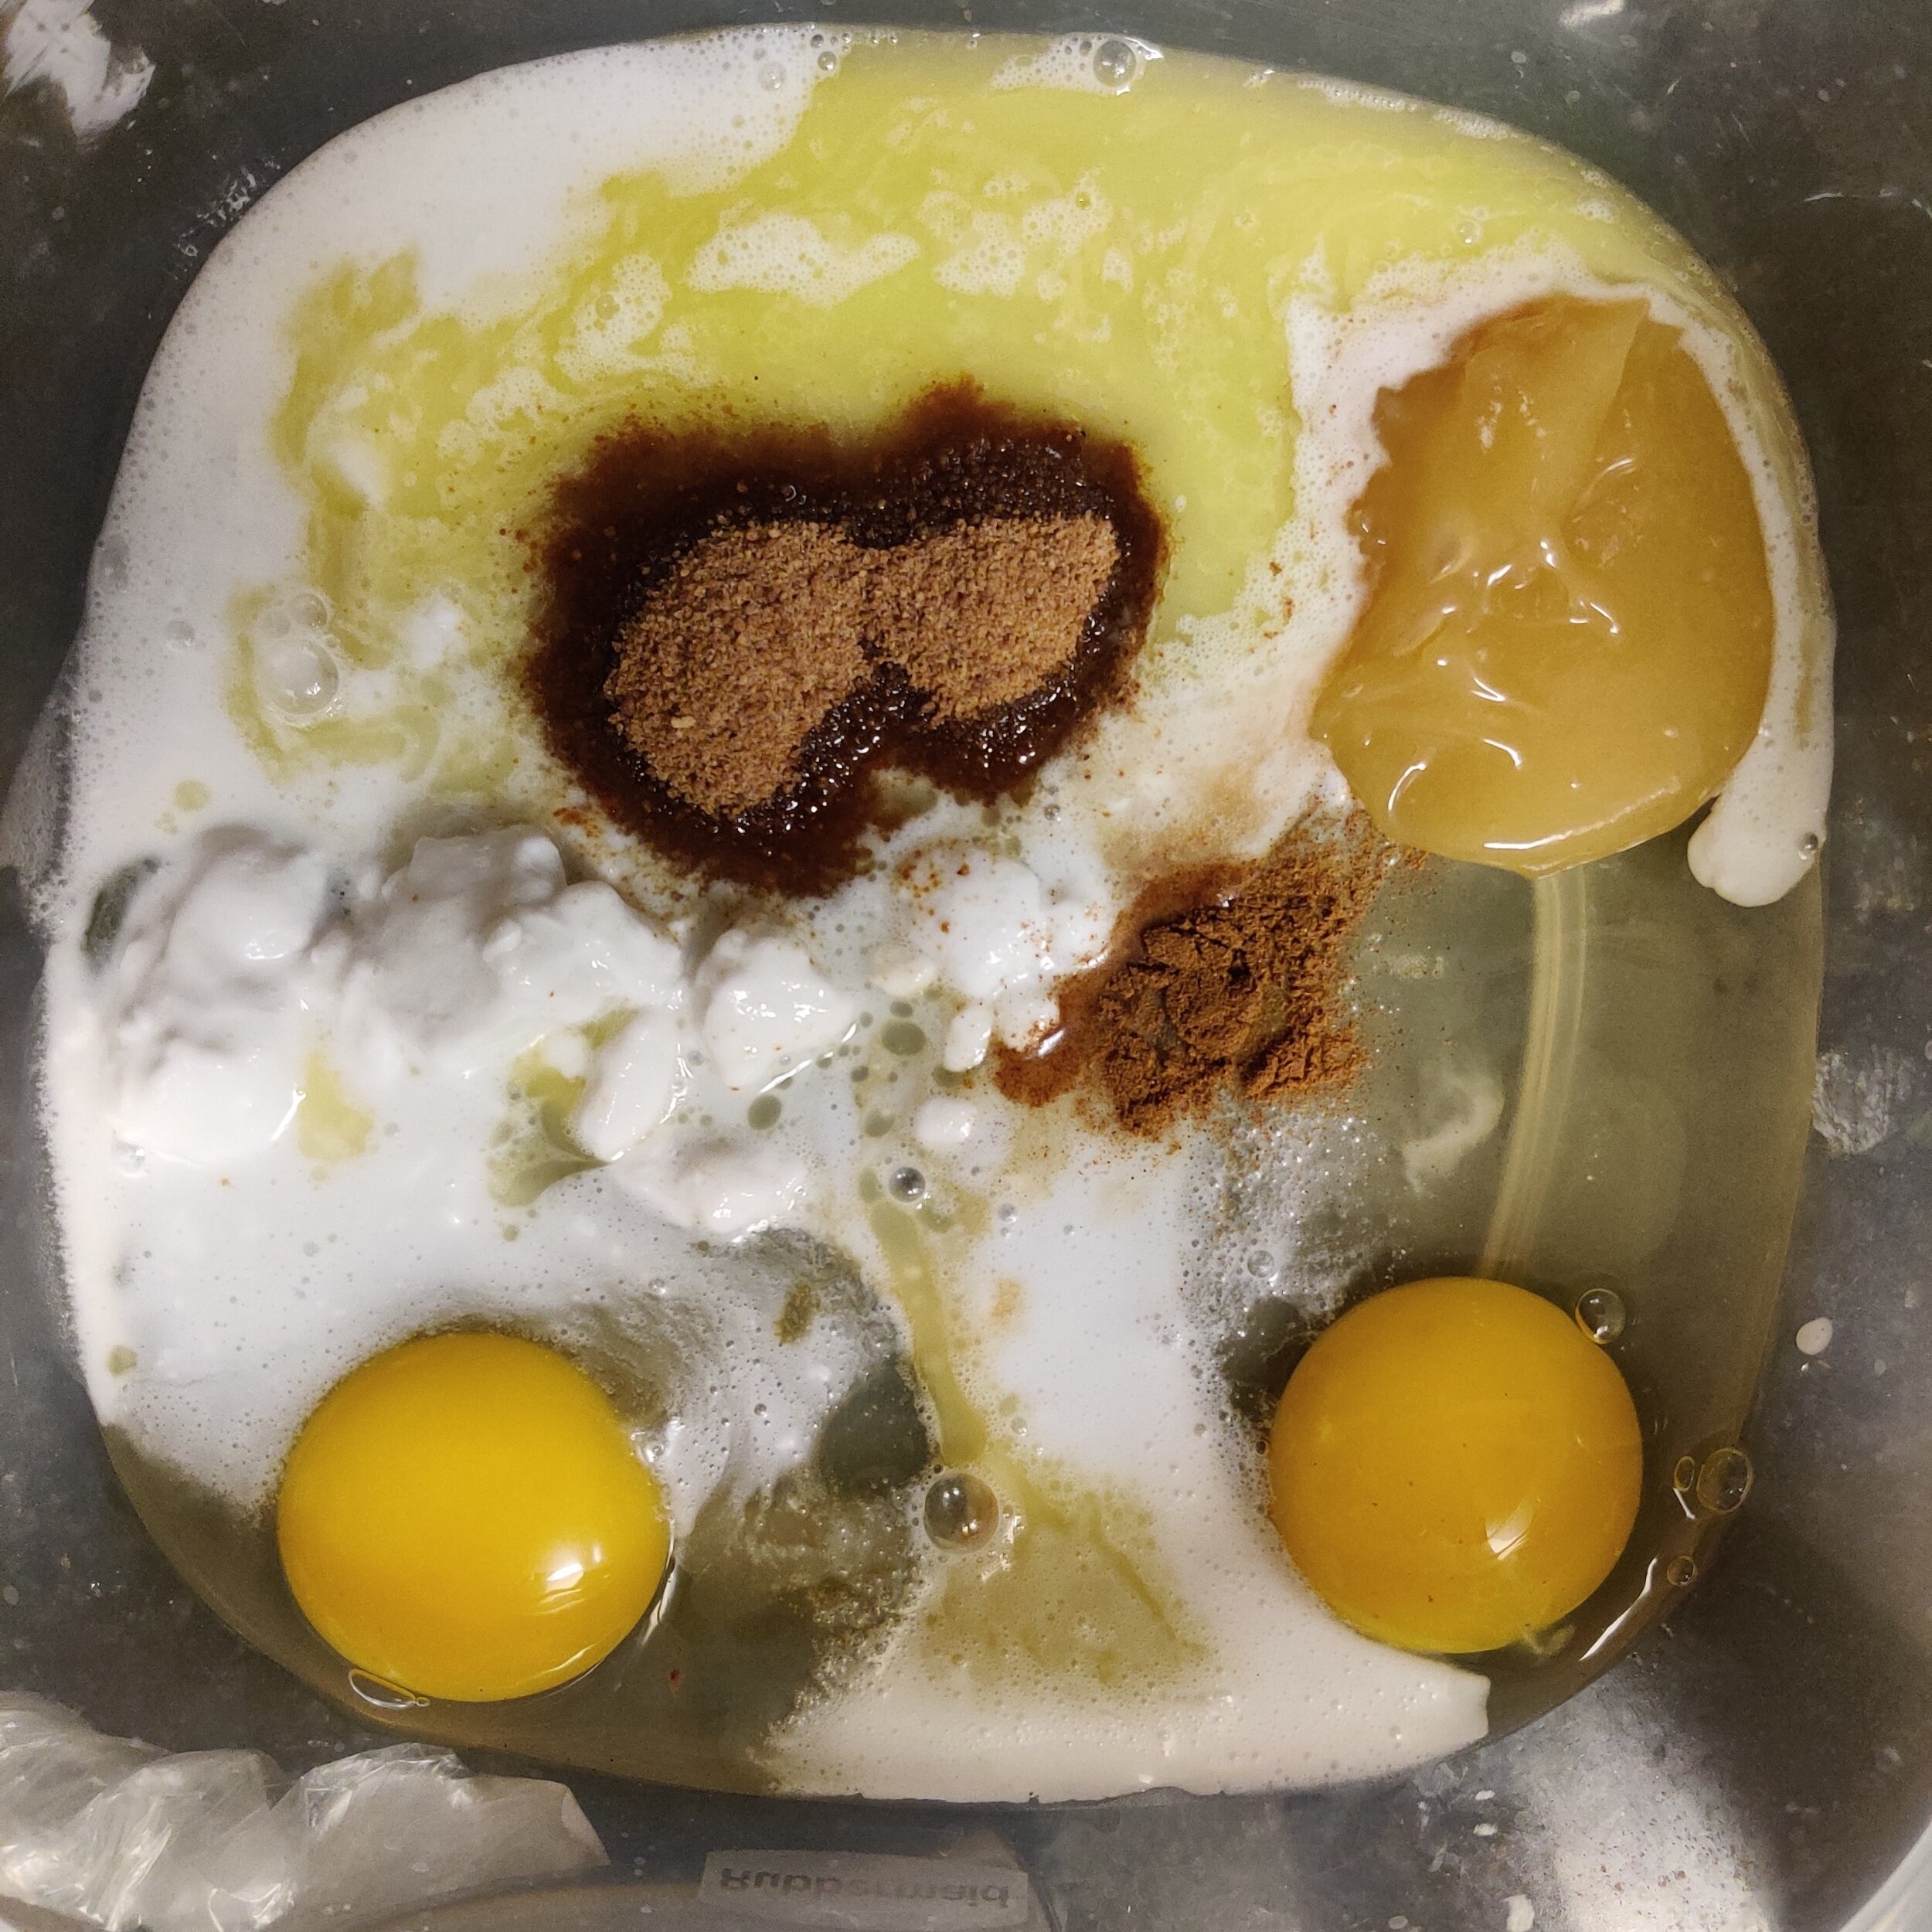
In a long dish, whisk the eggs, milk, lemon curd, vanilla, sugar, salt, cinnamon, cloves, and nutmeg. Melt the butter and cool, then add to the mixture. (If the mixture seems too thick, add a little almond milk to thin it out).
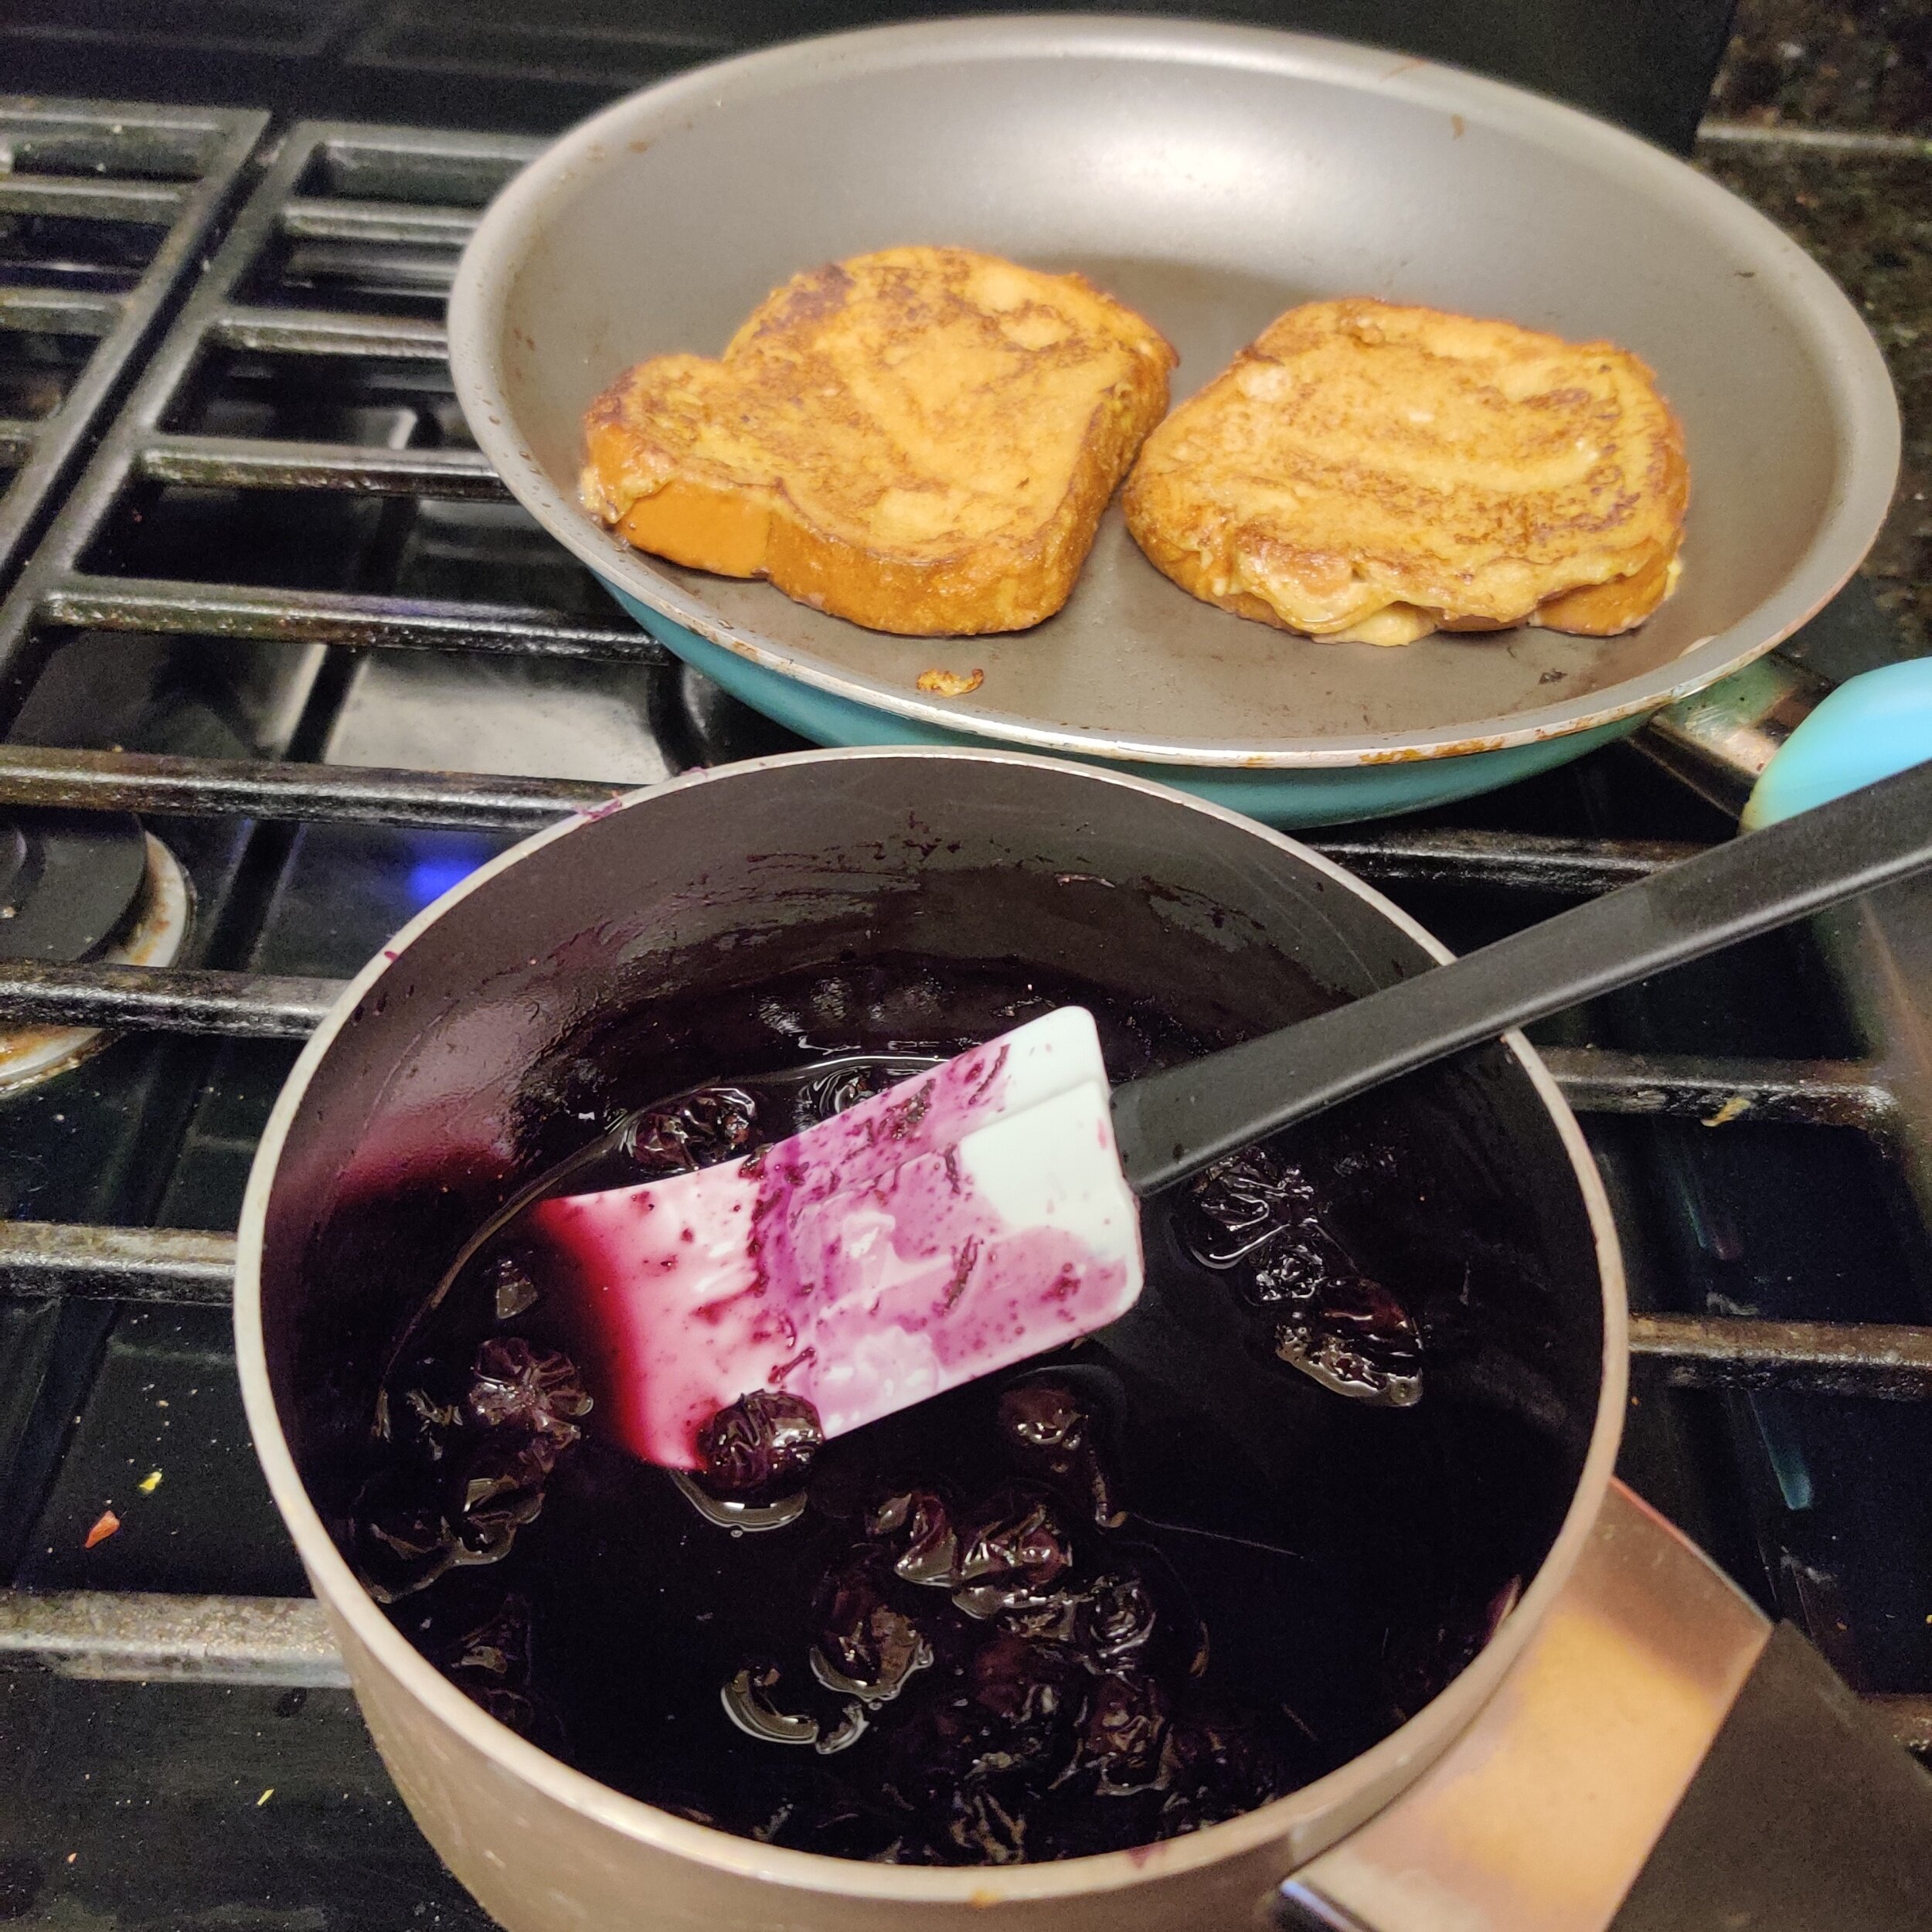
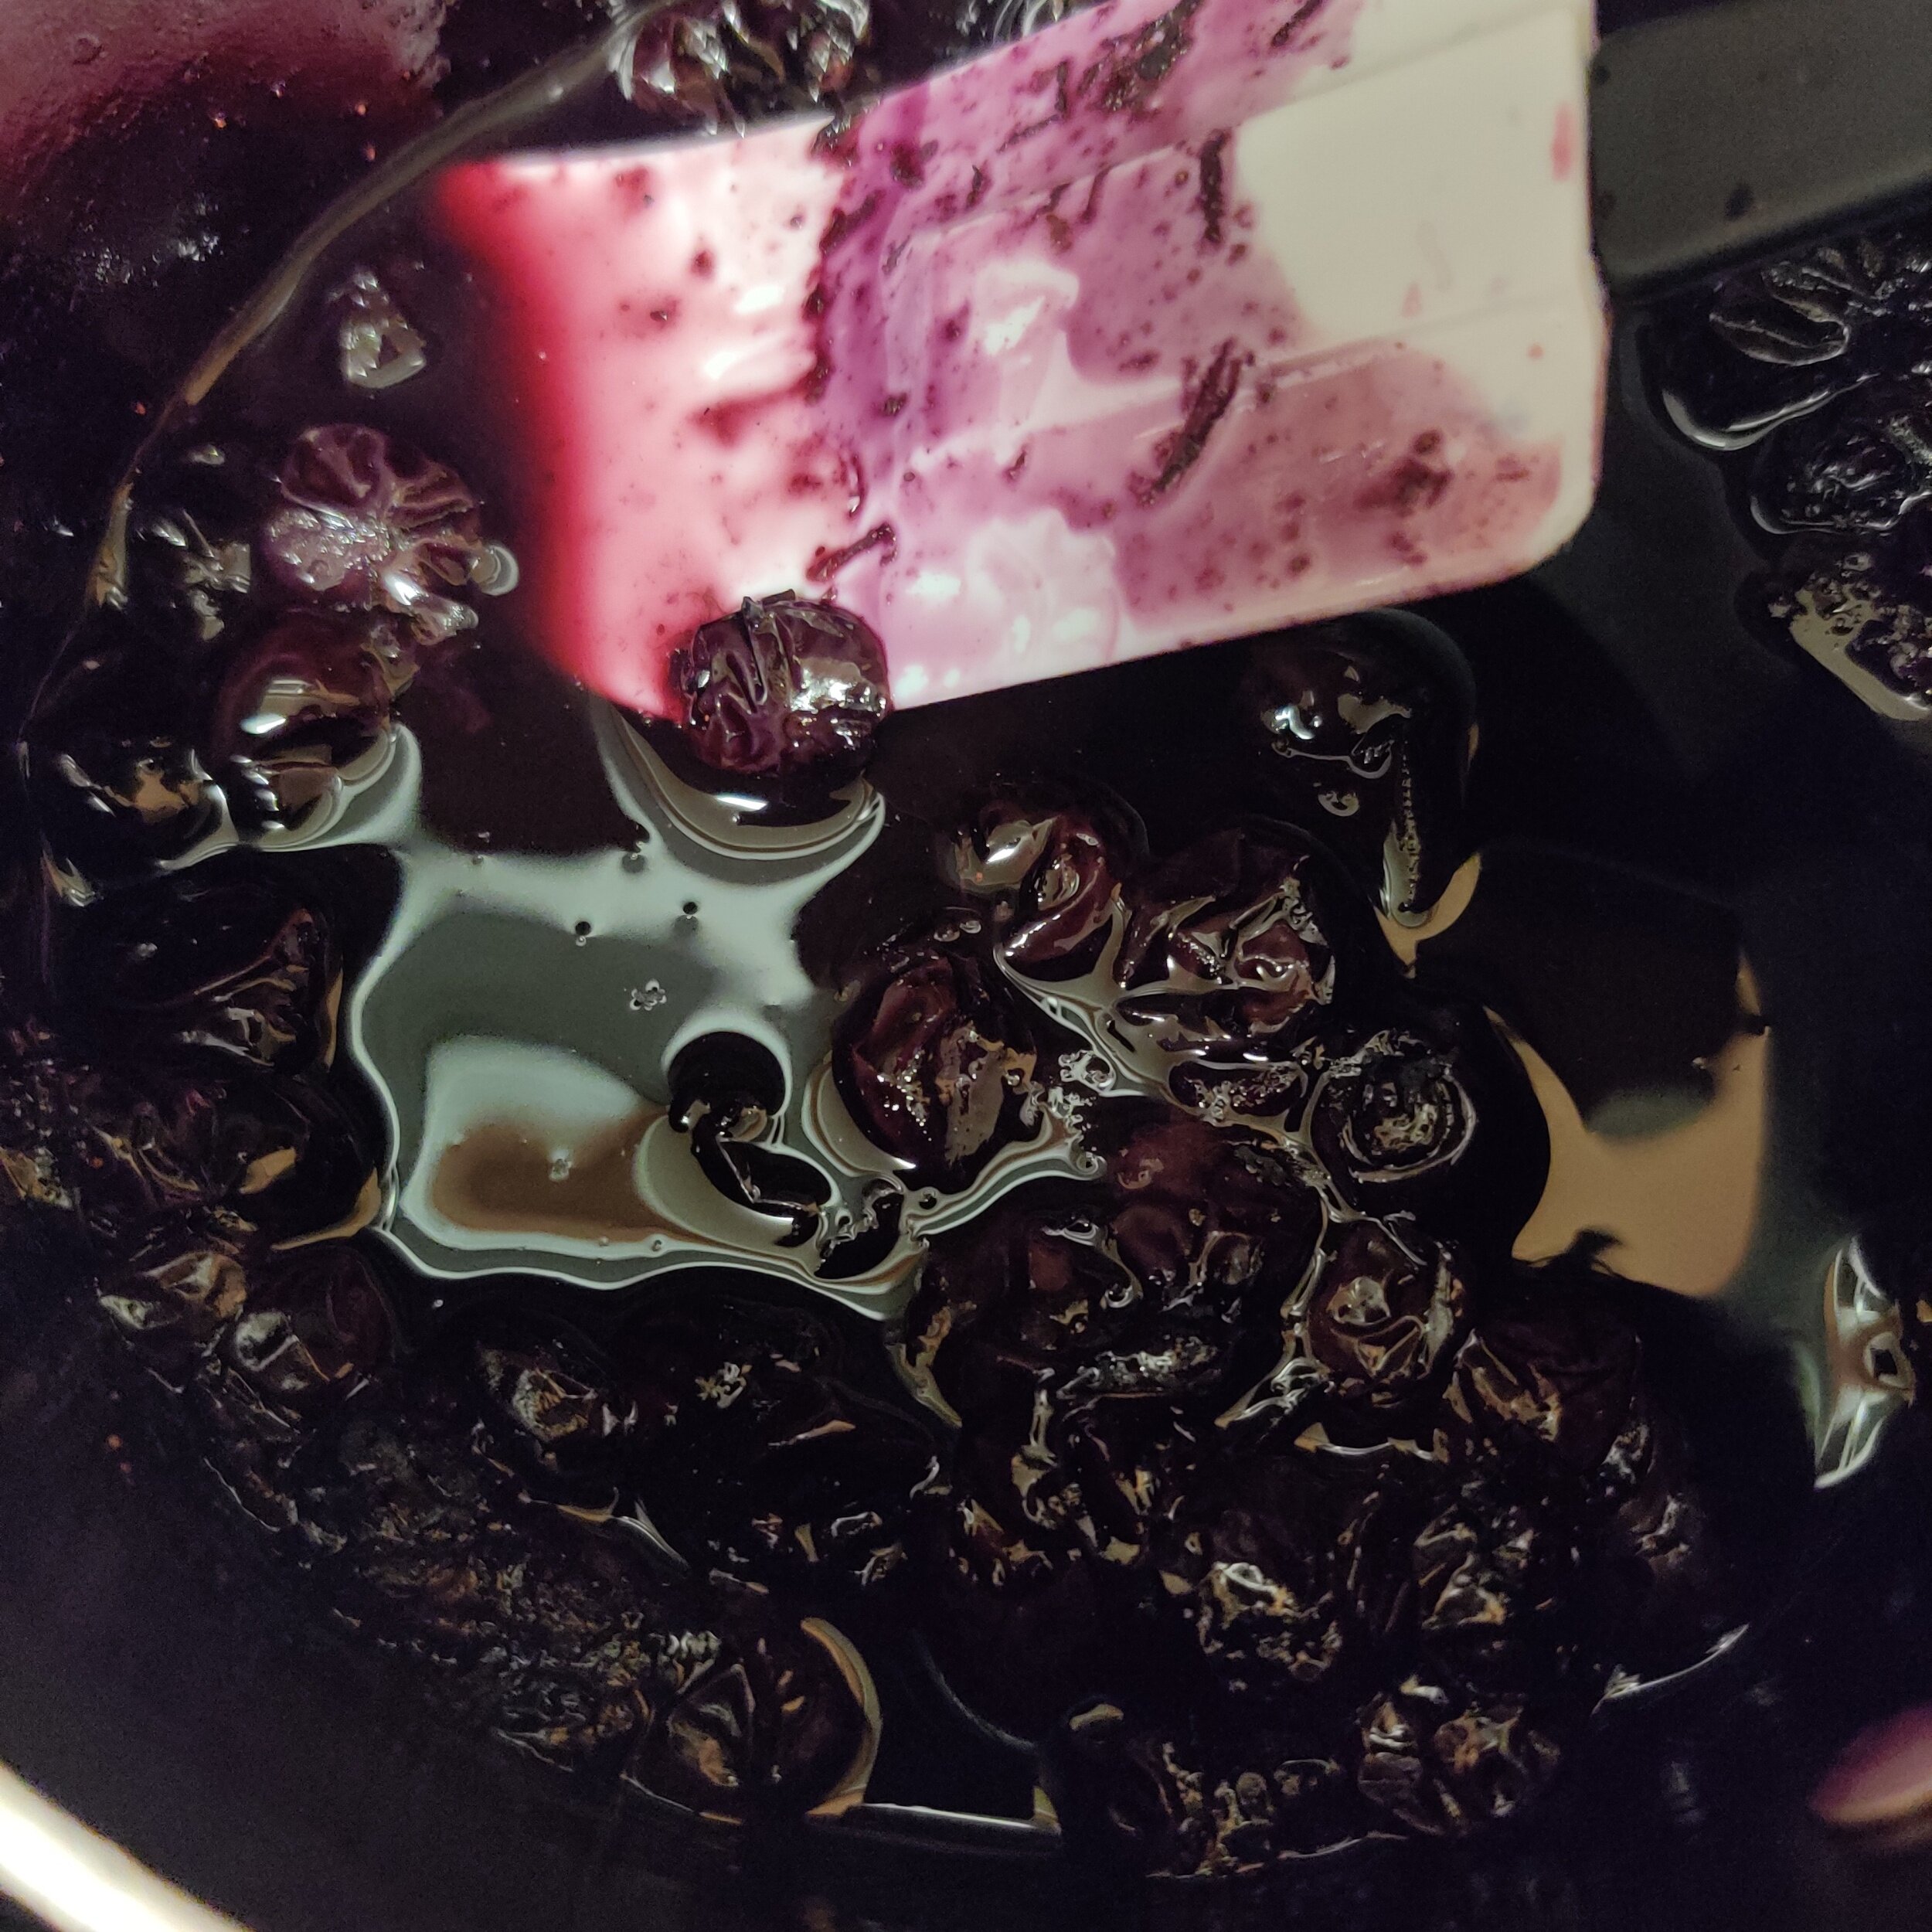
In a small saucepan, bring the blueberries, water, lemon zest, lemon juice, and sugar to a boil. Reduce the temperature and simmer on medium-low heat, stirring frequently. Keep a close eye, as this can burn quickly! Once the berries have started to break down, and the mixture has thickened into a thin jam-like consistency, set aside.
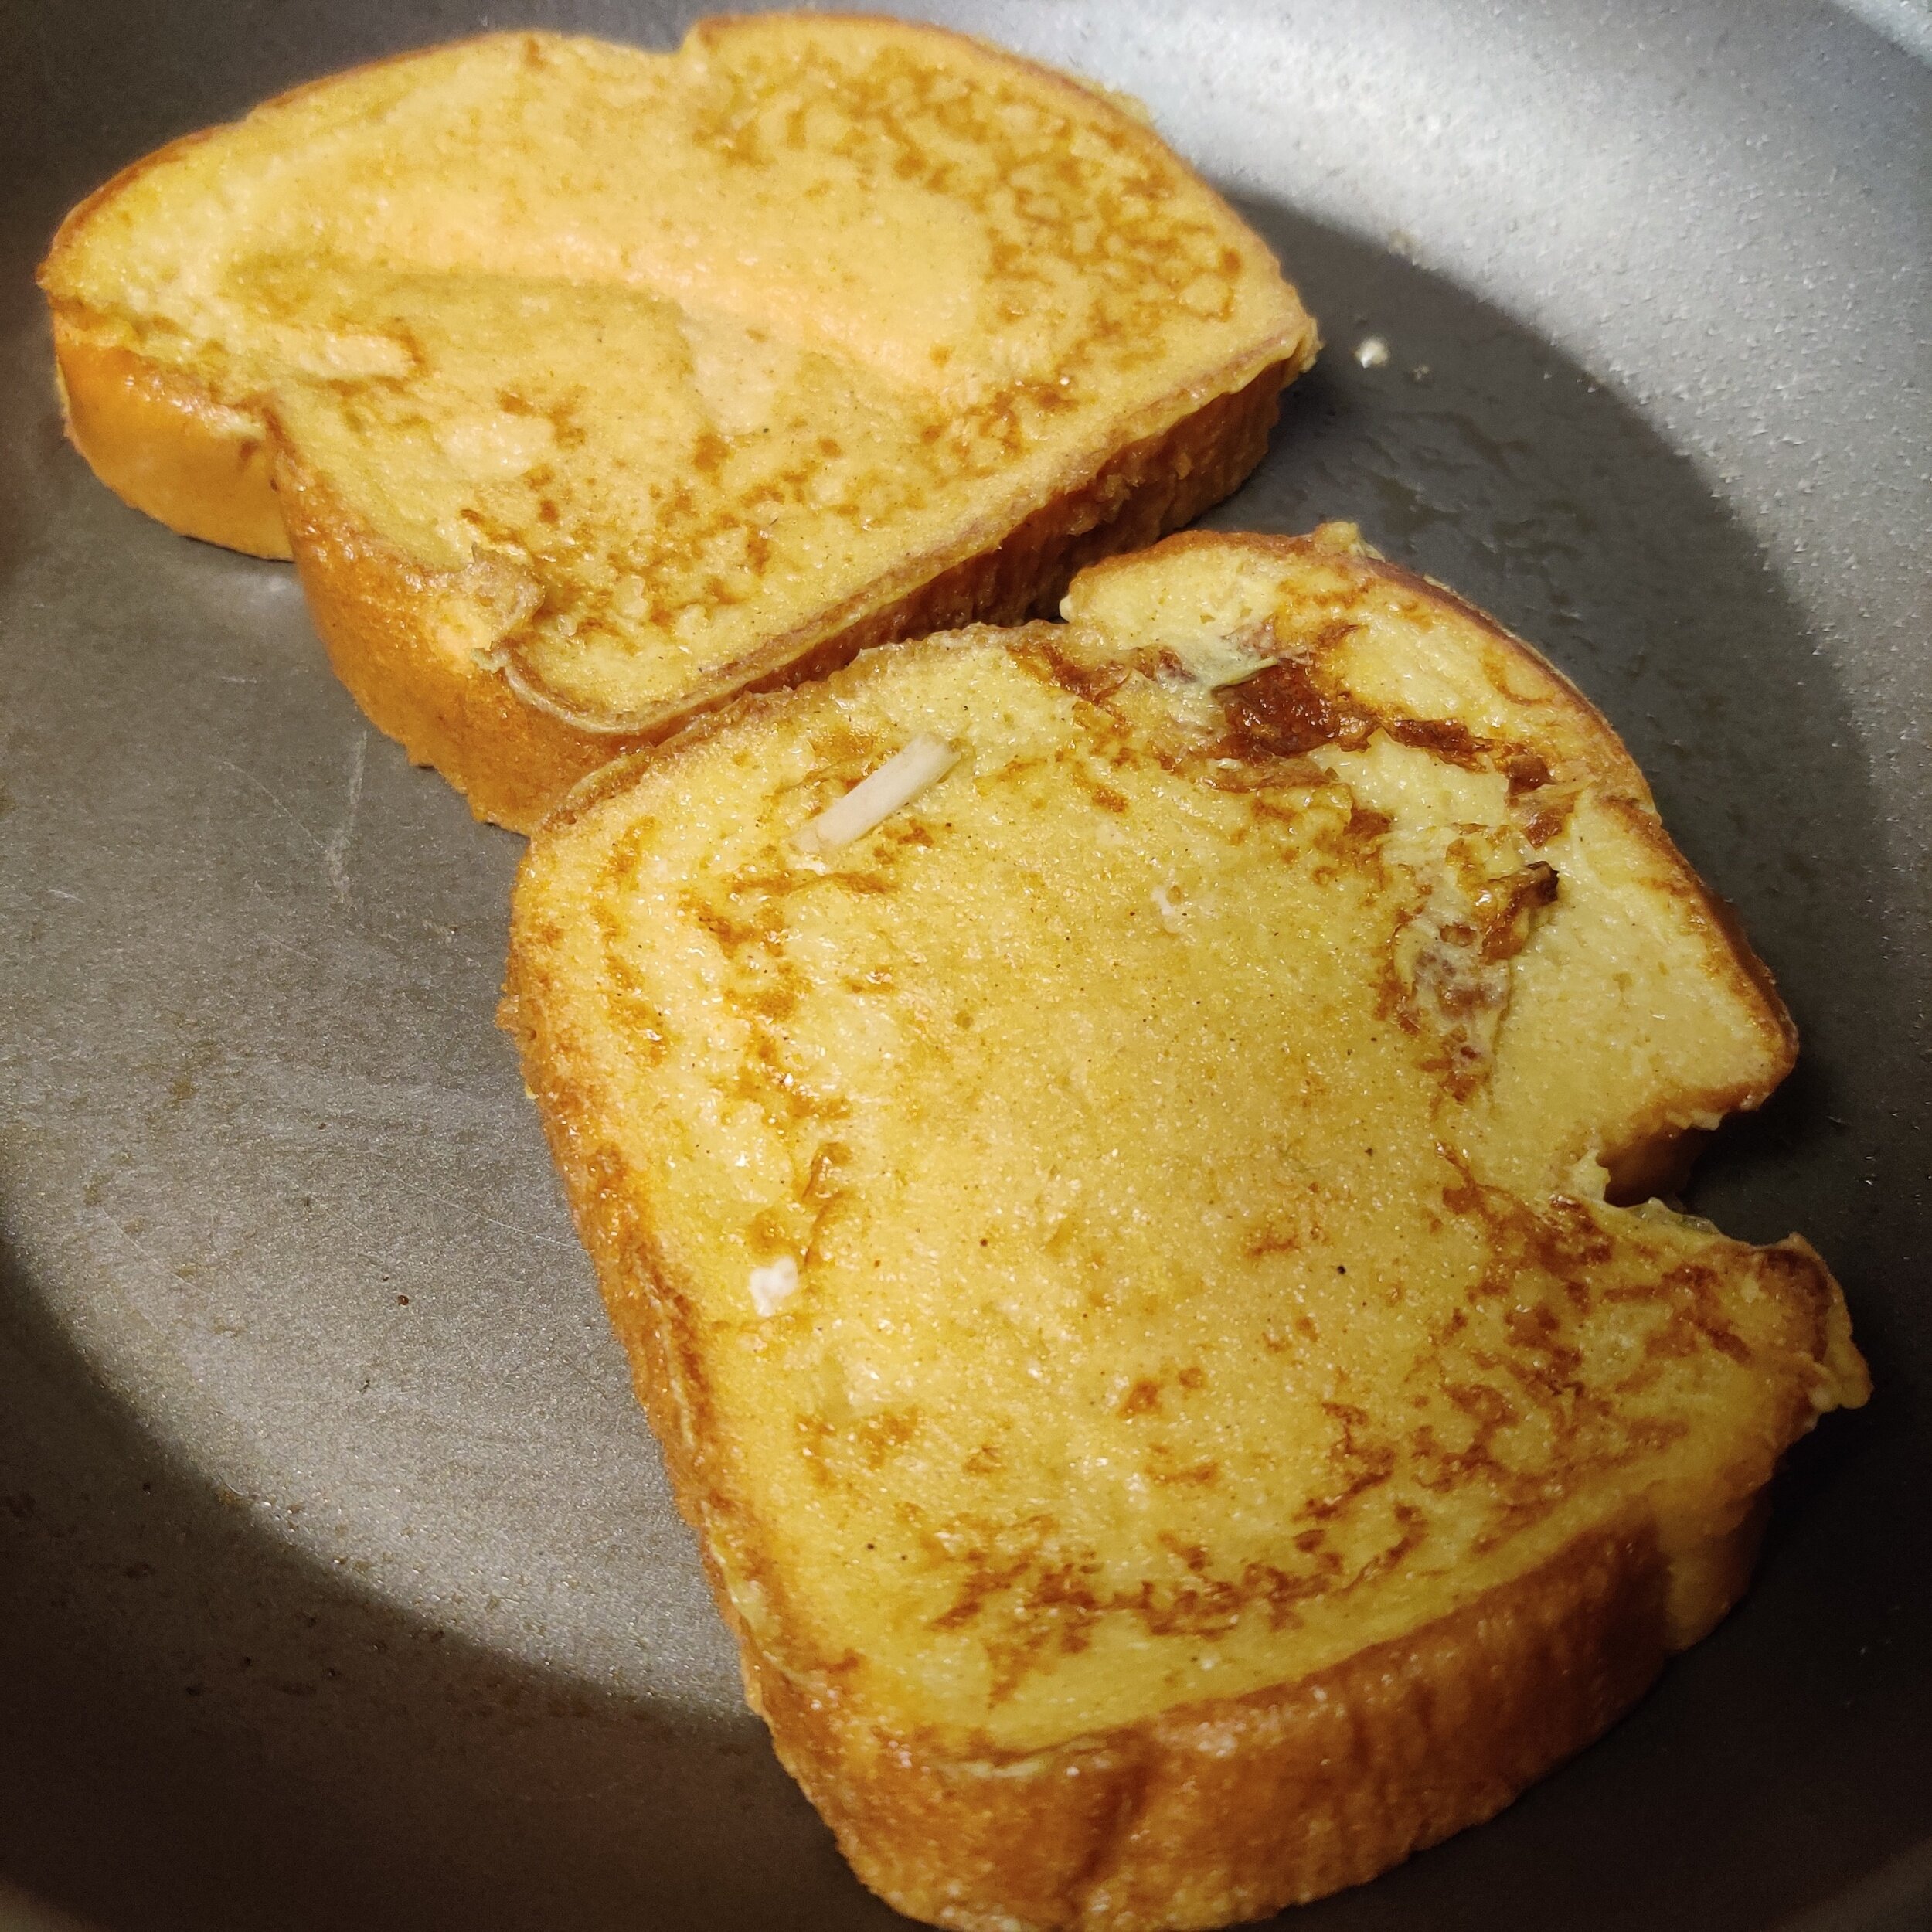
Prepare your toast! Lay the bread slices spaced out in the dish to absorb the egg mixture, about 10 seconds per side, making sure each face is evenly coated. Place the slices into an oil sprayed, non-stick pan on medium heat. Cook until golden on each side, about 3 minutes each, Again, keep a close eye, so you don’t burn anything. Set the prepared toast aside.
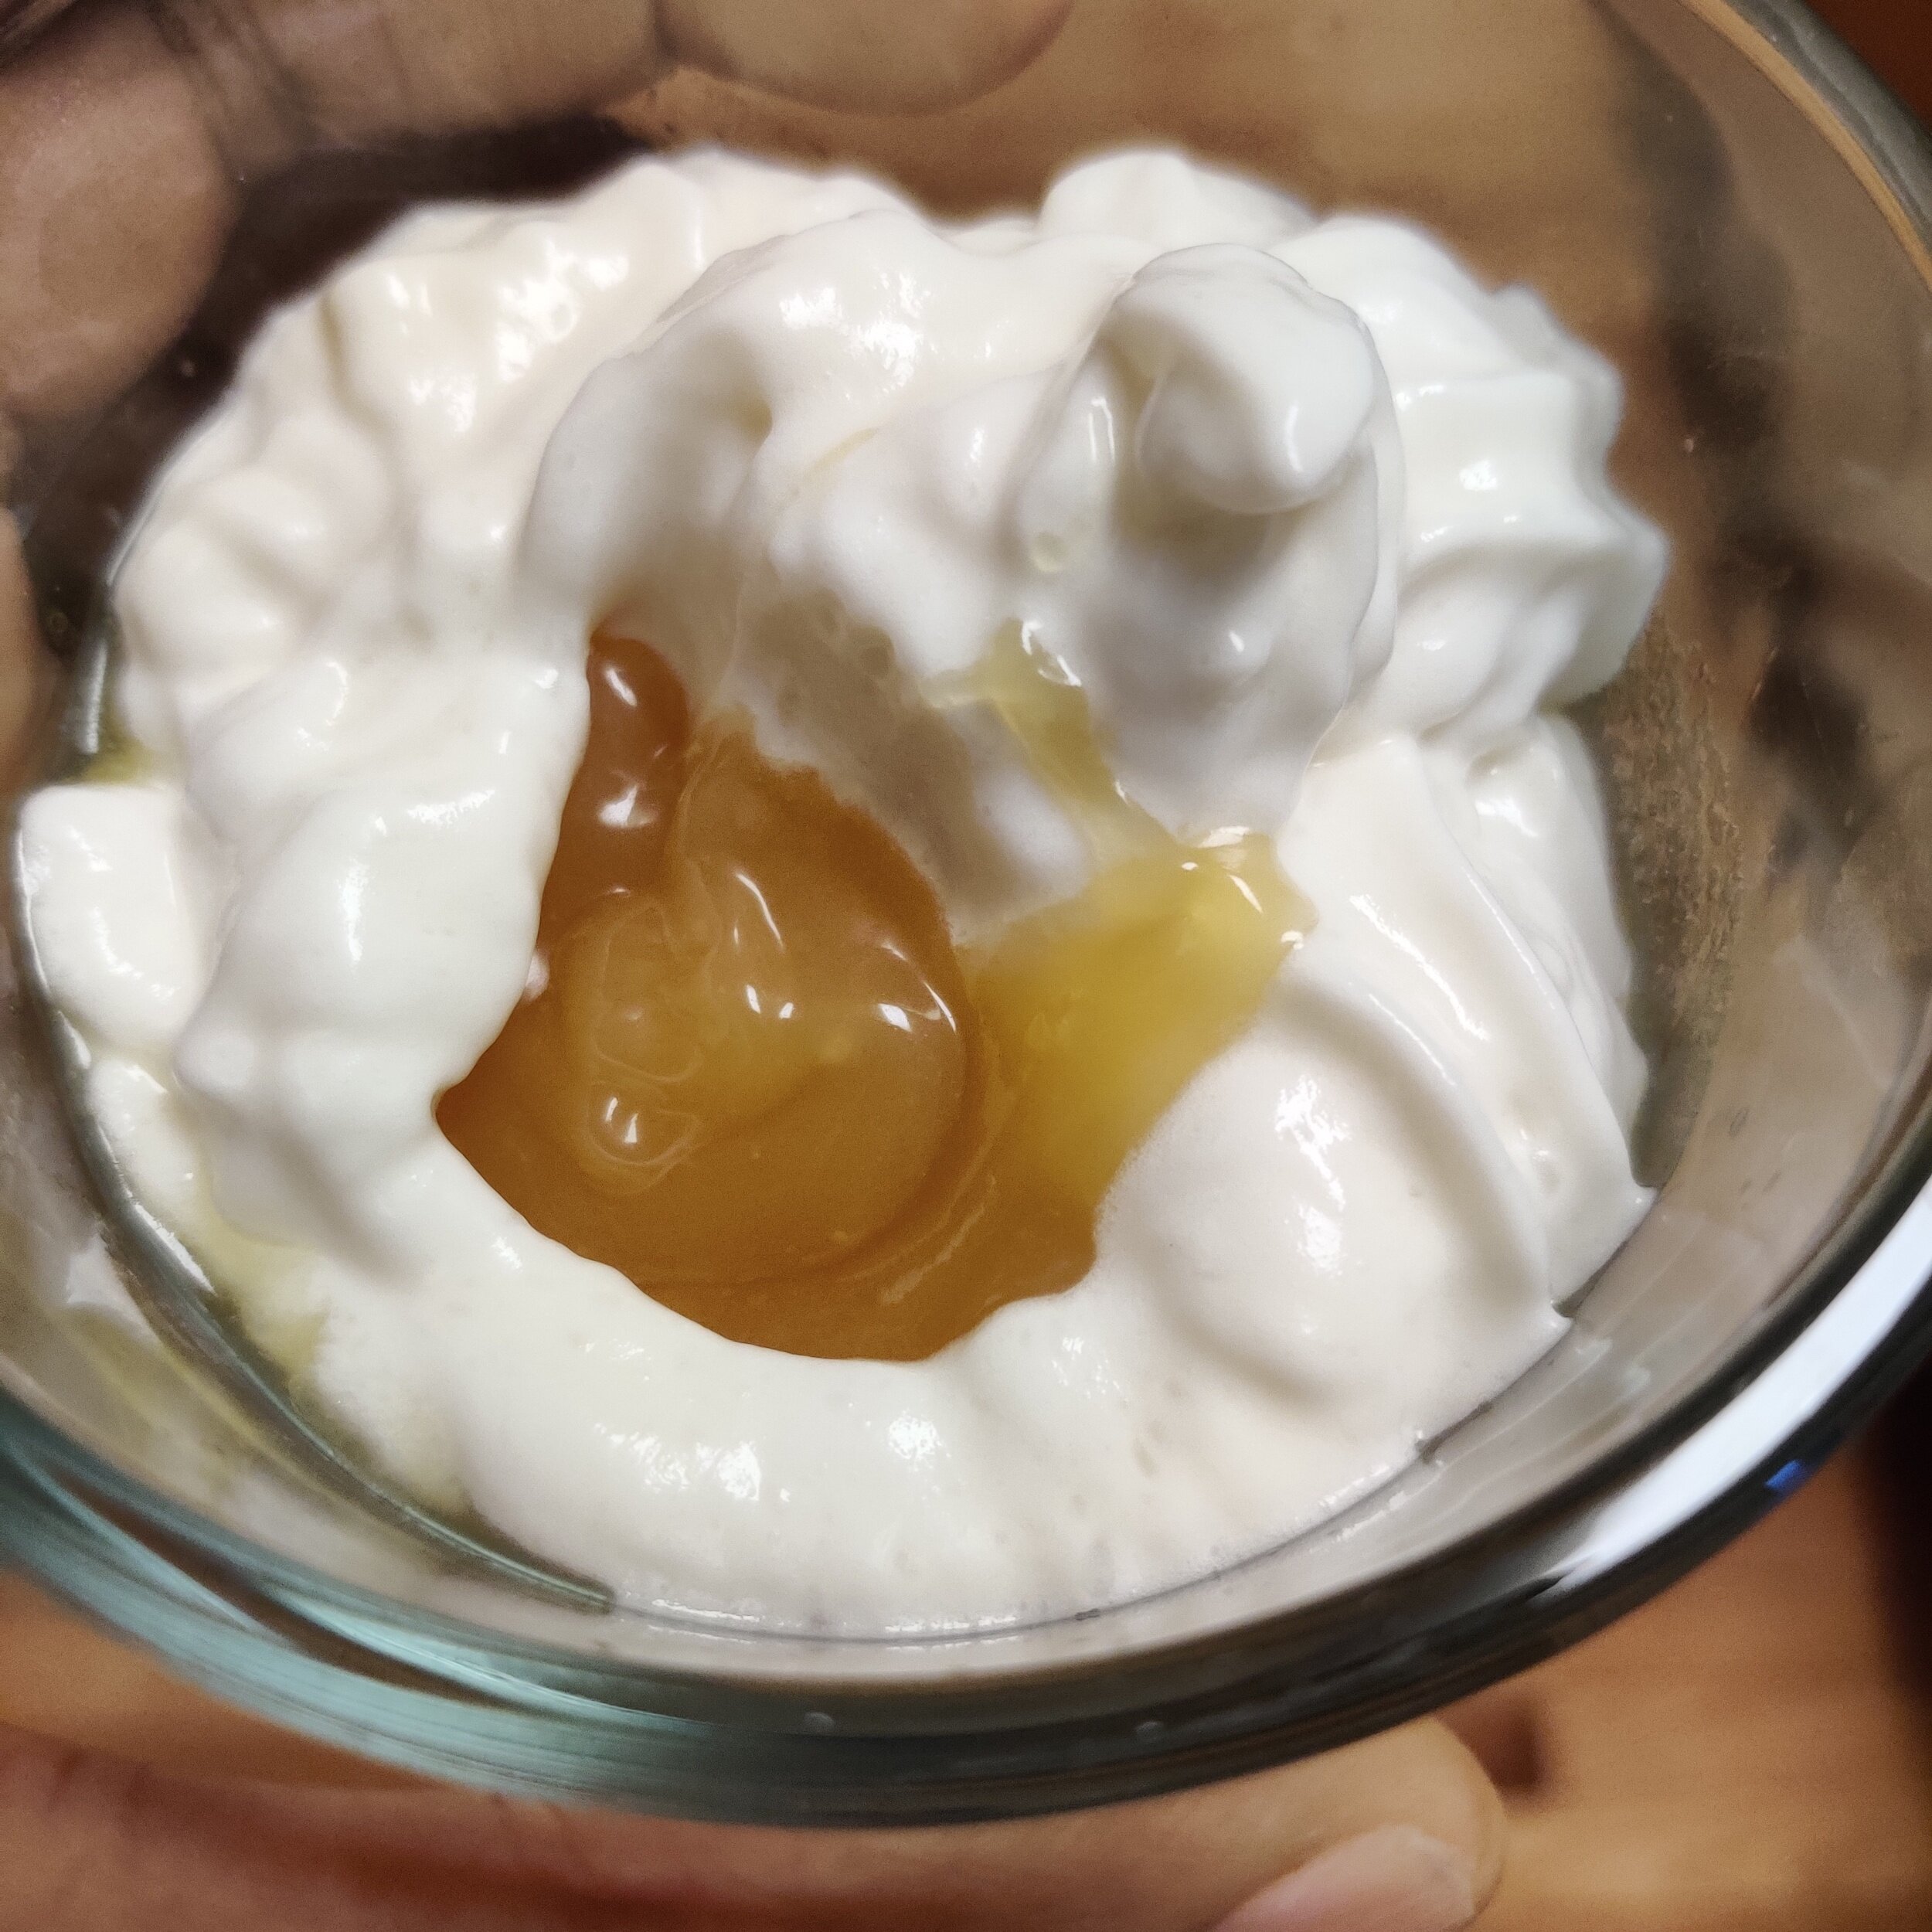
In a small bowl, mix the whipped cream and lemon curd.
Now assemble your French toast when ready to serve. On one slice (2 per person), smear a tablespoon (or less) of the whipped mix, followed by the same amount of compote, then place the second slice and repeat. For the top slice, garnish with a bit of extra lemon zest and mint leaves.
Serve and enjoy! This recipe serves two people, so double for four and so on.

Corn, Arugula, and Avocado Salad with a Lemon Vinaigrette
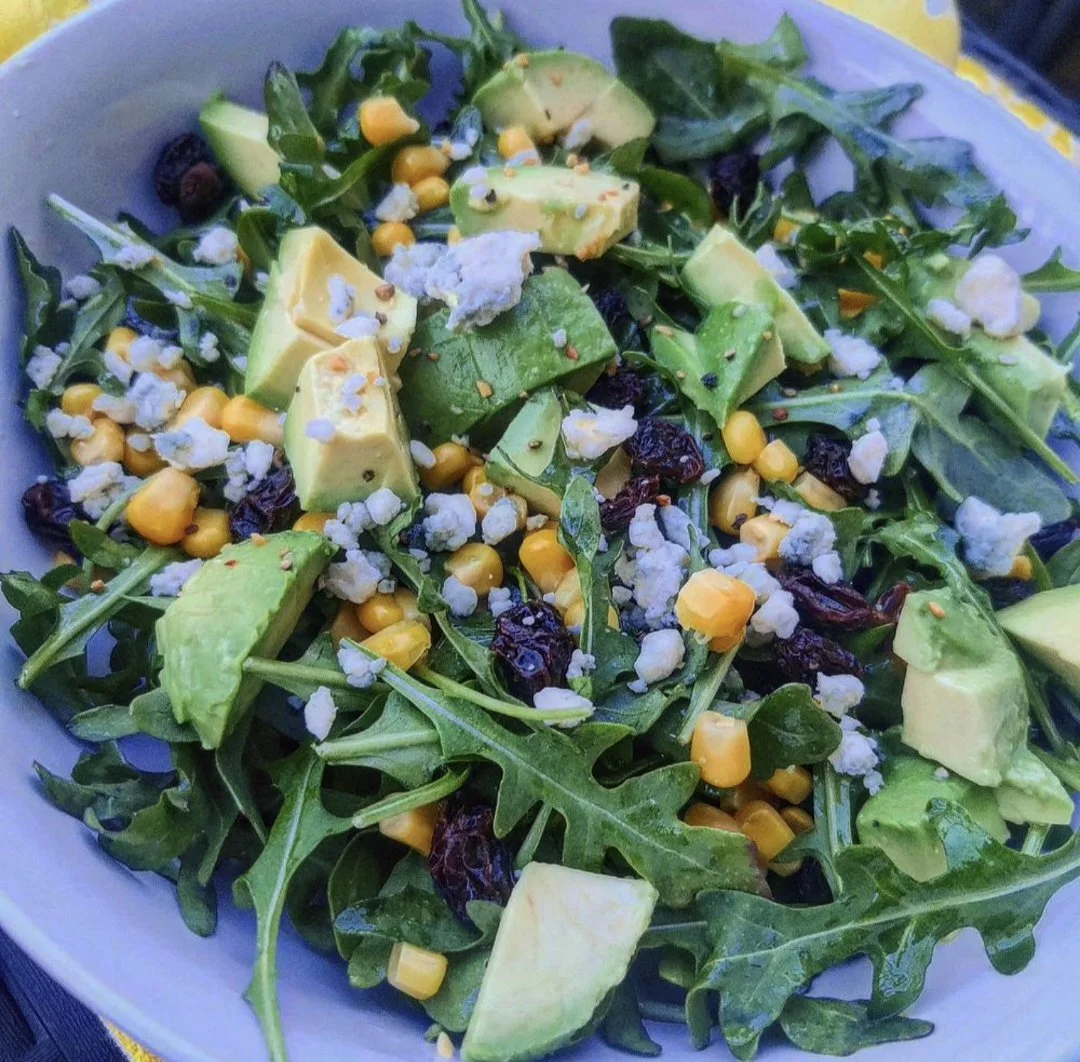
Greens don’t always get the spotlight at brunch, but they should. While the table is often filled with pastries, eggs, and rich dishes, a fresh salad brings balance, something light, vibrant, and refreshing to cut through it all. It wakes up the palate and adds a bit of color to the spread, especially during the warmer months.
This Corn, Arugula, and Avocado Salad is simple but full of contrast. Peppery arugula is paired with sweet corn, creamy avocado, tangy blue cheese, and a touch of sweetness from raisins, all brought together with a bright lemon-thyme vinaigrette. It’s the kind of dish that quietly rounds out the table but ends up being one people keep going back to.
Perfect for sharing, it’s an easy way to bring something fresh and seasonal into your brunch rotation.

Corn, Arugula, and Avocado Salad with Lemon Vinaigrette
A bright, fresh, salad that’s perfect for spring or a vibrant brunch table. Peppery arugula pairs with sweet corn, creamy avocado, tangy blue cheese, and chewy raisins, all tossed in a zesty lemon-thyme vinaigrette. Quick to assemble and packed with color and nutrients, this vegetarian salad makes a healthy, satisfying side or a light main.
Ingredients
- 1/2 cup freshly squeezed lemon juice (reduced slightly for balance)
- 2 tsp Dijon mustard
- 1 tsp black pepper
- 1 tsp salt
- 2 tsp fresh garlic, minced
- 1 tsp dried thyme
- 1 tsp fresh thyme
- 1 tsp balsamic vinegar
- 2 tsp honey
- Pinch chili flakes (optional)
- 1/3 cup olive oil (important for balance + body)
- 8–10 cups arugula (6–8 handfuls)
- 1 cup corn (fresh, roasted, or canned)
- 3 tbsp blue cheese, crumbled
- 2–3 tbsp raisins
- 1–2 large avocados, cubed
- ¼ cup walnuts or pecans, toasted and chopped (optional but recommended)
Instructions
- In a jar or bowl, combine lemon juice, Dijon mustard, garlic, thyme, balsamic vinegar, honey, salt, pepper, and chili flakes.
- Slowly whisk or shake in the olive oil until emulsified. Set aside.
- Add arugula to a large serving bowl. Scatter corn, blue cheese, raisins, and toasted nuts evenly over the greens.
- Cube the avocado and toss lightly with a squeeze of lemon to prevent browning. Add to the salad.
- Drizzle vinaigrette over the salad just before serving and toss gently to coat. Serve immediately.
Notes
- Don’t overdress, start light, then add more if needed
- Add avocado last to keep it fresh
- Toasting nuts equals big flavor upgrade (2–3 mins in a dry pan)
Nutrition Facts
Calories
145Fat (grams)
10 gSat. Fat (grams)
2 gCarbs (grams)
12 gFiber (grams)
4 gSugar (grams)
4 gProtein (grams)
3 gI am not a certified nutritionist and any nutritional information on dontmissmyplate.com should only be used as a general guideline.

Cauliflower Piccata
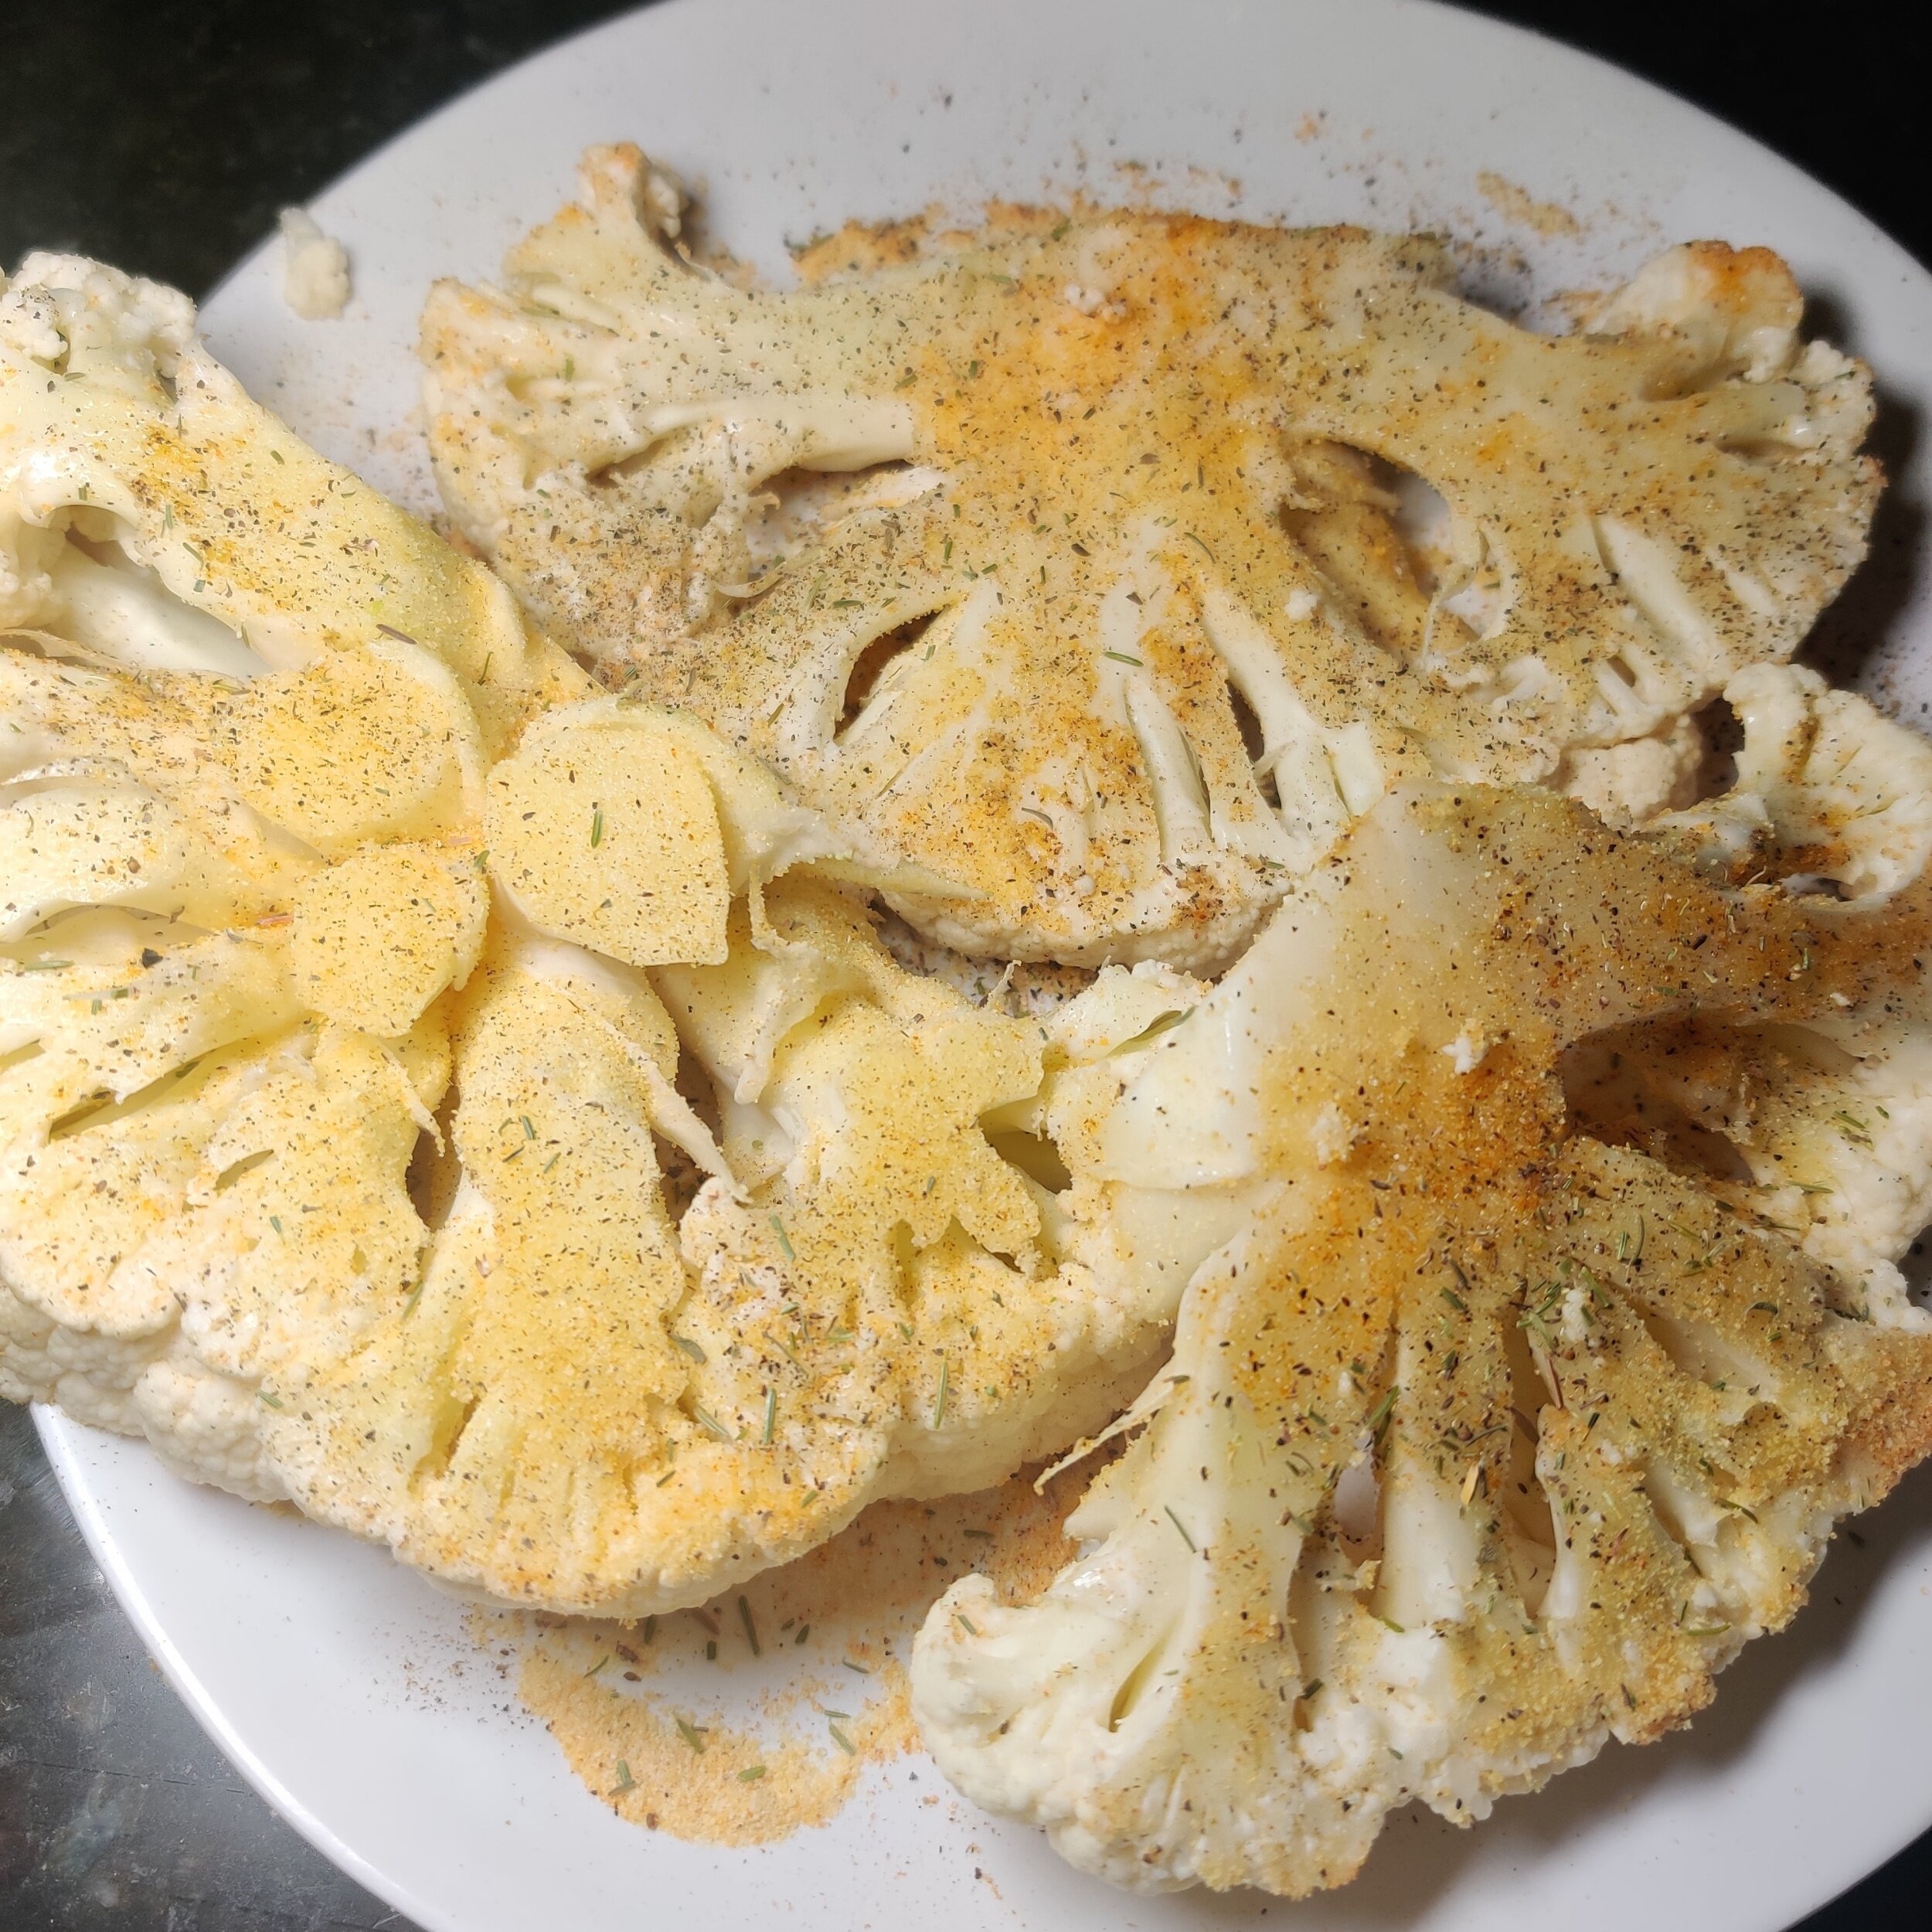
Is cauliflower underrated? Yes, and I think part of the reason is its association with broccoli, which many people don't like-- probably because they haven't had it cooked right! Strictly boiled is a terrible idea; generally, I recommend it roasted with parmesan, garlic, salt, and black pepper.
I'm sure you've seen cauliflower served in a variety of ways on restaurant menus. I'm talking cauliflower steak, rice, or soup to name a few.
This recipe, of course, treats the vegetable like a piece of butterflied, flattened chicken breast (or veal, actually) to make the classic Italian piccata. The dish combines capers and lemon juice with heavy cream (I used coconut to make it vegan), white wine, fresh parsley, garlic, and butter which brings everything together.
You can eat it as is Secondo style or with some hot pasta!
Ingredients
1 large cauliflower head (you will likely have a some individual florets left over)
2 tablespoons capers
1/4 - 1/3 cup olive oil
1 tablespoon butter
1/2 teaspoon salt
1 teaspoon black pepper
2 teaspoons garlic powder
1/2 cup flour (more or less depending on what you need to drench the cauliflower)
1 tablespoon steak seasoning
1/3 cup white wine
2-3 tablespoons lemon juice + slices to garnish
1-1 1/2 cups vegetable broth (depending on how saucy you want the dish)
2 teaspoons garlic, minced
Cooking spray
2-3 tablespoons fresh parsley, chopped
5 ounces coconut cream
Instructions
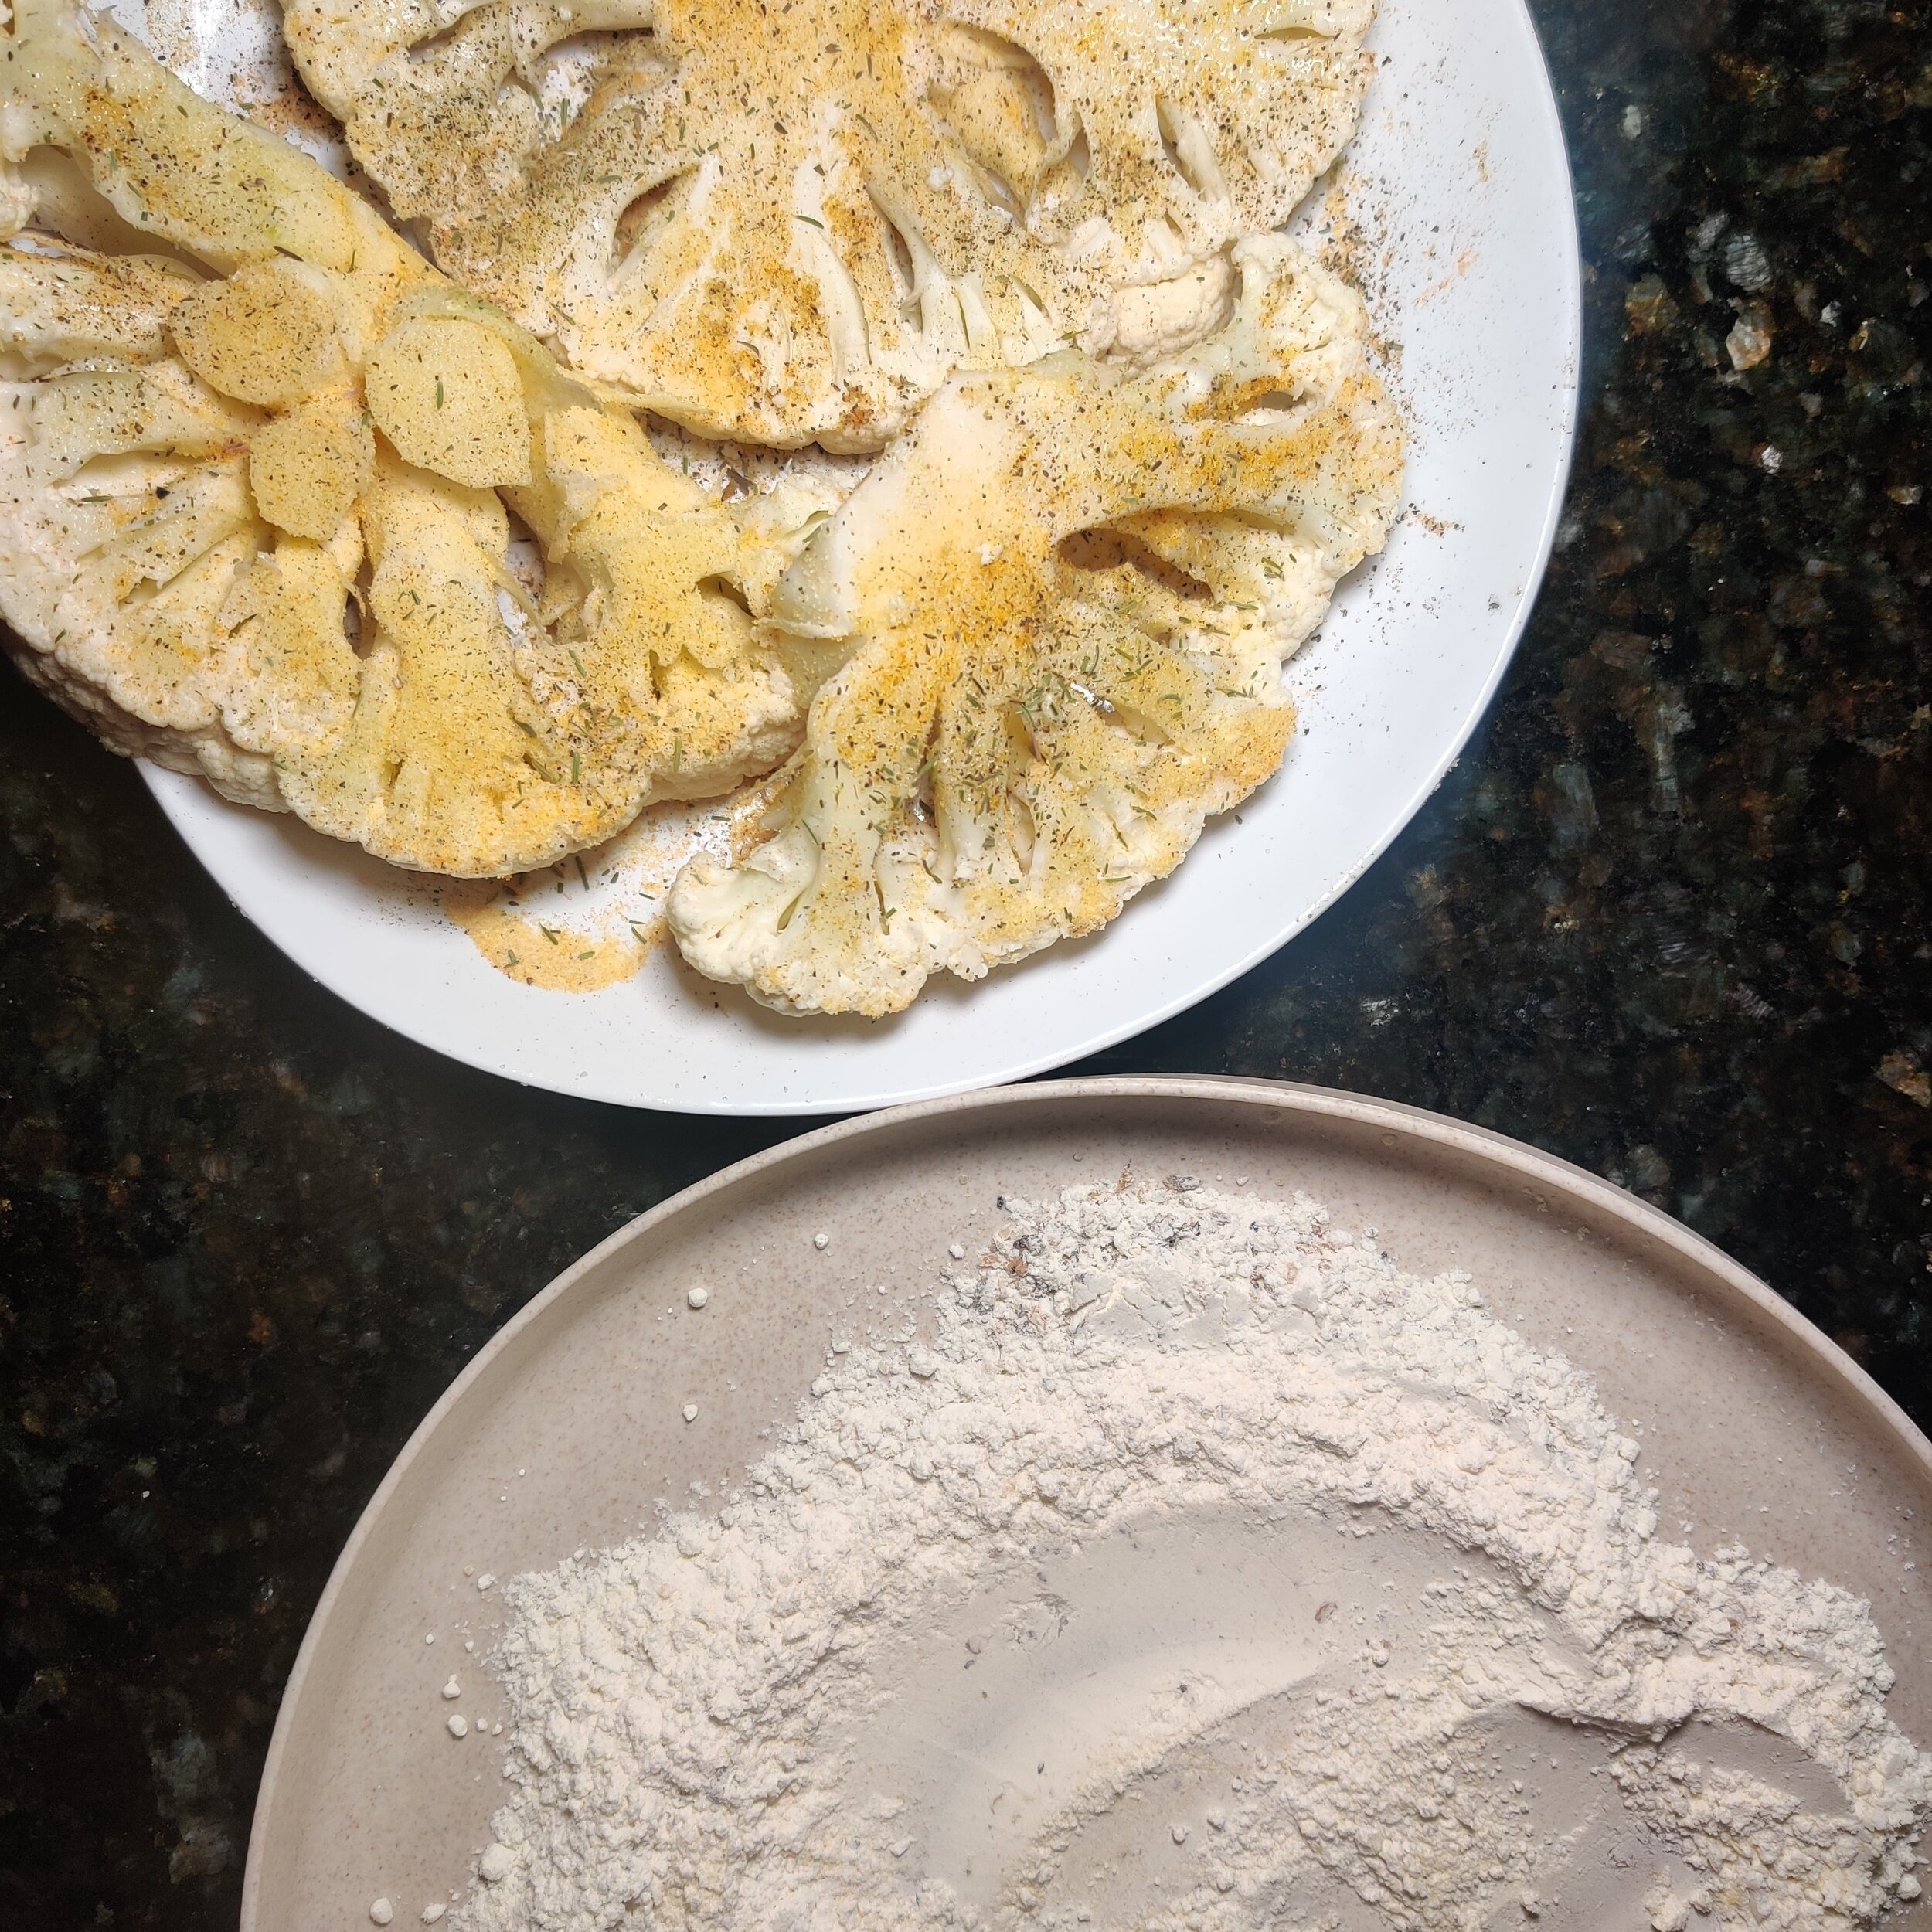
Remove the leaves and stem from the cauliflower head and cut lengthwise into 1/2-1 inch slices - you want them thick enough to not break down while cooking, but not too thick. 1 large head will give you 3-4 slices; you can keep the extra florets for another recipe. Make sure the cauliflower is dry so that it does not become soggy!
Season the cauliflower with 1 teaspoon garlic powder, salt, and black pepper.
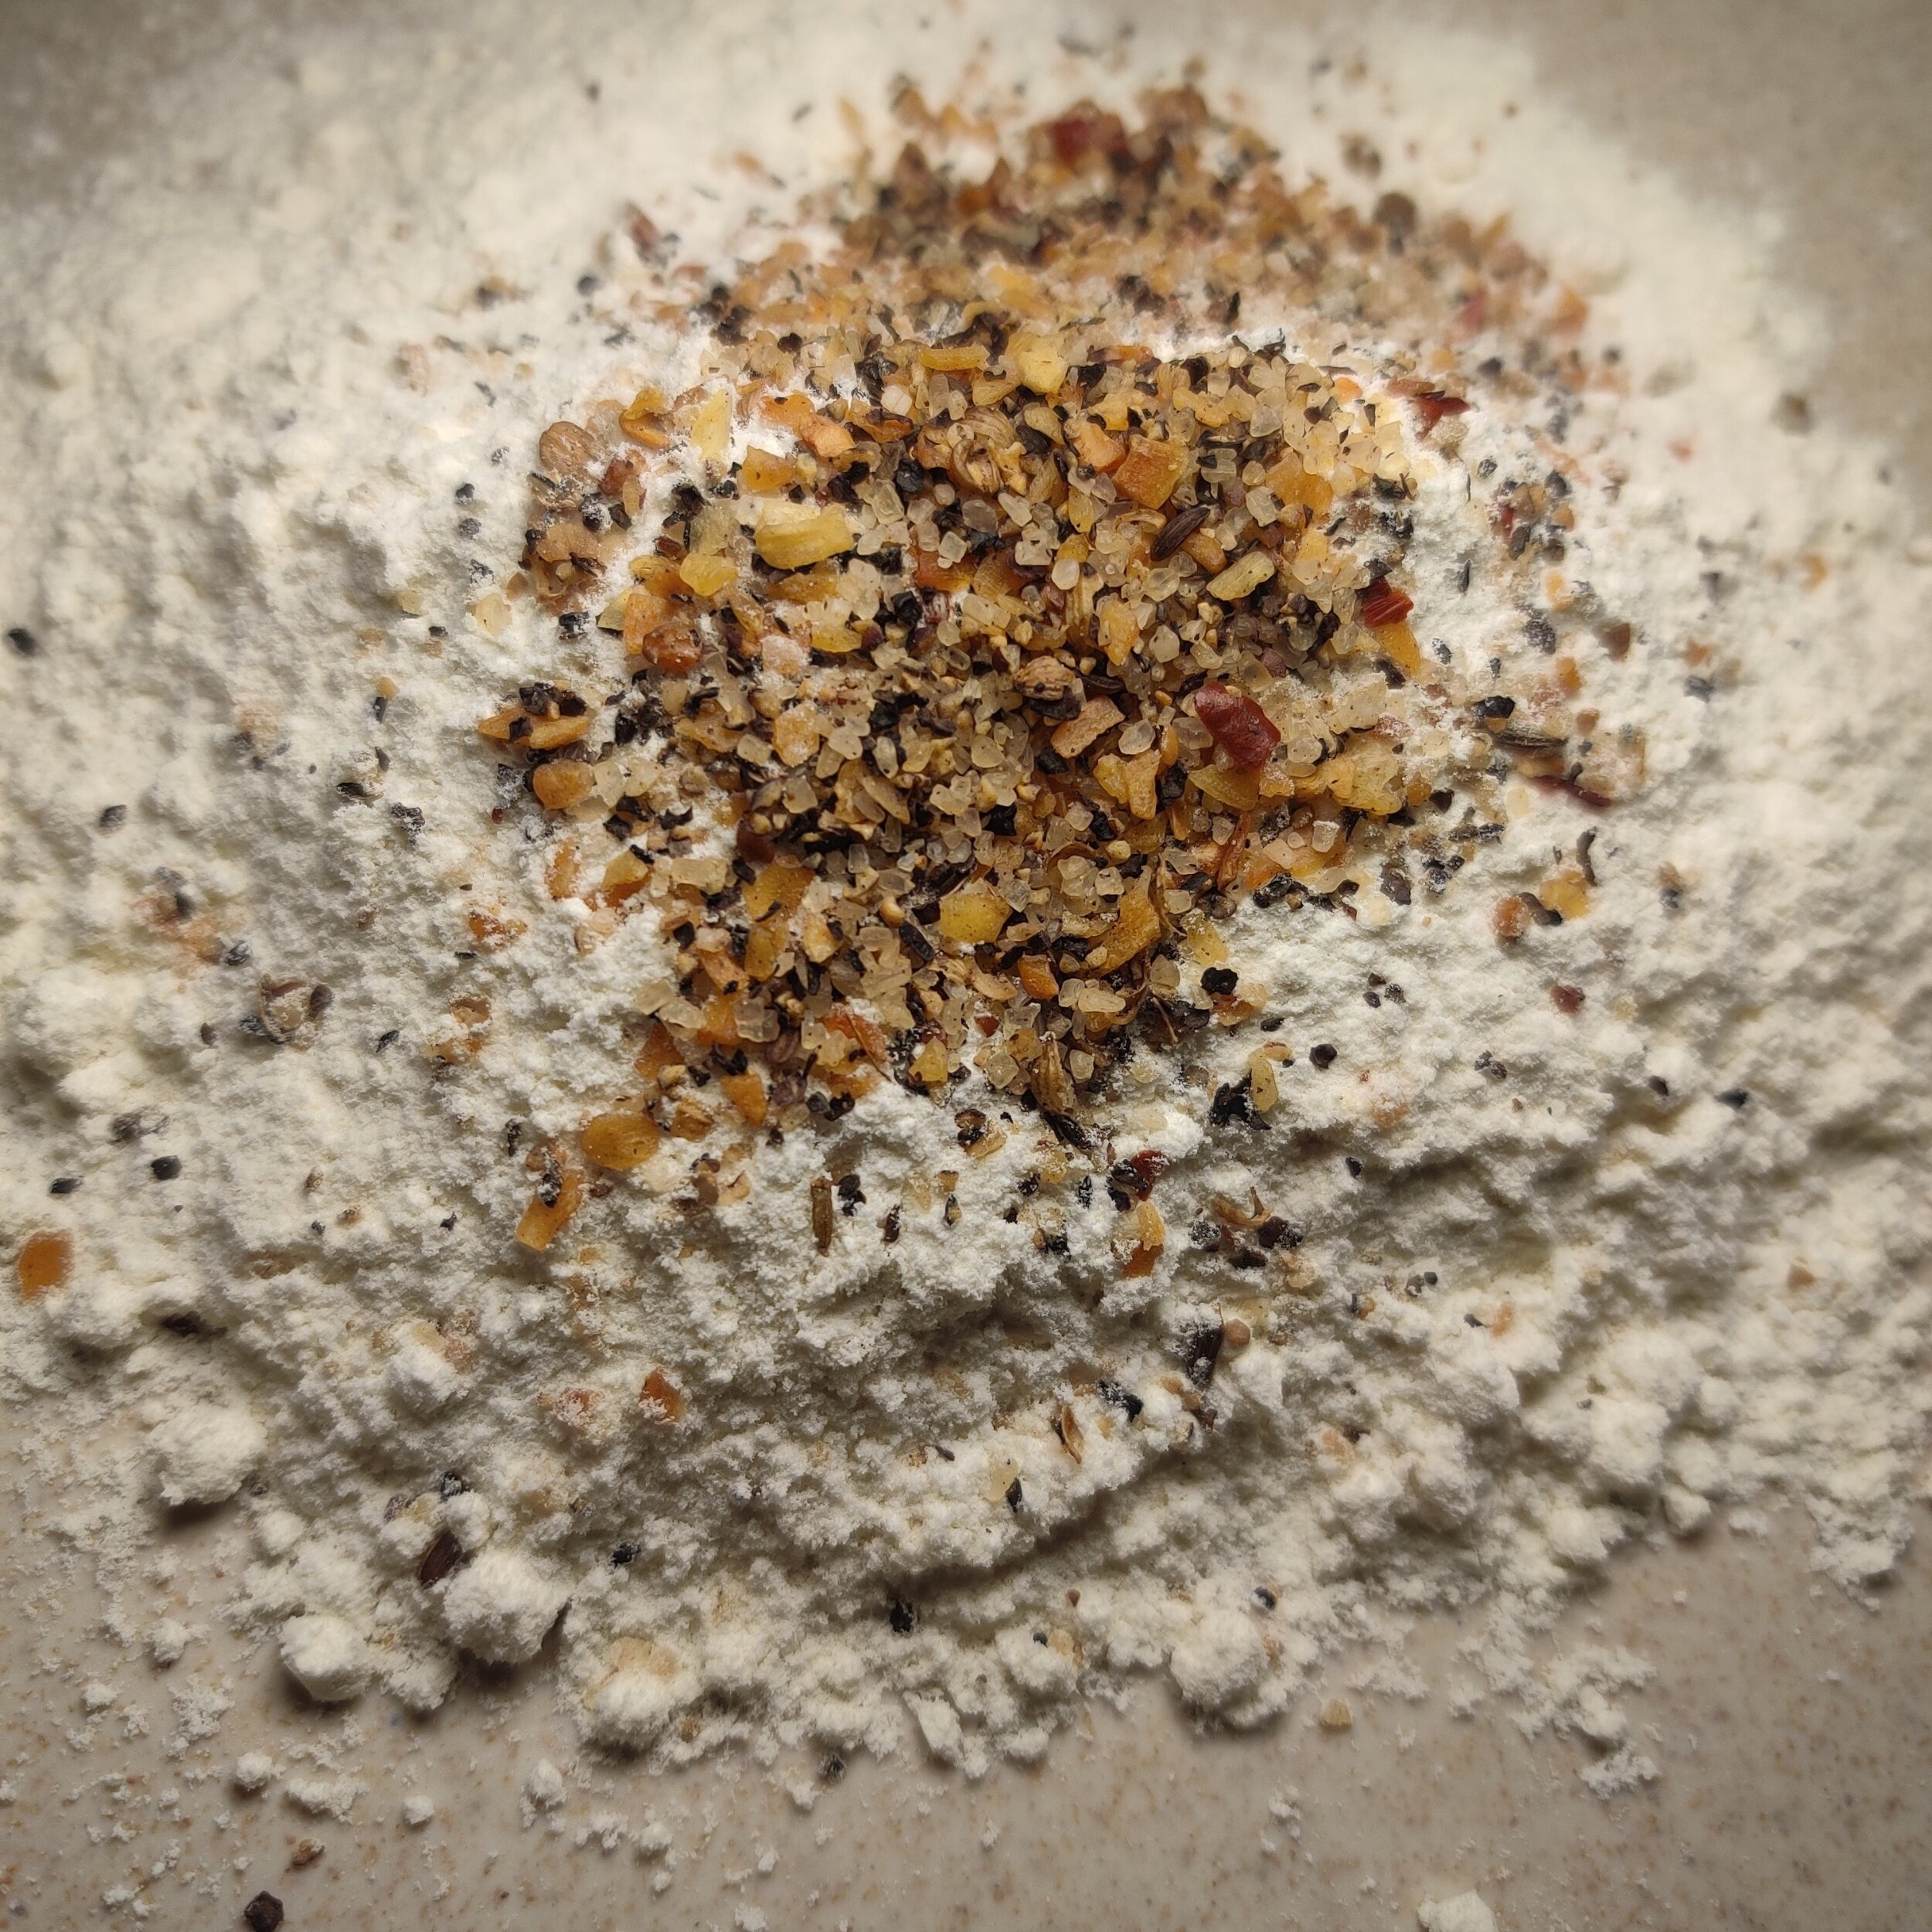
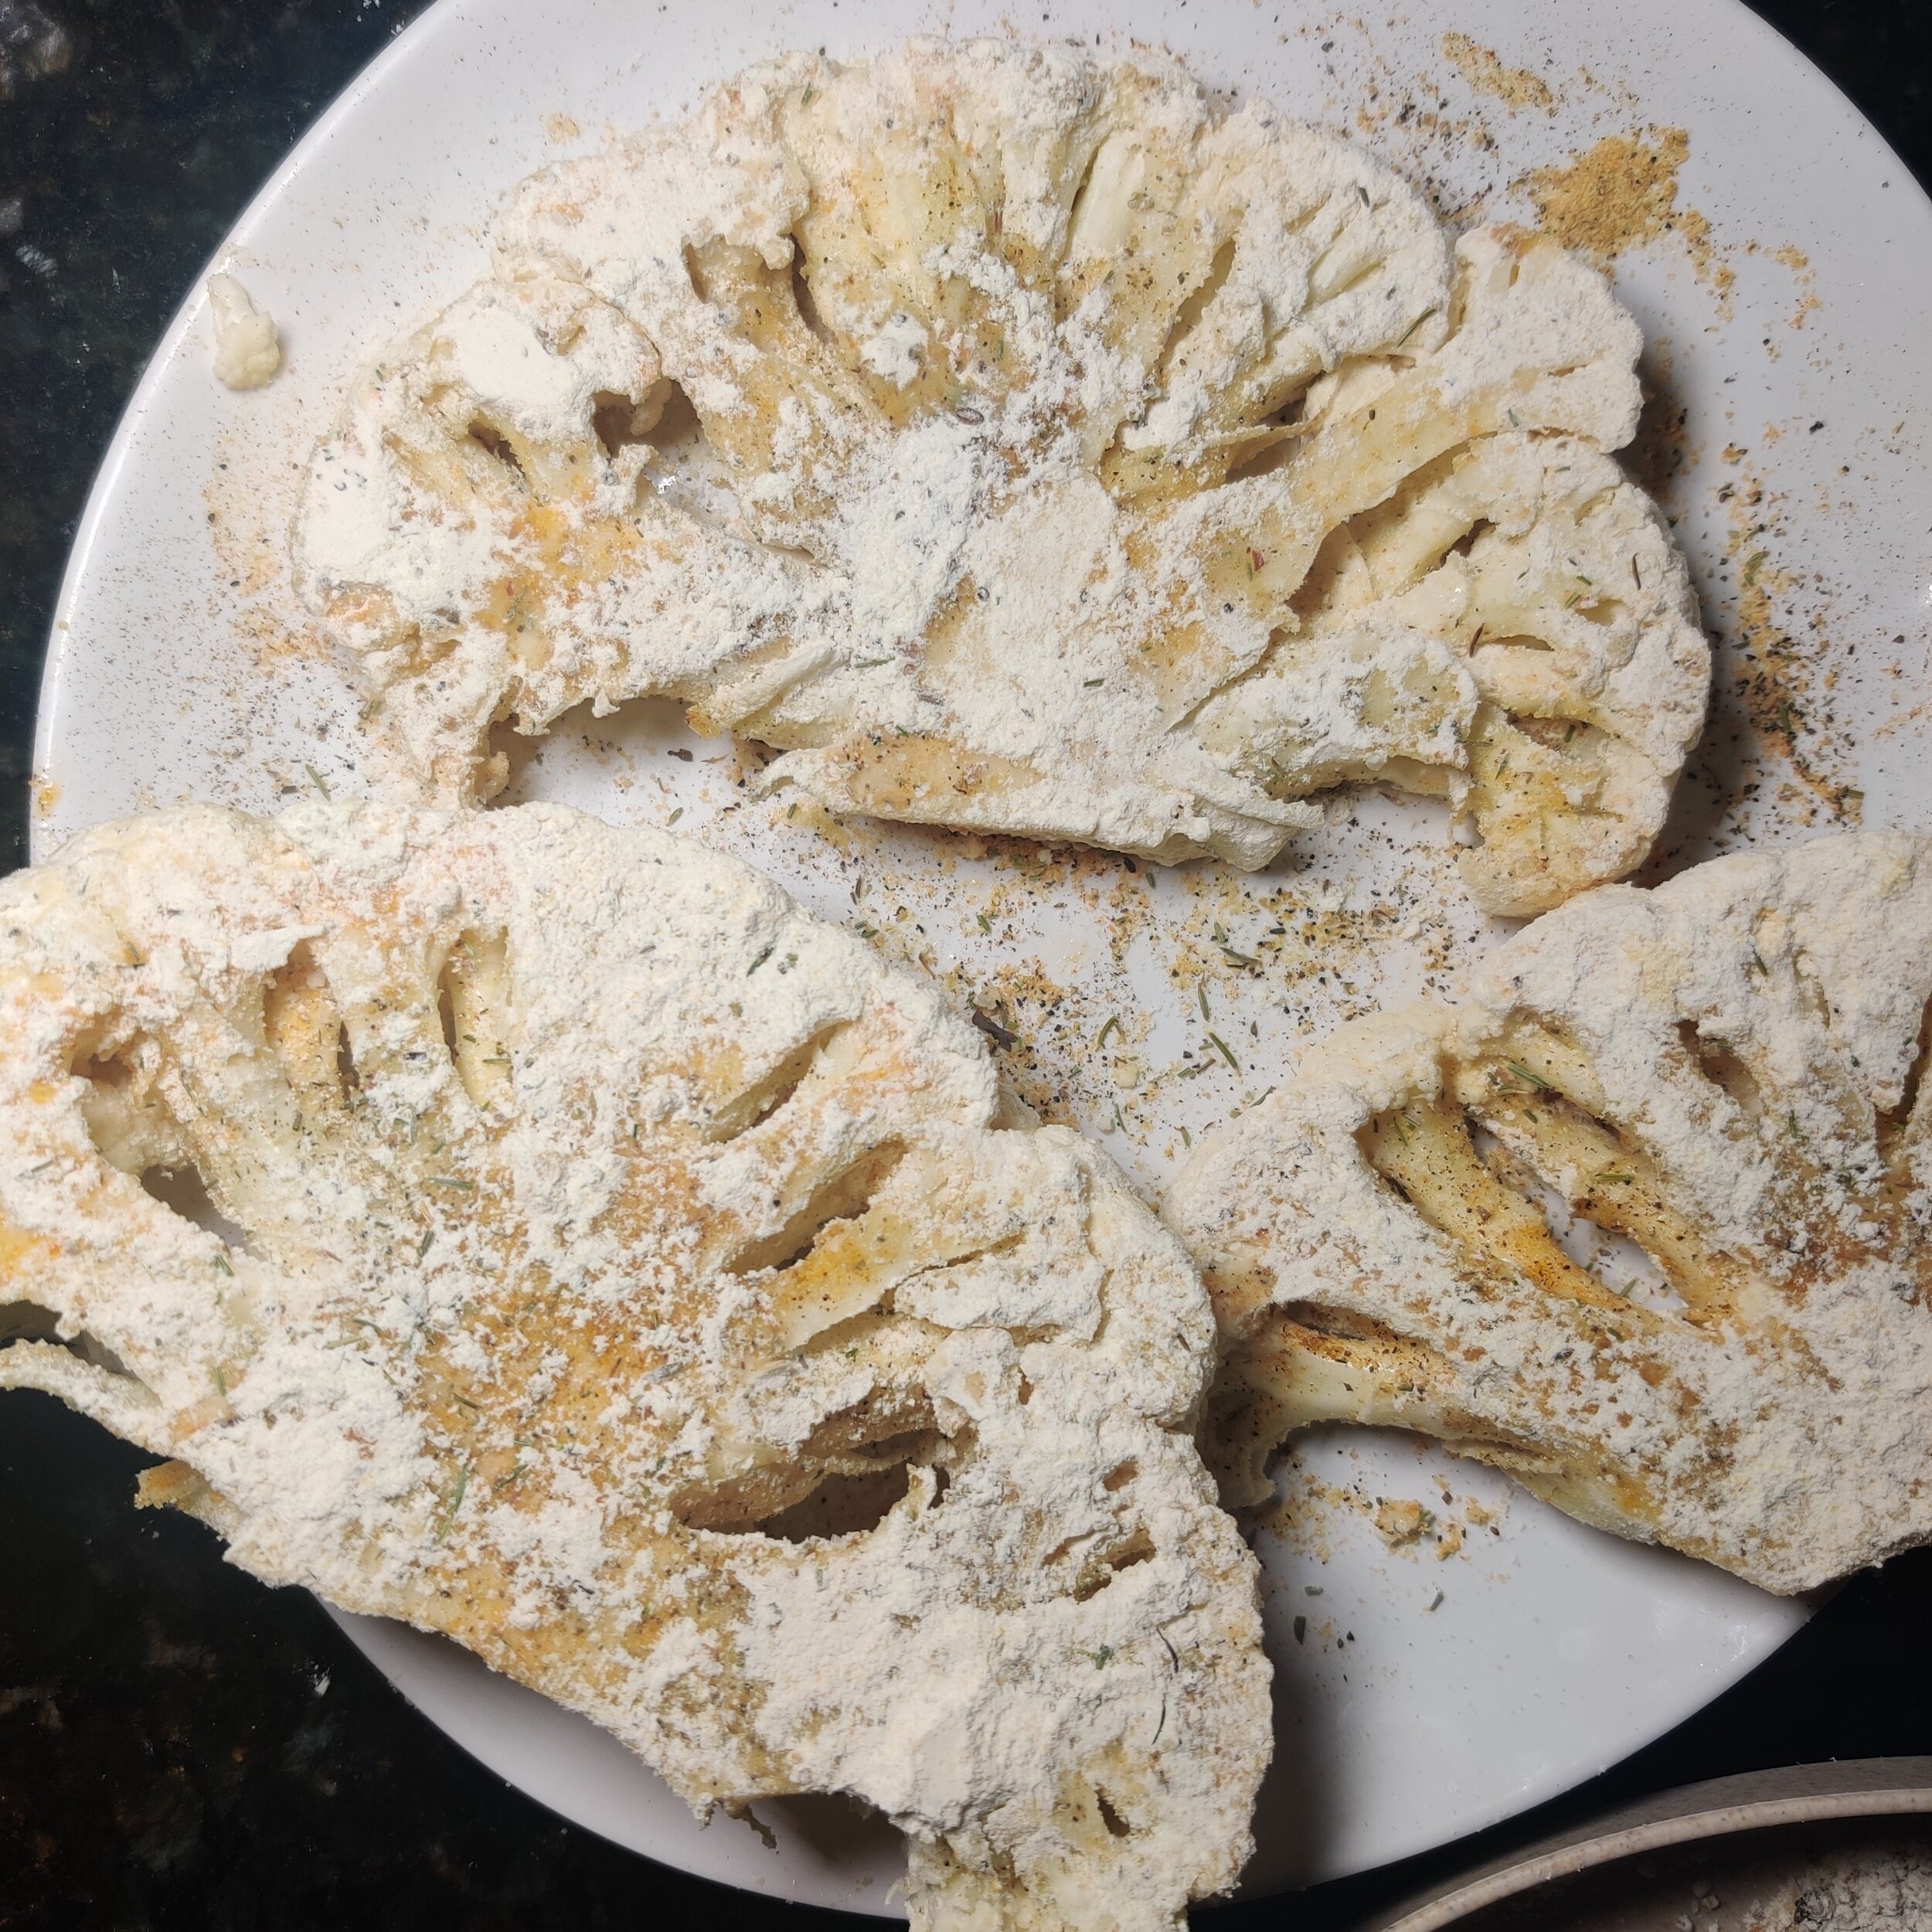
Season the flour with the steak seasoning and 1 teaspoon garlic, mix well. Drench the cauliflower slices one by one, set aside.
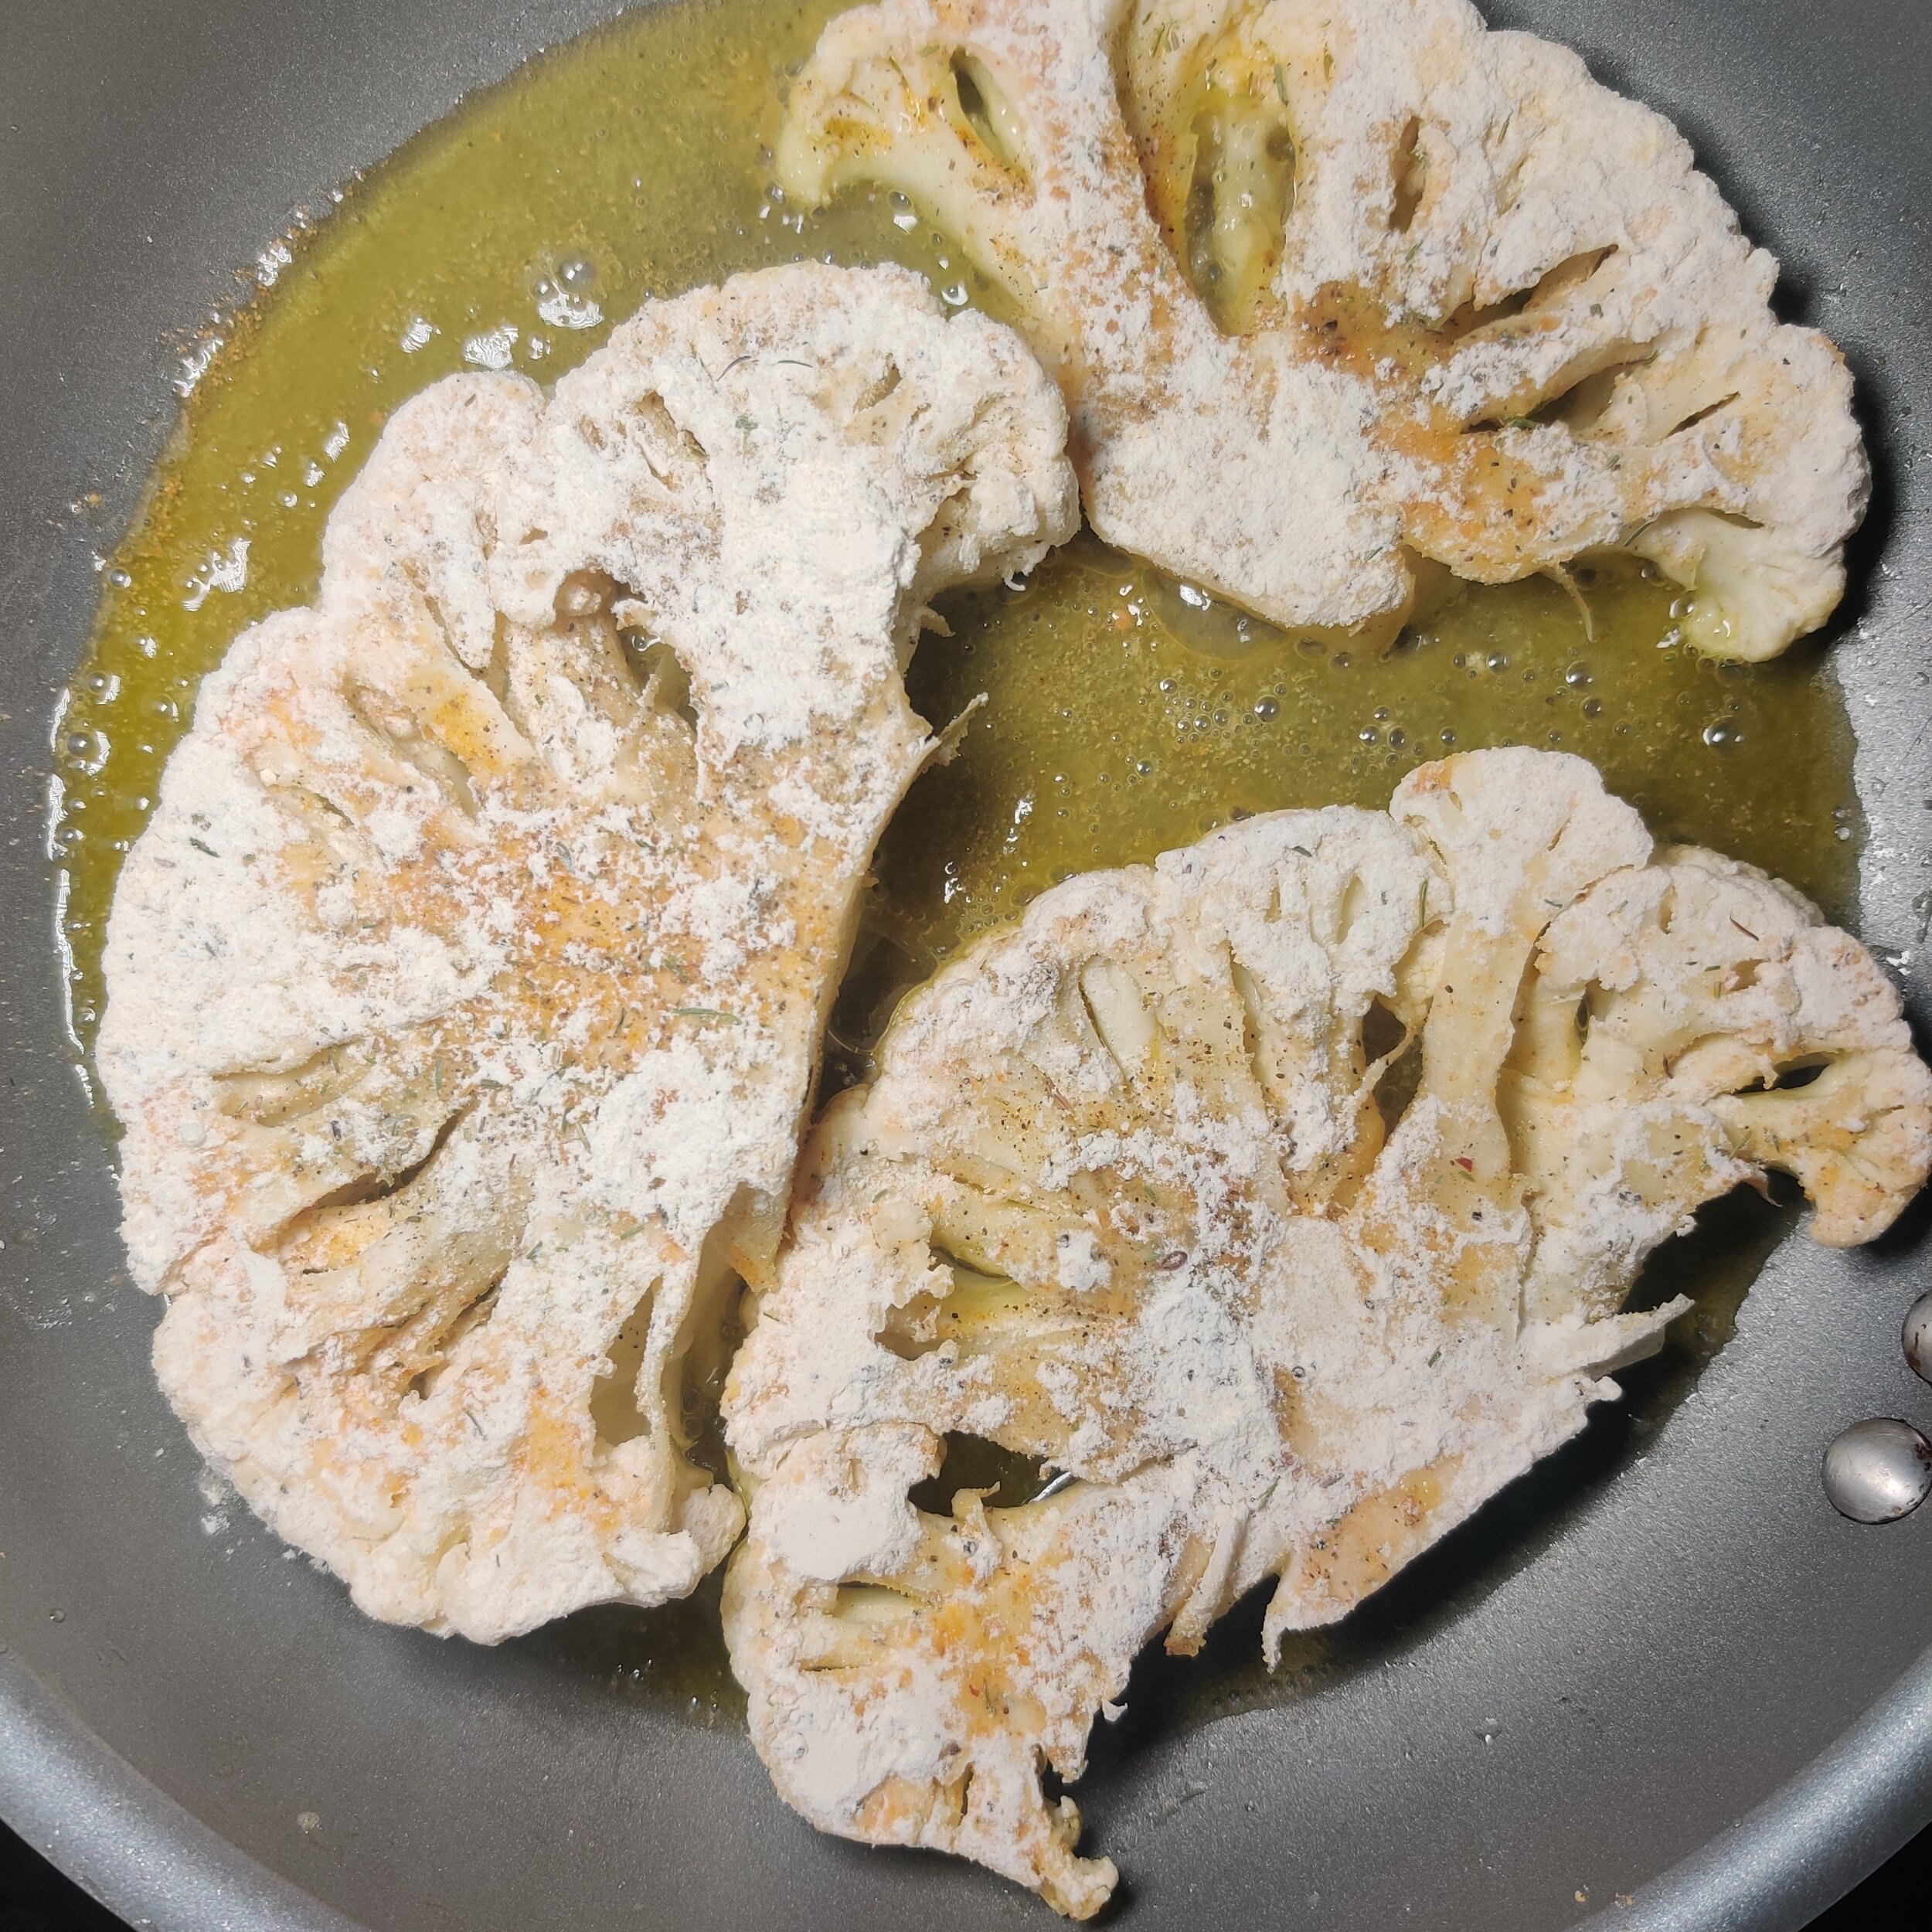
Pour the olive oil into the nonstick pan until the entire surface is covered (you can adjust accordingly) and turn the heat to medium-high.
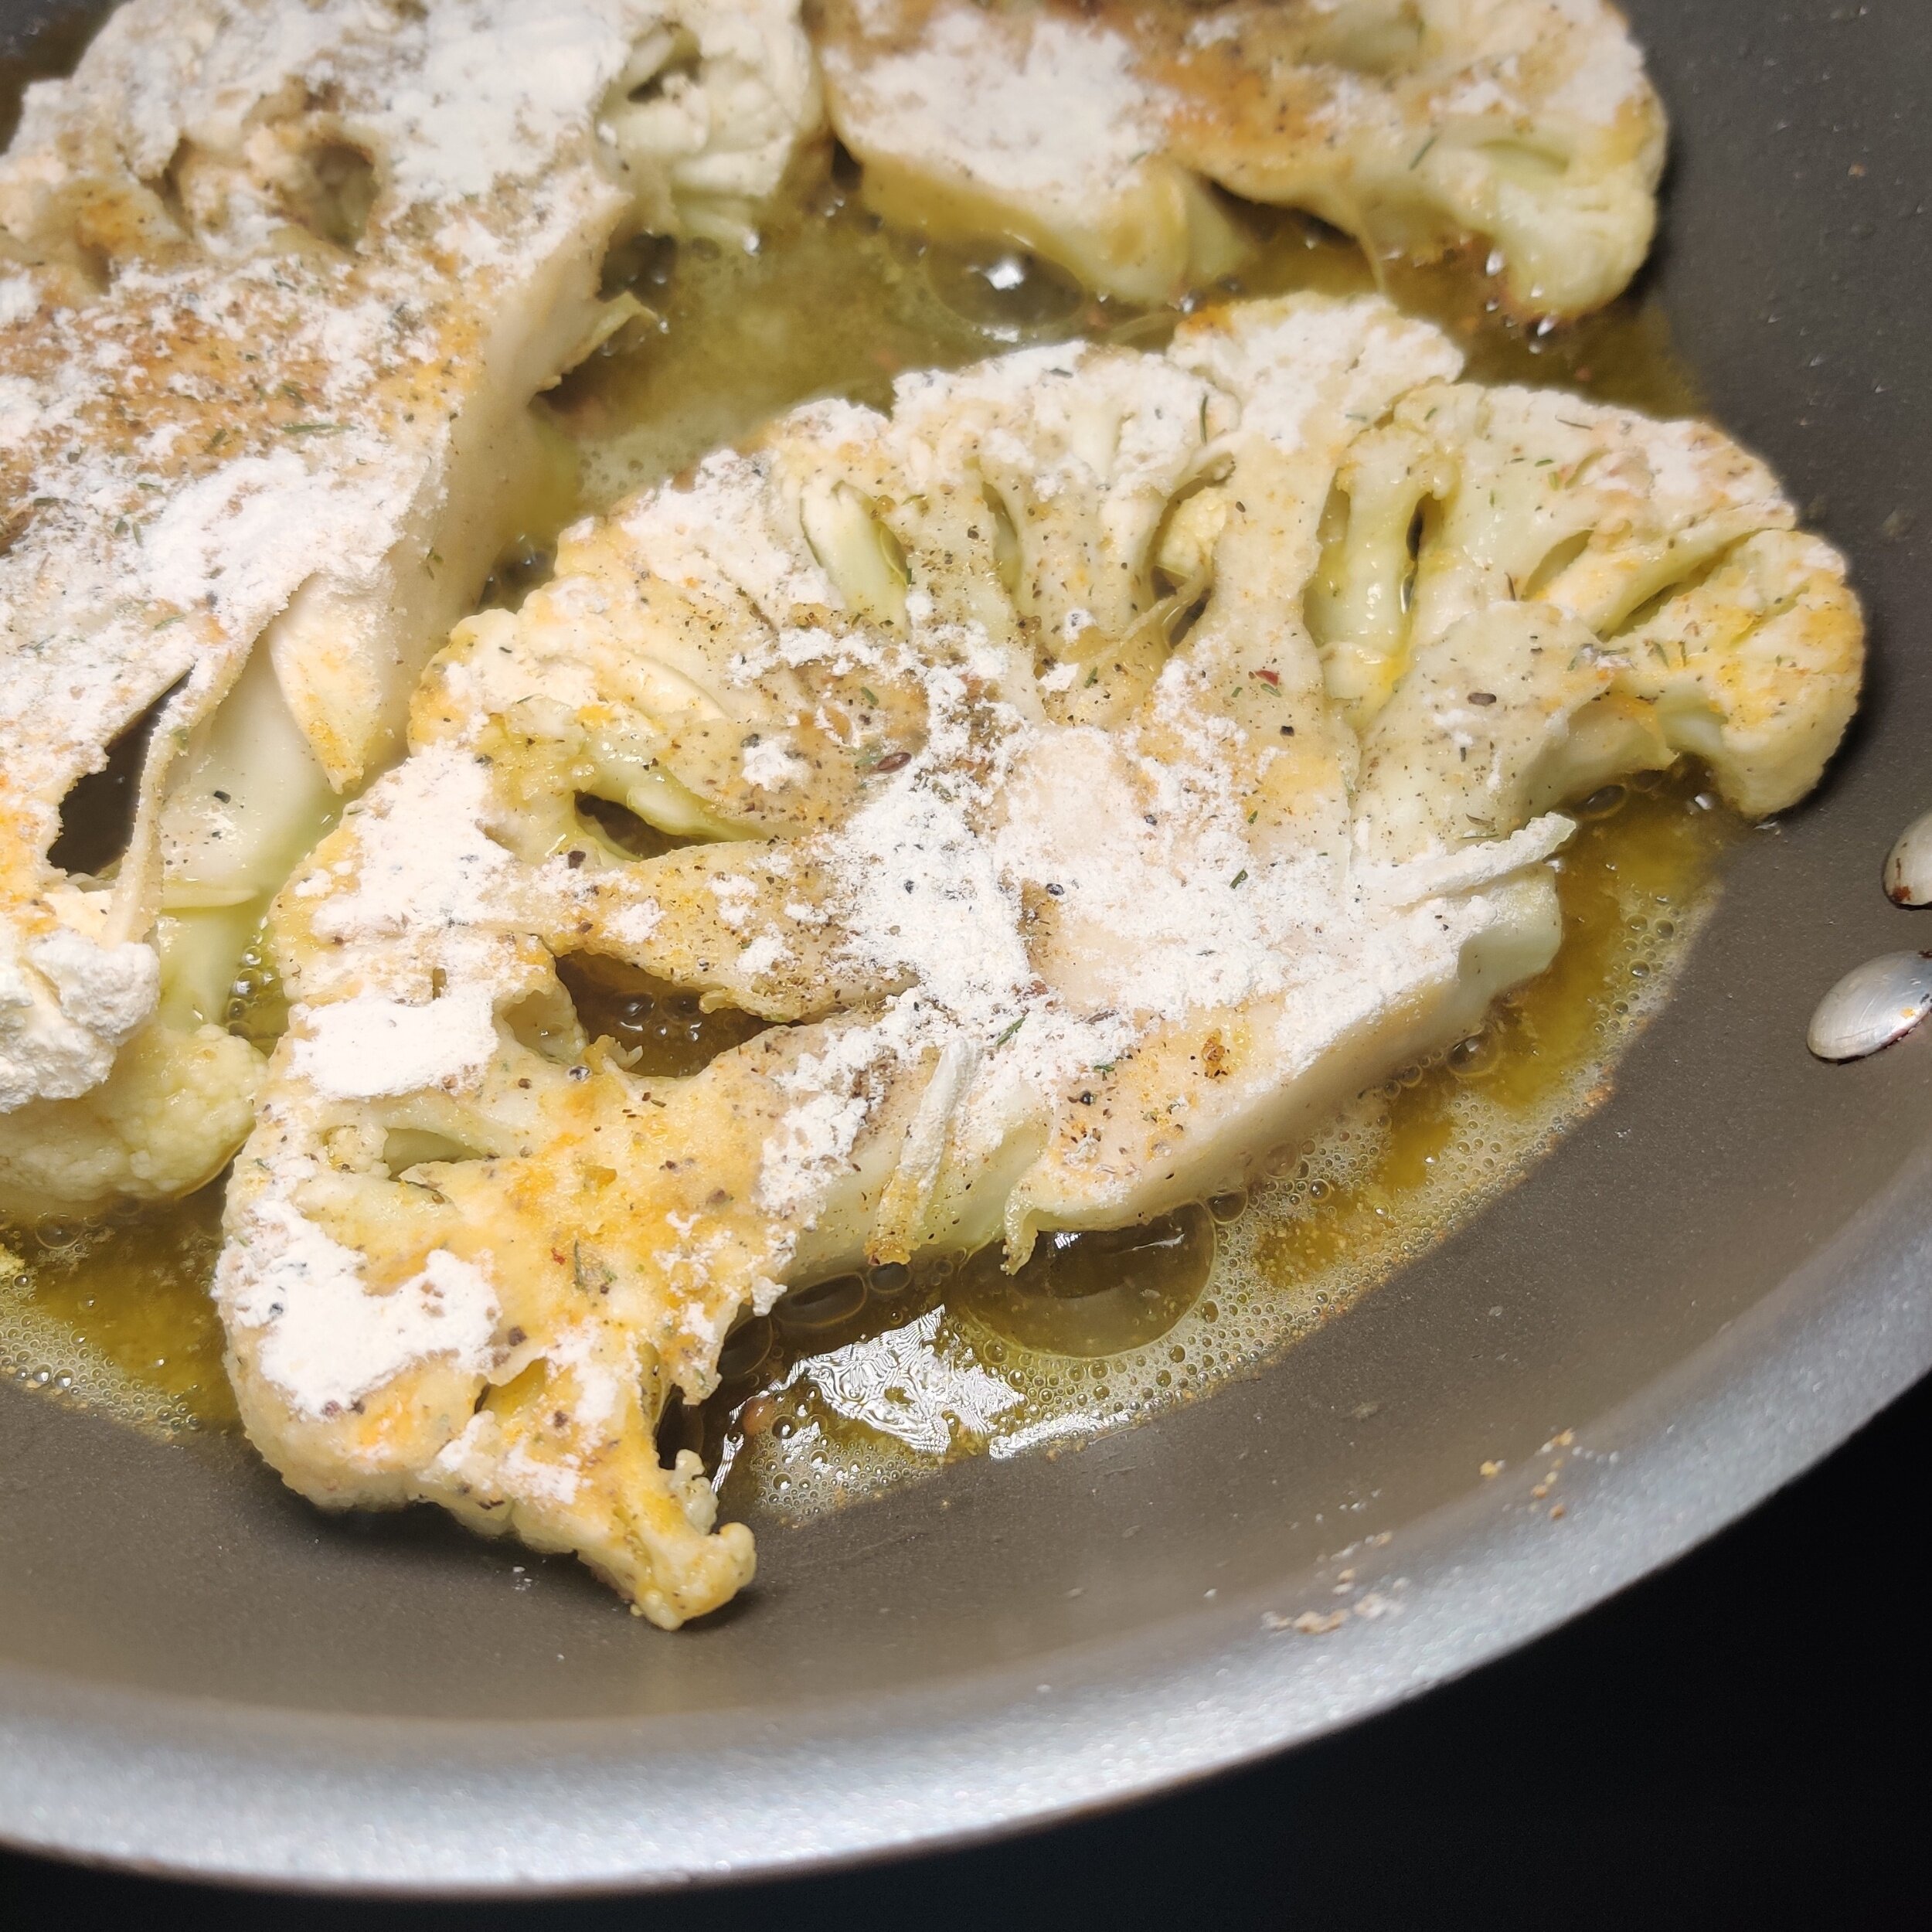
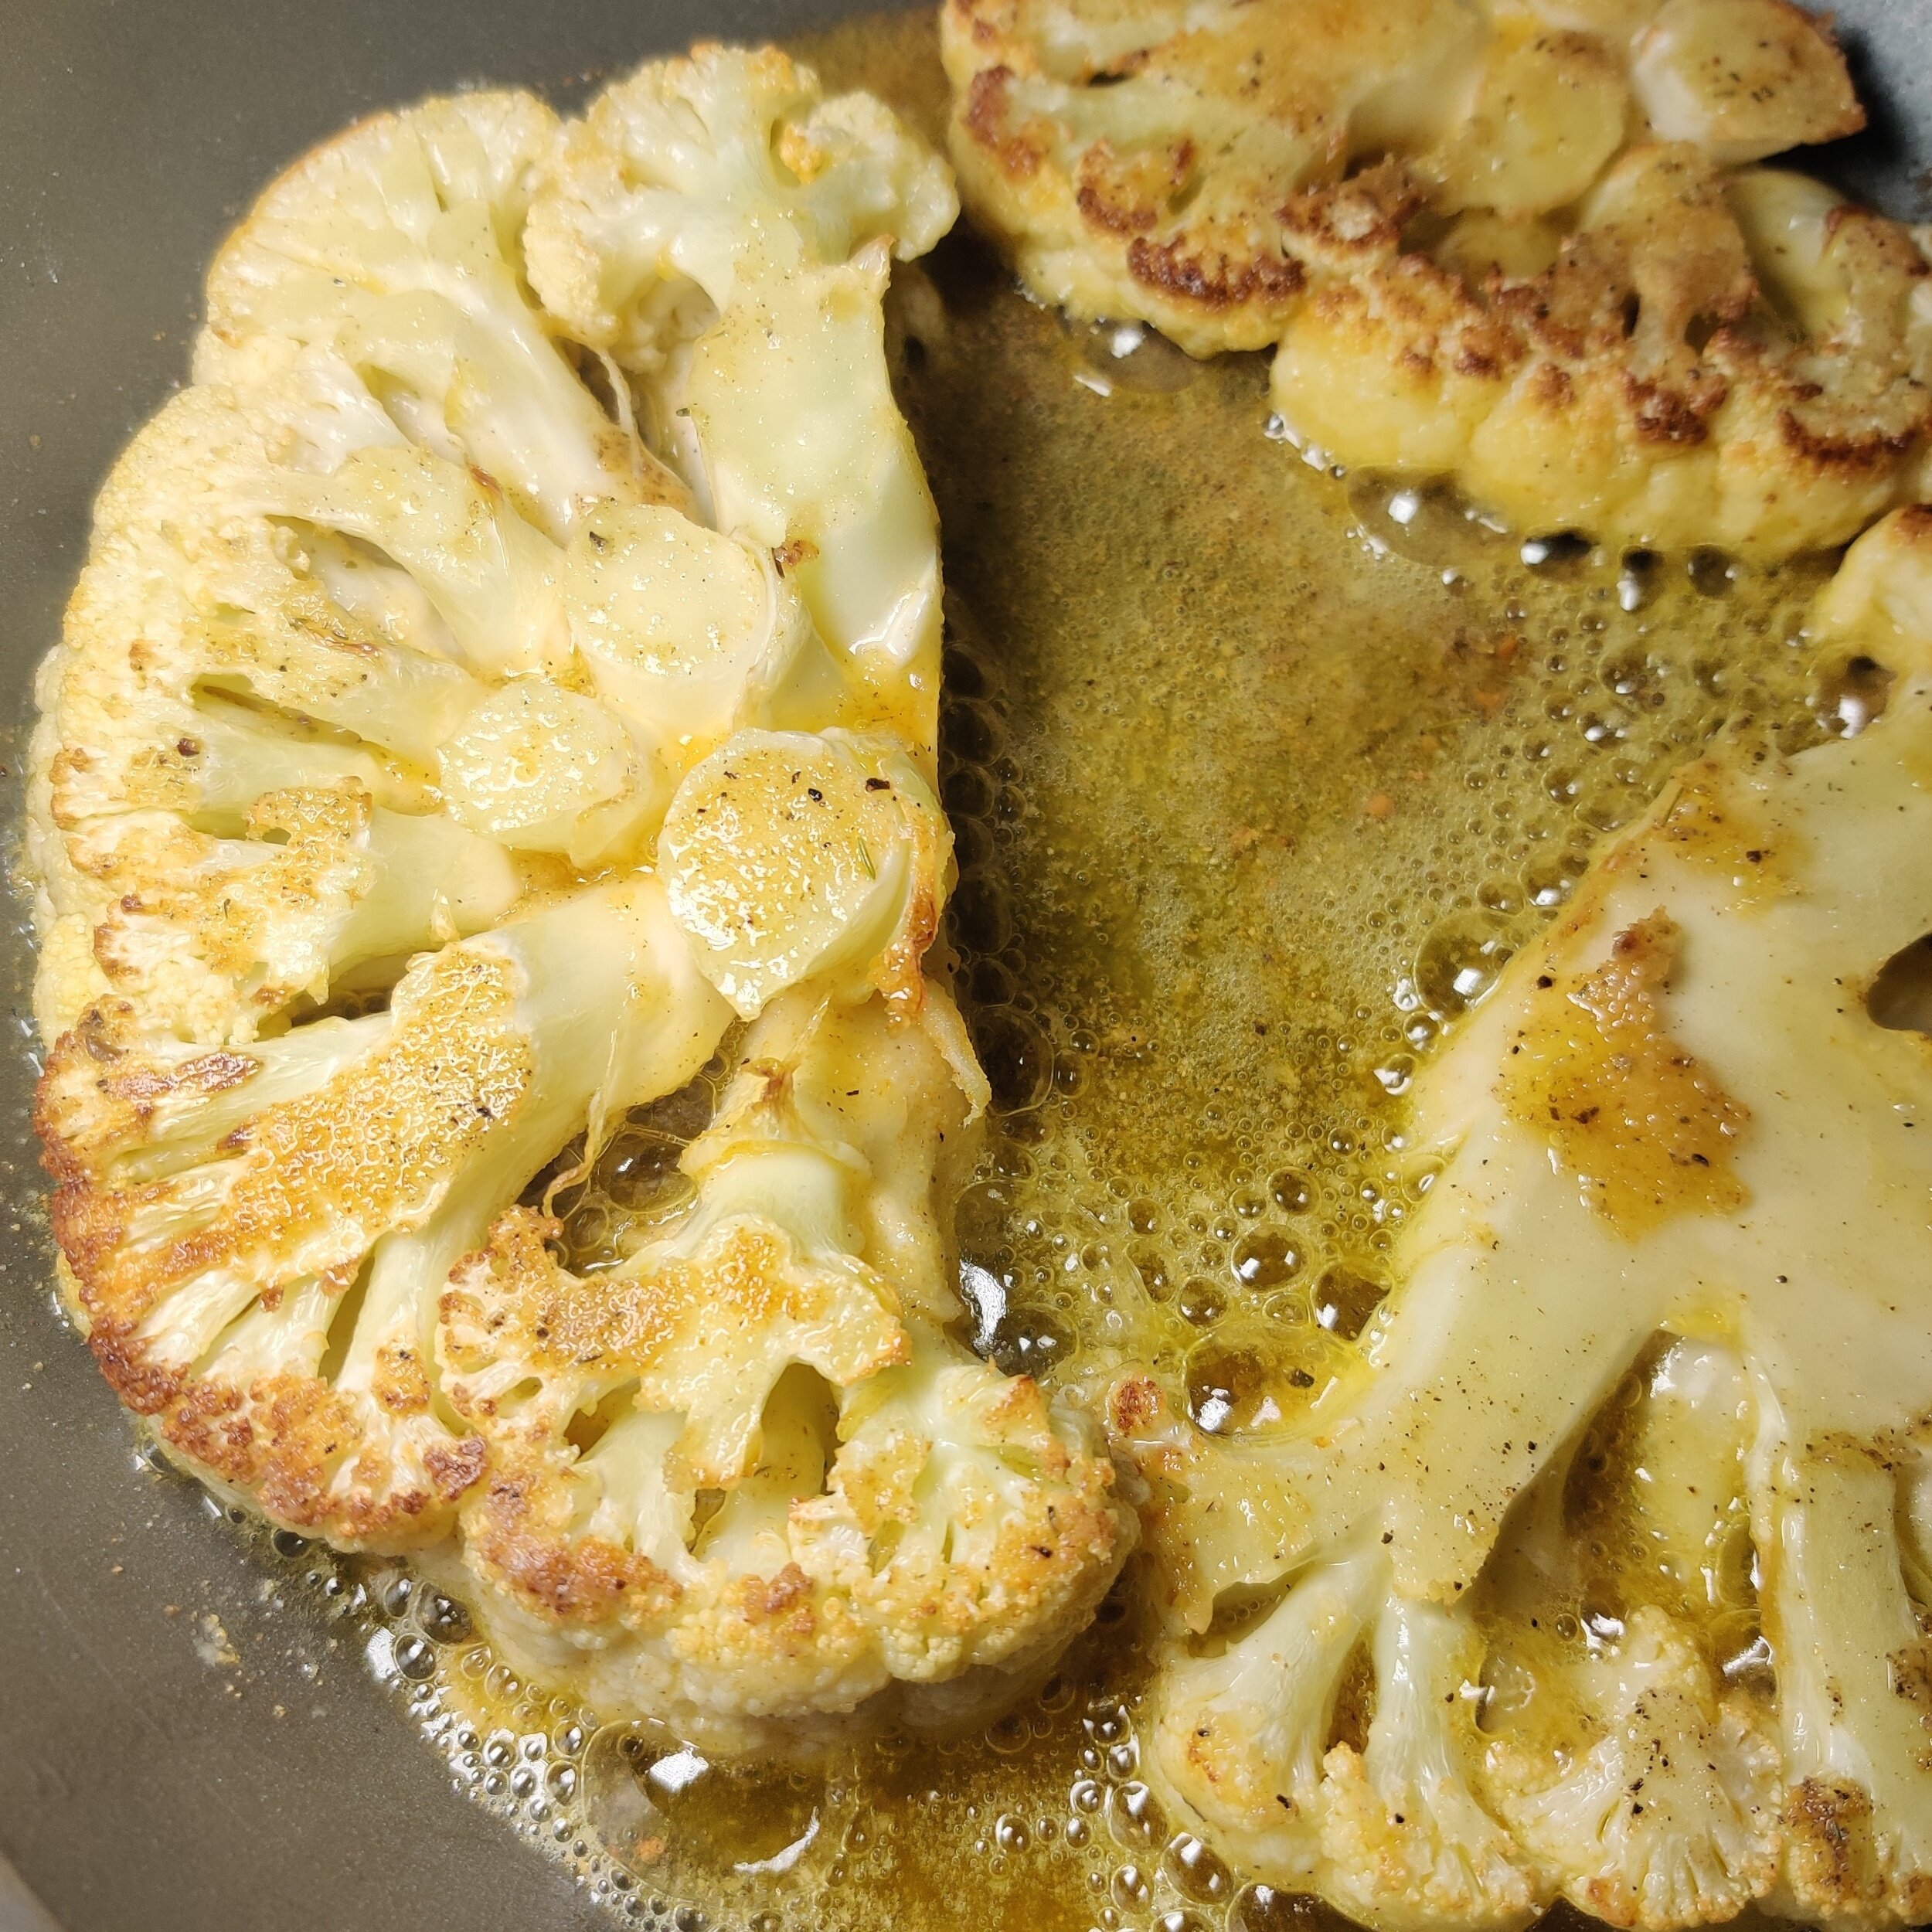
Add the cauliflower slices to the pan and cook for 2-3 minutes, cooking each side until golden. Remove from the pan.
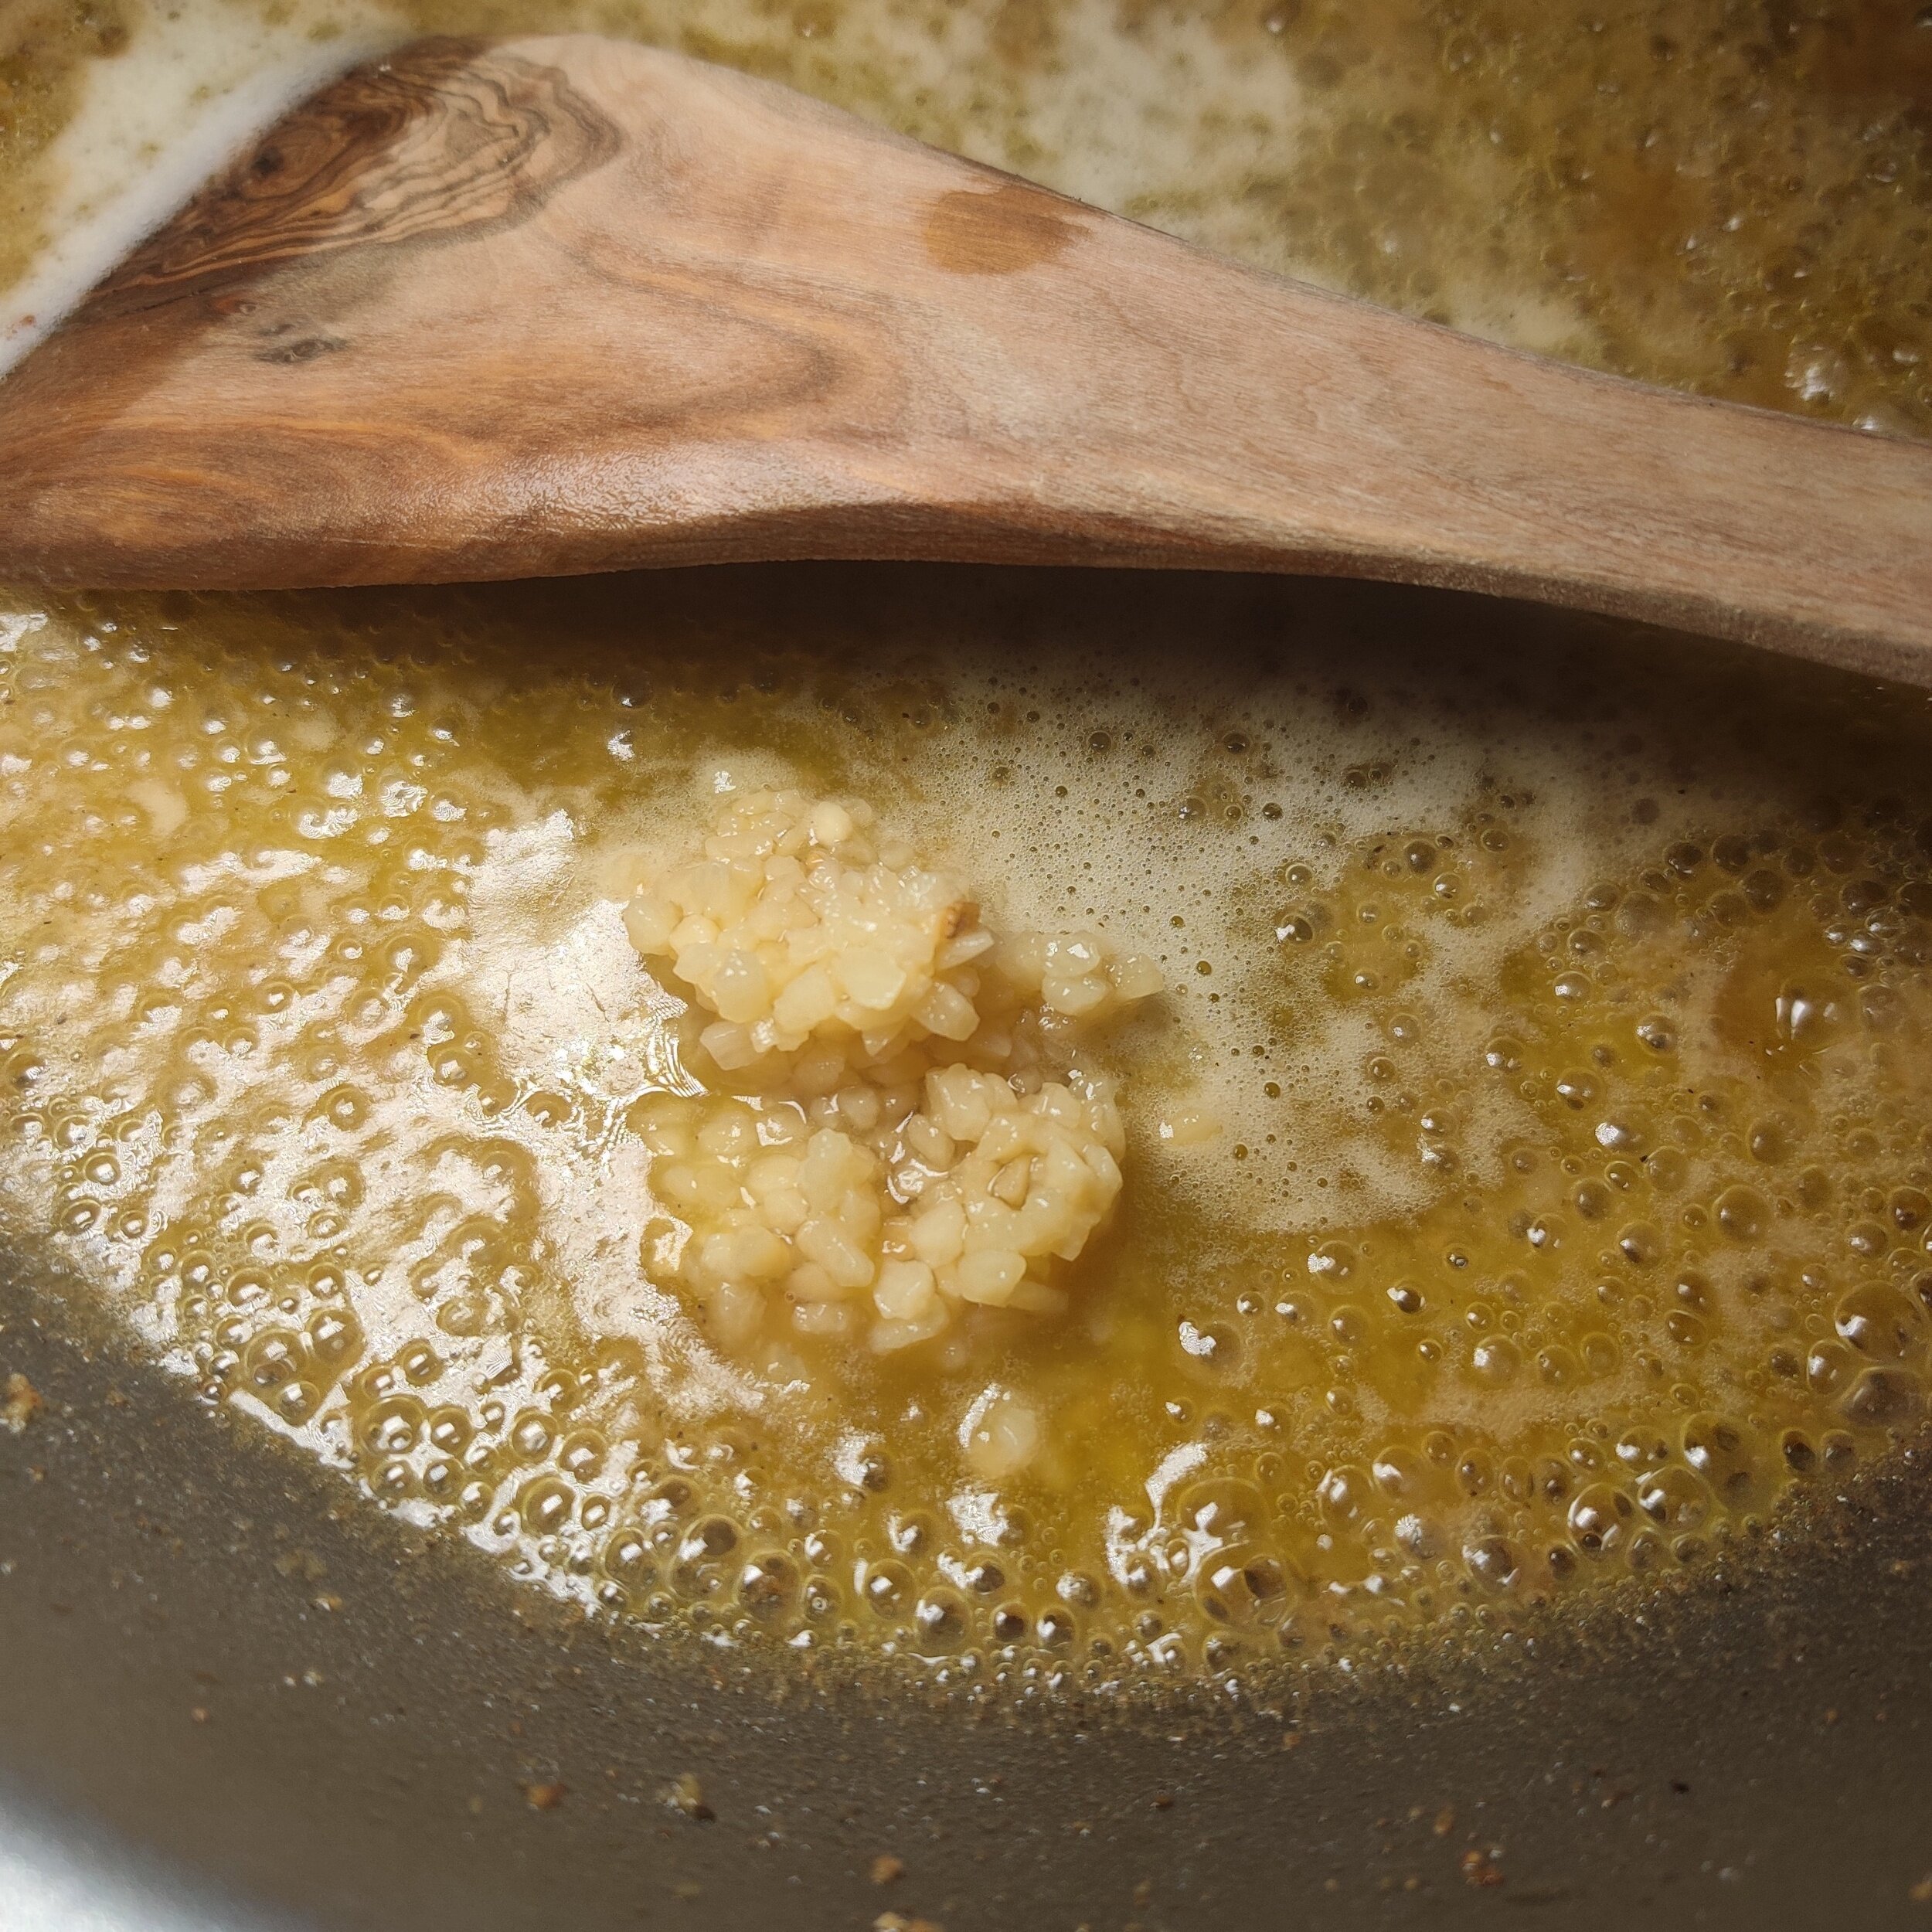
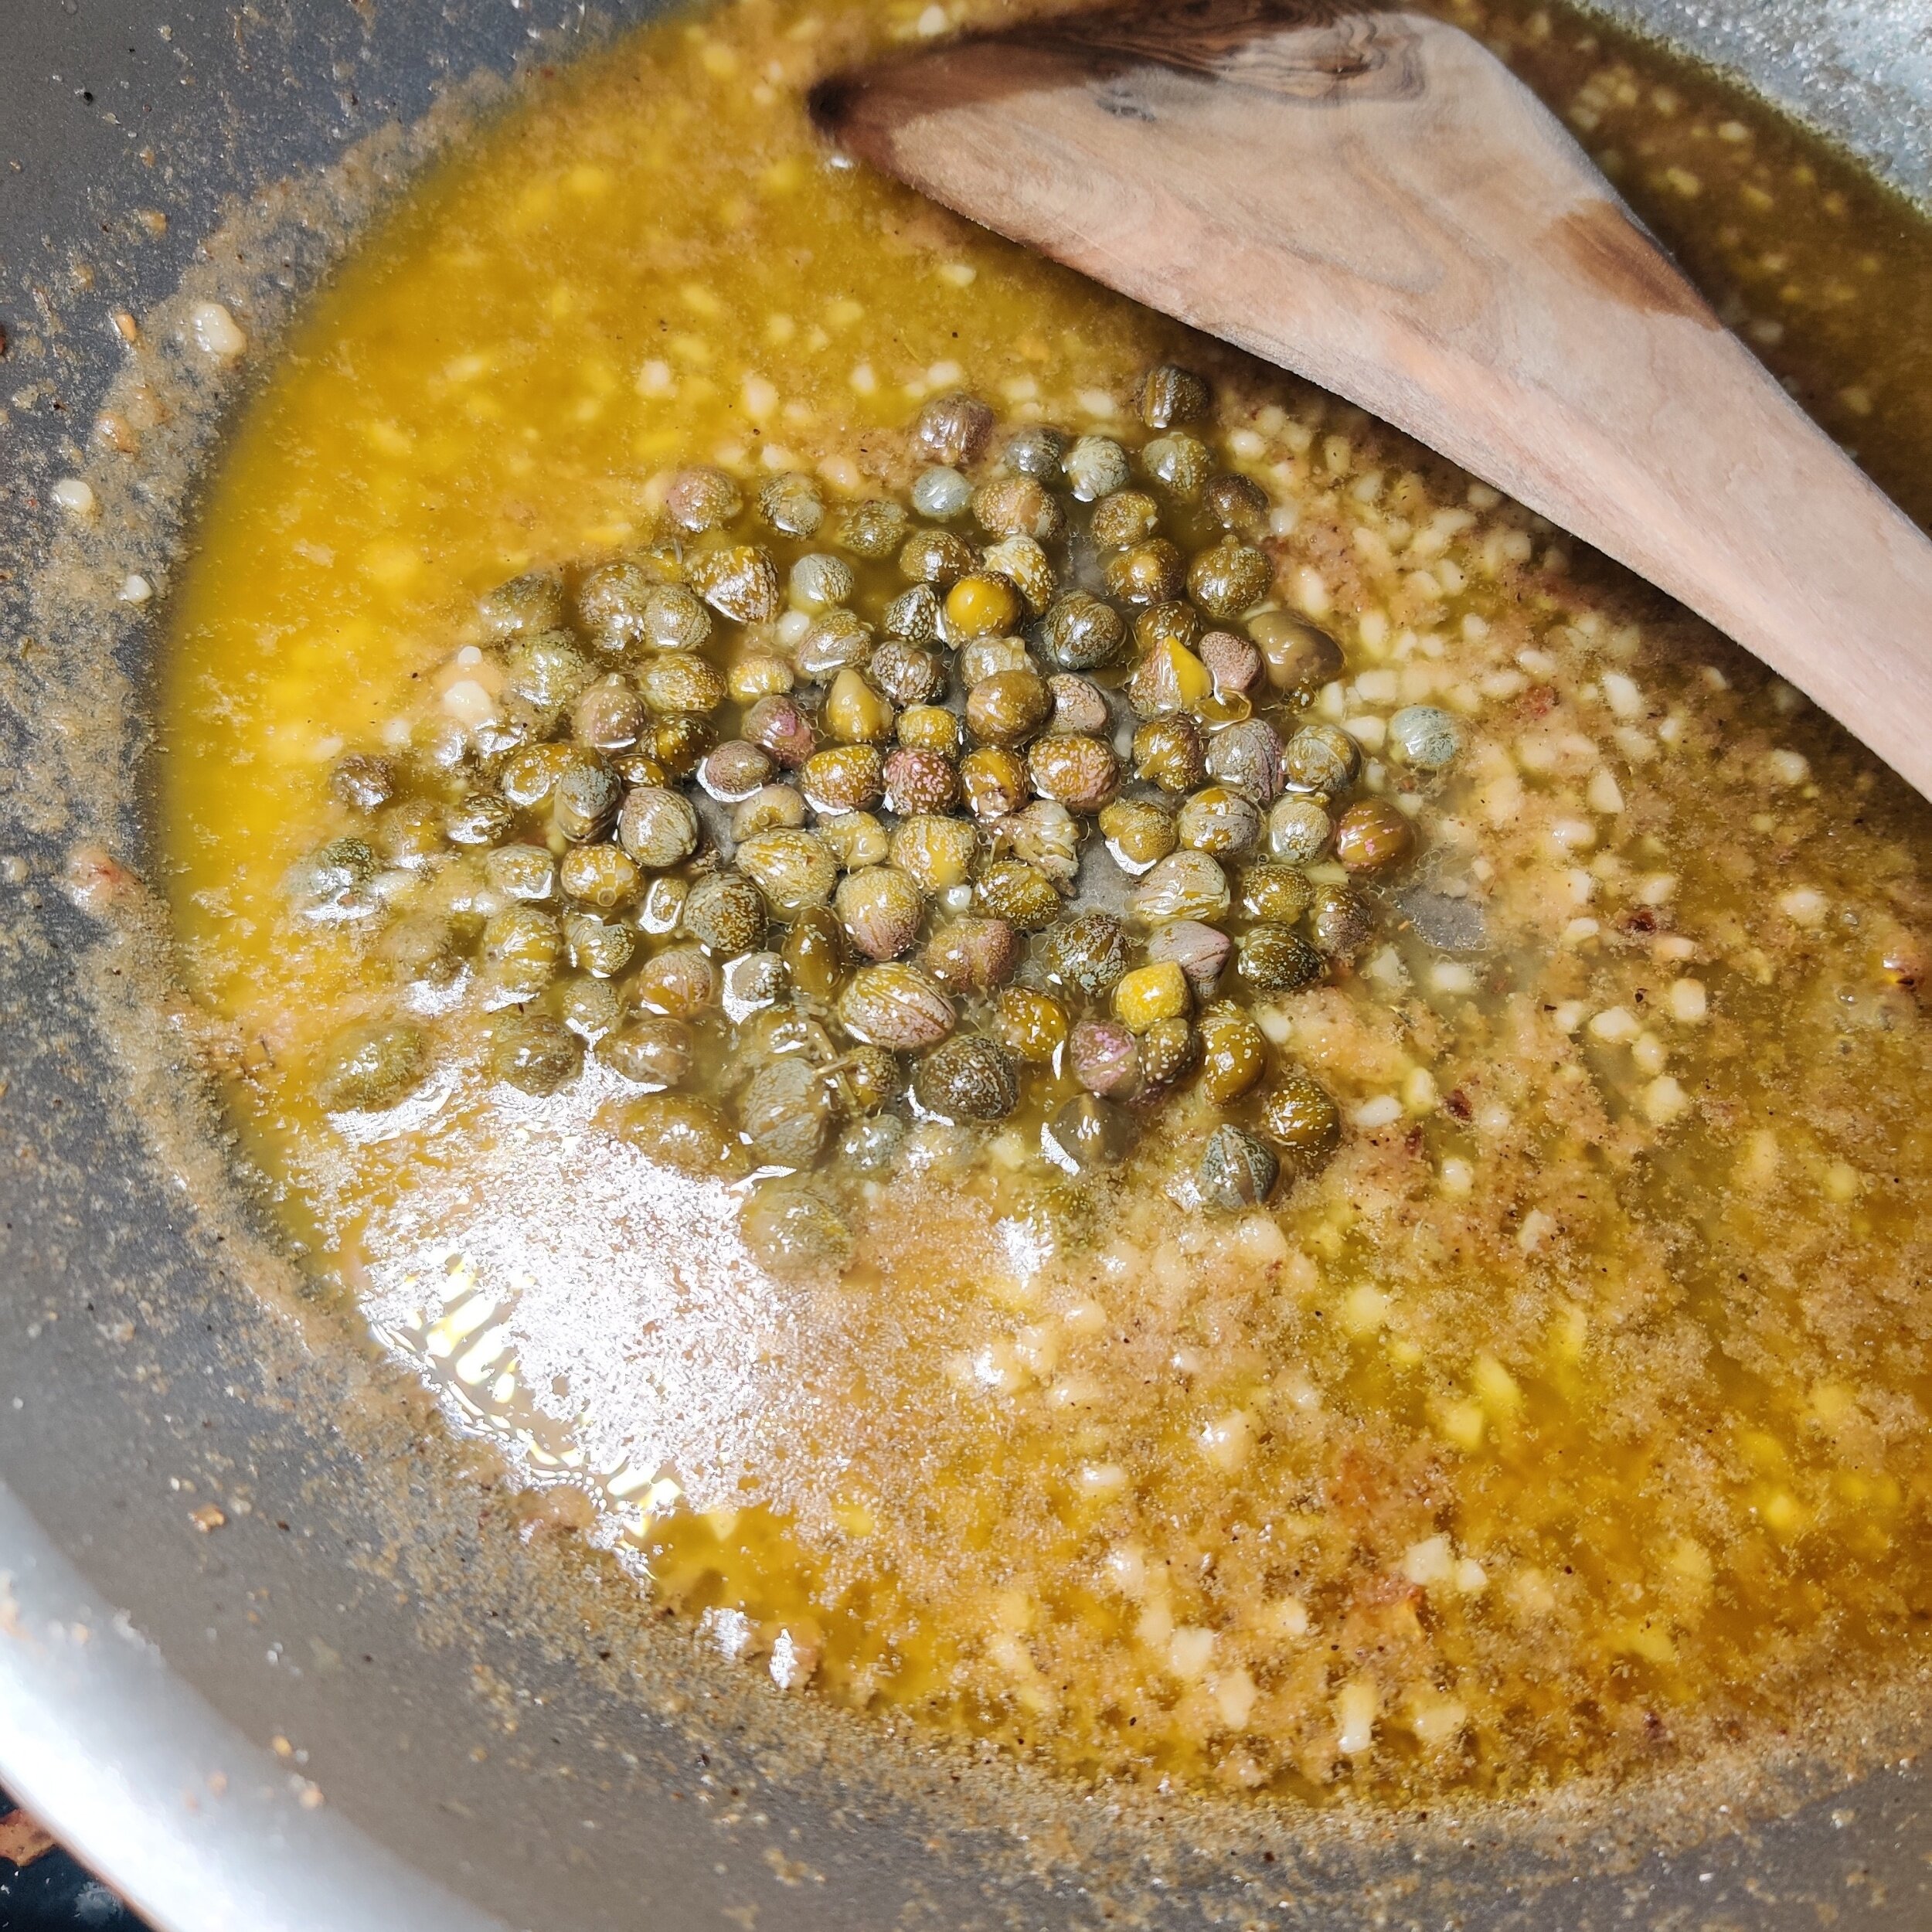
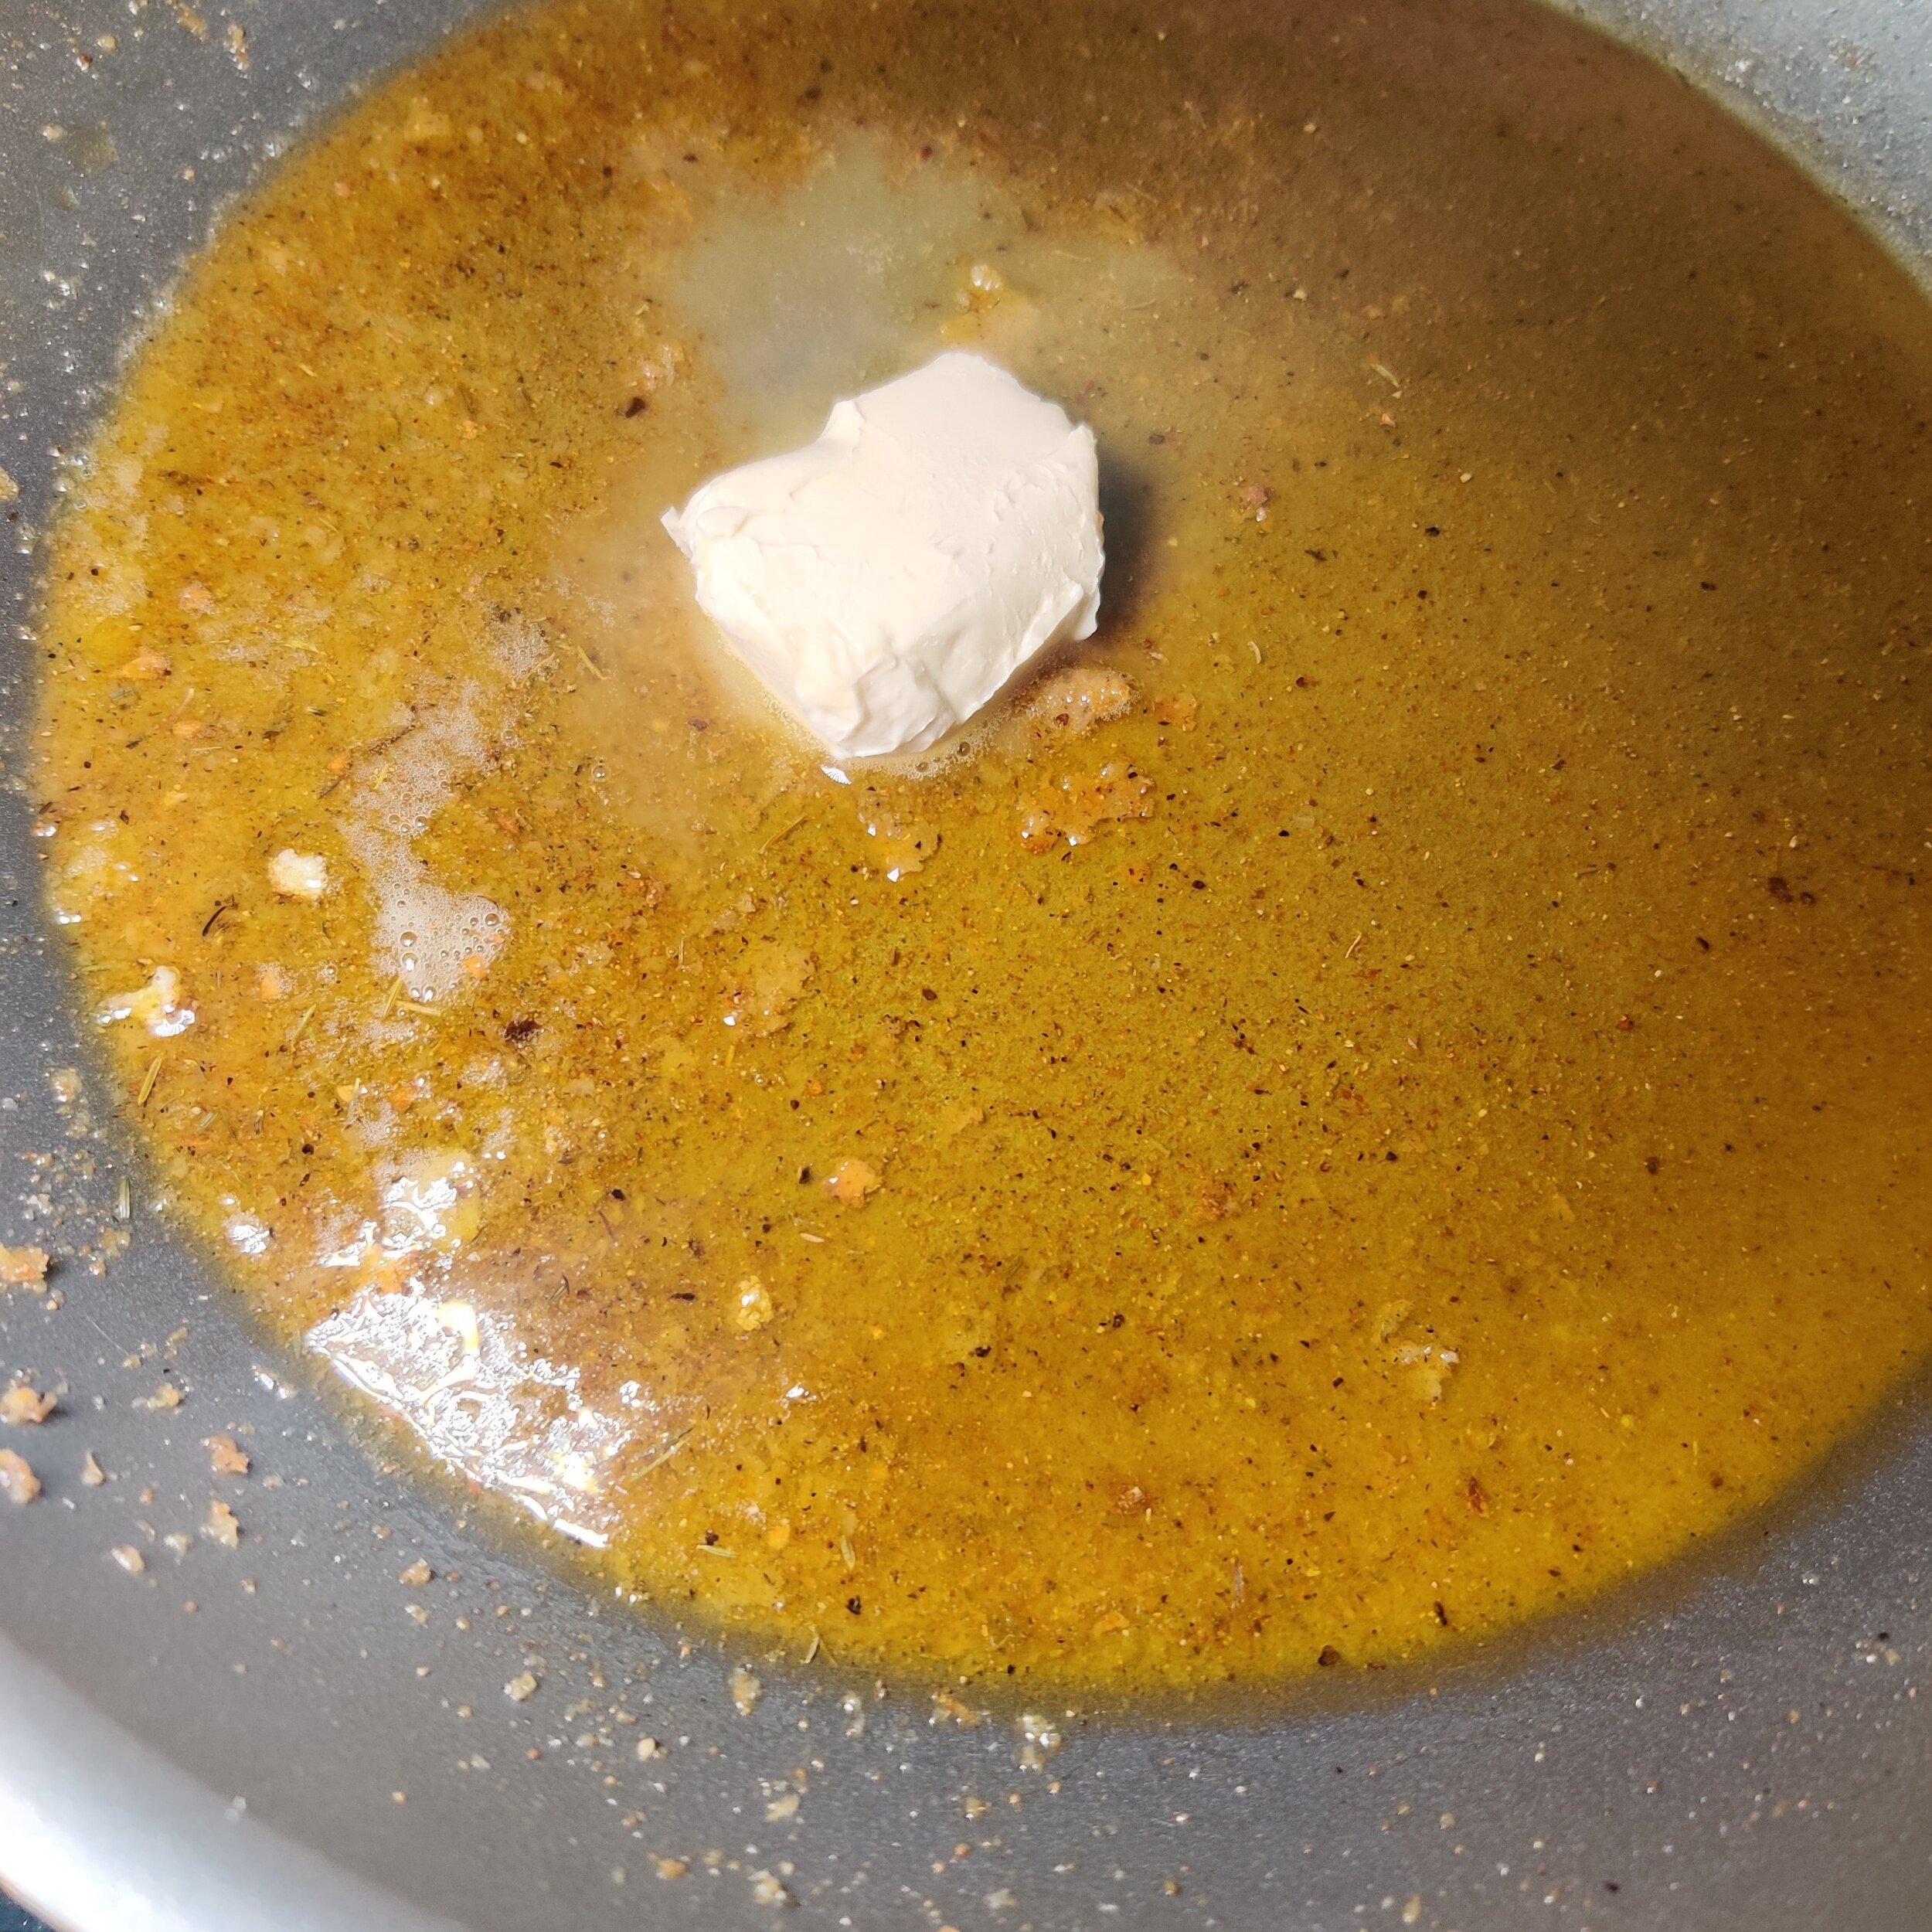
Add the butter to the remaining oil and melt, and deglaze with the white wine, cook for about 1 minute. Add the garlic and capers, cook for about 2 minutes.
Follow this with the lemon and broth, then simmer for about 5 minutes (you can reduce the heat if necessary).
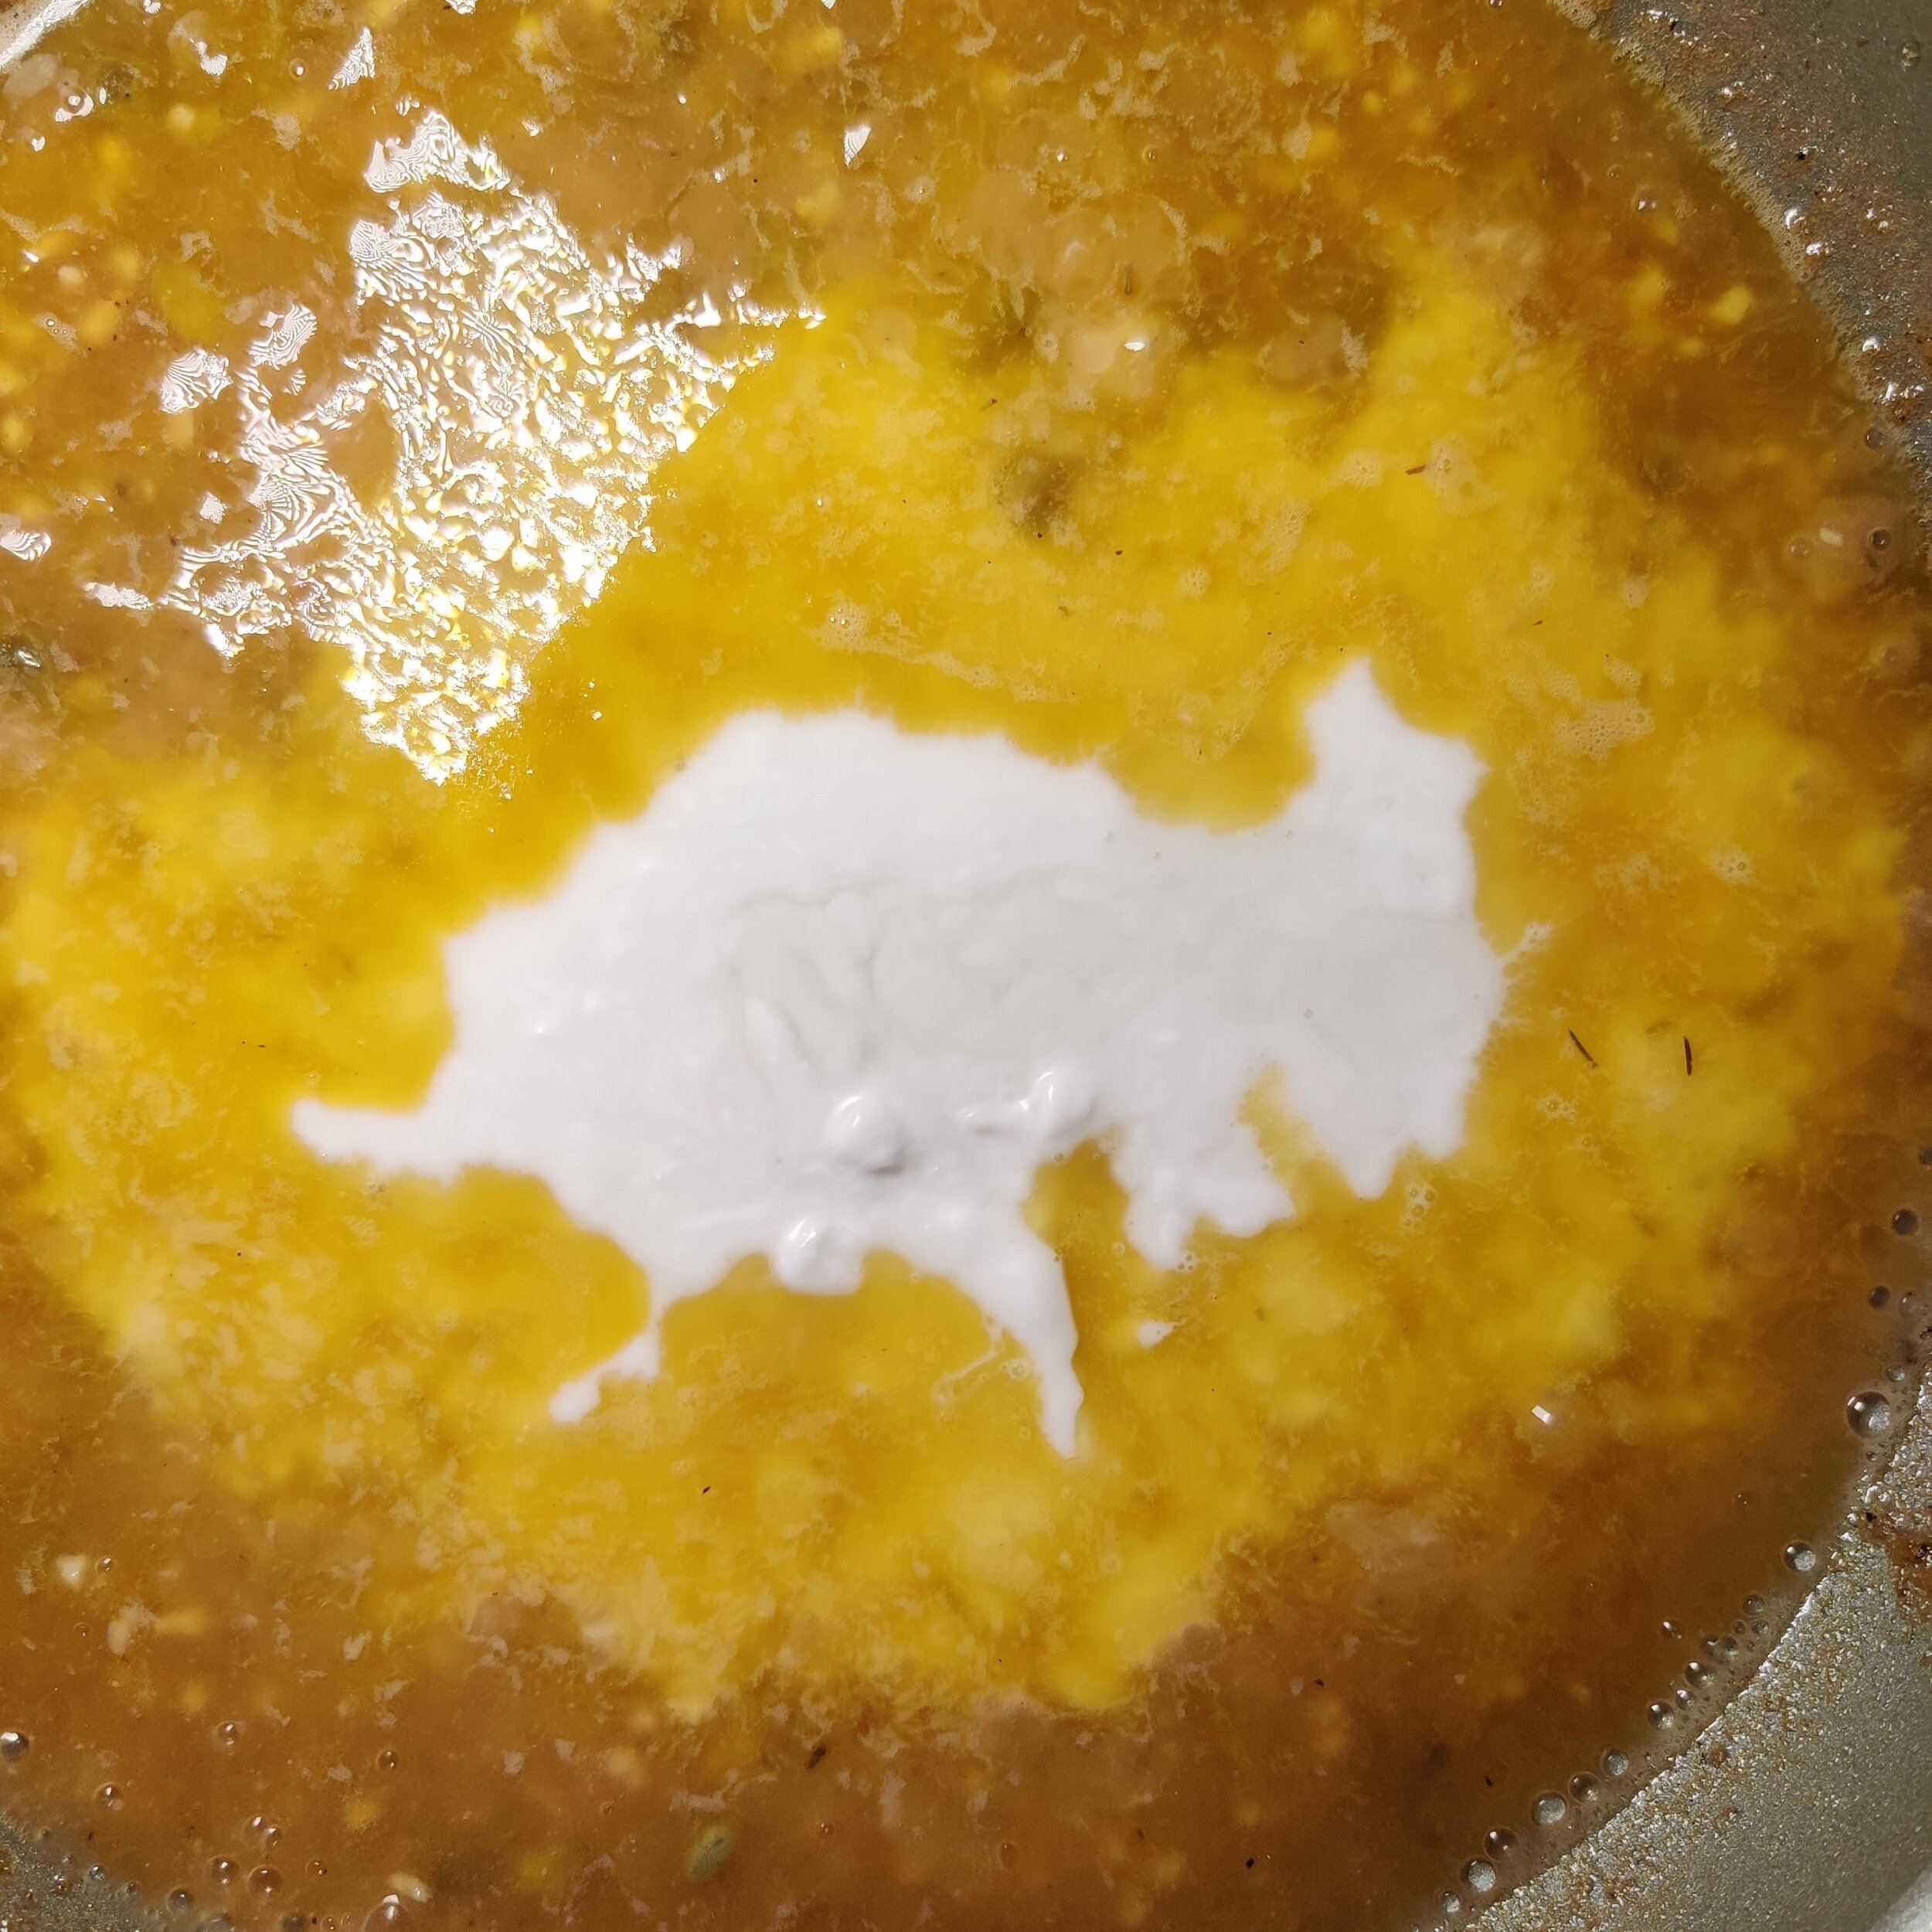
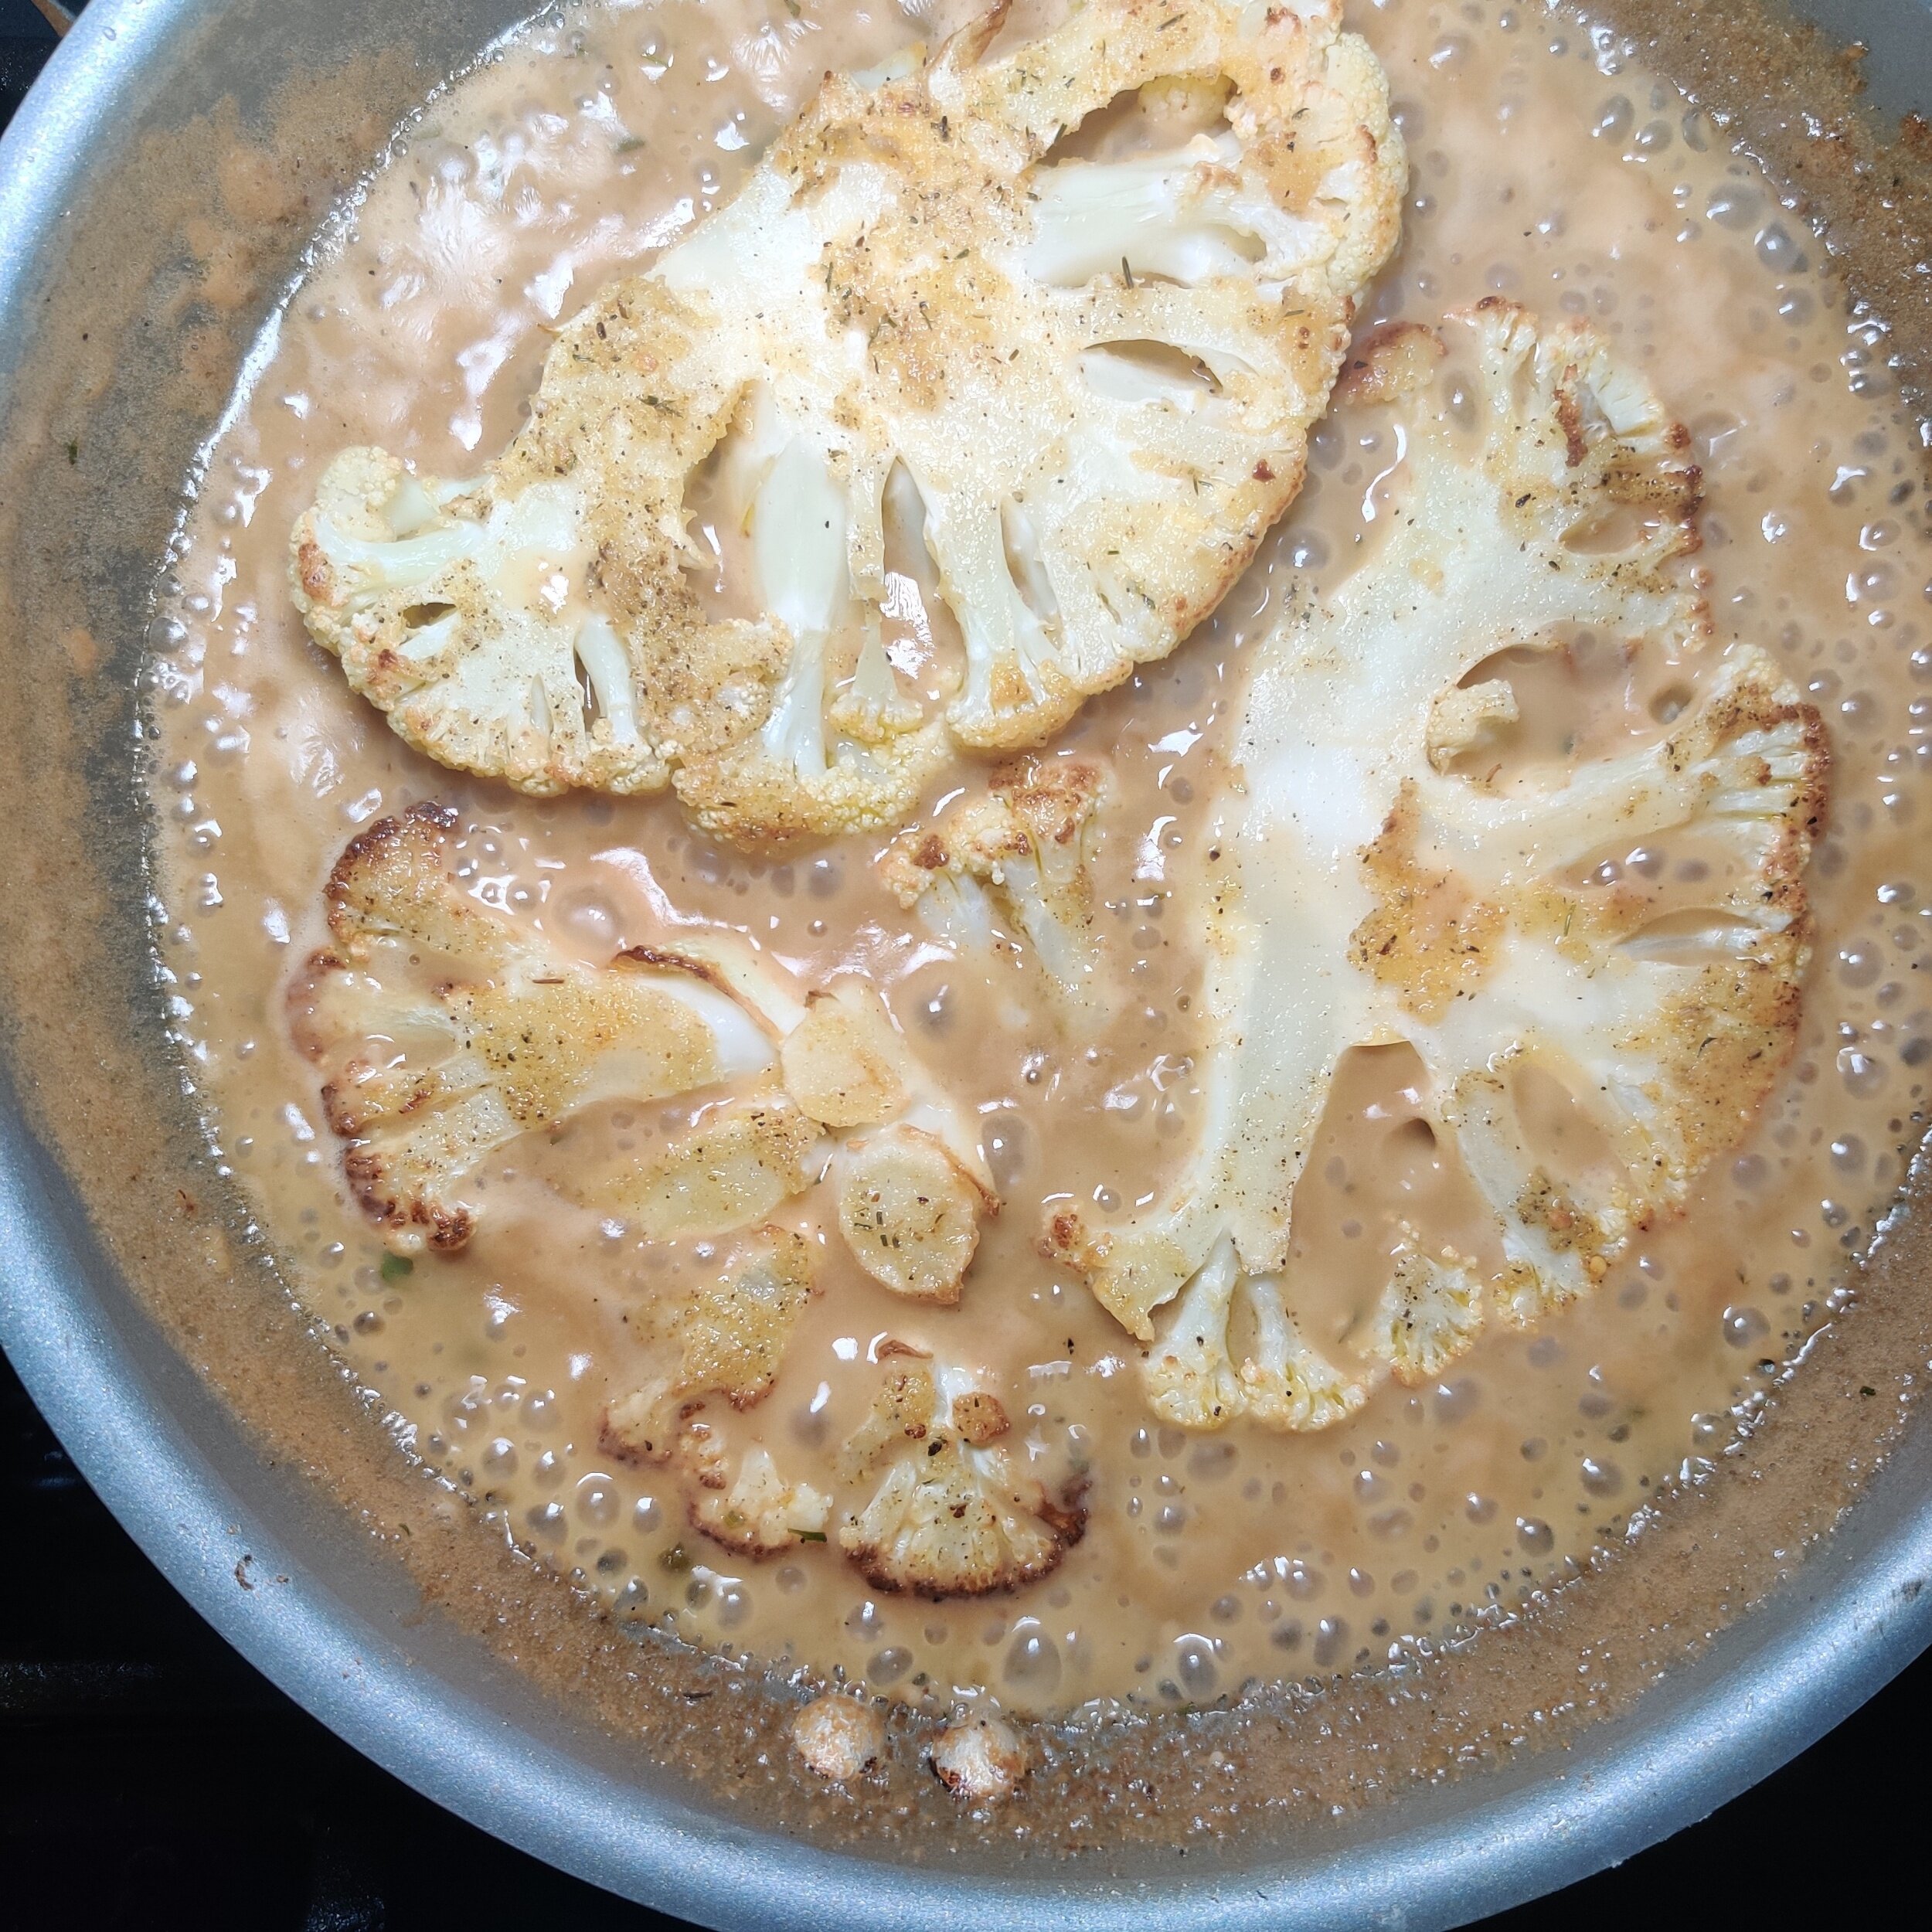
Mix in the coconut cream and stir; the mixture should start to thicken—if too watery, add 1/2 teaspoon of flour. Add the cauliflower back to the pan and cook on both sides for 1 minute each (you don’t want to overcook though!), and make sure you flip over the cauliflower slices gently to prevent them from breaking down.
Sprinkle with fresh parsley and gently shake the pan to distribute the sauce and herbs.
Remove from heat and serve hot with extra capers and lemon slices - I used limes because that's what I had! Serves 2.


Asparagus, Snap Pea, and Blue Cheese Galette
Another galette just in time for spring! Coming out of a snow-filled, bitterly cold winter, the change in weather and daylight hours could not have come at a better time. This isn't just because I prefer the sun and greenery, but because the season welcomes a new set of ingredients that brighten up your plates and make people more aware of what they are eating in some ways. Winter has a lot to offer, but I'm excited for this new chapter and recipes we can make together!
Galettes, which I have praised for many reasons before, are a perfect way to celebrate the slew of returning vegetables and fruits. I have several across the seasons on this website you can try out, including the Tomato, Thyme and Cheese, the Pumpkin, Caramelized Onion, the Blackberry, Mint and Ricotta, and the Cheesy Mushroom Galette with Ricotta and Gruyere.
This galette, like the others, is a quick, easy, and ideal solution if you have extra greens lying around - although fresh is king!
I used asparagus stalks and snap peas for this recipe, both of which offer texture and substance. I combined the (non-dairy) parmesan cheese mixed with the tofu ricotta, fresh herbs, and seasoning for the cheesy filling.
Before adding it to the pie crust plate, season to taste to make sure it’s good before baking!
Ingredients
1 pie crust, thawed in the fridge
1 handful snap peas
1/3 cup ricotta cheese (I used a vegan brand)
1/3 cup parmesan cheese, grated finely
About 20 stalks of green asparagus (woody, thick part cut off)
1/4 cup fresh parsley, finely chopped
1/4 cup fresh tarragon leaves, finely chopped + extra for topping and garnish
1 tablespoon fresh garlic, minced
1 teaspoon lemon juice
2 tablespoons biltong seasoning (optional - I used Freddy Hirsch Biltong Spice)
1 spring onion, finely chopped - mostly the green part)
1 teaspoon black pepper
1 teaspoon salt
2 tablespoons olive oil
Pinch of hot chilli flakes
2 tablespoons crumbled blue cheese
1 tablespoon parmesan cheese, grated
1 egg + 1 teaspoon water
Sesame seeds
Instructions
Take your pie crust out of the fridge to get it to room temperature, this should take about 20 minutes.
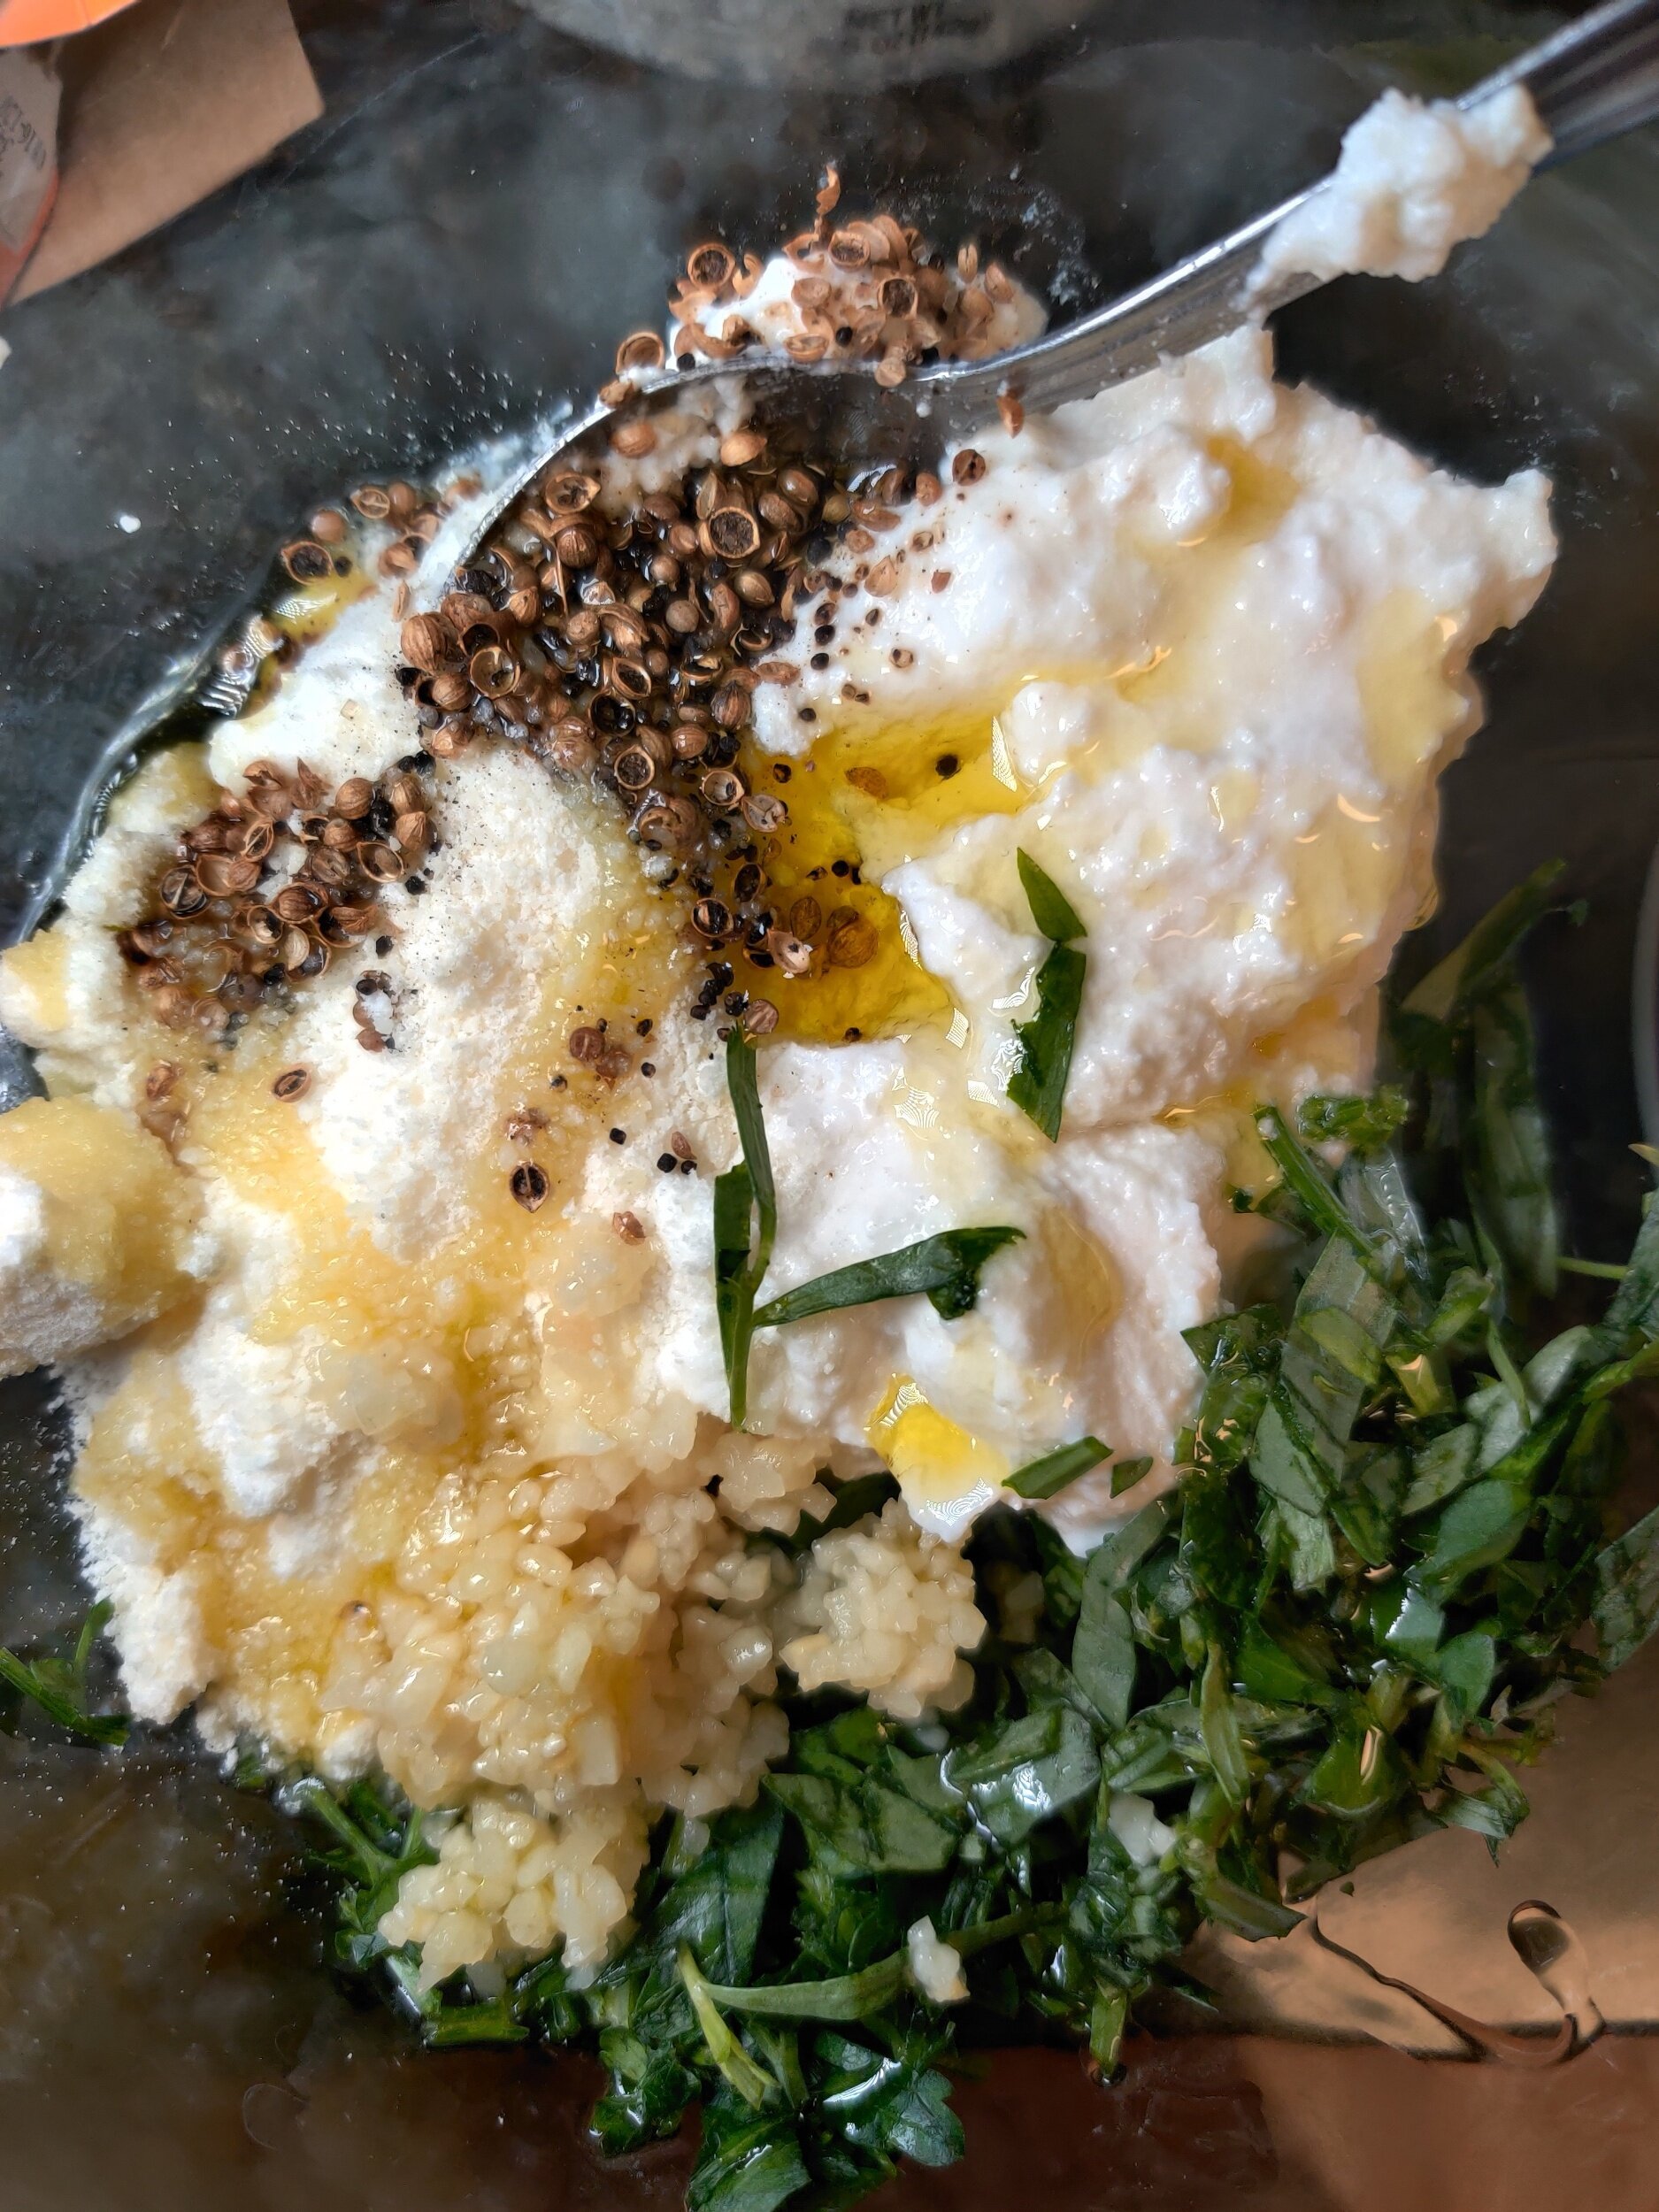
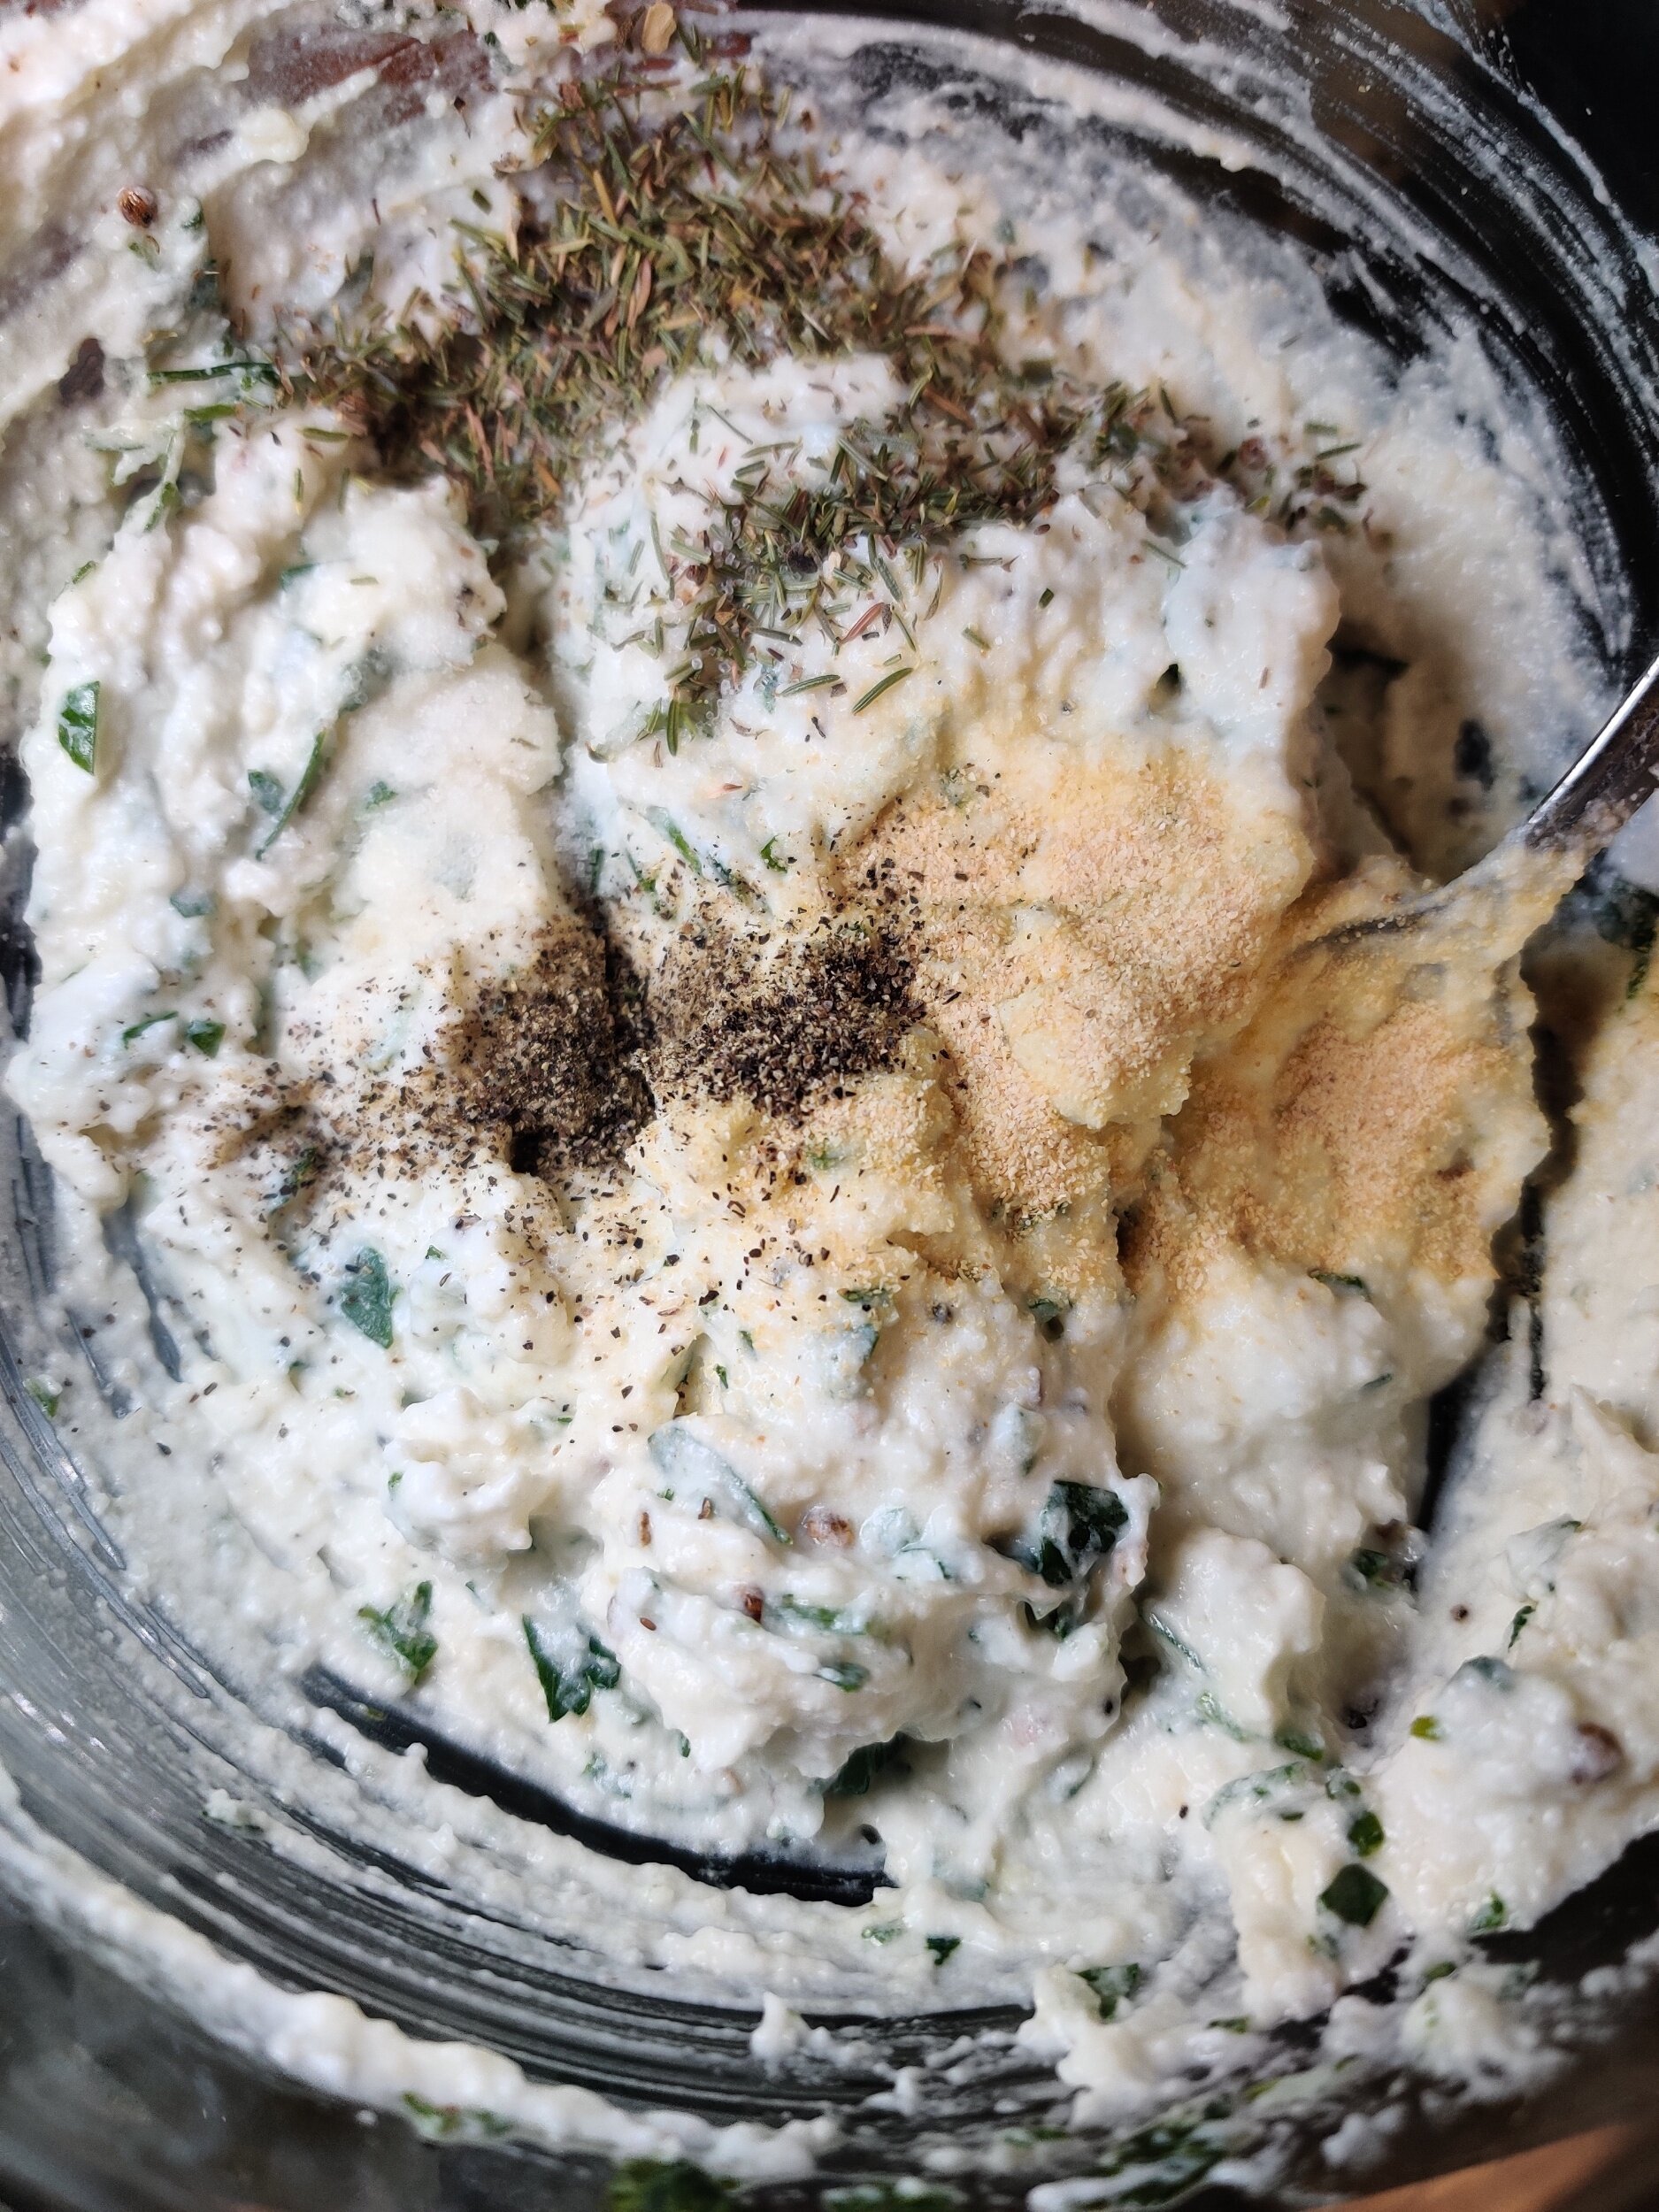
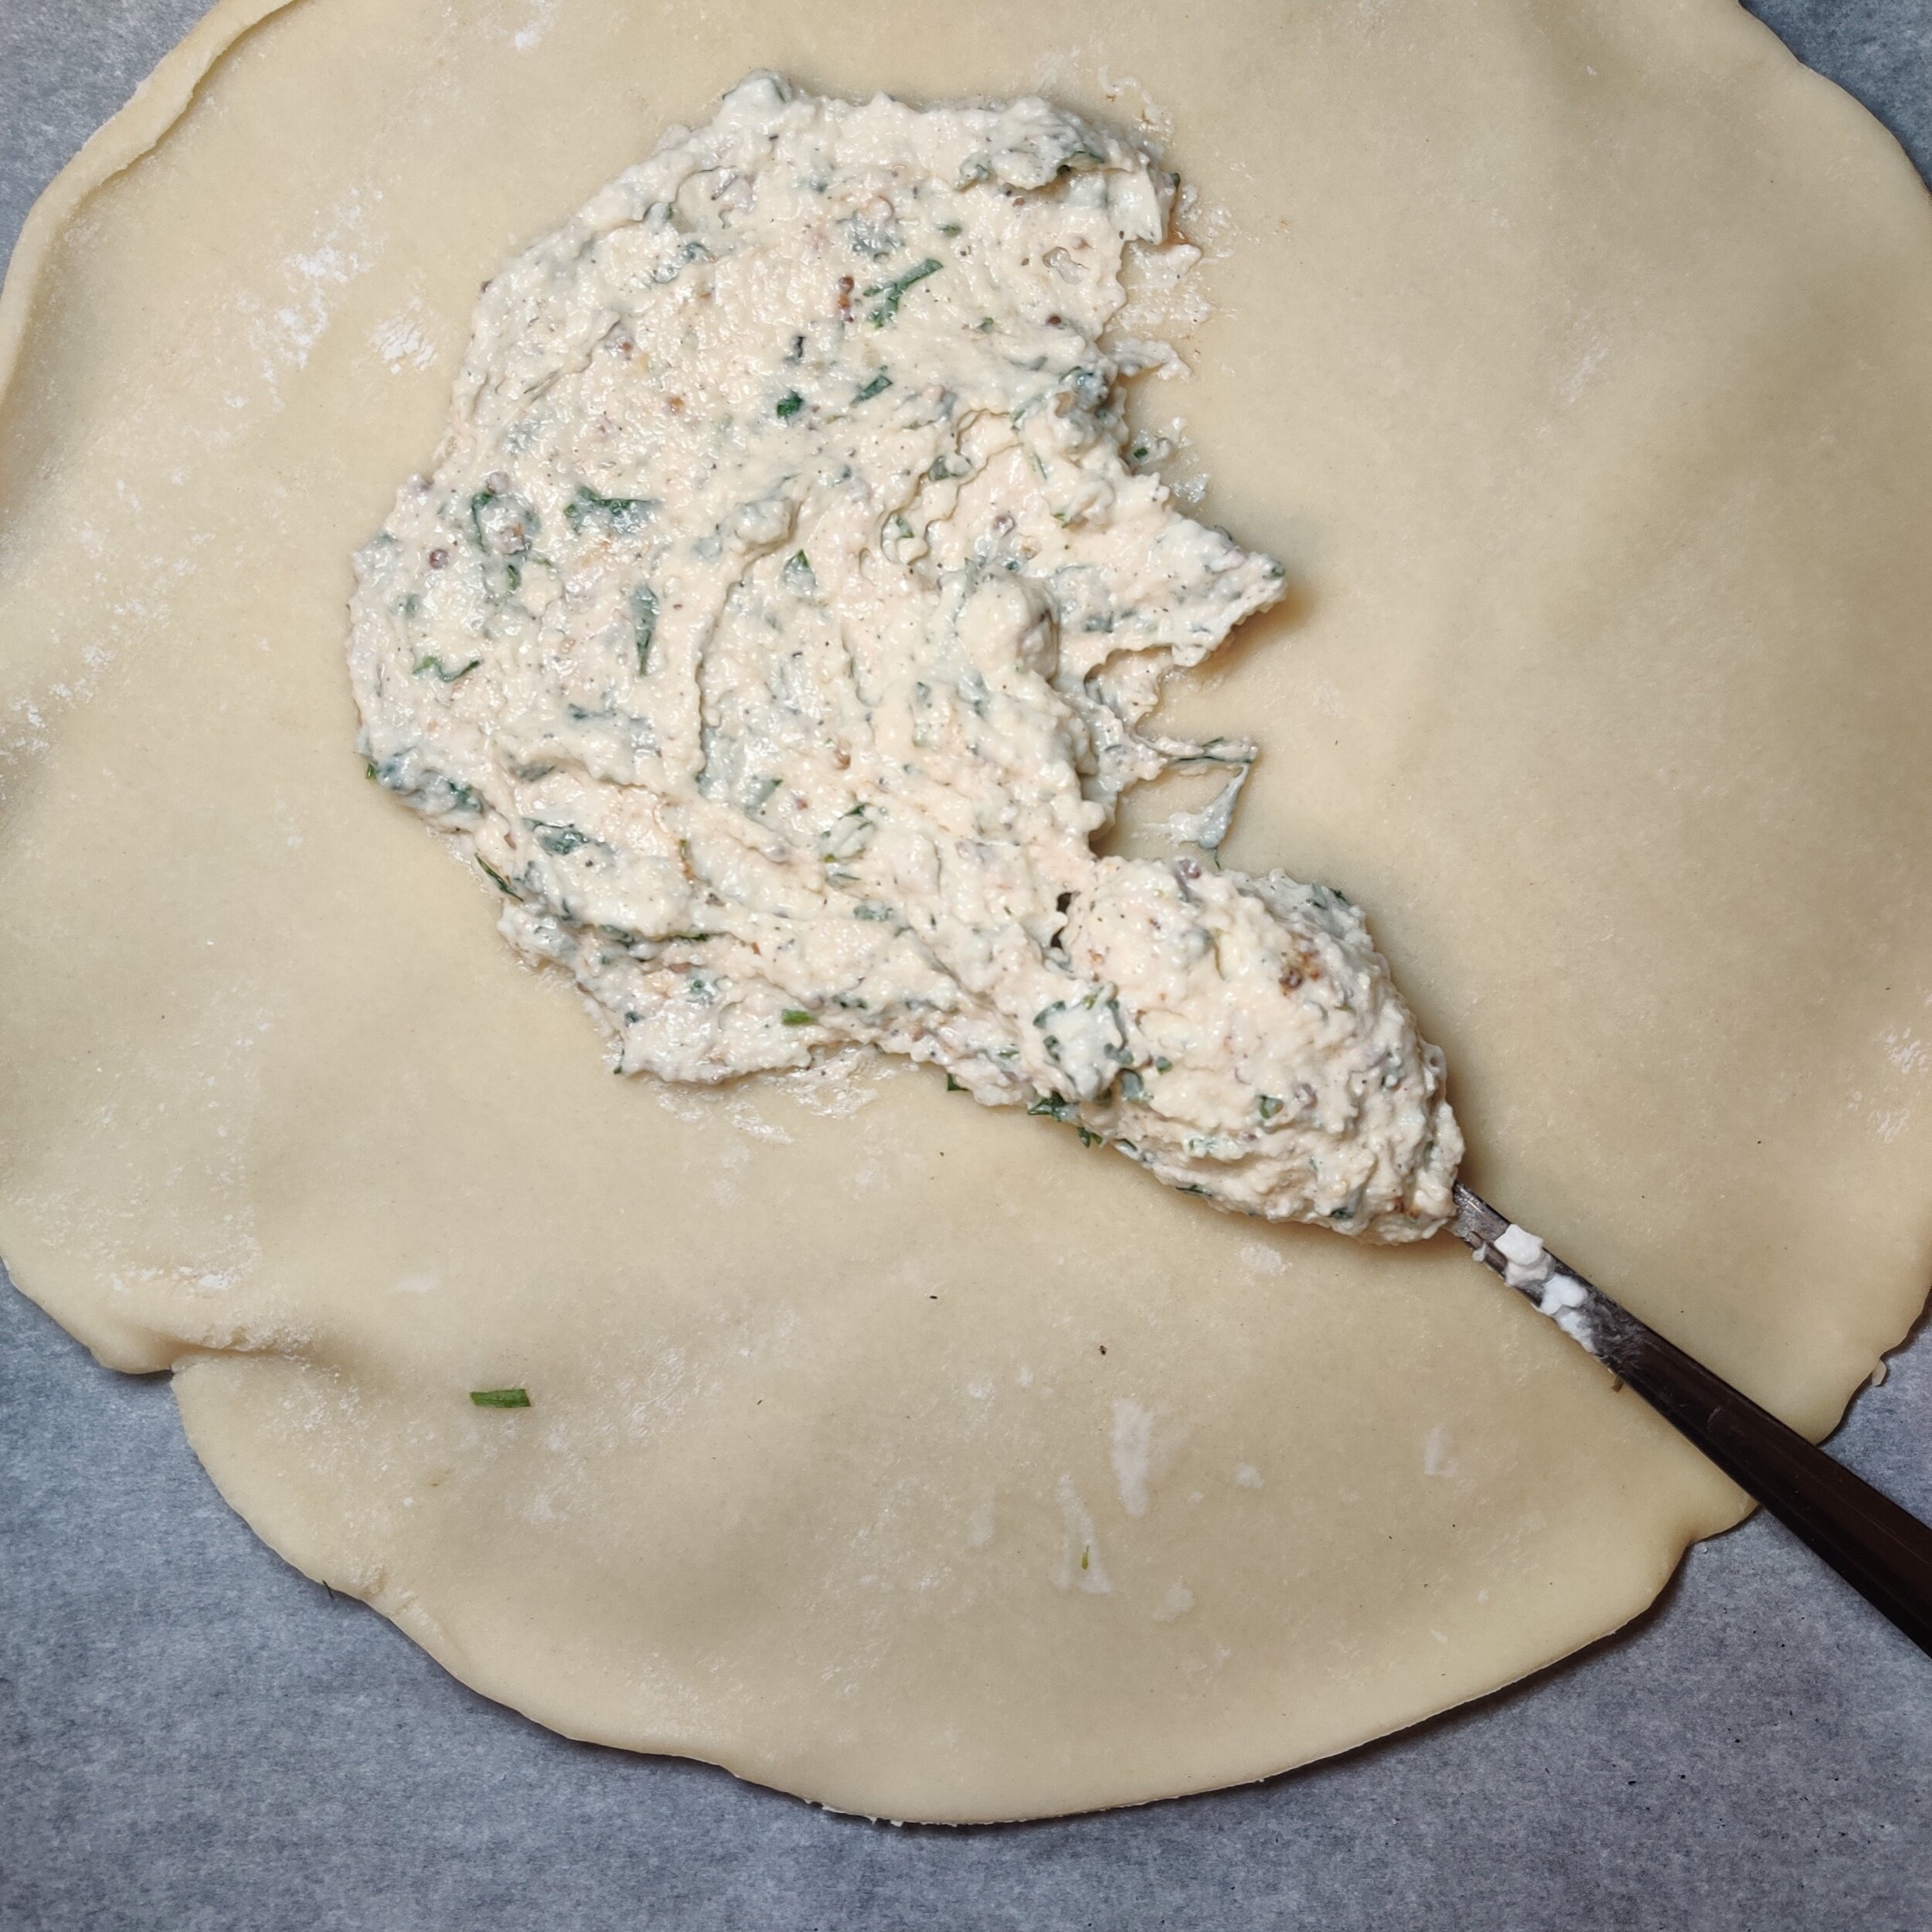
Get a medium-sized bowl, and mix the parmesan cheese, ricotta, tarragon, fresh garlic, parsley, olive oil, biltong seasoning, salt, dried thyme, black pepper, lemon juice, and garlic powder until evenly incorporated. Season to taste!
Spread the mixture over the unrolled pie crust gently with a spoon, making sure not to 'overfill' the inside and leaving at least a 1/2 inch border.
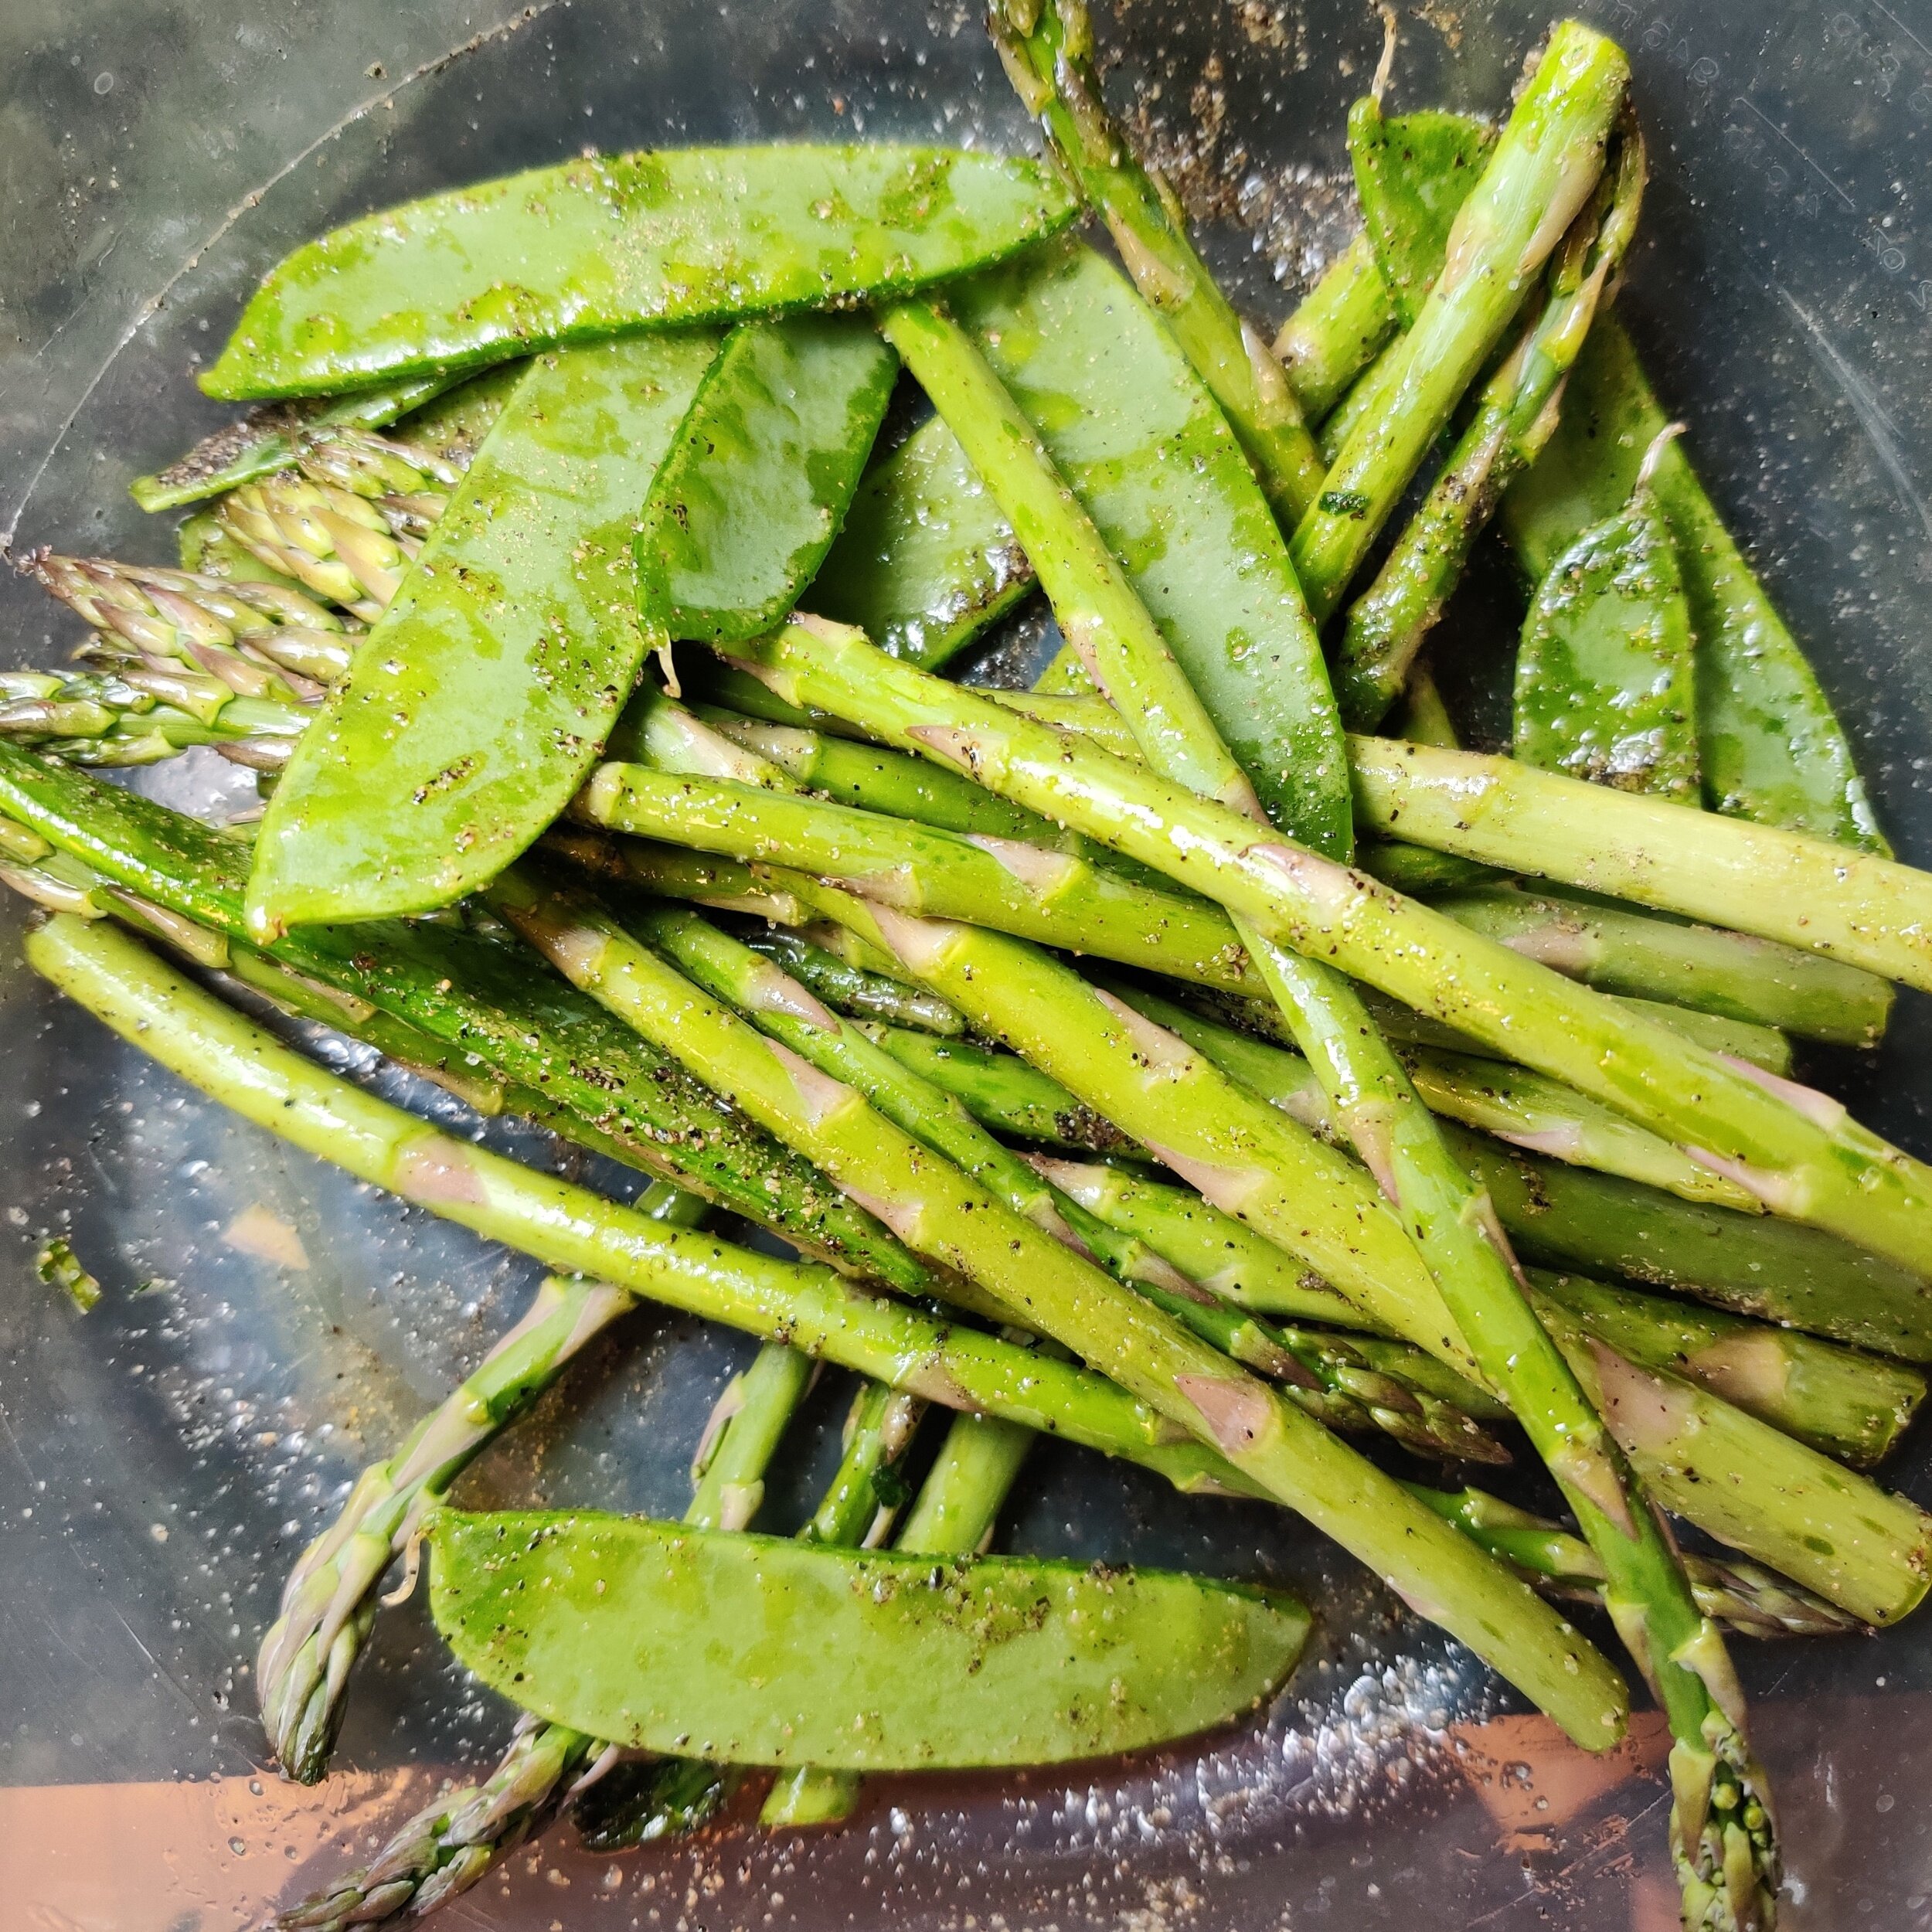
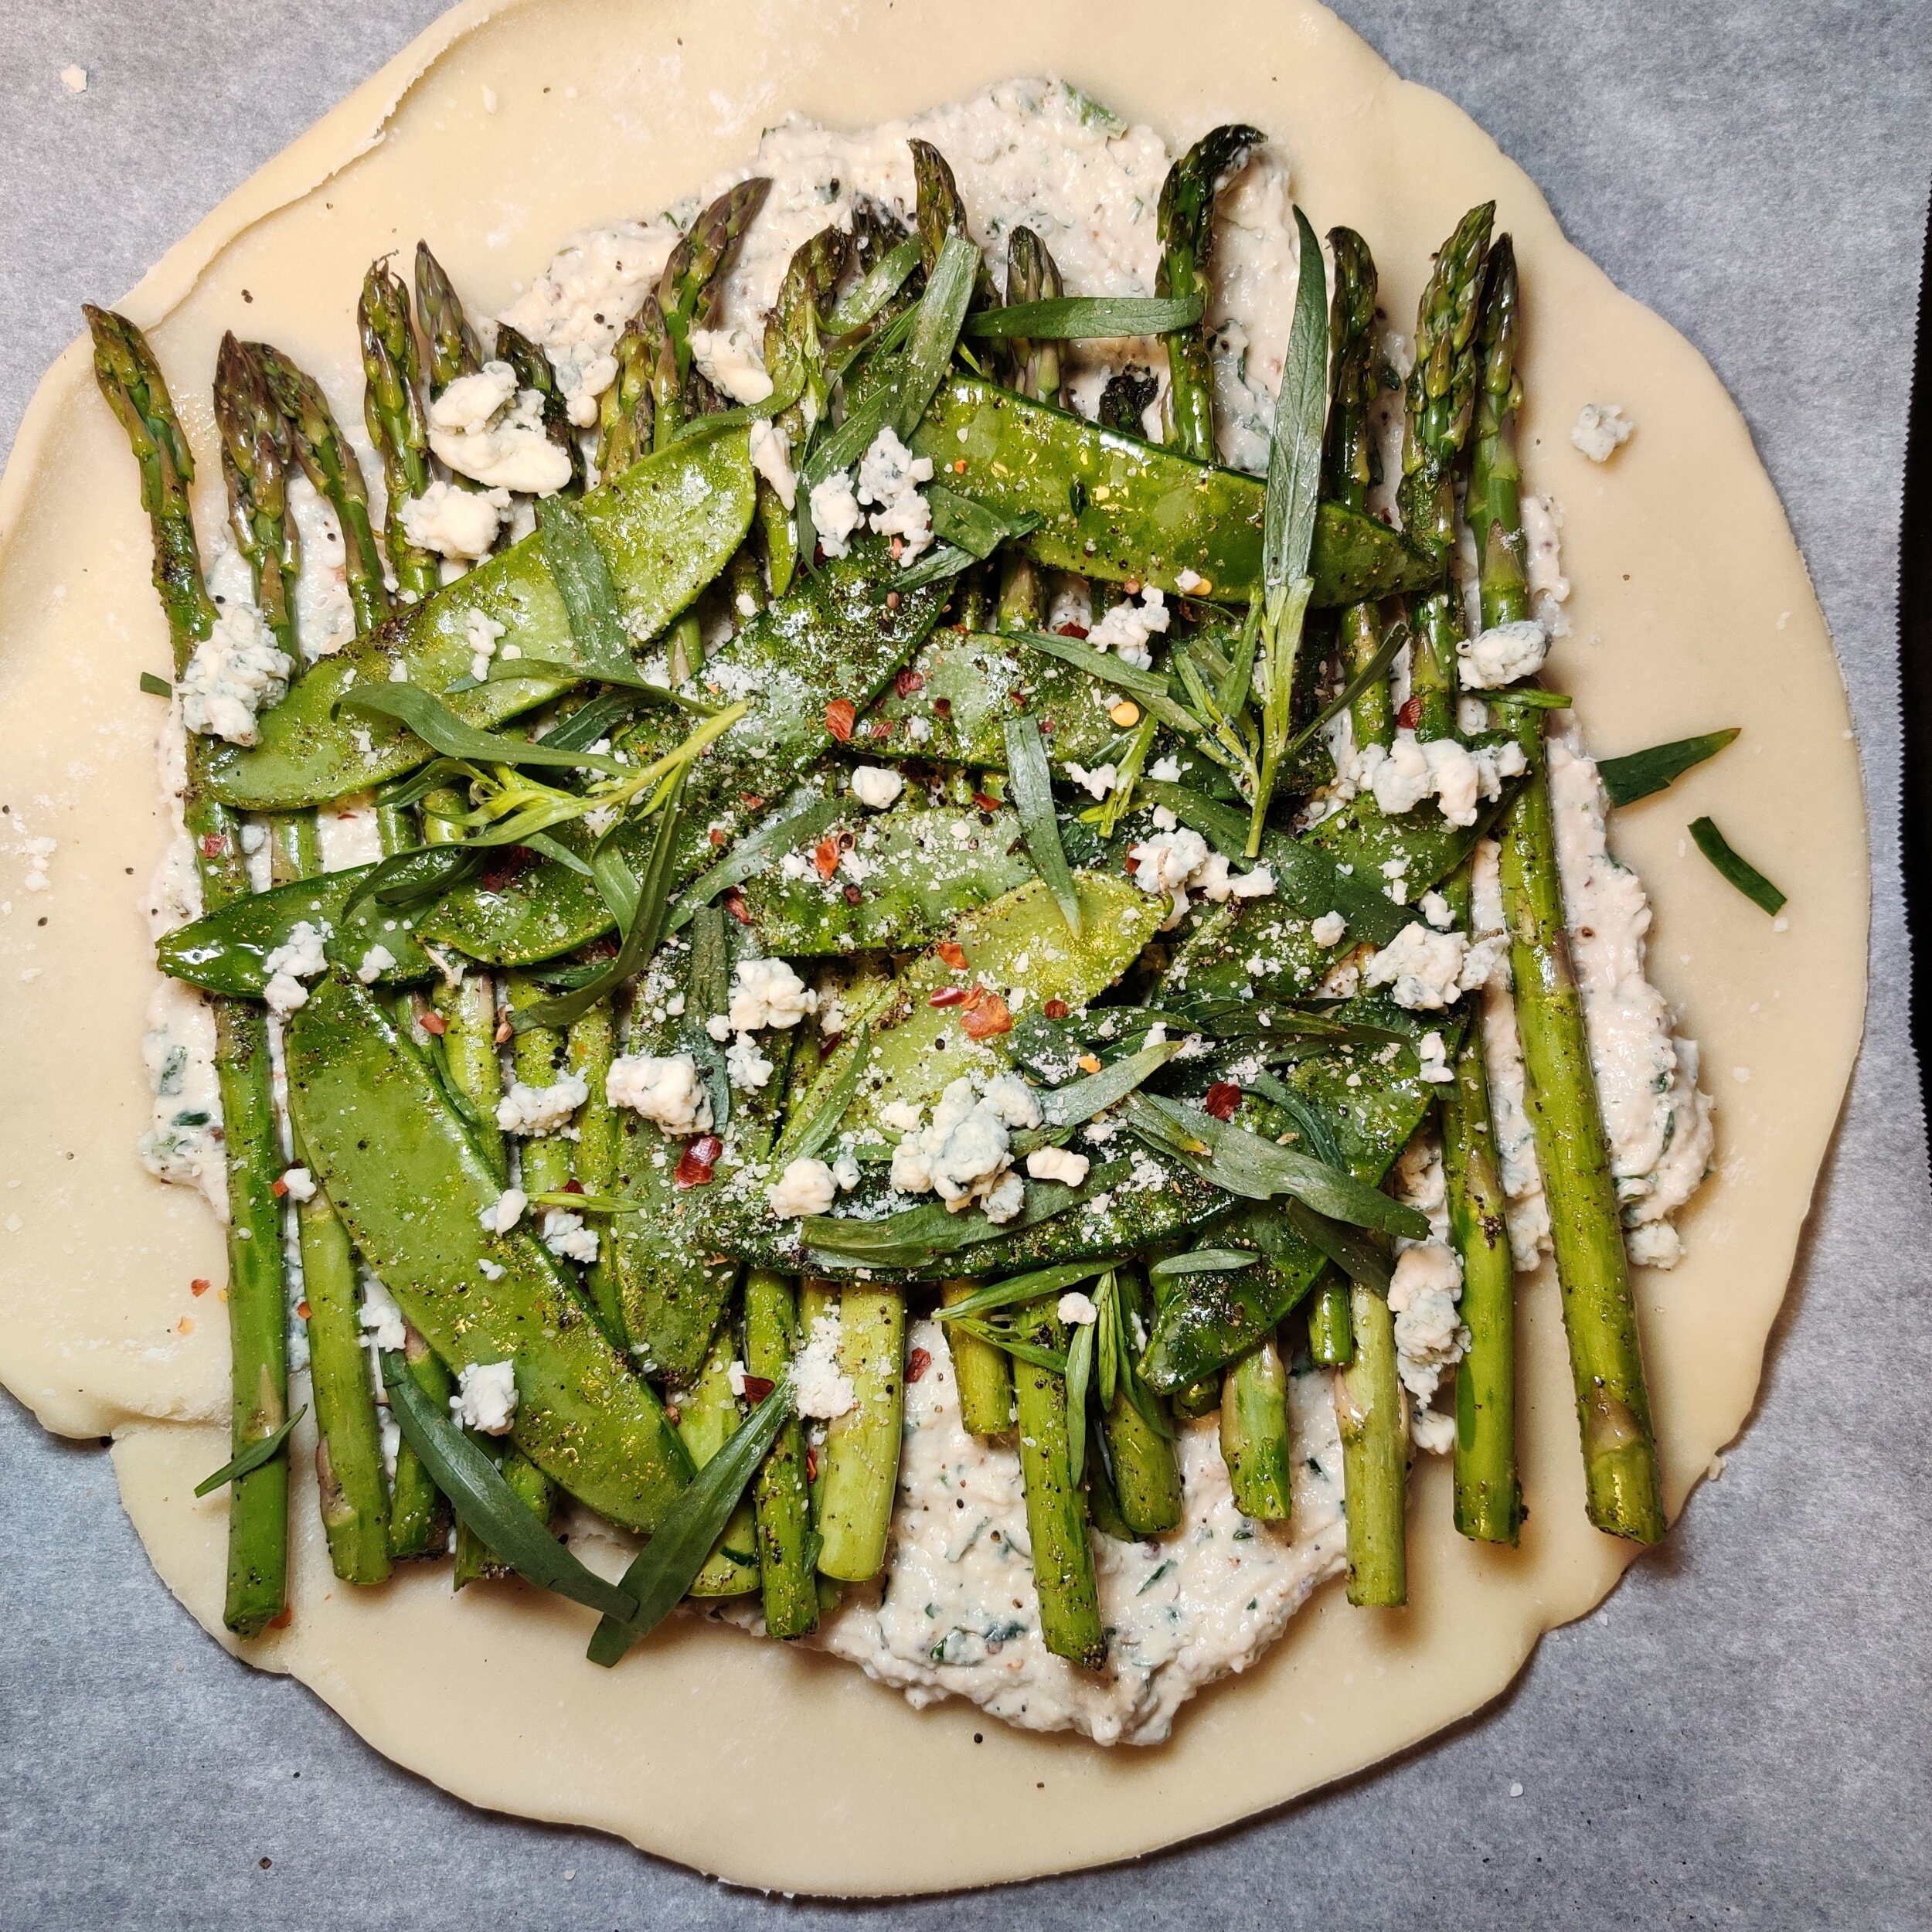
In a large bowl, toss the asparagus and snap peas in a little olive oil, salt and pepper. Lay the stalks over the cheese mix, followed by the snap peas, some additional tarragon leaves, the blue cheese and some parmesan cheese to garnish.
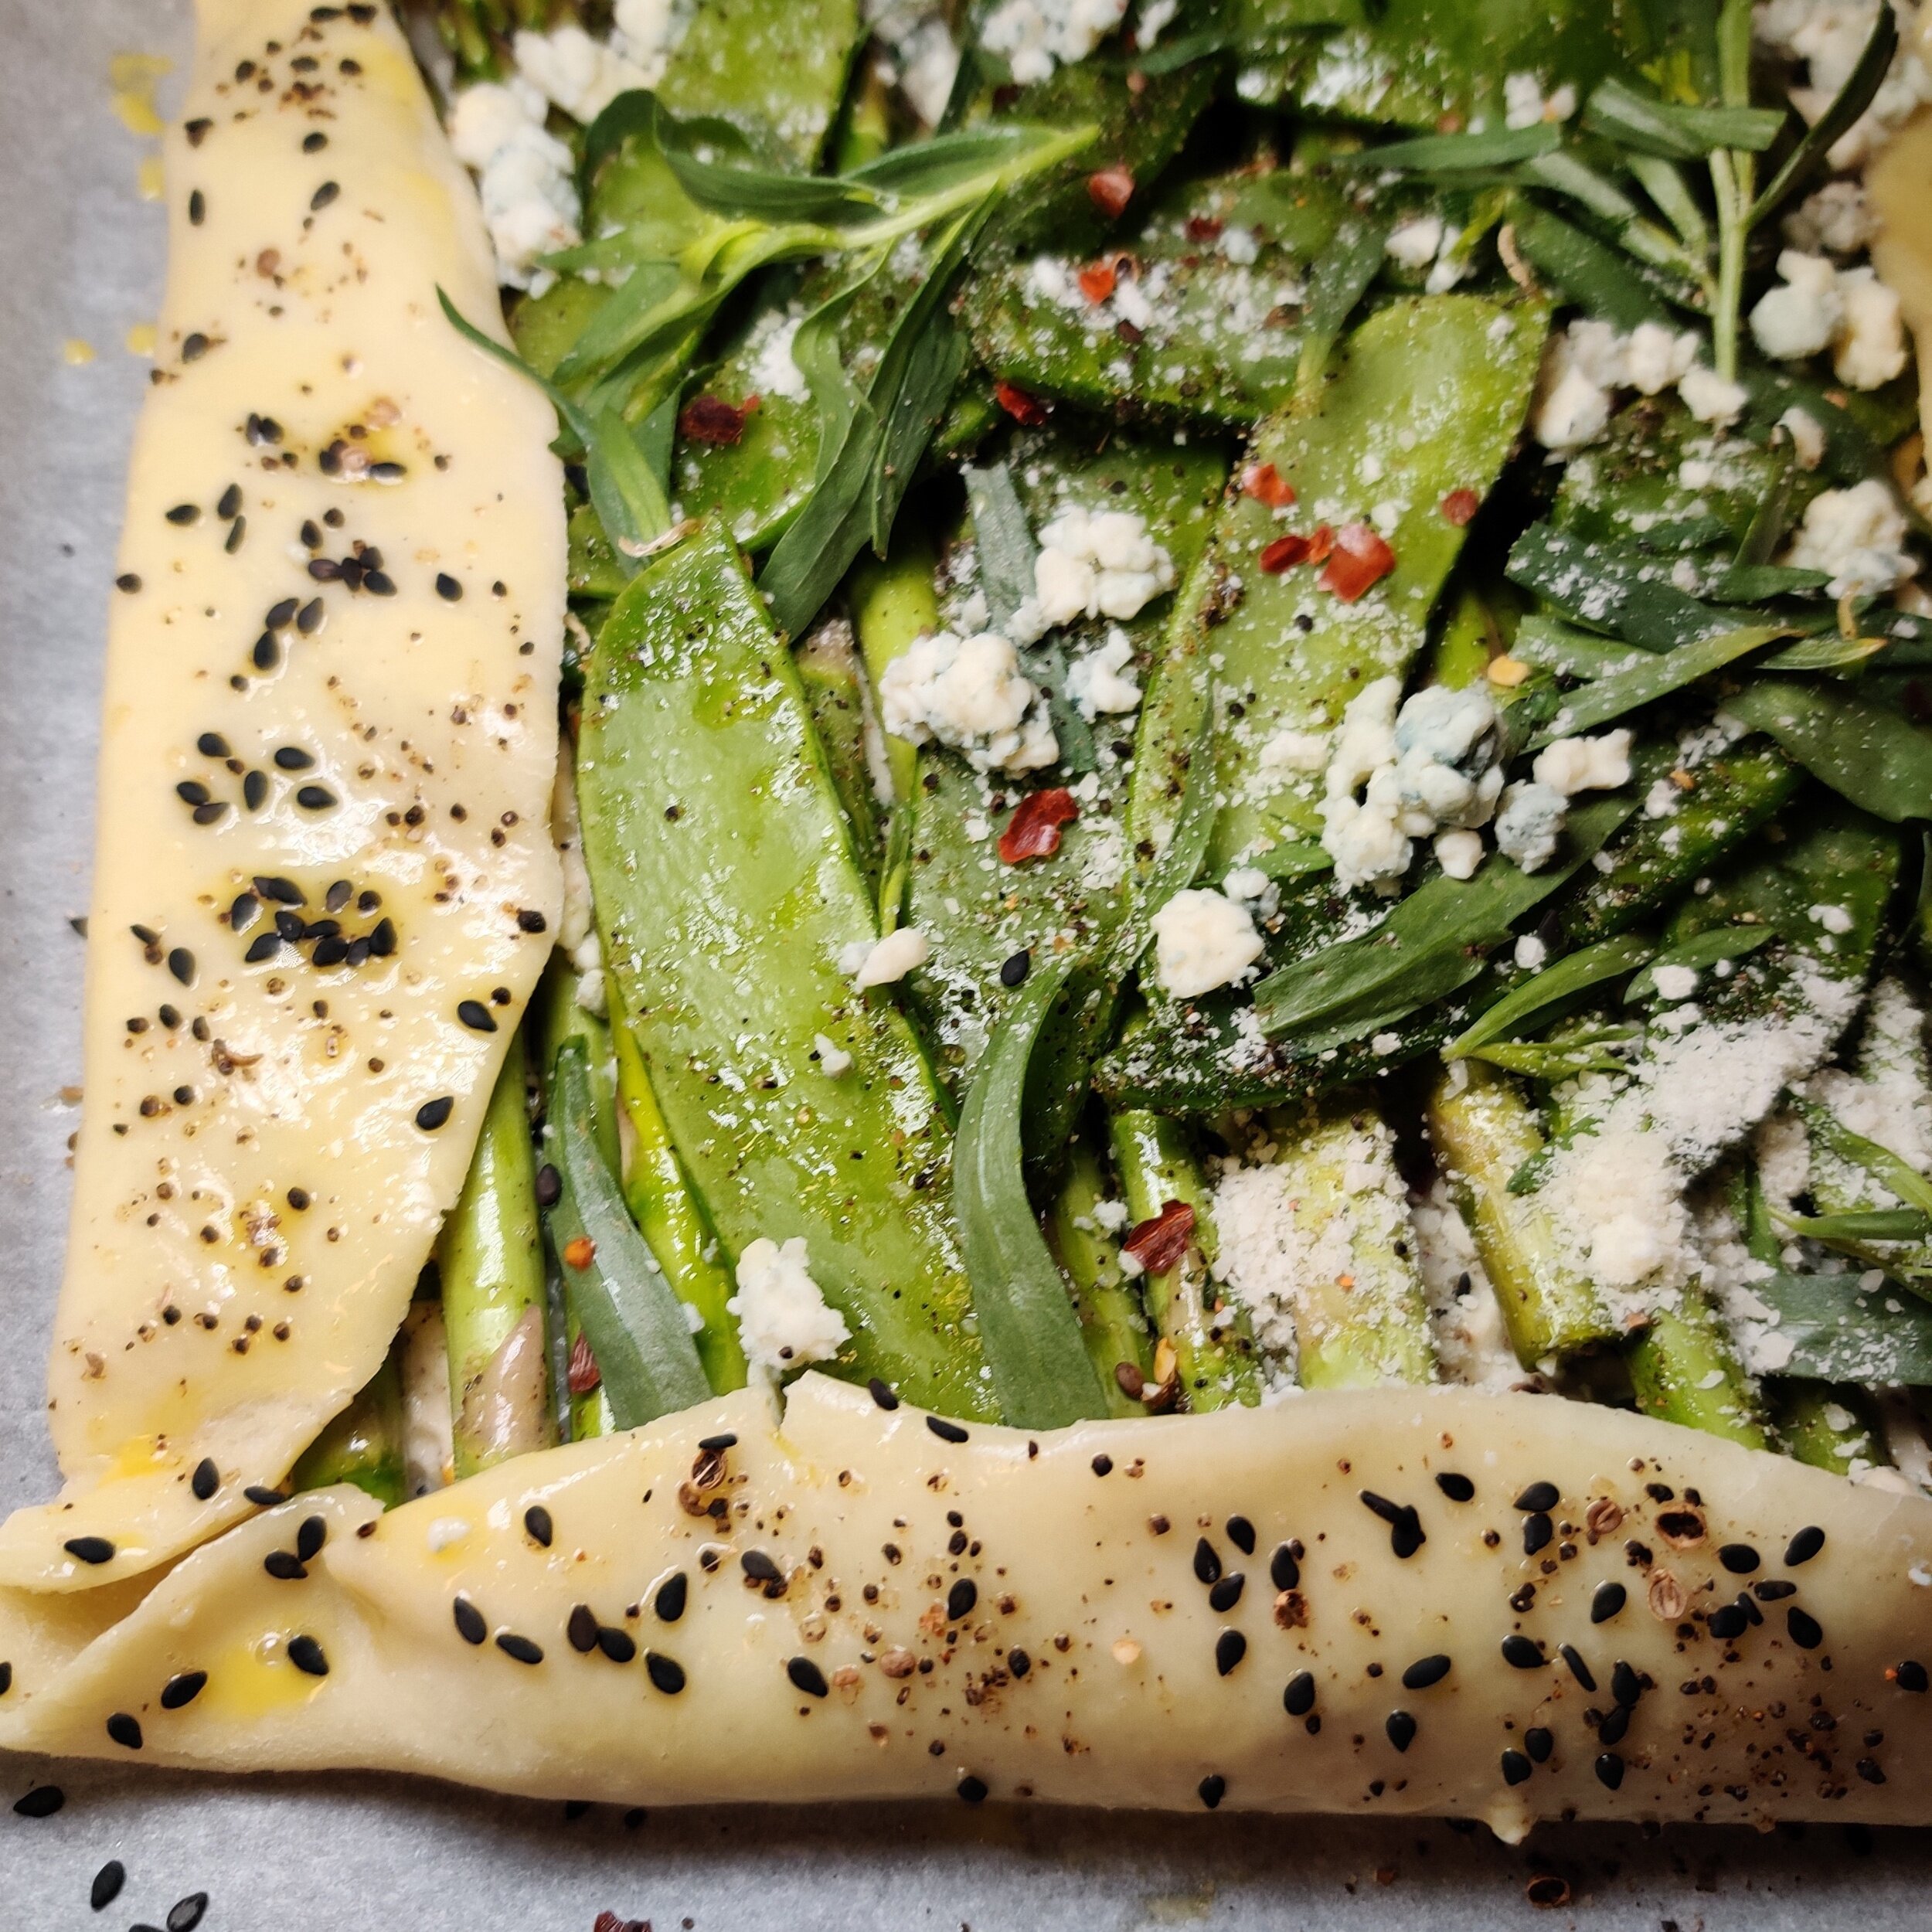
Fold the border edges over to make an open-faced frame, making sure both ends of the asparagus are tucked in or not visible.
Brush with the pie crust edges with the egg wash and sprinkle the sesame seeds on top.
Bake at 400F for 35-40 minutes on a parchment-lined baking tray, then remove from the oven.
Allow for the bubbling to stop and set the galette aside to cool for about 10 minutes. Garnish with additional tarragon leaves and scallions.


Maque Choux (Creamy Corn and Green Pepper)
If you're a sucker for creamed corn, you'll like this recipe. It's a great side or even a standalone meal. The dish comes out of Louisiana, with history and origins rooted in Native American food and culture and French influence.
If you are looking for anything corn related, I have several other recipes that can speak to your soul, so check them out!
Maque Choux is a mix of corn kernels, and bell peppers sautéed, sometimes with the addition of celery and tomato. Many people use bacon fat to add a smokey flavour, but that can also overpower the natural flavour and subtly of the vegetables, especially when they are fresh. The addition of cream is another way to add a richness factor to the dish. In this case, I used coconut cream to make is plant-based and add a slightly different flavour dimension. I also add a little bit of vegan cheese to make it extra creamy.
Like most of the dishes I post, you can customize accordingly!
Ingredients
3-5 fresh corn cobs, kernels sliced off
1/2 teaspoon sugar
1 teaspoon red chili flakes
1/2 teaspoon smoked paprika
3/4 cup coconut cream (or heavy cream)
2-3 scallions, chopped
1 tablespoon garlic, minced
1 large stick celery, diced
2 tablespoons butter
1/4 cup fresh parsley, chopped
1 1/2 teaspoons salt
1 tablespoon black pepper
1/2 large red onion, diced
1 large green bell pepper, diced
1 tablespoon (vegan) parmesan, grated
1/2 chili pepper, diced
Instructions
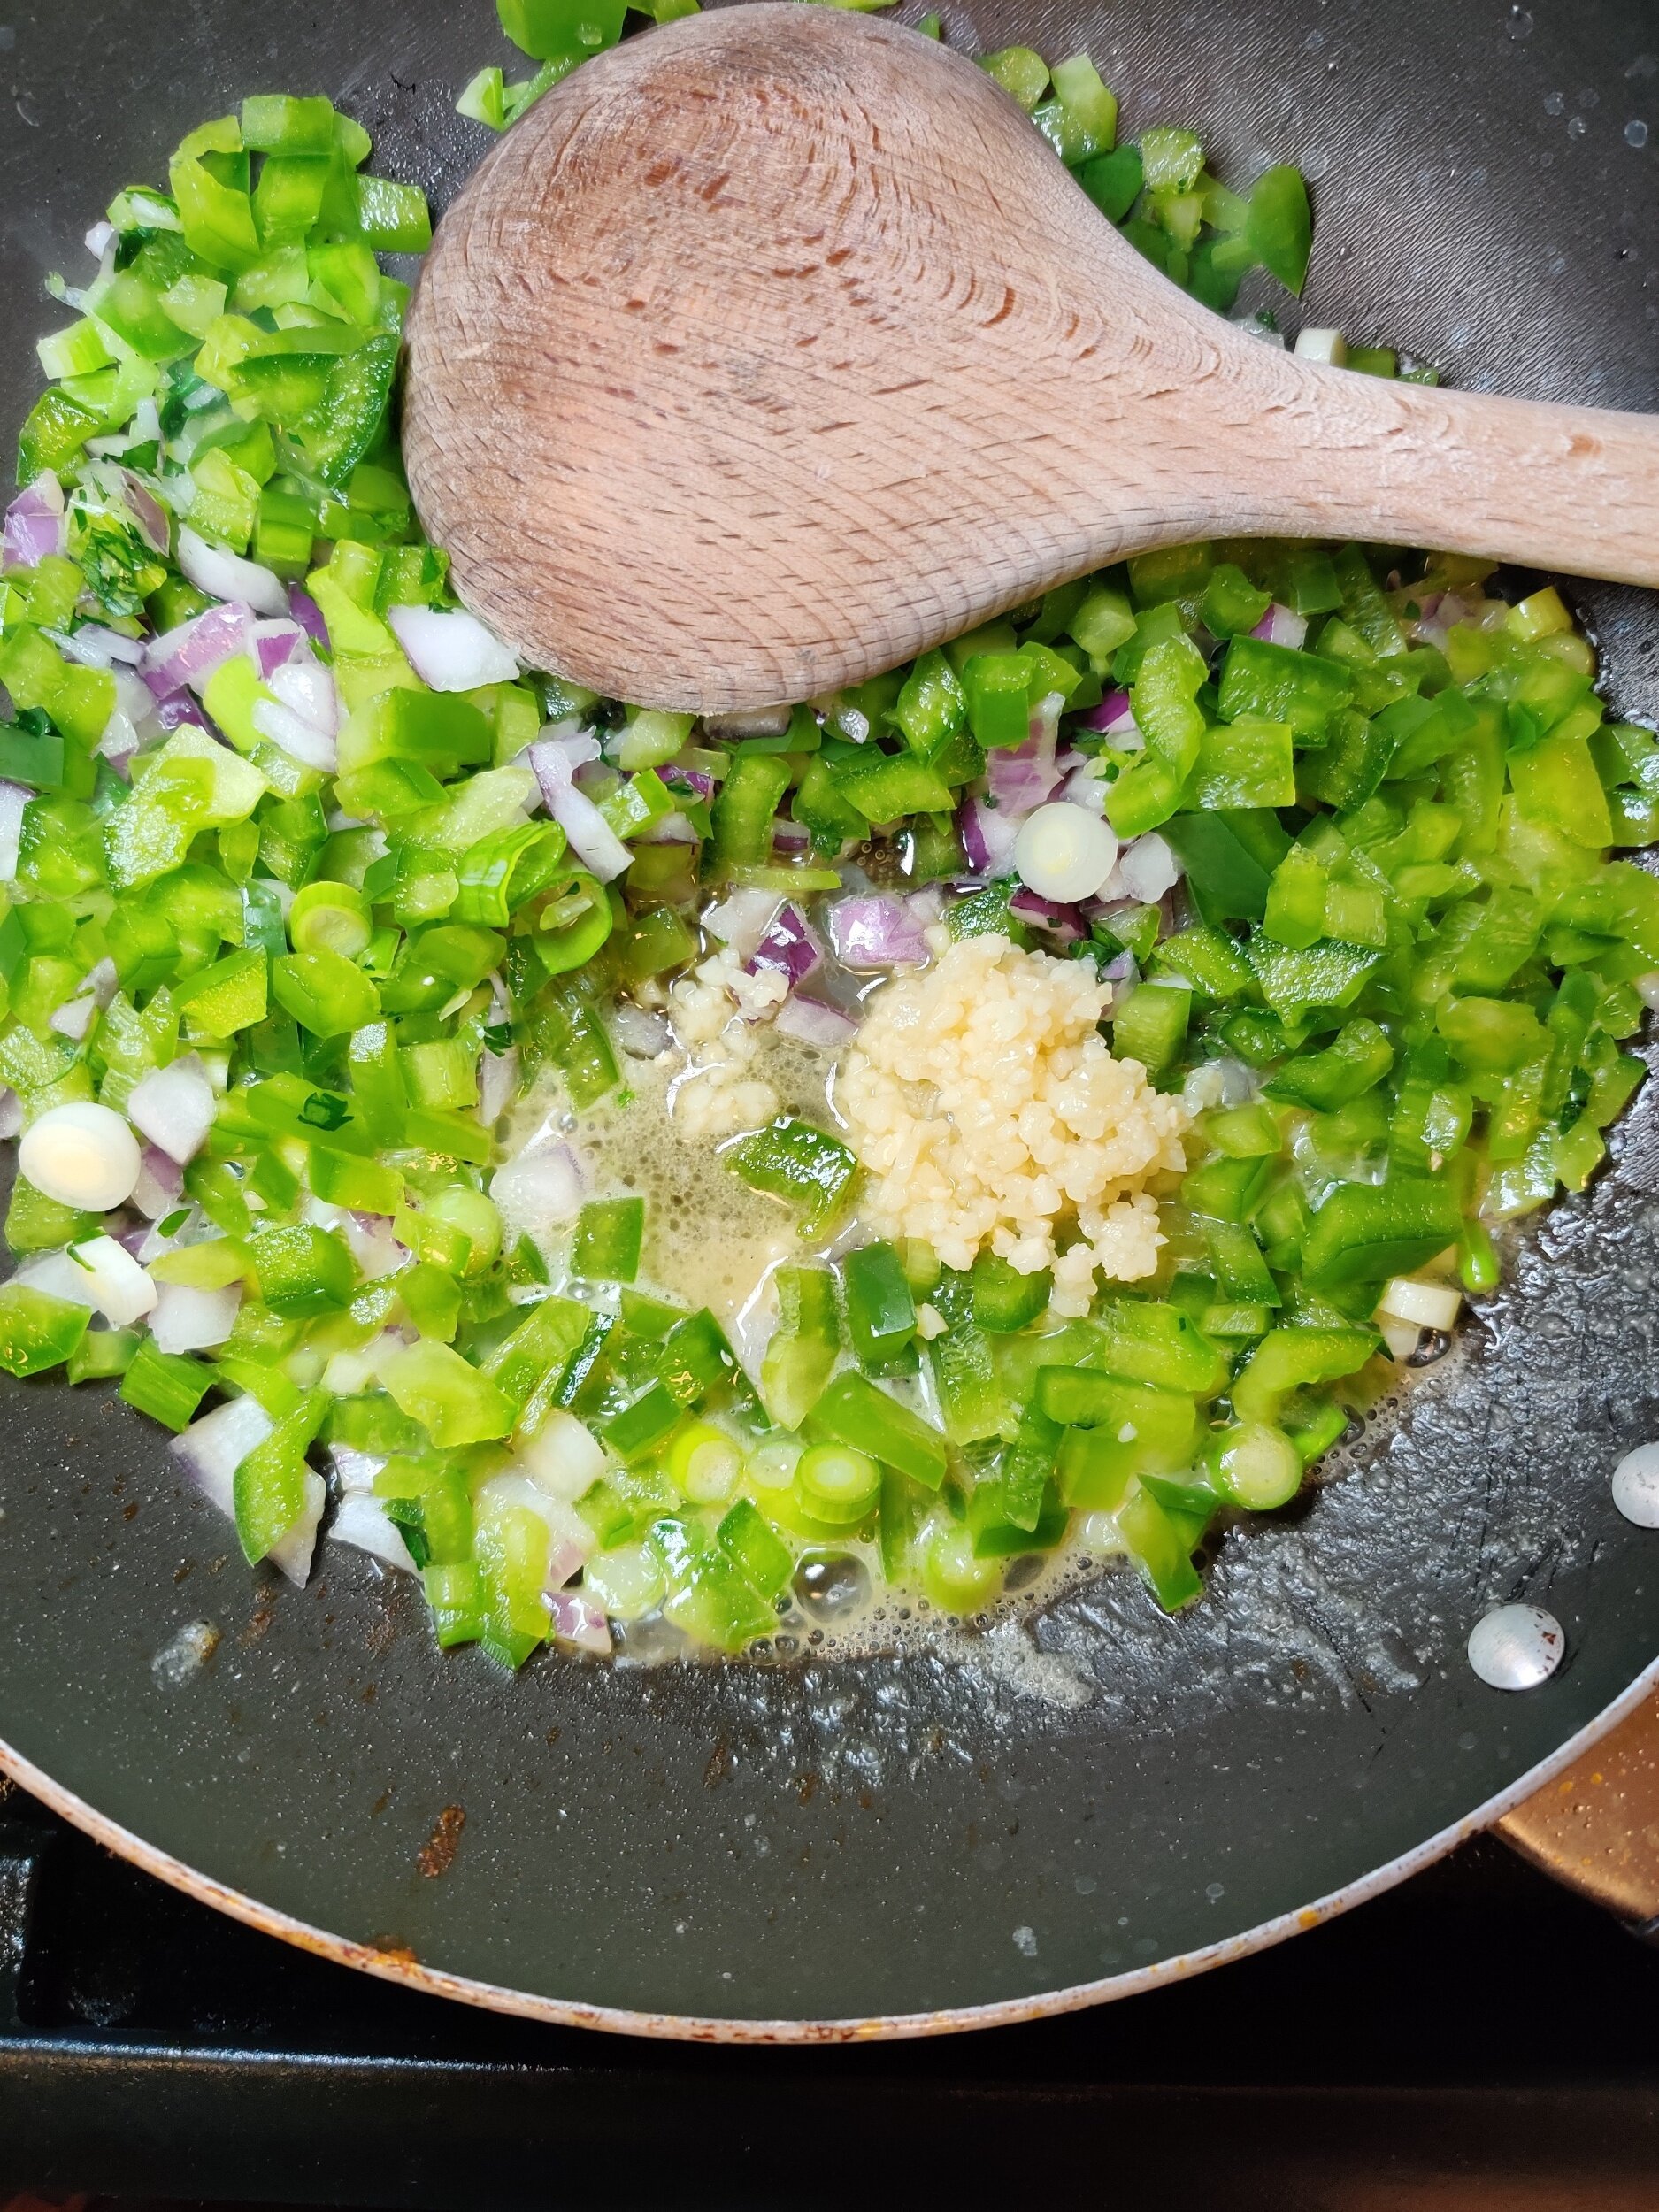
Add the red onion to a nonstick saucepan with the melted butter, along with the garlic, chilli, green pepper and celery. Saute for about 5 minutes to sweat out the vegetables.
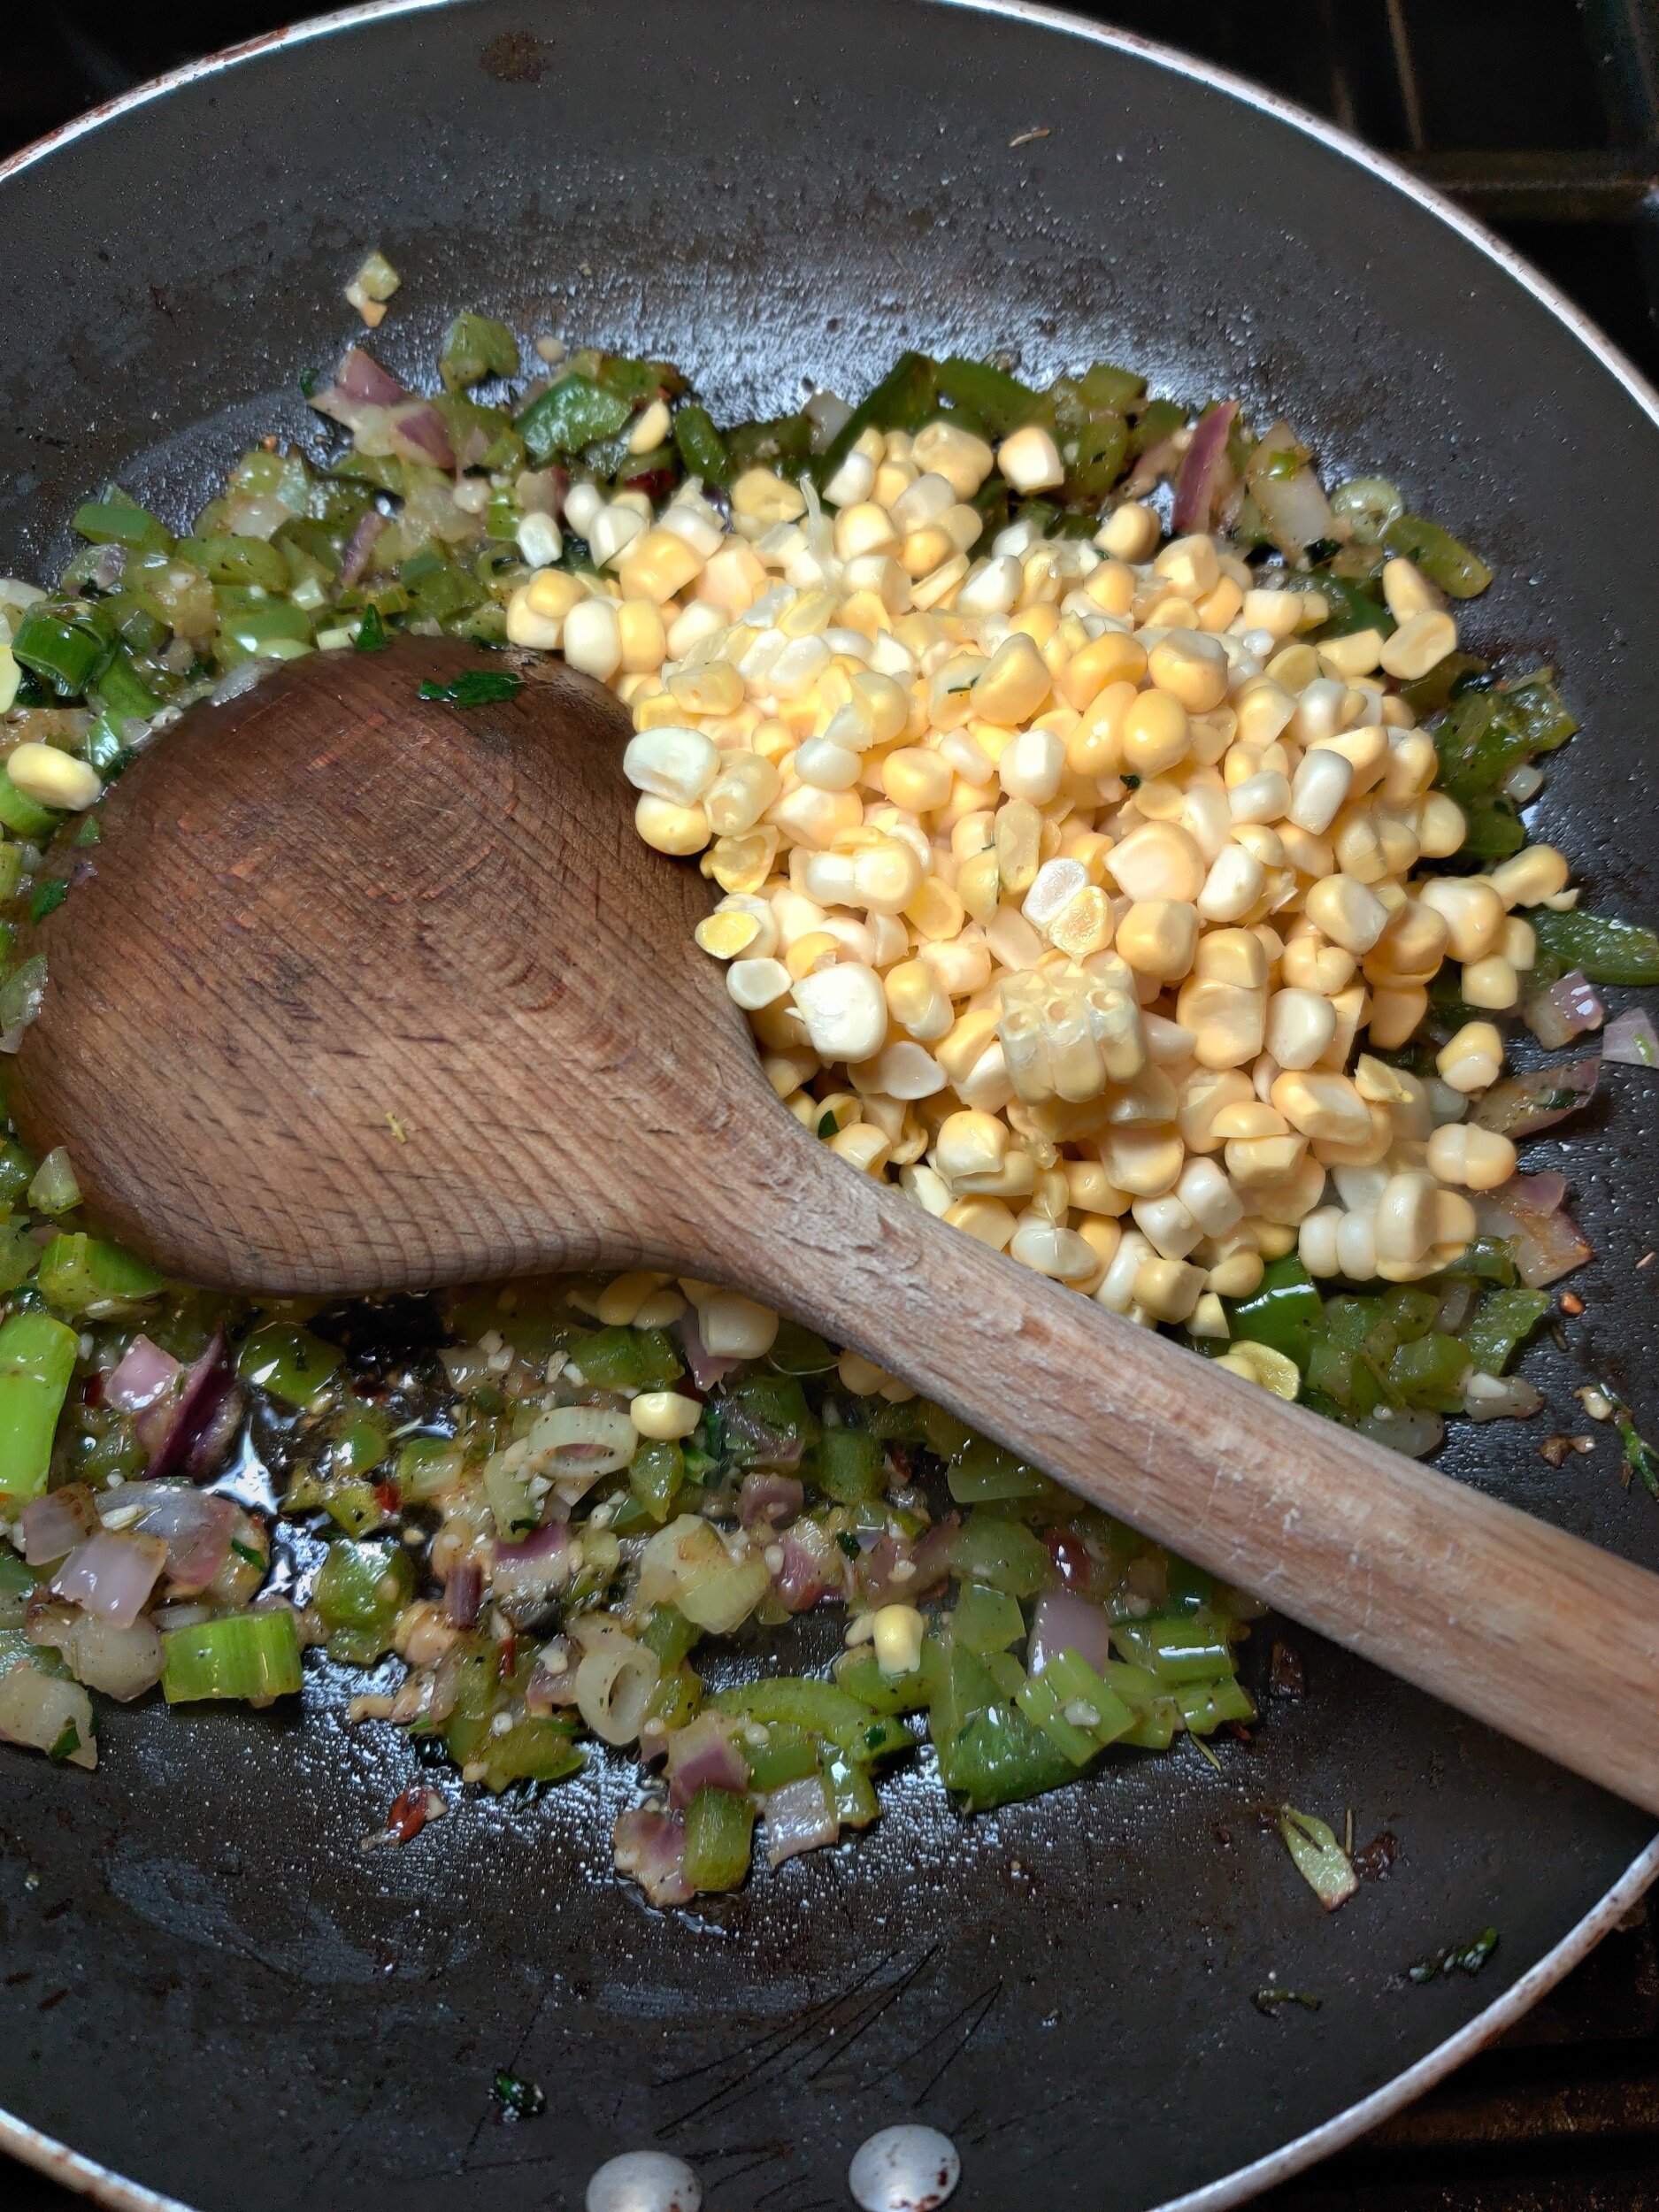
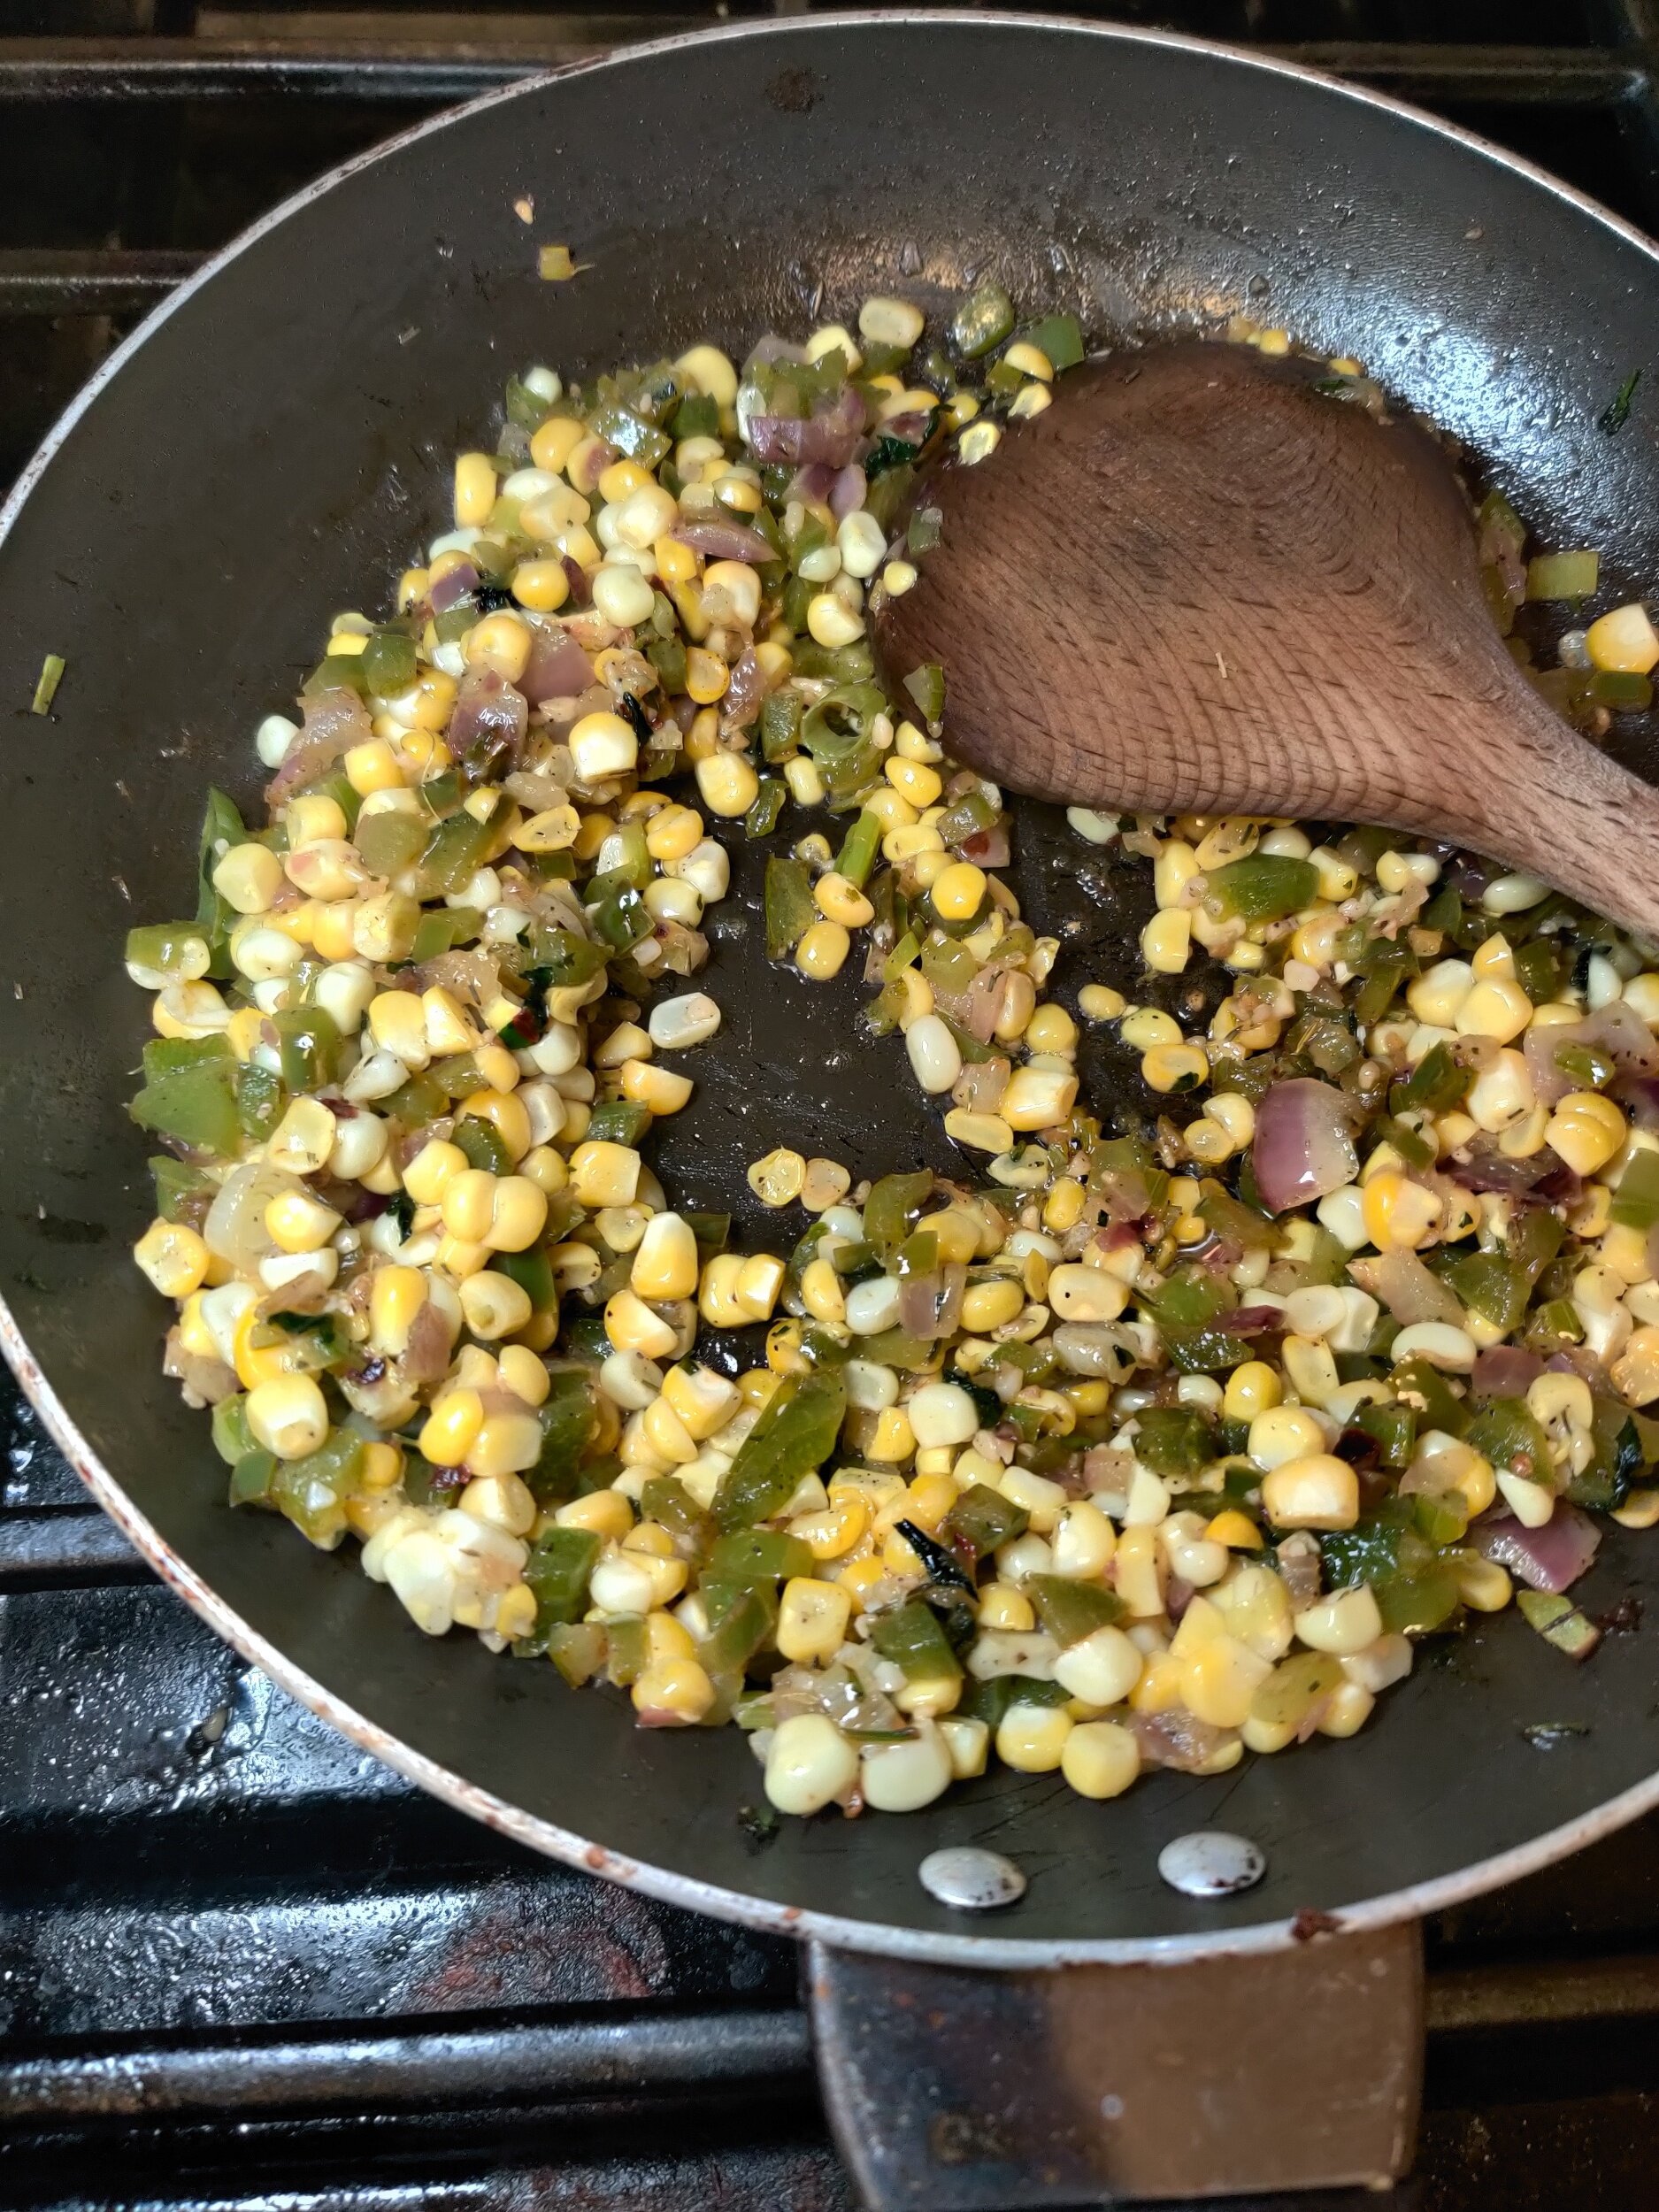
Add the seasoning and cook for about 2-3 minutes. Follow with the corn and cook until done, another 4-5 minutes.
Gradually add the coconut cream, stirring to thicken the mixture, then simmer for about 3-4 minutes. Add in the parsley and green onion, leave on heat for a final 1-2 minutes before removing from the stovetop. Serve hot!

Cheesy Mushroom Galette with Ricotta and Gruyere
You know this website has a series of galettes if you're looking for them! I will continue to add them to the repertoire, as they are easy to make, customizable and delicious. Also, if you are looking for a quick sure way to impress, I recommend these. Galettes naturally look sophisticated even though it's essentially a free form open-faced pie you can stuff with whatever you like. Try this Tomato, Thyme and Cheese, or this Pumpkin, Caramelized Onion, and Feta version for my savoury lovers. For my sweet lovers, you can find this Blackberry, Mint and Ricotta.
Since we're on the subject of ricotta, I love using it for both sweet and savoury recipes. It has a subtle yet distinct flavour that lends it's well to blend with other ingredients, adding a creamy element and moisture. From lasagna to pastry fillings, it should be no surprise you to see it used widely. If you're vegan or dairy-free, luckily, manufacturers now make a specific milk-free version (I use the one from Tofutti).
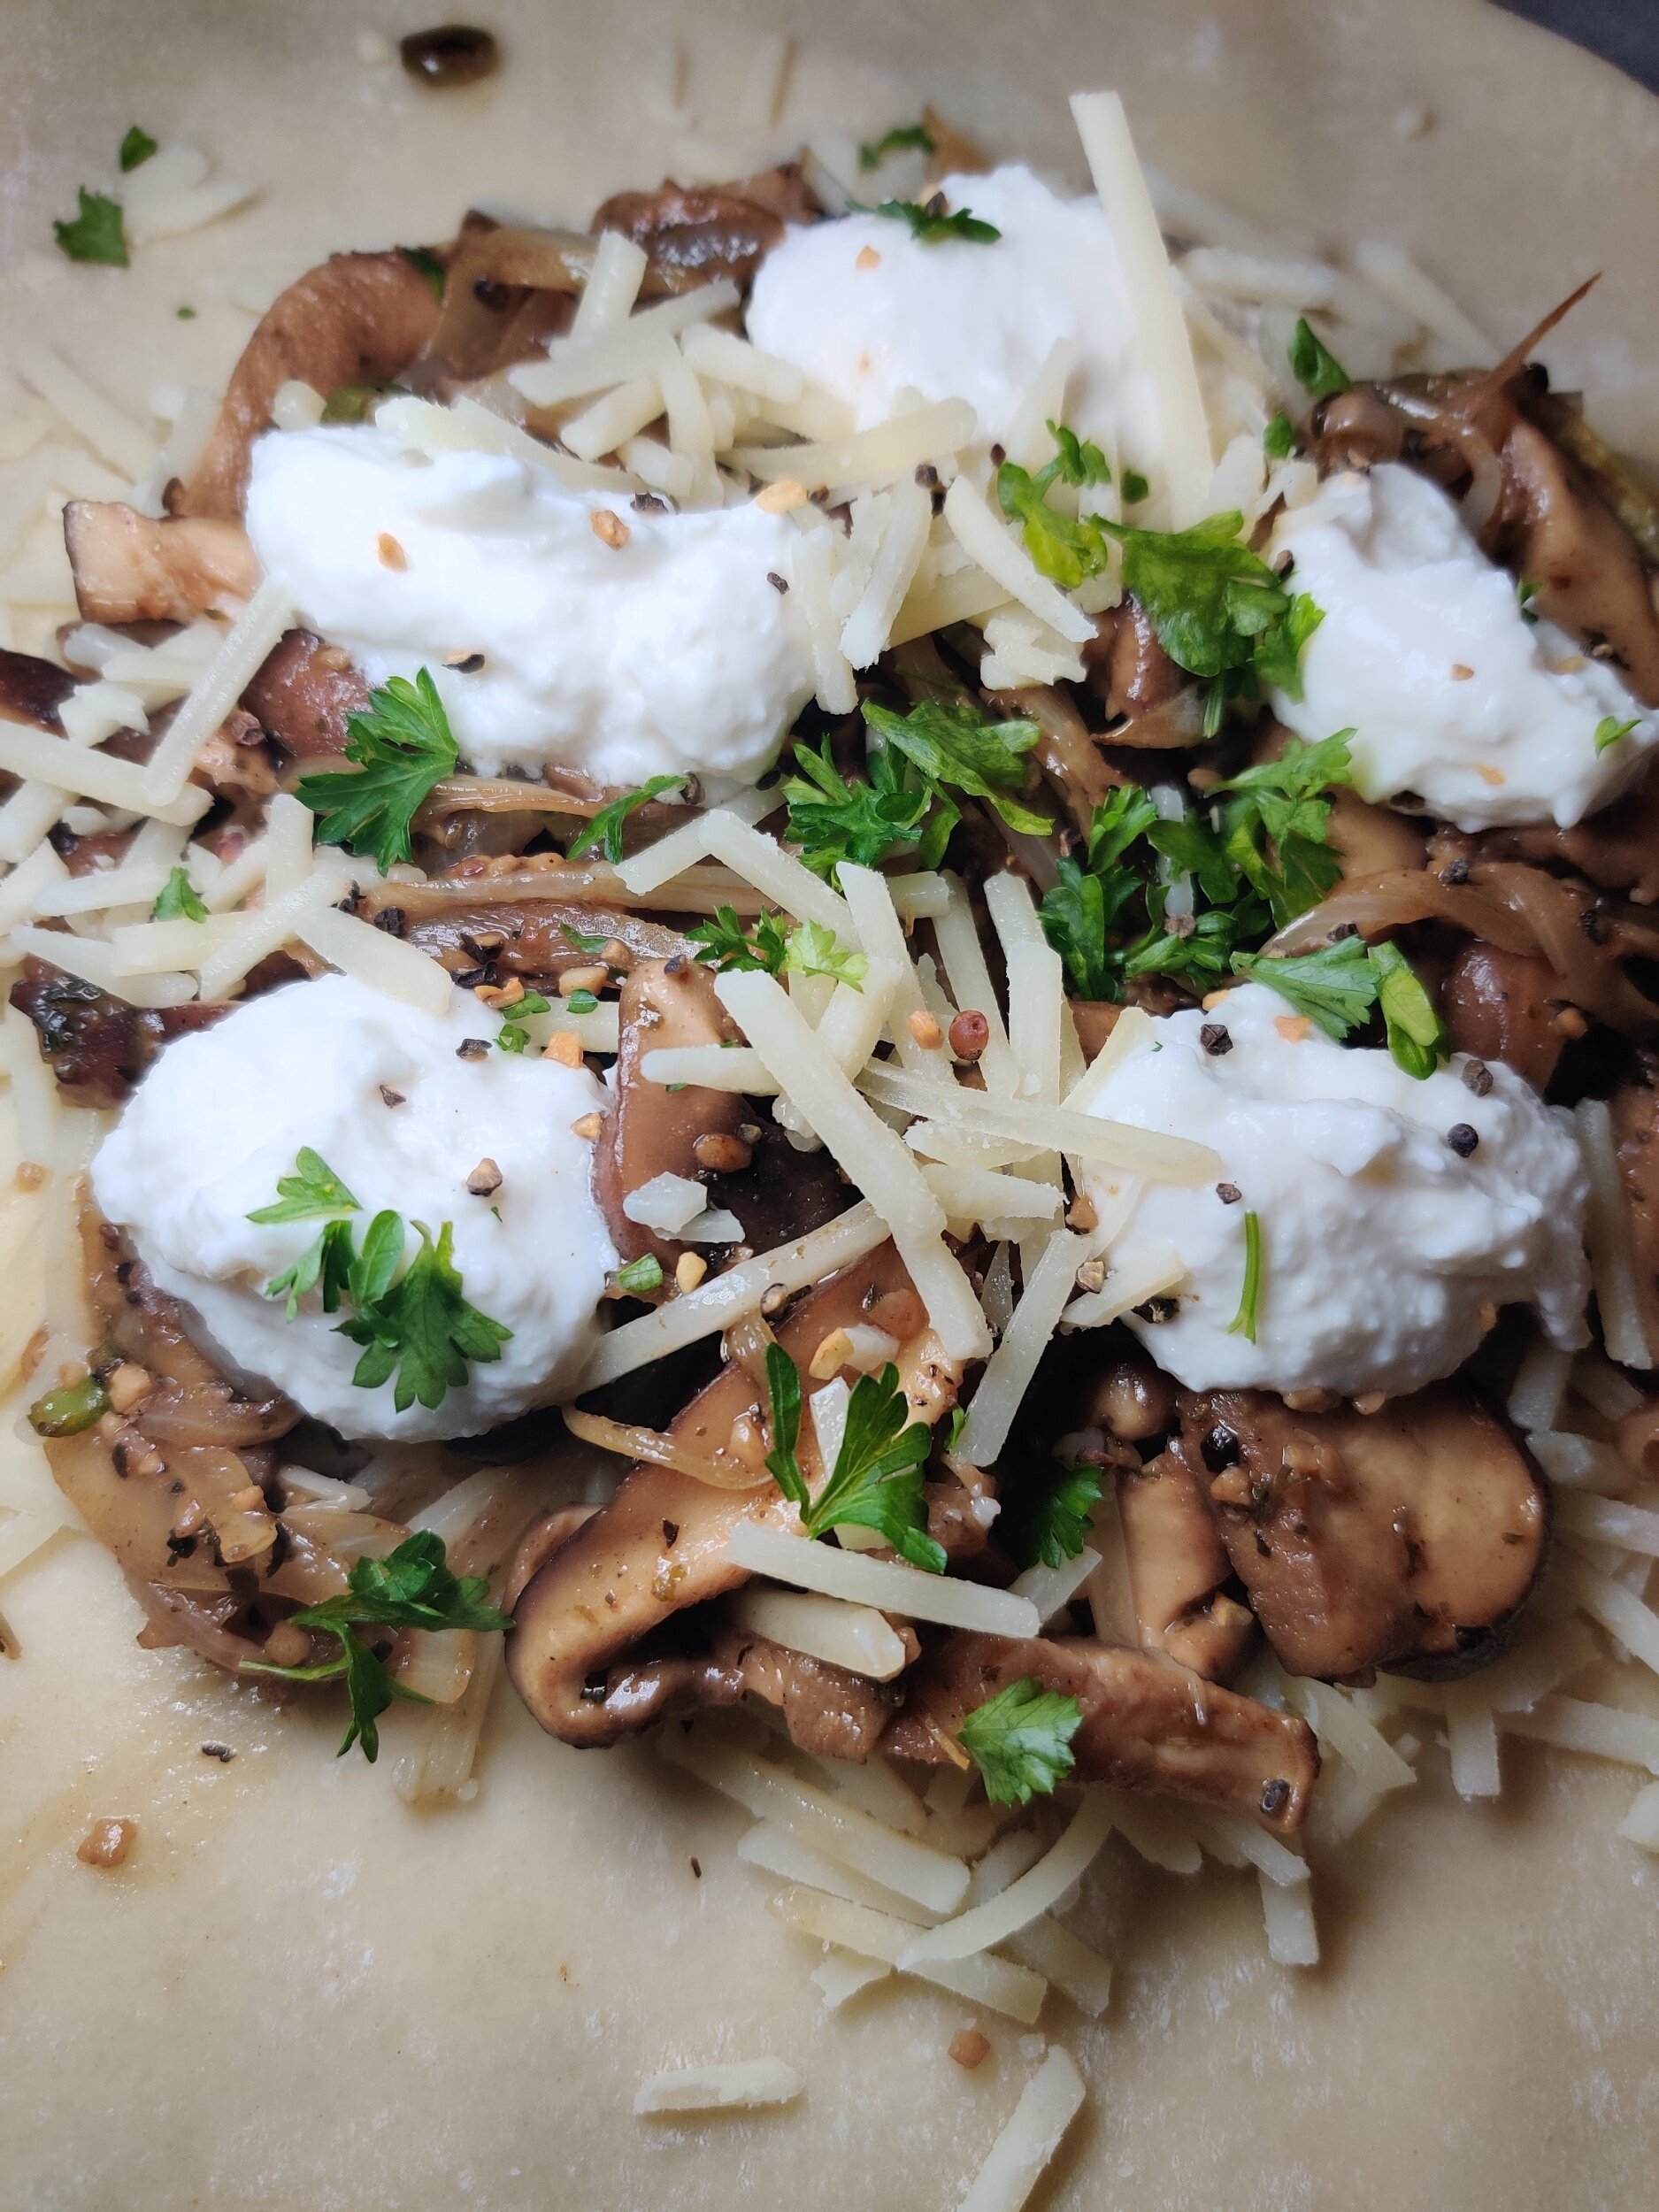
In this case, I add the ricotta as dollops to some juicy, sautéed shiitake mushrooms and caramelized onions. The mushrooms provide the umami which every dish needs, while the ricotta, along with the gruyere cheese, the creaminess and balance of sweet and salty wrapped up in a buttery, flakey crust.
You can have this for breakfast, brunch, or as a light fare branch of dinner - so any time of the day!
Ingredients
1 pack (5-ounces) shiitake mushrooms
1 pie crust, thawed to room temperature
1 small yellow onion, sliced thinly lengthwise
2 tablespoons olive oil
1 green chili, chopped
1 teaspoon coriander
1 teaspoon dried basil
1 teaspoon dried parsley
1 teaspoon cumin
1 teaspoon course salt and black pepper
1 teaspoon fresh parsley + extra for garnish
1 tablespoon Worcester sauce
1 tablespoon sherry
1/3 cup gruyere cheese
6-8 dollops or teaspoons ricotta cheese
1 egg + 1 teaspoon cold water (egg wash)
Truffle oil (optional)
Instructions
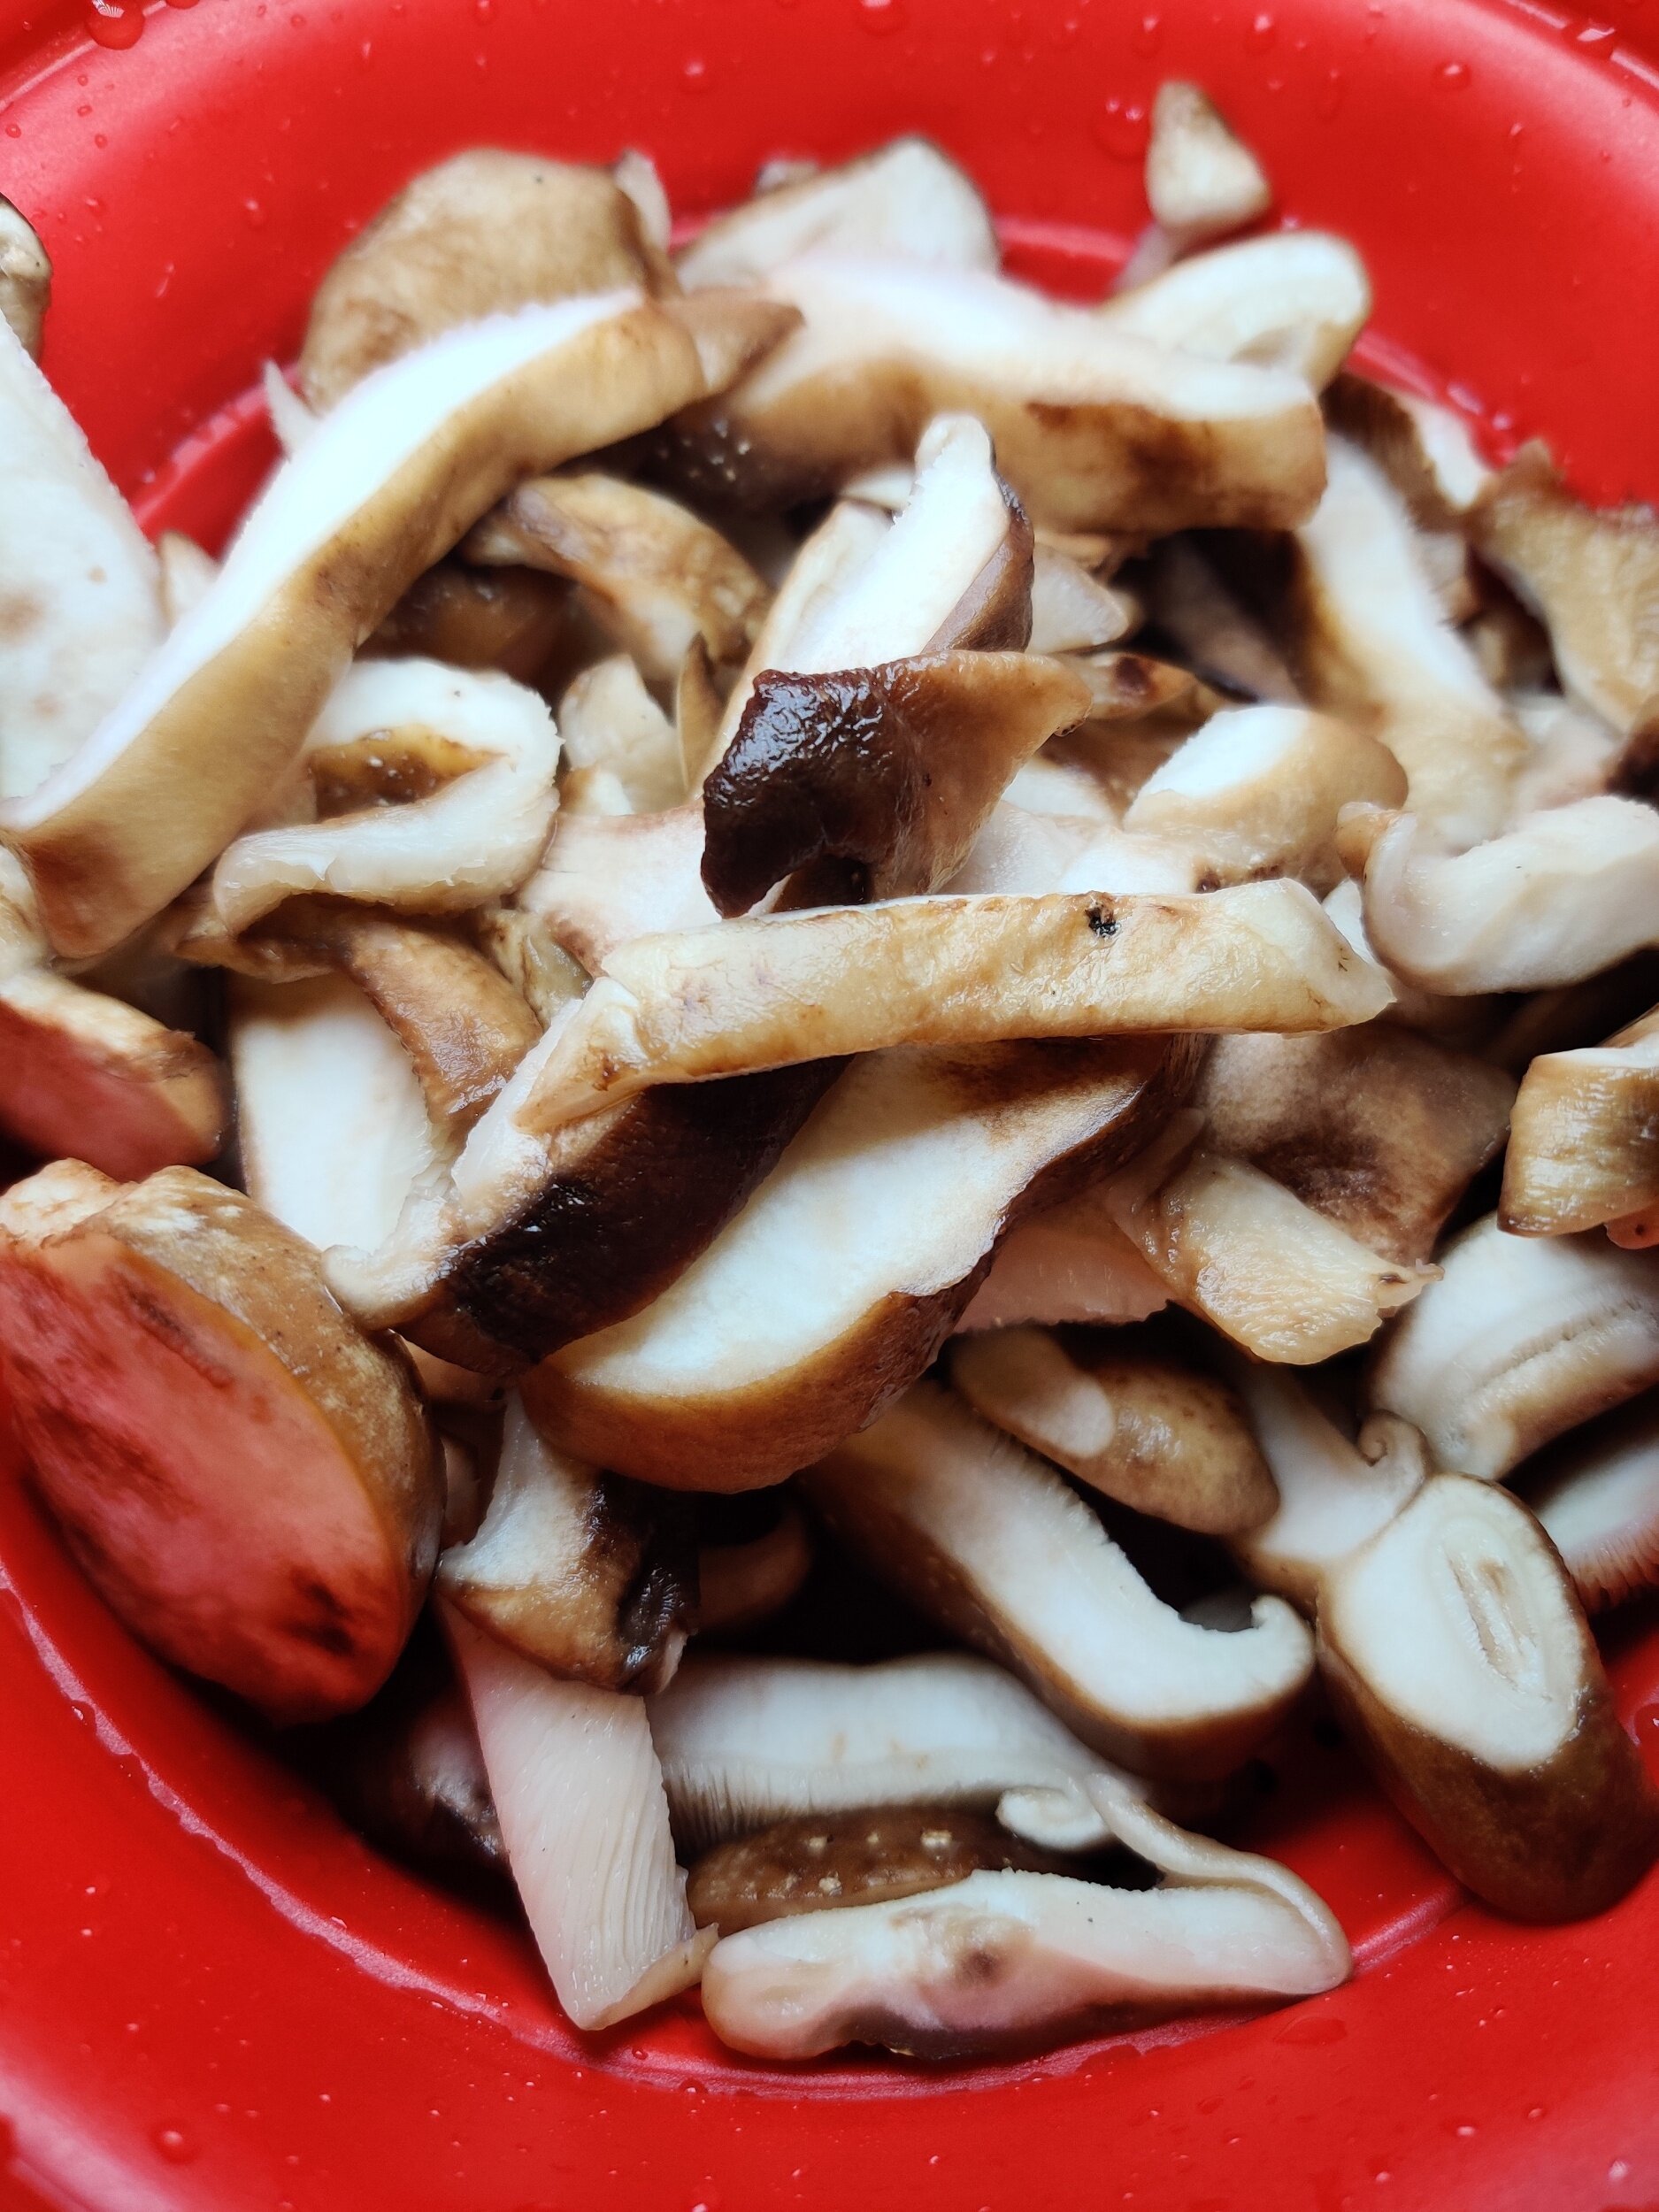
Wash and dry your mushrooms in a salad spinner or with paper towels; set aside.
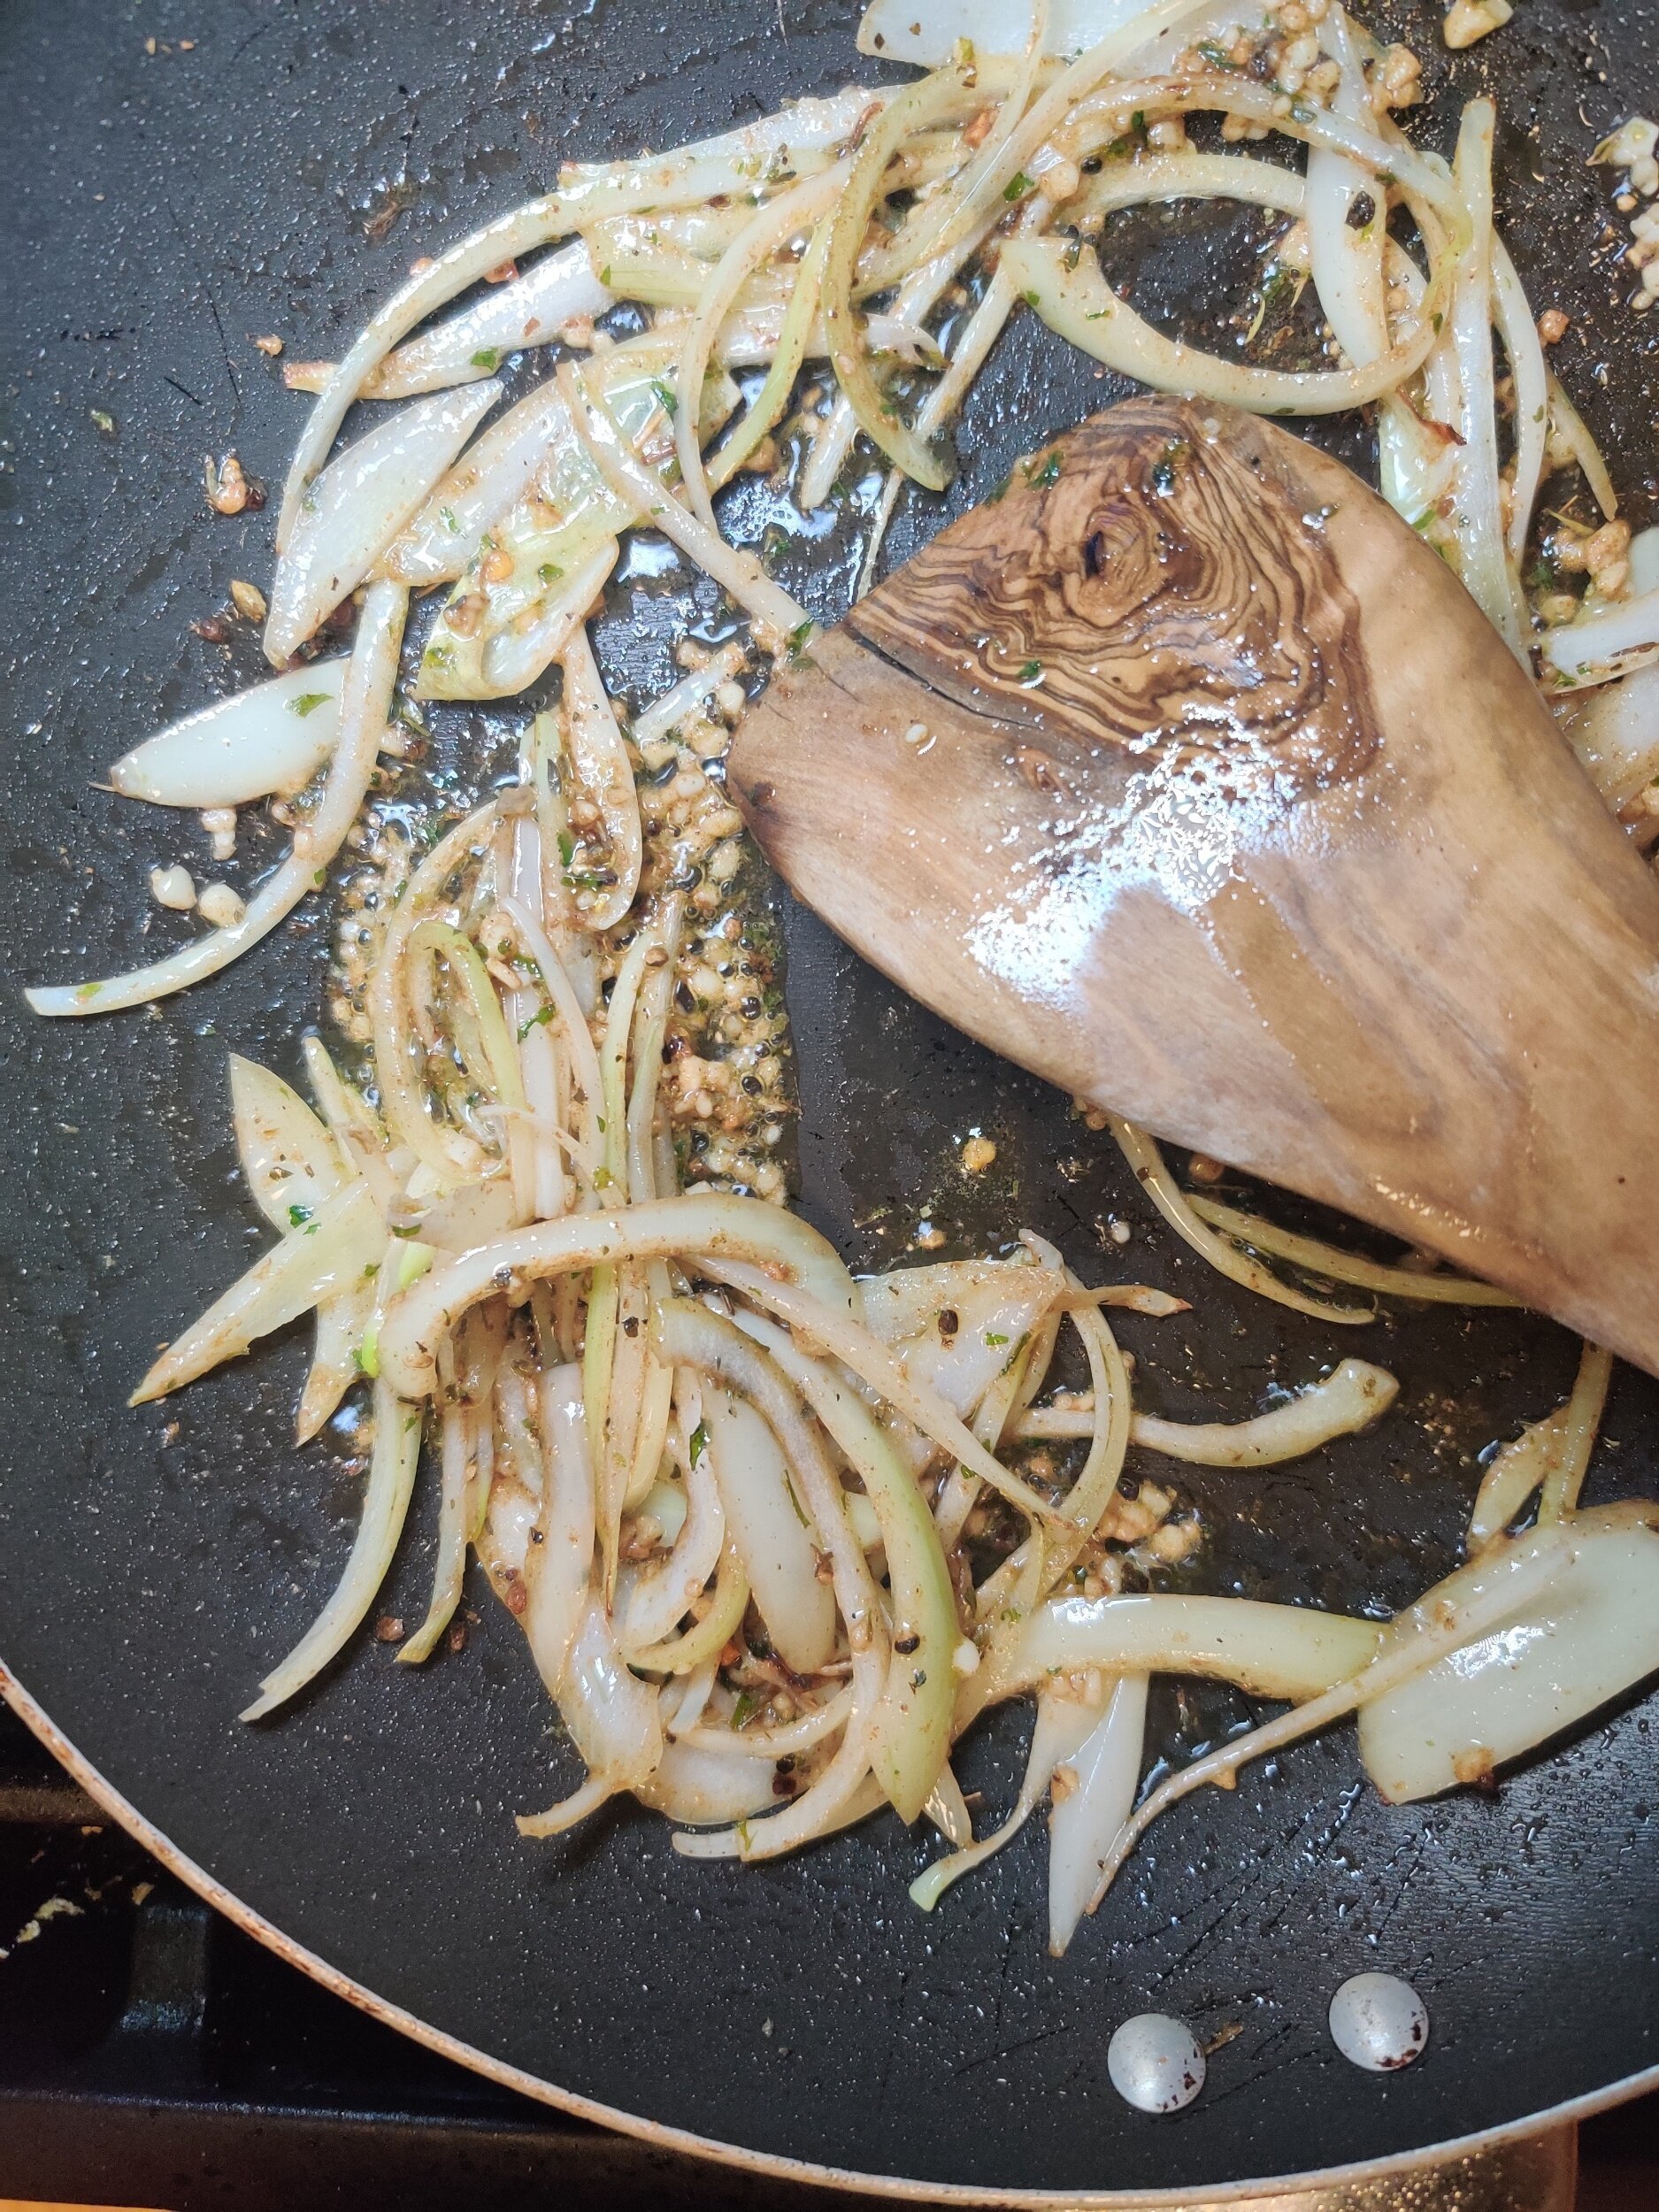
In a large nonstick pan, sauté the onions in olive oil for about 2-3 minutes. Add the minced garlic, spices, salt, and pepper, then cook for another 2 minutes.
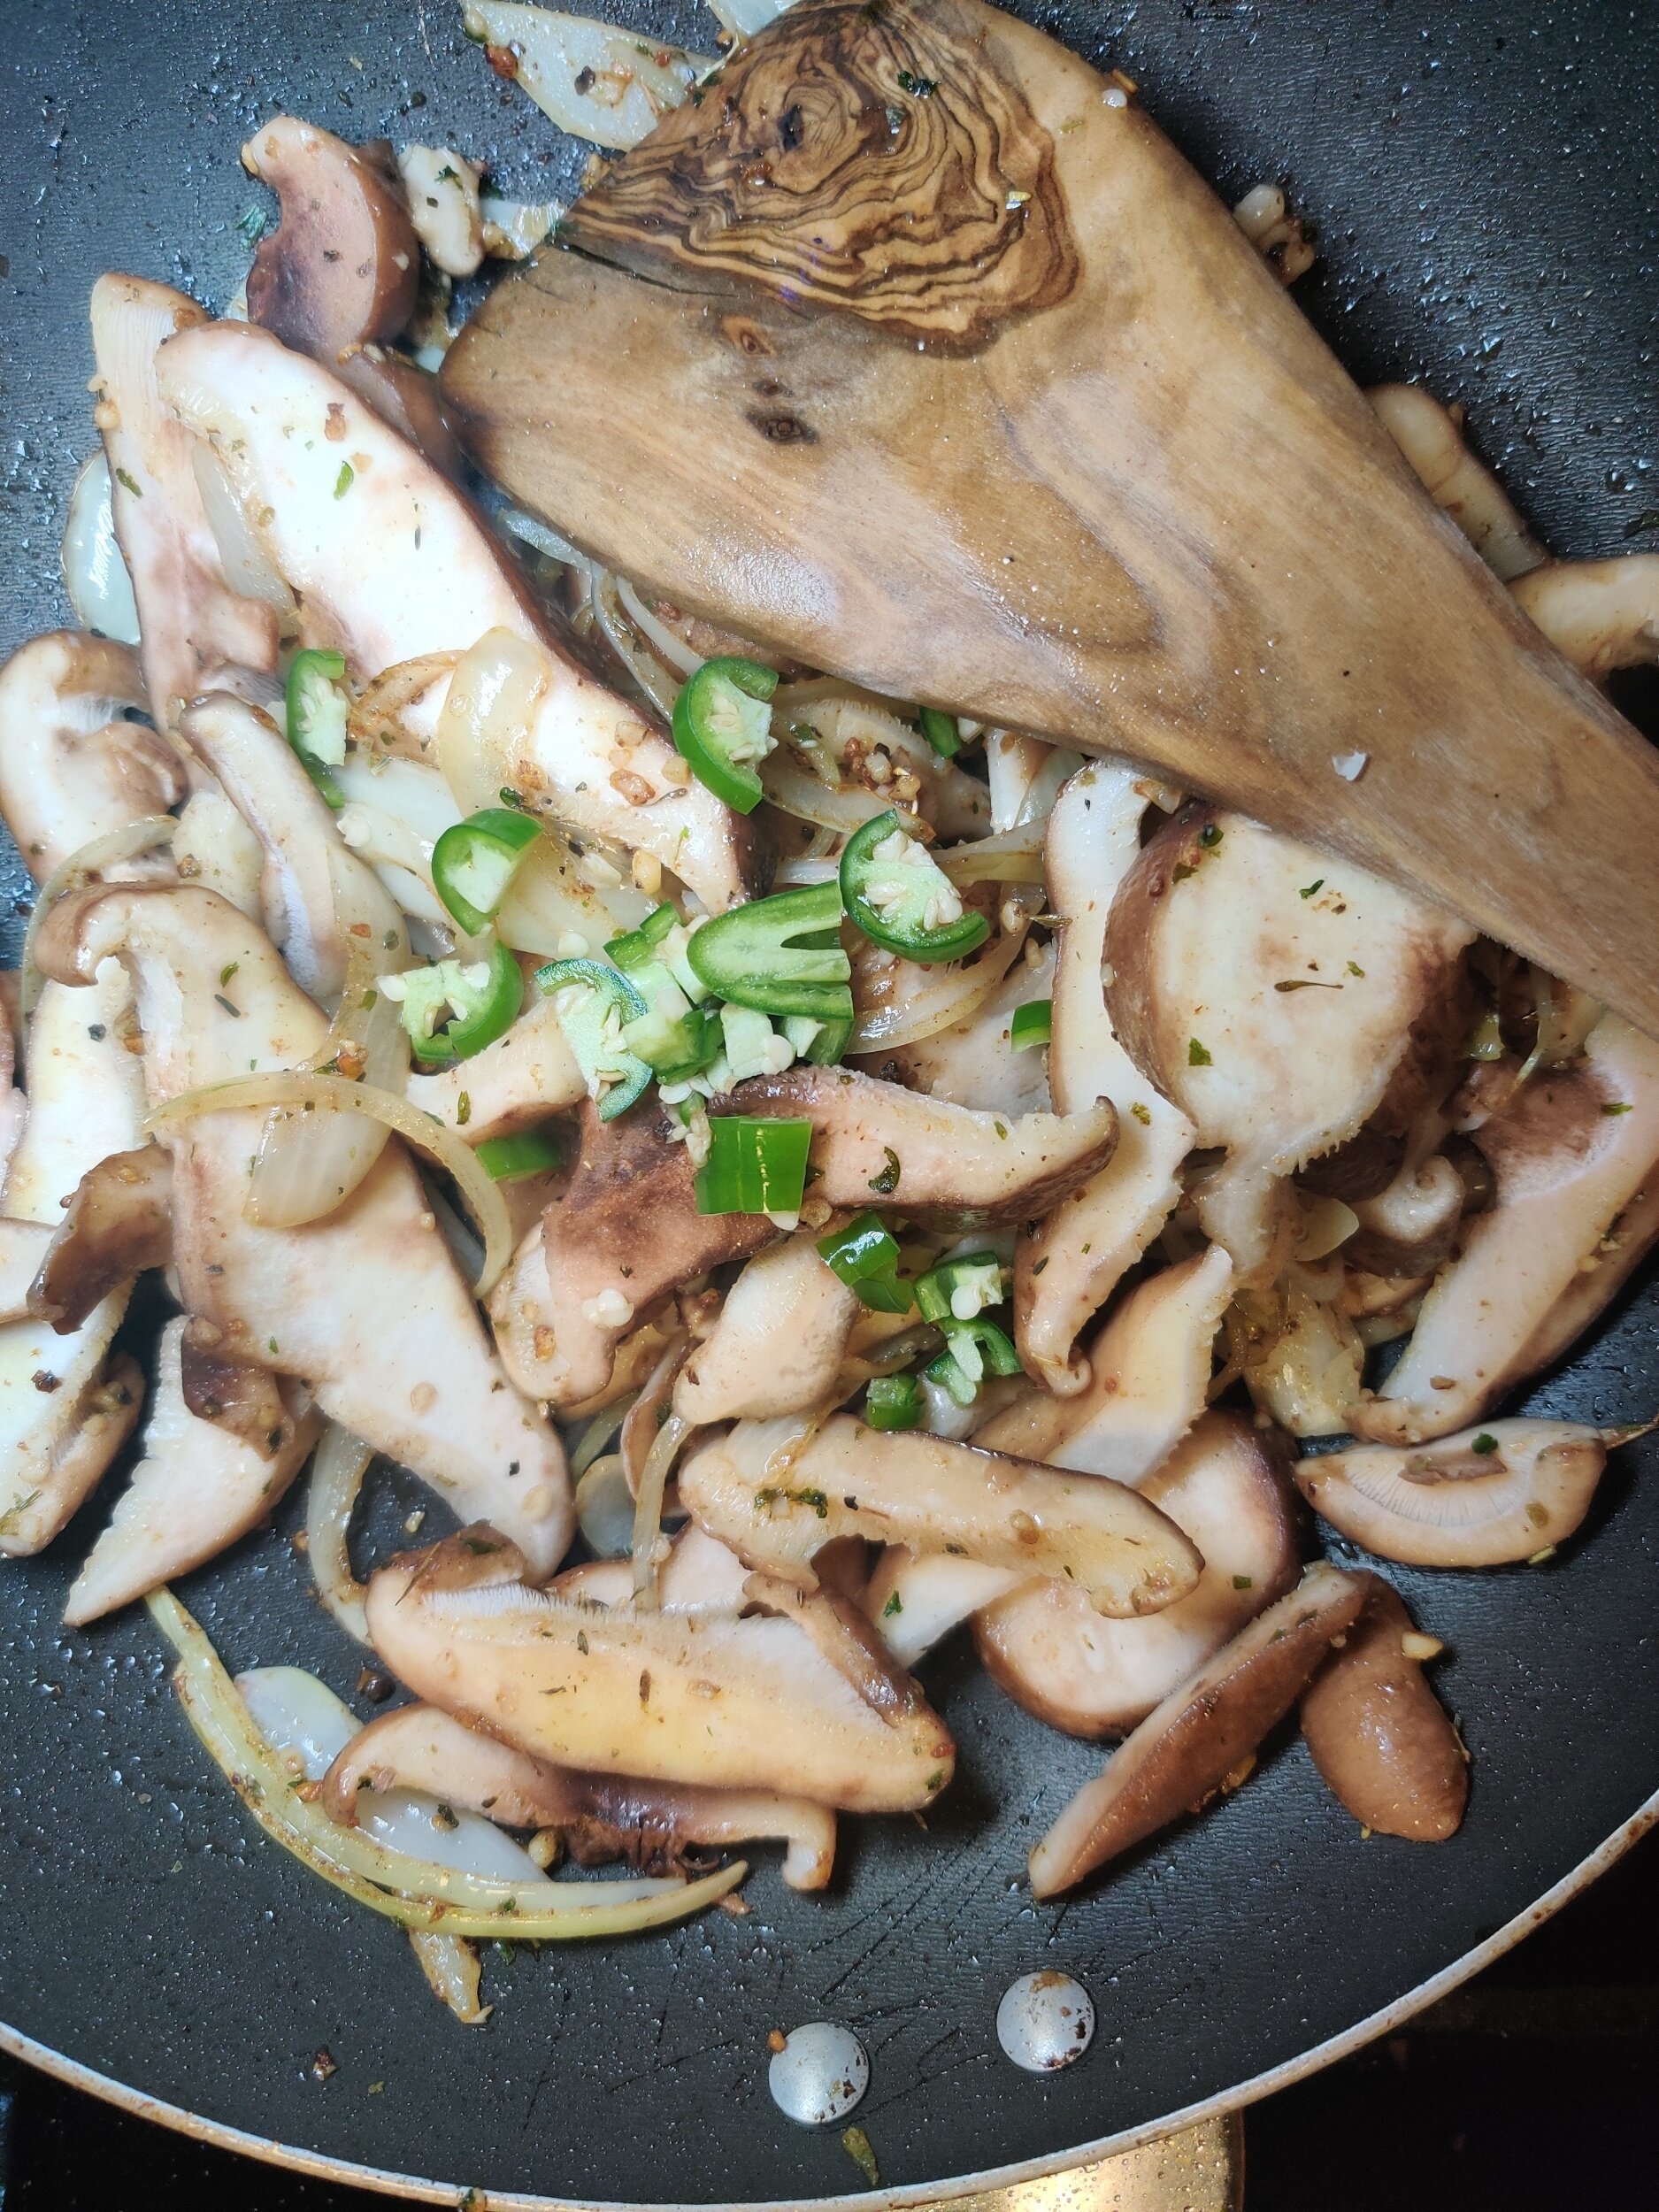
Add the mushrooms and sweat them out on medium-high heat (cook until much of the water is out and the mushrooms begin to brown, about 5 minutes), add the green chilli, cook for another minute.
Deglaze the pan with Worchester sauce and sherry by pouring each teaspoon around the mushrooms and edge of the pan before mixing in to finish, set aside.
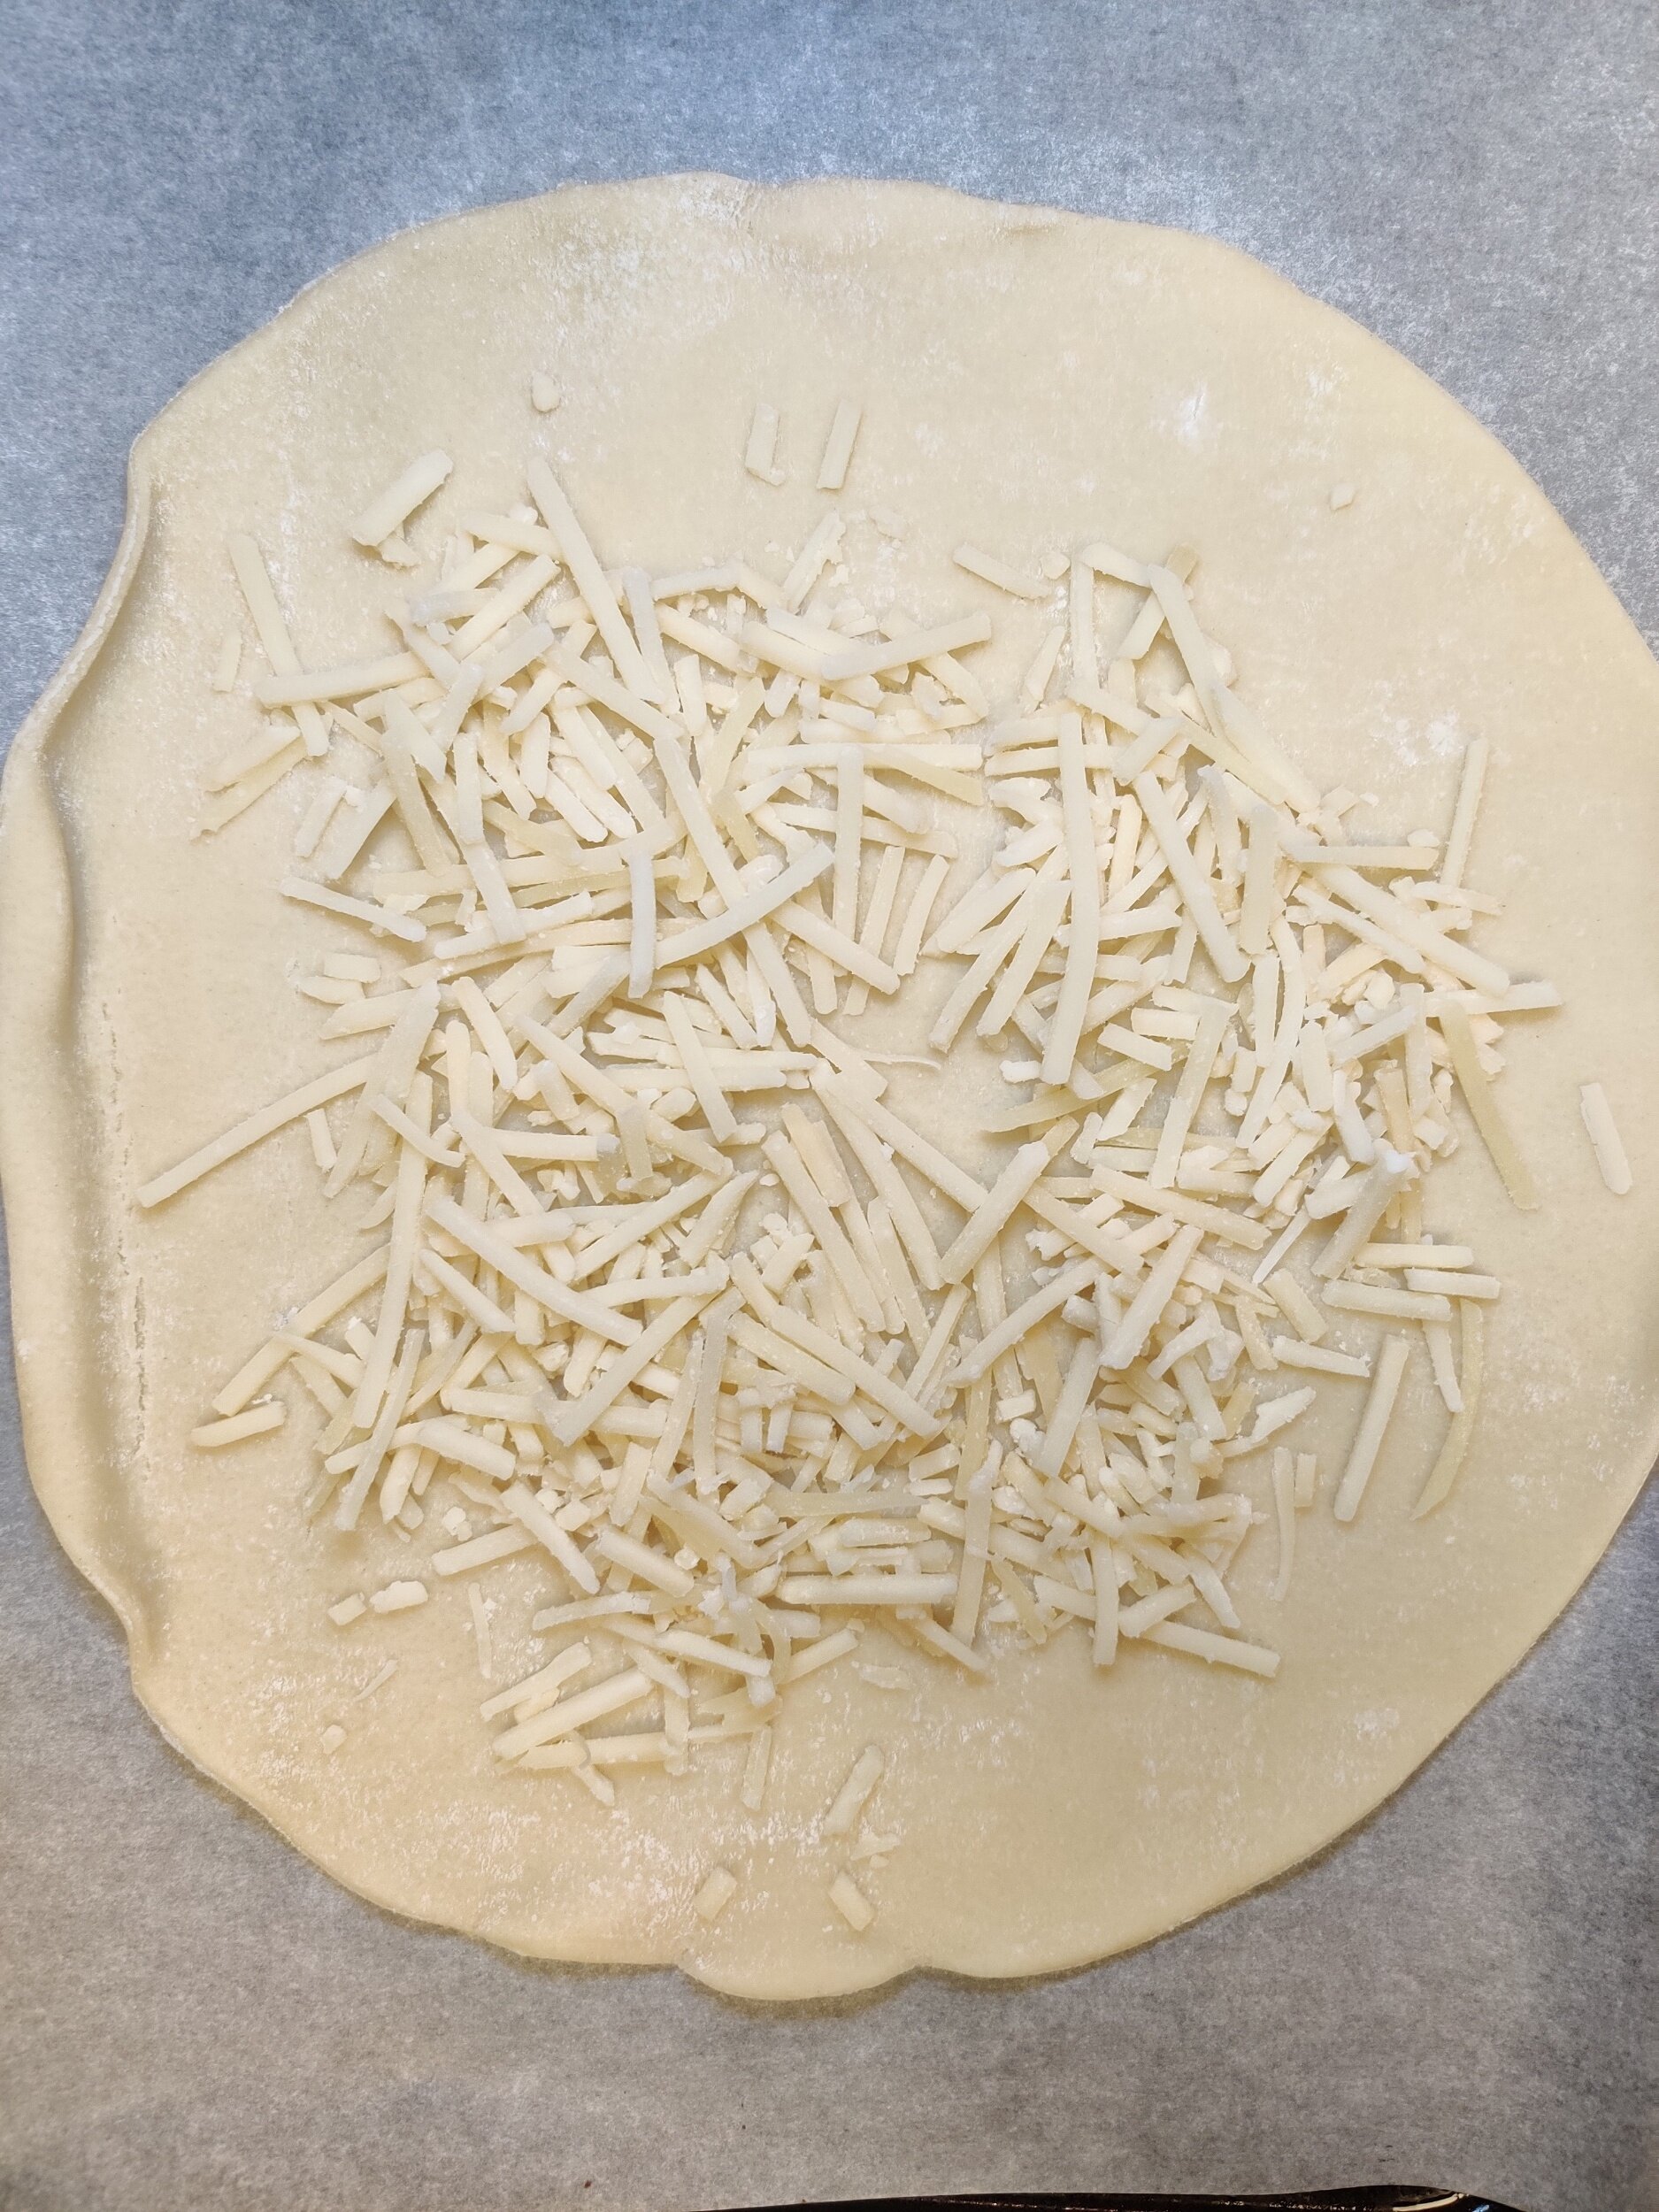
Carefully unroll your thawed pie crust onto a parchment paper-lined baking tray. Leaving at least 1/2-1 inch border (remember you’ll need to fold this over before baking), add 3/4 of the gruyere cheese in the centre.
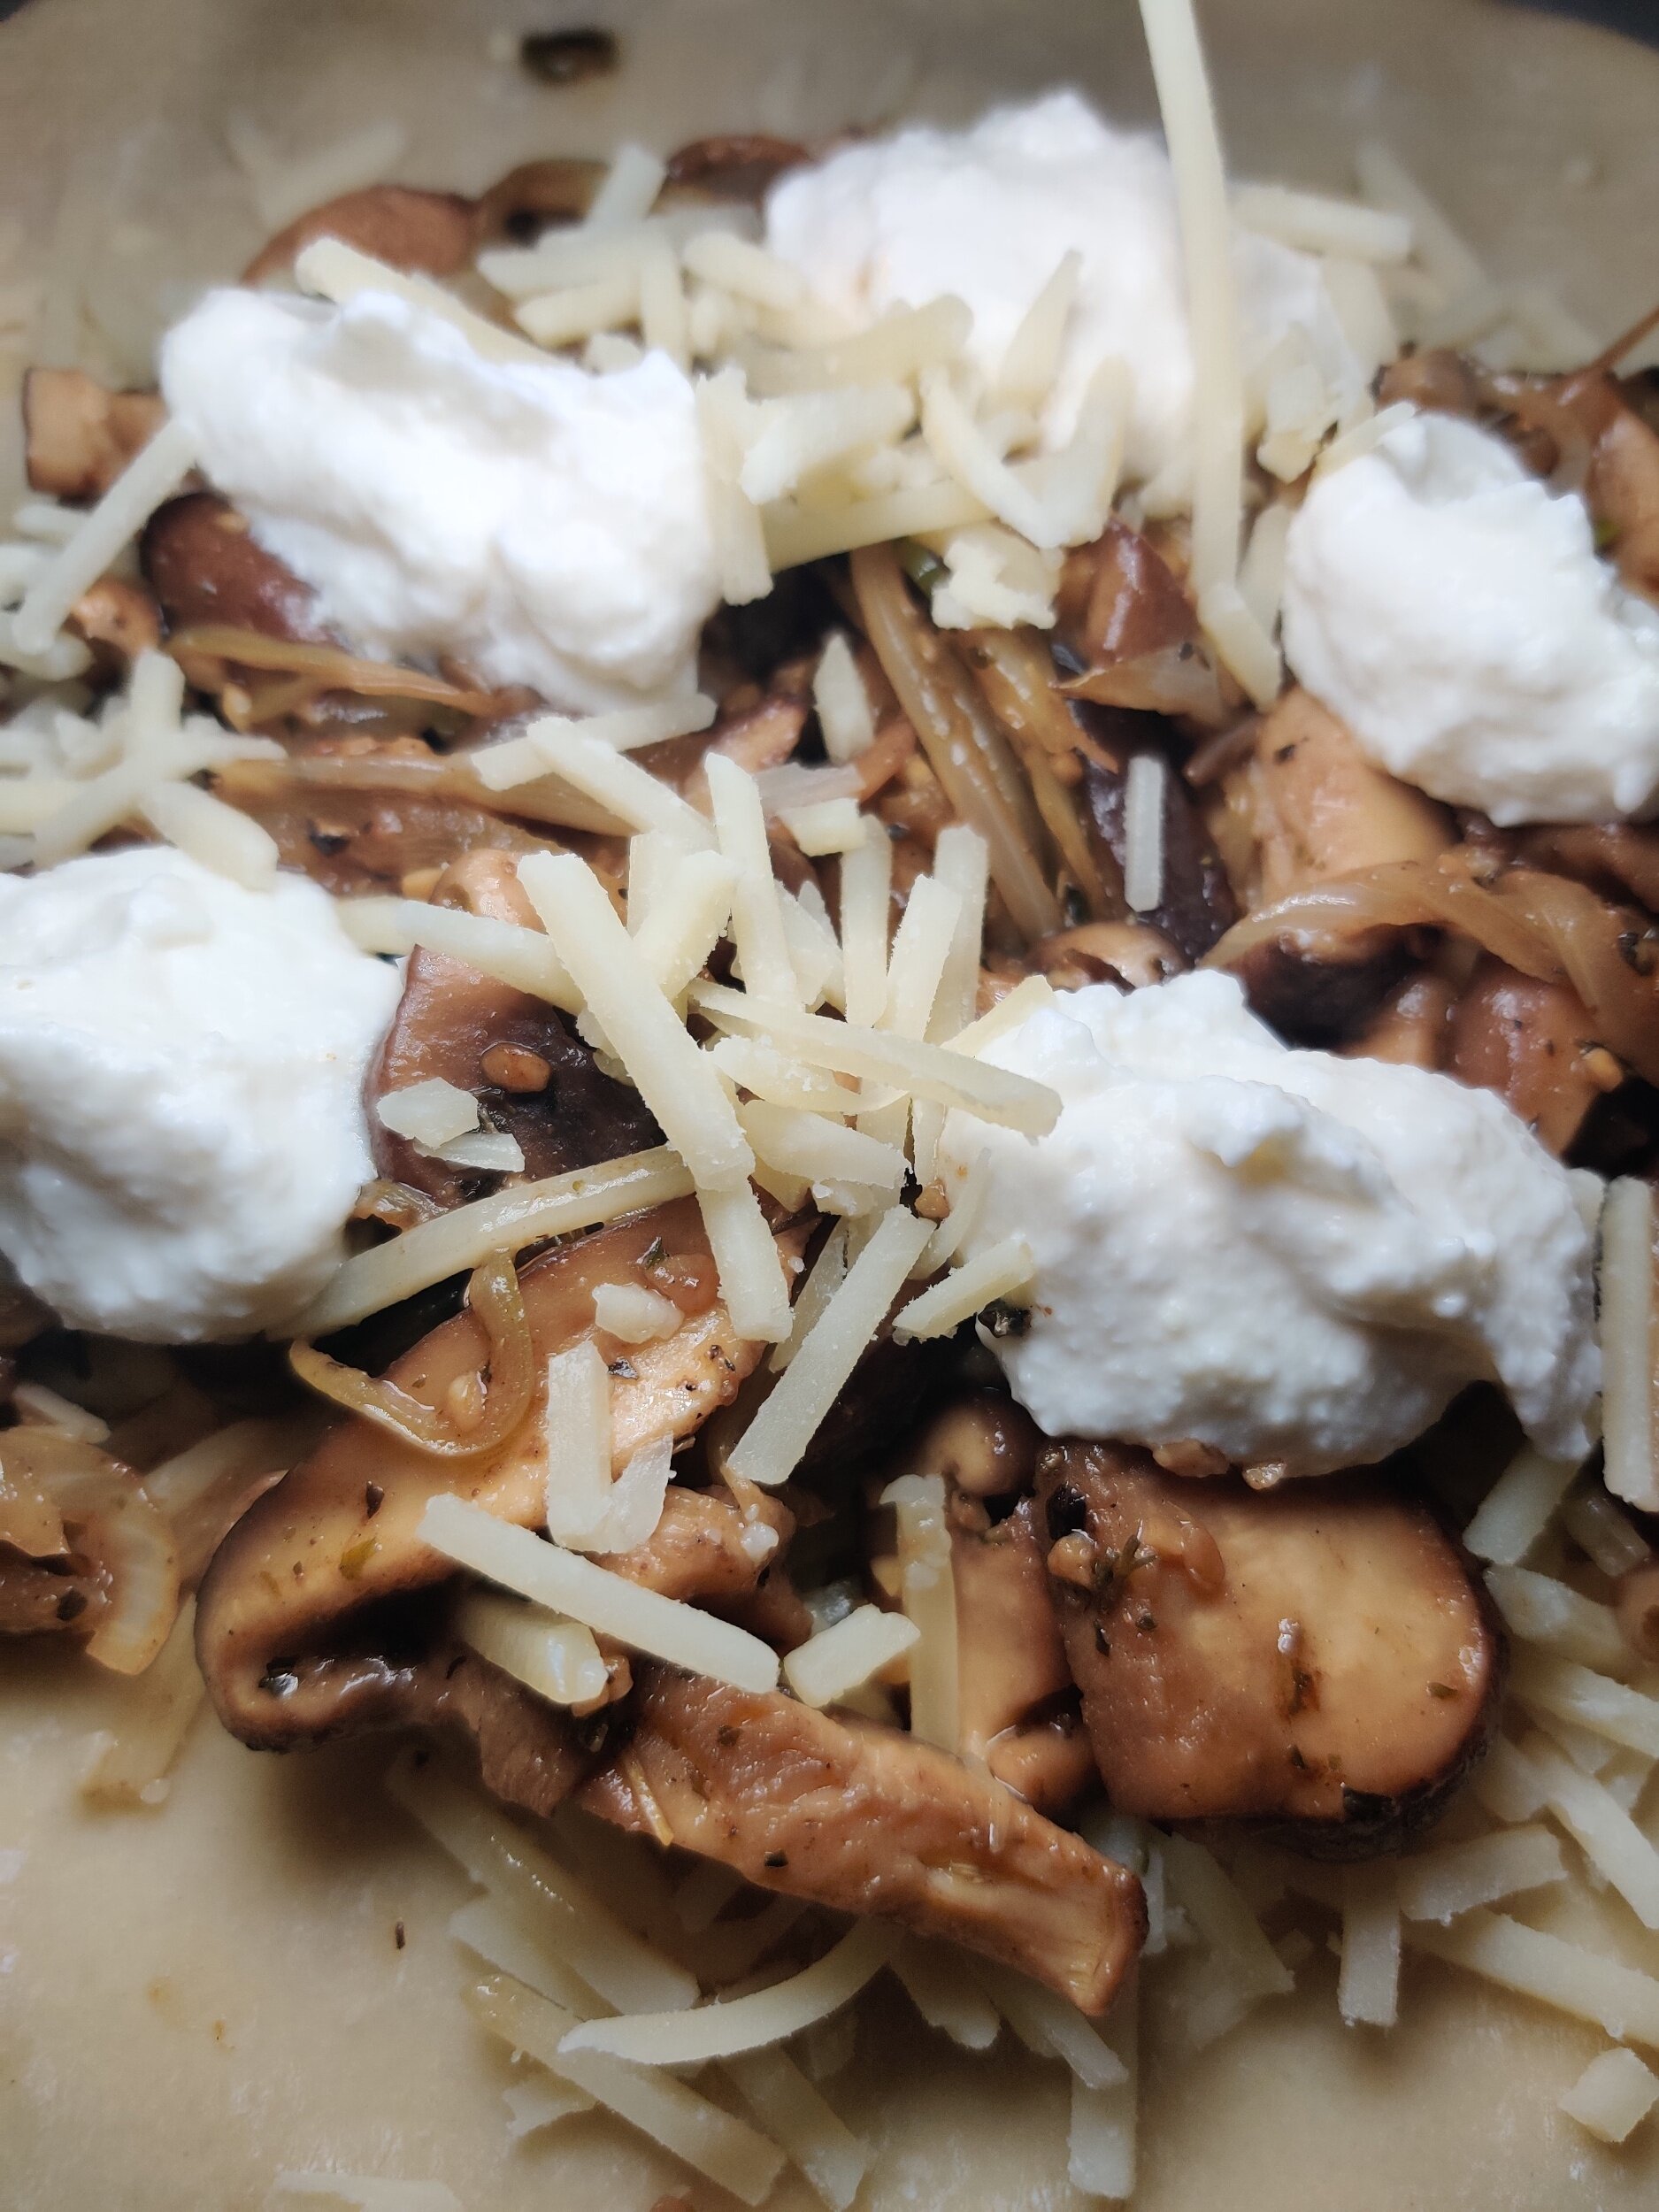
Top with the mushroom mixture, add dollops of ricotta cheese spaced out slightly. Use the remaining gruyere to fill in any spaces, making sure everything is in the centre, leaving some of the pie crust clean—season with additional salt and pepper and some fresh coarsely.
Gently fold over the pastry edges in your desired pattern. Brush the egg wash over the edges, then sprinkle a bit of salt and pepper (or sesame seeds if you have them and prefer).
Bake in the oven for at least 30 minutes at 425F, regularly checking to ensure you don’t burn the cheese and pie crust!
Set aside to cool and set for 10 minutes before serving. Drizzle a bit of truffle oil and enjoy!


Classic Minestrone Soup with Sweet Potato
Hearty soup (especially broth-based) with flavour. Is that so much to ask? Sometimes it is! I have found many broth-based soups fall flat and don't have much flavour, making starch-based soups like creamy butternut or cream of mushroom, for example, a go-to for people. However, the soup shouldn't always have to rely on the addition of heavy or coconut cream to be delicious.
That's why I've come to appreciate this soup - minestrone - a traditional Italian soup that is easy to make and will taste quite impressive when you serve your friends and family. Making an Italian-themed dinner? I highly recommend this to start! Need something for lunch that will fill you up? Want a heart-warming something in the middle of winter or a rainy day? This soup checks all those boxes.
You can customize it in several ways, but below I've outlined a mostly traditional version that has worked for me. I reiterate the importance of seasoning to taste during the cooking process. I'll also mention that it will help if you use freshly made or good quality broth. With a soup like this, that can make or break your meal. You'll be happy with your finished product if you consider these things. Enjoy!
Ingredients
1 cup cavatappi pasta (or any small-sized pasta)
1/2 - 1 cup white beans soaked overnight, rinsed and drained, or precooked/canned (I used white kidney beans, you can also use cannellini)
1/4 cup finely chopped pancetta or shiitake mushrooms
2 tablespoons olive oil
1 cup equal parts carrots and celery diced
1 cup yellow onion, diced
2 1/2 quarts vegetable broth (homemade or good quality)
1 large zucchini, diced
1 large sweet potato, peeled and diced
3 large garlic cloves, chopped (or 2 teaspoons minced)
1/2 bunch kale, chopped into bite-size pieces
1 (!5-ounce) can whole tomatoes, chopped
1 bay leaf
1 large thyme sprig
1 teaspoon salt
1 tablespoon black pepper
1 tablespoon dried thyme (optional)
1 teaspoon coriander (optional)
1 teaspoon dried basil (optional)
Pesto
Grated or shaved parmesan cheese

Instructions
Boil your pasta according to the packaging instructions; set it aside (you can also wait to do this while the soup is cooking).
If you have dried beans, cook those until softened in a rolling boil, about 35 minutes or longer if necessary - don't cook to the point that the beans split.
Sauté the pancetta or mushrooms in a large, heavy-bottomed bottom for about two minutes.
Add the carrots, celery and onions, cook for about 4-5 minutes, sweating them out. (If you use the other dried spices, add them in at this point).
Add the garlic, followed by the tomatoes. Add the fresh thyme and bay leaf (this is also known as 'bouquet garni' in French), and finally, your broth. Allow your soup to simmer for about 15 minutes over medium heat.
Add the potatoes, increase the temperature to medium-high; get the soup to a soft rolling boil or fast simmer. Cook for another 15 and make sure the potato begins to soften and fool through. Season to taste with salt and pepper.
Reduce the heat slightly again and mix in the kale, zucchini and most of the beans; simmer for about 6-8 minutes until the kale has wilted down, and the zucchini is somewhat cooked. Season to taste.
Mix in the cooked pasta and add the parmesan cheese and pesto in the serving bowls (not the pot), then stir and season to taste.
Serve hot and store in the fridge for 3-5 days before freezing.
Note: Don't add the pasta, parmesan, and pesto to the pot I almost made that error- only do that when serving. This prevents the pasta from getting soggy and ensures your pesto and cheese taste their best.
